Mint Chocolate Chip Drizzle Cake

Share
Facebooktwitterpinterestlinkedintumblr

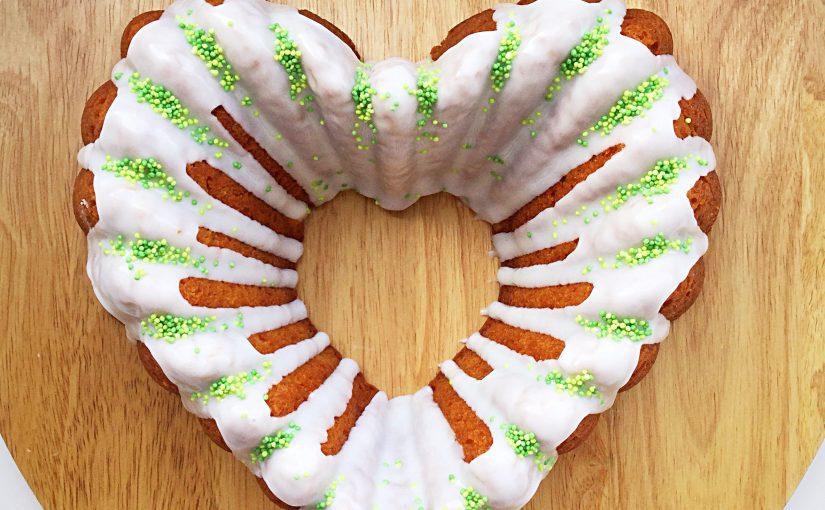
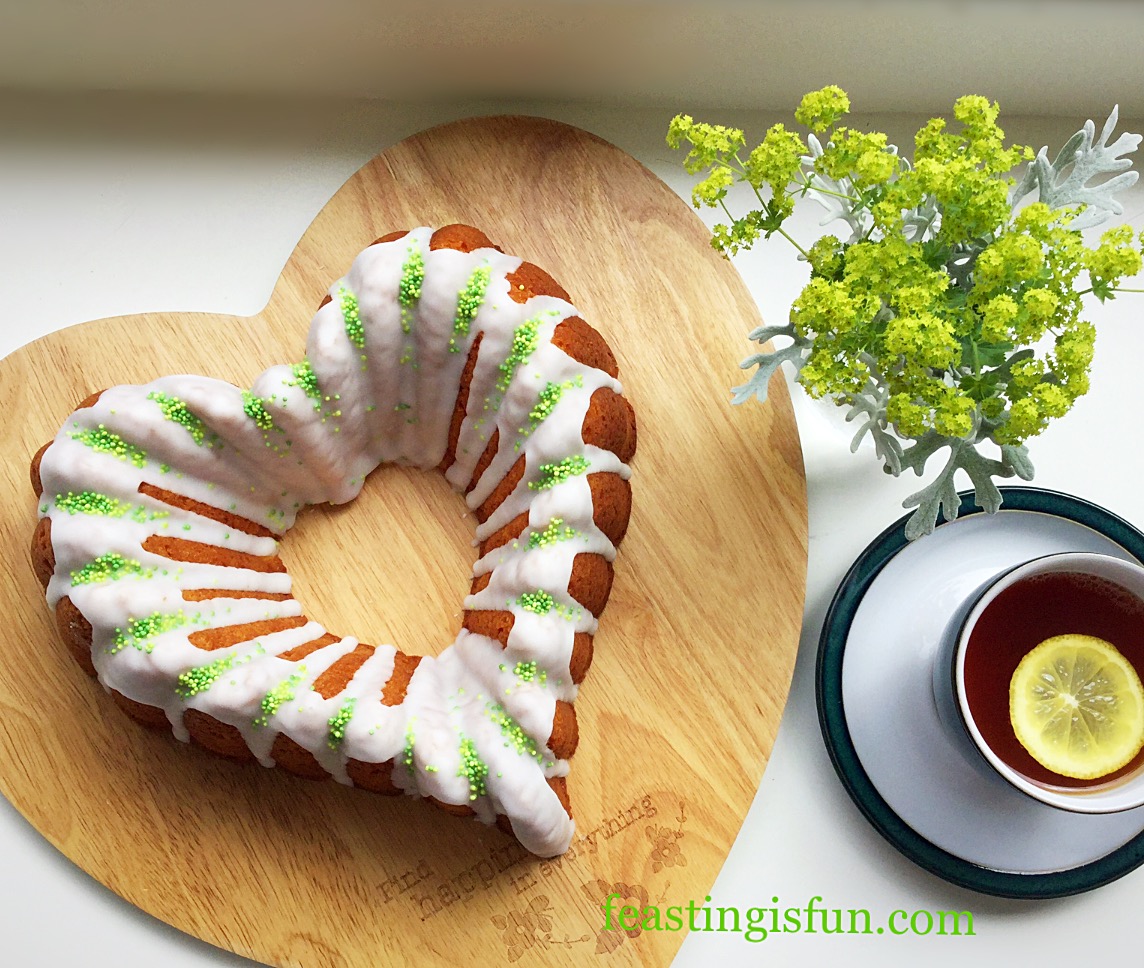
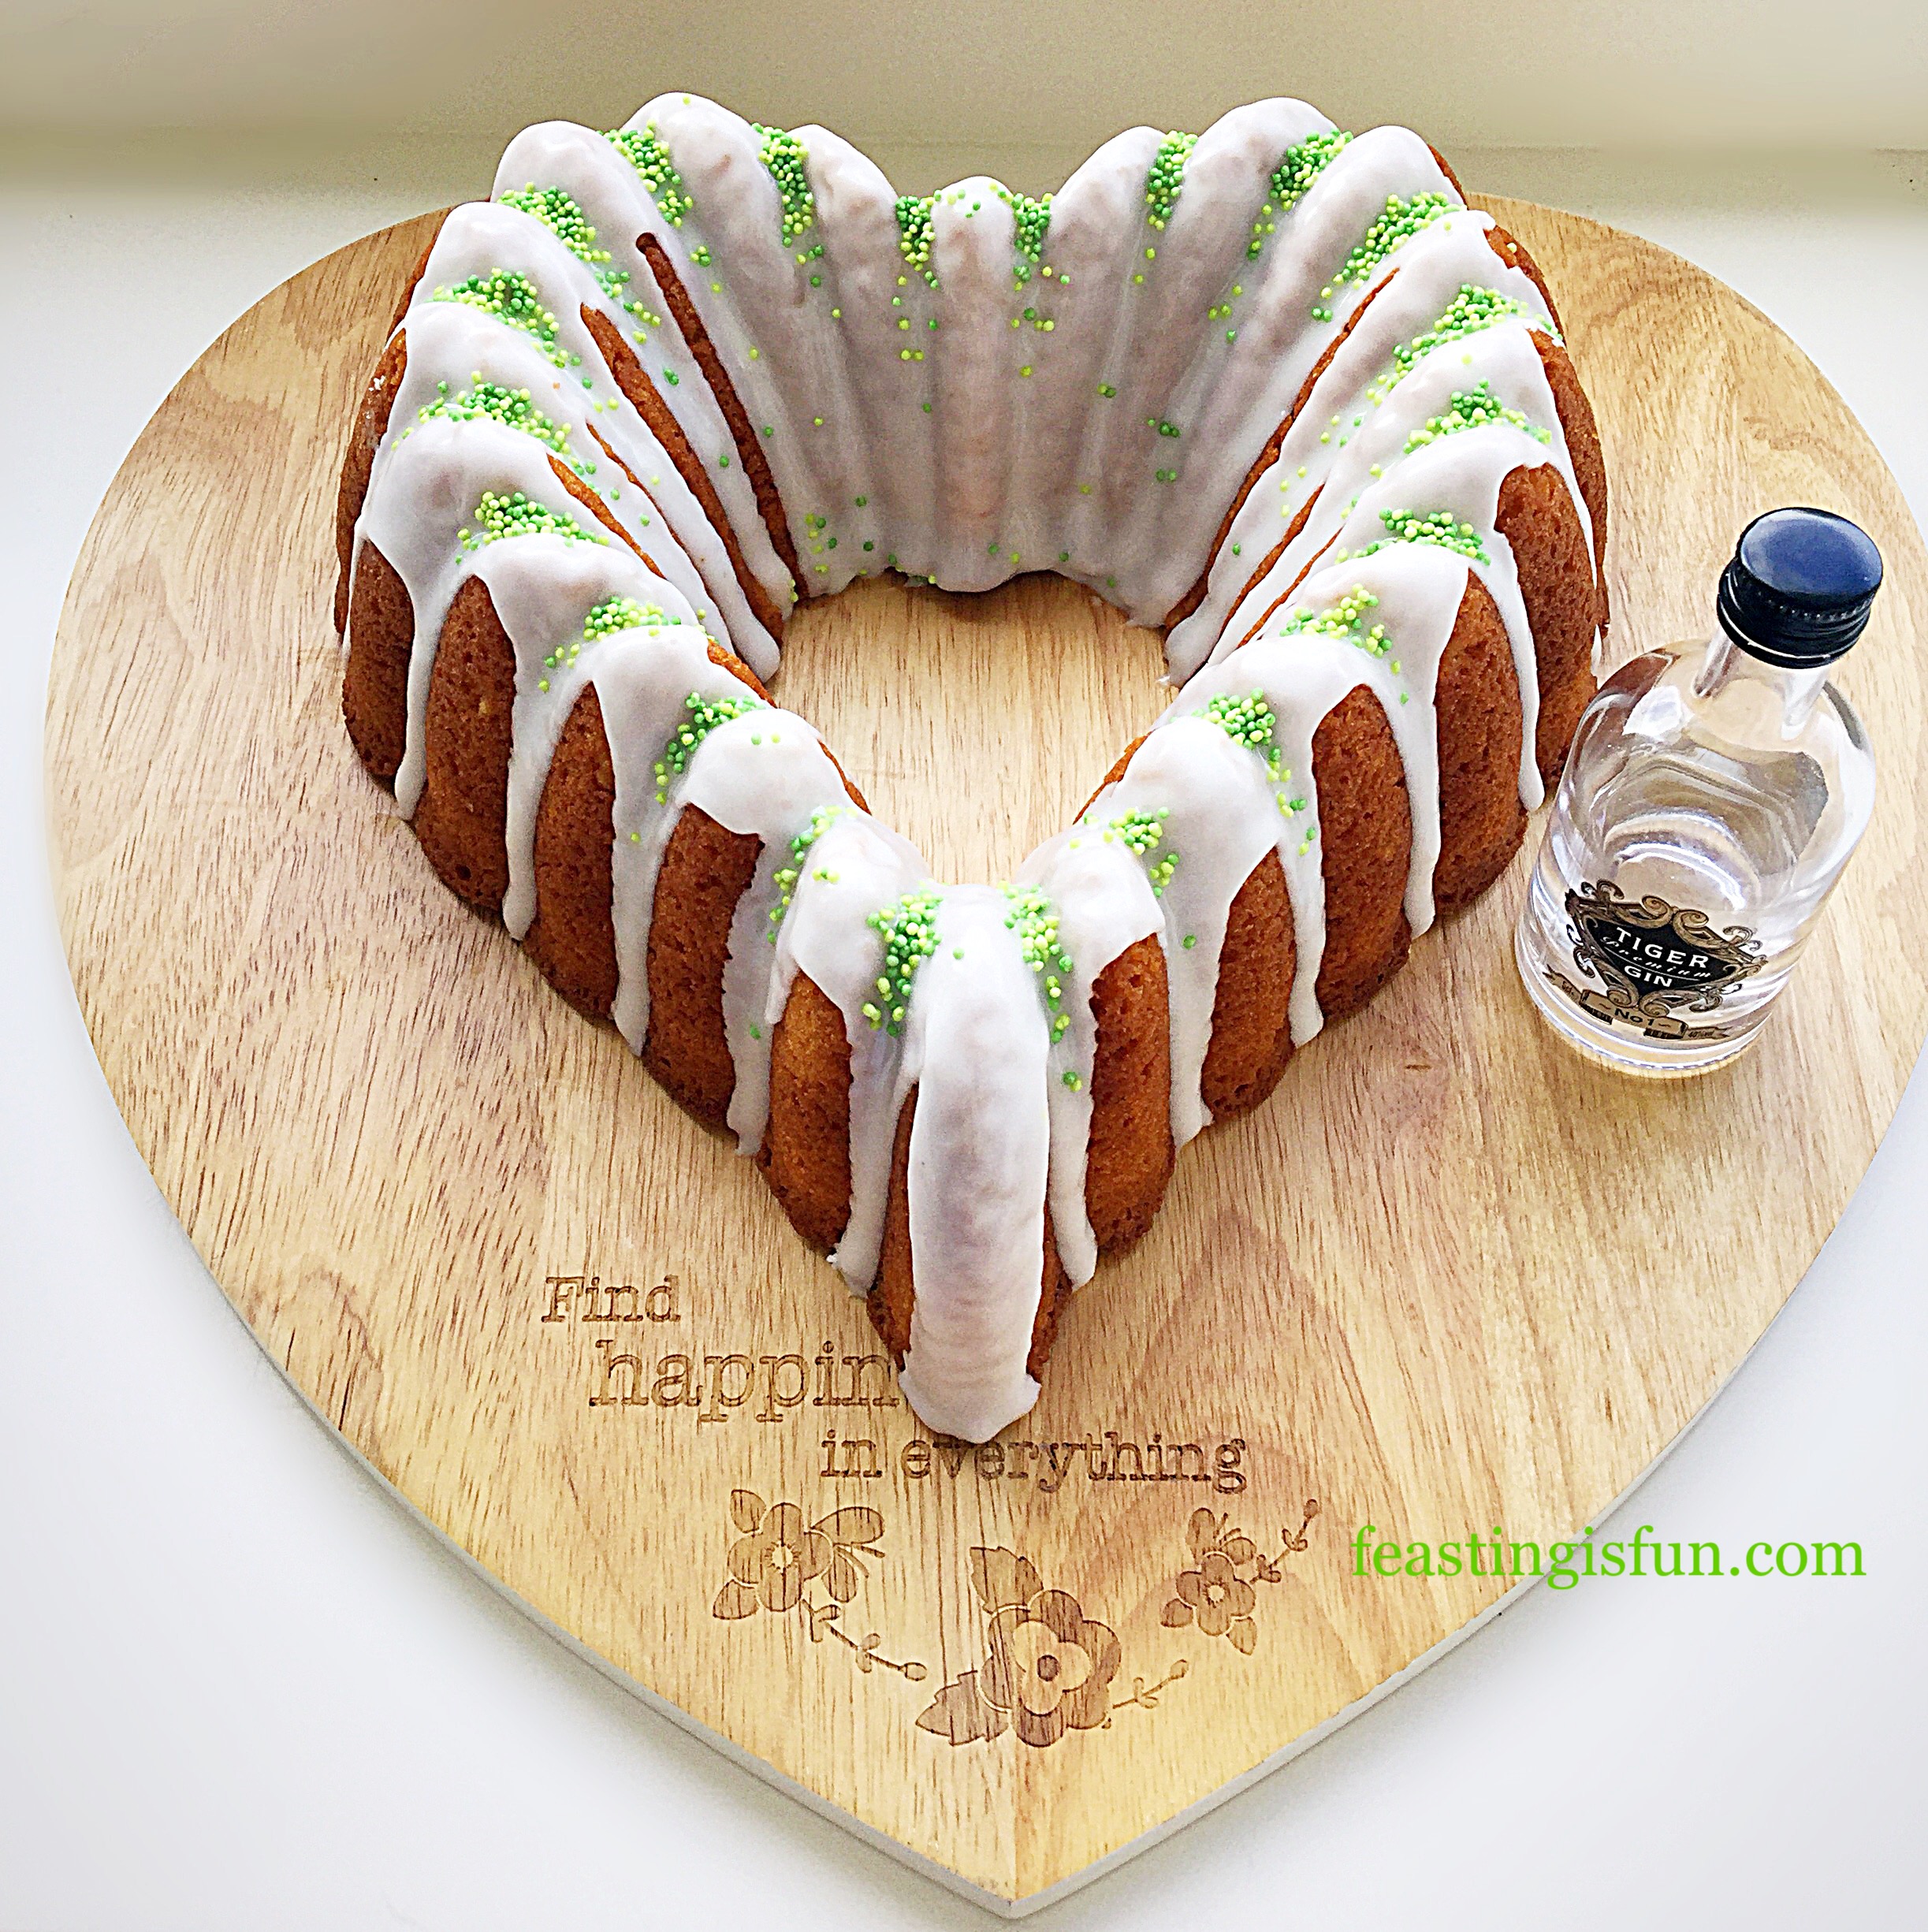
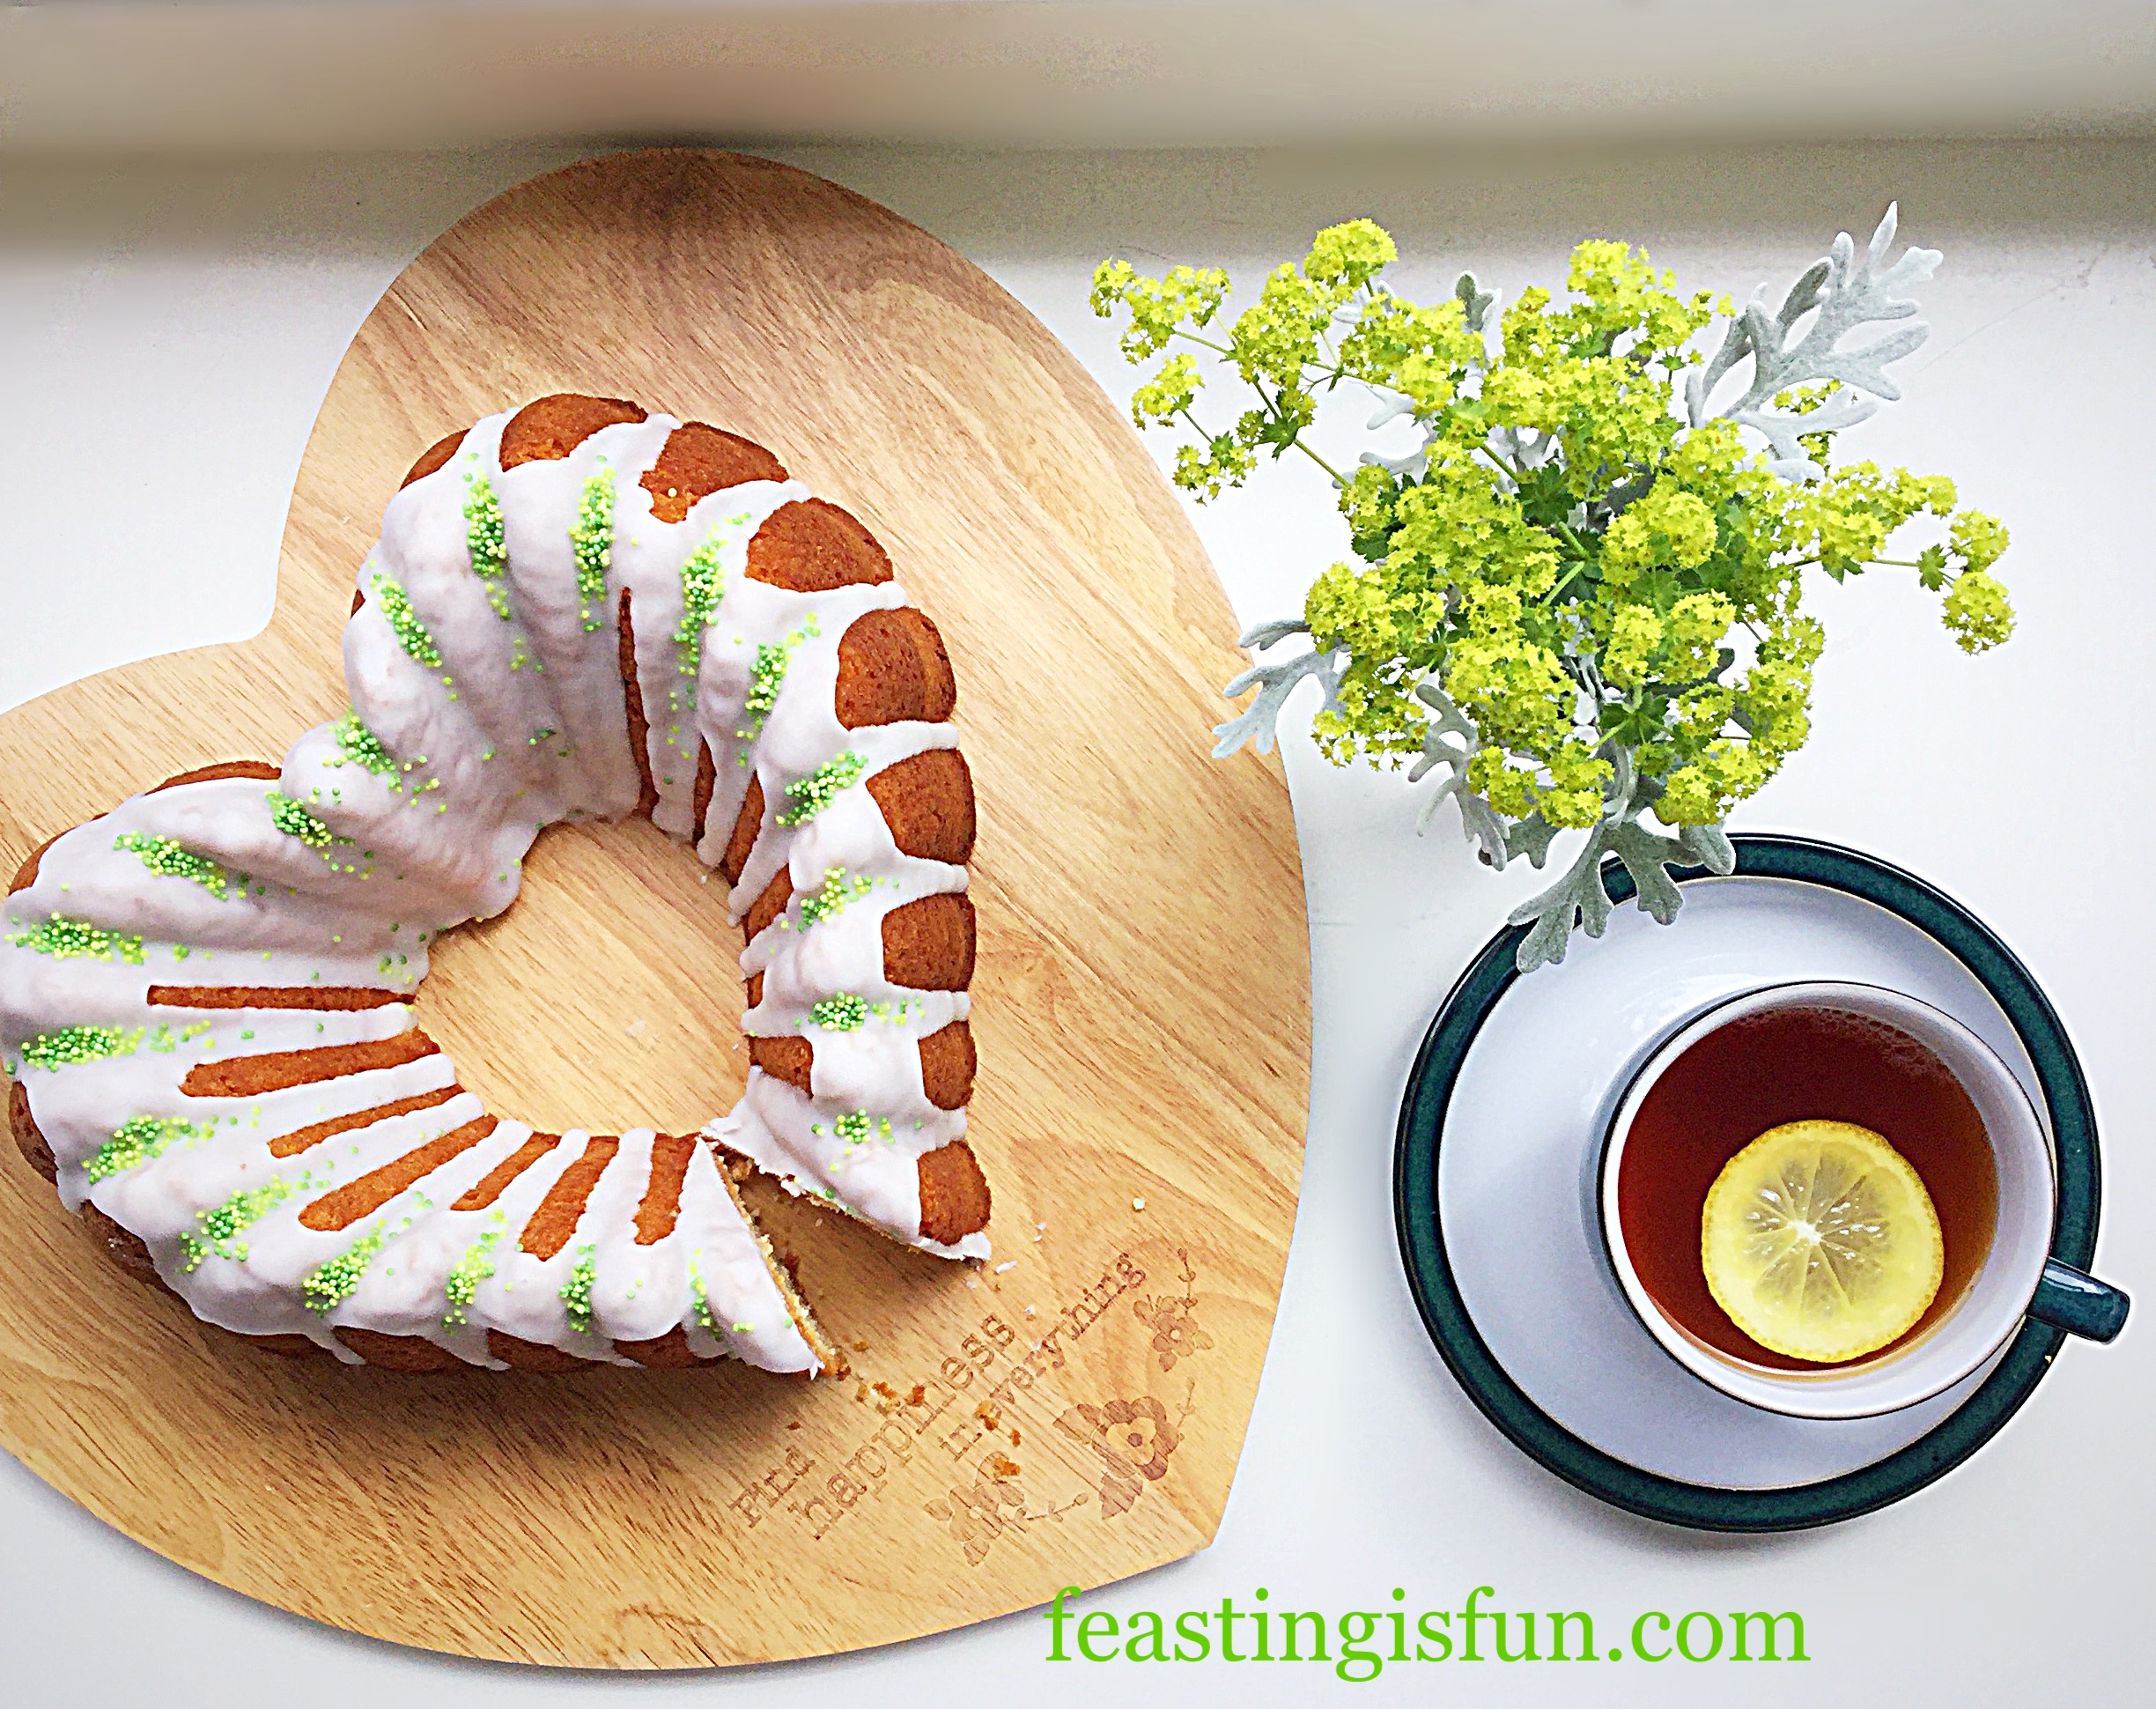
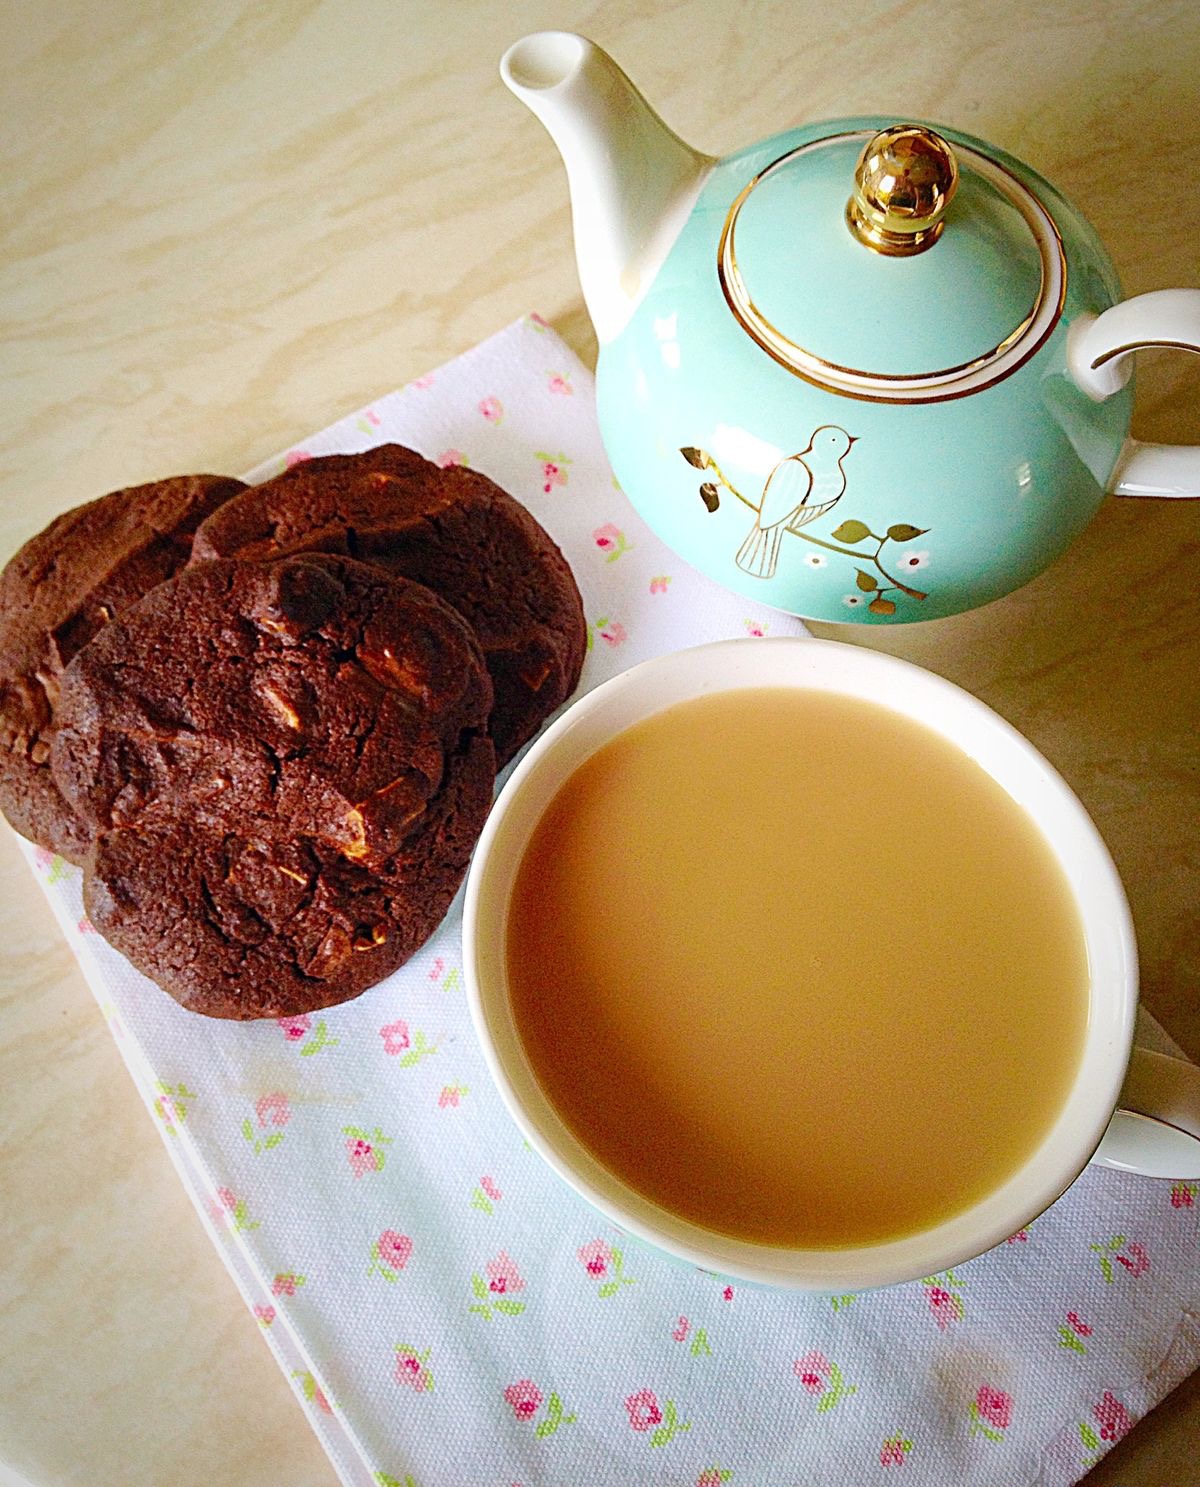
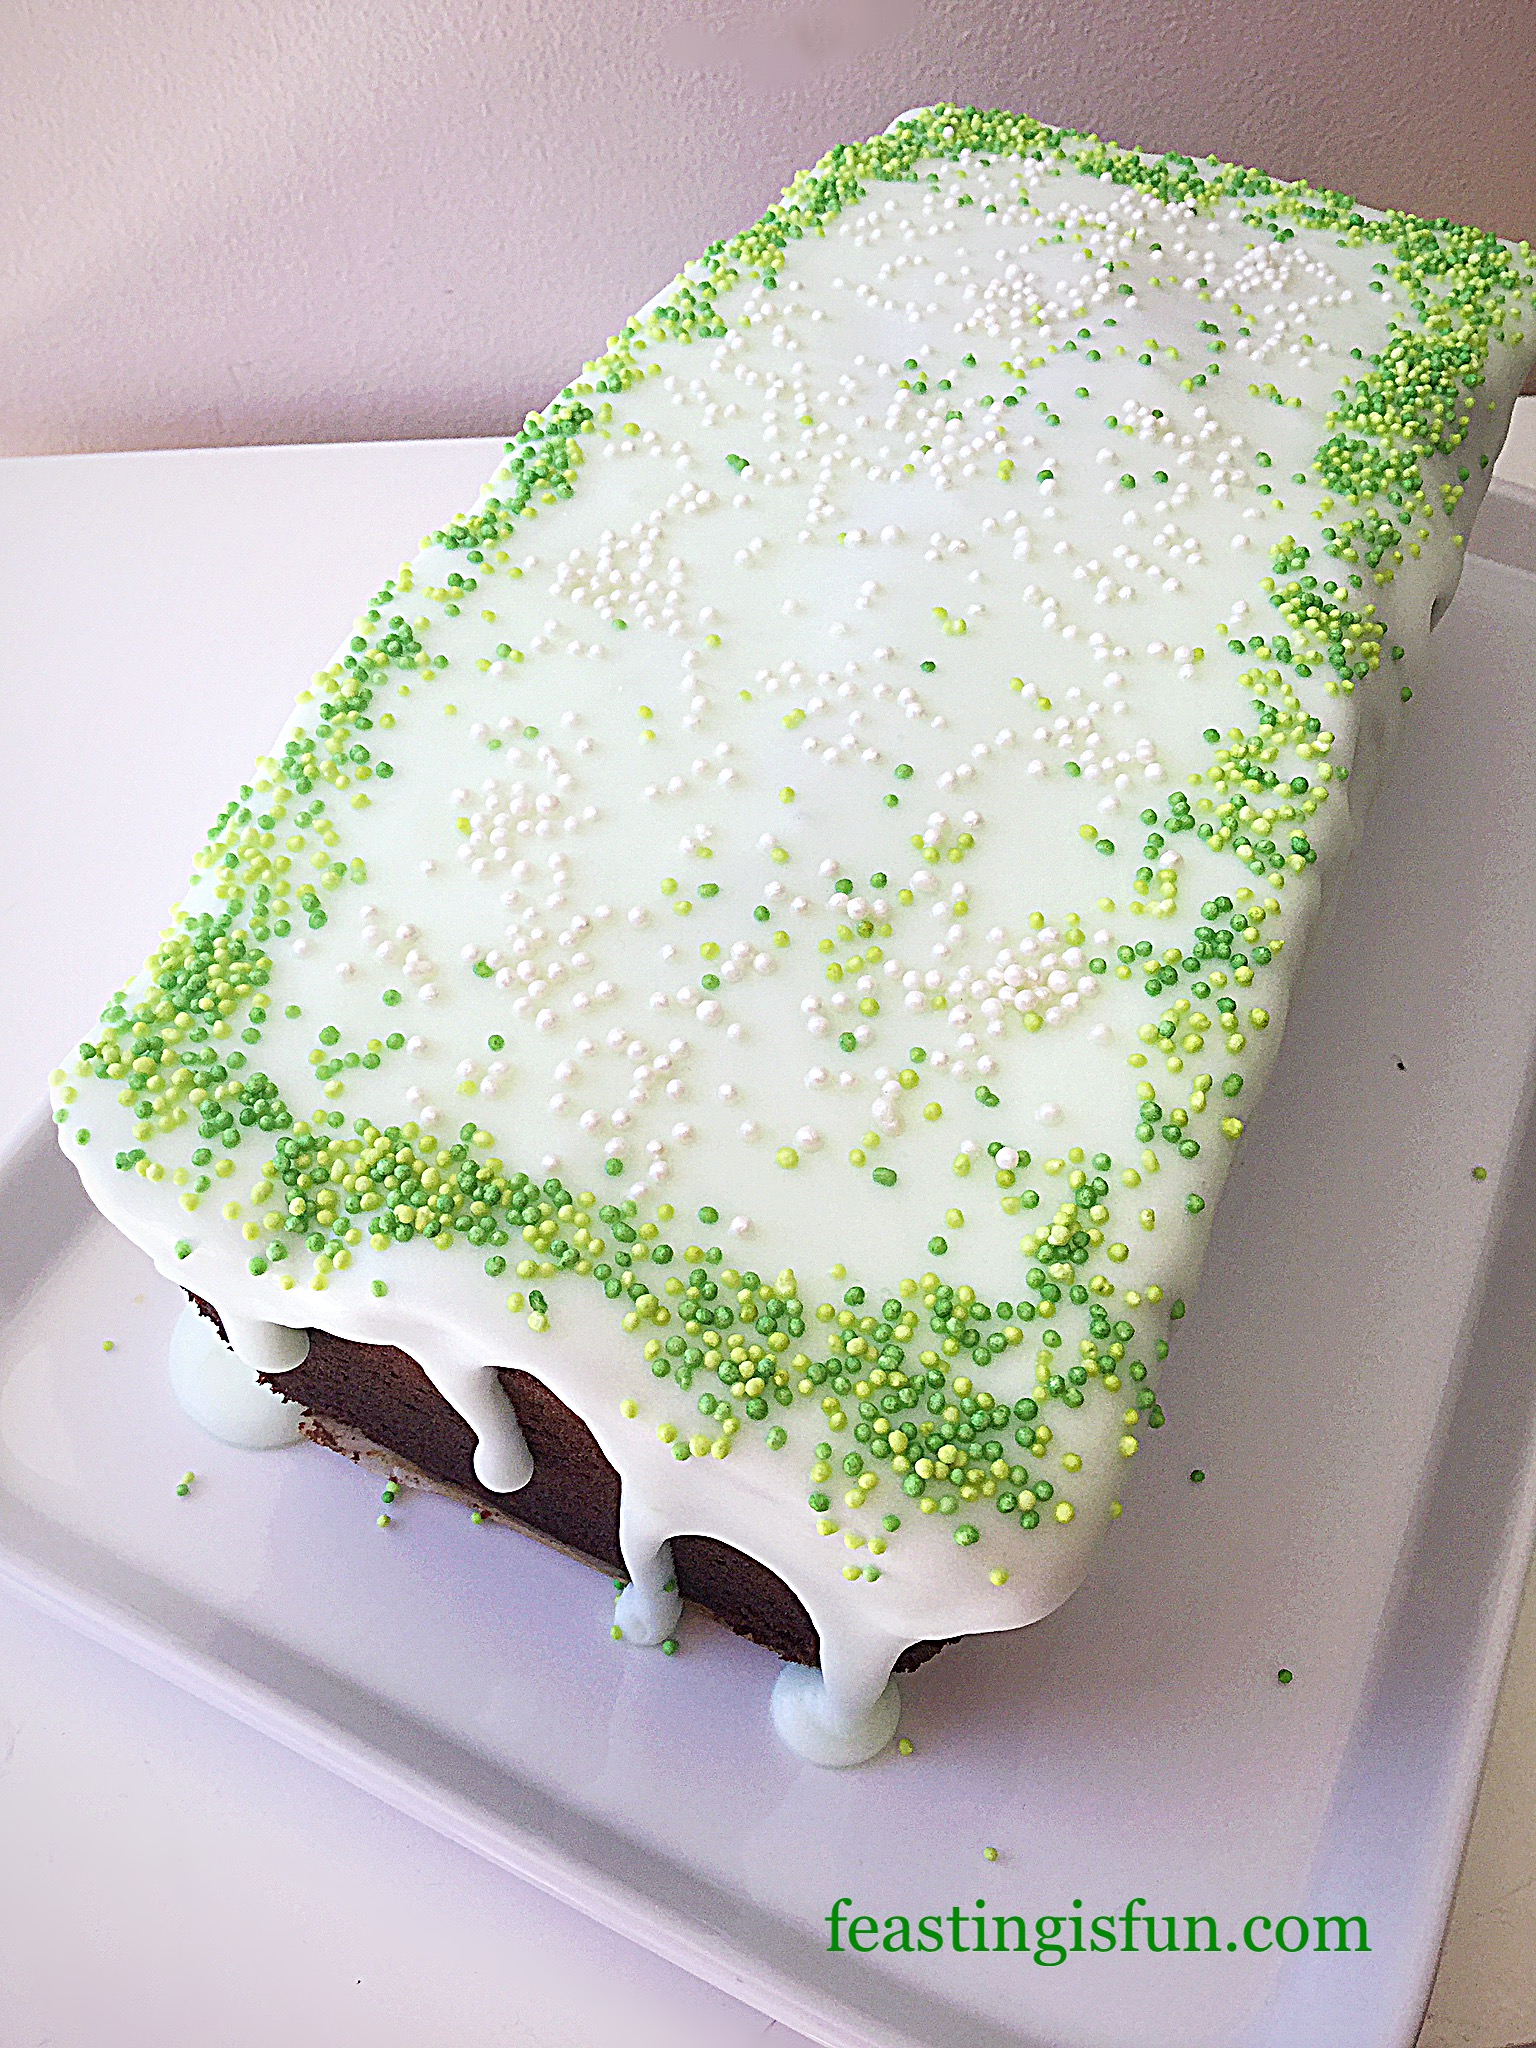
Wow this Summer has been hot so far. So when I was asked to bake a cake I wanted to create something that was not only delicious, but also refreshing. My Mint Chocolate Chip Drizzle Cake ticks both of the boxes. A rich chocolate cake that is full of mint chocolate chips finished with a peppermint drizzle icing. This cake was a big hit with all who tried it!

FF Mint Chocolate Chip Drizzle Cake

Mint Chocolate – which side are you on?

While I love the combination of mint and chocolate together, it appears that opinion is split. While there are those who wholeheartedly agree with me, there are also a group of people who really dislike the flavour combination. Since I love sharing and assume that you do too, check that those you will be sharing with enjoy fresh mint flavour with chocolate. Unless of course you want the whole cake to yourself?

FF Mint Chocolate Chip Drizzle Cake
Mint Chocolate Chip Drizzle Cake

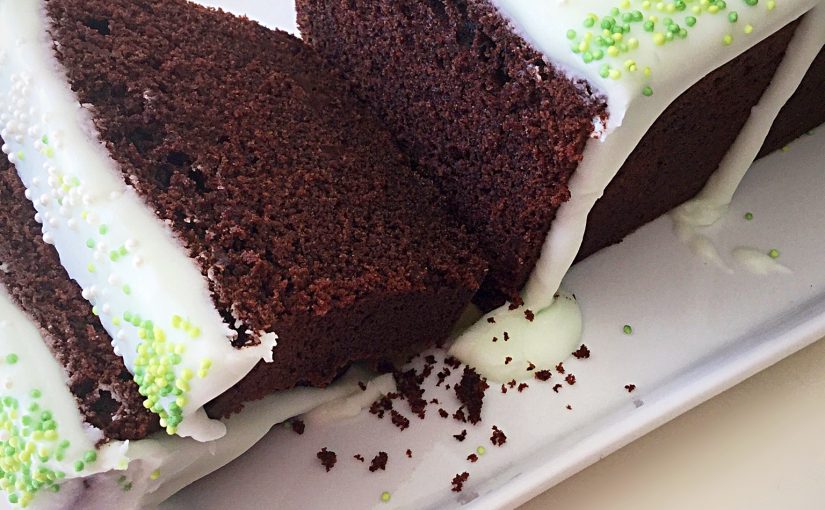
I adore the way that mint is such a refreshing flavour. In this cake it really lifts the deep chocolate flavour of the sponge, with nuggets of mint chocolate bursting in your mouth with every bite. Also, the peppermint hit in the icing merges with the cake to create a party in your mouth. I love the flavours in this cake, especially during the heat of the summer. Because of the mint, I can literally bake my cake AND eat it!

FF Mint Chocolate Chip Drizzle Cake
Mint Chocolate Chip Drizzle Cake

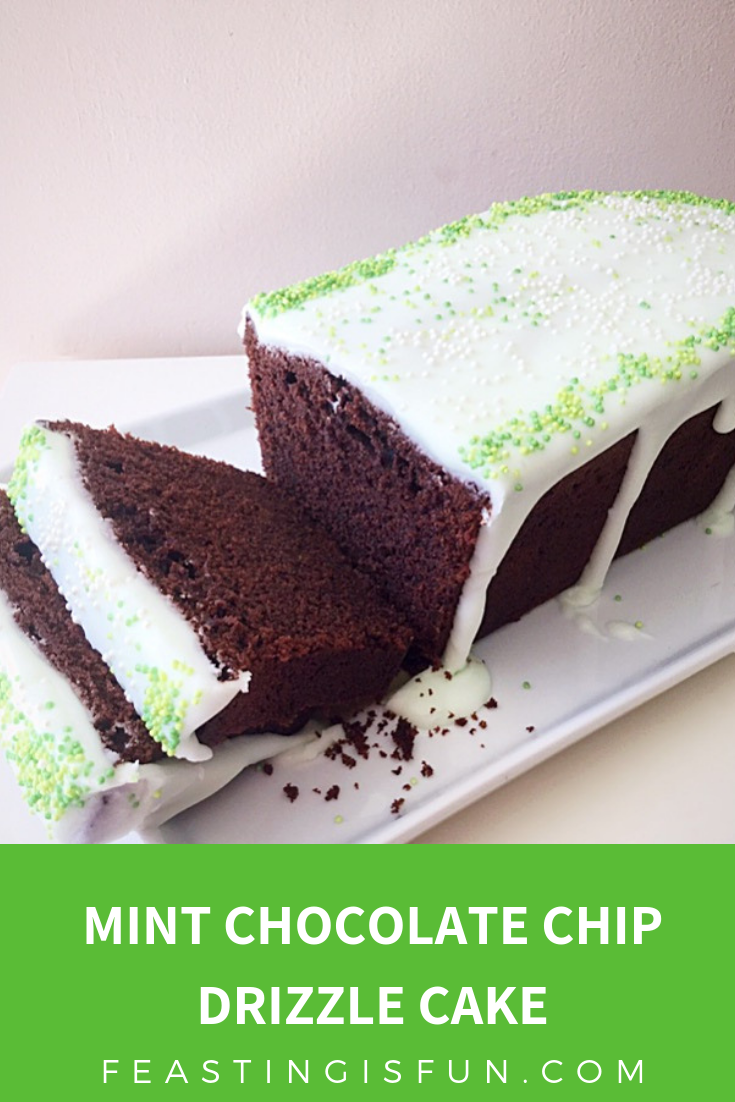
While I have baked this cake in a loaf tin, I’m sure it would also look great baked in a square or round tin. For me the straightforward slicing of a loaf cake makes it easy to pack, ready sliced for picnics. Alternatively, it also is great for packed lunches.

Recipe: Mint Chocolate Chip Drizzle Cake serves 8-10

For the cake:

225g/8oz Unsalted Butter at room temperature

225g/8oz Caster Sugar

1/4tsp Salt – I use Maldon 

5 Large Free Range Eggs 

1tsp Vanilla Extract

75g/3oz cocoa

100g/4oz Dark Mint Chocolate – cut into small chunks

175g/6oz Plain White Flour

3tsp Baking Powder

For the icing:

175g/6oz Icing Sugar

3 drops Peppermint Extract – I use Nielsen-Massey 

Optional – Green Food Colouring – I use Wilton Food Colouring Gel

Green and White small sugar balls

Method: Preheat oven to 180C/160C fan for 1 hour, 350F, gas mark 4

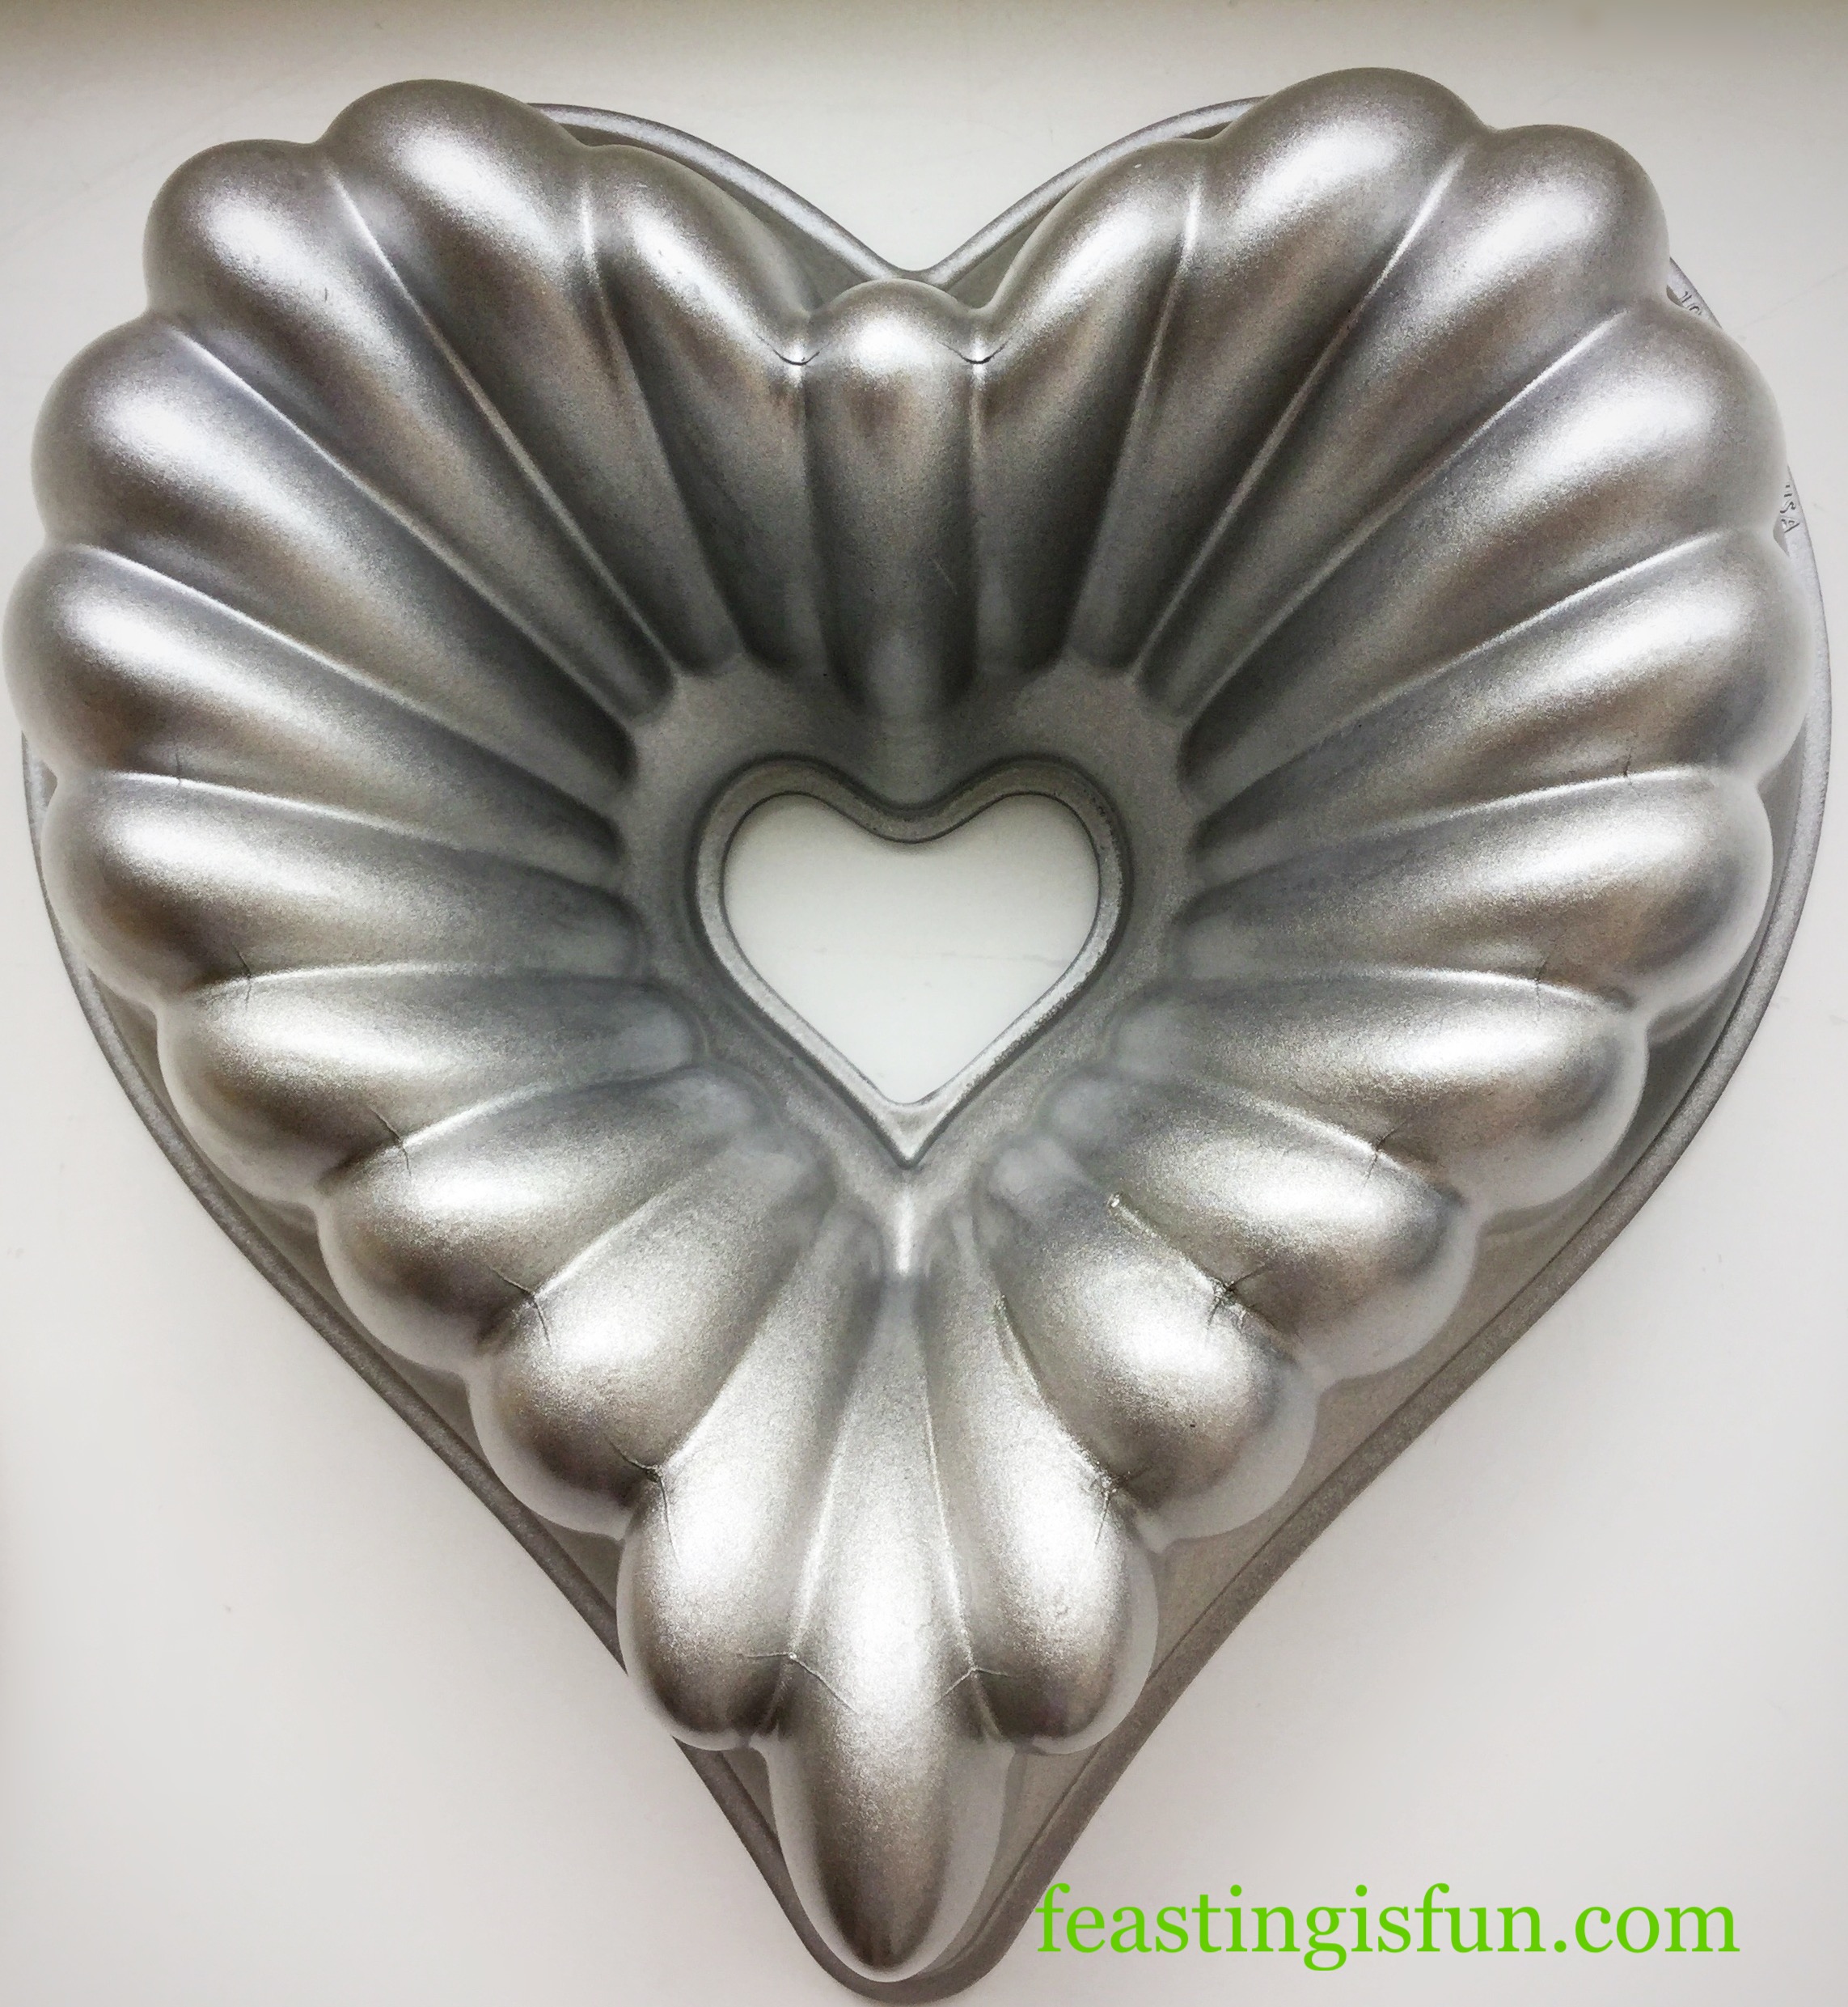
To bake this cake you will need a 25cm x 11.5cm x 7.5cm (10” x 4.5” x 3”) 2lb loaf tin. Grease thoroughly with butter and line the base of the tin with baking parchment.

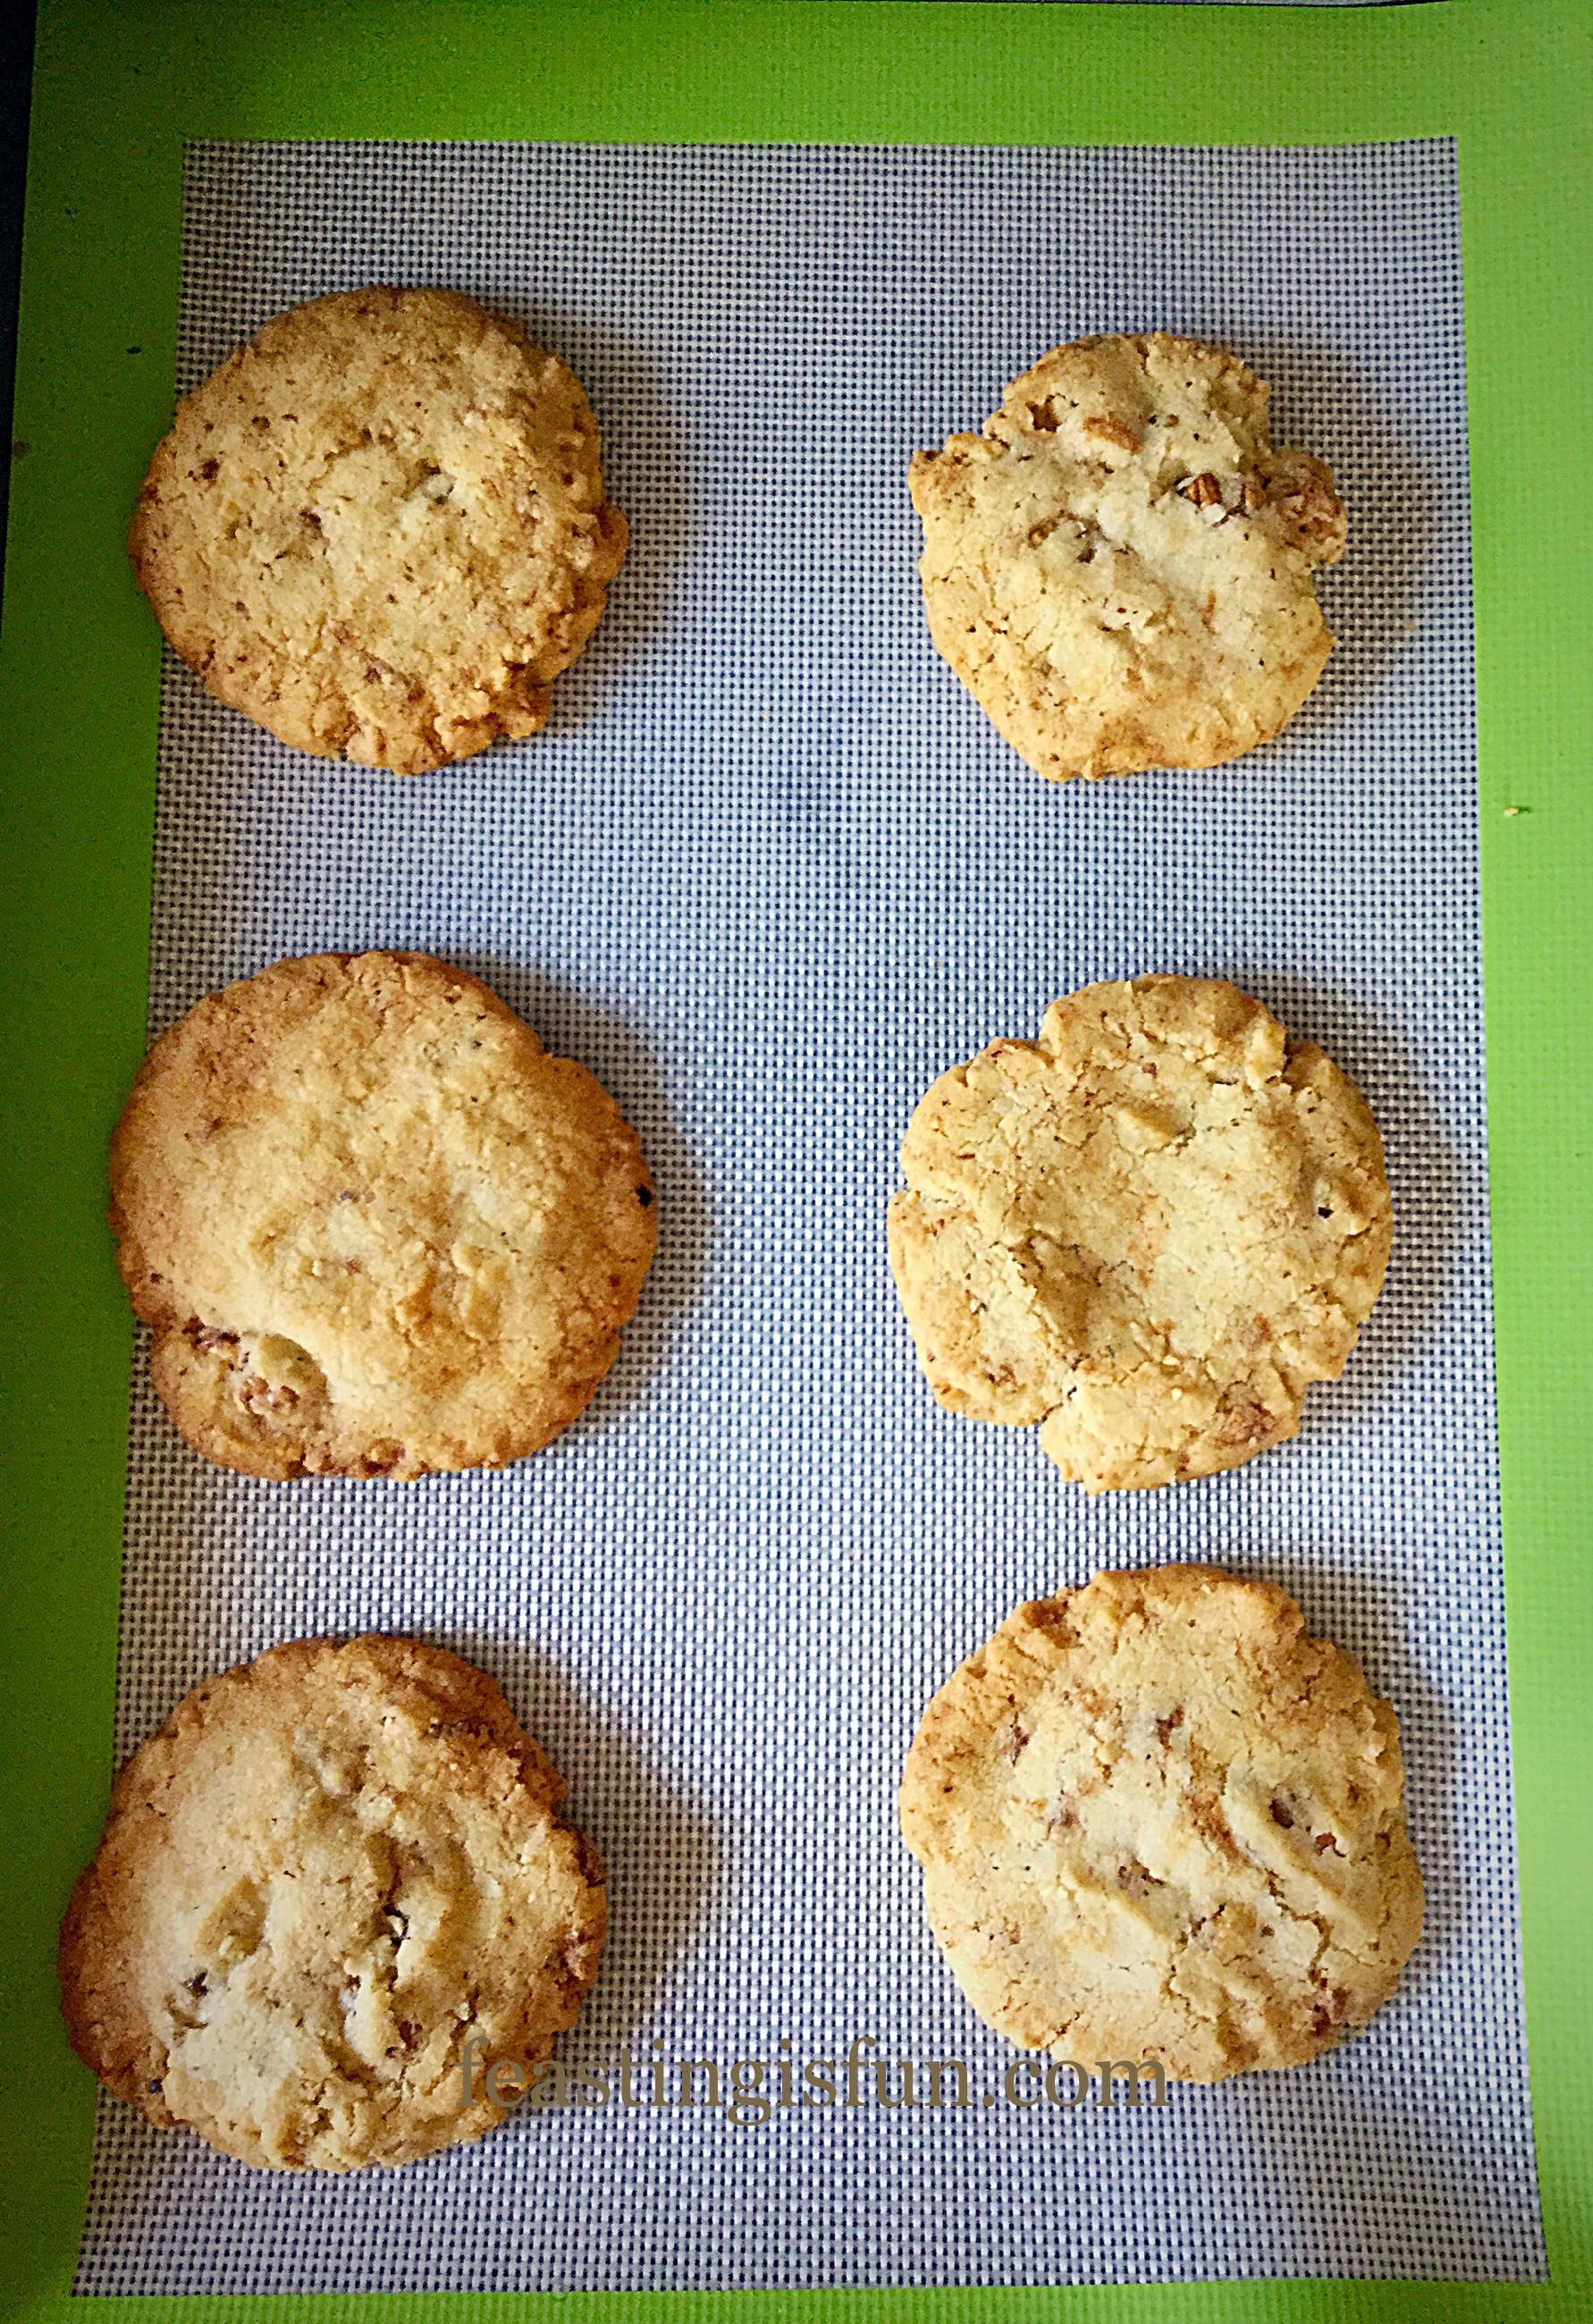
Making and baking the cake

  • First of all into a large bowl add the butter, sugar and salt. Whisk until pale and creamy and thoroughly combined.
  • Add the eggs, vanilla extract and cocoa powder. Whisk again until the mixture is fully combined with no lumps.
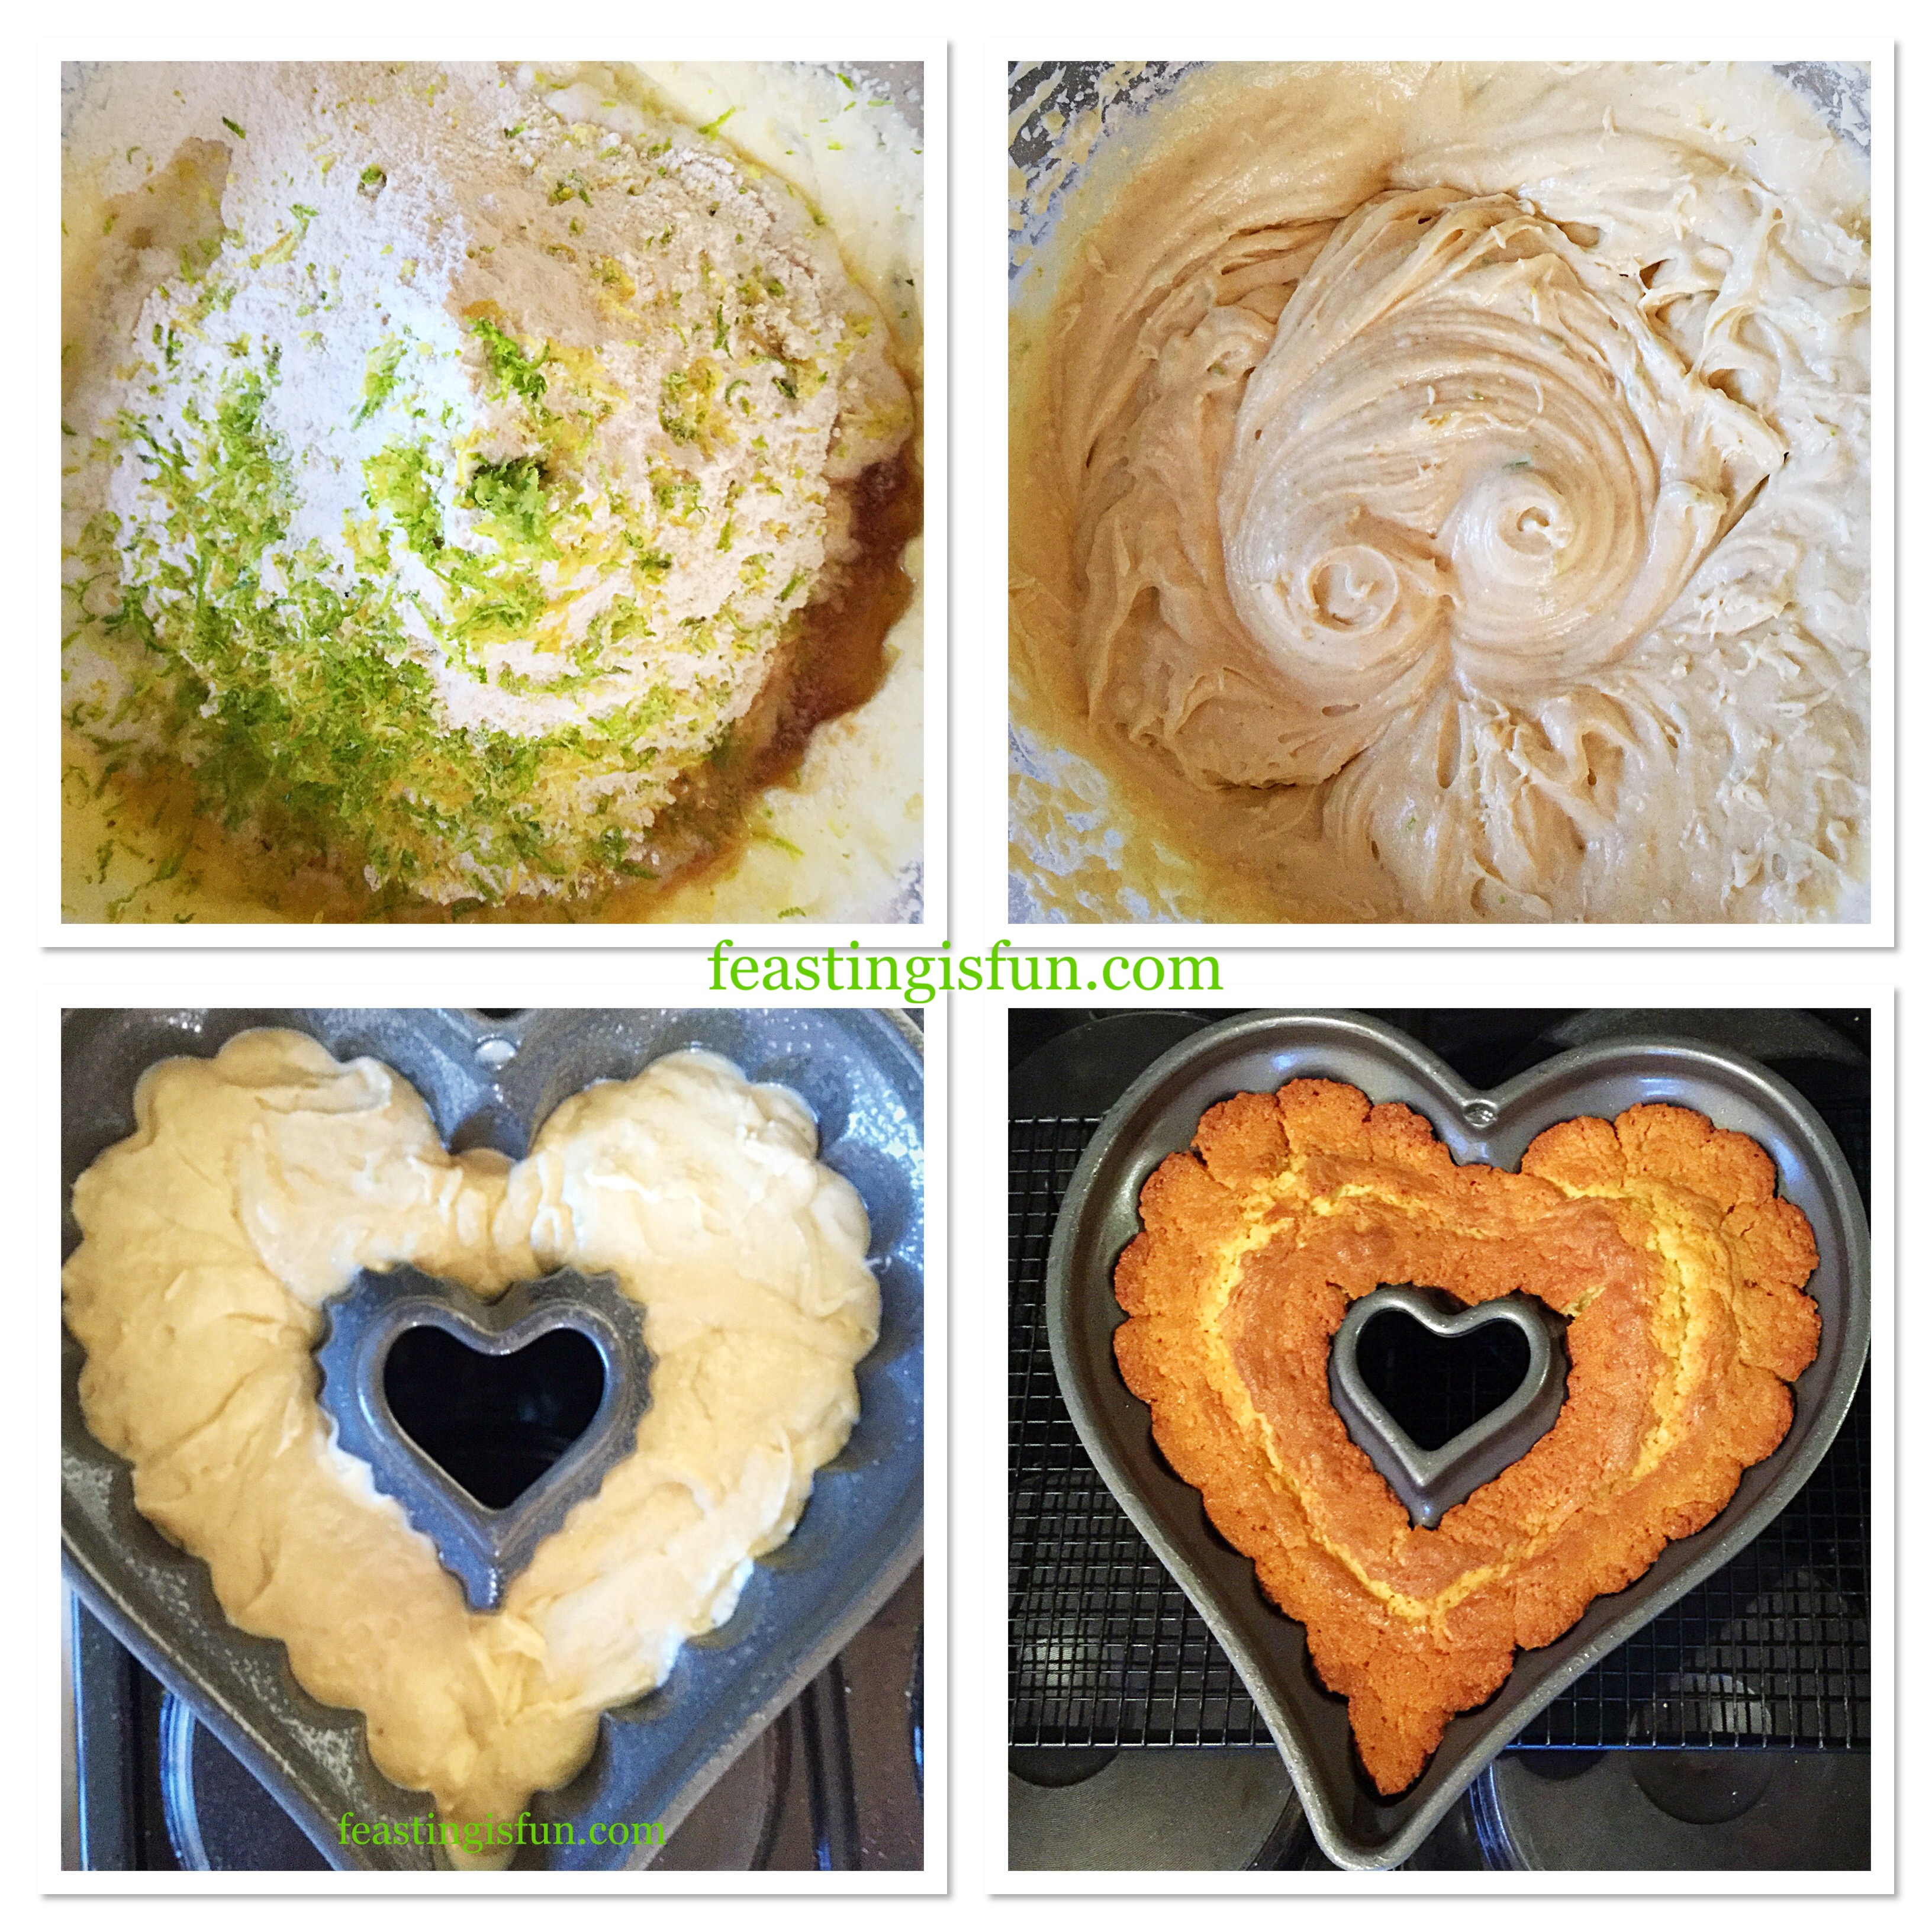
  • Sift the flour and baking powder into the bowl and add the chopped mint chocolate.
  • Finally, using a spoon mix all of the ingredients together until they are just combined. Take care not to overmix the cake batter as this can result in a heavy cake once baked.
FF Mint Chocolate Chip Drizzle Cake
Making the cake batter.
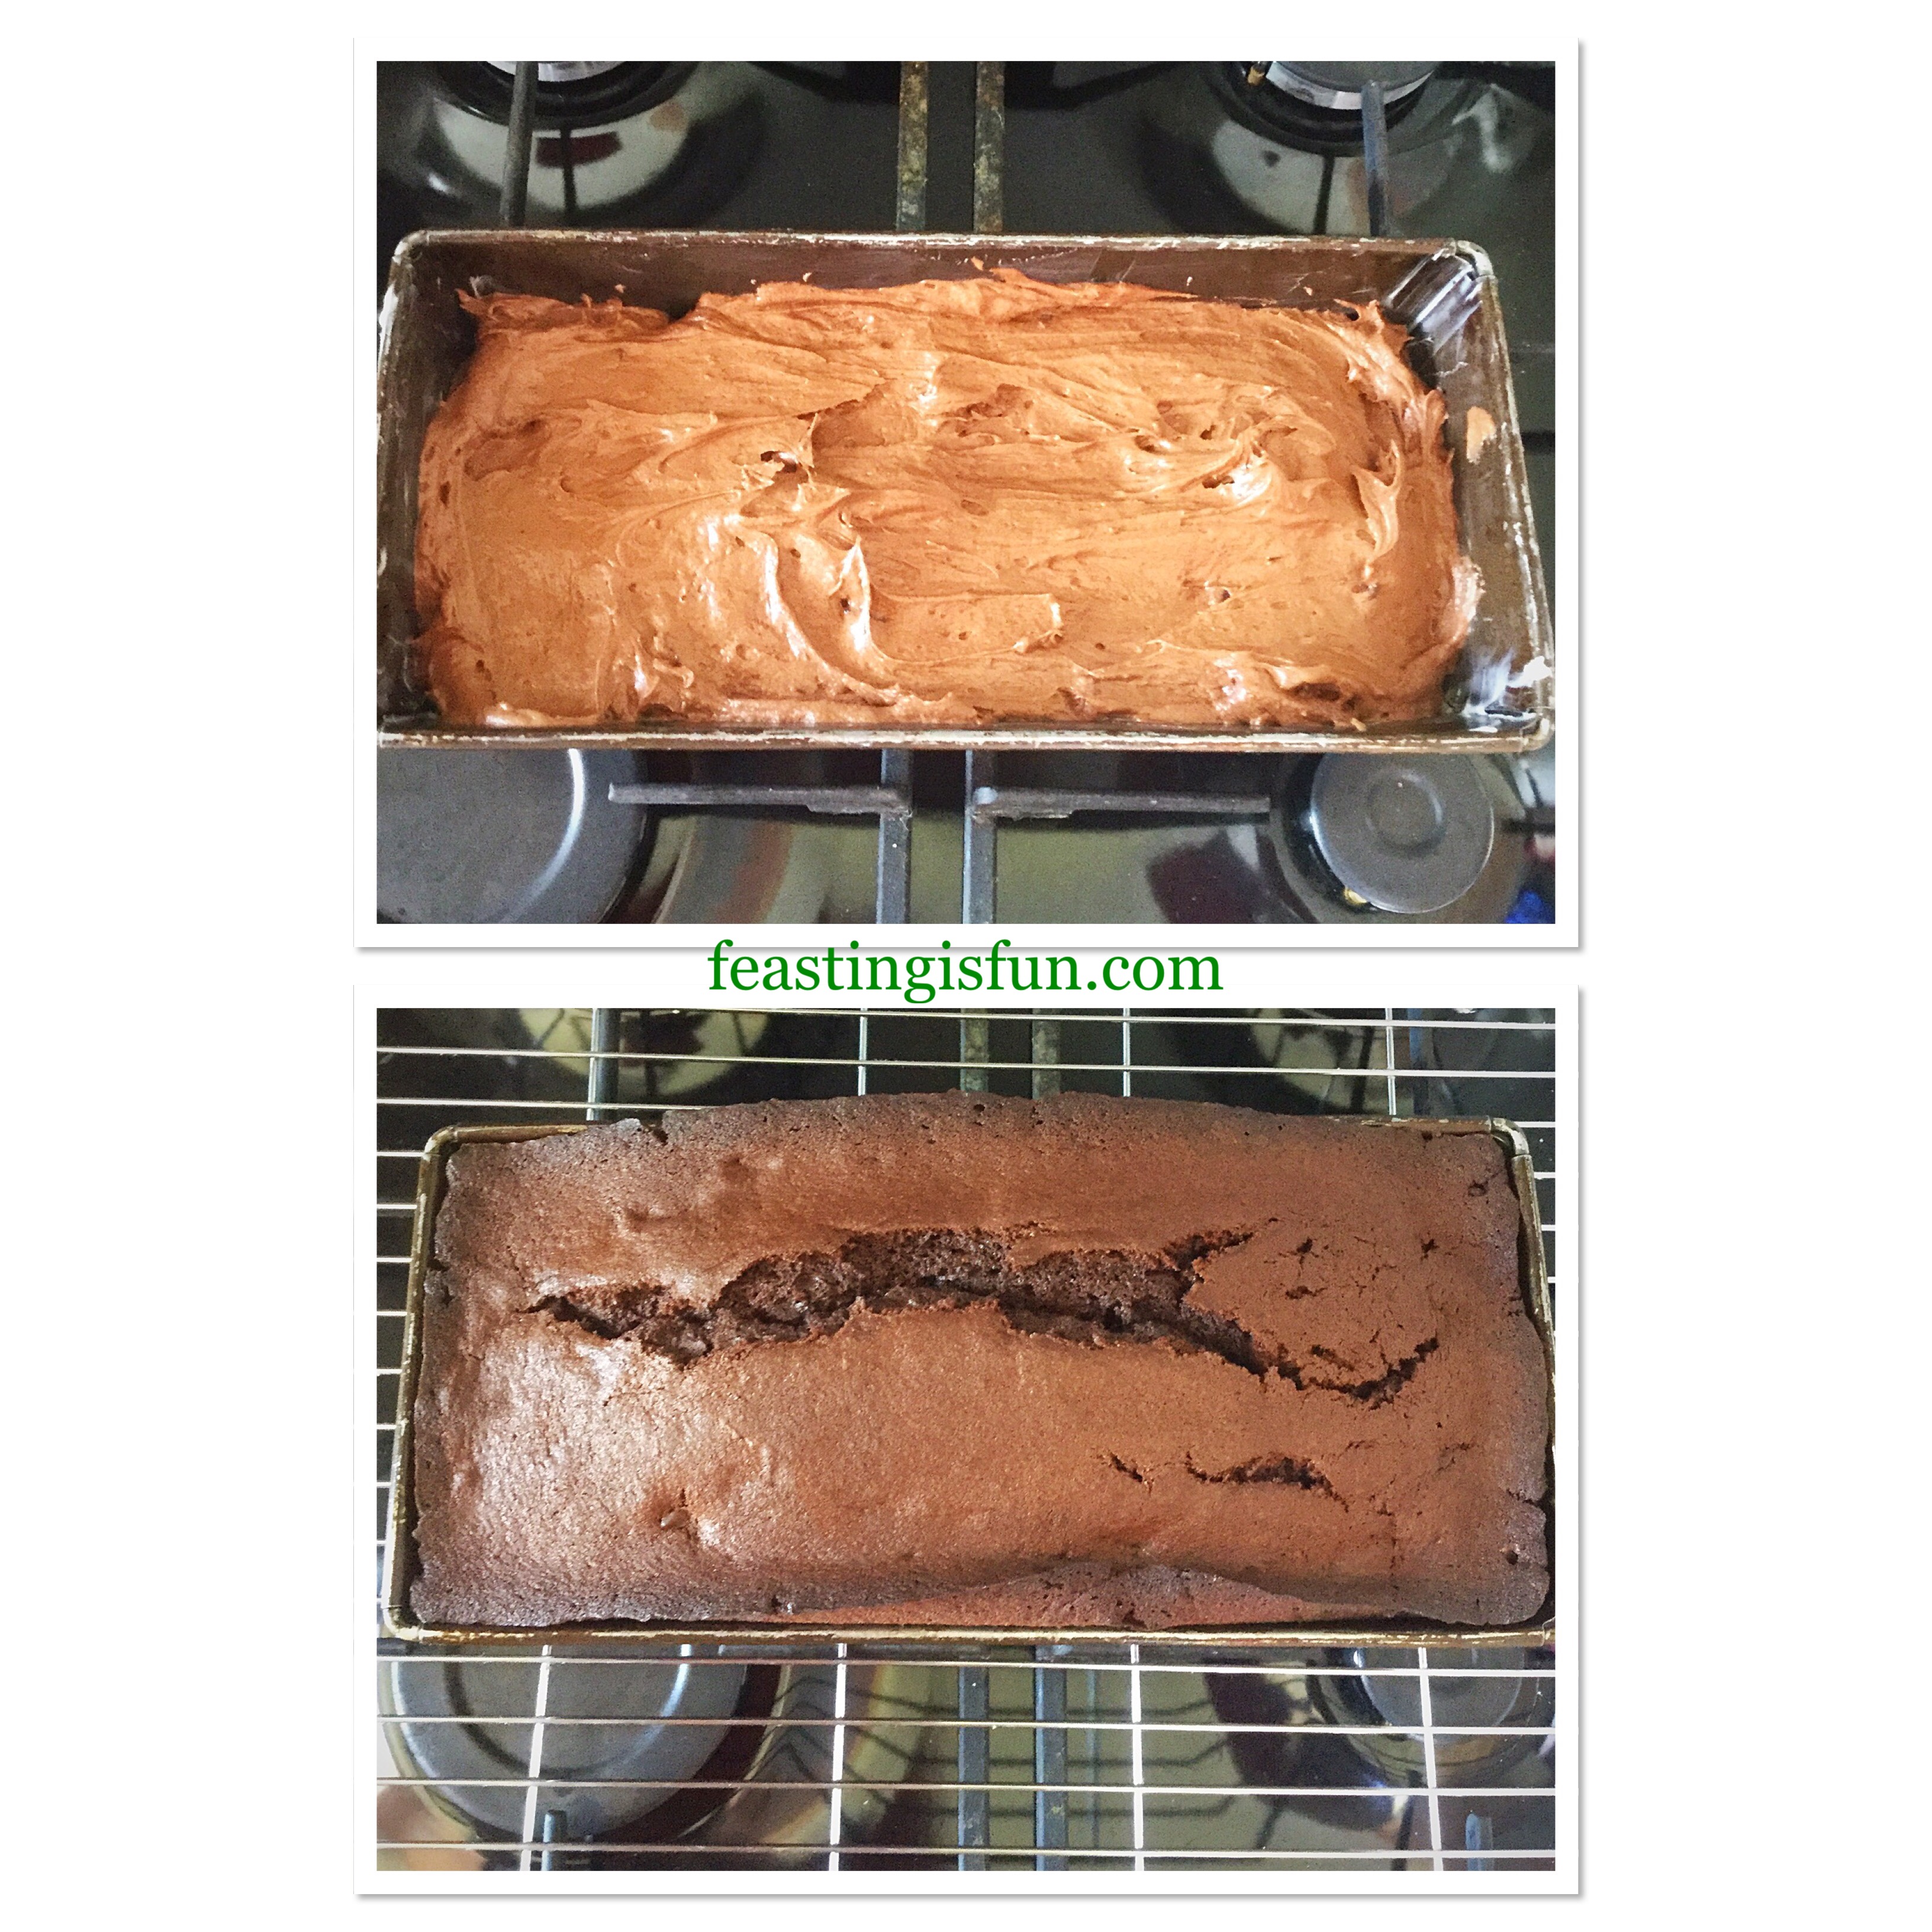
  • Spoon the cake batter into a prepared tin and smooth the surface.
  • Place the cake tin into the centre of the oven and bake for approximately 1 hour. Baking times may vary due to oven differences or using a different size tin.
  • The cake is baked when an inserted skewer comes out clean.
  • As soon as the cake is baked remove from the oven and leave the cake to fully cool in the tin.
FF Mint Chocolate Chip Drizzle Cake
Filling the loaf tin and baking the cake.
  • When the cake is cooled carefully run a palette knife between the cake and the tin.
  • Turn the cake out of it’s tin and remove the baking parchment.
  • Place the cake on to a cake or board ready to be iced.

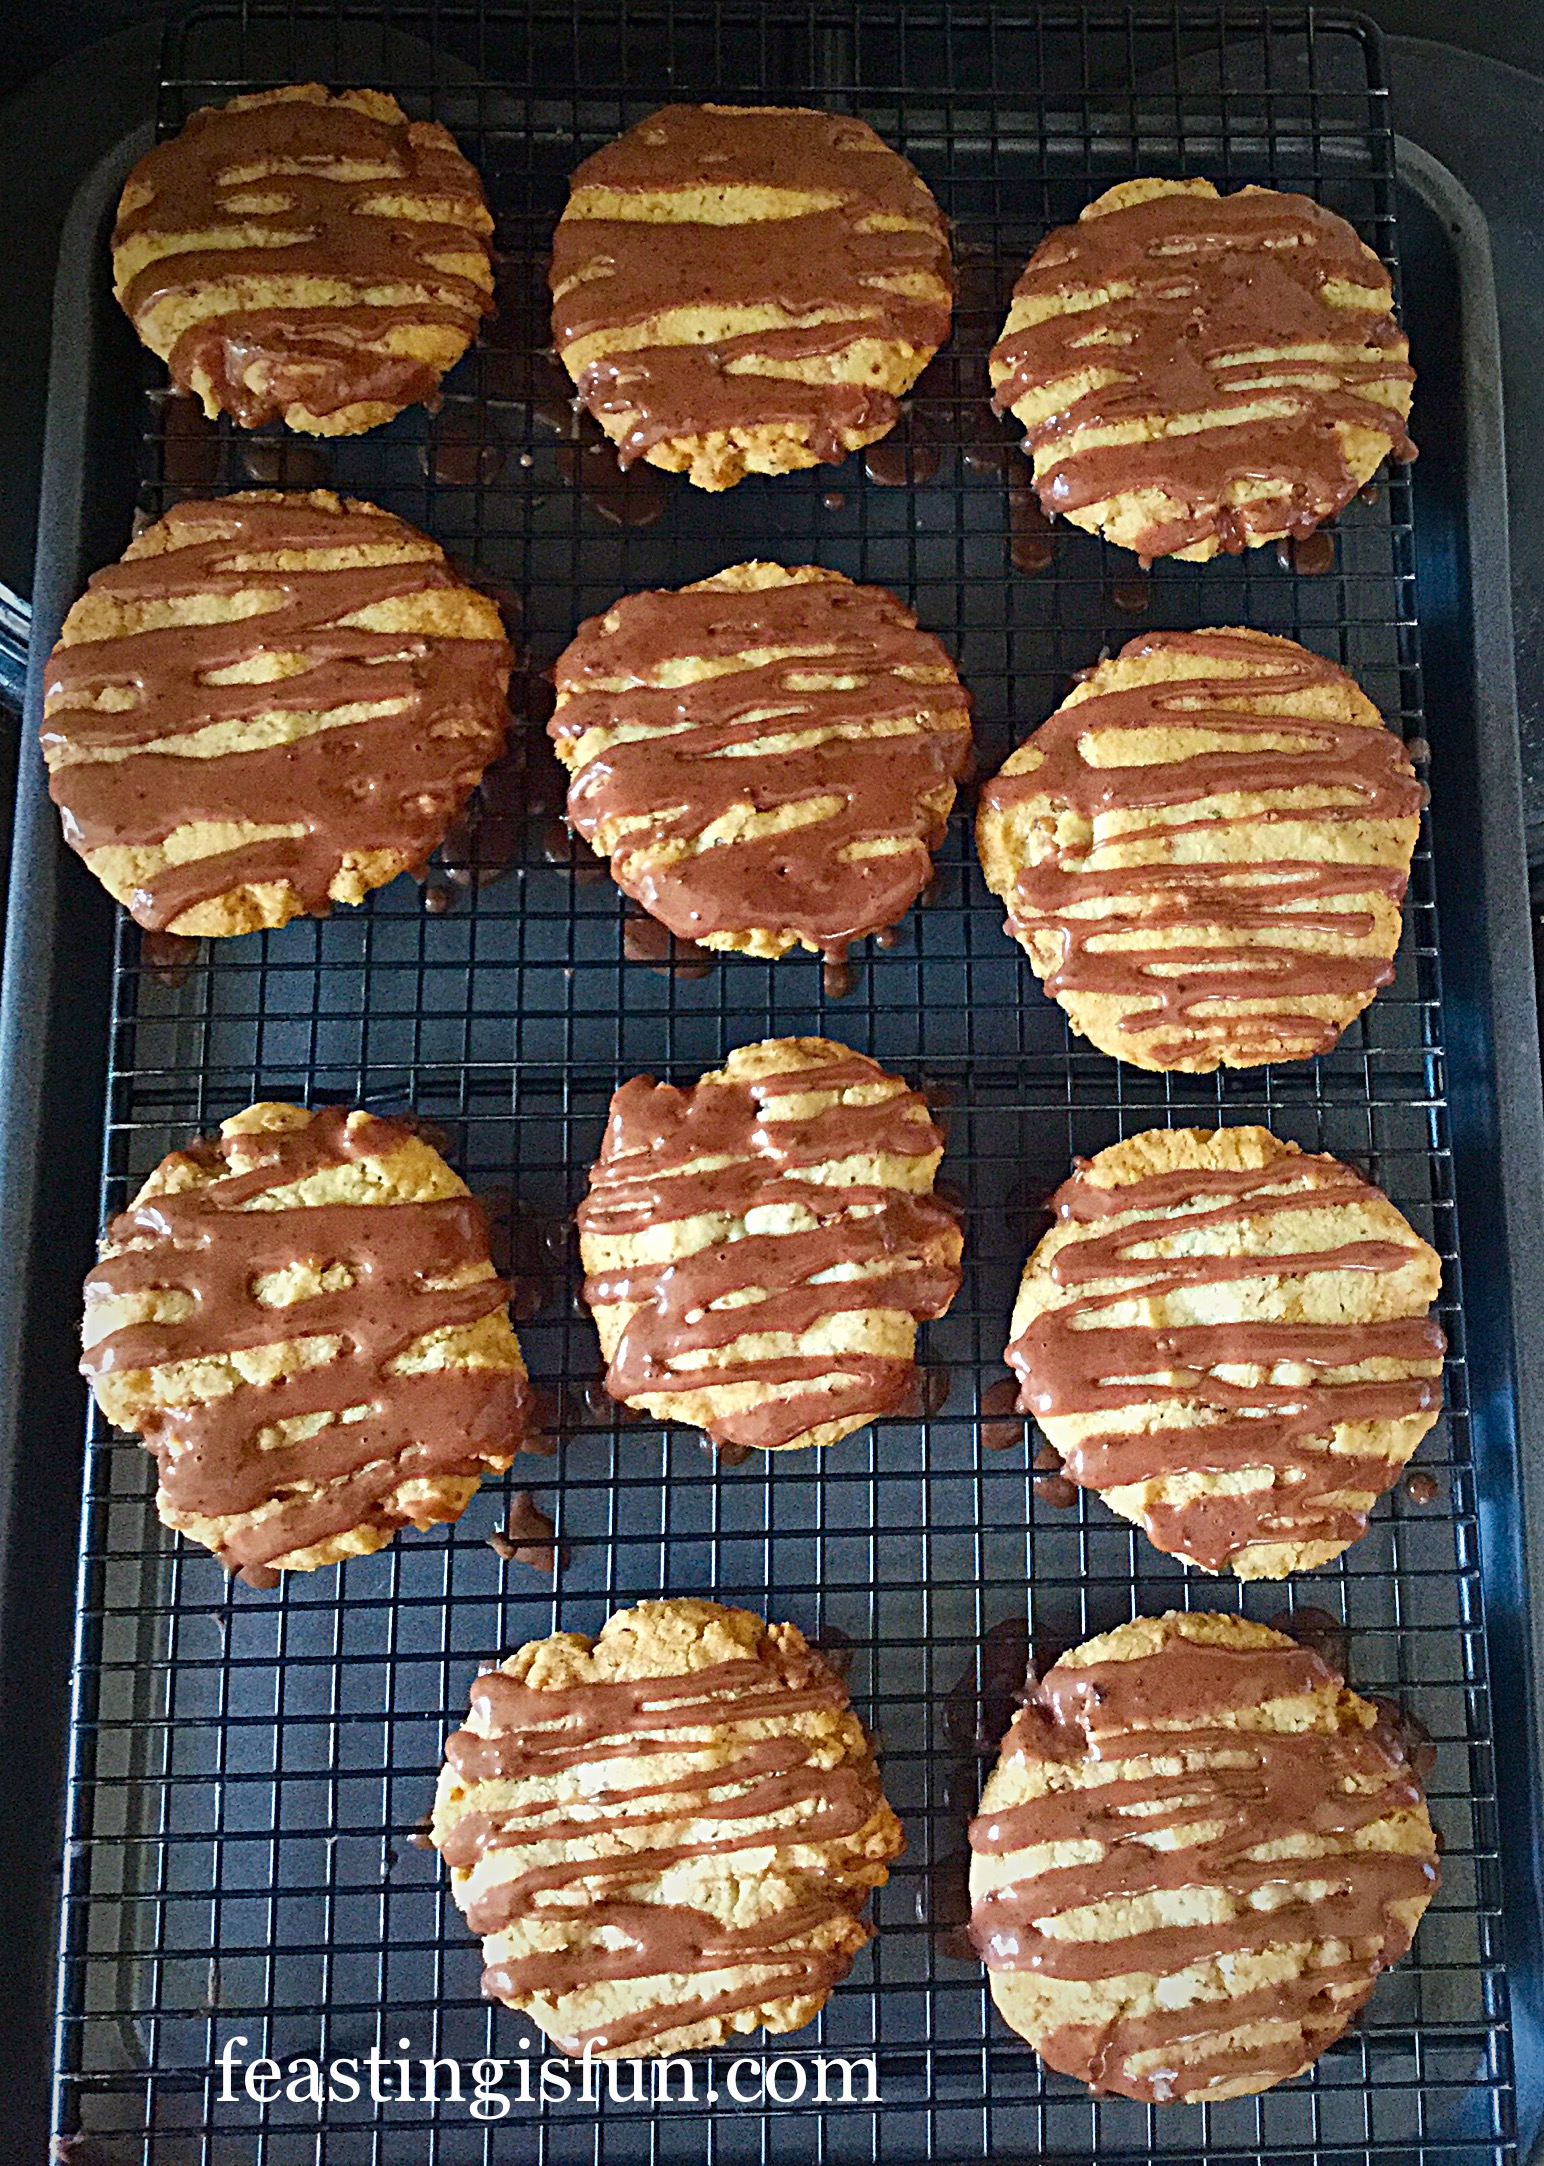
Making the icing and decorating the cake

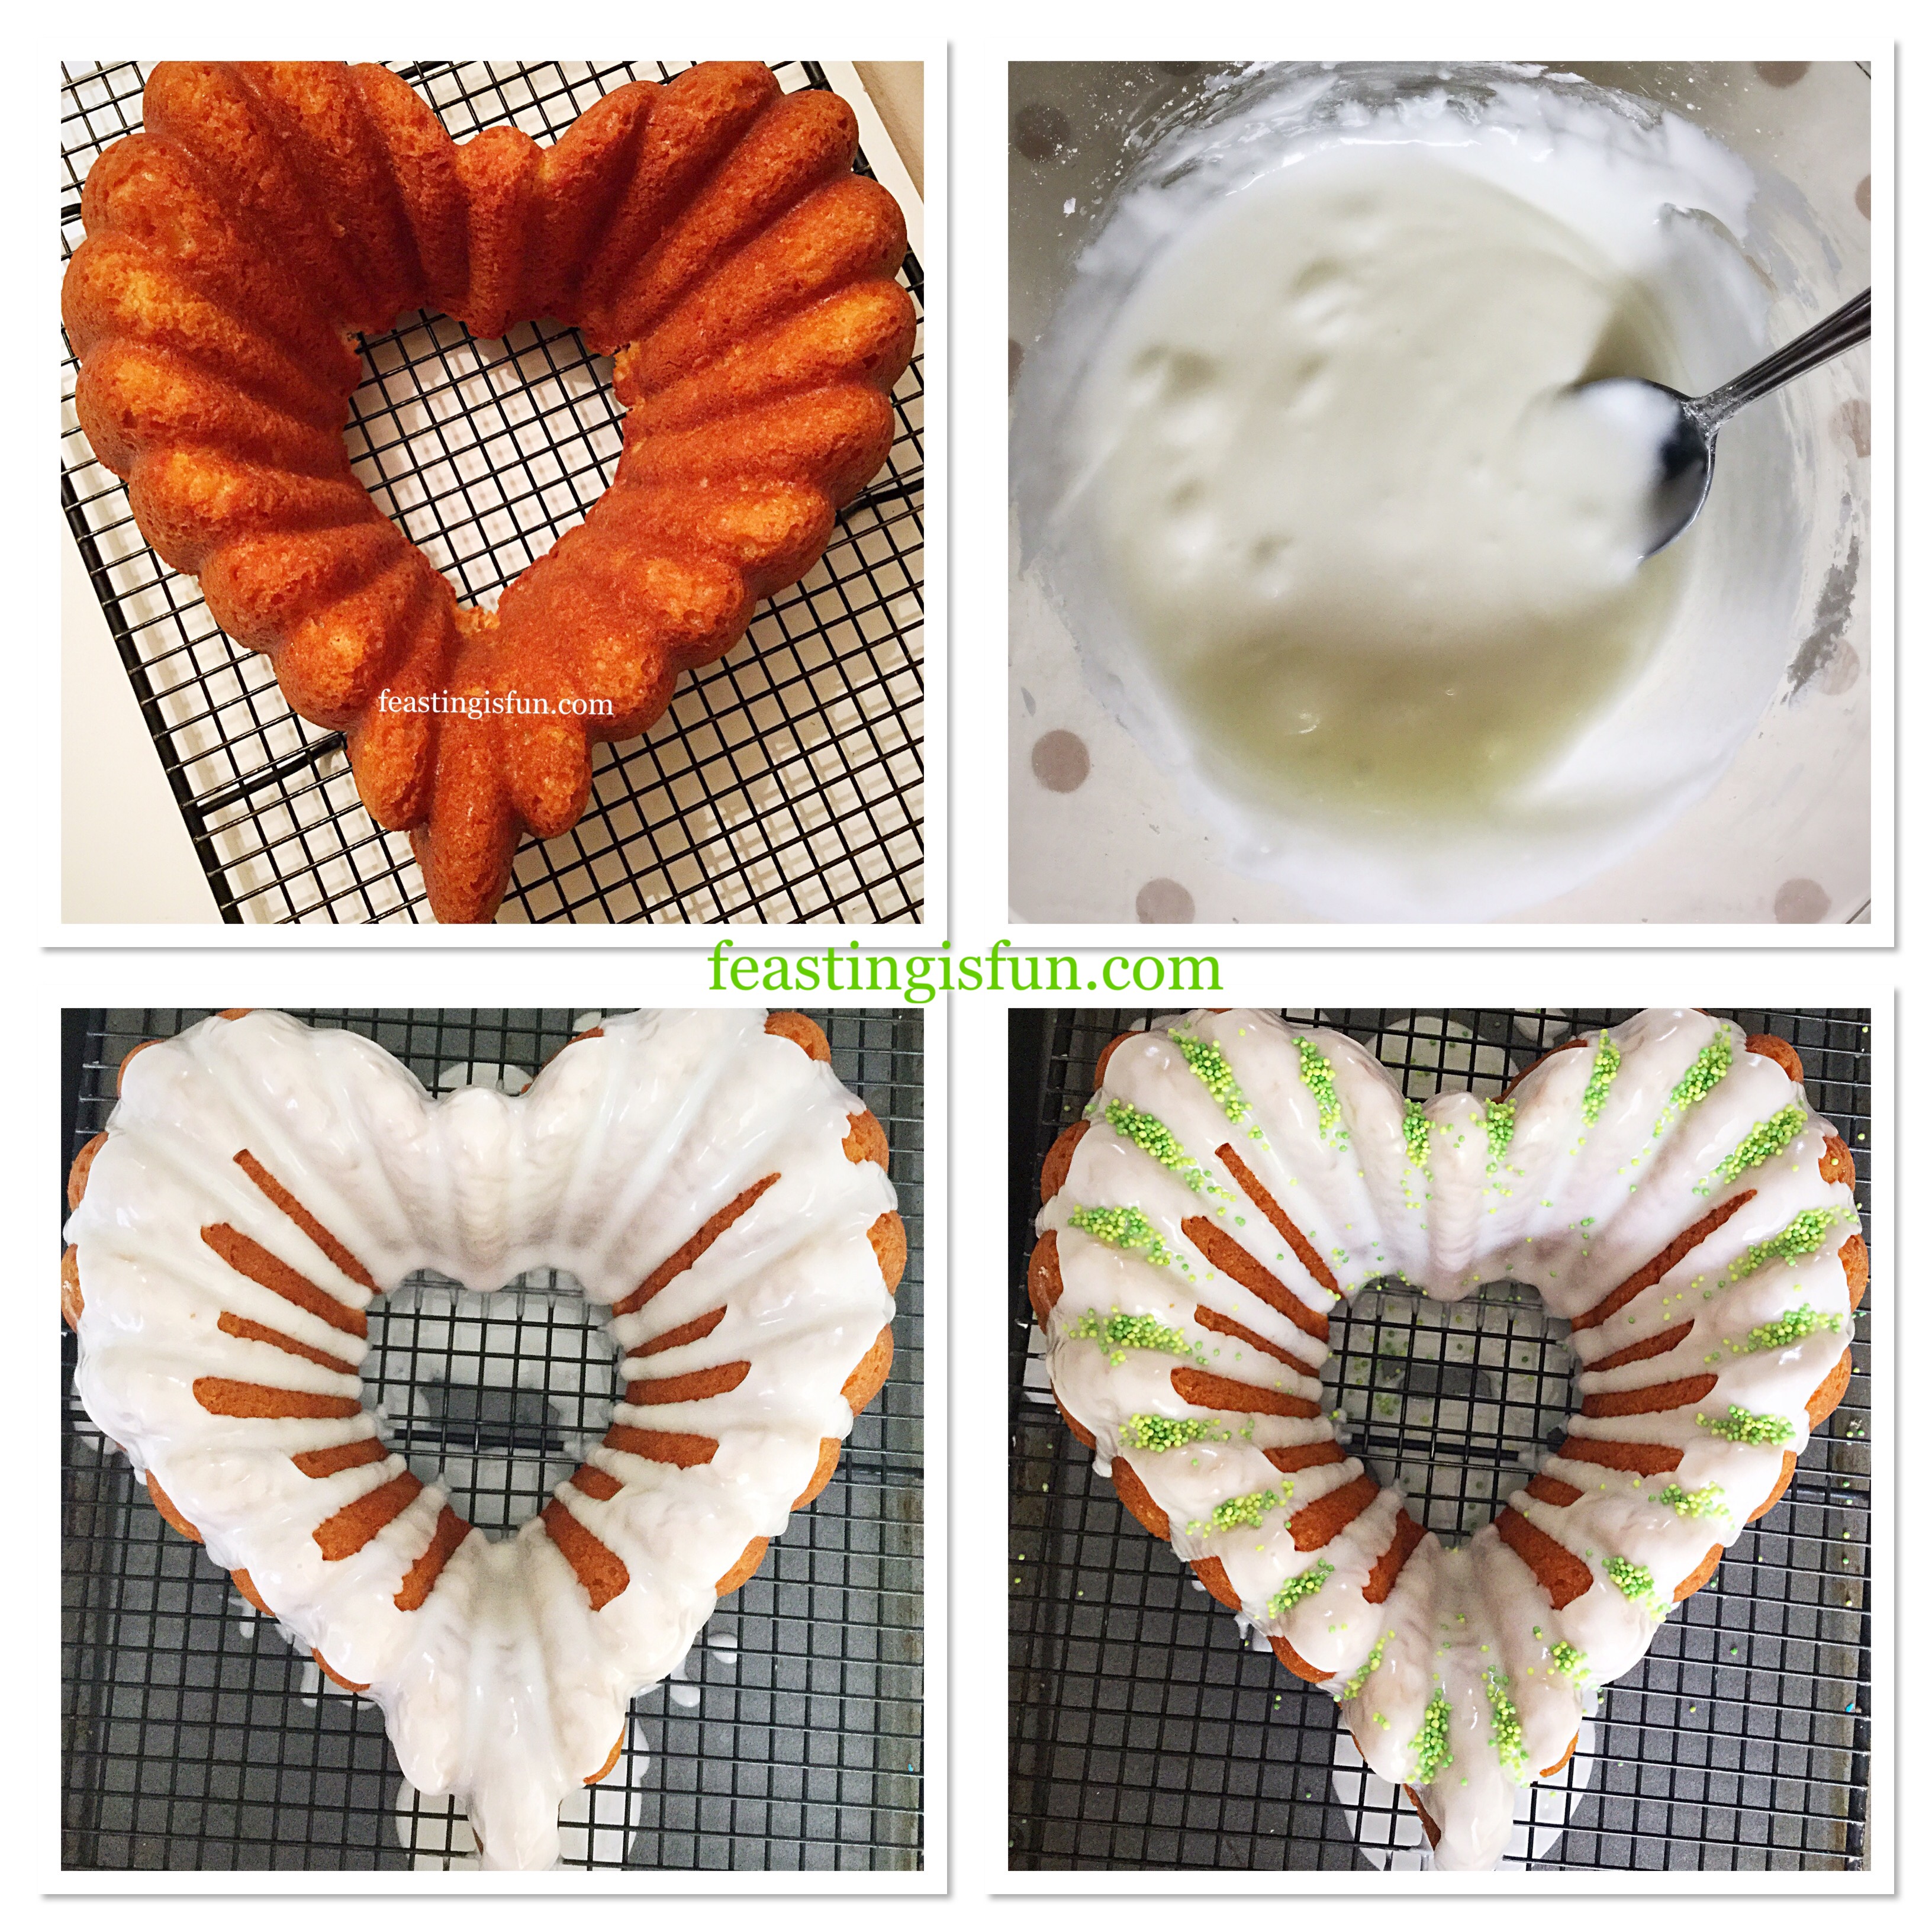
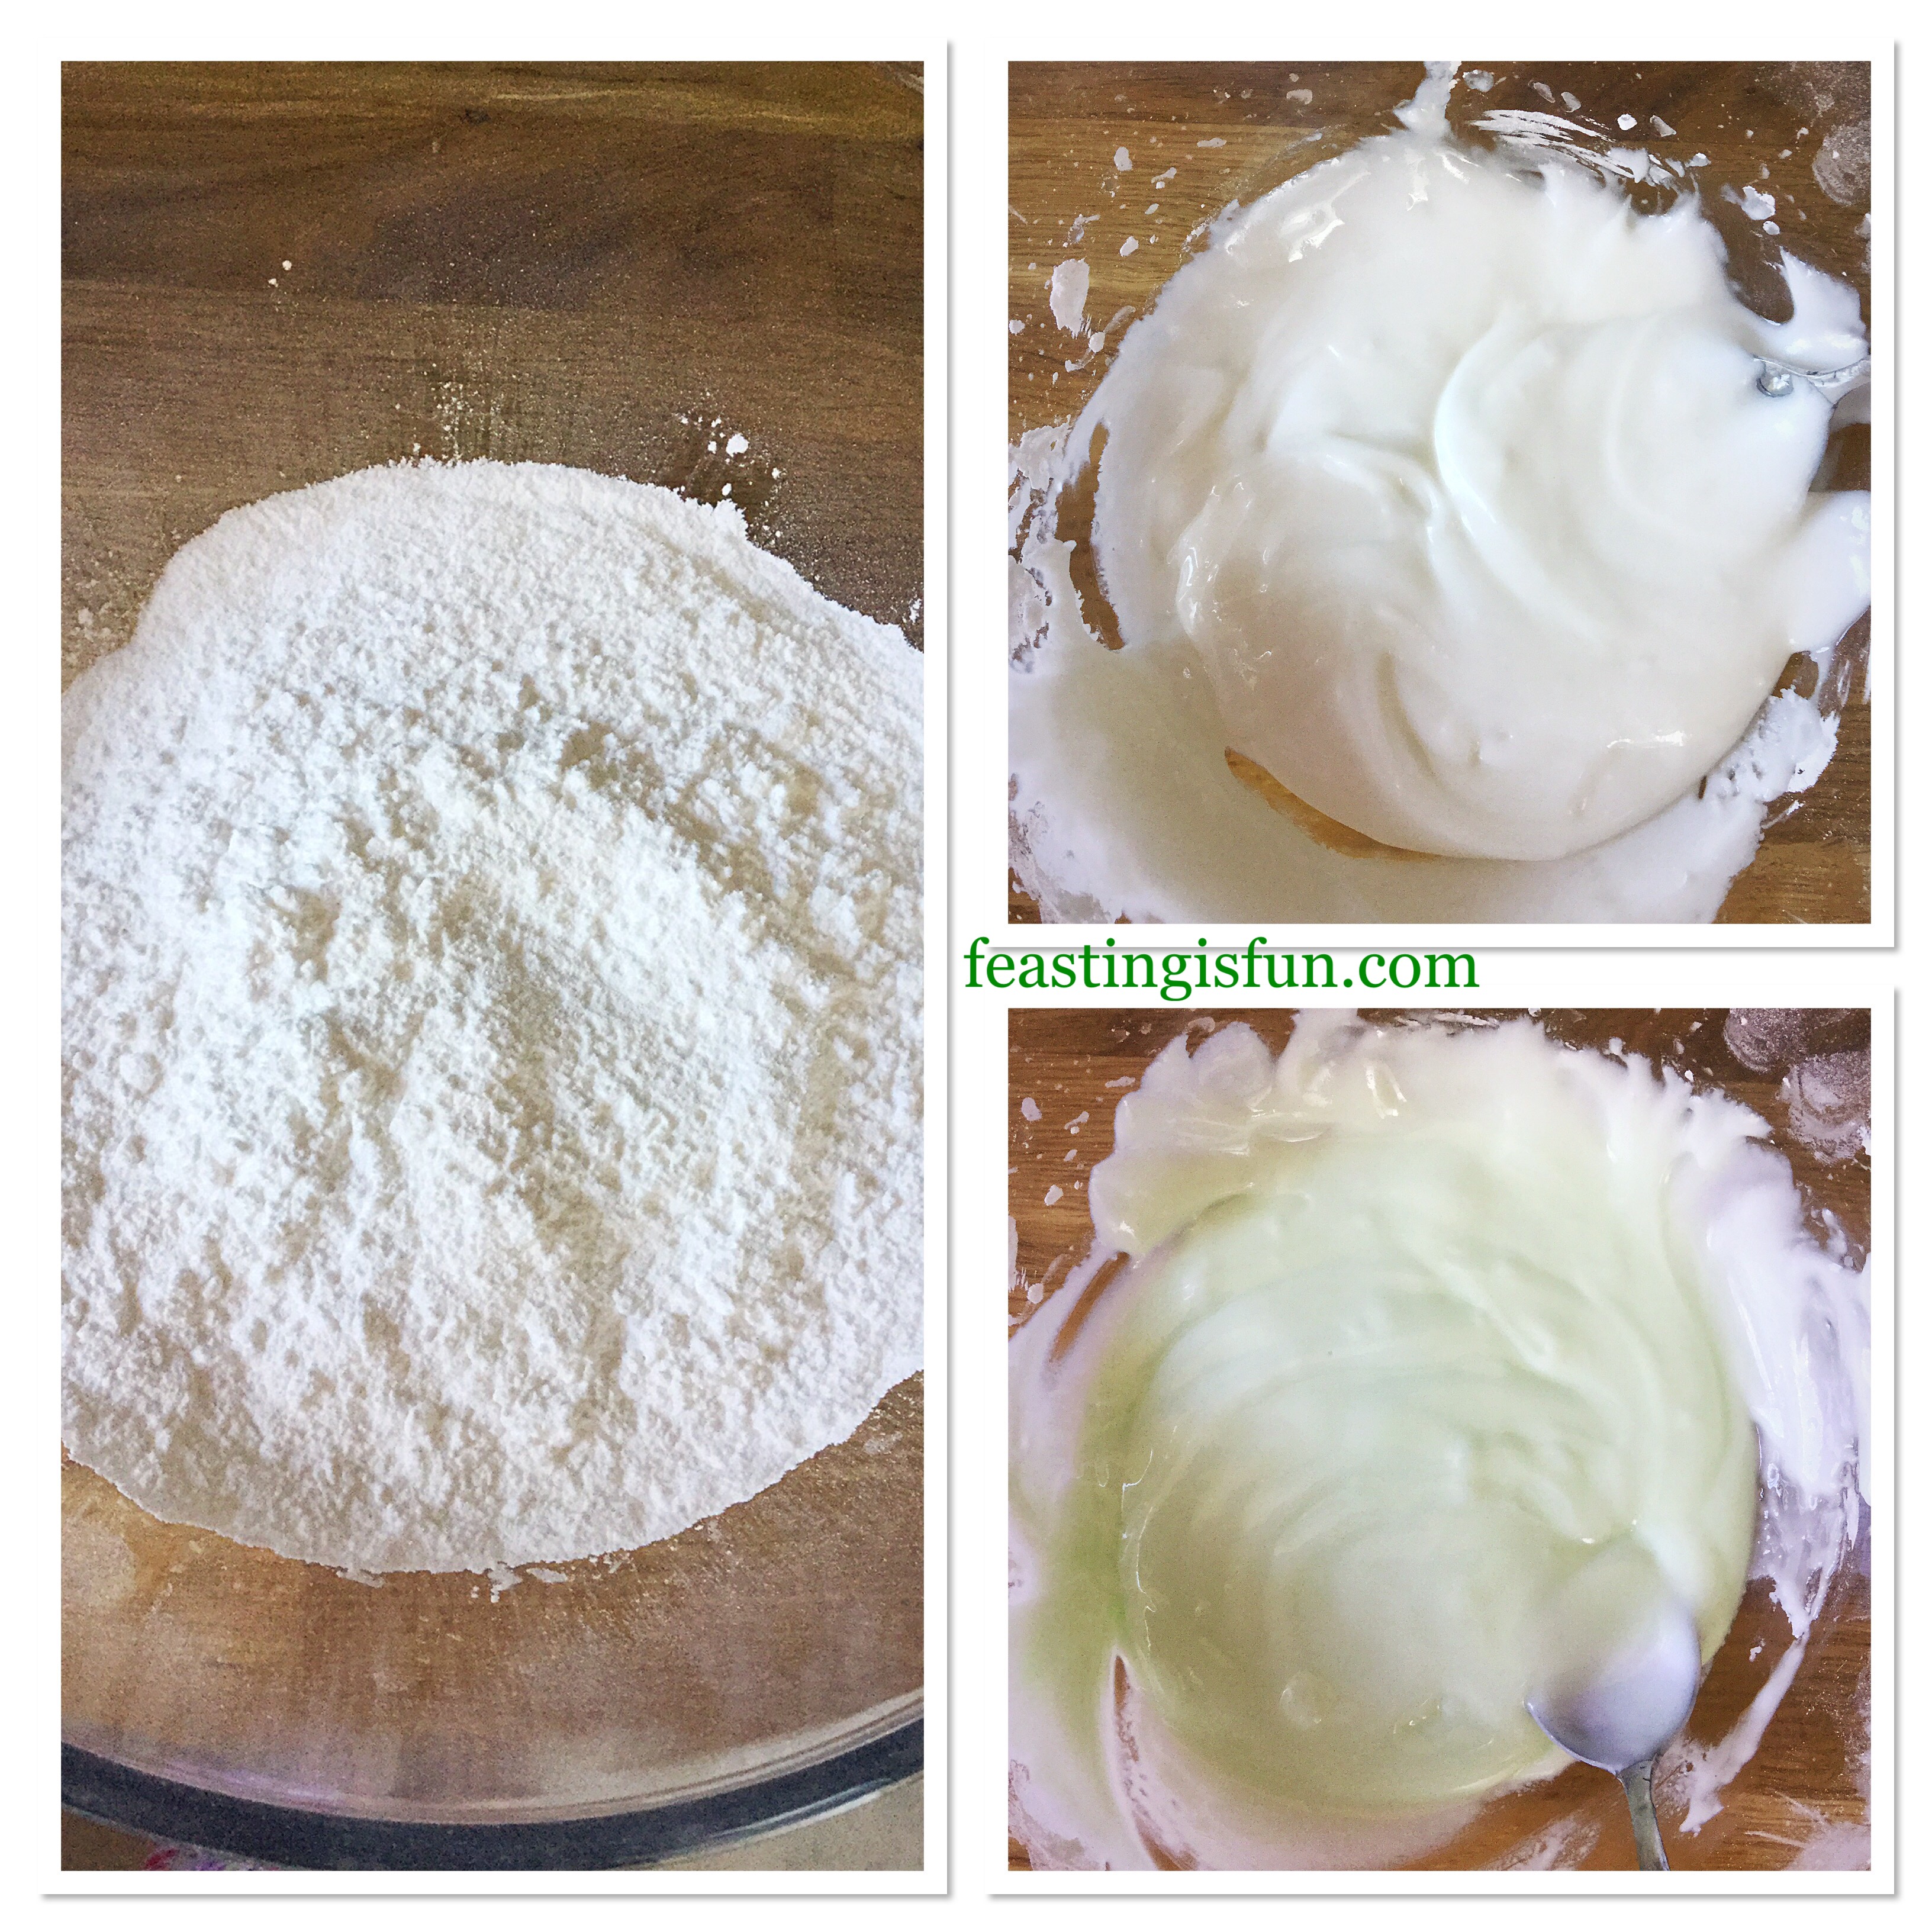
  • First of all add the icing sugar to a bowl. Gently stir with a balloon whisk to remove any lumps. I find this method much easier than sifting the sugar. Especially as sifting results in icing sugar going everywhere!
  • Add the peppermint extract and enough water to for a thick, but still slowly dripping paste.
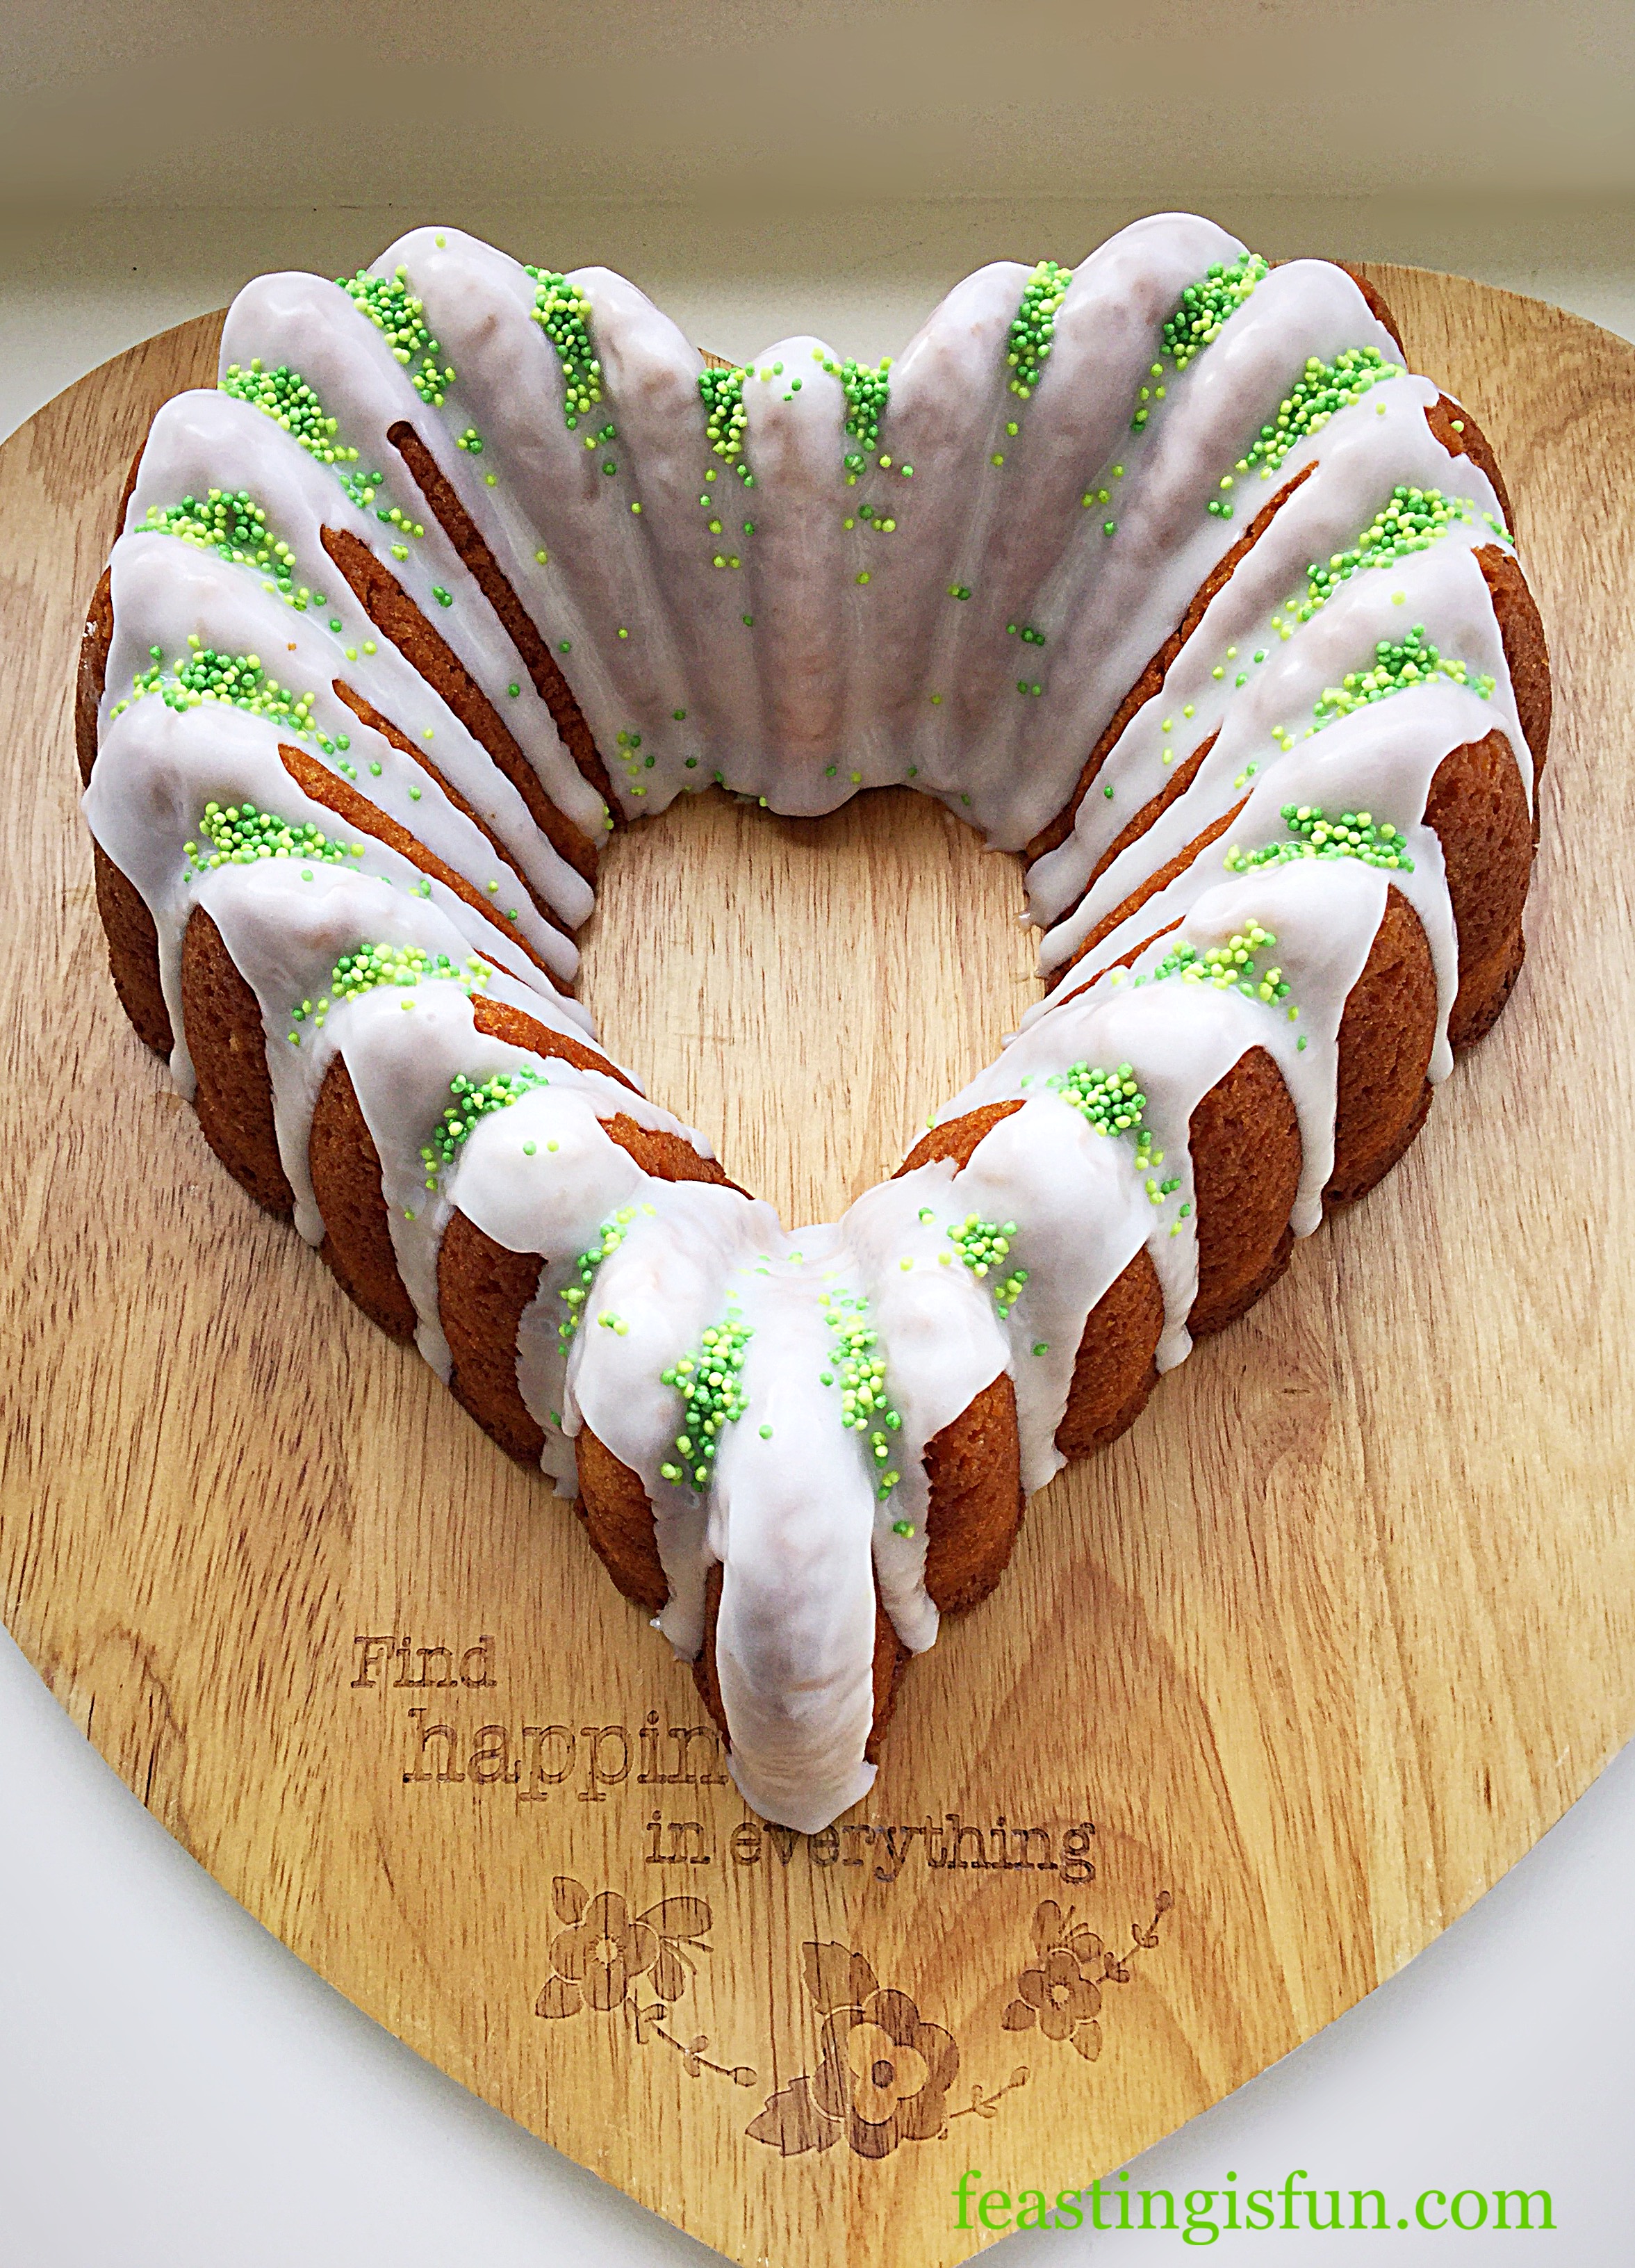
  • Dip the tip of a cocktail stick into the food colouring gel and then swirl the stick through your icing. I opted for a very subtle mintgreen colour. Stir the icing so that the colour is even throughout.
FF Mint Chocolate Chip Drizzle Cake
Making the mint flavoured drizzle icing.
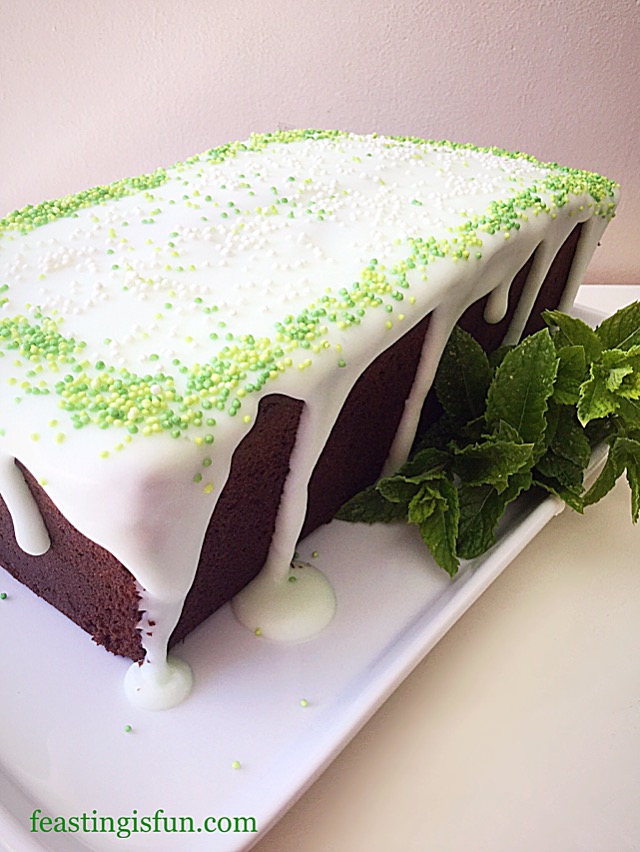
  • Spoon the icing over the cake so that the top is completely covered. Use the spoon to encourage the icing to drip around the sides.
  • Finally, sprinkle the coloured sugar balls around the outside edge of the icing before it sets. And then sprinkle the white balls inside the border.
FF Mint Chocolate Chip Drizzle Cake
Icing and decorating the Mint Chocolate Chip Drizzle Cake

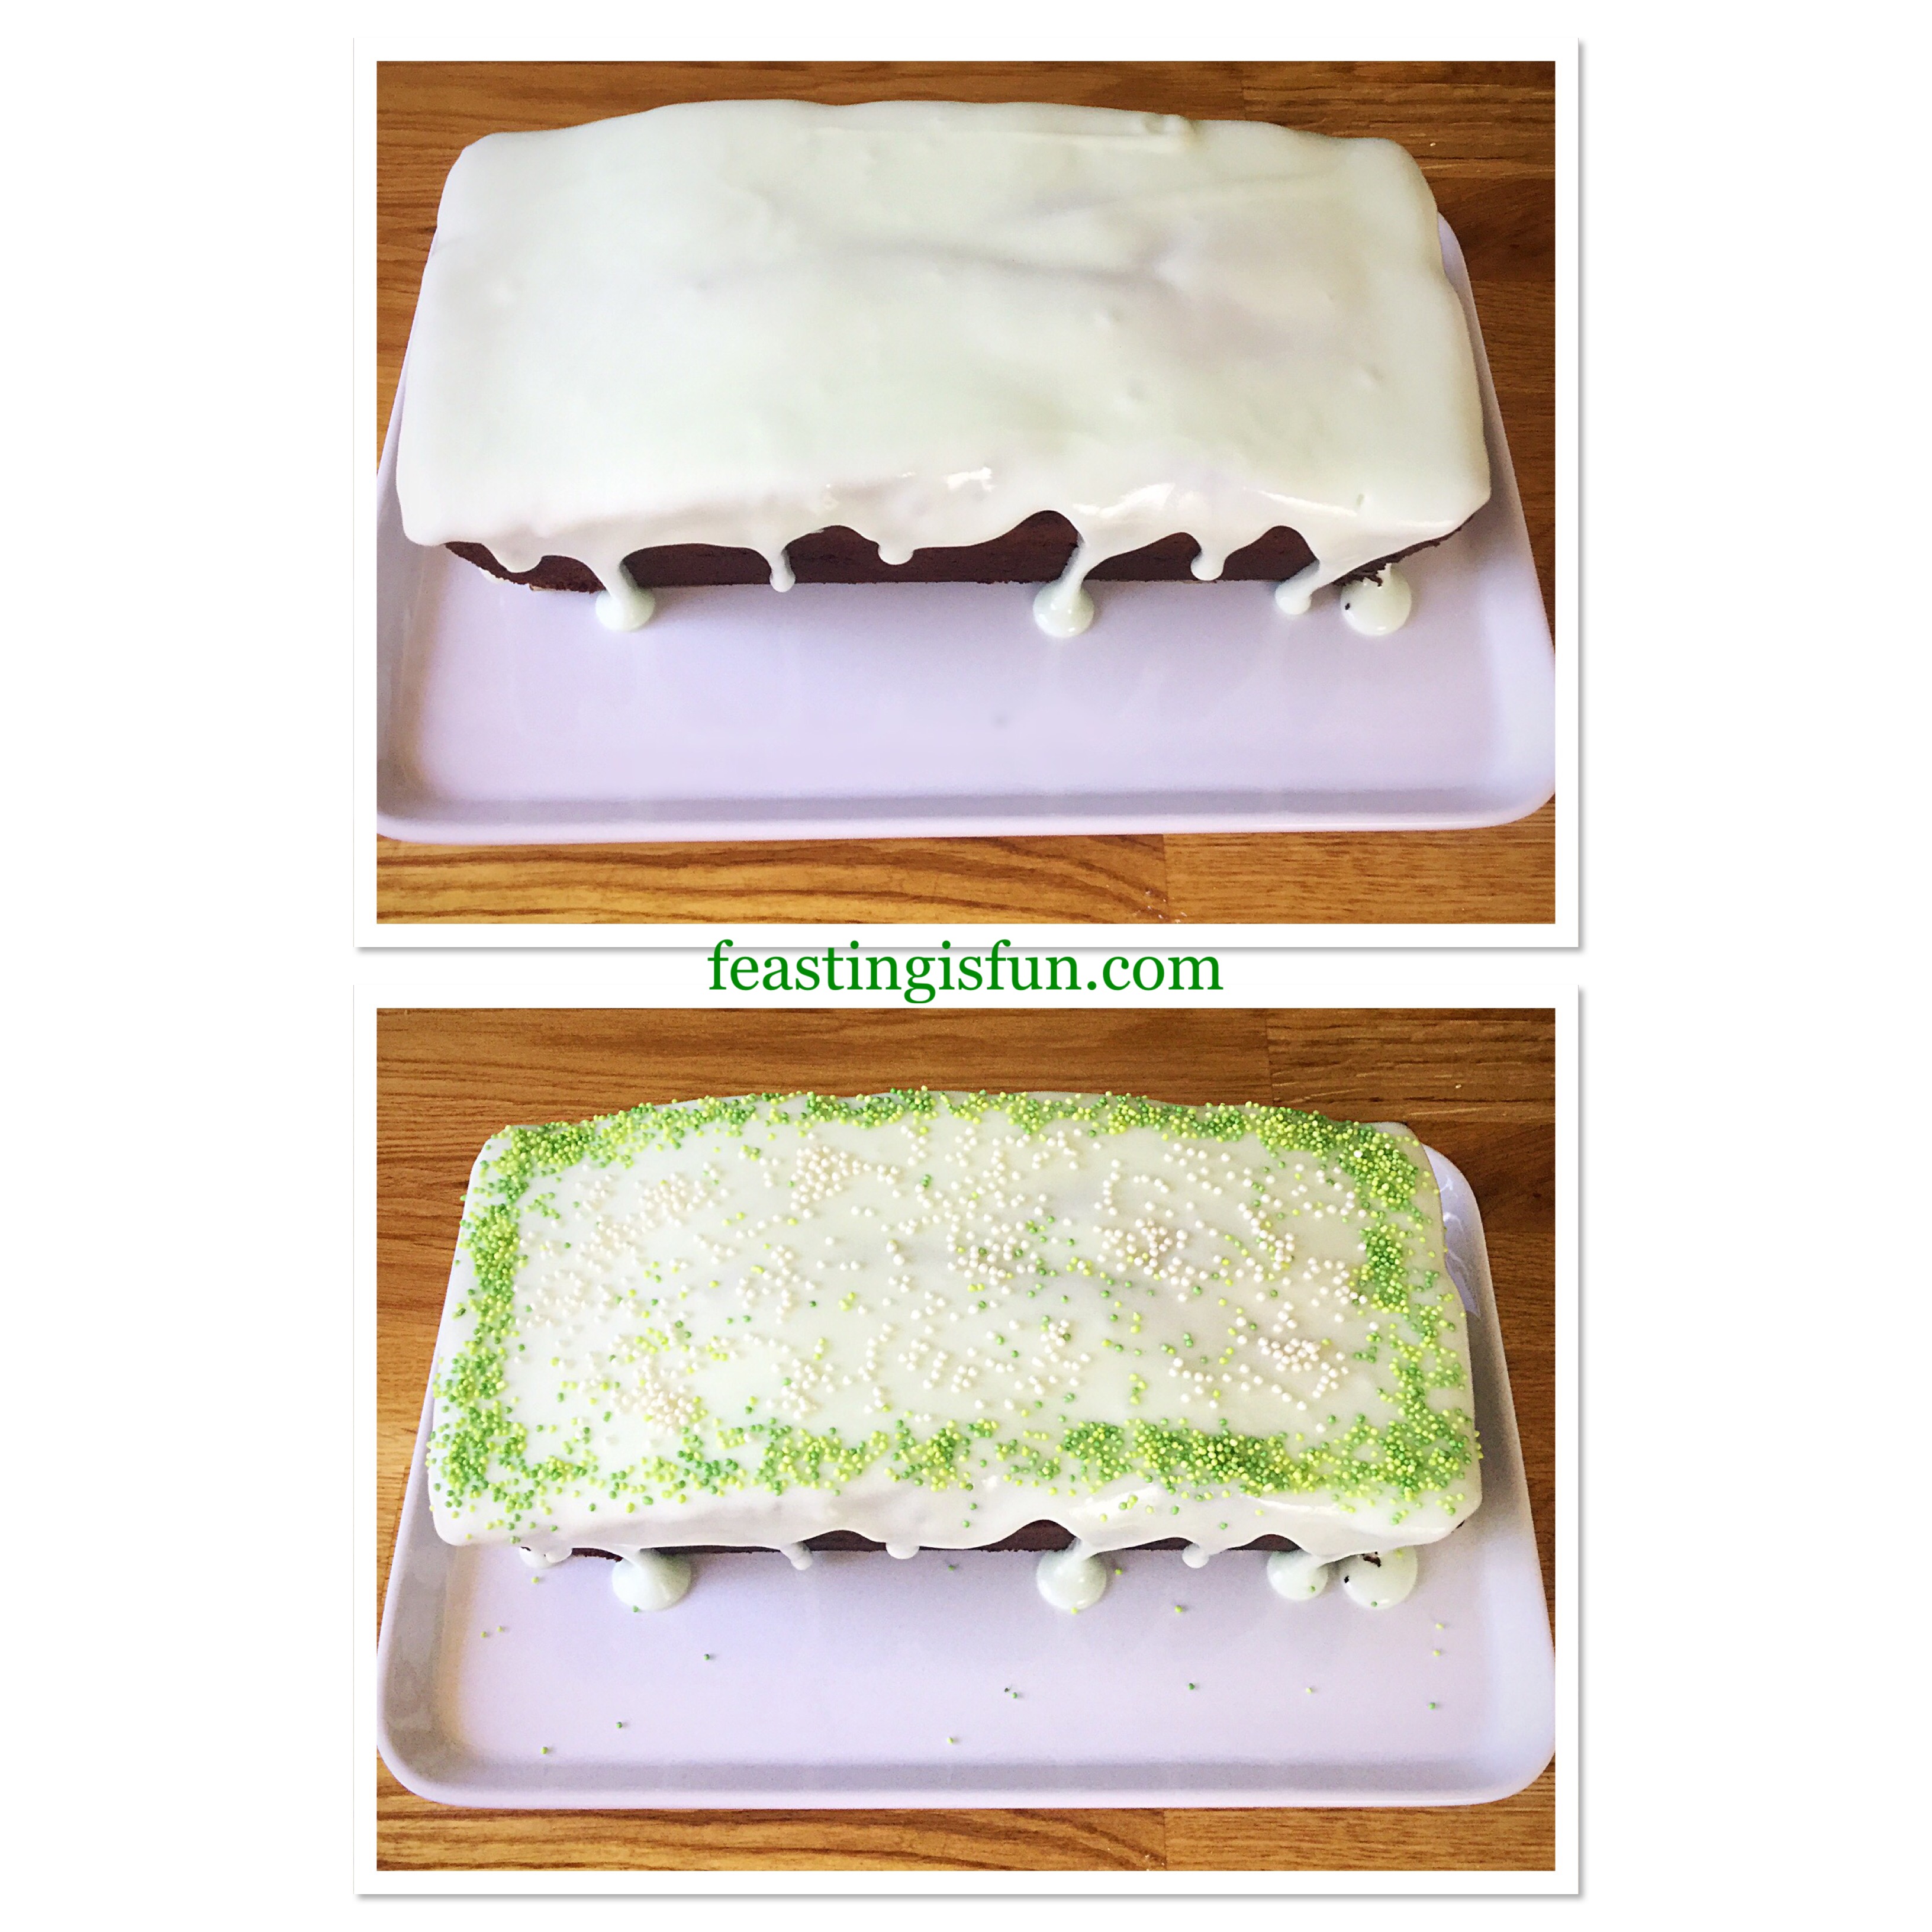
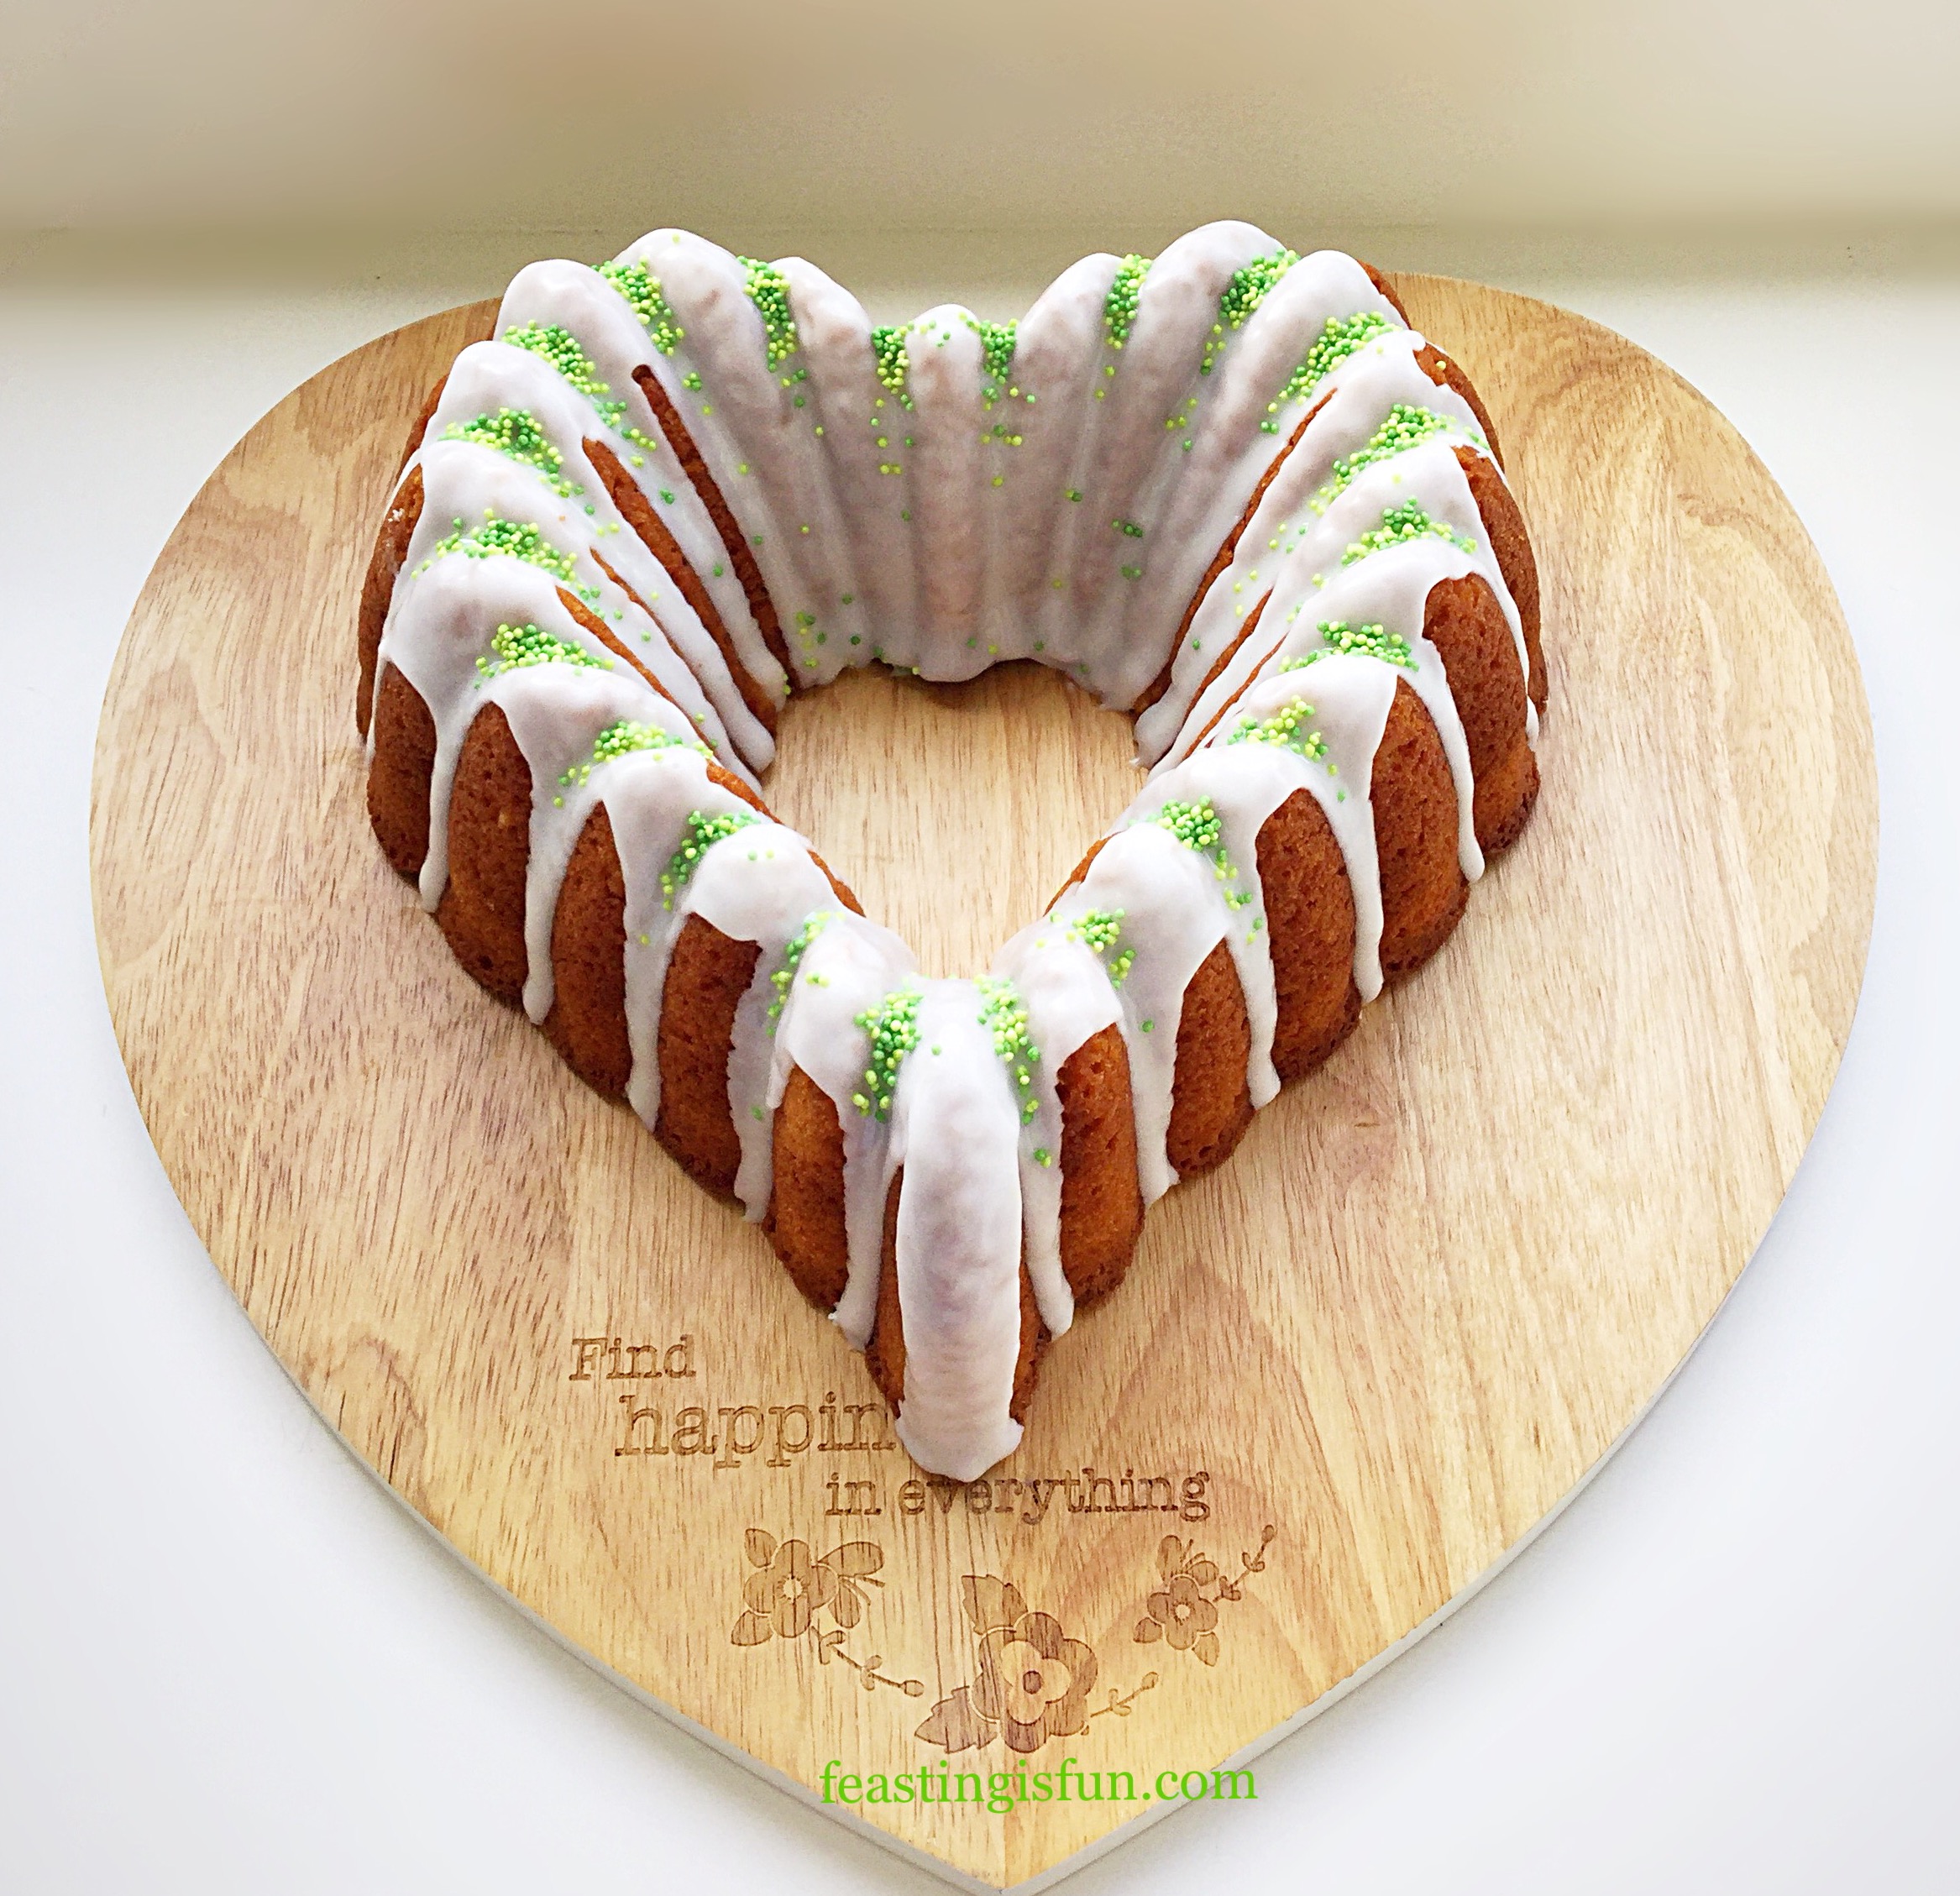
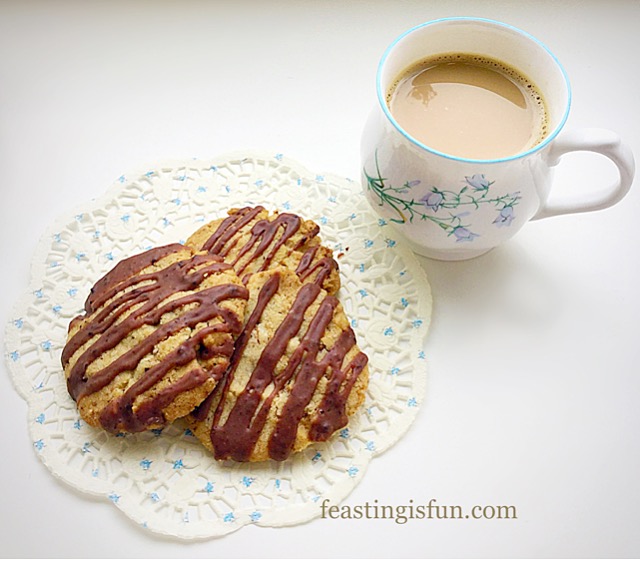
Allow the icing to set before slicing the cake for serving.

FF Mint Chocolate Chip Drizzle Cake
Mint Chocolate Chip Drizzle Cake

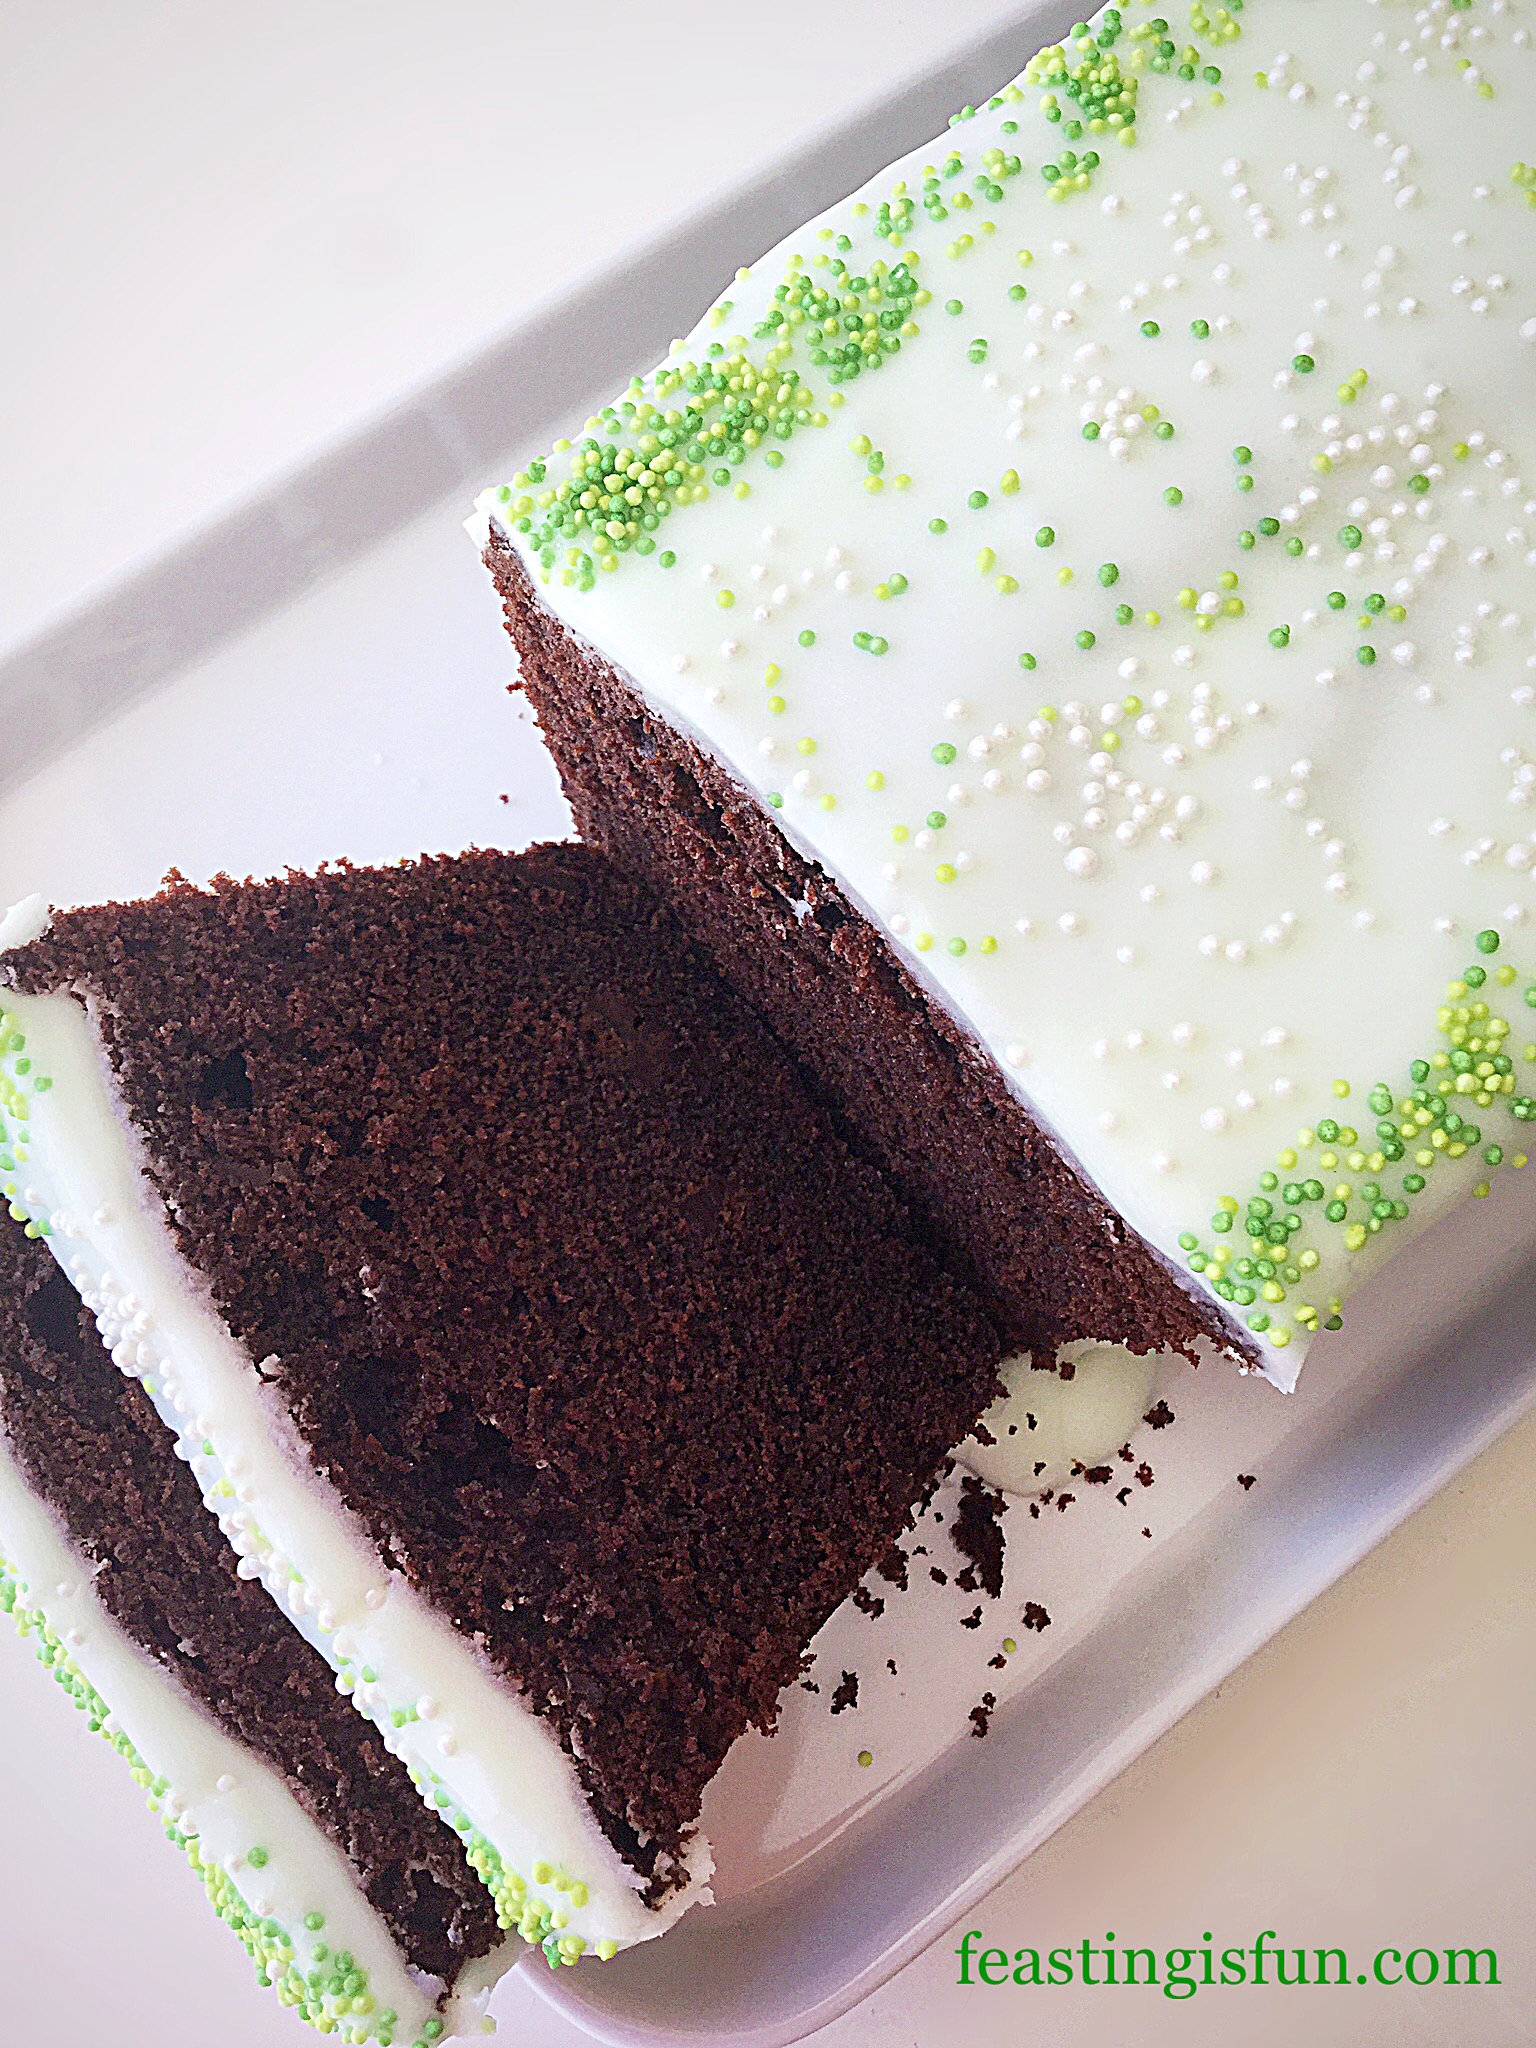
Slice and serve with a smile.

Store any leftover cake in an airtight container or wrapped in cling film. Also during warmer weather I keep the cake refrigerated. Eat within 5 days of making.

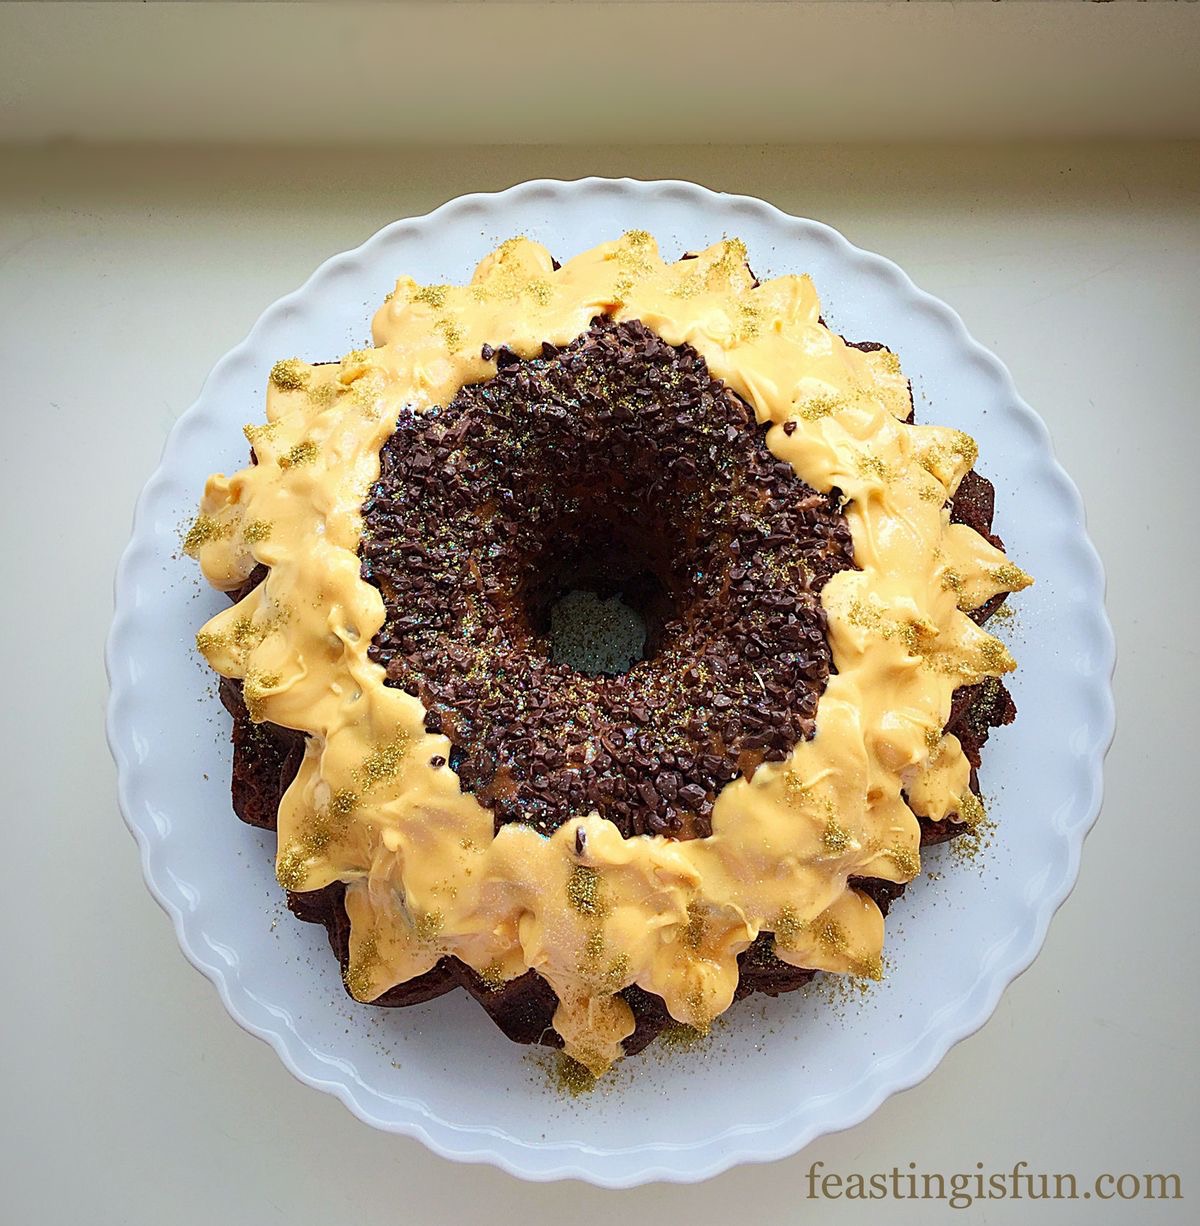
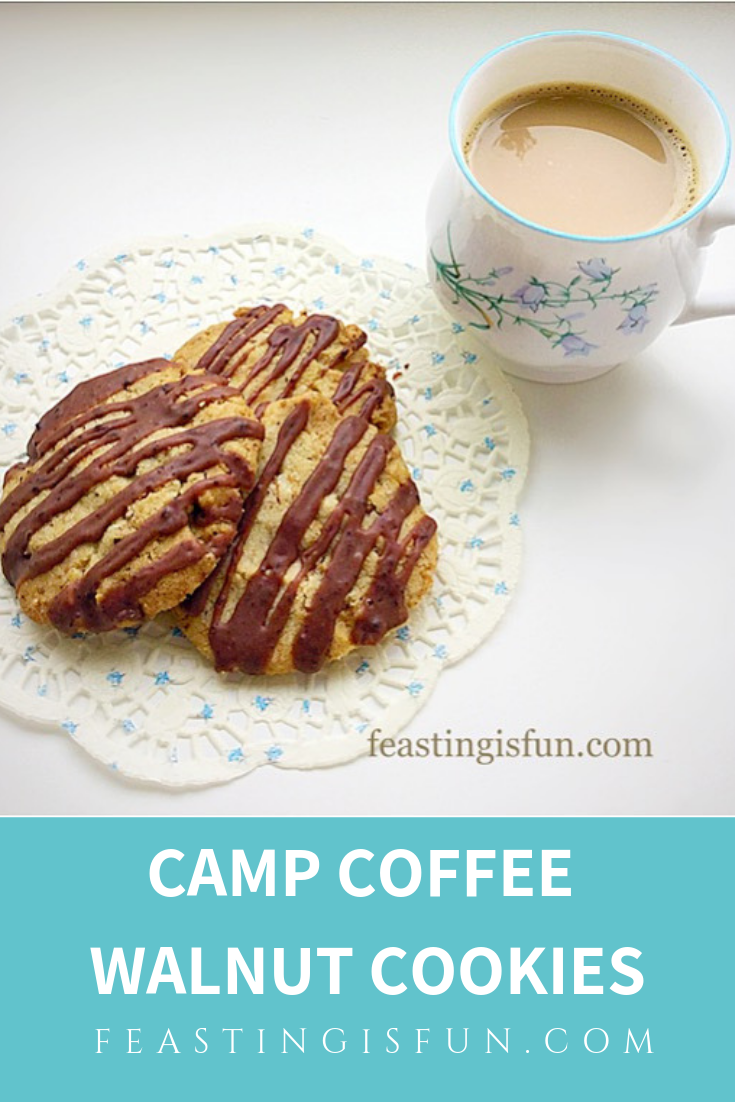
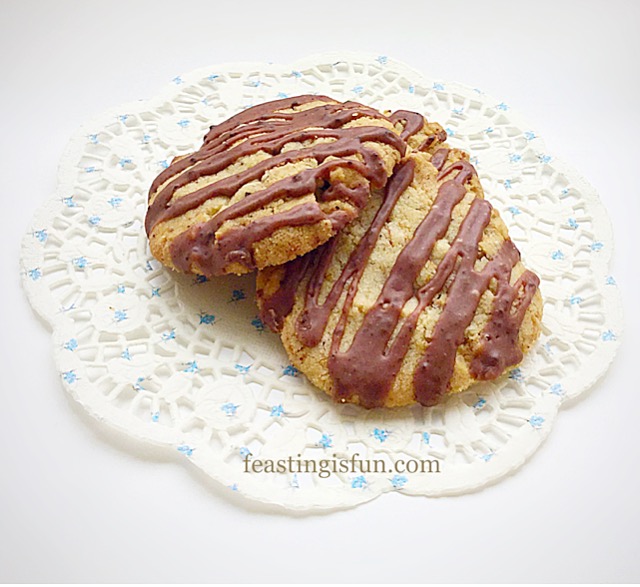
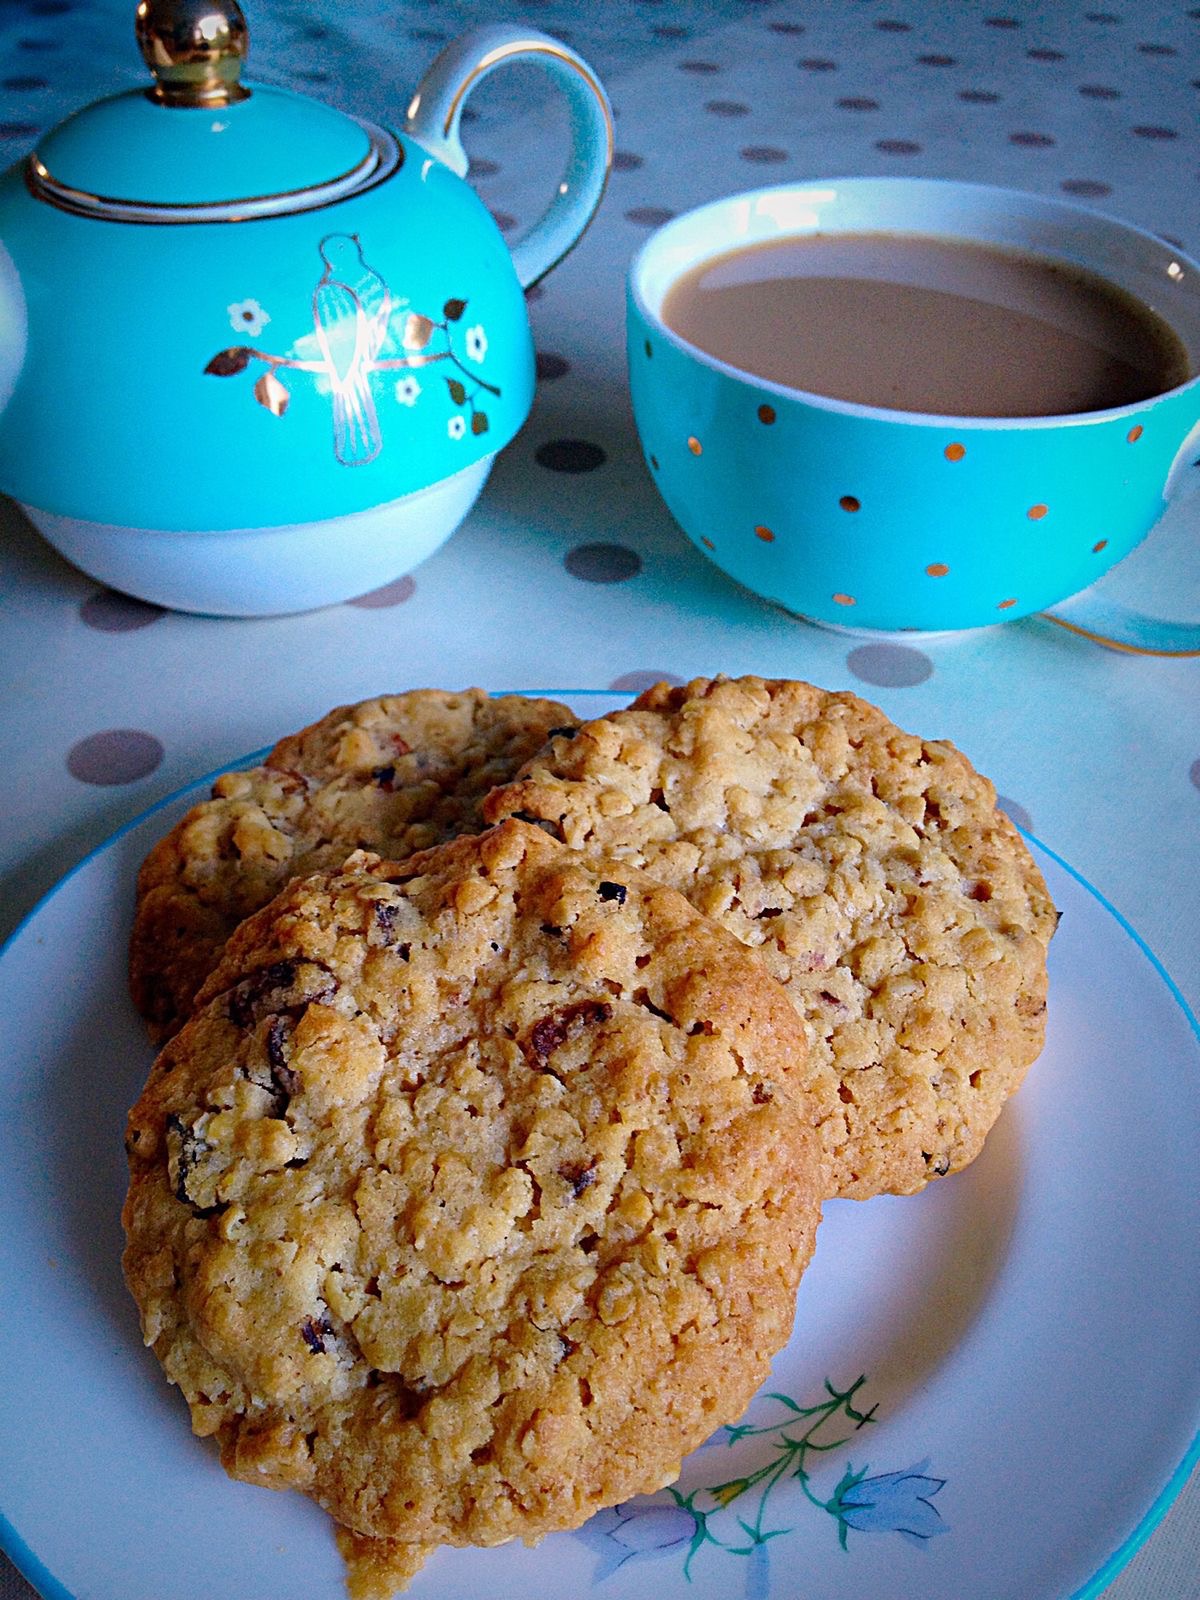
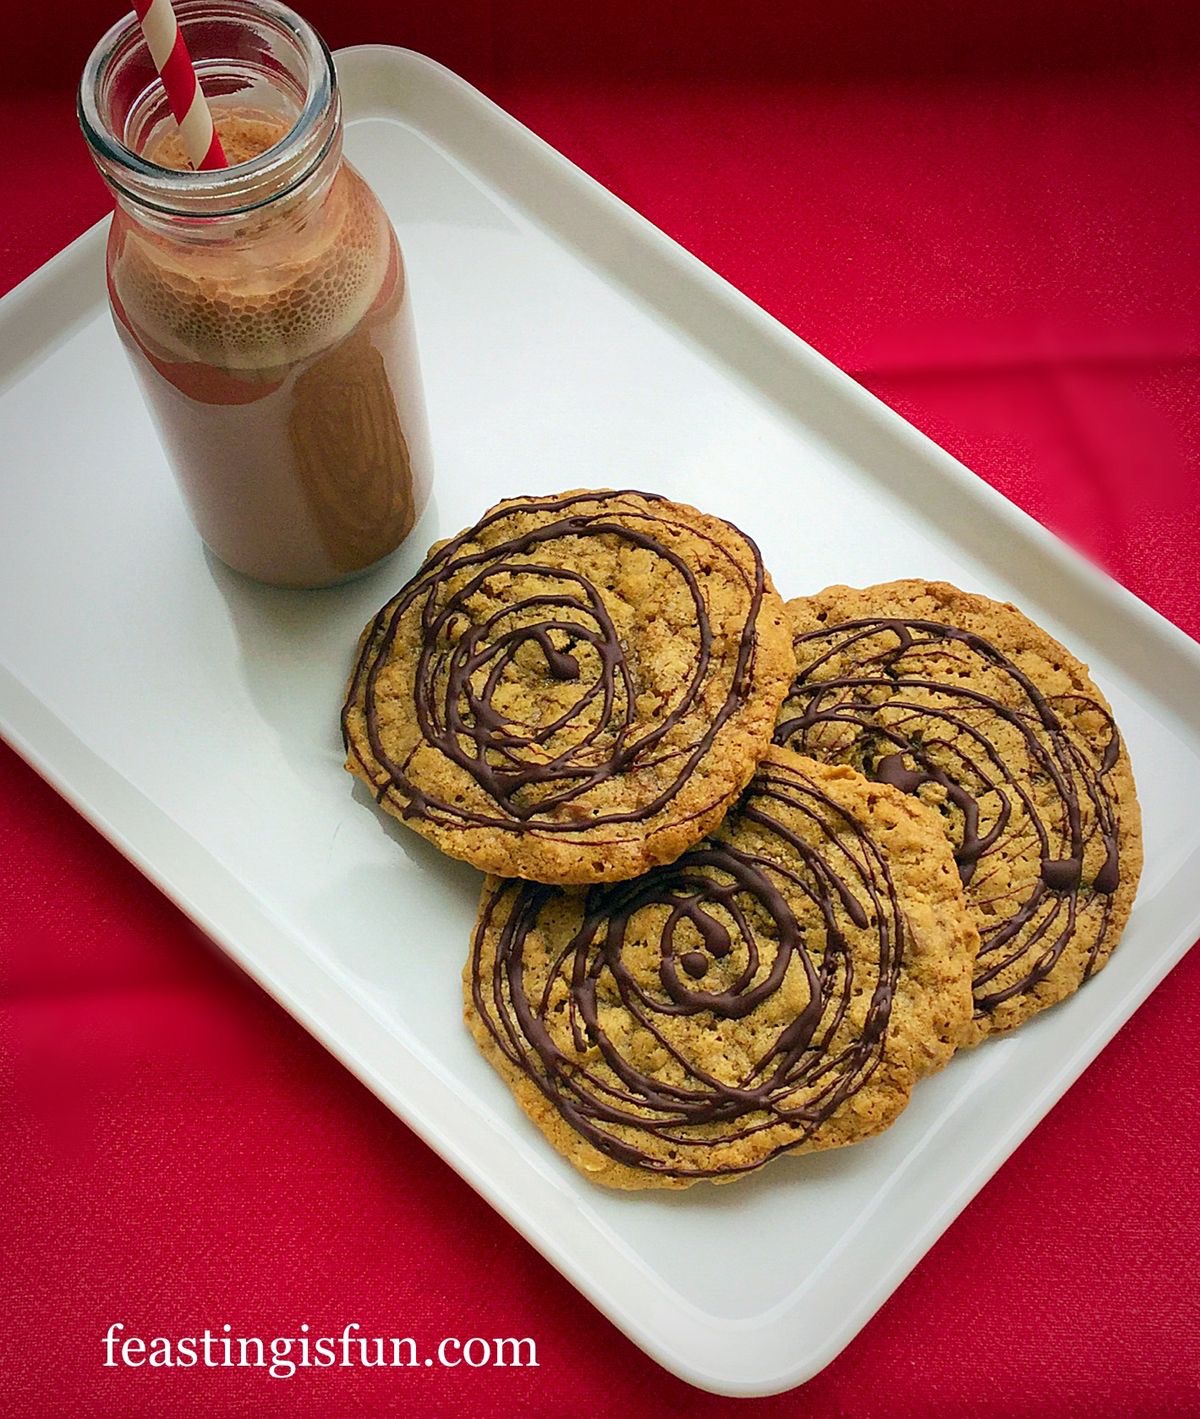
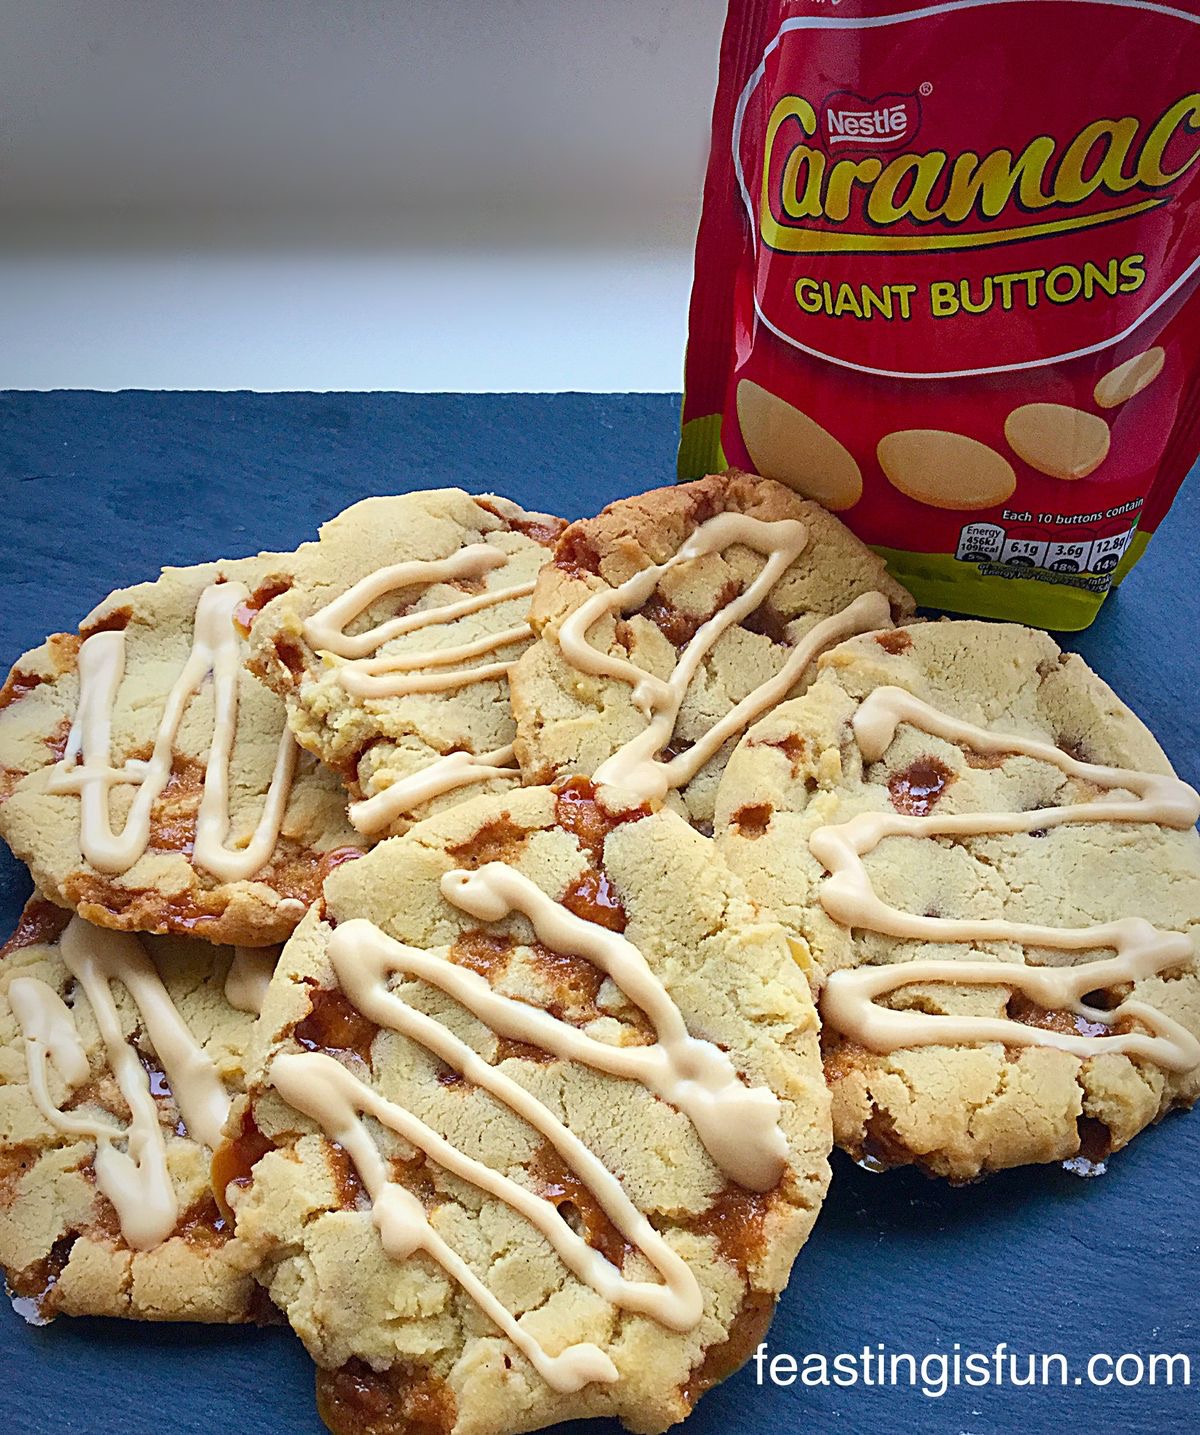
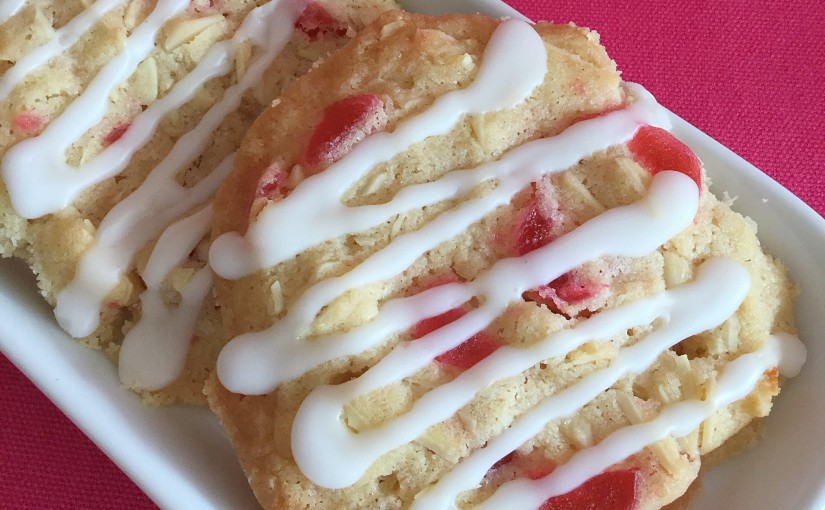
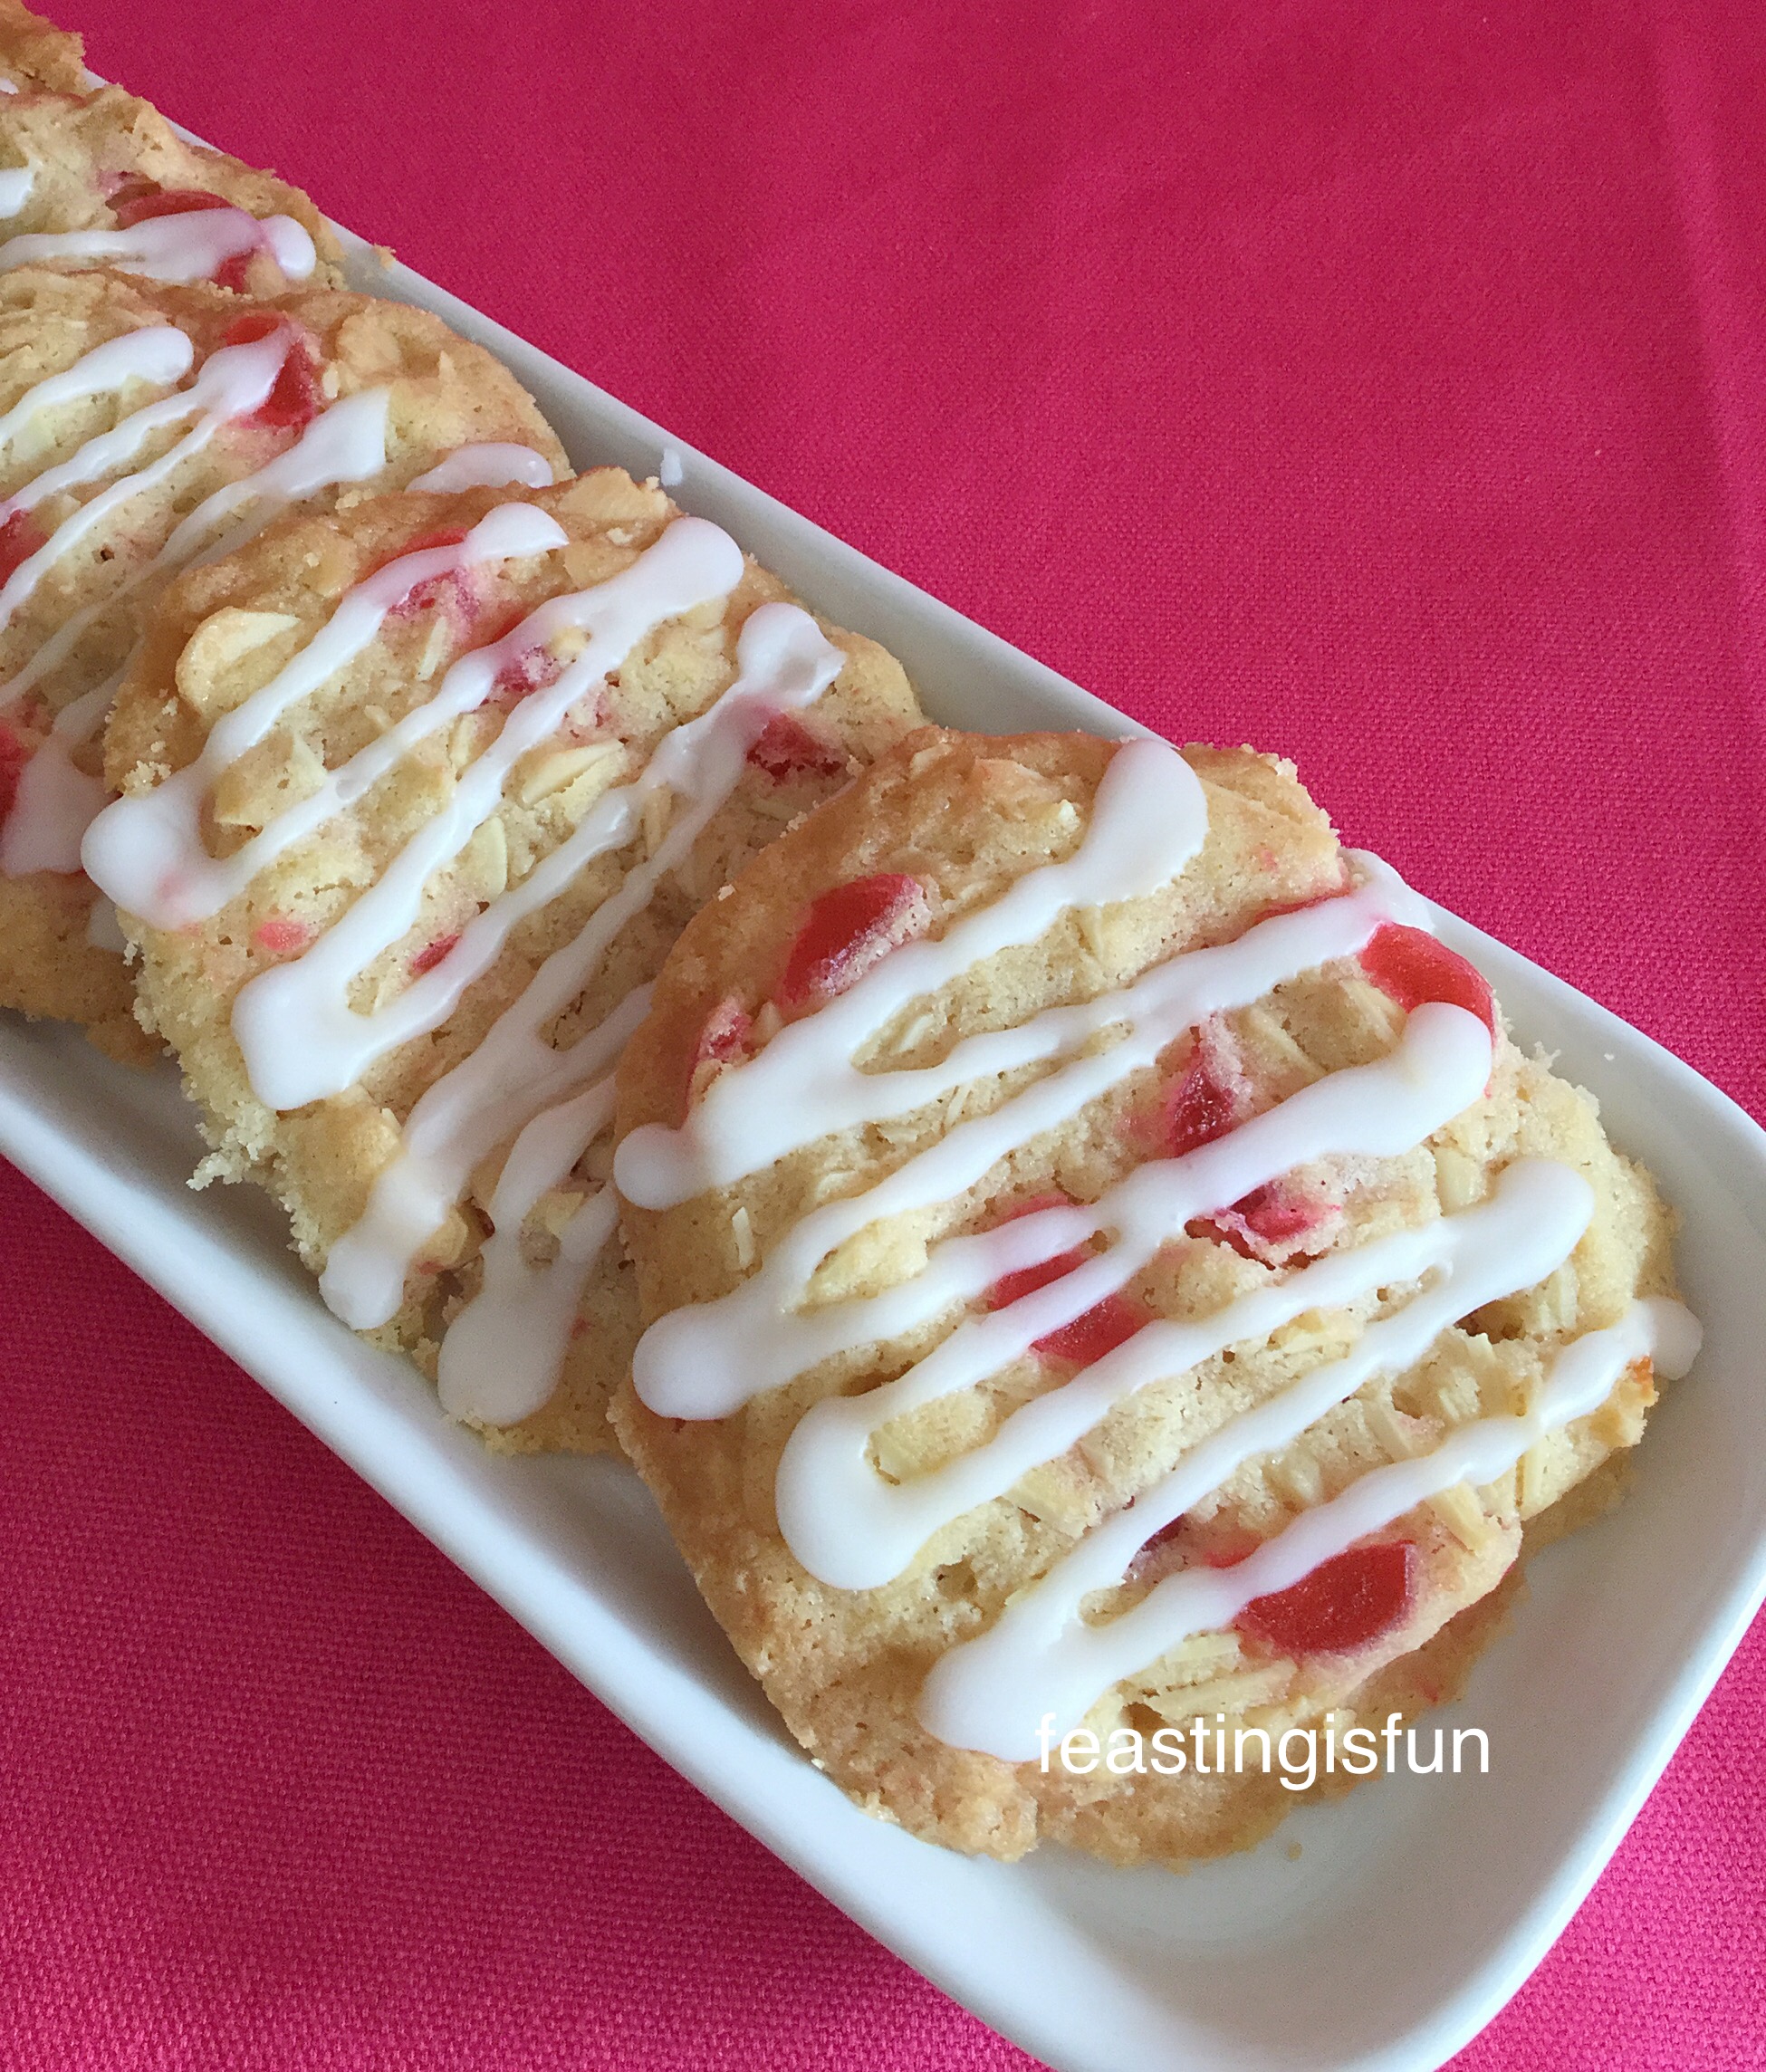
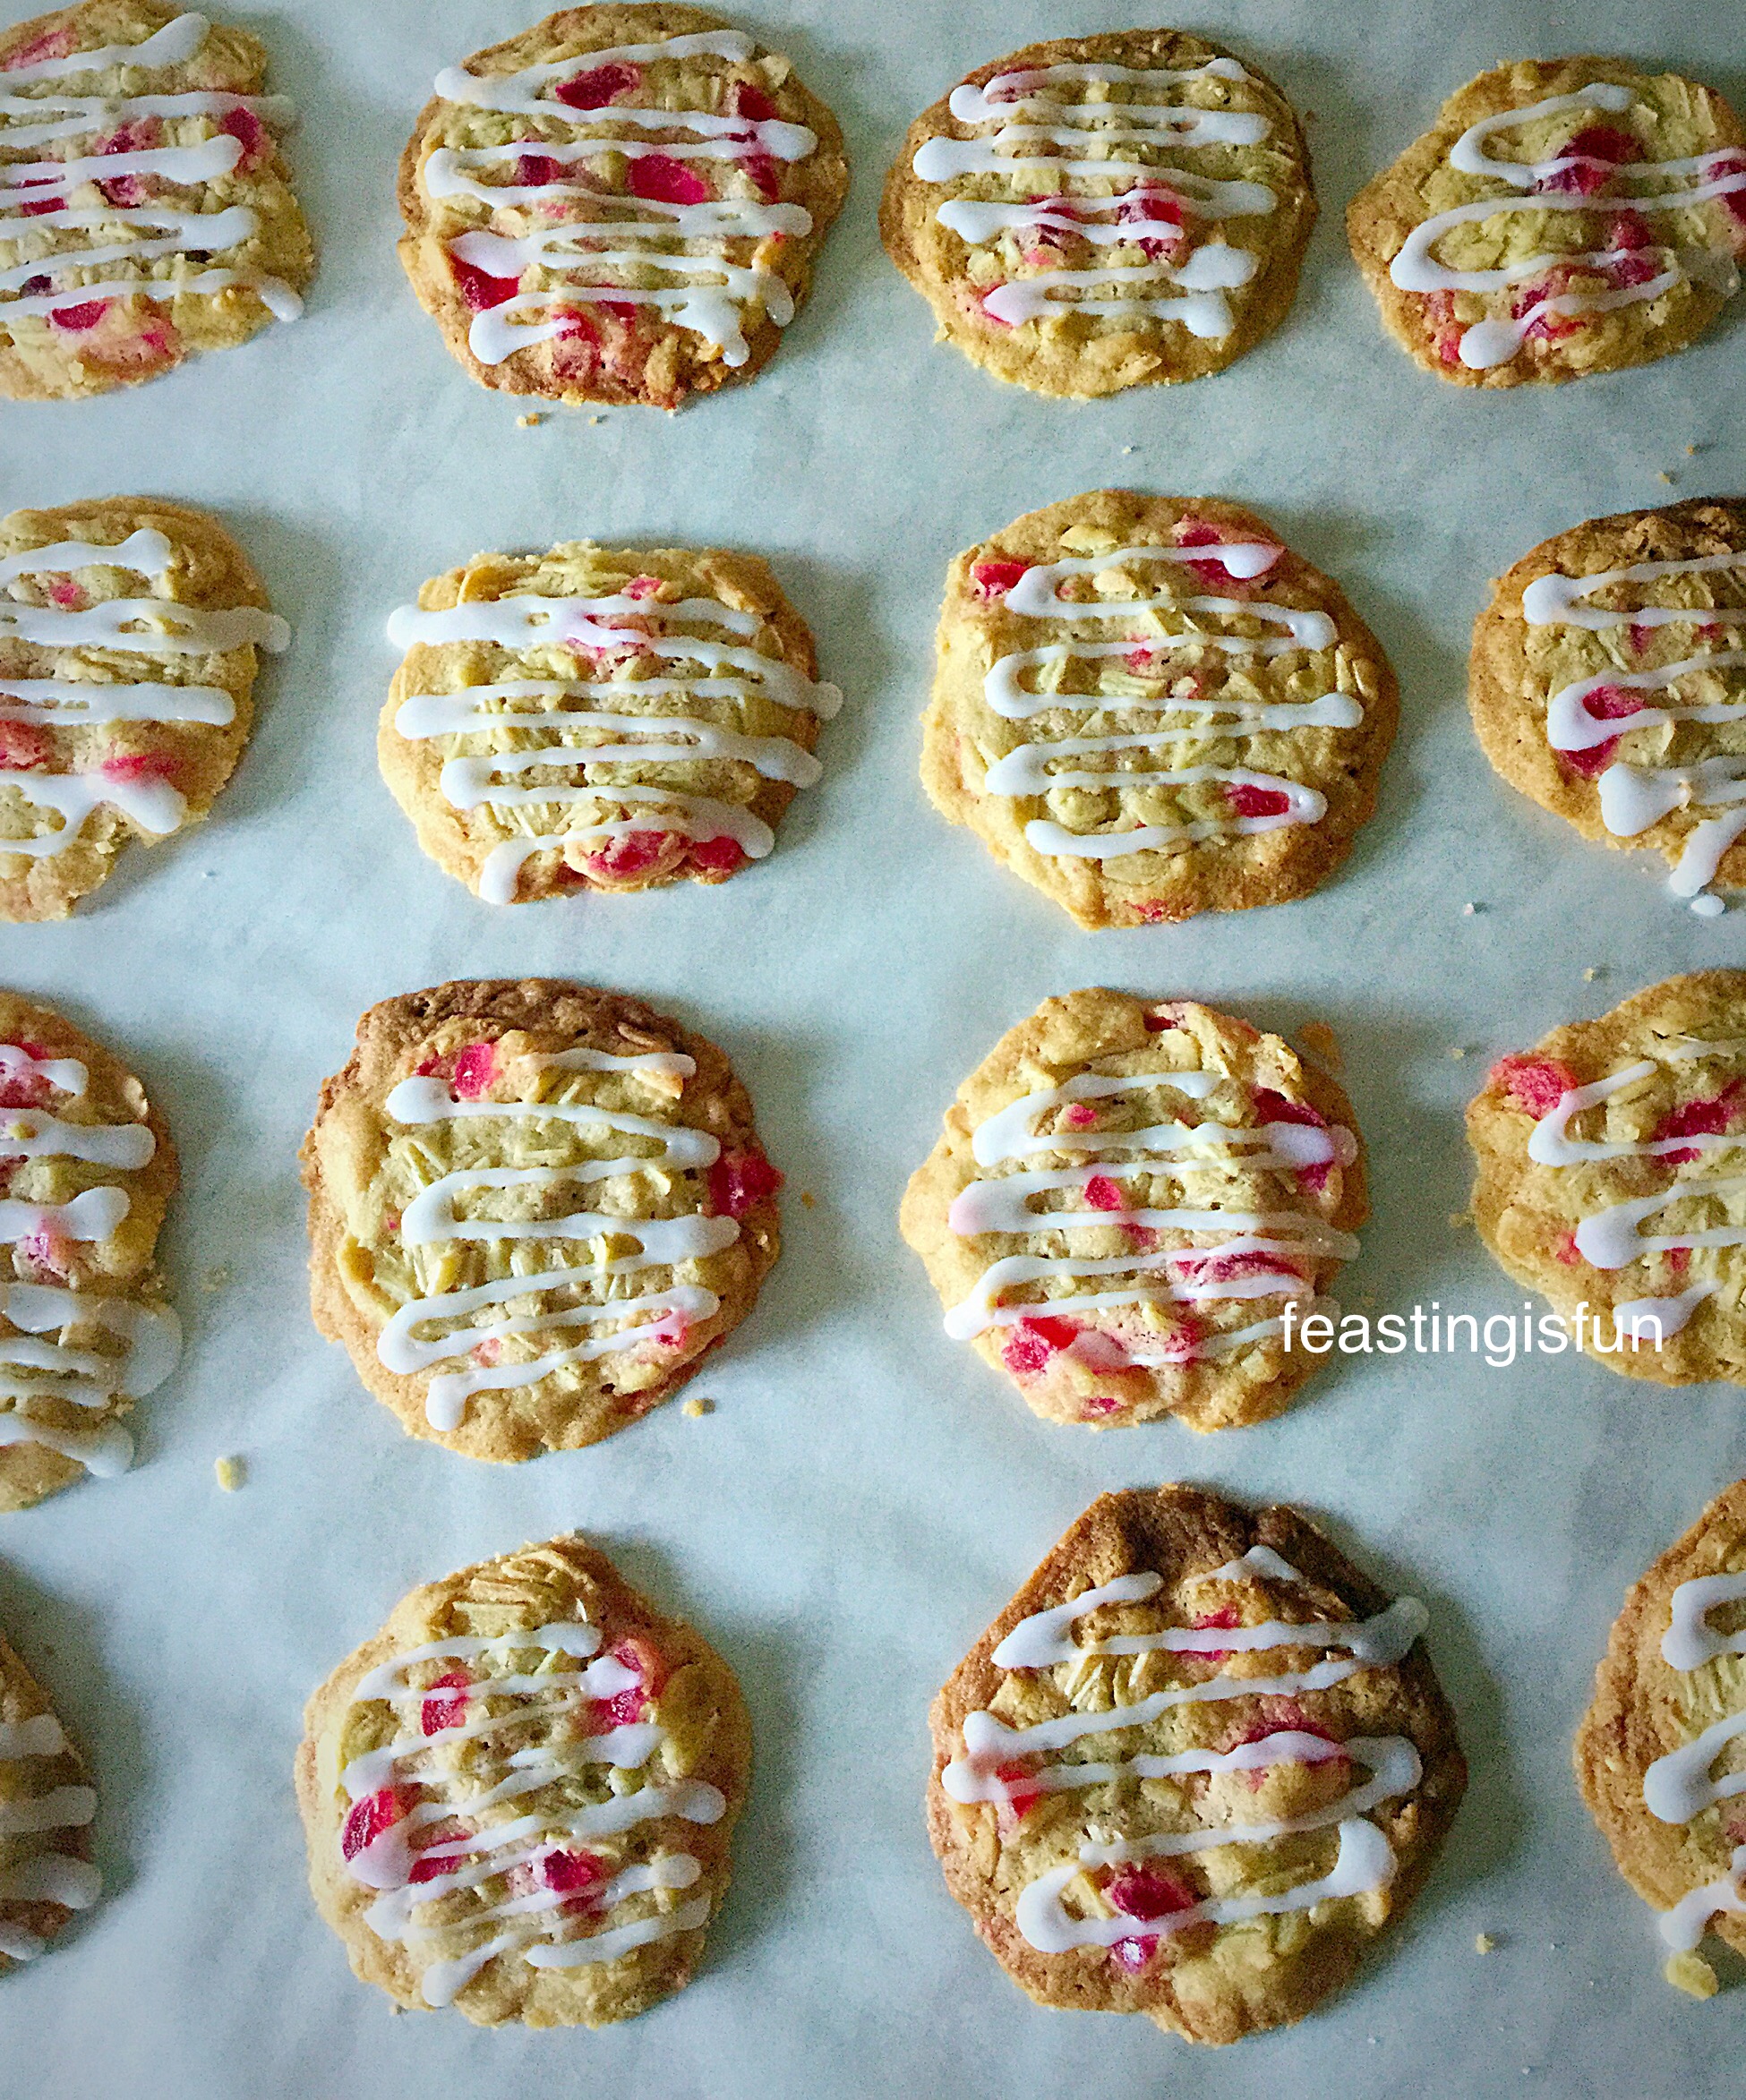
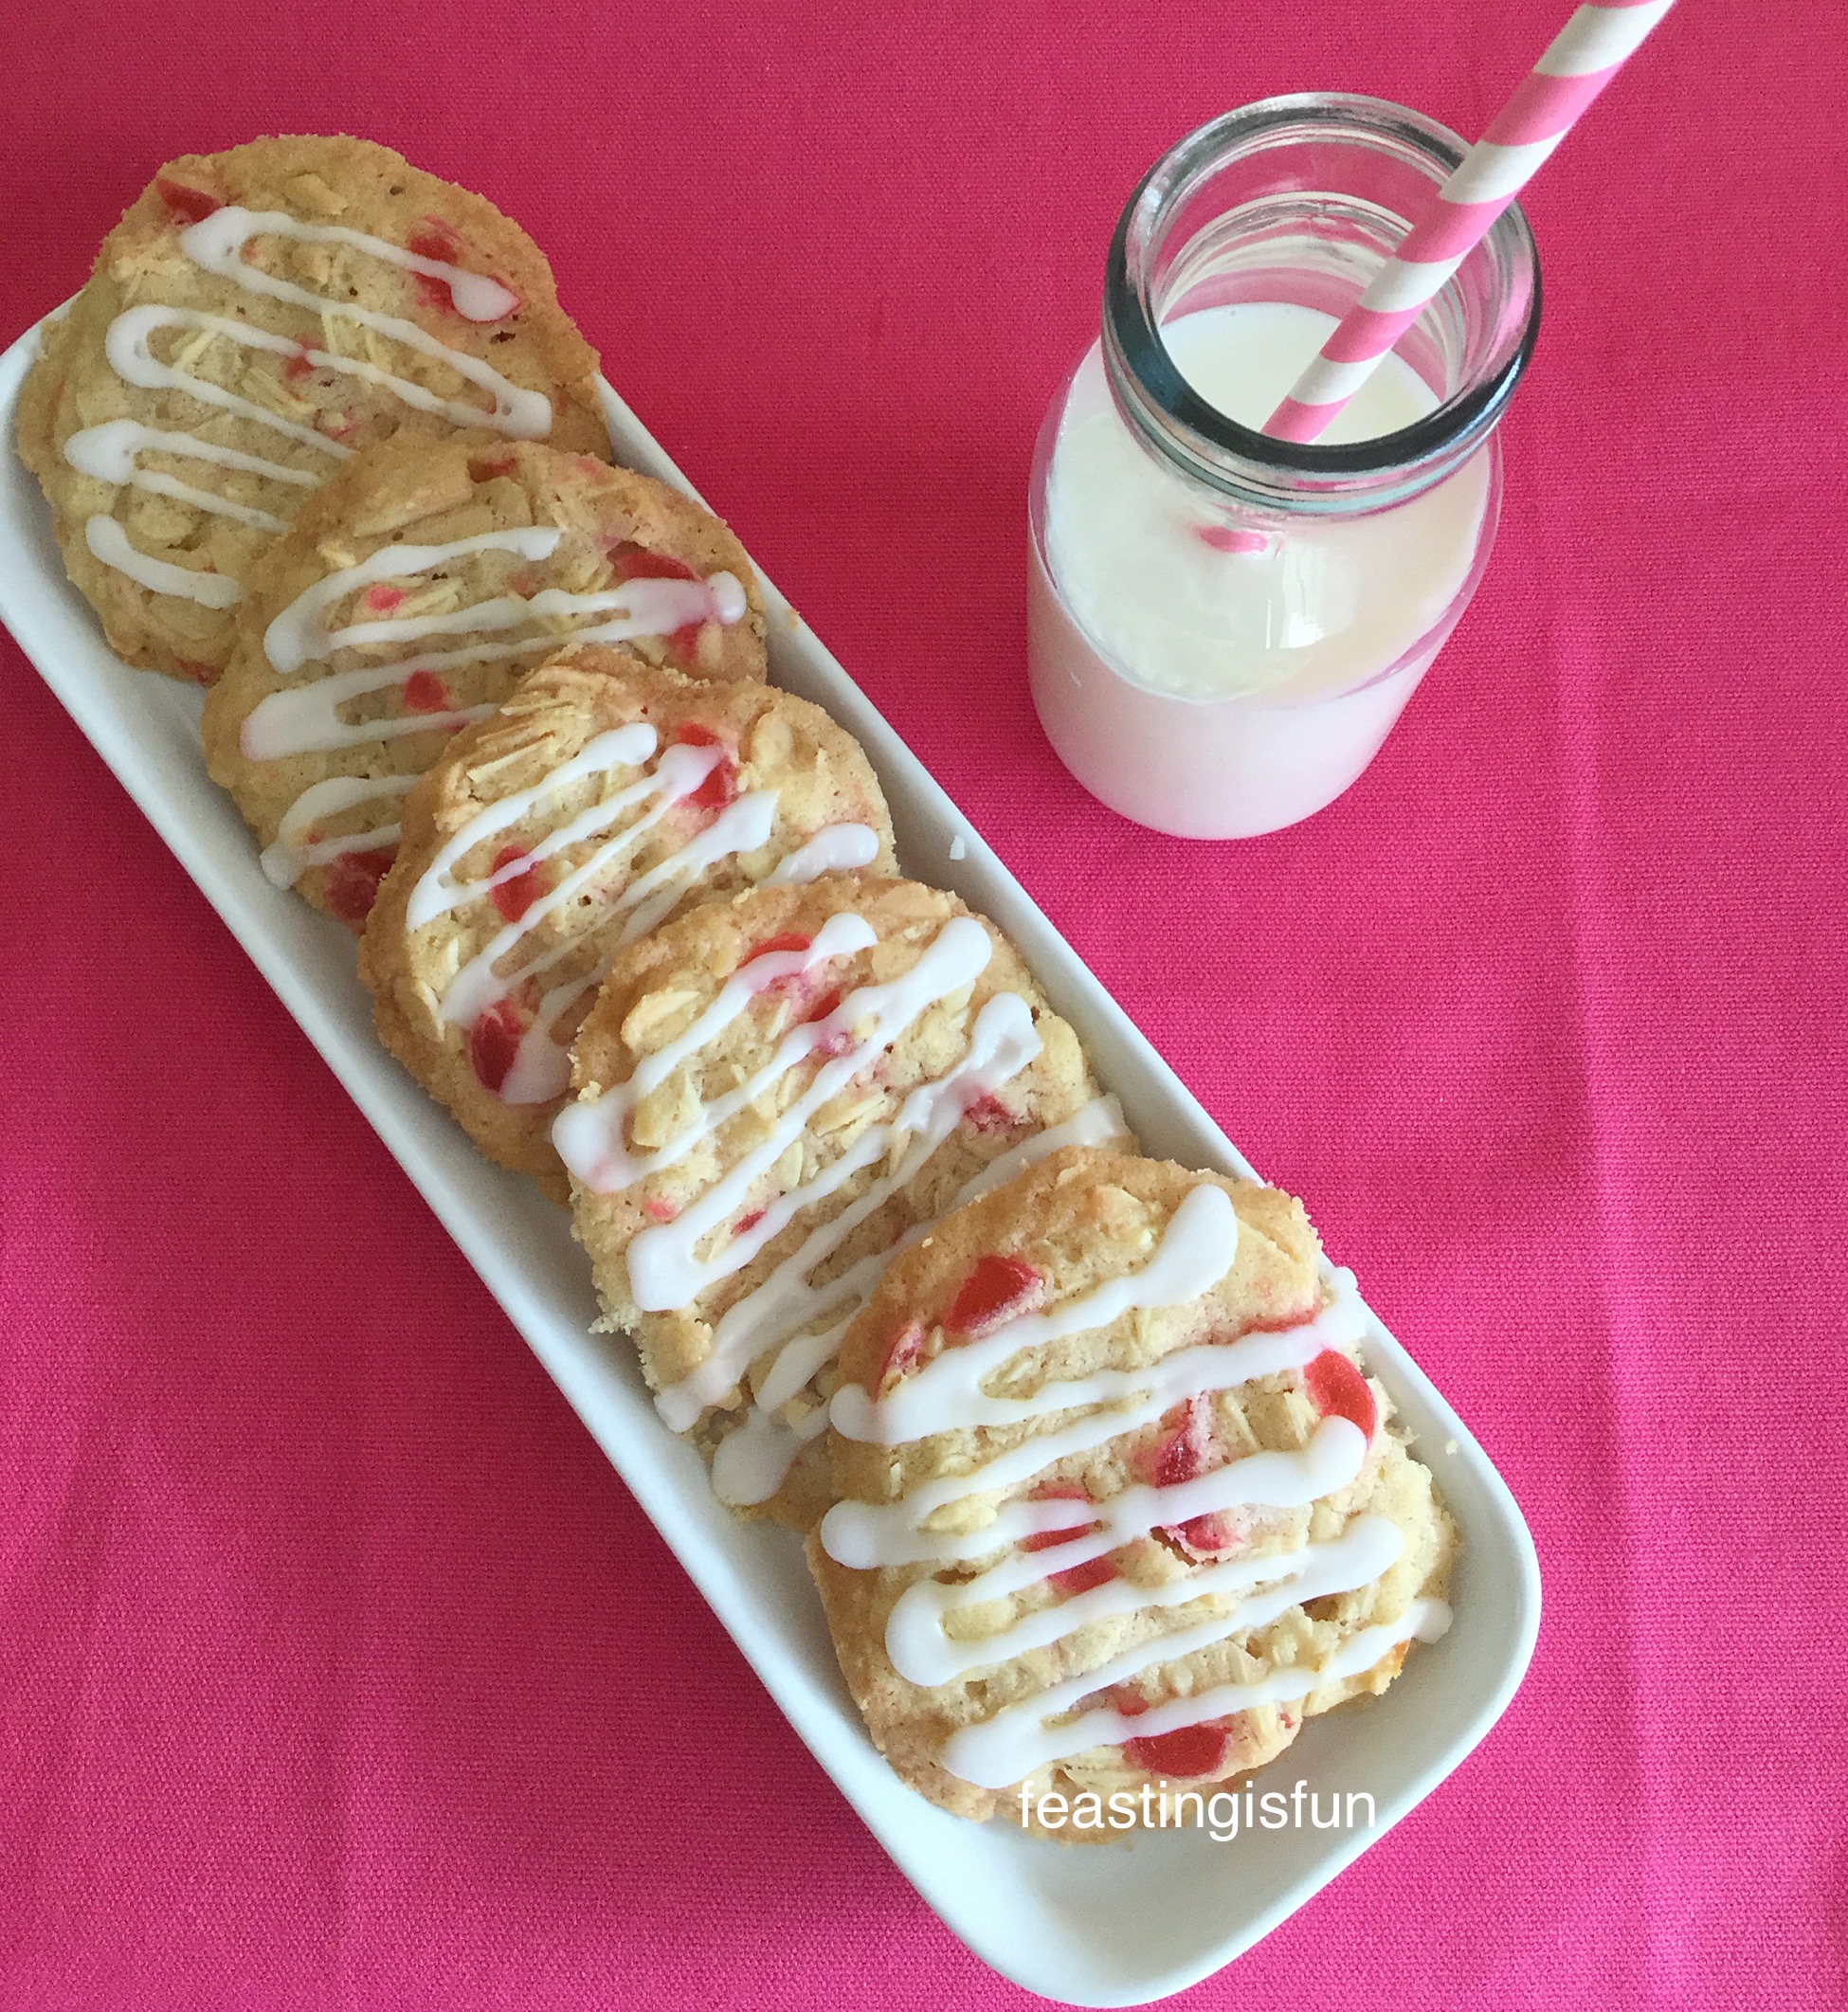
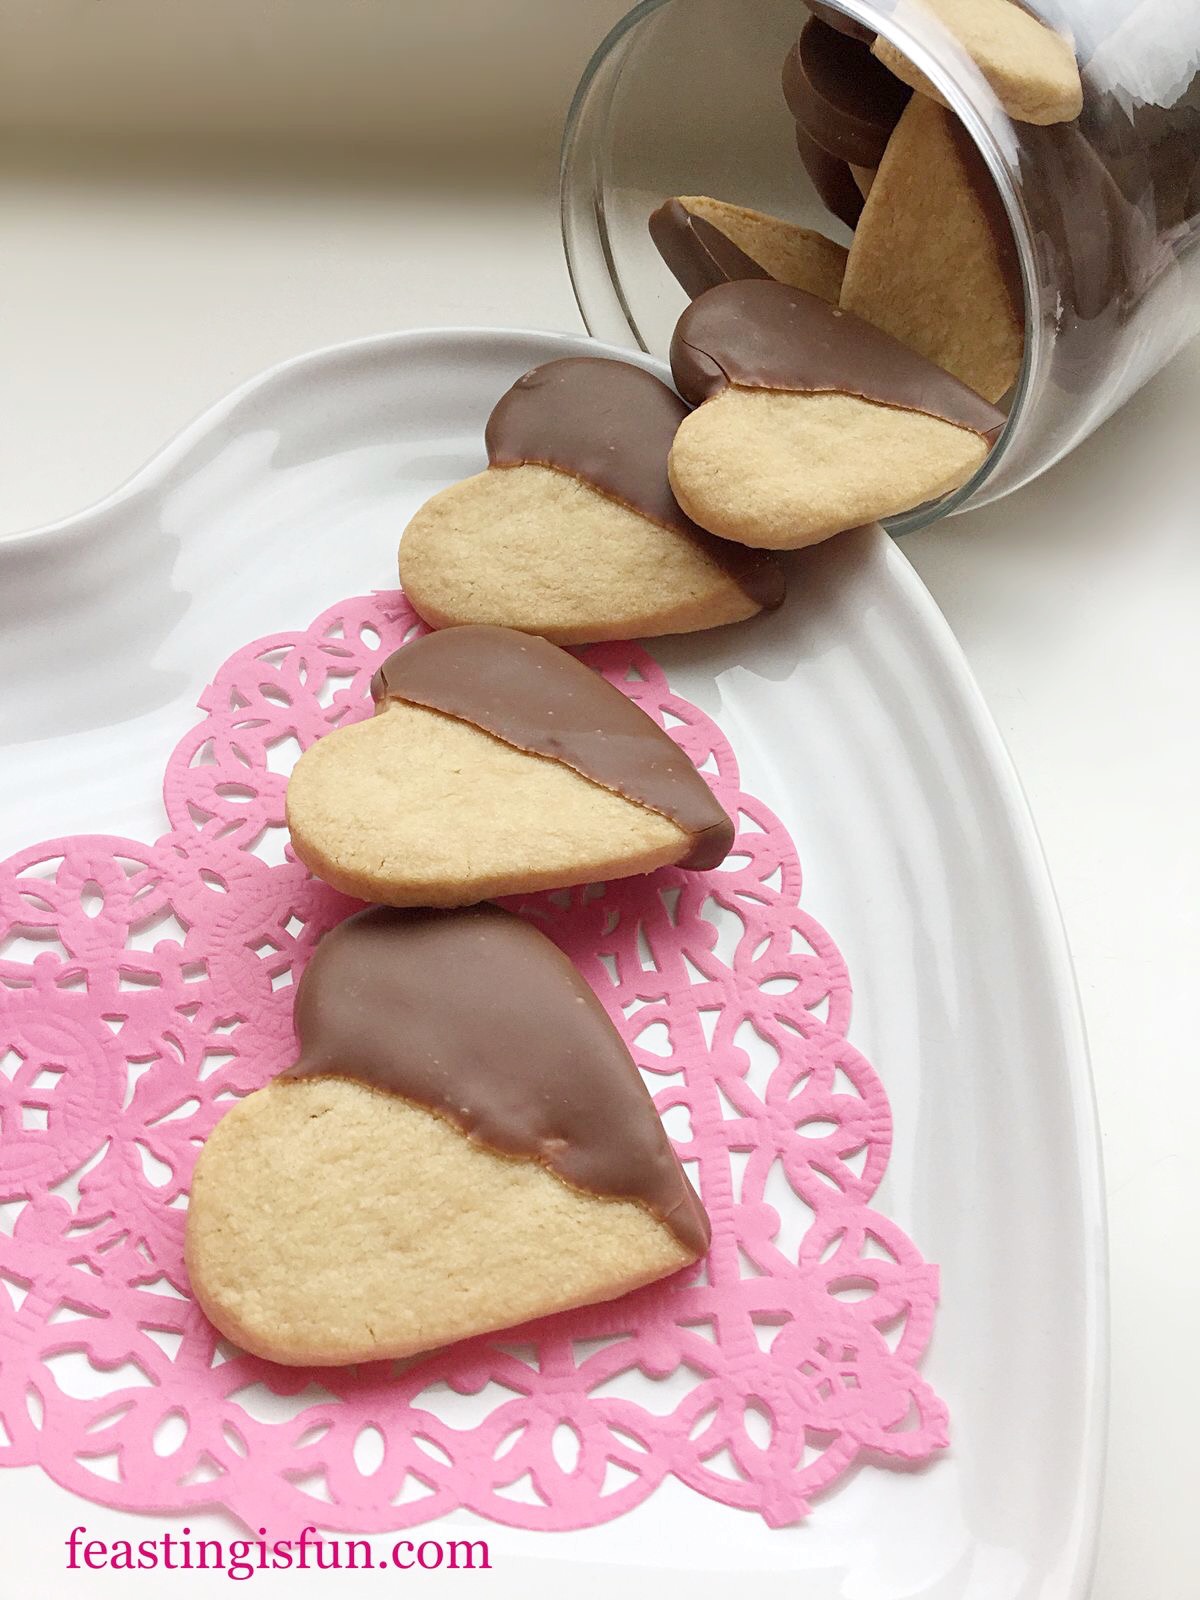
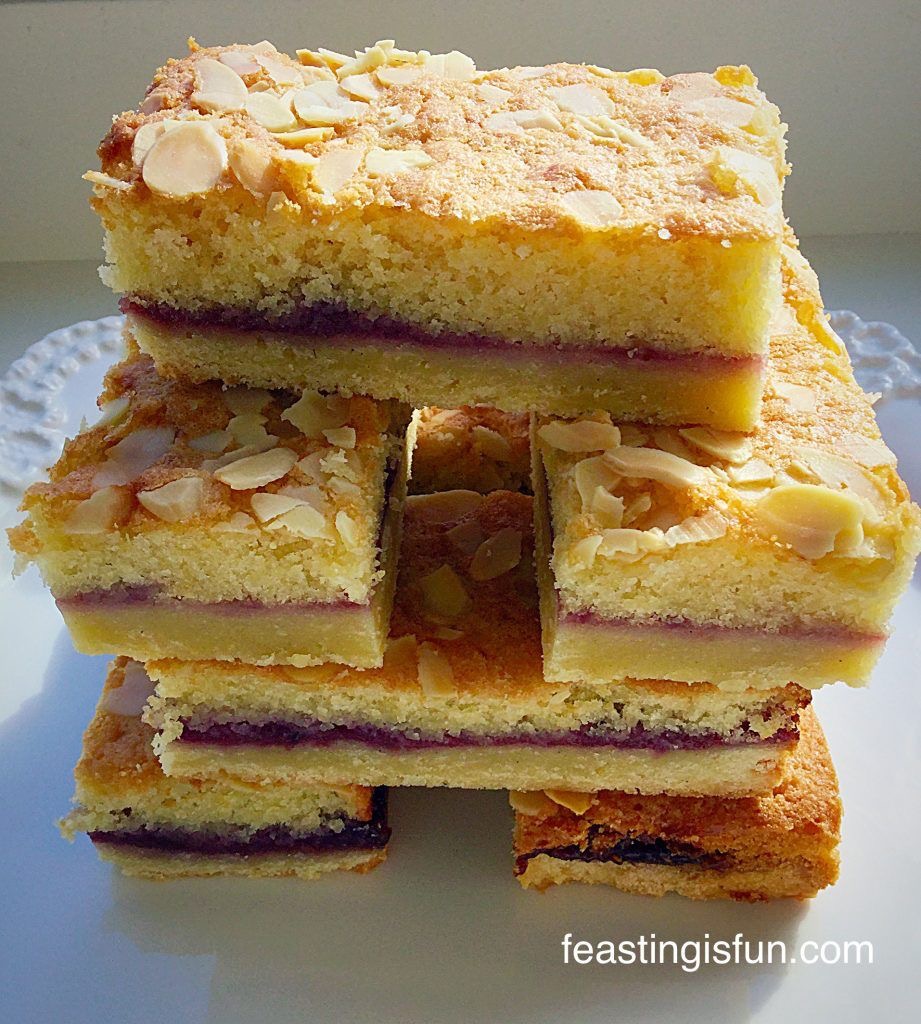
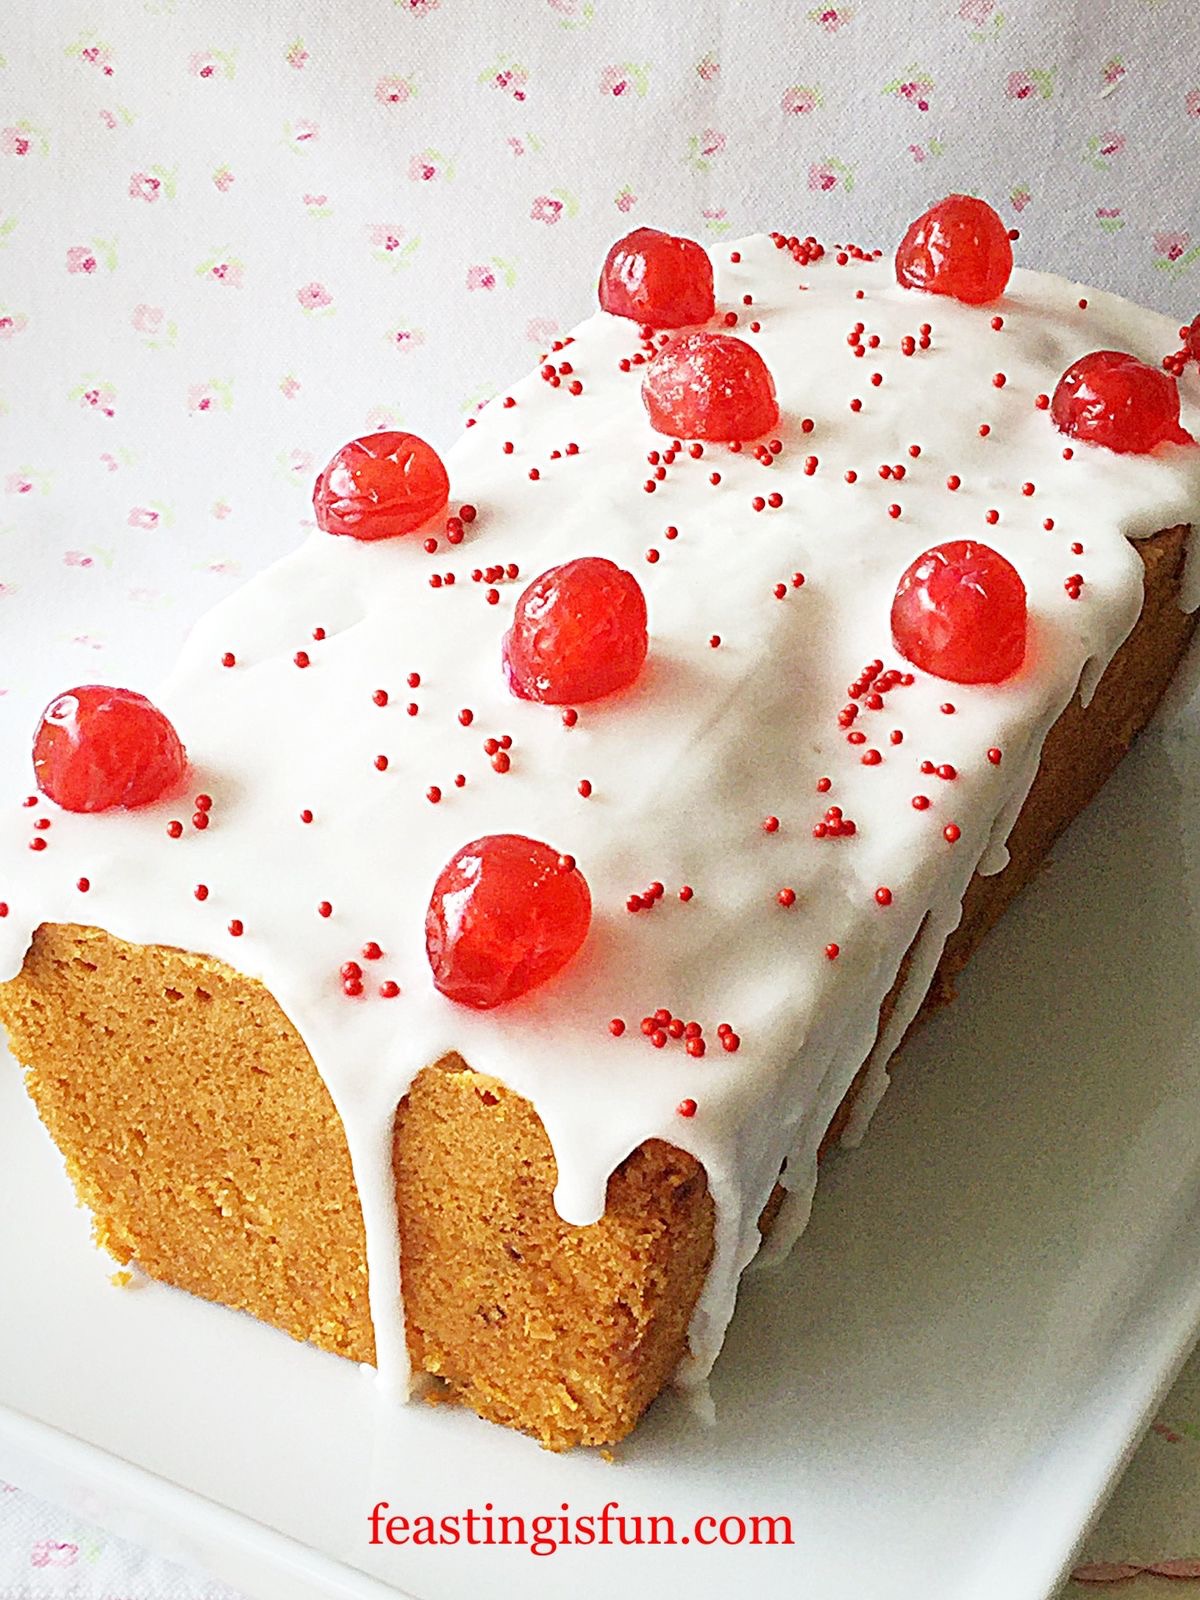
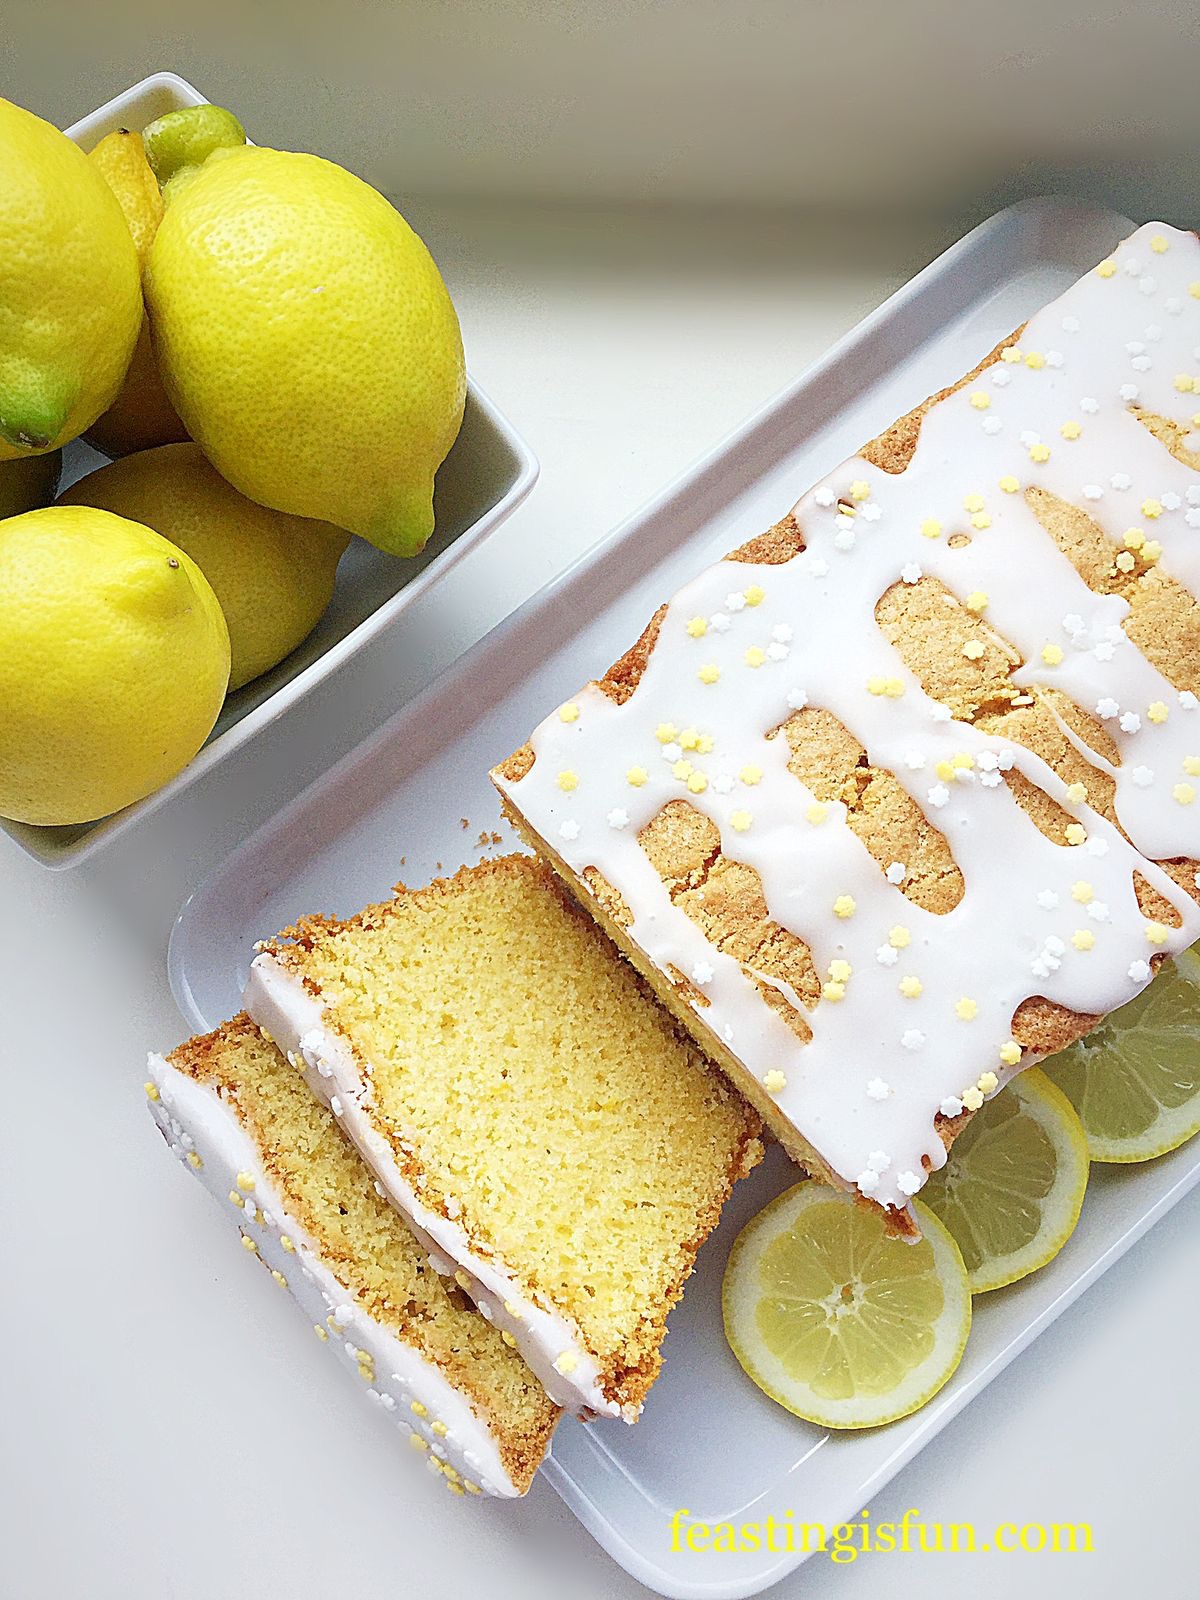
If you have enjoyed this recipe for Mint Chocolate Chip Drizzle Cake you may also like these:

Iced Cherry Coconut Loaf Cake

FF Mint Chocolate Chip Drizzle Cake
Iced Cherry Coconut Loaf Cake

Lemon Drizzle Cake

FF Mint Chocolate Chip Drizzle Cake
Lemon Drizzle Cake

Raspberry Drizzle Loaf Cake 

Beautiful natural pink icing coloured using fresh raspberries that Is drizzled over a pink, raspberry, loaf cake.
Raspberry Drizzle Loaf Cake

While I don’t eat cake everyday, I enjoy making them. Although my preference  leans towards more savoury flavours, many of my family and especially my husband do have a sweet tooth. Sharing my bakes is important to me and loaf cakes travel well. Also, they are easy to portion, either as a whole slice or cut in half so that younger ones can have a finger of cake. Most importantly the cakes I bake are always made with love and the minimum of artificial ingredients.

Whatever you are making, baking and creating in your kitchens have fun preparing and sharing your feast.

Sammie xx

No part of this post may be reproduced or duplicated without the written permission of the owner. Please see my Disclosure Policy.


Share
Facebooktwitterpinterestlinkedintumblr

Lemon Lime Gin Heart Bundt Cake

Share
Facebooktwitterpinterestlinkedintumblr

I love Bundt Pans. Their detailed and versatile shape, moulds cakes into edible replicas of the pan. Of course, if you are still at the beginners stage of cake decorating, the finished cake needs no more than a dusting of icing sugar. Since I have baked more than a few Bundt cakes, I have become more adventurous with how they are decorated. This Lemon Lime Gin Heart Bundt Cake is glazed carefully with a thick icing and finished with sprinkles.

FF Lemon Lime Gin Heart Bundt Cake
Lemon Lime Gin Heart Bundt Cake perfect with lemon tea.

Bundt pans are available in all shapes and sizes. From small bundtlettes such as Mini Lemon Drizzzle Bundt Cakes to larger sized pans, such as Heart Engagement Bundt Cake. While solid pans are available, Bundts are generally recognised by the hole in the centre. Here in the U.K Nordic Ware own the copyright to name Bundt tin/pan. Therefore only cake’s baked in one of their pans can accurately and legally be called a Bundt cake.

FF Lemon Lime Gin Heart Bundt Cake
Lemon Lime Gin Heart Bundt Cake the icing emphasises the detail of the cake.

For this cake one whole lemon and lime are used in the recipe. The fragrant zest adds flavour and balance to the gin baked in the cake. While thick, white icing, made using the juice of the zested fruits, provides a sharp, citrus tang. Finally, green and yellow sprinkles hint at the cake’s flavour.

FF Lemon Lime Gin Heart Bundt Cake
Lemon Lime Gin Heart Bundt Cake the perfect flavour combination.

Tiger Gin has underlying orange citrus notes. Incorporating this with the lemon and lime gives this cake a unique citrus flavour. Yet it is the botanicals added in the process of making this gin that really linger on the palette.

FF Lemon Lime Gin Heart Bundt Cake
Elegant Heart Bundt Pan

Recipe: Lemon Lime Gin Heart Bundt Cake serves 10-12

200g/7oz Unsalted Butter at room temperature

200g/7oz Caster Sugar

1/4tsp Salt

30mls/2tbsp Gin plus extra for icing – I use Tiger Gin

5 Large Free Range Eggs

100g/4oz Natural Plain Yoghurt

1tsp Vanilla Extract – I use Nielsen-Massey

250g/5.5oz Plain White Flour

2tsp Baking Powder

1 Lemon – scrubbed

1 Lime – scrubbed

400g/14oz Icing Sugar

Sprinkles in coordinated colours

Method: Preheat the oven to 170C/150C fan, gas mark 3

If new, wash the Bundt Pan in hot soapy water. Do not use anything abrasive to clean it. Dry and prior to use spray with cake release. I use Wilton. ensuring the inside is completely covered.

  • Into a large bowl add the butter, sugar and salt. Whisk until pale and creamy.
  • Now add the eggs, yoghurt, gin and vanilla extract – wet ingredients.
  • On top of the wet ingredients sieve the flour and then baking powder.
  • Zest both the lime and lemon. Place the zest into the bowl.
  • This cake uses the all-in-one method. Whisk slowly until all the ingredients are just combined. Give the mixture a final mix with a spoon before carefully pouring into the prepared Bundt Pan.
  • Place the Bundt into the centre of the oven and bake for 50-60 minutes.
  • The cake is baked when it is golden and coming away from the sides of the pan. Also an inserted skewer will come out clean.
  • Remove the cake from the oven and allow to cool for 10 minutes.
FF Lemon Lime Gin Heart Bundt Cake
Preparing the cake batter, filling and baking the Lemon Lime Gin Heart Bundt Cake.
  • After 10 minutes cooling in the tin, turn the cake out on to a cooling rack.
  • Leave the cake to cool completely before decorating.
  • While the cake is cooling prepare the icing.
  • Sift the icing sugar into a medium sized bowl.
  • Next, if using gin in the icing add one tablespoon at first. Now add the juice of both the lemon and lime until it reaches a very thick, yet still drops from the spoon, consistency.
  • As soon as the cake is cooled it can be decorated.
  • Place the cooling rack over, with the cake on it, a larger baking tray. This will catch the drips from the icing.
  • Spoon the icing over the top of the cake, encouraging it to drip down the sides of the cake.
  • Continue to add icing in this way until each of the dips, in the heart pattern, have icing dripped on them.
  • Take care to completely cover the inside of the heart indentation at the top and the outside of the heart point at the bottom – see photos.
  • Carefully place sprinkles across the top of the heart. Again use the photograph for guidance.
  • Allow the cake to set for 5 minutes.
FF Lemon Lime Gin Heart Bundt Cake
Step by step photos showing how to decorate the cake.
  • Gently run a palette knife under the cake, separating any icing that may be stuck to both cake and rack.
  • Transfer the cake to a suitable plate or cake stand and leave to fully set.
FF Lemon Lime Gin Heart Bundt Cake
Lemon Lime Gin Heart Bundt Cake set and ready to serve.

Served sliced with a delicious cup of lemon tea and of course a smile!

FF Lemon Lime Gin Heart Bundt Cake
A tasty, tangy slice of Lemon Lime Gin Heart Bundt Cake.
FF Lemon Lime Gin Heart Bundt Cake
Lemon Lime Gin Heart Bundt Cake eat with your eyes first!

This cake will keep for up to four days in an airtight container. The cake was made the evening prior to icing and stored wrapped in baking parchment. In my opinion the cake is better the day after it is made.

If you have enjoyed this recipe for Lemon Lime Gin Heart Bundt Cake, then you may also like these:

Maple Syrup Iced Coffee Bundt Cake

FF Lemon Lime Gin Heart Bundt Cake
Maple Syrup Iced Coffee Bundt Cake

Chocolate Sunflower Bundt Cake

FF Lemon Lime Gin Heart Bundt Cake
Chocolate Sunflower Bundt Cake

Lemon Blueberry Bundt Cake

Lemon Lime Gin Heart Bundt Cake
Lemon Blueberry Bundt Cake

Baking is fun. Especially when you gain a little experience and confidence. Mixing flavours, experimenting with different cake tins and Bundt Pans. Creating a feast that will surprise people. Making friends, family and neighbours smile. Almost half of this cake has now gone. Slices sent on paper plates, with a pretty napkin, to unsuspecting, yet thoroughly grateful neighbours, this afternoon.

Sharing is so important at Feasting headquarters. Indeed we all believe that food tastes better when it is shared.

Sammie xx

No part of this post may be copied without my express, written permission. Please see my Disclosure Policy for details.

NOTE: If baking with alcohol, you must be at least 18 years old, here in the U.K.

I am entering this cake for Bake of the Week hosted by: Jenny and Helen at

Mummy Mishaps

Casa Costello

FF Lemon Lime Gin Heart Bundt Cake

Share
Facebooktwitterpinterestlinkedintumblr

Camp Coffee Walnut Cookies

Share
Facebooktwitterpinterestlinkedintumblr

Today I have a delicious cookie recipe for you. While it’s flavours are based on the classic coffee and walnut cake, there is also an added twist. So these Camp Coffee Walnut Cookies with a mocha drizzle are the perfect accompaniment to your morning, afternoon, anytime, cup of coffee.

FF Camp Coffee Walnut Cookies

So, do you remember Camp Coffee?

While I used to have a splash of it in hot milk when I was younger, other than that I can’t remember seeing it around for the last 20 years or so. Although maybe I just wasn’t looking!

FF Camp Coffee Walnut Cookies
Camp Coffee Walnut Cookies

Camp coffee is made using chicory extract. So the leaves that you add to your salad are also used to make this product. Another added benefit is that it contains 4% coffee extract, which means although not caffeine free, it has lower levels than regular coffee, without compromising flavour.

    FF Camp Coffee Walnut Cookies Camp Coffee Walnut Cookies

Because it is already in liquid form, Camp coffee is very easy to use, as a coffee substitute in many recipes. Including cookies, cakes, this Camp Coffee Ice Cream and different types of icing.

While Camp Coffee Walnut Cookies are very crisp, you can confidently bite into one without the cookie crumbling apart. And the mocha drizzle adds just the right amount of chocolate/coffee sweetness, however, you can easily leave it off if you are watching your sugar intake.

Camp Coffee Walnut Cookies

Since the recipe makes approximately 10 cookies I strongly suggest making a double batch. And take them in to work, to share with your colleagues over morning coffee. Also you can ask if anyone remembers the, oh-so-familiar bottle?

Recipe: Makes 10 Camp Coffee Walnut Cookies

100g/4oz Unsalted Butter – softened to room temperature

75g/3oz Caster Sugar

1/8tsp Salt – I use Maldon

1/2tsp Camp Coffee  widely available from supermarkets, grocery shops and on line

1/2tsp Vanilla Extract – I use Nielsen-Massey

100g/4oz Plain White Flour

40g/2.5oz Walnuts processed to a ground almond consistency

30g small walnut pieces

Drizzle:

150g/5oz Icing Sugar sifted

10g/0.5oz Cocoa Powder sifted

1/4 tsp Camp Coffee alternatively dissolve 1/2 tsp instant coffee in 1 tsp hot water and allow to cool

1/4 tsp Vanilla Extract

Approx 25mls water

Method: Preheat the oven to 190C/170C fan, gas mark 5, 375F

Making The Coffee And Walnut Cookie Dough

  • First of all line 2 baking trays with non stick silicone mats or baking parchment.
  • In a medium size bowl add the butter, sugar and salt.
  • Whisk/beat until pale and creamy.
  • Add the Camp coffee and vanilla extract. Whisk/beat to combine.
  • Process the 40g of walnuts either in a food processor or mini chopper, until they are finely ground and resemble ground almonds.
  • Add the flour, ground walnuts and walnut pieces to the bowl.
FF Camp Coffee Walnut Cookies
The ground walnuts really add to the nutty flavour and crisp texture of this cookie.
  • Use a spoon to stir and bring all the ingredients together.
  • Divide the mixture into ten and roll into balls.
  • Place the cookie dough balls on to the baking tray.
  • Press down to flatten the balls into discs.
FF Camp Coffee Walnut Cookies
Camp Coffee Walnut Cookies ready for the oven.

Baking The Cookies

  • Place the baking trays evenly spaced apart in the oven and bake for 13-15 minutes.
  • Turn the baking trays around halfway through baking.
  • The Camp Coffee Walnut Cookies are baked when they are crisp and golden.
  • As soon as the cookies are baked remove the baking trays from the oven and allow them to cool on the trays.
FF Camp Coffee Walnut Cookies
Camp Coffee Walnut Cookies freshly baked and they smell wonderful 😉

Making the Mocha Drizzle

  • Sift the icing sugar and cocoa into a bowl.
  • Add the Camp coffee and vanilla extract.
  • Next add 20mls of water and stir with a spoon adding the extra water, if needed, to make a thick icing that can be drizzled.
  • Place all of the cookies on a cooling rack that is placed over a large baking tray.
  • Spoon the drizzle into a small disposable piping bag, alternately you can drizzle the icing over the cookies with a spoon.
  • Snip the very end off of the piping bag and pipe zig zag lines across the cookies.

FF Camp Coffee Walnut Cookies

Finally, serve these delicious Camp Coffee Walnut Cookies, once the icing has set, with a drink of your choice. I am especially thrilled that these cookies withstand gentle ‘dunking’. Because in my house, dunking cookies makes them hat extra bit special.

In addition to my family our post lady enjoyed one of these cookies when she delivered a parcel late this morning. I can see these disappearing fast, so next time I’ll make a double batch! Because we encourage sharing here at home baked treats can disappear quickly. And it’s always nice to surprise delivery people with a quick snack.

    Camp Coffee Walnut Cookies

If you have enjoyed this recipe for Camp Coffee Walnut Cookies here are some others you might like too:

Apricot Oat Crumble Cookies

FF Camp Coffee Walnut Cookies
Apricot Oat Crumble Cookies

Oat Chocolate Chip Cookies

FF Camp Coffee Walnut Cookies
Oat Chocolate Chip Cookies

Caramac Caramel Cookies

FF Camp Coffee Walnut Cookies
Caramac Caramel Cookies

Since I start everyday with a cup of tea and a cookie/biscuit (same difference!) these cookies are ideal. And with just enough sweetness to kickstart my body and not too much caffeine to overload my system.

Since we I am a self confessed Cookie Monster, constantly trying new recipes. Although my preference is always for something nutty or with oats, so these Camp Coffee Walnut Cookies are perfect.

Do you have a set way to start your day?

So, whatever you are making, baking and creating in your kitchens, have fun preparing and sharing your feast.

Sammie xx

 Camp Coffee Club provided me with the Camp Coffee to make this recipe. All views, opinions, content and photographs are my own and may only be reproduced with my permission. Please see my Disclosure Policy.

Share
Facebooktwitterpinterestlinkedintumblr

Cherry Bakewell Cookies

Share
Facebooktwitterpinterestlinkedintumblr

This post is Pink. Very Pink. And I make no apology for its pinkness, for one simple reason – Cherry Bakewell Cookies. Buttery, almond and cherry cookies, drizzled with almond flavoured icing. If you like Bakewell Tart you will love these cookies.

FF Cherry Bakewell Cookies

Because I have been testing some baking equipment for British BakewareI knew I couldn’t pass up the opportunity to bake cookies, using their large baking tray. Since those of you who regularly pop round here for a chat I mean read, will know I LOVE COOKIES. I really, really love cookies – and – please don’t hate me, I prefer nutty, fruity cookies over chocolate ones. If you love choccie cookies there’s a link at the bottom of the post. I’m so good to you 😉.

Cherry Bakewell Cookies:

But before you click the link to the Chocolate Cookies, just have a peek at these delicious Cherry Bakewell Cookies.

Cherry Bakewell Cookies

Can you imagine biting into this crunchy, buttery, cookie that is filled with flaked almonds, cherries and drizzled with a perfect, not-too-sweet icing?

So have I tempted you to try these scrumptious Cherry Bakewell Cookies? Perfect with milk, or a cup of tea/coffee, especially as it is frrreeeezzzing outside today!

Cherry Bakewell Cookies

One of the reasons I enjoy baking, so much, is that I can whip up a batch of cookies or loaf of bread and I know exactly what has gone into making them. Also I  really enjoy sharing what I bake, beyond our home. By that I mean, surprising our neighbours with a gift of cupcakes, baking a gift to say thank you, or just because.

And these cookies are incredibly easy to make. Once the cookie dough is made, it is rolled into logs, wrapped and chilled in the fridge and then sliced and baked when needed. Alternatively, you could dispense with the almond drizzle, just add the almond extract to the creamed butter and sugar part of the recipe, so that these  retain that proper Bakewell taste and once baked these babies are ready to eat!

Recipe: Makes Approximately 20 Cherry Bakewell Cookies

225g/8oz Unsalted Butter at room temperature

150g/5oz Caster Sugar

275g/10oz Plain White Flour

1/4tsp Salt I use Maldon Salt

1 Large Egg Yolk – I always use free range

1tsp Vanilla Extract

100g/4oz Flaked Almonds

100g/4oz Glacé Cherries roughly chopped

For the drizzle

200g/7oz Icing Sugar

1tsp Almond Extract – available from Nielsen-Massey 

Tap water

Method:

Making the cookie dough:

In a large bowl add the butter, sugar and salt. Whisk until pale and creamy.

Add the egg yolk and vanilla extract (and the almond extract, if not making the drizzle). Whisk together until all the ingredients are combined.

Add the flaked almonds to one side of the bowl, then add the flour to the other side. Put the cherries on top of the flour and gently mix them in the flour with your fingers – this will stop the cherries sticking together and ensure they are distributed evenly throughout the cookie dough.

Cherry Bakewell Cookies

Mix all the ingredients together until they are thoroughly combined.

Cherry Bakewell Cookies
Yummy cookie dough!

Wipe the worktop with a clean damp cloth. Lay some cling film over the damp surface – it should stay in place.

Place half of the cookie dough onto the cling film and roll into a log shape approx 4cm/1.5″ diameter. Repeat with the other half of the cookie dough.

Cherry Bakewell Cookies
Cherry Bakewell Cookie dough log.

Place both cookie logs into the fridge to chill until firm – approx 1 hour.

Baking the cookies:

When the cookie logs are firm enough to slice, preheat the oven to 180C/160C fan, gas mark 4, 350F

Remove the cookie logs from the fridge and slice into 1.5 cm discs.

Cherry Bakewell Cookies
Cherry Bakewell Cookies sliced and ready to bake.

I was testing this Large Baking Tray for British Bakeware however, I would advise lining any baking tray used with baking parchment.

Place the Cherry Bakewell Cookies onto the baking tray, allowing room between each cookie, as they do spread whilst baking.

Place into the oven and bake for 15 minutes. Do not bake for longer as the cookies will become too brittle once cooled.

As soon as the cookies are baked remove from the oven.

Cherry Bakewell Cookies
Cherry Bakewell Cookies allow to cool on the baking tray for 15 minutes.

After 15 minutes cooling transfer the cookies to a cooling rack. I needed to use a palette knife to lift the cookies away from the tray. Lining with baking parchment will avoid scratching your trays.

When completely cooled the cookies are ready to be iced.

Icing the cookies:

First of all, place the icing sugar and almond extract into a bowl. Add tap water, a little at a time (I use a teaspoon to add the water), mixing thoroughly after each addition.

The icing is at the correct thickness when it can hold a figure of eight shape for a moment, when drizzled onto itself with a spoon.

Cherry Bakewell Cookies
Almond flavoured icing, ready for drizzling over the cookies.

You can drizzle the icing over the cookies with a spoon, or fill a disposable piping bag (or plastic freezer bag) with the icing. Snip the end (or corner of the bag), so that there is a small hole. Drizzle a pattern over each of the cookies.

Cherry Bakewell Cookies

Leave the icing to set on the cookies before storing in an airtight container.

Cherry Bakewell Cookies
Do you think you can stop at one?

Now invite some friends round for a cup of tea and a catch up and share these delicious Cherry Bakewell Cookies.

Alternatively pop some in a clear cellphone bag, tie with pretty ribbon and give away as gifts.

I am always hungrier when the weather turns cold. Are you?

If you have enjoyed this recipe for Cherry Bakewell Cookies you may also like these:

Chocolate Dipped Shortbread Heart Cookies 

FF Cherry Bakewell Cookies
Chocolate Dipped Shortbread Heart Cookies

Bakewell Shortbread Bars

FF Cherry Bakewell Cookies
Bakewell Shortbread Bars

Extreme Chocolate Cookies 

FF Cherry Bakewell Cookies
Extreme Chocolate Cookies

So, whatever you are making, baking and creating in your kitchens, have fun preparing and sharing your feast.

Sammie xx

No part of this post may be reproduced or duplicated without the written permission of the owner. Please see my Disclosure Policy.

Share
Facebooktwitterpinterestlinkedintumblr