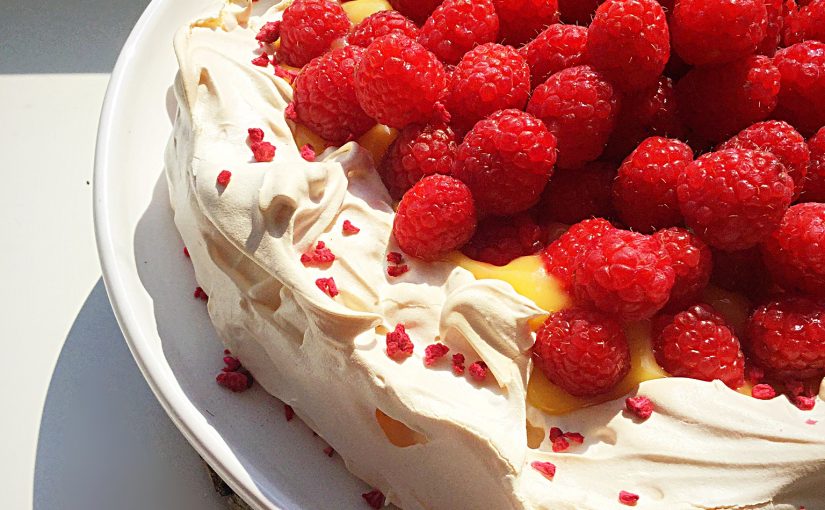
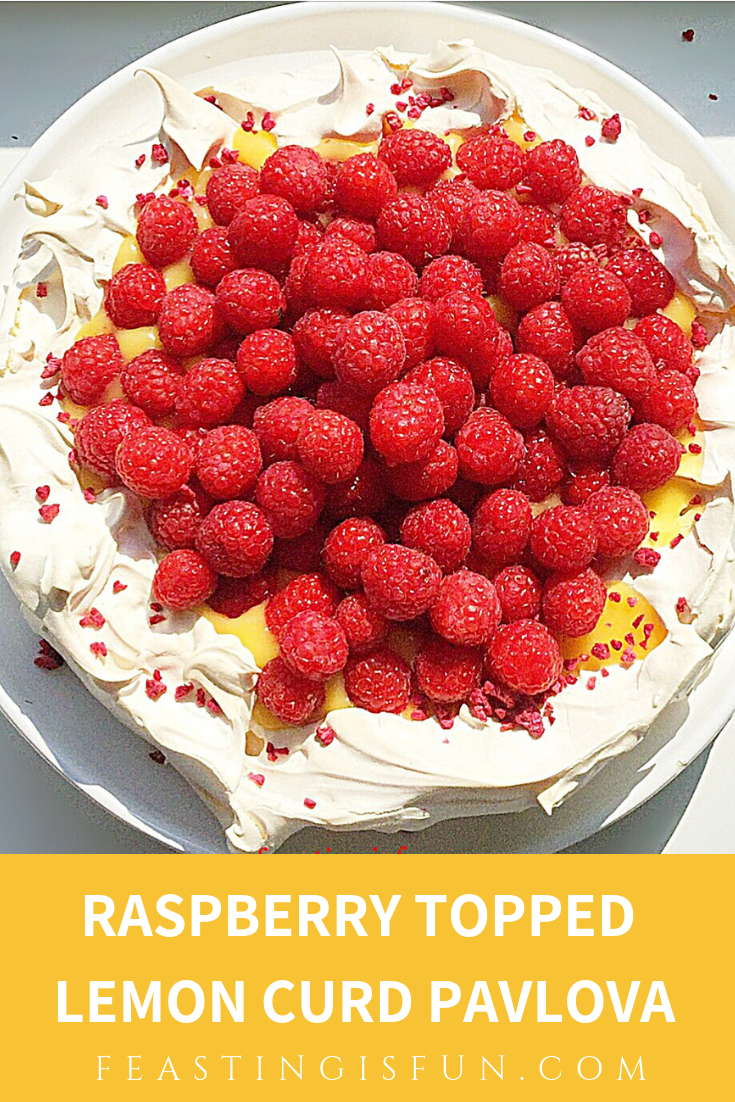
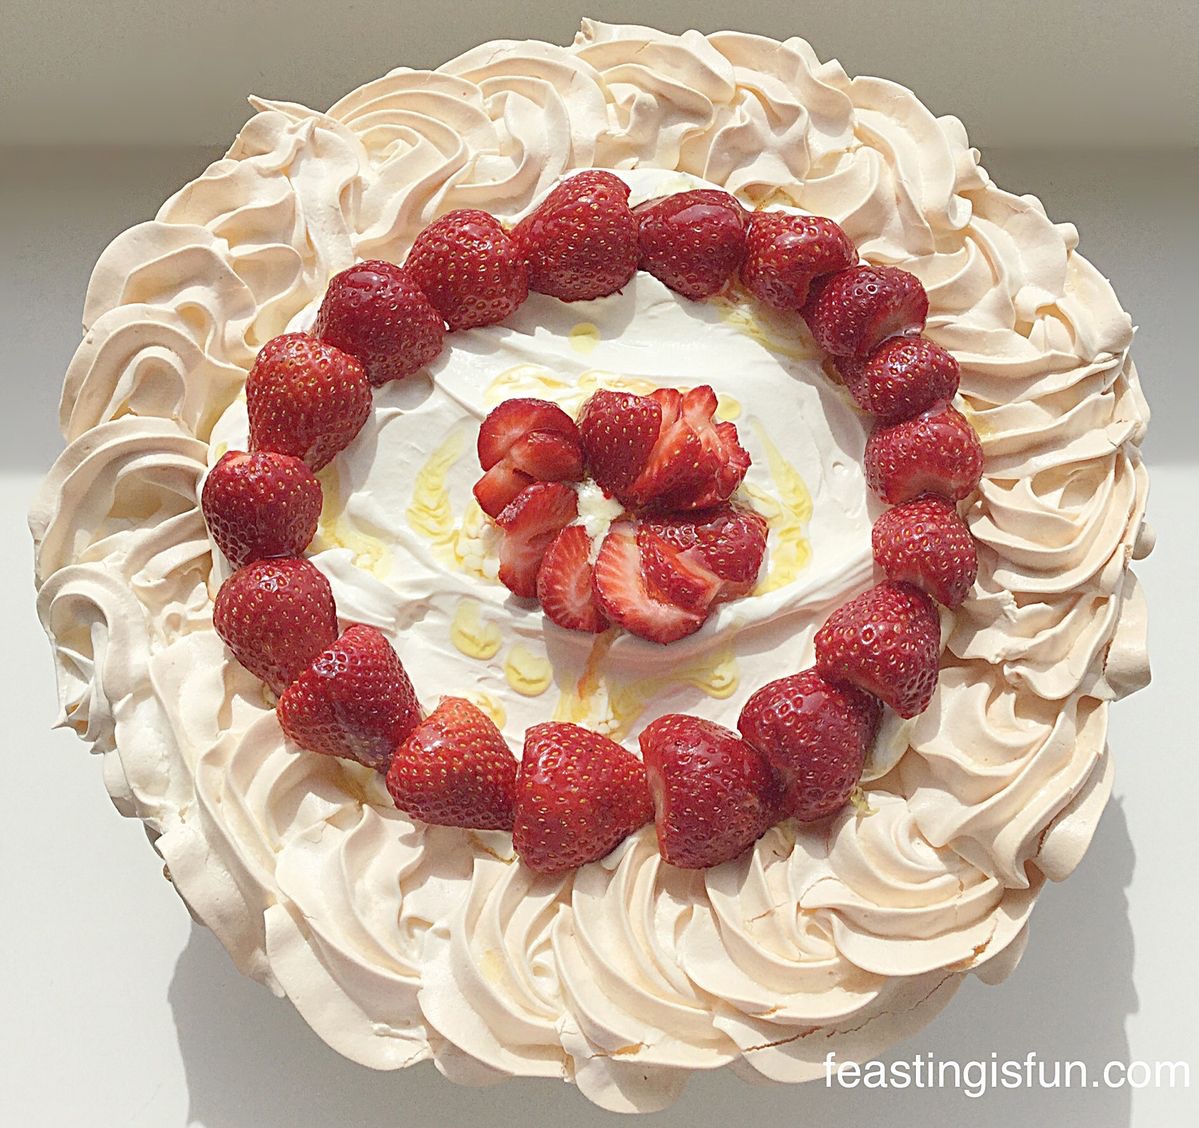
Spring and Summer for me are all about fresh berries. While, there is little that compares to a ripe, sun warmed, freshly picked Strawberry, their shop bought counterparts can be a disappointment. Whereas raspberries, have a more intense flavour that is rarely dulled, even when frozen. Being both tart and sweet, they add extra fruit intensity to this Raspberry Topped Lemon Curd Pavlova.
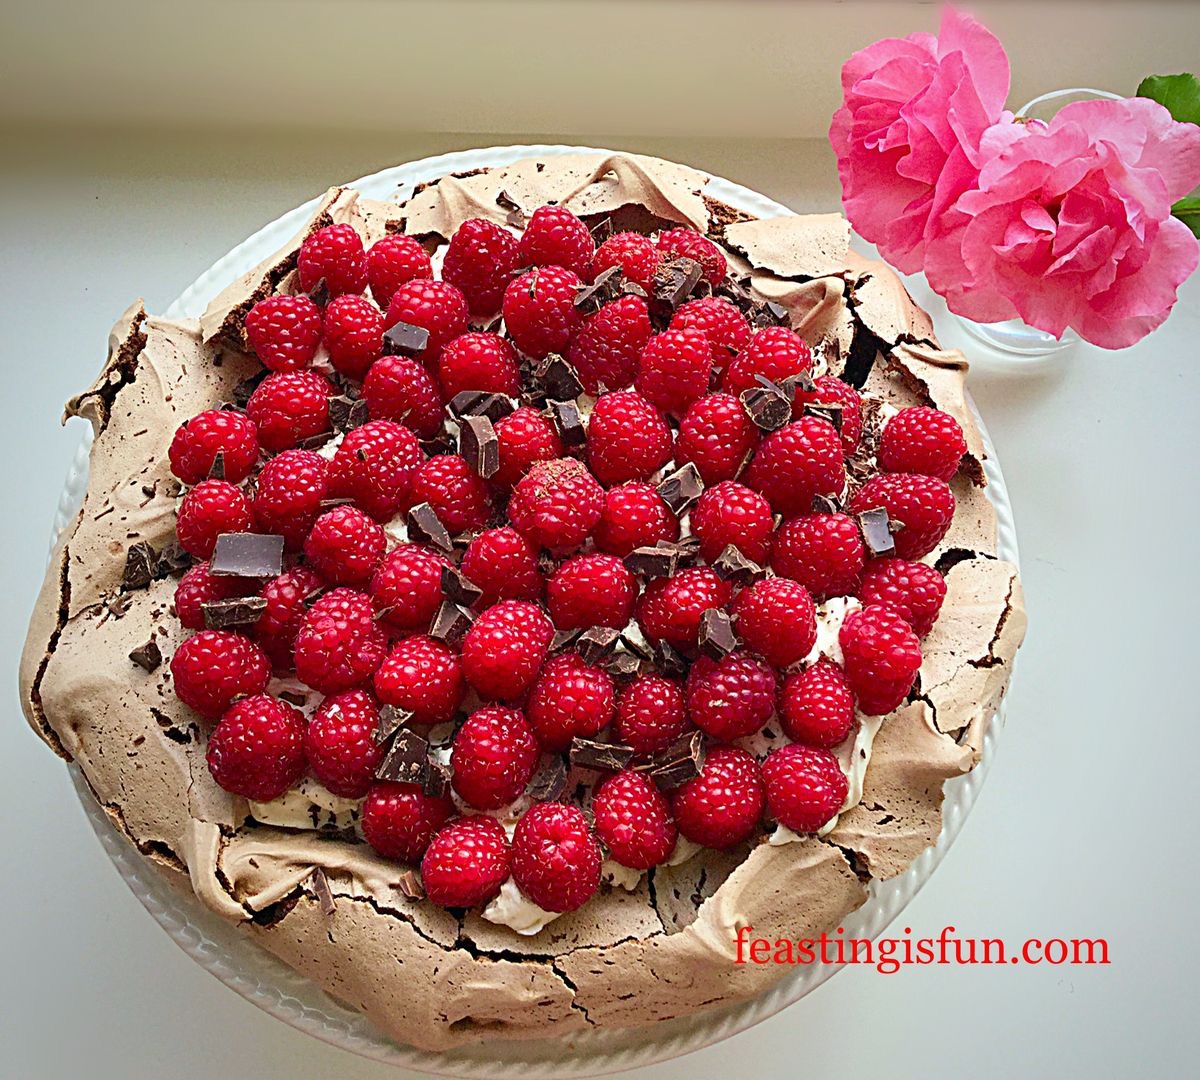
After receiving some Raspberry Vinegar to try, my immediate thought was to include it in a Pavlova. Since white wine or balsamic vinegar are used in my other Pavlova recipes such as this Raspberry Chocolate Pavlova, it seemed ideal. And with the addition of freeze dried raspberries it adds a subtle raspberry flavour to the baked meringue. While also creating the marshmallow inner to this meringue’s crispy, outer shell.
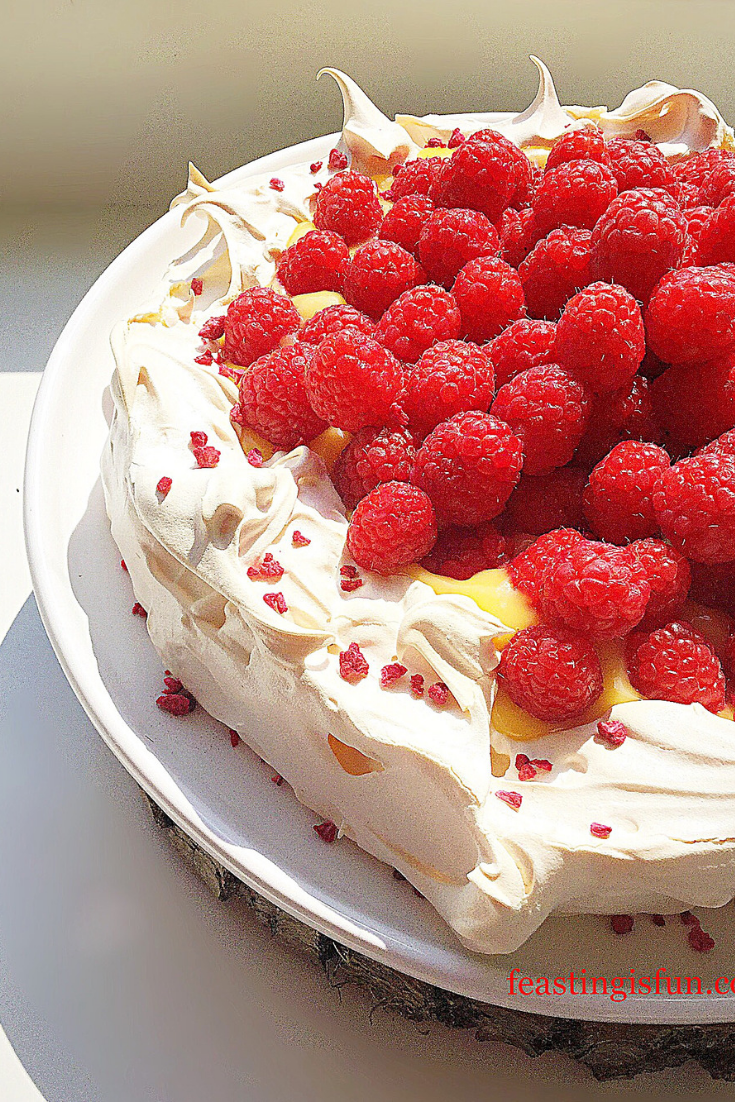
Since I personally do not have a very sweet tooth the tart raspberries, along with the golden lemon curd balance perfectly with the Pavlovas sweetness. And as the meringue whites are used for the Pavlova I wanted to come up with a fresh lemon curd recipe that only needed yolks. Following research online I cobbled together half a dozen different recipes and came up with my own. Resulting in a tart lemon curd that just holds it’s shape.

I have made this Pavlova four times. Because of the fresh raspberries in the vinegar it colours very quickly if baked at the usual fan oven temperature of 140C. So, you will find in the method that this Pavlova is baked at a much lower temperature than you might normally expect. Since baking at a lower temperature results in a crispy outer and marshmallow inner for this Pavlova, without it browning on the outside.
Recipe: Gluten Free Raspberry Topped Lemon Curd Pavlova serves 6-8
For the Pavlova Base:
4 Large Free Range Eggs – yolks separated from whites
200g/7oz Caster Sugar
1 tsp Raspberry Vinegar – I use Womersley Foods alternatively use 1 tsp White Wine Vinegar
1 tsp Cornflour (corn starch) – I use Doves Farm it is certified gluten free
Optional – 3 tbsp Freeze Dried Raspberries – available online and from Waitrose
For the Lemon Curd:
4 – 6 Large Unwaxed Lemons – if waxed scrub with brush in hot soapy water, rinse and dry – finely zested and then squeezed to yield 200mls fresh lemon juice
200ml Tap Water
125g/4.5oz Caster Sugar
100g/4oz Unsalted Butter cut into cubes
3tbsp Cornflour dissolved in 2tbsp Tap water
4 Egg Yolks from separated eggs
Topping:
400-500g/1lb Fresh Raspberries
Optional – 2tbsp Freeze Dried Raspberries
Method: preheat oven to 140C/120C, 275F, gas mark 1
Making The Pavlova
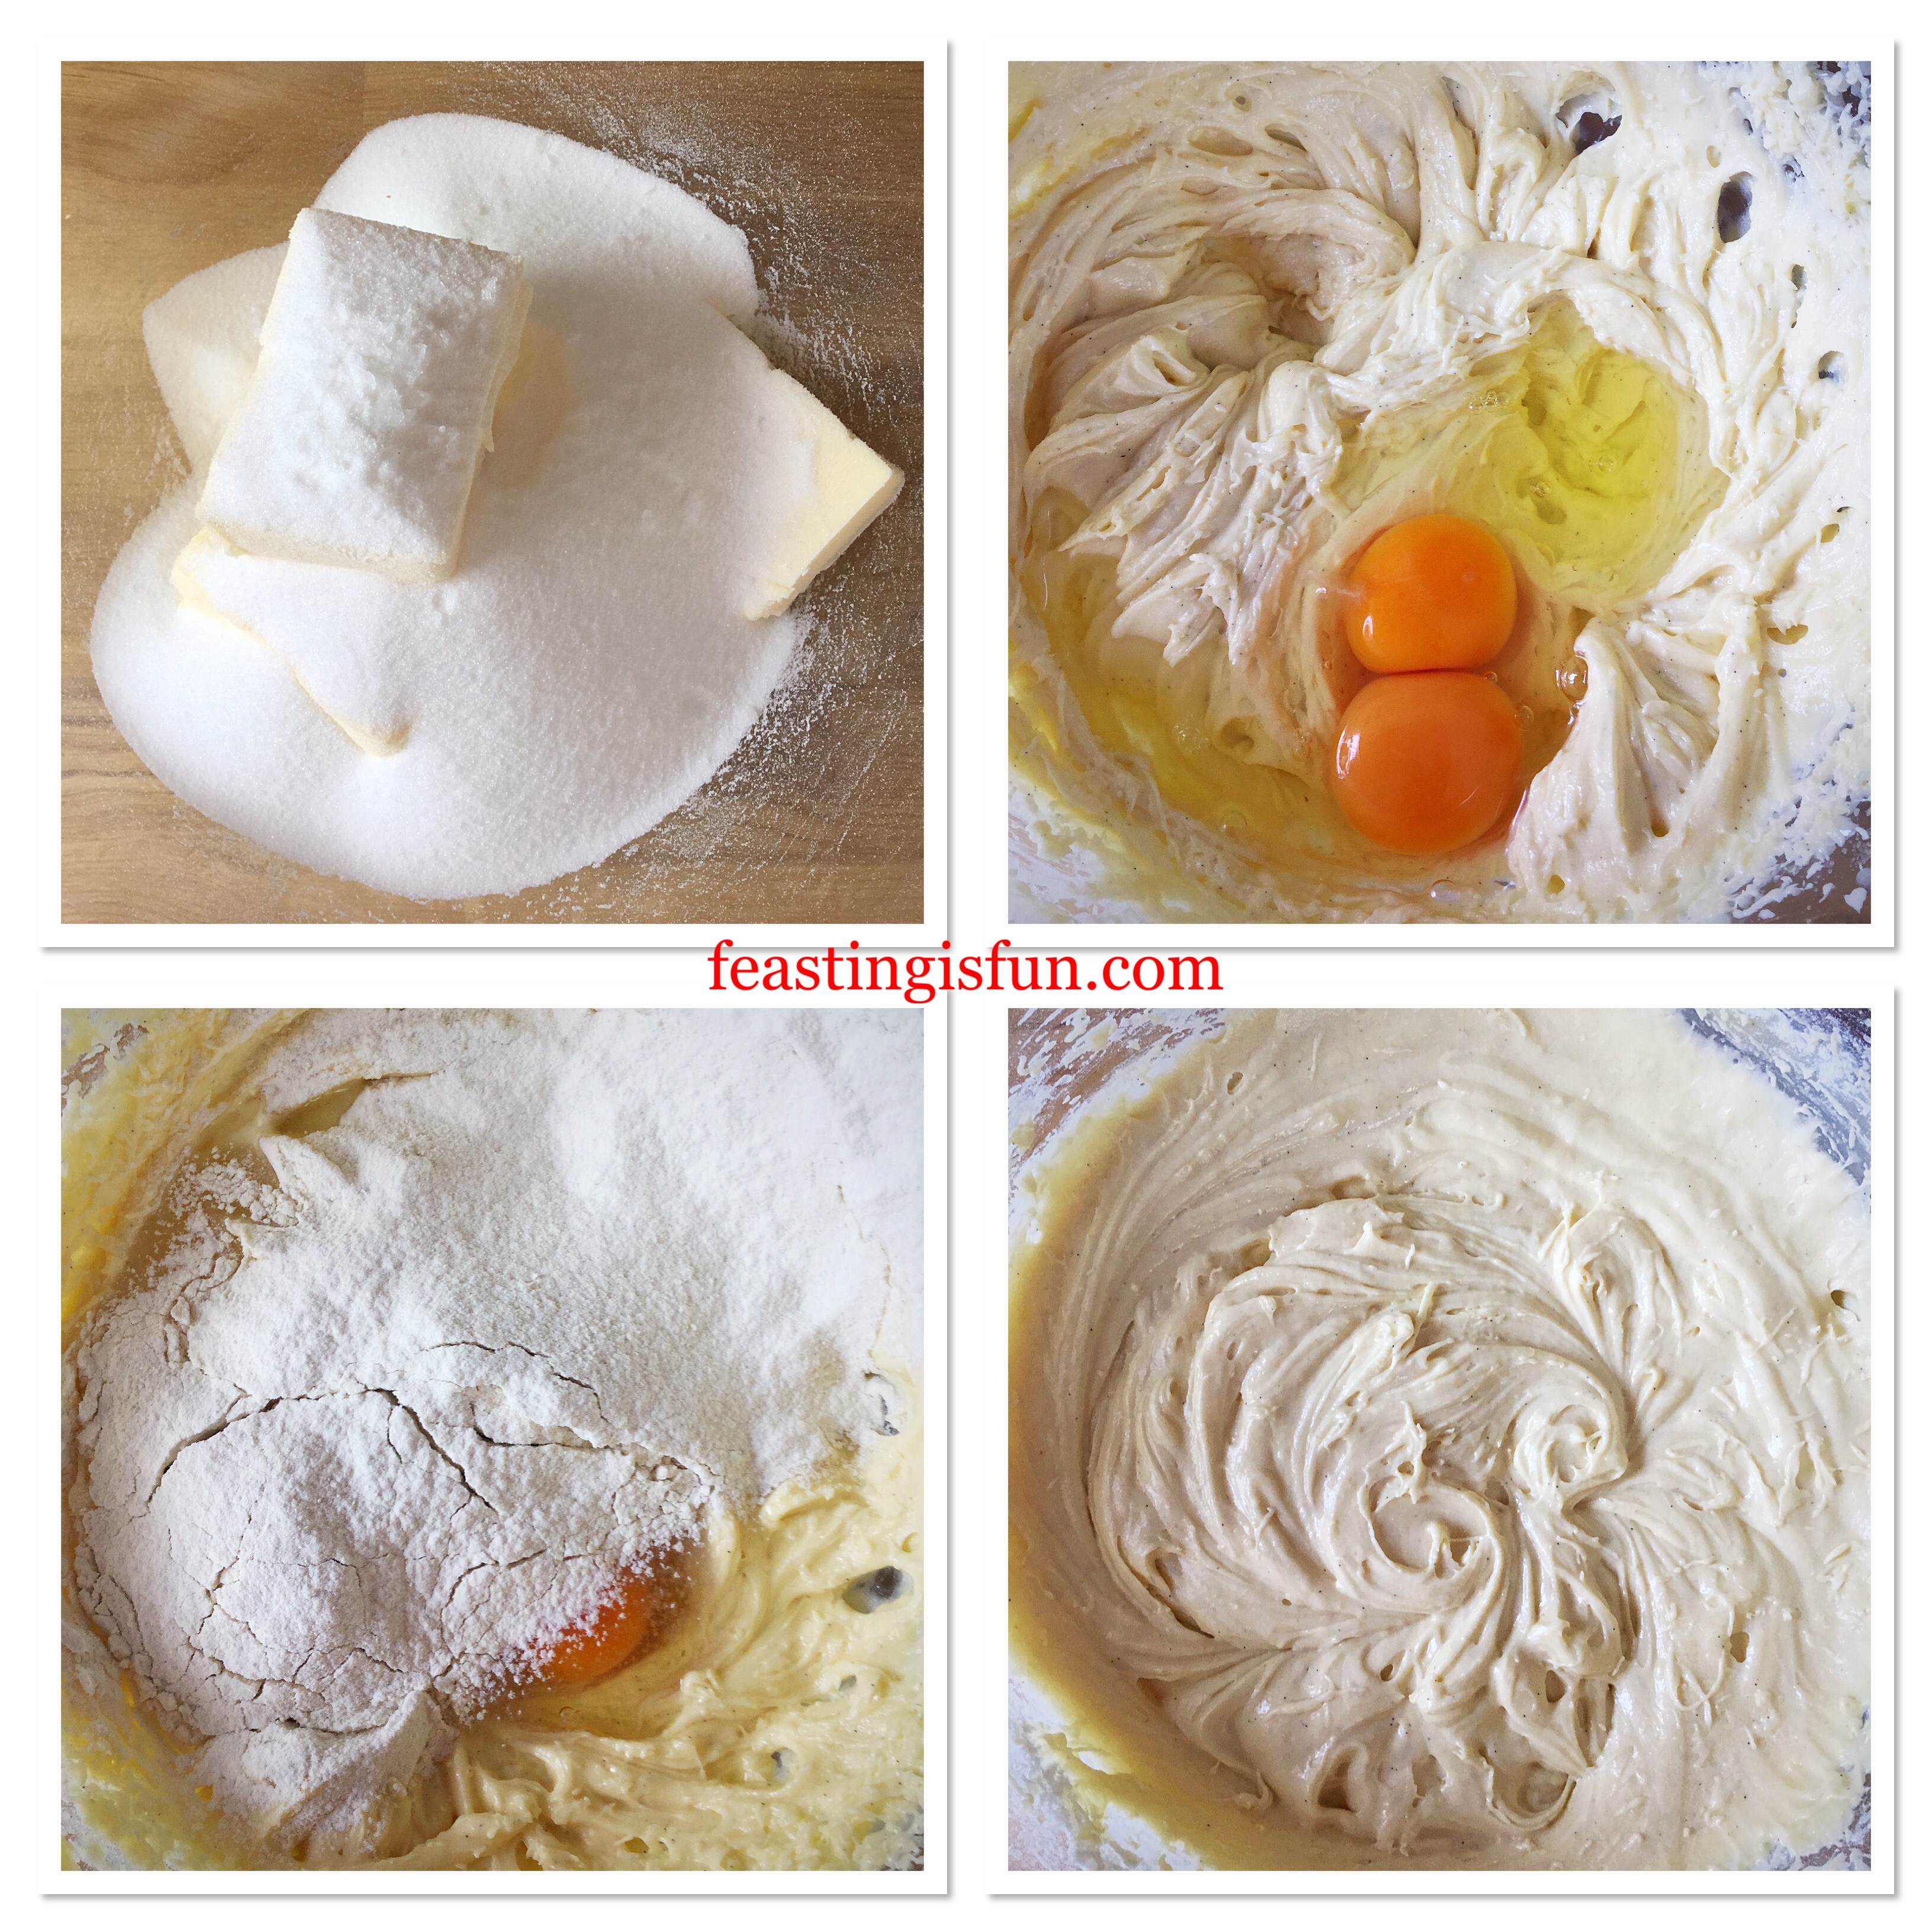
- First of all, make sure the mixing bowl is scrupulously clean. I always wipe around the inside with half a cut lemon.
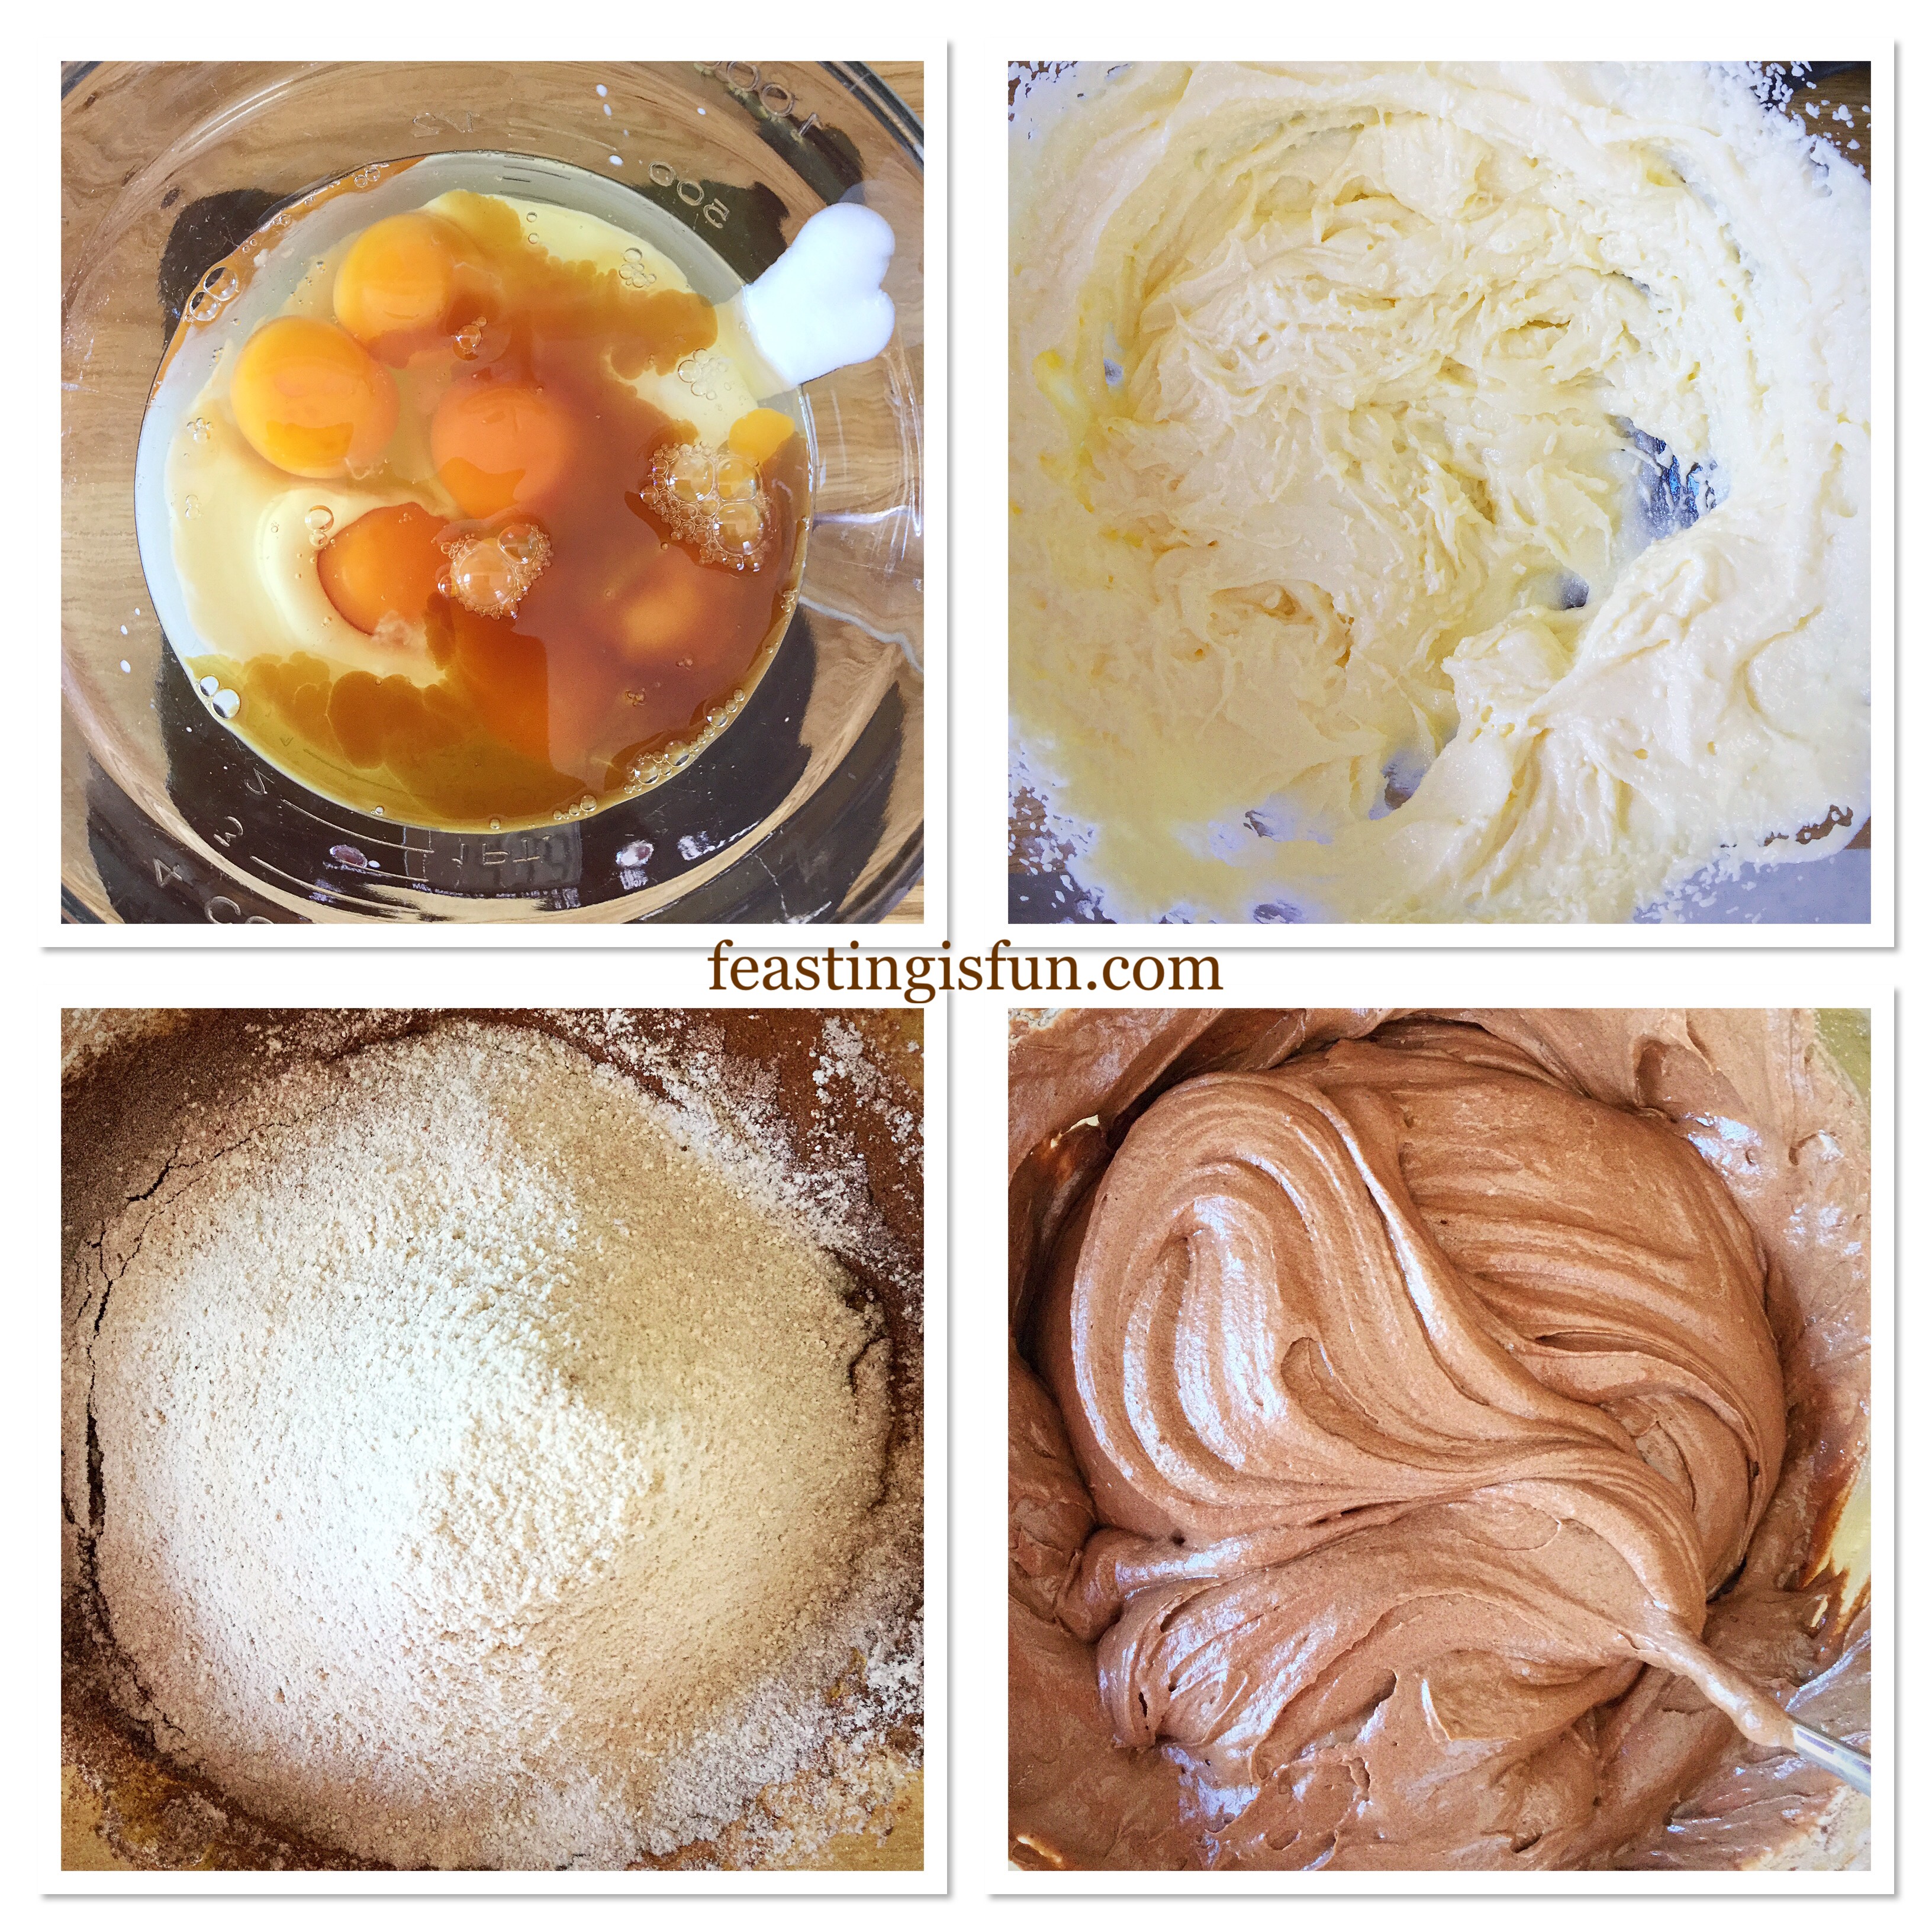
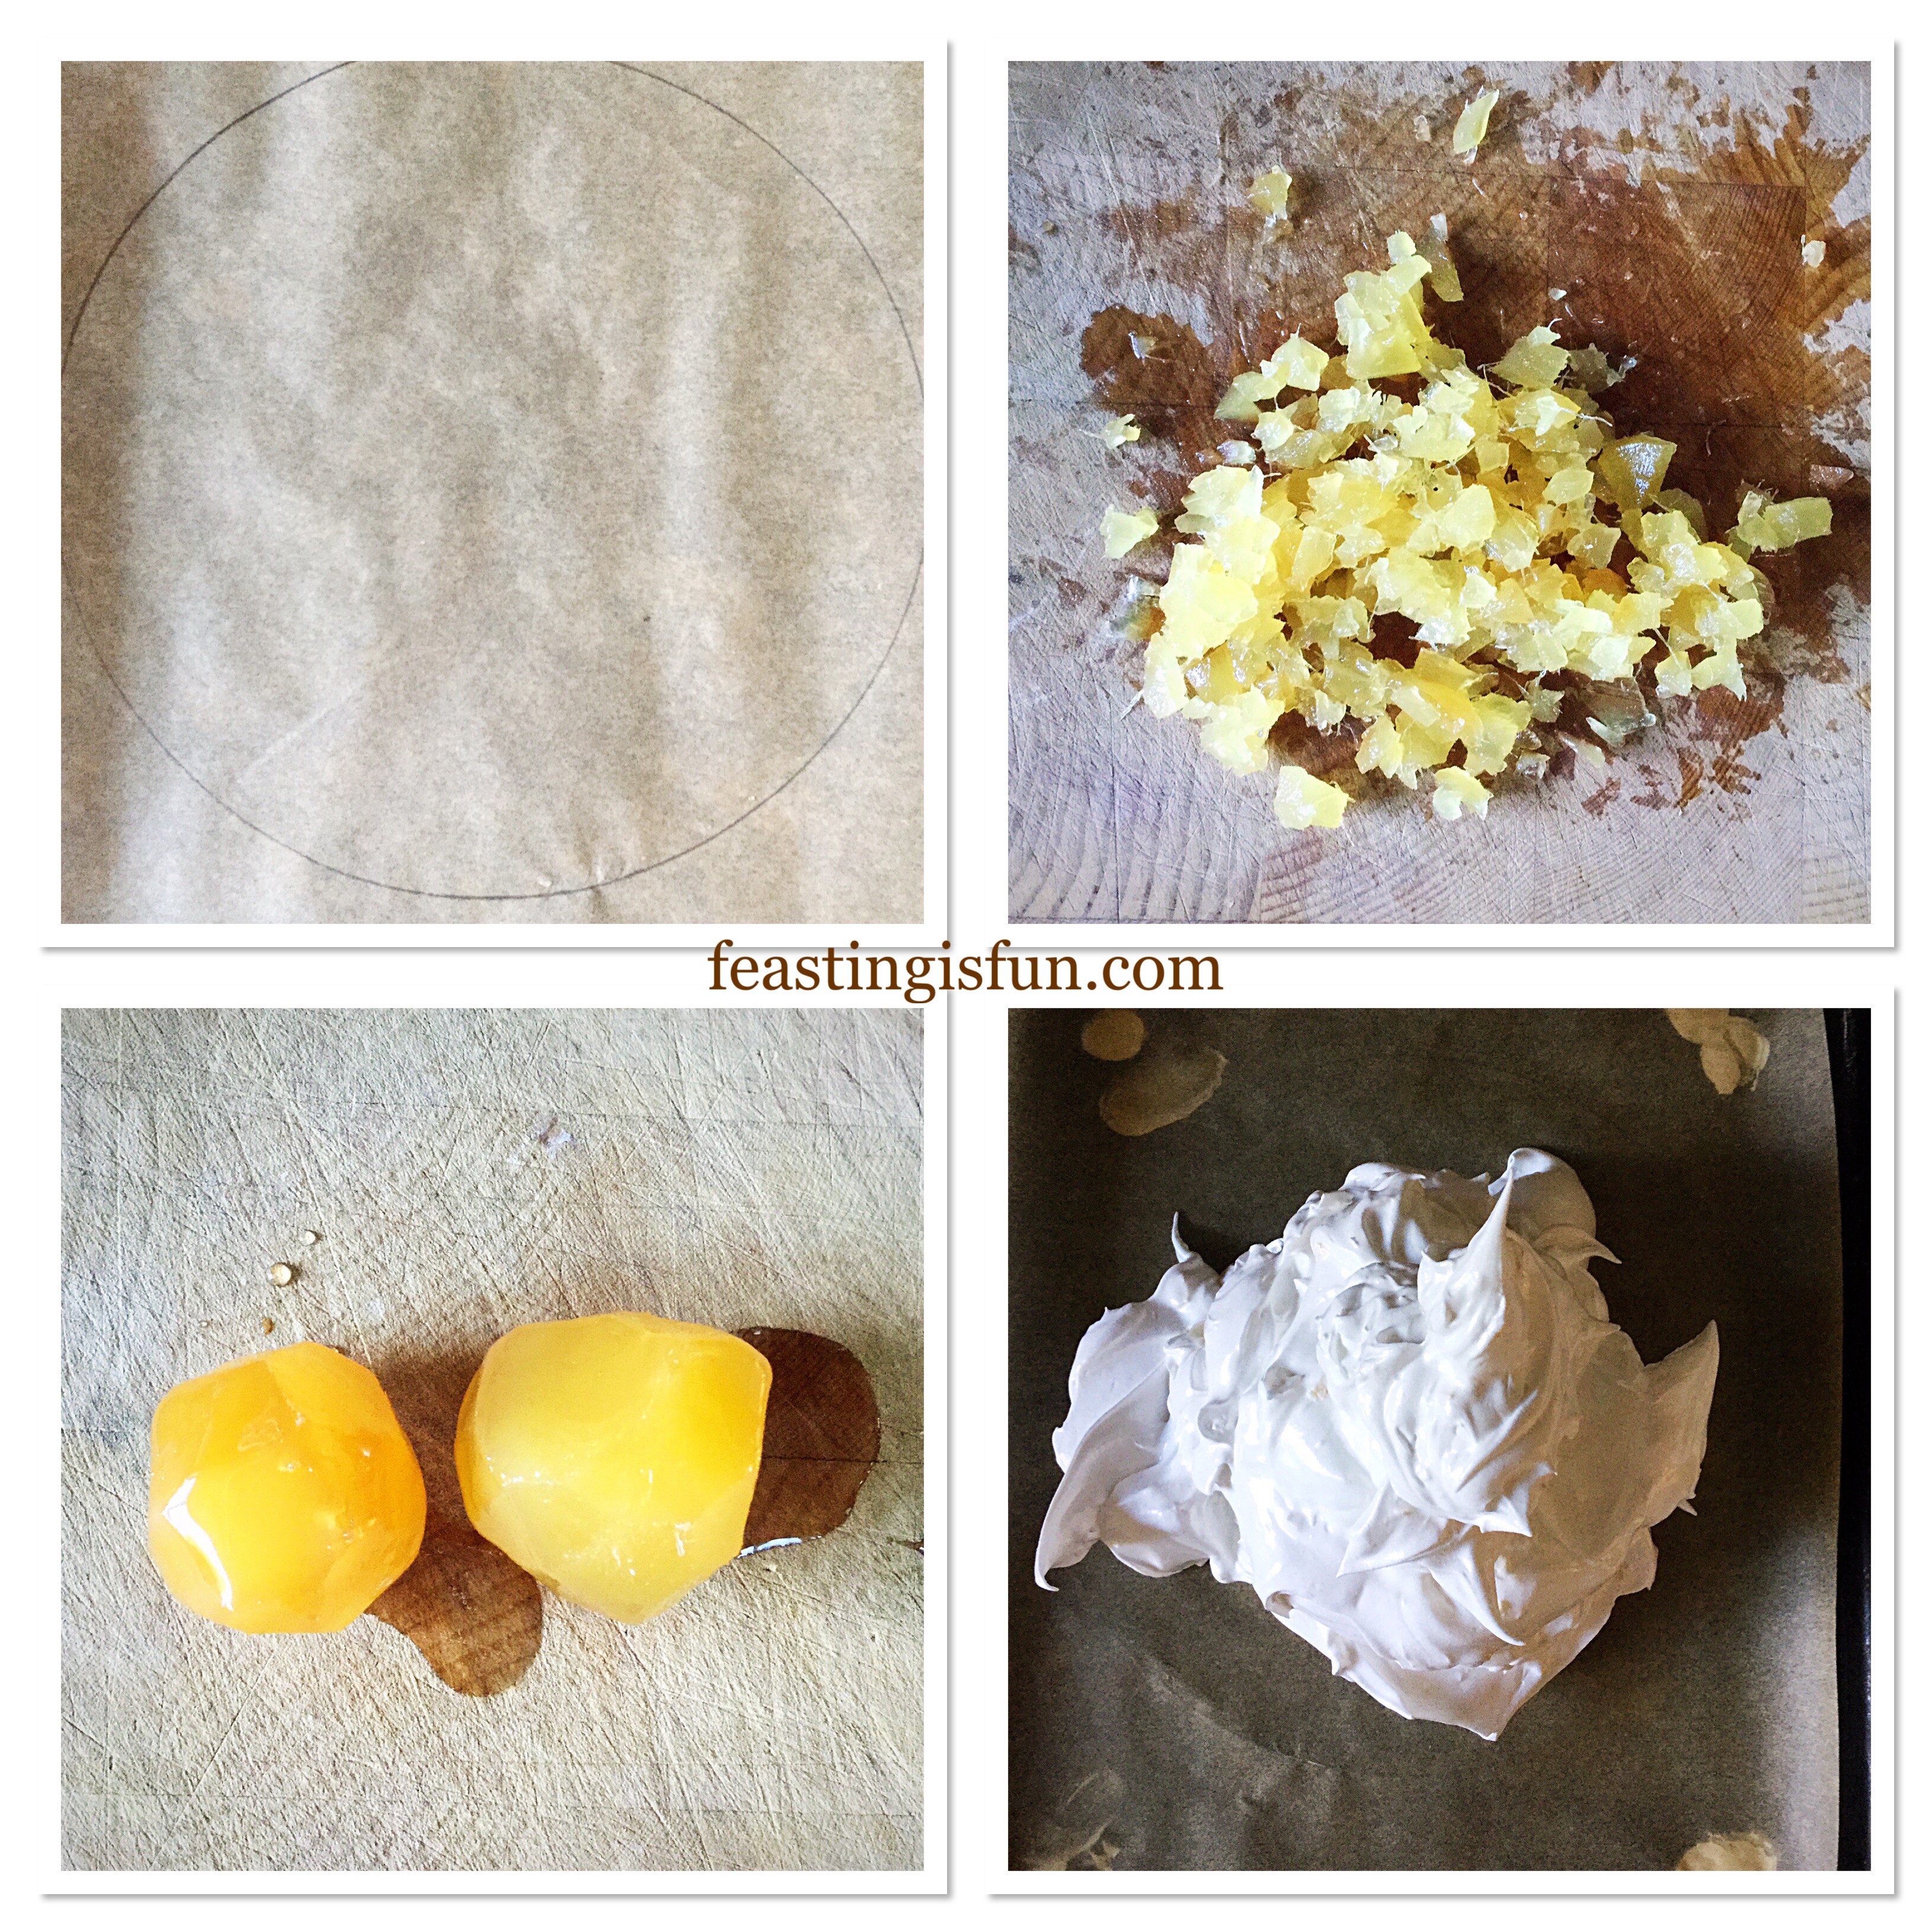
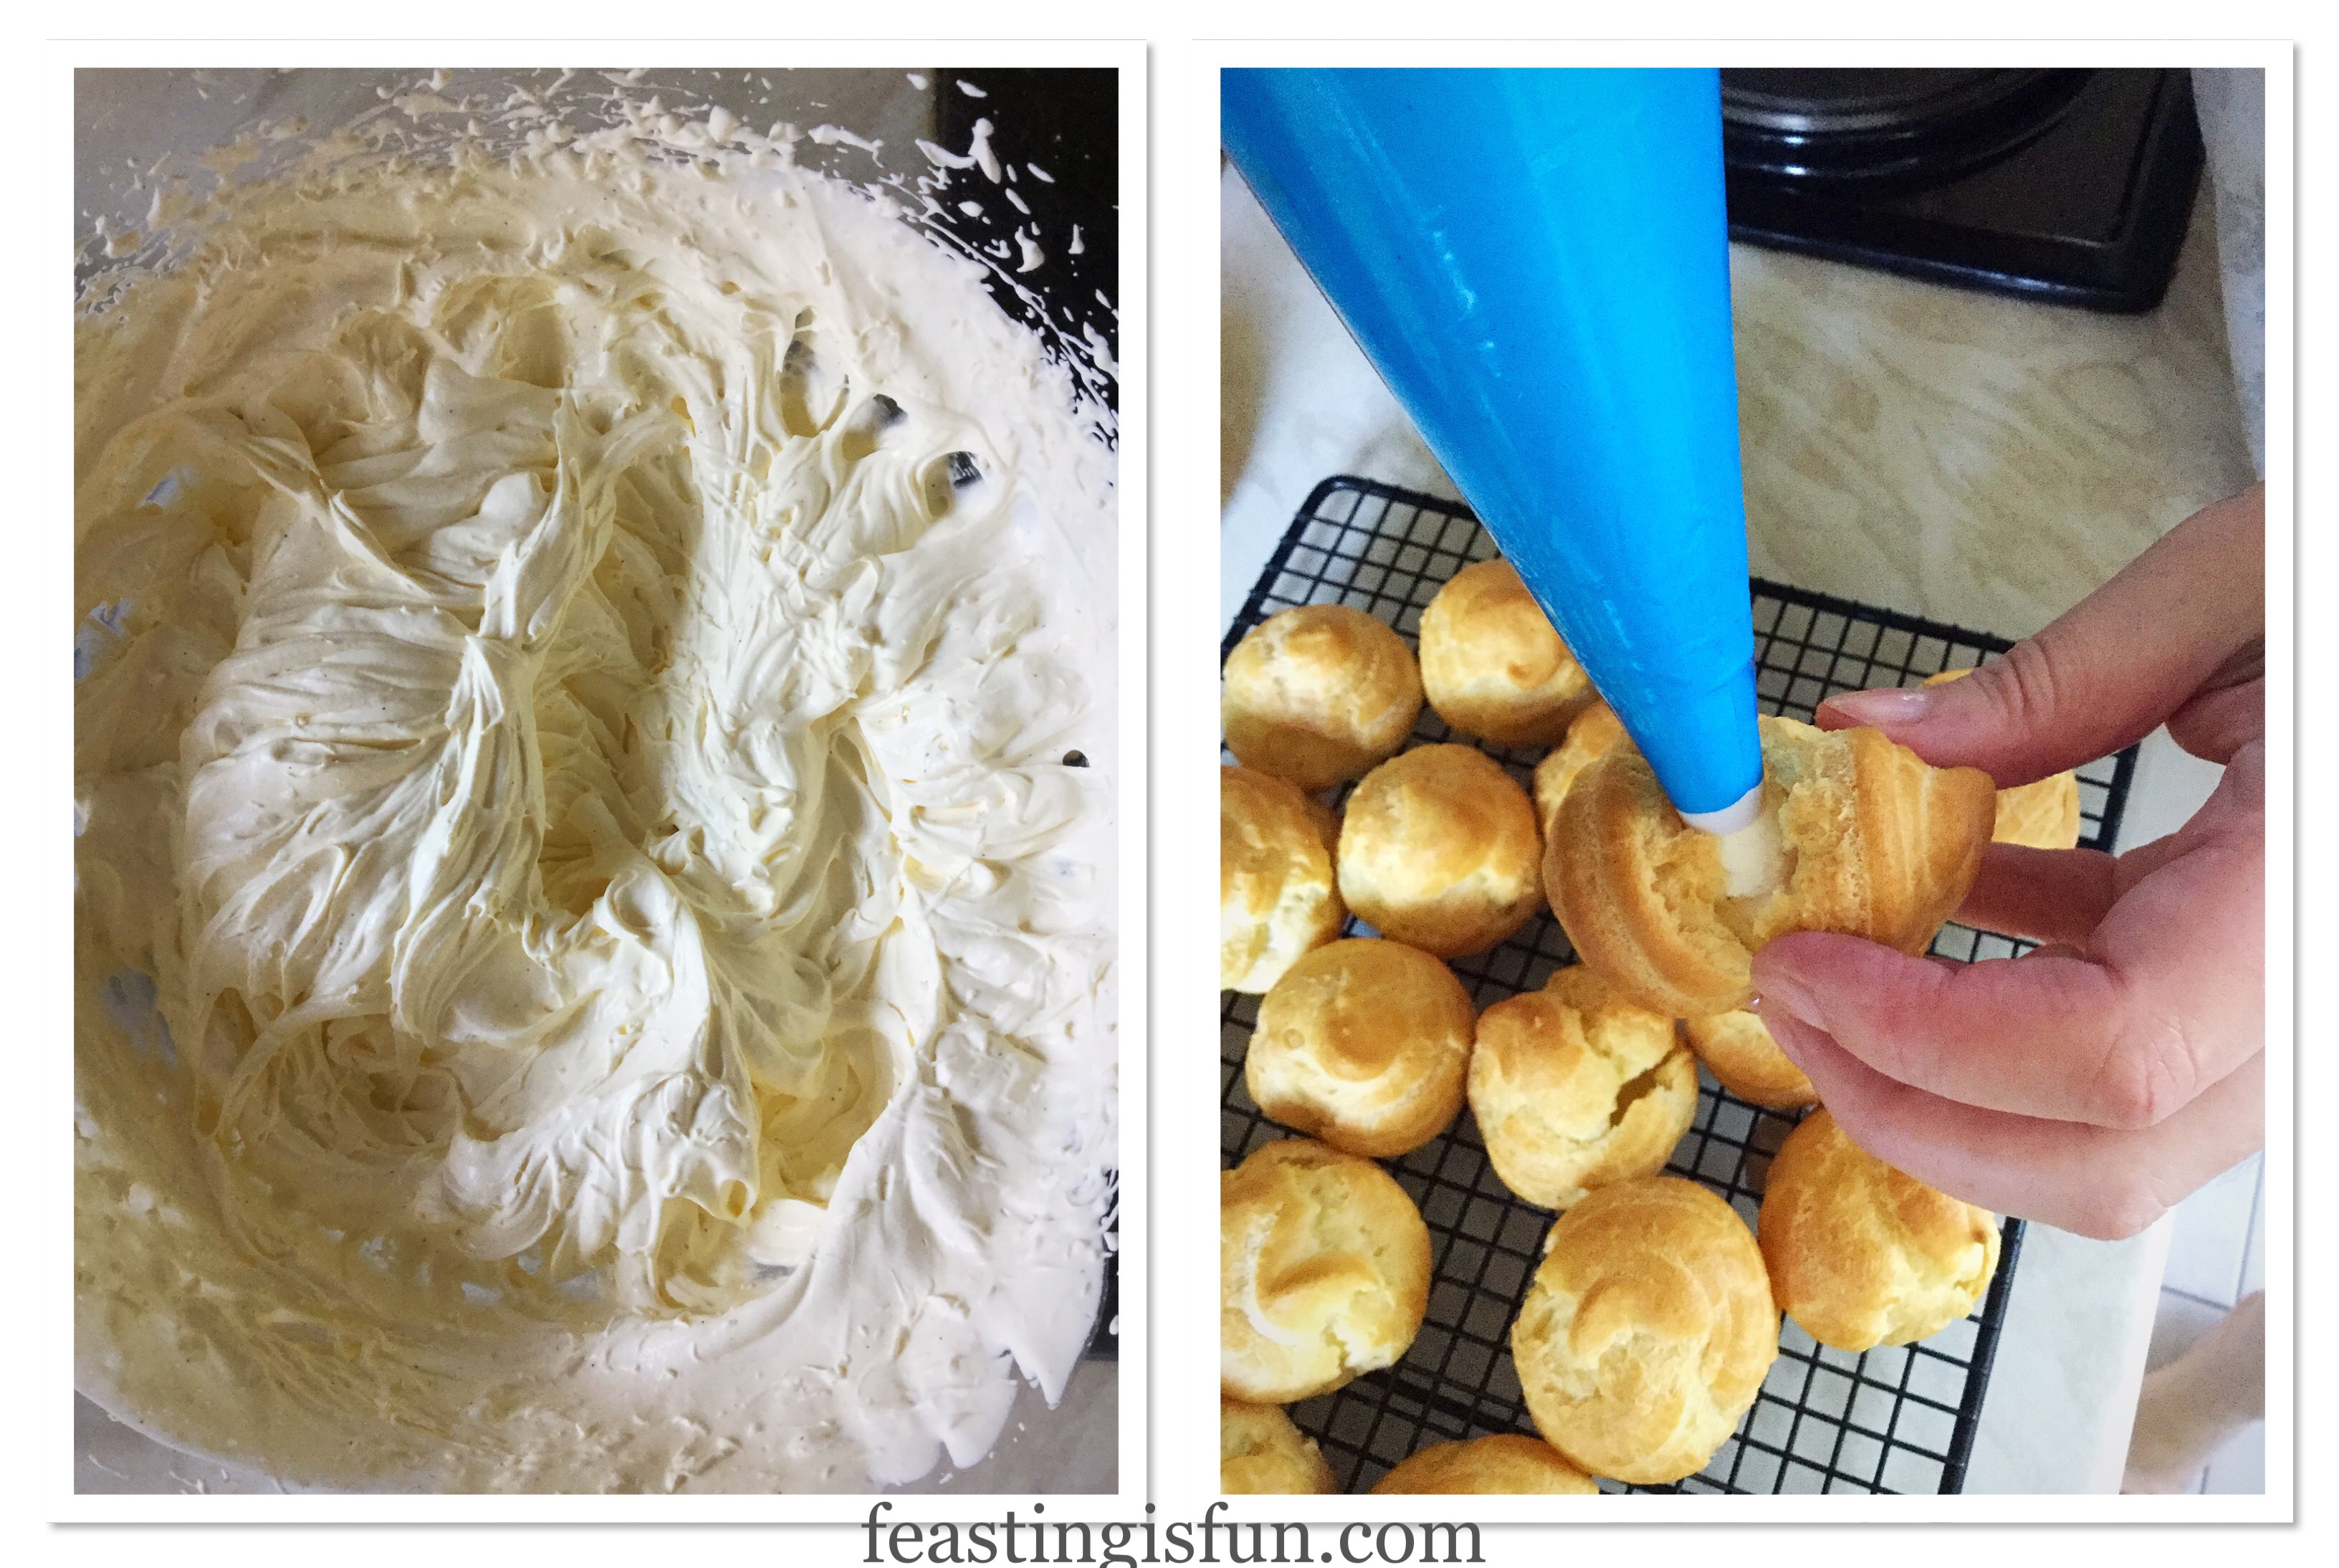
- Pour the egg whites into the bowl and whisk at high speed until they hold a stiff peak. See the first image below.
- While the whisk is still running add sugar slowly, one tablespoon at a time. Continue until all the sugar is added. Stop the whisk and rub a little of the meringue mixture between your finger and thumb. It should feel smooth not gritty. Continue whisking until the mixture is smooth and glossy.
- Line a baking sheet with baking parchment. Draw a 20cm/8in circle on the reverse of the paper. Use small dollops of meringue to stick the parchment to the baking sheet.
- As soon as the meringue is ready stop the whisk. Add the raspberry vinegar, cornflour and freeze dried raspberries. Fold the ingredients carefully into the meringue using a large metal spoon.
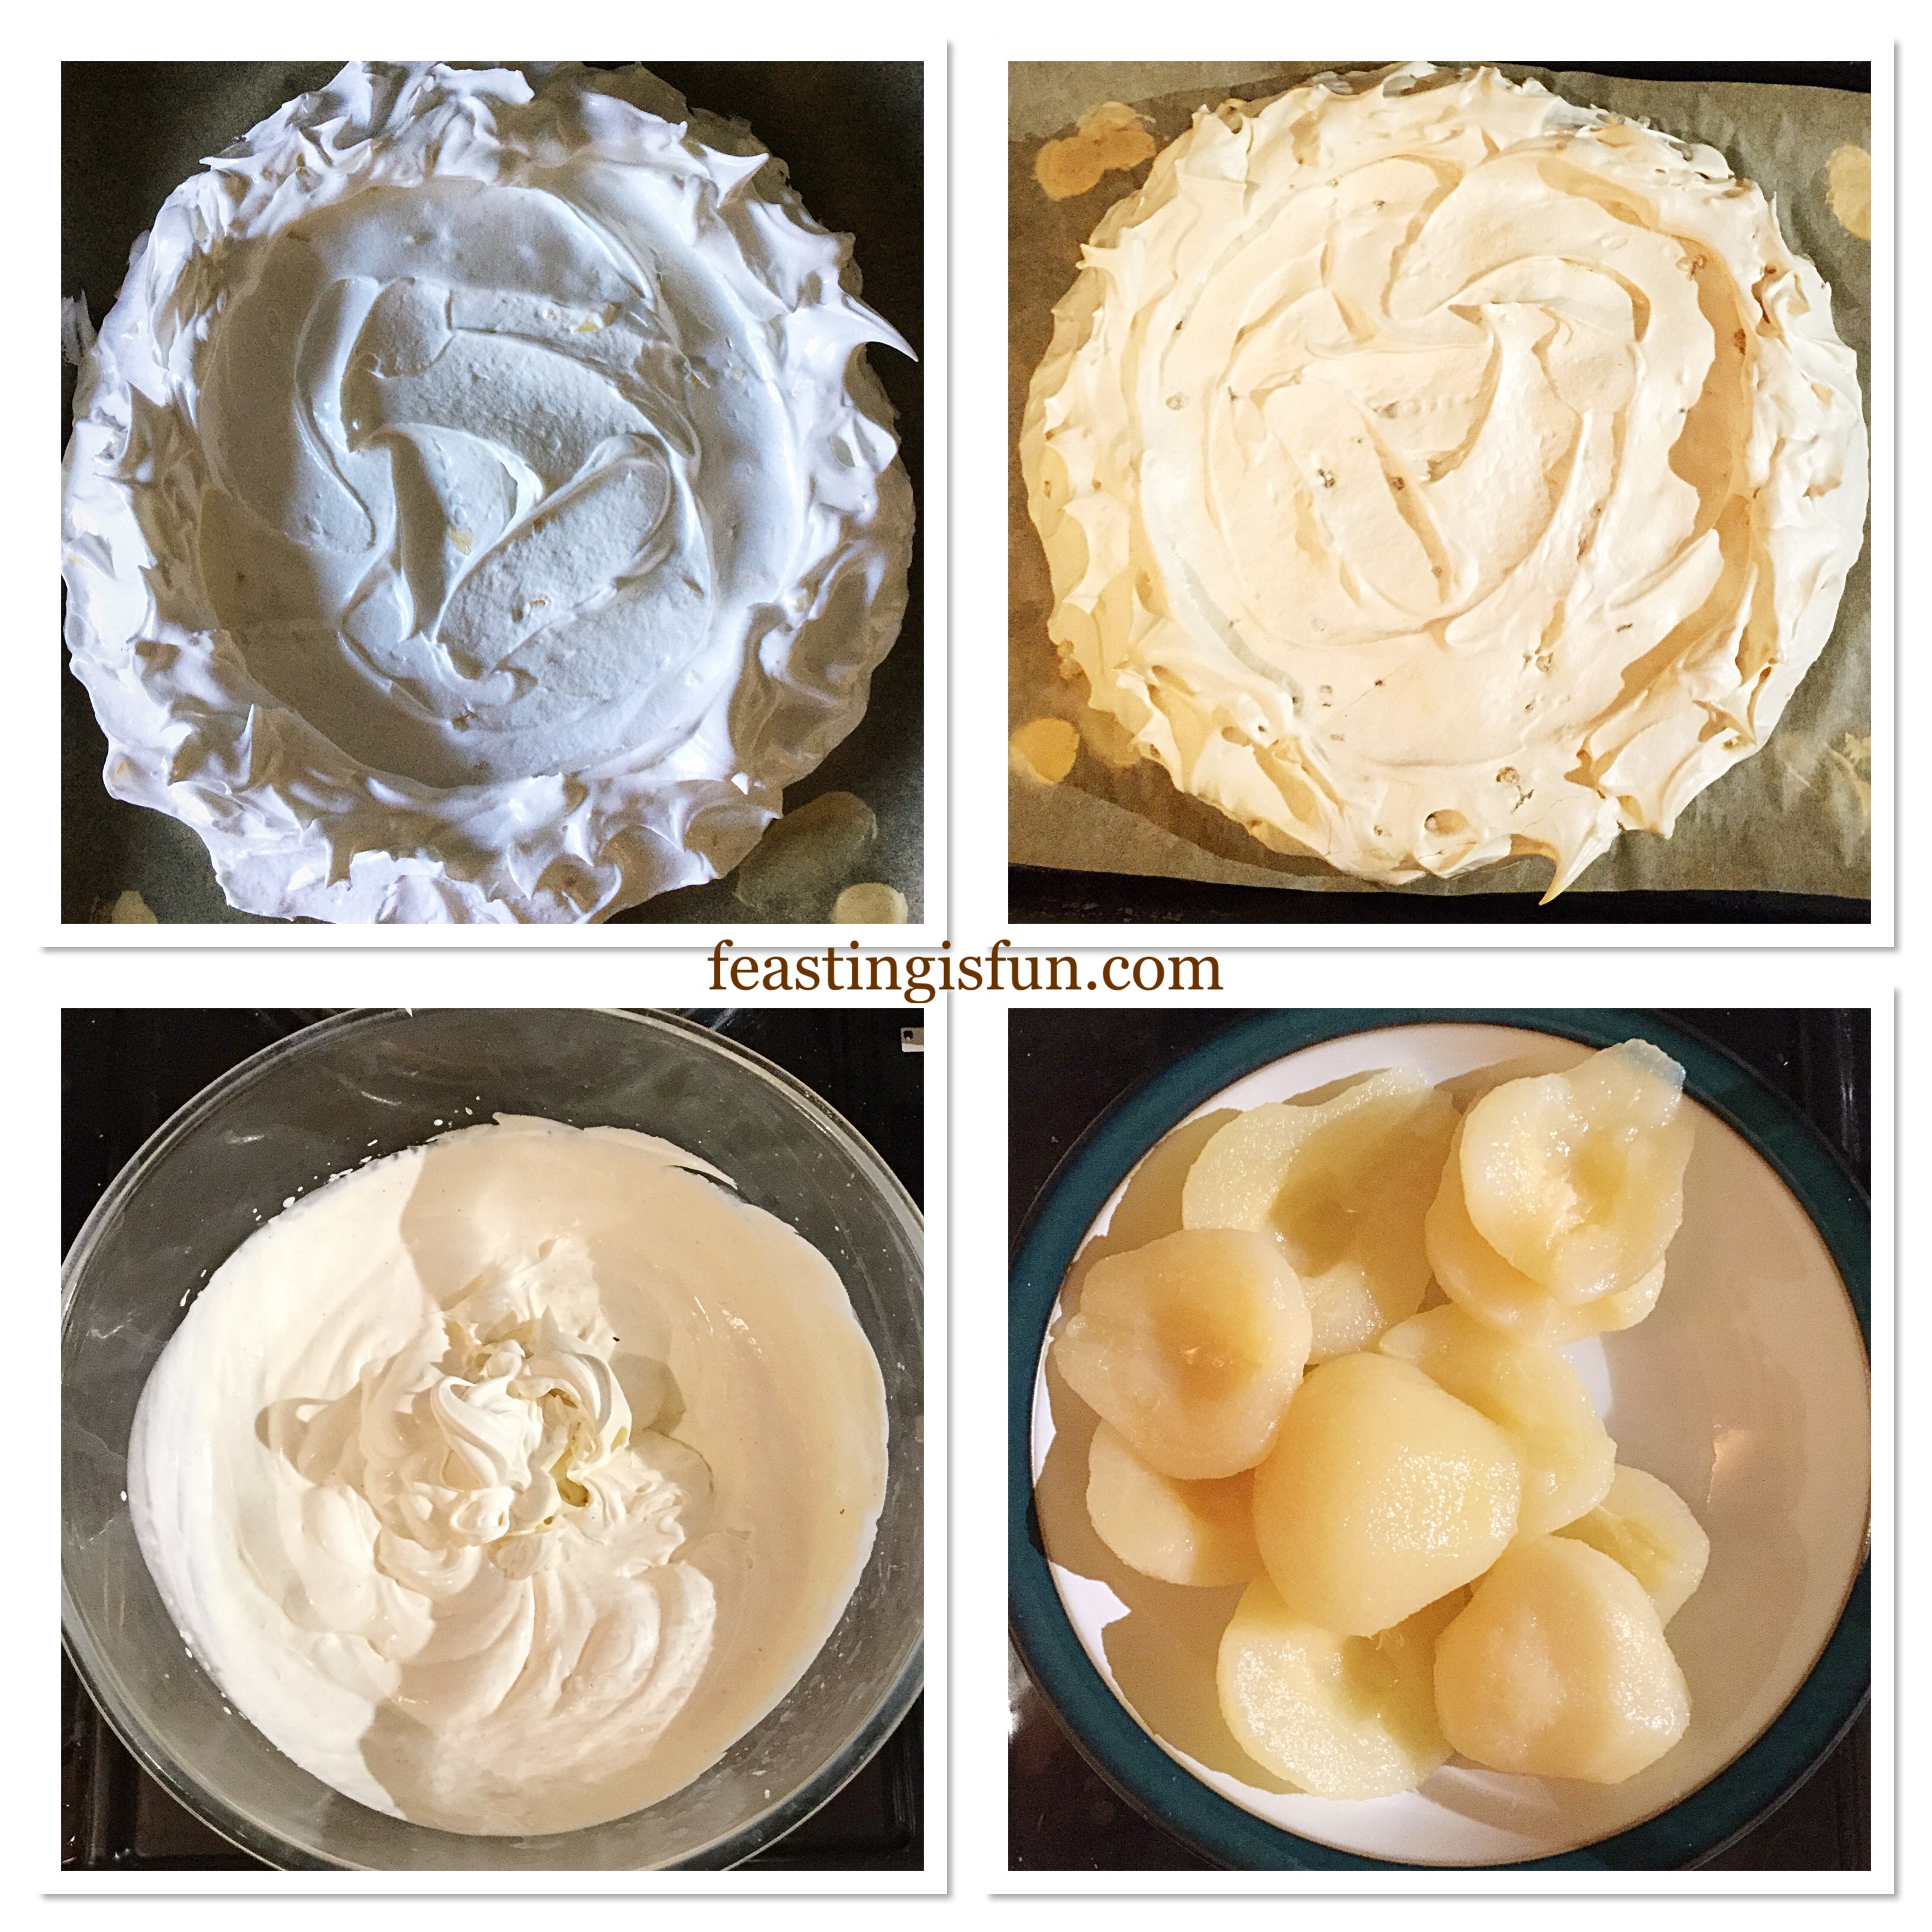
- Scoop all of the meringue on to the baking sheet. Use a palette knife to create a disc that is slightly higher around the edge than the centre.

Baking And Cooling The Pavlova
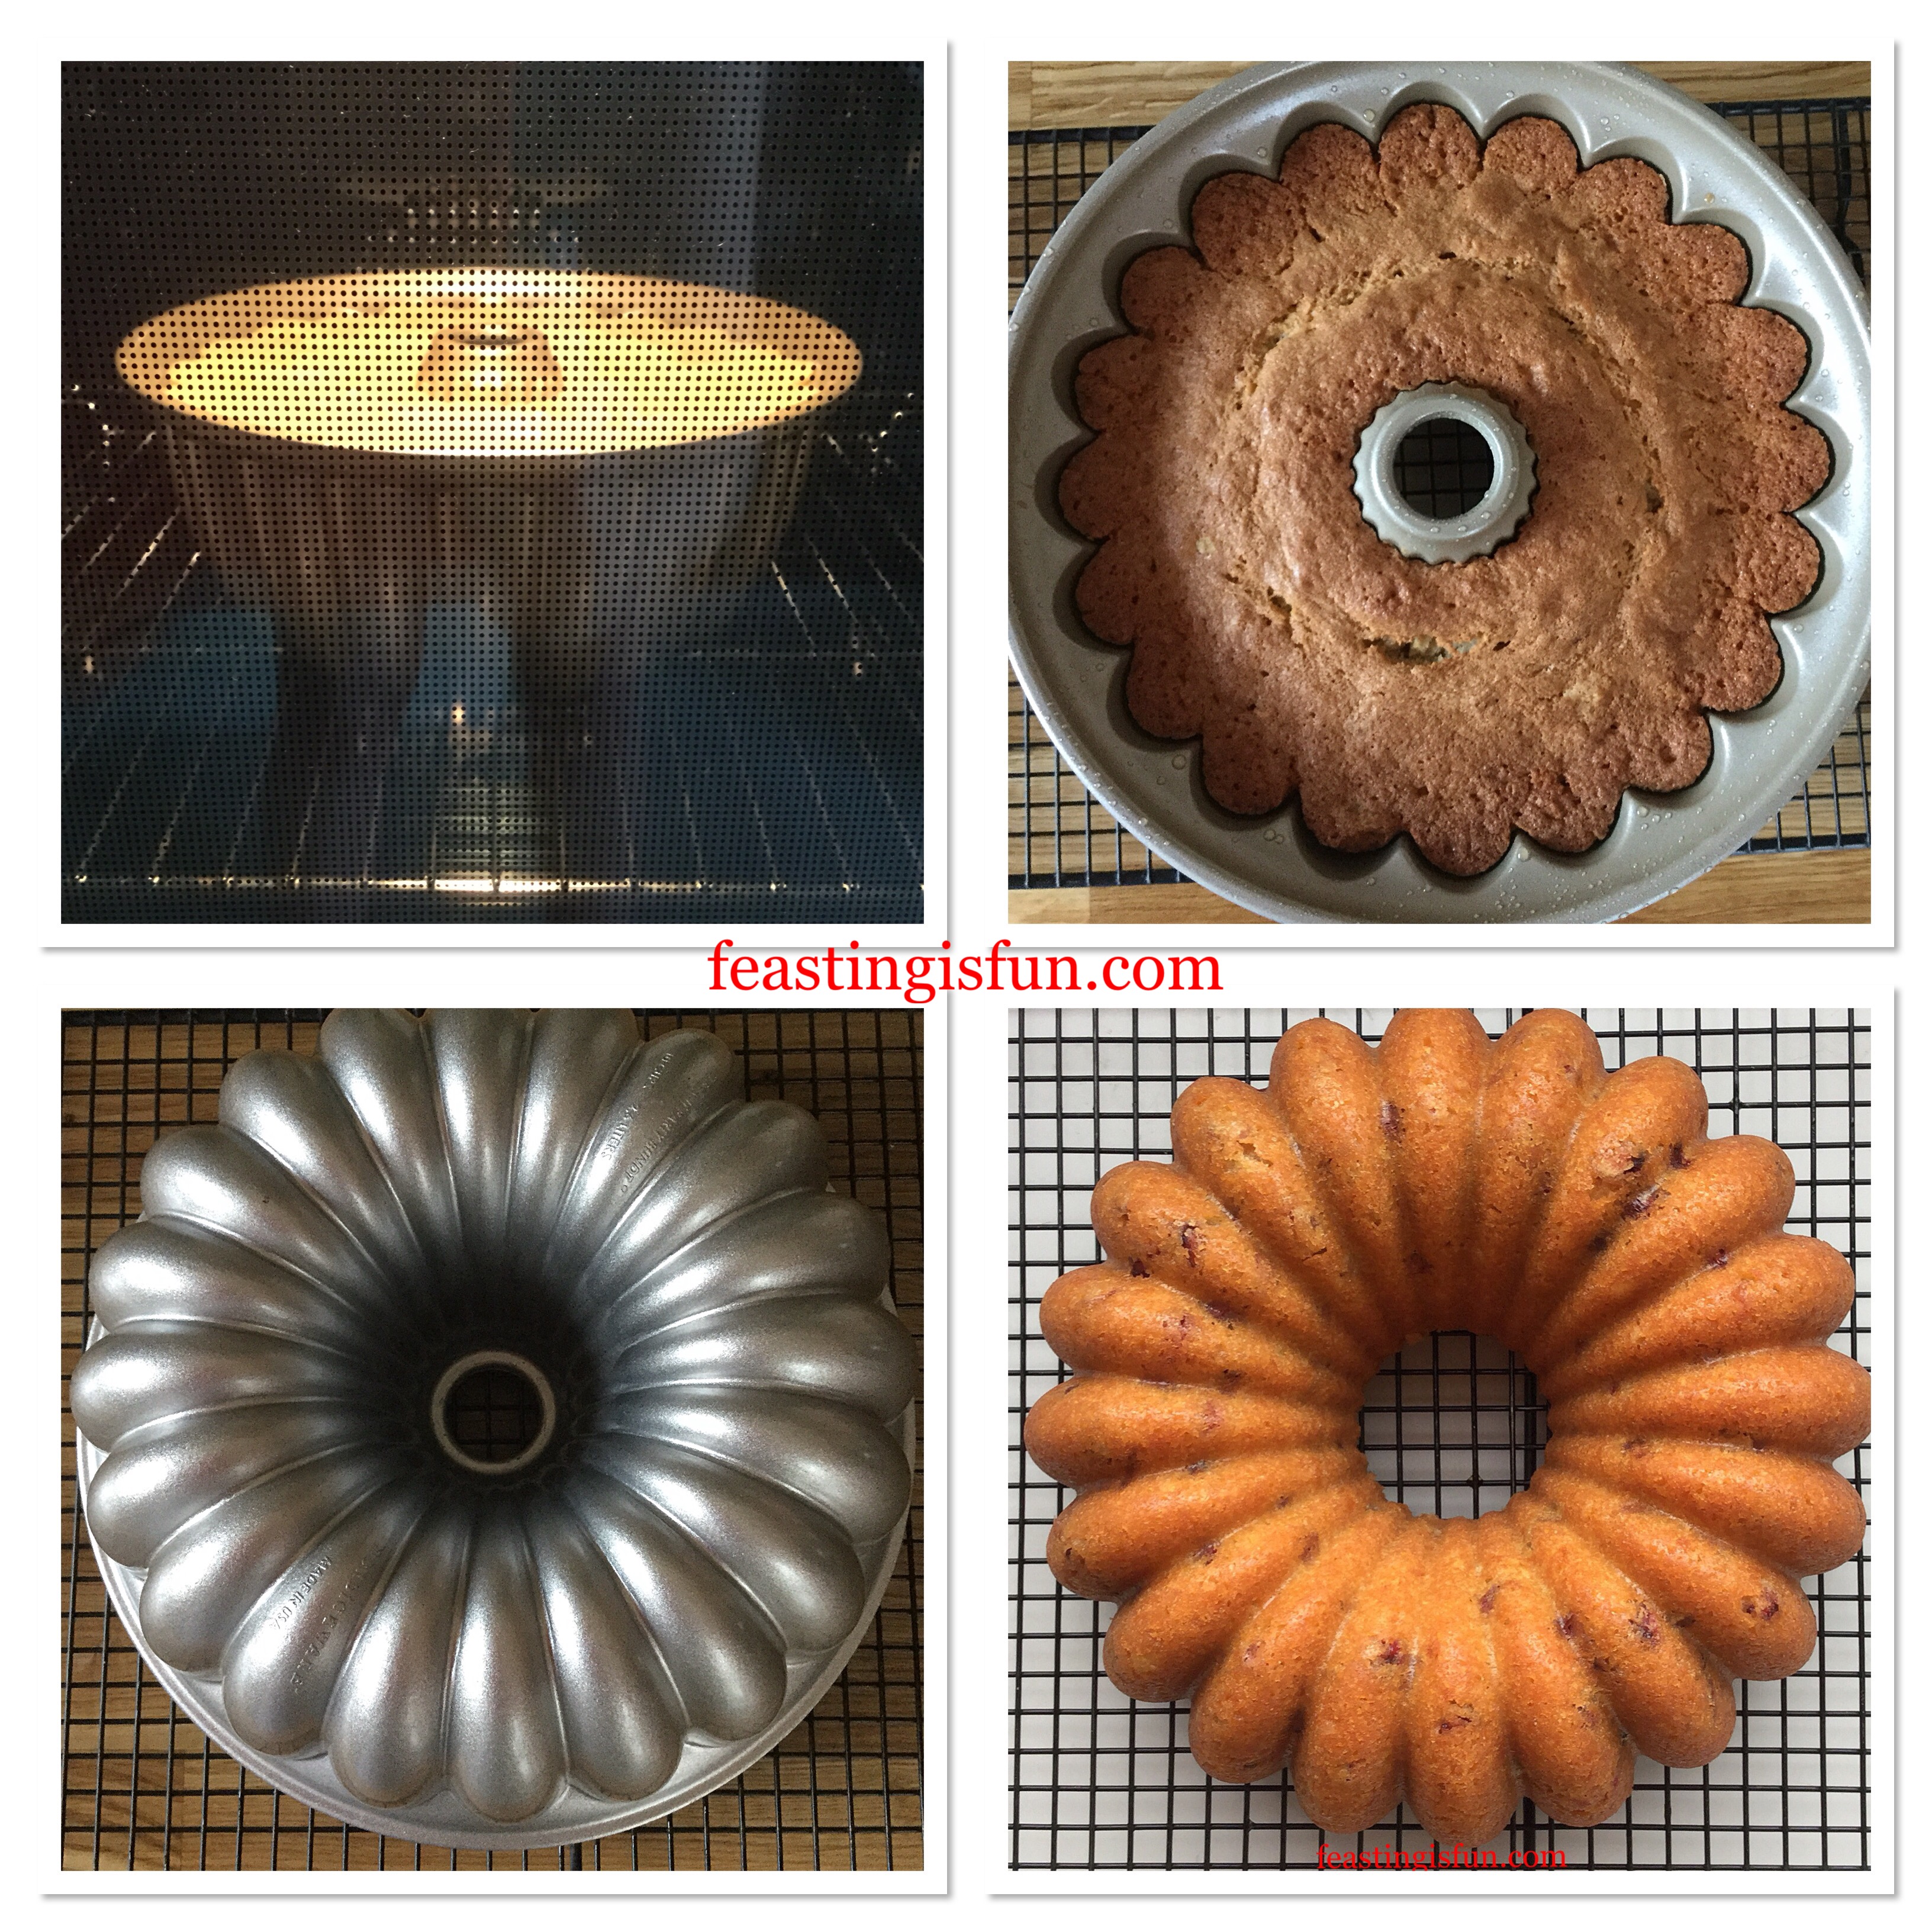
- Place the Pavlova into the lower part of the oven and bake for 10 minutes.
- Reduce the oven temperature to 120C/100C fan, 250F, gas mark 1/2. Continue to bake for a further 1 hour 50 minutes. Switch the oven off and leave the Pavlova to cool in the oven.
- While the Pavlova is baking make the lemon curd.
Making The Lemon Curd
- Place the lemon zest, juice and sugar into a heavy bottom saucepan over a medium heat. Stir until the sugar is dissolved.
- Next add two cubes of butter to the pan, whisking gently until dissolved. Repeat as before until all of the butter has been used.
- Pour the cornflour slurry into the pan and whisk to incorporate. Cook until the mixture is thickened and starts to bubble gently.
- Remove the pan from the heat. Whisking continuously add one egg yolk at a time. Heat from the pan will cook the yolks.

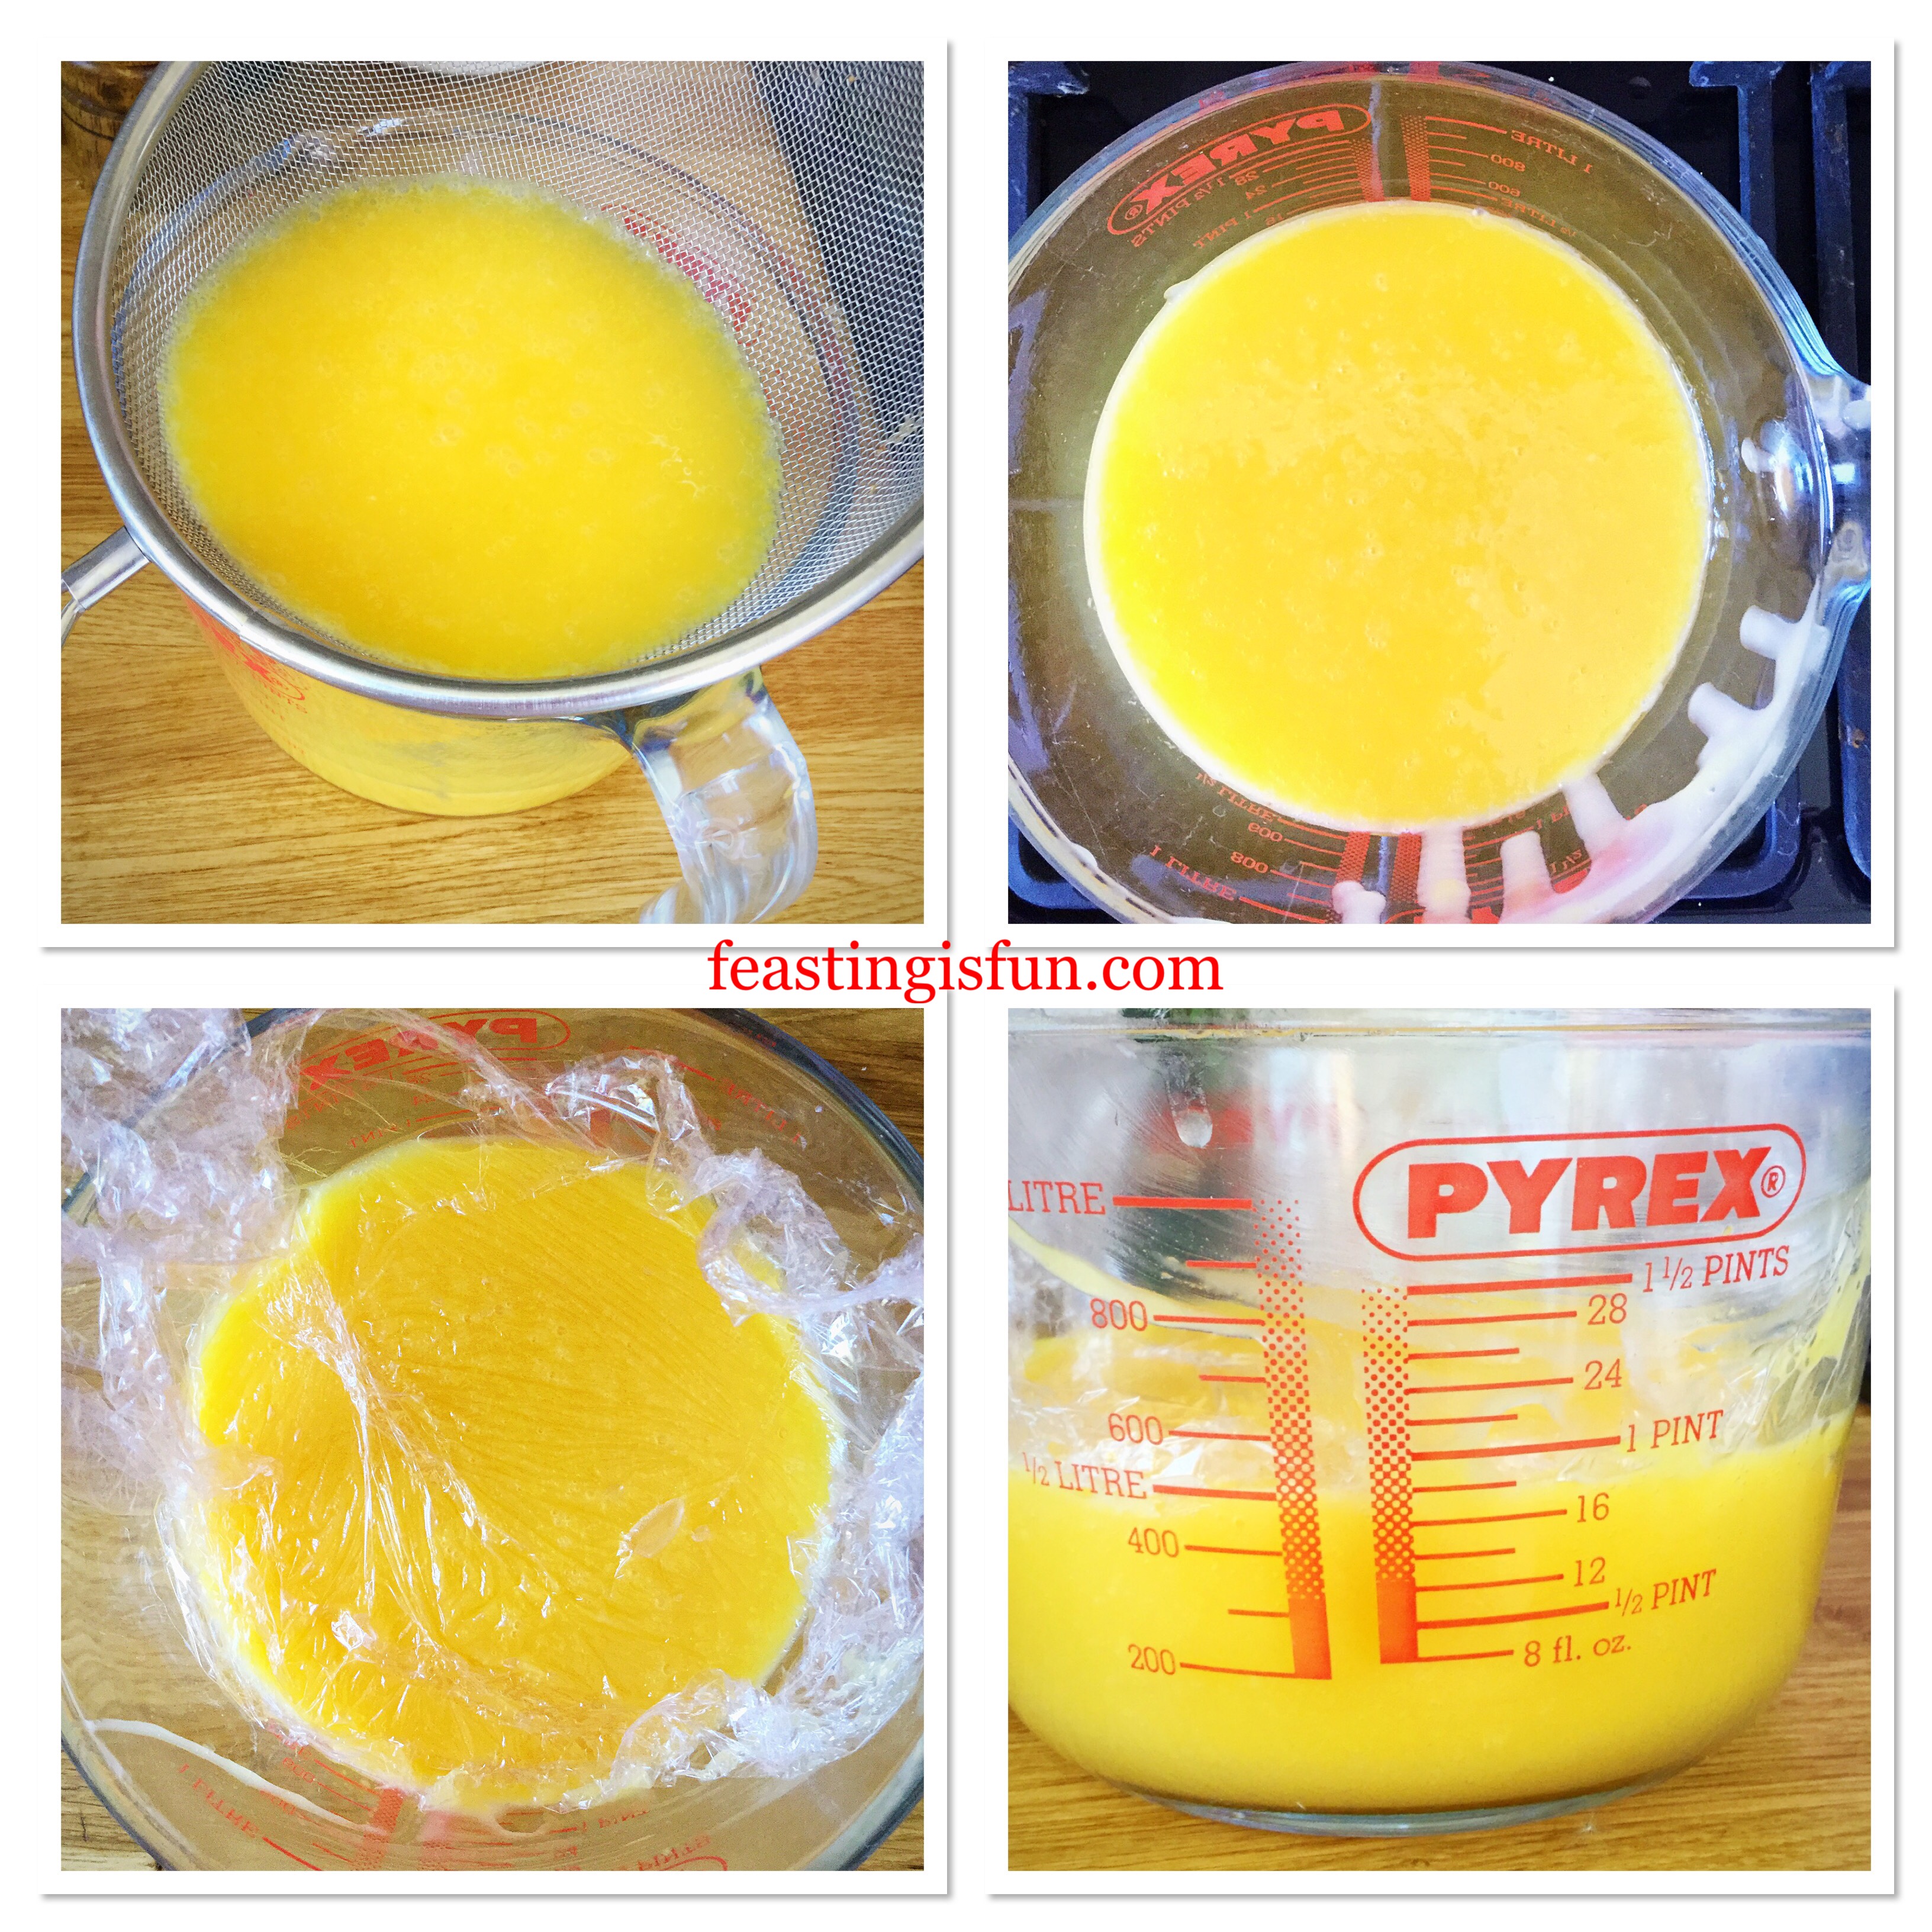
- Place a sieve over a jug or bowl and pour the lemon curd through the sieve. Any lumps or remnants of egg white will be removed leaving a velvety, smooth curd.
- Put cling film direct on top of the curd to stop a skin from forming as it cools.
- Place the lemon curd in a cold place to cool. Refrigerate
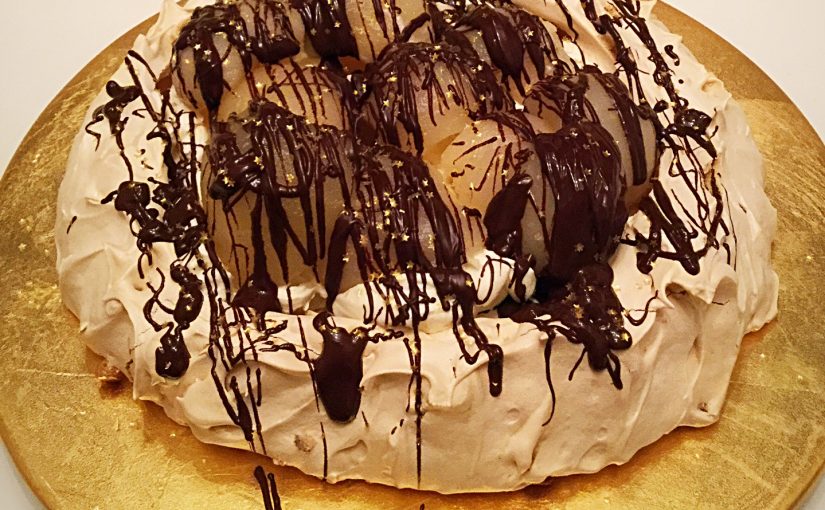
Assembling The Raspberry Topped Lemon Curd Pavlova
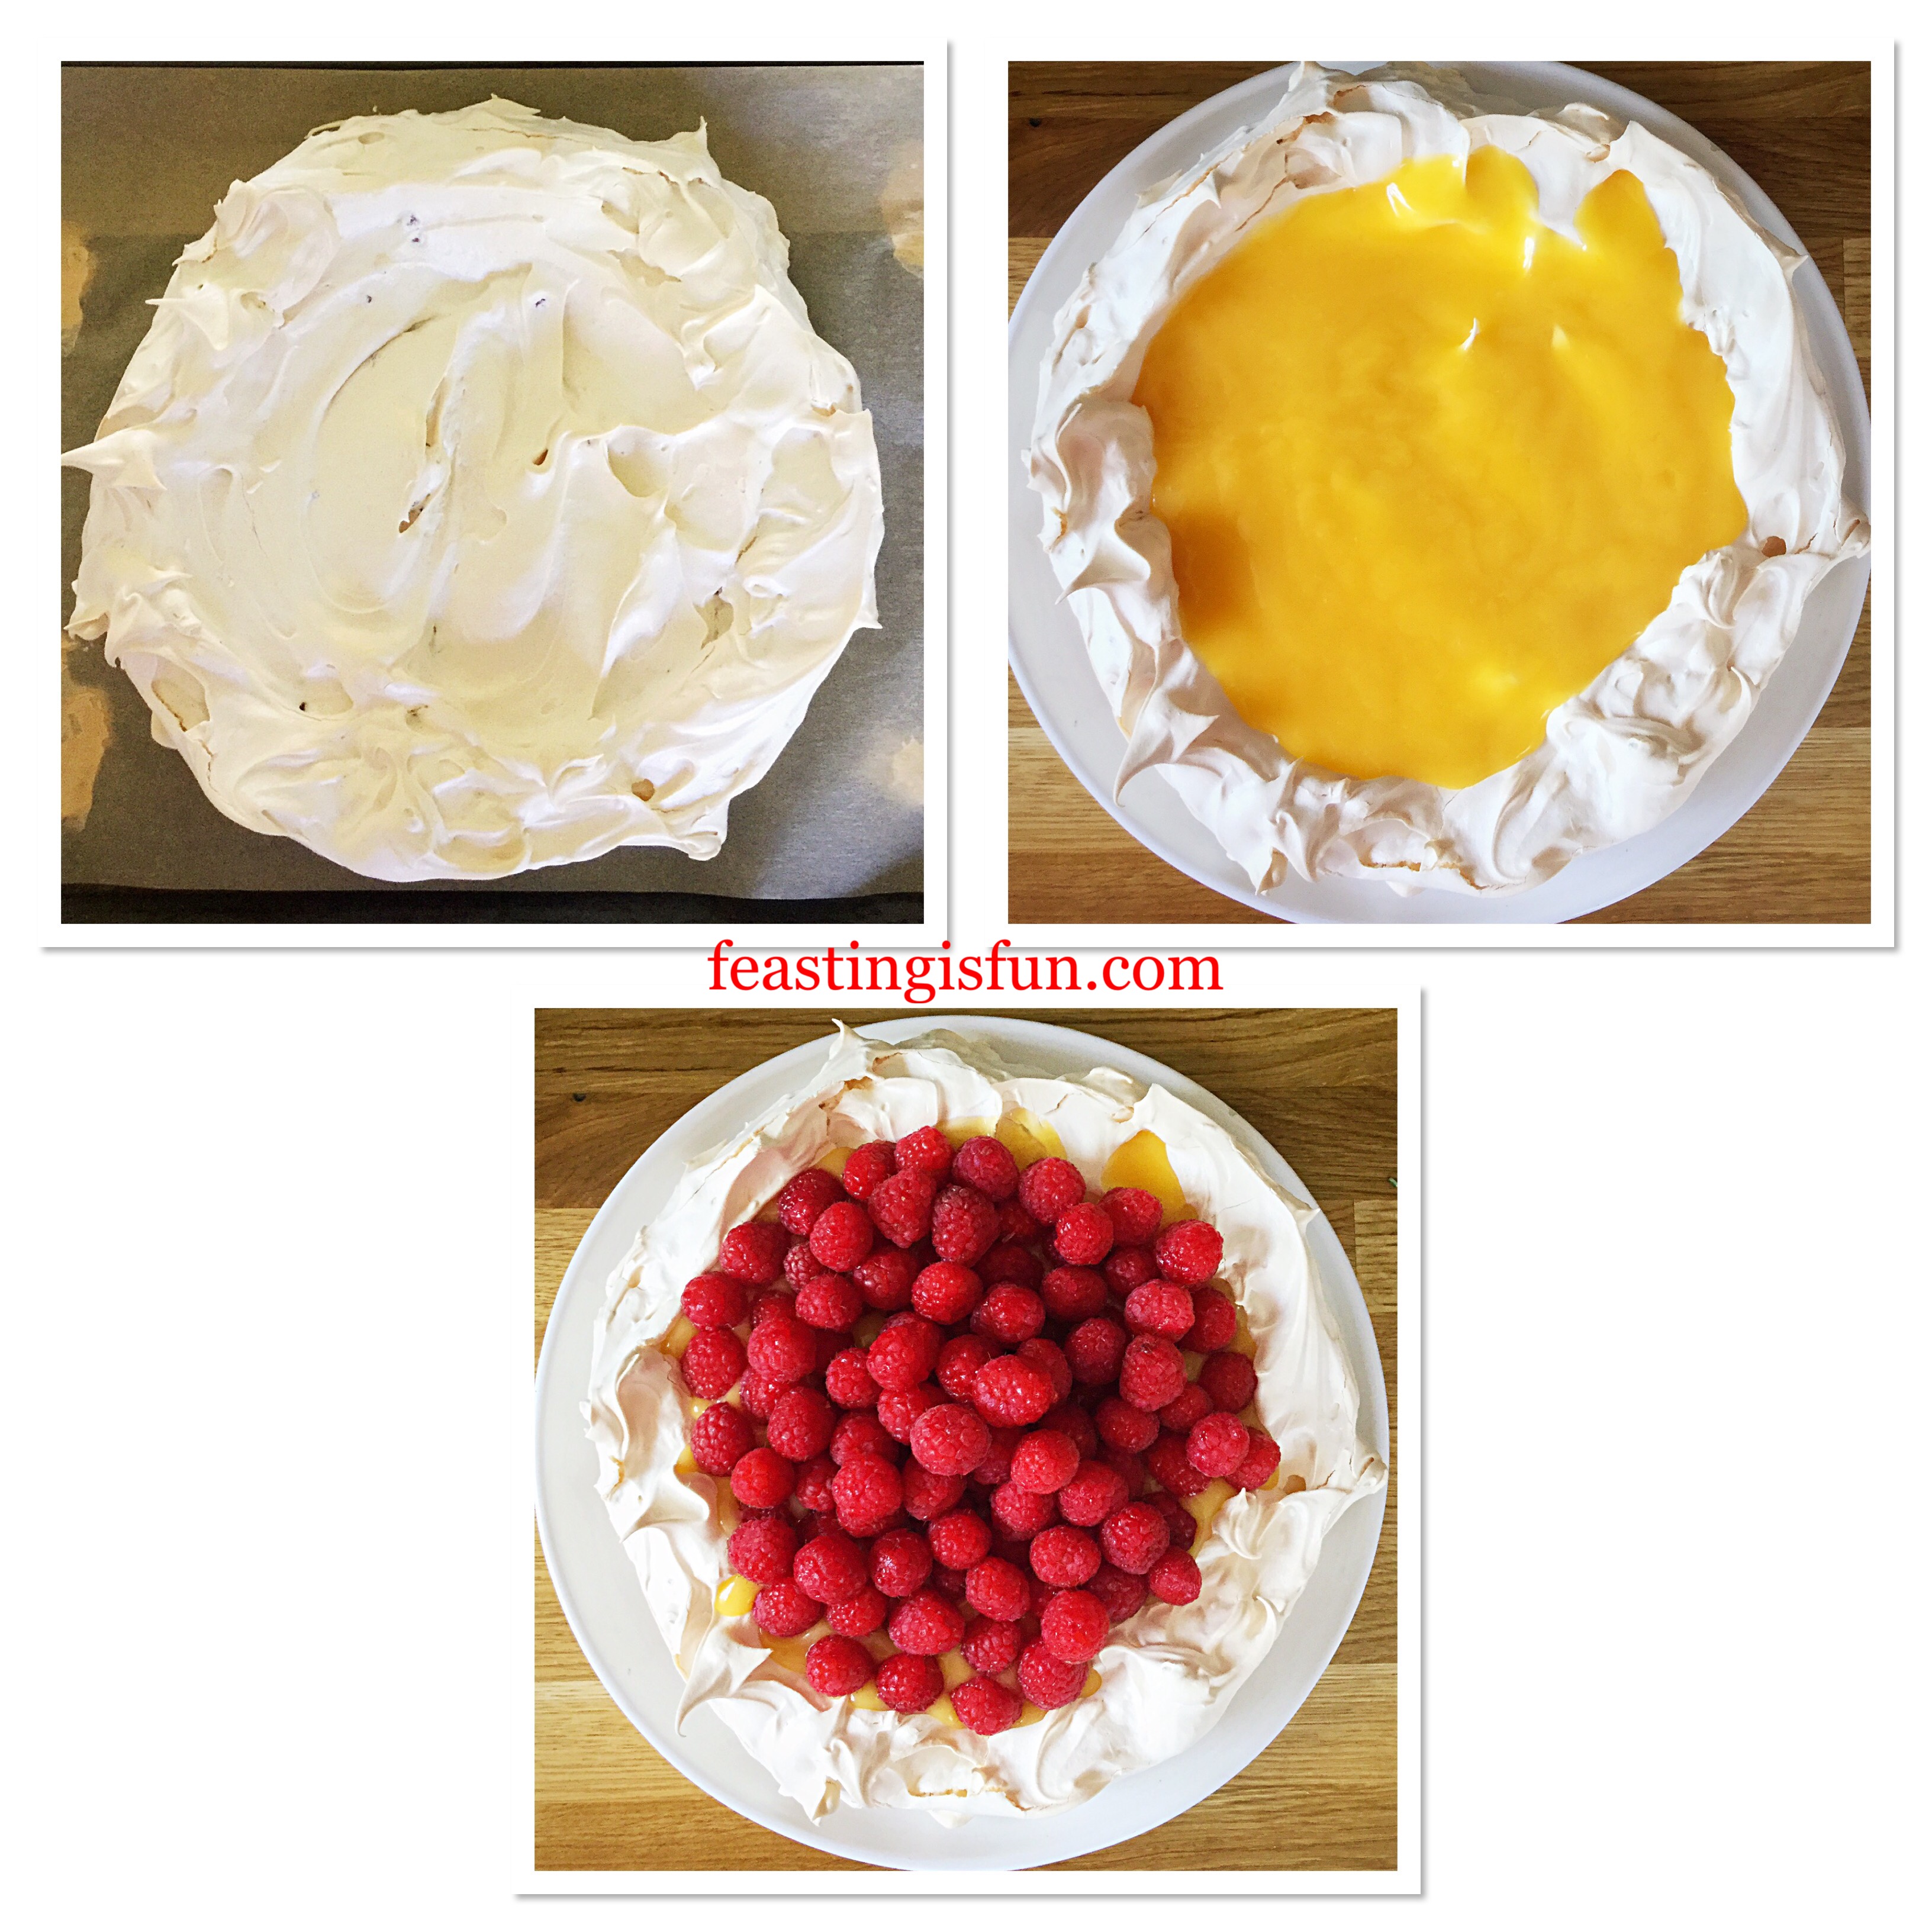
- As soon as the Pavlova is cooled remove from the oven.
- Do not attempt to assemble the Pavlova until the lemon curd is cold.
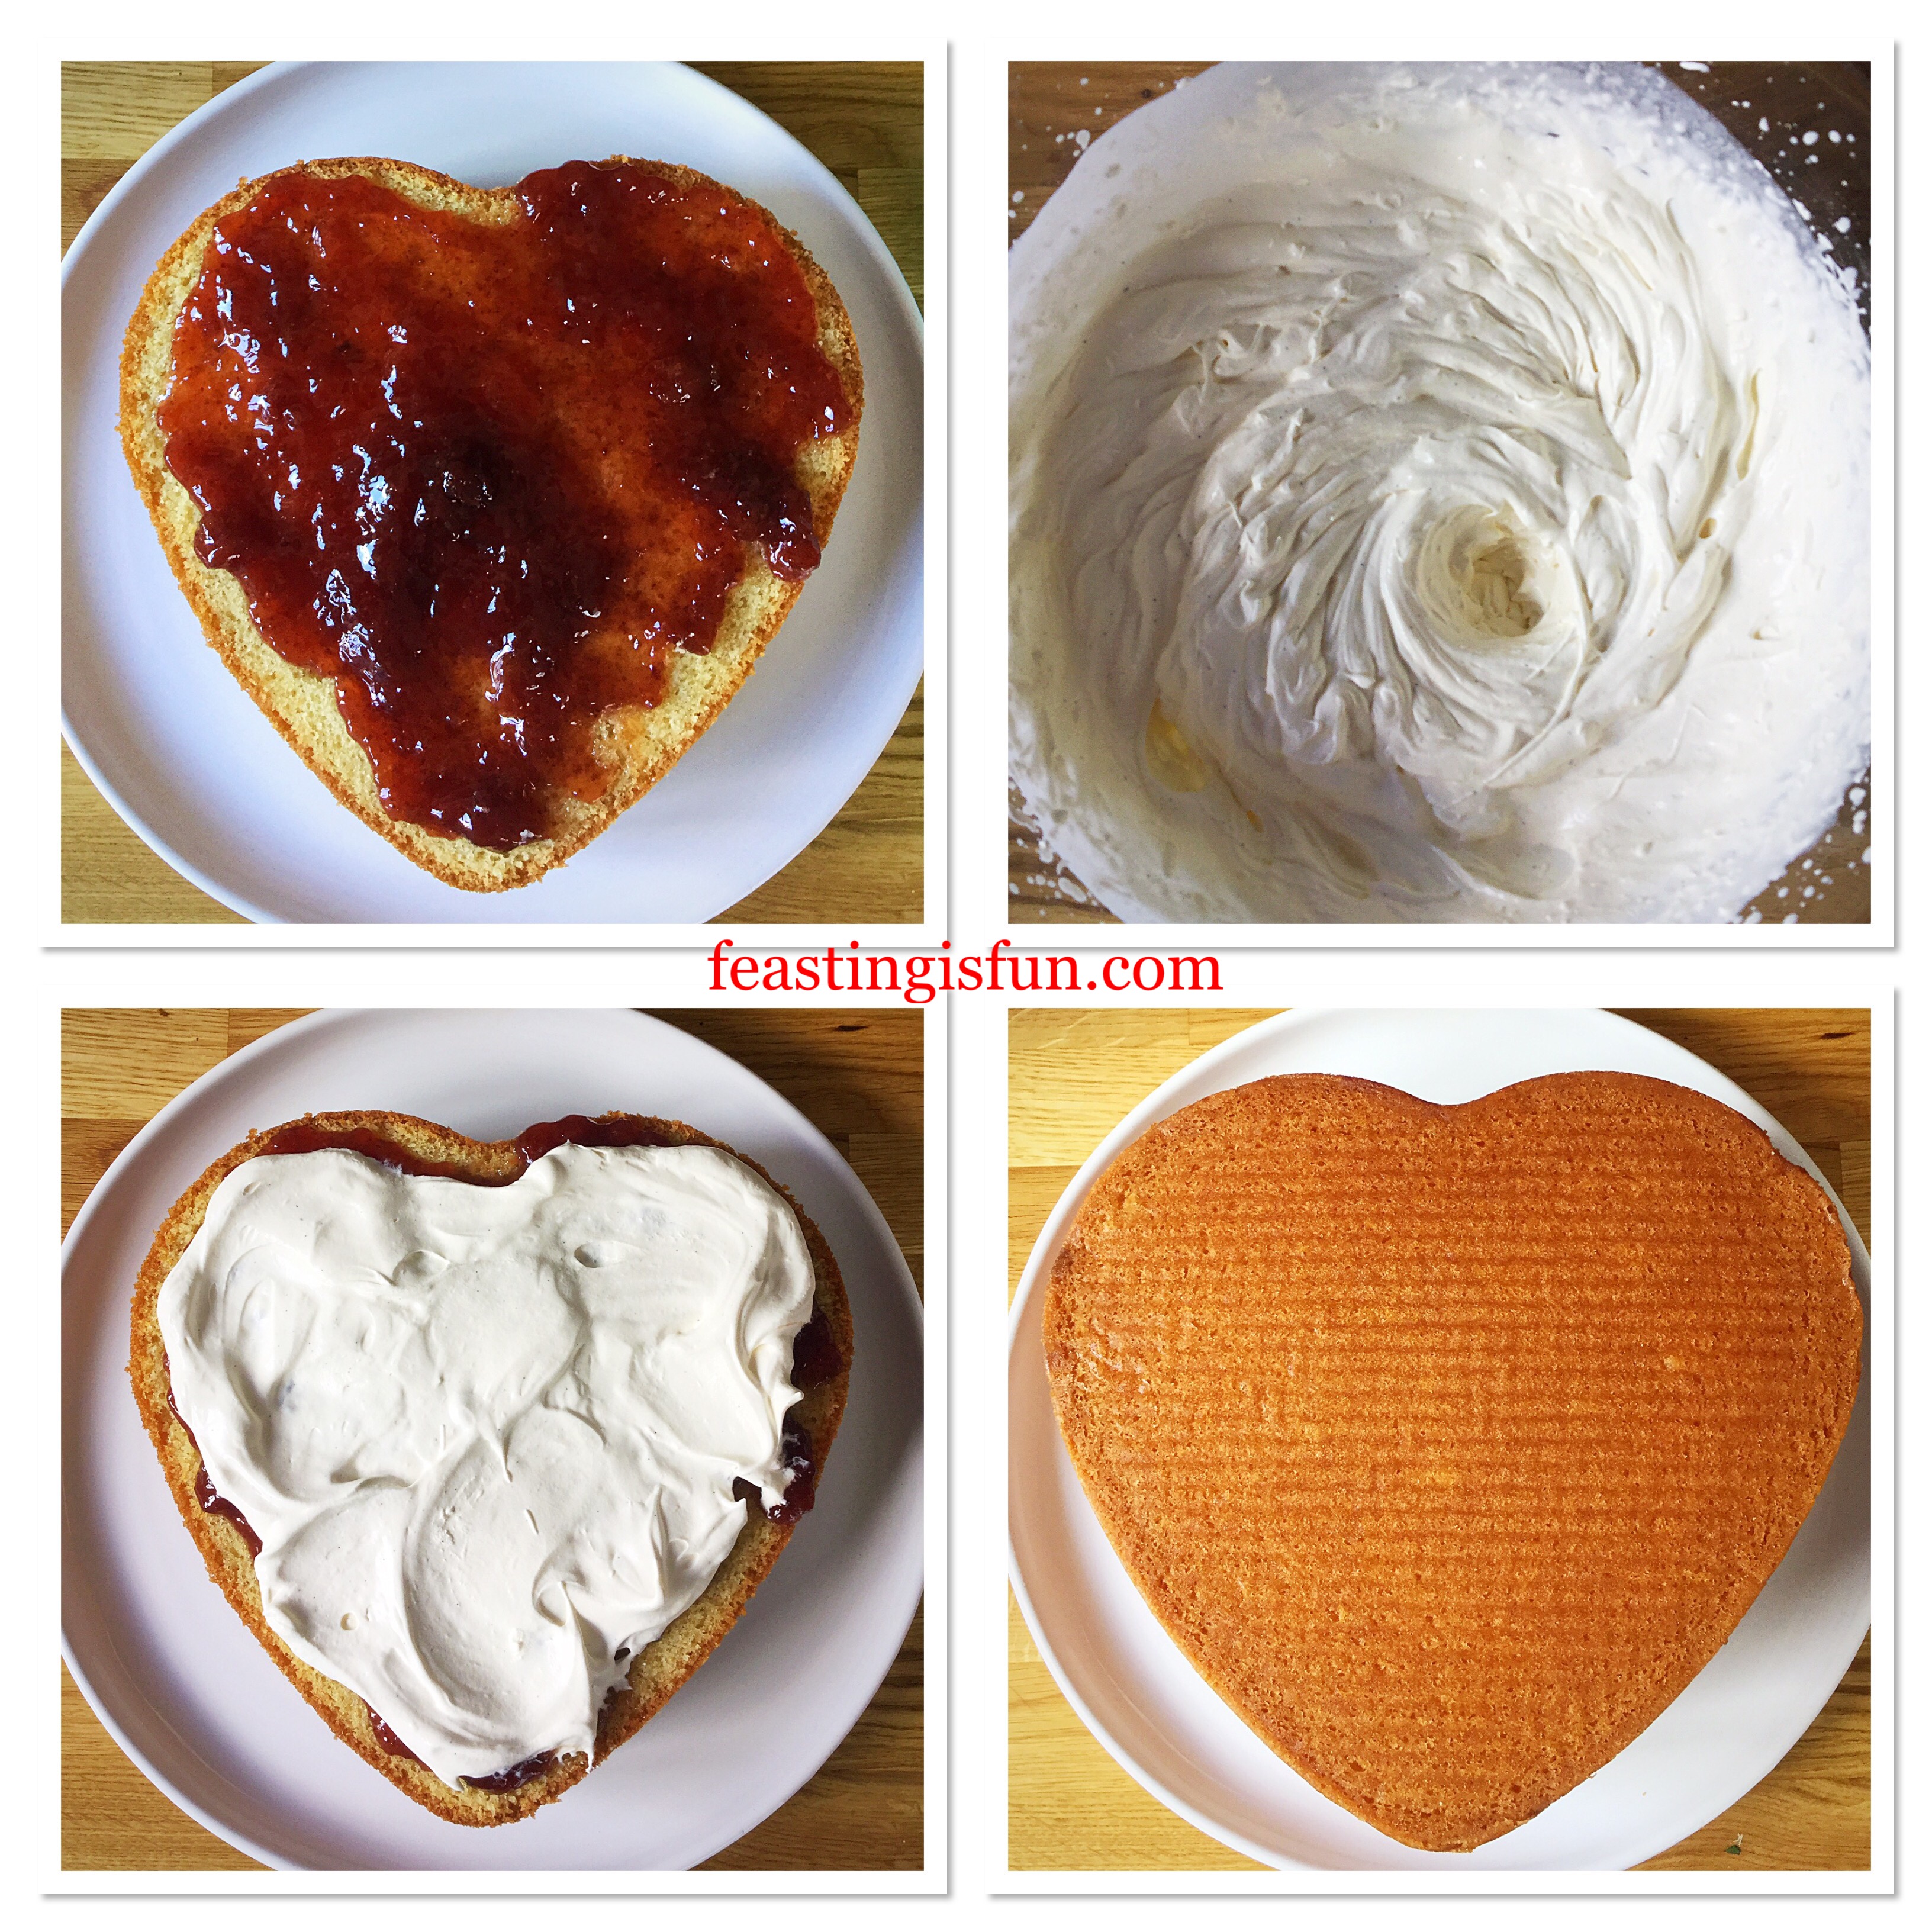
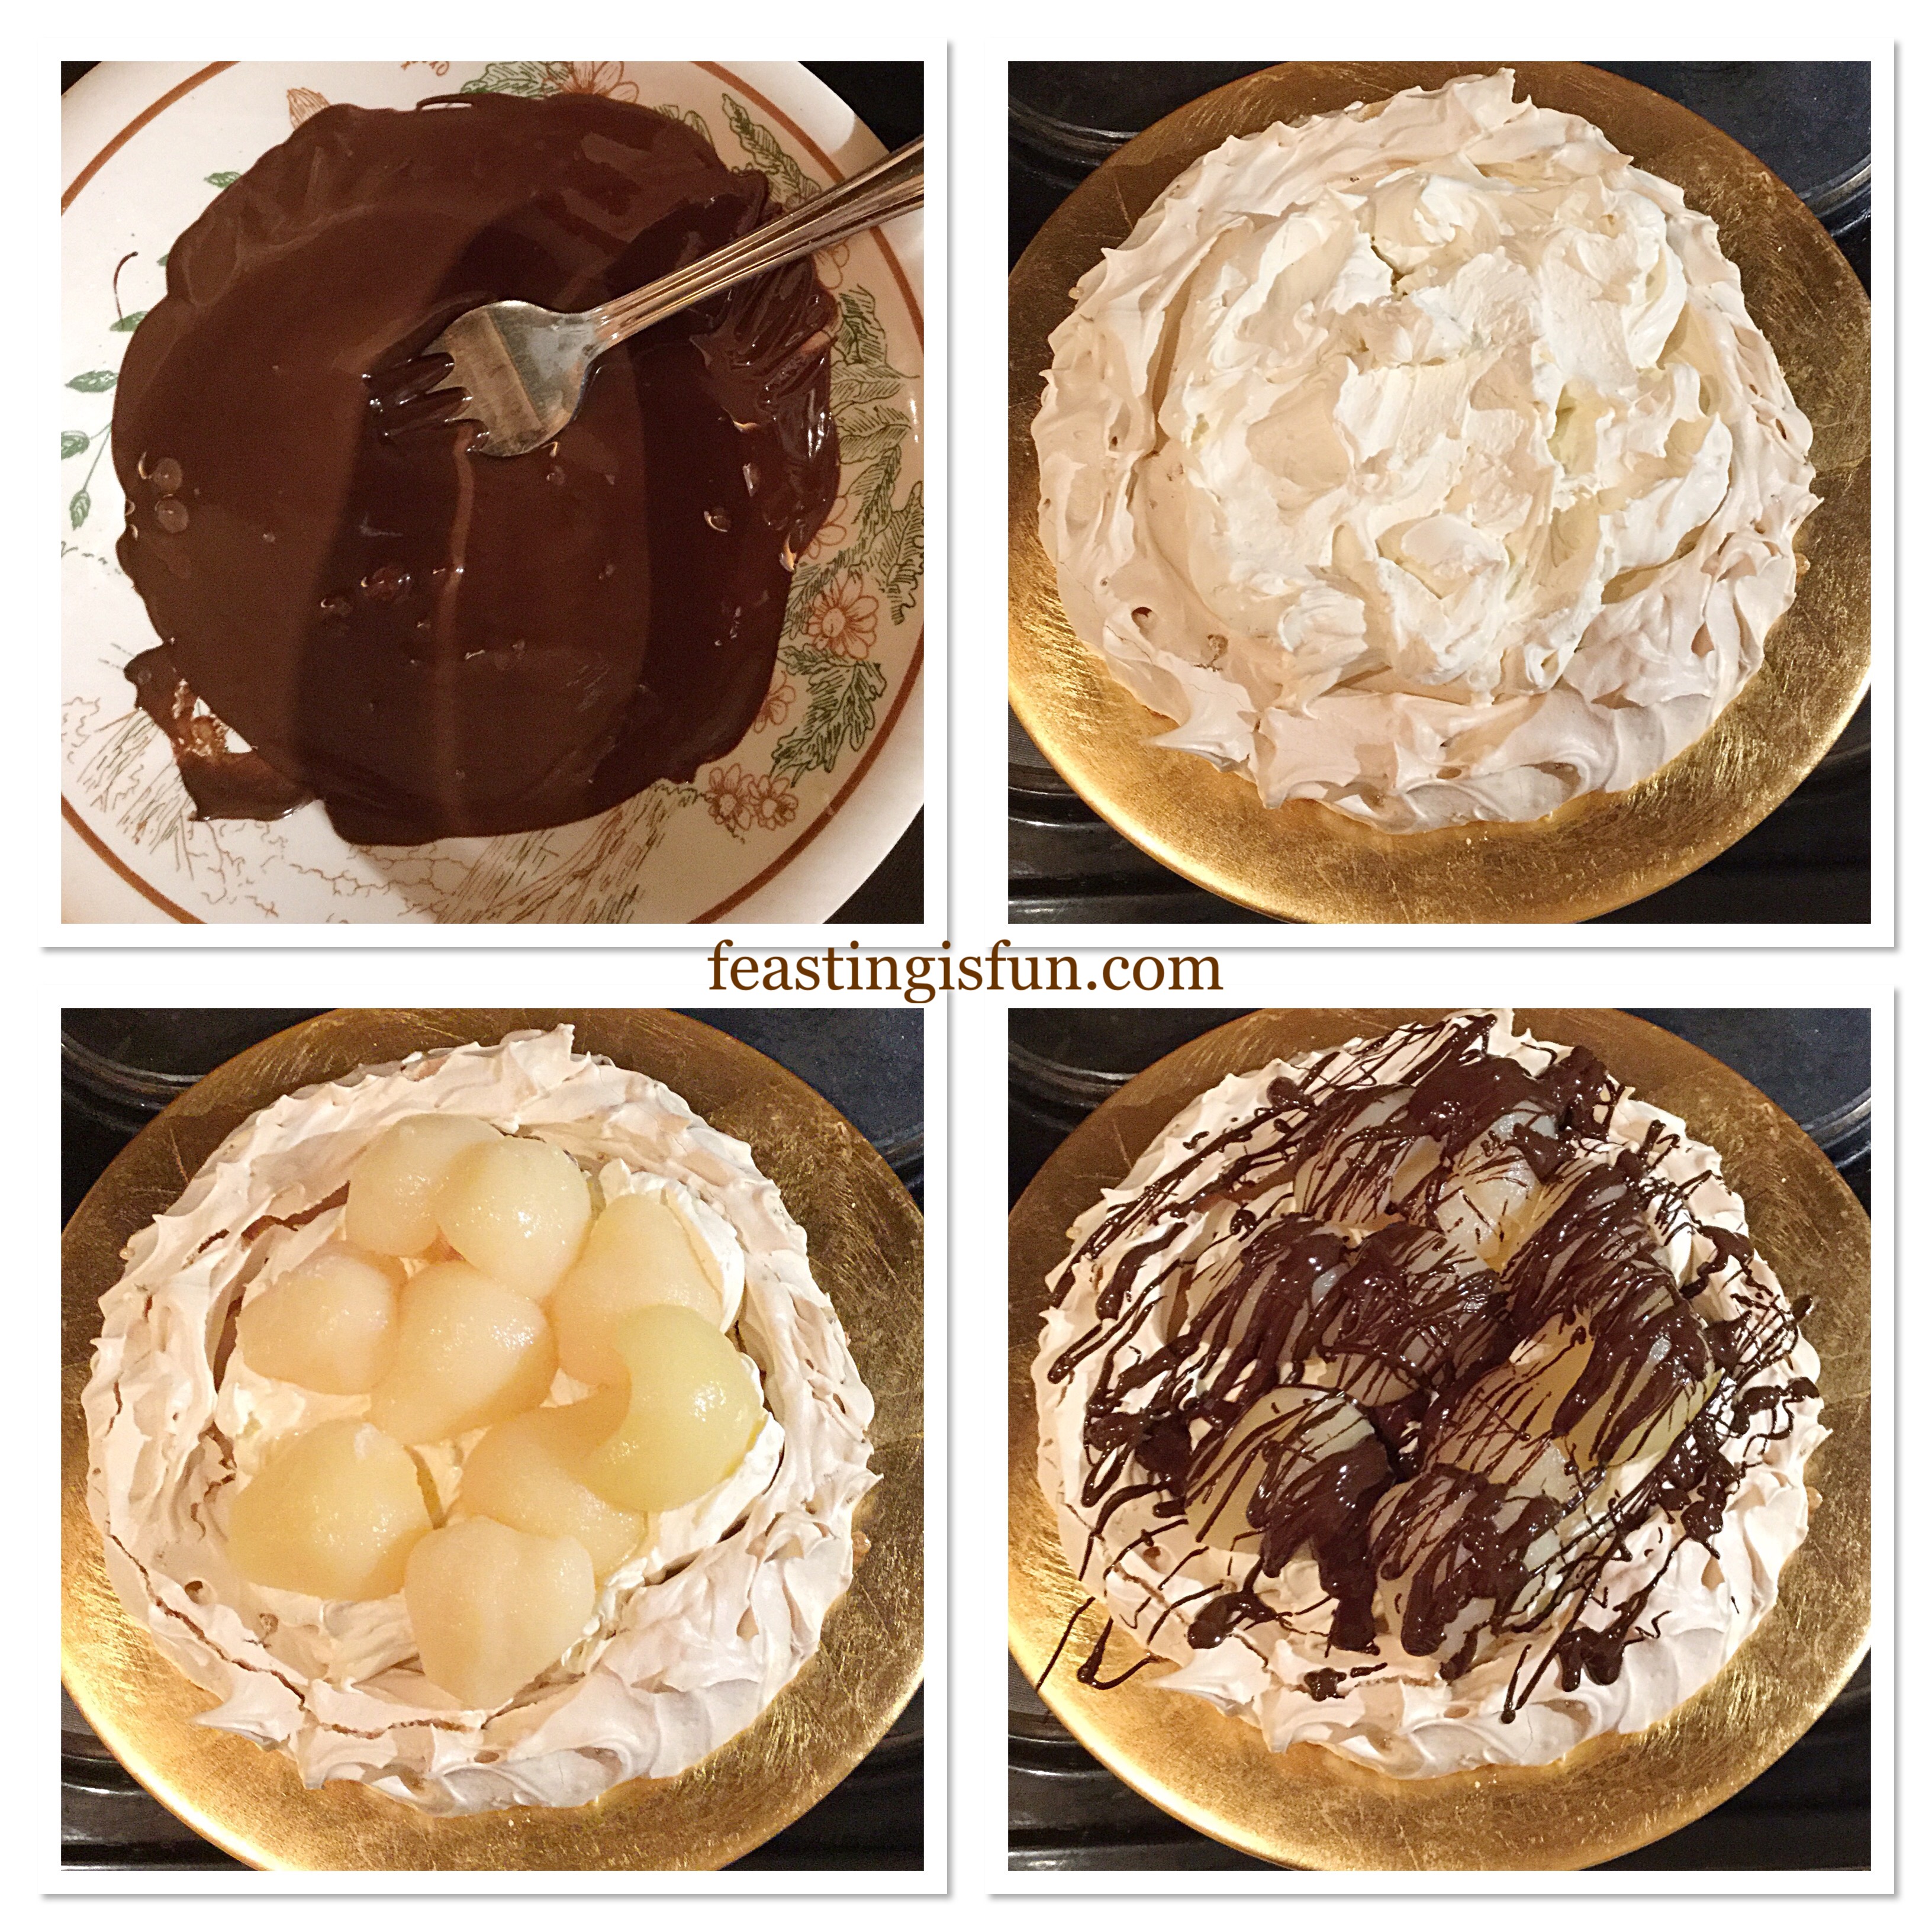
- Pour the cold lemon curd on to the centre of the Pavlova. Not all of the curd may be needed. Pour any excess into a clean jar and store in the fridge for up to two weeks.
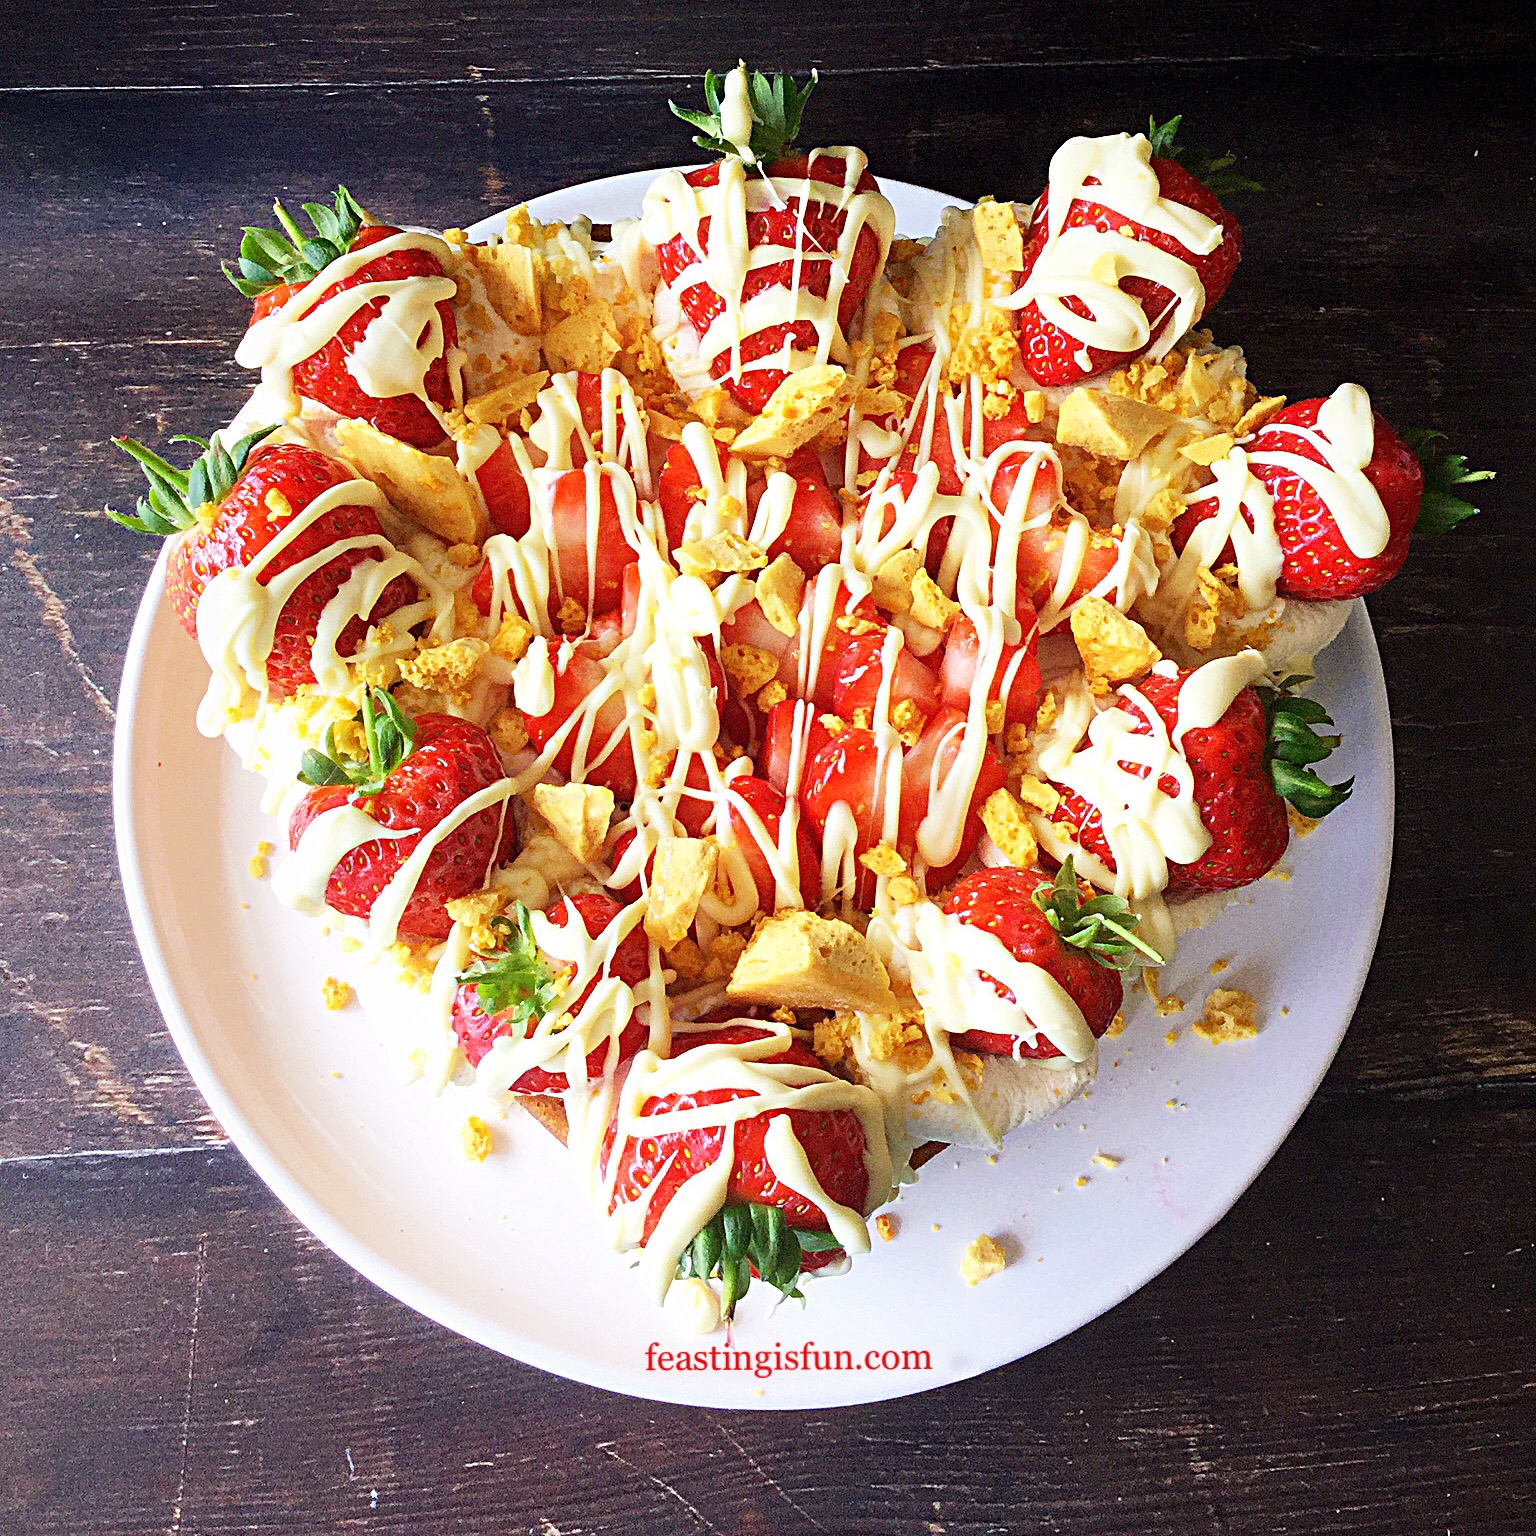
- Place raspberries on top of the lemon curd so that it is covered generously.
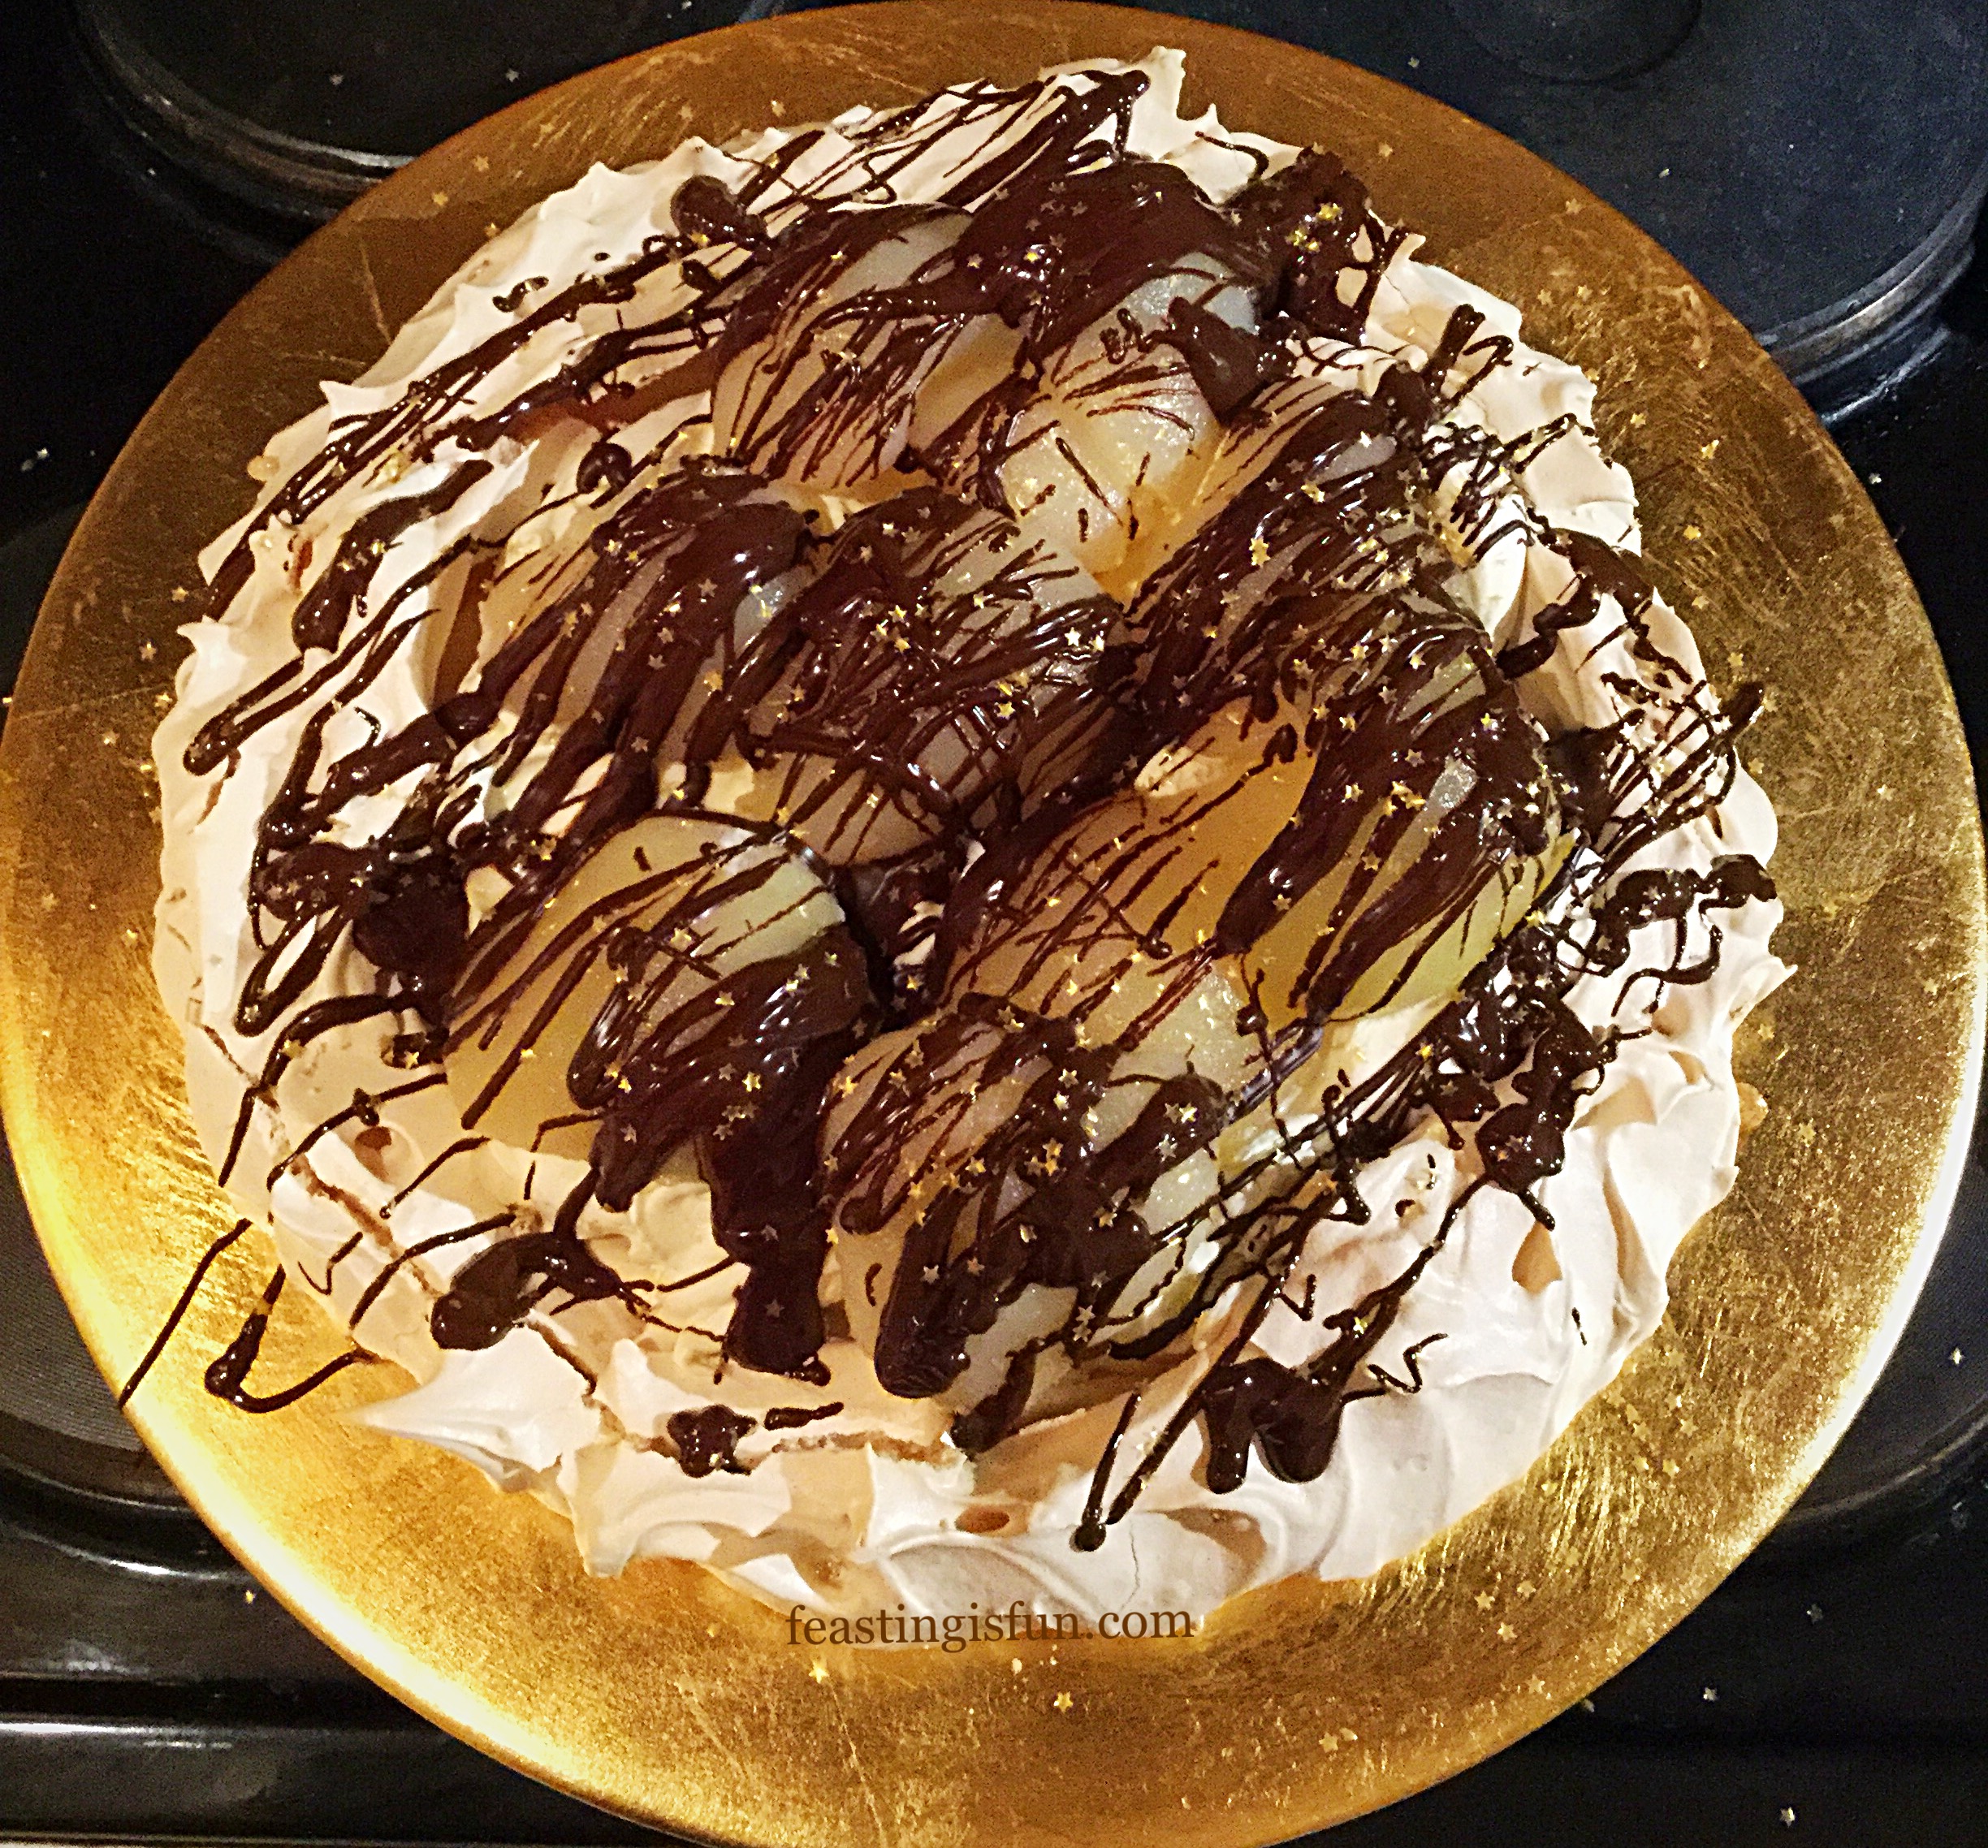
- Finally sprinkle freeze dried raspberries around the edge of the Pavlova.
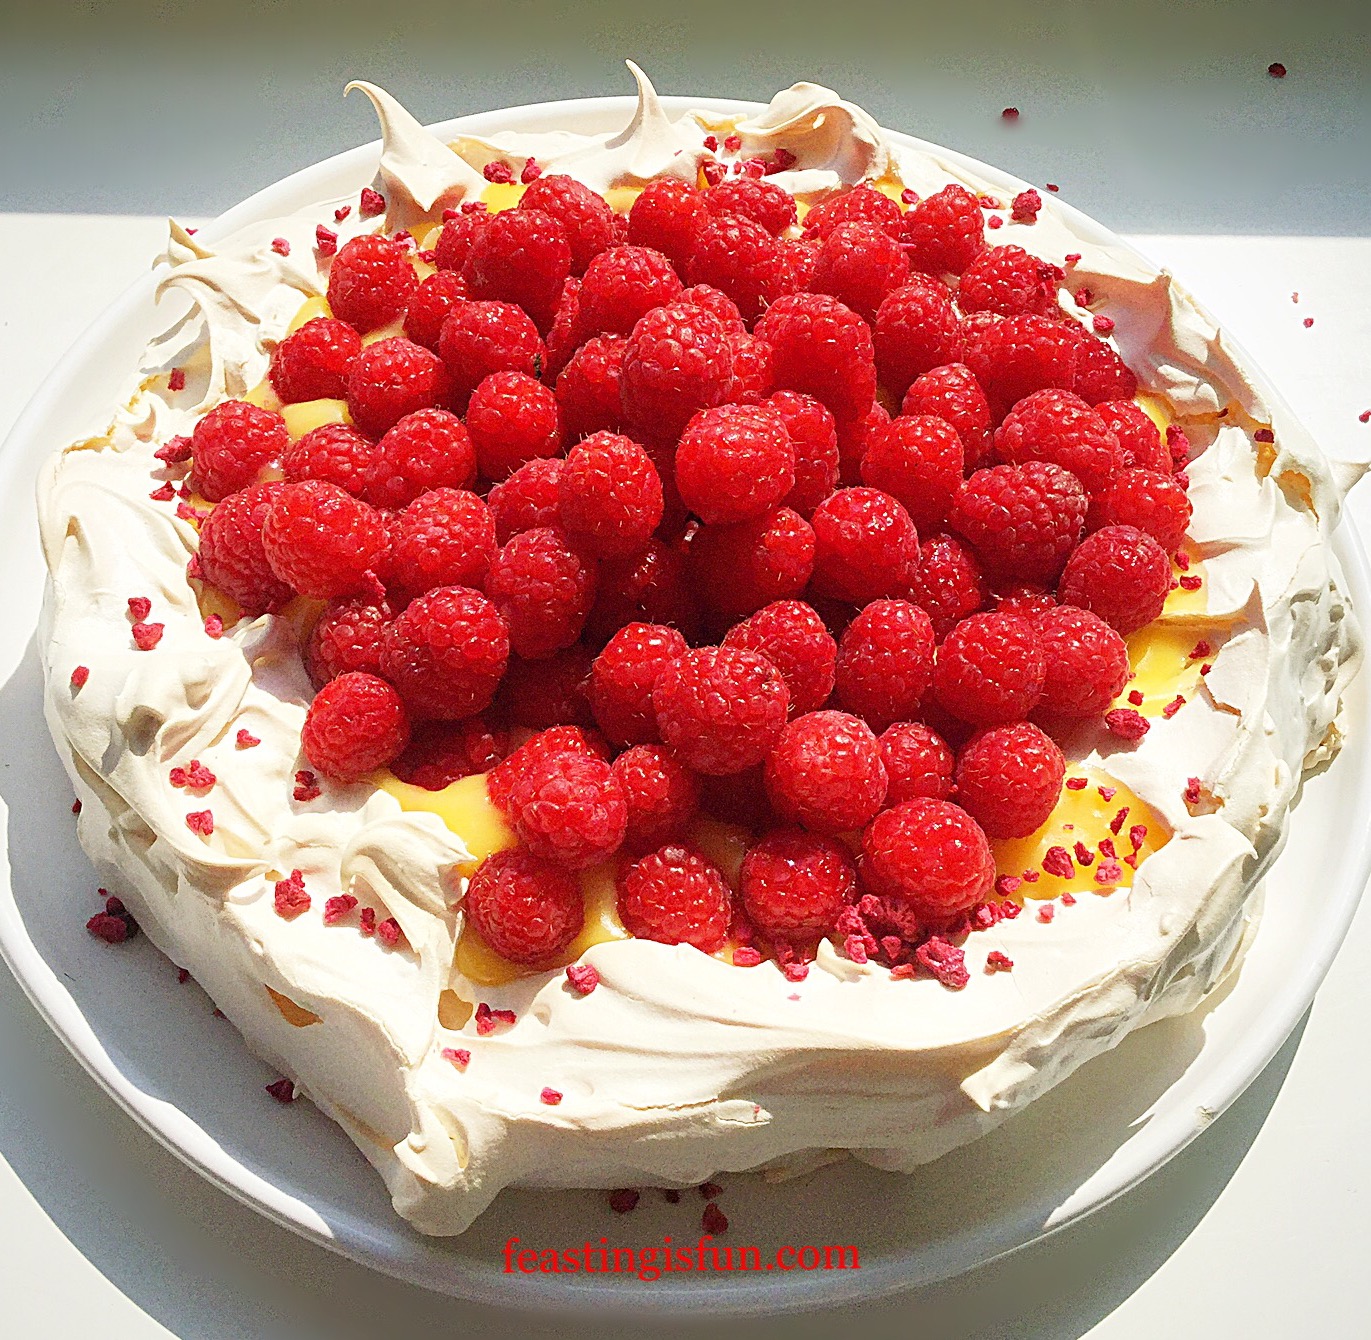
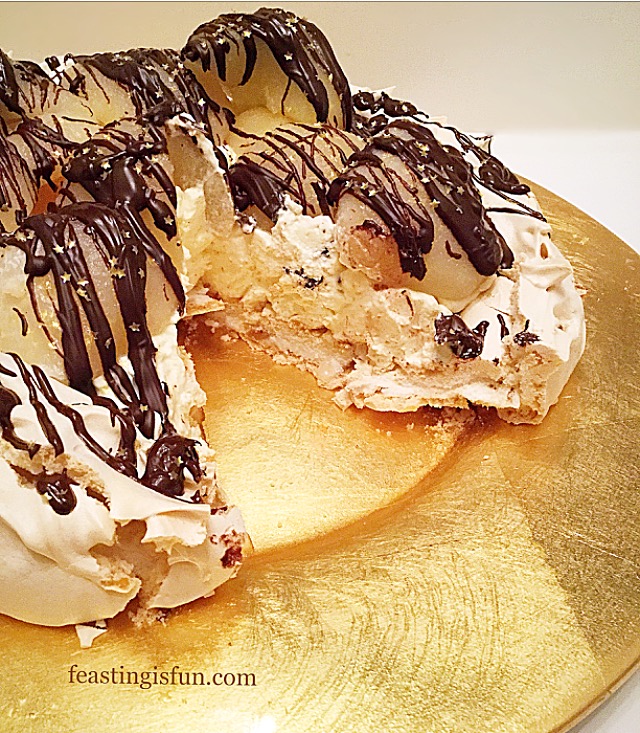
Refrigerate the Pavlova for at least 30 minutes prior to serving. Unusually this Pavlova will sit in the fridge for a day and be perfect to serve. Making this an ideal make ahead dessert. Both Pavlova and lemon curd can be made the day before.
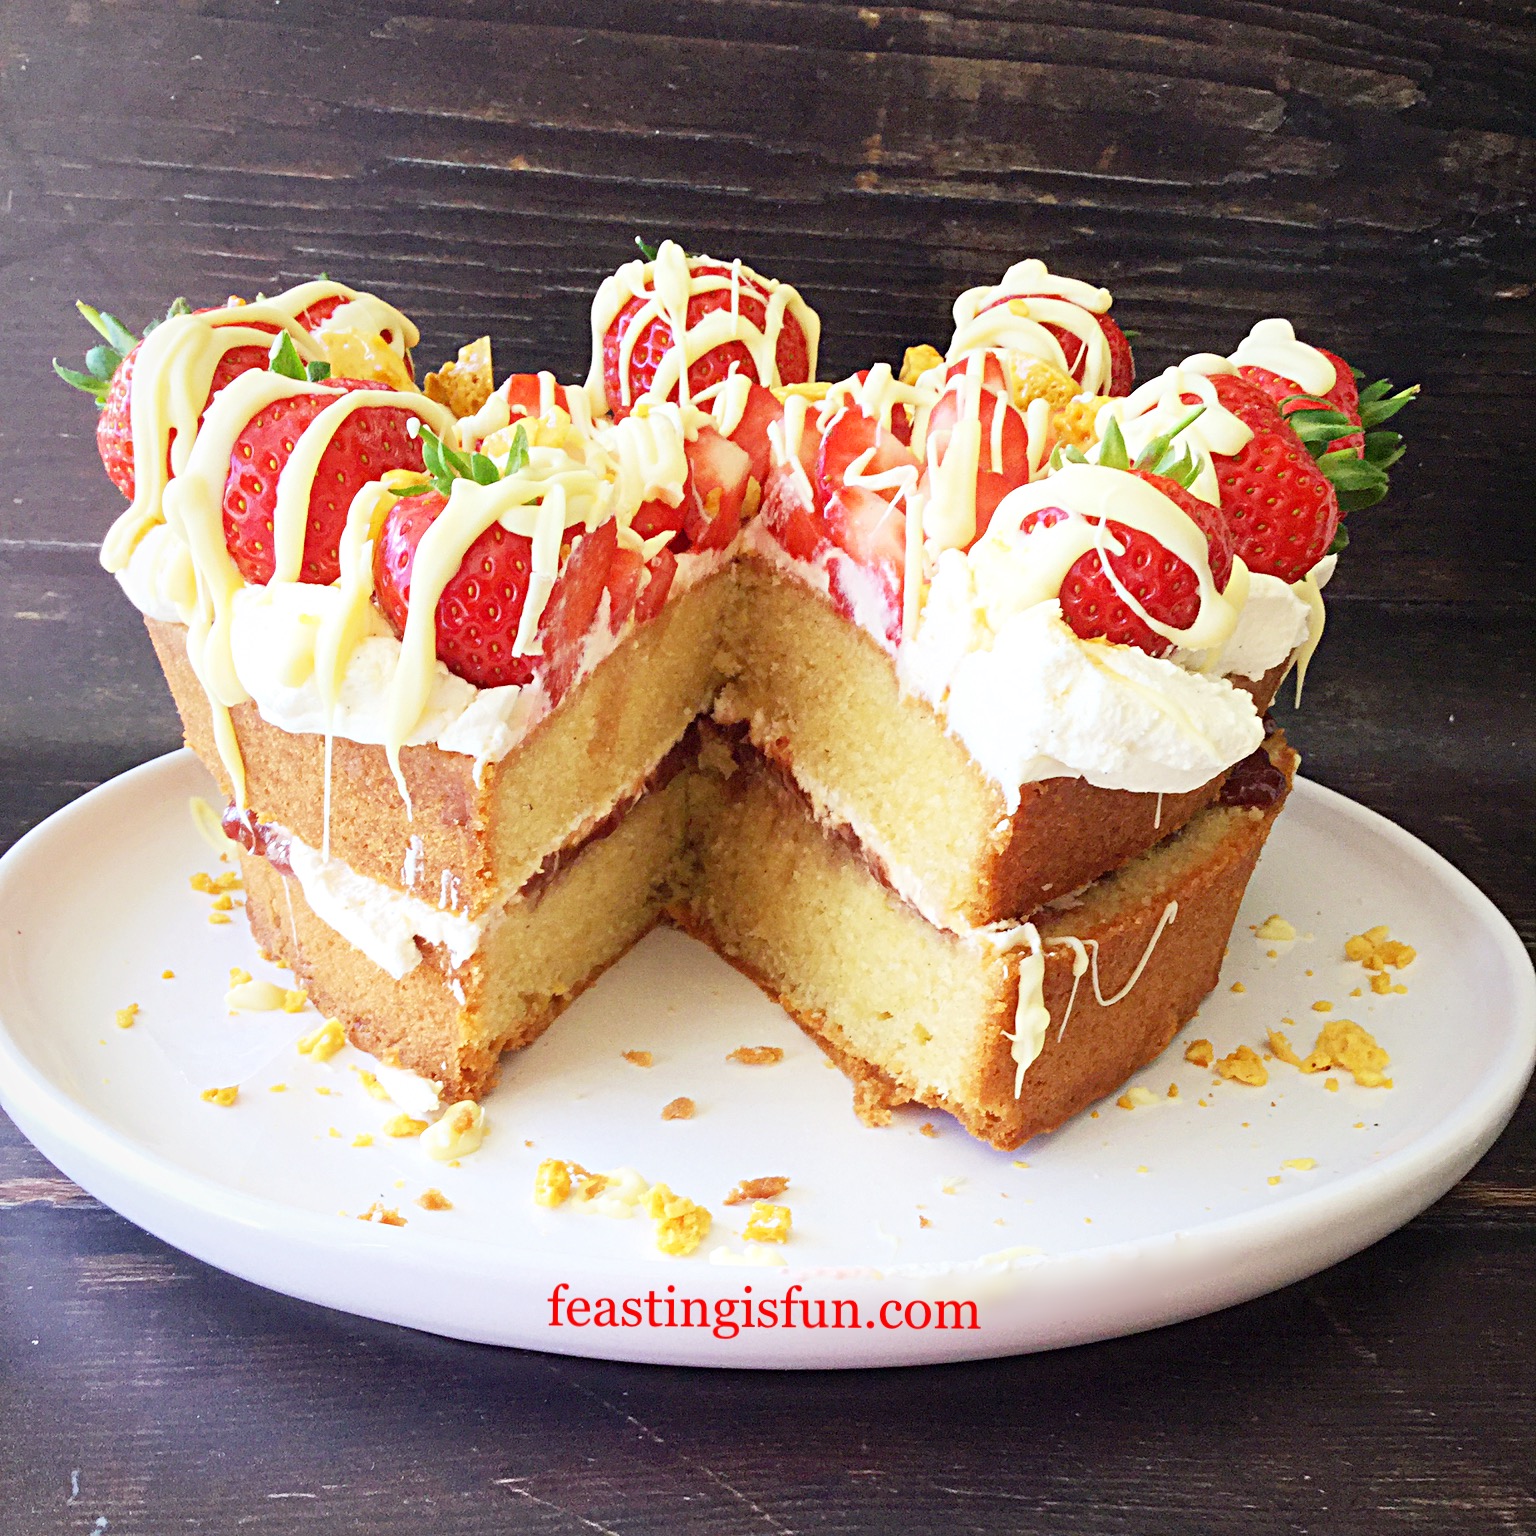
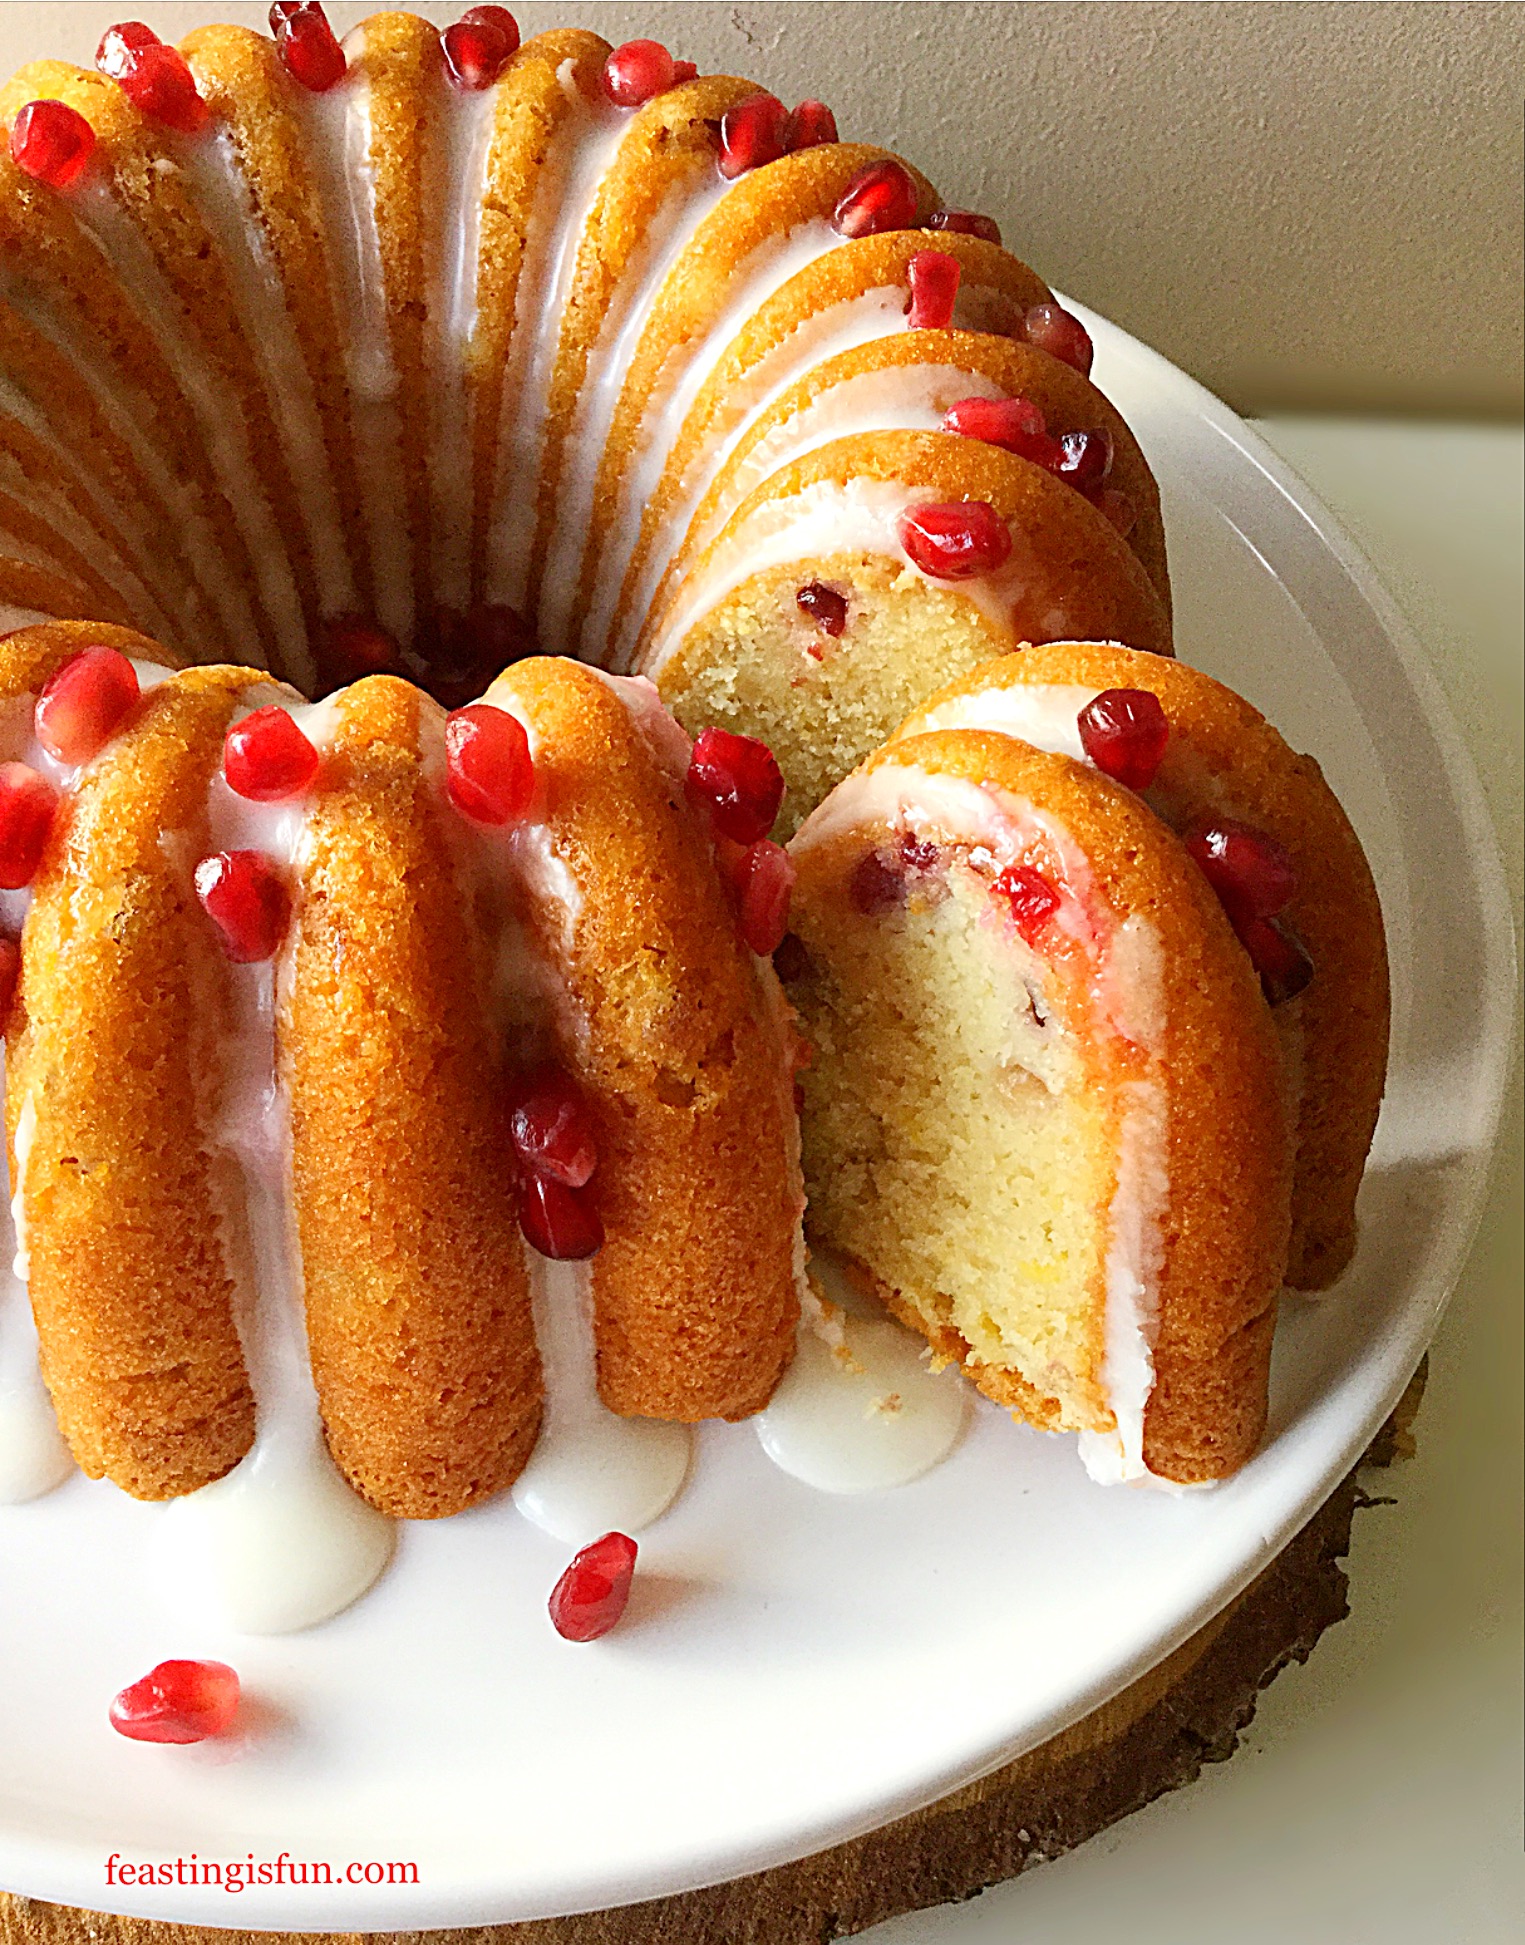
Slice to serve with a jug of pouring cream.
Alternatively, you can whip 300ml double cream, fold half the lemon through the cream and then use this to top the meringue. Keep the remaining lemon curd refrigerated in an airtight container for up to 2 weeks.
If you have enjoyed this recipe for Raspberry Topped Lemon Curd Pavlova you may also enjoy these:
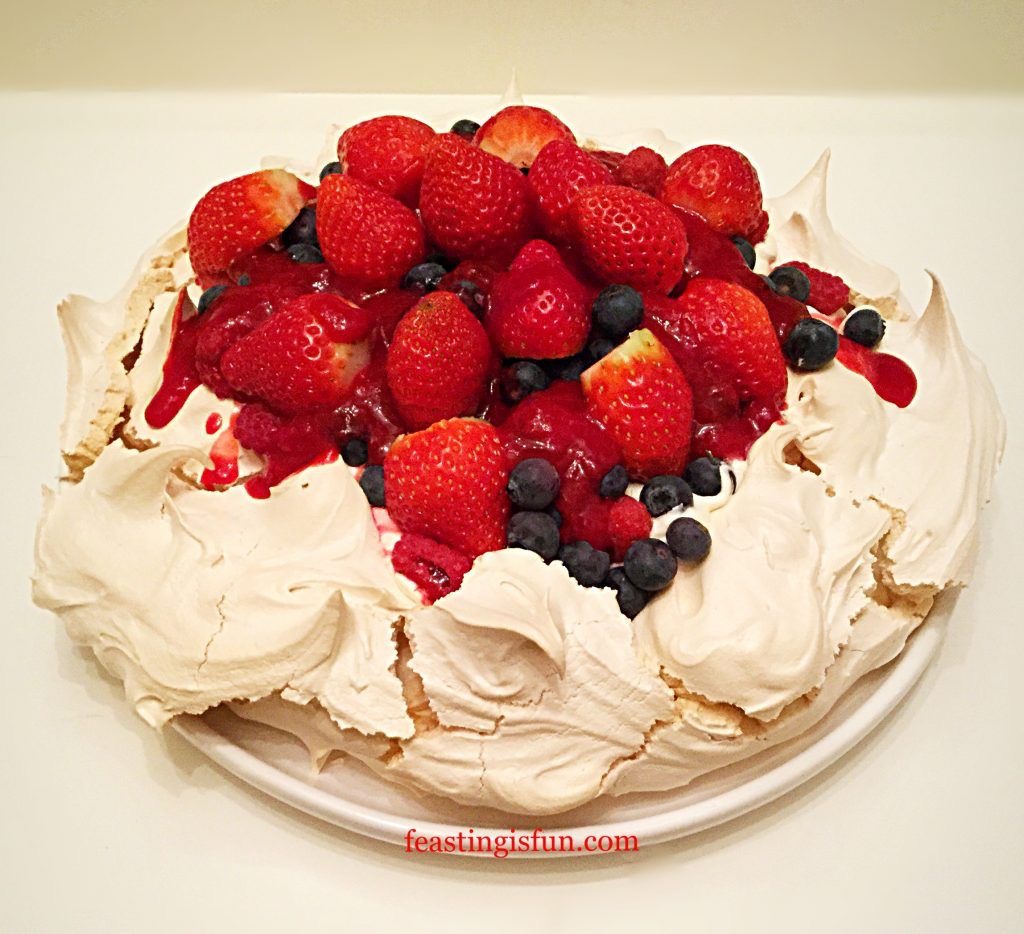
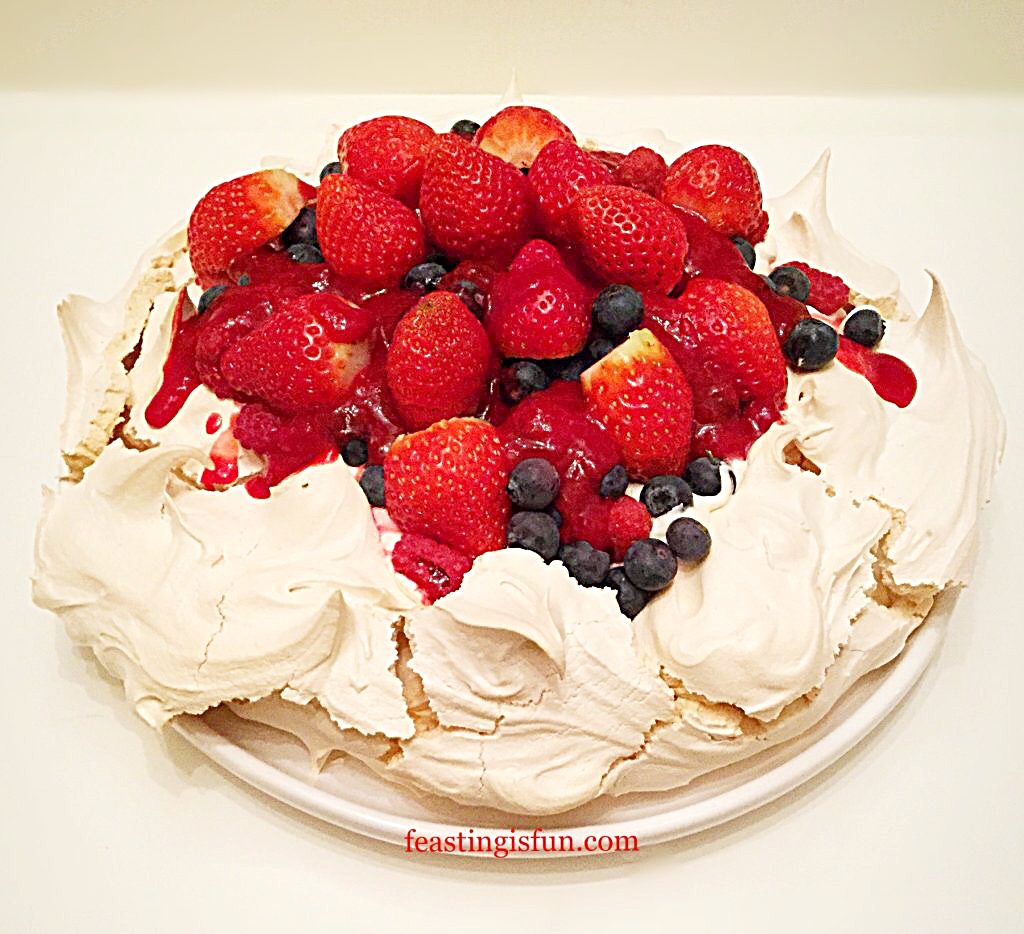
Raspberry Coulis Drizzled Mixed Berry Pavlova
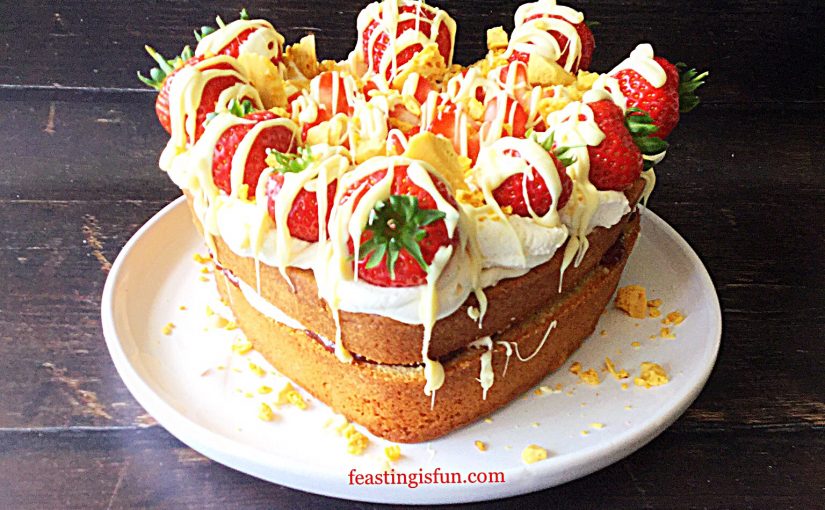
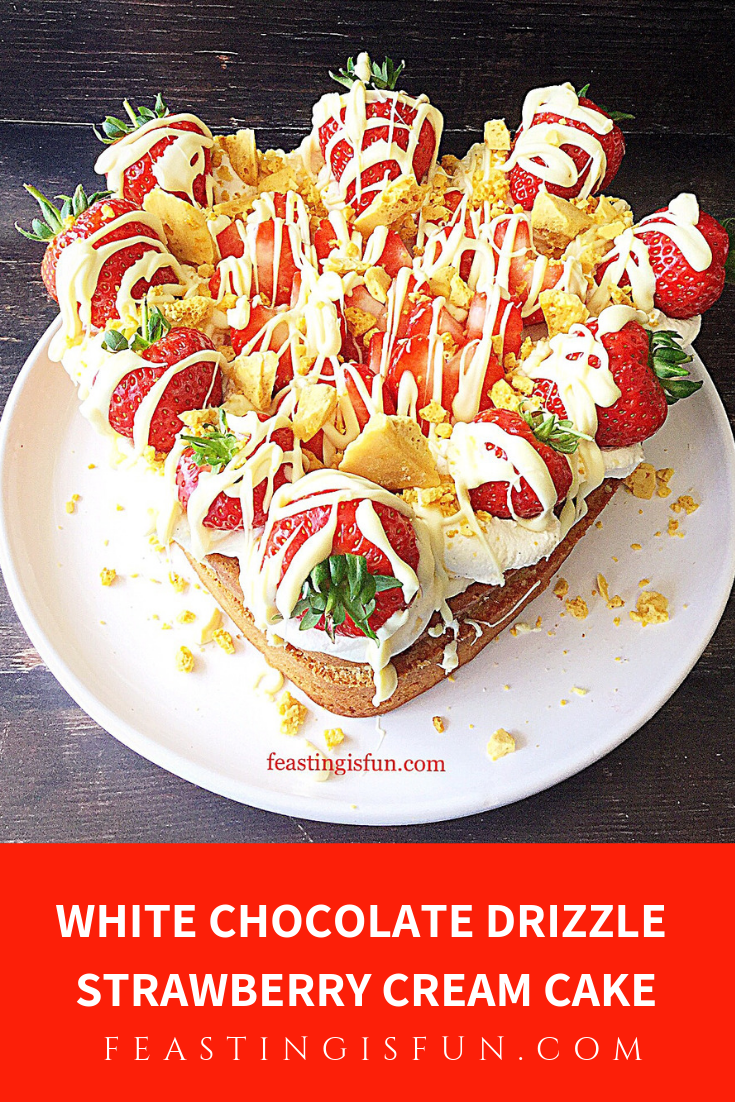
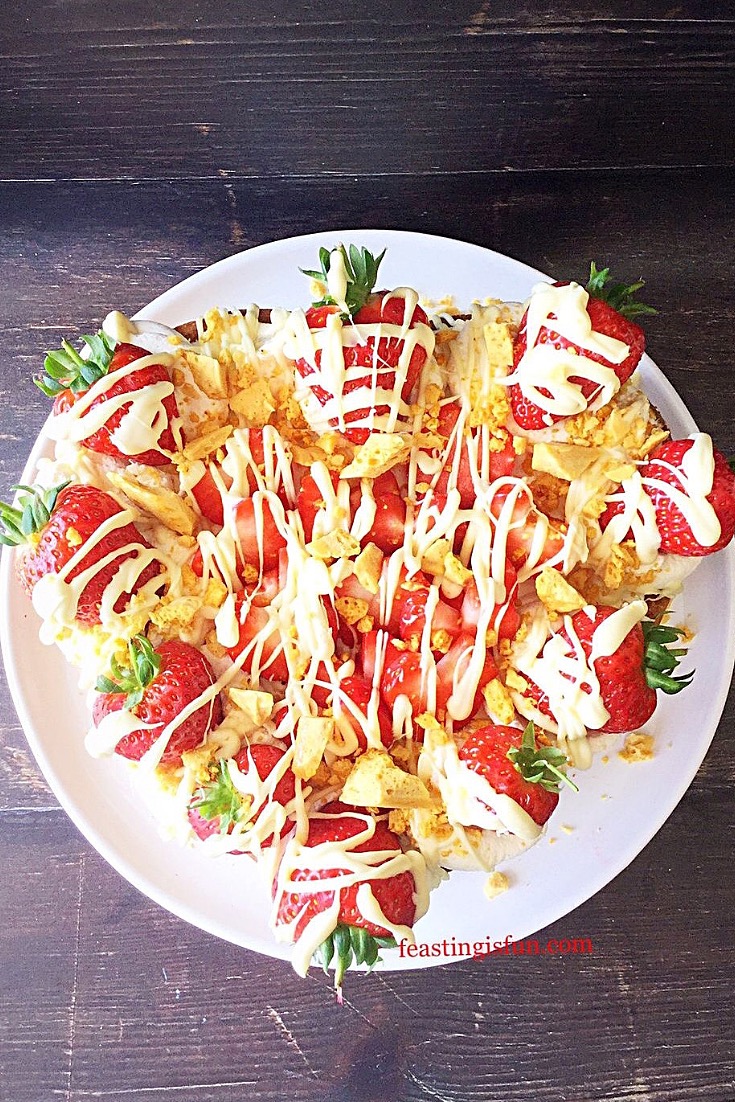
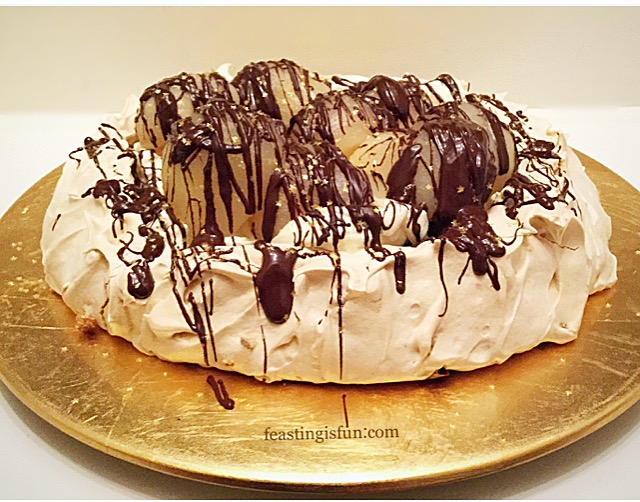
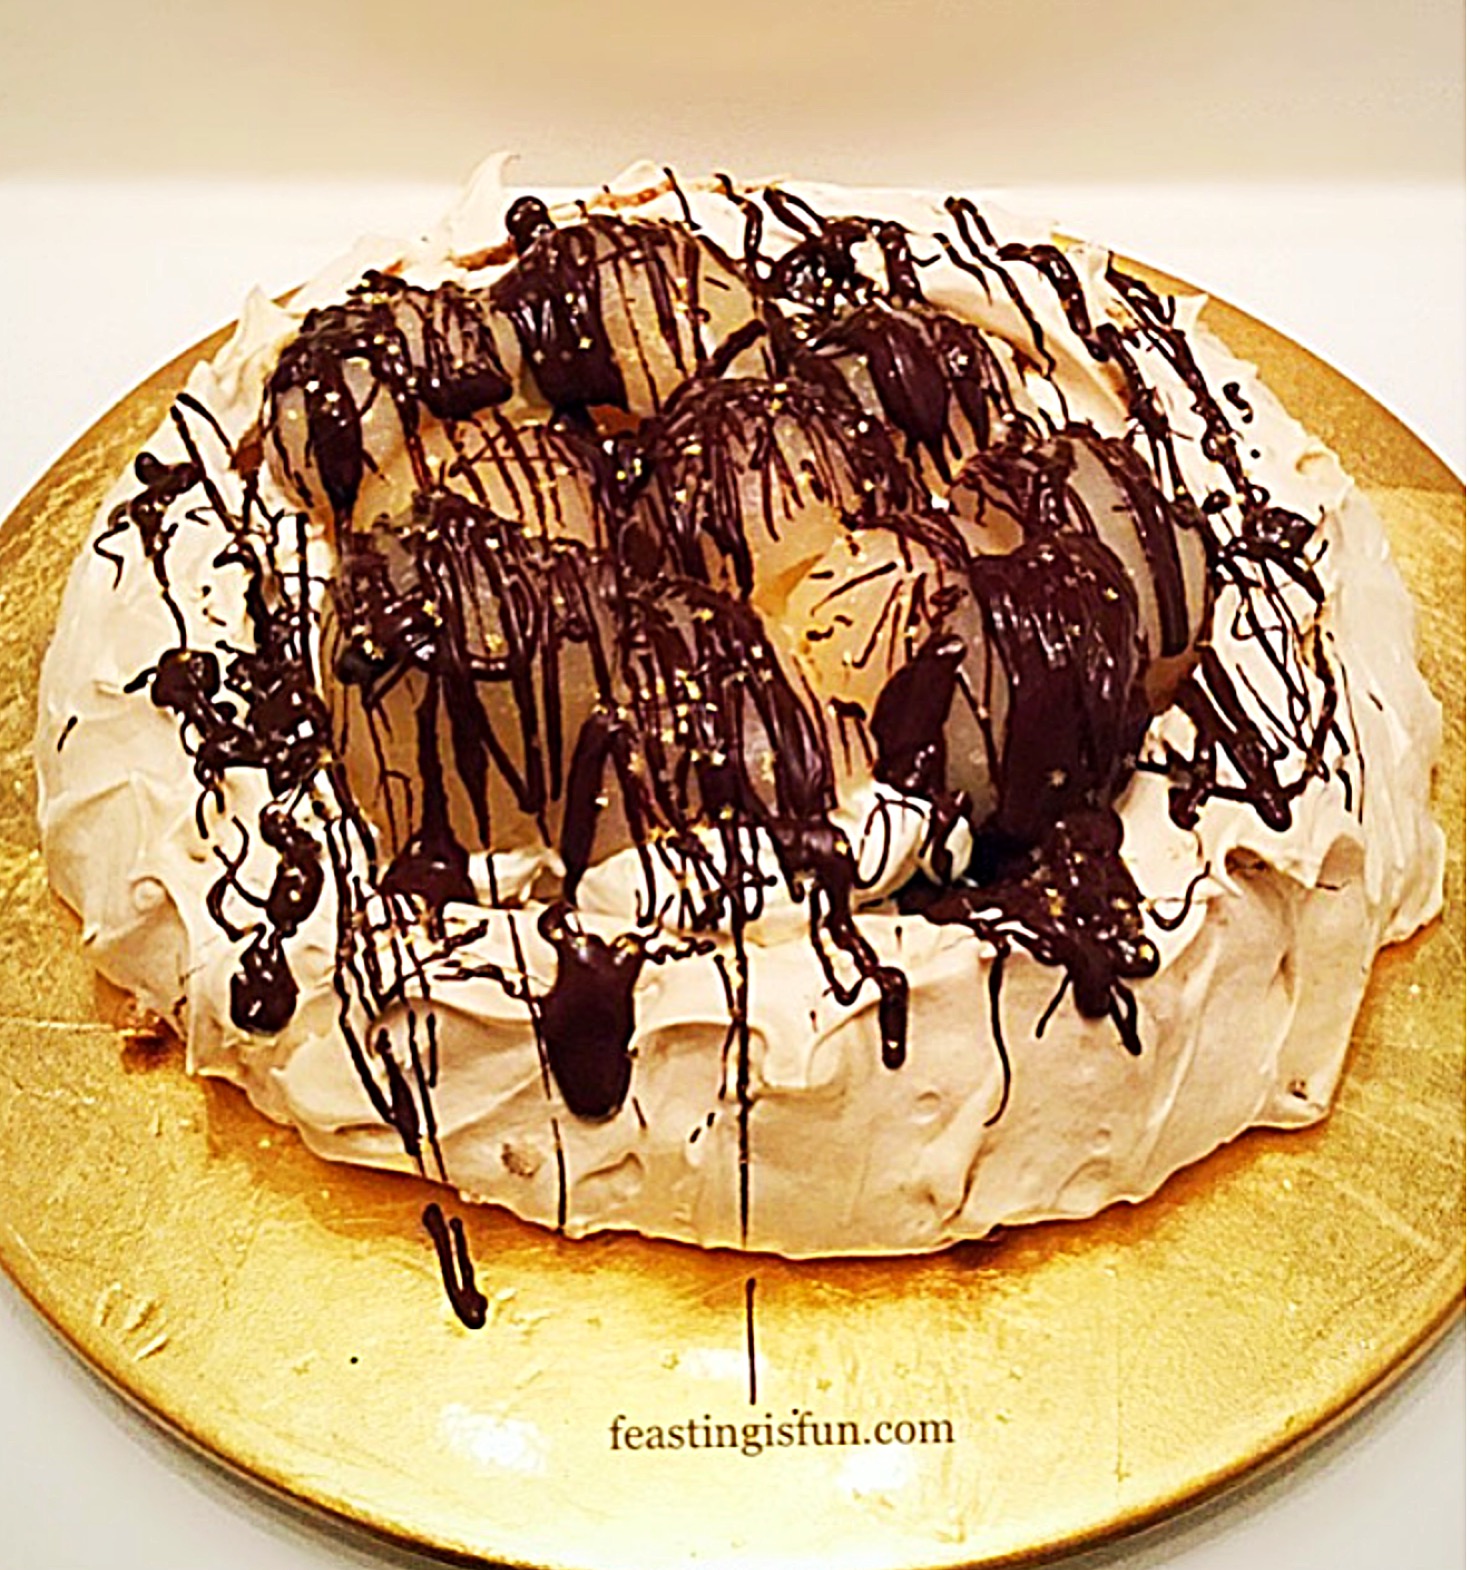
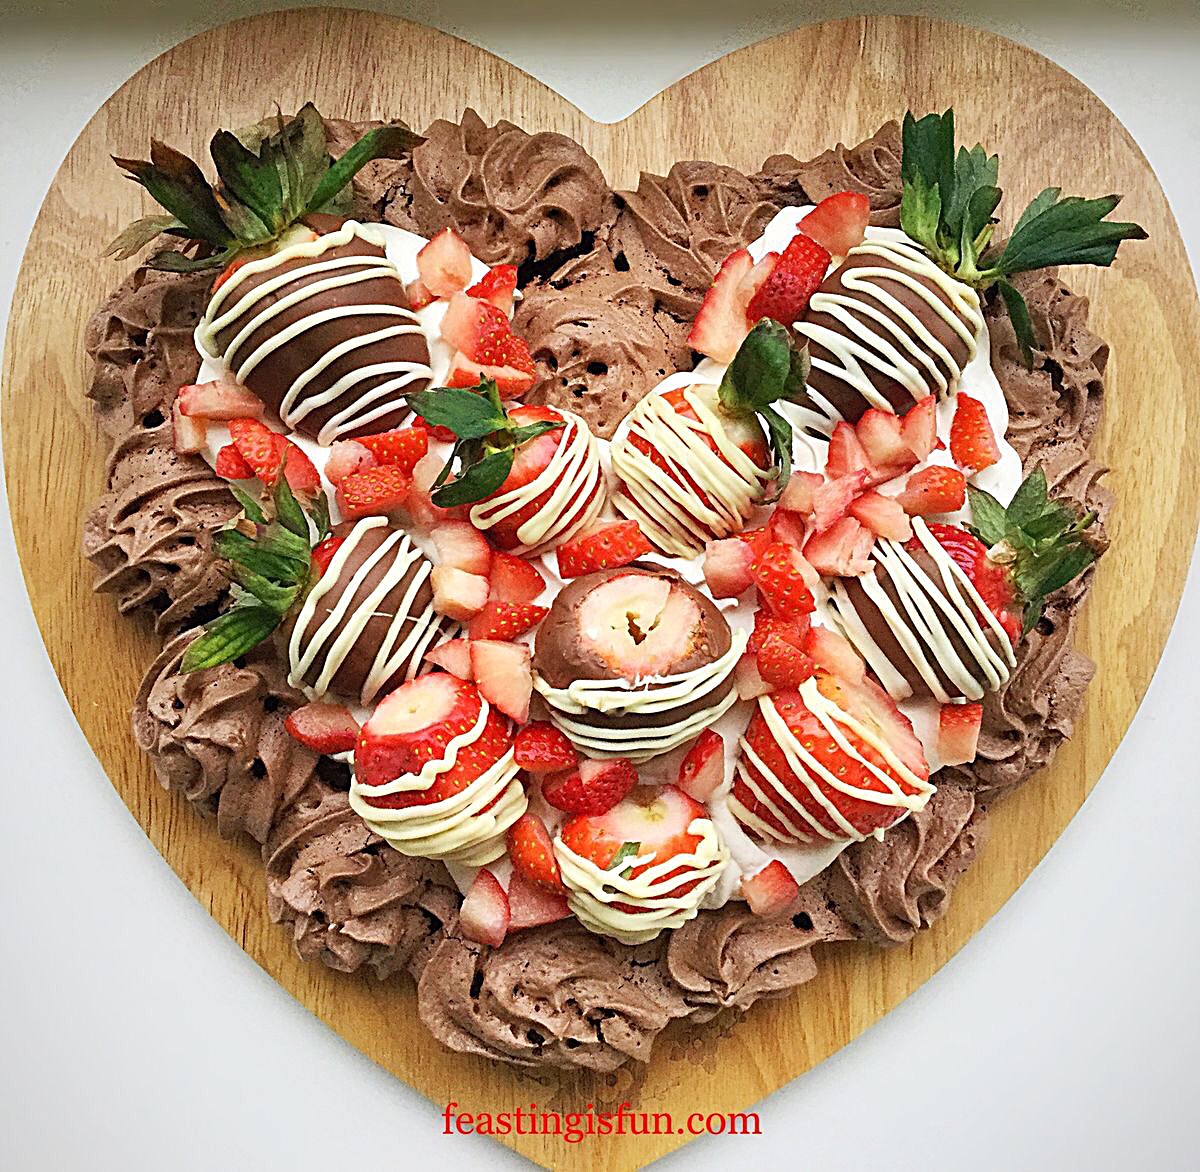
Strawberry Topped Chocolate Heart Pavlova
I find that making and baking a Pavlova is easier than it may seem. And, as with anything, practice will improve technique and confidence. Since Pavlovas are incredibly easy to transport, they make an ideal dessert to take to friends or family. I take all the separate components, baked Pavlova, cream and fruit and then assemble on site. Because Pavlovas have an undeserved reputation for being tricky to make, sharing them with friends simply adds to the wow factor. Additionally this meringue is completely gluten free, enabling more people to enjoy this dessert.
So, whatever you are making, baking and creating in your kitchens, have fun preparing and sharing your feast.
Sammie xx
No part of this post may be reproduced or duplicated without the written permission of the owner. Please see my Disclosure Policy.