Raspberry Lemon Celebration Layer Cake

Today is Mothering Sunday, also known as Mother’s Day. A day set aside to give thanks and show love to those who have born and birthed us. Yet with surrogacy, adoption, step mothers, fostering and many other types of parenting, for me this day represents so much more. First of all, for me personally, the title of Mum, Mam, Mother or Mom, does not come with any accolade simply because a woman has carried and given birth to a child. It is a title earned through endless, sleep deprived nights, countless cuddles and reassurance. Most importantly though it is earned through the act of selfless love, loving so hard and still letting go. And today those are the women I celebrate and am celebrated with. So raise your glass and enjoy a slice of my Raspberry Lemon Celebration Layer Cake.

Thankful For My Family

While I am sitting here, enjoying a delicious slice of this Raspberry Lemon Celebration Layer Cake, I am also taking a moment to be thankful for being a Mum. Thankful for the laughter and fun that comes alongside the hard work and at times pain. The knowledge that I am part of a family unit, that starts with my husband and I and reaches out through our children, our siblings and what is to come. Most importantly knowing that I am unconditionally loved and accepted by my Heavenly Father, who is both mother and father to me.
FF Raspberry Lemon Celebration Layer Cake
Raspberry Lemon Celebration Layer Cake

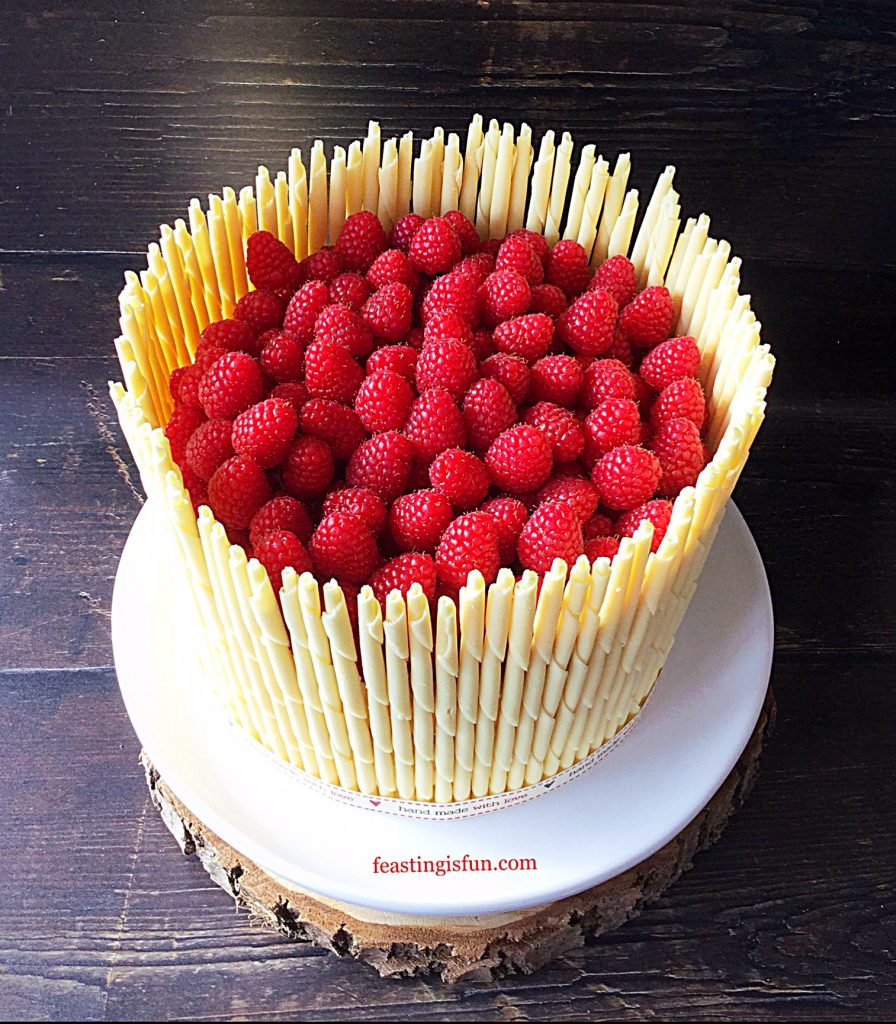
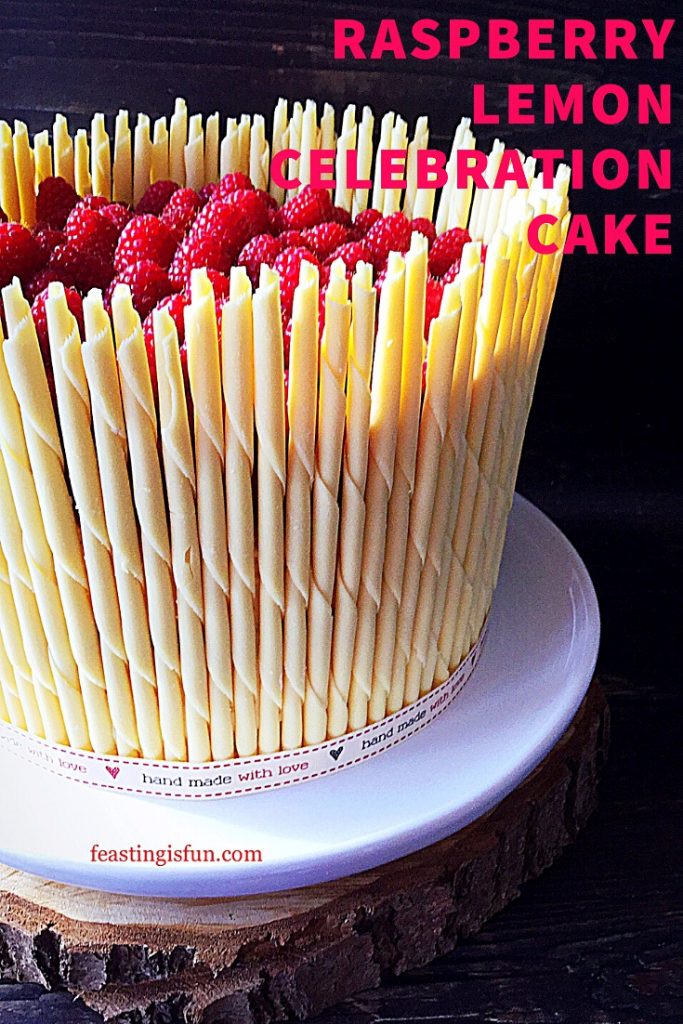
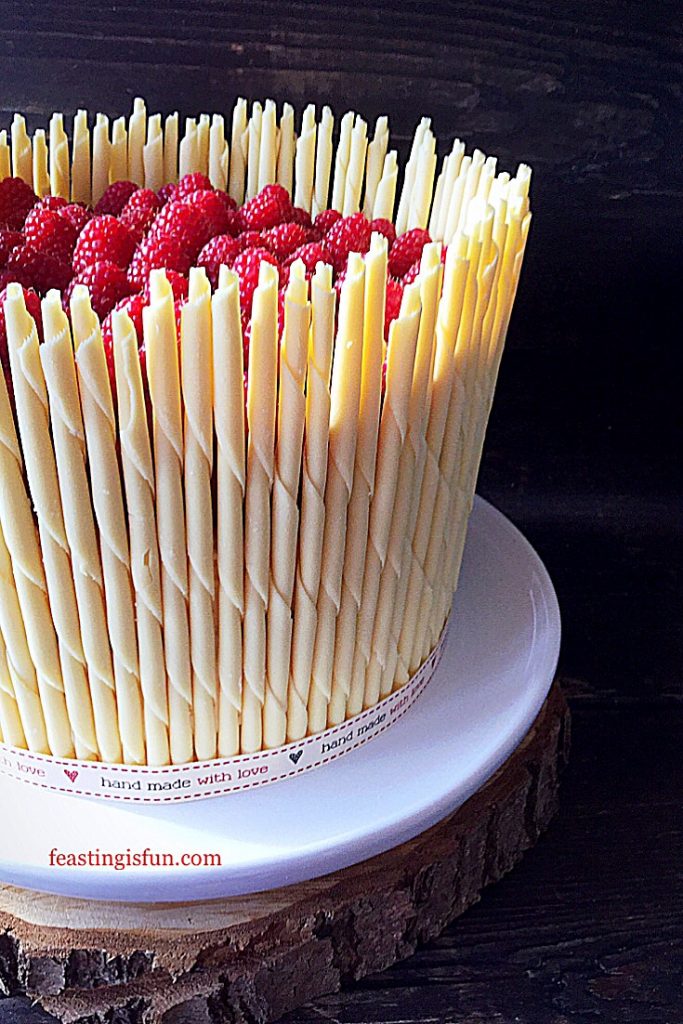
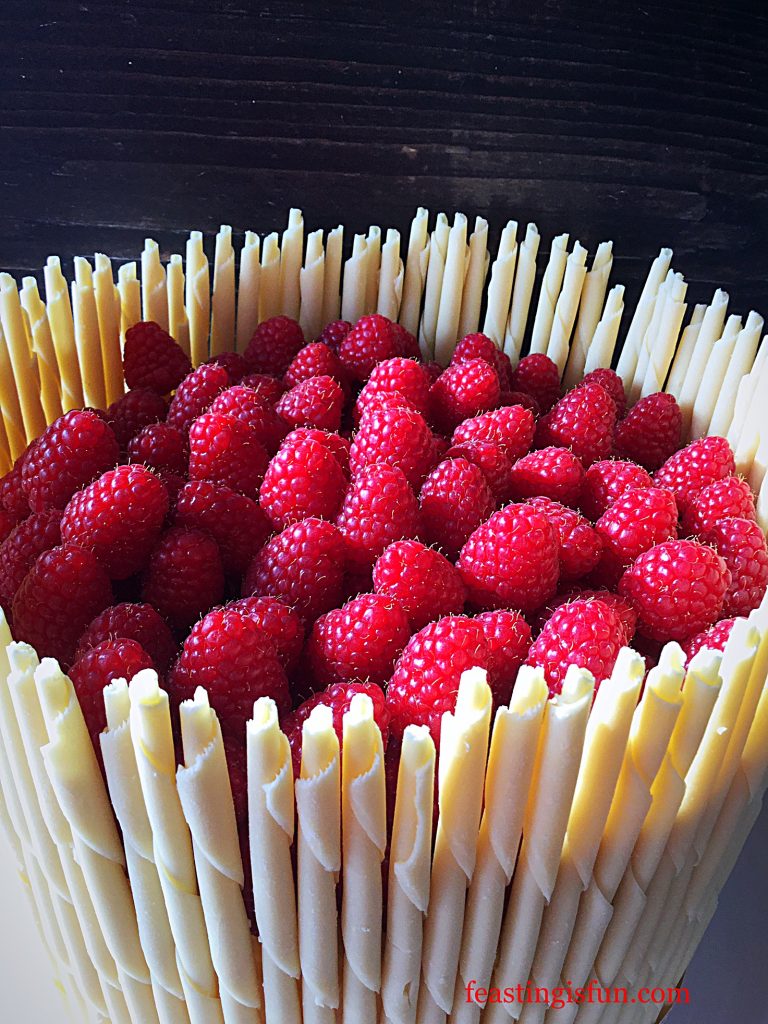
Since we are celebrating, what better occasion than to make a cake. Light lemon sponge layered with the very best lemon curd and lemon buttercream. Surrounded with swirled white chocolate pencils and topped with fresh, deep red, raspberries. The sum of this Raspberry Lemon Celebration Layer Cake is so much more that the total of it’s separate parts.
FF Raspberry Lemon Celebration Layer Cake
Raspberry Lemon Celebration Layer Cake

While magnificent to look at, do not be daunted at the prospect of making this cake. Inspired by Lorraine Pascal and a baking programme I watched, trust me when I state that if I can make this cake, you can too. Also, the very lovely Maria Whitehead who runs Hawkshead Relish with her husband and daughter, remarked that my recipes are approachable and ‘un-cheffy’! Which, I took as a compliment and also used as influence when designing this cake.
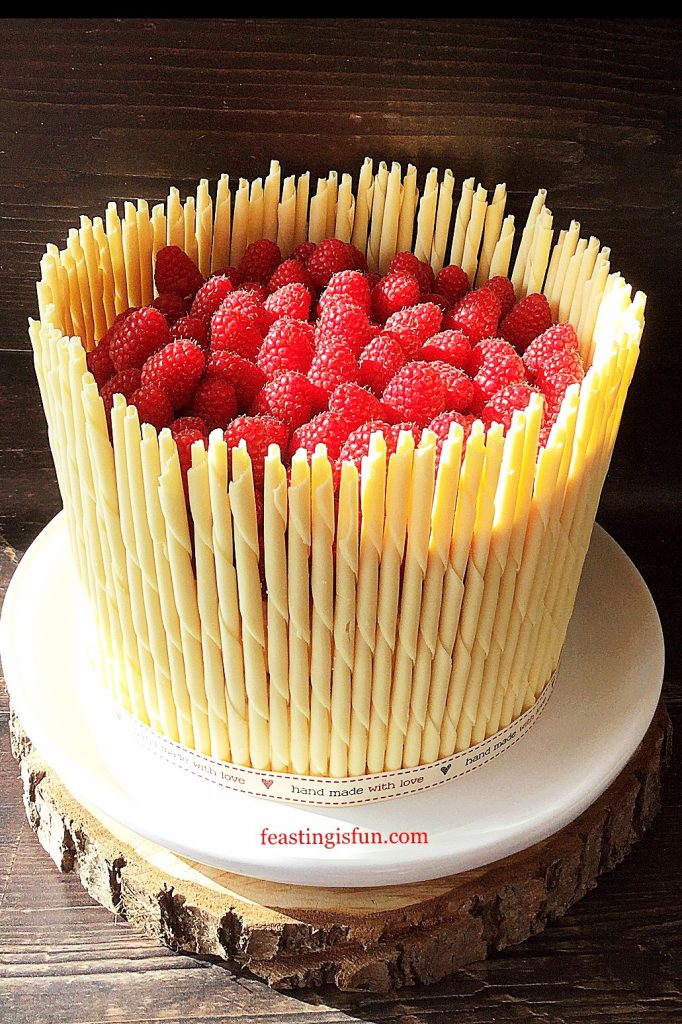
A white chocolate pencil surrounded, fresh fruit filled three sponge dessert.
Raspberry Lemon Celebration Cake

Recipe: Raspberry Lemon Celebration Layer Cake serves 12

For the cake sponges:

225g/8oz + 115g/4oz Unsalted Butter at room temperature – plus a little extra for greasing the tins

225g/8oz+ 115g/4oz Caster Sugar

1/2tsp + 1/4tsp Sea Salt (halve for free flowing) – I use Maldon

1tsp + 0.5tsp Vanilla Extract – I use Nielsen-Massey

4 + 2 Large Free Range Eggs

225g/8oz + 115g/4oz Plain Flour

2tsp + 1tsp Baking Powder

Zest of 2 Fresh Lemons

For the buttercream:

250g/9oz Unsalted Butter at room temperature

500g/1lb 2oz Icing Sugar (confectioner’s sugar)

1/4tsp Sea Salt

7tsp Freshly Squeezed Lemon Juice (approximately the juice from 1 medium lemon)

Also needed:

6-7 tbsp Good Quality Lemon Curd – I use Hawkshead Relish

1 Box White Chocolate Pencils – I use Callebaut

600g/1lb 5oz Fresh Raspberries

Method: Preheat oven to 160C/140C fan, 325F, gas mark 3

Note: The cake is baked in three separate layers. Since a 20cm (8in) sandwich tin is required for each sponge the recipe is split. The first amount given is sufficient for two layers. While the second amount is for a single layer. If you have three equal sized tins, combine the first and second amounts, dividing equally between three tins. Baking times may need to be adjusted.

Making and baking the cake layers.

  • First of all grease and line the base of each sandwich tin with baking parchment.
  • Into a large bowl add the first amount given for butter, sugar and salt. Whisk the ingredients together until pale and creamy.
  • Next add 4 eggs and 1 teaspoon of vanilla extract. Sift the flour and baking powder on top and then add the zest of one and one third of lemon.
  • Whisk the ingredients together until just combined, yet free of lumps.
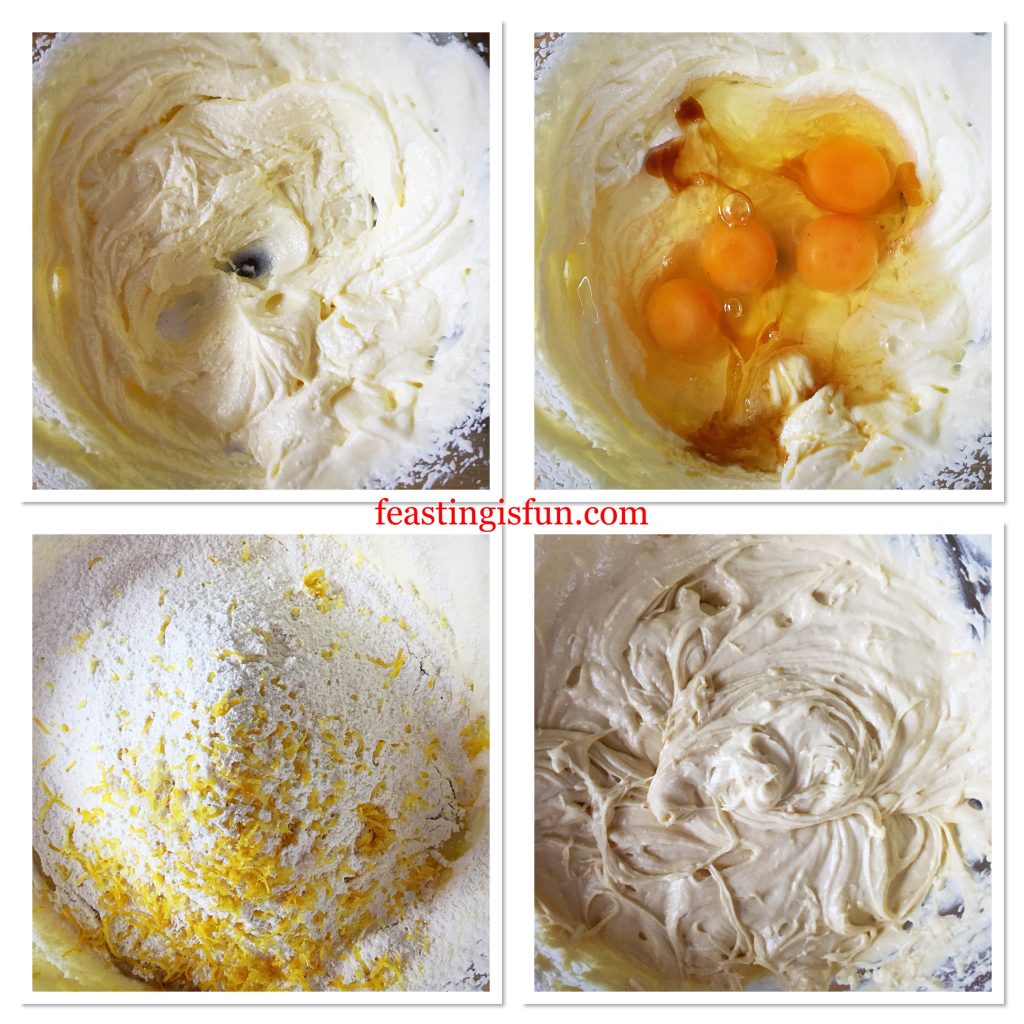
FF Raspberry Lemon Celebration Layer Cake
Making the lemon sponge cake batter.
  • Divide the cake batter evenly between the two prepared sandwich tins and smooth the tops.
  • Place both tins in the centre and lower parts of the oven and bake for 40-50 minutes.
  • The cake sponge is fully baked when golden, springs back from a light touch and an inserted skewer comes out clean.
  • As soon as the cakes are baked remove from the oven. Leave to cool in the tin for 10 minutes and then turn out, removing the baking parchment from the base of each sponge.
  • Leave to cool on a cooling rack.
  • Wash up a sandwich tin, grease and line as before. Make the batter for one sponge following the method given, using the second quantity given in the recipe. Fill the tin and bake as before.
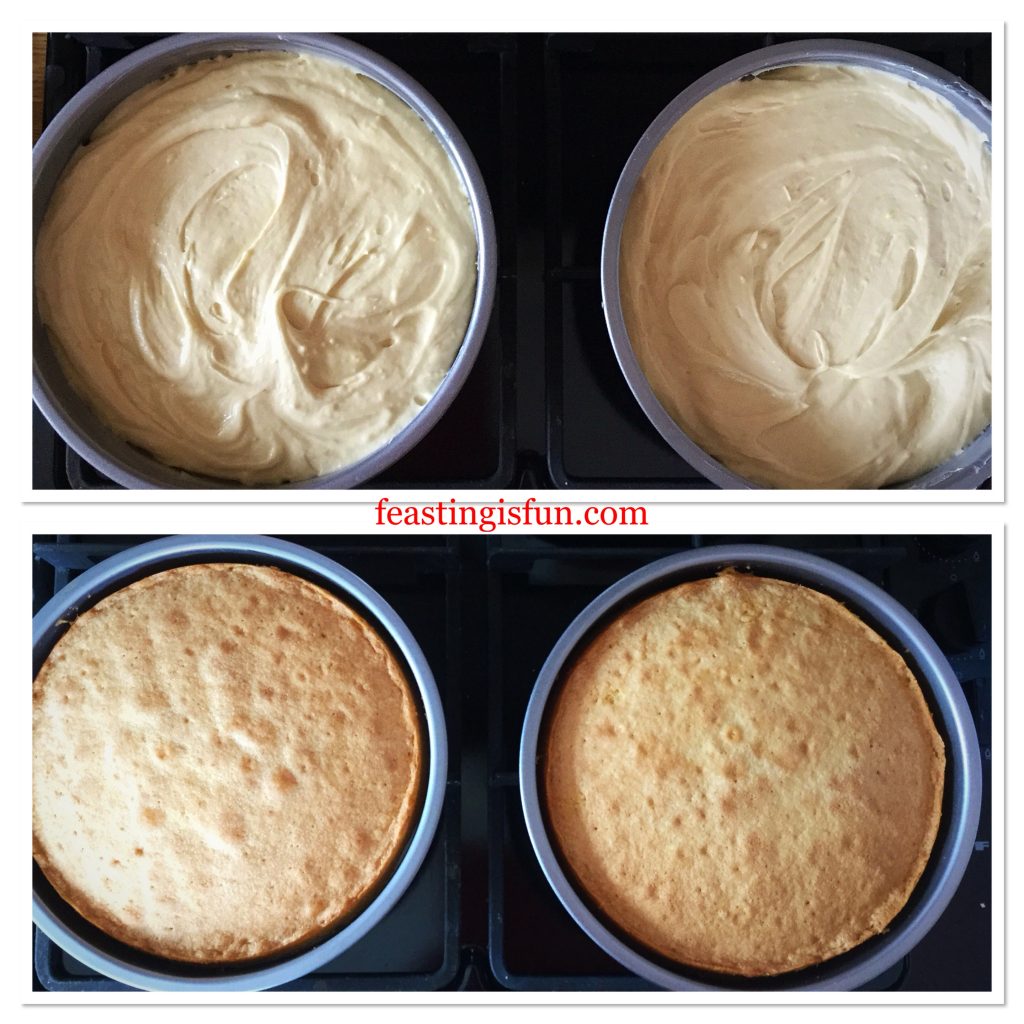
FF Raspberry Lemon Celebration Layer Cake
Preparing and baking the cake sponges.
  • While the last sponge is cooling make the lemon buttercream.
  • Into a large bowl add butter, icing sugar, salt and lemon juice.
  • Stating on a low speed whisk the ingredients together, increasing the speed until the buttercream is light and creamy.
  • Spoon the buttercream into a large piping bag without a nozzle fitted. If using a disposable bag cut a 1cm opening at the bag’s tip.

Filling and covering the cake:

  • Pipe one tablespoon of buttercream on to the plate/board used for the cake.
  • Place one cake sponge, flat side facing up, on top of the buttercream.
  • Spoon 3 tablespoons of lemon curd on to the cake and spread to cover evenly.
  • Pipe 3-4 tablespoons of buttercream on to the top of the next sponge. Spread to cover the sponge evenly.
  • Flip the sponge and place on top of the lemon curd covered sponge.
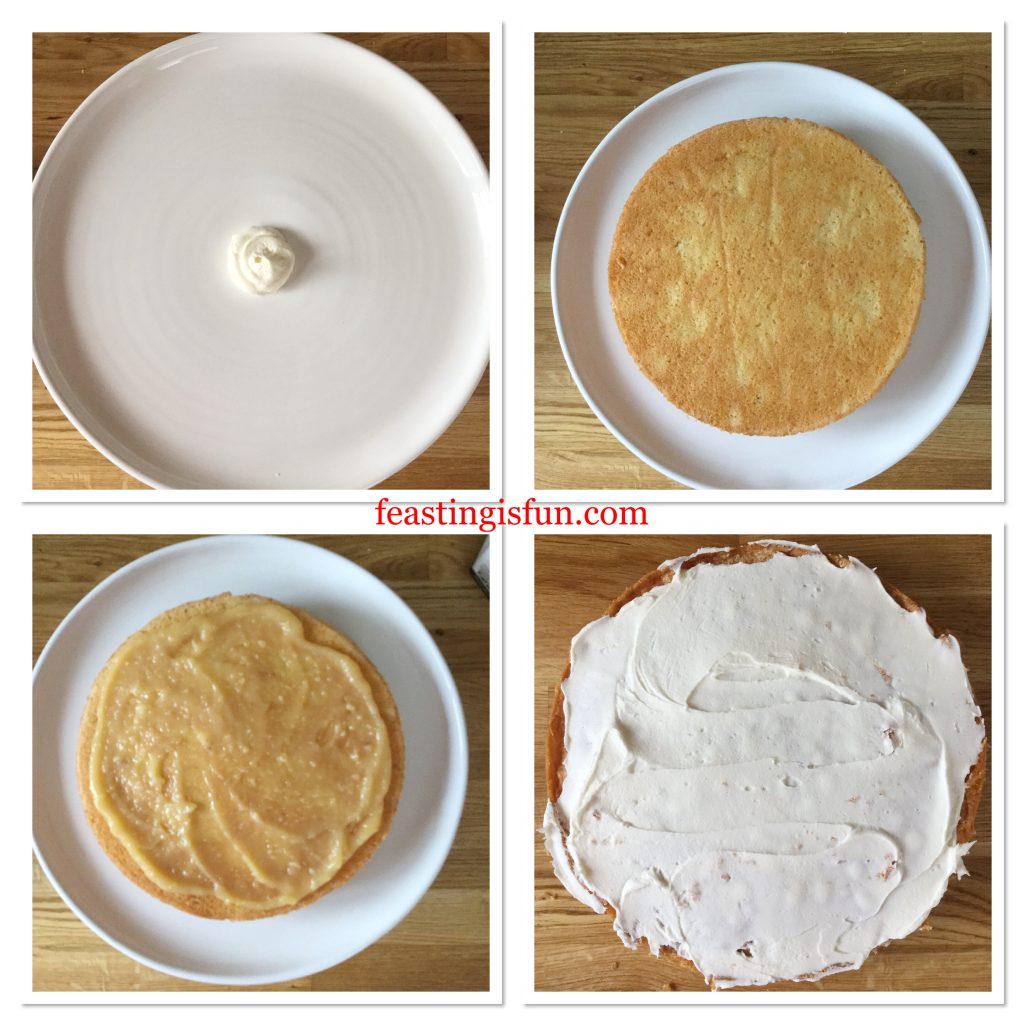
FF Raspberry Lemon Celebration Layer Cake
Stacking the cake layers.
  • Spoon 3 tablespoons of lemon curd on the top of the sponge, spread to cover evenly as before.
  • Pipe 3-4 tablespoons of buttercream on to the flat side of the third sponge. Again, spread to cover evenly.
  • Flip the sponge and place, flat side down, on to the second, lemon curd covered sponge.
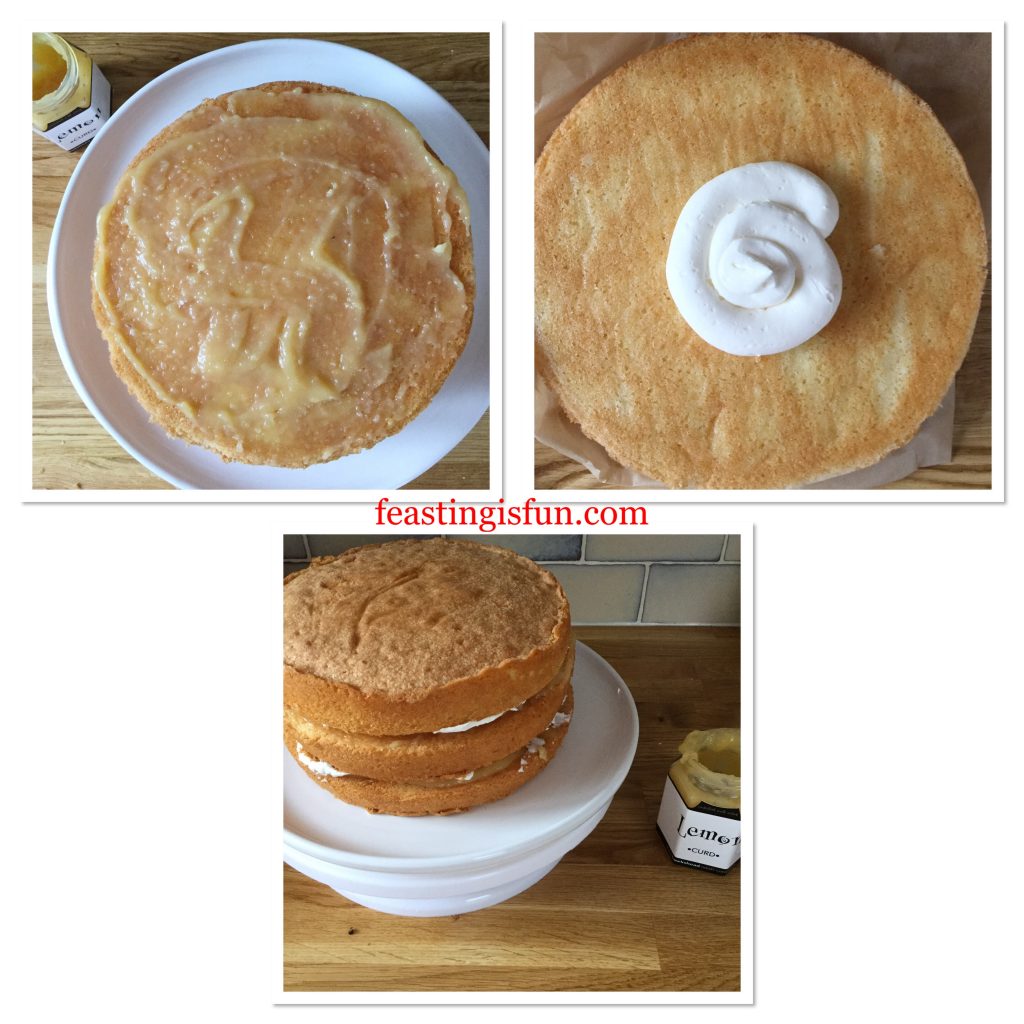
FF Raspberry Lemon Celebration Layer Cake
Layering the cake with lemon curd and buttercream.
  • Place the cake plate/board on to a cake decorating turntable if you have one.
  • Pipe buttercream between each layer and on the top of the cake.
  • Use an offset palette knife to spread the buttercream evenly around and on top of the cake. Since the cake is to be covered the finish of the buttercream does NOT have to be perfect. Aim for a neat, smooth finish.
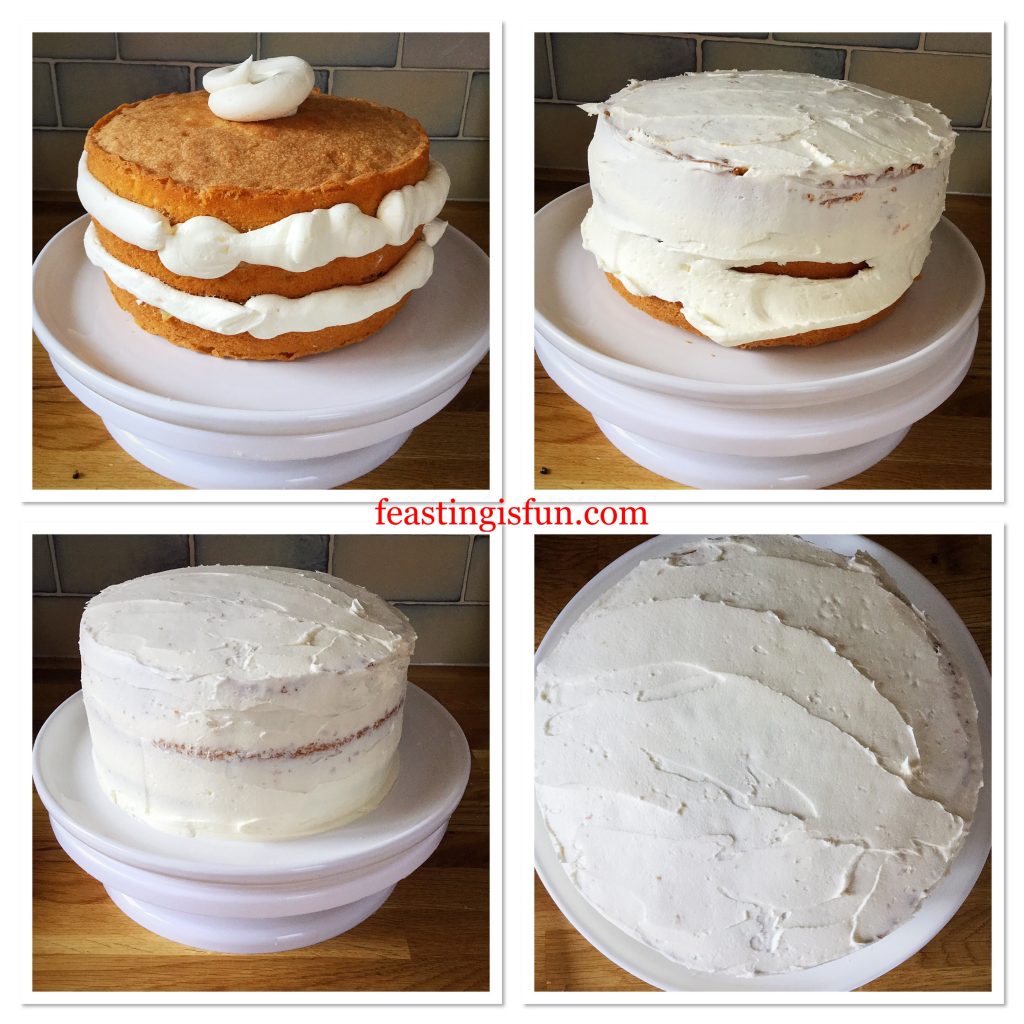
FF Raspberry Lemon Celebration Layer Cake
Covering the layered cake with buttercream.

Decorating the cake:

  • First of all take a full size pencil, measure it against the height of the cake. 10cm or 4 inches is the desired height of excess pencil from the top of the cake.
  • Trim a pencil to the length needed and measure against the cake to double check.
  • Make any adjustments and keep the pencil as a guide for cutting the remaining pencils.
  • Cut a few pencils at a time. Carefully take the first one placing vertically against the side of the cake. Gently push it into the buttercream.
  • Continue with the next pencil, placing as close as possible next to the first pencil.
  • Work around the outside of the cake, adding pencils until the entire cake is surrounded.
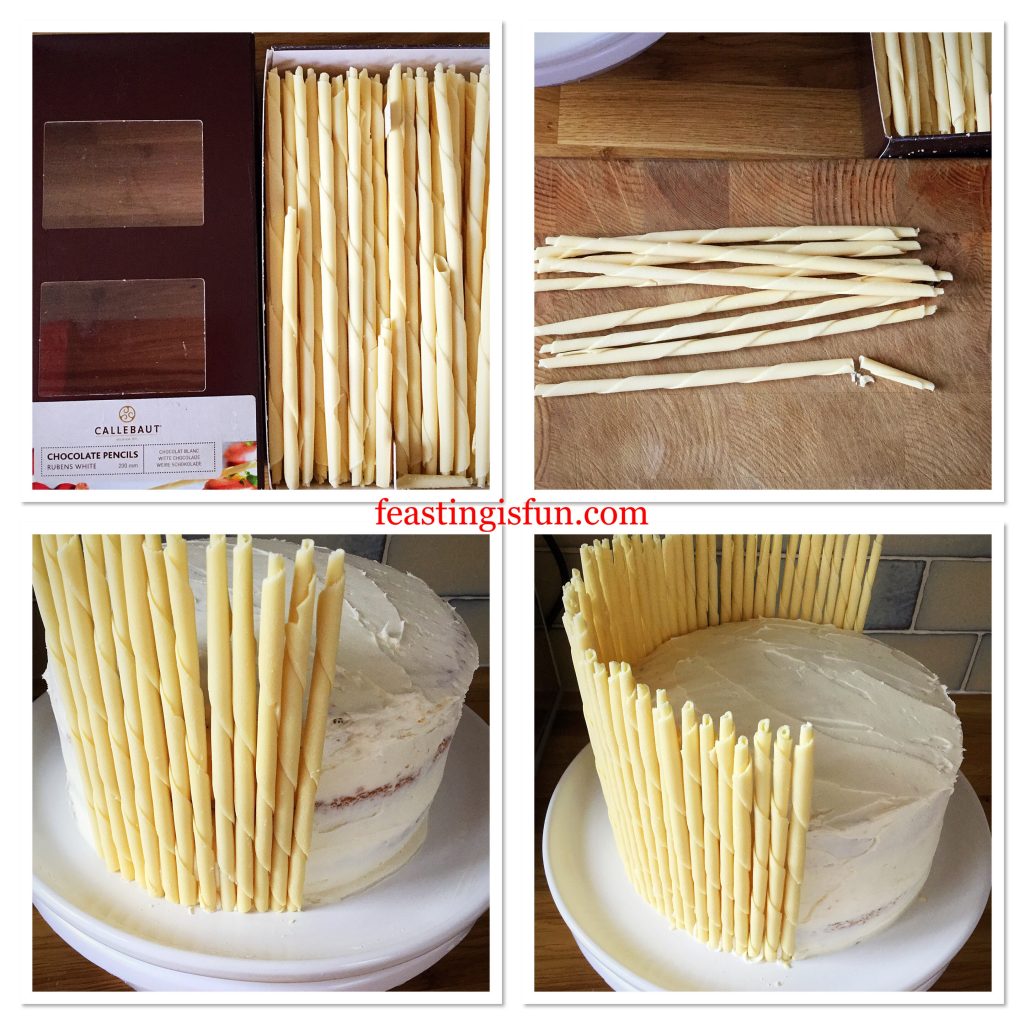
FF Raspberry Lemon Celebration Layer Cake
Decorating the cake using white chocolate pencils.
  • Turn the cake, check from each angle, ensuring the pencils are uniform.
  • Starting at the outside rim, place raspberries as close together as possible.
  • Work in circles towards the cake’s centre, until the first layer of raspberries is complete.
  • Place the remaining raspberries on top, in a circular fashion, finishing at the cake’s centre.
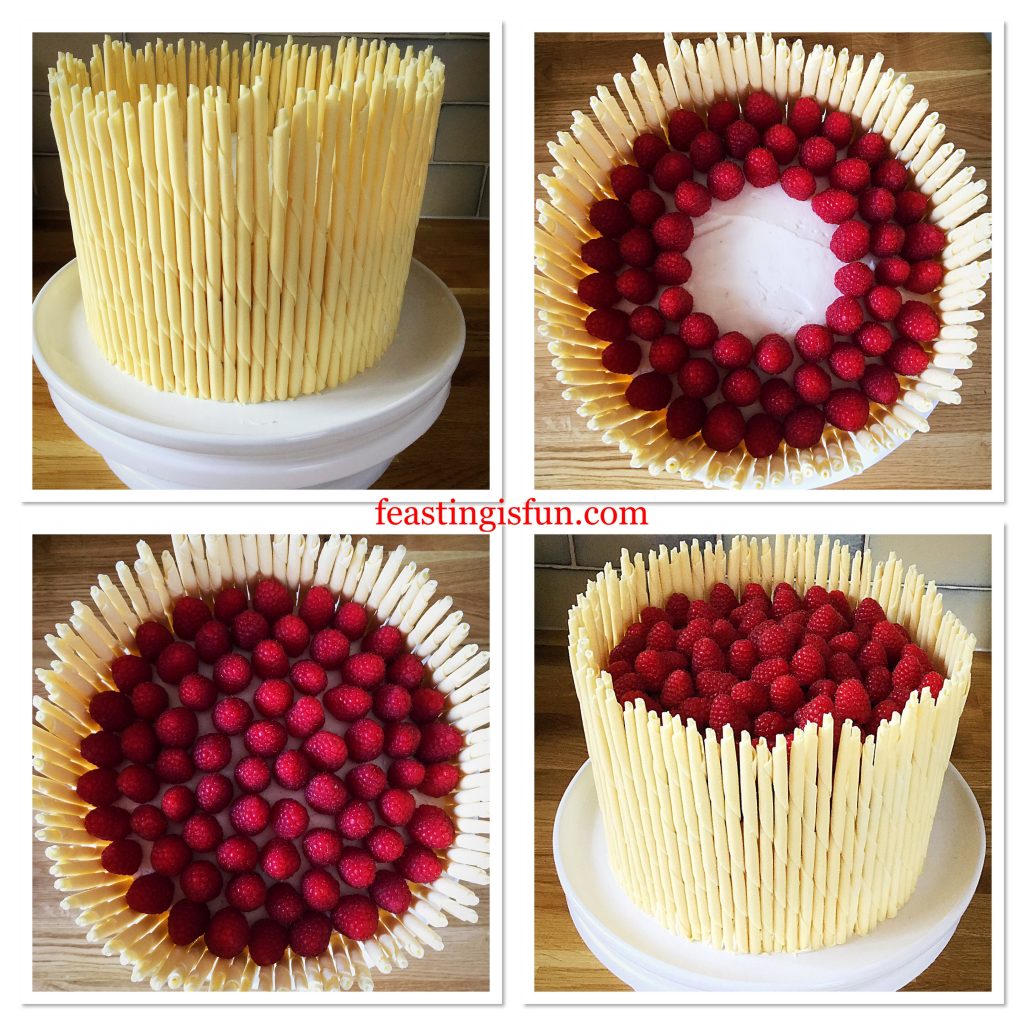
FF Raspberry Lemon Celebration Layer Cake
Raspberry Lemon Celebration Layer Cake – topping with fresh raspberries
  • Finally, measure a length of ribbon around the base of the, so that it just overlaps.
  • Cut and fix the ribbon in place with a pin. Ensure the join is at the back.
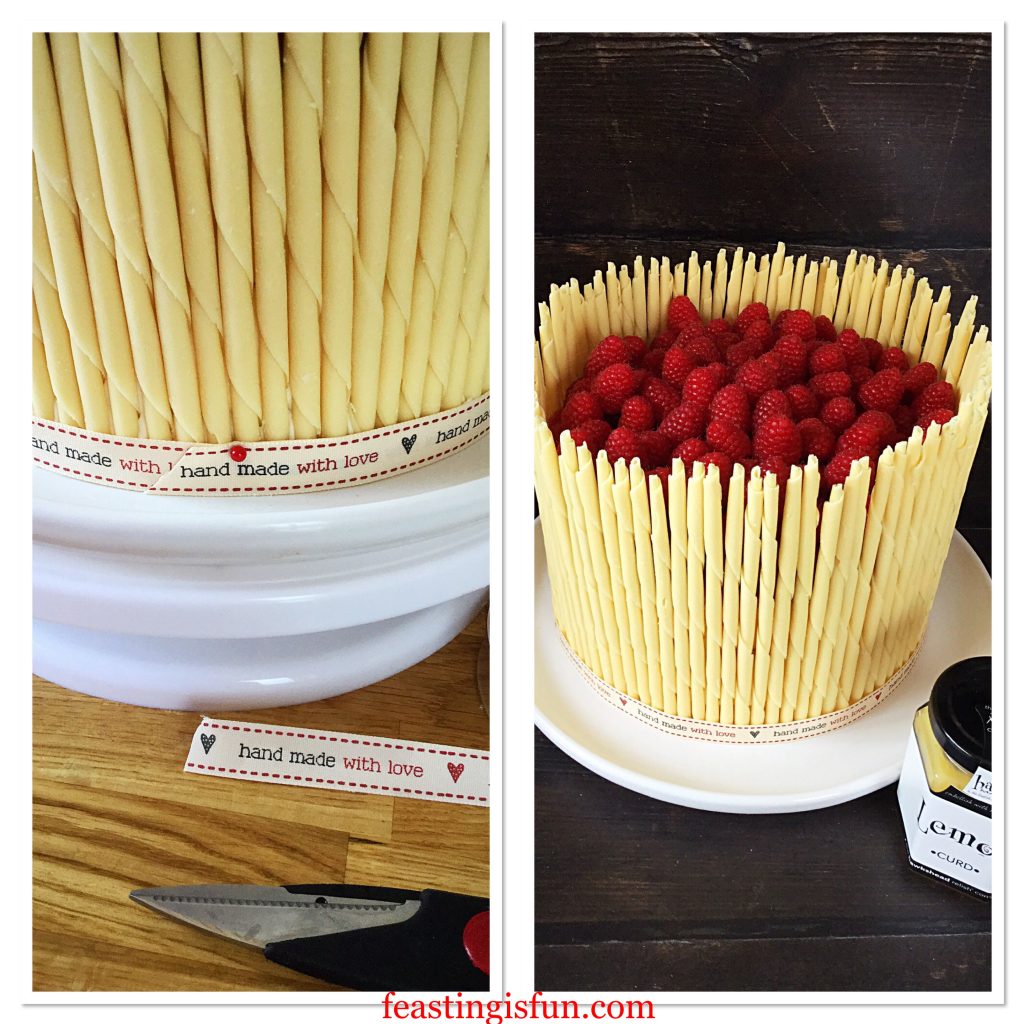
FF Raspberry Lemon Celebration Layer Cake
Raspberry Lemon Celebration Layer Cake adding the finishing touches.

Chill the cake for one hour before serving. Doing so ensures that the cake is easy to slice.

Remove the ribbon before cutting.
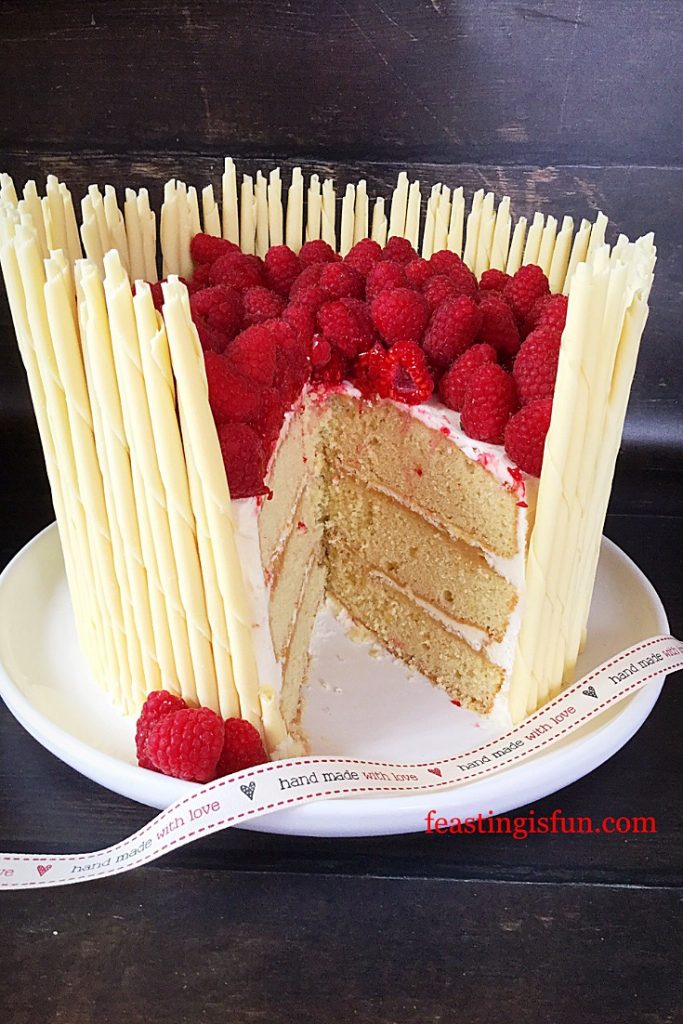
FF Raspberry Lemon Celebration Layer Cake
Raspberry Lemon Celebration Layer Cake

Store any remaining cake in an airtight container, ideally in the fridge. Eat within 5 days of making.

If you have enjoyed this recipe for Raspberry Lemon Celebration Layer Cake you may also like these:

Raspberry Vanilla Naked Celebration Cake
Three layer sponge filled with fresh jam and whipped vanilla buttercream and decorated with fresh roses. The dessert is set on a stand in a garden for garden parties and celebrating.
Raspberry Vanilla Naked Celebration Cake

Summer Mixed Berry Sponge Cake
Summer mixed berry sponge covered with fresh fruit whipped cream and topped with an assortment of fresh fruit.
Summer Mixed Berry Sponge Cake

Apricot White Chocolate Triple Sponge Cake
Three layer sponge filled with white chocolate ganache and apricots. Topped with fresh apricots, dark chocolate curls and vivid purple fresh pansies
Apricot White Chocolate Triple Sponge Cake

To be a Mother is to be part of a family. Above all that really is the best part for me. Loving and being loved back. Because that is what fills me with joy. Even more so laughing and having people to laugh with. Feasting and sharing with those who love and enjoy life. Finally, if you too would like to be part of a family see Important Stuff.

So, whatever er you are making, baking and creating in your kitchens, have fun preparing and sharing your feast!

Sammie xx

Hawkshead Relish supplied the lemon curd for this recipe. All content and opinions are those of the writer. No payment has been received for this post. No part of this post may reproduced or duplicated without the written permission of the owner. Please see the Disclosure Policy.
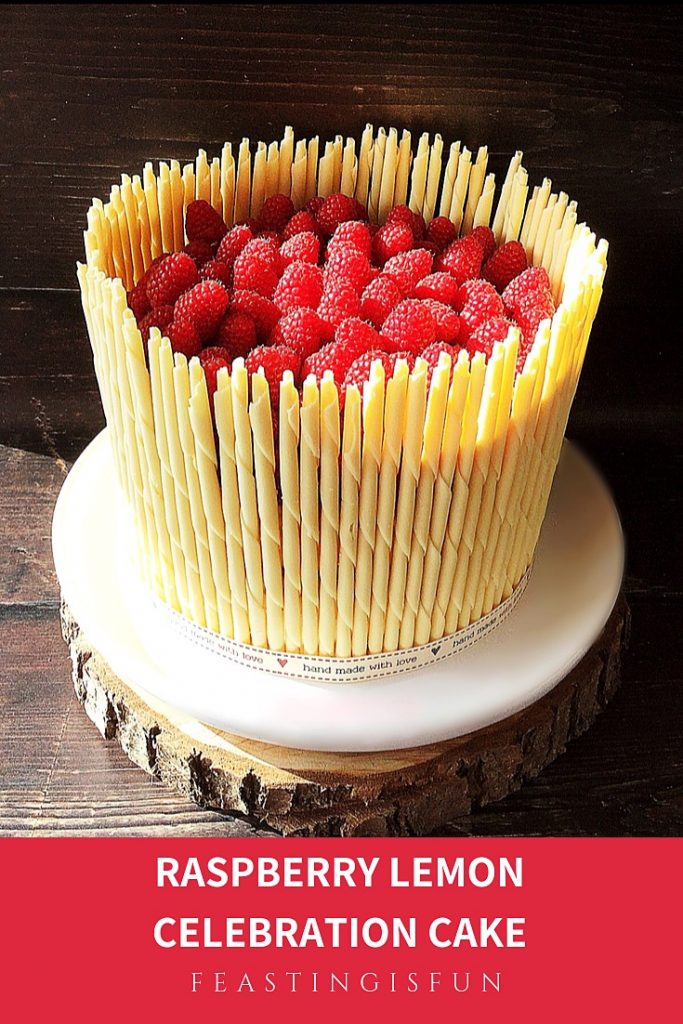
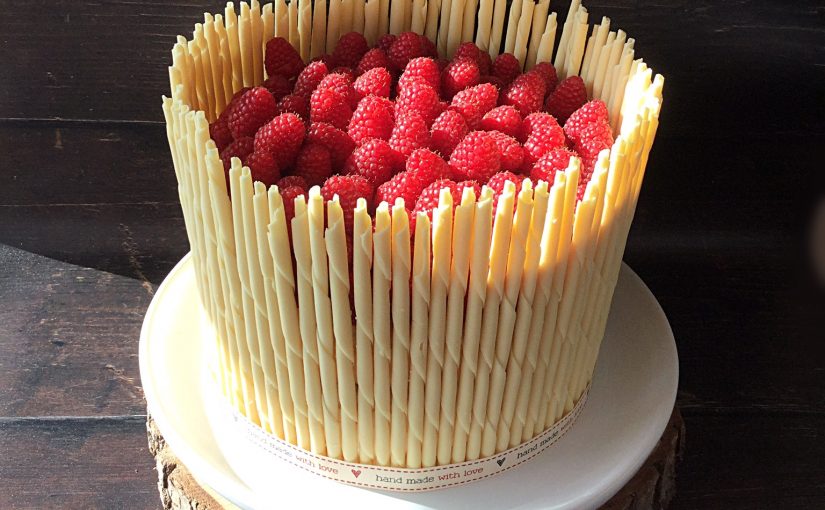
A white chocolate pencil surrounded, fresh fruit filled three sponge dessert. Ideal for parties and celebrating.
Raspberry Lemon Celebration Cake


Maraschino Cherry Chocolate Drizzle Cupcakes

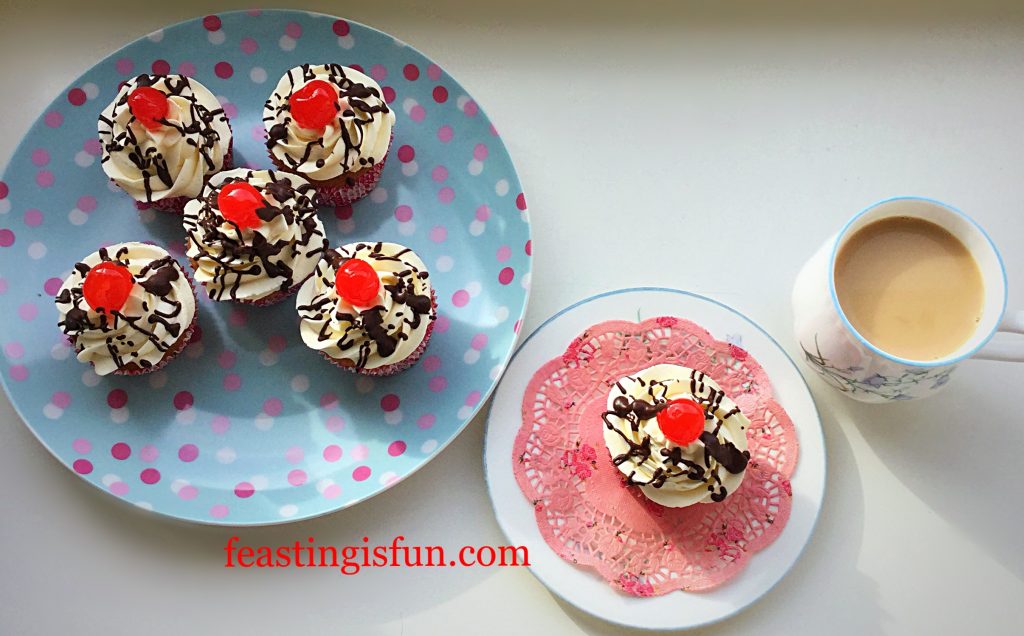
Who doesn’t love a cupcake? A beautifully decorated, perfectly portioned, whole cake to yourself. While I’m known for encouraging people to share, here on Feasting is Fun, that’s not a problem with these cupcakes. Because they taste so incredible, you will want to share these, with those you love. And my Maraschino Cherry Chocolate Drizzle Cupcakes are perfect for sharing.

FF Maraschino Cherry Chocolate Drizzle Cupcakes
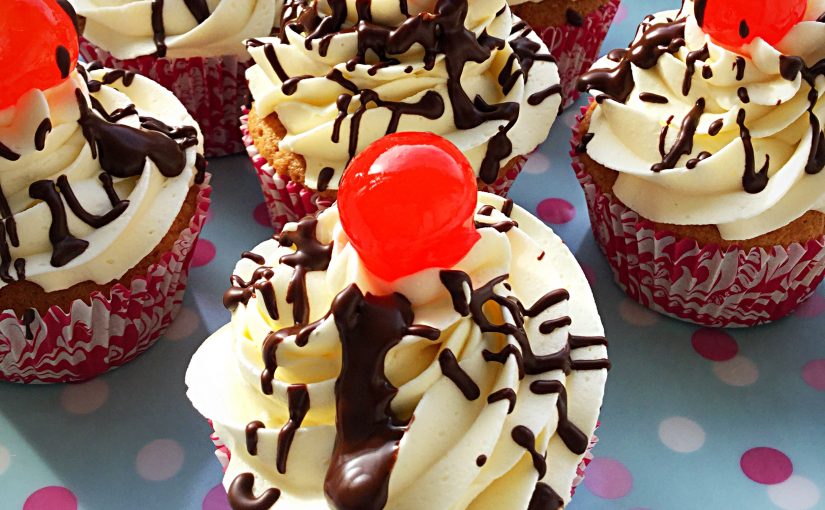
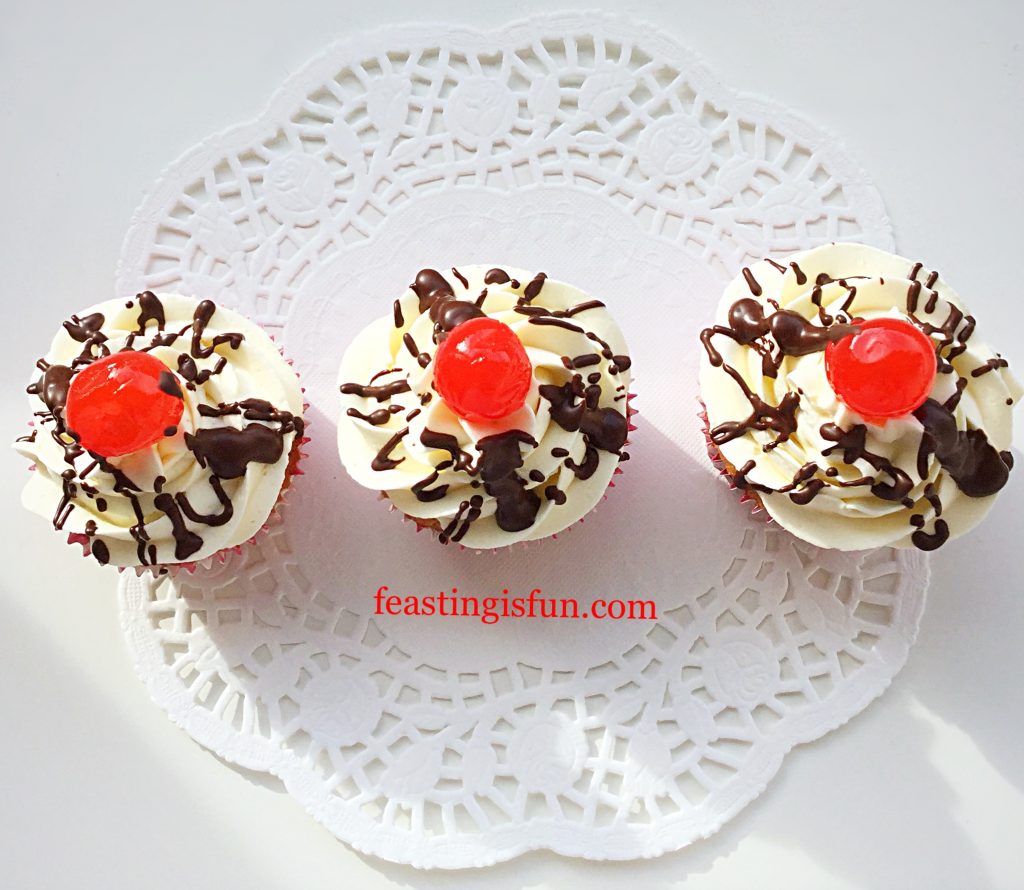
Maraschino Cherry Chocolate Drizzle Cupcakes beautifully delicious.

Cupcakes are great for those who struggle to share. Indeed I used to not be as keen on sharing when I was younger. Nowadays, however, if you visit, knock on the door, clean the windows, etc I am more than willing to give you a cookie or cupcake. Since cupcakes come as a complete package, they are easier to share. Our window cleaners and post lady were very appreciative of these Maraschino Cherry Chocolate Drizzle Cupcakes that I gave them today.

FF Maraschino Cherry Chocolate Drizzle Cupcakes
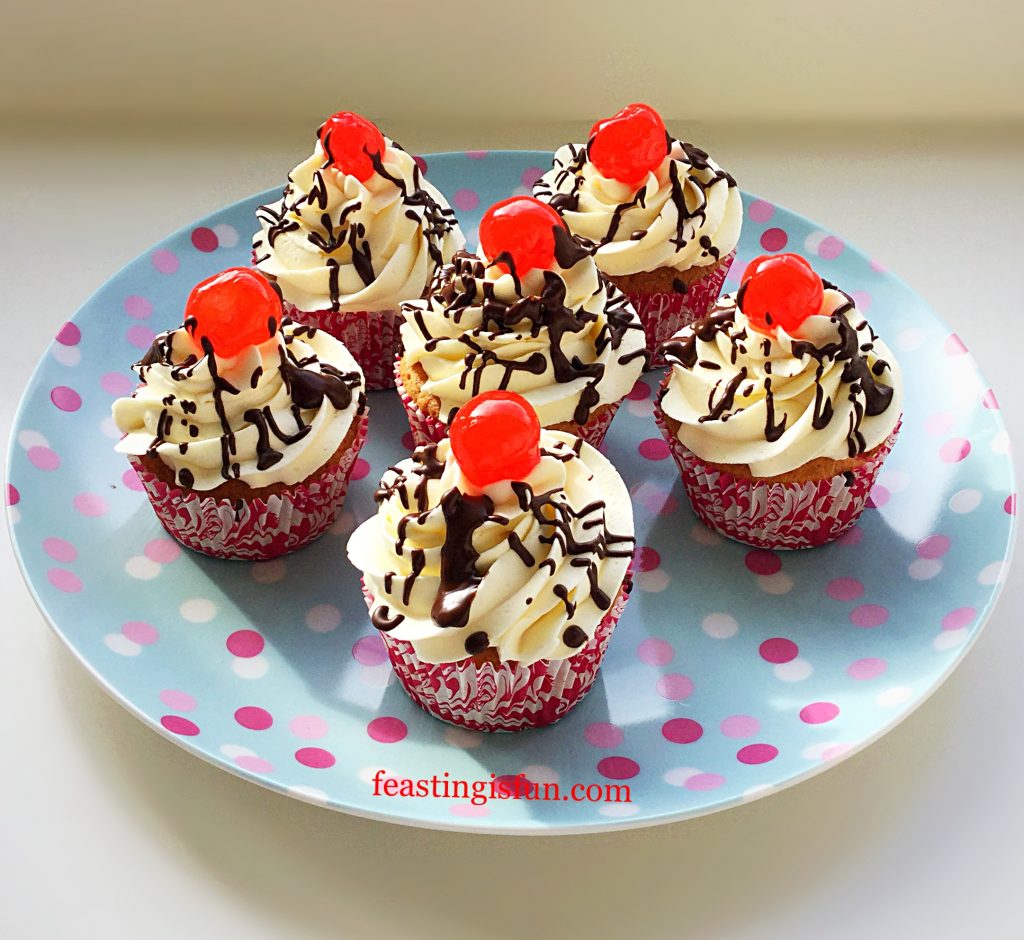
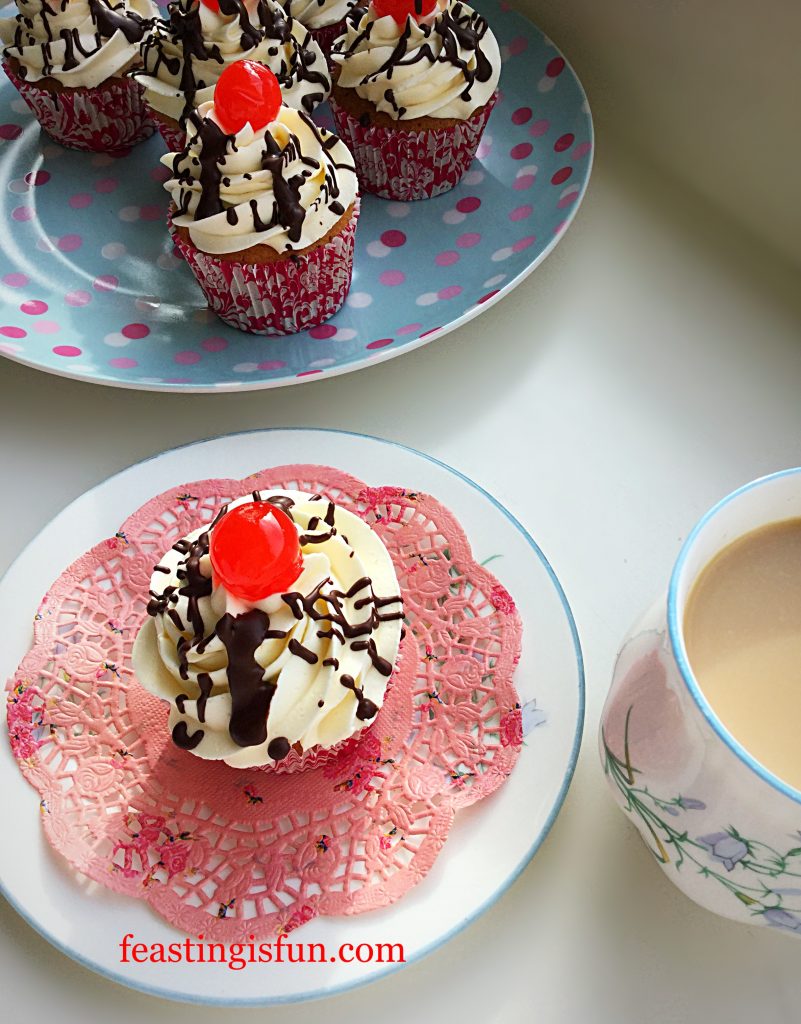
Maraschino Cherry Chocolate Drizzle Cupcakes great with Afternoon Tea.

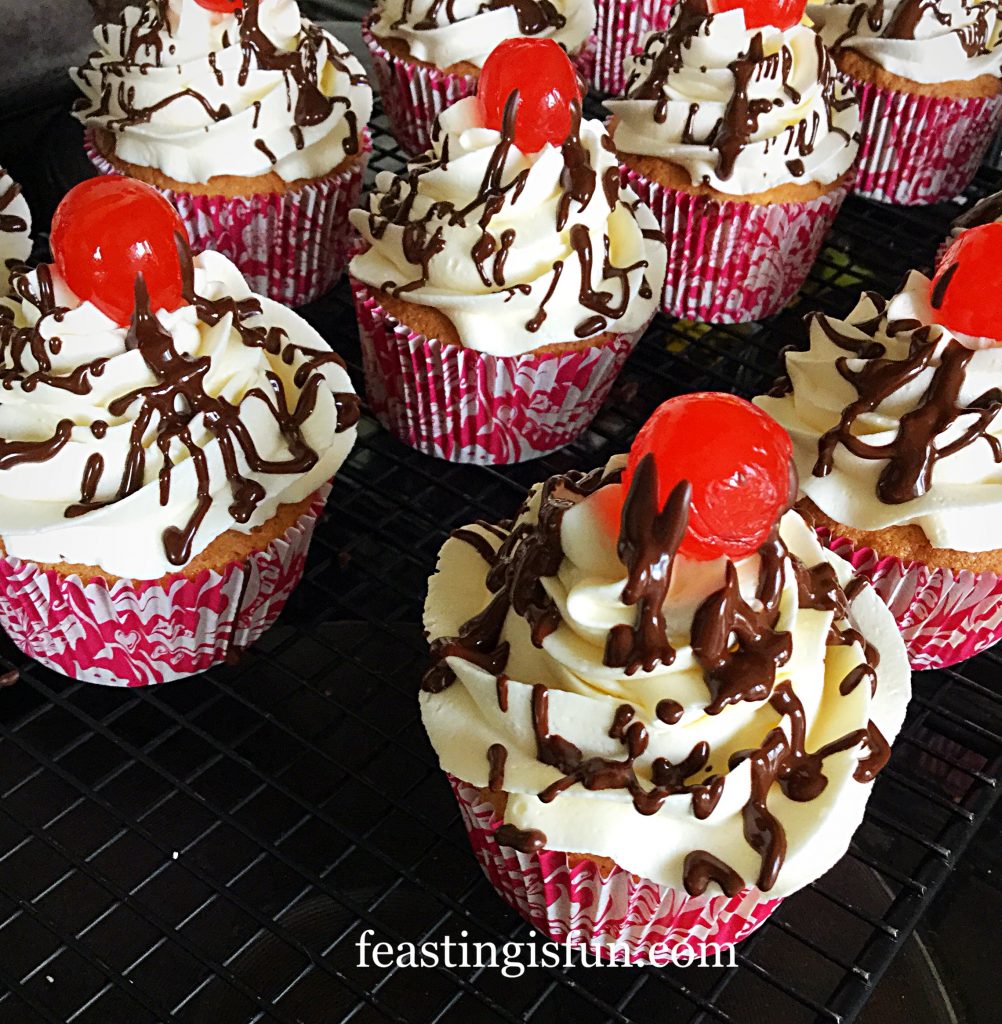
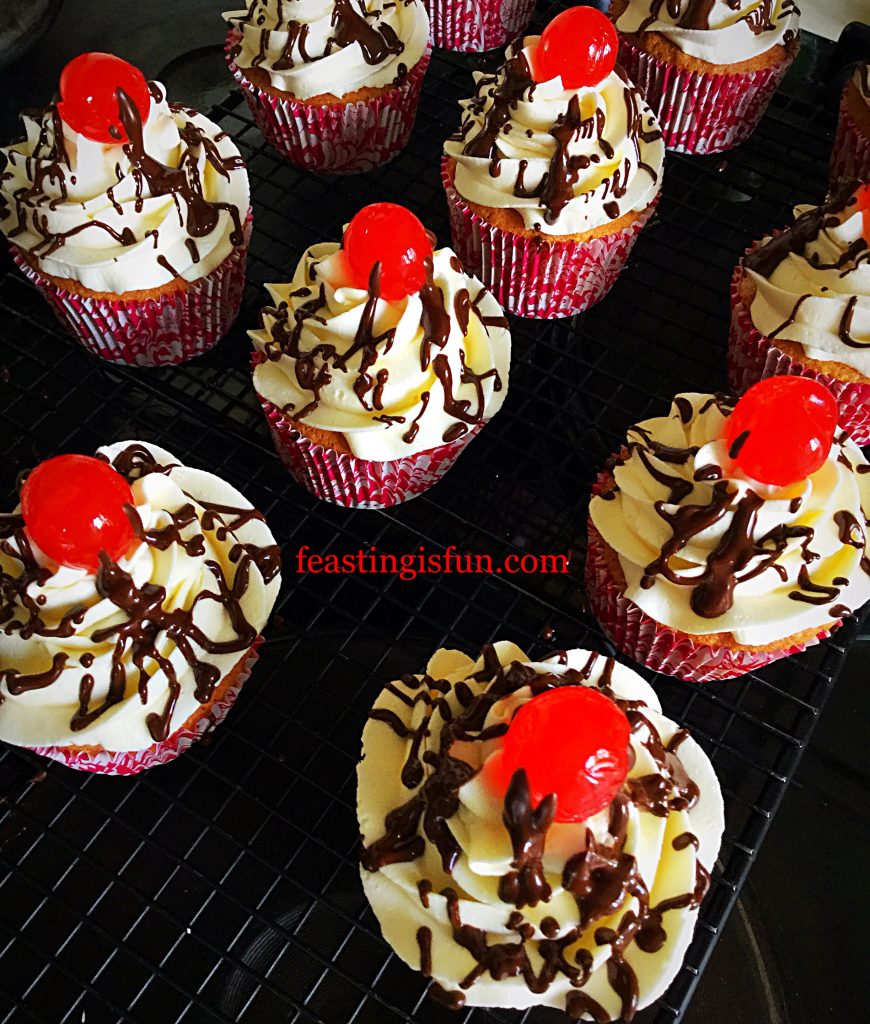
Light sponge tinged pink with chopped maraschino cherries, topped with a swirl of frosting and a whole cherry. Dark chocolate is drizzled over the frosting. Resulting in a perfect balance of flavours. Most importantly, the dark chocolate tempers the sweet frosting and compliments both the cherry and almond flavours.

FF Maraschino Cherry Chocolate Drizzle Cupcakes
Maraschino Cherry Chocolate Drizzle Cupcakes so cheerful.

The unique flavour of maraschino cherries can be tasted through every single bite of these cupcakes. Adding almond extract to the frosting emphasises their flavour too. Substituting glacé cherries wouldn’t give the same result. Maraschino cherries are easily found in the supermarket. Usually near the alcoholic drinks section!

FF Maraschino Cherry Chocolate Drizzle Cupcakes
Maraschino Cherry Chocolate Drizzle Cupcakes pretty perfect!

Since these cupcakes are each topped with a bright red cherry, they would also make a great ‘Red Nose Day’ bake!

Recipe: Maraschino Cherry Chocolate Drizzle Cupcakes makes 12

125g/4.5oz Unsalted Butter softened

125g/4.5oz Caster Sugar

1tsp Vanilla Extract

2tsp Liquid from the maraschino cherry jar.

1/4tsp Salt – I use Maldon

50g/2oz Maraschino Cherries plus 12 whole cherries to top the cupcakes

150g/5oz Plain White Flour

1.5tsp Baking Powder

For the frosting and decoration:

400g/14oz Plain White Icing Sugar

200g/7oz Unsalted Butter softened

1tsp Almond Extract – I use Nielsen-Massey

2tbsp Very Hot Water – from a recently boiled kettle

50g/2oz Dark Chocolate minimum 70% Cocoa

Method: Preheat the oven to 160C/140C fan, gas mark 3, 325F.

Making And Baking The Cherry Cupcakes

  • First of all, line a cupcake or muffin tin with 12 cupcake cases.
  • Remove 12 nicely shaped, maraschino cherries from the jar and place on to kitchen towel to drain. Weigh out slightly more than 50g of cherries and place into a bowl. Tip away any excess liquid that collects in the bowl. Follow, by cutting the cherries in the bowl into small pieces and set to one side.
  • Next, into a large bowl add the sugar, butter and salt. Beat until pale and creamy.
  • Add the vanilla extract and 2 teaspoons of liquid from the cherry jar and beat into the mixture.
  • Using the ‘all in one’ method, add the eggs to the bowl and then sift in the flour and the baking powder. Finally add the chopped cherries and gently mix the ingredients together until they are combined.
  • Fill each cupcake case with one dessert spoonful of cake batter.
  • Place the tin into the centre of the preheated oven and bake for 25-30 minutes.
  • The cupcakes may look a little darker than usual. This is due to a combination of the cherries in the batter and the liquid from the jar added to the cake batter.
  • They are fully baked when the sponge springs back from a light touch, or an inserted toothpick comes out clean.
  • As soon as the cupcakes are baked remove from the oven.
  • Remove the cupcakes from the baking tin and place on a cooling rack.
FF Maraschino Cherry Chocolate Drizzle Cupcakes
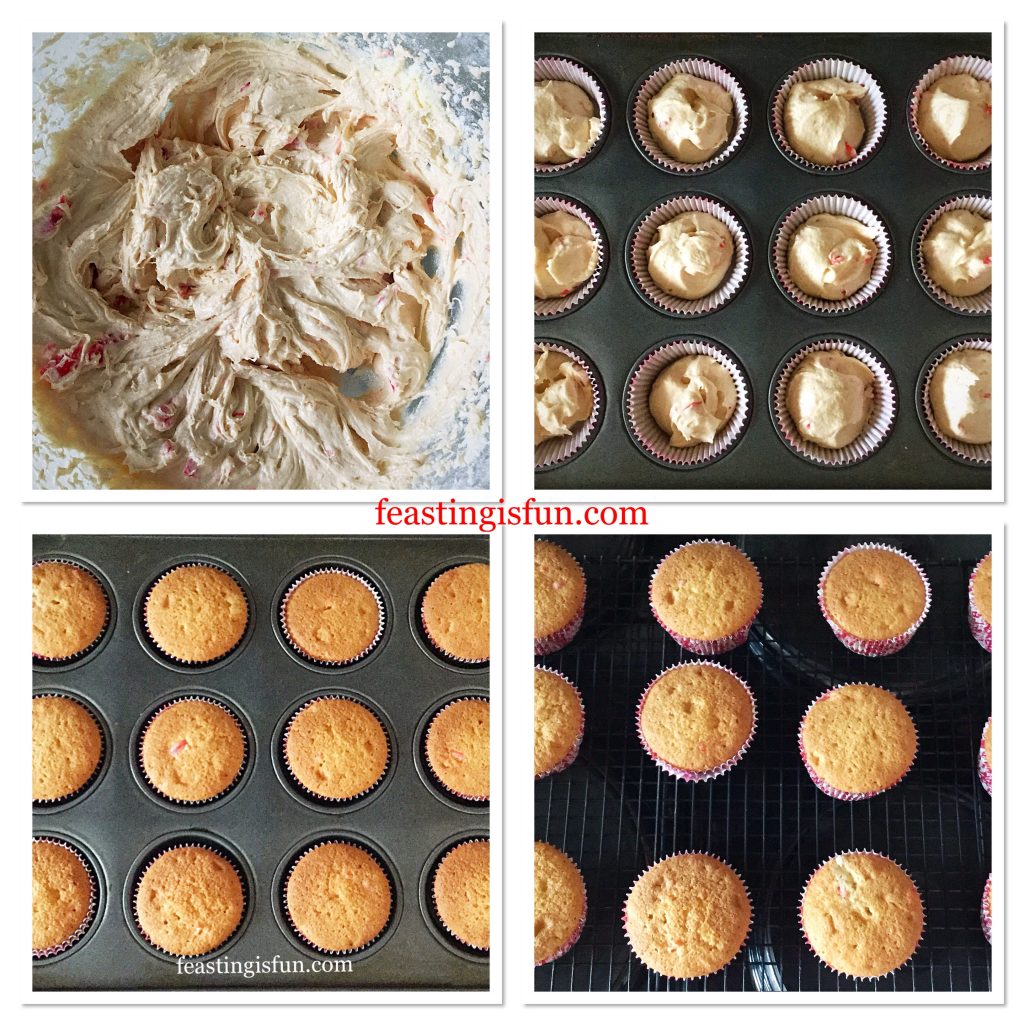
Making the batter, filling the cases and baking the cupcakes.

Making The Whipped Buttercream And Piping It Onto the Cupcakes

  • While the cupcakes are cooling make the buttercream frosting.
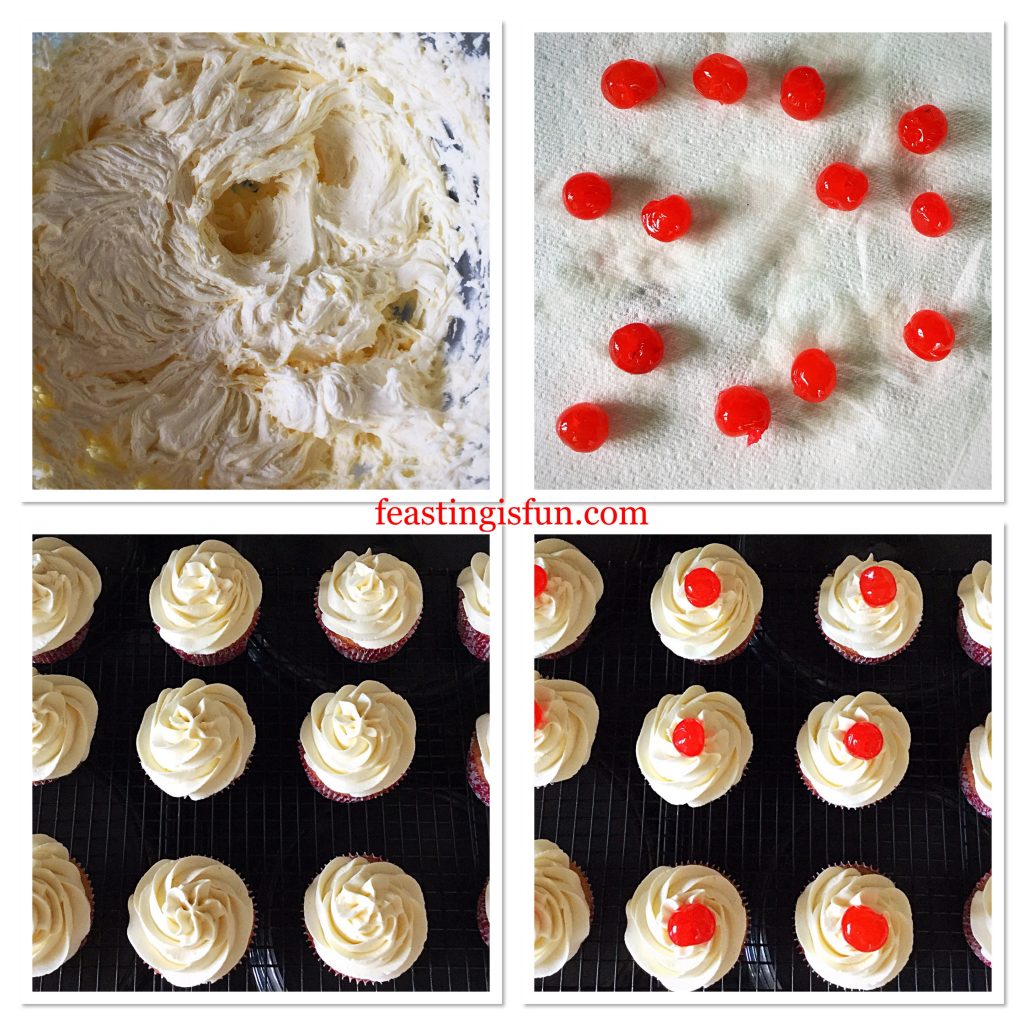
  • Into a large bowl add butter and then sift in the icing sugar.
  • Next add the hot water and almond extract.
  • Start whisking on a very slow speed, until the butter and icing sugar have combined.
  • Gradually build the whisking speed to high. Continue whisking until the frosting is pale and fluffy.
  • Spoon the frosting into a piping bag that has been fitted with a large star tip. I use a Wilton #1M.
  • Starting at the outside edge, on the top of the cupcake pipe a complete swirl. As the next swirl overlaps, lift the piping bag to bring the swirl inwards. Continue piping in swirls, finishing in the centre, by pulling the bag away. Similar to piping a Mr Whippy ice cream.
  • Continue until all of the cupcakes have been piped with frosting. Do not worry if there is a little buttercream left in the piping bag.
  • Finally, place a cherry on top of each cupcake.
FF Maraschino Cherry Chocolate Drizzle Cupcakes
Making the frosting, piping and decorating the cupcakes with maraschino cherries.
  • Allow the icing to set on the cupcakes.

Making The Chocolate Drizzle And Decorating The Cupcakes

  • While the cupcakes are setting, make the chocolate drizzle.
  • Break up, or chop the chocolate and place into a small, heatproof, microwaveable bowl. Heat for 20 seconds at a time, in the microwave. Making sure to stir the chocolate after each heating. When the chocolate has completely melted pour into a small, disposable piping bag.
  • Snip the very end of the bag off and drizzle chocolate over each cupcake.
FF Maraschino Cherry Chocolate Drizzle Cupcakes
Maraschino Cherry Chocolate Drizzle Cupcakes melted dark chocolate drizzle adds the finishing touch.

Finally, allow the chocolate to set before serving these Maraschino Cherry Chocolate Drizzle Cupcakes.

FF Maraschino Cherry Chocolate Drizzle Cupcakes
Maraschino Cherry Chocolate Drizzle Cupcakes

These cupcakes will last for 5 days if kept in an airtight container, refrigerate during warm weather. Although, it is very doubtful, once shared that they will last that long!

If you have enjoyed this recipe for Maraschino Cherry Chocolate Drizzle Cupcakes you may also like these:

Lemon Blueberry Cupcakes

FF Maraschino Cherry Chocolate Drizzle Cupcakes
Lemon Blueberry Cupcakes

Marshmallow Frosted Mango Cupcakes

FF Maraschino Cherry Chocolate Drizzle Cupcakes
Marshmallow Frosted Mango Cupcakes with a gluten free option.

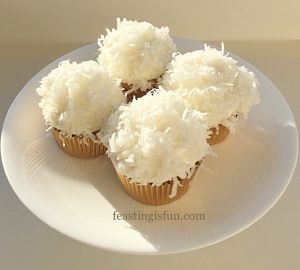
Coconut White Chocolate Snowball Cupcakes

FF Maraschino Cherry Chocolate Drizzle Cupcakes
Coconut White Chocolate Snowball Cupcakes

Sharing baked goodies, not only makes others happy, it also keeps waistlines from expanding! While selling my own bakes is not something I ever wish to do, sharing them allows me to follow my real passions. First of all sharing and also recipe development, mixing flavours, textures, being creative, giving away baked treats actually helps me. Resulting in smiles all round!

So, whatever you are making, baking and creating in your kitchens, have fun preparing and sharing your feast.

Sammie xx

No part of this post may be reproduced or duplicated without the written permission of the owner. Please see my Disclosure Policy.
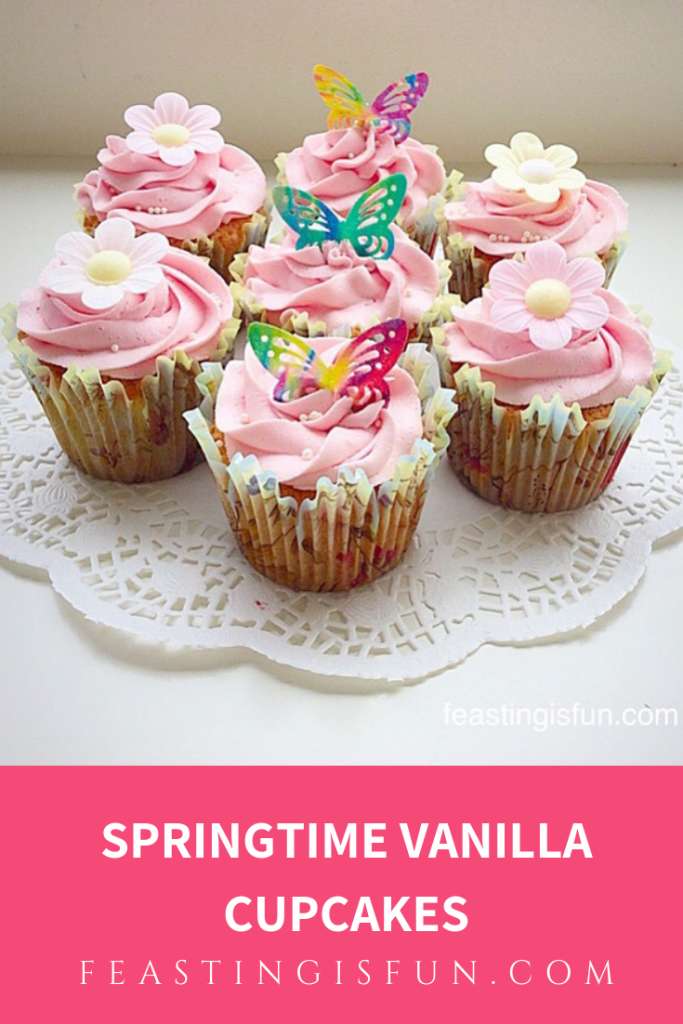
Springtime Vanilla Cupcakes

Wednesday this week was a truly dreary, dark and very cold day. All types of weather threw themselves at the ground; hail, snow, rain, sleet and it was windy too. Especially as it is March, I want to see evidence of Spring. Most of all flowers and lambs. Finally, I an attempt to cheer us all up I made these very pretty and extremely delicious Springtime Vanilla Cupcakes.

FF Springtime Vanilla Cupcakes

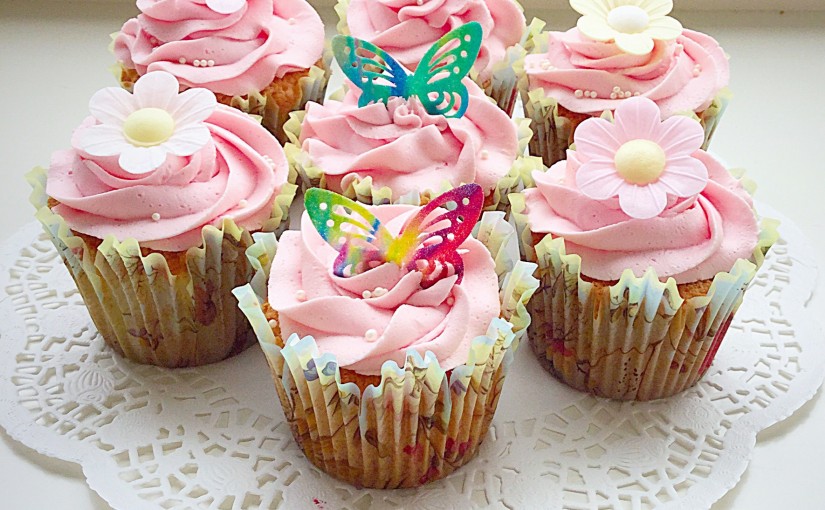
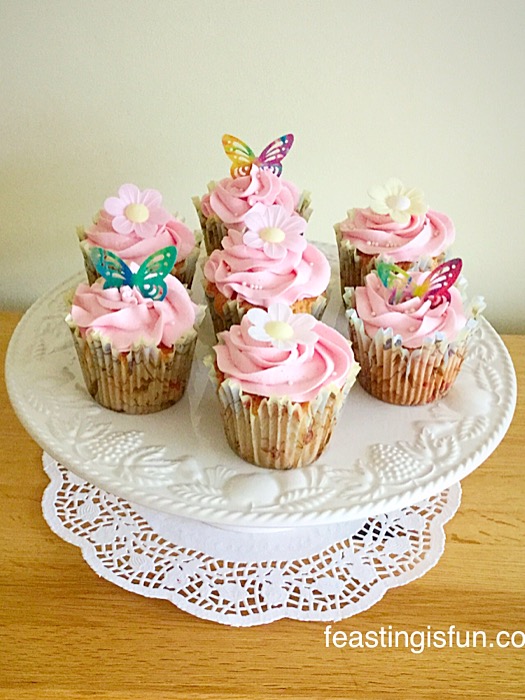
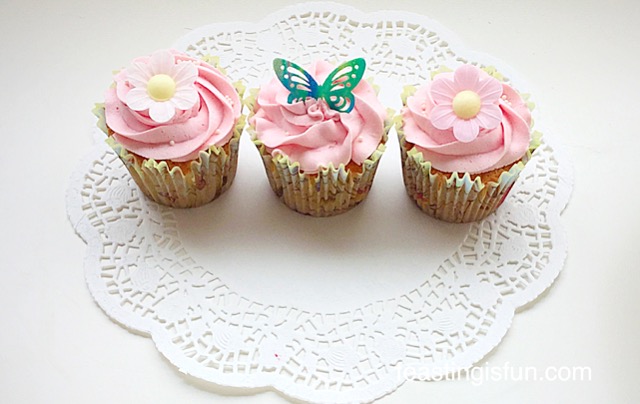
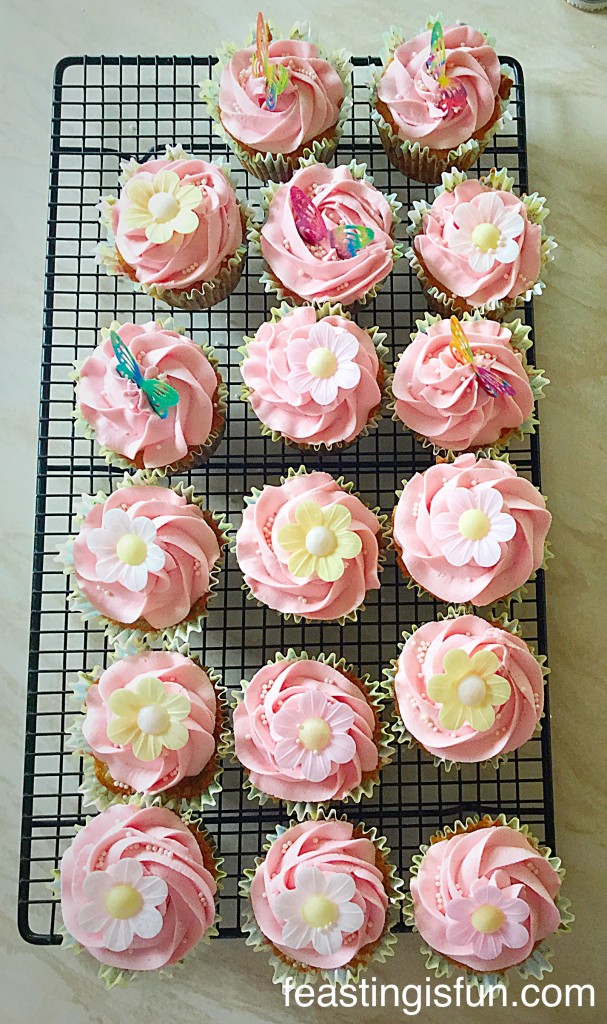
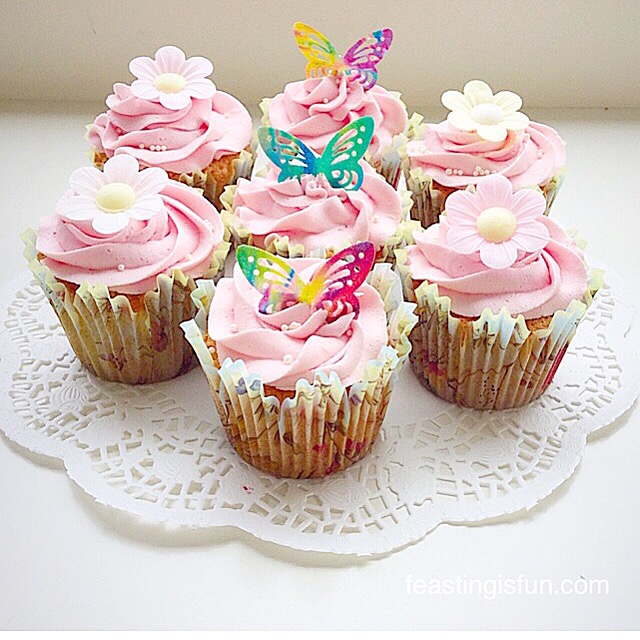
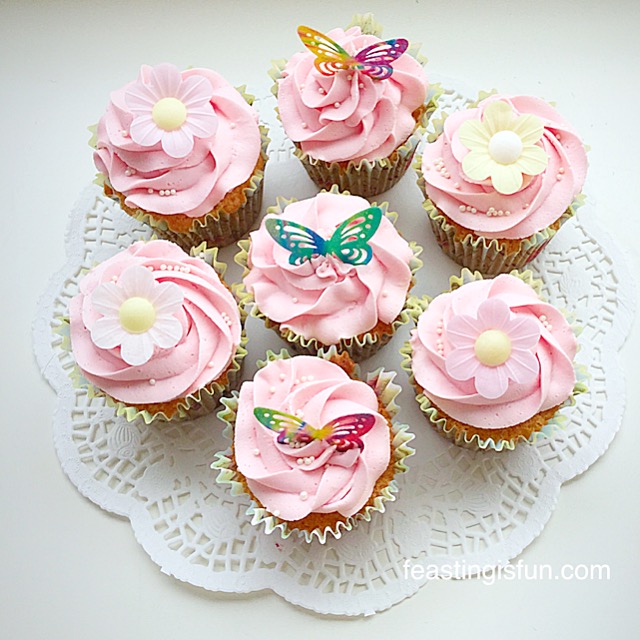
So, does the image of pink, raspberry buttercream topped cupcakes, adorned with large daisy flowers and butterflies cheer you up?

FF Springtime Vanilla Cupcakes
Springtime Vanilla Cupcakes

While the weather was so chilly and dreary, I was also feeling a little blue too, having just received news that a very close friend is extremely poorly. And so baking these cupcakes was therapeutic on both counts.

Do you find baking relaxing?

FF Springtime Vanilla Cupcakes

    Springtime Vanilla Cupcakes

Using Naturally Flavoured Icing Sugar

Although these are called Springtime Vanilla Cupcakes, which is true, the cake part is flavoured with Nielsen – Massey Vanilla Extract, for the buttercream I have used a favourite flavoured icing sugar.

Sugar and Crumbs sell an amazing range of naturally flavoured icing sugars. While making my Raspberry Ripple Cupcakes I used their Raspberry Ripple flavoured icing sugar. Since the day that last cupcake was eaten, in Kylie’s own words “I just can’t get you outta my head” I have wanted more. Especially more of the delicious tasting buttercream and more cupcake to swirl it onto!!

And so these Springtime Vanilla Cupcakes were the perfect excuse to indulge my passion again.

Importantly, this time I wanted to leave the option of using flavoured buttercream as a choice. Also, if you do buy some flavoured icing sugar, you can choose to make the buttercream any flavour you want. Especially, as the vanilla sponge goes well with any flavoured frosting. Alternatively, if you want to stick with vanilla buttercream that tastes awesome as well.

FF Springtime Vanilla Cupcakes
Springtime Vanilla Cupcakes

Personally I think the pink icing, along with the decorations, really set these cupcakes apart. Although ‘Springtime’ was at the forefront of my mind whilst creating these beauties, with Mother’s Day being this coming Sunday, they would also make a perfect gift for any Mum.

Recipe: Makes 18 Large Springtime Vanilla Cupcakes

For the Cake:

175g/6oz Caster Sugar

175g/6oz Unsalted Butter at room temp.

1tsp Vanilla Bean Paste – or you can substitute for Vanilla Extract

3 Large Free Range Eggs

3tbsp Milk – whole or semi skimmed

175g/6oz Plain White Flour

1.5tsp Baking Powder

1/8th tsp/pinch of Salt – I use Maldon

For the Buttercream:

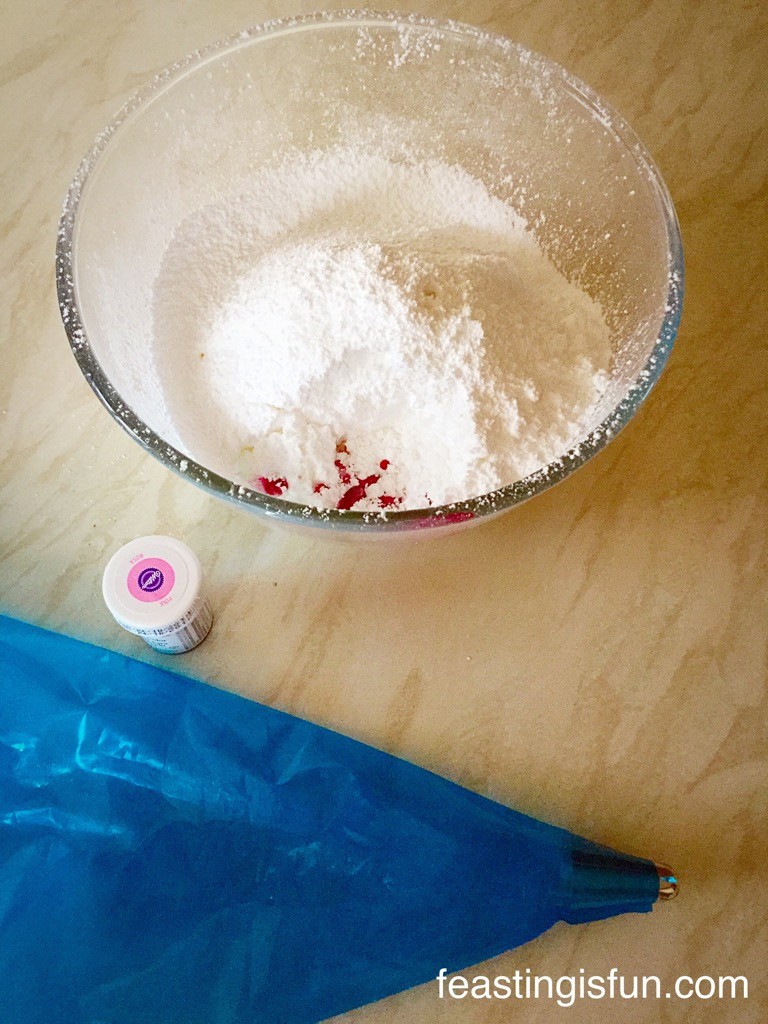
350g12oz Icing Sugar – I used 250g Sugar and Crumbs Raspberry Ripple flavour and 100g/4oz Plain Icing Sugar. (Confectioners Sugar)

175g/6oz Unsalted Butter

Pink Food Colour – I used Wilton pink food colouring gel (available from cake decorating shops, Amazon and similar from Lakeland UK)

2tbsp Very Hot Water

Dr Oetker rice paper daisies, various sprinkles (available from most supermarkets)

Rice paper butterflies – from Amazon

Method: Preheat the oven to 170C/150C fan oven, gas mark 3, 325F

Making The Vanilla Cupcake Batter

  • First of all, line 2 cupcake tins with 18 muffin or deep cupcake cases – the ones I used were a Christmas present from Lakeland.
  • Into a large bowl add your butter and sugar.
  • Whisk or beat until pale and creamy – approx 5 minutes.
  • Add 3 eggs, milk and Vanilla Bean Paste.
  • Sift into the bowl the flour, baking powder and salt.
  • Note: This is called the all-in-one method.
  • Whisk or beat until all of the ingredients are combined – take care not to over mix and this will make the cupcakes tough, not light and springy.
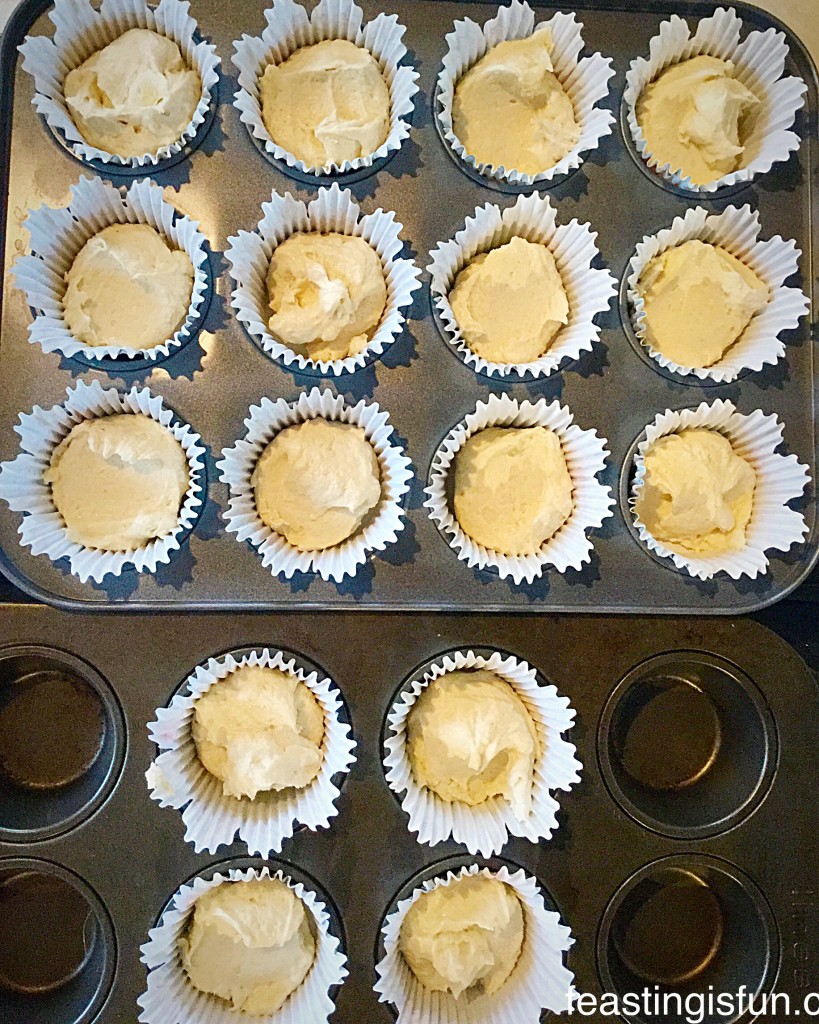
  • Place a heaped dessert spoonful of cake batter into each cupcake case.
NM Springtime Vanilla Cupcakes
Springtime Vanilla Cupcakes

Baking The Vanilla Cupcakes

  • Place the cupcakes into the oven and bake for 20-30 minutes,
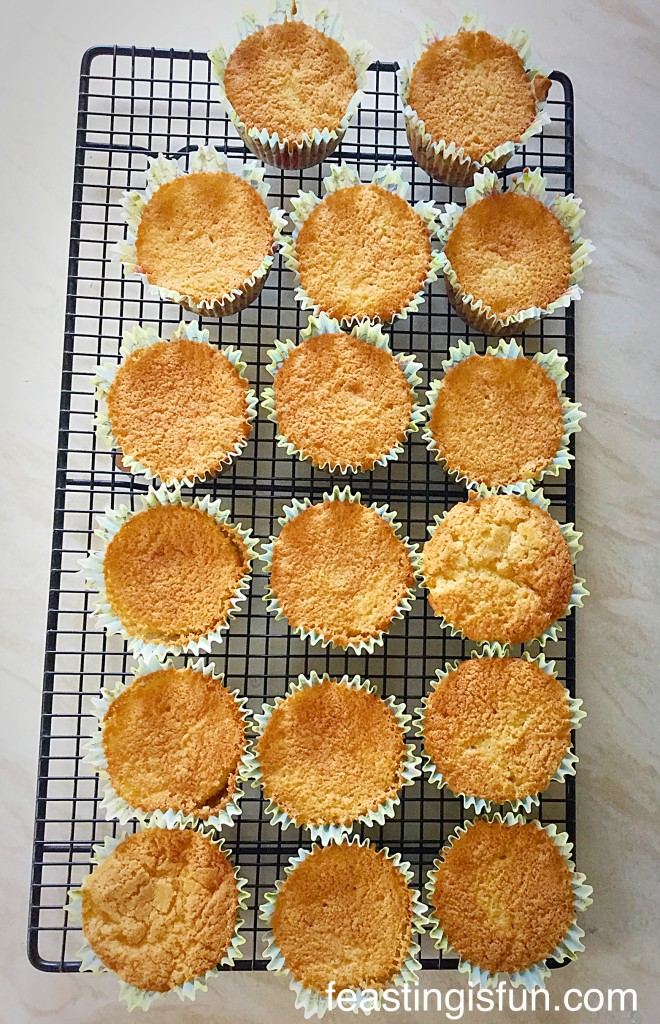
  • The cupcakes are baked when they have risen and are a golden colour. They should spring back when pressed lightly on the top.
  • As soon as the cupcakes are baked remove from the oven.

NM Springtime Vanilla Cupcakes

  • Allow to cool completely before icing.

Making The Pink Buttercream

  • Place the softened butter into a large bowl.
  • Sift the icing sugar into the same bowl.
  • Add the 2 tablespoons of hot water.
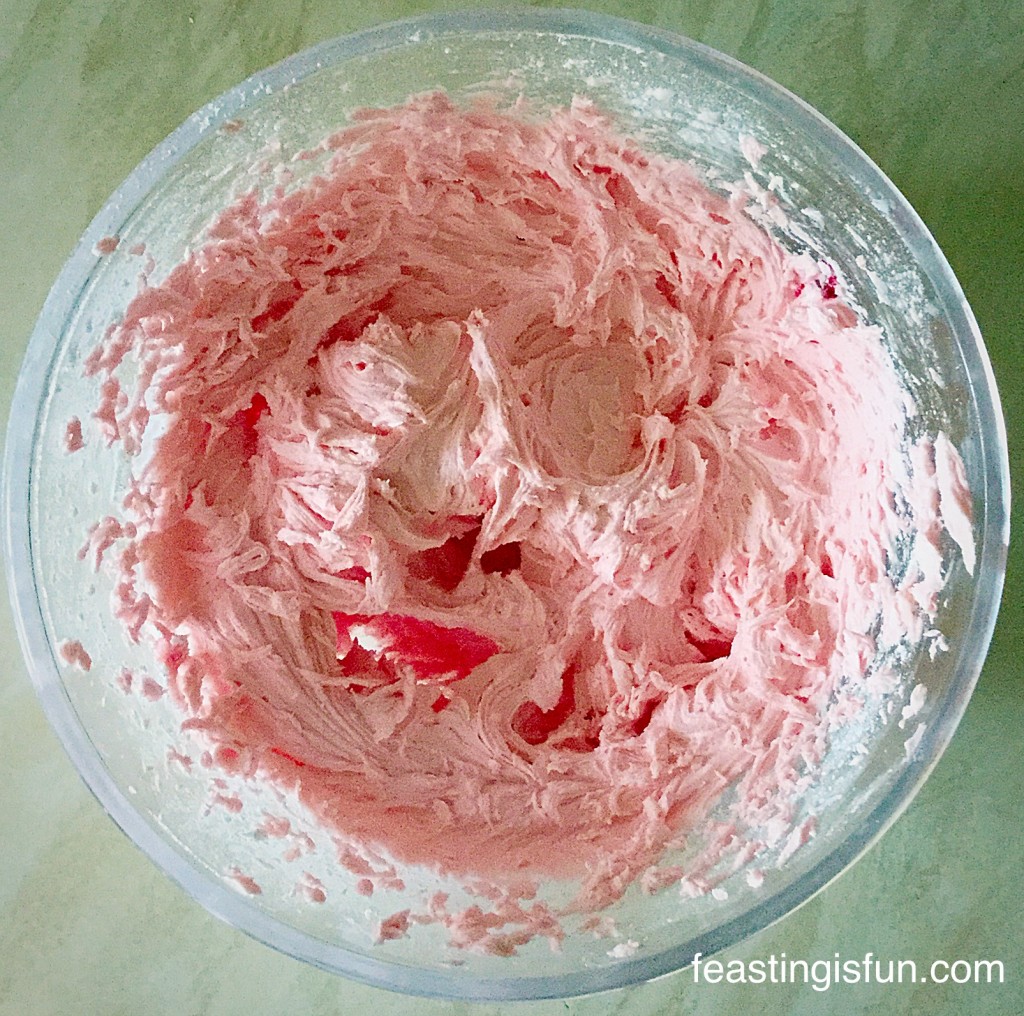
  • Add the food colouring, I use a cocktail stick and simply insert the tip into the food colouring gel and then add to the bowl.
  • Start slowly, whisking the buttercream ingredients until light, creamy and uniform in colour.

NM Springtime Vanilla Cupcakes

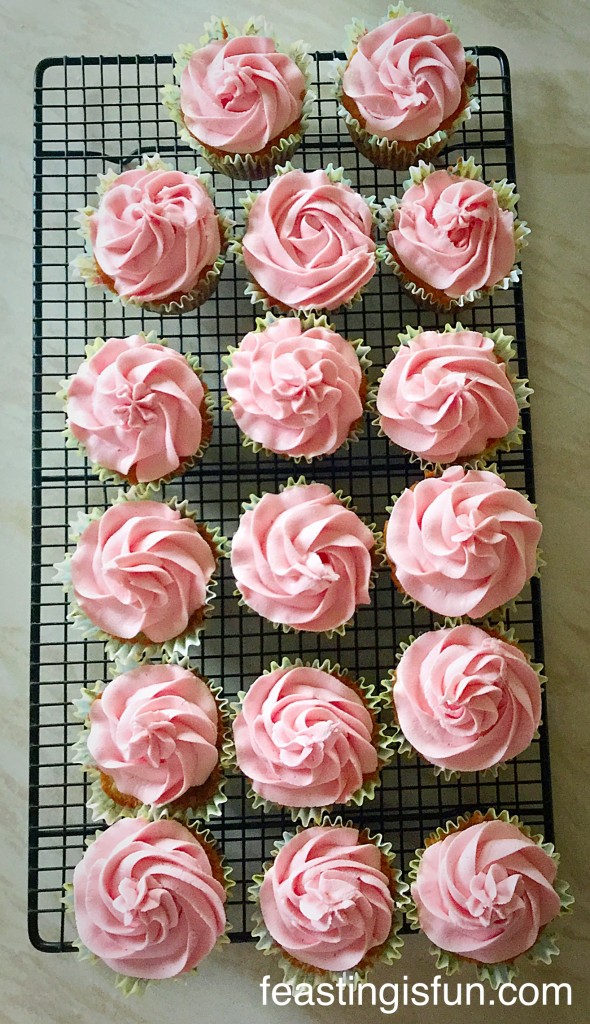
  • Fit a piping bag with a large star tip.

Springtime Vanilla Cupcakes

Piping Swirls Of Buttercream On To The Cupcakes

  • Place the icing bag into a tall sturdy container, I use a jug.
  • Use a spoon or spatula, fill the icing bag with all of the buttercream.
  • Practise on a plate, if piping for the first time.
  • Squeeze the bag so that all the buttercream is together.
  • Keep an even pressure with one hand squeezing the bag and using the other hand to guide the piping tip, pipe swirls onto the cupcakes.
NM Springtime Vanilla Cupcakes
Springtime Vanilla Cupcakes
  • Finally add the decorations.
Springtime Vanilla Cupcakes

Gifting Springtime Vanilla Cupcakes

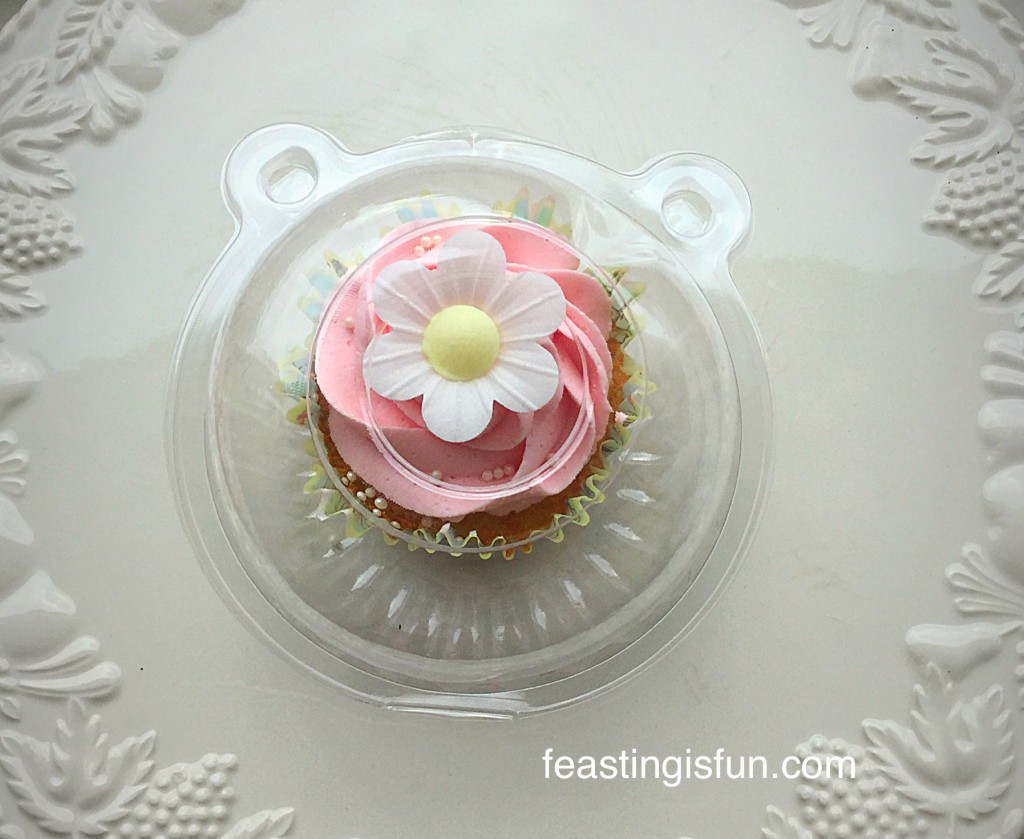
Because I like giving the food I make away, I bought some cupcake pods, little plastic containers, perfect for holding one cupcake in and a great way to give individual cupcakes away as a gift. Since they were from Amazon and work out to about 10 pence per pod. Also, they can be washed up and used again, which is great recycling and means you can share even more cupcakes with others!

Springtime Vanilla Cupcakes
Springtime Vanilla Cupcakes 

Since piping the swirls onto the cupcakes gives them a beautiful, professional finish. means use whatever cupcake toppers and sprinkles that you have to hand. The beauty of these Springtime Vanilla Cupcakes is that they are individual to your own sense of taste and style.

FF Springtime Vanilla Cupcakes
Springtime Vanilla Cupcakes

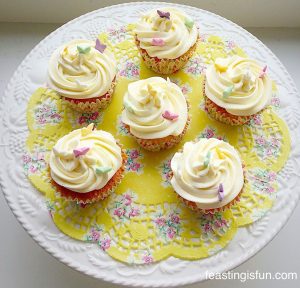
If you like the Springtime Vanilla Cupcakes you will love these recipes:

Vanilla Bean Cupcakes

Vanilla Bean Cupcakes
Vanilla Bean Cupcakes so pretty.

Raspberry Ripple Almond Cupcakes

Raspberry Ripple Almond Cupcakes
Raspberry Ripple Almond Cupcakes the perfect way to say I Love You.

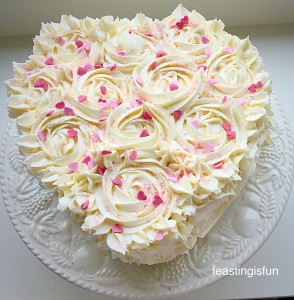
Strawberry Sweatheart Cake

Strawberry Sweetheart Cake
Strawberry Sweetheart Cake swirled with roses and sprinkled with love

So, enjoy baking and experimenting with piping different swirls!

Sammie xx

No part of the post may be reproduced or duplicated without the written permission of the owner. Please see my Disclosure Policy.