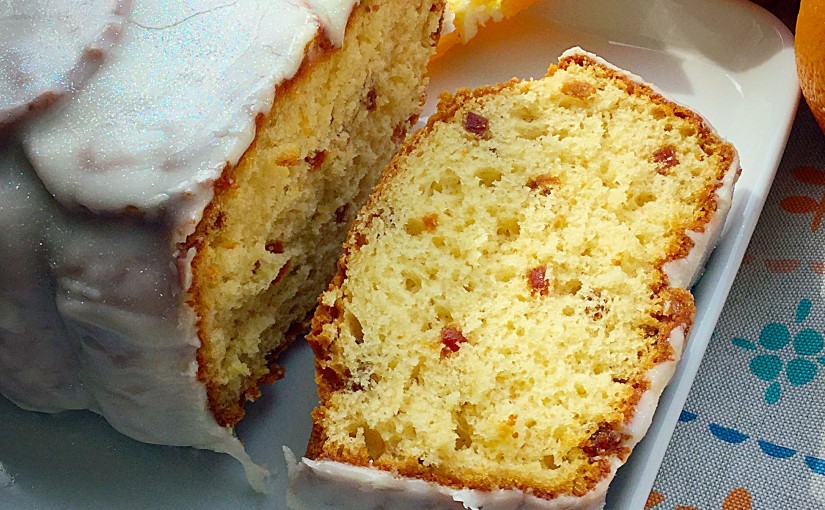
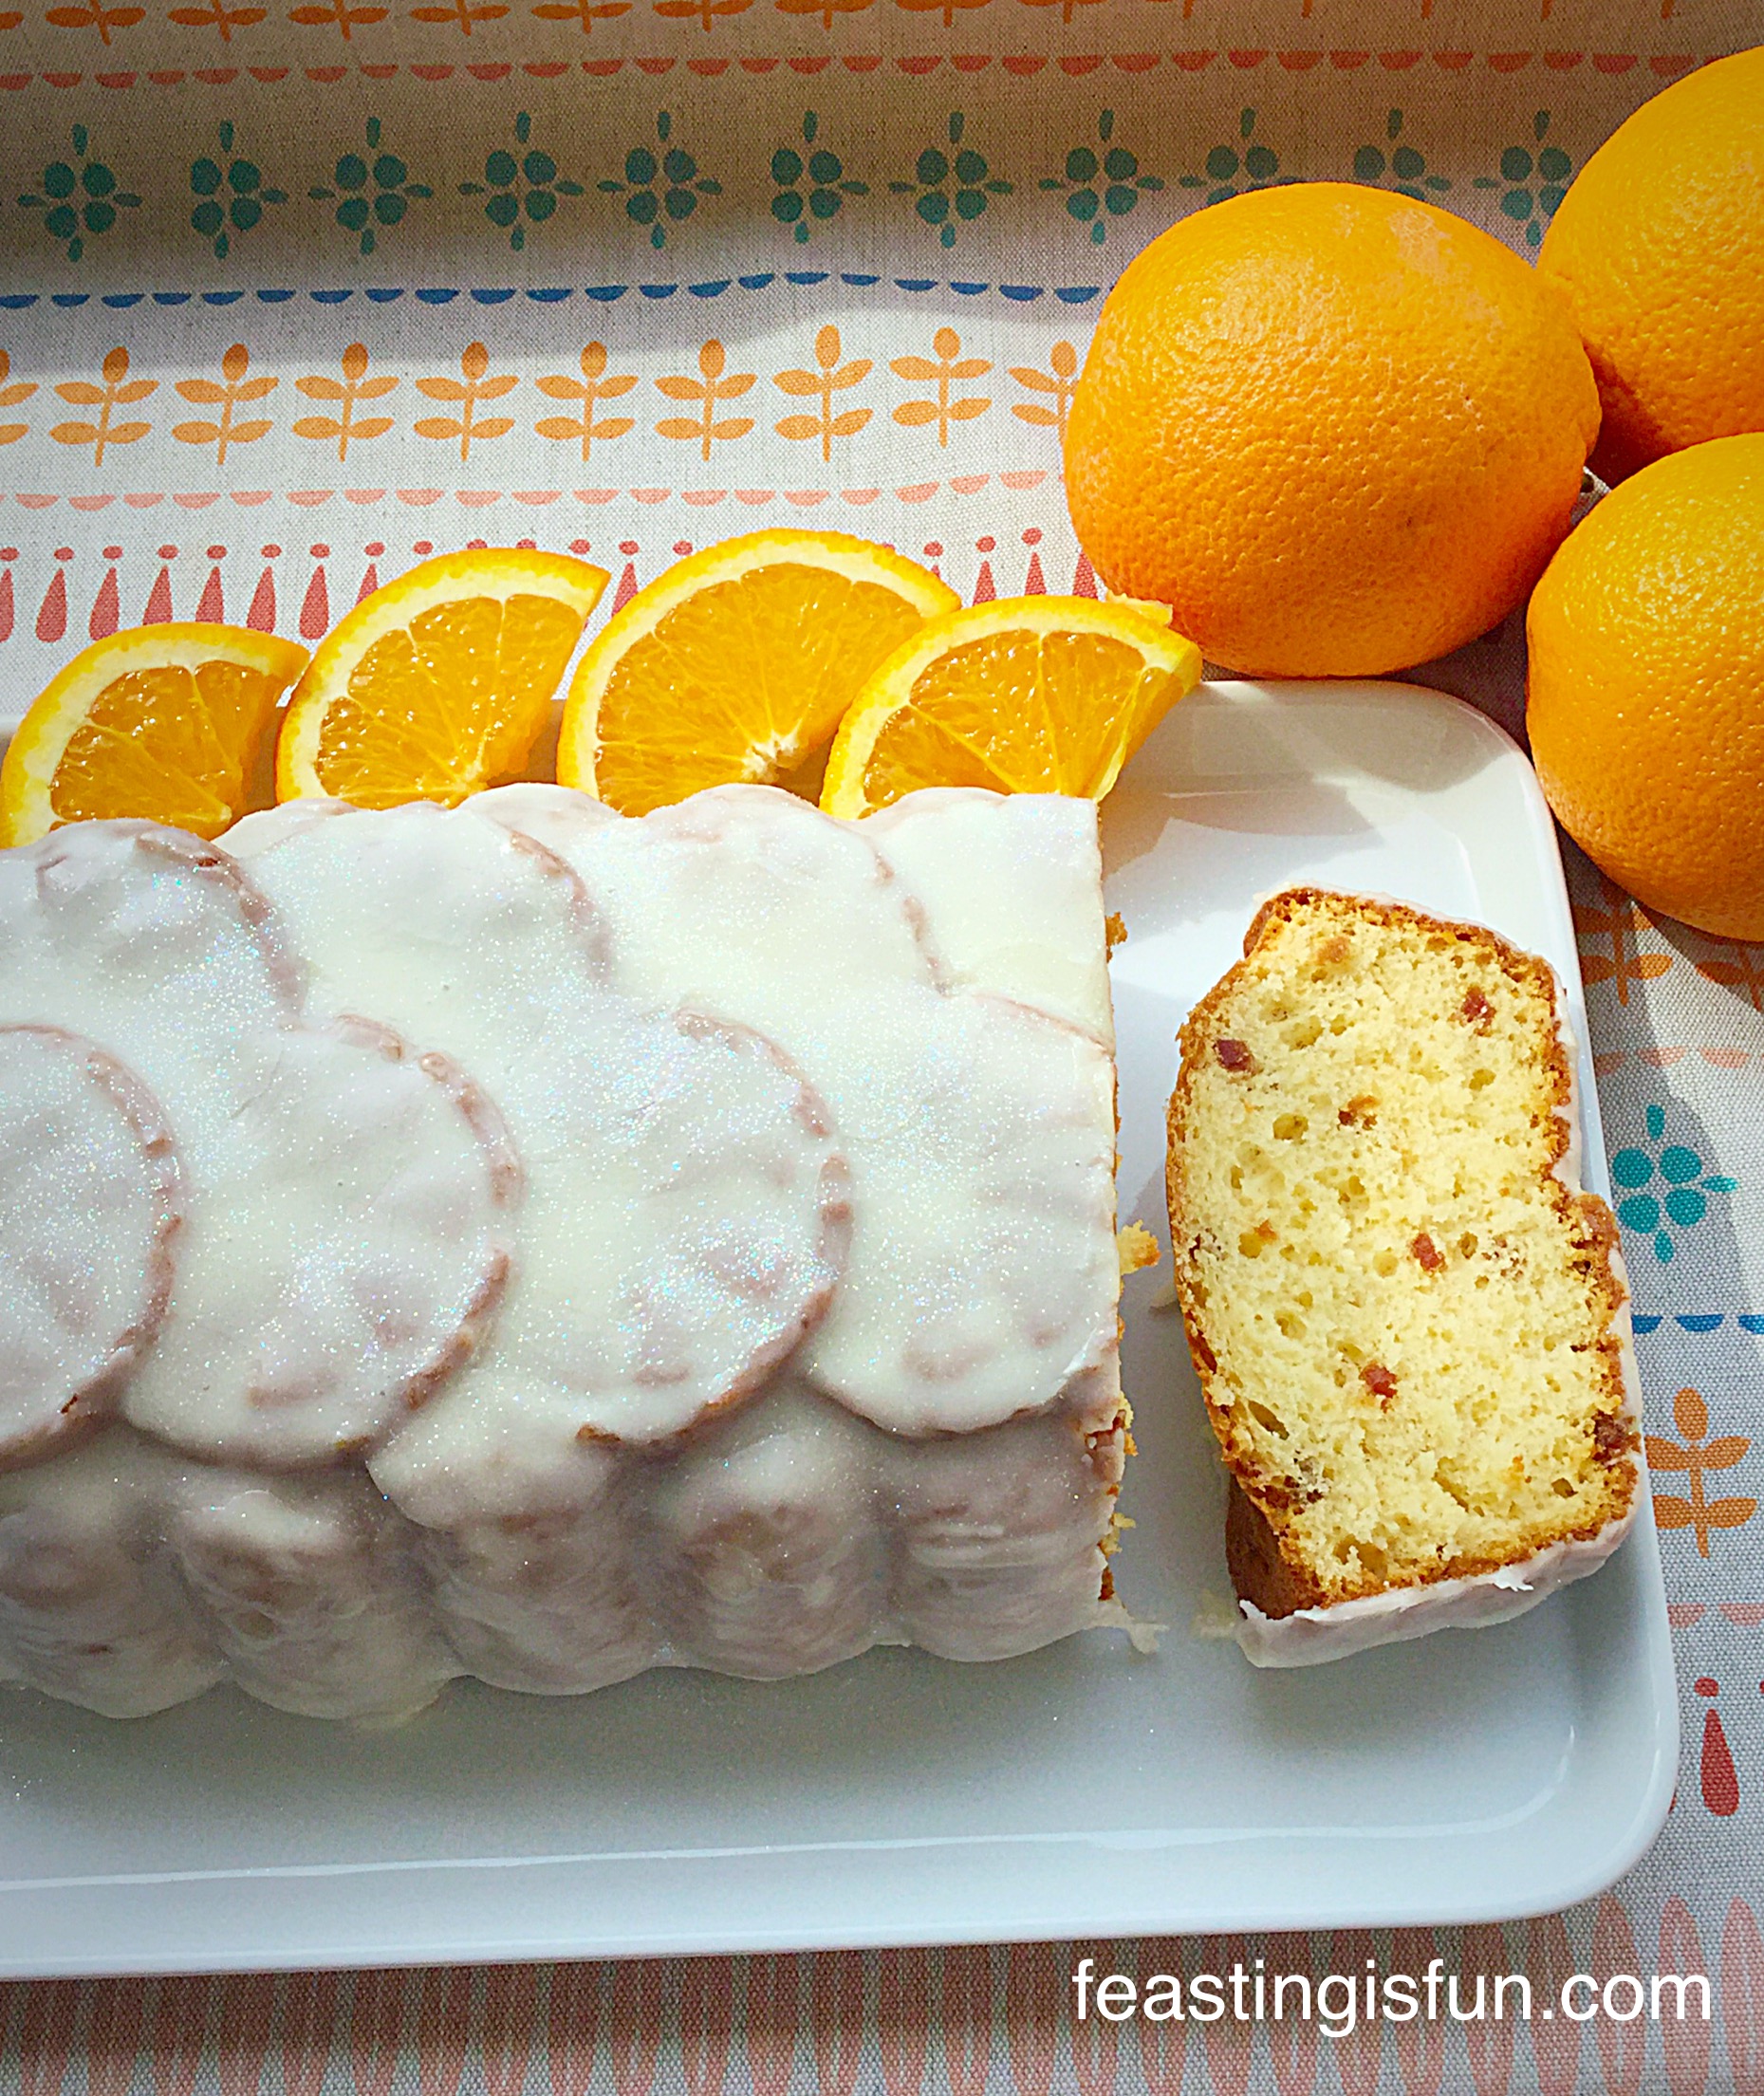
There is something about the colour orange that I am drawn to. Orange can be warm and vibrant, bright yet soft. And, my first bedroom, when I was a little girl was orange, chosen because I had the most incredible, pale orange bridesmaid dress that I adored. Entranced by the colour then and now forty years later, I still love it. Especially when it is the shade of the navel oranges used in this recipe for Glazed Orange Bundt Cake. A delicious, fruit packed orange cake covered with a light, fresh orange glaze.

Going Off On A Tangent!
Orange is also the favourite colour of Peeta, a character in the Hunger Games Trilogy. Although not the bright orange of Effie’s hair, but the colour of a sunset. If you have seen any of the films, or read the books, this may make some sense to you.
I make no apologies for referencing the film, as I and my family are huge Hunger Games fans. Yet very few, if any, of the citizens of the poor, mining District 12 would have had the luxury of eating cake. Especially this totally delicious Glazed Orange Bundt Cake.
Finally, if, as I suspect, you are clueless as to what the last few lines mean, don’t worry! Most importantly, know that I love the colour orange in all its shades.
Using A Cake Mix or Bake From Scratch
Since our son adores oranges, he is going to be absolutely thrilled when he gets in from school tonight and sees that I’ve made another Orange Cake. Using Wright’s new Orange Cake Mix to make this beautiful loaf, makes baking this cake so easy. From opening the packet to popping the cake into the oven takes less than 10 minutes. Alternatively, you can make this cake using this Glazed Lemon Bundt Cake recipe, using the exact same quantities of fresh orange.
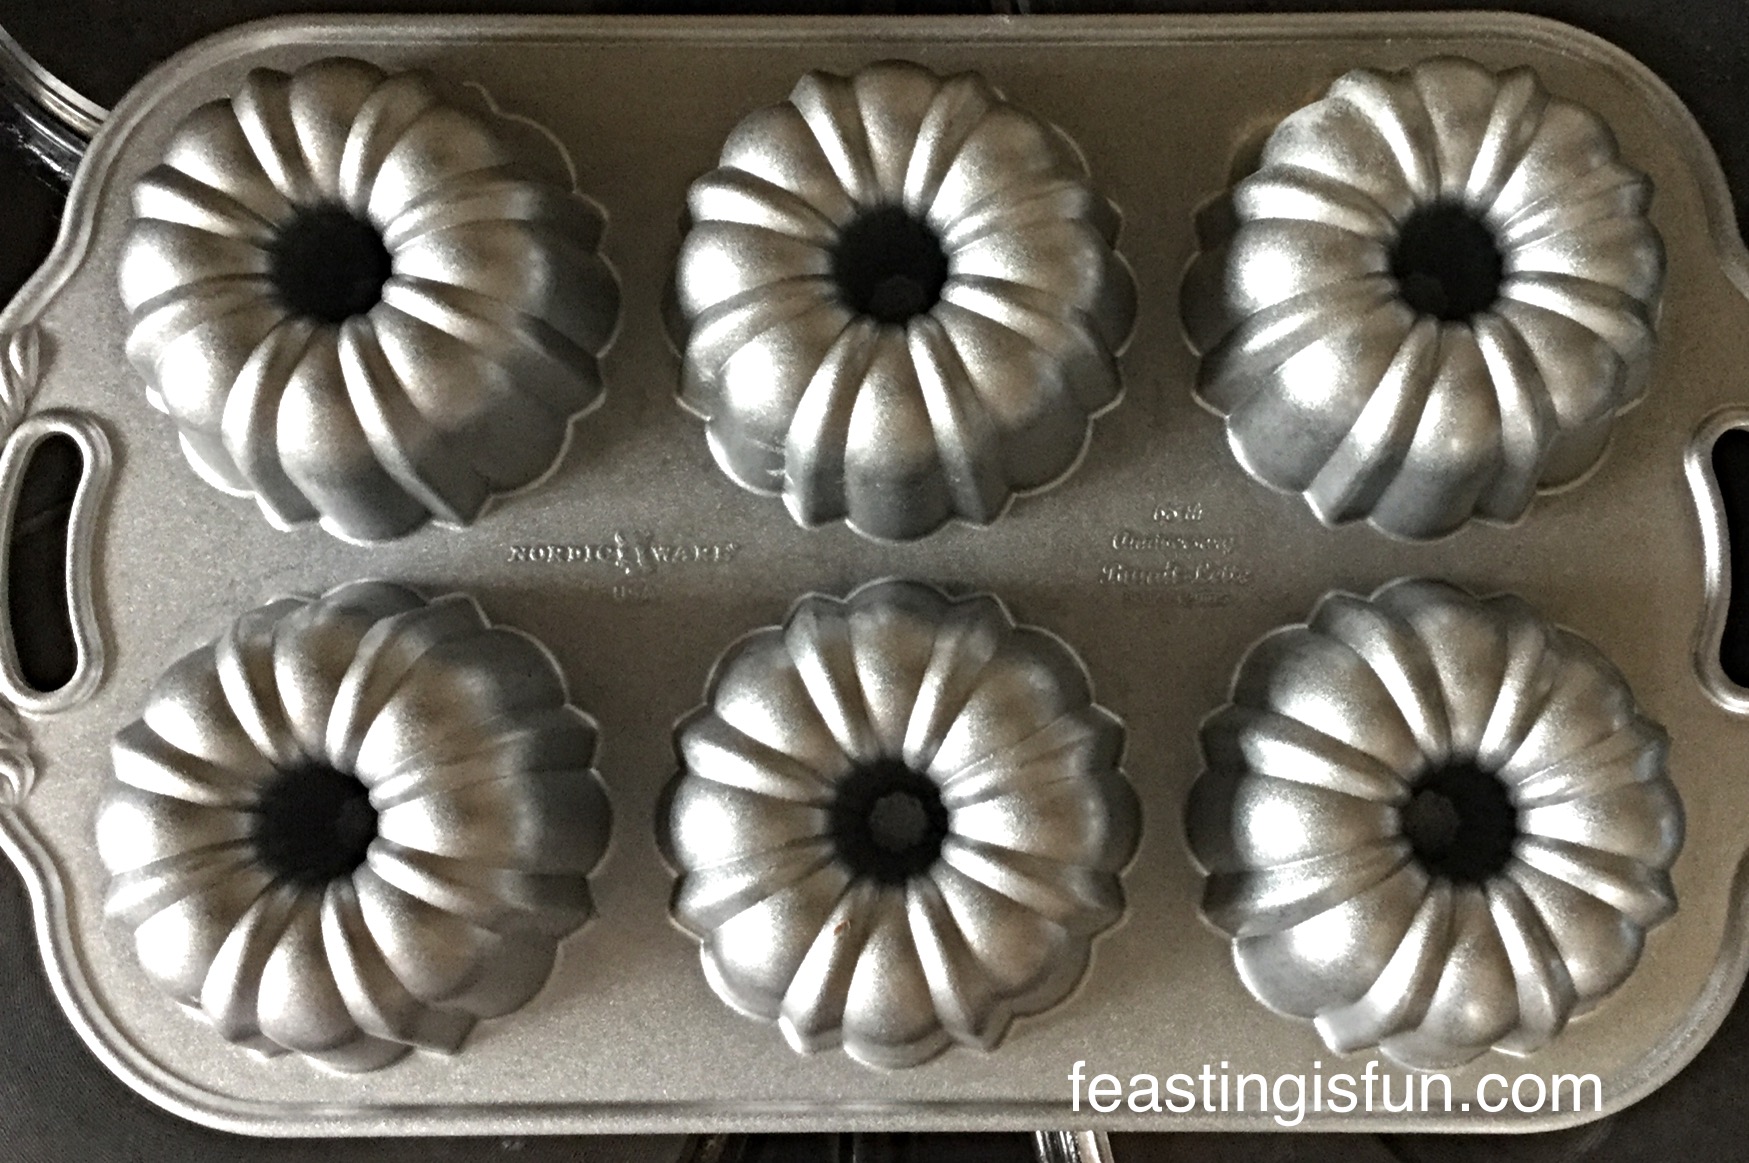
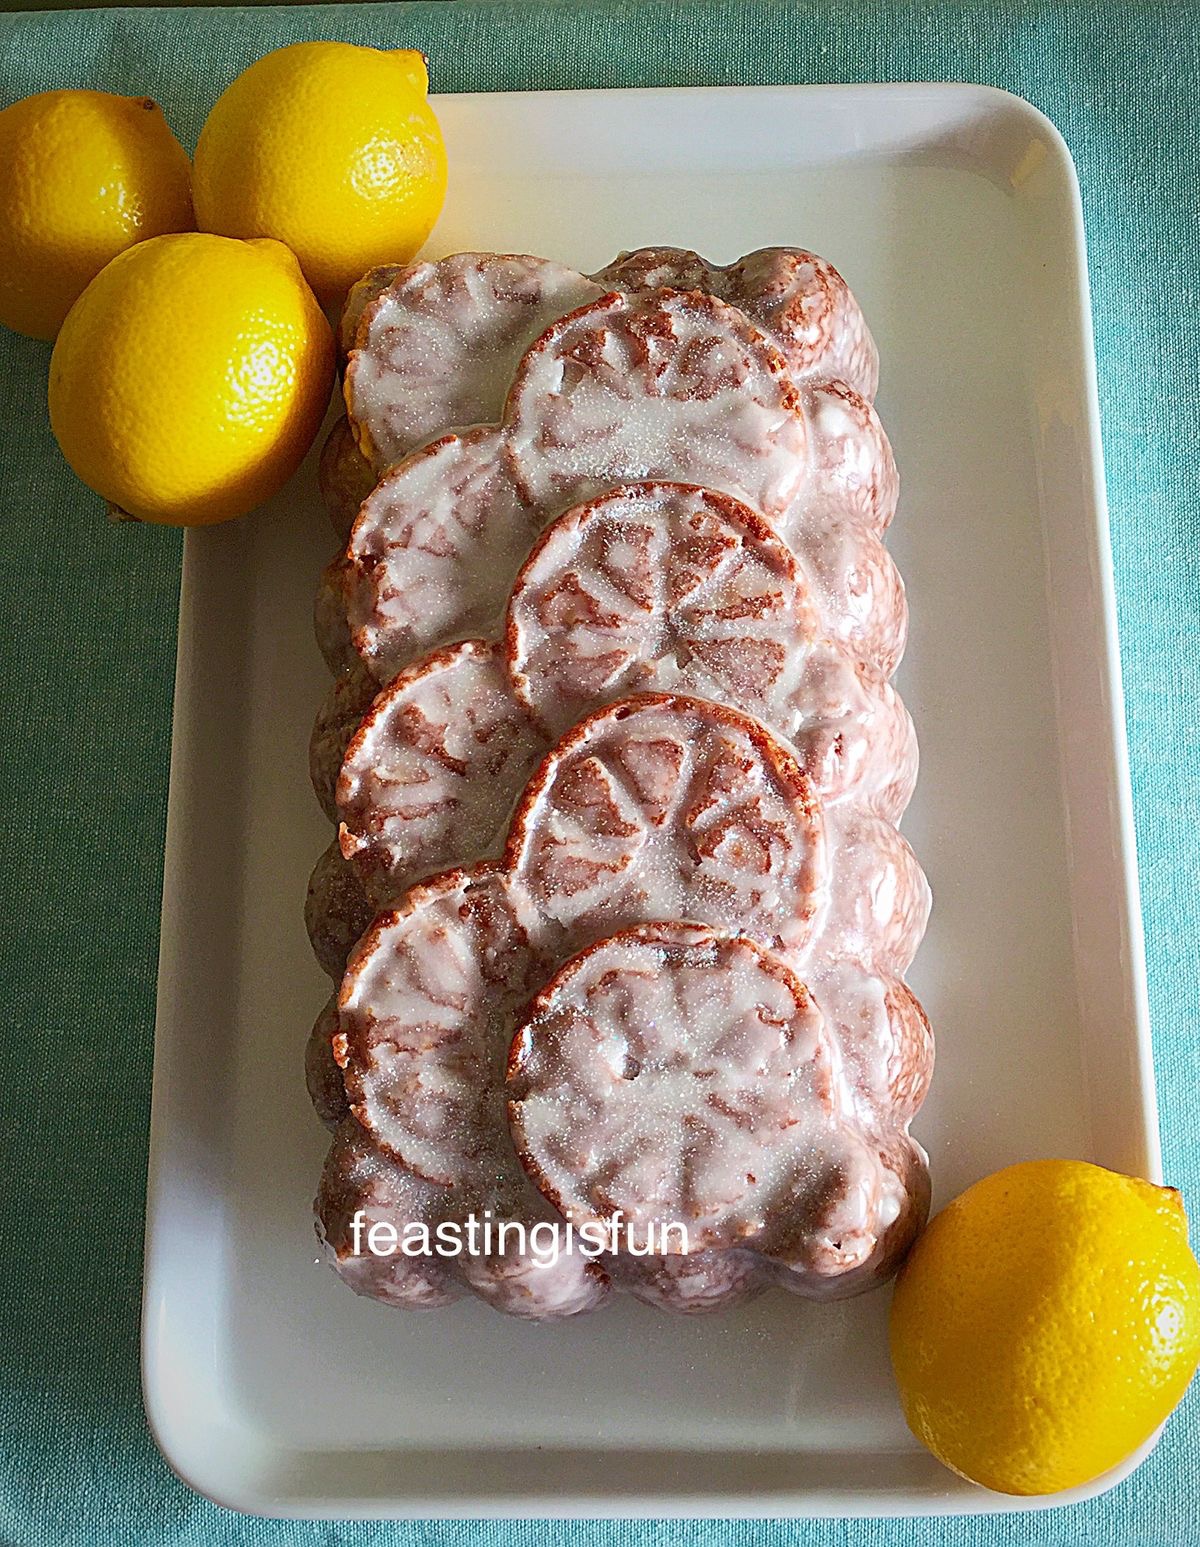
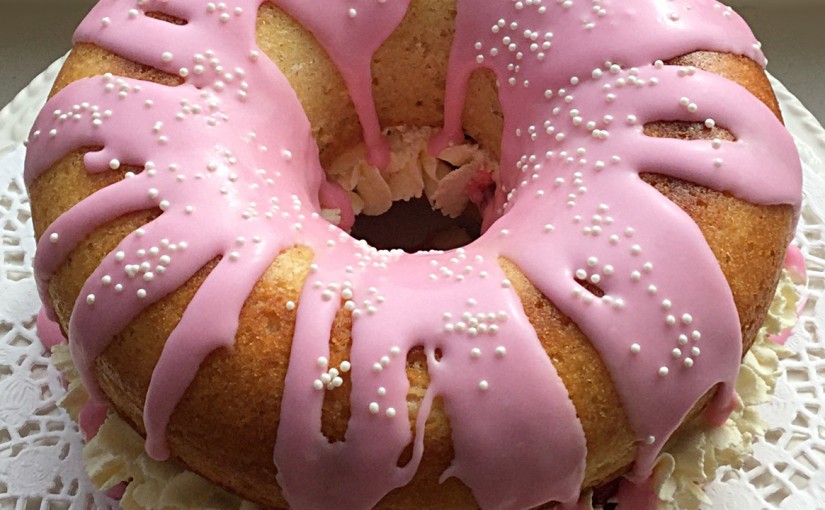
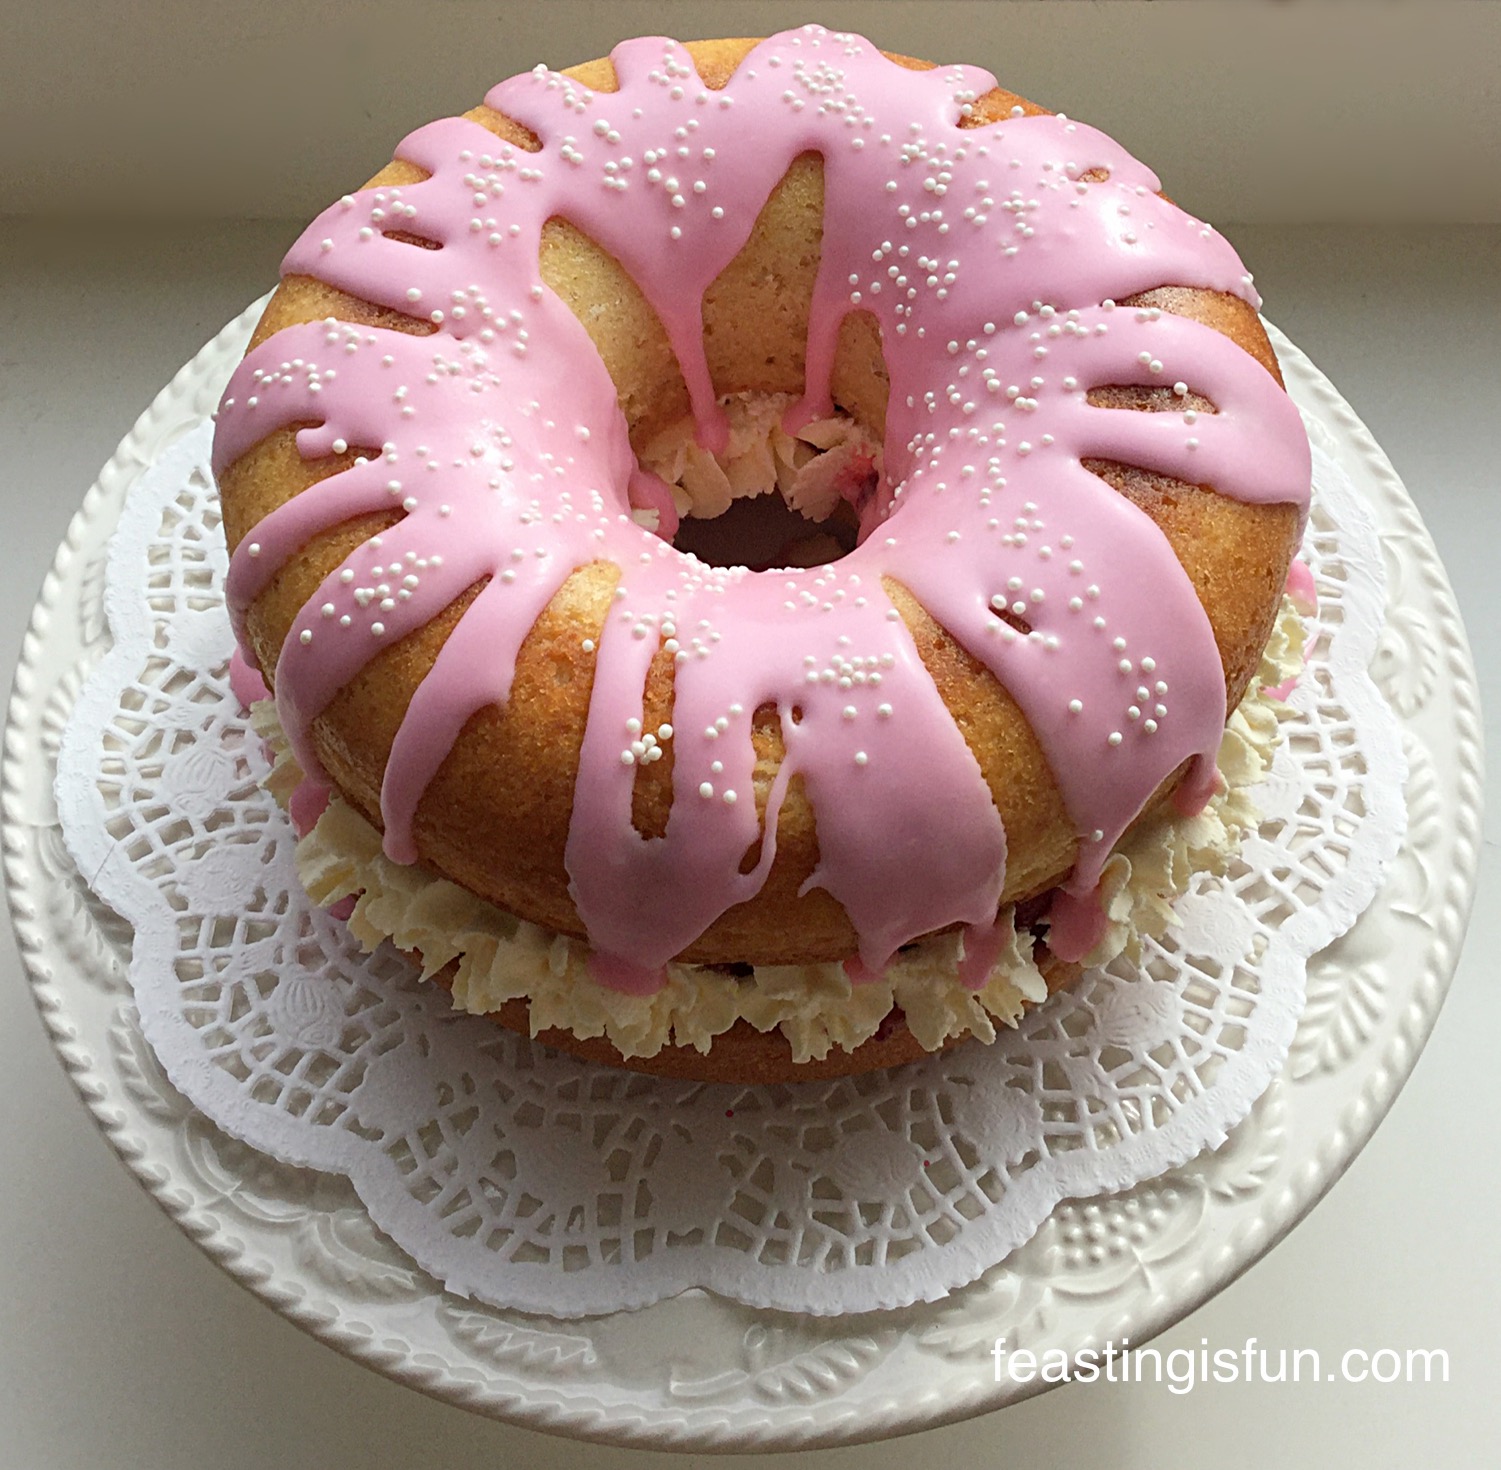
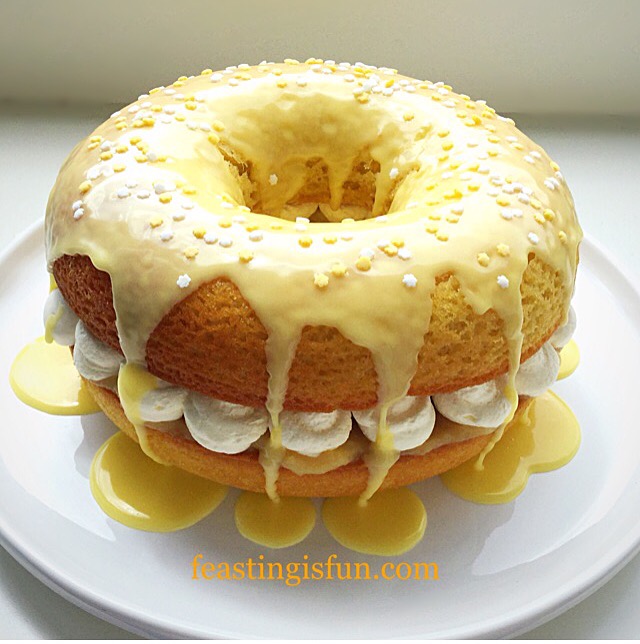
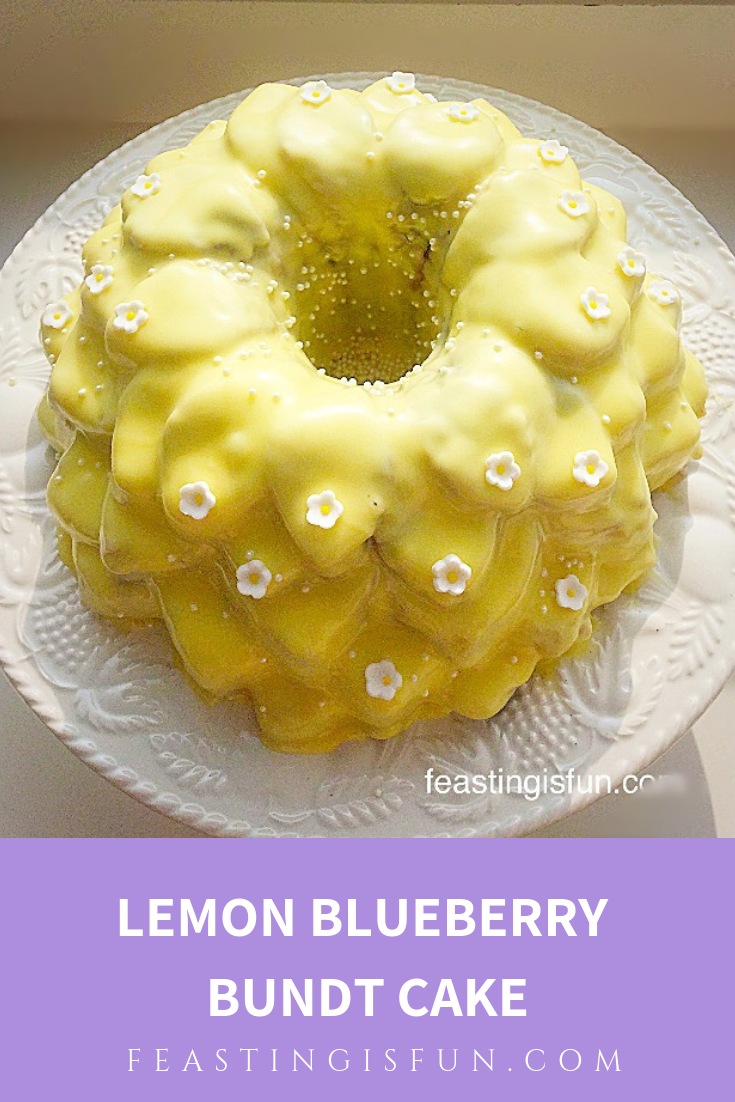
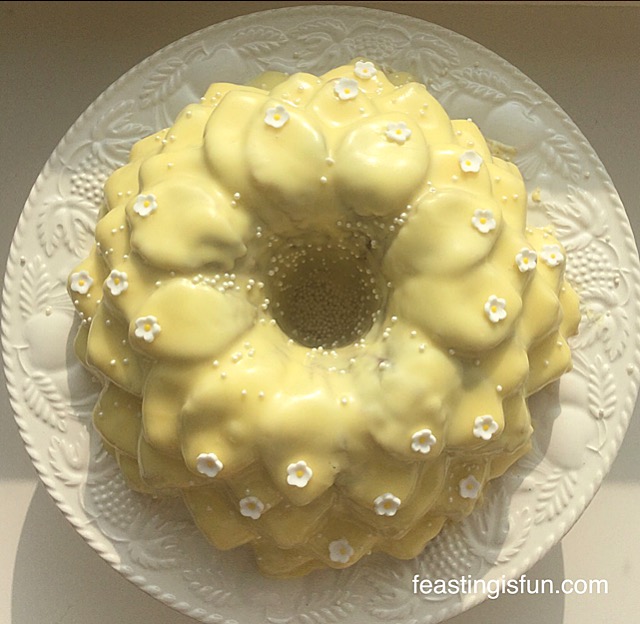
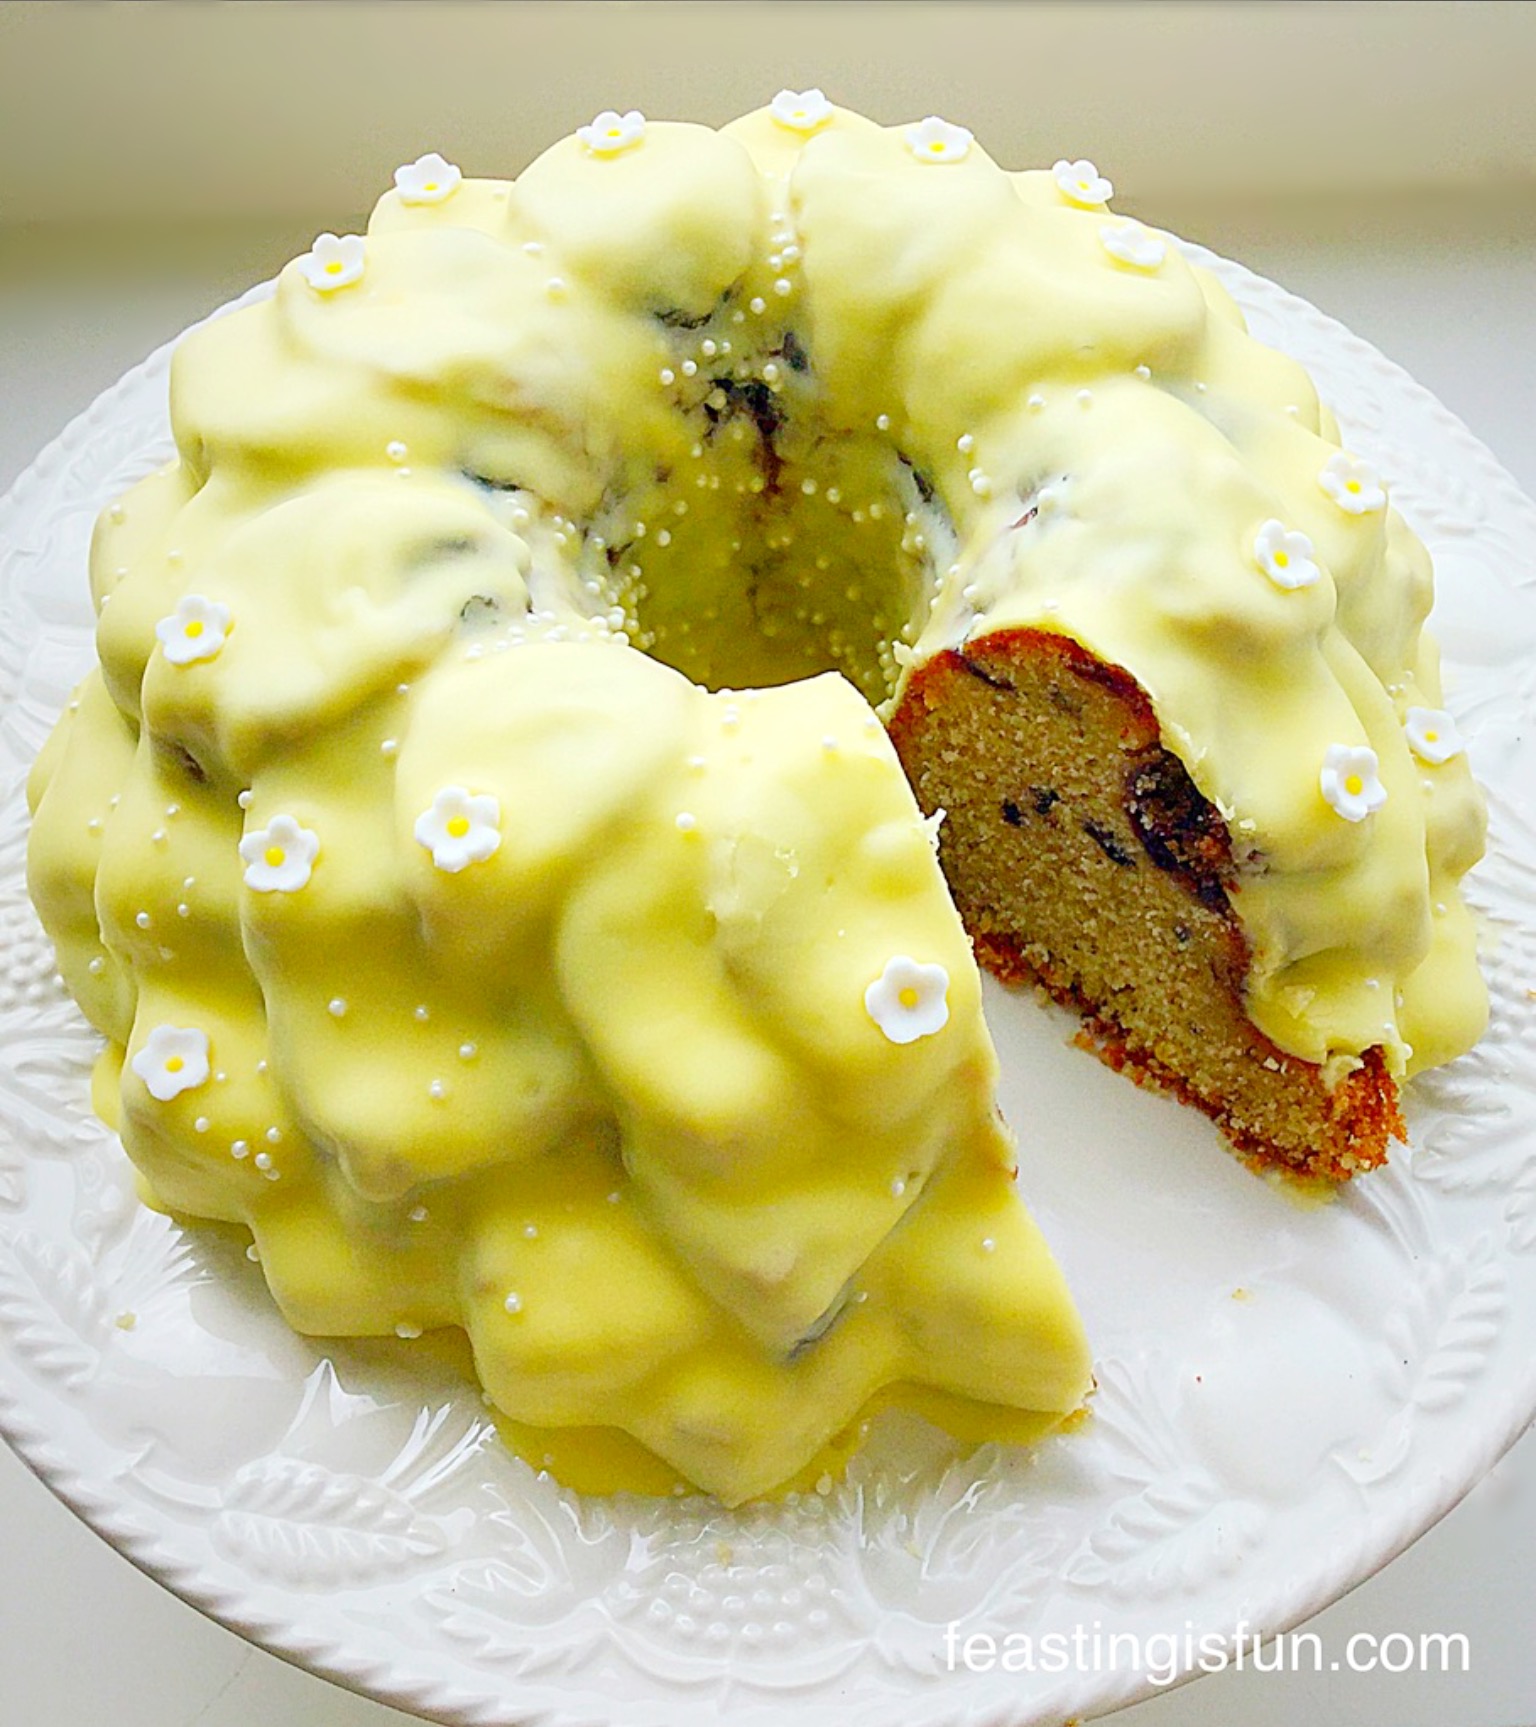
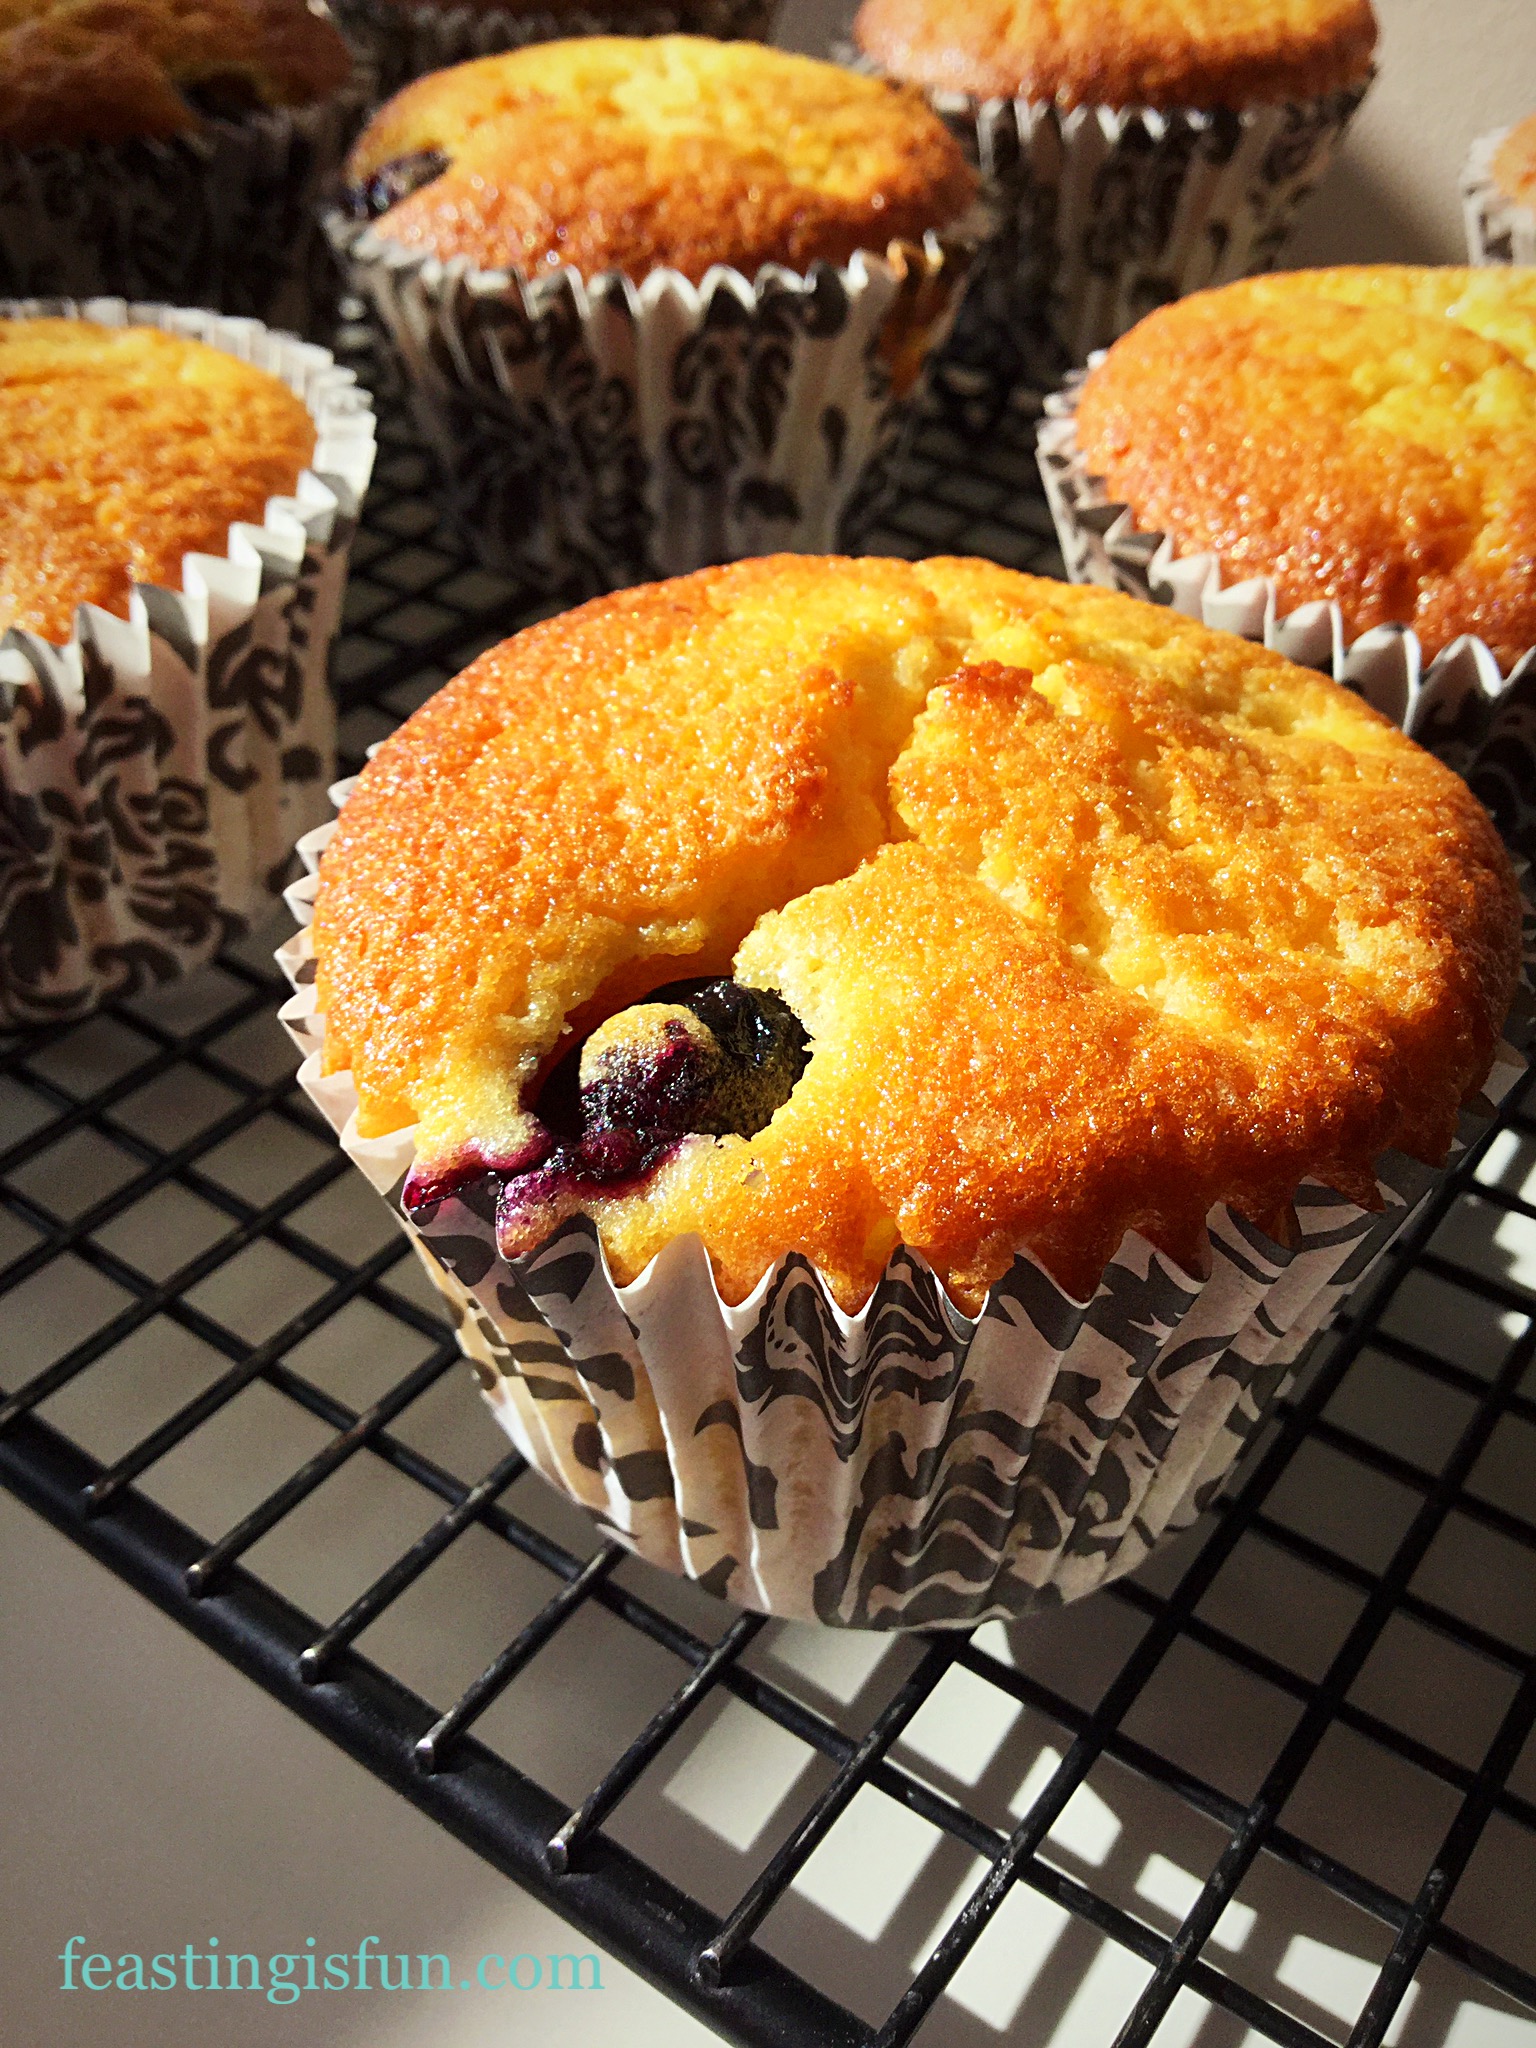
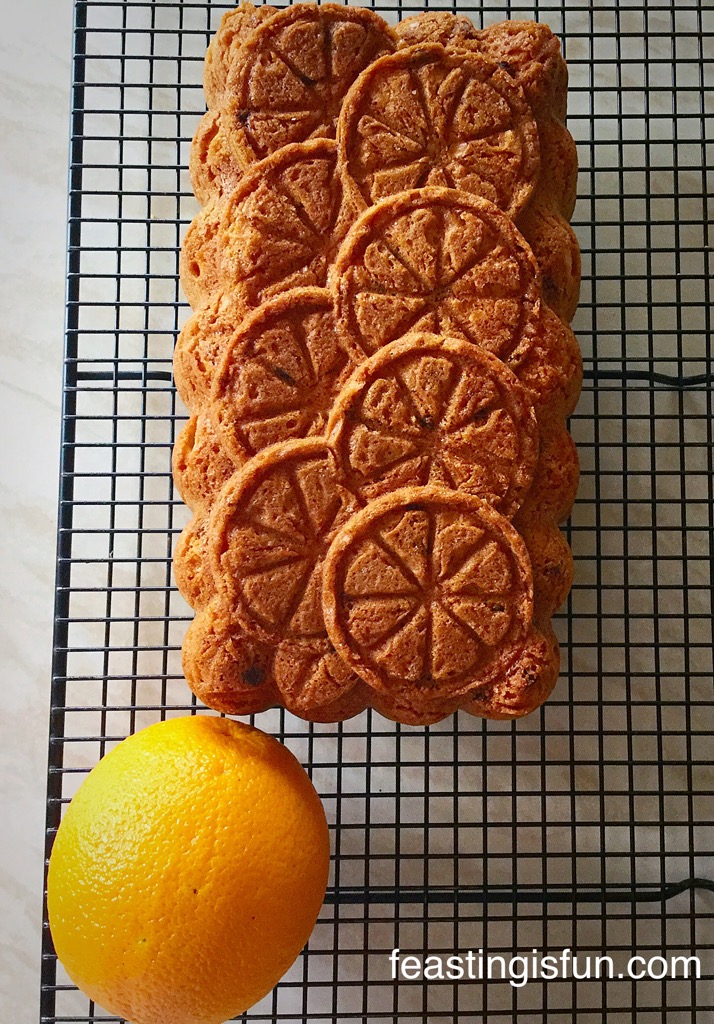
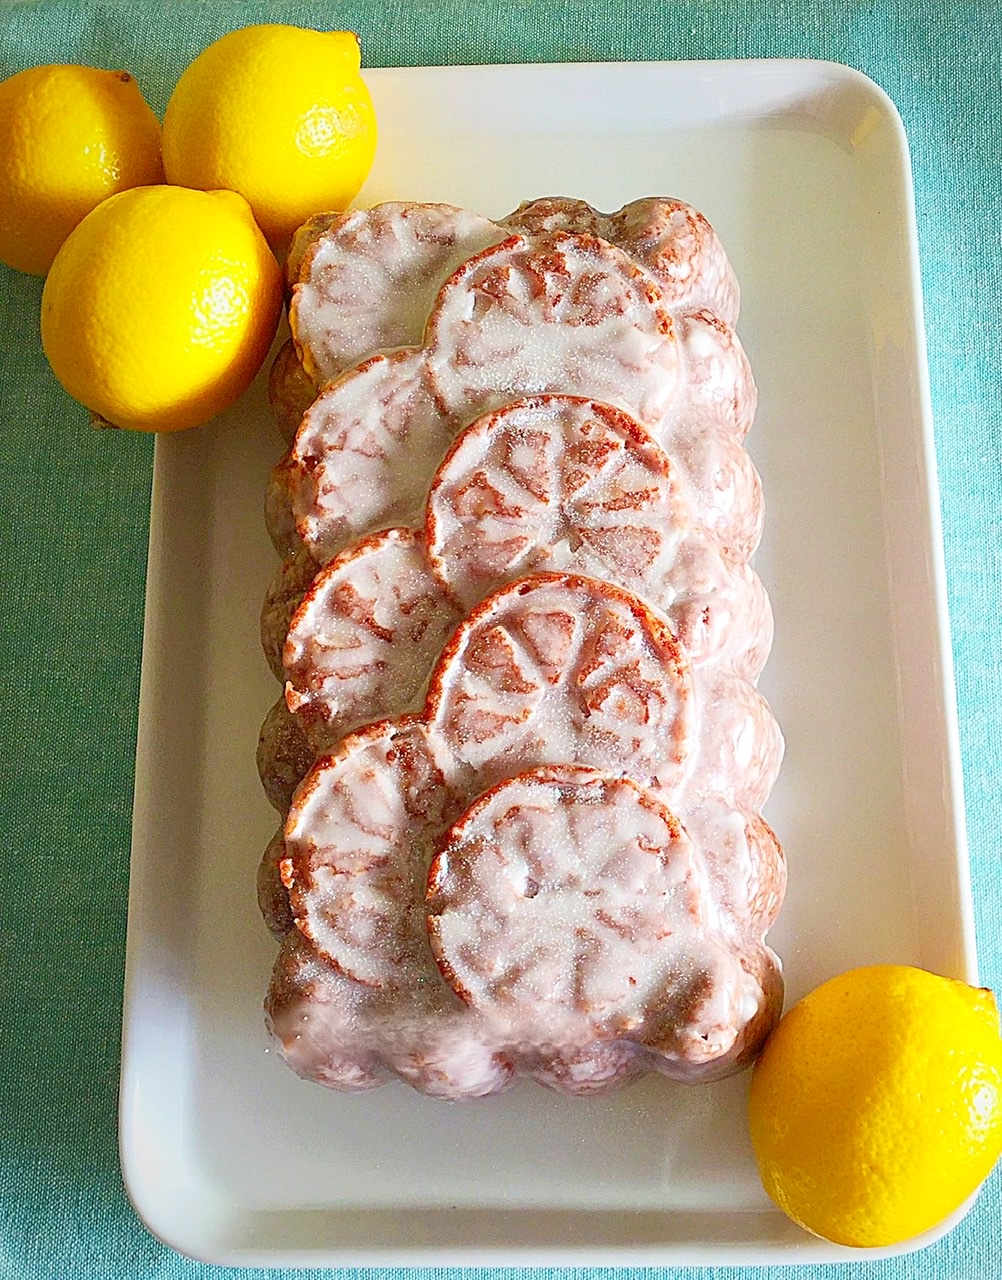
A mere 10 minutes. And yes I’m repeating it because the reward for a few minutes measuring and mixing is massive. This cake incredible, packed full of dried fruit that add interest to the tender cake crumb. The orange glaze further enhances the tangy orange flavour, while creating a glossy finish. Baked in my pretty Citrus Bundt Tin from Nordicware, the detailed markings are clearly visible through the glaze.

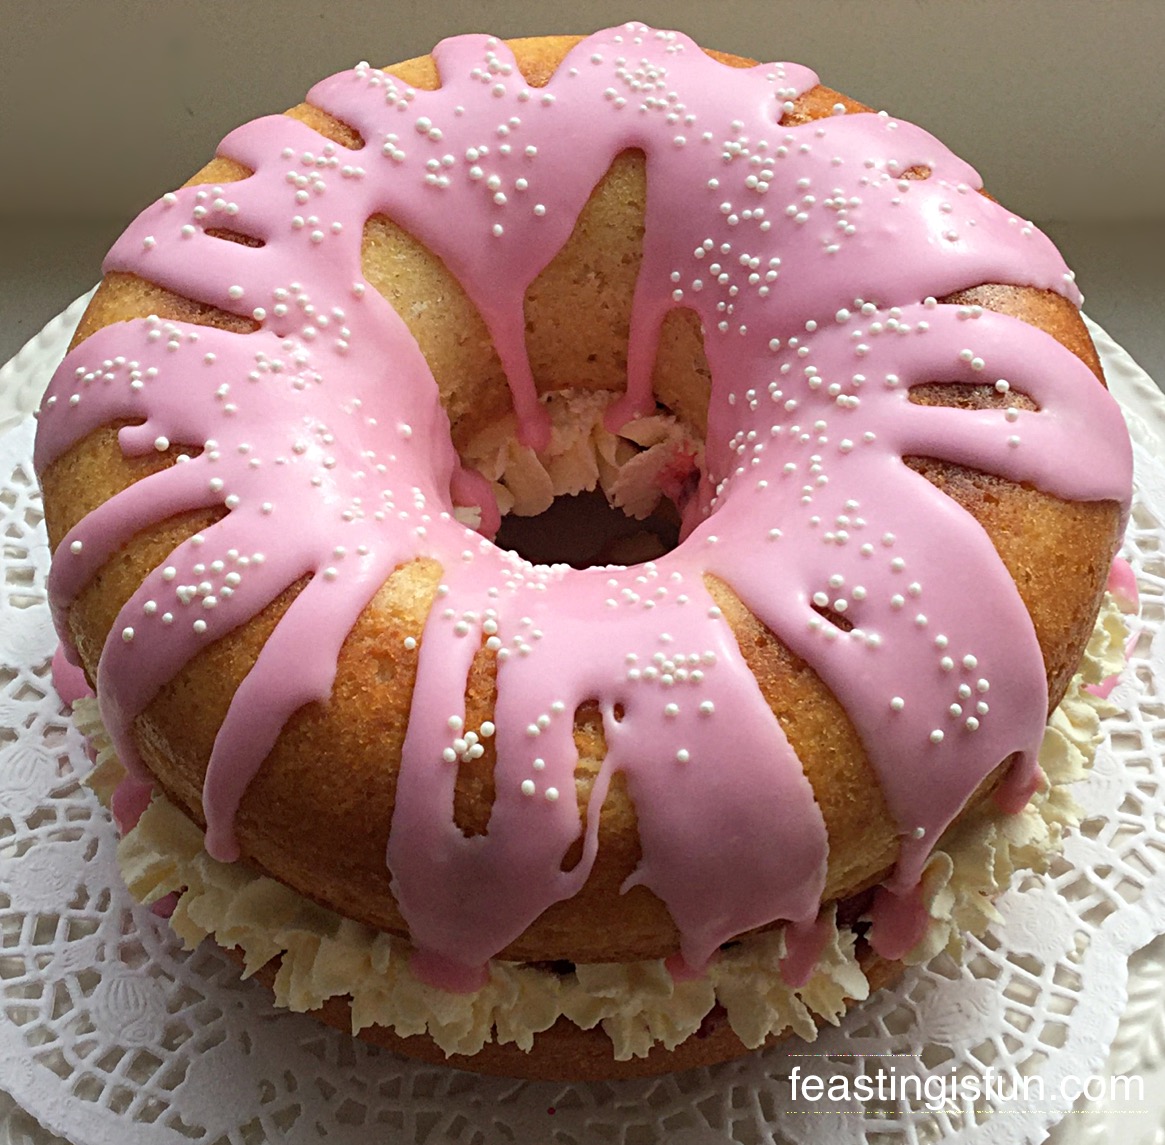
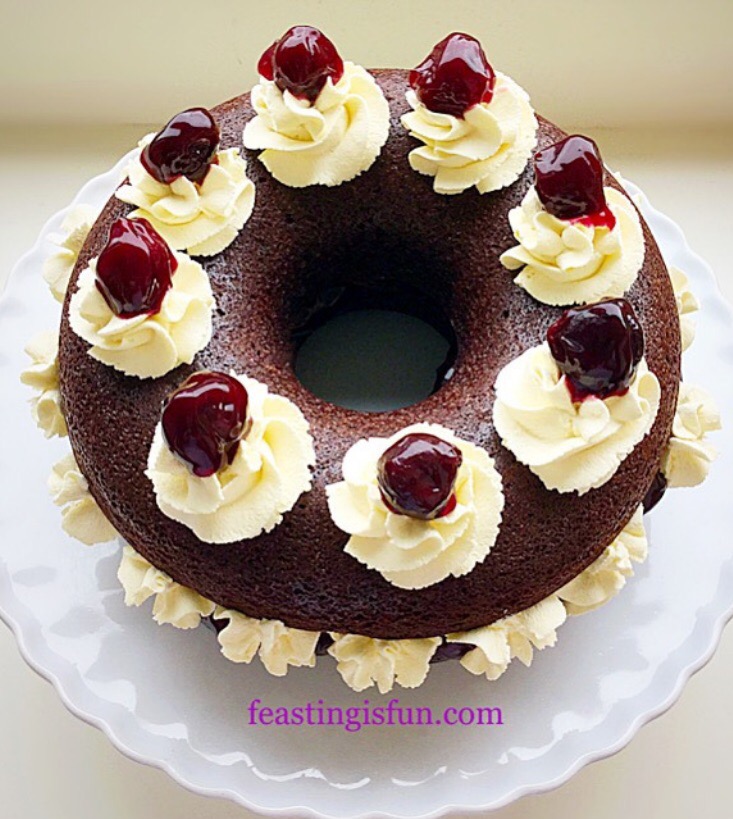
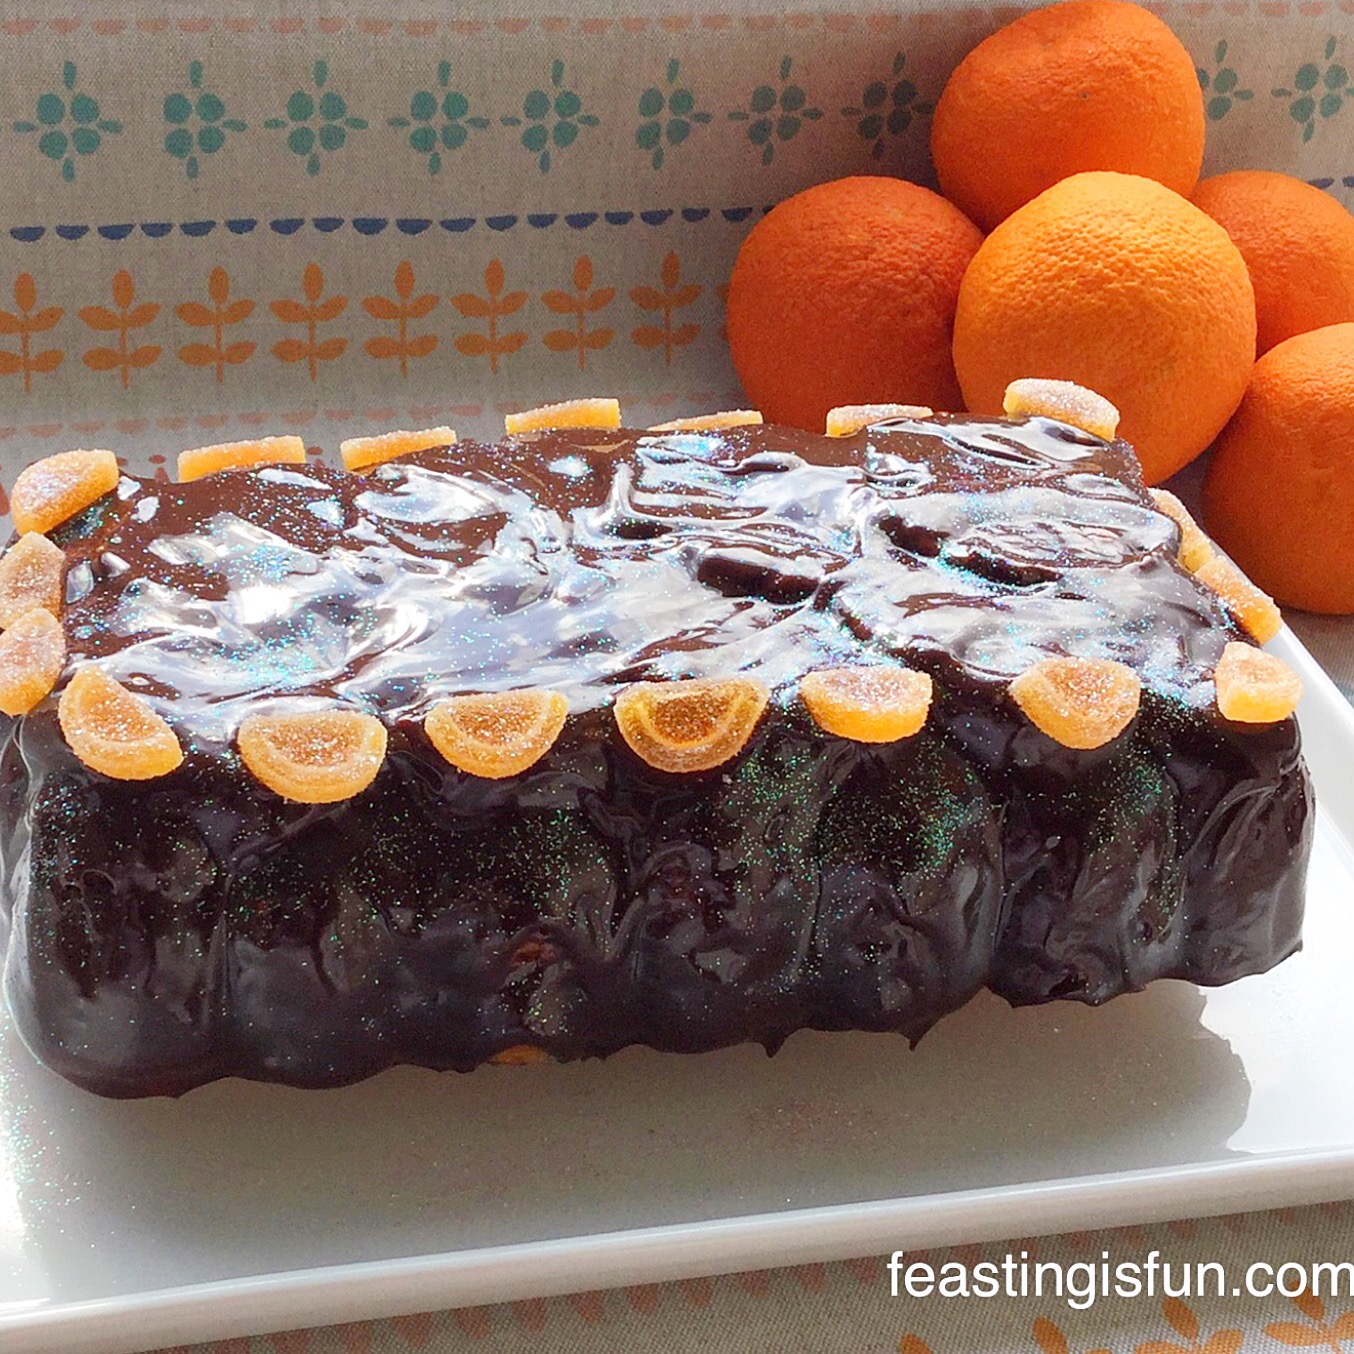
Following the success of my Chocolate Orange Citrus Bundt I wanted to make this Glazed Orange Bundt Cake. Since I had made a Glazed Lemon Bundt Cake I knew an orange glaze would also showcase this wonderful cake.
Since sharing the cakes made using the Orange Cake Mix from Wright’s, with family, friends and neighbours, a big thumbs up has been the overwhelming response. In addition to requests for more cake!
If you don’t usually use cake mixes, or aren’t a fan, why not give this Orange Cake Mix a try? You may be surprised and be reassured, I’d never recommend anything that I wouldn’t share with my family. Also, keeping a selection of Wright’s mixes stashed in the kitchen cupboard is simple as easy. Especially if unexpected visitors arrive, or the urge for cake strikes.
Recipe: Makes one Glazed Orange Bundt Cake serves 10
1 packet of Wright’s Orange Cake Mix
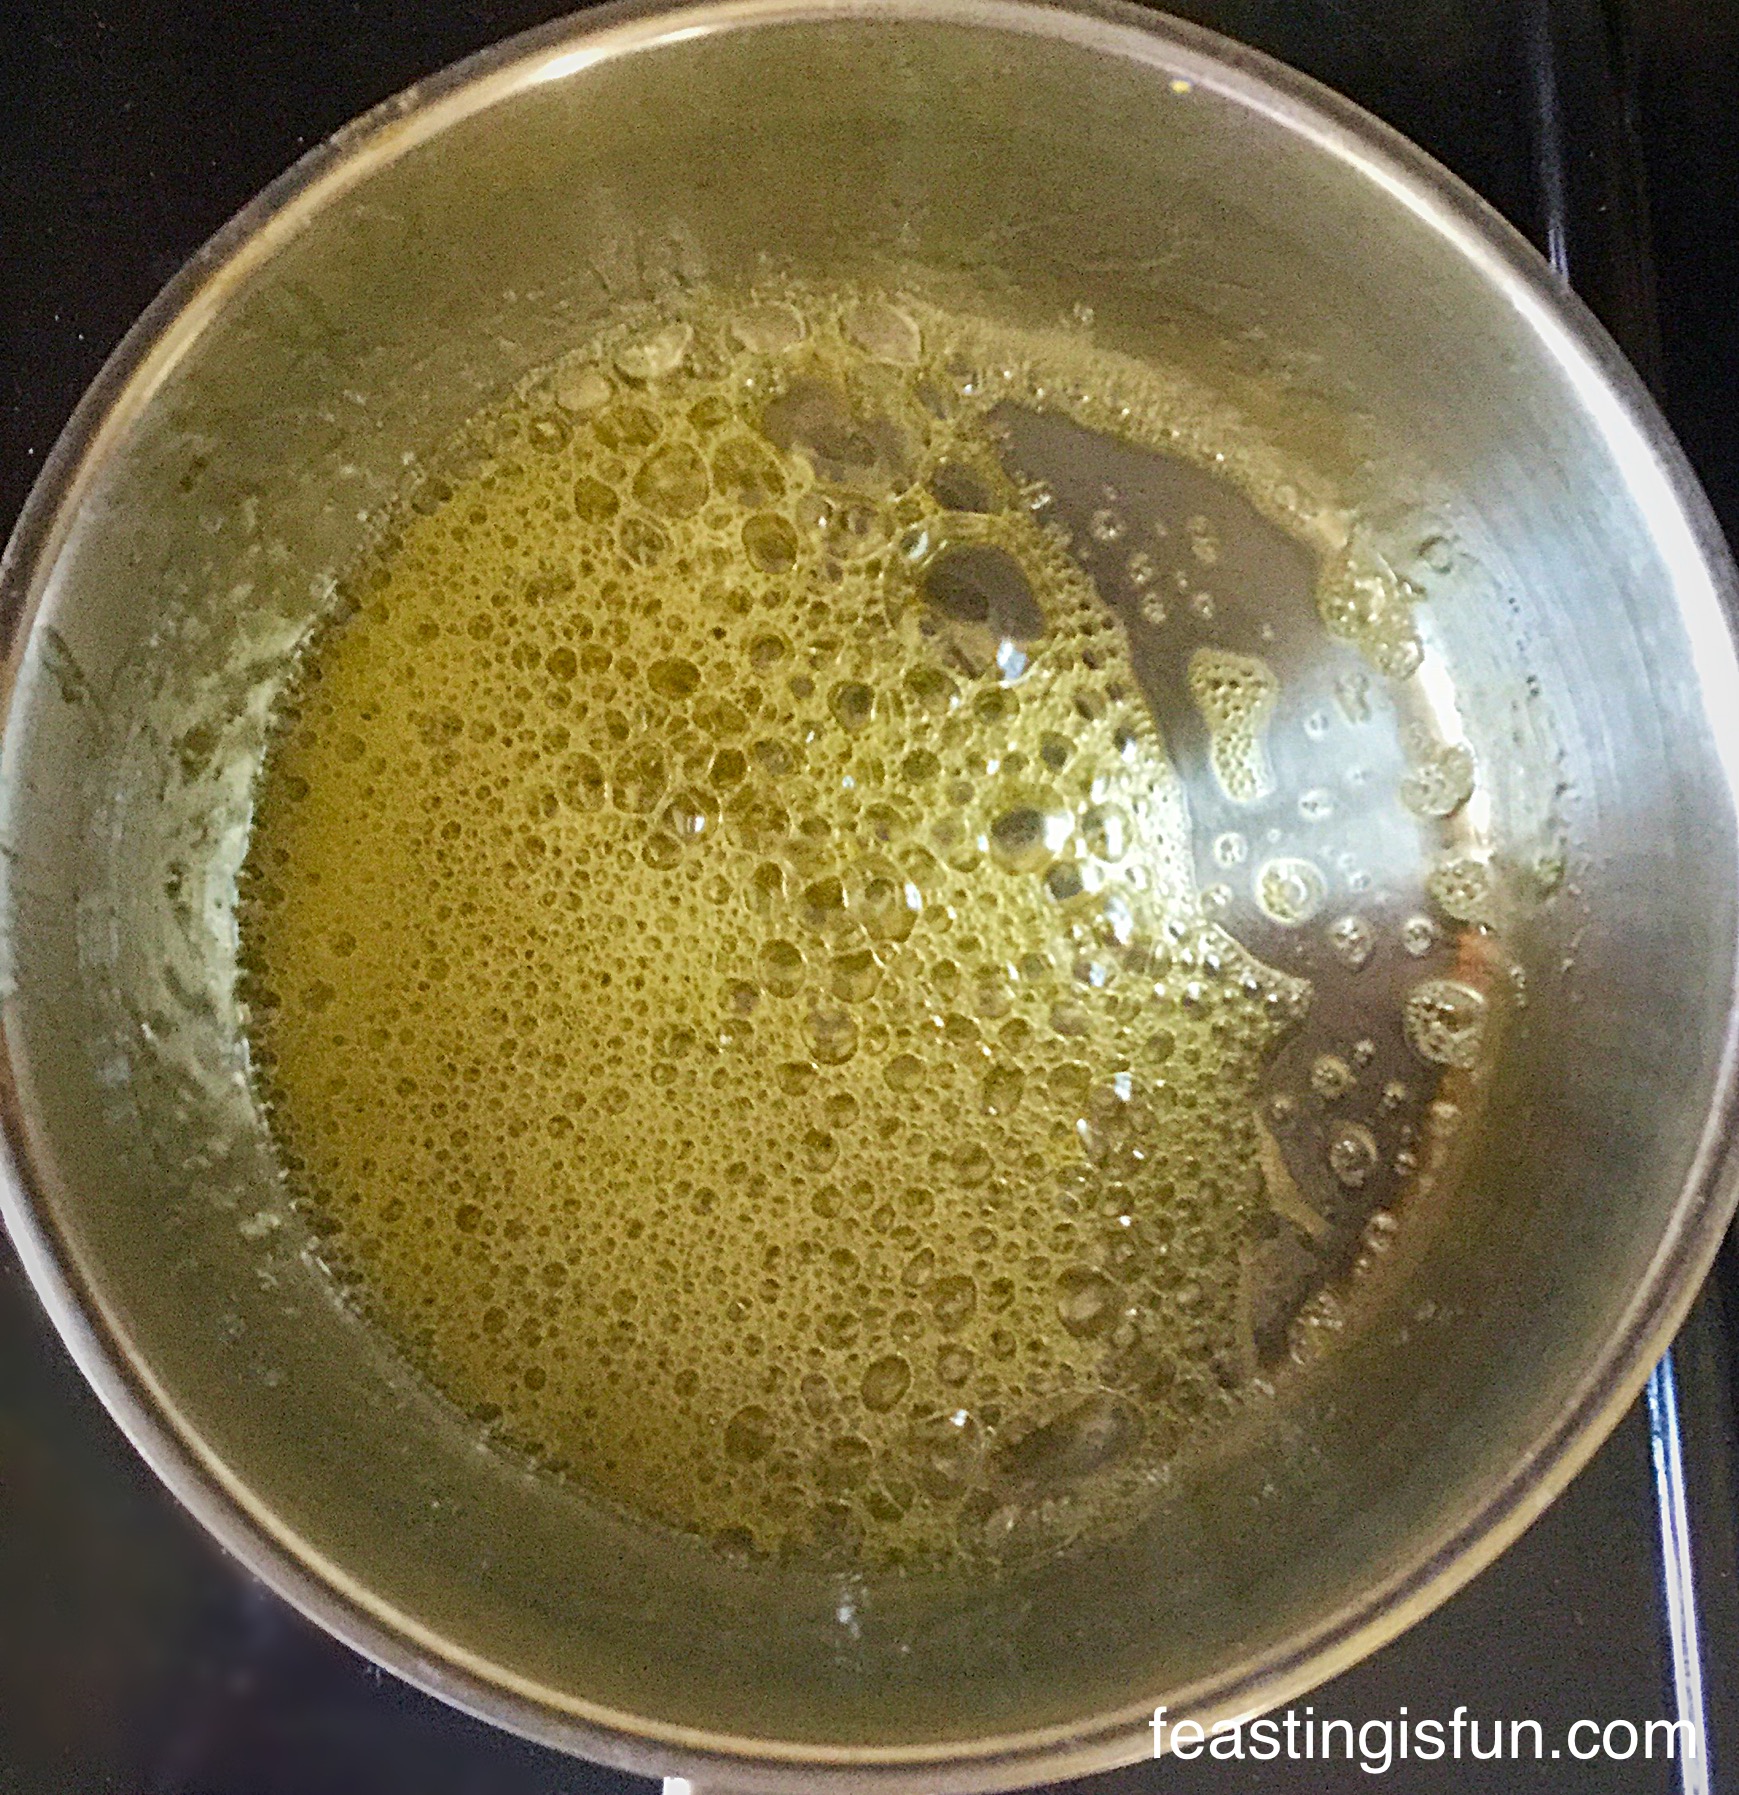
4tbsp Vegetable Oil – as directed on the packet
200ml Water – as directed on the packet
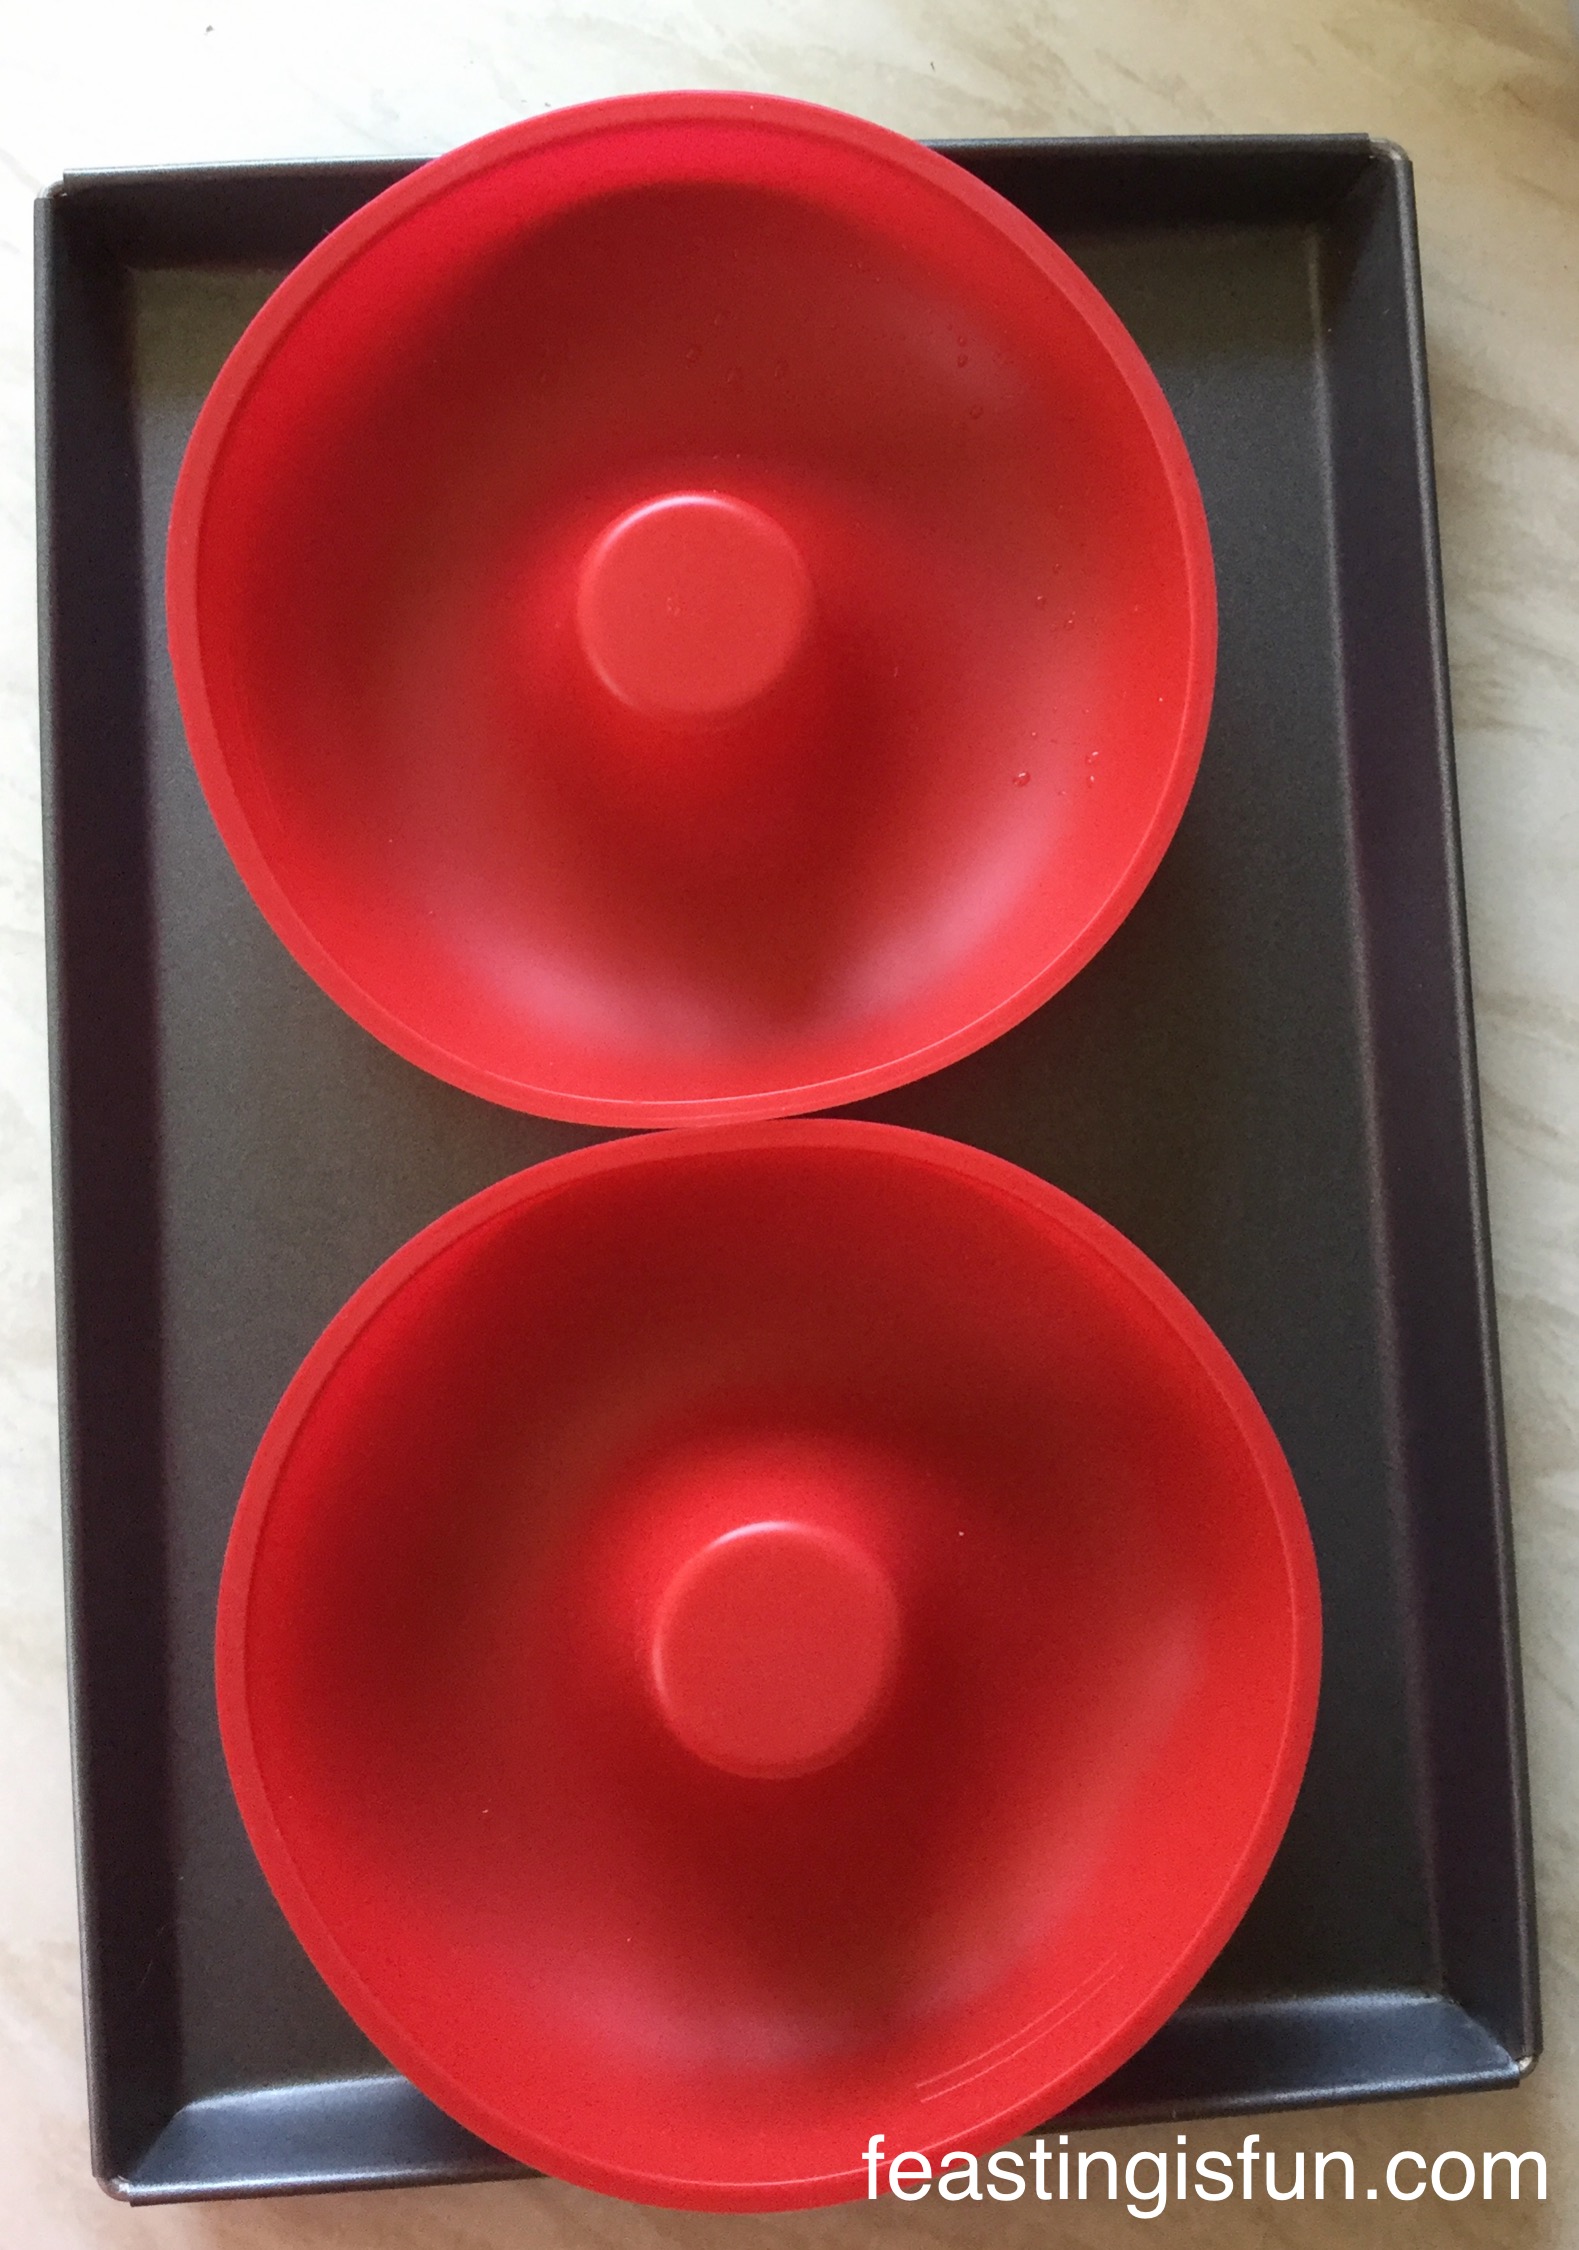
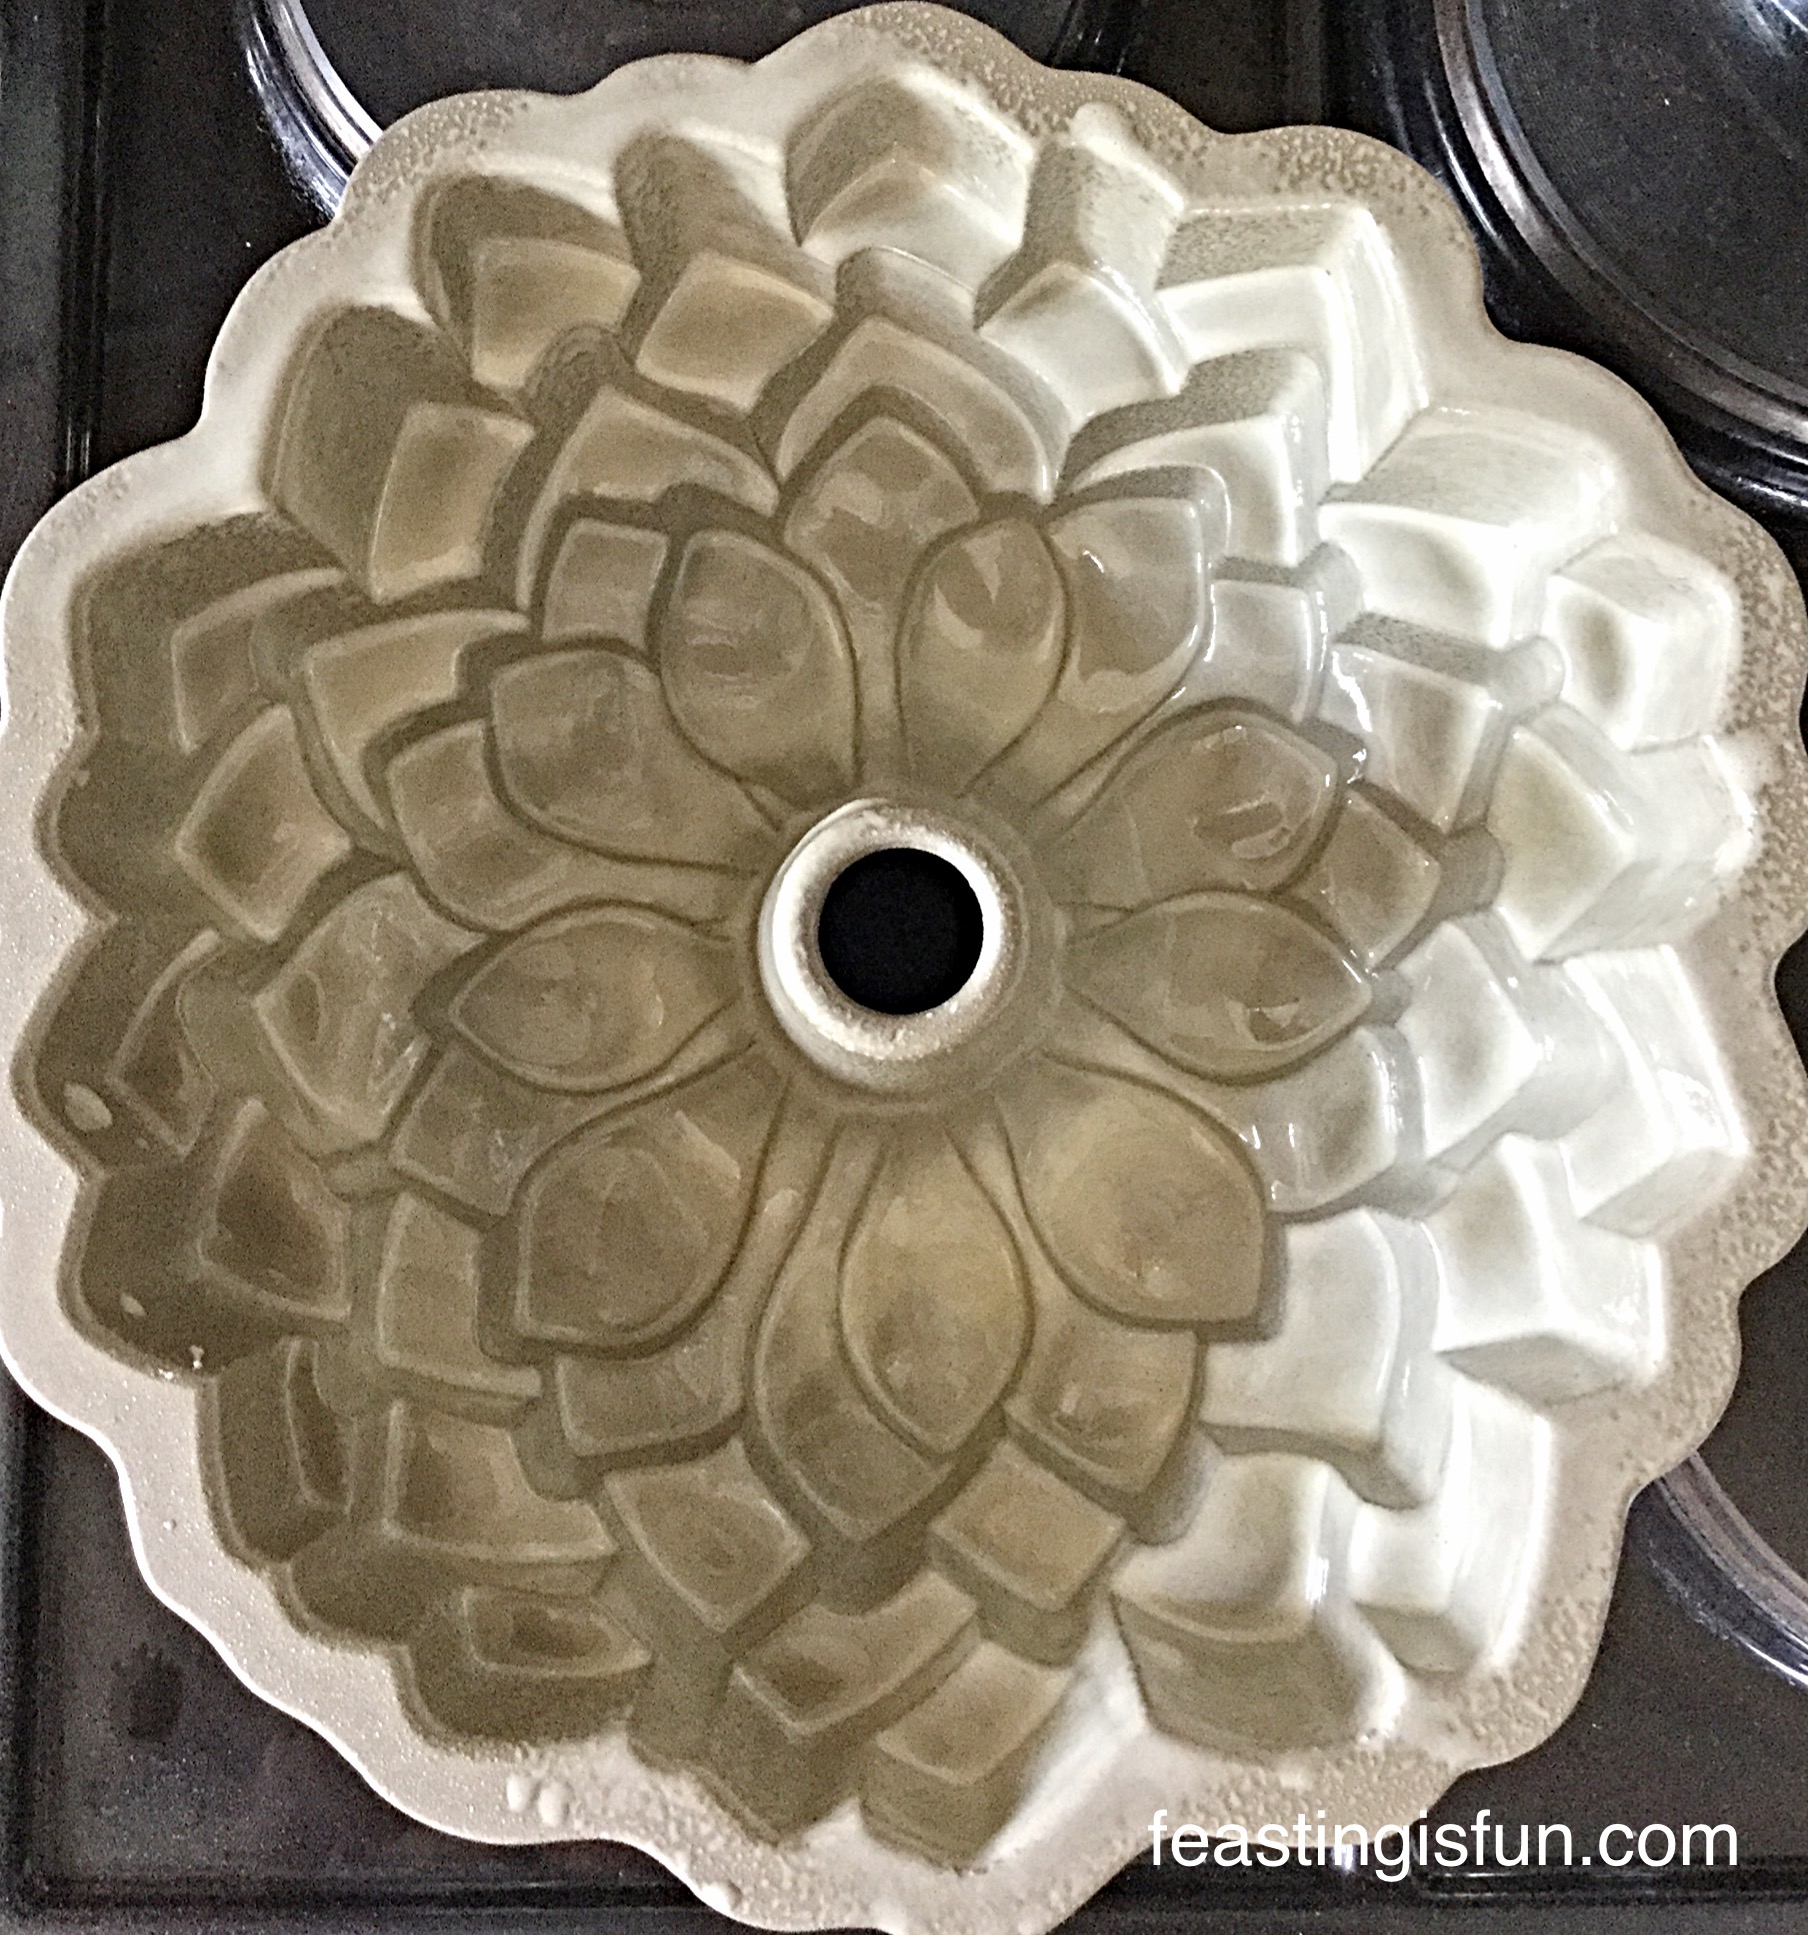
You will need cake release if a Bundt tin – I recommend Wilton , alternatively use a loaf tin which has been brushed with melted butter and lined with baking parchment.
200g/7oz Icing Sugar
1 Orange – you will need the juice of half
Edible glitter – optional
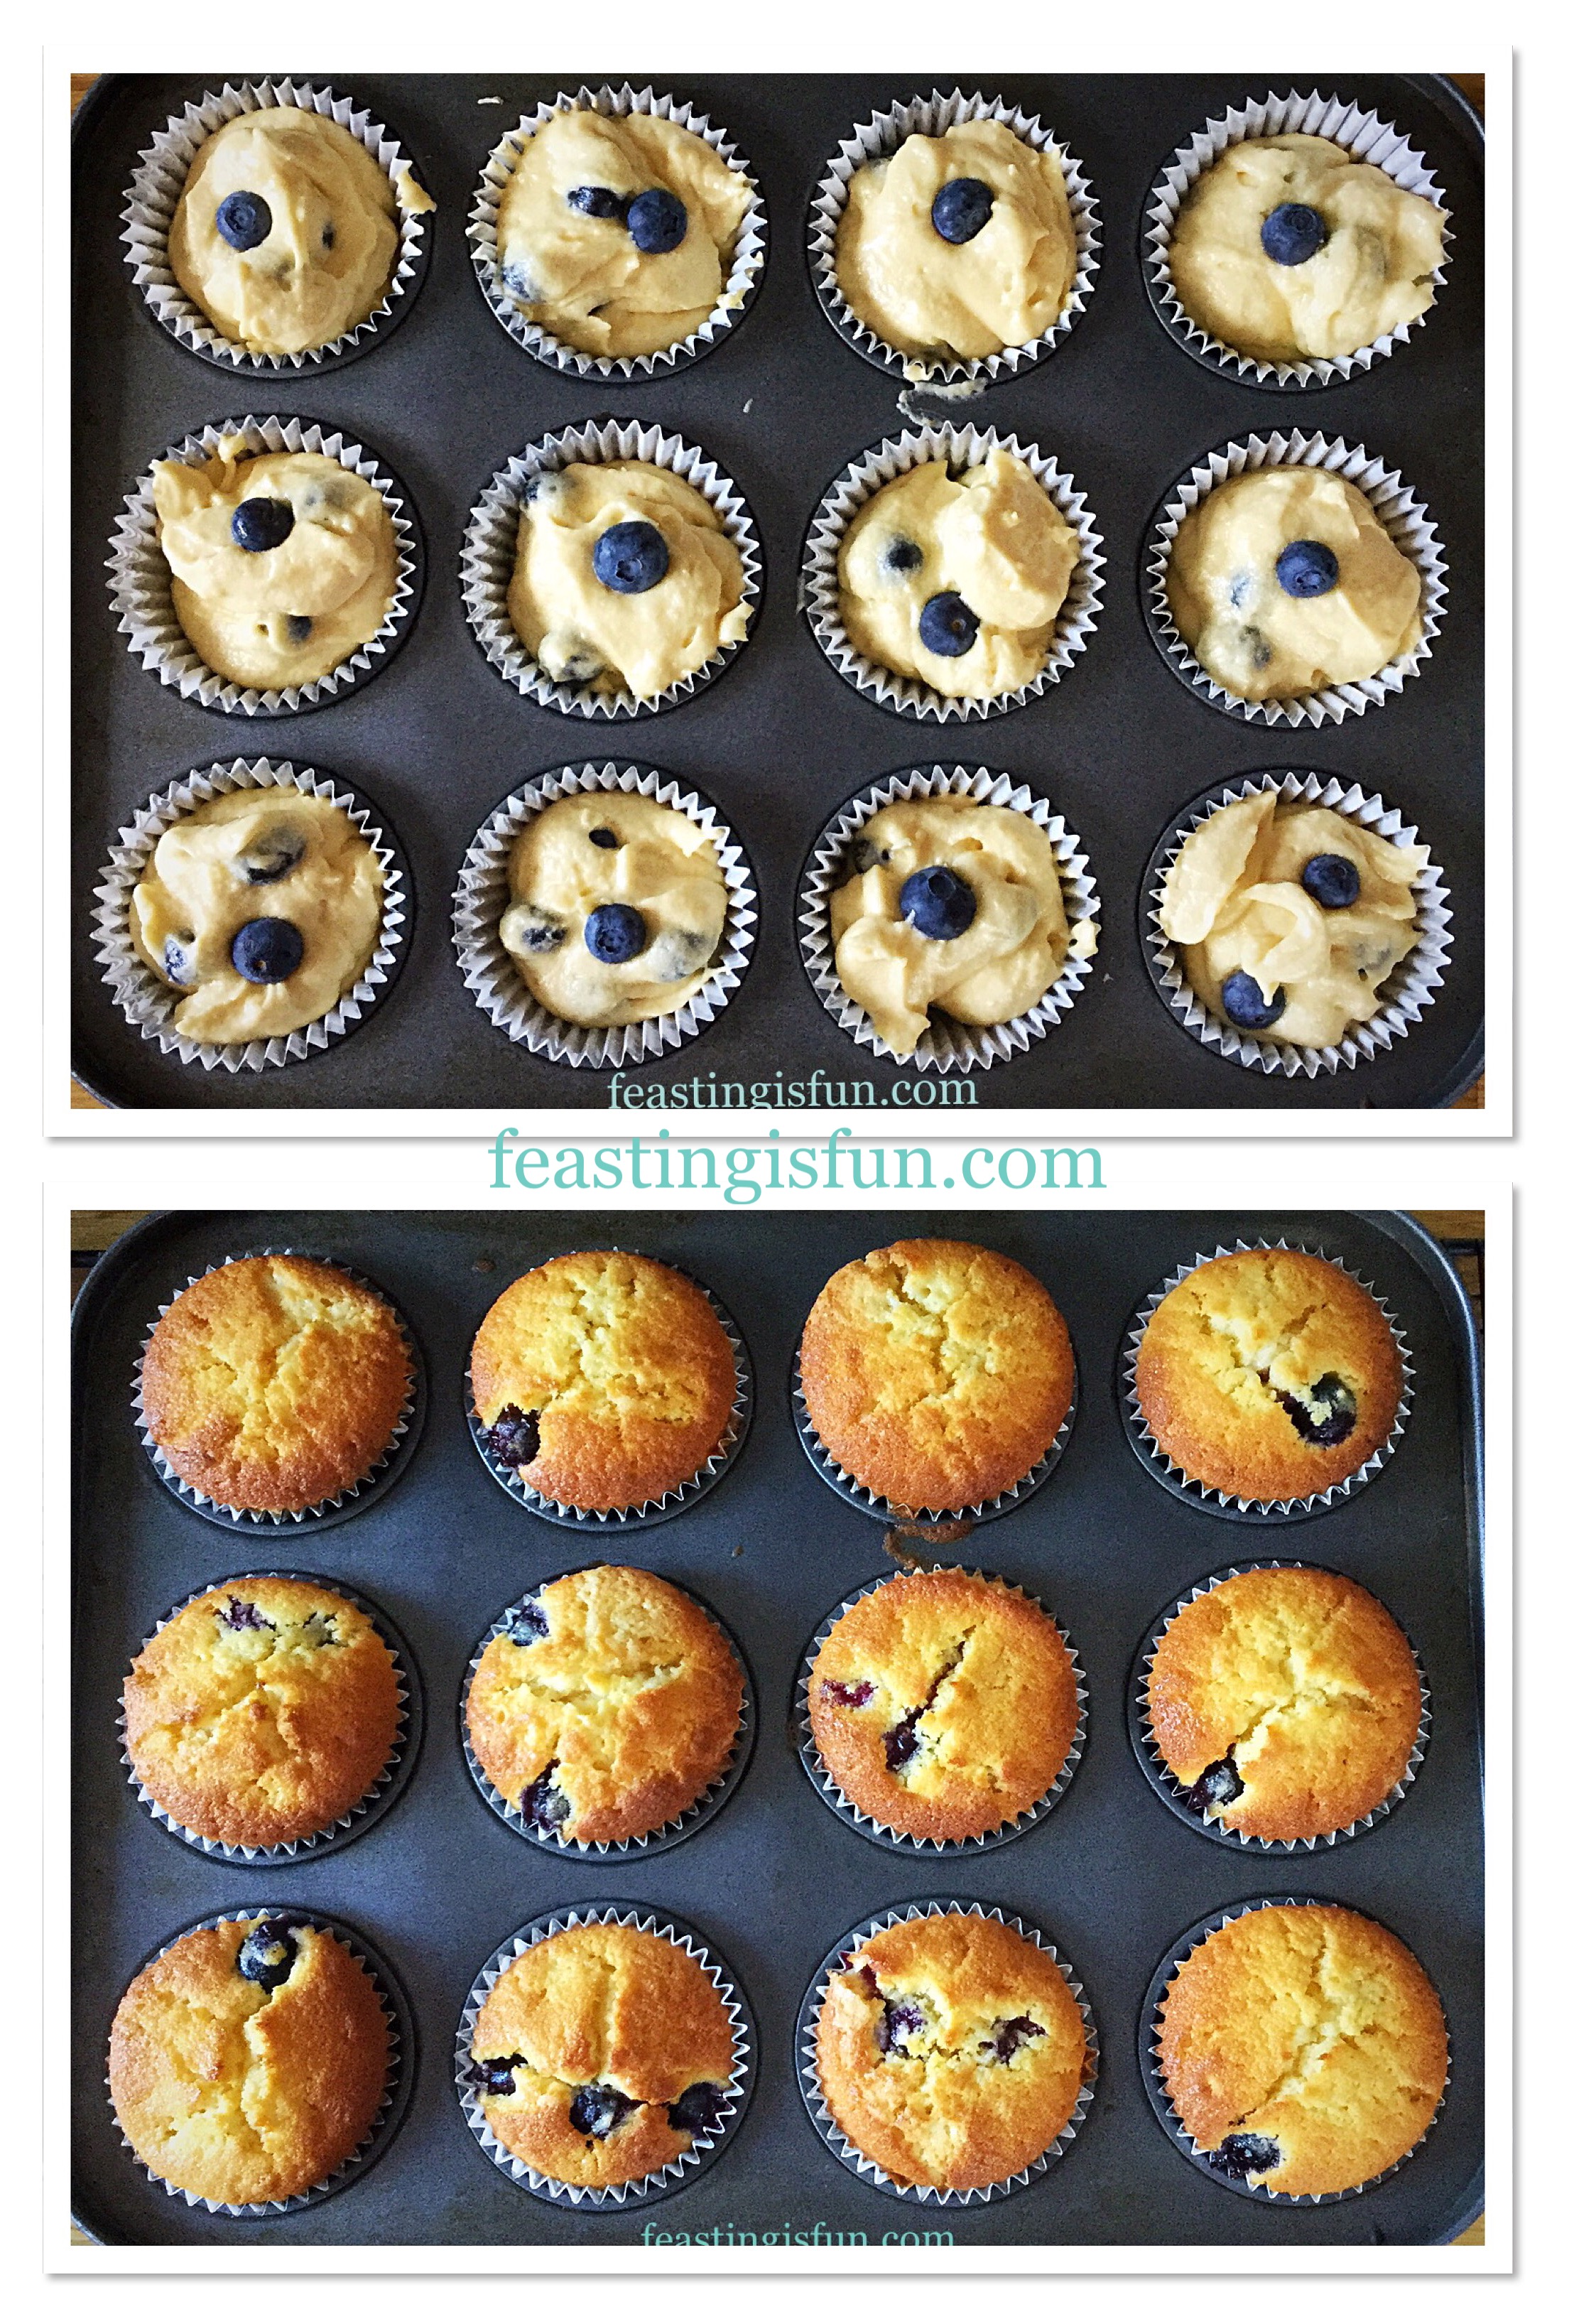
Making And Baking The Orange Cake
Preheat the oven to 160C/140C fan, gas mark 3, 325F.
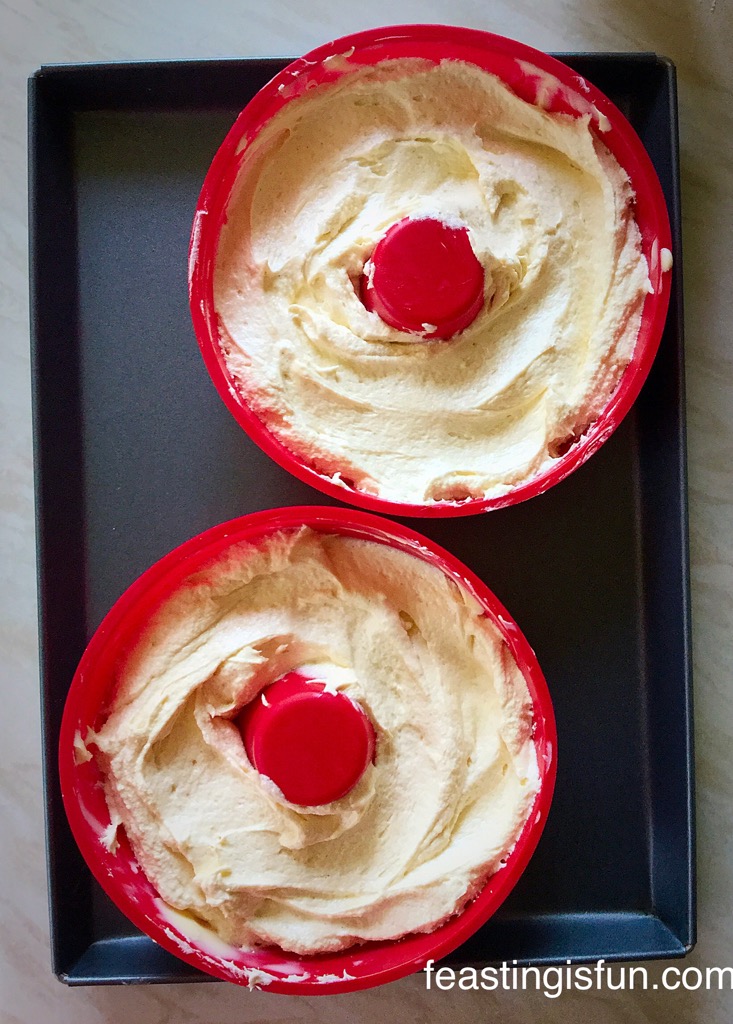
- Spray or brush the Bundt tin thoroughly with cake release. Alternatively, grease (with butter) and line with baking parchment a 2lb loaf tin.
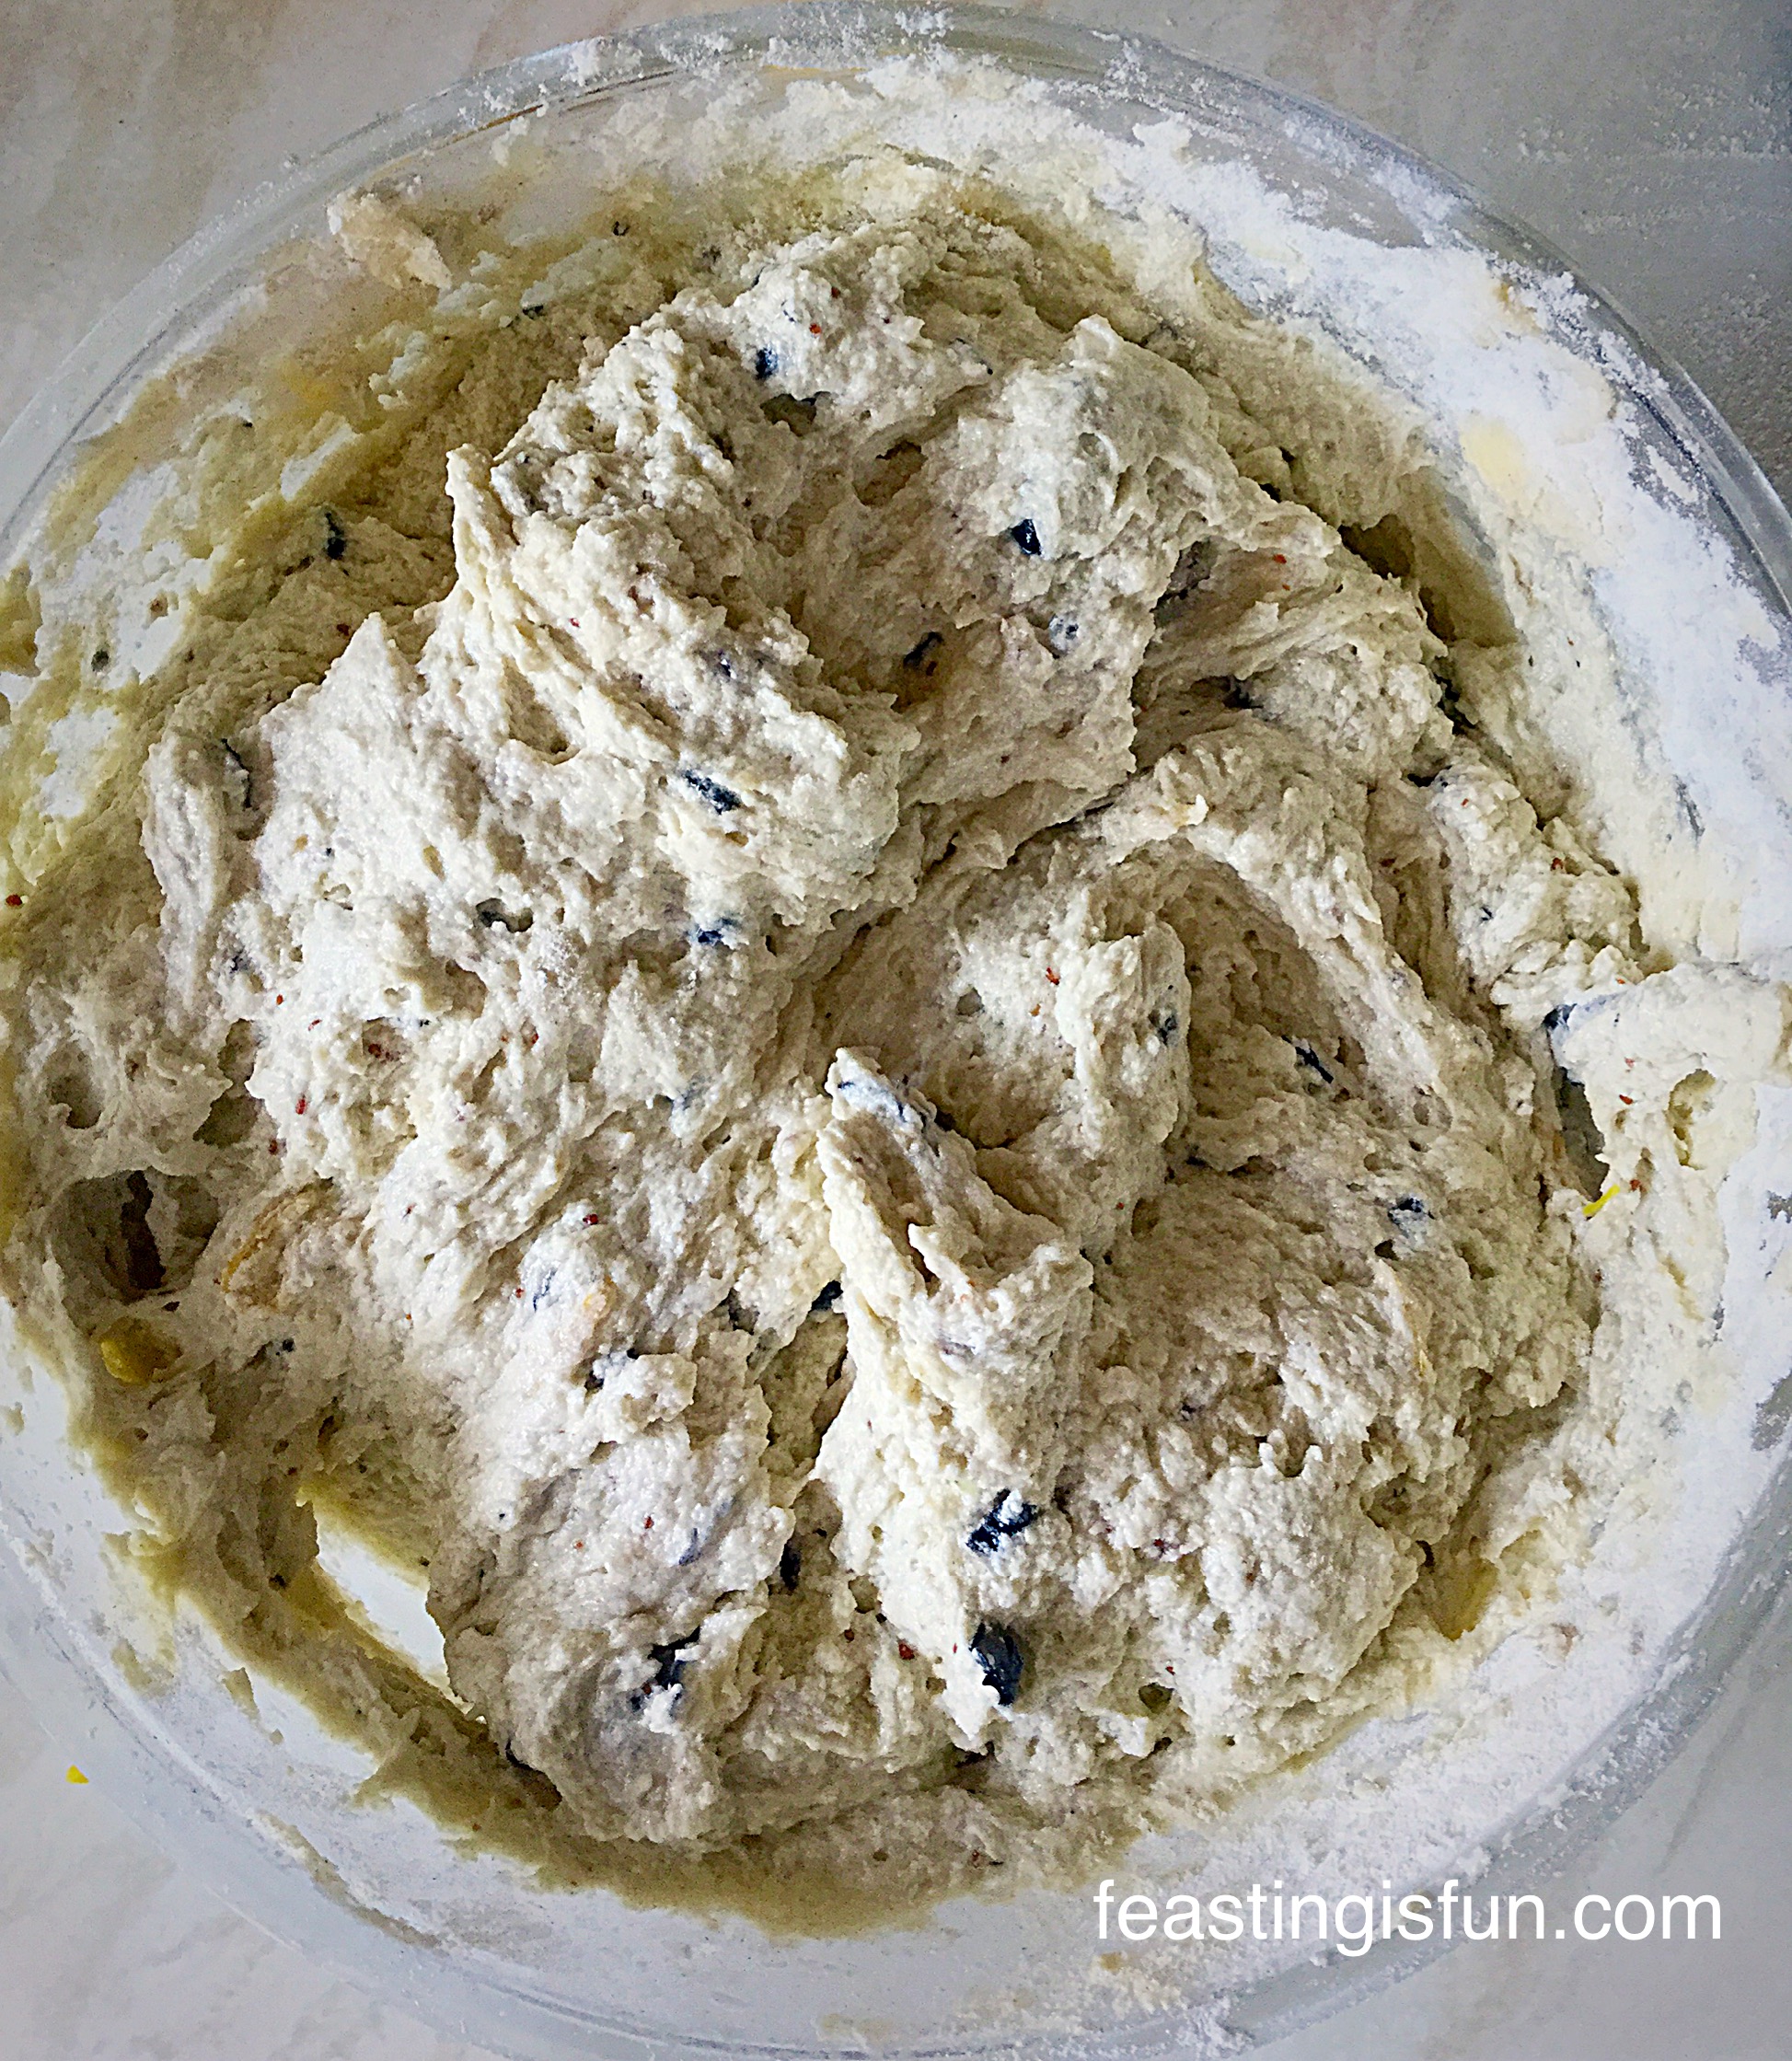
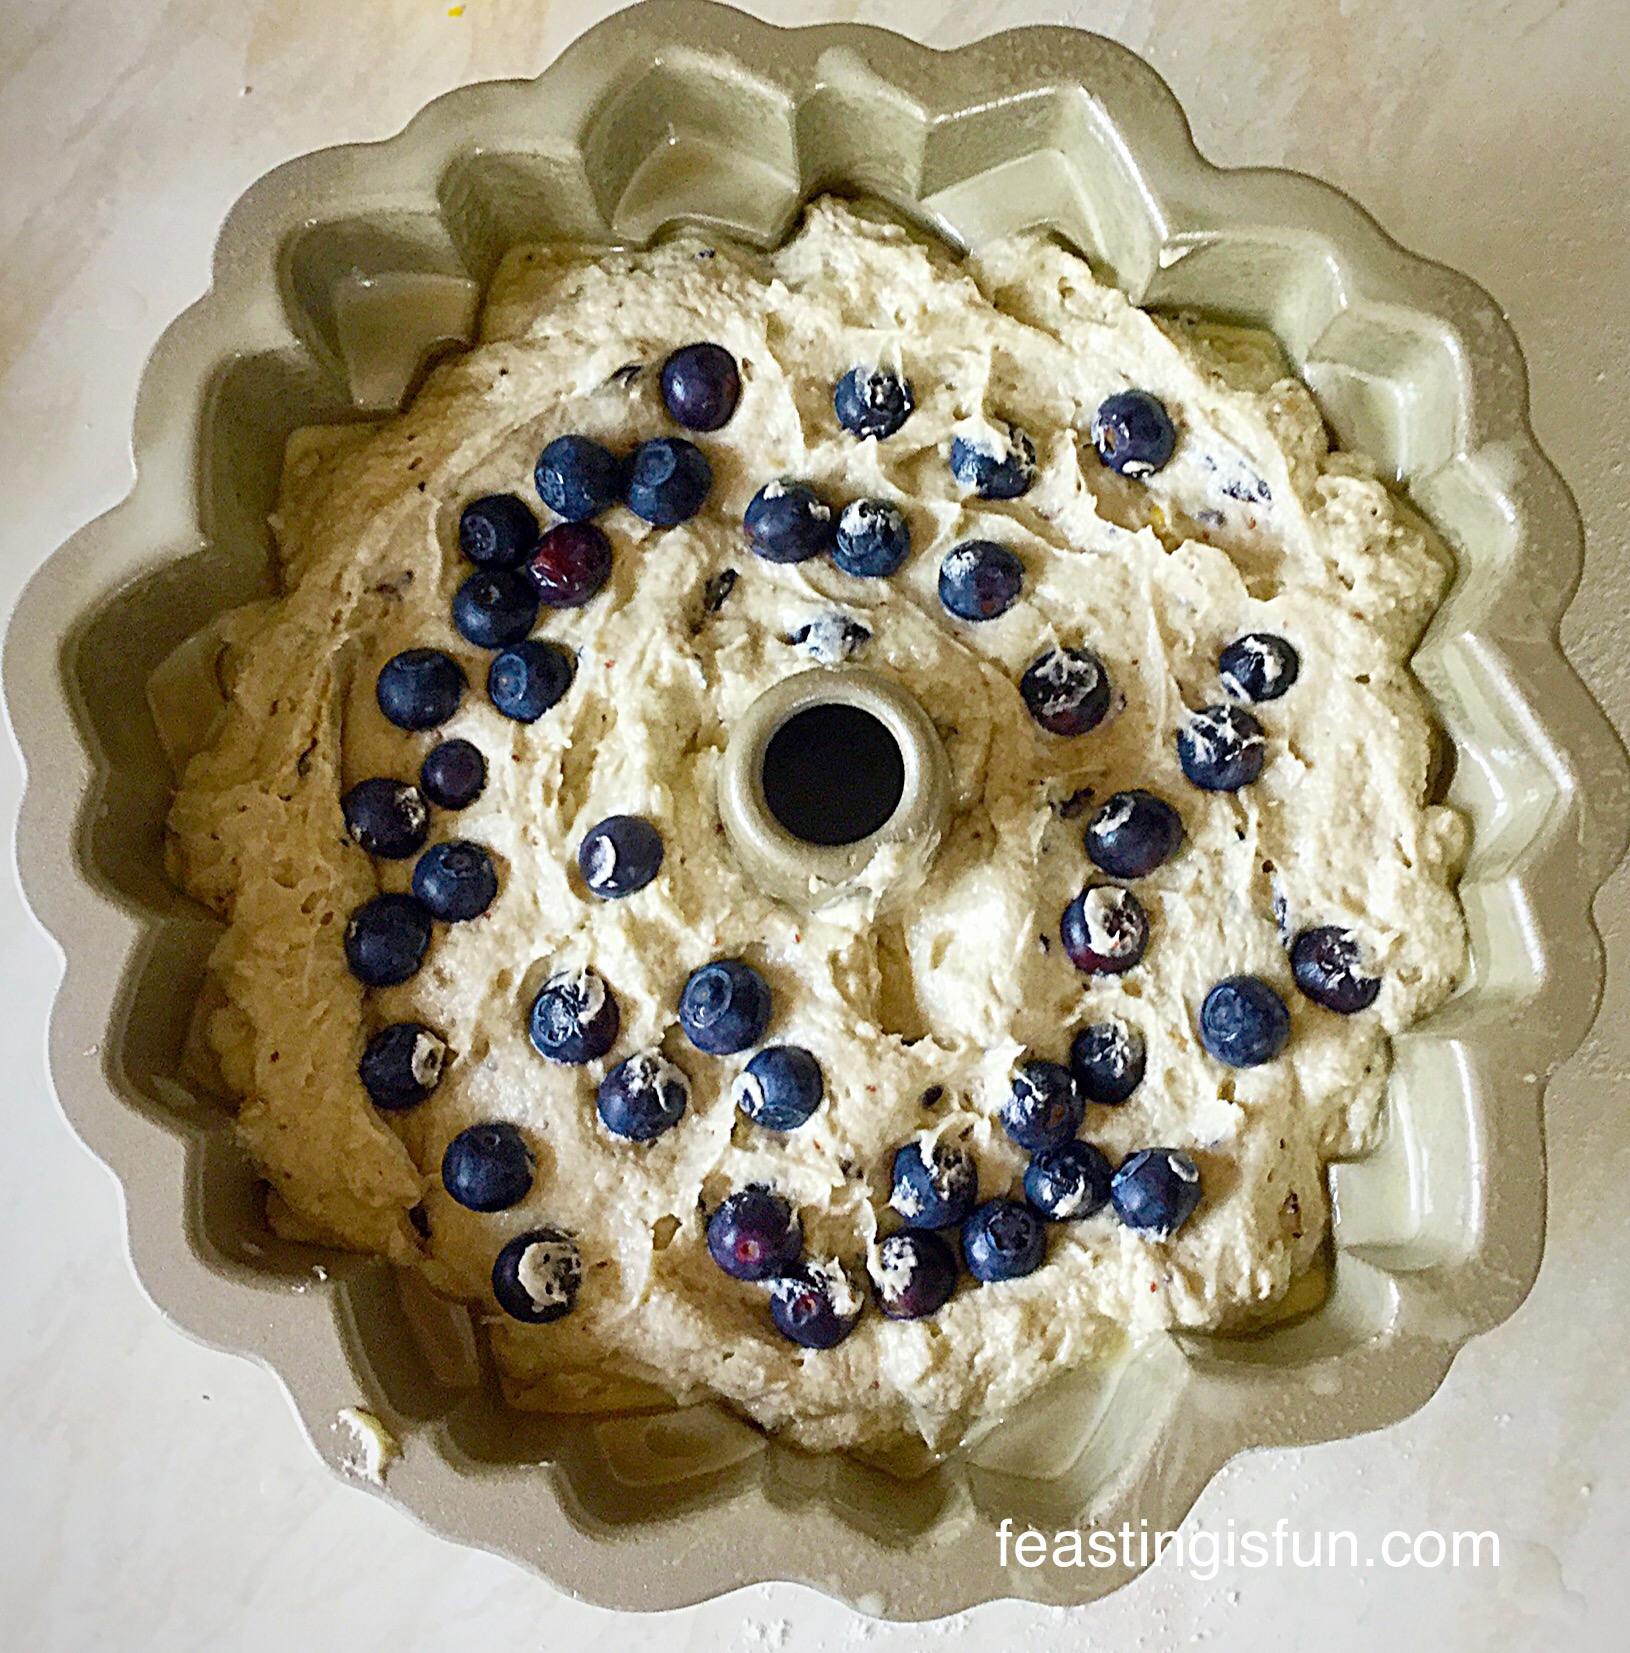
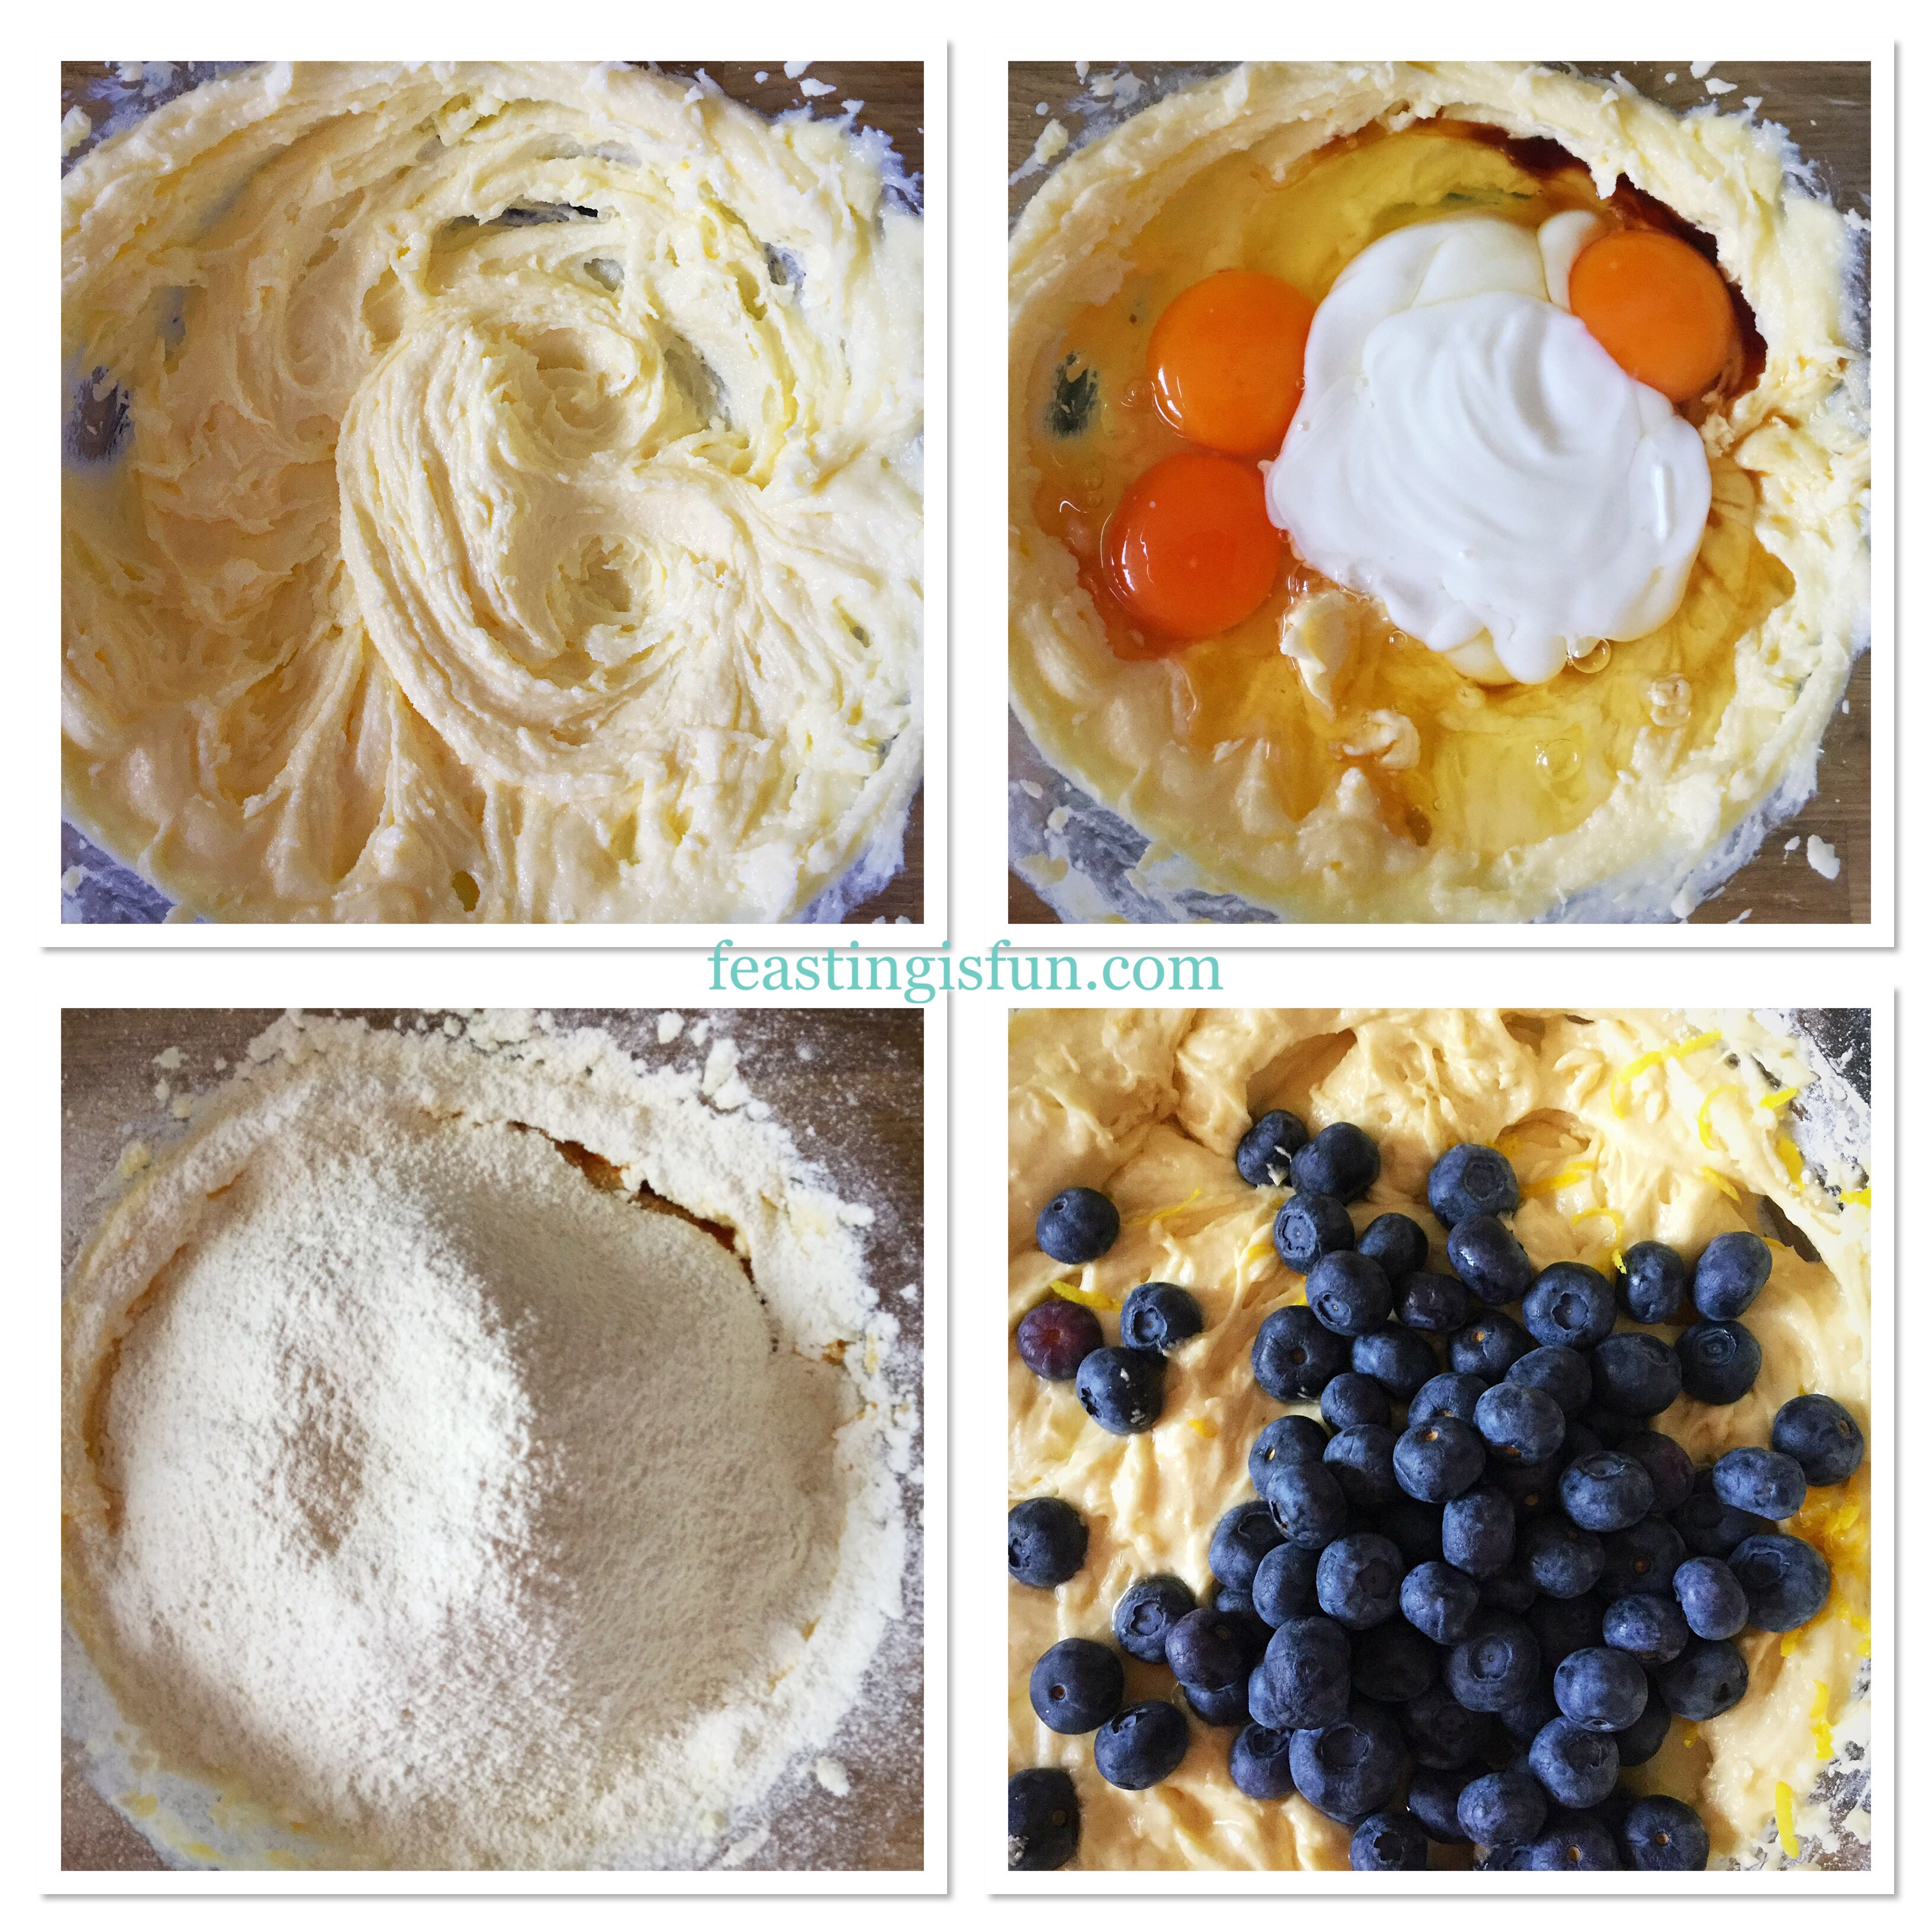
- Make up the cake batter according to the packet instructions. Alternatively follow the recipe substitution given.
- Pour the orange cake batter into the prepared Bundt tin.
- Place the tin in the middle of the preheated oven.
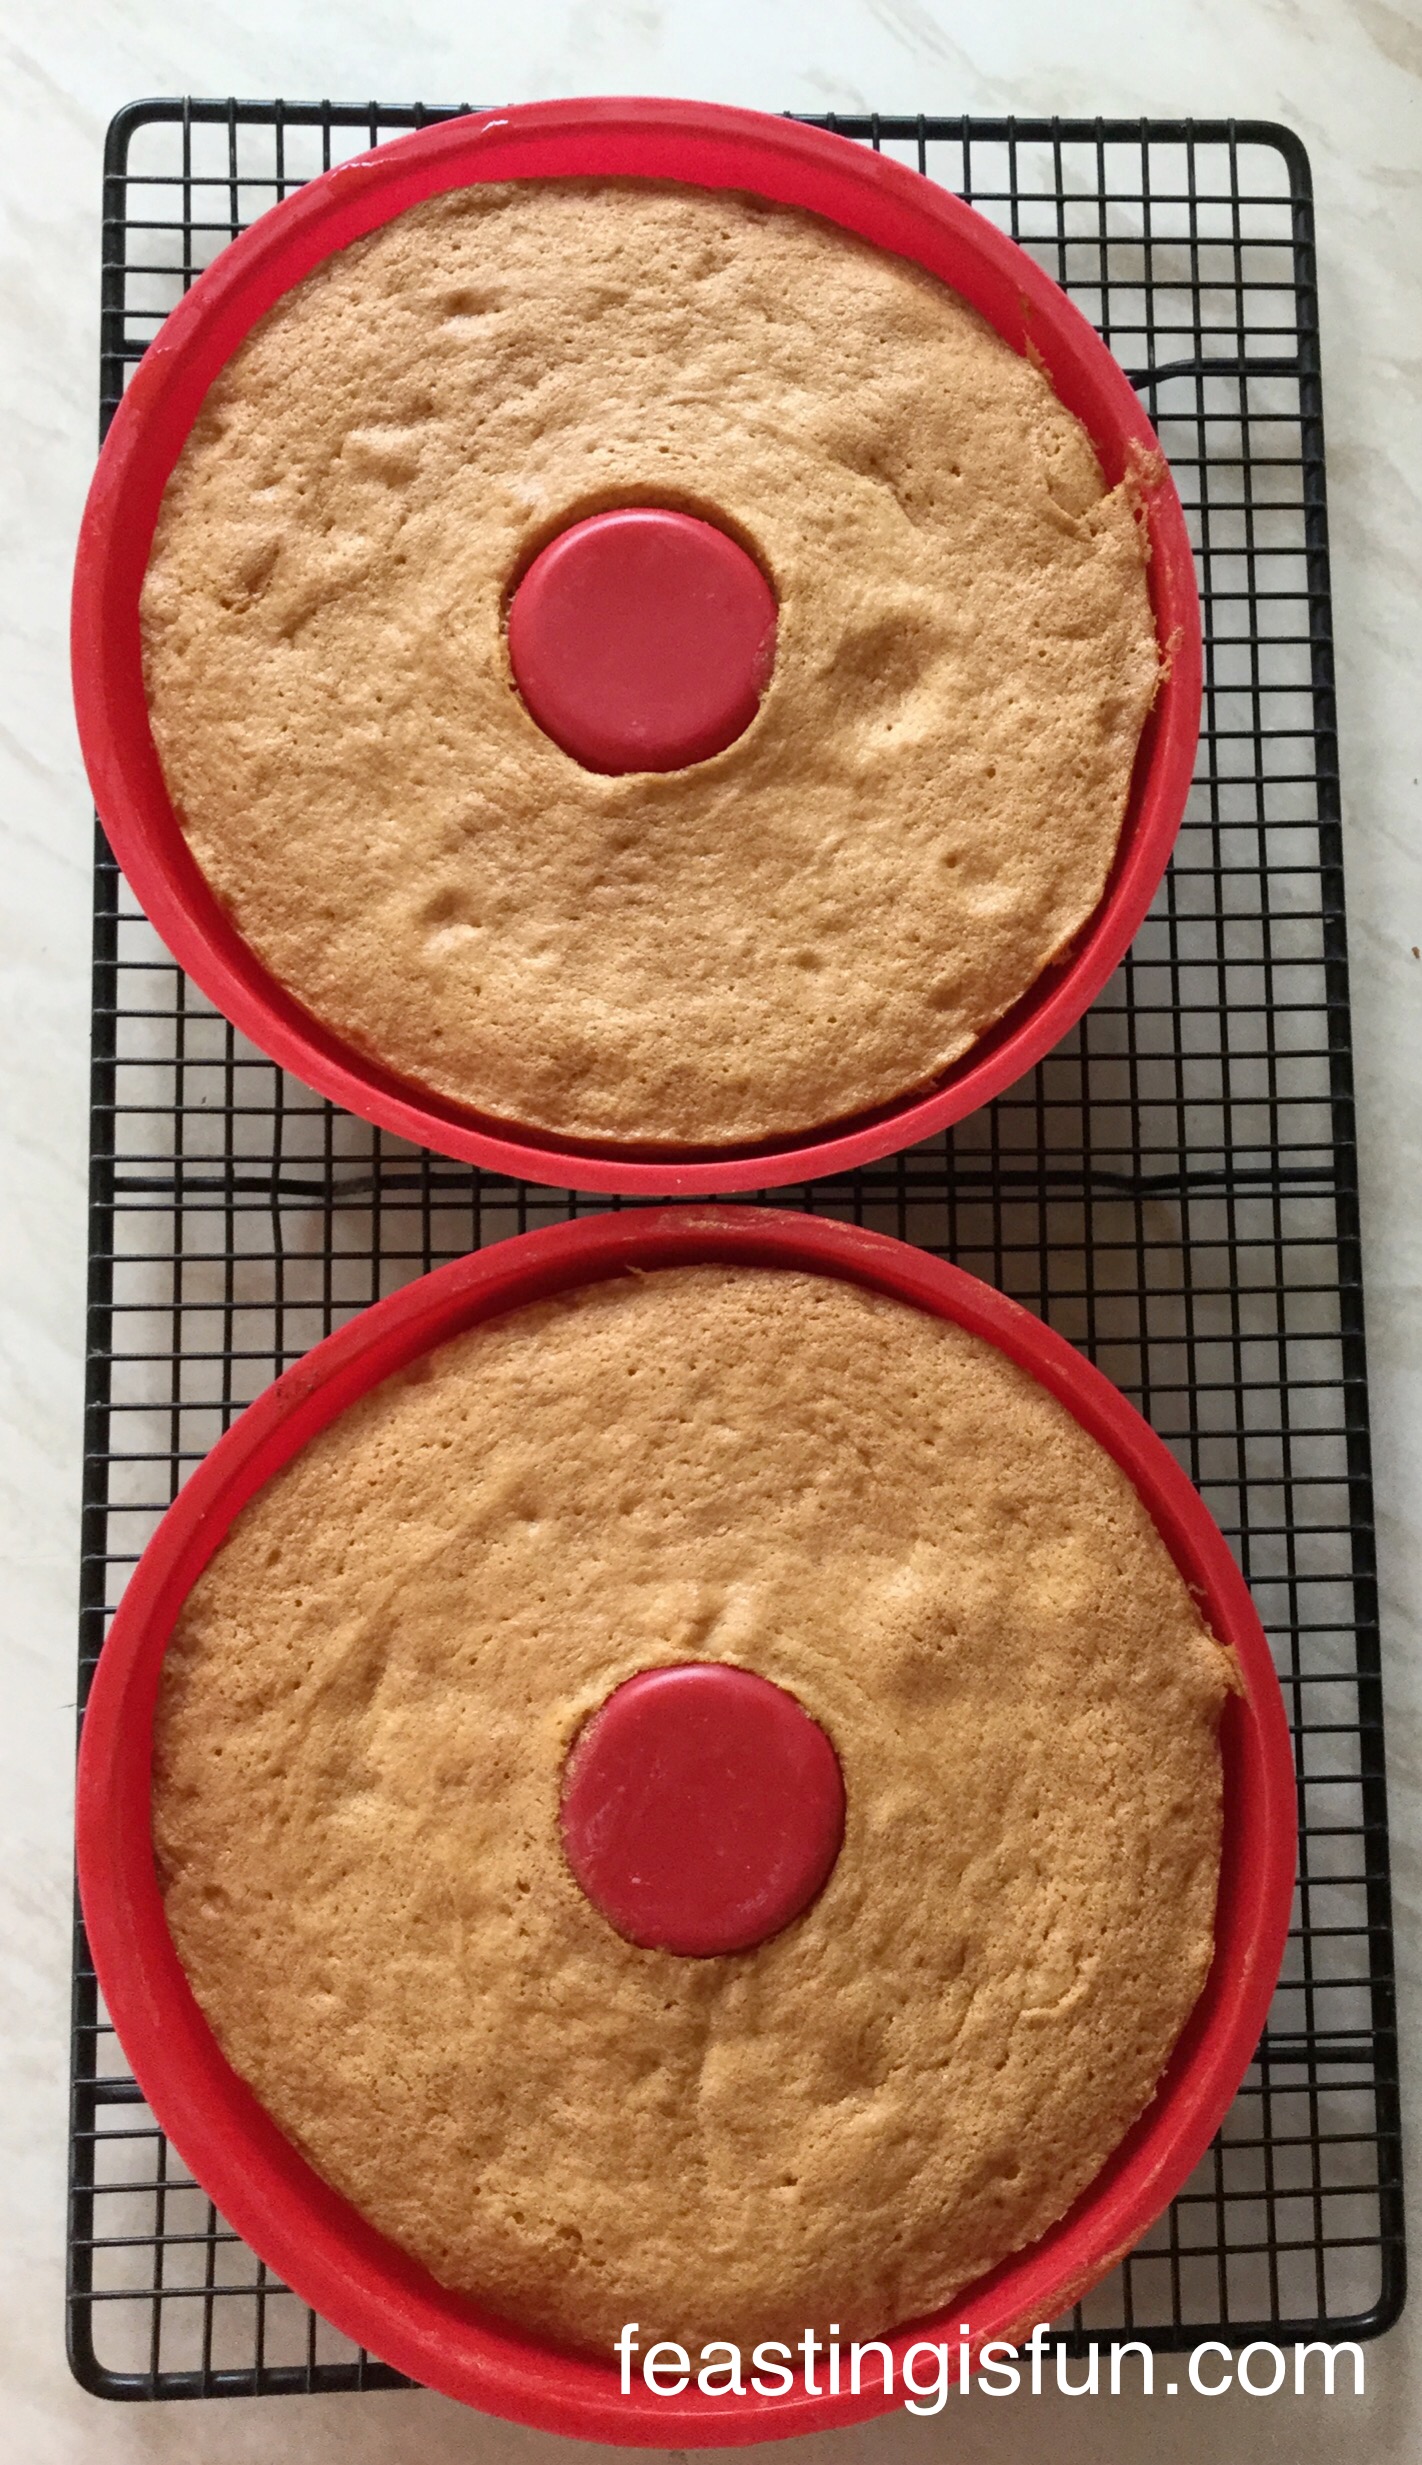
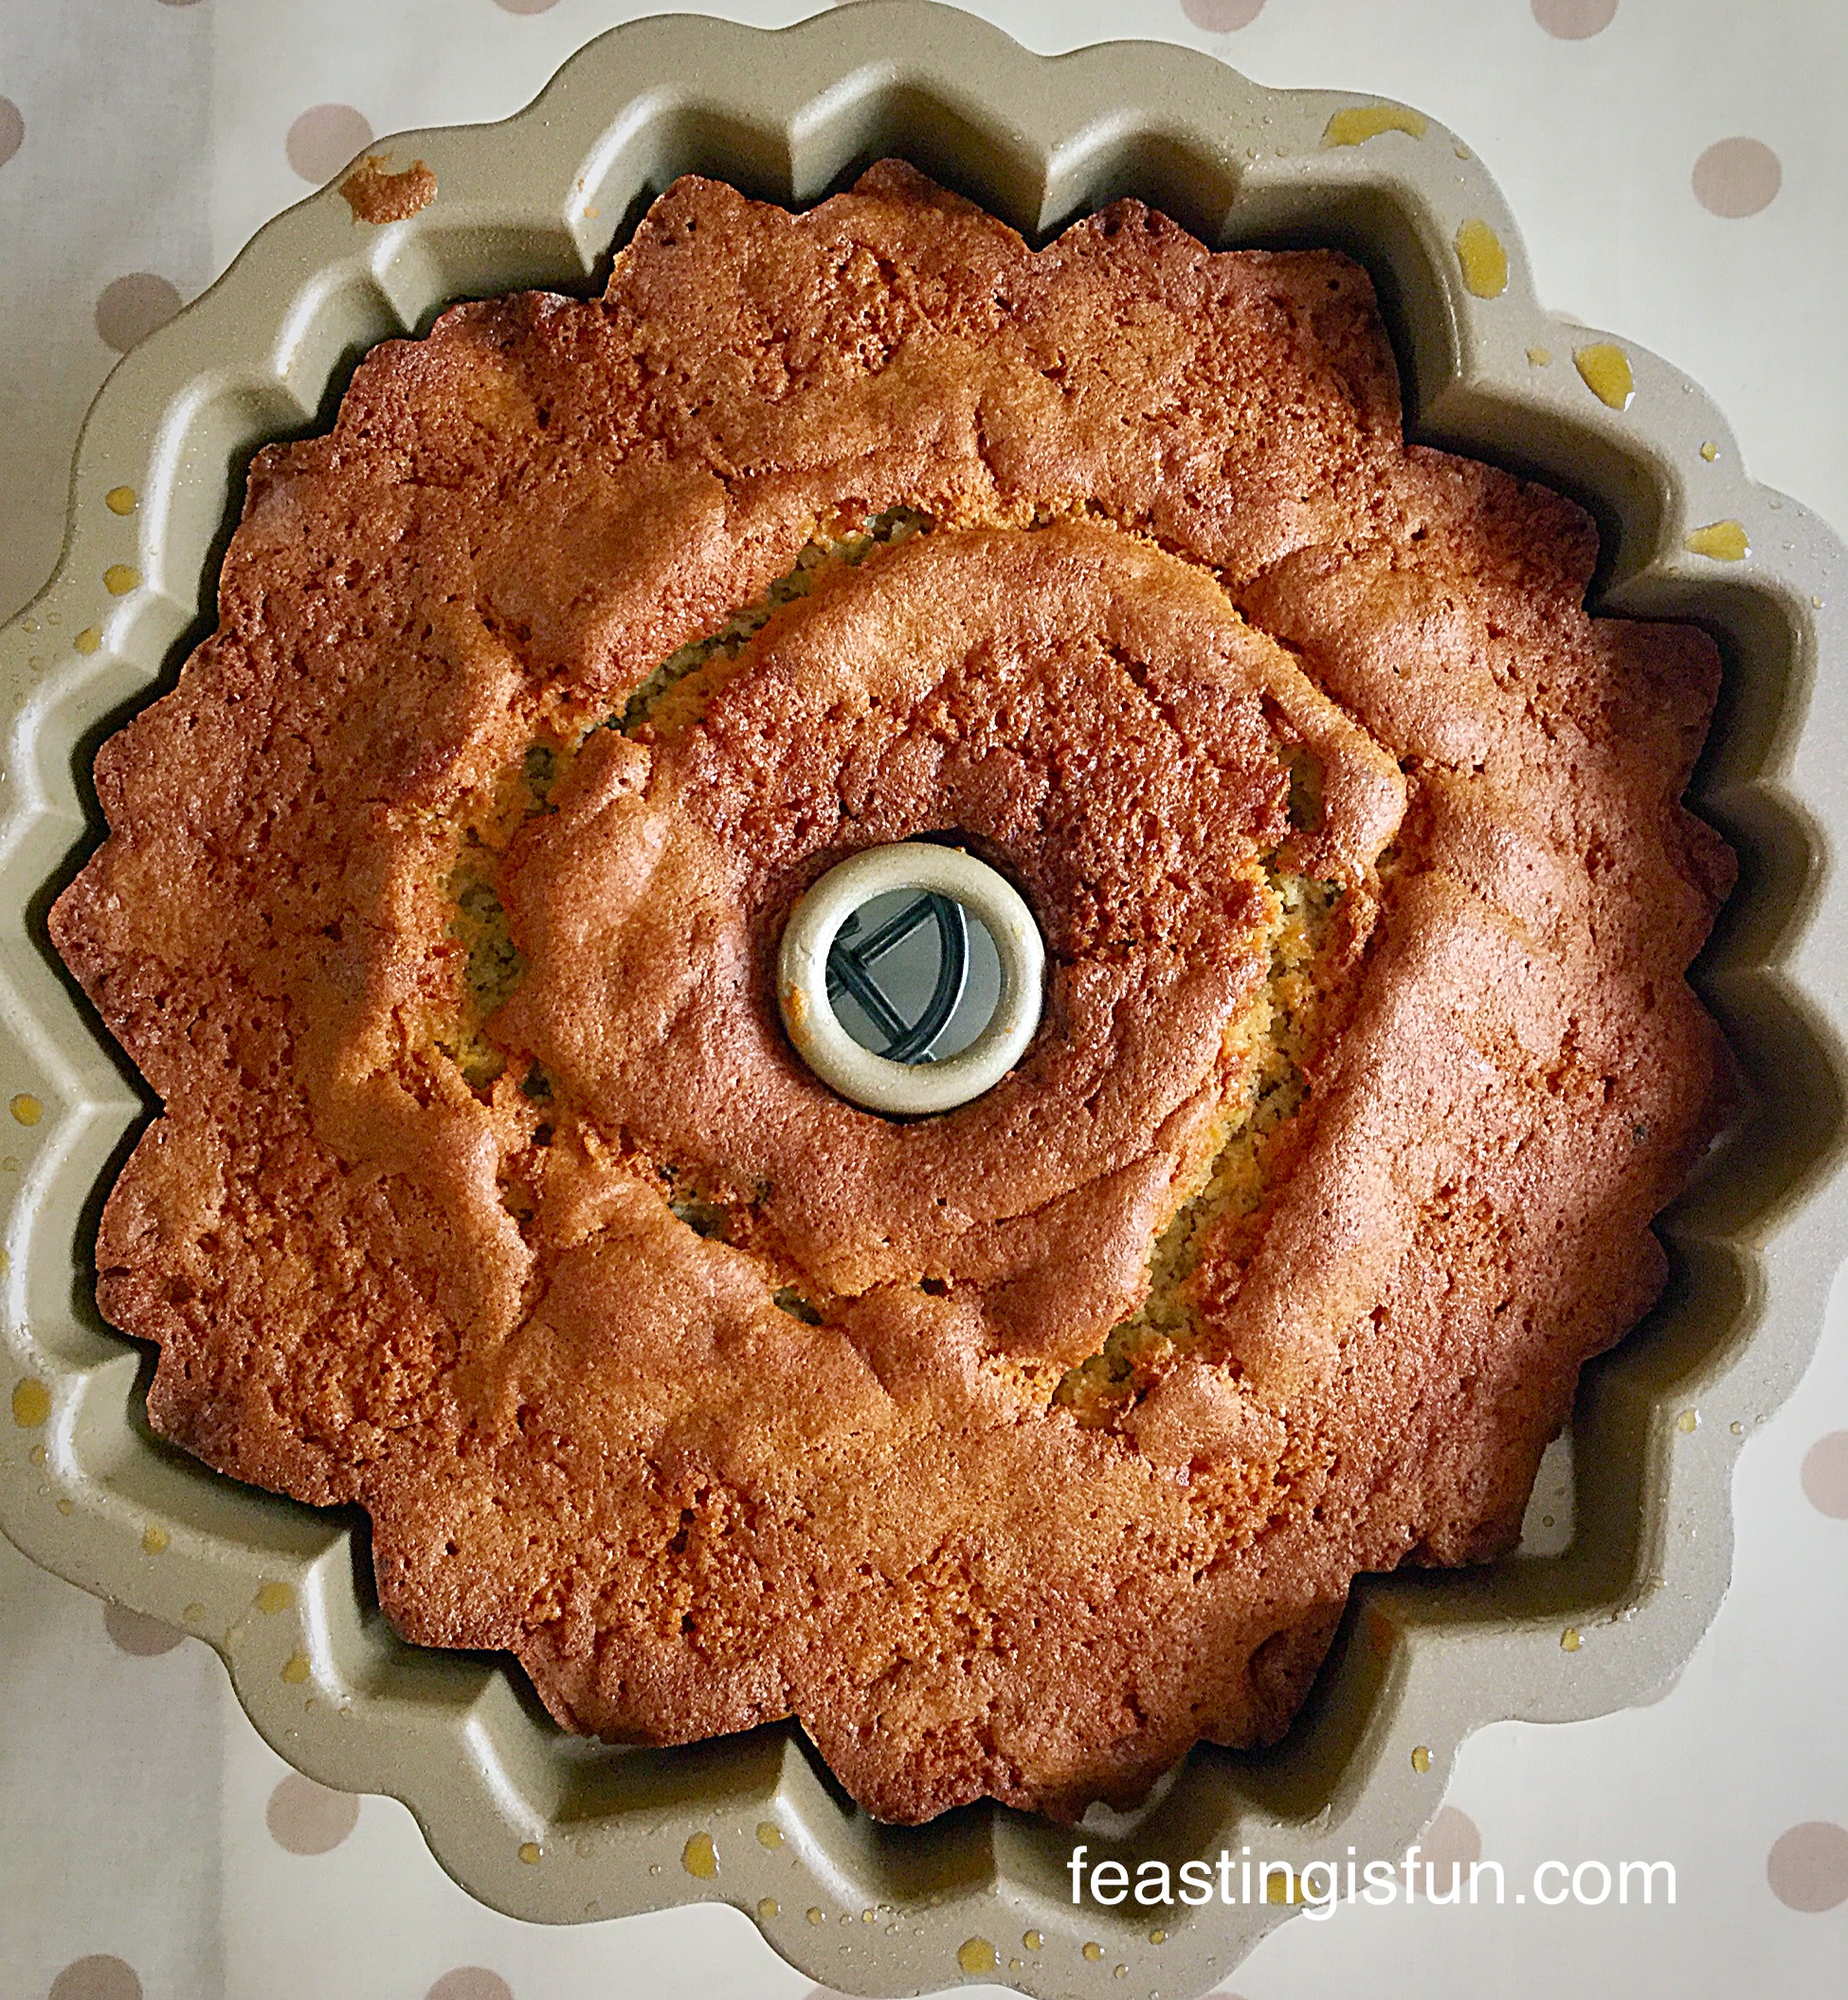
- Bake for 45-50 minutes.
- The cake is cooked when it is a golden colour and an inserted skewer comes out clean.
- As soon as the cake is baked remove the oven.
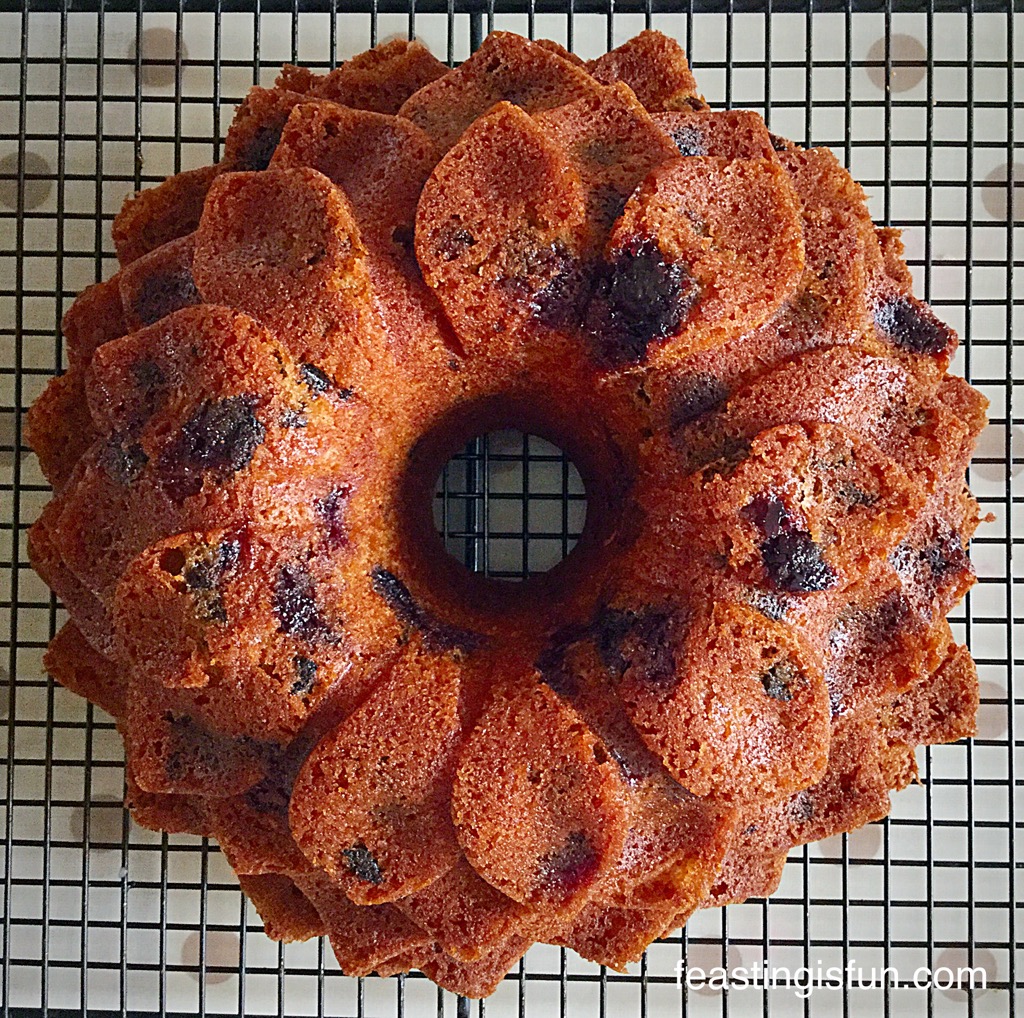
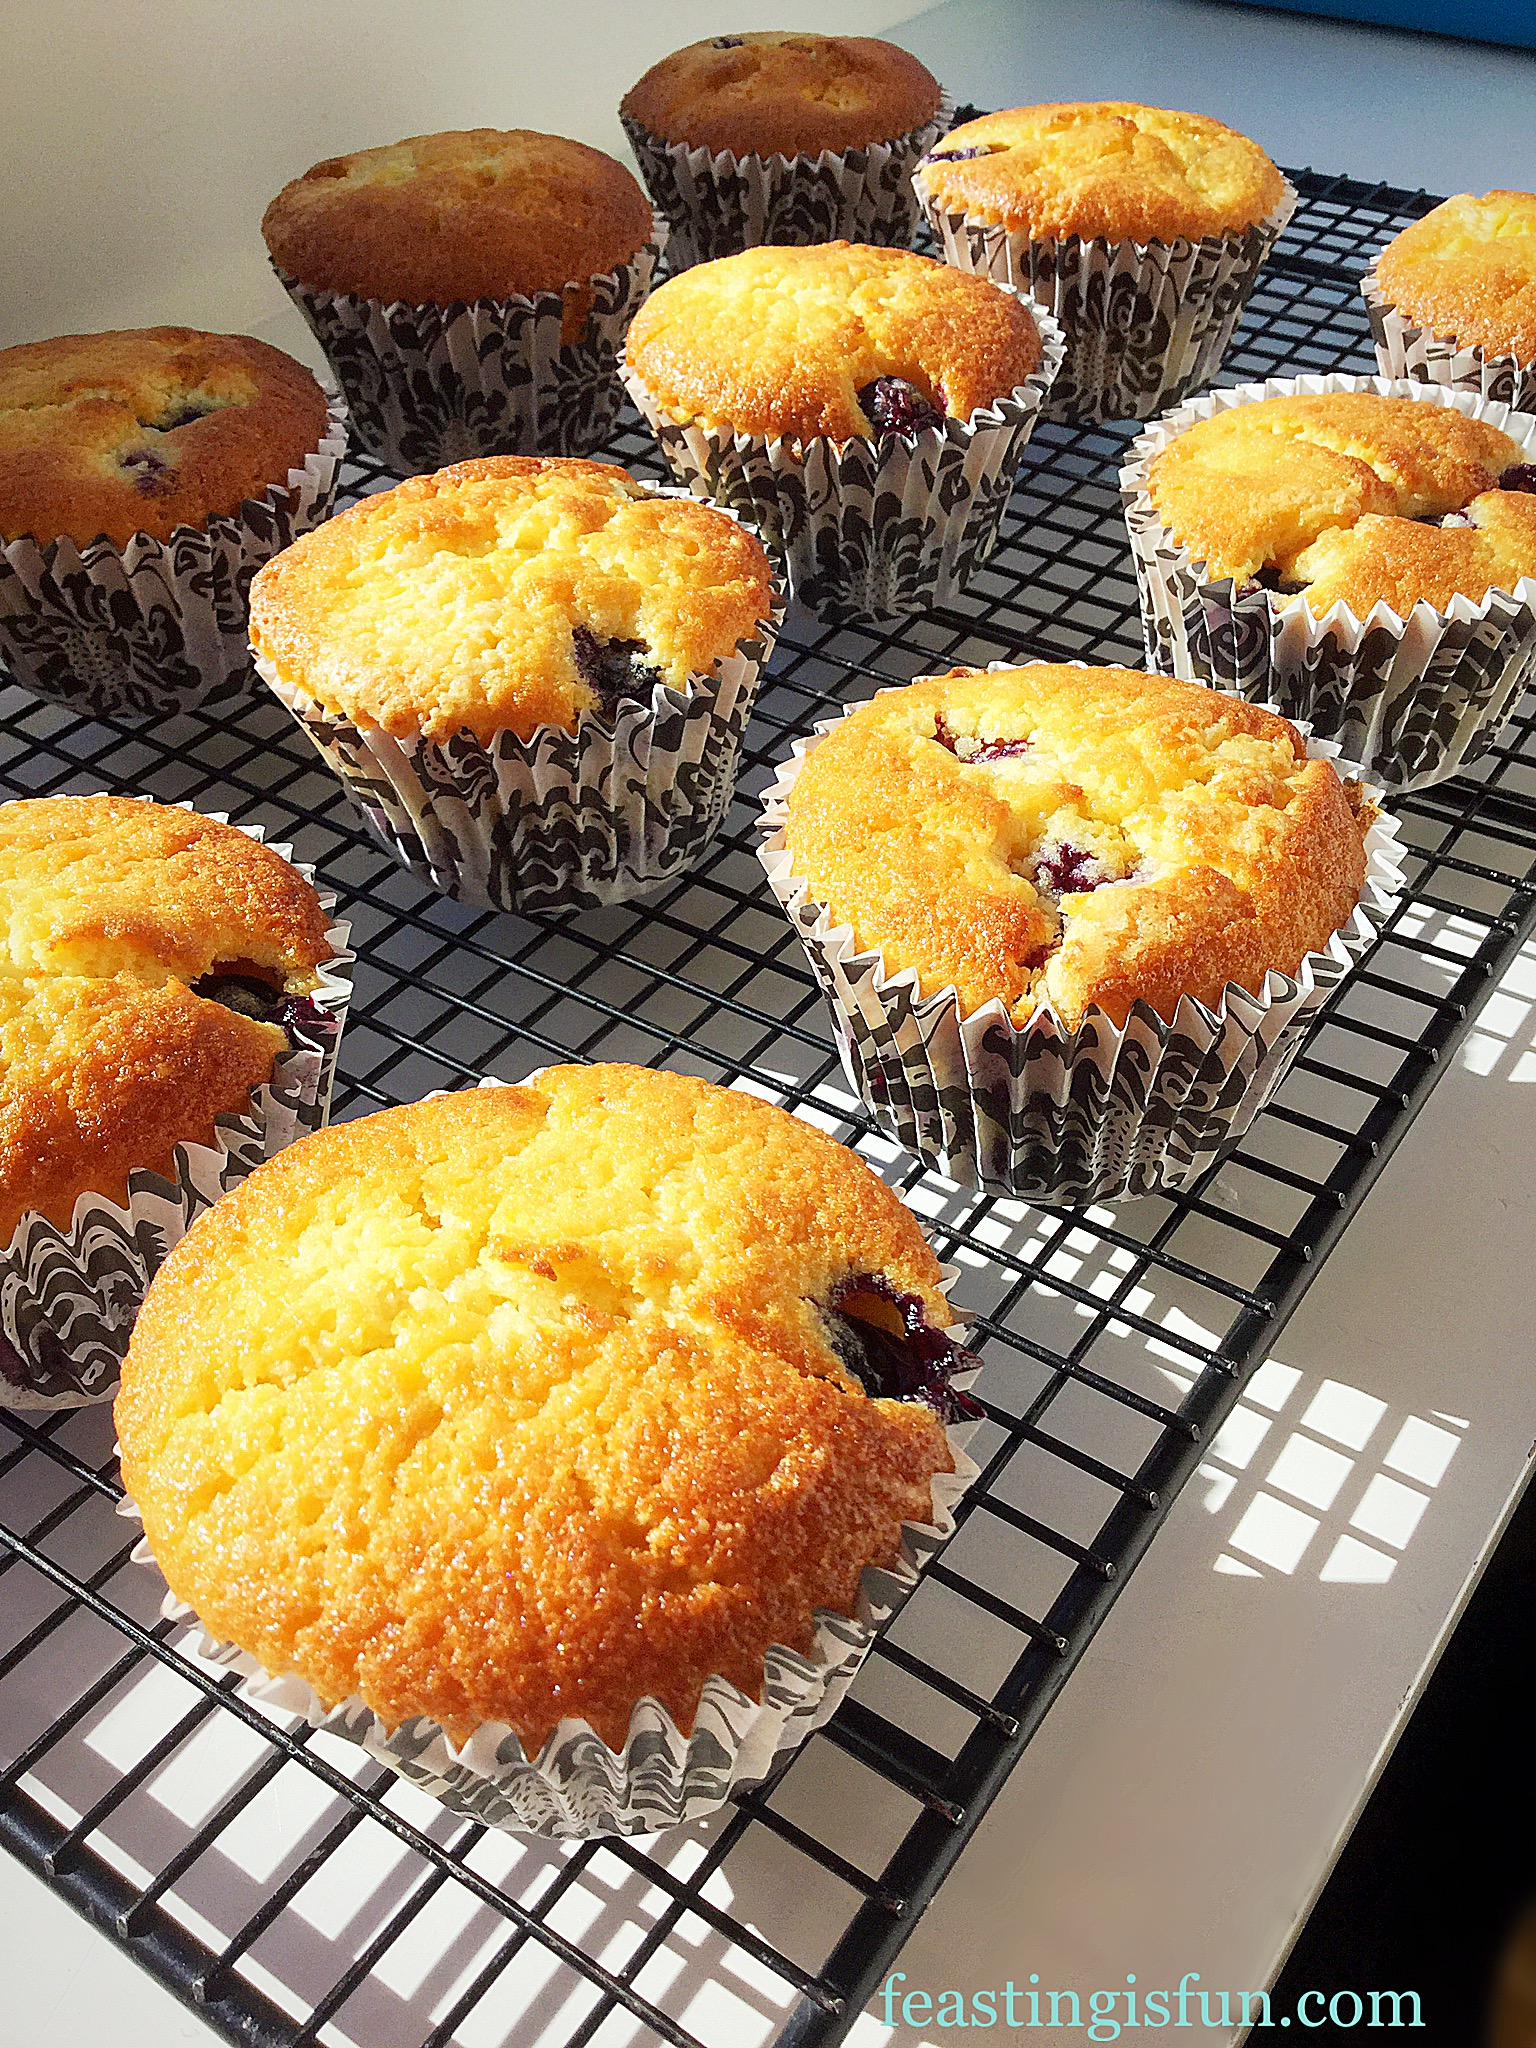
- Allow to cool for 10 minutes in the tin before turning out onto a cooling rack.
- Allow the cake to cool completely before decorating.
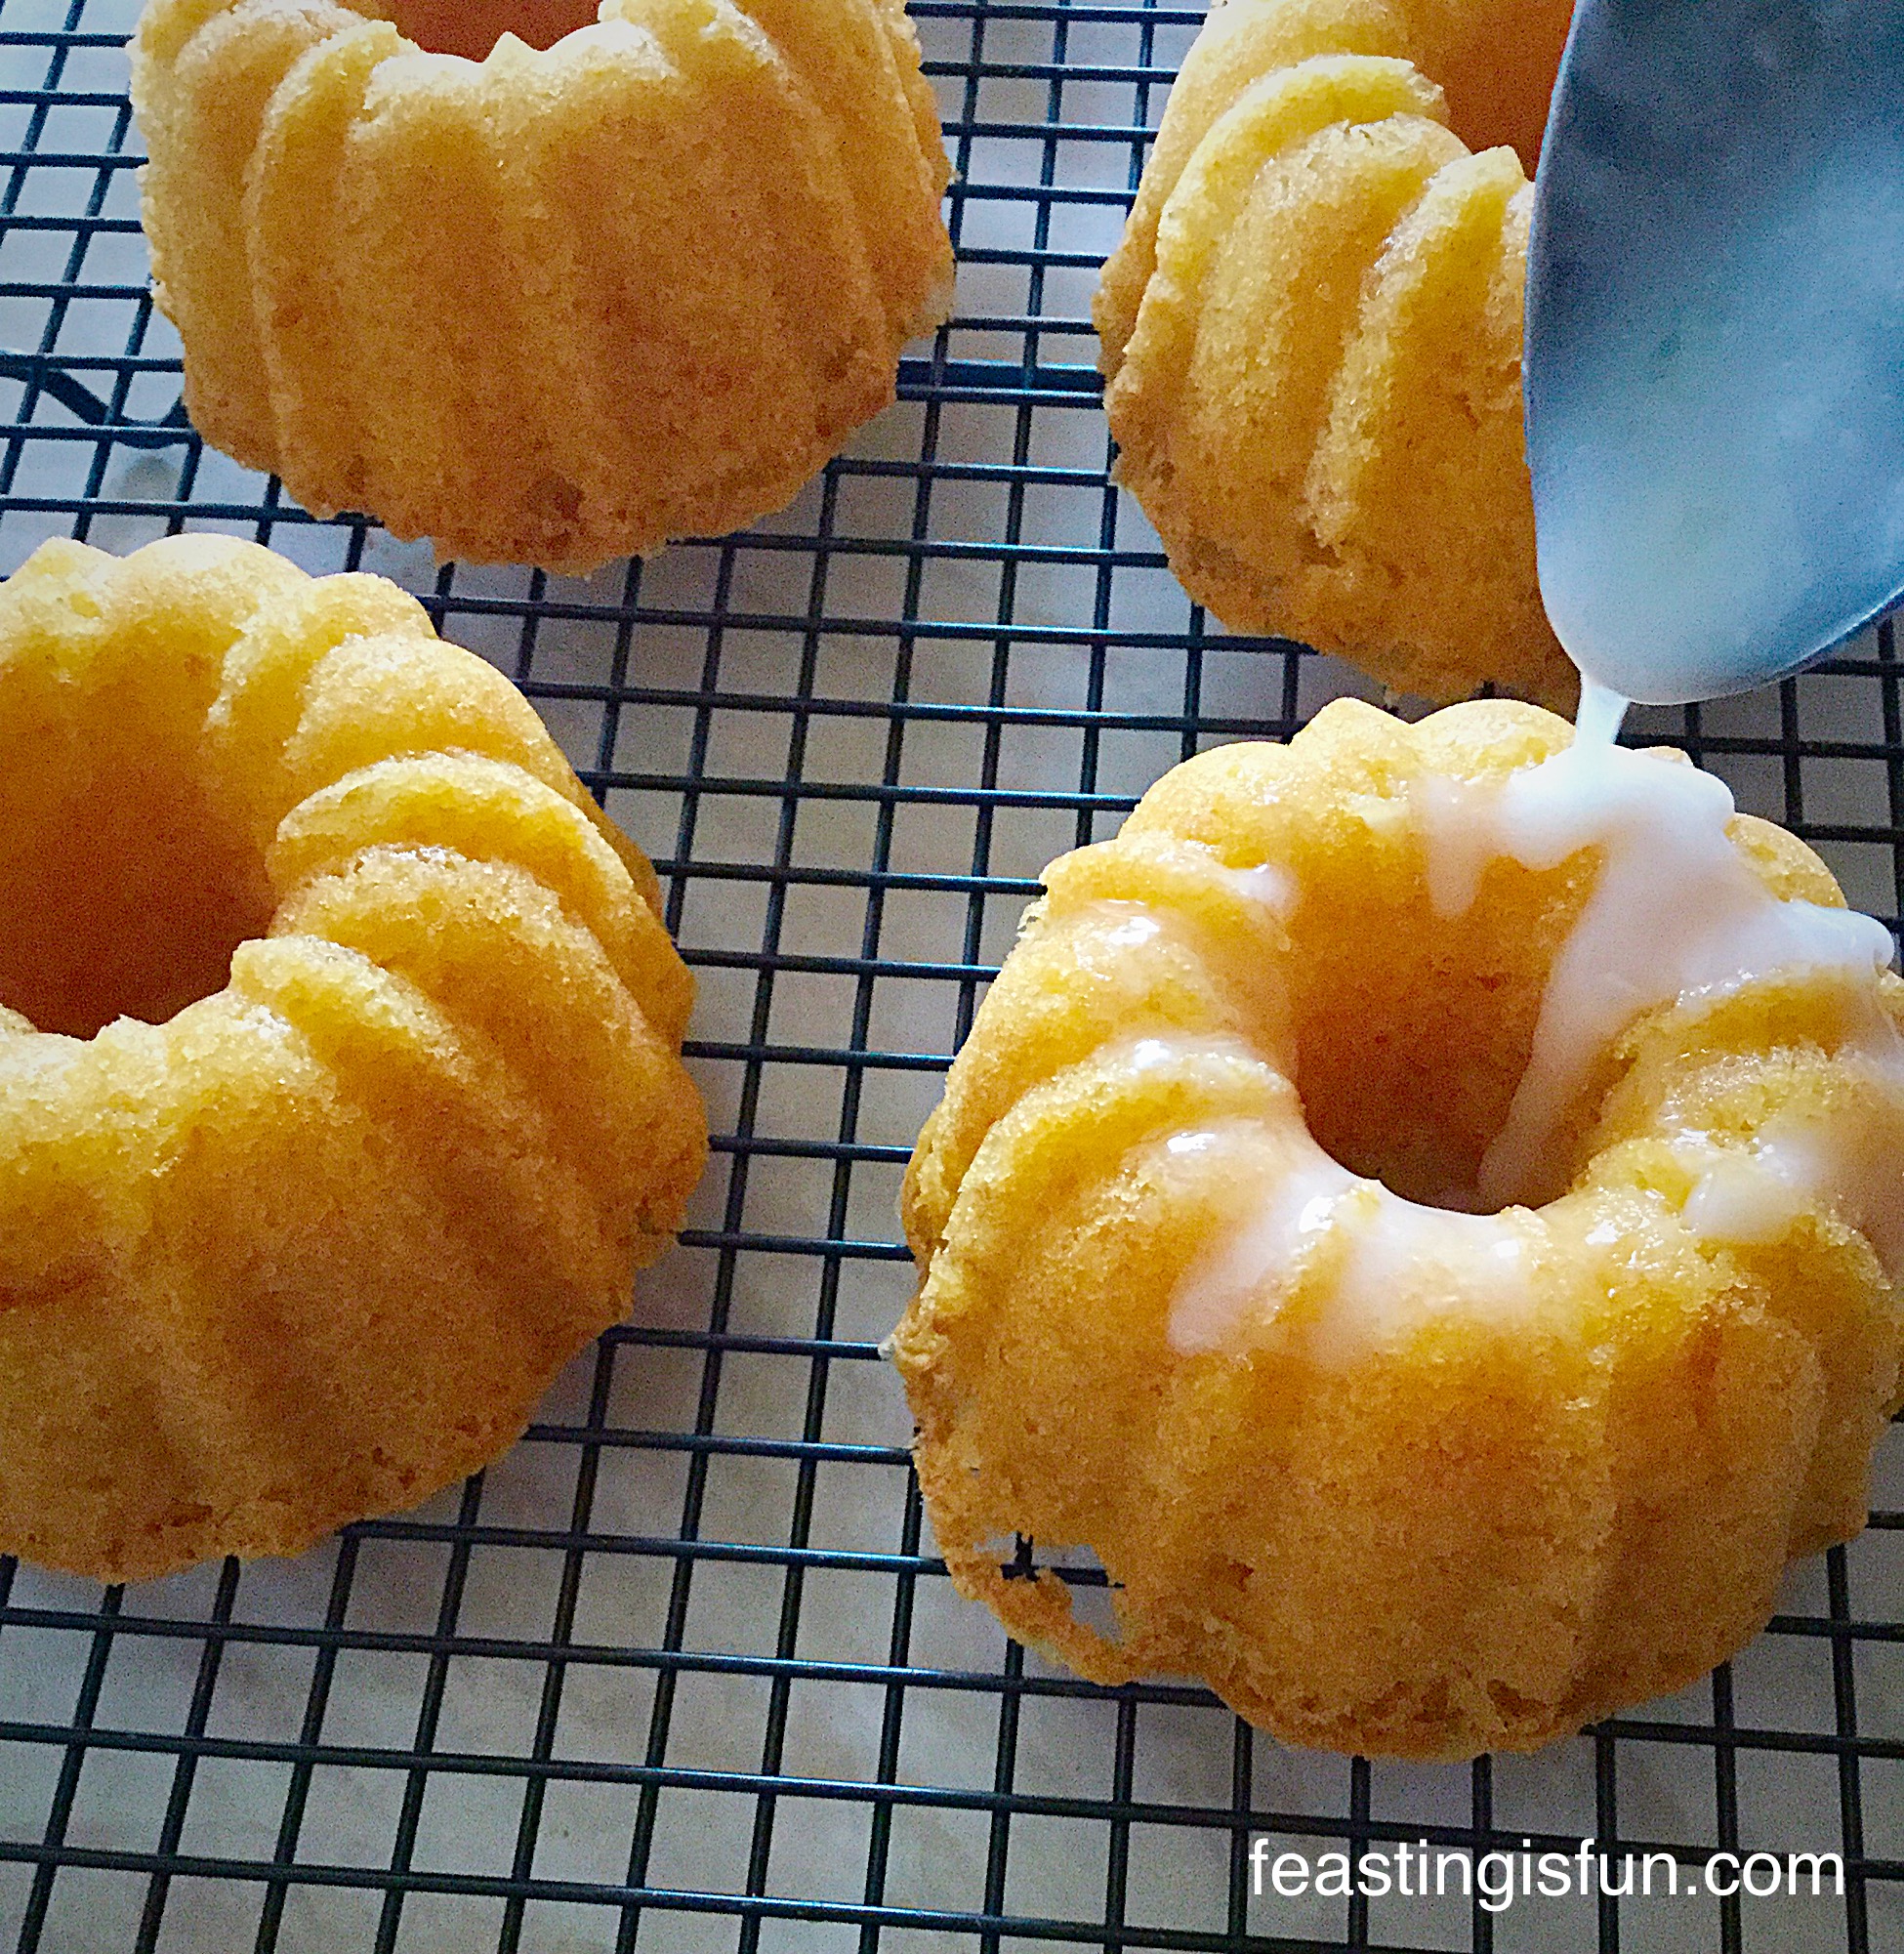
Making The Glazed And Decorating The Cake
- Sift the icing sugar into a bowl.
- Add the juice of half an orange and mix using a spoon. The glaze should be thick, yet still drip from the spoon. Add more juice if required to obtain the required consistency.
- Place the cooling rack on top of a clean baking tray. This is important as the glaze that drips through will be used to cover the sides of the cake.
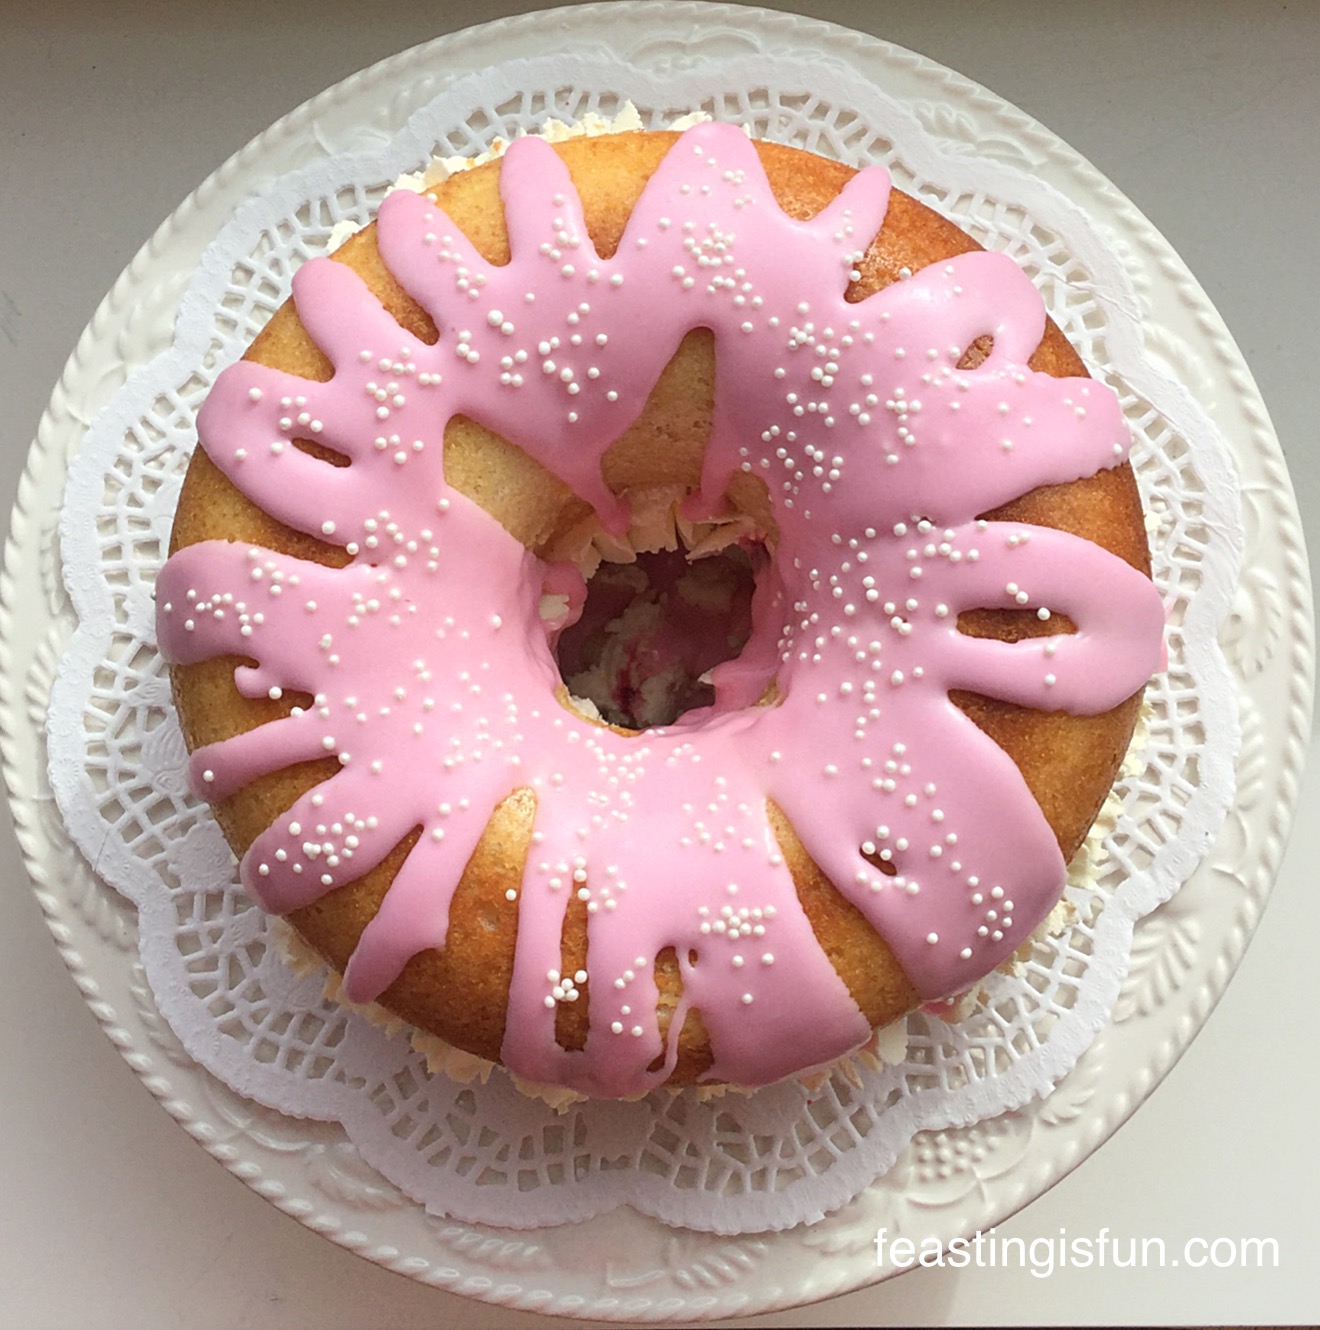
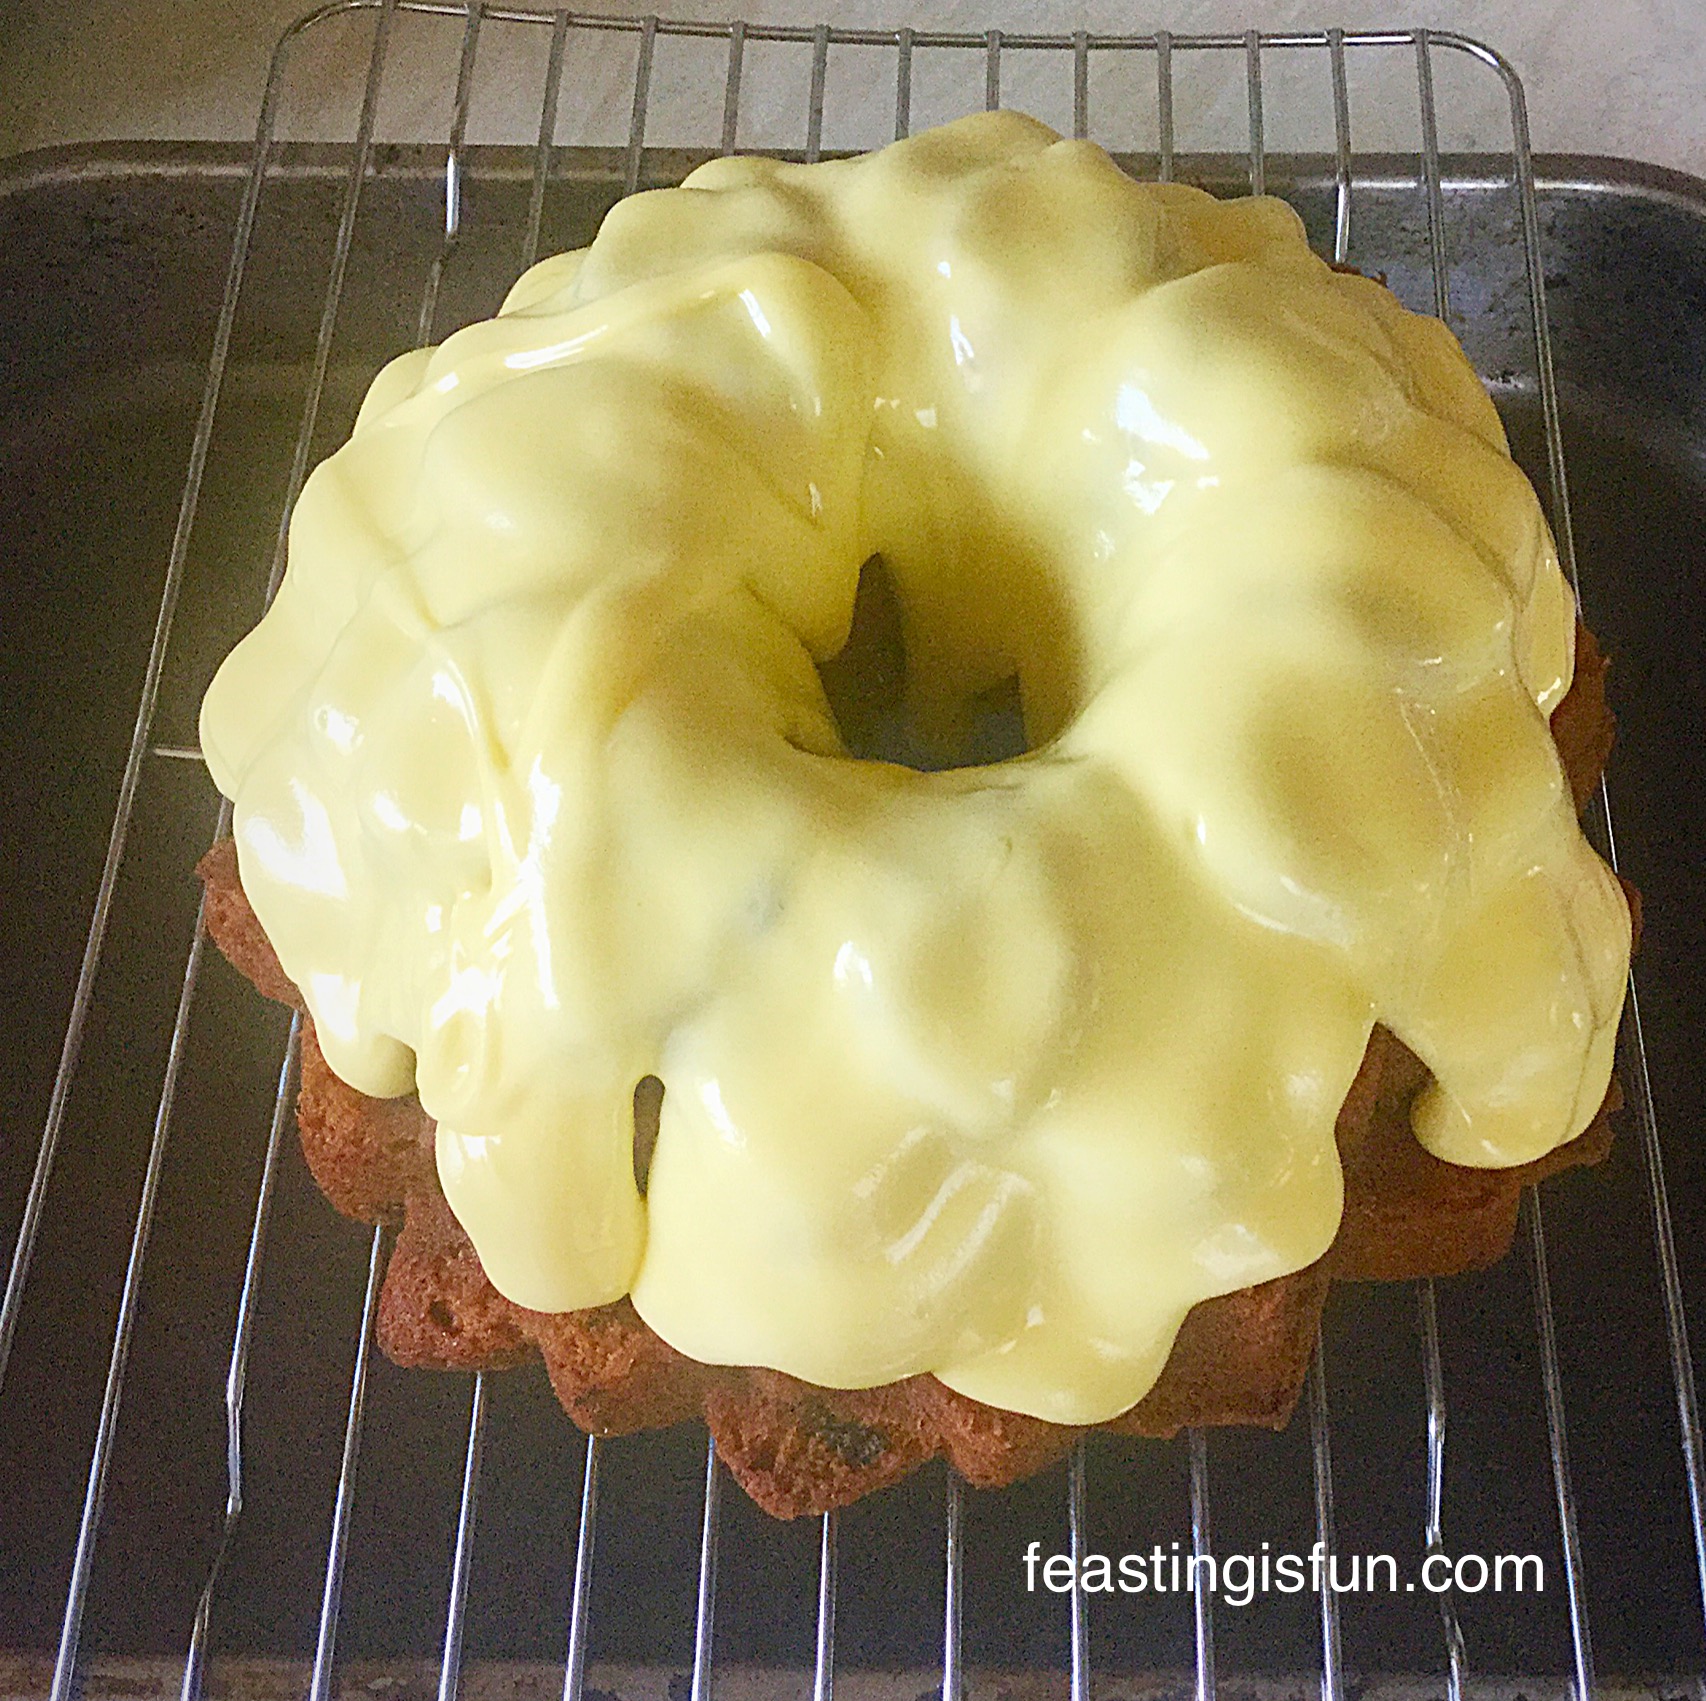
- Spoon the orange glaze over the top of the cake.
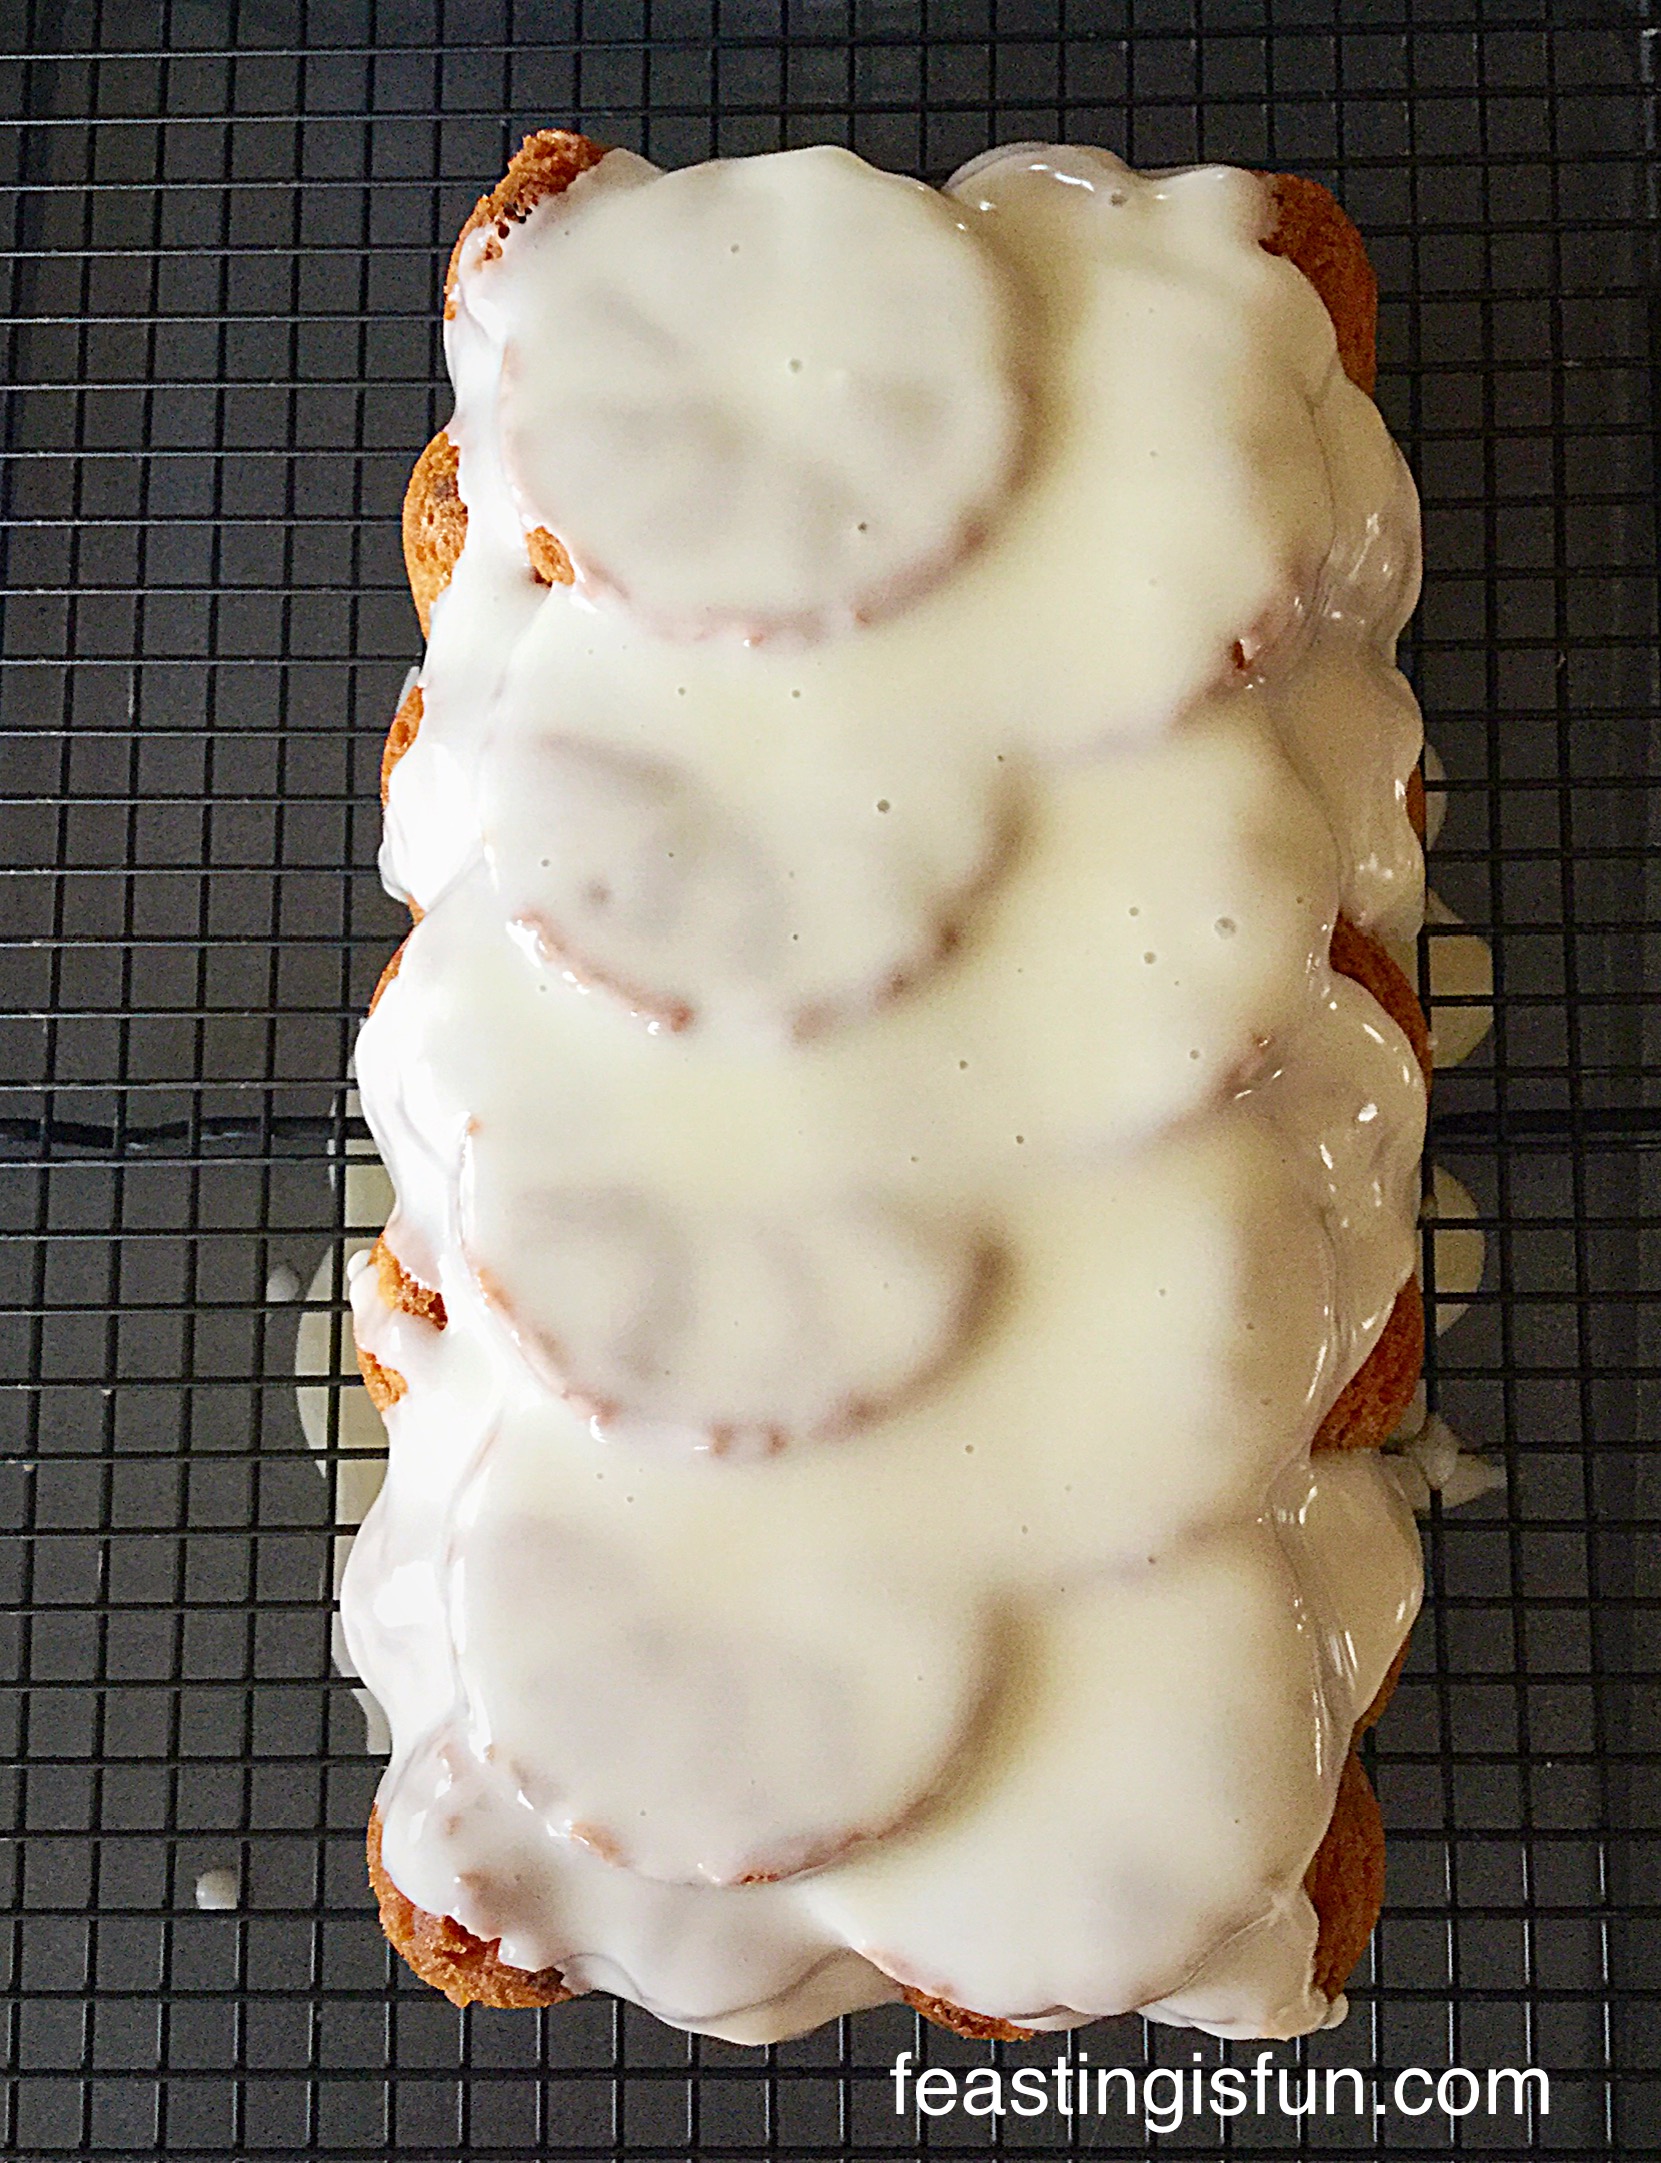
- Allow the glaze to drip down the sides of the cake.
- Ensure the entire top of the cake is covered in glaze.
- Carefully lift the cooling rack a little and scoop the glaze from the tray underneath. Use this to spoon over and cover the sides of the cake.
- When the cake is completely covered in glaze leave to set.
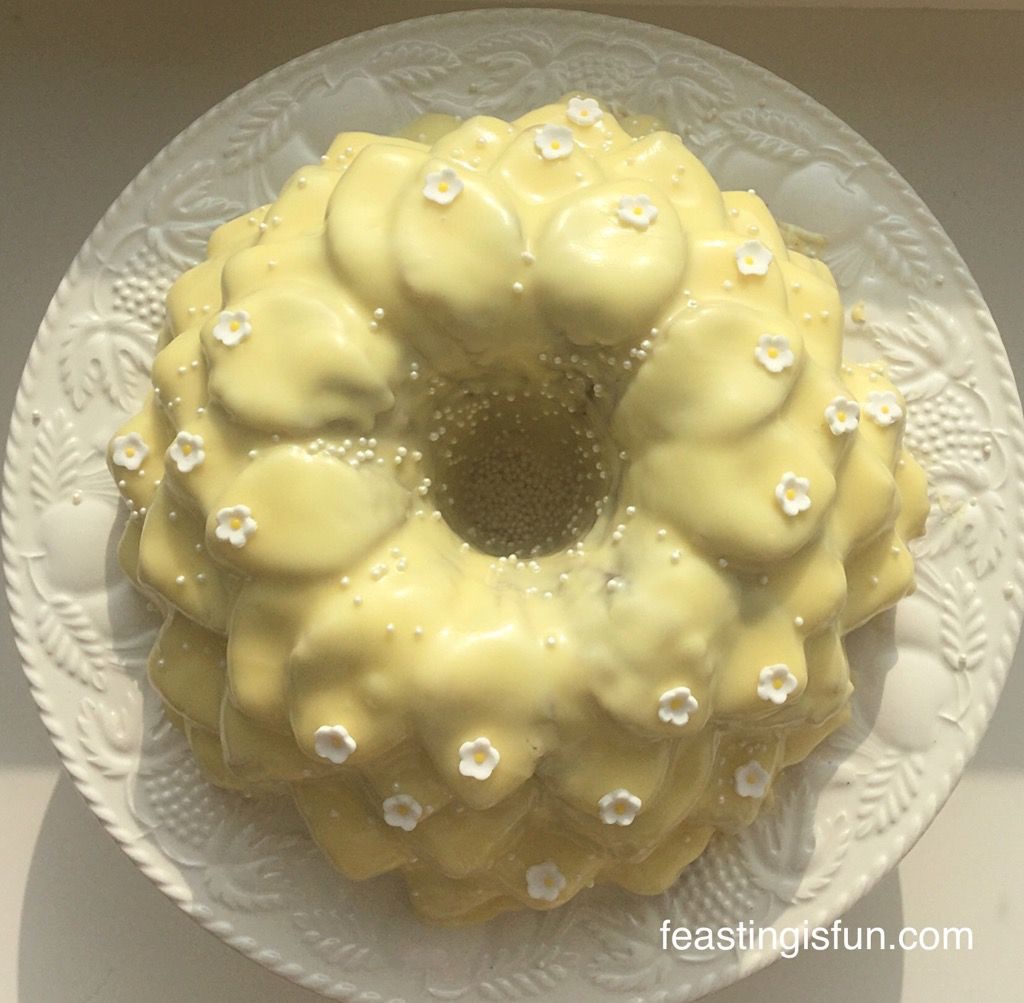
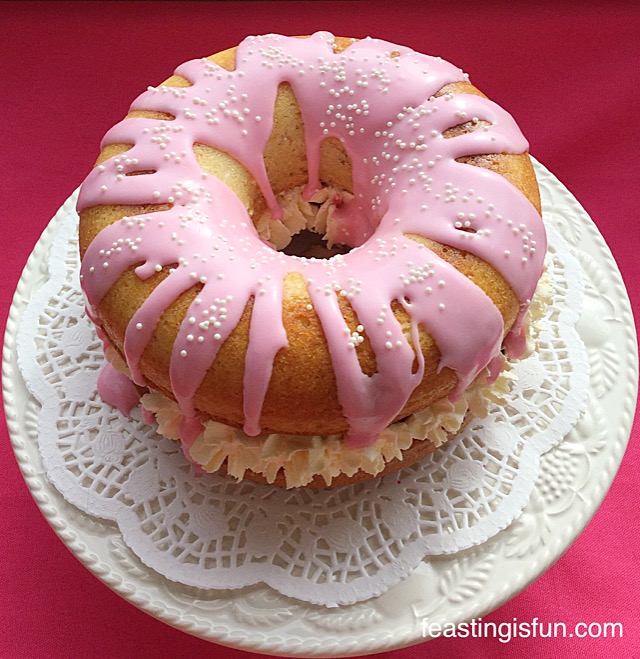
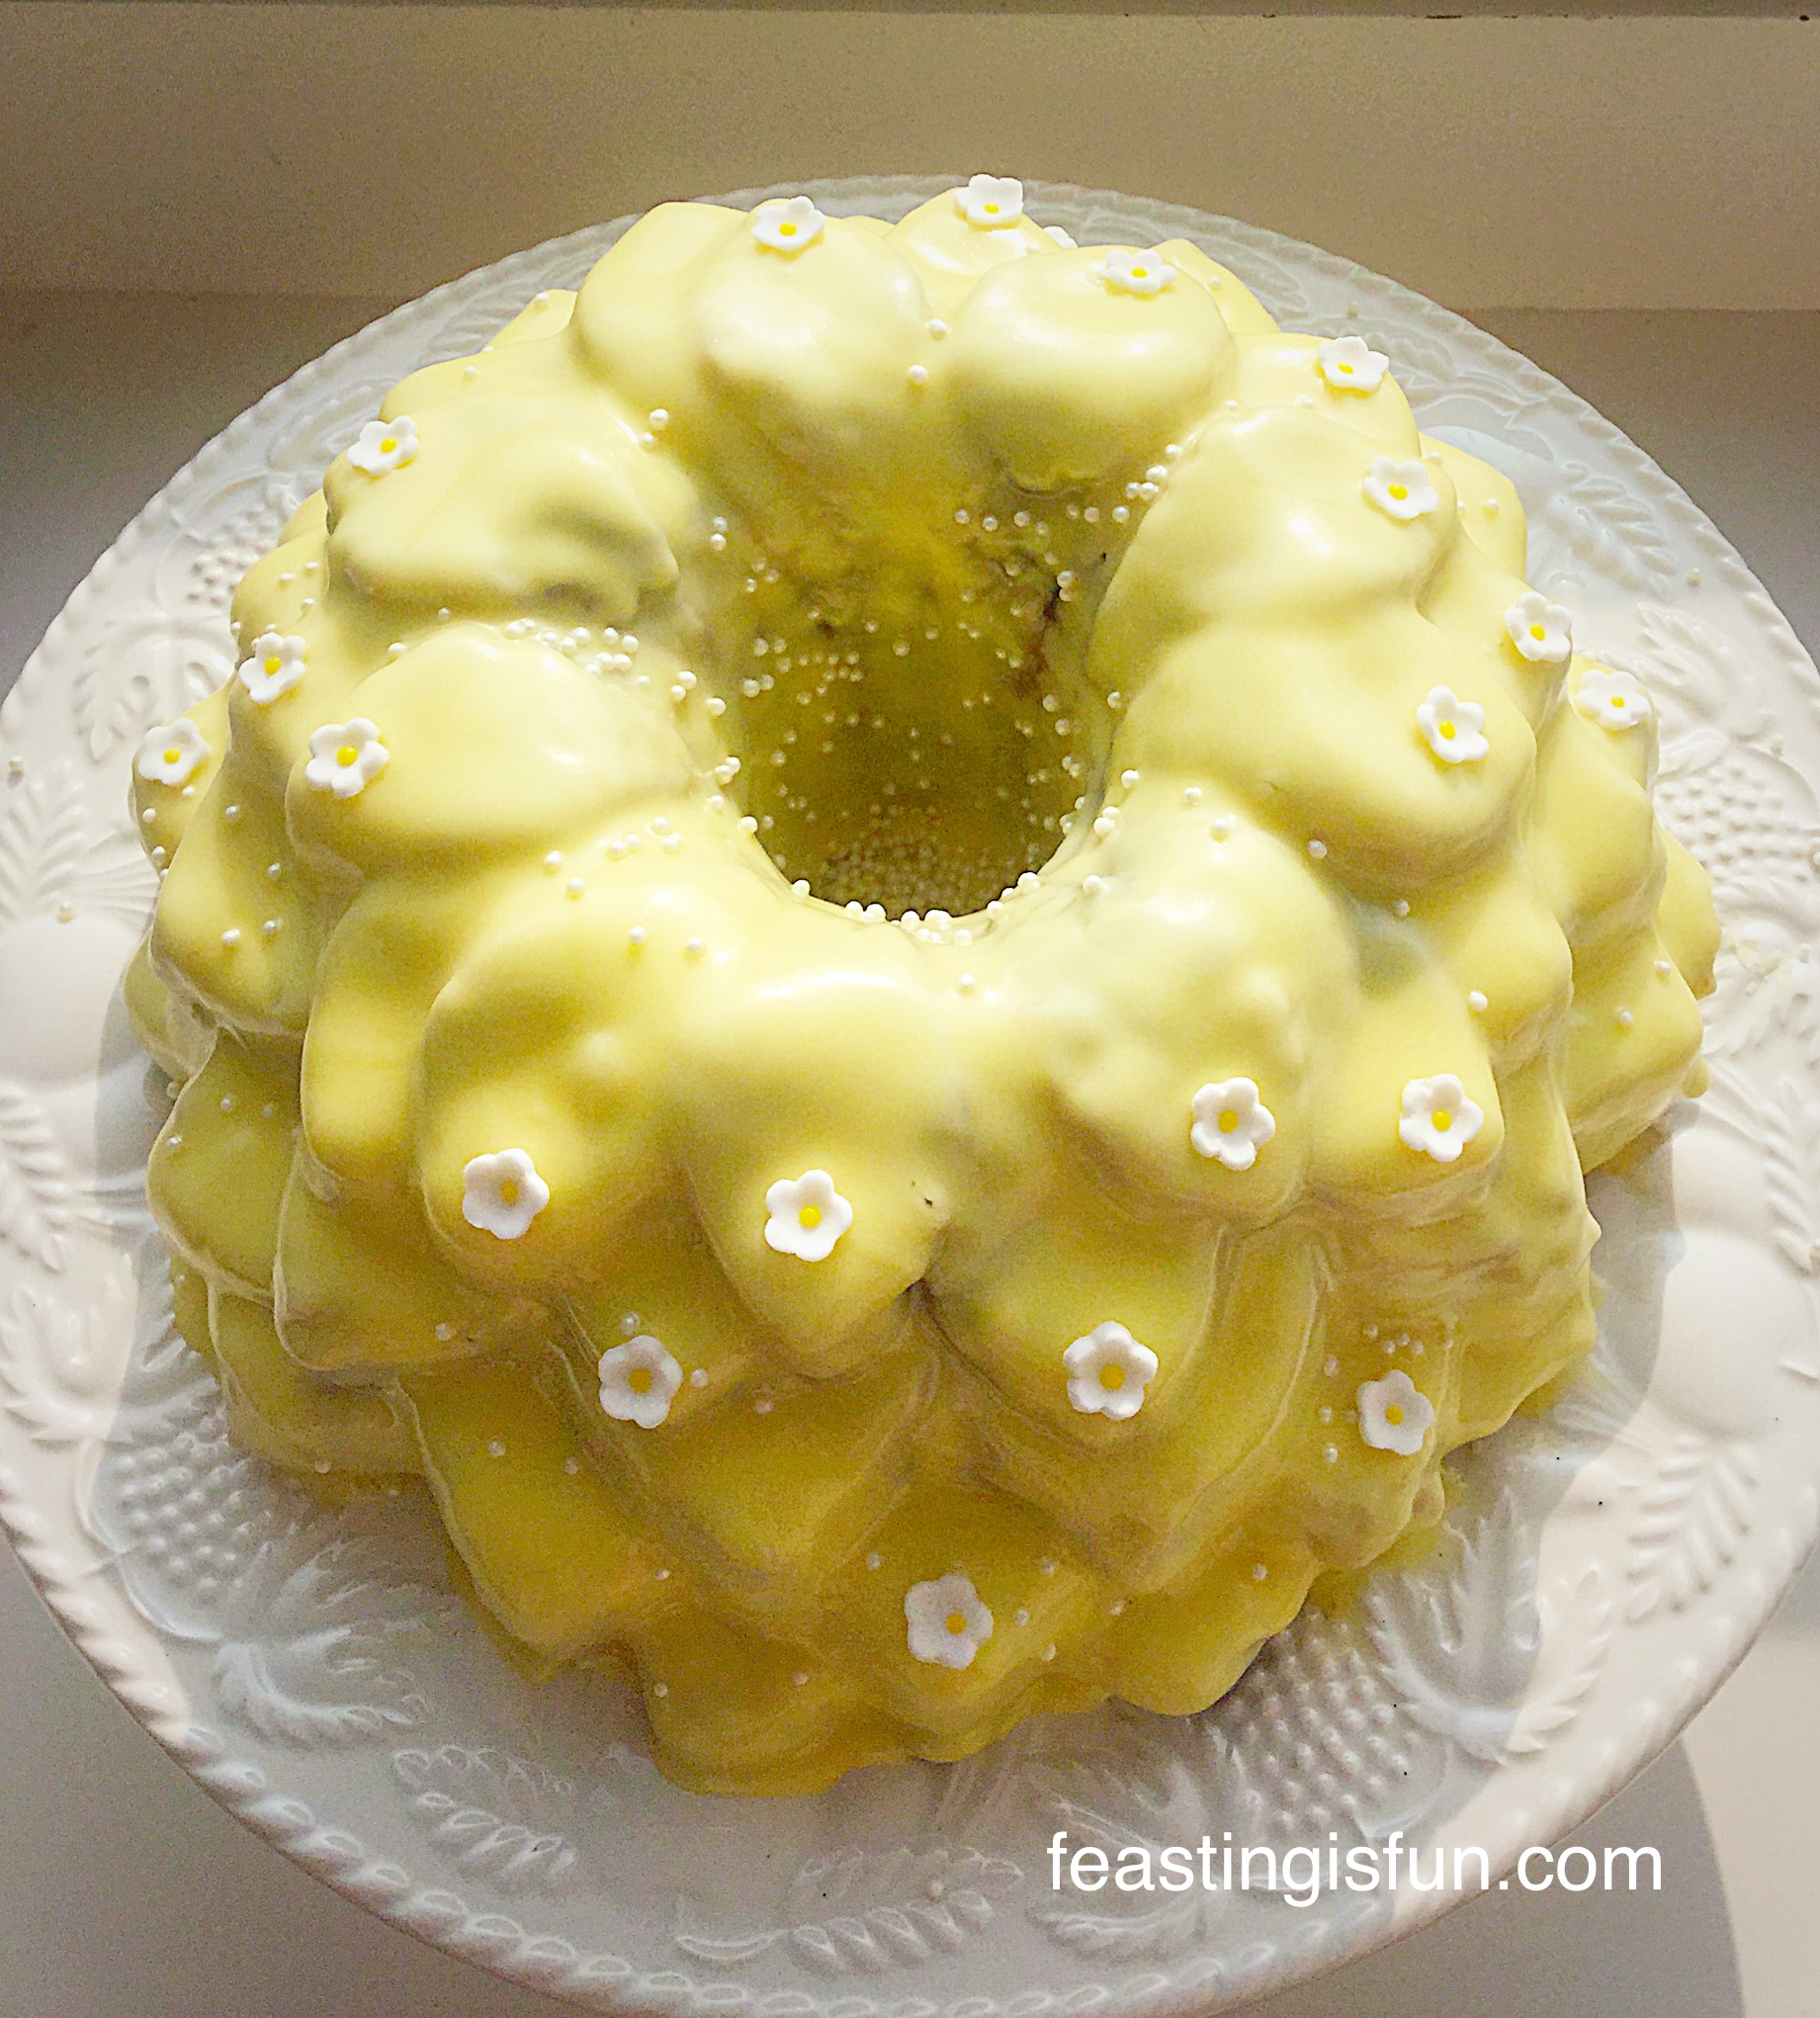
- Transfer the Glazed Orange Bundt Cake to a serving plate.
- Sprinkle with edible glitter if desired.
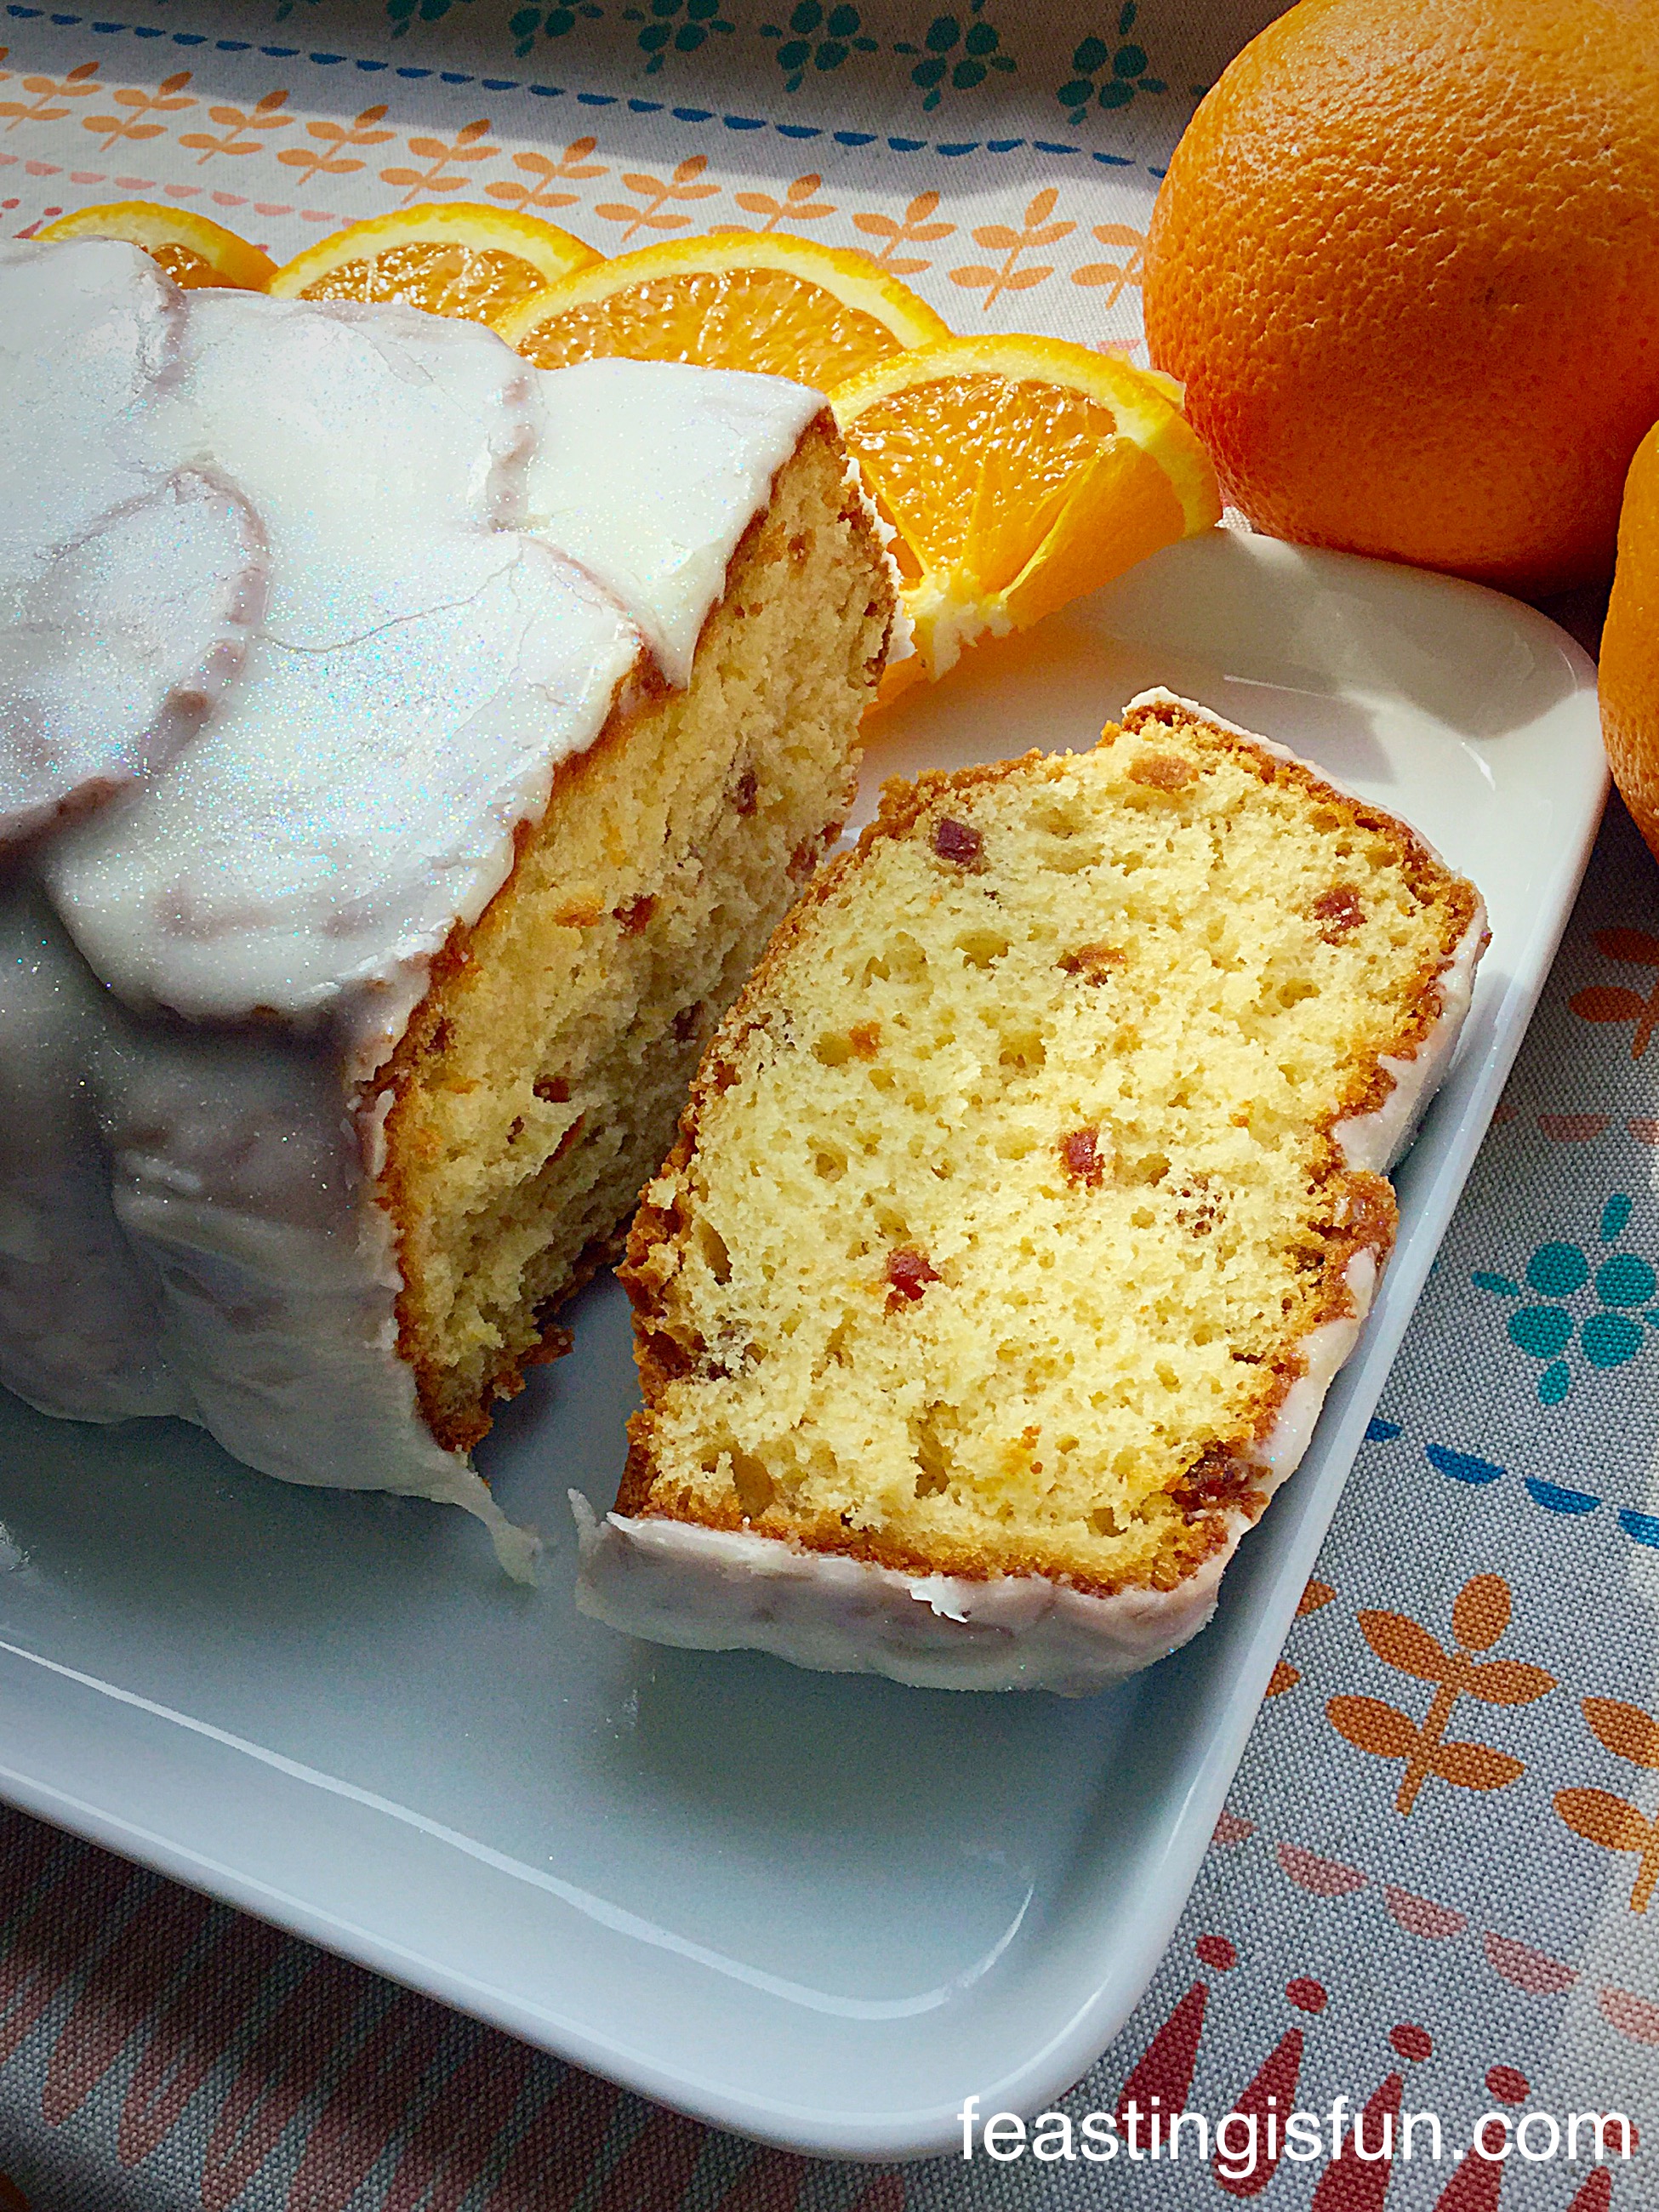
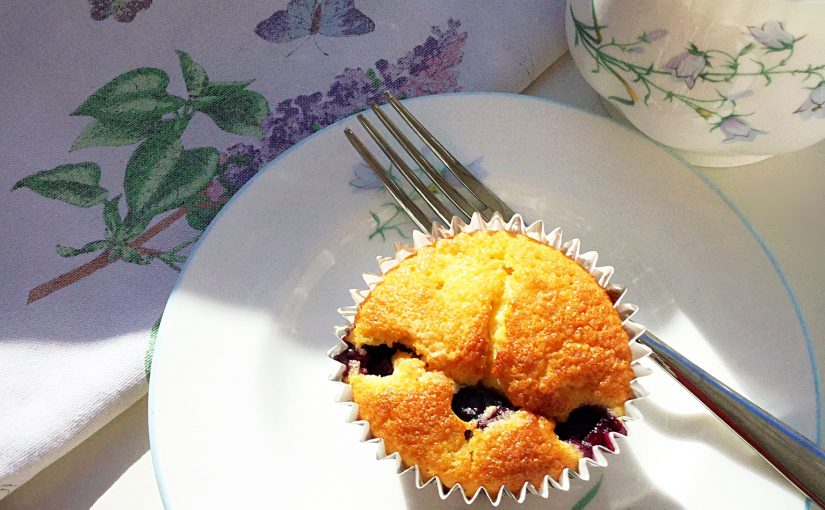
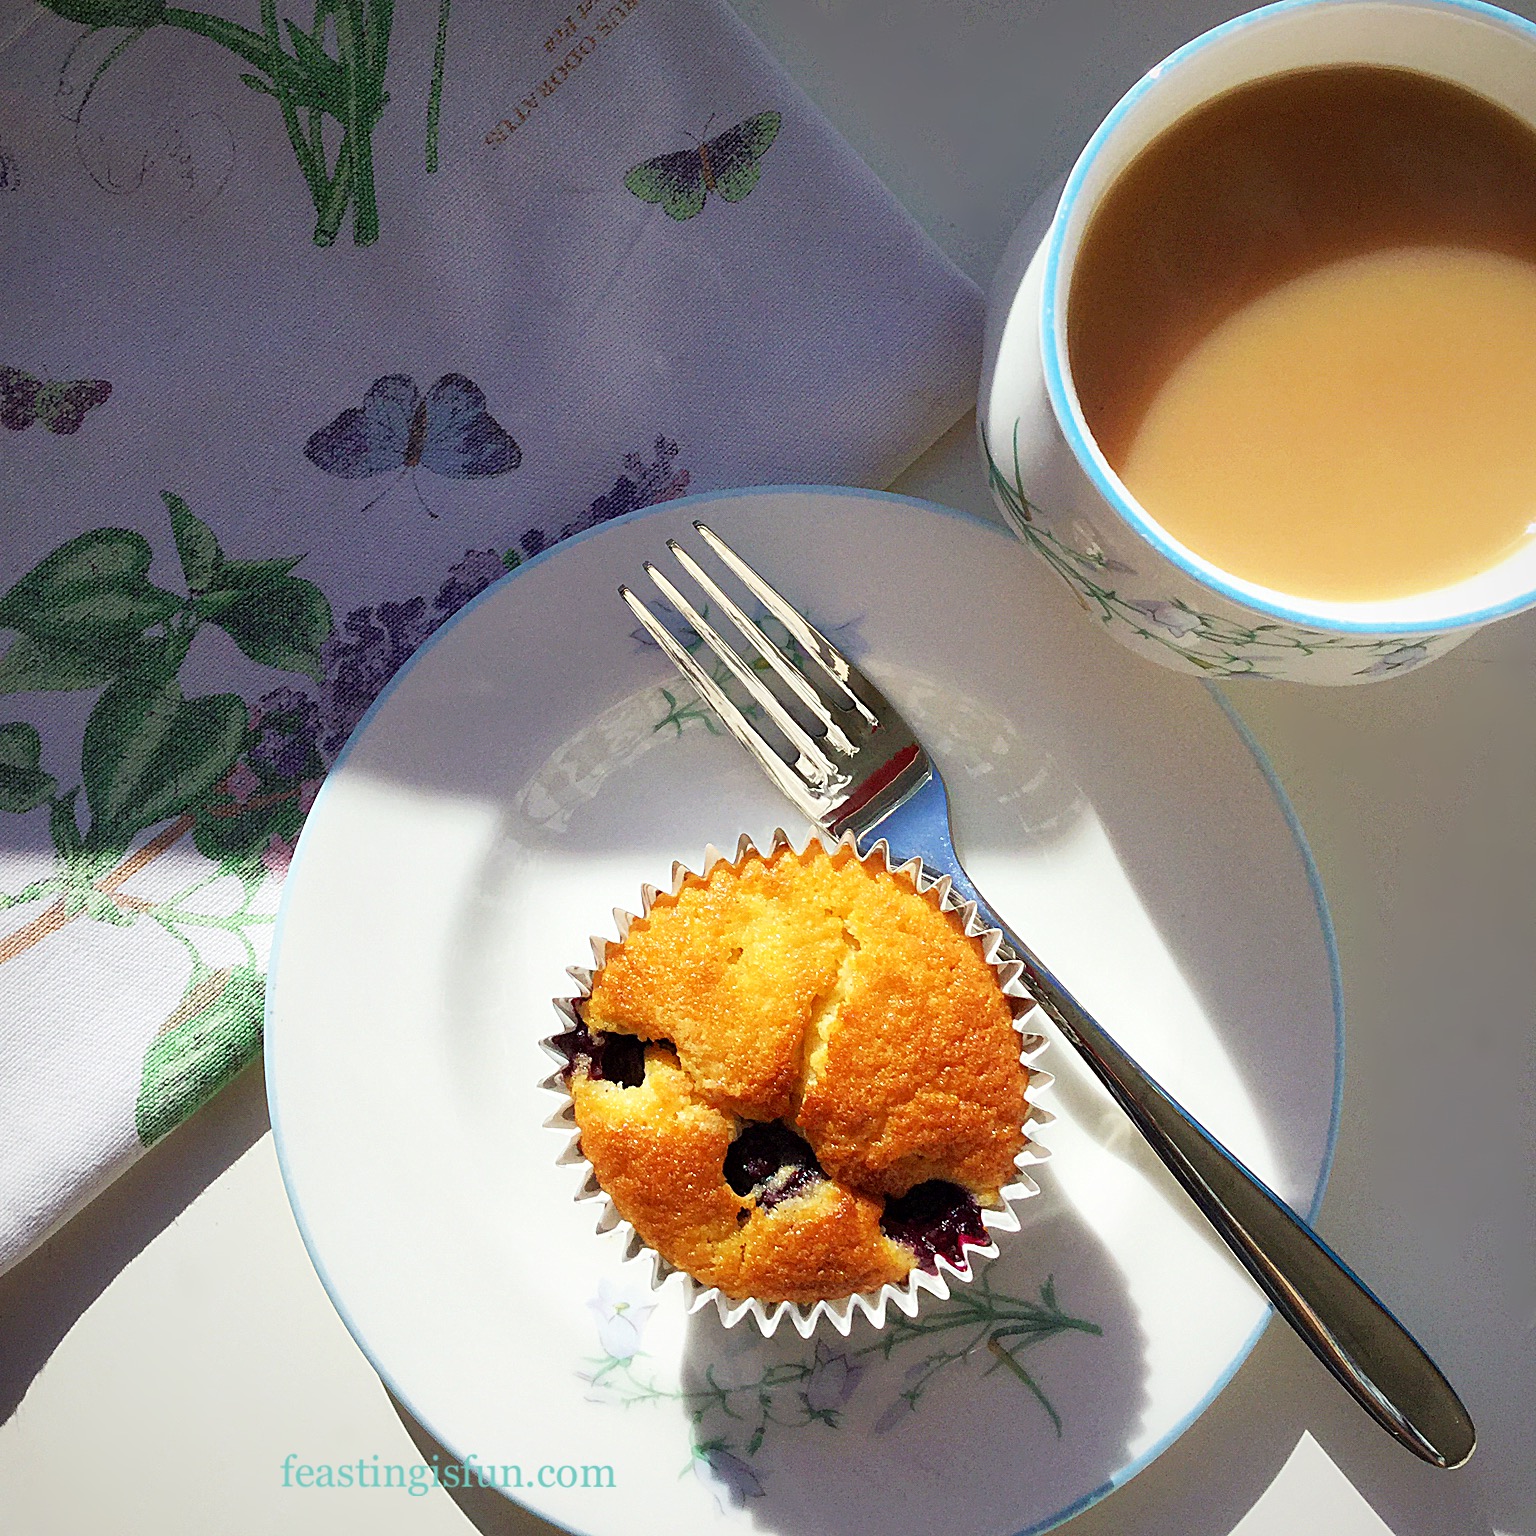
Slice and serve the cake with a lovely cup of tea or coffee and of course, guests. Since all food tastes infinitely better when shared!
Keep this cake in an airtight container and eat within 4 days. Also, keep refrigerated during warmer weather.
If you have enjoyed this recipe for my Glazed Orange Bundt Cake you may like these other fruity bakes:
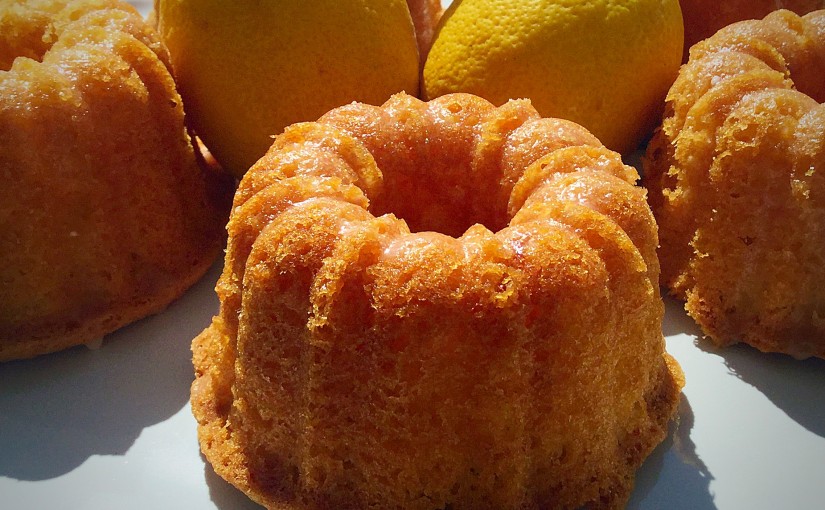
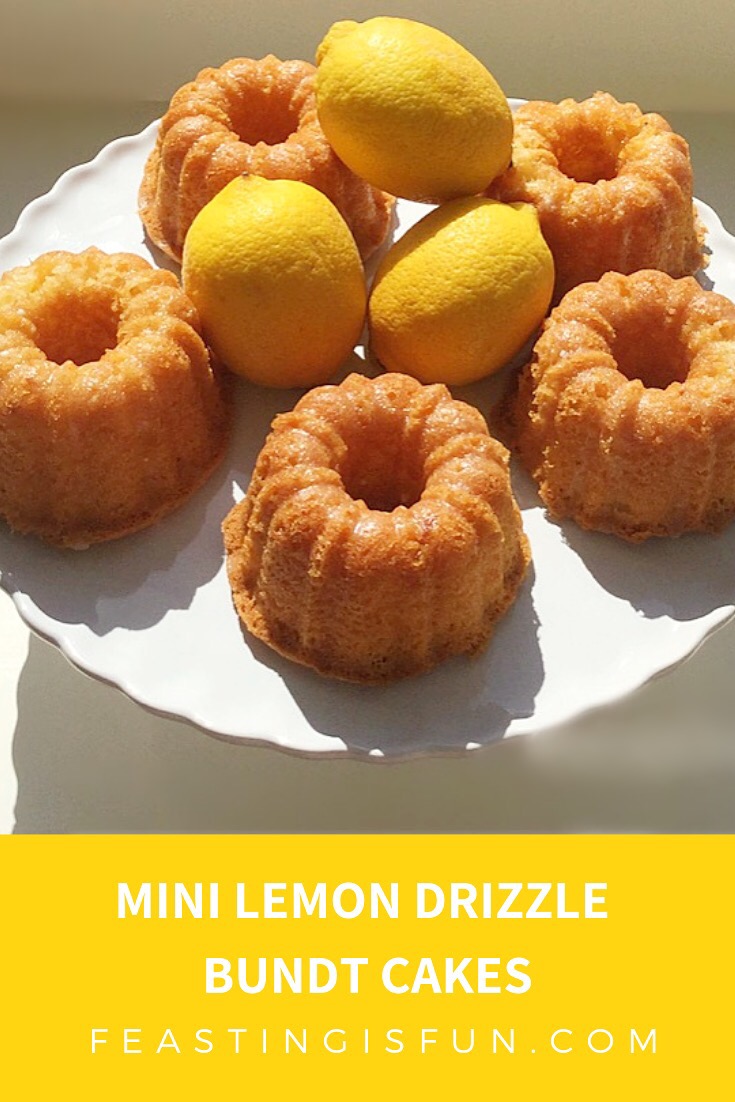
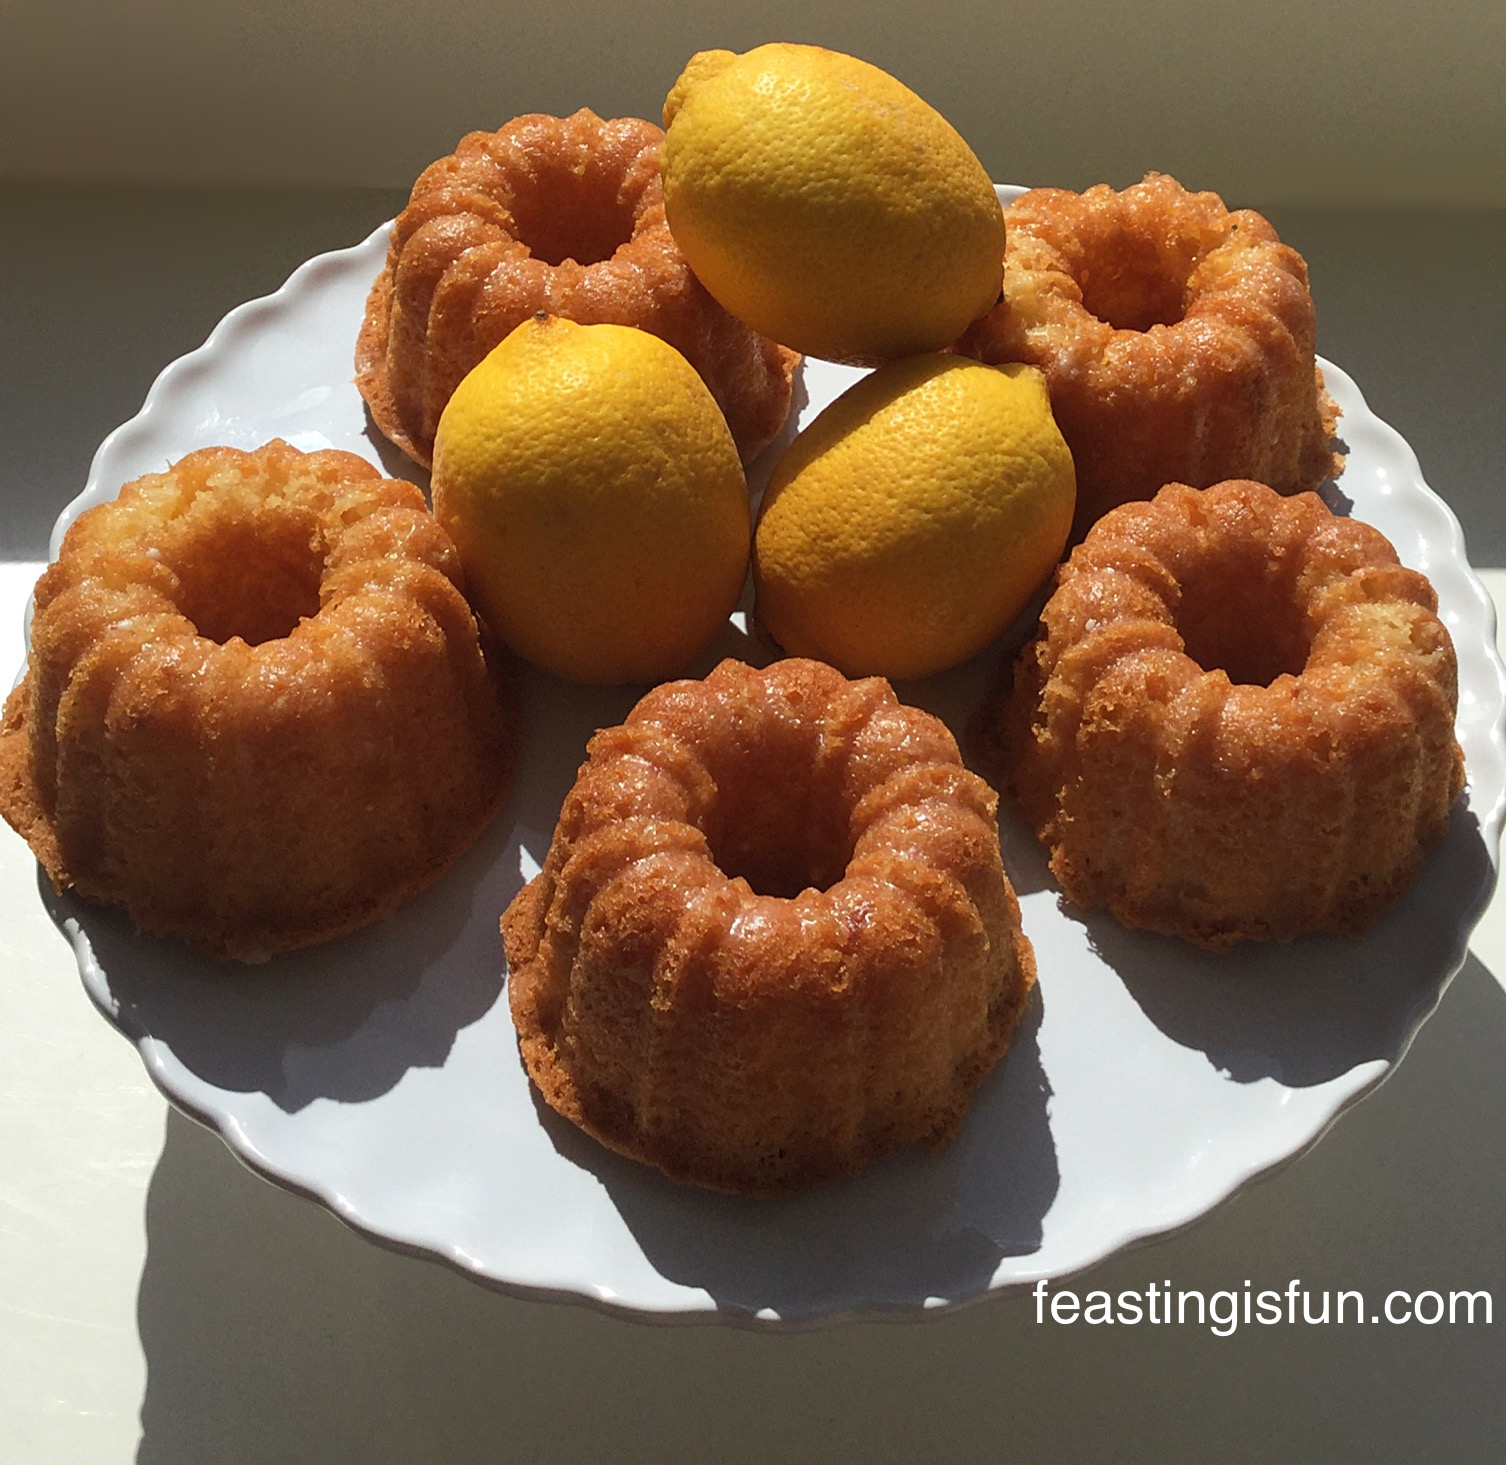
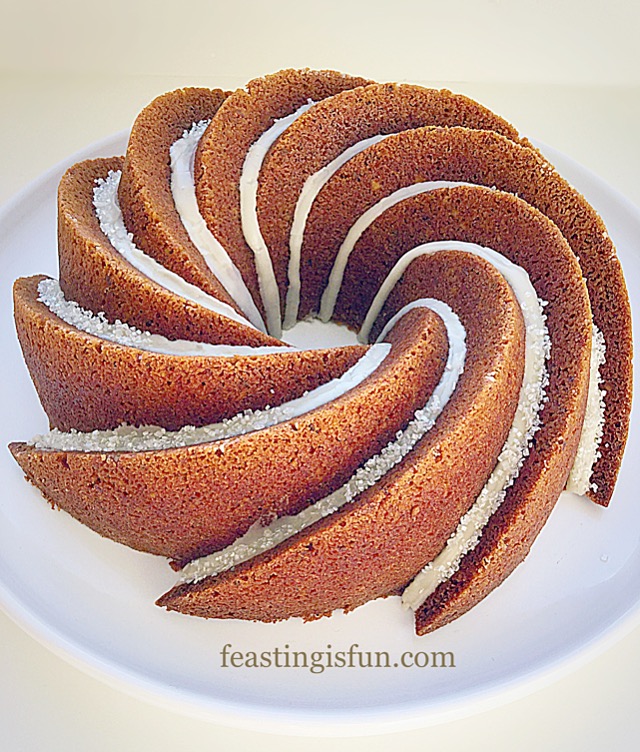
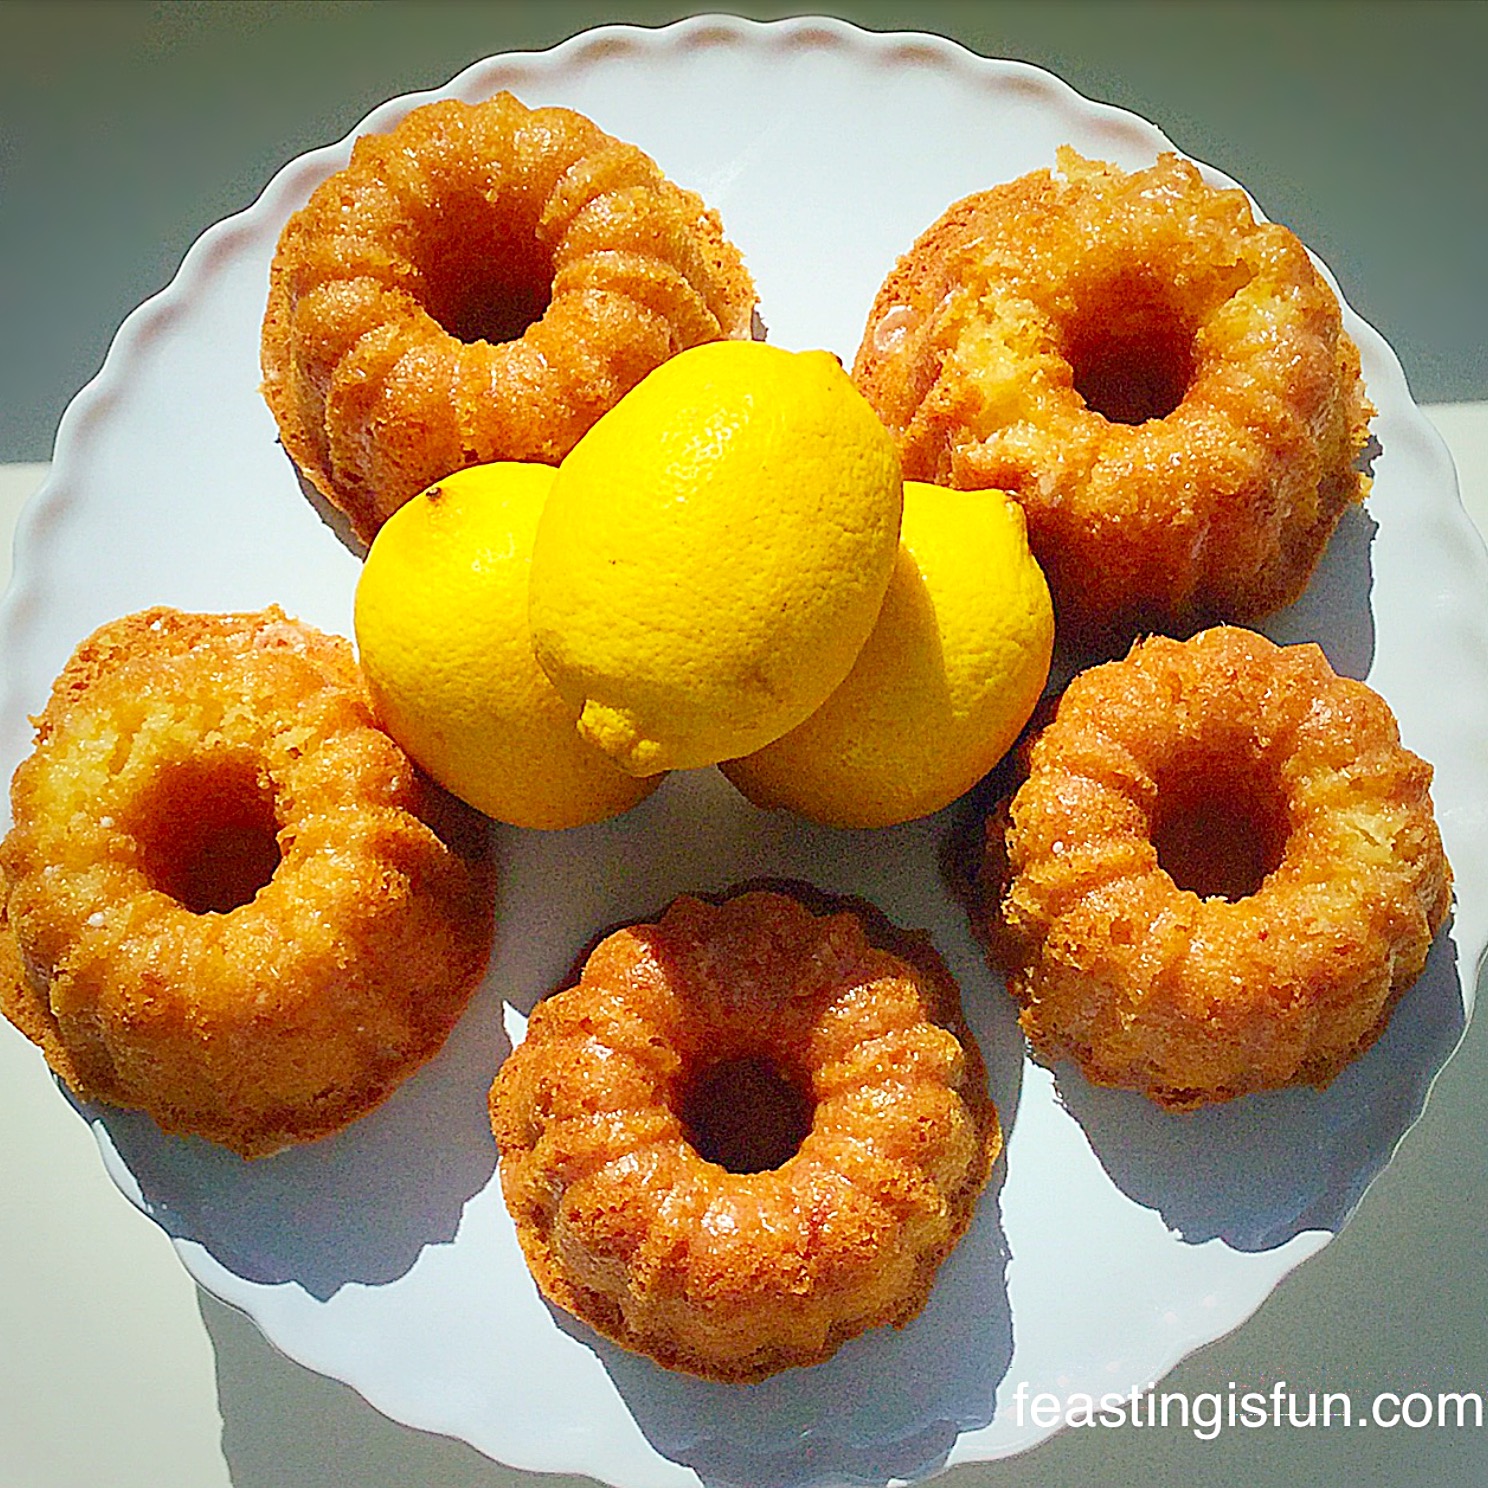
Mini Lemon Drizzle Bundt Cakes
I hope that sharing some quick, easy, yet still completely delicious bakes helps you in your kitchen? My intention is to always create straightforward, easy to follow recipes that deliver consistently good results.
Also, I’d love to know your thoughts on this recipe and others posted here on Feasting Is Fun. Your comments are valuable and much appreciated.
So, whatever you are making, baking and creating in your kitchens, have fun preparing and sharing your feast.
Sammie xx
No part of this post may be reproduced or duplicated without the written permission of the owner. Please see my Disclosure Policy.