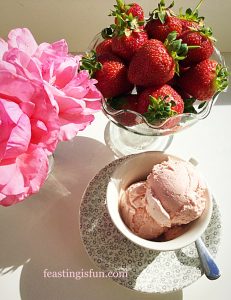
Camp Coffee Ice Cream

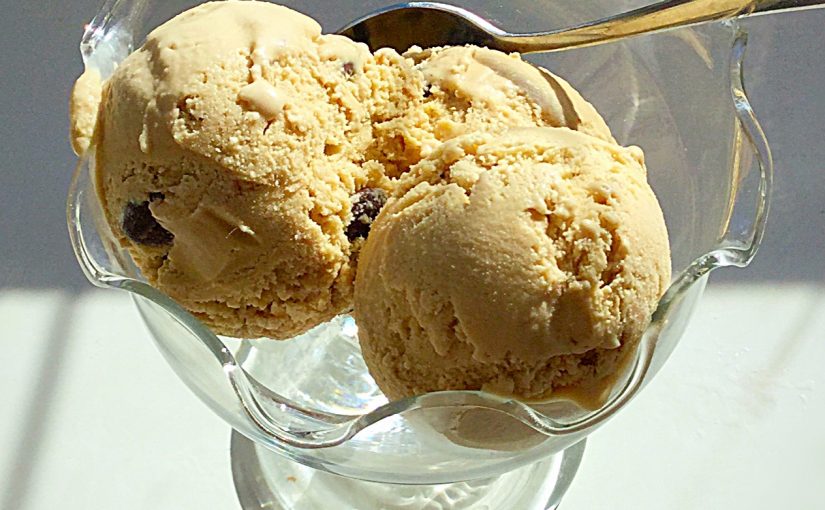
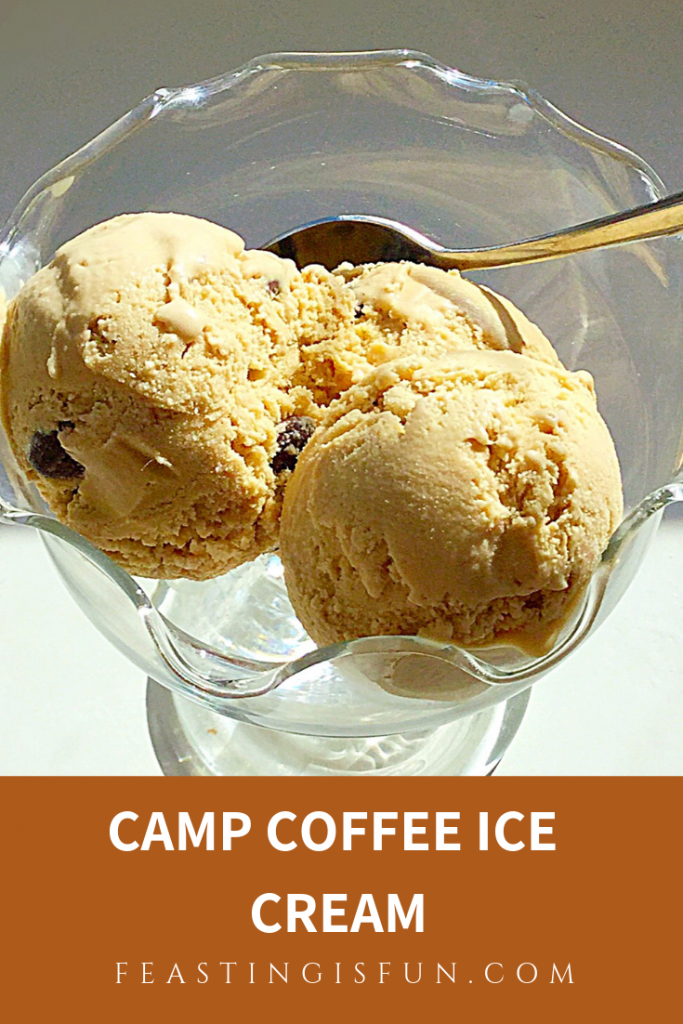
Camp Coffee Ice Cream with crunchy chocolate coffee beans.

It is mid September and here in the south of the U.K. the weather is still relatively warm. Not that you need it to be warm outside to enjoy my Camp Coffee Ice Cream.

FF Camp Coffee Ice Cream

Yes, ice cream is great to have during the hot, Summer months, but I happily eat it all year round. This particular ice cream with its inviting coffee flavour (without the caffeine) would be so good scooped on top of a warm chocolate brownie.
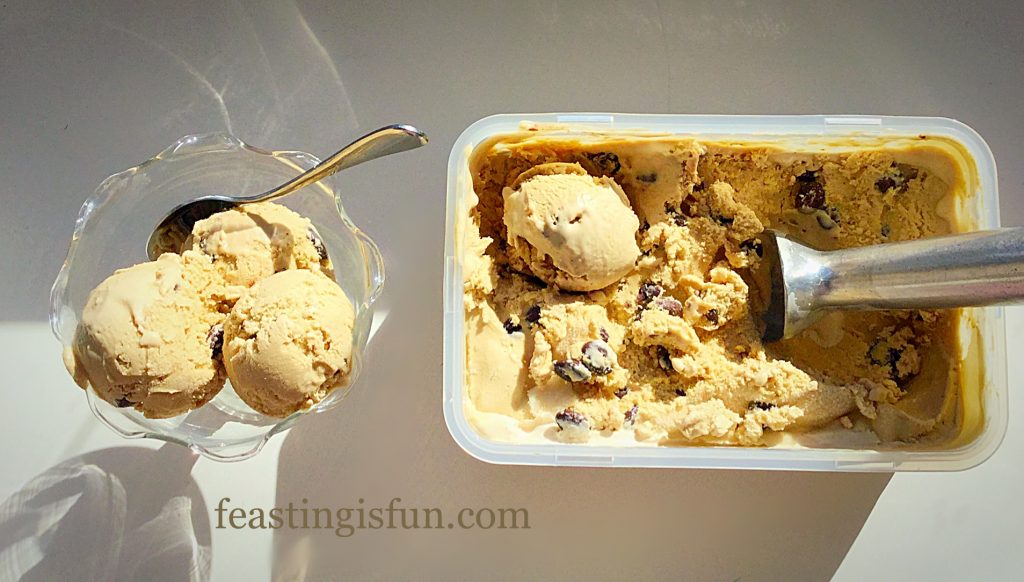
FF Camp Coffee Ice Cream
Camp Coffee Ice Cream great all year round.

Chocolate and coffee are a classic combination, which is why I decided to add a good measure of chocolate coffee beans to this ice cream.

The delicious chocolate/coffee crunch against the smooth, silky, coffee flavoured ice cream, keeps this interesting on the palette.
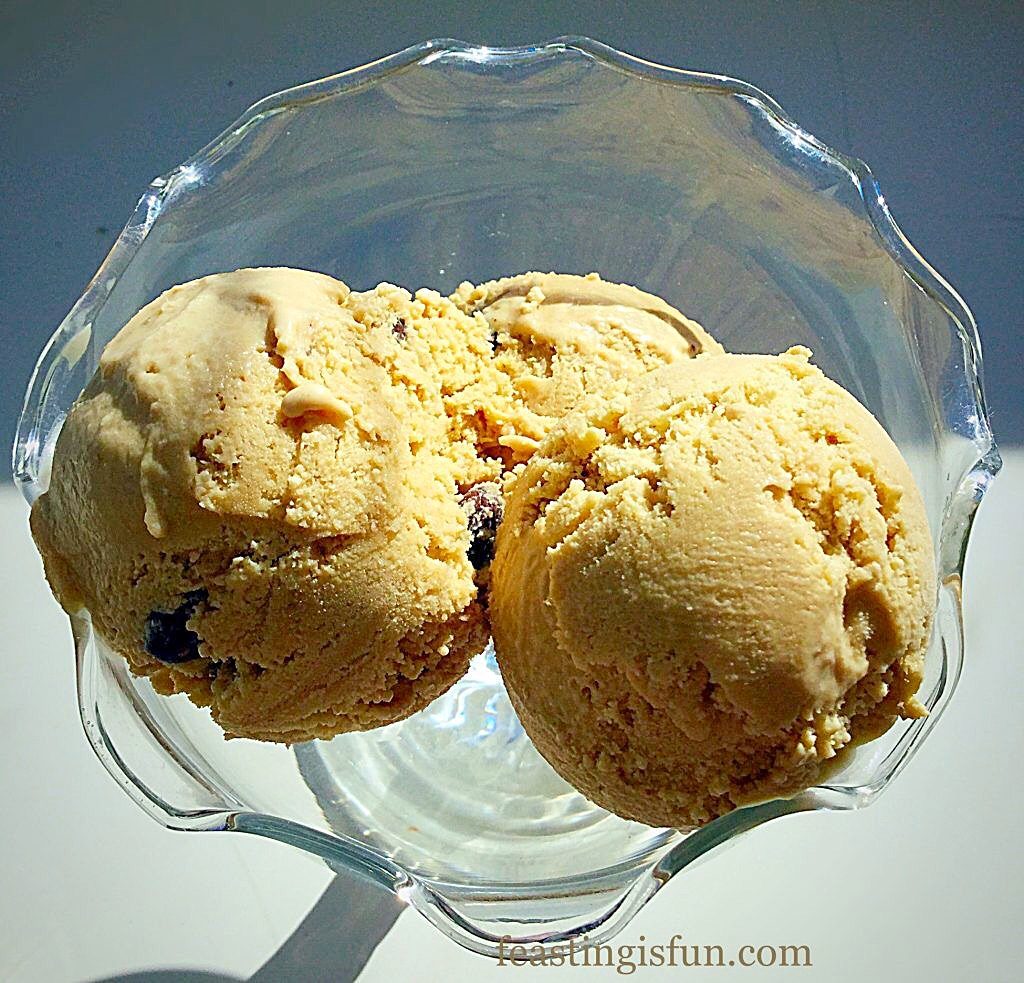
Camp Coffee Ice Cream with chocolate coffee beans.

Making your own ice cream at home gives you complete control over the intensity of flavours. This Camp Coffee Ice Cream is how I’d drink my coffee, medium strength. You, however, can put as much, or as little Camp coffee as you like!

Churning this ice cream, in an ice cream maker, ensures it is silky smooth. If you like your ice cream just like that, leave out the chocolate coffee beans. Again, what you add is completely in your control.

So let’s show you how to make this delicious dessert, or fun treat.

Recipe: Makes 750ml Camp Coffee Ice Cream

300ml/ 1/2pt Double Cream

300ml/ 1/2pt Milk – Whole or Semi Skimmed

2tsp Camp Coffee – widely available in stores and online

4 Large Free Range Egg Yolks – the whites can be frozen for a month

1tsp Vanilla Extract – I use Nielsen-Massey

1tsp Corn Flour – I use Doves Farm as it is certified gluten free

5tbsp Caster Sugar

100g/4oz Chocolate Coffee Beans – mine were from Waitrose

Method: Ensure the ‘Frozen’ container part of your ice cream maker has been in the freezer for 8 hours, overnight, or according to the manufacturer’s instructions.

Note: For a step by step guide, with photographs, on making ice cream please see Very Vanilla Ice Cream.

Making the ice cream base

  • Pour the cream and milk into a large, heavy bottomed saucepan and place over a medium heat.
  • Heat the liquid until scalding point is reached – a rim of small bubbles will appear around the outside edge of the liquid – remove from the heat.
  • Whilst the liquid is heating place the egg yolks, corn flour, sugar and vanilla extract into a large, heatproof bowl. Whisk until the eggs are pale and have increased in volume.
  • With the whisk still running on low, slowly add the scalded cream mixture to the eggs, continually whisking.
  • Whisk thoroughly until all the ingredients are combined.
  • Tip the custard ice cream base back into the saucepan and place back over a medium heat, stirring constantly.
  • Before putting the pan back on the heat I quickly wash and dry the original bowl used.
  • When the custard has thickened and coats the back of a spoon remove from the heat.
  • Pour the custard through a wire sieve into the large heatproof bowl.
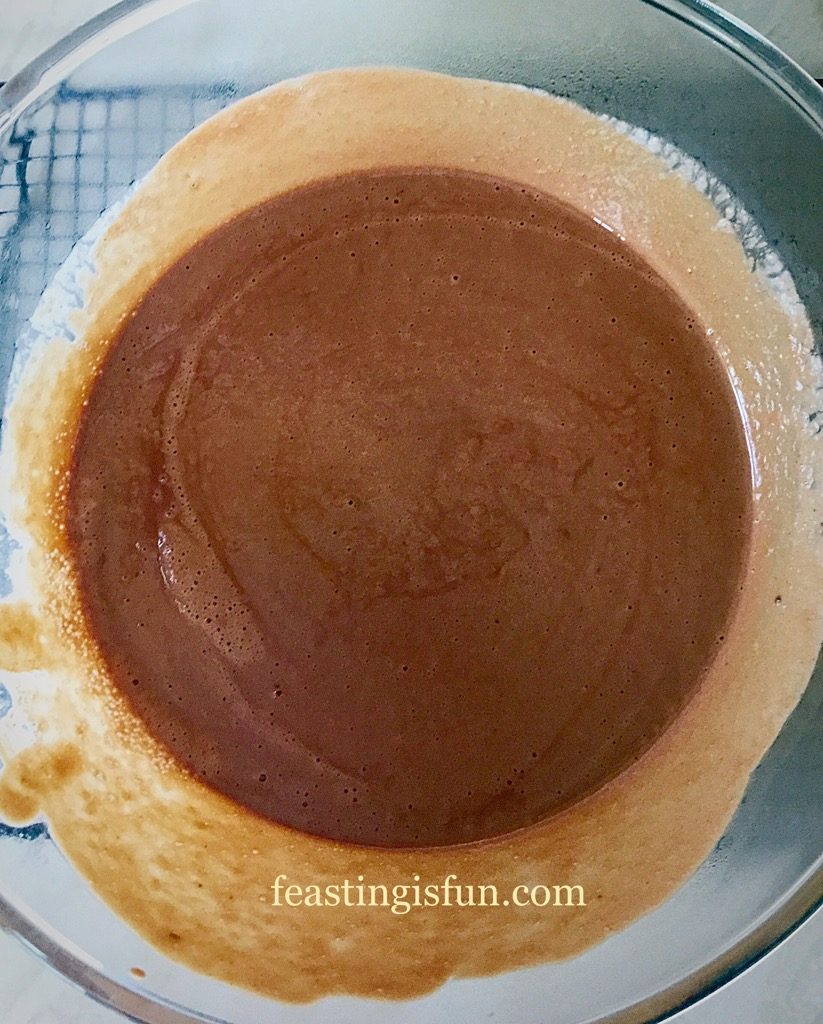
  • Add the Camp coffee and stir thoroughly.
  • Place cling film directly on top of the ice cream base, to prevent a skin from forming.
  • Allow the custard to cool slightly before placing in the fridge to chill thoroughly.

Churning the ice cream

  • Once chilled, set up your ice cream maker according to its manufacturer’s instructions.
  • Remove the cling film, stir the ice cream base and taste. If you wish to have a stronger coffee flavour add more Camp coffee, stirring and tasting until the desired strength is reached.
  • With the ice cream machine switched on and churning, pour the ice cream base through the opening into the bowl.
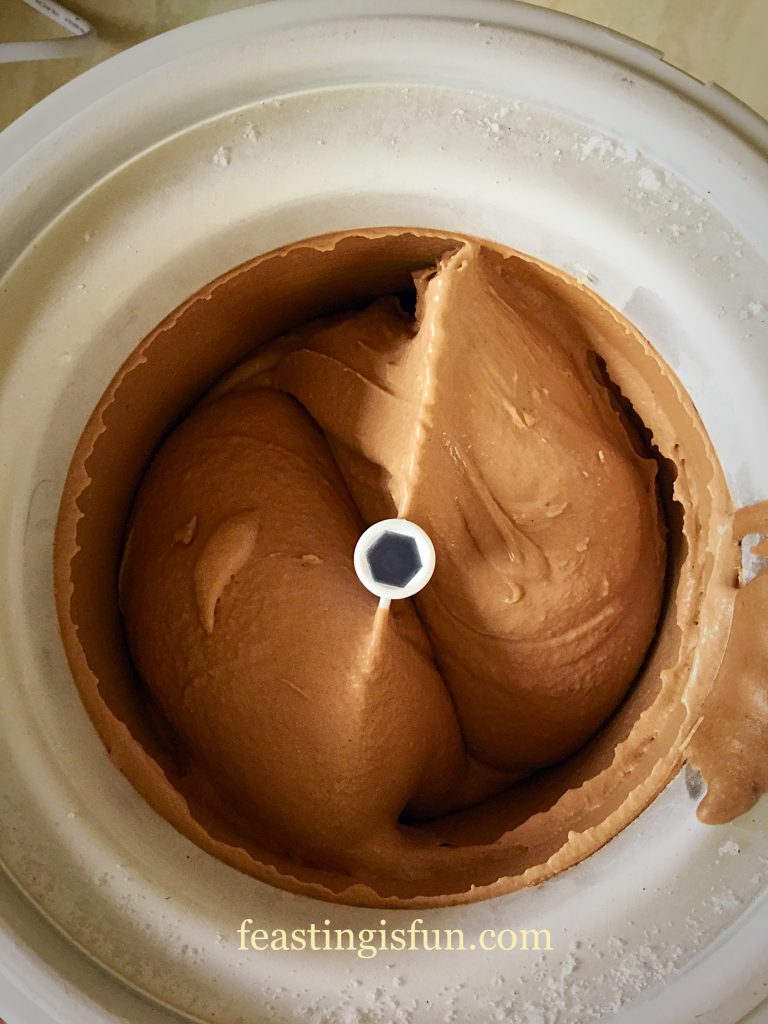
  • Churn for 15-20 minutes until the ice cream is thick, but not frozen solid.
  • Switch off the machine and remove the top and the paddle.
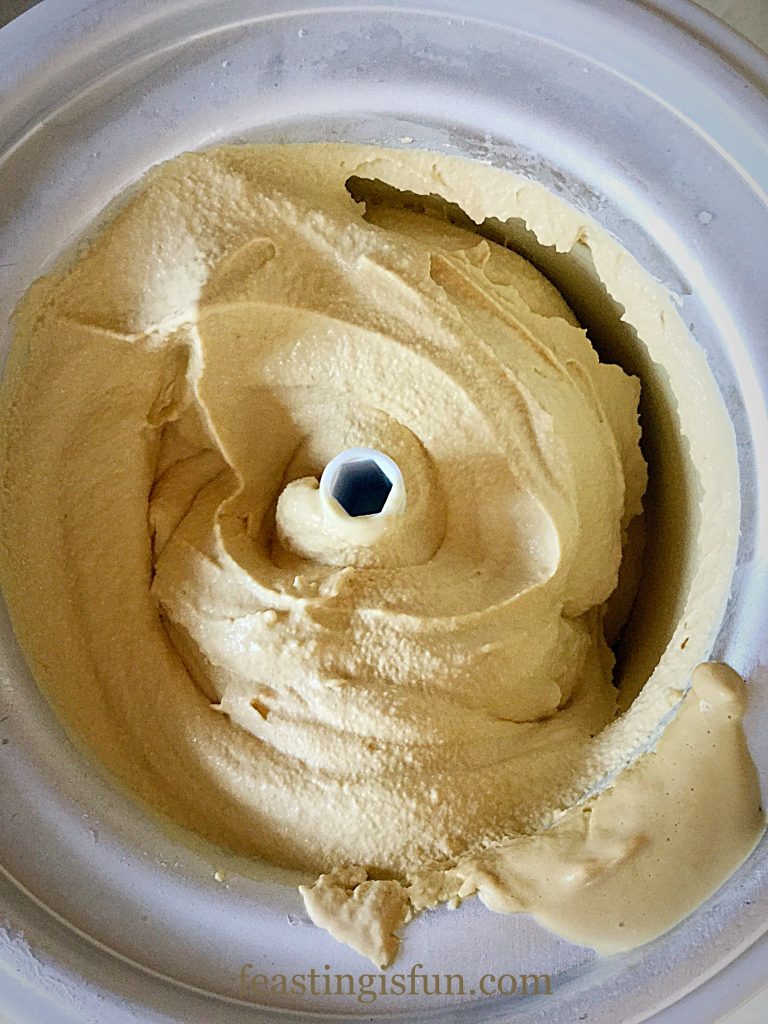
FF Camp Coffee Ice Cream.
Deliciously softly frozen Camp Coffee Ice Cream
  • Scrape as much ice cream as possible from the paddle (and then lick the rest off 😉).
  • Using a deep silicone spatula transfer the rest of the ice cream to a freezer proof tub.
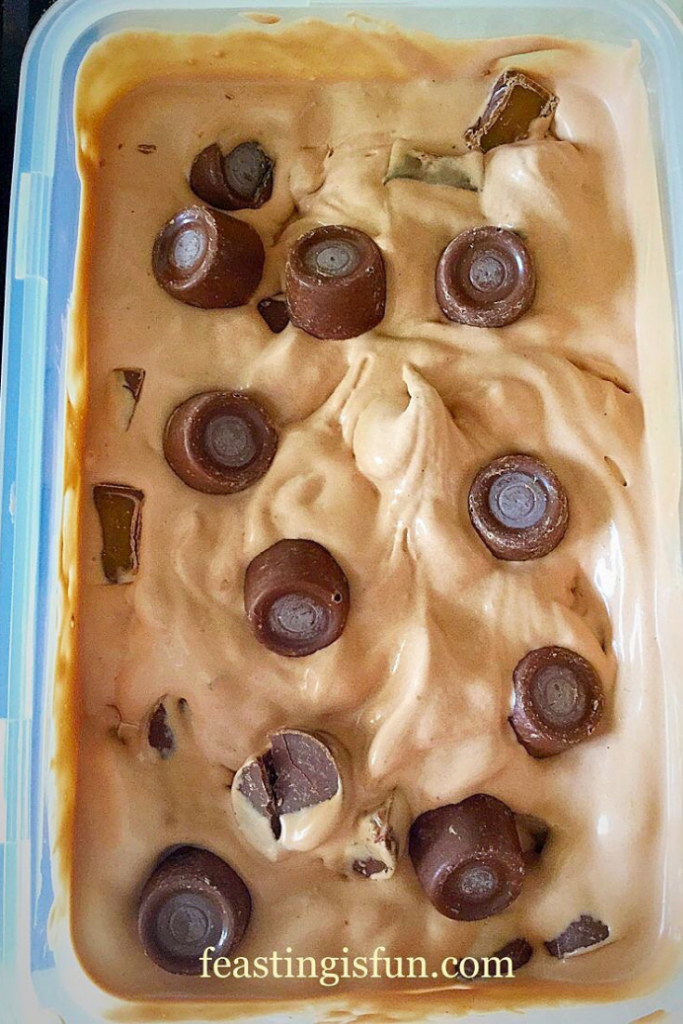
  • Add the chocolate coffee beans and swirl through the ice cream using the handle of a wooden spoon.
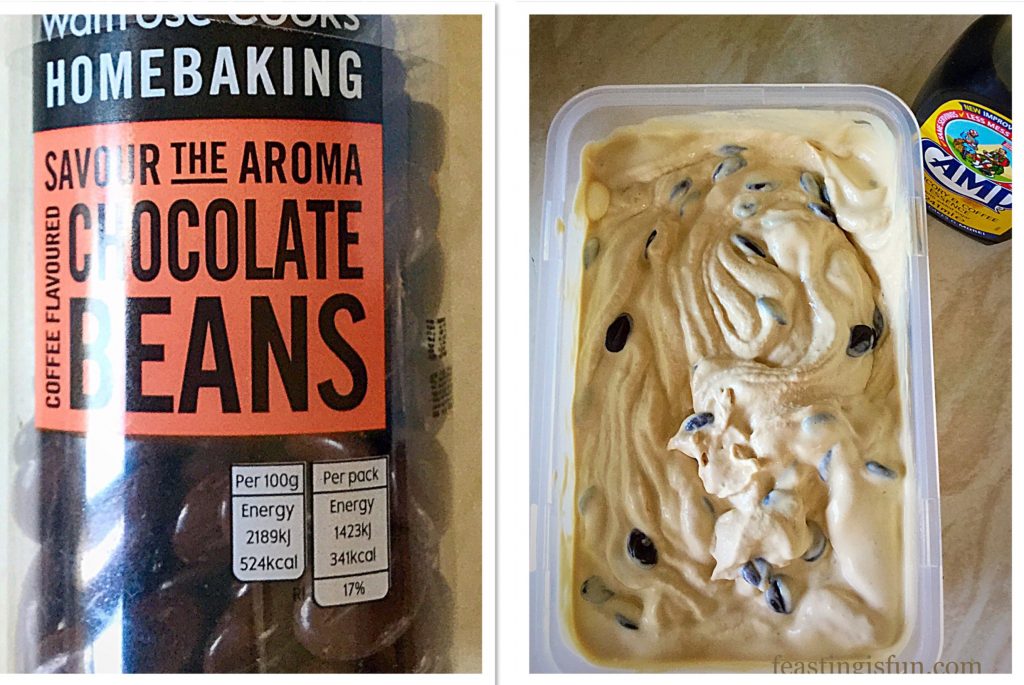
FF Camp Coffee Ice Cream
The chocolate coffee beans add a final crunch to the Camp Coffee Ice Cream.
  • Clip on a tight fitting lid and place the Camp Coffee Ice Cream into the freezer for at least 4 hours, longer if it is very hot weather, so that the ice cream completely freezes.

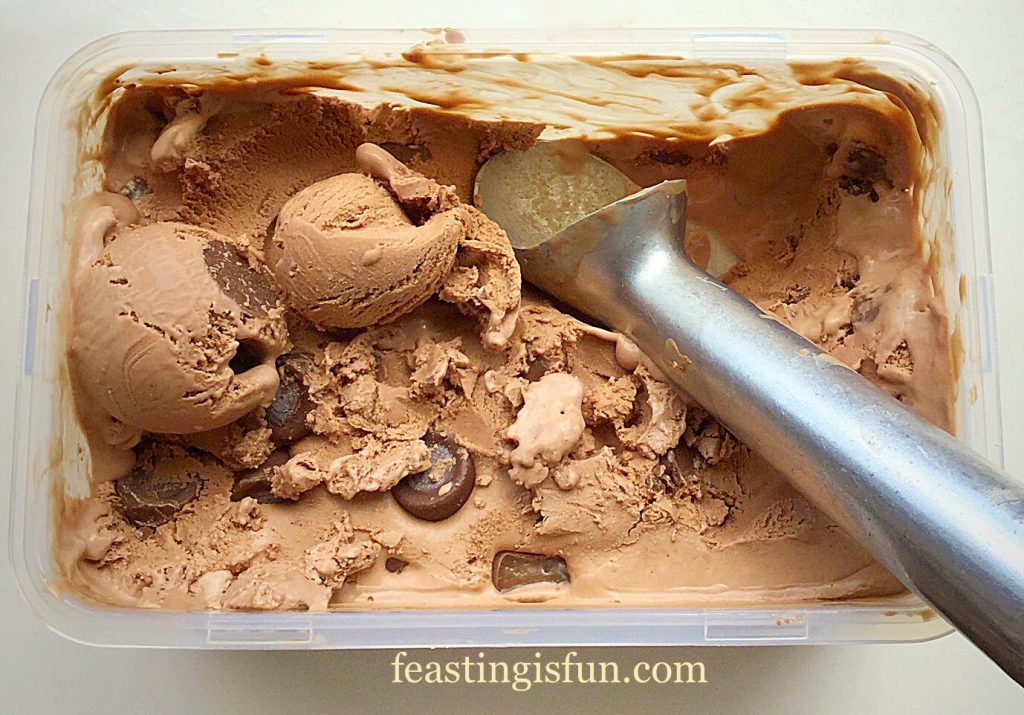
To serve, remove the ice cream from the freezer 15-20 minutes before scooping. As your ice cream is homemade and therefore does not contain any artificial softeners, preservatives or additives, it will take a little while to soften.
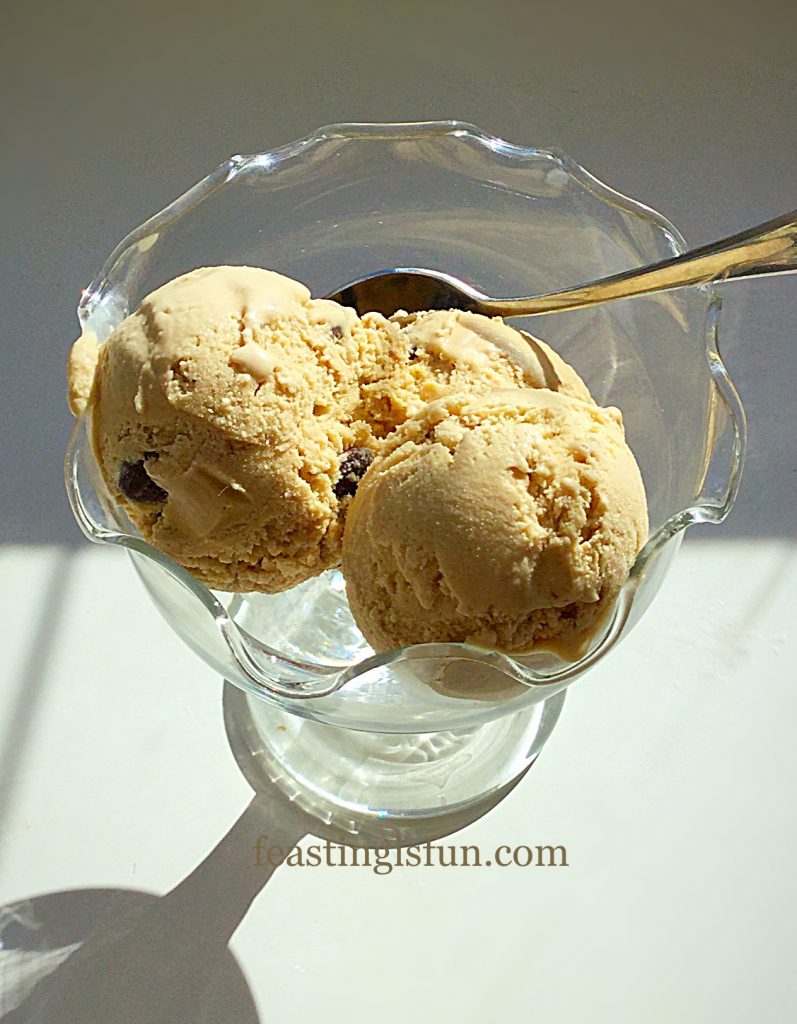
FF Camp Coffee Ice Cream
Camp Coffee Ice Cream a delicious dessert.

I like to serve Camp Coffee Ice Cream in a pretty bowl for dessert, or in a cone if we are eating in the garden and enjoying the sun. It’s not unheard of to be handing cones full of ice cream, over the fence to our neighbours either!

It’s definitely more fun to share.

If you have enjoyed this recipe for Camp Coffee Ice Cream you may also like these:

Blackberry Chocolate Chunk Ice Cream
FF Camp Coffee Ice Cream
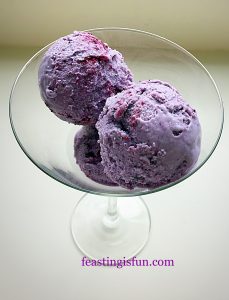
Blackberry Chocolate Chunk Ice Cream

Chocolate Orange Ice Cream

FF Camp Coffee Ice Cream
Chocolate Orange Ice Cream

Strawberry Ripple Ice Cream

FF Camp Coffee Ice Cream
Strawberry Ripple Ice Cream

I have a thing for hot and cold food together. So my Vanilla Fudge Chocolate Brownies with a scoop or two of Camp Coffee Ice Cream and hot custard poured over, would be my idea of pudding heaven!

That is exactly why I enjoy cooking and baking so much at home. The flavours and combinations are limitless, plus it’s usually a lot cheaper to make it yourself and tastes a lot better. Why? Because you can make it exactly how you want it to taste.

Whatever to are making, baking and creating in your kitchens, have fun creating you feast. Also if you have the means to share some of your bakes, it is so rewarding. Seeing someone smile as you hand them a slice of cake, knowing they have not been forgotten about, simply because the can’t get out and about. We live in communities. Let’s make someone’s day with a surprise treat?

Sammie xx

Camp Coffee Club  provided me with the Camp coffee to make this recipe. All opinions, views, content and photography are my own. Please see my Disclosure Policy.

Triple Chocolate Chunk Ice Cream

I have come across very few people who do not like ice cream. Perhaps they are restricted due to dietary reasons, and yet they still love it. And the most popular flavour, by far, is chocolate. So why not indulge yourself with my dreamy, creamy Triple Chocolate Chunk Ice Cream?

FF Triple Chocolate Chunk Ice Cream
Triple Chocolate Chunk Ice Cream chocca full of flavour!

So, if you are a lover chocolate ice cream, then this is THE one for you!

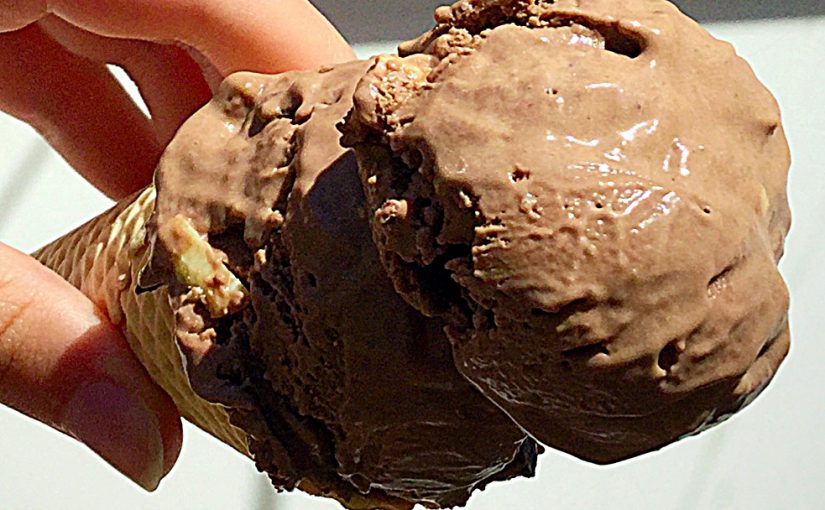
Rich, smooth chocolate ice cream with delicious chunks of white, milk and dark chocolate in every mouthful. What more could a chocolate lover ask for!

FF Triple Chocolate Chunk Ice Cream
Triple Chocolate Chunk Ice Cream perfect for every kind of chocolate lover.

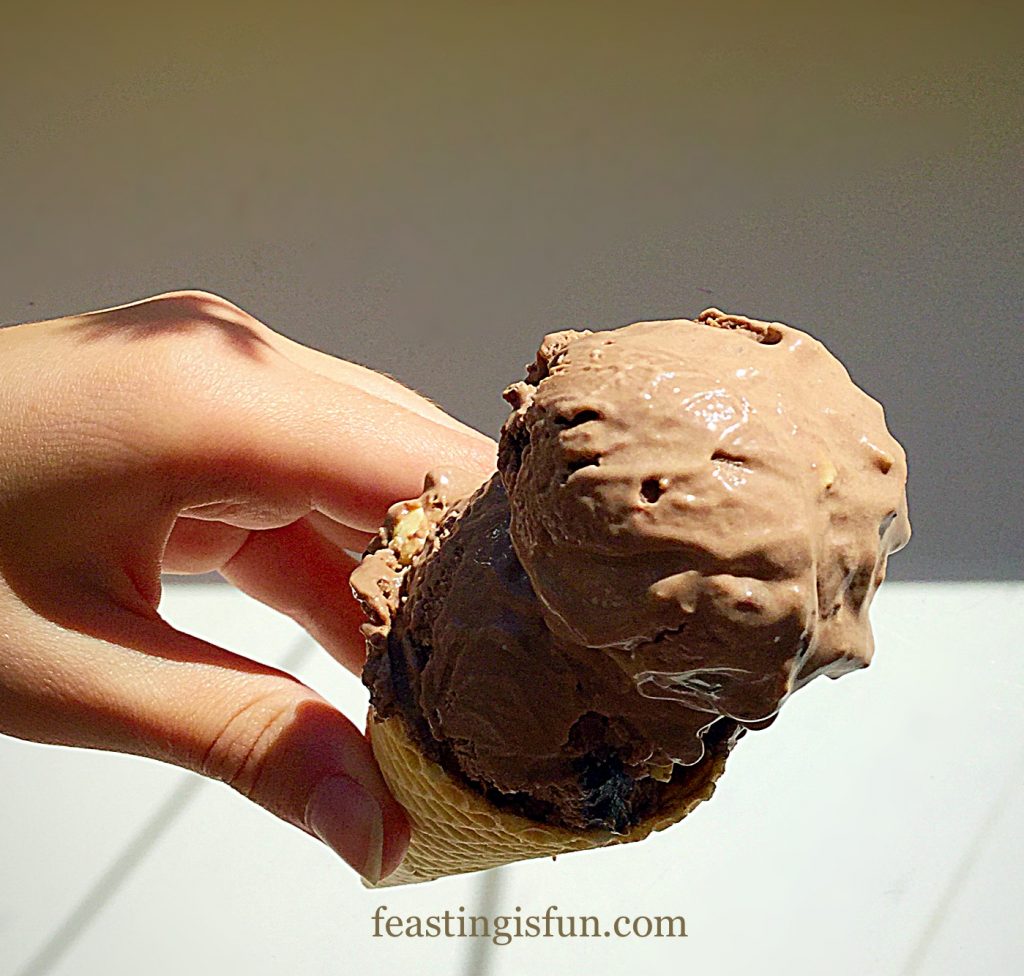
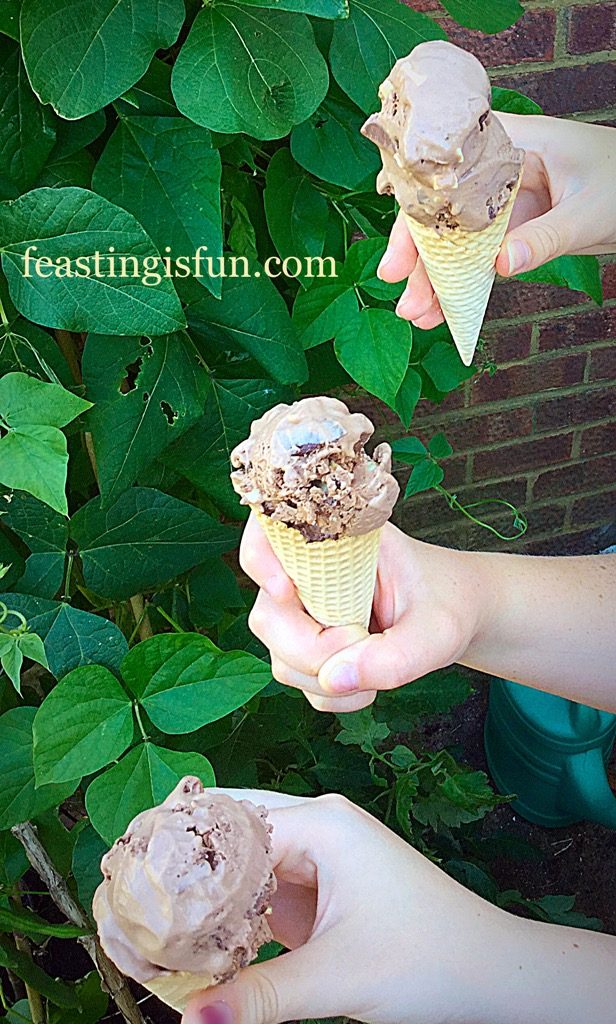
I honestly don’t think I’ve ever seen our three teenage children so excited about an ice cream. They absolutely couldn’t wait for the photo shoot of this Triple Chocolate Chunk Ice Cream to be over so that they could start eating their laden cones.

FF Triple Chocolate Chunk Ice Cream
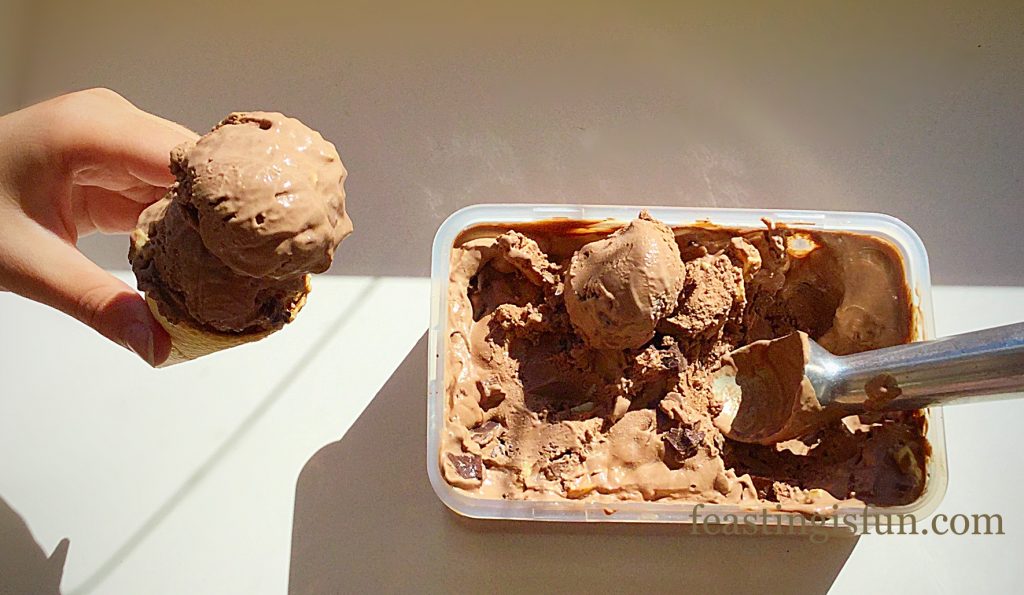
Triple Chocolate Chunk Ice Cream patiently held waiting to be consumed!

Quite a cute picture, especially as the tallest is holding the bottom ice cream!

A Divine Recipe

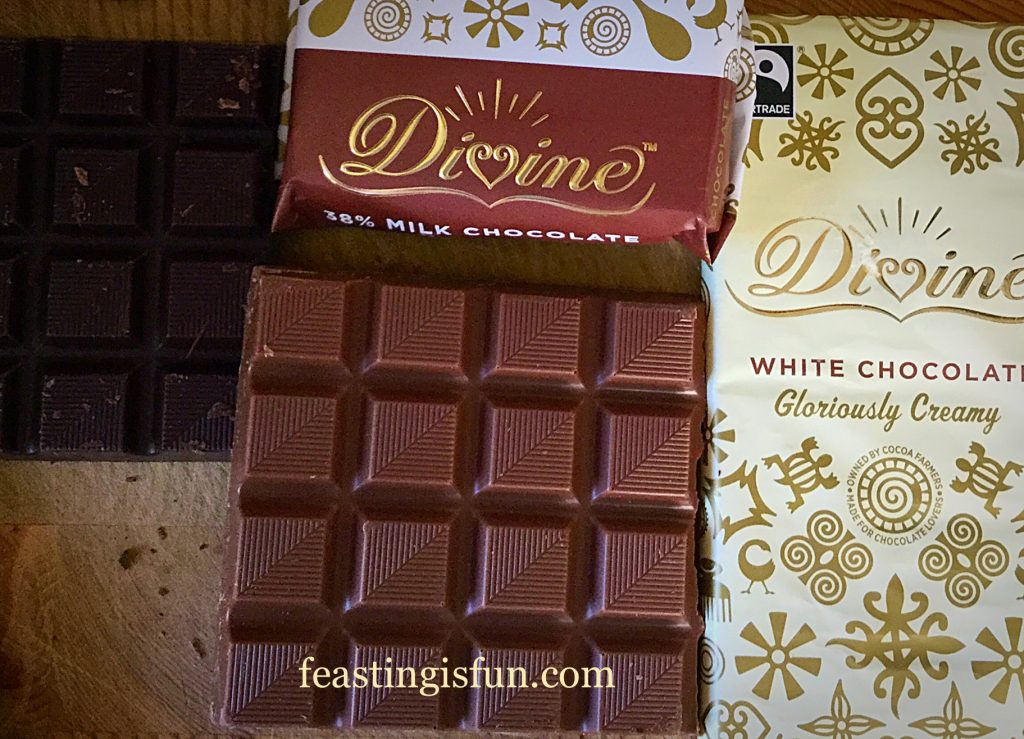
Divine Chocolate sent me some of their chocolate to use in baking. And so I couldn’t resist making an ice cream. Not just any ice cream though, a really good chocolate ice cream, with whole pieces of chocolate throughout, making each bite utterly delicious.

FF Triple Chocolate Chunk Ice Cream
Divine Chocolate flavours this ice cream all the way through.

While I have made no churn ice cream before, which did turn out spectacularly well, following attempts have been too sweet for my palette. Although our children have enjoyed my experiments, I couldn’t honestly put the recipes on here. Because, my standards are high and overly sweet doesn’t cut it with me.

FF Triple Chocolate Chunk Ice Cream
Triple Chocolate Chunk Ice Cream a perfect balance of flavours.

While it may be seen as more convenient making a no churn ice cream, the preparation time is the same, although churning adds an extra 15-20 minutes. Although churned ice cream is already three quarters frozen when it goes into the freezer. So there’s less time to wait until it’s ready to scoop!

Anyhow this Triple Chocolate Chunk Ice Cream is beautiful when churned, with a  silky, smoothness that tempts the tastebuds.

Recipe: Make 750ml Triple Chocolate Chunk Ice Cream

300ml/ 1/2 pint  Double Cream

300ml/ 1/2 pint Milk – Whole or Semi Skimmed

4 Large Free Range Egg Yolks – the whites can be frozen for up to 1 month

1tsp Corn Flour

5 tablespoons Caster Sugar

1tsp Vanilla Extract – I use Nielsen Massey

200g/7oz Dark Chocolate

100g/4oz Milk Chocolate

100g/4oz White Chocolate

Method: Ensure the frozen compartment of your ice cream maker has been in the freezer for 12 hours or according to manufacturer’s instructions.

Making The Ice Cream Base

Note: For step by step instructions with accompanying photographs please see Very Vanilla Ice Cream.

  • Pour the cream and milk into a heavy bottomed saucepan and heat over a medium heat, until scalding point is reached, a rim of small bubbles will appear appear around the outside liquid, at the saucepan’s edge, this is called the scalding point, just before the liquid is about to boil. As soon as the scalding point has been reached remove the pan from the heat.
  • Into a large, heatproof bowl add the egg yolks, sugar, corn flour and vanilla extract.
  • Whisk the egg yolks until they are pale and thickened, with the whisk running slowly gently pour the scalded liquid on to the eggs. Whisk until thoroughly incorporated.
  • Tranfer the contents of the bowl back to the saucepan, (I quickly wash up the original bowl, once the custard base has been poured into the pan and before I put the pan back on to the heat). Place the saucepan over medium heat and stir until the custard base has thickened and coats the back of a wooden spoon.
  • Break up 150g of the dark chocolate and place it into the freshly washed bowl.
  • Pour the custard base, through a sieve, into the bowl, over the top of the broken chocolate.
  • Stir until the chocolate has completely melted into the hot custard base. Incidentally, this is also how to make chocolate custard!
  • Place cling film directly on to the top of the chocolate custard, to stop a skin forming and leave to cool on the worktop until warm, then place in the fridge to completely chill.

Churning The Ice Cream

  • Set up your ice cream maker as per the manufacturer’s instructions, mine has to be churning as I pour the ice cream base in.
  • Remove the cling film from the top of the ice cream base and give it a good mix. If you find it easier transfer the liquid to a jug.
  • Pour the chocolate ice cream base into the churning bowl via the opening.
  • Churn for 15-20 minutes until the ice cream is thickly frozen.

Preparing The Ice Cream To Freeze

  • Once churned to a thick consistency, turn off the machine and remove the top and paddle. Scrape off as much ice cream from the paddle as you can. And then, over the sink lick off the rest!!
  • Using a deep silicone spatula, transfer the thick chocolate ice cream to a freezer proof container that has a tight fitting lid.
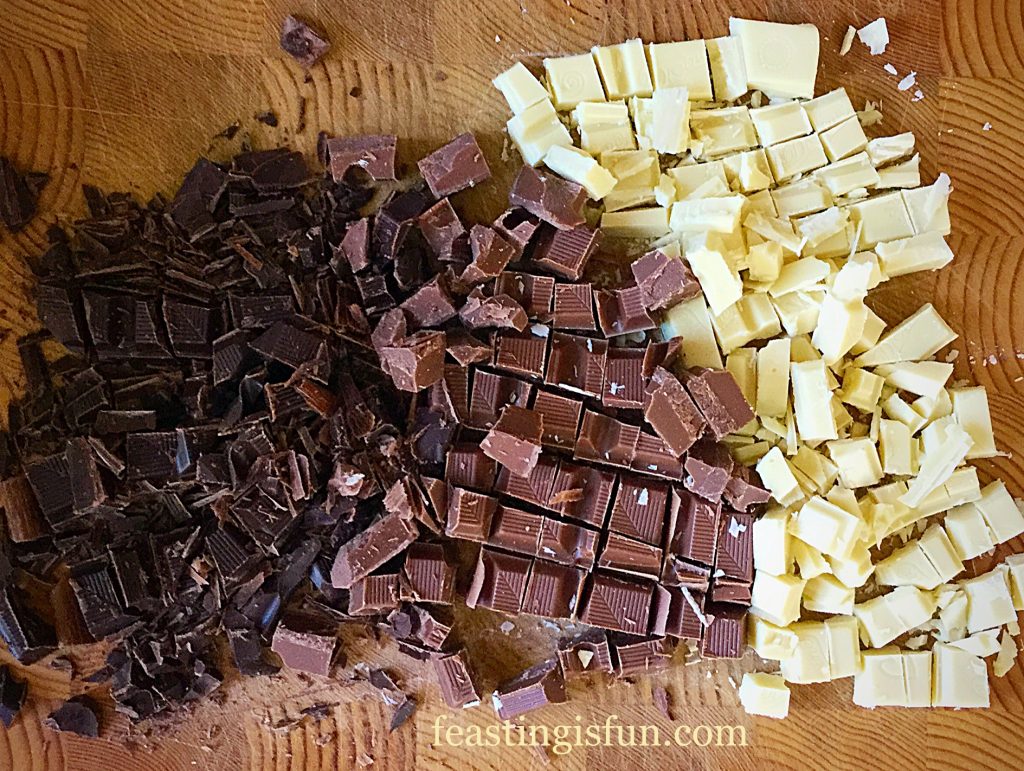
  • Roughly chop the remaining dark, milk and white chocolate.
FF Triple Chocolate Chip Ice Cream
White, milk and dark chocolate chunks.
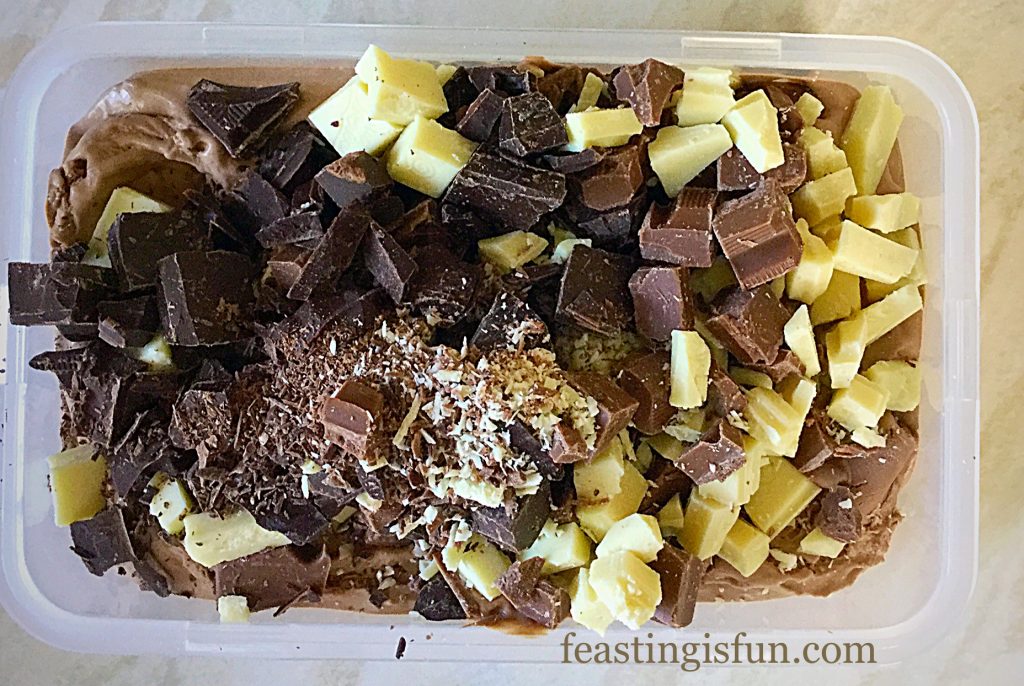
  • Sprinkle the chocolate chunks on top of the thick chocolate ice cream in the freezer tub.
FF Triple Chocolate Chunk Ice Cream
Triple Chocolate Chunk Ice Cream you know this is going to taste so good!
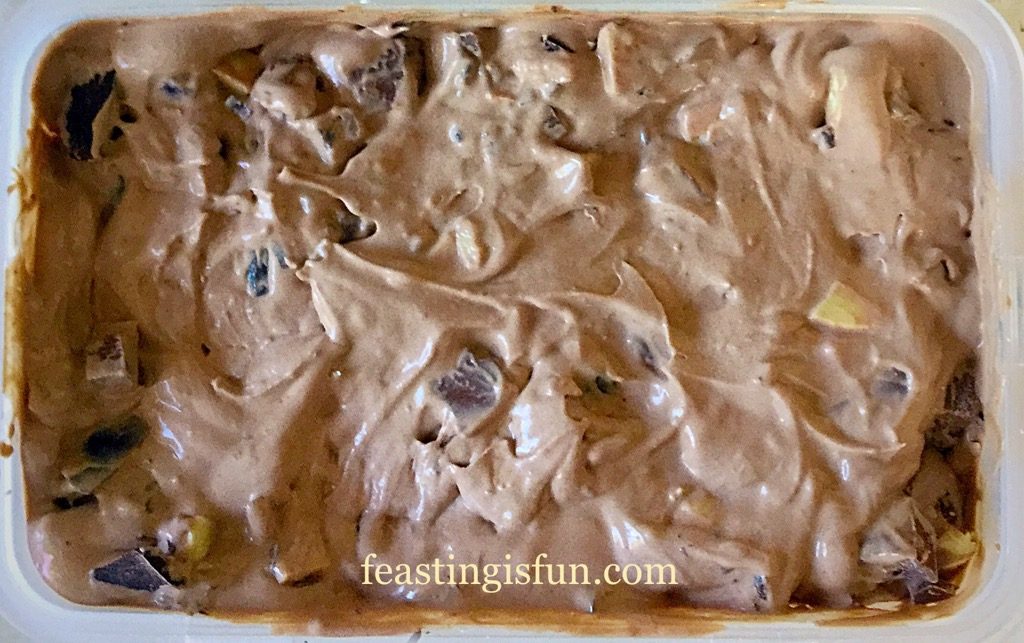
  • Swirl the triple chocolate chunks evenly through the ice cream. I use the handle of a wooden spoon, swirling the chunks through the ice cream. Then snap on the tight fitting lid and place in the freezer for 6-8 hours, or overnight to finish freezing.
FF Triple Chocolate Chunk Ice Cream
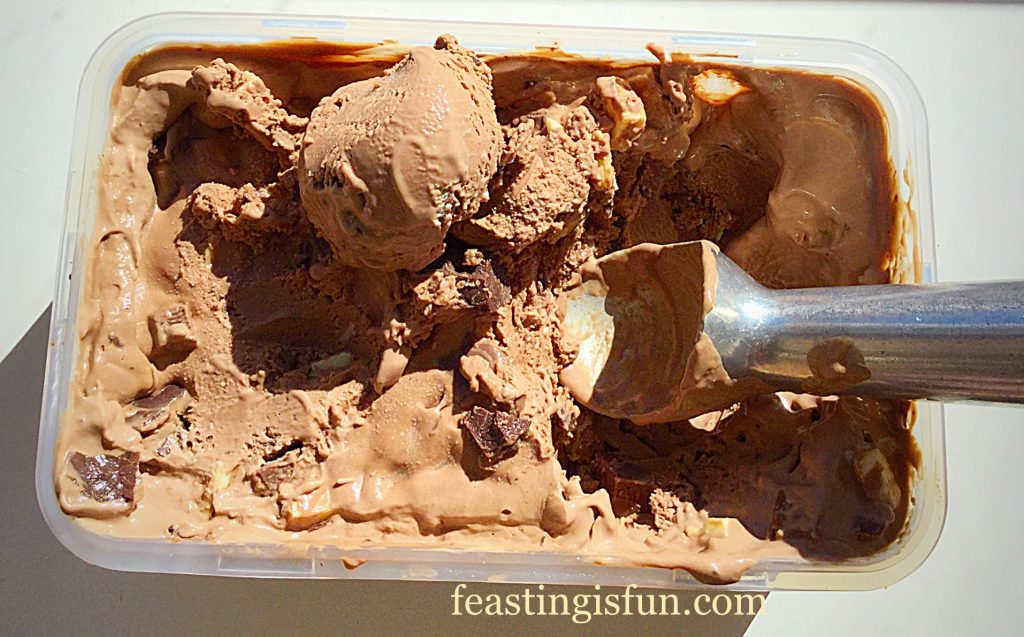
Triple Chocolate Chunk Ice Cream ready for the freezer.

How good does that tub look?

Exactly! You cannot buy this kind of deliciousness.

To serve, remove from the freezer 15-20 minutes prior to serving. As there are no artificial softeners or artificial anything in this Triple Chocolate Chunk Ice Cream, it needs a little time to warm before being scoop-able!

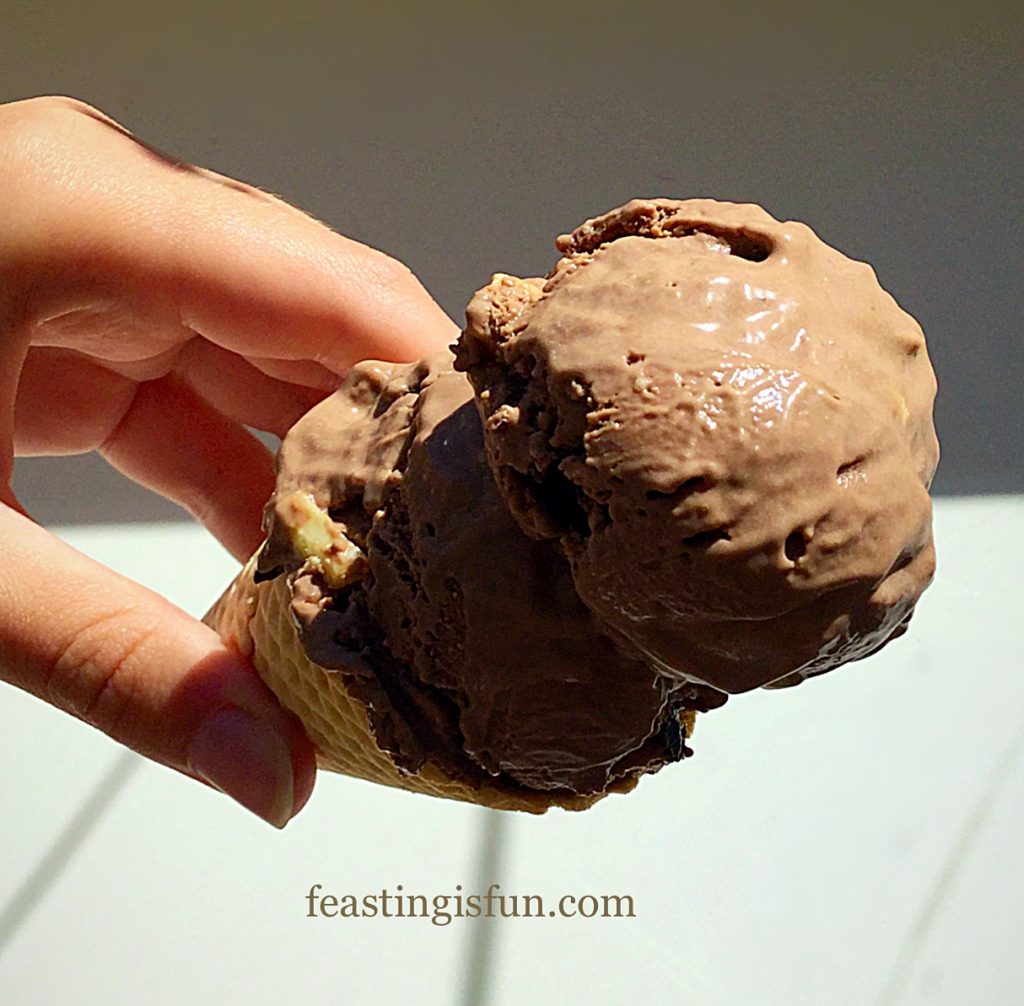
Scoop into cones, bowls, chocolate dipped cups, or even my Toffee Cookie Cups – whatever your heart desires.

FF Triple Chocolate Chunk Ice Cream
Triple Chocolate Chunk Ice Cream so decadent and delicious.

Then tuck in. Savour the supreme creaminess of this delightful ice cream.

Just a little tip, make a double batch of this ice cream, it disappeared in one night between 5 of us – just sayin’.

If you love this recipe for Triple Chocolate Chunk Ice Cream why not take a look at these:

Blueberry Bloom Ice Cream

 FF Triple Chocolate Chunk Ice Cream
Blueberry Bloom Ice Cream definitely one for the adults with a splash of gin 😉

Lemon Ripple Ice Cream

FF Triple Chocolate Chunk Ice Cream
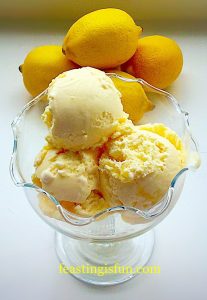
Lemon Ripple Ice Cream

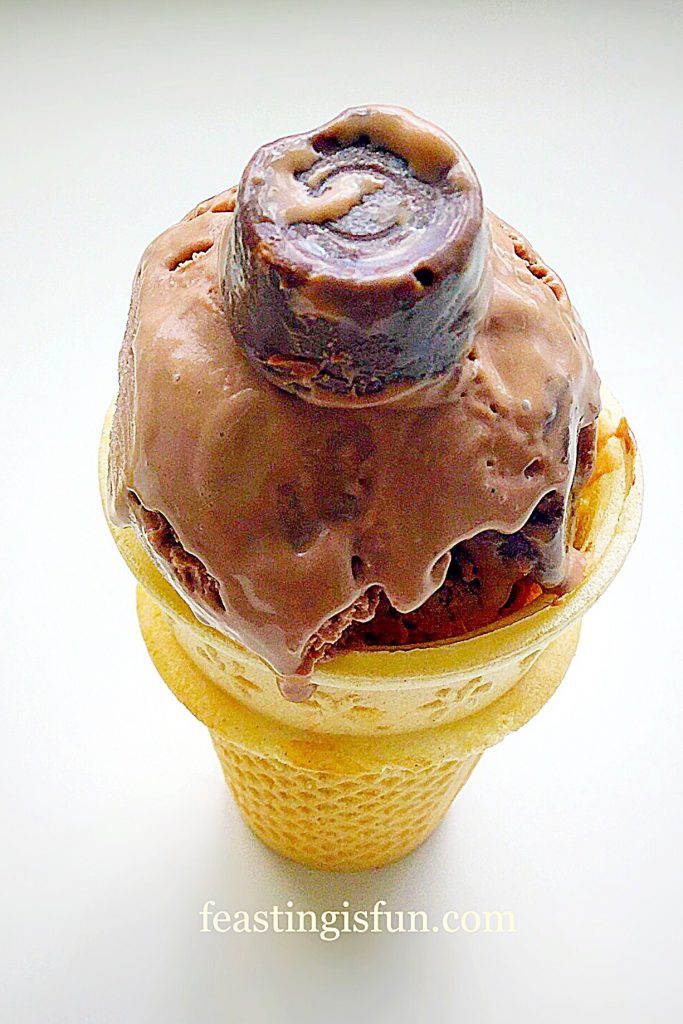
Chocolate Rolo Ice Cream

FF Triple Chocolate Chunk Ice Cream
Chocolate Rolo Ice Cream

Ice cream is fun. Since it brings back childhood memories for many people and why shouldn’t we still enjoy food from our memories.

During my summer ice cream making journey, all who have tried the various flavours I have made, including the ones that didn’t make the cut, have agreed that homemade tastes best.

So as we edge into Autumn and proper pudding season begins, don’t banish your ice cream maker to the back of the cupboard, languishing lonely for another year. And yes in our house ice cream makers have feelings. Join me as I pair new ice cream flavours with puddings and desserts through the colder months.

Not got an ice cream maker? I highly recommend the Which Best Buy ice cream maker from Andrew James . It has been thoroughly tested throughout the summer, keep your eyes open for the review coming up shortly.

Have fun, feasting, sharing and enjoying good company, remembering that food always tastes better when it’s shared!

Sammie xx

Divine Chocolate provided me with the chocolate for this recipe. All view, opinions, content and photography are my own. Please see my Disclosure Policy.


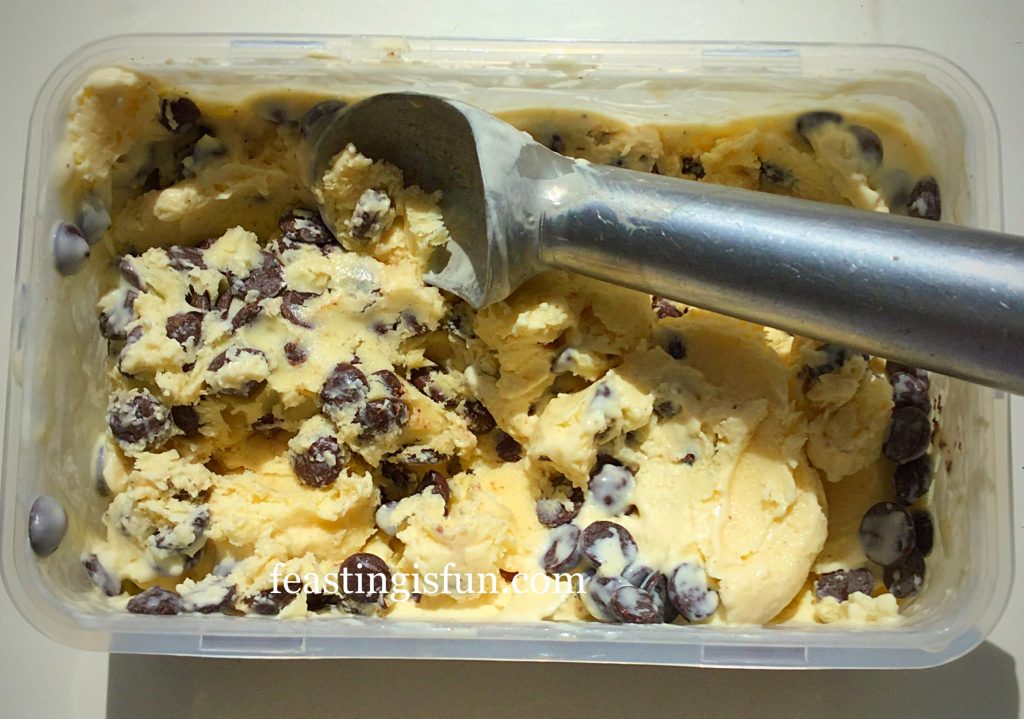
Dark Chocolate Chip Vanilla Ice Cream

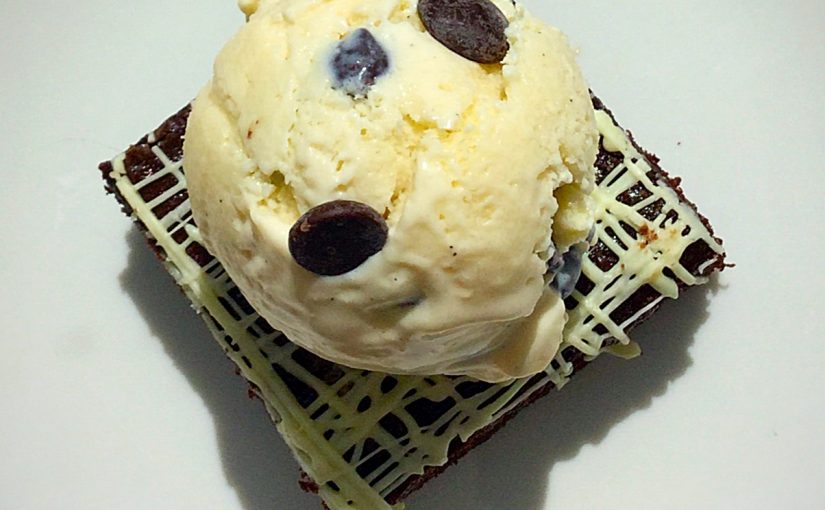
Dark Chocolate Chip Vanilla Ice Cream, perfect on it’s own or to accompany  sweet, hot, fudge brownies.

FF Dark Chocolate Chip Vanilla Ice Cream
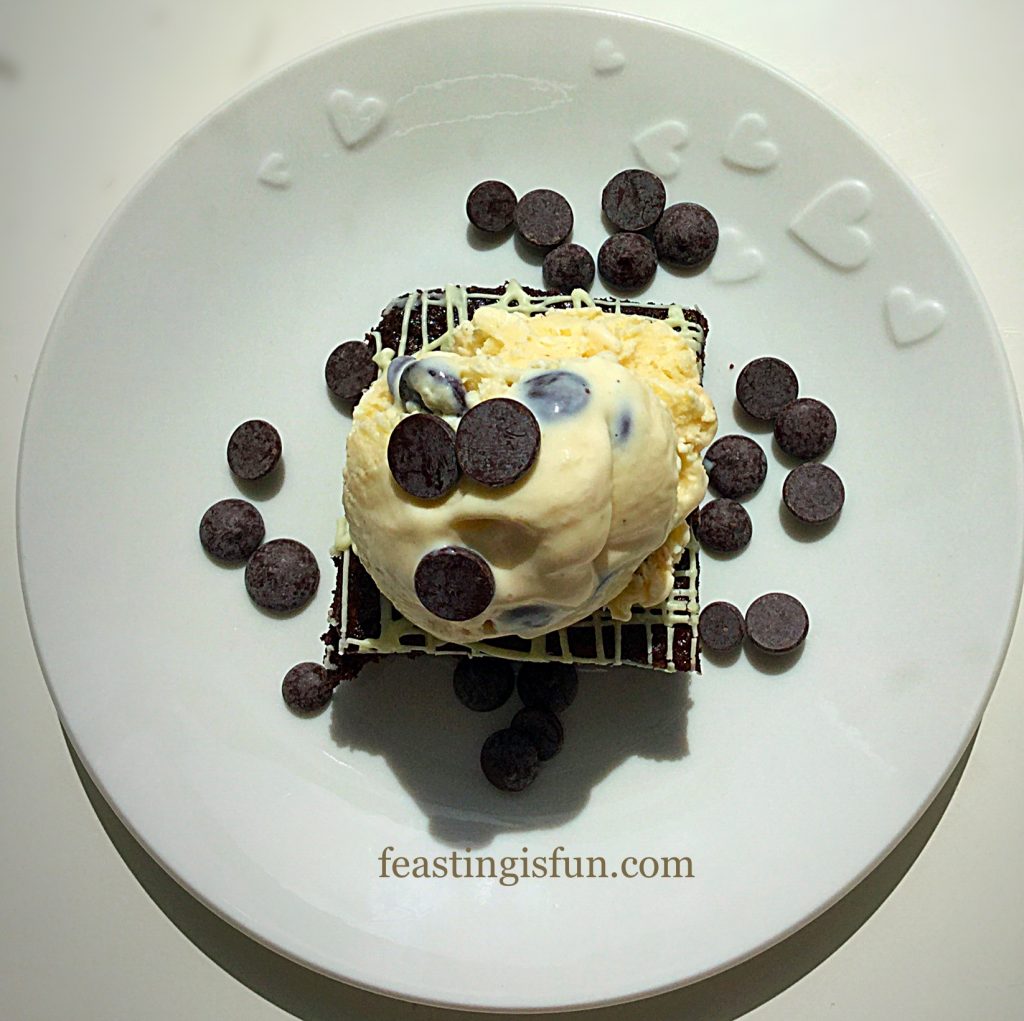
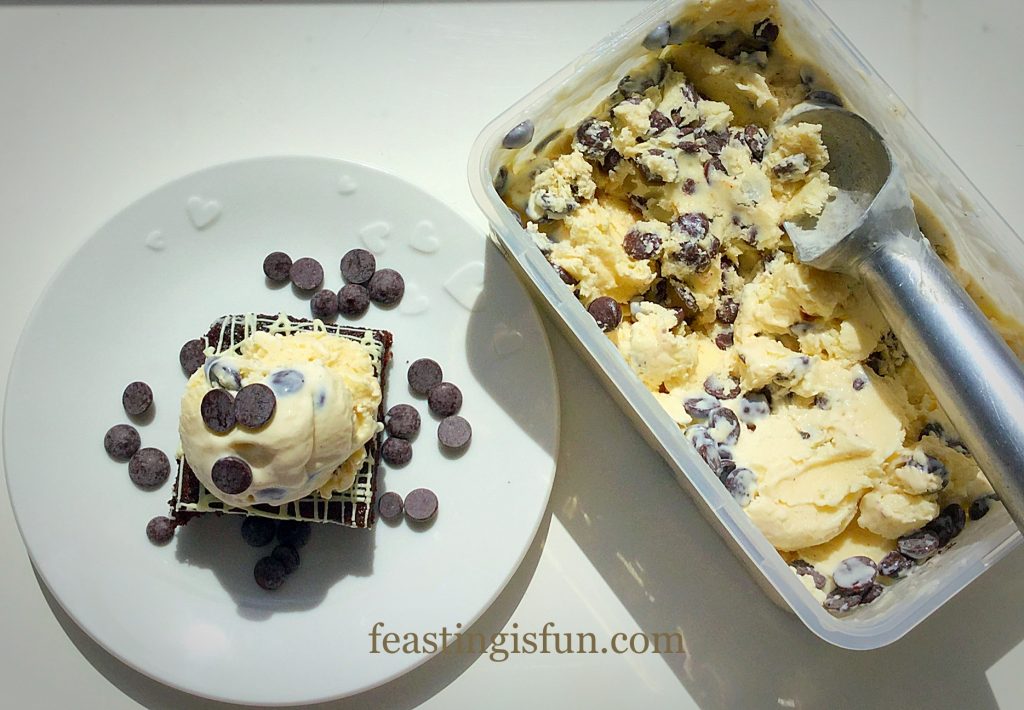
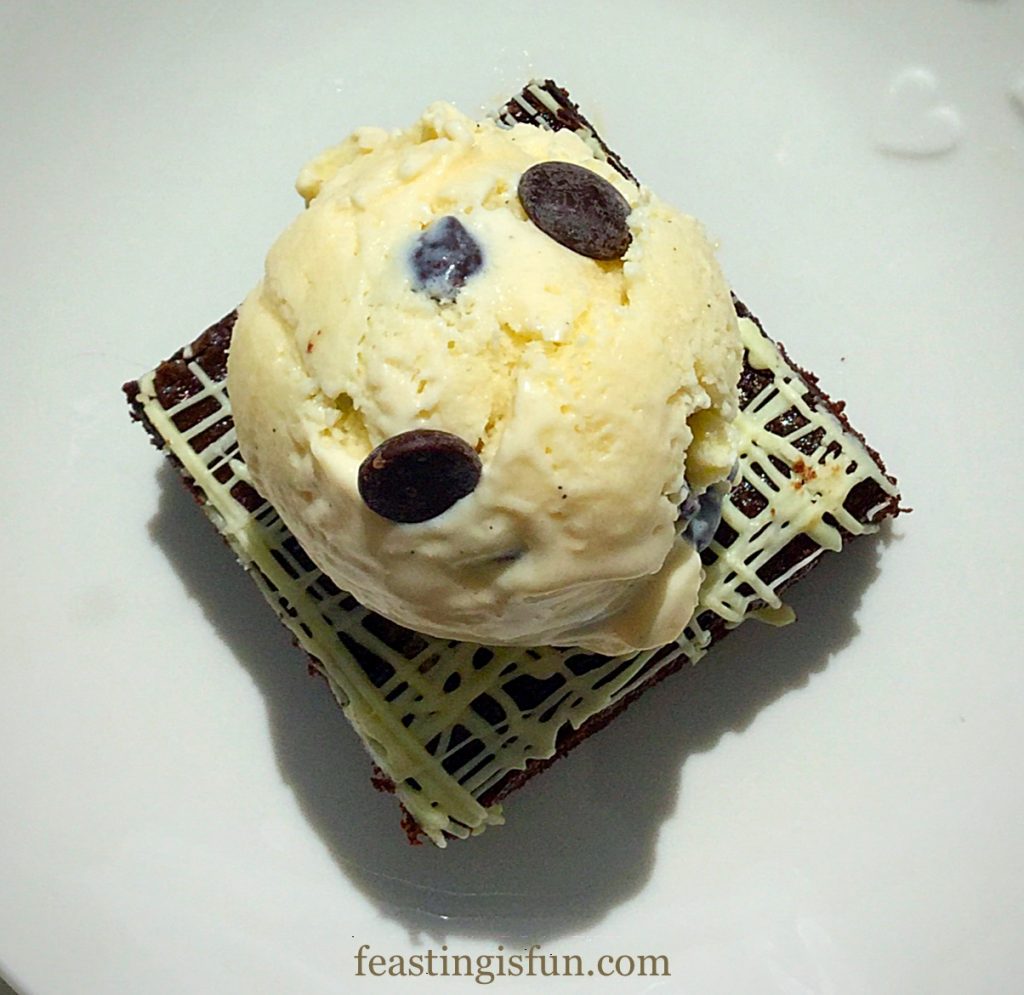
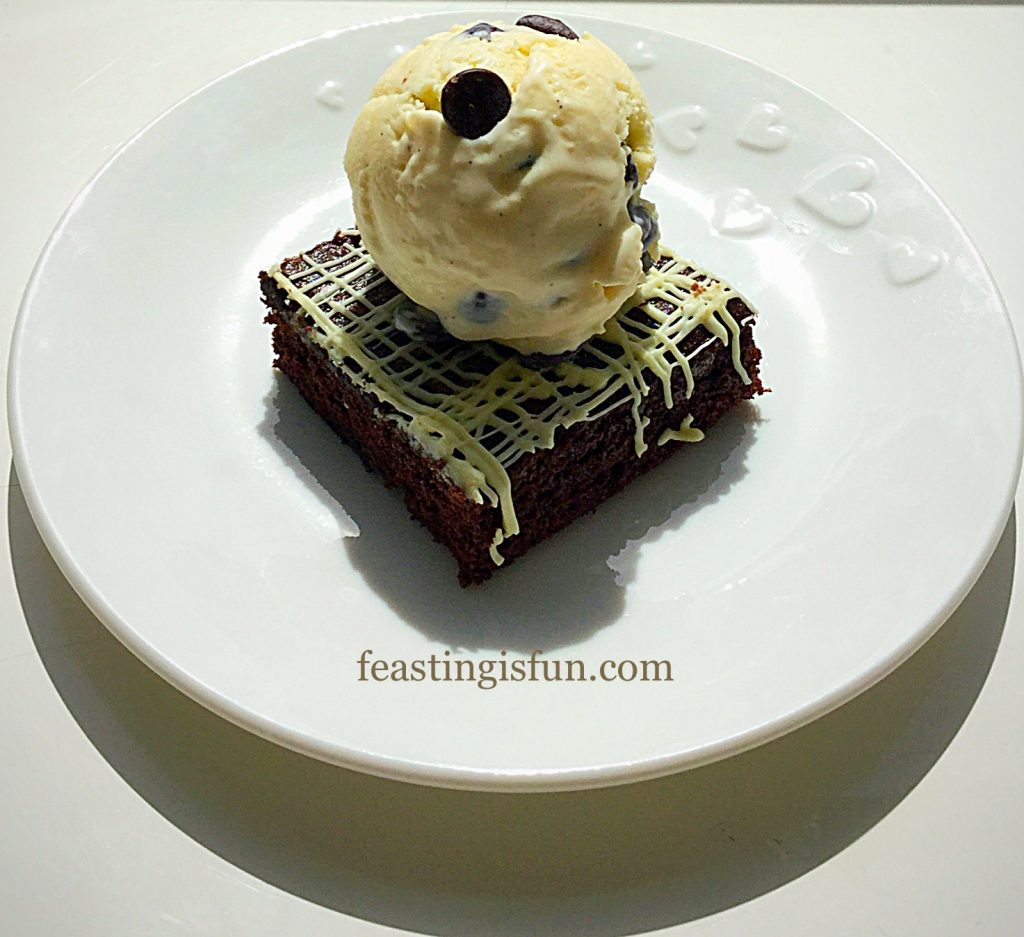
Dark Chocolate Chip Vanilla Ice Cream crowning a delicious homemade chocolate brownie.

Using Callebaut Dark Chocolate Belgian Chips ensures this ice cream has more than a touch of luxury to it.

Vanilla bean speckled ice cream, crammed full of dark chocolate chips is the perfect treat for those who enjoy a not-too-sweet-treat. It also is the perfect accompaniment for a sweet treat, such as my Vanilla Fudge Chocolate Brownies. Balancing out and complimenting the sweet, chocolate and vanilla fudge brownie with dark chocolate chips in a vanilla ice cream.

FF Dark Chocolate Chip Vanilla Ice Cream
Dark Chocolate Chip Vanilla Ice Cream so delicious.

Ok so that’s the technical side to things, in my mind there is only one way to improve a brownie and that is by warming it slightly, 10 secs on medium, in the microwave and crowning it with one great big scoop of ice cream!!!!

The ultimate combination.

FF Dark Chocolate Chip Vanilla Ice Cream
Dark Chocolate Chip Vanilla Ice Cream crunchy chocolate against the velvety ice cream.

So much so, I actually created this Dark Chocolate Chip Vanilla Ice Cream to go with Brownies. By all means serve it in a cone or bowl, but my recommendation is to serve it on top of a homemade Chocolate Macadamia Nut Brownies.

Just a quick note about the chocolate chips – I use chocolate chips that are designed for melting, that is they are not the chocolate chips you find in the baking isle with added stabilisers to make them bake stable. Alternatively use a couple of bars of good quality (70% cocoa) chocolate chopped up into chunks.

Recipe: Makes 750ml Dark Chocolate Chip Vanilla Ice Cream

300ml/ 1/2pint Double Cream

300ml/ 1/2pint Milk – Whole or Semi Skimmed – not skimmed

1tsp Vanilla Bean Paste – I use Nielsen-Massey

4 Large Free Range Egg Yolks – freeze the whites in bags for meringues, for up to one month in the freezer.

6tbsp Caster Sugar

1tsp Corn Flour – I used certified gluten free by – Doves Farm

250g/9oz Dark Chocolate Chips – I use Callebaut

Method: Ensure the freezing compartment of your ice cream maker has been in the freezer overnight, or according to the manufacturers instructions.

For step by step photographs showing how to make the ice cream custard base please see Very Vanilla Ice Cream

  • Place the cream and milk together in a large, heavy bottomed saucepan, over a medium heat. Heat to scalding point – this is just before boiling and you will see a ring of bubbles appear around the rim of the liquid. Once scalding point is reached remove from the heat.
  • Meanwhile in a large bowl whisk together the egg yolks, vanilla bean paste, sugar and corn flour until pale and creamy.
  • With the whisk running on slow, gradually add the hot cream mixture to the egg mixture in the bowl.
  • Once combined pour the custard base back into the saucepan and place over a medium heat.
  • Stir constantly with a wooden spoon, until the custard is thickened and coats the back of the spoon.
  • Pour the cooked custard, through a sieve, into a clean bowl.
  • Cover the top of the custard base with cling film, so that it is in direct contact with the liquid, this prevents a skin from forming.
  • Allow the liquid to cool on the work top, I place the bowl on a trivet to aid air circulation.
FF Dark Chocolate Chip Vanilla Ice Cream
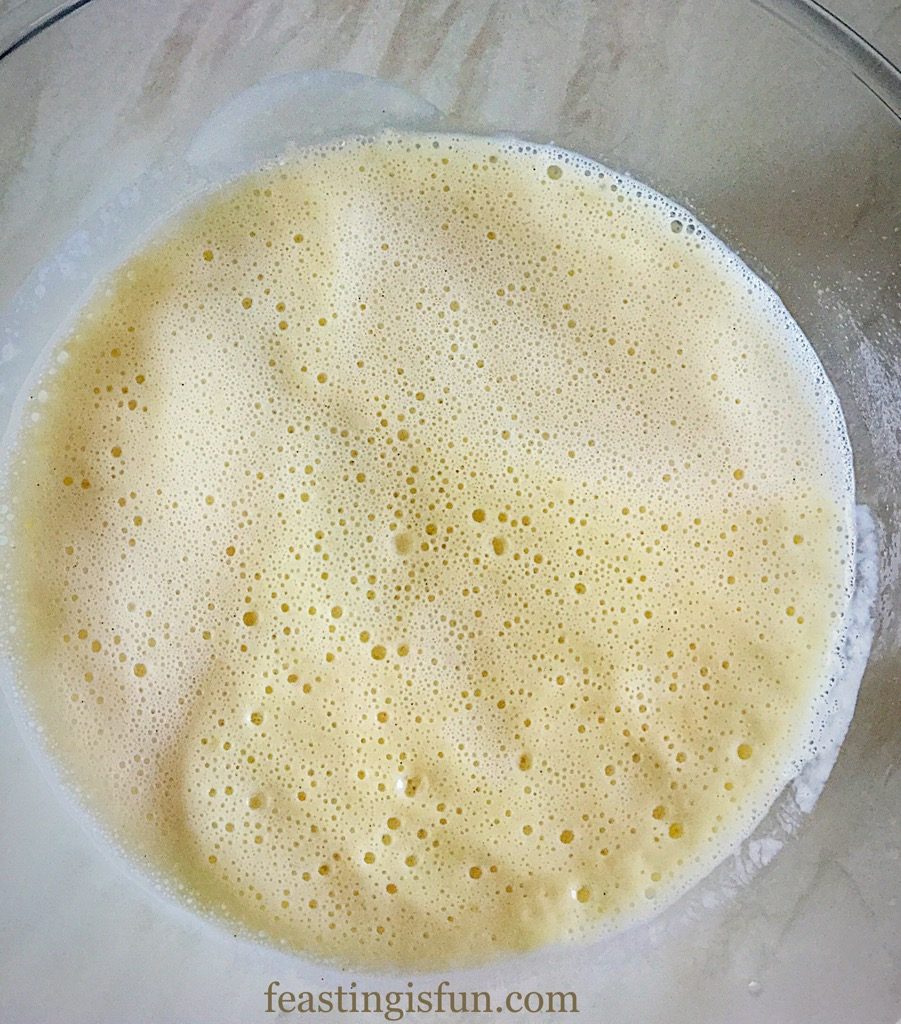
The vanilla custard base cooling on the worktop.
  • When the liquid is just warm place the bowl into the fridge until chilled.
  • Set up your ice cream maker according to the manufacturers instructions.
  • With my Andrew James ice cream maker the machine must be churning as the liquid is poured in. If it is easier, transfer the custard base to a jug for pouring.
  • Pour the liquid into the ice cream machine and churn until you have a soft set ice cream.
  • Stop the machine, remove any paddle and scoop the contents into a freezer proof, sealable container.
  • Add most of the dark chocolate chips to the soft ice cream and swirl through using the handle of a wooden spoon.
  • Sprinkle the remaining dark chocolate chips on to the surface of the ice cream. Clamp on the lid and place in the deep freeze until fully frozen.
FF Dark Chocolate Chip Vanilla Ice Cream
Dark Chocolate Chip Vanilla Ice Cream needs a few minutes out of the freezer to soften.

To serve, remove the Dark Chocolate Chip Vanilla Ice Cream from the freezer 10-20 minutes before needed, so that it can soften and be easily scooped. One of the fantastic advantages of making your own ice cream at home, is, that no preservatives or additives are present. Yes this means waiting for the ice cream to soften a little prior to scooping. For me I’m willing to wait!

FF Dark Chocolate Chip Vanilla Ice Cream
Dark Chocolate Chip Vanilla Ice Cream perfect in a cone as well as with a brownie.

The contrast between the clattering, crunchy chocolate chips and the smooth, velvety, vanilla ice cream simply creates one of the best ice creams I have tasted so far. Trust me, that says a lot.

I have made plenty of ice creams this year with my beloved Which Best Buy Andrew James Ice Cream Maker, some haven’t made it on to the blog yet as they either haven’t delivered on taste and texture, or simply need tweaking. I really am tough on the recipes that I’m willing to post. They have to be excellent, not just ok!

Trust me this Dark Chocolate Chip Vanilla Ice Cream is excellent.

If you have enjoyed this recipe for Dark Chocolate Chip Vanilla Ice Cream then you may also like these:

Strawberry Ripple Ice Cream

FF Dark Chocolate Chip Ice Cream
Strawberry Ripple Ice Cream

Chocolate Orange Ice Cream

FF Dark Chocolate Chip Vanilla Ice Cream
Chocolate Orange Ice Cream

Lemon Ripple Ice Cream

FF Dark Chocolate Chip Vanilla Ice Cream
Lemon Ripple Ice Cream

Making ice cream at home is so simple, the range of flavours are limitless and the cost of the ice cream maker justified by the quality of ice cream you can make at home.

I have put this Andrew James Ice Cream Maker, which has been awarded a Which Best Buy, through rigorous testing and I thoroughly recommend it.

Have fun, making, creating and baking in your kitchens.

Sammie xx

Andrew James provided me with the ice cream maker for the purposes of a review. All opinions, views, recipes, content and photographs are my own. please see my Disclosure Policy.

Chocolate Rolo Ice Cream

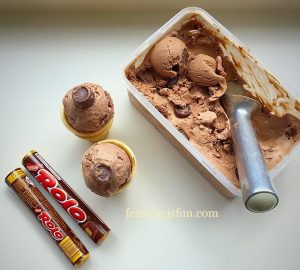
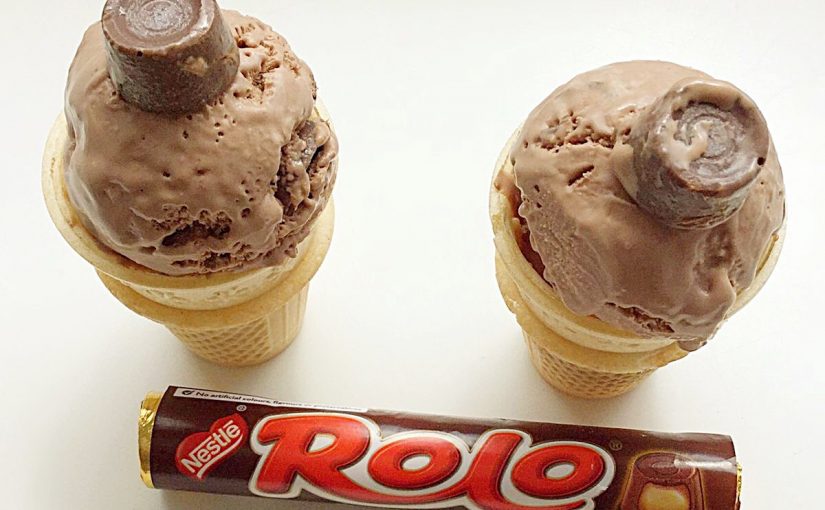
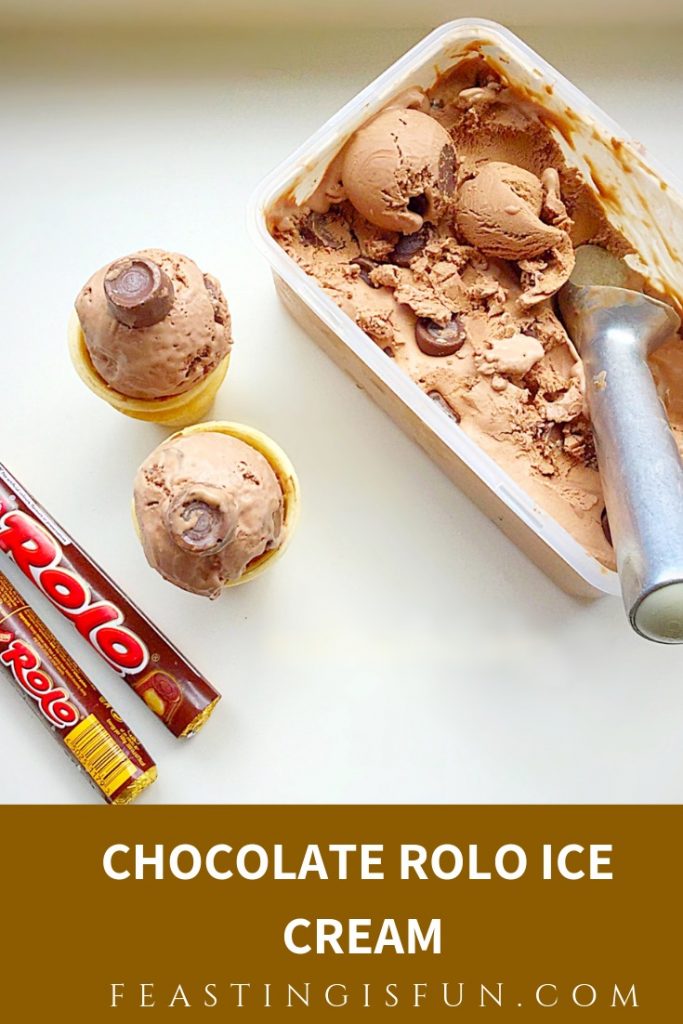
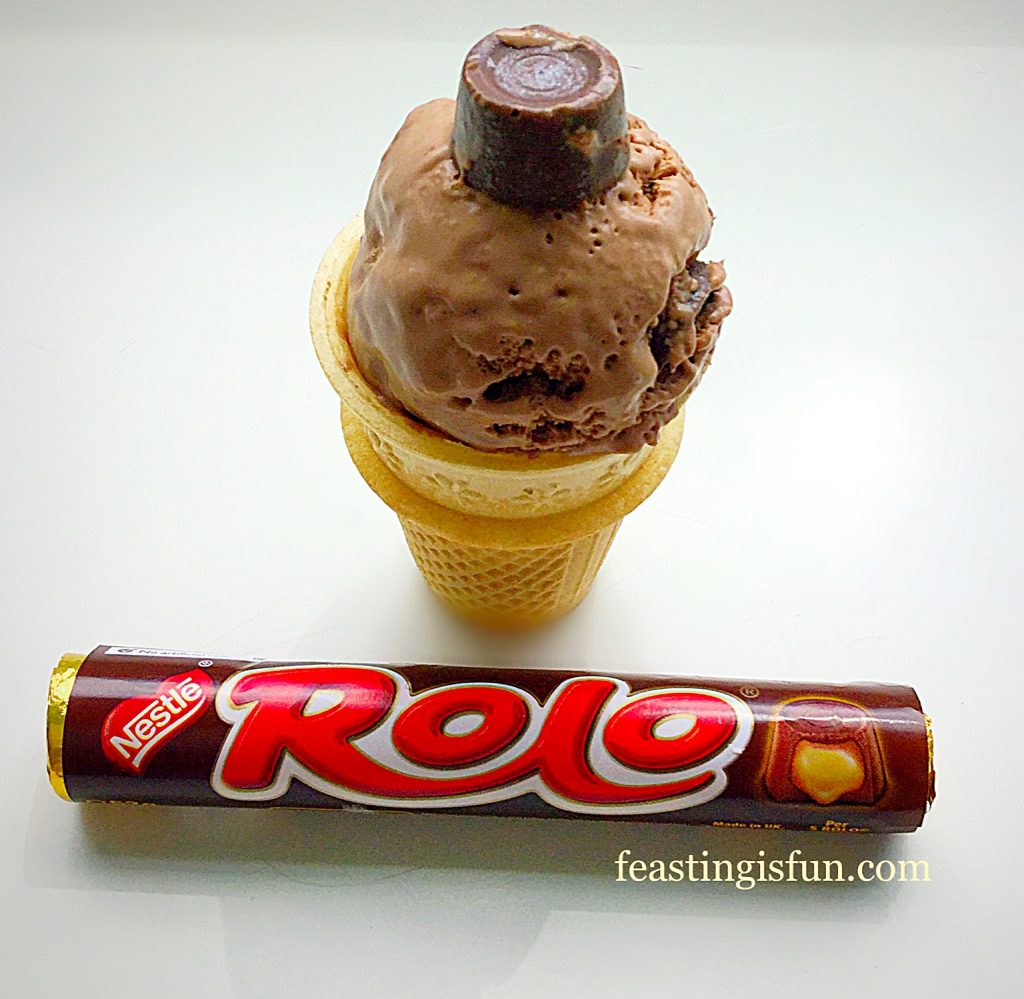
Chocolate Rolo Ice Cream. Silky, chocolate ice cream packed full of chocolate/caramel Rolos.

FF Chocolate Rolo Ice Cream

The idea for this recipe came from my friend and amazing fellow blogger Jane from  Jane’s Patisserie. While creating the most wonderful recipes, she also has just got a new puppy called Rolo. So you see I had to create something to celebrate the new puppy Rolo coming home. Chocolate Rolo Ice Cream seemed the perfect solution.

Chocolate Rolo Ice Cream

This Chocolate Rolo Ice Cream recipe is so versatile. Once you have made the chocolate ice cream base you can add whatever you like. I rather like the idea of a Mars Bar version, with big chunks swirled through the ice cream.

I am loving my Andrew James Which Best Buy Ice Cream Maker. In fact I now have a second bowl, which I can pop in the freezer. This means I can either make one big double batch of the same ice cream or split it into two different flavours.

Making ice cream at home is easy, inexpensive, you have control over what goes in AND you are only limited by your imagination as to how many flavours you come up with! Someone asked me today why they’d never had Chocolate Rolo Ice Cream before, my answer was I’d only just invented it!!

Recipe: Makes 750ml Chocolate Rolo Ice Cream

300ml Double Cream

300ml Whole or Semi Skimmed Milk

4 Large Free Range Egg Yolks – freeze the whites in a bag for up to one month

1tsp Vanilla Bean Paste/Vanilla Extract – I use Nielsen-Massey

1tsp Corn Flour – I use Doves Farm  as it is certified gluten free

5tbsp Caster Sugar

100g Dark Chocolate 70% Cocoa

4 Packets of Rolos

Method: Ensure the frozen bowl part of the ice cream maker has been in the freezer for at least 8 hours, or according to manufacturers instructions.

Note – for step by step photographs of how to make the custard base please see Very Vanilla Ice Cream

Making The Chocolate Ice Cream Base

  • Pour the milk and cream into a heavy based saucepan over a medium heat.
  • Heat until the milk is scalded – little bubbles will appear around the rim of the liquid just before it boils. Once it has reached this point remove from the heat.
  • In a large heat proof bowl add the egg yolks, vanilla paste, corn flour and sugar.
  • Whisk until pale and creamy.
  • With the whisk still running on low, slowly pour the hot cream mixture into the bowl – this creates the custard base.
  • Pour the custard base back into the saucepan, over a low-medium heat, stirring continuously.
  • When the custard has thickened and coats the back of a wooden spoon remove the pan from the heat.
  • Chop up the dark chocolate and place into a clean bowl – I quickly rinse out the original bowl used.
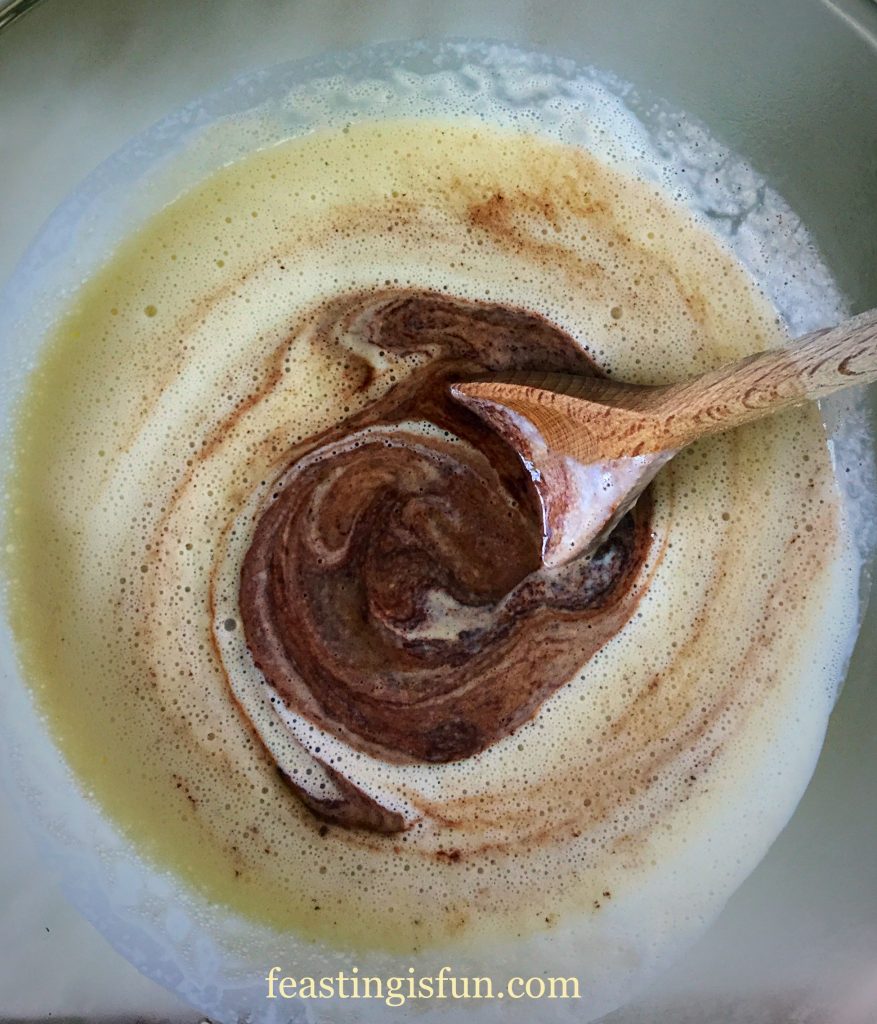
  • Place a sieve over the bowl and pour the hot custard through the sieve on to the chocolate.
  • Stir the custard with a wooden spoon and the chocolate will melt into it.
FF Chocolate Rolo Ice Cream
Chocolate melting into the custard ice cream base.
FF Chocolate Rolo Ice Cream
Delicious chocolate ice cream base ready to cool.
  • Cover the chocolate custard base with cling film, so the film lays directly on the surface of the custard. This will stop a skin from forming.
  • Once cooled to warm on the work top place the bowl in the fridge to chill.
  • As soon as the base is chilled it is ready to be churned.

Churning The Ice Cream

  • Set up your ice cream maker as per the manufacturers instructions.
  • Mine has to be churning, prior to adding any liquid.
  • Pour the chocolate custard into the churning machine through the opening and leave to churn until frozen – for me that is when the ice cream is turning as one clump with the beater.
  • Switch the machine off and remove the top part of the ice cream maker.
FF Chocolate Rolo Ice Cream
Chocolate Ice Cream that needs Rolos!
  • Remove the beater, scraping off as much of the ice cream as you can. Then lick off the rest of the ice cream 😉
  • Decant the chocolate ice cream into a freezer proof tub.
  • Unwrap 3 packets of Rolos and cut each one in half.
  • Add to the ice cream and swirl through using the handle of a wooden spoon.
  • Unwrap the fourth packet and place the Rolos directly on top of the ice cream.
Chocolate Rolo Ice Cream ready for the freezer.
  • Pop on a tight fitting lid and place the Chocolate Rolo Ice Cream into the freezer for at least 4 hours, or until fully frozen.
  • To serve, remove the ice cream from the freezer 15-20 before scooping. As our delicious Chocolate Rolo Ice Cream doesn’t have any artificial softener, preservatives or additives added to it, it’ll need a few minutes to soften up.
FF Chocolate Rolo Ice Cream
Chocolate Rolo Ice Cream softens and ready to serve.

Serve in cones, bowls or these fun cups I found.

Chocolate Rolo Ice Cream

Why not have a go at making your own ice cream at home. It really is so much fun.

If you have enjoyed this Chocolate Rolo Ice Cream Recipe here are a few more you may like:

Lemon Ripple Ice Cream

FF Chocolate Rolo Ice Cream
Lemon Ripple Ice Cream incredibly refreshing.

Chocolate Honeycomb Ice Cream

FF Chocolate Rolo Ice Cream
Chocolate Honeycomb Ice Cream served in toffee cookie cups.

Blackberry Chocolate Chunk Ice Cream

FF Chocolate Rolo Ice Cream
Blackberry Chocolate Chunk Ice Cream a brilliant blend of flavours.

I hope these recipes have inspired you to make your own ice cream at home? It tastes so much better than most of the ice creams you can buy and you can create your own ice cream sundaes like my Raspberry Chocolate Ice Cream Sundae.

Whatever you are making, baking and creating in your kitchens this very warm weekend, here in the South East of England, have fun feasting with family and friends.

Sammie xx

No part of this post may be reproduced or duplicated without the written permission of the owner. Please see my Disclosure Policy.

Strawberry Ripple Ice Cream

I love ice cream. In fact I love it so much that I really enjoy making my own. There are endless flavour possibilities and combinations AND it’s made with real cream. Also no extra additives are needed. Today I bring you Strawberry Ripple Ice Cream.

FF Strawberry Ripple Ice Cream
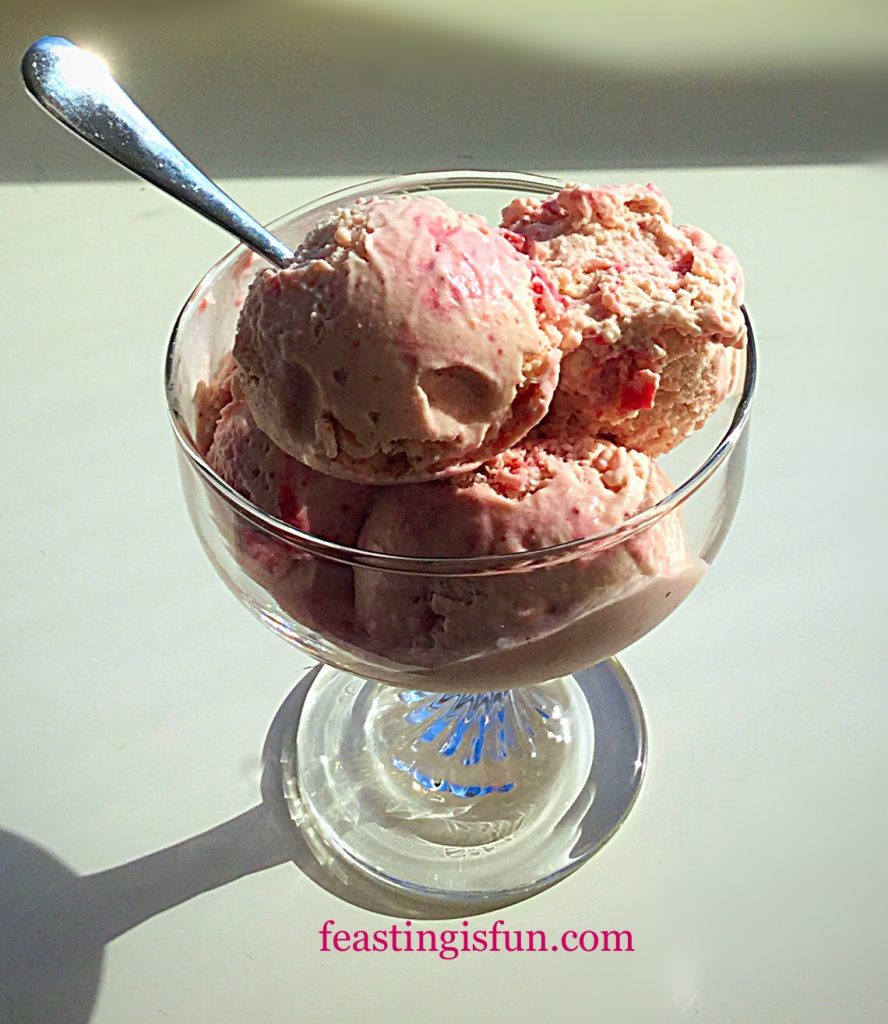
Strawberry Ripple Ice Cream perfect on a hot sunny day.

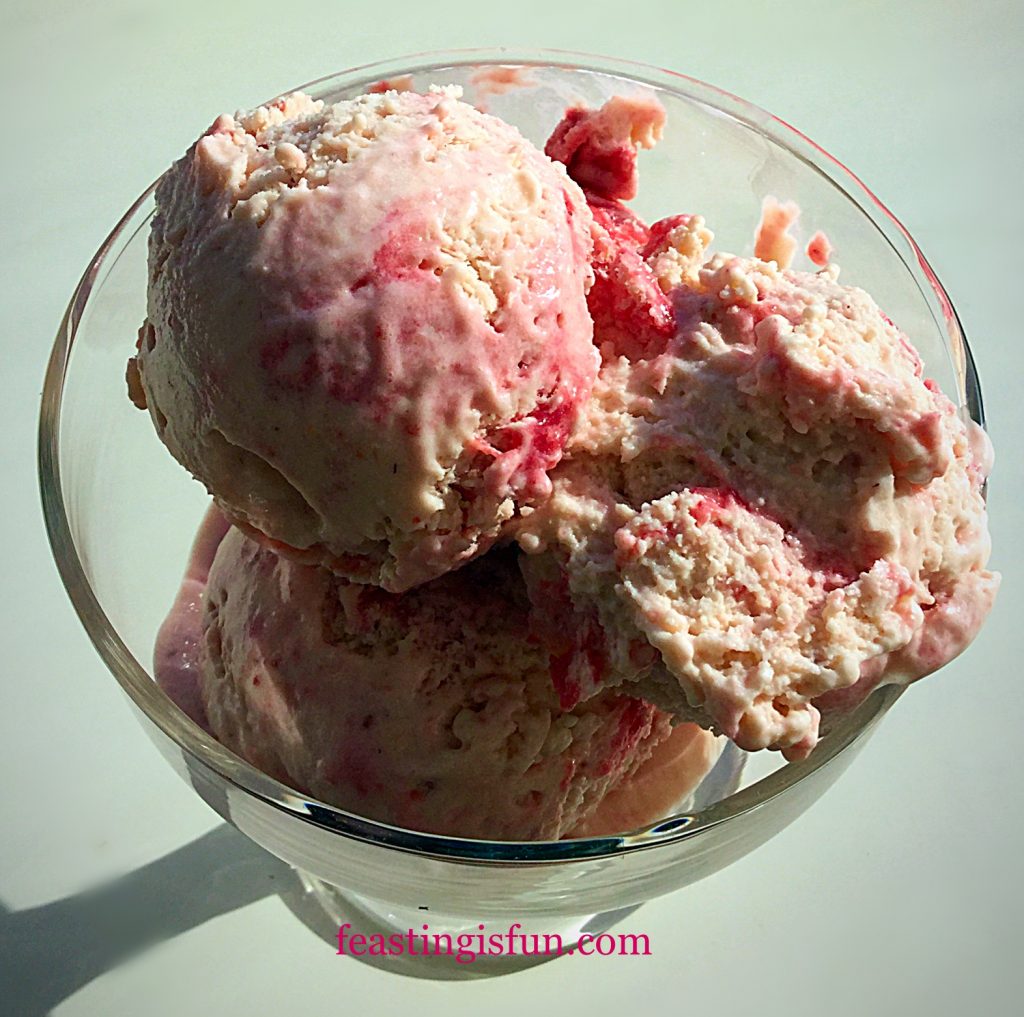
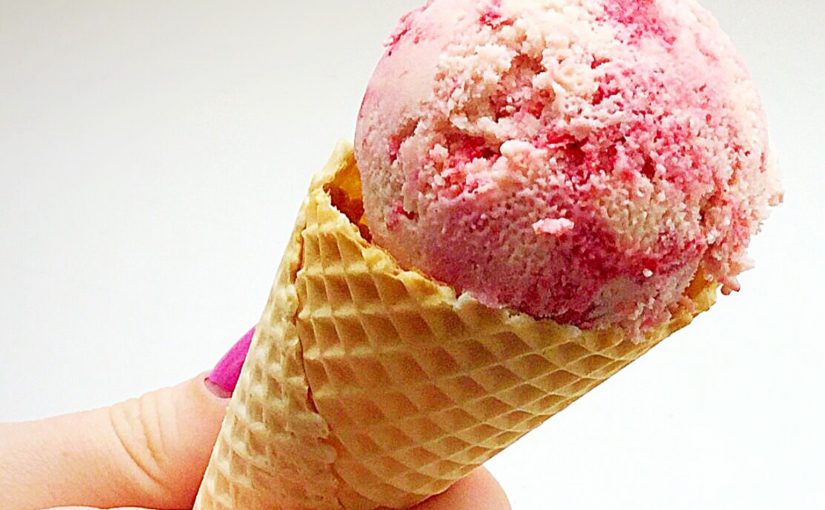
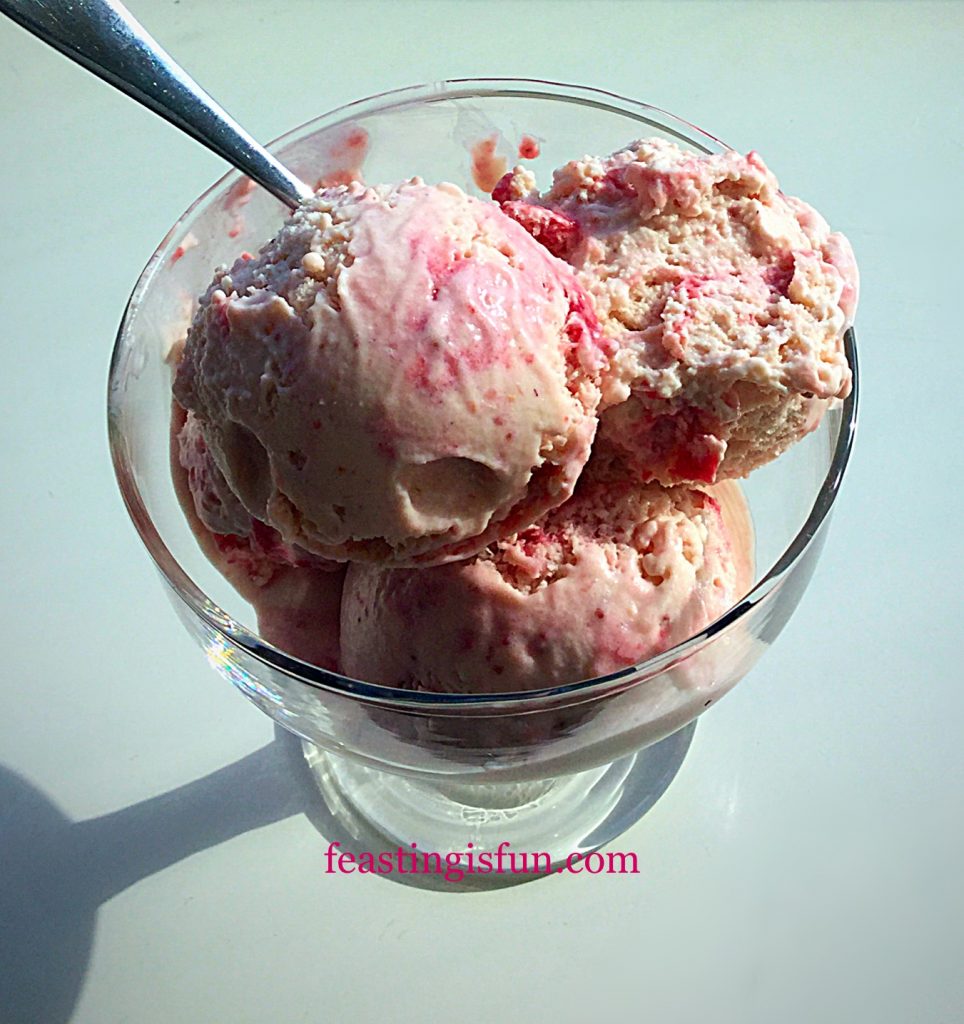
Dreamy, creamy strawberry ice cream, with an intense strawberry syrup rippled through. This isn’t any ordinary ice cream, this is THE best Strawberry Ripple Ice Cream you could ever imagine.

And you too can make it at home. Because it’s so easy!

You make a vanilla custard, make a strawberry coulis, mix, freeze and that’s when the magic happens!

Ok so there’s a tiny little bit more to it than that, but preparation time for this delicious ice cream is about 15 minutes.

FF Strawberry Ripple Ice Cream
Strawberry Ripple Ice Cream you know you want to dig in?

Loving My Ice Cream Maker

I love properly churned ice cream, by that I mean ice cream that is mixed whilst it freezes. It allows the ice crystals to stay really small and results in the creamy texture we all associate with ice cream.

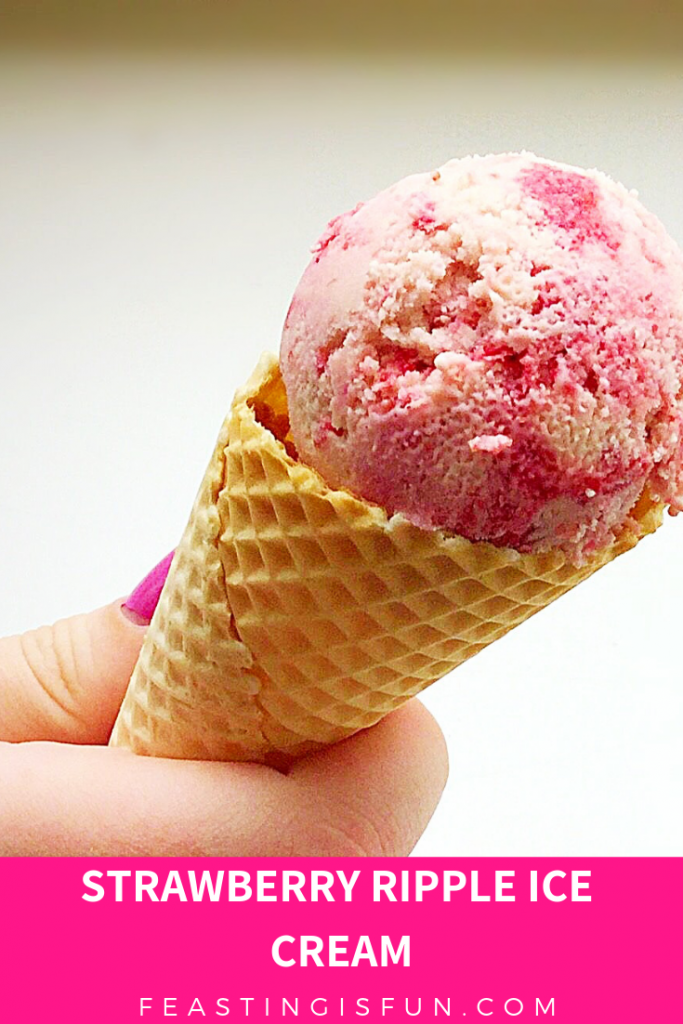
Hand holding an ice cream cone with descriptive graphics.

As our old ice cream maker is literally on it’s last legs, I have a new one from Andrew James it can be found here and has won a coveted Which Best Buy Award. While I’ve said before that any new piece of kitchen kit needs to earn it’s place in my kitchen, I’d say if you love ice cream, it definitely worth buying an ice cream maker. Since they are fairly small appliances and I keep the ‘frozen’ bowl part permenantly in the freezer, whilst the other parts stay in the box.

FF Strawberry Ripple Ice Cream
Bring out a tub of this Strawberry Ripple Ice Cream and see the smiles appear!

Because the ice cream custard base pretty much stays the same and then you can add whatever flavours. The flavour combinations are limitless! Therefore, having an ice cream maker in our kitchen for me, is essential.

Easy Gluten Free Dessert

For those of you on a gluten free diet, ensure the corn flour that you use is certified gluten free, then you can happily make these delicious, dreamy treats. should be able to enjoy ice cream, so for those of you with lactose/dairy/egg intolerance I will be working on some extra recipes so that you too can enjoy this delightful, cooling treat during the summer.

Supporting British And Local Farmers

There is one thing that I do feel passionately about and that is good quality, seasonal produce. And if you grow your own fruit even better! Using British frozen fruit, which I do often during the colder months is a great alternative, as is using tinned fruit. I use tinned peaches to make my Peach and Banana Smoothie in the winter and it tastes utterly delicious. That doesn’t mean I don’t eat some imported produce, but here in the UK we have incredible ‘Pick Your Own’ farms, farmers markets and even some supermarkets that stock local produce.

I guess what I’m saying is, life is about balance. If we can support our Britsh farmers and even grow some of our own fruit and veg (watch out or an exciting new gardening diary, coming soon on this blog) we are not only getting the freshest produce, picked at it’s peak, but also supporting our farmers and local producers too.

FF Strawberry Ripple Ice Cream
Strawberry Ripple Ice Cream

Recipe: Makes 1 litre Strawberry Ripple Ice Cream

400g British Strawberries

2tbsp Framboise – raspberry liquer – substitute with apple juice if preferred

1tbsp Fresh Lemon Juice

8tbsp Caster Sugar

300ml Double Cream

300ml Milk – whole or semi-skimmed

1tsp Corn Flour (also known as corn starch) – I use Dove Farm

4 Large Free Range Egg Yolks – the egg whites can be frozen for up to one month  (perfect for making Lemony Strawberry Pavlova)

1tsp Vanilla Extract – I use Nielsen-Massey

Method: Ensure the ‘frozen’ part of your ice cream maker has been in the freezer for at least 24 hours – or according to manufacturers instructions.

Making the Ice Cream Custard Base:

For step by step photographs of how to make the ice ceram custard base please see here

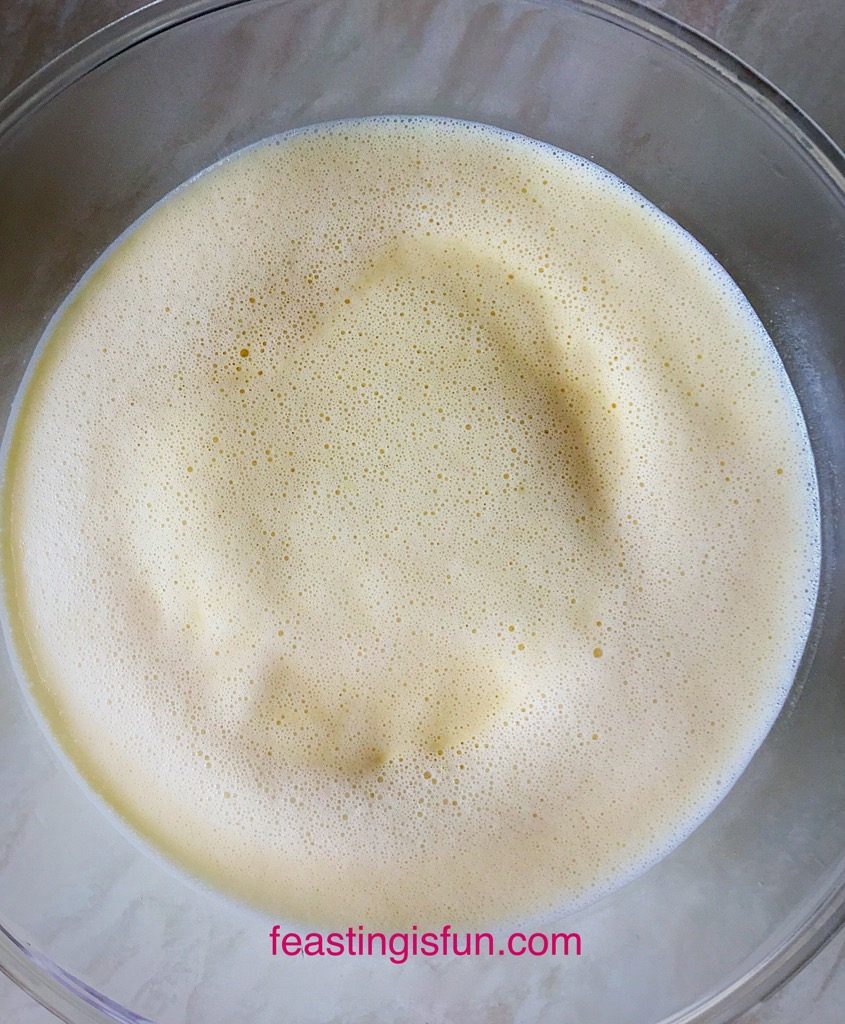
  • First of all pour the milk and cream into a heavy based saucepan over a medium heat.
  • In a heatproof bowl add the egg yolks, 6 tablespoons of caster sugar, vanilla extract and corn flour. Whisk until pale and frothy.
  • As soon as the cream/milk in the pan has reached scalding point, small bubbles appear around the edge of the milky liquid, remove the pan from the heat.
  • With the whisk on slow speed gently pour the hot milky liquid into the bowl with the whisked egg yolks.
  • Once combined tip the whole mixture back into the saucepan and cook over a low heat until the custard thickens and covers the back of a wooden spoon.
  • Pour the hot custard into a heatproof bowl, through a fine sieve
  • Place cling film directly on top of the custard to stop a skin from forming.
  • Allow the custard to cool slightly before placing the bowl in the fridge to chill.
FF Strawberry Ripple Ice Cream
Ice Cream base ready to be covered in cling film.

Making the Strawberry Coulis and Sauce:

  • Wash the strawberries and pat dry with a clean tea towel.
  • Remove all of the green stems (hull) and place the strawberries into a blender.
  • Add 1 tablespoon of caster sugar, the framboise (or apple juice) and lemon juice.
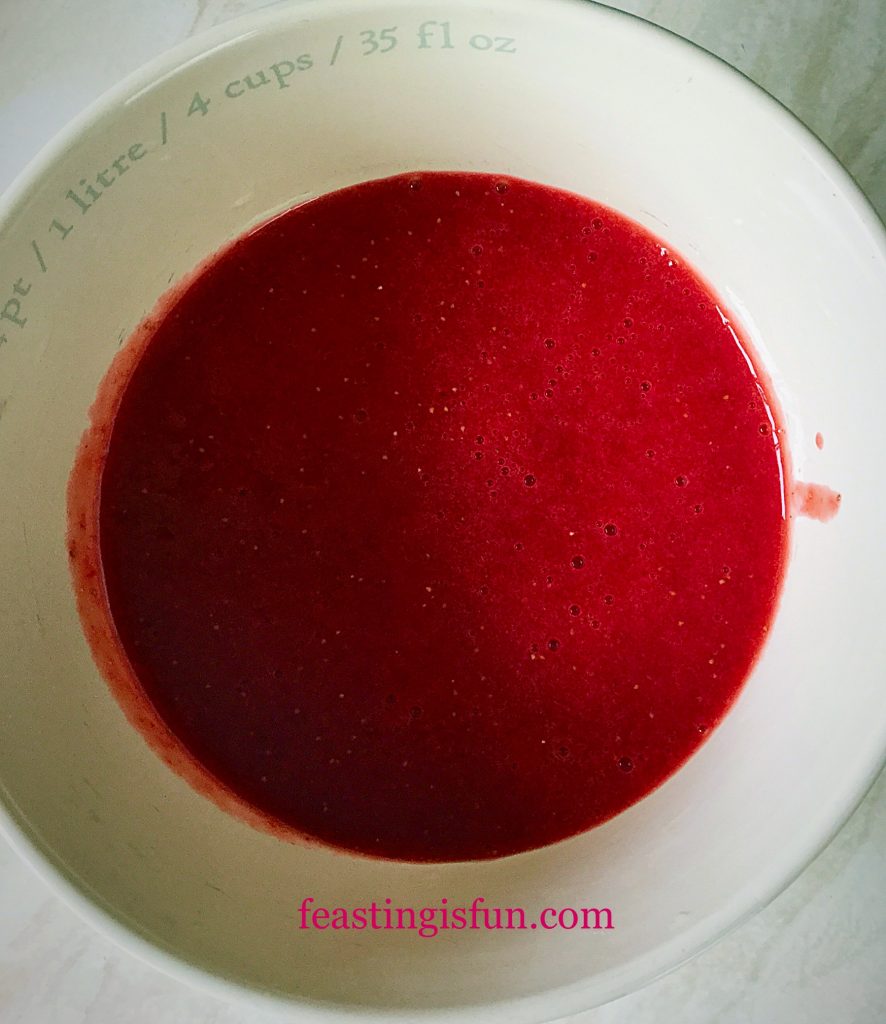
  • Pulse and then blend on a high speed until you have a very smooth purée.
FF Strawberru Ripple Ice Cream
Fresh strawberry coulis.
  • Pour half of the strawberry coulis into a small saucepan and add 1 tablespoon of caster sugar.
  • Cover the other half with cling film and place in the fridge.
  • Gently bring the strawberry coulis in the saucepan up to a boil and continue to let it bubble until reduced by half. You will be left with an intensely strawberry, jam like syrup. Pour into a bowl to cool.

Churning the Strawberry Ice Cream

  • First of all, set your ice cream maker up as per the instruction manual.
  • Pour the non concentrated strawberry coulis into the custard base and stir.
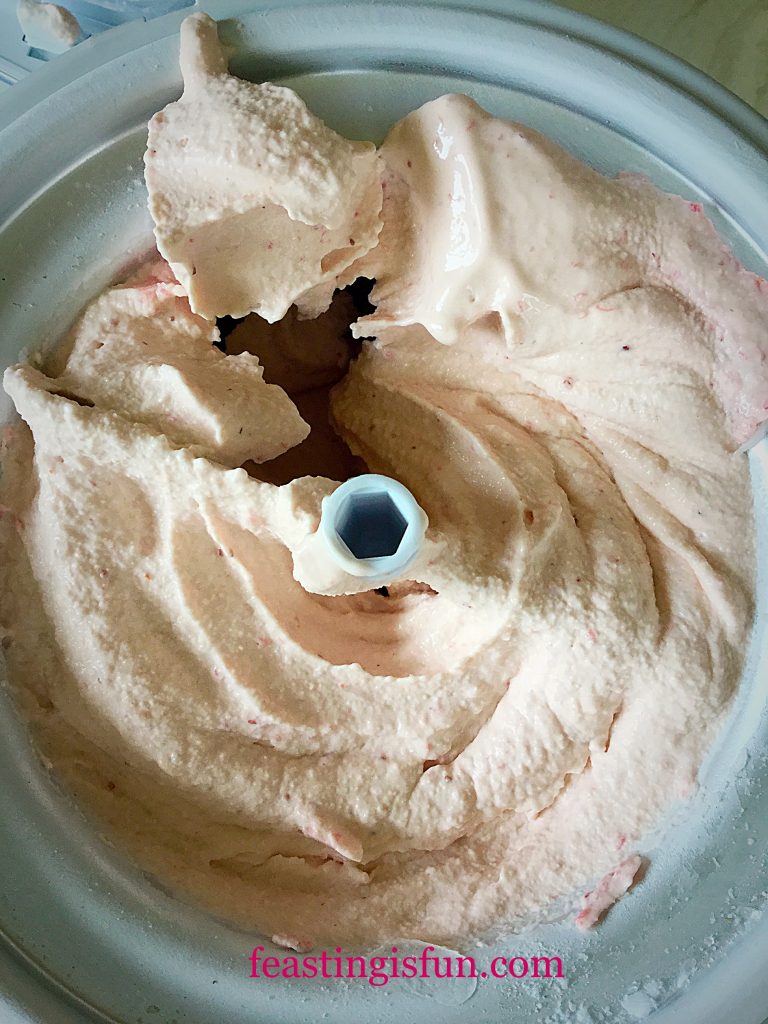
  • The pour the strawberry ice cream base into the machine maker and churn until you have a thick, but not solid, ice cream. Mine took approximately 20 minutes to curn to a thick, yet still soft, ice cream.
  • Stop the ice cream maker and remove the lid.
FF Strawberry Ripple Ice Cream
Creamy, thick strawberry ice cream.
  • Remove the plastic churning paddle and lick off all the soft ice cream to ensure it tastes good!
  • Using a silicone spatula transfer the ice cream to a suitable, freezer proof, ice cream tub.
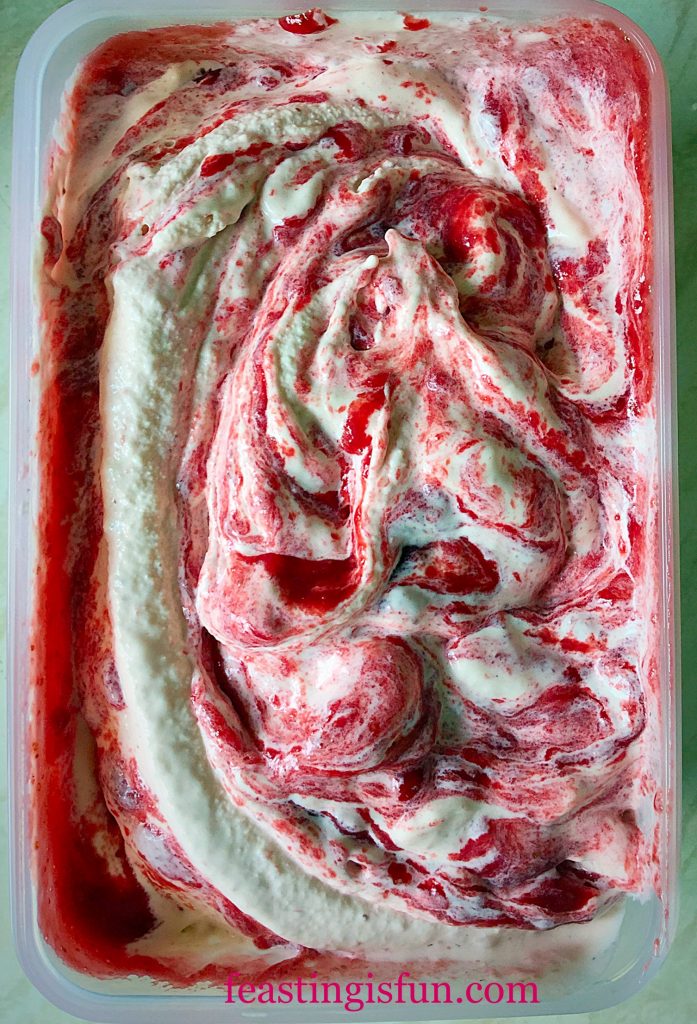
  • Pour over the concentrated strawberry syrup and using a wooden spoon handle, ripple the intense strawberry syrup through the ice cream.


FF Strawberry Ripple Ice Cream
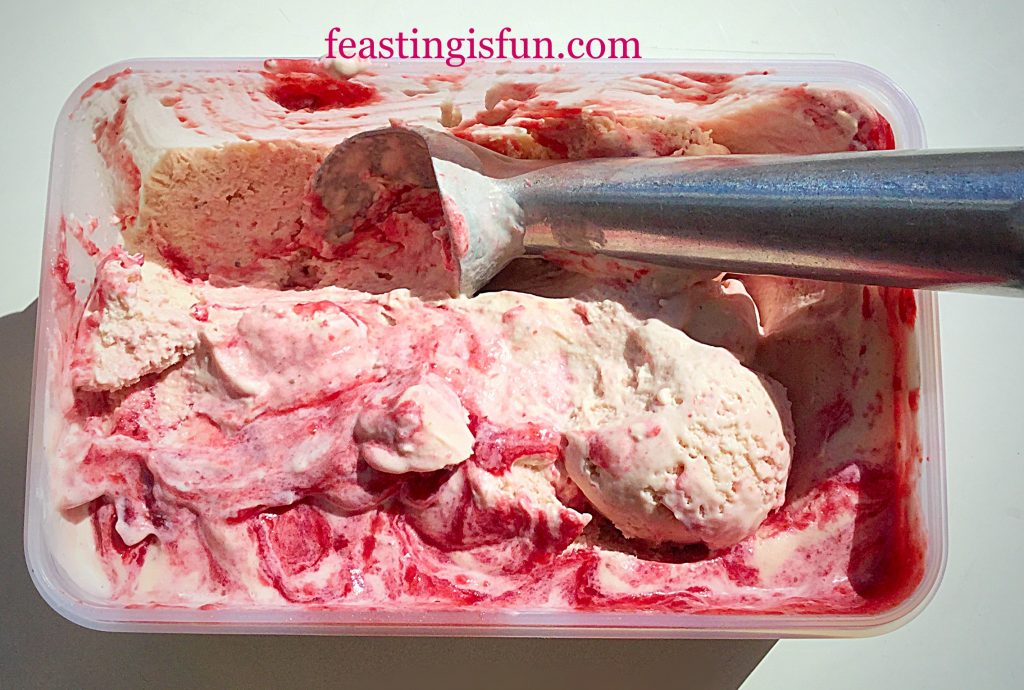
Strawberry Ripple Ice Cream such an intense strawberry colour.
  • Finally clip on a lid and place the Strawberry Ripple Ice Cream into the freezer to completely firm up, 4-8 hours.
  • To serve, remove the ice cream from the freezer 10 minutes before serving. The small amount of alcohol added, stops this ice cream from setting completely solid.
  • Scoop into a waffle cone or bowl and enjoy!
FF Strawberry Ripple Ice Cream
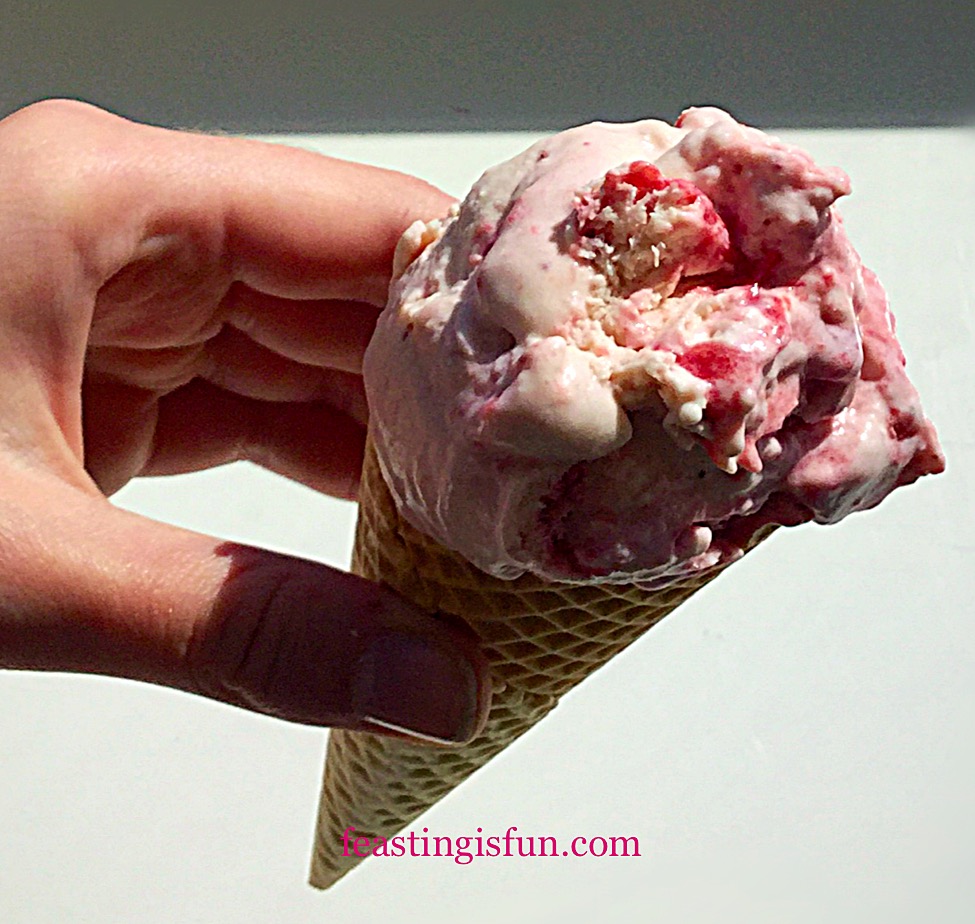
Strawberry Ripple Ice Cream creamy, with an intense ripple of strawberry running through!

Keeping My Summer Cool With Fruity Ice Cream

Ice Cream has to be right up, at the top, on my list of summer comfort foods. Whether it’s a sweltering hot day and I just want to cool down, or Wimbledon is on telly and I’m dragging out dinner, because the match is too good to miss. A cooling scoop of ice cream, in a cone, hits the spot.

If you haven’t tried making ice cream before, yet love it as much as I do, why not get an ice cream maker? You can play around with flavours, textures and make whatever combination you like!’

If you have enjoyed this recipe for Strawberry Ripple Ice Cream you may also like these:

Blackberry Chocolate Chunk Ice Cream
FF Strawberry Ripple Ice Cream
Blackberry Chocolate Chunk Ice Cream a great flavour combination.

Raspberry Chocolate Ice Cream Sundae

FF Strawberry Ripple Ice Cream
Raspberry Chocolate Ice Cream Sundae can be eaten any day of the week 😉

Very Vanilla Ice Cream

FF Strawberry Ripple Ice Cream
Very Vanilla Ice Cream great for sandwiching between two cookies!


Ice Cream is such a great dessert option for summer barbecues, where people have feasted on deliciously cooked fish and meat. It is portable in cones, and brings out the kid in everyone. As a result it is the perfect dessert for sharing with friends and family. Especially as I have yet to find someone who dislikes ice cream!
Whatever you are making, baking and creating in your kitchens, have fun preparing and sharing your feast.
Sammie xx

Andrew James UK Ltd provided me with this ice cream maker, for the purposes of review. All opinions, views, content and photography are my own. I was not paid to write this post. Please see my Disclosure Policy

Blackberry Chocolate Chunk Ice Cream

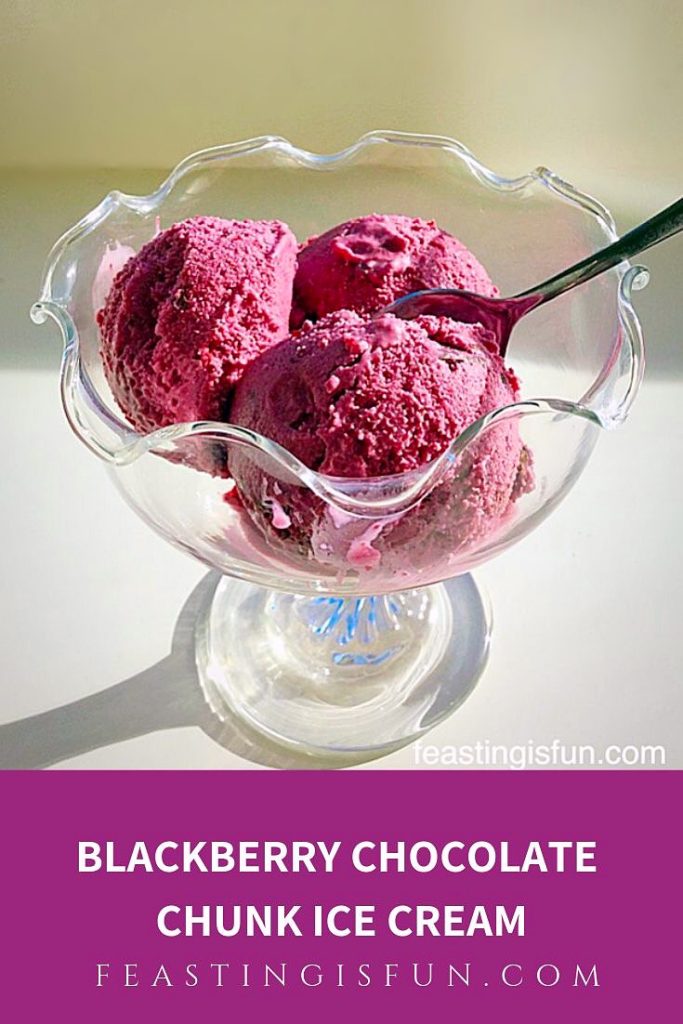
Today was so beautifully warm and sunny, I simply had to make this Blackberry Chocolate Chunk Ice Cream.

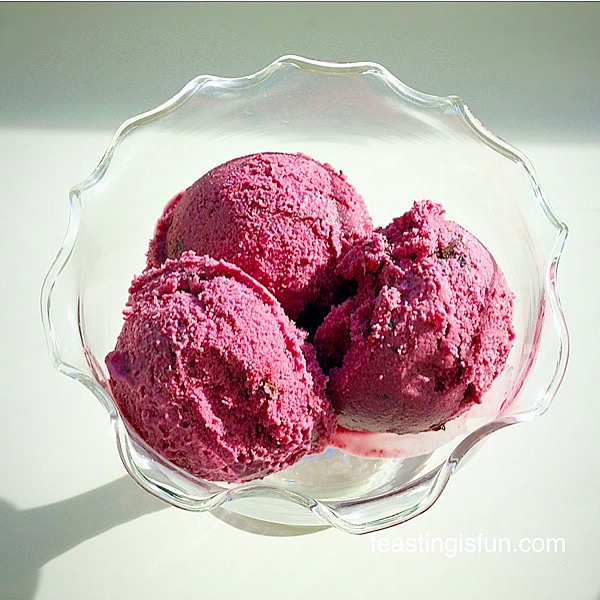
Blackberry Chocolate Chunk Ice Cream

Made with frozen blackberries from last year, this ice cream delivers massively on taste.

To quote Jennifer Aniston “Here’s the science bit”, when eating very cold food, such as ice cream, the flavours are dulled, due to the cold temperature. If you think of strawberries eaten straight from the fridge, they will never taste as good as those that have been left out to warm up a bit, or better, plucked straight from a sun warmed plant.

Likewise, when making ice cream, even a simple Very Vanilla Ice Cream, the flavours need to be more pronounced so that you taste them.

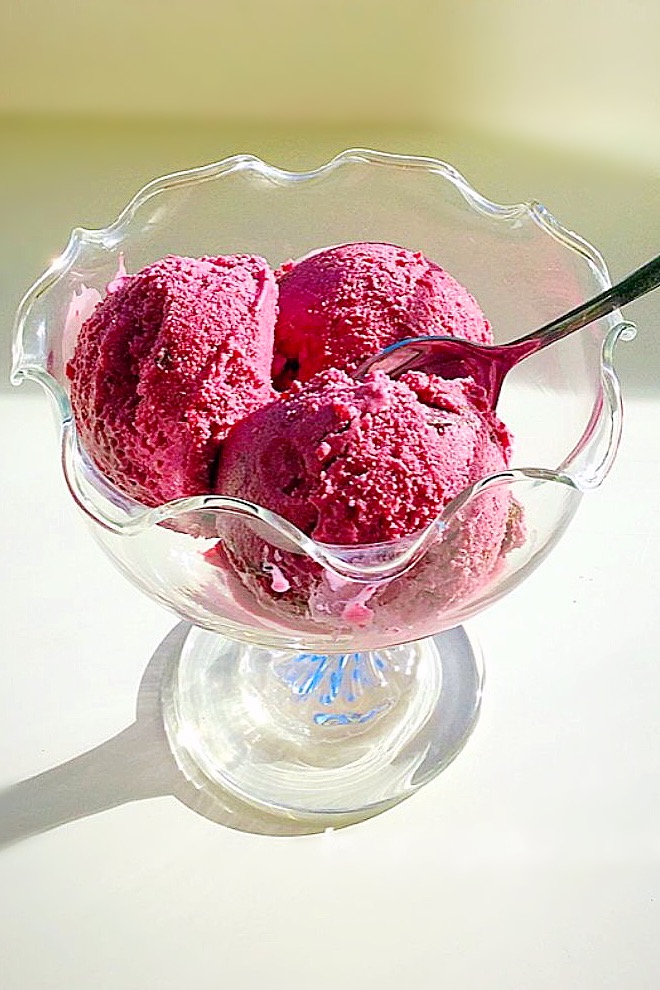
Blackberry Chocolate Chunk Ice Cream

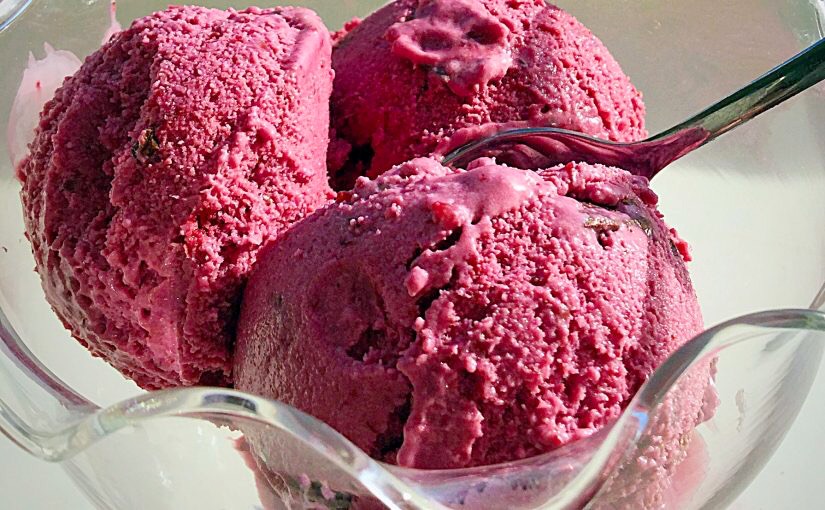
With this creamy, sharp, sweet and tangy Blackberry Chocolate Chunk Ice Cream, you taste every bit of the beautiful blackberries. Sousing them in sugar and lemon juice encourages each berry to release it’s maximum, ripe berry flavour. On it’s own the blitzed, blackberry sauce would be too tart and the berry flavour would be overwhelming, yet mixed into a delicate vanilla ice cream custard and churned until it becomes ice cream, the flavours mellow and meld together, creating one of the most exciting flavoured ice creams ever.

Blackberry Chocolate Chink Ice Cream

Studded with chunks of deep, dark, chocolate that lend not only a slight bitter flavour but added texture this Blackberry Chocolate Chunk Ice Cream becomes complete. Elegant enough to be served in pretty bowls at the end of a meal with nothing else to accompany it.

One thing is certain, this ice cream is certainly one of the best ice creams I have ever tried!

Recipe: Makes approx 1 litre Blackberry Chocolate Chunk Ice Cream

300ml Double Cream

300ml Whole/Semi Skimmed Milk

4 Large Egg Yolks – I always use free range eggs

1tsp Vanilla Extract – I use Nielsen Massey

7tbsp Caster Sugar

Scant pinch of salt – less than 1/4tsp

1tsp Cornflour – I use Doves Farm as it is guaranteed gluten free

Juice of 1 Lemon

300g Blackberries – I used frozen but use fresh in season

100g/4oz Good Quality Dark Chocolate minimum 65% Cocoa solids

Method: Ensure that the freezing part of the ice cream maker has been in the freezer for at least 24 hours.

Please see Very Vanilla Ice Cream for step by step photographs, showing how to make the ice cream custard.

Making The Blackberry Ice Cream Base

  • Place the cream, milk and vanilla extract into a saucepan over medium heat.
  • Add the egg yolks, sugar, salt and cornflour to a large heatproof bowl. Whisk until pale and creamy.
  • The milk/cream needs to reach scalding point. This is when little bubbles appear around the edge of the liquid.
  • When the milk/cream has reached scalding point remove the pan from the heat.
  • Whilst whisking the egg mixture, pour the hot milk/cream into the bowl – do not stop whisking.
  • Once combined tip the custard mixture back into the same saucepan, cooking over a low heat and constantly stirring, until the custard has thickened and coats the back of a wooden spoon.
  • Place a sieve over a clean, heatproof bowl and pour the custard into the bowl, through the sieve.
  • Place cling film directly over the top of the custard so that is touches it. This will prevent a skin from forming.
  • Allow to cool and then place into the fridge to chill.
  • Place the blackberries into a bowl and add the juice of one lemon and one tablespoon of caster sugar. Cover and set aside for 30 minutes.
  • Place the blackberry mixture into a blender and pulse until you have a smooth purée.
  • Pass the blackberry purée through a sieve to remove any seeds.
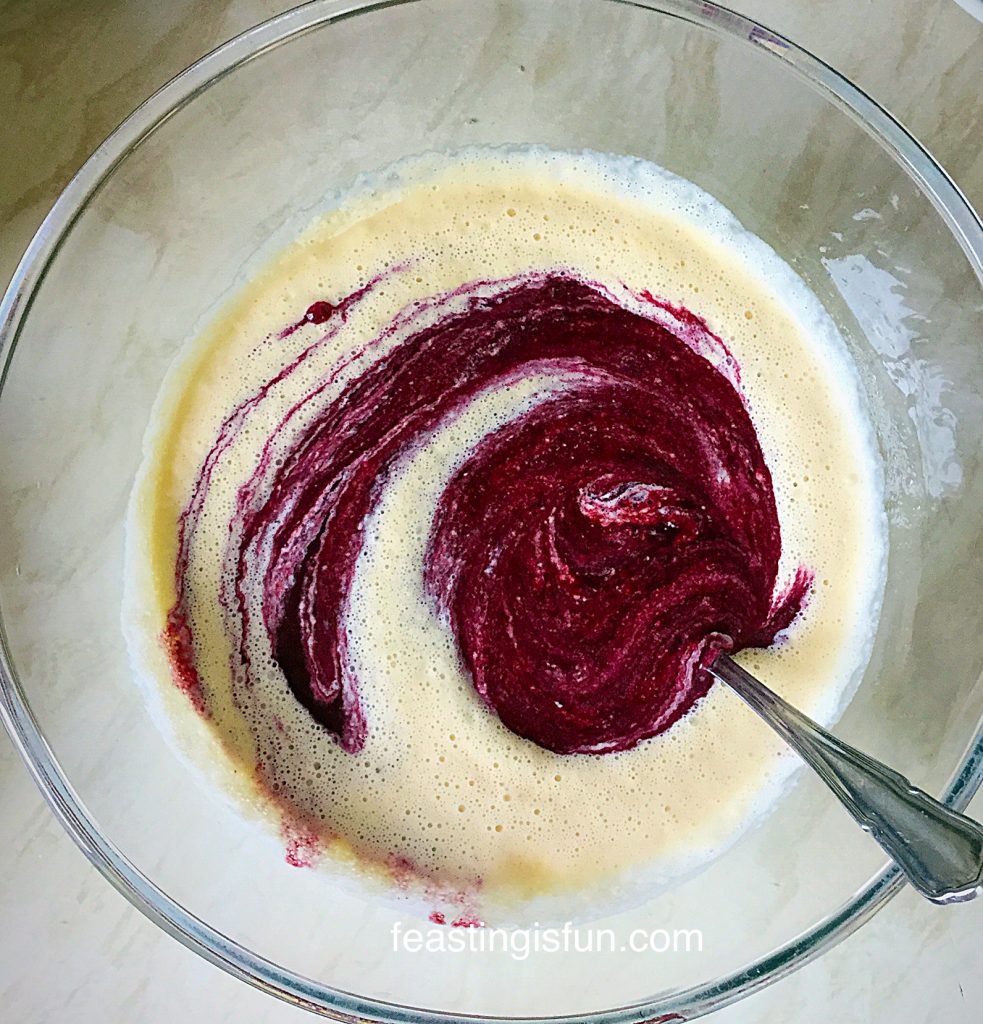
  • As soon as the ice cream base has chilled remove the cling film and add the blackberry purée.
This ice cream really does have the most beautiful colour.
  • Mix briefly, don’t worry too much as it will be well mixed in the ice cream maker.
  • Transfer the custard mixture to a jug.

Churning Using An Ice Cream Maker

  • Pour the blackberry custard into the ice cream maker (for mine it has to already be churning – check your instructions).
  • Whilst the ice cream is churning chop the dark chocolate into 1cm-ish sized chunks.
  • Churn the Blackberry Ice Cream until it is a thickened, yet soft ice cream.
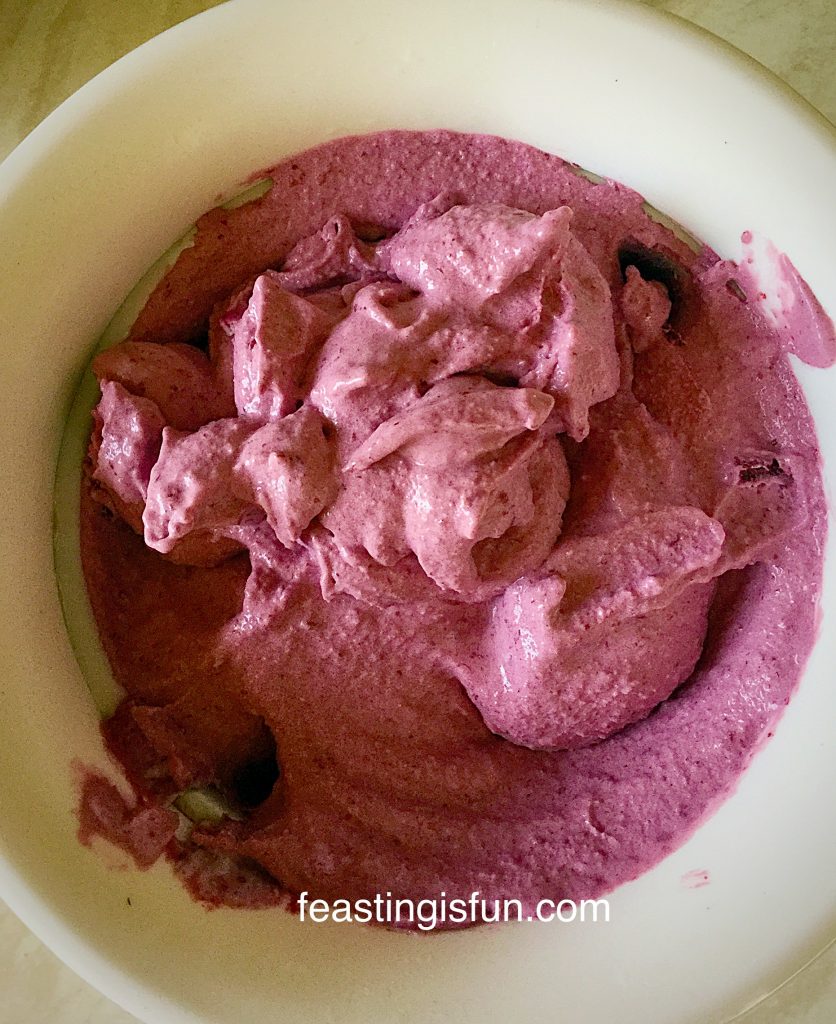
Beautifully soft whipped Blackberry Ice Cream.
  • Using a soft rubber spatula decant the softly whipped ice cream into a suitable, freezer safe, plastic tub.

Adding The Dark Chocolate Chunks

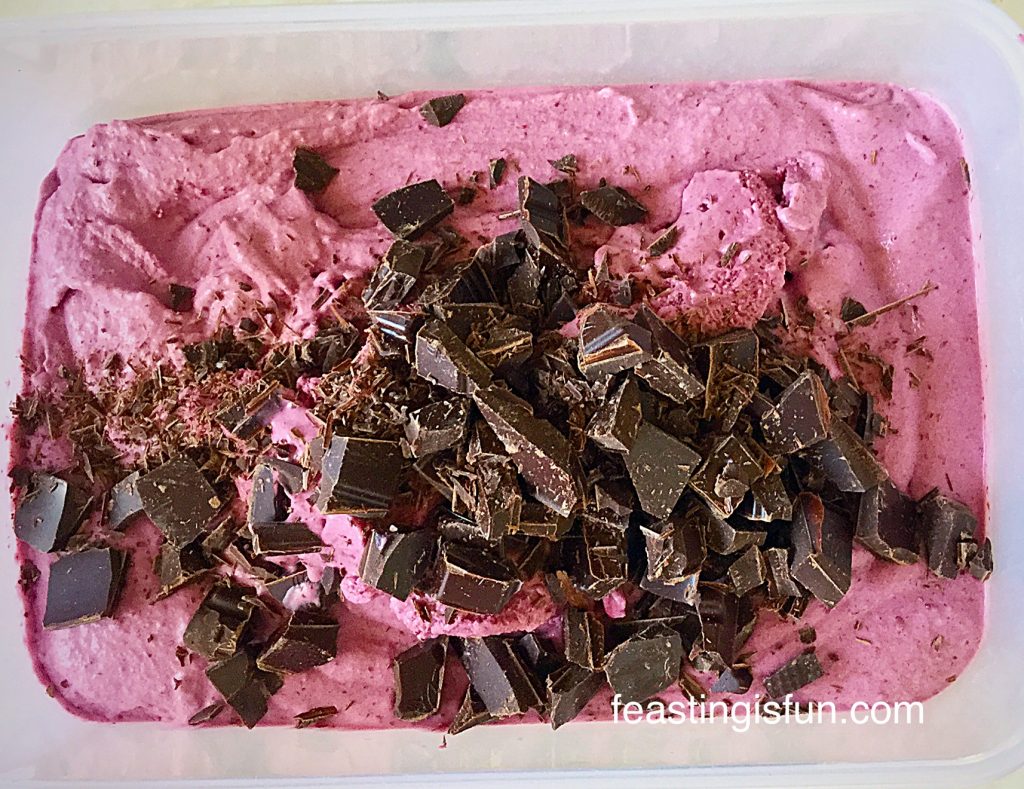
  • Add the dark chocolate chunks to the blackberry ice cream once it is in the freezer container.
Blackberry Chocolate a Chunk Ice Cream such a delicious combination.
Blackberry Chocolate Chunk Ice Cream such a delicious combination.
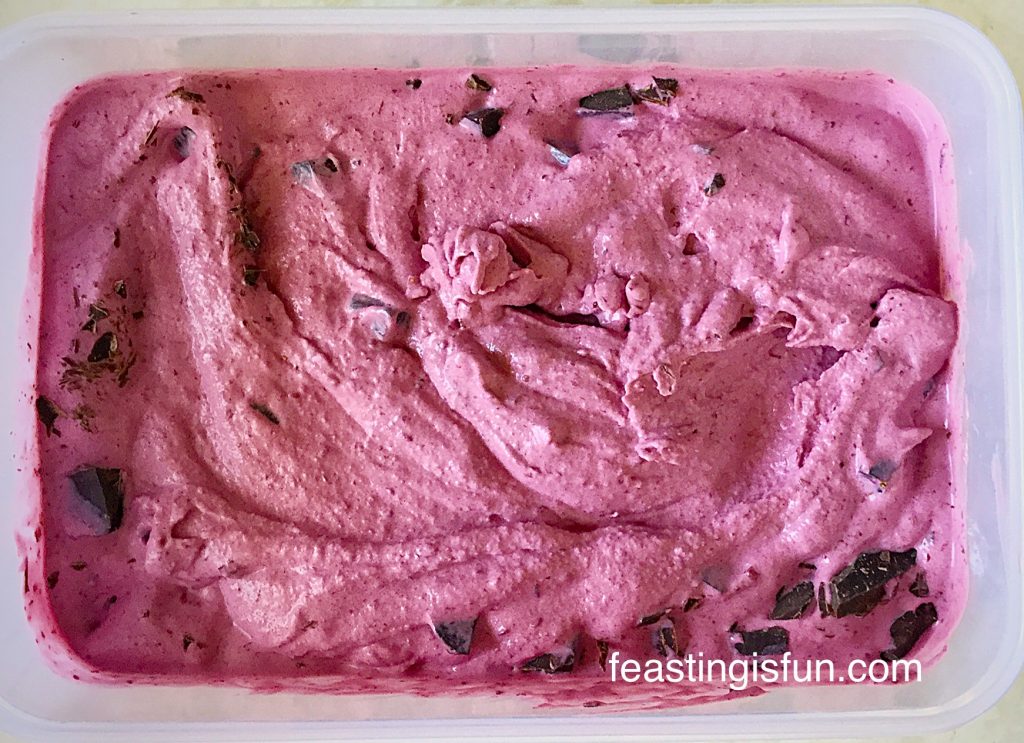
  • Stir the dark chocolate chunks through the ice cream so that they are evenly distributed.
FF Blackberry Chocolate Chunk Ice Cream
Blackberry Chocolate Chunk Ice Cream ready for the freezer.
  • Clip on the lid, label and place the Blackberry Chocolate Chunk Ice Cream into the freezer to finish freezing.
  • To serve, remove this ice cream from the freezer a full 30 minutes before serving – unless it really is an extremely hot day, then 20 minutes should suffice.
FF Blackberry Chocolate Chunk Ice Cream
Blackberry Chocolate Chunk Ice Cream

I honestly cannot explain just how good this Blackberry Chocolate Chunk Ice Cream is. Whilst it may look a little more like a sorbet it is in fact delightfully creamy, with a deep berry flavour to match its beautiful colour and studded with dark chocolate crunch that adds another heavenly level of flavour and texture. It cleanses the palette and refreshes, whilst ensuring that you know you have eaten dessert.

In essence it is truly sublime. A million miles away from mass produced, sweet gloopy ice cream, this is the dessert to serve those you truly want to spoil. Not that it is expensive to make, simply that it is an ice cream worth lingering over and savouring.

If you have enjoyed this Blackberry Chocolate Chunk Ice Cream recipe, here are a few others you may enjoy:

Lemon Drizzle Ice Cream 

FF Lemon Ripple Ice Cream
Lemon Ripple Ice Cream

Very Vanilla Ice Cream

Very Vanilla Ice Cream

Strawberry Rose Ice Cream 

Strawberry Rose Ice Cream

Having an ice cream maker definitely makes the process of creating ice cream easier. It results in a much creamier, less icy, softer on the palate, cooling treat.

Unfortunaley whilst making the Blackberry Chocolate Chunk Ice Cream another little piece of the plastic on our ice cream maker broke off – it really is on its last legs. Fortunately however, I will be reviewing a brand new model by Andrew James  over the coming few months, so expect lots of chilled recipes through the summer months.

It really gives me such a thrill reading your comments and I appreciate you taking the time to leave them. Likewise seeing my recipes being baked on Twitter and Instagram literally makes my day. Sharing is the heart of this blog and seeing you share your bakes with me always gives me a boost. Thank you.

Whatever you are making and baking in your kitchens, have fun and enjoy every feast that you create.

Sammie xx

No part of this post may be reproduced or duplicated without the written permission of the owner. Please see my Disclosure Policy.