Reeses Peanut Butter Cup Ice Cream

Share
Facebooktwitterpinterestlinkedintumblr

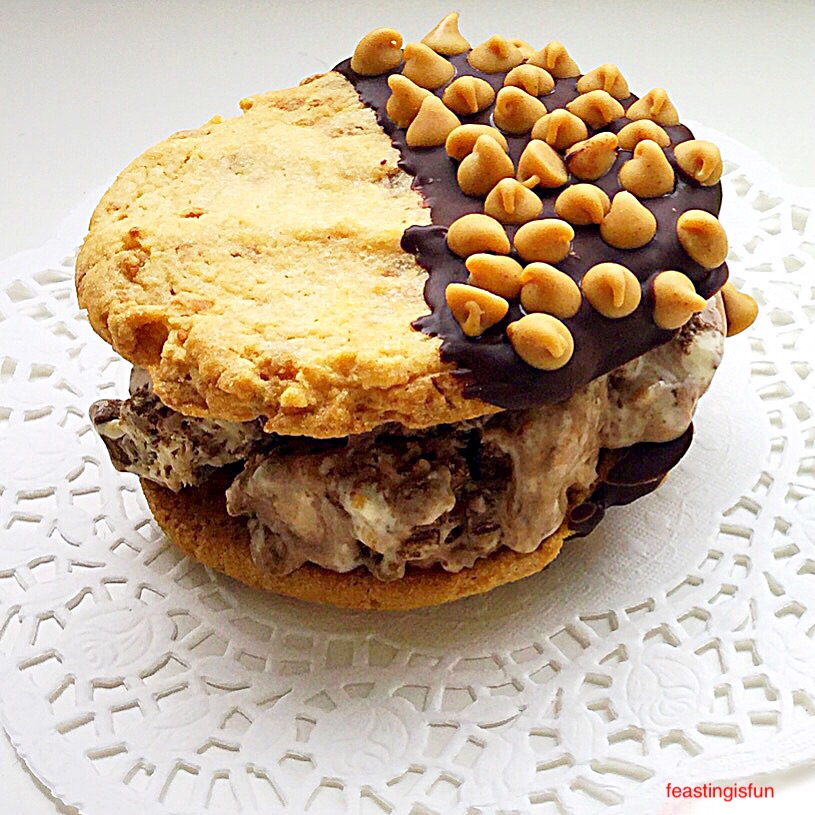
How do you improve on one of the best flavours of ice cream known to man? You squish it between two incredible, homemade cookies! And so I bring you Reeses Peanut Butter Cup Ice Cream. Because lovely people, this is the foodie equivalent of winning all the coins and one-ups in a Super Mario game and then some. So, stick with me as I take you through an incredible ice cream journey.
FF Reeces Peanut Butter Cup Ice Cream
Reeces Peanut Butter Cup Ice Cream 

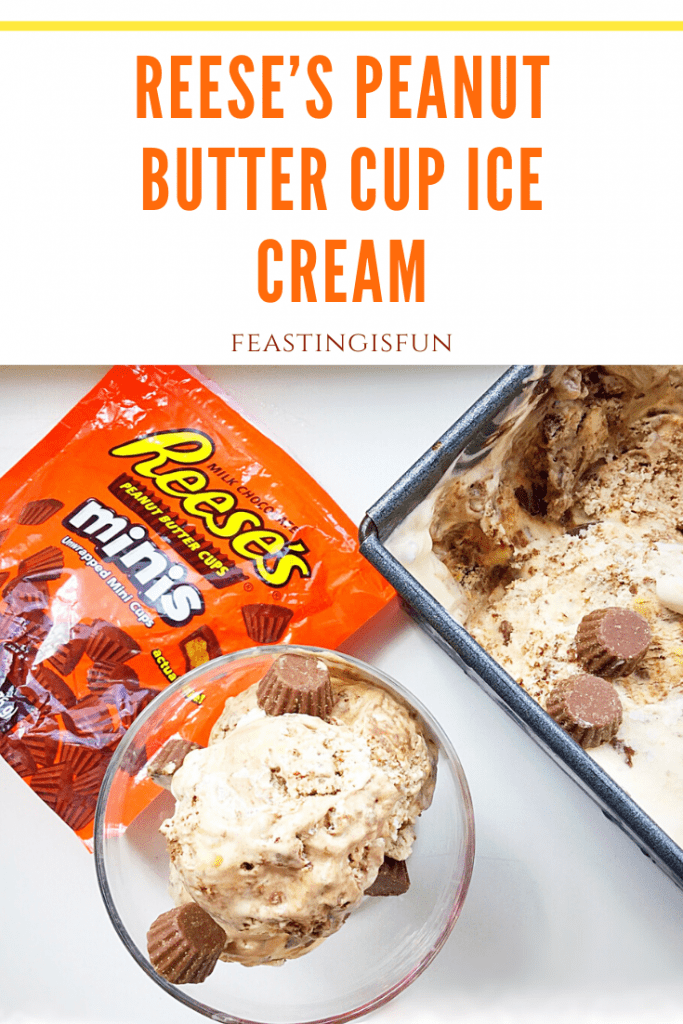
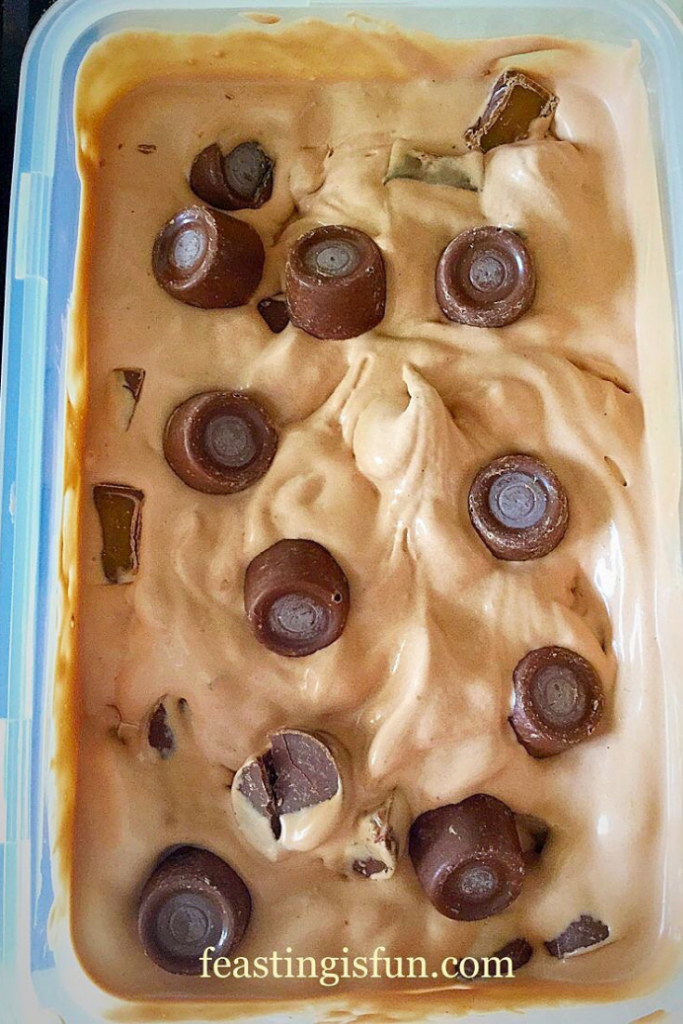
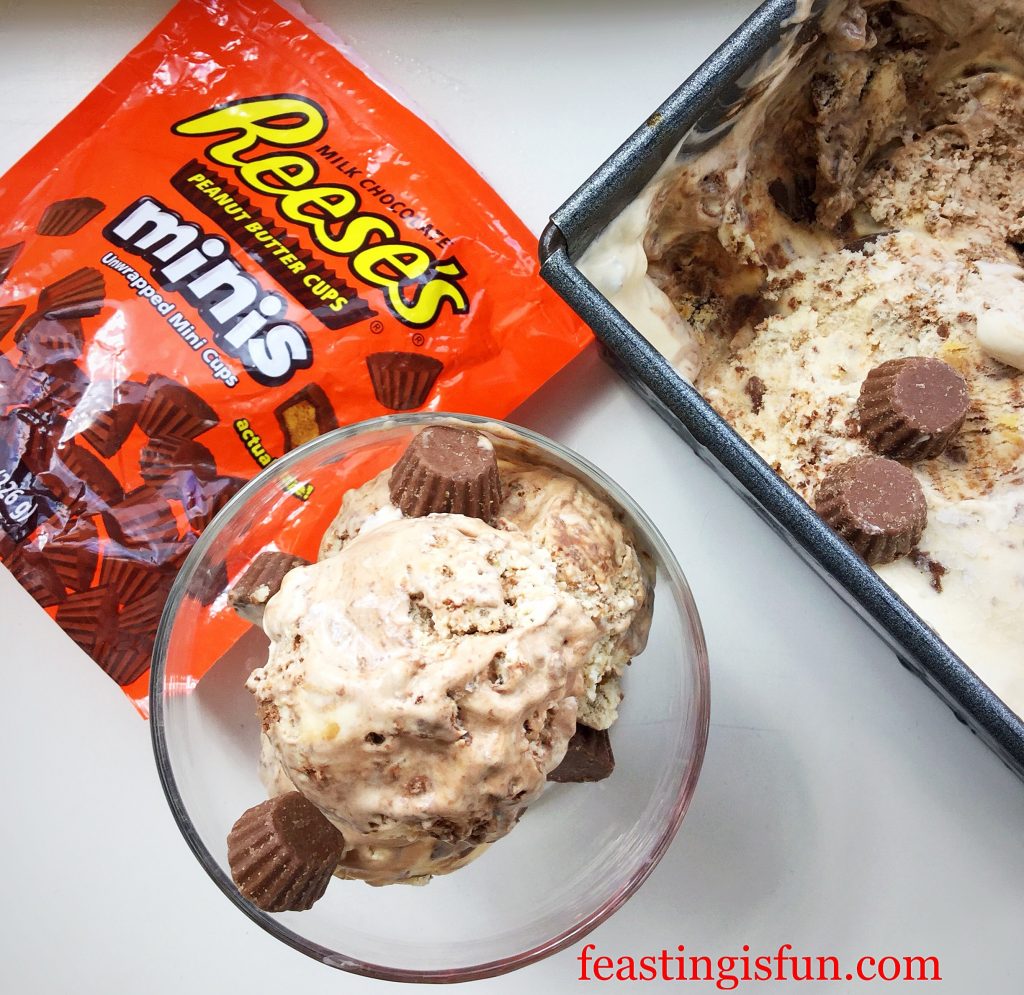
First of all there is ice cream, packed with Reeses Mini Peanut Butter Cups. While some are mini cups are left whole, others are roughly chopped. Resulting in a peanut butter cup filled ice cream base. While dark chocolate ganache ripples through the vanilla base, with a hit of pure peanut butter in every spoonful. Take a moment. Because, I undersrand if you want to think on that for a while?

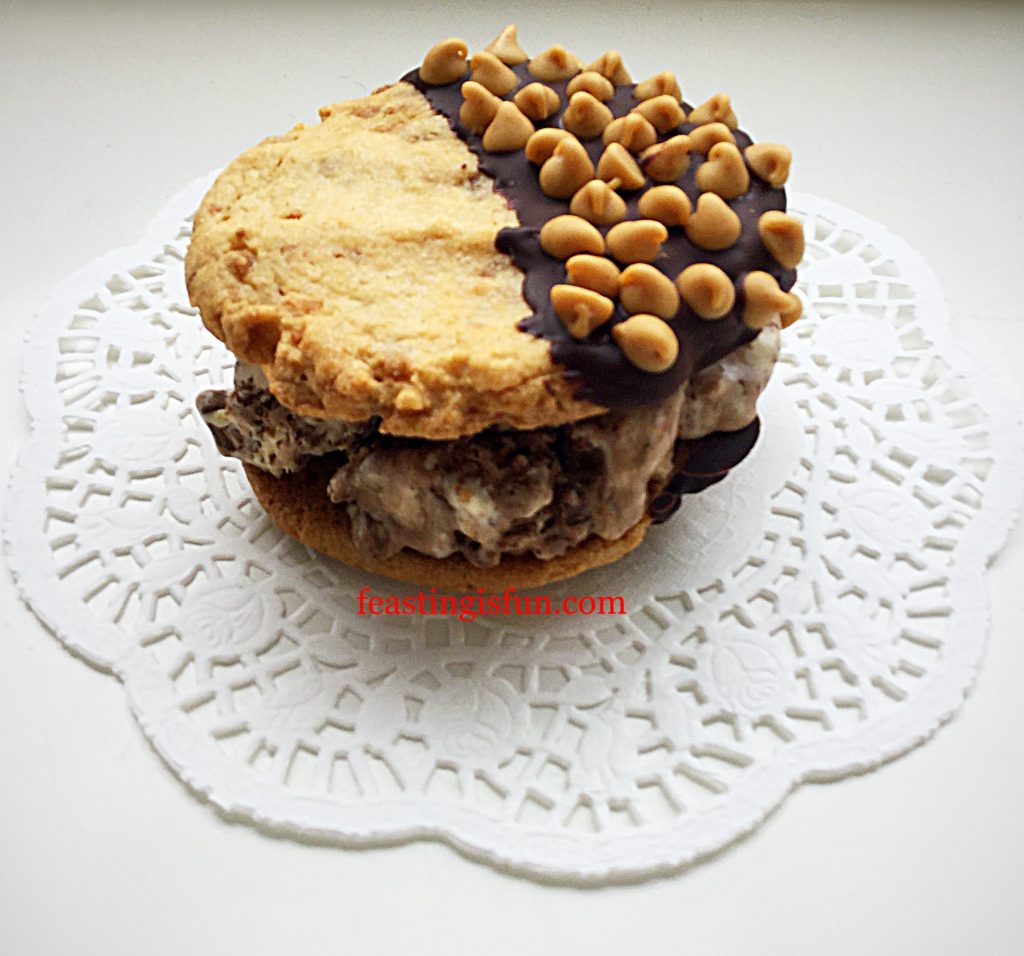
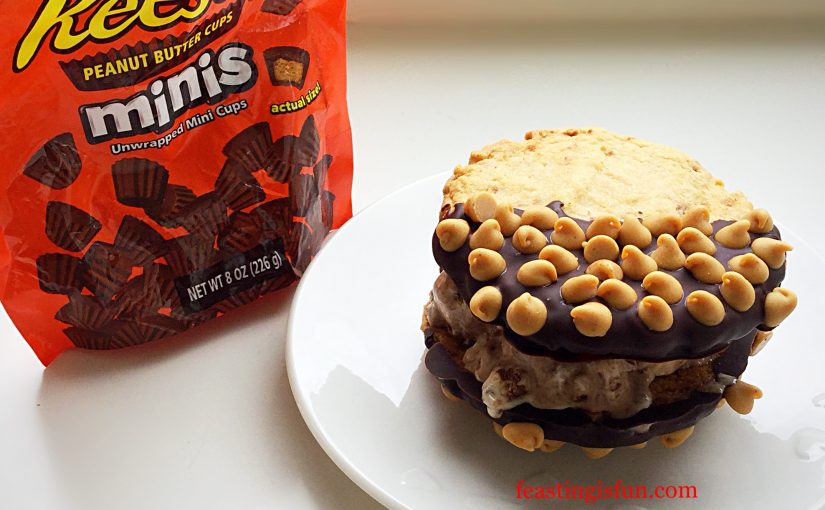
Finally, complimenting such a flavour punched ice cream are my Caramac Caramel Cookies. Since a large, robust Cookie is the only way to go when sandwiching chunks of peanut butter cup ice cream. And because these cookies are double their usual size, they are perfect for creating an ice cream sandwich.
FF Reeces Peanut Butter Cup Ice Cream
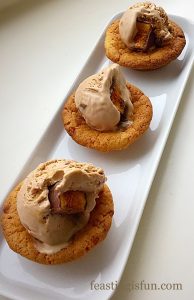
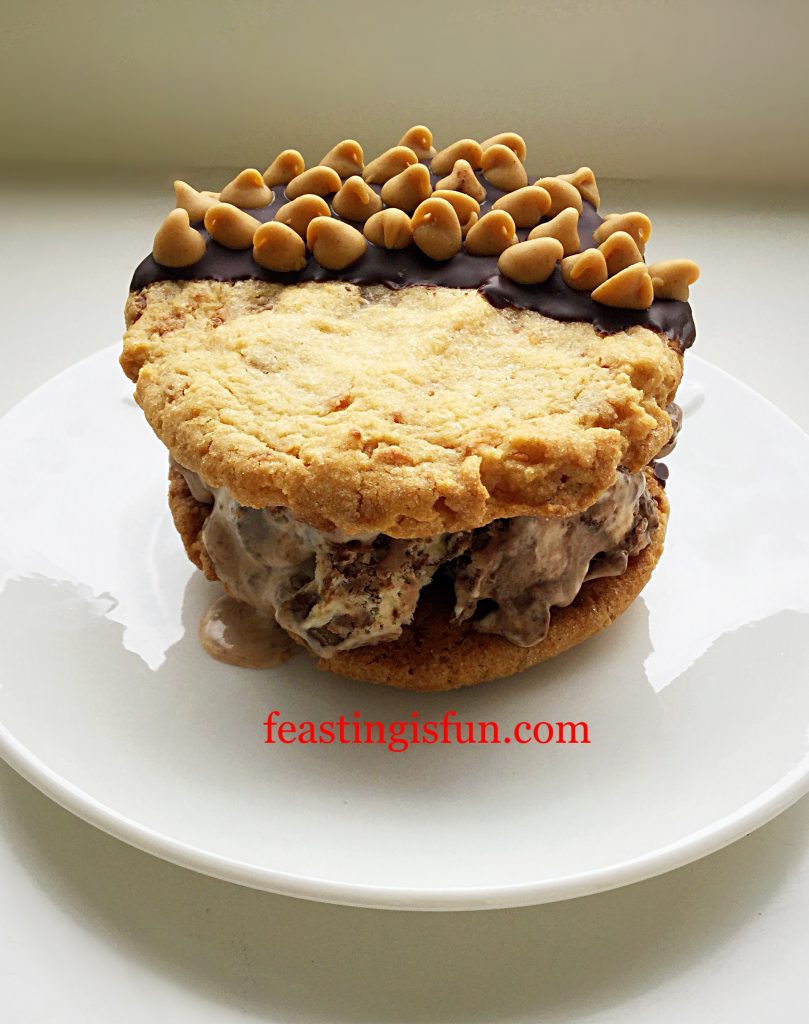
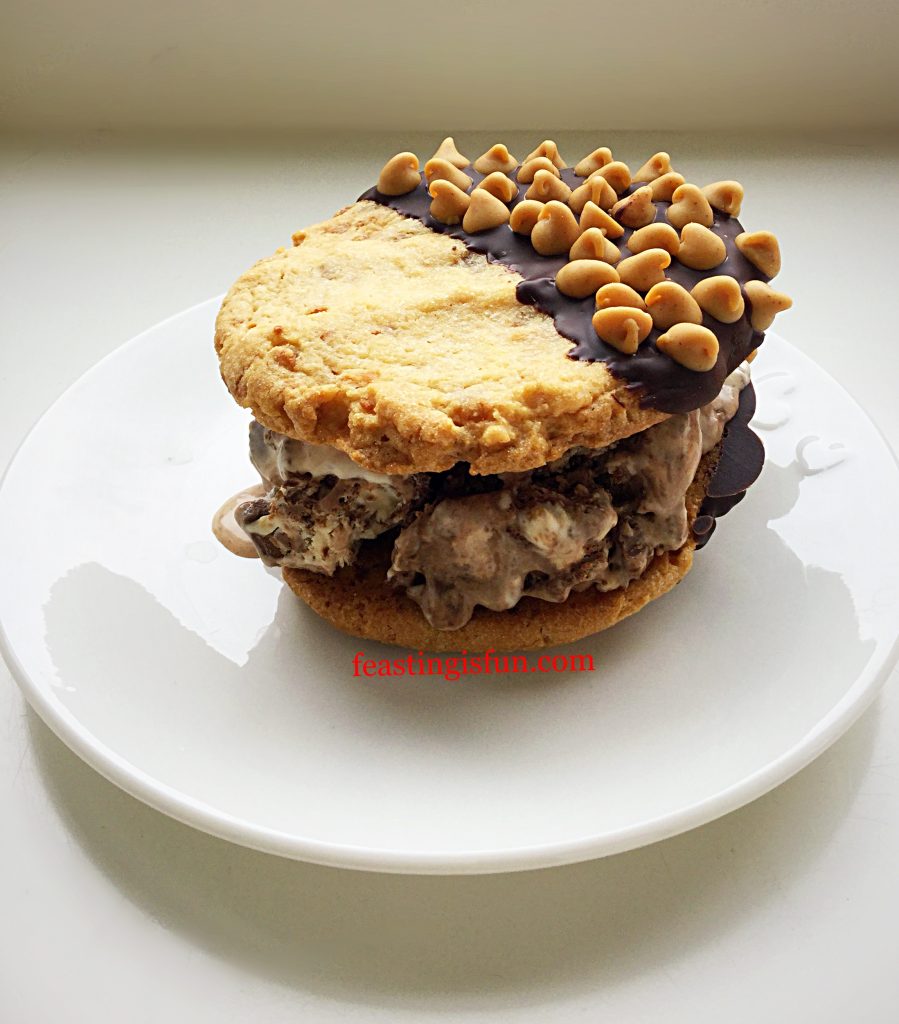
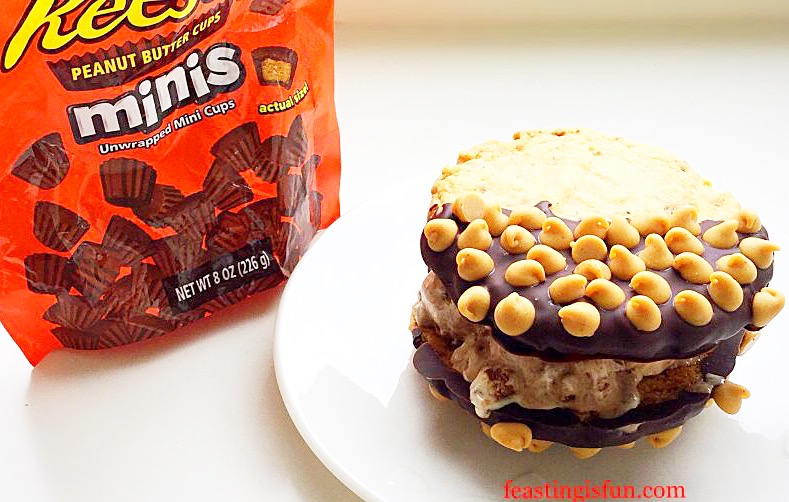
Reeces Peanut Butter Cup Ice Cream Cookie Sandwich

Finally, completely sending this ice cream cookie sandwich over the top, is the customisation of the mega cookies. First of all they are dipped in dark chocolate and then sprinkled with peanut butter chips, rather than contrasting, they compliment the flavours within the ice cream.

Recipe: Reeses Peanut Butter Cup Ice Cream makes 1L approx.

300mls Double Cream plus an additional 100mls for the chocolate ganache

300mls Whole Milk

6tbsp Caster Sugar

1/4 tsp Sea Salt – I use Maldon

4 Large Free Range Egg Yolks

1tsp Vanilla Extract – I use Nielsen-Massey

1tsp Cornflour

100g/4oz Dark Chocolate minimum 70% Cocoa plus an additional 100g of Dark Chocolate for dipping the cookies

50g/2oz Peanut Butter

1 x 226g/8oz Reeces Peanut Butter Cup Minis – alternatively use the equivalent weight of regular Reeces Peanut Butter Cups roughly chopped

Caramac Caramel Cookies recipe to create the cookie sandwiches.

Method: Preparing the ice cream maker.

Ensure the freezing part/bowl of the ice cream maker has been in the freezer for at least 6 hours, ideally overnight, or according to manufacturer’s instructions.

Note: For step-by-step instructions, including photographs please see here.

Making The Ice Cream Base

  • First of all, Place the milk and cream into a heavy bottom saucepan over a medium heat. Heat the cream mixture to scalding point, little bubbles appear around the rim of the saucepan before the mix reaches boiling point. As soon as scalding point is reached, remove the pan from the heat.
  • While the cream mix is heating, place the eggs, salt, sugar, cornflour and vanilla extract into a large heatproof bowl. Whisk together until the eggs have thickened.
  • With the whisk switched to slow, gently pour the hot cream mix into the bowl with the egg mix, whisking constantly. This creates the custard base for the ice cream.
  • Pour the custard base back into the saucepan, place over a medium heat and stir constantly. Cook until the custard has thicker and coats the back of a wooden spoon.
  • Remove the pan from the heat and pour the custard through a sieve, into a large heatproof bowl.
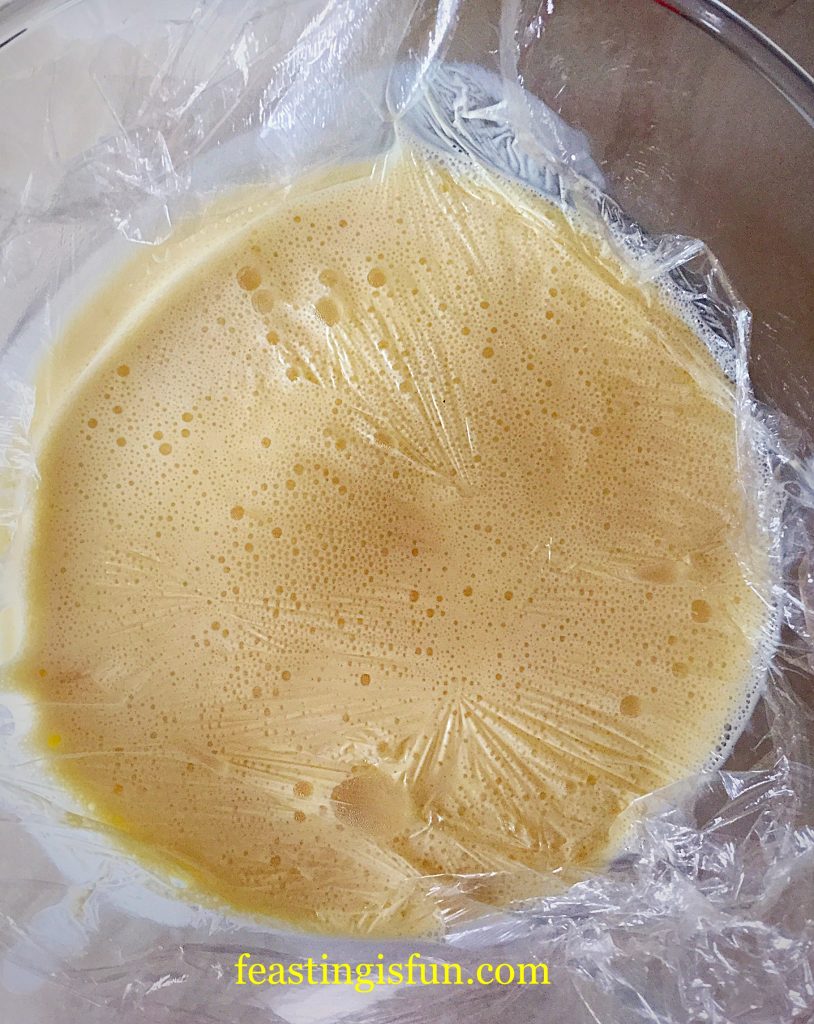
  • Place cling film directly on top of the custard to stop a skin from forming.
  • Leave the custard to cool a little before placing in the fridge to chill.

Preparing The FlavouringS And Churning The Ice Cream

  • While the ice cream base is chilling, prepare the mini Reeces butter cups. Tip out on to a chopping board, roughly divide into two thirds which will be roughly chopped and one third, which are kept whole.
  • Also make the chocolate ganache, which will be swirled through the ice cream. Place 100g of chocolate and 100mls of double cream into a heatproof/microwaveable jug. Heat on medium for 30 second bursts, stirring after each heating session. As soon as the chocolate starts melting into the cream continue stirring until the ganache is smooth and shiny. Set to one side to cool.
  • Set the ice cream maker up as per manufacturer’s instructions.
  • Add the peanut butter to the ice cream base. Use a balloon whisk to break it up into small pieces within the ice cream base.
  • Pour the ice cream mixture into the already churning ice cream maker.
  • As soon as the ice cream is thickened and frozen stop the machine. Remove the paddle so the ice cream can be scooped out.
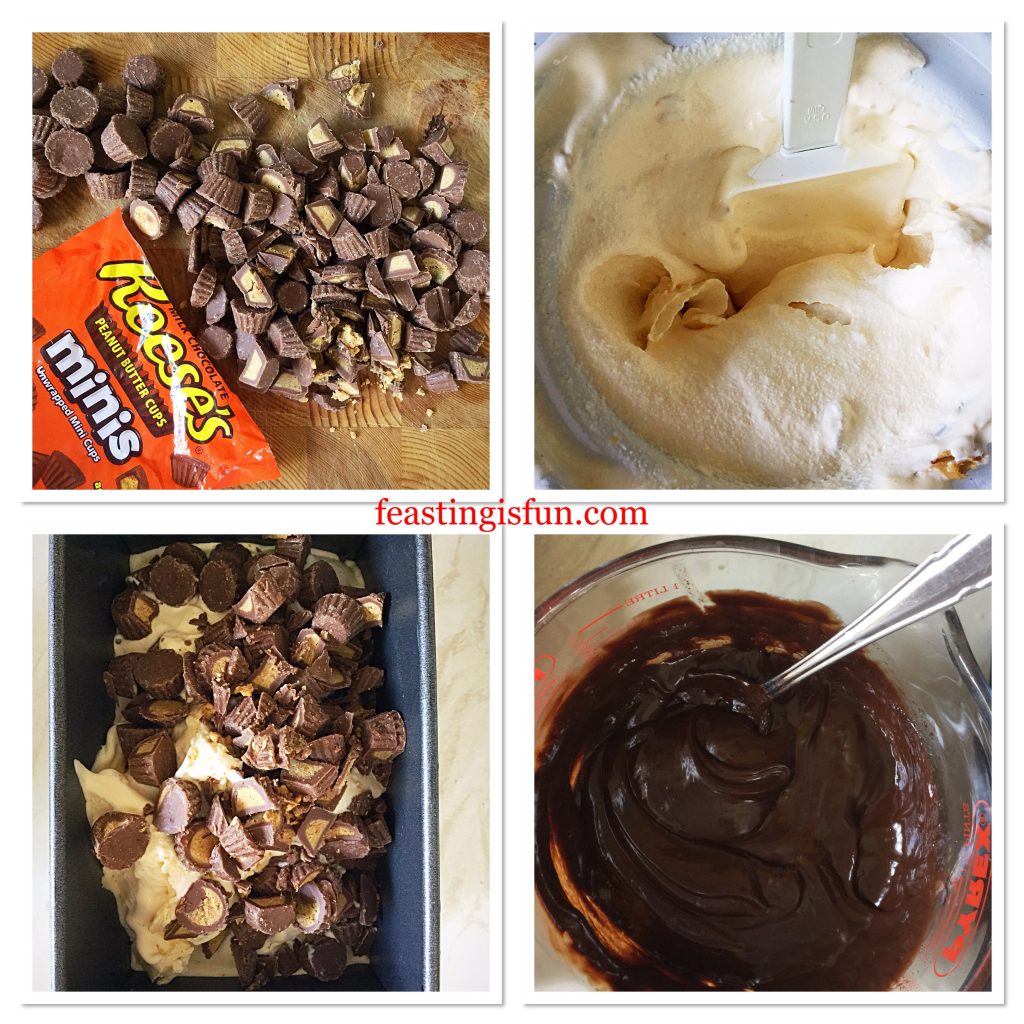
FF Reeces Peanut Butter Cup Ice Cream
The process of making Reeces Peanut Butter Cup Ice Cream.

Adding The Reeses Peanut Butter Cups And Chocolate Ganache To The Ice Cream

  • Scatter a few chopped Reeces Peanut Butter Cup Minis in the bottom of the freezing container.
  • Scoop half of the ice cream on top of the peanut butter cups.
  • Add one half of the remaining chopped and whole peanut butter cups. Now add the remaining ice cream.
  • Using the handle of a wooden spoon, swirl the peanut butter cups through the ice cream using a figure of eight motion.
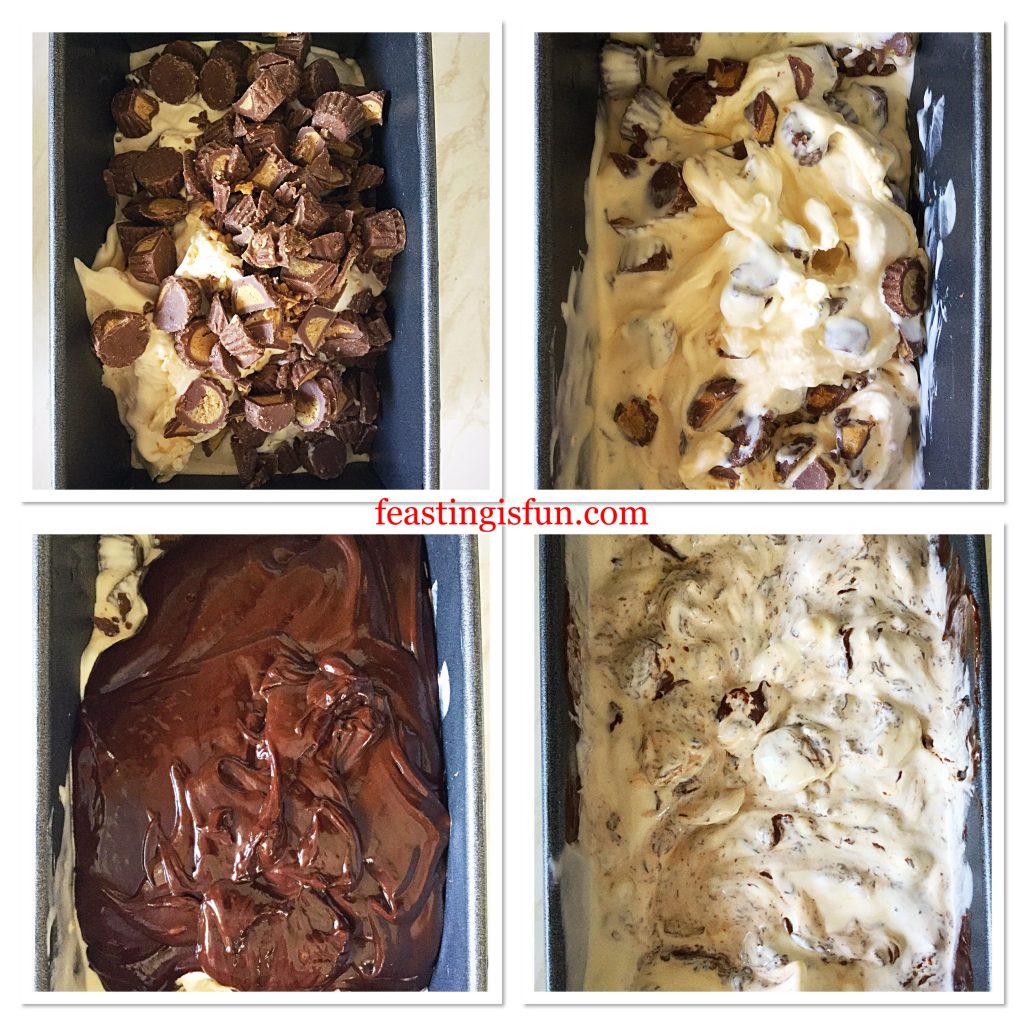
FF Peanut Butter Cup Ice Cream
Adding the chocolate ganache swirl to the Reeces Peanut Butter Cup Ice Cream.
  • Pour the cooled, yet still liquid, chocolate ganache on top of the ice cream. Again, using the handle of a wooden spoon swirl the ganache through the ice cream.
  • Snap on an airtight lid, or double wrap in cling film and place the ice cream into the freezer to firm up.
  • Leaving the ice cream to freeze overnight ensures the chocolate ganache fully freezes within the ice cream.
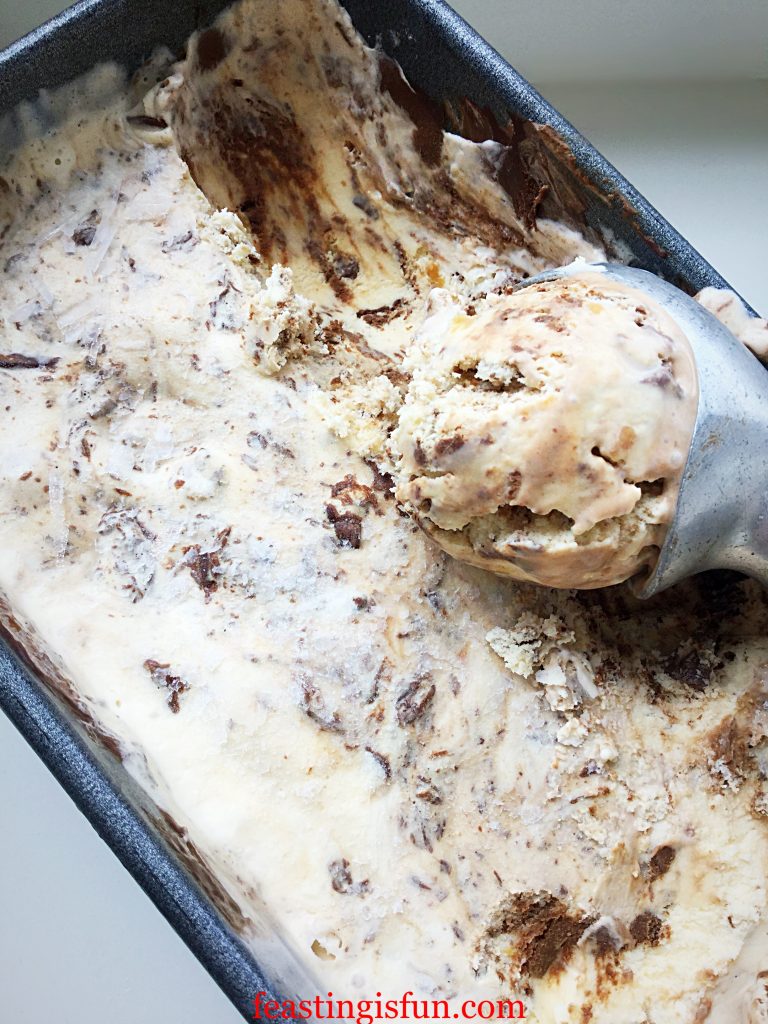
FF Reeces Peanut Butter Cup Ice Cream
Reeces Peanut Butter Cup Ice Cream ready to serve.

Finally, to serve, remove the ice cream from the freezer 10-20 minutes prior to scooping. Allowing the ice cream to soften slightly. Scoop two balls of ice cream and place on one large cookie, top with another cookie and press gently to form the ice cream cookie sandwich. Alternatively, scoop and serve in a bowl with additional Mini Reeces Peanut Butter Cups.
FF Reeces Peanut Butter Cup Ice Cream
Reeces Peanut Butter Cup Ice Cream Cookie Sandwich using Wright’s Toffee Cookie Mix.


FF Reeces Peanut Butter Cup Ice Cream
Reeces Peanut Butter Cup Ice Cream served in a bowl.

Decorating The Cookies

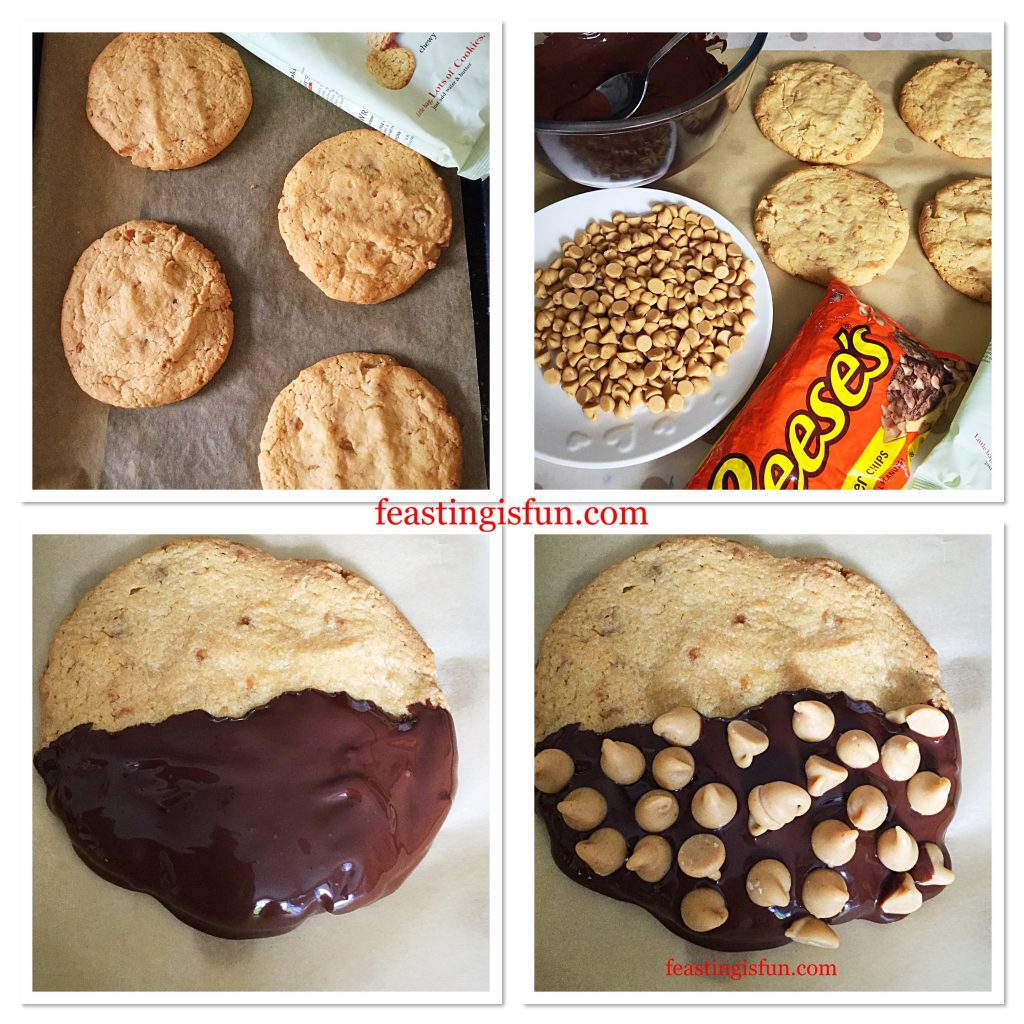
  • Make the Caramac Caramel Cookies according to the Recipe.
  • Allow the cookies to cool completely on the baking tray.
  • Melt 100g of chocolate in a heatproof, microwaveable bowl, on medium setting, for 30 seconds at a time. Stir the chocolate after each heating session.
  • As soon as the chocolate is melted, dip each cookie into the chocolate, using a spoon to cover halfway across the top oven each cookie.
  • Place the chocolate covered cookies on to baking parchment and sprinkle Reece’s peanut butter chips over the chocolate covered half. Leave to set. In hot weather place in the fridge for a few minutes until set.
FF Reece's Peanut Butter Cup Ice Cream
Baking and decorating the cookies for the ice cream sandwich.


Such an incredible ice cream deserves a cookie that enhances all of its qualities.

If you have enjoyed this recipe for Reeses Peanut Butter Cup Ice Cream you may also like these:


Caramac Caramel Cookieswith Very Vanilla Ice Cream
FF Reeces Peanut Butter Cup Ice Cream
Caramac Caramel Cookies with Very Vanilla Ice Cream.

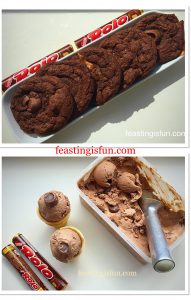
Rolo Chocolate Cookies with Chocolate Rolo Ice Cream
FF Reeces Peanut Butter Cup Ice Cream
Rolo Chocolate Cookies with Chocolate Rolo Ice Cream.

Chocolate Monster Mini Egg Cookies with Smarties Chocolate Mini Egg Ice Cream

FF Reeces Peanut Butter Cup Ice Cream
Chocolate Monster Mini Egg Cookies with Smarties Chocolate Mini Egg Ice Cream.

Since all of the recipes shown can only be made at home, this emphasises the core beliefs of Feasting is Fun. Because creating flavour combinations at home, should be fun. Resulting in each one of these examples as a feast in itself. Also, most importantly, invite your friends over to share these incredible ice cream cookie sandwiches. Finally proving that all food tastes better when shared.

So, whatever you are making, baking and creating in your kitchens, have fun preparing and sharing your feast.

Sammie xx

No part of this post may be reproduced without my specific written permission. Please see my Disclosure Policy.
Share
Facebooktwitterpinterestlinkedintumblr

Strawberry Rose Ice Cream

Share
Facebooktwitterpinterestlinkedintumblr

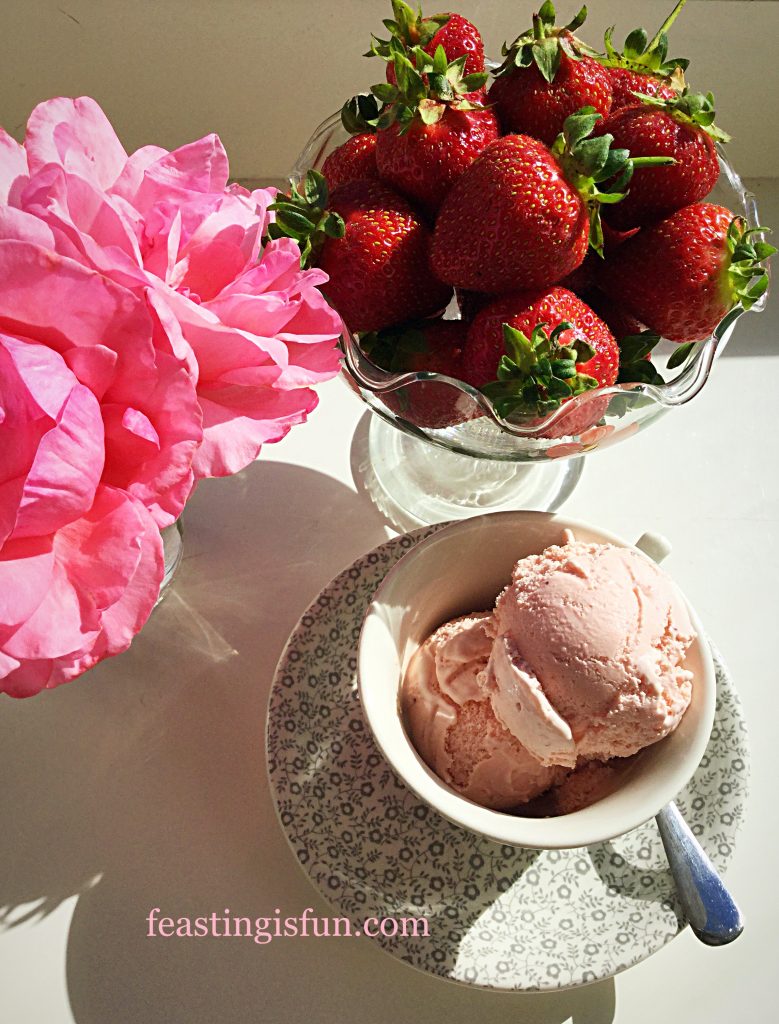
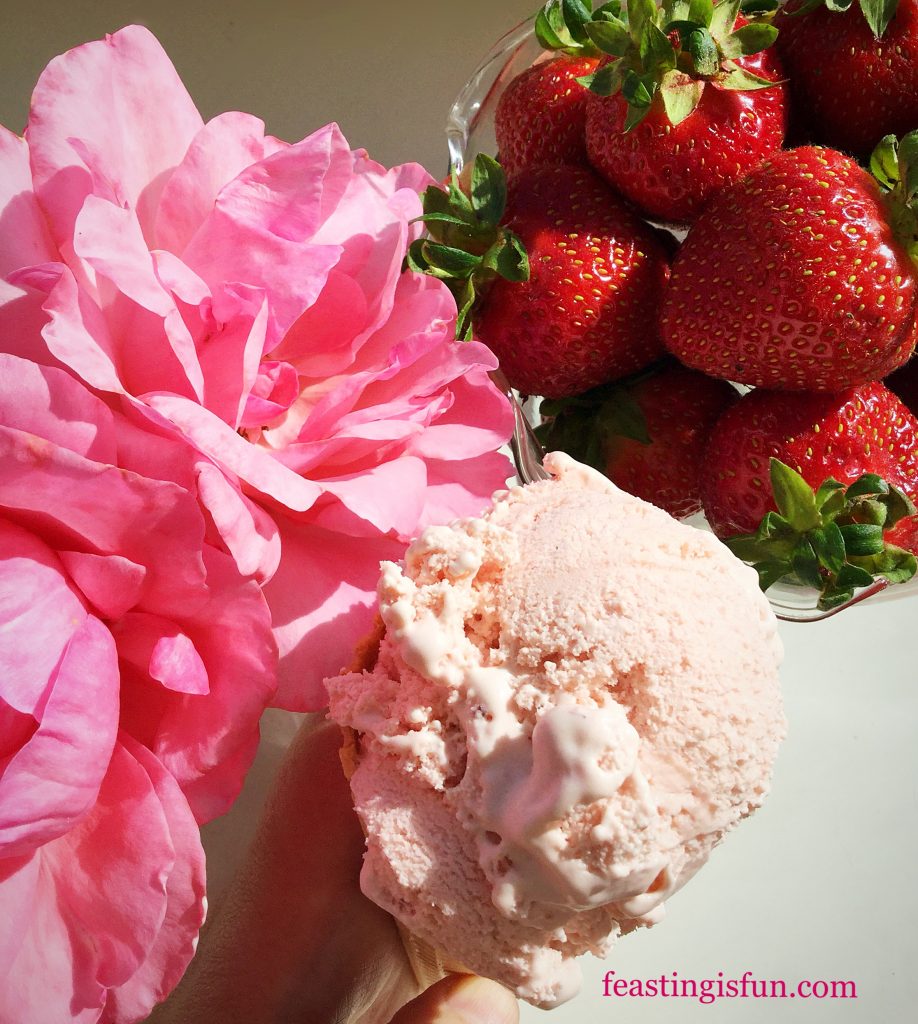
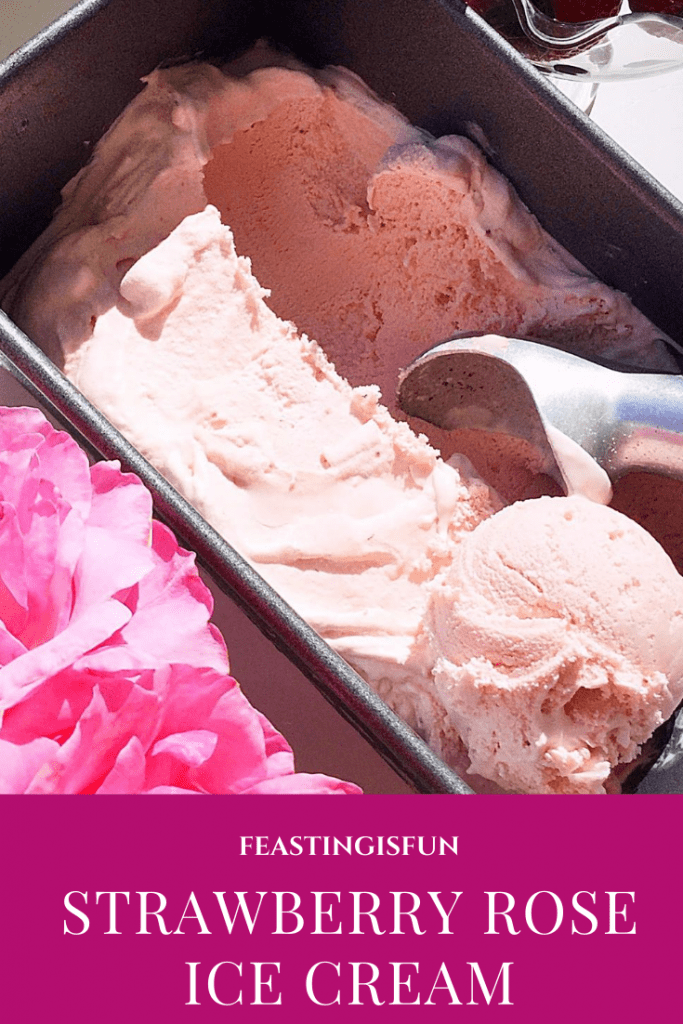
Strawberries are THE taste of Summer. While I love eating strawberries with a tiny sprinkle of sugar and splash of cream, or fresh from the plant warmed by the sun, I also wanted to make a beautiful ice cream with them. Except with a twist! Because summer, is also synonymous with roses blooming in our garden, I decided that would be the additional flavour to compliment the strawberries in this ice cream. And, the addition of rose extract elevates the final flavour to another level. One taste and you are transformed into a bygone era, where life seemed easier, simpler and slower. So, whatever you do this summer, don’t miss out on making this Strawberry Rose Ice Cream.

FF Strawberry Rose Ice Cream
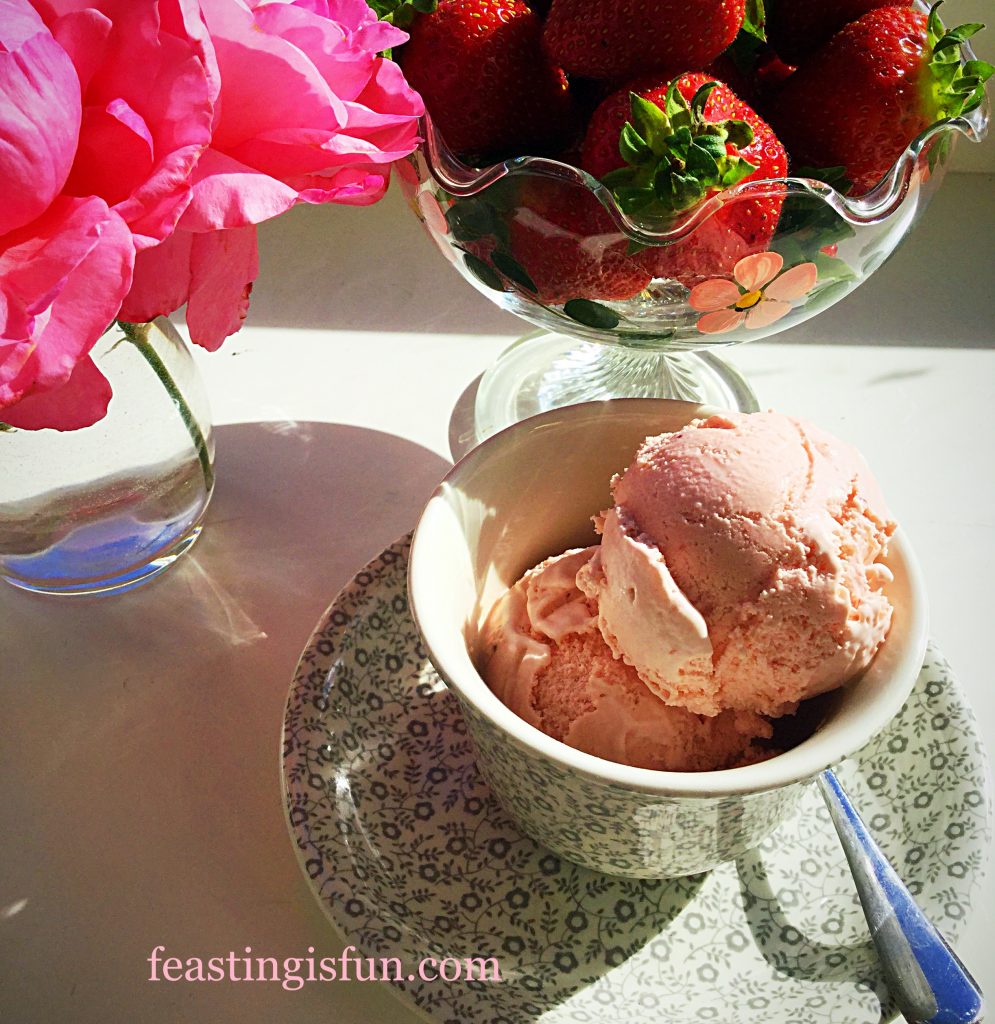
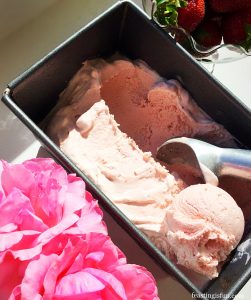
Strawberry Rose Ice Cream served in a tea cup.

A Summer Dessert Of Your Dreams

Removing all the pips are during the making of this dreamy dessert, ensures the ice cream has silky texture that lingers on the tongue. As both fresh strawberry and rose flavours meld together, they create a unique flavour experience. Likewise, this truly is a dream ice cream where the finished recipe is so much more than the addition of its component parts. Sieving the strawberries is very important in creating the smooth, finish.  And as this small, important step only takes a couple of minutes, it is worth it to ensure the final ice cream has the silky, smooth, texture.

FF Strawberry Rose Ice Cream
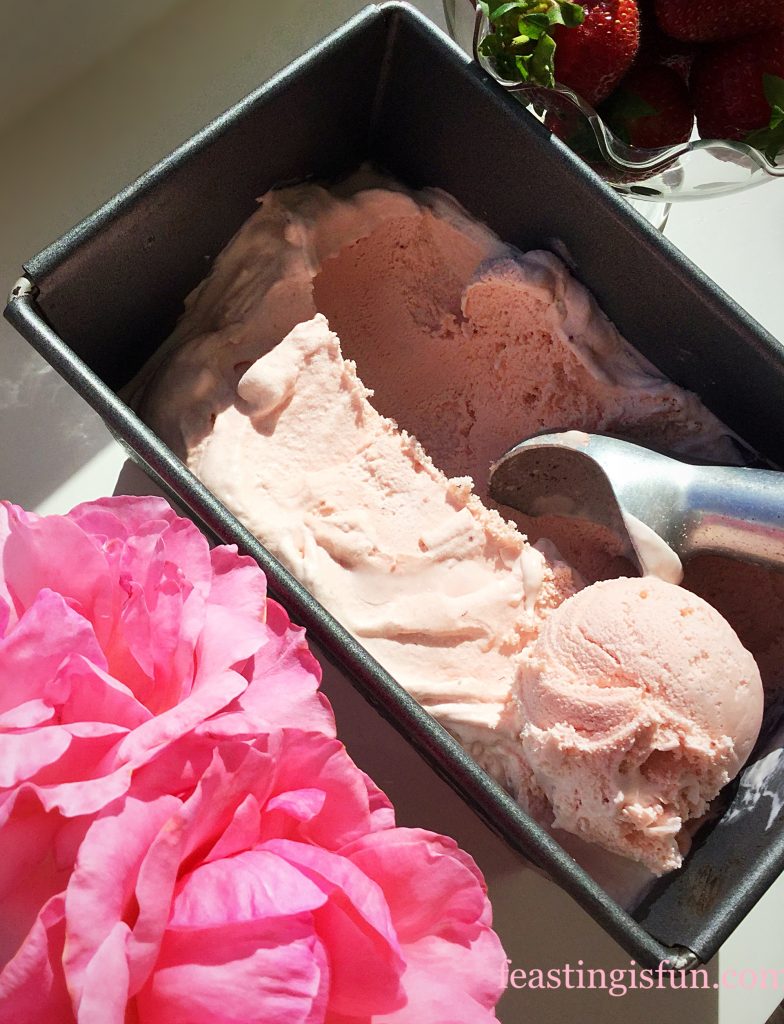
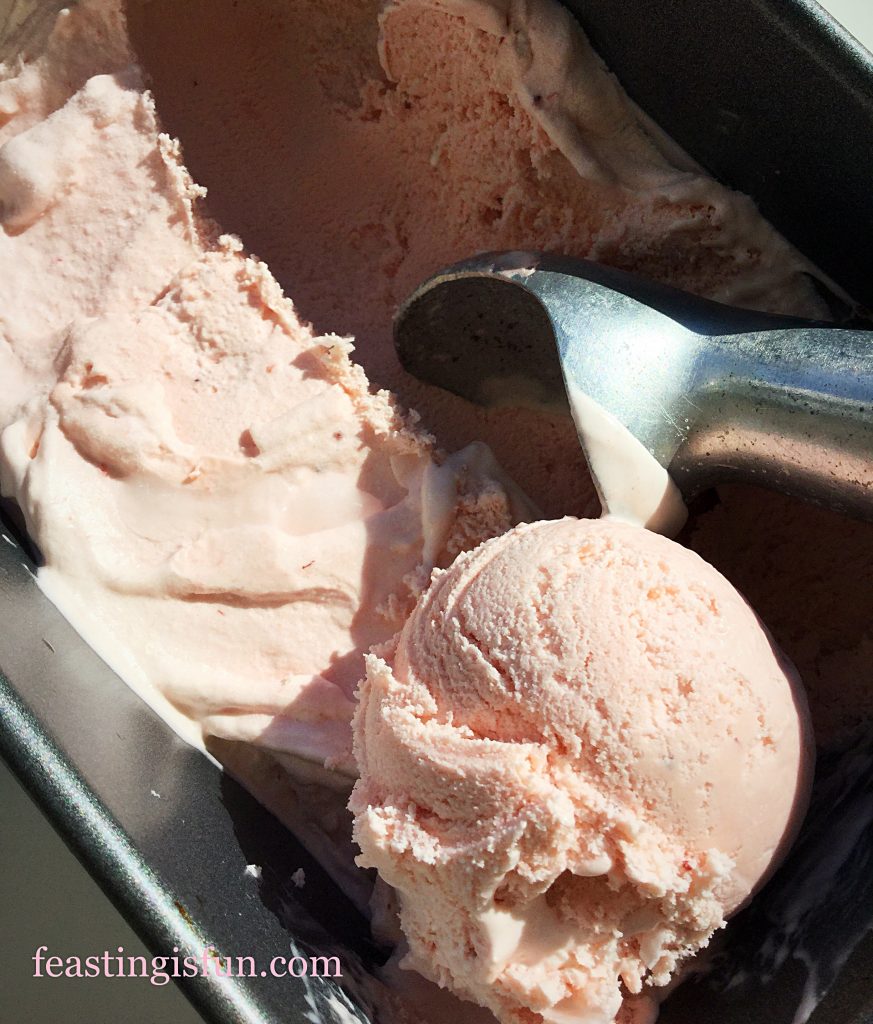
Strawberry Rose Ice Cream exceptionally easy to scoop.

Finally, this ice cream is the epitome of summer in a dessert. And as summer is the season when strawberries and roses are celebrated as being at their best, what better way to celebrate them. While all roses included in the pictures for this post, are from our own garden, I haven’t gone as far as to make my own Rose Extract. That process can safely be left in the hands of Nielsen-Massey , the professionals. Rather, the roses in the photos hint at their presence within the ice cream.

FF Strawberry Rose Ice Cream
Strawberry Rose Ice Cream delicious in a cone.

Note: Prior to starting this recipe ensure that the frozen bowl of the ice cream maker is placed in the freezer overnight for at least 8 hours. Or as per manufacturer’s instructions.

Recipe: Strawberry Rose Ice Cream makes approx. 1L

400g Punnet of Strawberries hulled and larger ones cut in half

3tbsp Sugar

4tbsp Tap Water

Scant 1/4tsp Rose Extract- I use Nielsen-Massey

20-30mls Freshly Squeezed Lemon Juice

4 Large Free Range Egg Yolks

1tsp Cornflour – I use Doves Farm as this is guarenteed gluten free

5tbsp Caster Sugar

300mls Double Cream

300mls Whole Milk

1tsp Vanilla Extract

Method:

For full step by step instructions with photos on how to make the custard ice cream base, please see Very Vanilla Ice Cream.

Making The Strawberry Puree

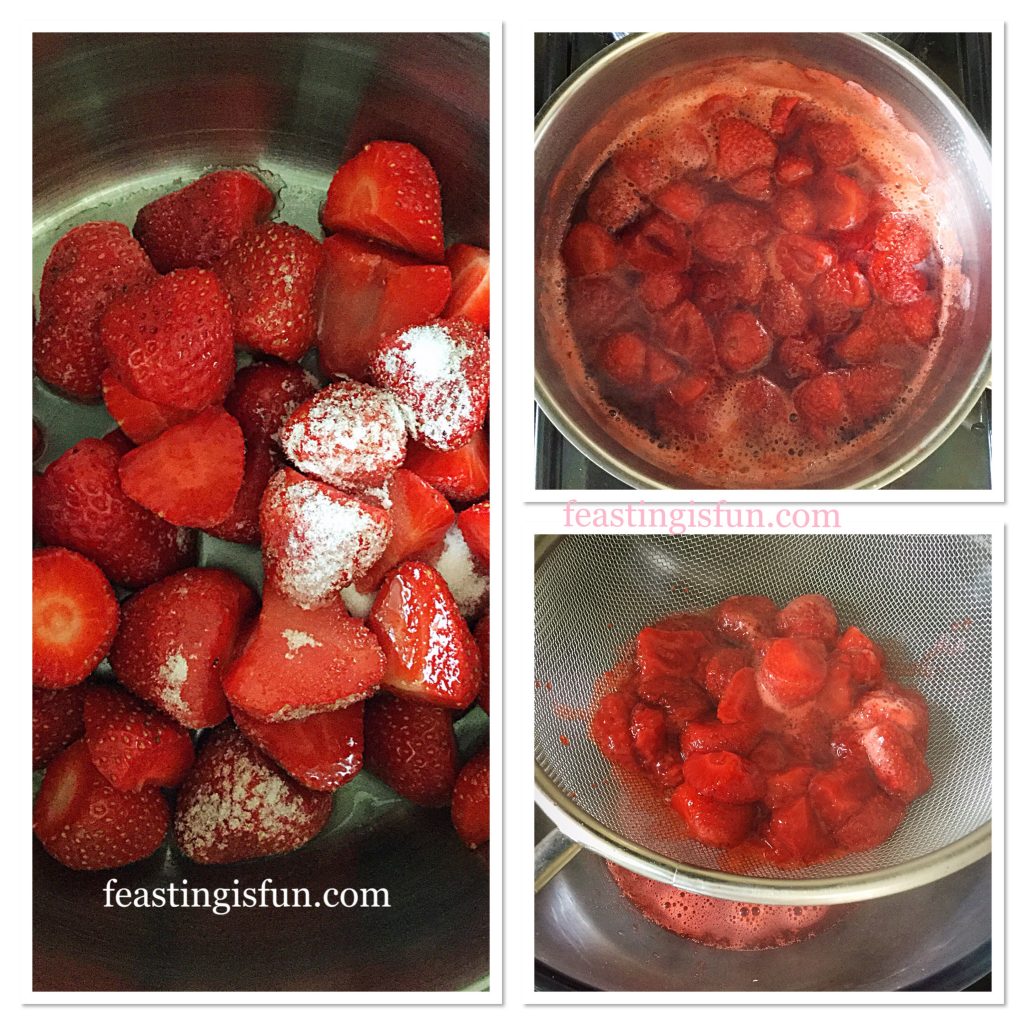
  • First of all place the prepared strawberries into a heavy bottom, medium sized saucepan. Sprinkle over 3 tablespoons of sugar and 4 tablespoons of tap water.
  • Place the pan over a medium heat and cook the strawberries until the liquid starts bubbling.
  • Swirl the pan to ensure that the sugar is dissolved and then let the strawberries cook for a further 5 minutes.
  • While the strawberries are cooking place a sieve over a heatproof bowl.
  • Once cooked pour the strawberries and liquid on to the sieve.
FF Strawberry Rose Ice Cream
Cooking and sieving the strawberries.
  • Use the back of a dessert spoon and gently press the strawberries into the sieve. The juices and flesh will pass through the sieve. Keep running the back of the spoon over the pulp until all that’s left are seeds and the remaining strawberry fibres.
  • Scrape the underneath of the sieve with a clean spoon. This ensures all of the strawberry that’s passed through the sieve goes into the bowl underneath.
  • Discard the seeds and pulp left in the sieve.
  • Cover the bowl with cling film and chill.
FF Strawberry Rose Ice Cream
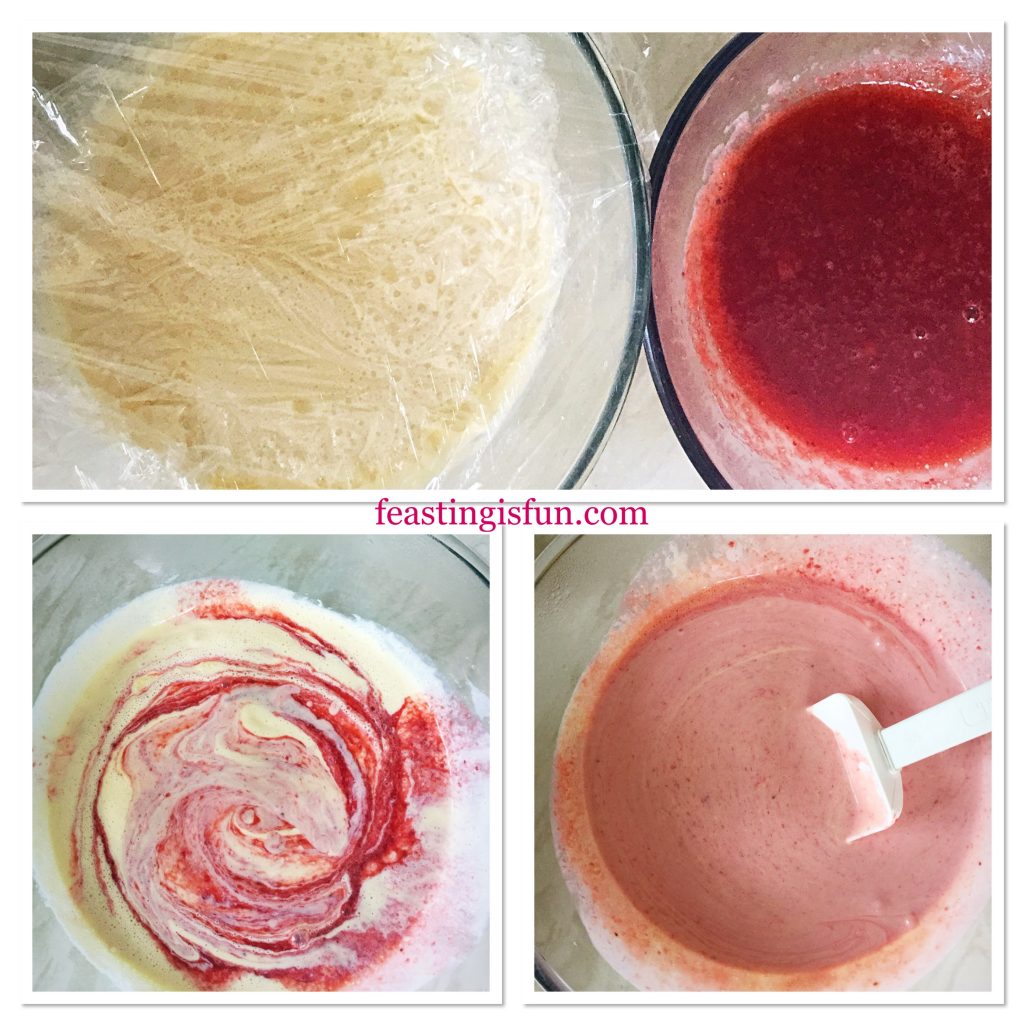
Preparing the ice cream base prior to churning.

Making The Ice Cream Base

  • To make the ice cream base, first place the cream and milk into a heavy bottom saucepan over a medium heat. Heat to scalding point, where little bubbles form around the rim prior to boiling.
  • While the cream mix is heating place the egg yolks, cornflour, sugar and vanilla extract into a large heatproof bowl. Whisk together until thickened.
  • As soon as the milk and cream have reached scalding point remove from the heat.
  • With the whisk on slow gently pour the hot liquid into the egg mix, increasing the whisk speed to medium.
  • Pour the custard base back into the saucepan over a medium heat. Stir until the custard is thickened and coats the back of a wooden spoon.
  • Once cooked pour the custard through a sieve into a heatproof bowl.
  • Place cling film directly on to the custard to stop a skin from forming.
  • Leave the custard to cool before placing in the fridge to chill.
  • Once the strawberry juice has cooled add the Rose extract. Take care not to add more than the recipe indicates, as the finished result will taste soapy. Also add the juice of a small lemon 20-30mls and stir.
  • As soon as the custard base is chilled, remove the cling film and add the strawberry mix, then stir.

Churning And Freezing The Strawberry Rose Ice Cream

FF Strawberry Rose Ice Cream
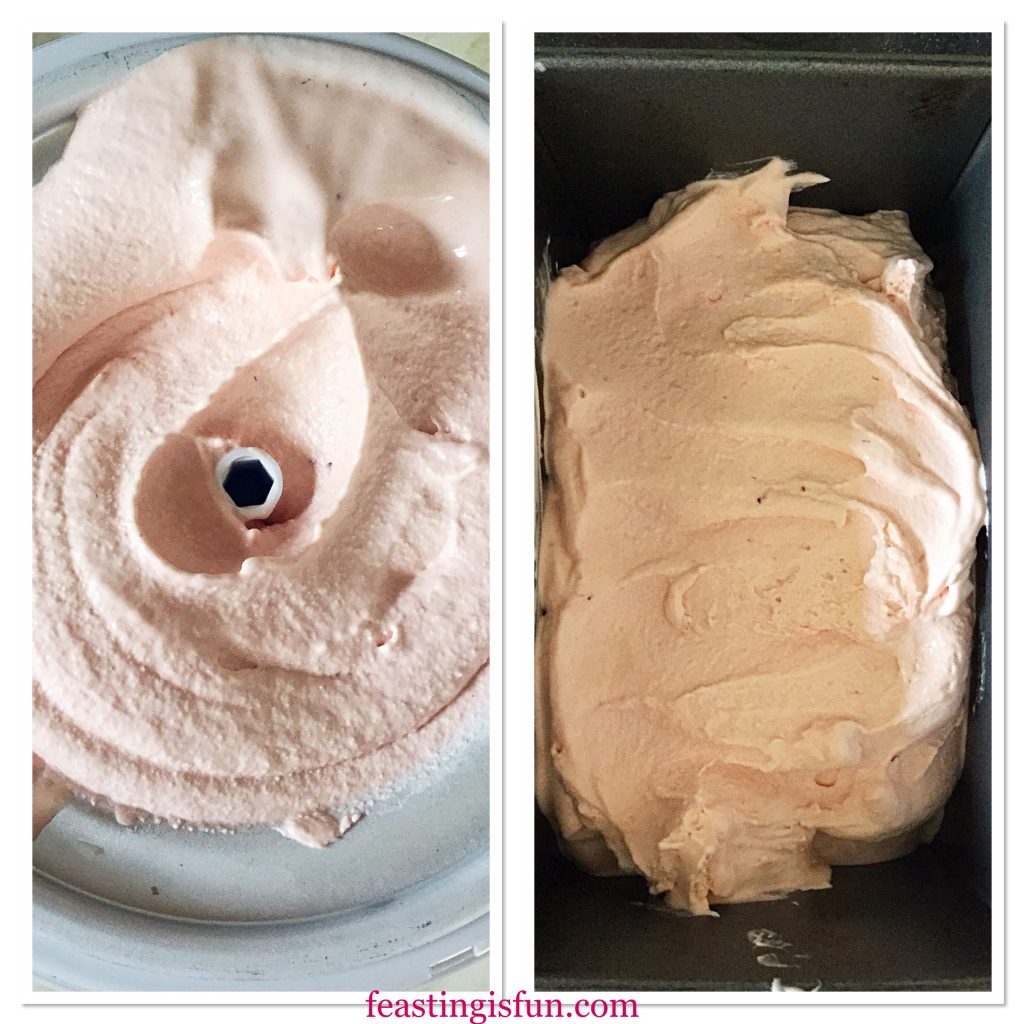
Churning and storing the Strawberry Rose Ice Cream
  • Set up the ice cream maker as per manufacturer’s instructions.
  • With the machine switched on pour in the flavoured custard base and churn until softly frozen. Similar in consistency to whipped ice cream in a cone.
  • When the right consistency has been reached switch off the ice cream maker and dismantle.
  • Spoon the churned ice cream into a freezer proof container with an airtight lid. I used a clean loaf tin to store the ice cream. This was purely for the photos, having seen similar images on Pinterest! The tin was then double wrapped in freezer proof cling film.
  • Place the container into the freezer and leave overnight, or for at least 12 hours, to allow the ice cream to fully freeze.
  • To serve, remove the ice cream from the freezer 10-20 minutes prior. As there are no artificial, only natural selection ingredients, this allows the ice cream to soften, so that it can be easily scooped.
FF Strawberry Rose Ice Cream
Strawberry Rose Ice Cream

So easy to scoop!

FF Strawberry Rose Ice Cream
Strawberry Rose Ice Cream served as dessert in a tea cup.

Serve in tea cups for dessert or afternoon tea. Likewise, scoop into cones for a delicious fun treat. Also, by using a certified gluten free cornflour, the ice cream is naturally gluten free.

If you have enjoyed this recipe for Strawberry Rose Ice Cream you may also like these:

Amaretto Creamy Ice Cream

Amaretto Creamy Ice Cream

Lemon Ripple Ice Cream

Lemon Ripple Ice Cream

Triple Chocolate Chunk Ice Cream

Triple Chocolate Chunk Ice Cream

Making ice cream at home, is such a creative and fun process. As you  choose flavour combinations the possibilities become endless. Also by only using certain ingredients, homemade ice cream can easily be made gluten free. Finally, I would not be without an ice cream maker now, using it to make countless different flavours.

Whatever you are making, baking and creating in your kitchens, have fun!

Sammie xx

Please note that no part of this post may be reproduced or replicated without the specific, written permission of the owner. Please see my Disclosure Policy.


Share
Facebooktwitterpinterestlinkedintumblr

Cherry Chocolate Ice Cream

Share
Facebooktwitterpinterestlinkedintumblr

Are you a fan of ice cream? I am and I absolutely love making it myself. The reason for that is, firstly I own an awesome ice cream maker from Andrew James and secondly any flavour combination is possible.The only limit is your own imagination. So welcome to my Cherry Chocolate Ice Cream.

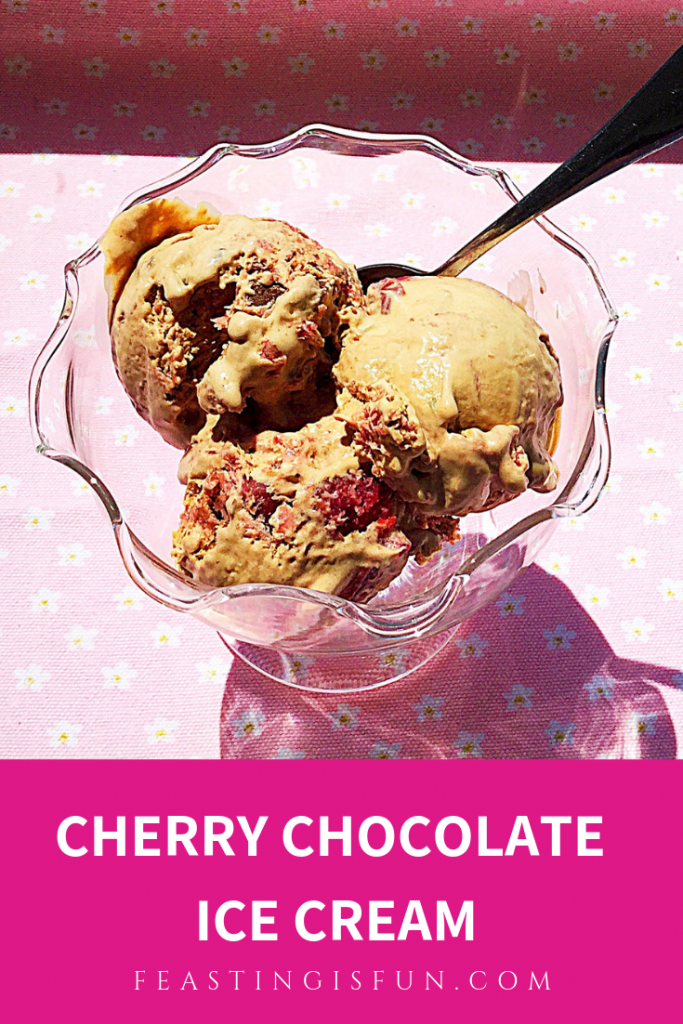
Pinterest sized image with descriptive graphics.

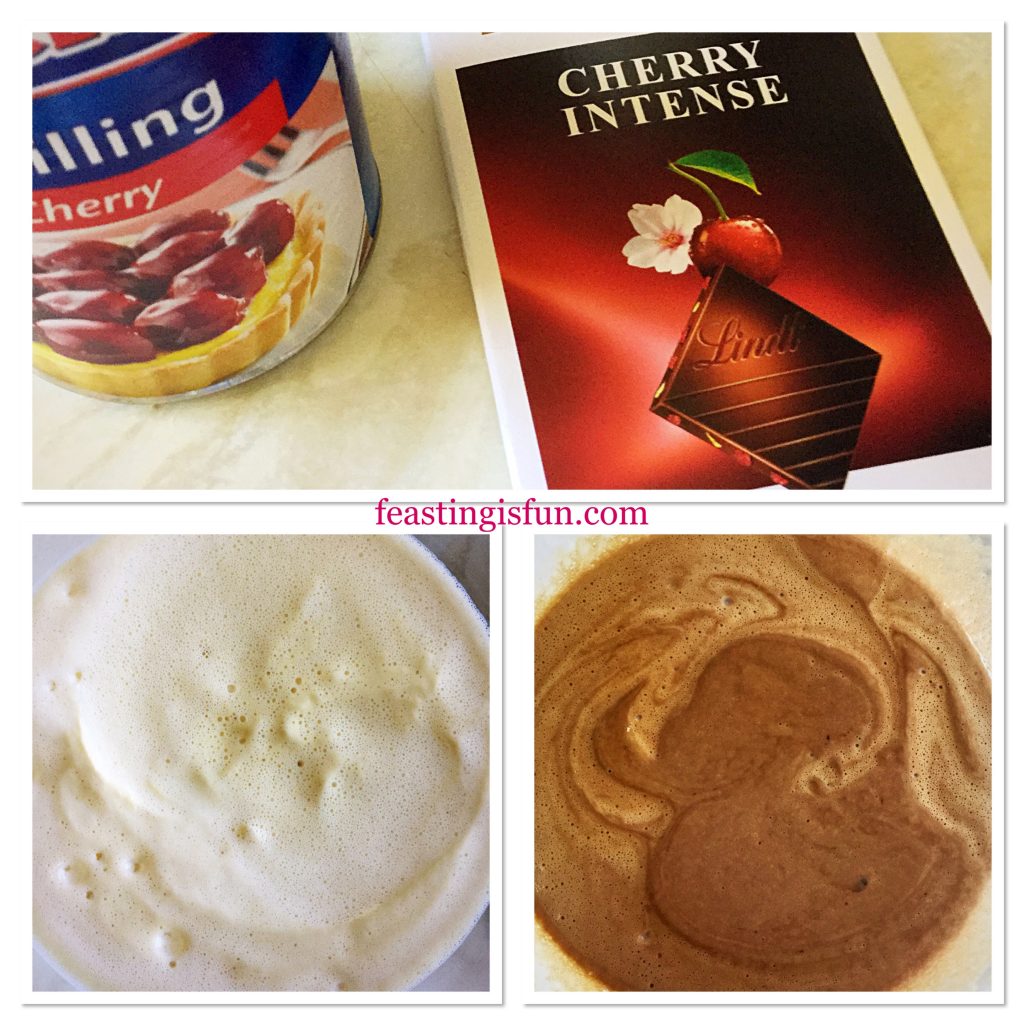
So, yesterday I was going to make a batch of Strawberry Ripple Ice Cream. Yet while foraging around in the cupboard for ingredients I came across a bar of Lindt Cherry Chocolate. And an idea started to form. Further rummaging and the second ingredient was found. A can of tinned cherries. Not sure if they would make it to the final recipe I hooked them out anyway. So it was time to start experimenting!

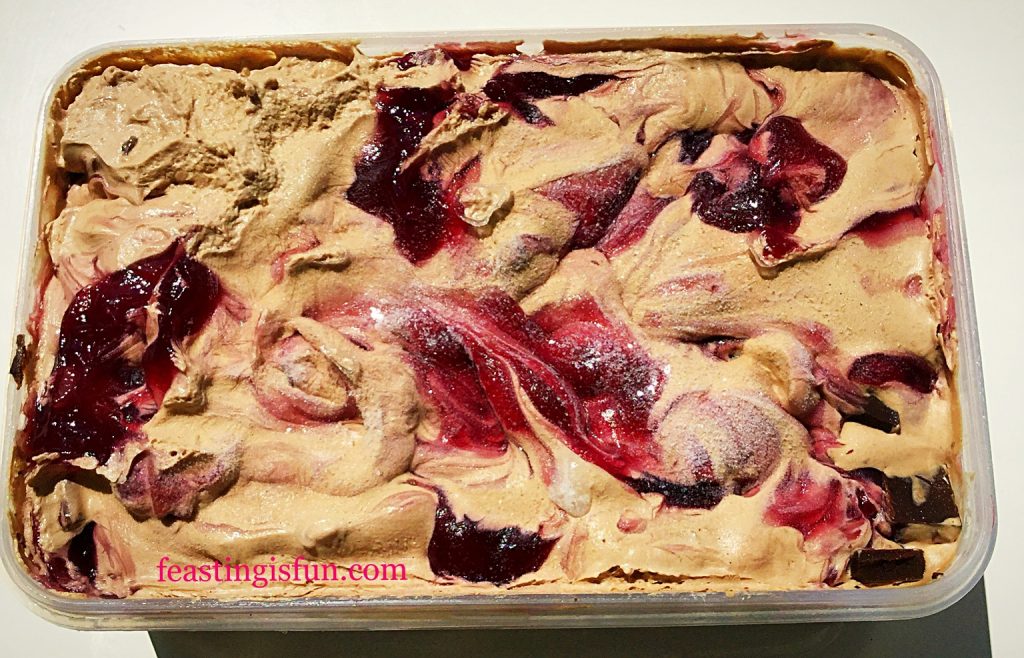
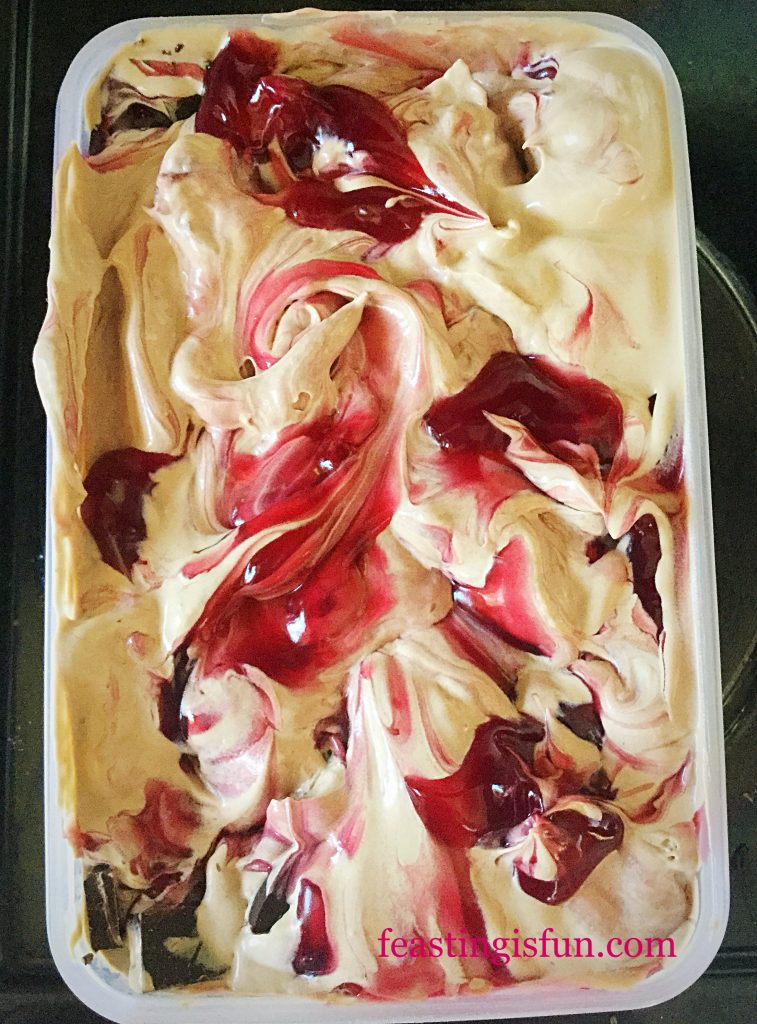
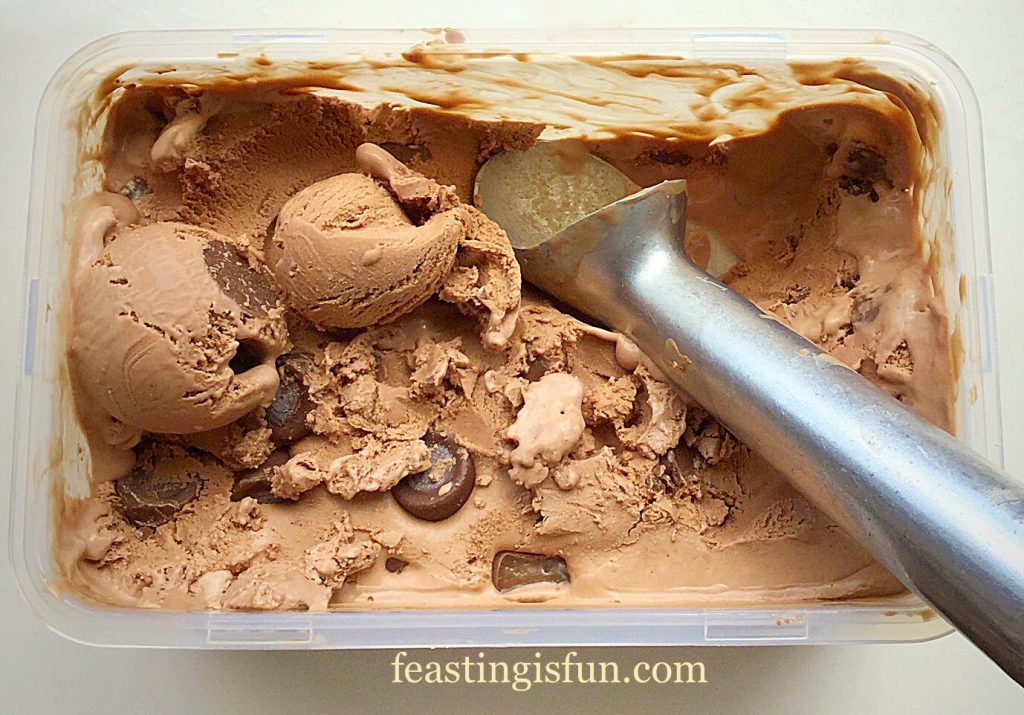
A tub of frozen swirled ice cream.
A tub of frozen Cherry Chocolate Ice Cream.

Flavours That Compliment Each Other

Cherry and chocolate are a classic combination. In truth, during cherry season I may try this recipe with gorgeous, glossy fresh cherries. Especially as we have a cherry tree in our garden. Instead their flavour is imparted firstly through the cherry chocolate bar. Resulting in a pleasantly mild flavour. However, once frozen the flavours dull. Resulting in the decision to use a full can of cherry pie filling (please don’t hate me) with the additional dark chocolate chunks added as well.

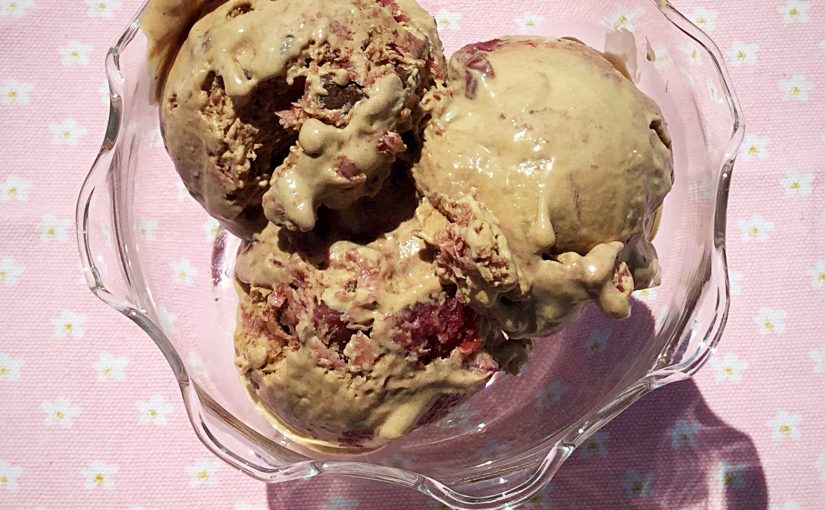
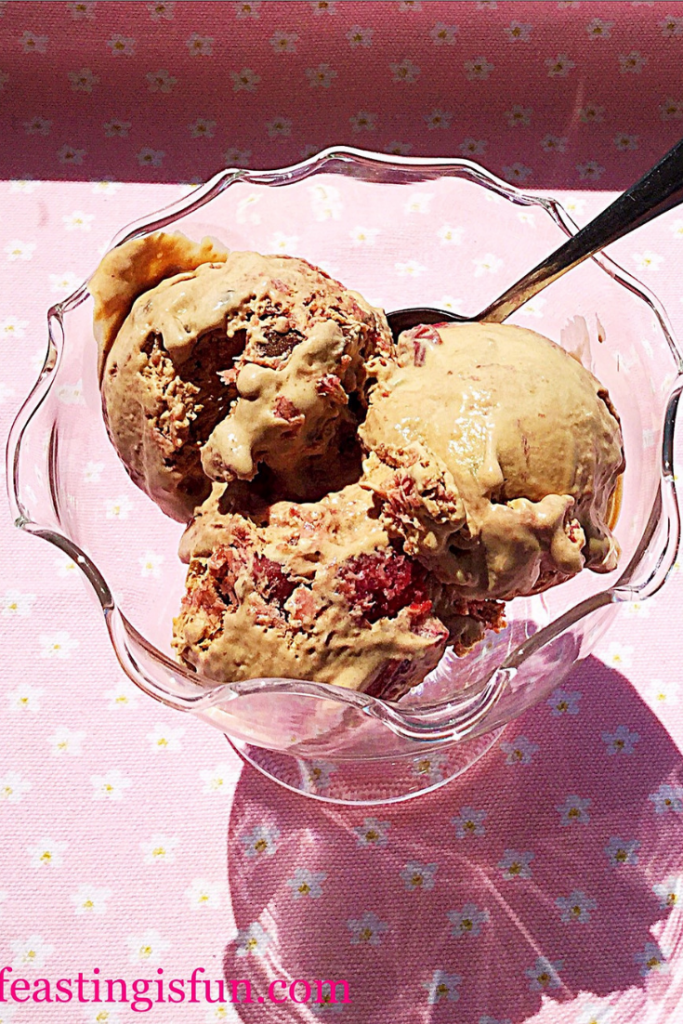
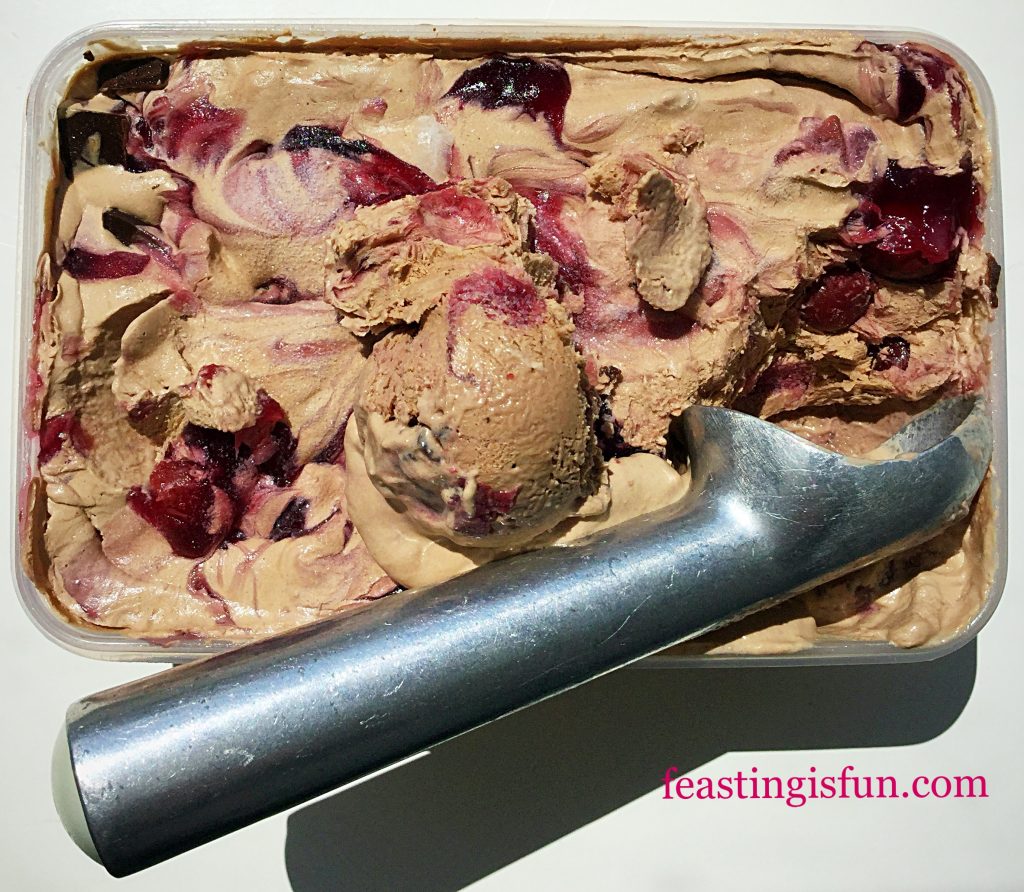
Scoops of flavoured ice cream in a bowl with a spoon.
Cherry Chocolate Ice Cream

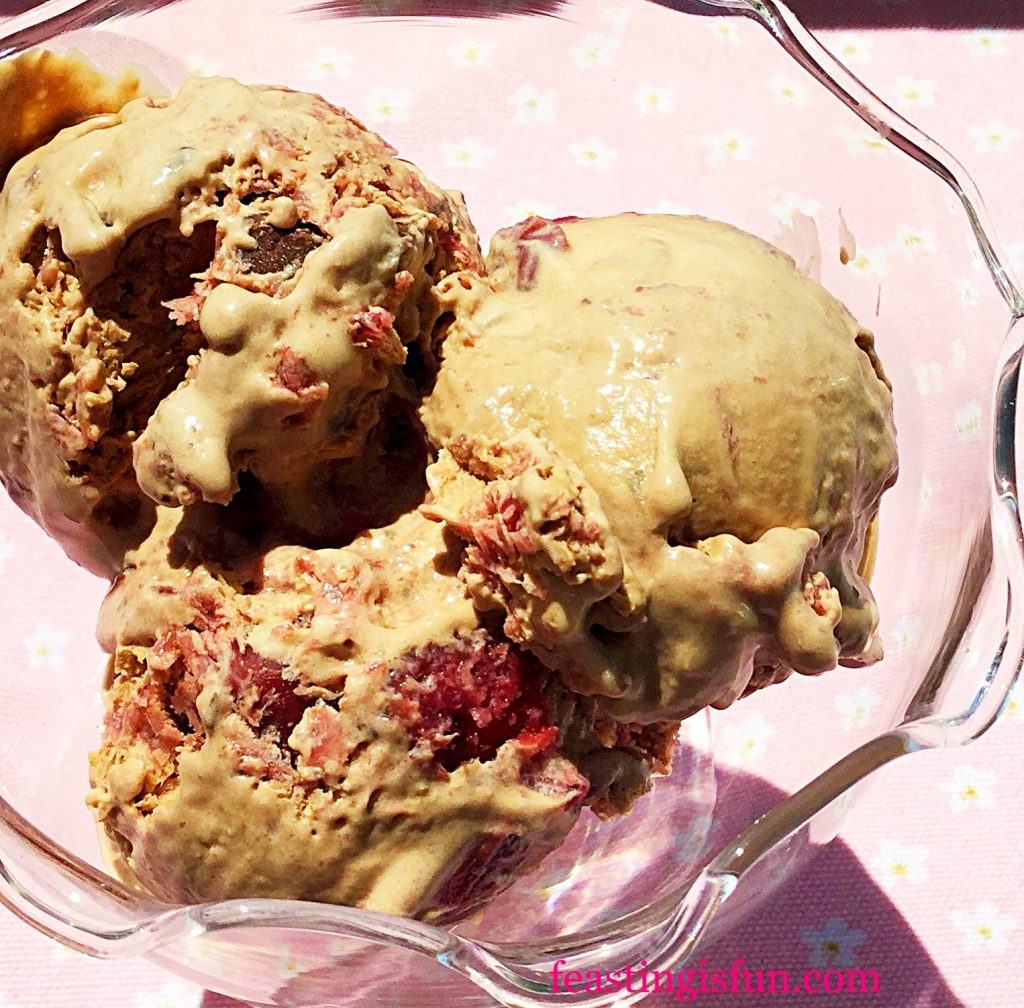
Taste is an important part of developing a recipe, is key. As soon as the ice cream is churned, frequent tastings are made and more cherries are added. It’s a hard life! Eventually the balance was perfect using the entire can. Dark chocolate chunks transform any ice cream, with both flavour and texture. Here they provide deep chocolate flavour within the silky, mild chocolate ice cream. Resulting in this incredible Cherry Chocolate Ice Cream, my hubby’s all time favourite.

Scoops of ice cream in a glass bowl.
Cherry Chocolate Ice Cream

Recipe: Cherry Chocolate Ice Cream makes approx. 1L

300ml Double Cream

300ml Whole Milk

1tsp Vanilla Extract – I use Nielsen-Massey

4 Large Free Range Egg Yolks – the whites can be frozen for up to 1 month

1tsp Corn Flour – I use Dove’s Farm as it is certified gluten free

4tbsp Caster Sugar

100g Bar Lindt Cherry Chocolate

1 x 410g Can Cherry Pie Filling – check that the pie filling is gluten free. Alternatively use frozen, pitted cherries available from most supermarkets.

100g Dark Chocolate Chunks/Bar

Method:  Place the bowl of the ice cream maker in the freezer at least 8 hours/overnight or follow the manufacturer’s instructions, prior to making this ice cream.

For step by step instructions and photos please see Very Vanilla Ice Cream .

Making The Custard Base

  • First of all pour the cream and milk into a heavy based saucepan placed over a medium heat.
  • While the cream is heating place the egg yolks, sugar, vanilla extract and corn flour into a large heatproof bowl.
  • Whisk the ingredients together until pale and frothy, keeping an eye on the heating cream.
  • Heat the cream and milk to scalding point, when a ring of bubbles appear around the rim of the saucepan, just prior to the liquid boiling. Remove from the heat once scalding point has been reached.
  • With the whisk on slow, gently pour in the heated cream, increasing the speed once it is all added.
  • Pour the custard mixture back into the pan and place over a medium heat. Stir to ensure that the base doesn’t burn. Continue until the custard is thickened and coats the back of a wooden spoon. Remove from heat.

Turning The Vanilla Custard Into A Cherry Chocolate Base

  • Break up the cherry chocolate bar and place into a heatproof bowl. Place a sieve over the bowl.
  • Next, pour the thickened custard through the sieve into the bowl.
  • Stir the custard until all of the chocolate has melted. Cover the custard with cling film placed directly on to the top of the hot, thick liquid, this will stop a skin from forming.
  • Set the hot, flavoured custard to one side and allow to cool.
FF Cherry Chocolate Ice Cream
Churning The Ice Cream And Adding Cherries And Chocolate Chunks 
  • When the ice cream base has cooled place in the fridge to chill.
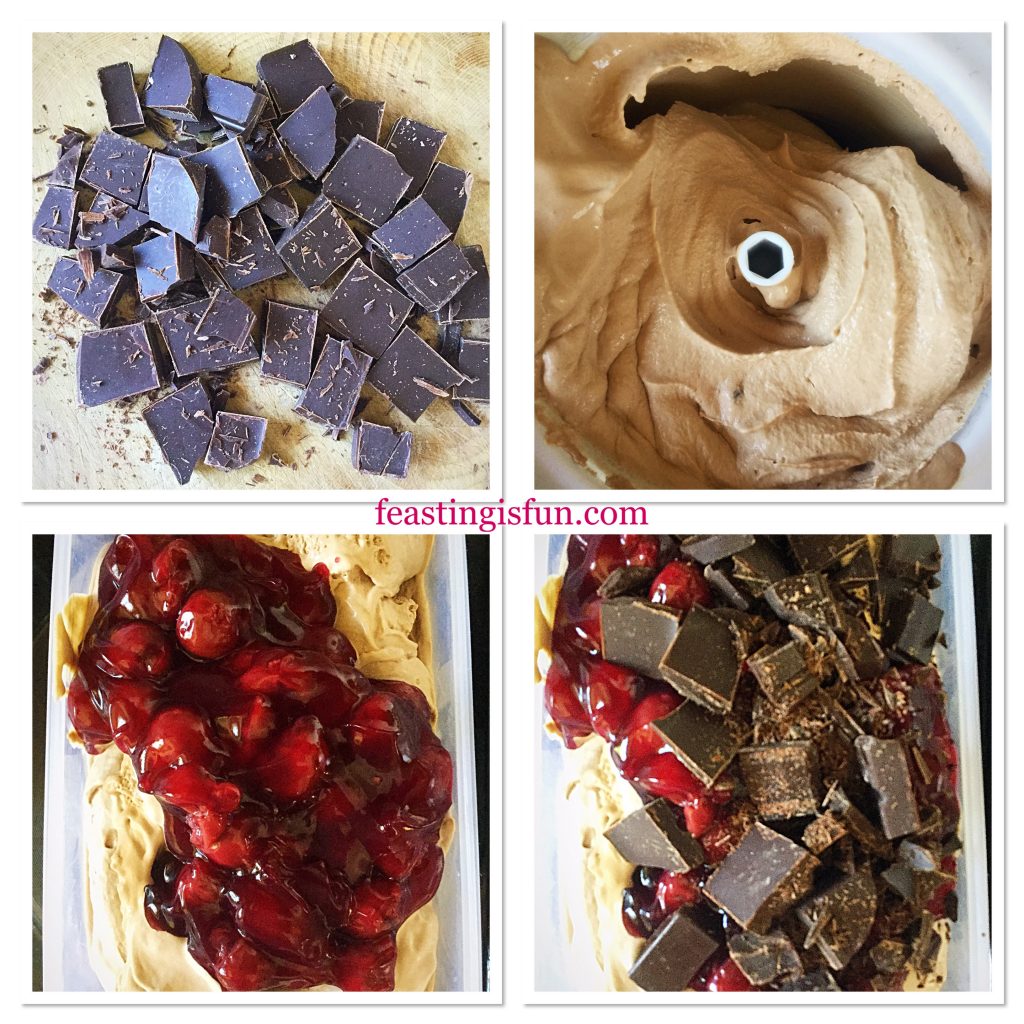
  • While the ice cream base is chilling prepare the chocolate chunks. If using a bar chop into pieces.
  • Set up the ice cream maker once the ice cream base is cold.
  • Pour the base into the ice cream maker and churn until softly frozen.
  • Decant the ice cream into a freezer proof container with a tight fitting lid.
  • Add the cherries and chopped chocolate.
FF Cherry Chocolate Ice Cream
Creating the Cherry Chocolate Ice Cream
  • Using the handle of a wooden spoon swirl the ingredients together.
FF Cherry Chocolate Ice Cream
Cherry Chocolate Ice Cream swirled together and ready for the freezer.
  • Clip on a tight fitting lid and place in the freezer for 6 hours or ideally overnight.
  • Remove the ice cream 10-20 minutes prior to serving to allow it to soften, which will allow easy scooping.
FF Cherry Chocolate Ice Cream
Cherry Chocolate Ice Cream ready to serve

Serve generous scoops of this utterly scrumptious ice cream in bowls or cones. And watch the smiles on faces as they discover whole cherries, nuggets of dark chocolate and enjoy feasting.

FF Cherry Chocolate Ice Cream
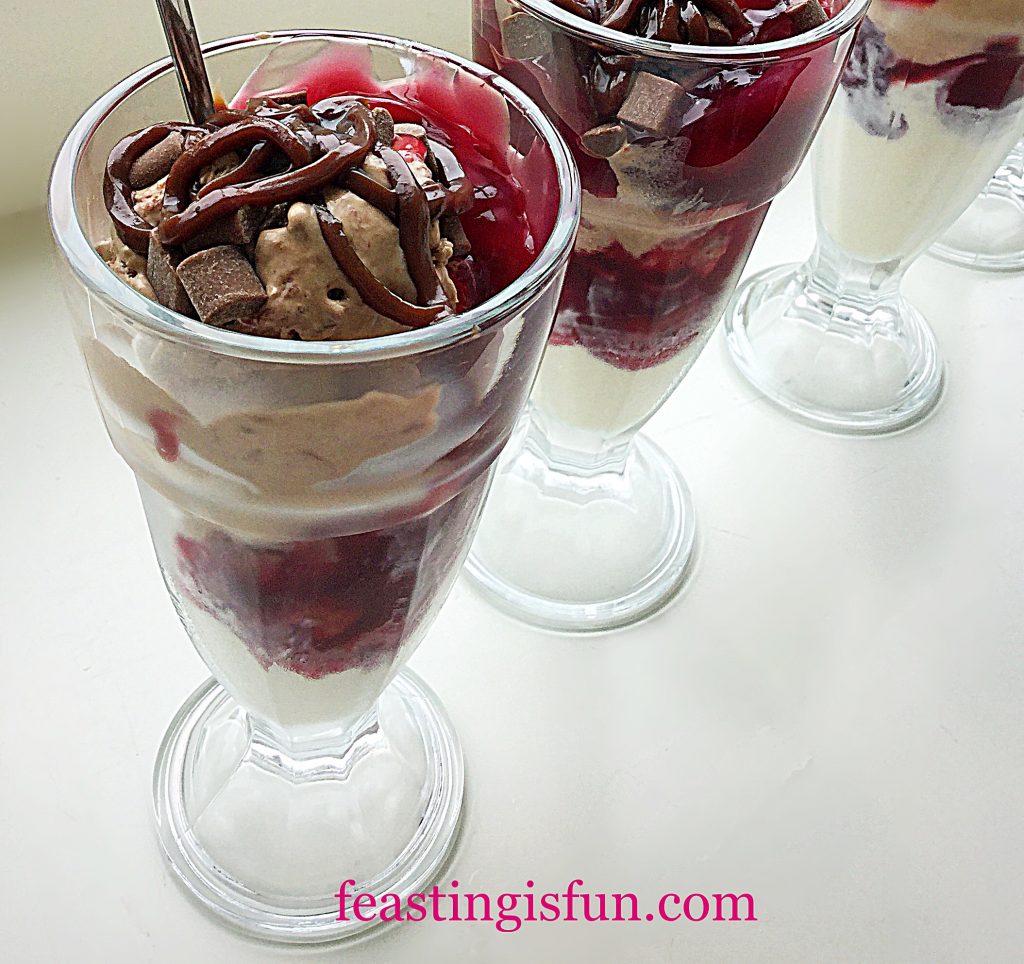
Cherry Chocolate Ice Cream Sundae

Why not turn this delicious ice cream into a Cherry Chocolate Ice Cream Sundae?

If you have enjoyed this recipe for Cherry Chocolate Ice Cream there are many other ice cream recipes on Feasting is Fun, here are a few:

Triple Chocolate Chunk Ice Cream

FF Cherry Chocolate Ice Cream
Triple Chocolate Chunk Ice Cream

Lemon Ripple Ice Cream

Lemon Ripple Ice Cream scoops in a bowl.
Lemon Ripple Ice Cream

Chocolate Rolo Ice Cream

FF Cherry Chocolate Ice Cream
Chocolate Rolo Ice Cream

Nothing beats homemade ice cream, especially on a hot, sunny day. And the flavour combinations are limitless. Since you are in control you can simply make flavours that aren’t available in the shops. I could not be parted from my ice cream maker. So the bowl has a permanent place in our freezer, ready for whenever the need for ice cream arises. And yes sometimes it is a need!

So, whatever you are making, baking and creating this weekend have fun.

Sammie xx

No part of this post may be copied without my specific written agreement. Please see my Disclosure Policy.


Share
Facebooktwitterpinterestlinkedintumblr

Chocolate Rolo Ice Cream

Share
Facebooktwitterpinterestlinkedintumblr

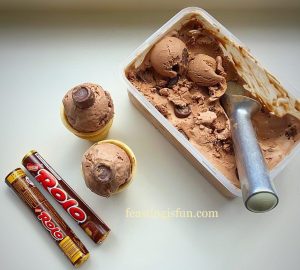
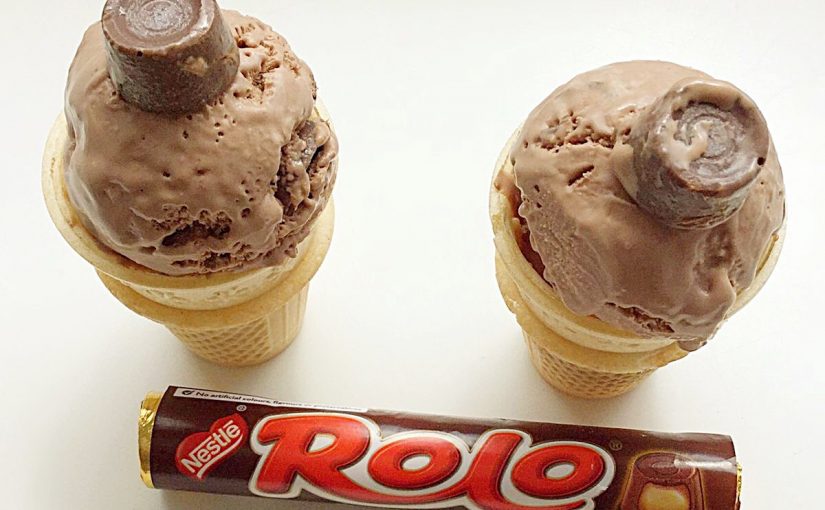
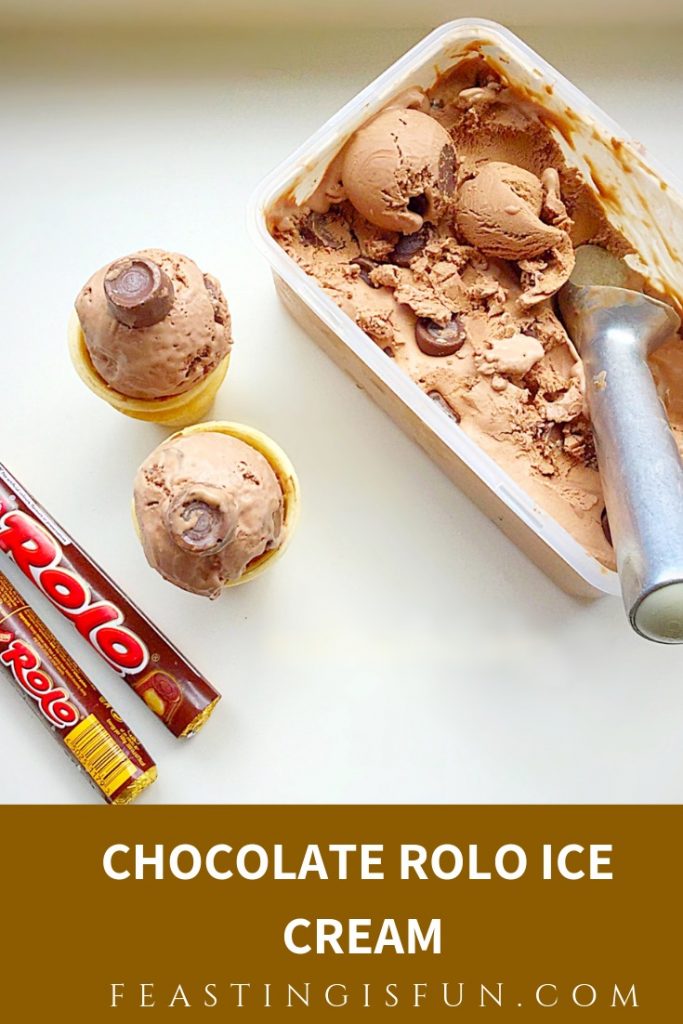
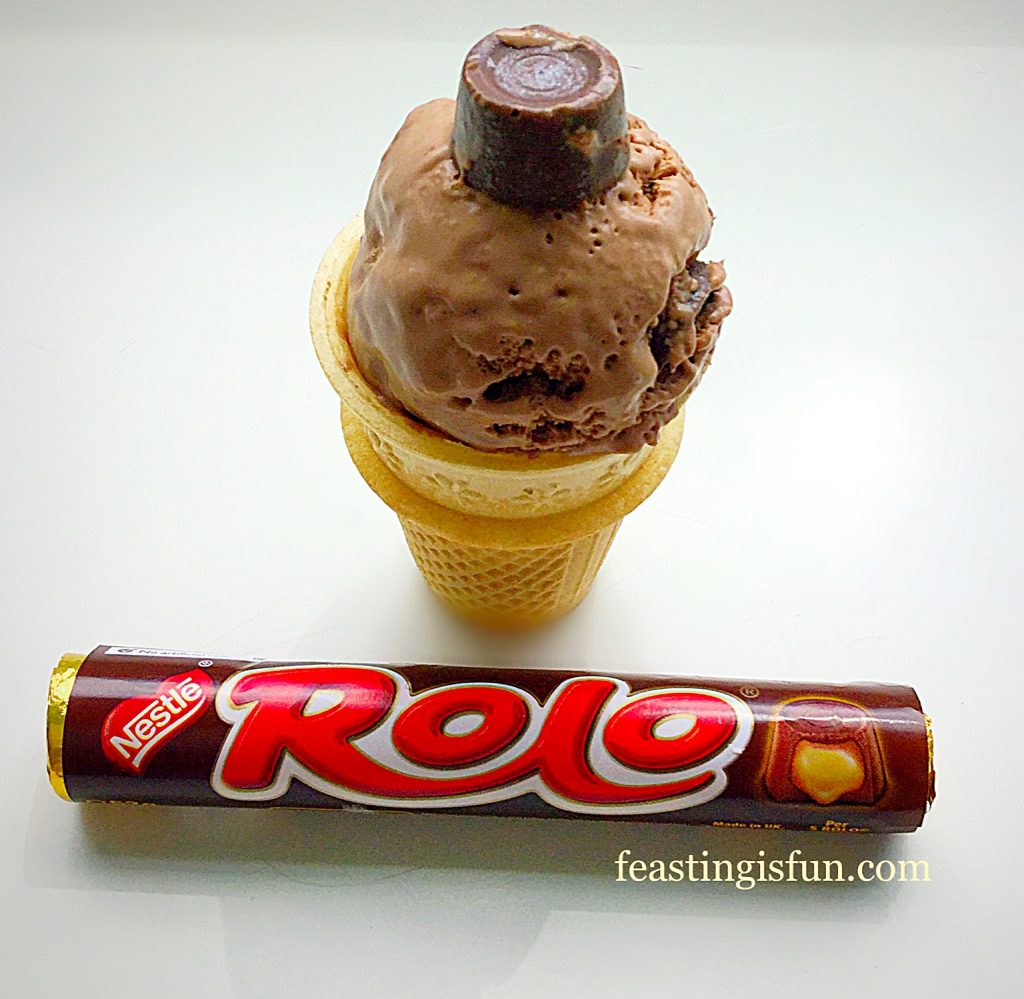
Chocolate Rolo Ice Cream. Silky, chocolate ice cream packed full of chocolate/caramel Rolos.

FF Chocolate Rolo Ice Cream

The idea for this recipe came from my friend and amazing fellow blogger Jane from  Jane’s Patisserie. While creating the most wonderful recipes, she also has just got a new puppy called Rolo. So you see I had to create something to celebrate the new puppy Rolo coming home. Chocolate Rolo Ice Cream seemed the perfect solution.

Chocolate Rolo Ice Cream

This Chocolate Rolo Ice Cream recipe is so versatile. Once you have made the chocolate ice cream base you can add whatever you like. I rather like the idea of a Mars Bar version, with big chunks swirled through the ice cream.

I am loving my Andrew James Which Best Buy Ice Cream Maker. In fact I now have a second bowl, which I can pop in the freezer. This means I can either make one big double batch of the same ice cream or split it into two different flavours.

Making ice cream at home is easy, inexpensive, you have control over what goes in AND you are only limited by your imagination as to how many flavours you come up with! Someone asked me today why they’d never had Chocolate Rolo Ice Cream before, my answer was I’d only just invented it!!

Recipe: Makes 750ml Chocolate Rolo Ice Cream

300ml Double Cream

300ml Whole or Semi Skimmed Milk

4 Large Free Range Egg Yolks – freeze the whites in a bag for up to one month

1tsp Vanilla Bean Paste/Vanilla Extract – I use Nielsen-Massey

1tsp Corn Flour – I use Doves Farm  as it is certified gluten free

5tbsp Caster Sugar

100g Dark Chocolate 70% Cocoa

4 Packets of Rolos

Method: Ensure the frozen bowl part of the ice cream maker has been in the freezer for at least 8 hours, or according to manufacturers instructions.

Note – for step by step photographs of how to make the custard base please see Very Vanilla Ice Cream

Making The Chocolate Ice Cream Base

  • Pour the milk and cream into a heavy based saucepan over a medium heat.
  • Heat until the milk is scalded – little bubbles will appear around the rim of the liquid just before it boils. Once it has reached this point remove from the heat.
  • In a large heat proof bowl add the egg yolks, vanilla paste, corn flour and sugar.
  • Whisk until pale and creamy.
  • With the whisk still running on low, slowly pour the hot cream mixture into the bowl – this creates the custard base.
  • Pour the custard base back into the saucepan, over a low-medium heat, stirring continuously.
  • When the custard has thickened and coats the back of a wooden spoon remove the pan from the heat.
  • Chop up the dark chocolate and place into a clean bowl – I quickly rinse out the original bowl used.
  • Place a sieve over the bowl and pour the hot custard through the sieve on to the chocolate.
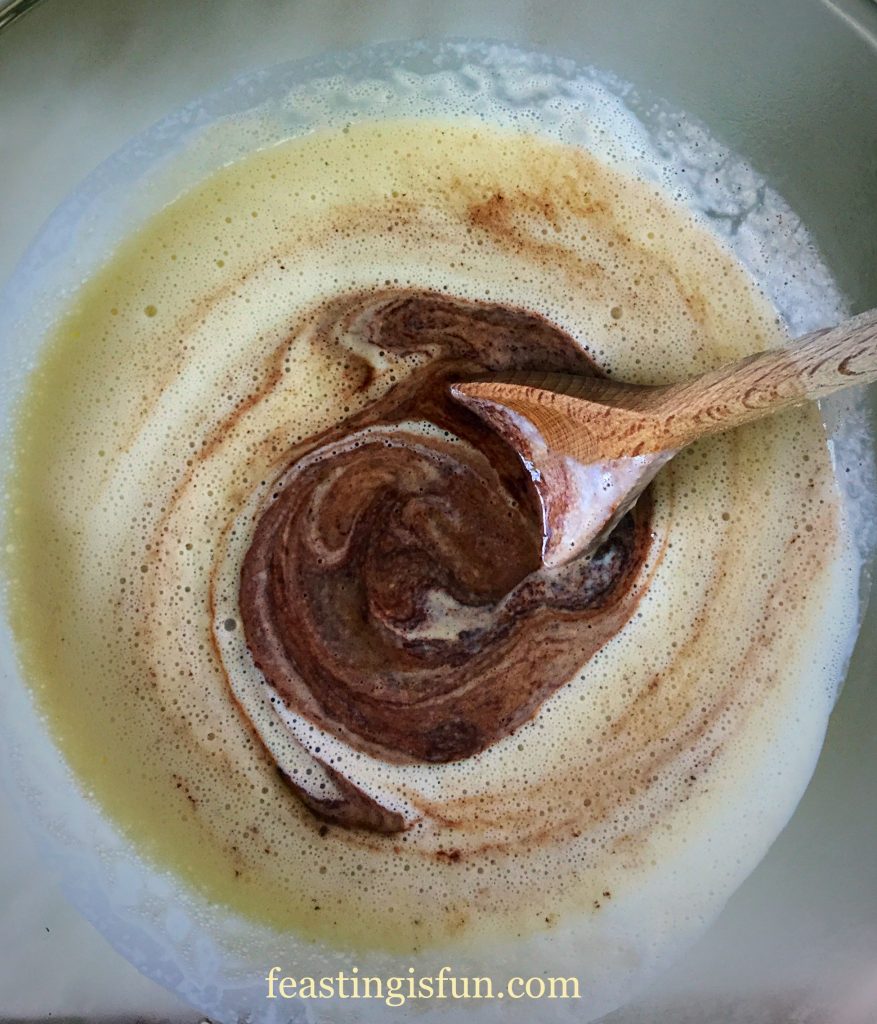
  • Stir the custard with a wooden spoon and the chocolate will melt into it.
FF Chocolate Rolo Ice Cream
Chocolate melting into the custard ice cream base.
FF Chocolate Rolo Ice Cream
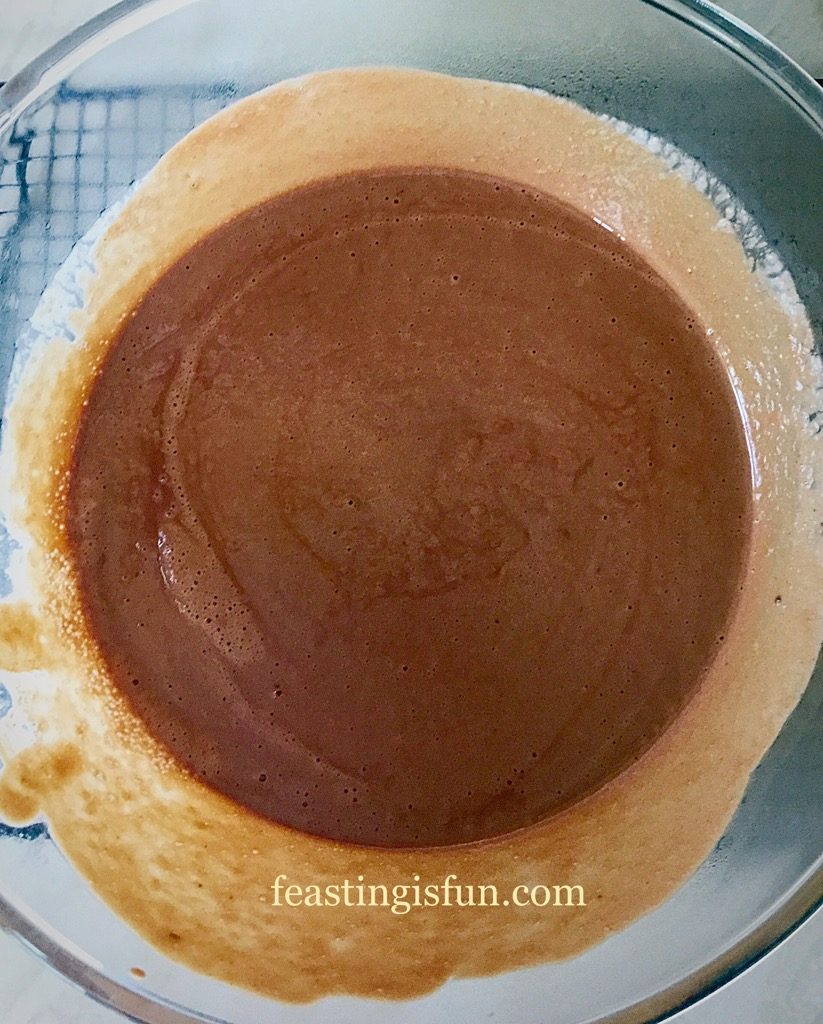
Delicious chocolate ice cream base ready to cool.
  • Cover the chocolate custard base with cling film, so the film lays directly on the surface of the custard. This will stop a skin from forming.
  • Once cooled to warm on the work top place the bowl in the fridge to chill.
  • As soon as the base is chilled it is ready to be churned.

Churning The Ice Cream

  • Set up your ice cream maker as per the manufacturers instructions.
  • Mine has to be churning, prior to adding any liquid.
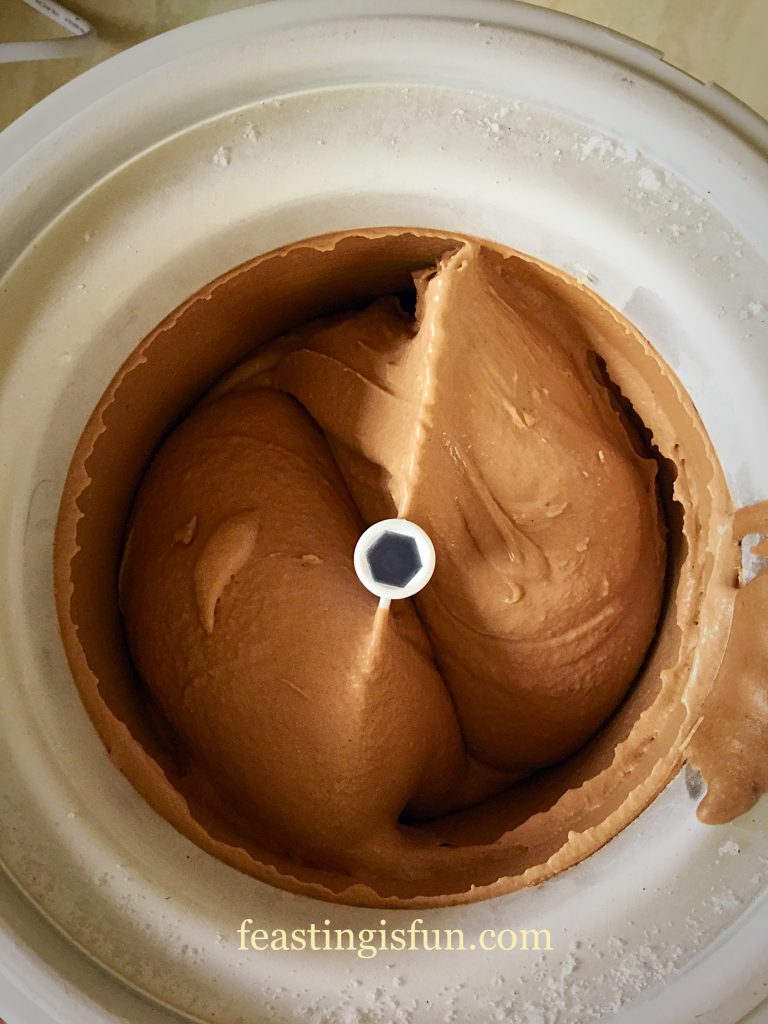
  • Pour the chocolate custard into the churning machine through the opening and leave to churn until frozen – for me that is when the ice cream is turning as one clump with the beater.
  • Switch the machine off and remove the top part of the ice cream maker.
FF Chocolate Rolo Ice Cream
Chocolate Ice Cream that needs Rolos!
  • Remove the beater, scraping off as much of the ice cream as you can. Then lick off the rest of the ice cream 😉
  • Decant the chocolate ice cream into a freezer proof tub.
  • Unwrap 3 packets of Rolos and cut each one in half.
  • Add to the ice cream and swirl through using the handle of a wooden spoon.
  • Unwrap the fourth packet and place the Rolos directly on top of the ice cream.
Chocolate Rolo Ice Cream ready for the freezer.
  • Pop on a tight fitting lid and place the Chocolate Rolo Ice Cream into the freezer for at least 4 hours, or until fully frozen.
  • To serve, remove the ice cream from the freezer 15-20 before scooping. As our delicious Chocolate Rolo Ice Cream doesn’t have any artificial softener, preservatives or additives added to it, it’ll need a few minutes to soften up.
FF Chocolate Rolo Ice Cream
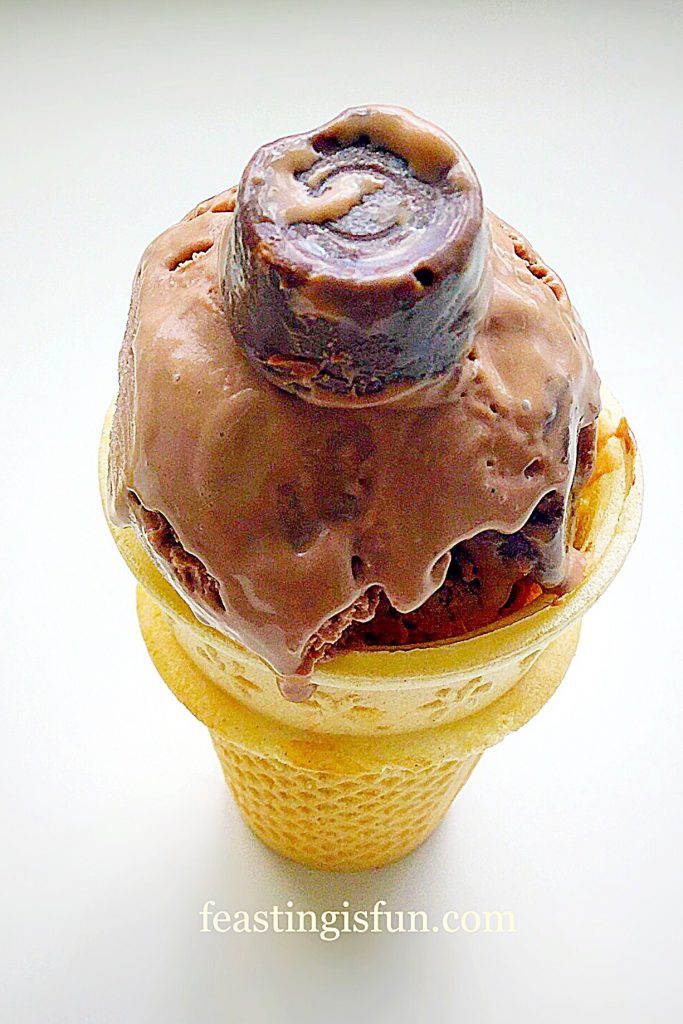
Chocolate Rolo Ice Cream softens and ready to serve.

Serve in cones, bowls or these fun cups I found.

Chocolate Rolo Ice Cream

Why not have a go at making your own ice cream at home. It really is so much fun.

If you have enjoyed this Chocolate Rolo Ice Cream Recipe here are a few more you may like:

Lemon Ripple Ice Cream

FF Chocolate Rolo Ice Cream
Lemon Ripple Ice Cream incredibly refreshing.

Chocolate Honeycomb Ice Cream

FF Chocolate Rolo Ice Cream
Chocolate Honeycomb Ice Cream served in toffee cookie cups.

Blackberry Chocolate Chunk Ice Cream

FF Chocolate Rolo Ice Cream
Blackberry Chocolate Chunk Ice Cream a brilliant blend of flavours.

I hope these recipes have inspired you to make your own ice cream at home? It tastes so much better than most of the ice creams you can buy and you can create your own ice cream sundaes like my Raspberry Chocolate Ice Cream Sundae.

Whatever you are making, baking and creating in your kitchens this very warm weekend, here in the South East of England, have fun feasting with family and friends.

Sammie xx

No part of this post may be reproduced or duplicated without the written permission of the owner. Please see my Disclosure Policy.

Share
Facebooktwitterpinterestlinkedintumblr

Lemon Ripple Ice Cream

Share
Facebooktwitterpinterestlinkedintumblr

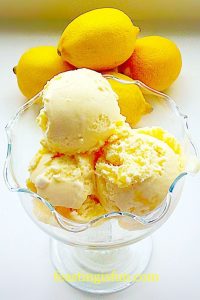
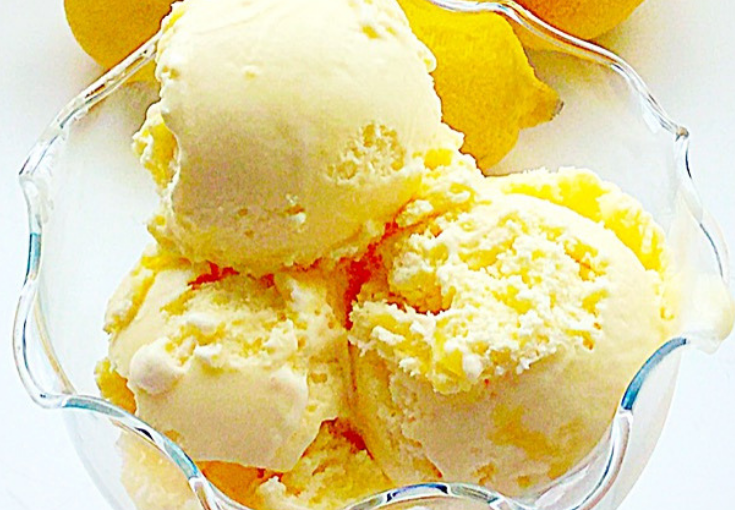
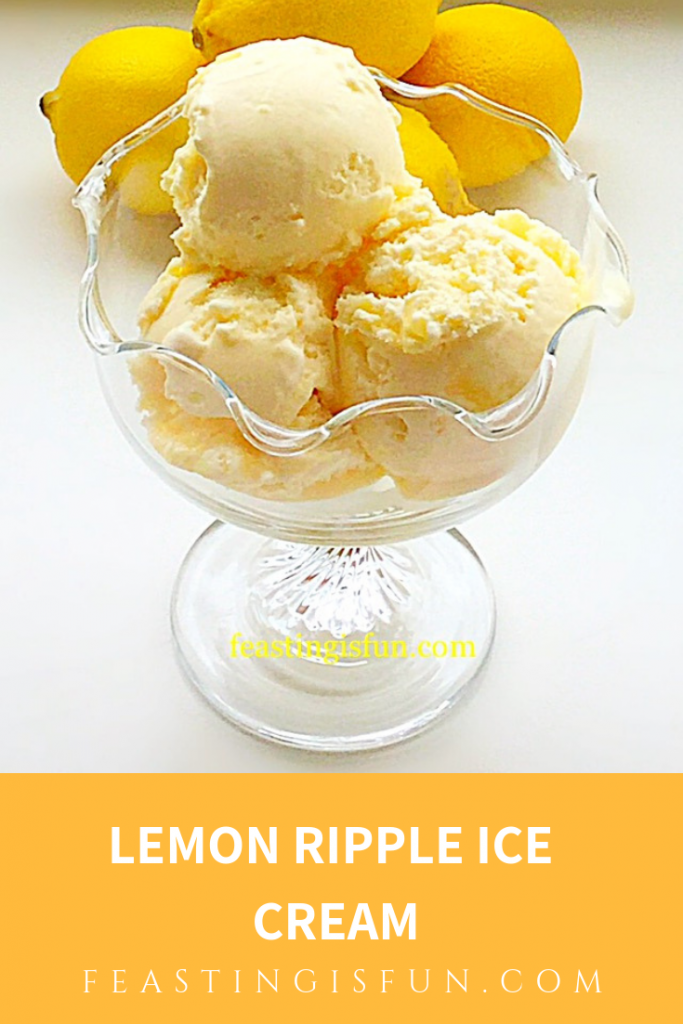
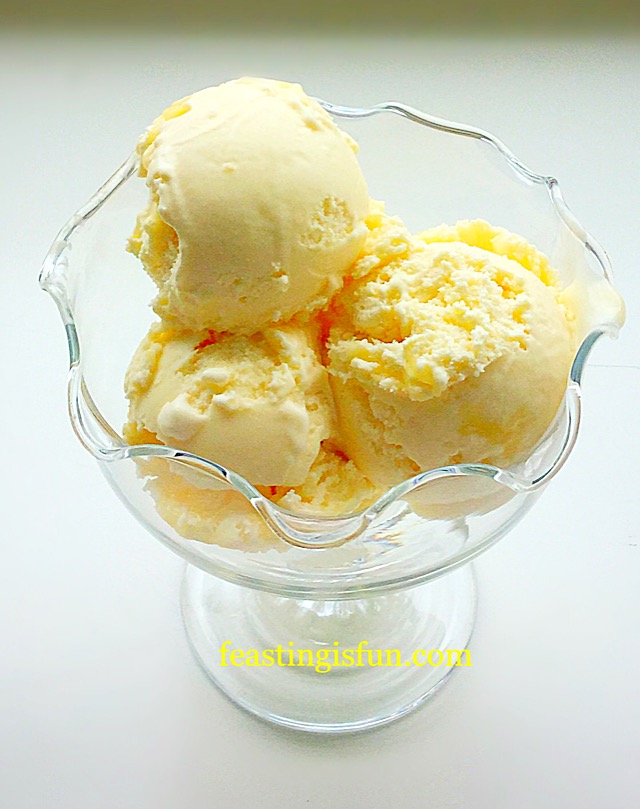
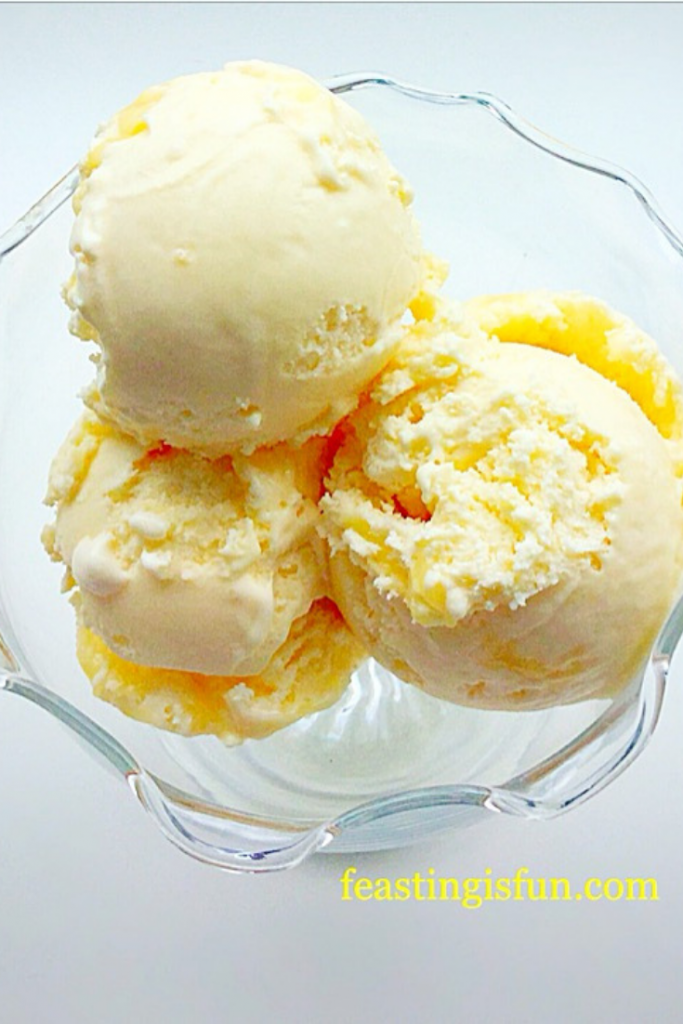
Lemon Ripple Ice Cream, this is THE ice cream I have wanted to make throughout my entire life. Creamy with tart lemon curd rippled through. If you love lemon, like I do, then trust me when I say you need to make this luscious ice cream.

FF Lemon Ripple Ice Cream

This luscious Lemon Ripple Ice Cream really is a dream come true for me. I adore lemons. Also, I heard Jamie Oliver once say that if there weren’t lemons in his kitchen he’d give up cooking. I doubt he meant it quite to that extreme, but I do understand his passion for them.

Happily I  use them in savoury recipes such as my Tangy Lemon Potato Salad and sweet recipes such as this delightful Lemony Strawberry Pavlova. Their flavour is so transferable between both sweet and savoury dishes.

FF Lemon Ripple Ice Cream
Lemon Ripple Ice Cream

Here, in this Lemon Ripple Ice Cream, there is a wonderful soft, creamy lemon background flavour, with bursts of tart, intense citrus lemon. The combination of both the subtle and vibrant creates a tastebud sensation that draws you into a dreamy world of lemony loveliness.

FF Lemon Ripple Ice Cream
Lemon Ripple Ice Cream all you need is a soon.

The Benefit Of Homemade Ice Cream

While you absolutely could eat this ice cream in a cone, for me, I wanted nothing to interrupt the pure creamy sensation of eating it with just a spoon. I wasn’t disappointed!

This Lemon Ripple Ice Cream is deceptively yummy. I feared whilst churning it yesterday in my new Andrew James Ice Cream Maker, that none would actually make it to the freezer. Happily I restrained myself. I am so glad that I did. Tasting it today, frozen, yet softened enough to scoop, was reward for my patience and restraint!

Just a quick note on ingredients; if you don’t have lemon extract, which is available online and in good supermarkets, don’t worry, the lemon curd added during the churning process will still provide a great lemon flavour. As for the lemon curd, use a good quality tart one, without bits. I love lemon curd with real peel in it, but this is not the place to use it.

Recipe: Makes 750ml Lemon Ripple Ice Cream

300ml Double Cream

300ml Whole or Semi Skimmed Milk

4 Large Free Range Egg Yolks

1tsp Corn Flour

1/8 tsp Salt – I use Maldon

6tbsp Caster Sugar

1tsp Vanilla Extract – I use Nielsen Massey

1tsp Lemon Extract – I use Nielsen-Massey 

300g Best Quality Lemon Curd – I used Waitrose new waitrose 1 lemon curd, it is beautifully tart

Method: Ensure the frozen ‘bowl’ of your ice cream maker has been in the freezer for 24 hours or according to the manufacturers instructions.

Note – For step by step photos of the custard base cooking process please see Very Vanilla Ice Cream

Making The Ice Cream Base

  • First of all pour the cream and milk into a large saucepan on a medium heat.
  • Heat until just before the liquid boils, you will see little bubbles form around the outside rim – this is known as the scalding point, once reached remove from the heat.
  • In a large bowl whisk together the egg yolks, sugar, extracts and corn flour until pale and thickened.
  • With the whisk still running on low, slowly pour the hot cream into the egg mixture.
  • Tip the entire mixture back into the saucepan, place over a medium/low heat stirring constantly until it thickens and coats the back of a wooden spoon.
  • Remove from the heat.
  • Pour the hot custard through a sieve into a large bowl.
  • Place cling film directly on to the surface of the custard to prevent a skin from forming.
FF Lemon Ripple Ice Cream
Leave the custard base to cool.
  • Leave to cool and then chill in the fridge. Once chilled transfer to a jug.

Churning The Ice Cream Base And Adding The Lemon Ripple

  • Set up your ice cream maker and if it is like mine, it will need to be switched on and churning before pouring in the custard.
  • Pour in the custard through the shoot and leave to churn until softly frozen.
  • Add half of the lemon curd, I use a teaspoon and added it one teaspoon at a time, through the hole, so that it slowly becomes incorporated within the ice cream.
  • When the ice cream is soft but can hold its shape stop the ice cream maker.
  • Transfer the ice cream to a freezer proof tub.
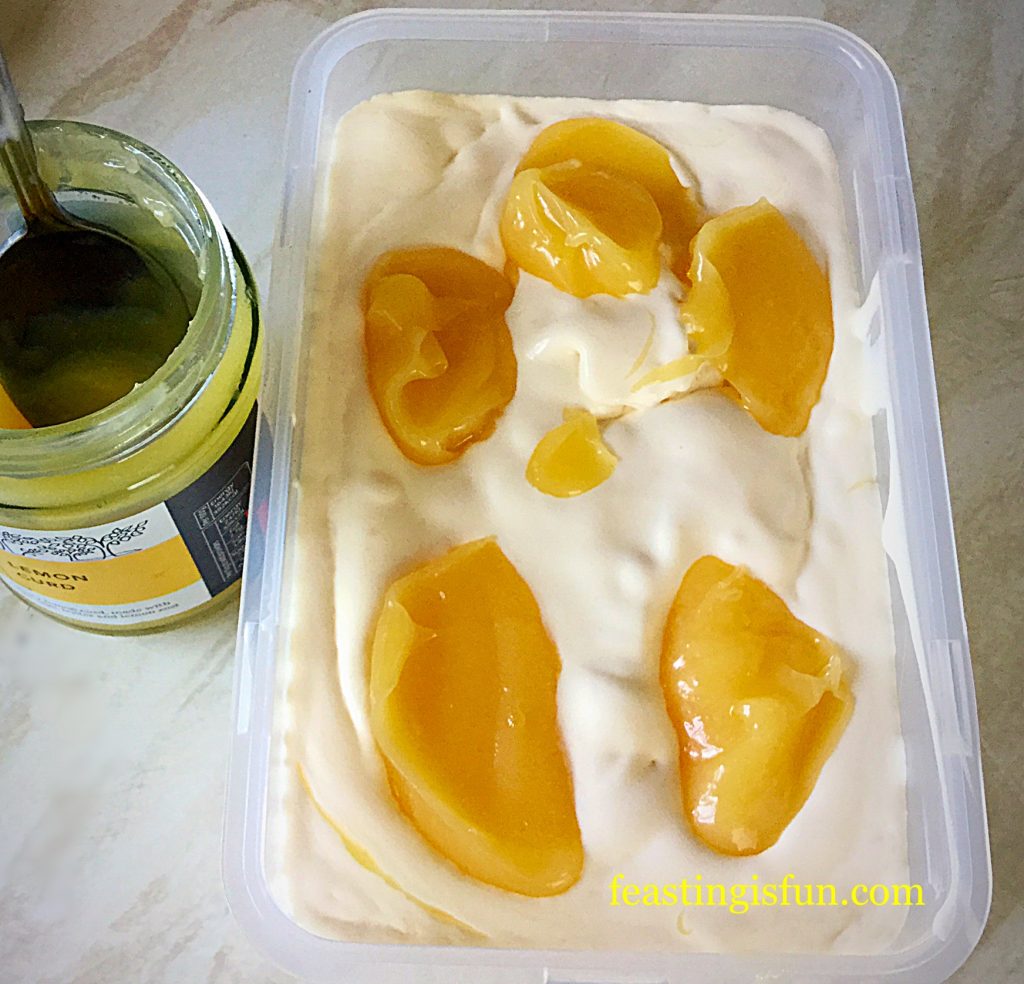
  • Spoon the remaining lemon curd on to the ice cream.
FF Lemon Ripple Ice Cream
Lemon Ripple Ice Cream ready to be rippled.
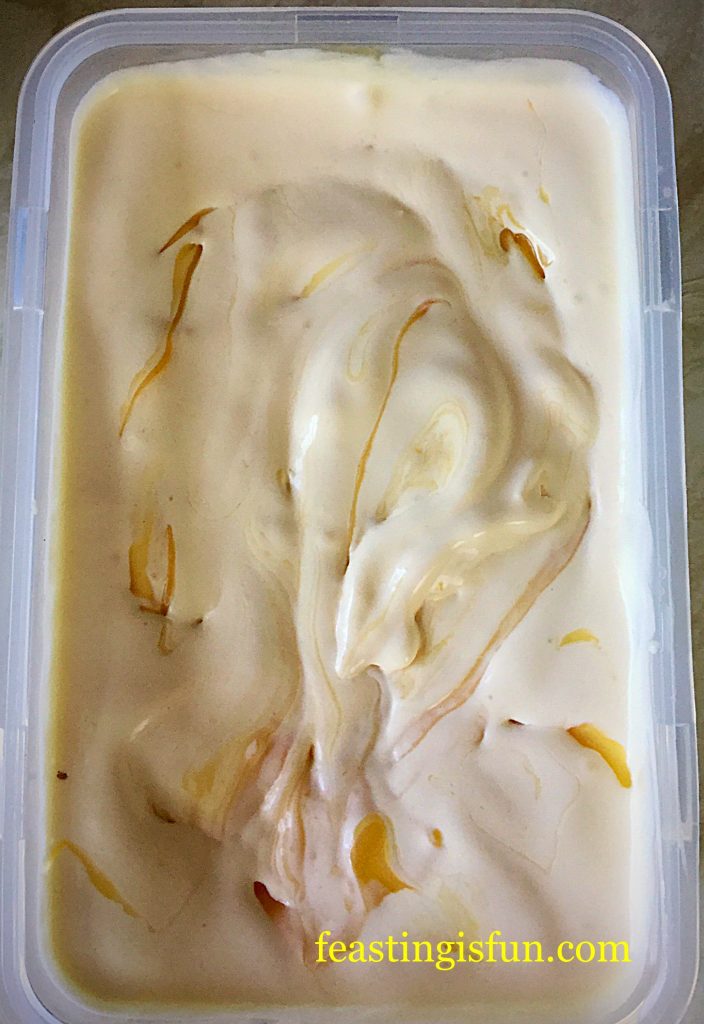
  • Use a spoon to gently ripple the lemon curd through the ice cream.
FF Lemon Ripple Ice Cream
Lemon Ripple Ice Cream ready for the freezer.
  • Resist the urge to just dive in with a spoon, as this really tastes better once it is properly frozen.
  • Pop the lid on and place in the freezer for 12 hours or ideally overnight. Why ideally? Because then you’ll be asleep and not thinking about the ice cream.
  • To serve, remove the tub from the freezer 15 minutes before scooping to allow it to soften.

Serving And Enjoying Homemade Ice Cream

Serve scooped into elegant dessert bowls or enjoy in an ice cream cone. Either way prepare yourself to fall completely, head over heels in love, with a new flavour of ice cream – Lemon Ripple Ice Cream.

FF Lemon Ripple Ice Cream

Lemon Ripple Ice Cream is very much a dreamily, creamy ice cream, not in any way a sorbet – which by the way I love and am working on a recipe.

This ice cream would make the perfect dessert after a spicy, hot meal. Refreshing, creamy and palette cleansing, yet you still feel like you’ve had dessert.

However and whenever you eat this delicious ice cream, be sure to enjoy it with others. Listen to the oohs and aahs of your loved ones enjoying something really, really good. It will make you smile 😀

If you have enjoyed this Lemon Ripple Ice Cream recipe here are some others that you may also want to try:

Strawberry Ripple Ice Cream

Strawberry ripple strawberry ripple ice cream in a cone.
Strawberry Ripple Ice Cream

Chocolate Orange Ice Cream

Chocolate orange ice cream scoops in a bowl.
Chocolate Orange Ice Cream

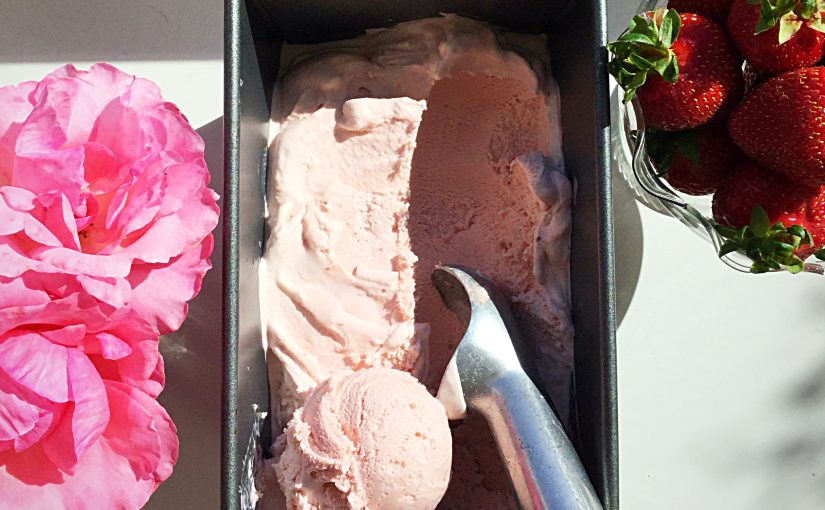
Strawberry Rose Ice Cream

Strawberry rose ice cream being scooped from a container.
Strawberry Rose Ice Cream

I love being able to create my own ice cream flavours at home. Having an ice cream maker makes it so easy. Preparing the custard takes 15 minutes, then the custard is left to cool. Churning takes about 20 minutes and you can eat the ice cream scooped from the ice cream maker, if you want a soft set ice cream. Otherwise overnight in the freezer and you have any flavour ice cream you like!

That can never be a bad thing eh???

Thank you for your comments, photos on social media, I absolutely love seeing your makes and bakes. It still thrills me every time someone uses one of my recipes.

Have fun feasting, sharing and making people smile.

Sammie xx

Andrew James provided me with an ice cream maker to review. All views, opinions, content, recipes and photographs are my own. Please see my Disclosure Policy.
Share
Facebooktwitterpinterestlinkedintumblr

Super Light Scones

Share
Facebooktwitterpinterestlinkedintumblr

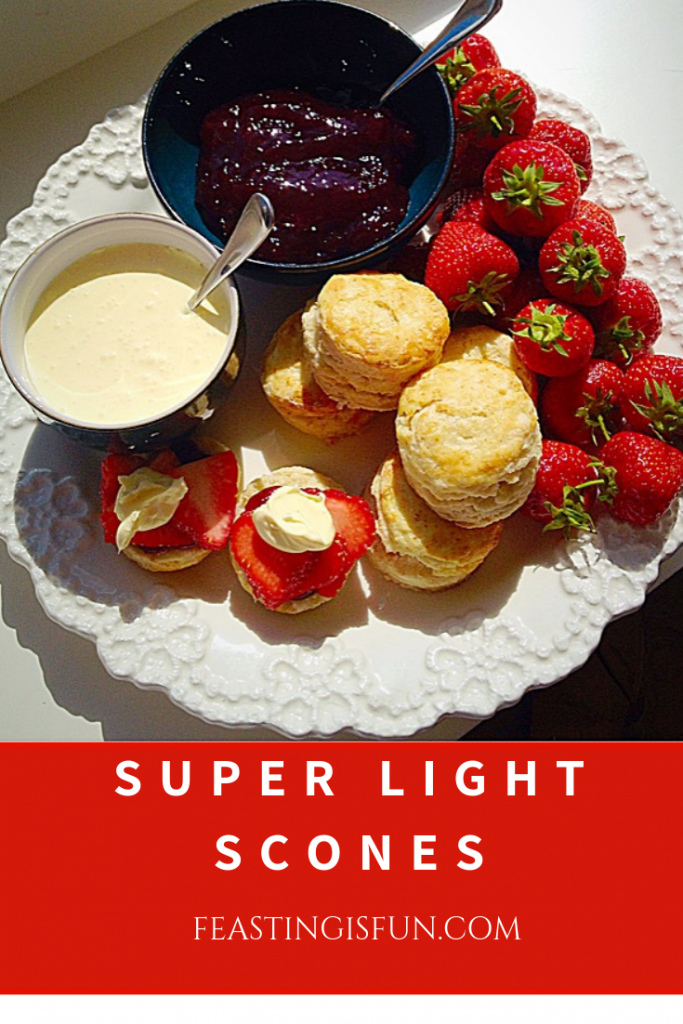
Hi there, I hope wherever you are the sun is shining on you today. Here in Kent it is beautifully sunny, with a light breeze. Perfect Summer weather. So much so it inspired me to bake Super Light Scones for breakfast this morning.
FF Super Light Scones

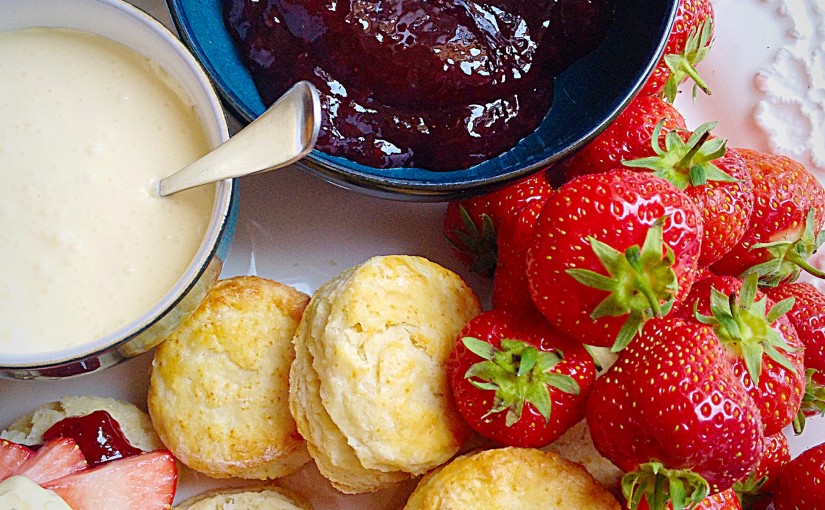
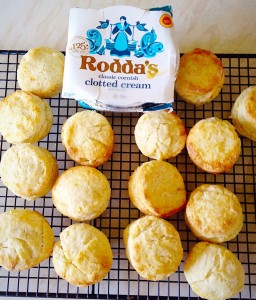
Since I don’t make a habit of making scones every morning – in fact, as a general rule I don’t like scones! Well at least the heavy, dense prepackaged ones from the supermarket. I don’t know why, they’re just not my thing. However, it’s Summer and scones with clotted cream and jam are a MUST! And especially the clotted cream has to be Rodda’s from Cornwall!

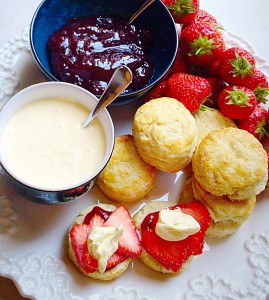
Super Light Scones, super easy to make and even easier to eat with a dollop of Rodda's clotted cream!
Super Light Scones, super easy to make and even easier to eat with a dollop of Rodda’s clotted cream!

Coming Up With A Great Scone Recipe

This probably sounds crazy, but I trawled through at least 8 cookbooks this morning, as well as looking online, but I just couldn’t find a recipe I was happy with. So I came up with my own! And it worked! I watch enough Food Network UK to have picked up some tips along the way and the Green Goddess (my friend, but unbiased taste tester) gave them the thumbs up – although she would have preferred them a little sweeter. Just trying to keep it honest round here.

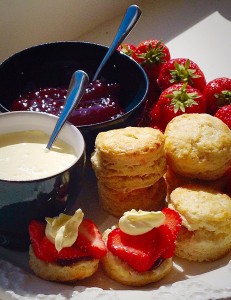
Super Light Scones - the quintessential British cream tea.
Super Light Scones – the quintessential British cream tea.


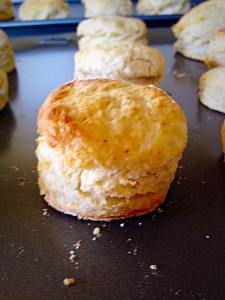
I had these Super Light Scones for my breakfast. They are so light with soft flaky layers inside. I didn’t even use a knife to cut them open, they pulled beautifully apart. I now like scones – these ones!


Super Light Scones - so light they just pull apart. Delicious!
Super Light Scones – so light they just pull apart. Delicious!


If you are not in the UK and wish to have the British cream tea experience, but can’t get hold of clotted cream, Mascarpone cheese would make a good substitute. Alternatively book  a holiday to the UK and stay in Dorset, Devon or Cornwall – cream tea’s are readily available. Although, I admit, it’s a long way to come for a cup of English tea and a cream scone – or maybe not??

Super Light Scones - a very proper English Cream Tea - delish!
Super Light Scones – a very proper English Cream Tea – delish!

Recipe : Makes Approx 20 Super Light Scones

450g/1lb Plain White Flour

3tsp Baking Powder

1/4tsp Salt

50g/2oz Cold Unsalted Butter

25g/1oz Vegetable Shortening

2tbsp Caster Sugar

250mls/9fl oz Cold Whole Milk

3tbsp Milk – for brushing on top of scones

Method : Preheat oven to 220C/200C fan

Making The Scone Dough

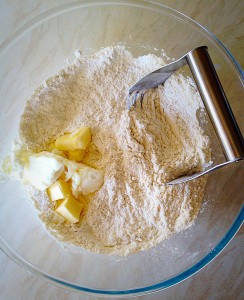
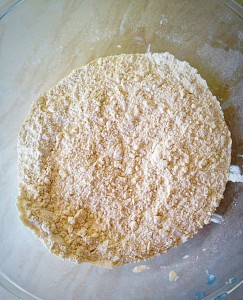
First of all, in a large bowl sift together the flour, baking powder and salt.

Add the butter and shortening, use a pastry cutter, or your fingers to work the fat into the flour.
Small pea sized lumps of fat should be present in the mixture.


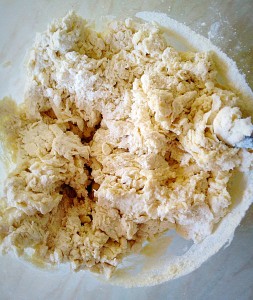
Add the sugar and stir through to mix. Make a well in the middle of the mixture, pour in the milk and stir together using a butter knife (ordinary eating knife).

Stir until the mixture just comes together.
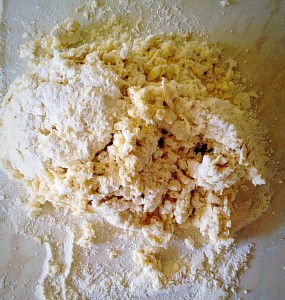
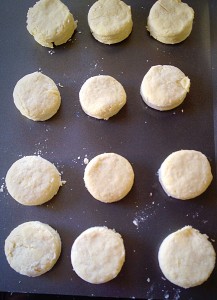
Tip the scone dough out onto a lightly floured surface.
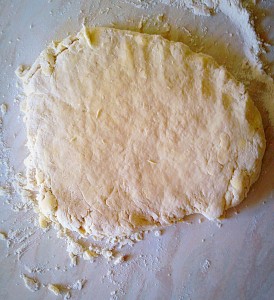
Bring the dough together with your hands. Gently pat the dough out to approx 2.5cm thickness. The less you handle the dough the lighter the scones will be.

Cutting Out The Individual Scones

Using a straight sided, floured, 2 inch deep cutter, press straight down through the scone dough. Do not twist the cookie cutter as you press down as this will affect the rise on your scones. Cut out as many scones as possible then collect the pieces of dough together, pat out and cut out more scones until the dough is used up.

Place the cut out scones onto a non stick baking sheet, or line a baking tray with parchment paper.


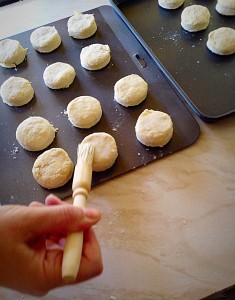
Lightly brush the top of each scone with milk. Try to avoid the milk dripping down the side of the scone - as this affects the rise of the scone.
Lightly brush the top of each scone with milk. Try to avoid the milk dripping down the side of the scone – as this affects the rise of the scone.

Baking The Super Light Scones

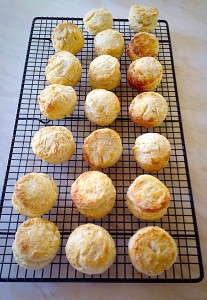
Place your scones into the oven and bake for 12-14 minutes. The scones are baked when well risen and lightly golden in colour. As soon as they are baked remove from the oven and transfer the scones to a baking rack to cool.

Delicious Super Light Scones - cooling!
Delicious Super Light Scones – cooling!


Once cooled, split in half and slather on your favourite jam. For added indulgence add a dollop of clotted cream and some sliced fruit. Enjoy with a refreshing cup of tea.

If you have enjoyed this recipe for Super Light Scones you may also enjoy these:

Cheese Bacon Breakfast Muffins 

FF Super Light Scones
Cheese Bacon Breakfast Muffins

Spicy Sausage Rolls 

FF Super Light Scones
Spicy Sausage Rolls

Super Easy Shortbread Cookies

FF Super Light Scones
Super Easy Shortbread Cookies

These are a great treat and perfect for Fathers Day – you could use a larger cutter, just add a couple of minutes onto the baking time.

Most Dads just want to know they are loved. Making or baking them a gift is such a personal way to say I LOVE YOU.

What jam and fruit combo do you like with your scones?

Sammie x

Share
Facebooktwitterpinterestlinkedintumblr