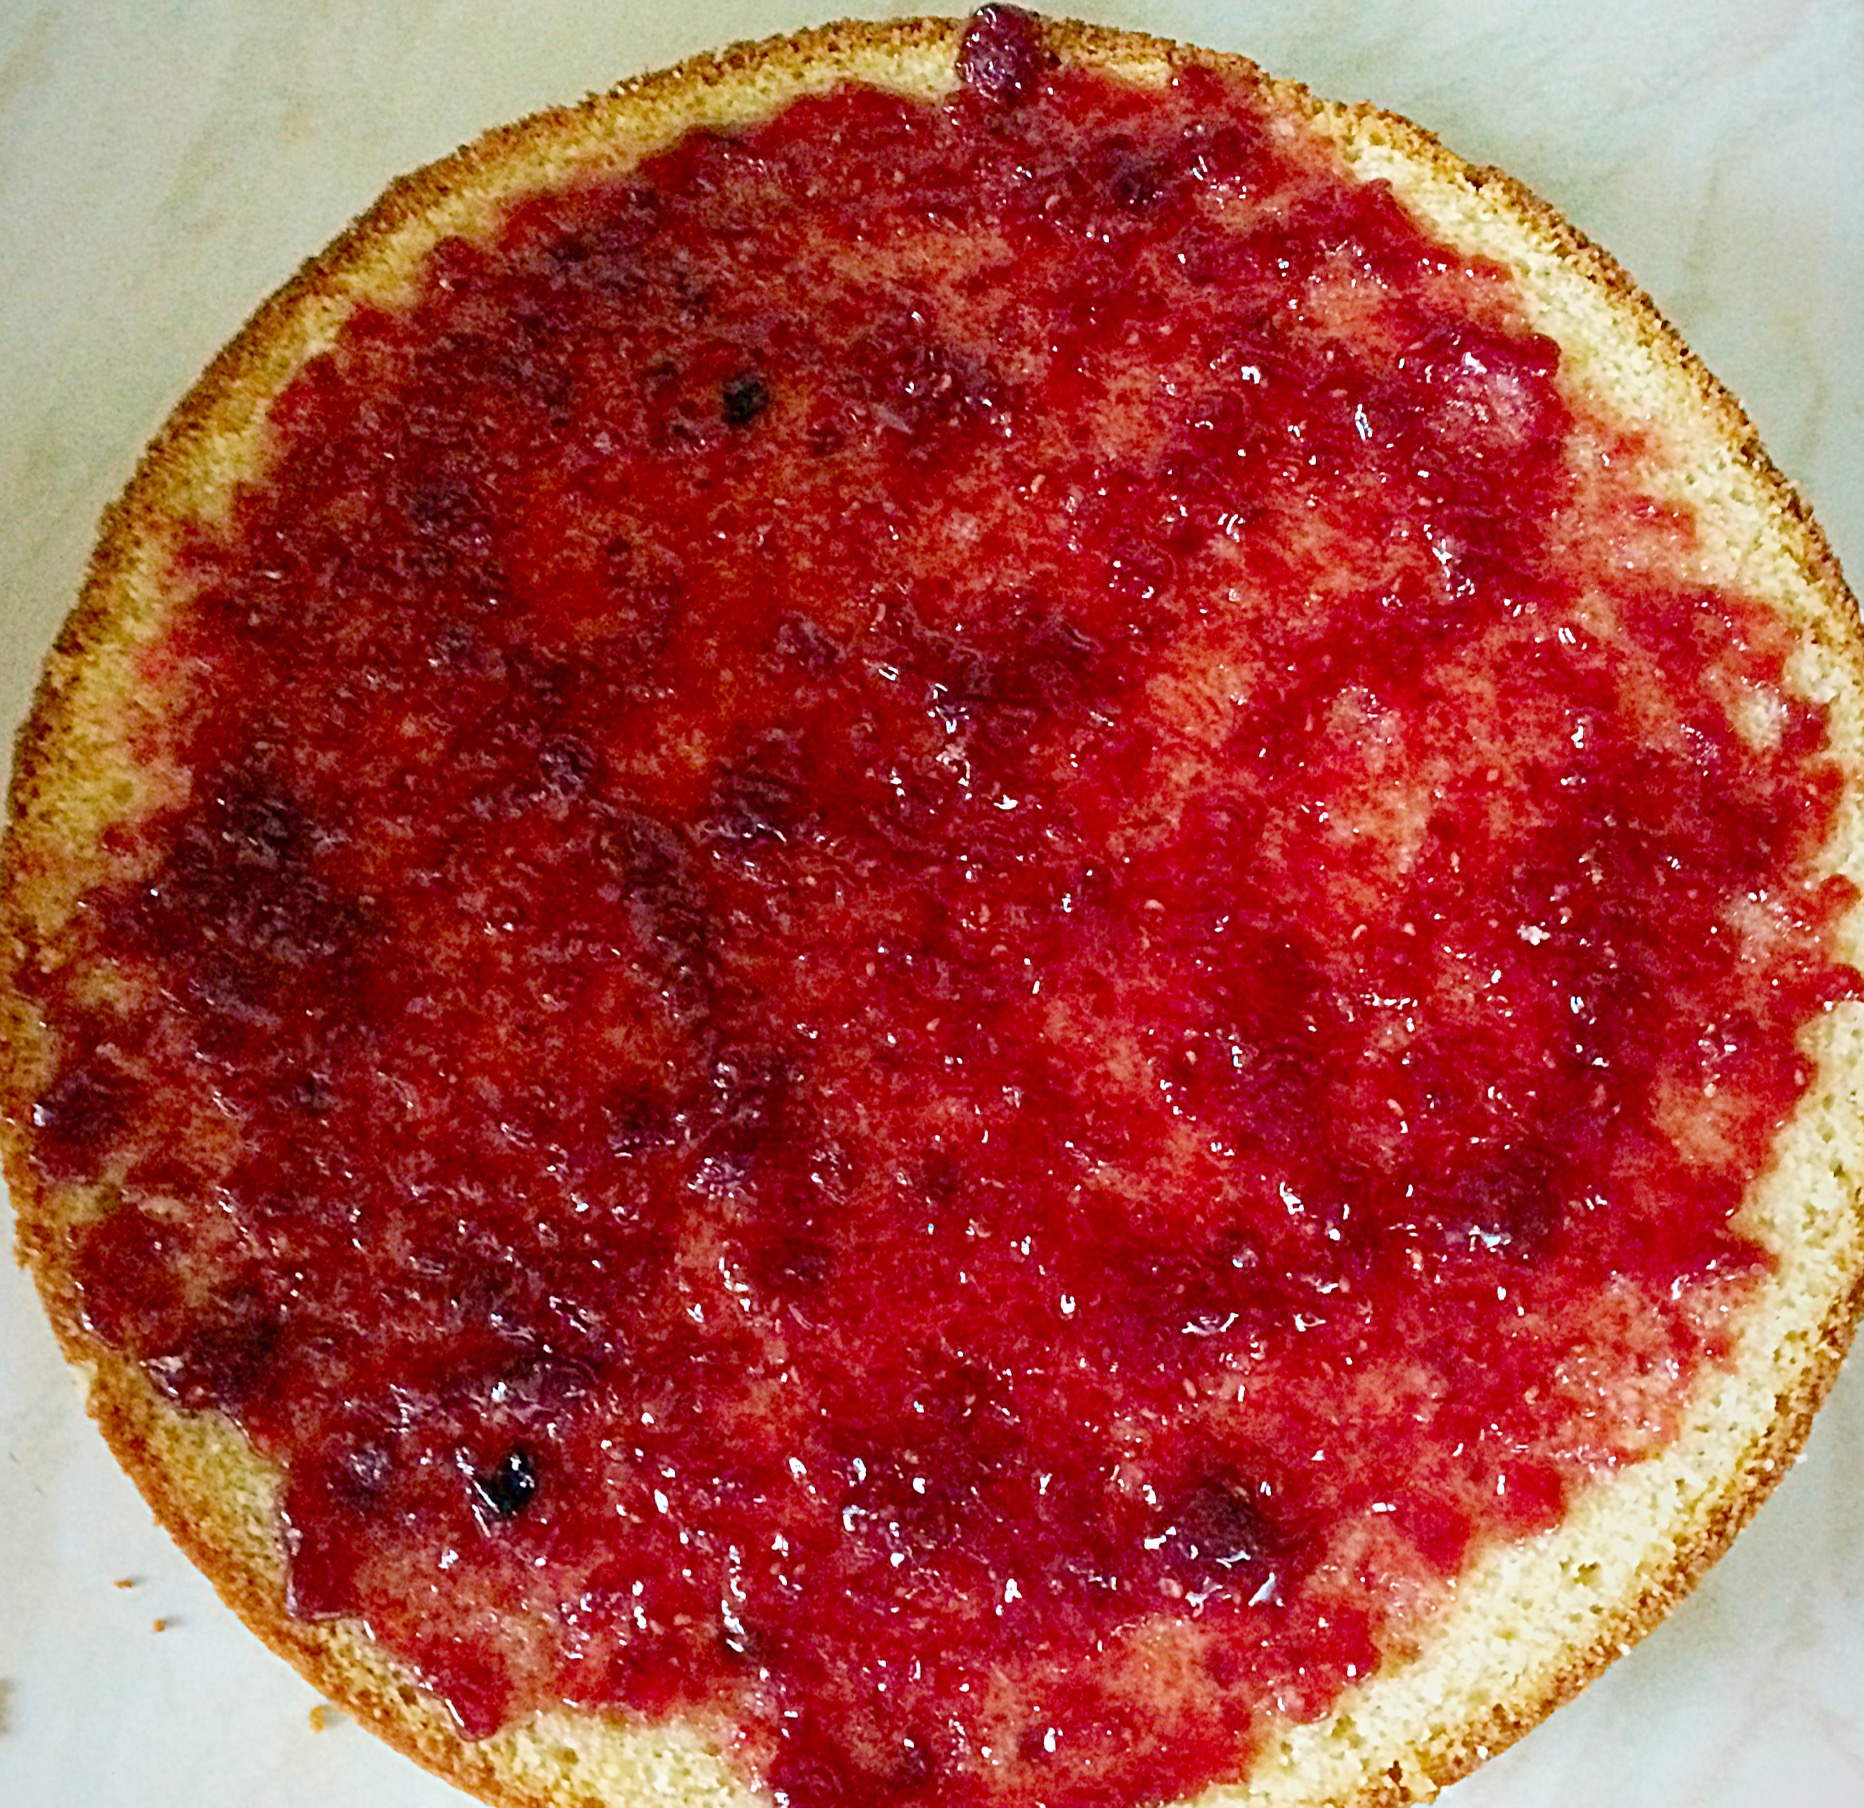
While thinking of what to name this blog, I wanted to express, succinctly, what cooking, baking, eating and sharing meant to me. Feasting is fun sums all of these things up perfectly. Eating a slice of toasted, homemade bread generously spread with butter, for breakfast is a feast in itself. As much as sitting around a groaning, food laden Christmas dinner table, laughing at cracker jokes with family and friends. While adding a twist to recipes that brings the unexpected. Fun! Maltesers Popping Candy Cupcakes fulfill everything Feasting is Fun stands for.
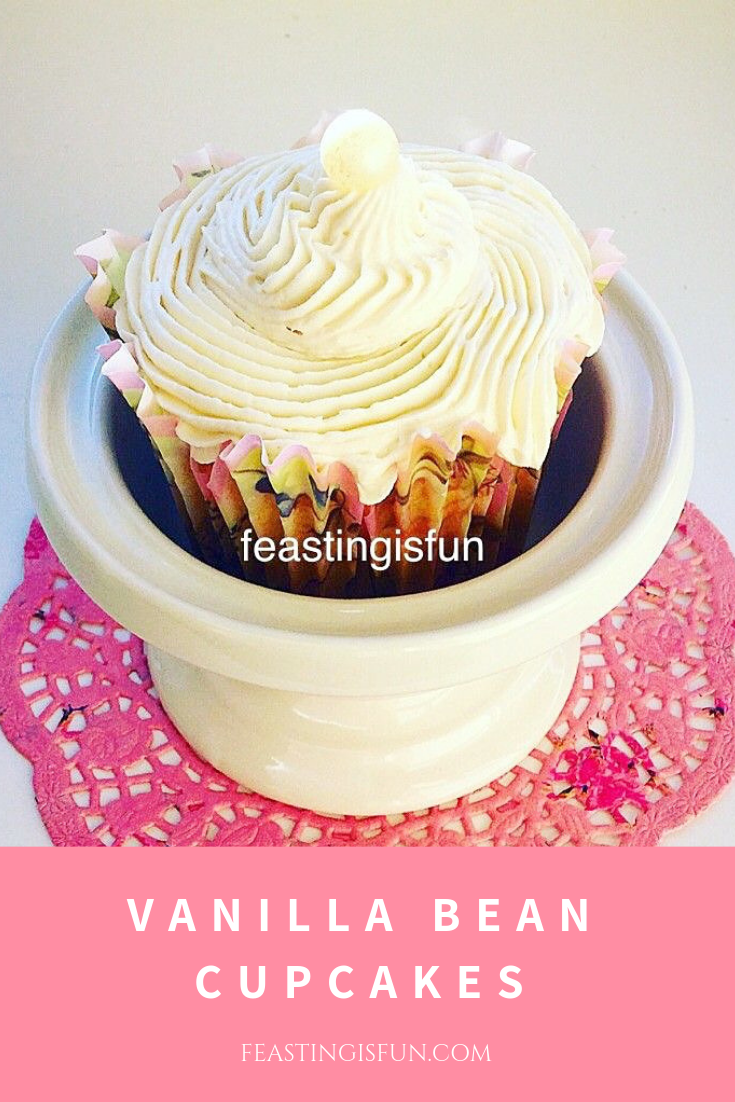
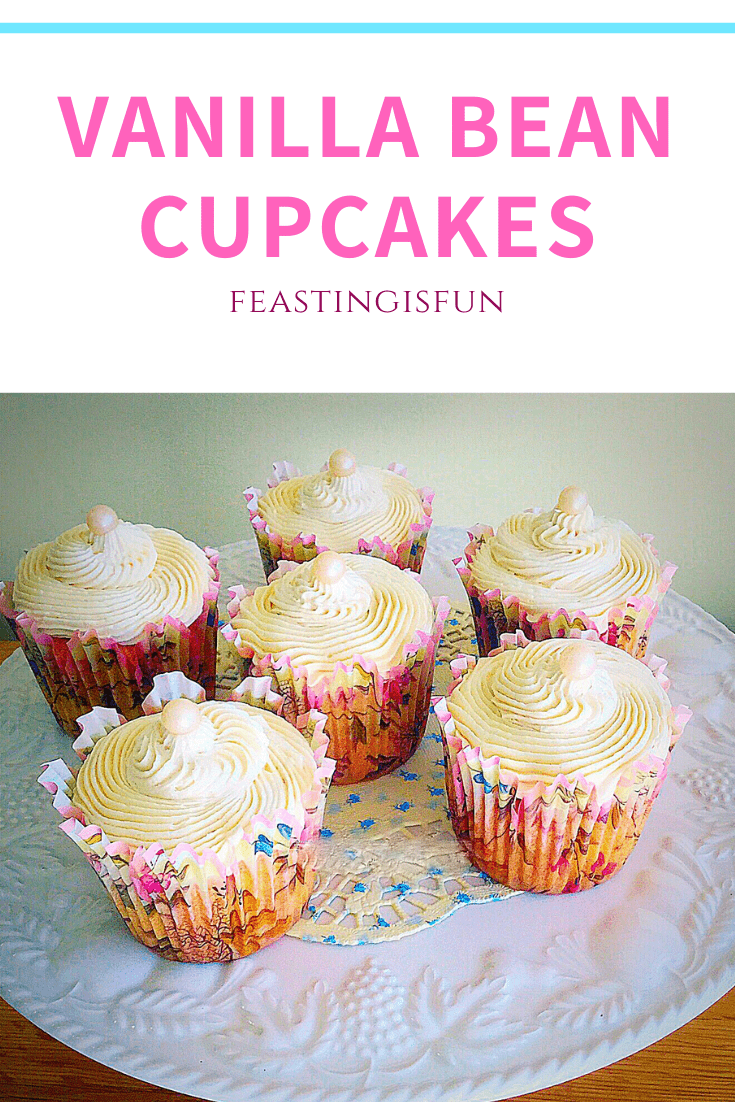
Cupcake – an entire cake to yourself
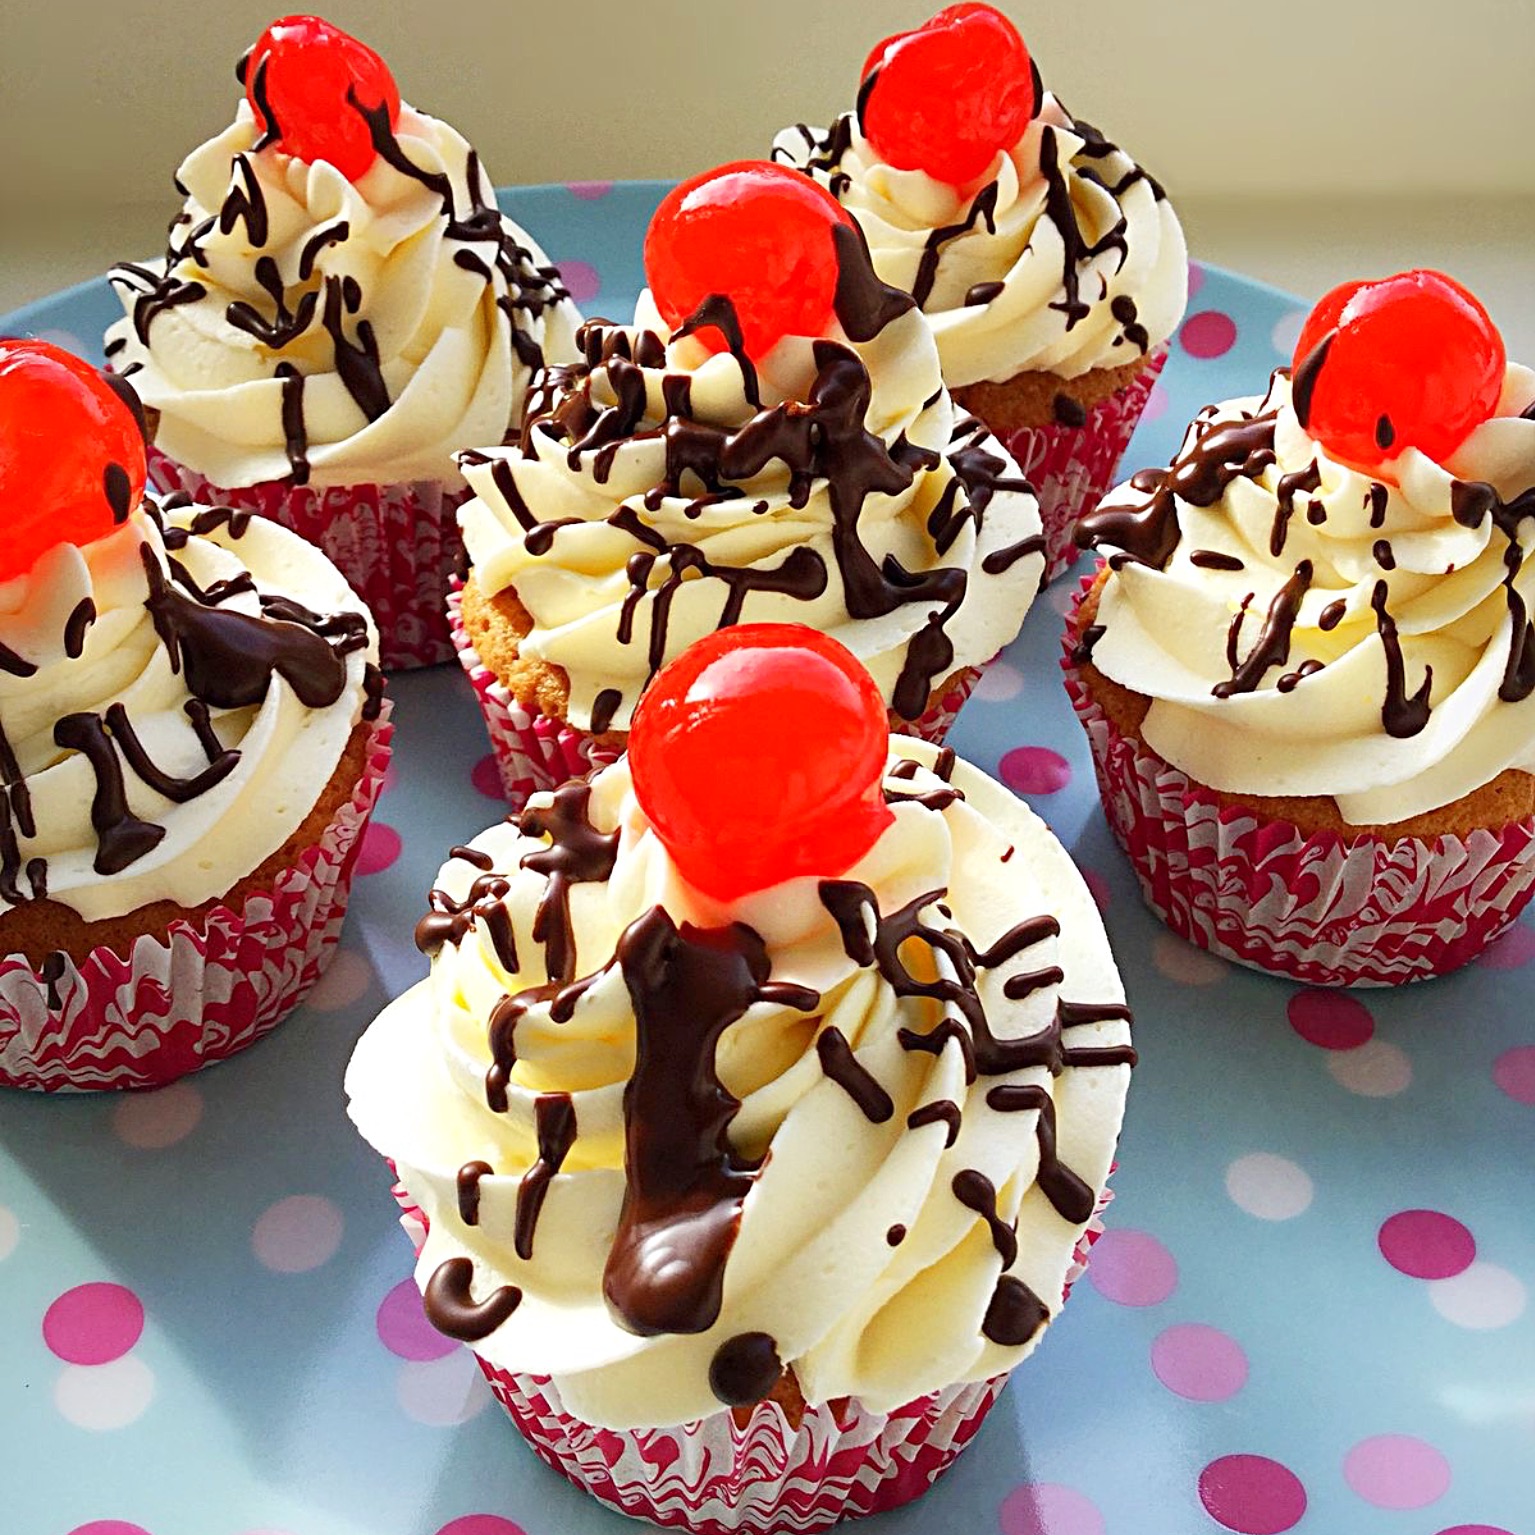
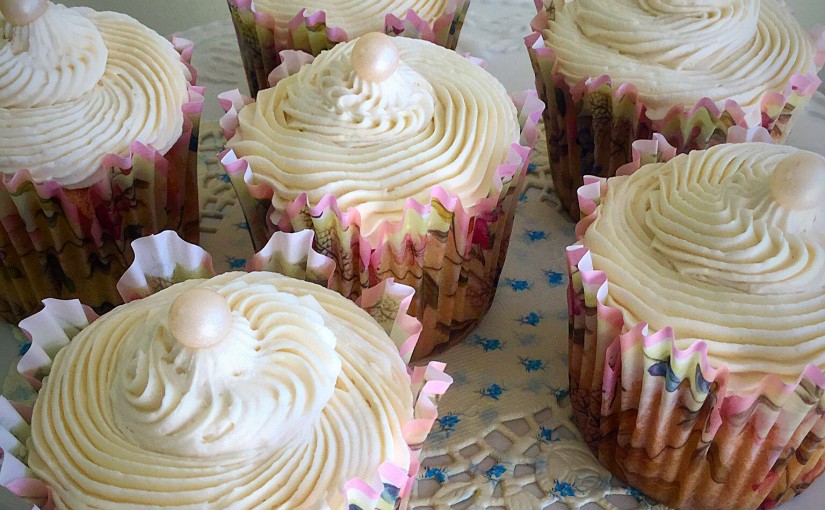
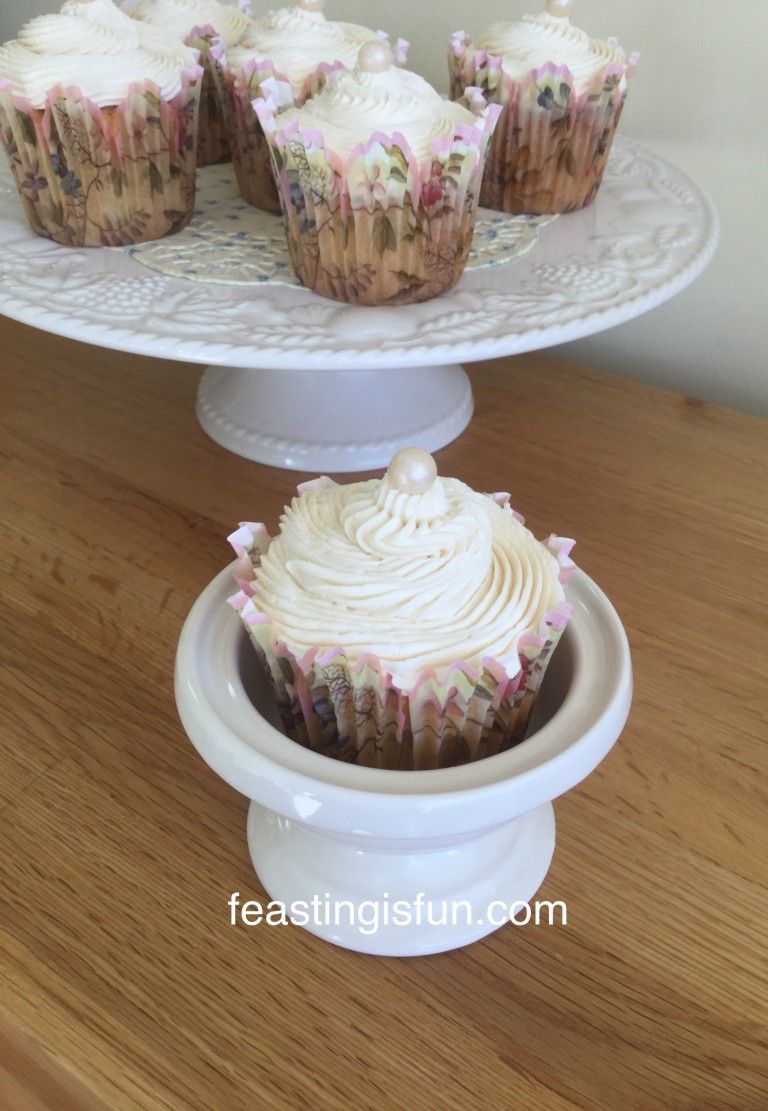
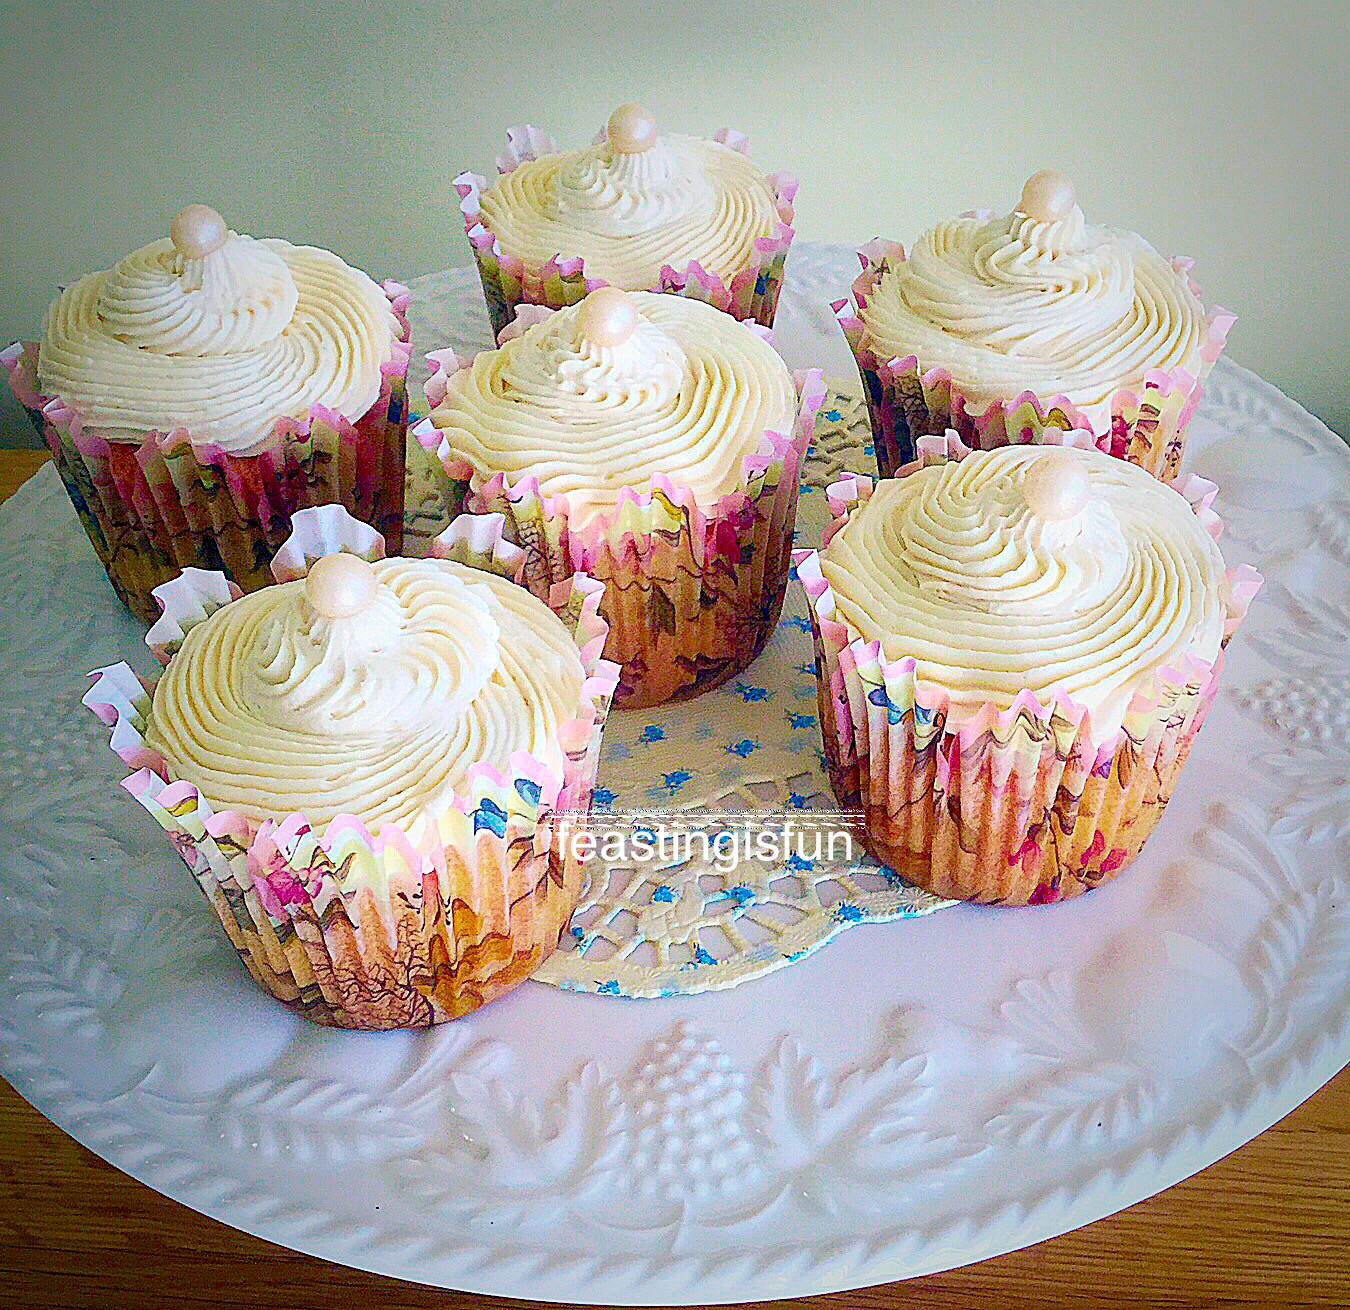
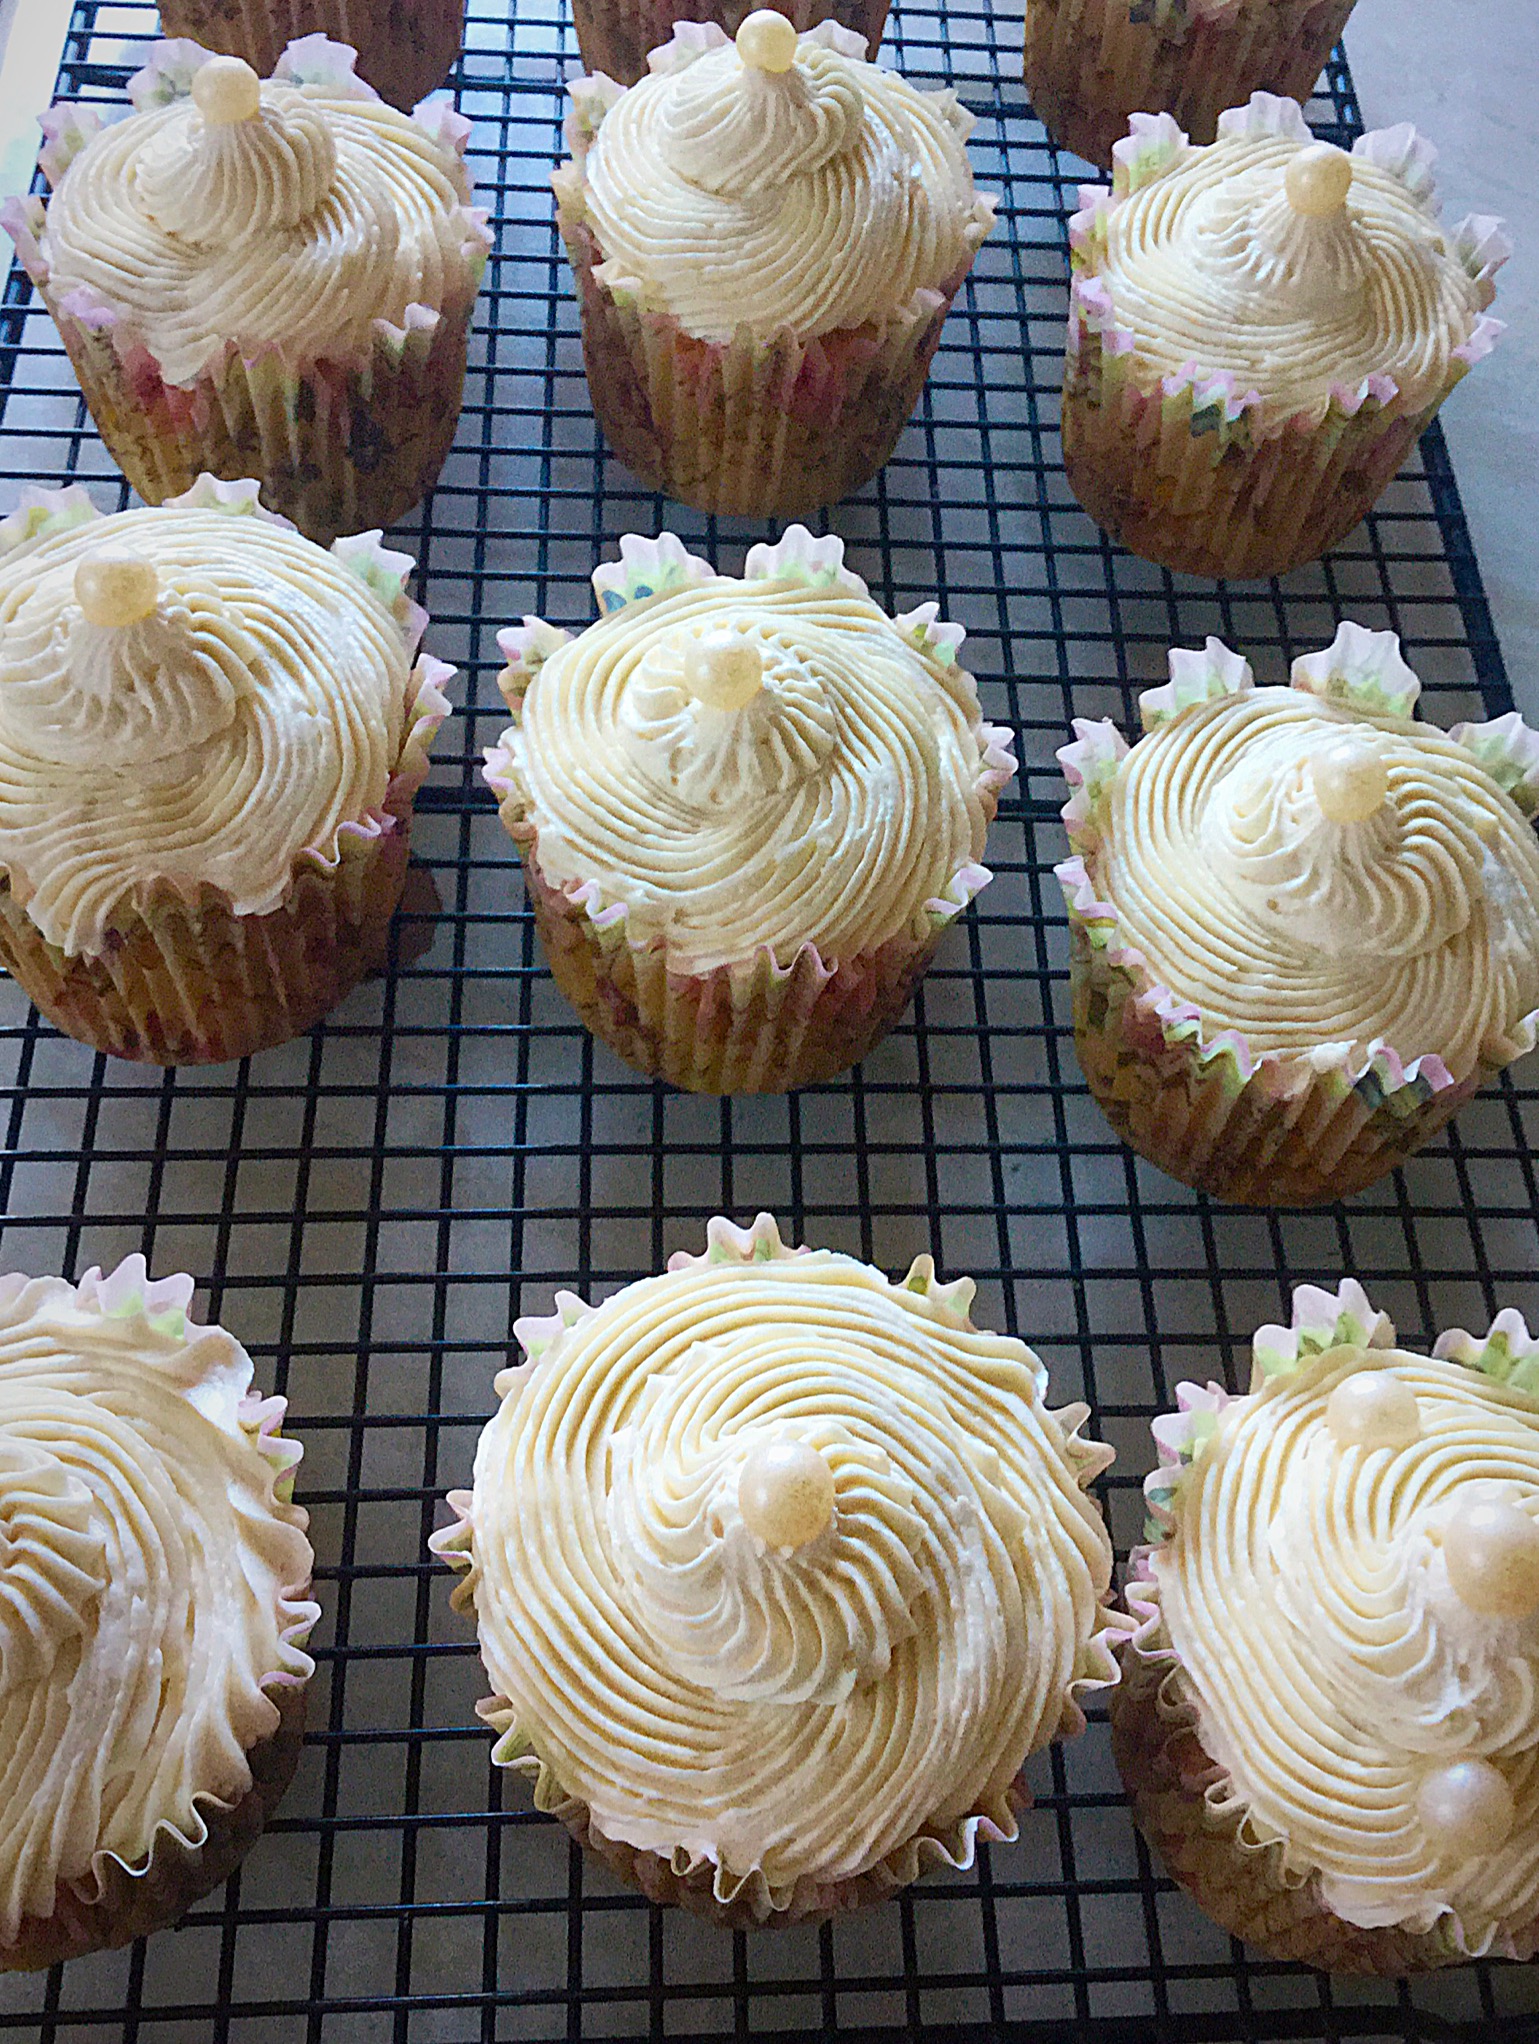
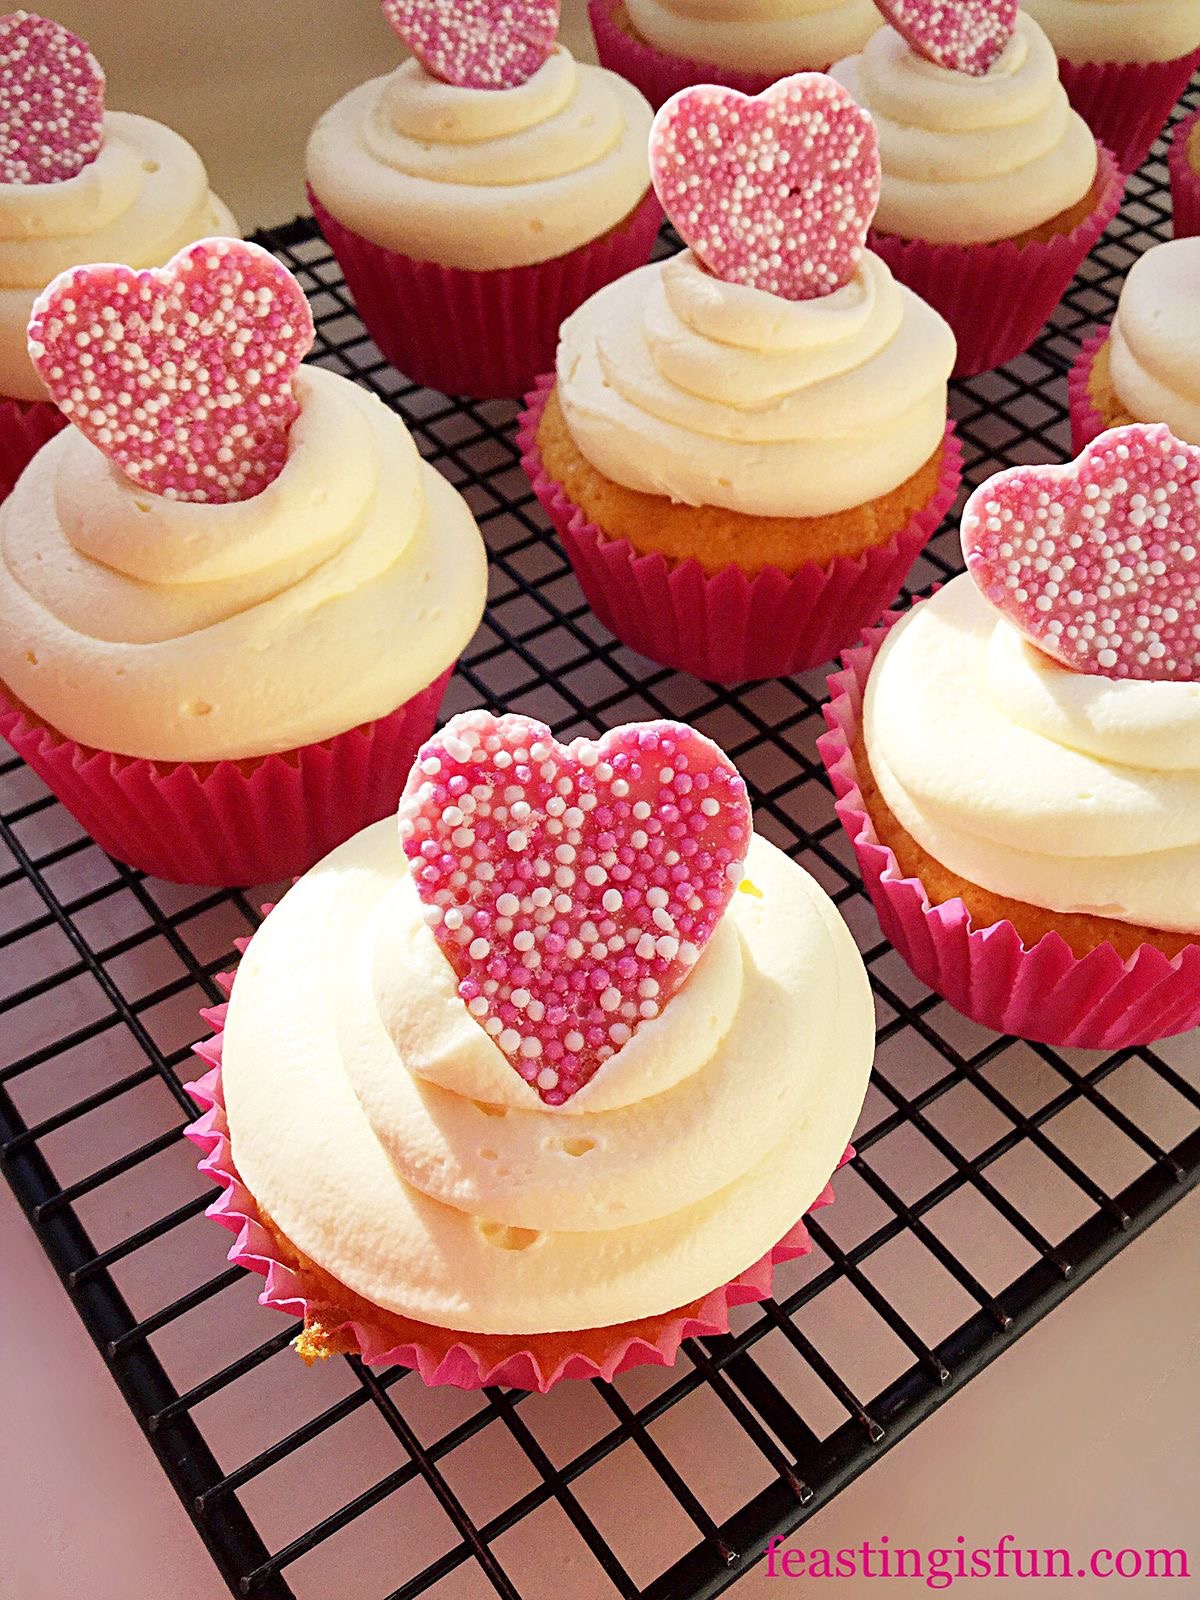
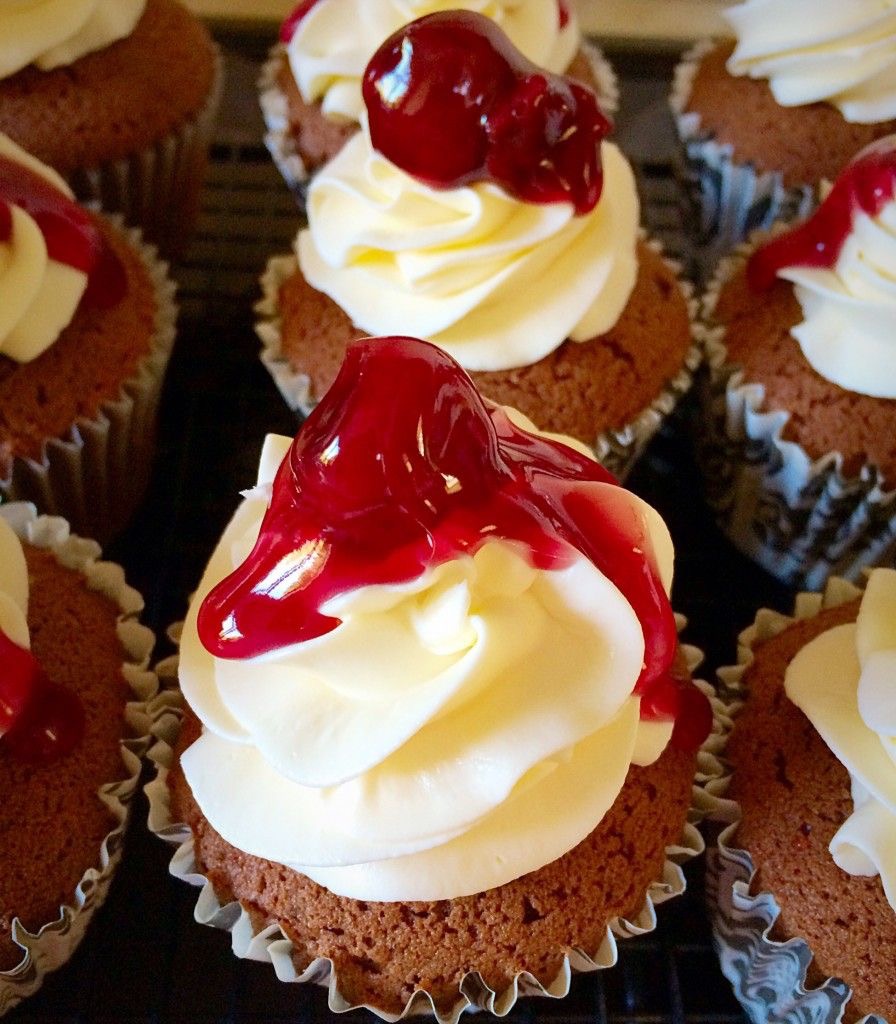
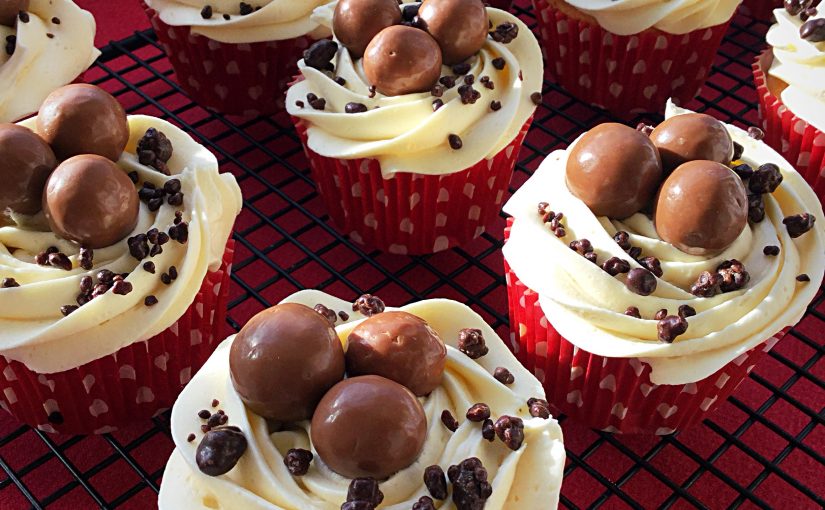
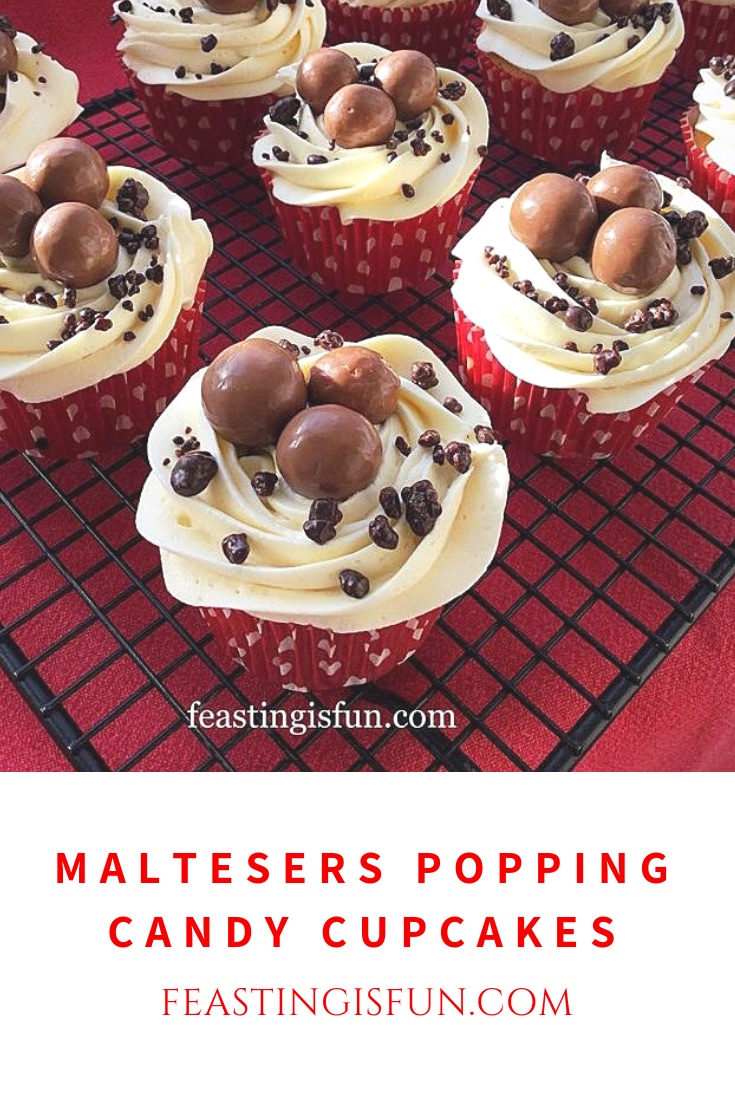
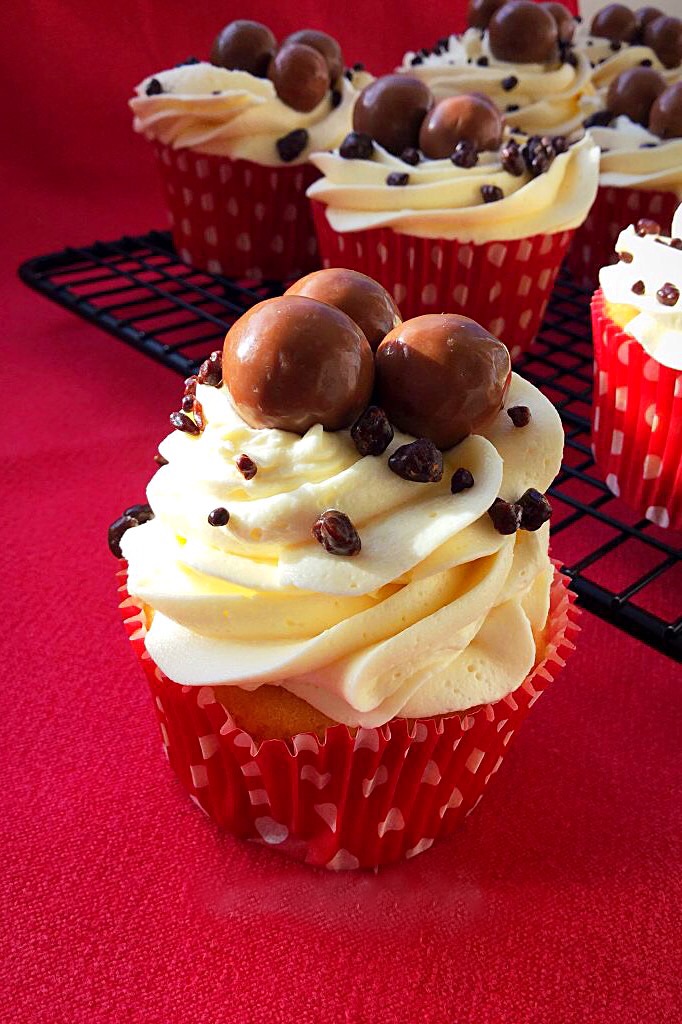
Vanilla sponge cupcakes topped with a swirl of vanilla buttercream and finished with a trio of Maltesers and a sprinkling of chocolate covered popping candy. A pretty, sweet treat that delivers a fun surprise. Popping candy is such a fun addition to any bake. Especially if you don’t warn those parting in this feast. Food that is fun is certainly the best kind.
Since these cupcakes are so easy to make, with no complicated techniques, they can be whipped up, literally, in moments. The recipe makes 12 cupcakes, which is perfect for a quick bake. Yet, it is easily doubled to cater for larger celebrations, such as birthday parties, or cheering up work colleagues on a Monday morning. Most of all, they are utterly delicious, with extra fun sprinkled on.

While the suggestion isn’t to bake and eat cupcakes everyday, I also strongly believe that a special occasion is not the only reason needed to make and eat them. Coffee mornings, the end or indeed middle of an audit at work, showing appreciation, are all good reasons to bake. Most especially bake these fun, tasty, flavour exploding cupcakes.
Recipe: Maltesers Popping Candy Cupcakes makes 12
Cupcakes:
100g/4oz Unsalted Butter softened to room temperature
100g/4oz Caster Sugar
1/8tsp Salt – I use Maldon
1tsp Vanilla Extract – I use Nielsen-Massey
3 Large Free Range Eggs
100g/4oz Plain White Flour
1tsp Baking Powder
Buttercream:
300g/12oz Icing Sugar
1tsp Vanilla Extract
175g/6oz Unsalted Butter at room temperature
1.5tbsp Very Hot Water
Maltesers and Chocolate Covered Popping Candy to decorate.
Method: Preheat oven to 160C/140C fan, 325F, gas mark 3.
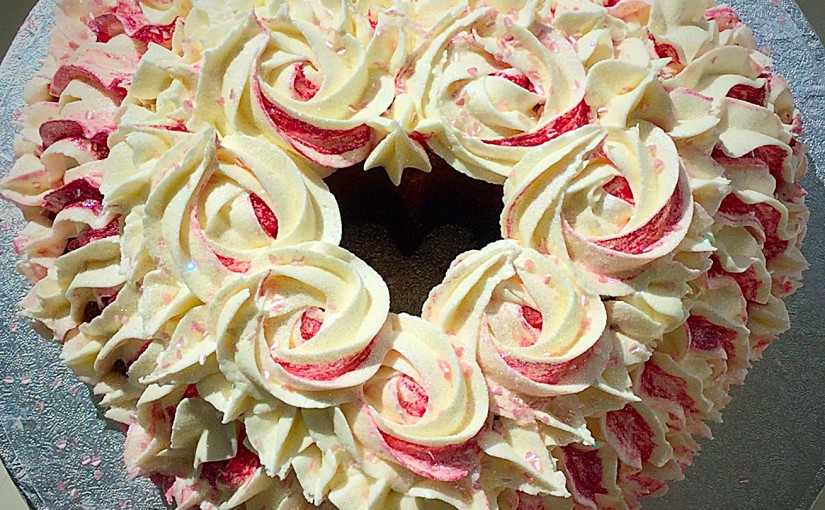
A quick note: When using coloured cupcake cases it really is worth choosing a good make. The cases used here are from a mixed set by Kitchen Craft. During the baking process they do not bleach and lose their colour. Also, I recommend a #2D drop flower decorating tip available from Wilton. This tip creates deep swirls when piping and is ideal for creating a piped rose.
Making the cupcakes
- First of all, line a deep cupcake or muffin tin with cupcake cases.
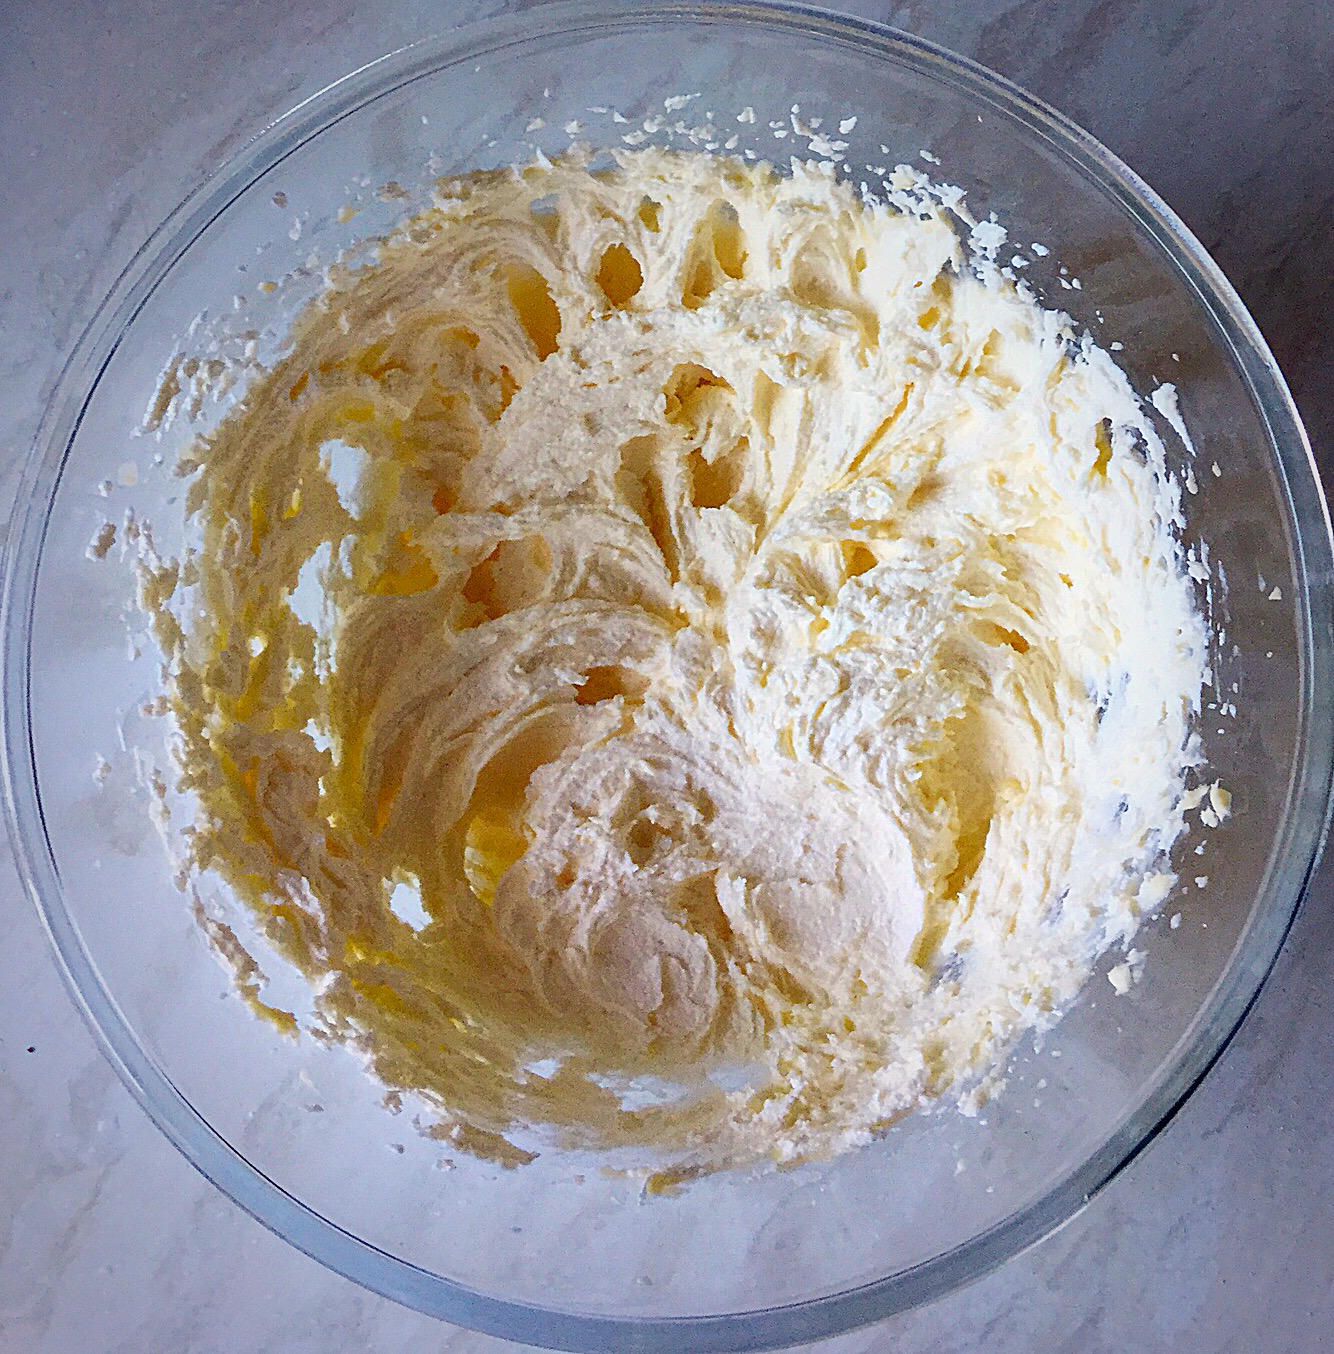
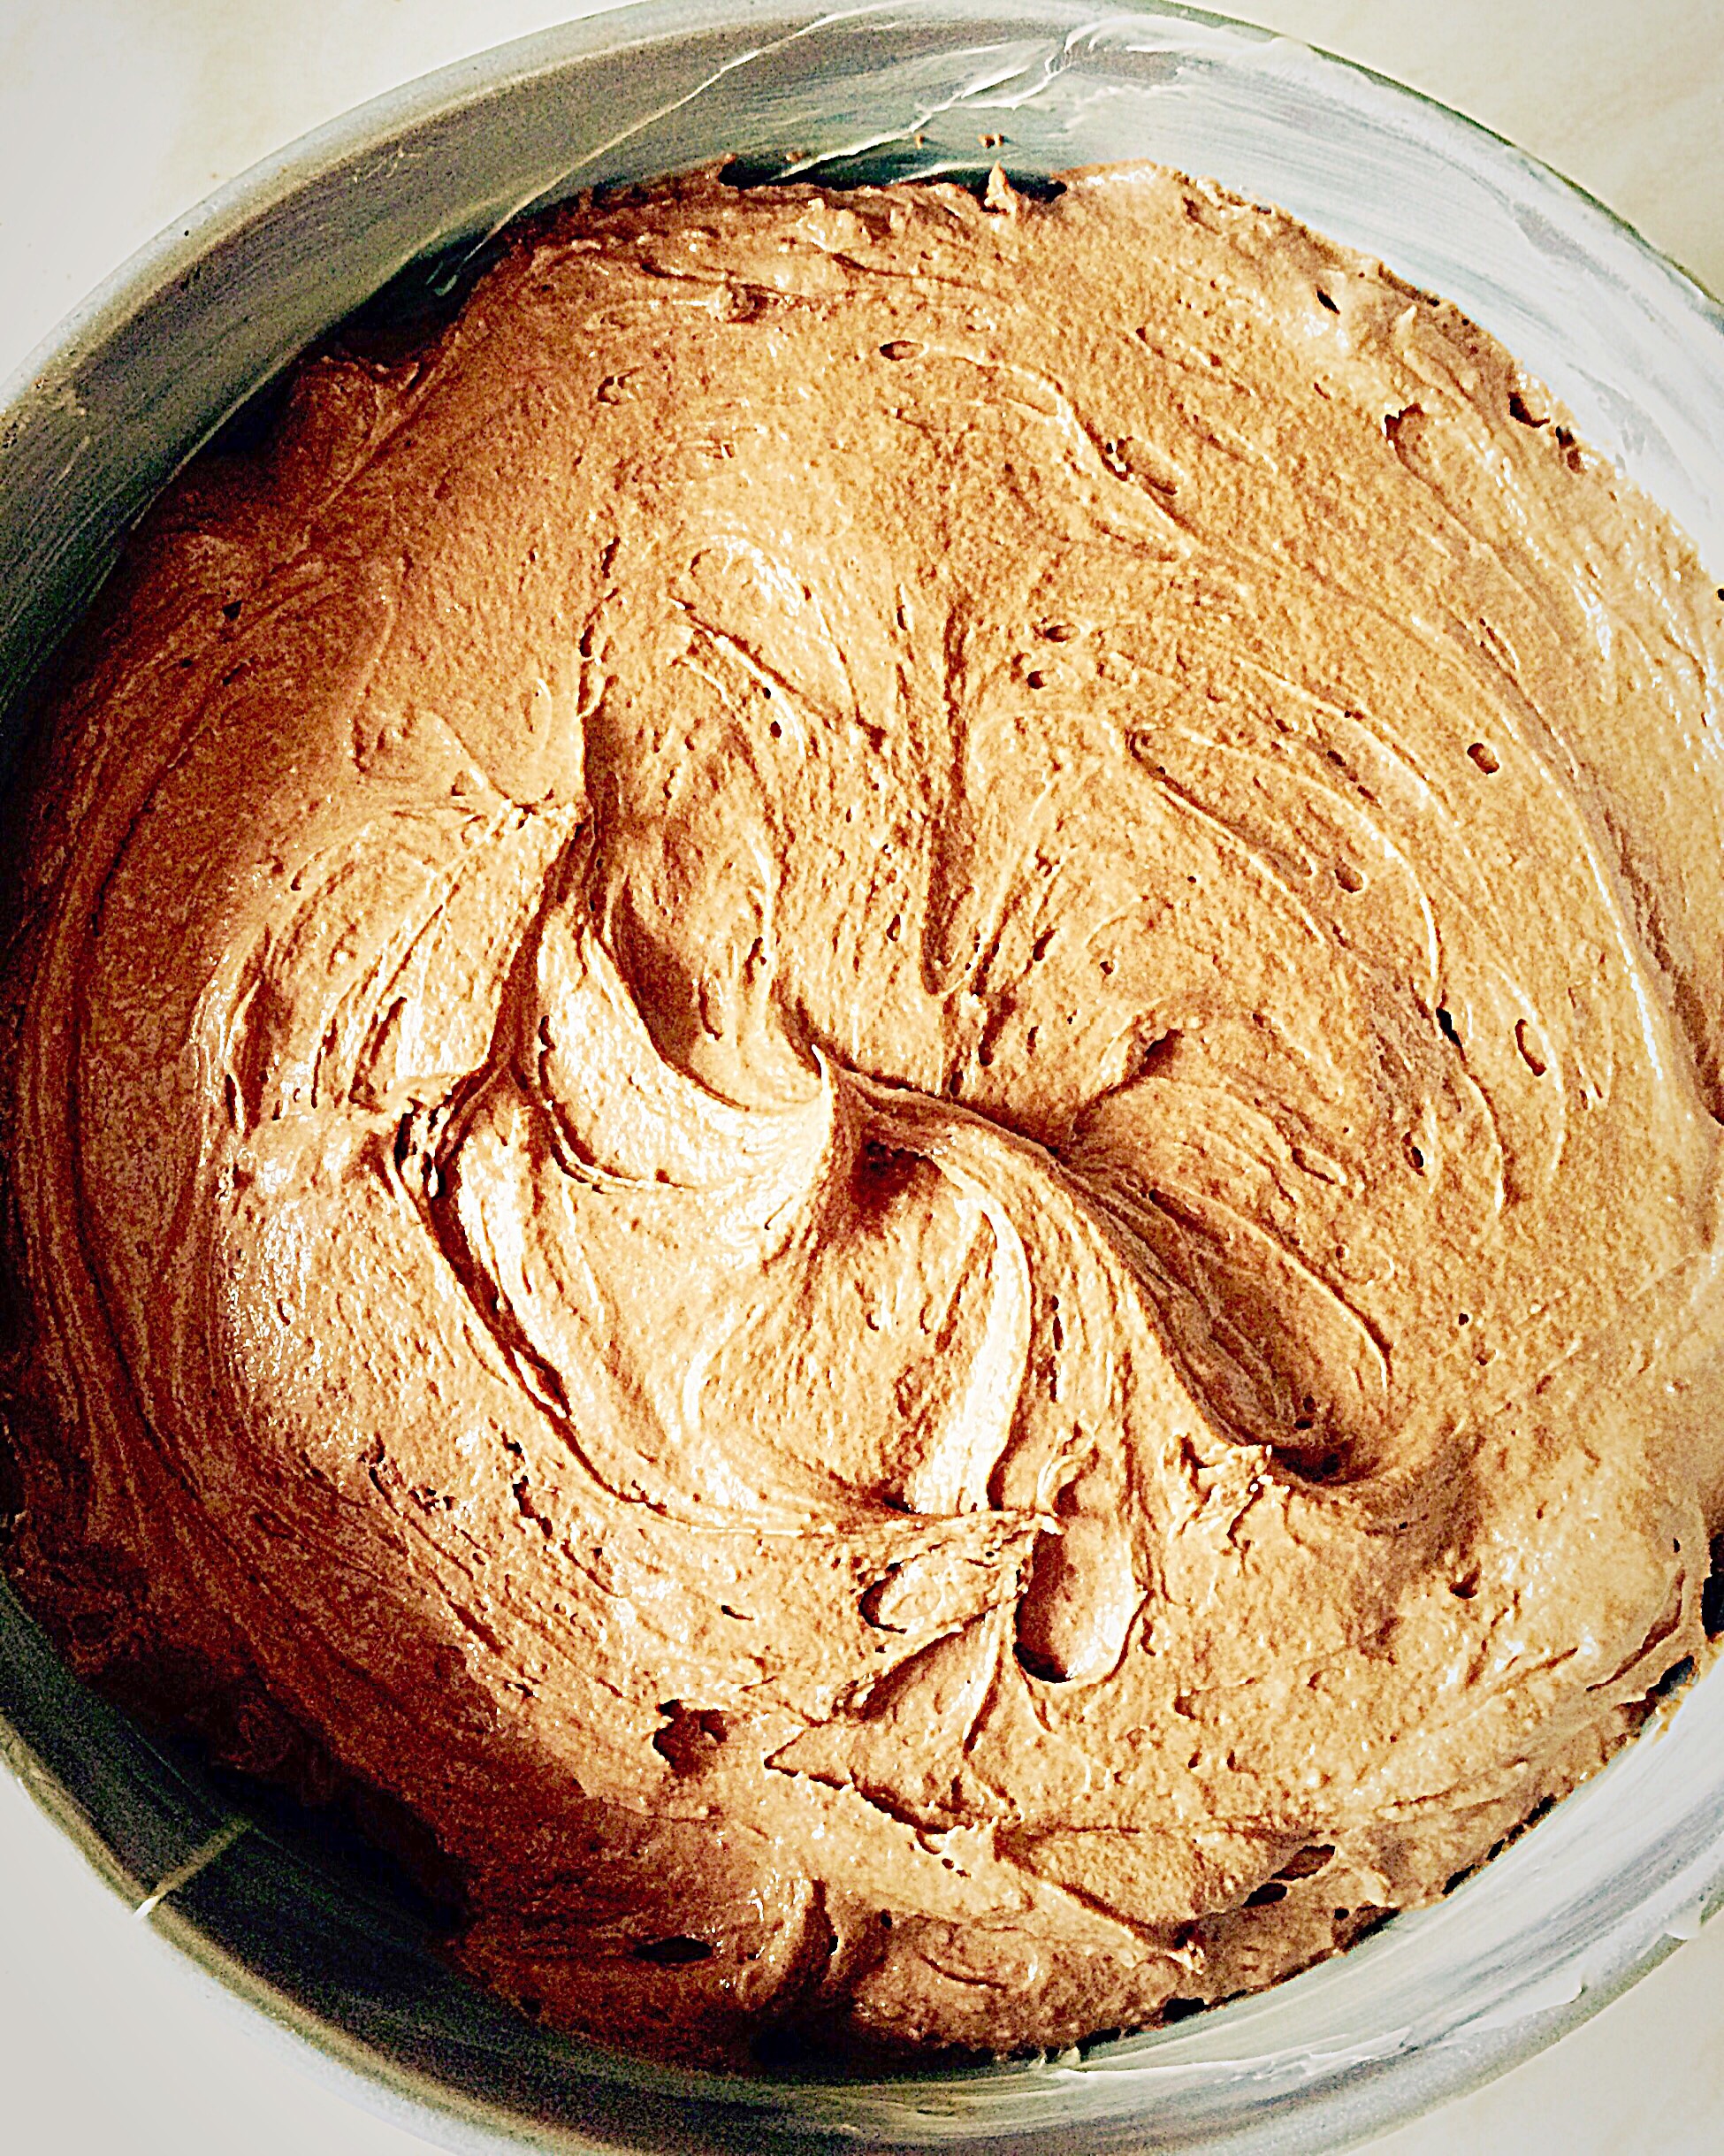
- Next into a large bowl add the butter, sugar and salt. Whisk until fully combined, light and creamy.
- Add the vanilla extract and whisk thoroughly.
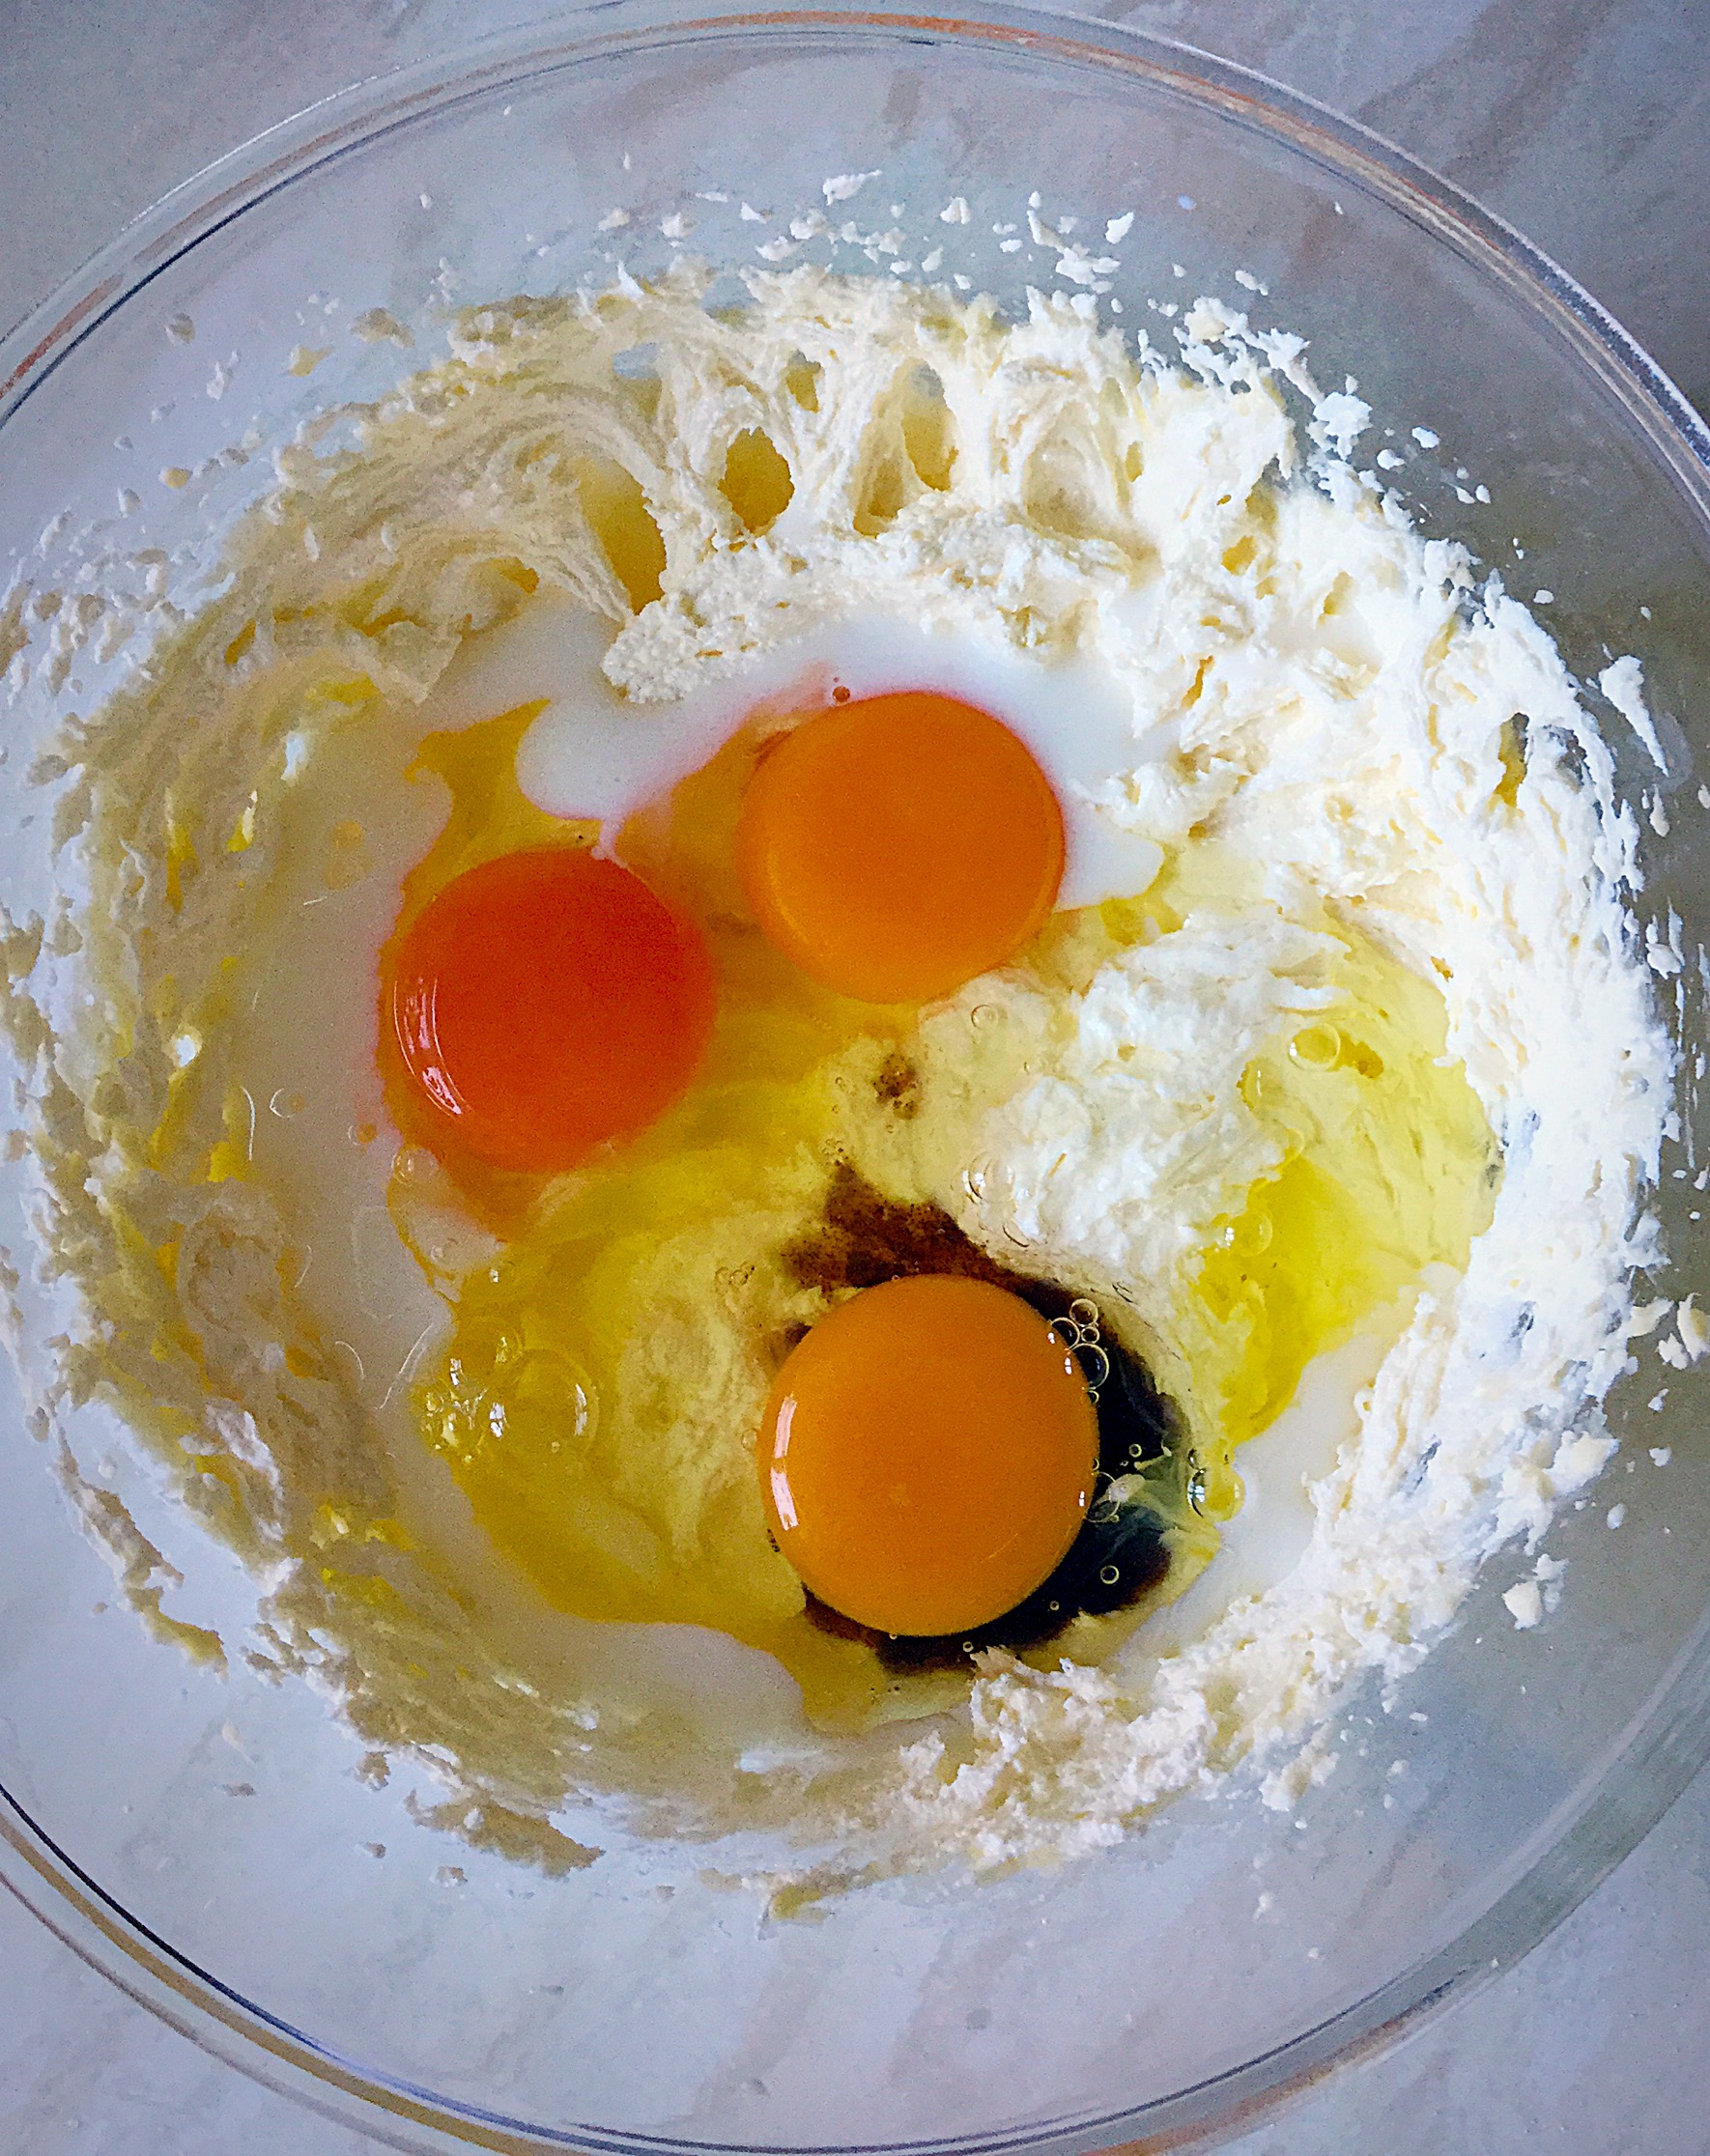
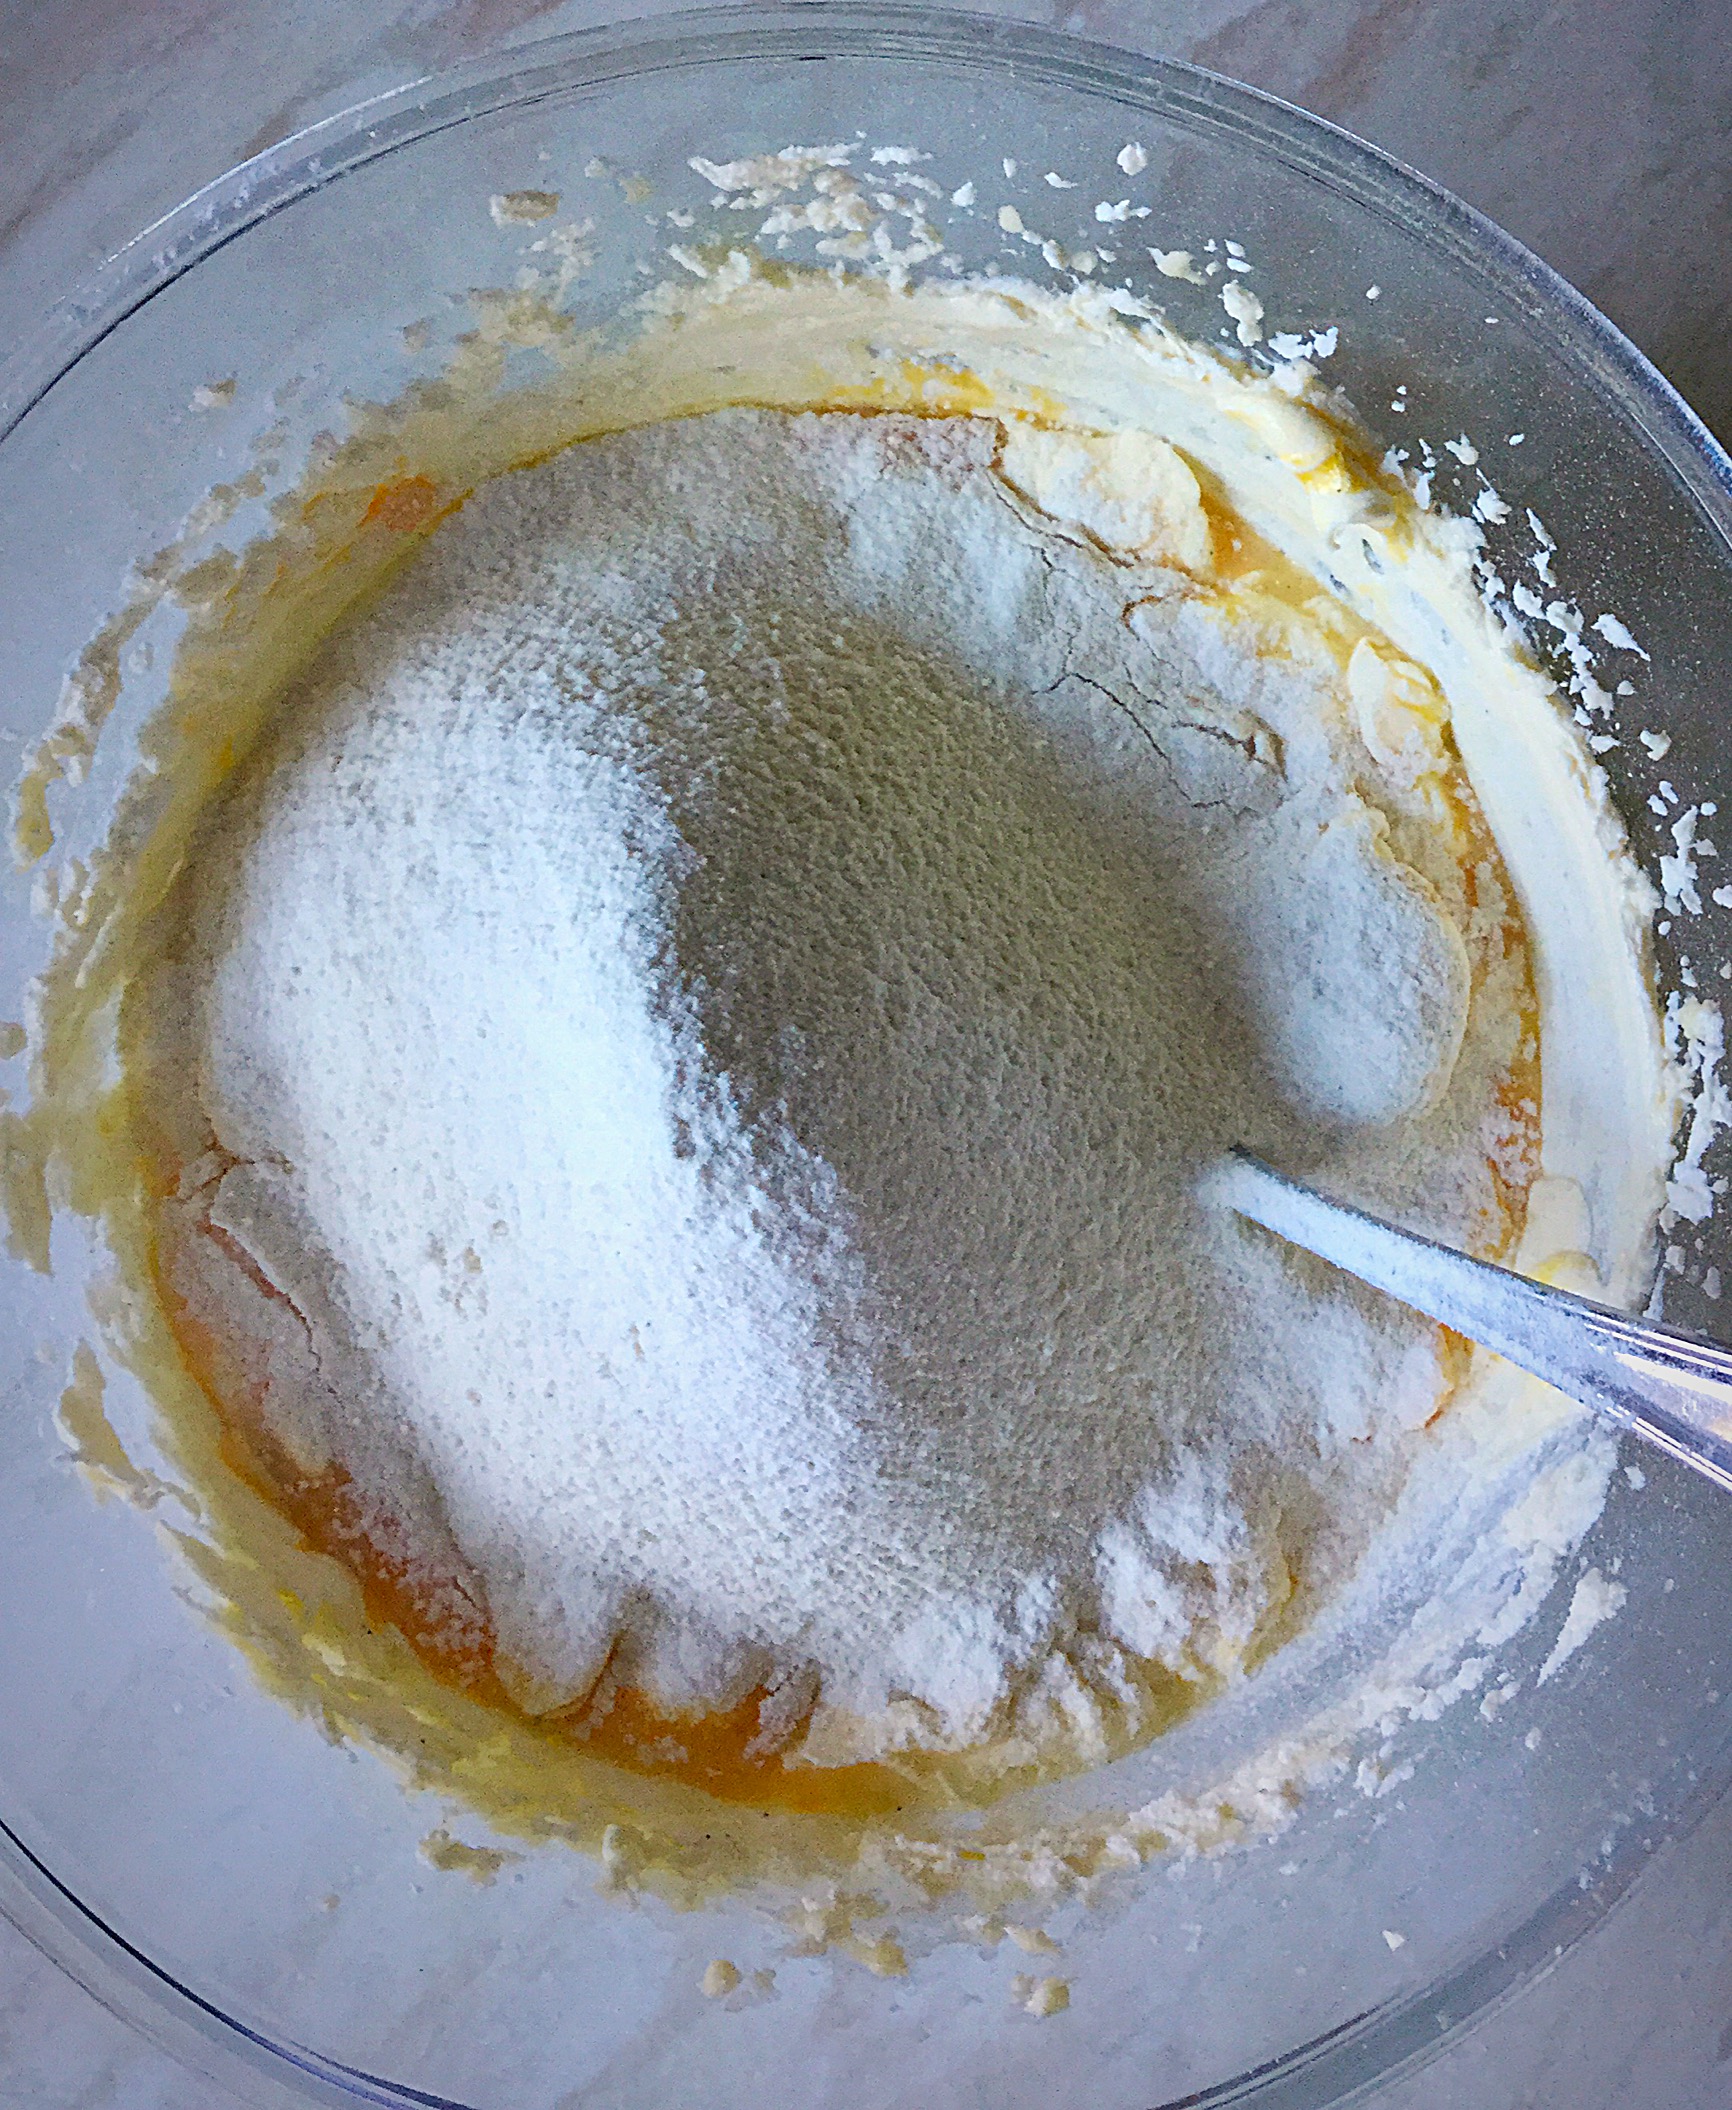
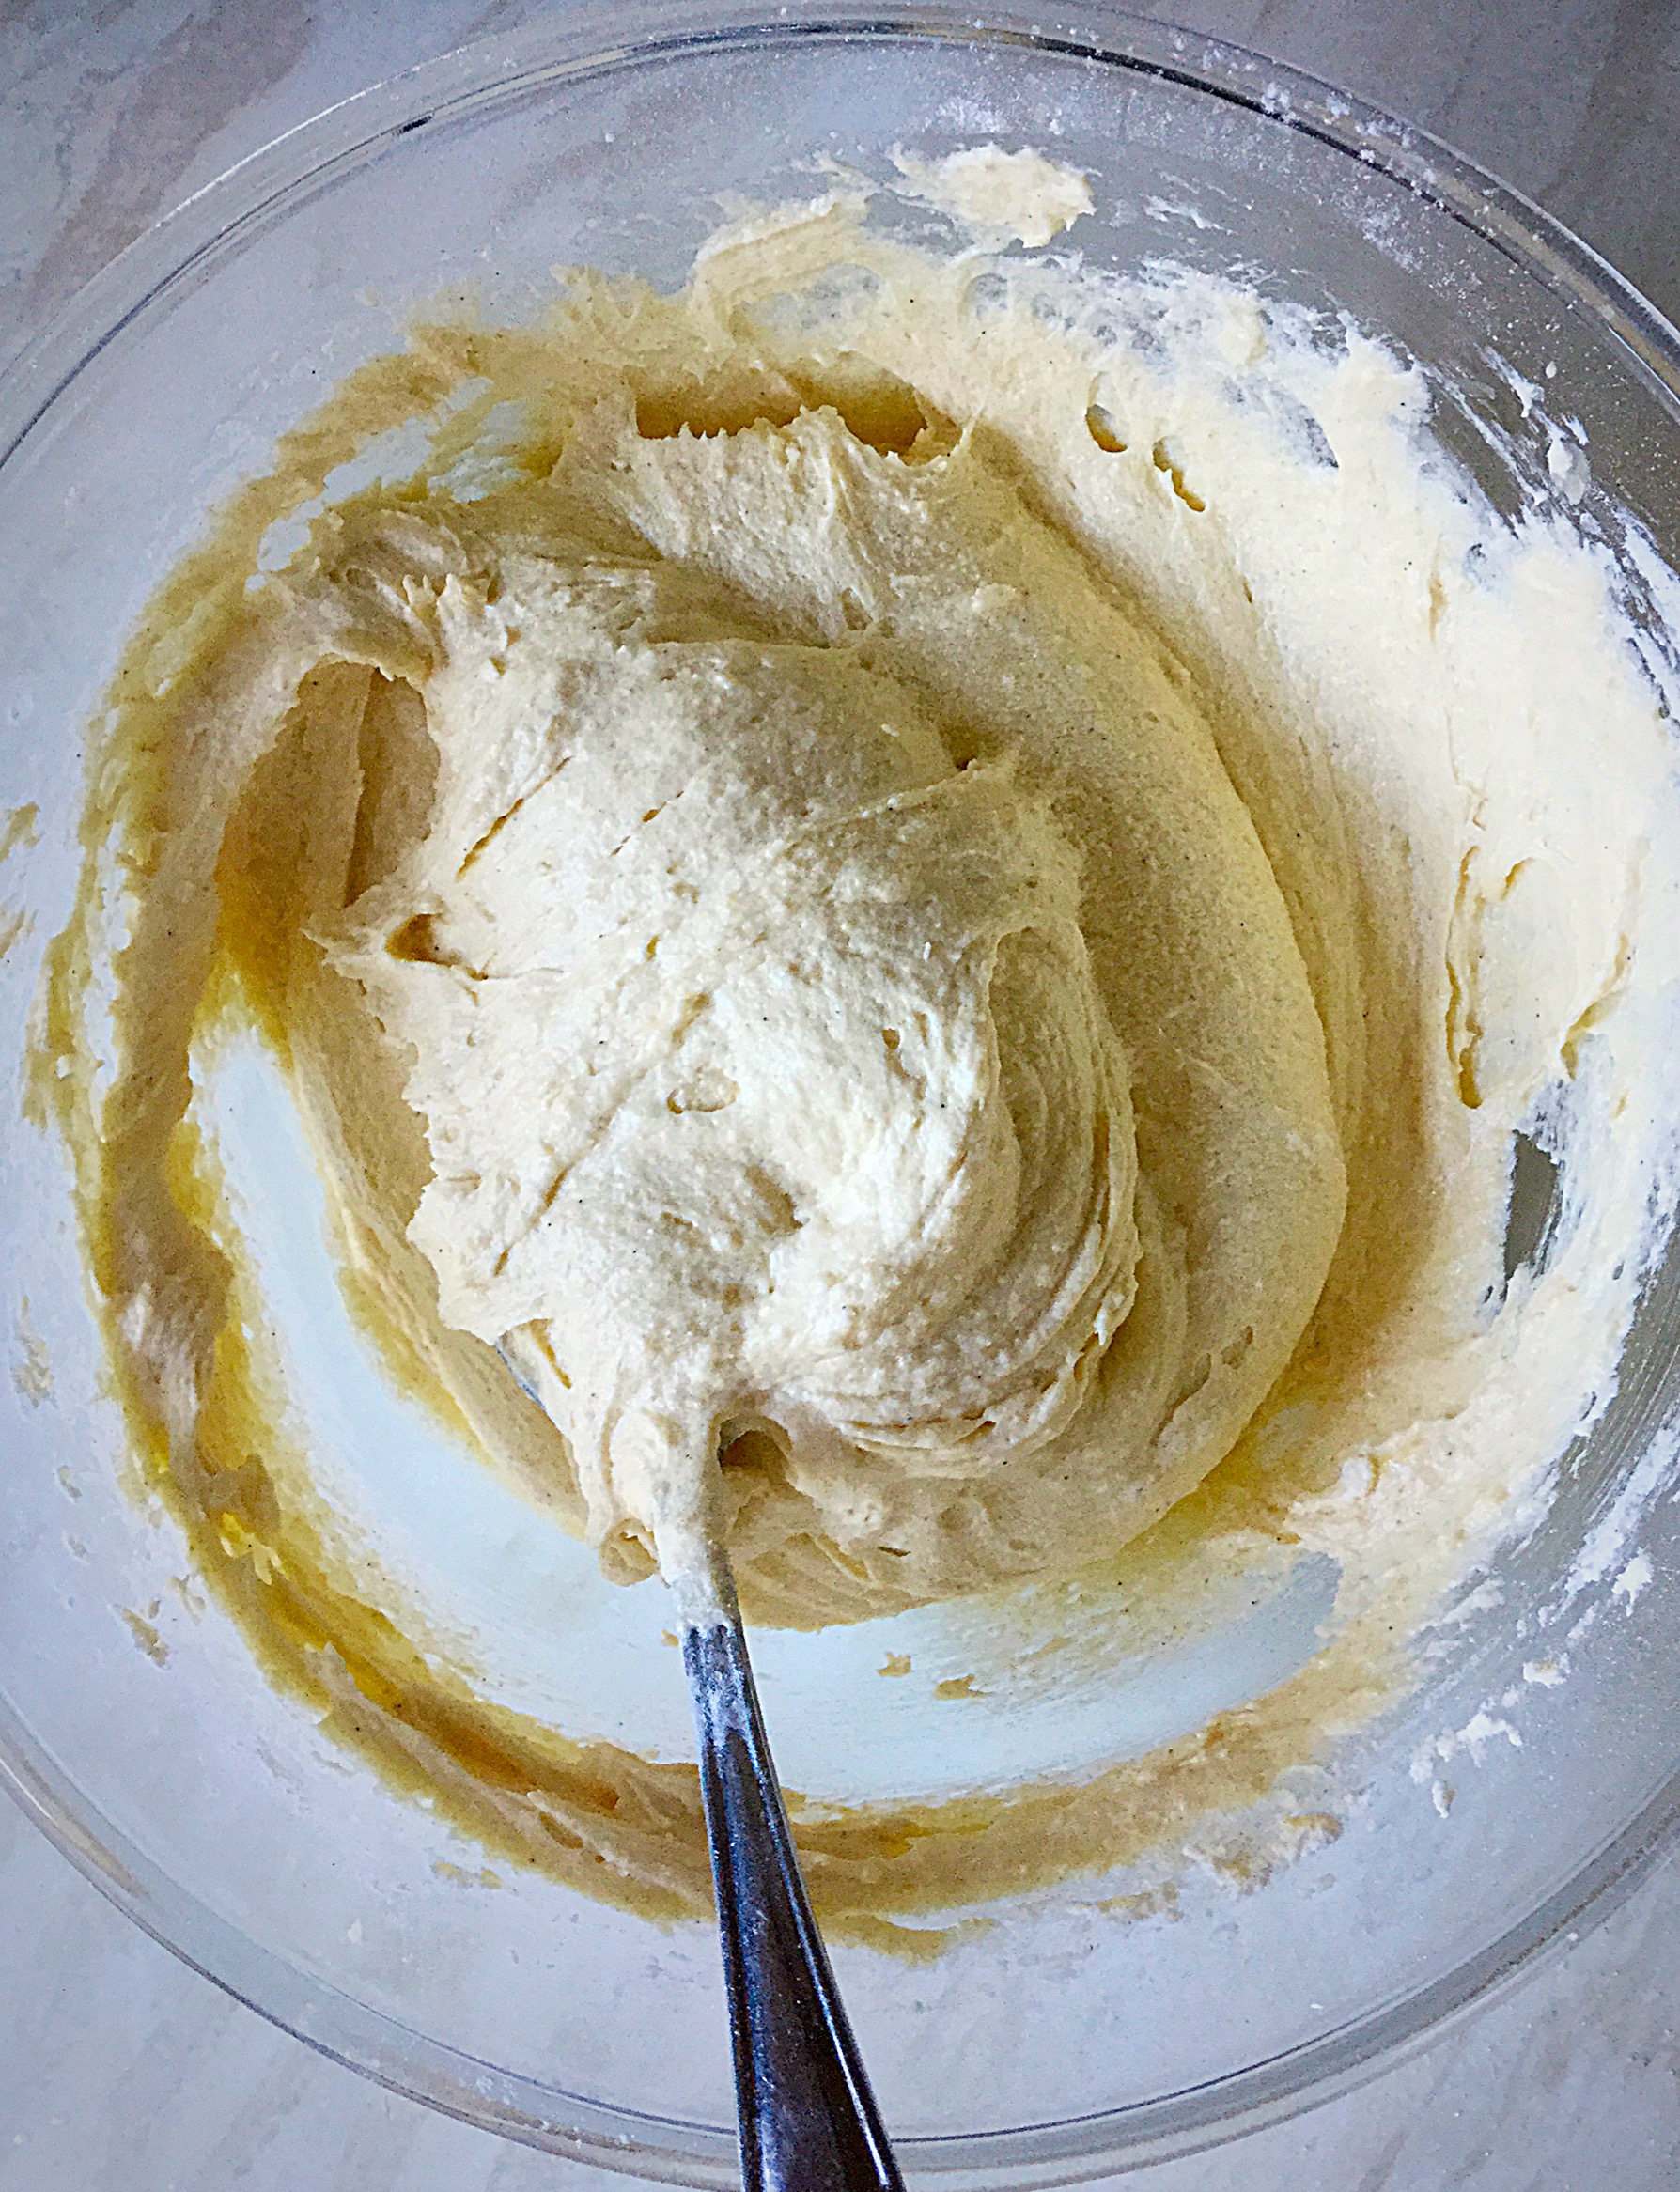
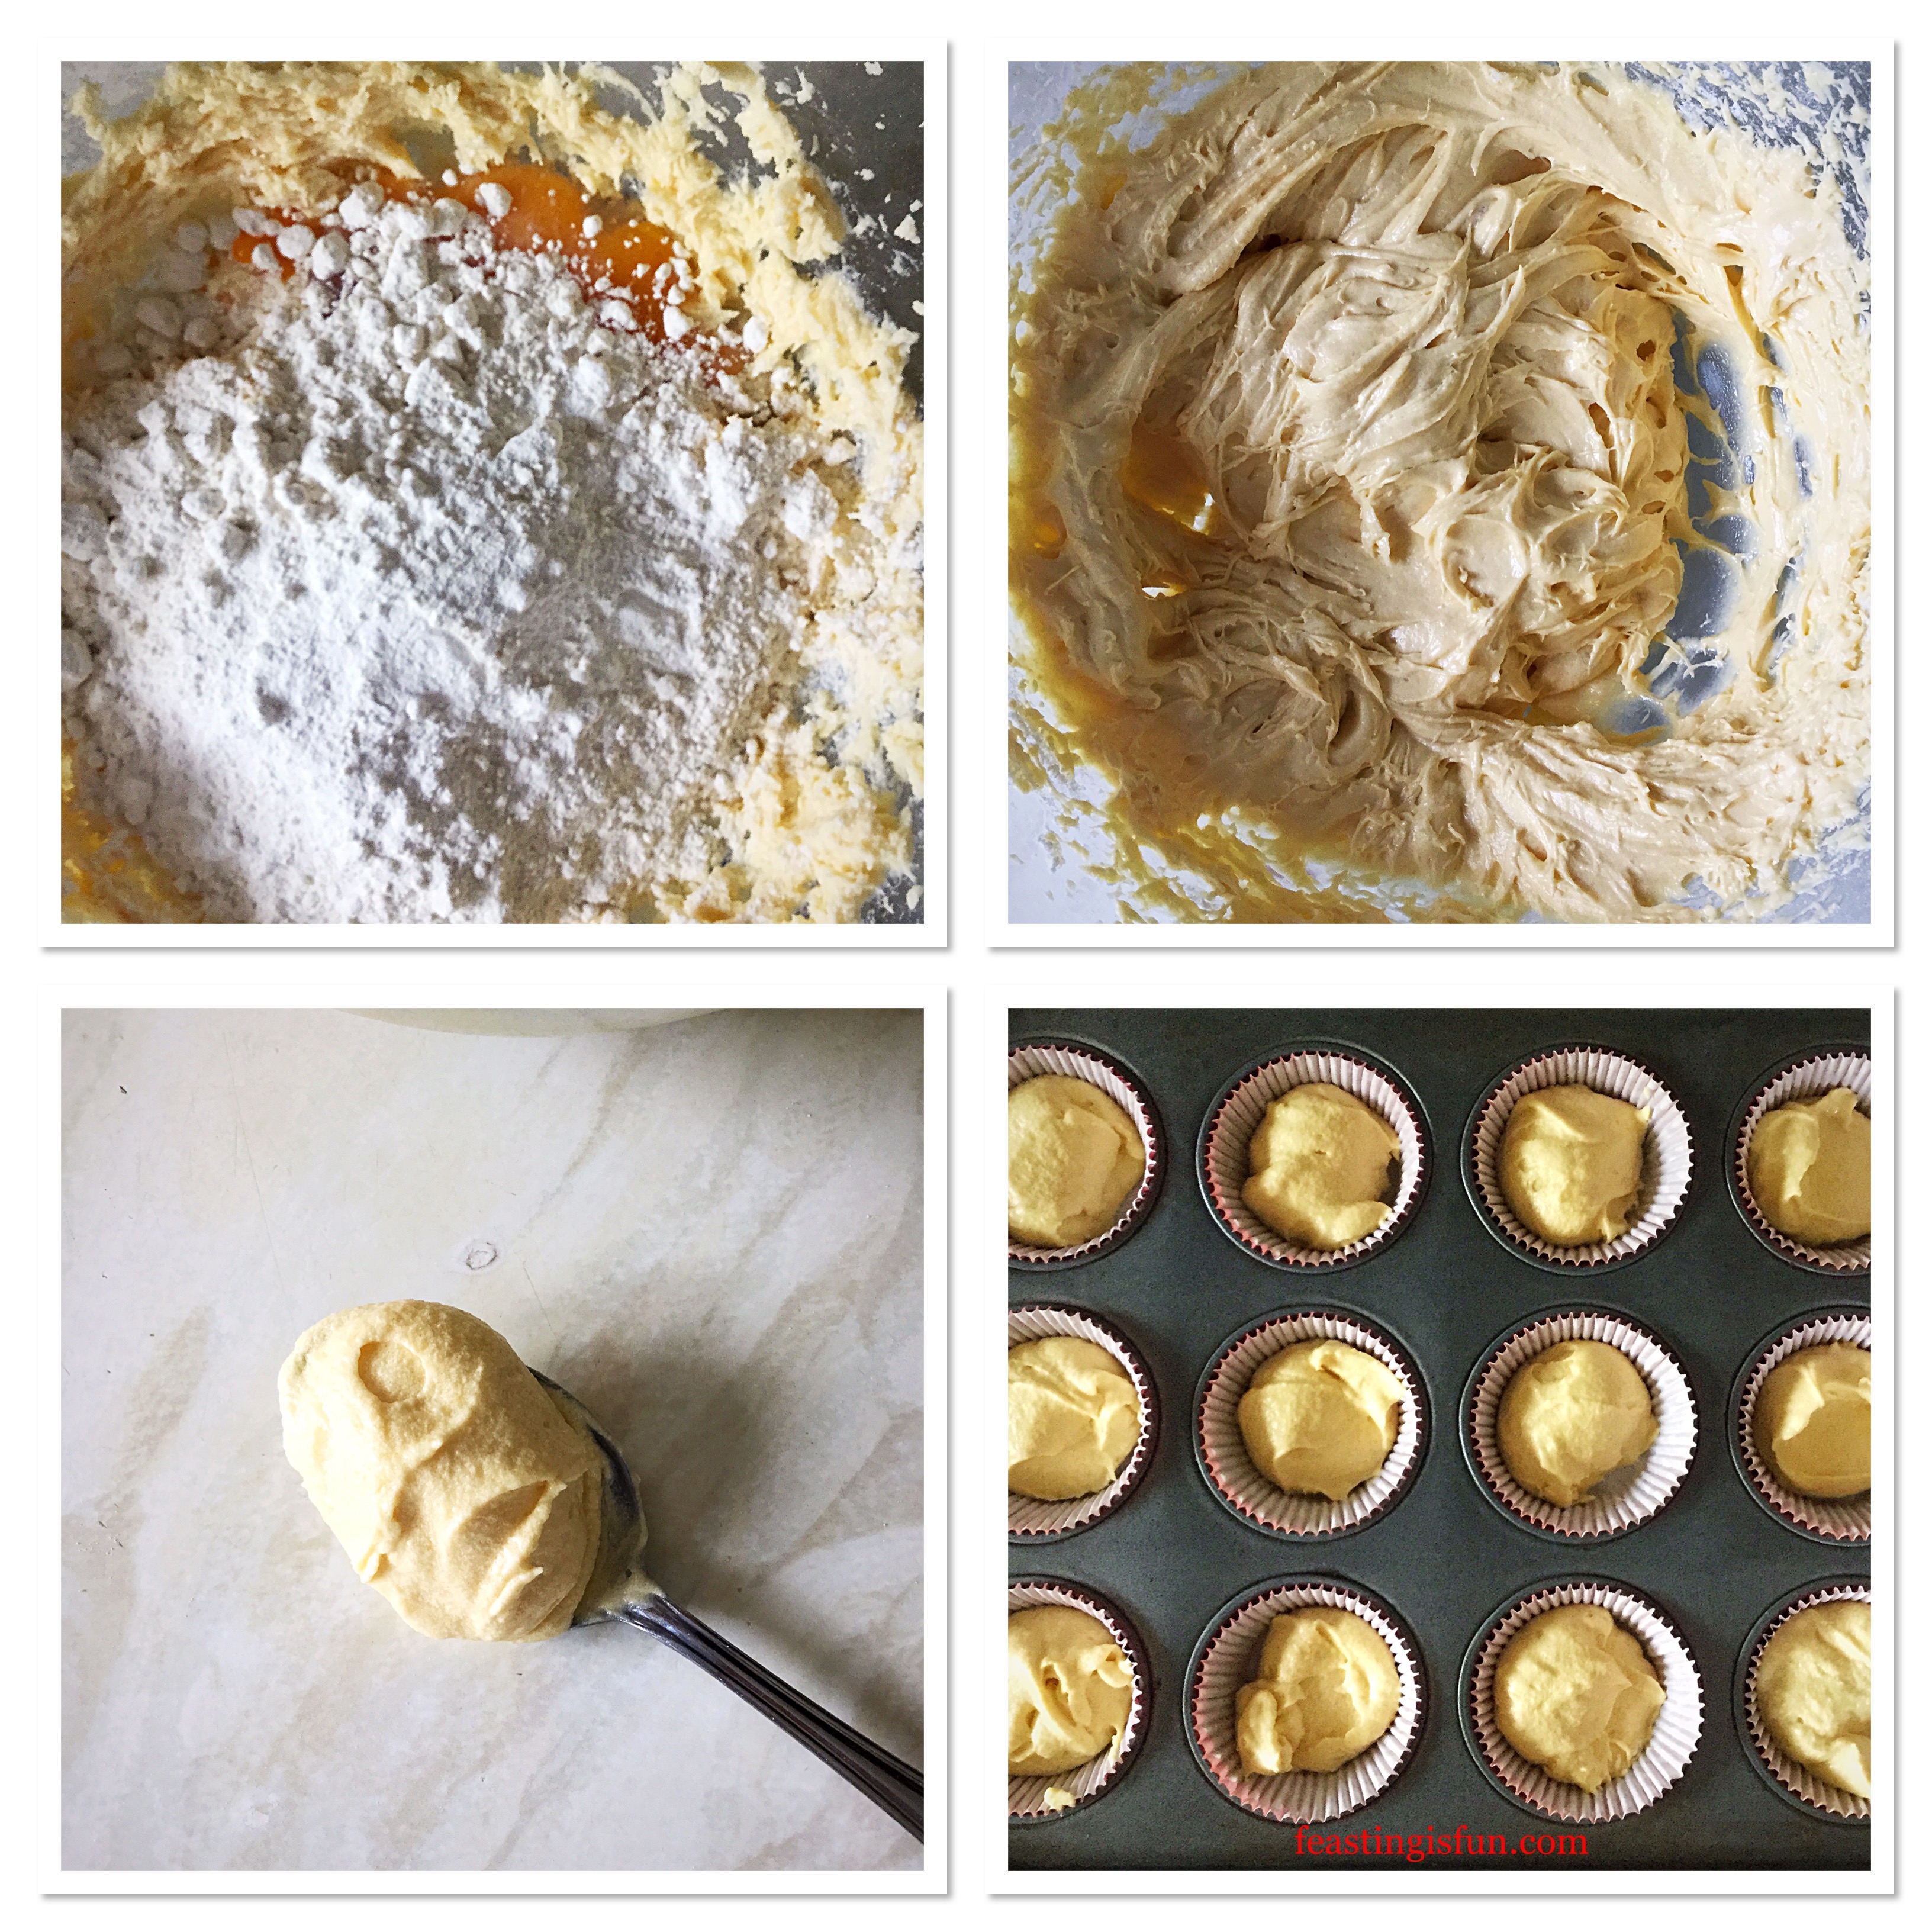
- Now add the eggs, flour and baking powder. Whisk slowly until everything has come together and no lumps are present. Over whisking will create a tough cake crumb.
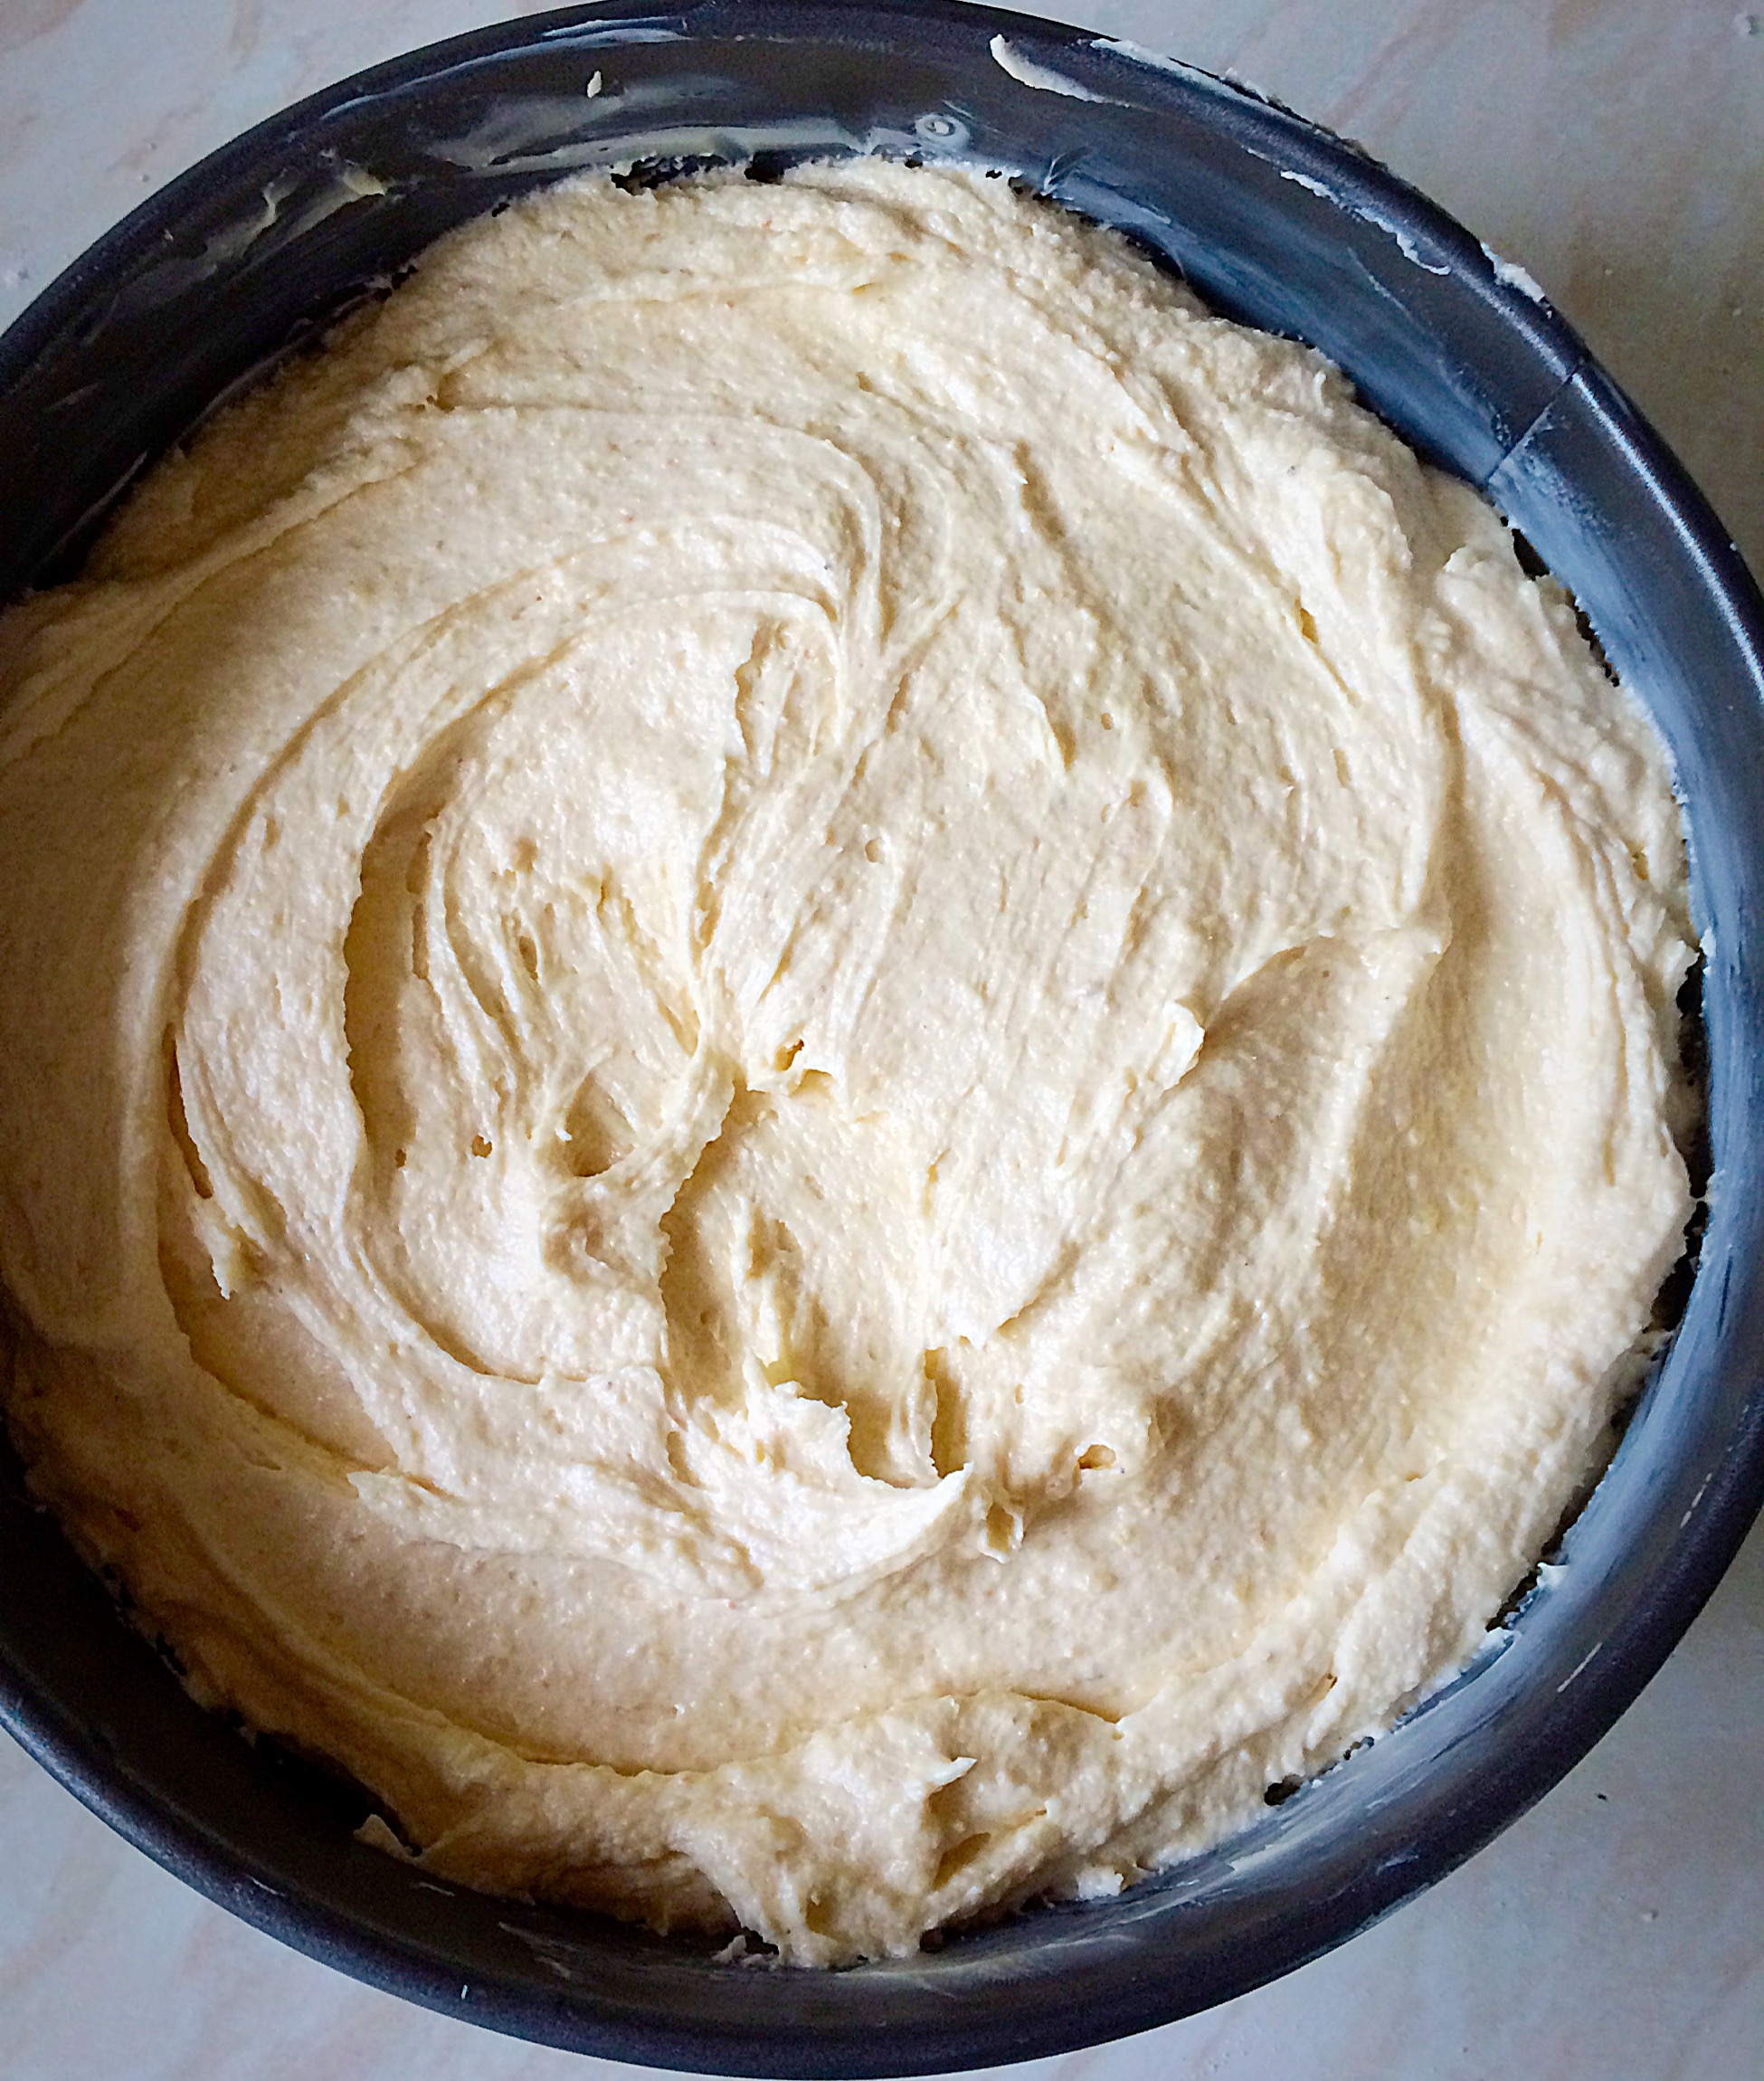
- Scoop a dessert spoonful of cake batter into each cupcake case.
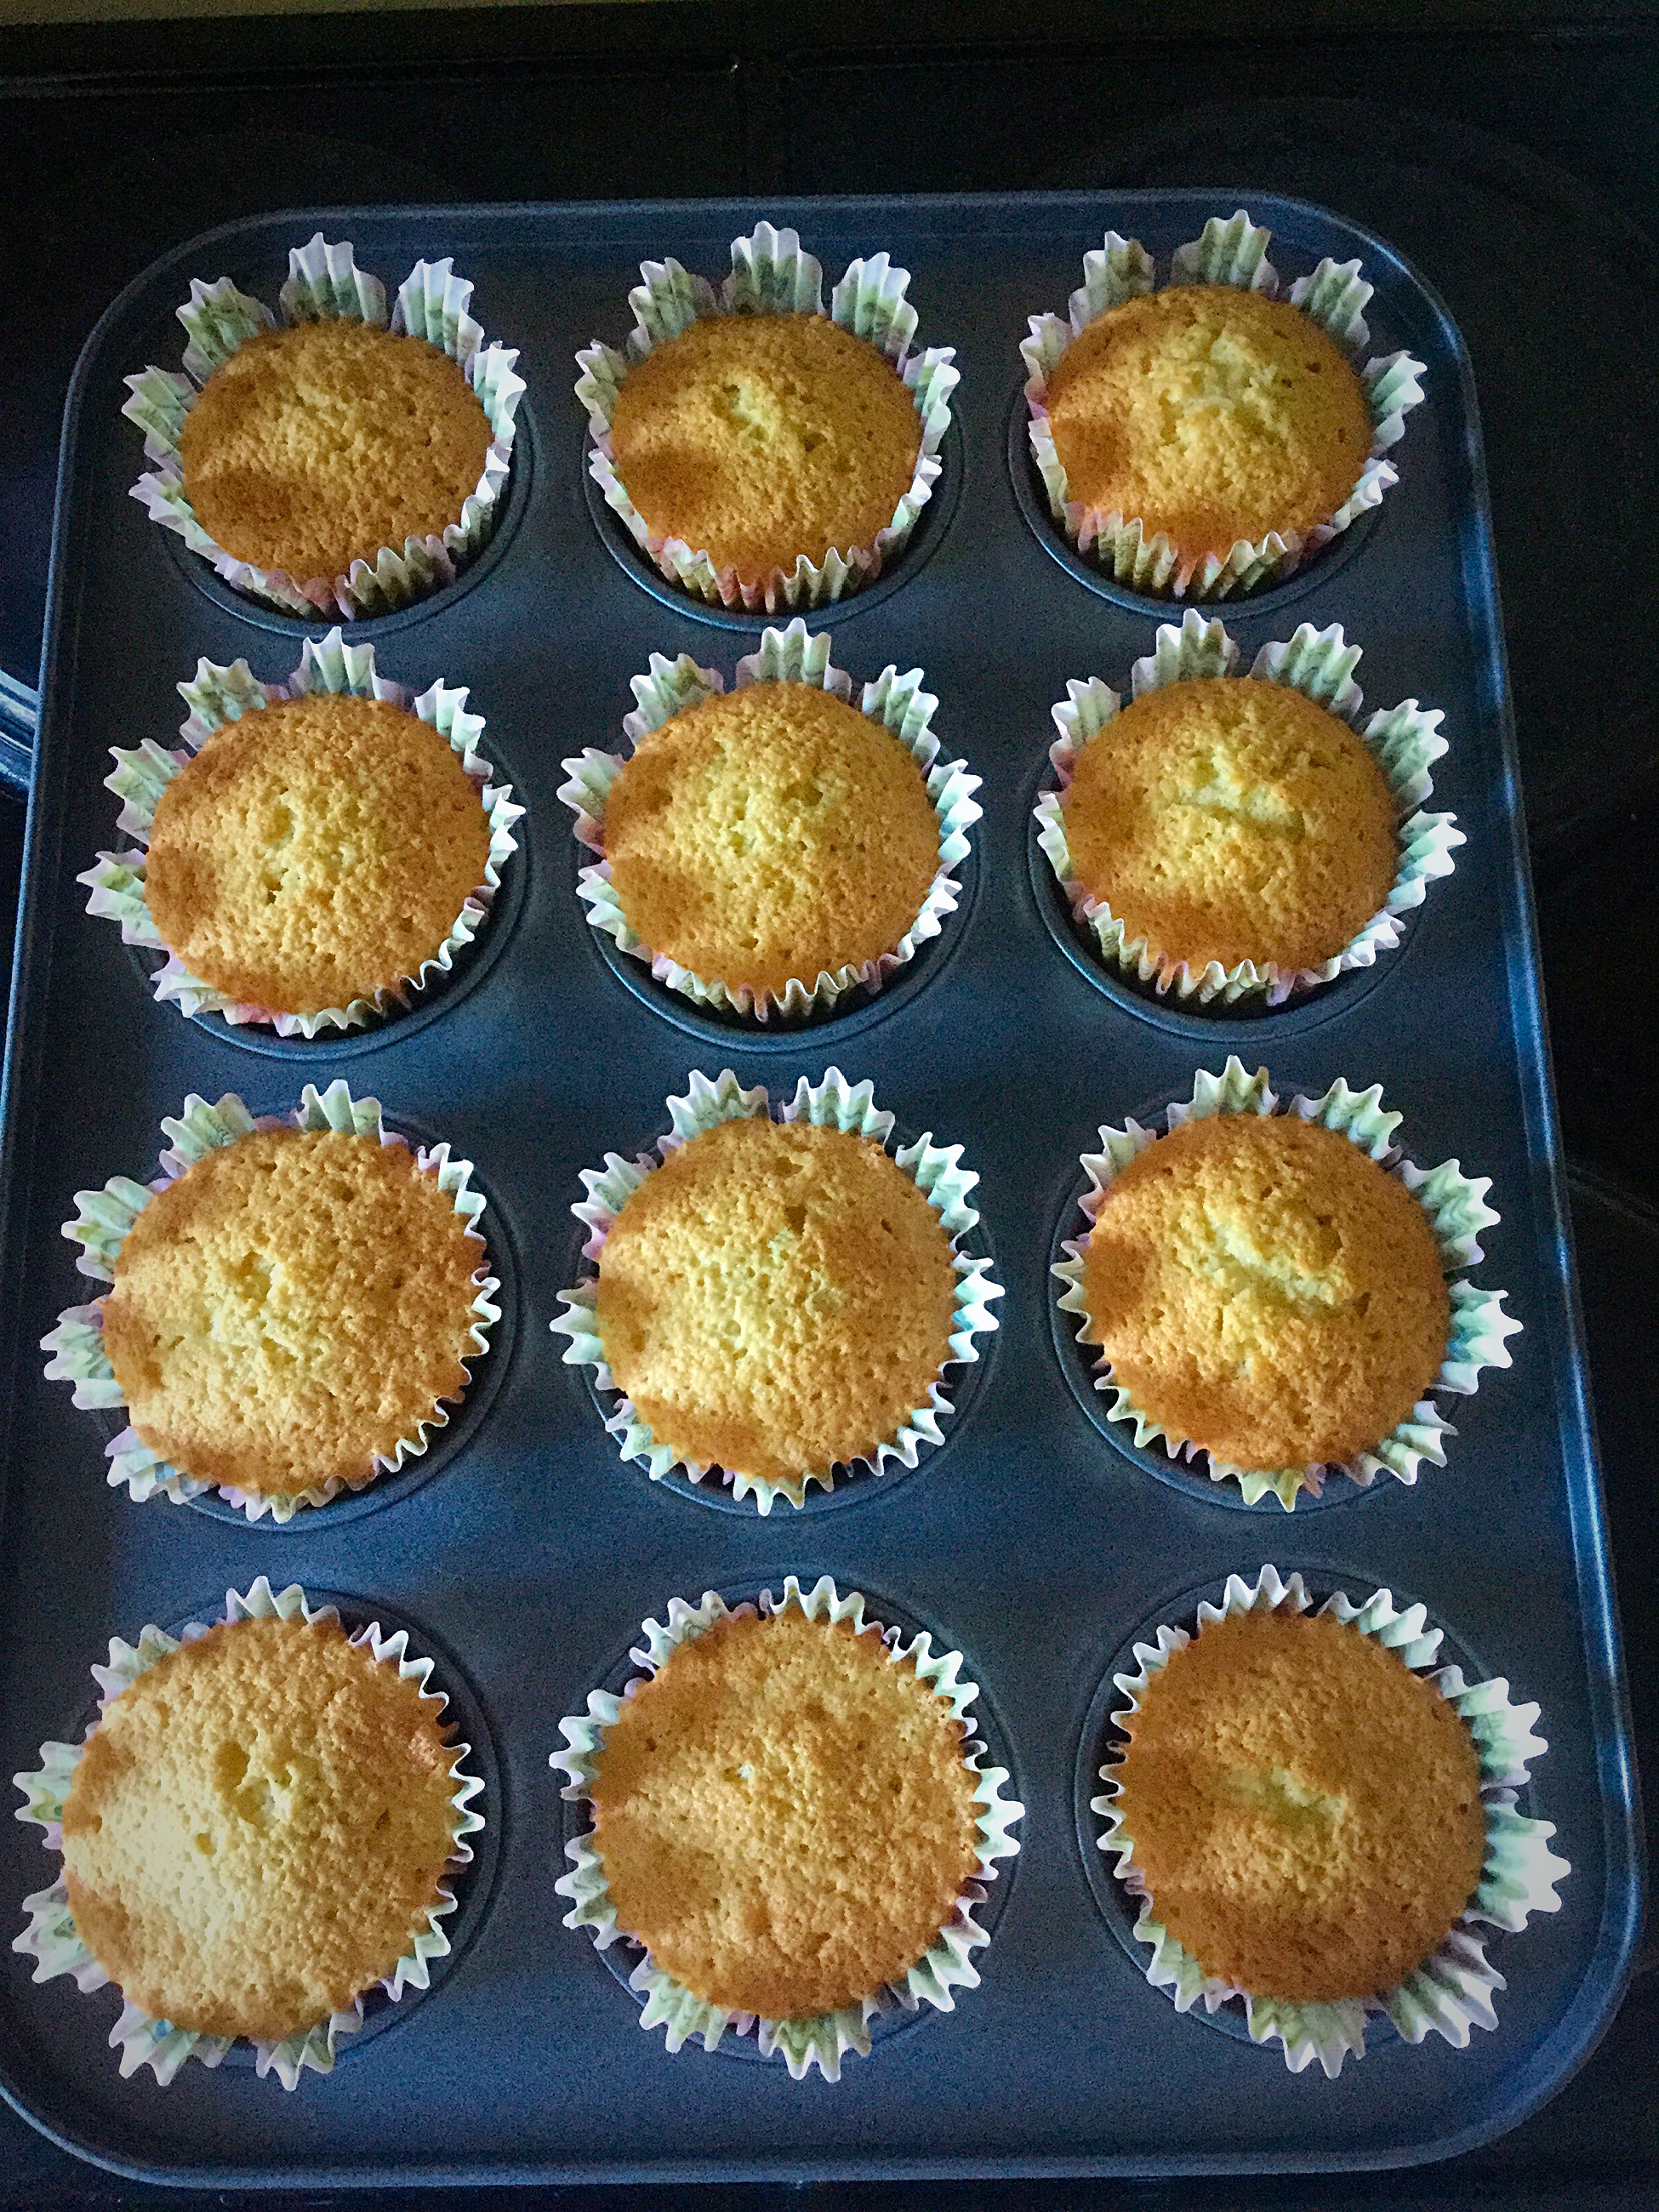
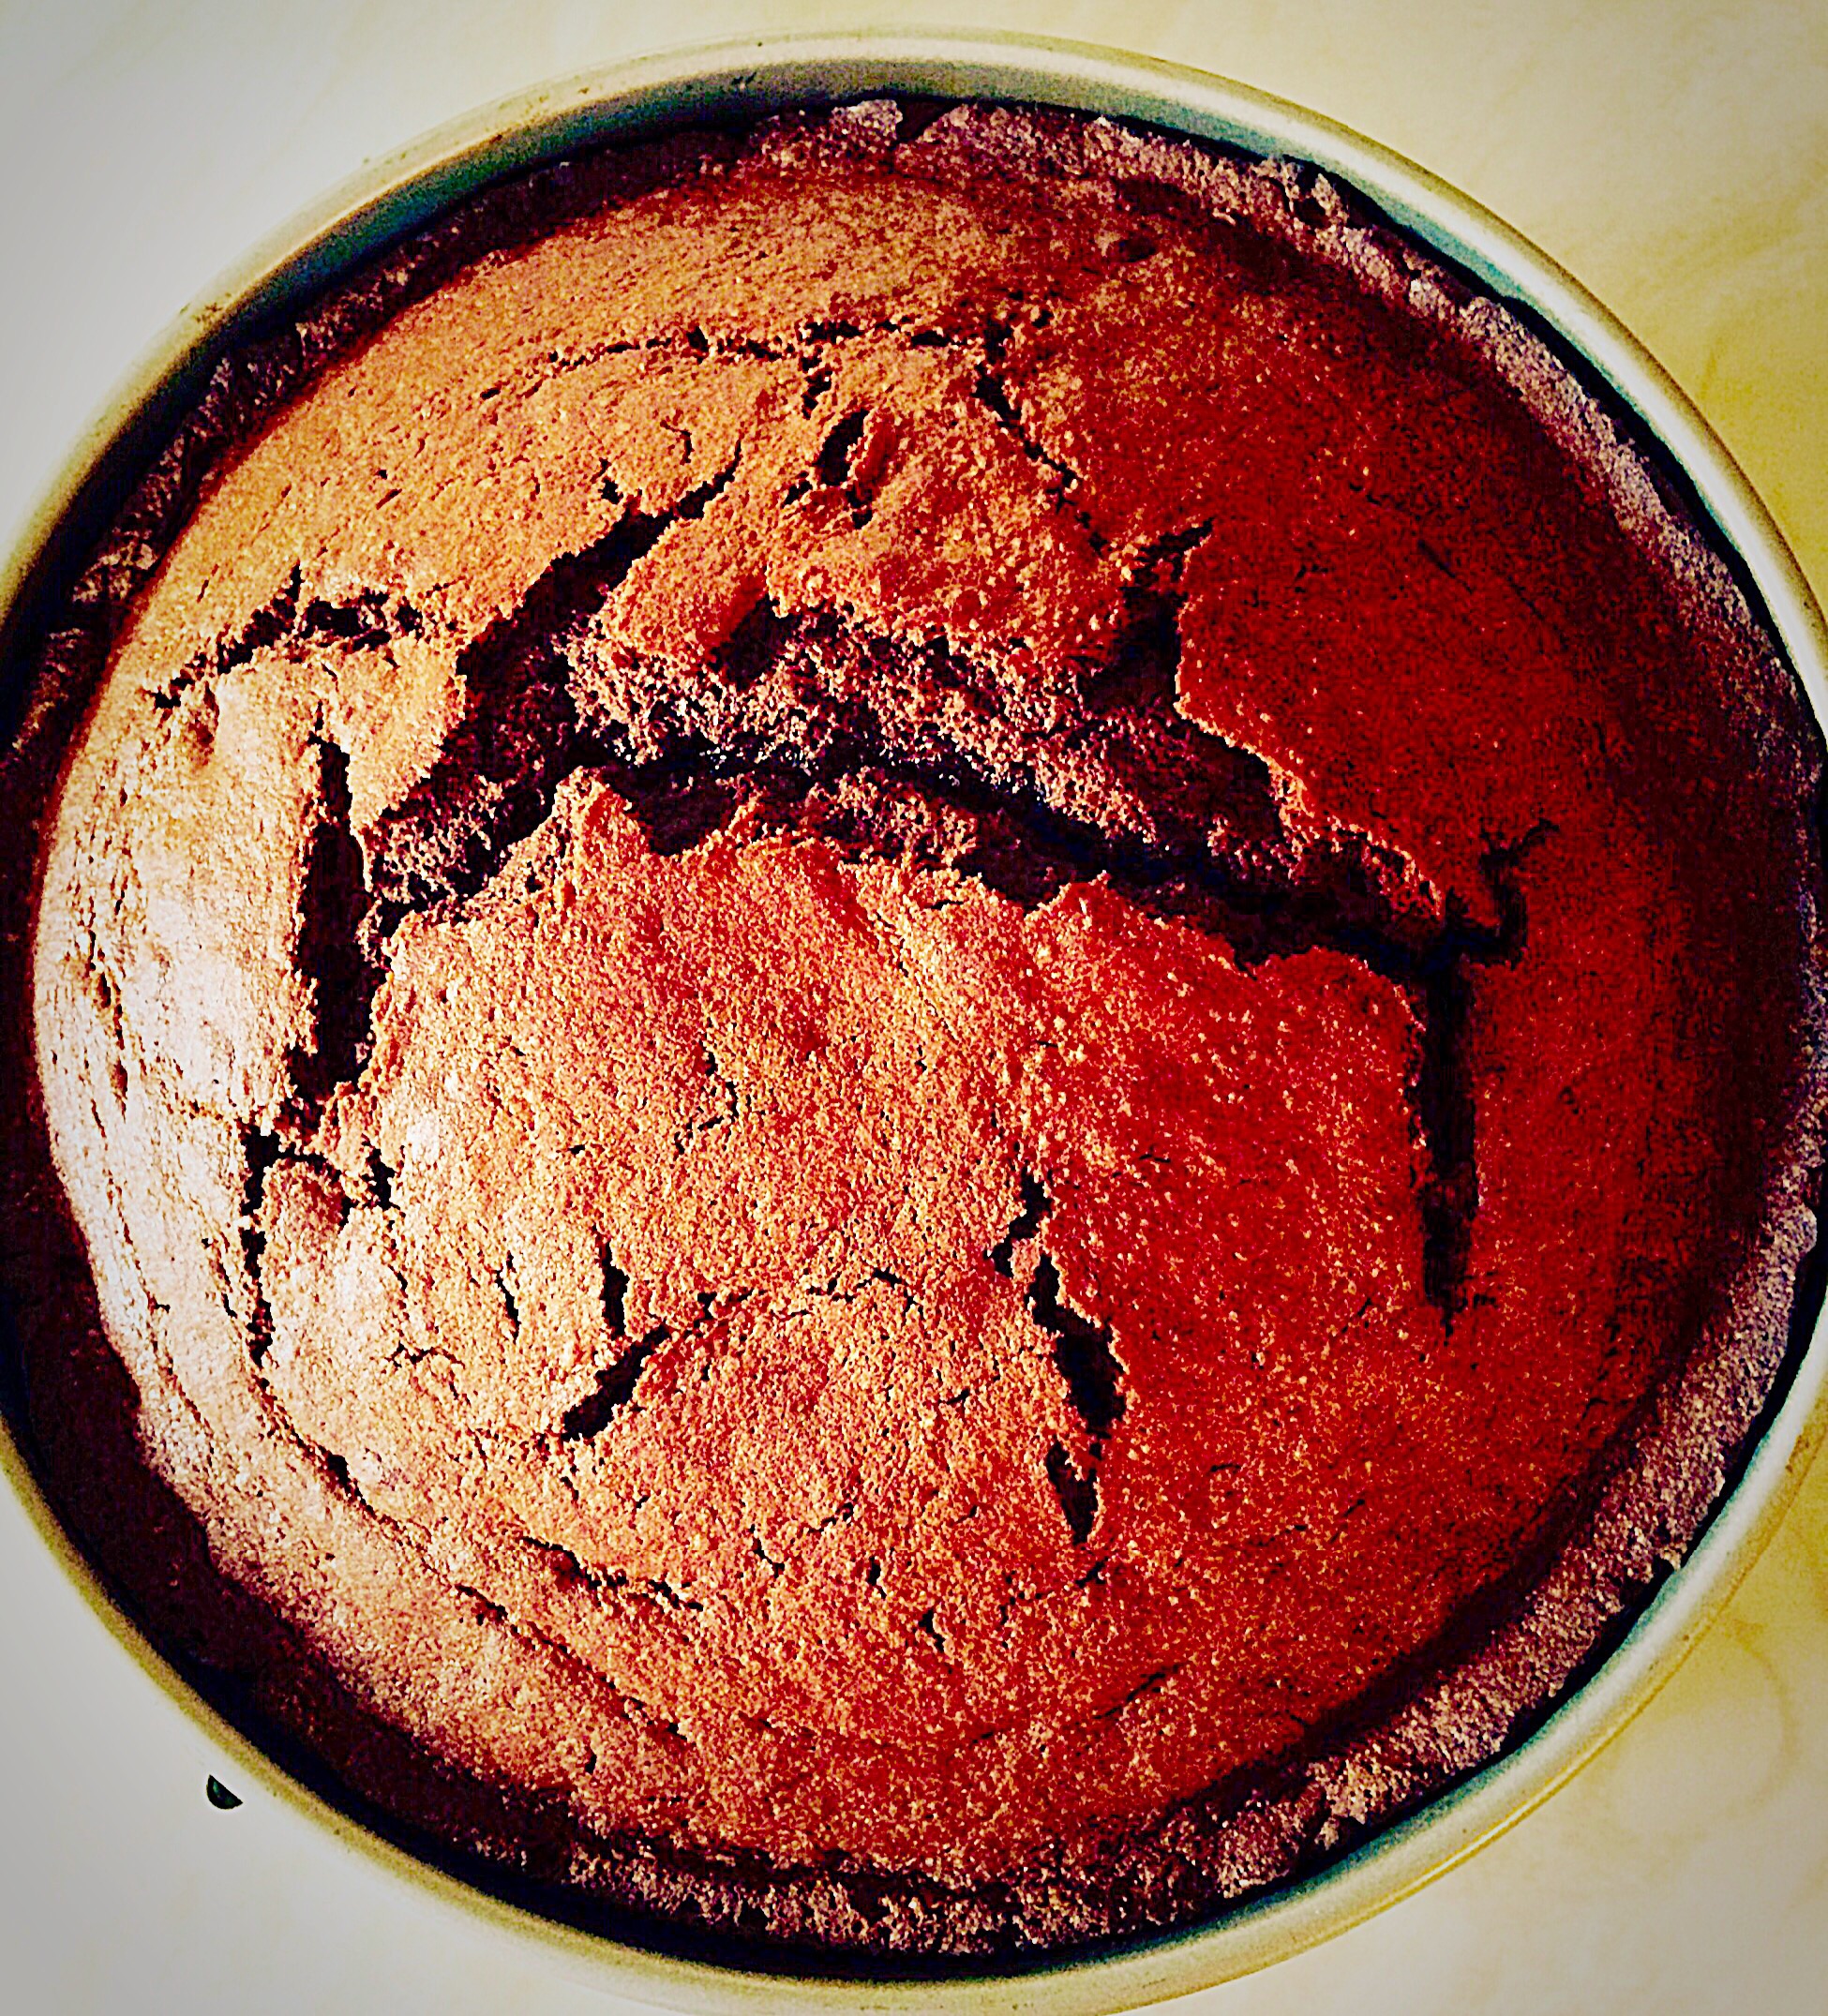
- Place the cupcakes into the centre of the preheated oven and bake for 25-30 minutes.
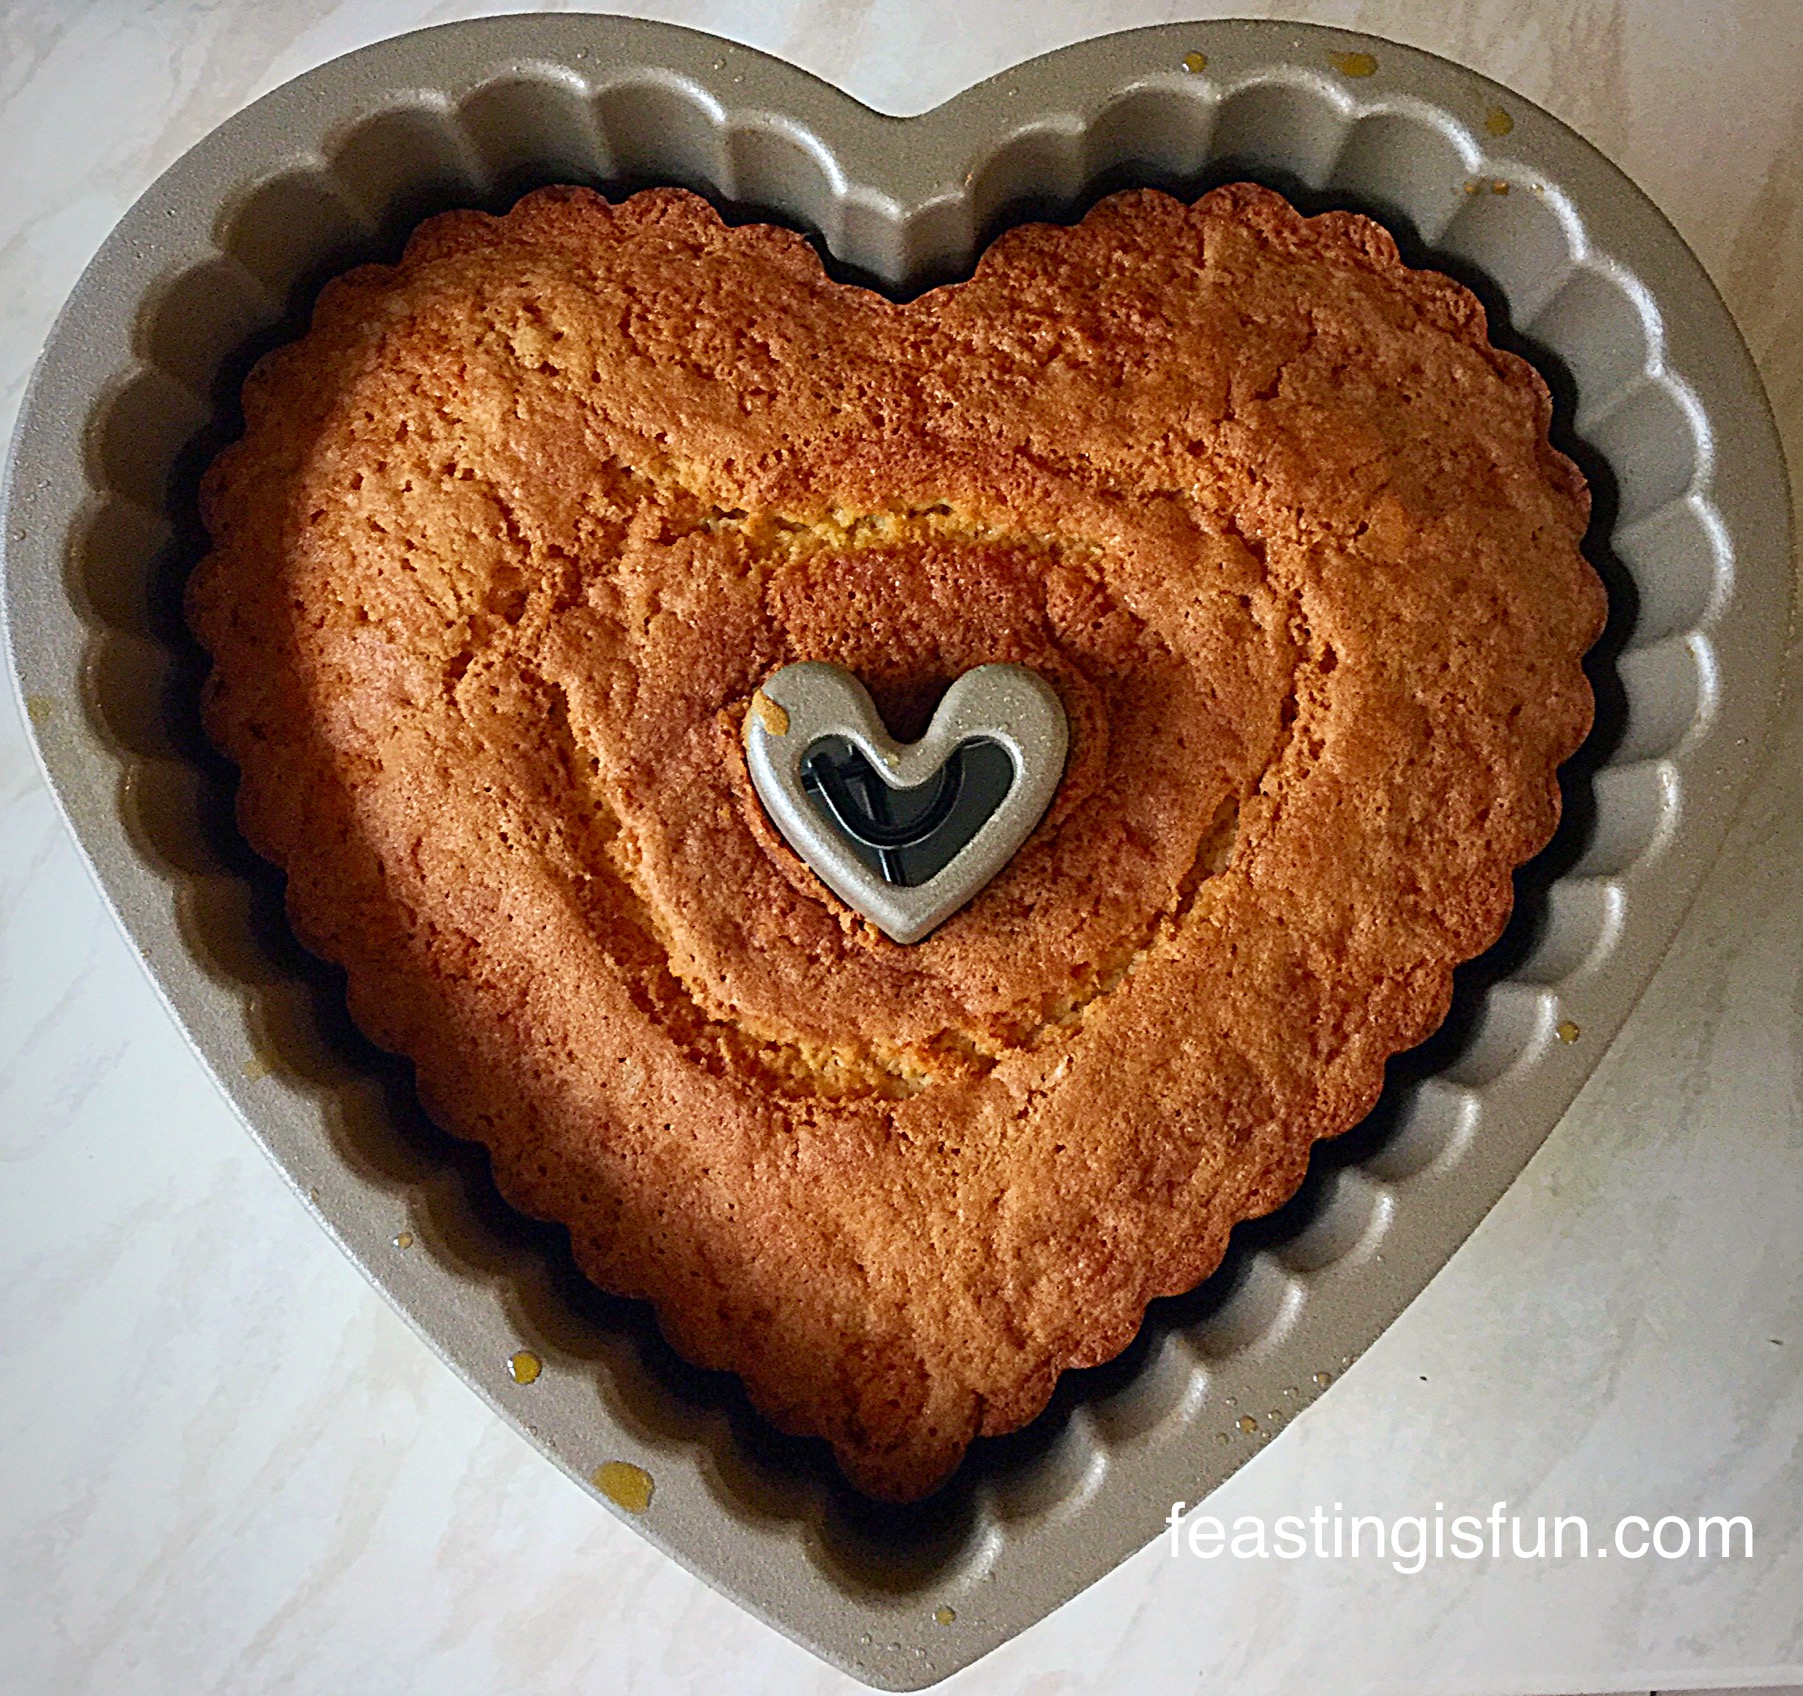
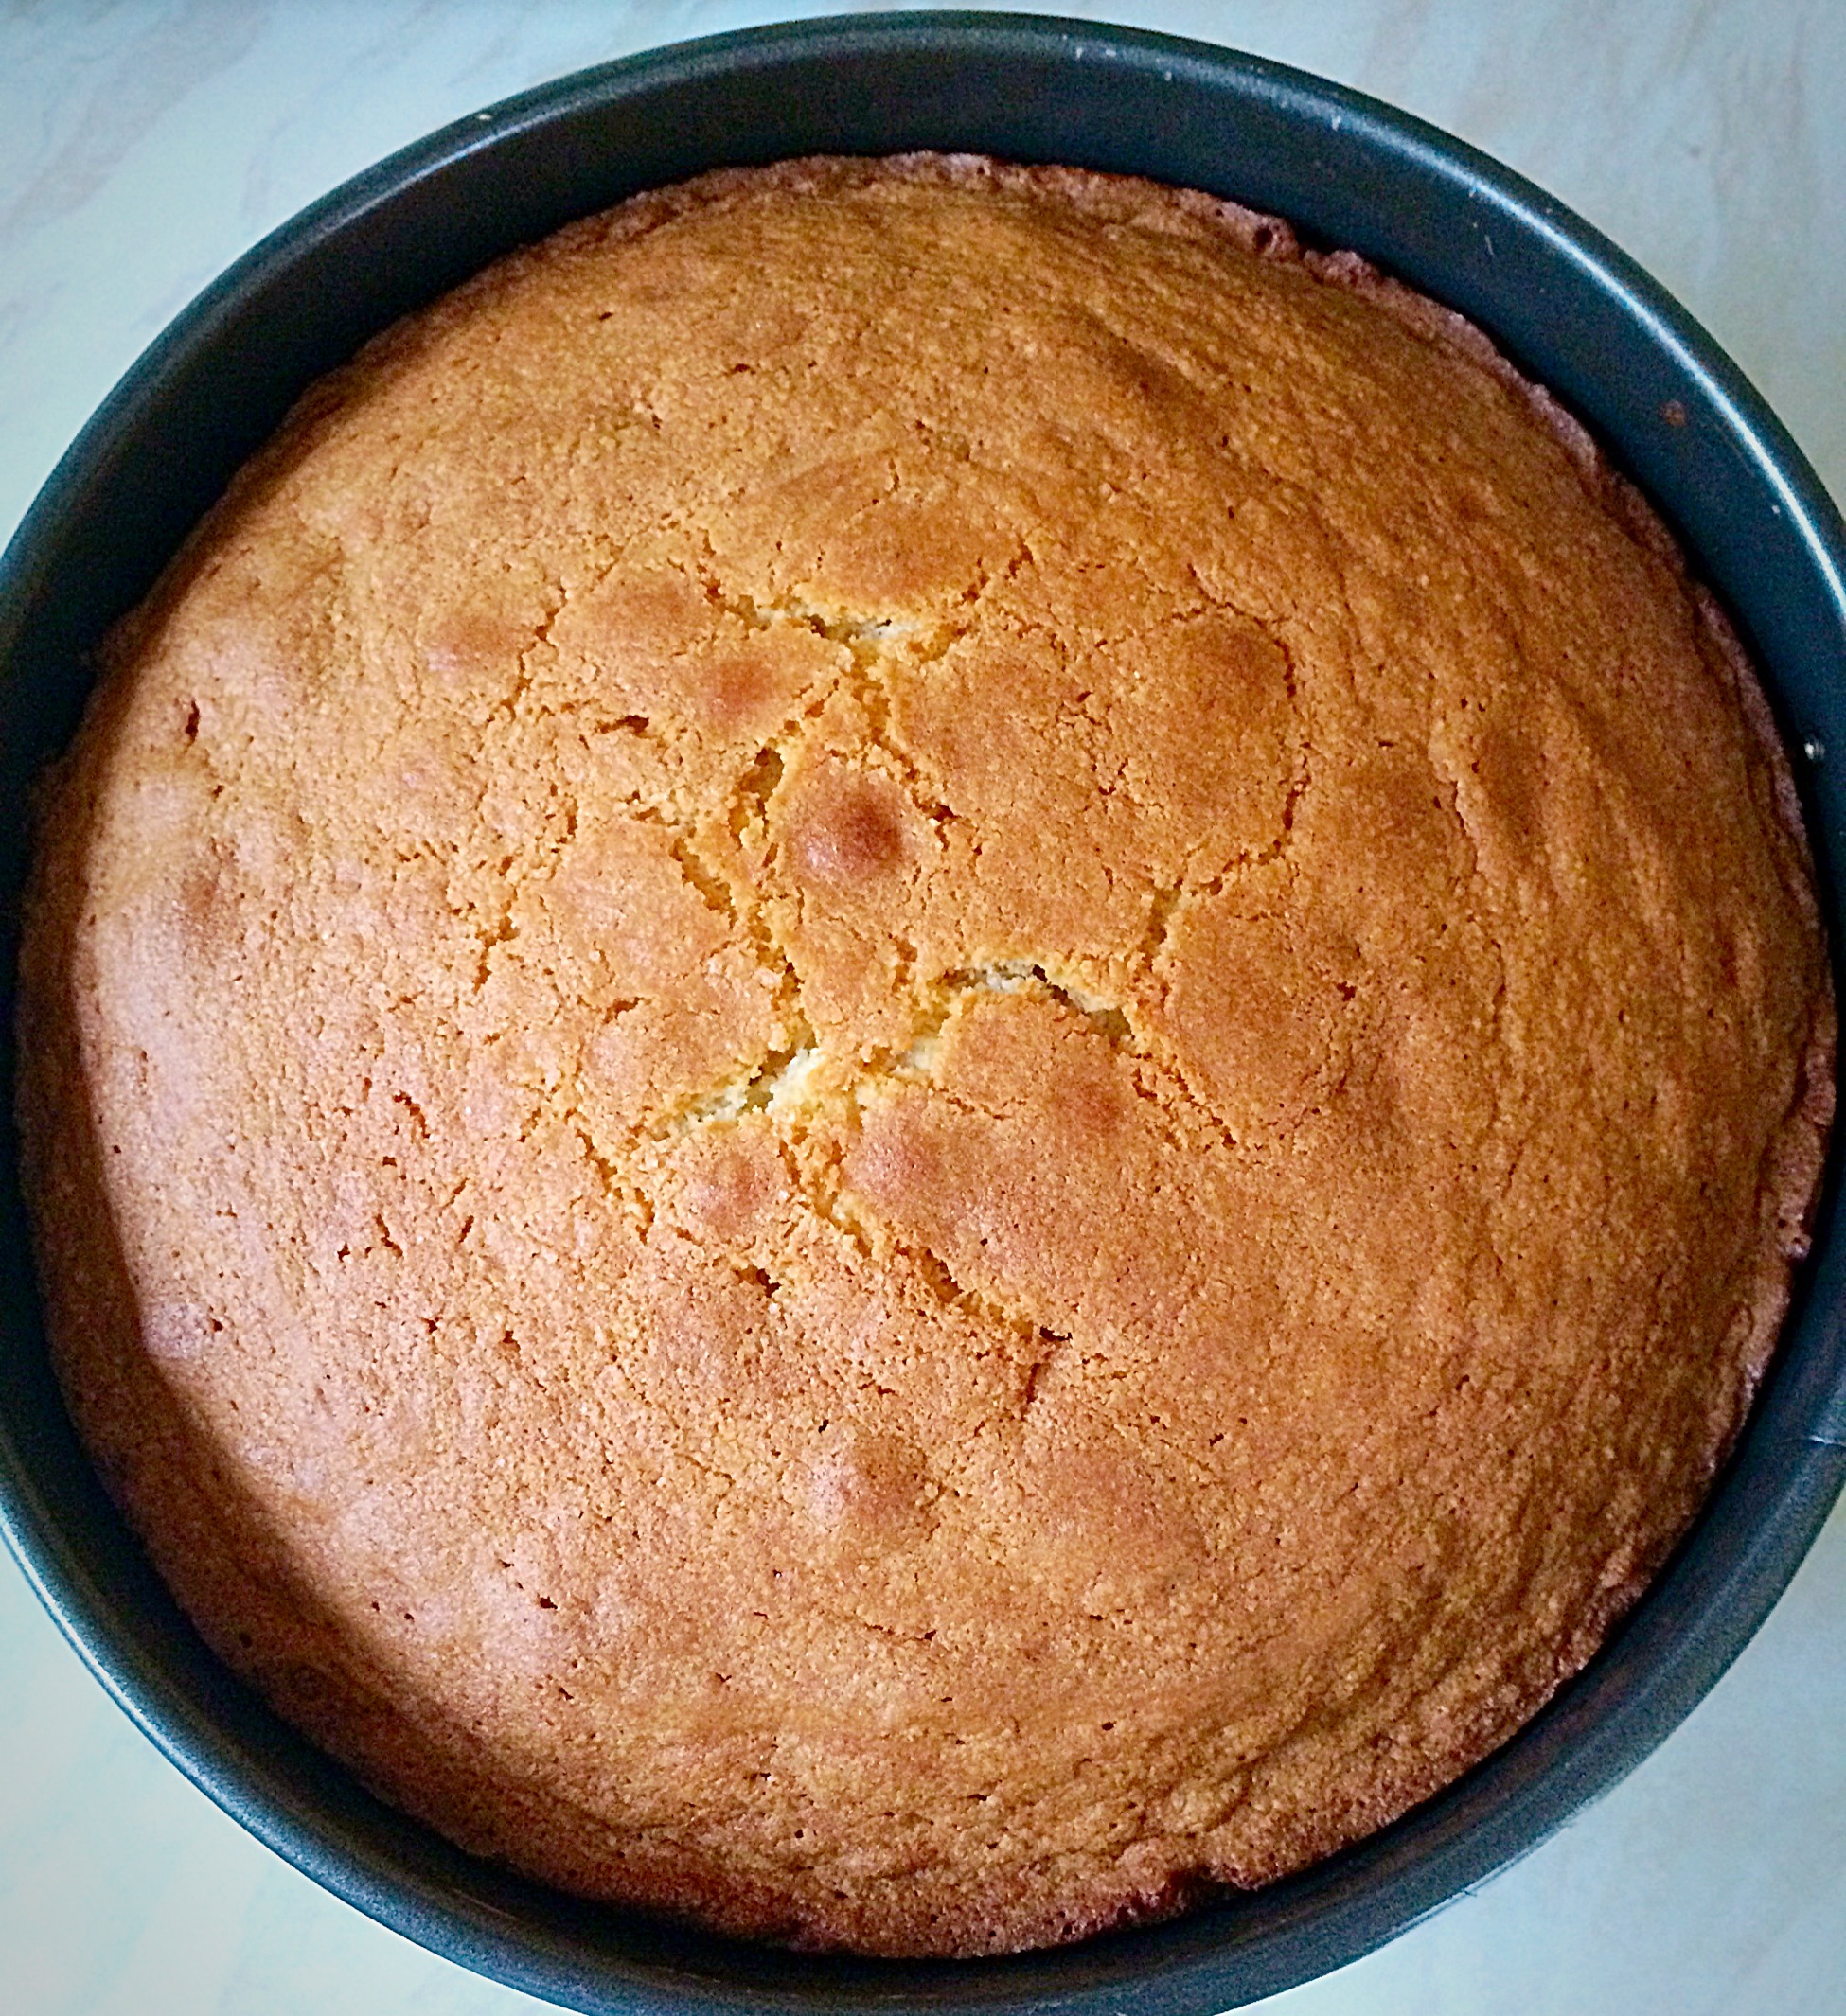
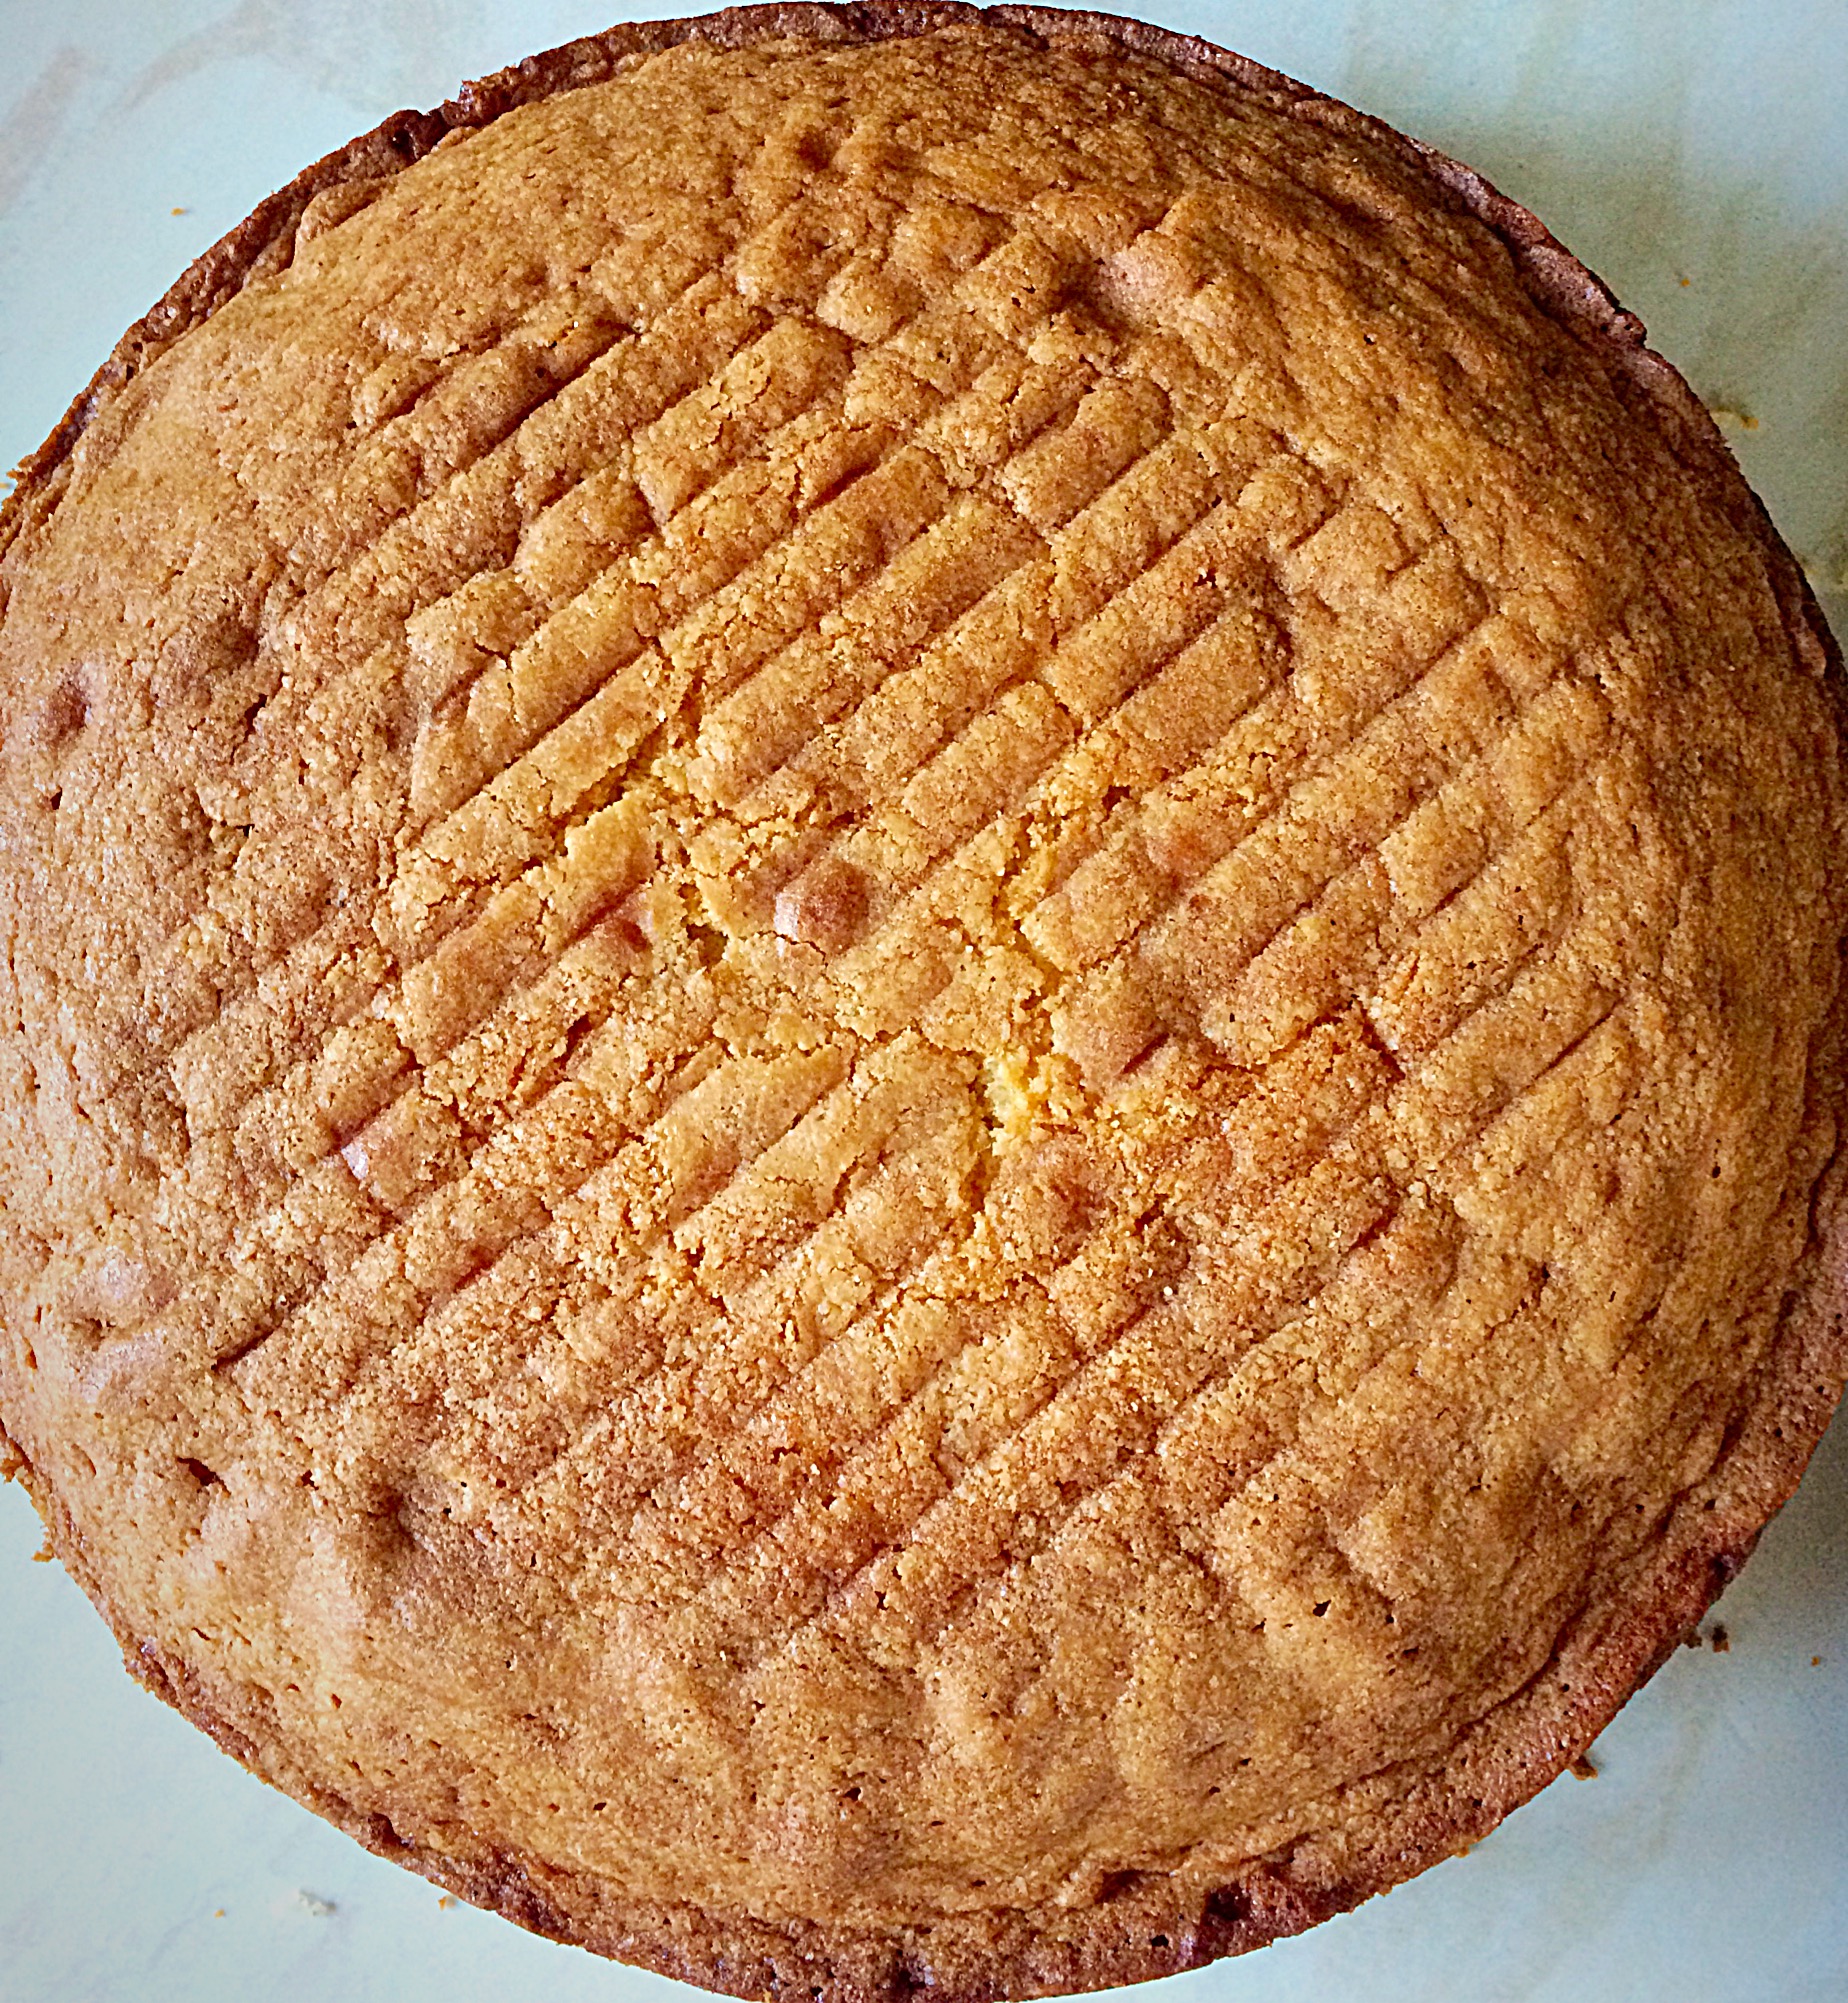
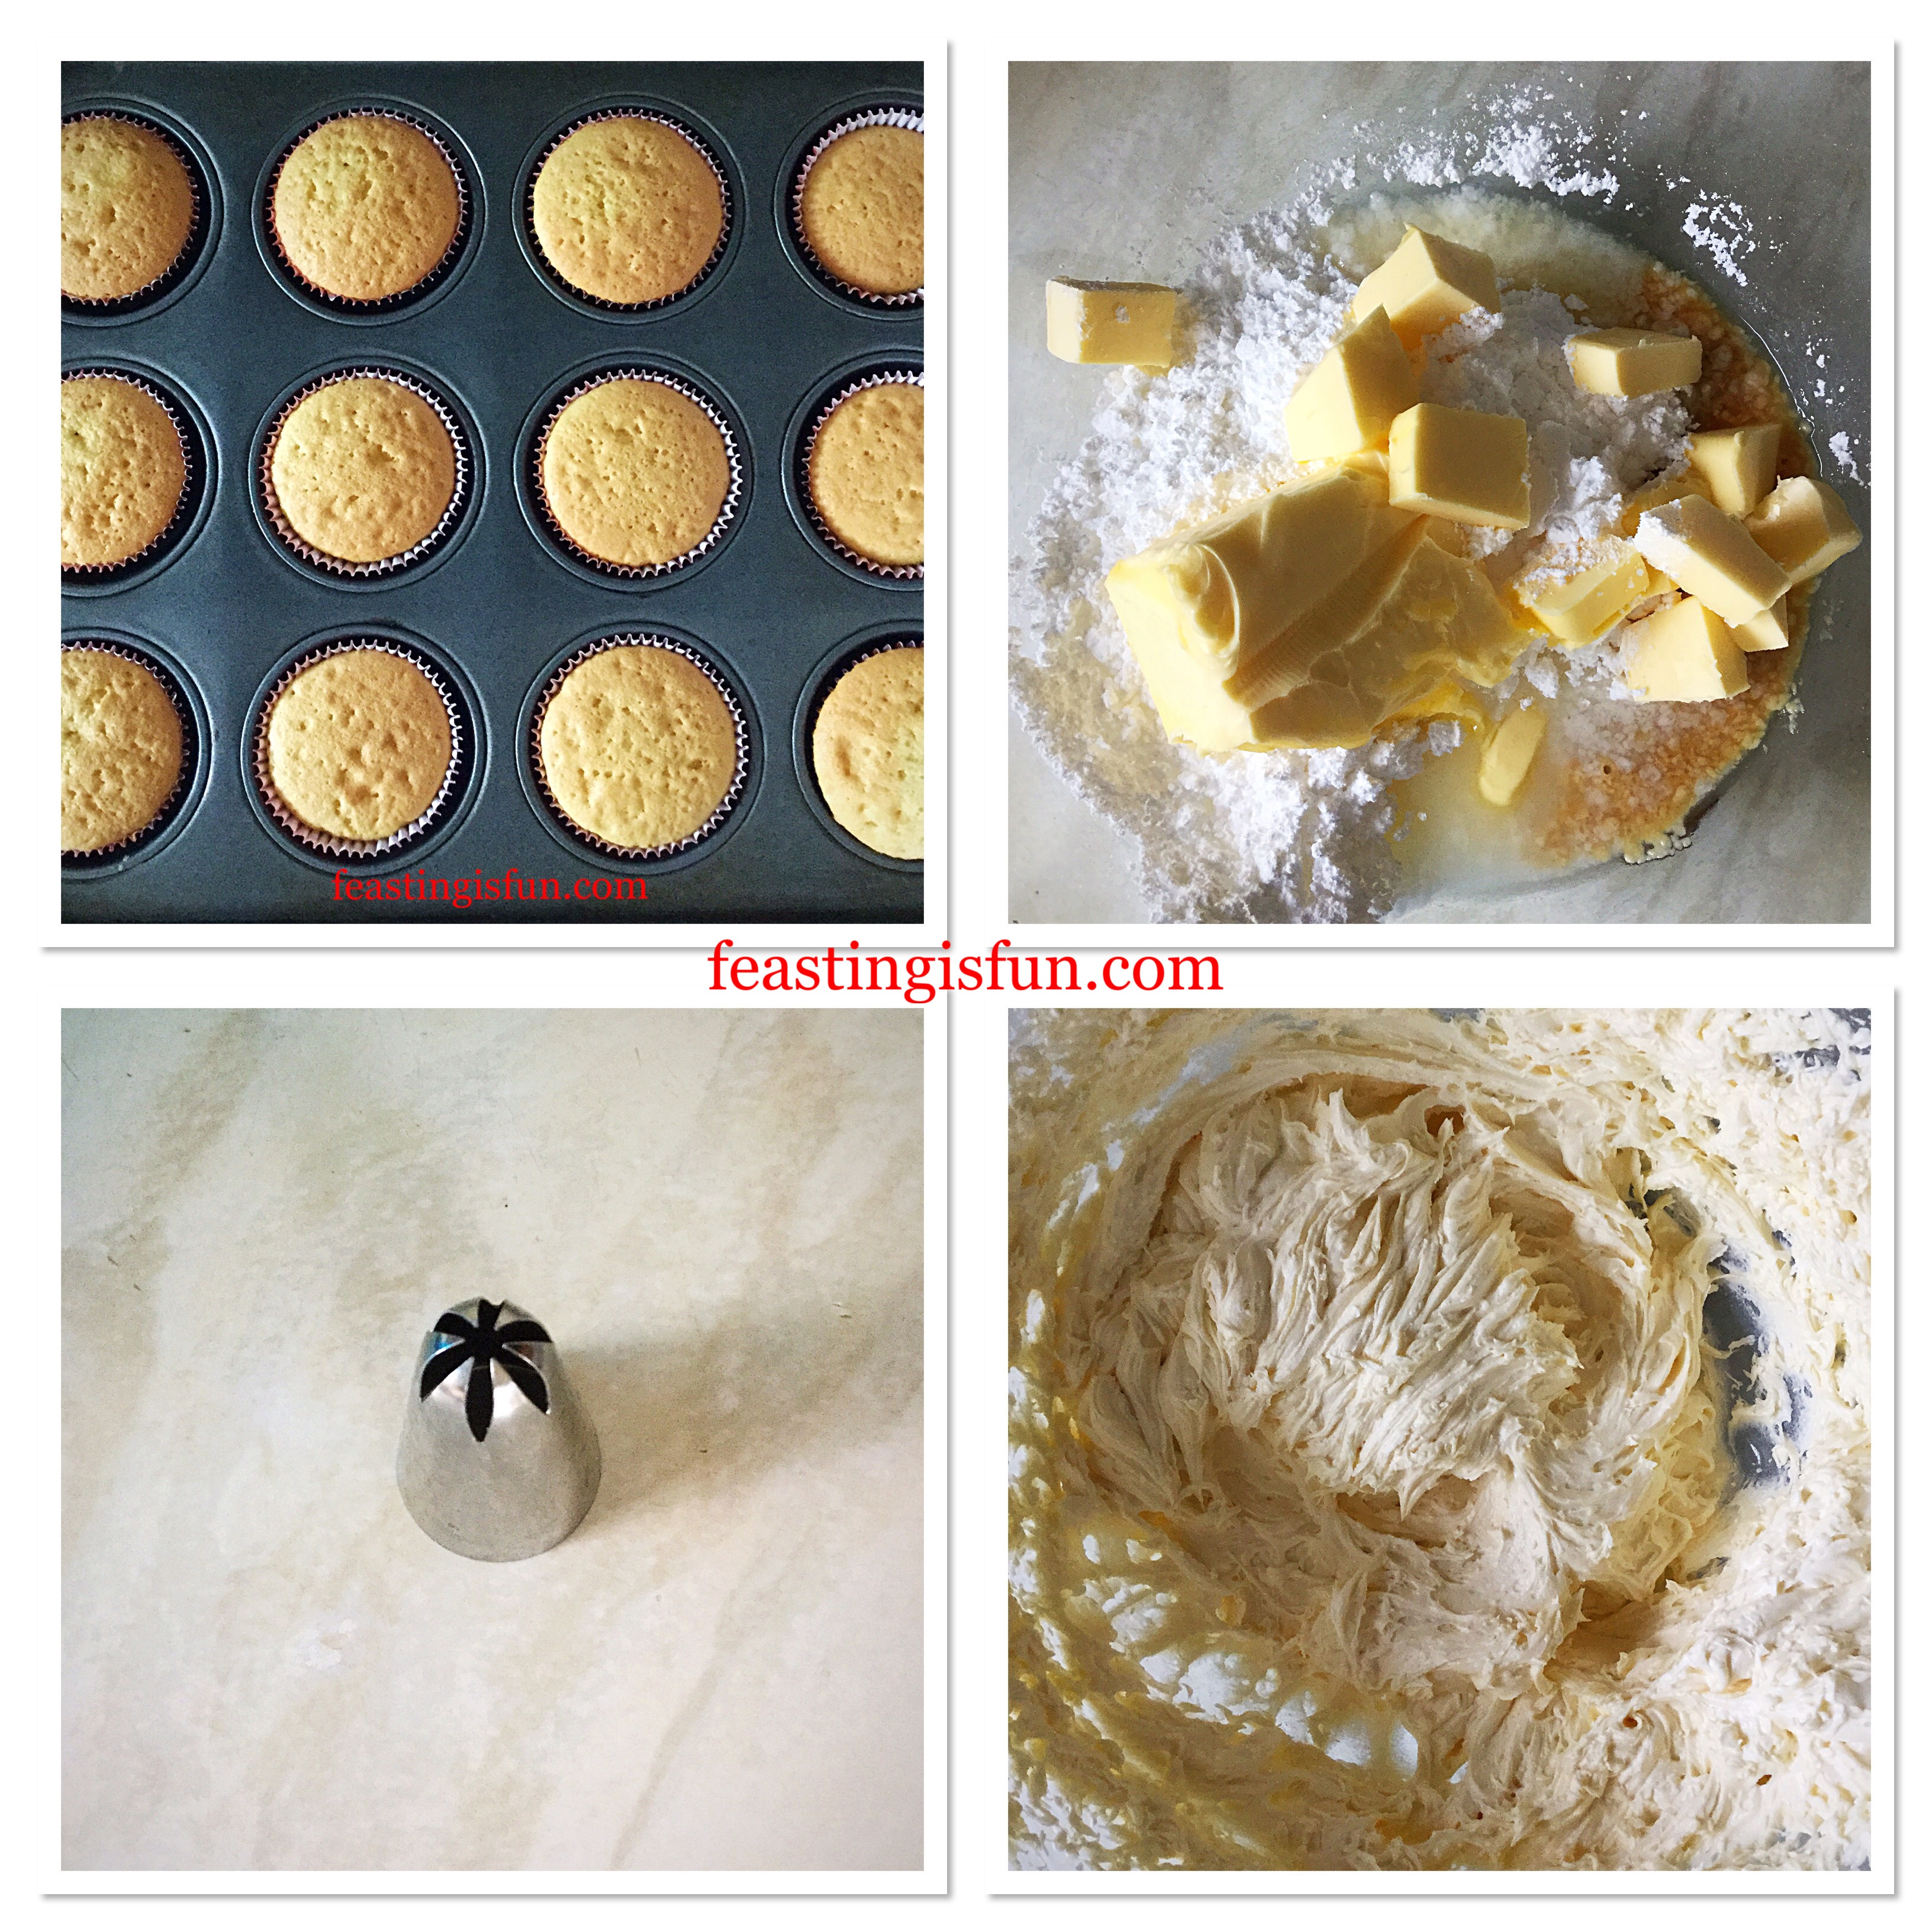
- The cupcakes are baked when they are golden in colour and spring back from a light touch.
- As soon as they are baked remove from the oven.
- Transfer the cupcakes to a cooling rack.
- While the cupcakes are cooling make the buttercream frosting.
Making the frosting and decorating the cupcakes
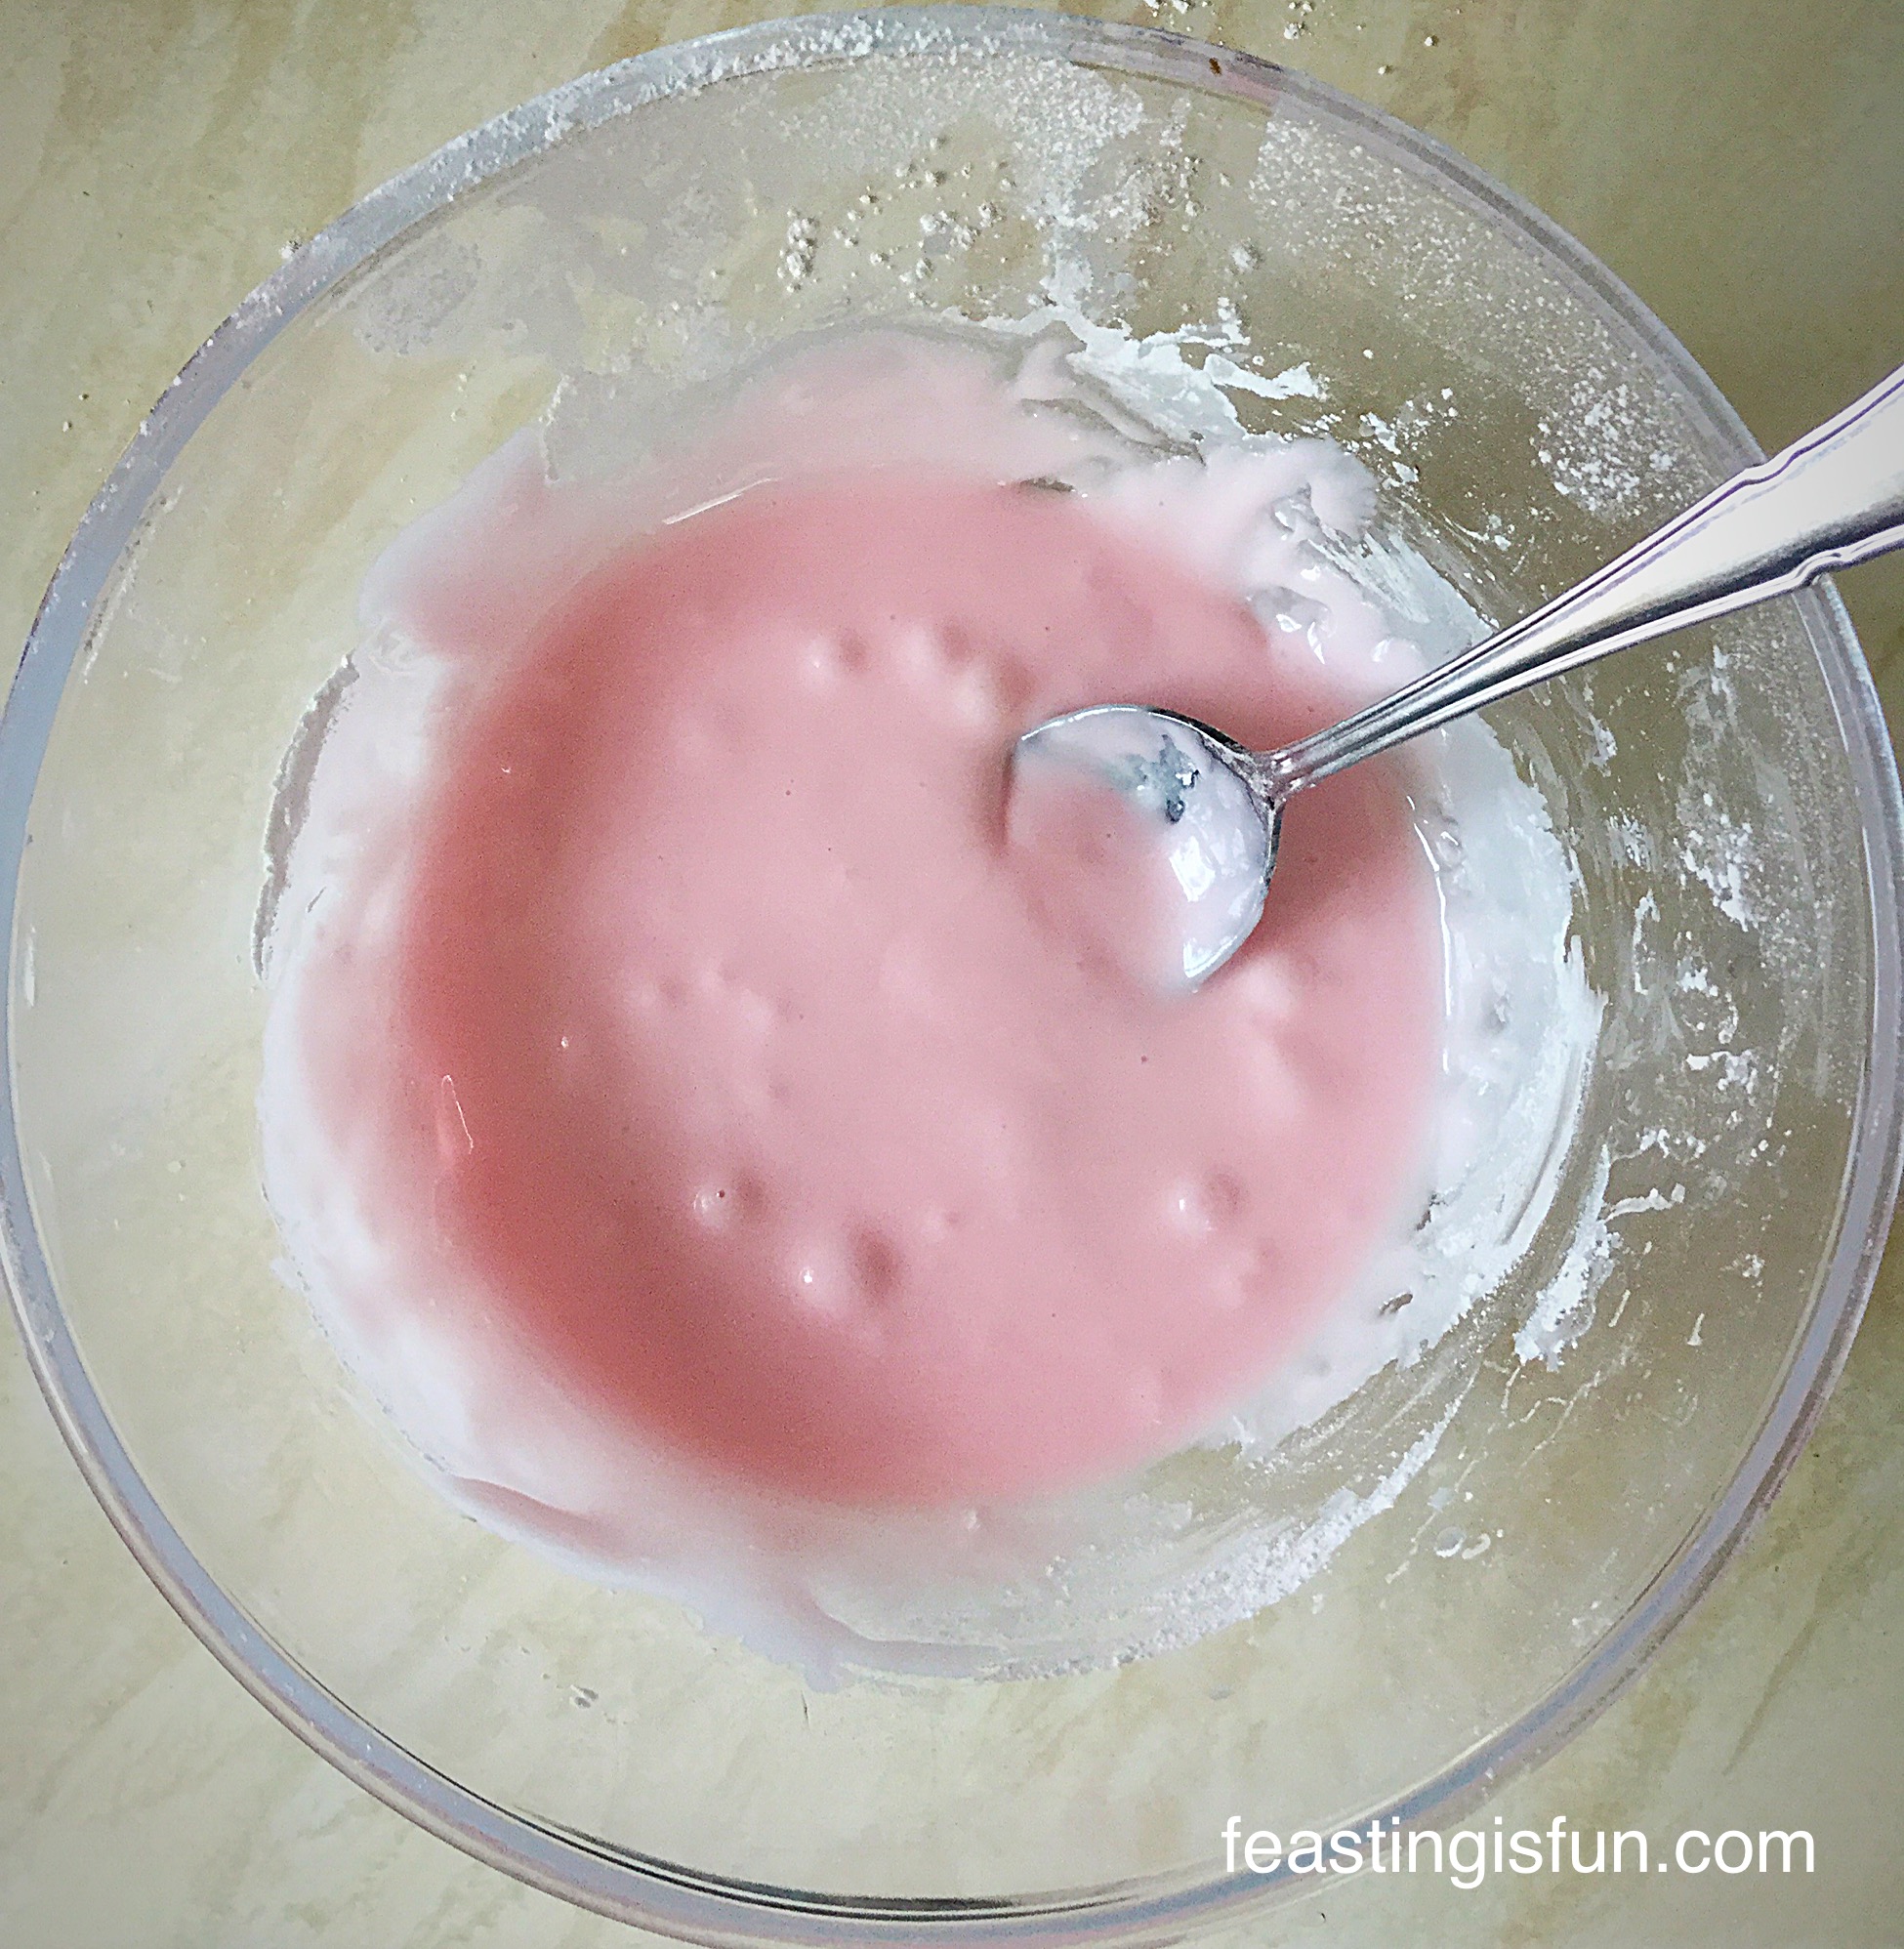
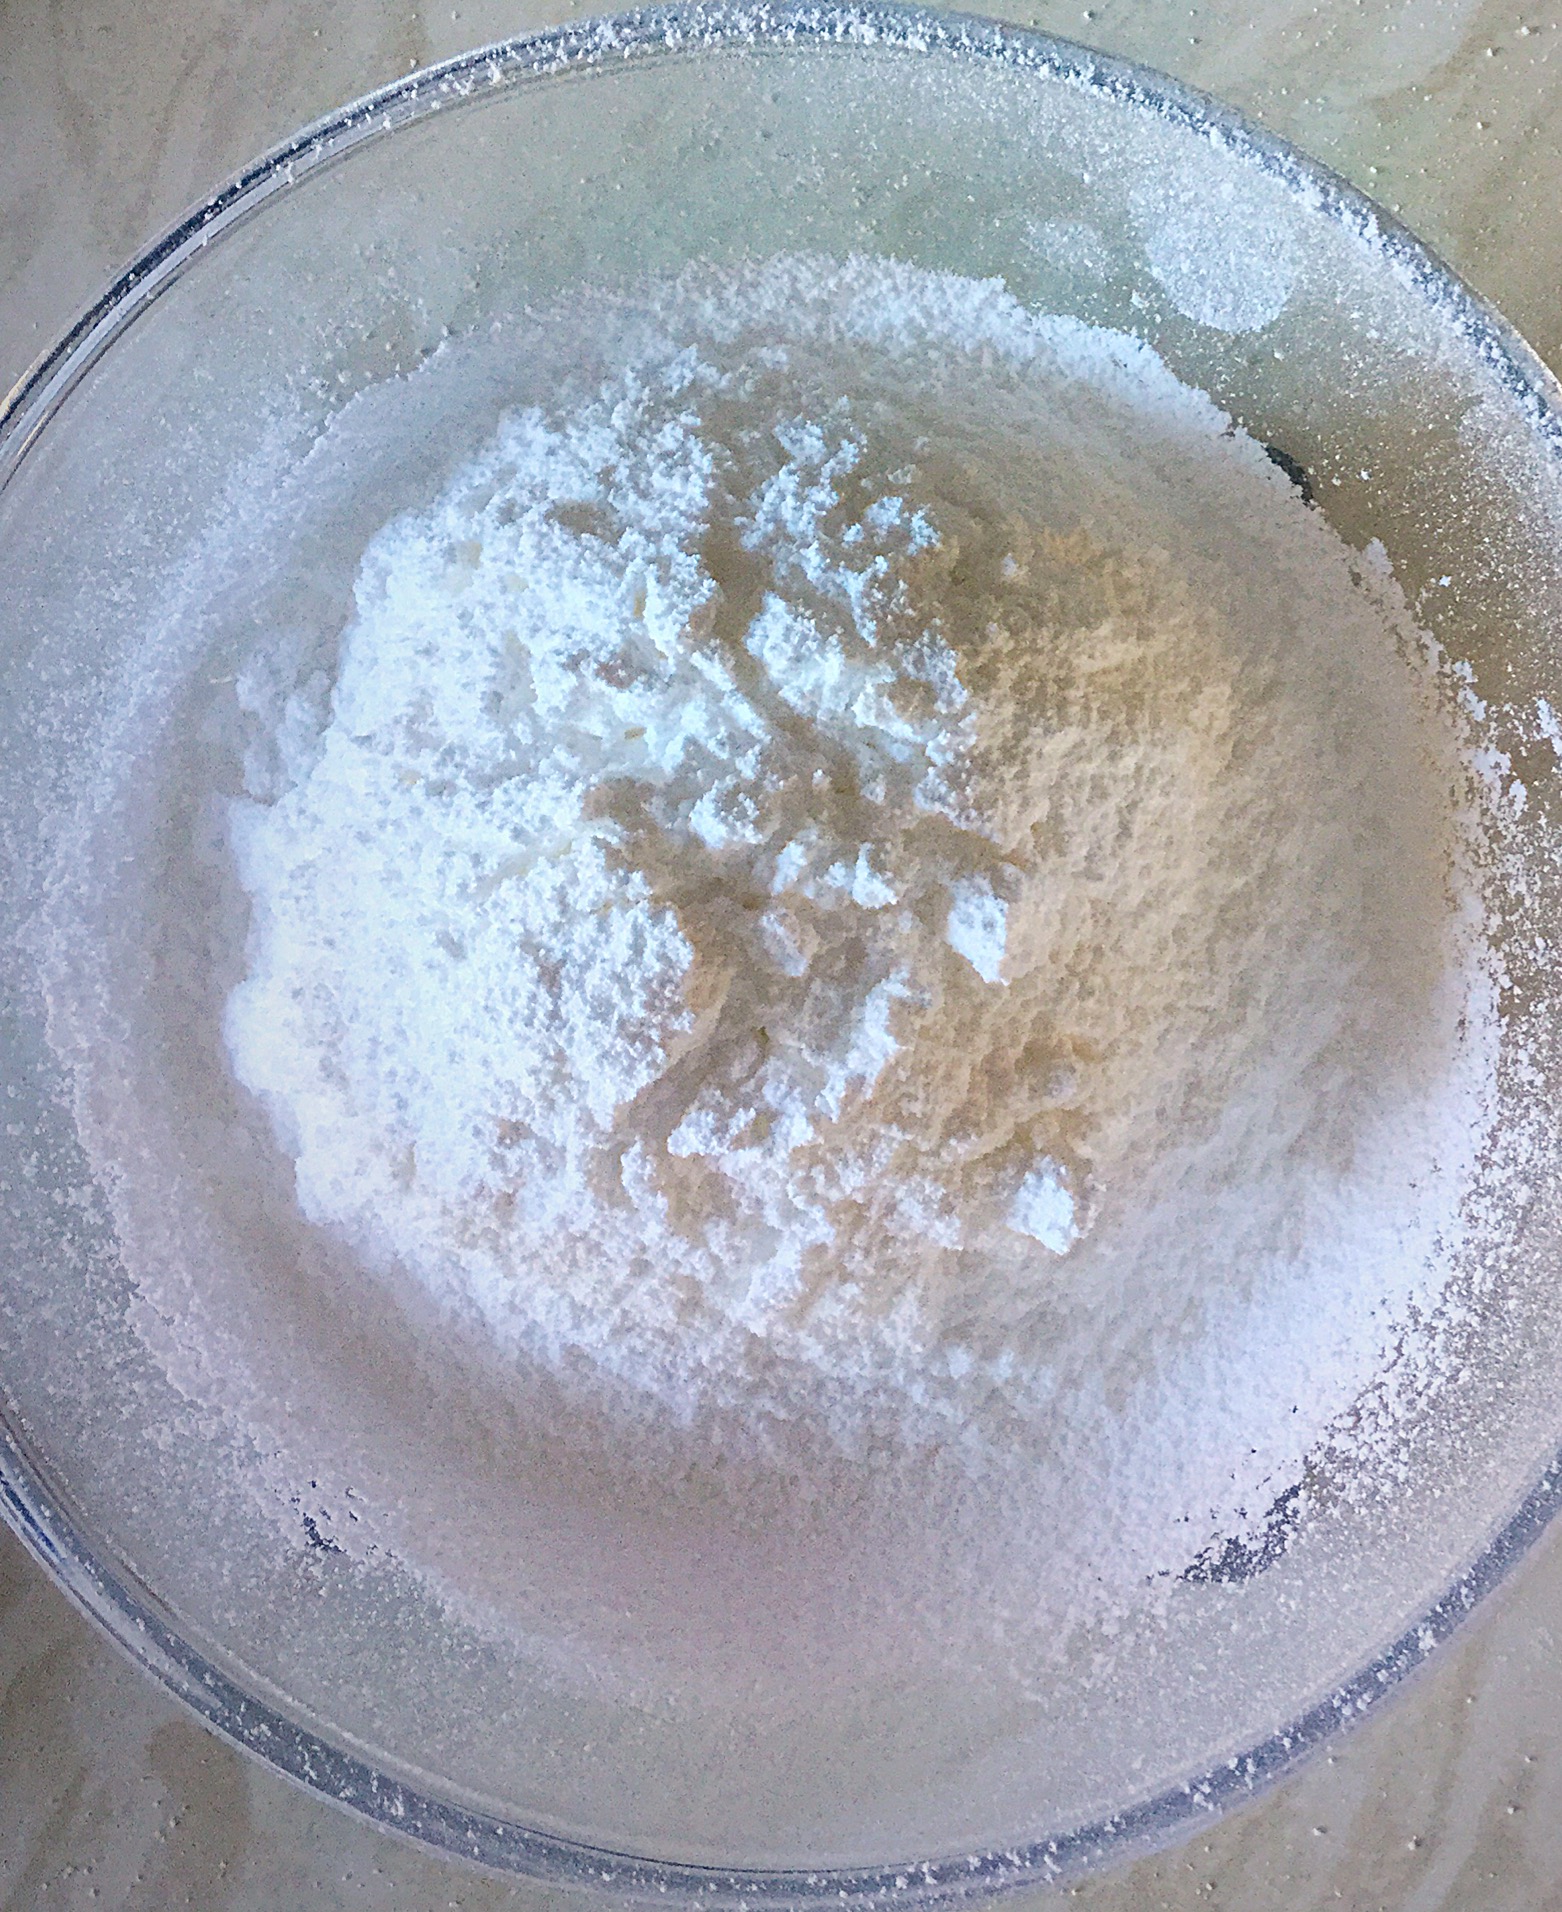
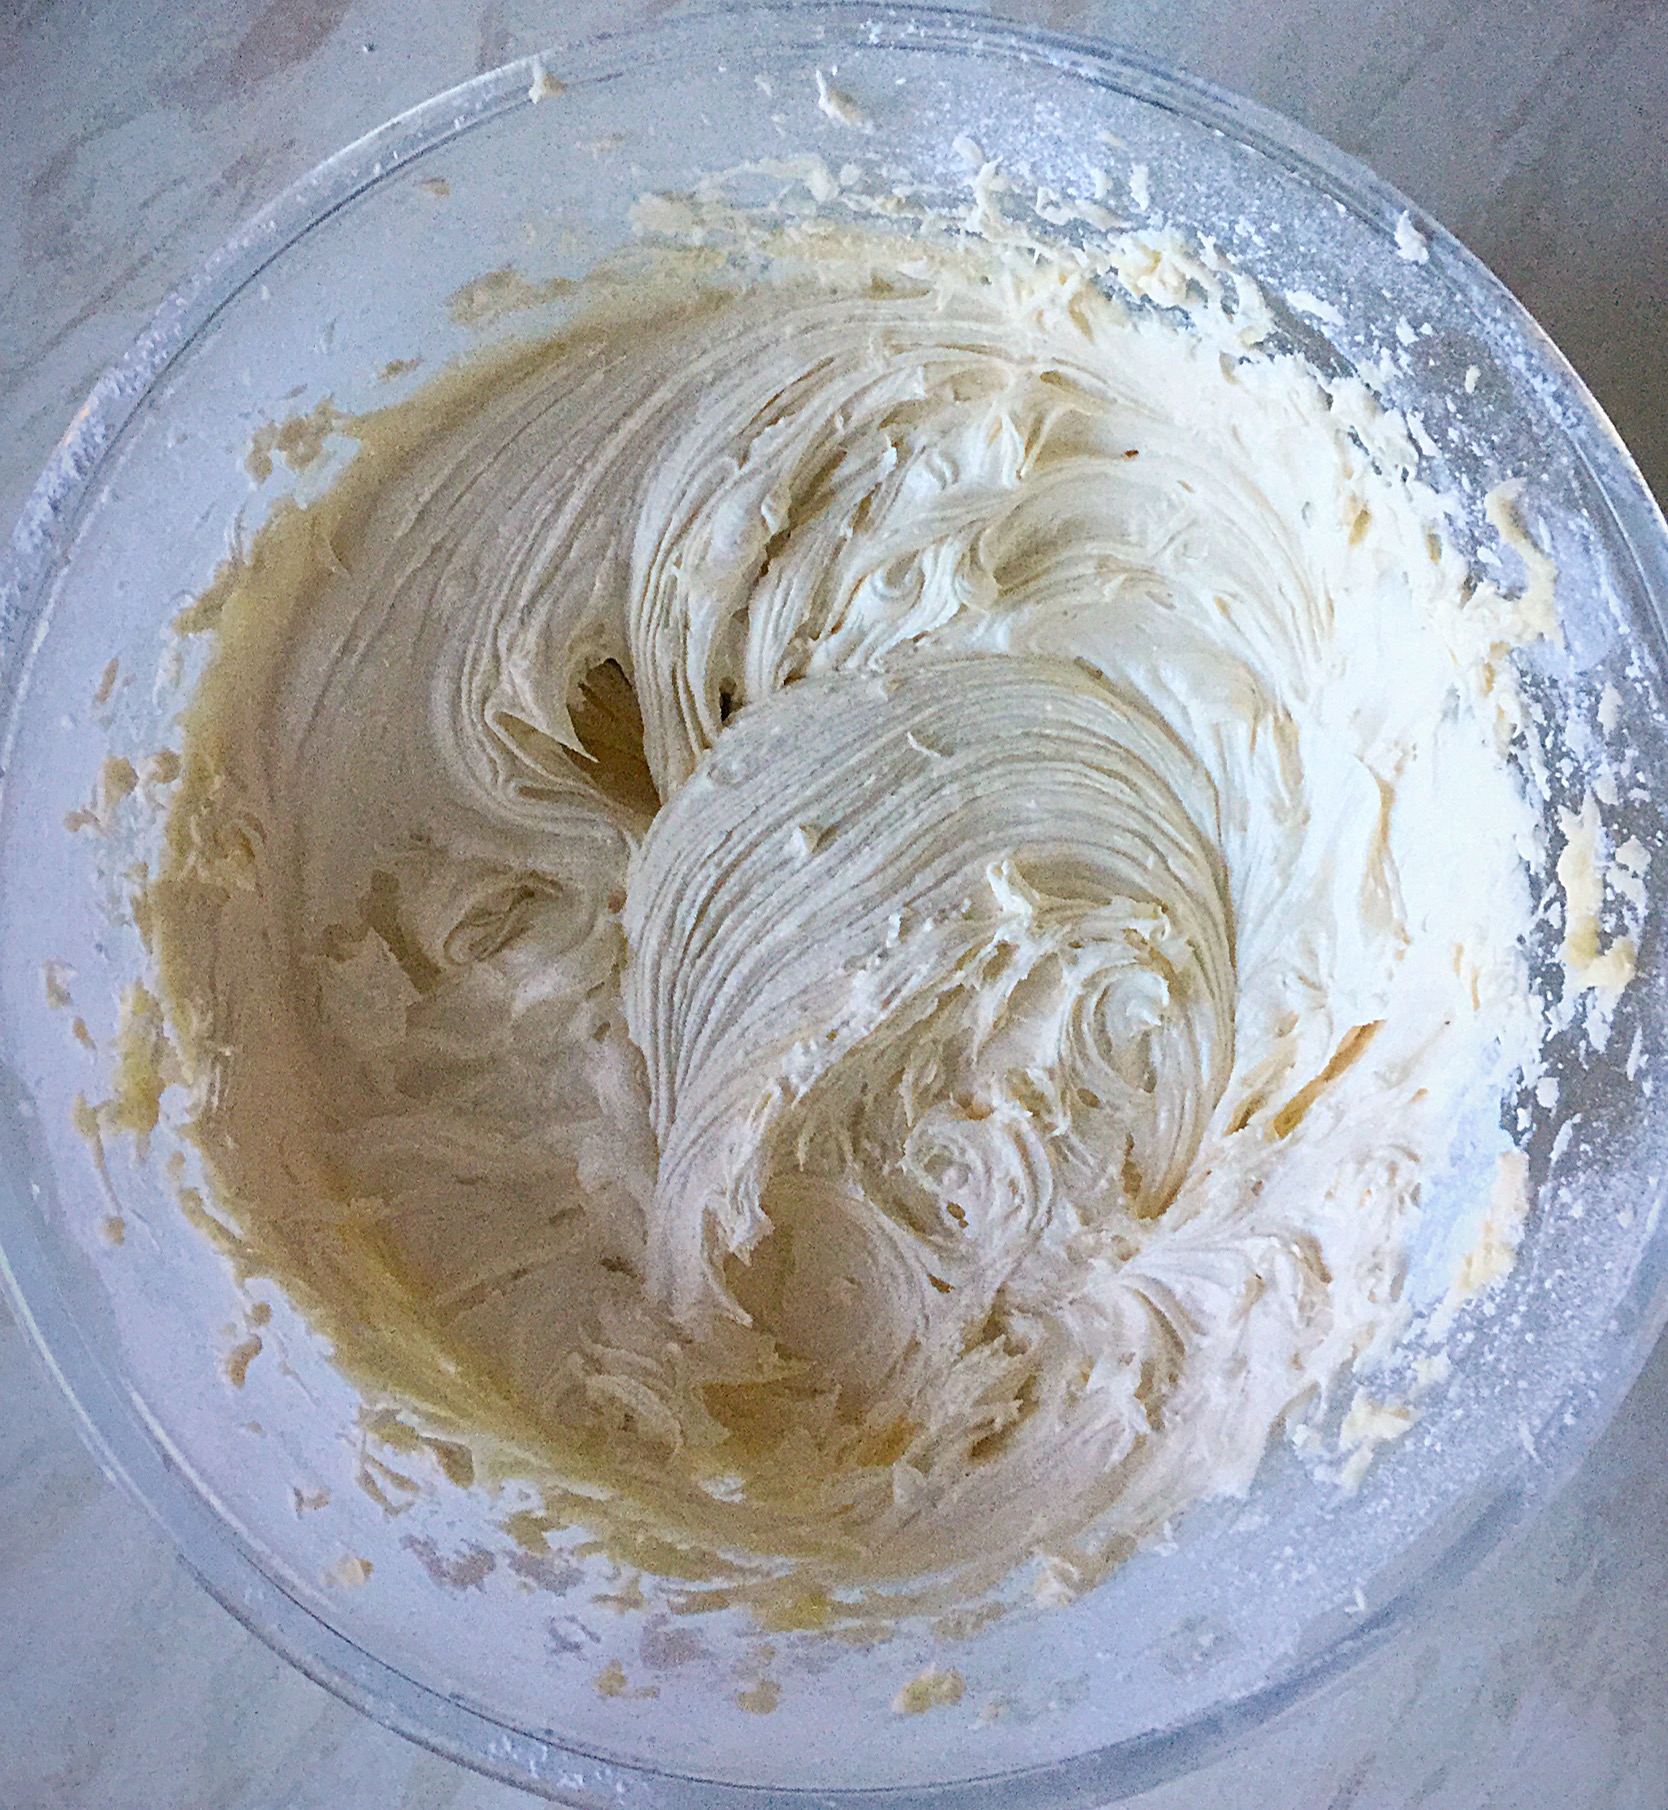
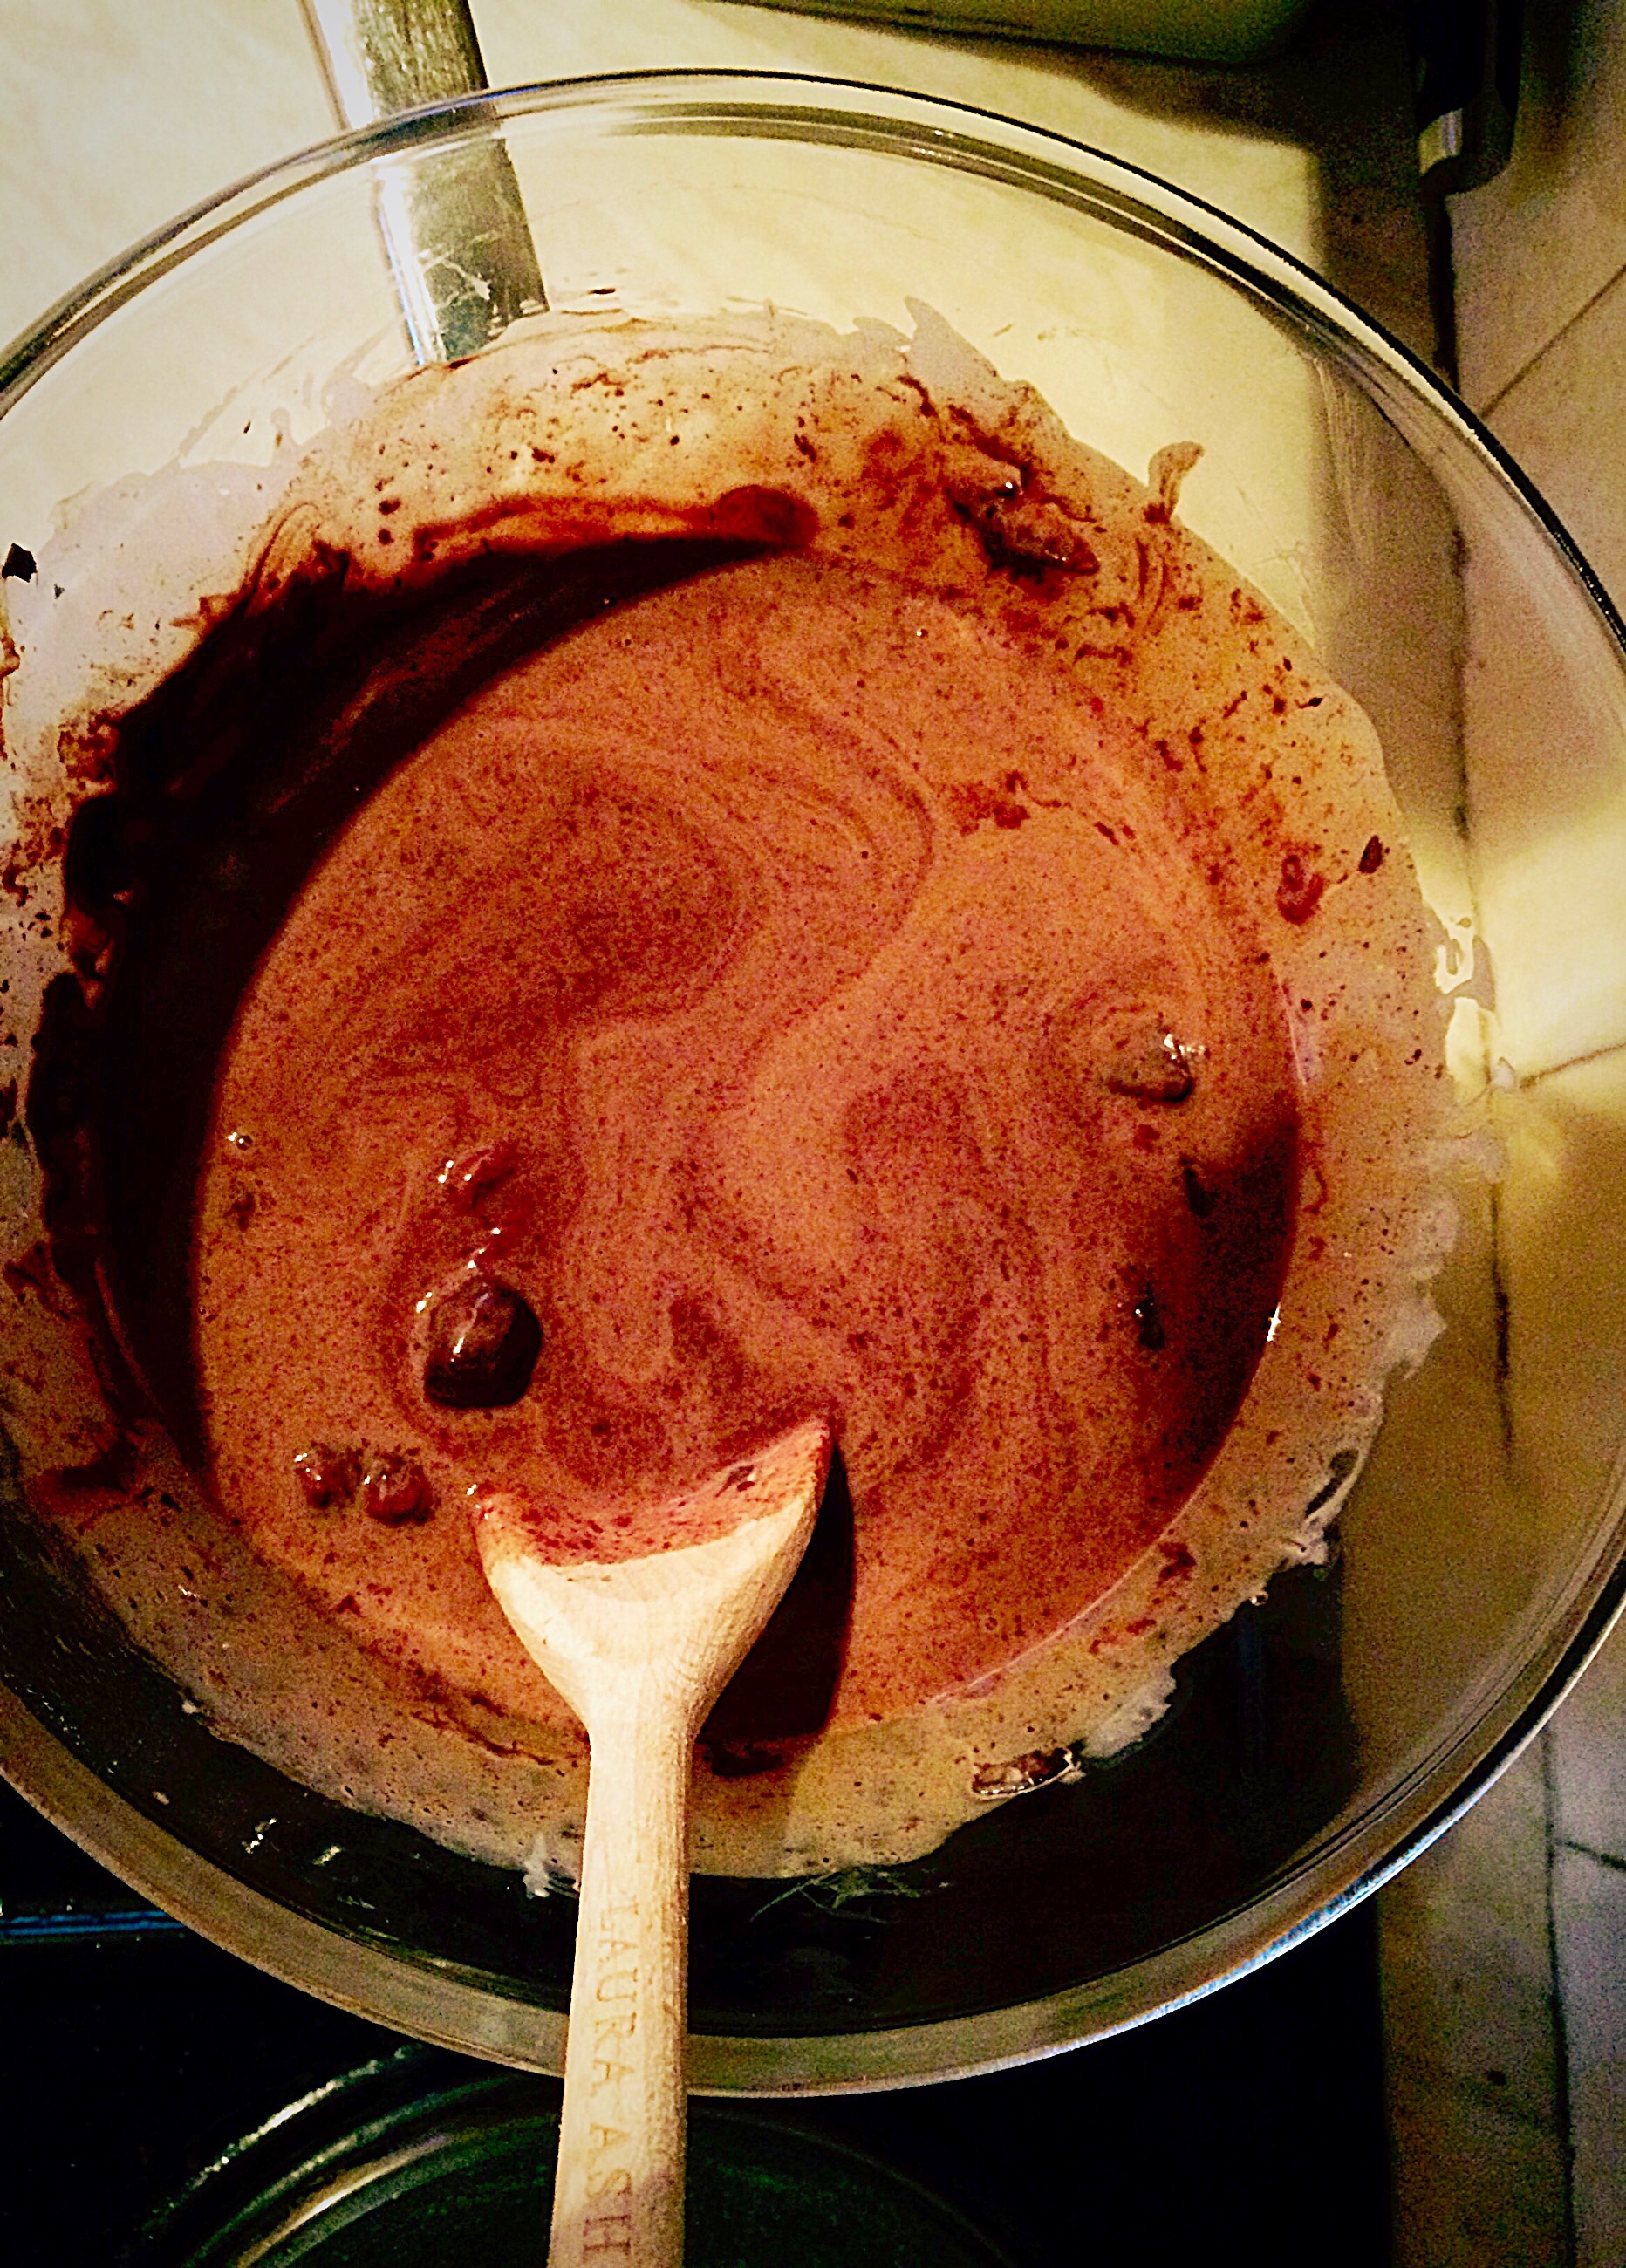
- Into a large bowl add the icing sugar, butter, vanilla and hot water. Whisk together until very light and creamy.
- Transfer the whipped buttercream to a piping bag fitted with a #2D Wilton piping tip.
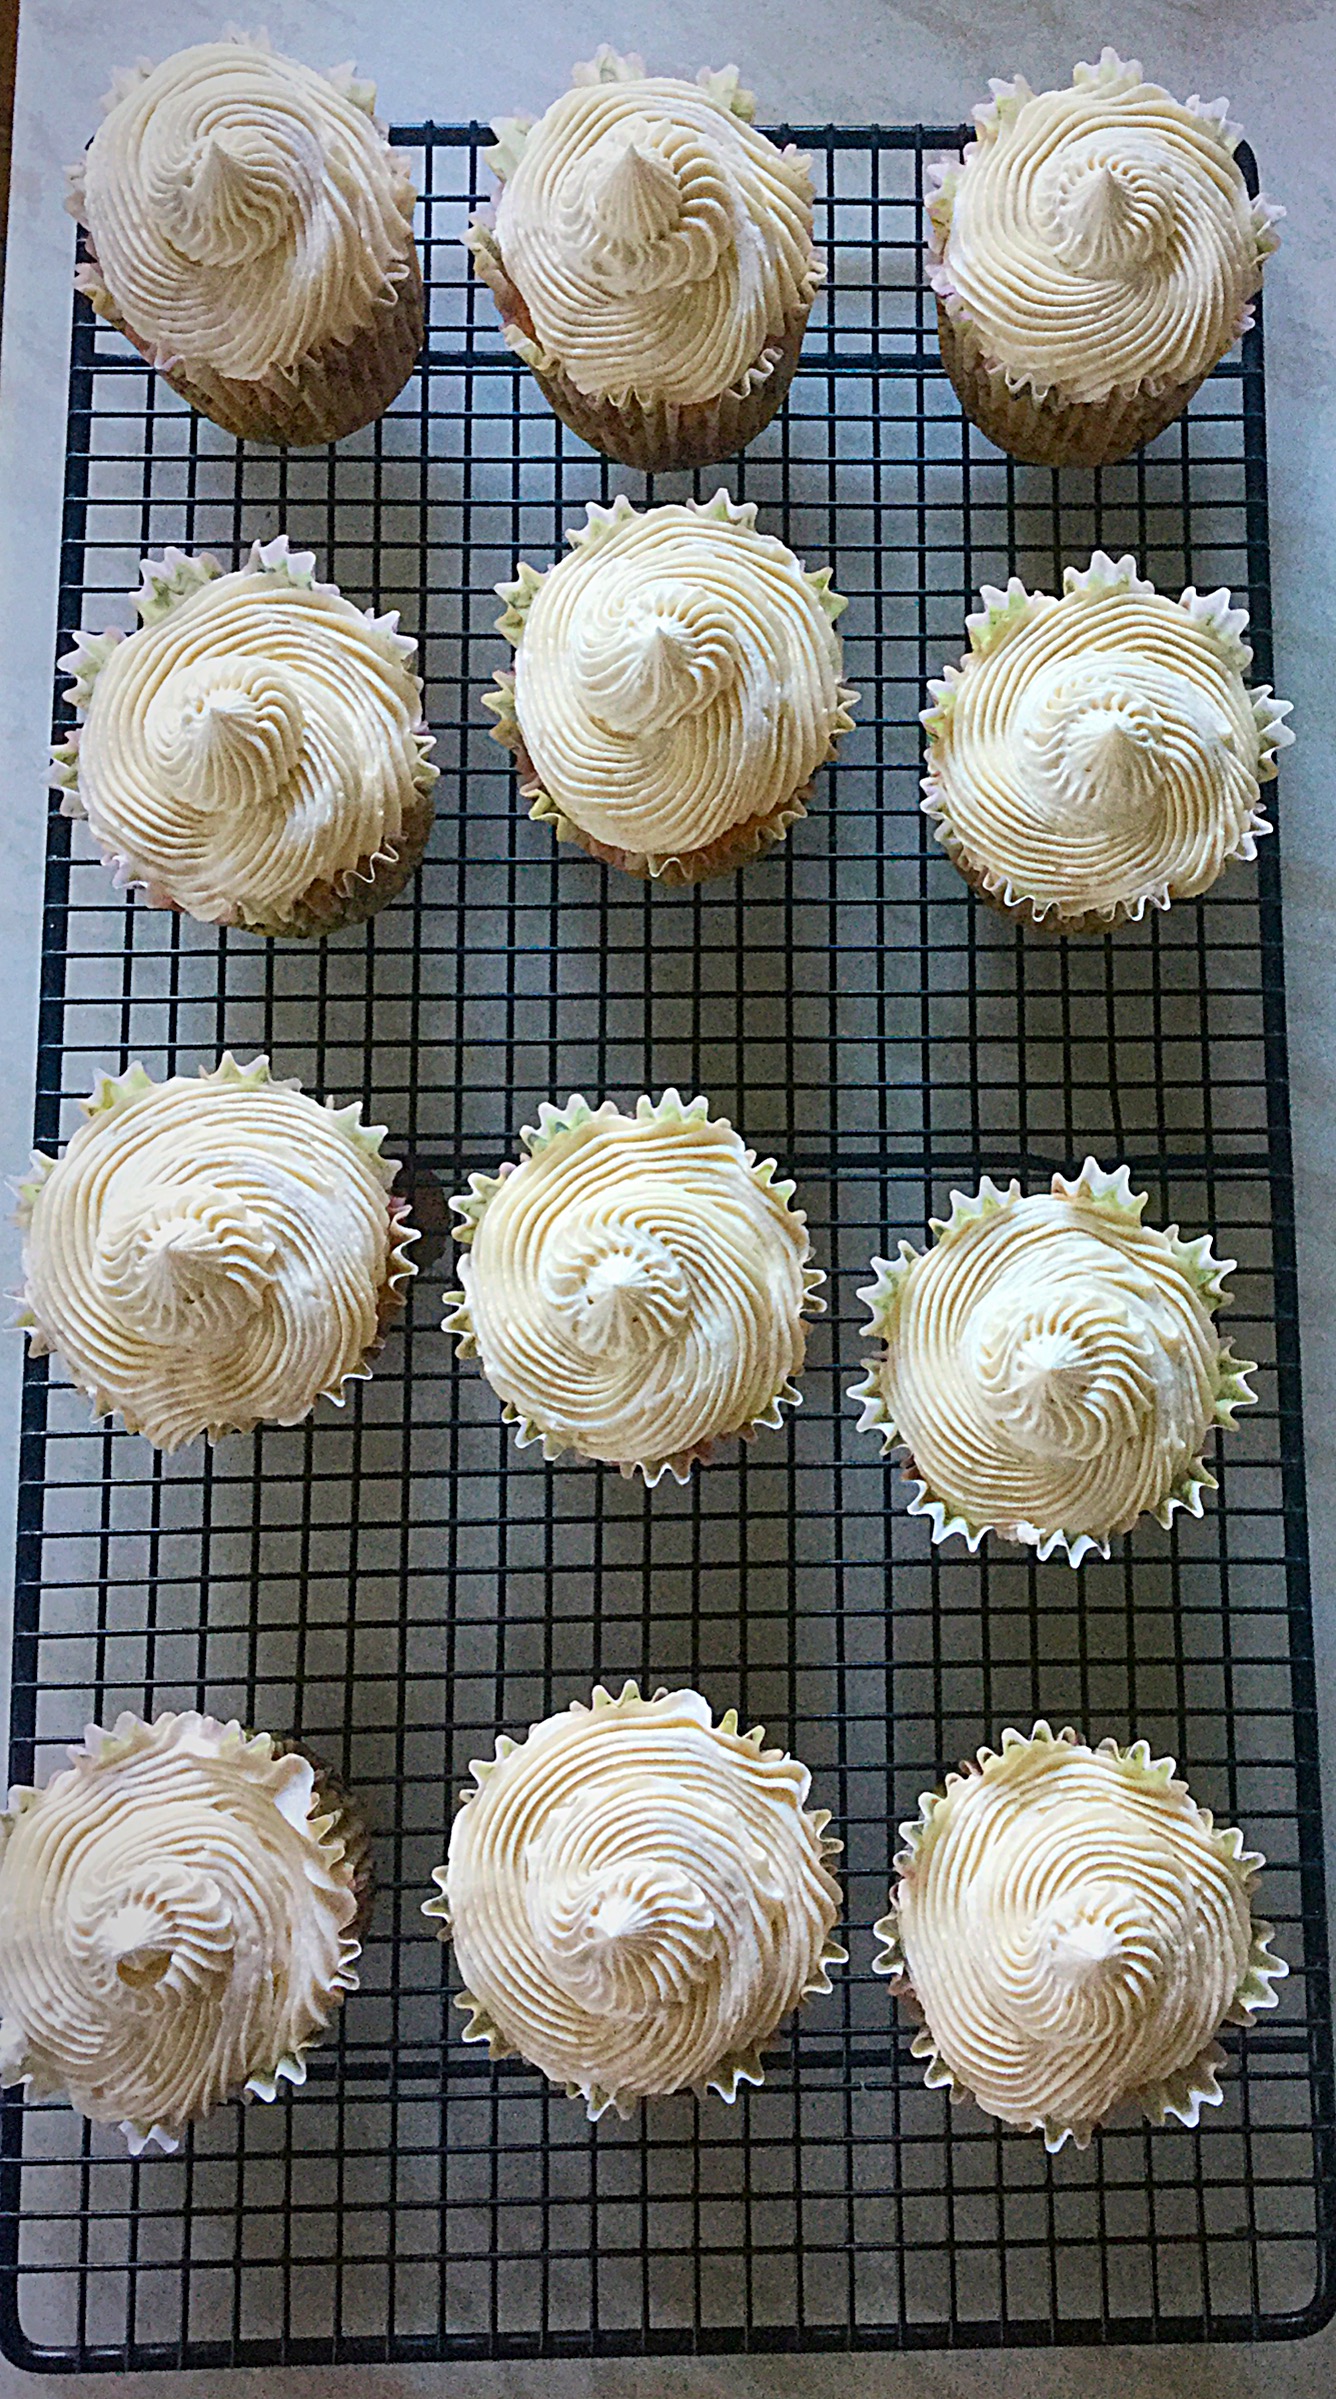
- As soon as the cupcakes are completely cooled they can be decorated.
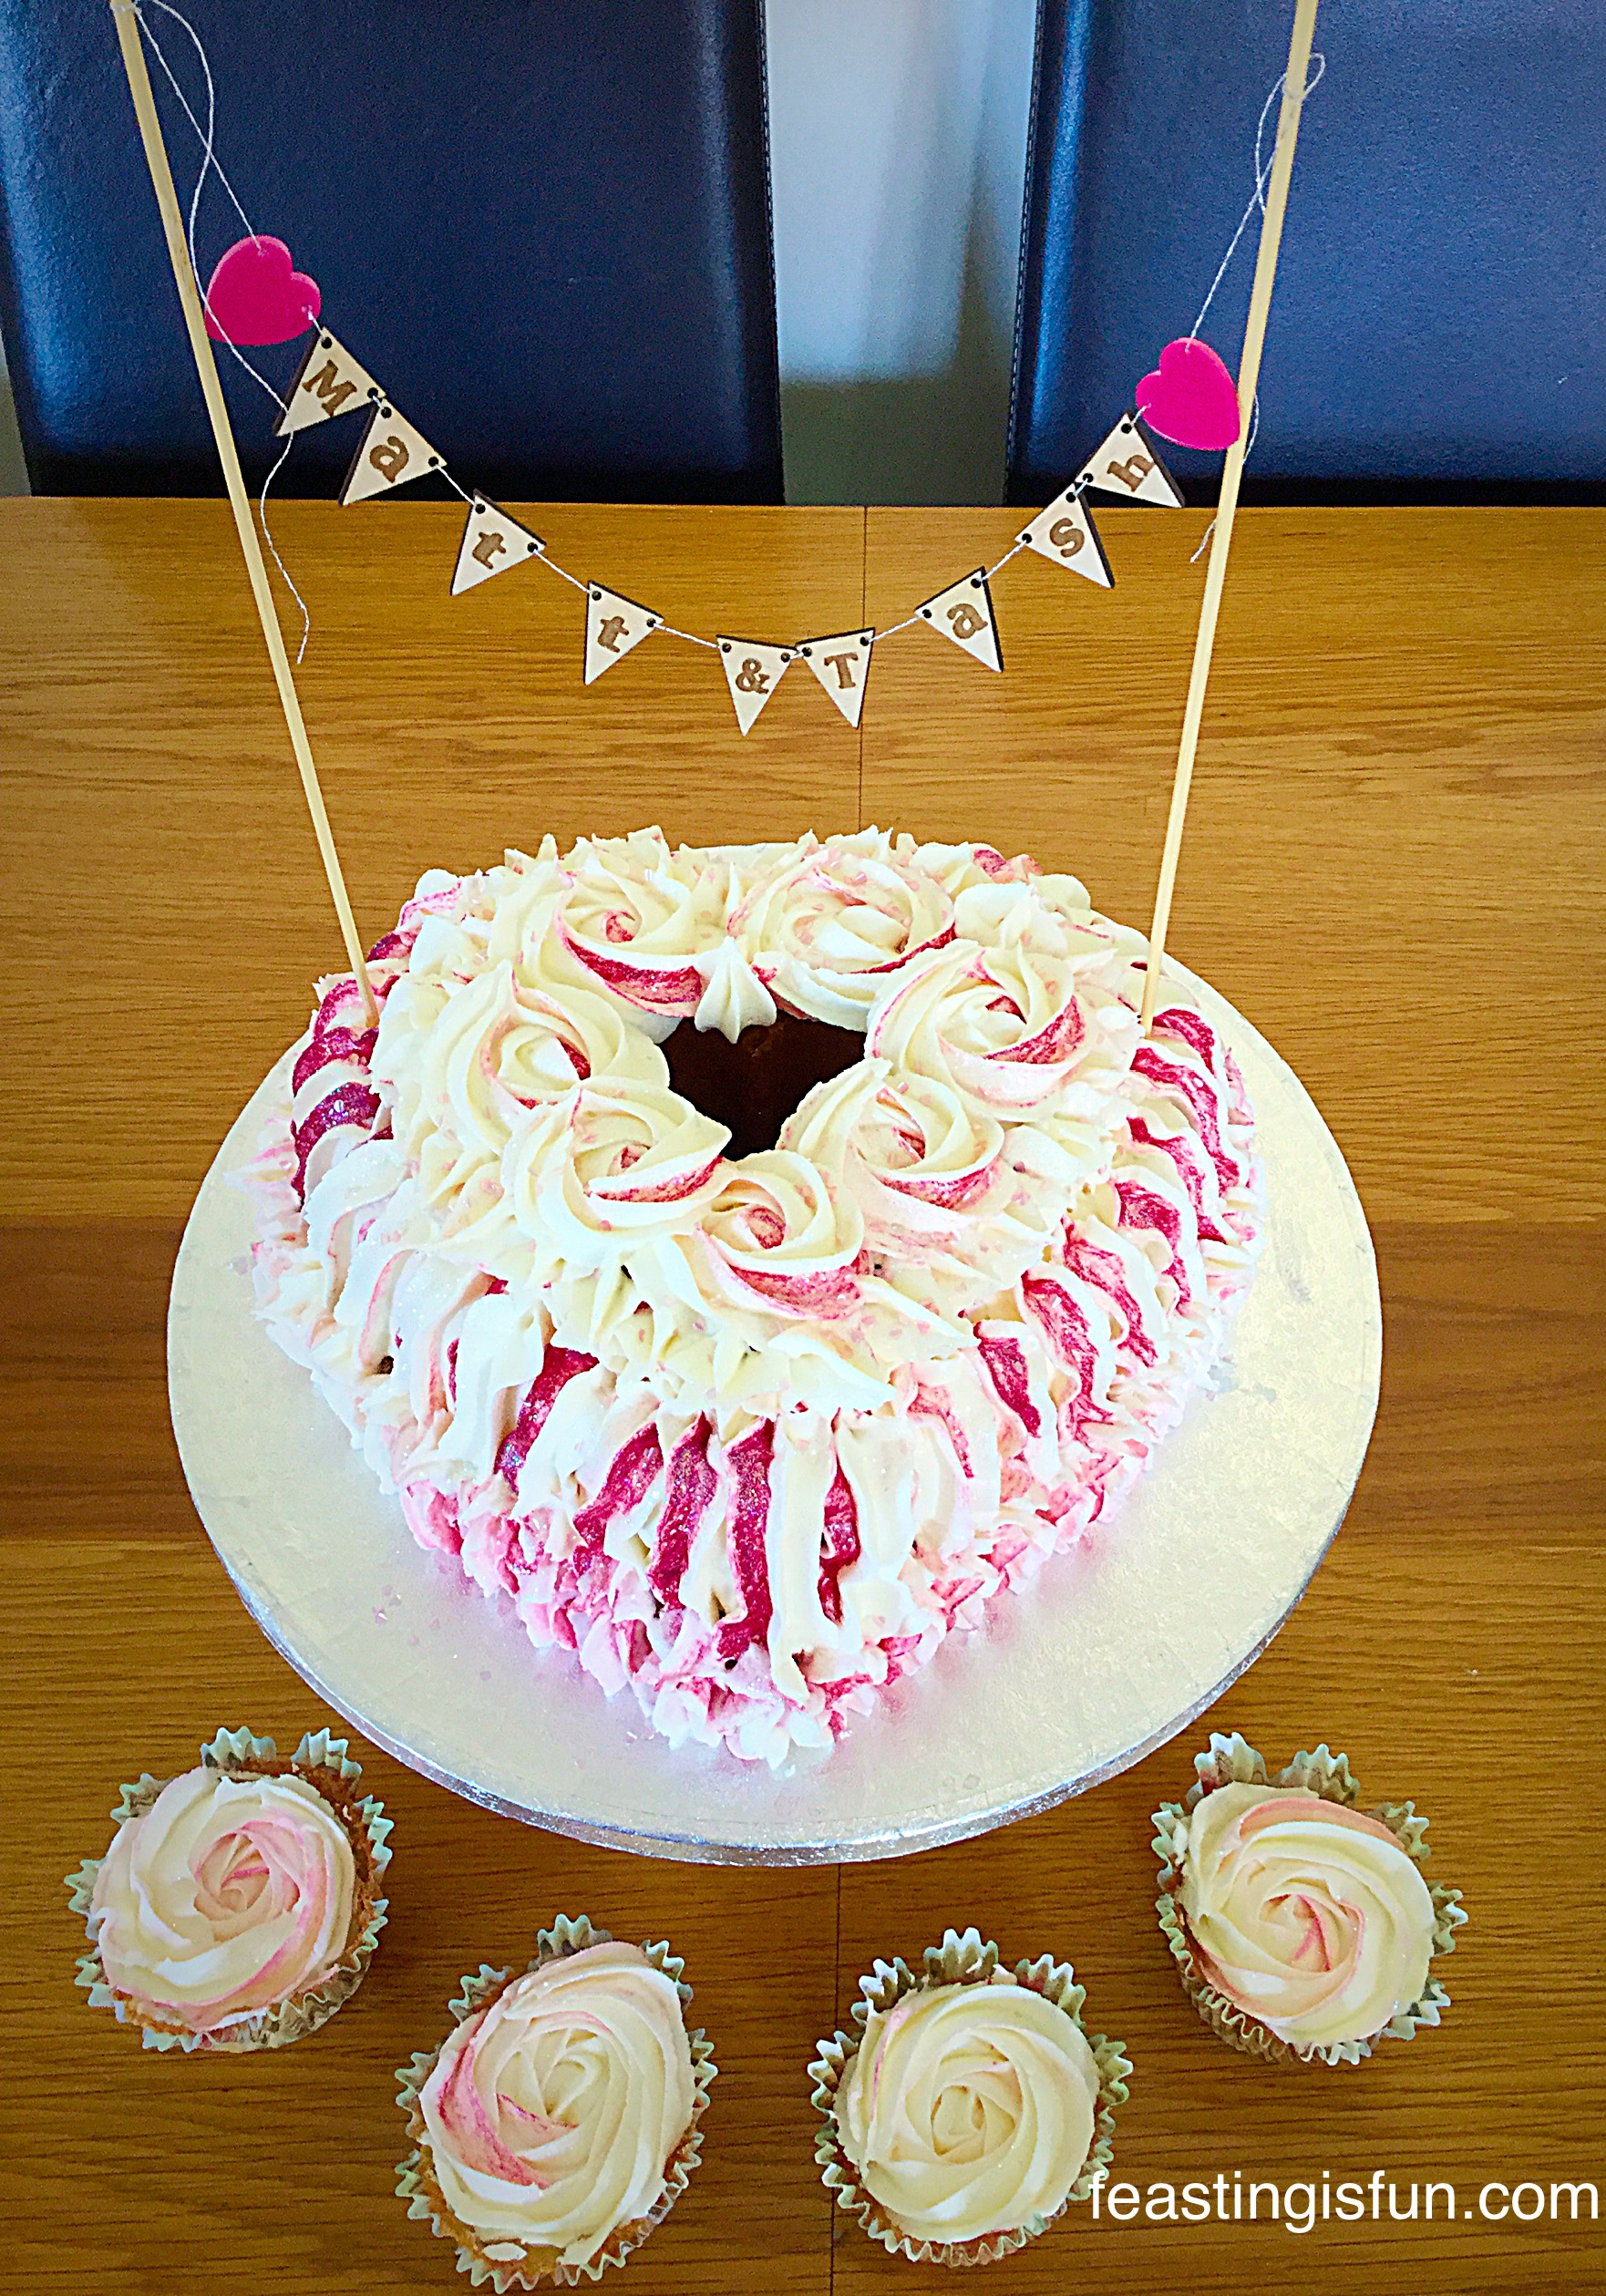
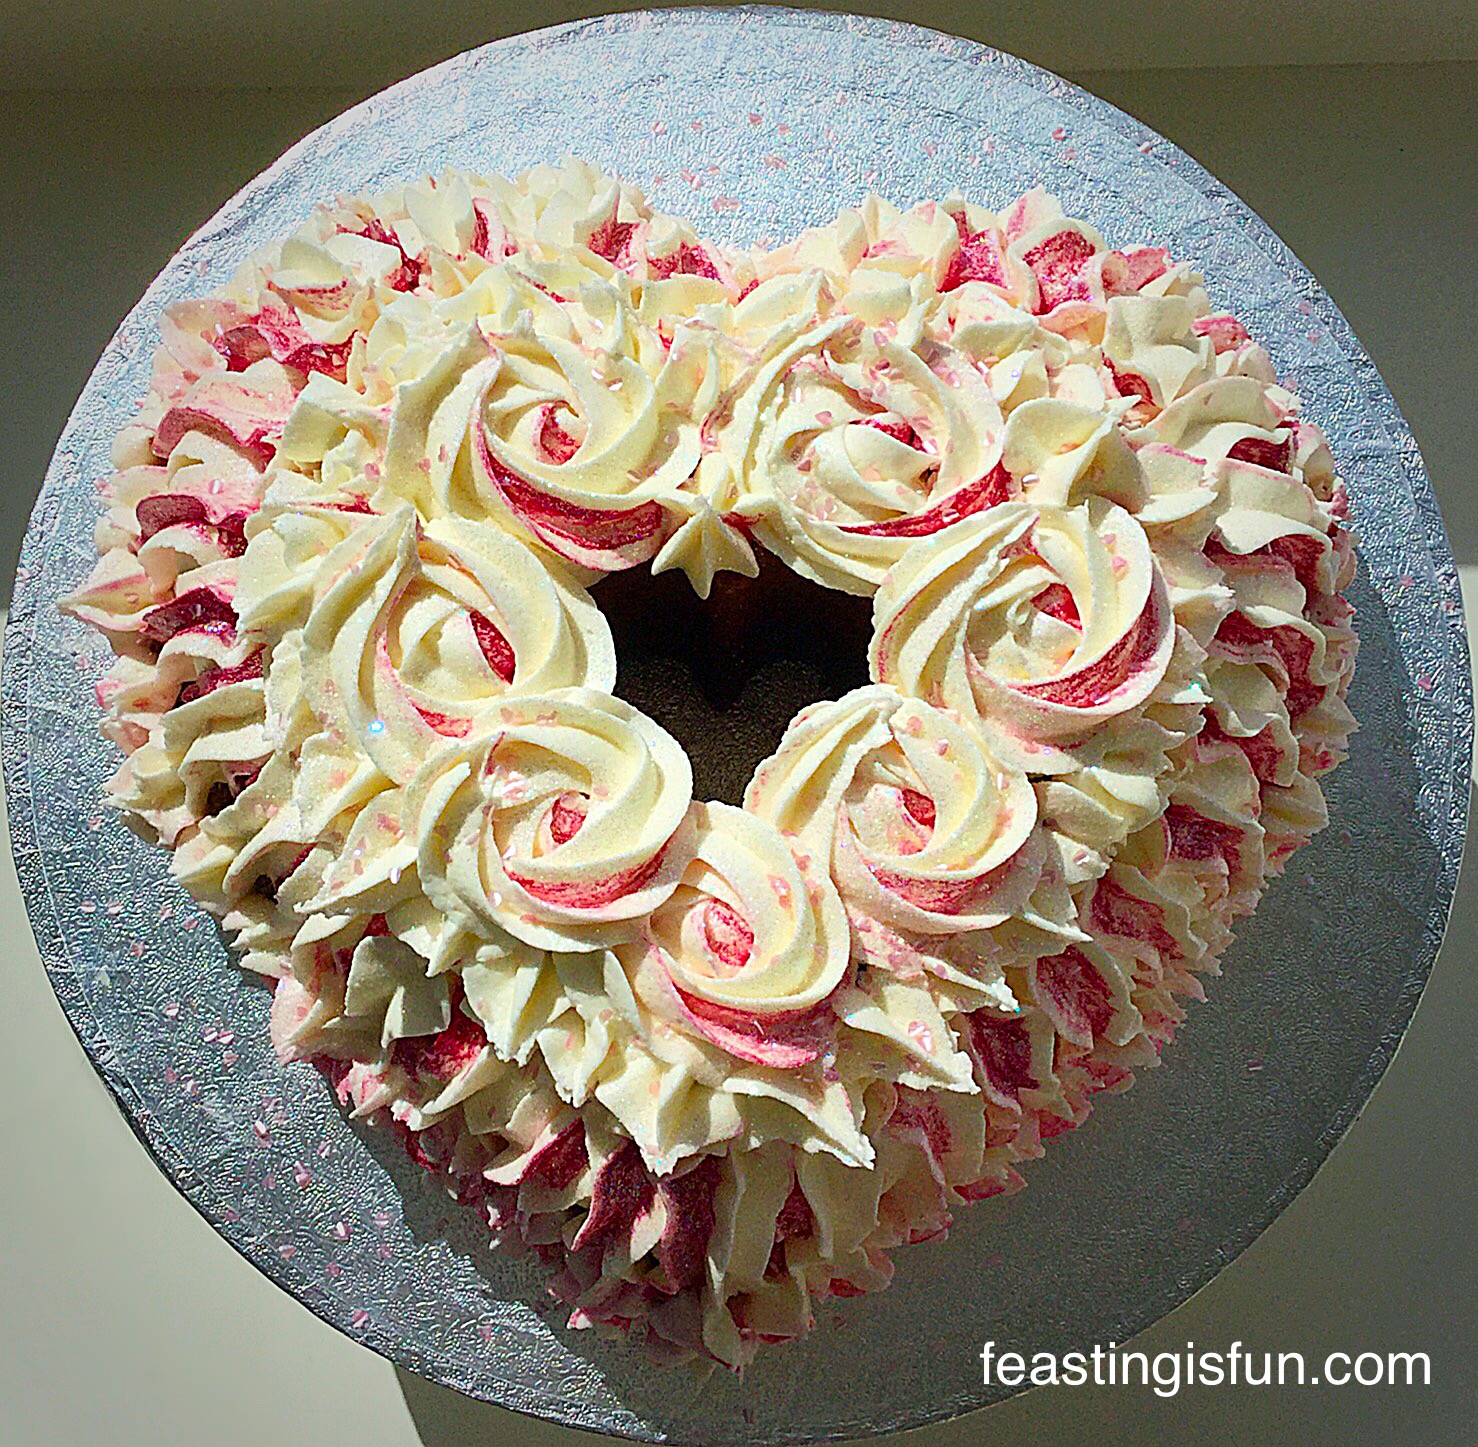
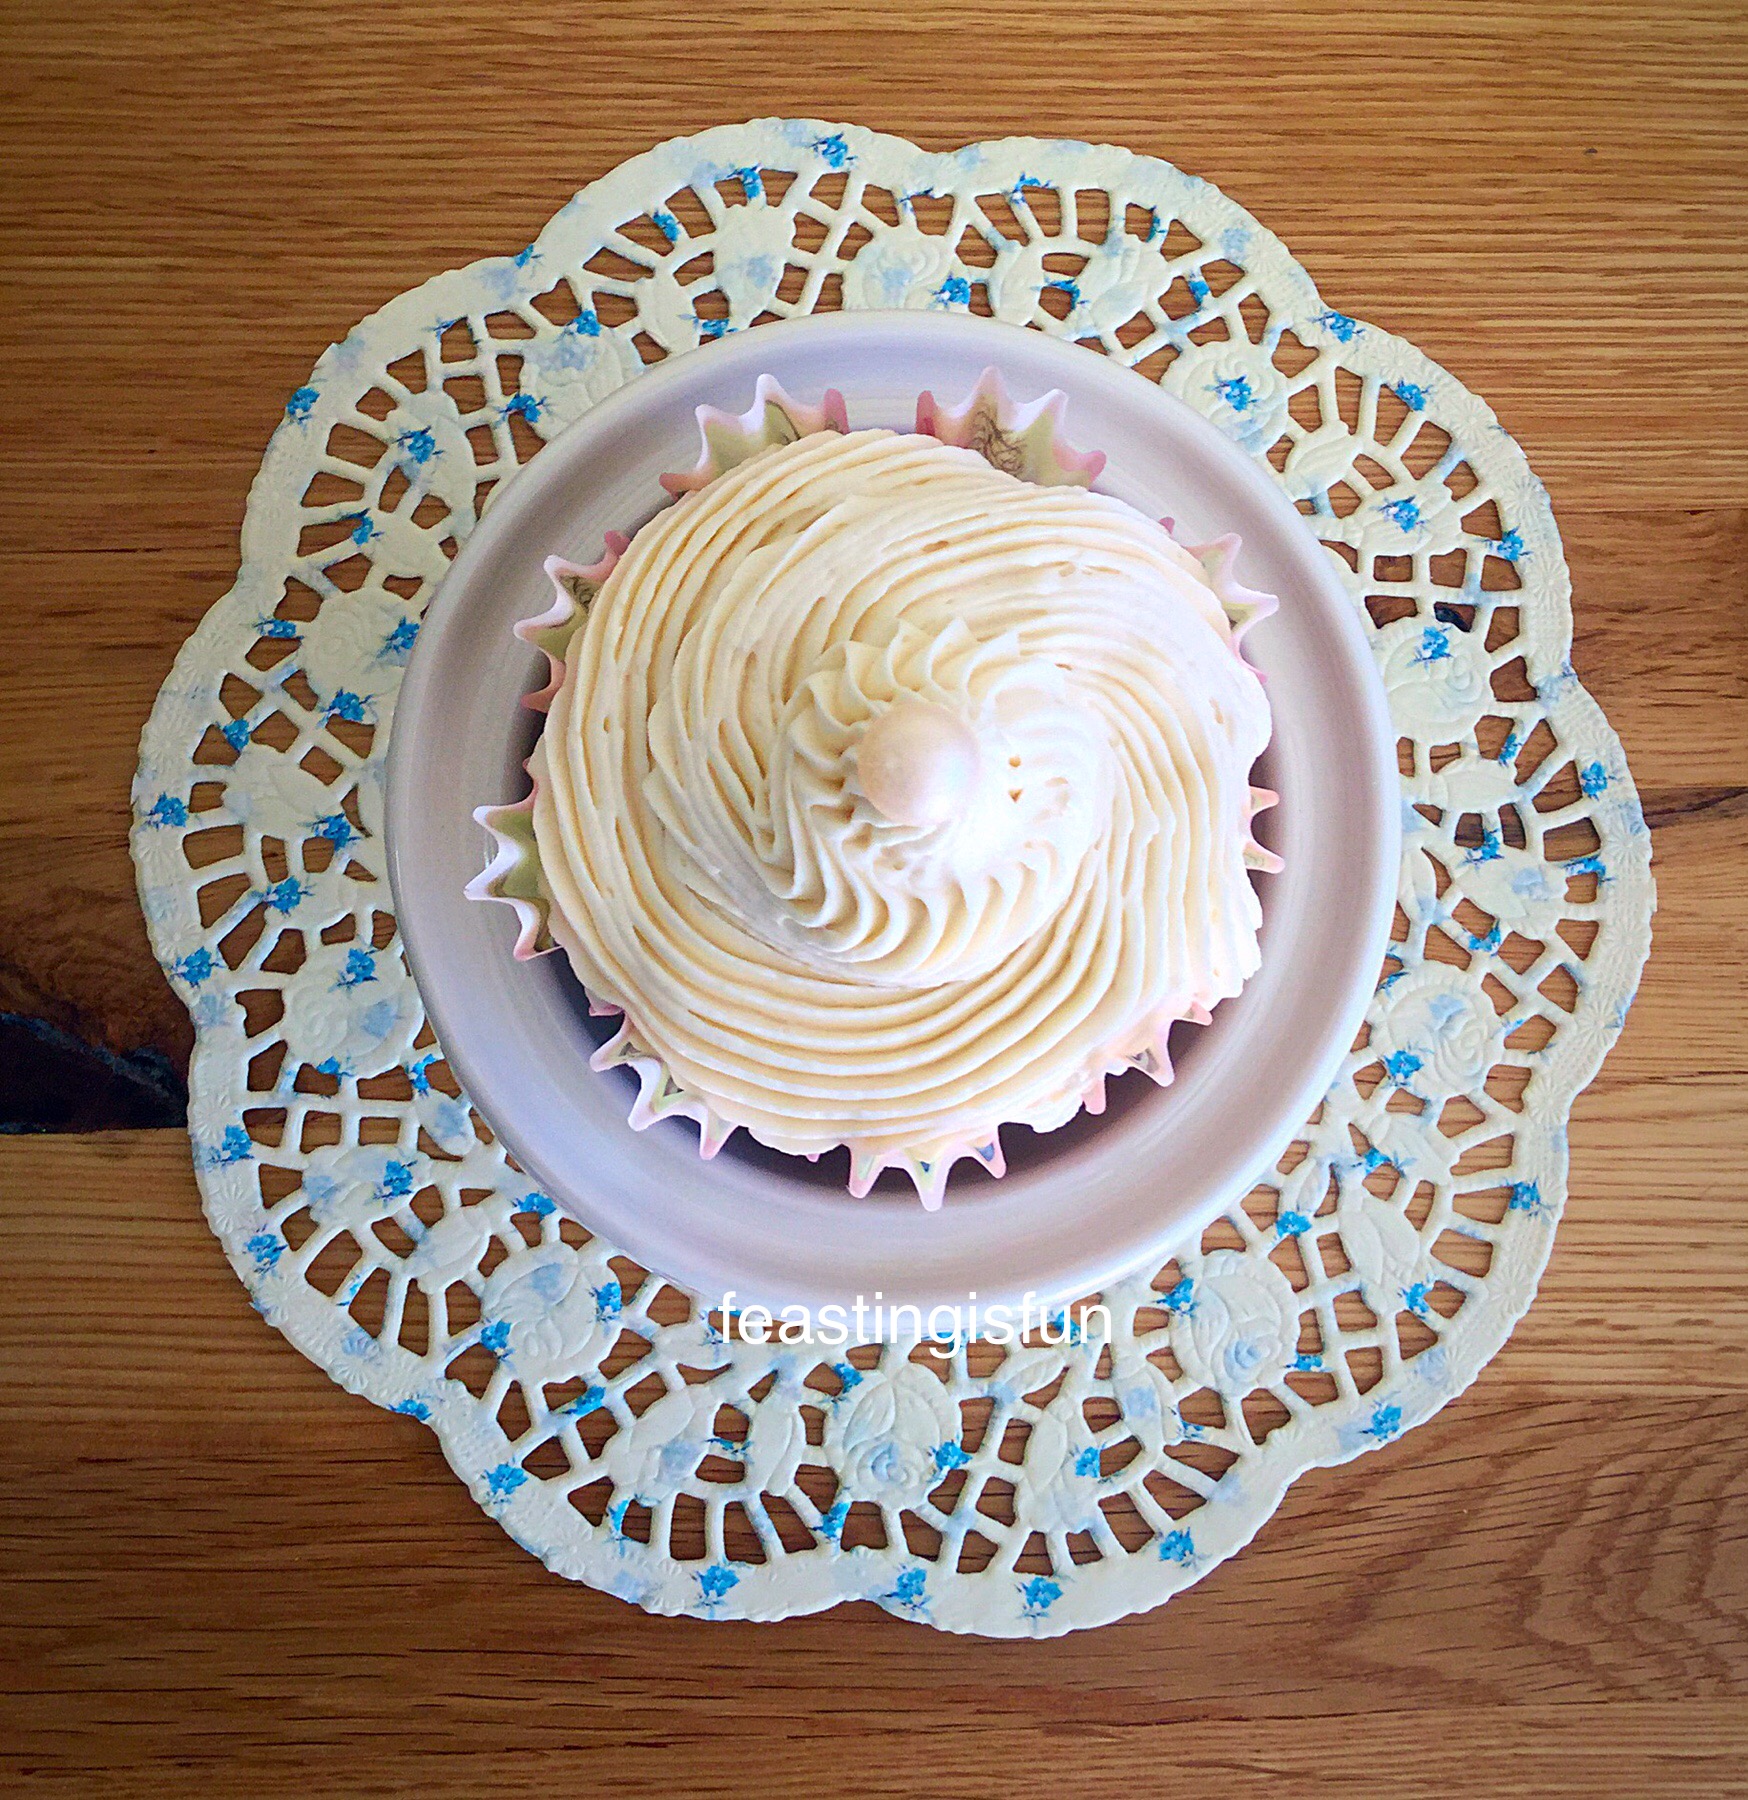
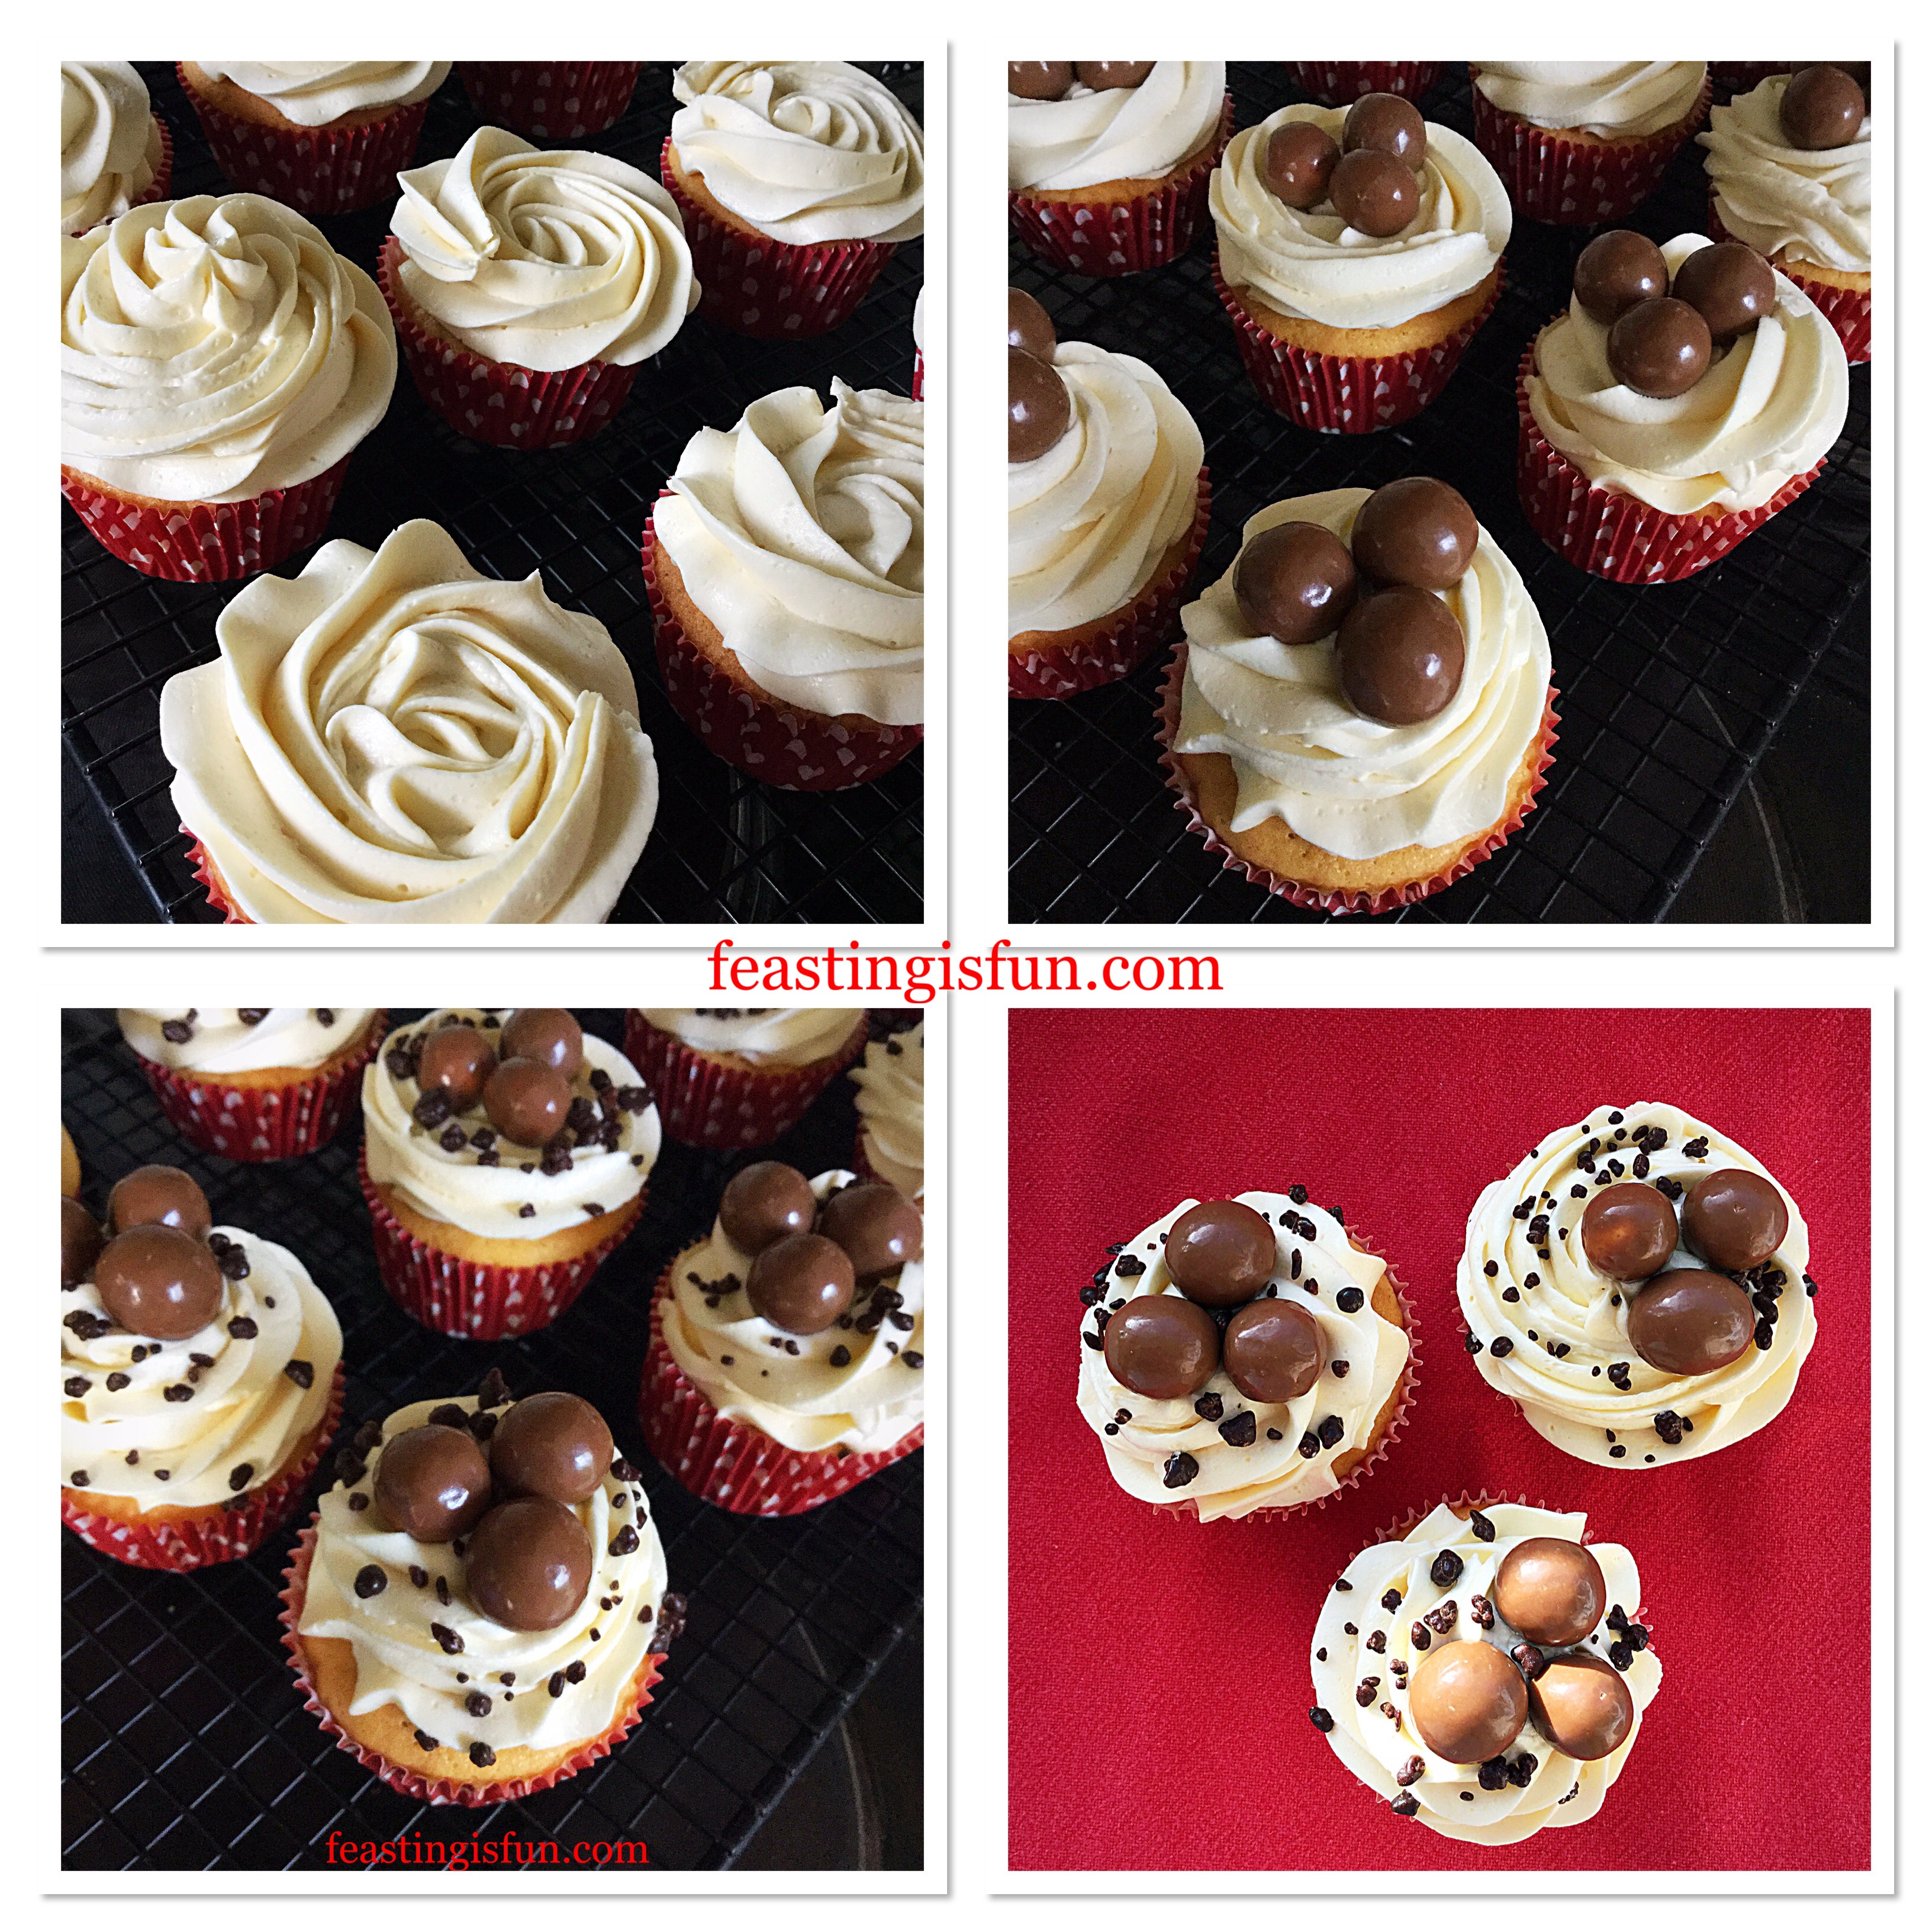
- Starting in the centre of a cupcake pipe a swirl in the shape of an ‘e’. Continue round creating a rose. Continue piping around and up for a deeper buttercream topping.
- Place 3 Maltesers on to each cupcake.
- Finally, sprinkle chocolate covered popping candy over the buttercream.
During warmer weather place the cupcakes into the fridge for an hour. Allowing the frosting to set. Especially if you plan to transport them.

Serve as they are, with a smile.
Store in an airtight container and eat within 5 days. During warmer weather keep refrigerated.
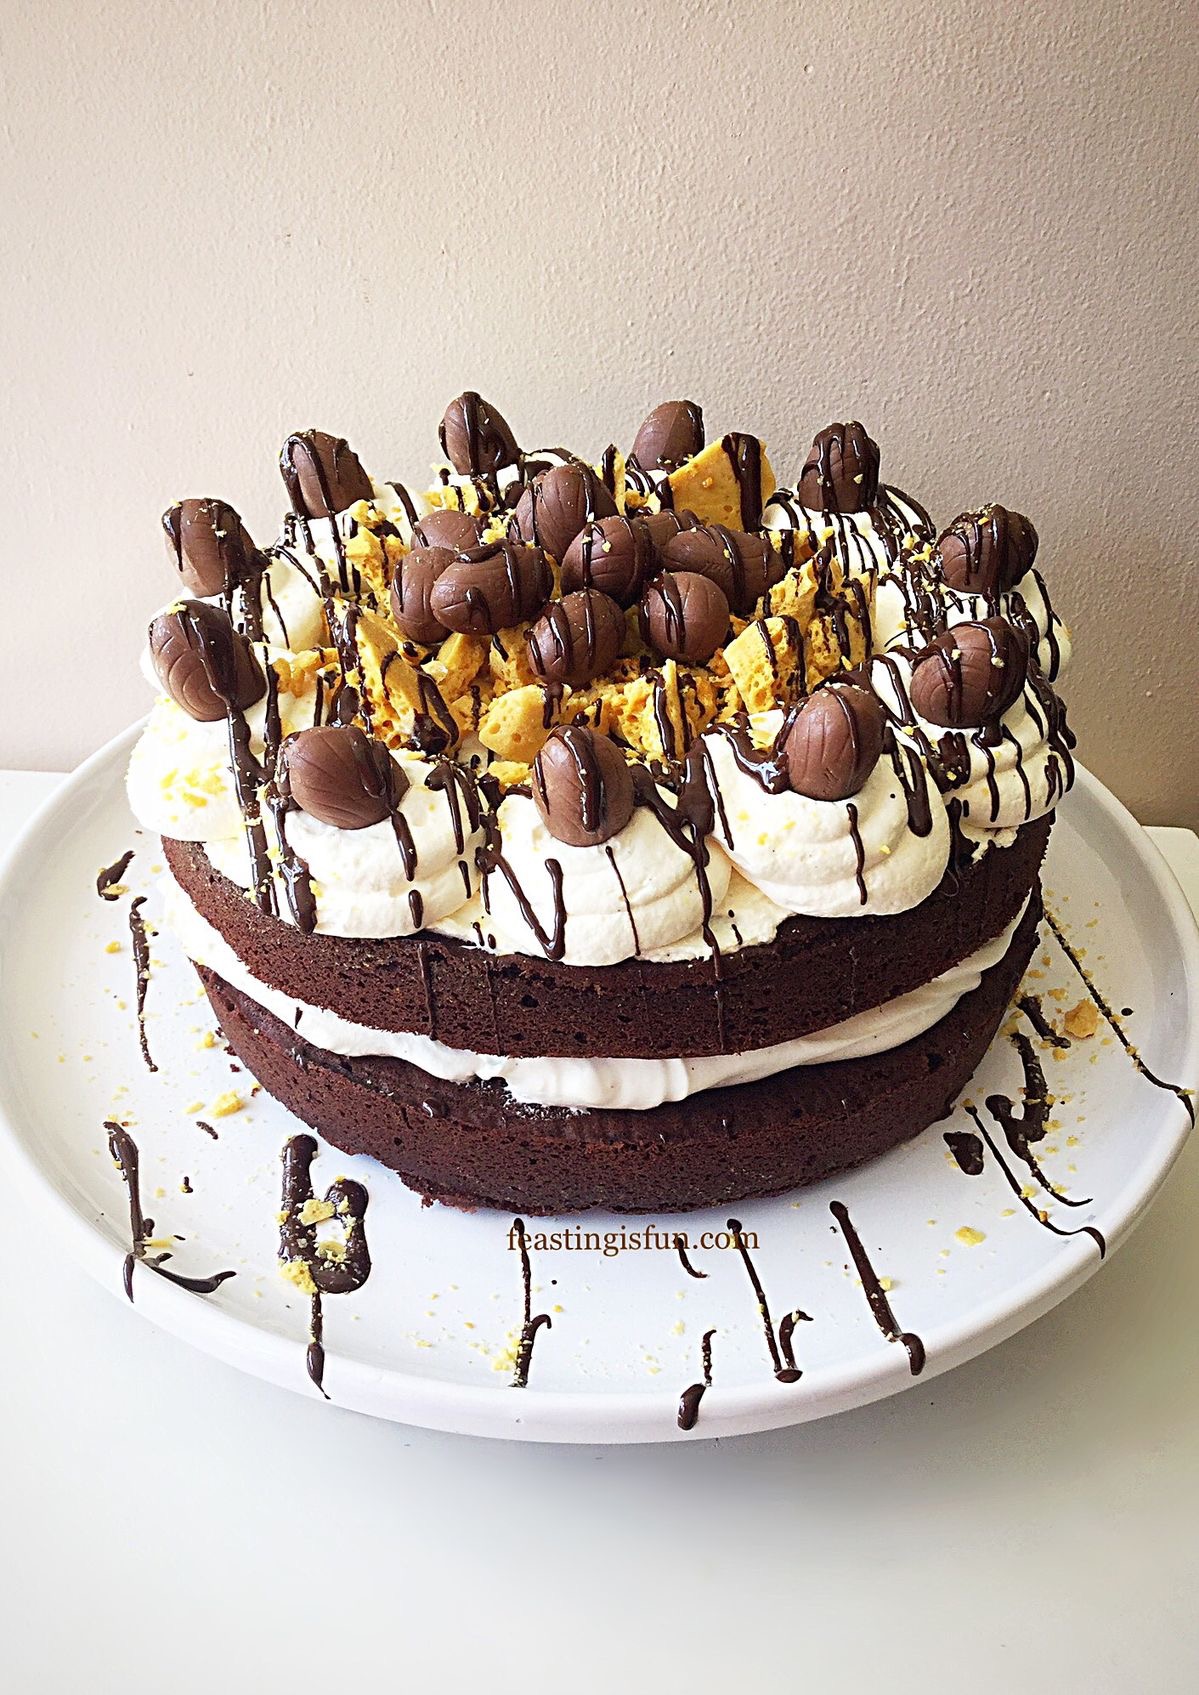
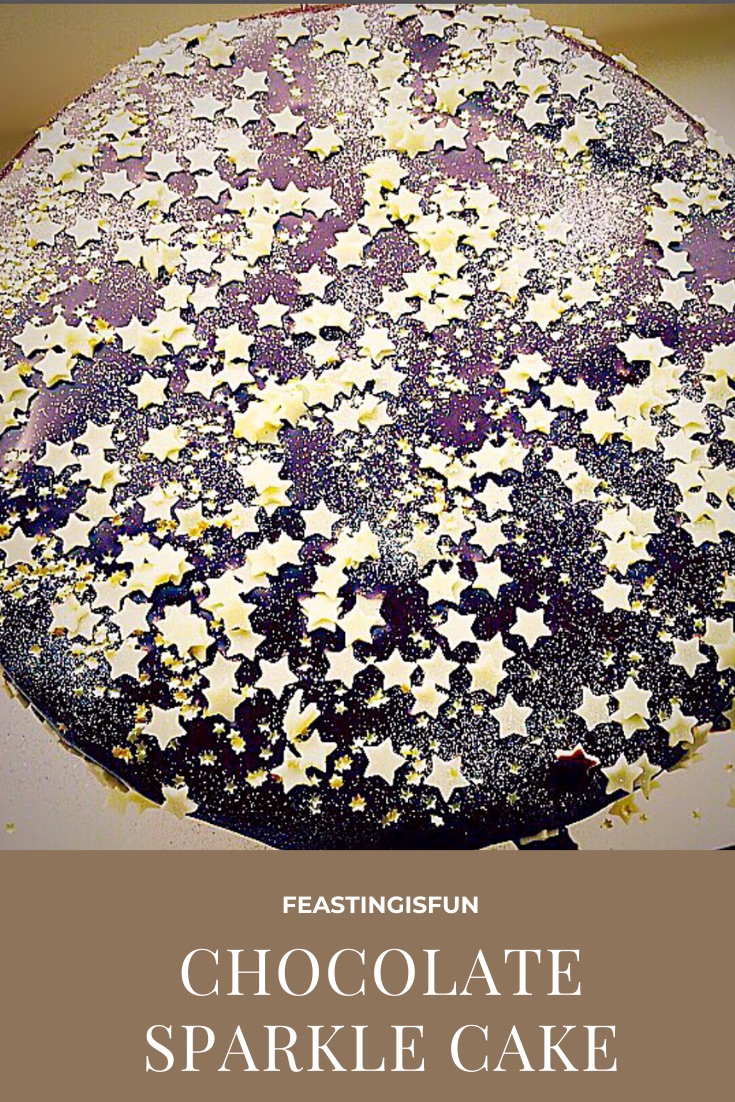
If you have enjoyed this recipe for Maltesers Popping Candy Cupcakes you may also like these:
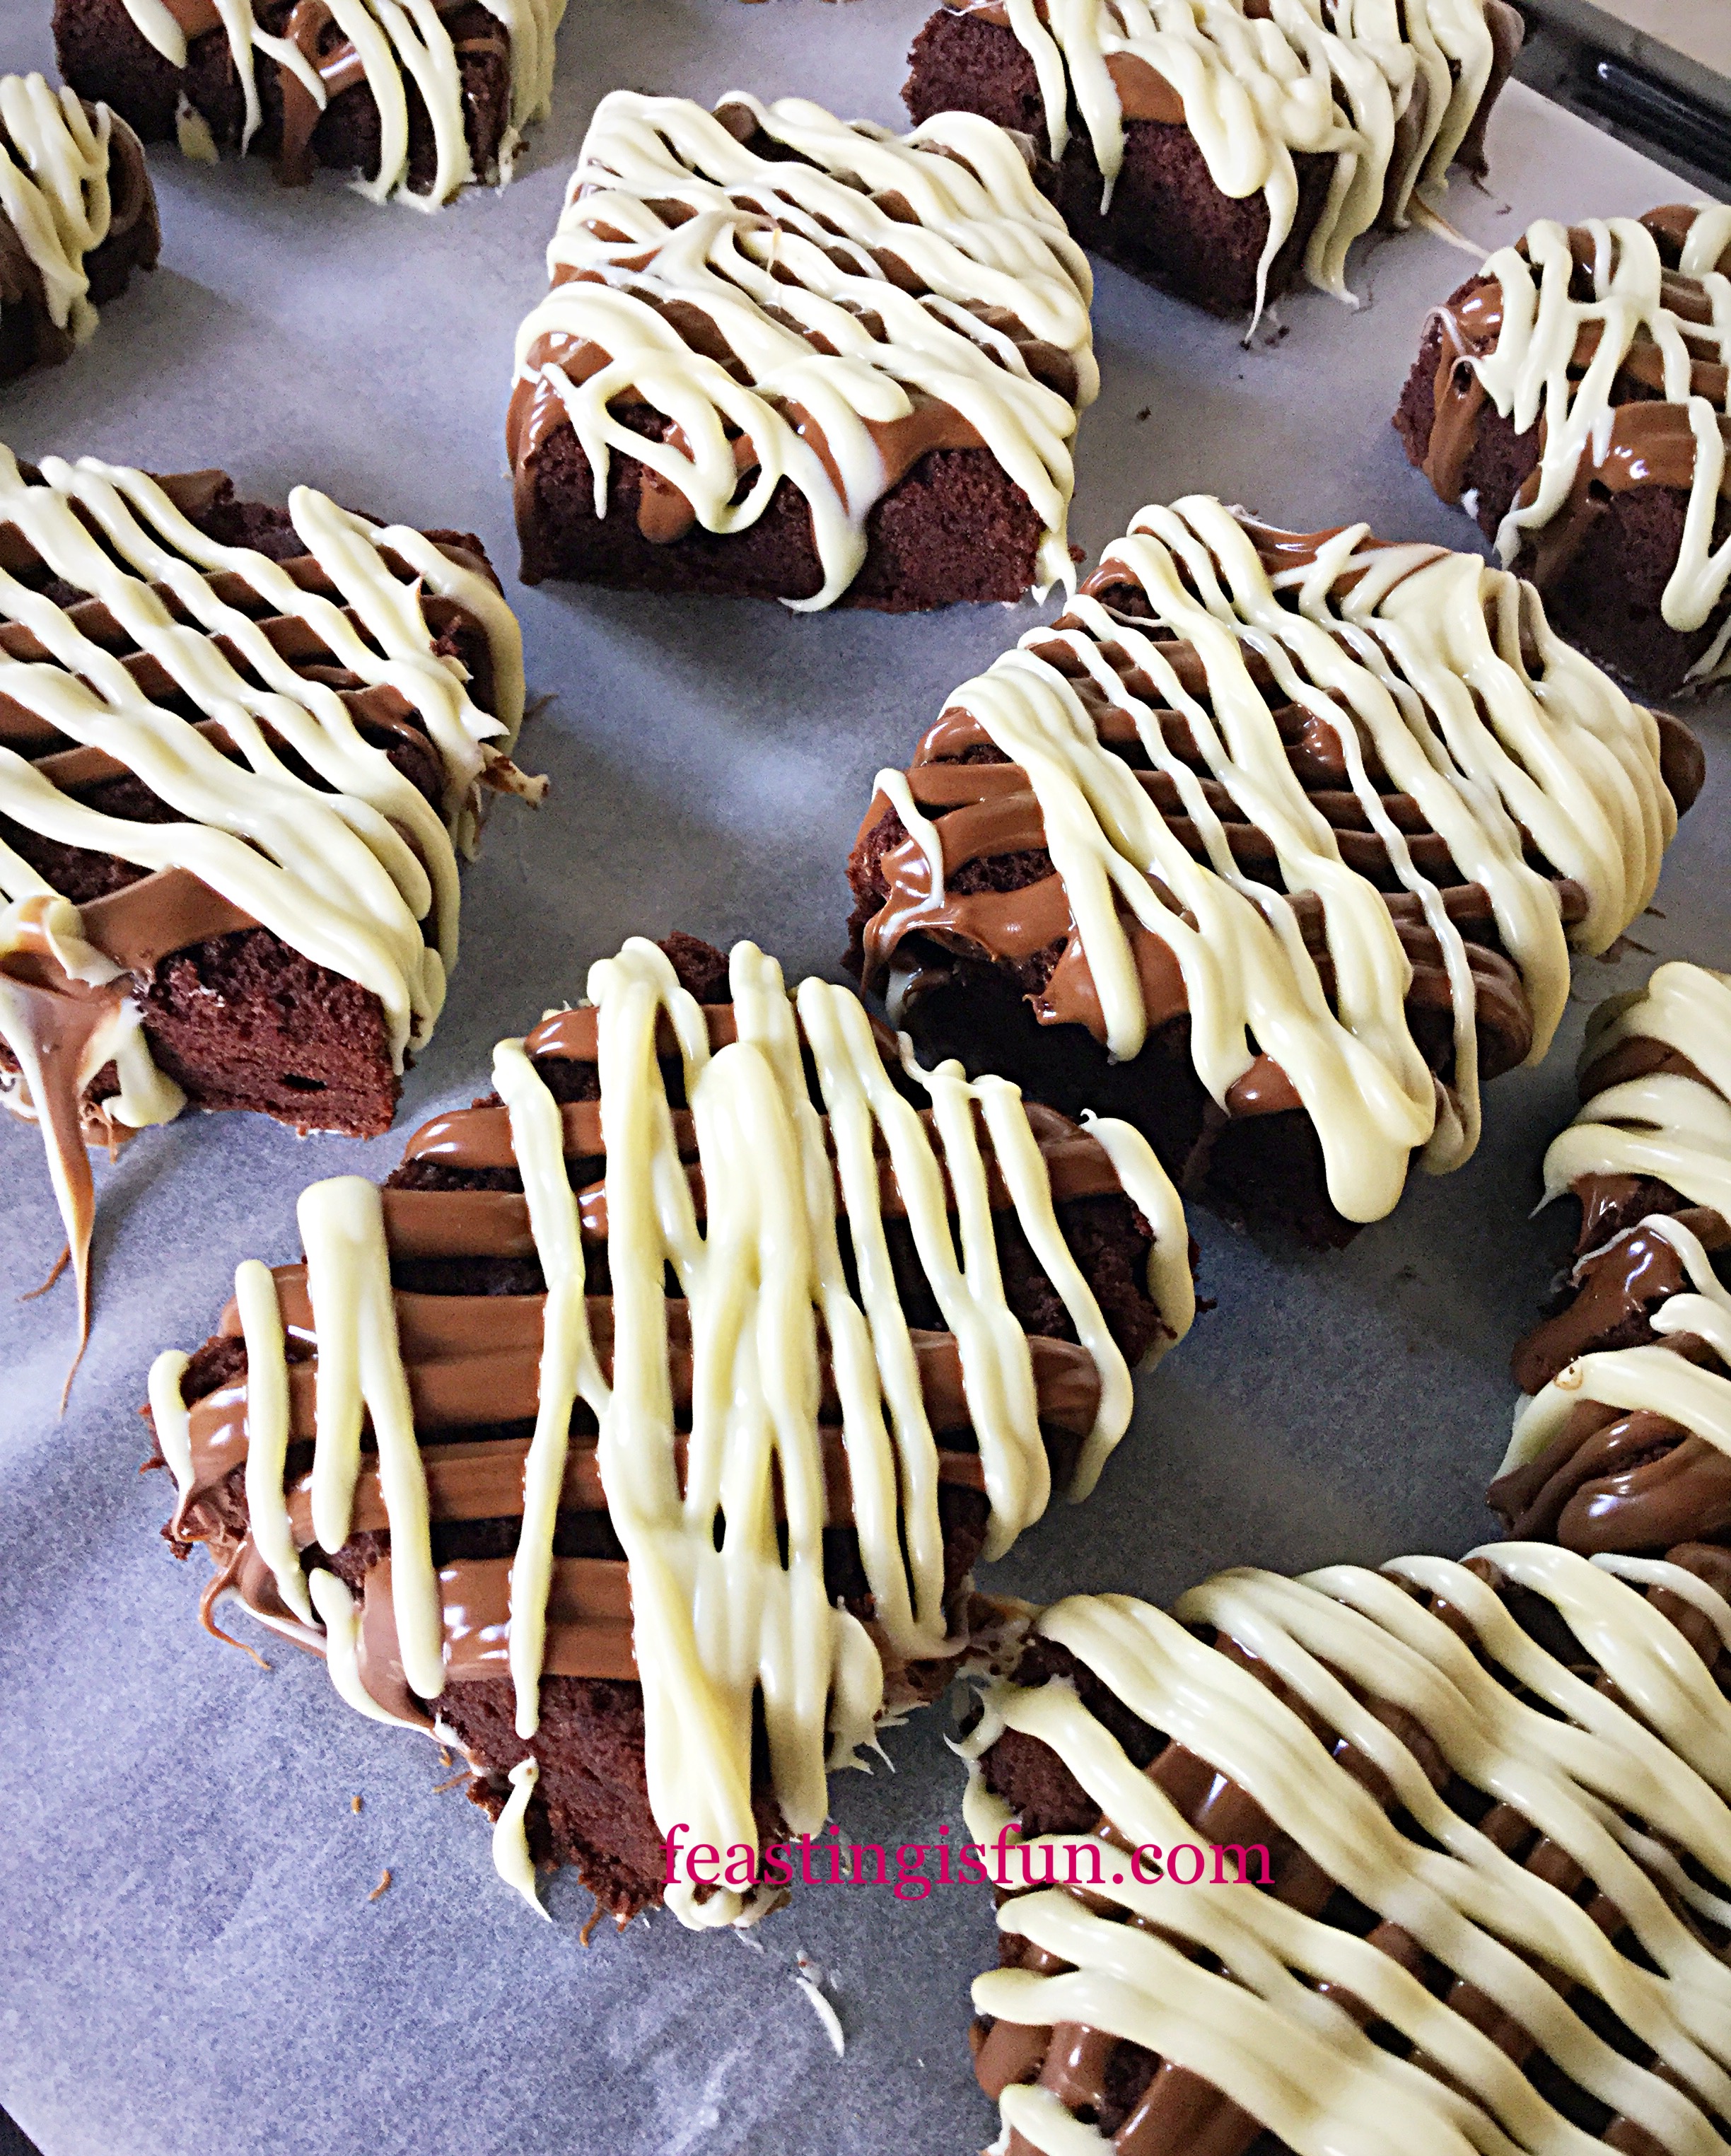
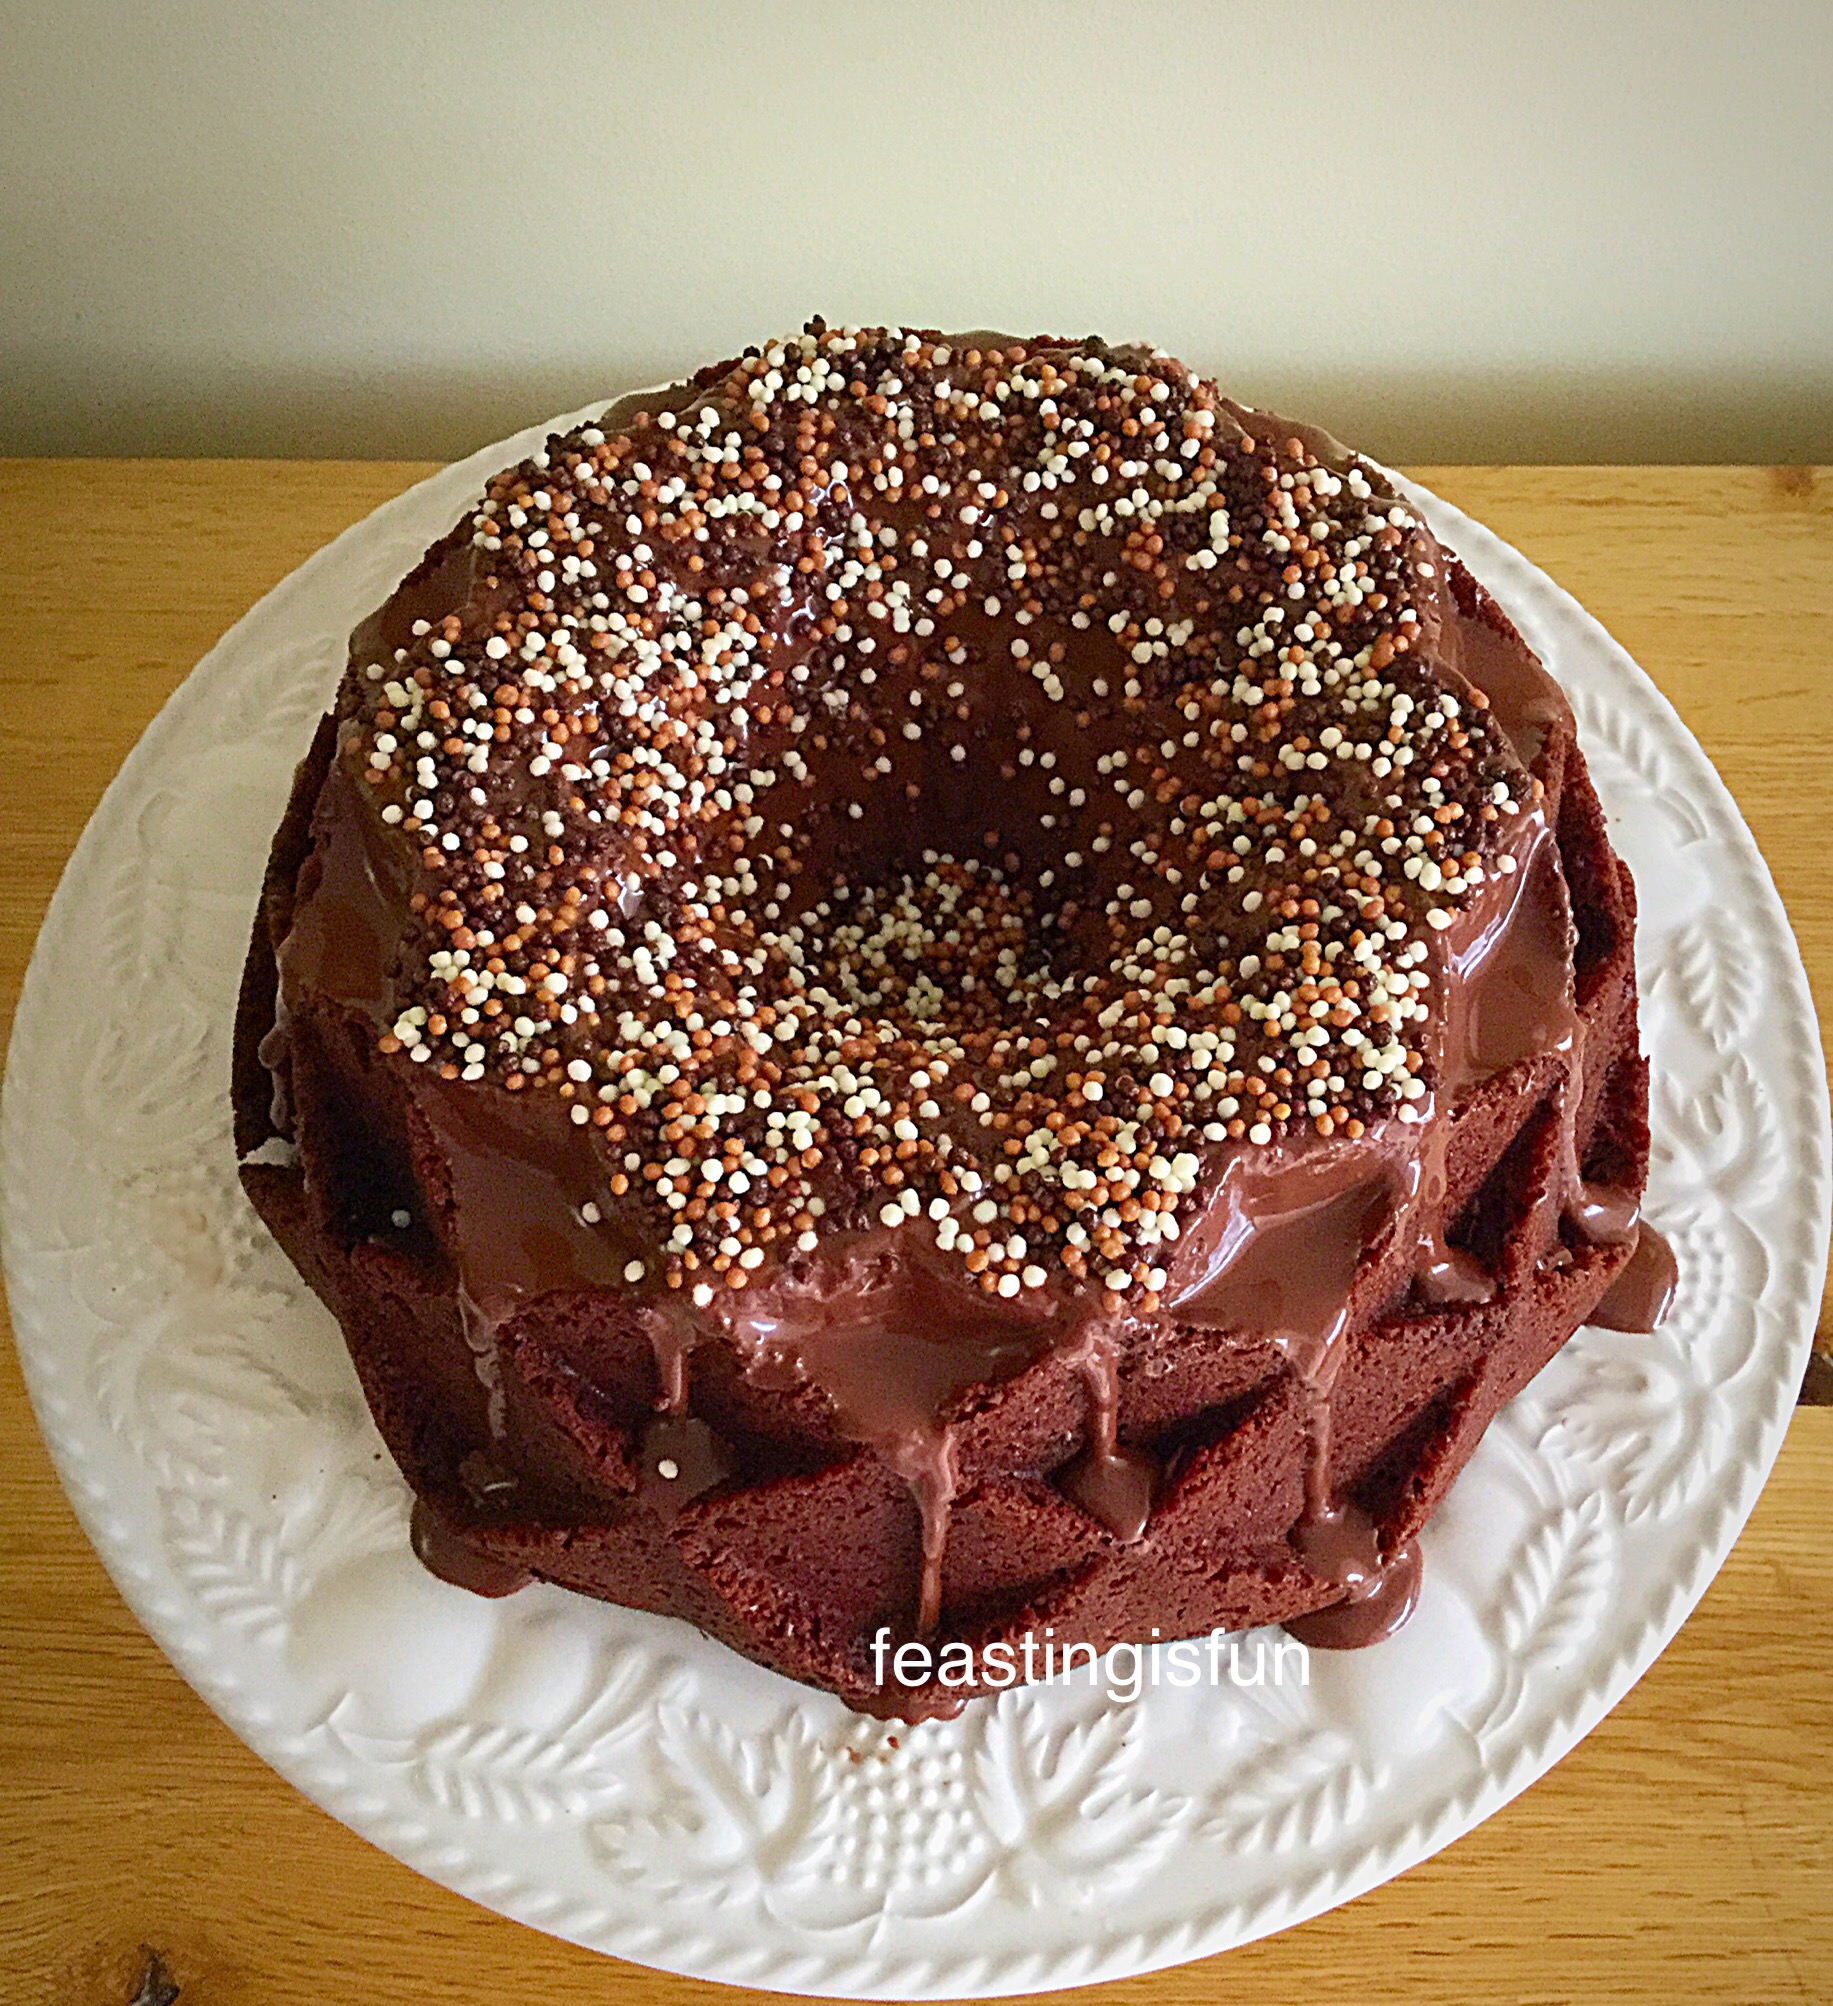
Caramac Frosted Chocolate Cupcakes

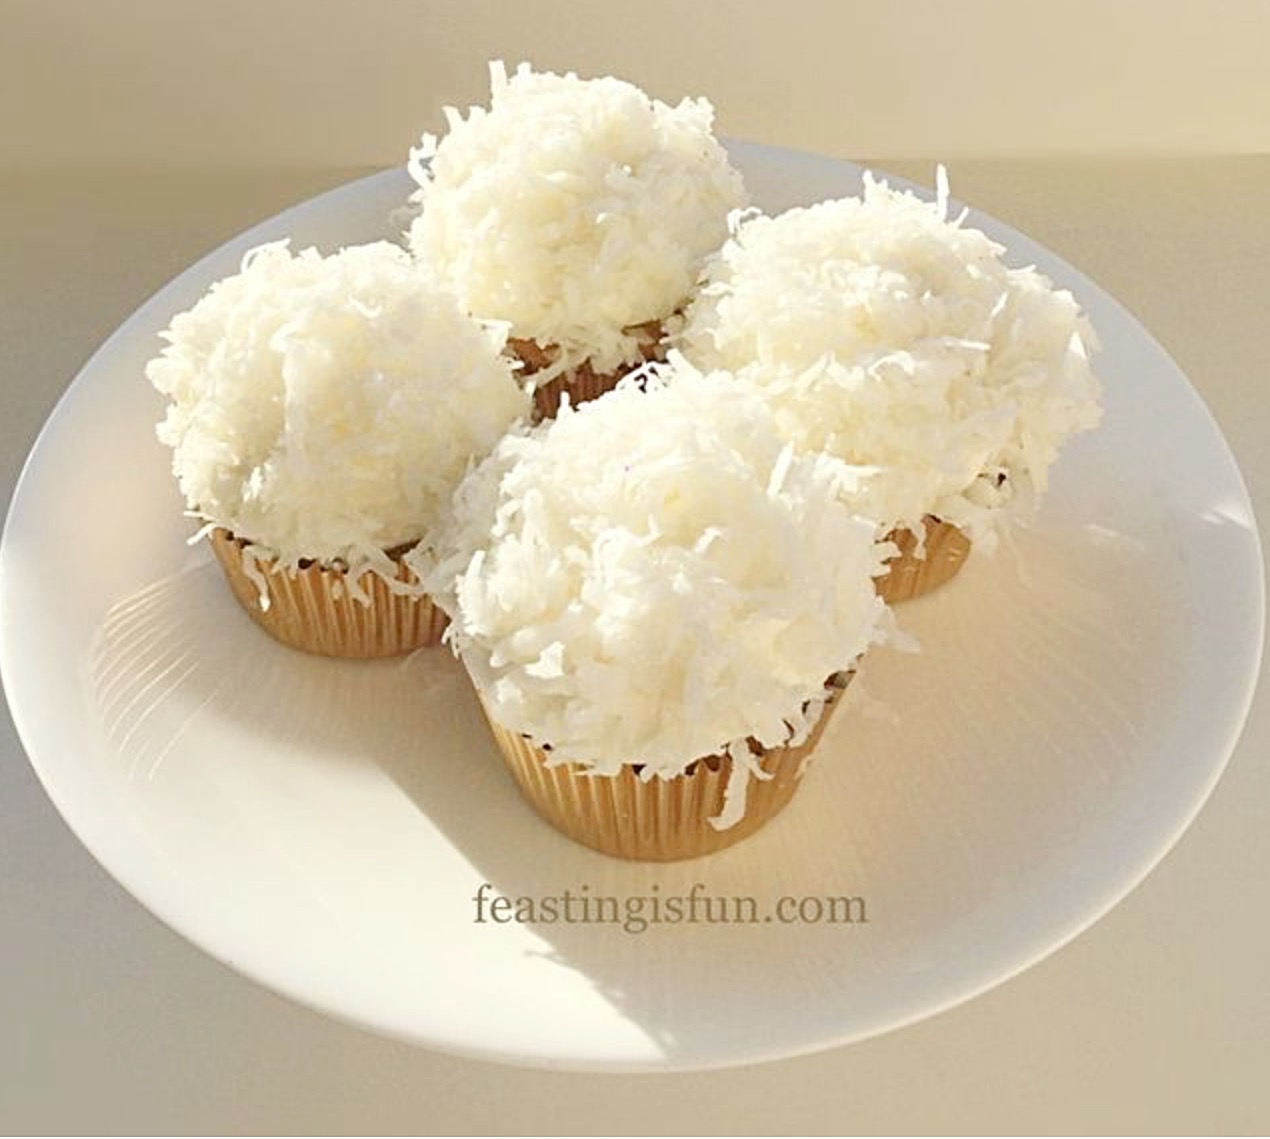
Coconut White Chocolate Snowball Cupcakes
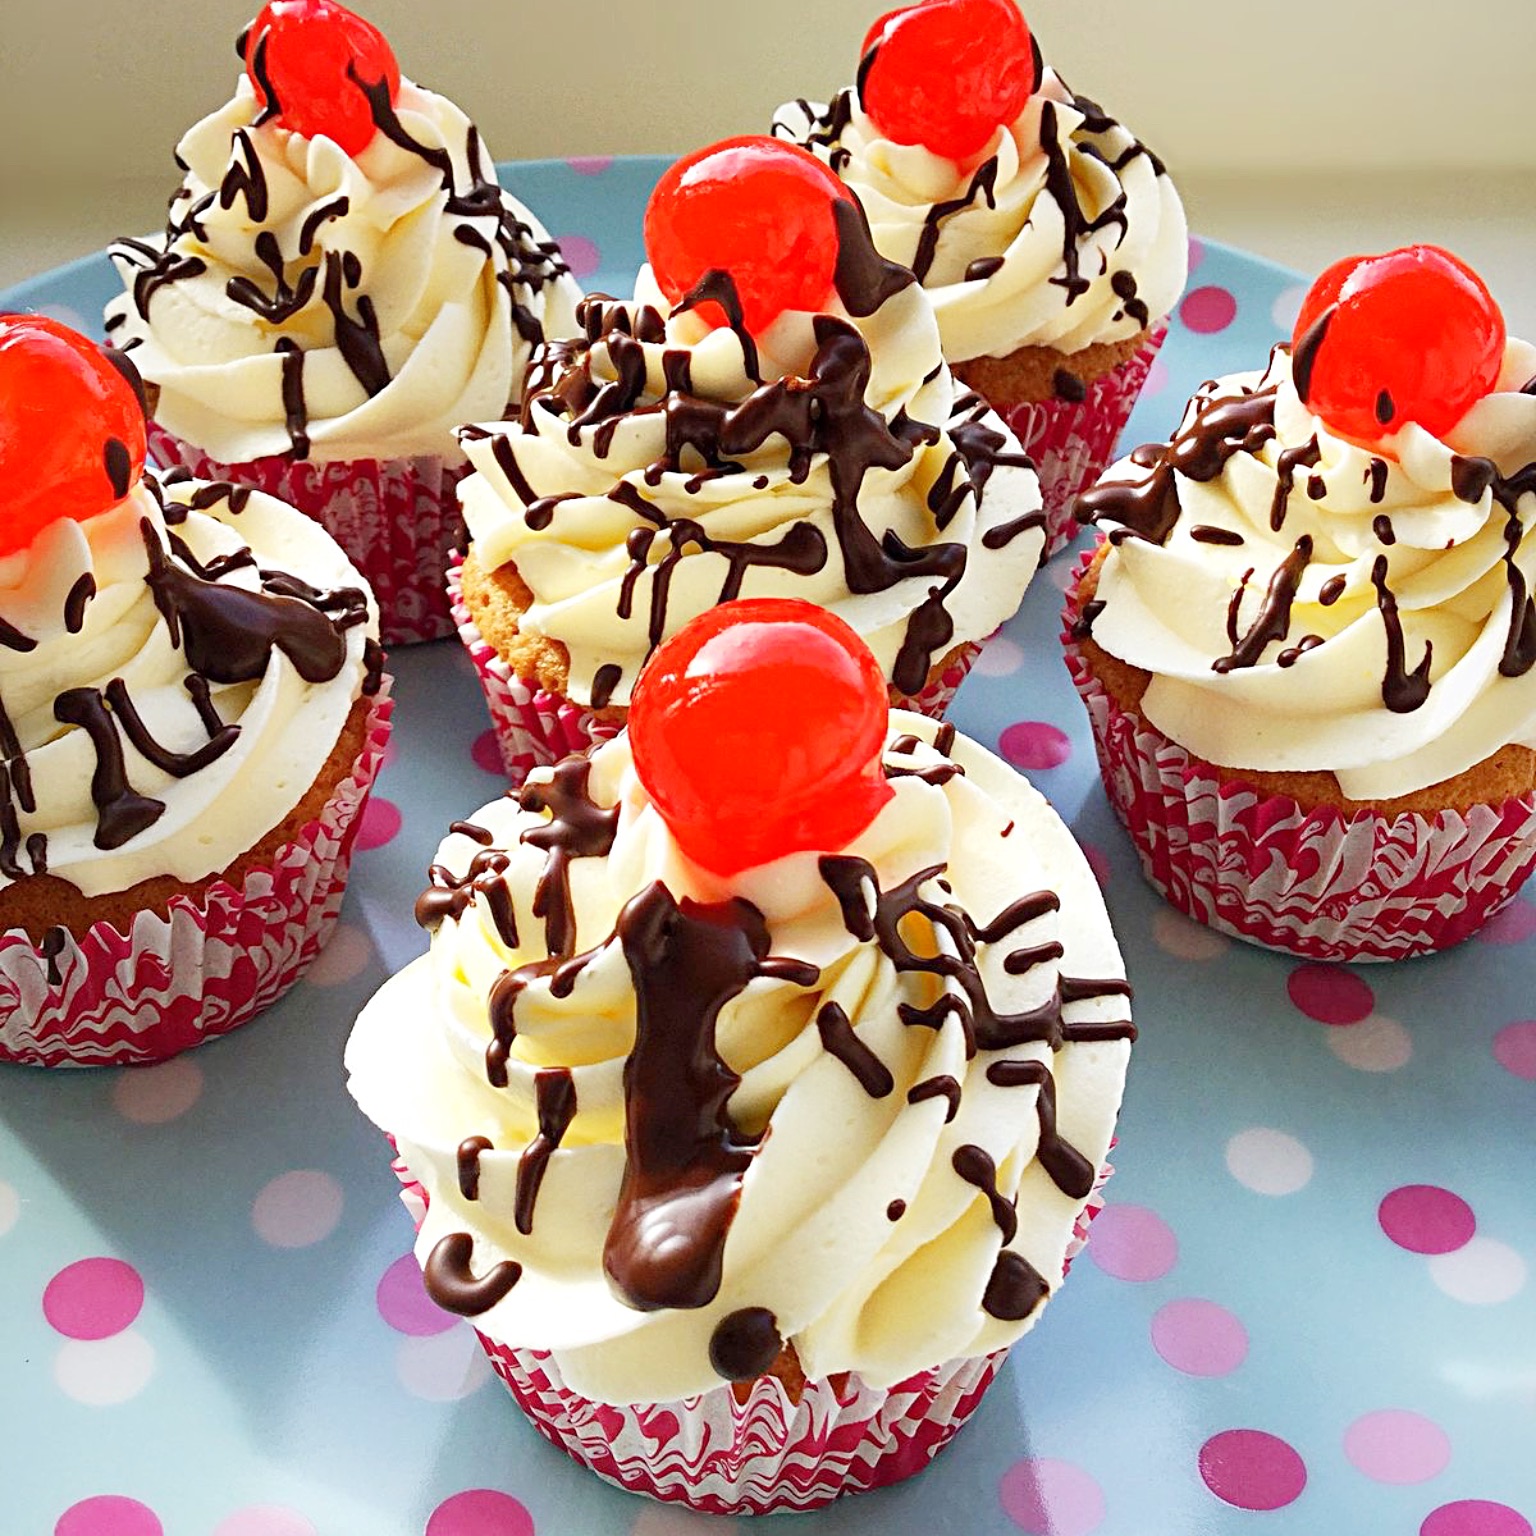
Marasachino Cherry Chocolate Drizzle Cupcakes
Cupcakes have withstood time and not lost their appeal. Since they are individual, whole cakes, who wouldn’t enjoy one? Available in an endless number of flavour and frosting combinations, they are perfect for sharing. Also, they are easier to handout and share, in some cases, than a large, cut cake. However you enjoy them, remember that they always taste better when shared.
Whatever you are making, baking and creating in your kitchens, have fun preparing your feast.
Sammie xx
No part of this post may be reproduced or duplicated without the written permission of the owner. Please see my Disclosure Policy.
Share