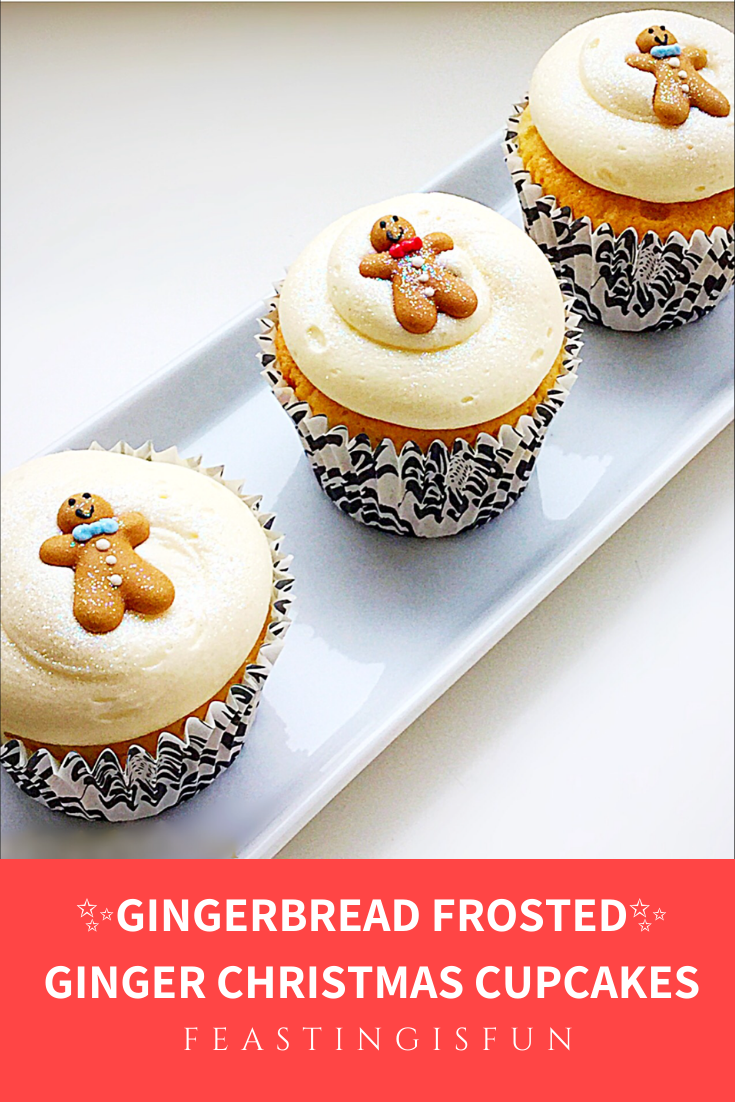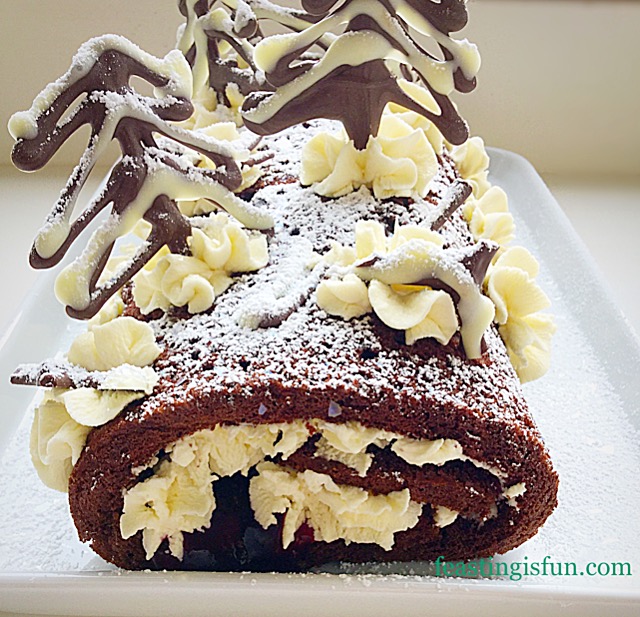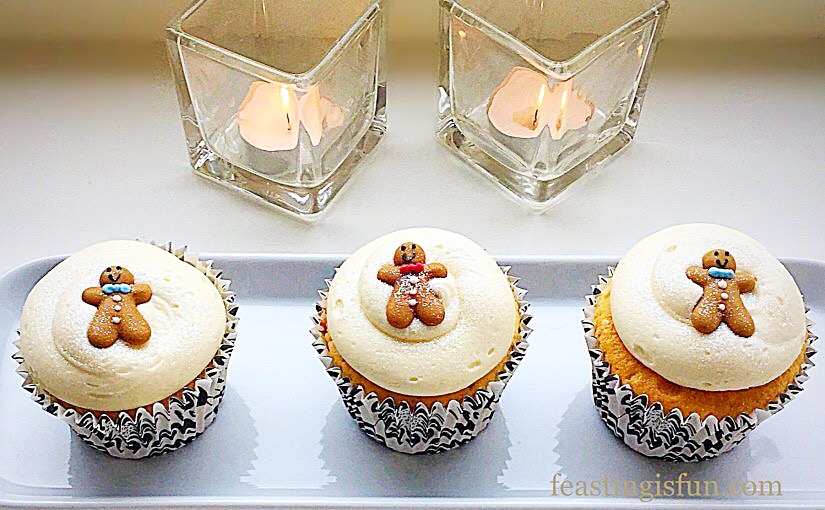
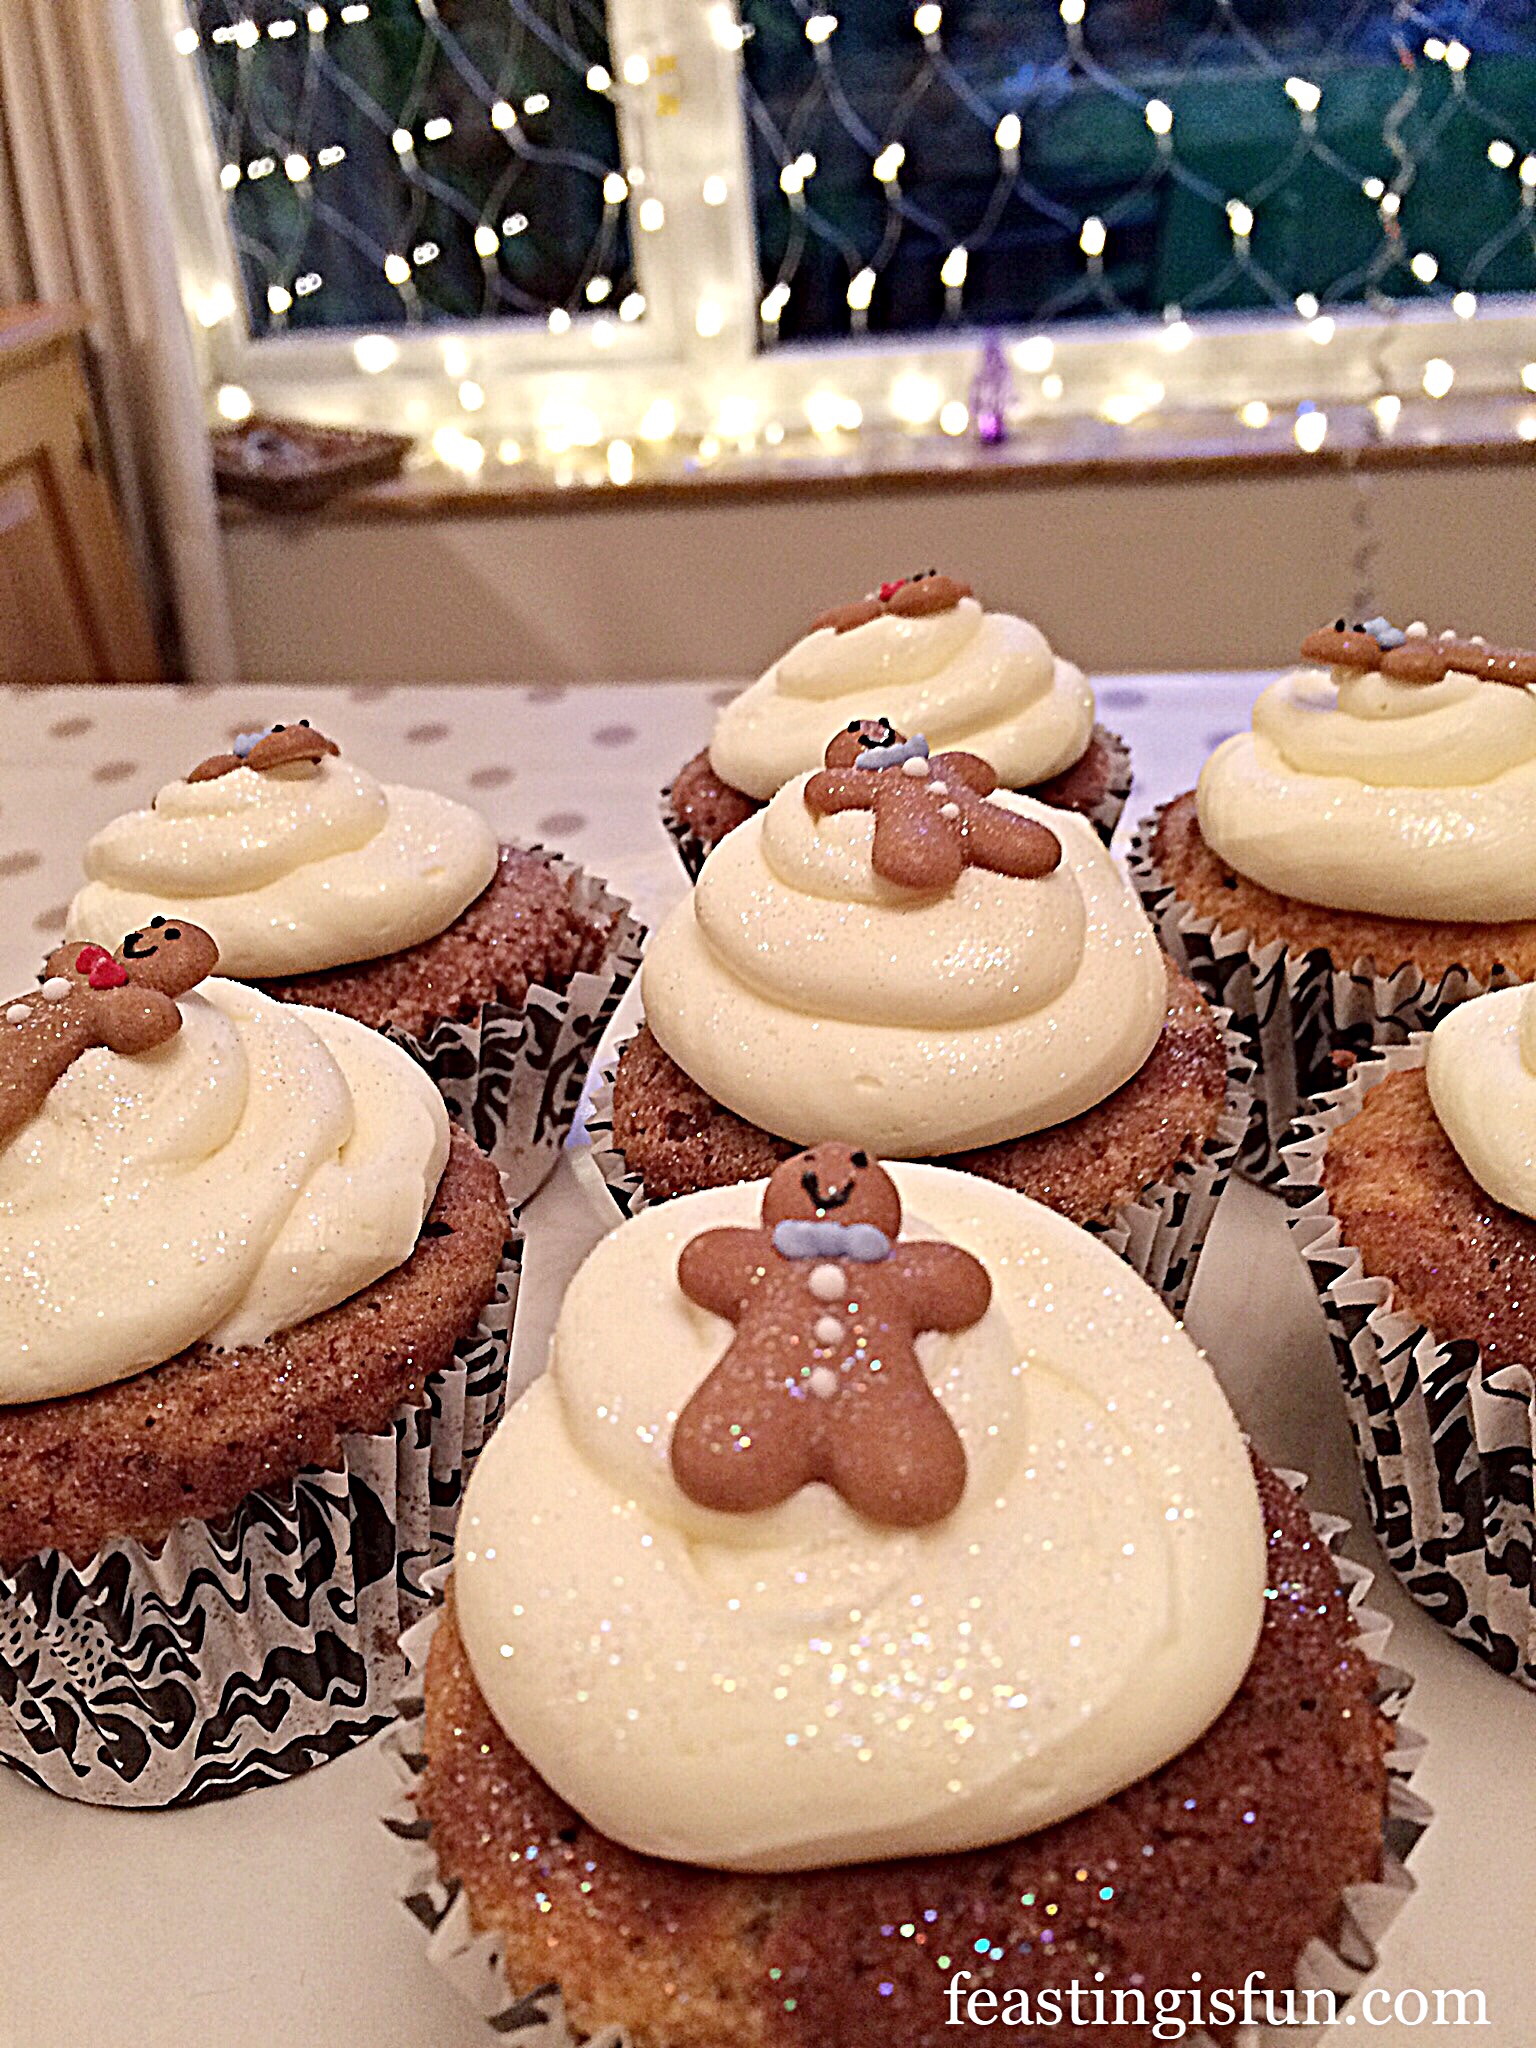
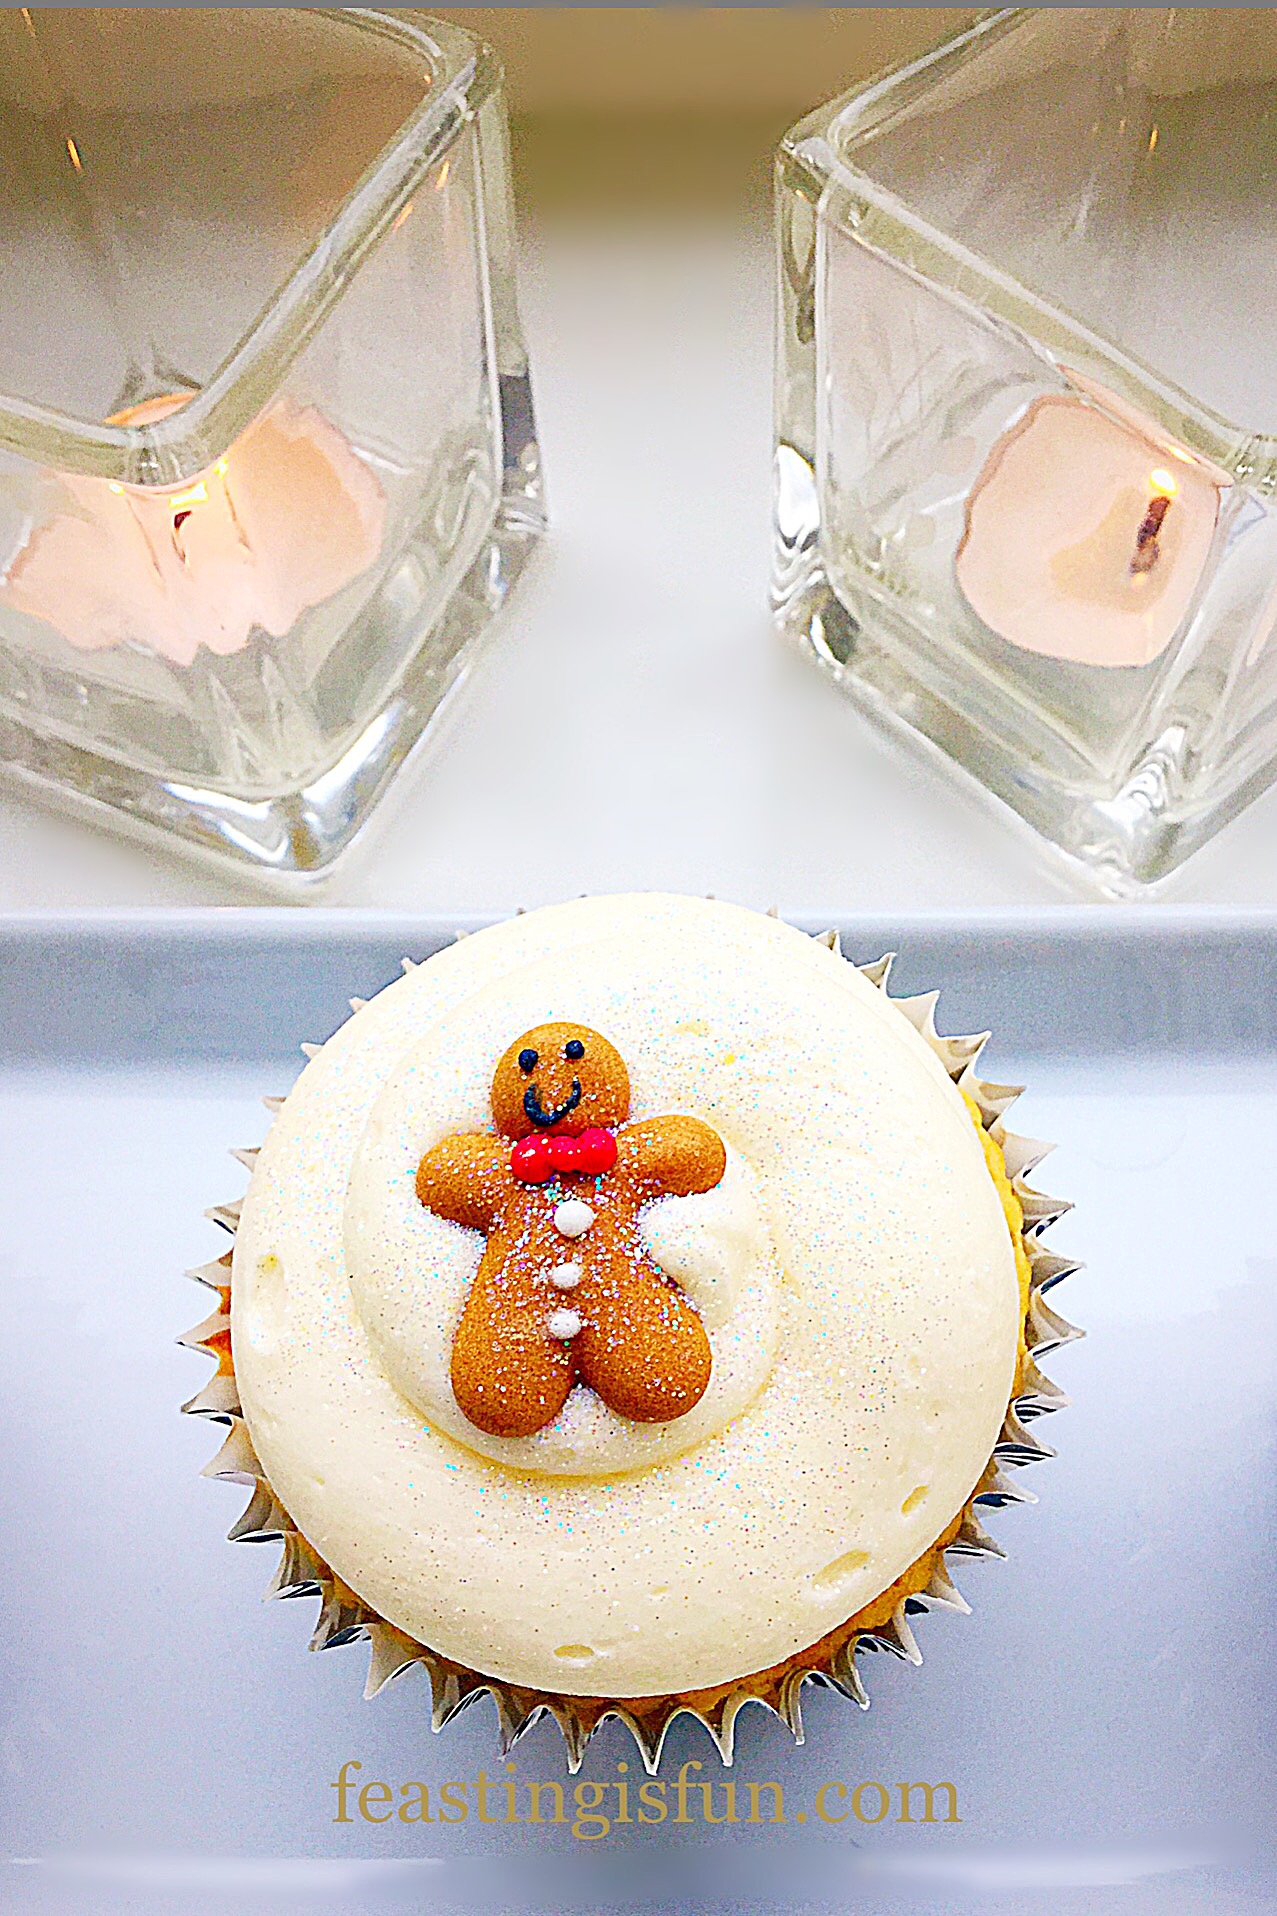
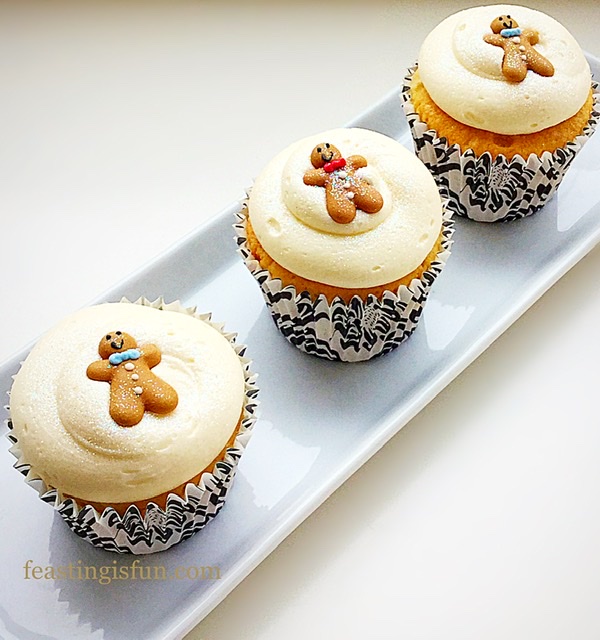
Happy holidays to all of my lovely readers of Feasting Is Fun. Today’s recipe for Gingerbread Frosted Ginger Christmas Cupcakes topped with mini gingerbread men, I hope will excite you and add some festive cheer to your day.
Is anyone else else excited about Christmas? For me a large part of the fun of Christmas is in the build up. Getting the children to write Christmas lists, putting up decorations and ordering our turkey and ham from Graig Farm. Finally making the Christmas cake, yet knowing it can’t be eaten until Christmas Day is always hard on certain members of the family. So, I baked these Gingerbread Frosted Ginger Christmas Cupcakes. Perfect festive sweet treats to enjoy, during the build up to the big day!

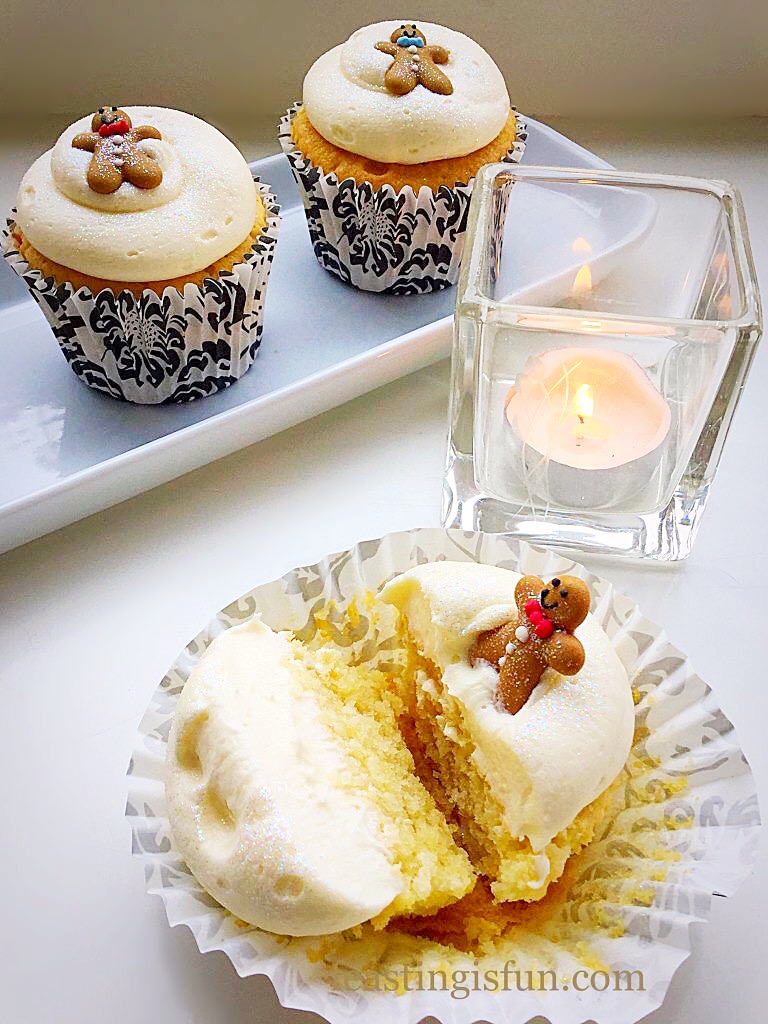
Warning, the frosting on these cupcakes is truly addictive! Because it really, REALLY, tastes of gingerbread and once you’ve tasted it I can guarantee that you will want more. And so, in order to provide balance, the cupcake itself is only lightly spiced with ginger. The final combination of both cake and frosting is absolutely perfect. Warming, sweet and not heavy, these really are the perfect festive, sweet treat.
Because these cupcakes are so yummy, they disappear very quickly. Always a good sign when everyone in the family absolutely loves them. And I have a feeling that making these may well become a Christmas tradition like so many other things have, in our home.
Christmas Traditions
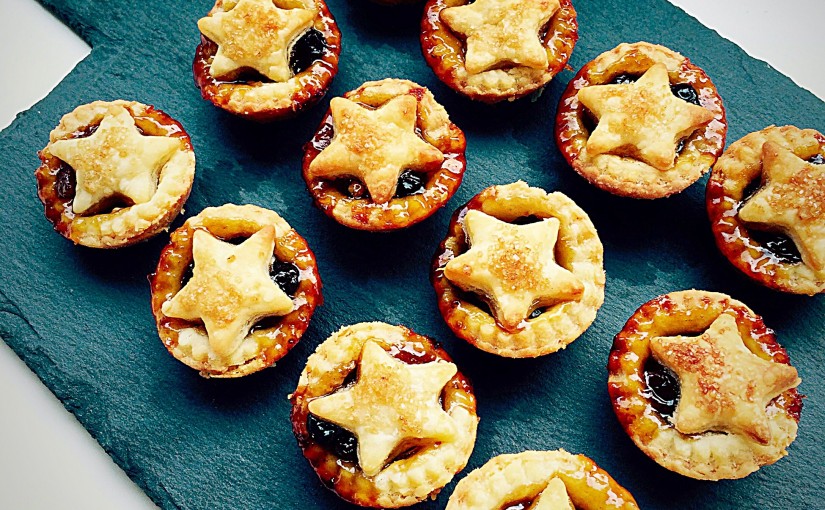
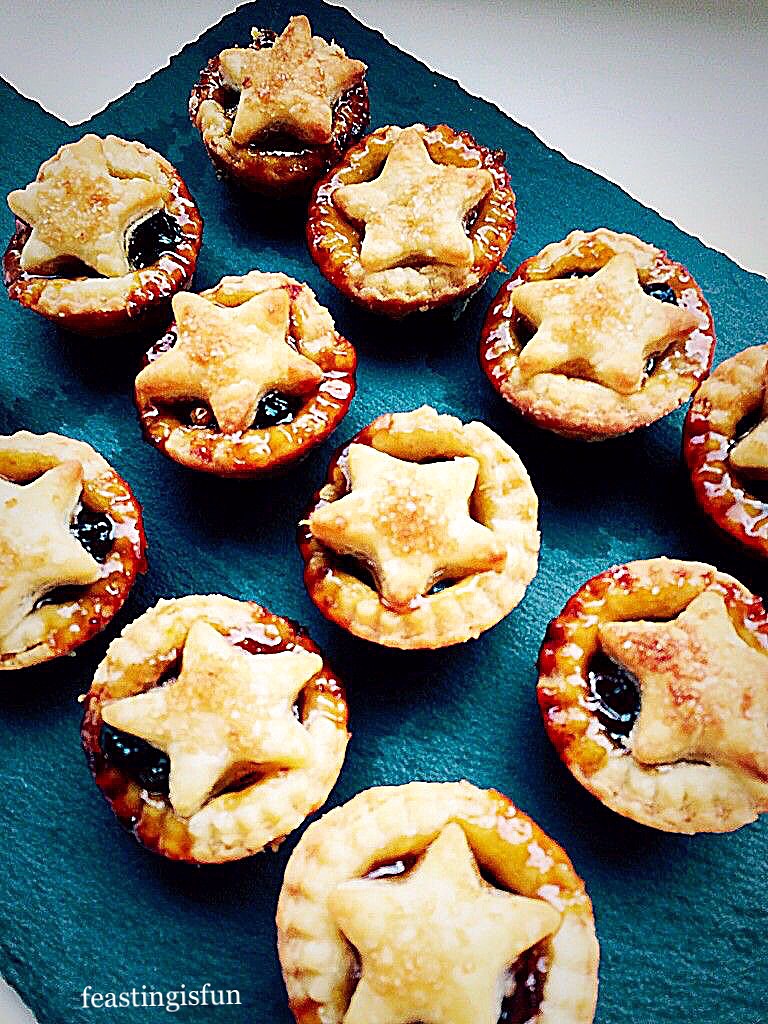
Traditions include, decorations going up on December 1st, making mince pies then giving them to our neighbours whilst carol singing and cooking the ham on Christmas Eve. Also, tracking Santa Claus’ schedule, whilst munching on cheese straws and playing cards, have all become Christmas traditions. Each as important as putting out a drink, mince pie and carrot, before bed, on the night before Christmas.
Each of the traditions has crept upon us, unplanned. If something has been done two years in a row, the children automatically dictate that it is now a tradition. So, this year, I think I will make some Gingerbread Frosted Ginger Christmas Cupcakes to hand out whilst carol singing, alongside the warm mince pies. We are blessed to call our neighbours friends, so sharing homemade goodies with them, whilst they listen to our singing is always fun!
Do you have family traditions at Christmas? I’d love to hear about them.
Recipe: Gingerbread Frosted Ginger Christmas Cupcakes makes 12
For the cupcakes:
175g/6oz Unsalted Butter softened
175g/6oz Caster Sugar
3 Large Eggs – I use free range
1/8tsp Salt – I use Maldon
1tsp Vanilla Extract – I use Nielsen-Massey
2tsp Baking Powder
175g/6oz Plain White Flour
1tsp Ground Ginger
For the frosting:
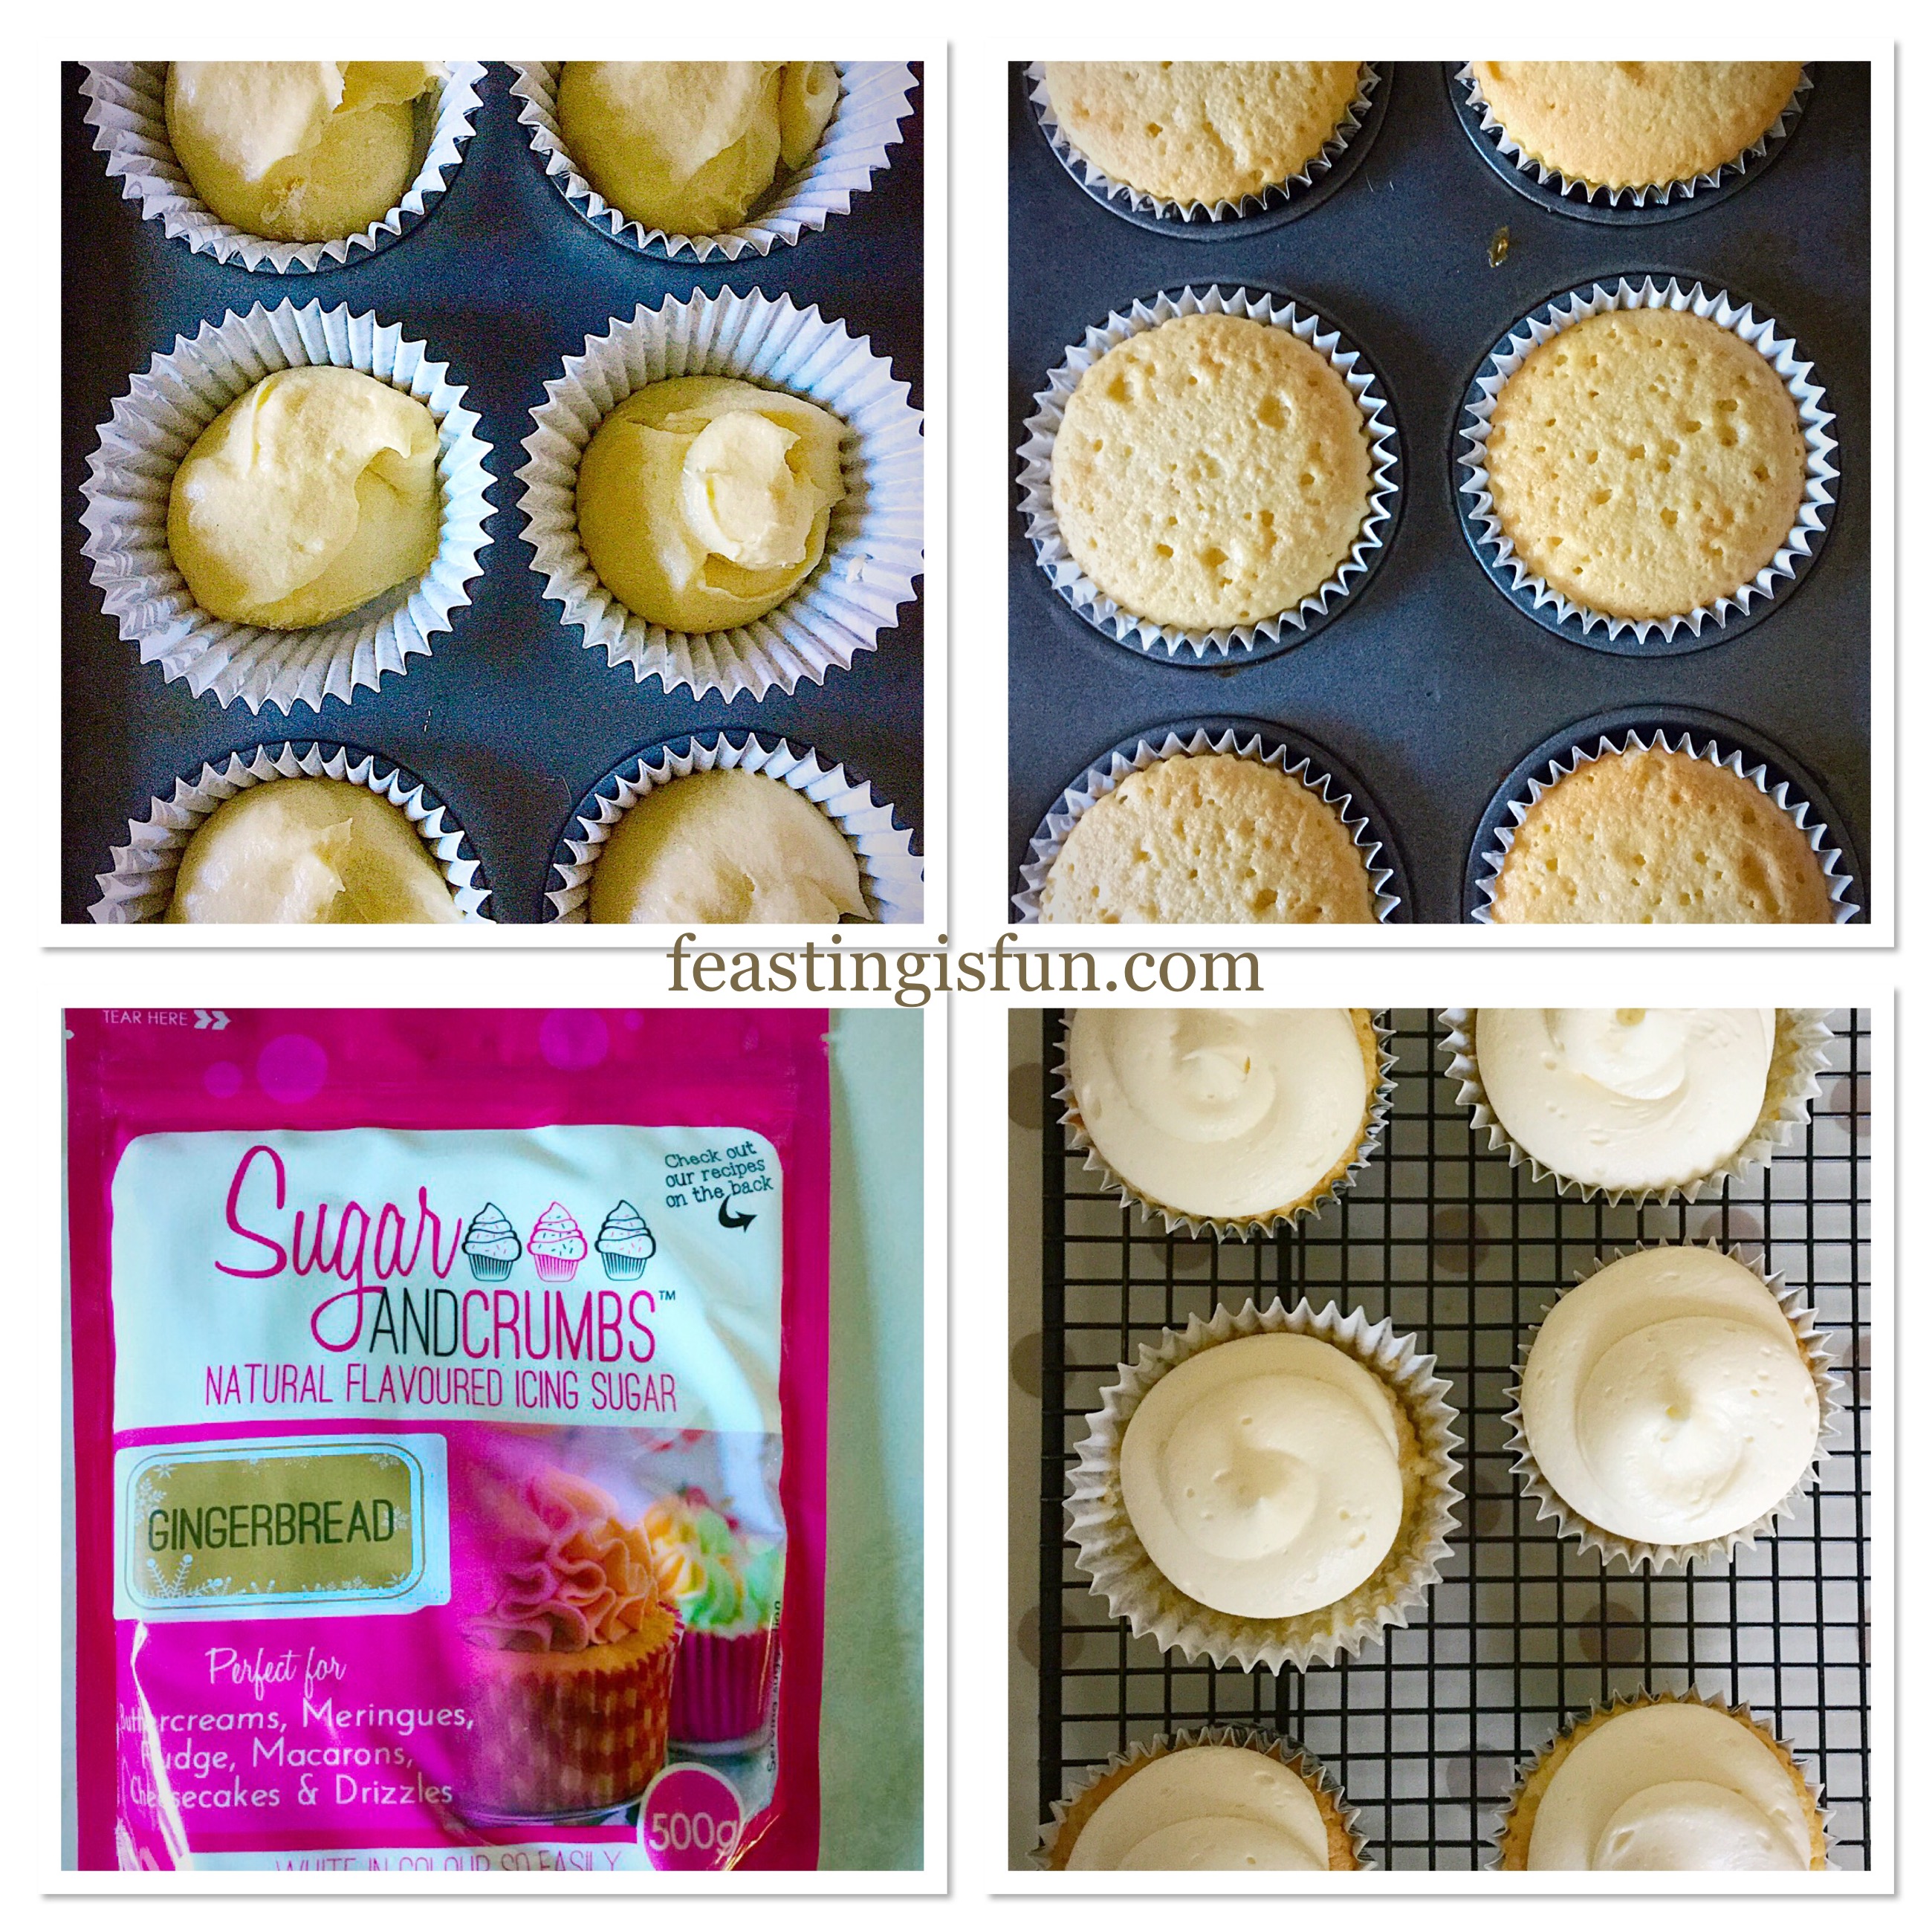
500g/1lb 2oz Gingerbread Natural Flavoured Icing Sugar from Sugar and Crumbs
alternatively use the same quantity regular icing sugar (confectioners sugar) and add 2tsp of ground ginger
250g/9oz Unsalted Butter softened
2tbsp Very Hot Water
Mini Gingerbread Men (made by Culpitt) and White Edible Glitter to decorate both available online from Amazon.
Preheat the oven to 160C/140C fan, gas mark 3, 325F.
Making and baking the cupcakes:
- First of all, line a cupcake tin with 12 deep cupcake/muffin cases
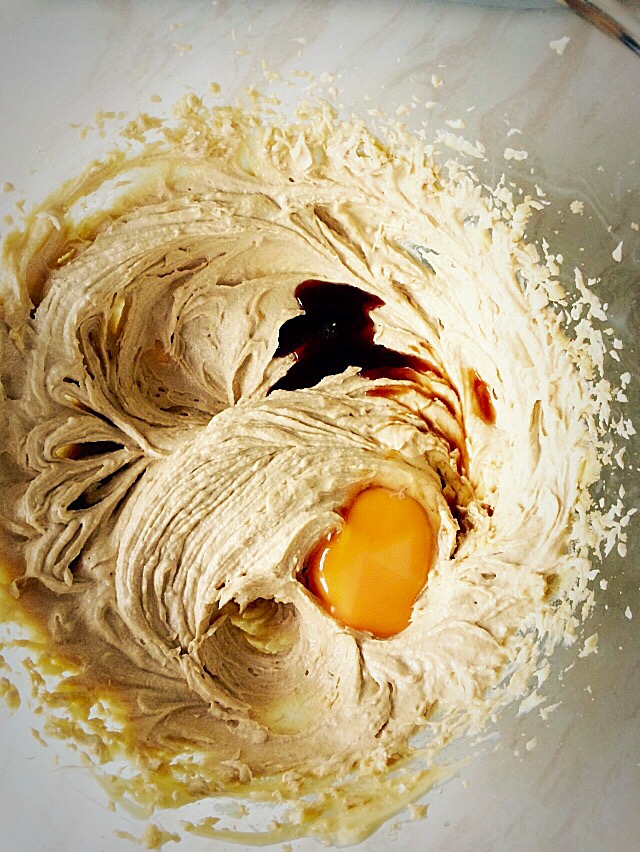
- Next, in a large bowl add the butter, sugar and salt. Whisk, gradually increasing the speed, until pale and creamy.
- Now add the vanilla extract and whisk until fully incorporated.
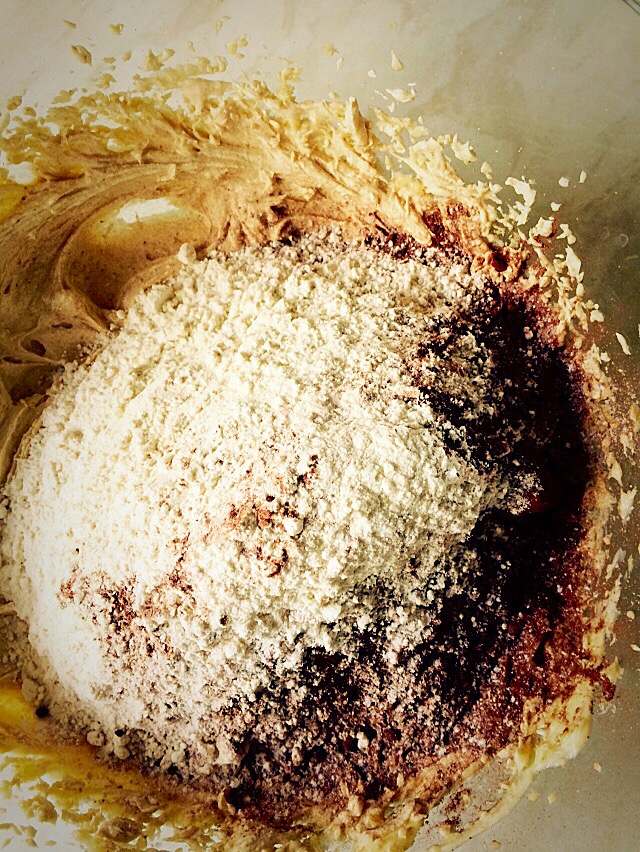
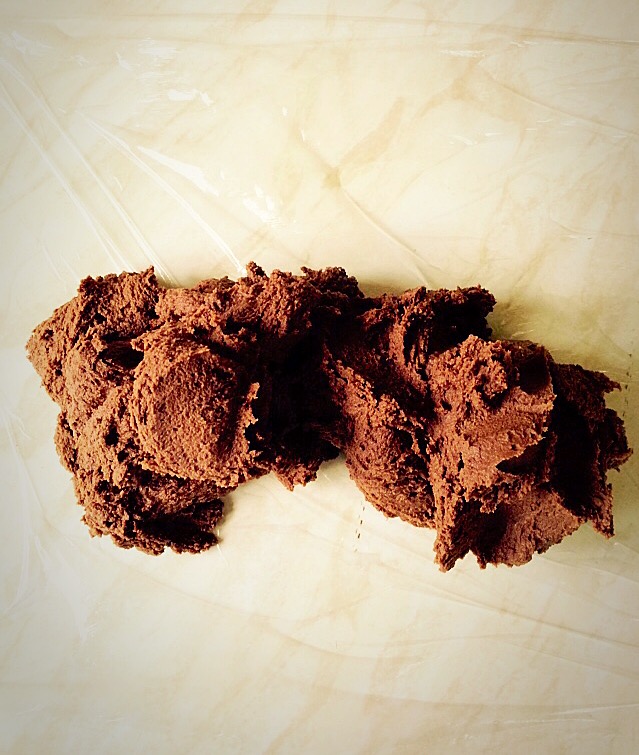
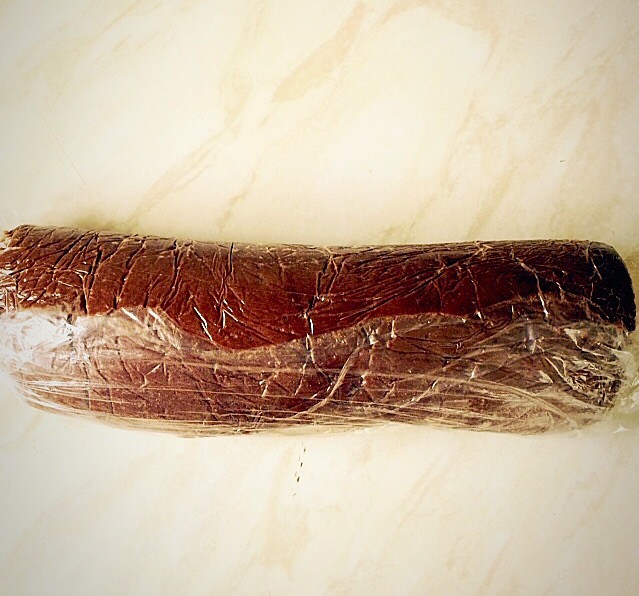
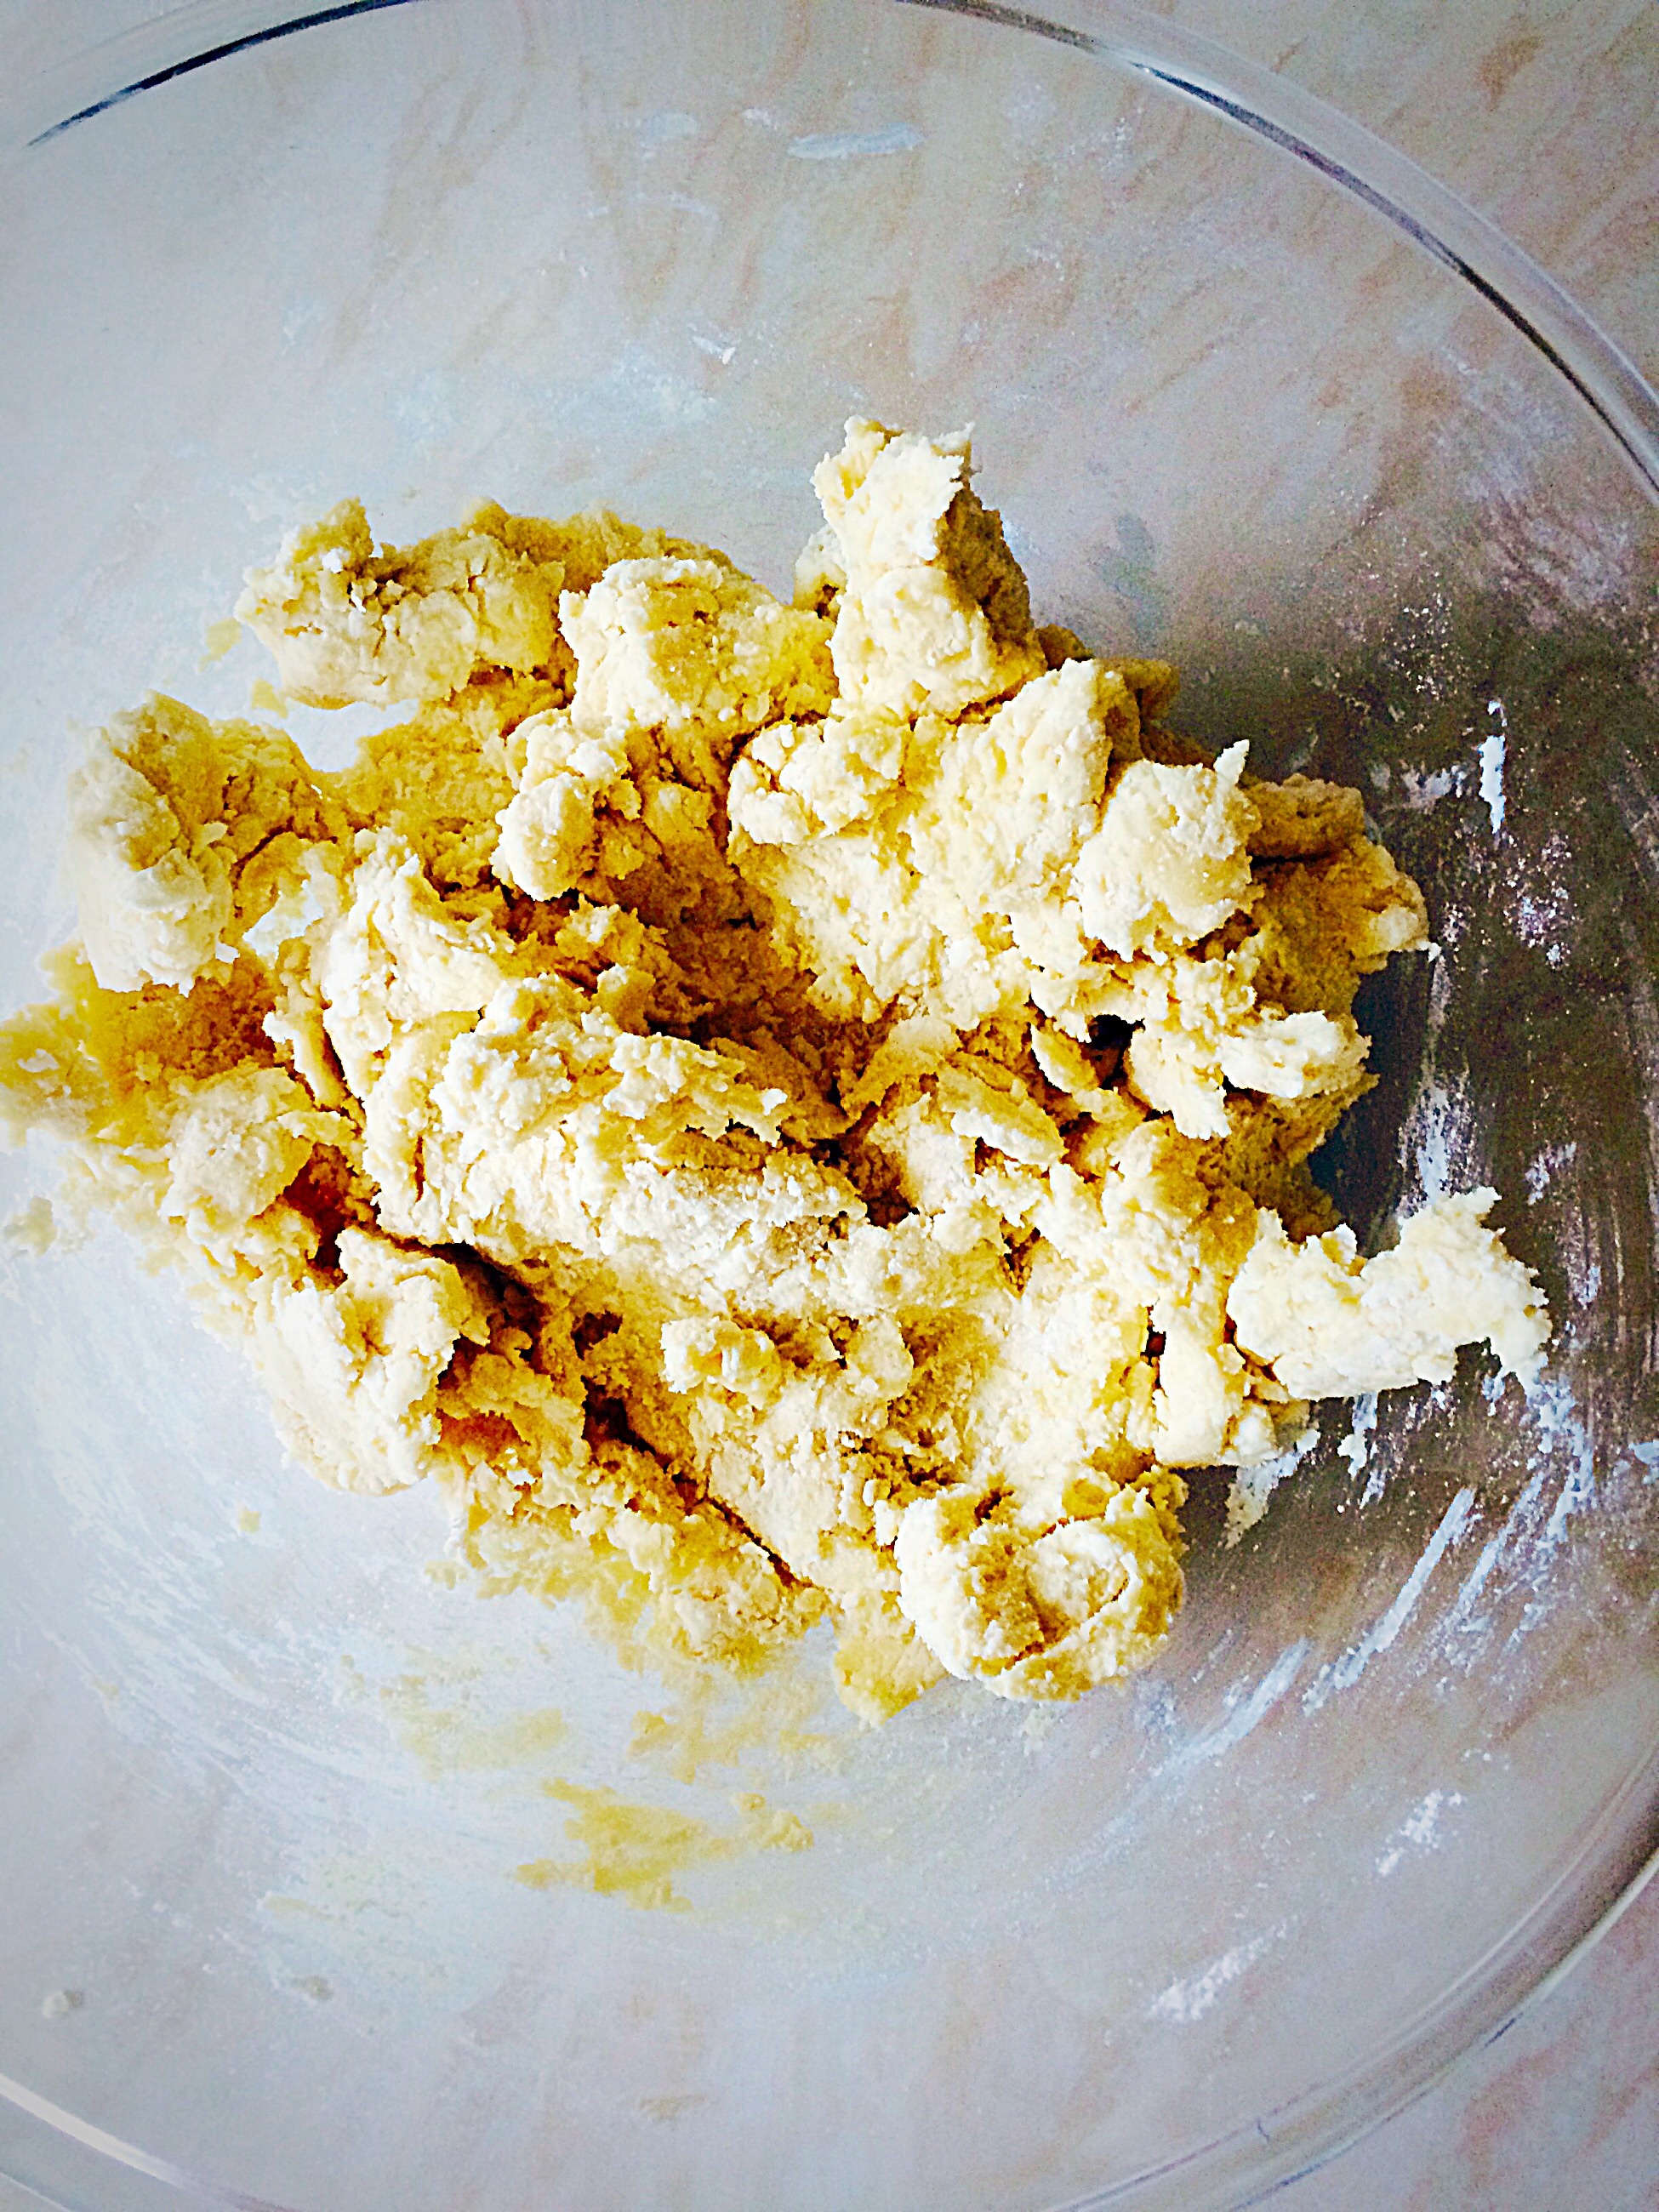
- Into the bowl add the eggs and sift in the flour, baking powder and ground ginger. Then mix together until just combined. Over mixing can result in a tough, not light and airy, cupcake.
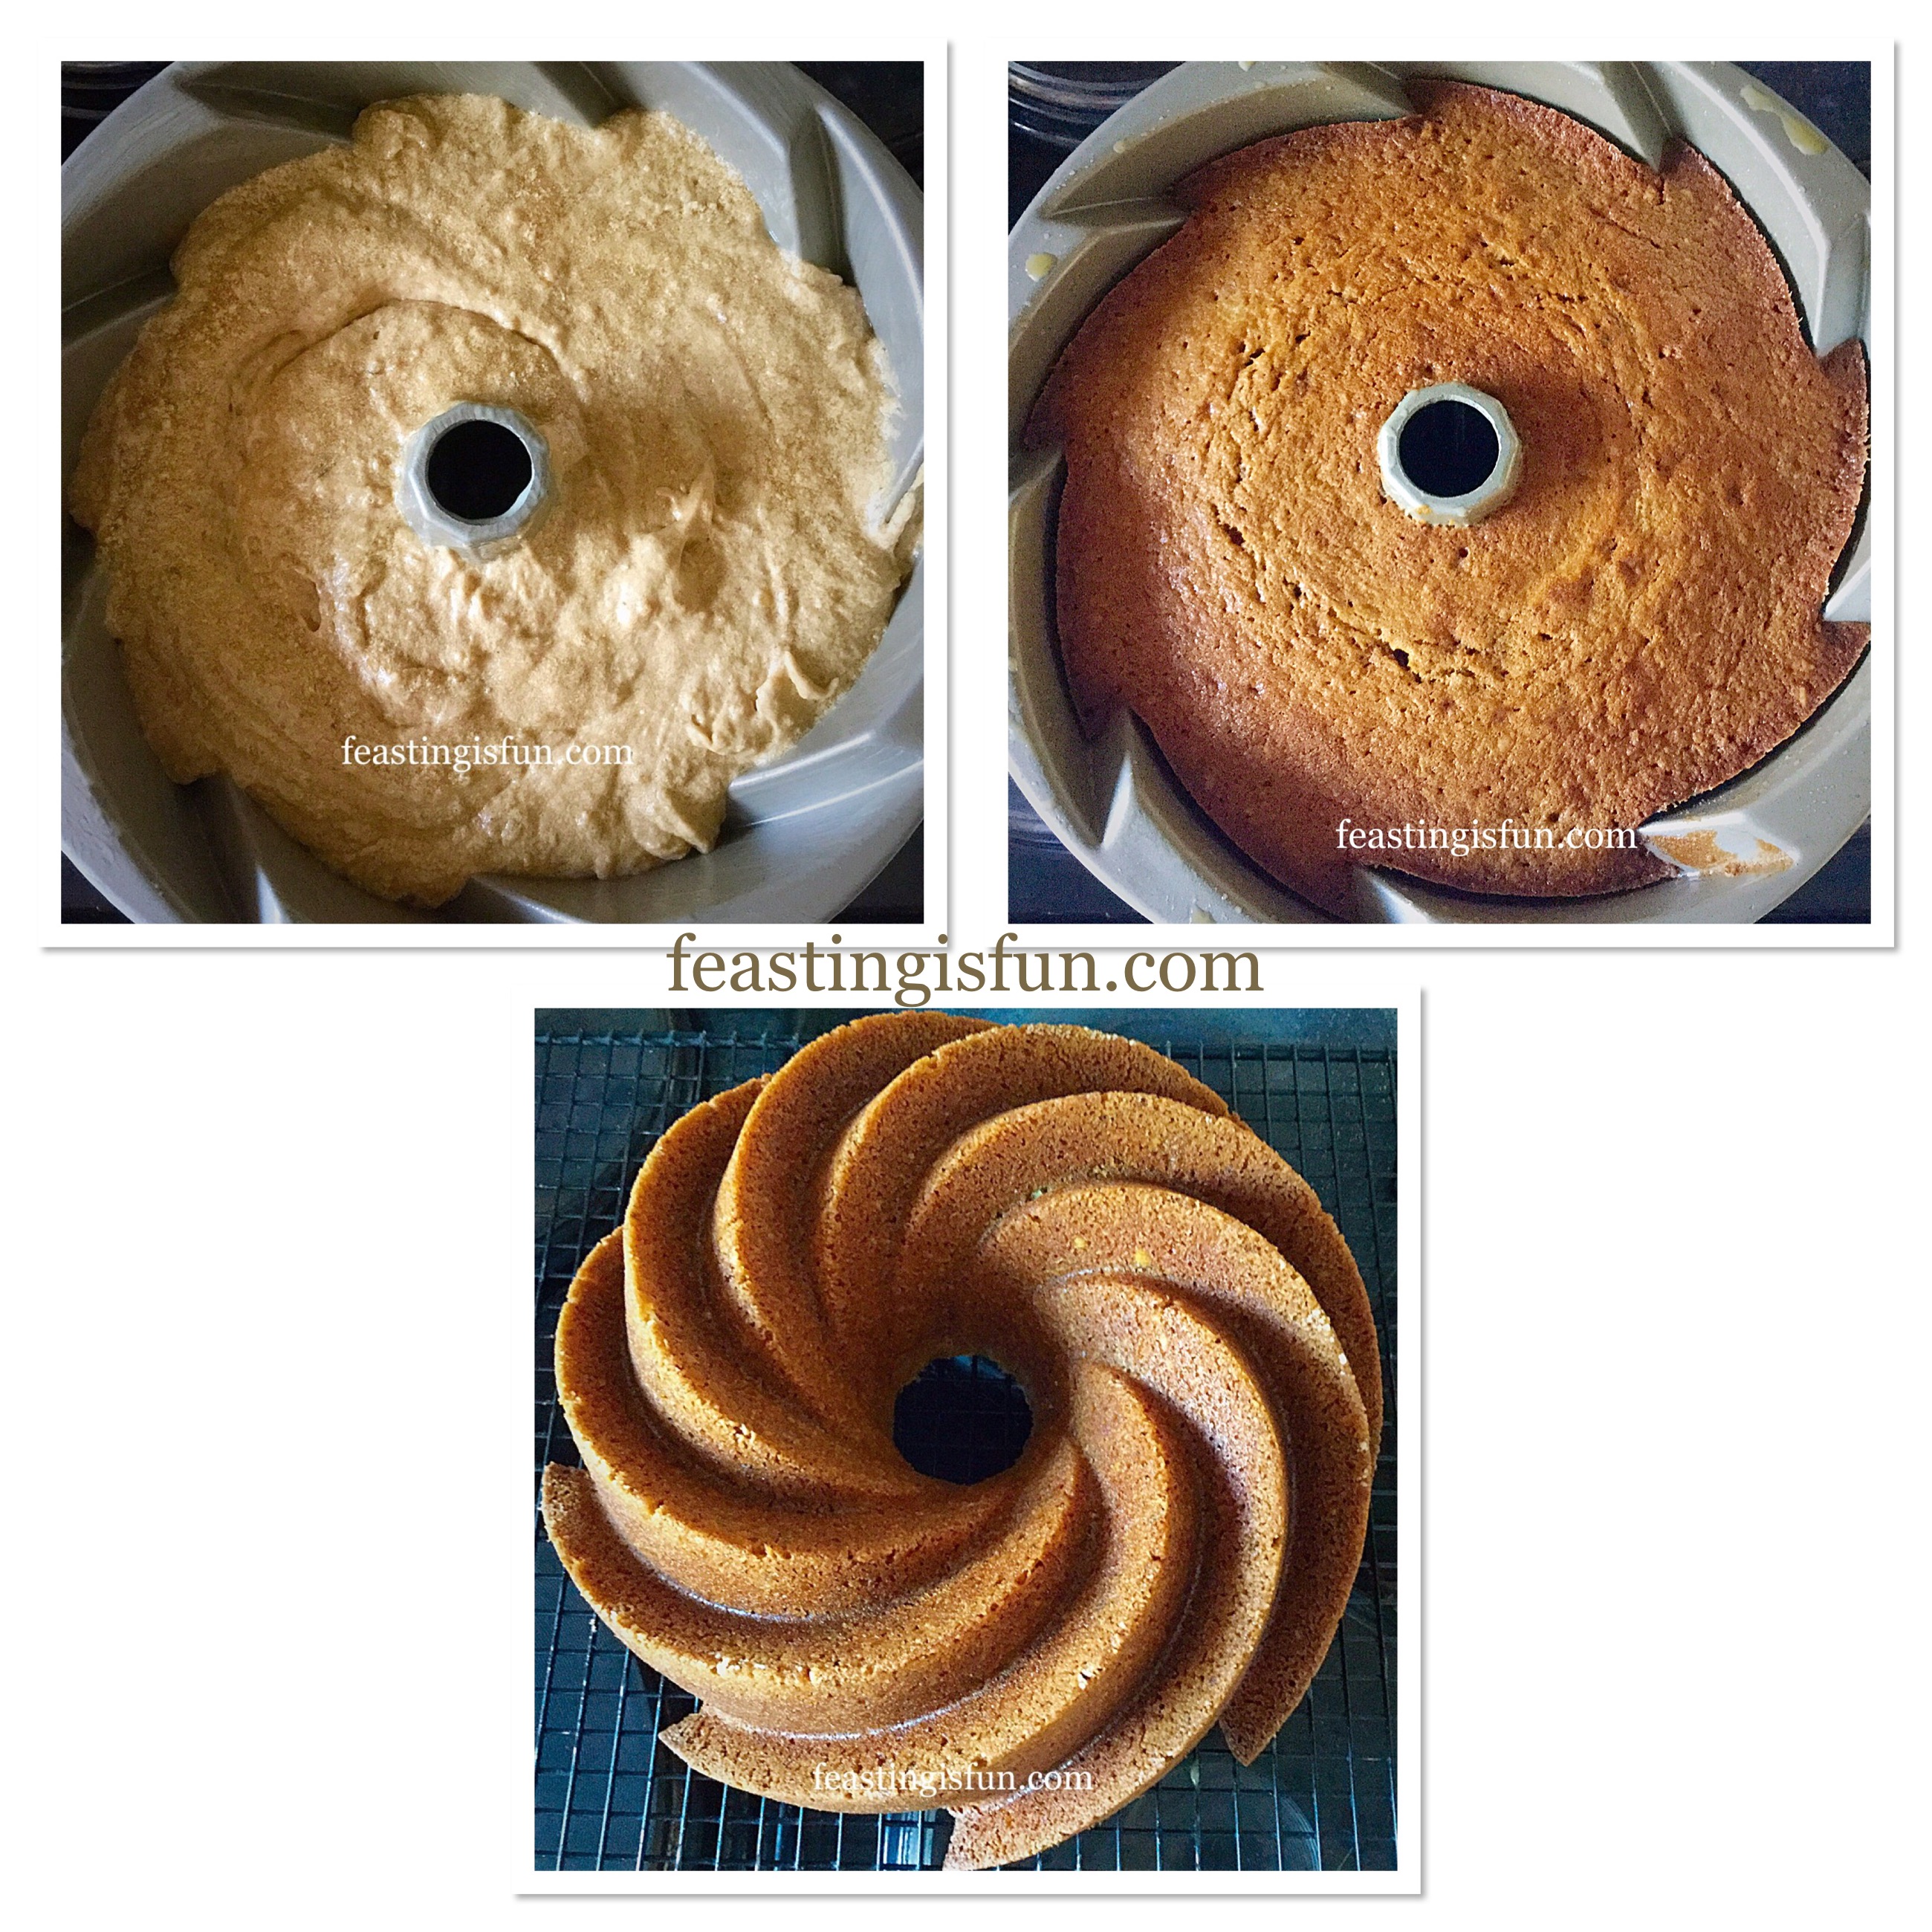
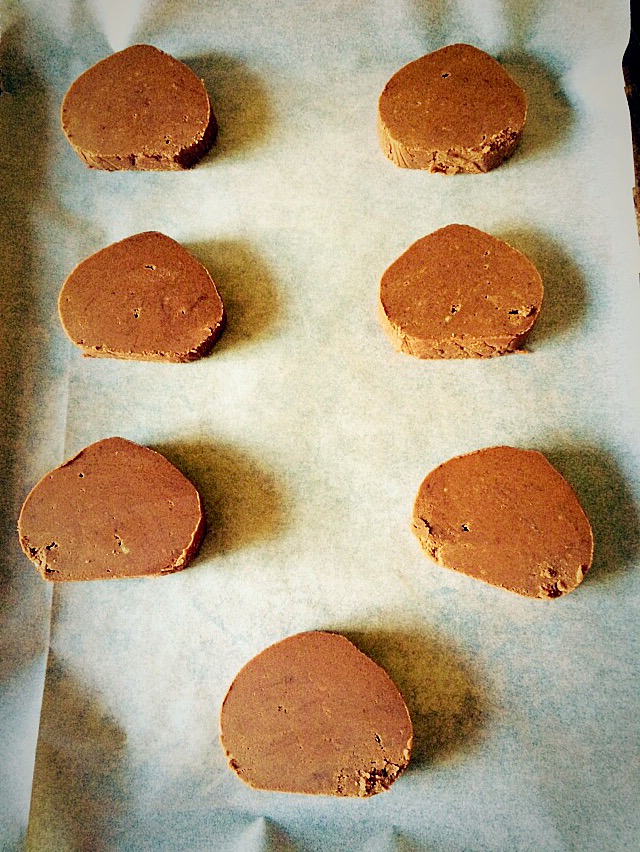
- Spoon the cake batter into the cupcake cases, taking care to ensure that they are evenly filled.
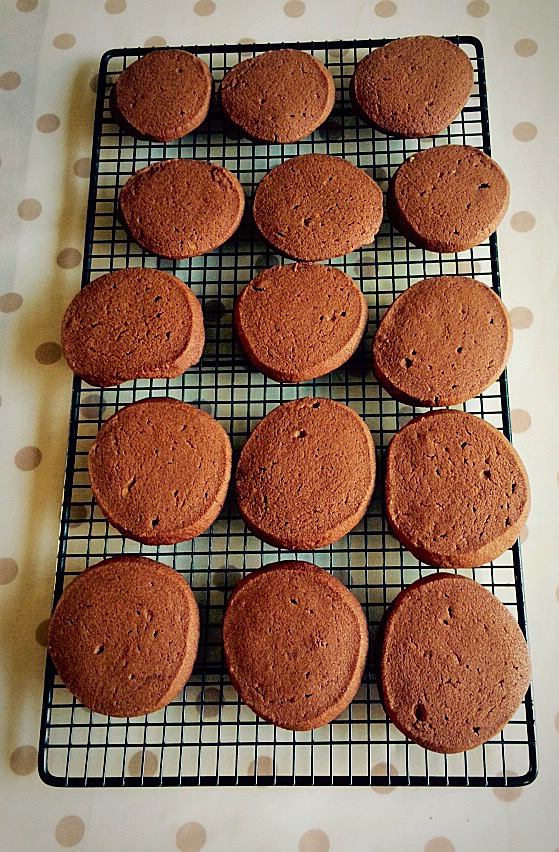
- Place the tin into the centre of the preheated oven and bake for 40-45 minutes. Once baked each cupcake will spring back from a light touch. The cupcakes will be soft and fairly pale, this is because they have been cooked at a low heat to ensure a flat top.
- As soon as the cupcakes are baked from the oven. Carefully take each cupcake out of the tin and place on a cooling rack. Allow the cupcakes to cool completely before icing.
Making the frosting and decorating the cupcakes:
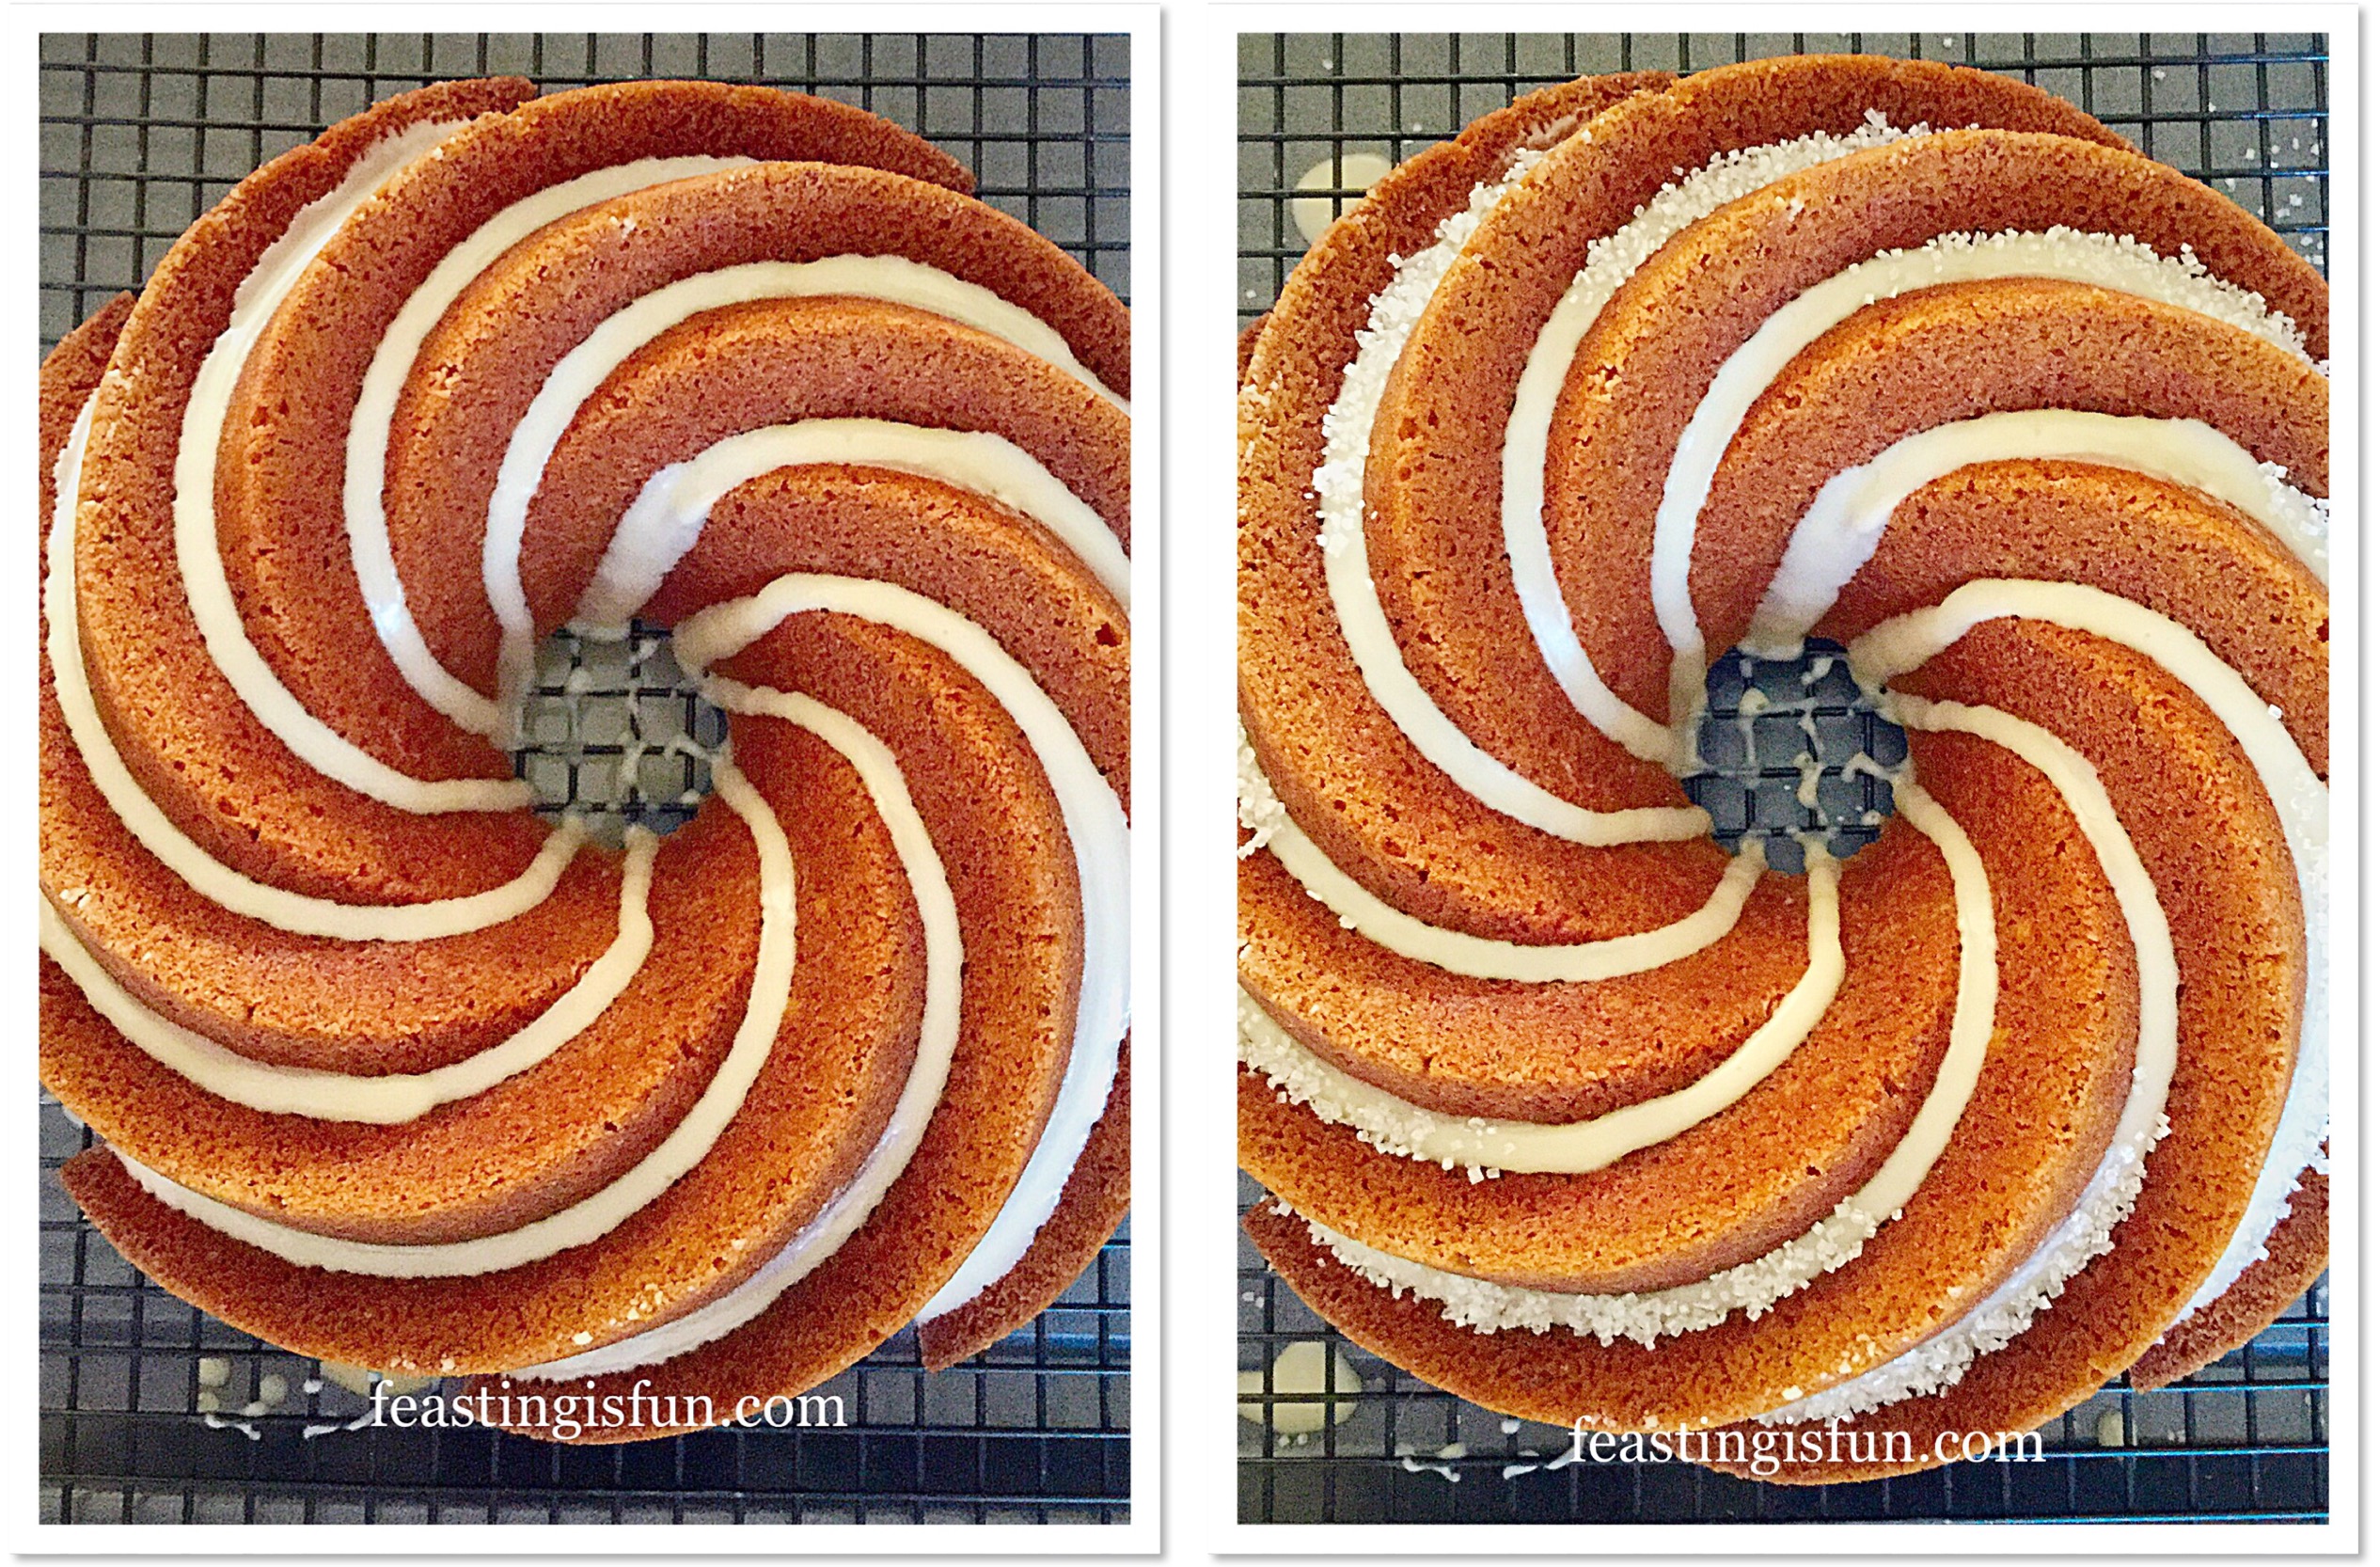
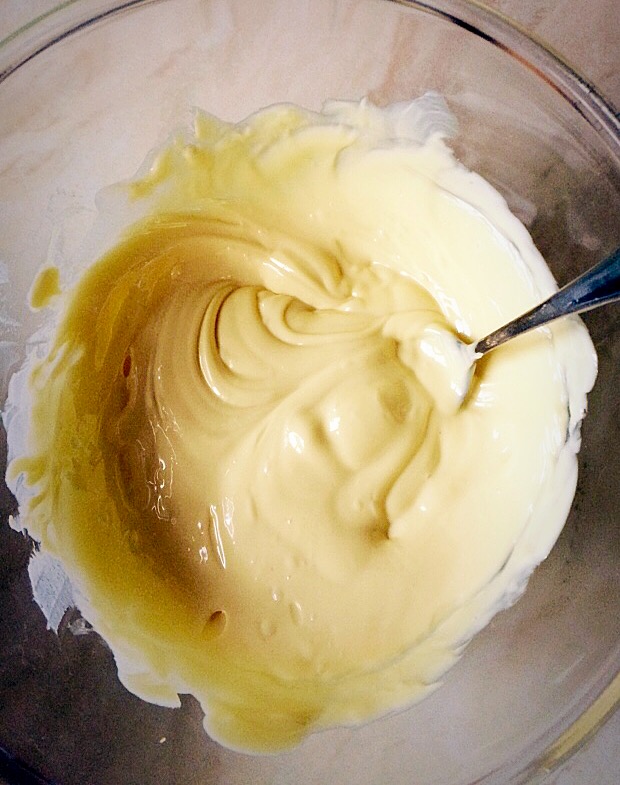
- So, to make the icing; place the softened butter into a large bowl and sift the icing sugar on top of it. Next add 2 tablespoons of very hot water from a recently boiled kettle. Whisk, starting on a very slow speed and gradually increasing to a high speed. Continue until the icing is very light and creamy.
- Fit an icing bag with a Wilton round piping tip #12, or use a large disposable piping bag. Fill the bag with the whipped, gingerbread frosting. If using a disposable bag without a tip, snip off the end to leave a 7mm diameter hole – approximately.
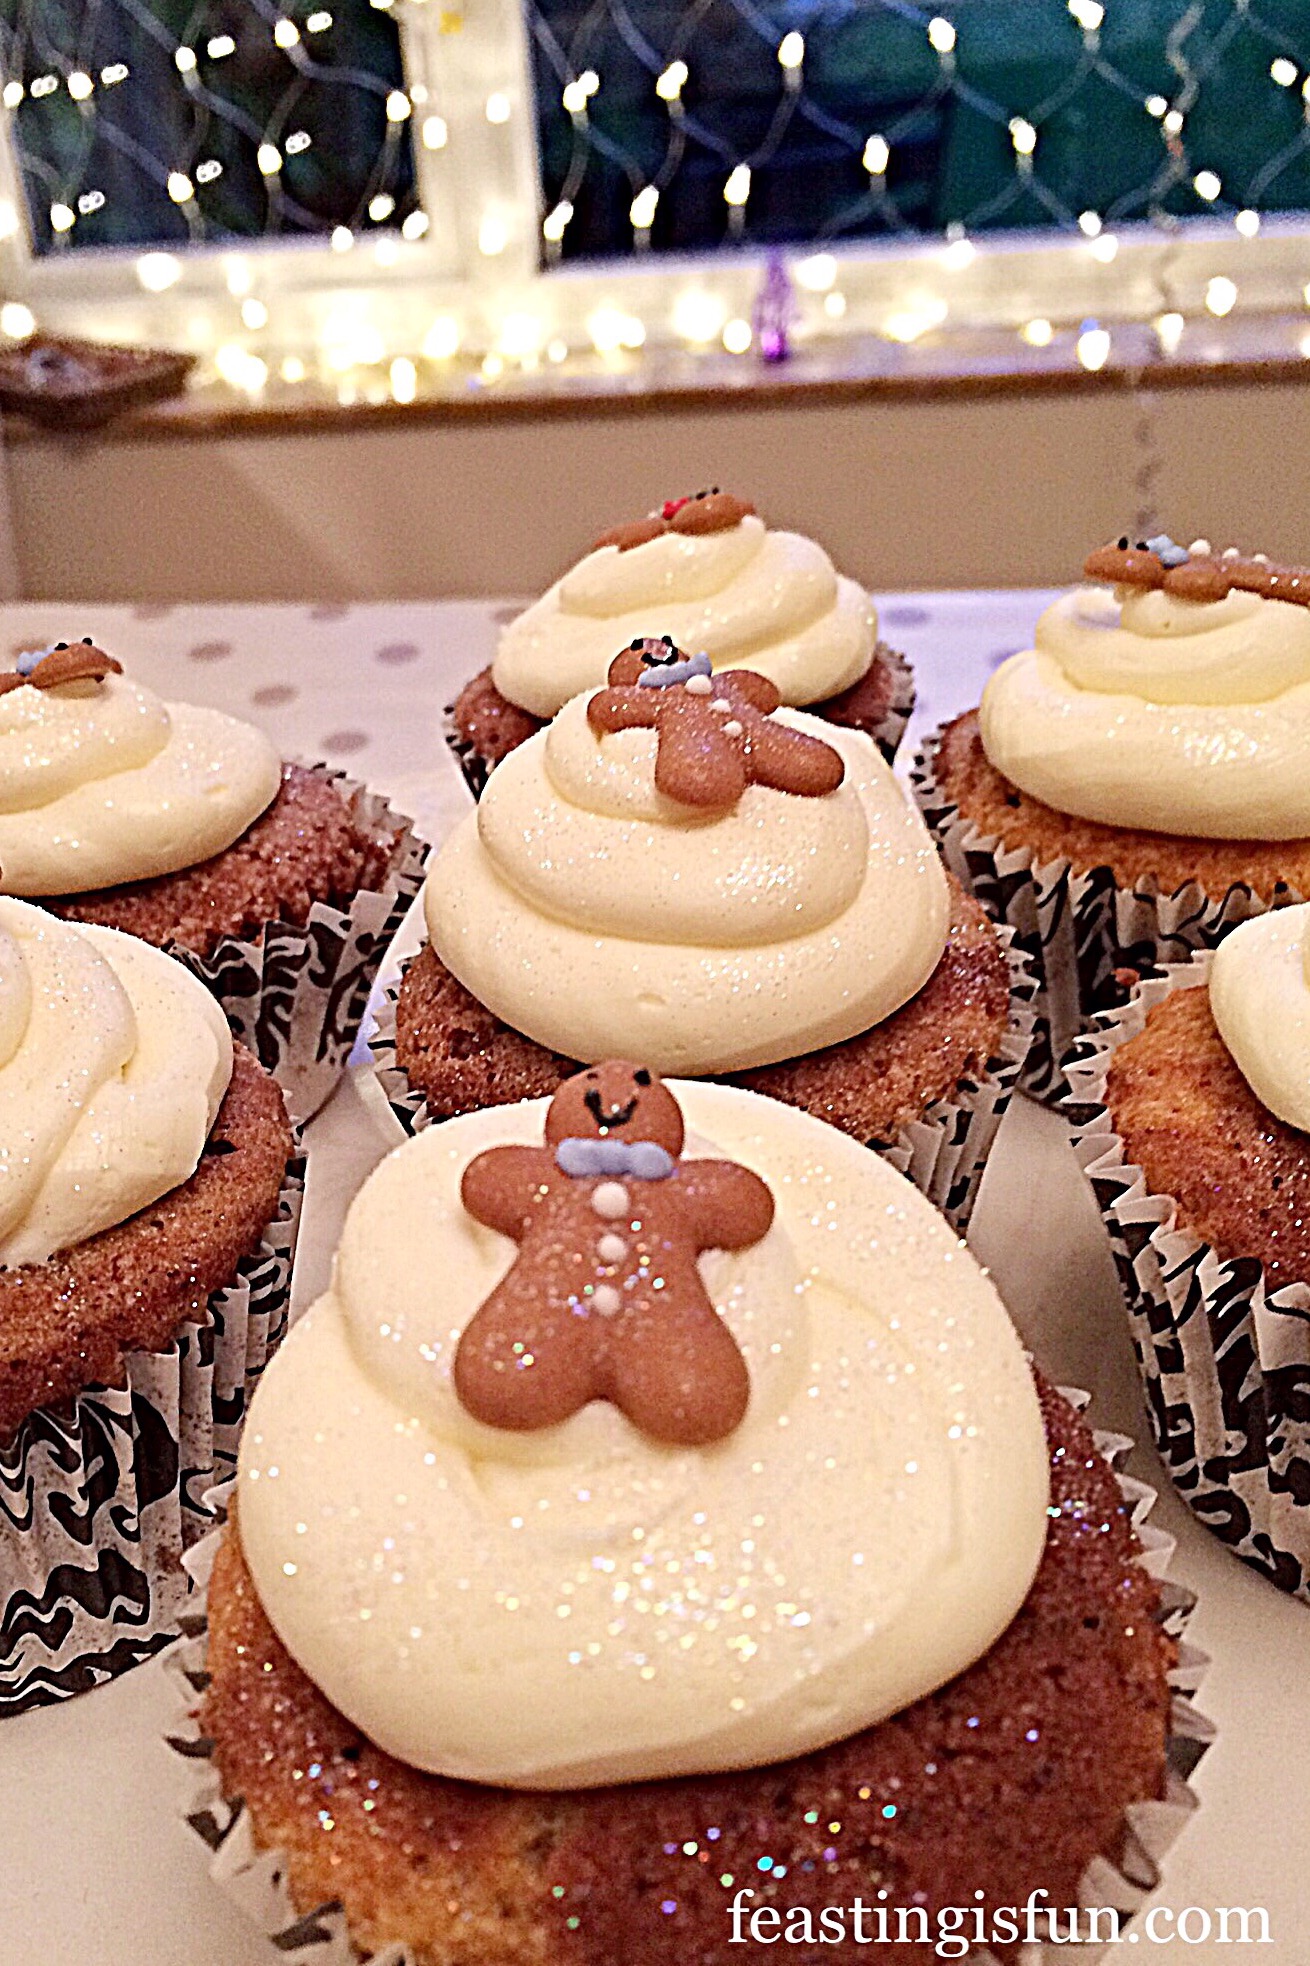
- Check the cupcakes to ensure they are completely cooled, then begin piping the frosting. Keeping an even pressure on the bag pipe a double swirl. One on top of the other, pressing down in the centre before pulling away at the end.
- Continue piping until all of the cupcakes are frosted.
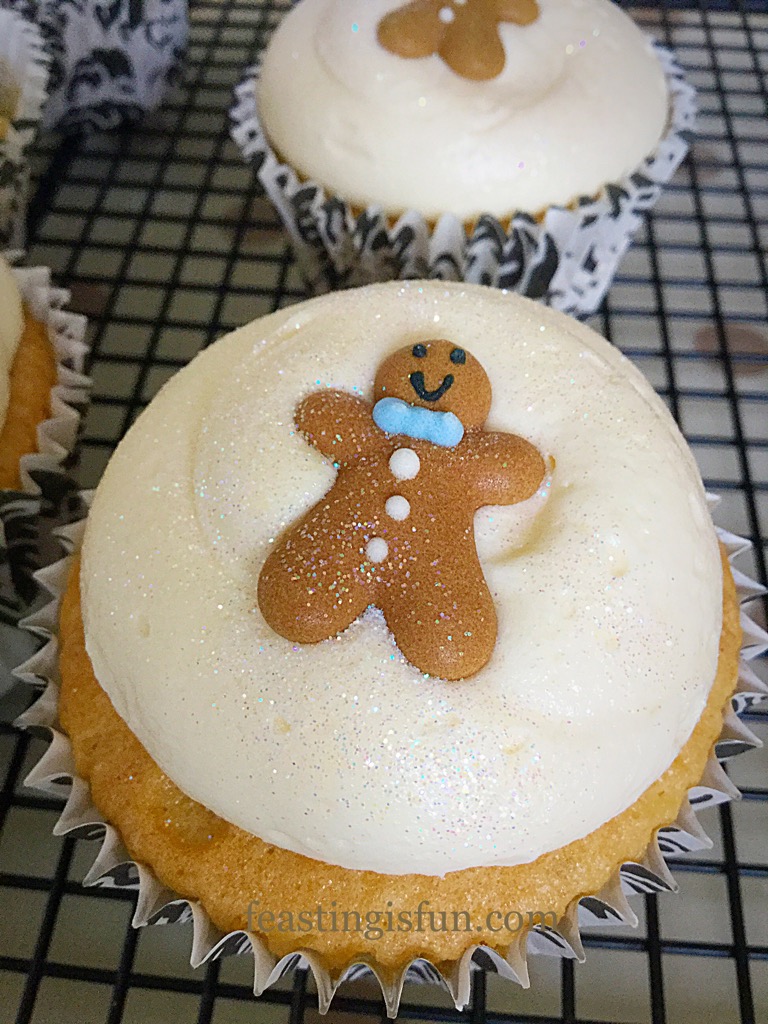
- Place a gingerbread man or woman in the centre of the frosting.
- Finally, finish by sprinkling each cupcake with a dusting of edible glitter.
Store the cupcakes in an airtight container. They will keep for up to 4 days, however, you’ll be lucky if they last that long, unless you hide them 😉.
Serve each cupcake with a smile.
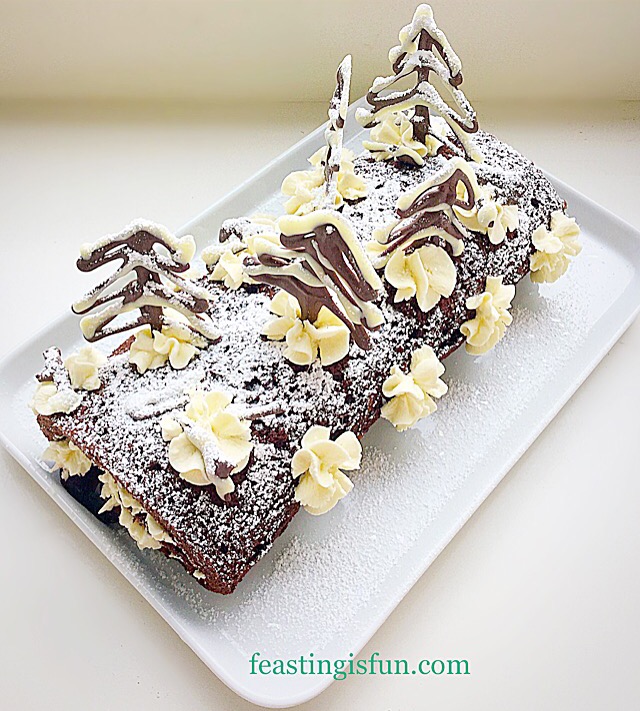
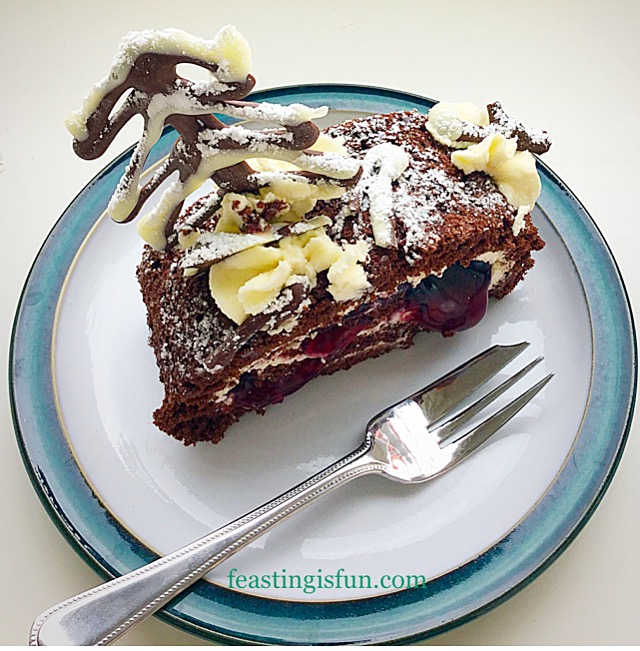
If you have enjoyed this recipe for Gingerbread Frosted Ginger Christmas Cupcakes here are some other festive recipe you may like:
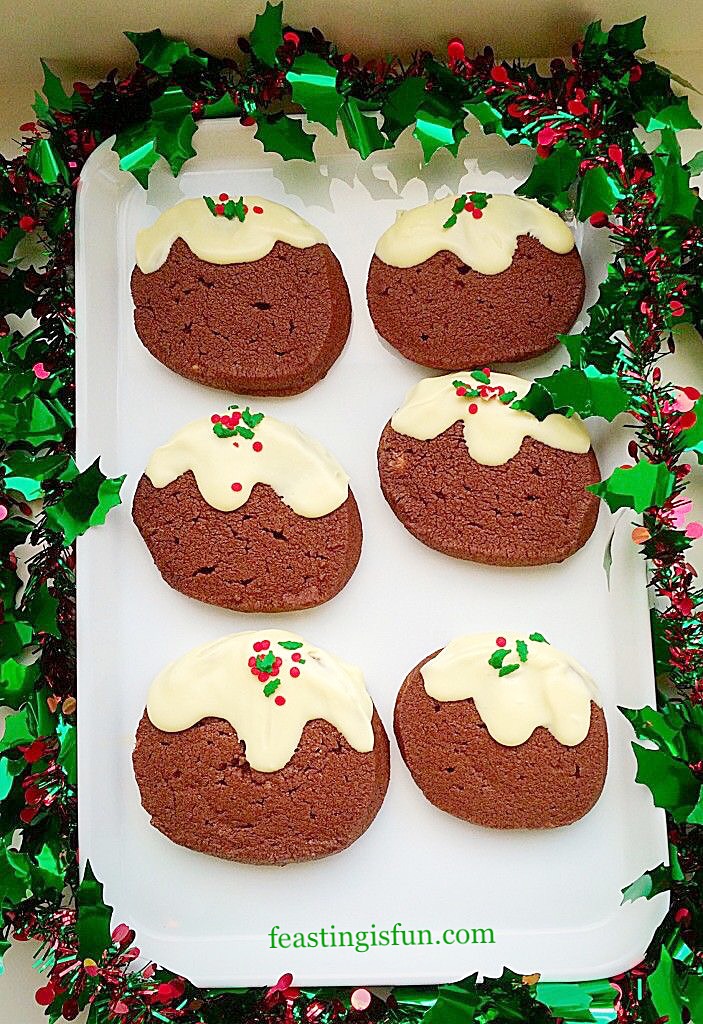
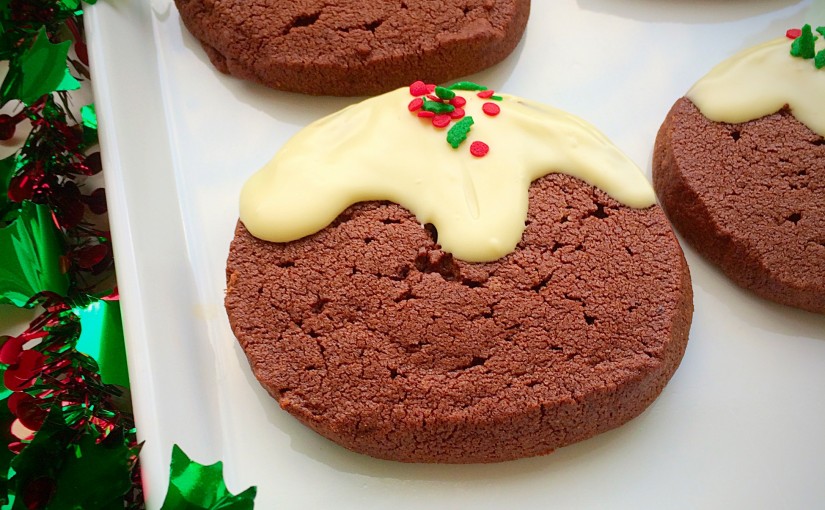
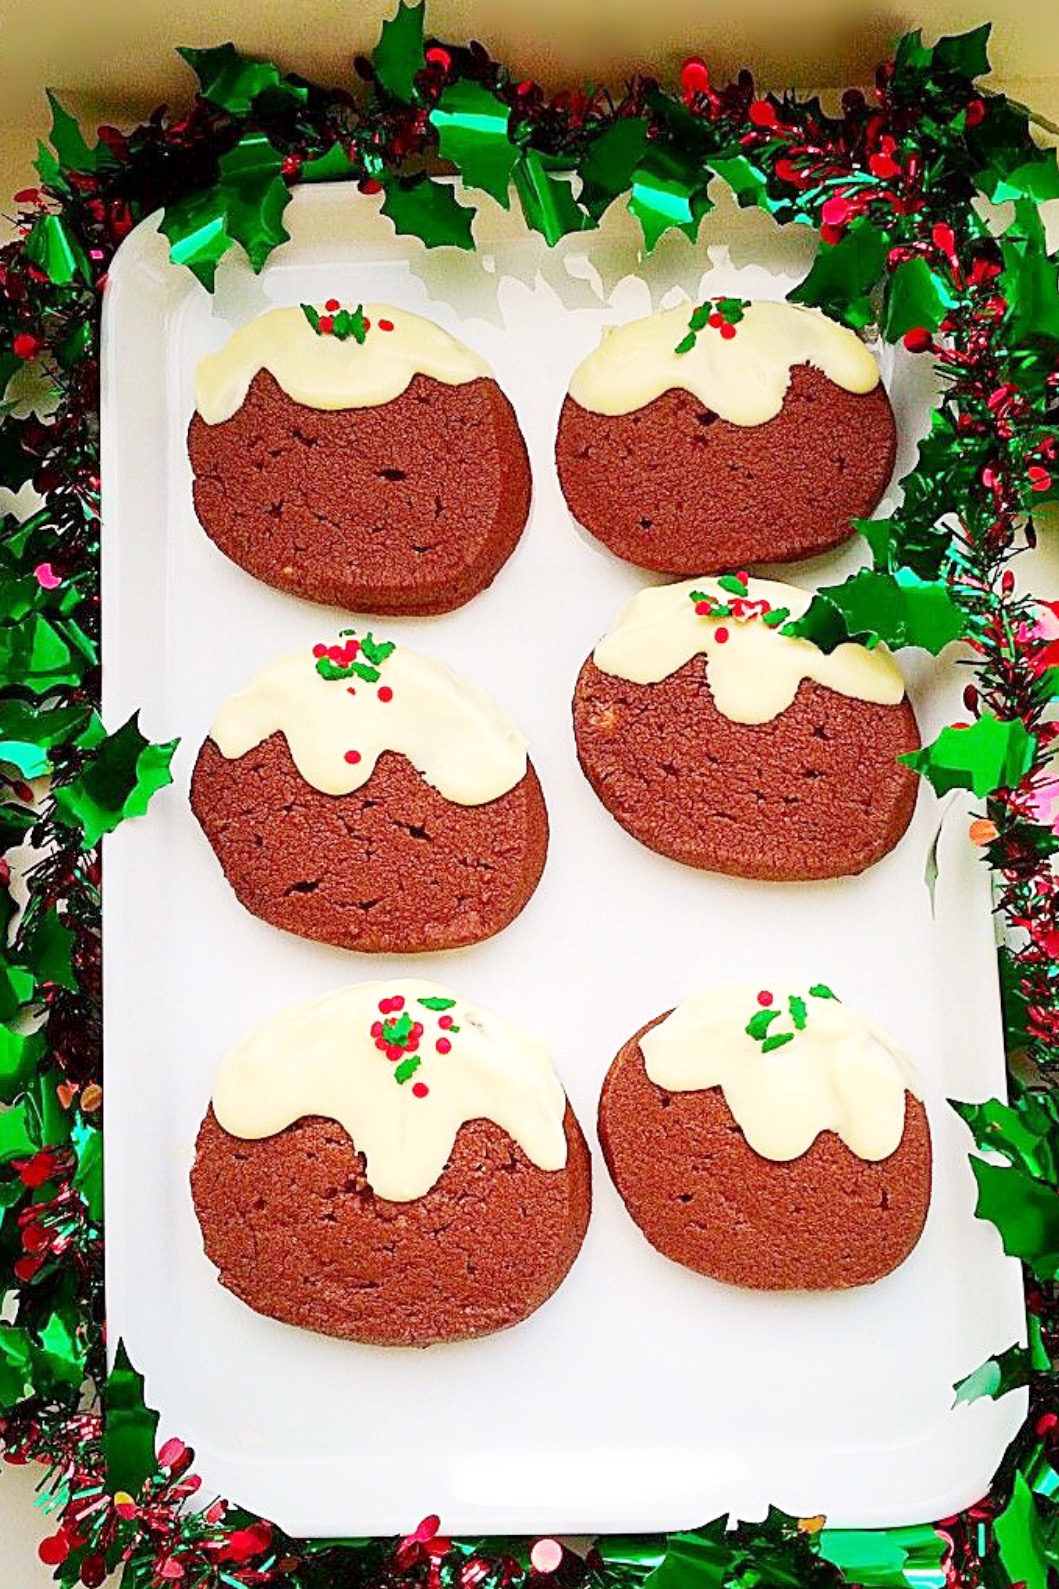
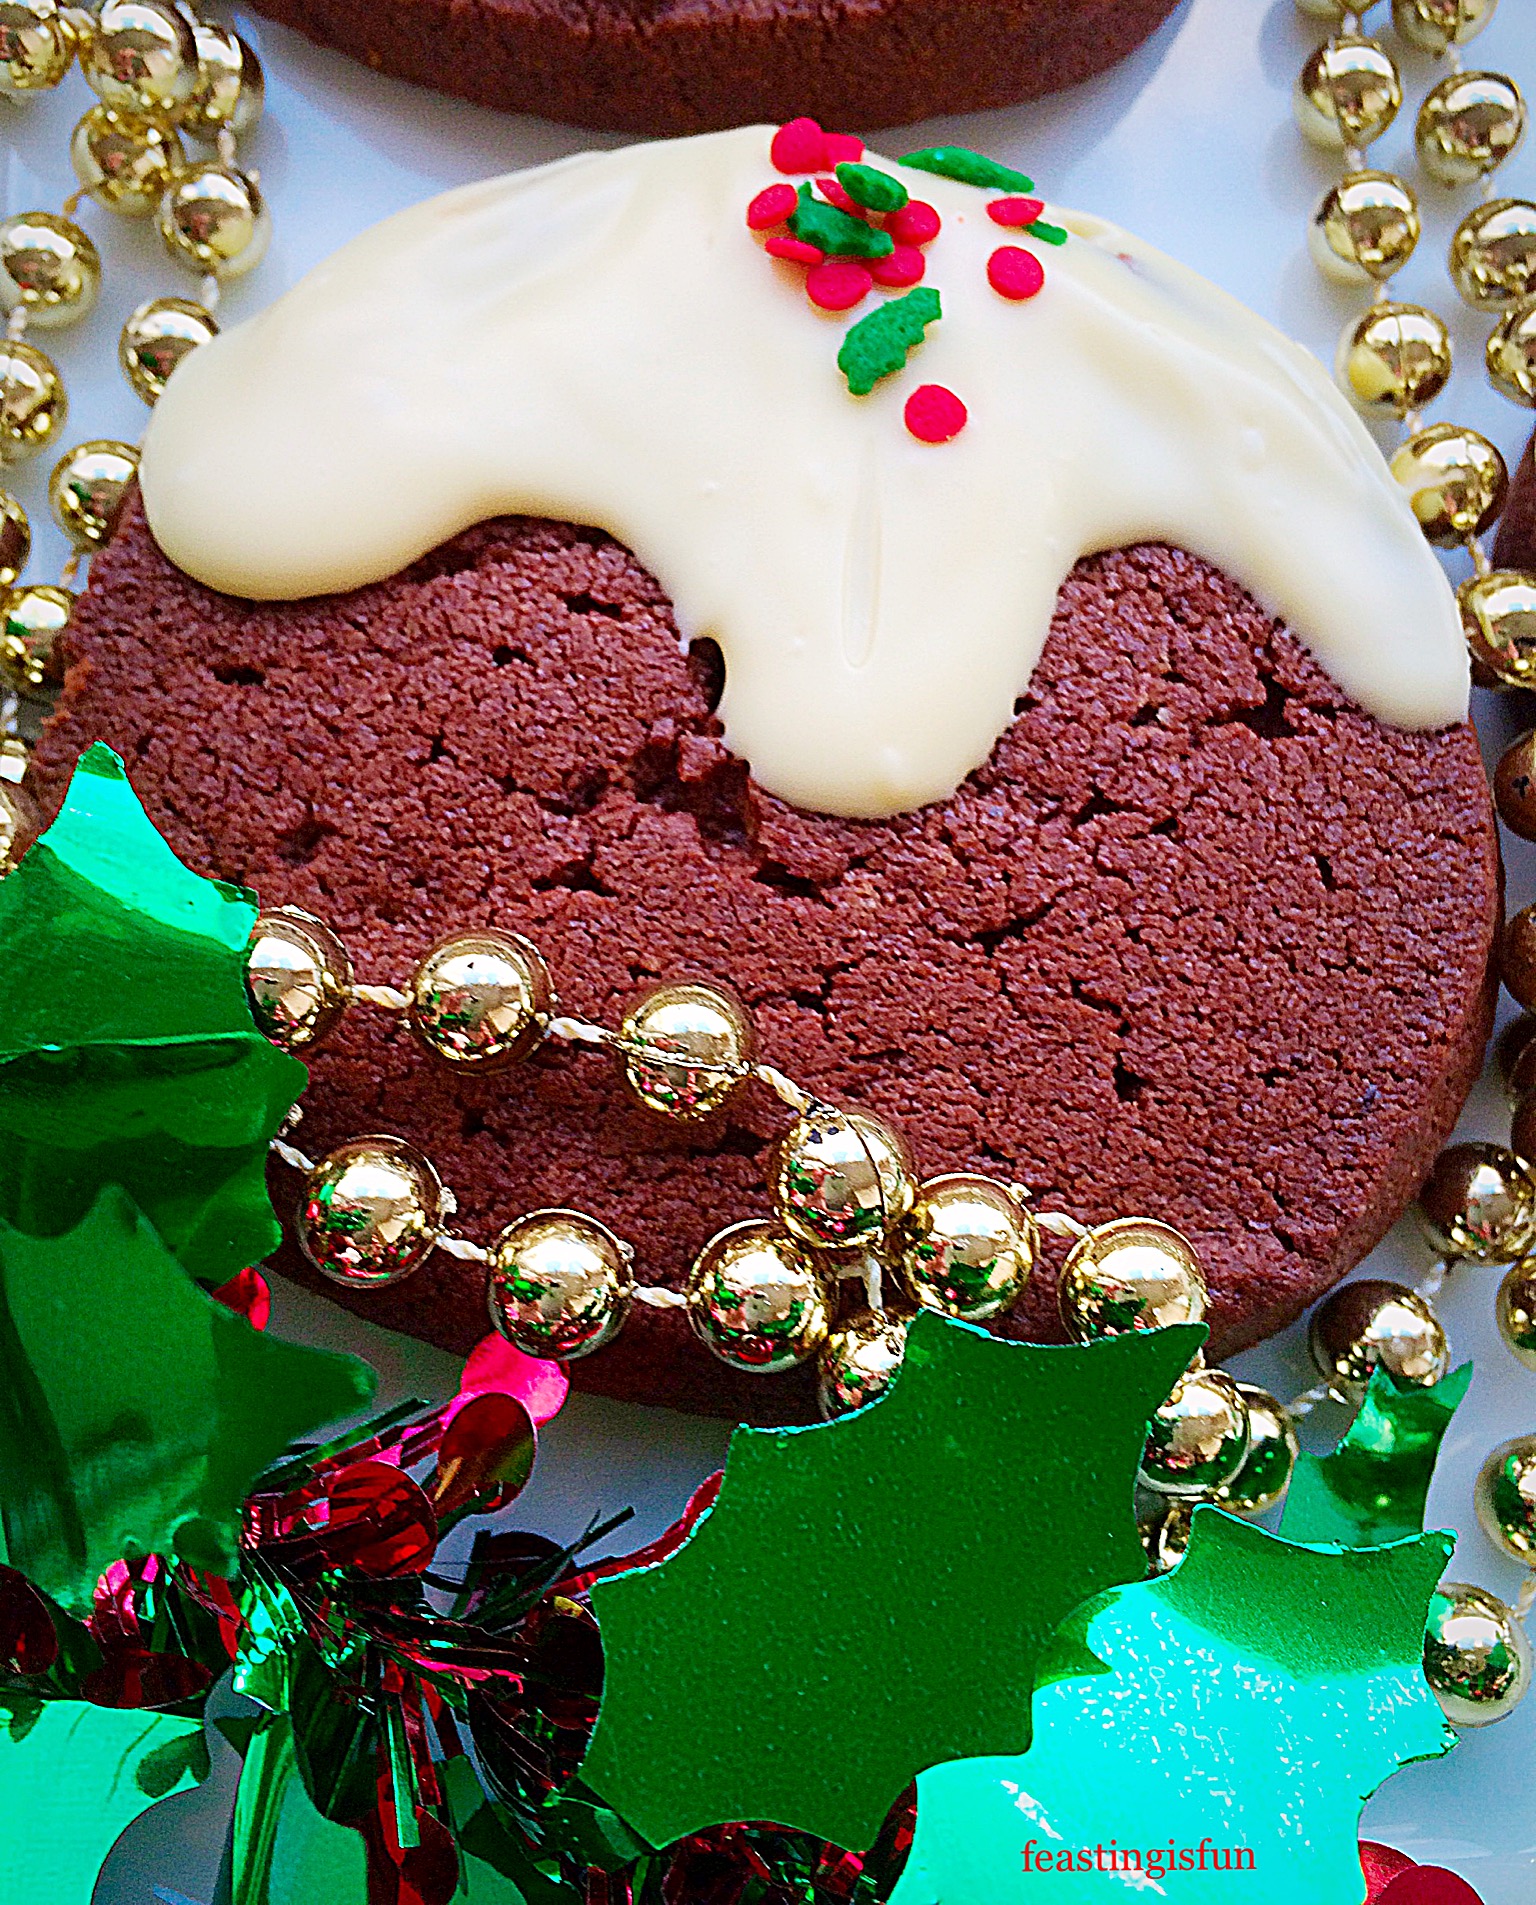
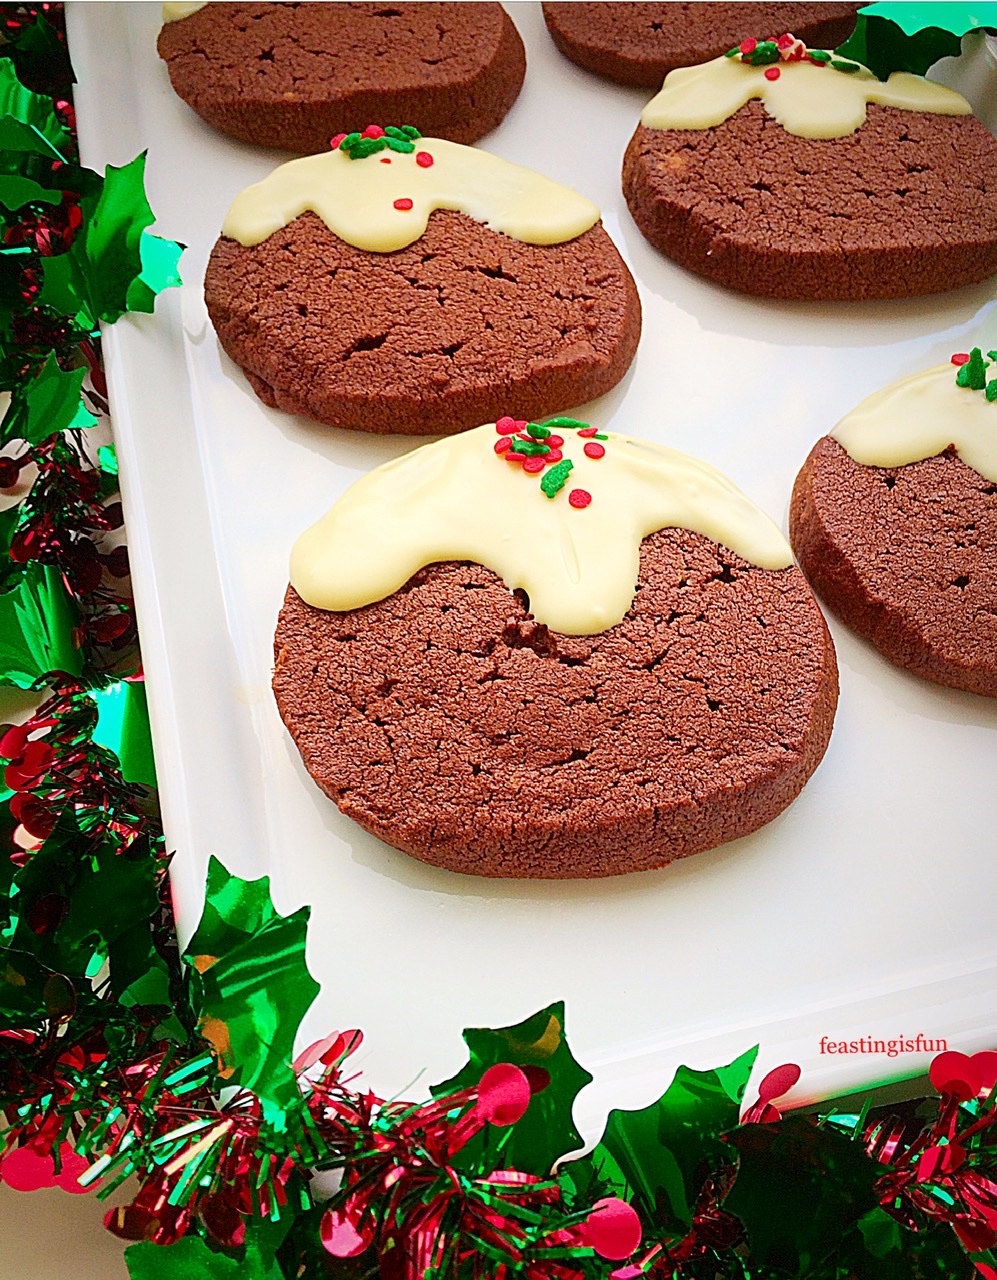
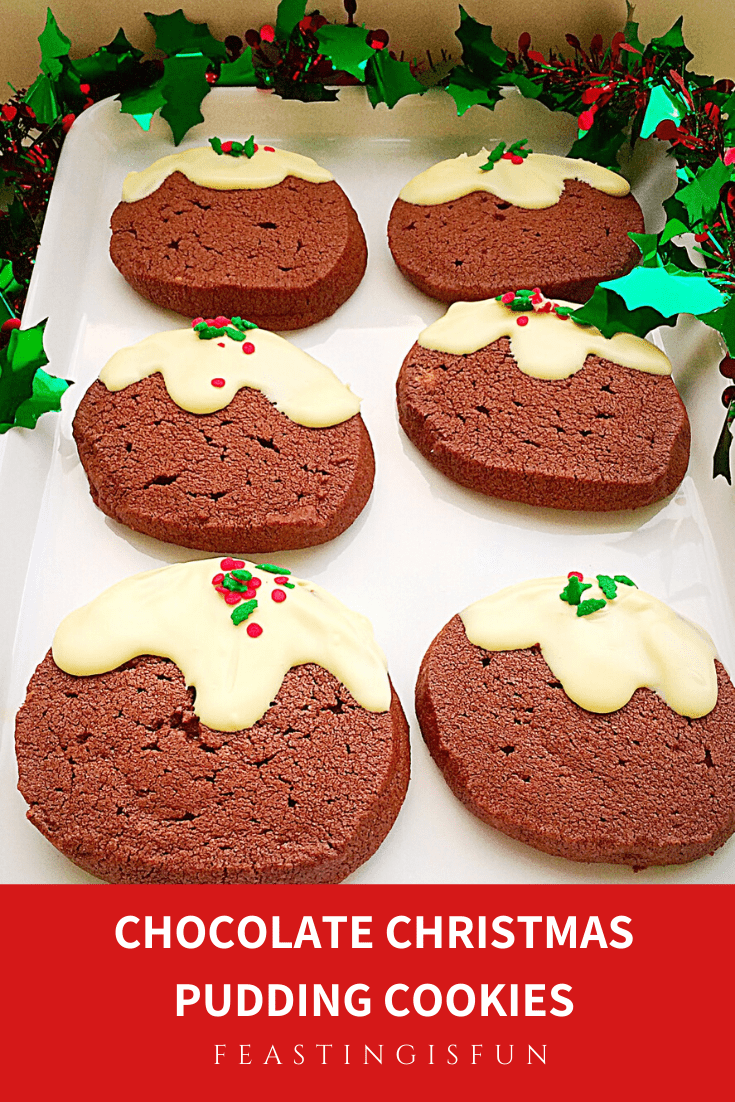
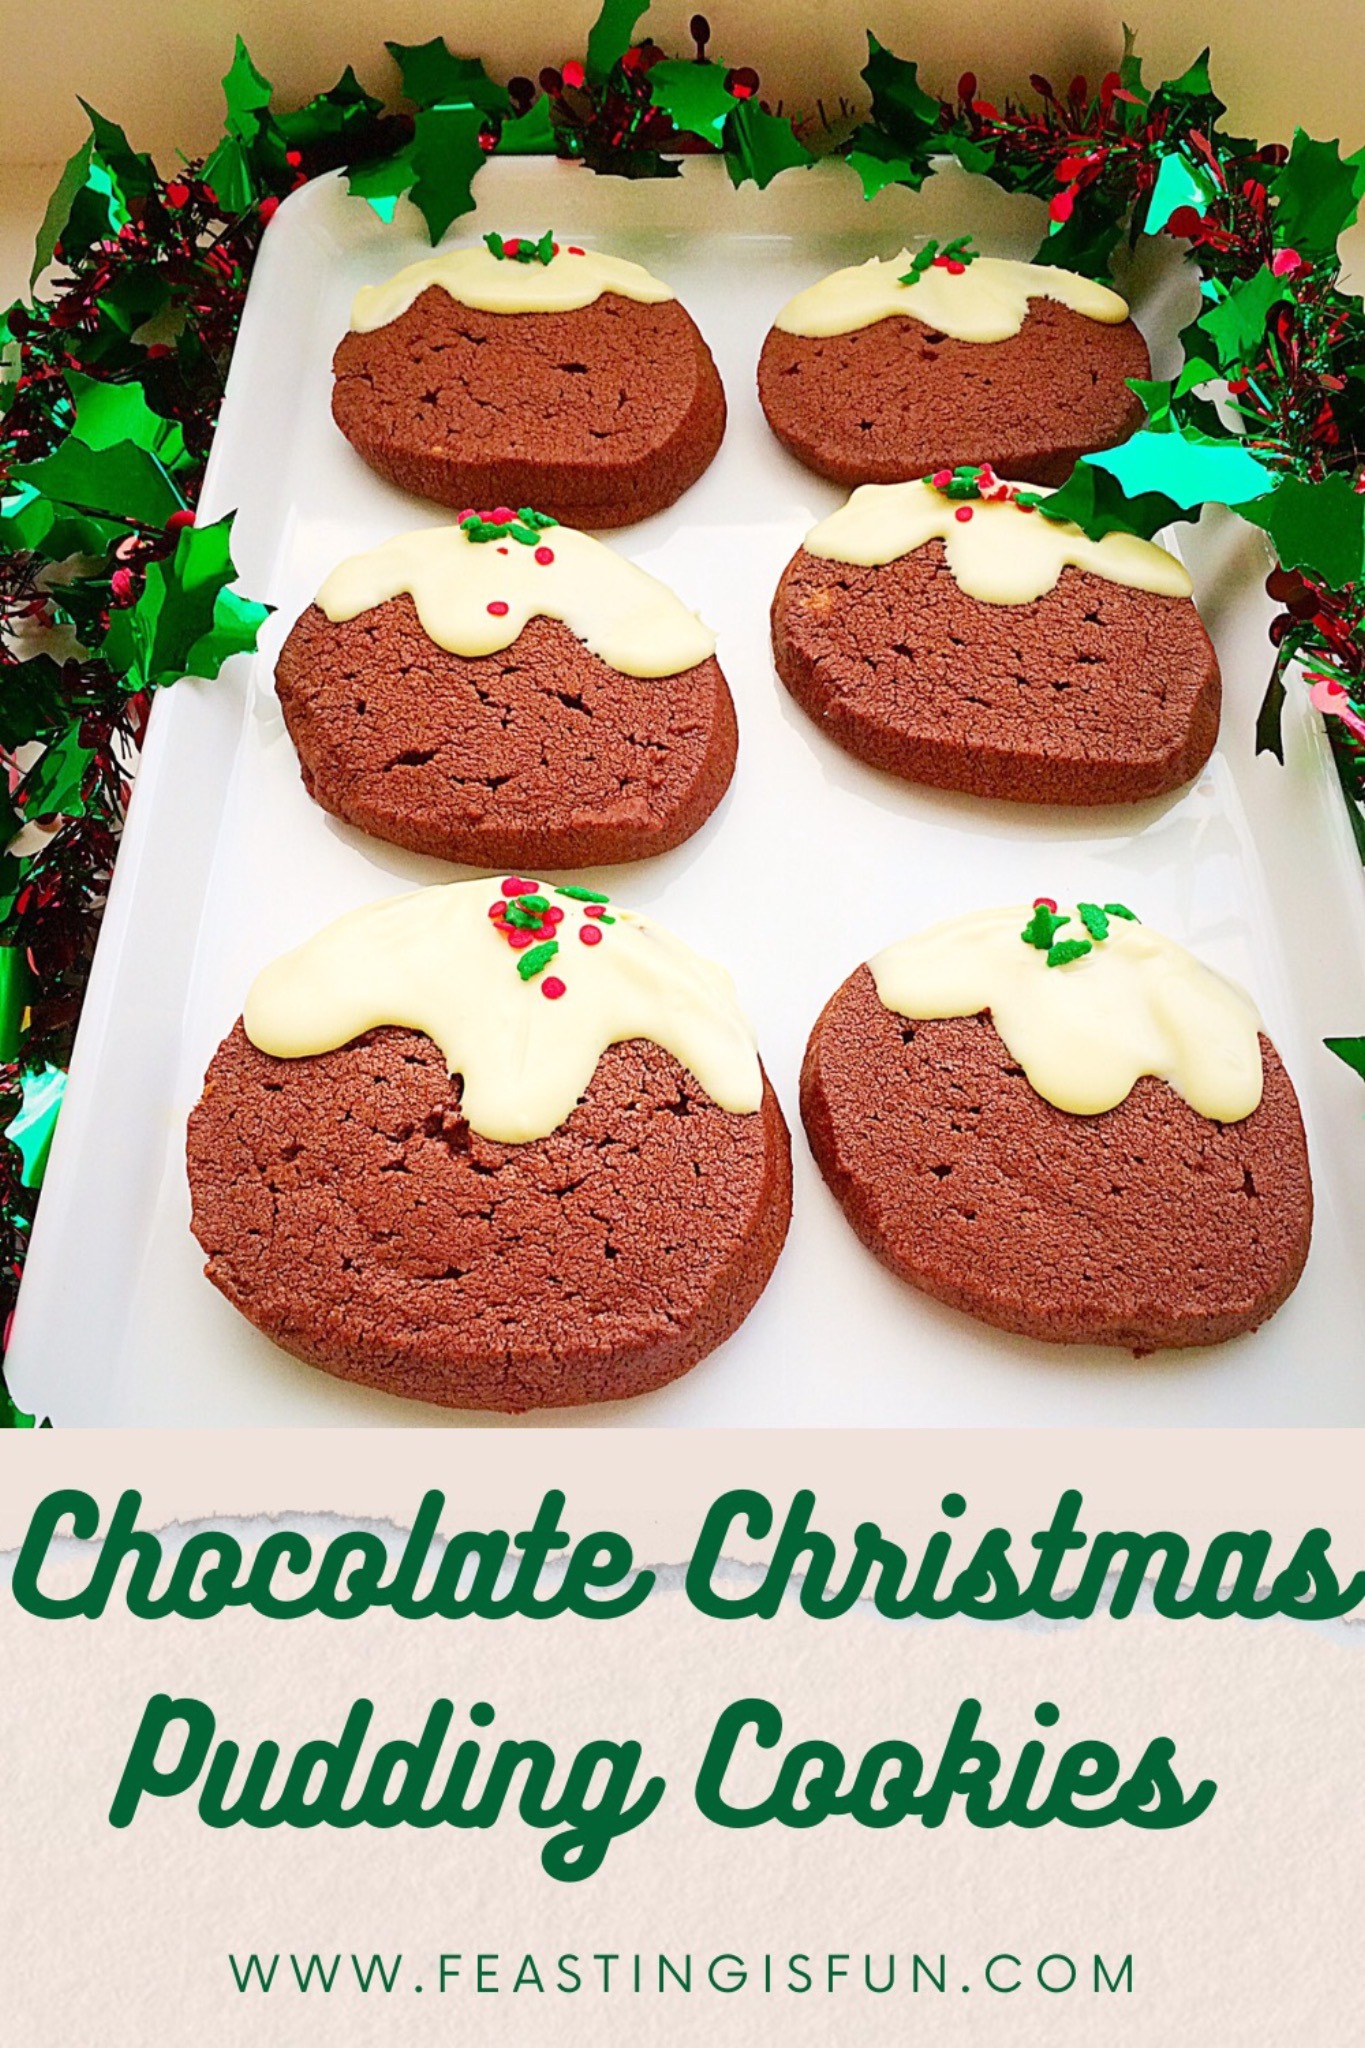
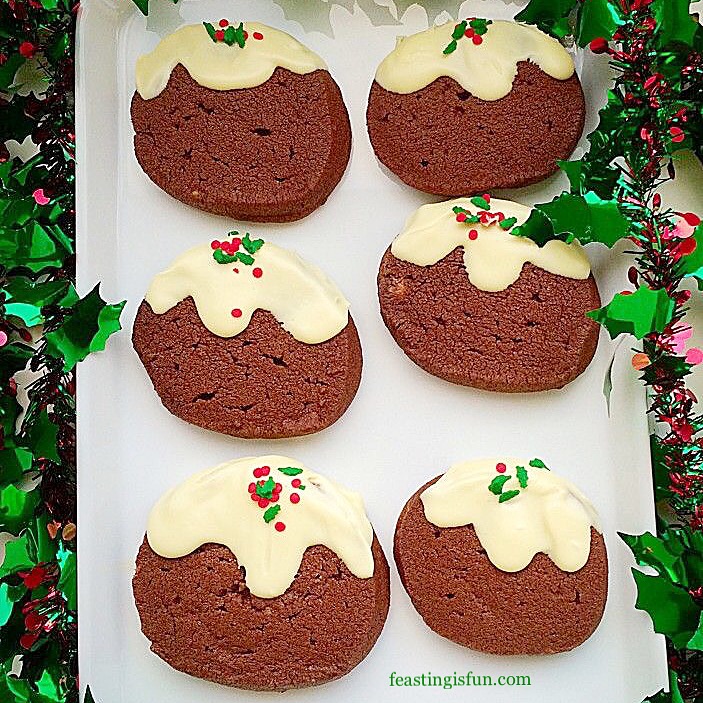
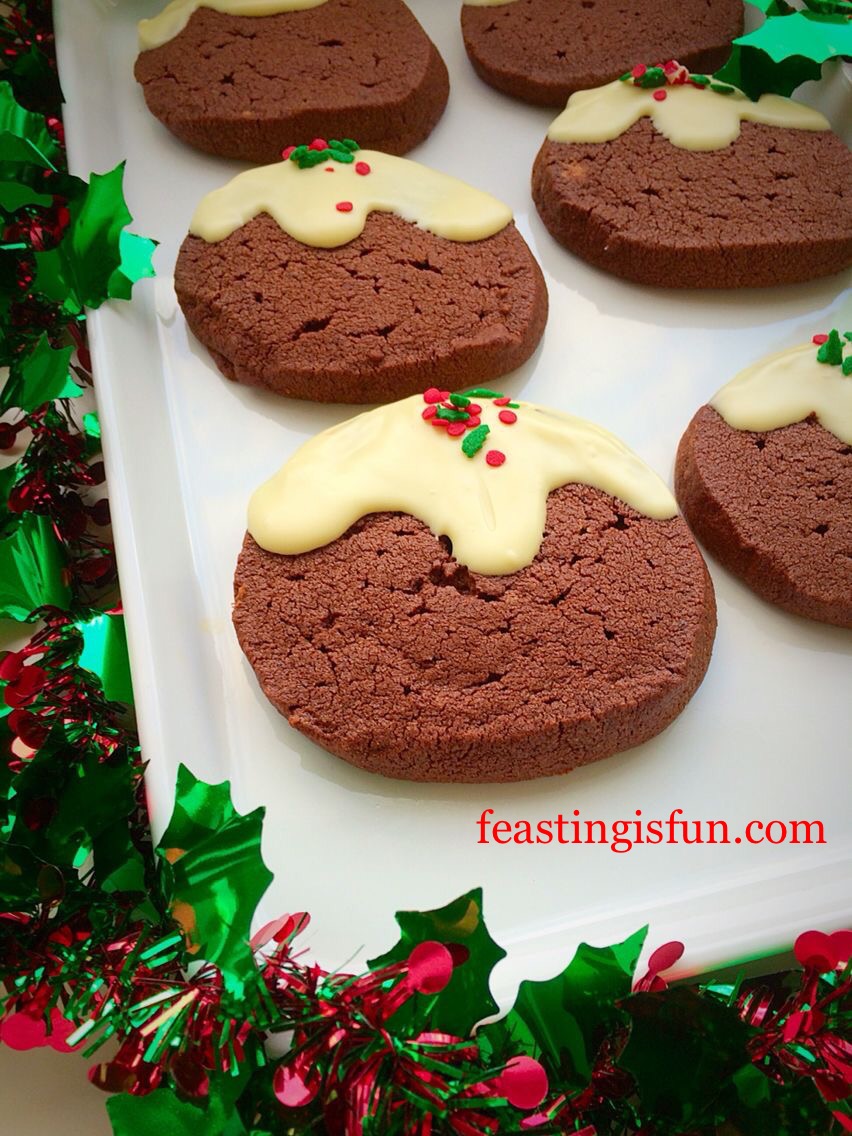
Chocolate Christmas Pudding Cookies
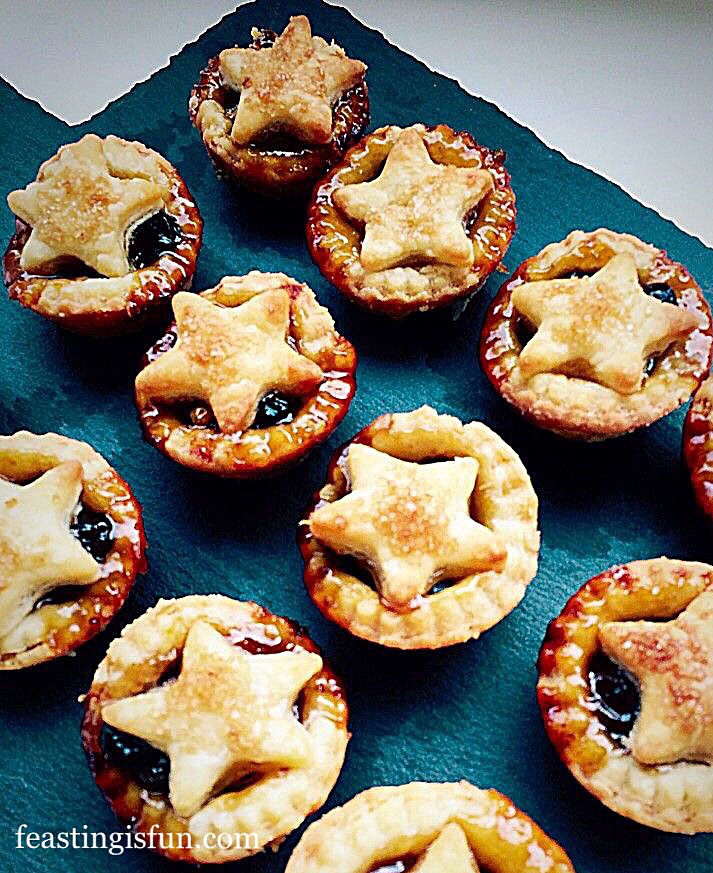
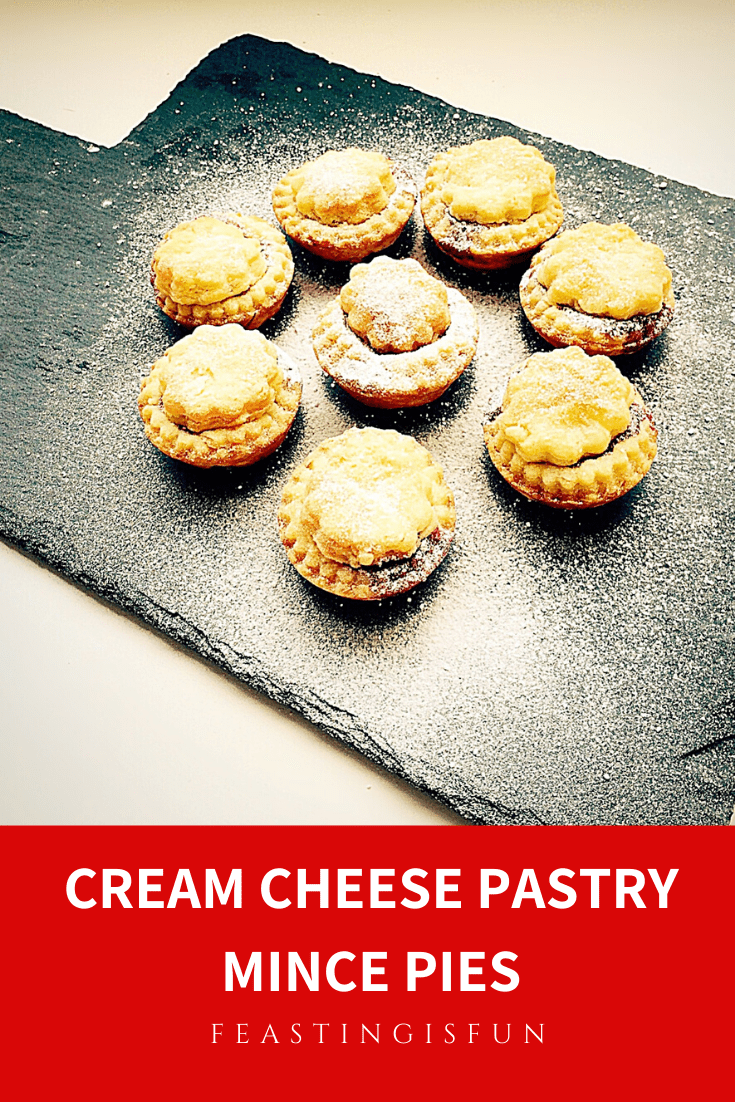
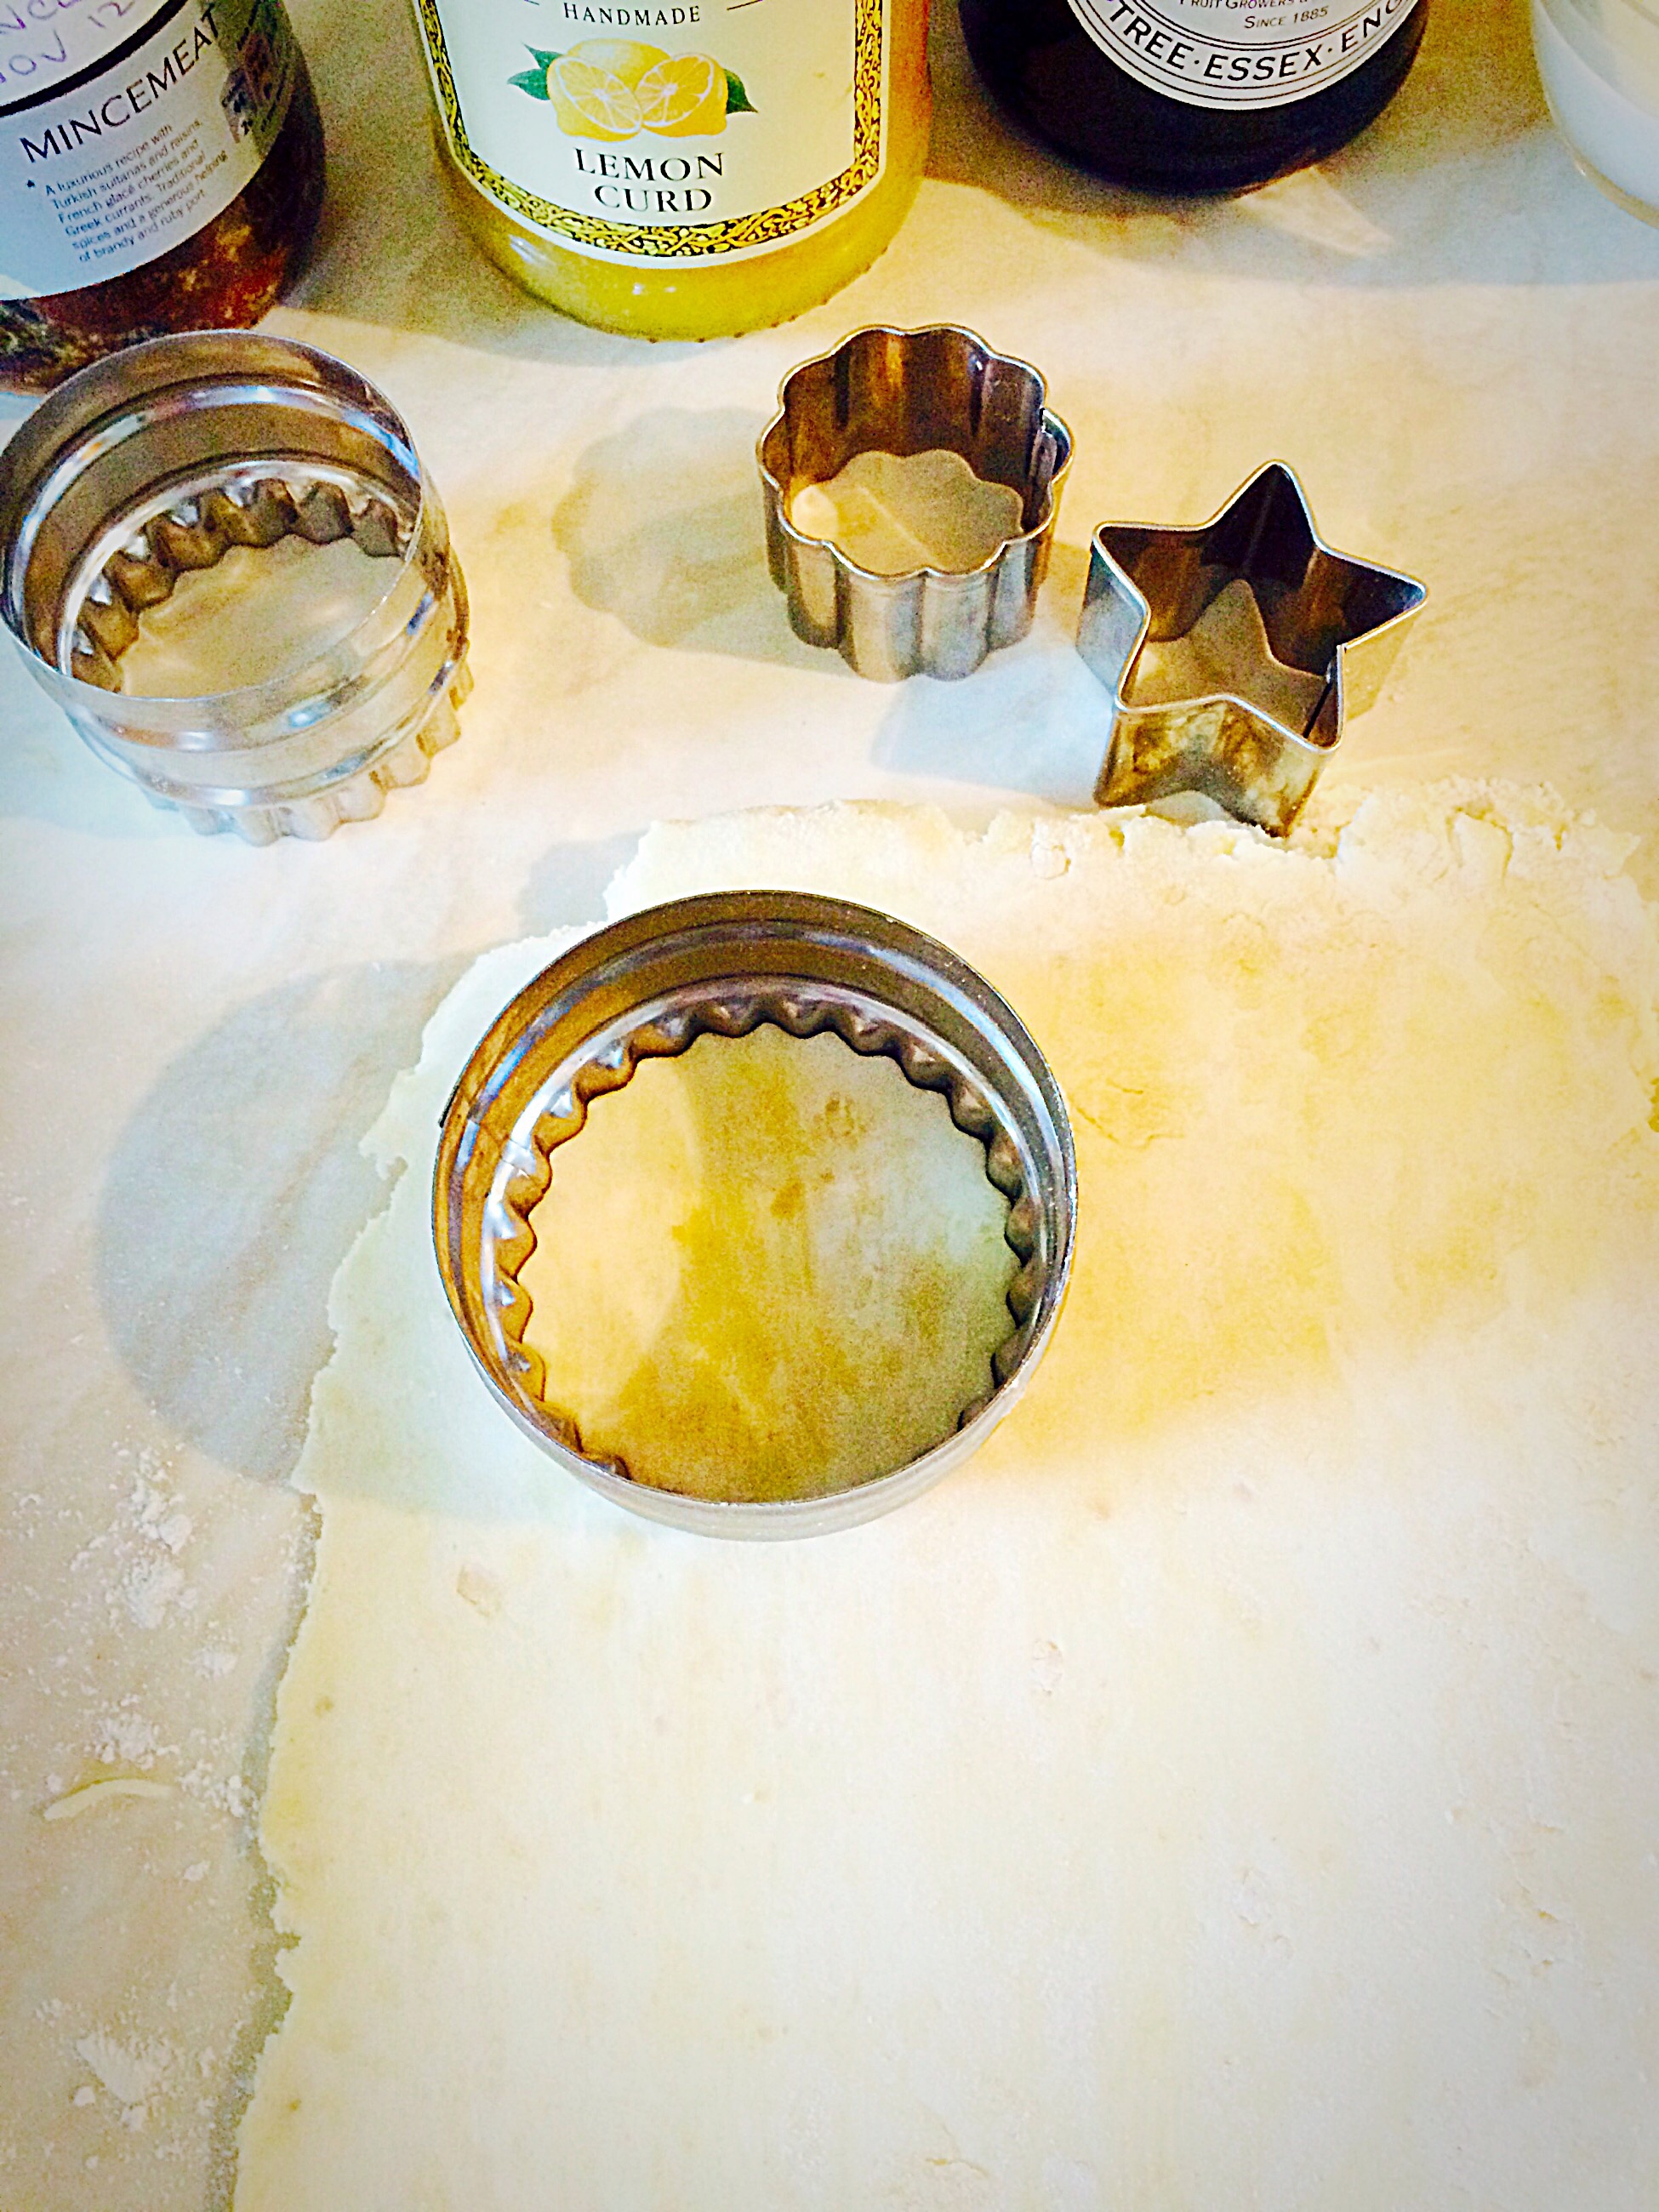
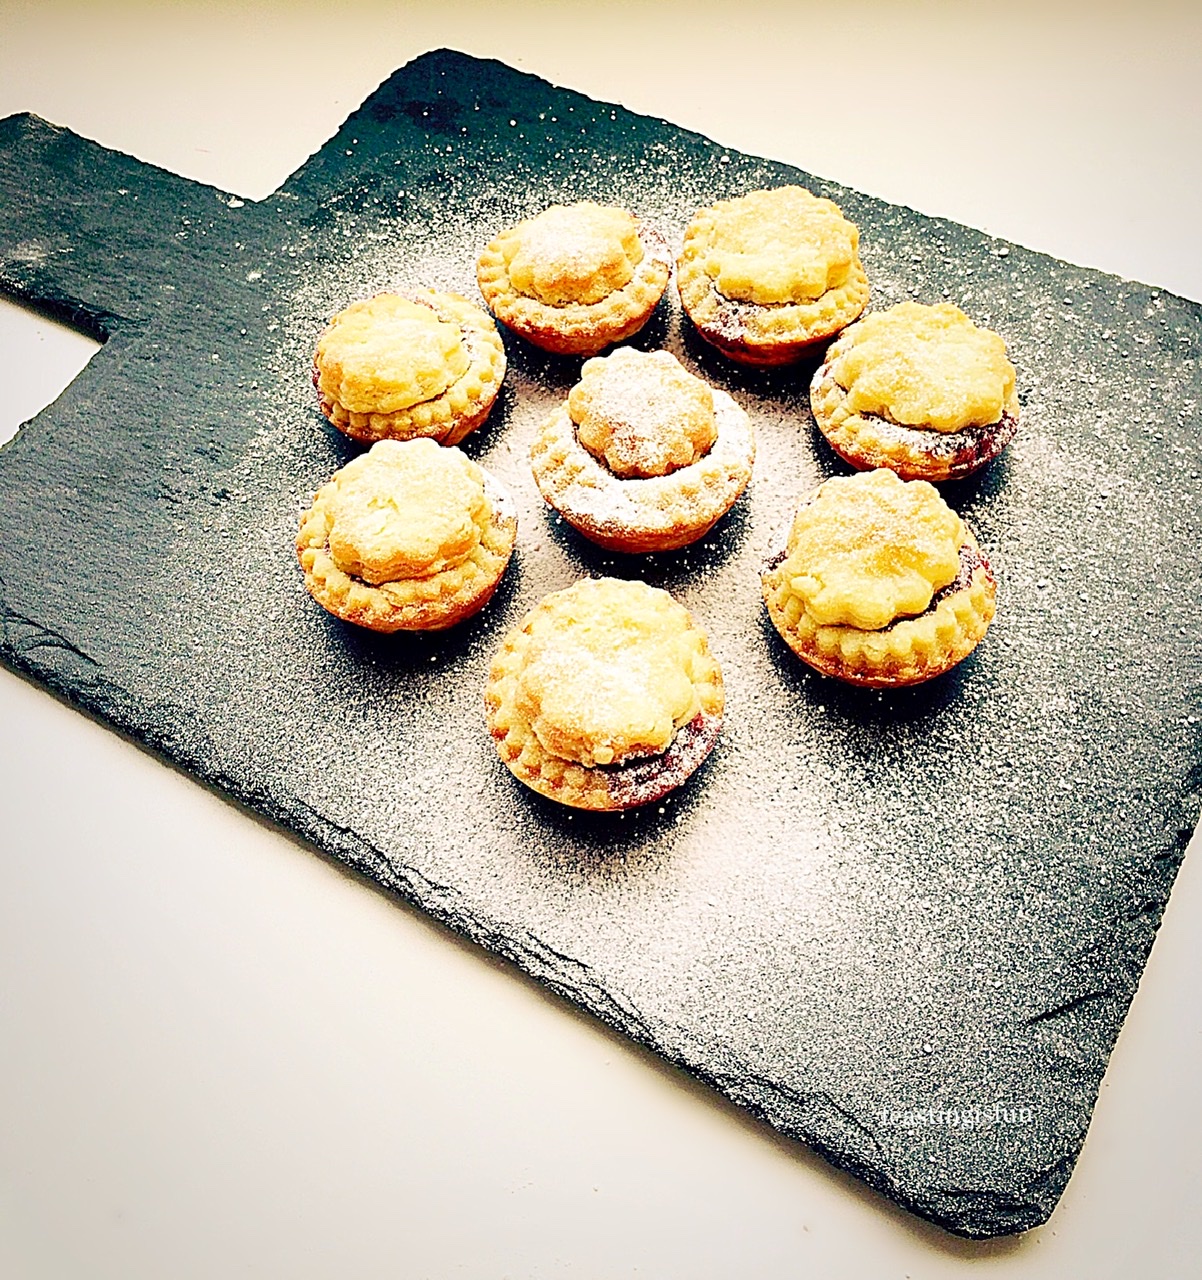
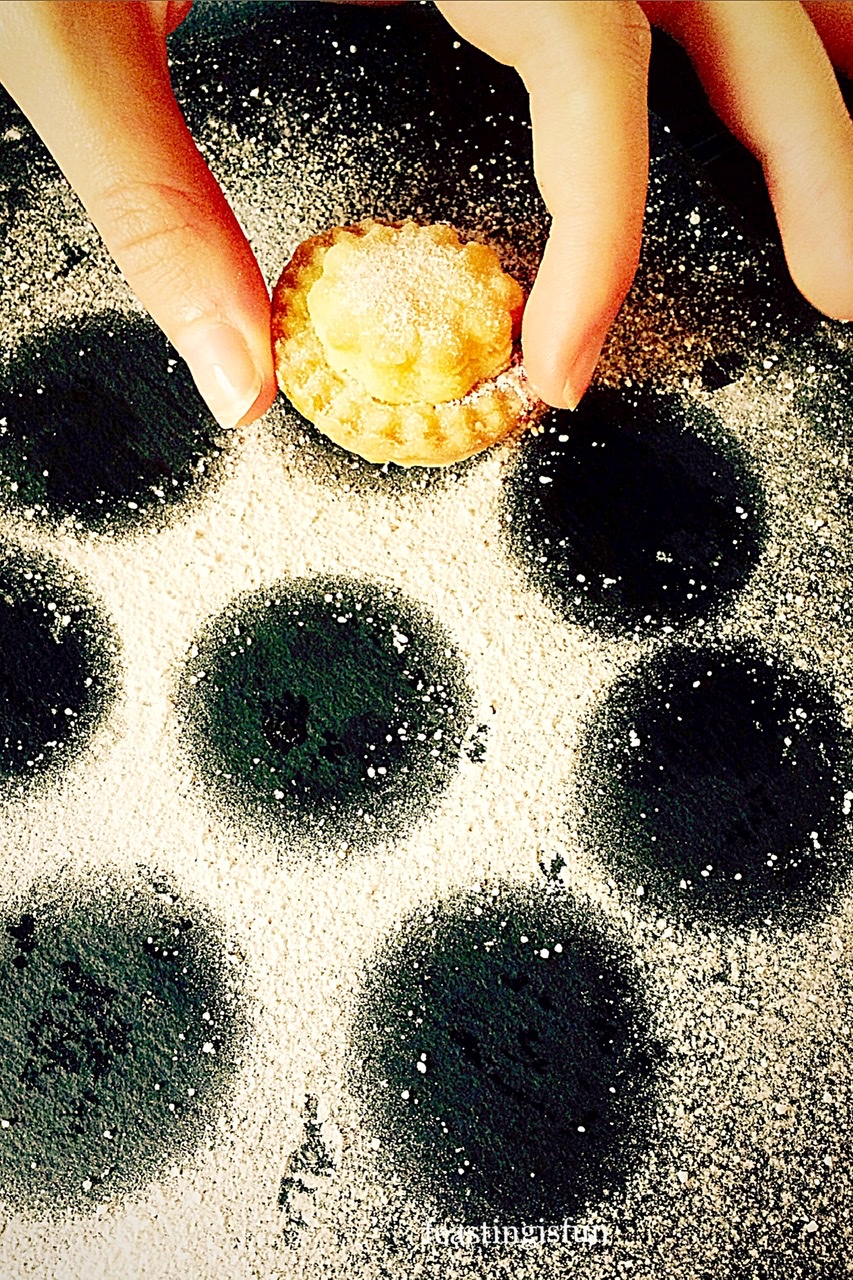
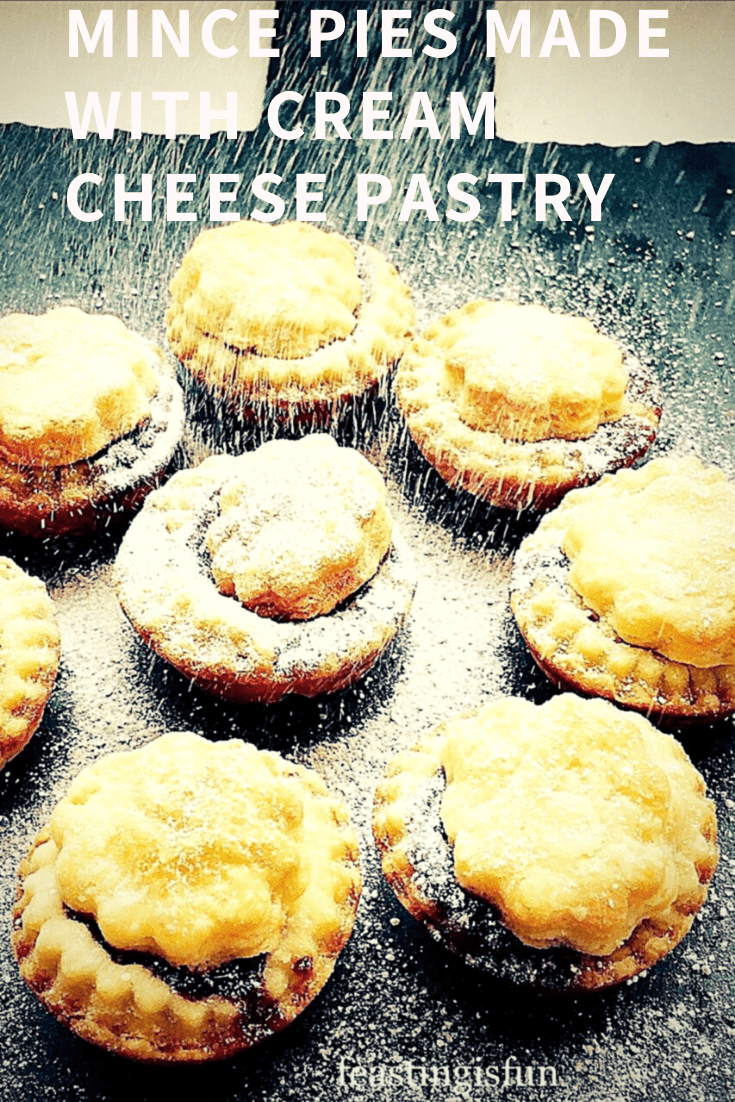
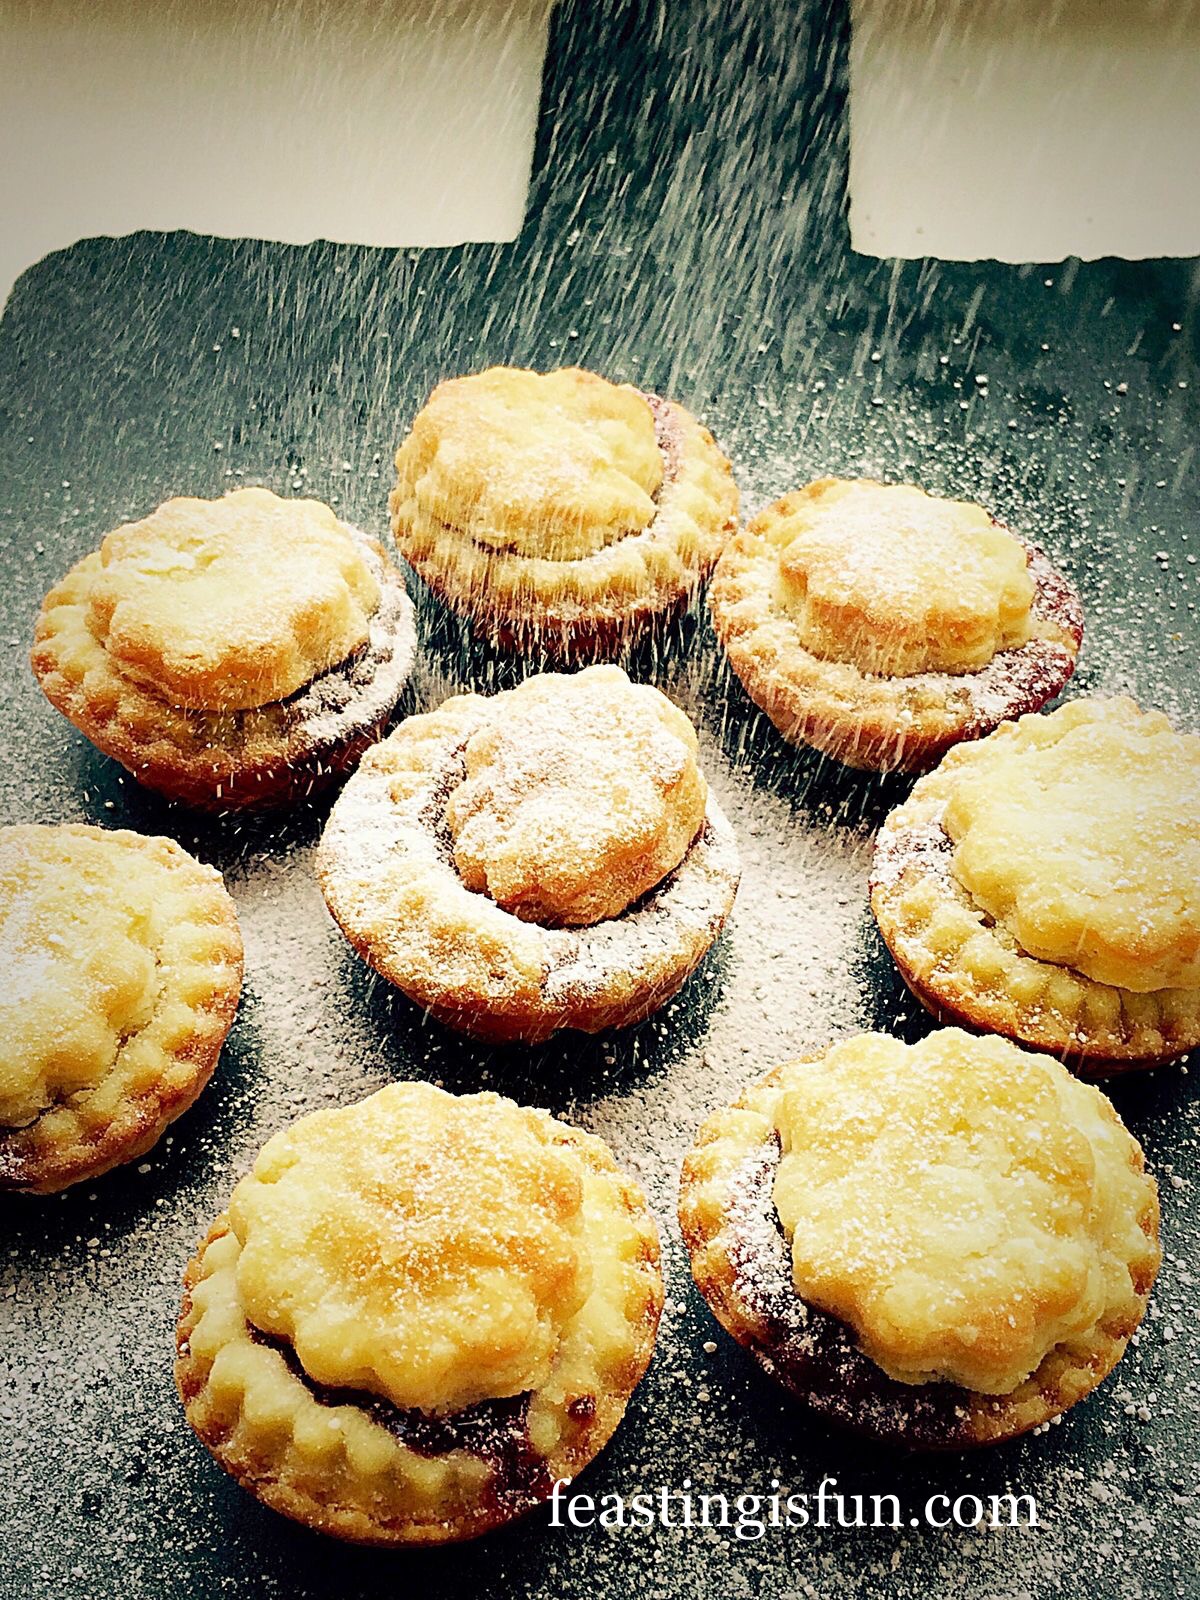
Cream Cheese Pastry Mince Pies
While it is nice enjoying the build up to Christmas Day, the excitement of children, unexpected guests, the hope of snow, it is also important to remember the true meaning of Christmas.
A baby boy, born of a virgin mother, Emmanuel – God with us. Jesus may not have been born on December 25th, yet that is the day we choose to remember His birth. So, amongst all of the hustle and bustle surrounding Christmas, it is important to remember why we celebrate it. Please see Important Stuff for more information.
So, whatever you are making, baking and creating in your kitchen, have fun preparing and sharing your feast.
Sammie xx
Note – this is not a sponsored post. I genuinely love Sugar and Crumbs products. No part of this post may be reproduced or duplicated without the written permission of the owner. Please see my Disclosure Policy.