Hello my lovely readers, I have a real star of a recipe today. If you have spent anytime on this site, then you’ll know I’m a bit bonkers about all the flavours in a Bakewell Tart. And so I have made these very delicious Bakewell Shortbread Bars.

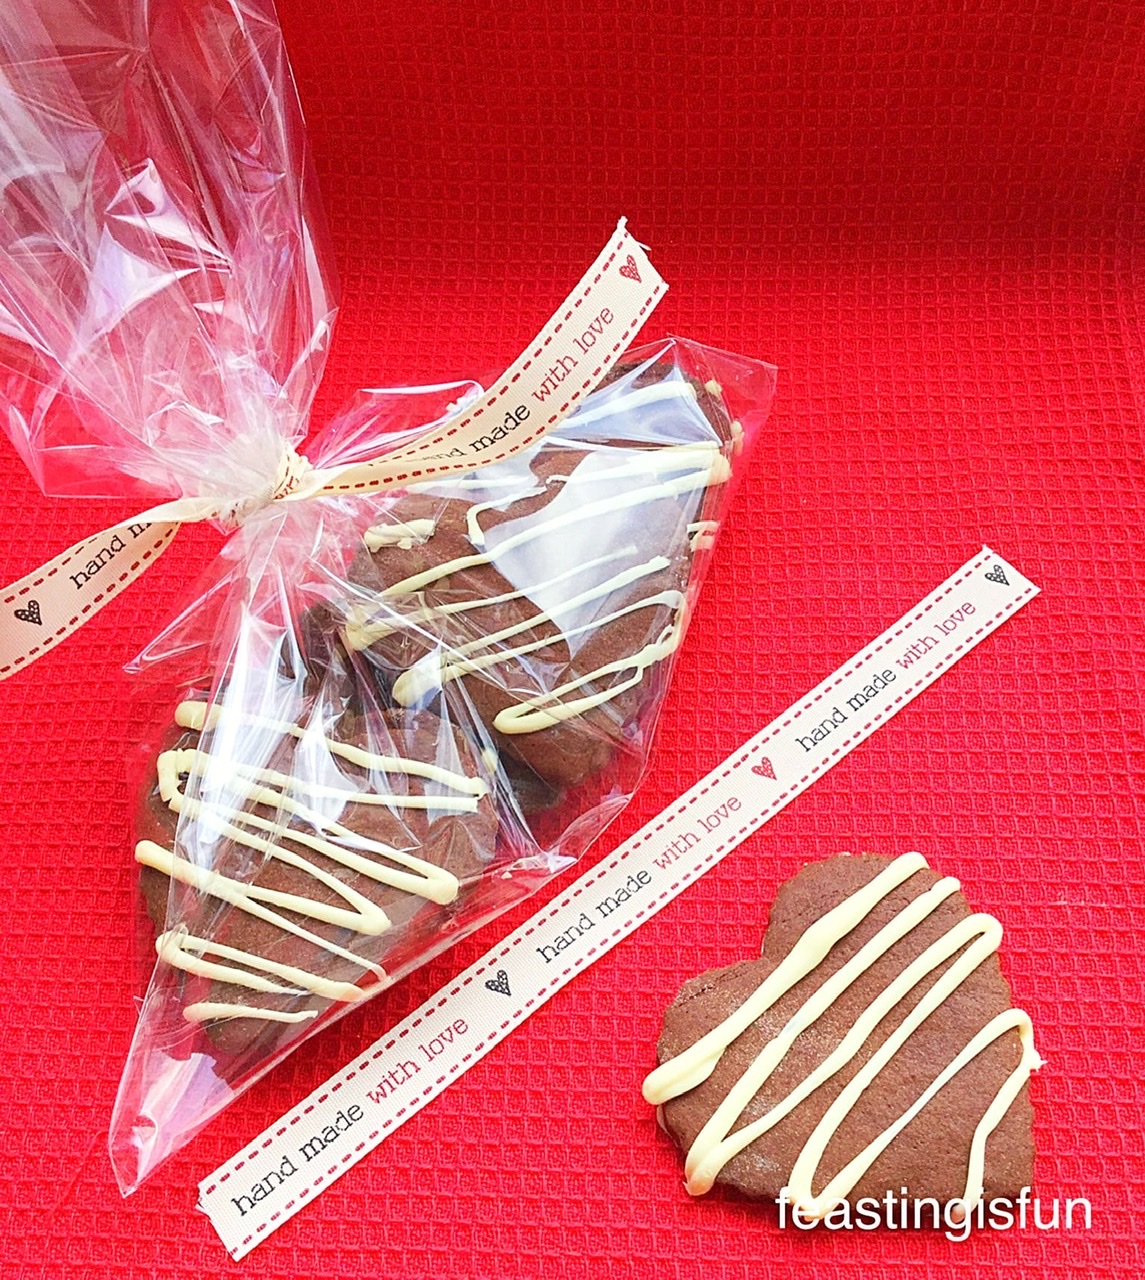
These actually came about by accident, sometimes that’s the best way with recipes! Because I had made some vanilla shortbread dough, which I had planned to turn into chocolate dipped hearts. Anyway, what with one thing and another, I didn’t get around to making them. Update: I have made them and the recipe is here Chocolate Dipped Shortbread Heart Cookies.
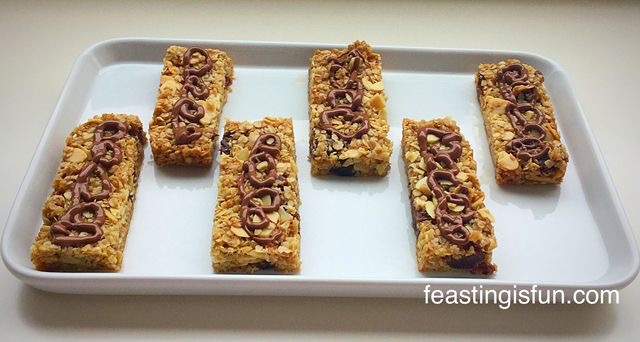
So, a couple of weeks ago, on a Sunday, Hubby was running through what we had for packed lunches that week. I hadn’t managed to make any Cranberry Walnut Flapjacks eek – then I had a moment of inspiration. These Bakewell Shortbread Bars are the result of me needing to make something delicious, that also travels well.
What a massive hit these have been with my family, ooh and me!
All the flavour of a Bakewell Tart
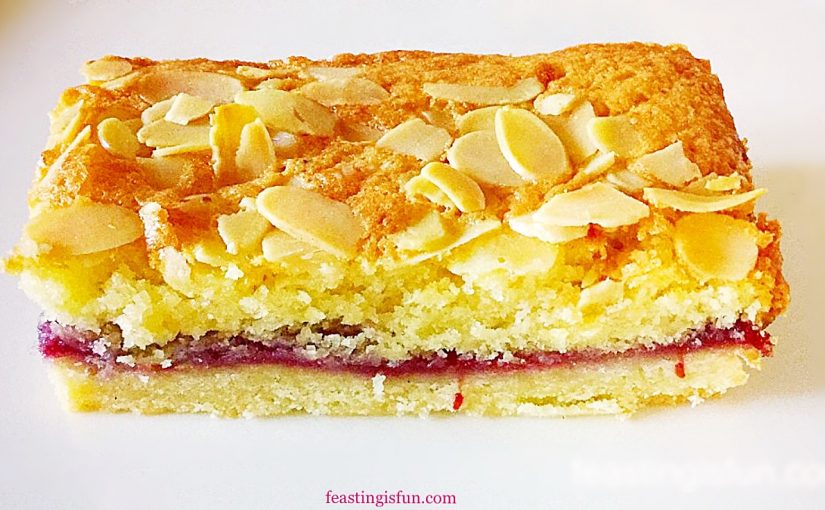
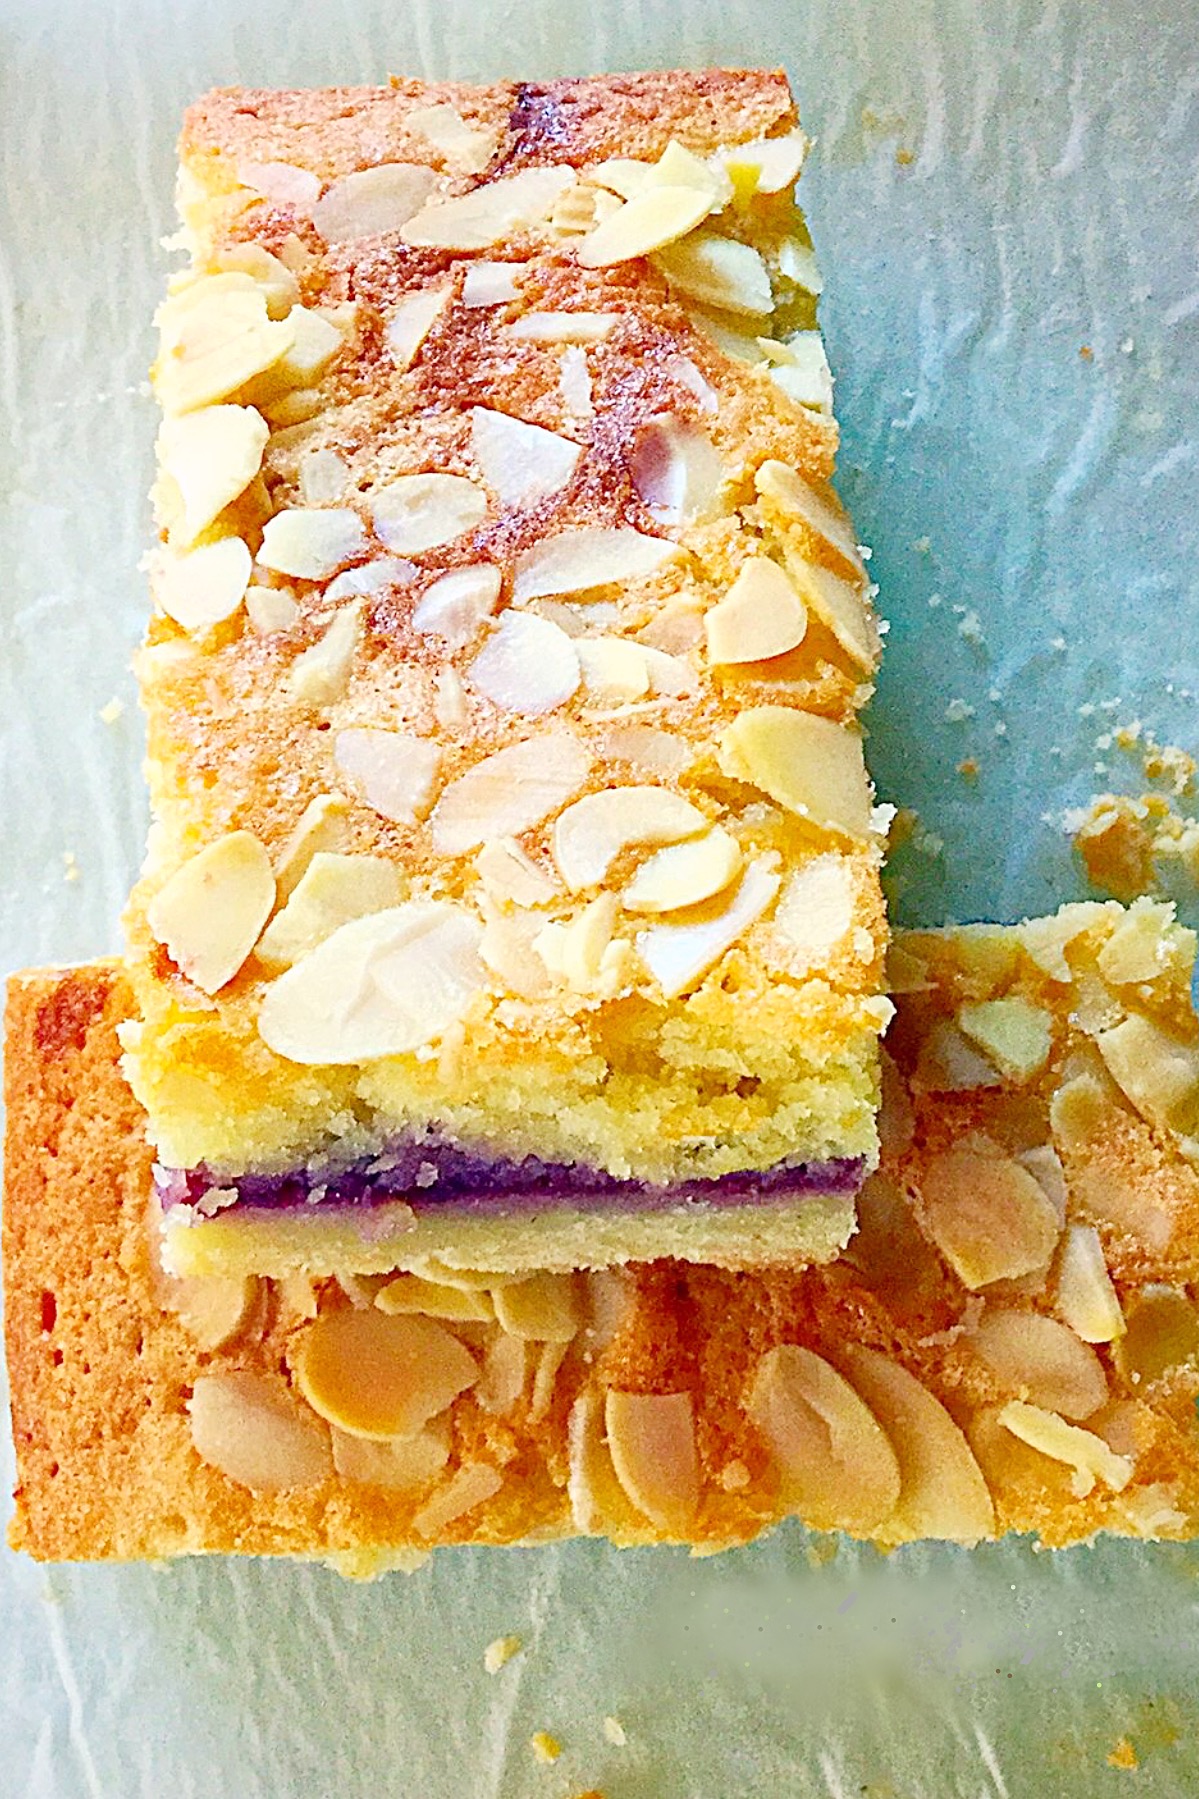
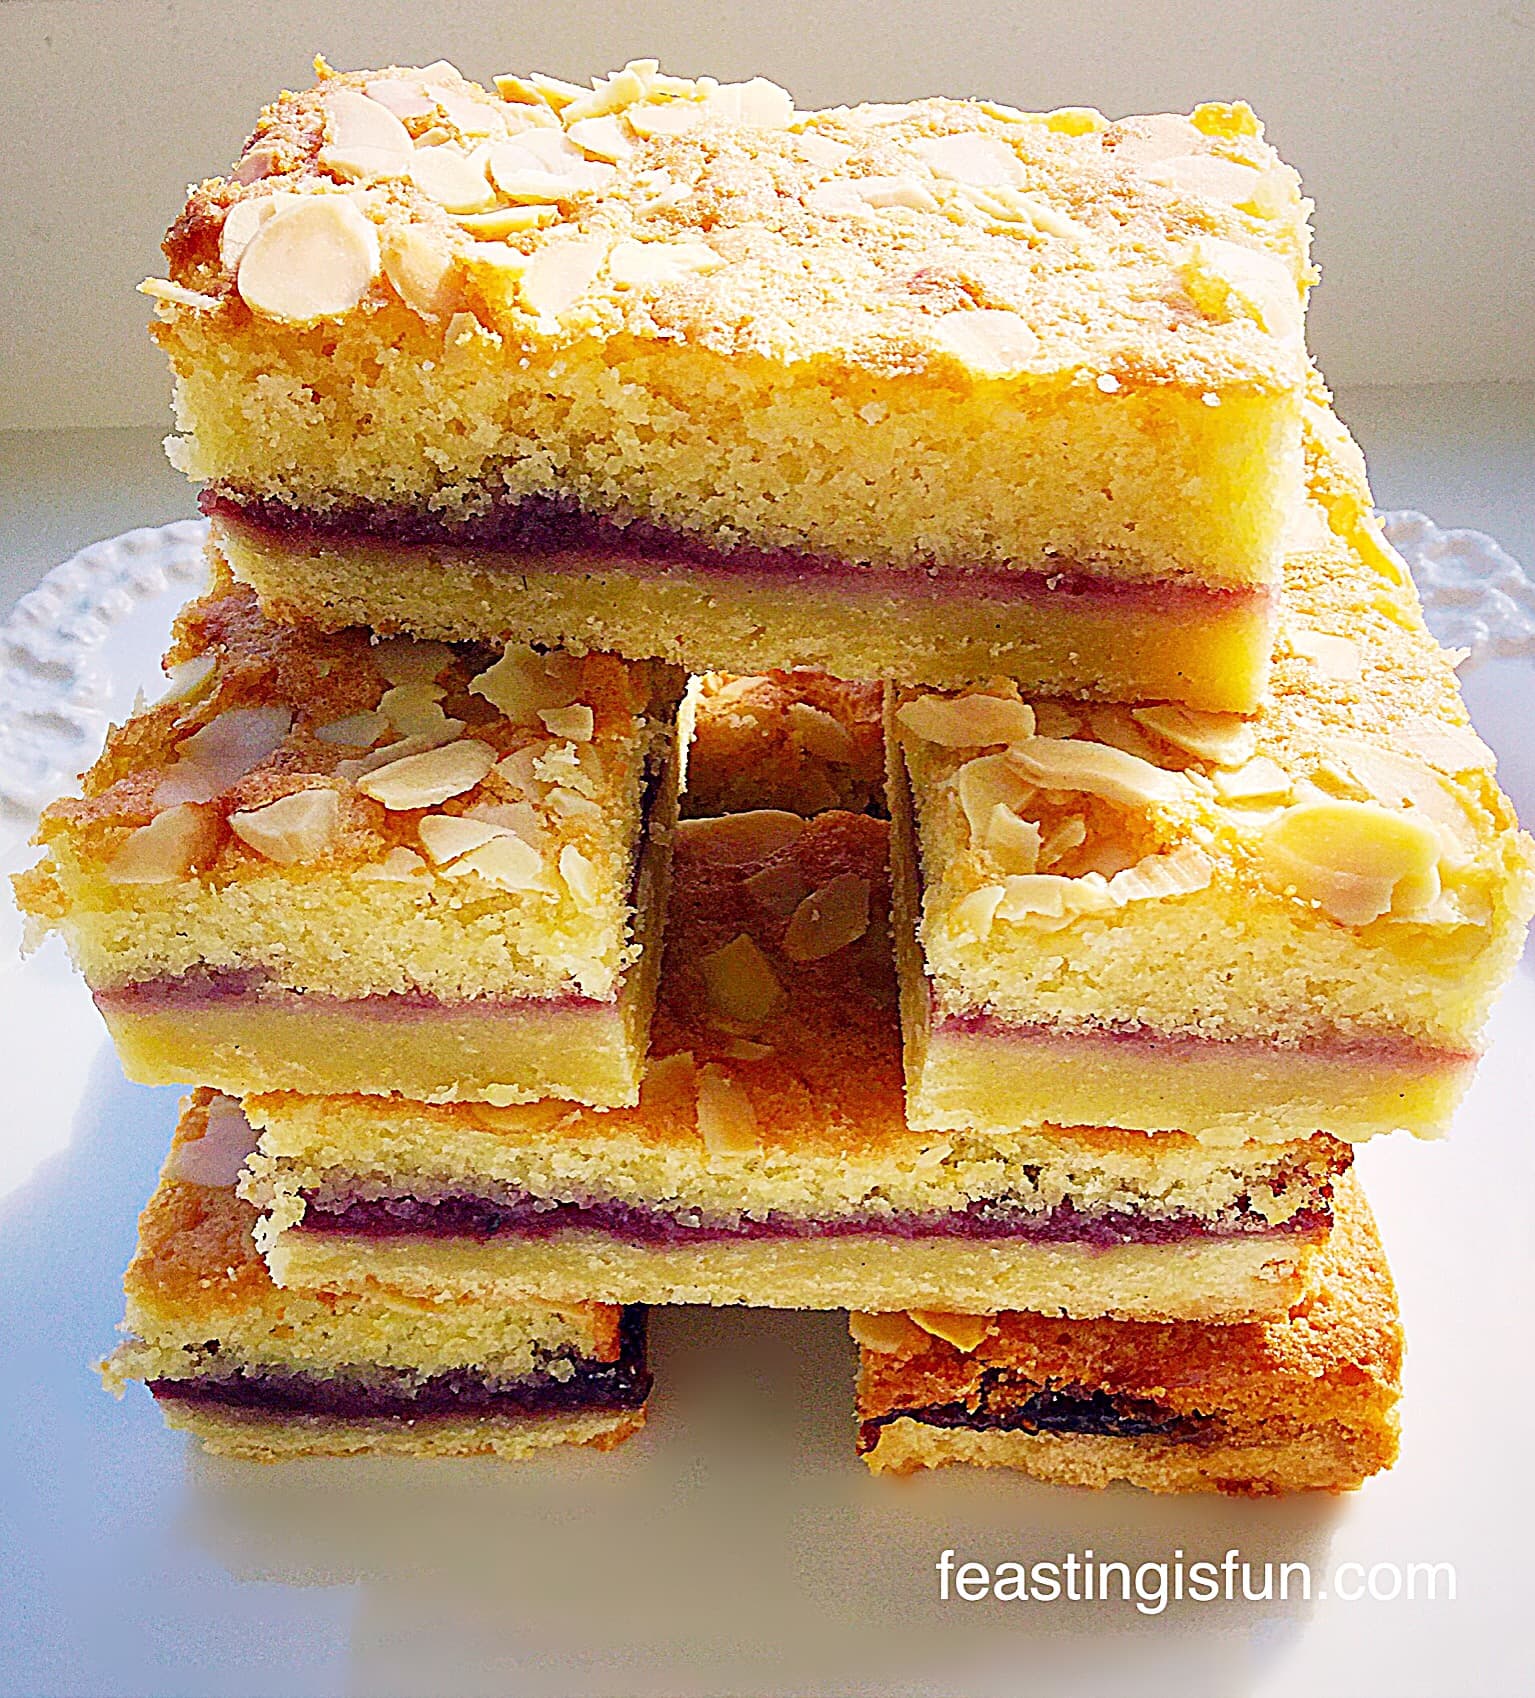
While the buttery shortbread base gives these Bakewell Shortbread Bars a sturdiness that is needed when food is to be transported. Topped with delicious raspberry jam, giving a hint of tart sweetness and then covered in a light, tender almond sponge with flaked almonds added for crunch, flavour and decoration.
Although I love Bakewell Tart, what I really love about this recipe, is that there isn’t any pie crust to roll out. With a pastry crust I certainly don’t want a big, thick wodge of it at the bottom of my bar, whereas, using shortbread dough I am more than happy to have a decently thick base.
Perfect Picnic Food
Because these Bakewell Shortbread Bars hold together well I will definitely be making them for picnics throughout the warmer months. I am not a fan of packing up food for lunches or picnics that is overly sweet or has any form of icing. I guess it just becomes too much of a bug magnet, or even worse wasps – and both cupcakes and iced cakes simply get too messy. Although our children are in their teens now, I want to relax while eating outside, not constantly dodging bugs or clearing up melted buttercream.
And that is NOT my idea of fun!
Actually, one year that we went to the beach with a big croud of friends, I made a fruit cake and a lemon drizzle cake (I know but the lemon drizzle only had a little bit of icing). I pre-cut them, popped the cakes into tins and mid afternoon we all had a cup of tea and slice of cake. I remember it being a very relaxing happy day and these Bakewell Shortbread Bars would certainly have travelled well and been enjoyed. A must bake for this year’s beach outings!
Now when I say this recipe is simple, it really is, the only slight faff is pre-cooking the shortbread. And I only say slight, because whilst the shortbread is cooking it is the perfect time to whip up the sponge.
Recipe: Makes 12 Bakewell Shortbread Bars
For the shortbread:
225g/8oz Unsalted Butter – softened to room temperature plus 1tbsp for greasing the tin
150g/5oz Caster Sugar
1tsp Vanilla Extract – I use Nielsen-Massey
1 Large Egg Yolk – I always use free range
275g/10oz Plain White Flour
1/4 tsp Sea Salt I use Maldon
For the cake batter:
175g/6oz Unsalted Butter – softened to room temperature
175g/6oz Caster Sugar
3 Large Free Range Eggs
1tsp Vanilla Extract
3/4 tsp Almond Extract
100g/4oz Ground Almonds
50g/2oz Plain White Flour
1tsp Baking Powder
Pinch of salt
175g/ Approx 1/2 Standard Jar of Raspberry Jam – I use Hartley’s
50g/2oz Flaked Almonds
Method: Preheat the oven to 180C/160C fan, gas mark 4, 350F.
You will need a swiss roll tin 28cm x 20cm x 5cm (12″ x 8″ x 2″) greased with butter and lined with baking parchment.
Making the shortbread base:
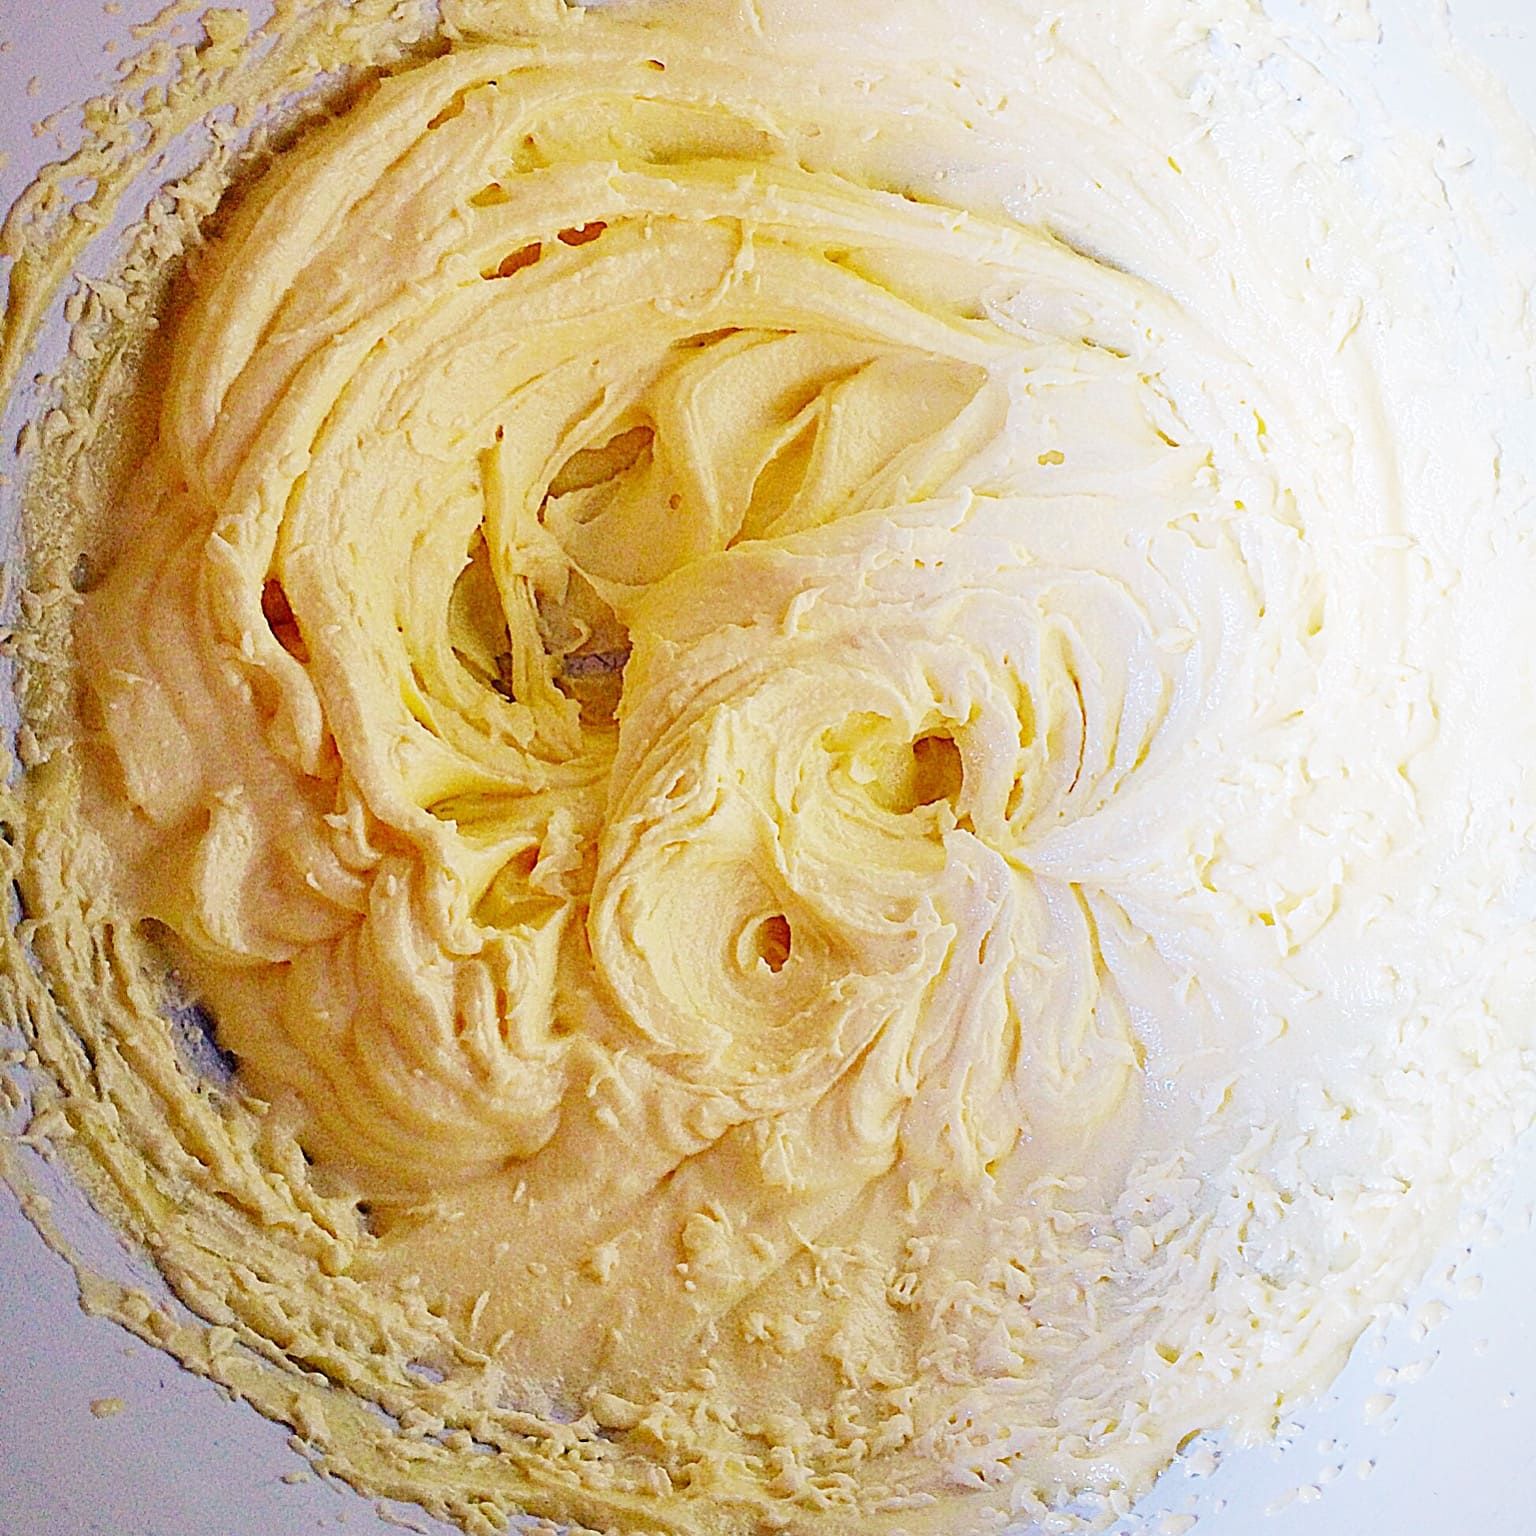
- In a large bowl whisk/beat the butter and sugar together until pale and creamy.
- Add the vanilla extract and egg yolk and whisk/beat until combined.
- Sift the flour and salt into the bowl.
- Mix using a spoon until the dough comes together.
- Tip the dough out on to some cling film. Wrap up the dough into a disc shape and place in the fridge to chill for 30 minutes.
- Once chilled break the dough up into large pieces and place them into the prepared tin.
- Using clean hands, press the shortbread dough into the tin so that it forms a uniform layer.
- Dock the shortbread dough using a fork.
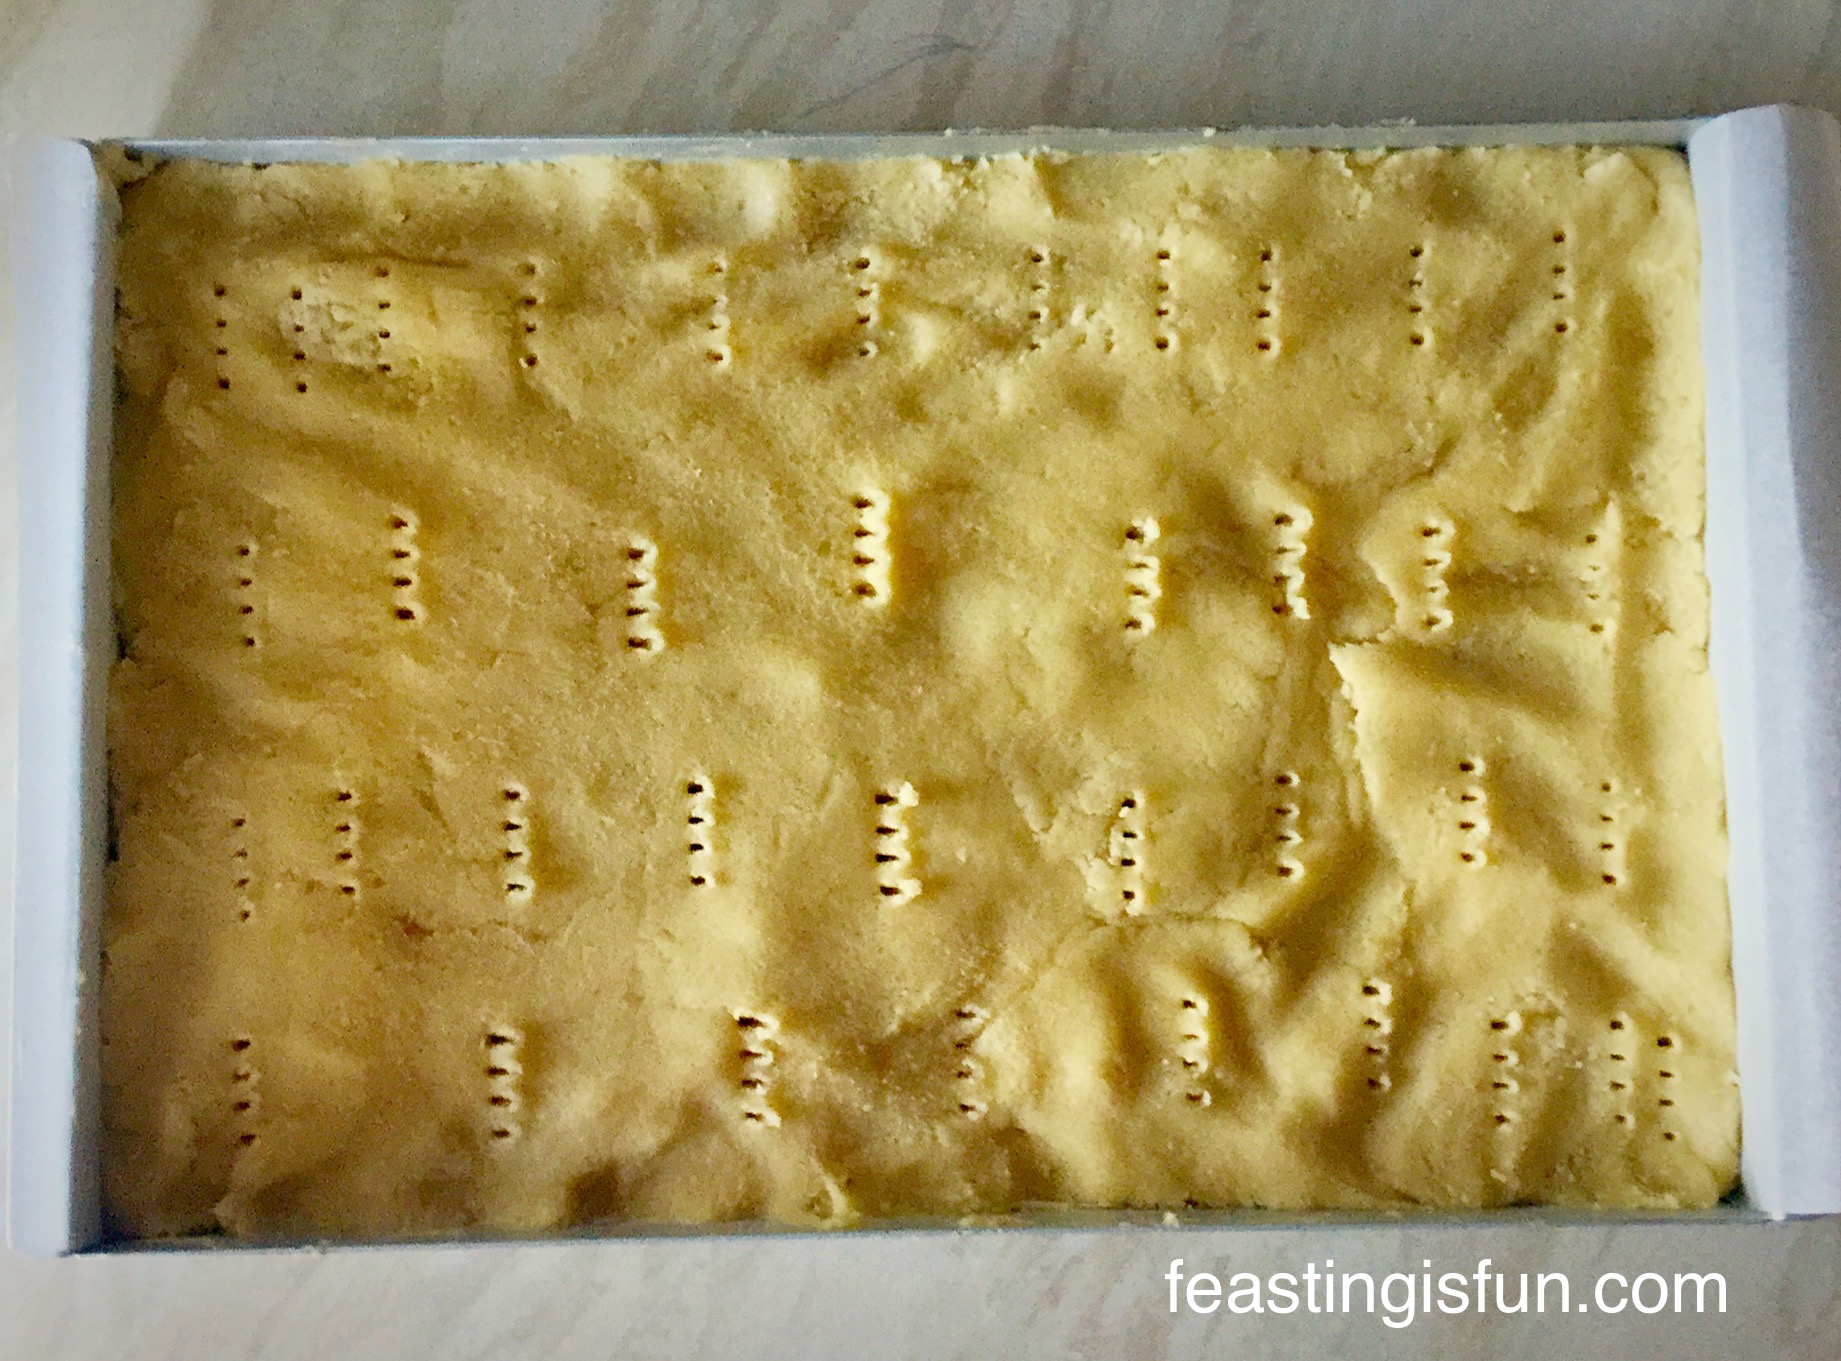
- Place the tin into the centre of the oven and bake for 10 minutes.
- Remove the tin after 10 minutes and spread the jam over the part cooked shortbread. Leave a small gap between the jam and the edge of the shortbread.
- Turn the oven temperature down to 160C/140C fan, gas mark 3, 325F.

Making the almond cake batter, assembling the Bakewell Shortbread Bars and then baking them:
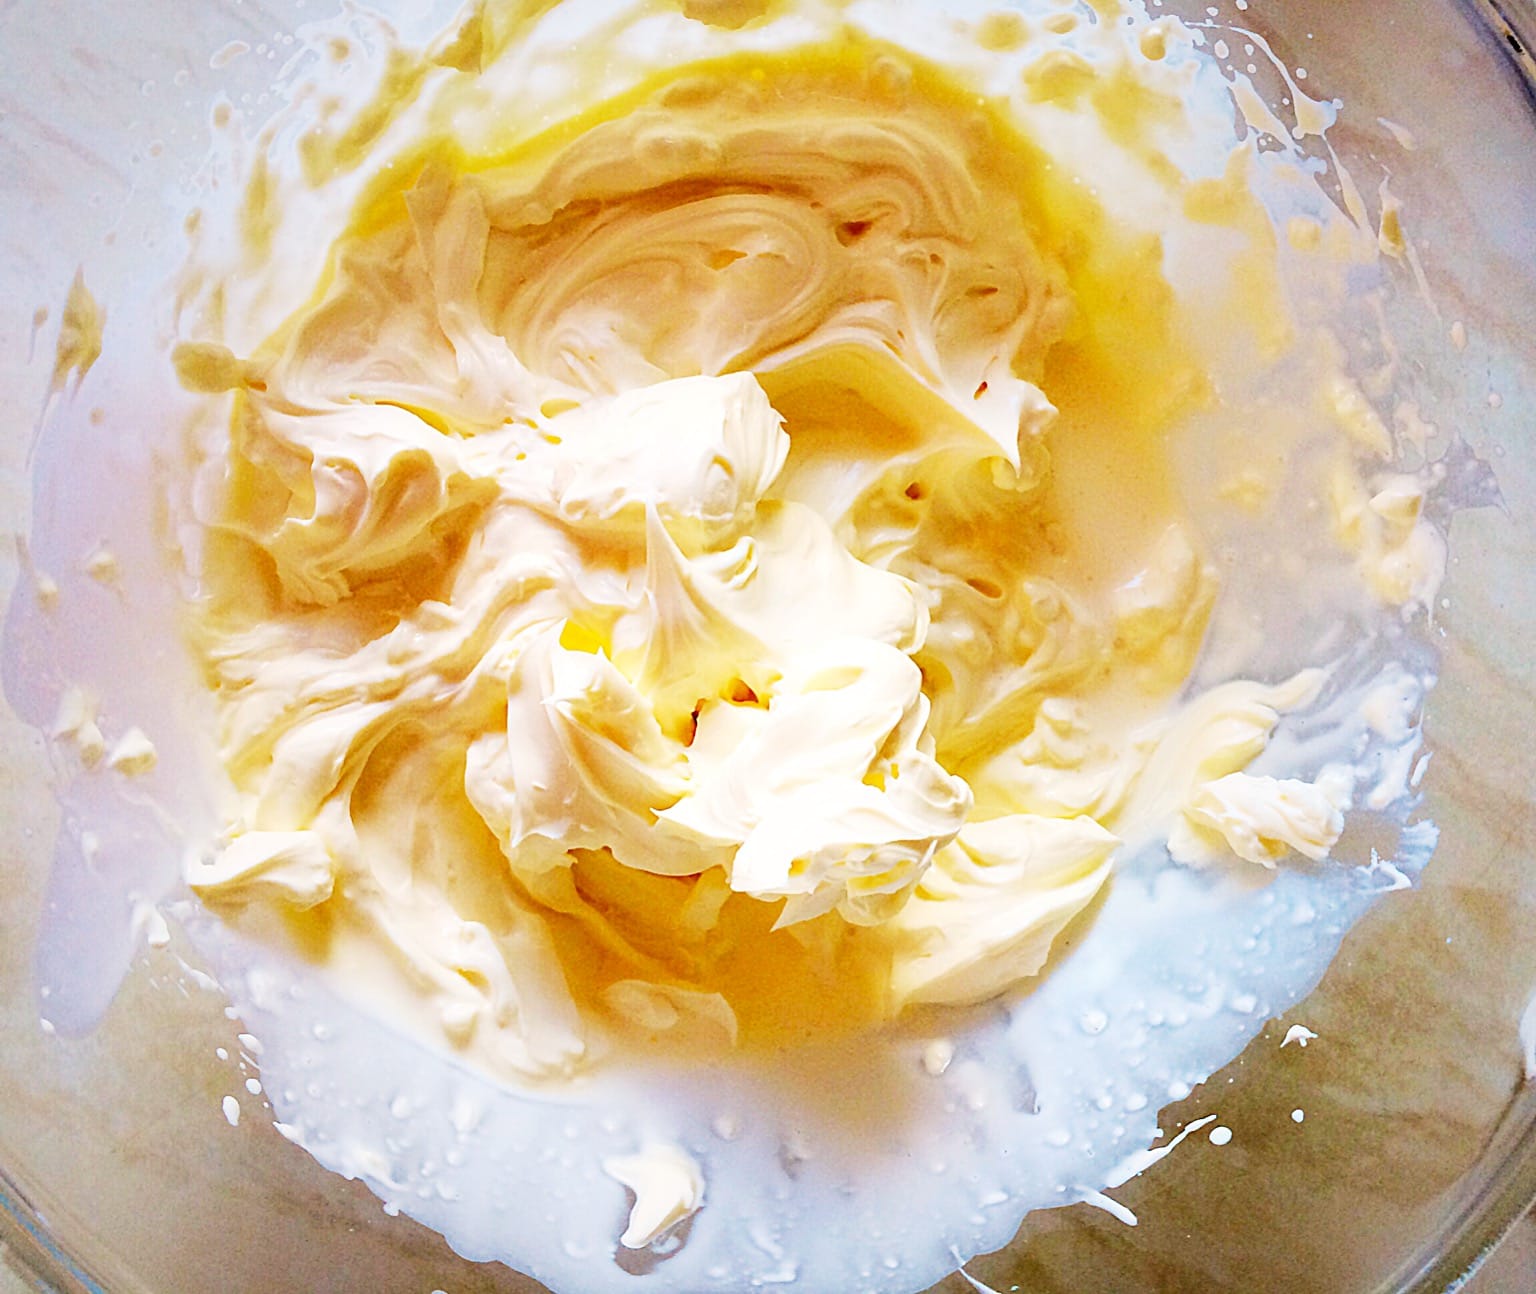
- In a large bowl whisk/beat the butter and sugar until pale and creamy.
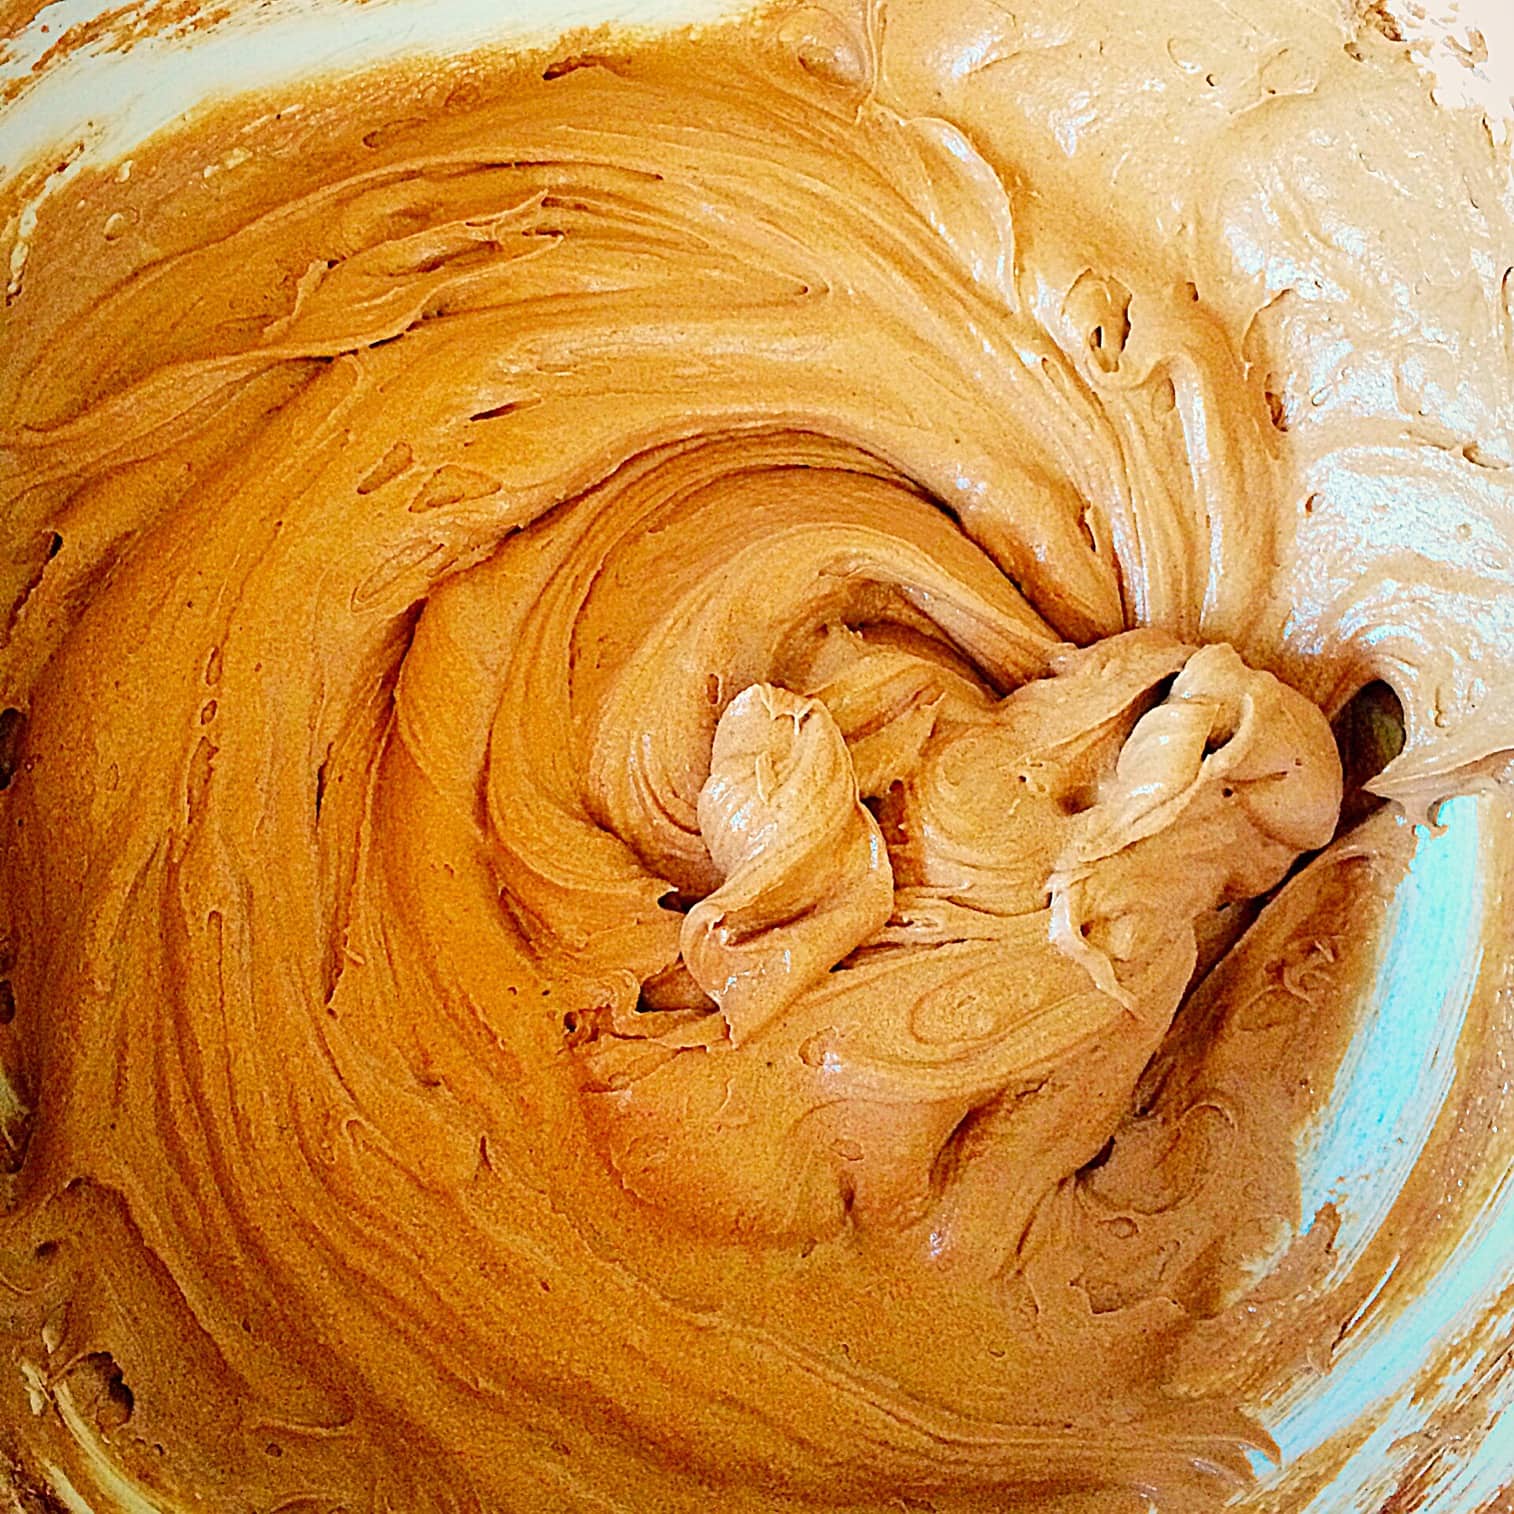
- Add the vanilla and almond extract and the 3 whole eggs. Whisk/beat for 1 minute.
- Add the flour, baking powder, ground almonds and salt.
- And then mix slowly until the batter is just combined.
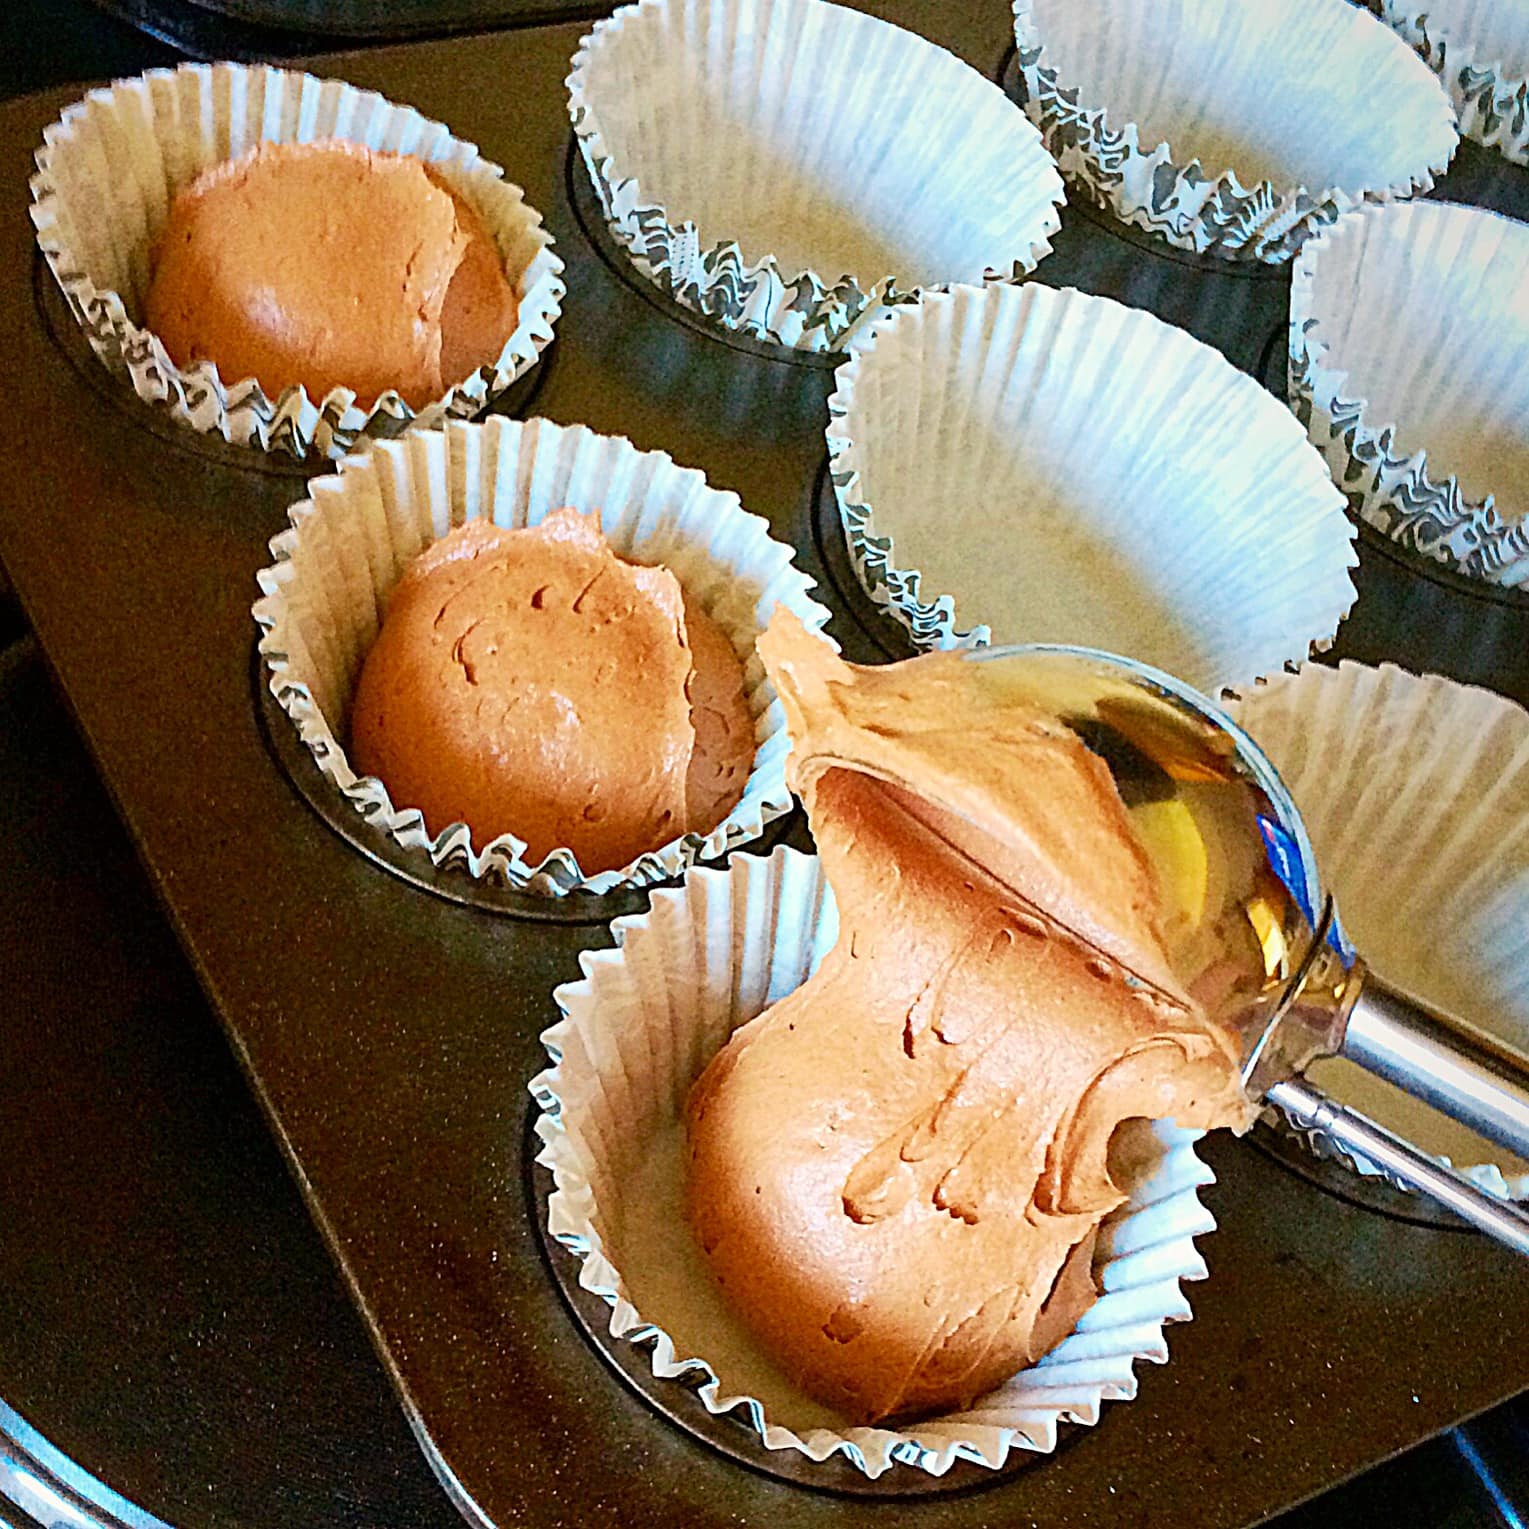
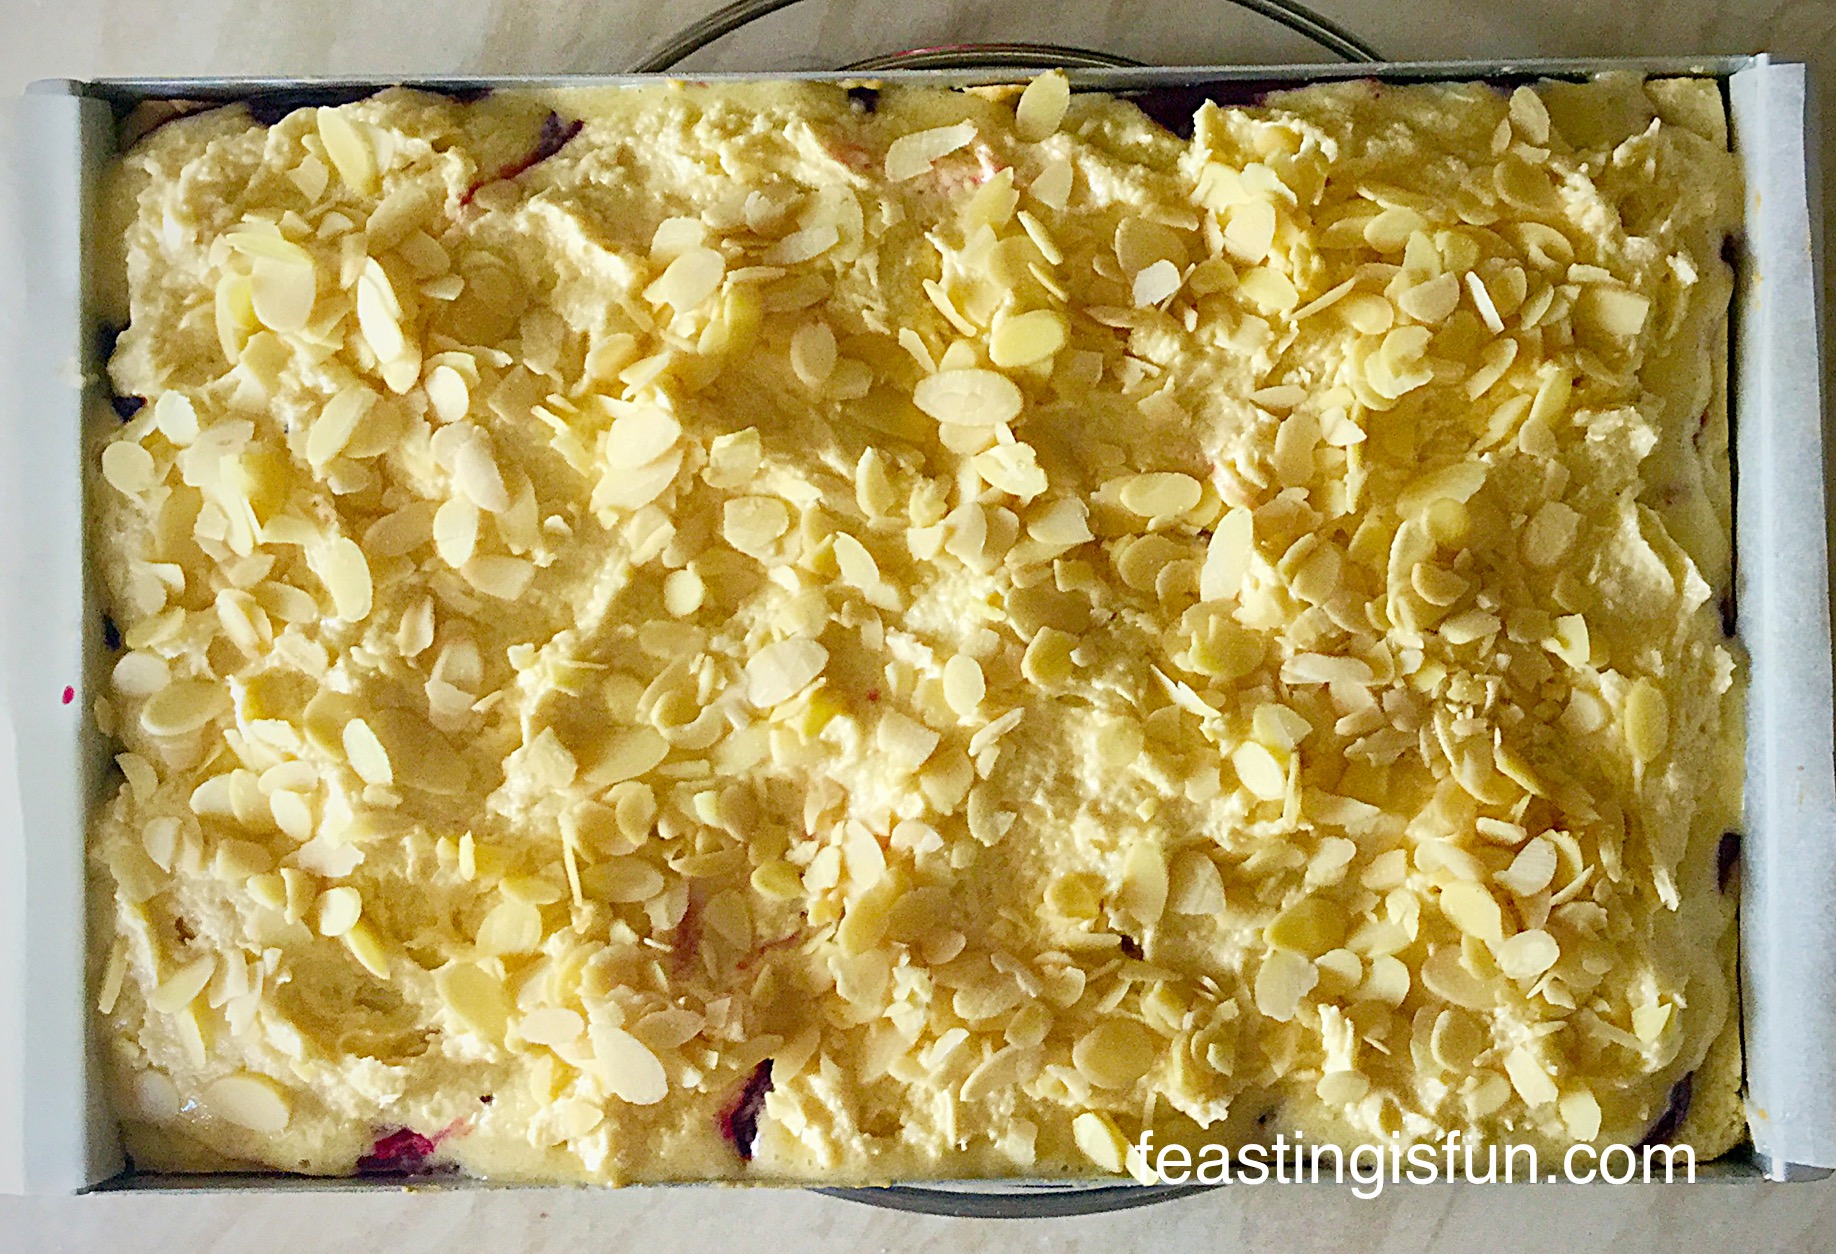
- Spoon the cake batter over the jam coated shortbread.

- Use an offset palette knife, or the back of a spoon to carefully spread the cake batter so that it almost covers the top of the shortbread, Don’t worry it will spread out during baking,
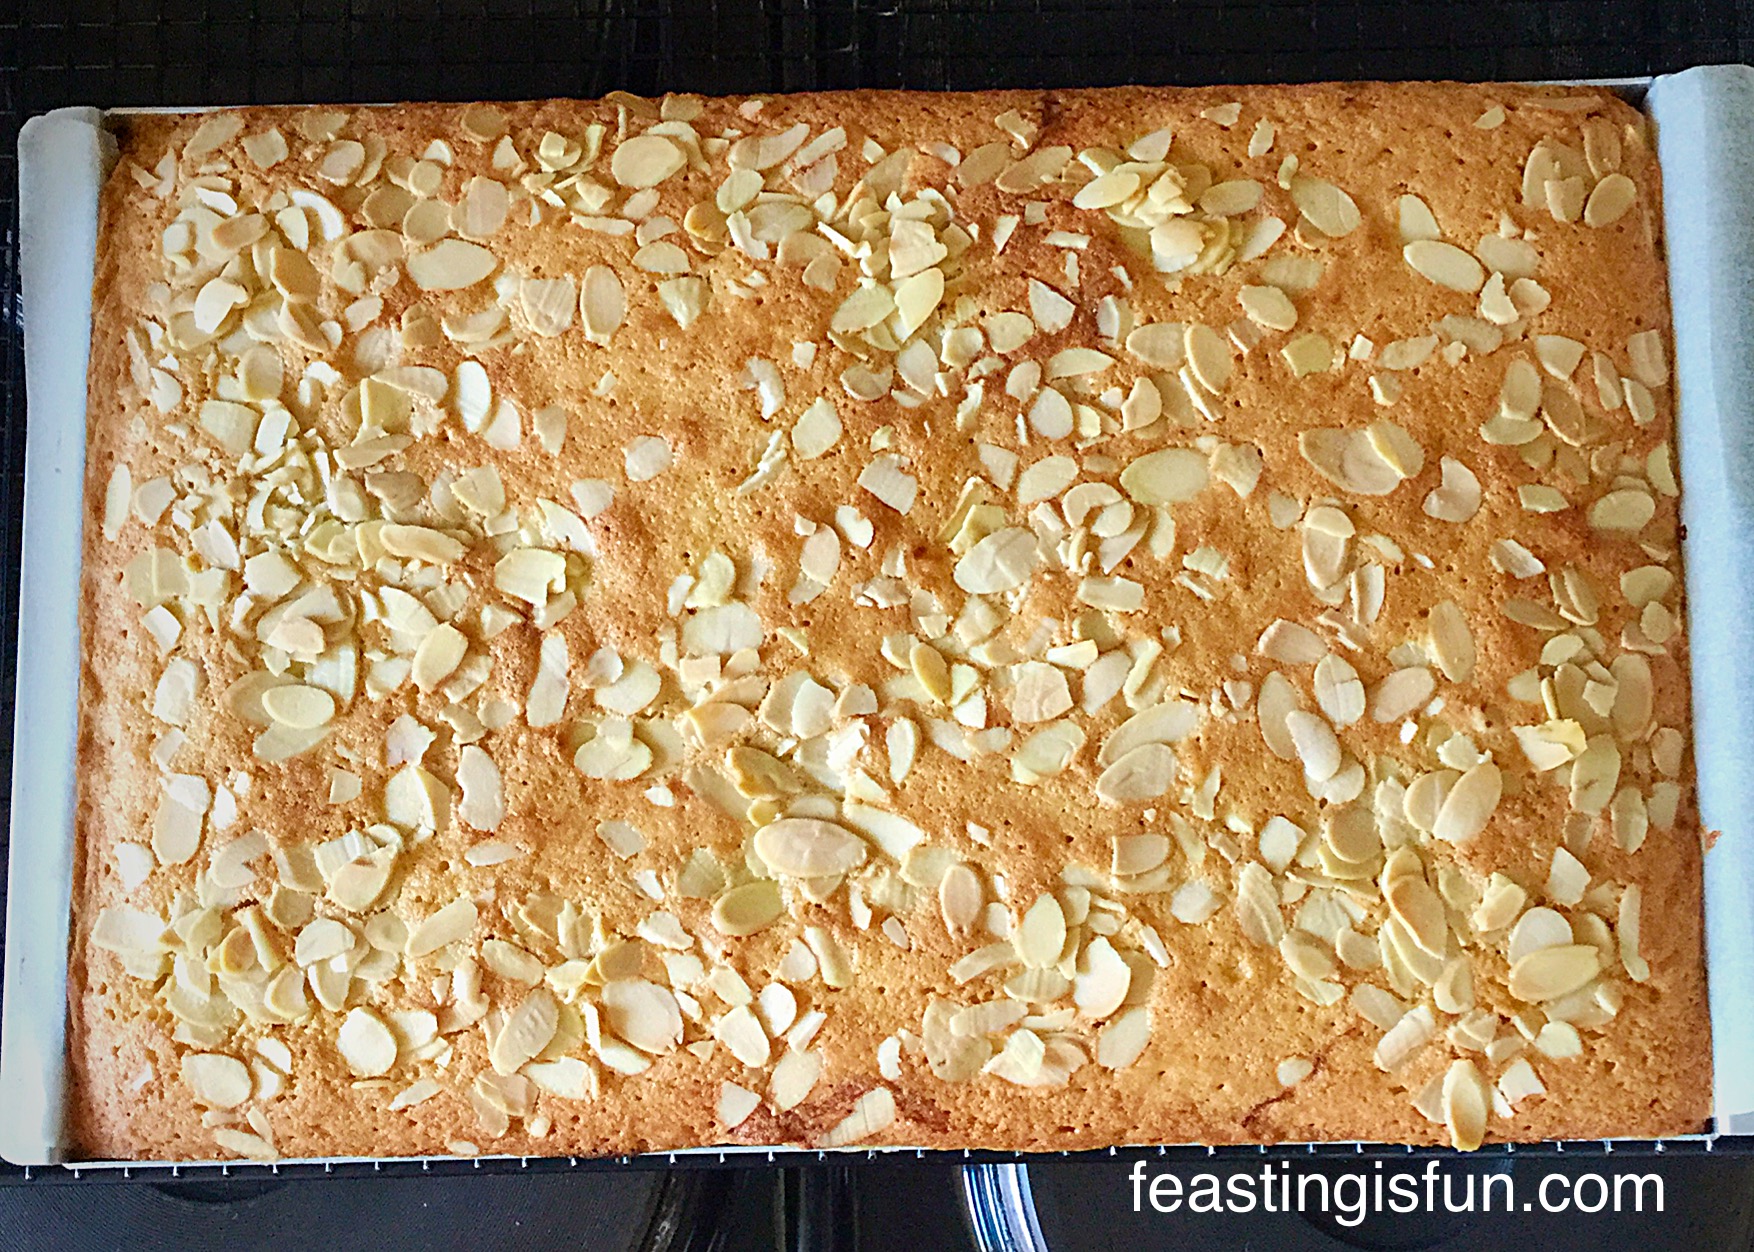
- Sprinkle over the flaked almonds.
- Place the tin into the centre of the oven and bake for 25-30 minutes. It is fully baked when the top is golden and feels firm to the touch.
- As soon as it is baked remove the tin from the oven and allow to cool completely in the tin.
Portioning the Bars
- When completely cold run a knife around both long sides of the tin.
- Using the spare parchment paper, lift the cake covered shortbread free from the tin.
- Cut down the middle length of the bake.
- Then cut across the width, in the middle.
- Now cut each quarter into 3 bars.
- Use a palette knife to lift the Bakewell Shortbread Bars free from the baking parchment.
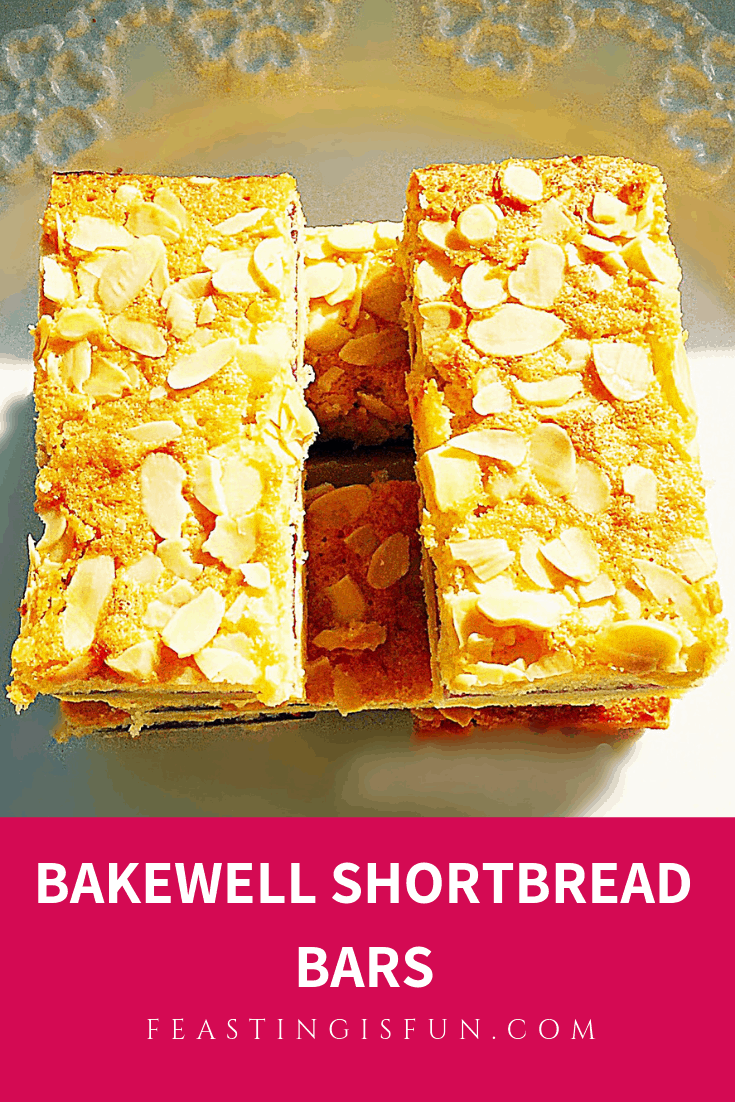
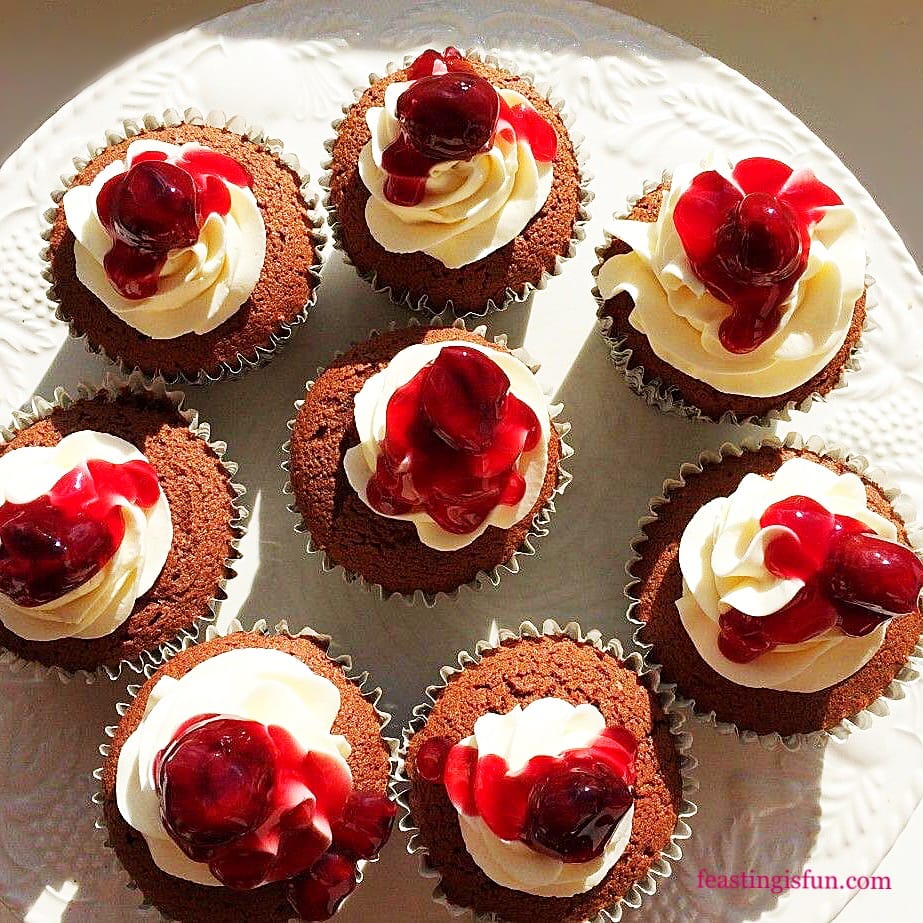
How great do these Bakewell Shortbread Bars look? They can also be cut into squares for tasty party bites.
Store them in an airtight container for up to 5 days.
See! So easy to make. And such a brilliant addition to a packed lunch, picnic or just to have with a cup of tea or coffee.
I love recipes that are easy, yet produce stunning results. This is one of those recipes. Because all of the flavours work so well together, a buttery shortbread base, sweet and tart raspberry jam topped with almond sponge. The perfect combination. Finally you can have your cake and cookie all in one tasty Bakewell Shortbread Bar!
If you have enjoyed these Bakewell Shortbread Bars, here are some other recipes you might like to try:

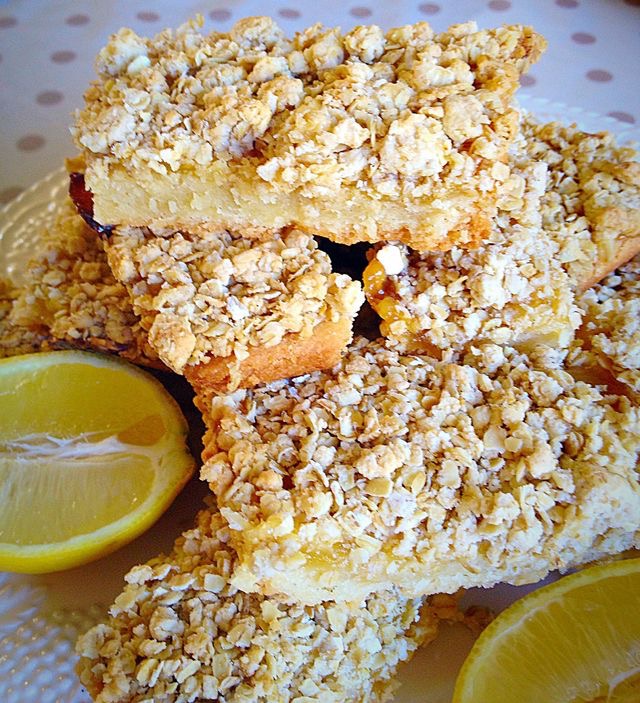
Oat Topped Lemon Shortbread Bars
Do you have favourite recipes for making good food to go?
Also, thank you for taking the time to leave a comment. I really appreciate it and love reading them. If you are on Twitter or Instagram please pop a photo up and tag me in. I love to see what you are baking and making in your kitchens and will happily retweet your pictures.
So, whatever you are making, have lots of fun making your feasts and sharing with friends and family.
Sammie xx
No part of this post may be reproduced or duplicated without the written permission of the owner. Please see my Disclosure Policy.
You may also like these: