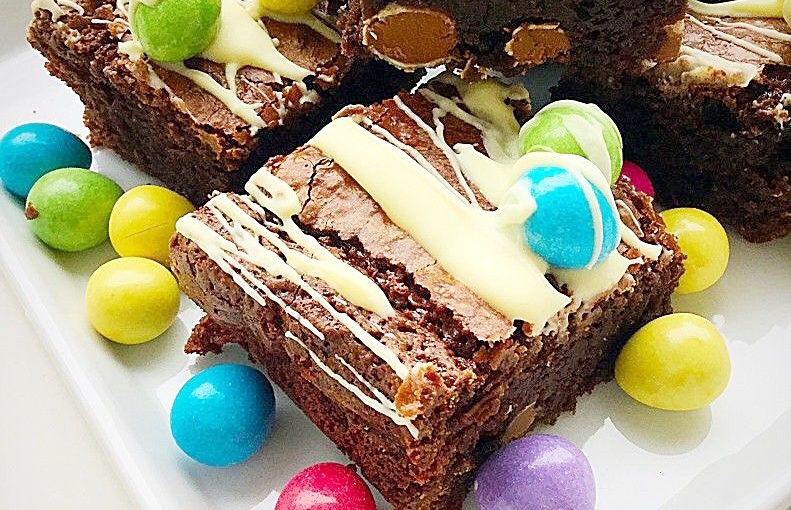
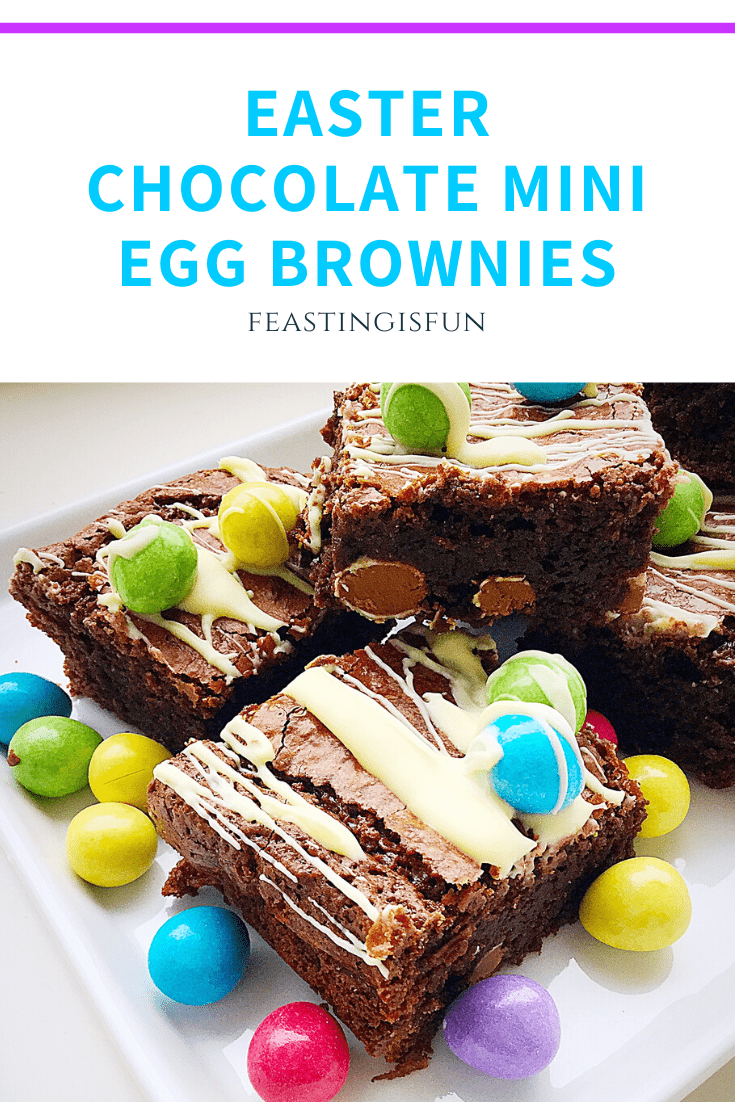
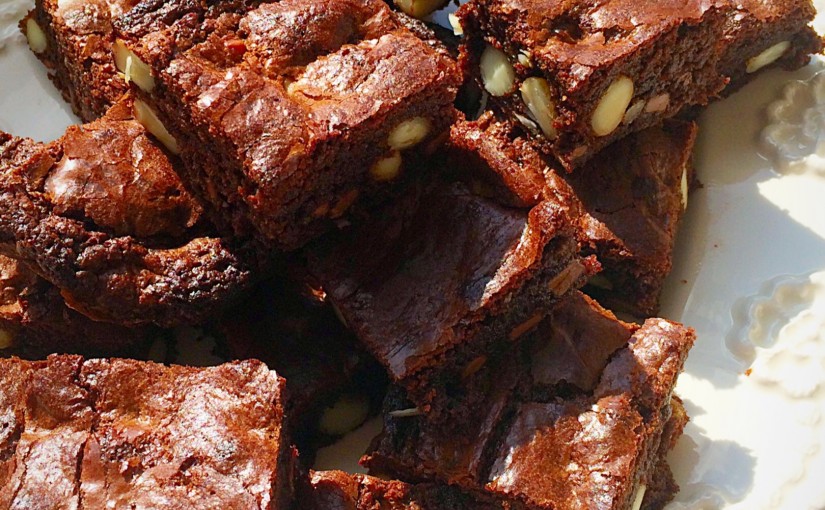
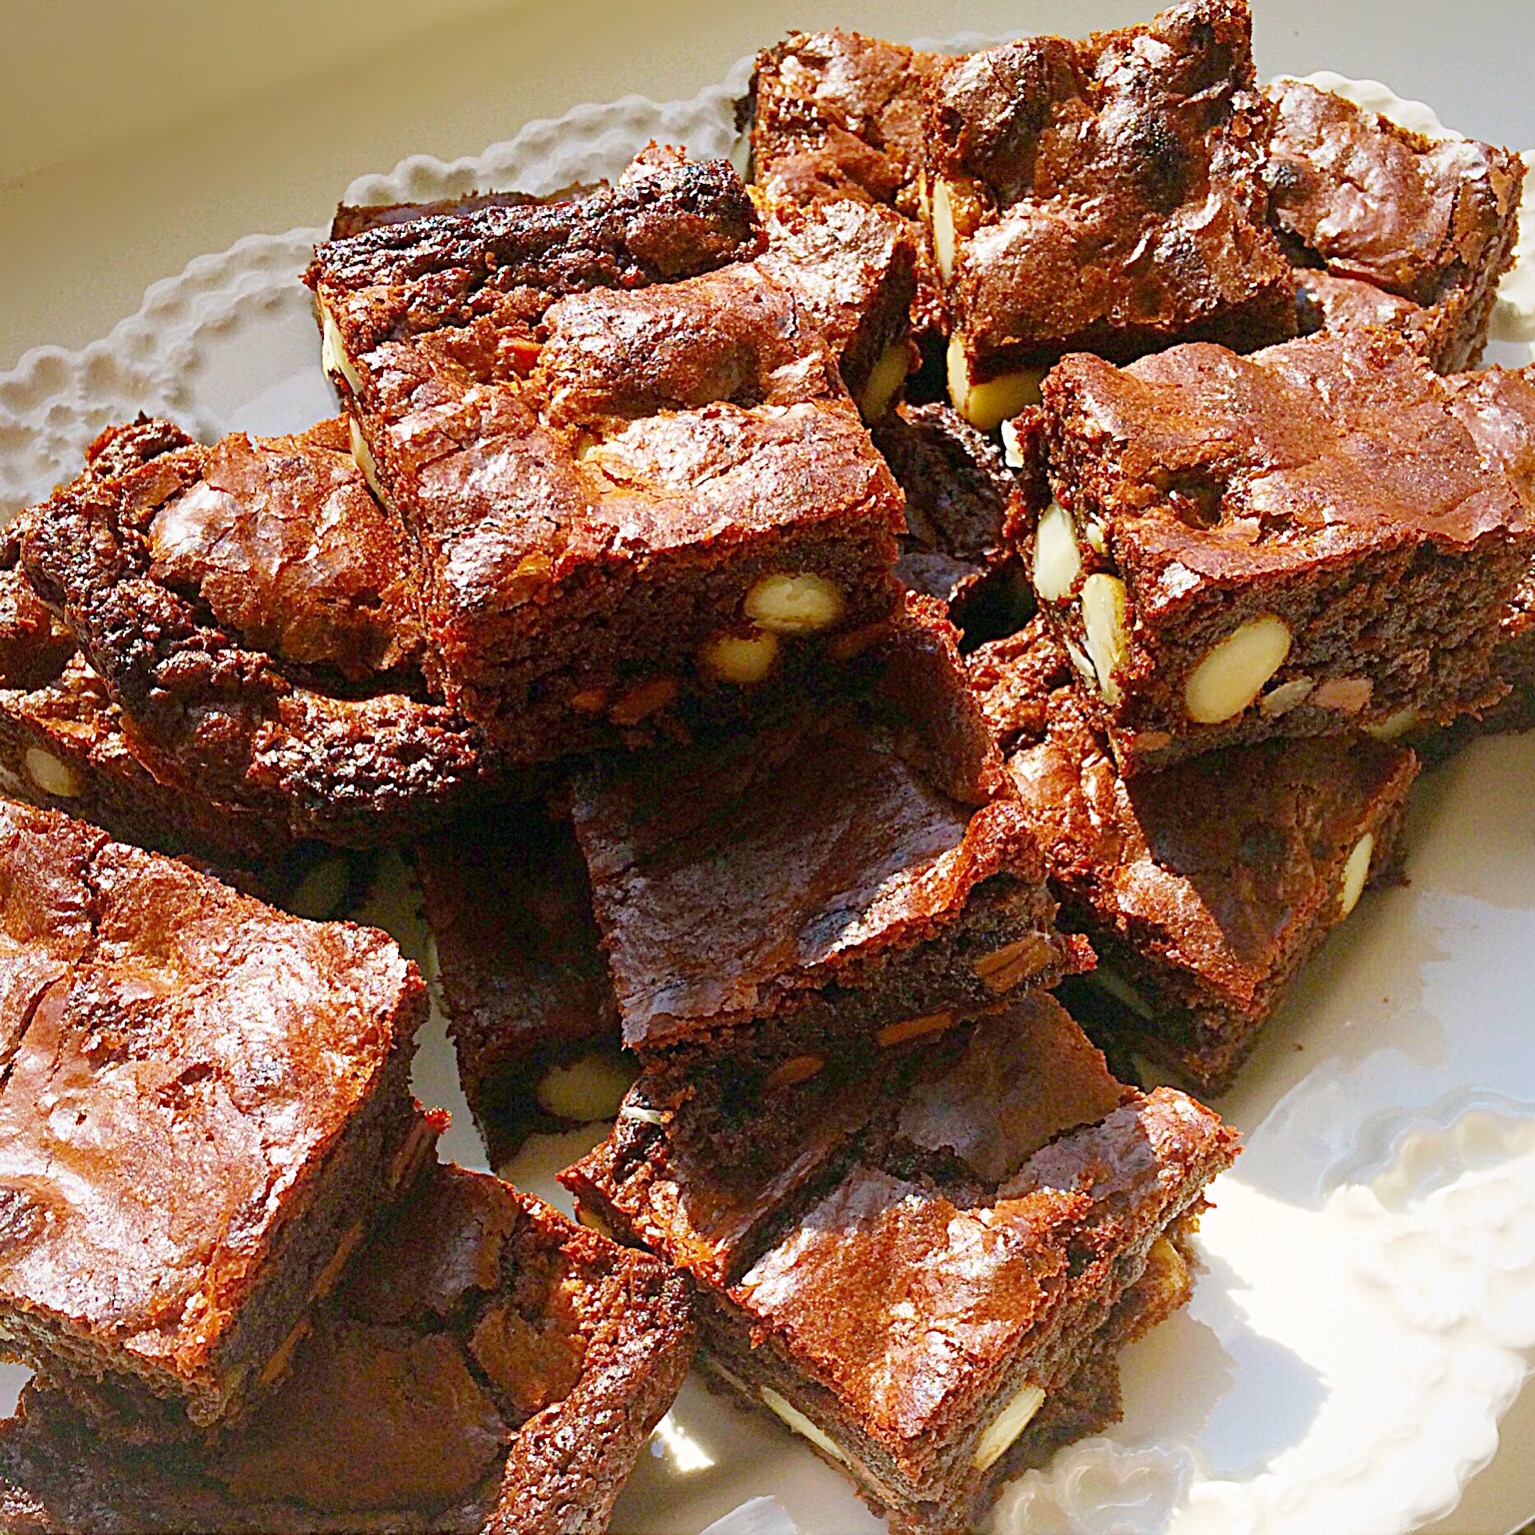
Who doesn’t love a delicious brownie? I know I do. So, when I received a small selection of fudge to try out, I knew where the vanilla version was heading, straight into these very tasty Vanilla Fudge Chocolate Brownies.
The Vanilla Fudge from Fudge Angels, is creamy with a definite vanilla taste, not just sweetened sugar and cream. So I kept with a deeply chocolate brownie recipe, allowing the fudge to ‘sing’ as it hits your tastebuds.
Also, I received a delicious Strawberry Pavlova Fudge, which was very popular with our eldest daughter, in truth a little too sweet for me, although it did leave a delightful strawberry flavour in my mouth. In contrast, the Smooth Ginger Fudge was delicious. So, if you love ginger, which I do, then you will enjoy this fudge. I can imagine using it in some ginger cookies, if I don’t snaffle it all beforehand!

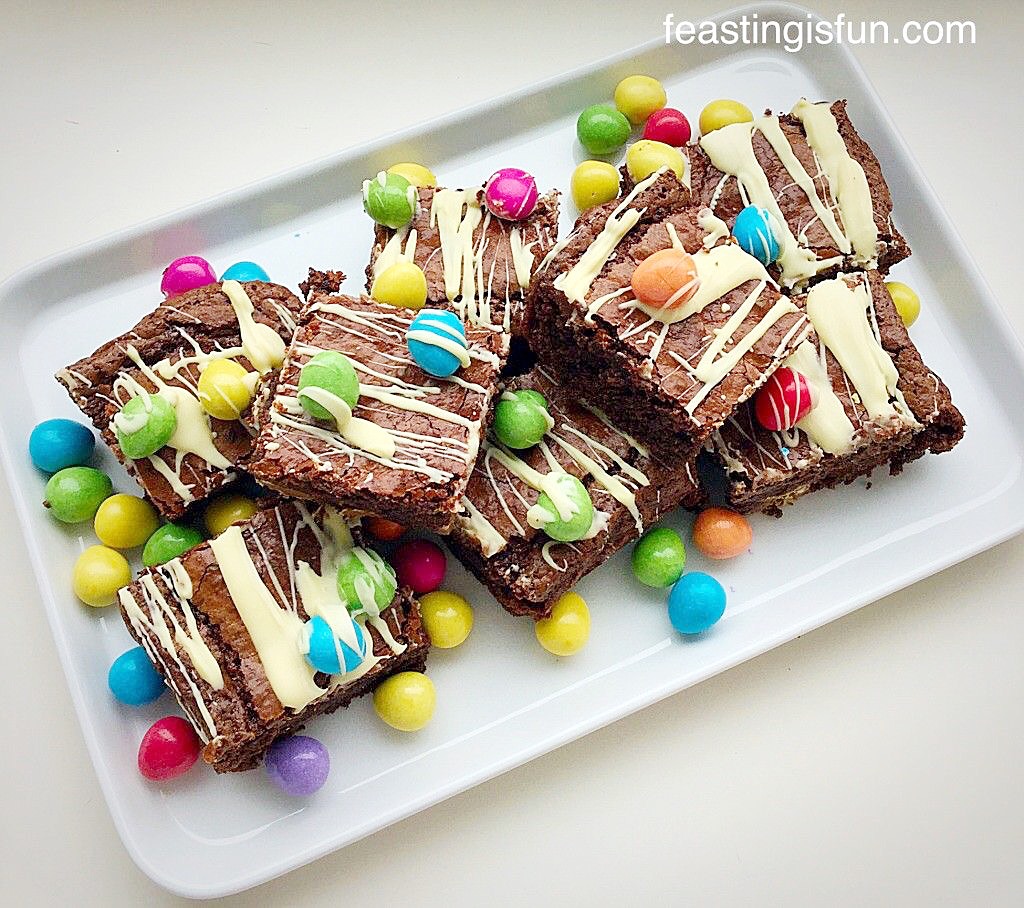
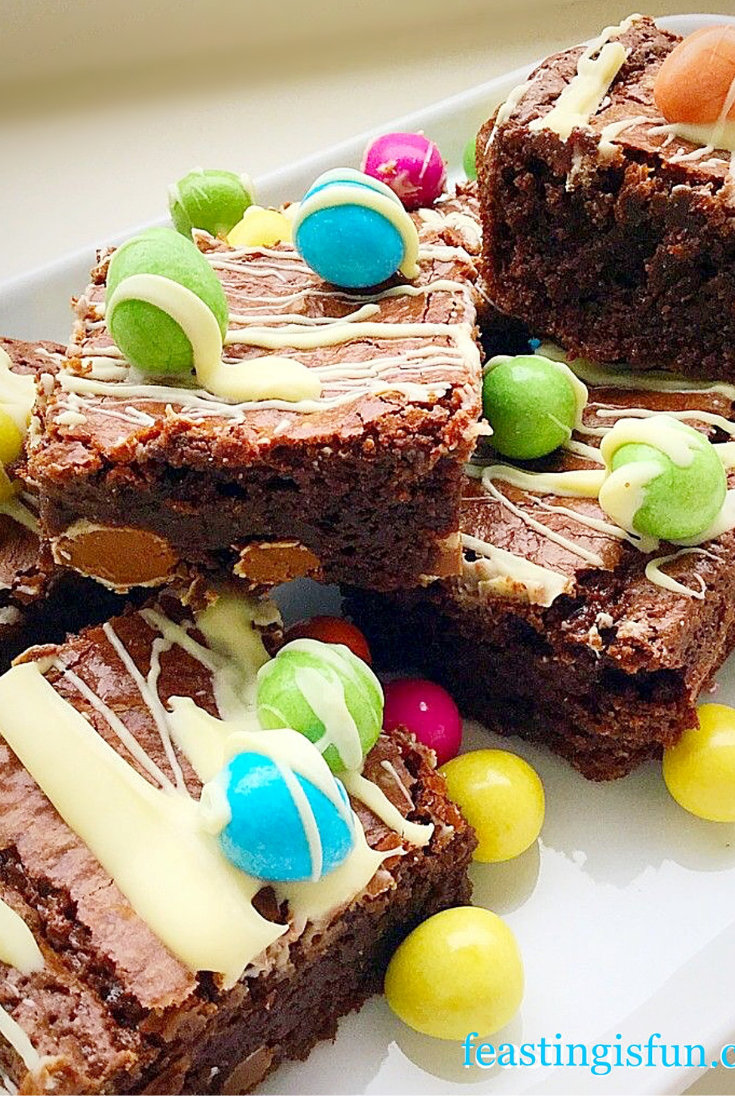
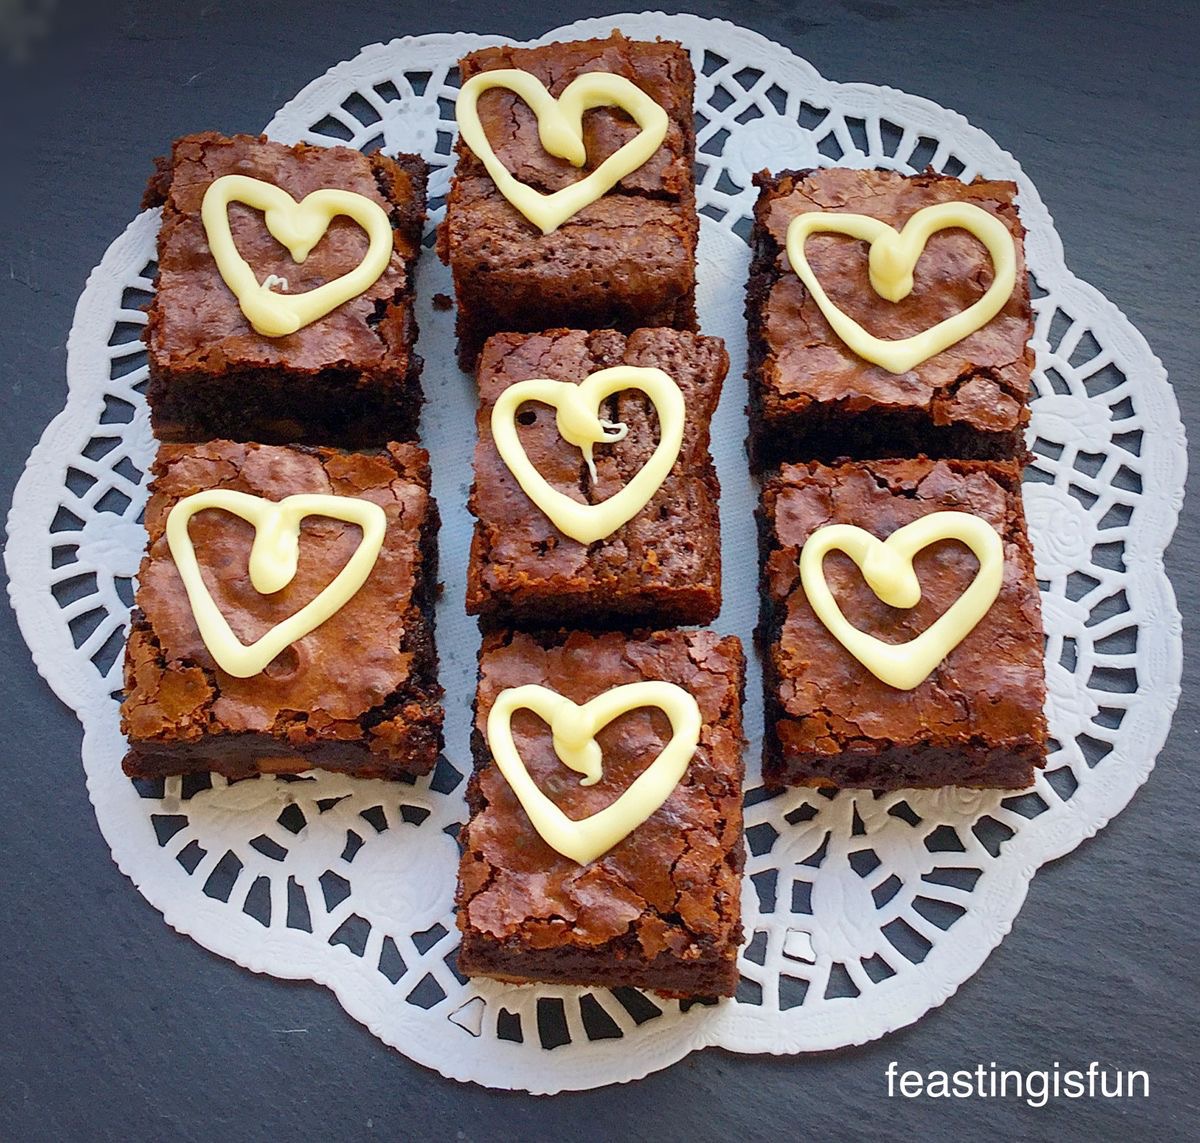
These Vanilla Fudge Chocolate Brownies are perfectly delicious on their own.
However, here at Feasting is Fun, I wanted to turn them into a fantastic dessert.
Brownies And Ice Cream – A Great Dessert Combo
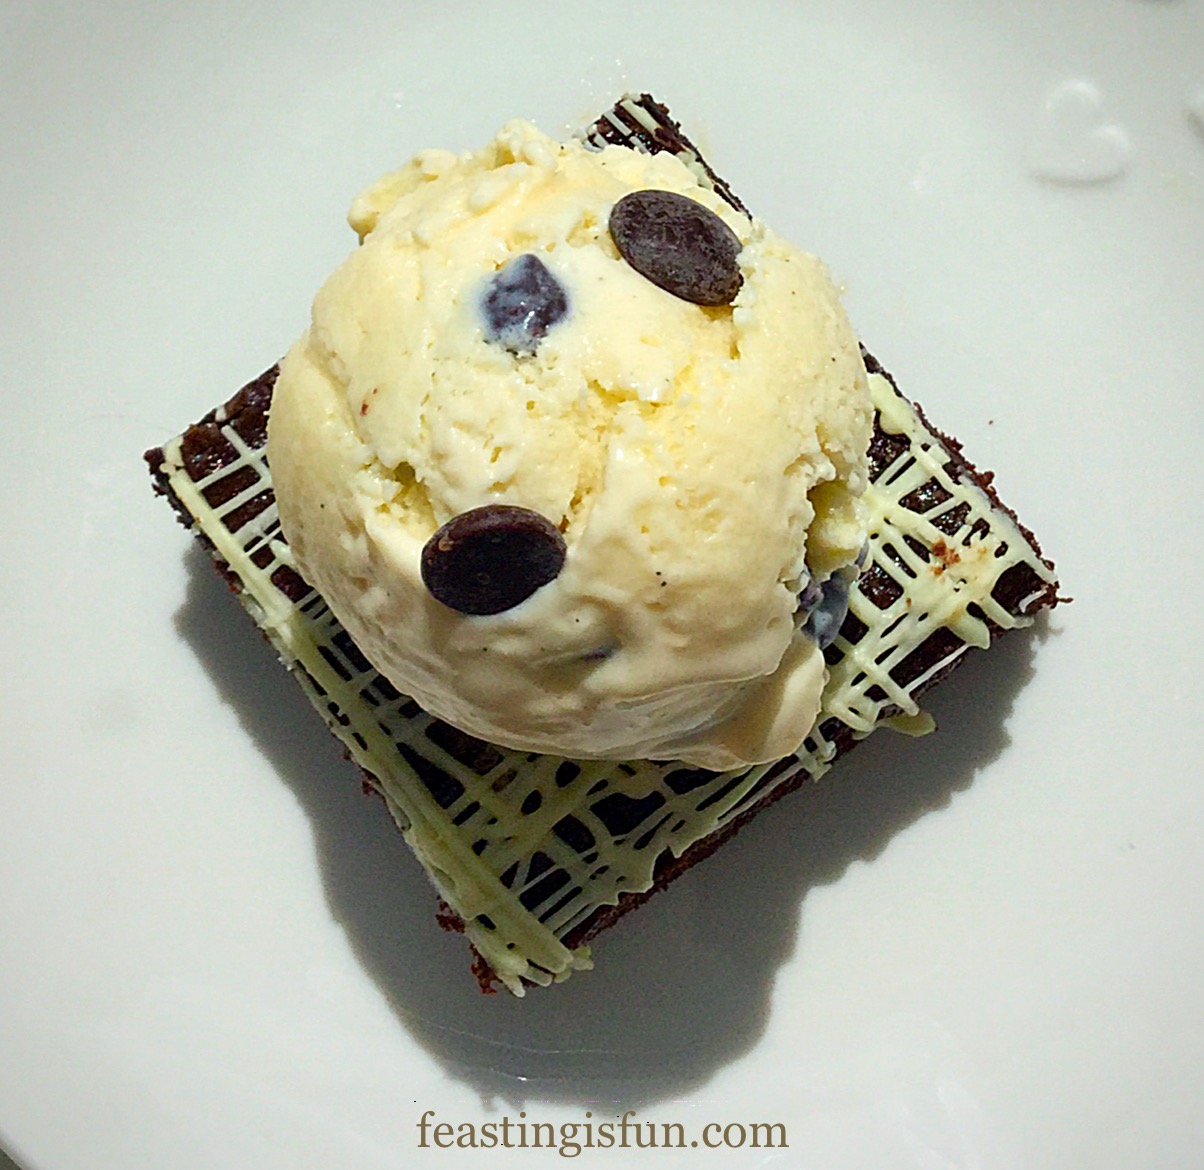
What goes better with brownies than ice cream. And not any ice cream, one created to perfectly compliment the flavours found within these Vanilla Fudge Brownies, Dark Chocolate Chip Vanilla Ice Cream.
See how good I am to you!
While they are both perfectly delicious on their own, bring them together and we have a taste bud party starting baby 😉
Such an easy traybake, turned into a jaw dropping, beautiful dessert!
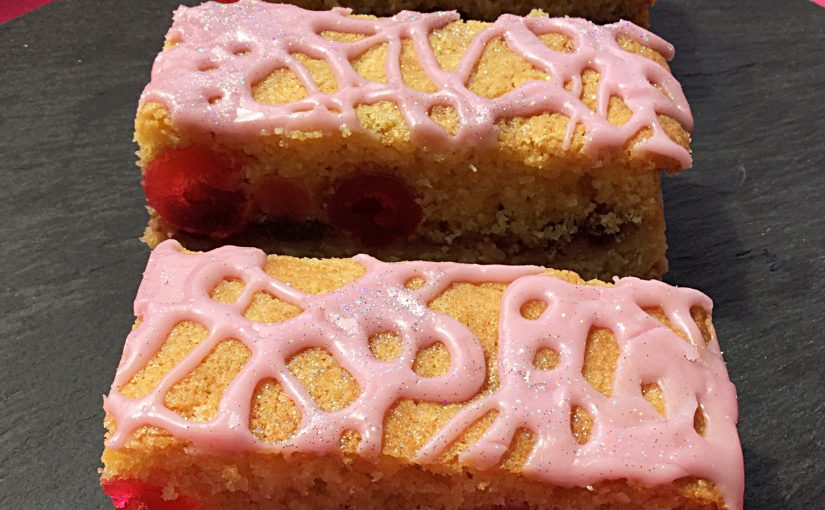
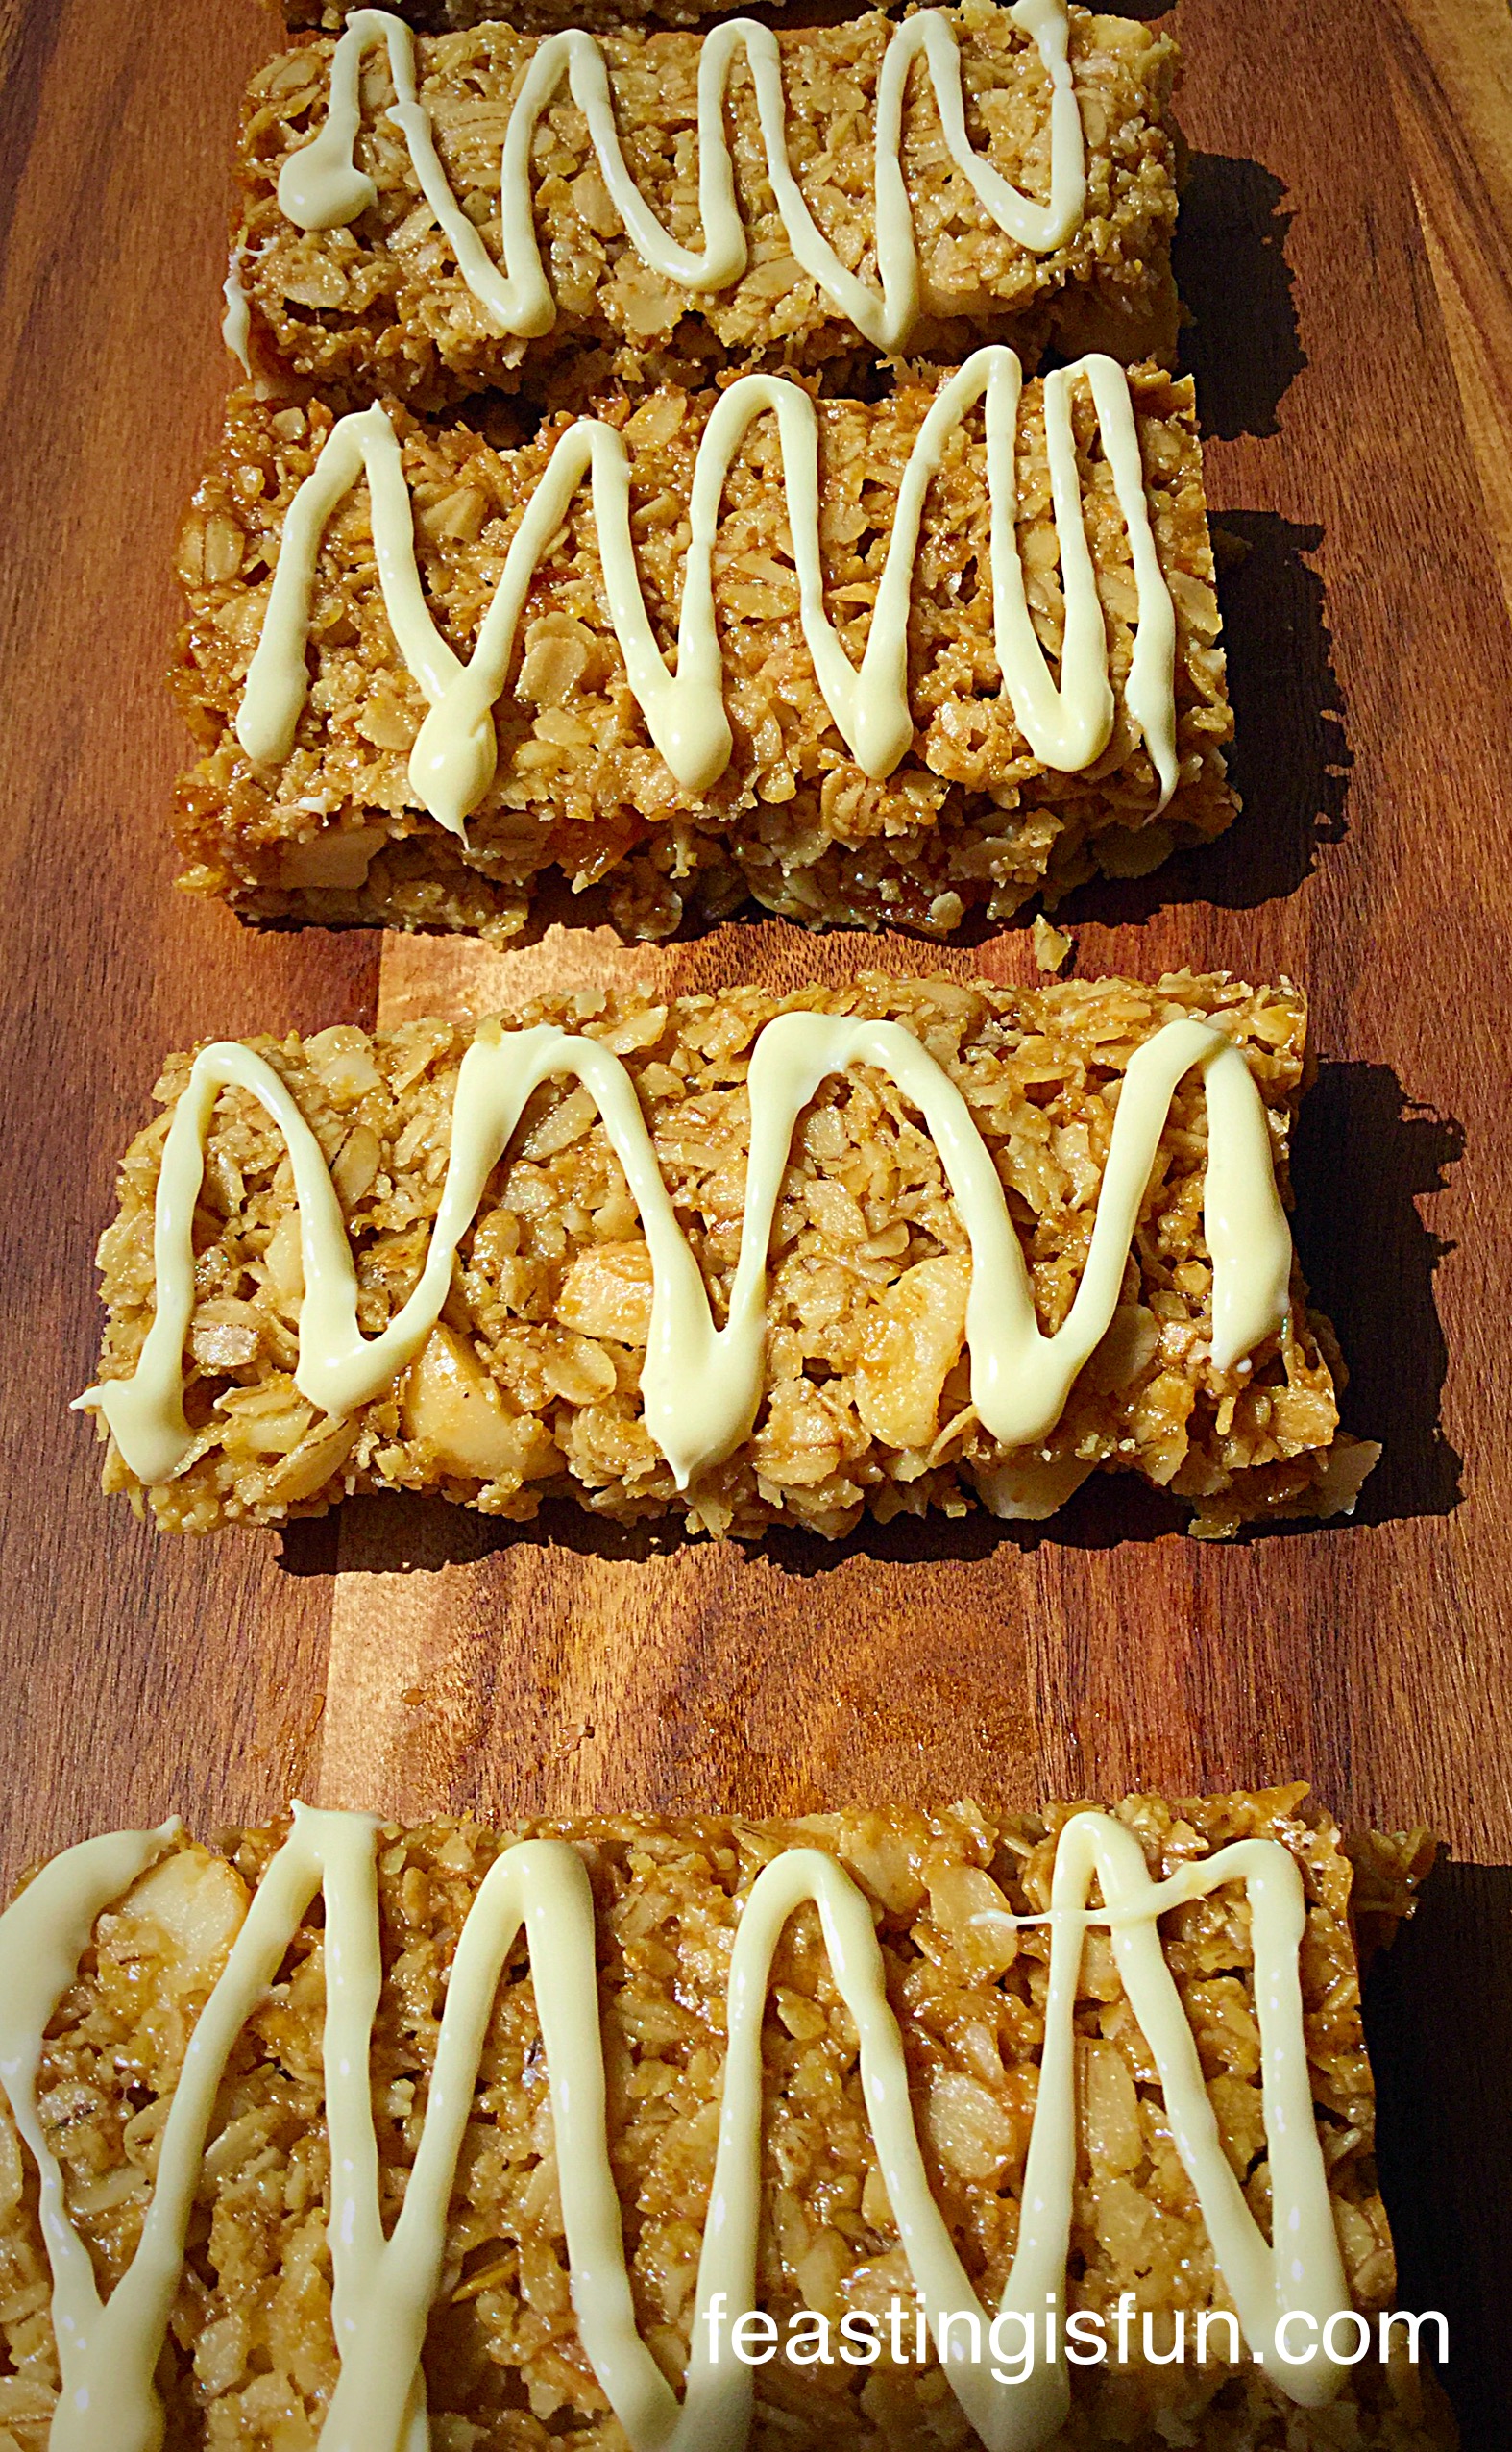
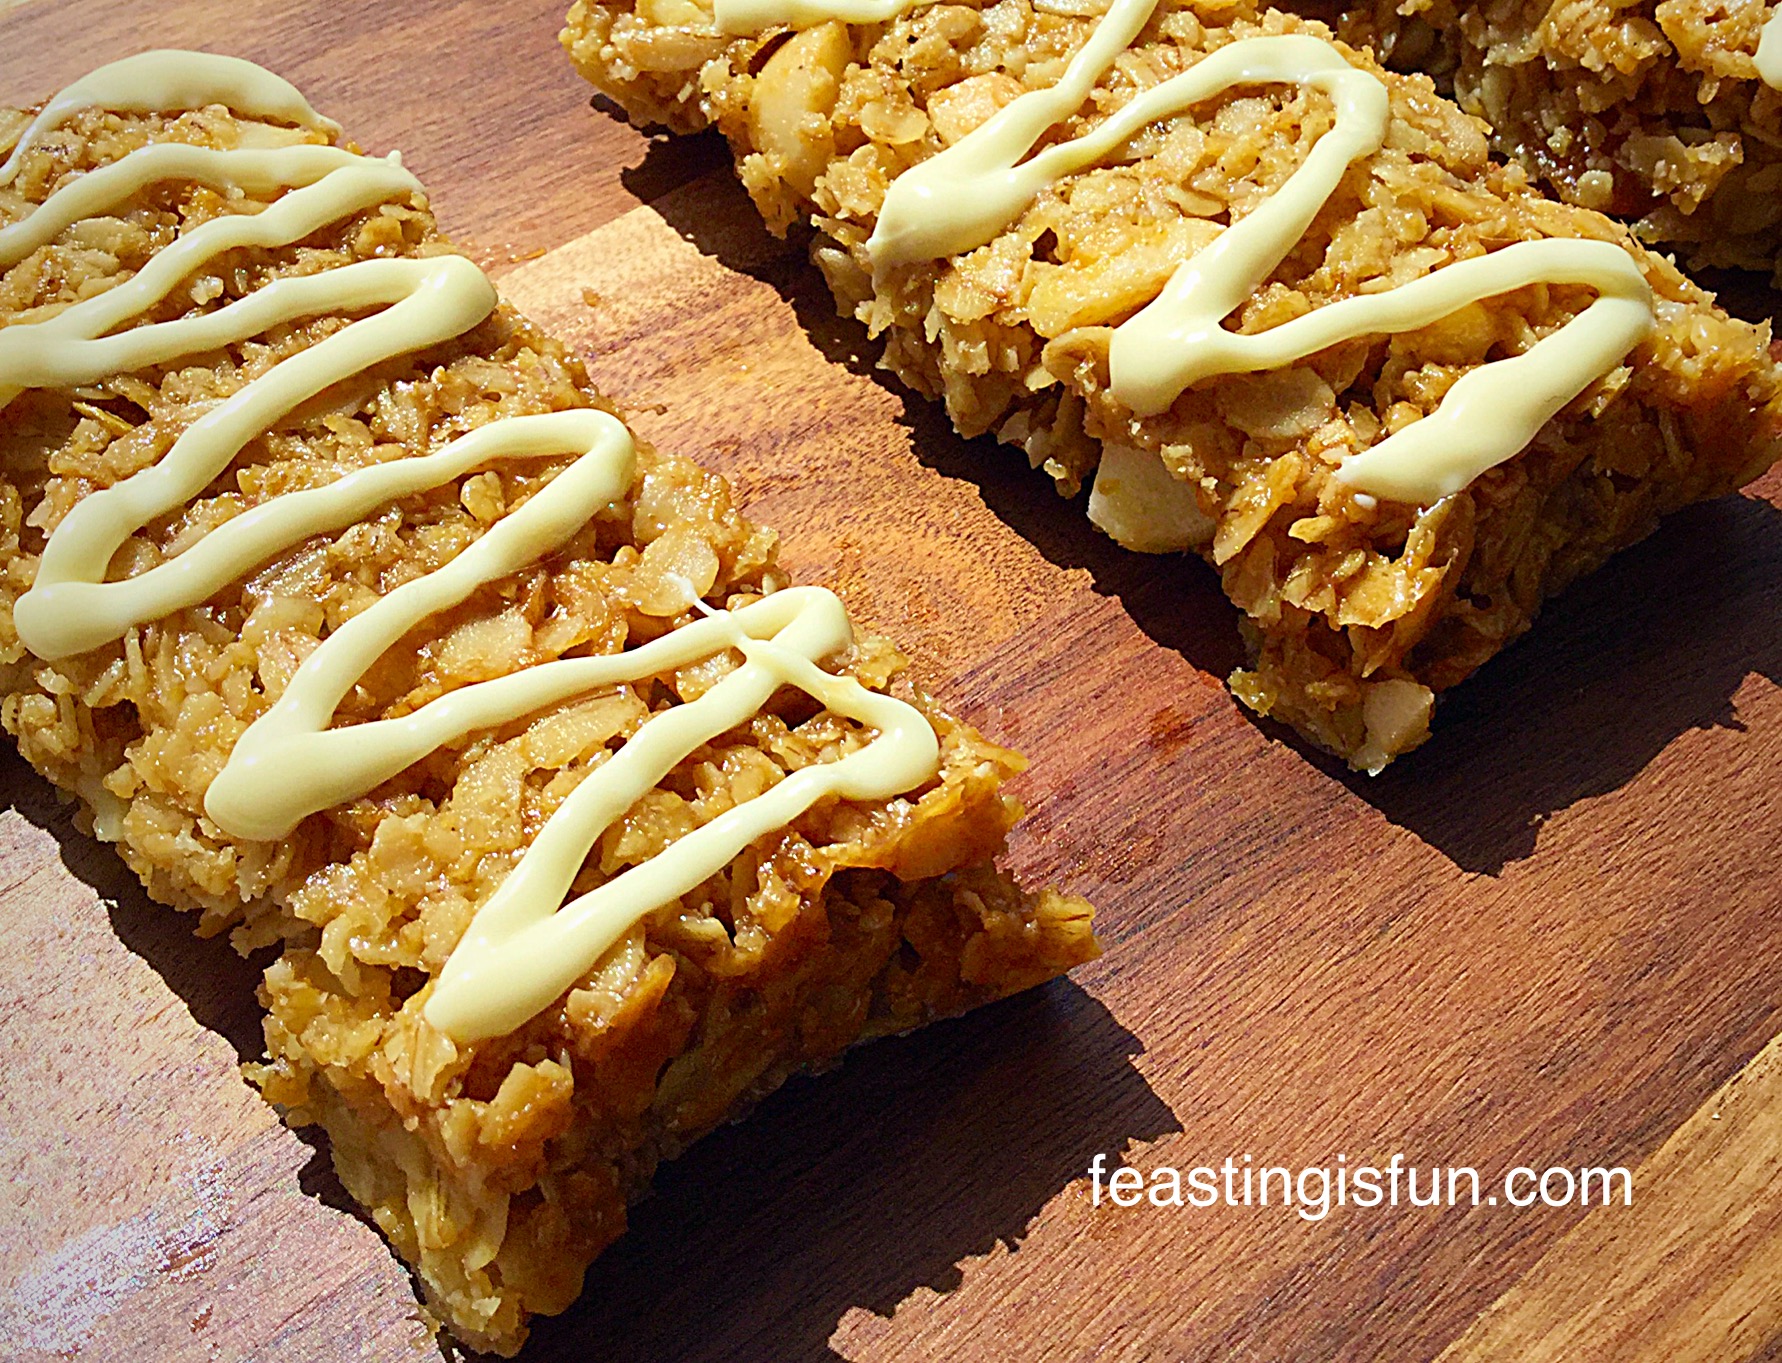
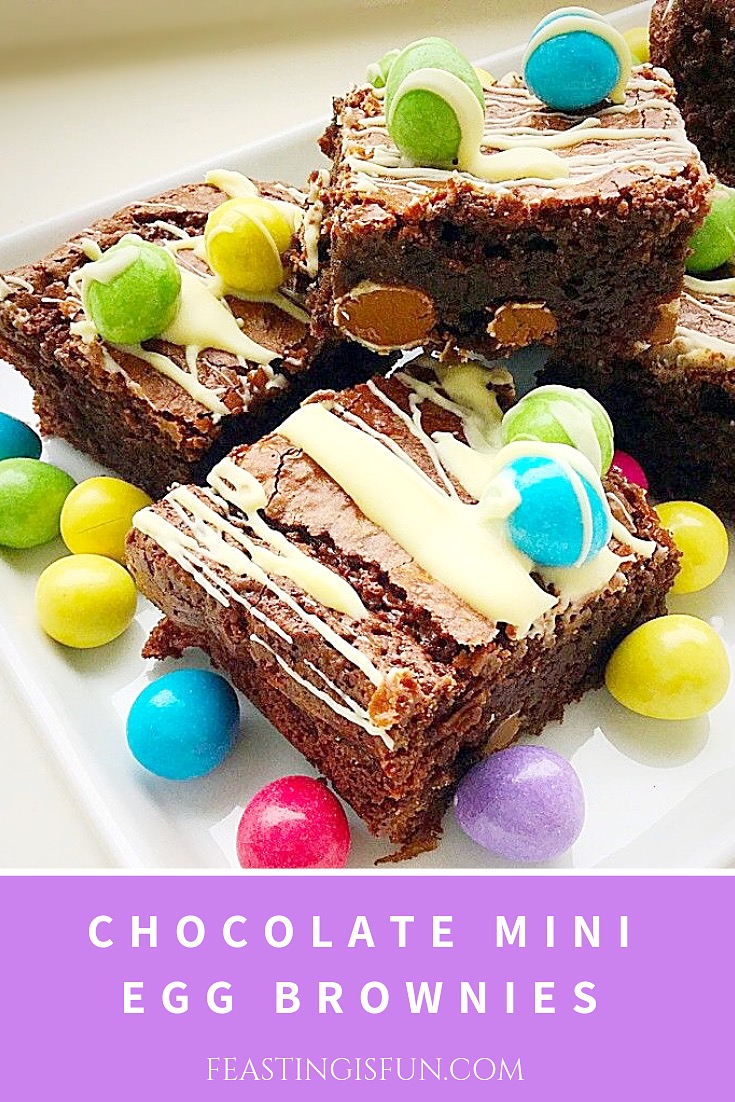
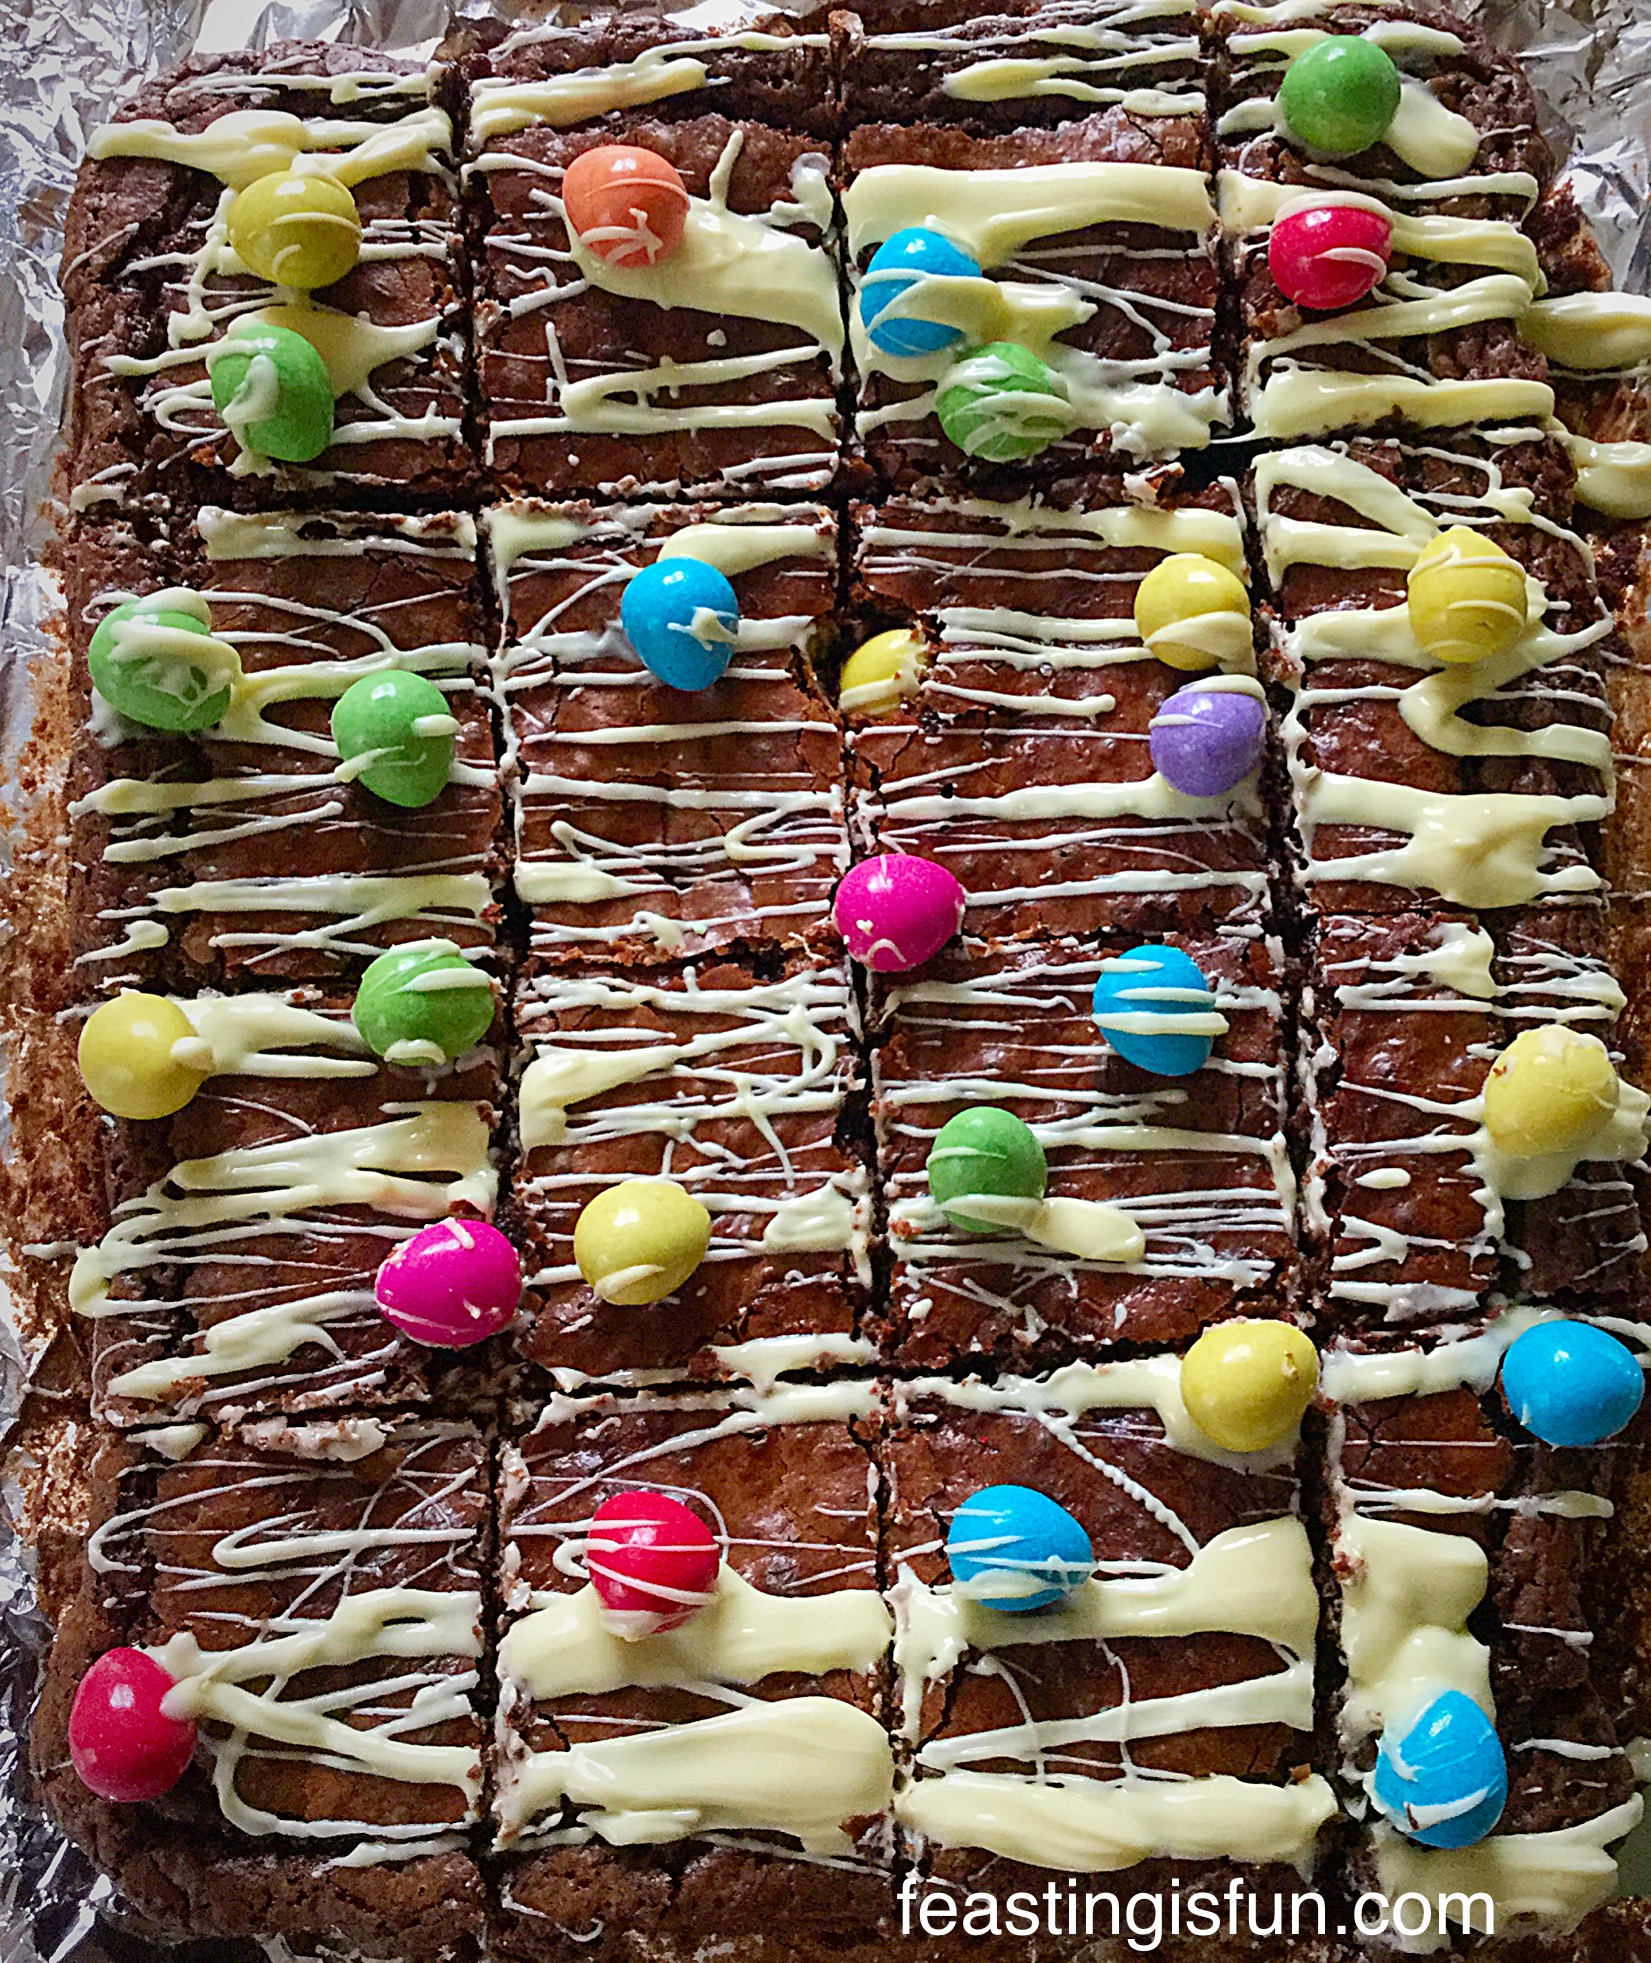
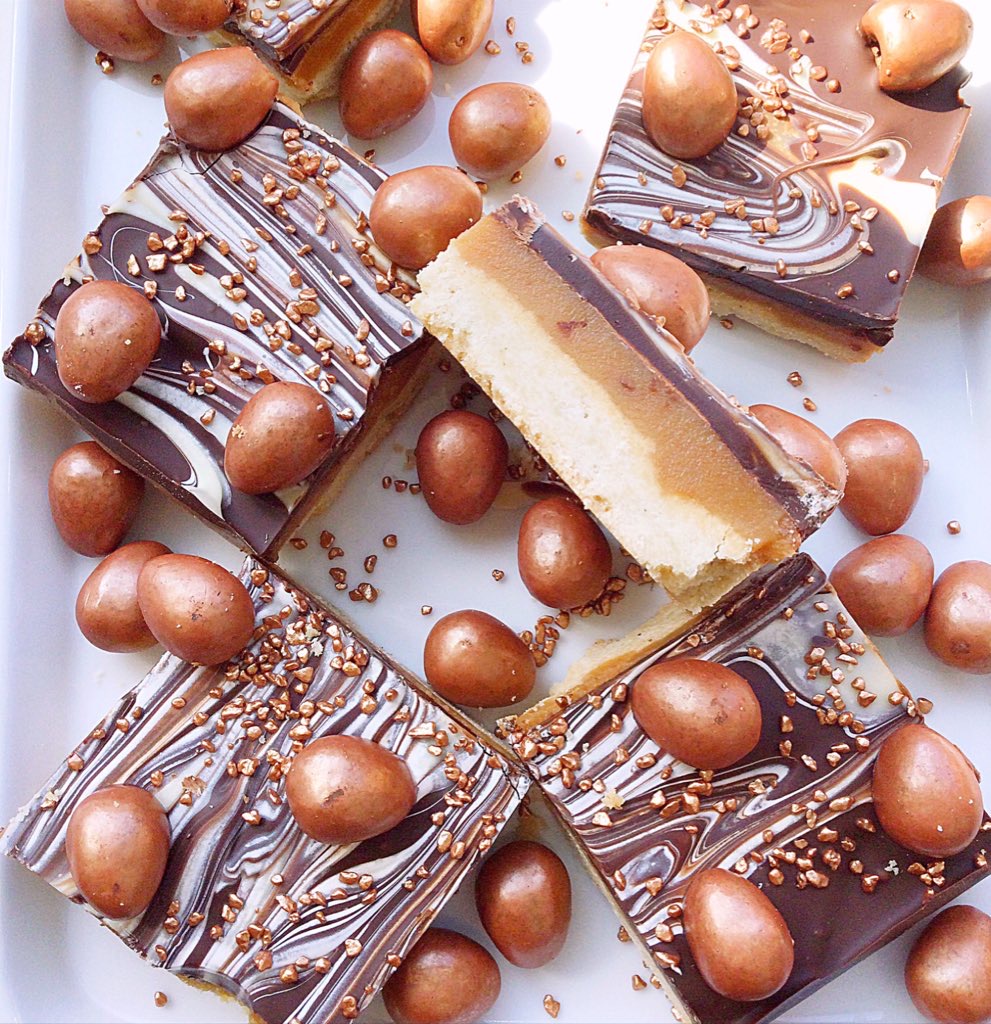
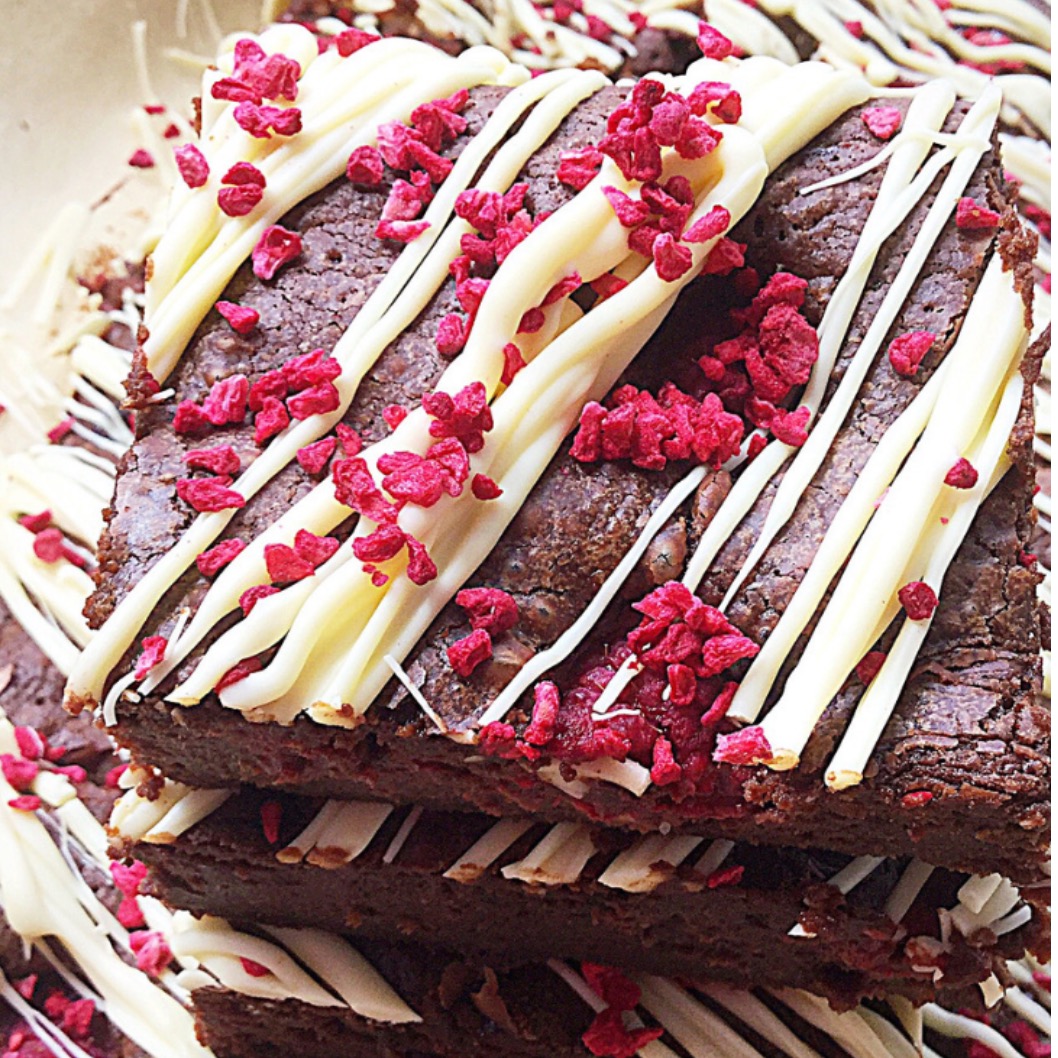
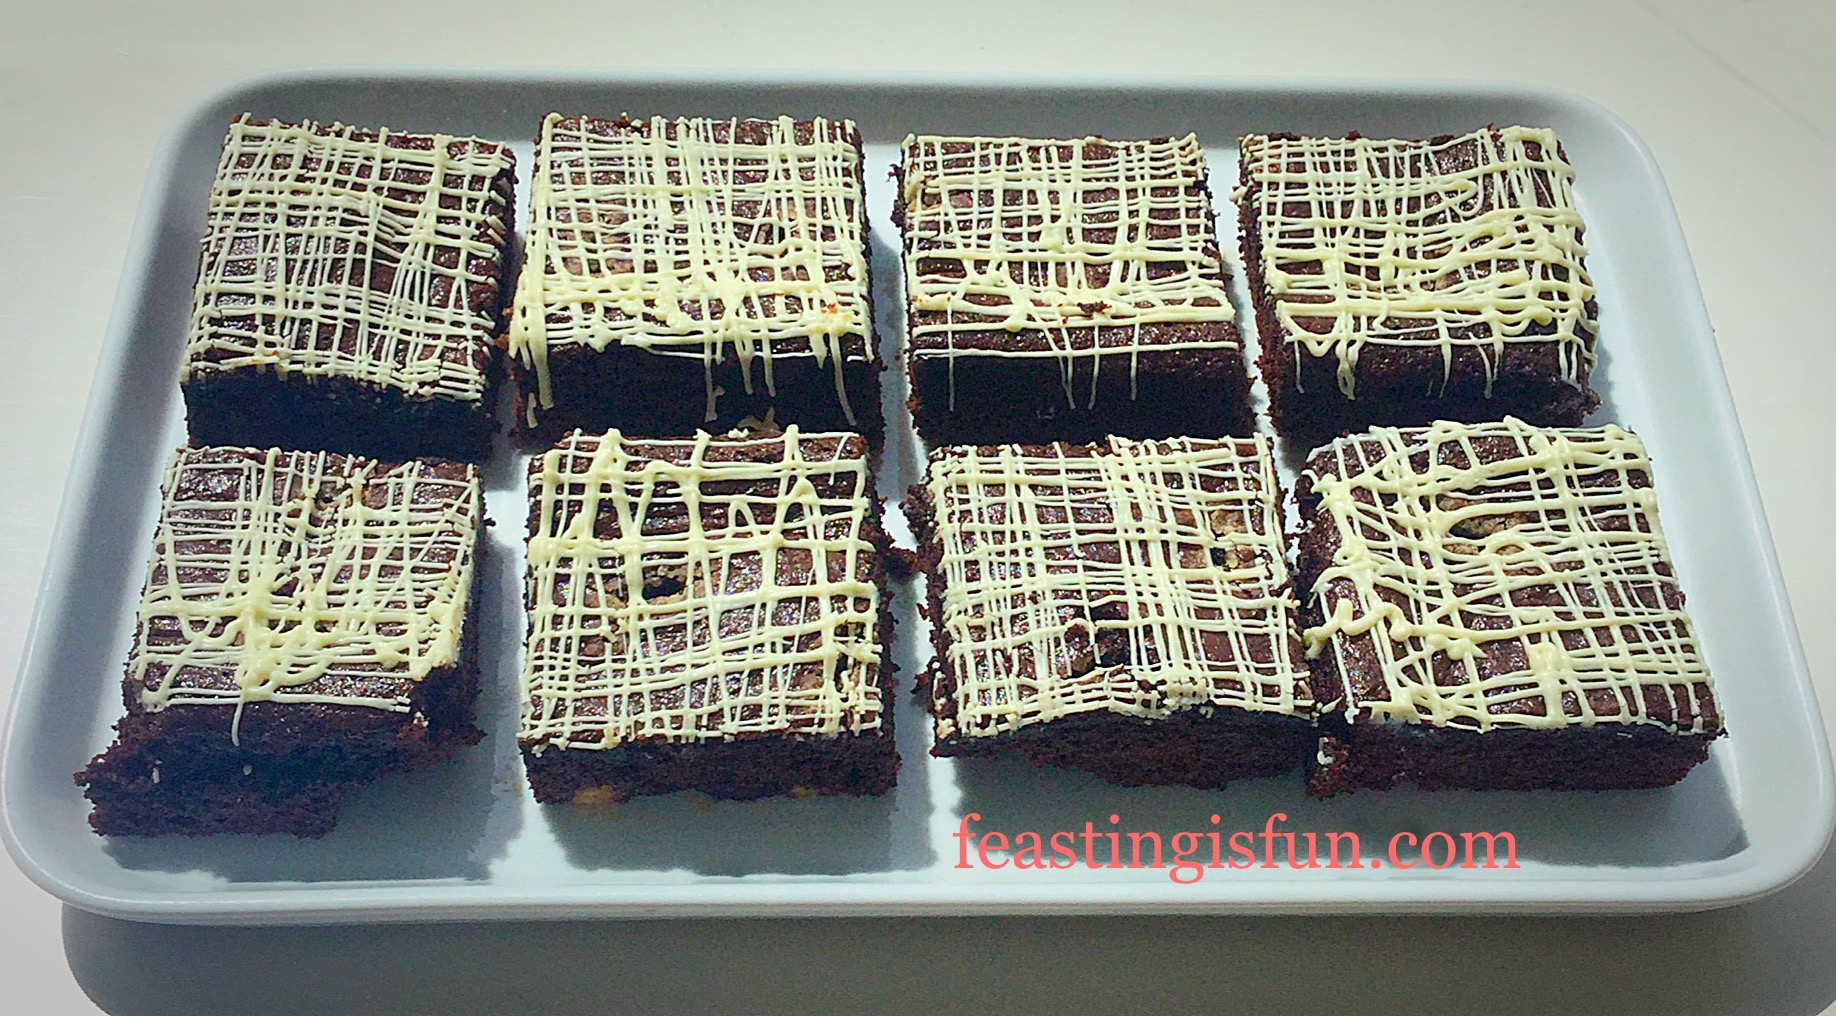
Finally, a drizzle of white chocolate on top of the brownies echoes the flavours of the vanilla fudge within. So you can be assured, if you have no desire to make your own ice cream, that the brownies are still, one hundred per cent, top class.
Our youngest daughter gave these a 10!
I wish there was a way of putting that in BIG FLASHING LIGHTS. Because she rarely awards a 10 for my efforts. I am literally cock-a-hoop with joy.
Did I mention the 10?
Ok I’ll leave it for now.
TEN OUT OF TEN – yup I’m done 😉

Also, something else I should tell you before you make these, is that all the preparation, mixing etc. is carried out in a saucepan. And (I know your not supposed to start sentences with and – but I got a 10!!!), you line the swiss roll tin with foil, so there is very little clean up.
You’re welcome xx.
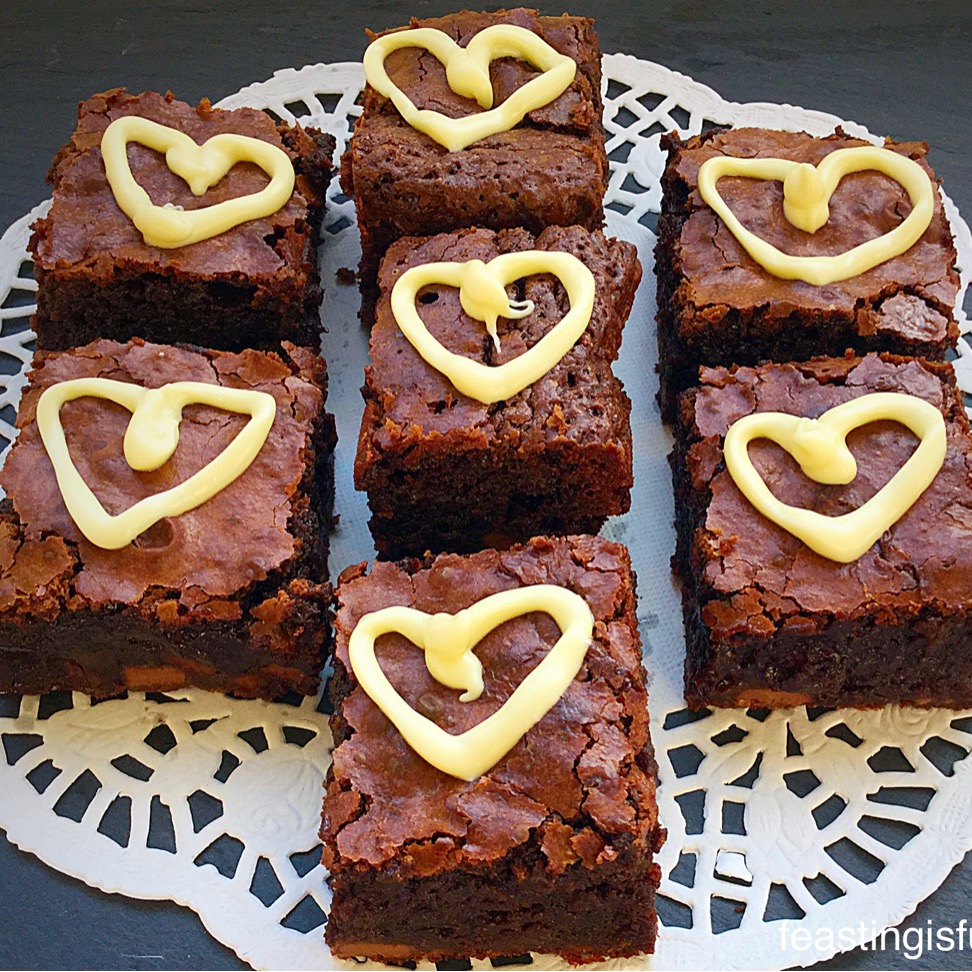
Recipe: Makes 15 Vanilla Fudge Chocolate Brownies
275g/10oz Dark Brown Muscavado Sugar
150g/5oz Unsalted Butter
50g/2oz Cocoa Powder
150g/5oz Plain White Flour
1tsp Bicarbonate of Soda
1/4tsp Salt – I use Maldon
1tsp Vanilla Bean Extract or Vanilla Extract – I use Nielsen-Massey
4 Large Free Range Eggs
100g/4oz Vanilla Fudge – from Fudge Angels
50g/2oz White Chocolate for drizzling over the top
Making The Vanilla Fudge Chocolate Brownies
Preheat the oven to 180C/160C fan, gas mark 4, 350F.
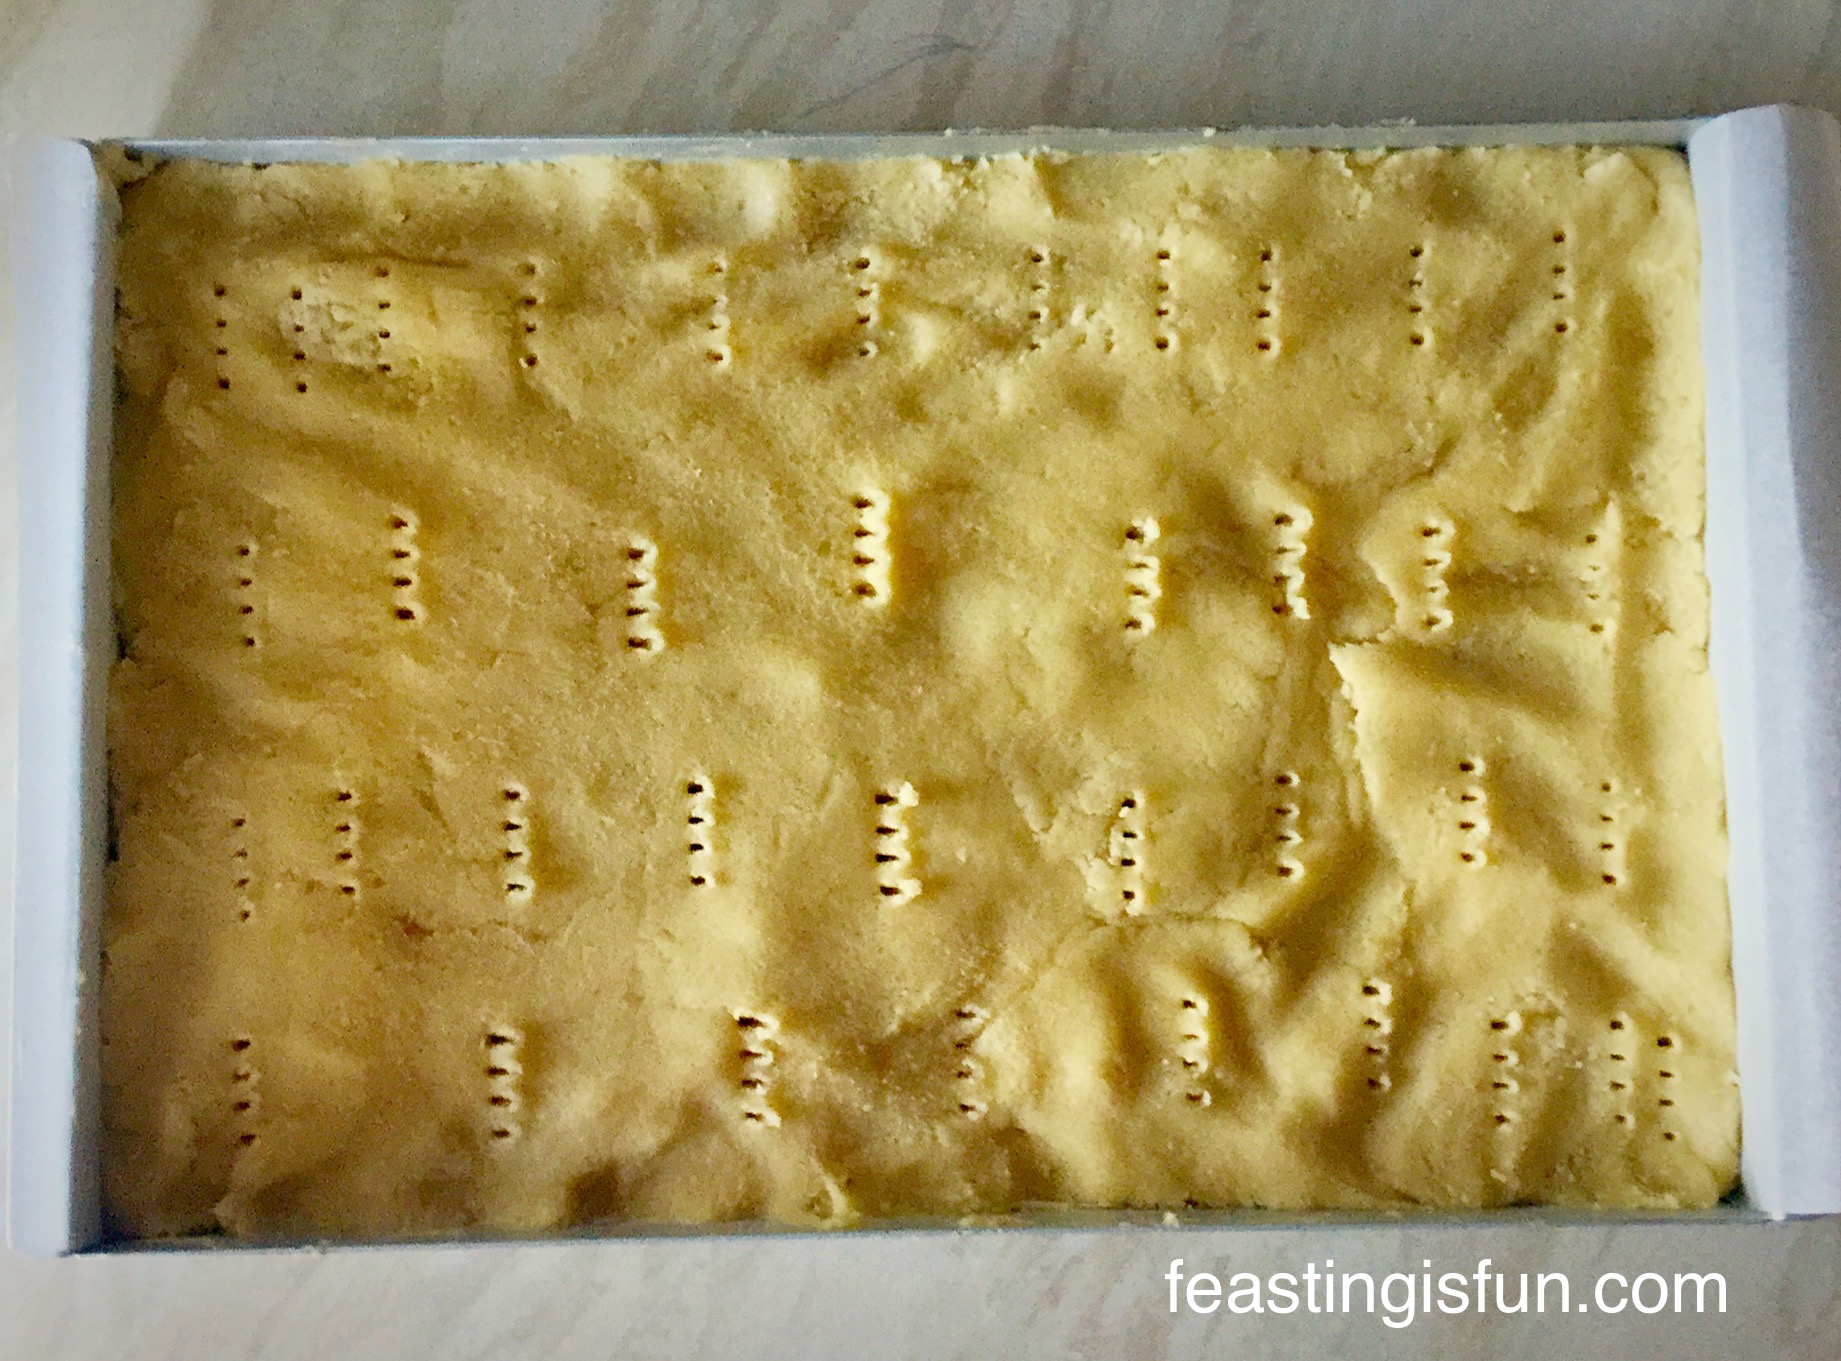
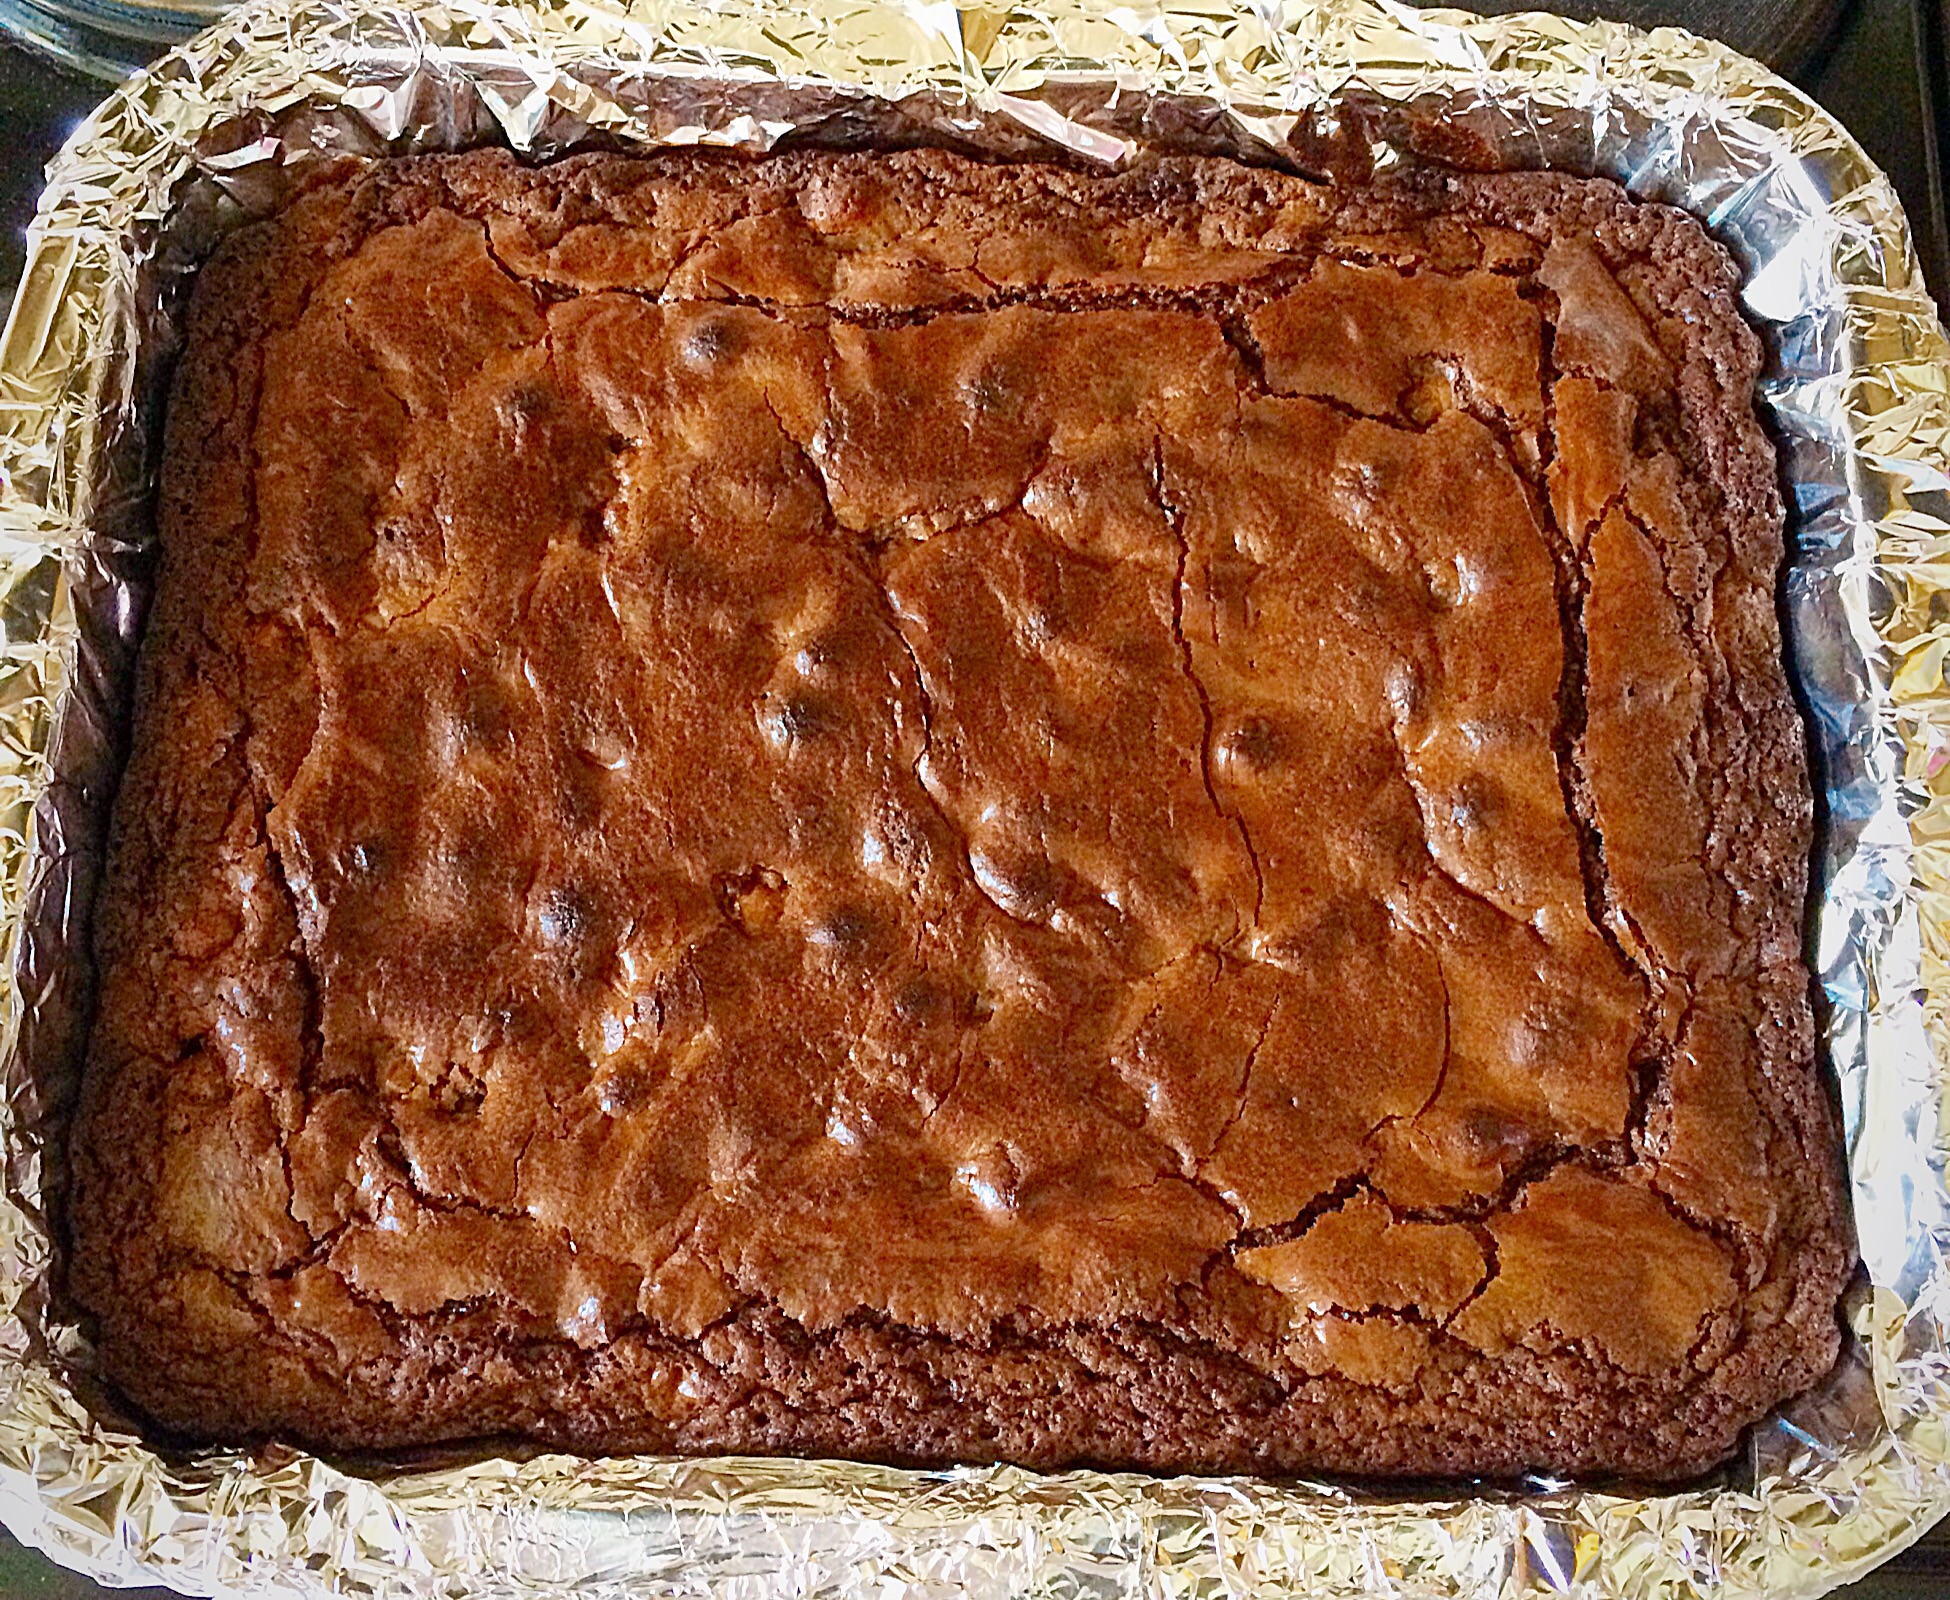
- First of all, line a 28cm x 20cm x 5 cm (12″ x 8″ x 2″) swiss roll tin with aluminium foil.
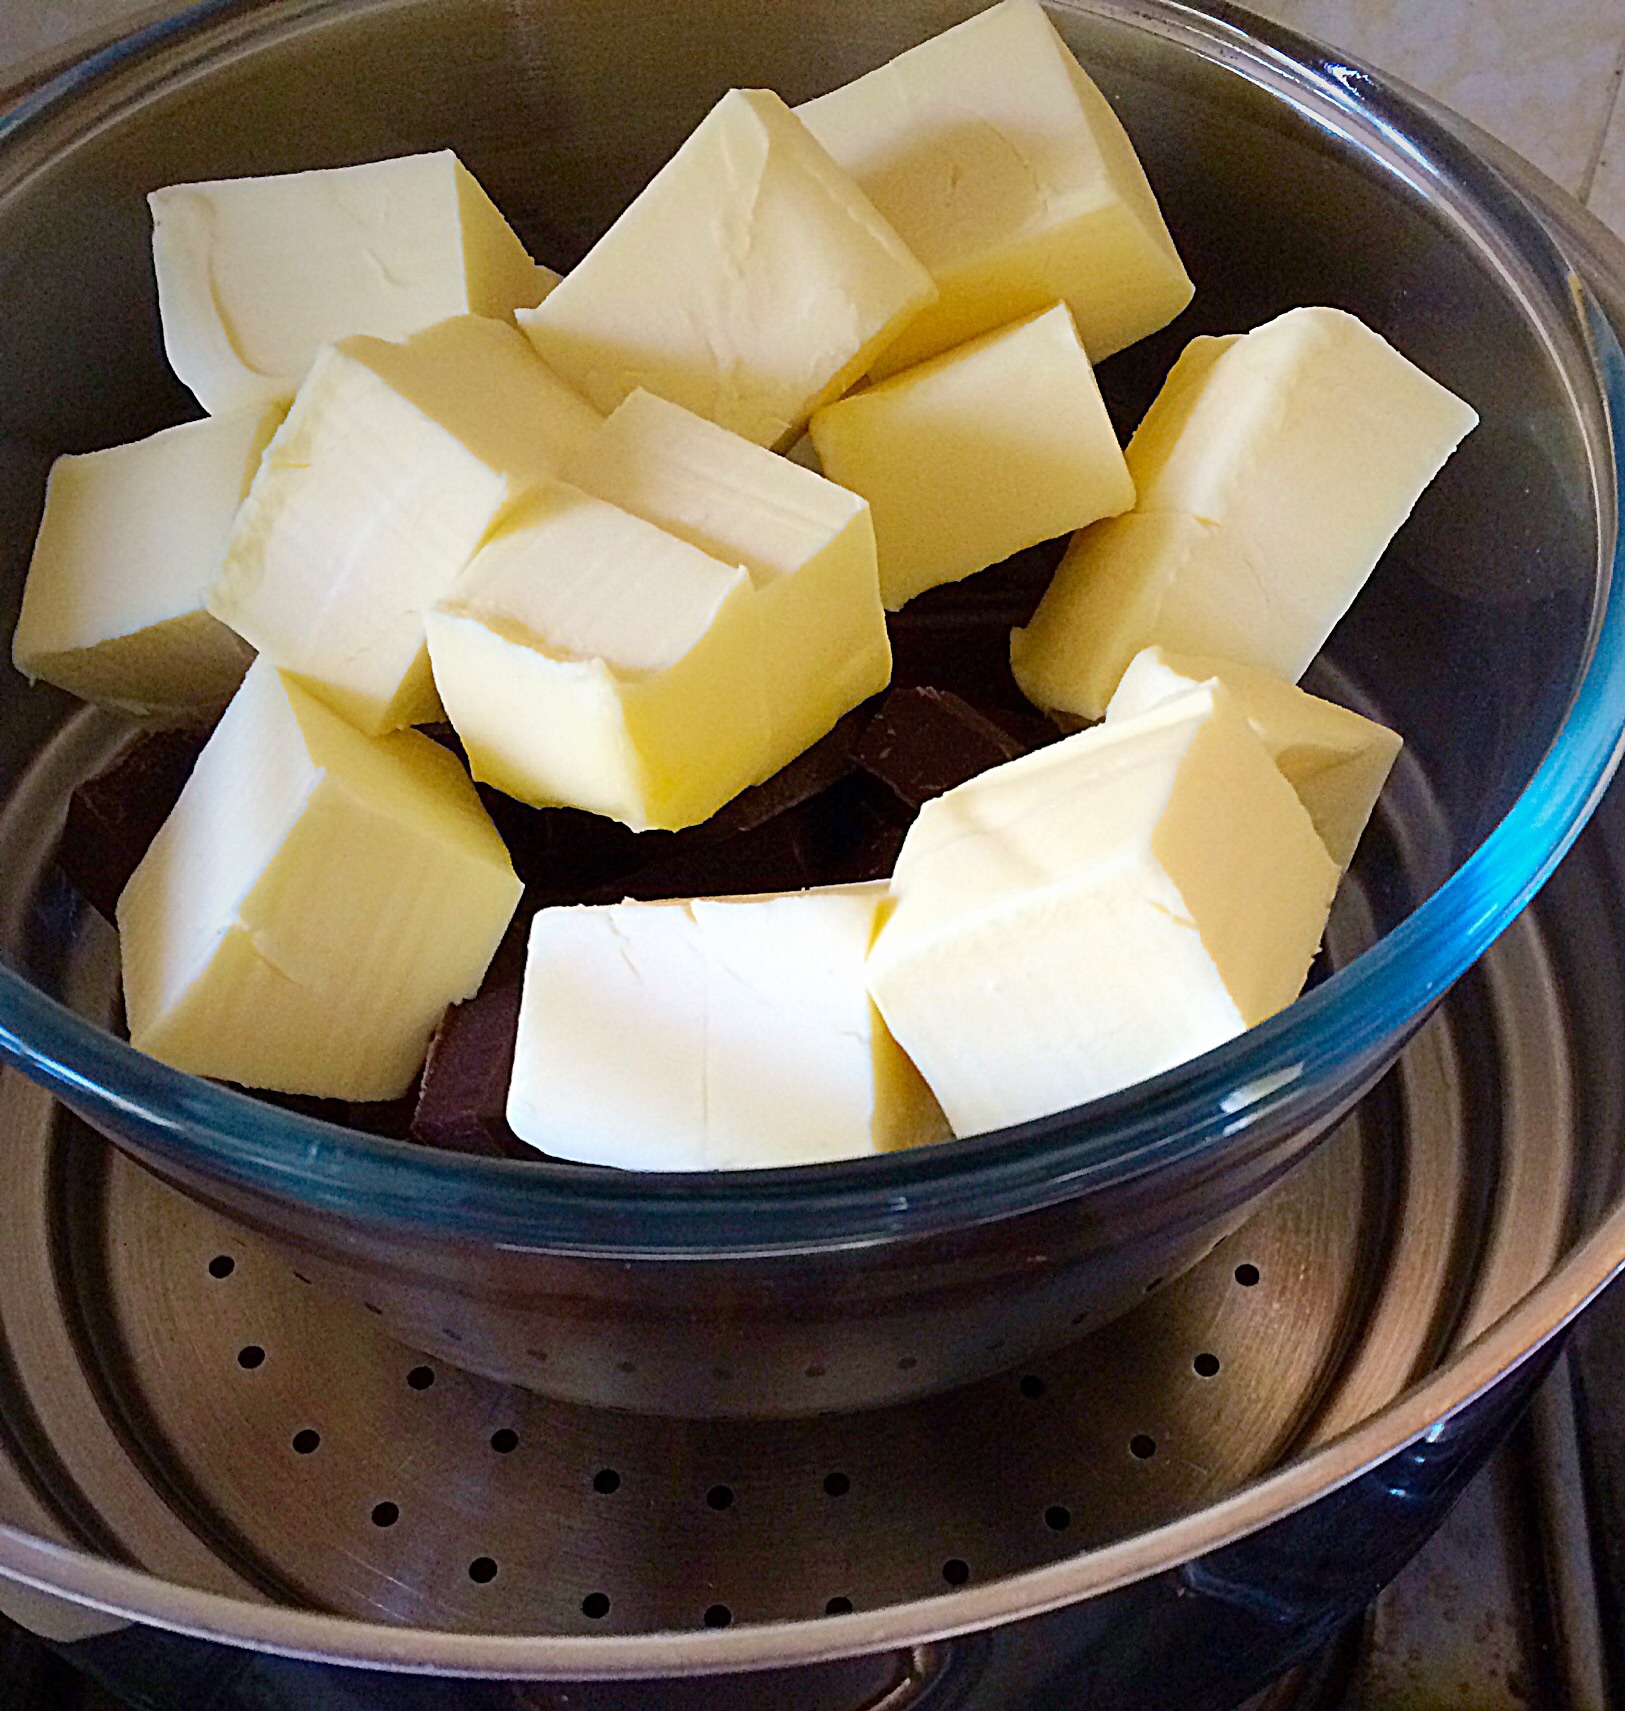
- Place the butter, sugar and salt into a large heavy bottomed saucepan, over a medium heat.
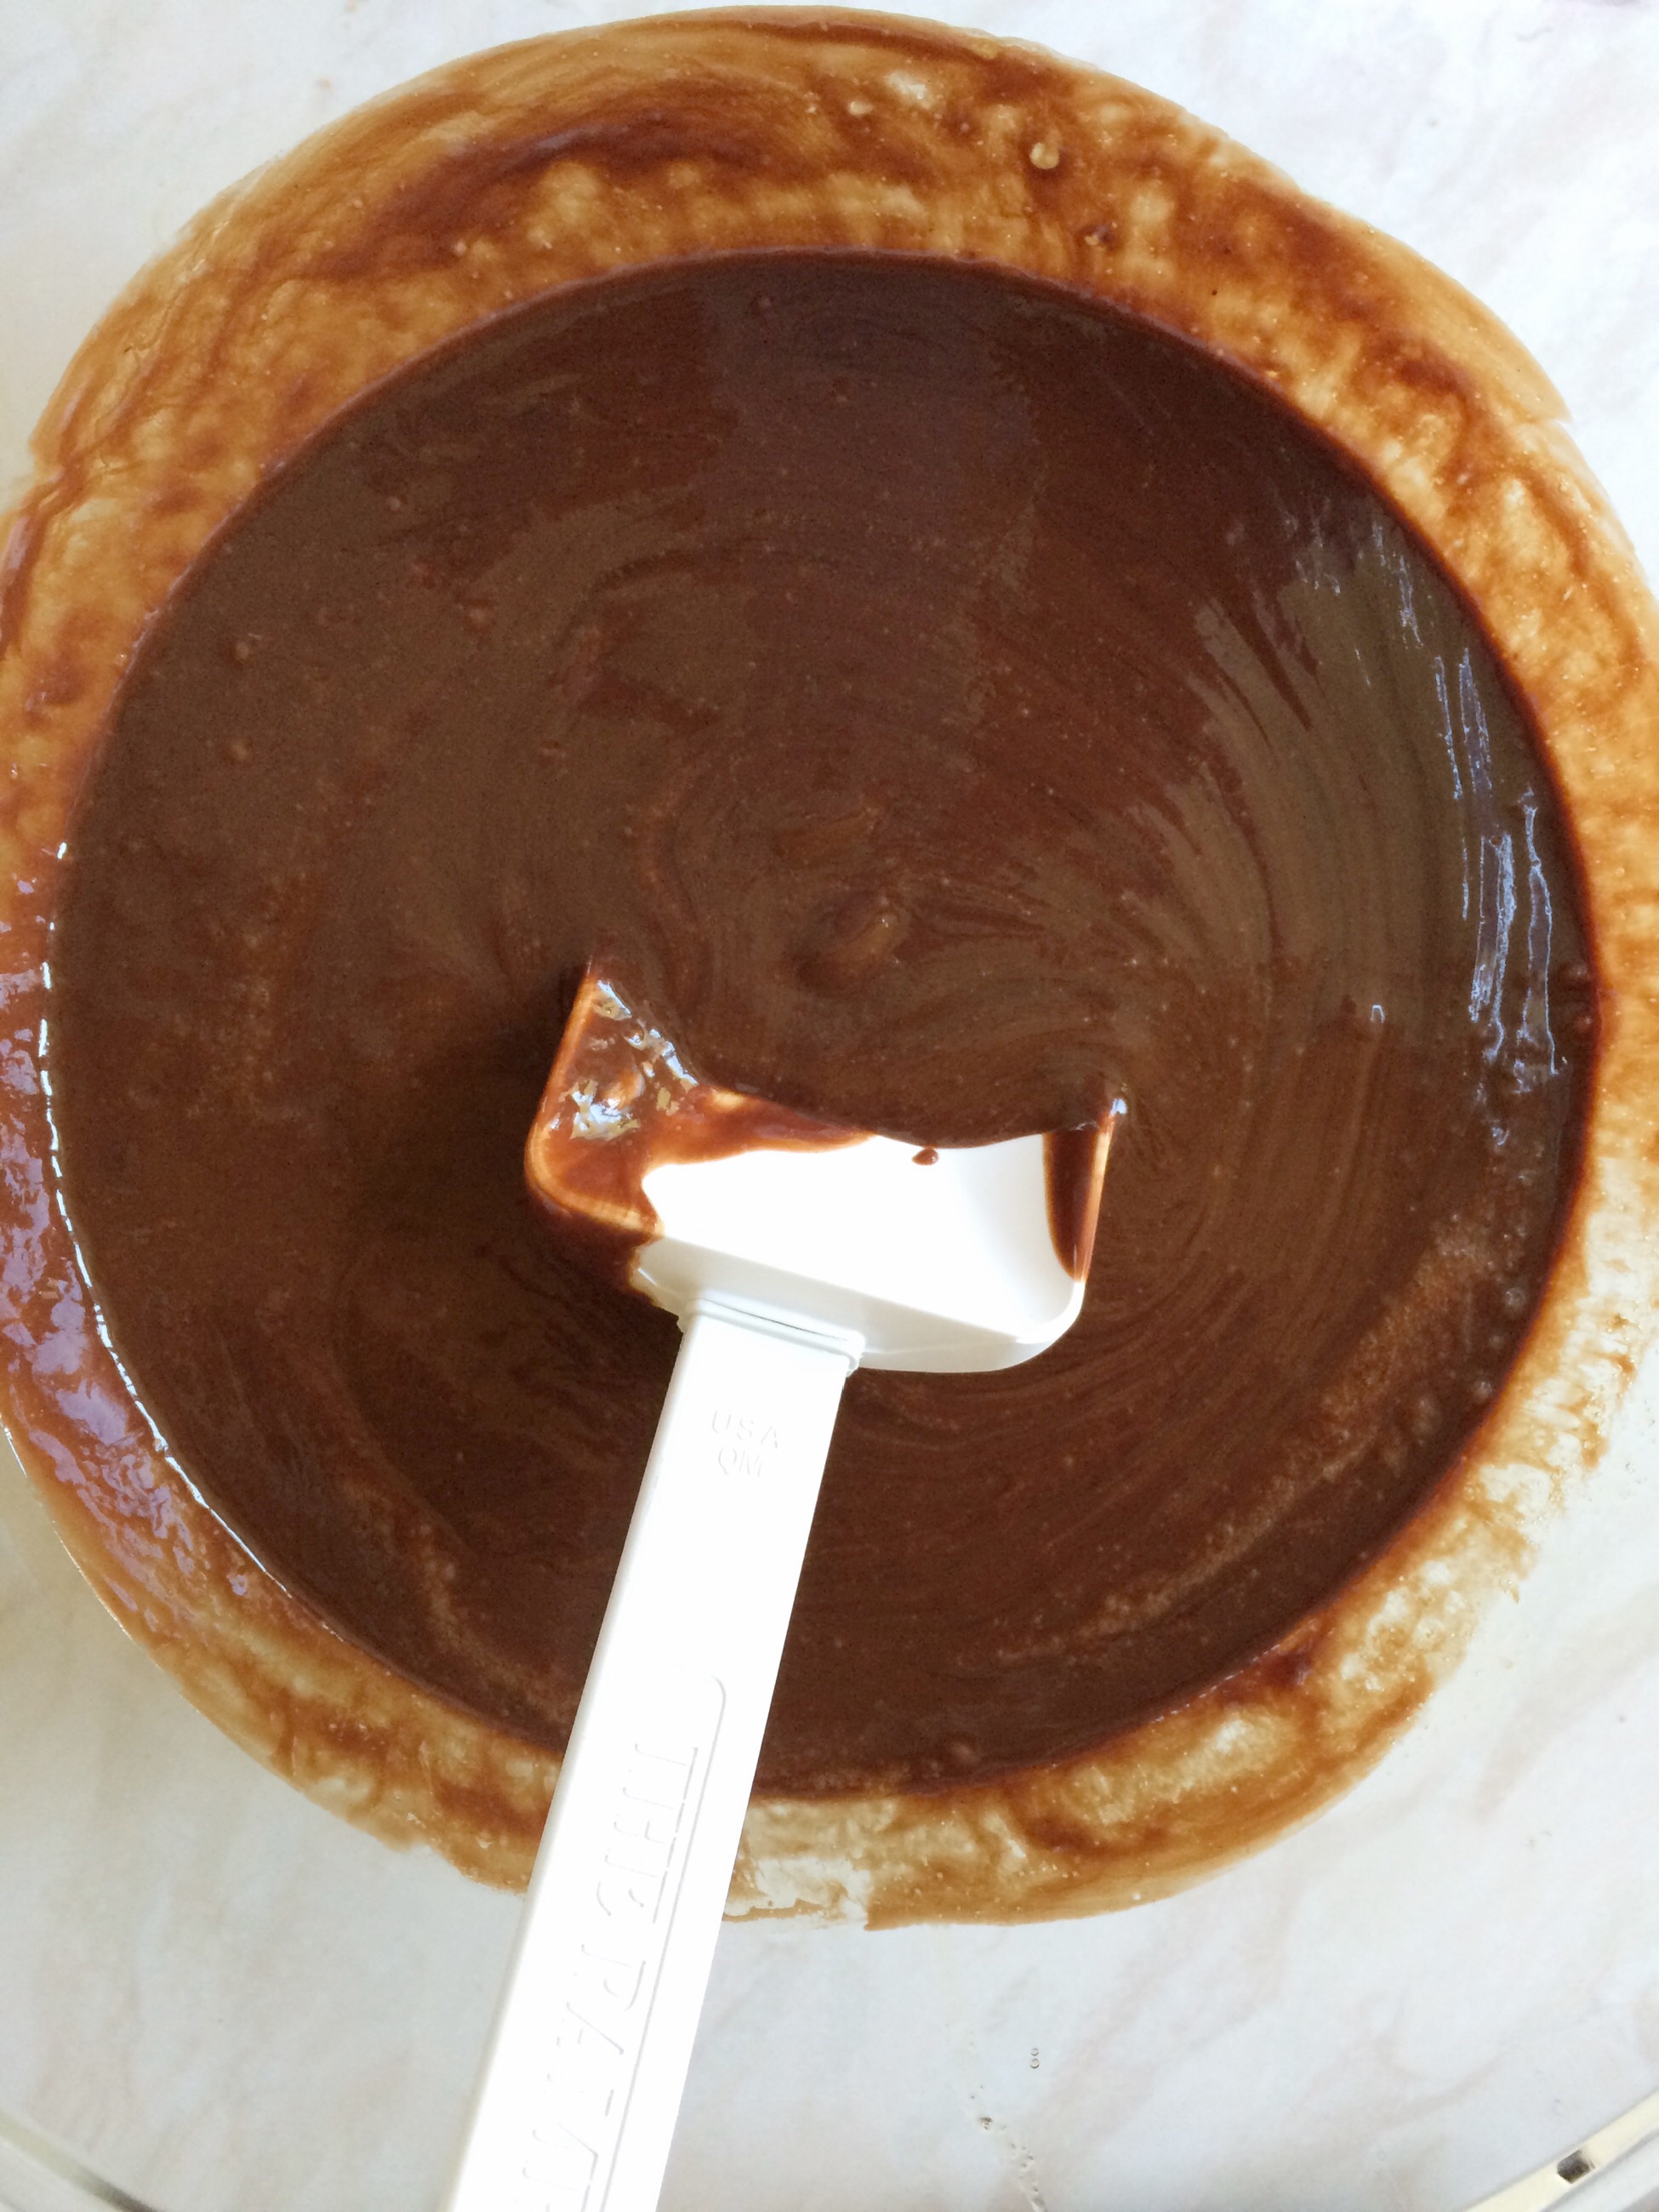
- Gently melt the butter and sugar together, stirring constantly with a wooden spoon until melted.
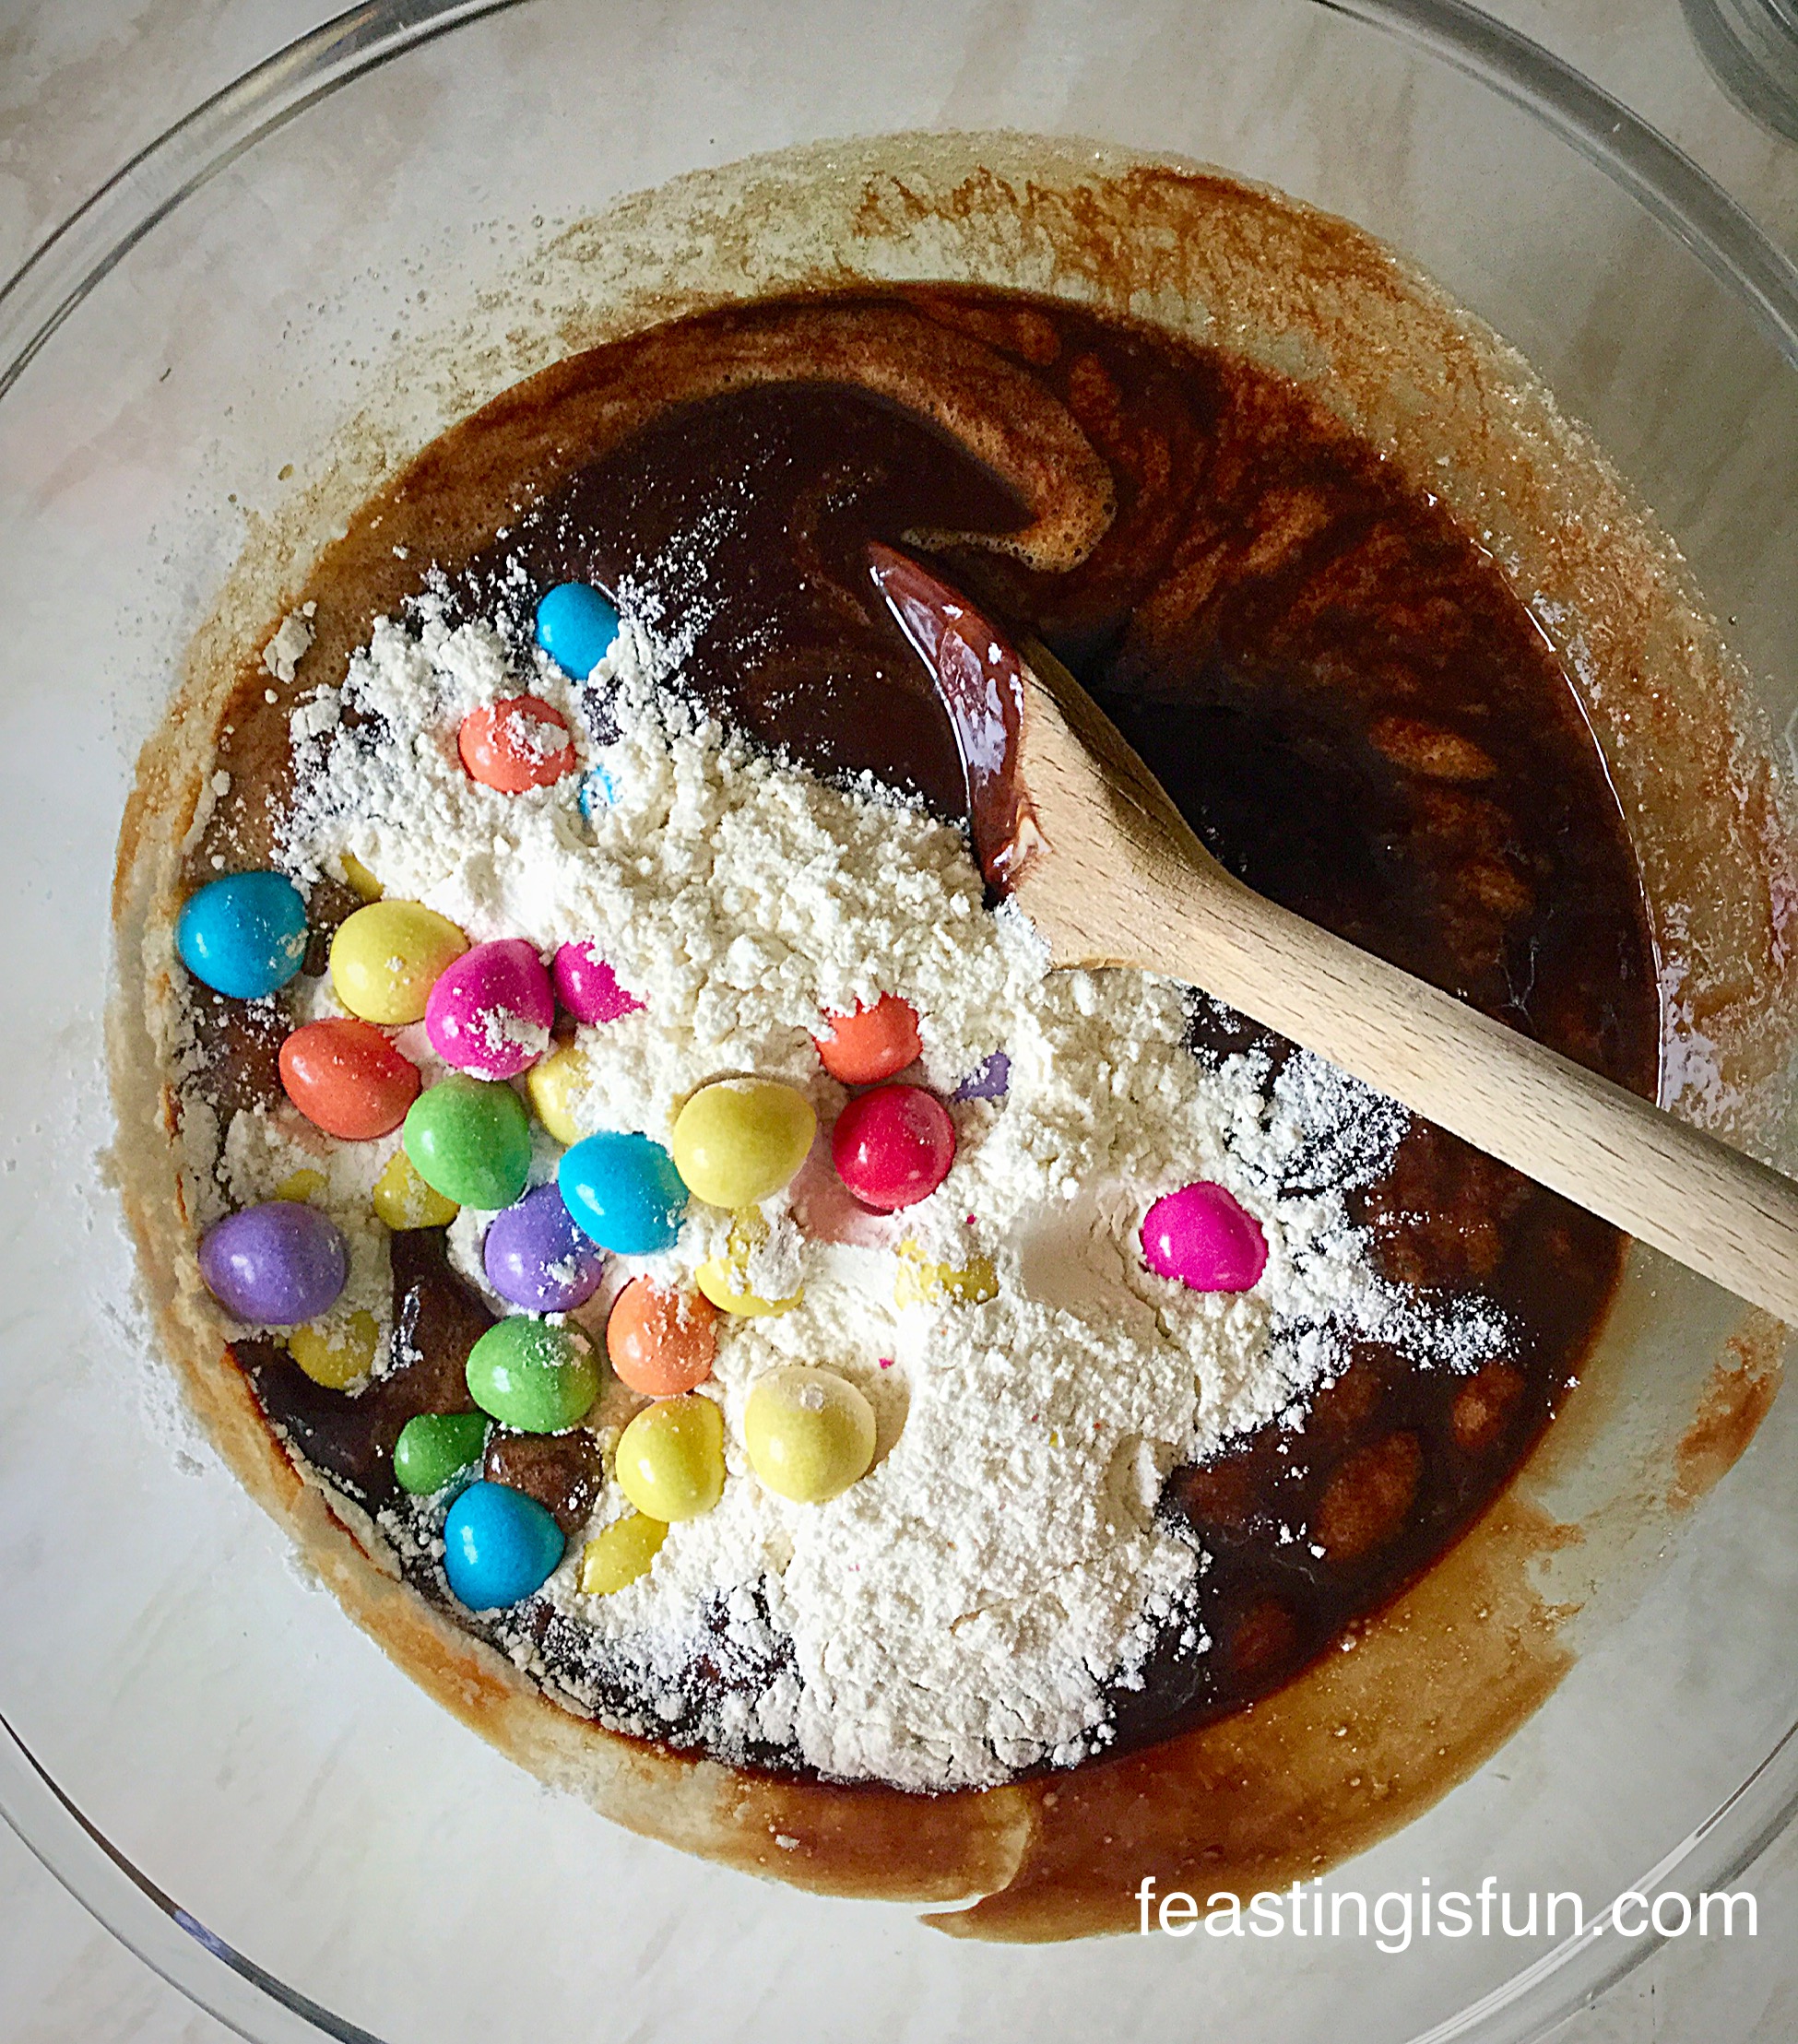
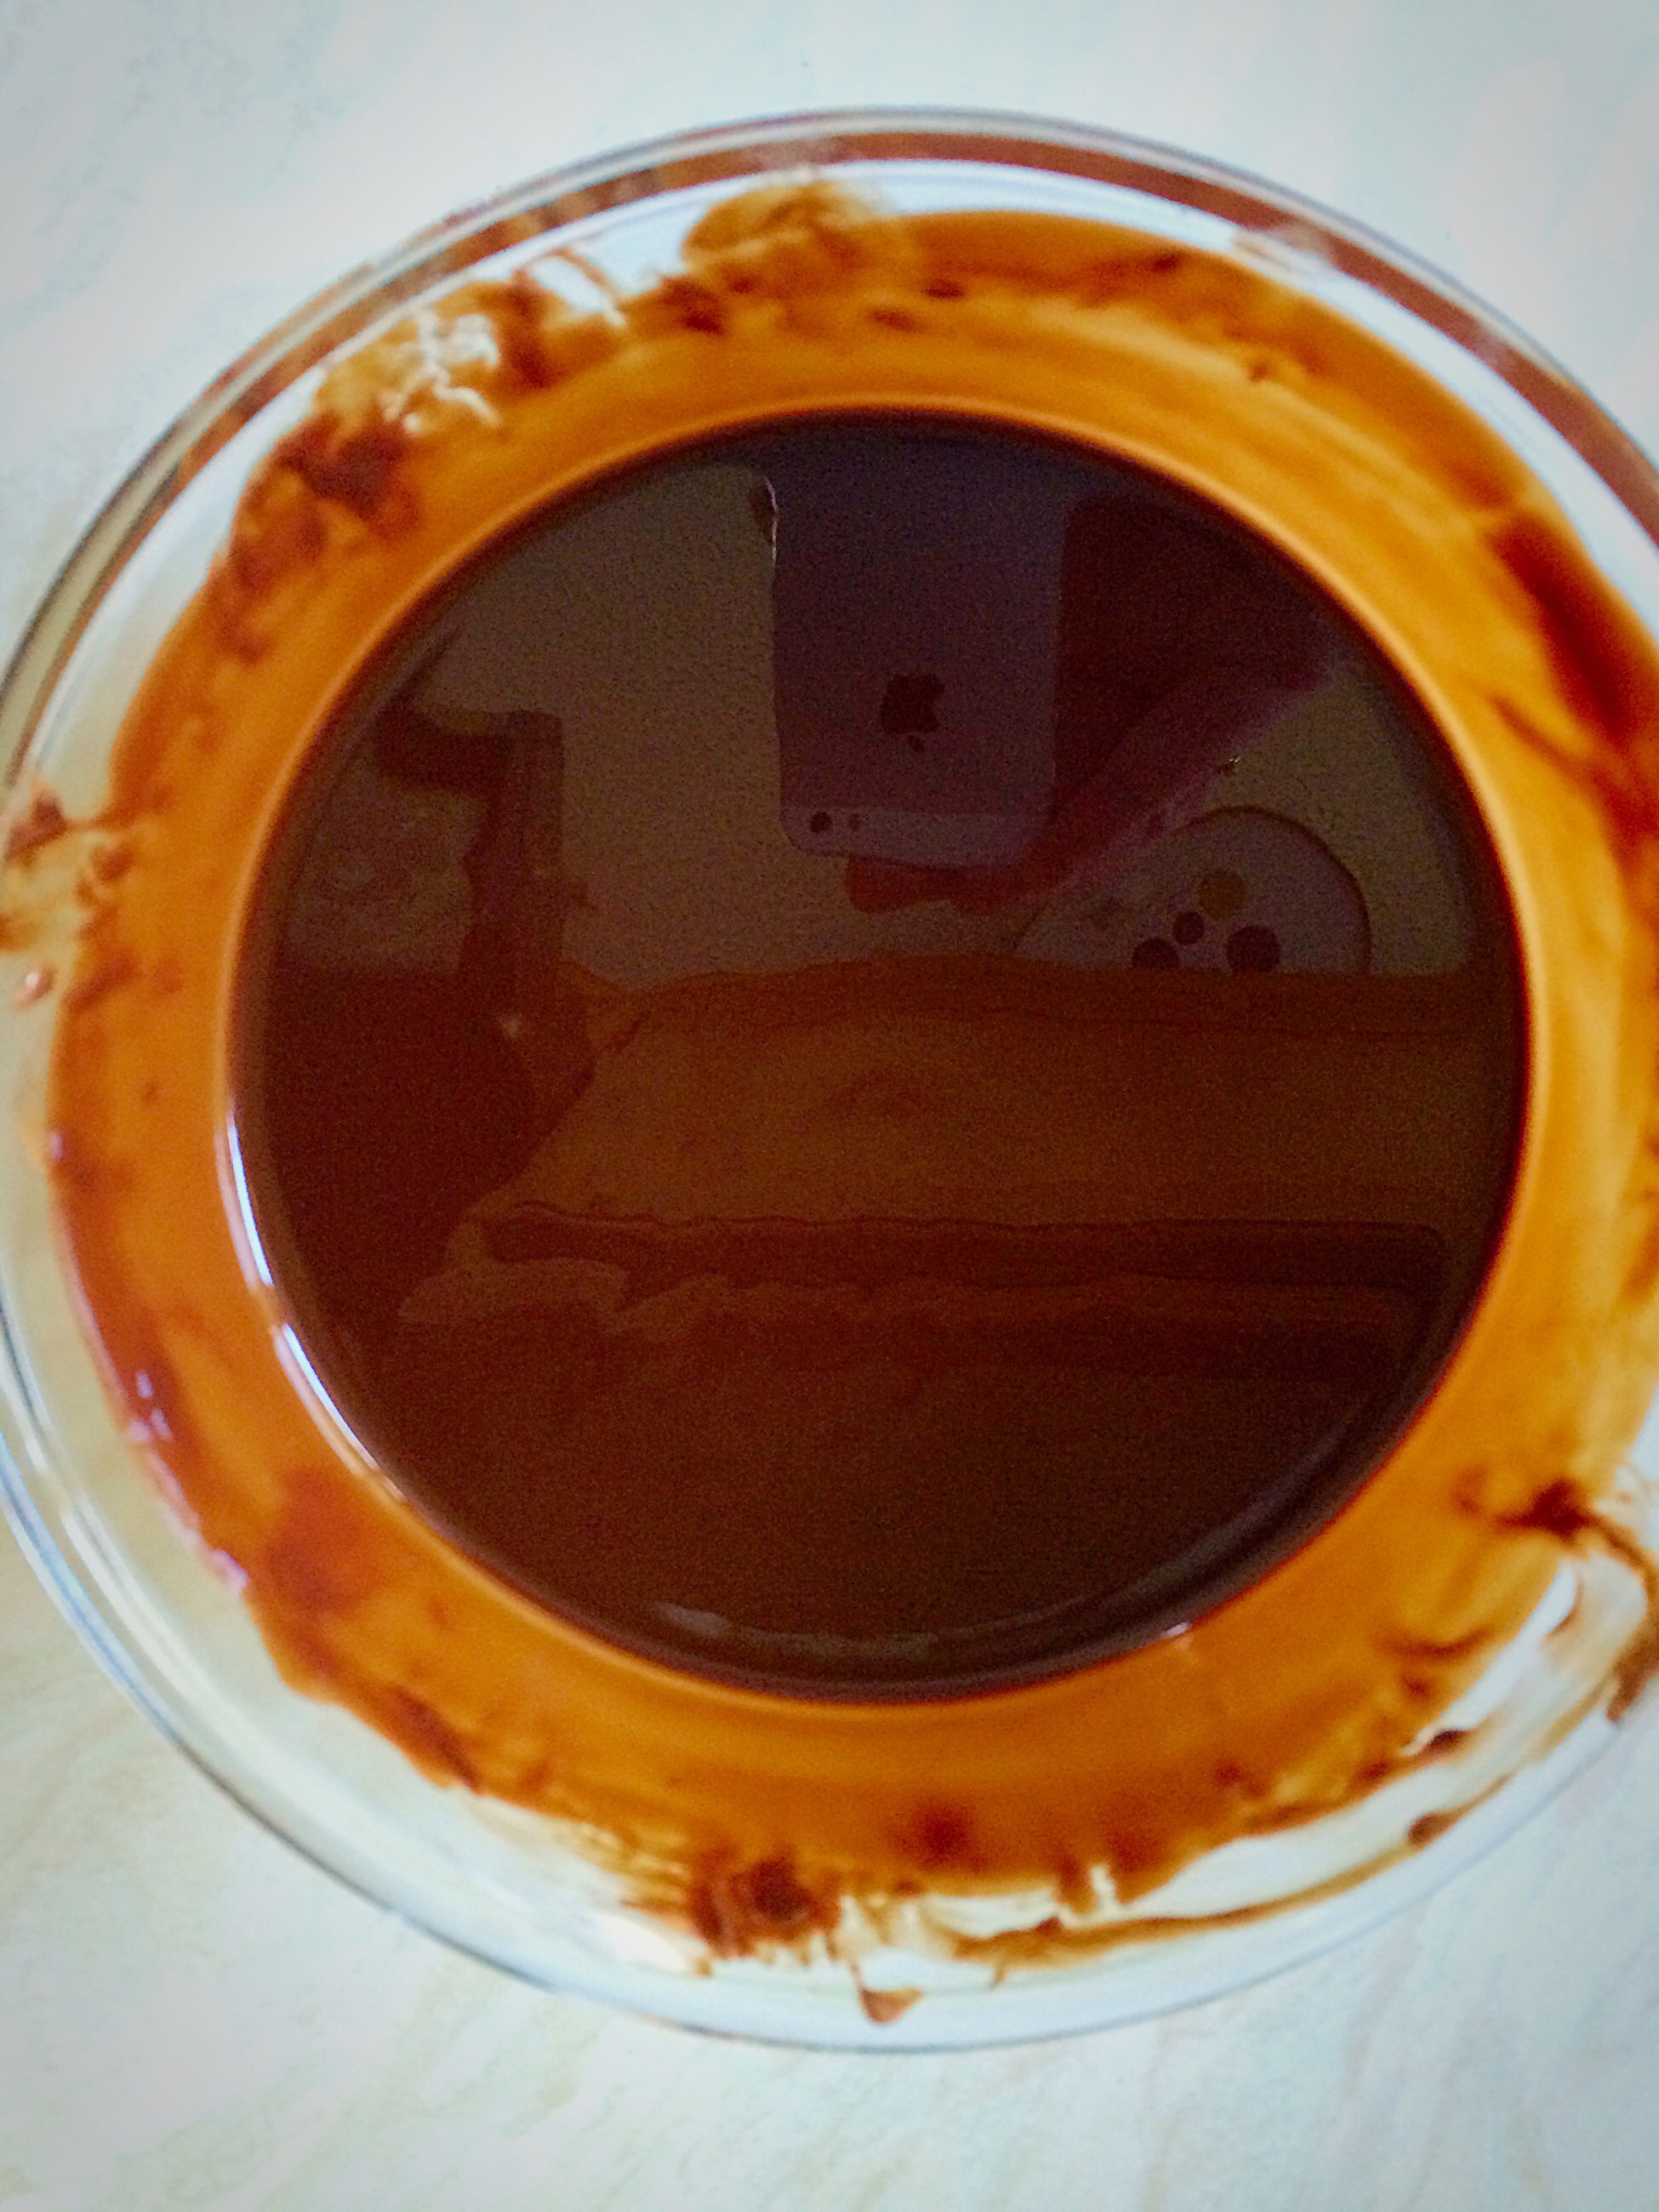
- Move the saucepan from the heat and add the cocoa powder. Stir in immediately and the cocoa will combine easily with the melted sugar and butter.
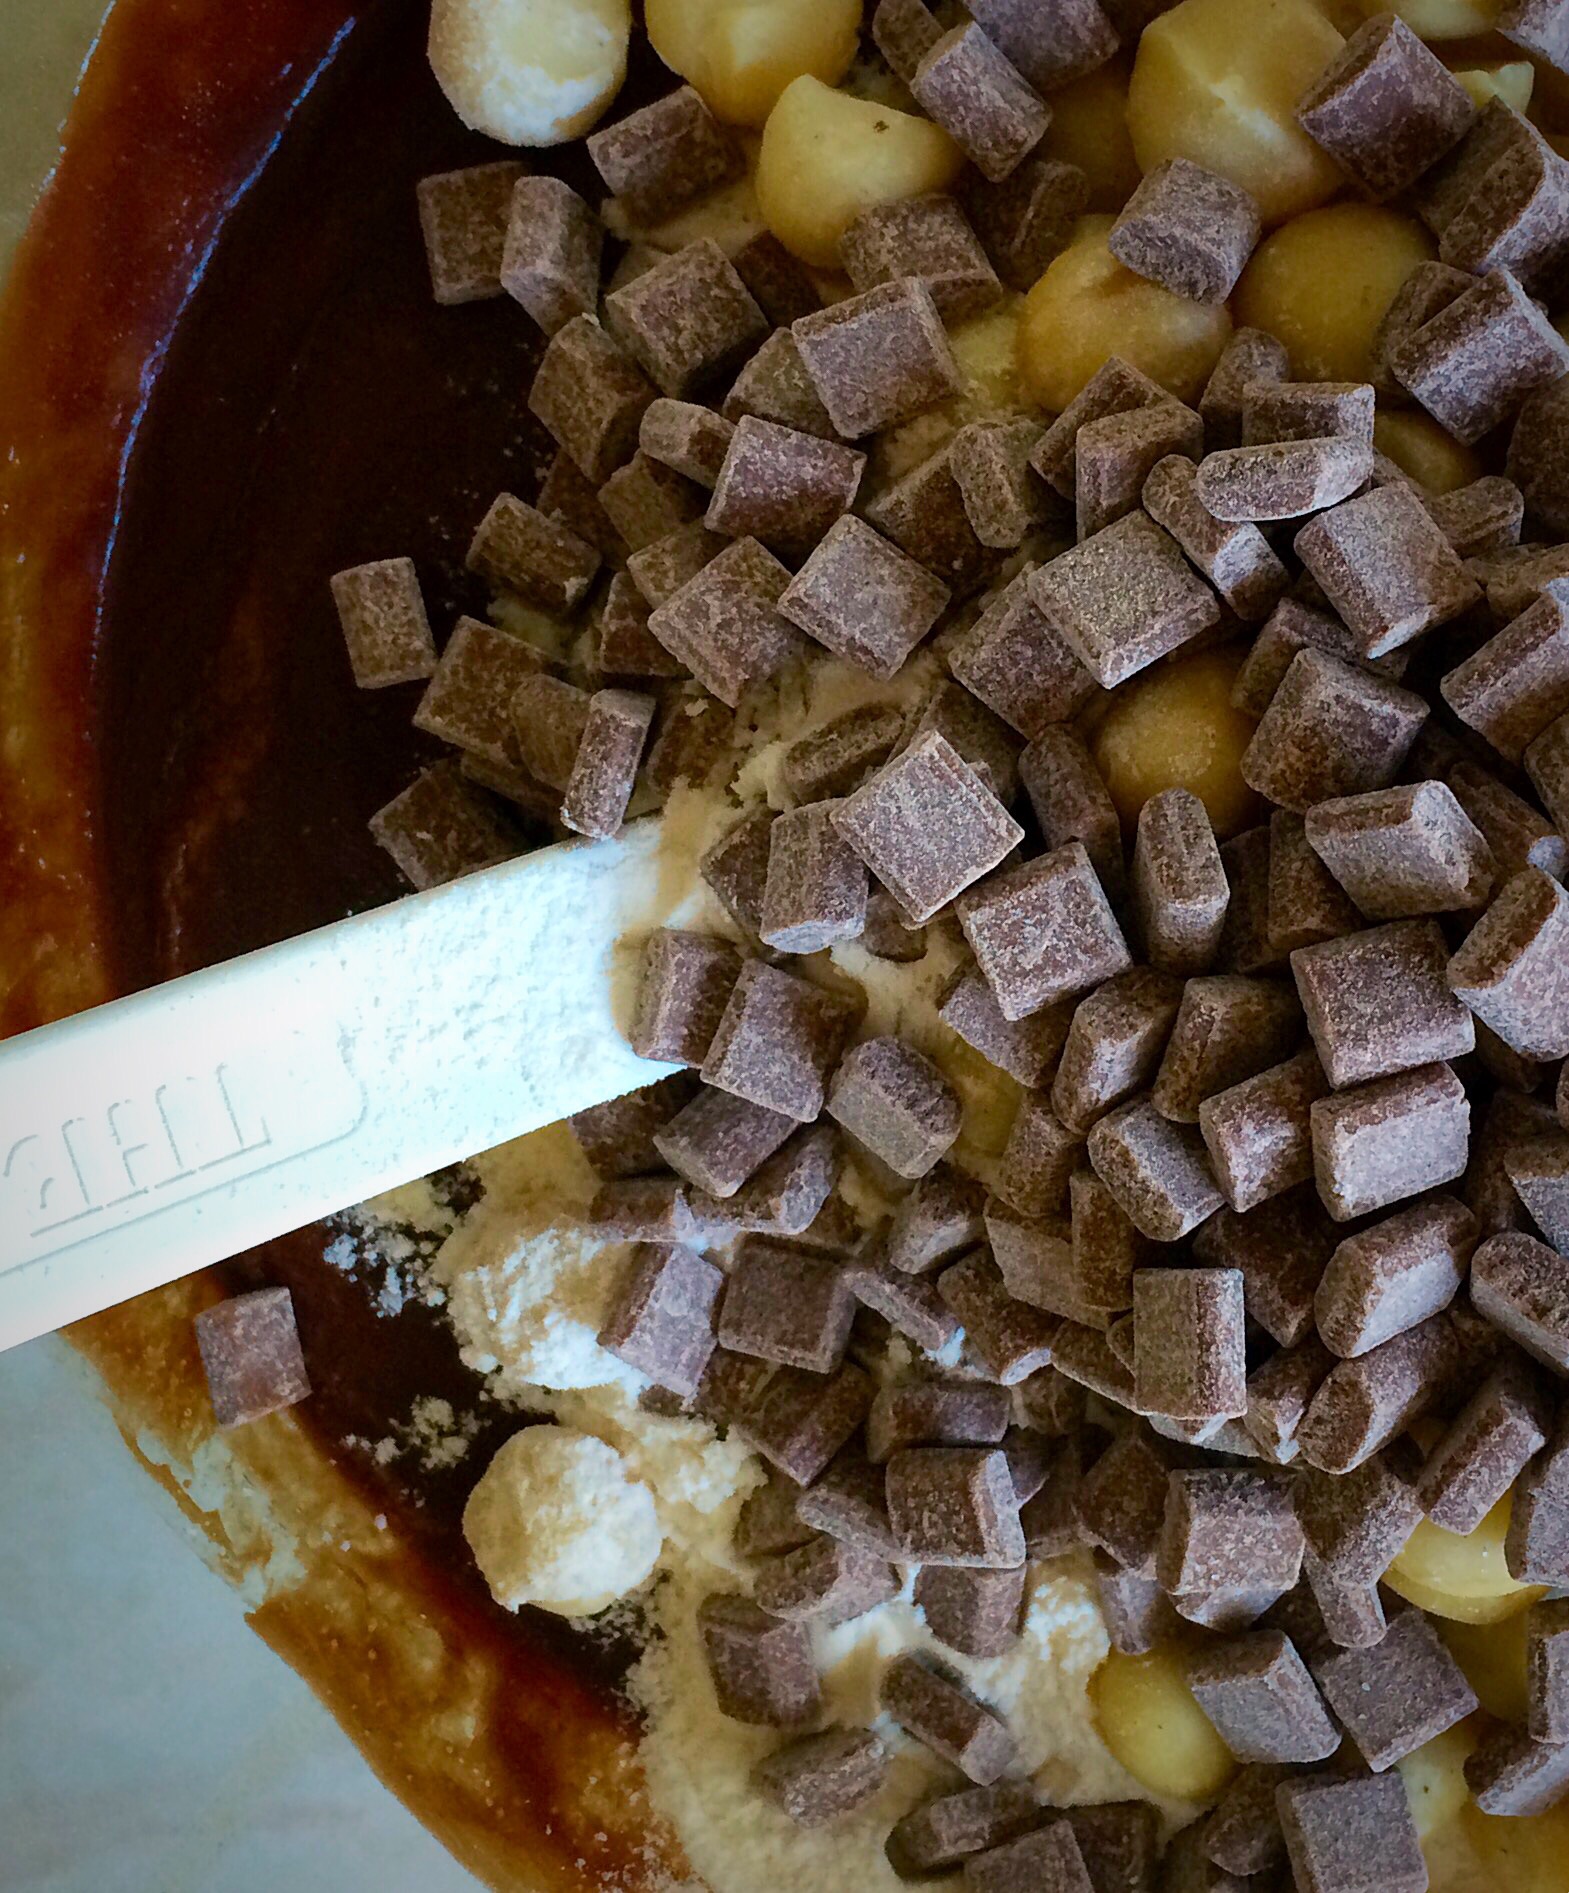
- Add the flour and bicarb and mix in.
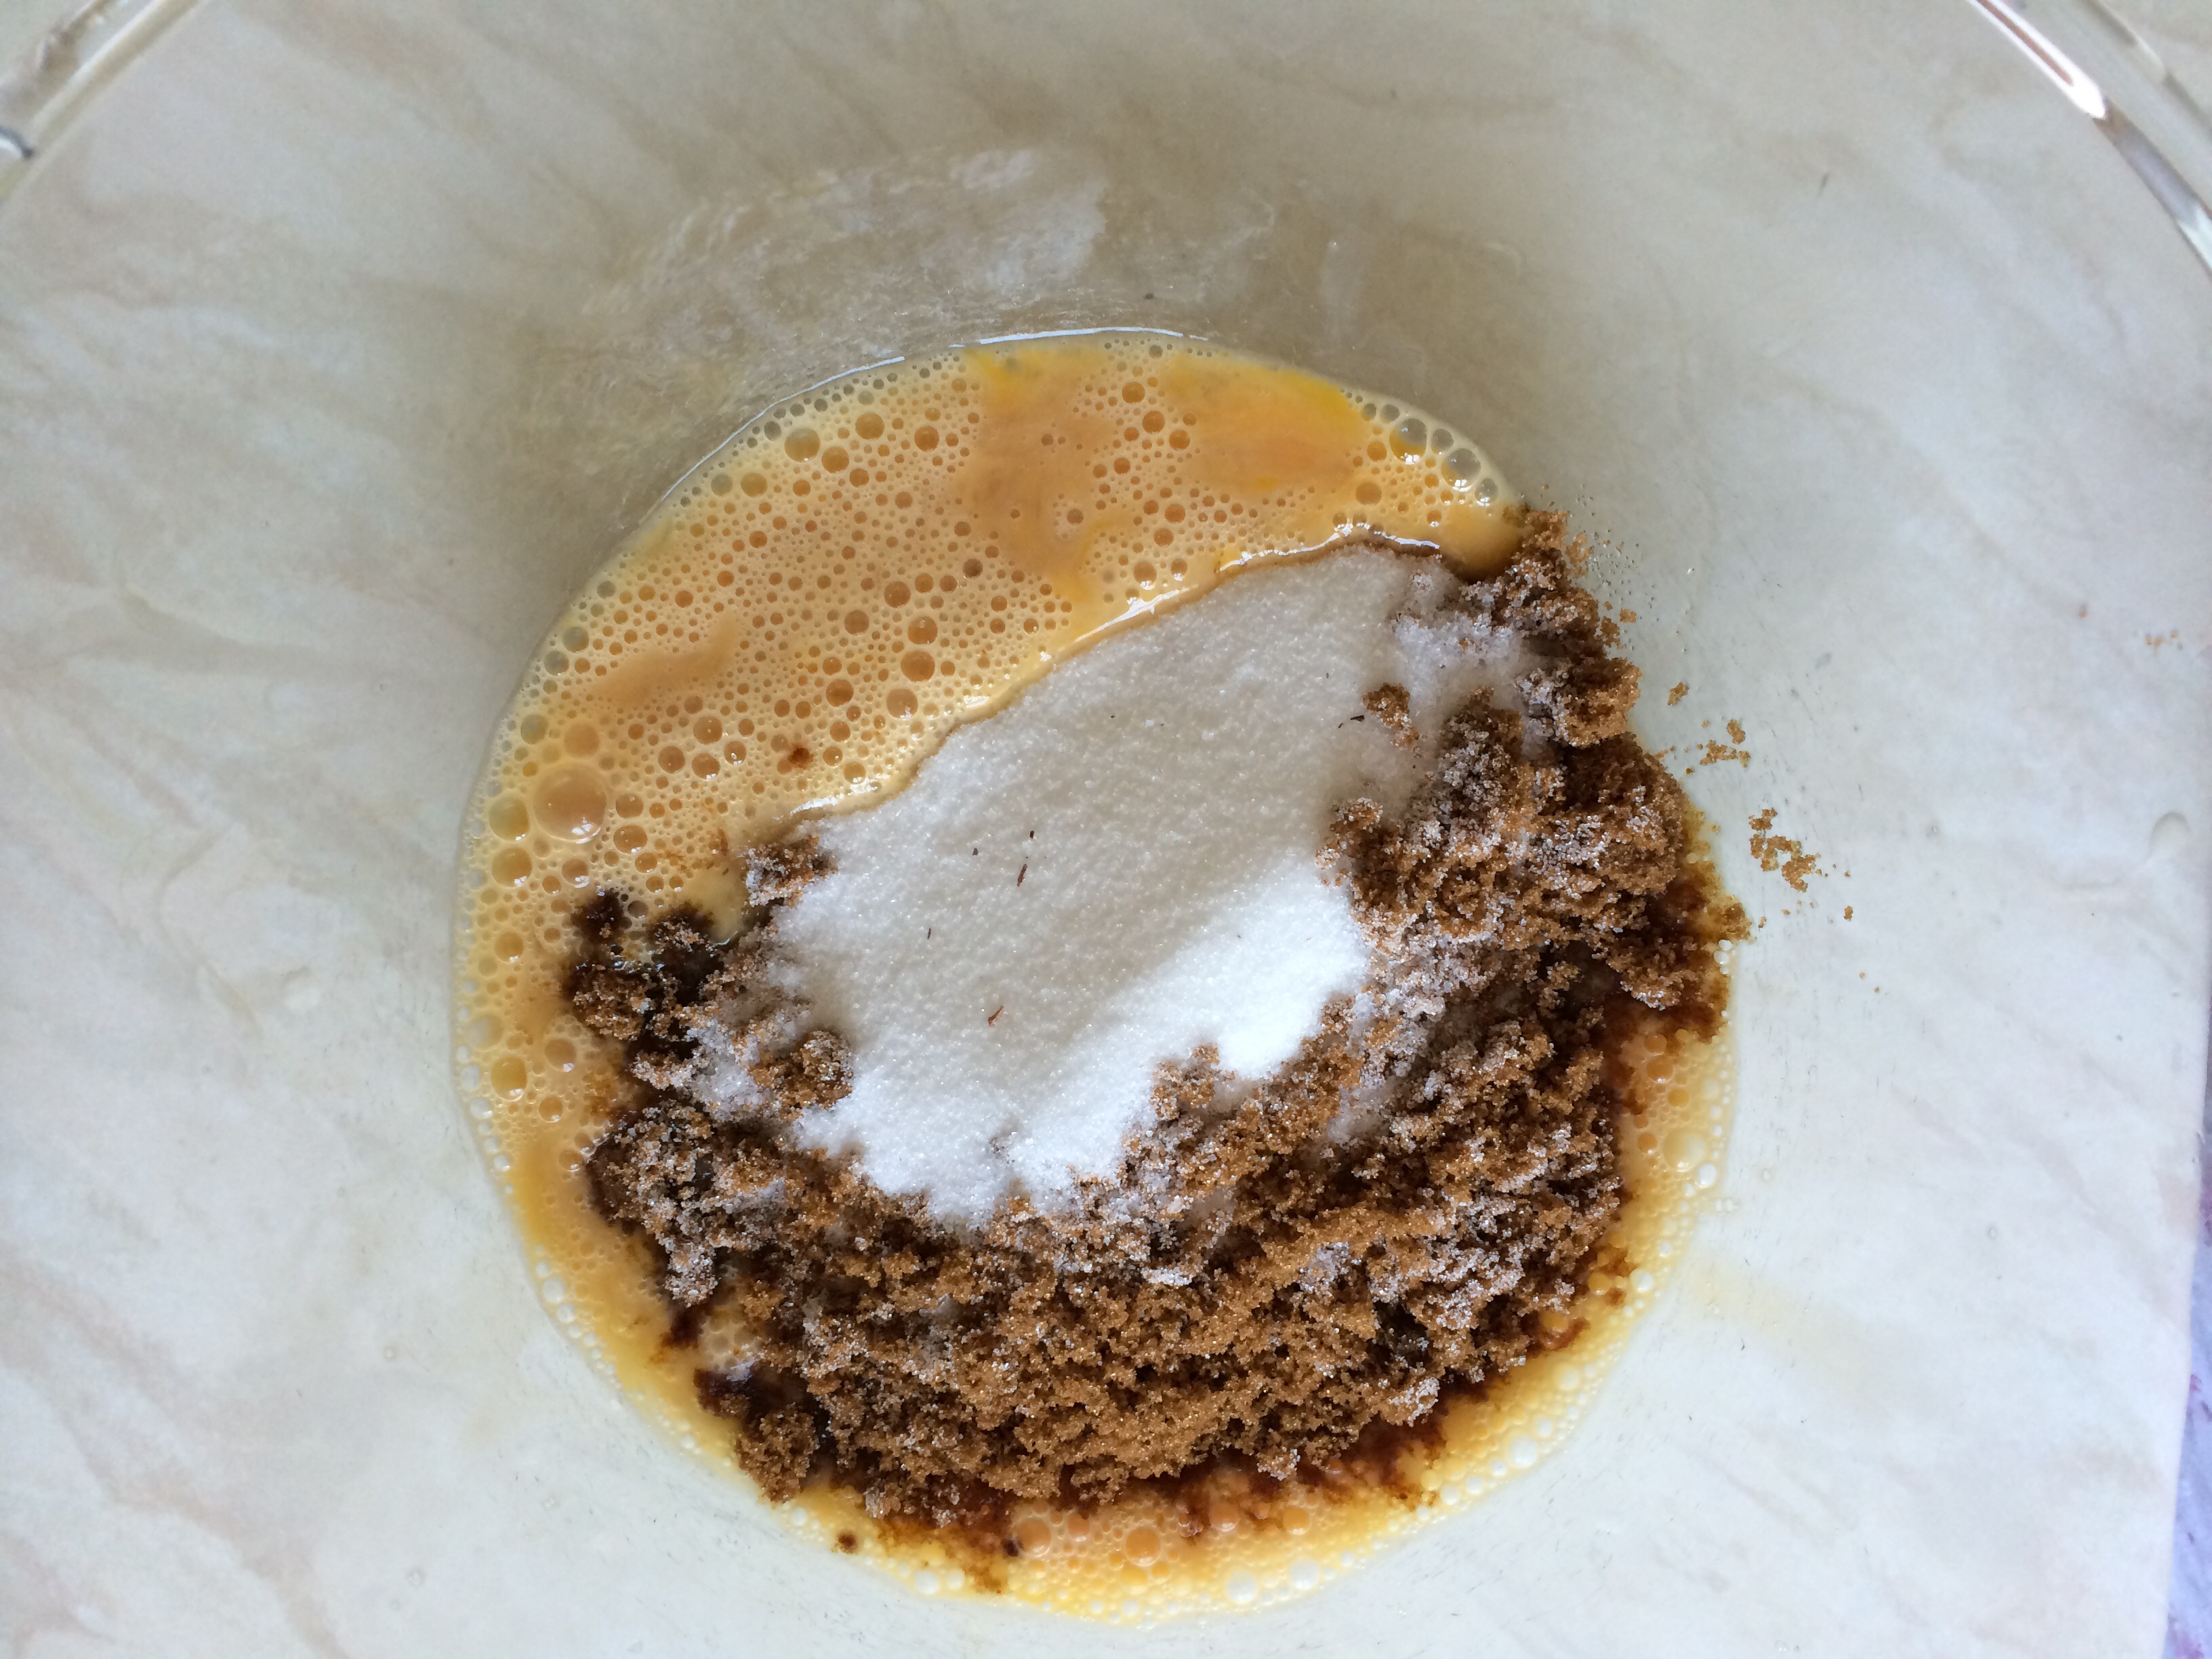
- Crack the eggs into a jug and add the vanilla bean paste. Beat lightly with a fork to combine.
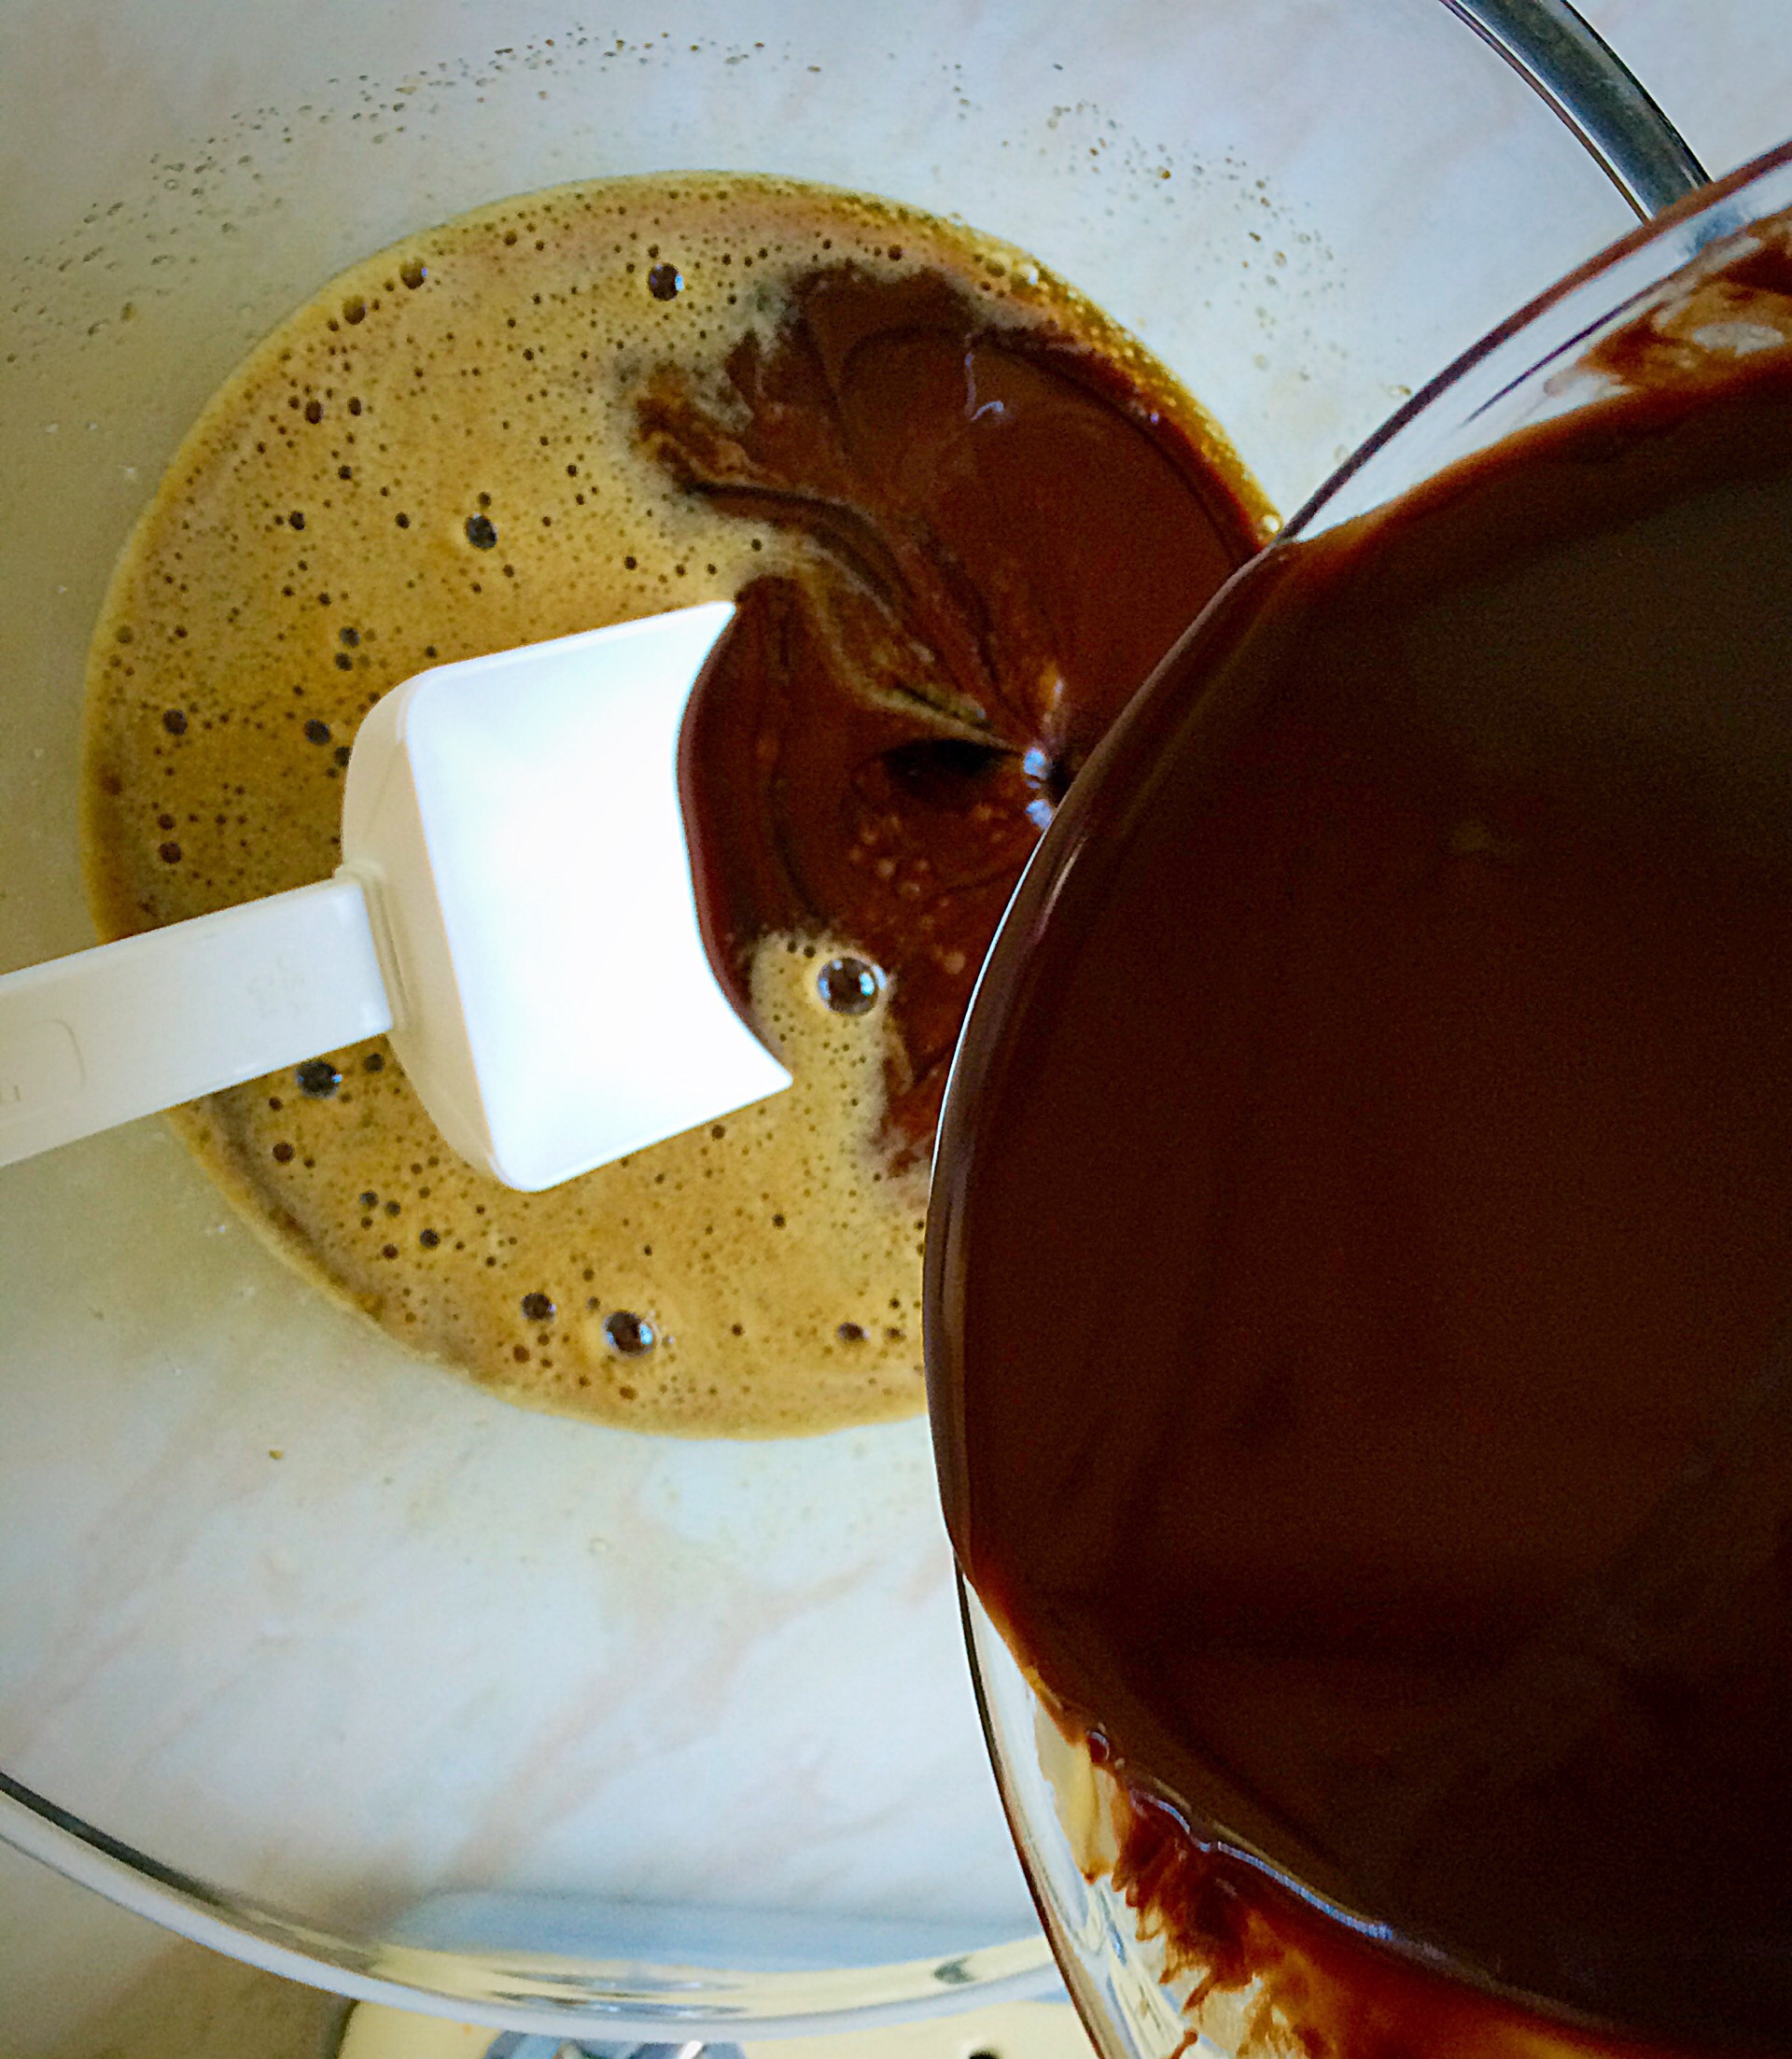
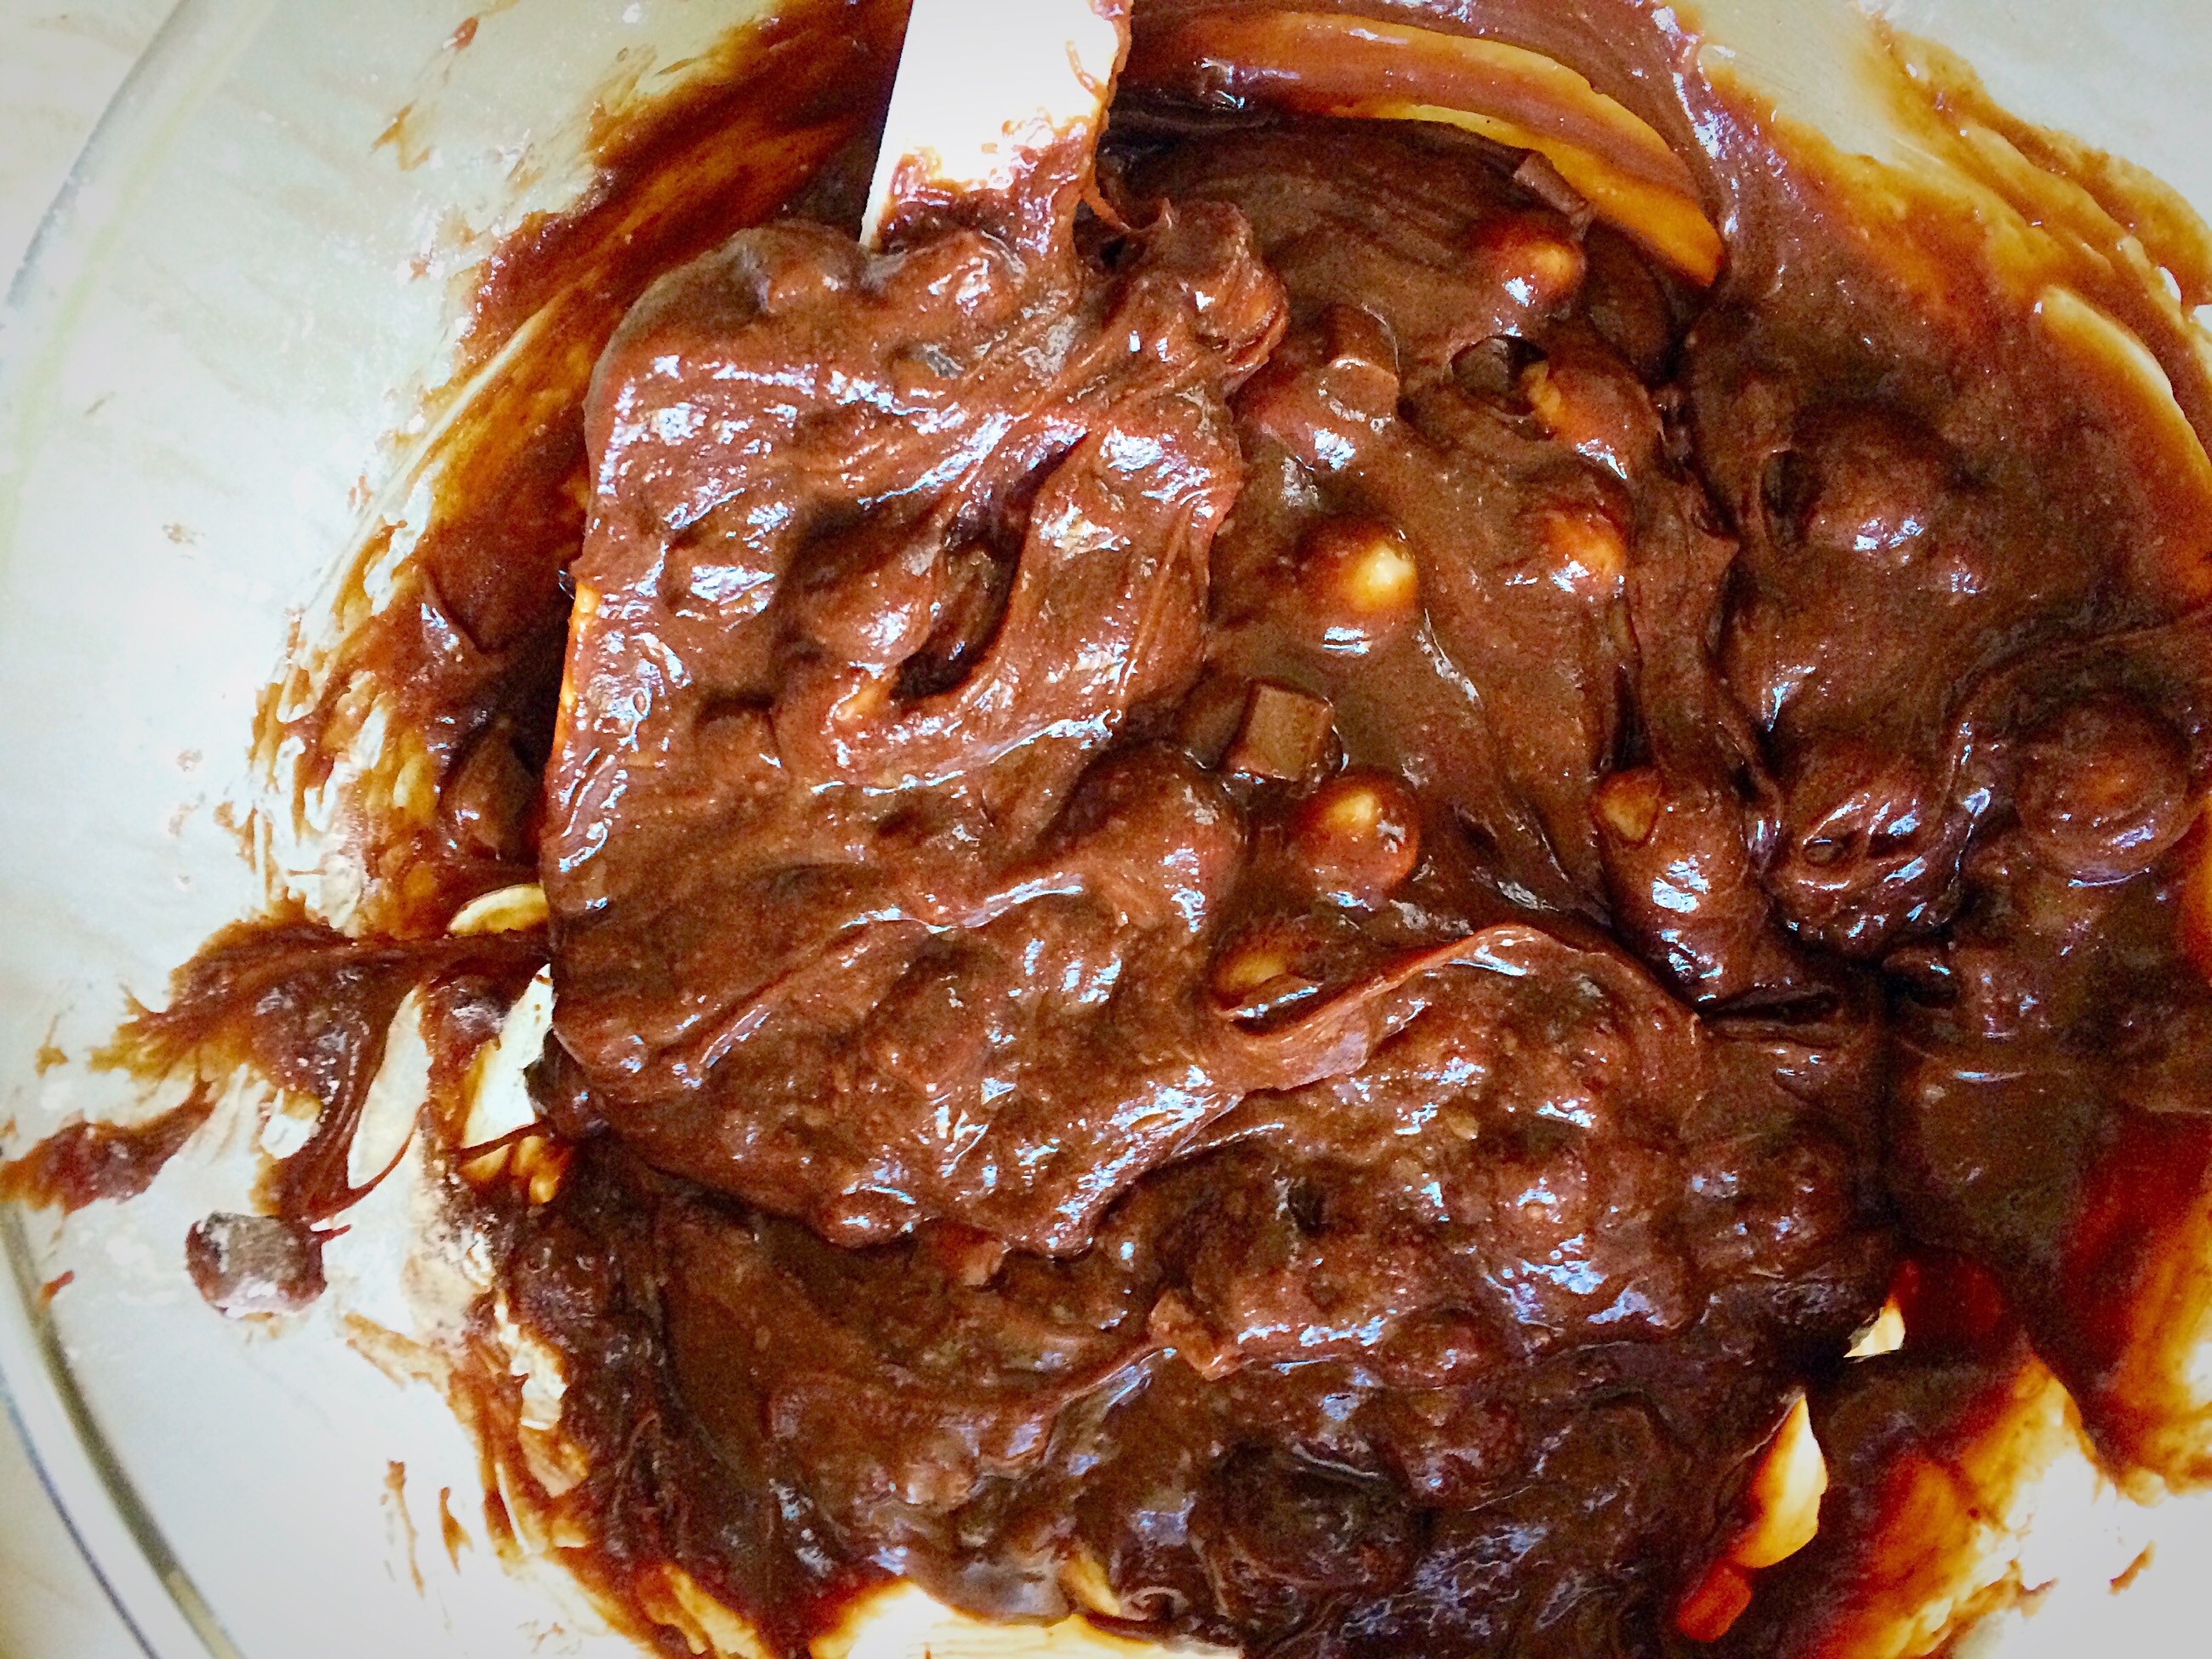
- Pour the egg mixture into the warm chocolate mix in the saucepan stirring constantly. Don’t worry everything will come together into a smooth batter.
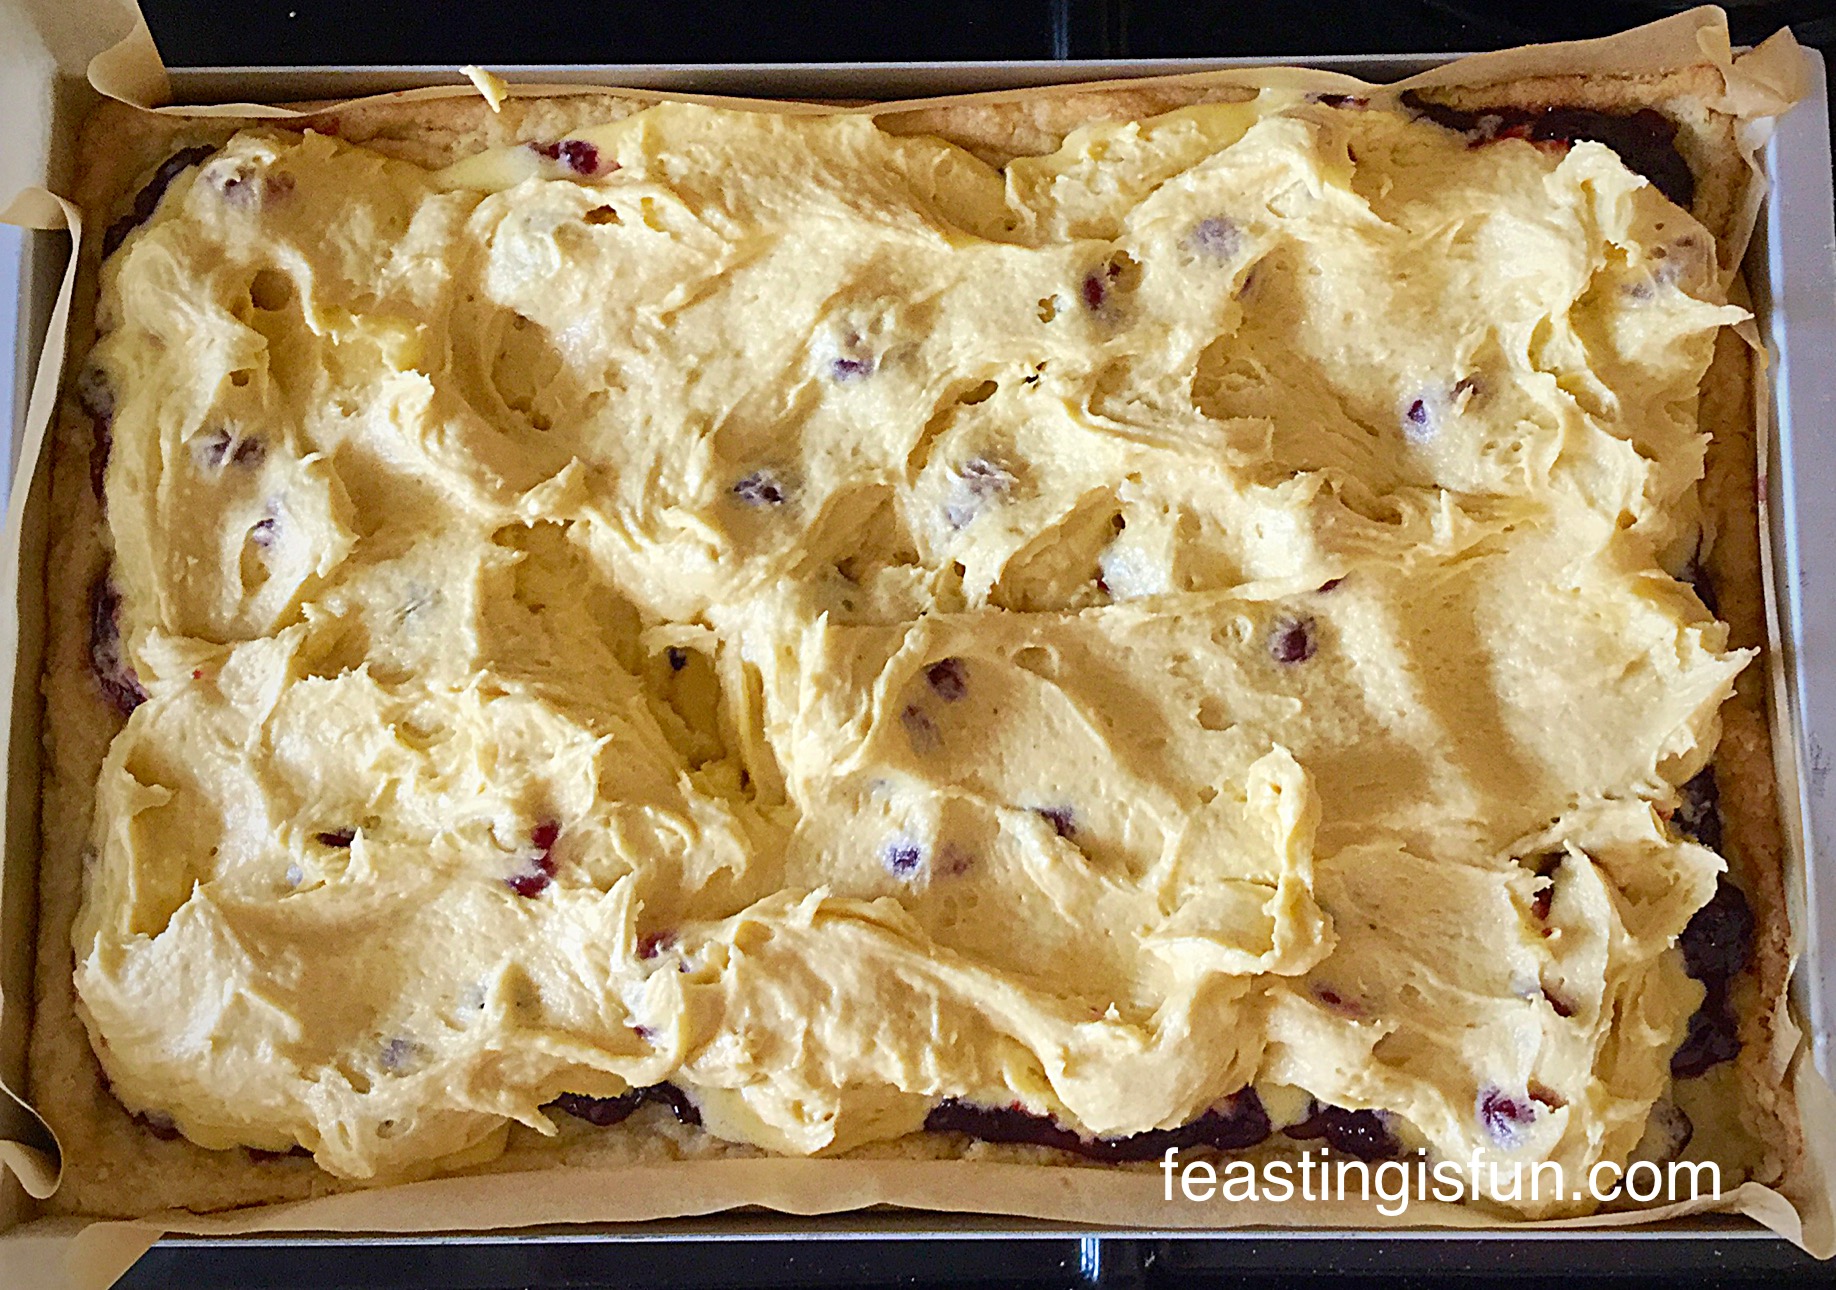
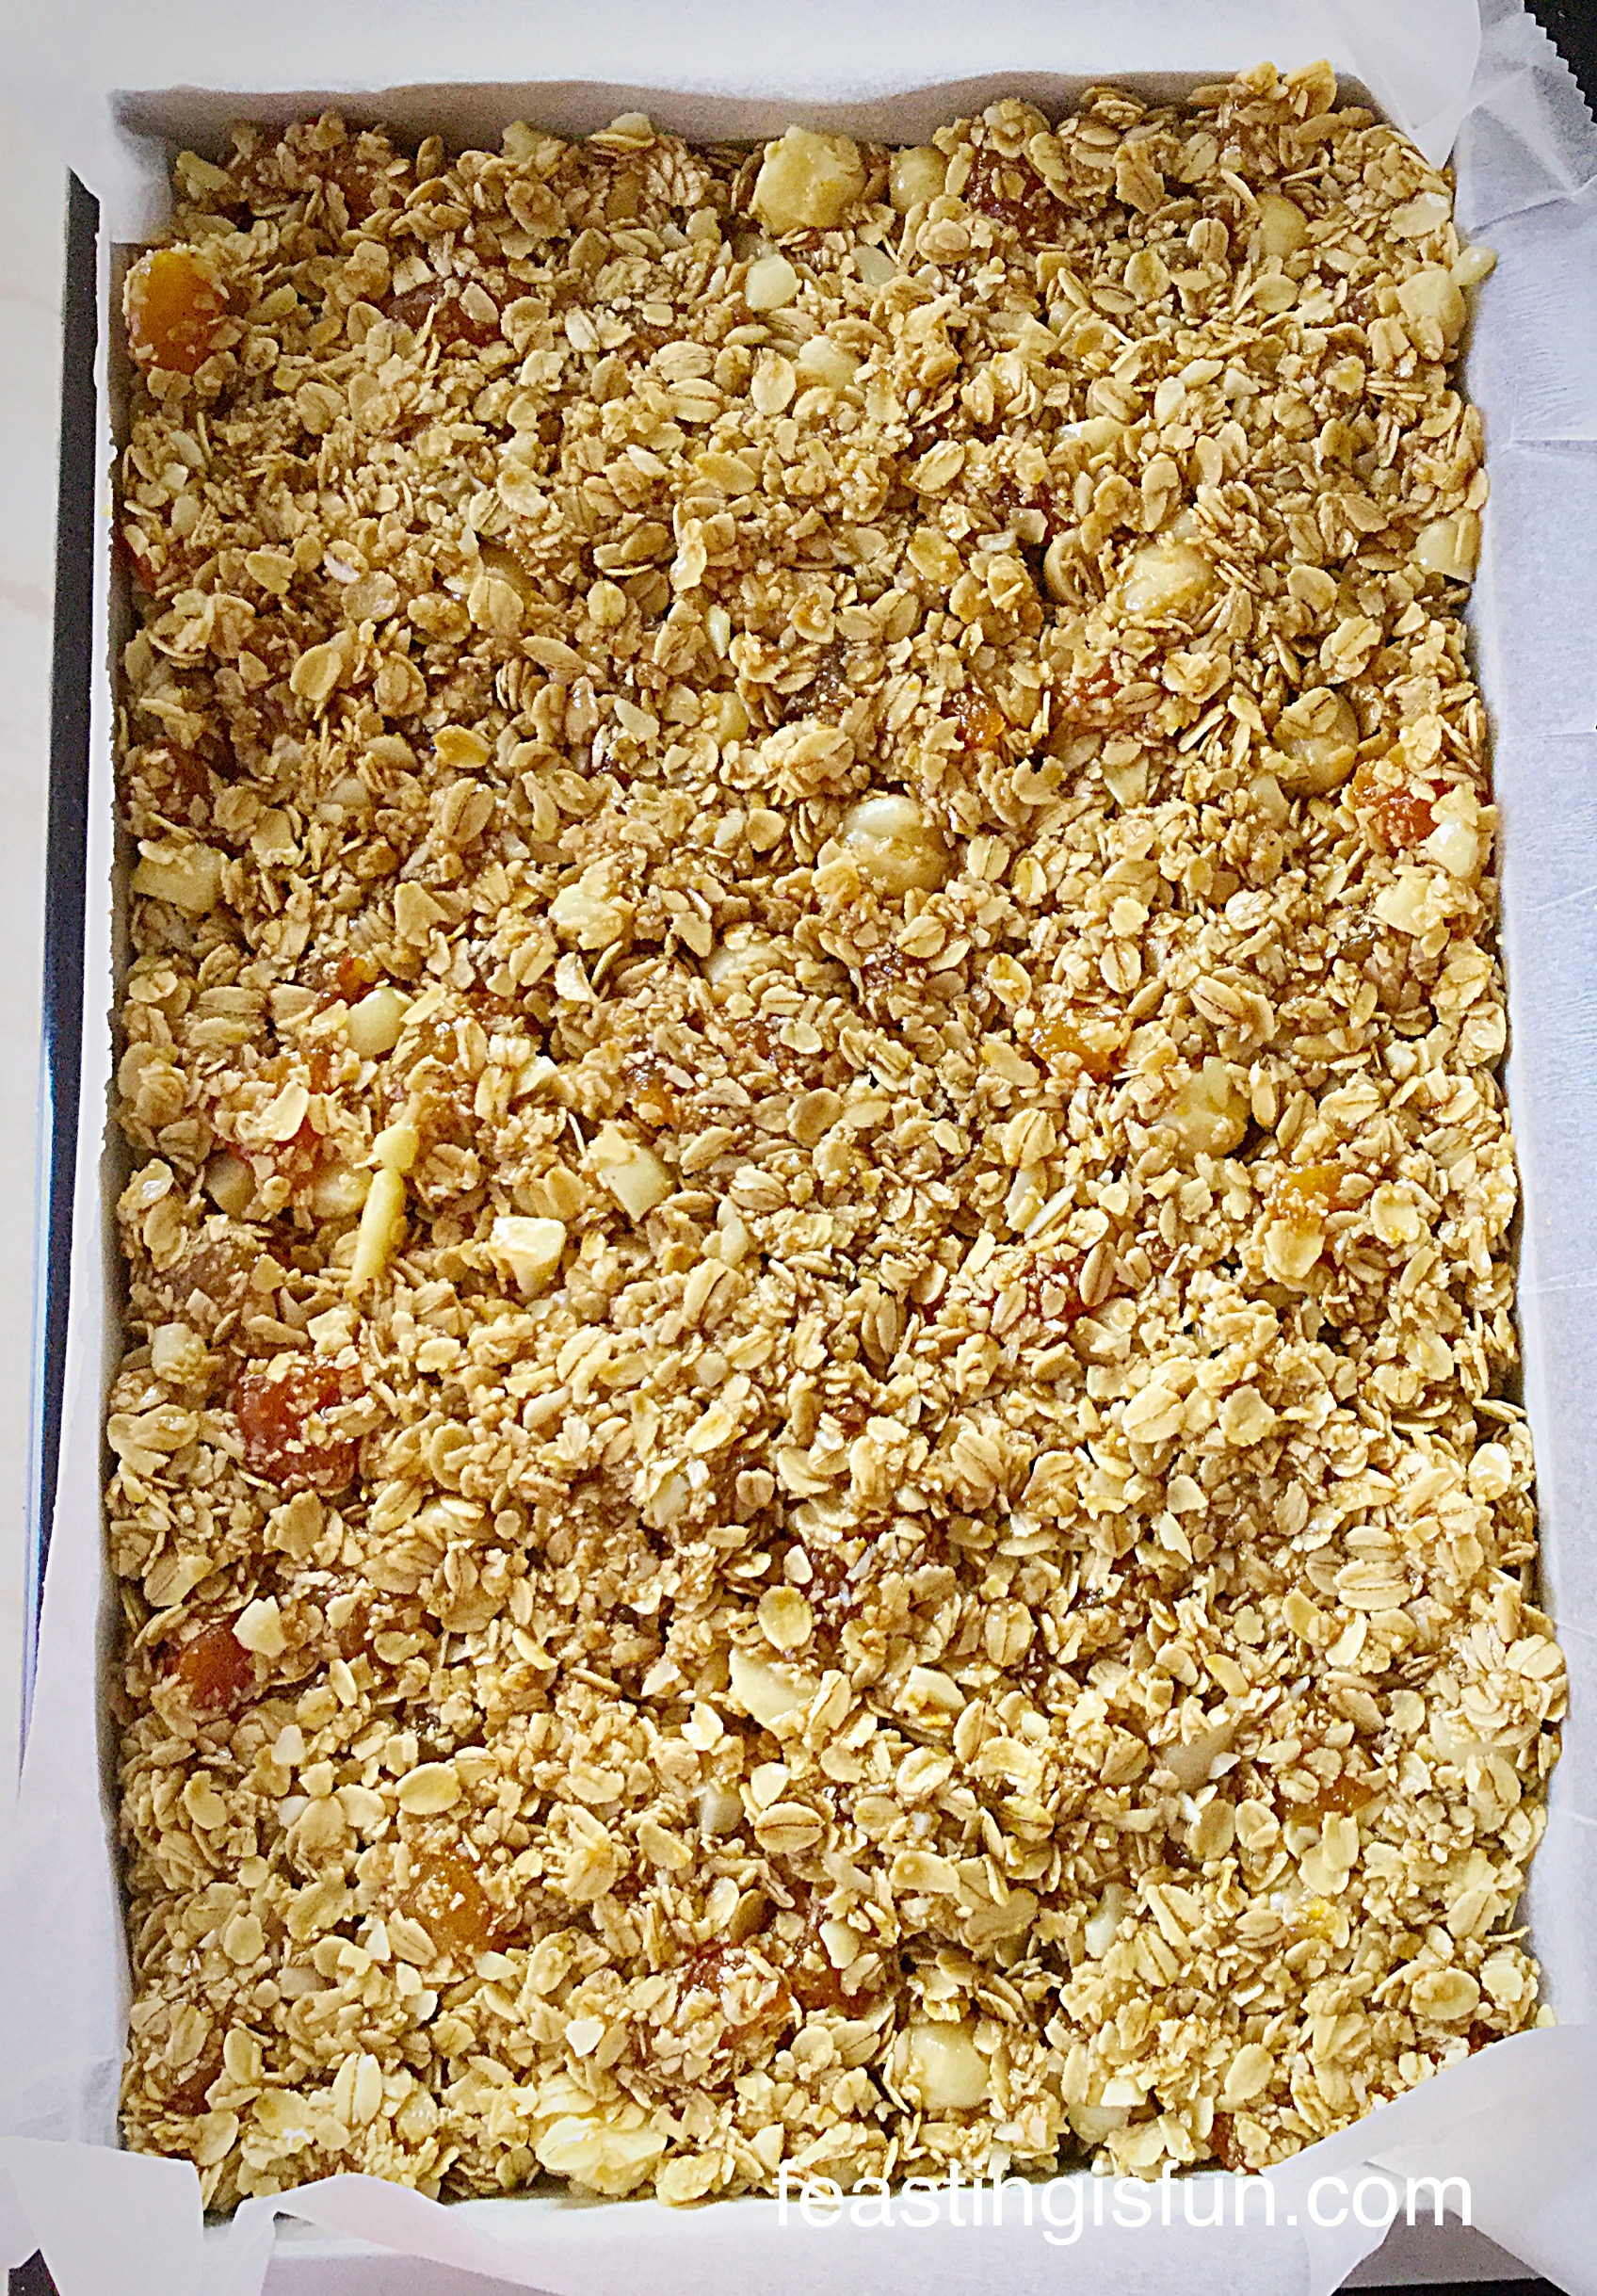
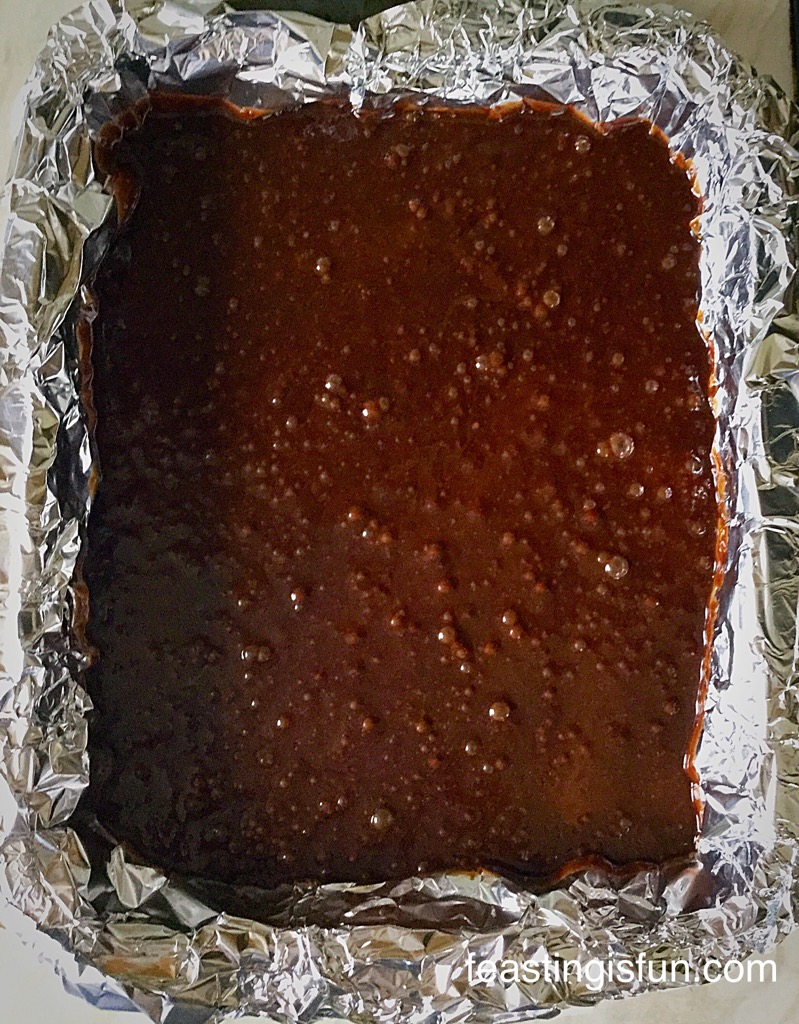
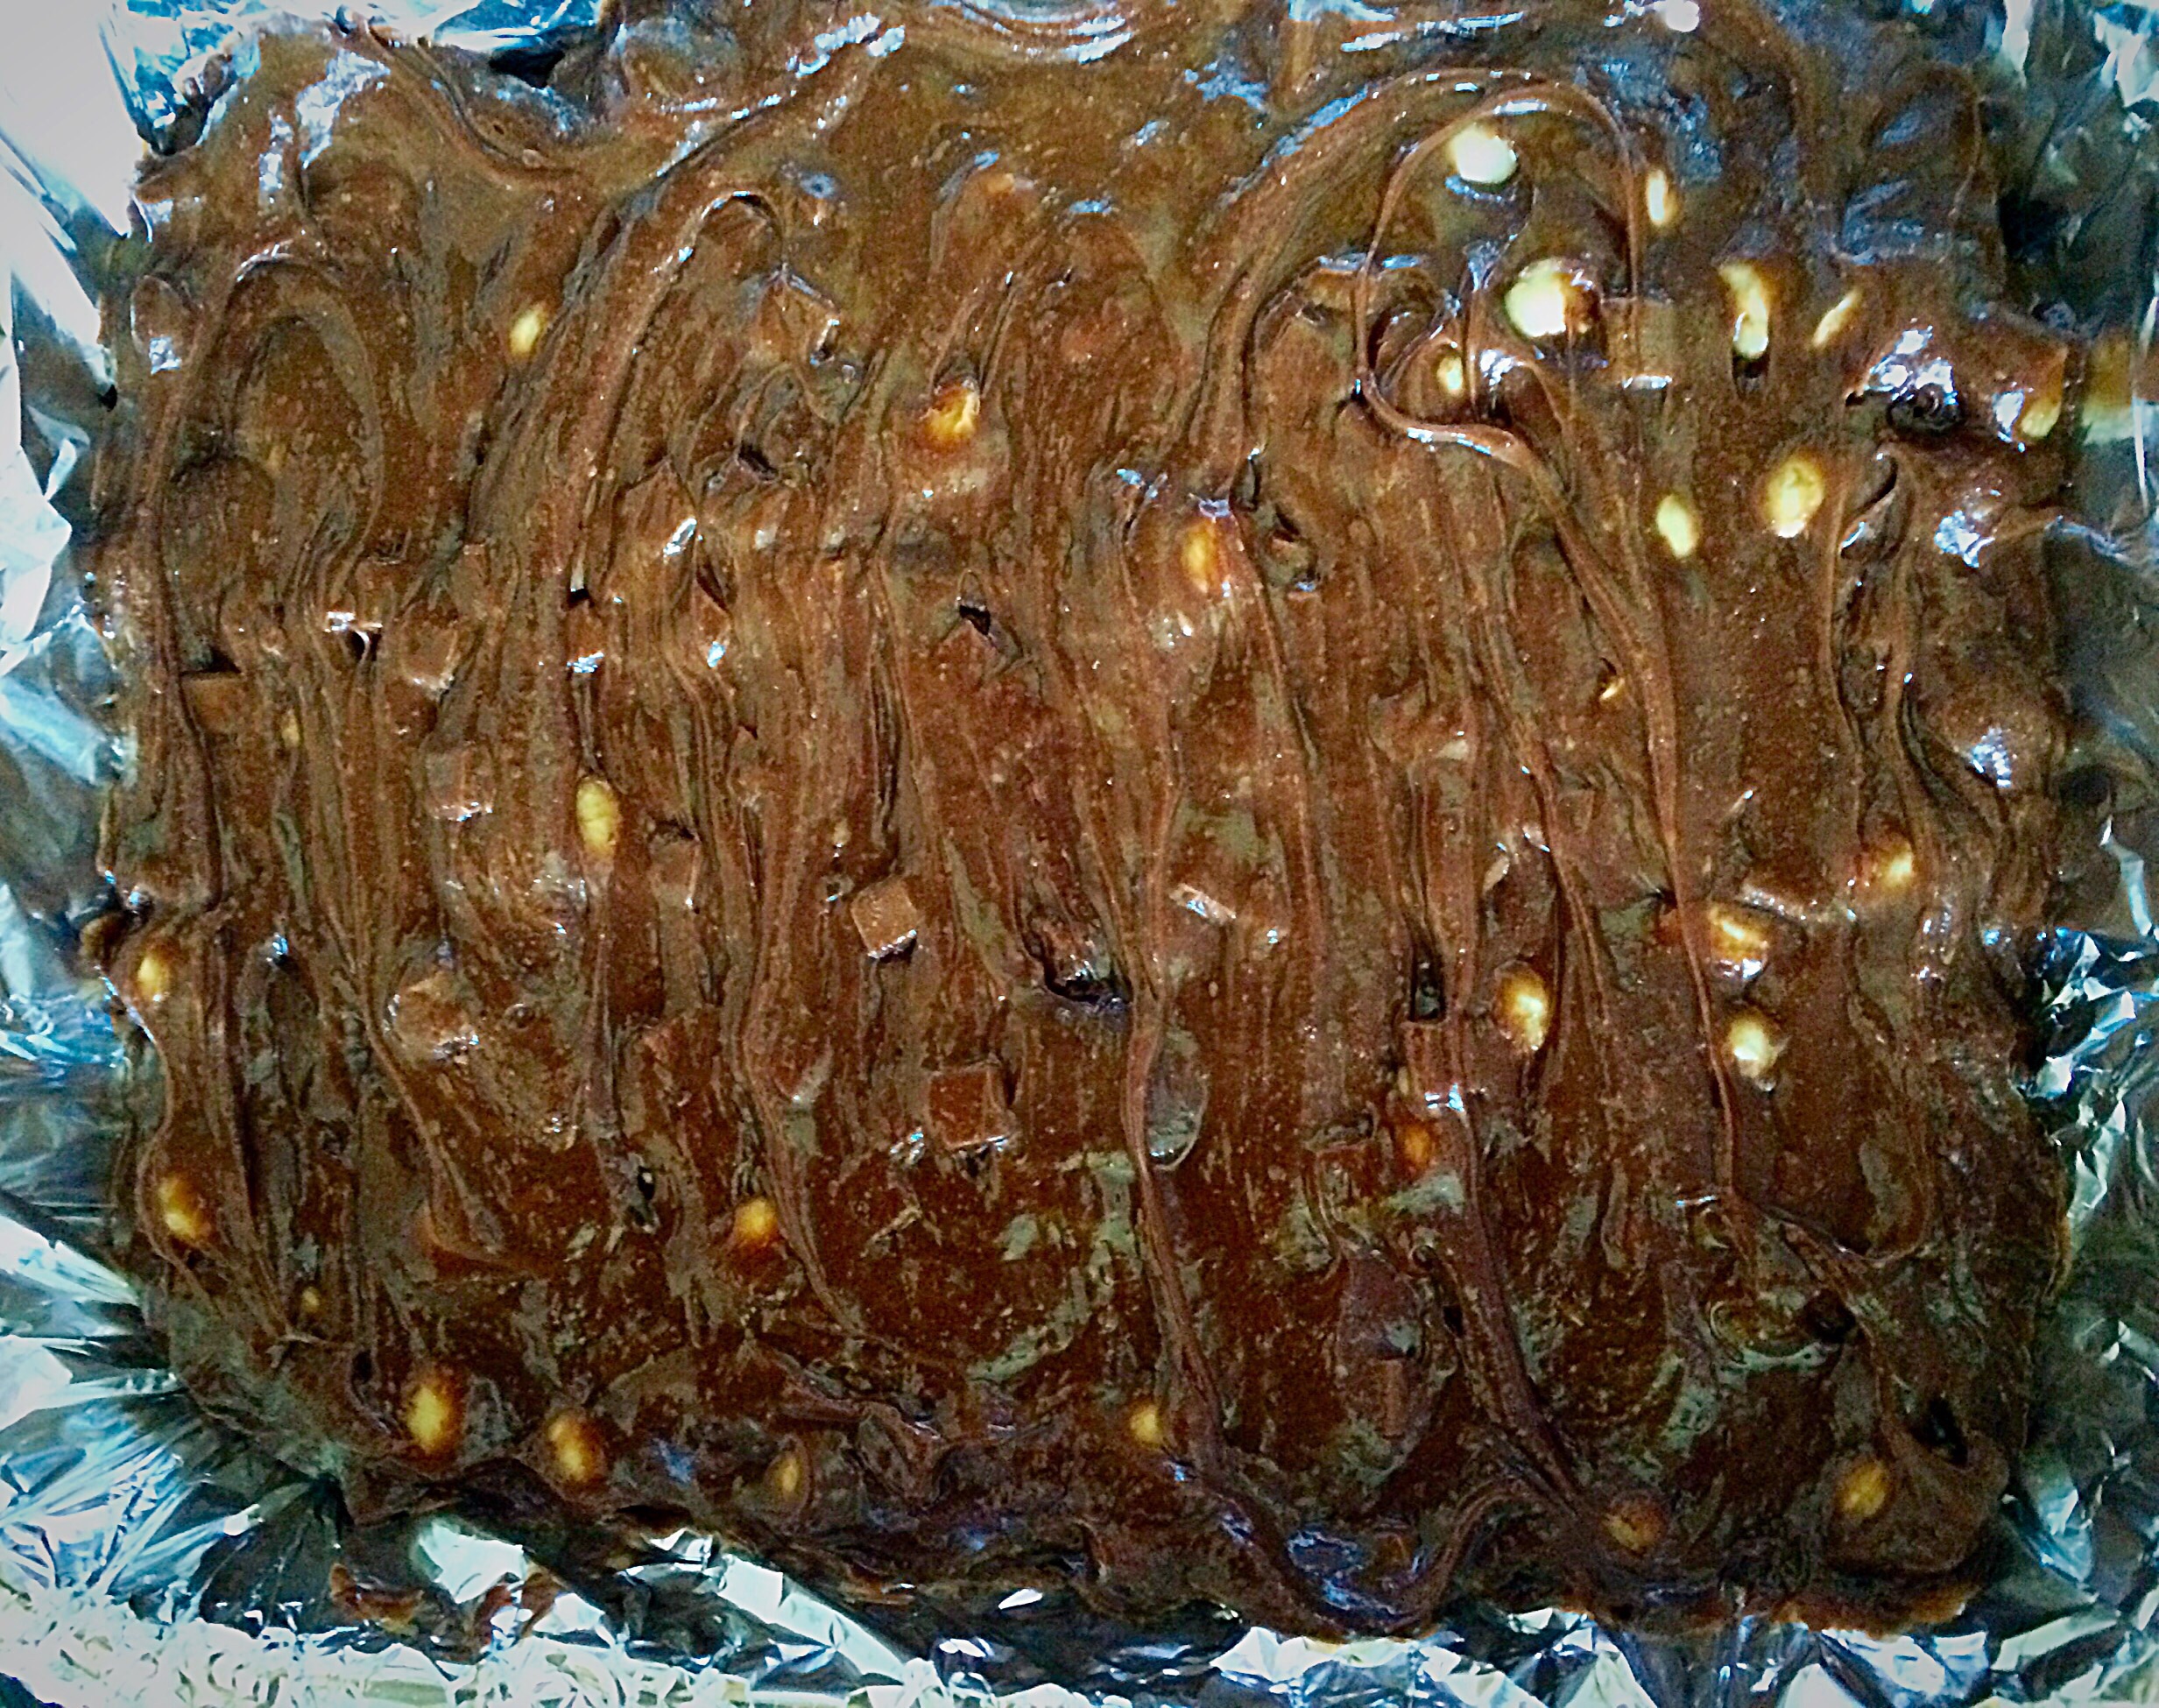
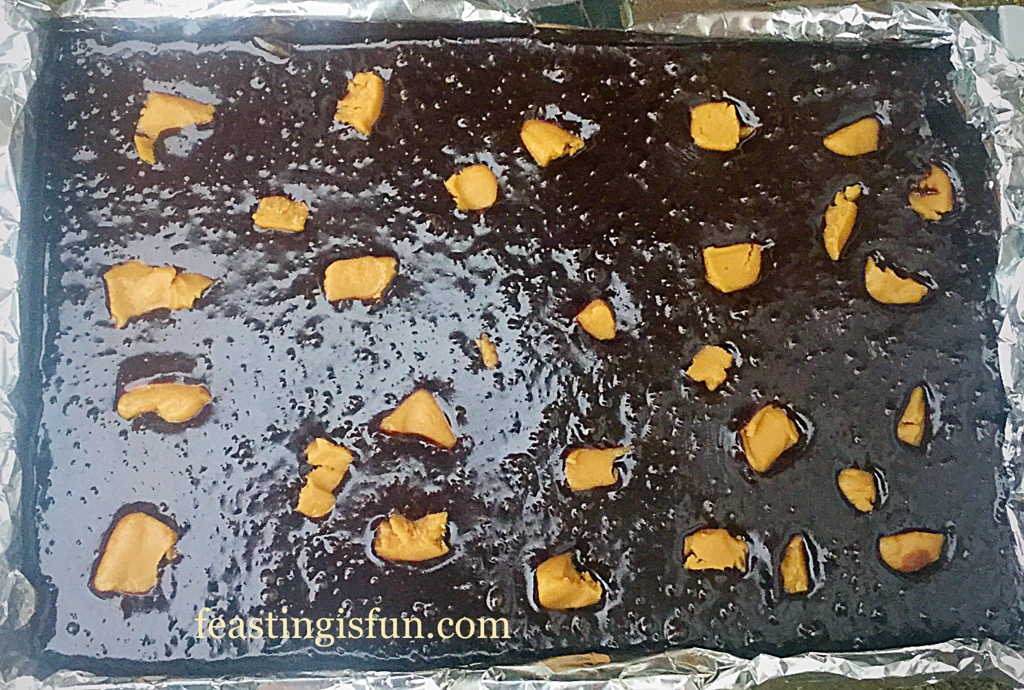
- Tip the brownie batter into the foil lined swiss roll tin.
- Lift the tin and rap it hard against the worktop a couple of times. This brings any bubbles within the batter to the surface – remember brownies aren’t cake, so we want to encourage density in the bake.
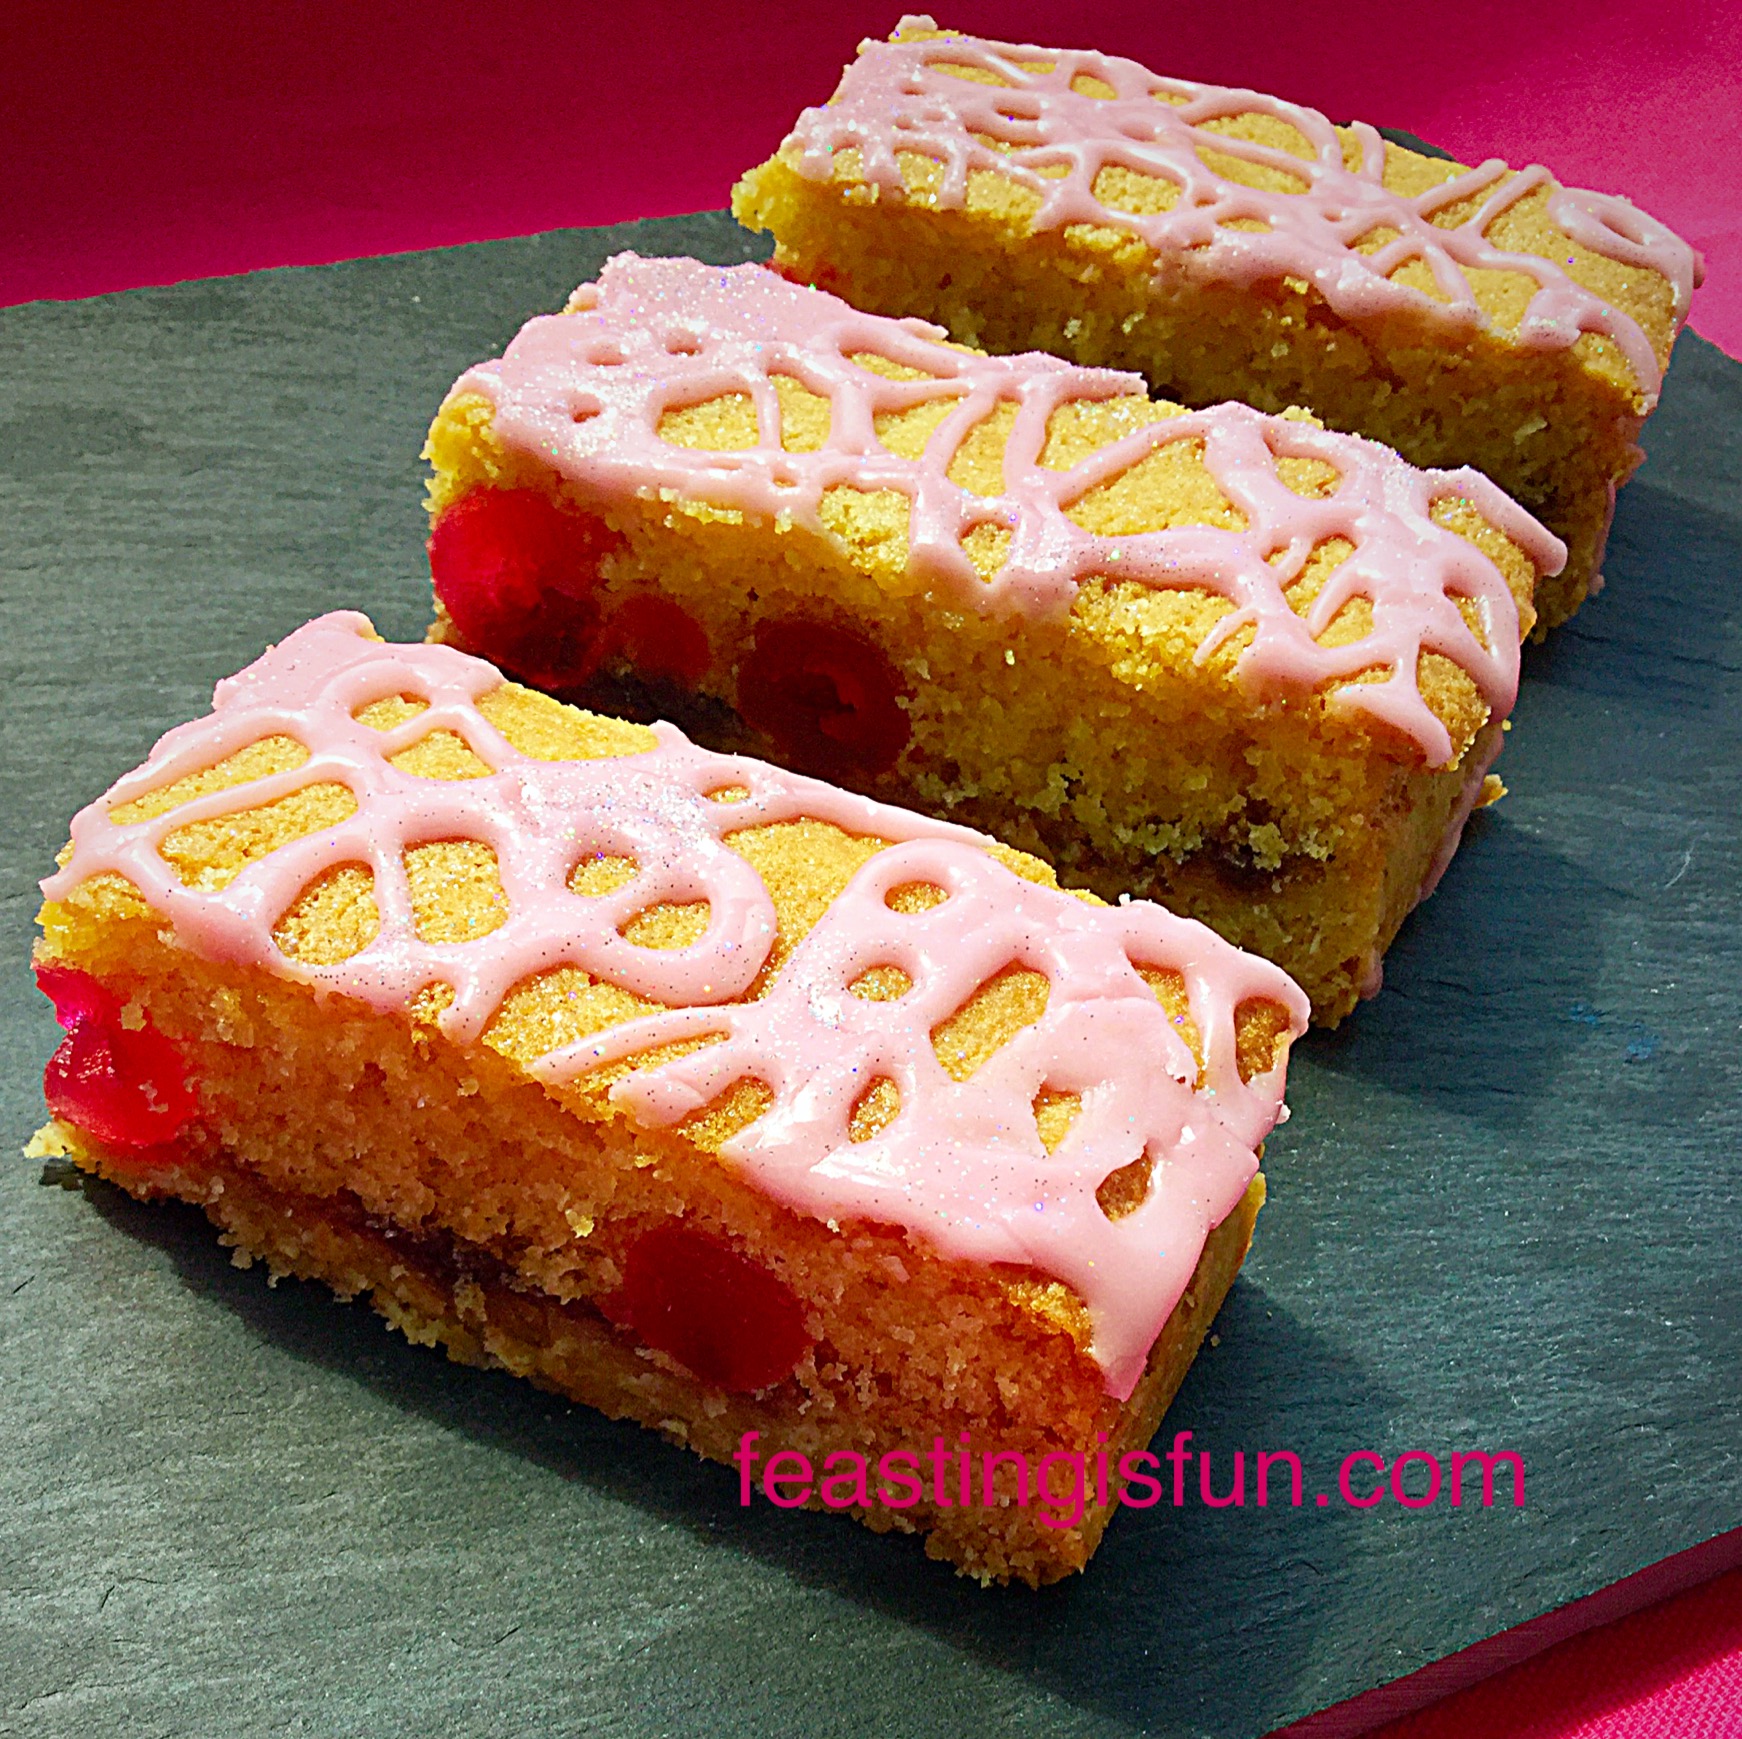
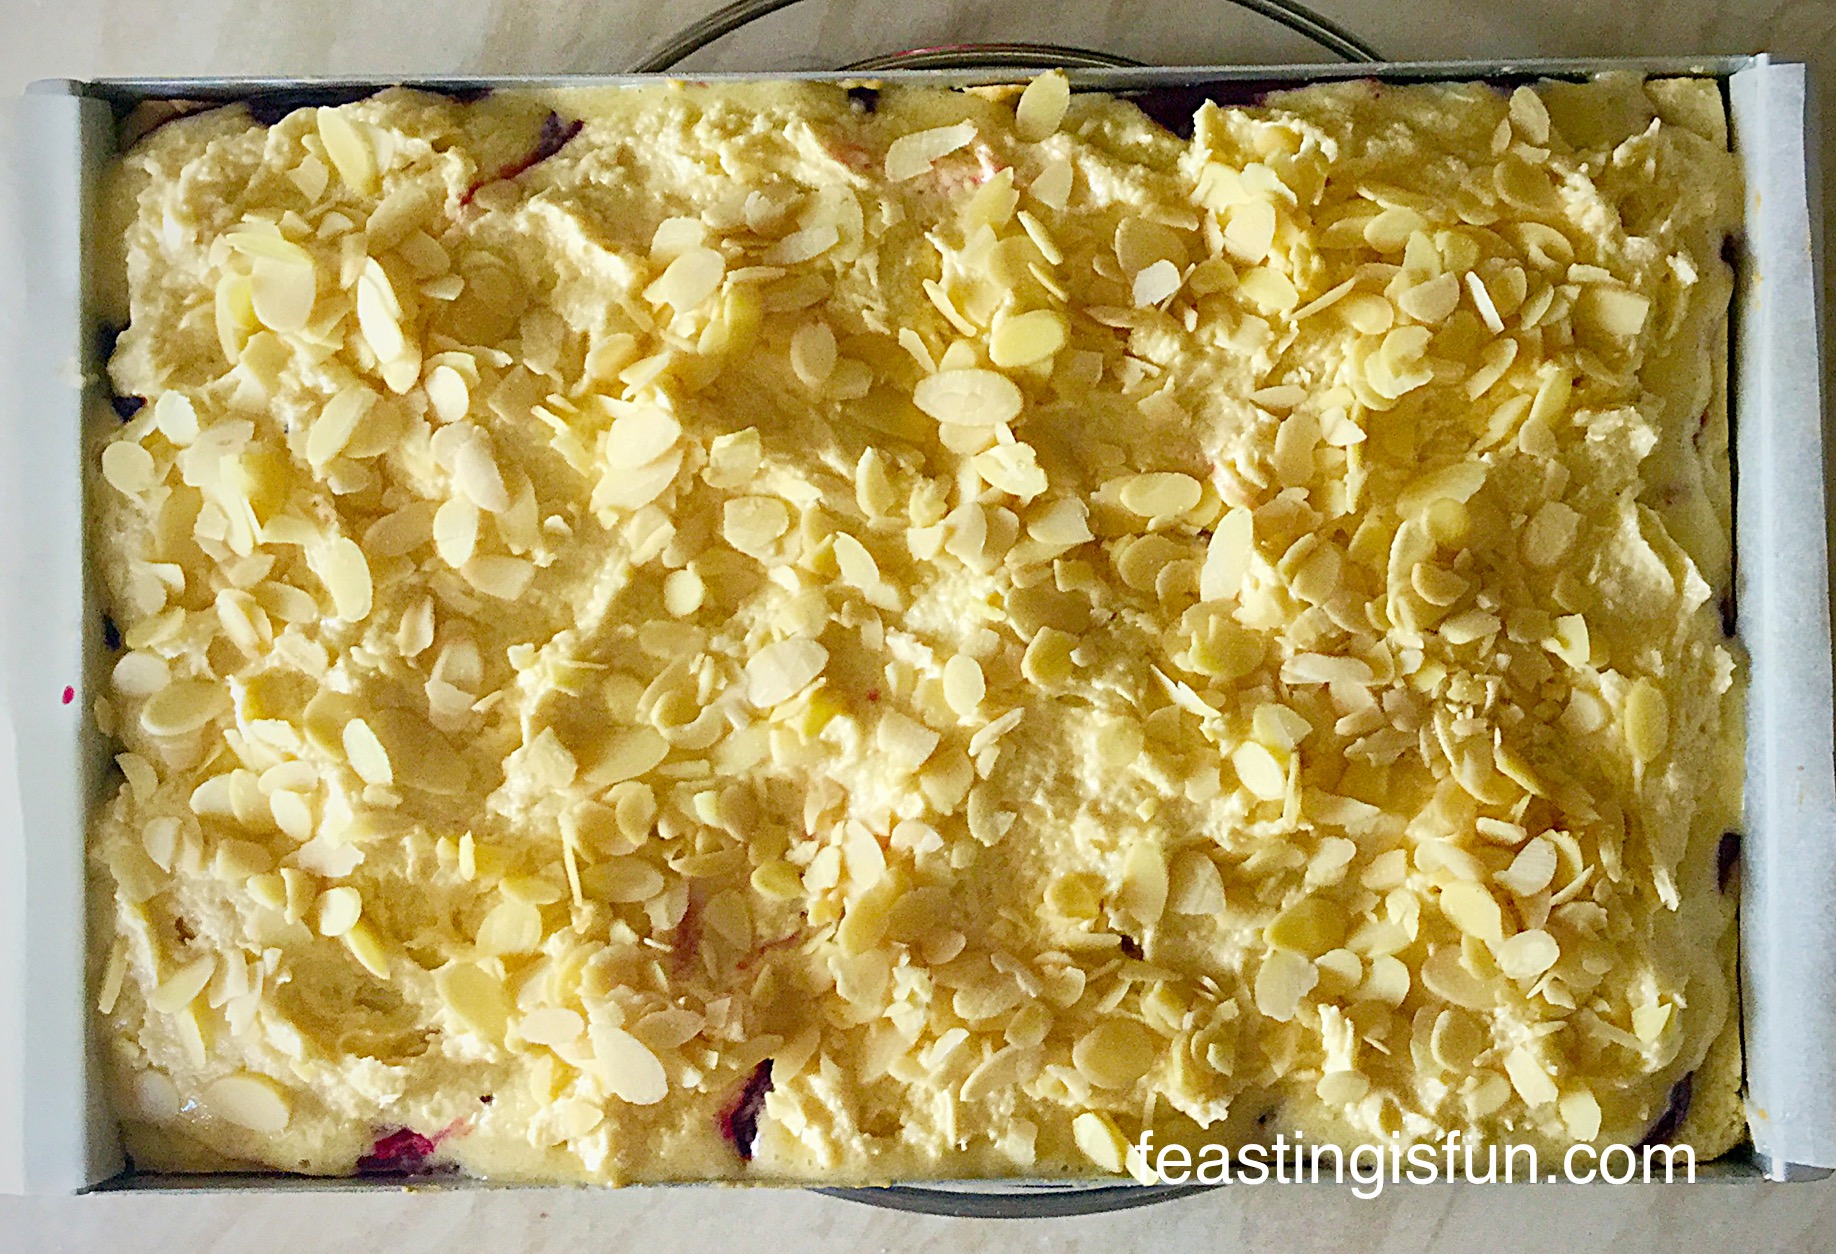
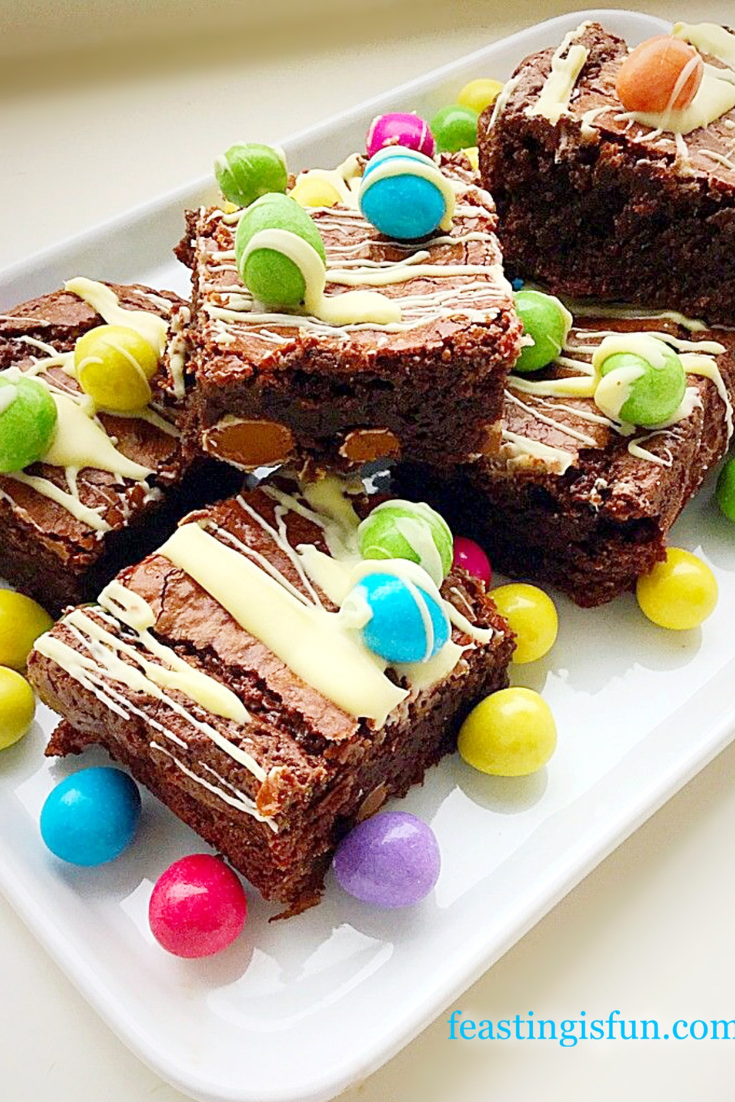
- Break off small pieces of the vanilla fudge and dot them on to the top of the uncooked brownie.
Baking The Brownies
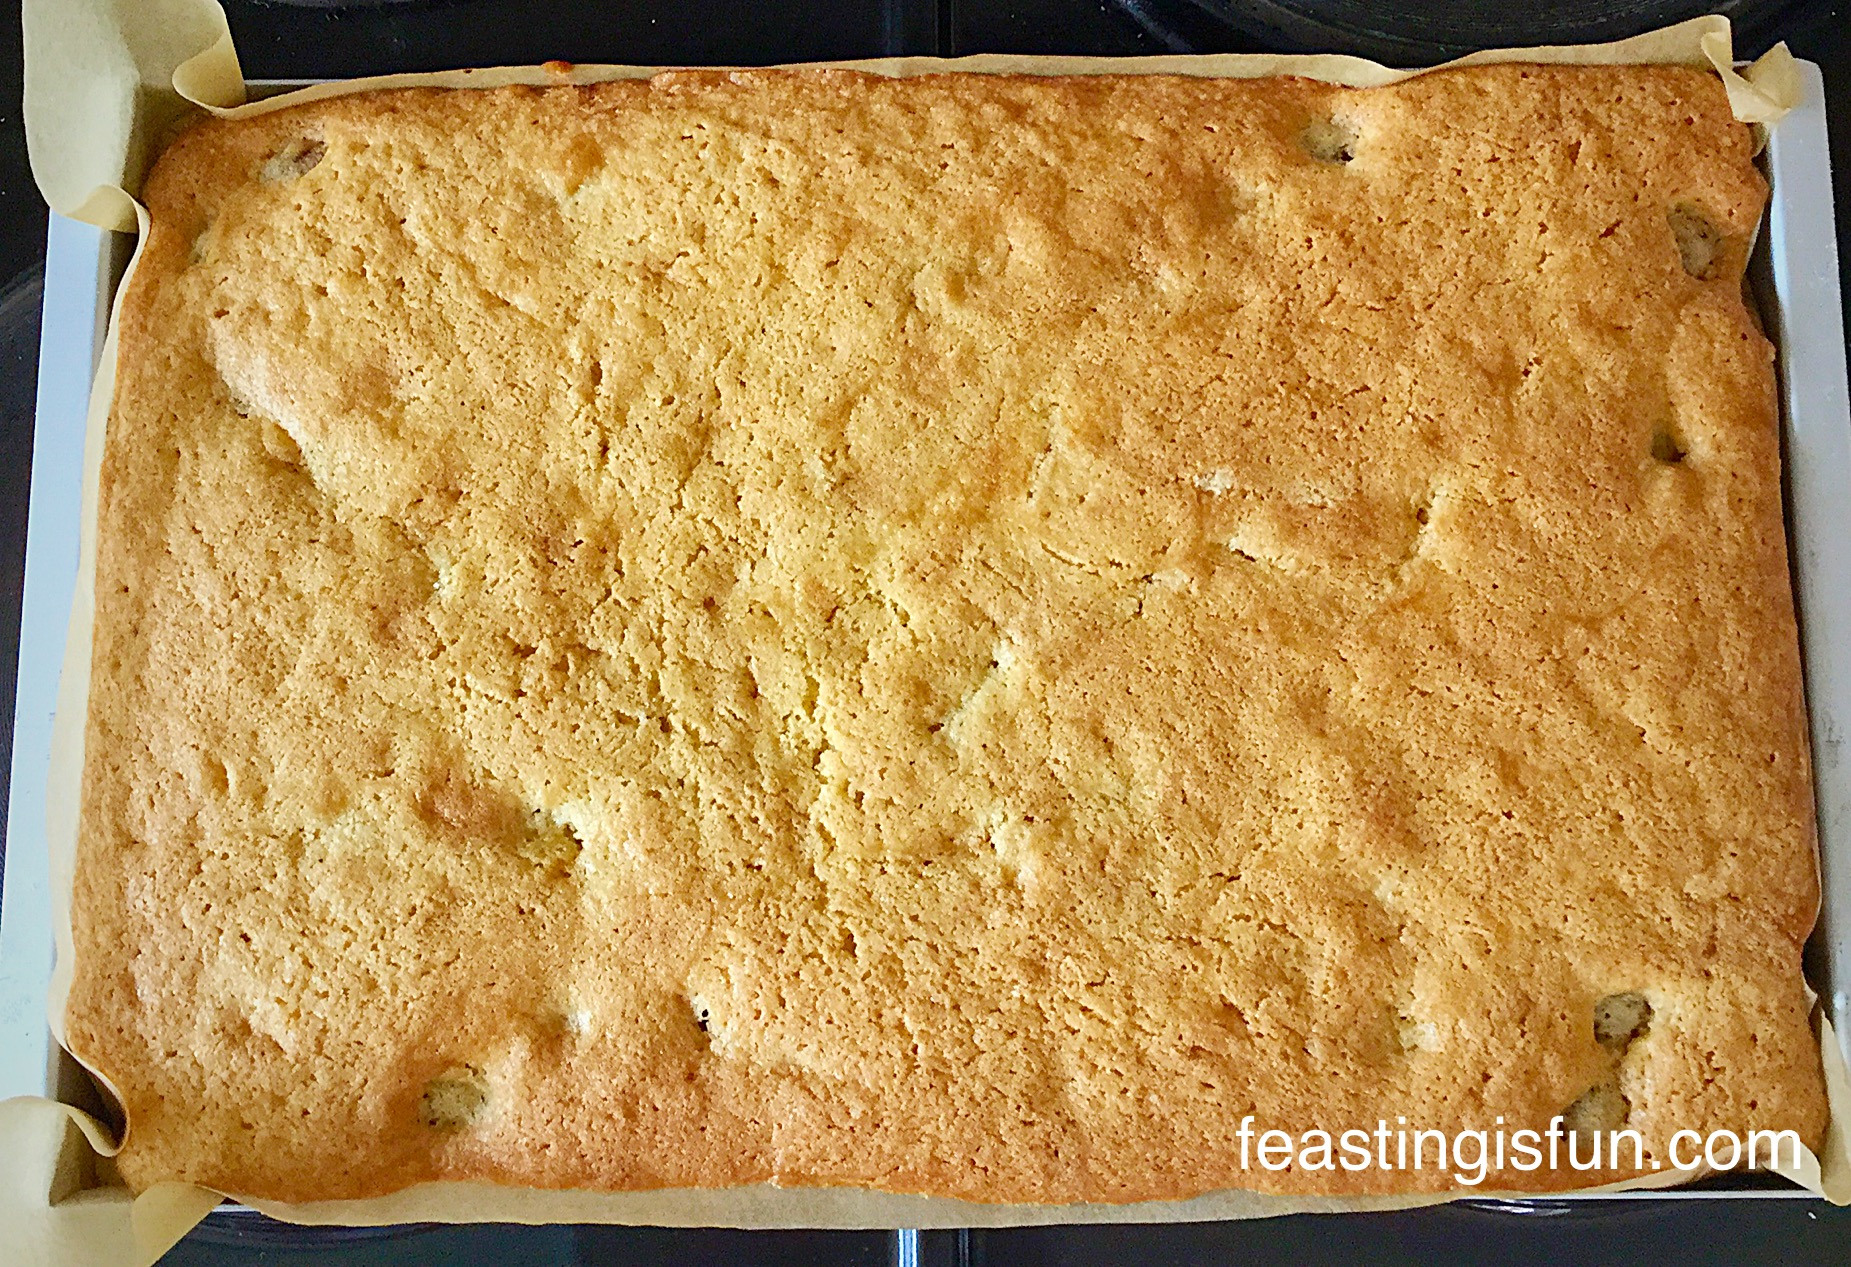
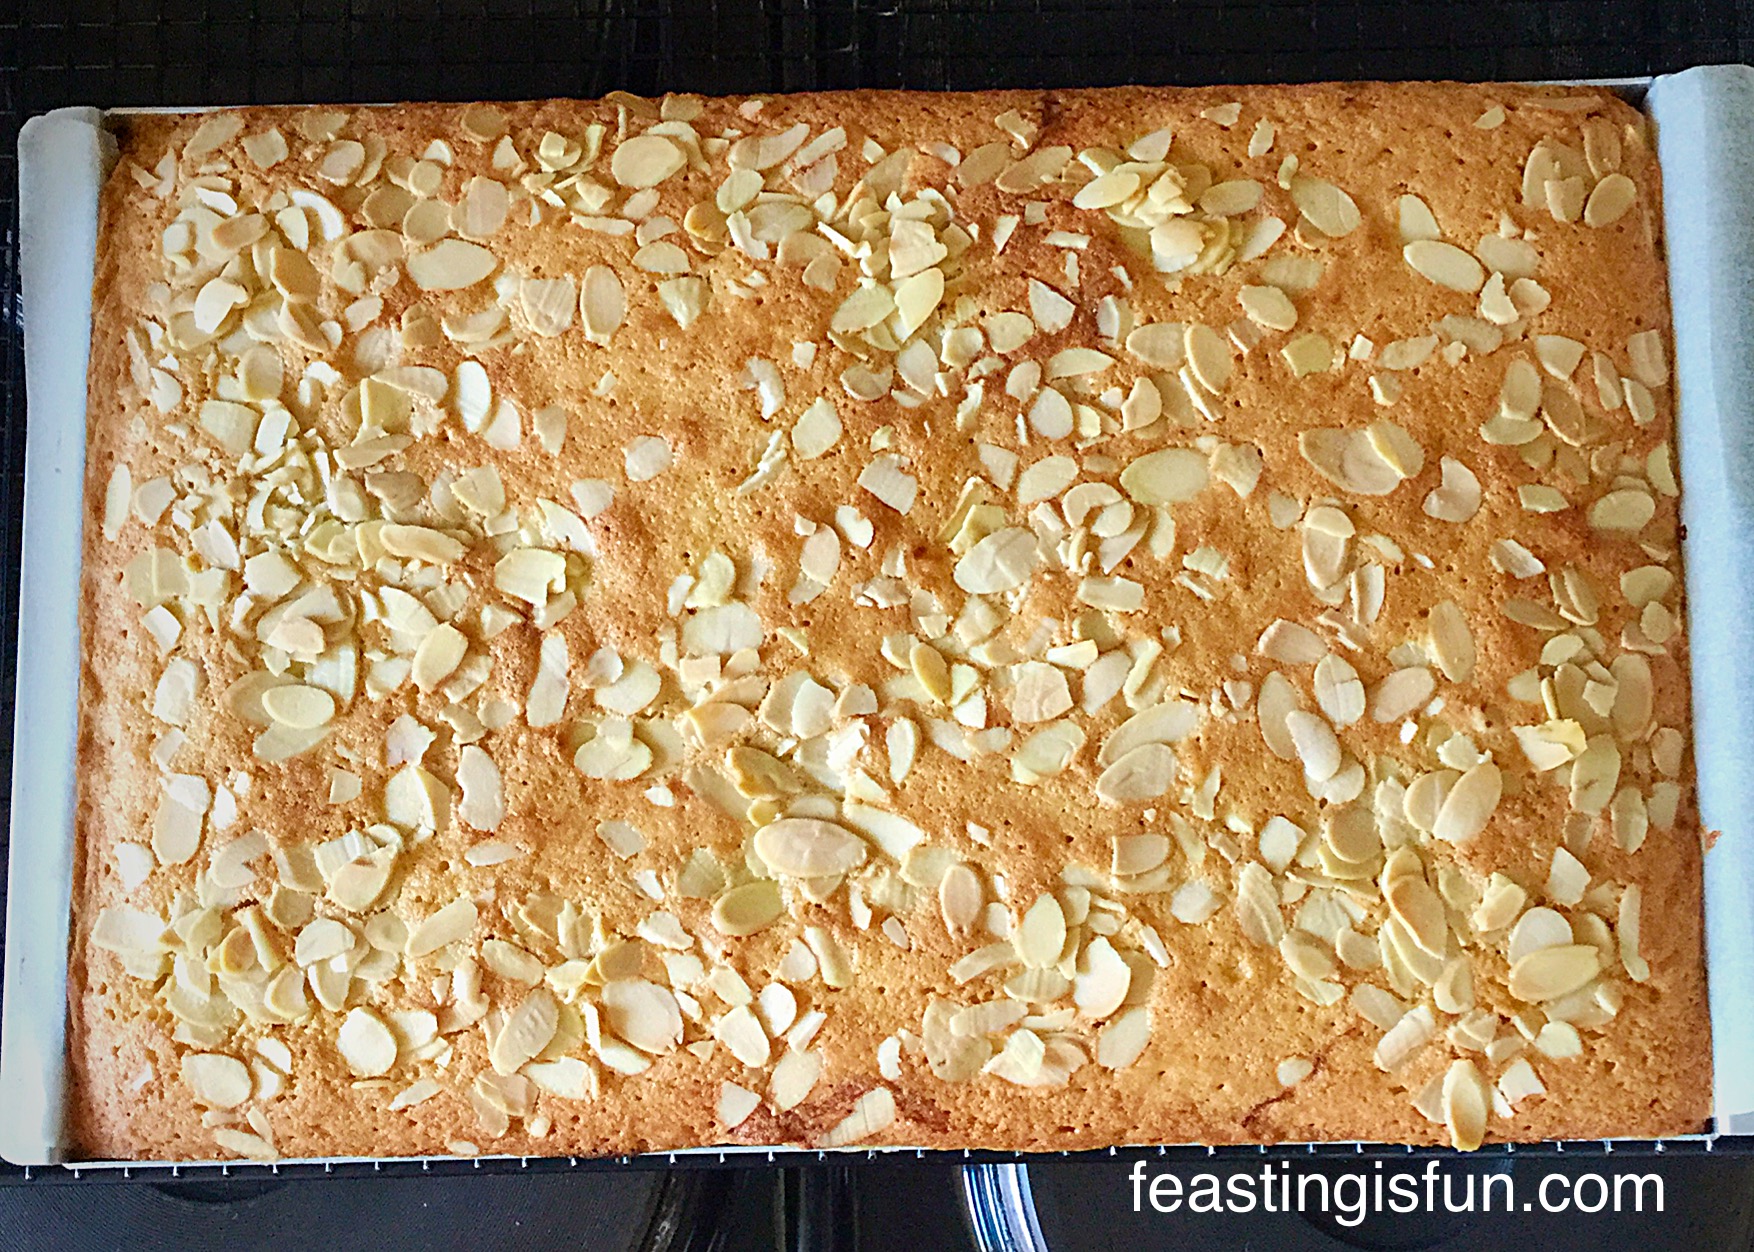
- Place the brownies in the centre of the oven and bake for 20-25 minutes.
- Halfway through the cooking time, open the oven and rap the tin against the oven shelf. Again this stops the brownies from rising and becoming cake like.
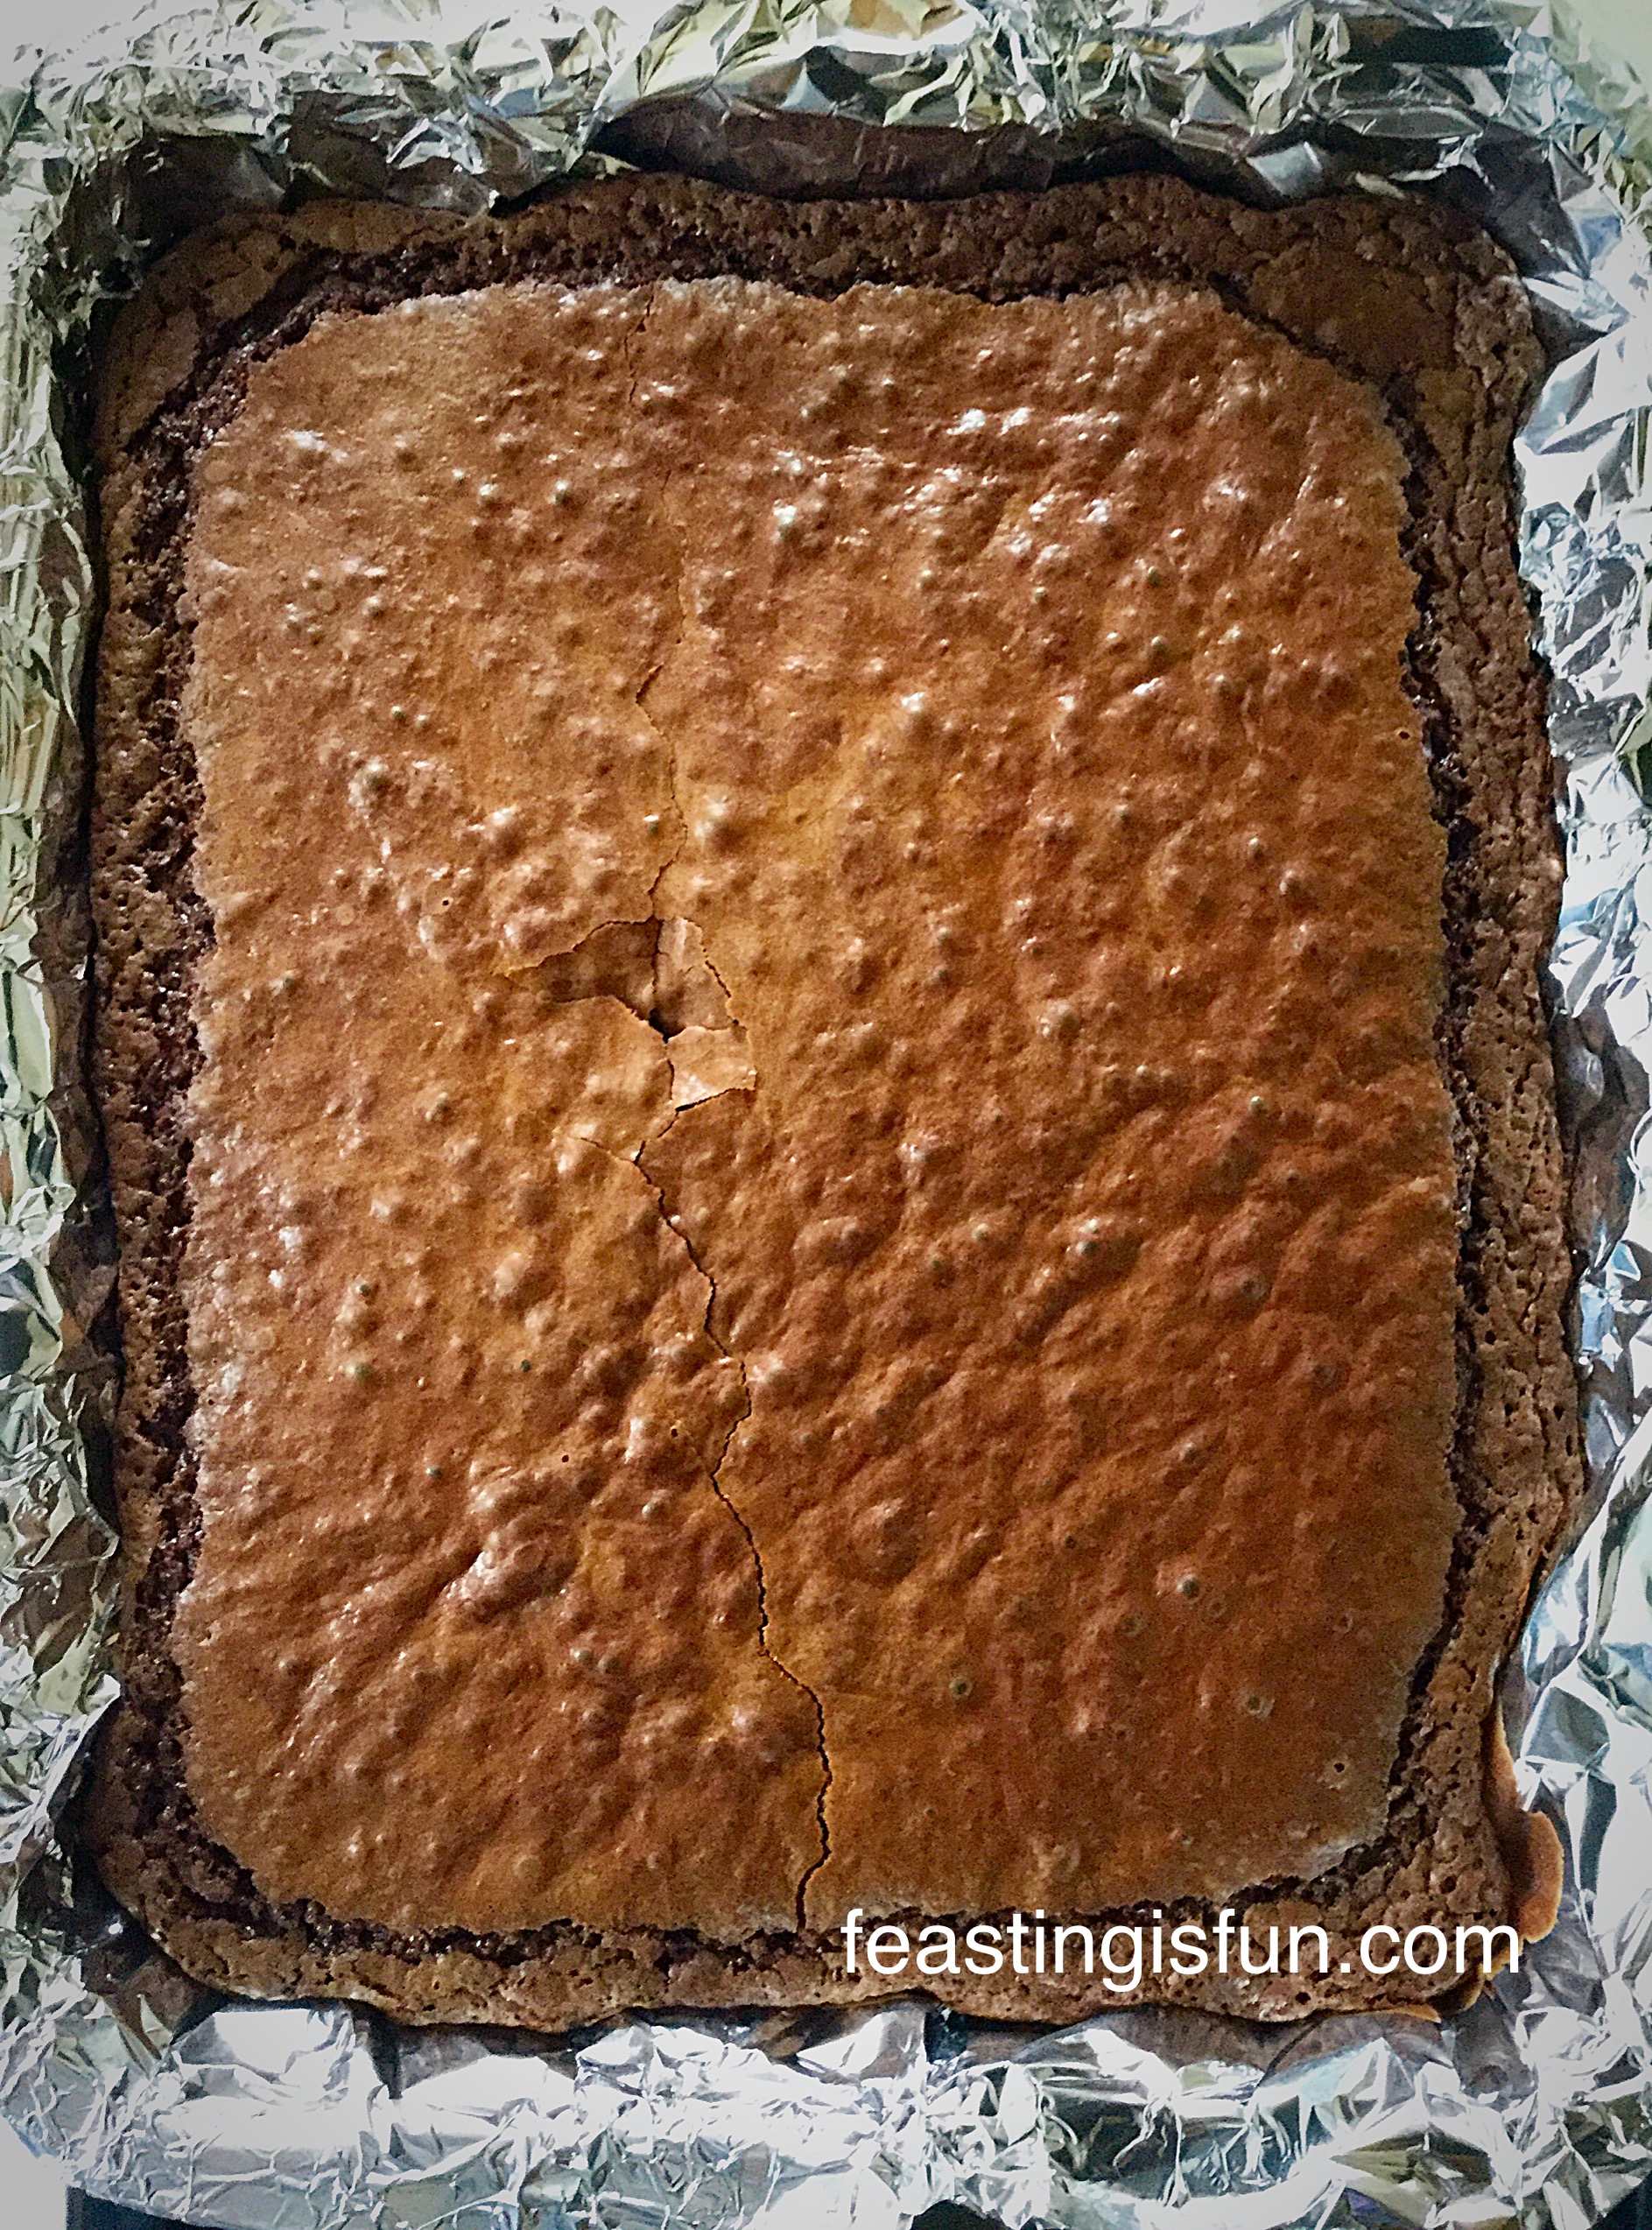
- The brownies are cooked when the surface has a sugary sheen and has a very slight wobble in the centre.
- As soon as they are baked remove the Vanilla Fudge Chocolate Brownies from the oven.
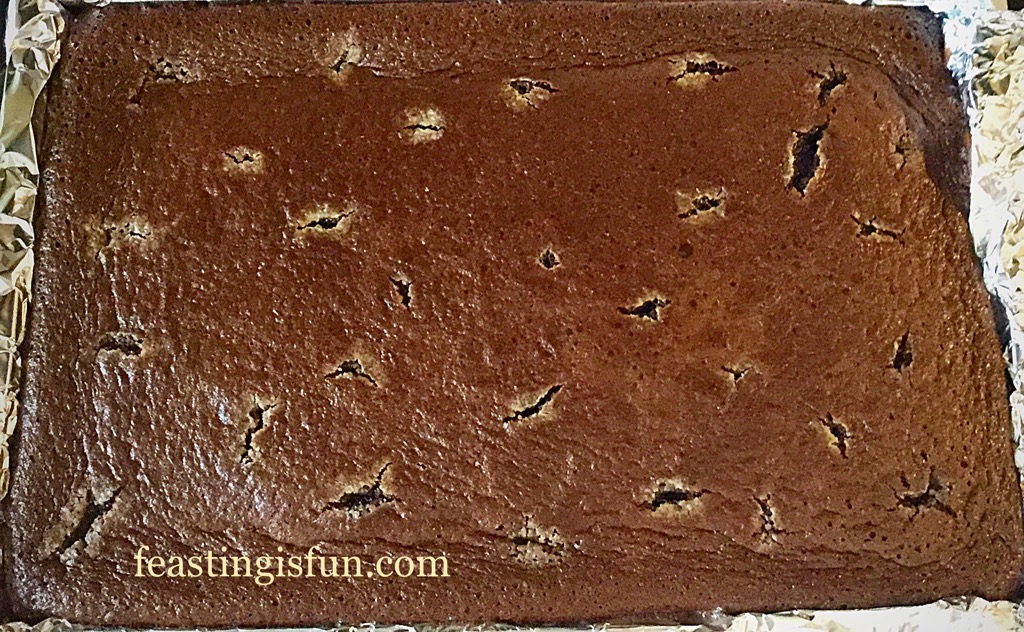
- Allow the brownie to completely cool in the tin. I actually left this brownie, once cooled, wrapped in foil for 2 days post baking, due to illness and it kept beautifully.
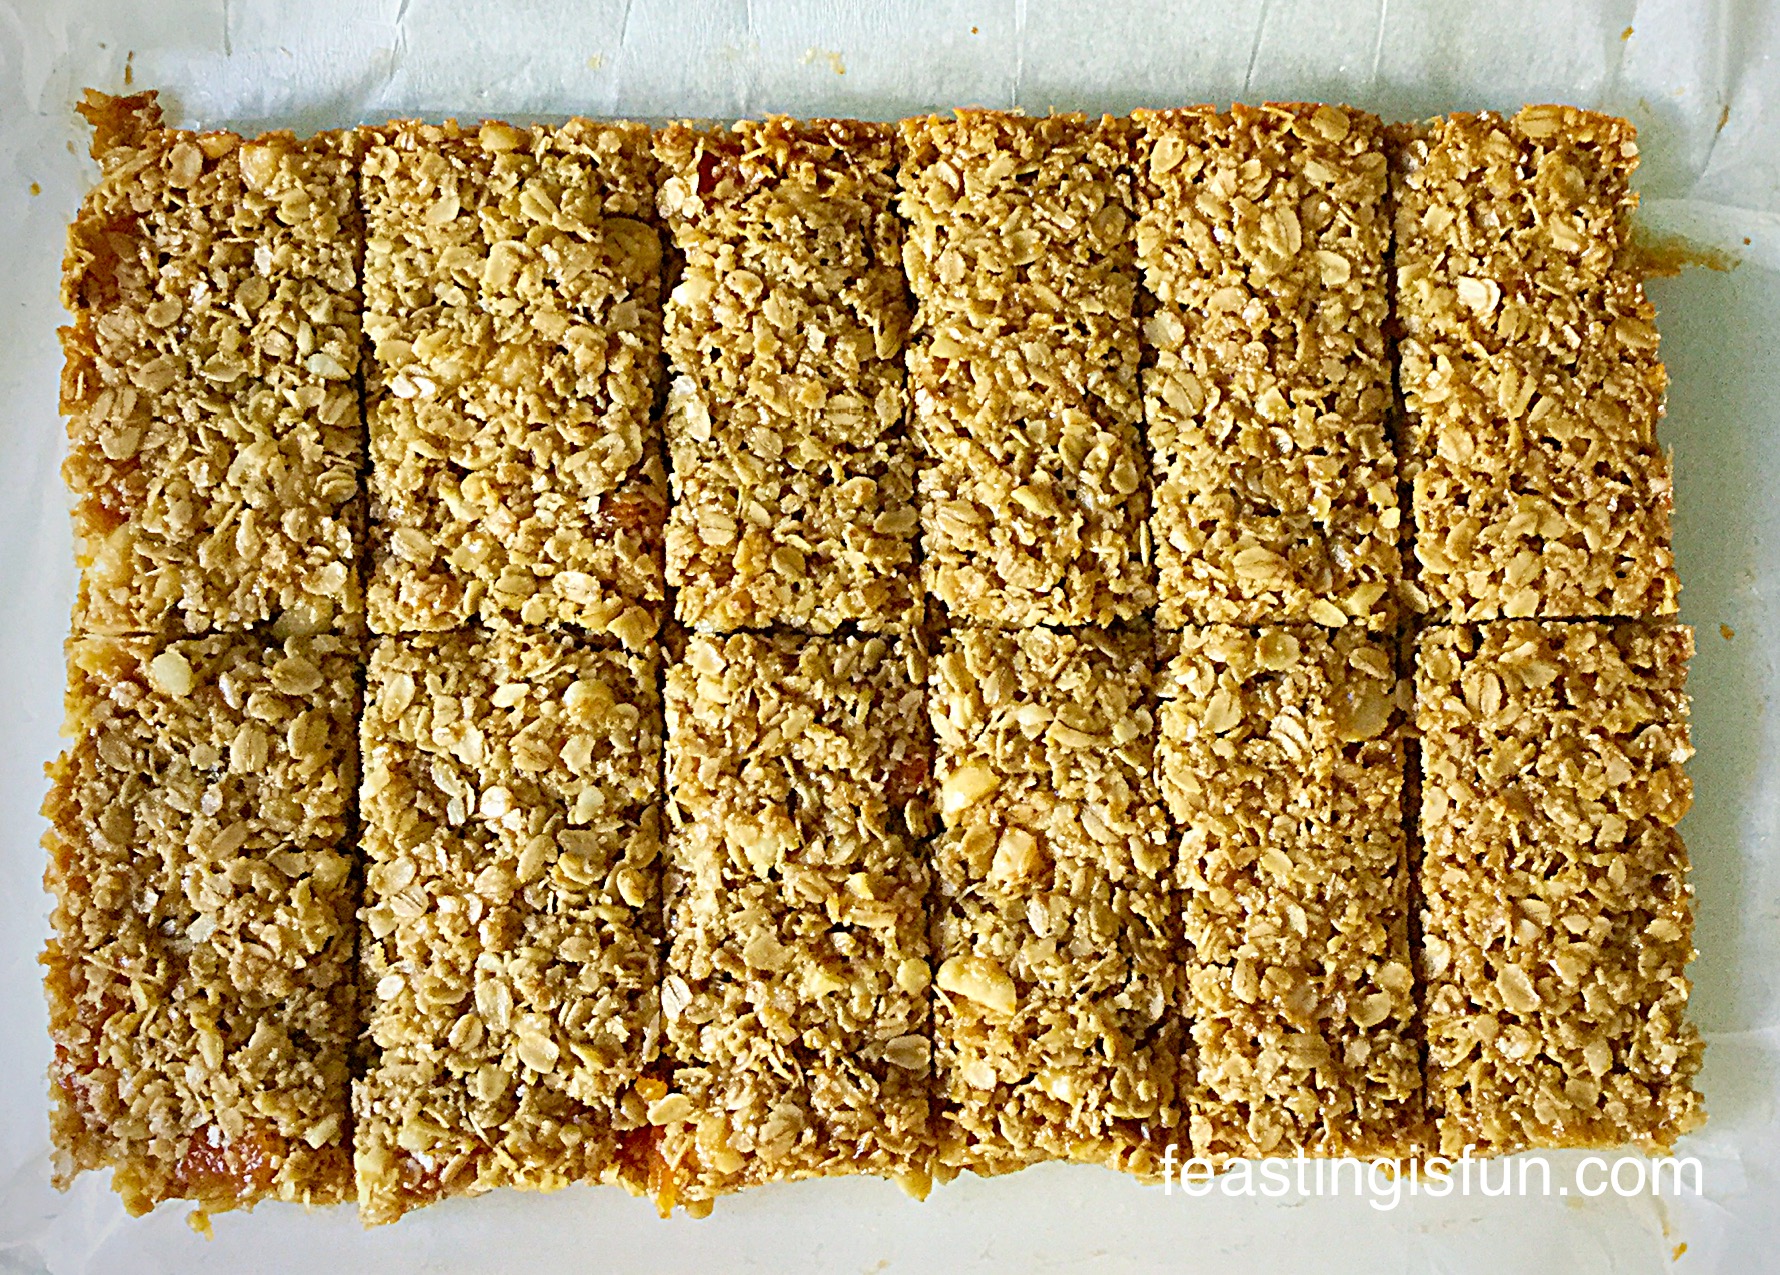
- As soon as they are cooled remove the big slab of brownie from the tin and place on to a board.
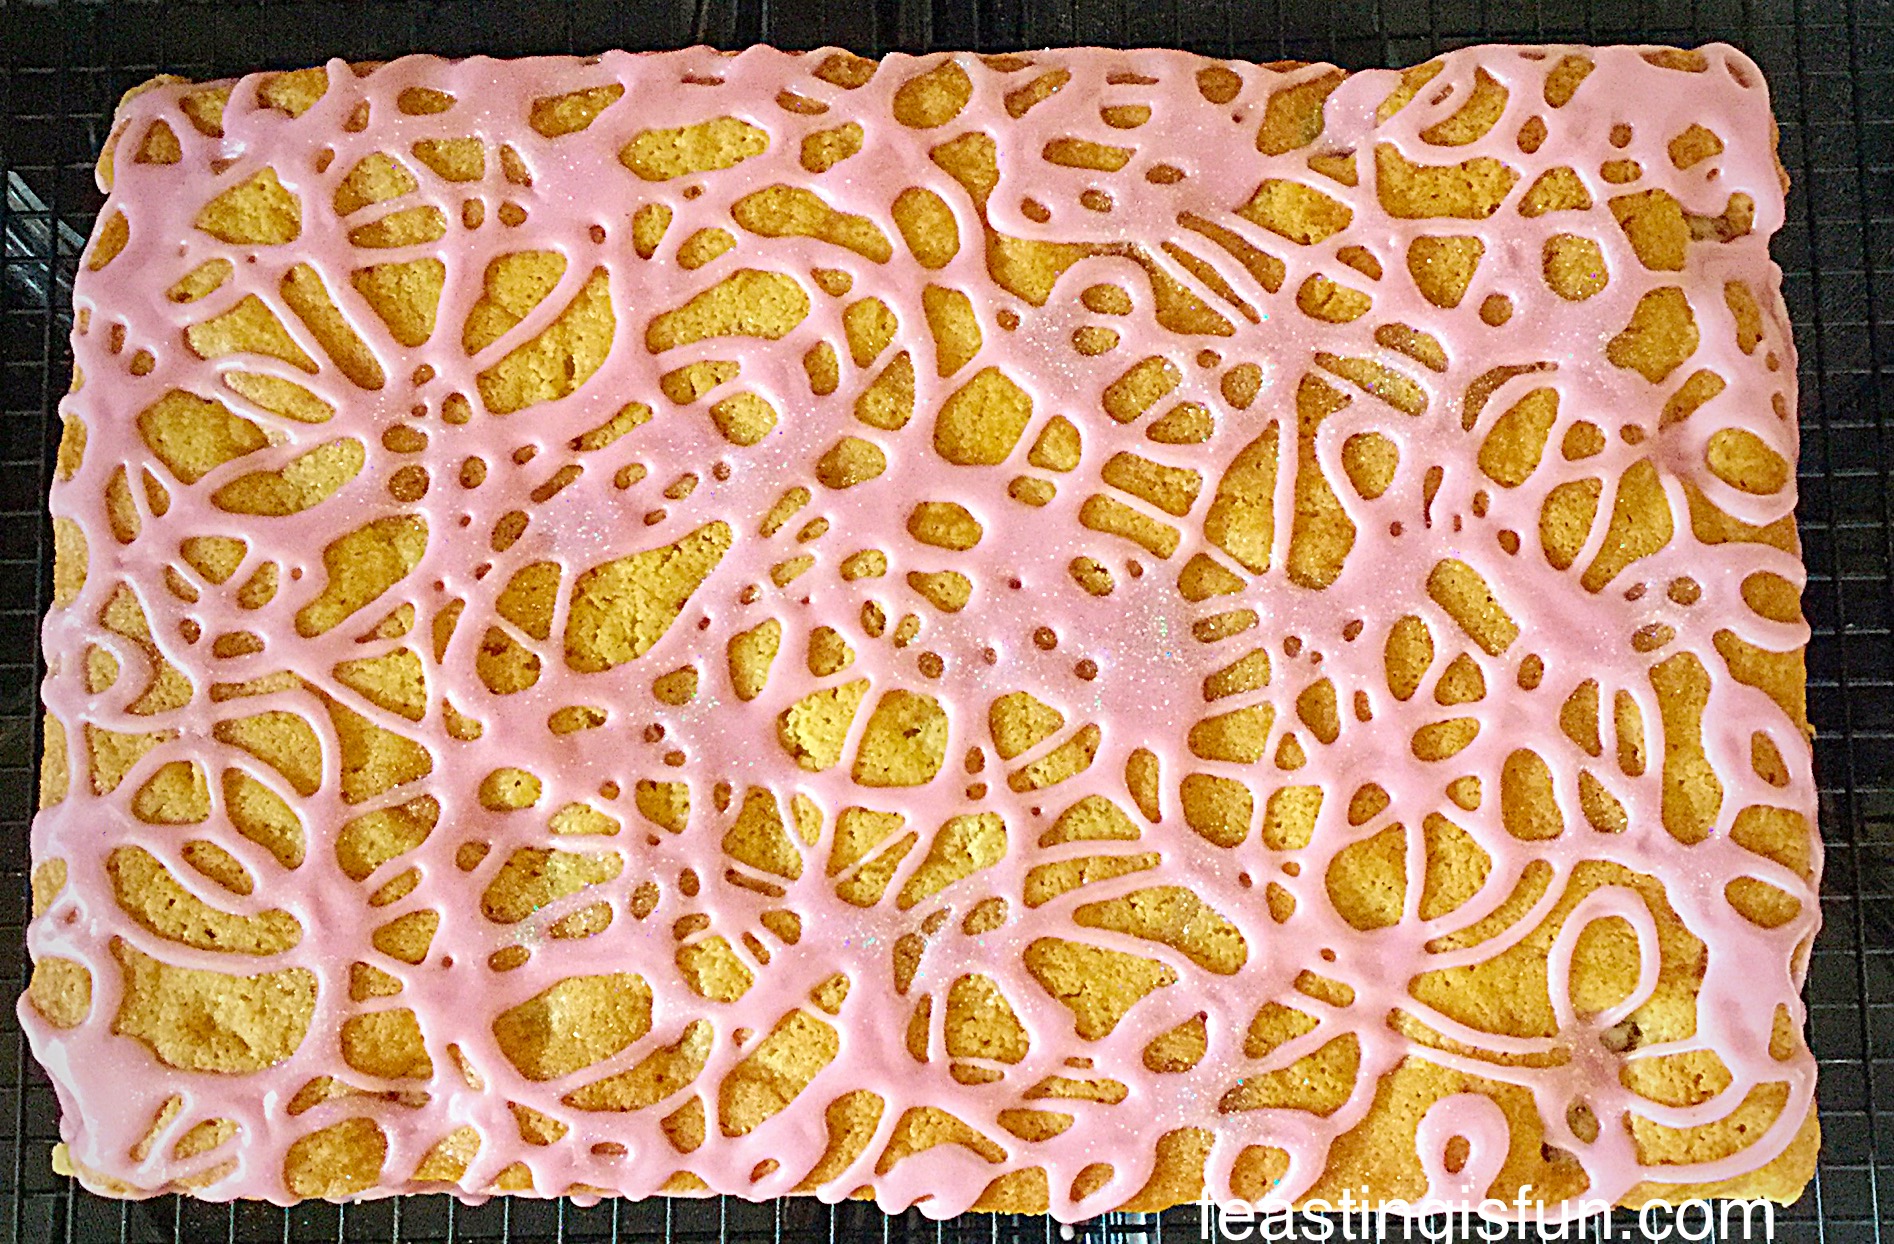
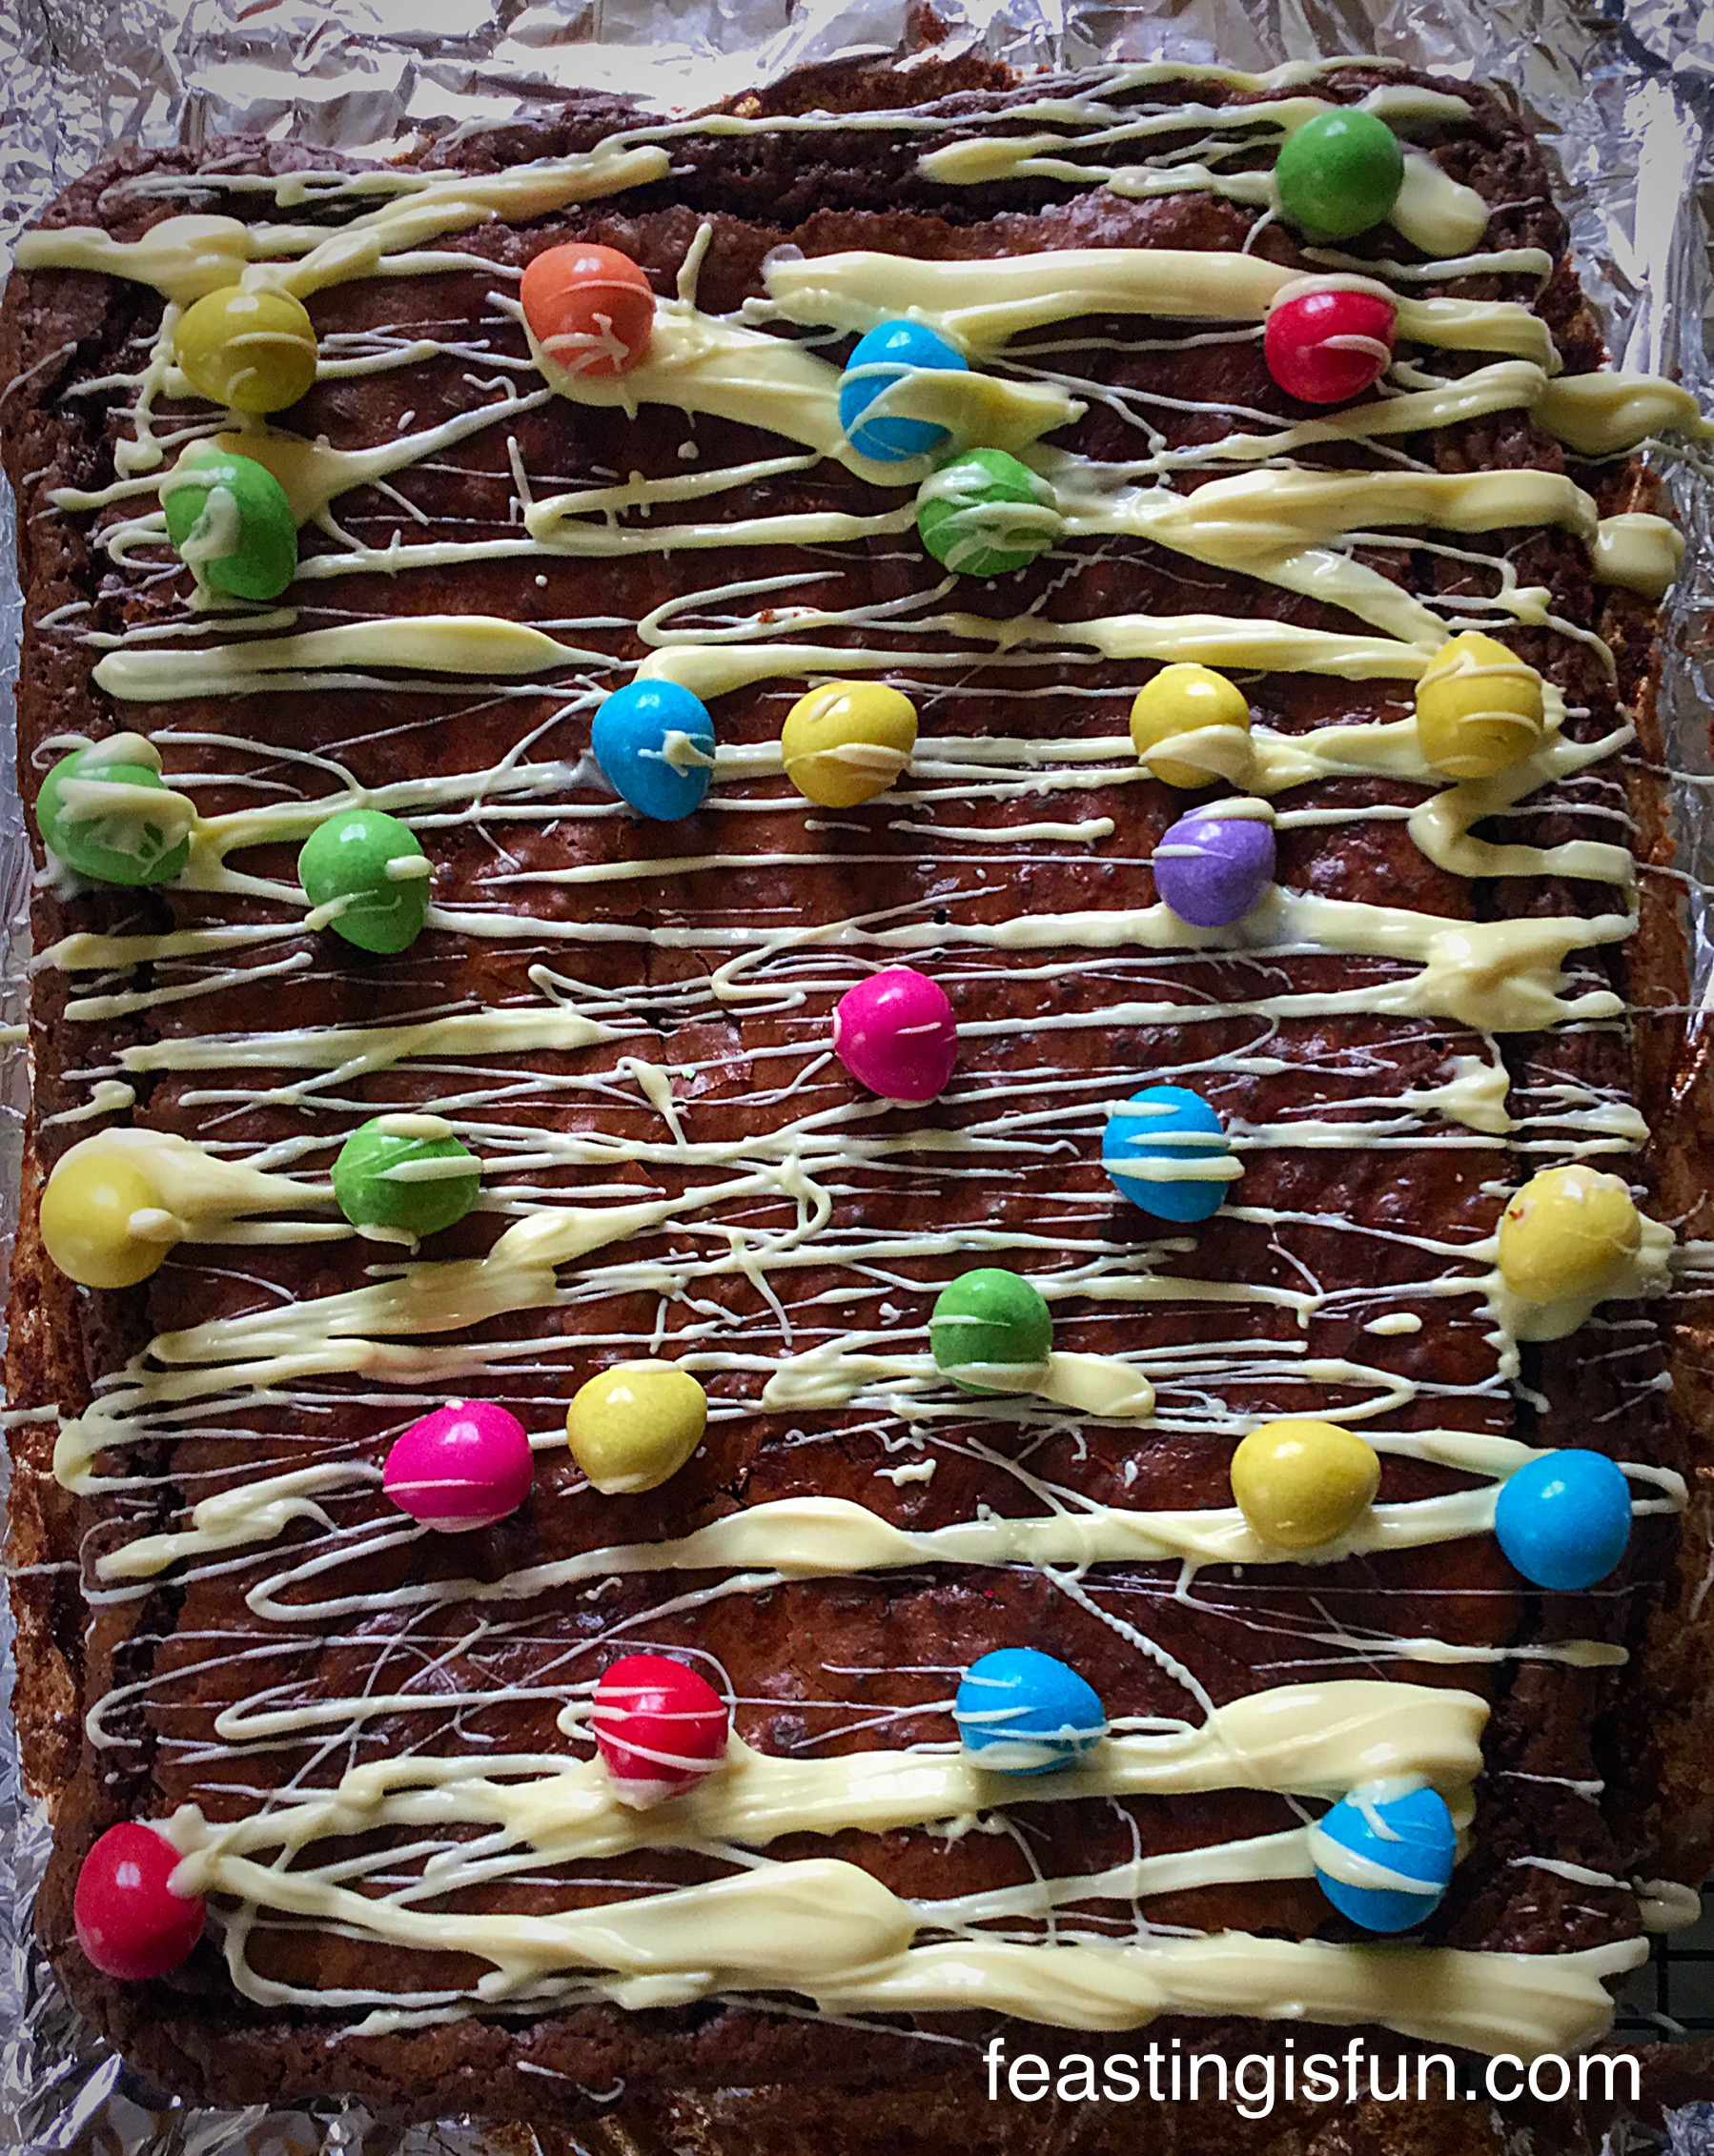
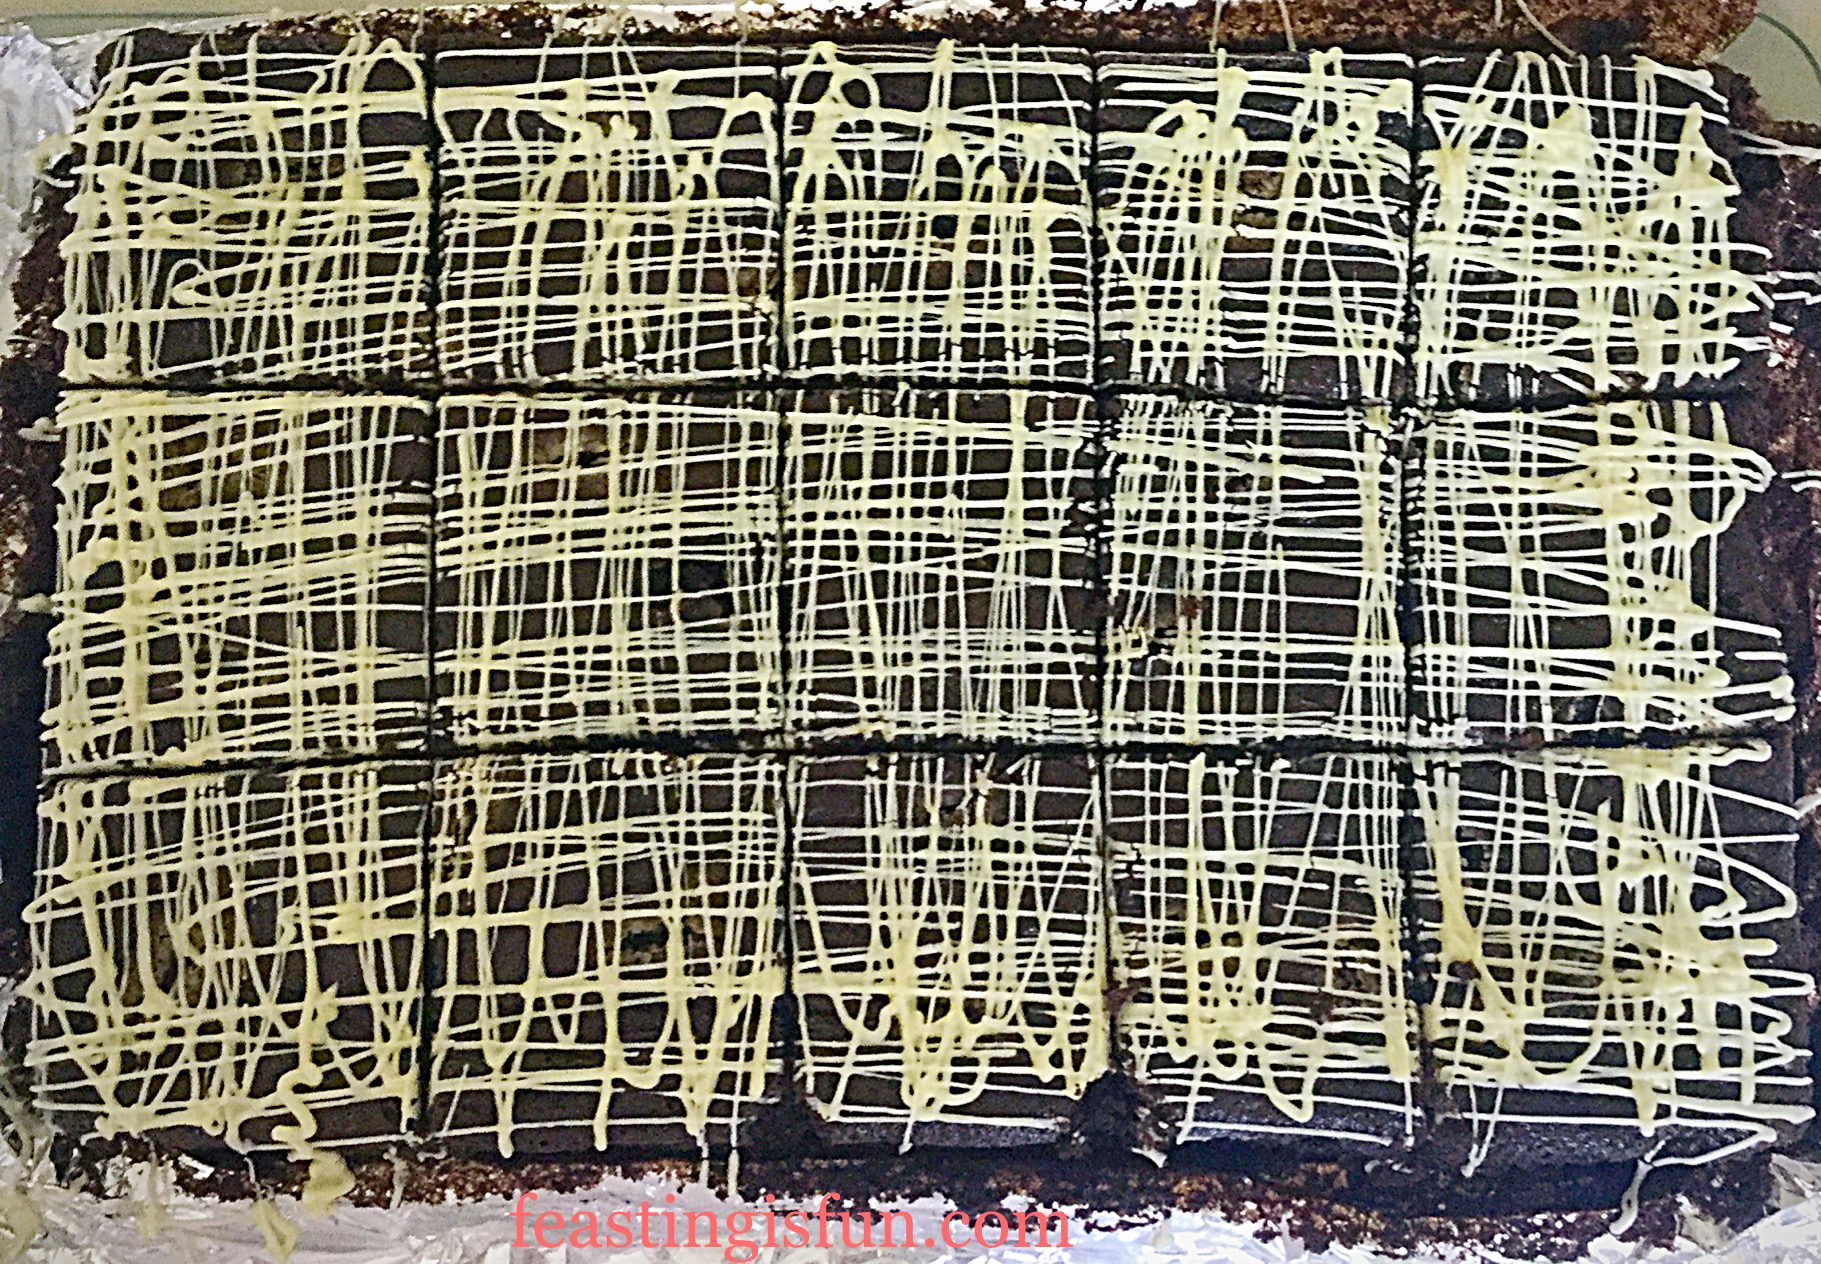
- Meanwhile, melt the white chocolate in the microwave, taking care not to overheat it.
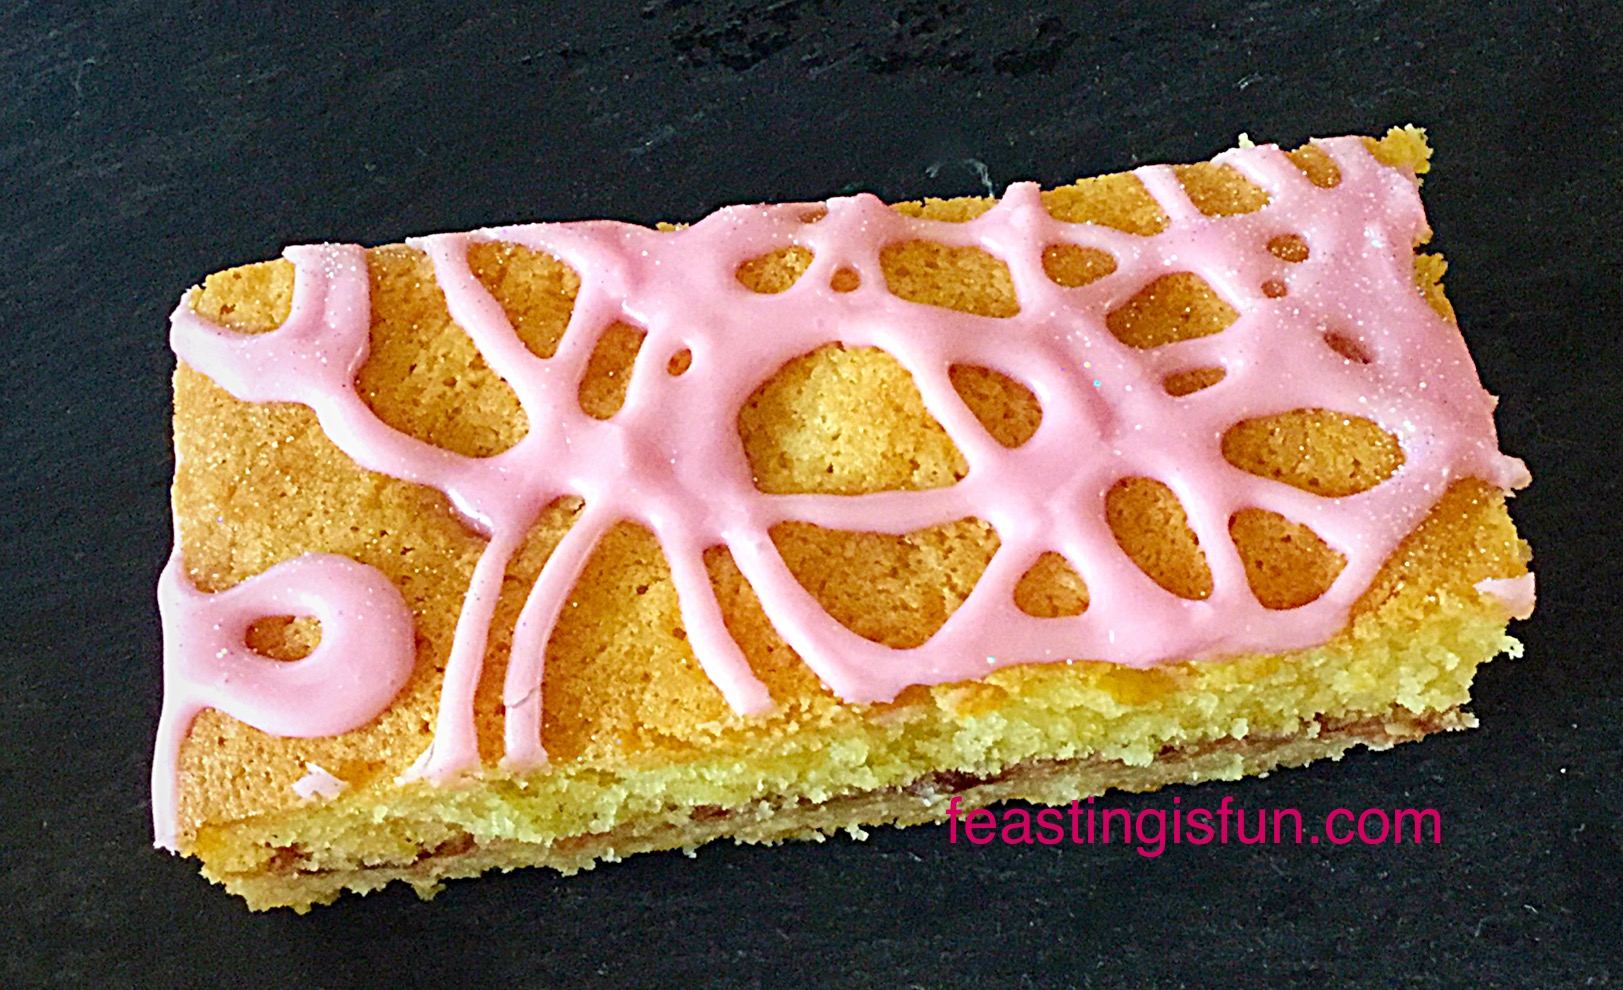
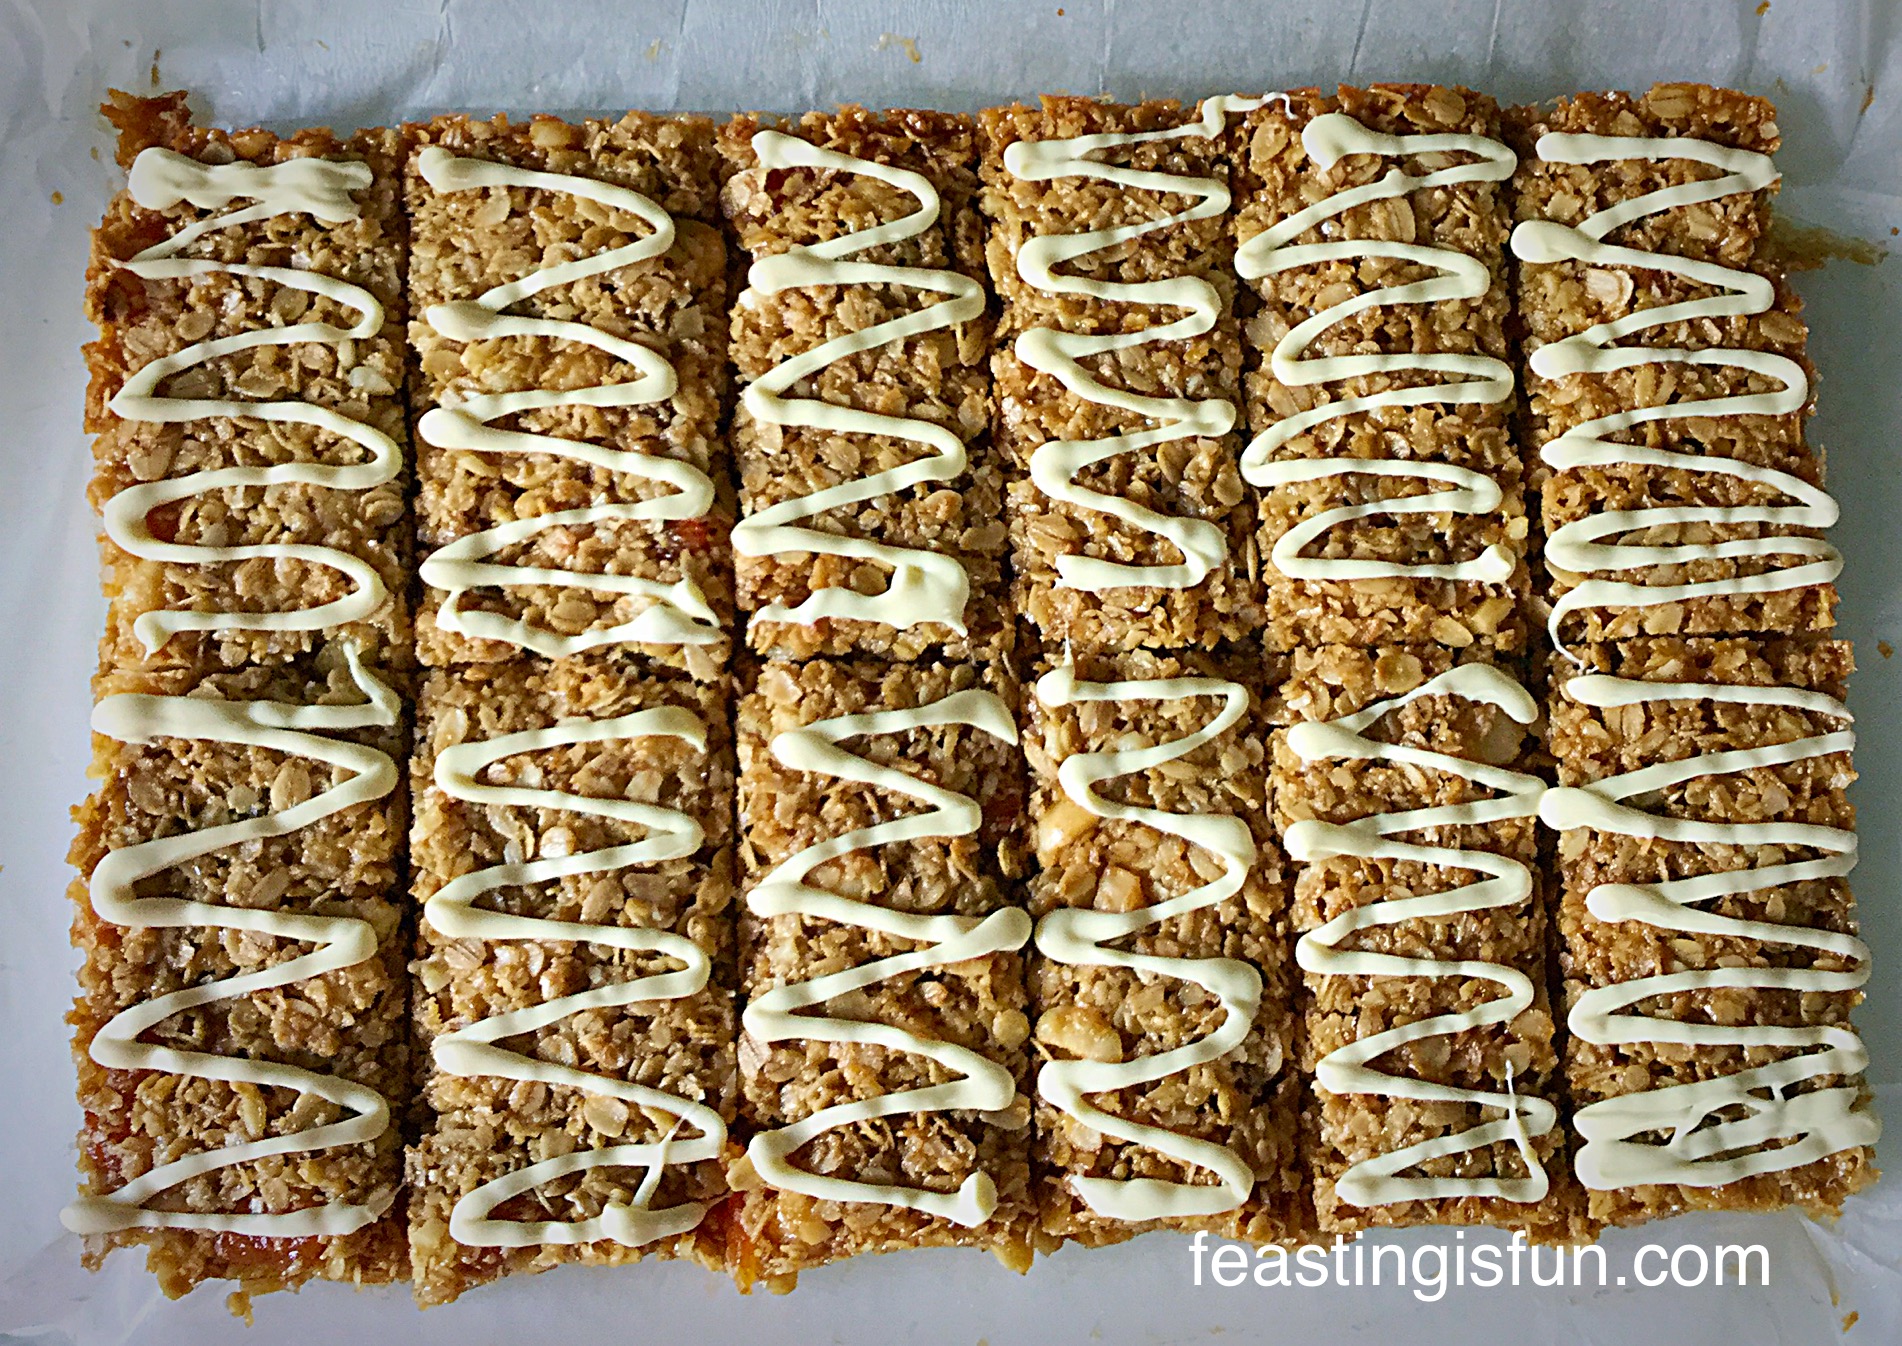
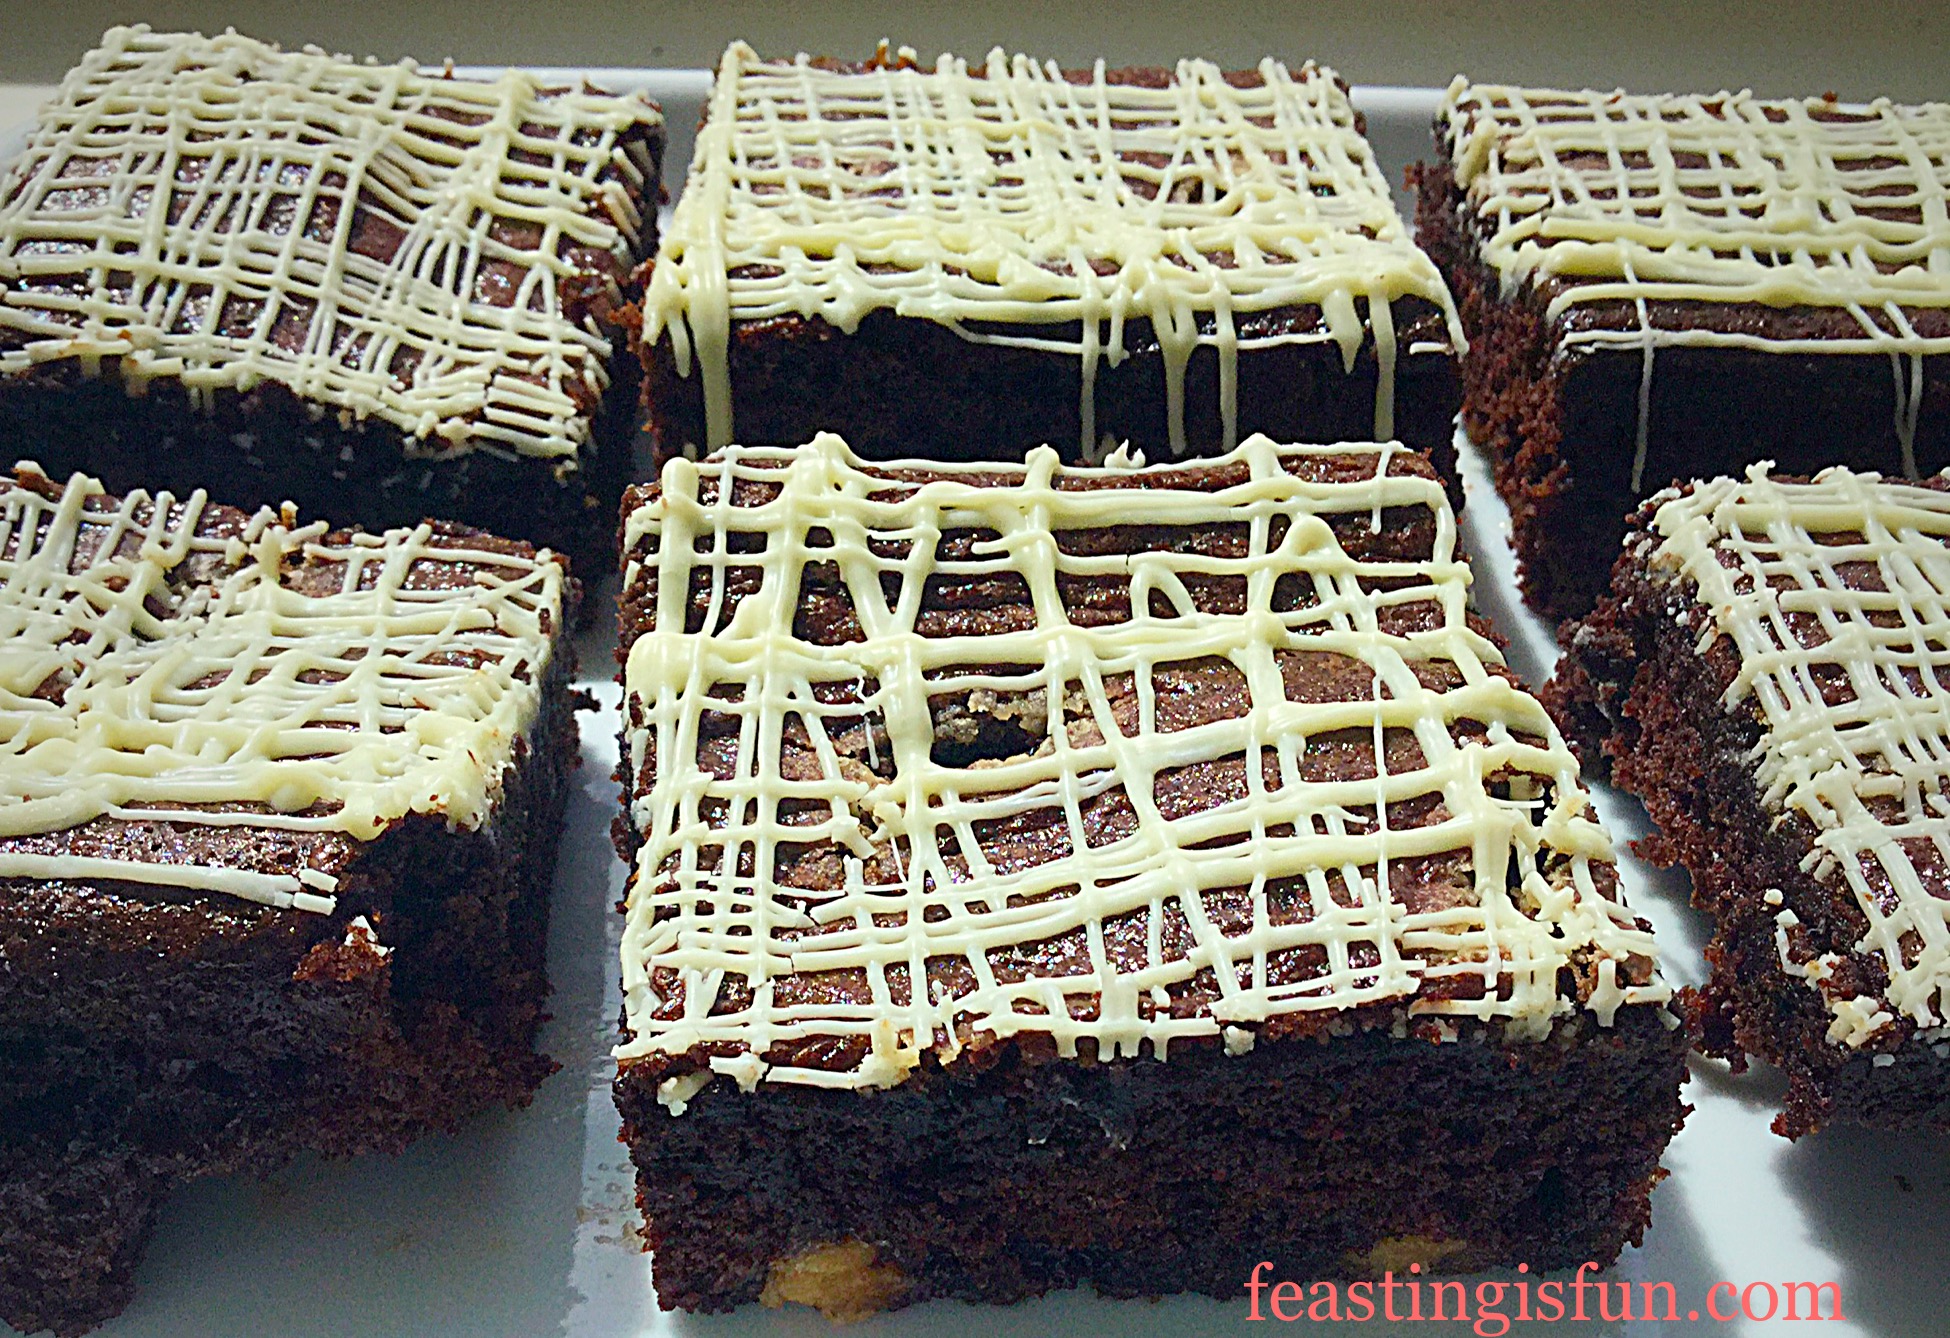
- Pour the melted chocolate into a small, disposable piping bag. Snip the very end off to create a small hole.
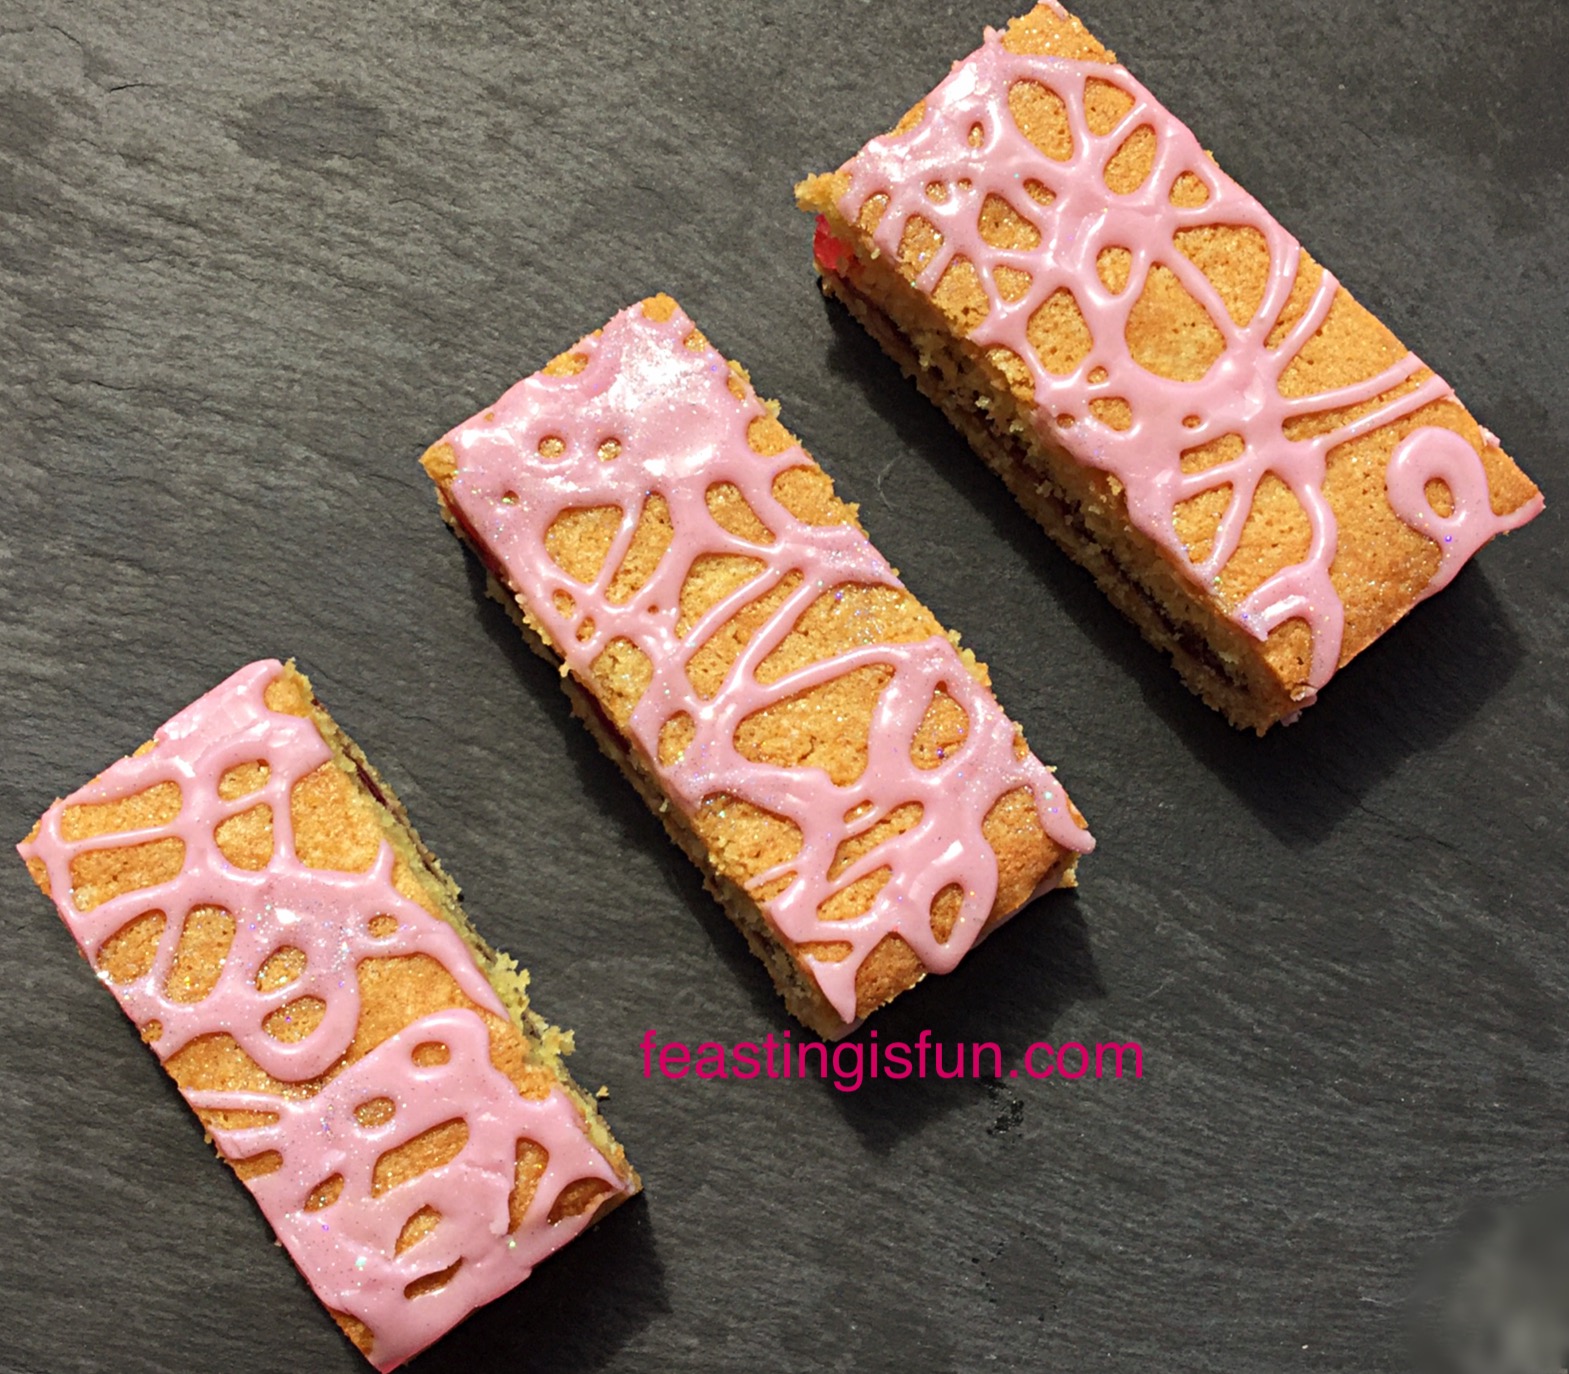
- Drizzle or pipe the top of the brownie slab, however you like, with the melted chocolate.
- Finally, place the brownie to one side to set. In very warm weather pop the bake into the fridge to allow the chocolate to set.
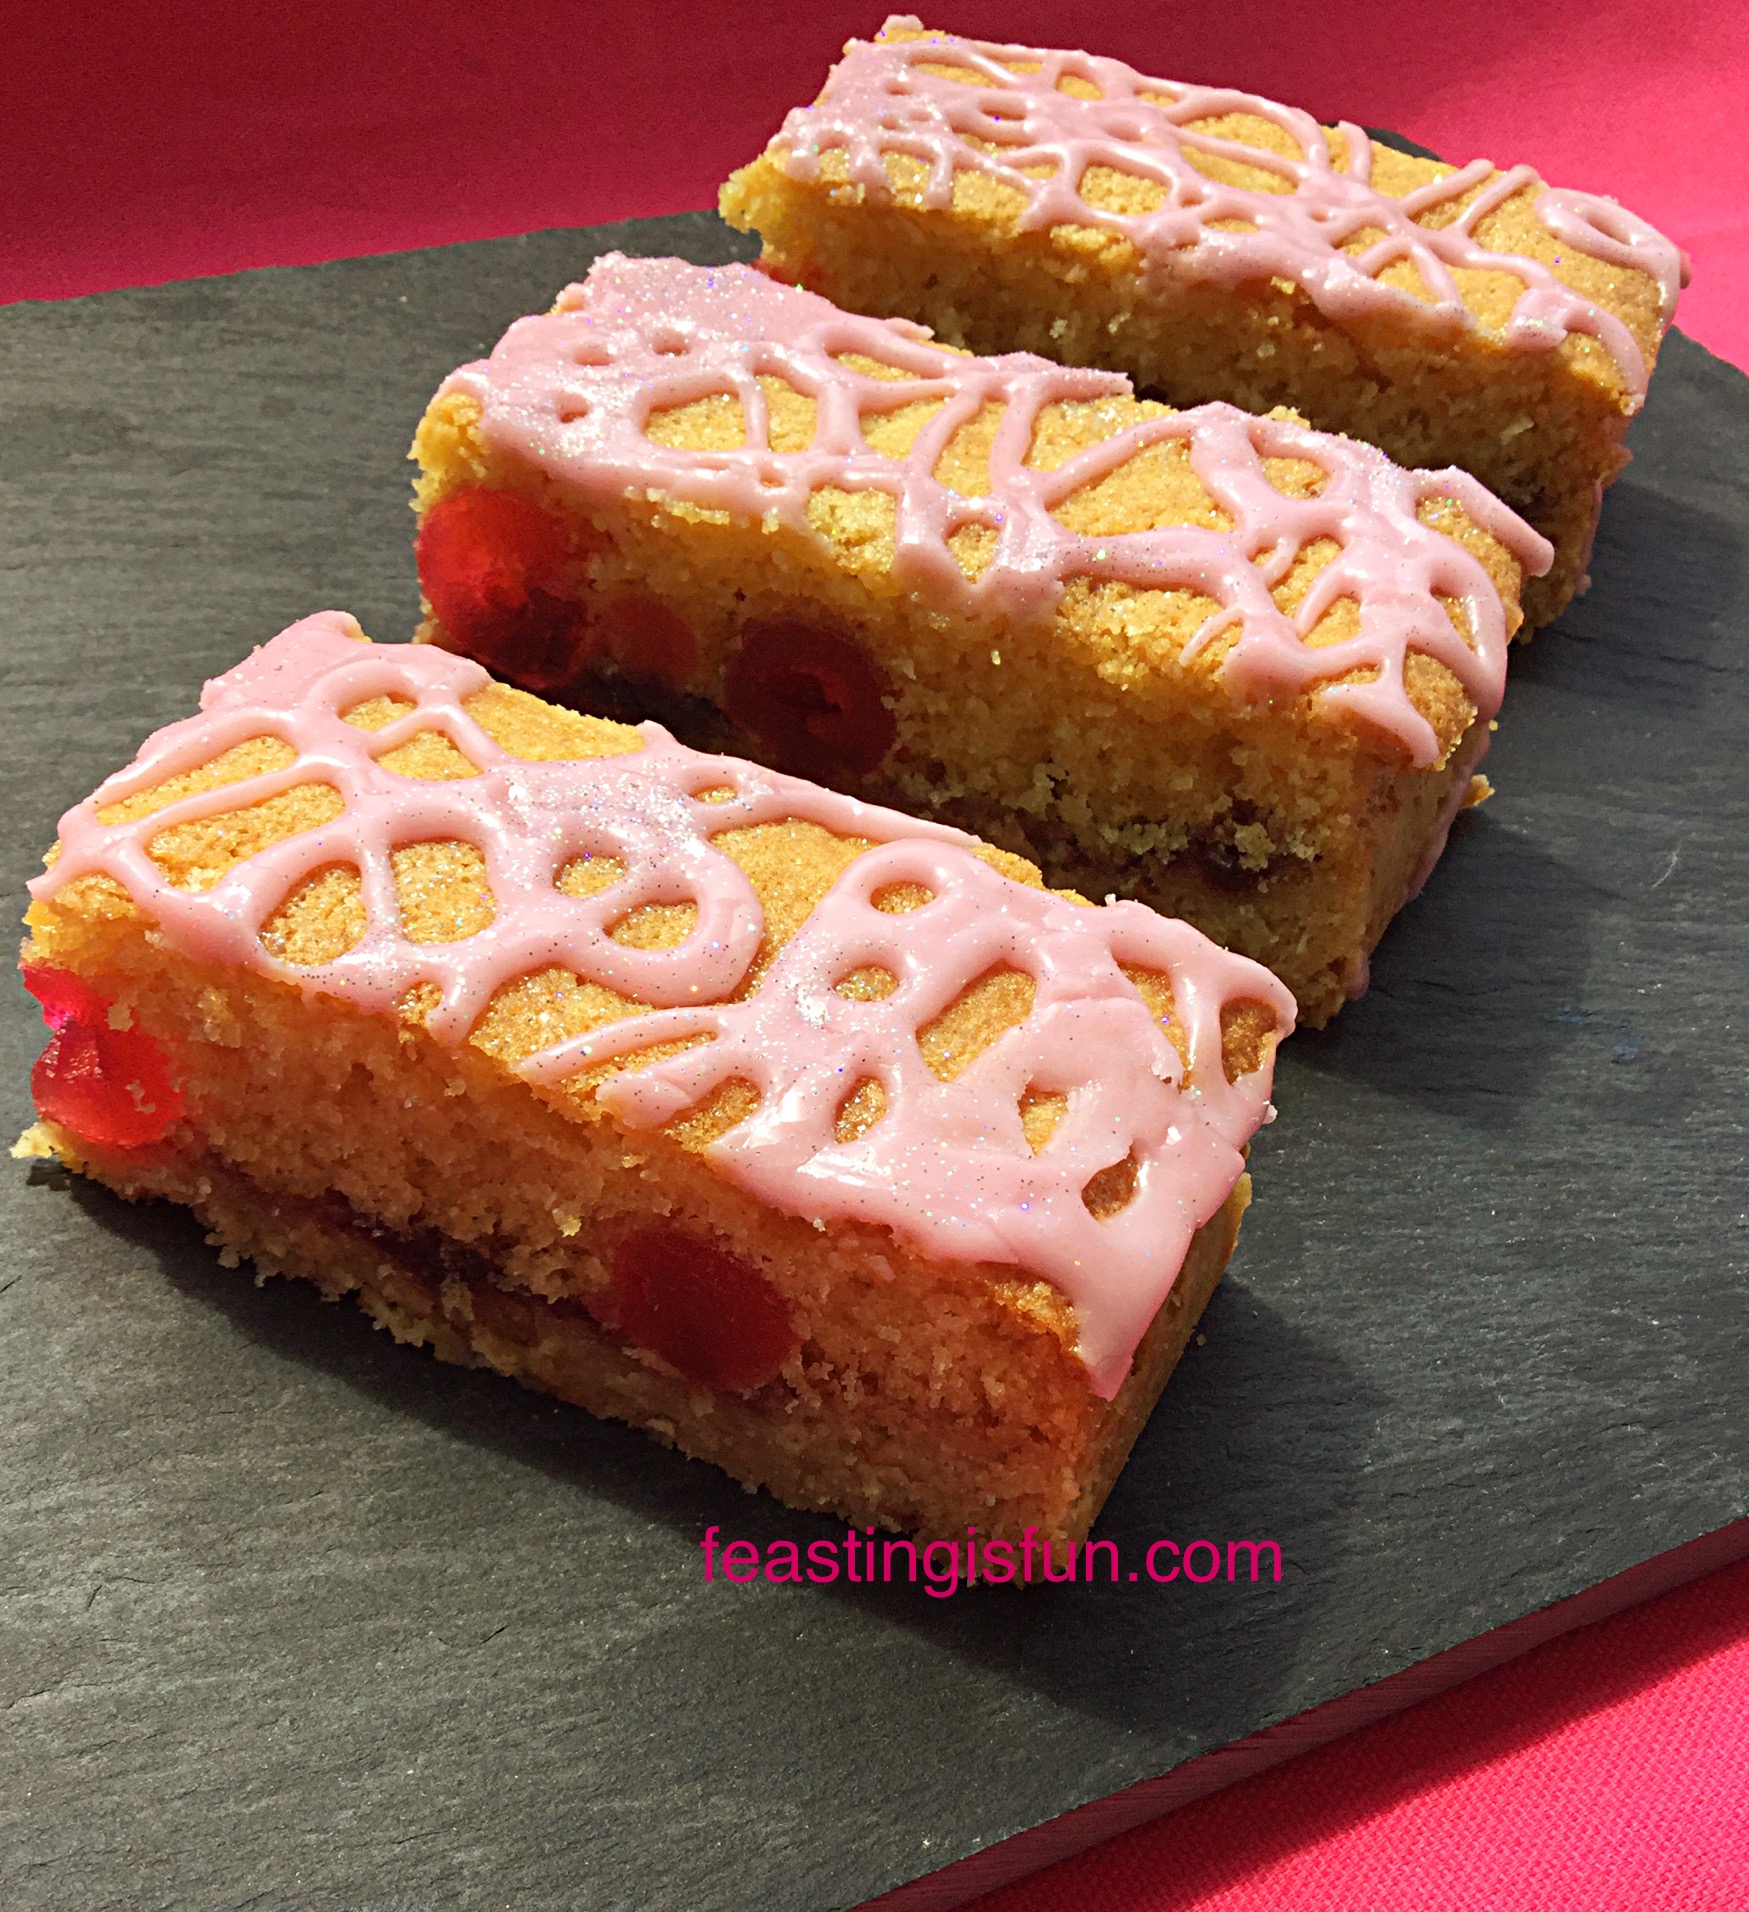
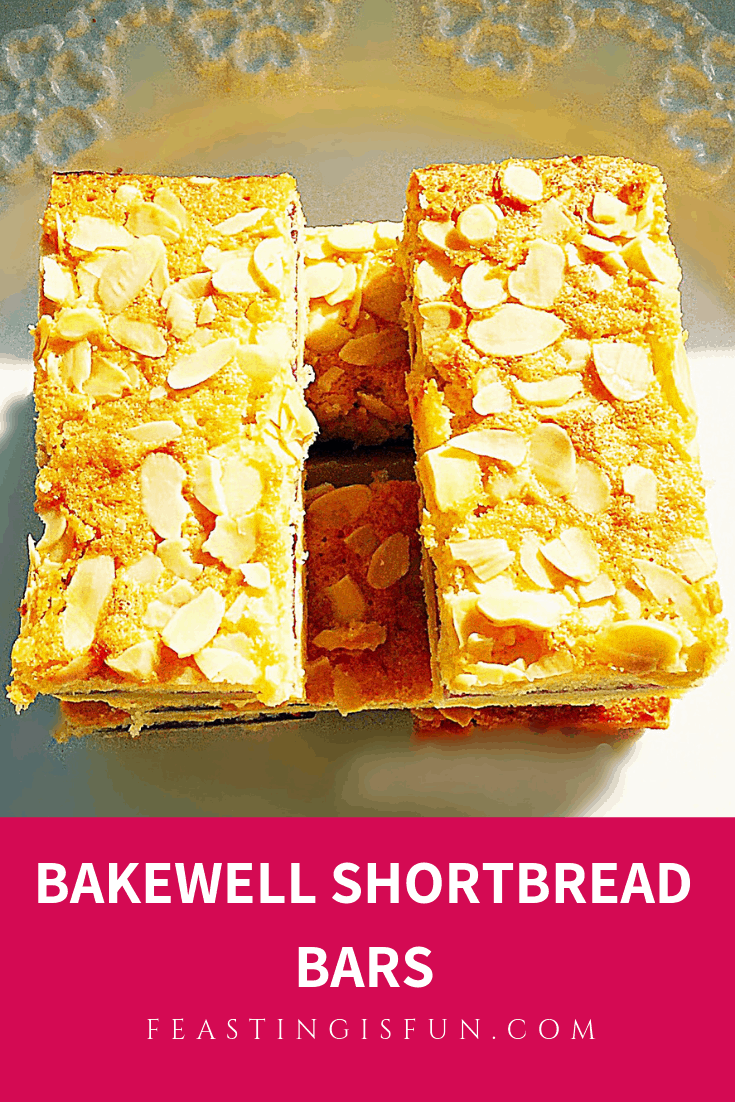
To serve, use a pallet knife to slide beneath the base of the brownies and the foil. This ensures that any fudge at the bottom of the brownies sticks to the brownies, not the foil!
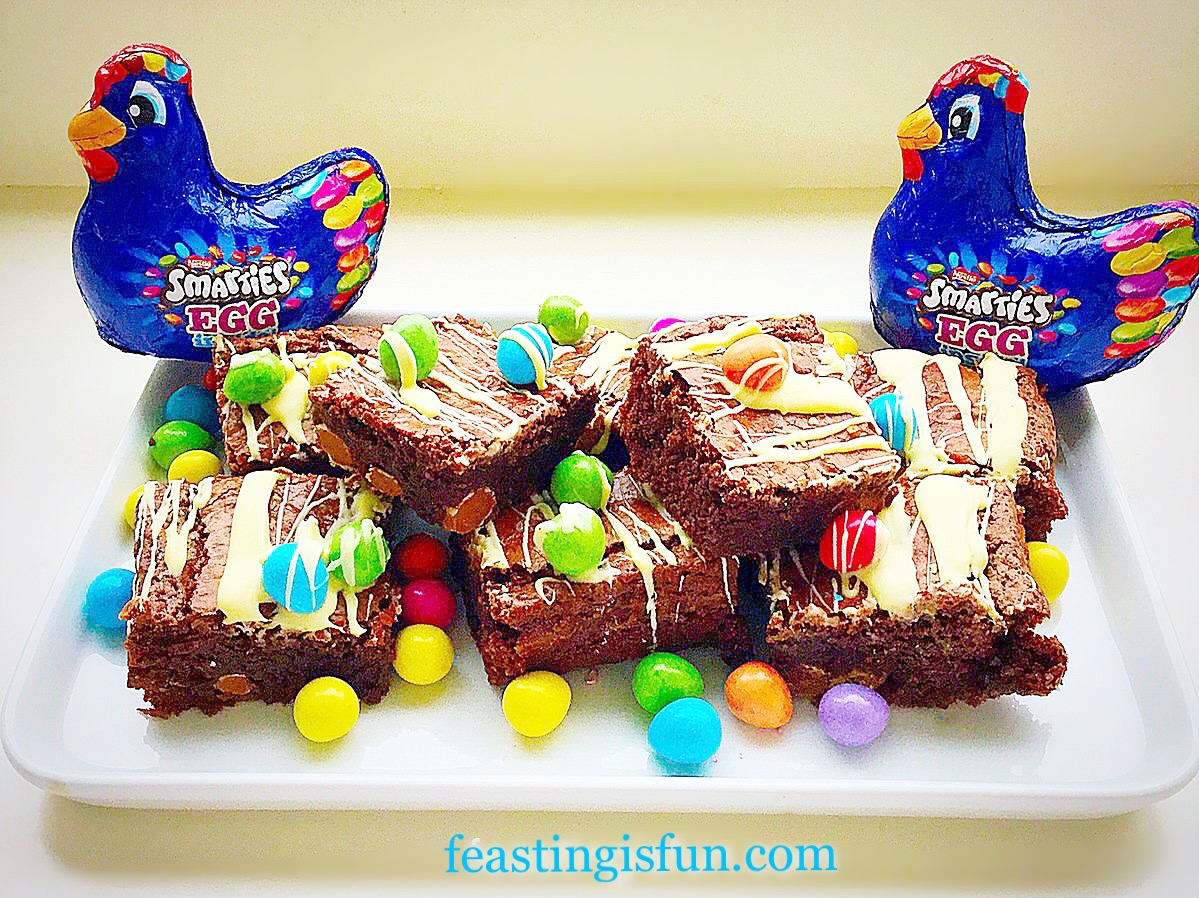
Serve the brownies as they are or with a delicious scoop of ice cream on top.
An easy traybake transformed into an elegant dessert.
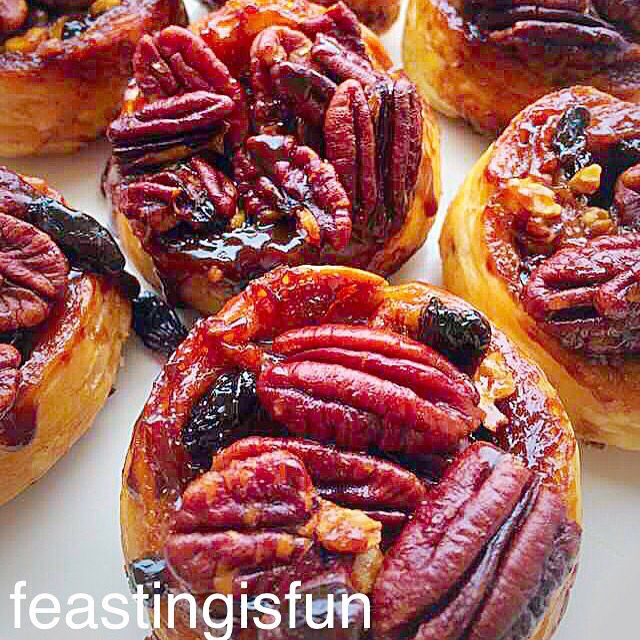
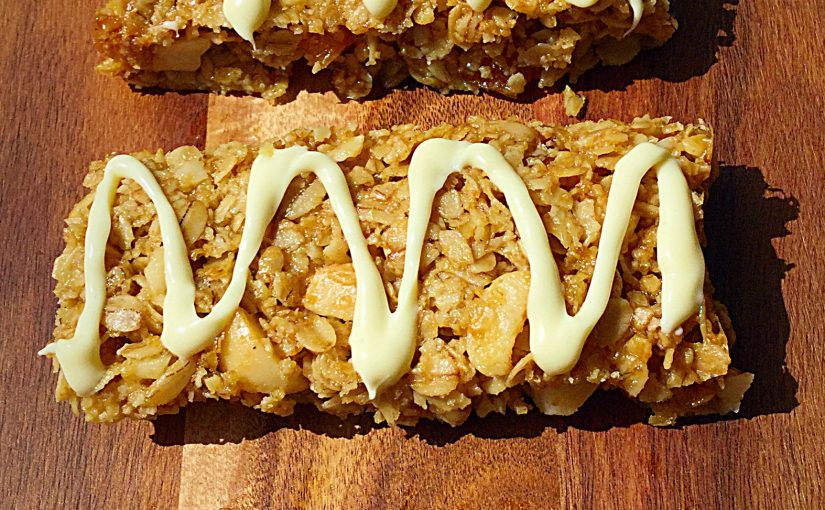
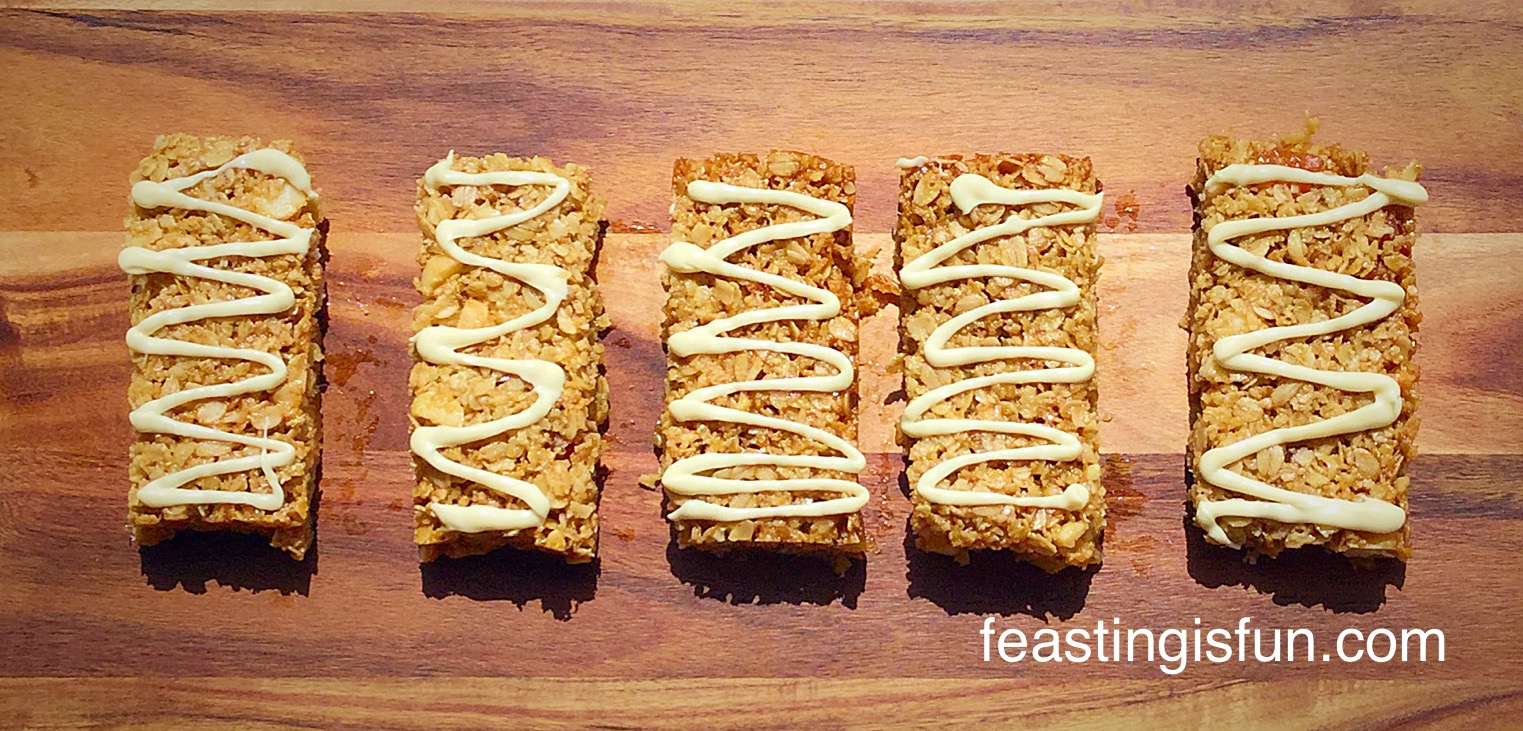
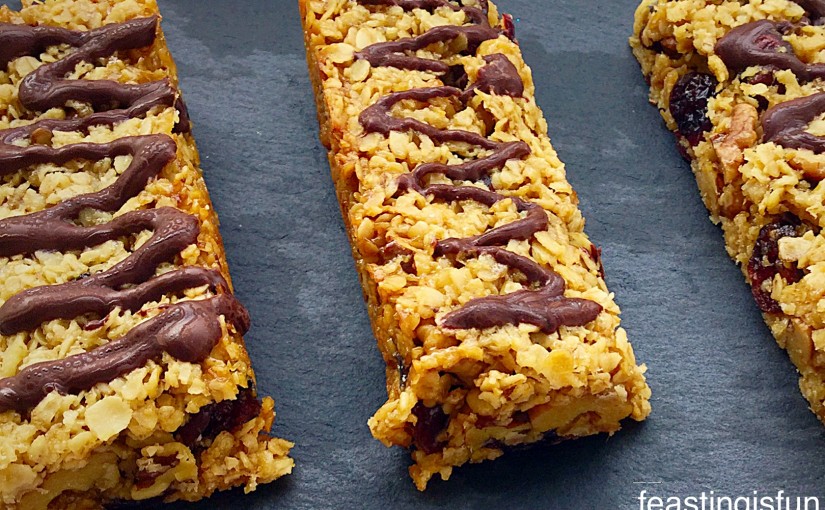
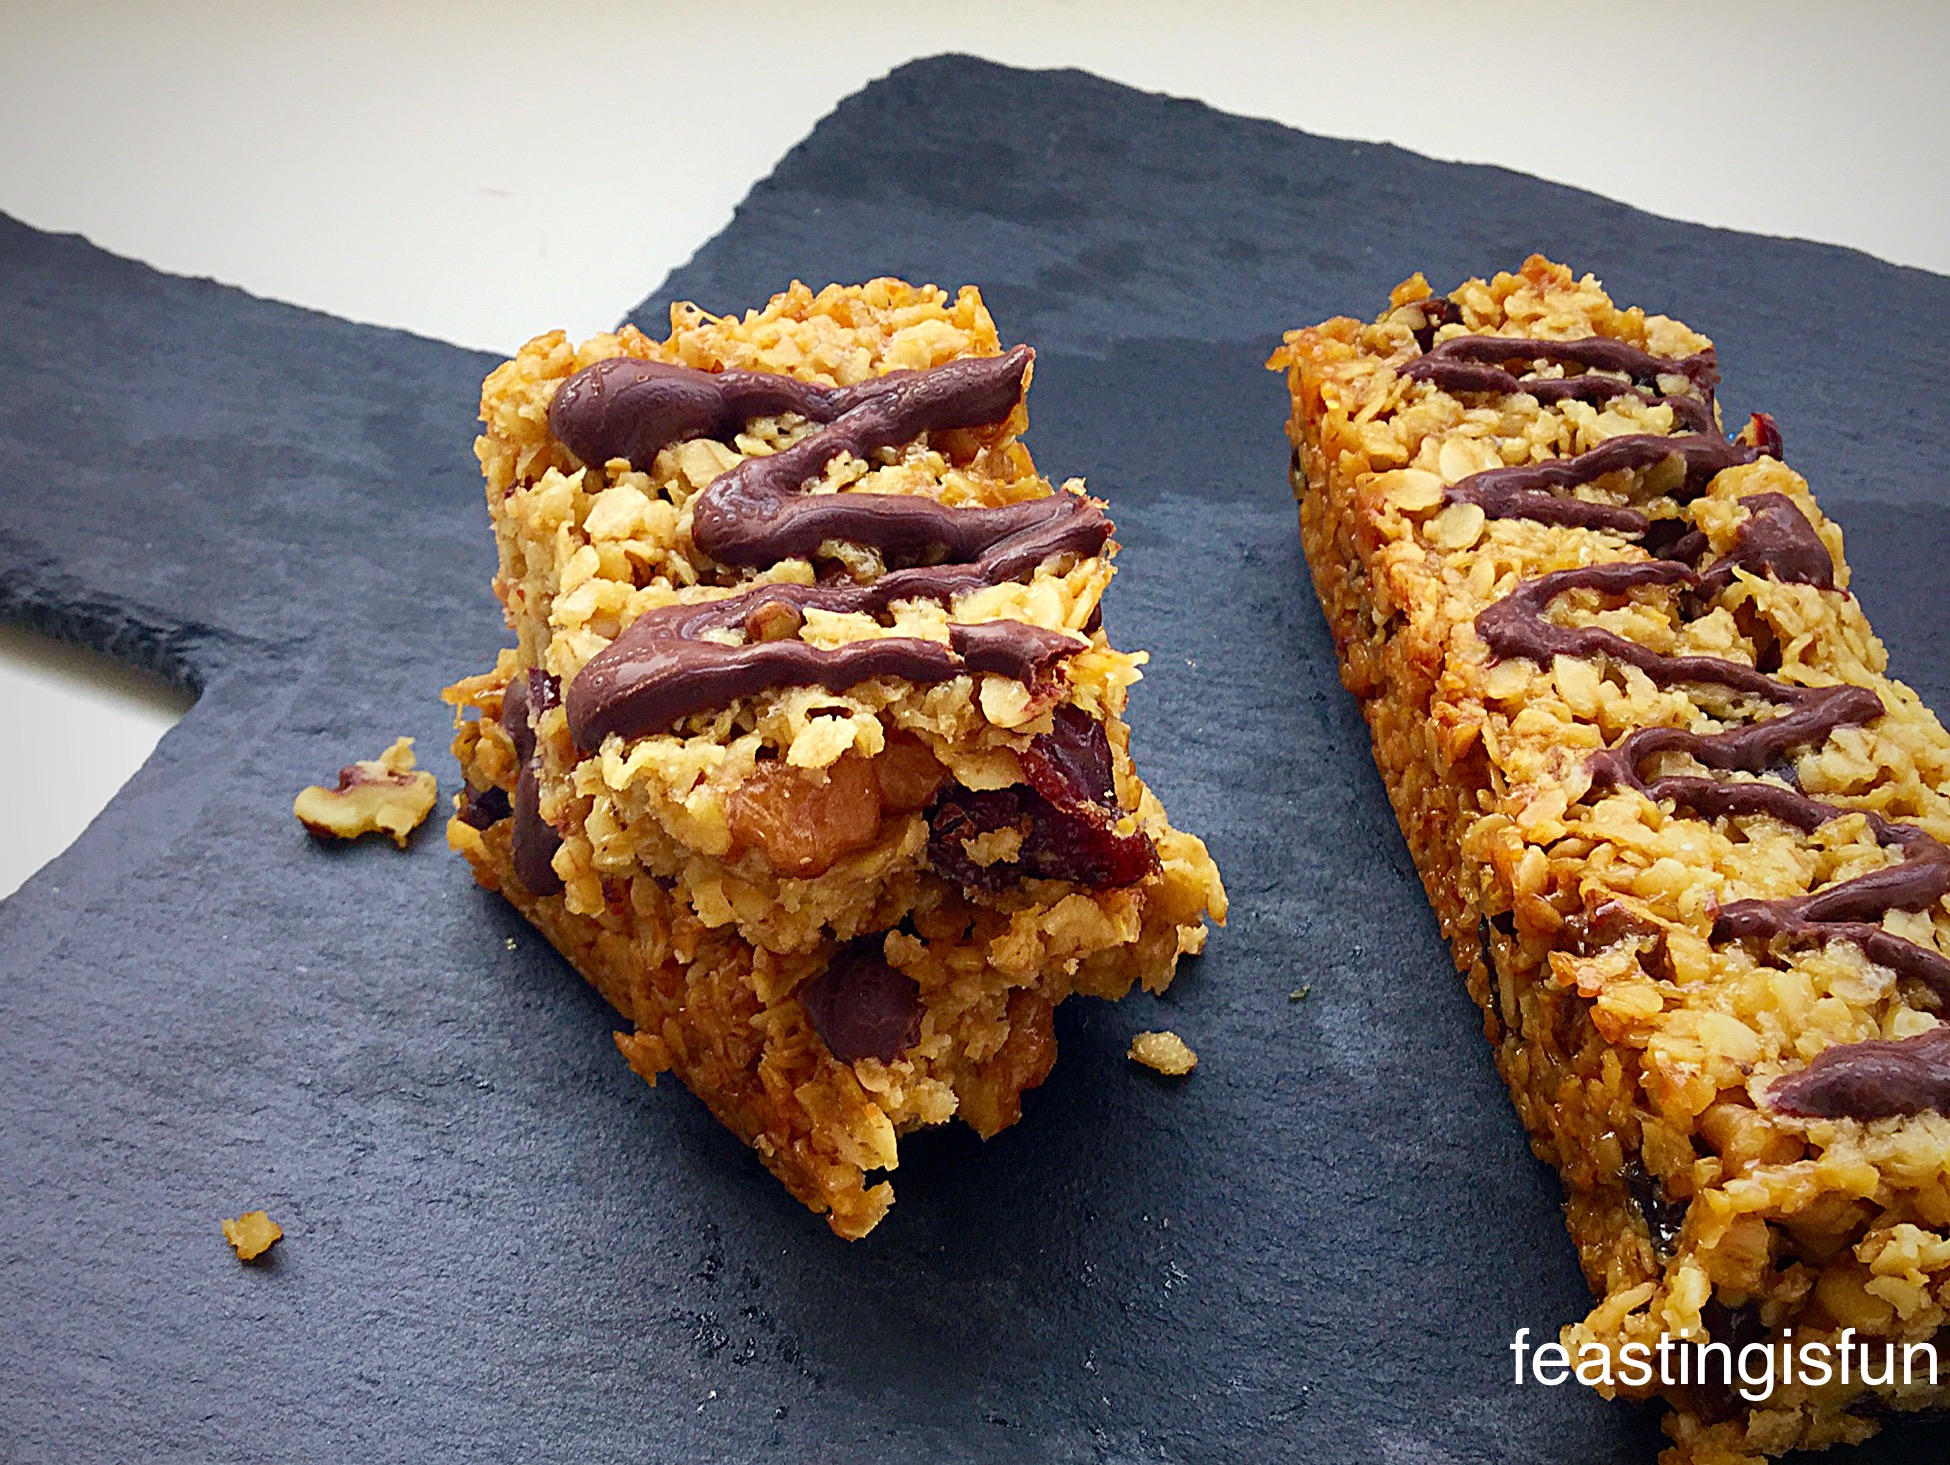
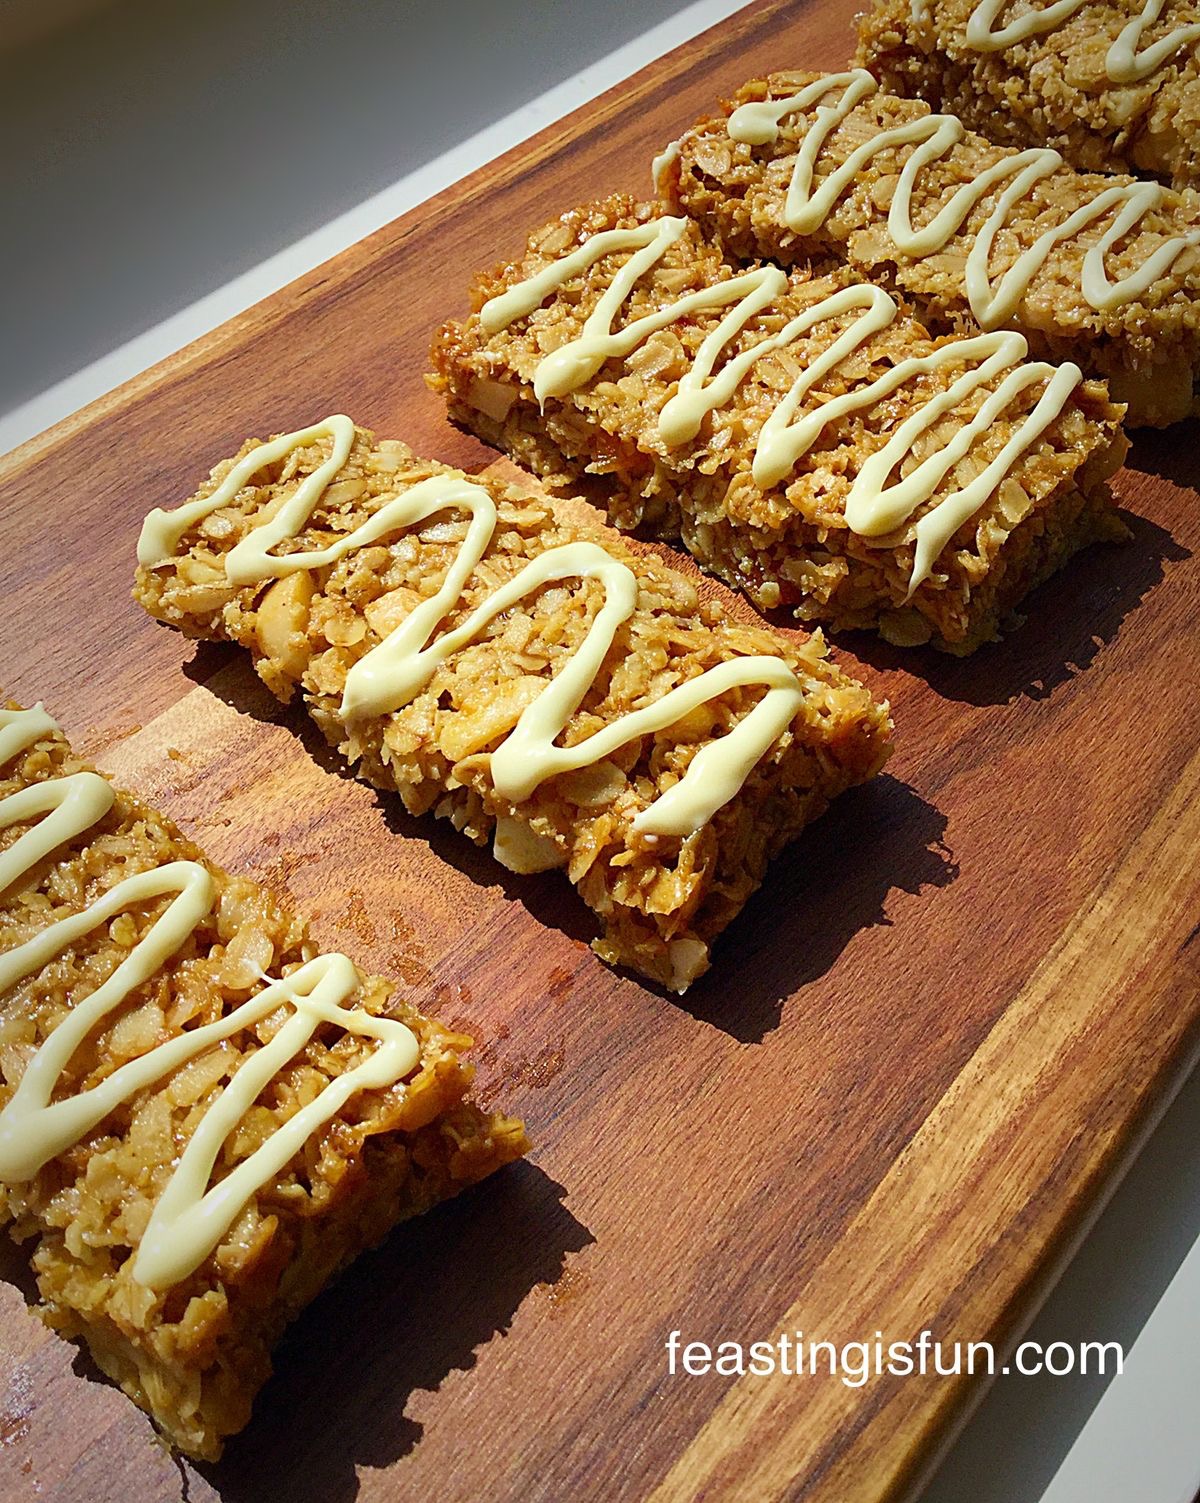
If you have enjoyed this recipe for Vanilla Fudge Chocolate Brownies you may also like these:
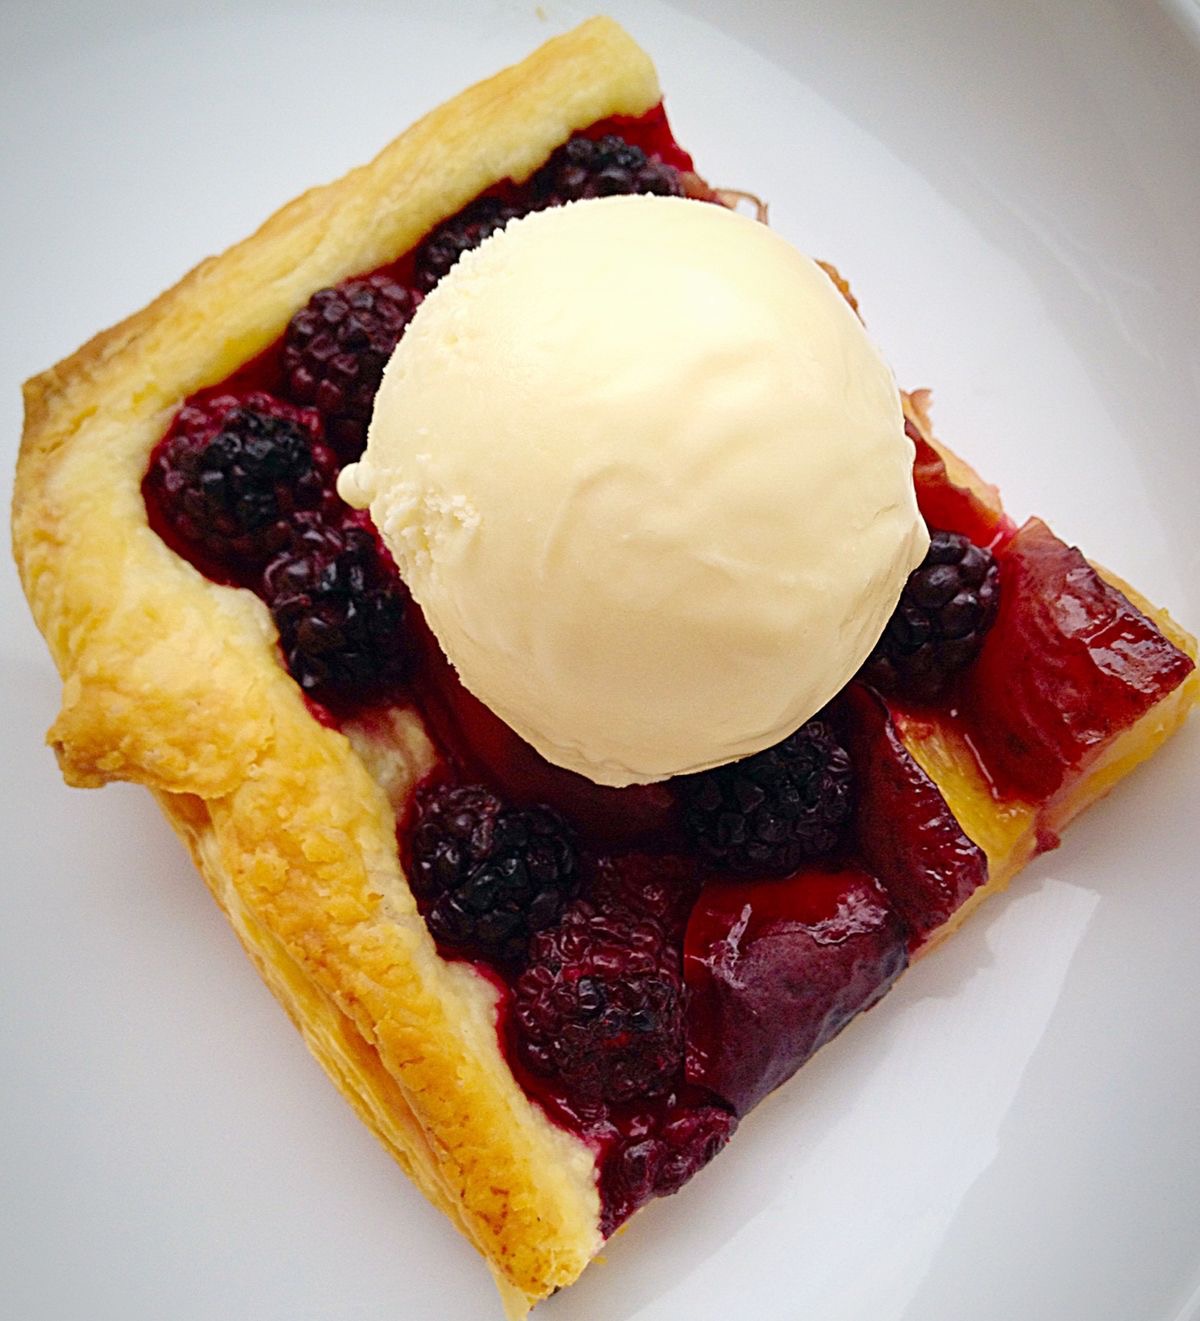
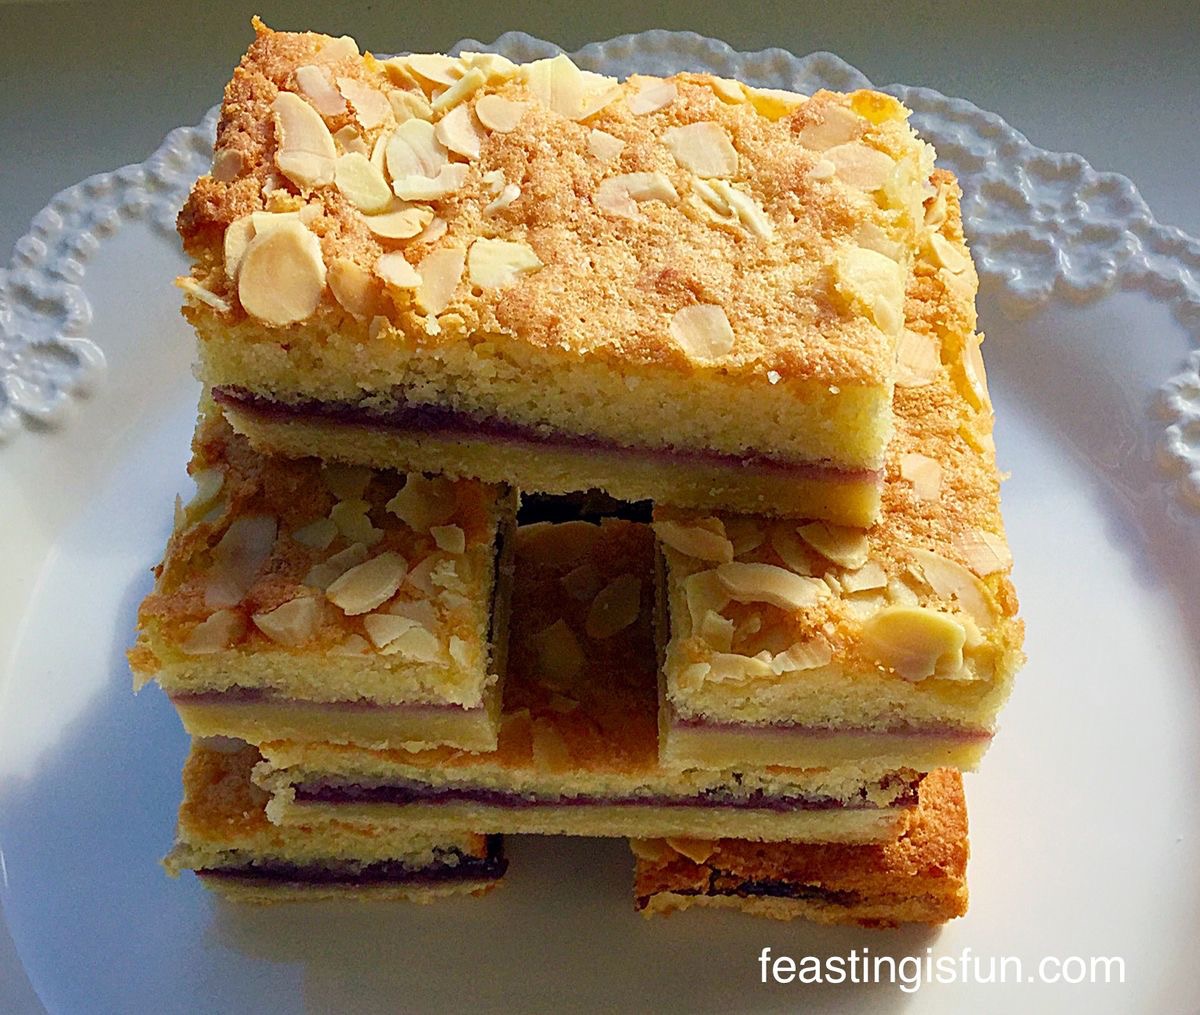
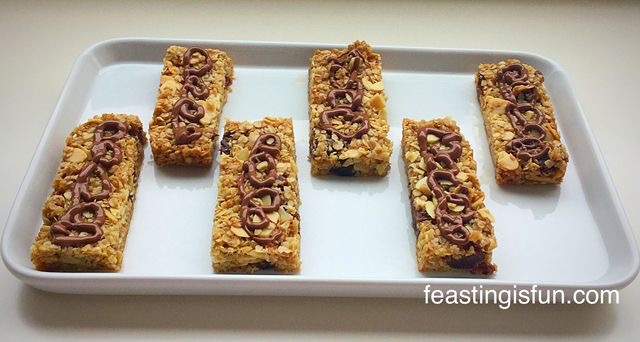
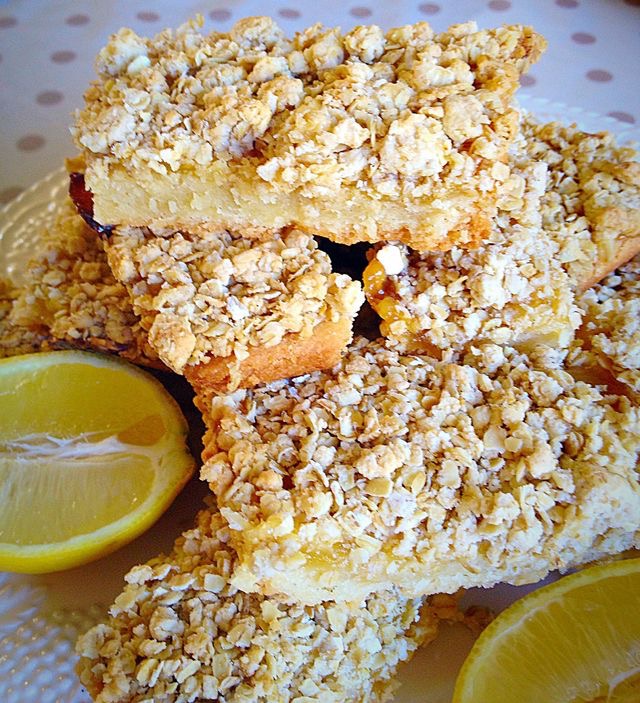
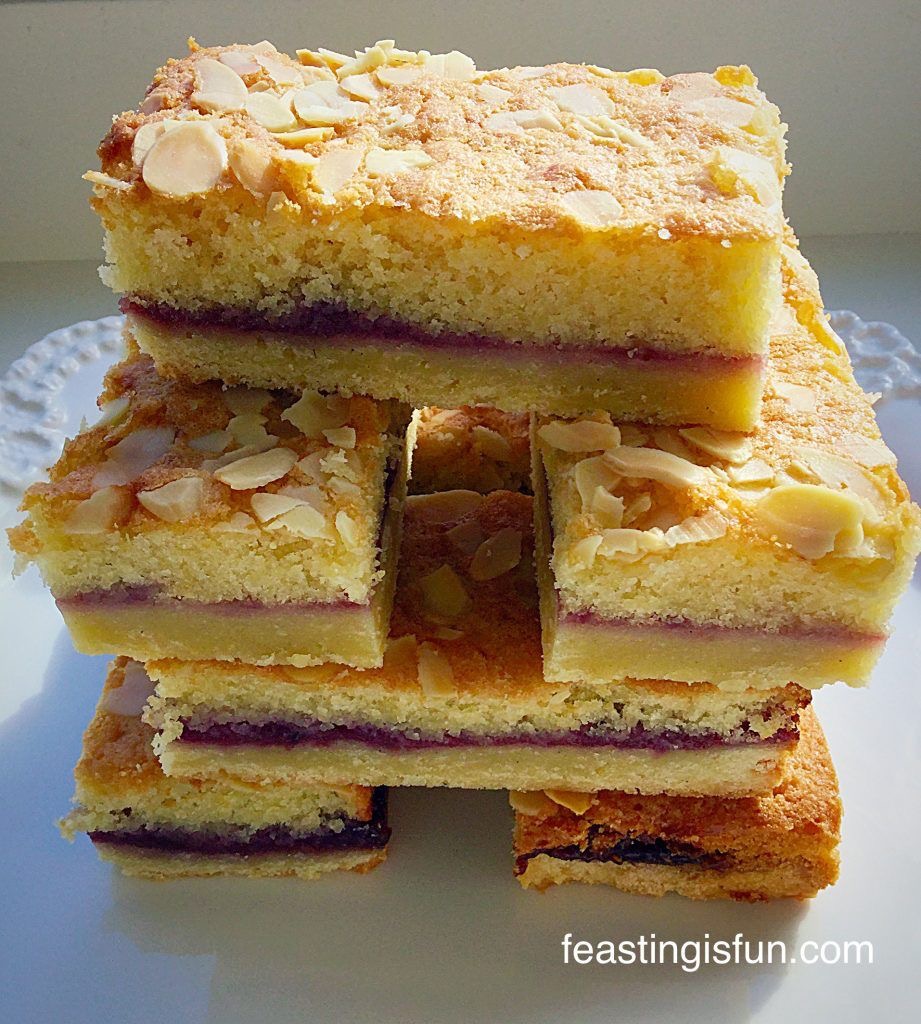
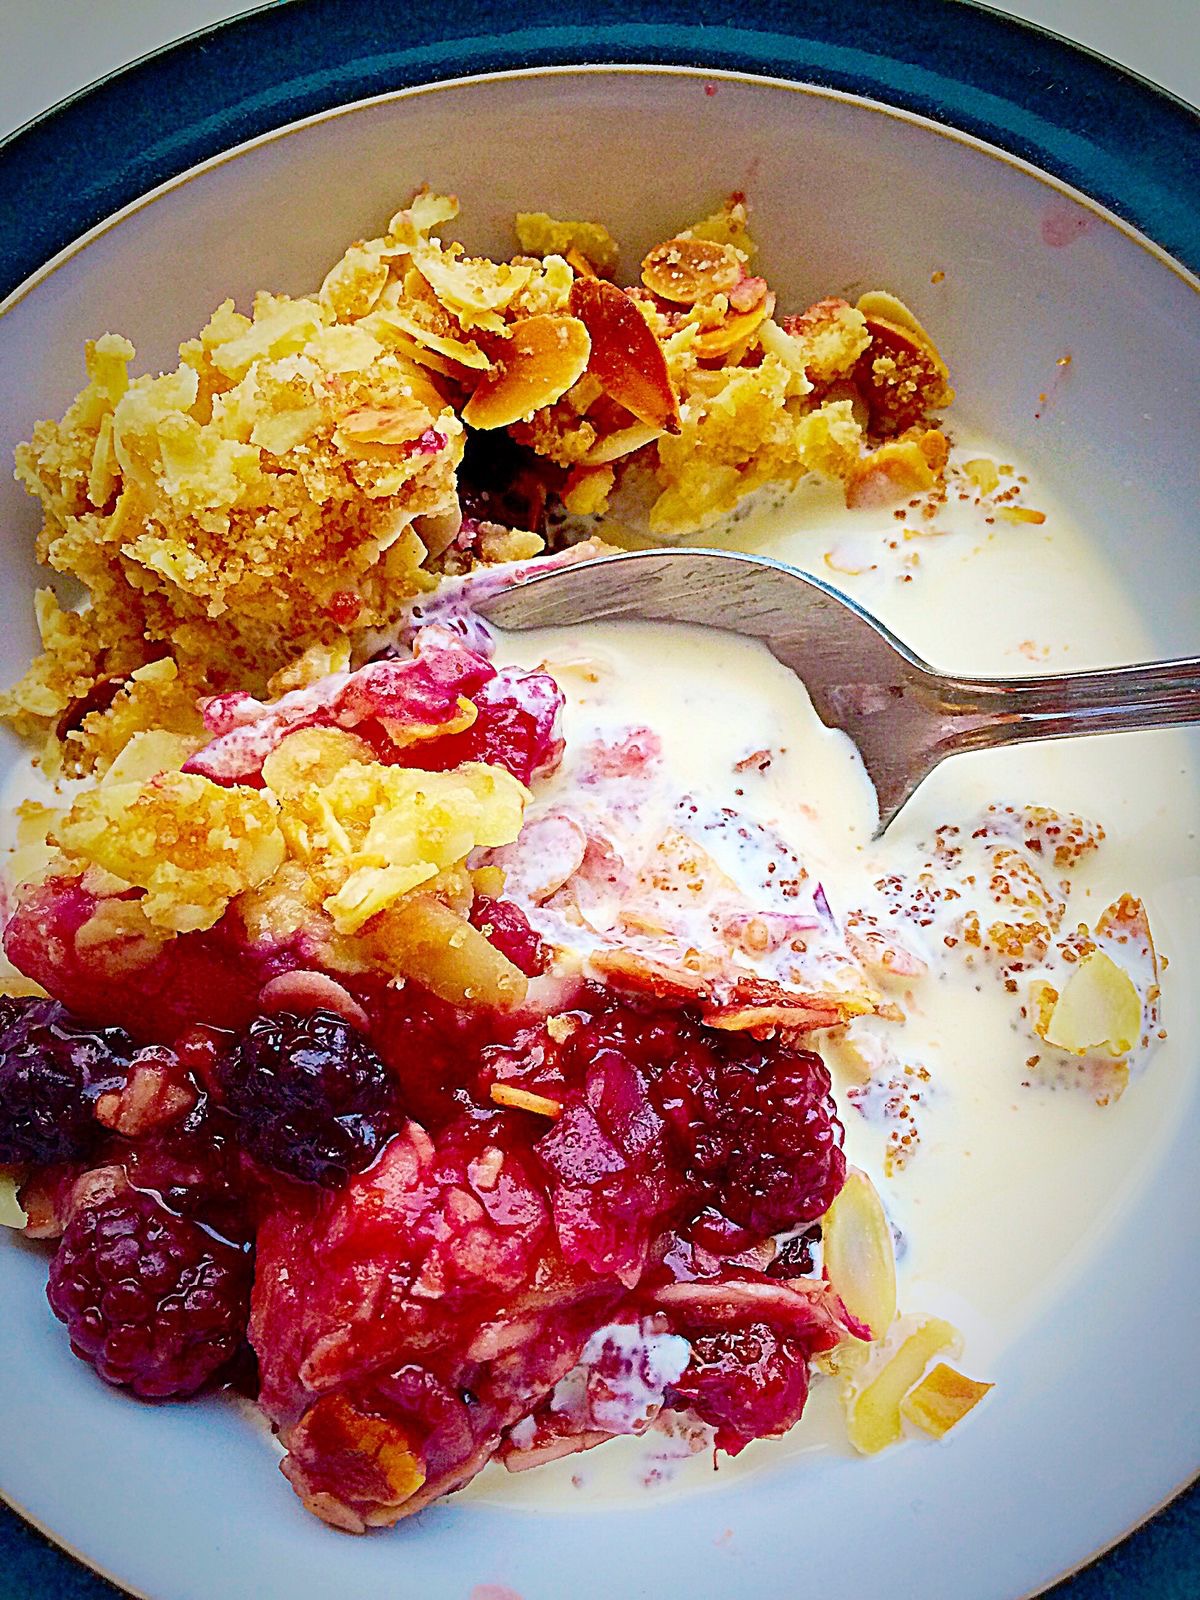
Almond Blackberry Pear Crumble
I love dual purpose bakes. For example, creating these delicious brownies and then turning them into a fabulous dessert. And with the weather looking good for a few days, why not have a go at making your own ice cream? So, you too can adorn your delicious bakes with homemade ice cream too. Because Feasting really is Fun!
So, whatever you are making, baking and creating in your kitchens, have fun preparing and sharing your feast.
Sammie xx
Fudge Angels sent me 3 different types of flavoured fudge to try. All opinions, views, content and photographs are my own. Please see my Disclosure Policy.