So, who is ready for a super easy, party food recipe? While there are plenty of sweet recipes here on the blog, I prefer food that is more savoury. Given a choice, I will usually choose a cheese board over dessert. While my family always pick a delicious, sweet treat. Also, at parties I much prefer something salty and savoury to compliment my glass of wine or sparkling water. My Prosciutto Wrapped Cheese Puff Pastry Straws tick all of my preferred flavour boxes. So much so, I ate three as soon as they were cool enough!
Easy Party Food Recipes:
Creating easy recipes is a top priority for me. These straws can be made ahead and kept refrigerated or frozen. Since party food can involve lots of little morsels, keeping the recipe simple reduces stress and leaves more room for fun. Because that’s what parties should be, fun! Whether it’s drinks with friends or a full on family bash, these straws are a perfect addition to any occasion.
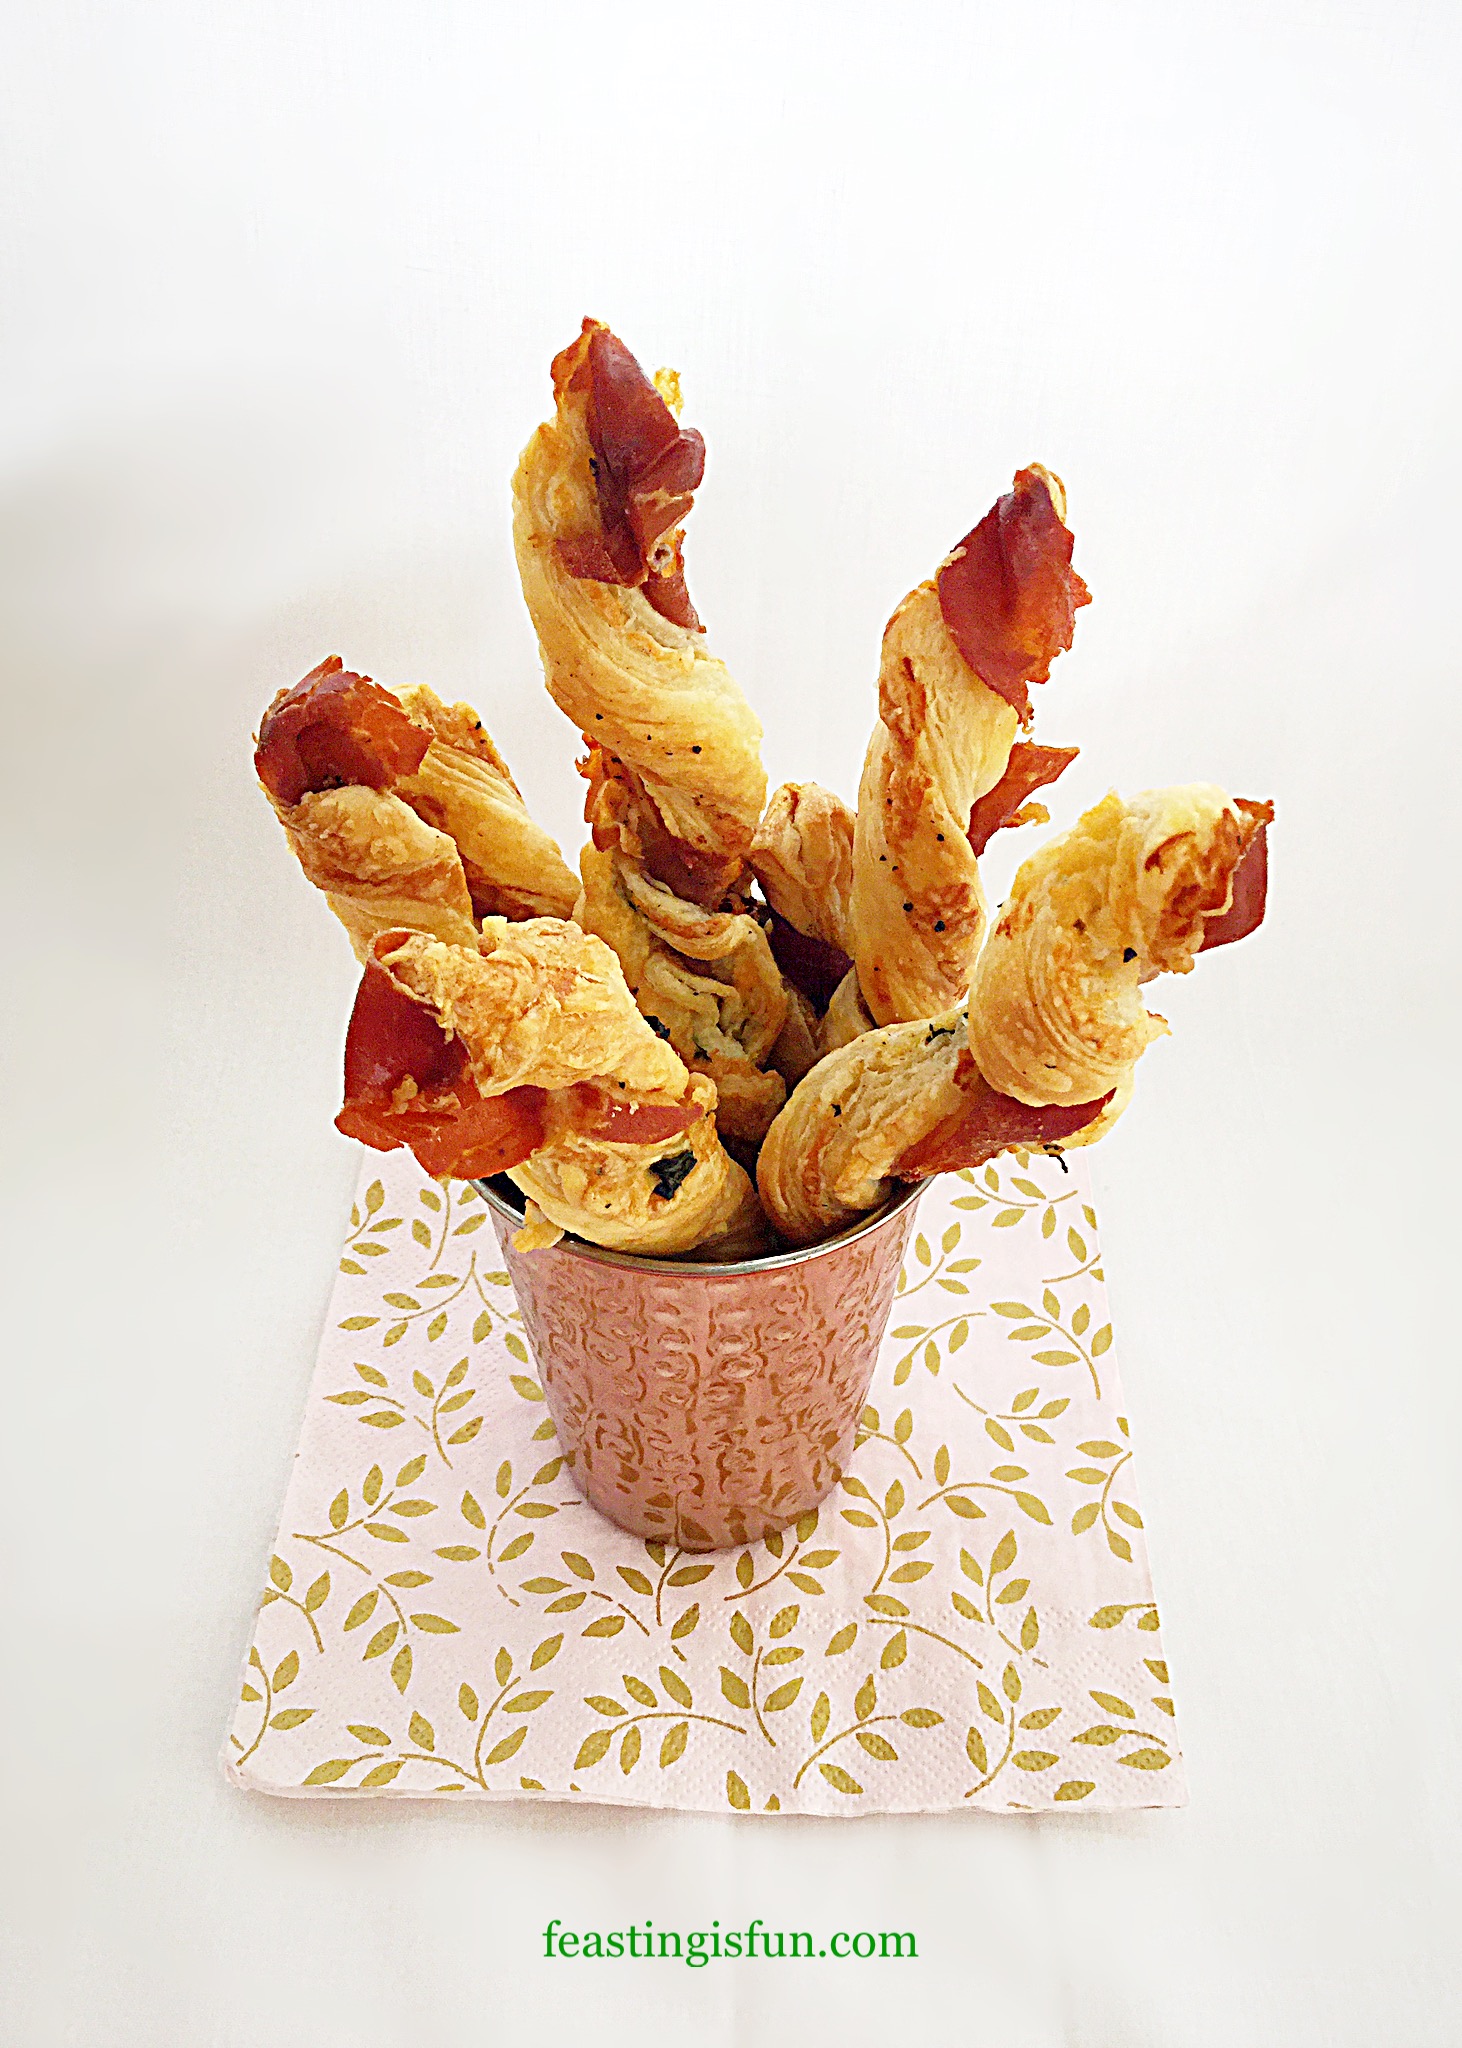
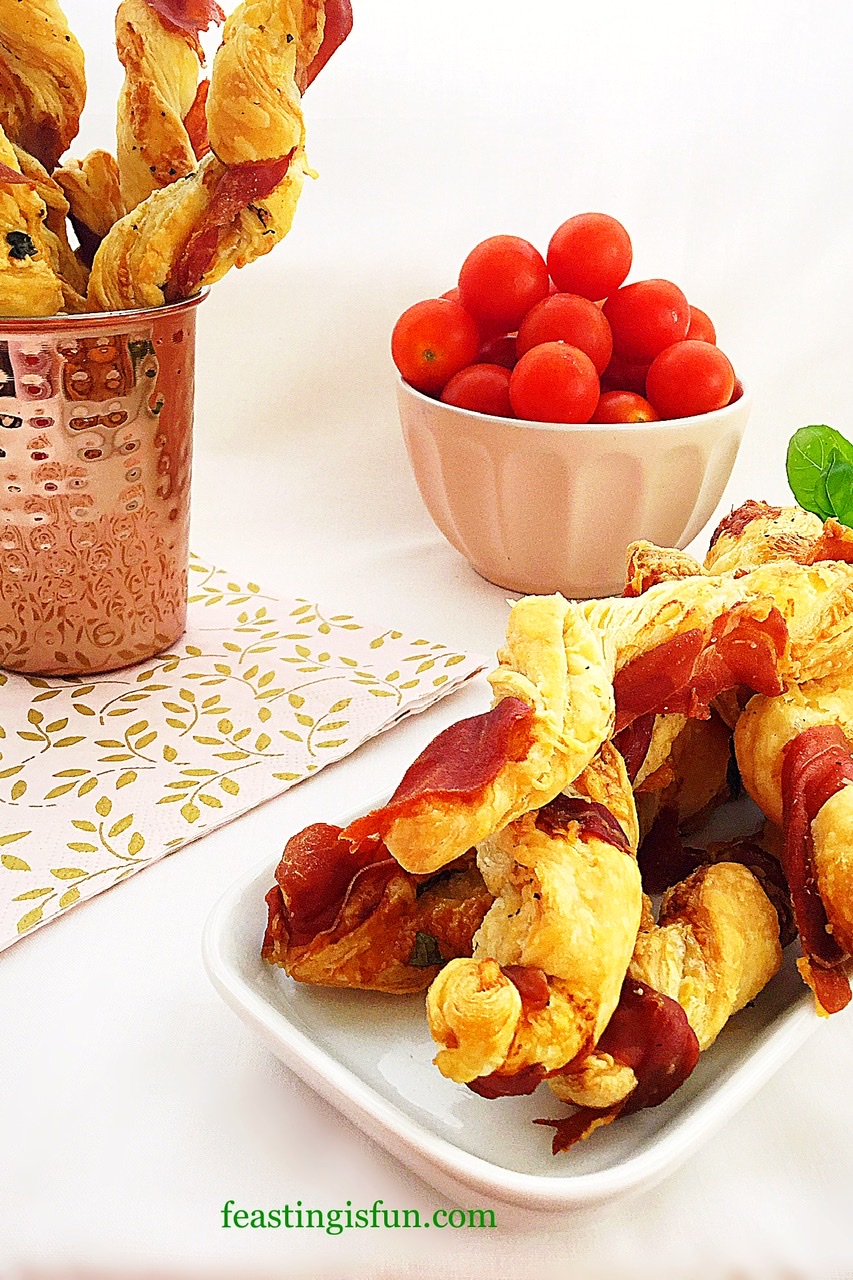
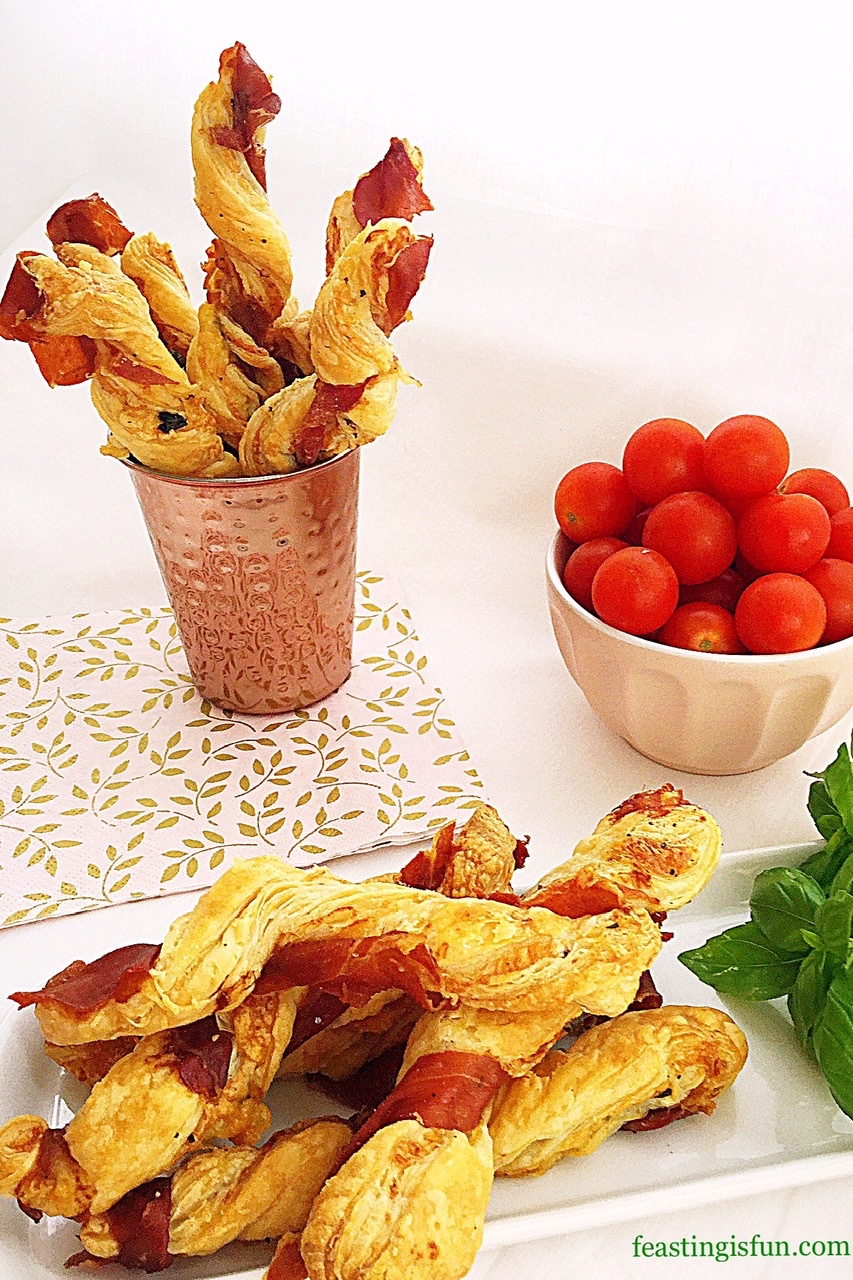
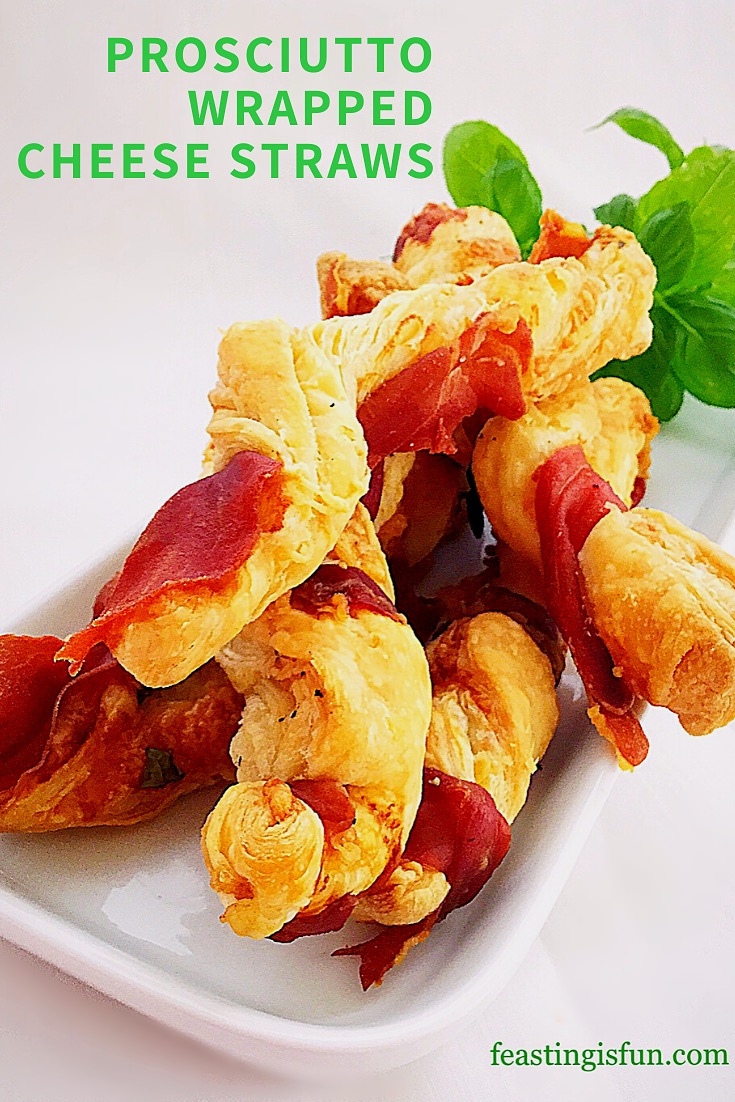
So incredibly easy to make and bake, these straws are filled with grated cheddar and fresh basil. A strip of Prosciutto ham is then twisted around the straw and then baked. As they bake the Prosciutto becomes crisp and salty on the outside with melting cheddar and fresh Basil inside.
Recipe: Prosciutto Wrapped Cheese Puff Pastry Straws – makes 24
2 x 250g/14oz All Butter Puff Pastry – I use Waitrose own brand. Alternatively use ready rolled pastry, however you may need to adjust the cheese/basil/prosciutto quantities.
100g/4oz Finely Grated Mature (Sharp) Cheddar Cheese – I use Wyke Farms
A Handful of Fresh Basil Leaves – approximately 20 leaves. Alternatively when Basil is unavailable use 1tsp finely chopped thyme or rosemary
12 Slices Prosciutto Ham
Freshly Ground Black Pepper
Making The Cheese Straws:
Preheat the oven to 200C/180C fan, 400F, gas mark 6
- First of all line 2 large baking trays with baking parchment.
- Roll the first block of puff pastry into a square, approximately 30cm x 30cm (12in x 12in).
- Sprinkle half the grated cheddar over the top half of the square.
- Place half of the fresh basil leaves on top of the cheese.
- Add some freshly ground black pepper.
- Fold the bottom half of the pastry up over the cheese and basil.
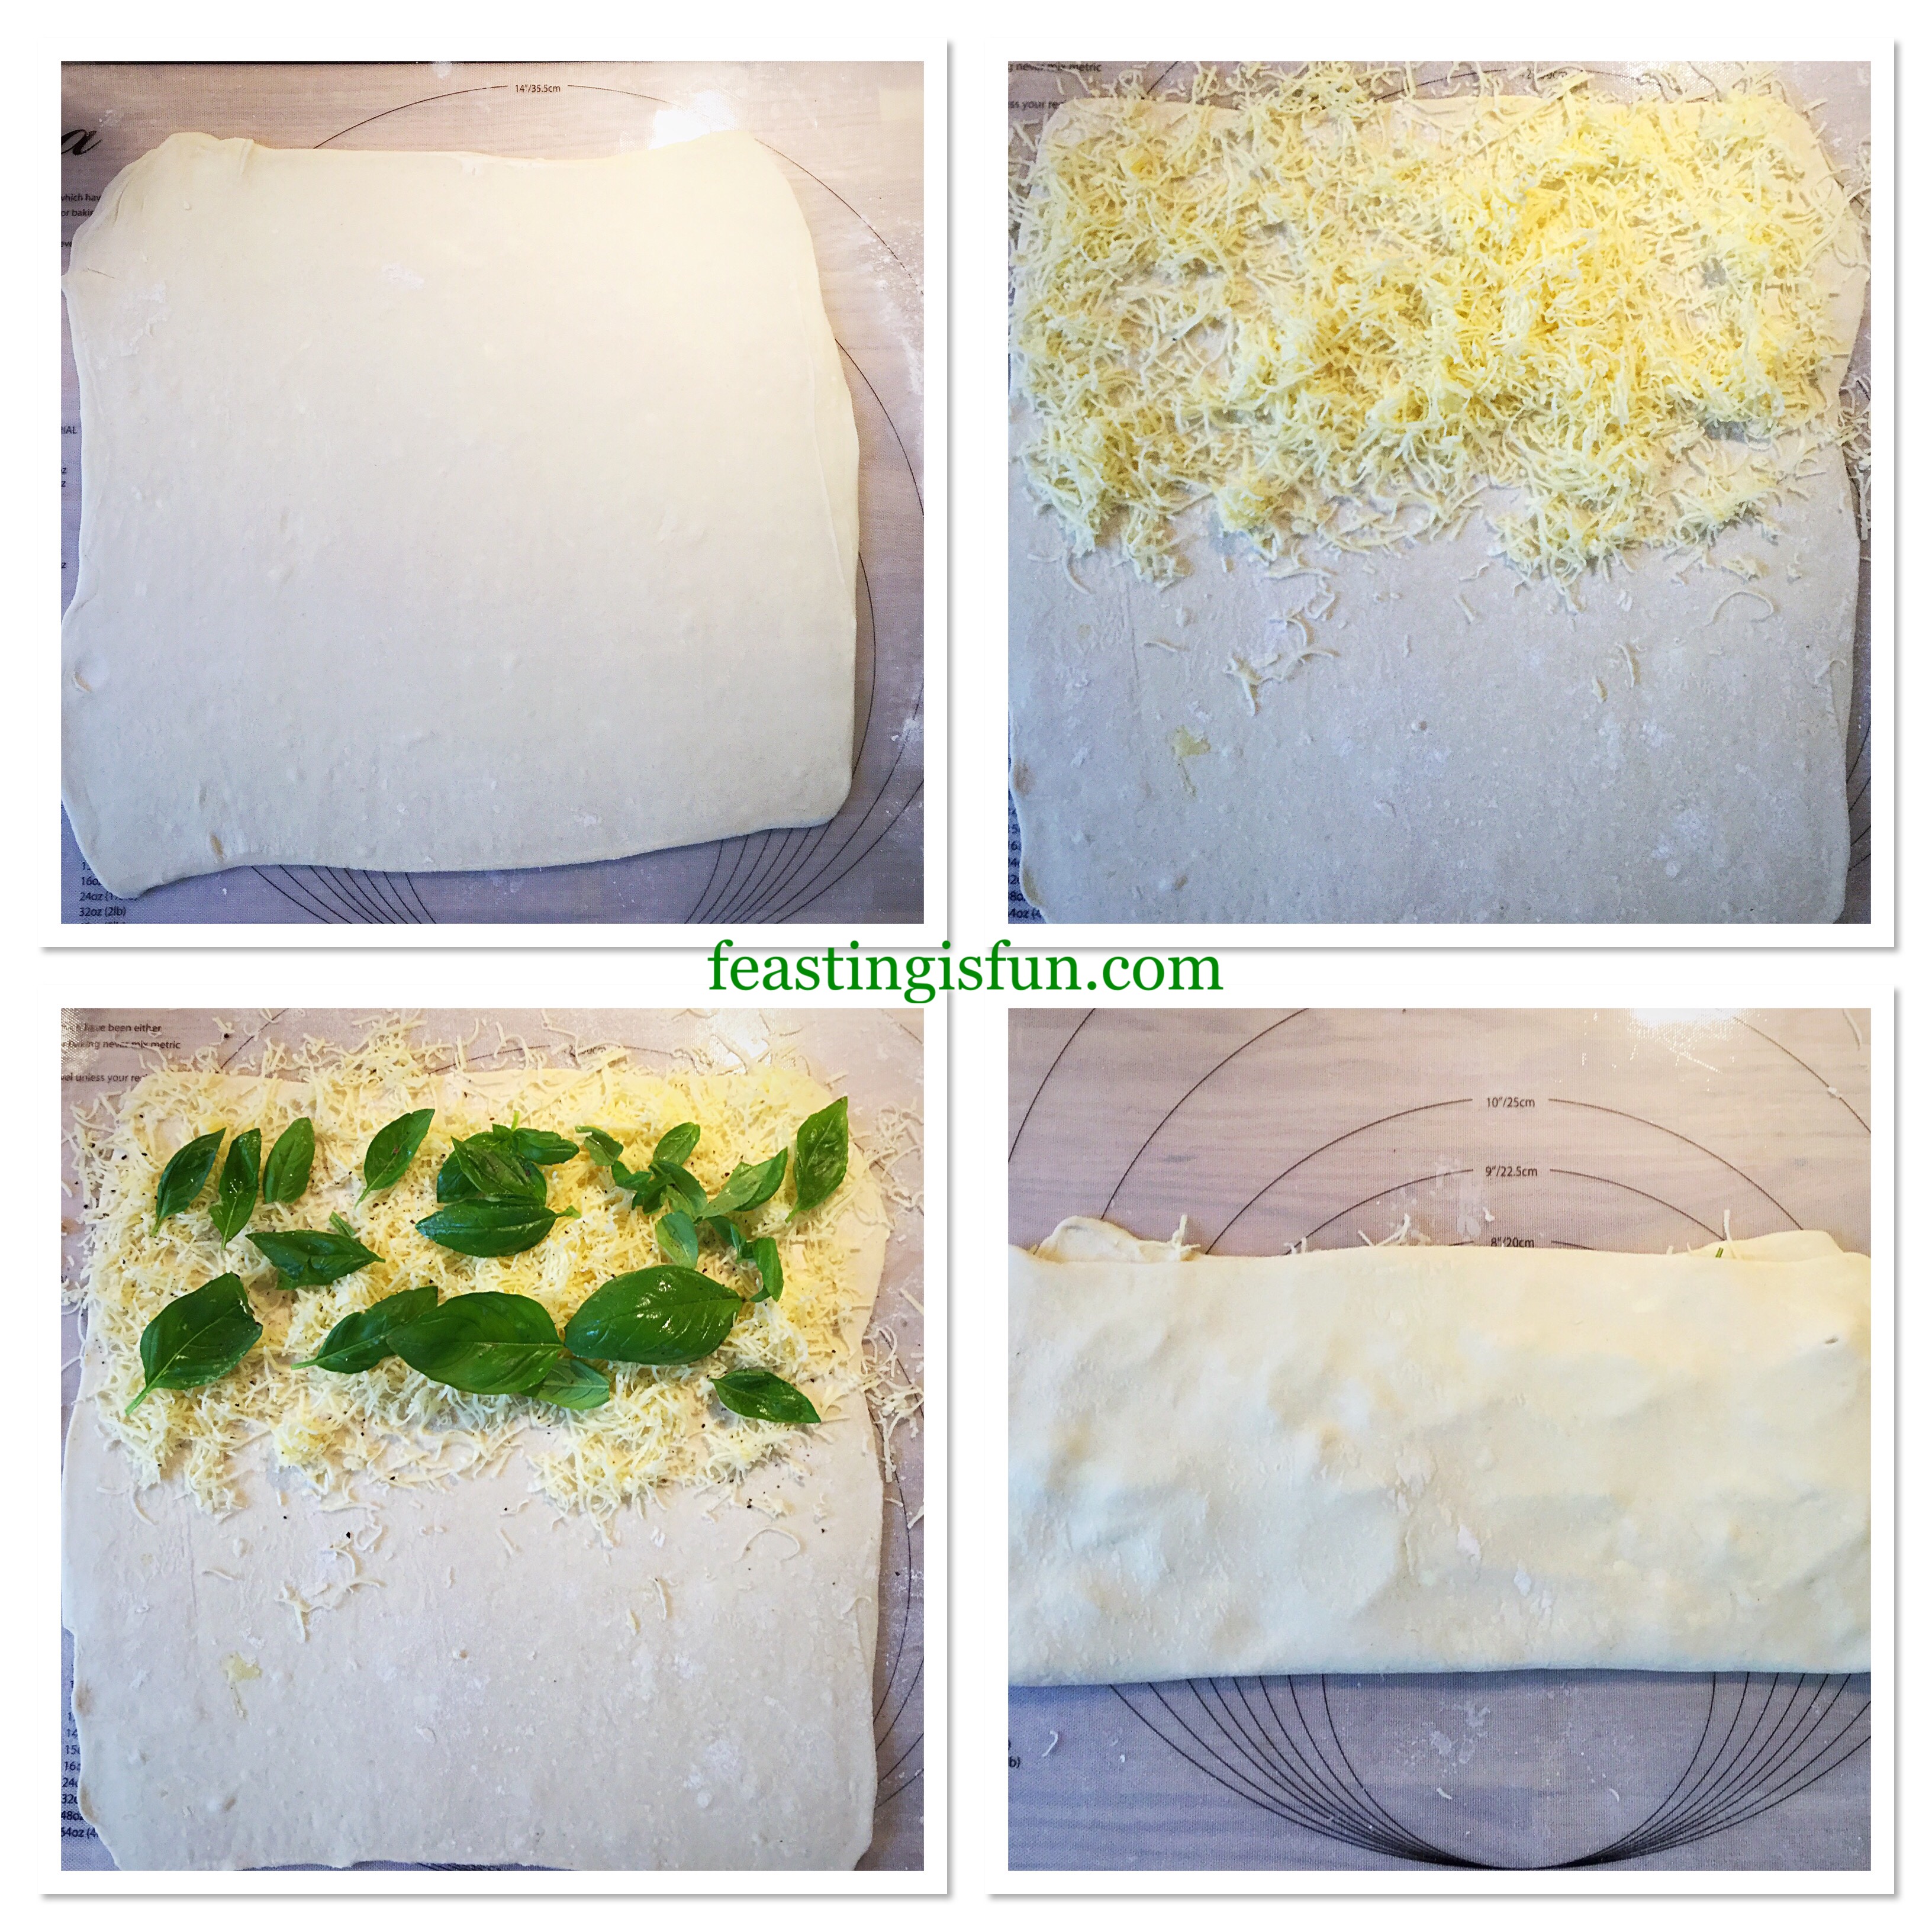
- Use a rolling pin to roll the pastry so that it flattens and becomes smooth.
Portioning The Straws And Wrapping With Prosciutto:
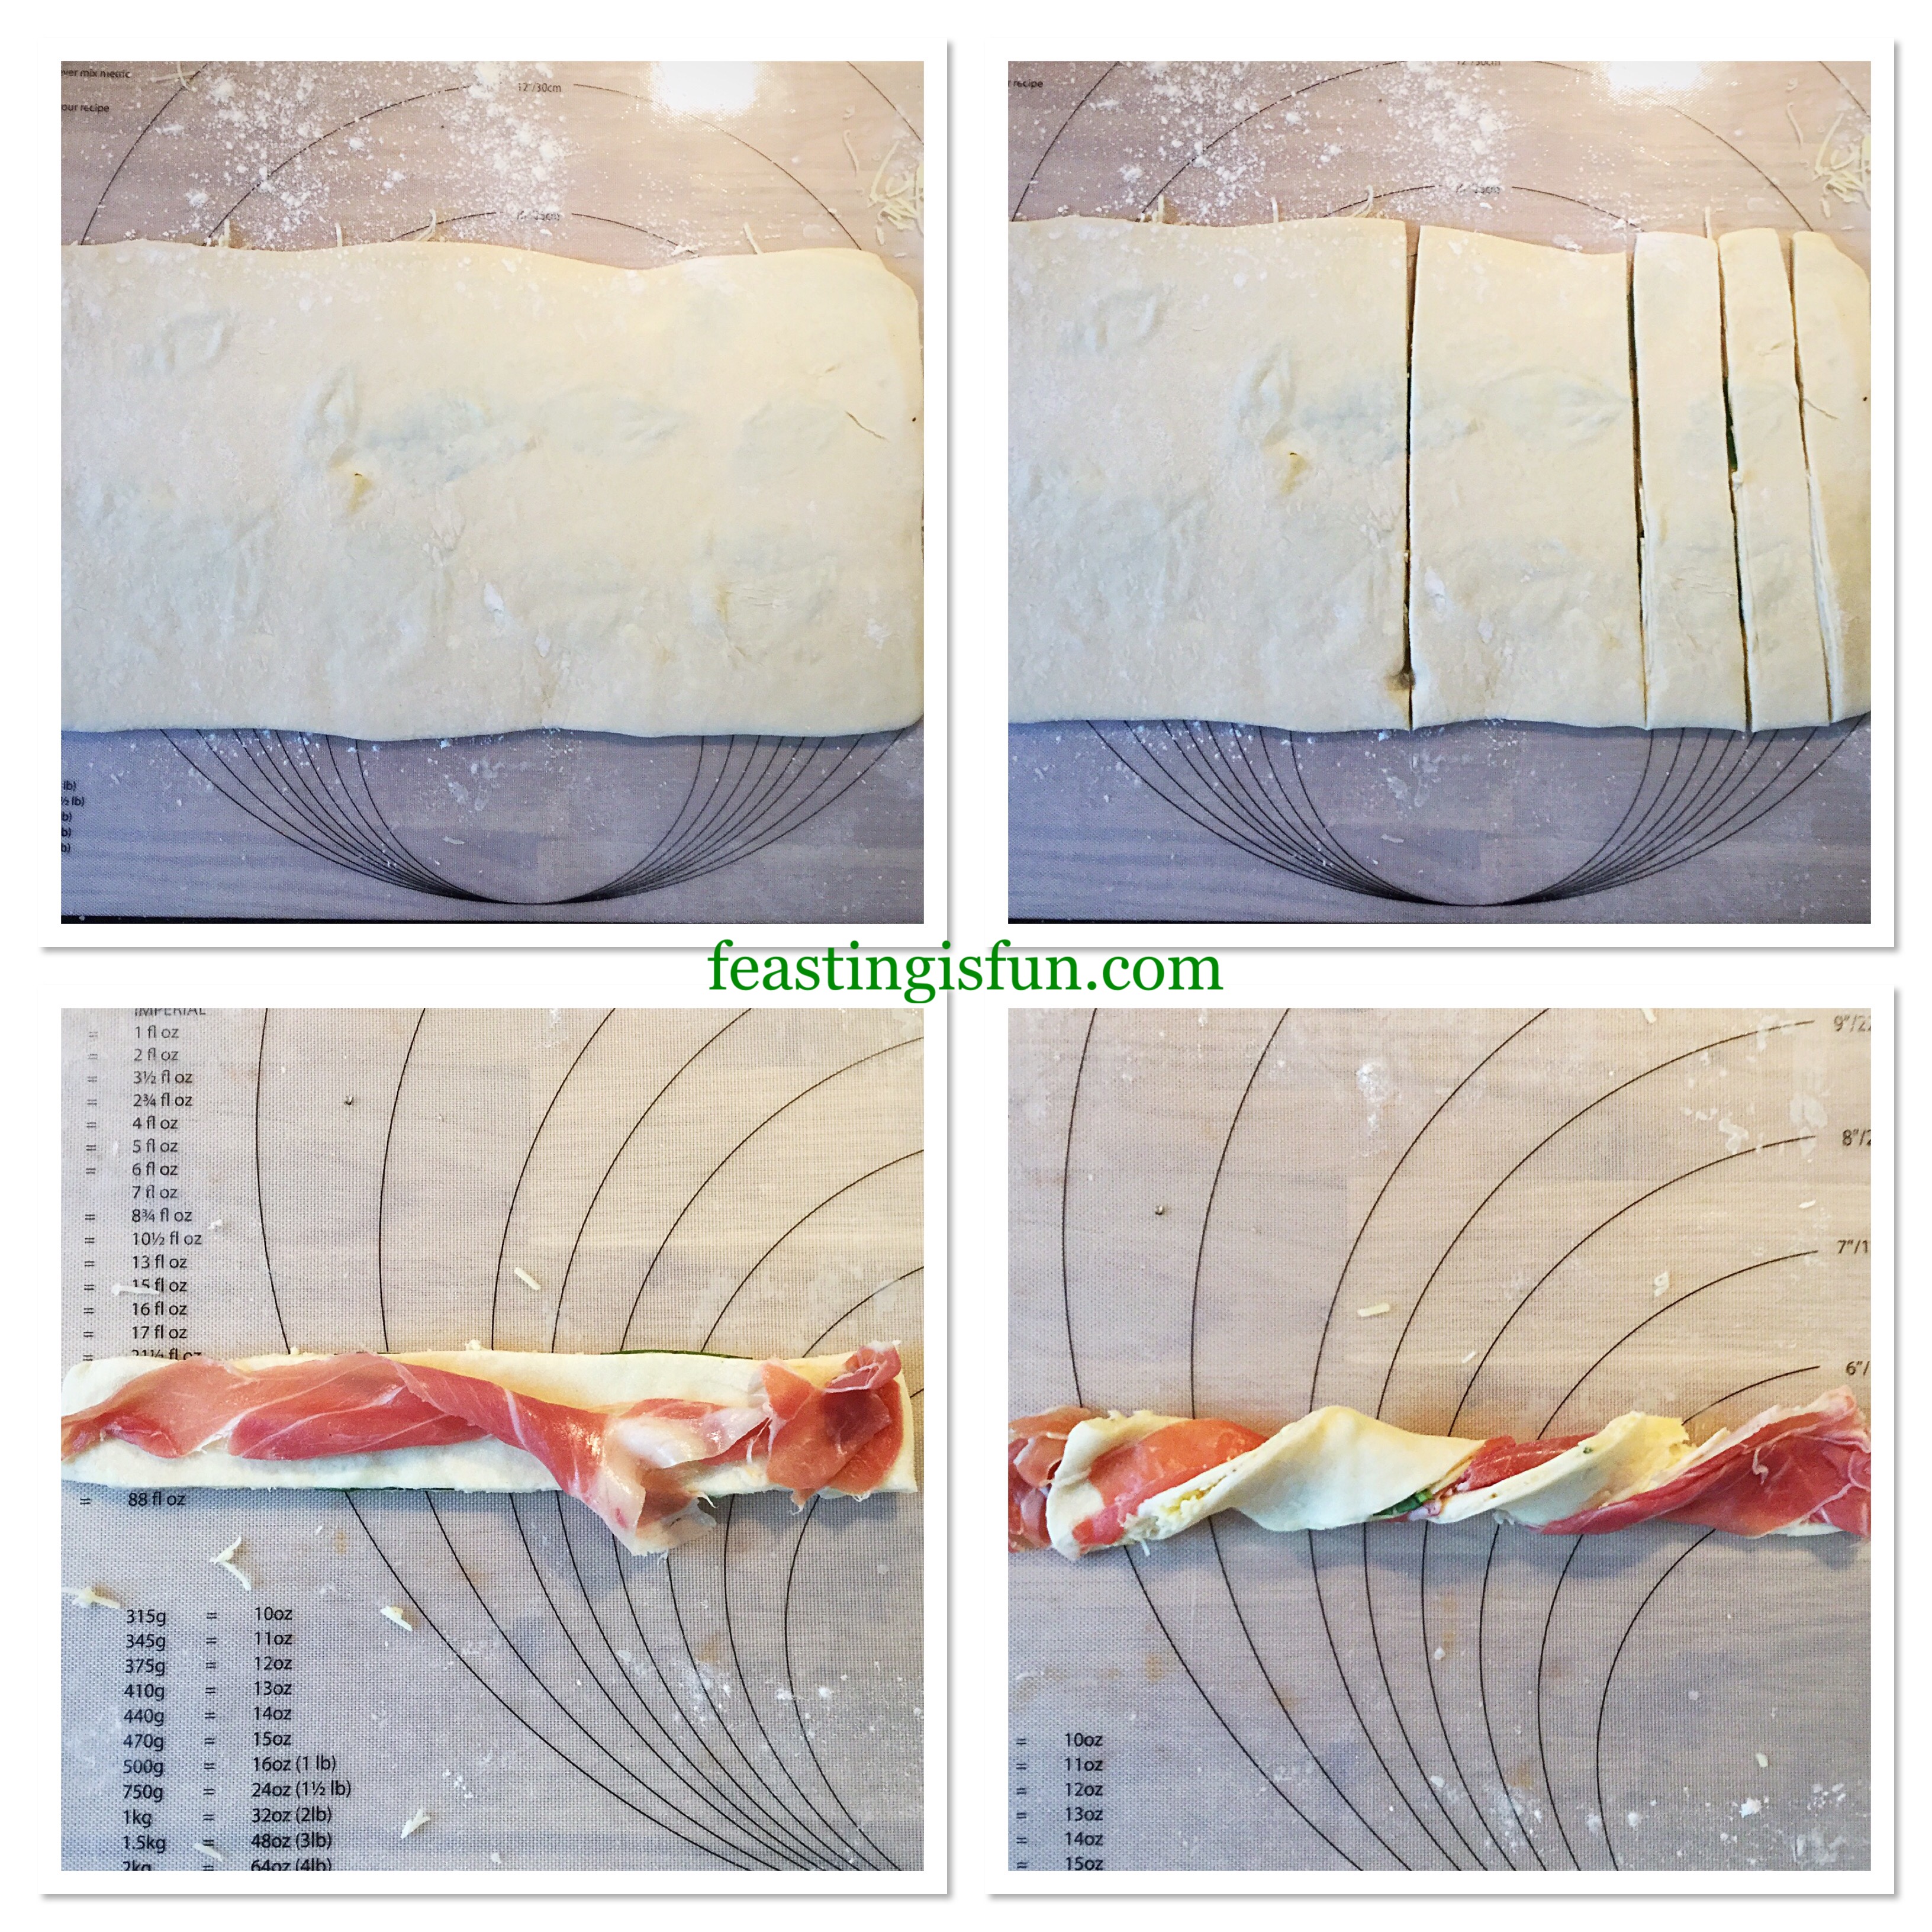
- Divide the pastry in half using a sharp knife. Then cut each half in half again, you will have four separate pieces.
- Cut each quarter into 3 strips. Resulting in 12 straws.
- Tear a piece of prosciutto ham in two lengthways.
- Place the ham on top of a straw and press at both ends so it sticks.
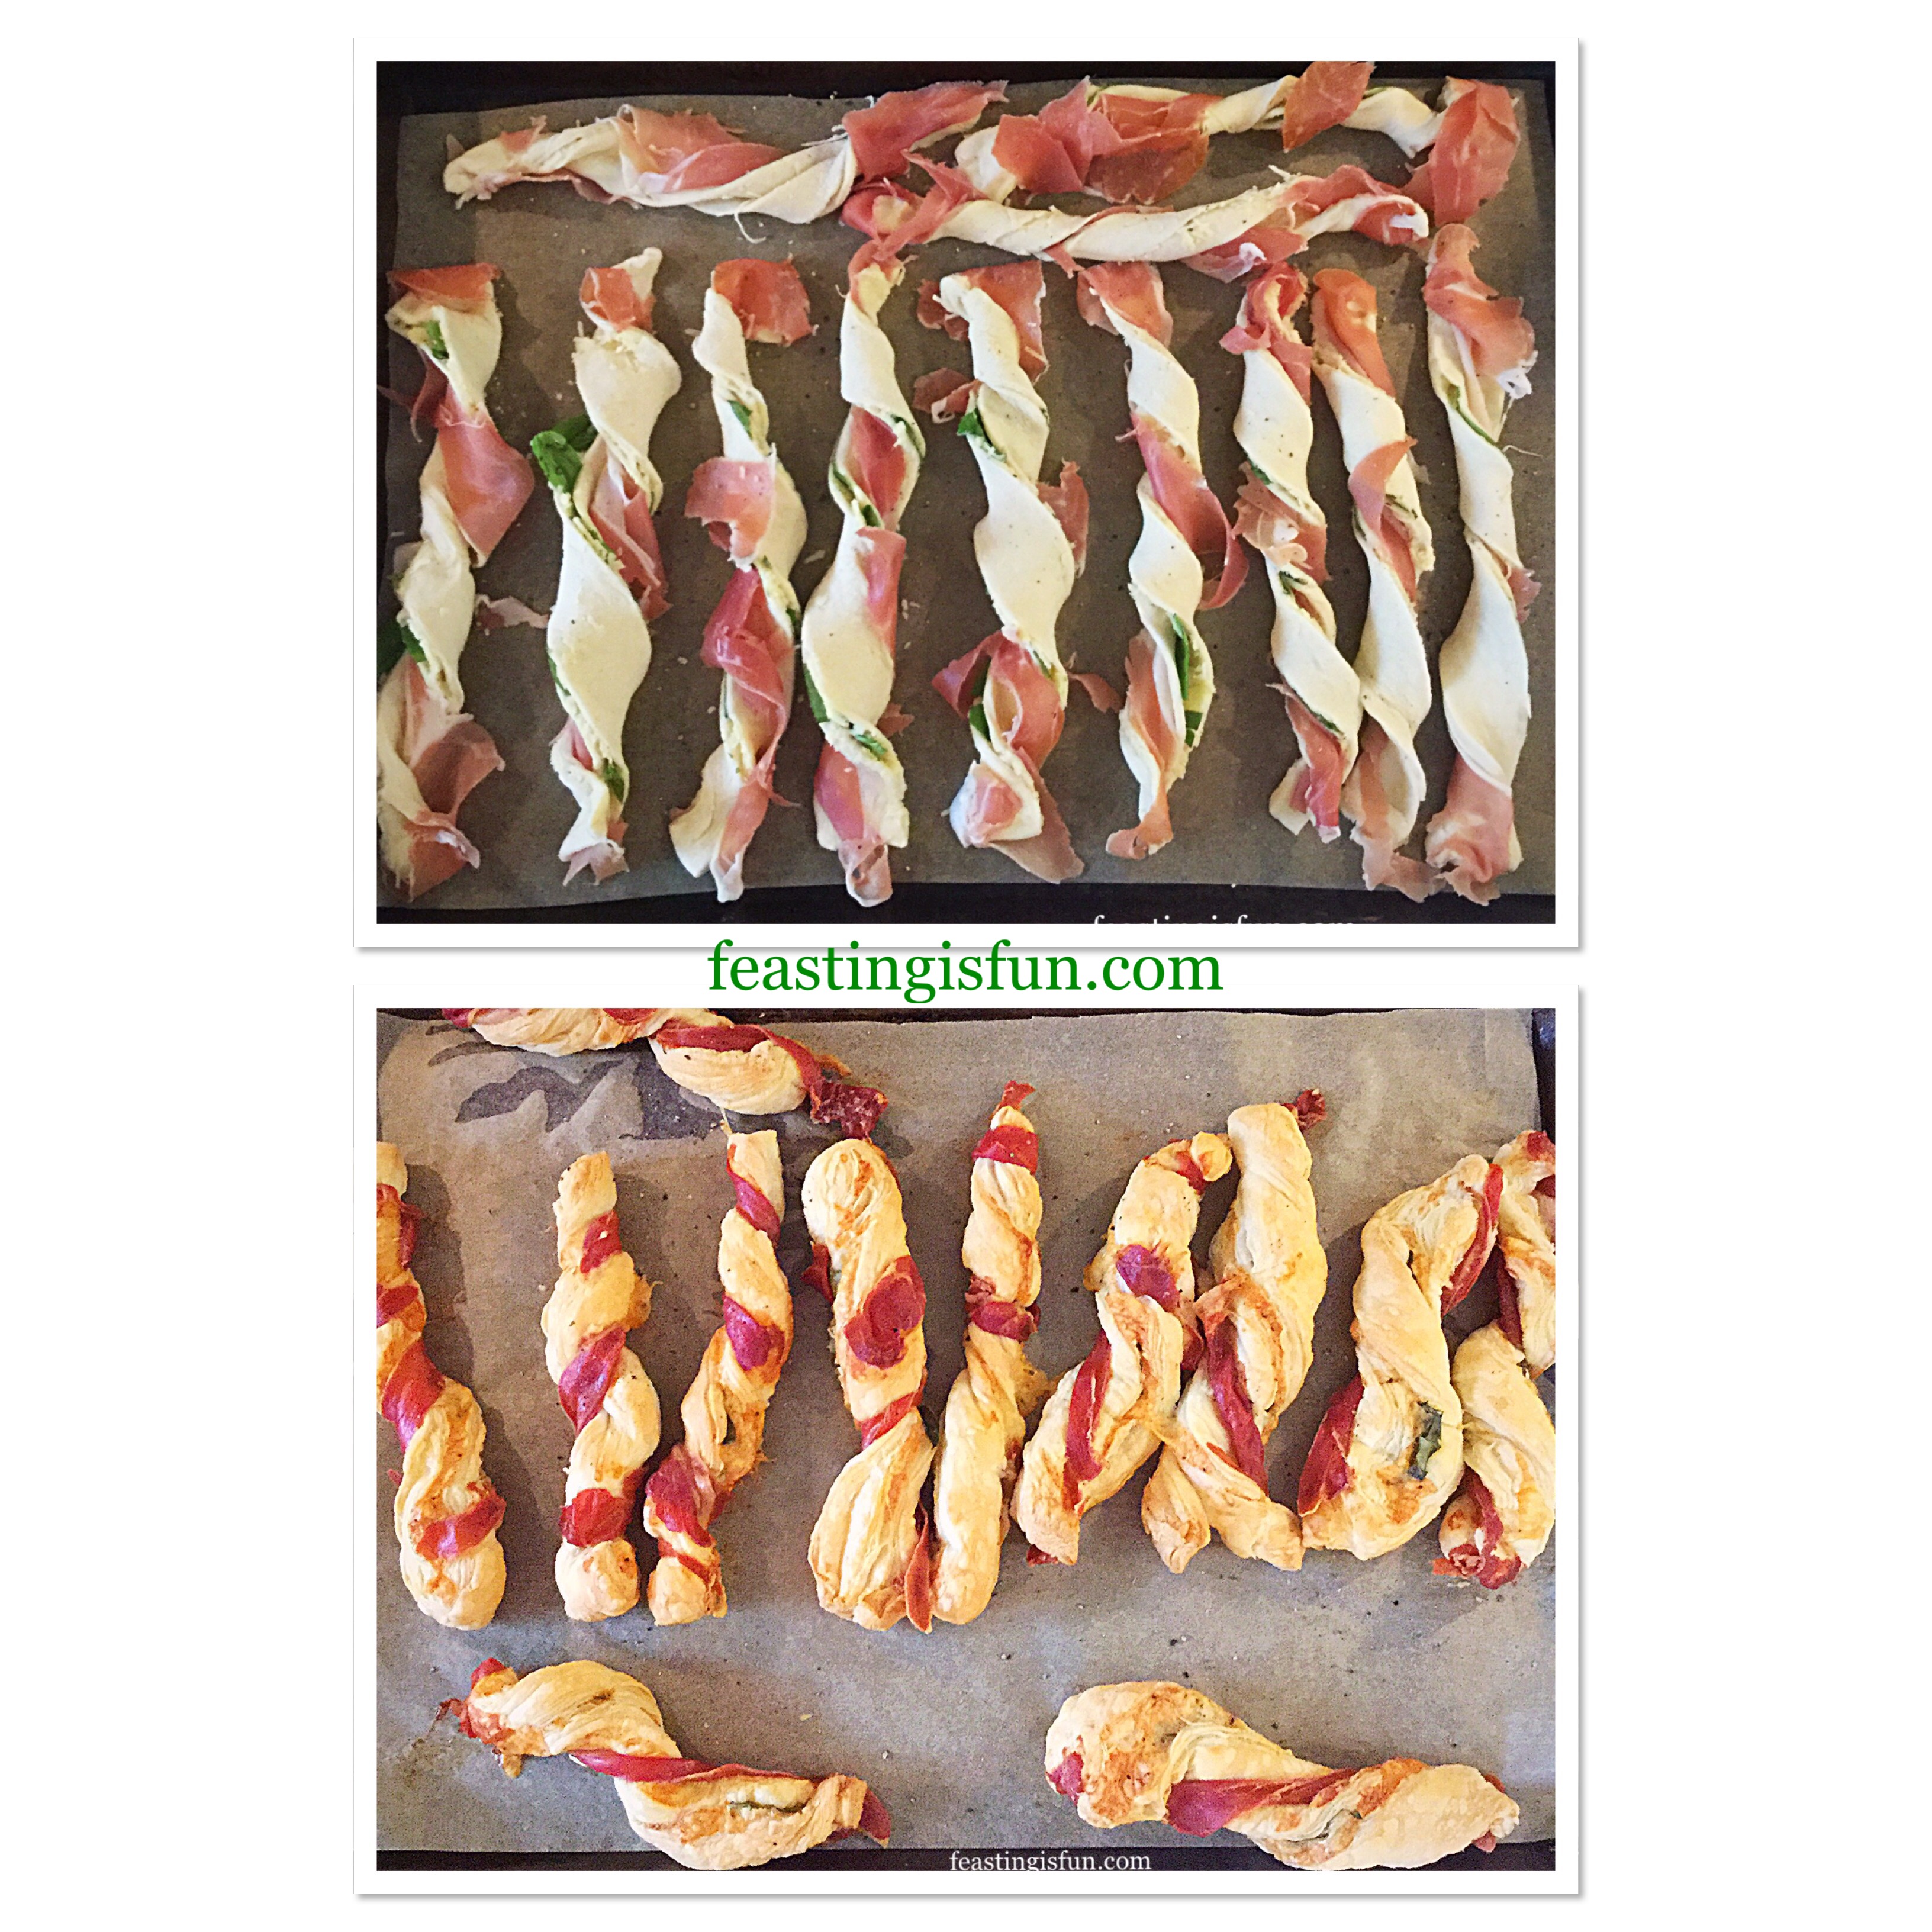
- Using both hands twist the pastry so that the prosciutto wraps around.
- Place the twisted pastry on to a baking sheet.
- Repeat with the rest of the straws.
- Roll out the second block of pastry and repeat the process again.
Baking The Prosciutto Wrapped Puff Pastry Straws:
- Place the baking trays into a preheated oven and bake for 20-25 minutes until the pastry is golden and the prosciutto is crisp.
- As soon as the straws are baked remove from the oven and place on a serving plate.
- Note – if you are planning to freeze the straws, remove from the oven 5 minutes early when the straws are baked, yet not golden..
- Allow the straws to cool slightly before serving.
Cool, place in an airtight container and refrigerate for up to 2 days. To freeze place in freezer bags or boxes for up to 2 months. To reheat from frozen place in a medium oven for 5-10 minutes.
If you have enjoyed this recipe for Prosciutto Wrapped Cheese Puff Pastry Straws you may also like these:
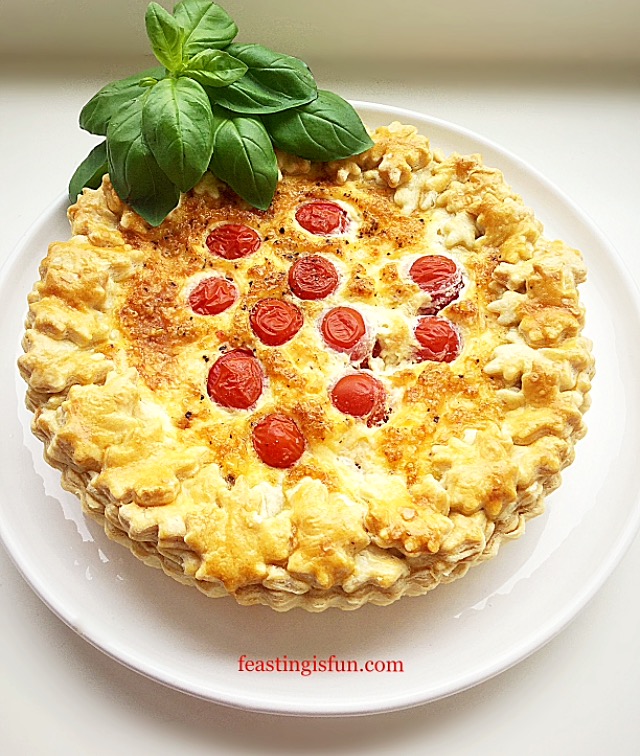
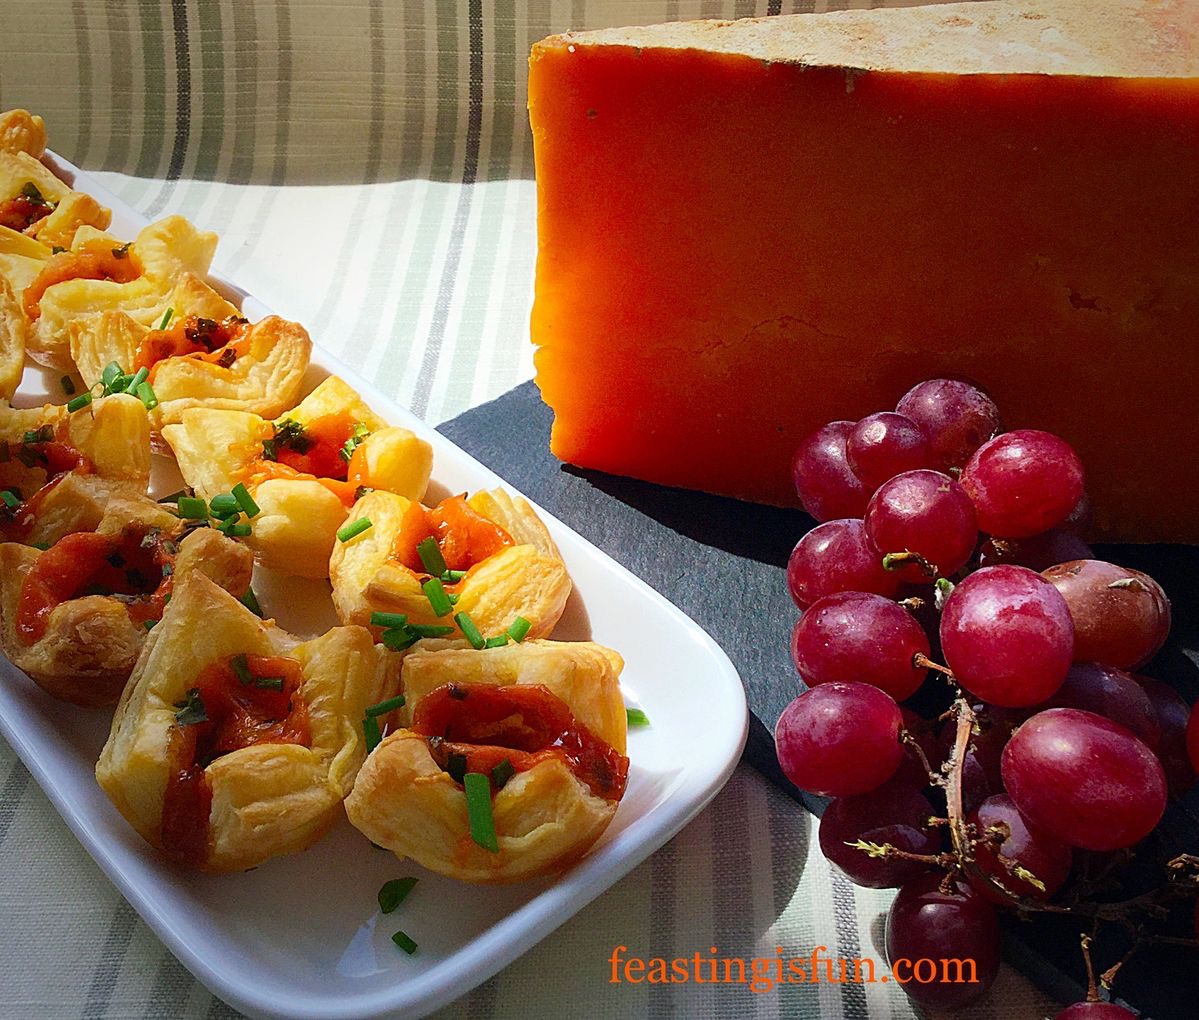
Mini Sparkenhoe Red Leicester Tarts
Whether I’m hosting or going out, parties are fun and a great way to catch up with friends and make new ones. Recipes that are easy and also travel well make life easier. These Prosciutto Wrapped Cheese Puff Pastry Straws are ideal for making and taking to parties. Also, as they can be frozen I plan on making a big batch prior to Christmas. Bake the frozen straws into a moderate oven for ten minutes and you have a delicious snack to share with unexpected visitors.
So, whatever you are making, baking and creating in your kitchens have fun preparing and sharing your feast.
Sammie xx
No part of this post may be reproduced or duplicated without the written permission of the owner. Please see my Disclosure Policy.
Share