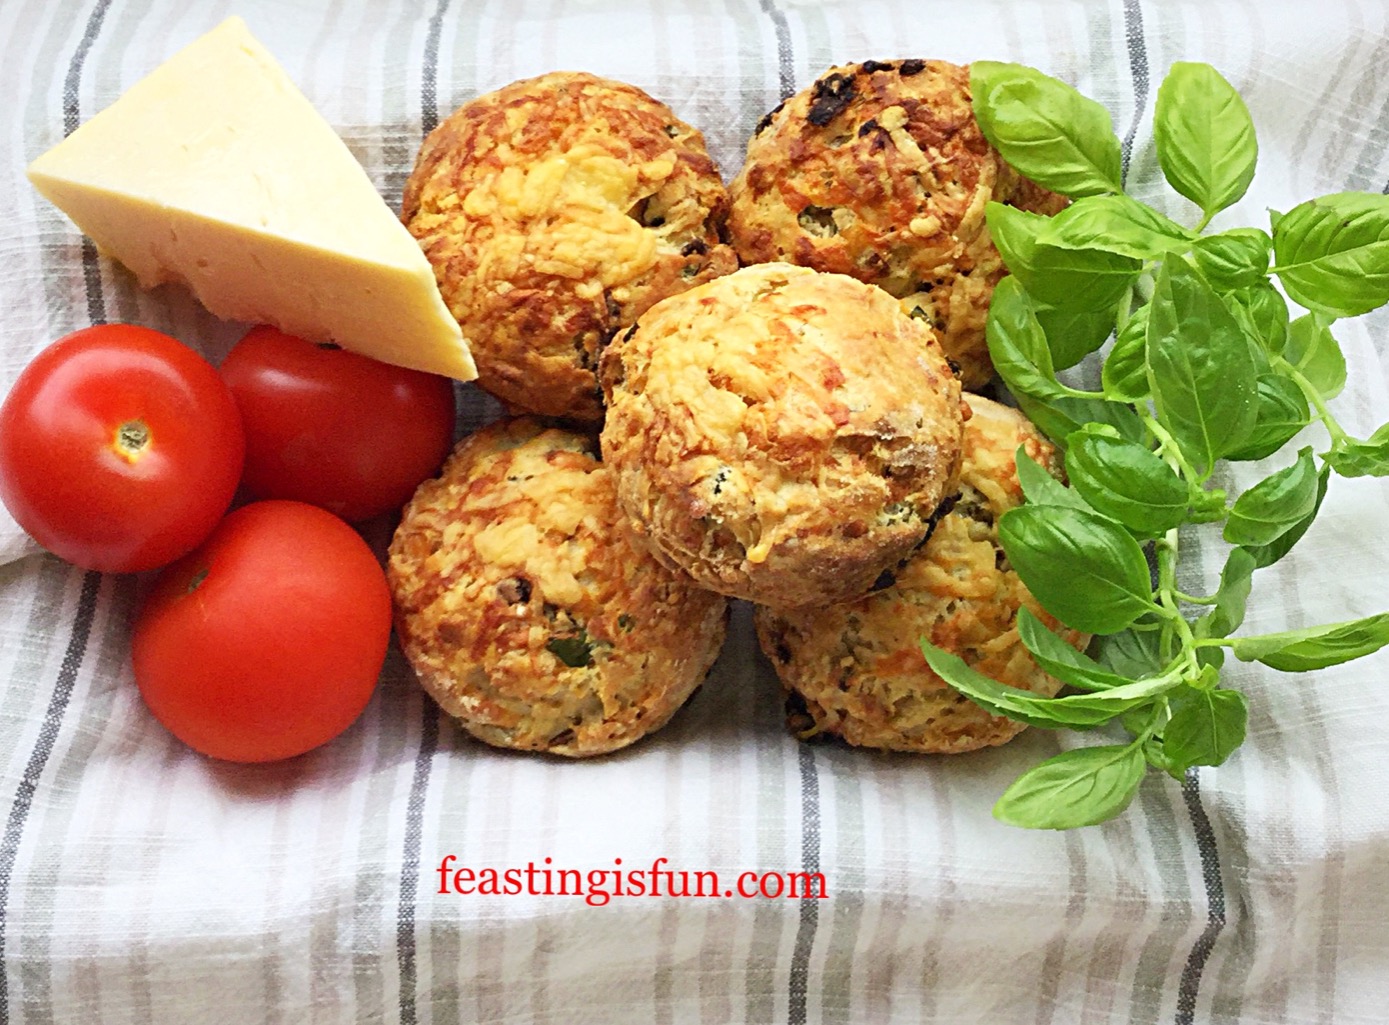
Welcome to a brand new year, 2024! I hope this coming year brings health, happiness and lots of fun to you all. As you may know by now, I love having fun in my kitchen coming up with delicious new recipes to share with you. And today I have a really delicious and easy to make recipe, my Baked Parmesan Chicken Goujons! Deliciously crispy and golden without the hassle, or added fat of frying. As soon as you taste these crispy baked chicken strips you will be making them regularly.
And why not? Believe me, these tasty, crispy on the outside and succulent inner chicken goujons are full of flavour and will disappear fast when you share them with friends and family. Either served as part of a main meal with sweet potato fries and salad, or as part of a buffet for a family get together, these baked chicken strips hit that fried chicken spot without any of the hot oil, frying hassle!
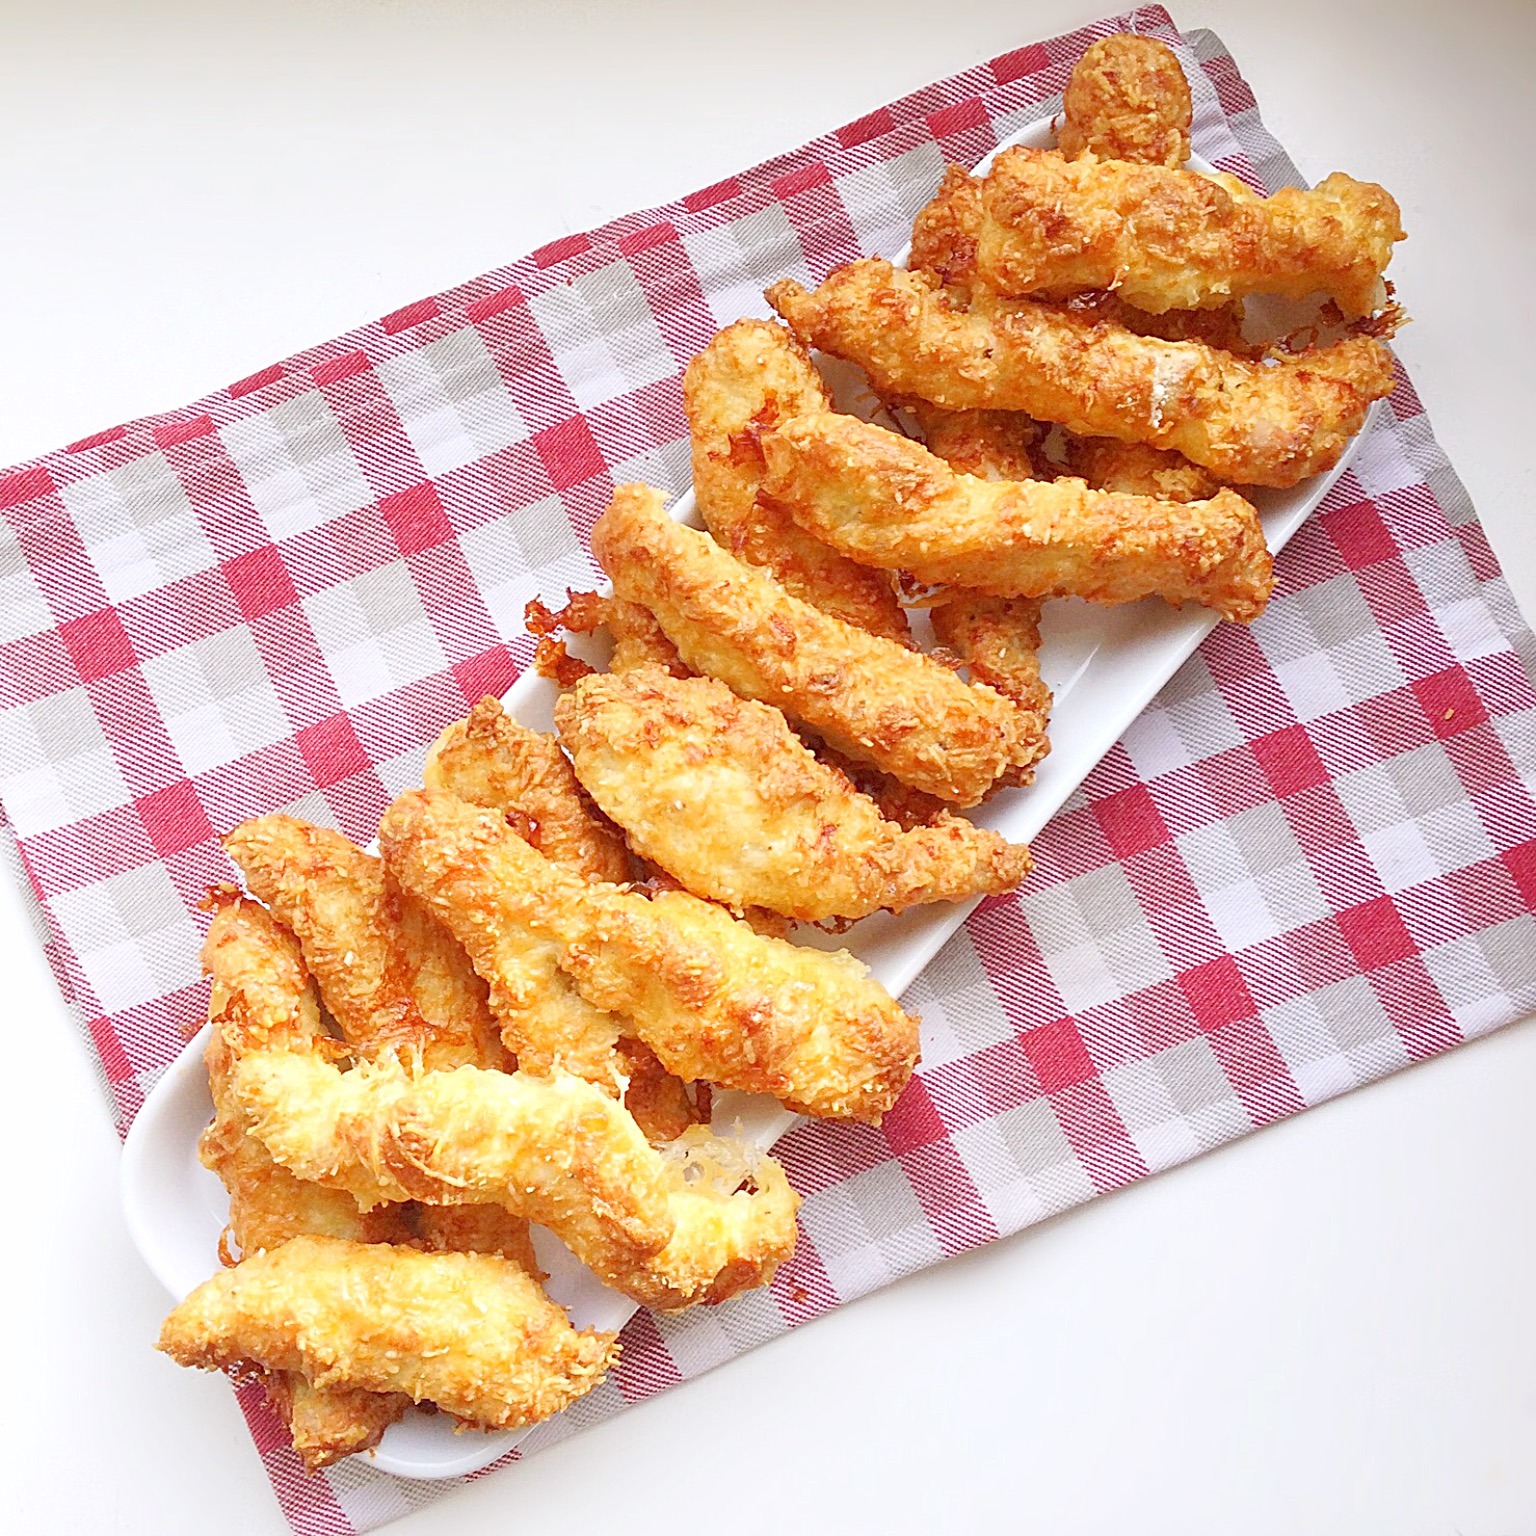
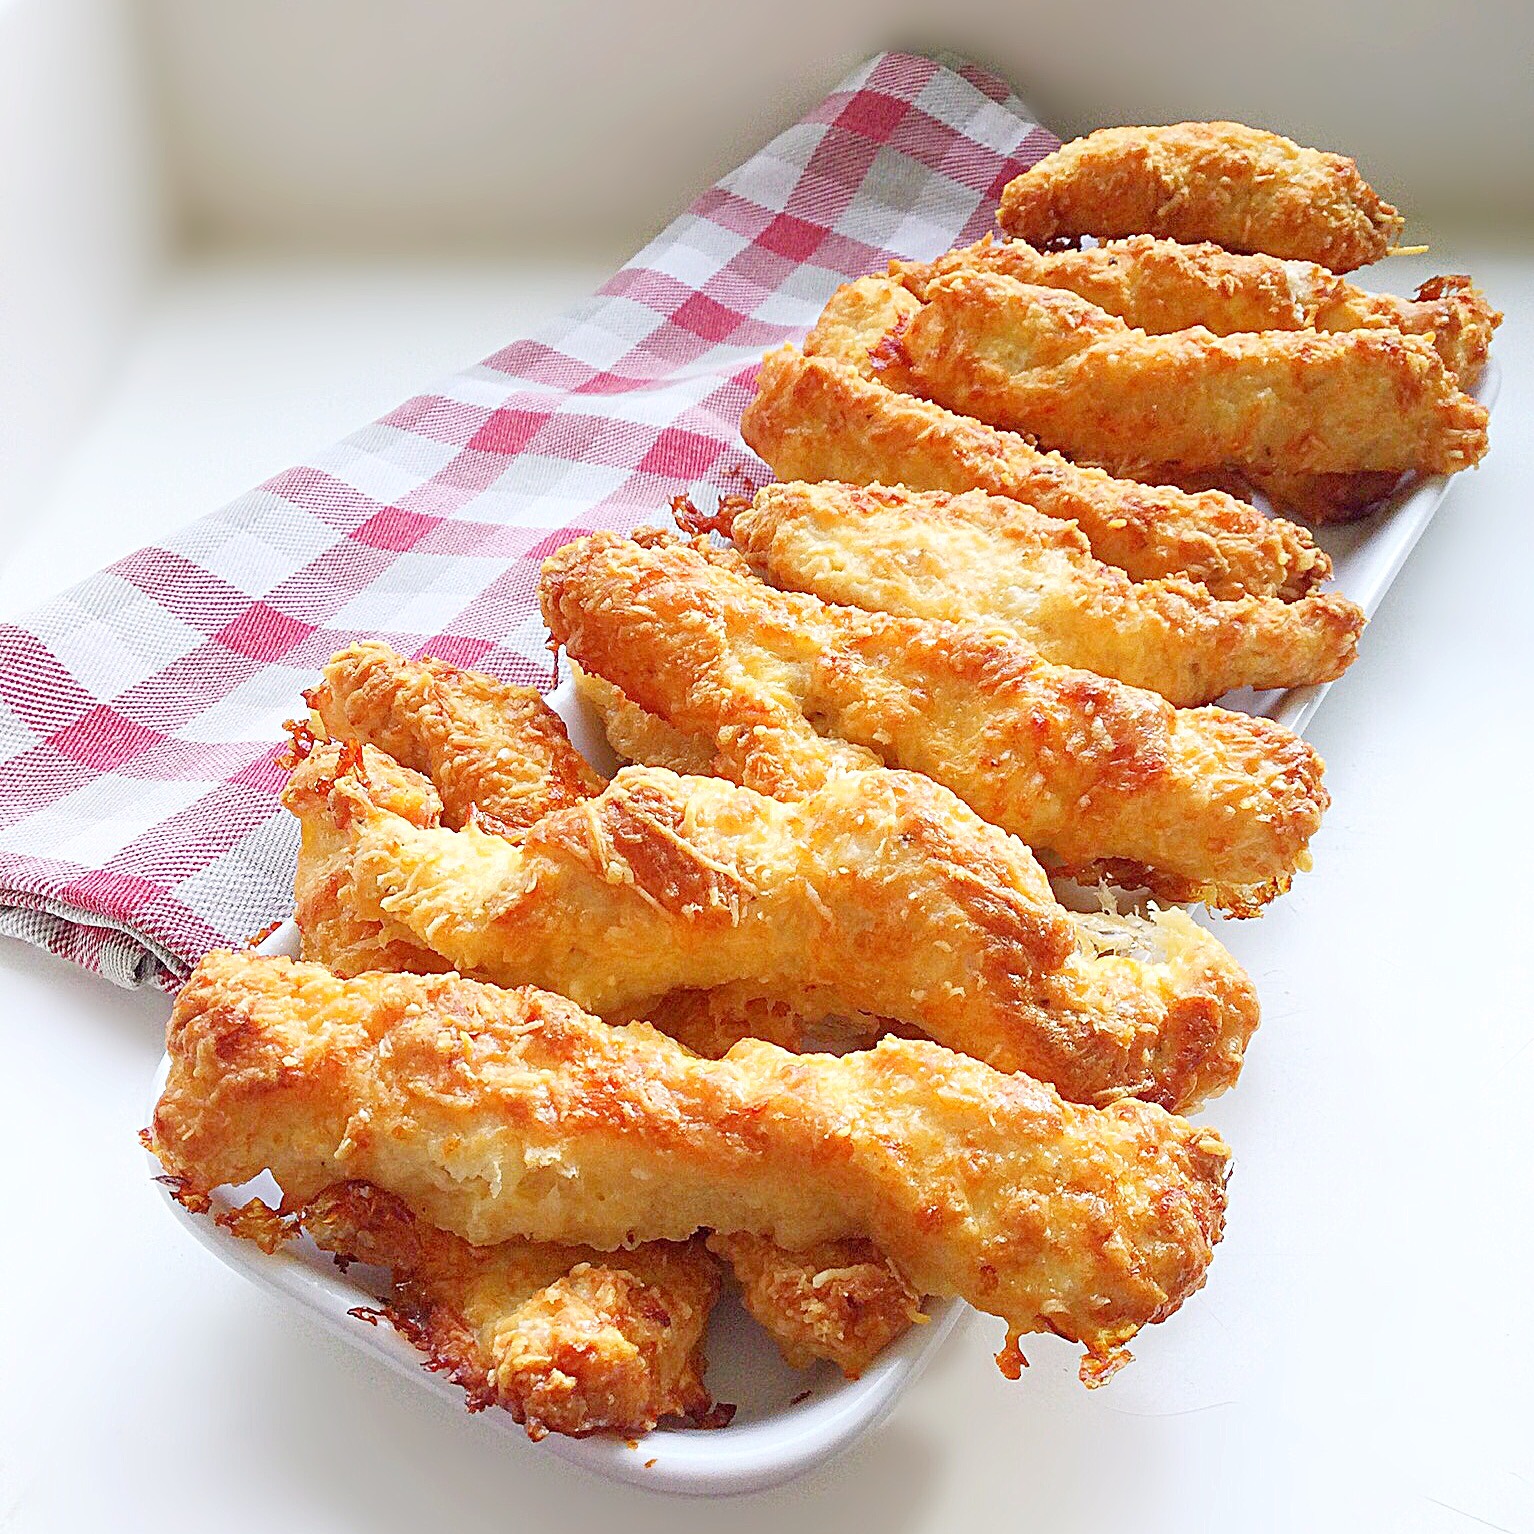
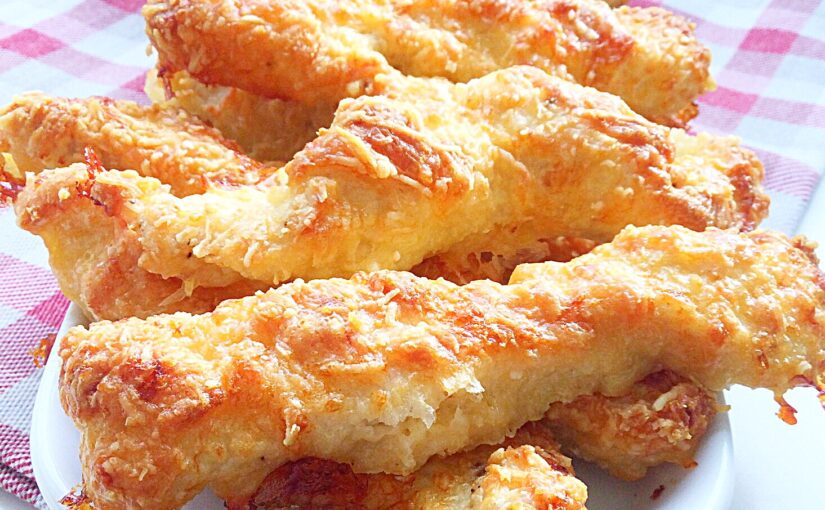
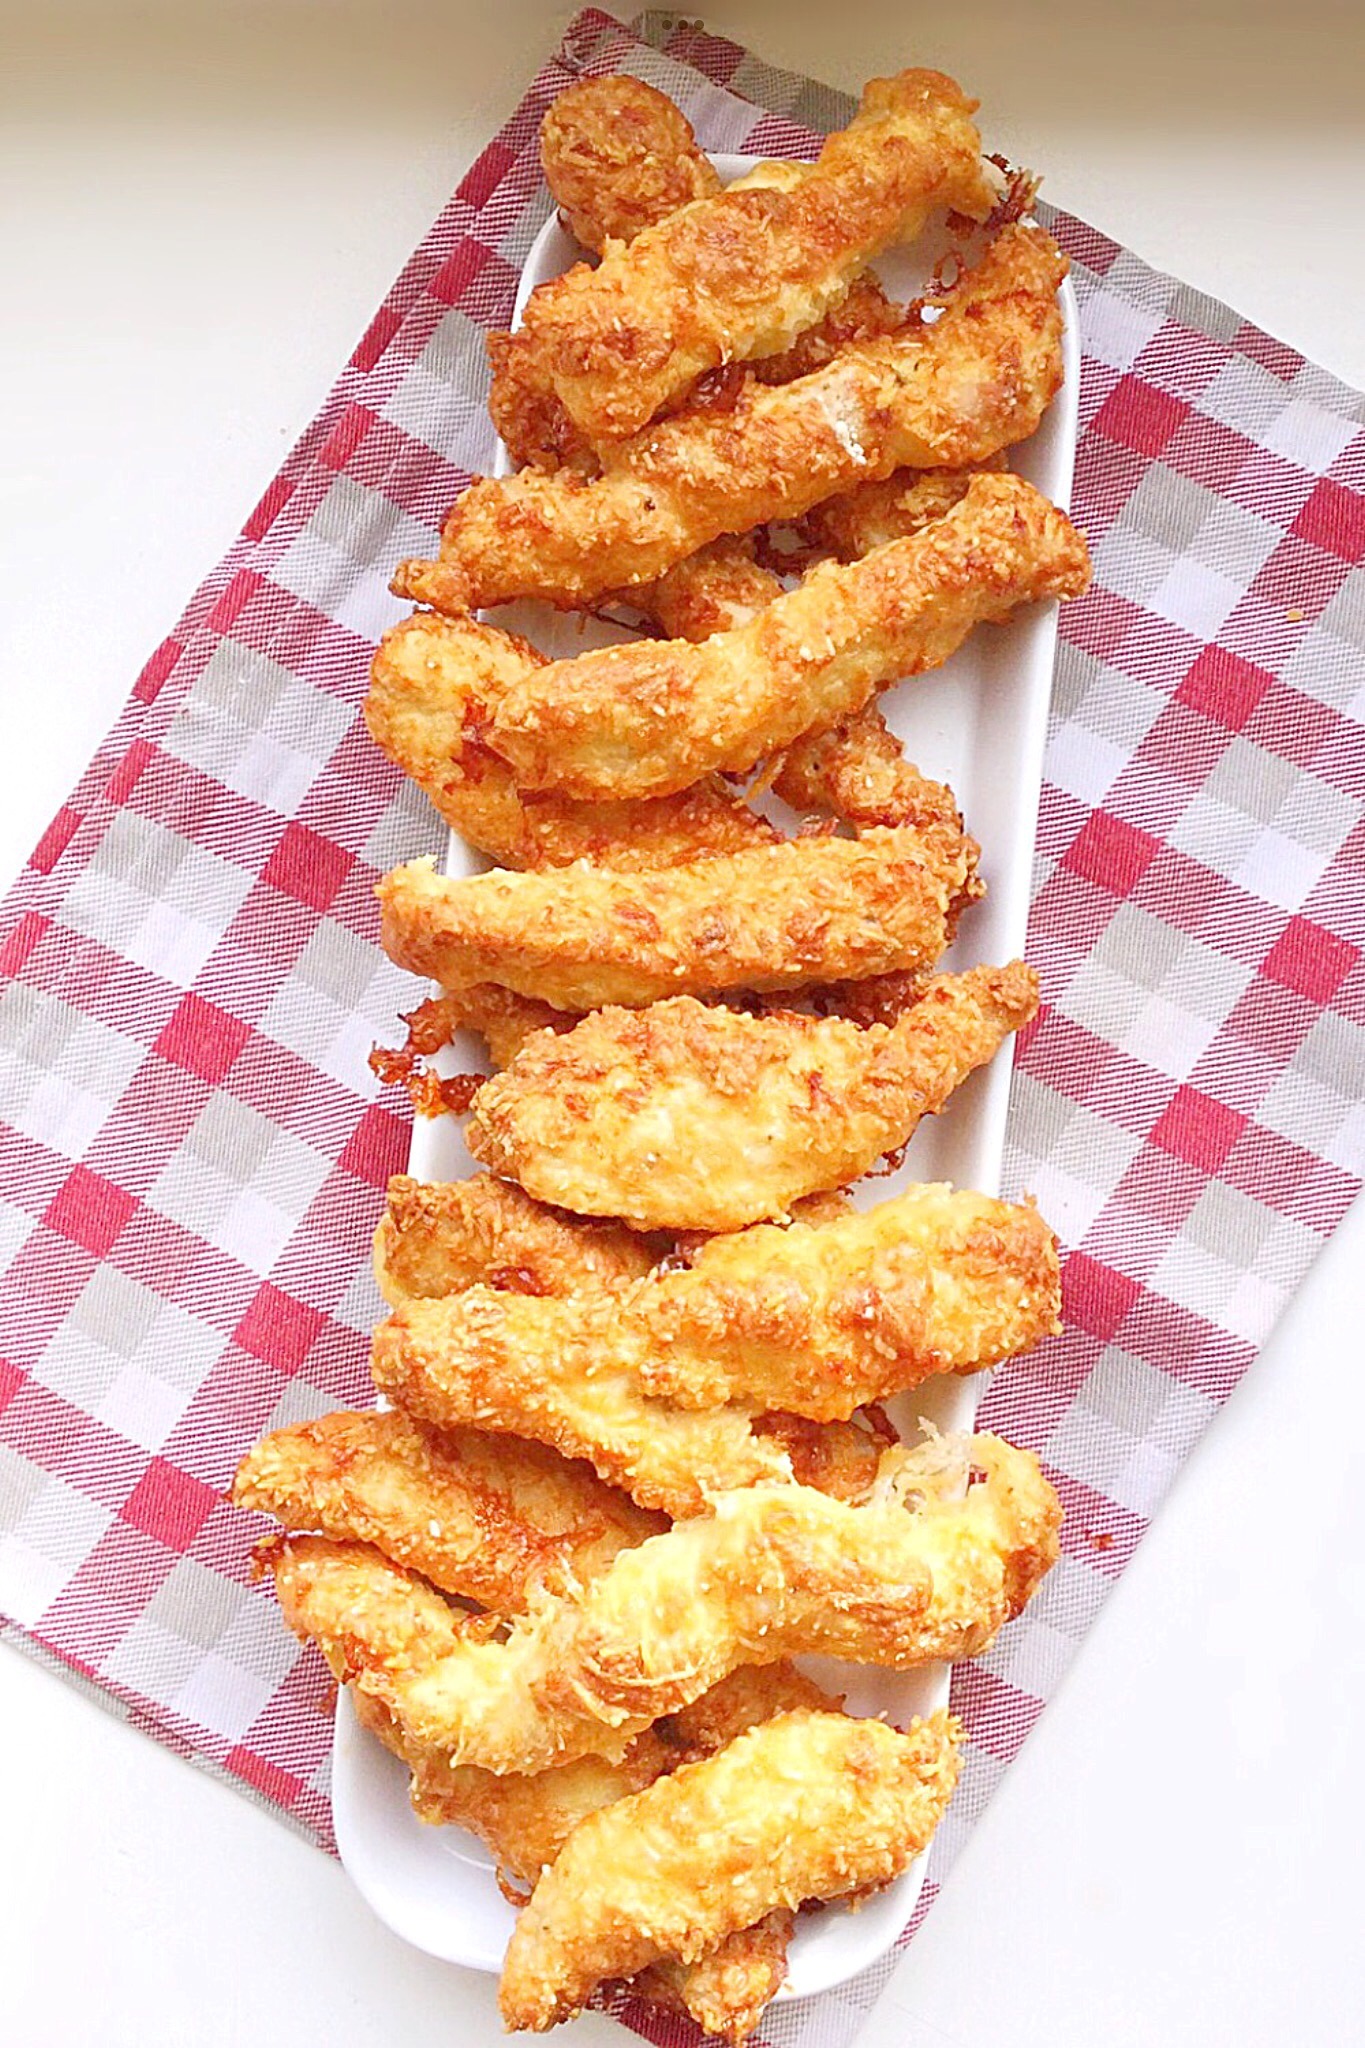
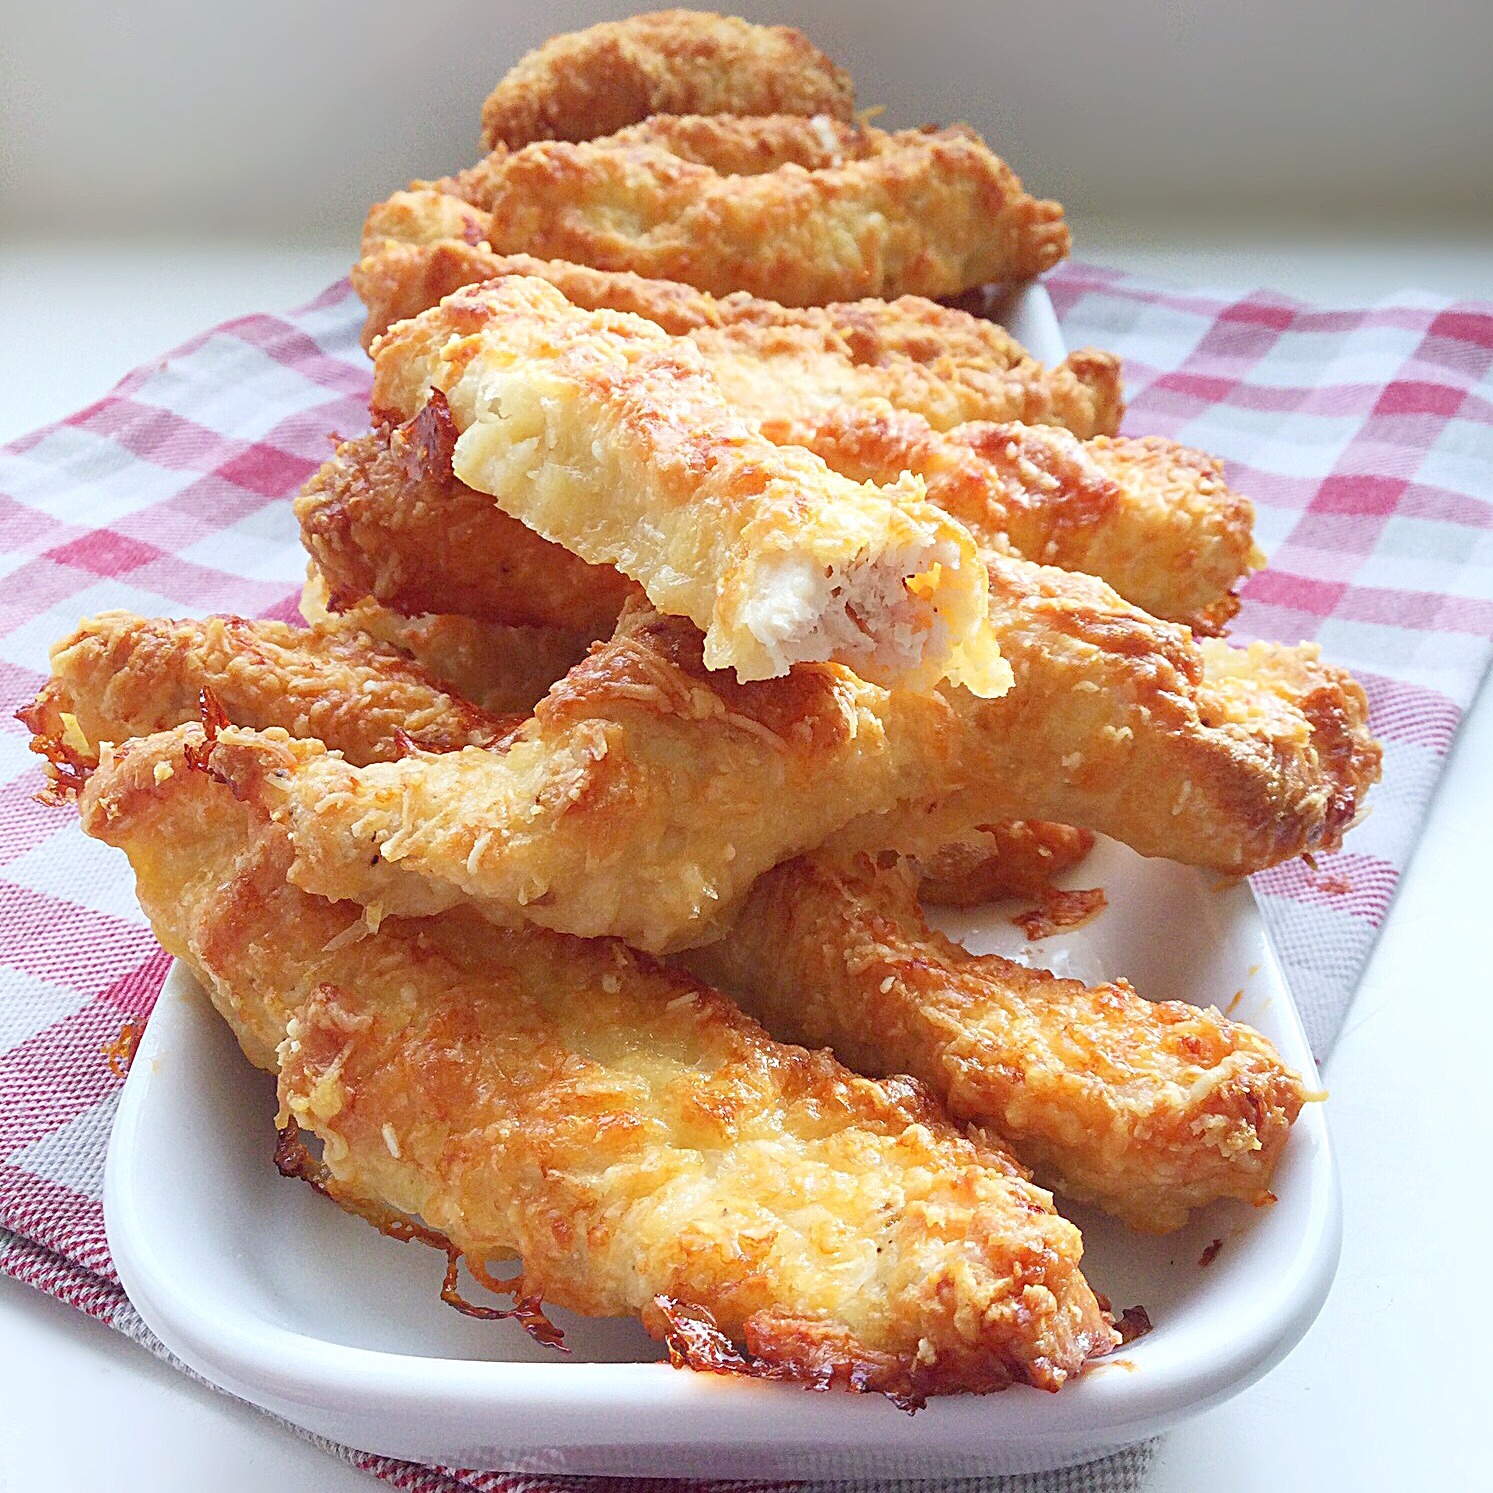
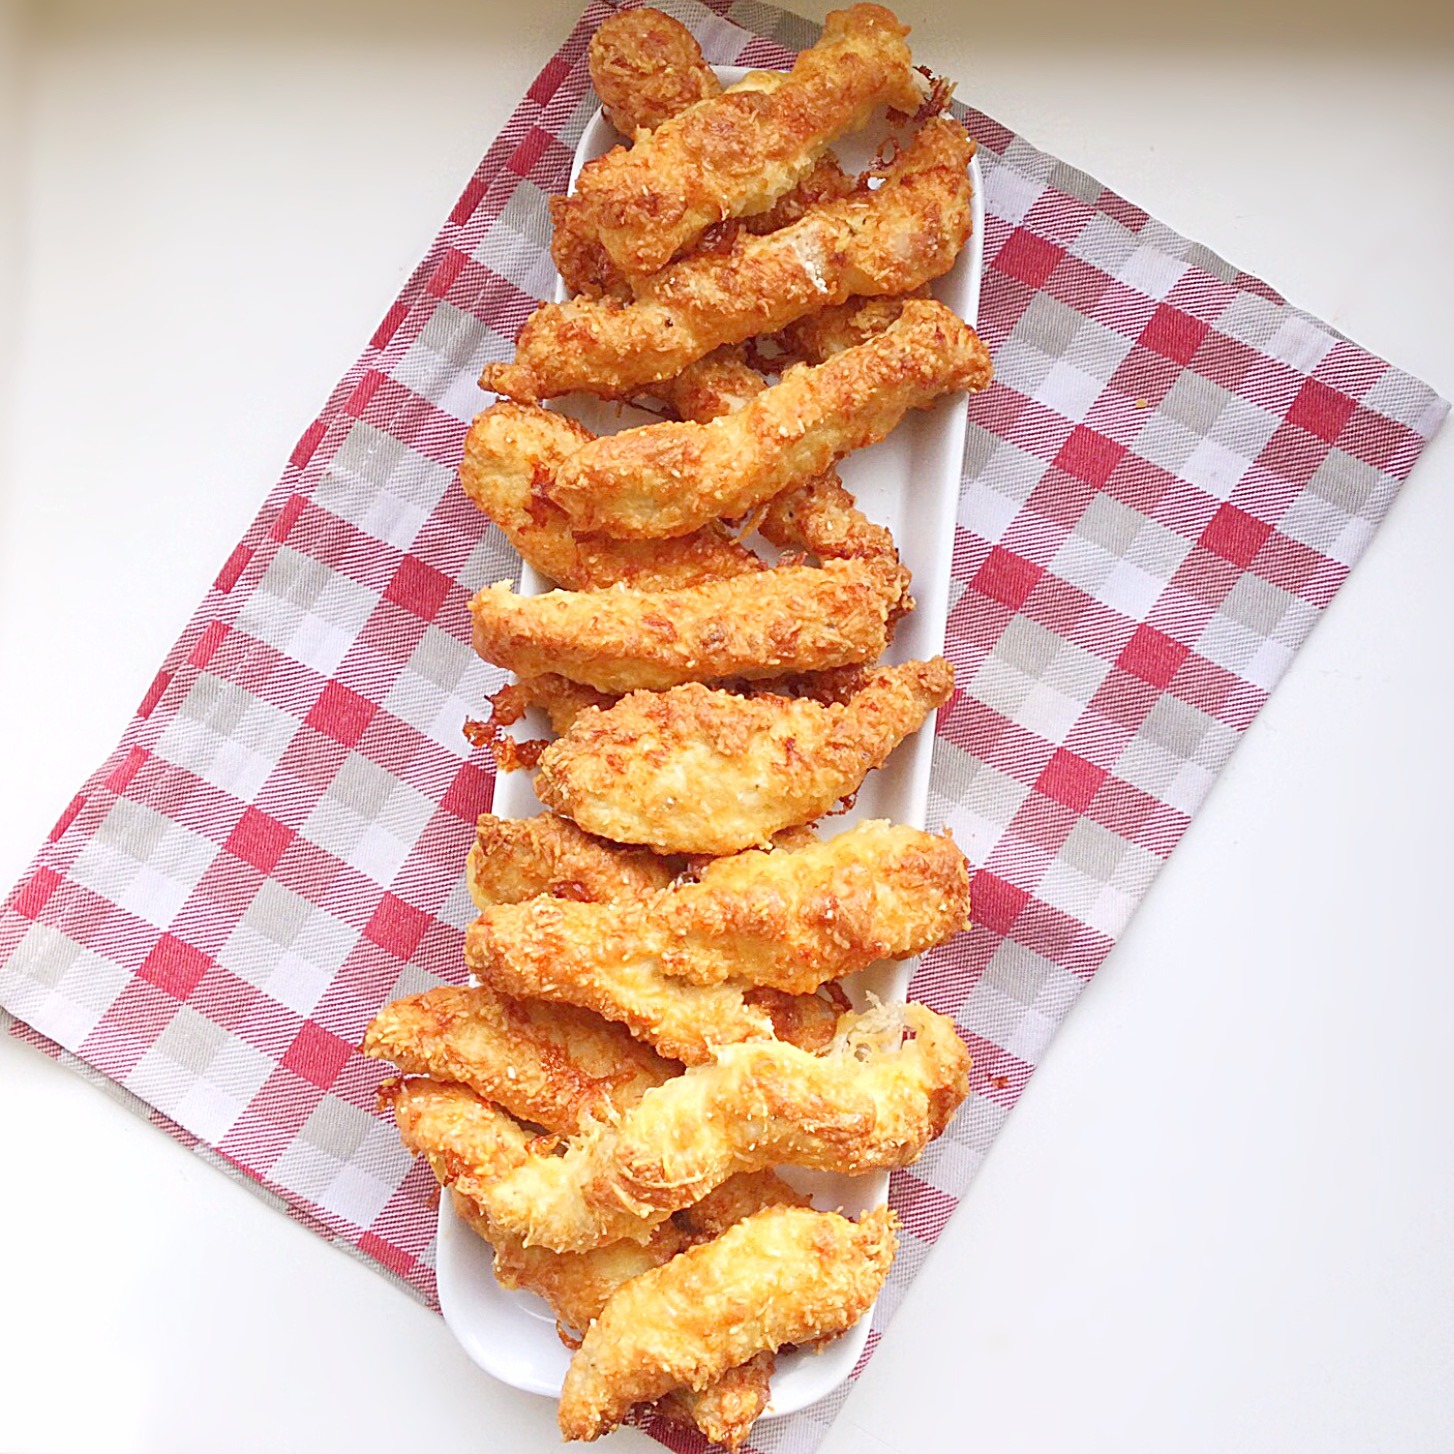
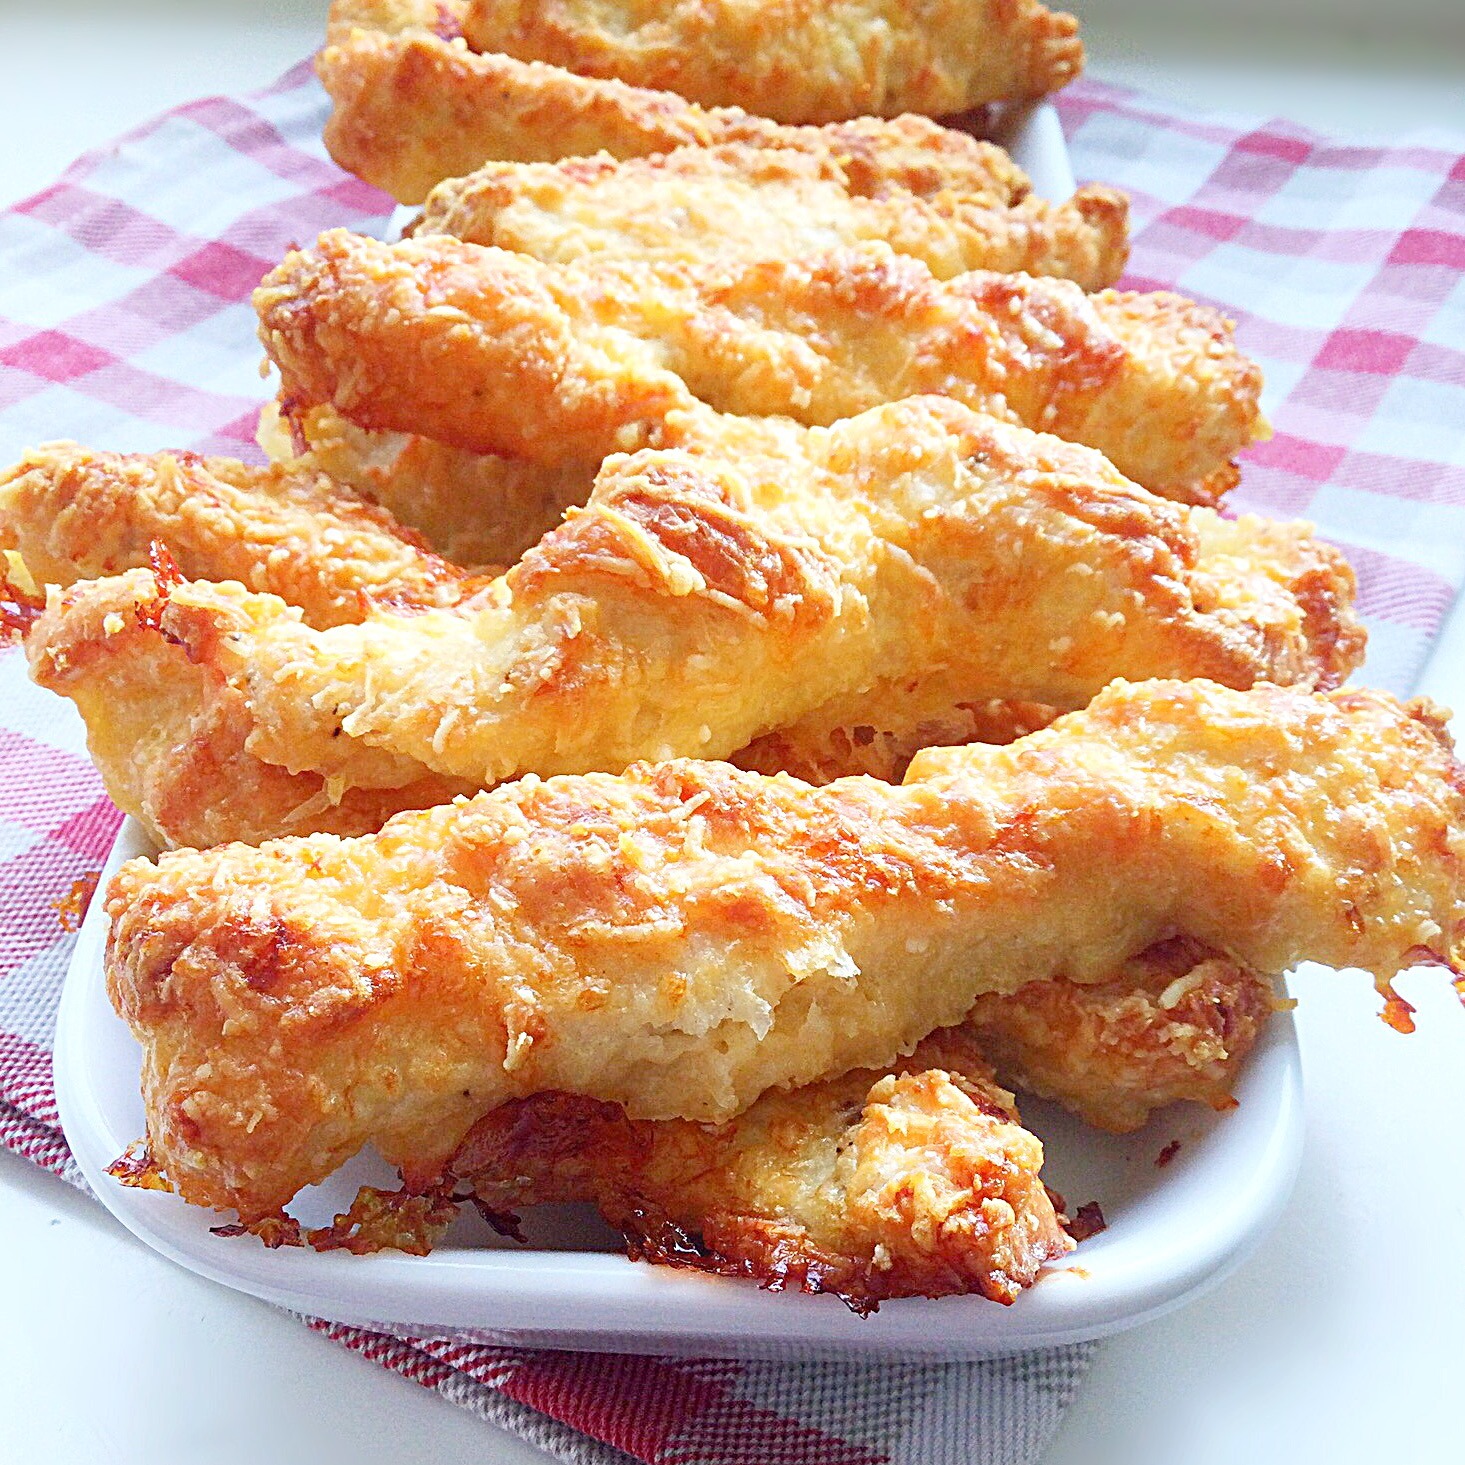
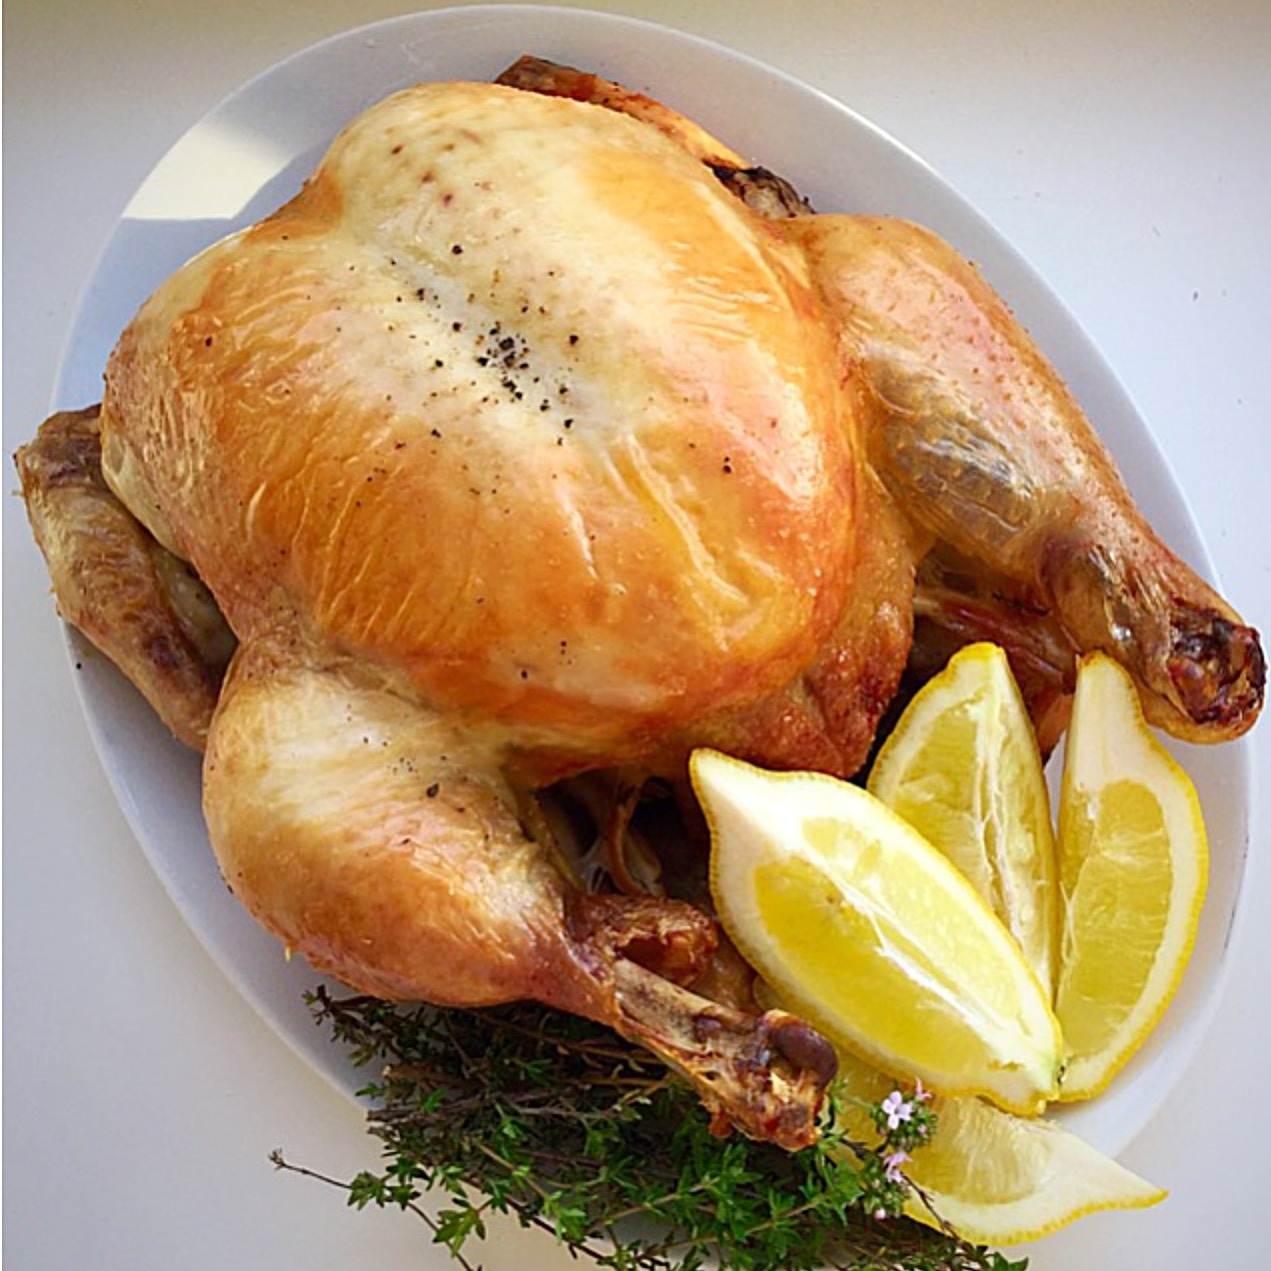
Take a look at how golden and crispy they are.
Recipe – Baked Parmesan Chicken Goujons makes approximately 30
650g/1.5lb Chicken Breast Fillets
1/2 tsp Salt – I use Maldon
1/2 tsp Freshly Ground Black Pepper
100g/4oz Plain White Flour – alternatively, for gluten free, use the same weight of gf flour or cornflour/corn starch.
2 Large Free Range Eggs
150g/5.5oz Grated Parmesan Cheese – alternatively use the same weight of grated Grana Pandano Cheese. The taste is similar and it is cheaper to buy.
Preparing The Ingredients
Before we start making the chicken goujons it’s worth reading through these tips first:
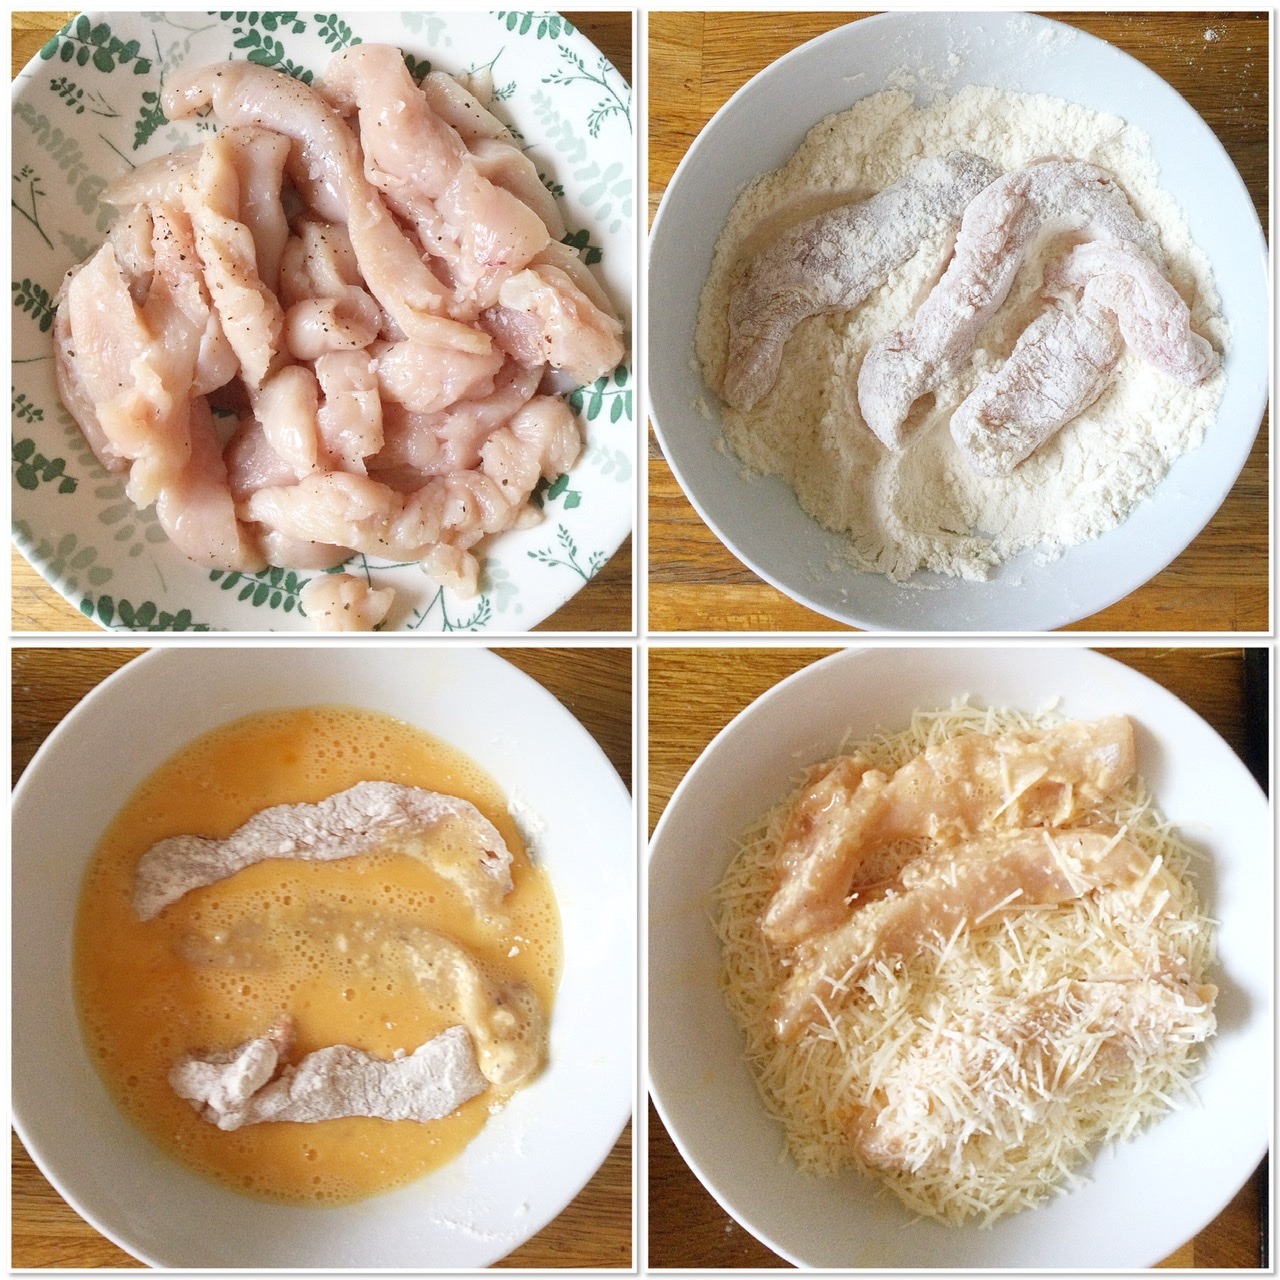
Setting up an assembly line with each ingredient will make the whole process easier, as you simply move from bowl to bowl with your chicken strips, ending with a lined baking tray. Use your fingers to coat and move the chicken through each stage, I use my left hand for dry and right hand for wet. Inevitably your hands will get sticky and messy, I see this as part of the fun! Although it’s a good idea to keep some kitchen paper near to wipe your fingers on when they become too sticky!
Also, it’s really worth grating the cheese yourself. Aim for long, thin strands of cheese, as these give the best, crispiest finish to the baked chicken. I use the fine side of a box grater to obtain the desired strands of Parmesan cheese.
Let’s Get Started
Preheat the oven to 220C/200C fan, 425F, gas mark 7
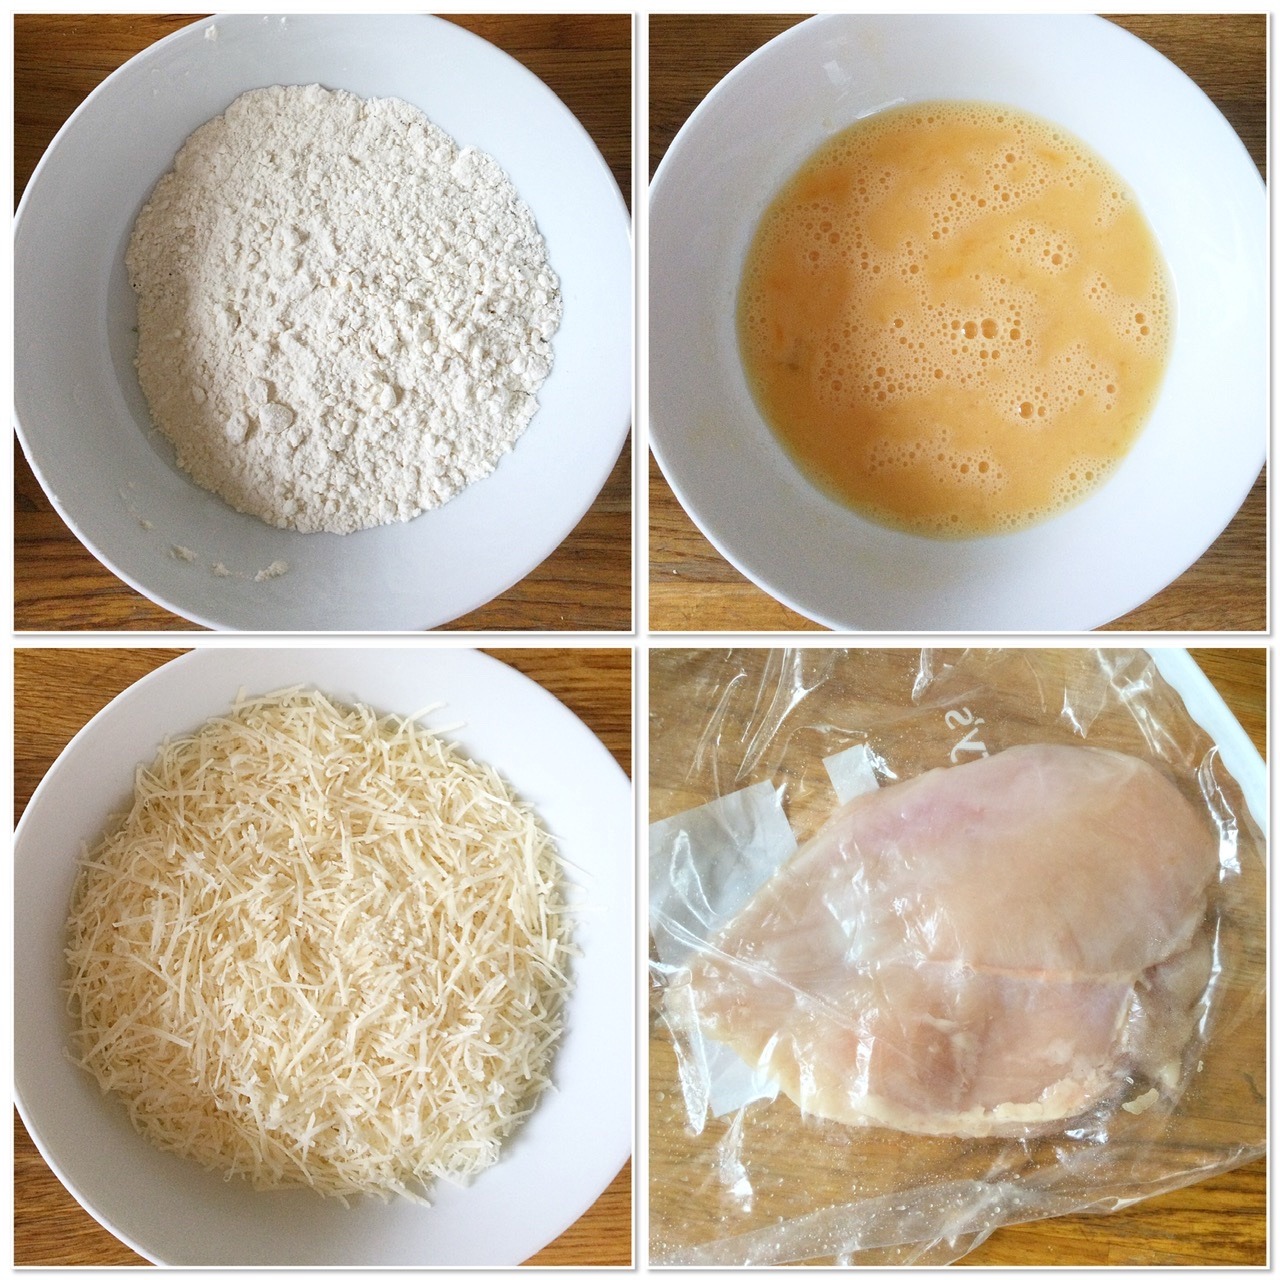
- Place the flour and grated Parmesan cheese into shallow bowls.
- Crack both eggs into a similar bowl and whisk together with a fork until combined.
- Line two large baking sheets with parchment paper.
- Place one chicken breast at a time into a freezer bag or between baking parchment and hit with a rolling pin until it is just over 1cm, or half an inch thick across the breast.
- Using a sharp knife, or poultry scissors cut the breast into 2.5cm, or 1 inch wide strips. It is important to keep the chicken strips roughly the same size as this helps with even baking.
- Place all of the chicken strips into a shallow dish and season with the salt and pepper, tossing the chicken with your fingers until the seasoning is even.
- Now make your assembly line, starting with the chicken strips, then the flour, followed by the eggs and then the grated Parmesan. The baking sheets should be as close as possible to the grated Parmesan dish.
Assembling The Parmesan Chicken Goujons
- Take 3-4 strips of seasoned chicken and place in the flour. Use your fingers to toss the chicken until all strips are coated in flour.
- Lift each strip of chicken out of the flour, giving it a little shake to remove any clumps and place into the egg. Use your other hand to turn the strips over ensuring each one is fully coated in egg.
- Lift each strip from the egg mixture, allowing excess egg to drip off and drop into the grated Parmesan cheese. Use your flour hand to toss the chicken in cheese until covered.
- Carefully remove the Parmesan cheese coated chicken strip and lay it on the baking tray.
- Repeat the whole process in small batches until all of the chicken goujons are on the baking trays.
Baking The Chicken Goujons
- Place the full baking sheets into a preheated oven and bake for 30 – 35 minutes until golden and completely cooked through.
- To check if they are thoroughly cooked carefully cut through the thickest piece of chicken. Inside should be opaque with no sign of redness.
- As soon as the chicken is baked remove the baking trays from the oven.

- Serve immediately for a main meal using tongs to pick them up.
- If serving hot for a buffet use tongs to place on a platter and cover with foil to keep warm.
- For picnics or when serving cold leave the goujons to cool on the baking tray. They will still retain their crispness.

Nothing beats the flavour of their savoury, golden crunch against the juicy chicken inside!
 While this recipe is simple, it does require a few stages. Although, thankfully not having to handle hot oil and fry them makes it worthwhile. For this reason I especially like to batch make these chicken goujons. It makes sense to double the ingredients, make the most of having the oven on and only have one, fun messy kitchen!
So, to make ahead and freeze I follow the recipe and leave the baked goujons to cool. Especially in hot weather I cool the chicken in the refrigerator. Then I place them in freezer bags and pop in the deep freeze where they will keep for 3 months, not that they ever last that long! I defrost the chicken overnight in the refrigerator and bake in the oven for 10 – 15 minutes at 200C/180C fan, 400F gas mark 6, until fully heated through. Likewise, they will keep refrigerated in an airtight container for a couple of days, reheat as given above.
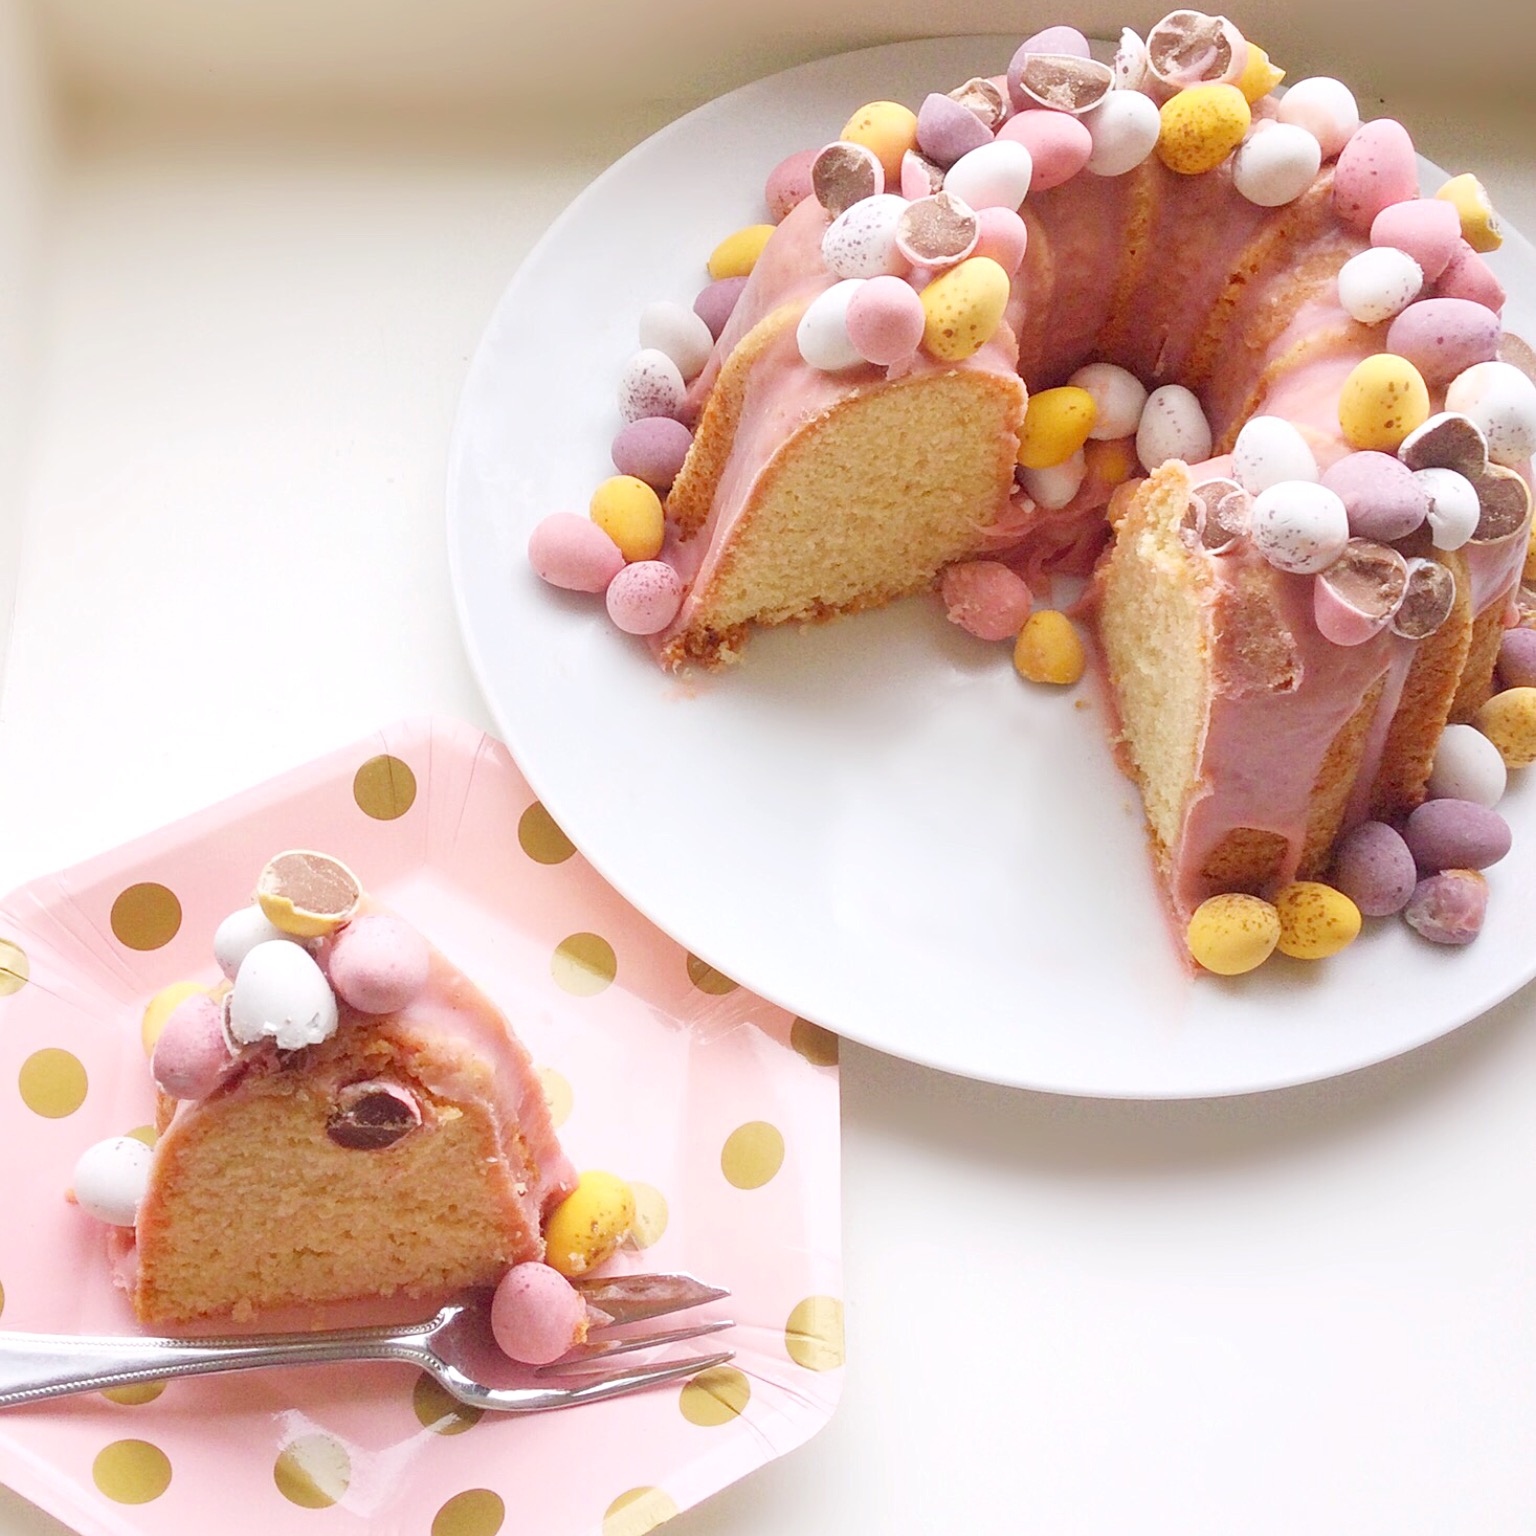
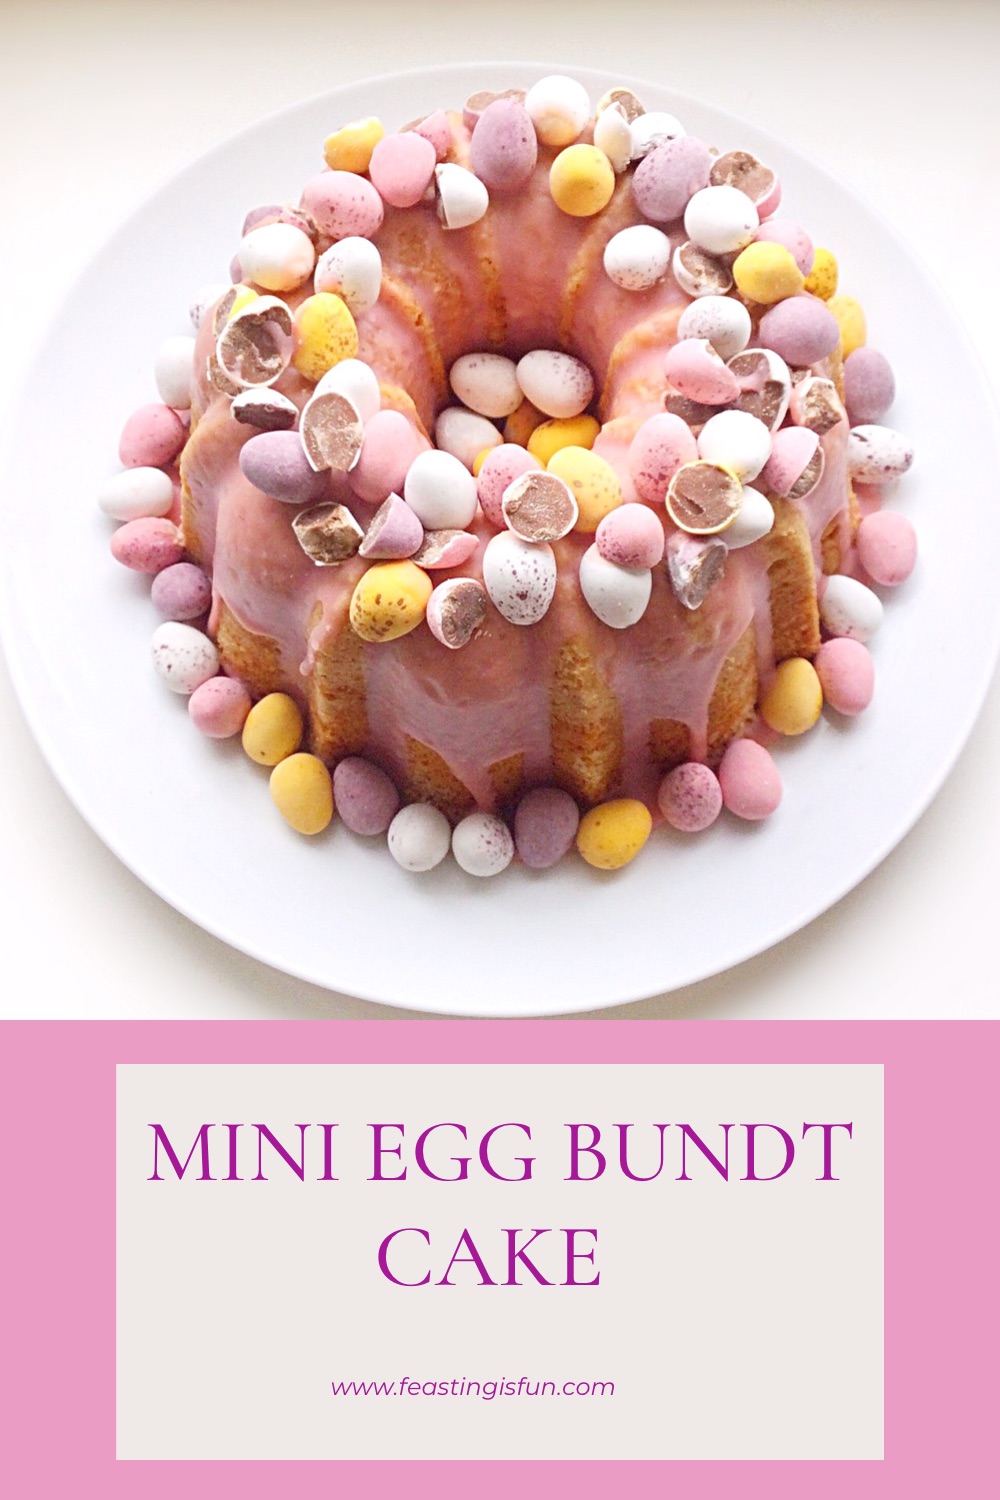
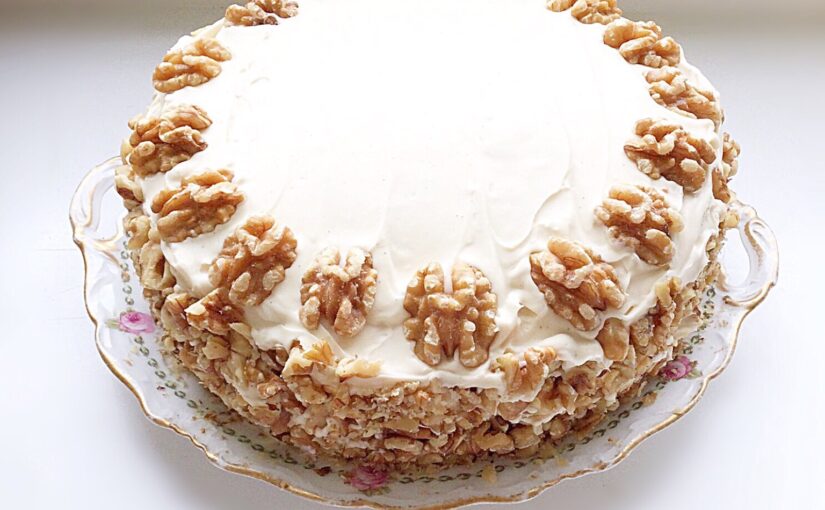
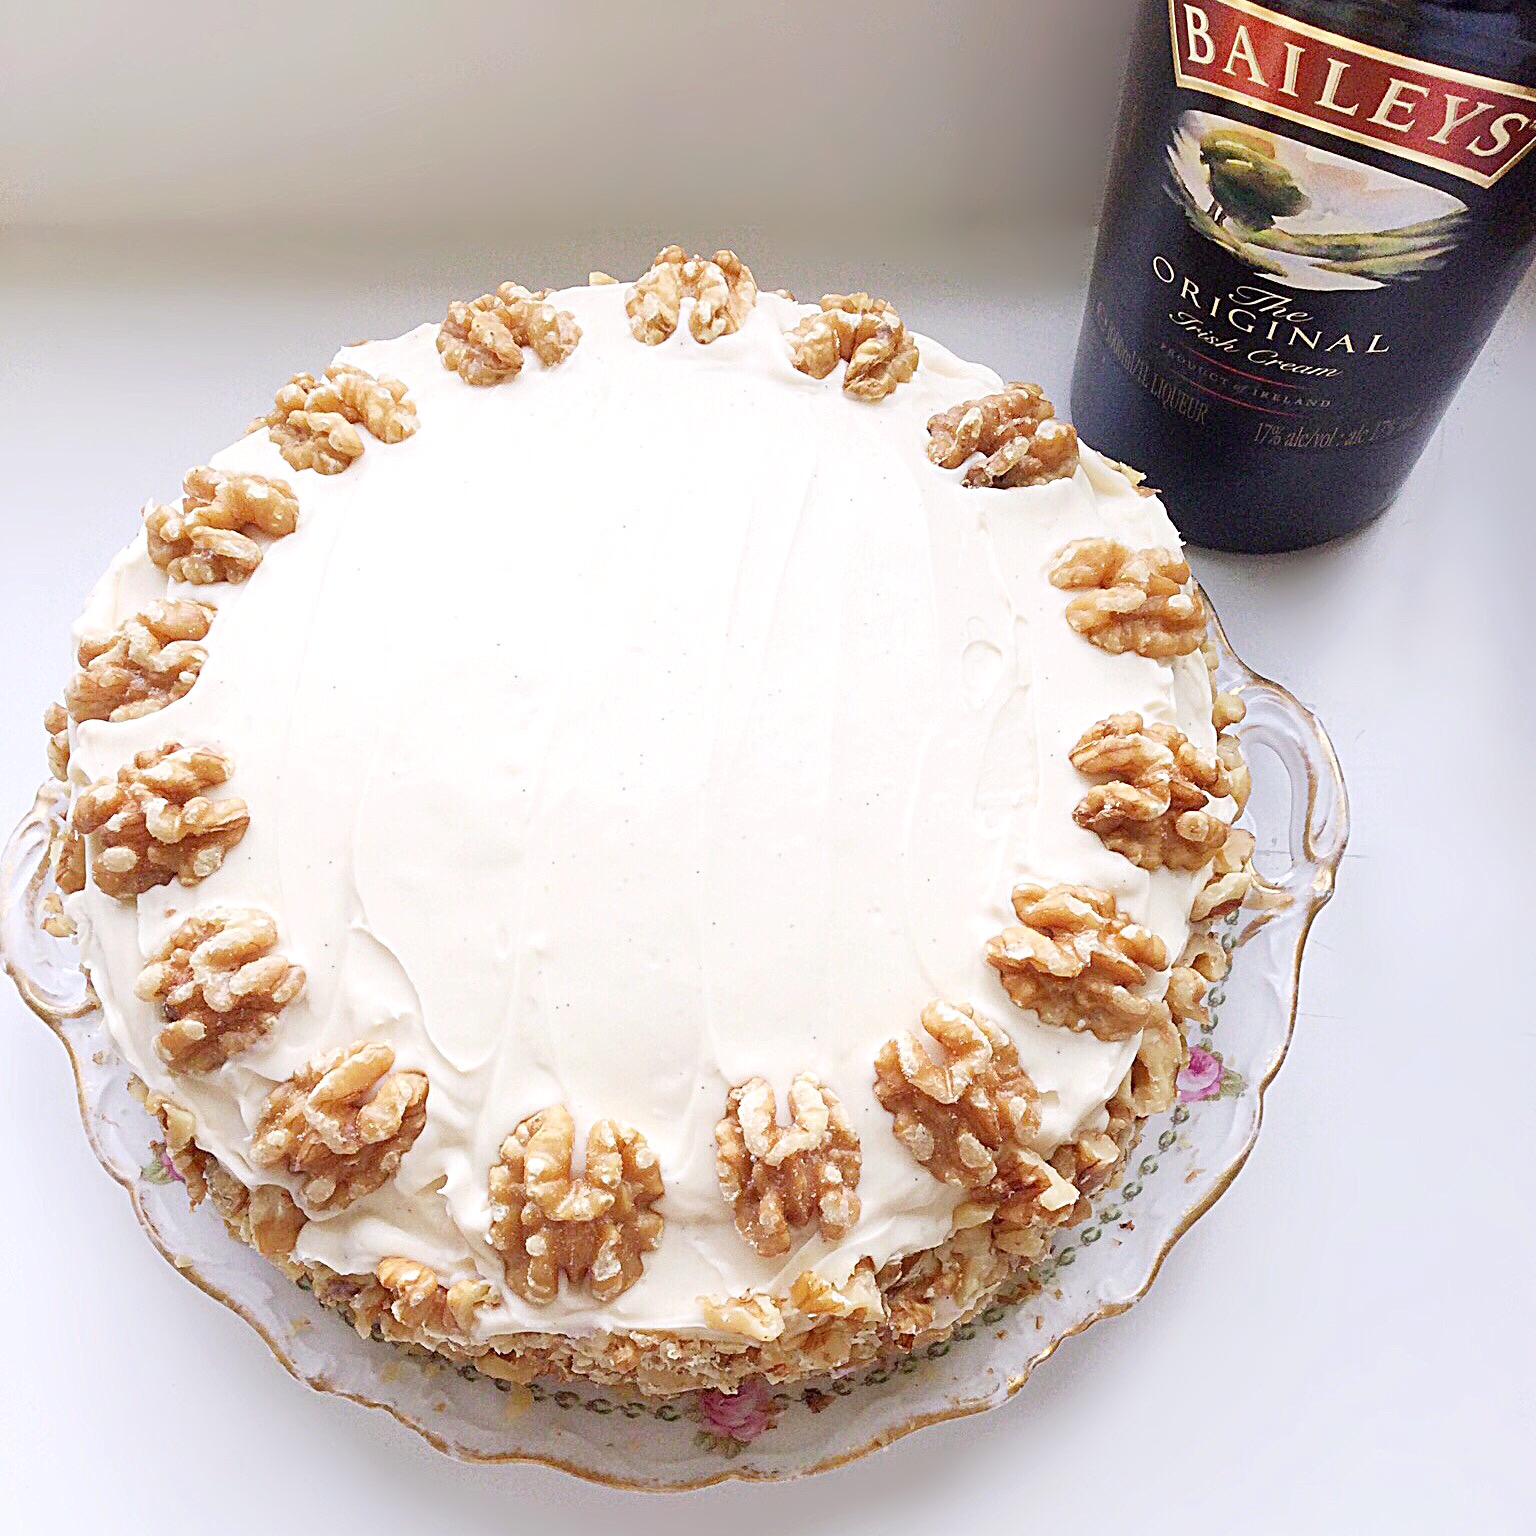
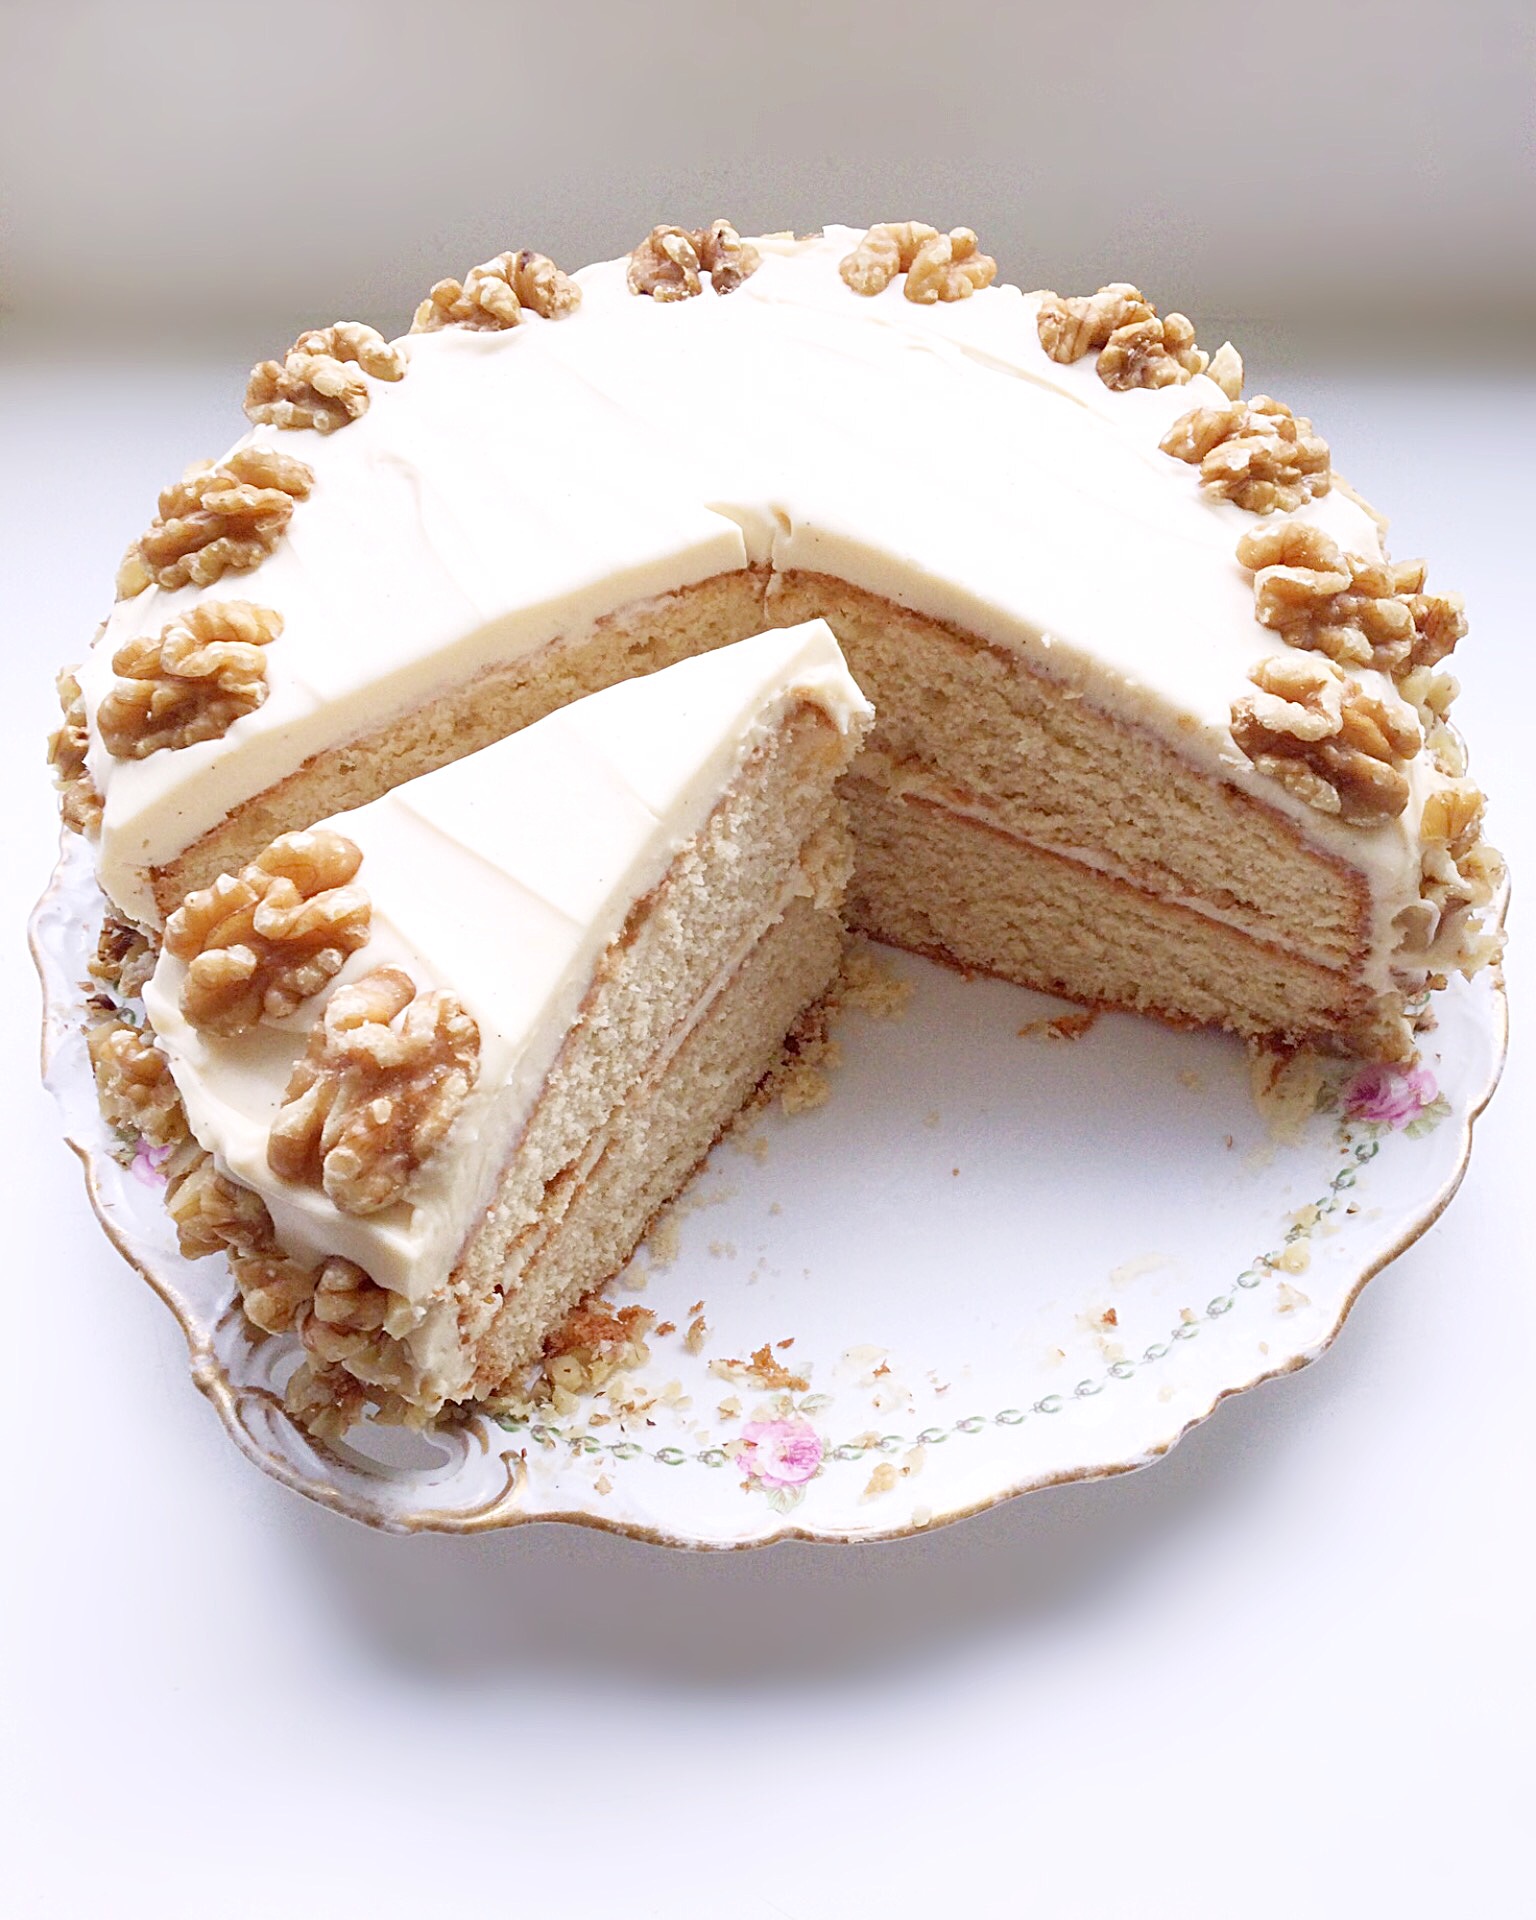
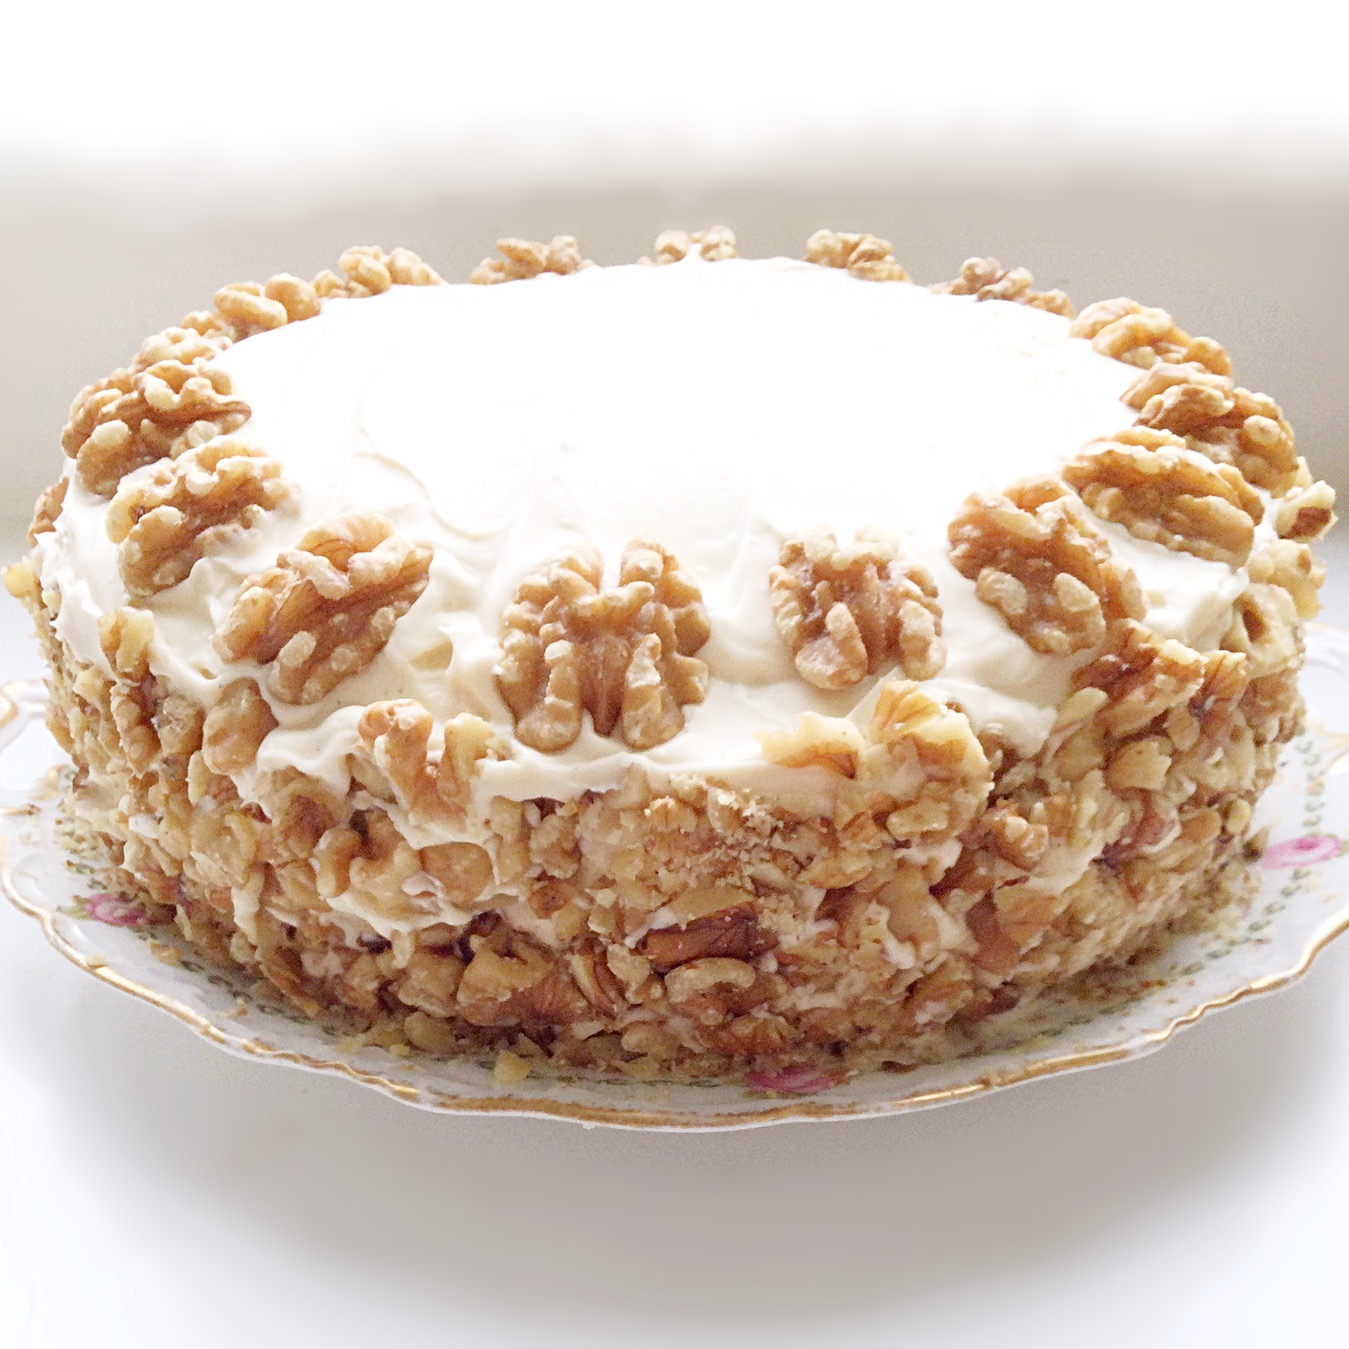
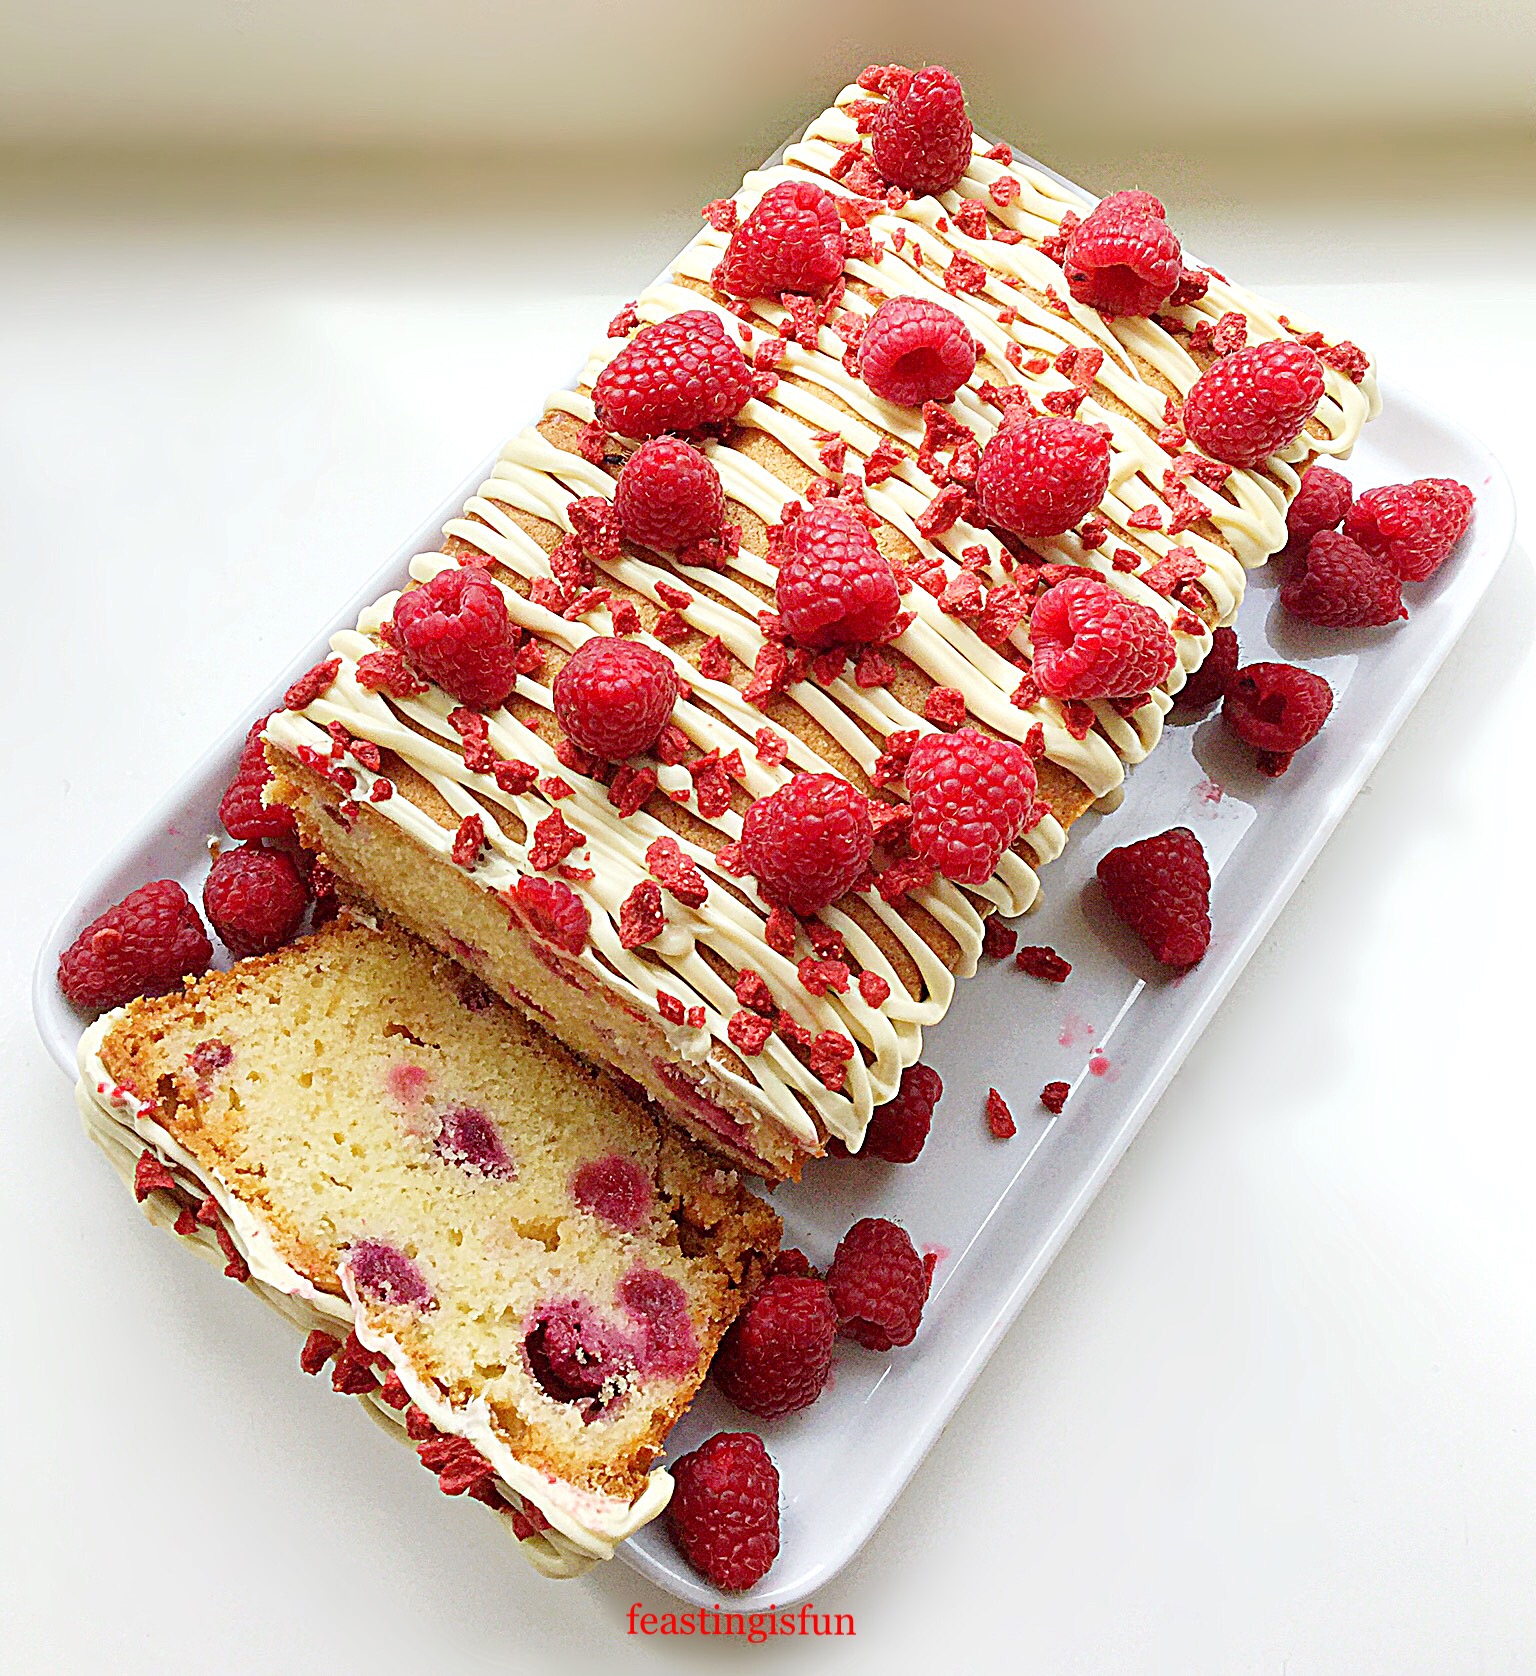
If You Have Enjoyed This Recipe For Baked Parmesan Chicken Goujons You May Also Like These:


While some people think that chicken has little flavour of its own, when cooked properly, with complimentary ingredients it can really be the star of the show. The Parmesan cheese in this recipe doesn’t give the chicken a cheesy flavour, more like a slightly salty savoury hit that lifts the succulent chicken. I’m already imagining what a pinch of cayenne pepper or paprika would add to this dish! So many ideas! Most importantly is the ideas that make it onto my blog are rigorously tested, ensuring you have success every time you make them.
So, whatever you are making, baking and creating in your kitchens, have fun preparing and sharing your feast.
Sammie x
No part of this post may be reproduced or duplicated without the written permission of the owner. Please see my Disclosure Policy.