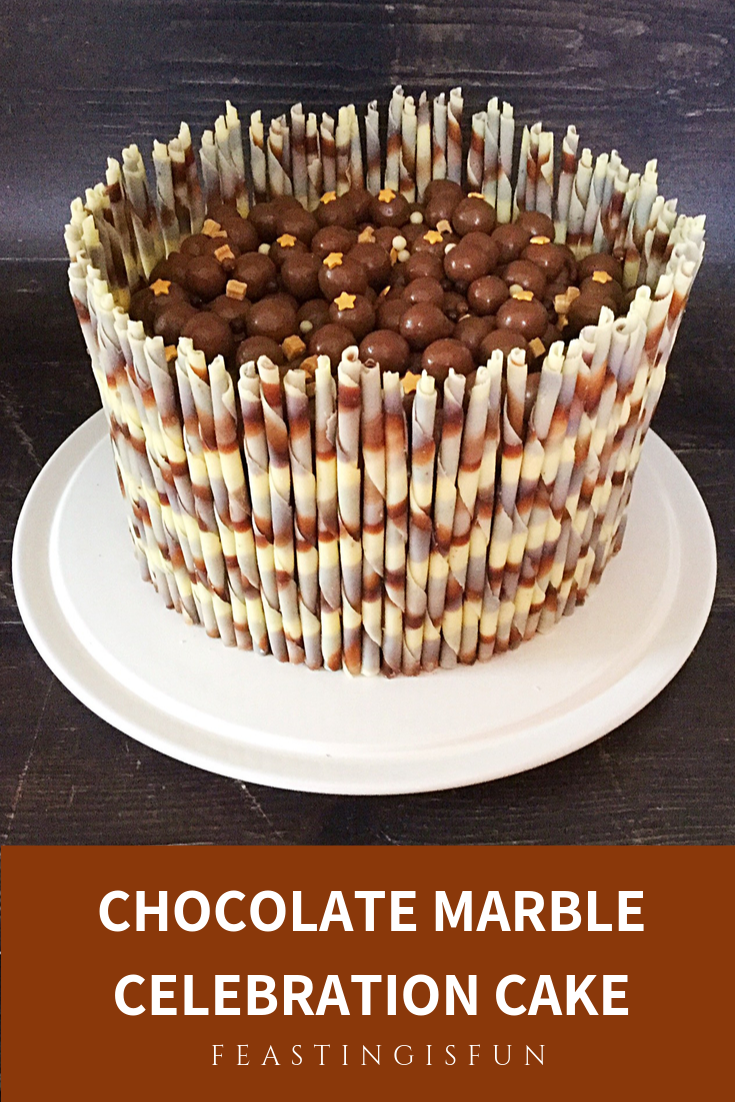
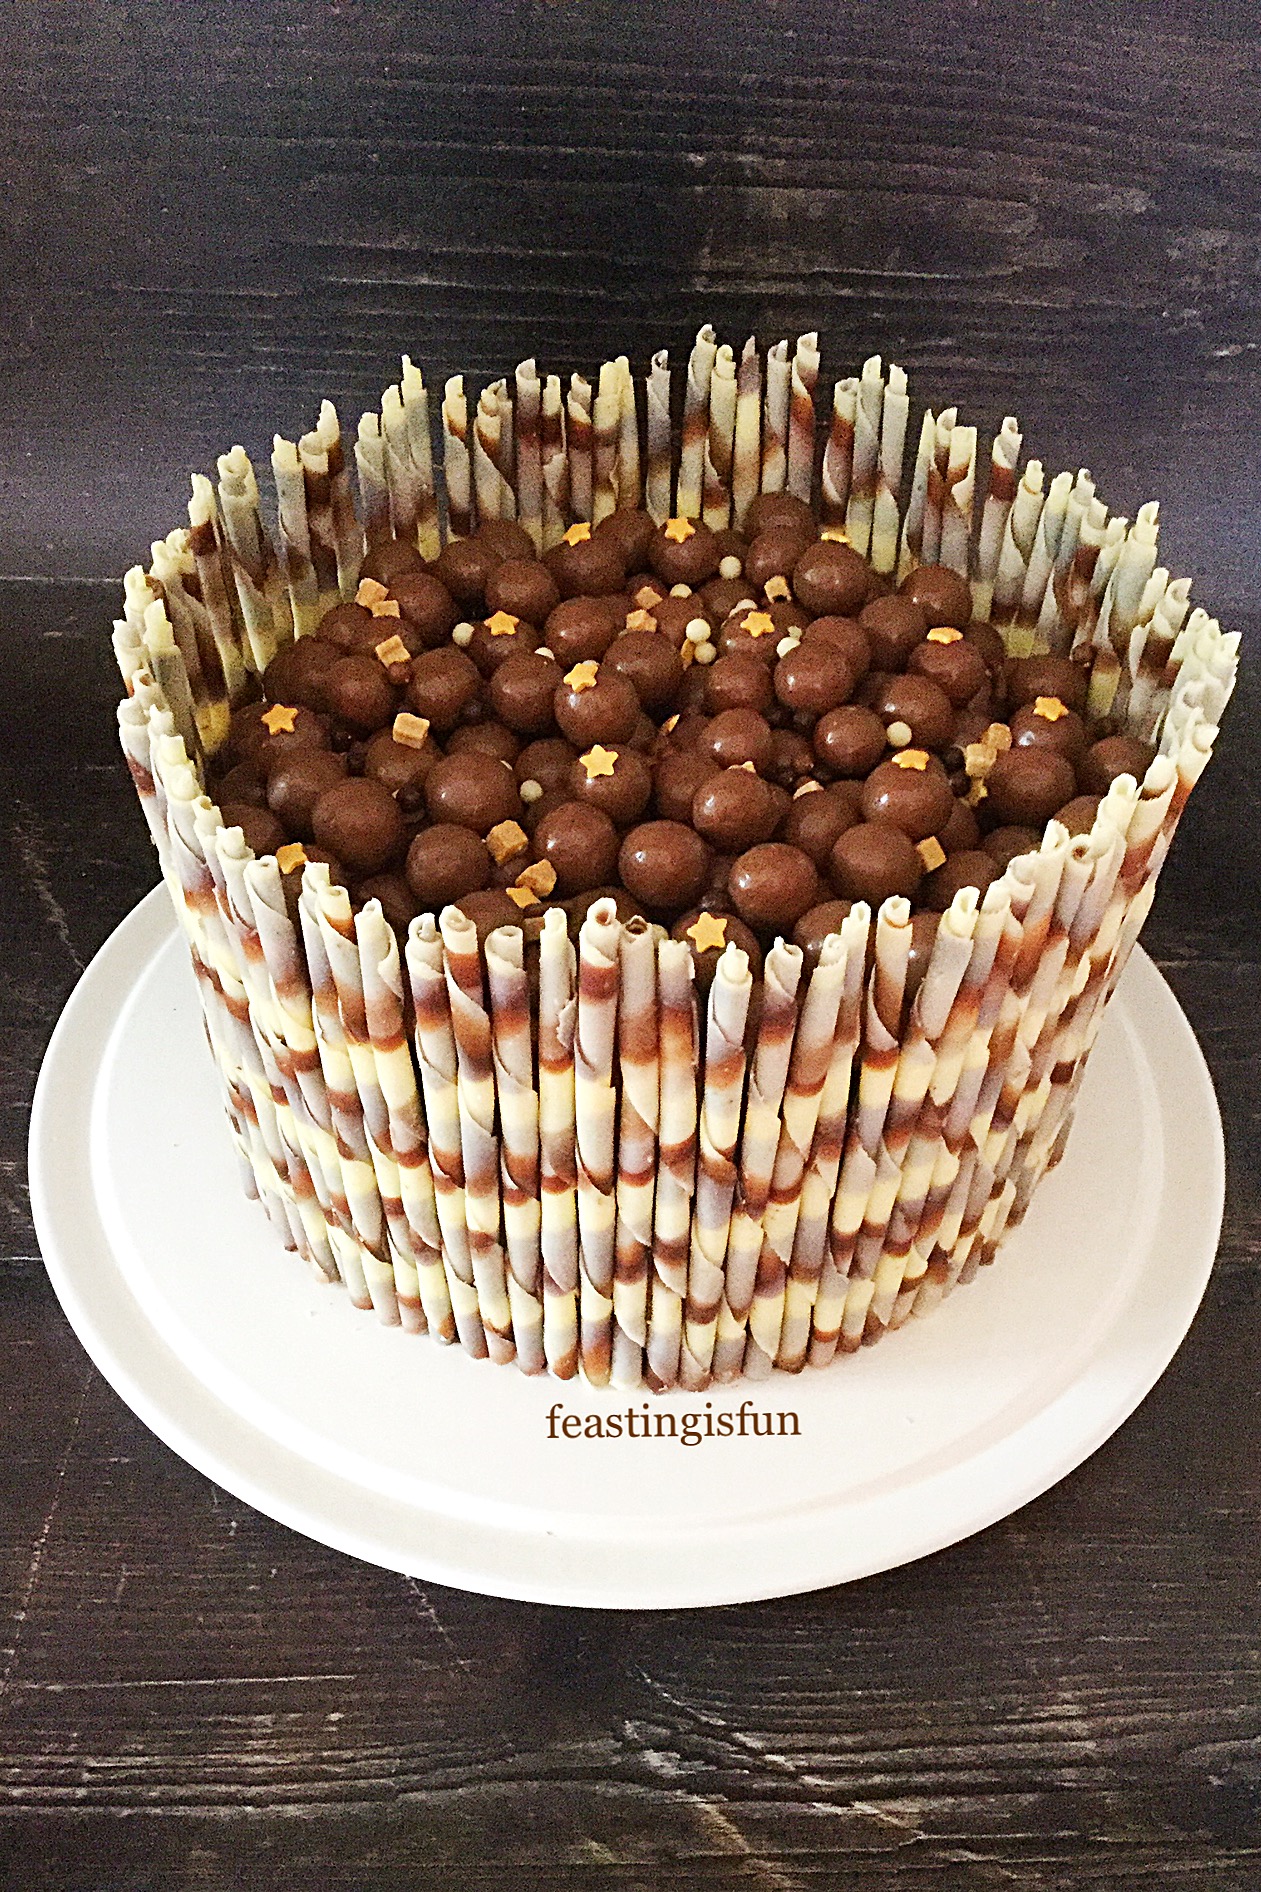
Today I have a confession to make. Although our daughter’s birthday was way back in the Summer, I made her cake last week! Truthfully, I have made and baked her cake twice before (this year), however, I wasn’t able to frost or finish the cake due to health complications. Finally, with a little help from Wright’s Baking, I made and decorated this delicious Chocolate Marble Celebration Cake for her to enjoy and share with our family. See recipe for alternative to using cake mixes.
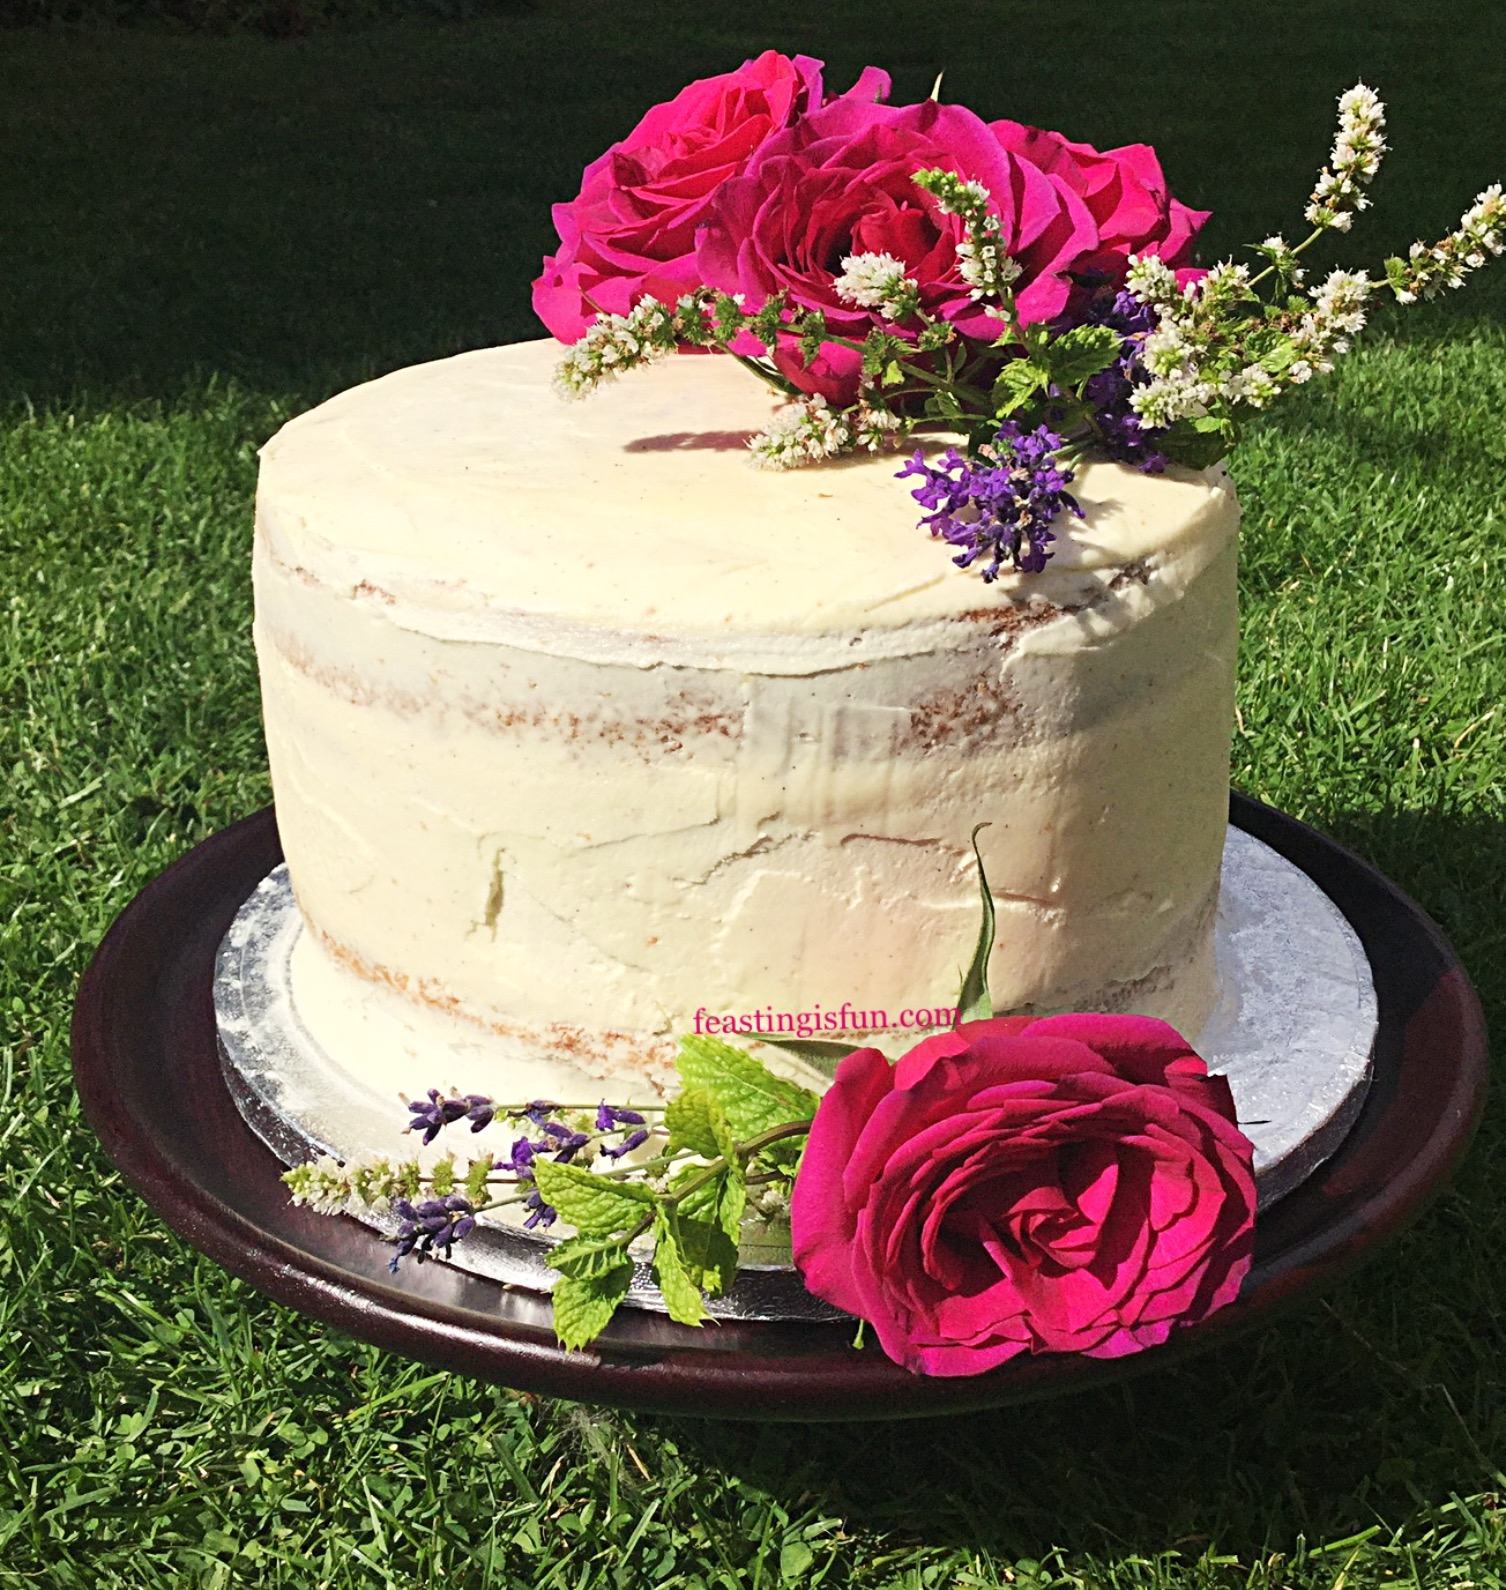
Every year, since her birthday is in the Summer, I usually make two cakes for our daughter’s birthday celebrations. First of all an ice cream cake, which is incredibly easy to make no matter where we are. So, when we spent her 16th birthday down on the farm with our beloved Devon family, I planned ahead and took a cake tin with me! Serving the ice cream cake in the evening, after a feast of a barbecue that afternoon, proved the perfect dessert to top off our birthday celebrations. And sharing it with friends and family who had travelled down to celebrate with us made the special day even more memorable.
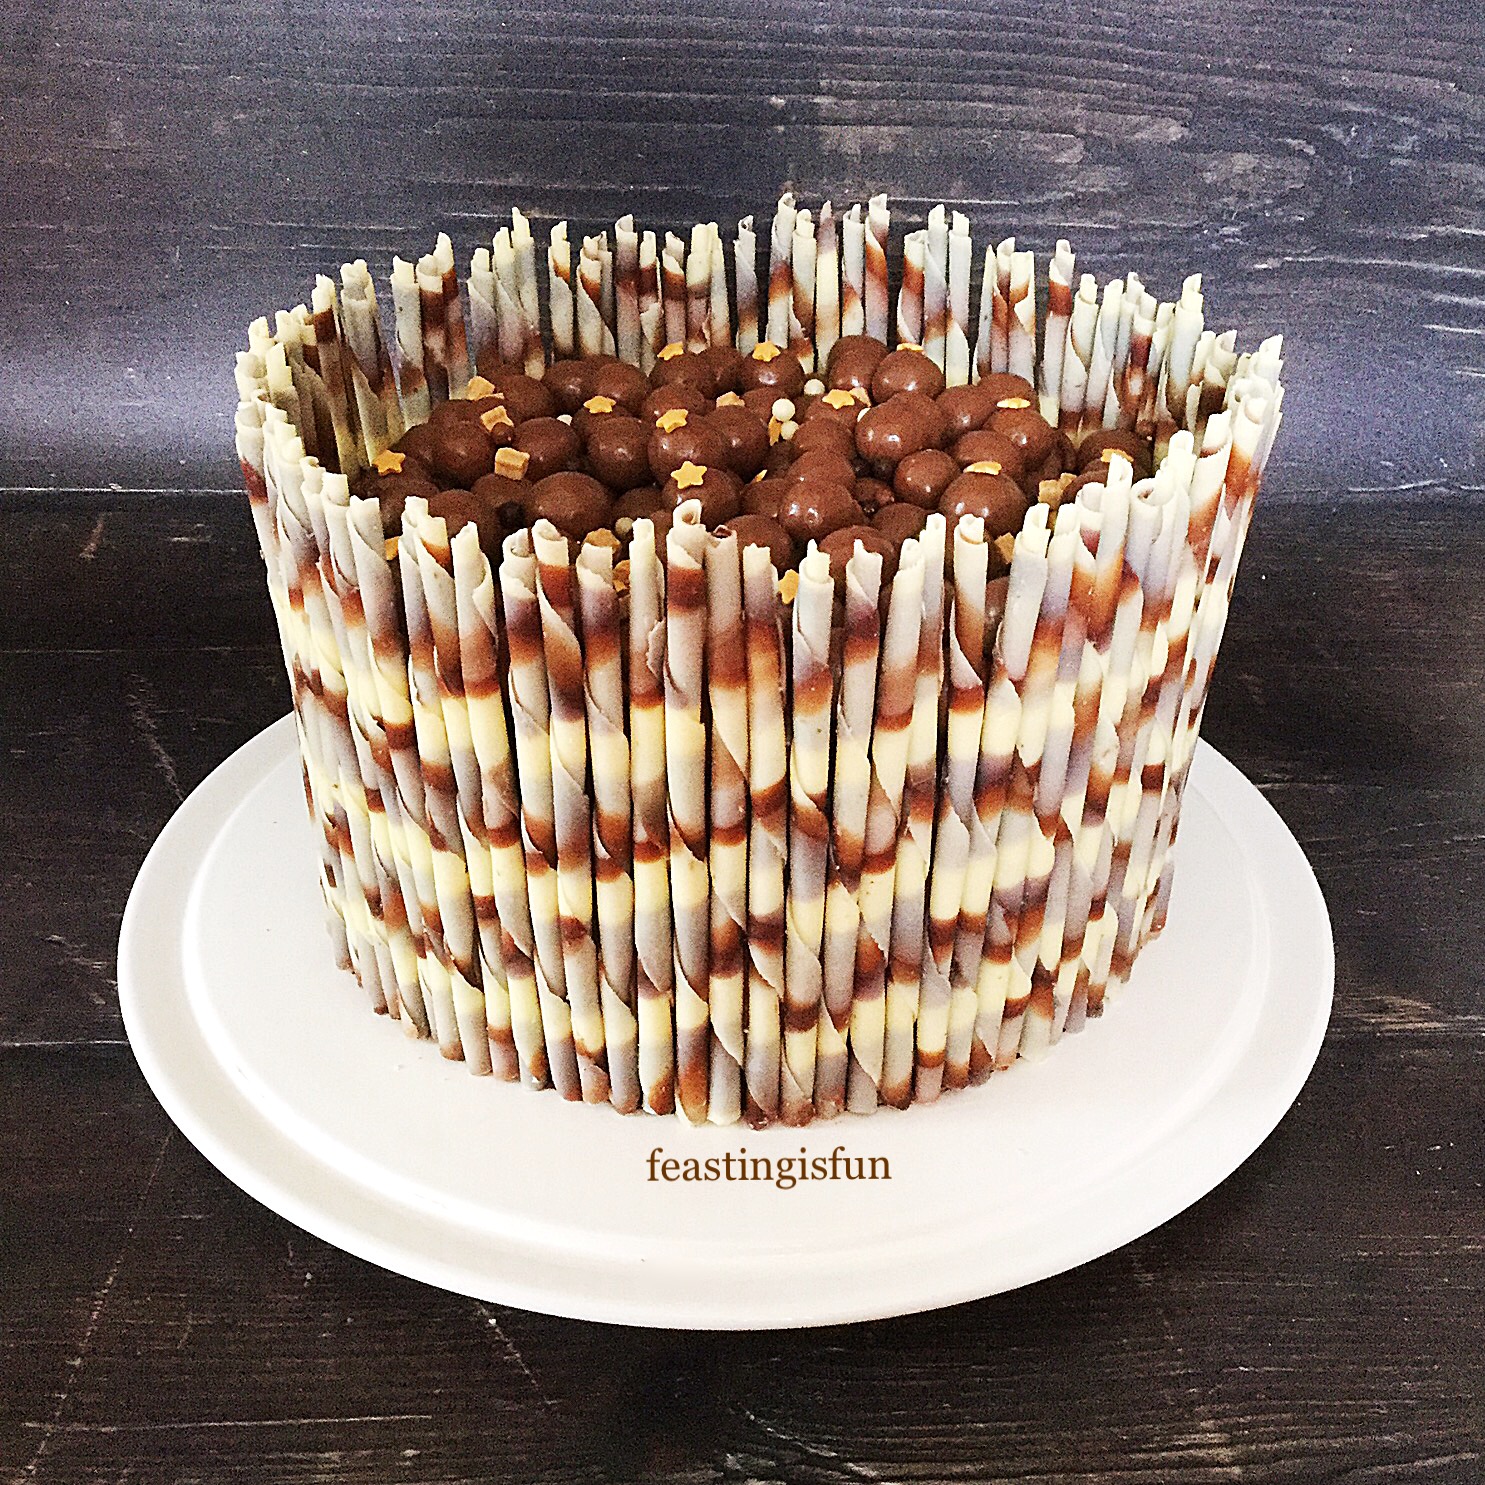
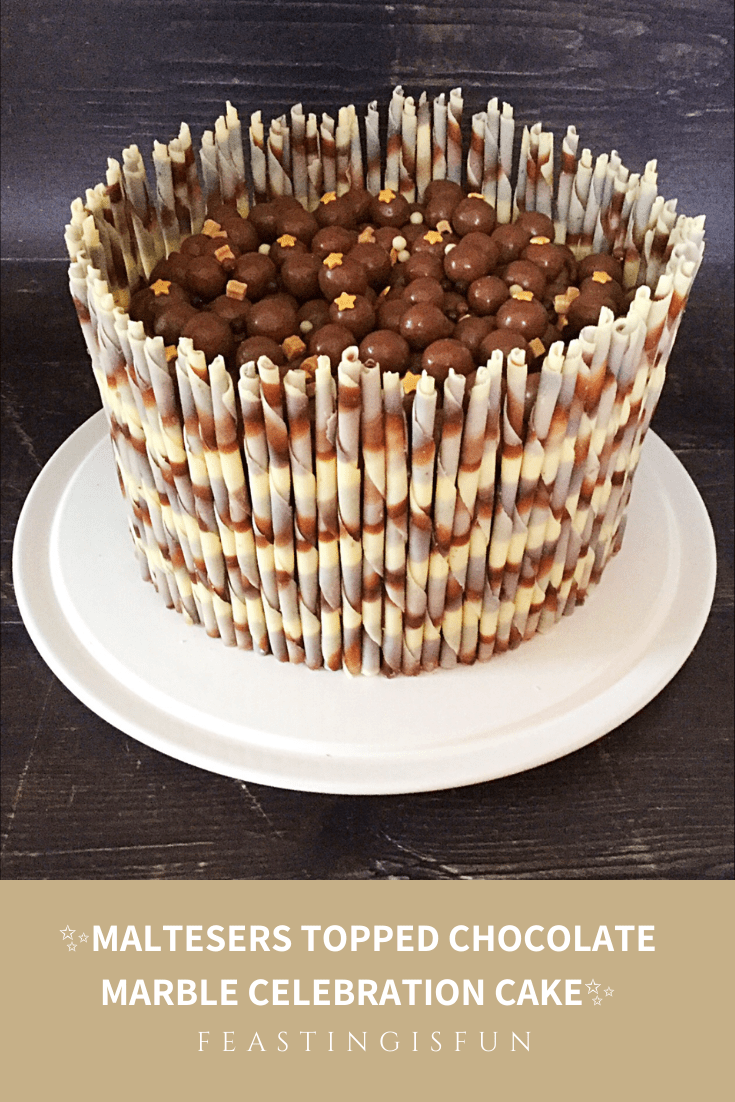
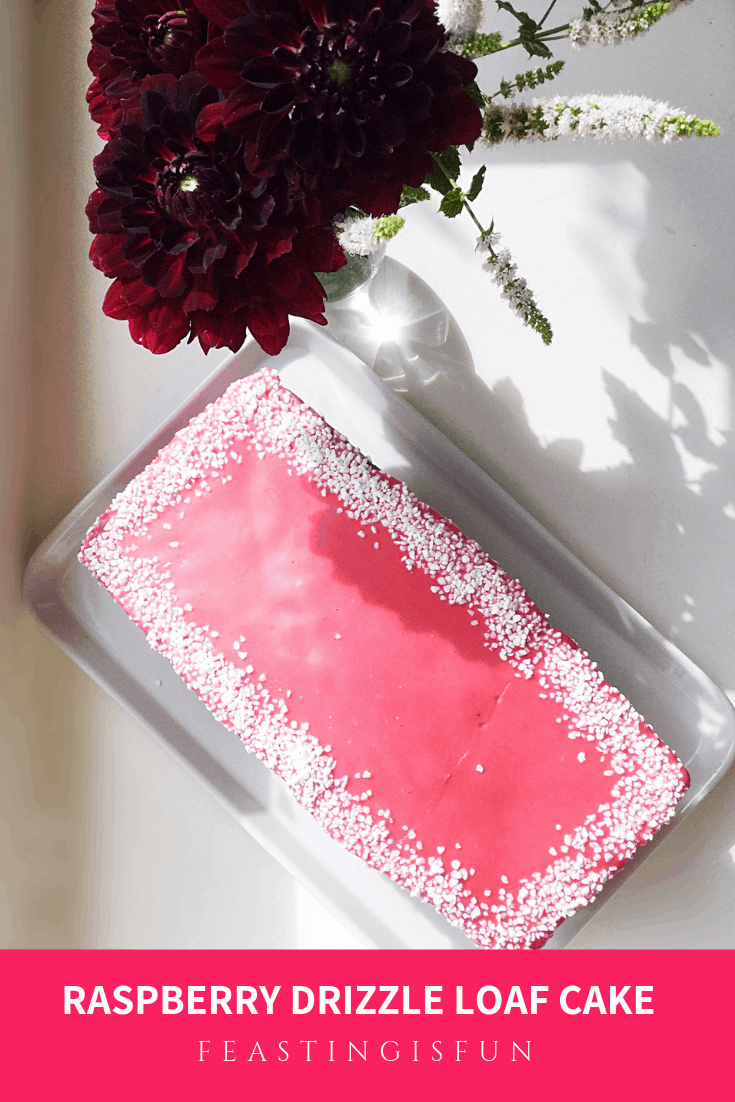
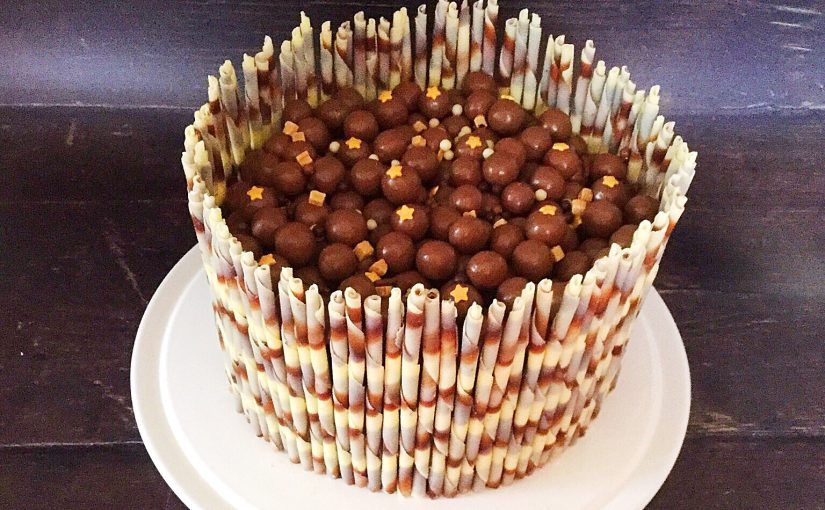
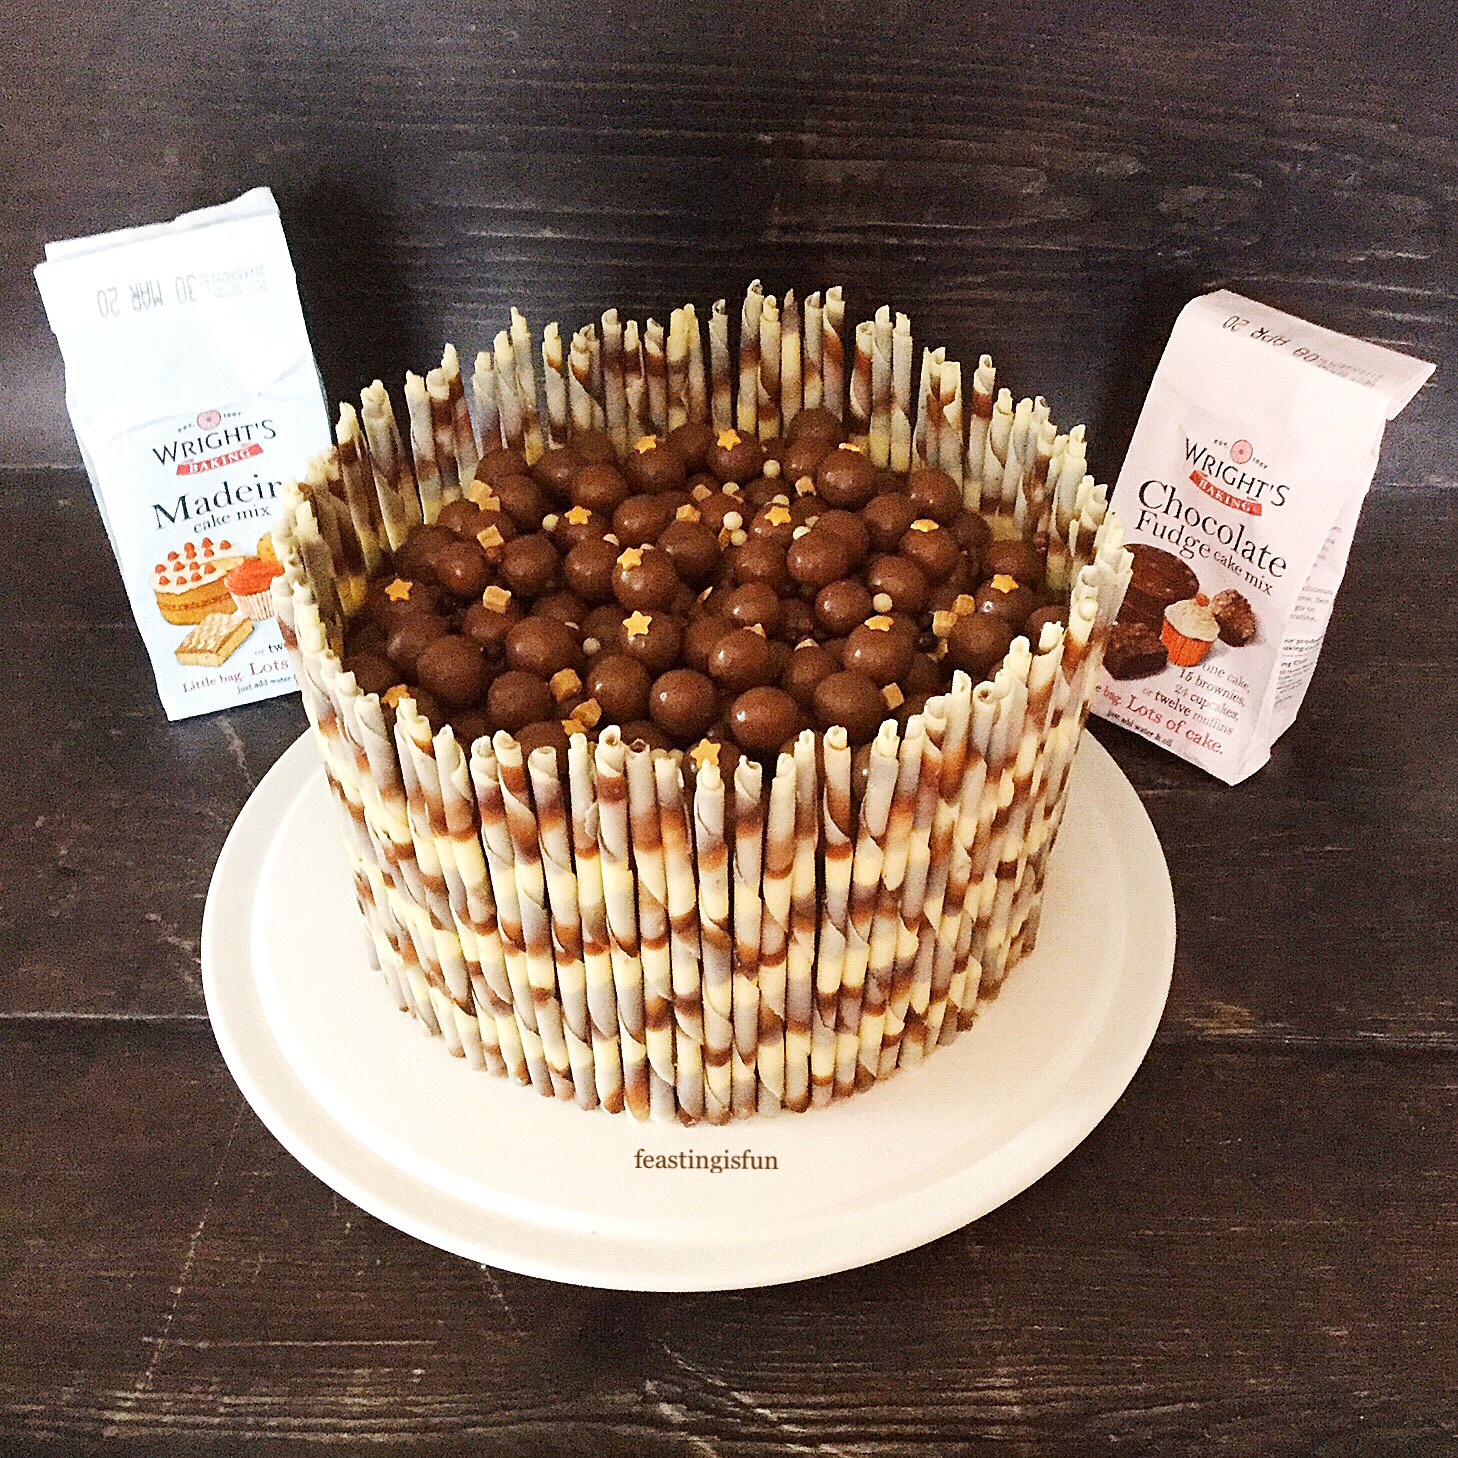
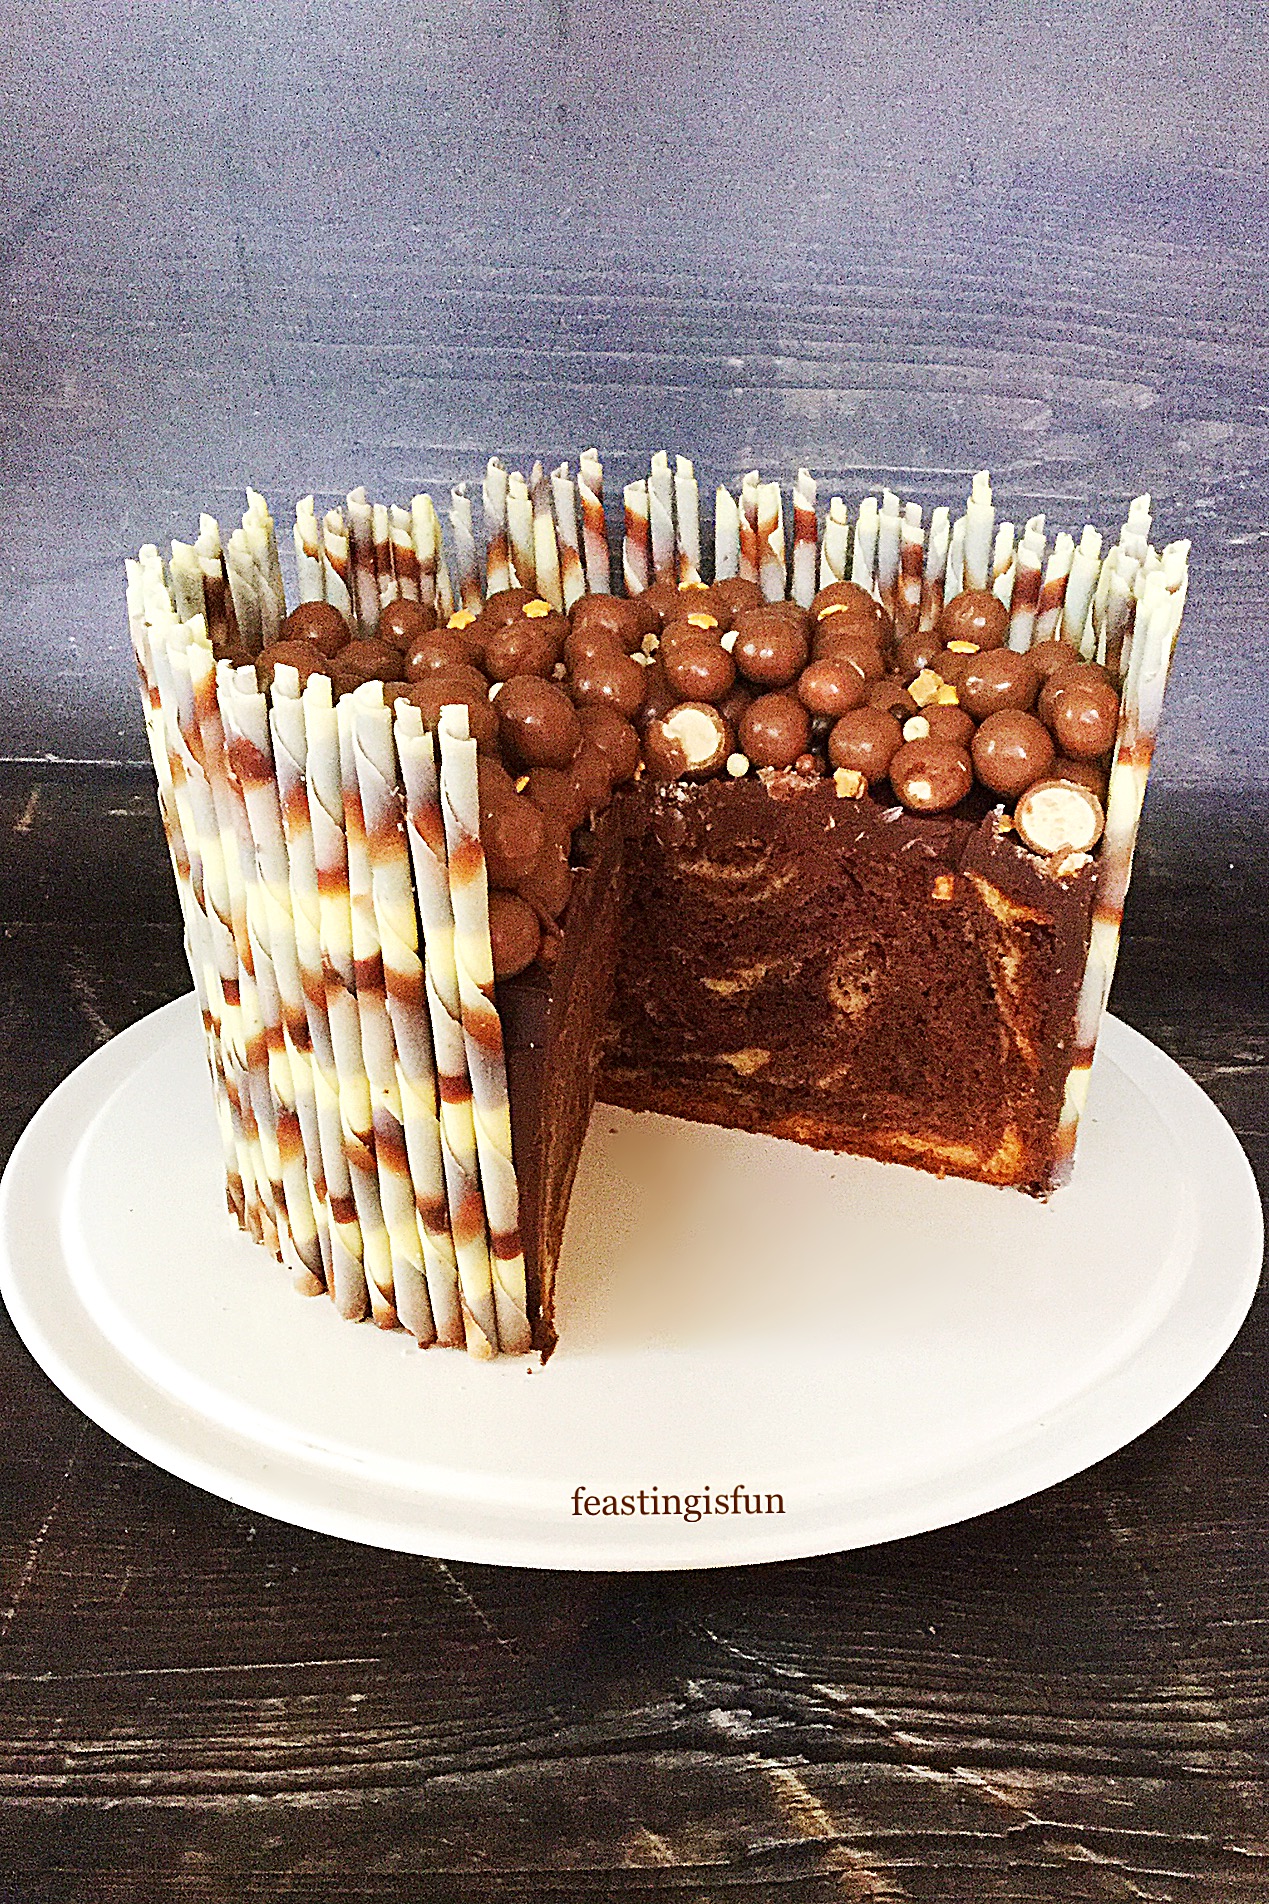
Maltesers Topped Chocolate Marble Cake – A Birthday Cake Tradition
As well as the frozen birthday cake I always bake a chocolate marble cake such as this Marbled Chocolate Bundt Cake to celebrate our daughter’s birthday. Since it is her favourite cake and she always shares it with her friends and family. So, every year I try to come up with a new design or decoration. Having made a Raspberry Lemon Celebration Layer Cake I wanted to try a similar design using marbled chocolate pencils instead. Also, she loves Maltesers, so I wanted to incorporate them in the design.
My first two attempts at baking this cake from scratch were perfect, however, due to health limitations I never managed to make or ice the cake in time. And so that’s where the lovely Deb from Wright’s Baking really helped me out. Using both their Chocolate Fudge and Madeira Cake mixes to make the marble cake took way less time and energy than baking from scratch. Resulting in me having enough energy to make the chocolate fudge icing and decorate the cake on the following days.

Our daughter thoroughly enjoyed her birthday cake, so a huge thank you to Wright’s Baking. Their cake mixes are available in most supermarkets and via their online shop.
Recipe: Chocolate Marble Celebration Cake serves 10-12
For the cakes: If you are unable to get hold of the cake mixes use this recipe Malted Marbled Chocolate Cake leaving out the powdered malted milk drink.
1 x Wright’s Baking Chocolate Fudge Cake Mix
1 x Wright’s Baking Madeira Cake Mix
2 x 200ml Tap Water
2 x 60ml Vegetable Oil (or melted butter for an extra luxurious bake!)
For the frosting: please note all quantities given can be rounded up or down to the next whole unit without it affecting the finished result.
250ml/8.4fl oz Double Cream (heavy cream)
250g/8.8oz Dark Chocolate (minimum 70% cocoa)
3 x Tubes Rolos (150.6g/5.3oz)
1tsp Vanilla Extract – I use Nielsen-Massey
Pinch of Salt (1/4tsp)
For the decorations:
1 x Box Marbled Black and White Chocolate Pencils – available from Amazon
or Chocolate Trading Company Note – you will have some chocolate pencils leftover.
Large Box of Maltesers 310g/11oz or equivalent weight in bags.
Optional – Star sprinkles and balls
Preheat the oven to 160C/140C fan, gas 3, 325F
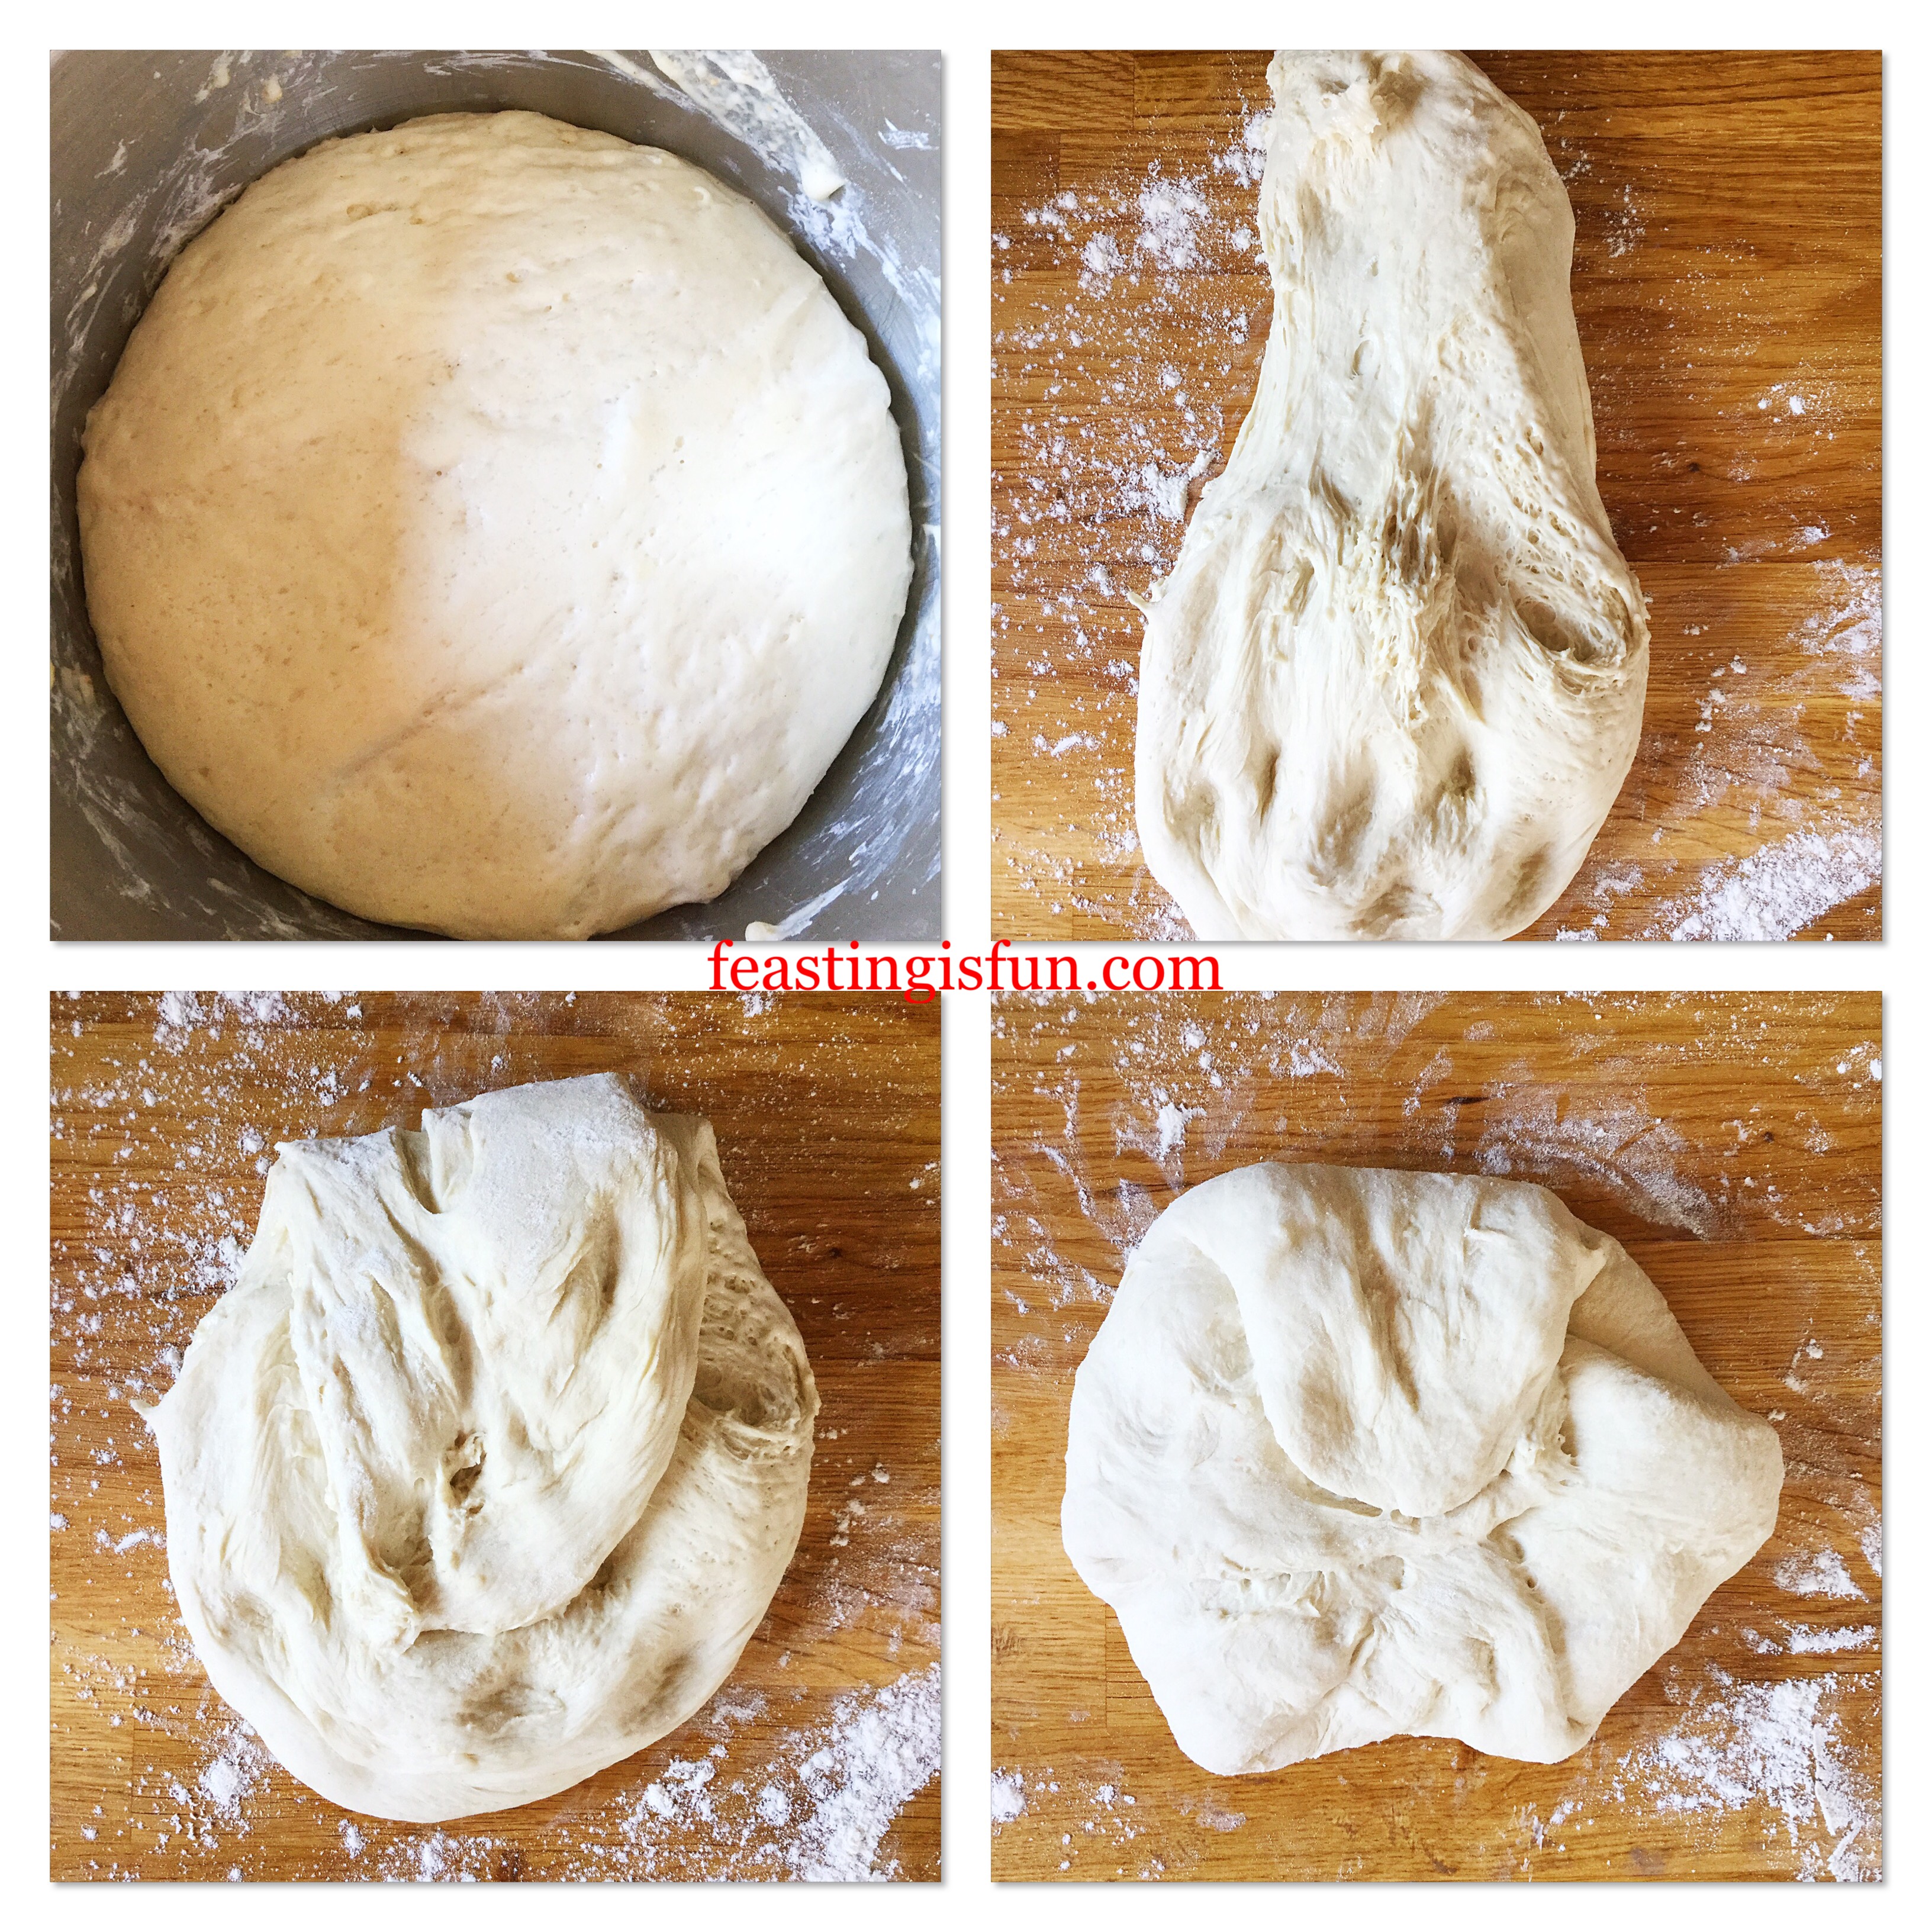
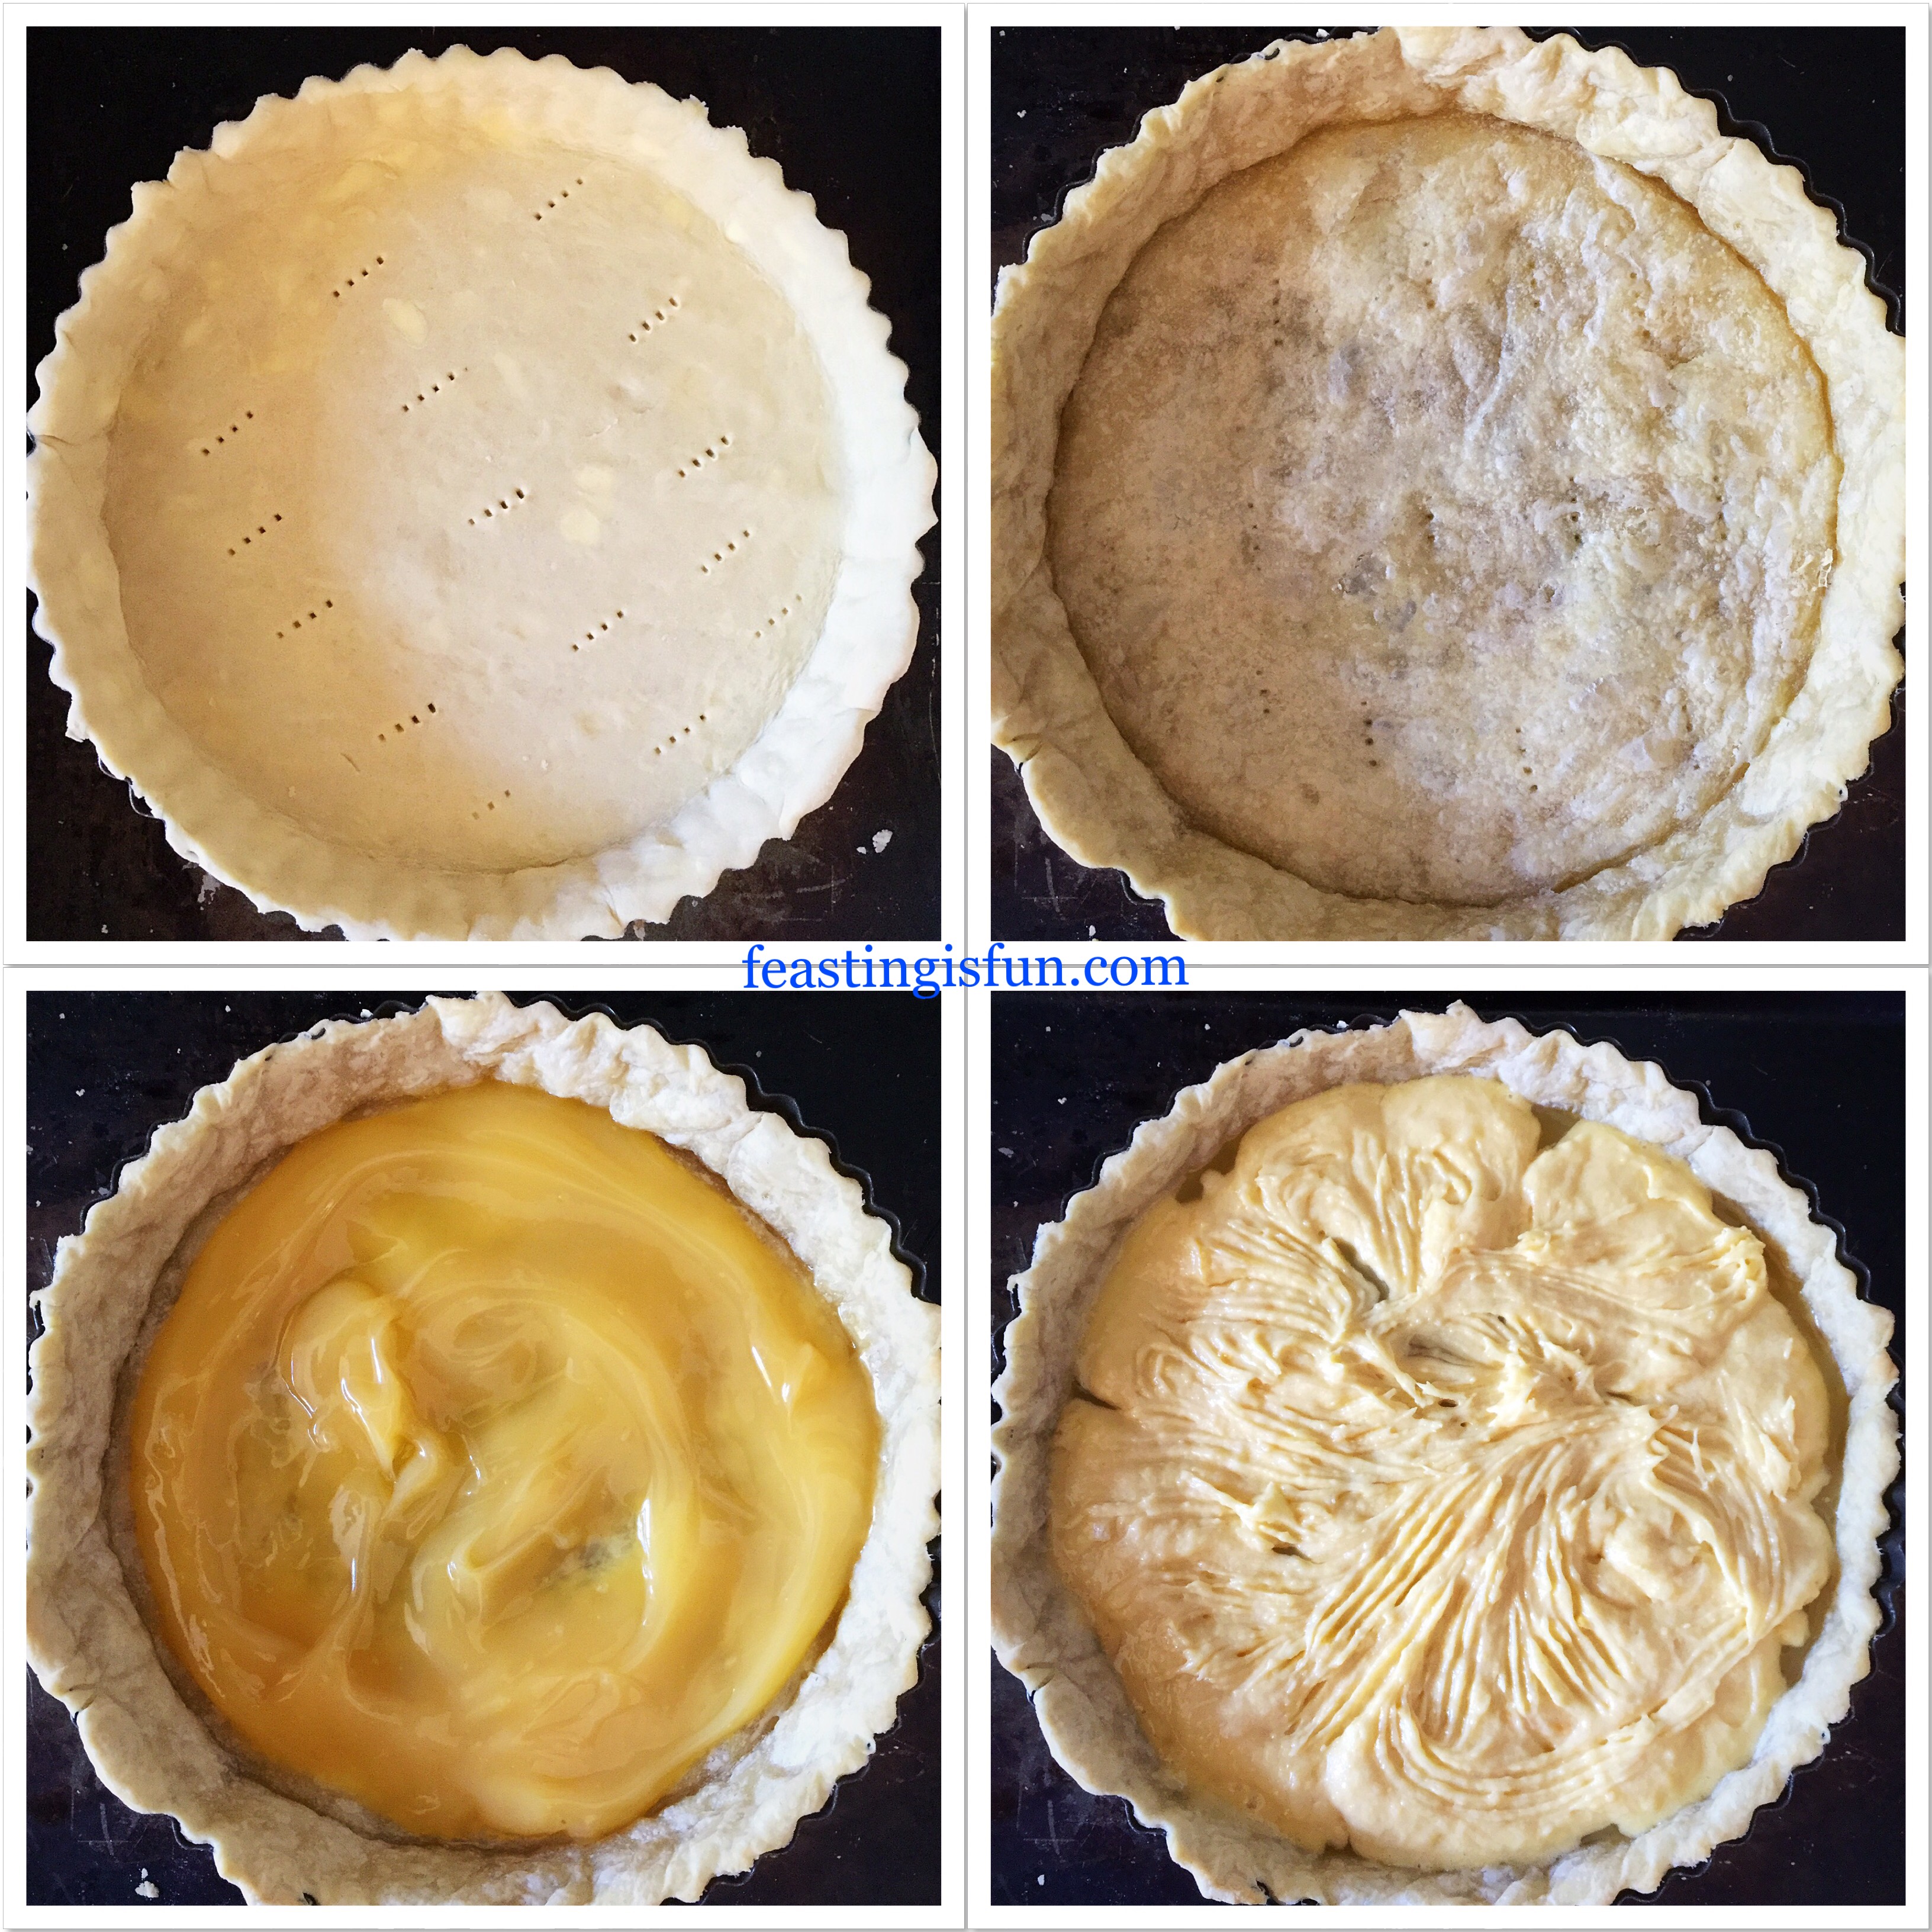
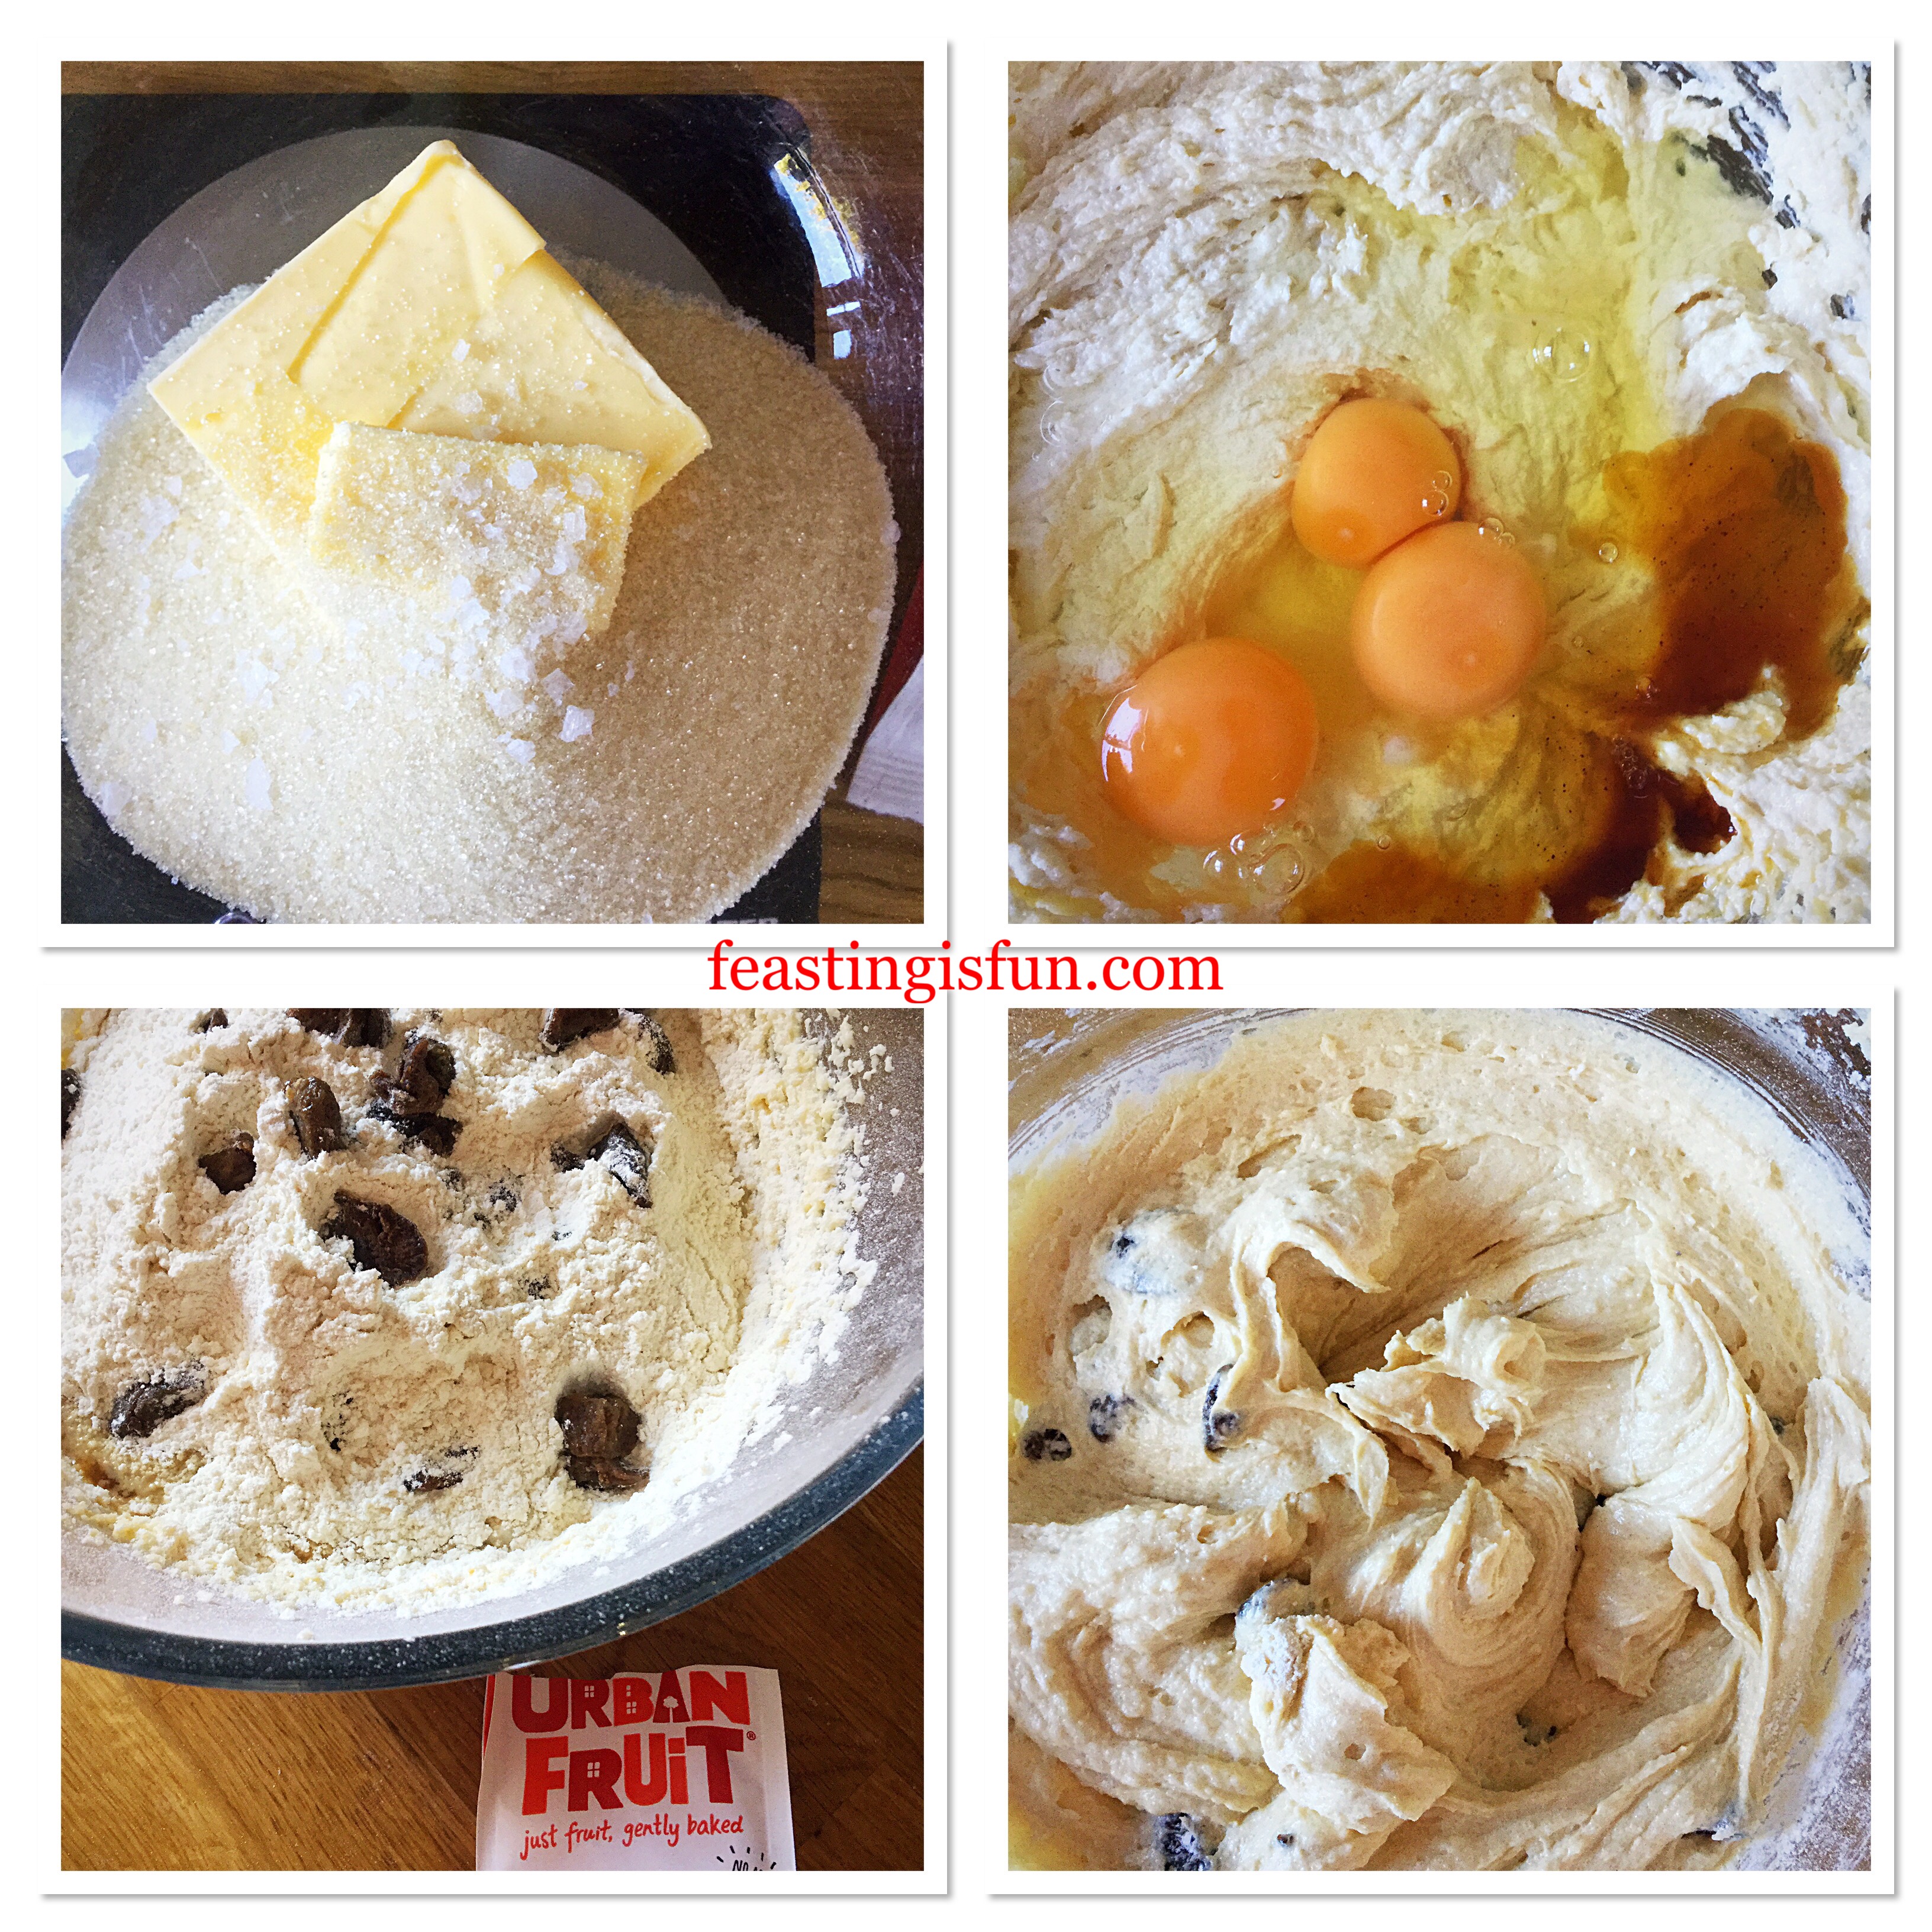
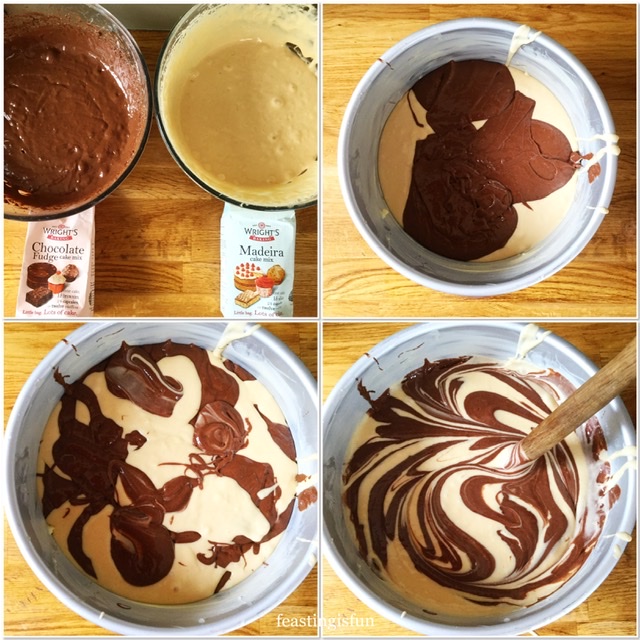
Making The Cake Batter And Creating The Marble Swirl Effect
Note: When cutting out the baking parchment to line the cake tin base with double up and cut an extra circle. So it can be used during baking if the cake top browns too quickly.
- First of all grease a 20cm/8in round tin with a depth of 10cm/4in. Line the base with baking parchment.
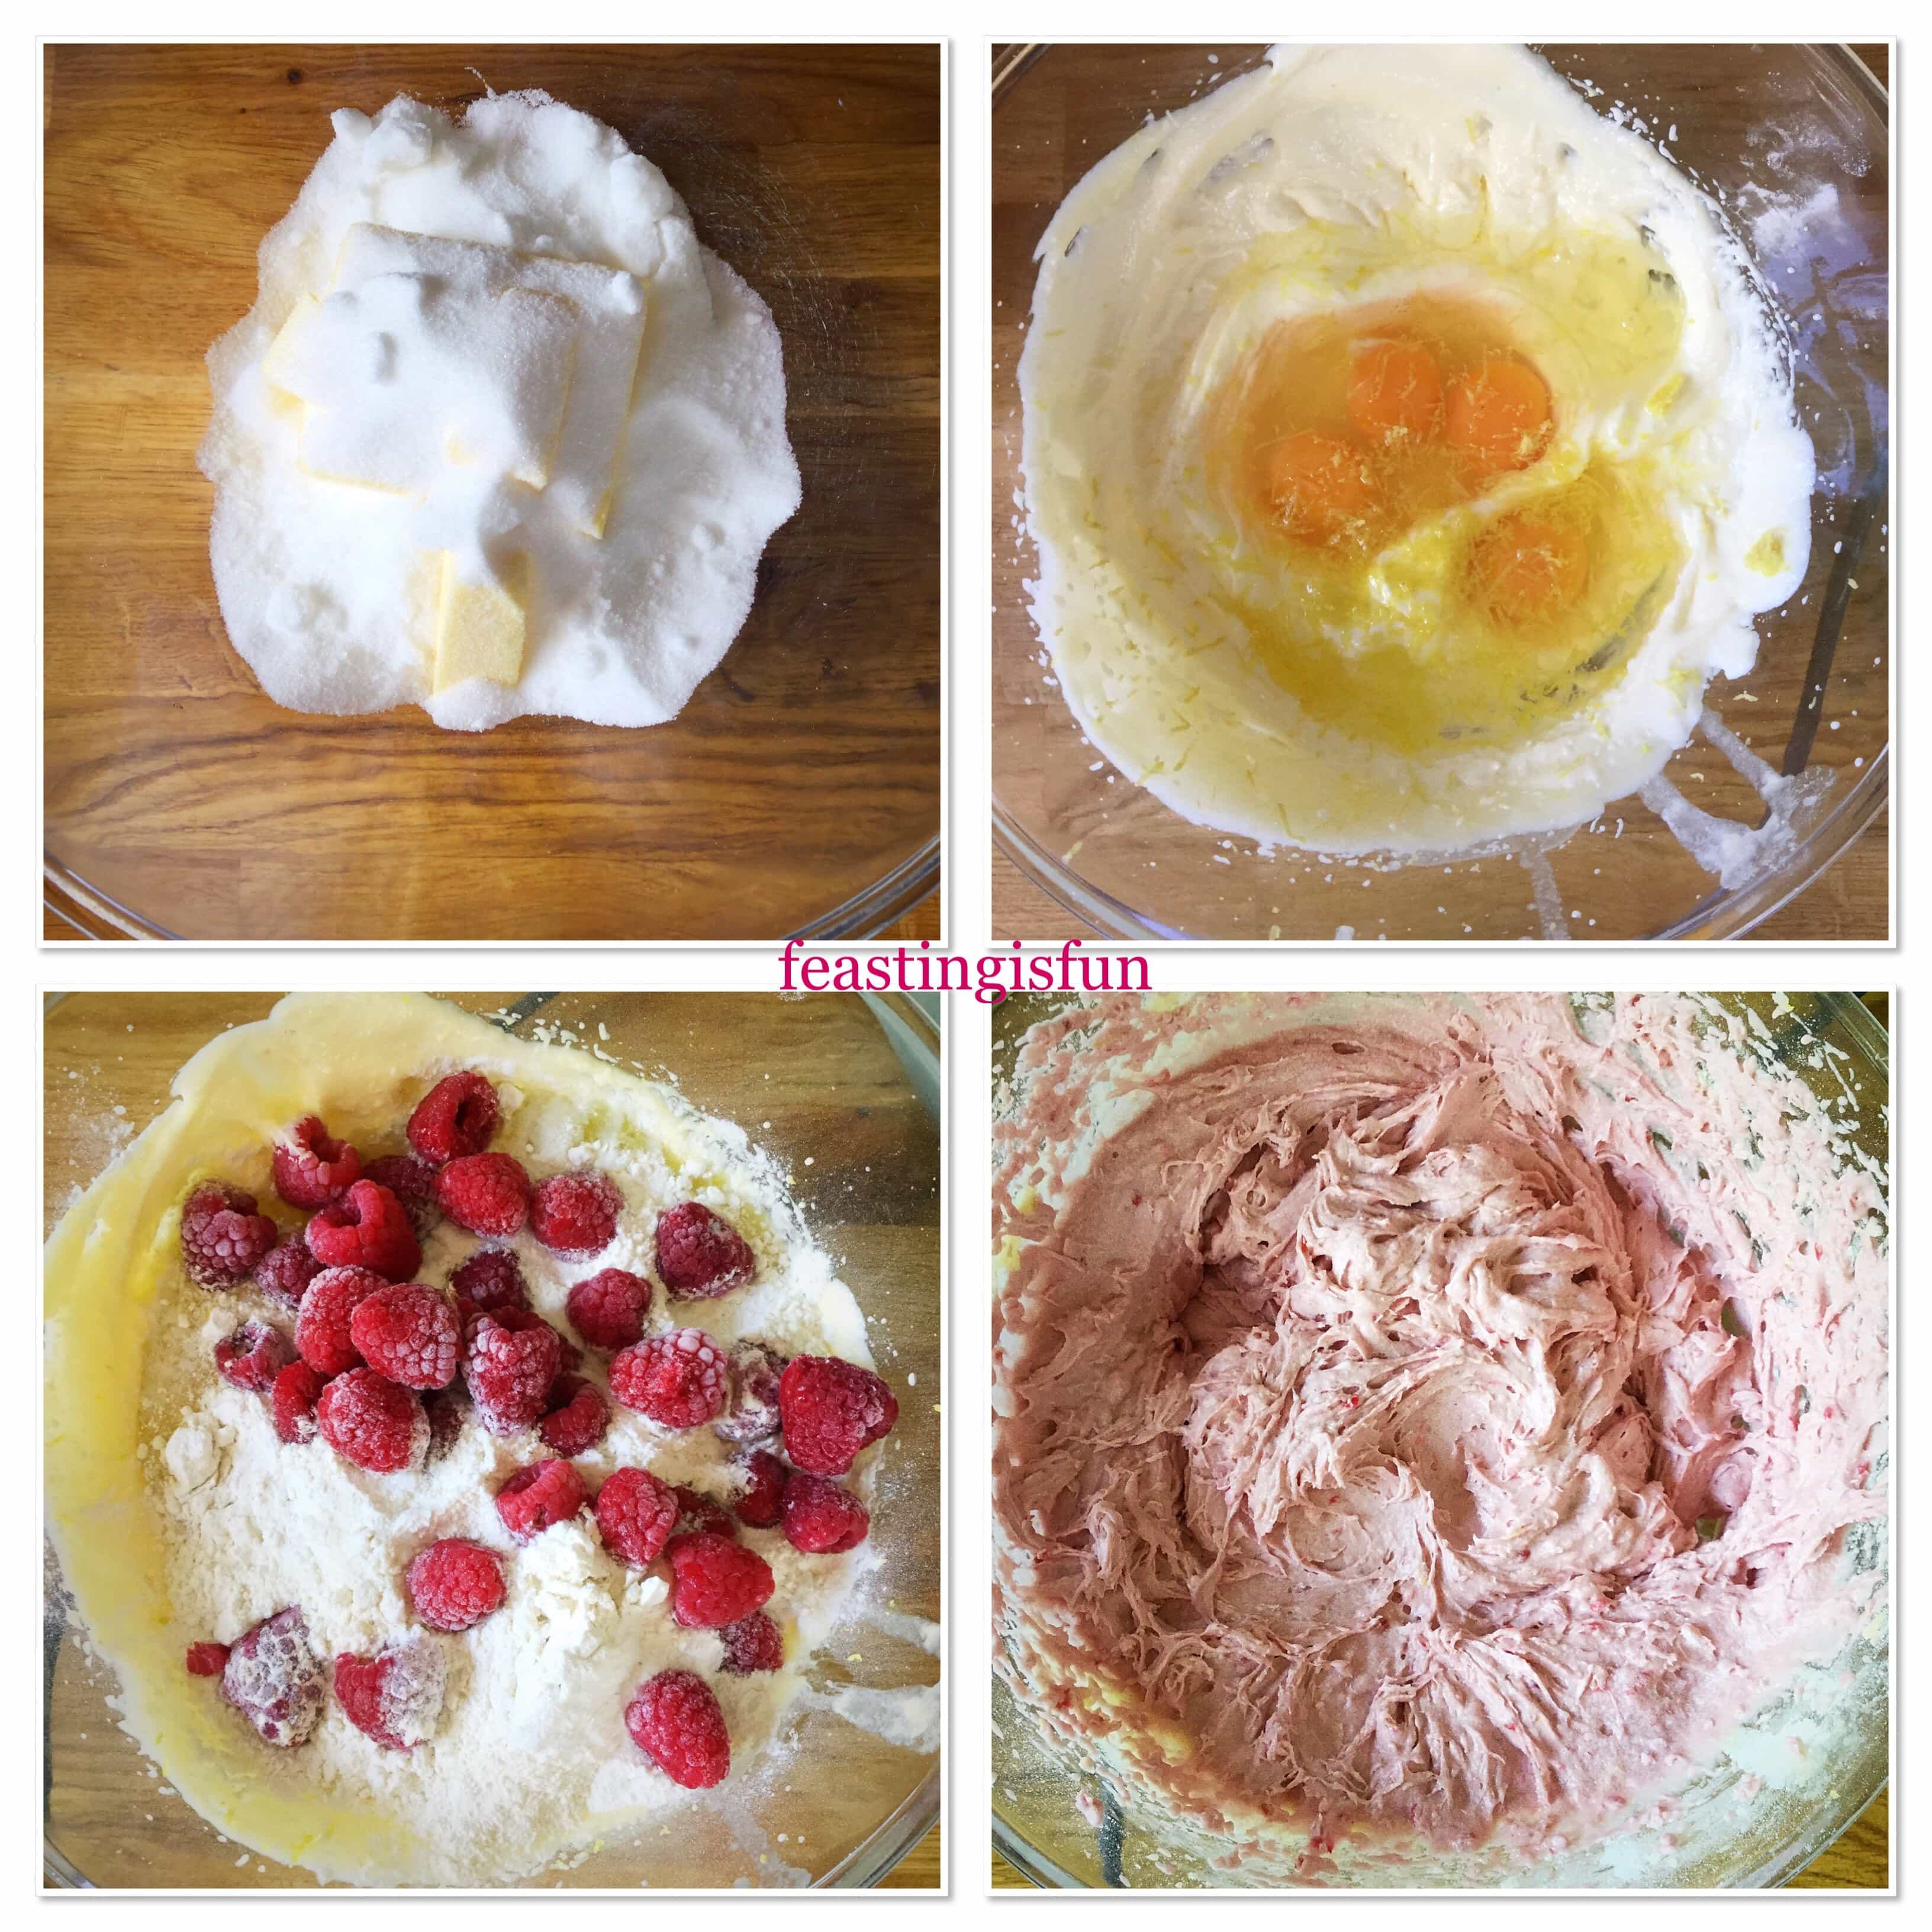
- Make each cake mix up separately according to the packet instructions.
- Use a large spoon to add 3 separate spoonfuls of chocolate fudge batter into the base of the cake tin.
- Follow by adding 3 spoonfuls of madeira batter in between the chocolate.
- Continue in this manner layering each spoonful of cake batter on top of the other flavour until all of the batter from both mixes is used.
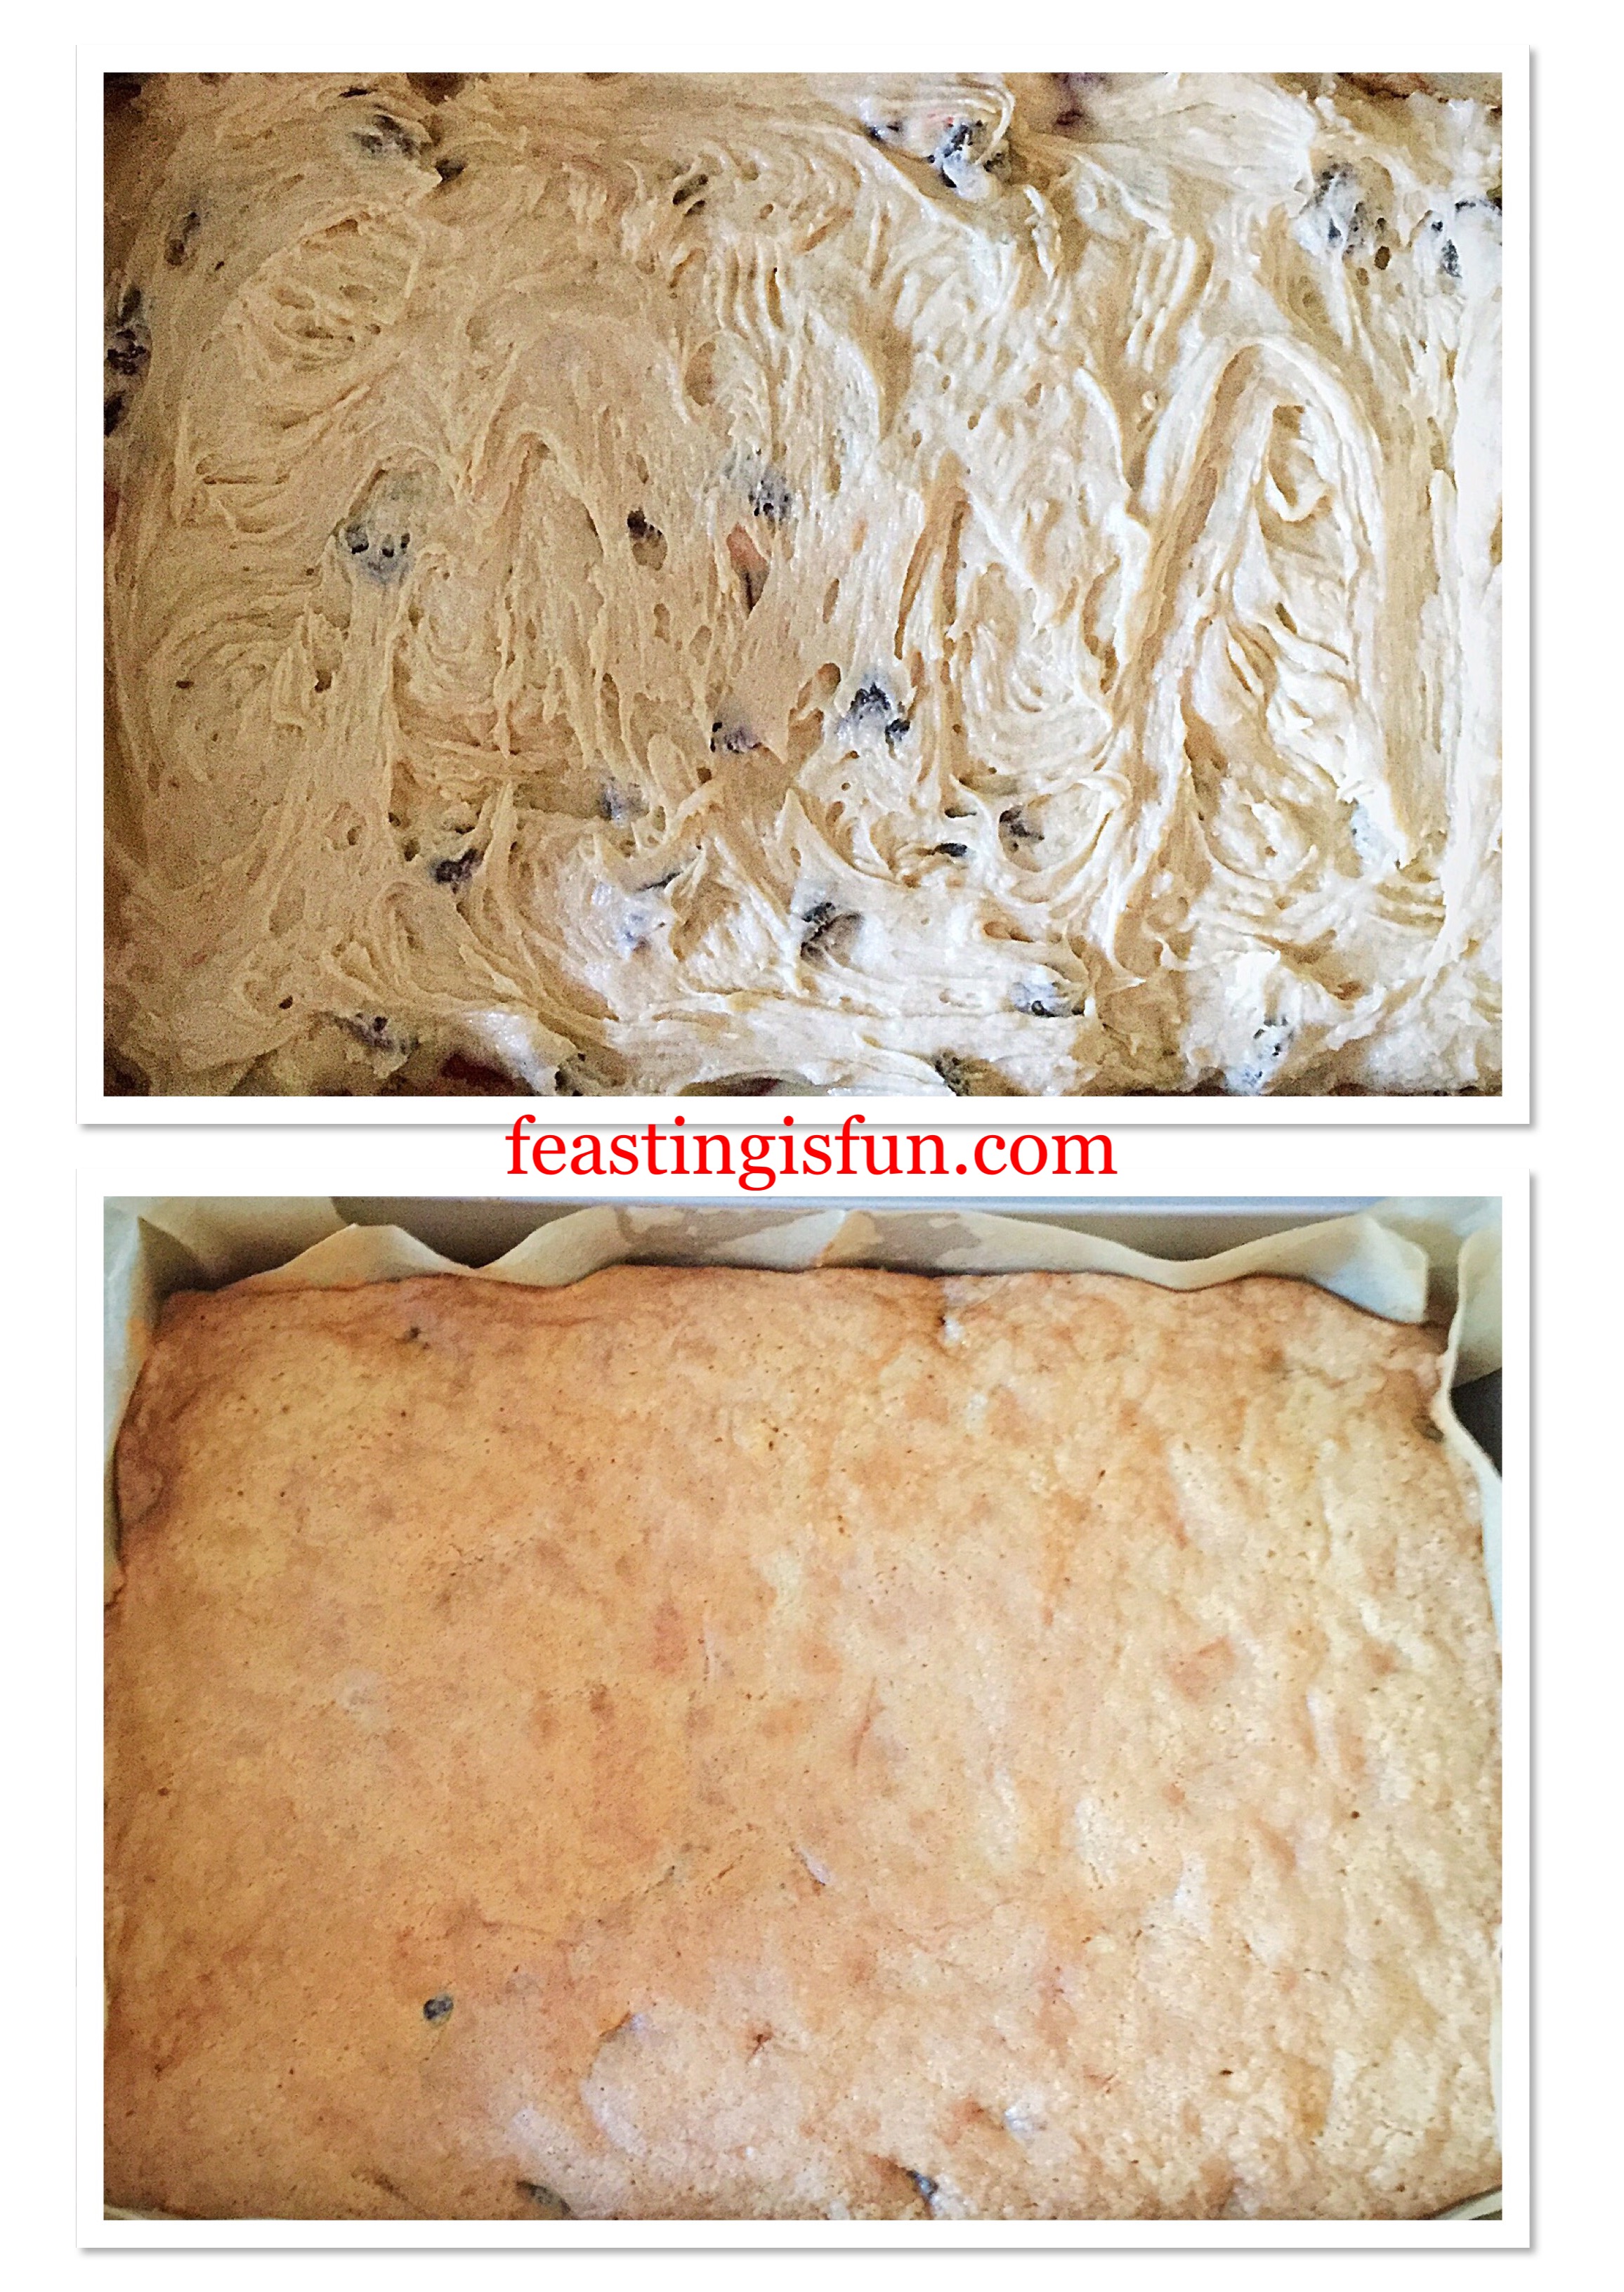
- Place the handle end of a big wooden spoon into the batter and swirl so that both batters become intermingled without being fully mixed into each other.
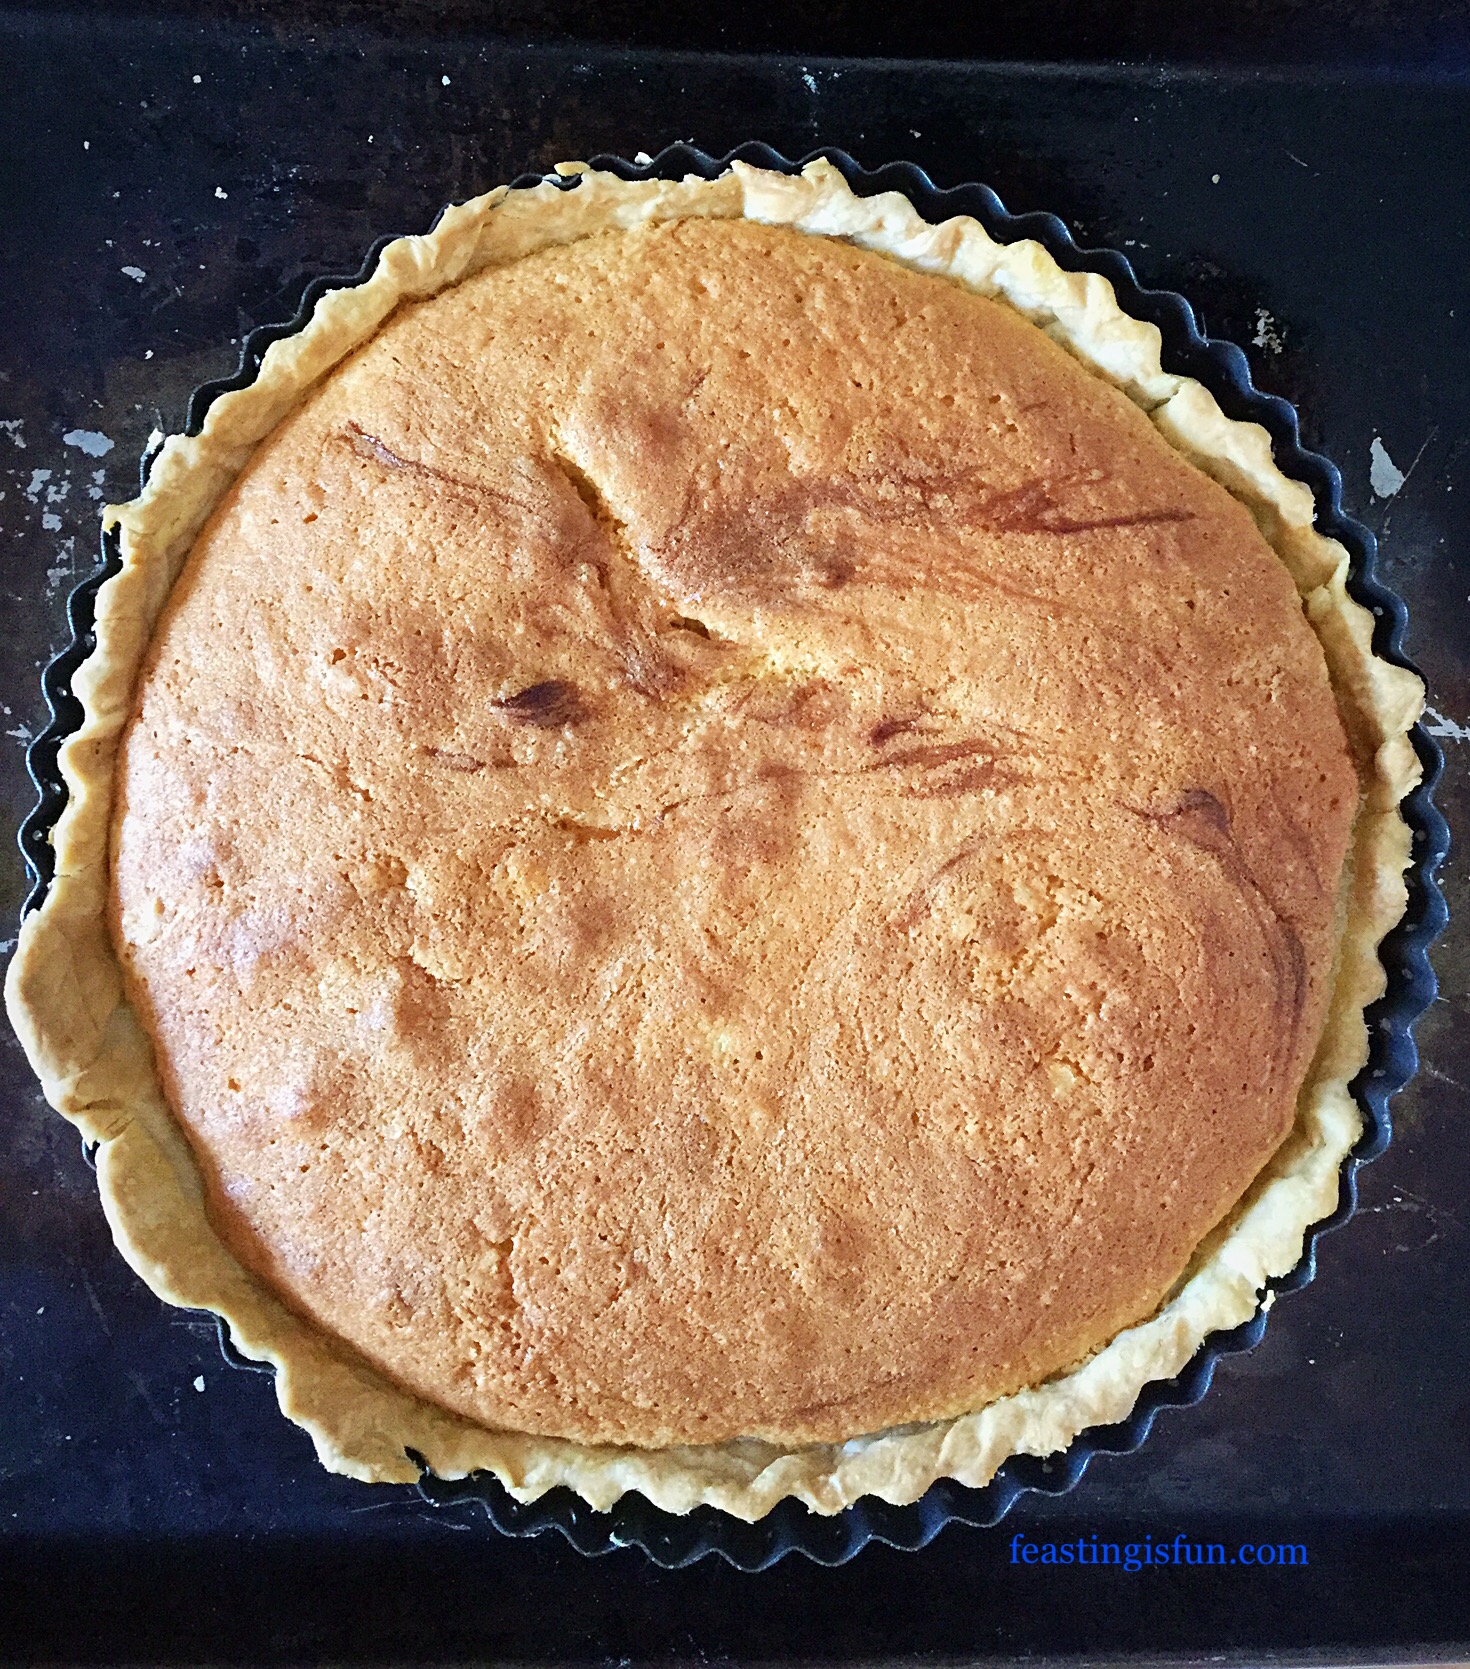
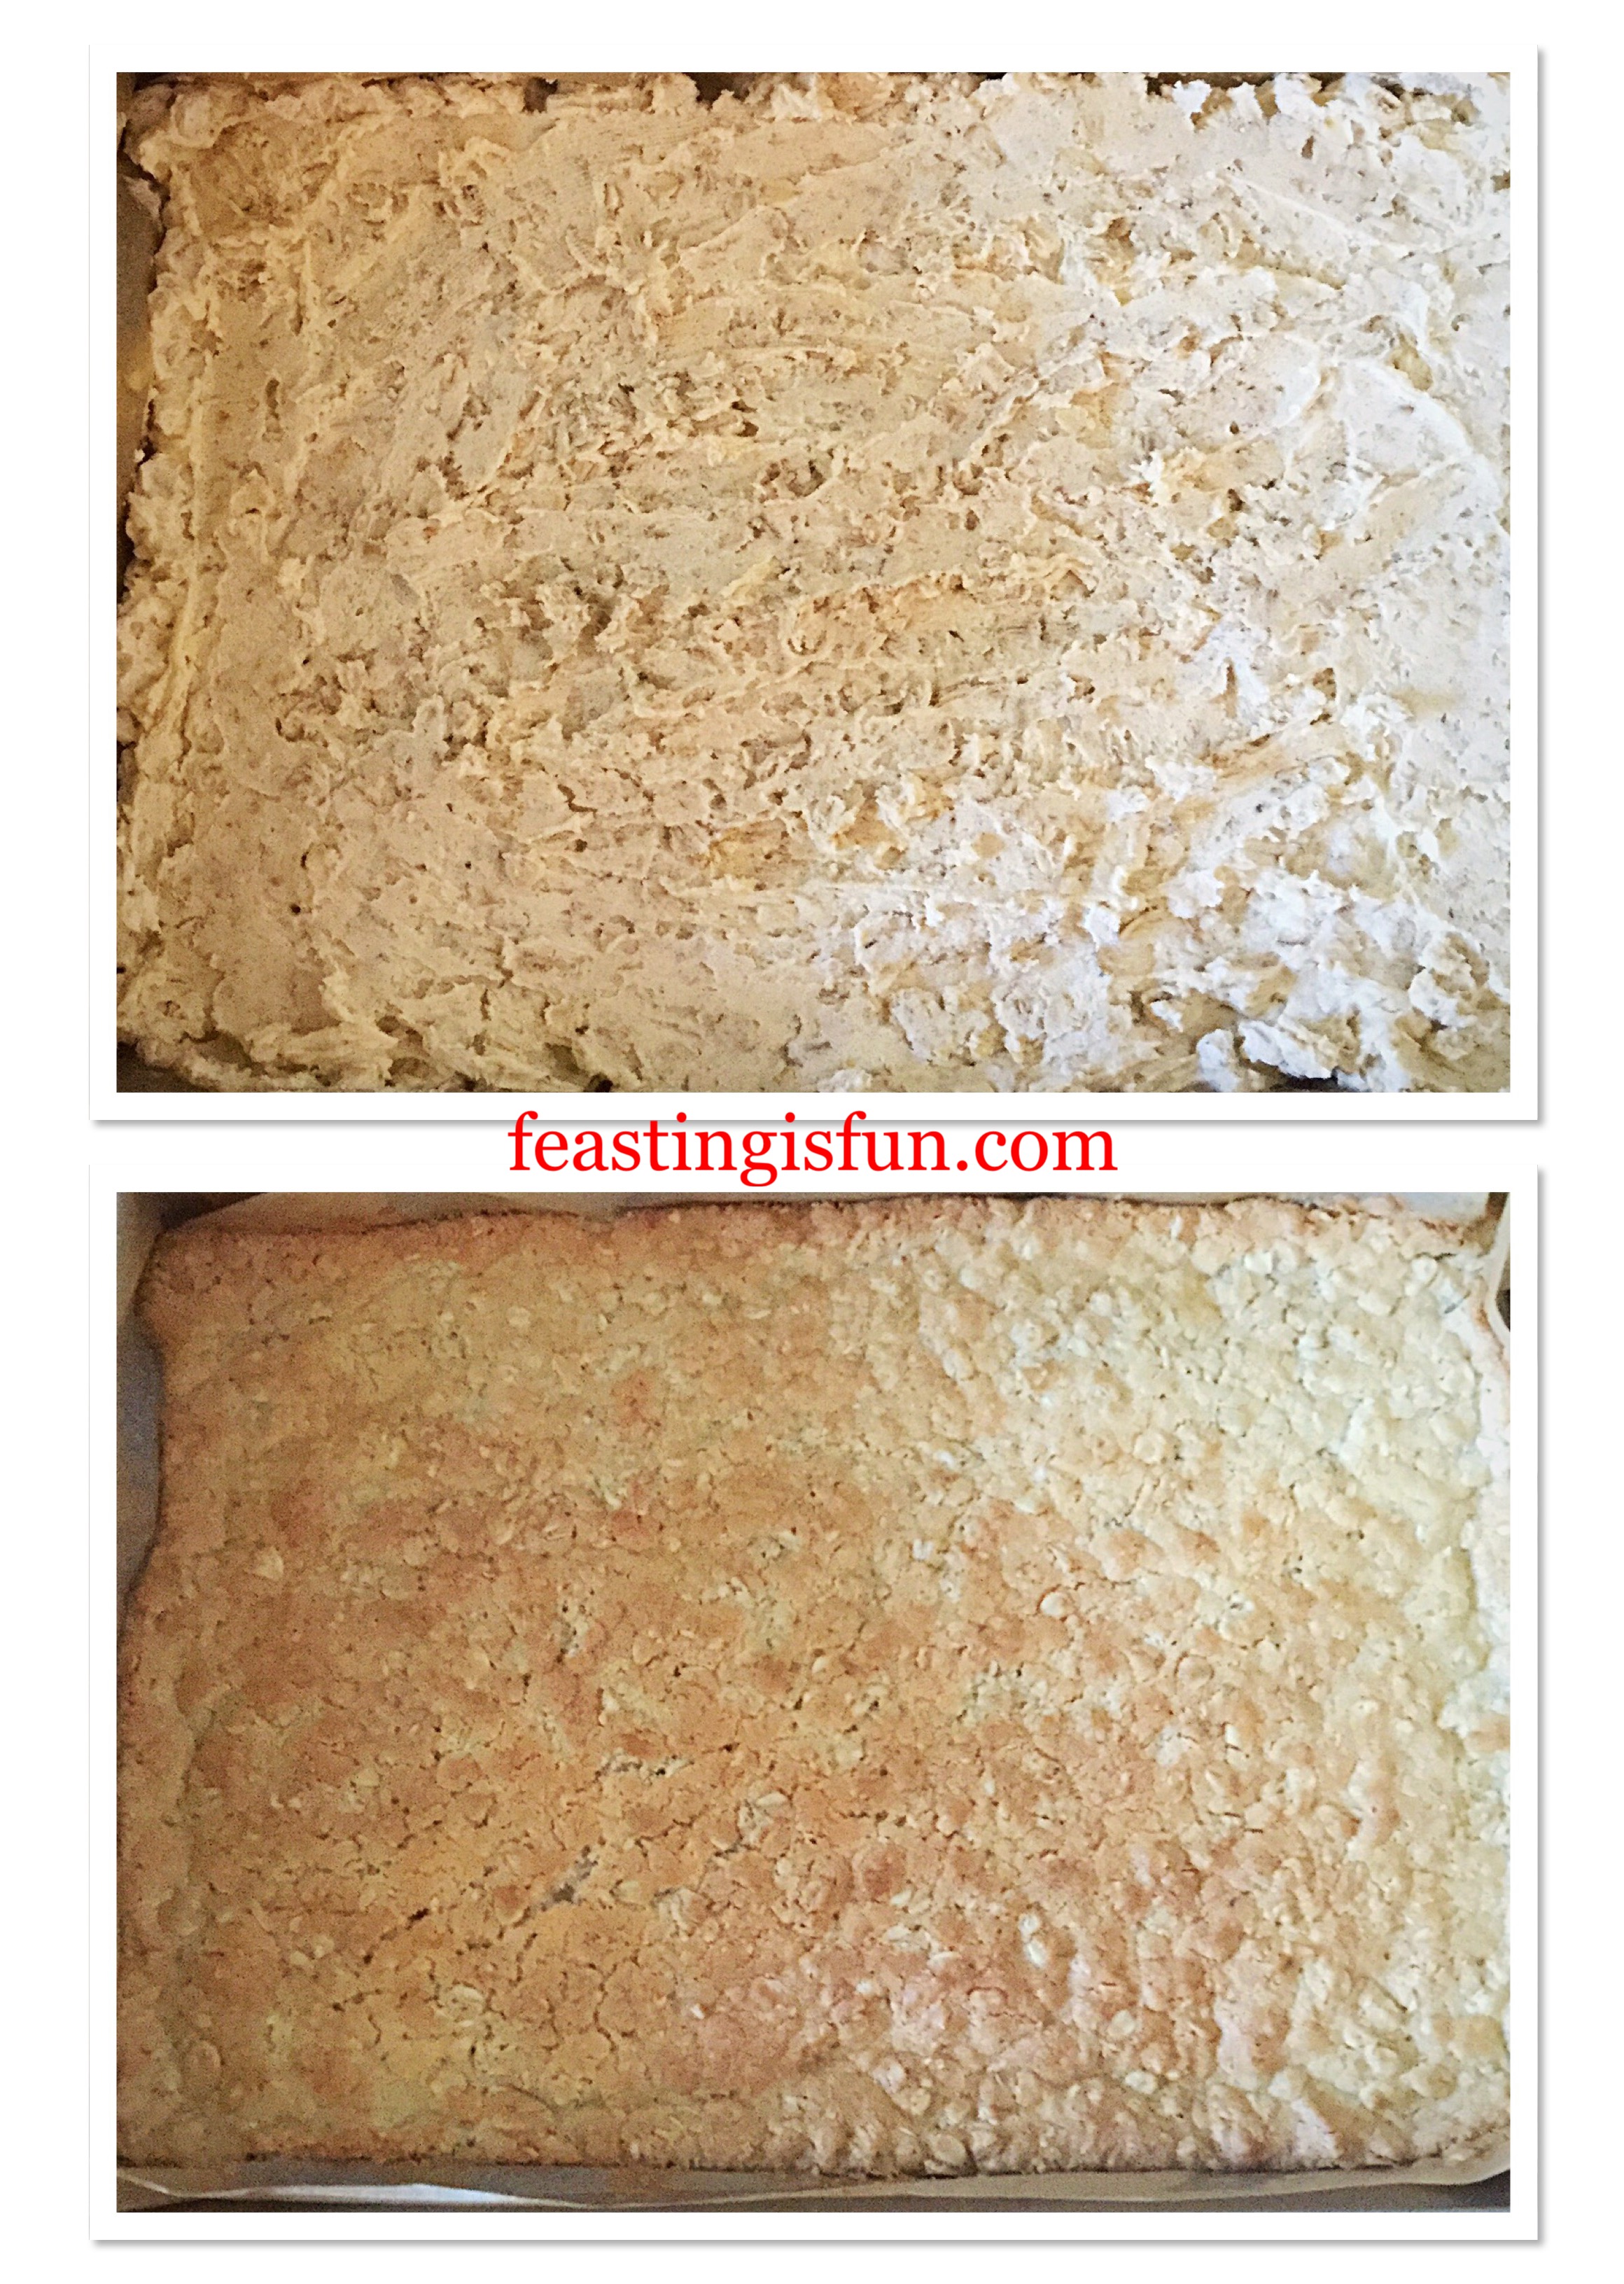
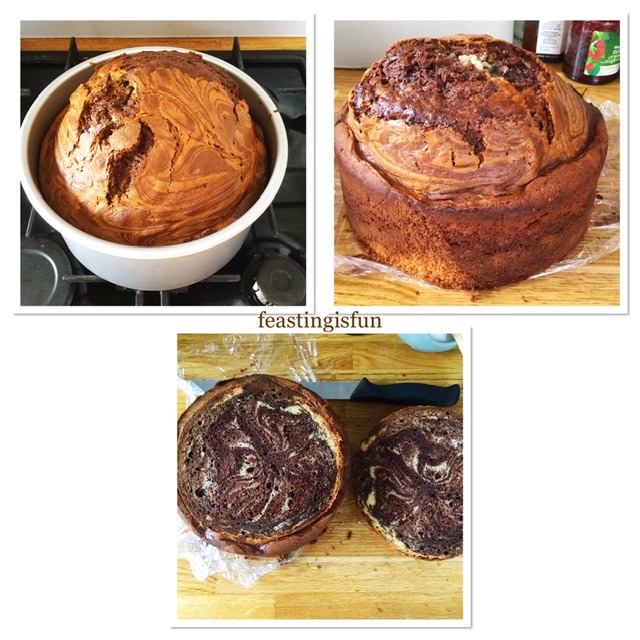
Baking, Cooling And Shaping The Marble Cake
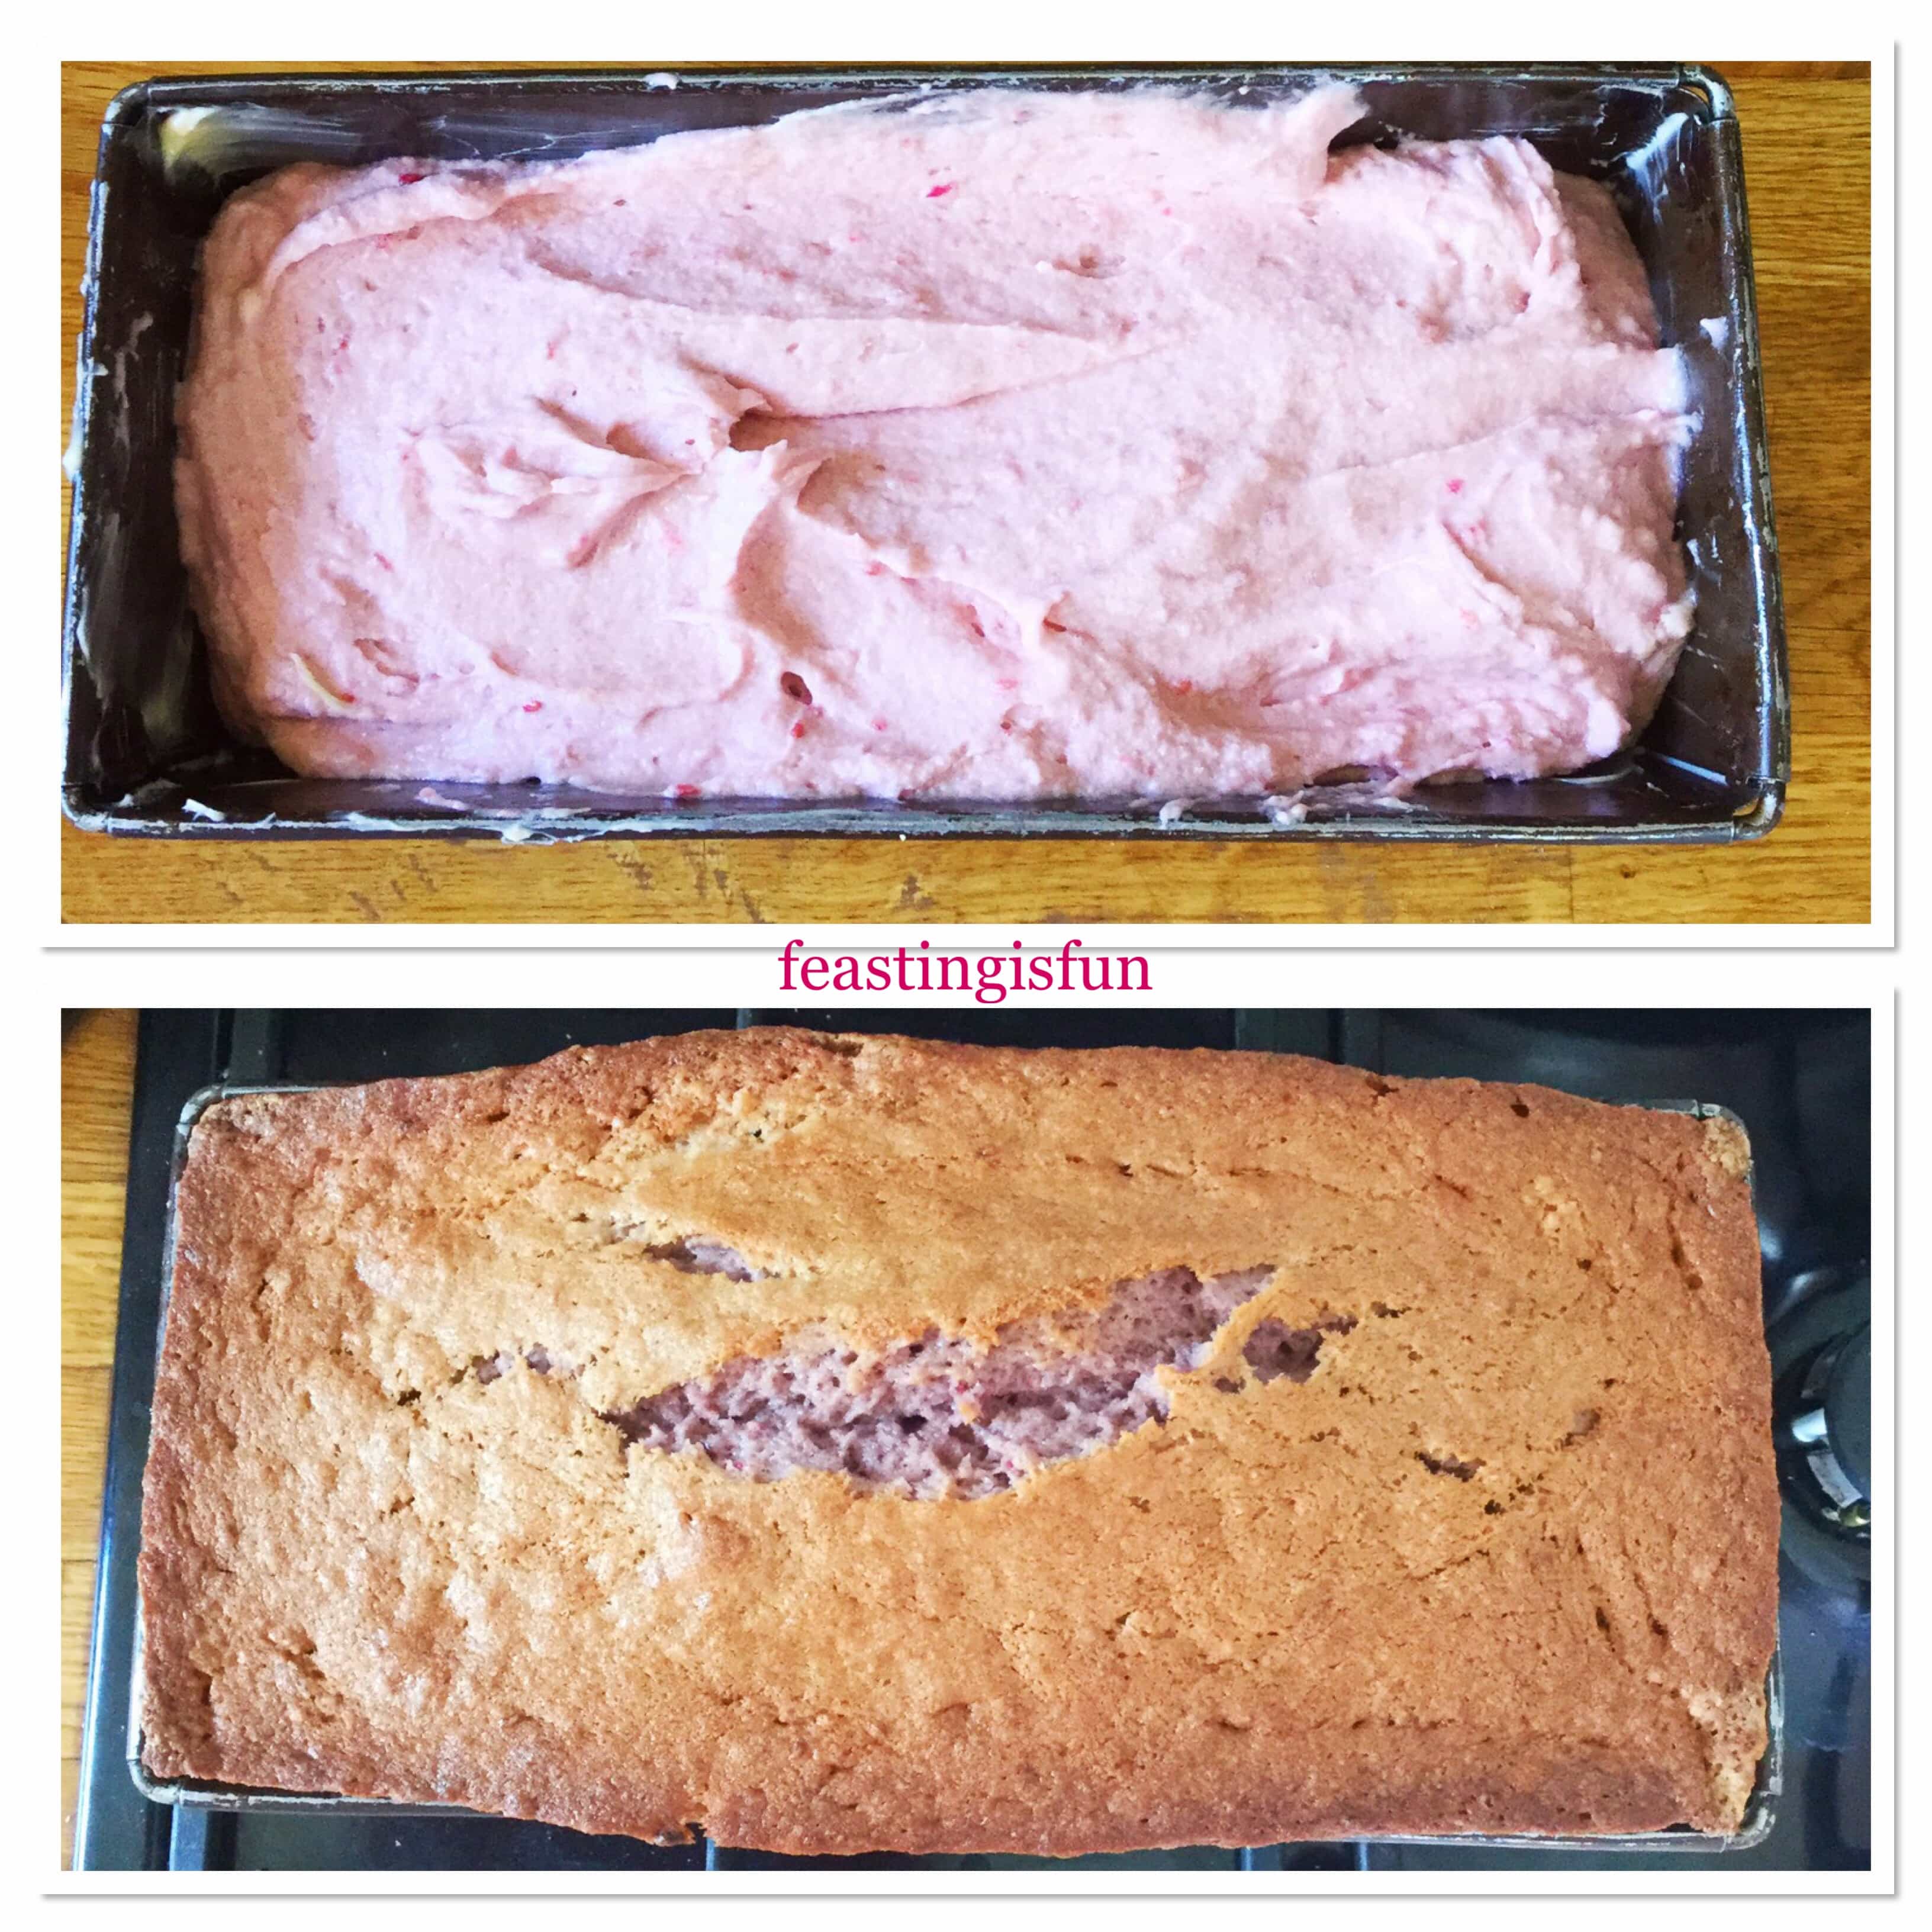
- Place the cake tin into a preheated oven, on a shelf slightly below the middle.
- While baking, if the cake top is browning too quickly place the spare circle of baking parchment on top. I also had to crunch up 3 balls of foil to keep the parchment in place as the oven fan kept blowing it around!
- Bake the cake for 1 1/2 – 2 hours until an inserted skewer comes out clean. The wide variation of baking times is due to different ovens altering the speed at which a cake cooks. For example, if you know that your oven runs hot then consider lowering the baking temperature and baking for a slightly longer time.
- As soon as the cake is baked remove it from the oven and leave to cool completely in the tin.
- Once the cake is cooled run a palette knife inside the rim of the cake tin and then turn the cake out.
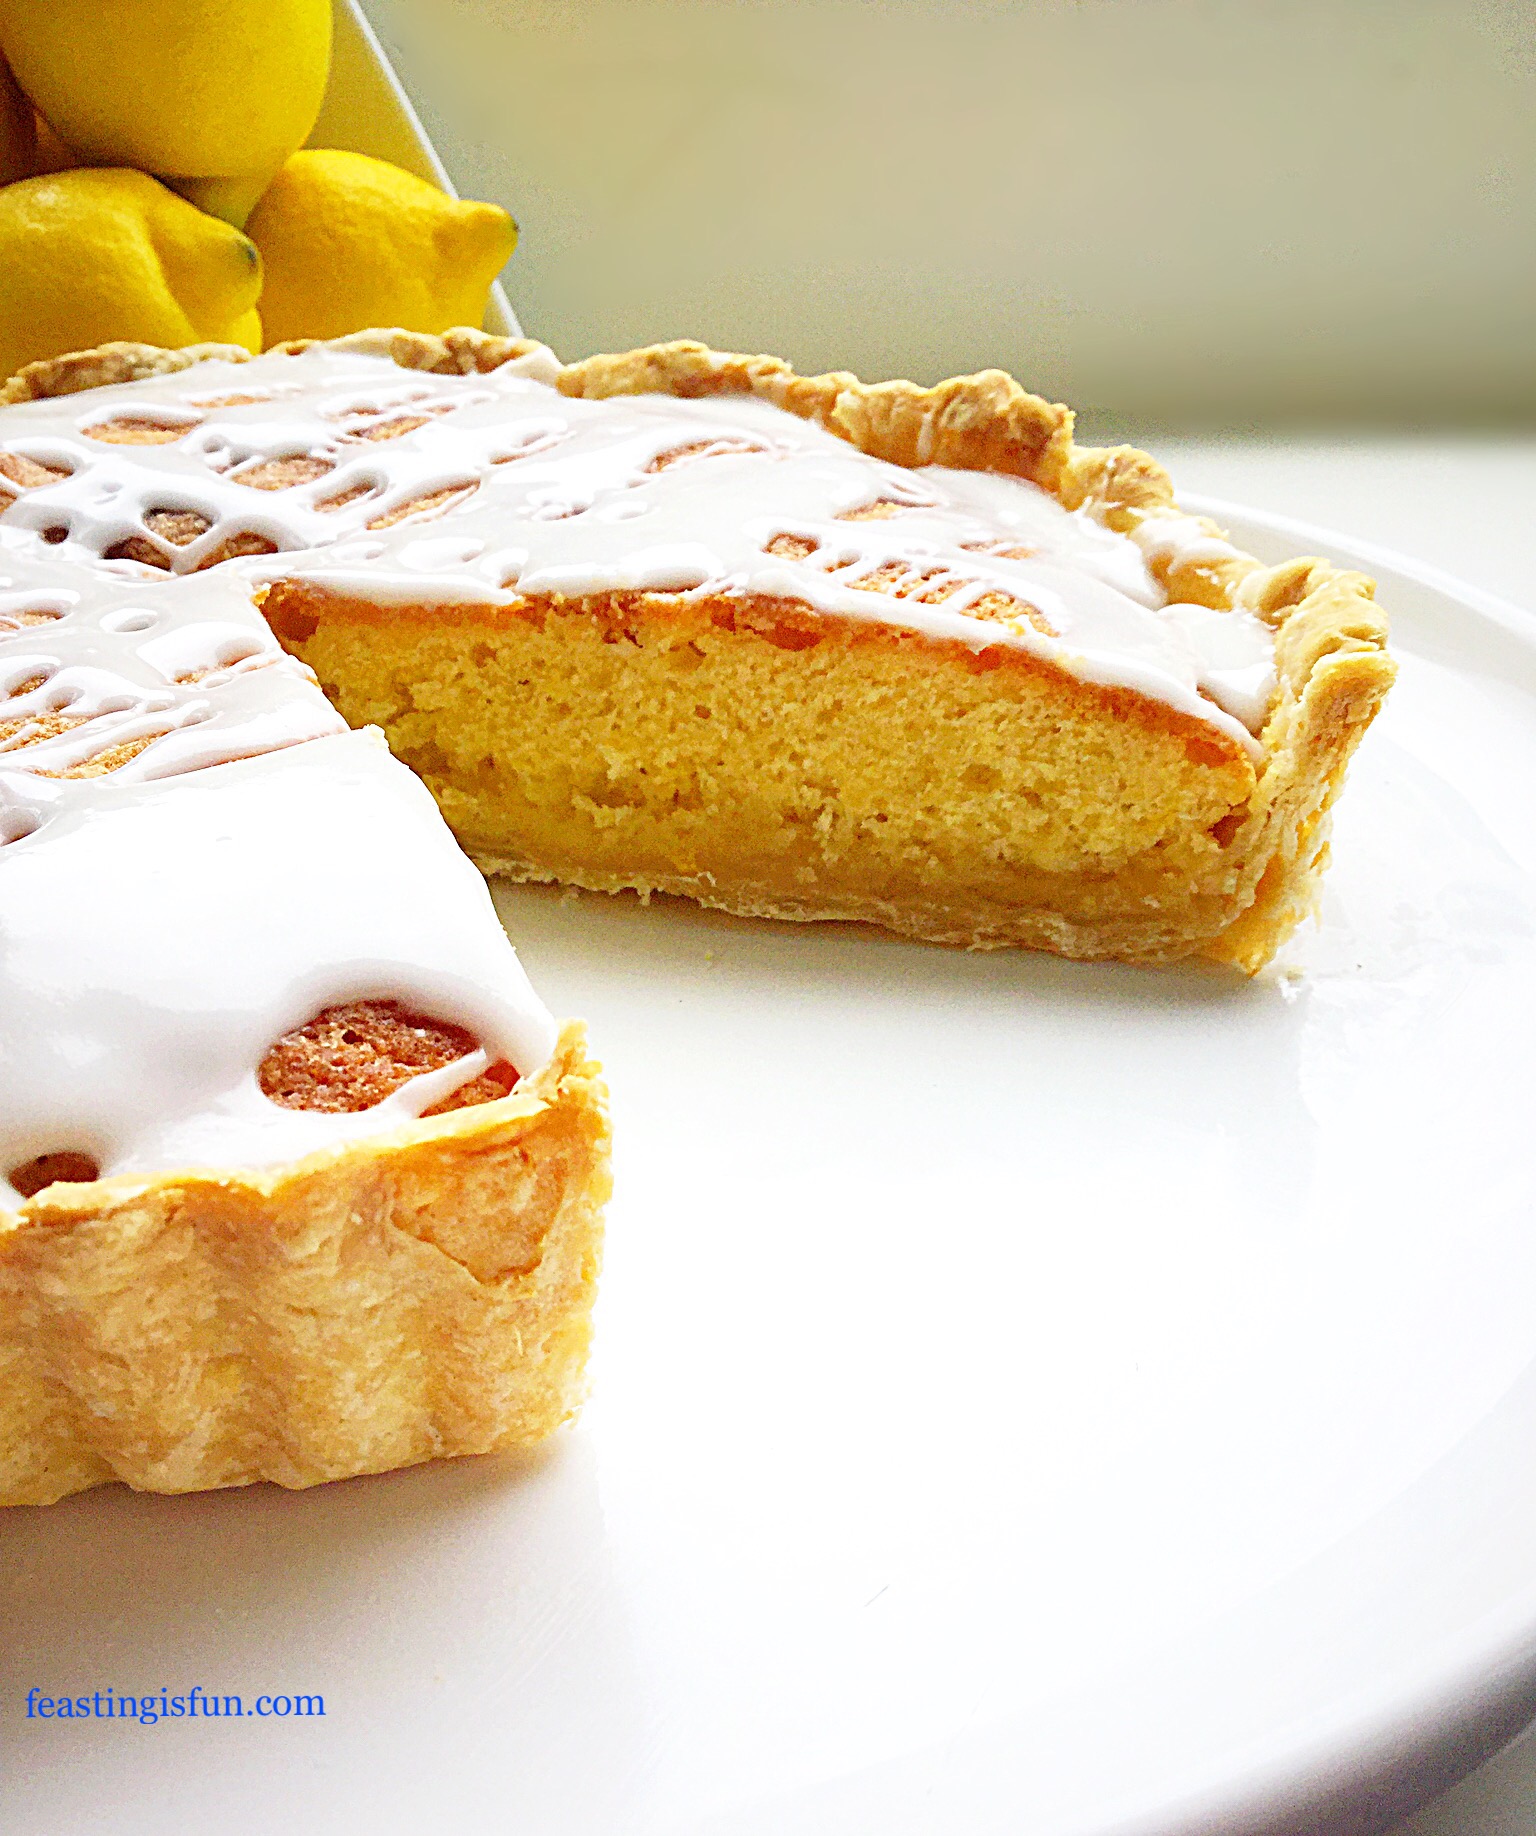
- Using a serrated knife cut carefully across the cake to level the top. Our daughter had some of the spare cake in a bowl with hot custard! Alternatively it can be used to make cake balls or as the sponge in a chocolate trifle!
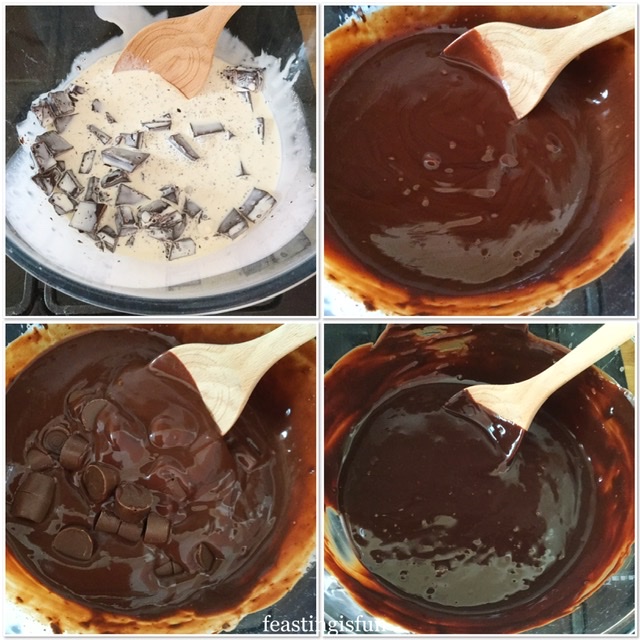
Making The Very Best Chocolate Fudge Ganache Using Rolos
- Place a heatproof bowl over a saucepan with an inch of simmering water in. Ensure that the base of the bowl DOES NOT touch the water.
- Pour the cream into the bowl and add the chopped up, dark chocolate. Add the salt and vanilla extract.
- Stir the cream, chocolate and other ingredients together until the chocolate is fully melted and glossy in appearance.
- Add the Rolos to the chocolate ganache and continue to stir until they have completely melted and the mixture is glossy with no lumps.
- Carefully remove the hot bowl from the saucepan and leave to one side to completely cool. I placed my bowl on a window ledge to speed up the cooling process.
- Note – while warm the chocolate ganache can be poured. It makes a delicious topping for ice cream and also Profiteroles.
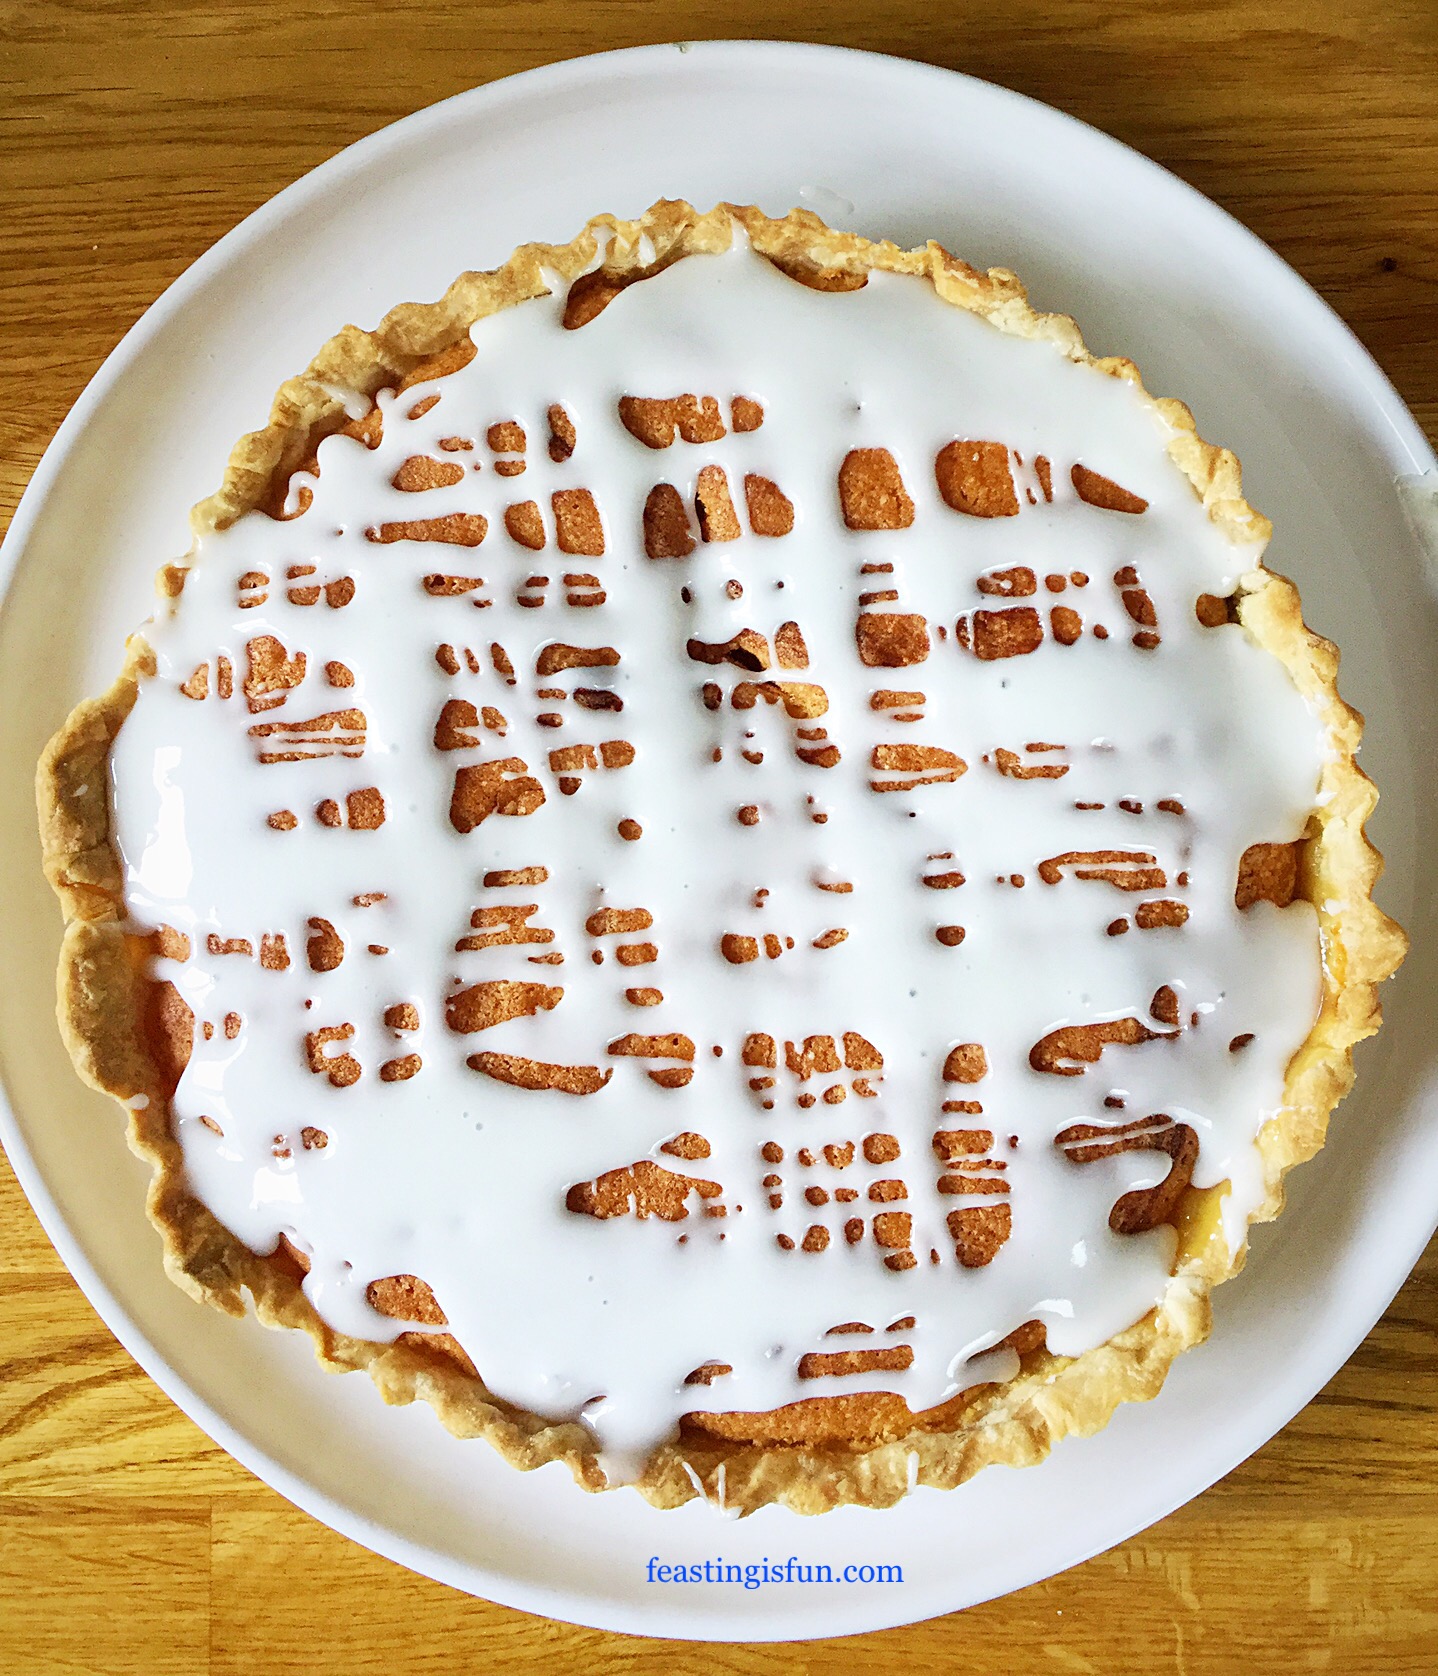
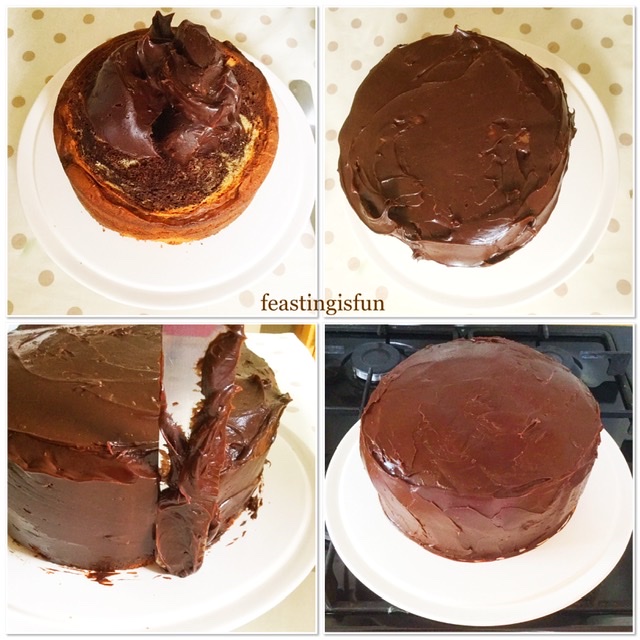
Covering The Cake With Chocolate Fudge Ganache
- Place your cake on a flat plate or board that it is to be served from. And then place that onto either a spinning cake decorator, or, as I did, onto un upturned round tart tin. The plate easily moved round on top and allowed for easy decorating.
- Spoon two thirds of the thick, cooled, chocolate fudge ganache on to the top of the cake.
- Use a palette knife to spread the ganache over the top of the cake and then down the sides. Add more ganache as needed to ensure the entire cake has a good, thick, even covering of ganache on both the top and sides. Remember, the finish should be neat but by no means perfect as the cake will be entirely covered with decorations.
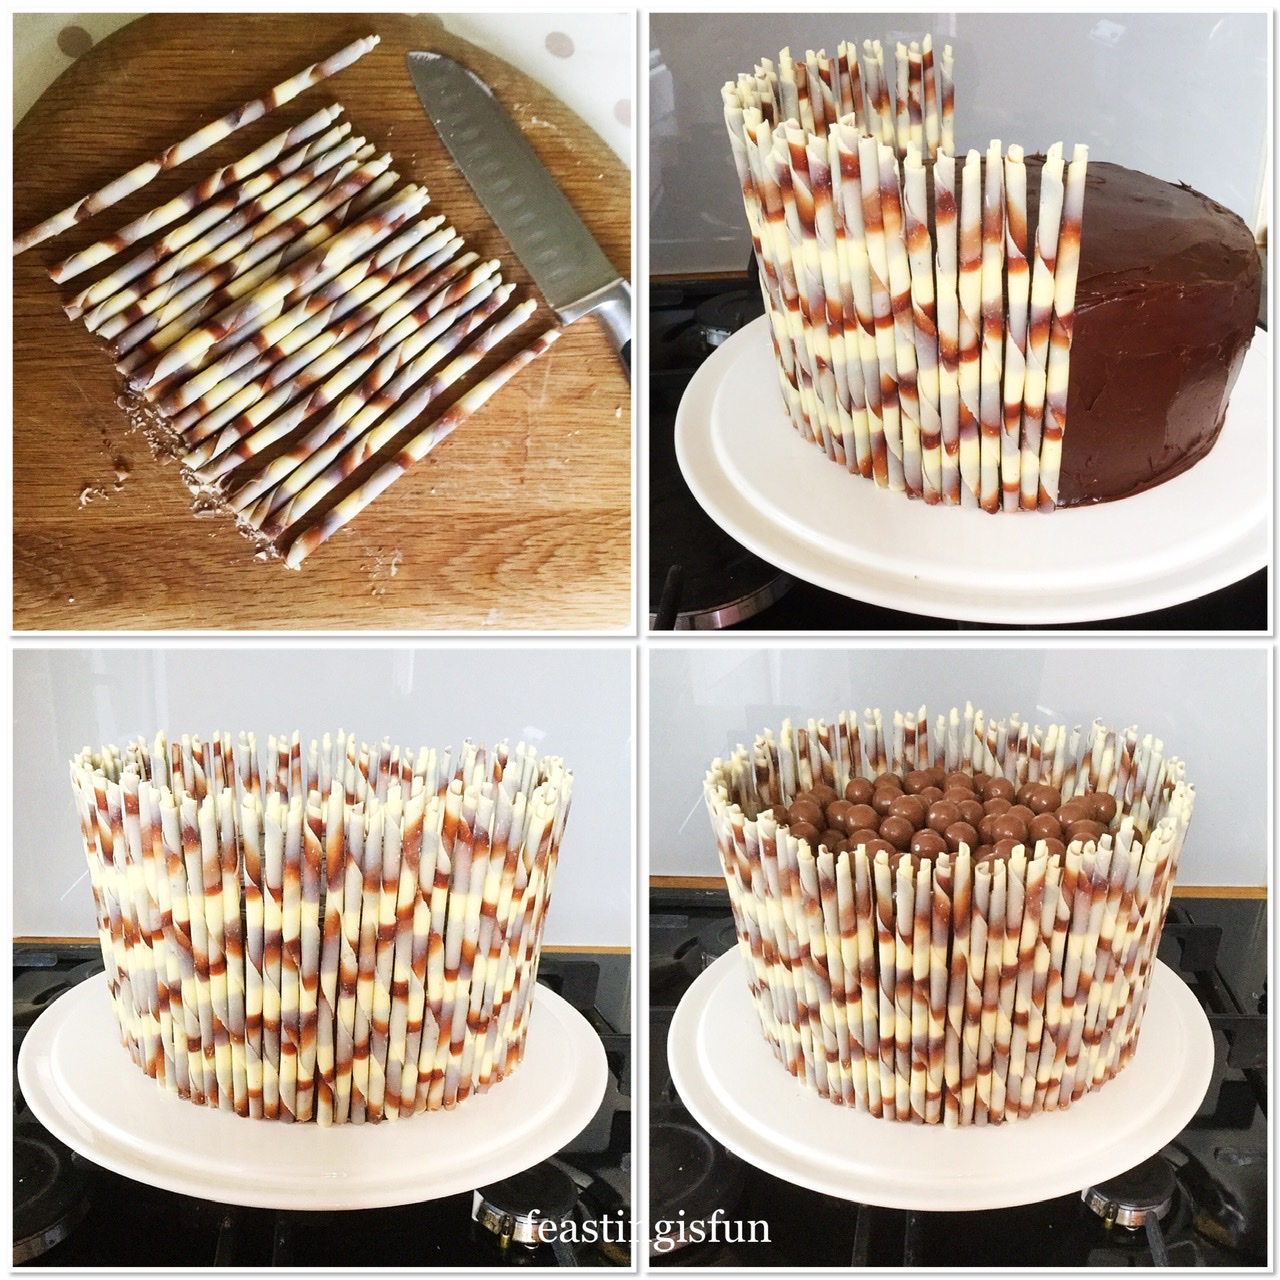
Adding The Marbled Chocolate Pencils To The Birthday Cake And Finishing The Decoration
- First of all take one pencil and measure it against the side of the cake. With a sharp knife mark the height at which the pencil will be trimmed. Cut the excess from the pencil at the base and double check against the cake to ensure you are happy with the height. Keep hold of this pencil as it is the master to which all the other pencils will be measured against.
- Now cut 20 pencils to the correct length at the base. Place the “waste” pencil cuttings into a bag, they can be used a cupcake decorations.
- Take one pencil and place it vertically against the side of the cake, press the pencil into the ganache so that it is secure.
- Continue to add more pencils next to the previous one, always checking that the pencil is straight and parallel to the previous pencil.
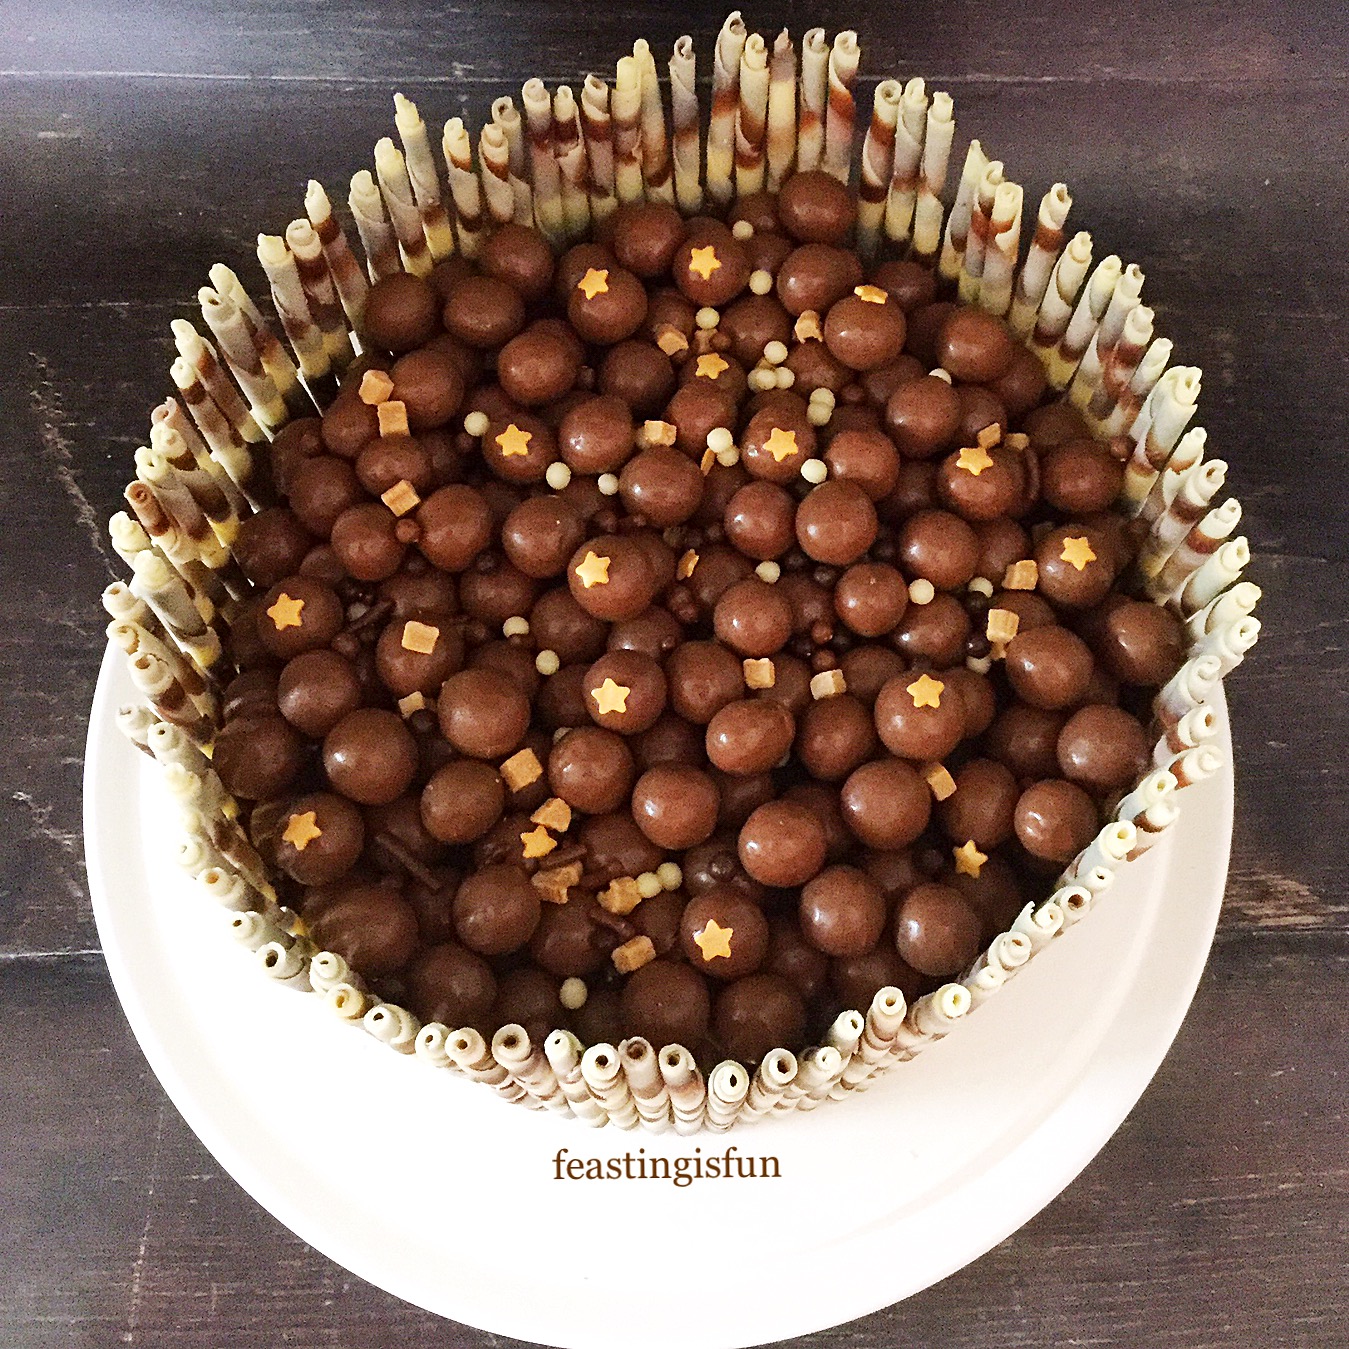
- As soon as the cake is completely surrounded view from above to ensure the pencils for a uniform circle around the cake.
- Next add the Maltesers carefully to the top of the cake.
- If using, now add any extra sprinkles to the top of the cake. The white crisp pearls and caramel stars used in this cake tied in with the marble colour theme and immediately added a fun, celebration element to the cake.
Chill the cake for a couple of hours, or overnight to allow the frosting to set. Cut between the pencils to serve. Keep any leftover cake either in an airtight container, or wrapped in cling film and refrigerated.
If you have enjoyed this recipe for Chocolate Marble Celebration Cake you may also like these:
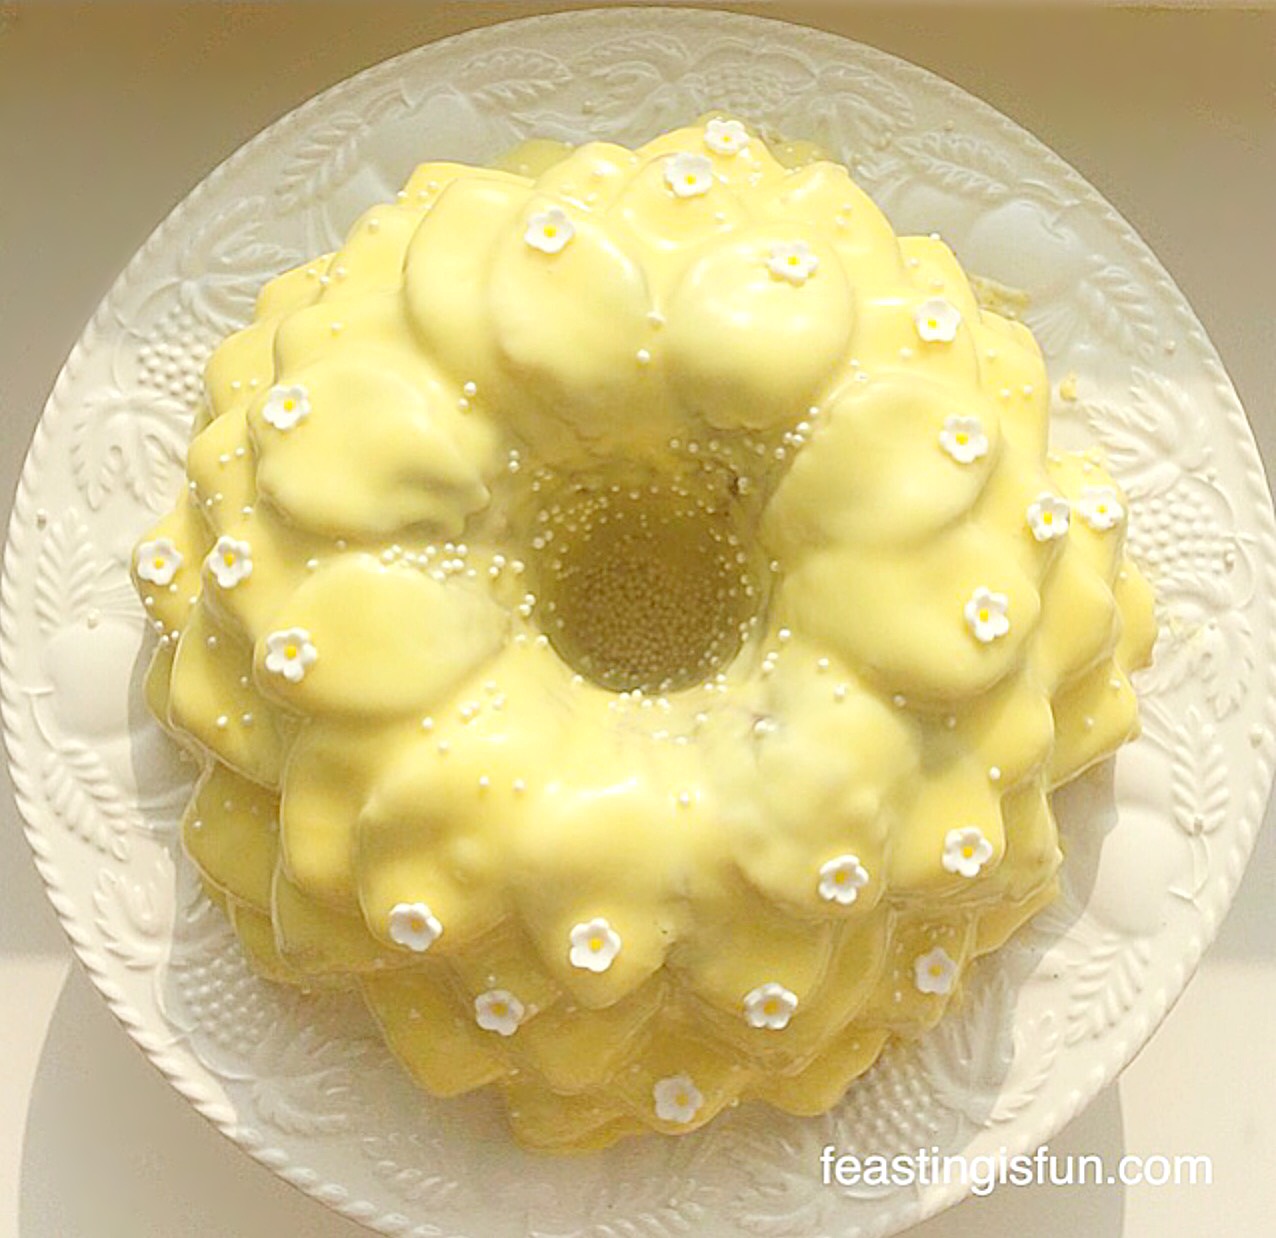
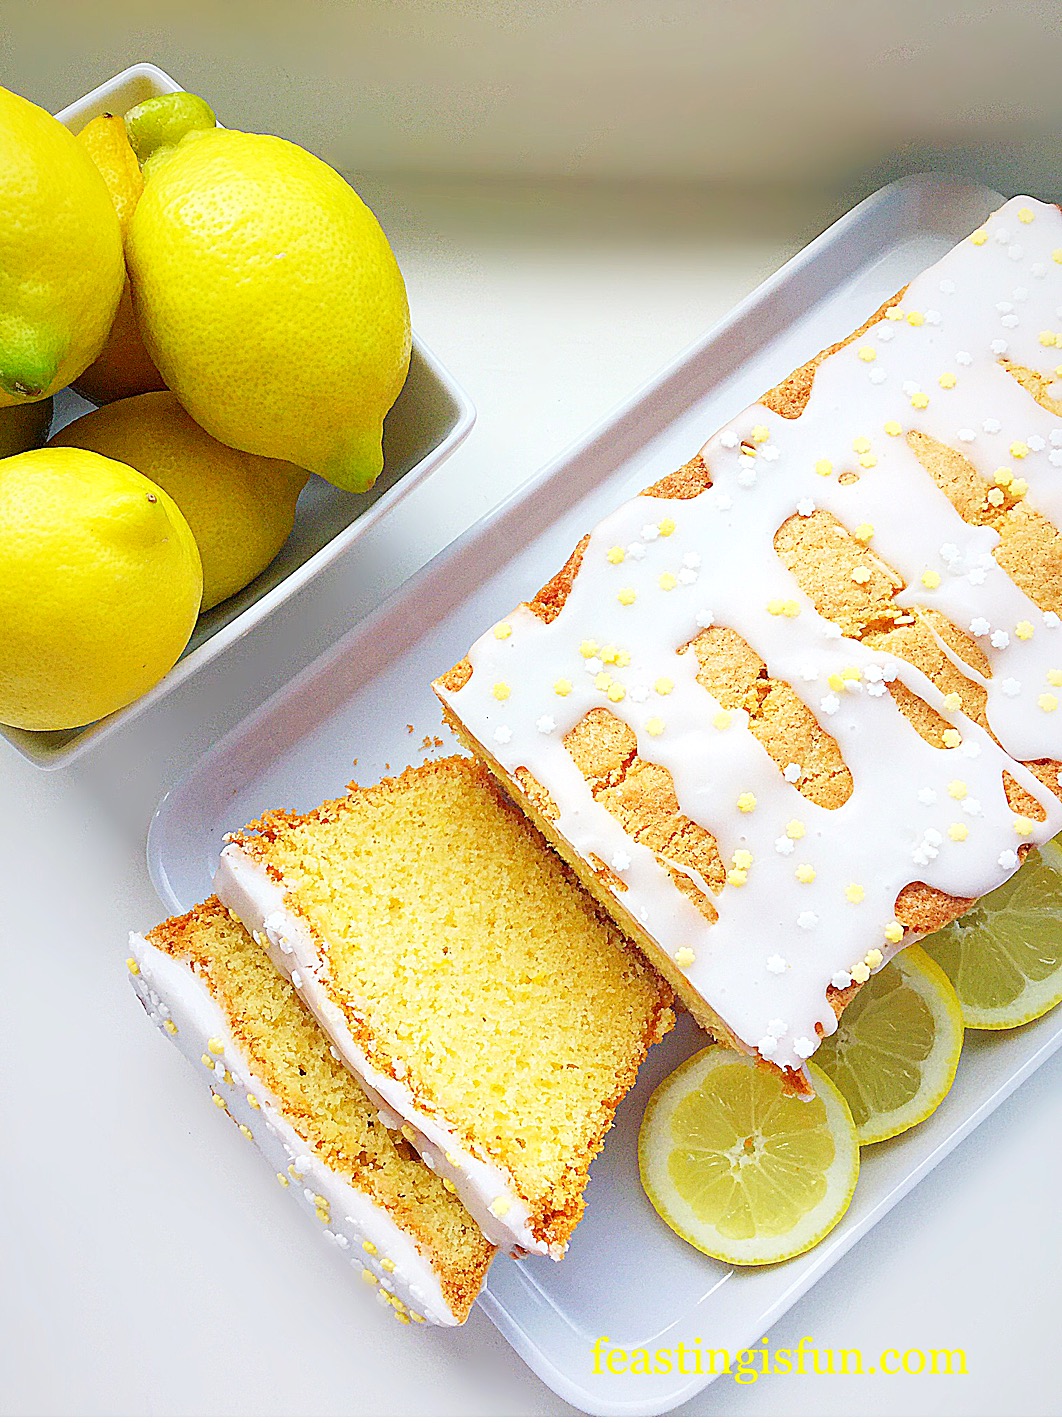
Fluted Chocolate Lemon Marble Cake

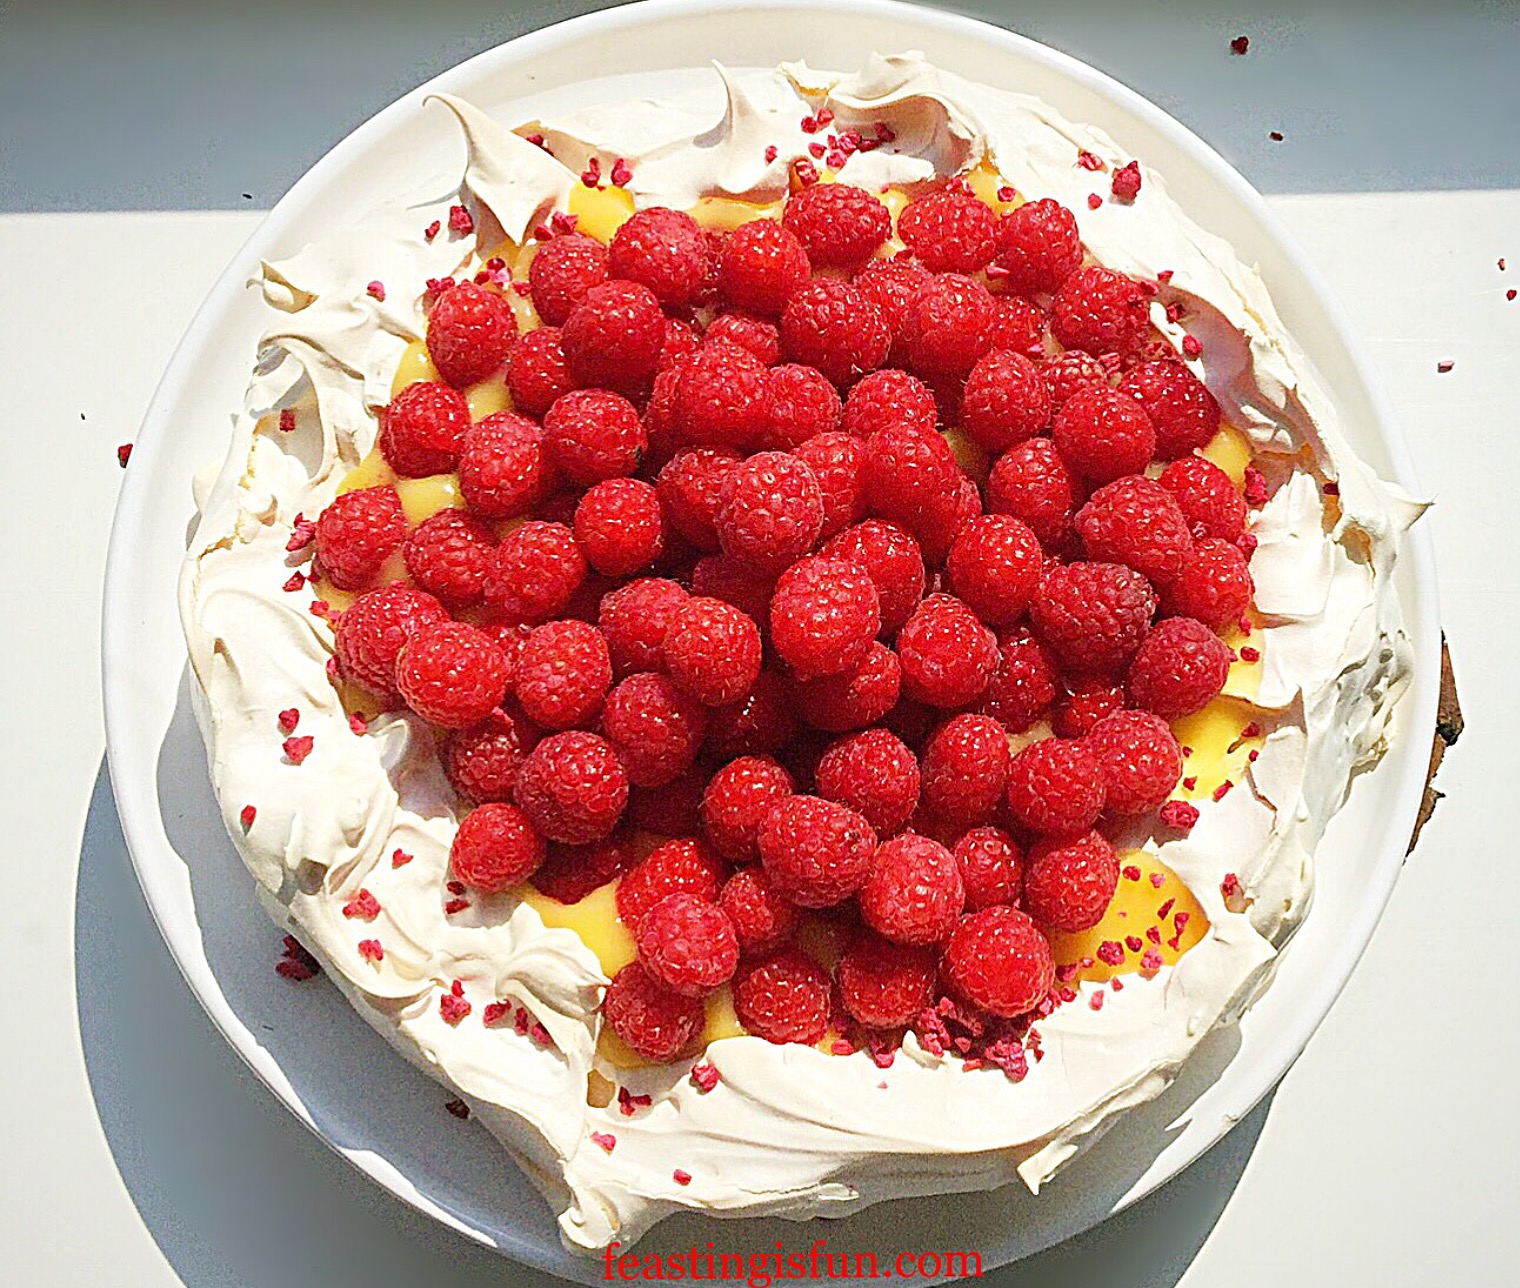
Raspberry Vanilla Naked Celebration Cake
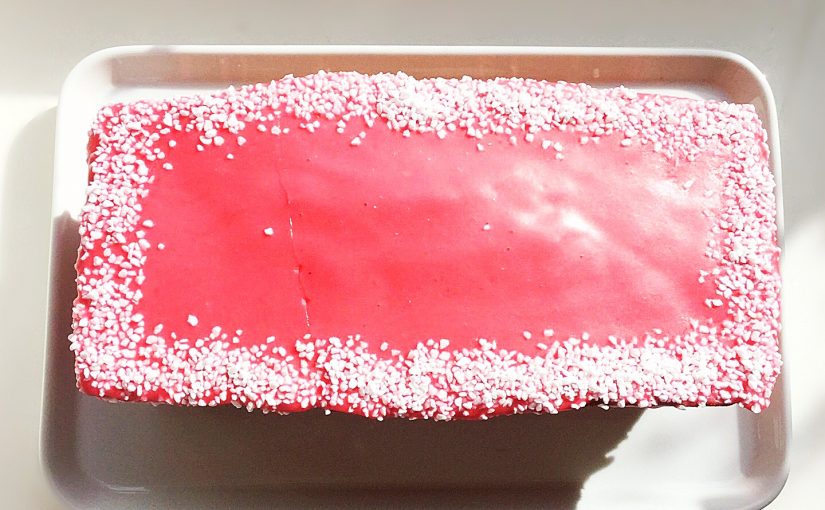
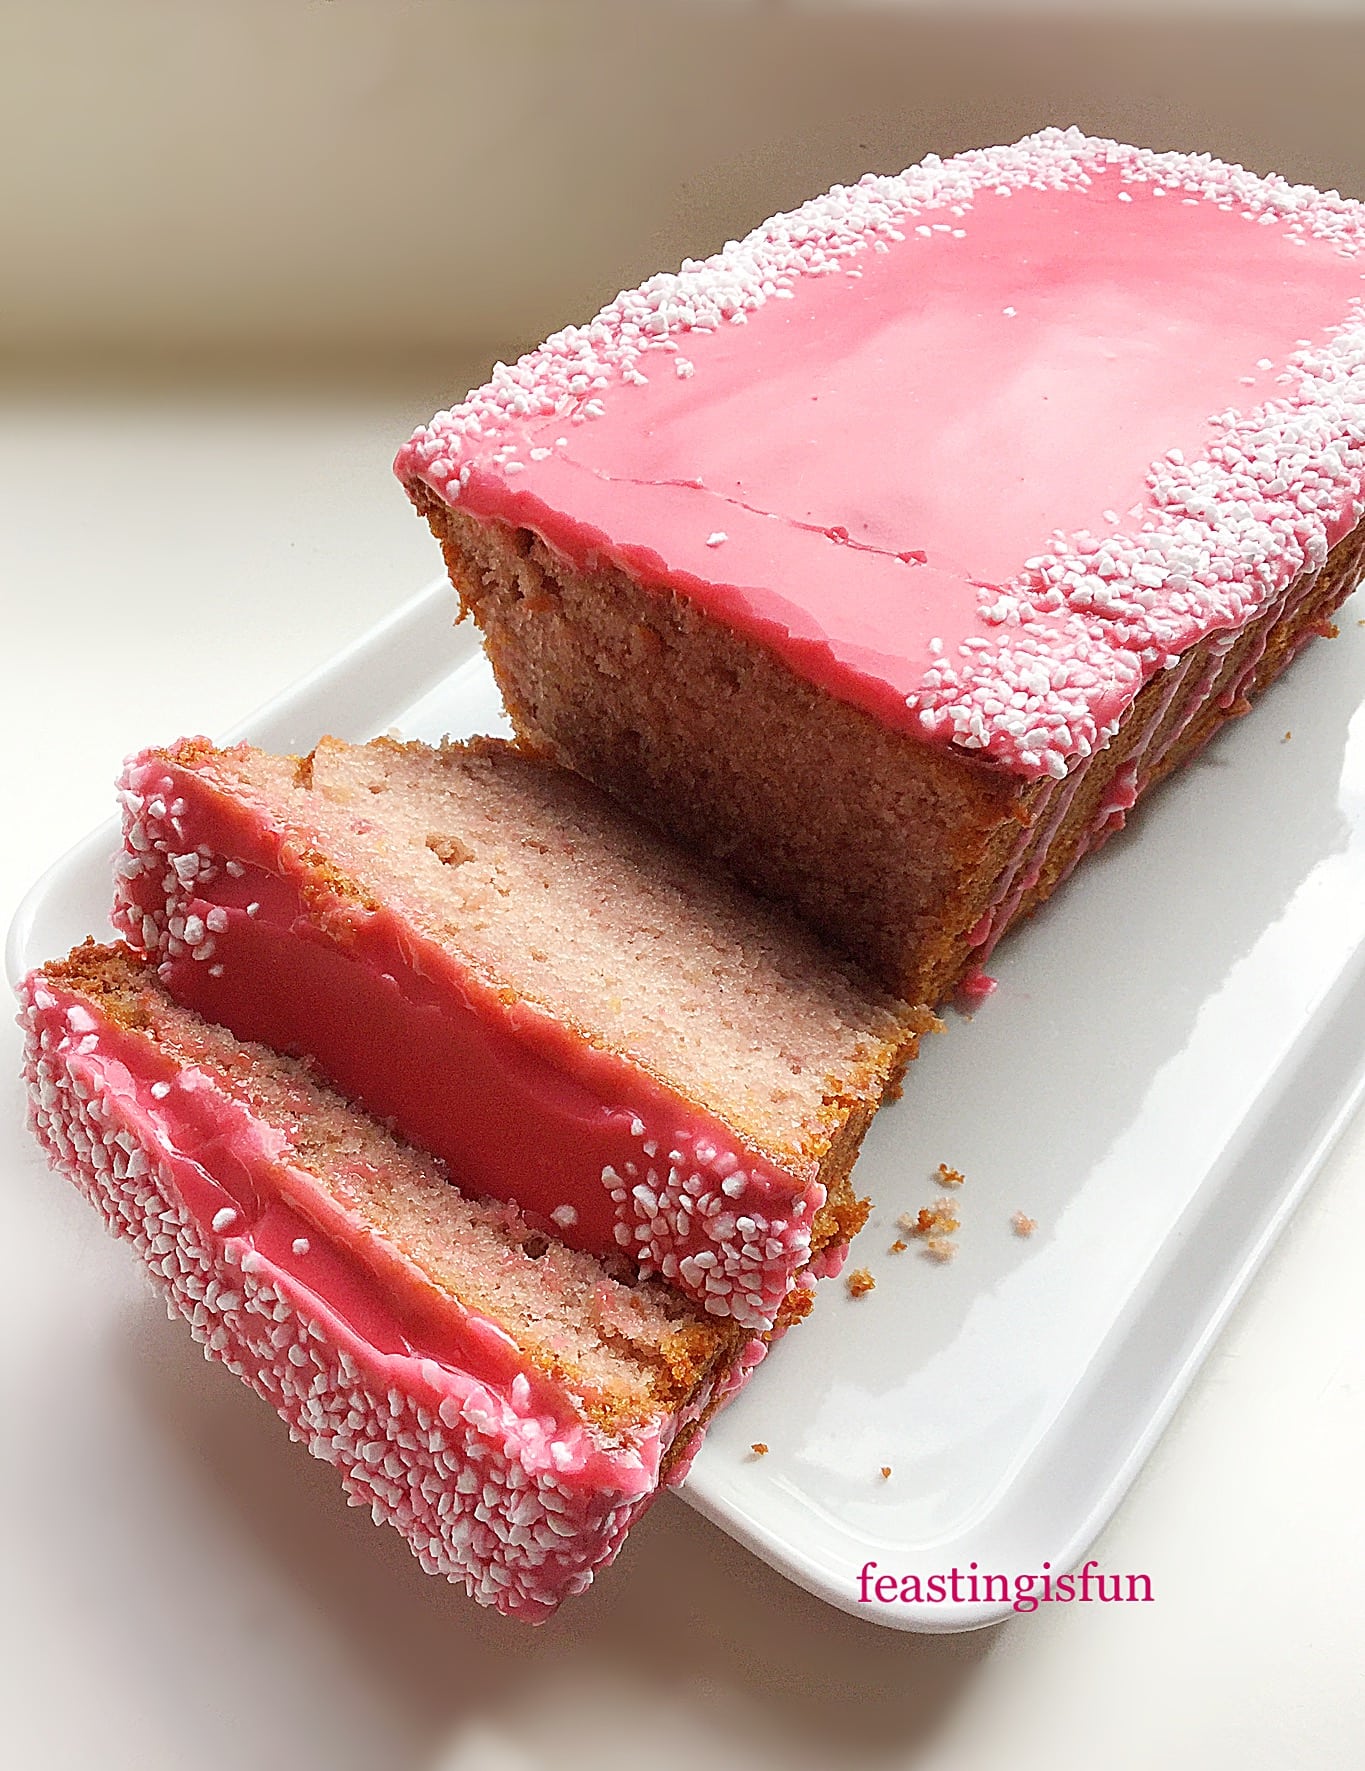
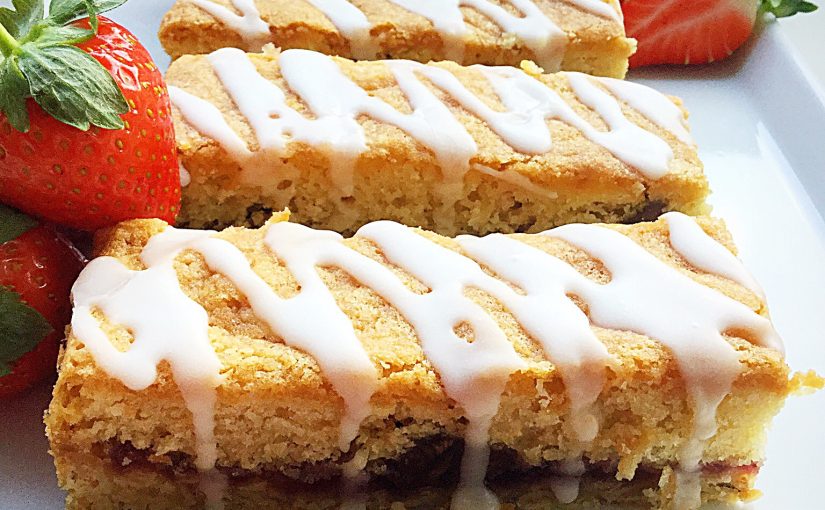
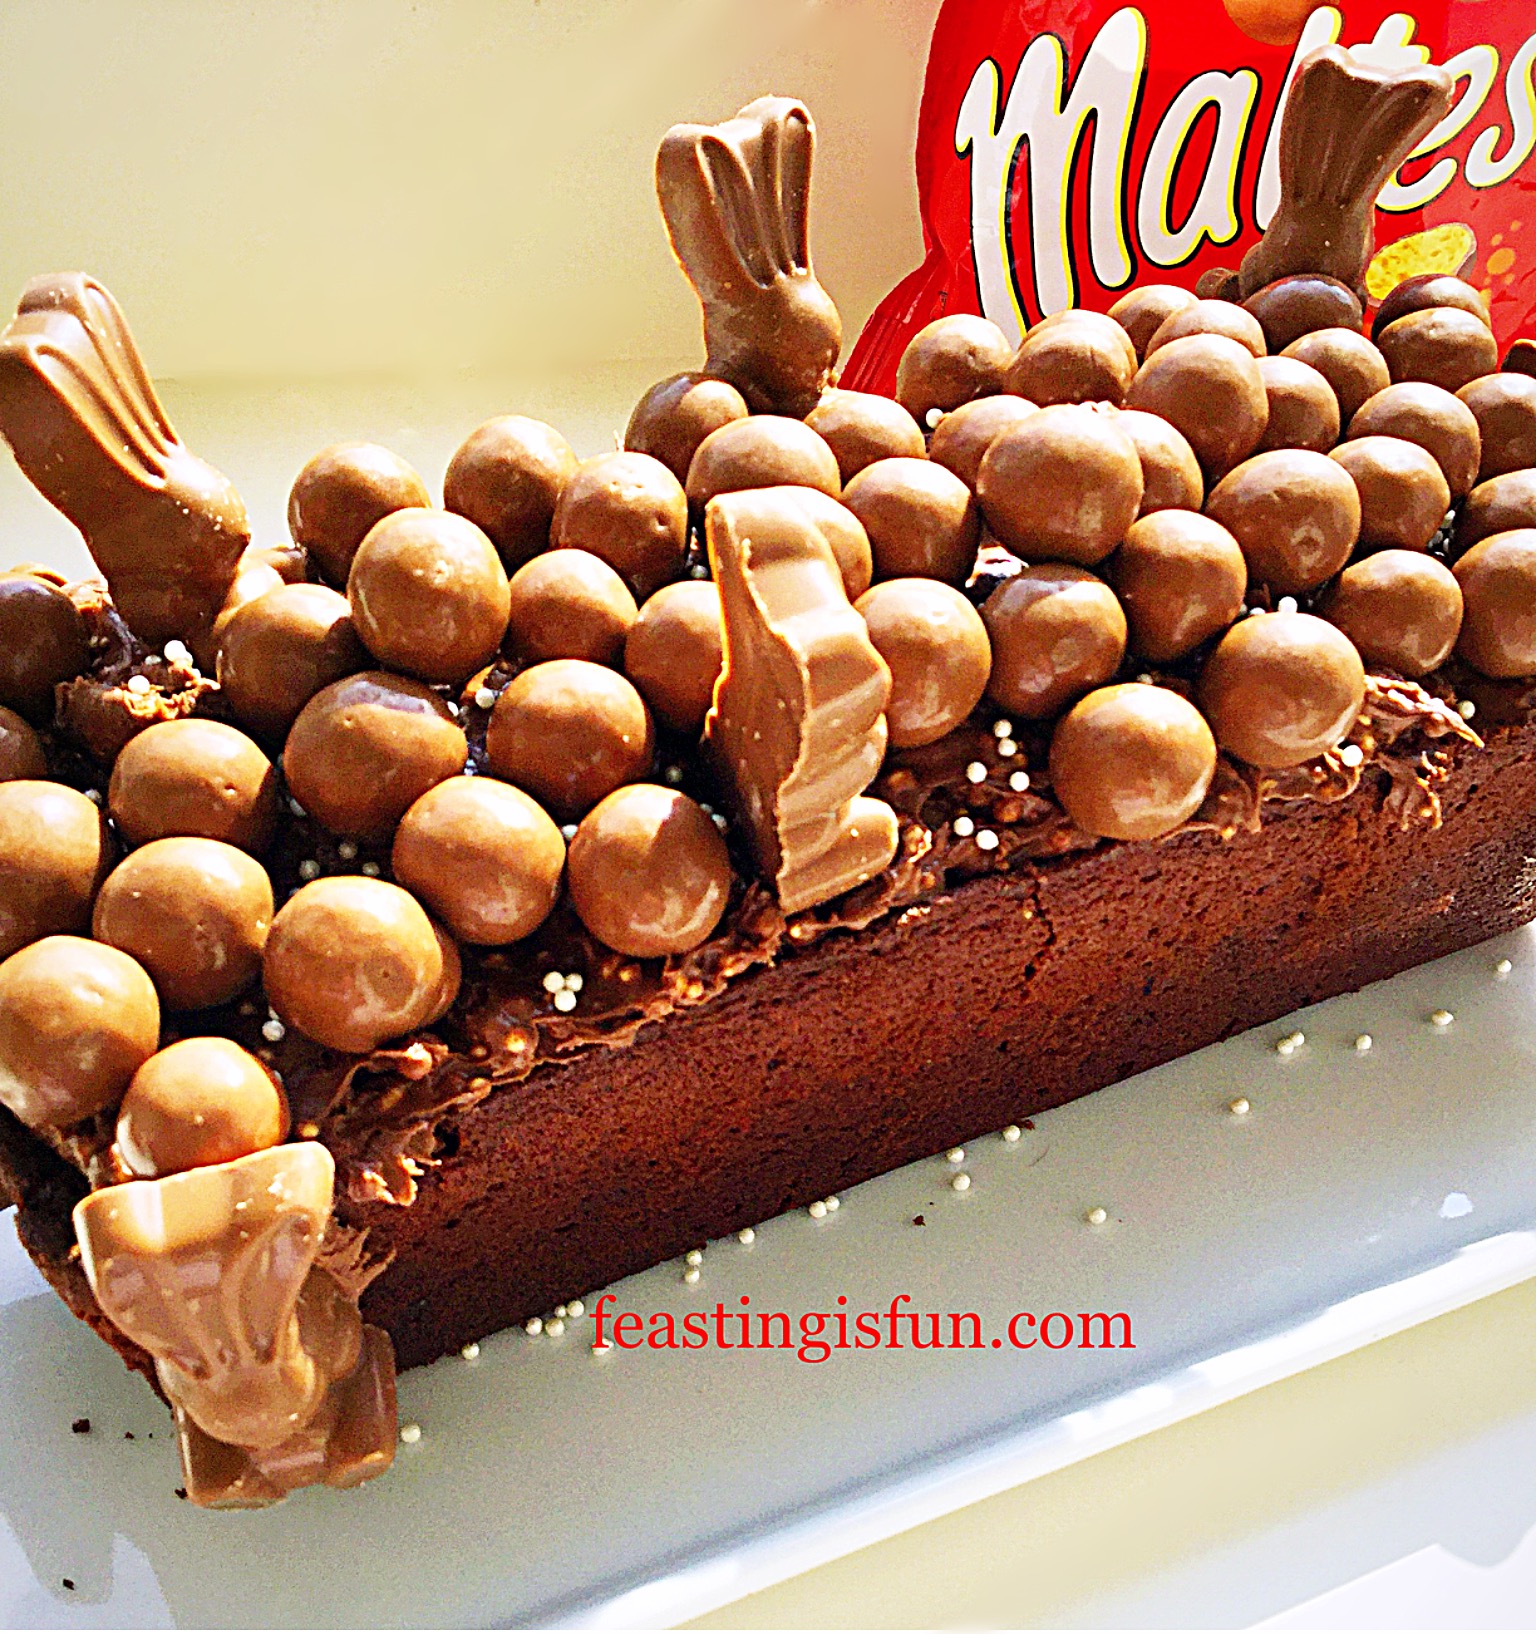
Maltesers Malted Chocolate Loaf Cake
Most importantly, seeing the smile on our daughter’s face made the effort to make this cake worth it! Since I am not and never really intend to be a professional cake decorator, I have learned some easy techniques that give a cake real WOW factor. And I am so thrilled that I get to pass these easy decorating ideas on to you my readers. While I know the chocolate pencils used on this cake aren’t cheap, compared to the cost of buying a handmade cake they are worth every penny!
So, whatever you are making, baking and creating in your kitchens, have fun preparing and sharing your feast.
No part of this post may be reproduced or duplicated without the written permission of the owner. Please my Disclosure Policy.