Cheddar Cheese Thyme Soft Breadsticks

Cheddar cheese is loved by so many, me included and is such a versatile ingredient. Something magical happens to the flavour when it is heated. Becoming more savoury, salty and intense on the palette. Even when eaten with crackers it benefits vastly when left out of the fridge to come up to room temperature. Since winning some Vintage Cheddar in a Twitter competition I wanted to create a new, delicious snack recipe. These Cheddar Cheese Thyme Soft Breadsticks tick every, single, box.

FF Cheddar Cheese Thyme Soft Breadsticks

Cheesy Breadsticks – Delicious And Versatile

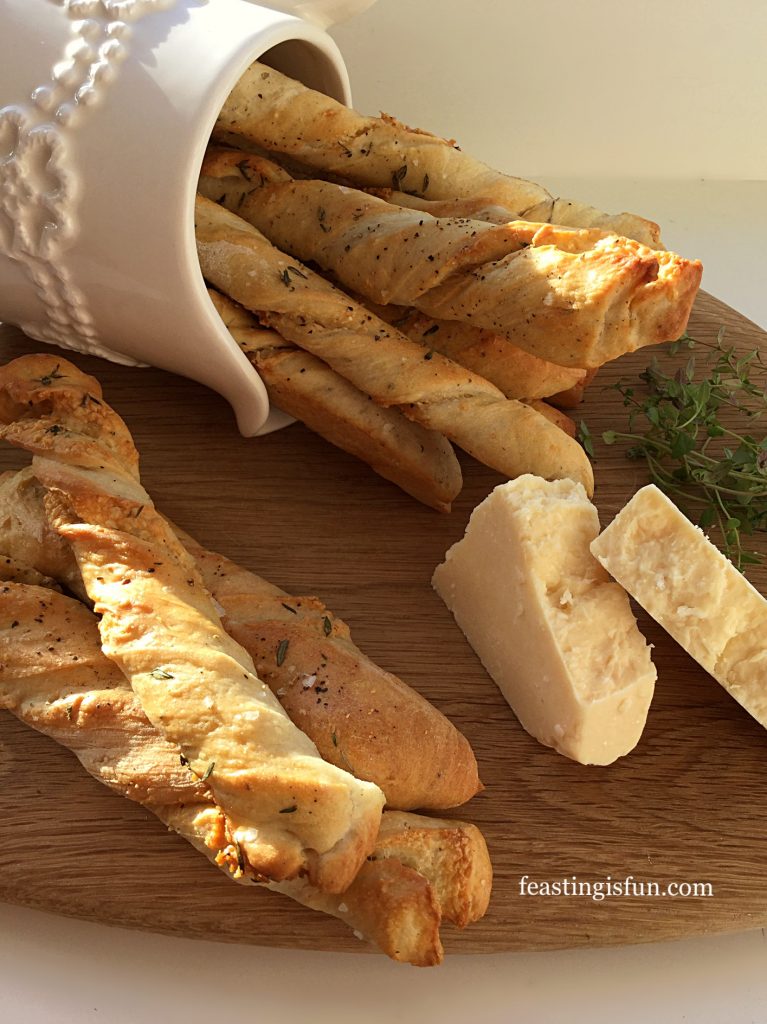
The combination of good quality mature, or vintage cheddar with fresh thyme gives a distinctly savoury flavour to these breadsticks. Also, the addition of Parmesan cheese to the bread dough enhances and reaffirms their cheesy flavour. While pastry cheese straws can be oily at times, that is not the case here. No greasy fingers whilst munching on these!
FF Cheddar Cheese Thyme Soft Breadsticks
Cheddar Cheese Thyme Soft Breadsticks

As well as tasting delicious on their own, these cheesy breadsticks also make a perfect accompaniment to soup, such as Hearty Minestrone Soup. While sounding an unlikely combination, we ate these with a simple beef casserole that had been bubbling away on the hob all day. Not so surprising when Cheddar is often used in the pastry of beef pies.
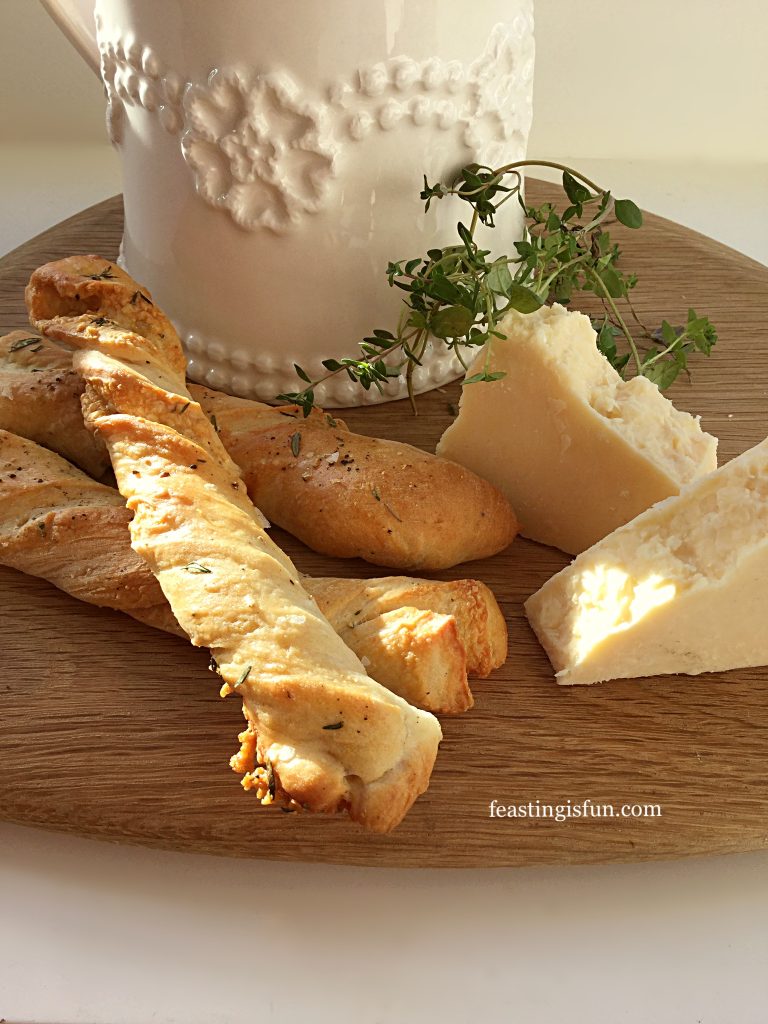
FF Cheddar Cheese Thyme Soft Breadsticks
Cheddar Cheese Thyme Soft Breadsticks

Recipe: Cheddar Cheese Thyme Soft Breadsticks makes 32

320ml Tap Water at room temperature

7g Dried Yeast – I use Allinson easy bake yeast action

500g Strong White Bread Flour

2 tbsp Olive Oil plus extra for oiling the baking trays

7g Sea Salt plus extra for sprinkling – I use Maldon

50g Parmesan Cheese finely grated

3 tsp Fresh Thyme Leaves plus an add 2 tsp for sprinkling – halve the amount if using dried

1/2 tsp Freshly Ground Black Pepper plus extra for sprinkling on to breadsticks

50g plus an additional 75g Mature Cheddar Cheese – I used Vintage Cheddar from Wyke Farms

1 Free Range Egg beaten with 2 tsp cold water to use as an egg wash

Method:

The method given uses a stand mixer with dough hook attachment to make the dough. Of course this may be made by hand.

Making The Breadstick Dough

  • First of all, weigh the water into the bowl of the stand mixer.
  • Add the dried yeast and flour.
  • Next add the olive oil and salt.
  • Lower the dough hook and mix on low speed for 10 minutes, increasing to medium speed for a further 3 minutes.
  • While the dough is mixing lightly oil 4 large baking trays. Also preheat the oven to 200C/180C fan, 400F, gas mark 6.
  • Stop mixing and check the dough. It should be able to stretch so that light can be seen through it. This is called the windowpane test. If the dough does not pass this test lower the dough hook and continue to mix on medium, stopping and checking every two minutes until it finally passes the test.
  • As soon as the dough is ready stop mixing. Add both the finely grated Parmesan cheese and 50g of the cheddar. Also add 2 teaspoons of fresh Thyme leaves and half a teaspoon of freshly ground black pepper.
  • Lower the dough hook and mix on a low speed for two minutes.
  • Stop the mixer, scrape any dough from the dough hook into the bowl, cover with a cloth and leave in a draft free place until doubled in size.

Flavouring And Shaping The Cheedar Cheese Thyme Breadsticks:

  • Lightly flour the worktop and tip out the dough, so that the top of the risen dough is in contact with the worktop.
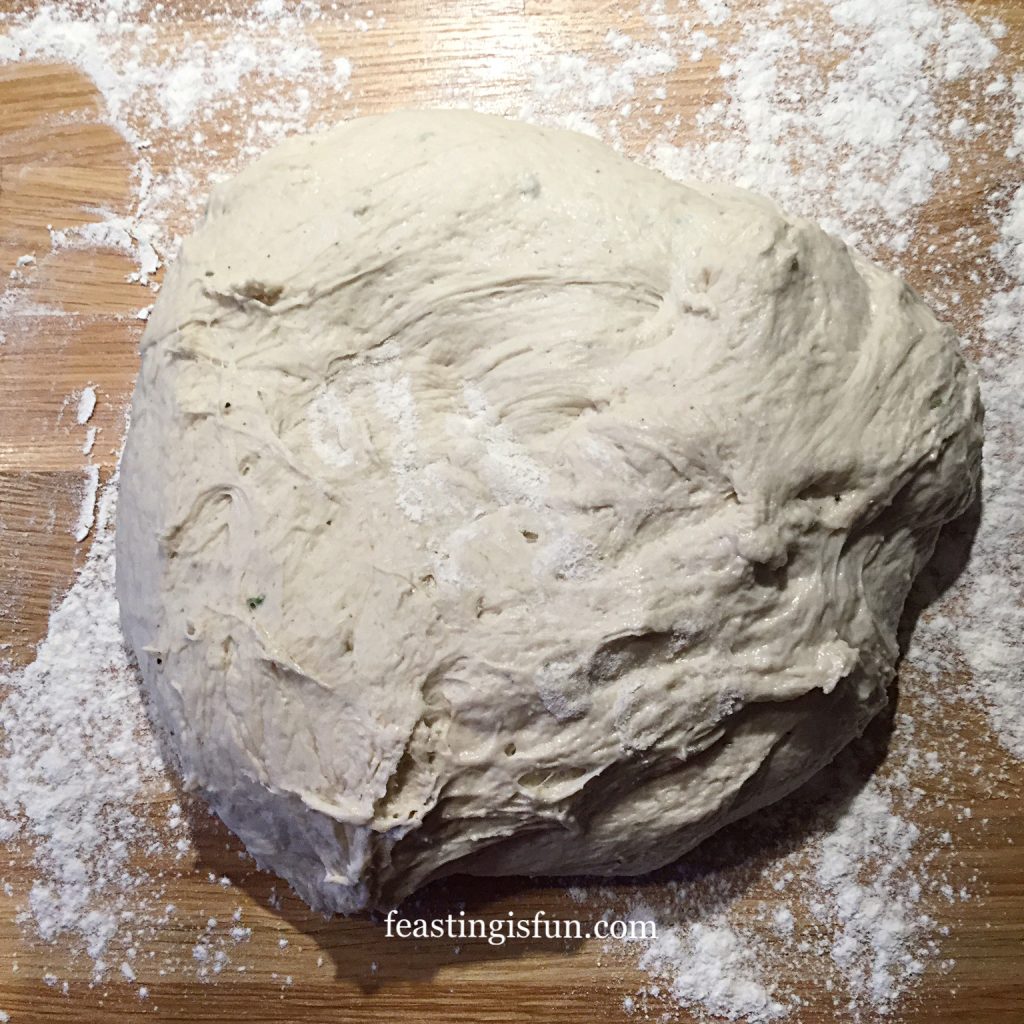
FF Cheddar Cheese Thyme Soft Breadsticks
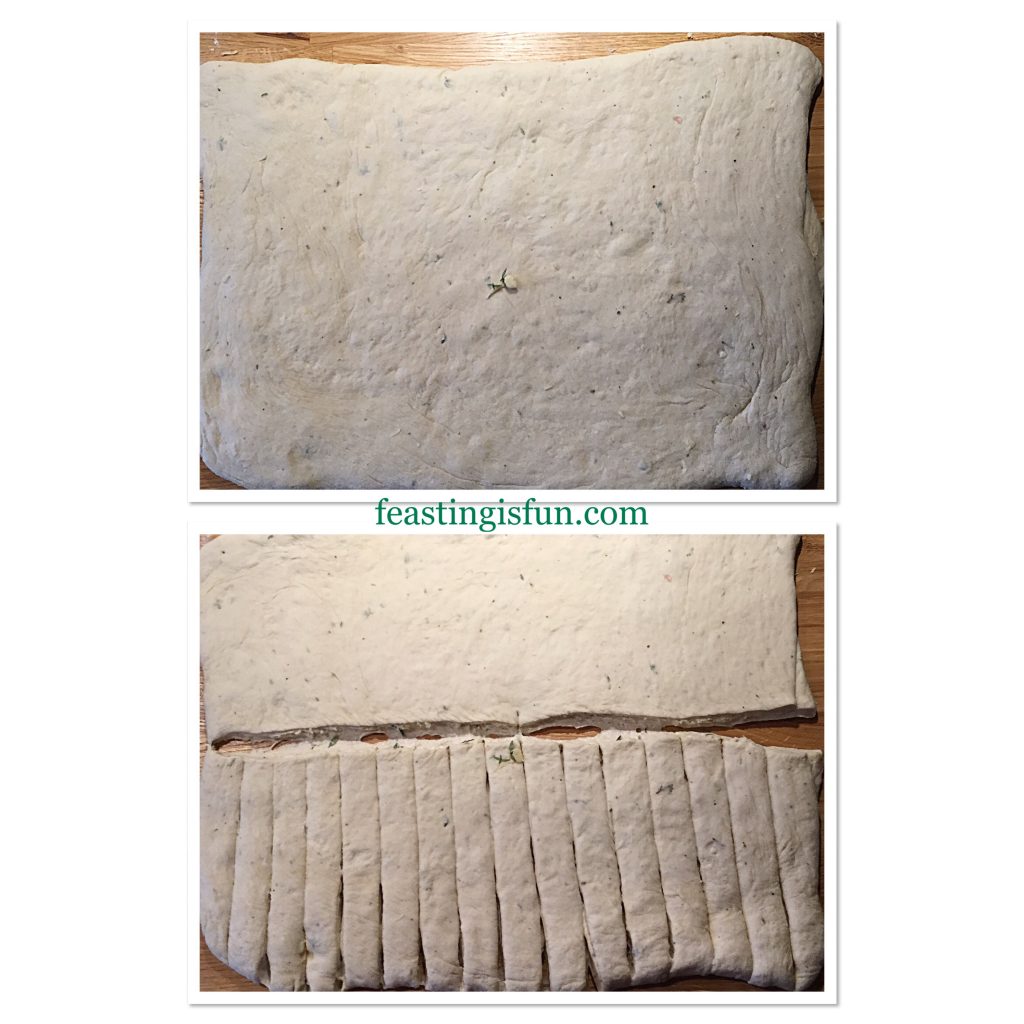
The Cheddar Cheese Thyme Soft Breadsticks Dough
  • Dust the dough with flour and roll out to 50cm x 30cm (20in x 12in).
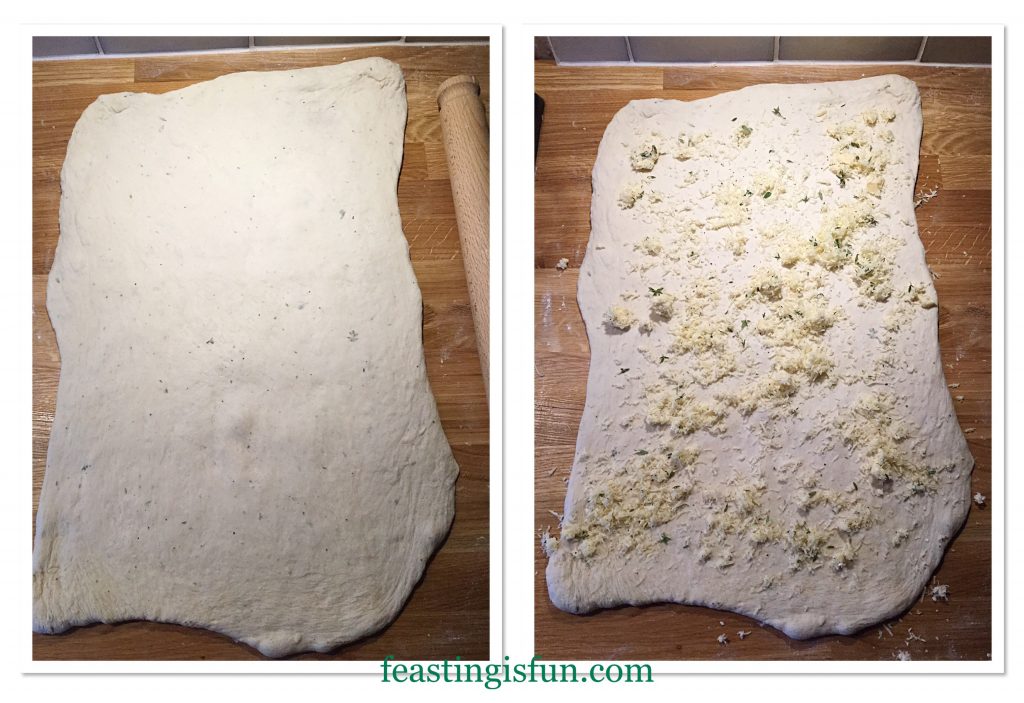
FF Cheddar Cheese Thyme Soft Breadsticks
Preparing the dough to become breadsticks.
  • Sprinkle over the rolled out dough, 75g finely grated cheddar and 1 teaspoon of fresh thyme leaves.
  • Fold the dough in half.
FF Cheddar Cheese Thyme Soft Breadsticks
Folding and cutting the dough into breadsticks.
  • Gently roll over the folded dough with a rolling pin, sealing the cheese inside.
  • Cut the dough in half across the middle. Next cut 1cm (1/2in) strips in the dough.
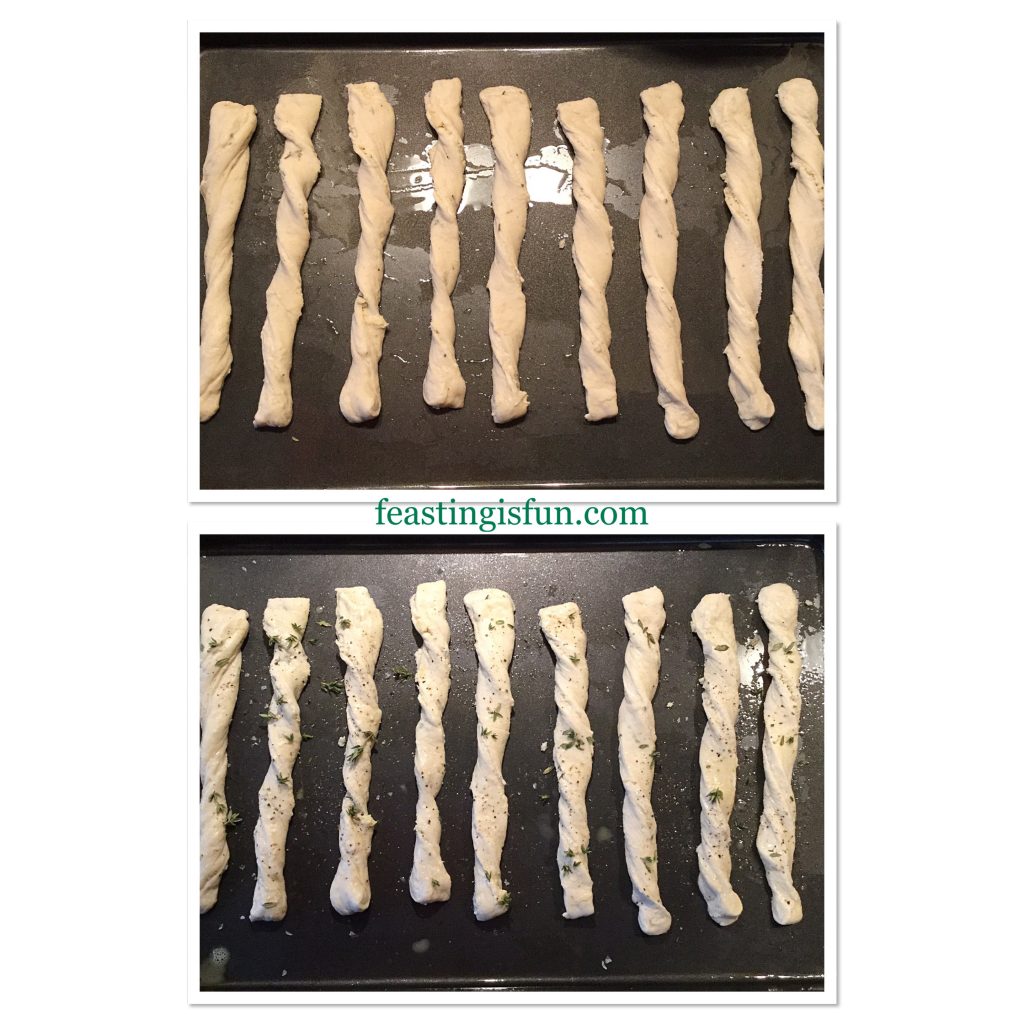
FF Cheddar Cheese Thyme Soft Breadsticks
Preparing the breadsticks for baking.
  • Remove one dough strip at a time, stretch and twist it before placing on a prepared baking tray. Press the dough on to the tray to stick, this will hold the twist in place. Place eight breadsticks on each tray.
  • Brush each breadstick lightly with egg wash and sprinkle over 1/2 teaspoon of thyme (for each eight breadsticks). Also grind black pepper and sprinkle a pinch of sea salt over the tray.
  • Place two baking sheets in the preheated oven on separate shelves and bake for 15-20 minutes.
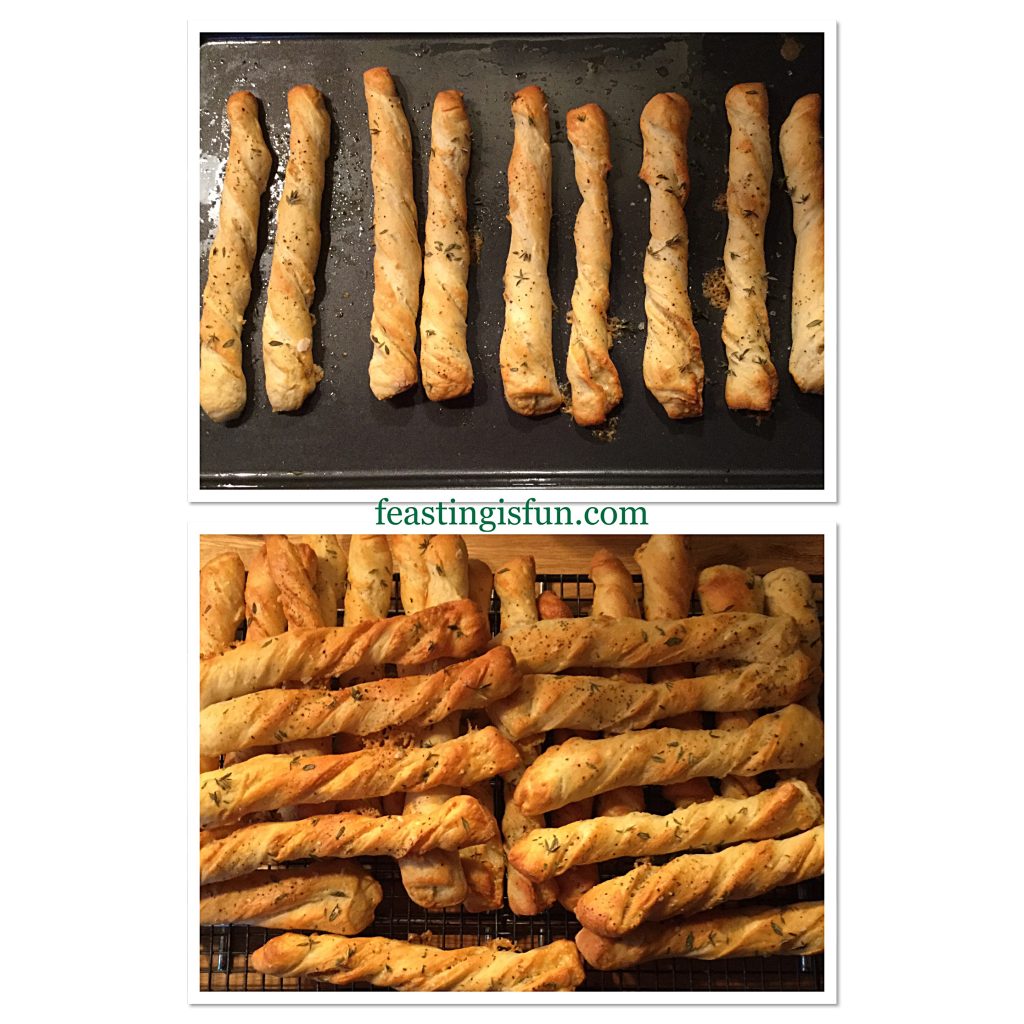
FF Cheddar Cheese Thyme Soft Breadsticks
Freshly baked, golden, Cheddar Cheese Thyme Soft Breadsticks
  • The breadsticks are baked when they are a light golden brown.
  • As soon as the breadsticks are baked remove from the oven and place on a cooling rack.
  • Continue with the other half of the dough, cutting, twisting, egg washing and sprinkling and finally baking as before.
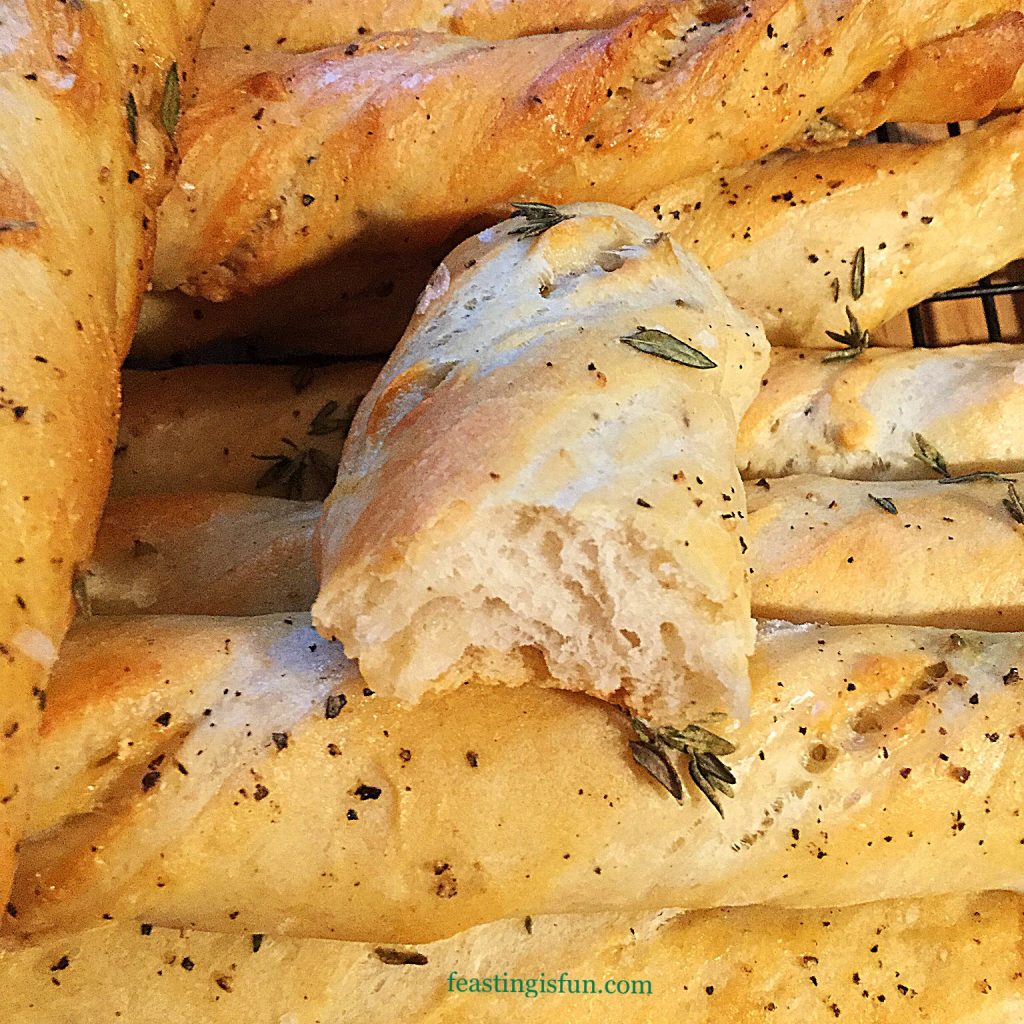
FF Cheddar Cheese Thyme Soft Breadsticks
The soft inner crumb of these Cheddar Cheese Thyme Soft Breadsticks.
  • Wait until slightly cooled before biting into one of these deliciously cheesy breadsticks, with its soft, fluffy inner.
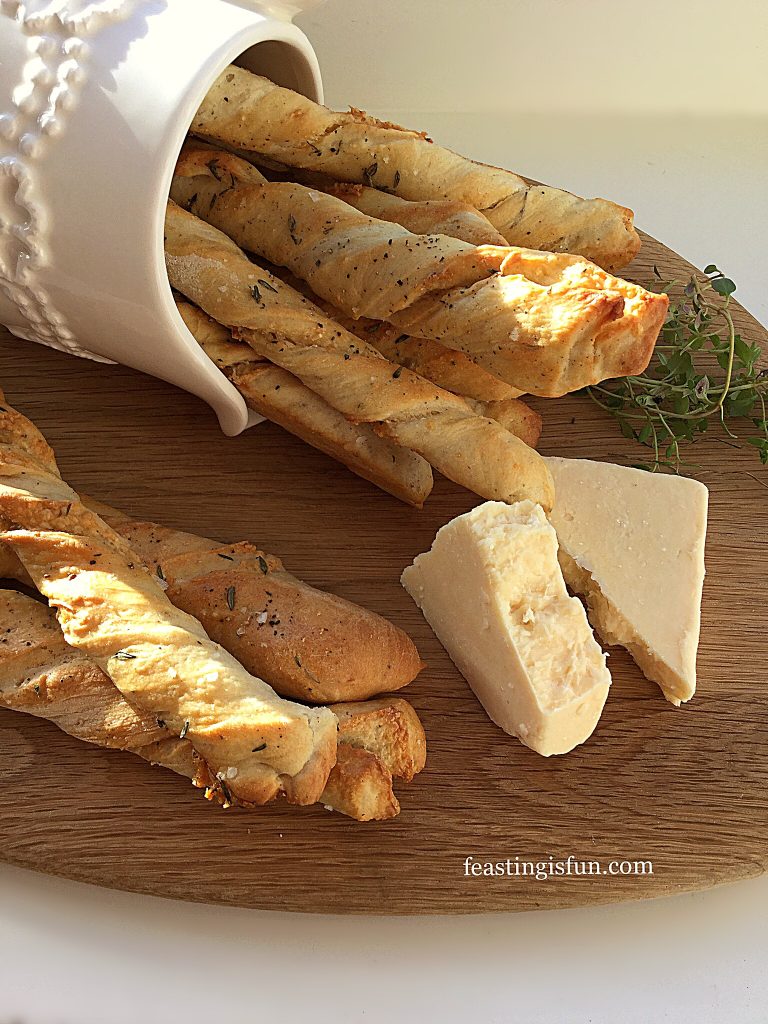
FF Cheddar Cheese Thyme Soft Breadsticks
Cheddar Cheese Thyme Soft Breadsticks

Serving And Storing The Breadsticks

Serve slightly warm to allow for the best possible taste experience. At there best enjoyed on the day these are made.

Since this recipe makes a big batch of Cheddar Cheese Thyme Soft Breadsticks, they can be enjoyed at larger gatherings and are ideal for adding to a buffet table.

To make ahead, bake as usual, cool and freeze for up to two weeks. Remove from the freezer when needed, place on a baking tray in a warm oven for 10 minutes to defrost and warm through.

If you have enjoyed this recipe for Cheddar Cheese Thyme Soft Breadsticks you may also like these:
Seeded Multigrain Baguettes

FF Cheddar Cheese Thyme Soft Breadsticks
Seeded Multigrain Baguettes

Baked Cheese Olive Ciabatta Bread

FF Cheddar Cheese Thyme Soft Breadsticks
Baked Cheese Olive Ciabatta Bread

Cheddar Sun Dried Tomato Scones
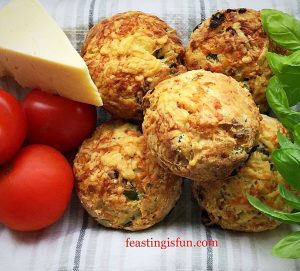
FF Cheddar Cheese Thyme Soft Breadsticks
Cheddar Sun Dried Tomato Scones

Creating recipes using ingredients that compliment and enhance each other is at the heart of Feasting is Fun. As well as encouraging people to share their bakes. Baking extra to give away, to an elderly neighbour or new family, is easy. Especially when you are in the kitchen already, whipping up a batch of breadsticks, cookies or cupcakes.

Who will you share with?

Whatever you are making, baking or creating in your kitchens, enable fun preparing your feast.

Sammie xx

No part of this post may be reproduced or duplicated without the written permission of the owner. Please see my Disclosure Policy.
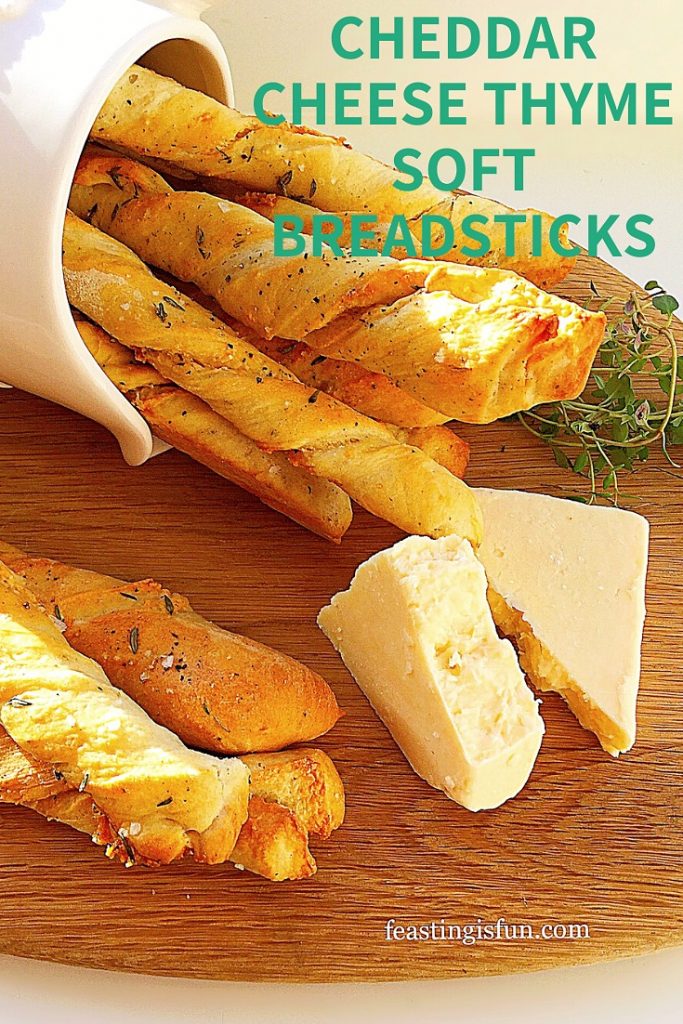
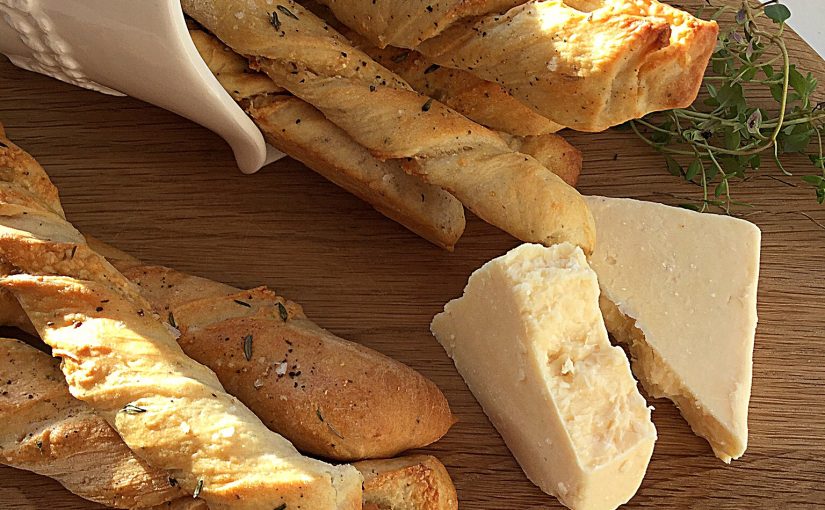
 

Cheddar and fresh thyme on a wooden board with breadsticks in a cream jug. Sized for Pinterest with descriptive graphics.
Cheddar Cheese Thyme Soft Breadsticks.

Double Strawberry Almond Muffins

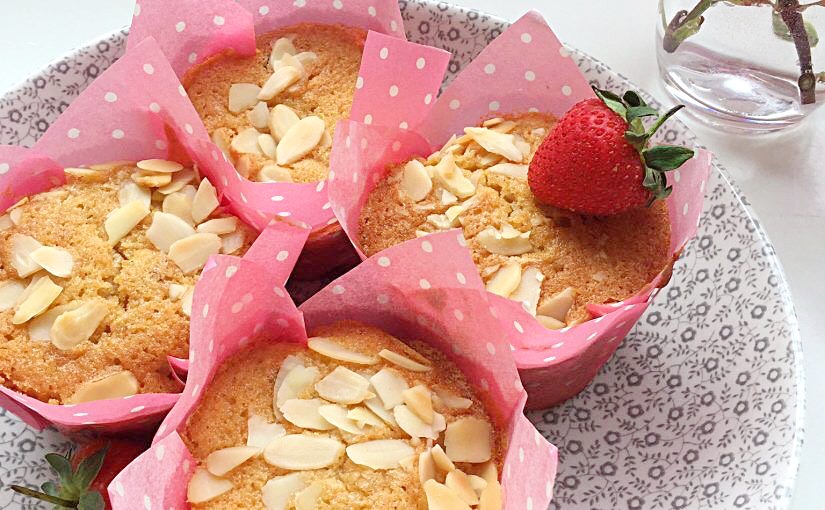
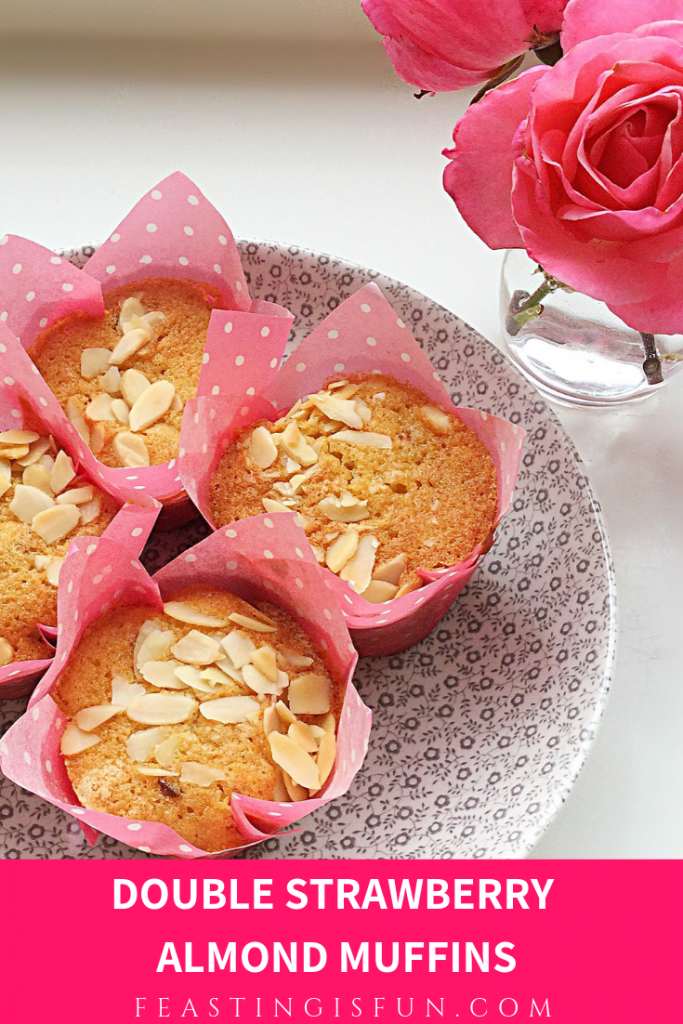
As you may have noticed from recent posts, I am having a full blown love affair with strawberries this Summer.  Whether it’s eating them warmed by the sun, just as they are, or, creating new recipes such as Strawberry Rose Ice Cream, I cannot seem to get enough of them. While looking for inspiring ingredients on Amazon U.K., I found some baked strawberries for sale. Imagine a more intense strawberry flavour with a chewy texture. Sourcing fresh strawberries locally, finally resulted in the creation of my Double Strawberry Almond Muffins.

Pinterest image of strawberry muffins with descriptive graphics.

Since the name ‘baked’ strawberries seems, a little misleading, they will be referred to as dried strawberries. Not freeze dried strawberries, which are an entirely different product altogether.  Similar to dried apricots in texture, dried strawberries are chewy, rather like gummy bears, with a more intense, strawberry flavour. While also free from other added ingredients. Resulting in a perfect snack size strawberry, untainted by additives.

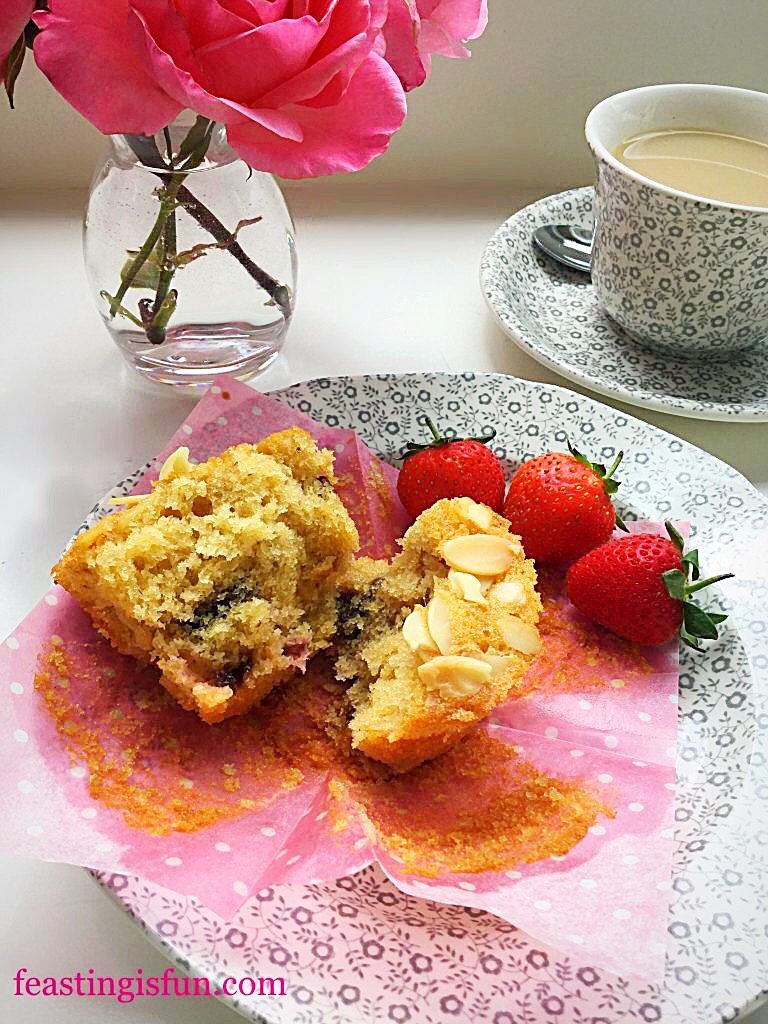
Teapot, cup of tea, muffin on a plate and pink roses in a small vase.
Double Strawberry Almond Muffins

While the muffins bake the fresh strawberries become absorbed into the batter.  Yet dried strawberries absorb moisture from the cake batter. During the baking process they lose their chewy texture. Resulting in gooey, jam like, pools of delicious strawberry within each muffin.

Muffin pulled in half to show even distribution of fruit.
Strawberries evenly distributed throughout the muffin.

A light open texture of each muffin is visible in the photo above. Having checked a few muffins, the strawberries are dispersed evenly throughout. Since previously having difficulty including fresh strawberries into a bake, I didn’t want to weigh the batter down with their water content. That said, extra chopped, dried strawberries could be added to the top, with the flaked almonds, prior to baking.

Recipe: Makes 12 Double Strawberry Almond Muffins

200g/7oz Unsalted Butter at room temperature

200g/7oz Caster Sugar

1tsp Vanilla Extract – for all extracts I use Nielsen-Massey

1/2tsp Almond Extract

4 Large Free Range Eggs

1/4tsp Sea Salt – I use Maldon

100g/4oz Ground Almonds

150g/5oz Plain White Flour

1.5tsp Baking Powder

100g/4oz Fresh Strawberries hulled and diced

50g/2oz Dried or Baked Strawberries roughly chopped – I use Urban Fruit

50g/2oz Flaked Almonds

Method: Preheat the oven to 160C/140C fan, gas mark 3, 325F.

Note: Tulip wrappers must be used in a deep muffin, or cupcake tin. When using regular cupcake cases, fill two thirds full and expect to make 18 muffins from this recipe. Also, the length of time baking will also need to be adjusted, please see guidelines in the method.

Making The Strawberry Muffin Batter

  • First of all, line a deep muffin tin with 12 tulip wrappers.
  • Whisk together the butter, sugar and salt in a large bowl, until pale and creamy.
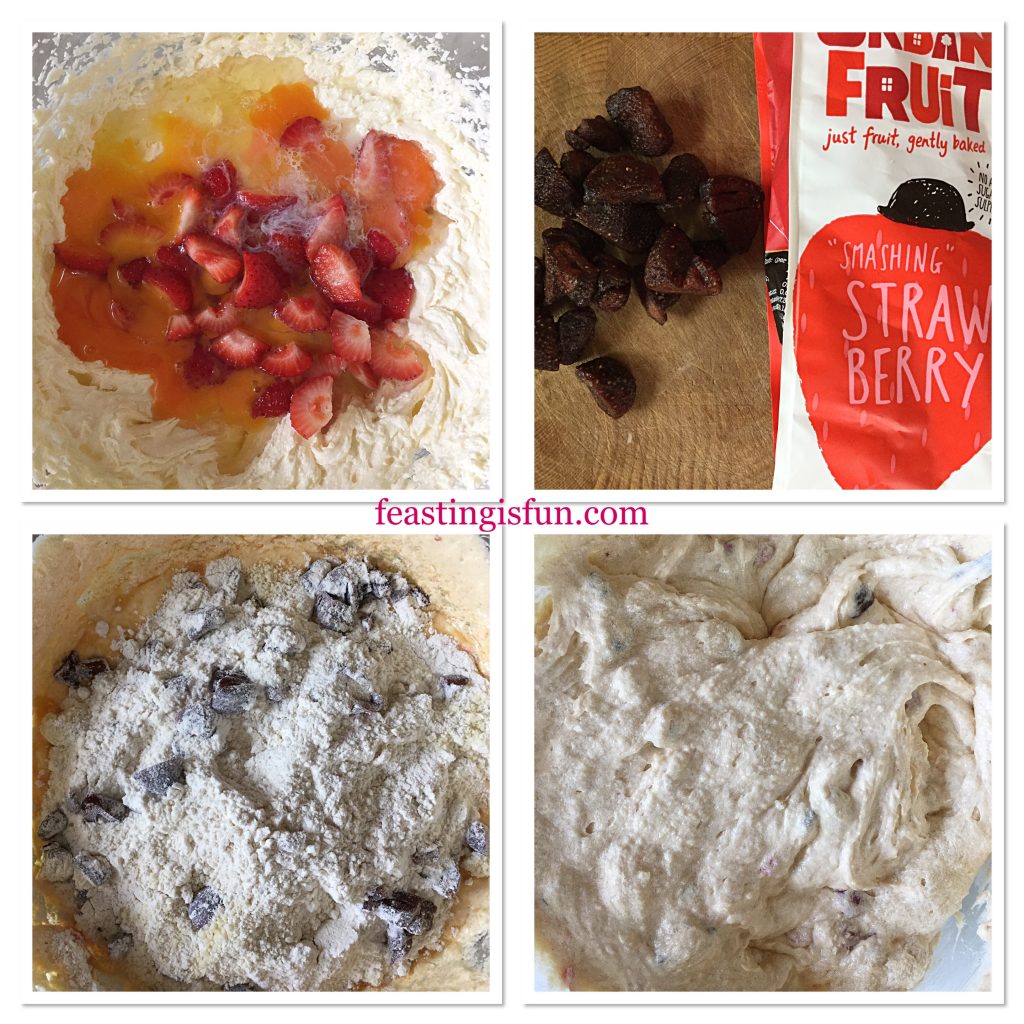
  • Add the eggs, vanilla and almond extract and the chopped fresh strawberries to the bowl. Whisk together.
  • Next add the ground almonds, flour, baking powder and chopped dried strawberries. Tossing the strawberries in the flour will help stop them from sinking to the bottom of the muffin.
  • Mix all of the ingredients together so that they are fully combined. Over mixing will cause the muffins to become tough.
FF Double Strawberry Almond Muffins
Making the muffin batter.

Filling The Tulip Muffin Cases

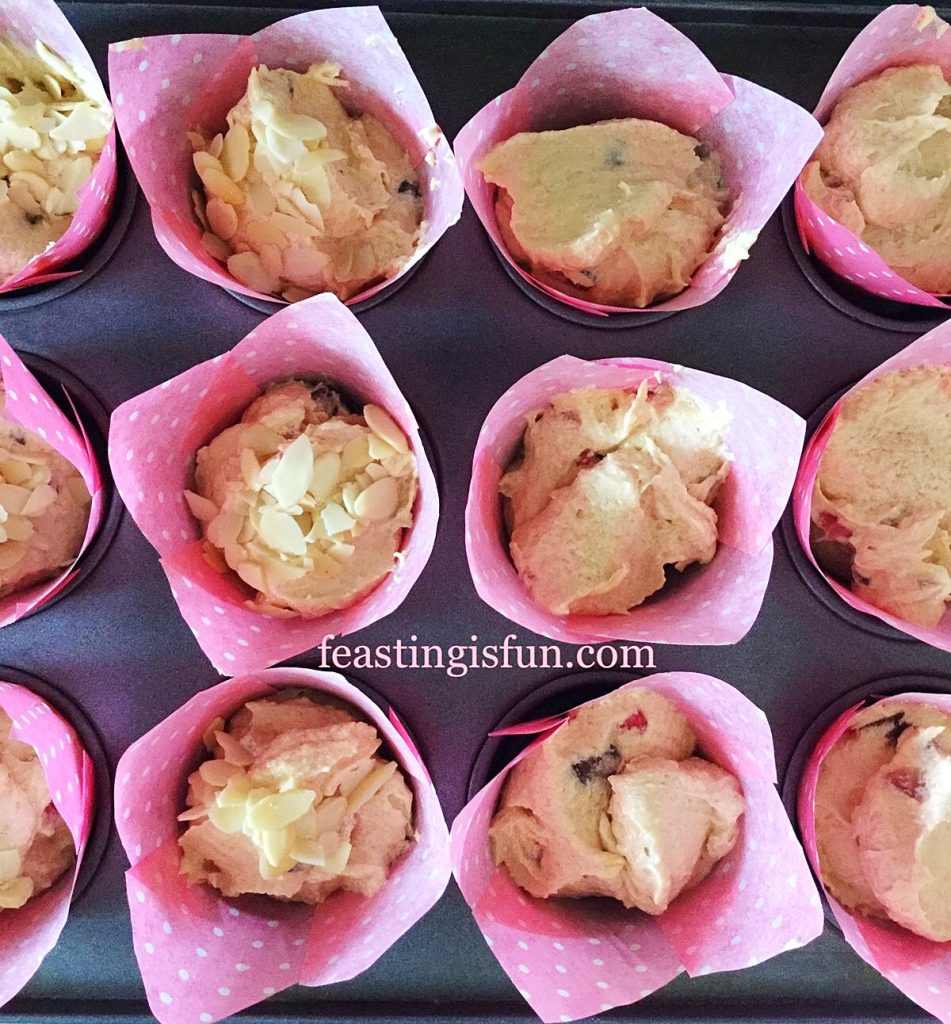
  • Using a large, 5cm/2″ ice cream scoop, add one scoop of batter to each tulip case. Divide any remaining batte evenly between the 12 cases.
  • Sprinkle some flaked almonds on top of each unbaked muffin. Again dividing the almond flakes, so each muffin has an equal amount.
Adding flaked almonds to the top of the muffins before baking.
Adding flaked almonds to the top before baking.

Baking The Muffins

  • Place the muffin tin into the centre of the oven and bake for 40-45 minutes.
  • The muffins are baked when they turn golden brown and are firm to a light touch. Over cooked muffins will be dry so start checking at 35 minutes.
  • Note: if baking using smaller cases, the baking time will need to be reduced.
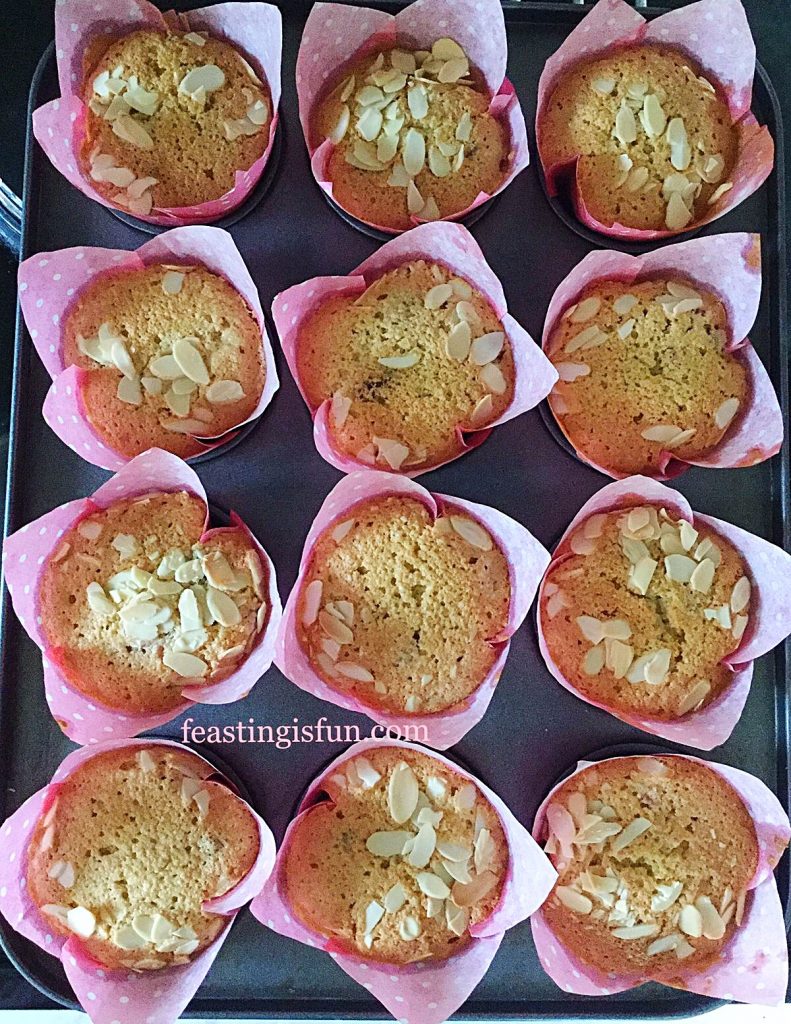
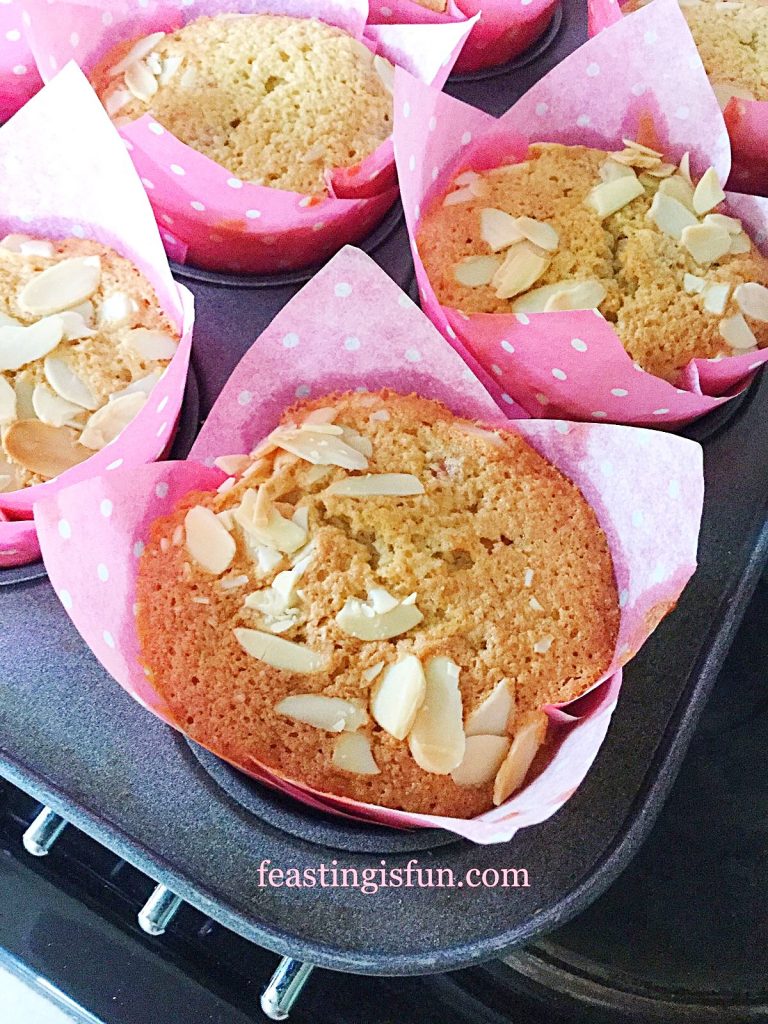
Muffins in tulip wrappers cooling in the tin.
Freshly baked muffins cooling in the tin.
  • When using tulip cases leave the muffins to cool completely in the tin. For muffin/cupcake cases, leave to cool for 10 minutes in the tin and then transfer to a cooling rack.
Muffins baked in a muffin tin.
Double Strawberry Almond Muffins

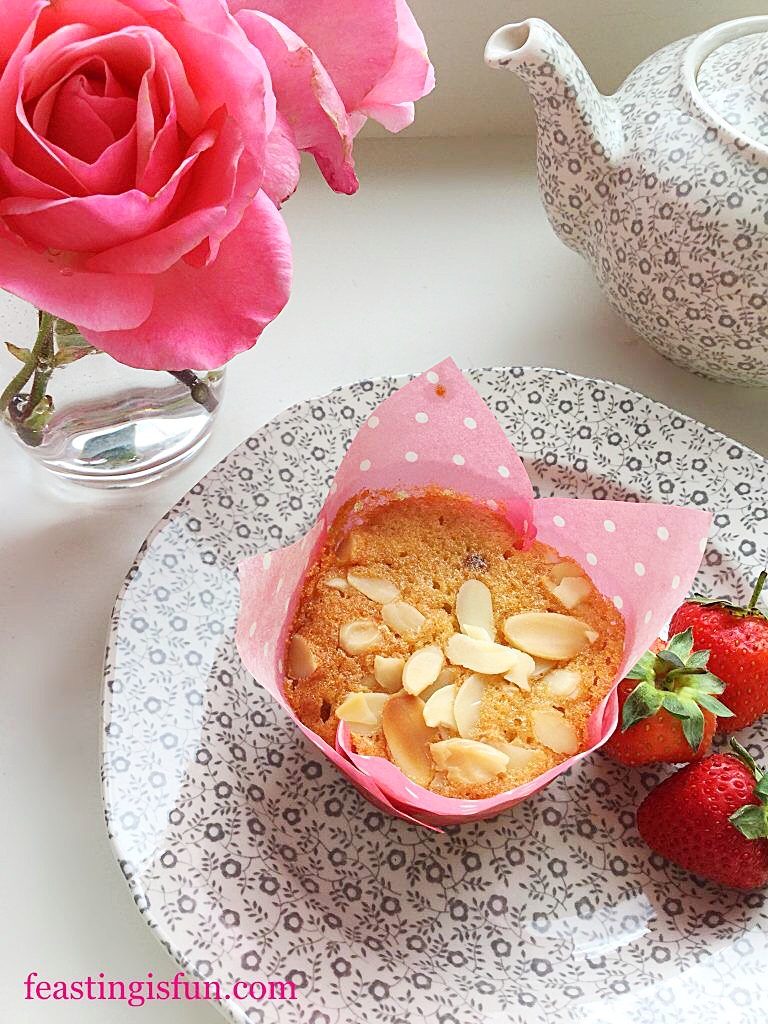
Double Strawberry Almond Muffins are best served slightly warm, or cold. Also serve with a cup of tea, or fresh fruit juice.

Muffin served with fresh strawberries.
Double Strawberry Almond Muffins

Muffins are great for breakfast, packed lunches and beating late afternoon hunger pangs.

Muffins containing fresh fruit are best eaten within 3 days of making. Store in an airtight container, placed in the fridge during hot weather.

If you have enjoyed this recipe for Double Strawberry Almond Muffins you may also like these:

Blueberry Lemon Shortbread Cake Bars

Blueberry Lemon Shortbread Cake Bars

Cheese Bacon Breakfast Muffins

Cheese Bacon Breakfast Muffins

Cherry Bakewell Cookies

Cherry Bakewell Cookies

Because these muffins take less than ten minutes to make, they really are a quick, delicious, breakfast treat. Knowing that, whilst at school, college or work, my family has good, wholesome food is important to me.

Dried strawberries are widely available from supermarkets, including Ocado, Waitrose and Amazon U.K.

So, whatever r you are making, baking and creating in your kitchens have fun preparing your feast.

Sammie xx

No part of this post may be reproduced without the explicit, written consent of the owner. For more details please see my Disclosure Policy.


Baked Cheese Olive Ciabatta Bread

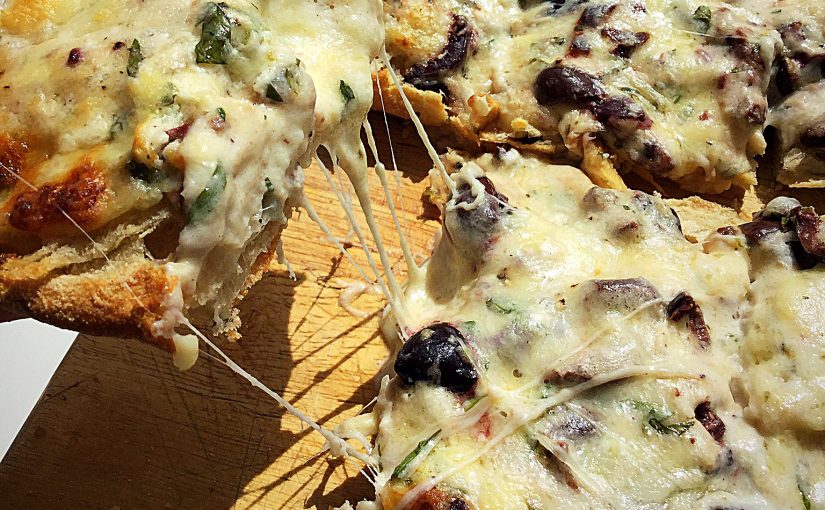
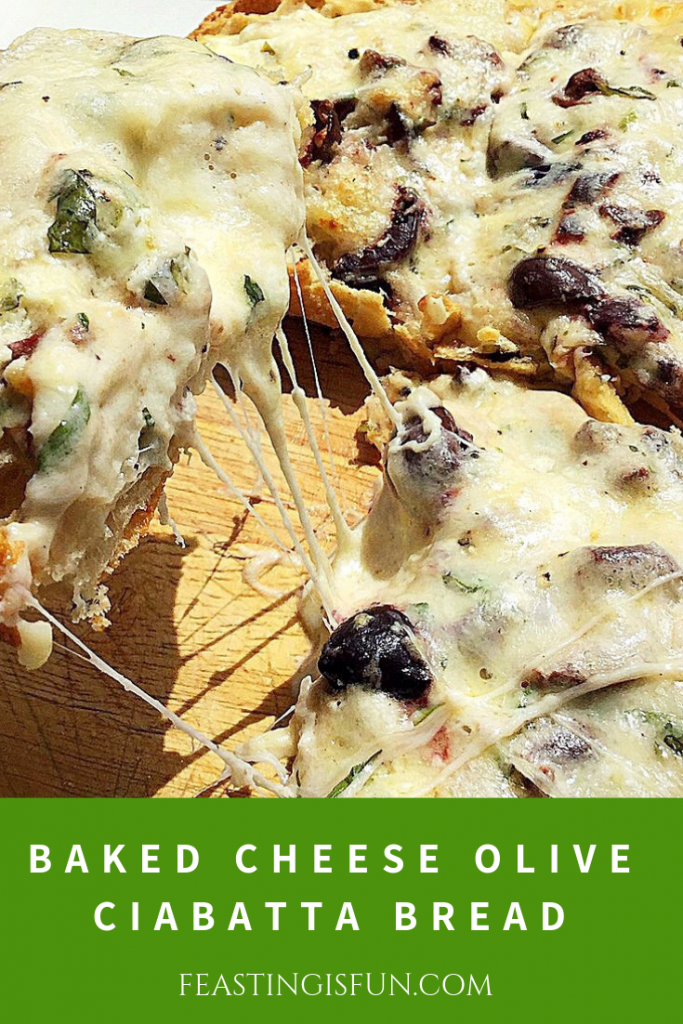
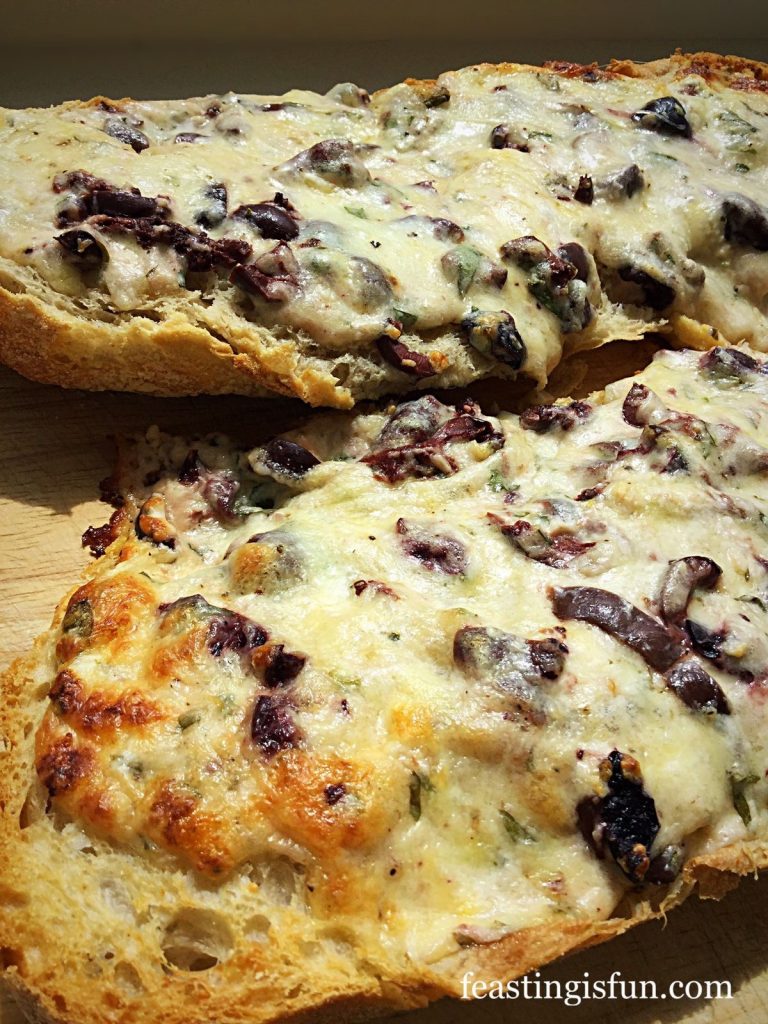
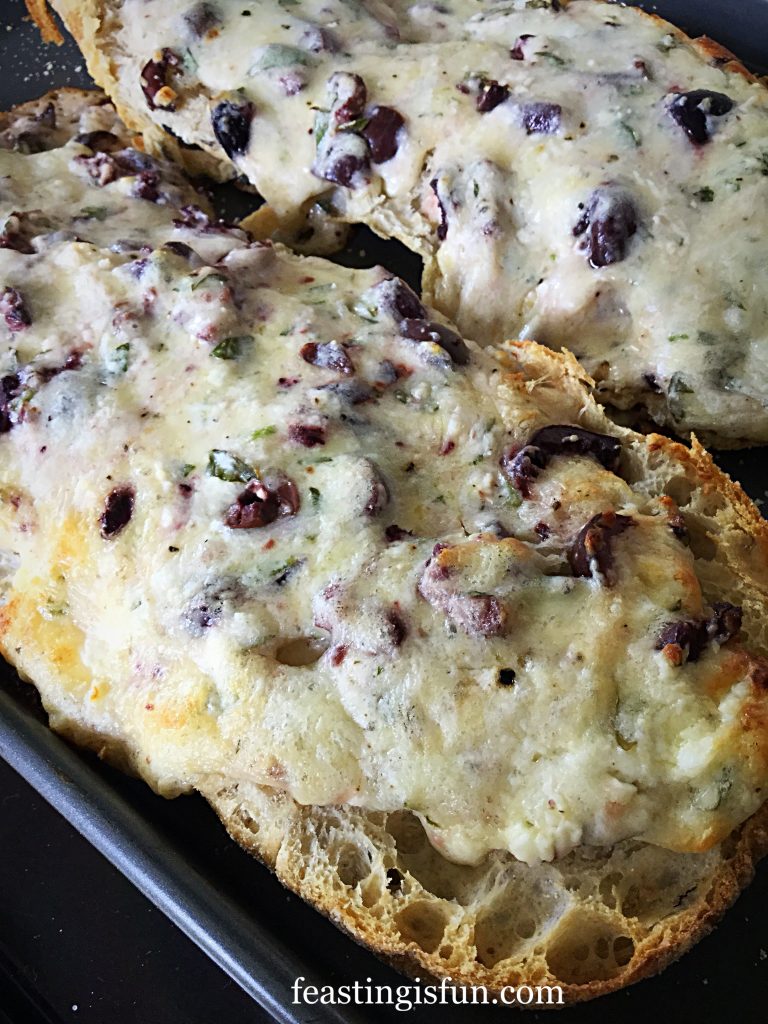
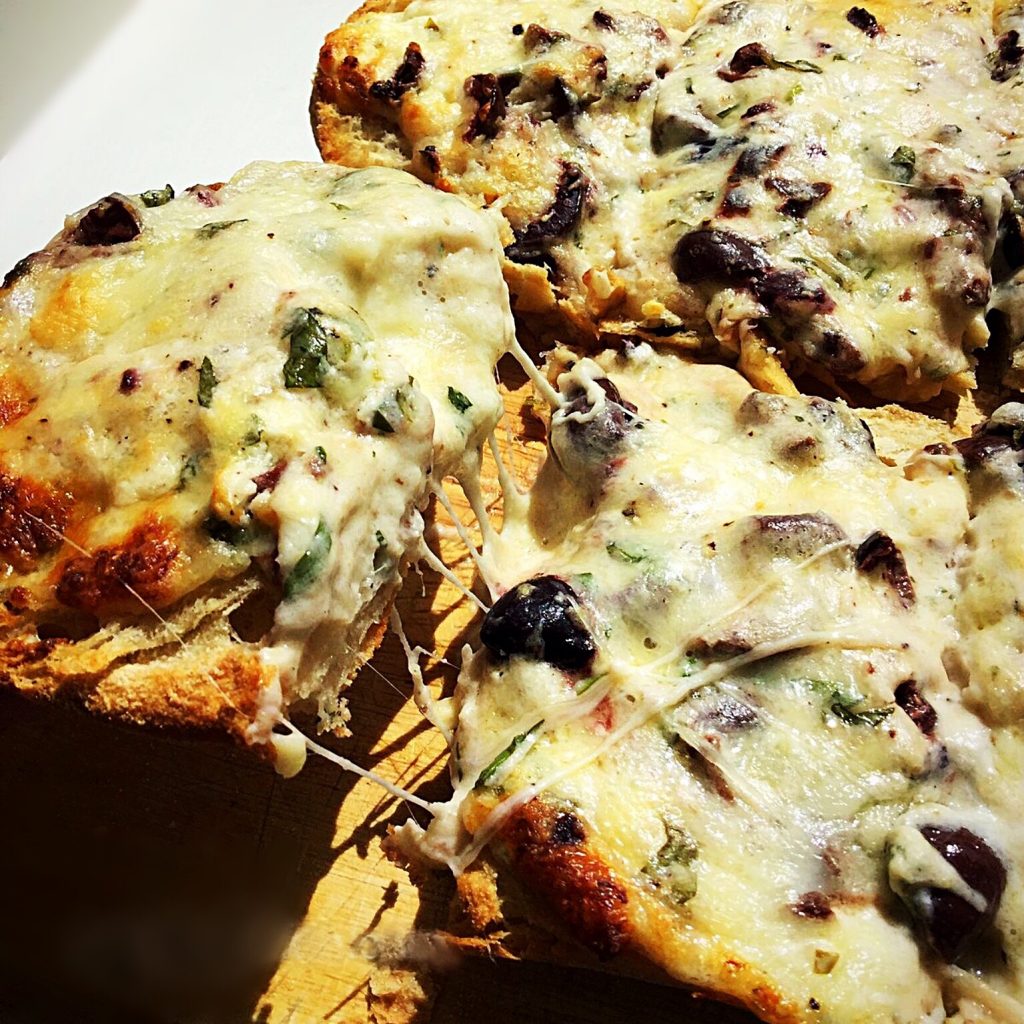
So, today I am sharing a delicious and easy cheesy bread recipe with you. Rather, this post is more of an assembly than recipe. Simply look at the photos. Because, baking ciabatta bread with the ultimate cheesy olive topping creates a flavour explosion for your tastebuds! Combining three different cheeses gives the best flavour and creamy, melting texture that compliments both the kalamata olives and fresh basil. Resulting in crisp, crusty bread with the most flavourful, salty, fresh herb spiked, cheesy covering, Baked Cheese Olive Ciabatta Bread.

FF Baked Cheese Olive Ciabatta Bread

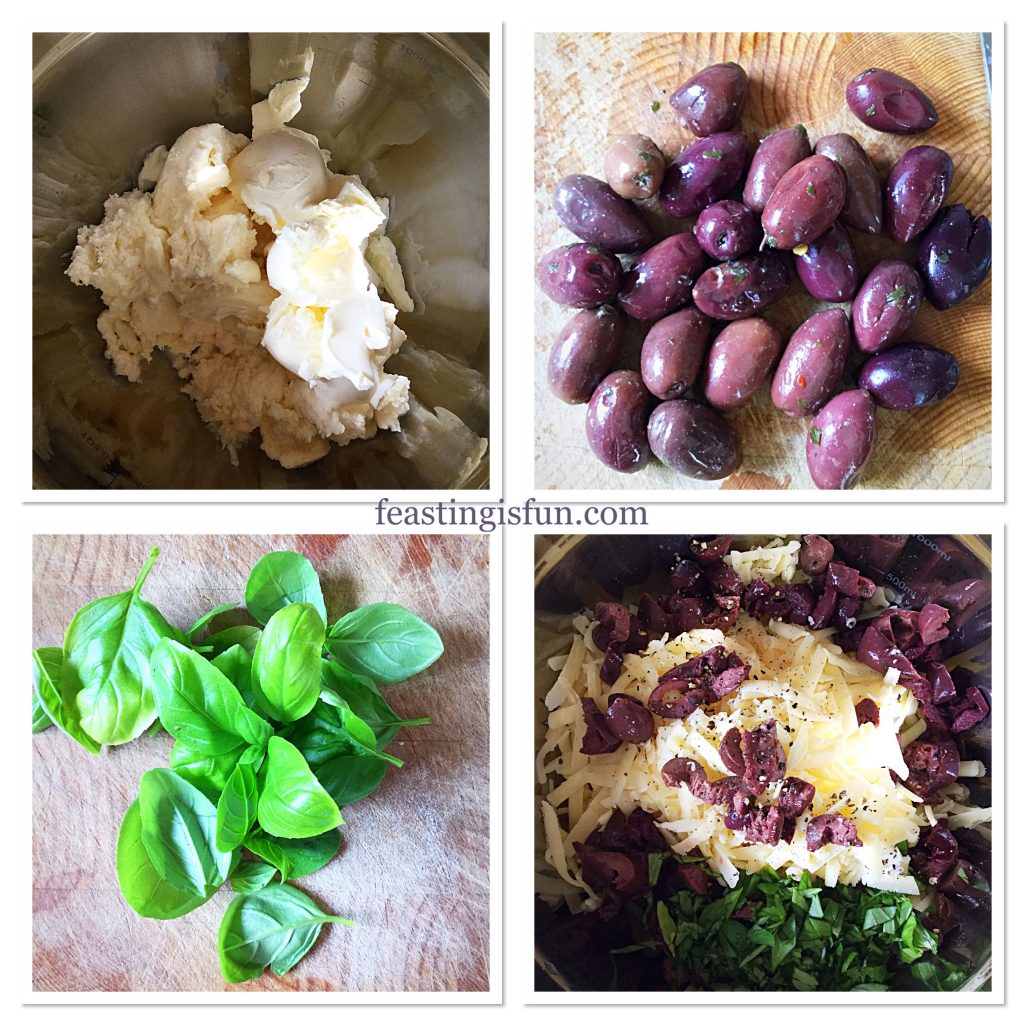
Combining Philadelphia cream cheese, mozzarella and sharp cheddar together creates the ultra cheesy topping. Resulting in a bake that is meltingly gooey with an incredible cheesy flavour. While the meaty kalamata olives and fresh basil, result in an overall herby saltiness that adds another flavour level to the cheese. Resulting in a tasty appetiser or snack that pairs well with cocktails, especially a Martini. Because the topping is overly generous, it could be split to cover two open Ciabattas. Alternatively, slice the ciabatta thinly, or cut into squares and serve as an elegant, pre-dinner canapé.

FF Baked Cheese Olive Ciabatta Bread
Baked Cheese Olive Ciabatta Bread

I love cheese and think it tastes even better when melted?

FF Baked Cheese Olive Ciabatta Bread
Baked Cheese Olive Ciabatta Bread


Recipe: Baked Cheese Olive Ciabatta Bread

1 x Regular size Ciabatta Bread – split open – I use Waitrose own make Ciabatta bread

200g/7oz Mozzarella

75g/3oz Philadelphia Cream Cheese – I find own brands too watery for this recipe

75g/3oz Grated Sharp/Mature Cheddar – I use Wyke Mature Cheddar

50g/2oz Kalamata Olives – I use olives with the stones in

1tbsp chopped fresh basil

1/4 – 1/2tsp Freshly Ground Black Pepper – to taste

Method: Preheat the oven to 220C/200C fan, gas mark 7, 425F

Making the cheese and olive topping

  • First of all place a medium sized bowl on to some digital scales. This will make adding ingredients much easier.
  • Spoon the Philadelphia cream cheese into the bowl and break up the drained mozzarella cheese, adding it to the cream cheese.
  • Next add the grated mature cheddar to the bowl.
  • Remove the stones from the olives. Press each olive with the flat side of the knife. Remove the stone with your fingers.
  • Chop the olives roughly, adding to the bowl until the correct weight is achieved.
  • Now chop the fresh basil fairly roughly and add to the bowl.
  • Add 1/4 teaspoon of freshly ground black pepper.
FF Baked Cheese Olive Ciabatta Bread
Preparing the cheese, olive and fresh basil topping.
  • Use a fork to mix all of the ingredients together.

Cutting and covering the ciabatta

  • Cut the Ciabatta bread in half lengthways and place on to a baking tray.
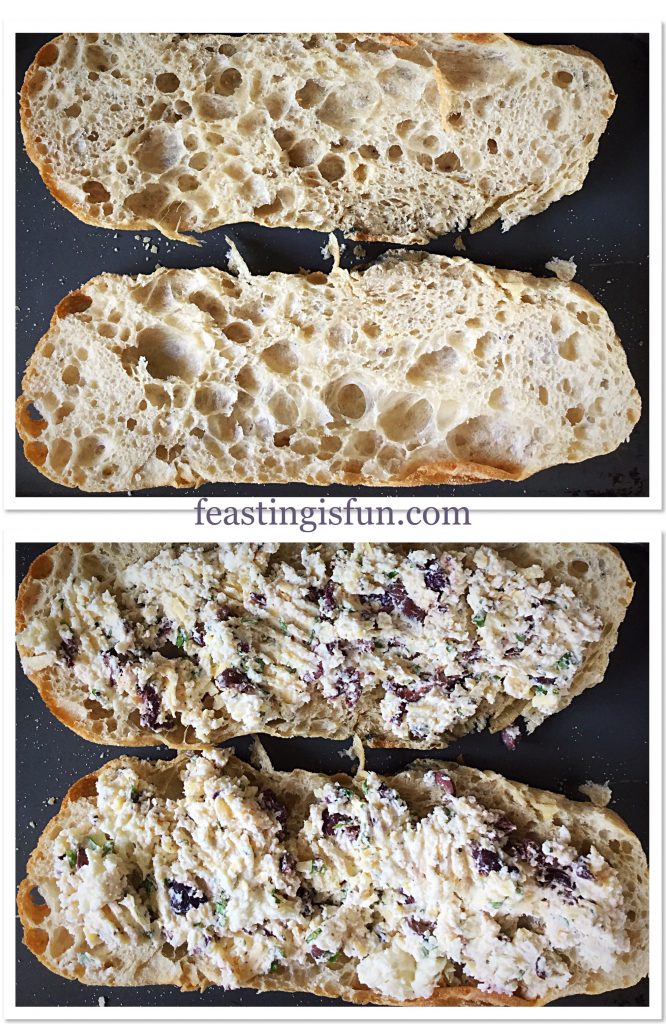
  • Divide the cheese mixture in half and cover each half of the ciabatta.
FF Baked Cheese Olive Ciabatta Bread
Preparing the ciabatta for baking.

Baking the cheese covered ciabatta

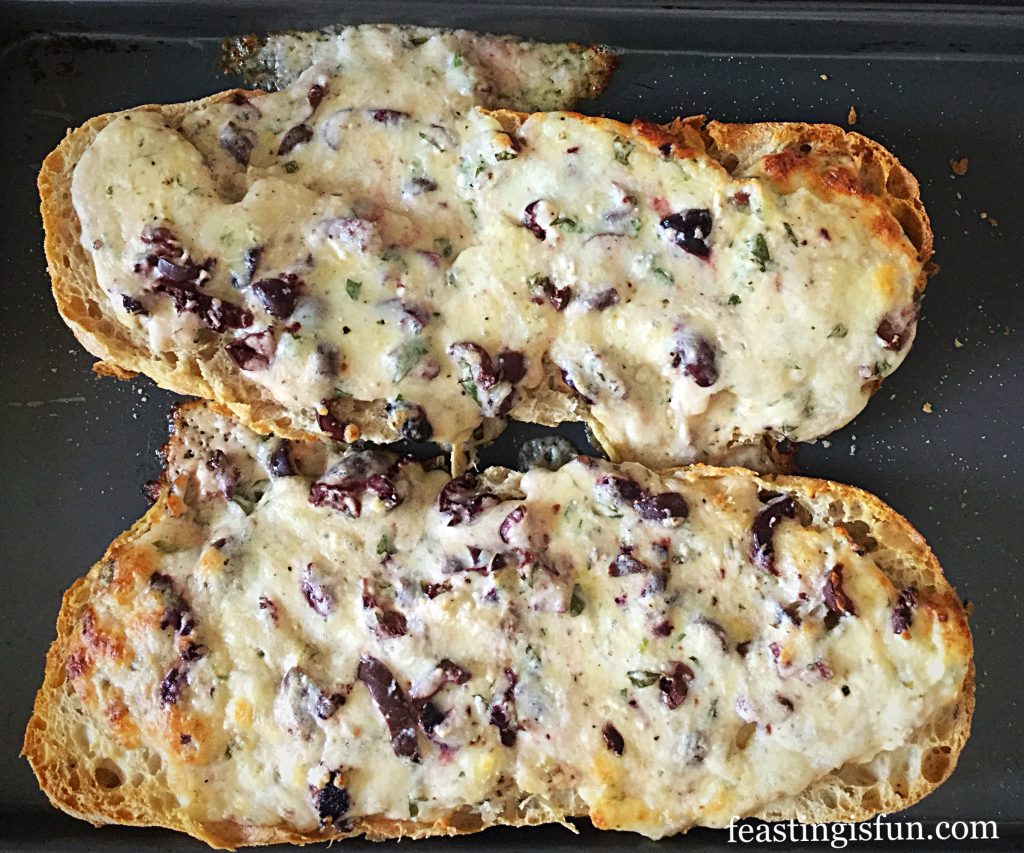
  • Place the ciabatta into the top of the preheated oven and bake for 15 – 20 minutes. When it turns golden and crusty and the cheese is meltingly bubbly on top it is done!
  • While the ciabatta is baking pour yourself a long, cool glass of your favourite drink!
  • As soon as the ciabatta is baked remove from the oven. And scoop any melted cheese that has escaped from the bread back on top.
FF Baked Cheese Olive Ciabatta Bread
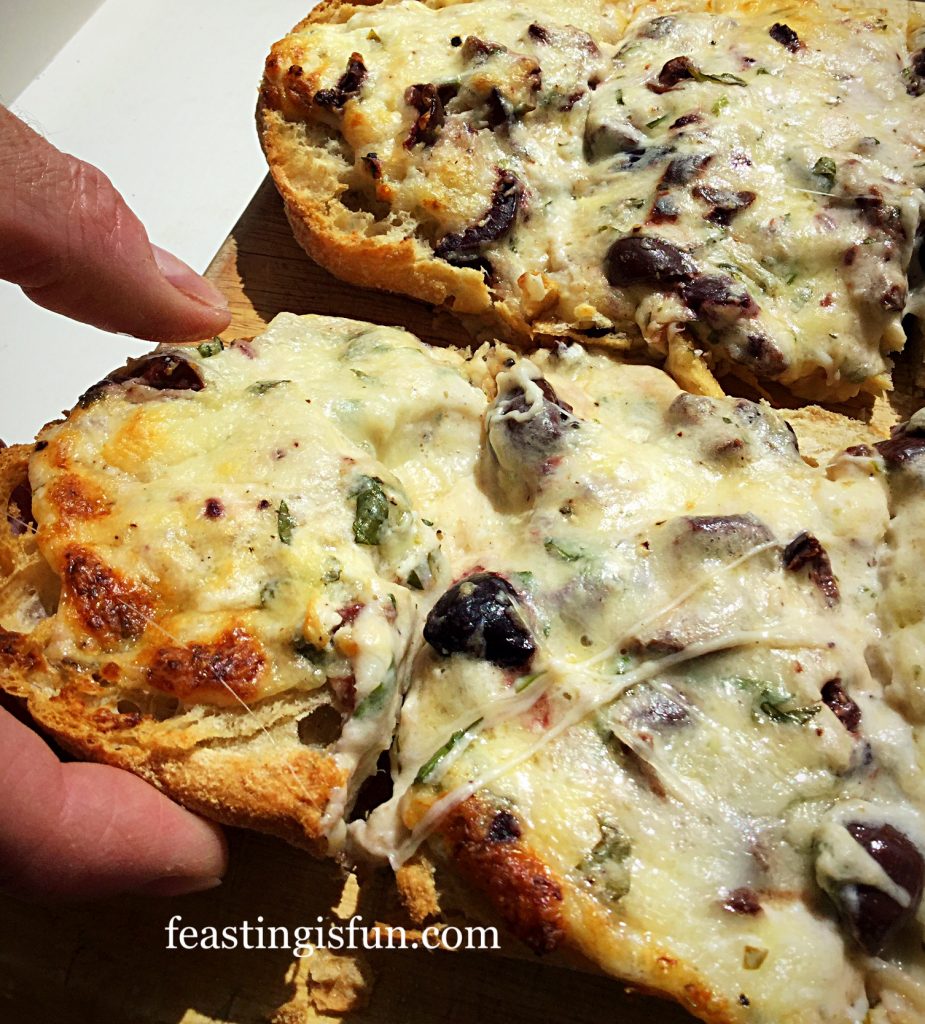
Baked Cheese Olive Ciabatta Bread fresh from the oven.

Because I love cheese, especially when it is melted, I could probably eat this everyday. I prefer savoury over sweet anyday. Especially when it has the salty kick of olives.

FF Baked Cheese Olive Ciabatta Bread
Crunchy and oozing with cheese.

Finally to serve, place on to a wooden board and slice the ciabatta across, dividing each half into 5 or 6 pieces. And enjoy the reaction as you pass these around to your guests.

Especially handy, you can make the topping one day ahead and keep in a sealed container in the fridge.

Also, devour this delicious, cheesy olive bread on the same day as baking it.

If you have enjoyed this recipe for Baked Cheese Olive Ciabatta Bread you may also enjoy these:

Cherry Tomato Mozzarella Basil Focaccia 

Cherry Tomato Mozzarella Basil Focaccia

Cheddar Sun Dried Tomato Scones

FF Baked Cheese Olive Ciabatta Bread
Cheddar Sun Dried Tomato Scones

Feta Sun Dried Tomato Soda Bread 

Feta Sun Dried Tomato Soda Bread


While baking from scratch is something I enjoy, quick easy recipes are also an essential to have.. Whether we are rushing around with the busyness of life, or the opposite, too hot or tired to contemplate ‘cooking’, we all need a stash of no fail, easy recipes. After assembling and baking, we can breath a collective sigh of relief, take a deep breath and enjoy our time together.

So, whatever you are making, baking or even assembling in your kitchens, remember to have fun. Because food tastes better when shared and the hostess is relaxed!

Sammie xx

No part of this post may be copied or reproduced without the owner’s express, written permission. Please see my Disclosure Policy.

Macadamia Apricot Flapjacks

I am so loving the longer daylight hours at the moment. Feeling as though I want to make the most of every drop of sunshine. Winter being a distant memory, I’ve been out in the garden, clearing, ready for sowing and planting. Don’t worry I have also been in the kitchen baking and these Macadamia Apricot Flapjacks are the delicious result.

FF Macadamia Apricot Flapjacks

When the weather is warm and the sun is shining I simply love being in the garden. Listening to the chatter and chirruping of birds, feeling the warmth of the sun on my back, our garden becomes my haven again, after the long, cold winter months.

Easy Recipes For Breakfast On The Go

So being able to eat breakfast, or more usually brunch, outside is very much treasured. These Macadamia Apricot Flapjacks are perfect to munch on whilst sitting on our garden bench, hot cup of coffee to hand. Packed with slow energy release oats, they make a tasty, yet filling alternative to toast or cereal.

FF Macadamia Apricot Flapjacks
Macadamia Apricot Flapjacks so good with a cup of good coffee.

This recipe is so simple and quick. A few minutes in the kitchen melting, mixing, baking and cooling means that you can have a great, portable bar, that is perfect for breakfast on the go, packed lunches, getting through the late afternoon energy dip. Plenty of deicious bars to see you through the week.

That has to be a winning recipe – right?

FF Macadamia Apricot Flapjacks
Macadamia Apricot Flapjacks – crunchy, chewy bars of yum!

I love easy recipes – more so during the warmer months, when my passion for cooking and baking is matched by my passion for gardening. Yes I still have to work around my body (see – Living with siezures ), that just makes the time I have even more precious. Whilst in the winter I can happily spend all day – relatively speaking – in the kitchen, during warm spring and summer days my preference is to be outside.

Baking According To The Weather

My hubby jokes that I was born wearing Wellington boots! Whilst I may not be able to do the heavy digging of years past, I still like to get my hands dirty. I’ve also found, especially during the hotter months of summer, baking is best done first thing in the morning. That way there isn’t a hot oven baking bread, mid afternoon, just as the temperature outside is peaking.

Macadamia Nut Dried Apricot Flapjacks
Macadamia Apricot Flapjacks crunchy, chewy and full of flavour.

Easily Made Gluten Free Traybake

Back to the Macadamia Apricot Flapjacks! The macadamia nuts add a buttery crunch to these bars that I absolutely adore, however, I know they can be pricey. A great substitute would be almonds, either flakes or whole almonds that you chop yourself. I have used dried apricots that are the gorgeous tangerine orange of their fresh counterparts, however, if you prefer the darker, unsulphured apricots, use them instead. Good quality rolled oats, absolutely make these flapjacks the stars that they are.

I have specified that these Macadamia Apricot Flapjacks are gluten free, please check the labels of ingredients carefully to ensure that they are so. This is vital when baking for someone on a restricted diet. Their health absolutely cannot be compromised.

Recipe: Makes 12 Macadamia Apricot Flapjacks

250g/10oz Unsalted Butter – plus a little extra for greasing the tin

100g/4oz Golden Syrup (light corn syrup)

1/4tsp Salt – I use Maldon

125g/5oz Light Brown Sugar

325g/11.5oz Rolled Oats (not quick cook) – I used Delicious Alchemy as they are 100% gluten free

150g/5oz Dried Apricots – chopped into rough quarters

100g/4oz Chopped Macadamia Nuts – I buy whole nuts and roughly chop them myself

Optional – 100g White Chocolate – alternatively use milk or dark chocolate

Method: Preheat the oven to 180C/160C fan, gas mark 4, 350F

Making The Flapjacks

  • Grease and line a 8″ x 11″ – 20cm x 28cm swiss roll tin/shallow baking tin, with butter and baking parchment.
  • Into a medium saucepan add the butter and sugar. Warm over a medium heat, stirring until melted.
  • In a large bowl add the golden syrup.
  • Pour the melted butter/sugar mixture into the bowl containing the golden syrup. Stir continuously until combined.
  • Add the oats, chopped apricots and macadamia nuts and stir to thoroughly combine.
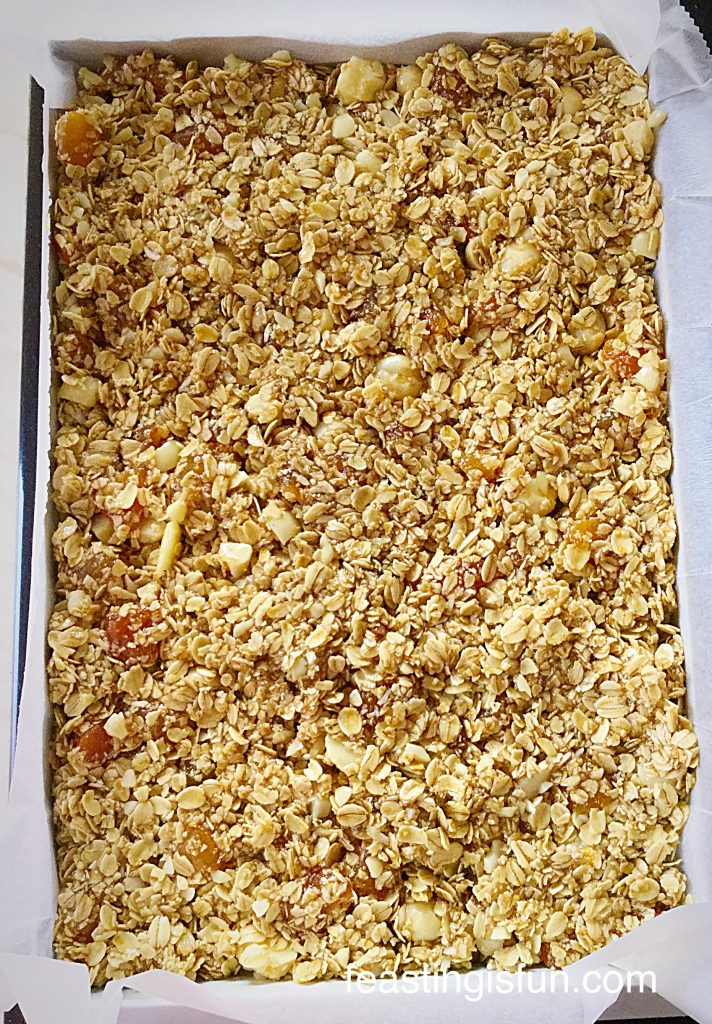
  • Tip the mixture into the prepared tin and press down using the back of a metal spoon, until the mixture is one even layer.
FF Macadamia Apricot Flapjacks
The Macadamia Apricot Flapjack mixture compacted into an even layer and ready for the oven.

Baking The Macadamia Nut Apricot Flapjacks

  • Place the tin in the middle of the oven and bake for 20 minutes exactly.
  • The flapjacks will be a light golden colour when baked – do not be tempted to bake them for longer as this will result in them being hard, not chewy!
  • As soon as the flapjacks are baked remove the tin from the oven and allow to cool completely.
  • When completely cooled remove the entire flapjack bake from the tin, using the excess baking parchment to help lift it out.
Macadamia Apricot Flapjacks
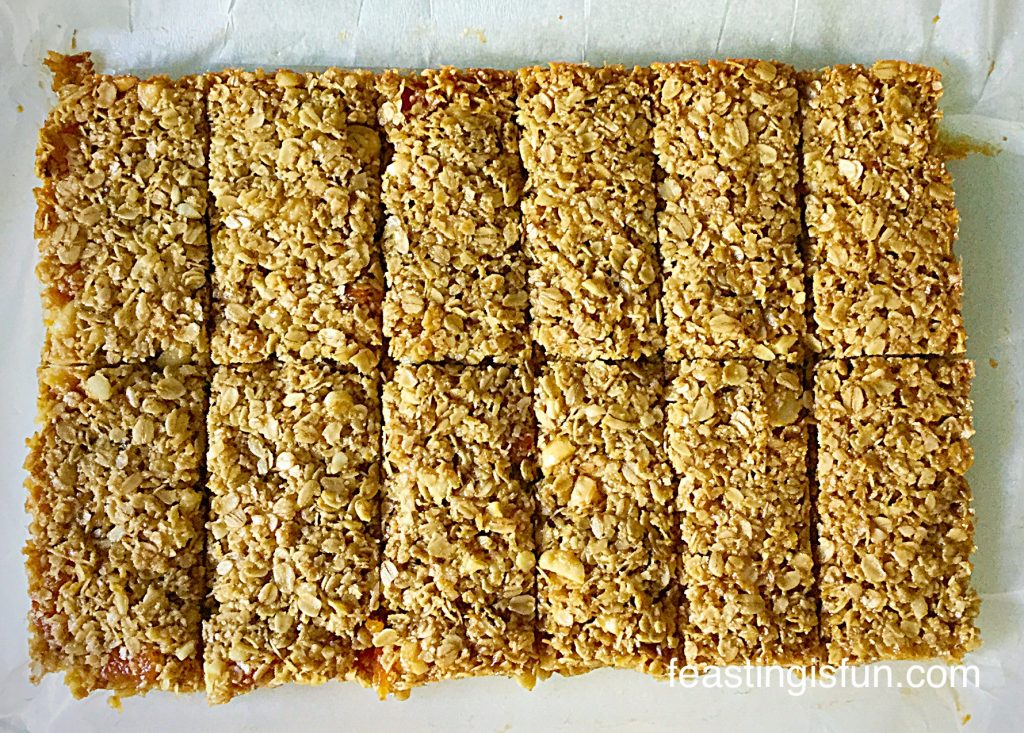
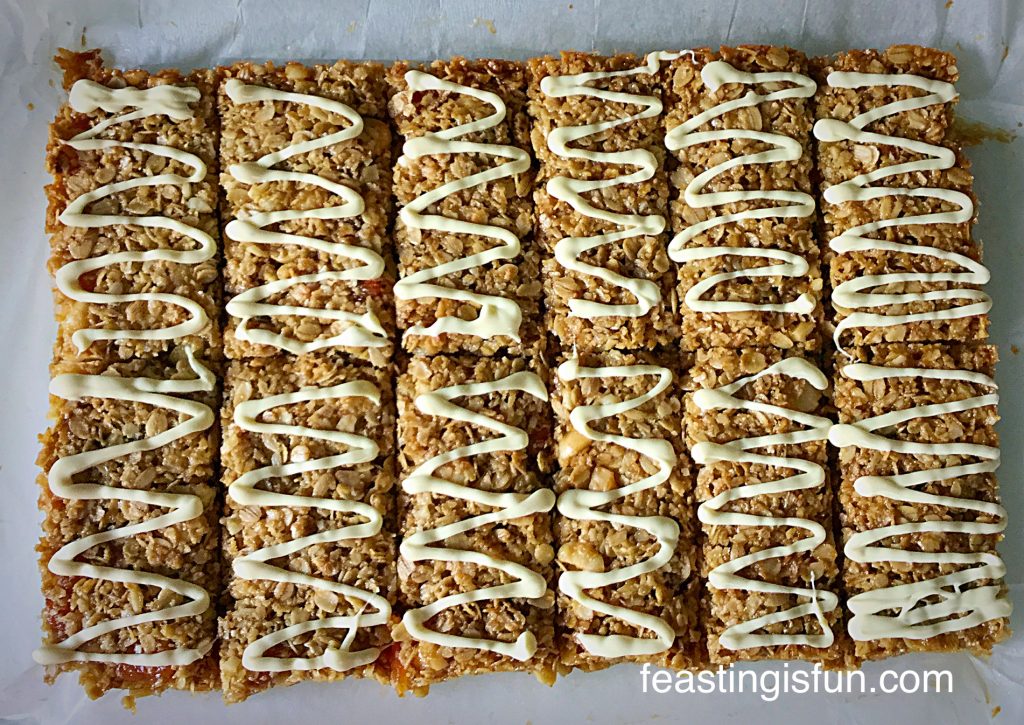
Macadamia Apricot Flapjacks ready for the finishing touch.
  • As seen above, cut down the middle length of the bake and then across the width.  Cut each quarter into 3 generous bars – you could cut each quarter into 4 making 16 individual flapjacks in total.
FF Macadamia Apricot Flapjacks
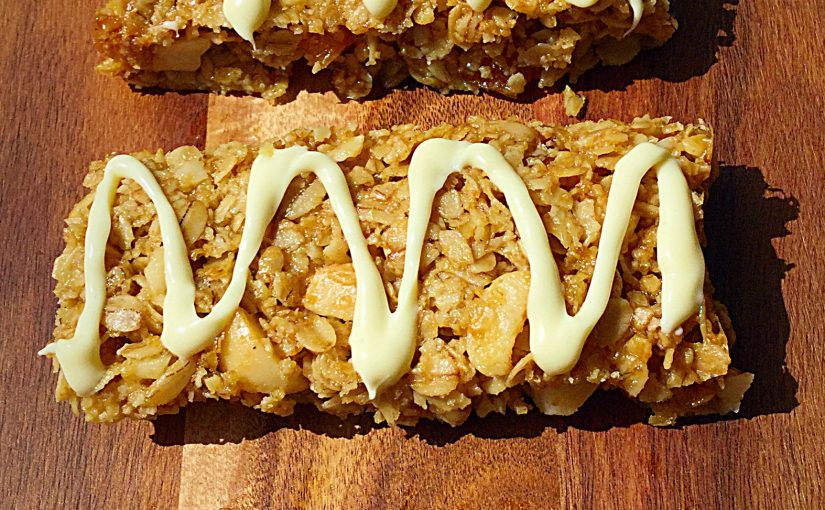
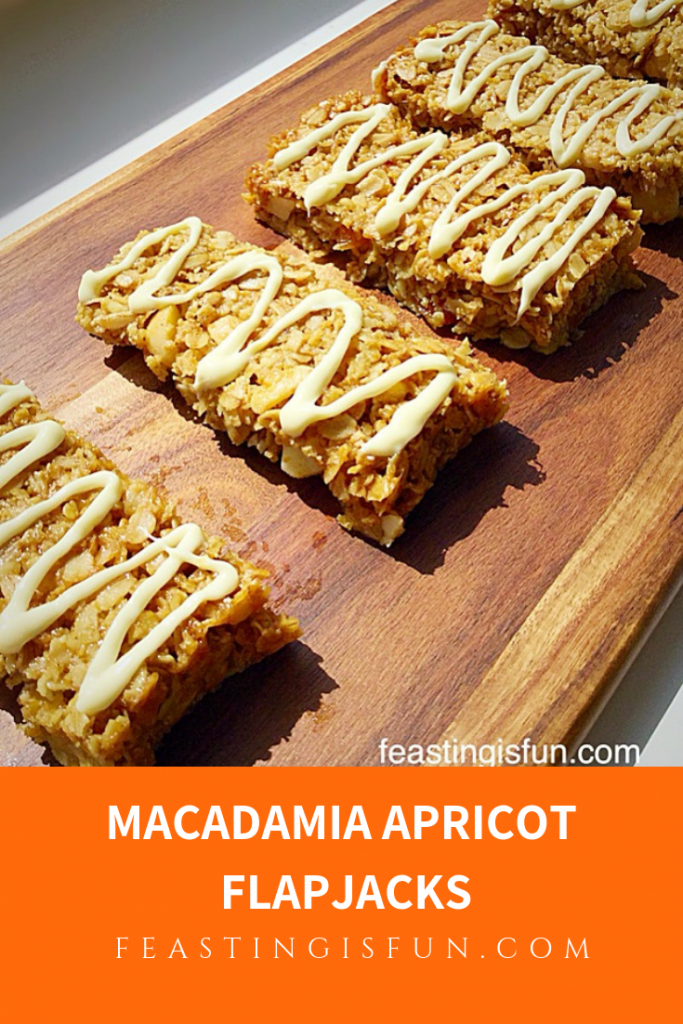
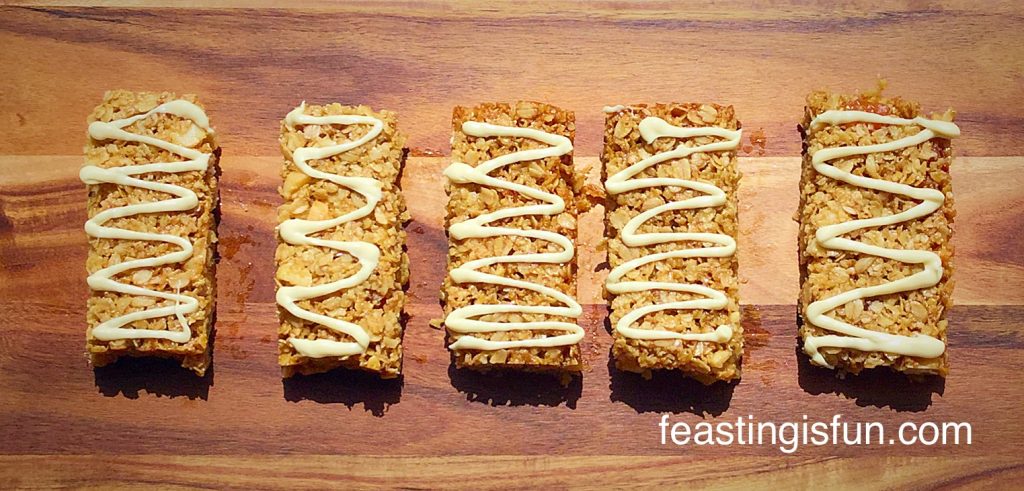
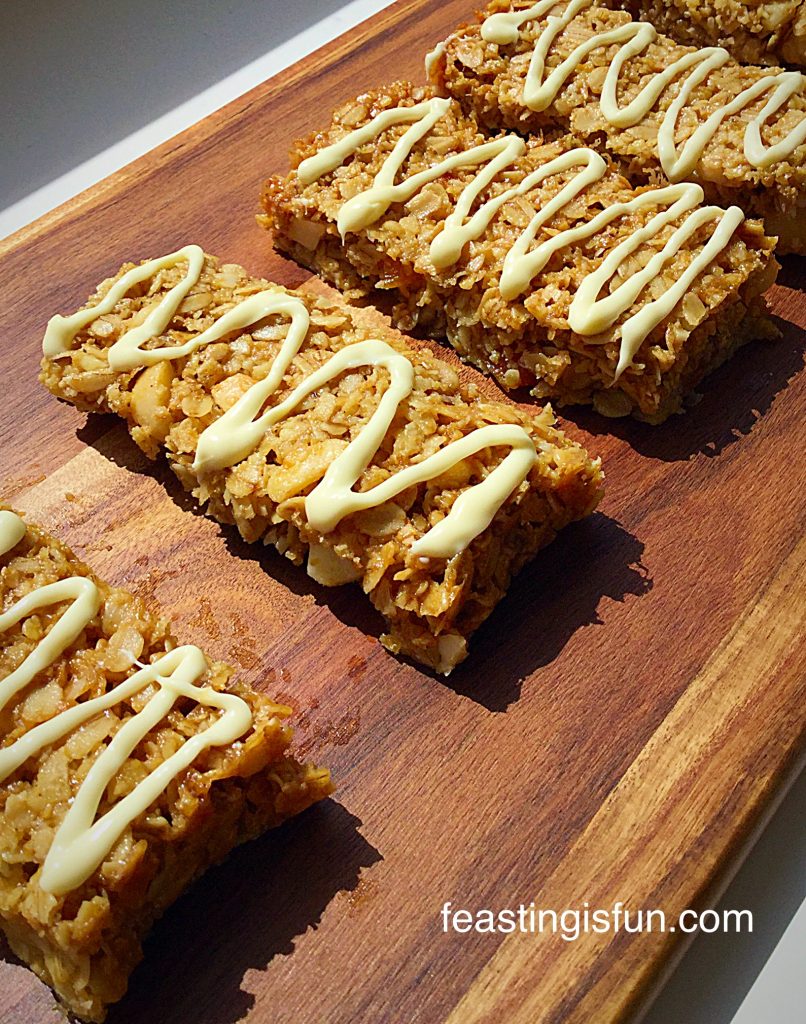
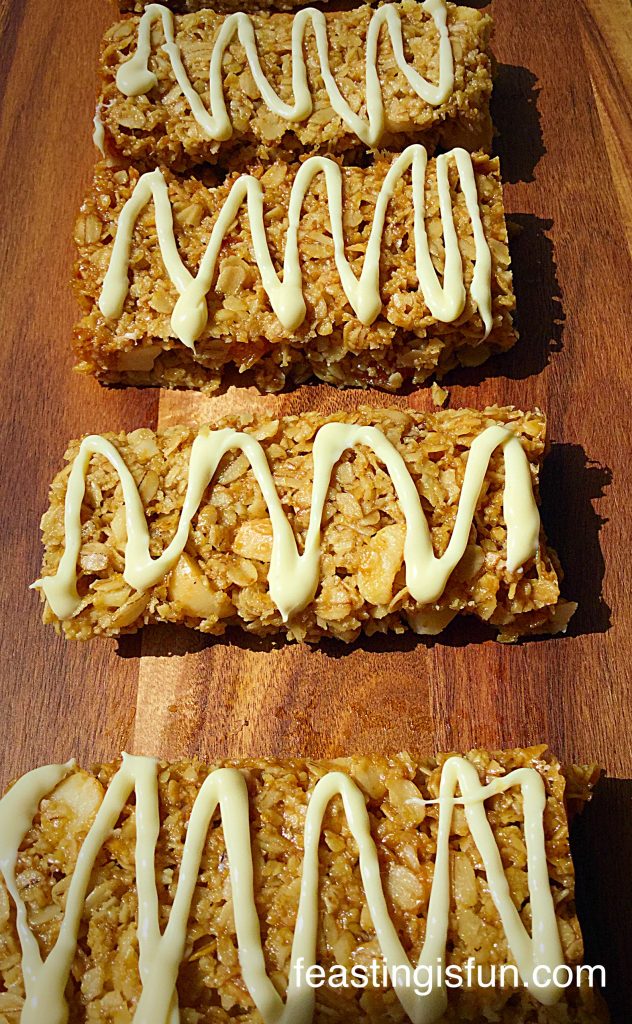
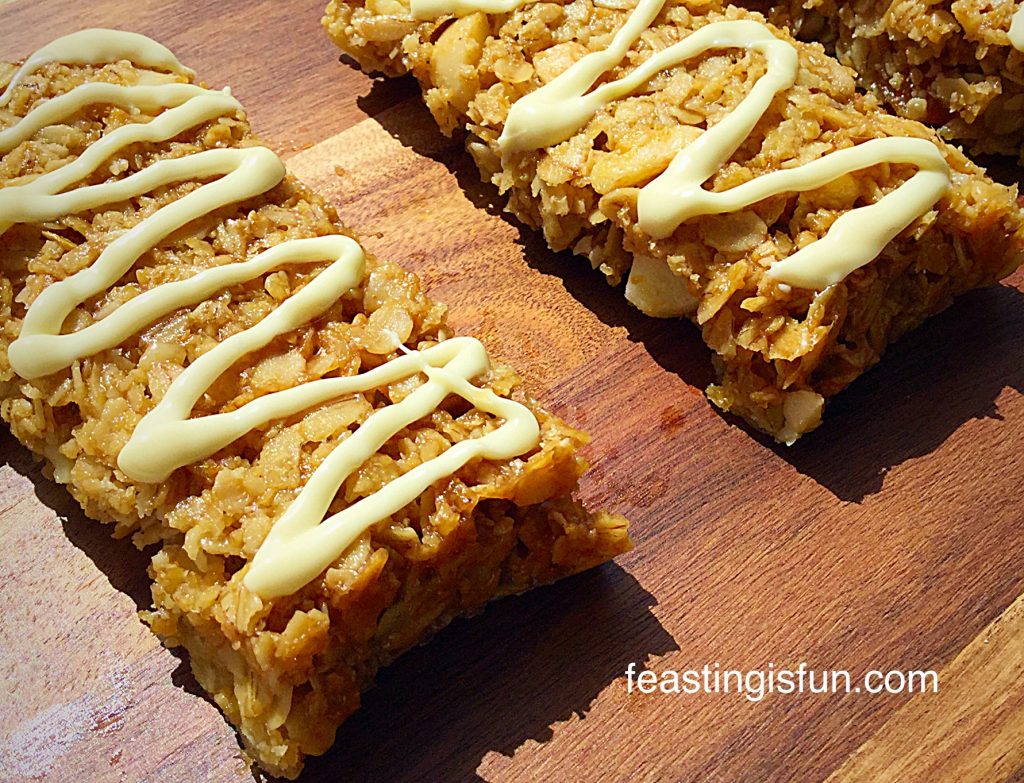
Macadamia Apricot Flapjacks with a drizzle of white chocolate.

Finishing With A Chocolate Drizzle

  • To finish the flapjacks – chop the white chocolate into small pieces and place in a heatproof, microwaveable bowl.
  • Zap for 20 seconds at a time, stirring between each heating session.
  • When the chocolate is half melted, remove from the microwave and stir until completely liquid.
  • Fill a small disposable piping bag with the melted chocolate.
  • Snip off the very end of the bag, creating a small hole.
  • Pipe swirls or zig zags of chocolate onto each flapjack to provide a beautiful finish.
FF Macadamia Apricot Flapjacks
Macadamia Apricot Flapjacks as pretty to look at as they are delicious to eat.

Ooh how completely yummy do these Macadamia Apricot Flapjacks look?

A couple of notes: During the summer, once the flapjack bake has cooled to room temperature, if the ambient temperature is 25C or above, it may be worth popping the tin in the fridge for an hour to allow the flapjacks to completely set. Likewise, unless the flapjacks are stored in the fridge I would leave off the white chocolate drizzle. If these Macadamia Apricot Flapjacks are going to get warm throughout the day, whether in a packed lunch box, or a bag, the white chocolate will melt and create a whole lotta mess!

This is just my advice as a mum of three and wife to hubby who takes a packed lunch to work.

Im just sayin’!!!

Love these Macadamia Apricot Flapjacks? Here are a couple of other recipes you may like to try as well.

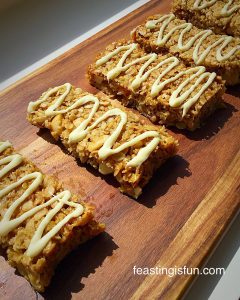
Coconut Almond Date Flapjacks

FF Macadamia Apricot Flapjacks
Coconut Almond Date Flapjacks

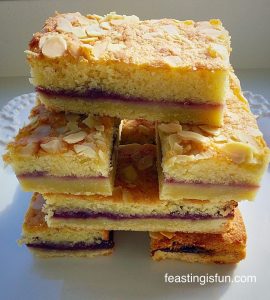
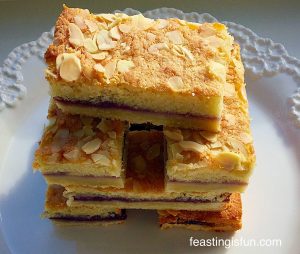
Bakewell Shortbread Bars

FF Macadamia Apricot Flapjacks
Bakewell Shortbread Bars

Cranberry Walnut Flapjacks

FF Macadamia Apricot Flapjacks
Cranberry Walnut Flapjacks

While spending time in your kitchen, baking and cooking, have you ever thought of making extra and sharing some?

We all have people in our neighbourhood who are lonely and perhaps a little unhappy. Inviting them round for a chat over a cup of tea and delicious slice of cake, or flapjack, may seem such a small thing to us and yet can make the world of difference to someone else’s day.

Time seems to be so precious to many, which is why it is such a valuable gift to give.

Sammie xx

No part of this post may be reproduced or duplicated without the written permission of the owner. Please see my Disclosure Policy.
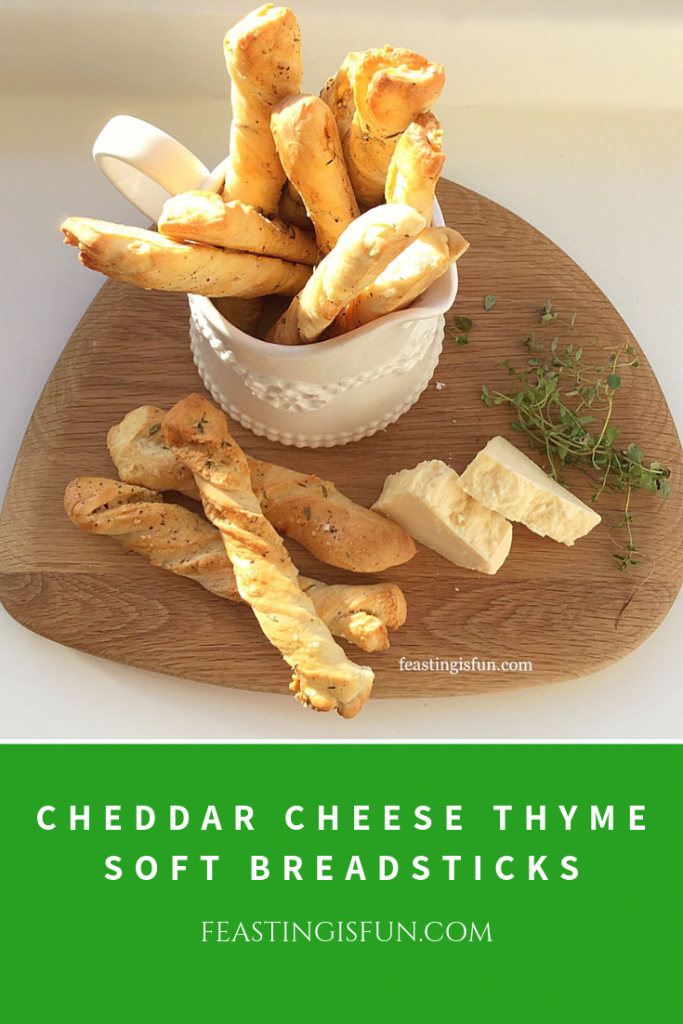
Cranberry Walnut Flapjacks

Gosh mornings are busy. So much to do, yet so little time. Besides that awe are supposed to make time for the most important meal of the day – breakfast. Well I have a solution right here for you my friends –  Cranberry Walnut Flapjacks.
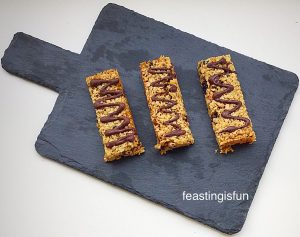
Cranberry Walnut Flapjacks
Cranberry Walnut Flapjacks perfect for breakfast on the go.

Breakfast, is just that – breaking the fast. Our bodies have just been starved for 6-7 hours (I’m being optimistic here), whilst we sleep. Eating a good breakfast helps kick our bodies into GO. If you are anything like me, I need a kick start in the morning!

That’s where these yummy Cranberry Walnut Flapjacks can help.

Packed full of good-for-you, slow release energy oats, one of these bars will keep you going until lunchtime. And, because it’s the morning and let’s face it eating anything can be a struggle, I threw in crunchy walnuts and chewy, slightly tart cranberries.

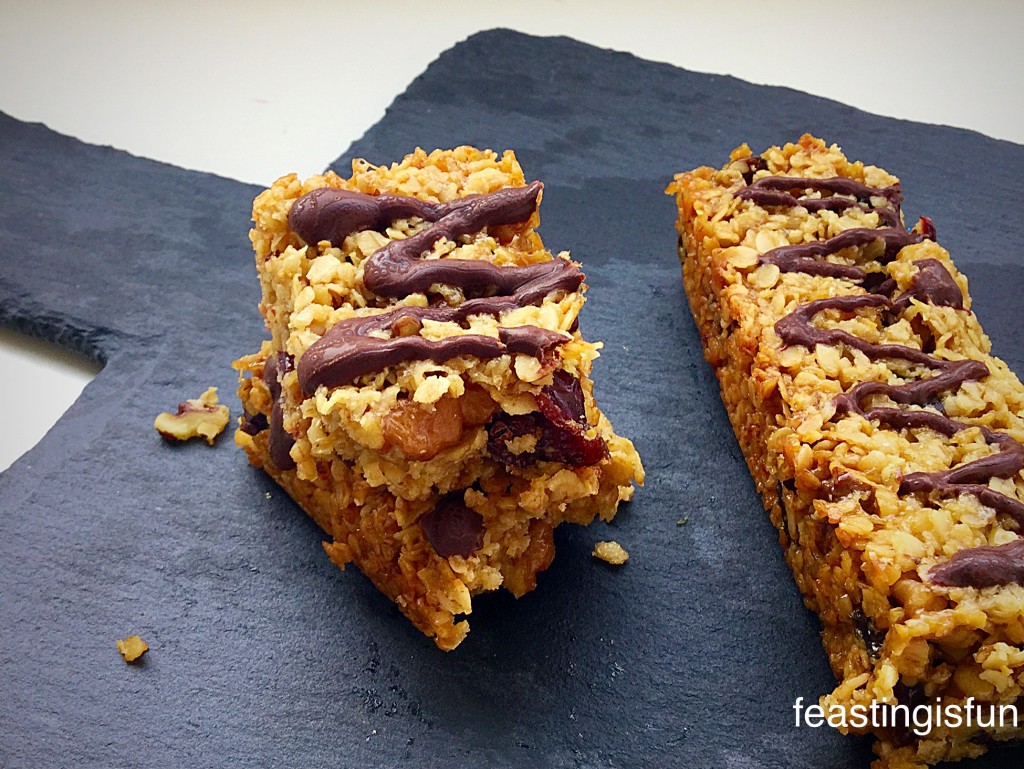
Yes there’s a squiggle of rich, dark chocolate on top of these beauties – it’s breakfast people, we need all the caffeine flavour we can get!!

Cranberry Walnut Flapjacks
Cranberry Walnut Flapjacks the perfect start to your day.

The beauty of these flavour and texture packed bars is that you make them ahead.

Making and baking ahead

Imagine this? It’s Sunday afternoon, you spend 15 minutes in the kitchen, whipping up a batch of these Cranberry Walnut Flapjacks and you have breakfast and snacks for the whole week.

Am I the only one who gets that mid afternoon dip around 3-4pm?

Thought not!

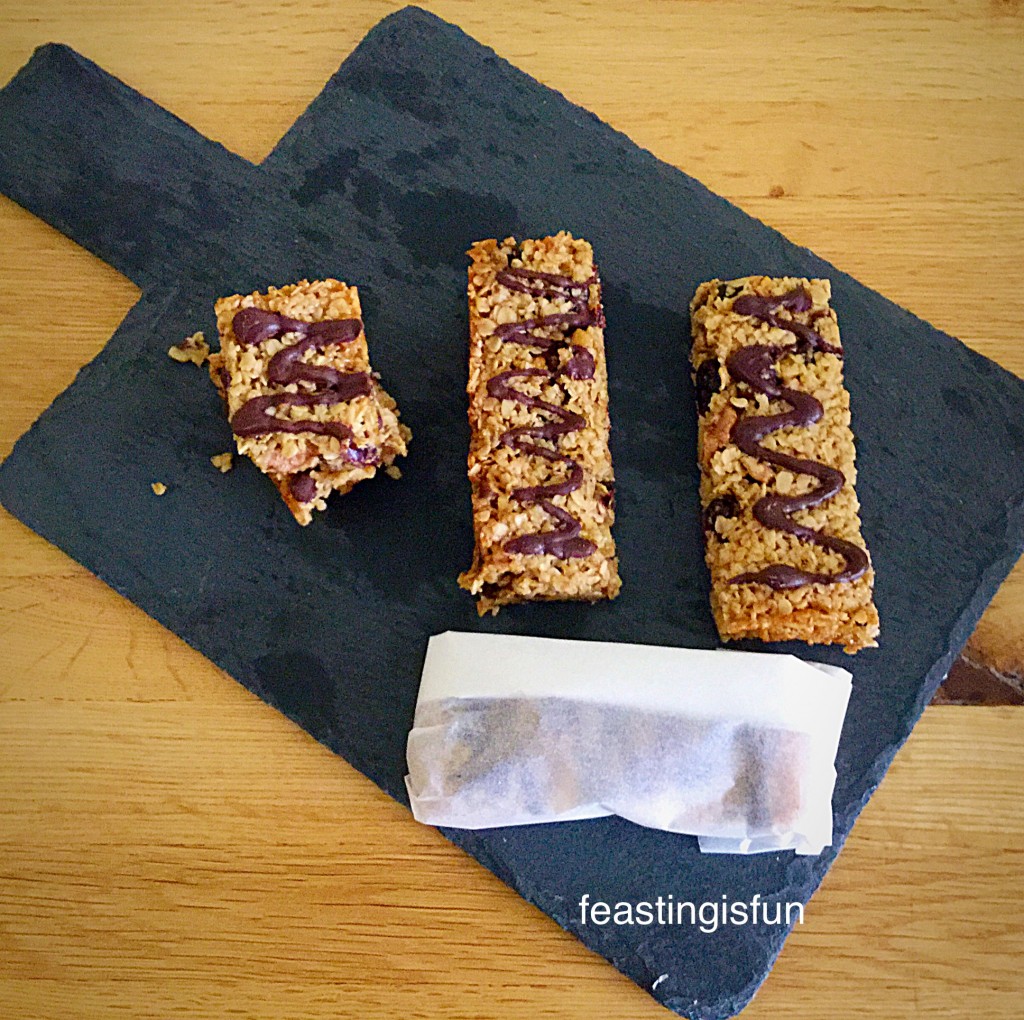
Also these bars also make a great mid afternoon snack and stop you grabbing for that chocolate bar/doughnut/cookie. Because we all know these give us an instant feel good sugar hit, only to slump in hunger again half an hour later. Therefore, why not wrap an extra one of these, in baking parchment and take it to work? It’ll keep those hunger pangs away until dinner time.

Cranberry Walnut Flapjacks
Wrap up one of the Cranberry Walnut Flapjacks and take it with you.

You can certainly mix up the fruit and nut element. Dried apricots with almonds, or dried figs with pecan nuts. Really the possibilities are endless, I would keep the weights the same, as the flapjack needs to hold together.

I have deliberately not used the word ‘healthy’ for these Cranberry Walnut Flapjacks, as I am aware of the sugar/butter content. I am not a nutritionist, although I would rather pop one of these bars into my daughter’s hand as she heads off for college, than have her grab a muffin or doughnut from a coffee shop!

Recipe: Make 16 Cranberry Walnut Flapjacks

250g/9oz Unsalted Butter

100g/4oz Golden Syrup (light corn syrup)

125g/5oz Light Brown Sugar

Scant pinch of salt – I use Maldon 

325g/11.5oz Rolled Oats (not quick cook) I use Waitrose essential oats

150g/5oz Dried Cranberries

100g/4oz Chopped Walnuts

50g/2oz Dark Chocolate (70% cocoa is ideal) – optional

Making and baking the Cranberry Walnut Flapjacks

Preheat the oven to 180/160C fan oven, 350F, gas mark 4
  • First of all, grease and line a 8″ x 11″ – 20cm x 28cm swiss roll tin/shallow baking tin, with butter and baking parchment.
  • Into a large bowl add the golden syrup.
  • Into a medium saucepan add the butter and sugar. Warm over a medium heat, stirring until melted.
  • Pour the melted butter/sugar mixture into the bowl containing the golden syrup. Stir continuously until combined.

Cranberry Walnut Flapjacks

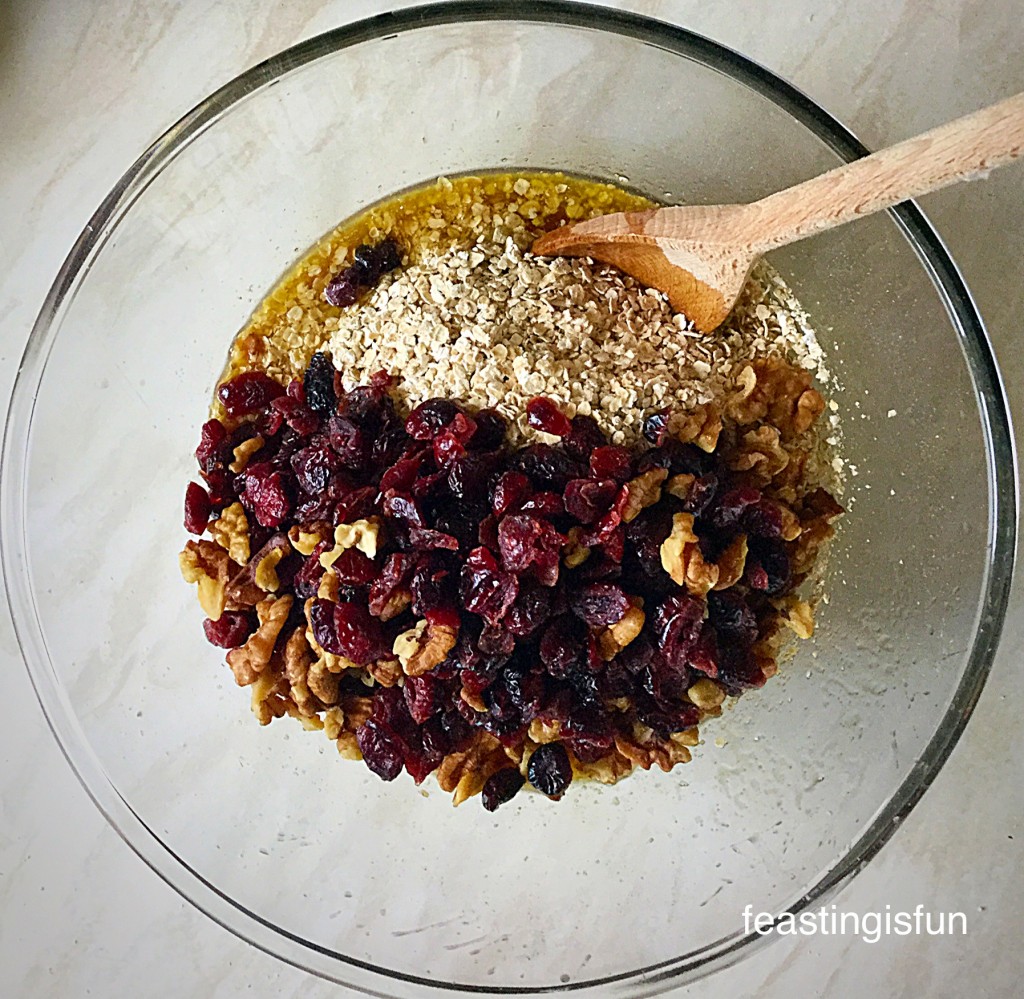
  • Add the oats, cranberries and walnuts to the bowl.
  • Stir until all the oats, walnuts and cranberries are thoroughly coated in the melted butter/sugar.
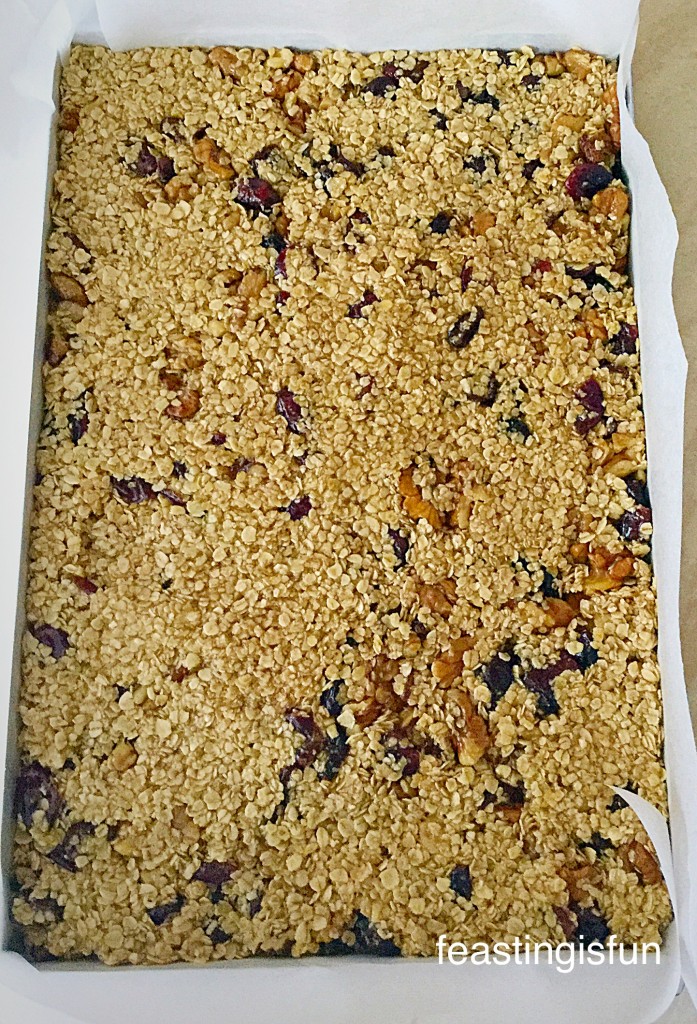
  • Tip the mixture into the lined tin.

Cranberry Walnut Flapjacks


  • Using the back of a metal spoon press the mixture into the tin, forming an even layer.
  • Place the tin into the oven and bake for 20 minutes until golden brown.
  • Remove the tin from the oven and allow the Cranberry Walnut Flapjacks to cool in the tin.
  • The flapjacks will be very soft at this stage, but will harden on cooling.
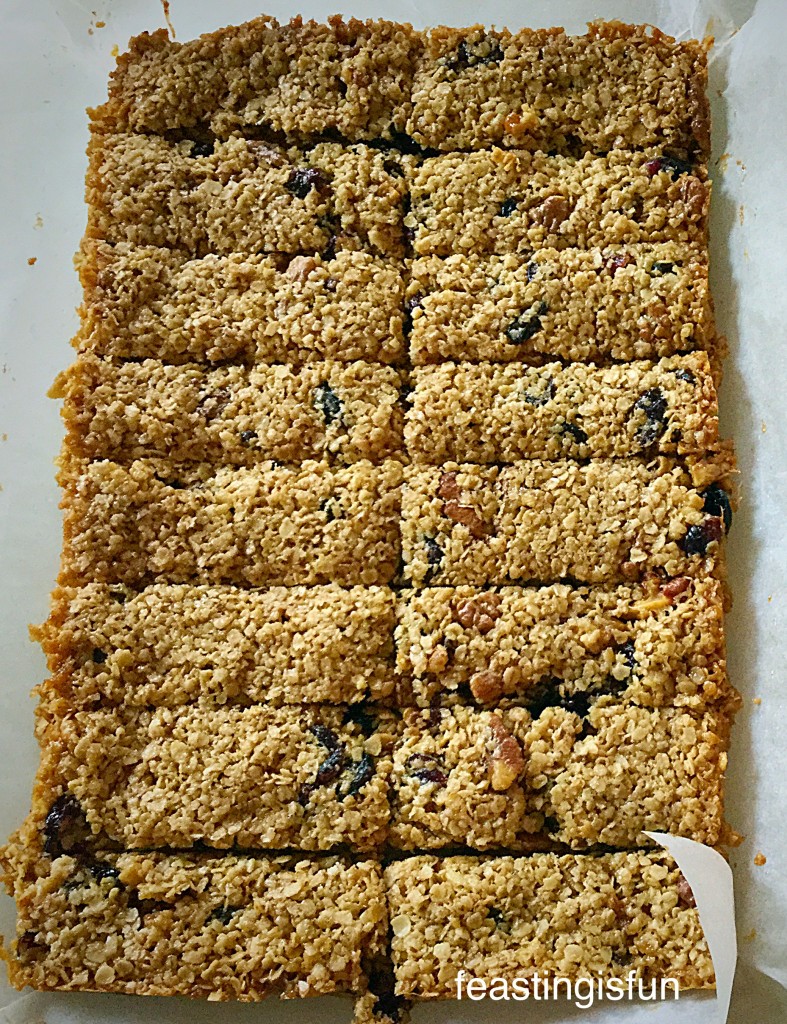
Cranberry Walnut Flapjacks
When the flapjacks are slightly warm, remove from the tin.

Cutting and decorating the flapjacks

  • Using a sharp knife cut down the centre of the flapjacks. Then cut across the middle. Cut each quarter in half again. The flapjacks will still be slight soft.
  • Leave the flapjacks on the baking parchment to continue cooling and setting.
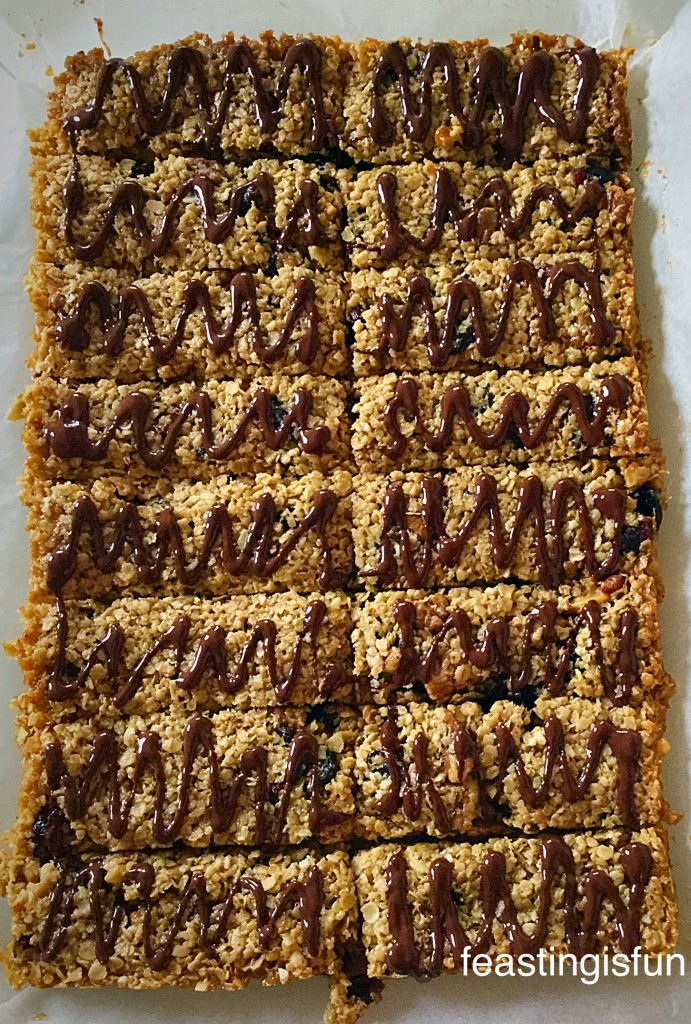
  • As soon as the Cranberry Walnut Flapjacks are completely cooled they can be drizzled with chocolate.
  • Break the chocolate into small pieces and melt in a heatproof bowl, in the microwave, using 30 second bursts. Stir well and when the chocolate is nearly melted keep stirring and the inherent heat will melt any solid pieces left.
  • You can use a teaspoon to drizzle the chocolate over the flapjacks or pour the chocolate into a disposable icing bag, snip the corner off and pipe the chocolate on.
Cranberry Walnut Flapjacks
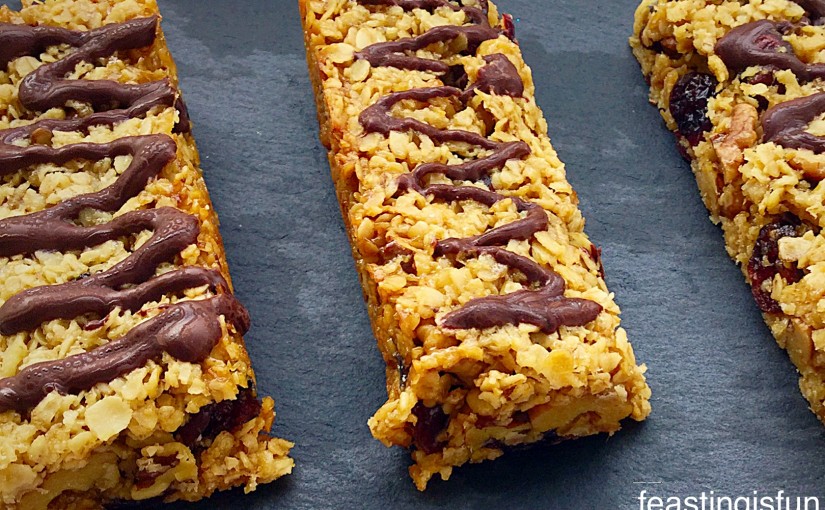
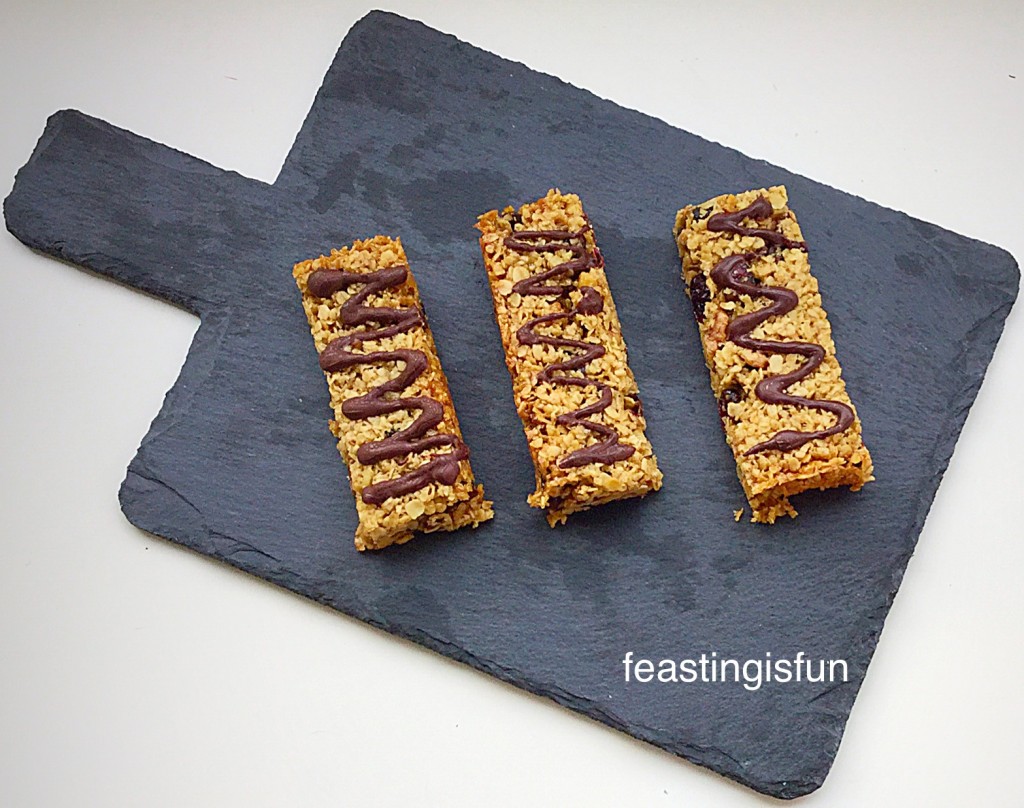
Chocolate drizzled Cranberry Walnut Flapjacks
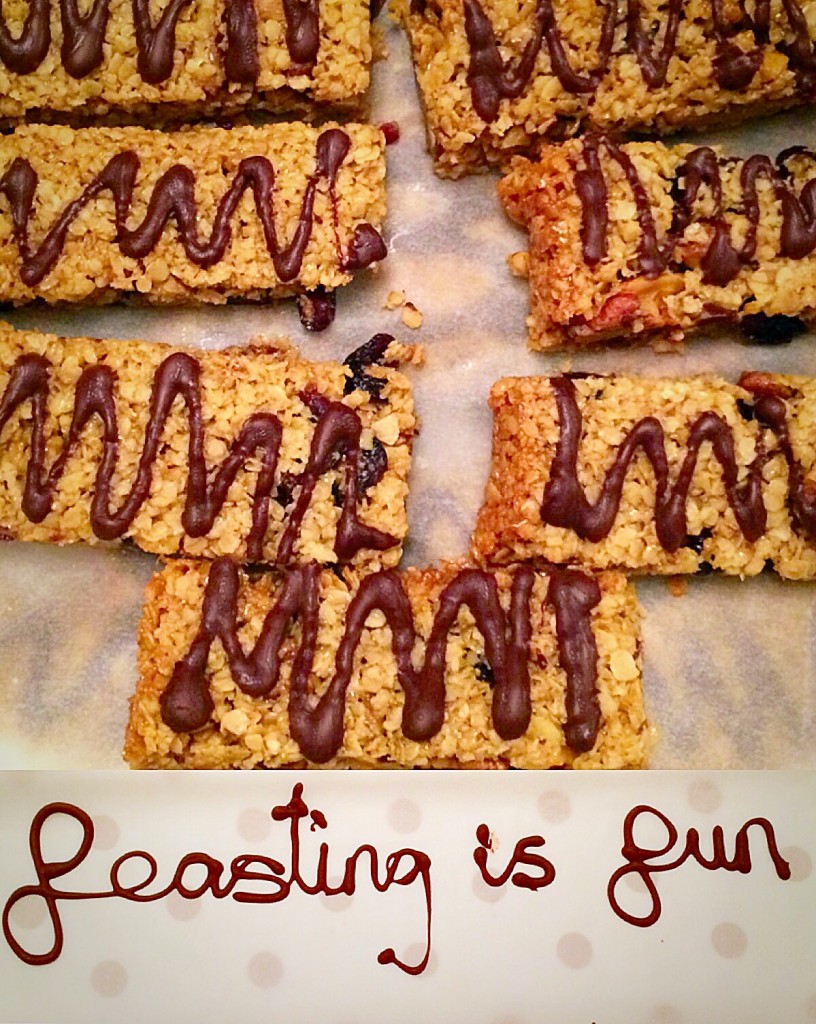
  • Allow the chocolate to set and then store in a tin.
Cranberry Walnut Flapjacks
Store layered with baking parchment in a tin.

While Cranberry Walnut Flapjacks are perfect anytime of day, they are especially handy to have, when time for breakfast disappears in the morning. Just grab one and eat on the go!

An added bonus, which does rely on checking the packaging, is that oats are gluten free. So even more people can enjoy a delicious, easy breakfast.

If you enjoyed these Cranberry Walnut Flapjacks then try these:

Bakewell Shortbread Bars 

FF Cranberry Walnut Flapjacks
Bakewell Shortbread Bars

Macadamia Apricot Flapjacks 

FF Cranberry Walnut Flapjacks
Macadamia Apricot Flapjacks

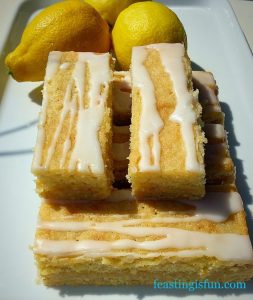
Lemon Drizzle Cake Bars

FF Cranberry Walnut Flapjacks
Lemon Drizzle Cake Bars

Why not bake a batch of these flapjacks and take them to work? Since I’m sure they would be appreciated. Especially by those who have skipped breakfast!

So, whatever you are making, baking and creating in your kitchens, have fun preparing and sharing your feast.

Sammie xx

No part of this post may be reproduced or duplicated without the written permission of the owner. Please see my Disclosure Policy.