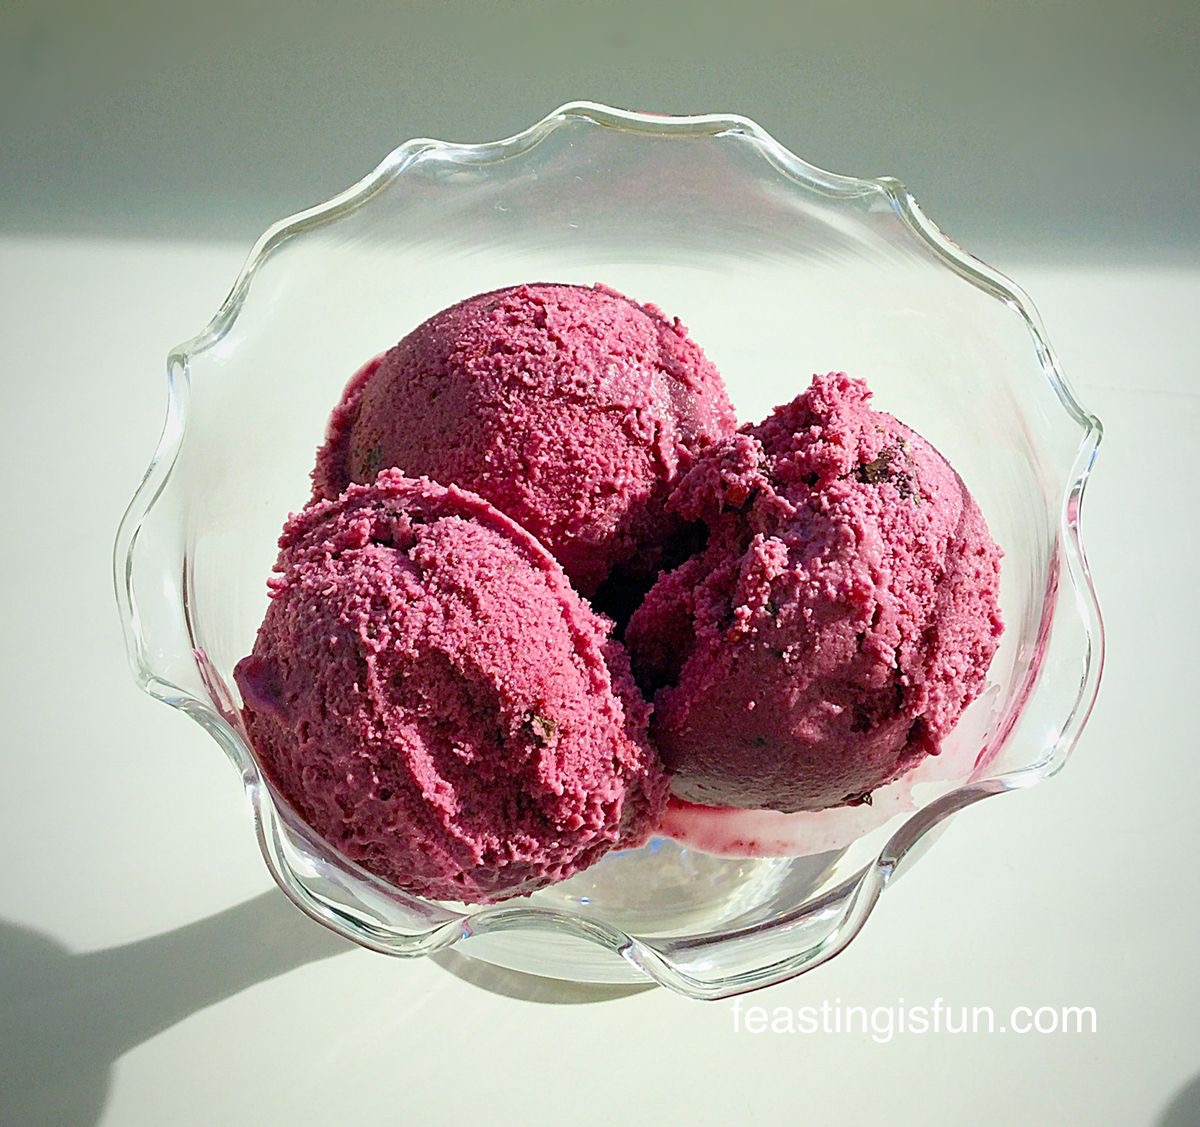
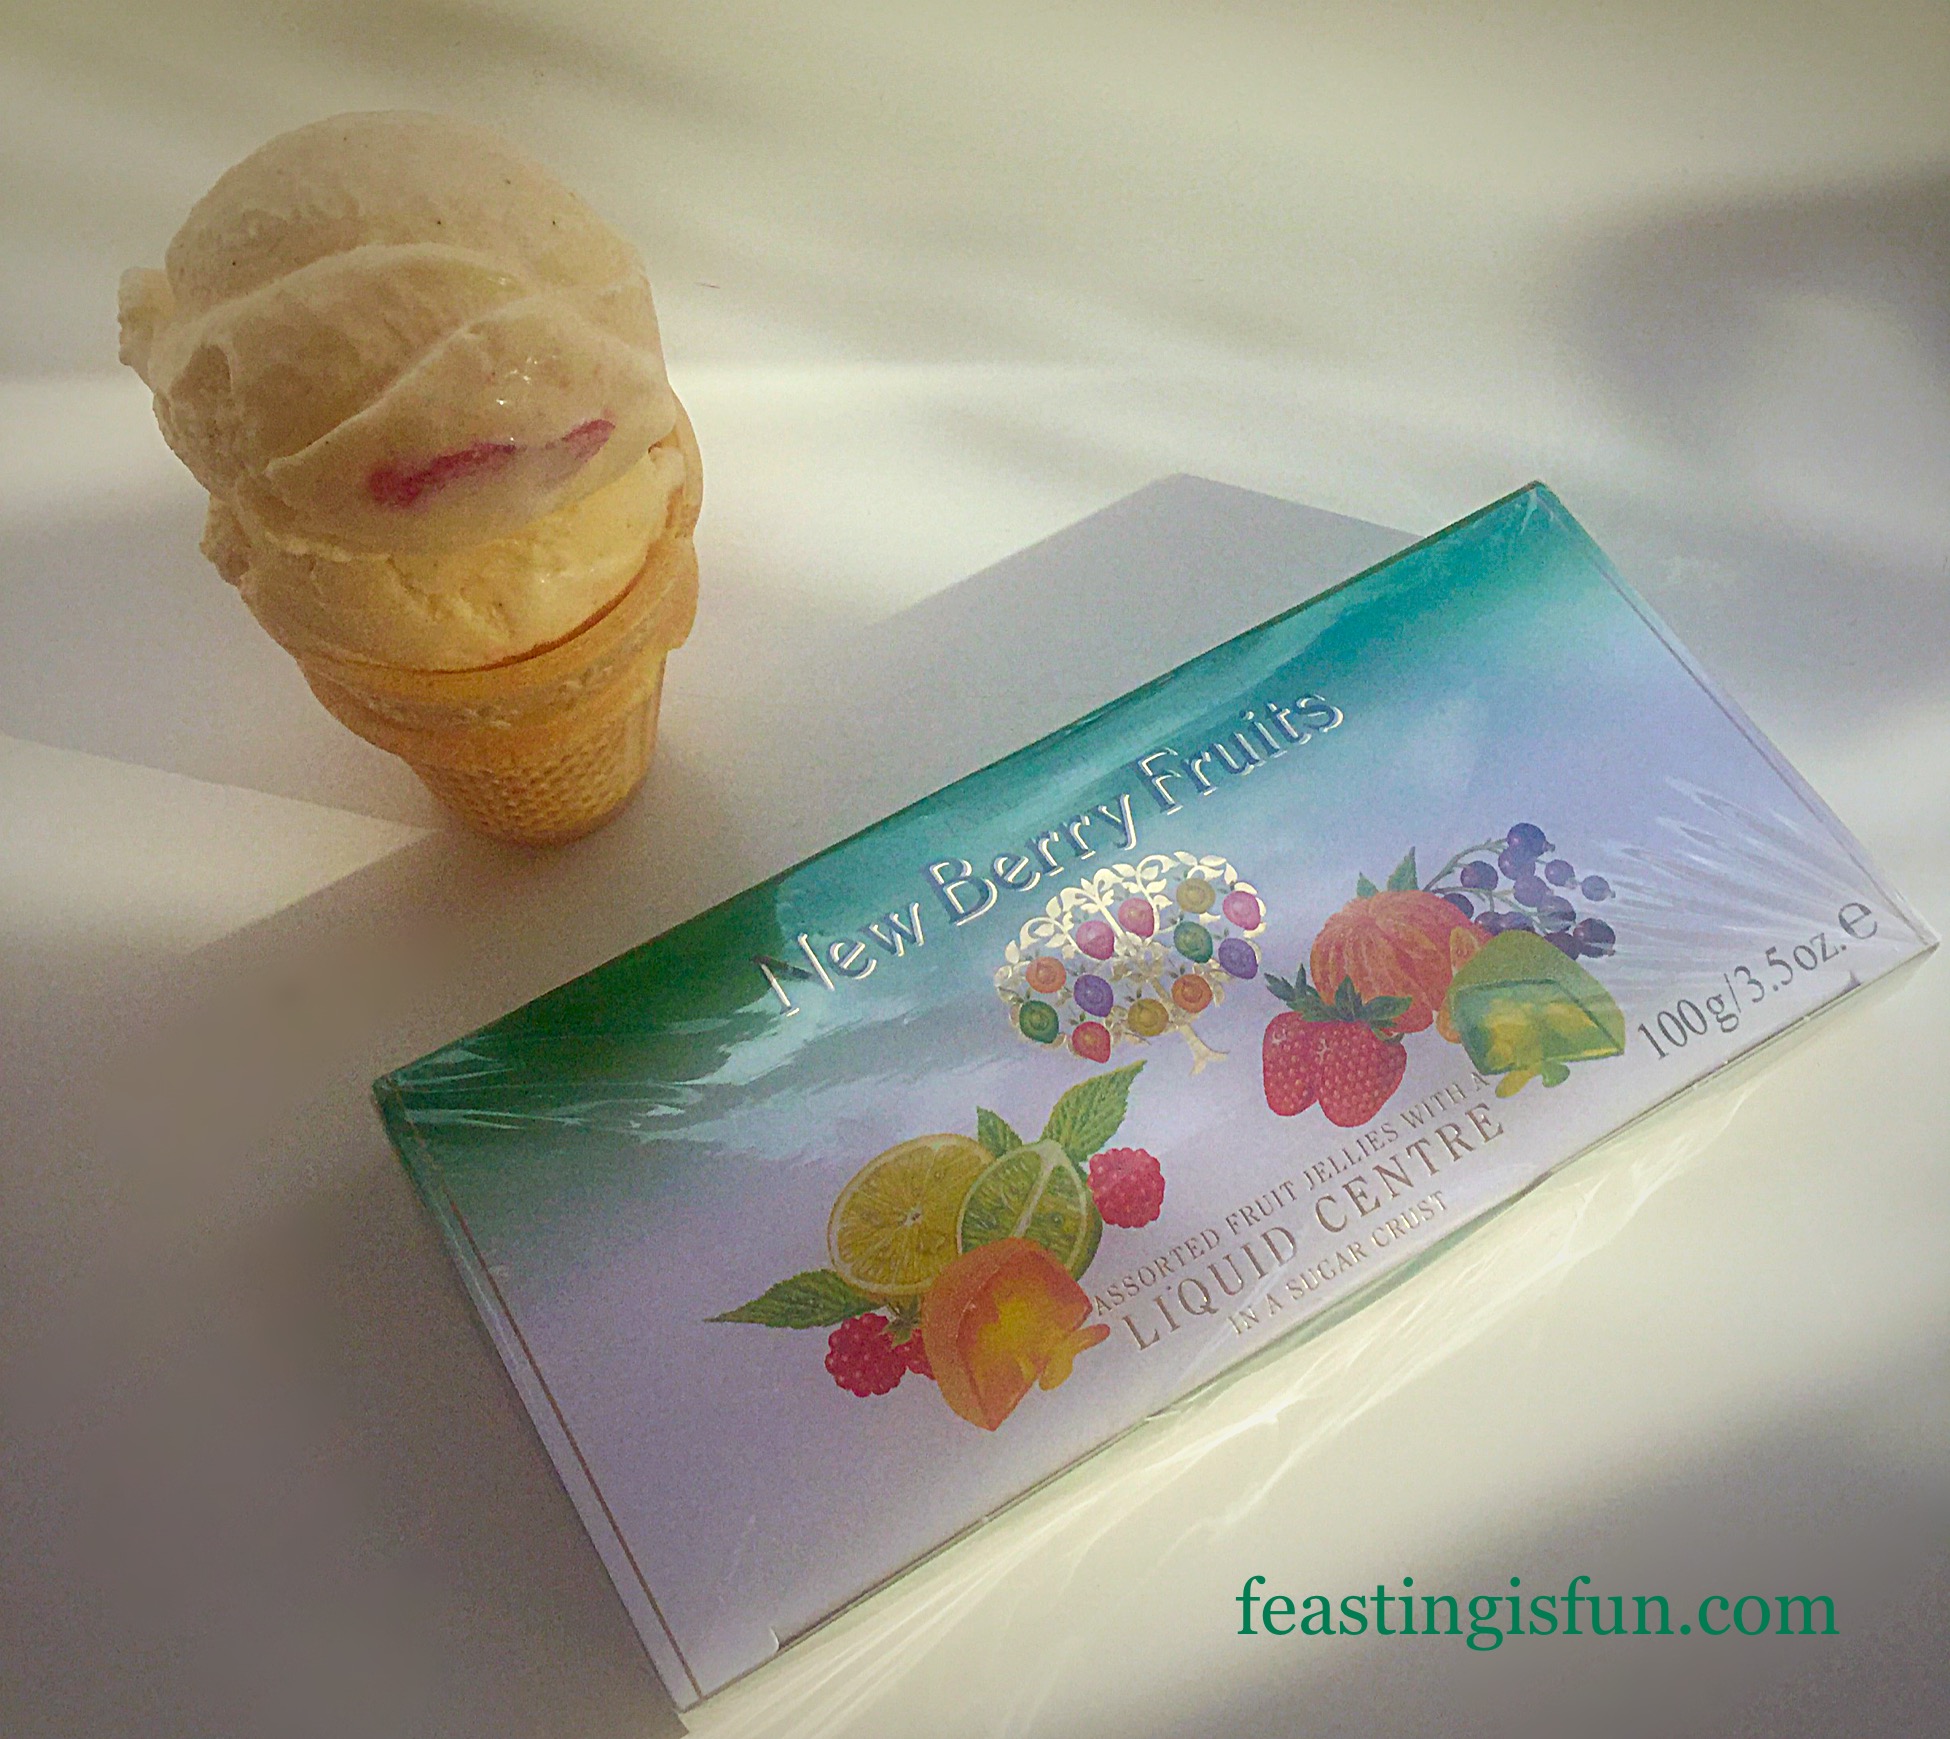
Tutti fruity. Does anyone else remember that ice cream flavour? Or am I showing my youth 😉. Well that’s what I was aiming for when I created this New Berry Fruits Ice Cream, except……….. it is so much better than I ever remember. The jelly sweets have a true, intense, fruity flavour, that doesn’t diminish when frozen AND they stay chewy!
Win Win.
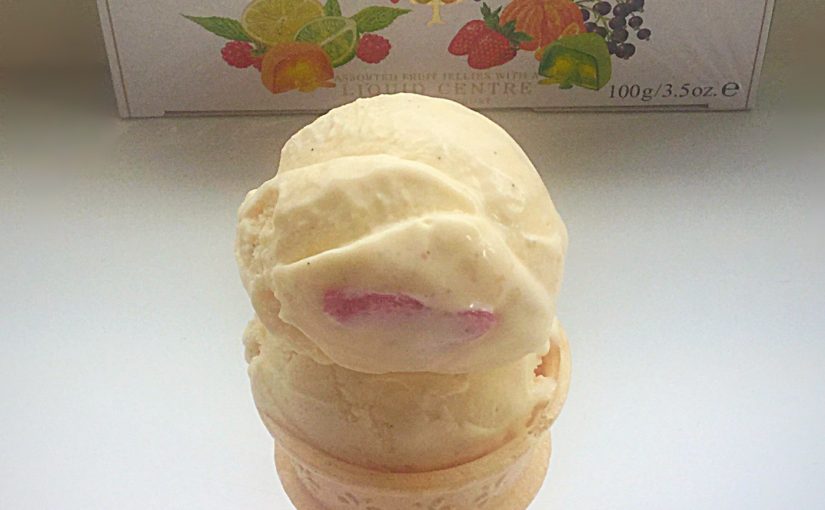
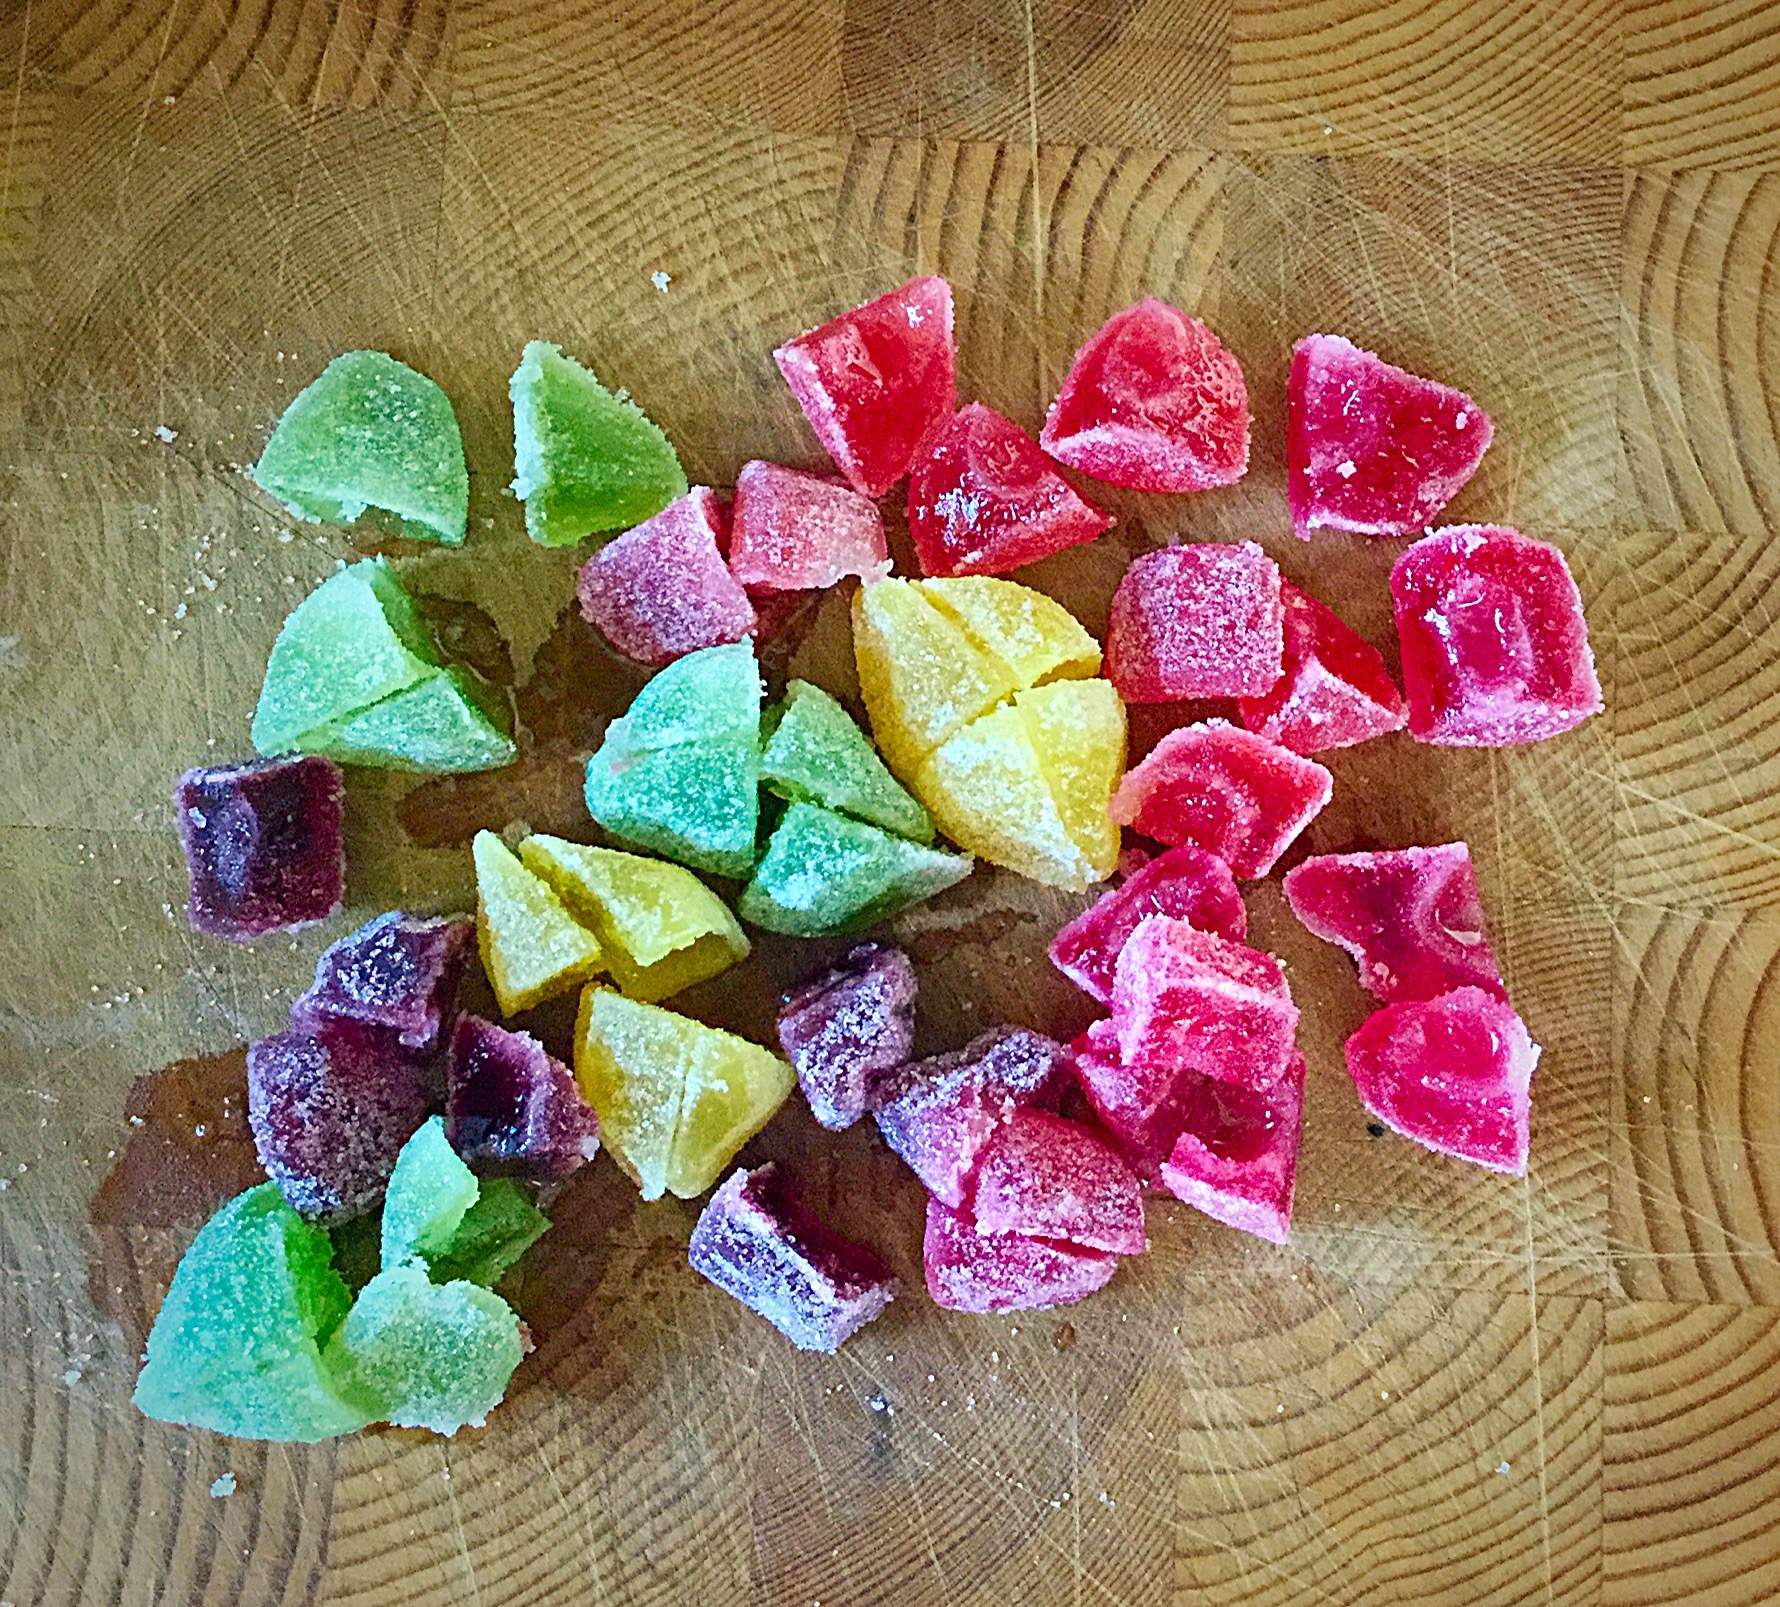
Each 100g box of New Berry Fruits contains 8 individual jelly sweets with a liquid centre and a crunchy, sugary coating.
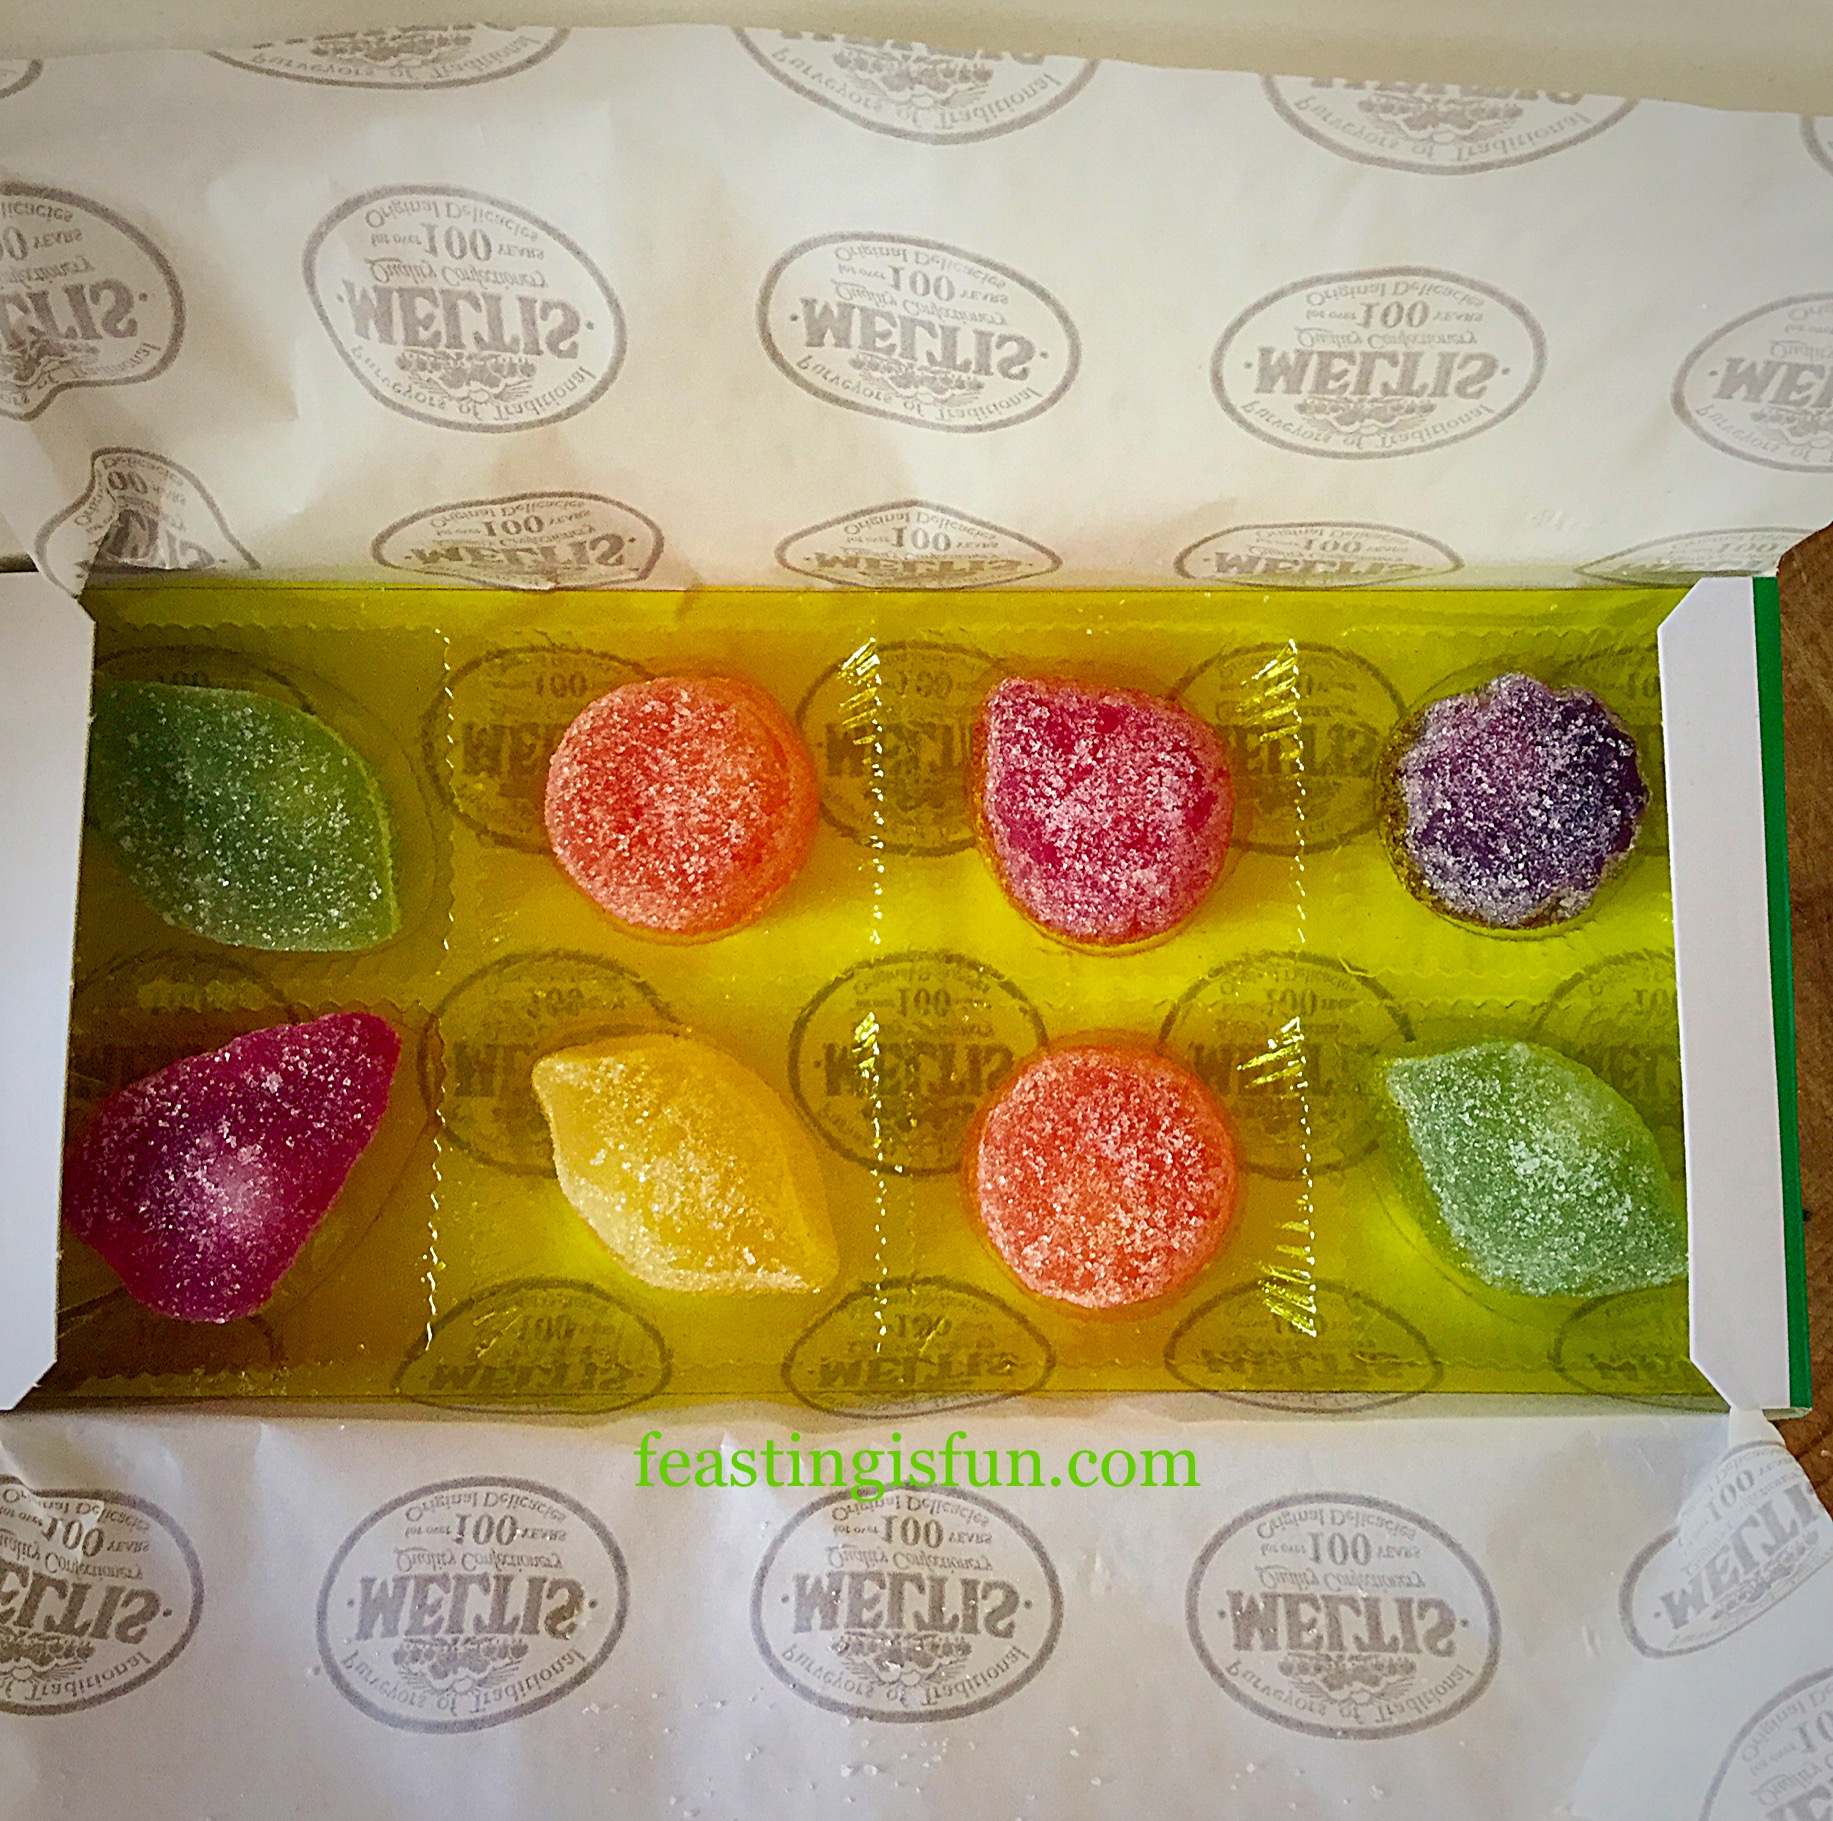
These jelly fruits with the liquid centre are unbelievably good. Intensely fruity, chewy, hidden nectar in the centre. If you love sweets, you really need to try these.
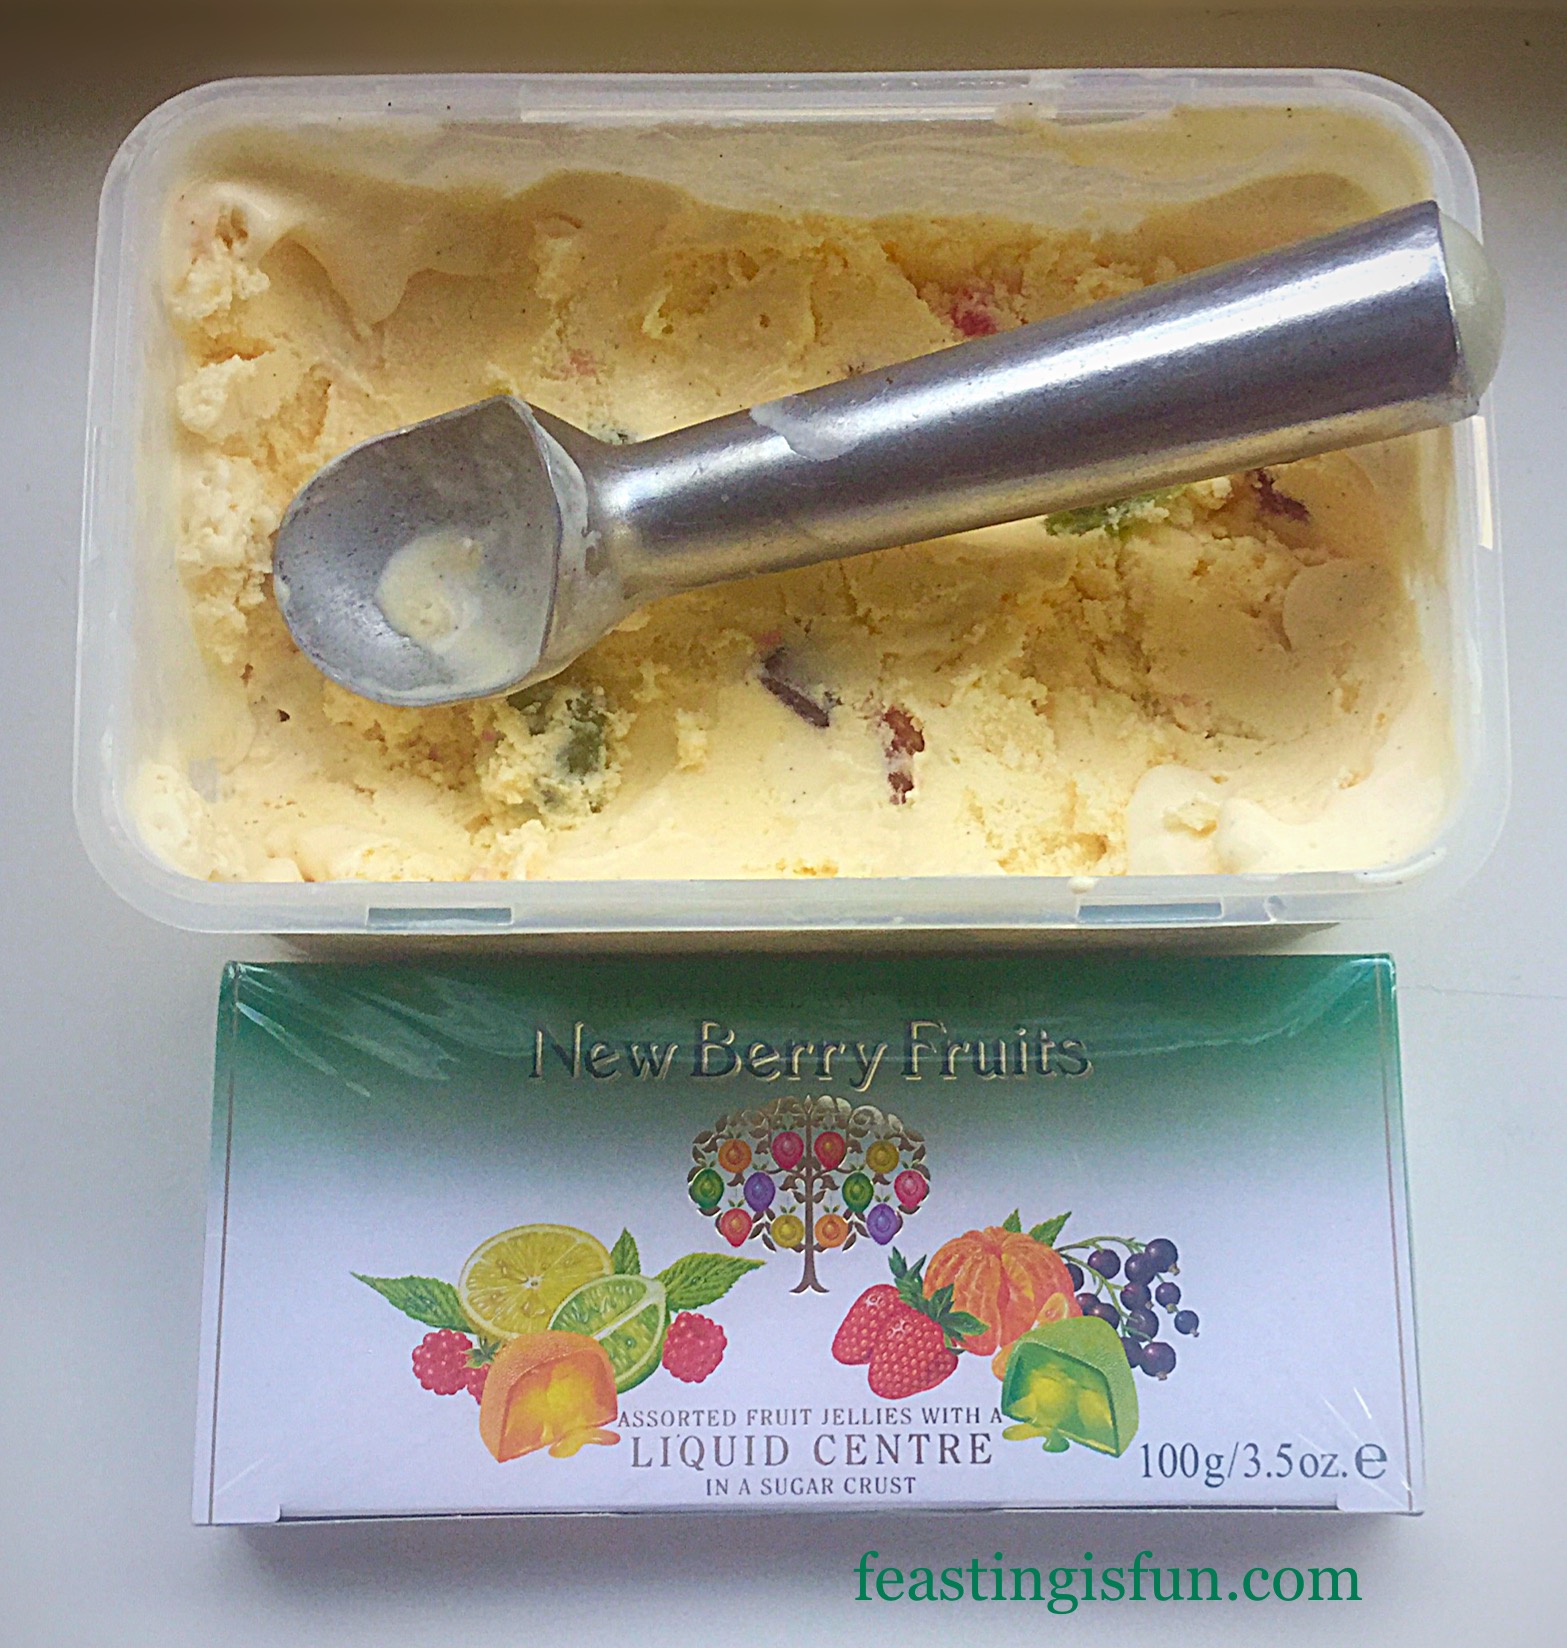
As I am allergic to orange, I left them out of the ice cream. If you love orange they will totally work with all the other New Berry Fruits in the ice cream base that I’ve created.

To make this recipe you will need 2 boxes of New Berry Fruits. We are very honest here at Feasting is Fun, it is acceptable for one or three jellies to ‘go missing’ during the making of this New Berry Fruits Ice Cream. That’s all part of the fun and the ice cream will taste just as good.
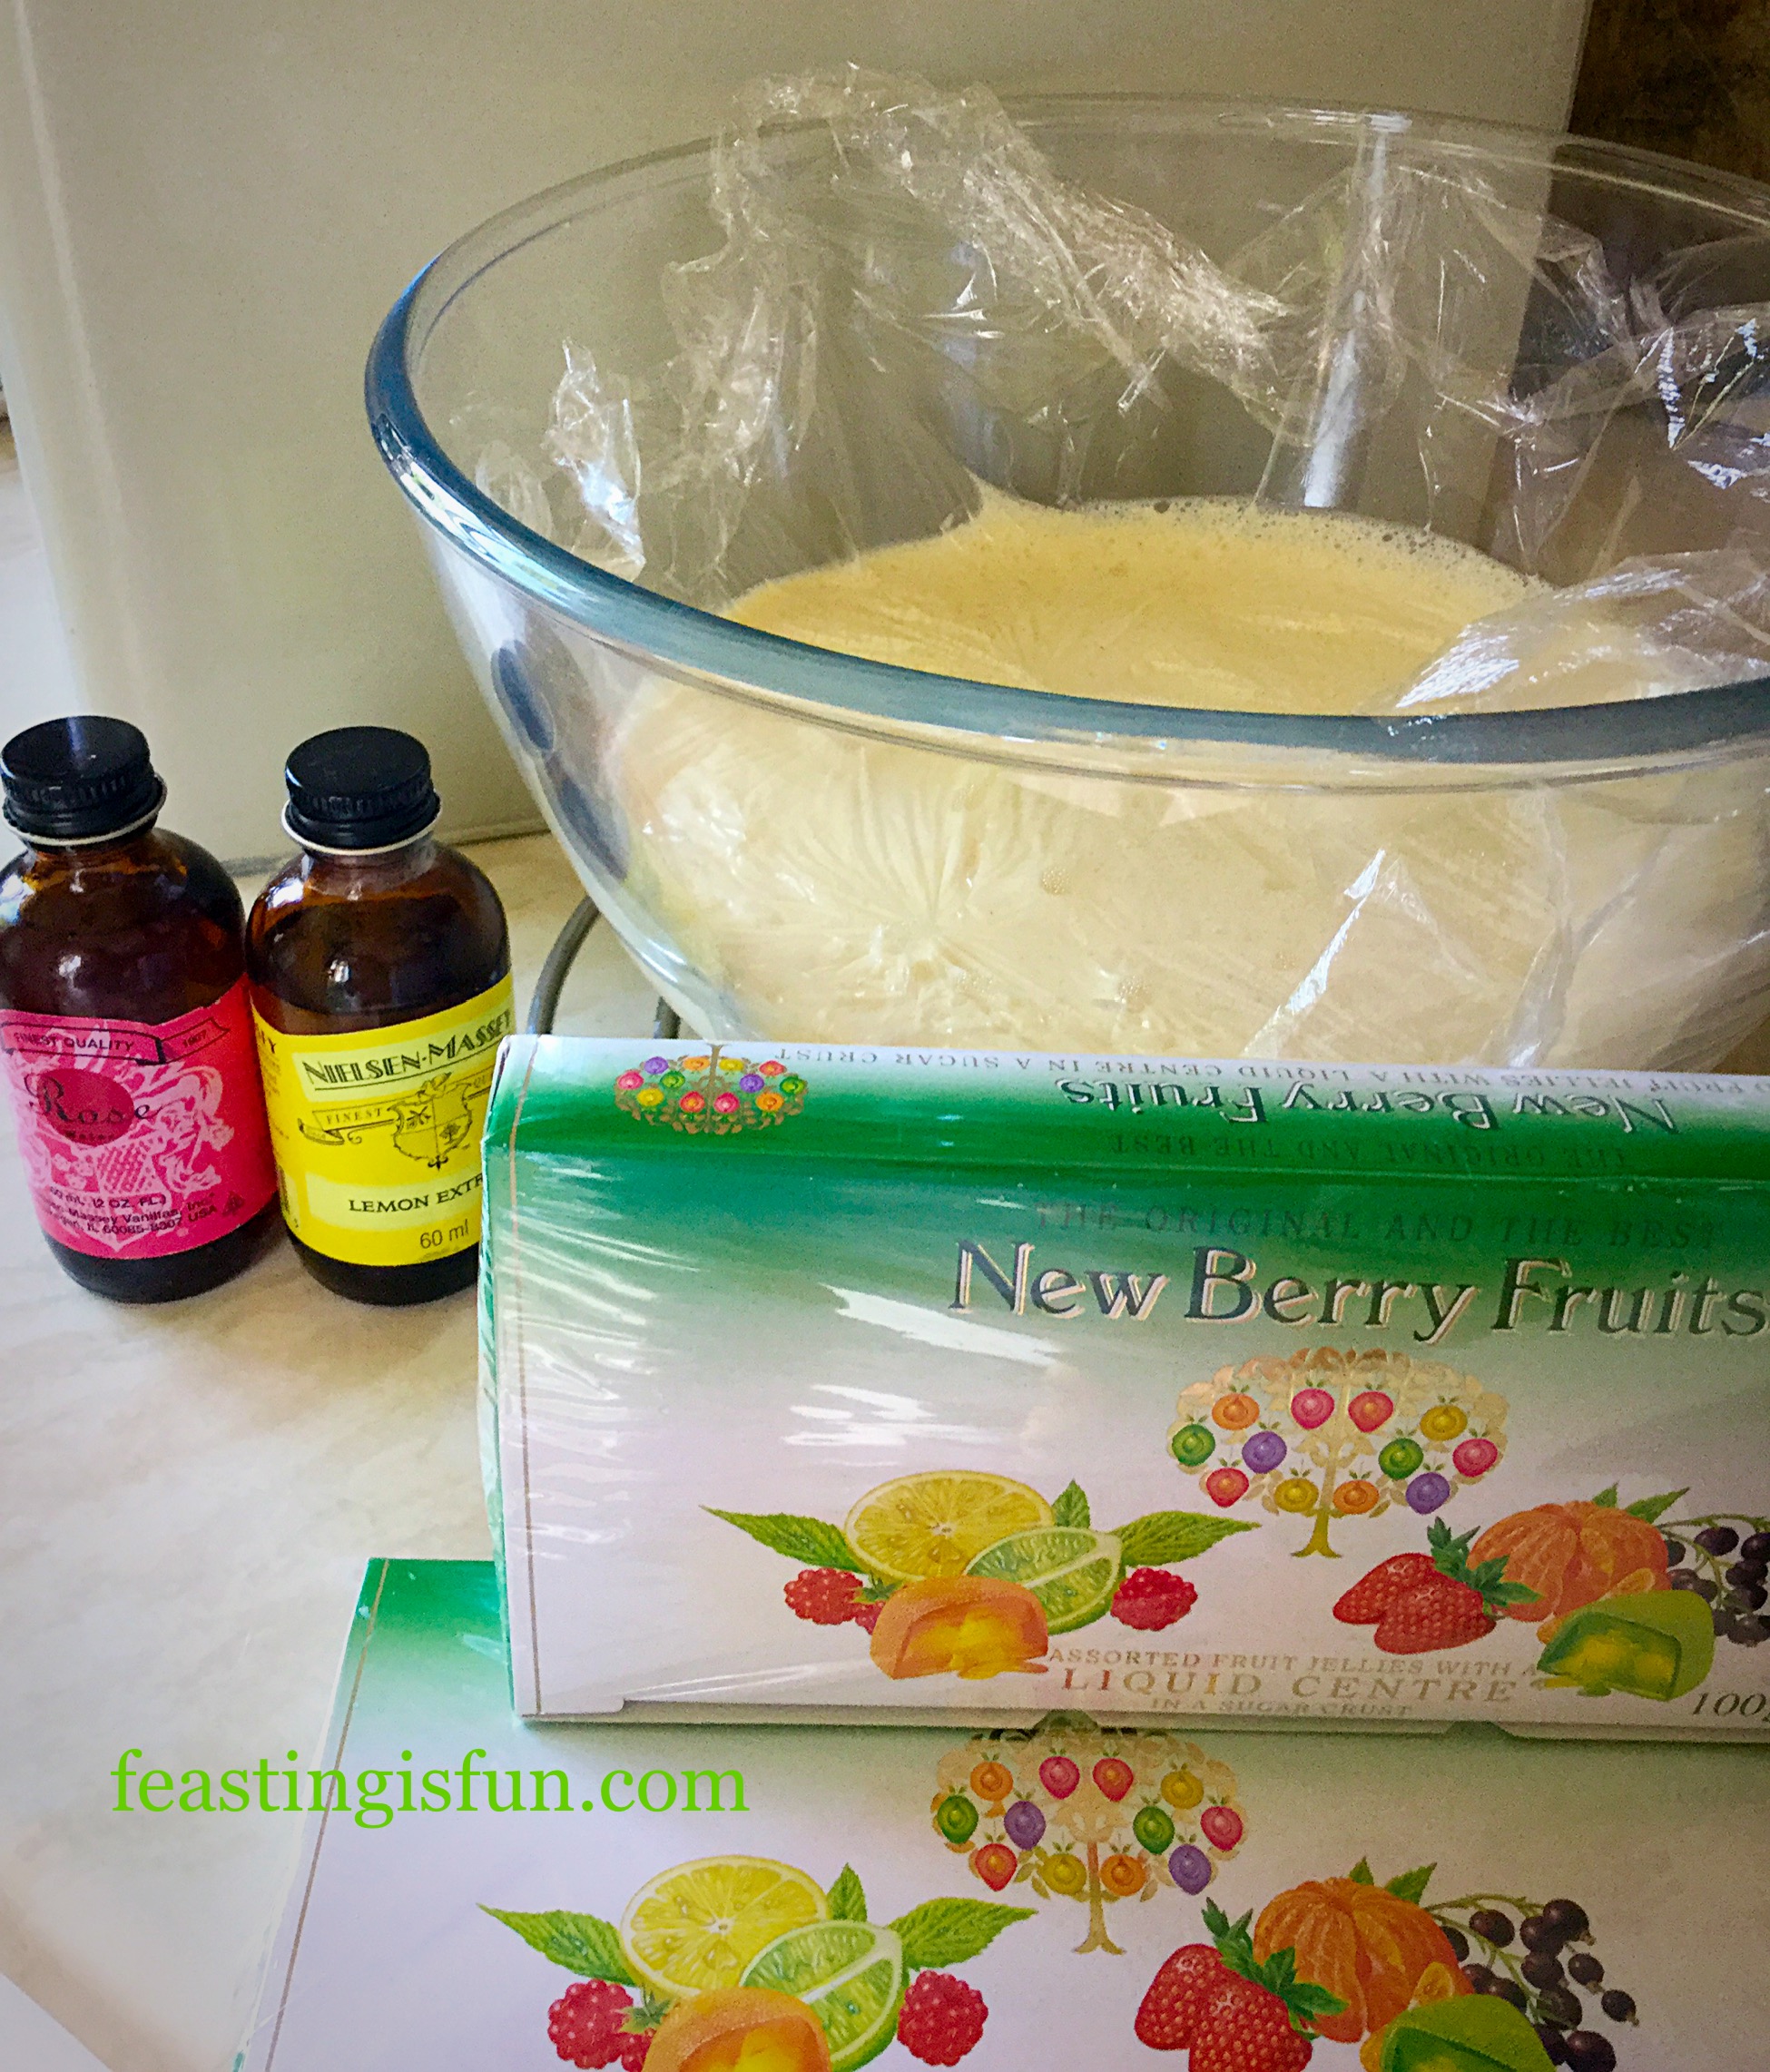
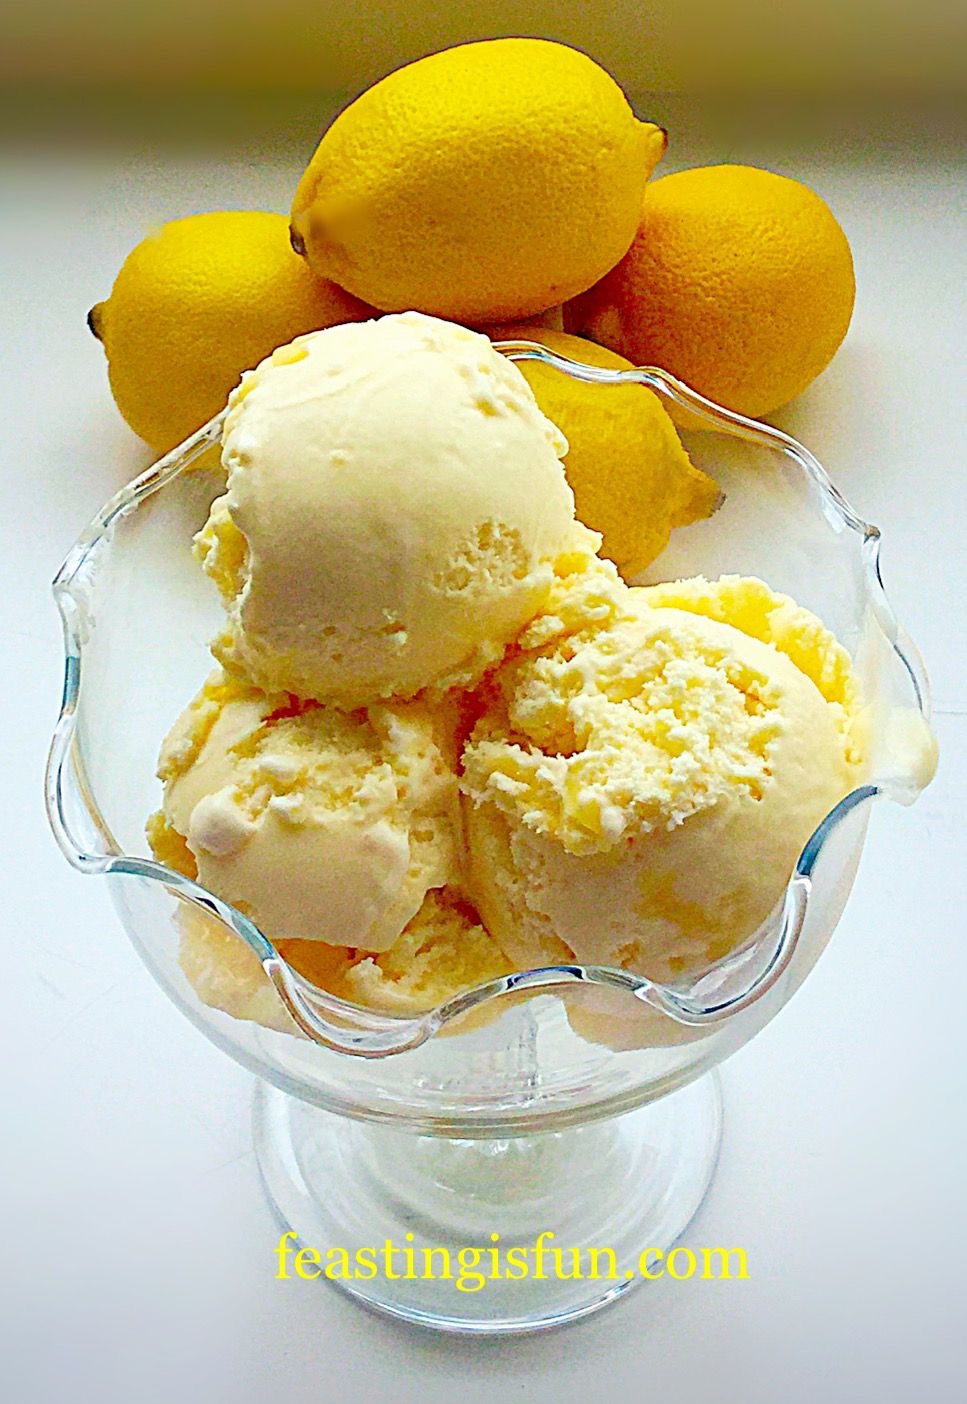
You will also need both lemon and rose extract. You only need a little bit of each, however, they are what give this fruity ice cream it’s fantastic background flavour. I have other recipes that use the extracts, so it really is worth buying them. I only use Nielsen-Massey extracts and they are available in most major supermarkets as well as online.
Time to show you how to make this cooling, fruity treat.
Recipe: New Berry Fruits Ice Cream makes 750ml approx.
2 Boxes of New Berry Fruits
300ml/ 1/2pint Double Cream
300ml/ 1/2pint Milk – Whole or Semi Skimmed
1/4tsp Lemon Extract
1/4tsp Rose Extract
1tsp Vanilla Extract
4 Large Free Range Egg Yolks – the whites can be frozen for up to 1 month
1tsp Corn Flour – also known as corn starch
4tbsp Caster Sugar
Method: Ensure the cooling ‘bowl’ of your ice cream maker has been in the freezer for at least 8 hours, ideally overnight, or as per manufacturer’s instructions.
Note: For photographic step by step instructions on how to make the custard base for the ice cream please see Very Vanilla Ice Cream.
- Pour the milk and cream into a heavy bottomed saucepan over a medium heat.
- Bring the liquid to scalding point – this is just before it boils, there will be a ring of bubbles that appear around the edge of the liquid. Once the bubbles appear remove from the heat.
- Whilst the milk/cream is heating, into a large bowl add the egg yolks, corn flour, sugar and vanilla extract. Whisk until pale, thick and creamy.
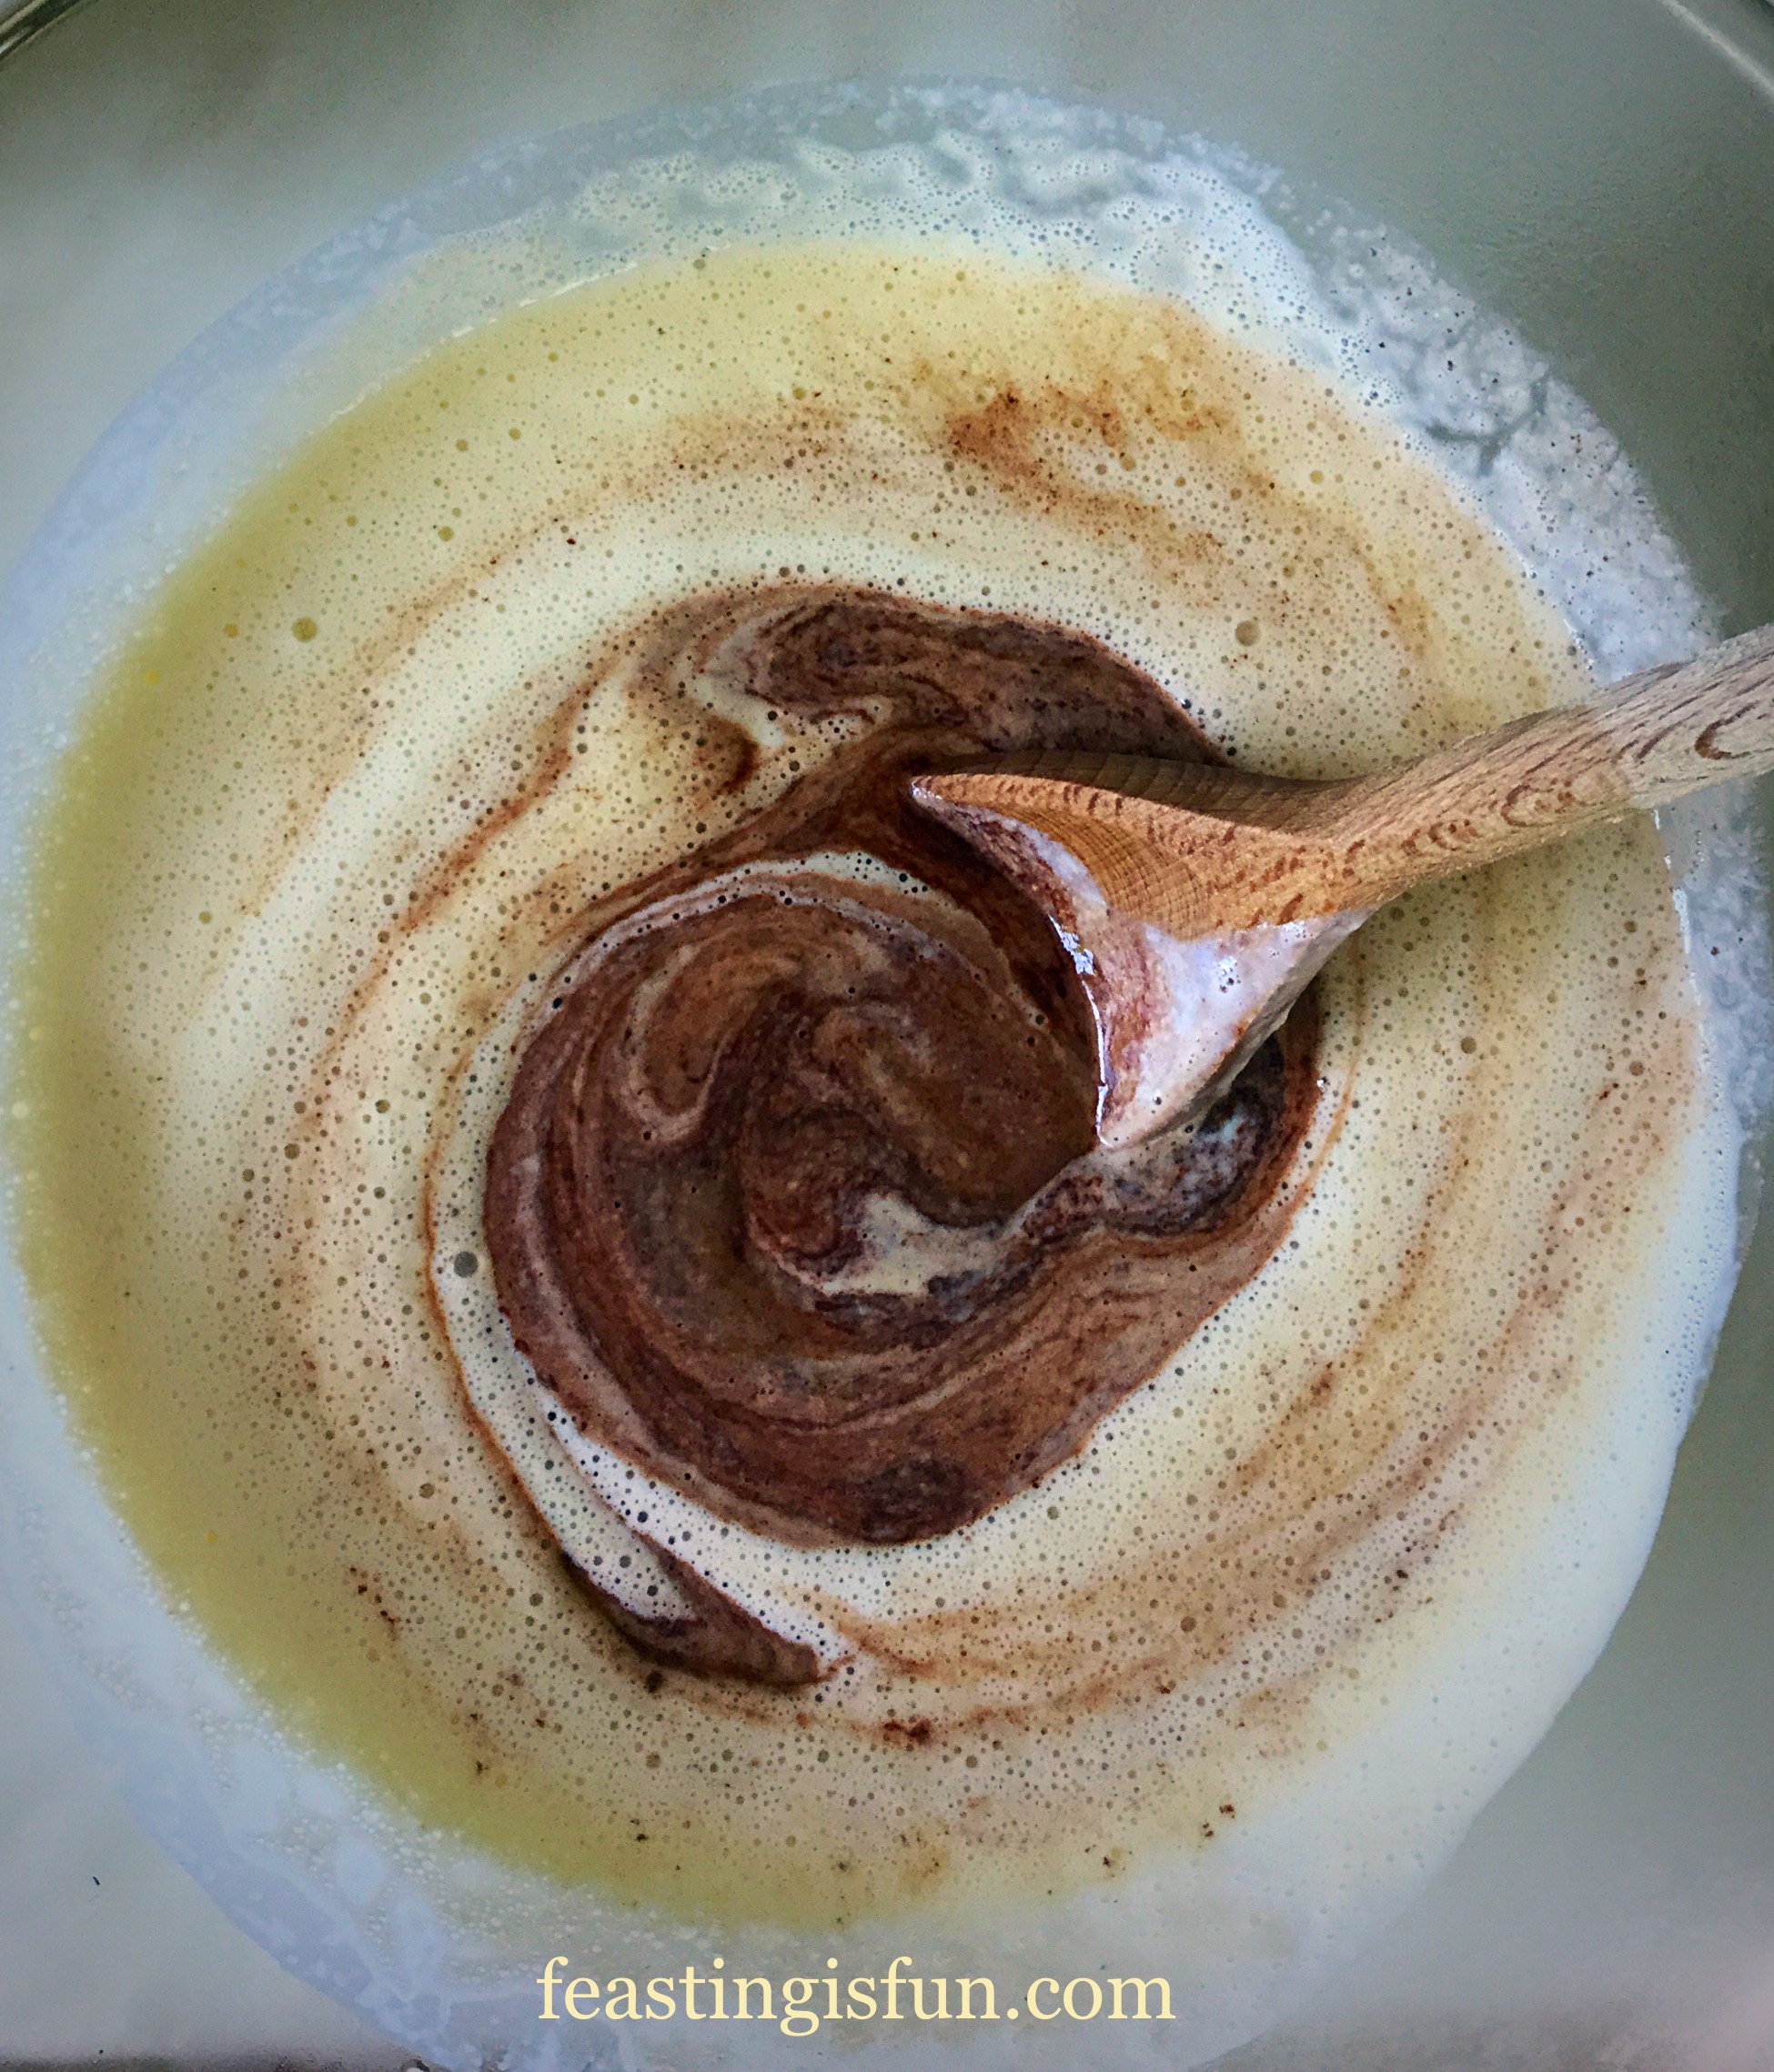
- With the mixer on slow, slowly add the scalded cream mixture to the egg mix, constantly mixing.
- Tip the contents of the bowl back into the saucepan, over a low heat.
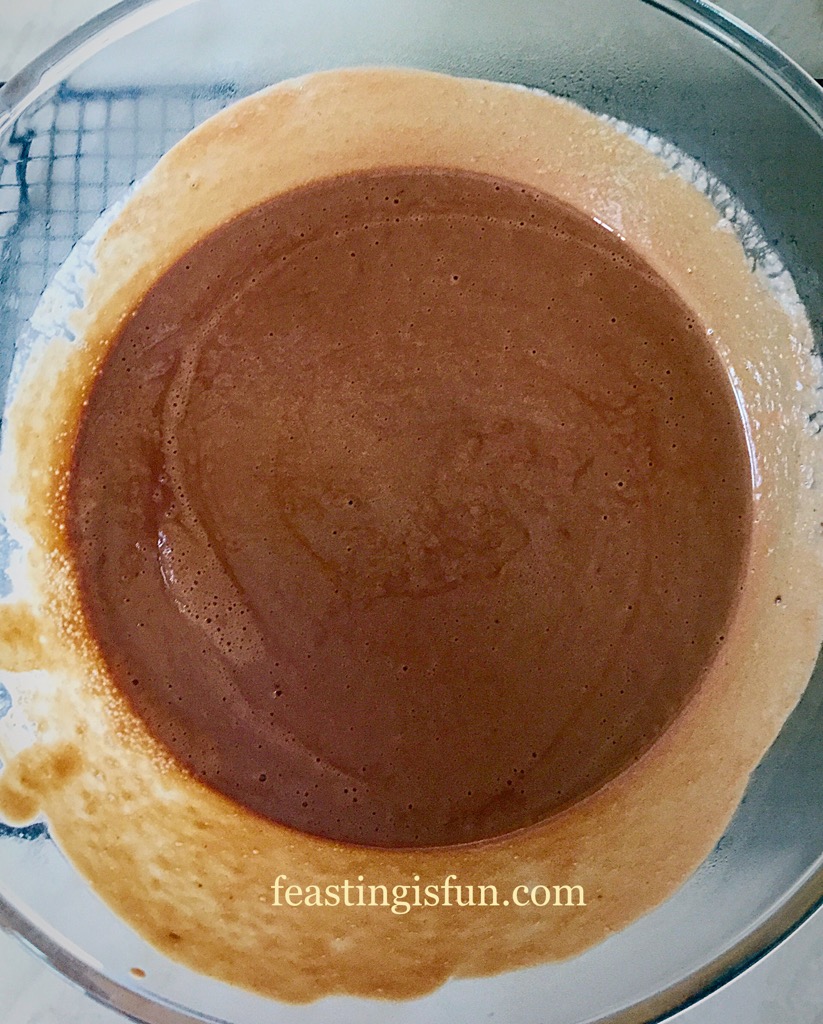
- Stir until the custard ice cream base has thickened and coats the back of a wooden spoon. The base is now cooked.
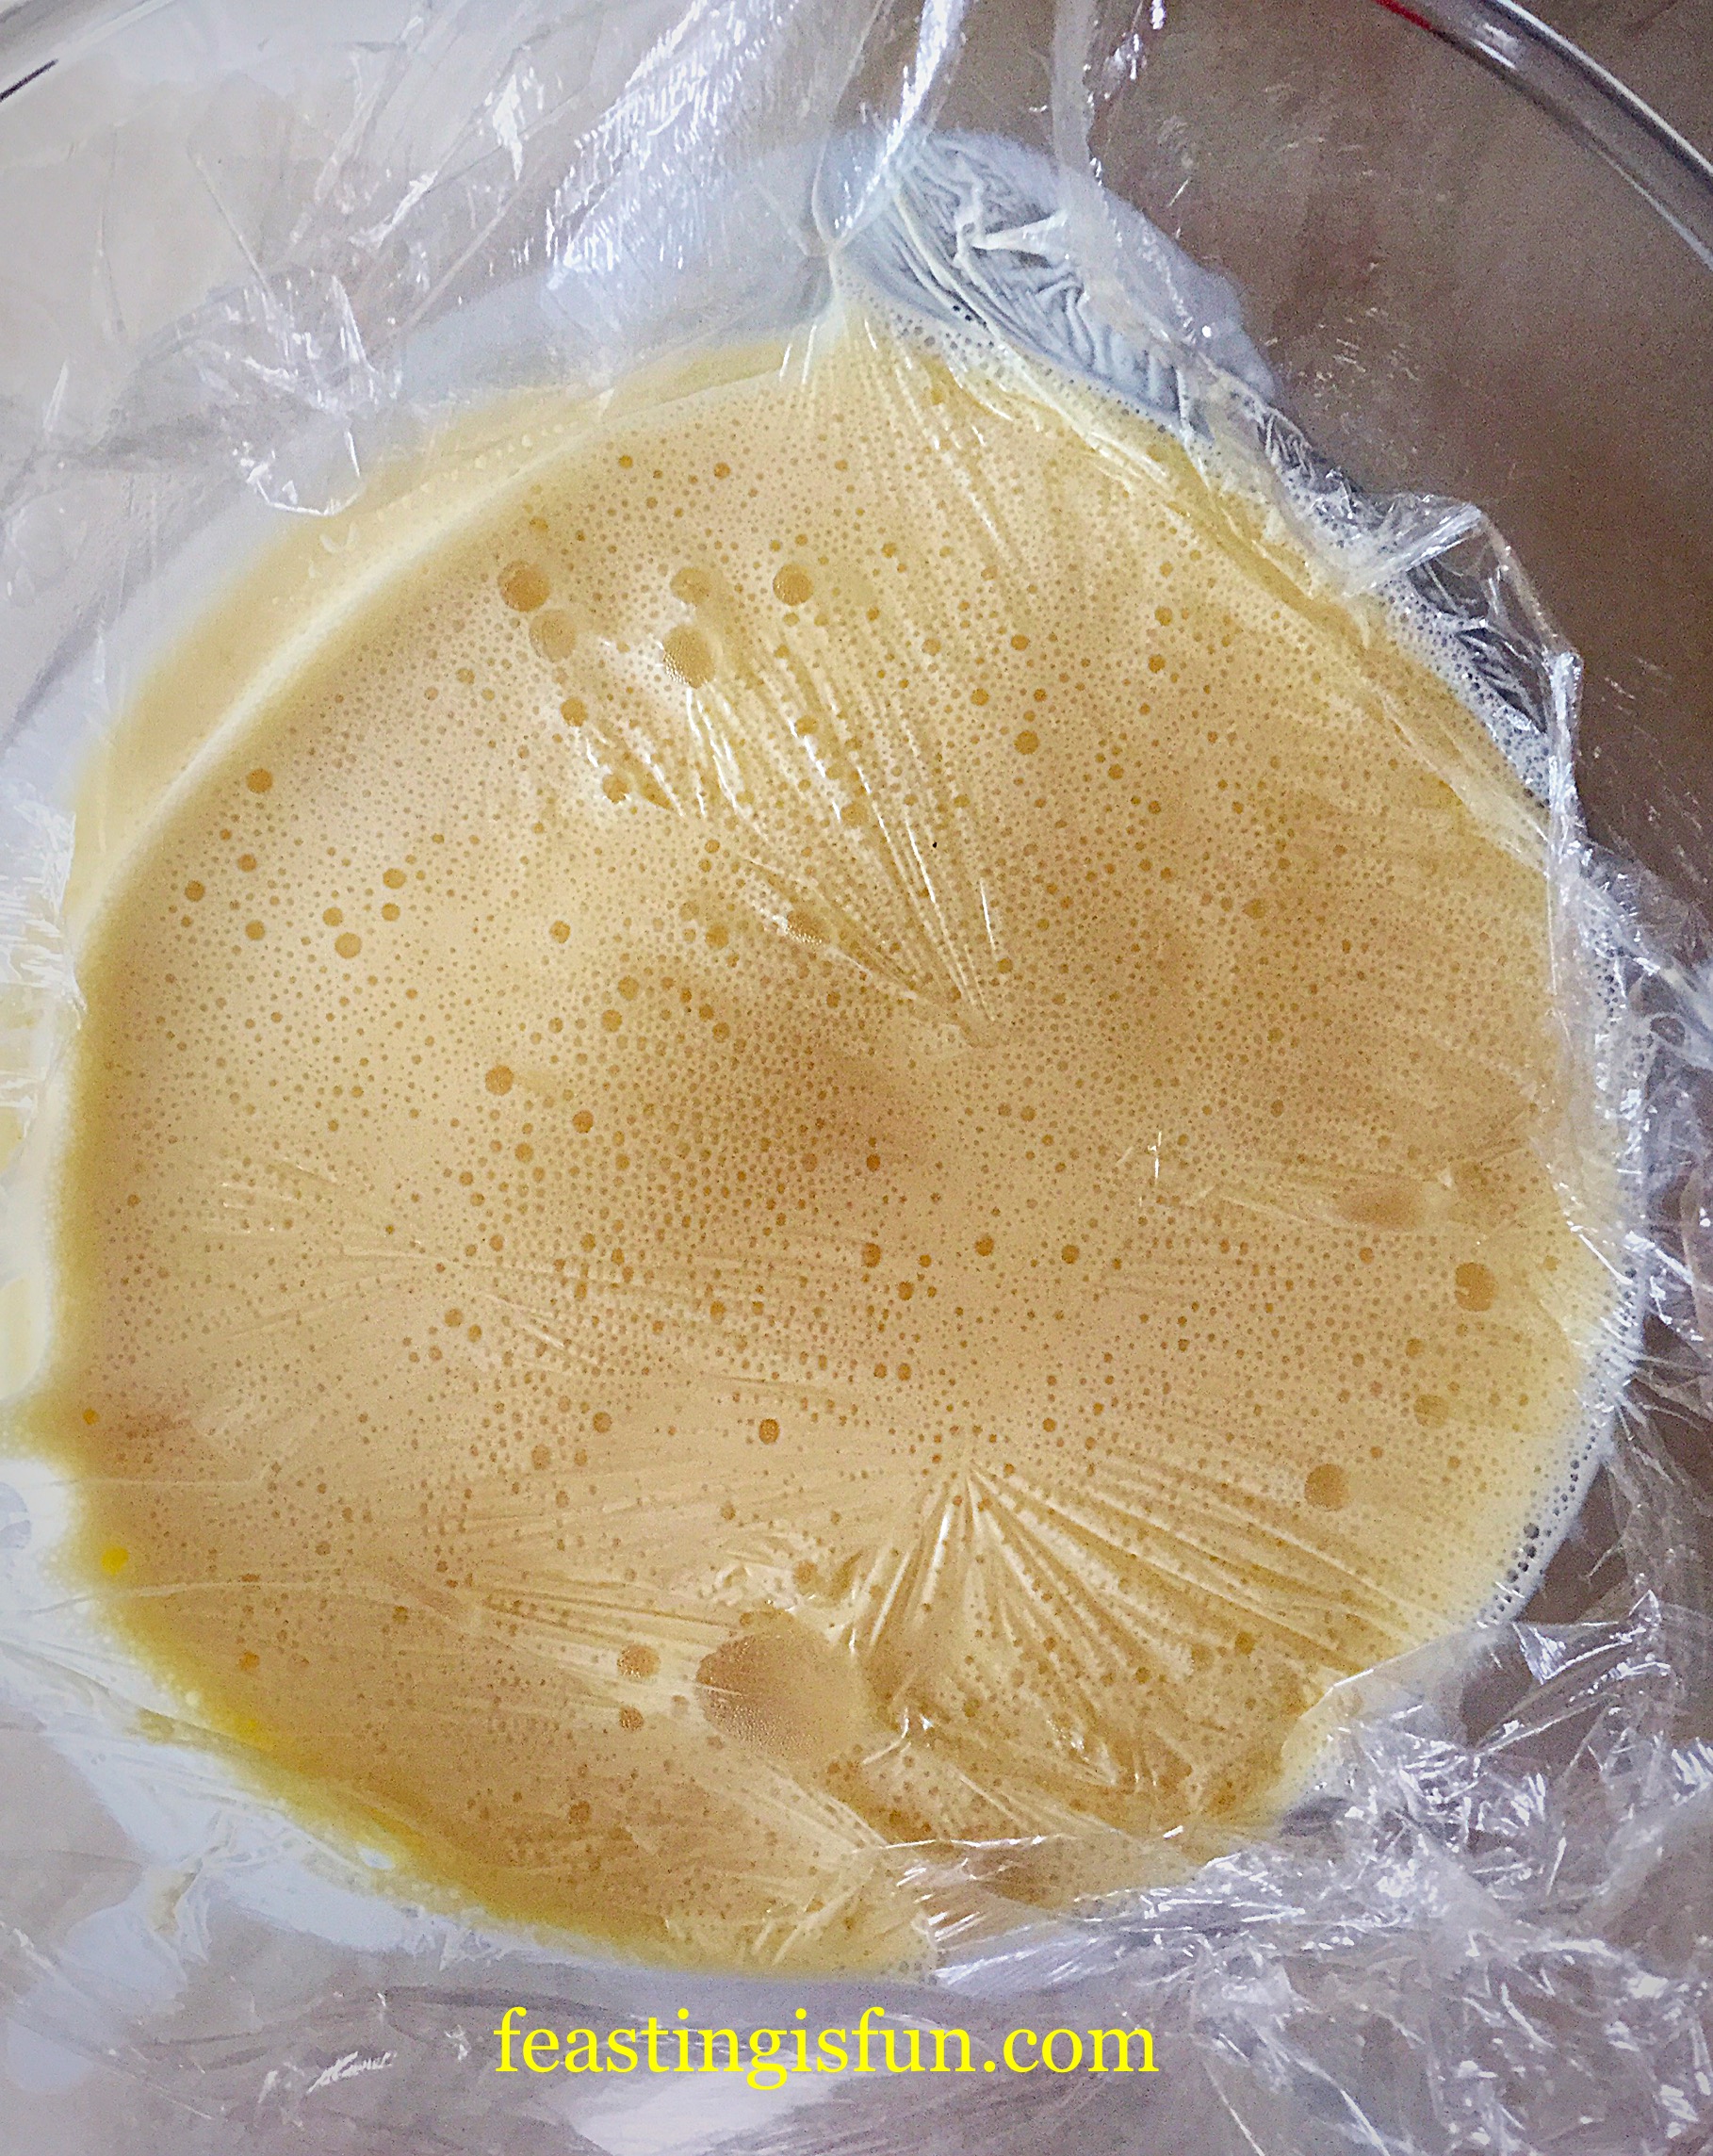
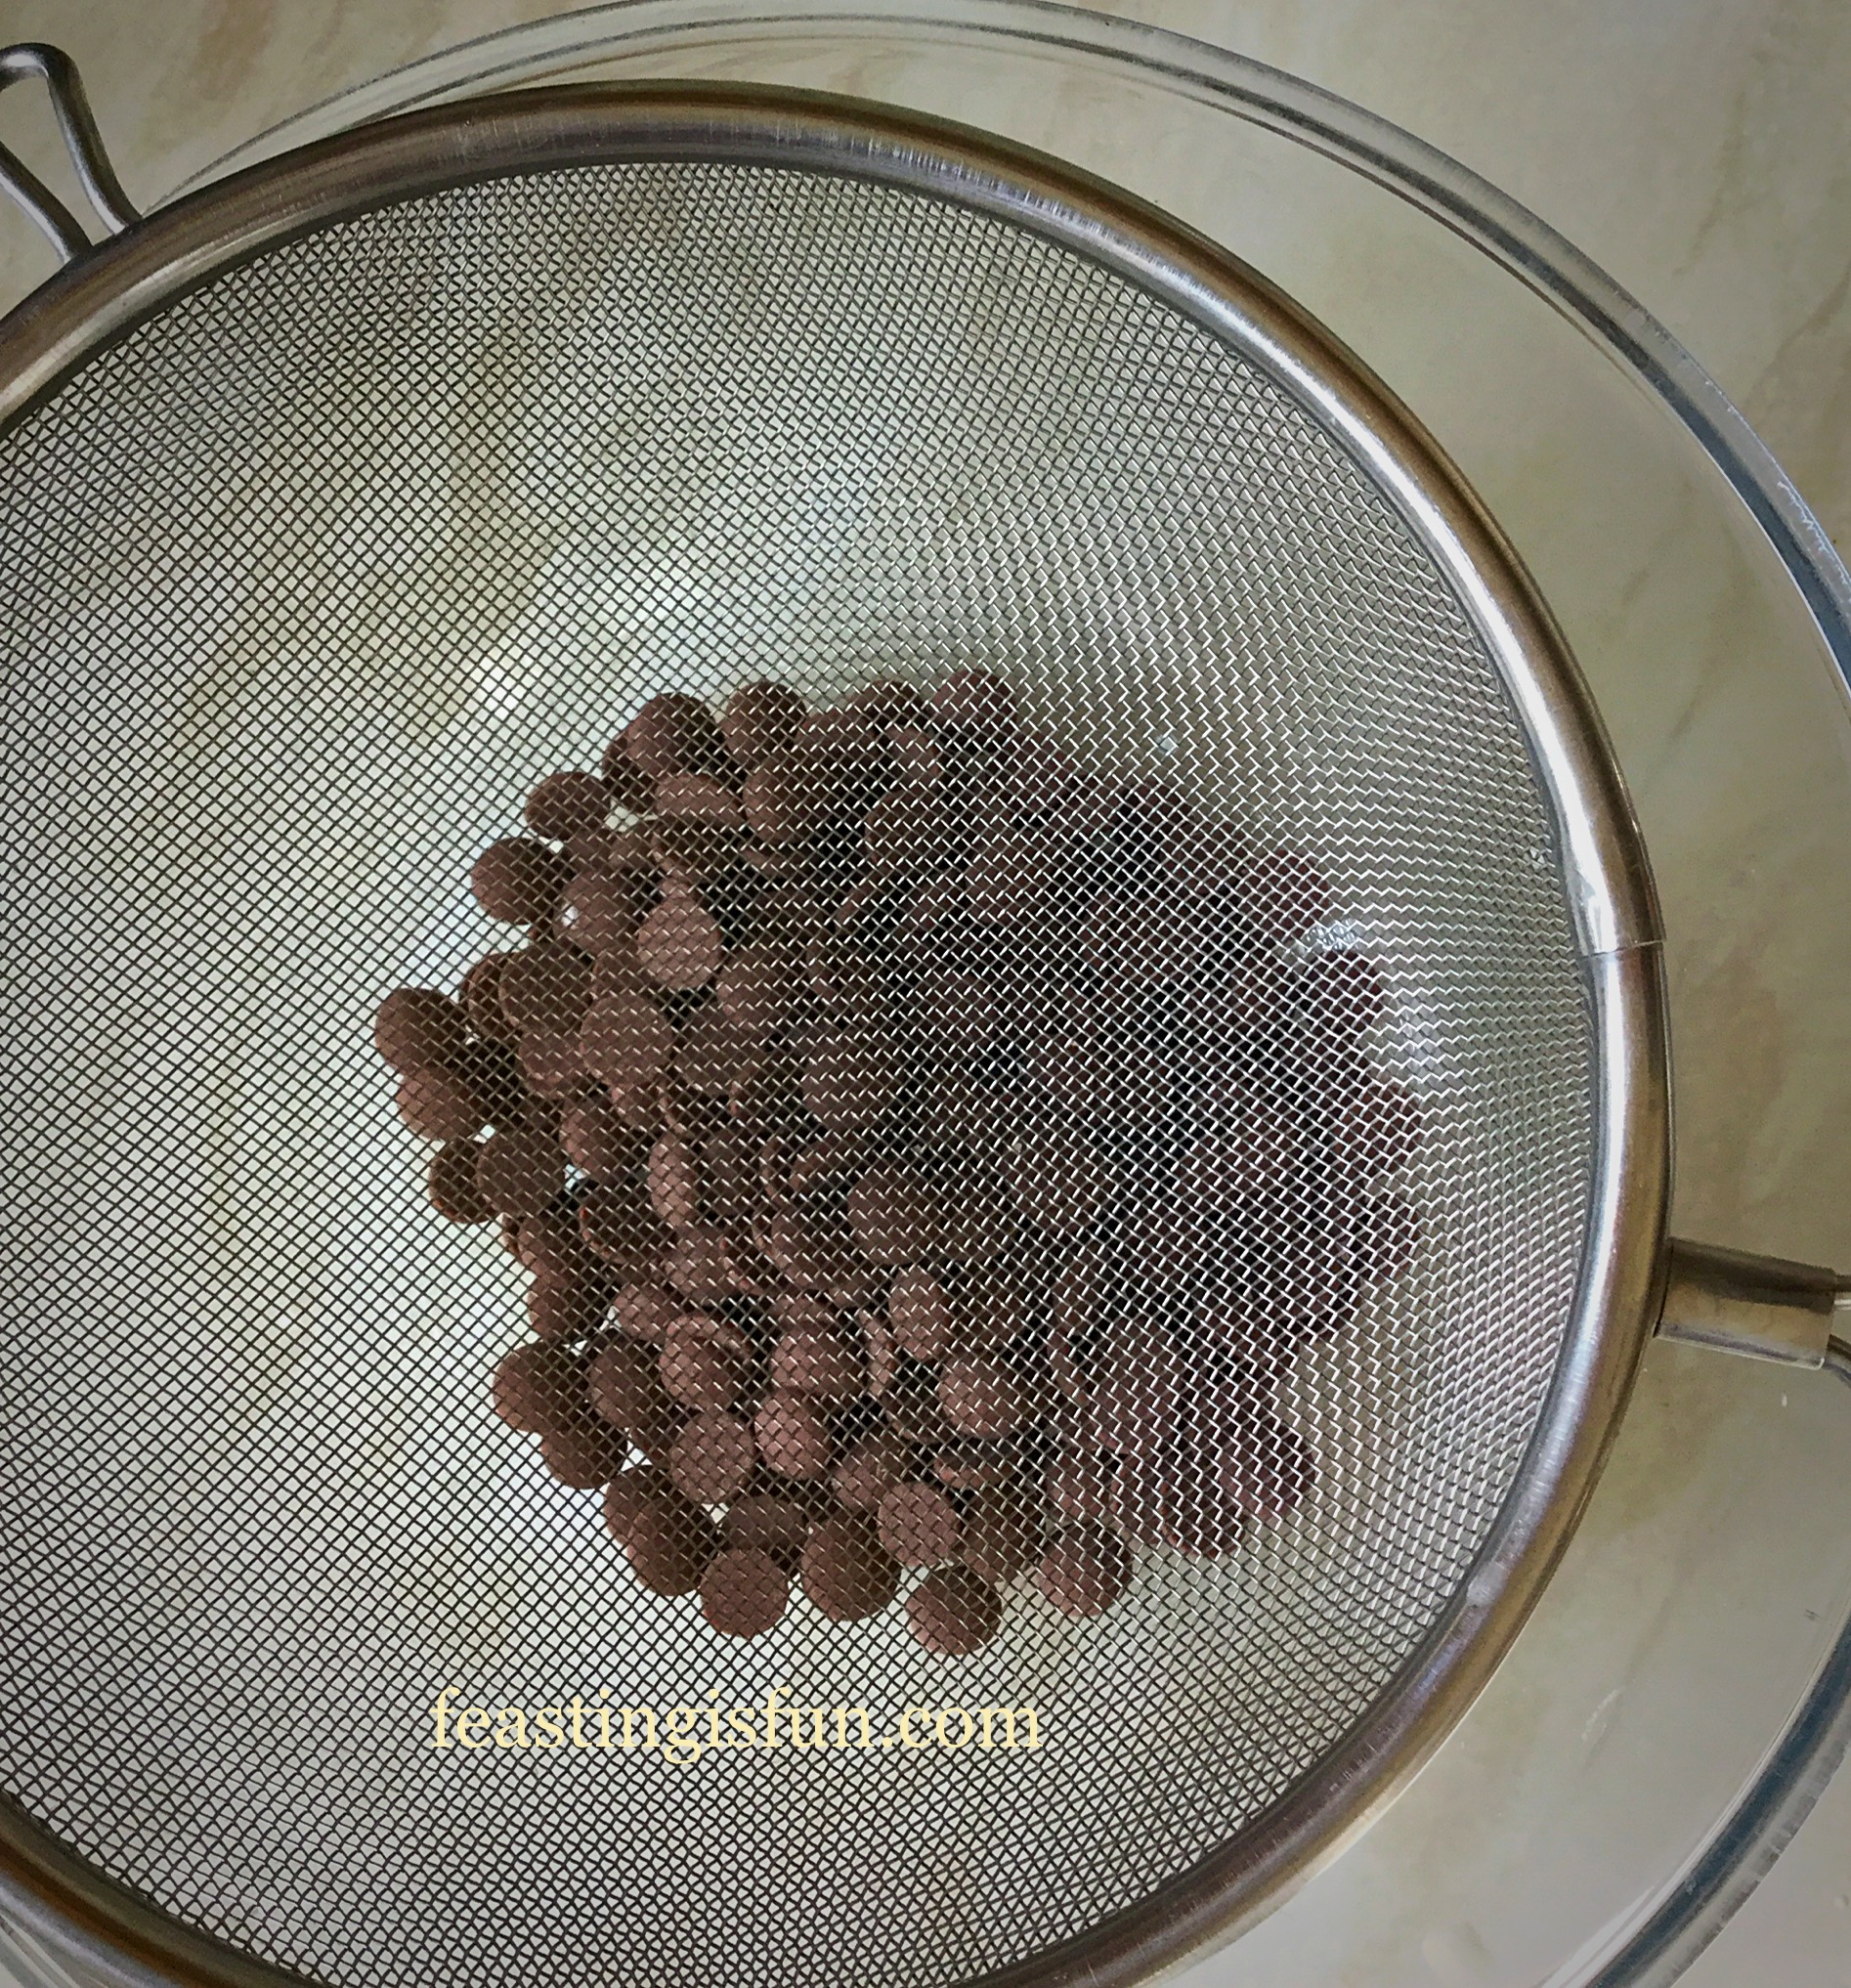
- Pour the custard base through a sieve into a clean bowl – I generally quickly wash up the original bowl that I was using.
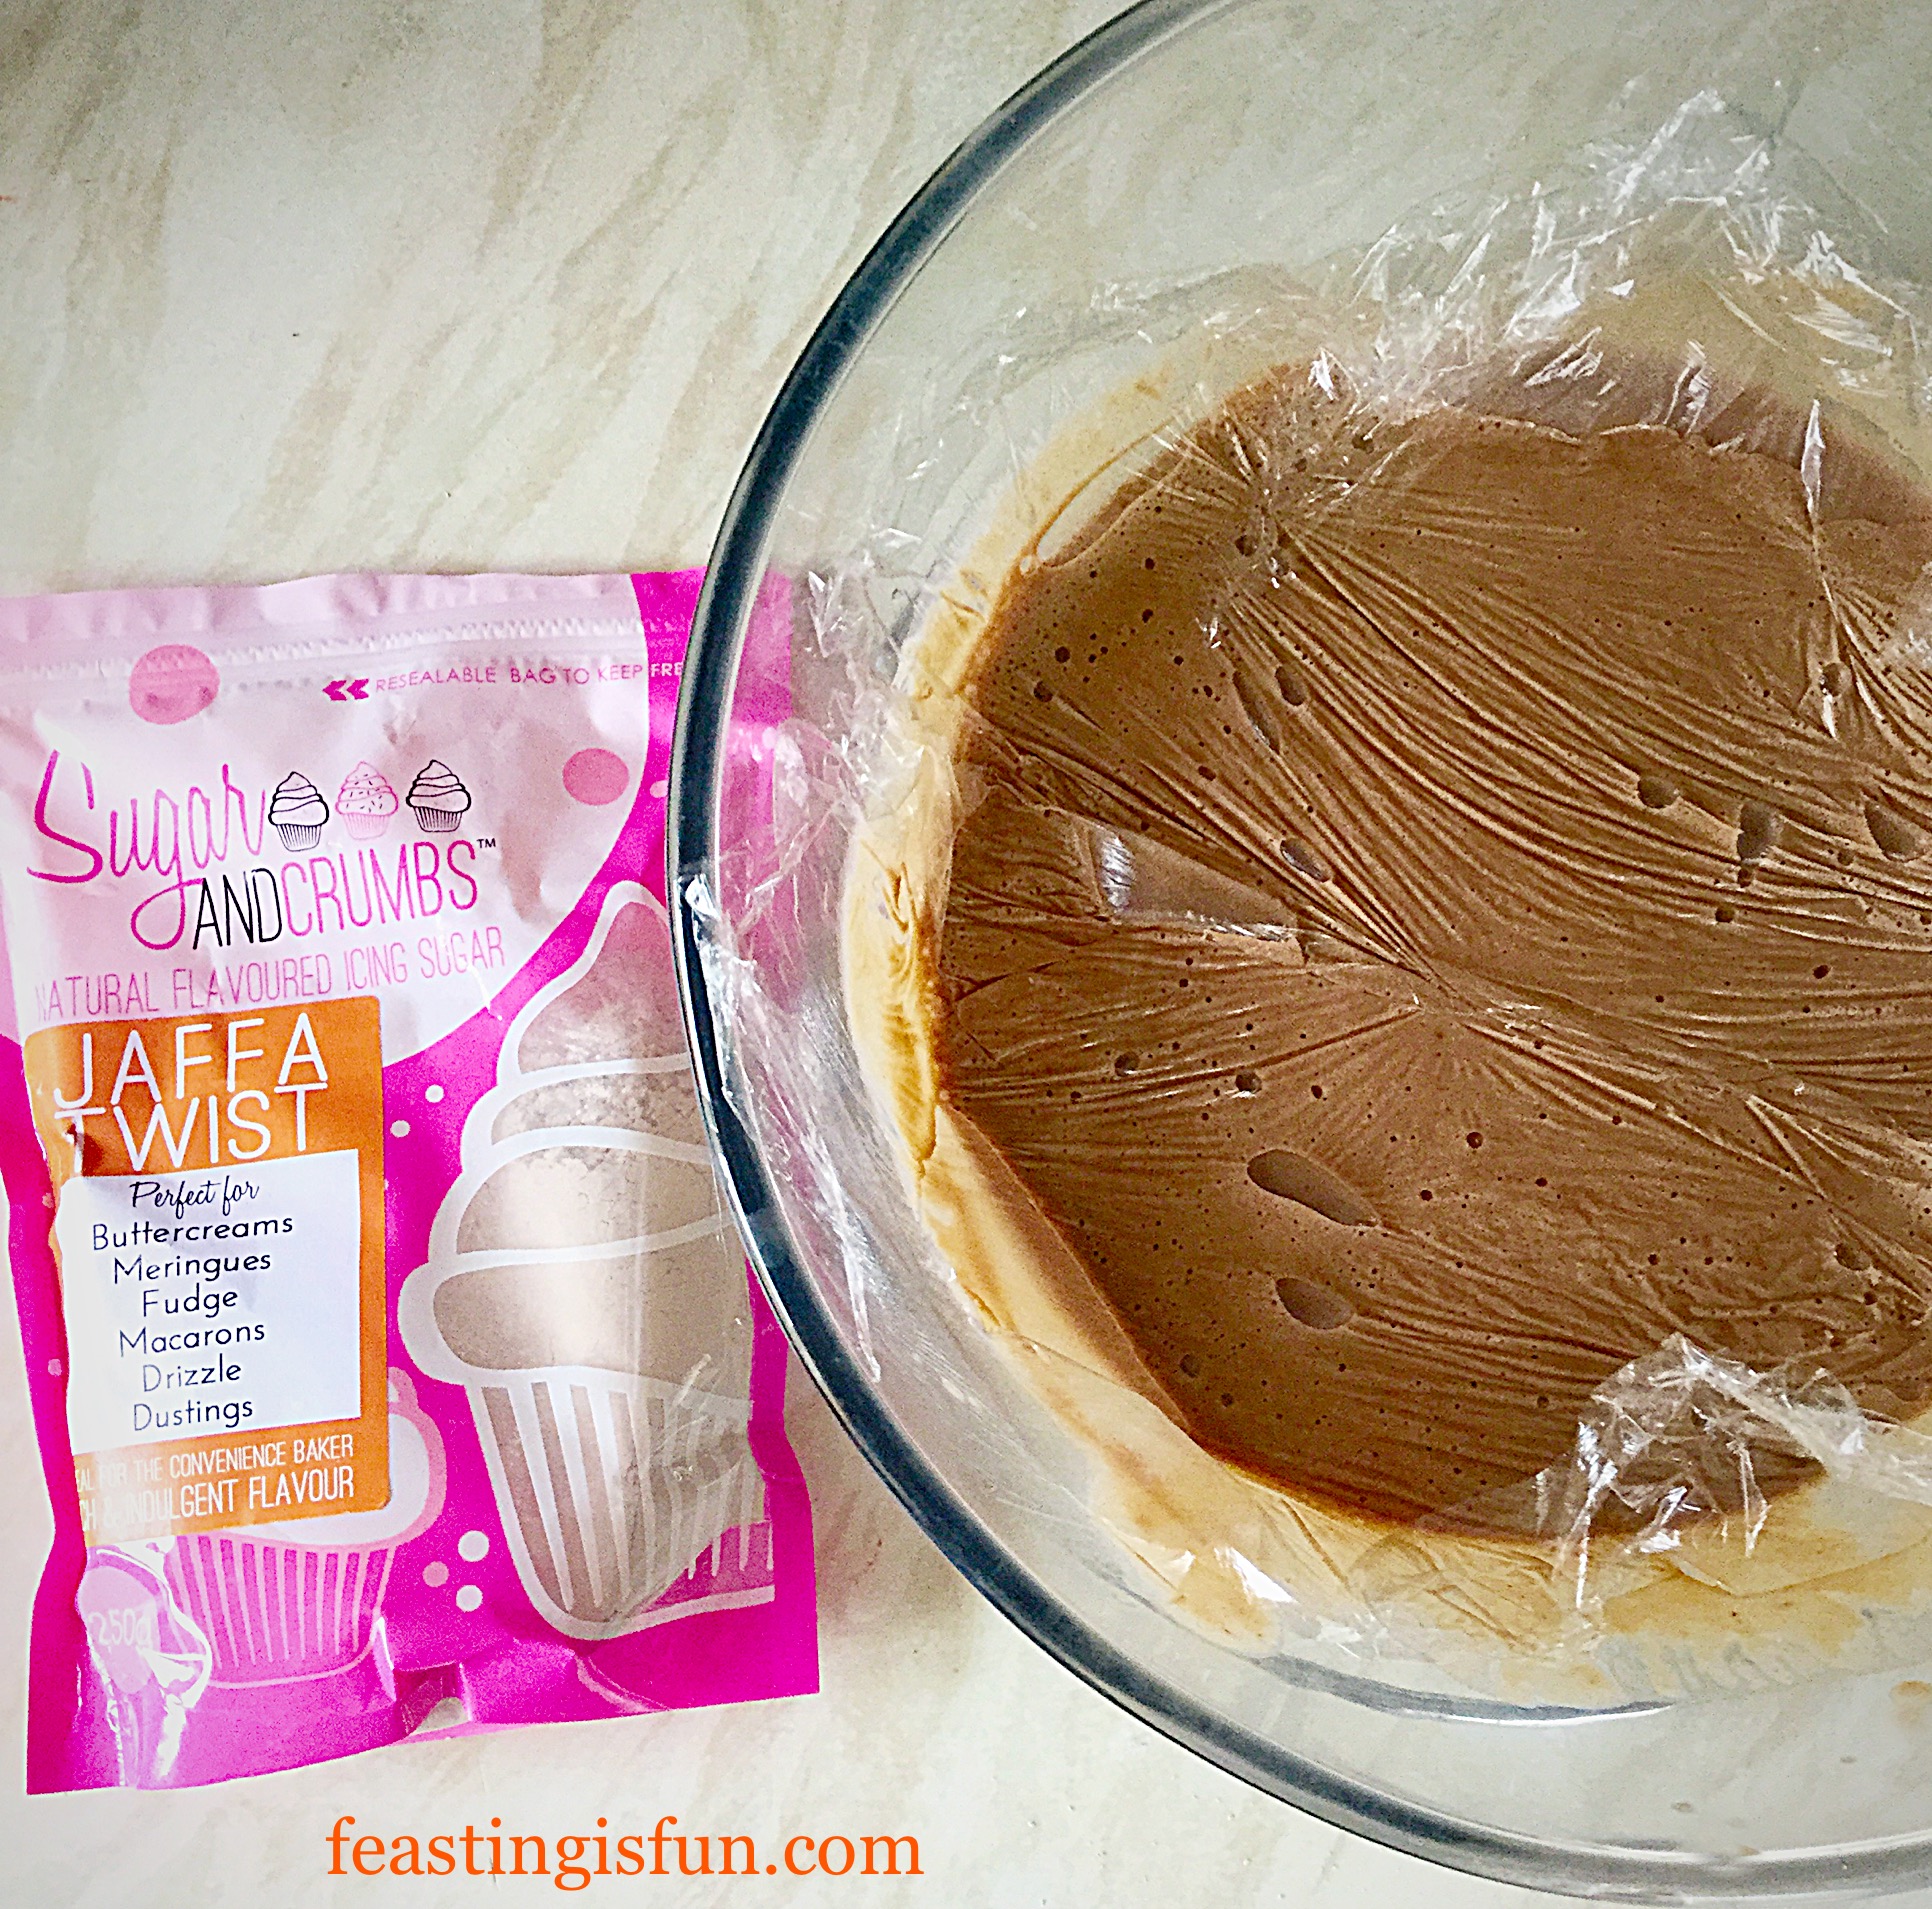
- Cover the top of the custard base with cling film, so that it is in direct contact. This stops a skin from forming.
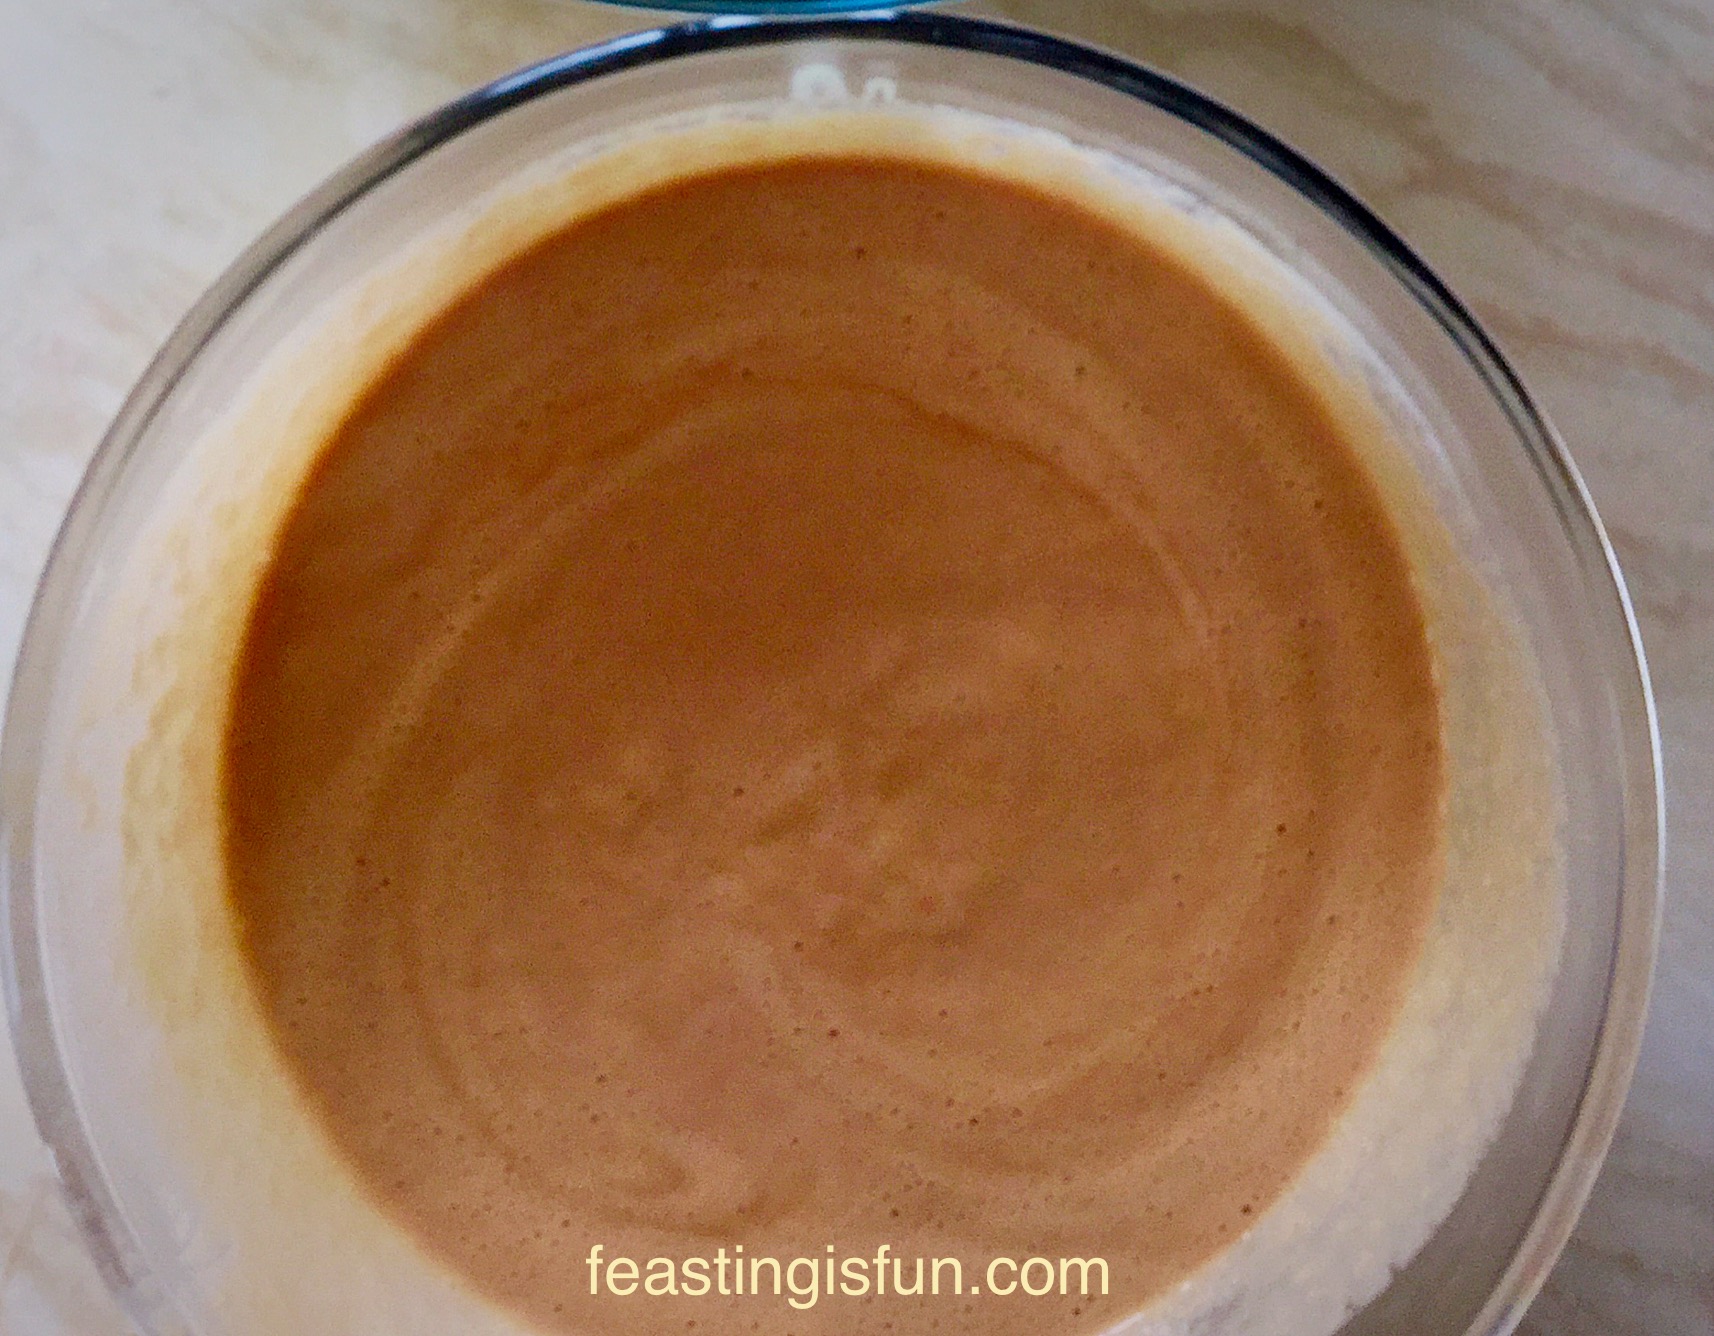
- Allow the custard base to cool slightly and then chill in the fridge.
- Once chilled add 1/4 teaspoon of both lemon and rose extract. Stir to mix.
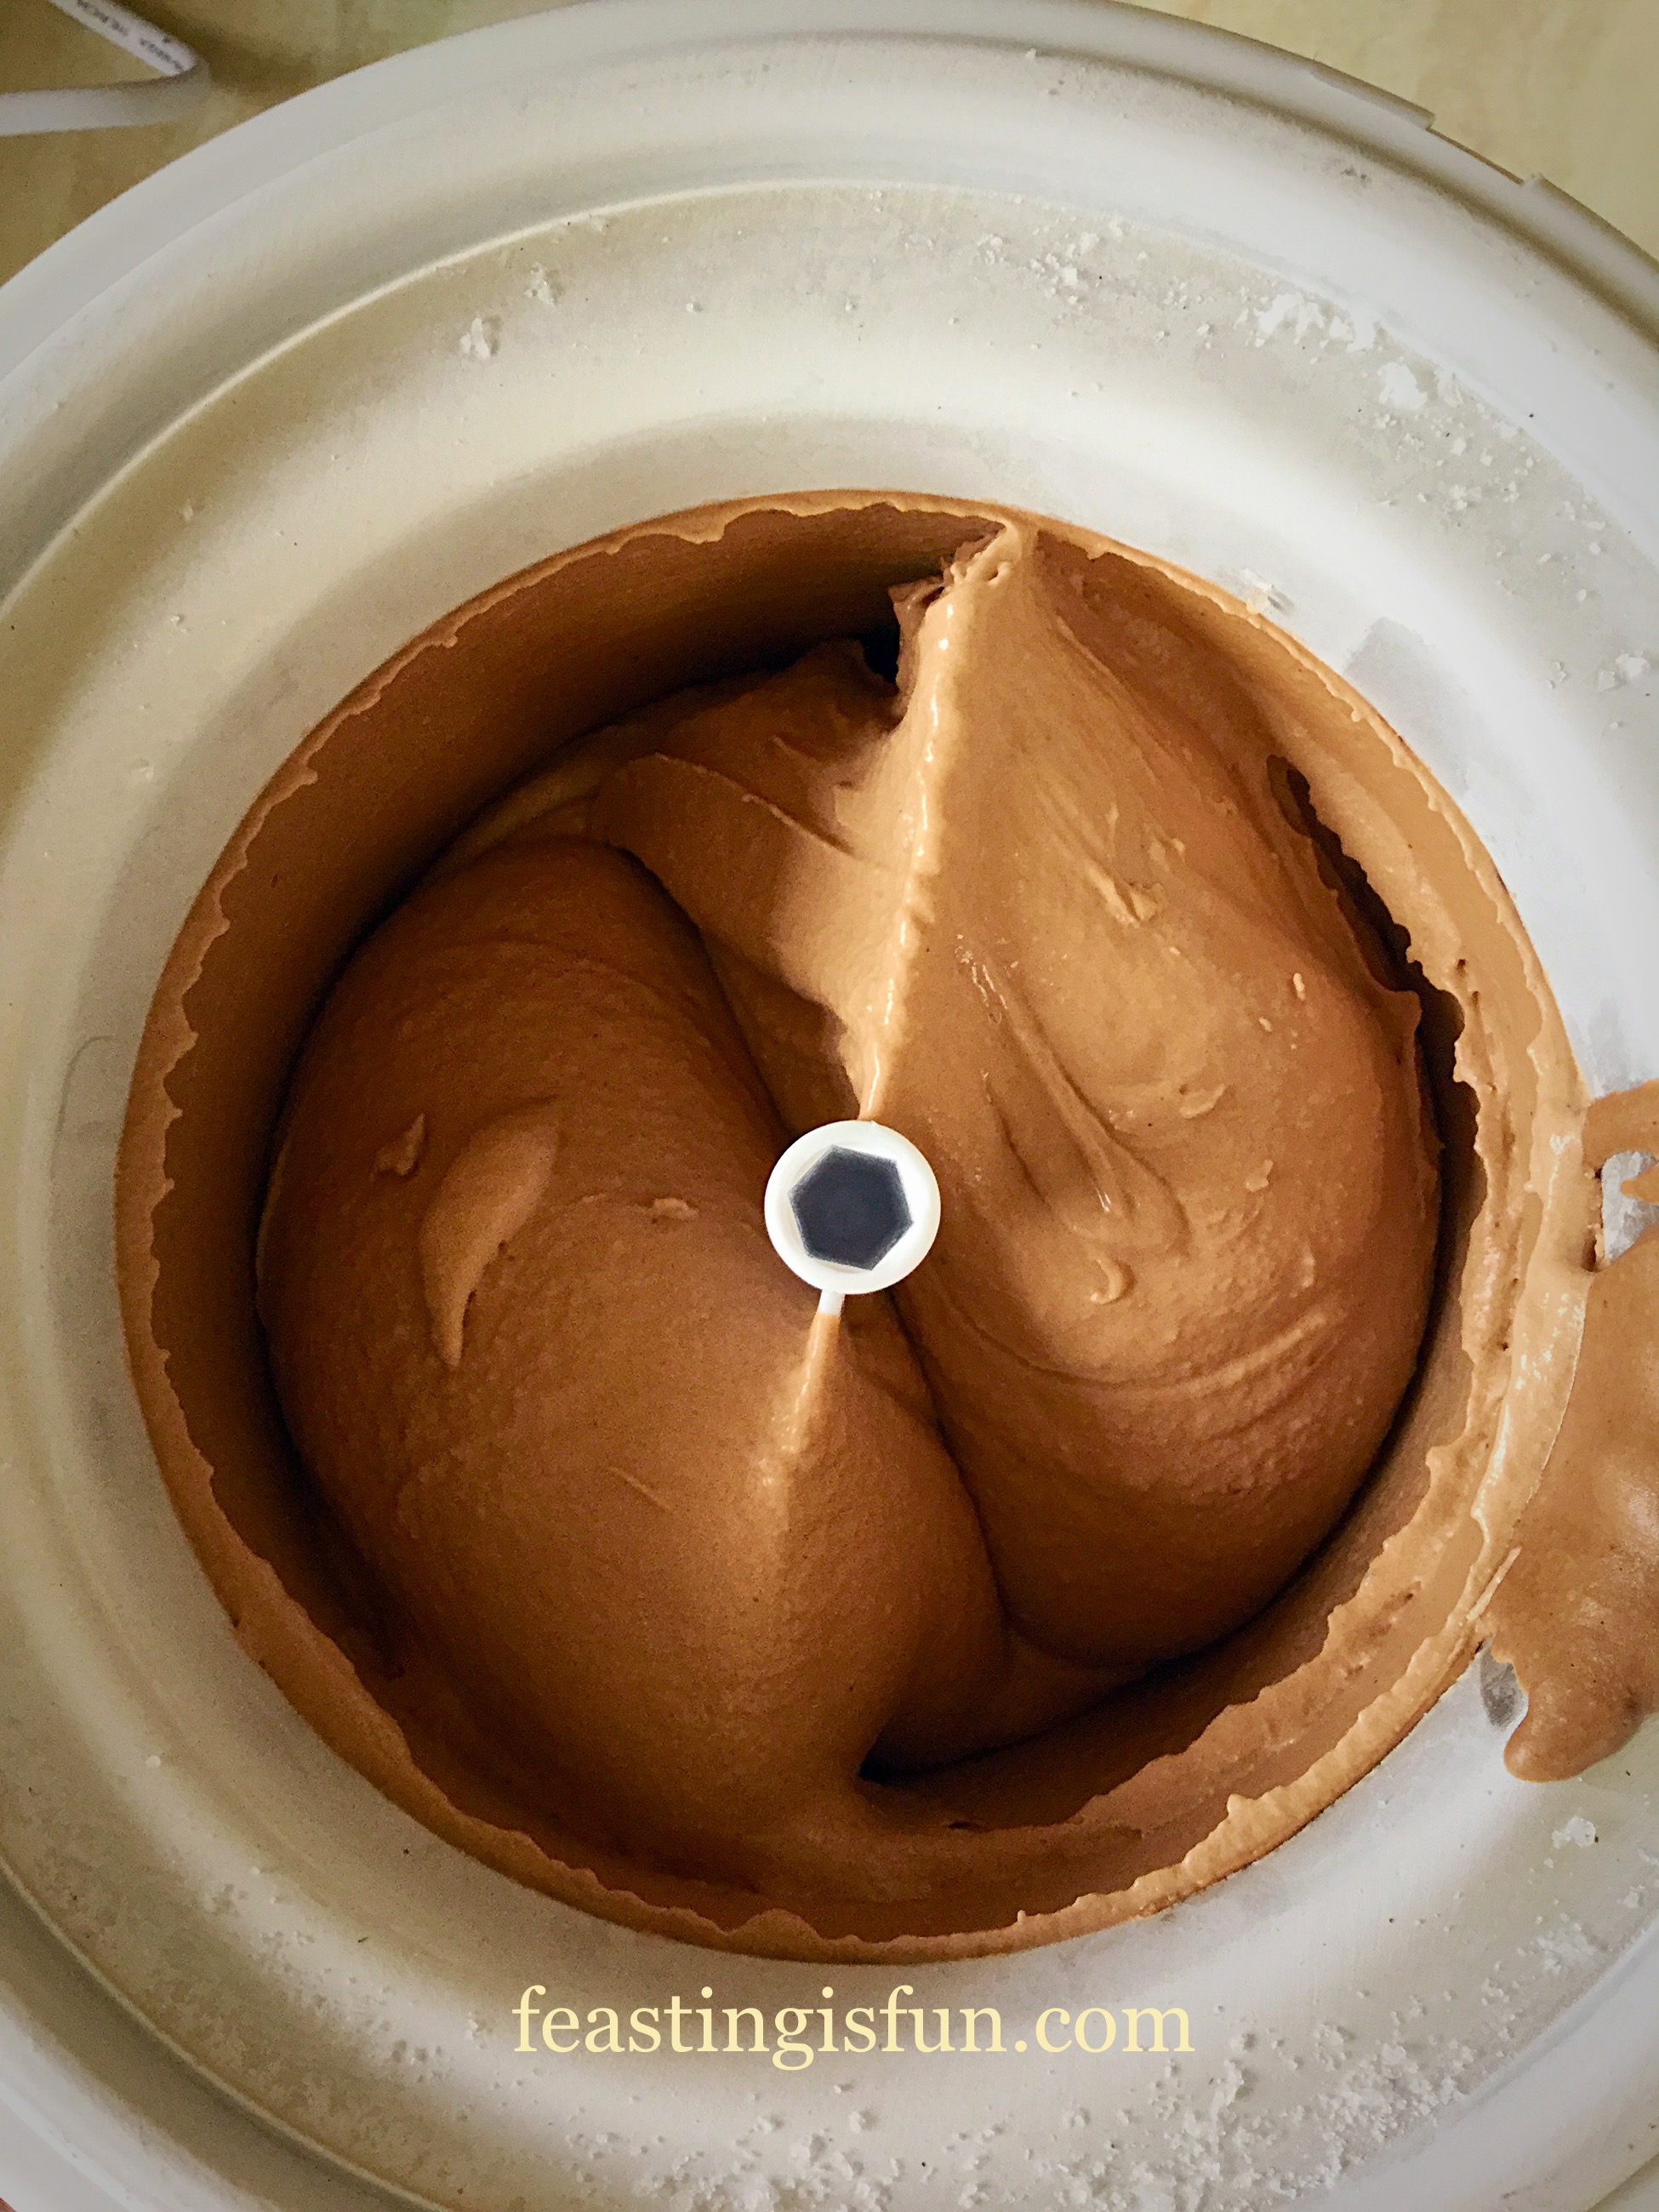
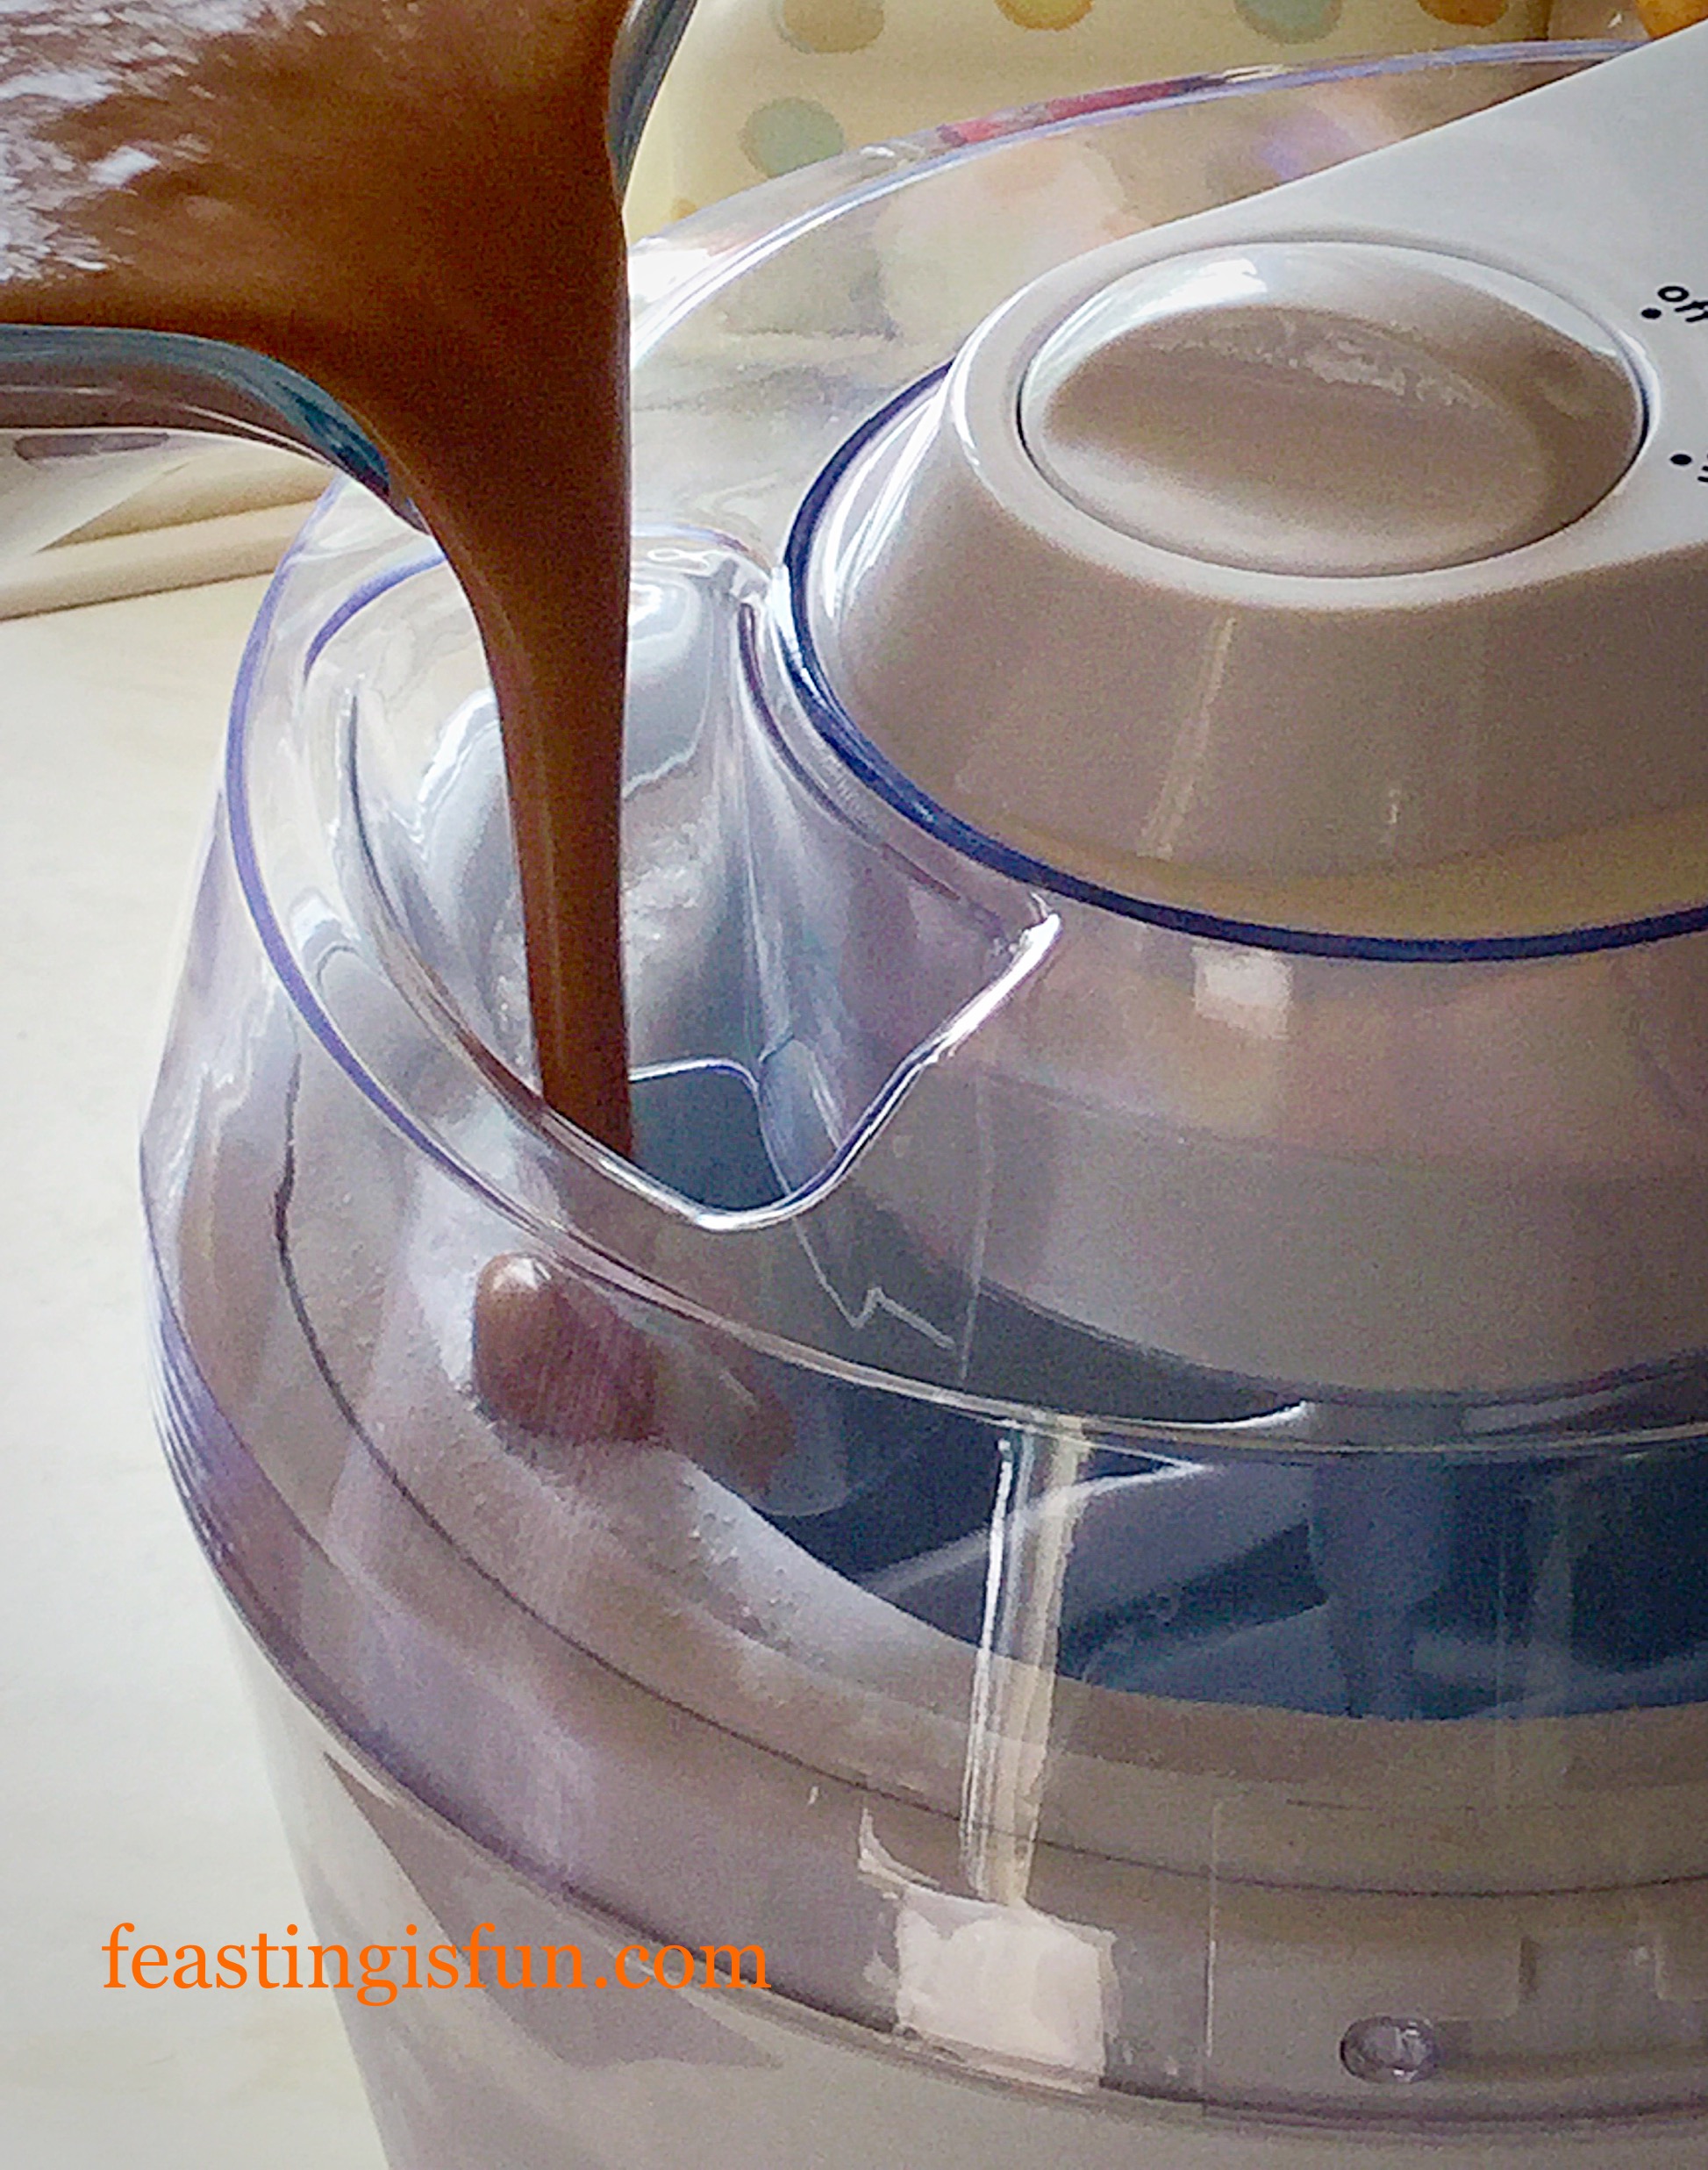
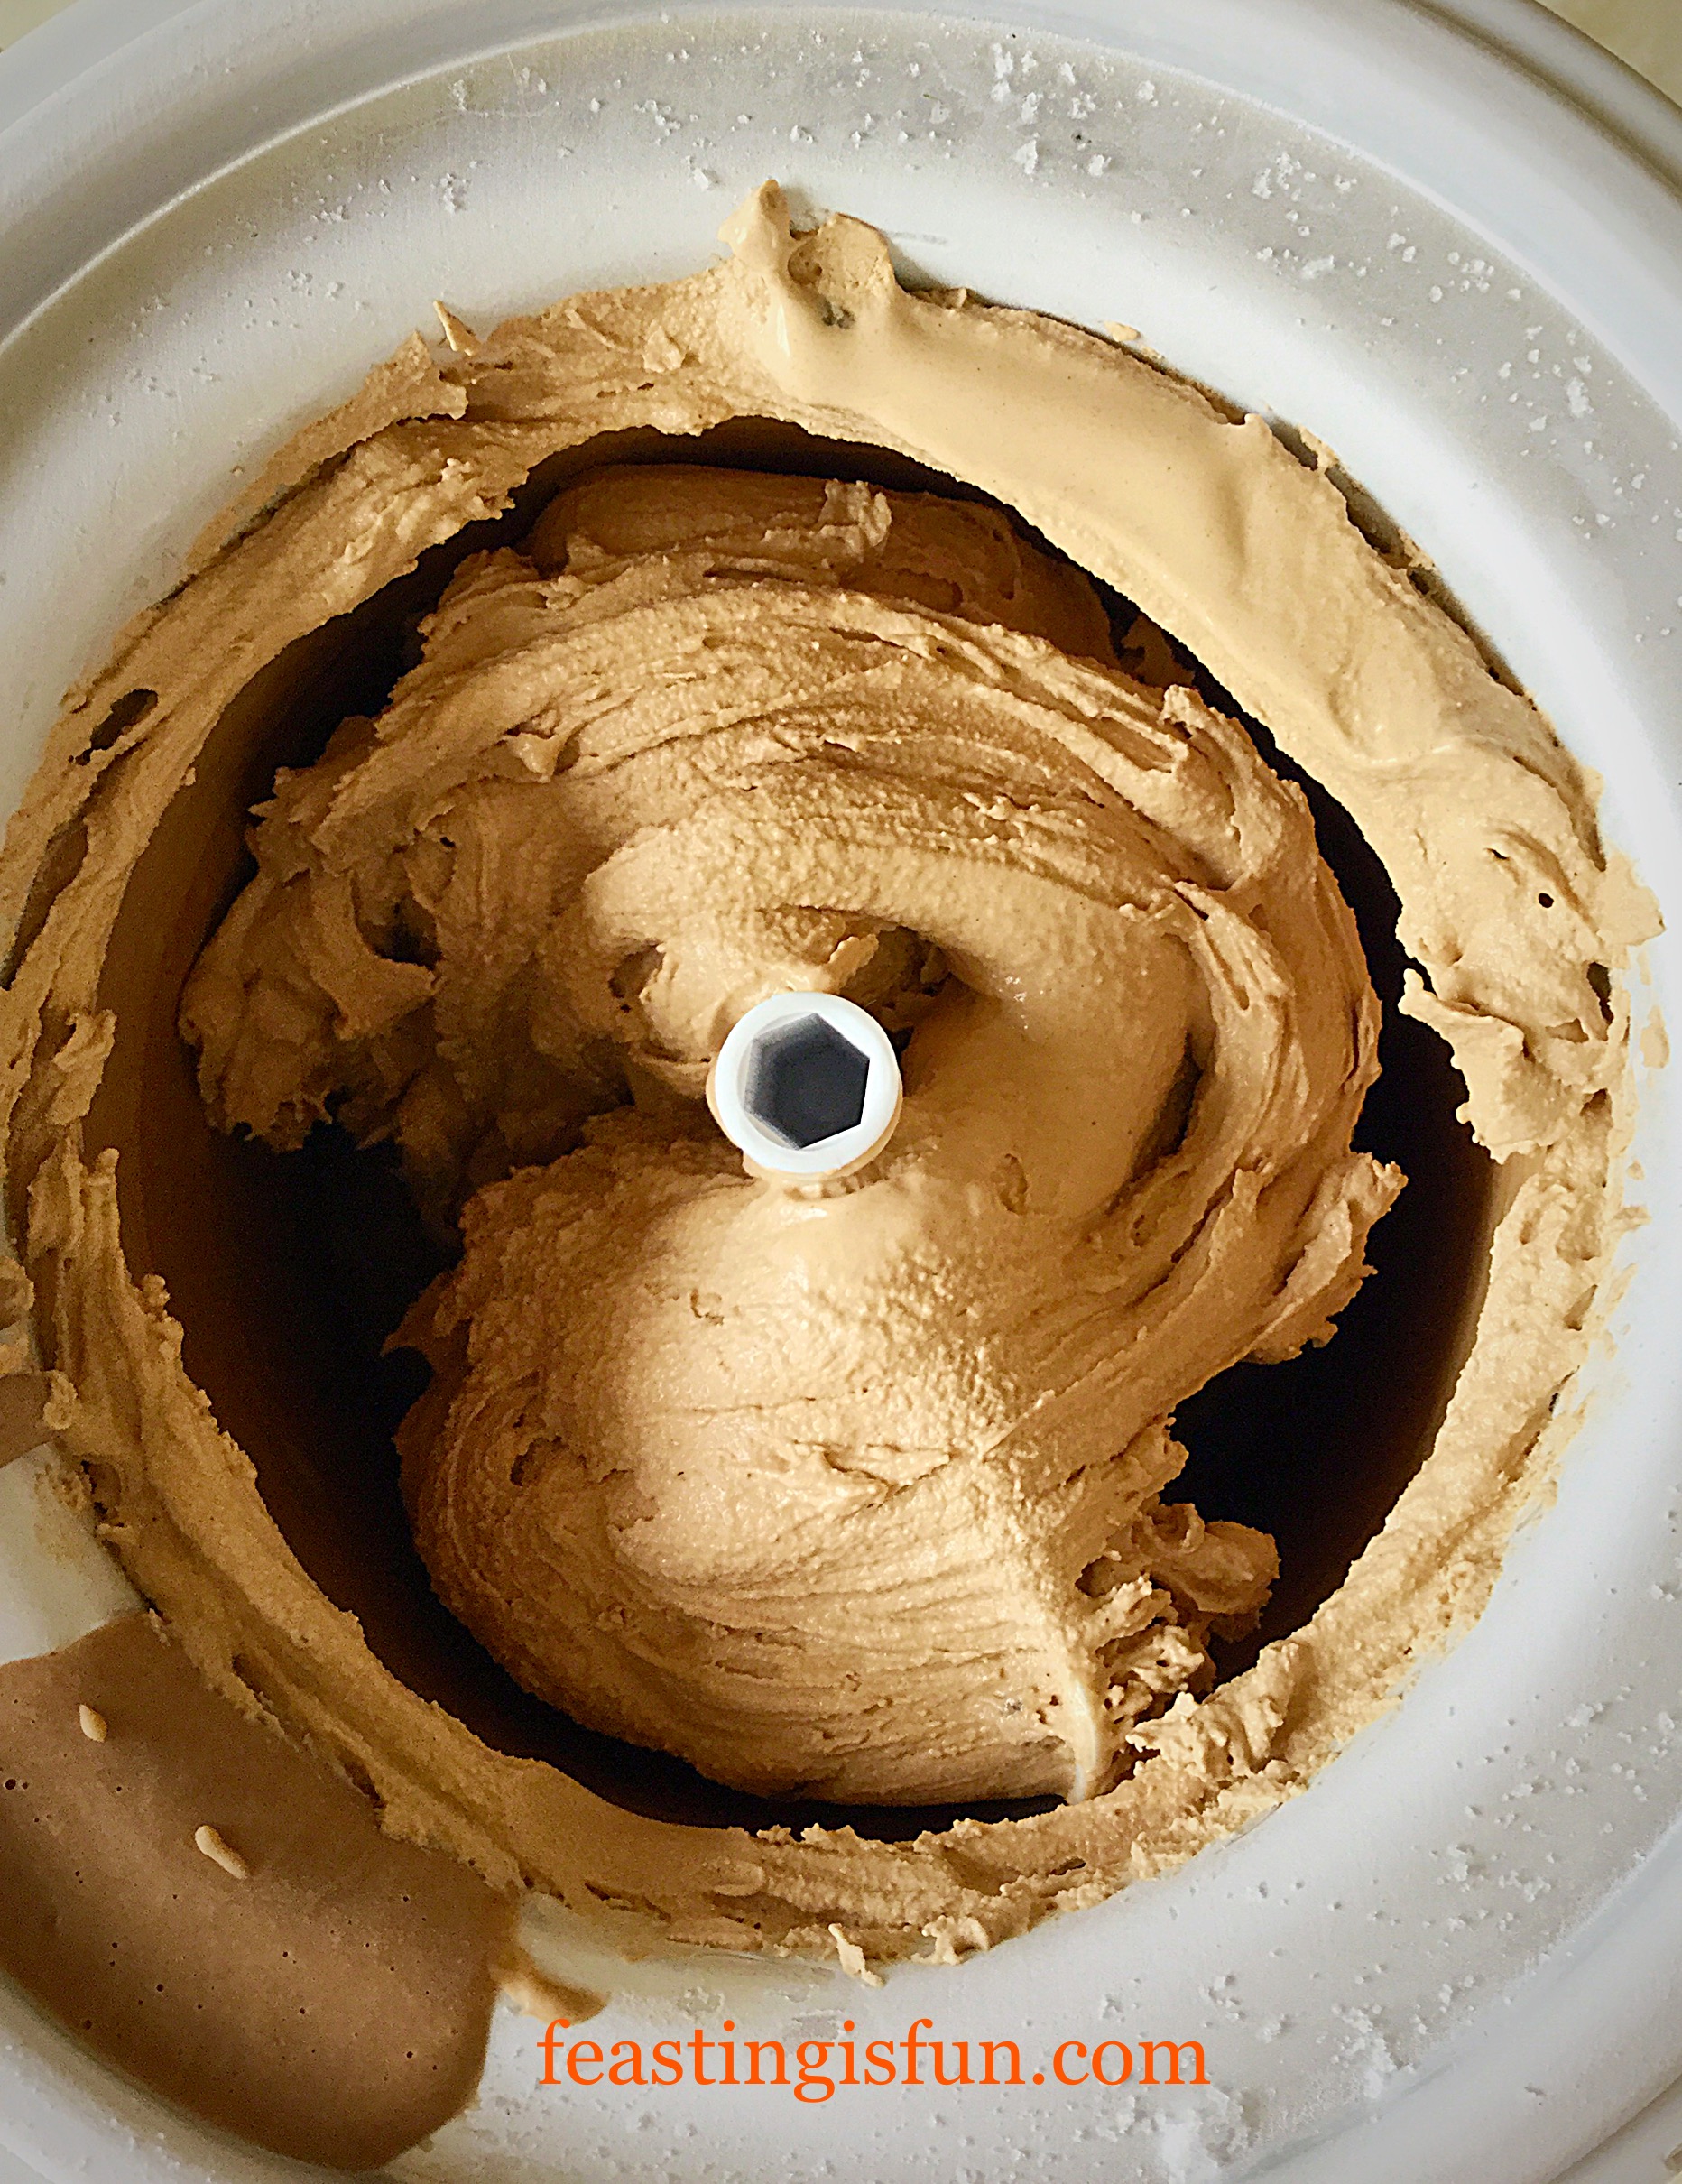
- Set up your ice cream maker and then pour in the custard base and switch the machine on.
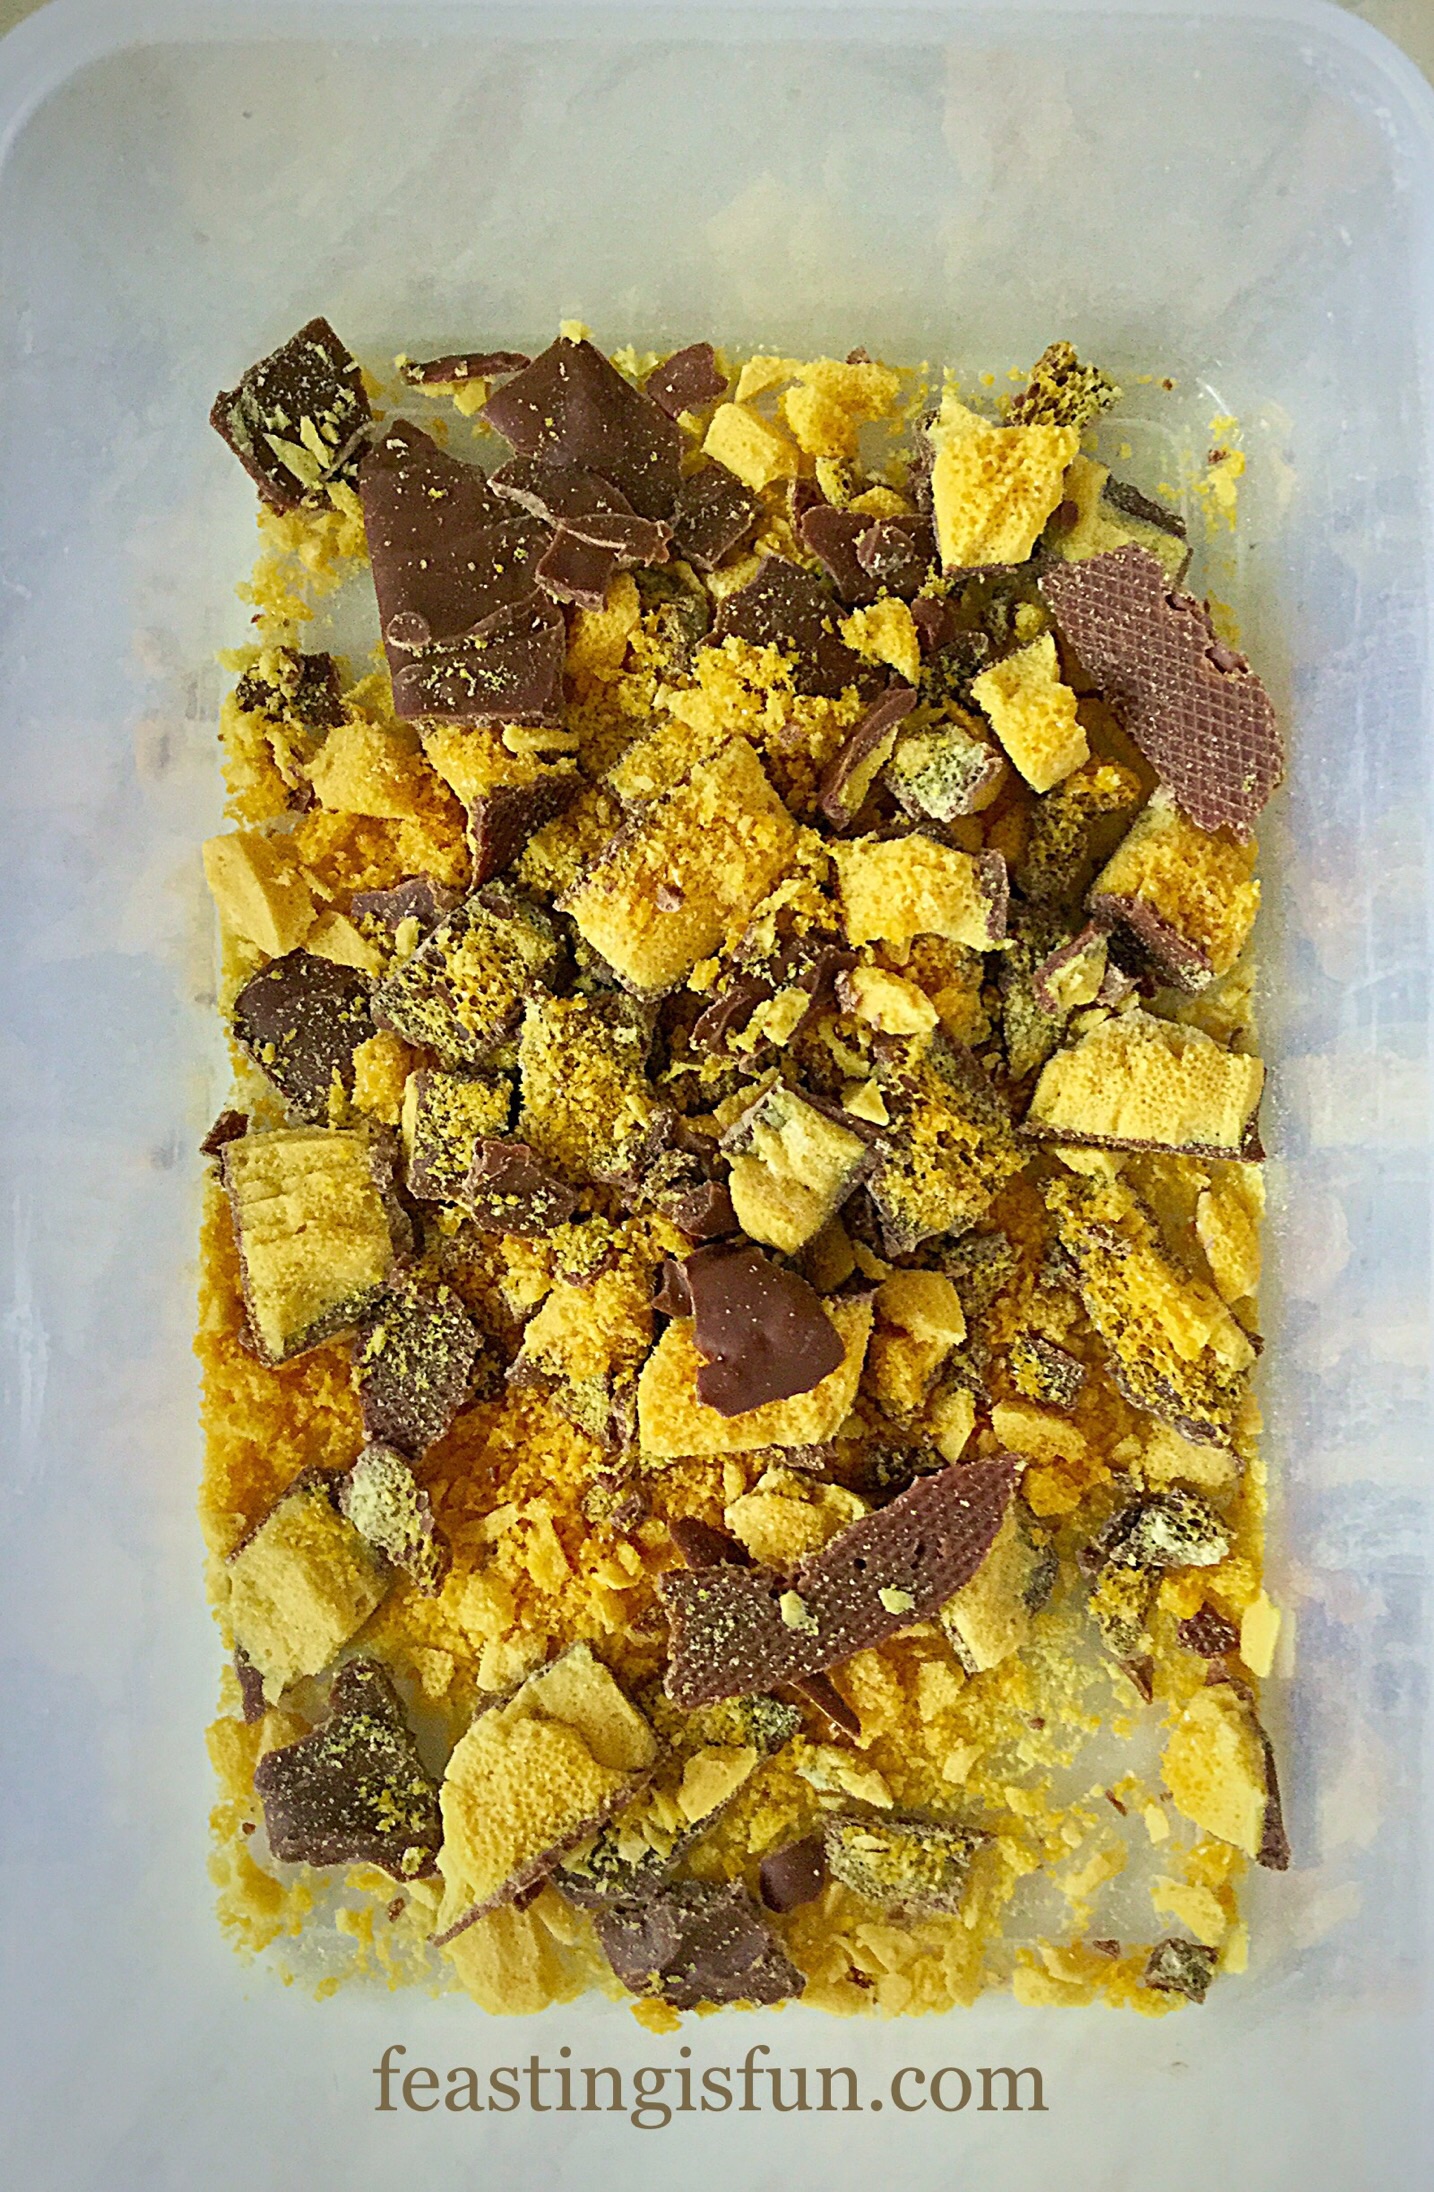
- Whilst the ice cream is churning and freezing, chop each New Berry Fruit into 4 pieces.
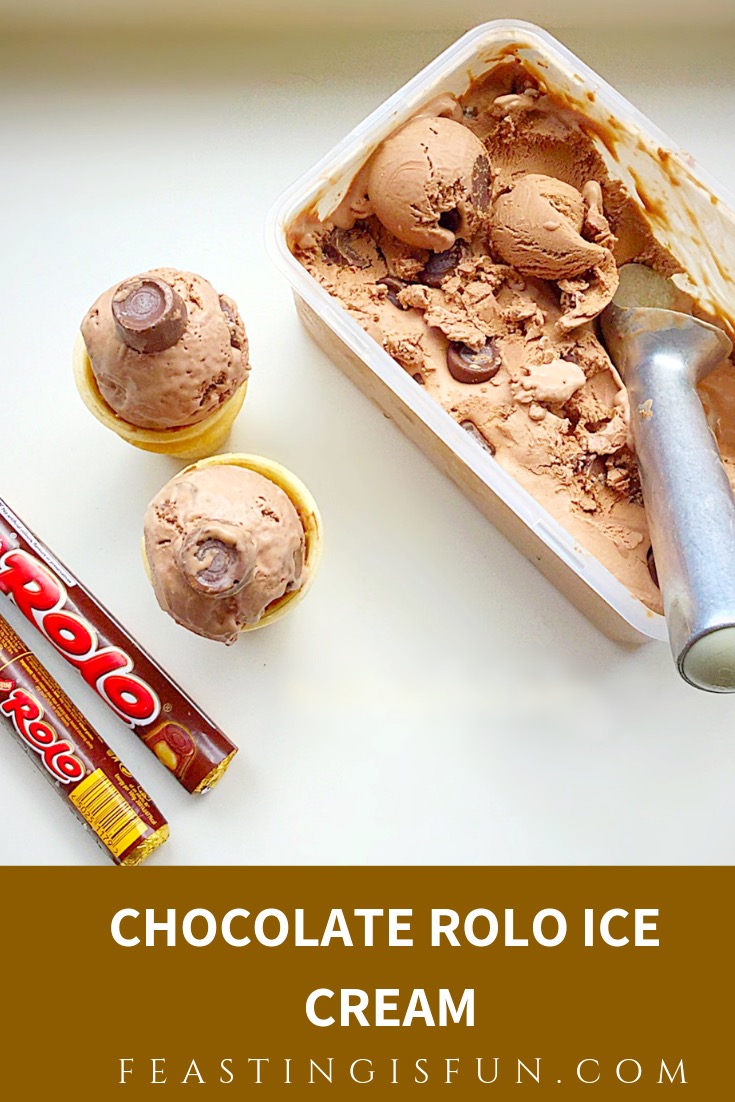
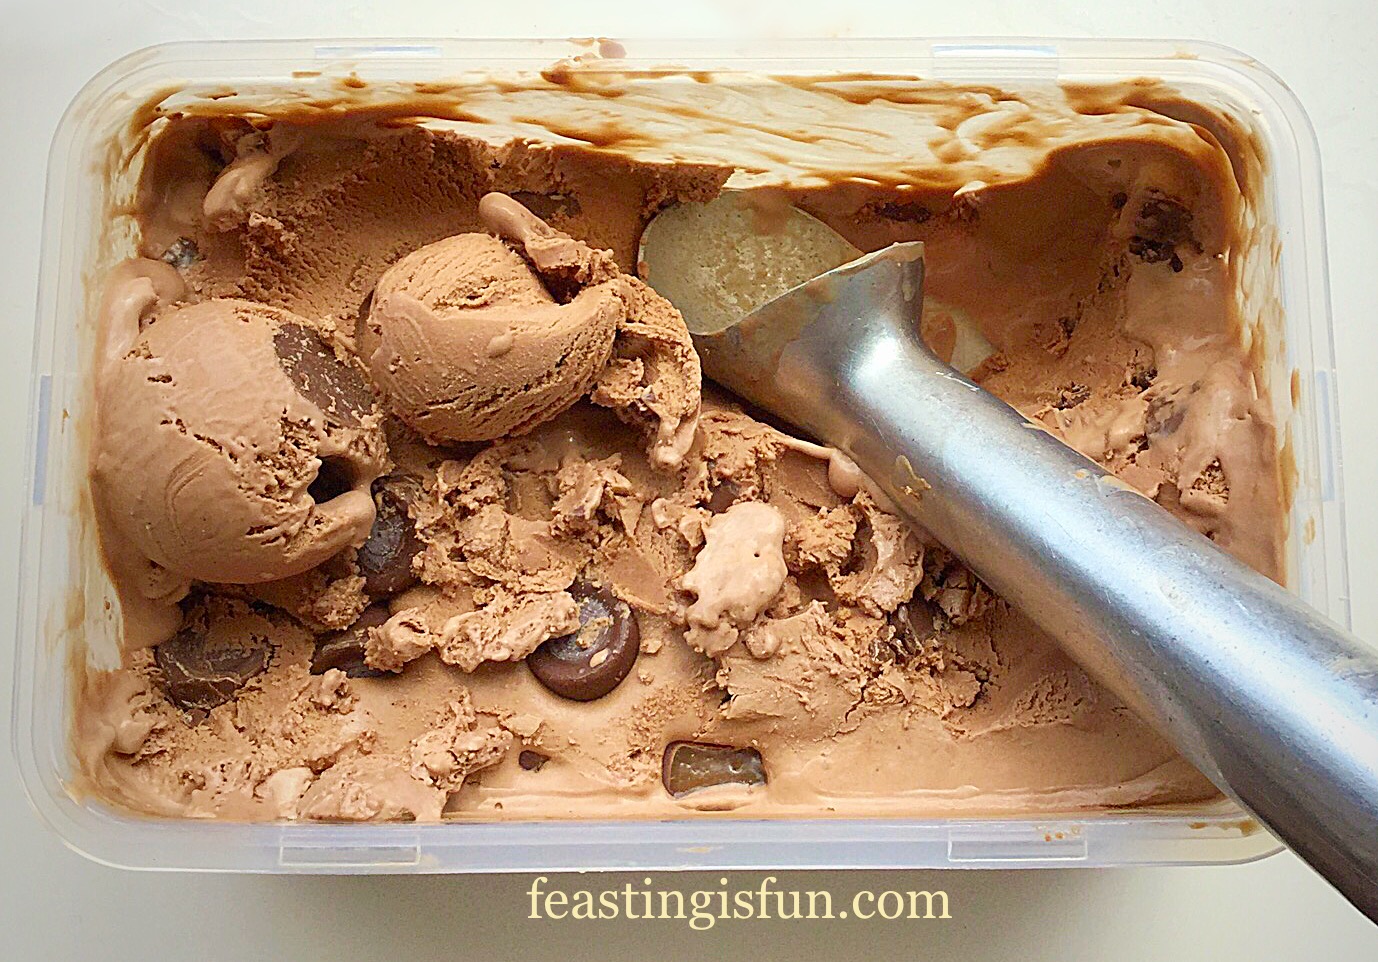
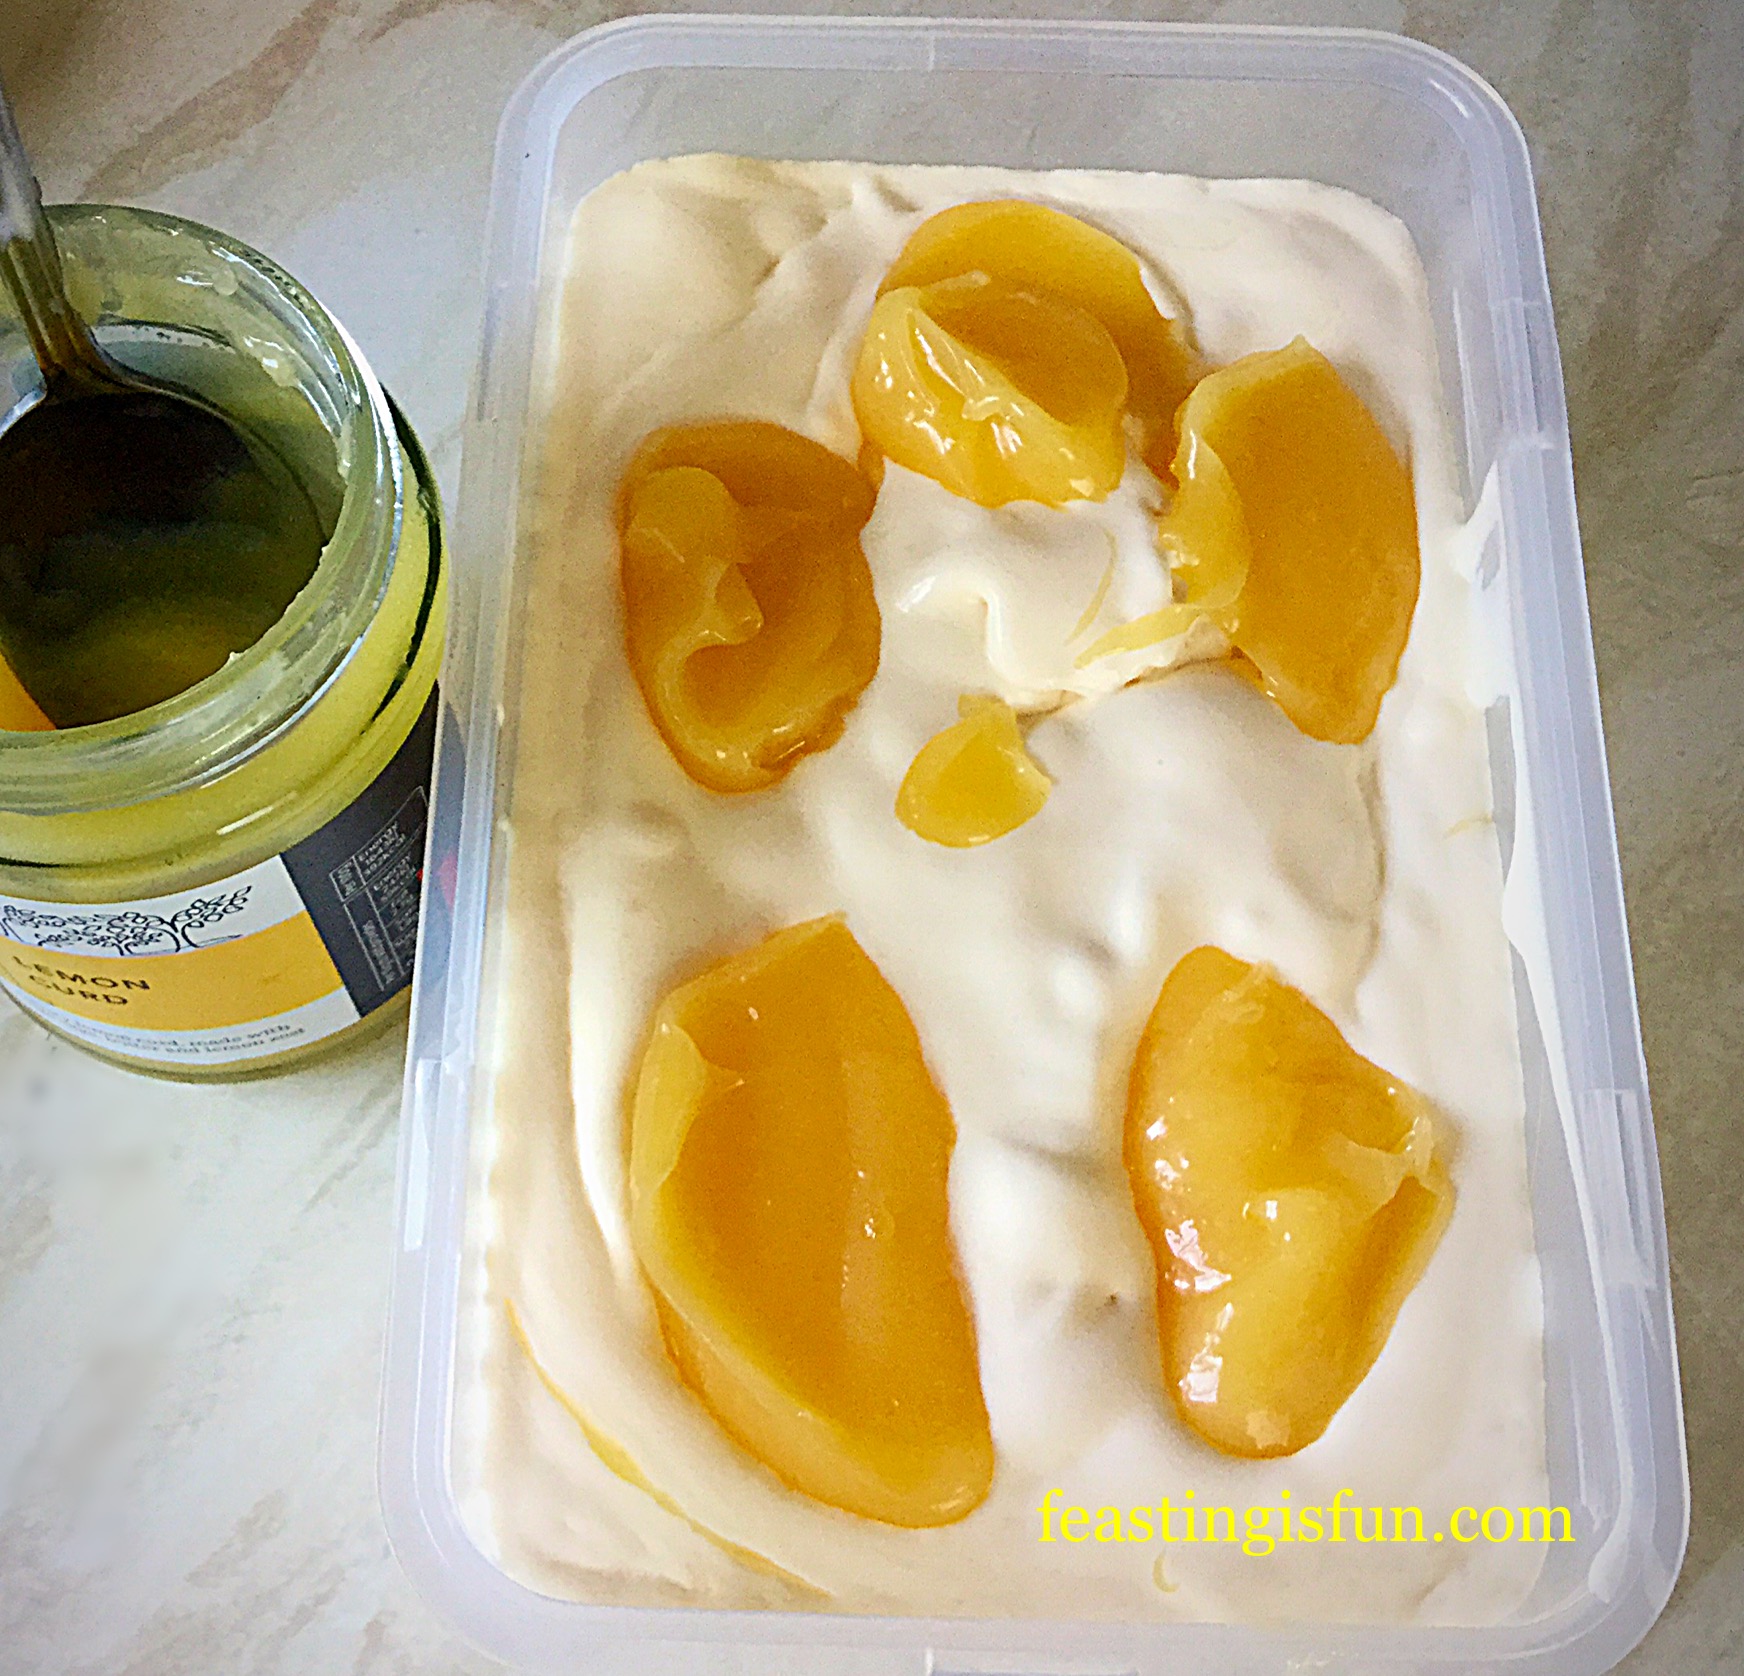
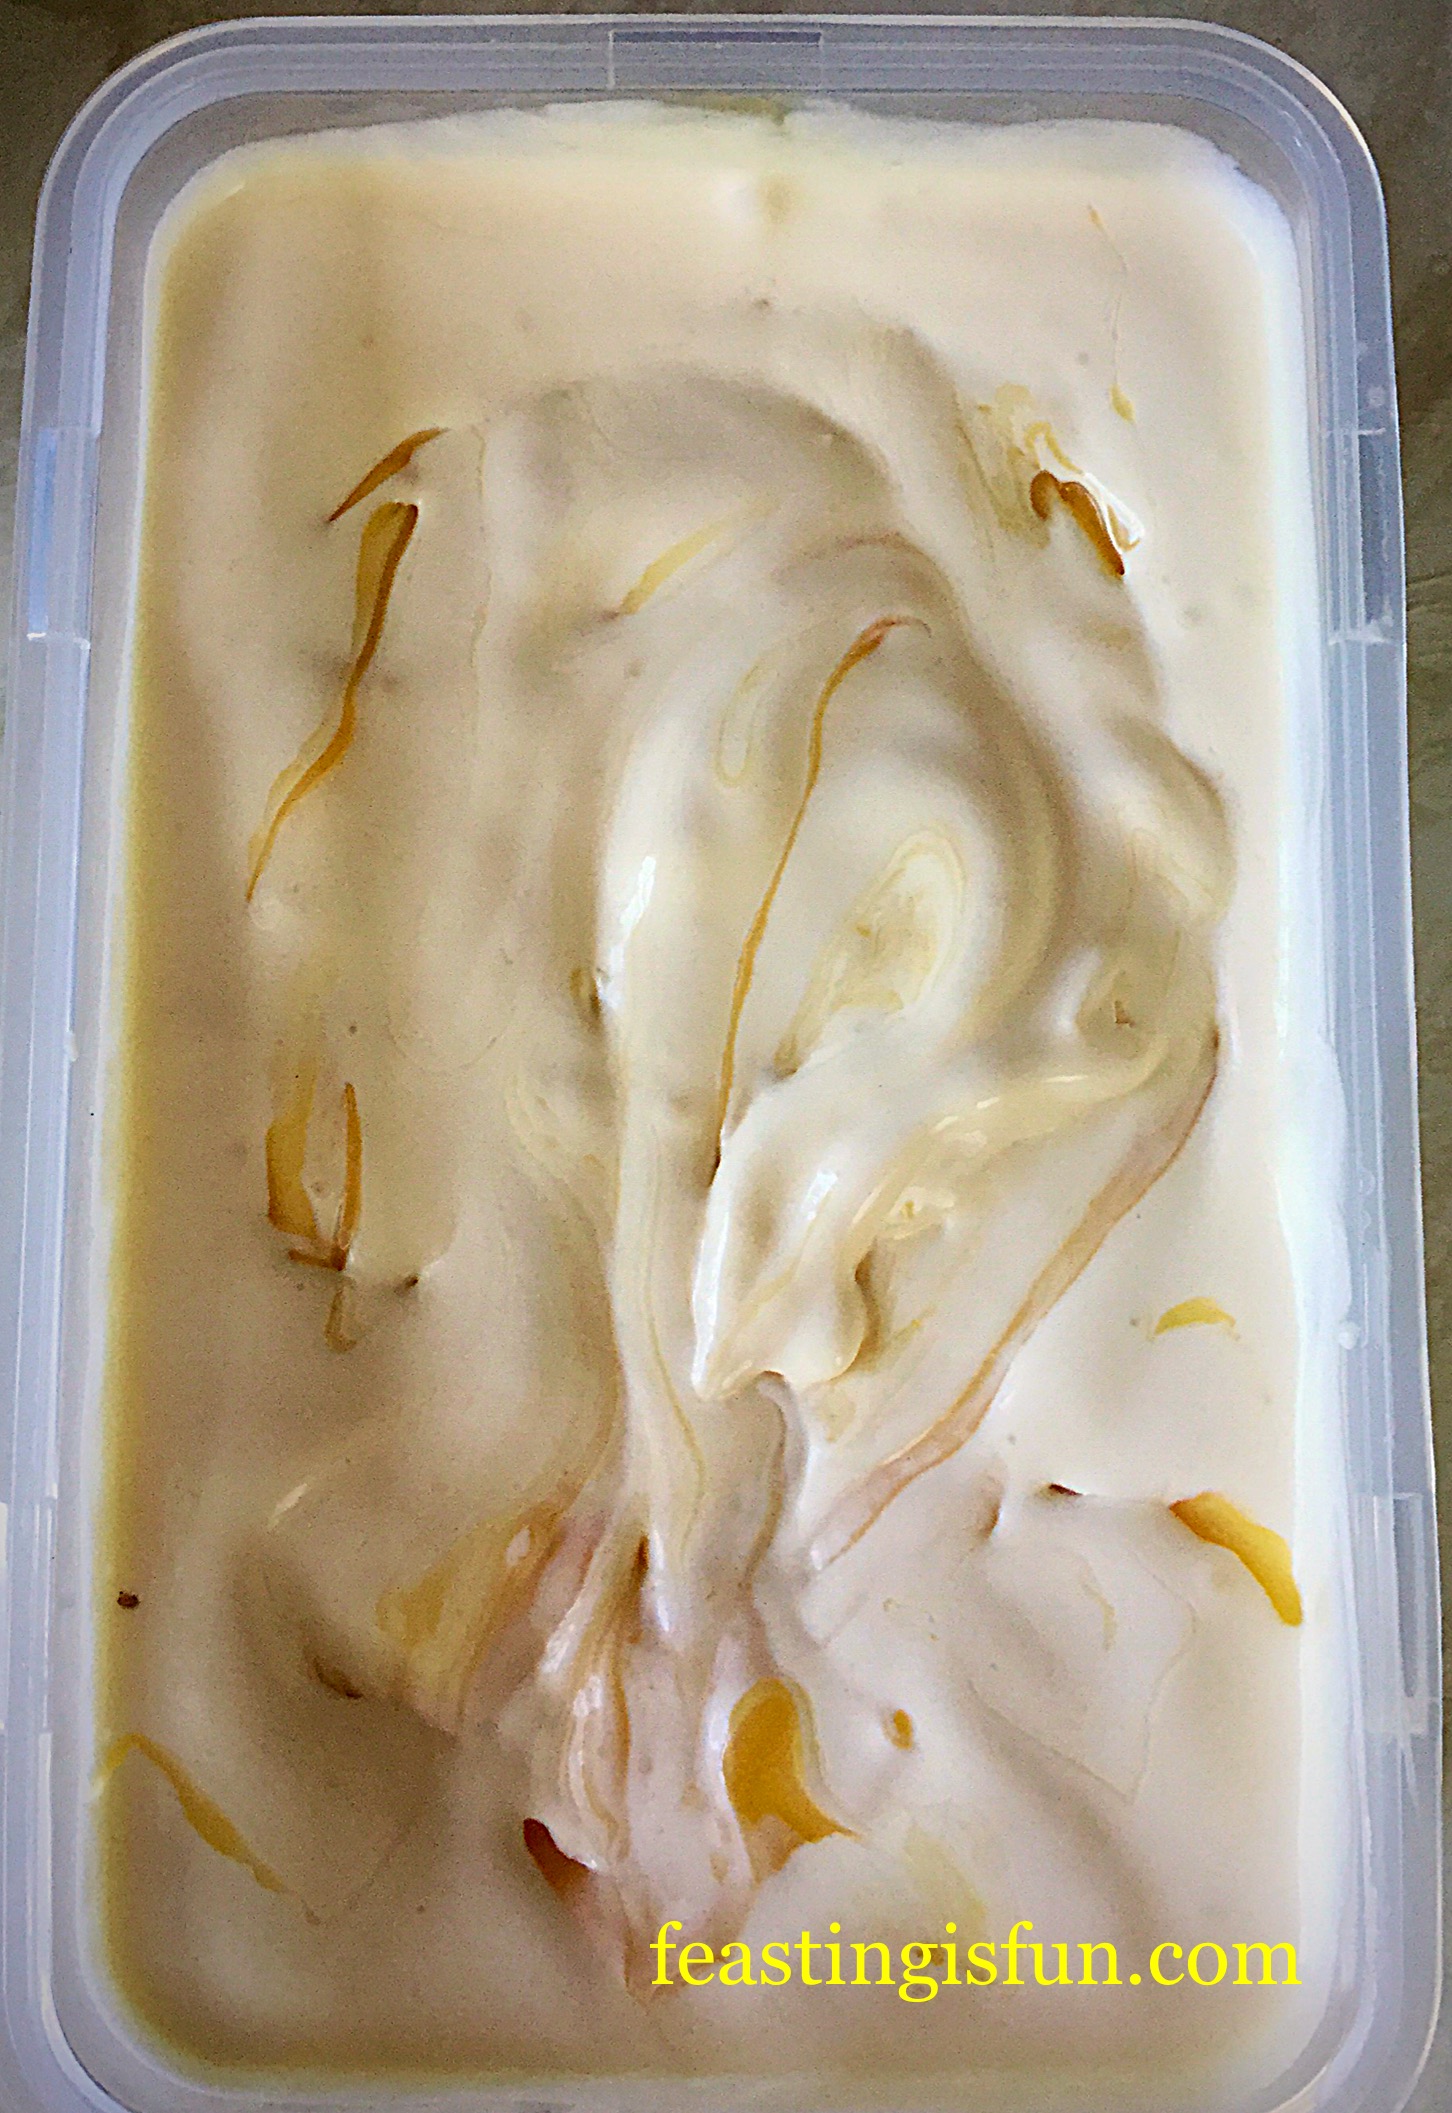
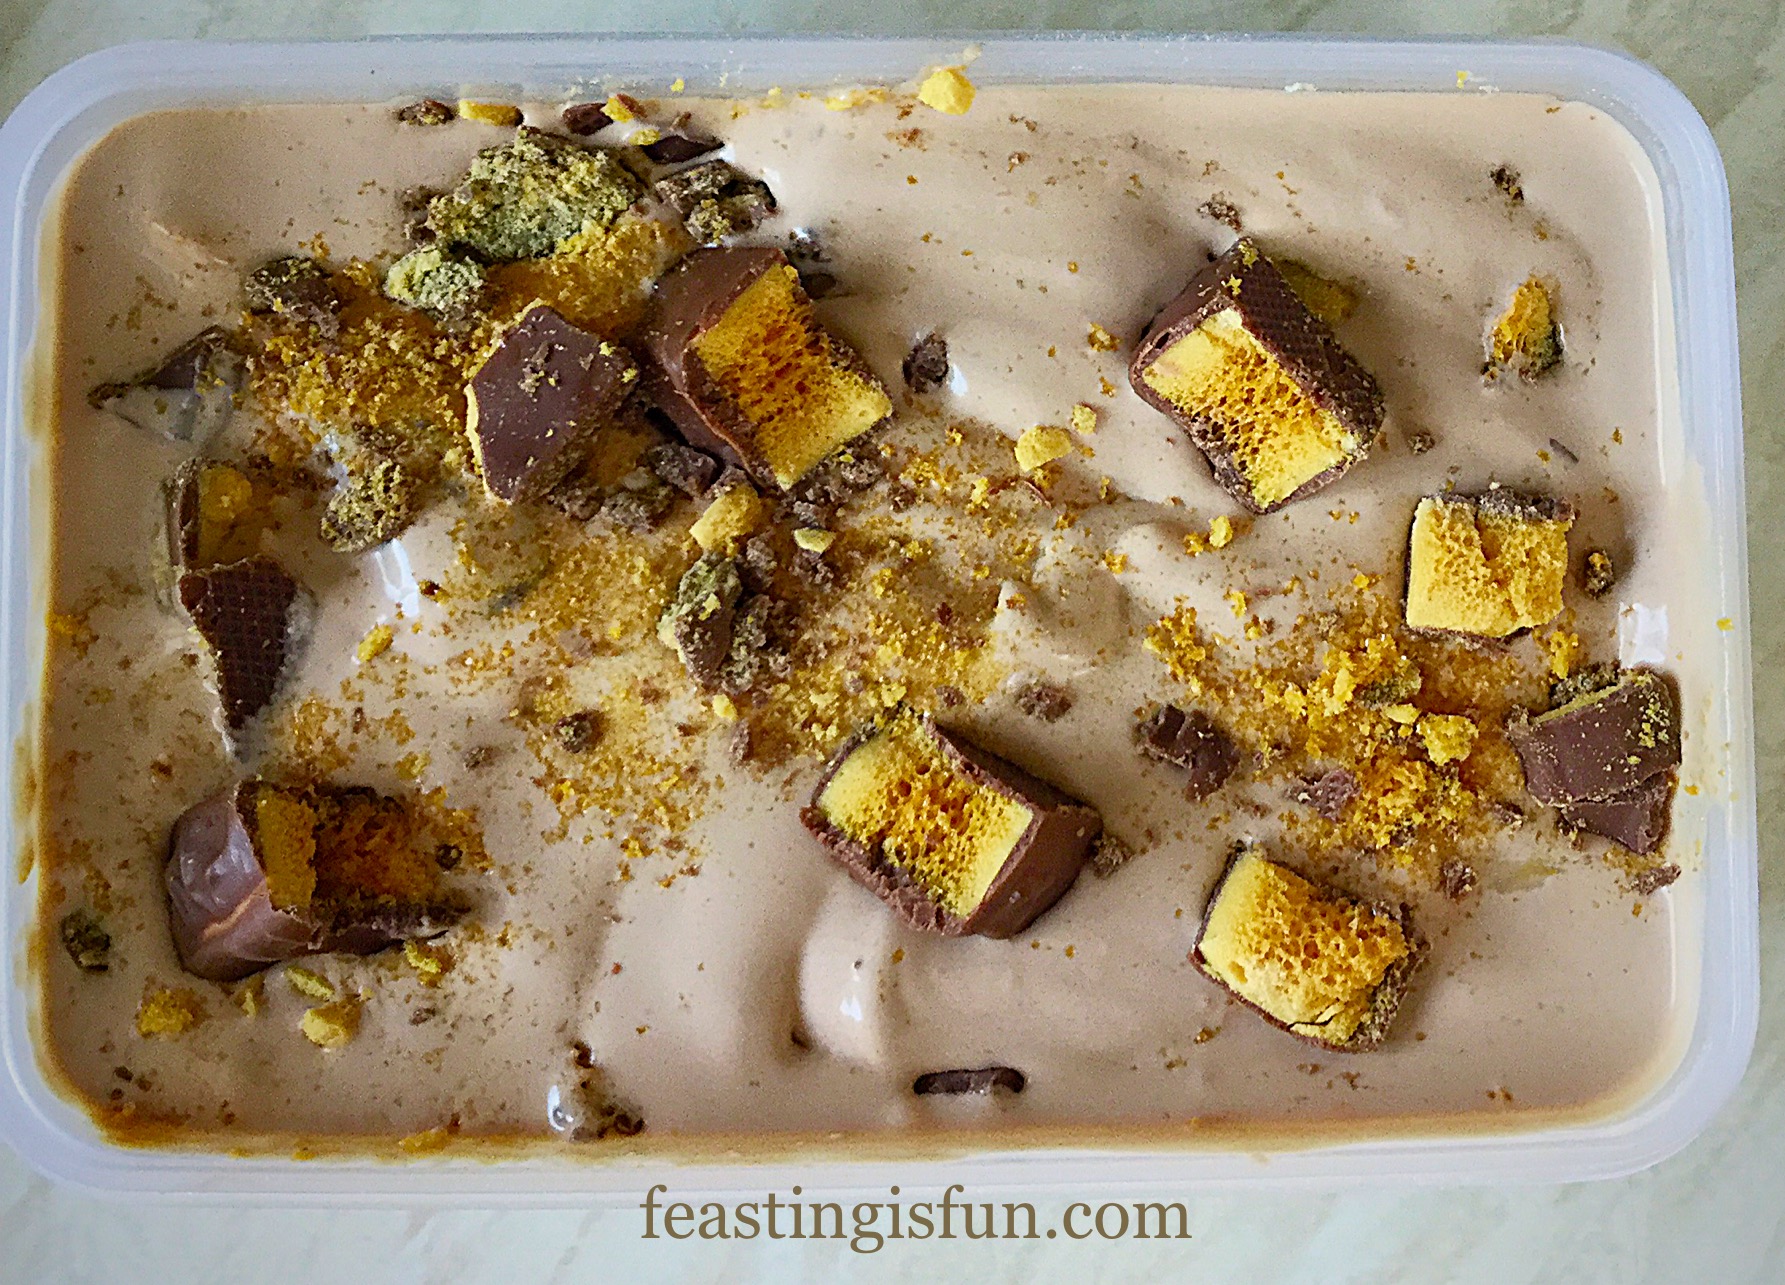
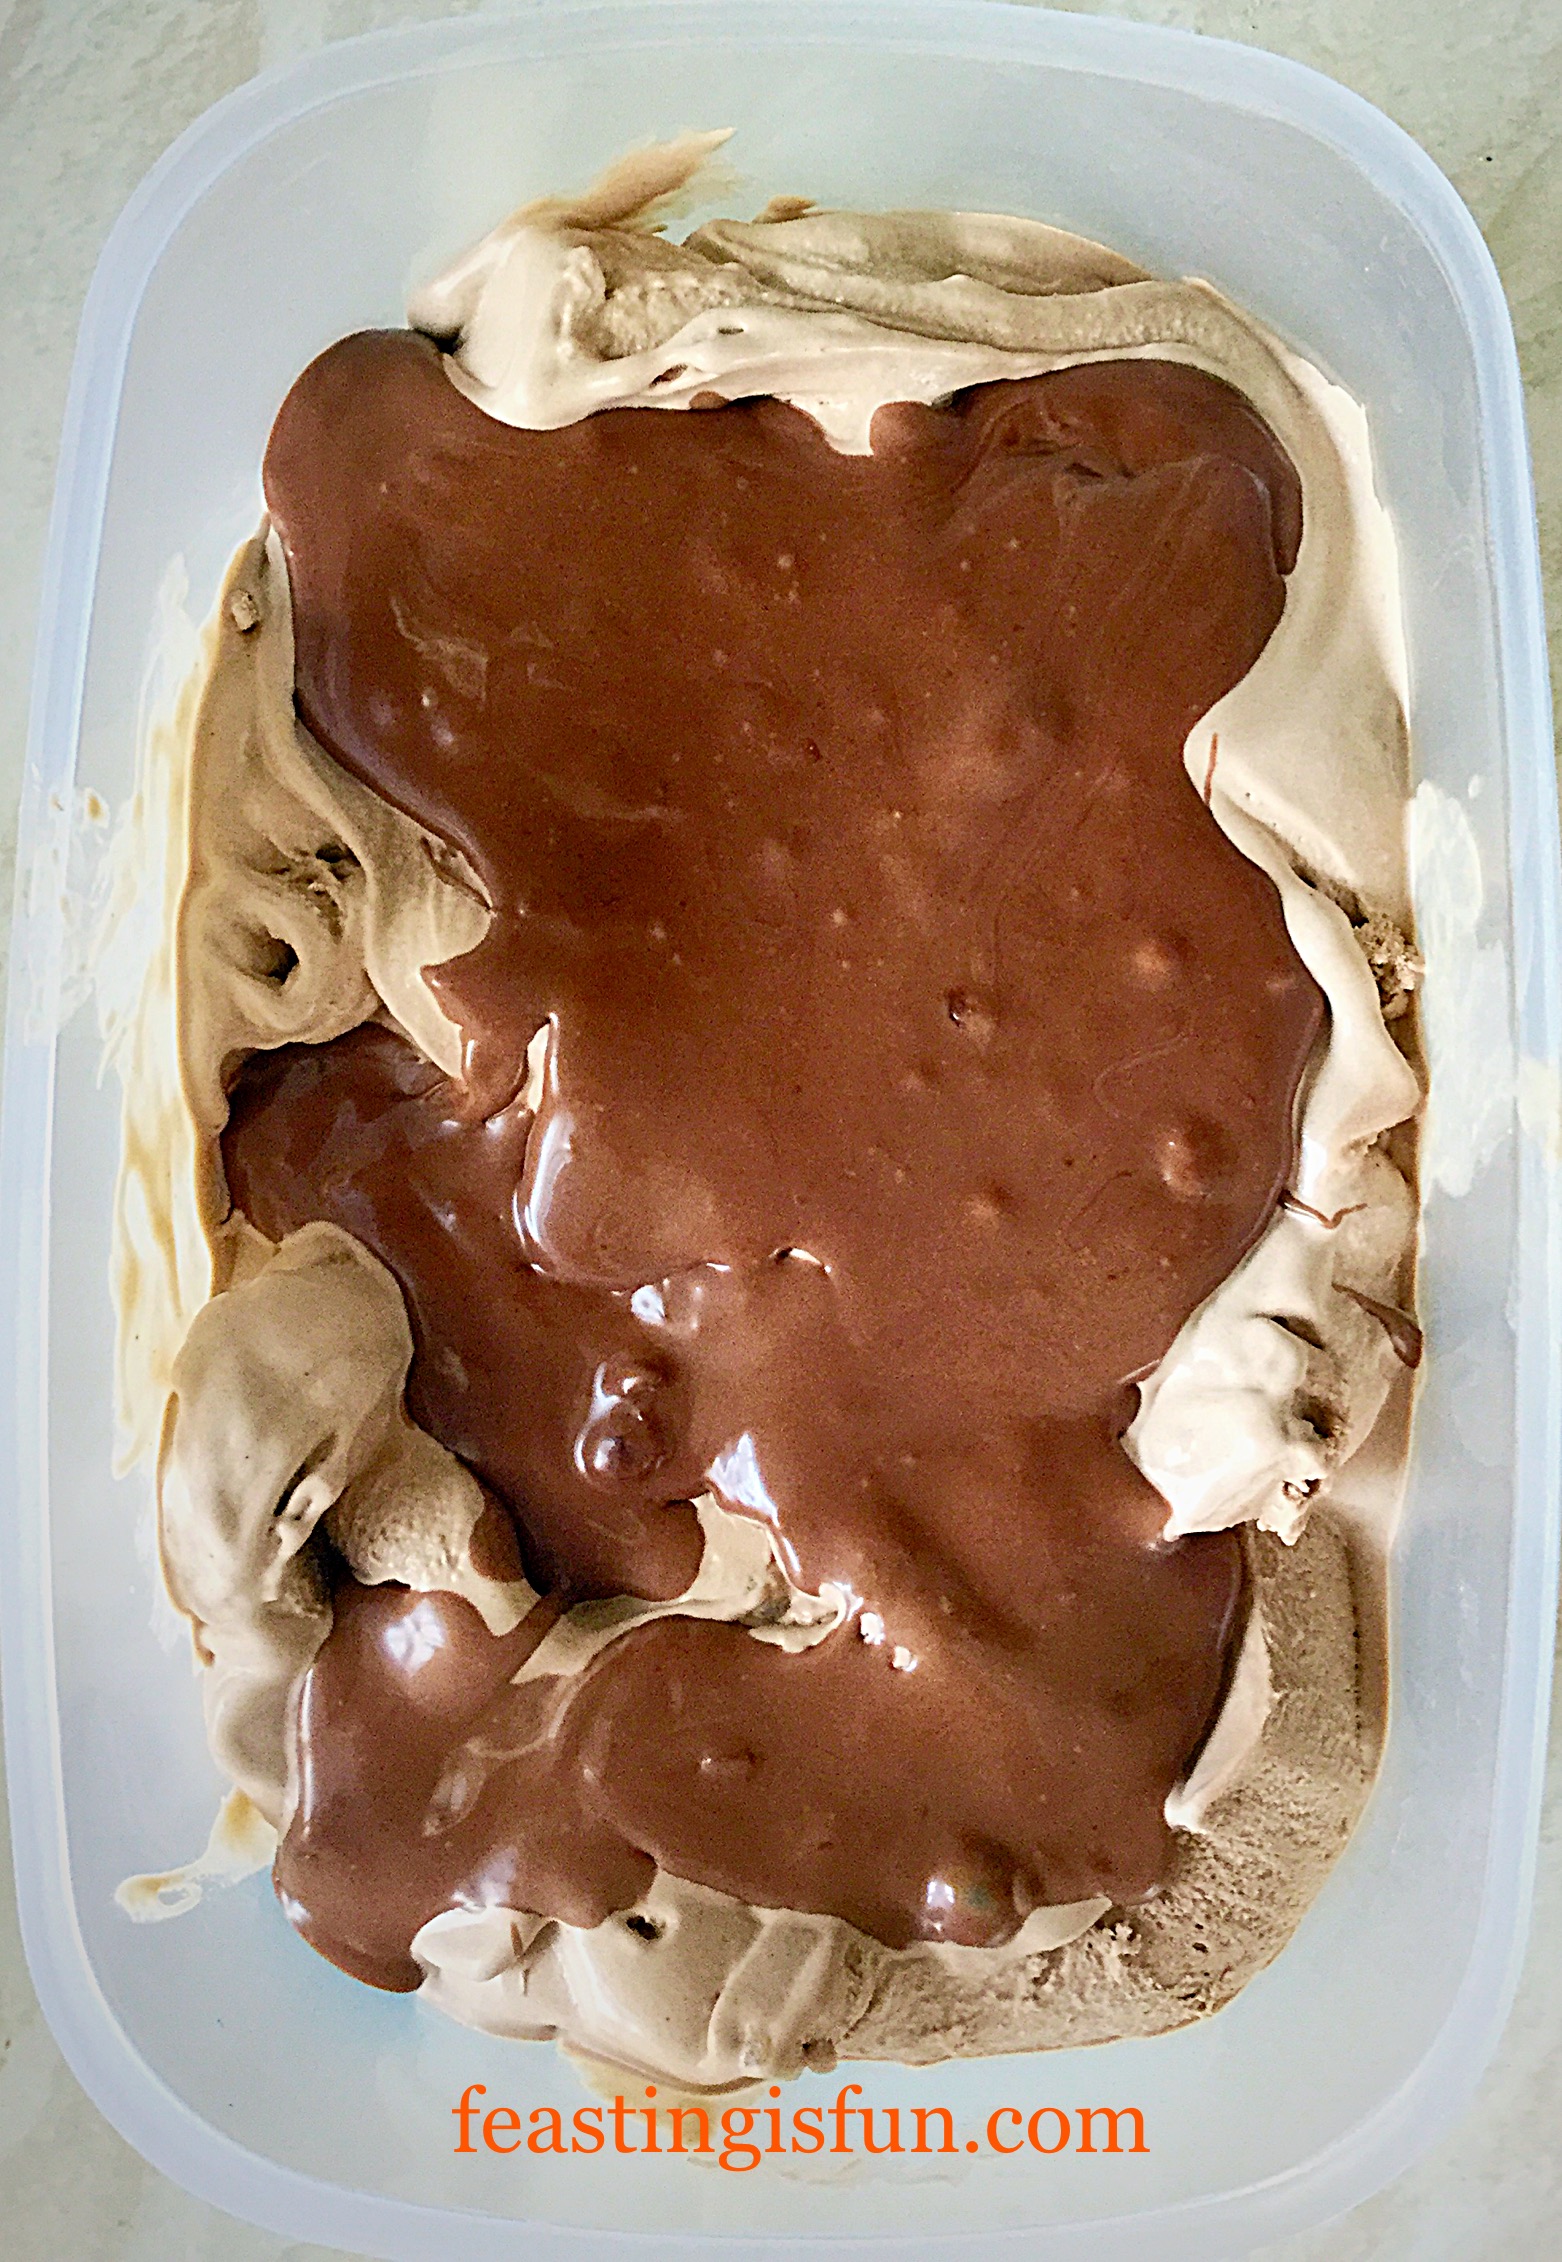
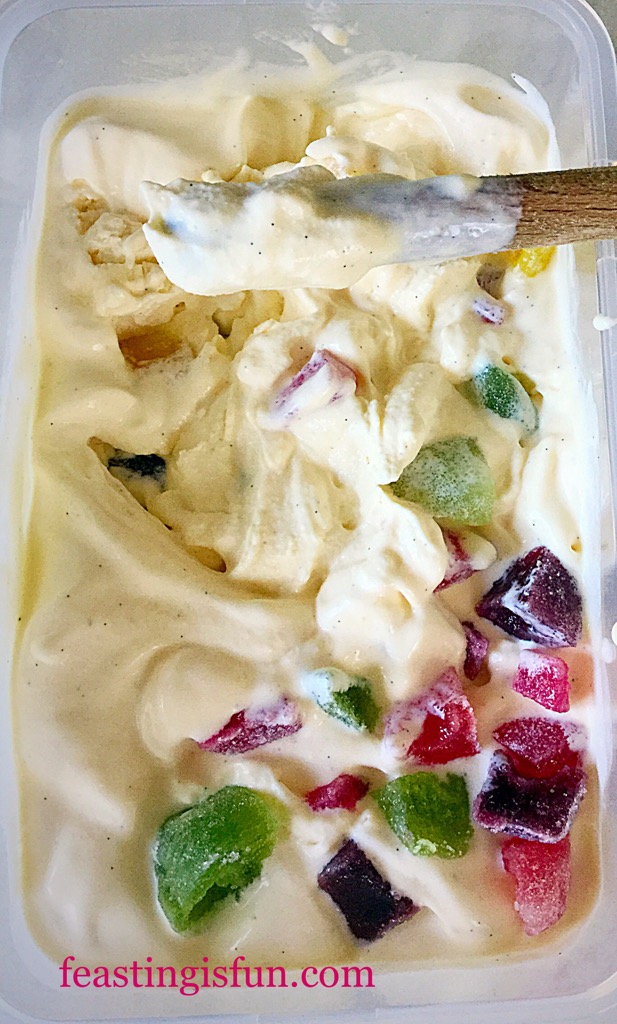
- When the ice cream is thickly frozen, switch off the machine, remove the top and paddle and using a silicone spatula scoop the fruity flavoured ice cream into a freezer proof tub.
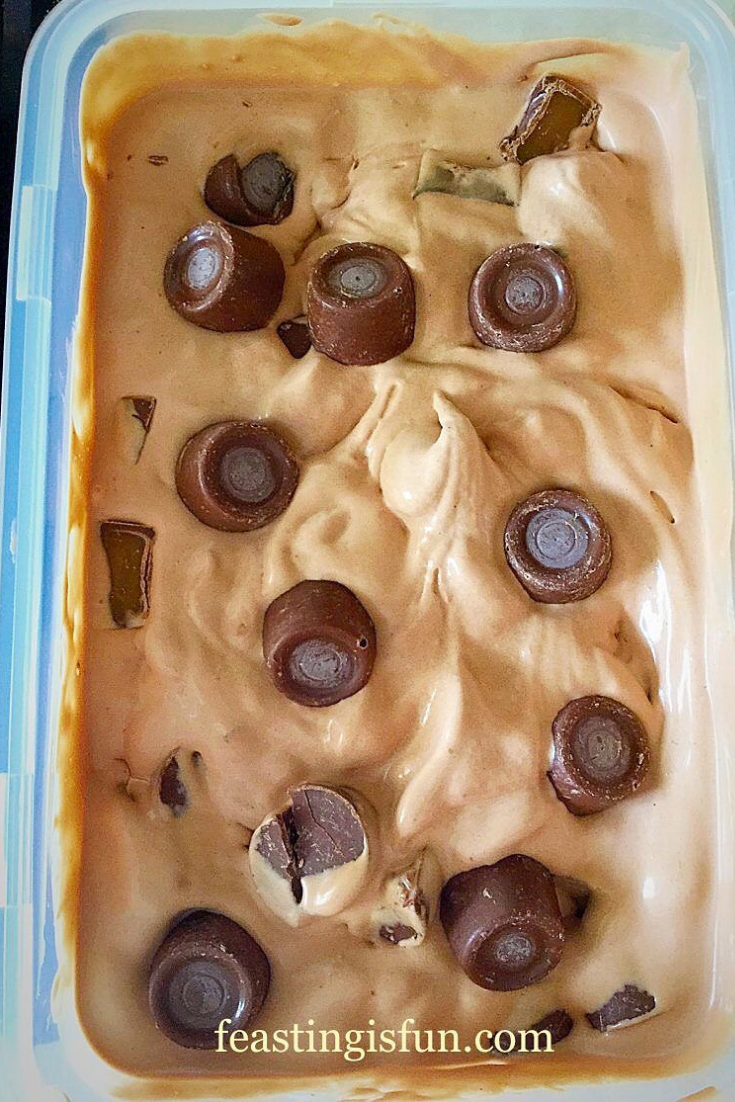
- Add the chopped New Berry Fruits and stir with a spoon to distribute evenly throughout the ice cream.
- Pop an air tight lid on to the tub and place in the freezer until frozen solid.
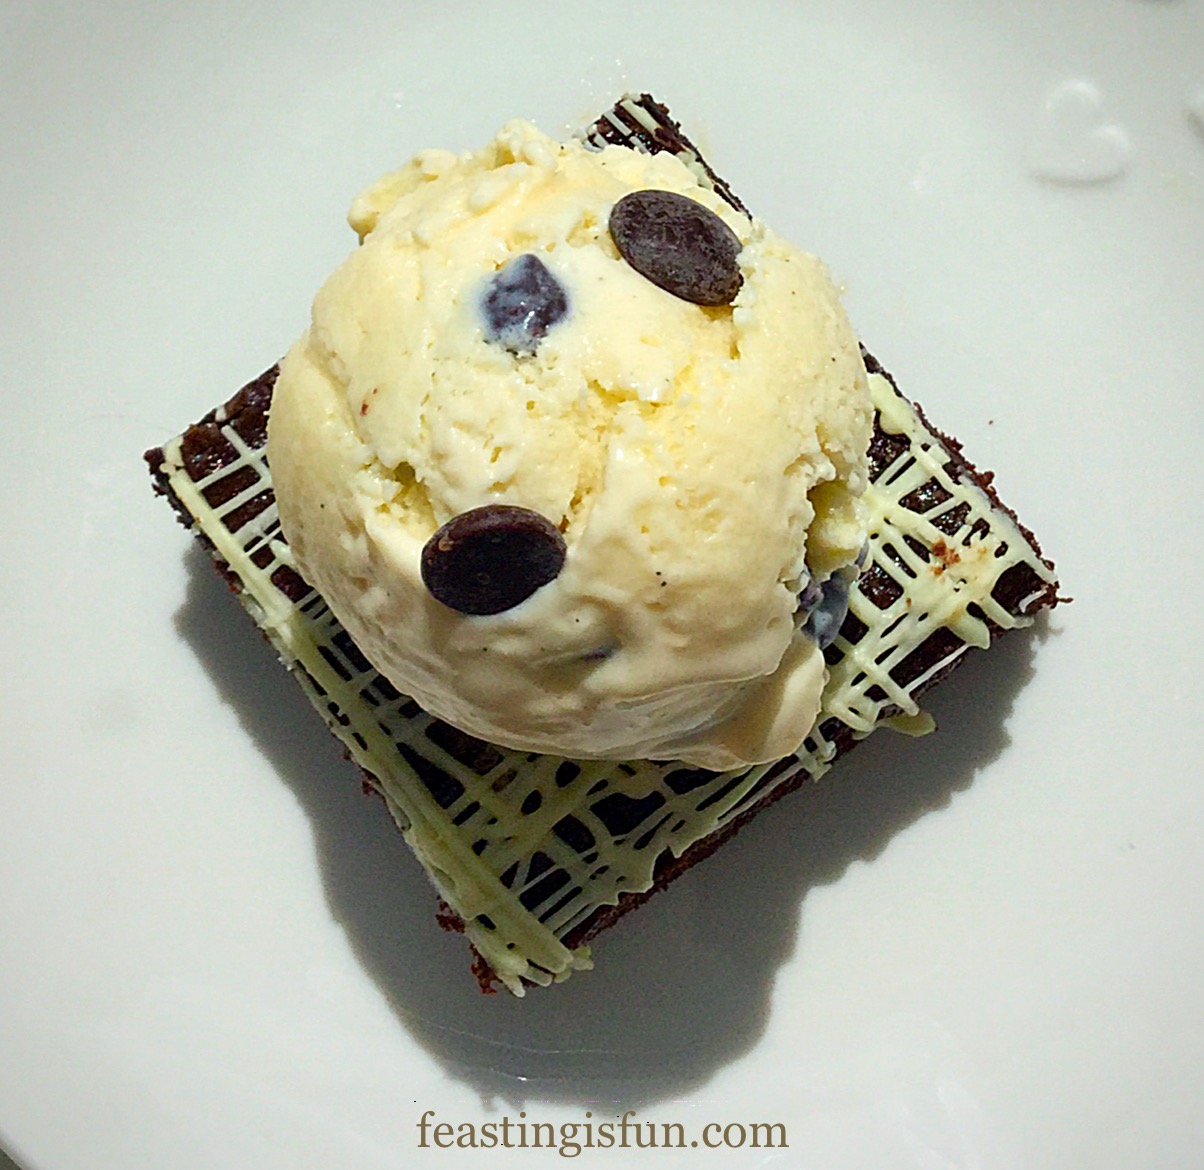
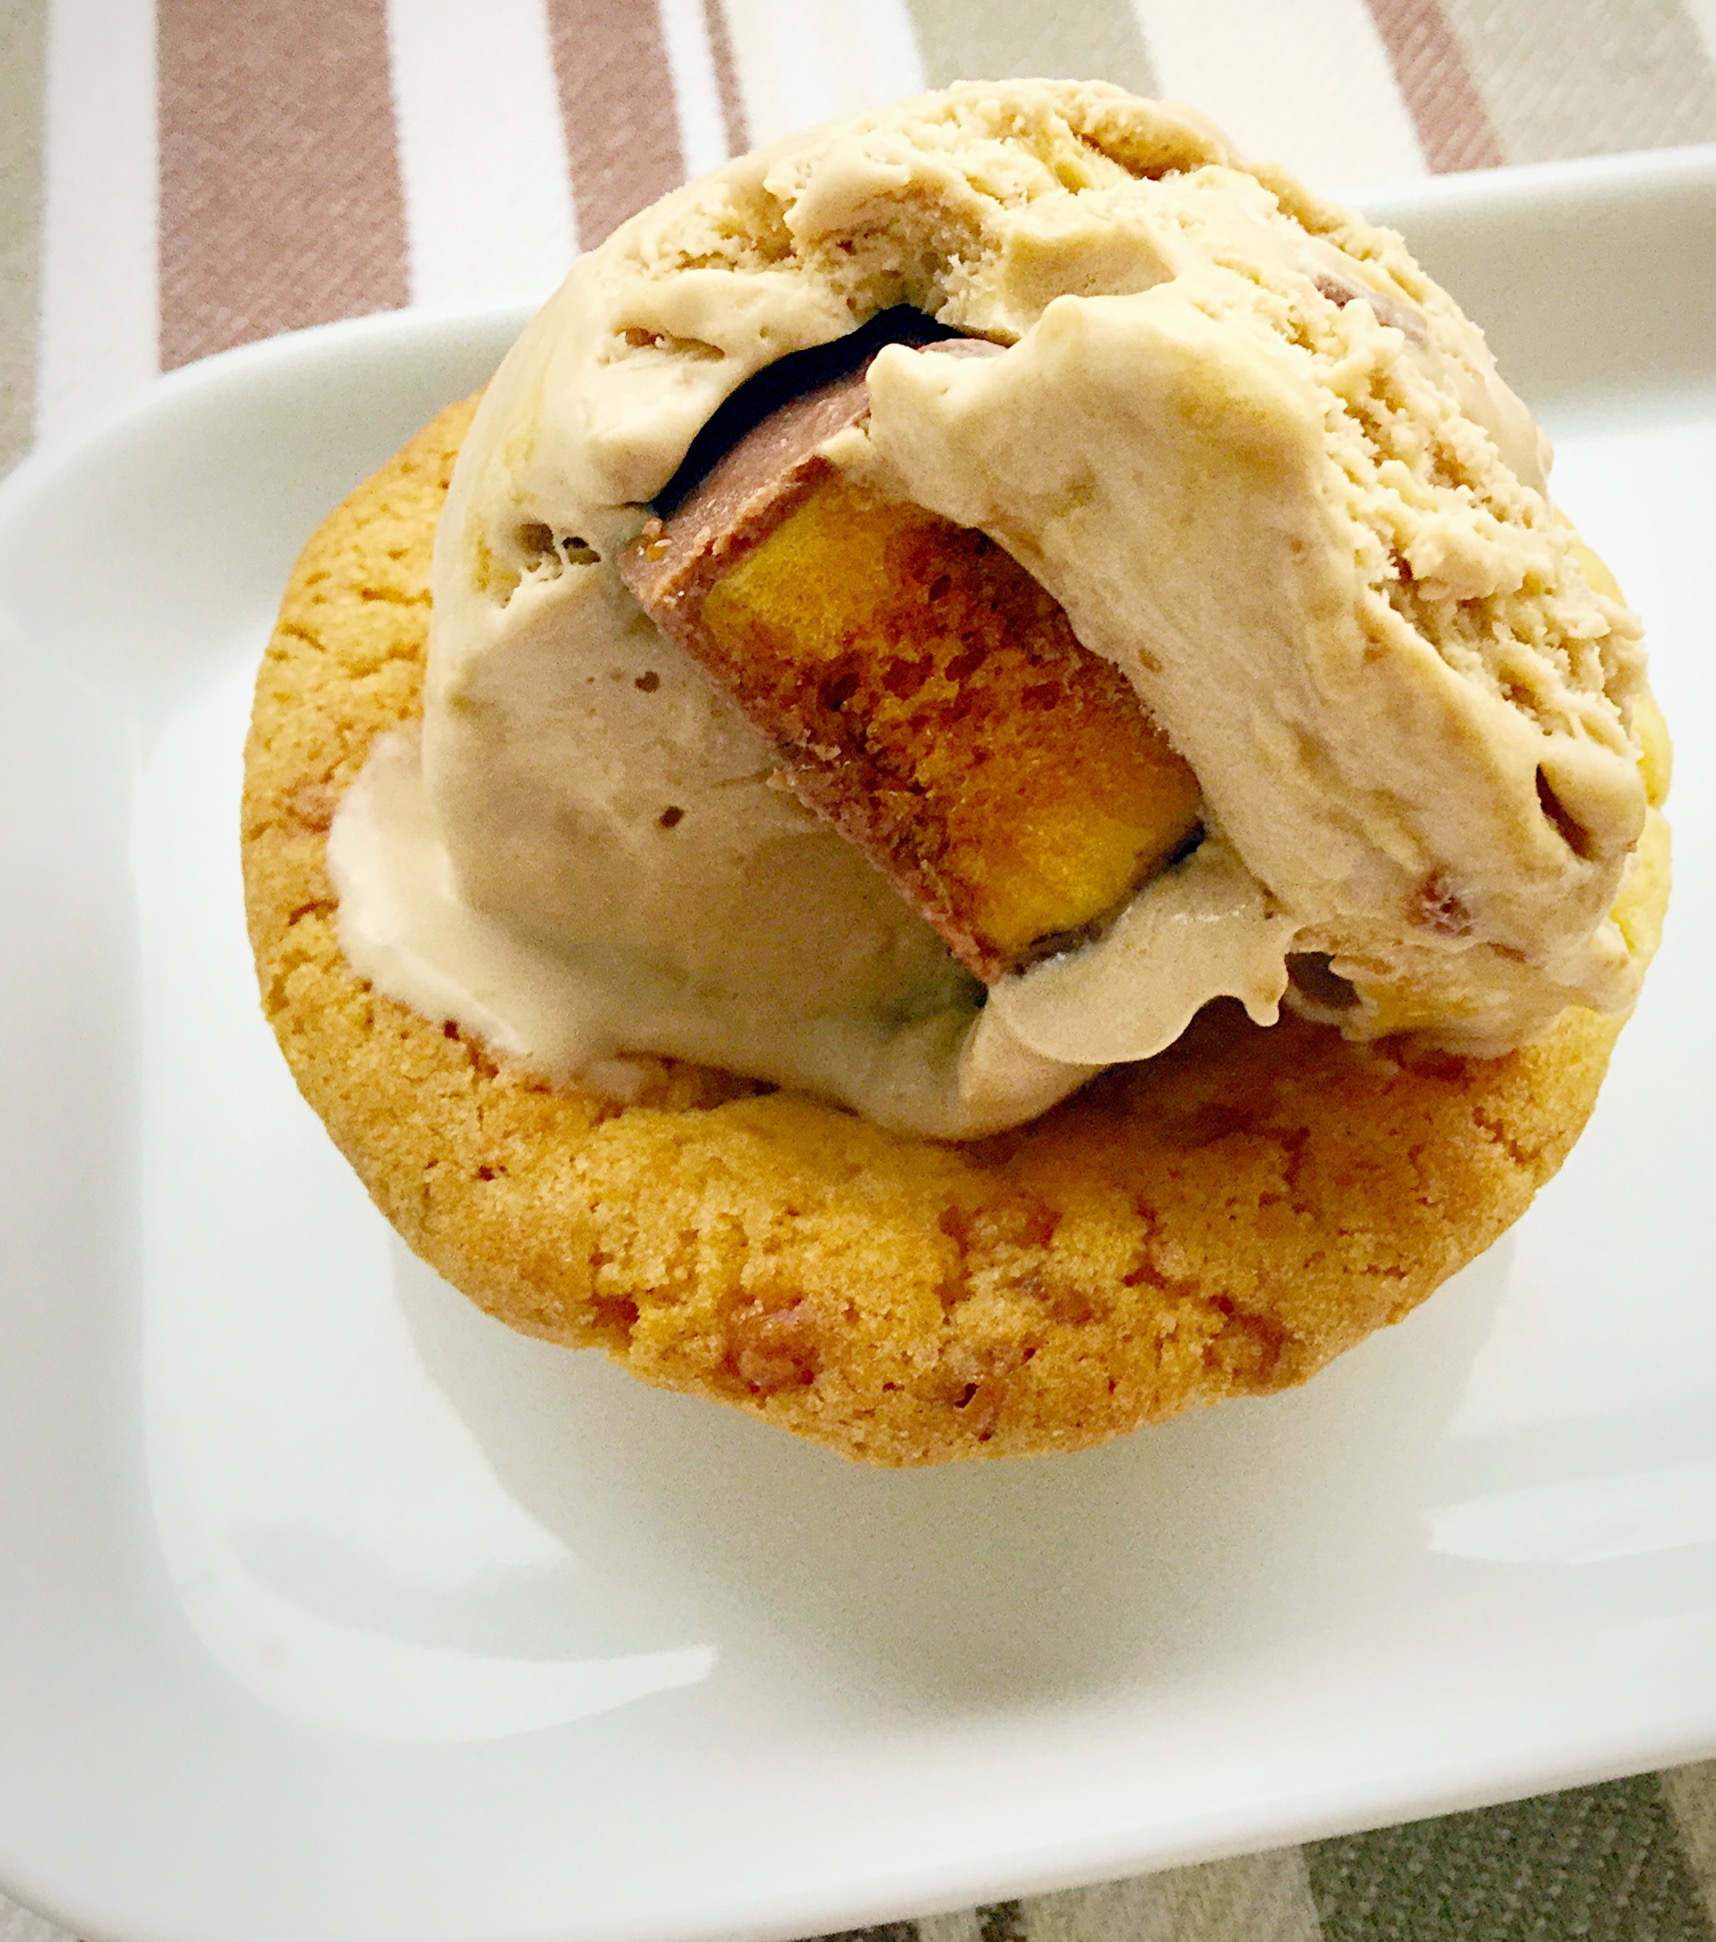
- To serve remove the ice cream from the freezer 10-15 minutes prior to scooping this will allow it to soften a little.
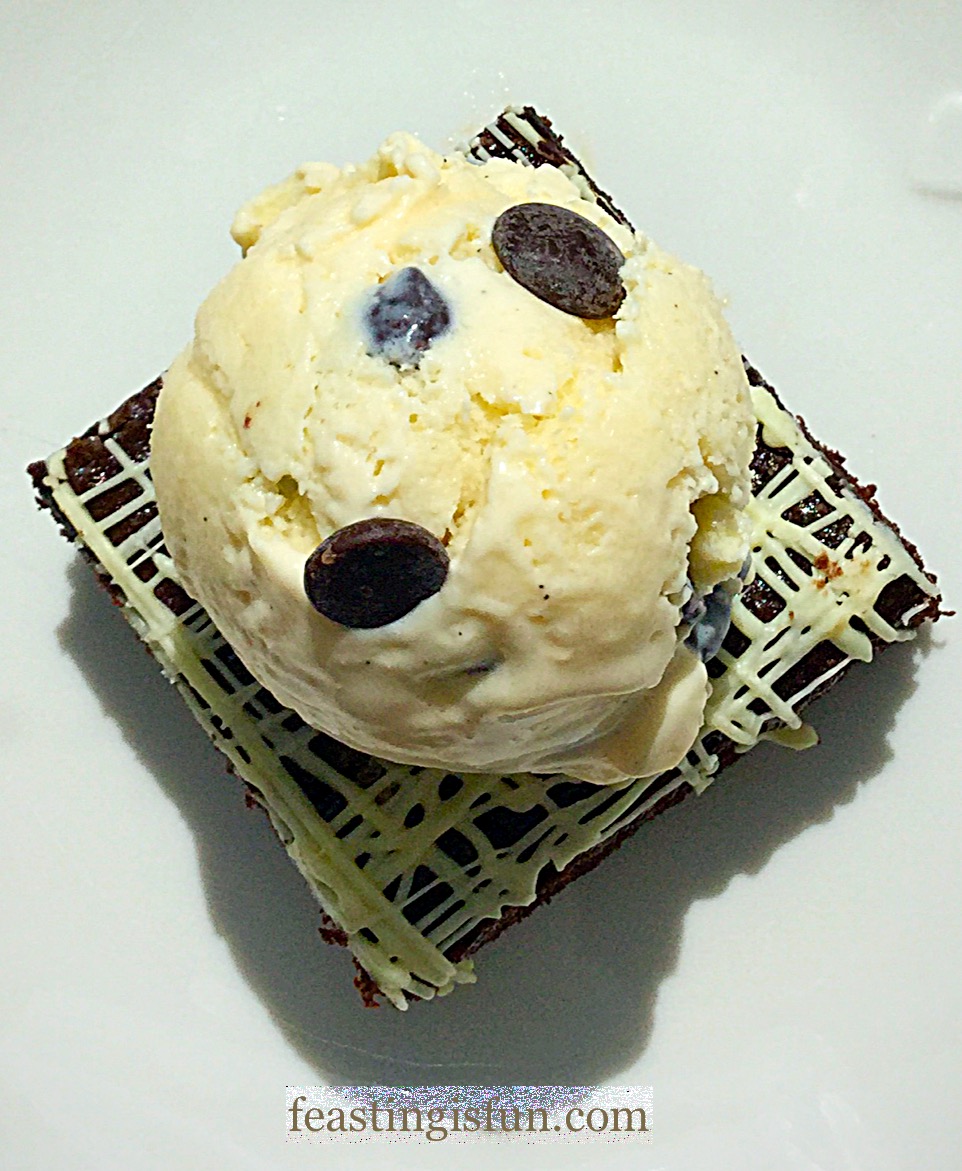
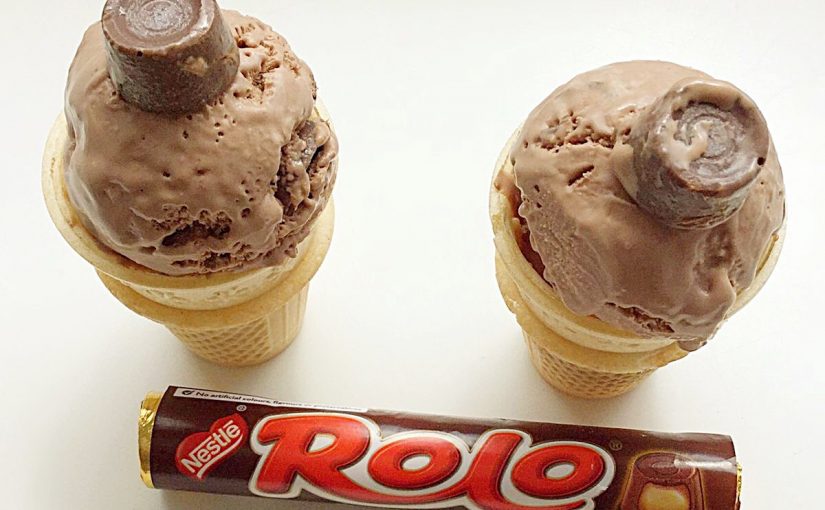
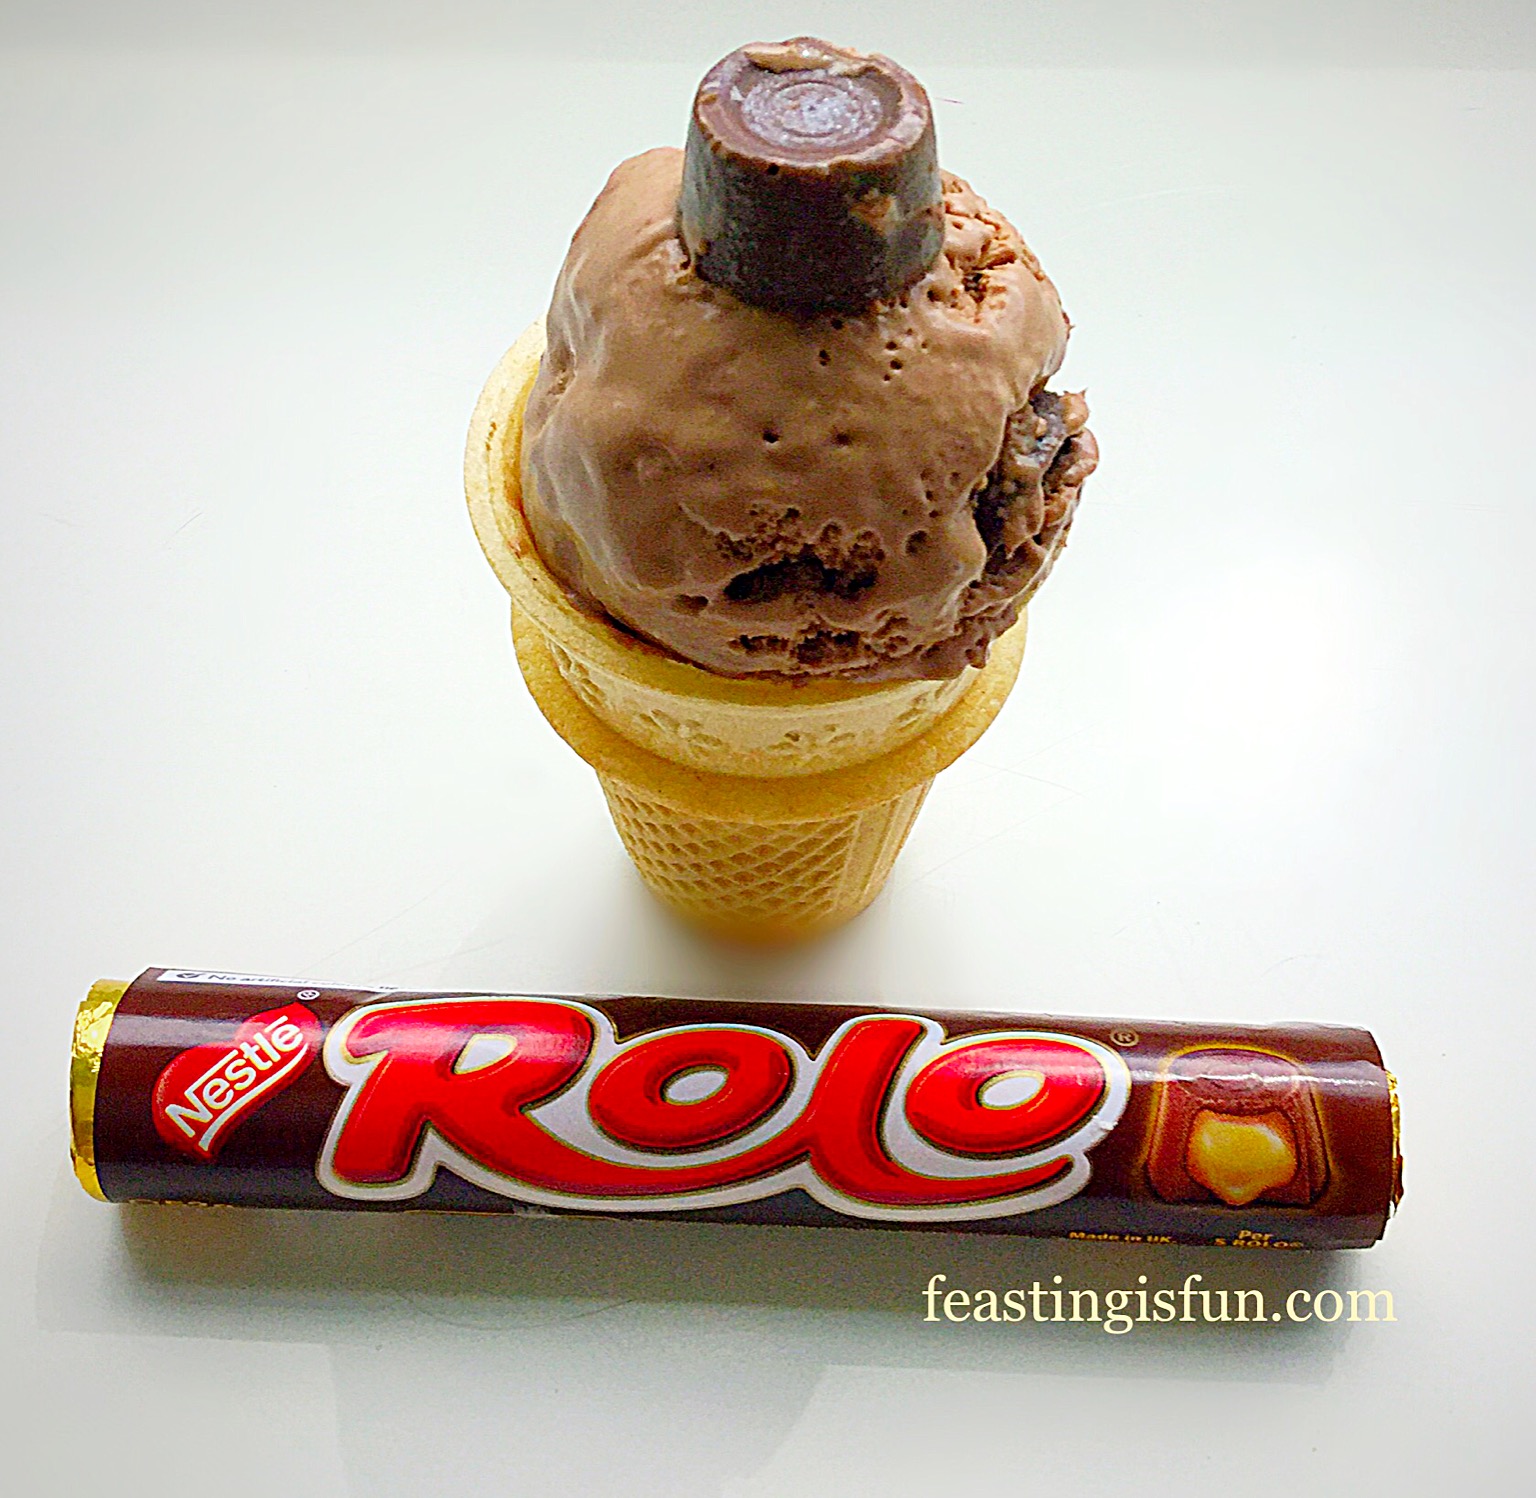
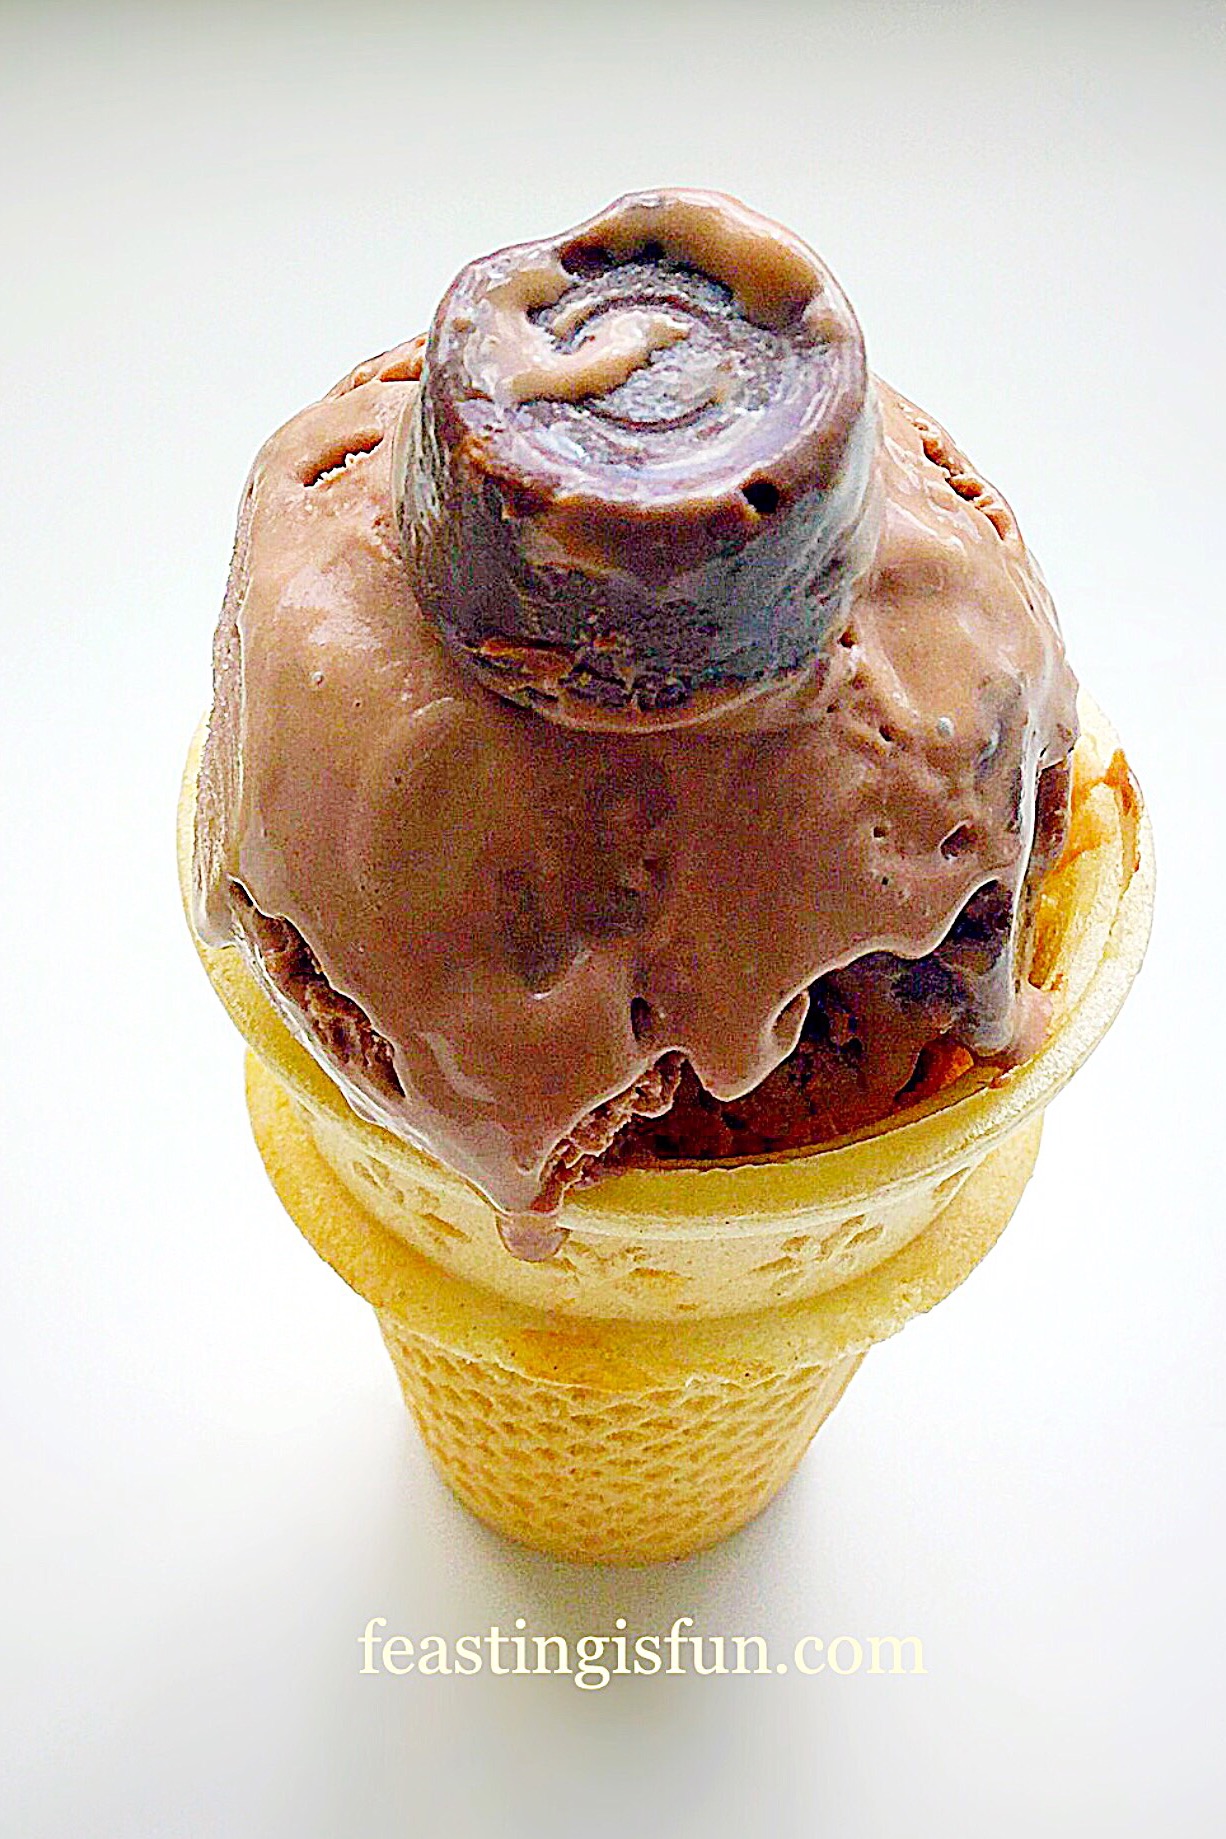
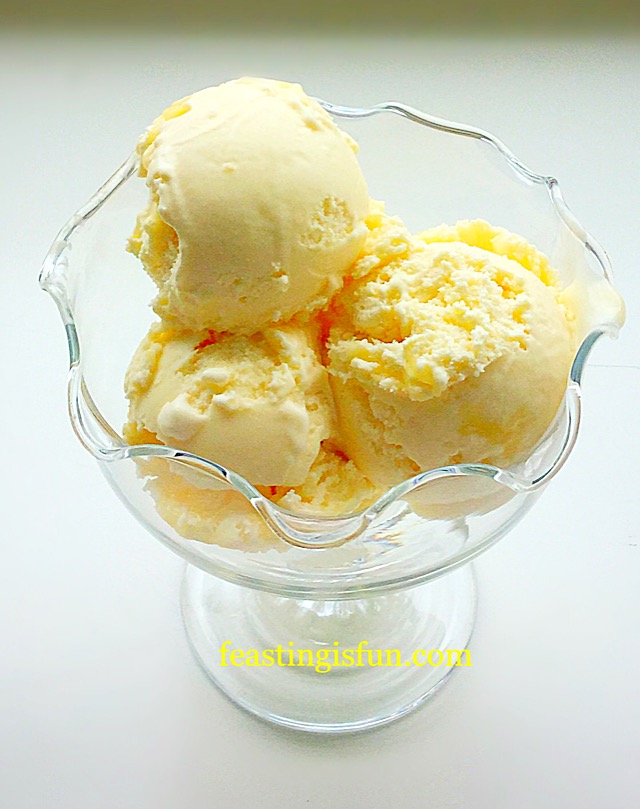
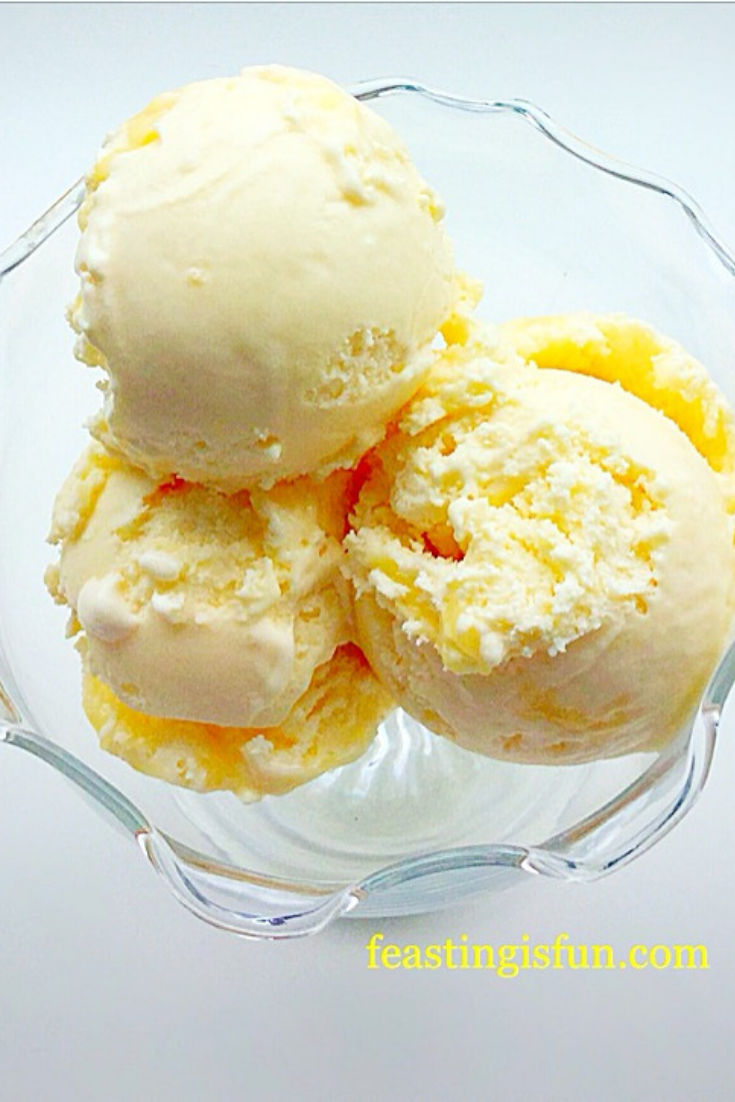
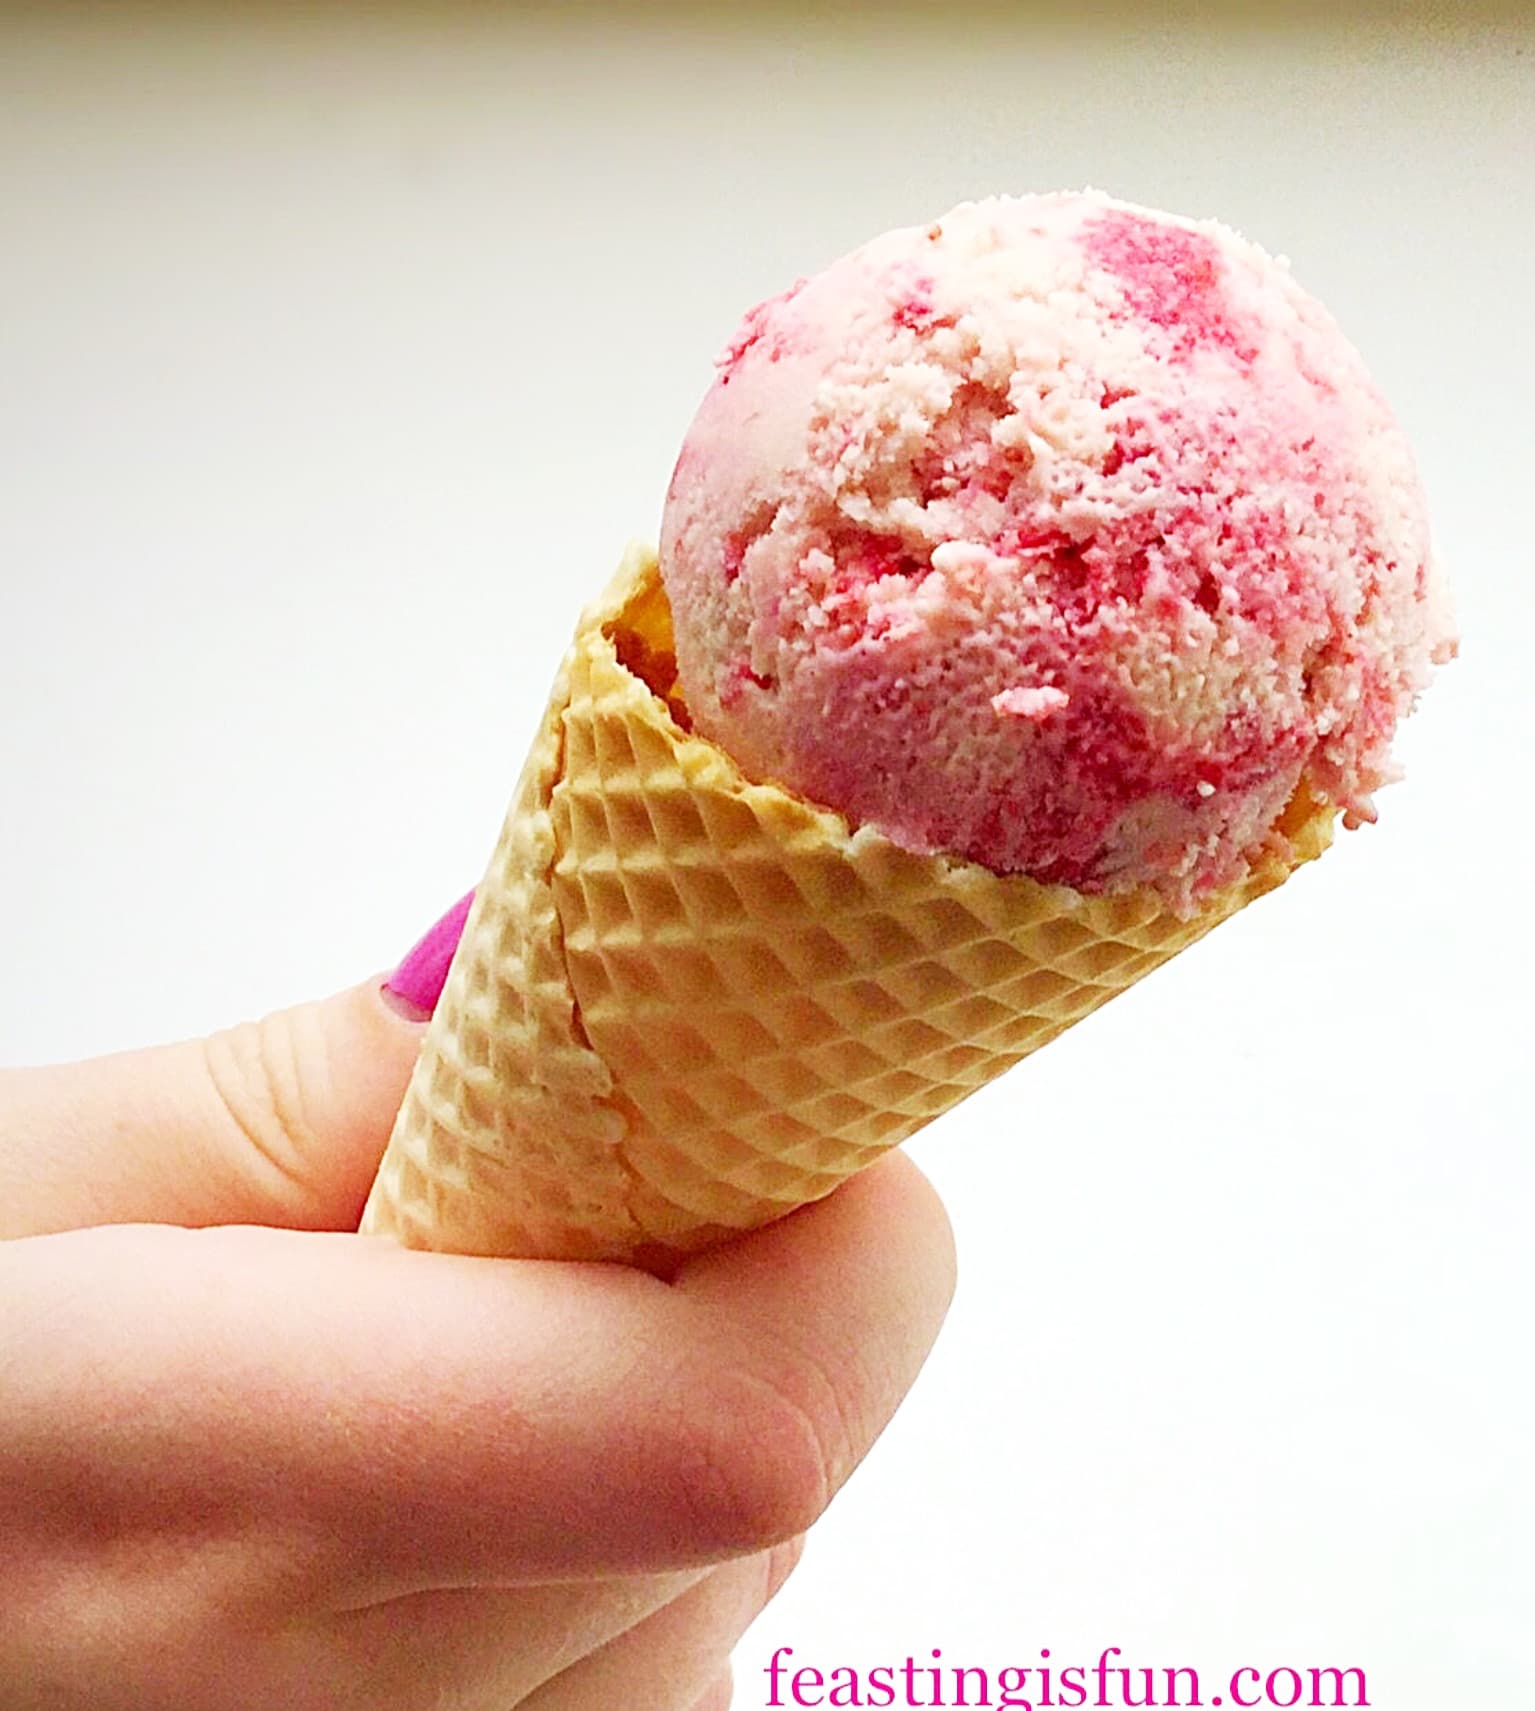
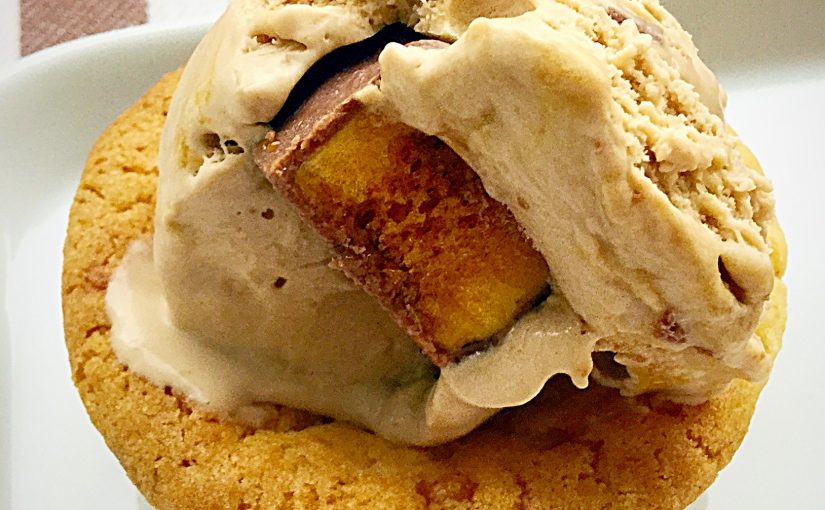
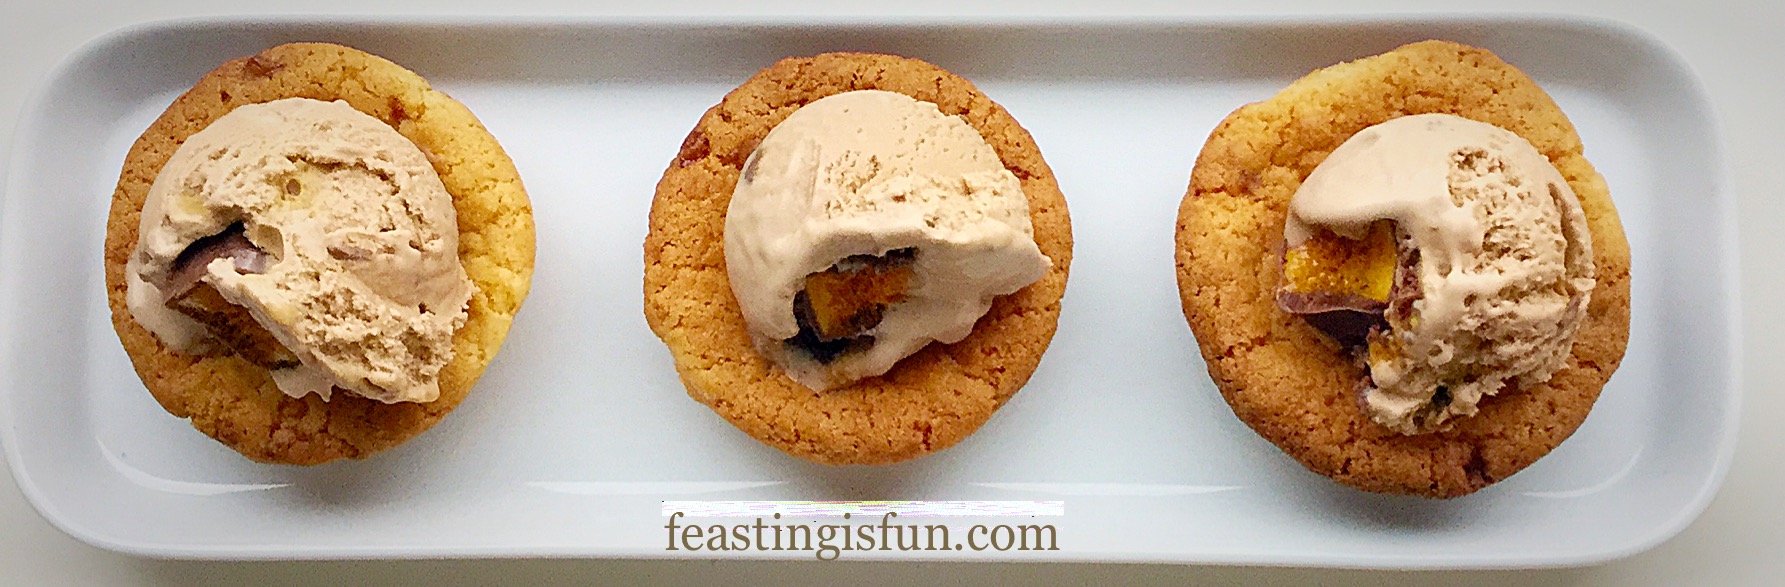
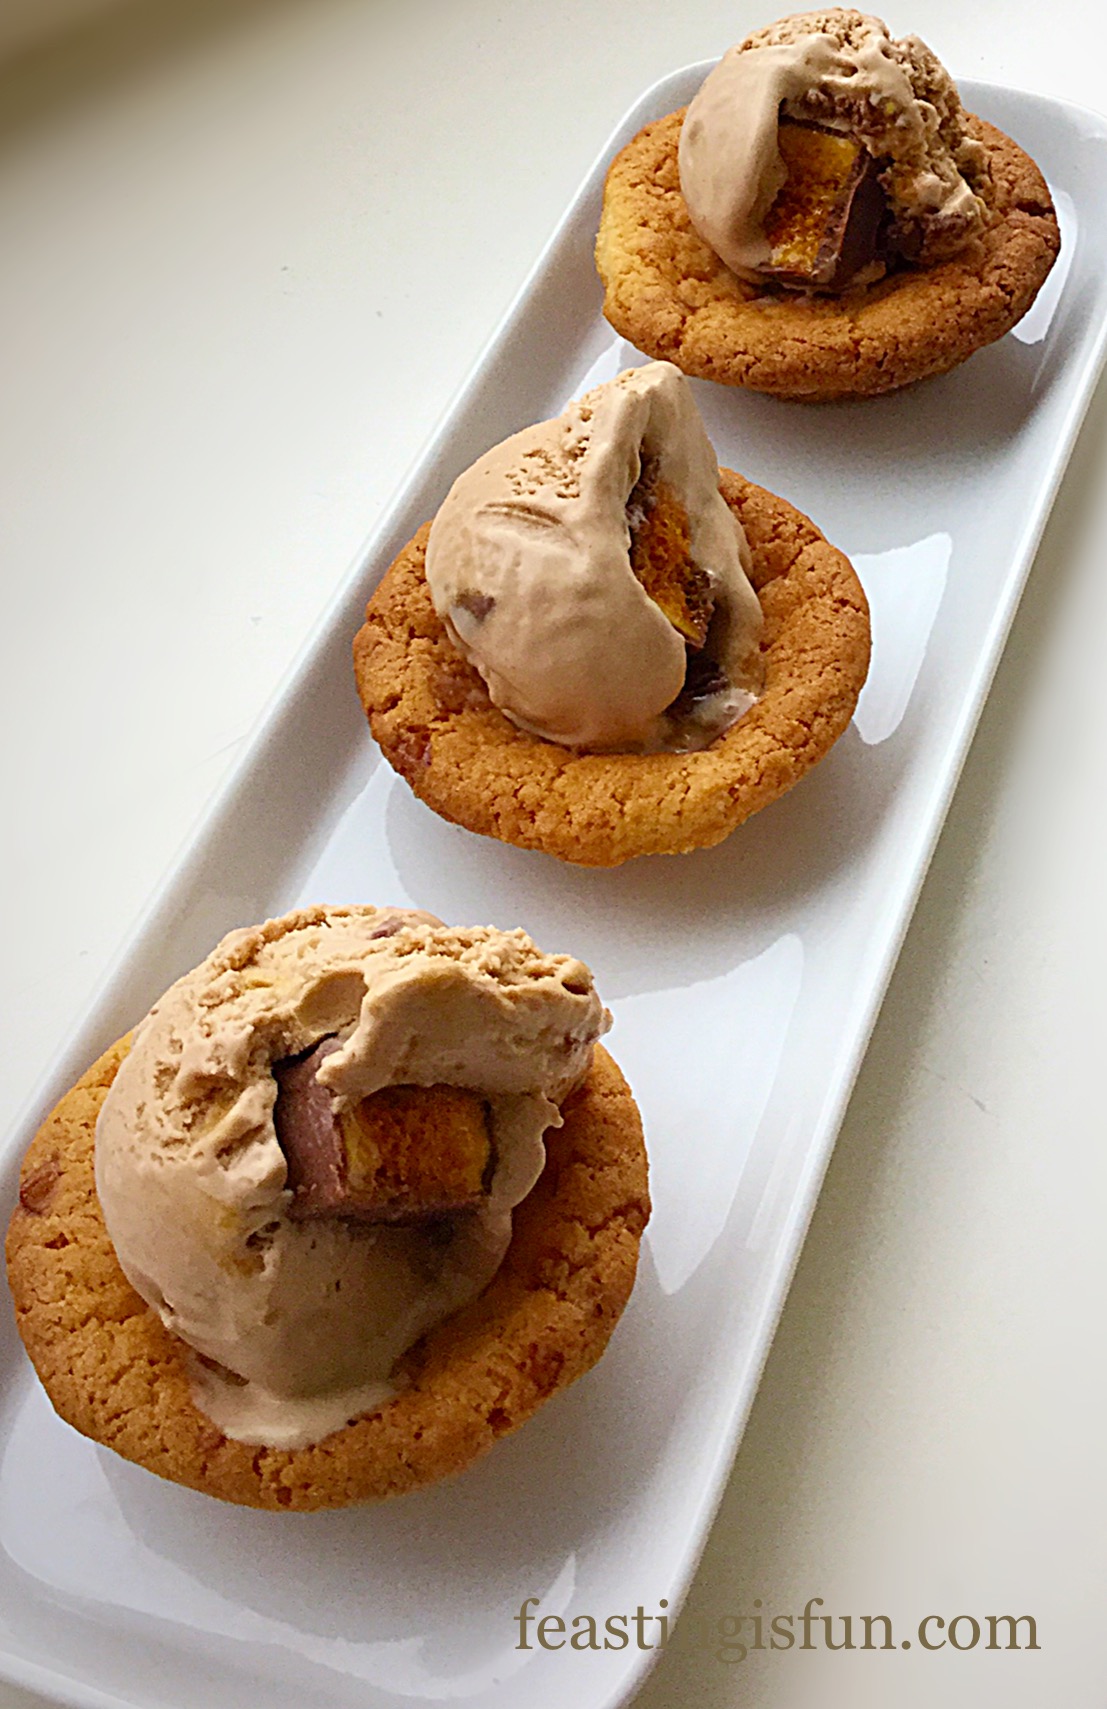
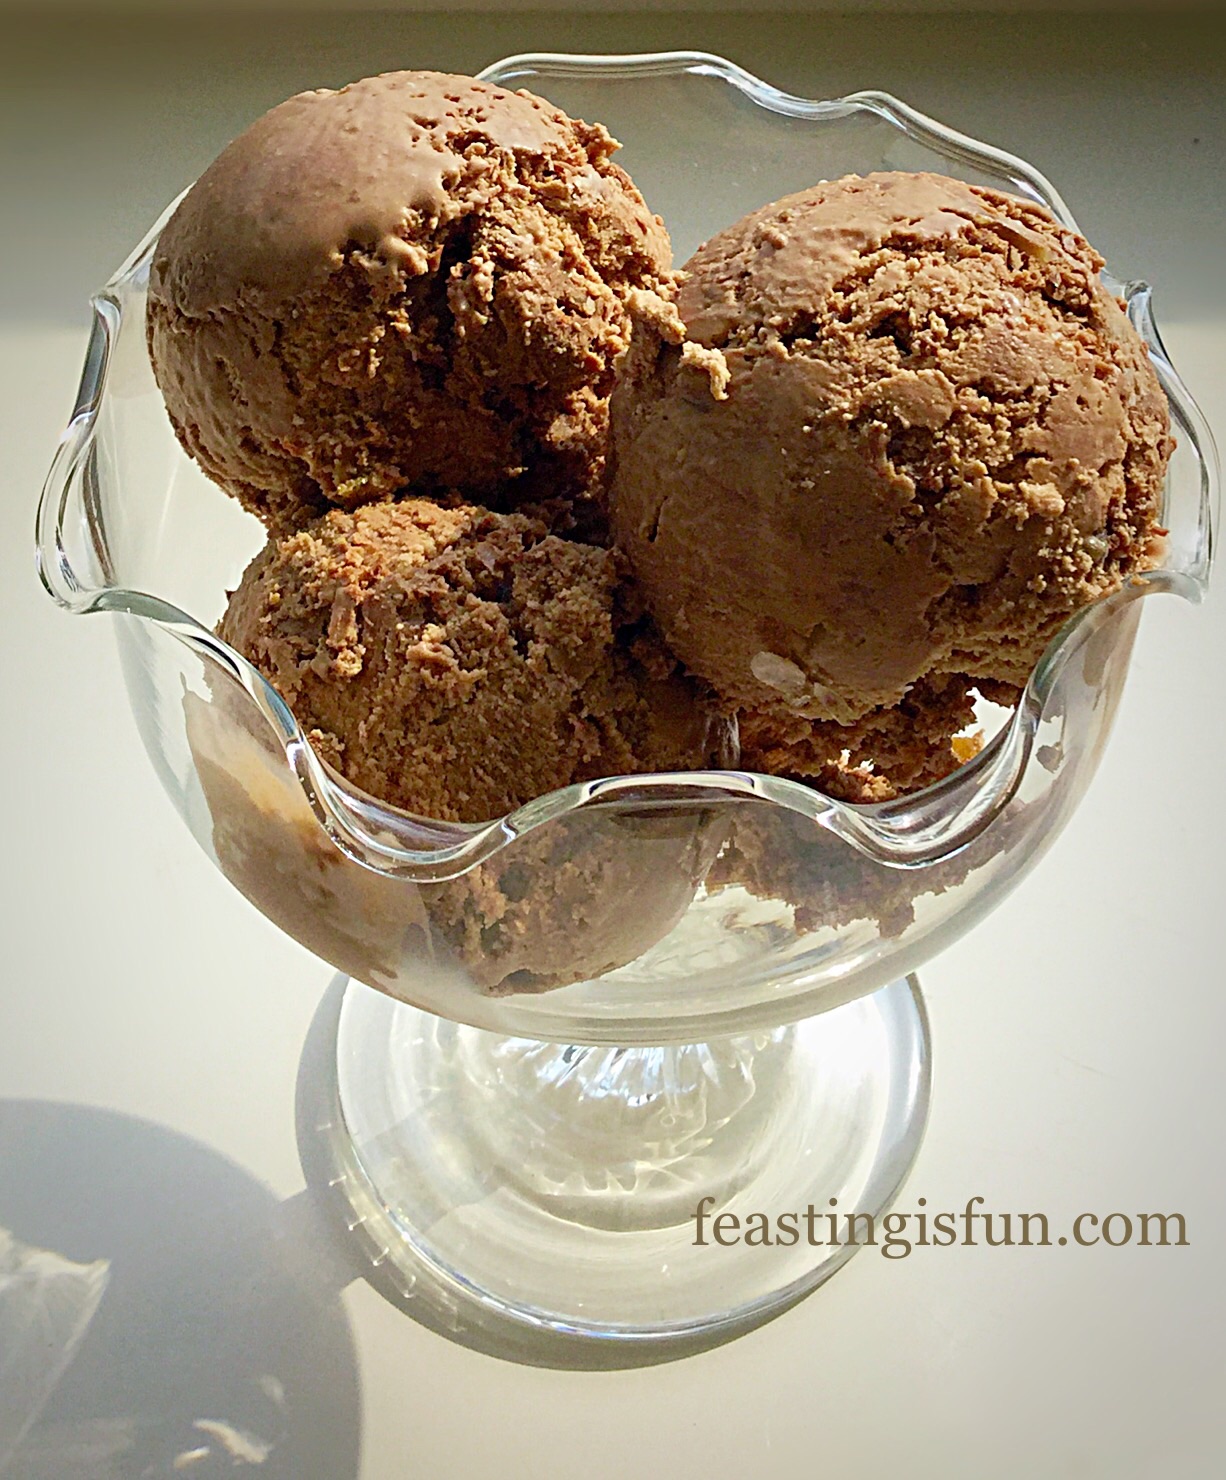
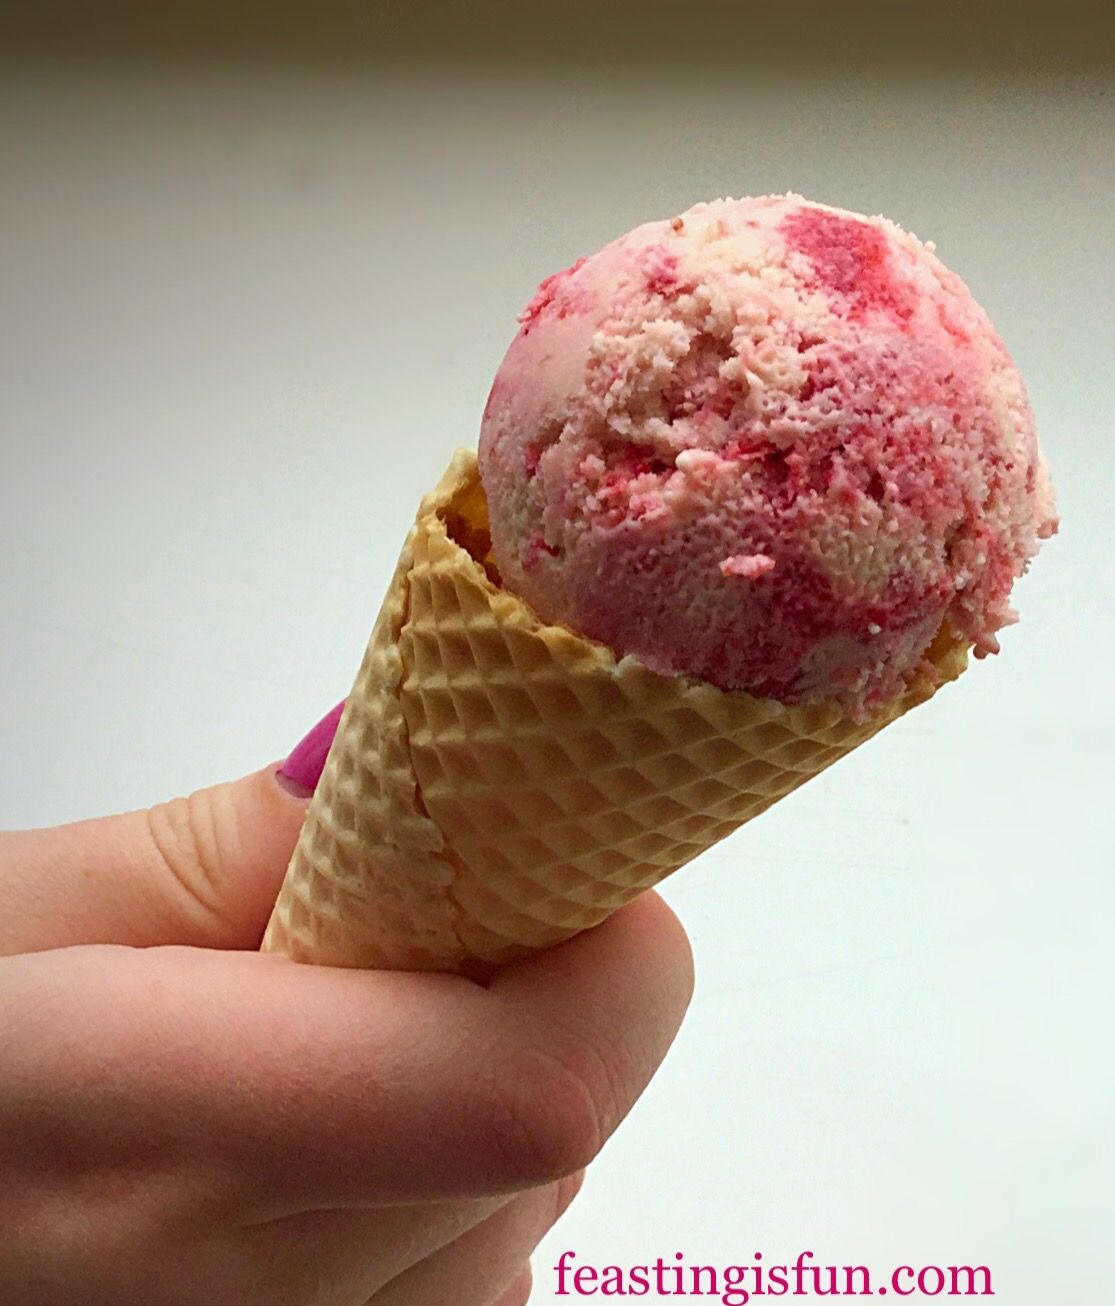
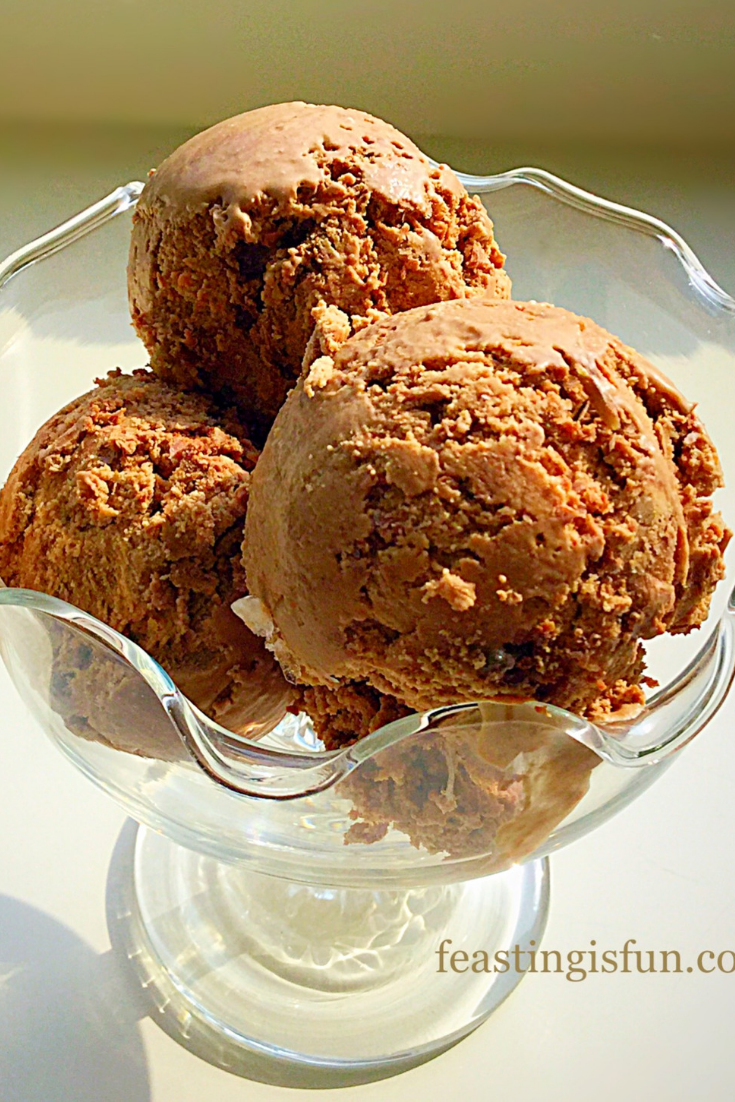
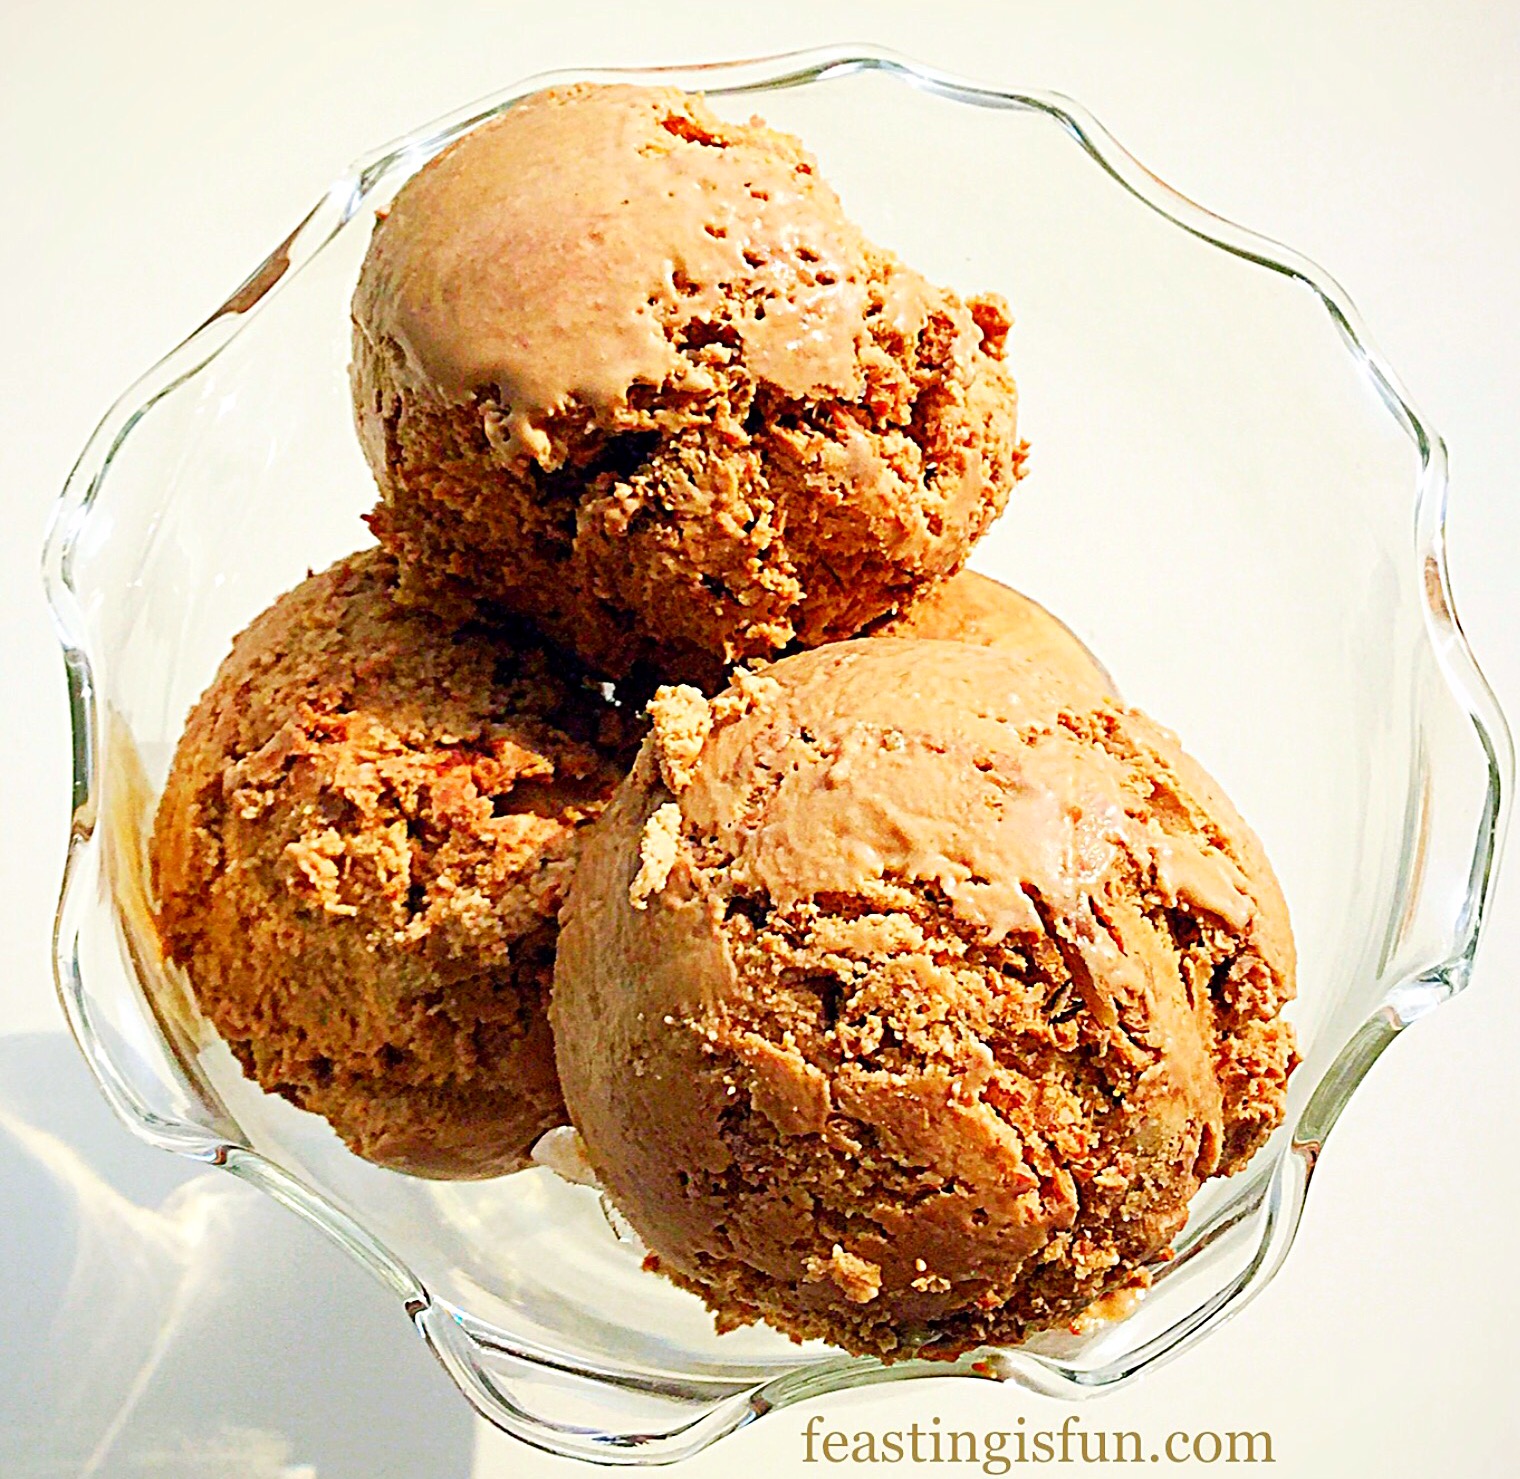
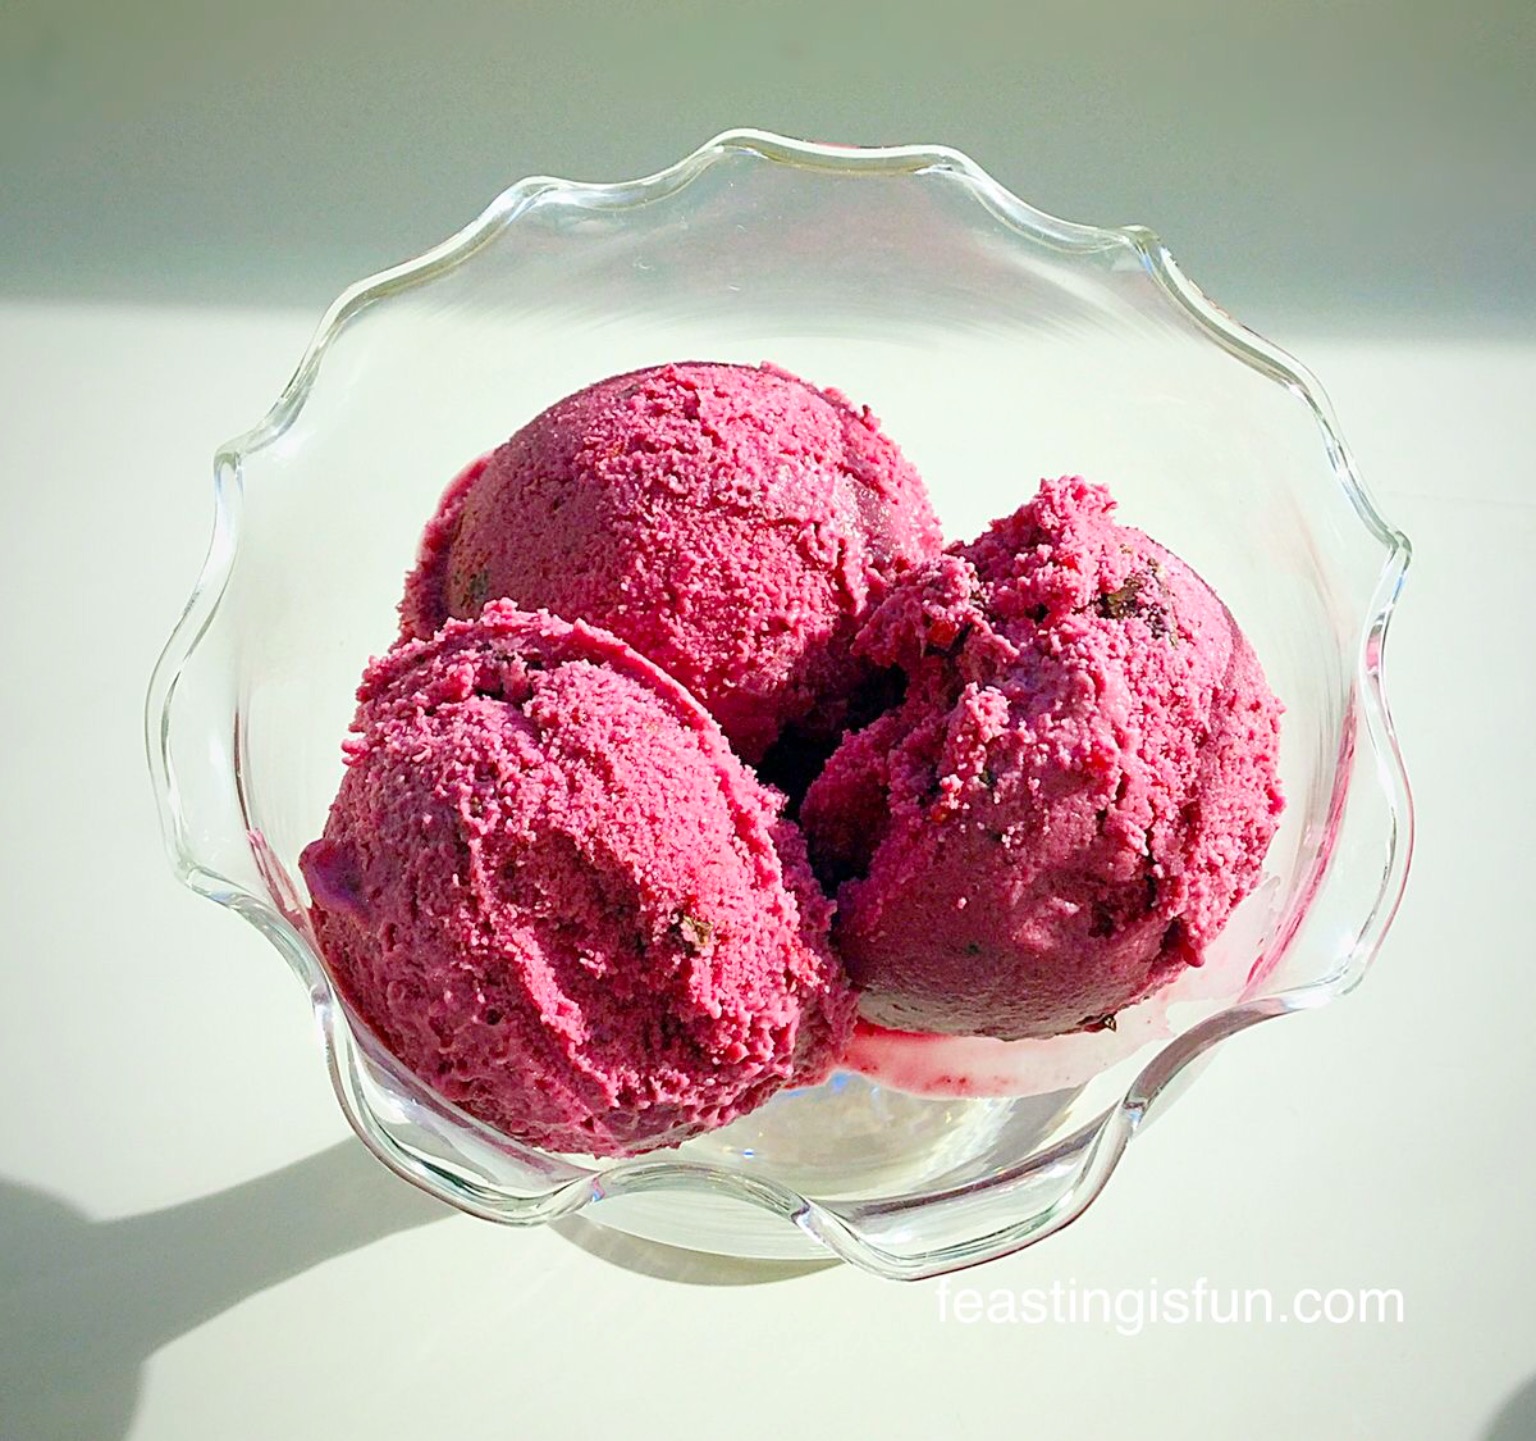
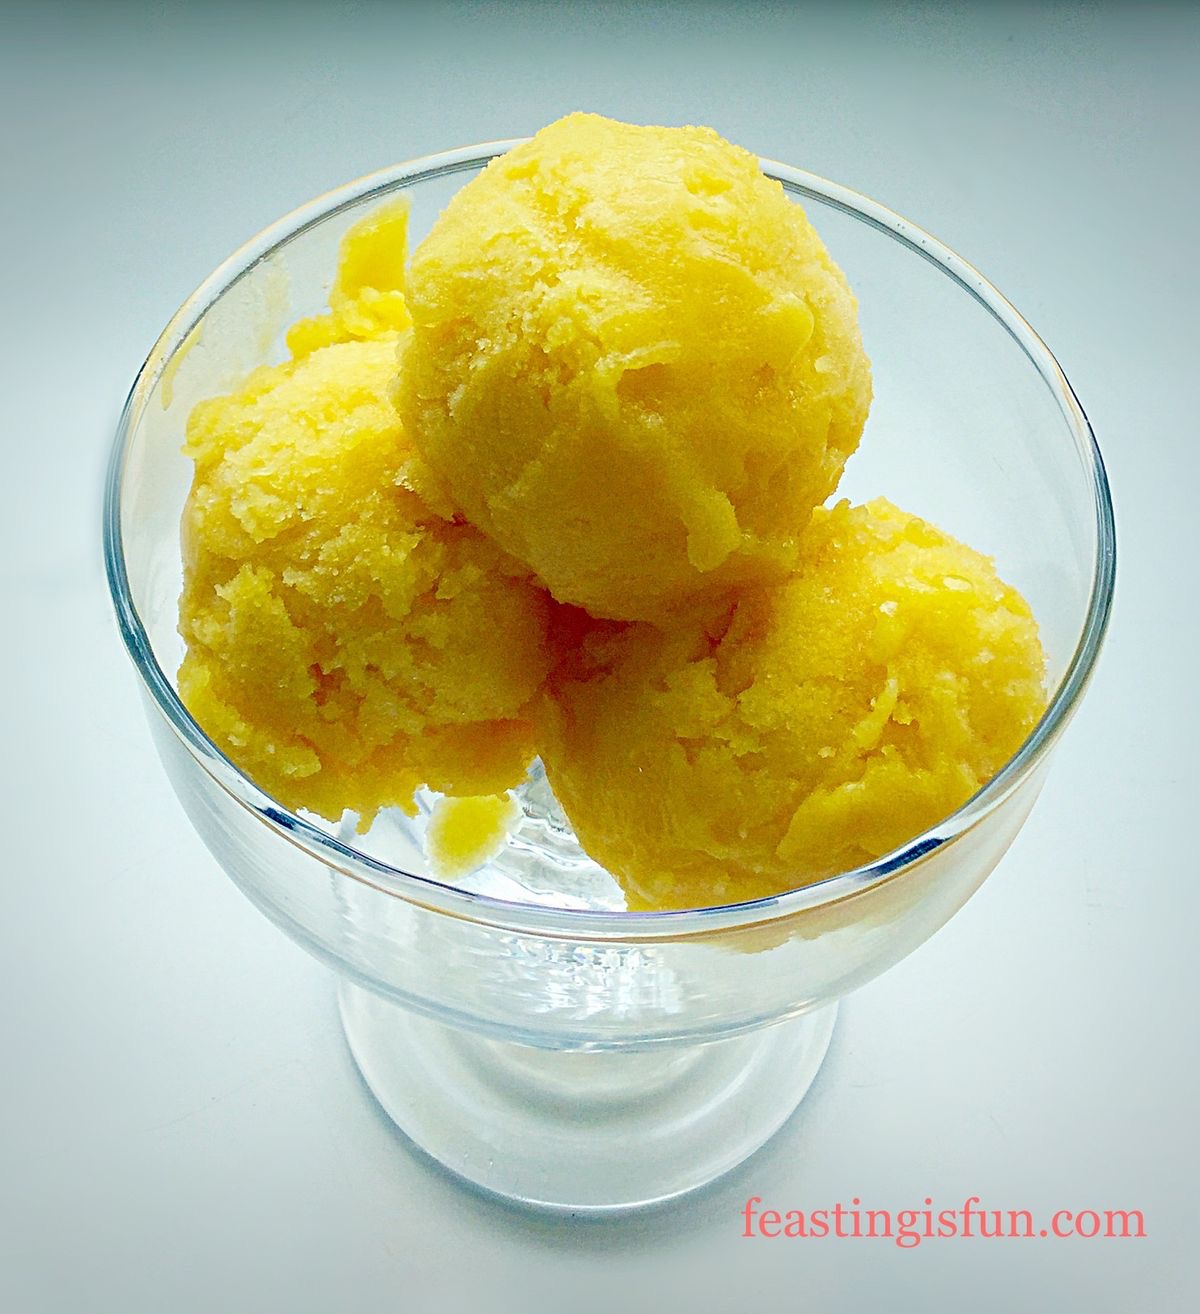
This is a fun ice cream so scoop your New Berry Fruits Ice Cream into cones or waffle cups and enjoy the amazing flavours and chewy jellies.
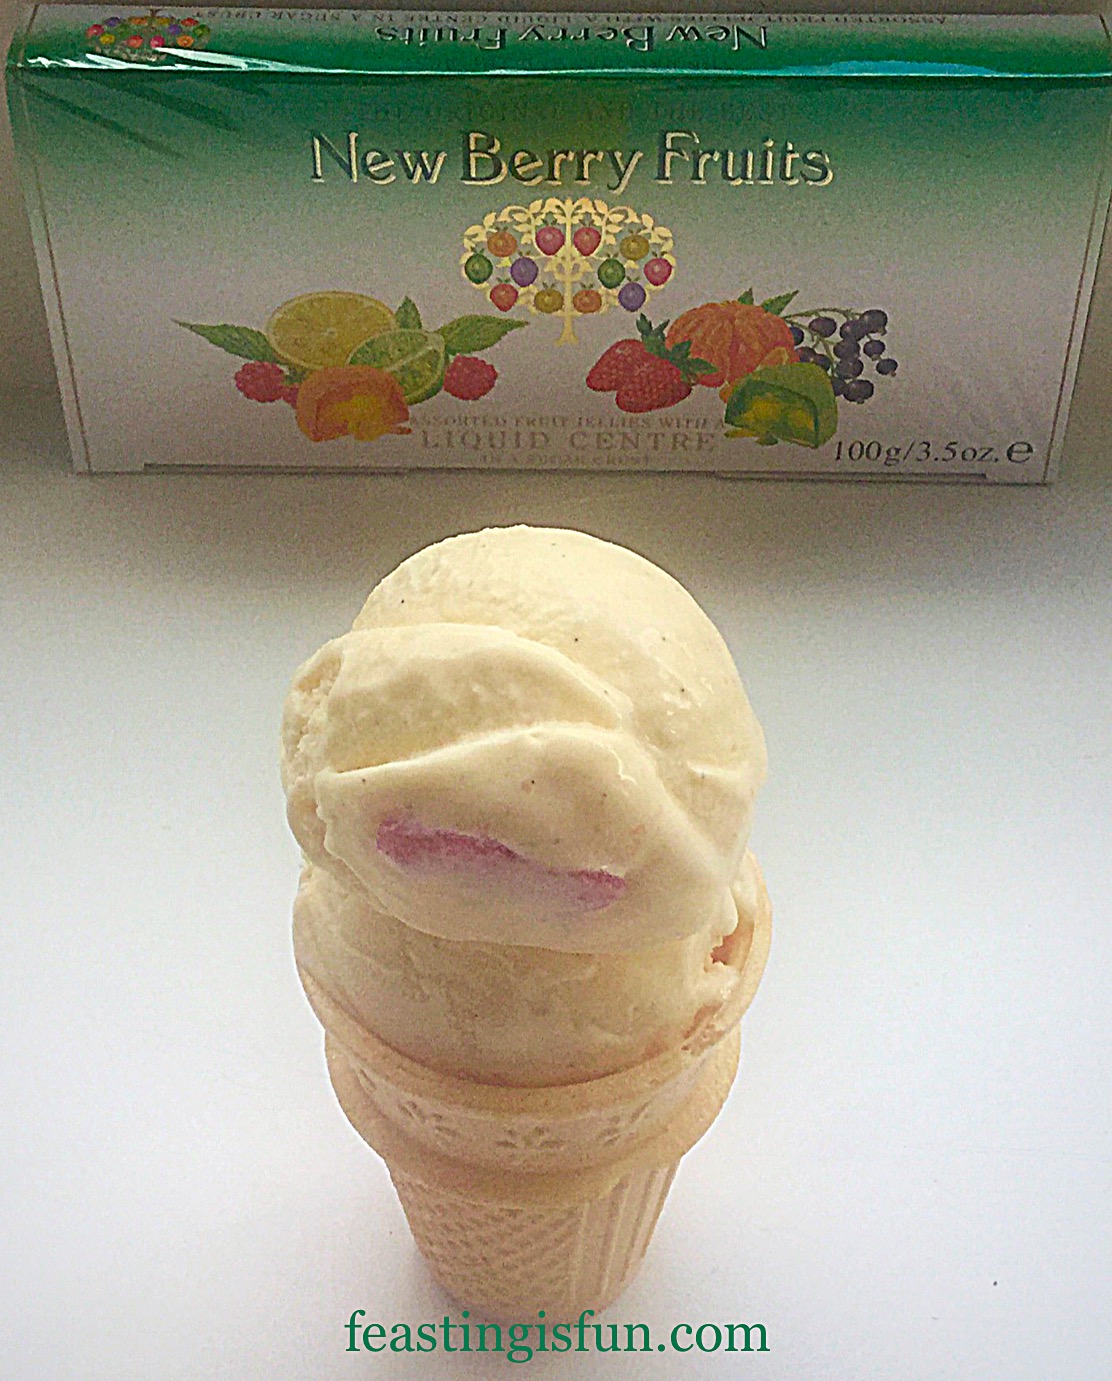
Oh this New Berry Fruit Ice Cream is so berry, berry good! The fabulous fruity background flavour of the ice cream works beautifully with the intense bursts of fruity, chewy flavour.
New Berry Fruits are widely available online and at Waitrose.
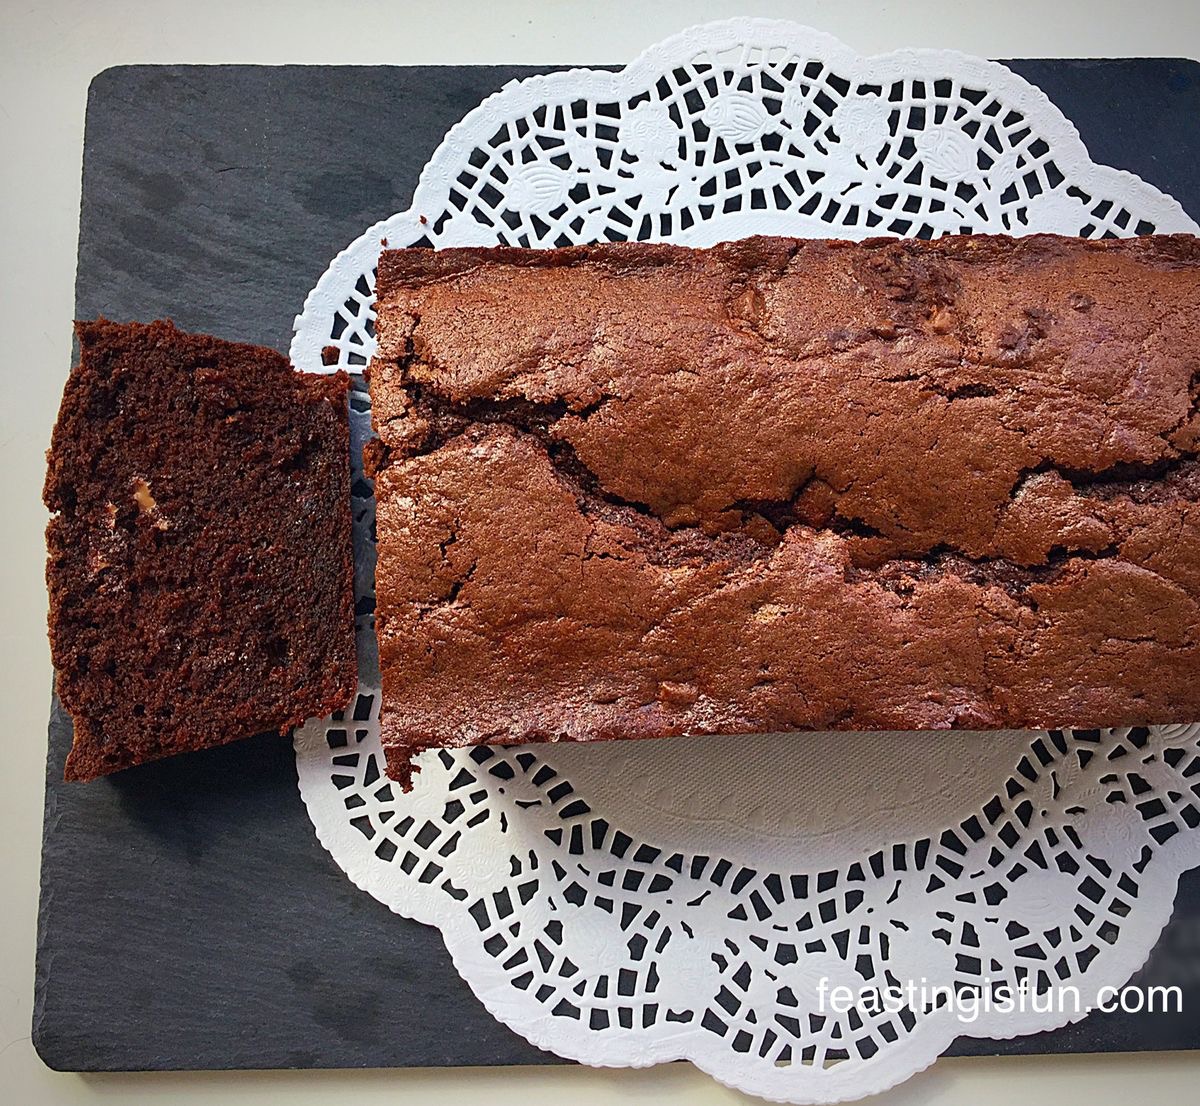
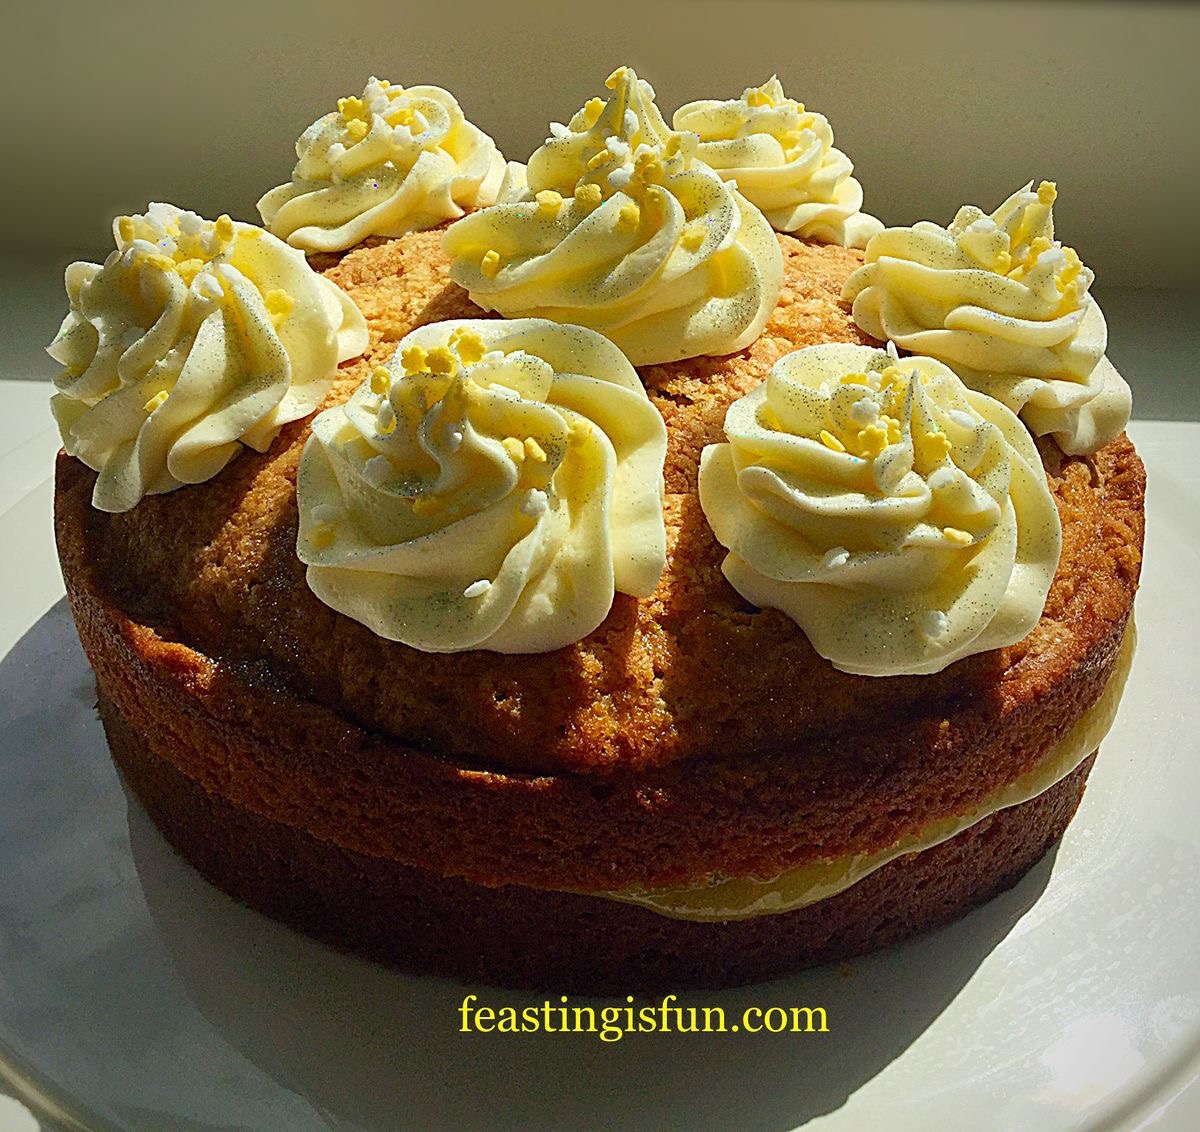
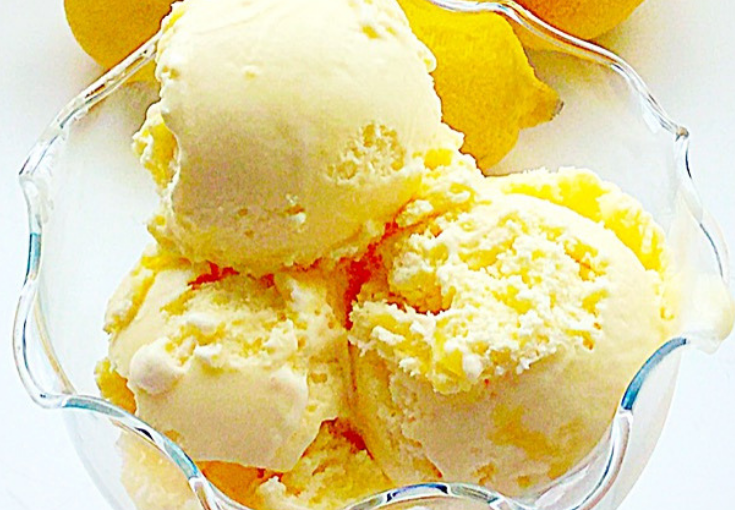
If you have enjoyed this recipe for New Berry Fruits Ice Cream you may also enjoy these:

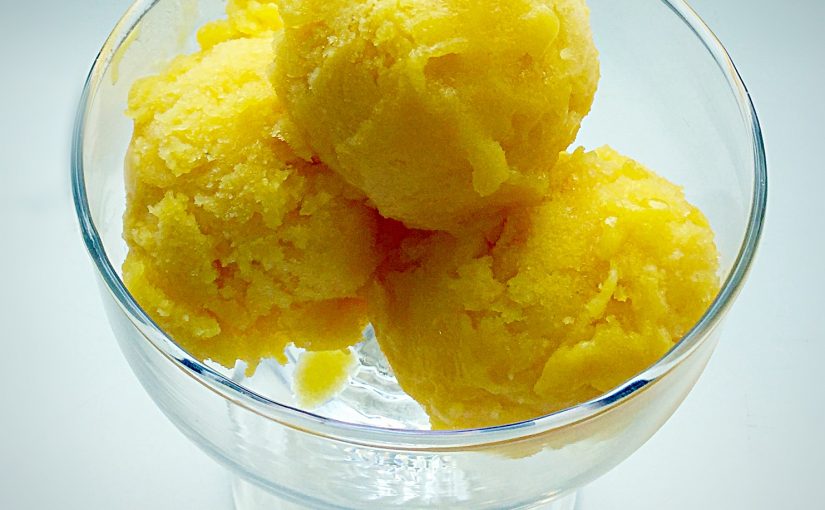
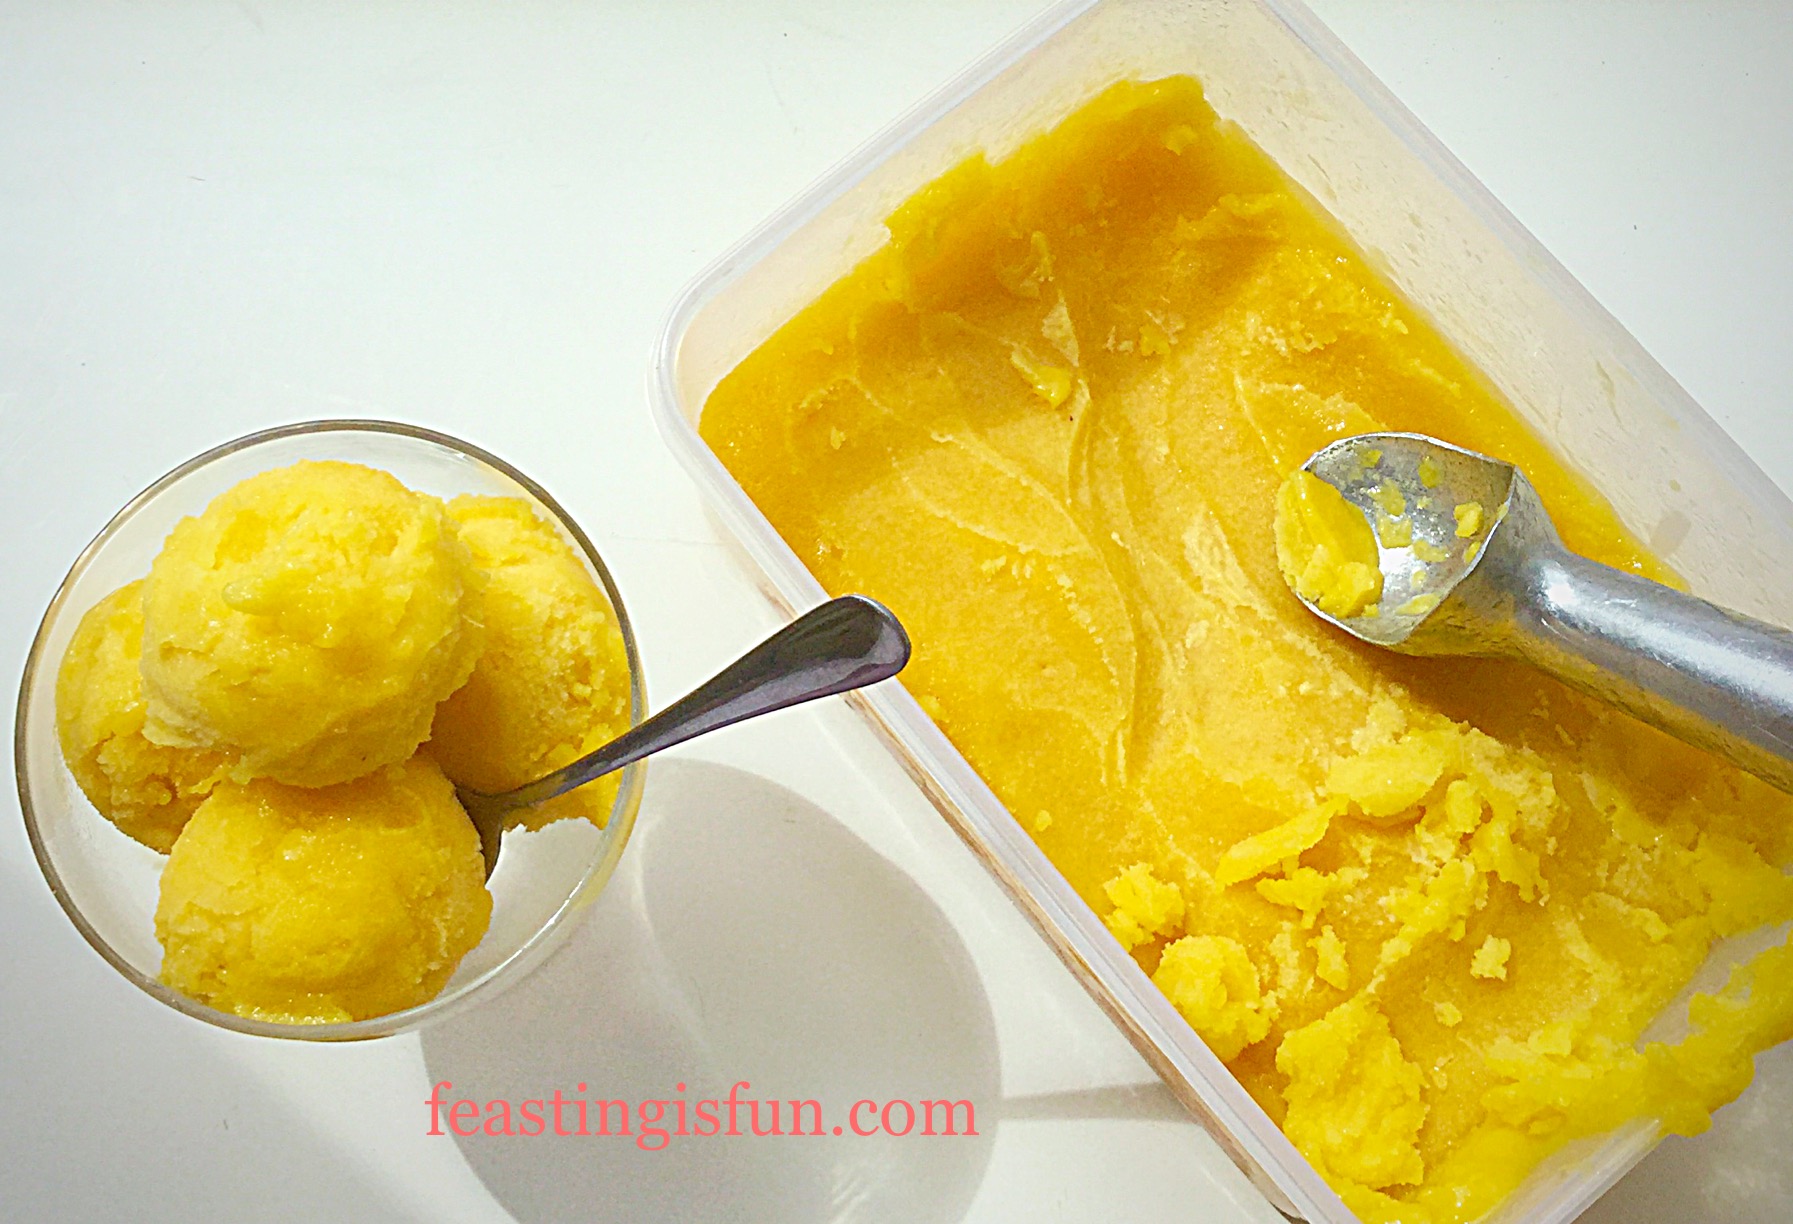
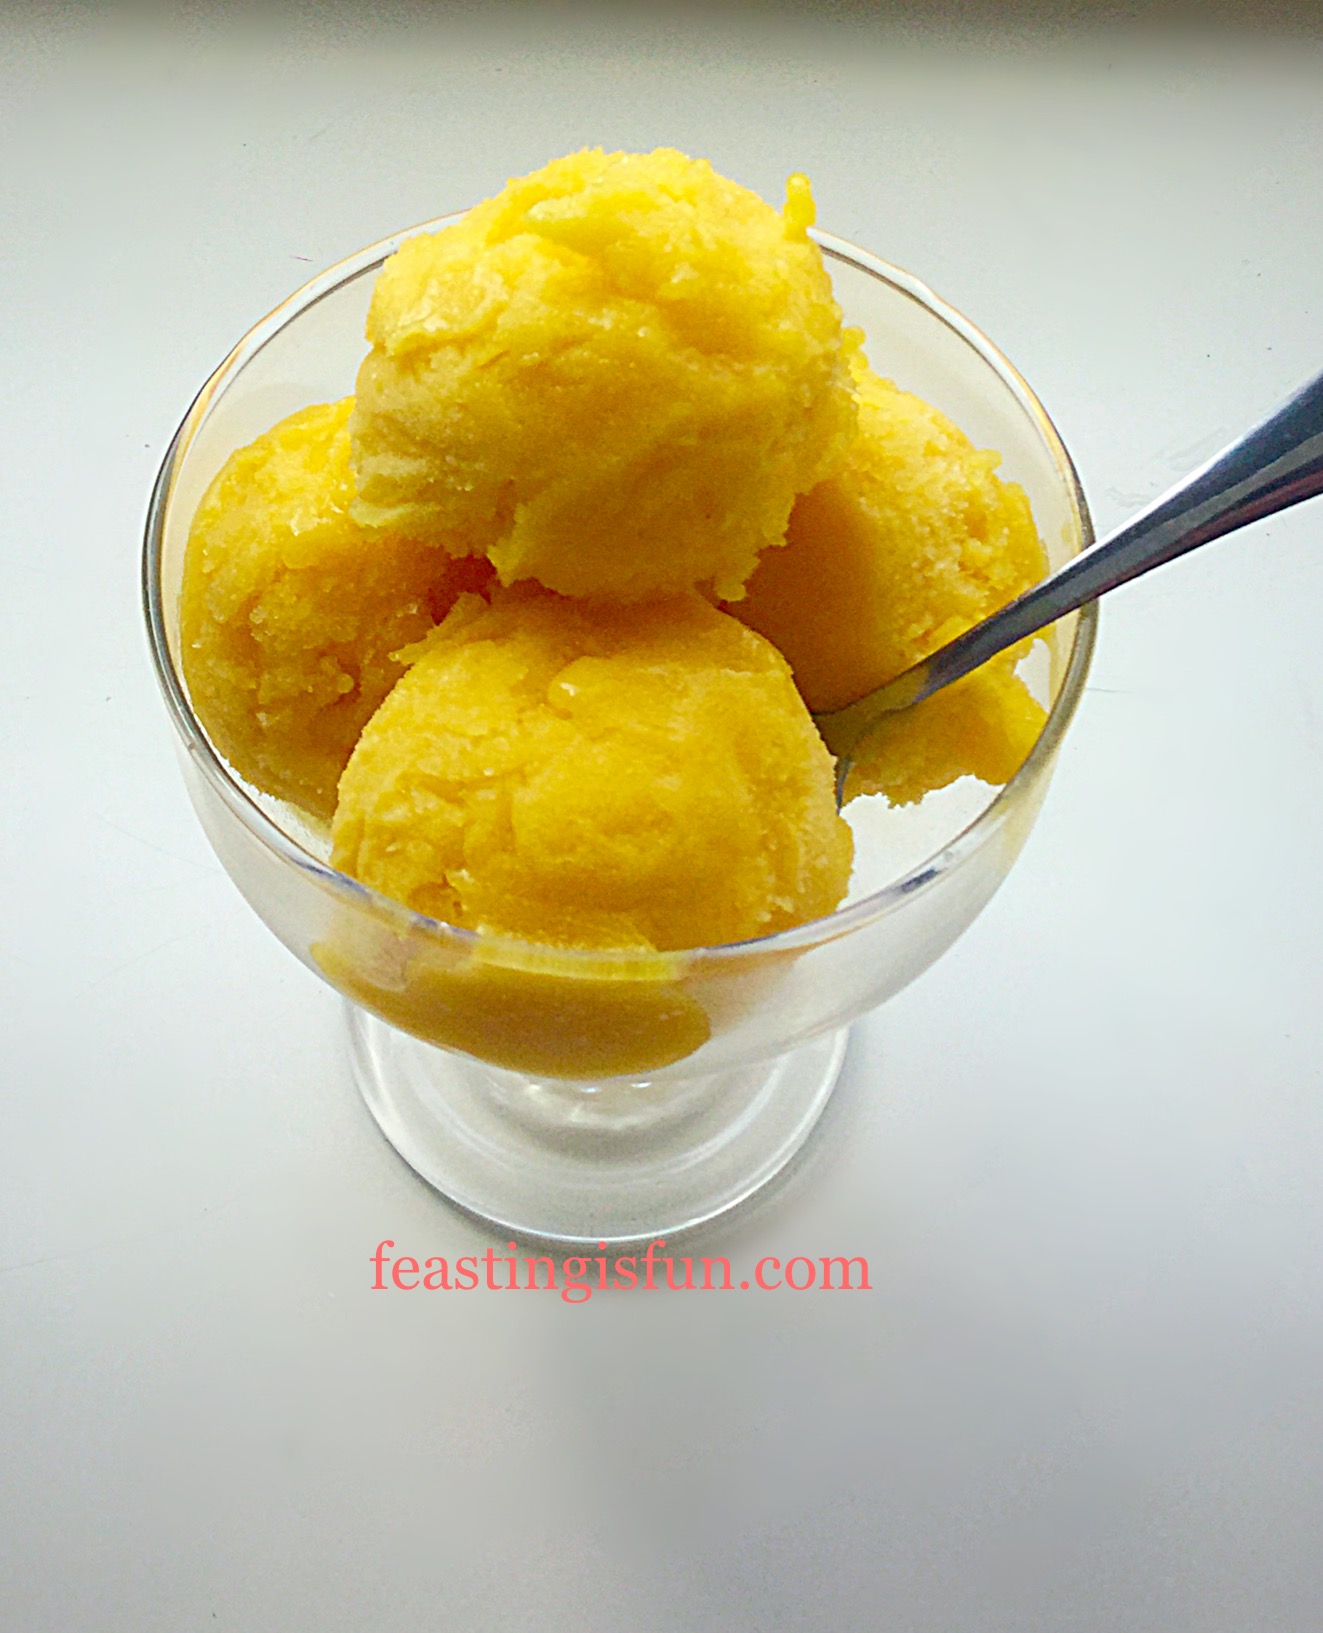
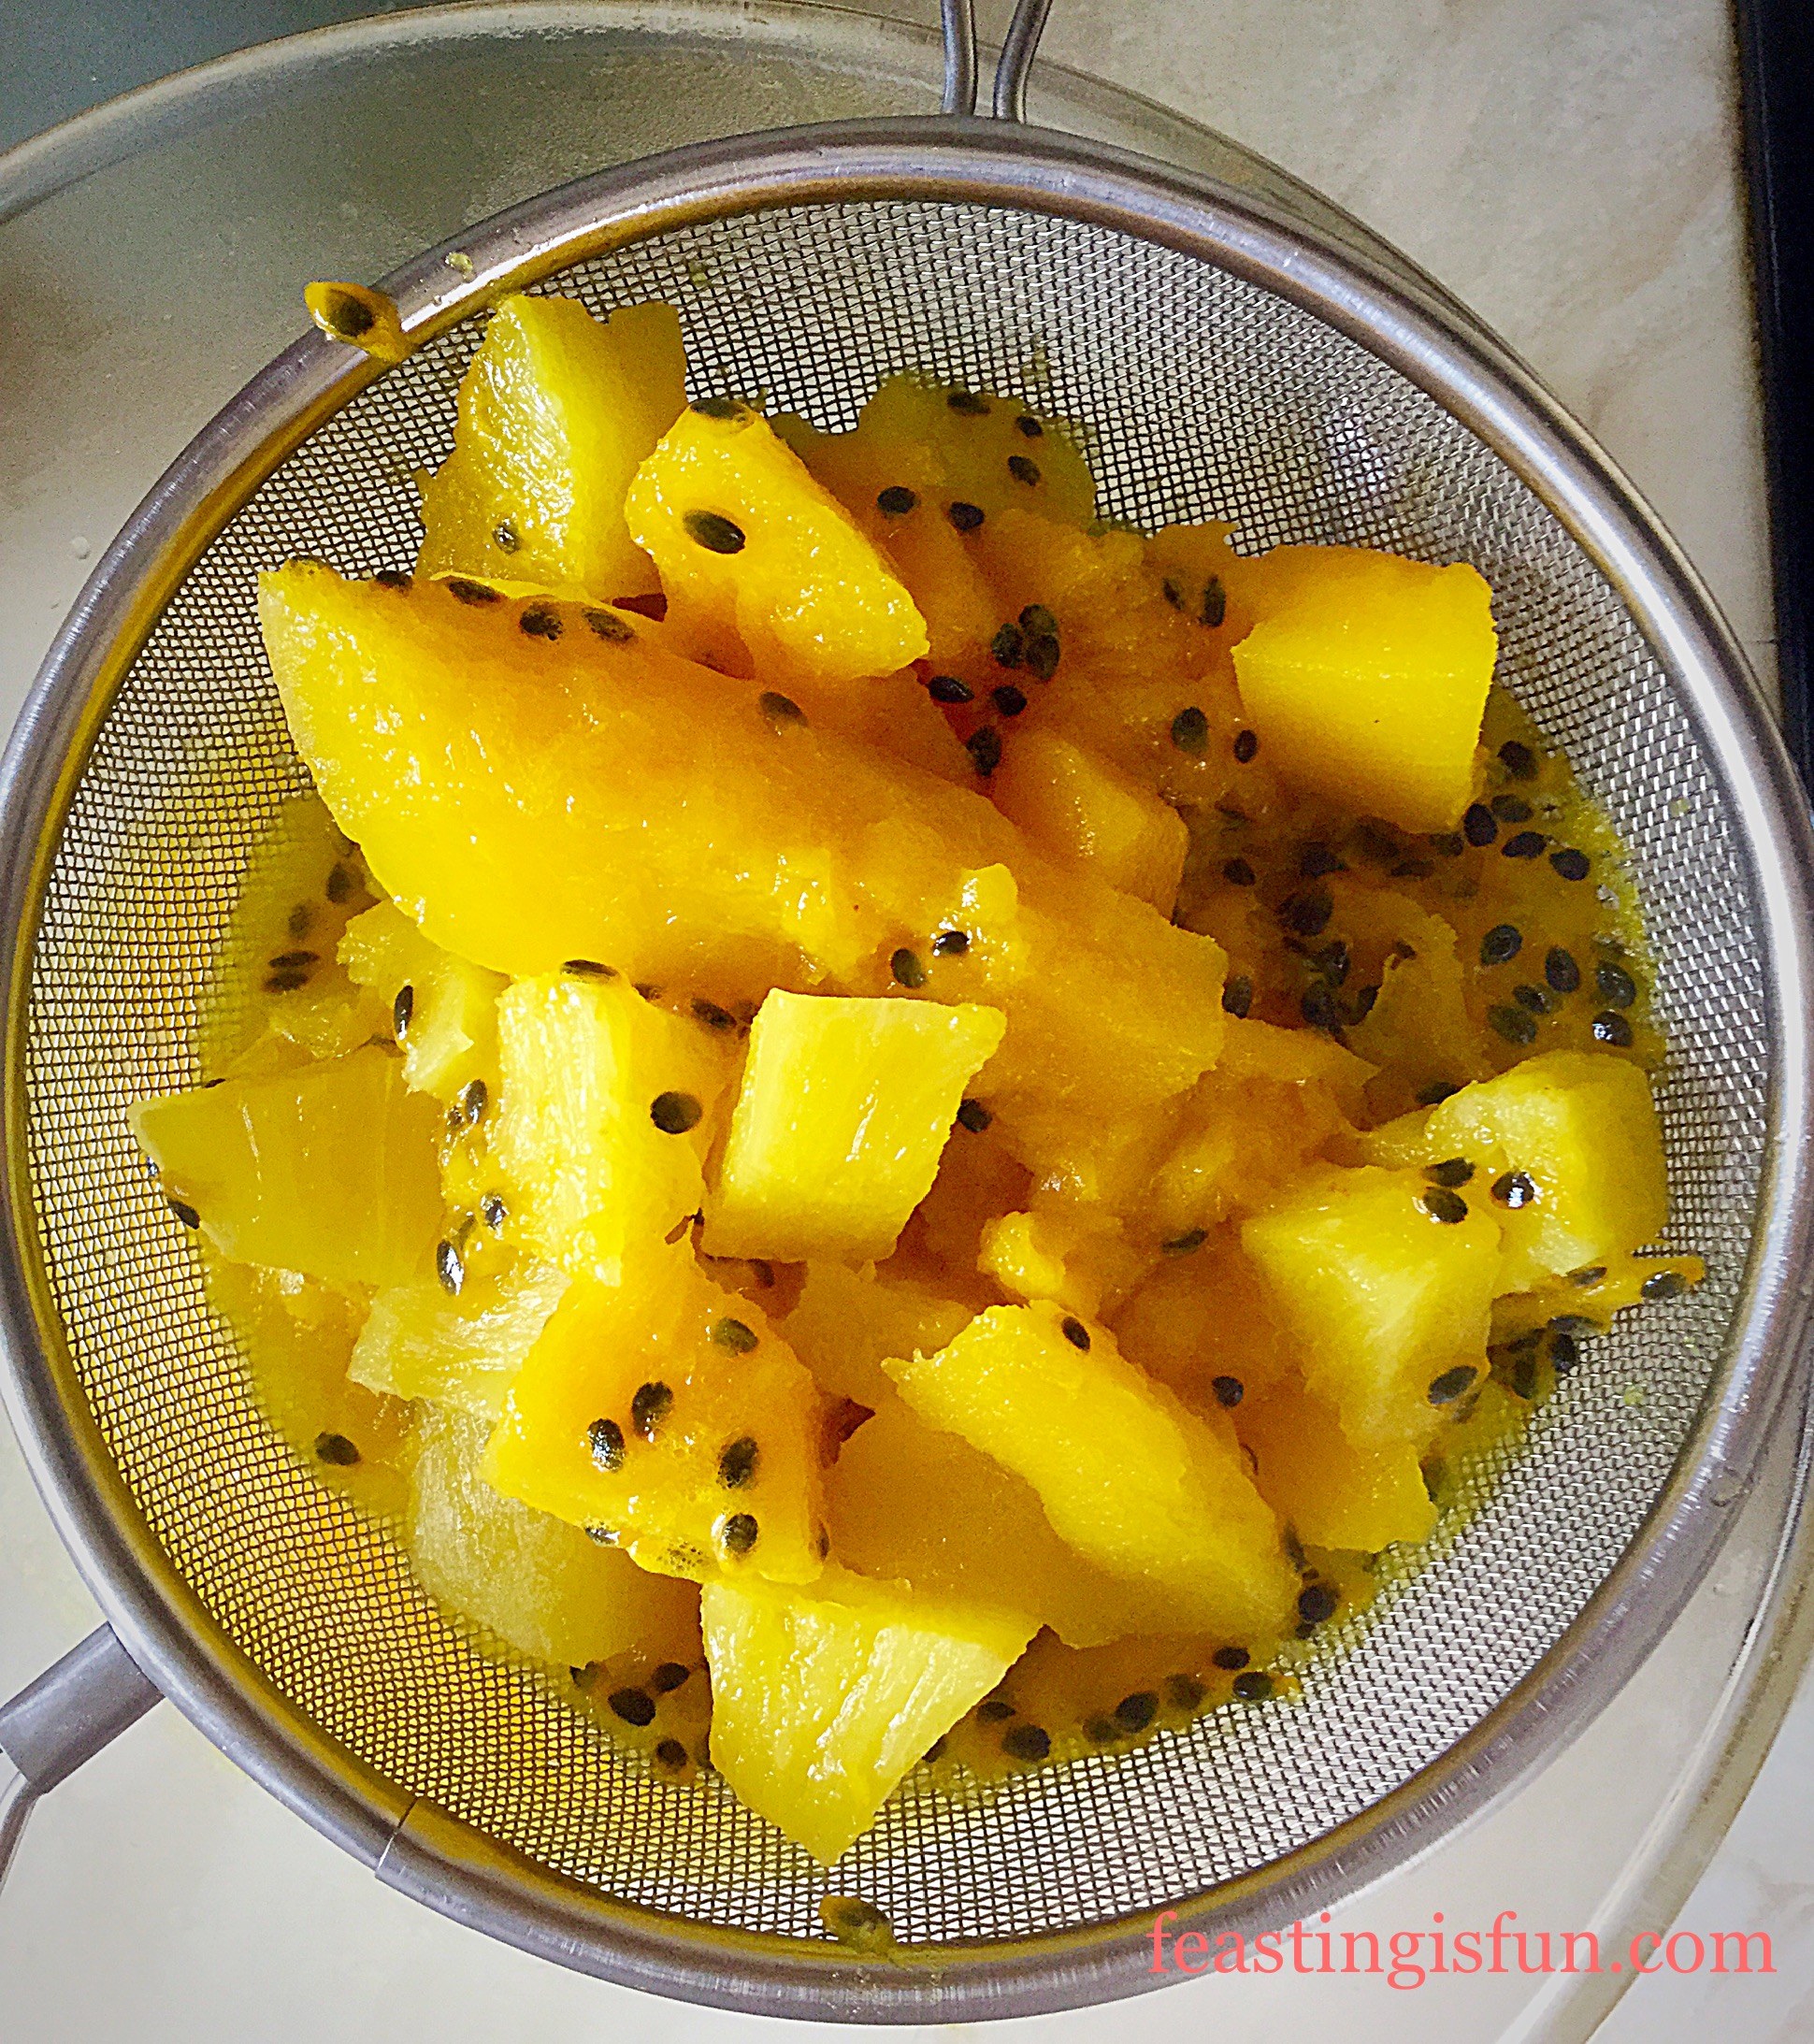
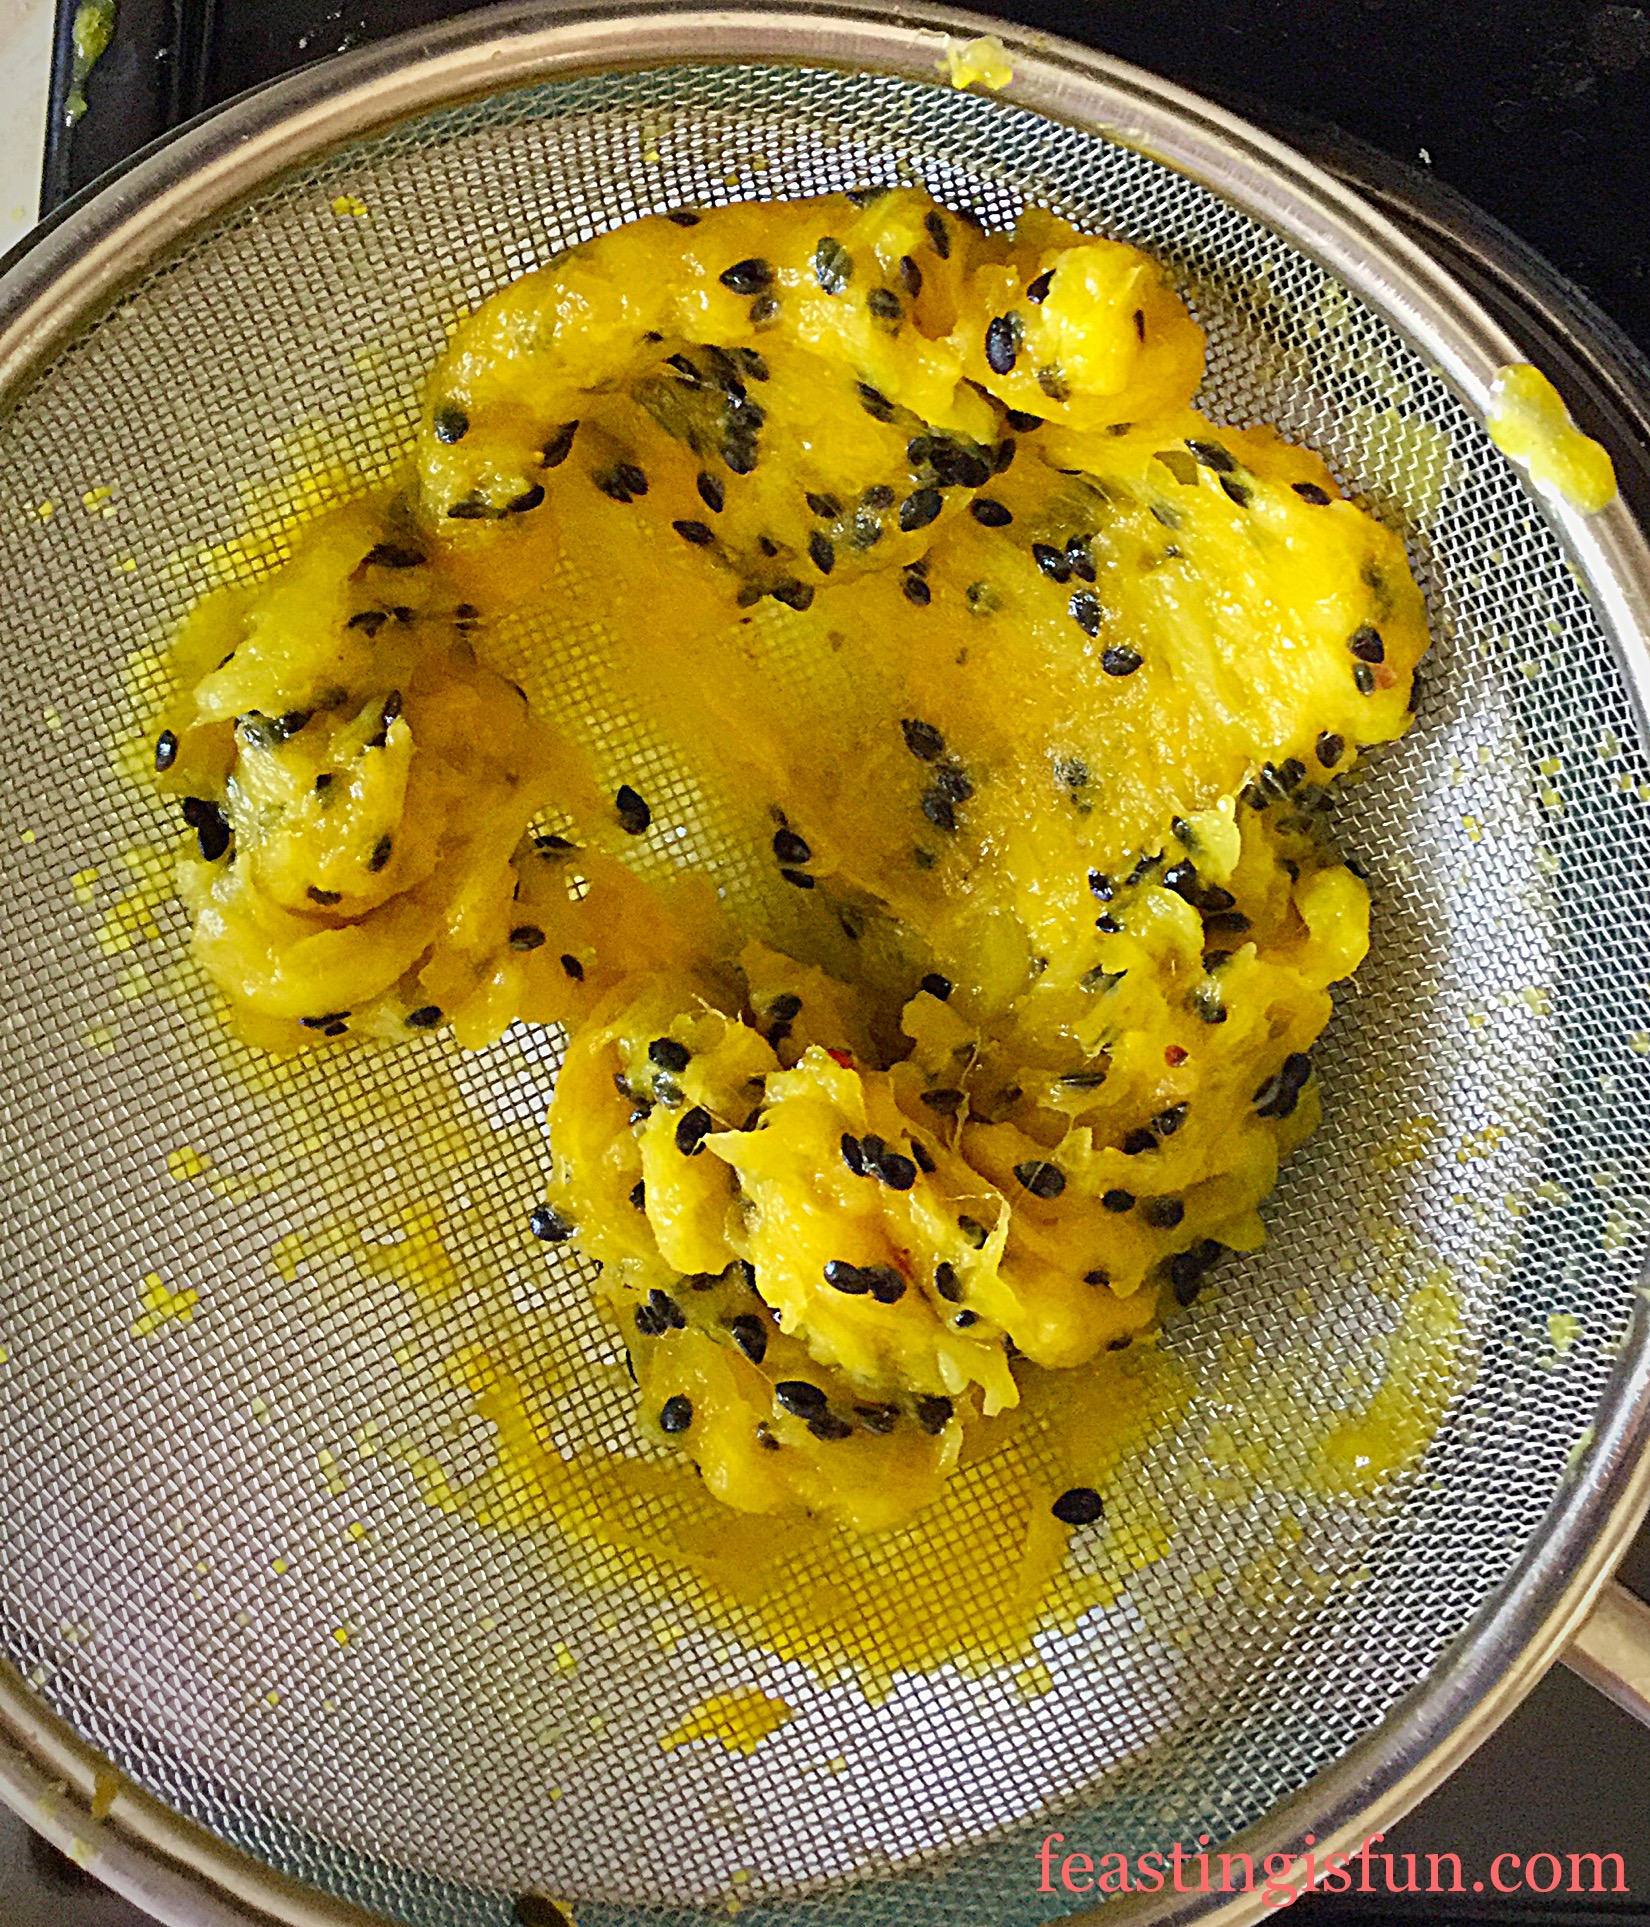
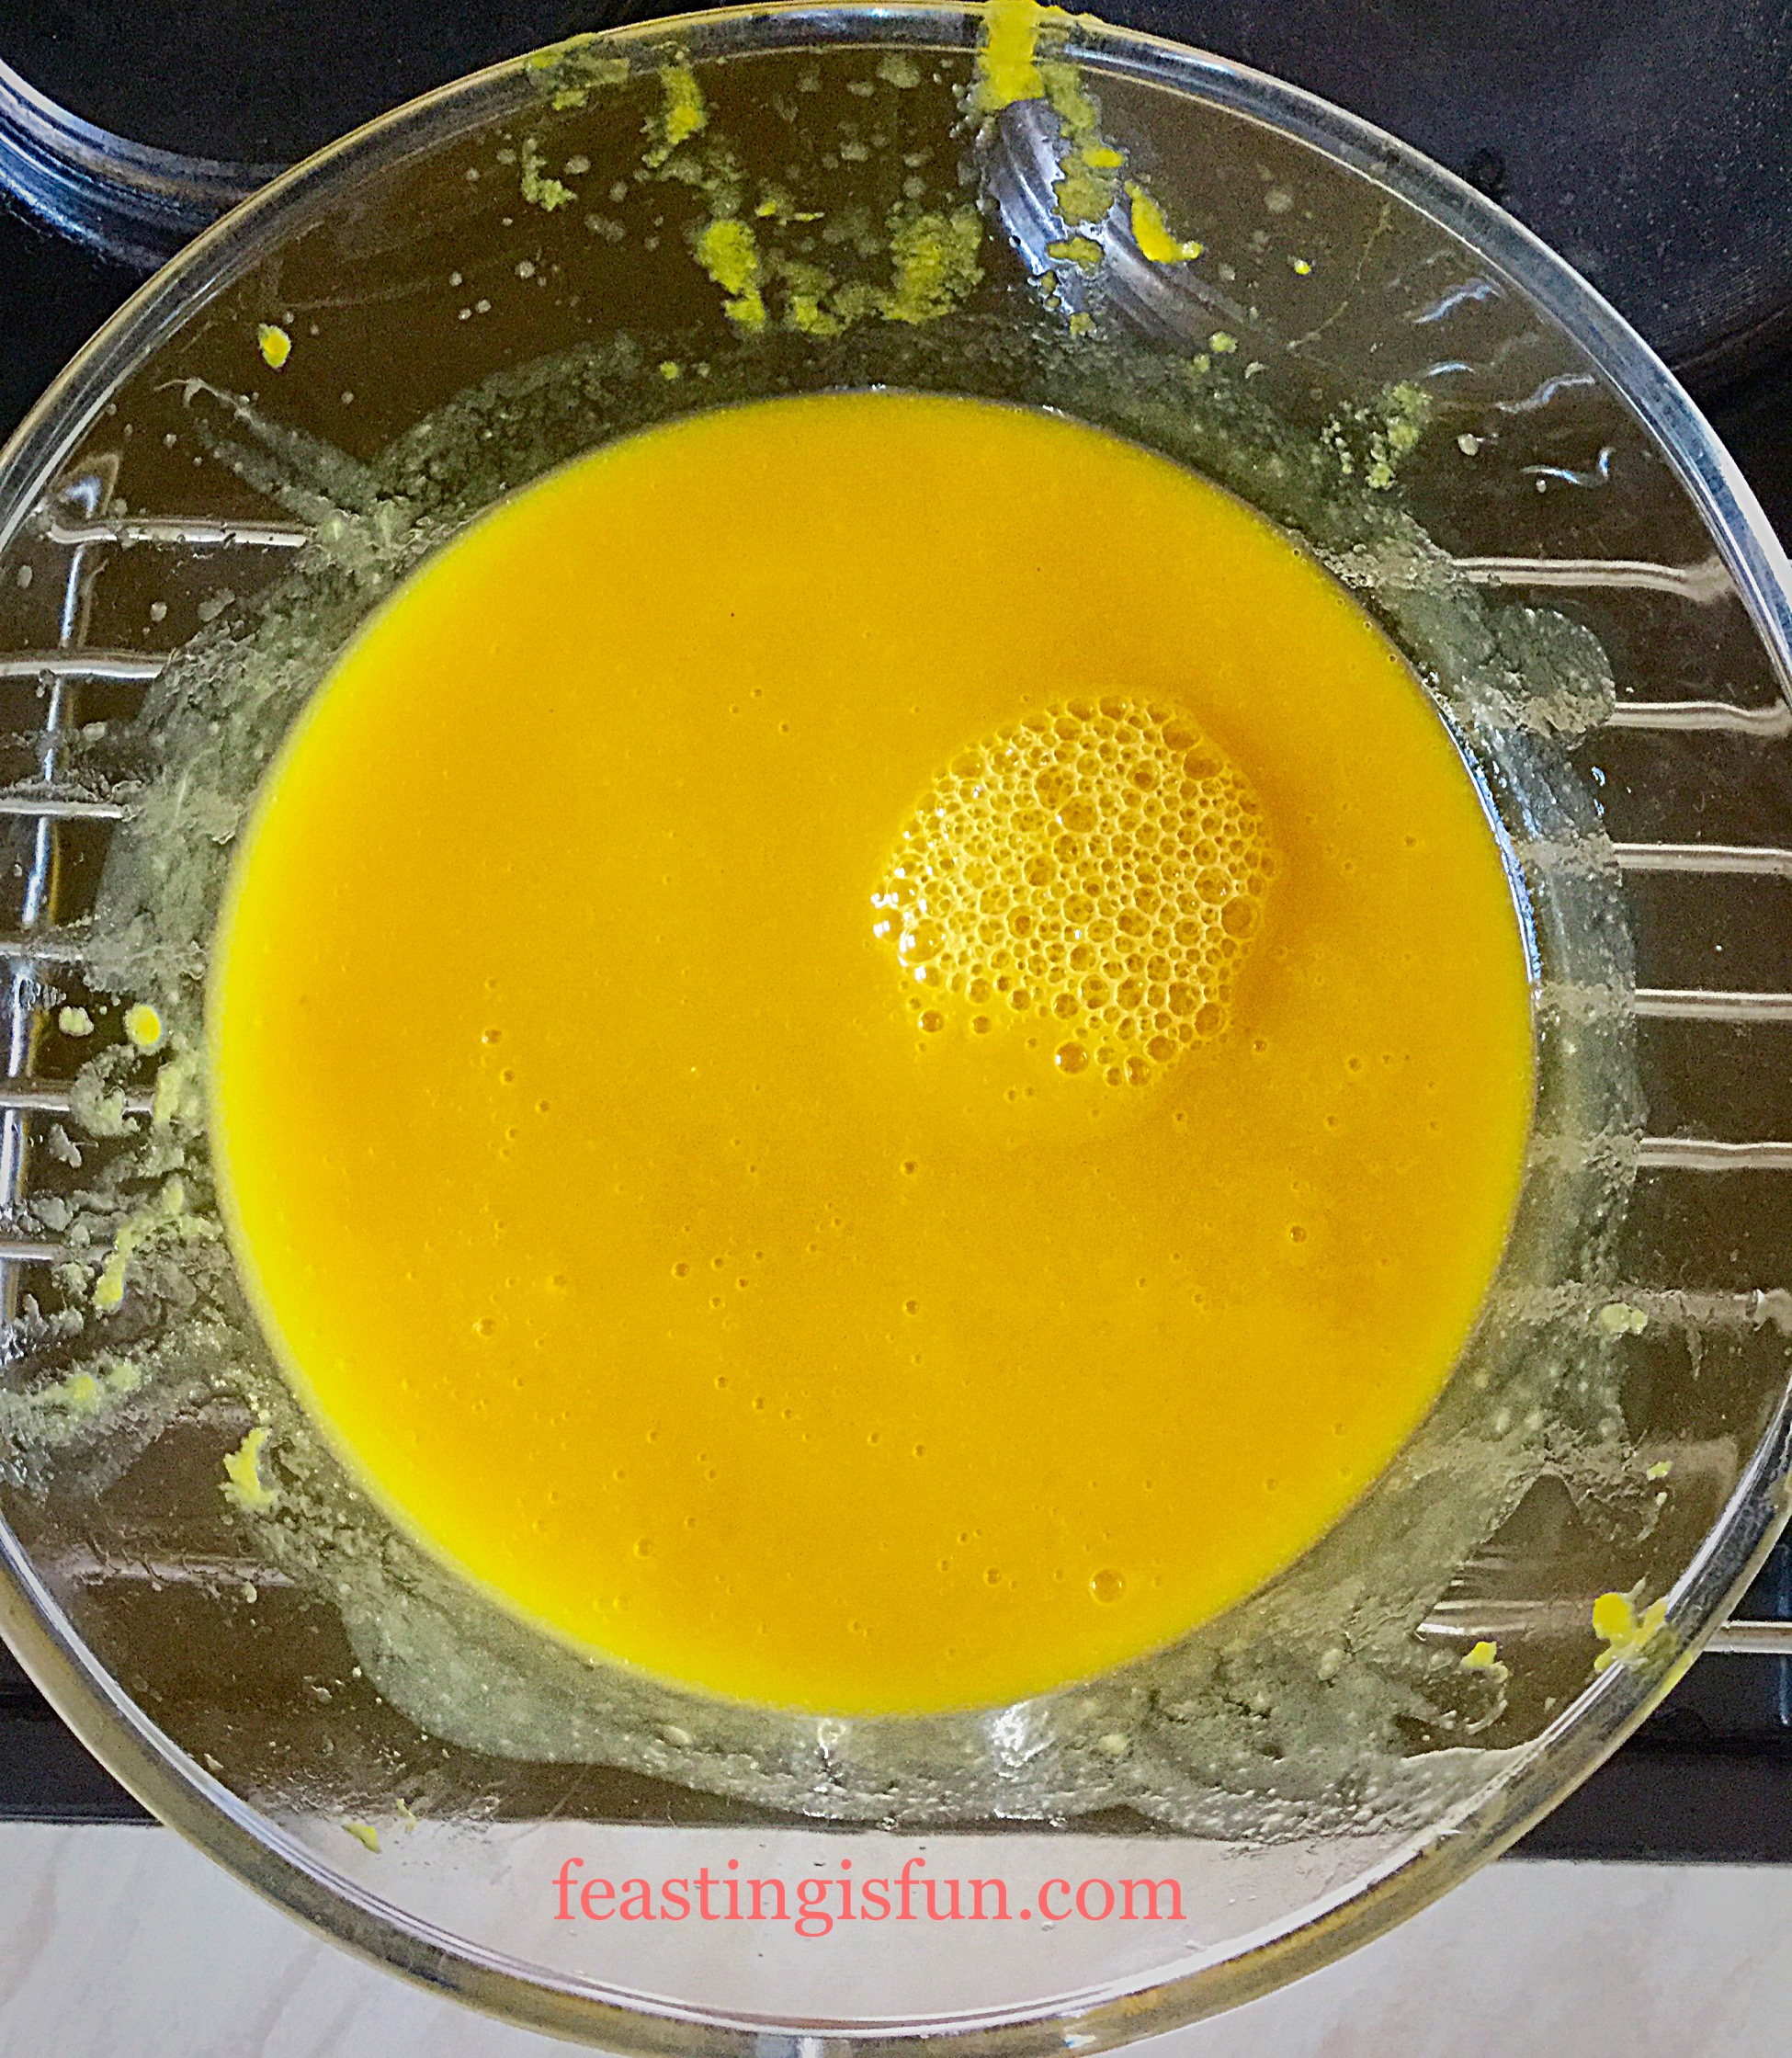
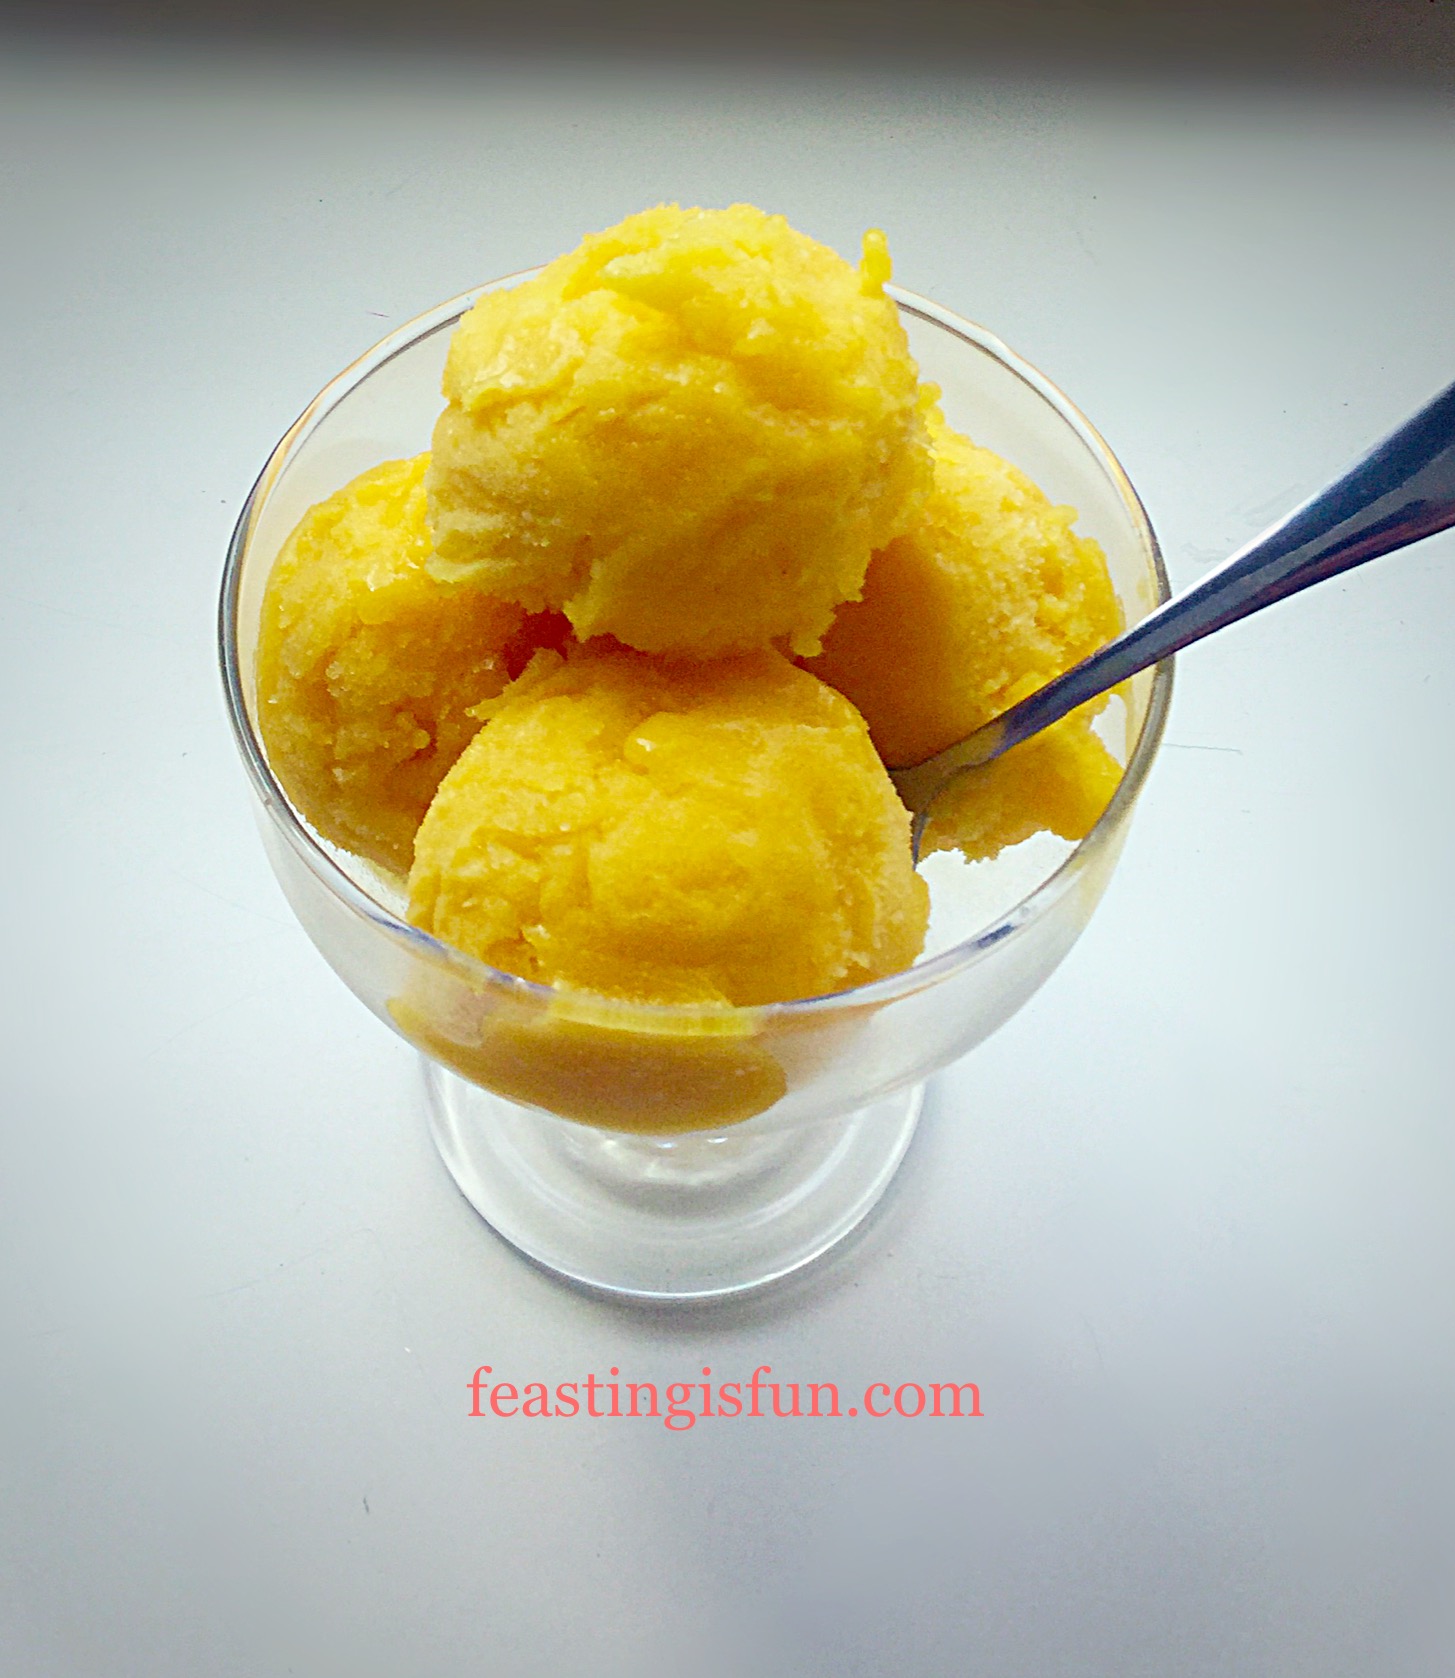
Refreshing Tropical Fruit Sorbet
Fruity, delicious, homemade ice creams and sorbet. You know exactly what has gone into each batch you make. Perfect for those following a gluten free diet, just ensure that your corn flour is certified gluten free. Whilst the sorbet it is both gluten and dairy free.
If you haven’t ever tried making your own ice cream at home, I hope I’ve encouraged you to have a go. It is so much fun coming up with new flavour combinations. I really wouldn’t be without my Andrew James Which Best Buy, ice cream maker. I’ve said before that an appliance has to earn it’s place in my kitchen. This summer alone I must have made 30 plus new ice cream recipes. Not all are on here – yet 😉!
Sammie xx
Share