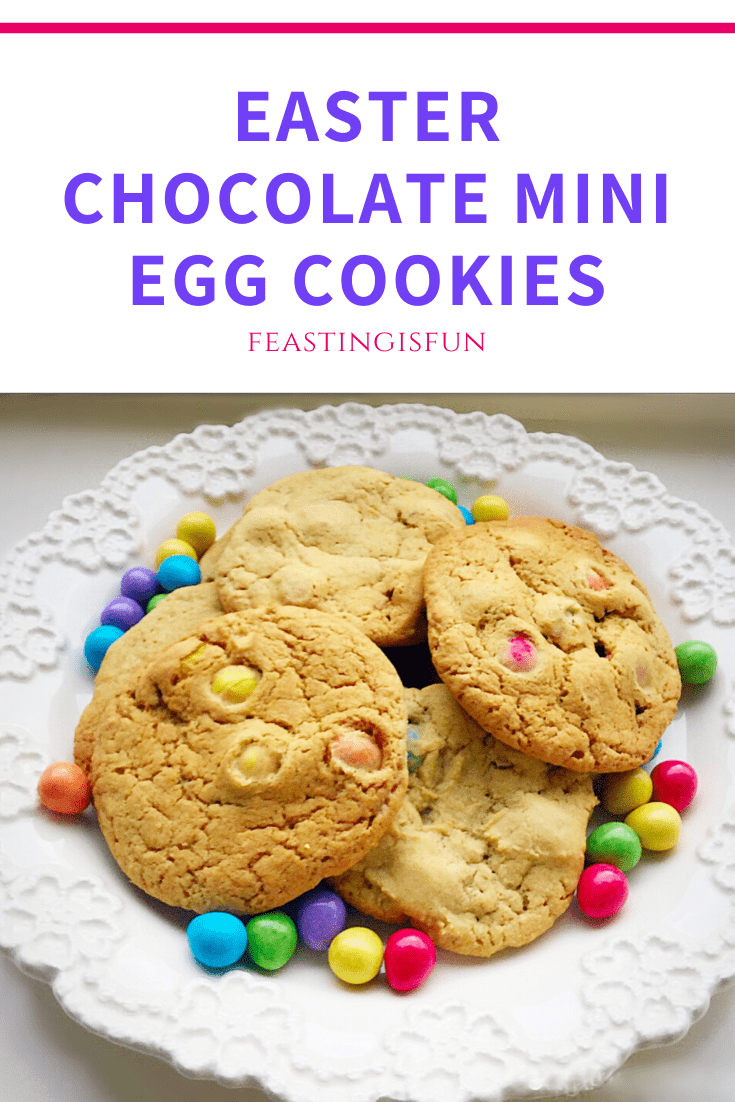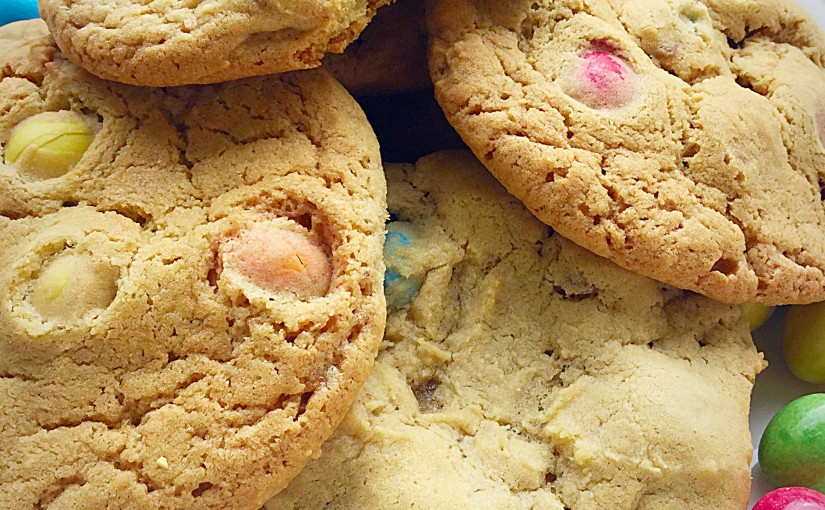
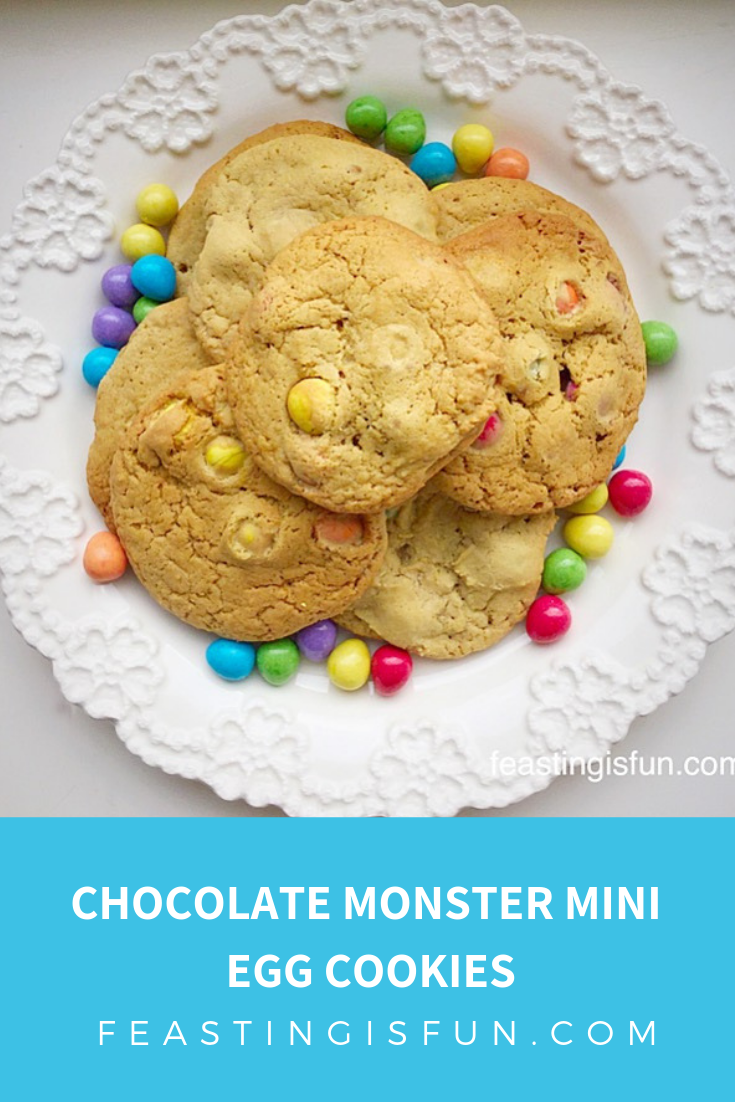
Since Easter is fast approaching I decided to take advantage of the range of chocolate eggs available and start my Easter baking with them. These Easter Chocolate Monster Mini Egg Cookies are the perfect large cookie. Soft, chewy, buttery cookies with whole Smarties mini eggs baked into the batter.
I am thoroughly enjoying the lead up to Easter this year. Especially as last year I was unwell and in hospital over Easter, see Living With Seizures which really sucked. Although I still have seizures every day, at least I am at home, with my family.
Baking An Easter Cookie Treat
Baking these Easter Chocolate Monster Mini Egg Cookies is a great way to share with our children, nephews, nieces, family and friends. I love seeing the excited look of anticipation. What has mummy baked today. Also, in spite of my health issues, it gives me real joy to see the pleasure a treat brings to someone else.
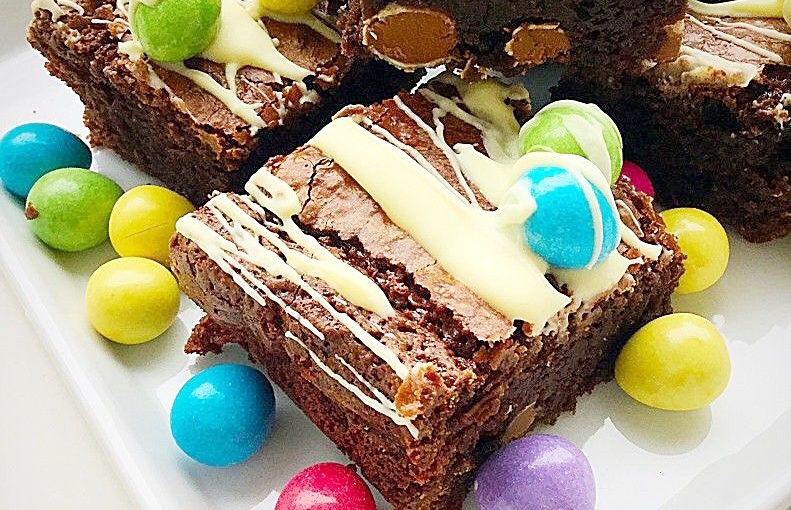
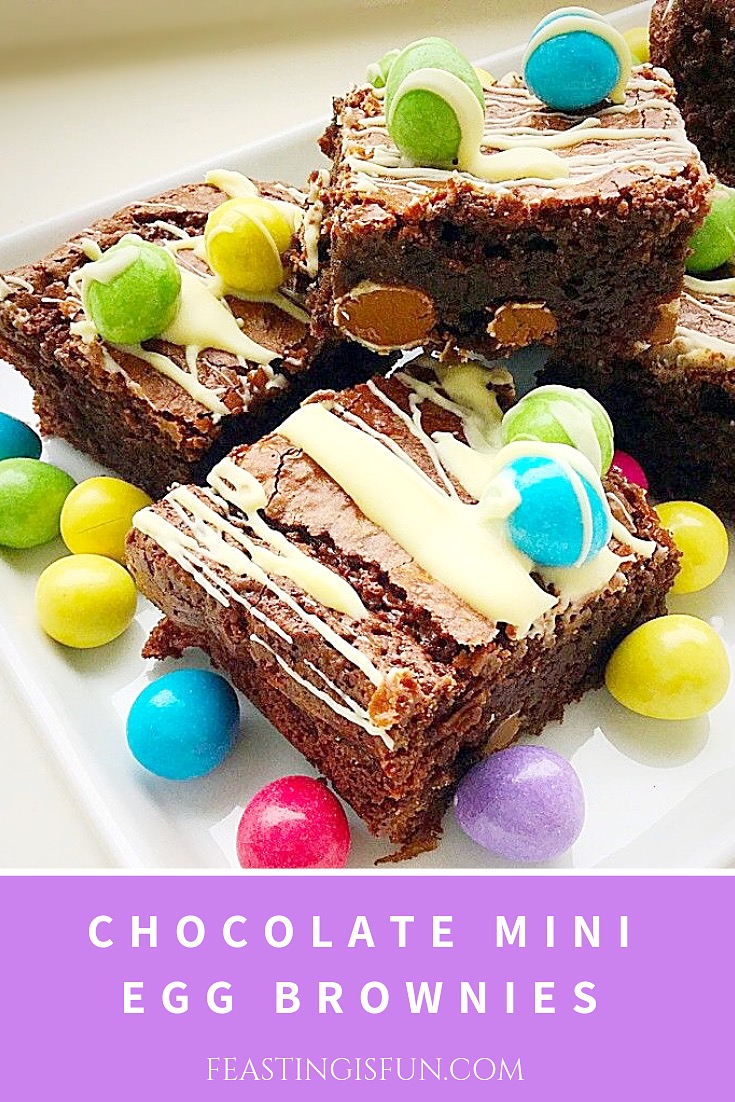
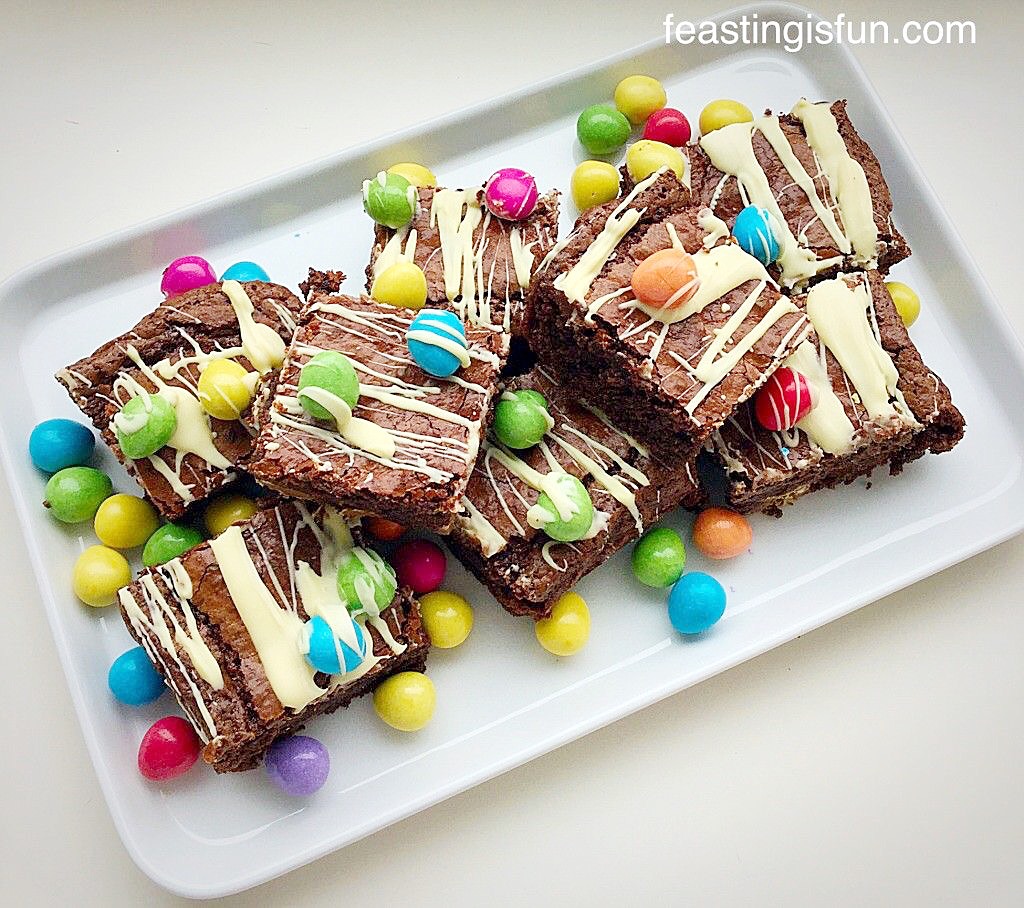
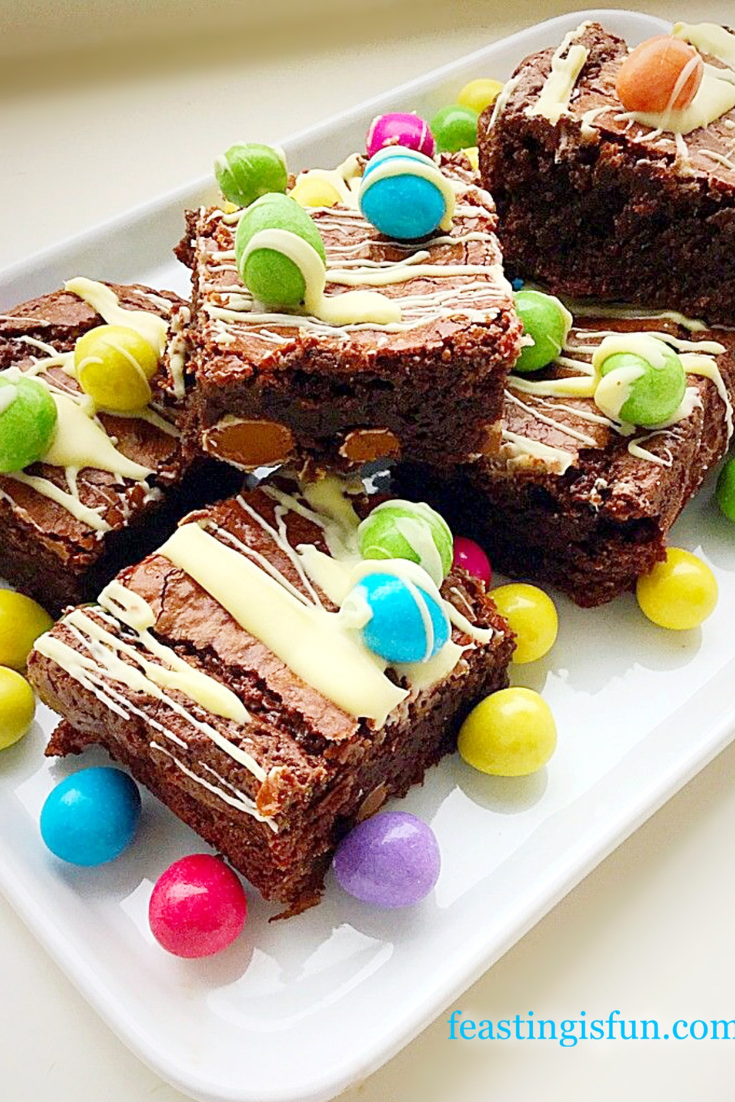
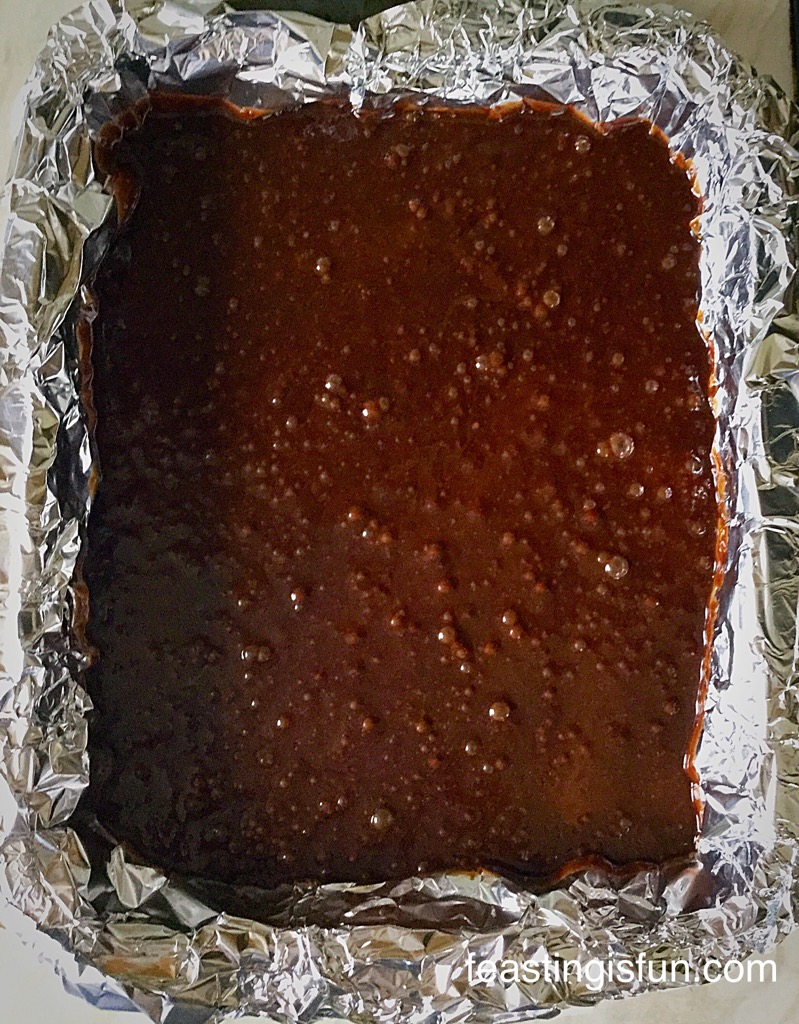
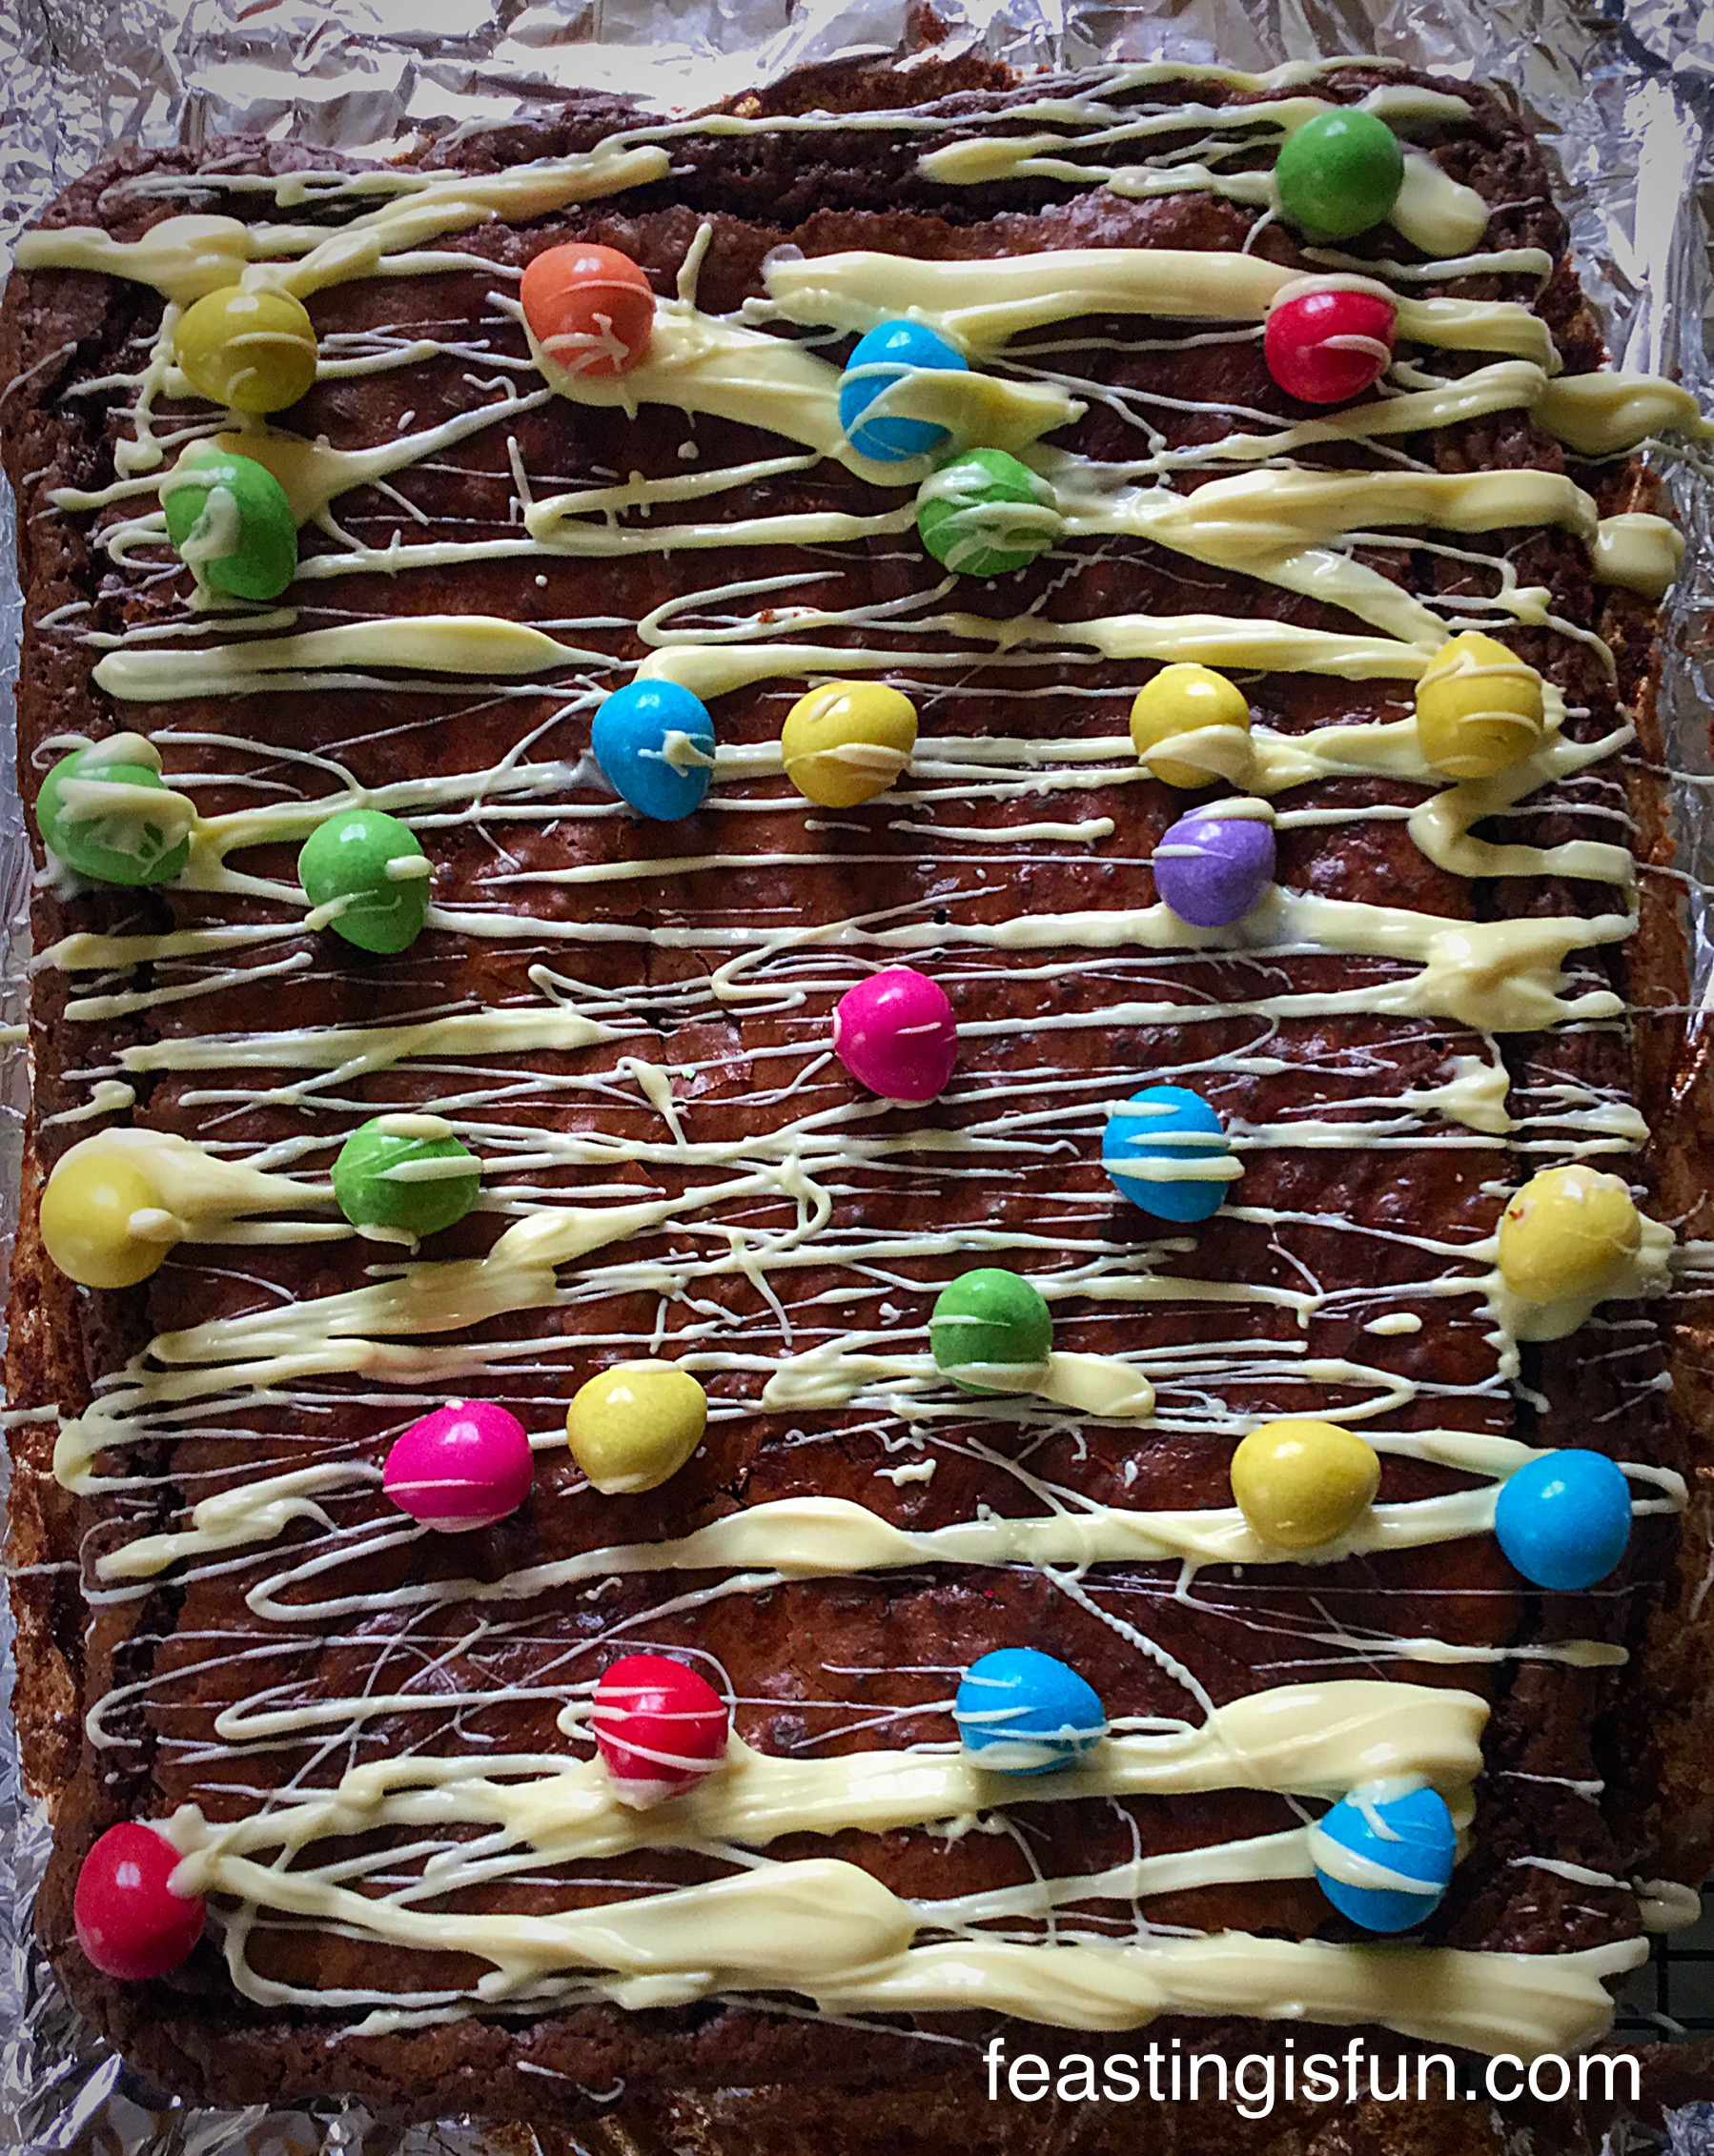
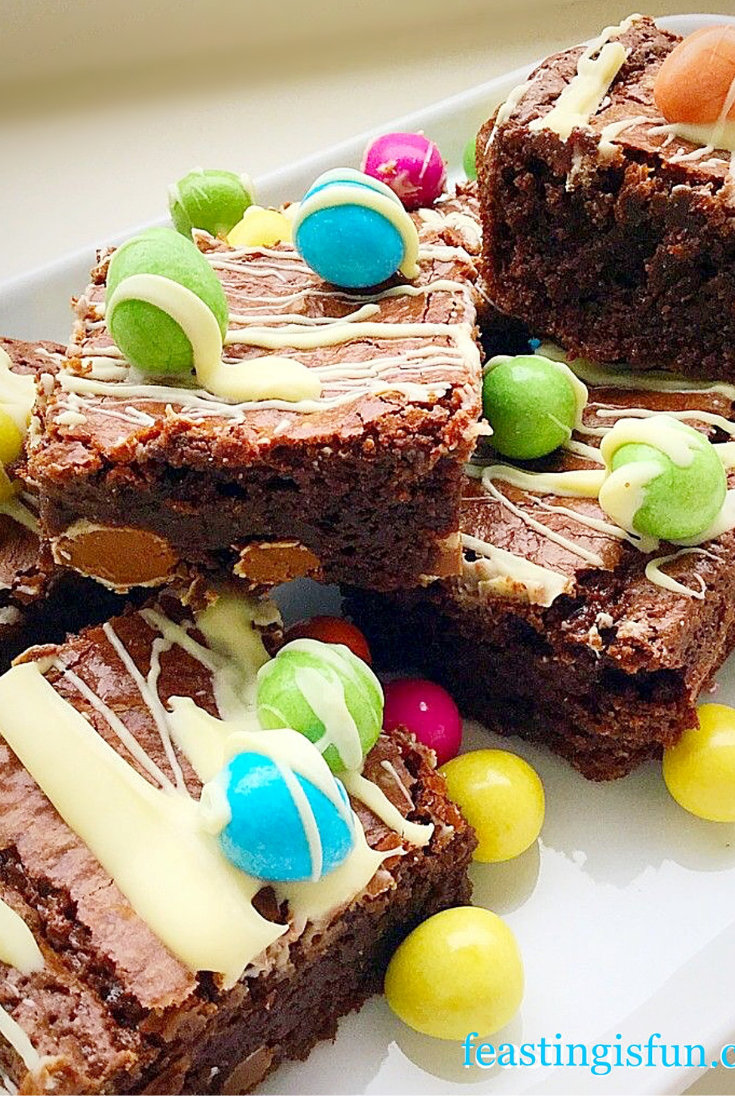
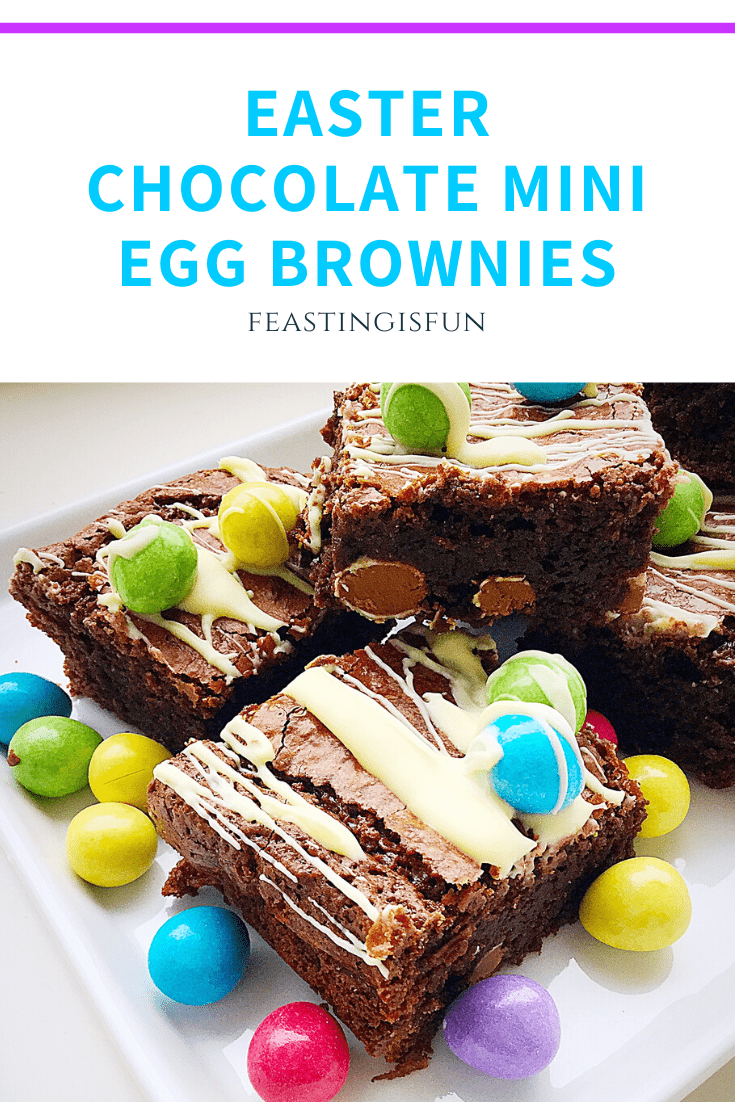
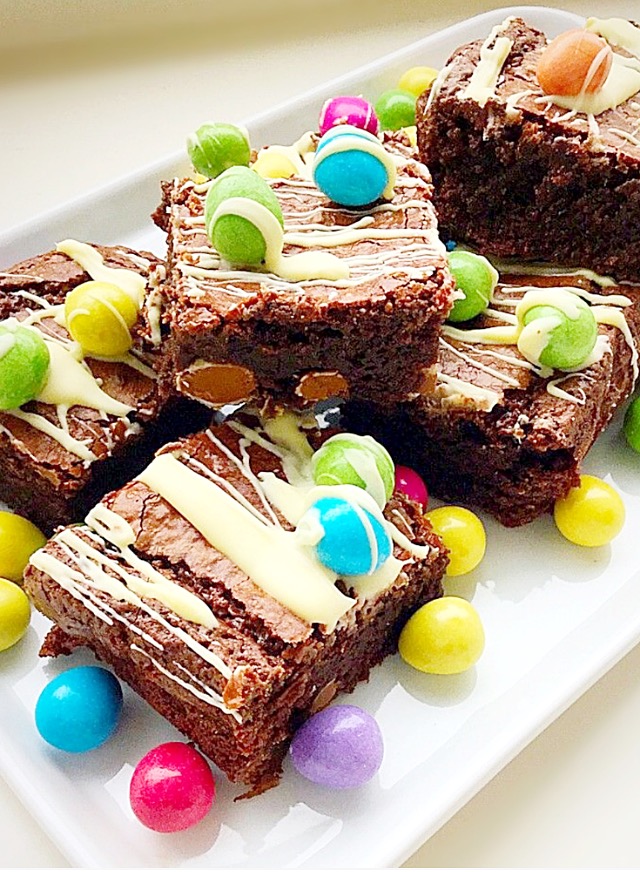
As well as these delicious cookies, Smarties mini eggs have also made there way into Chocolate Mini Egg Brownies so I am definitely feeling the mini egg love this Easter!
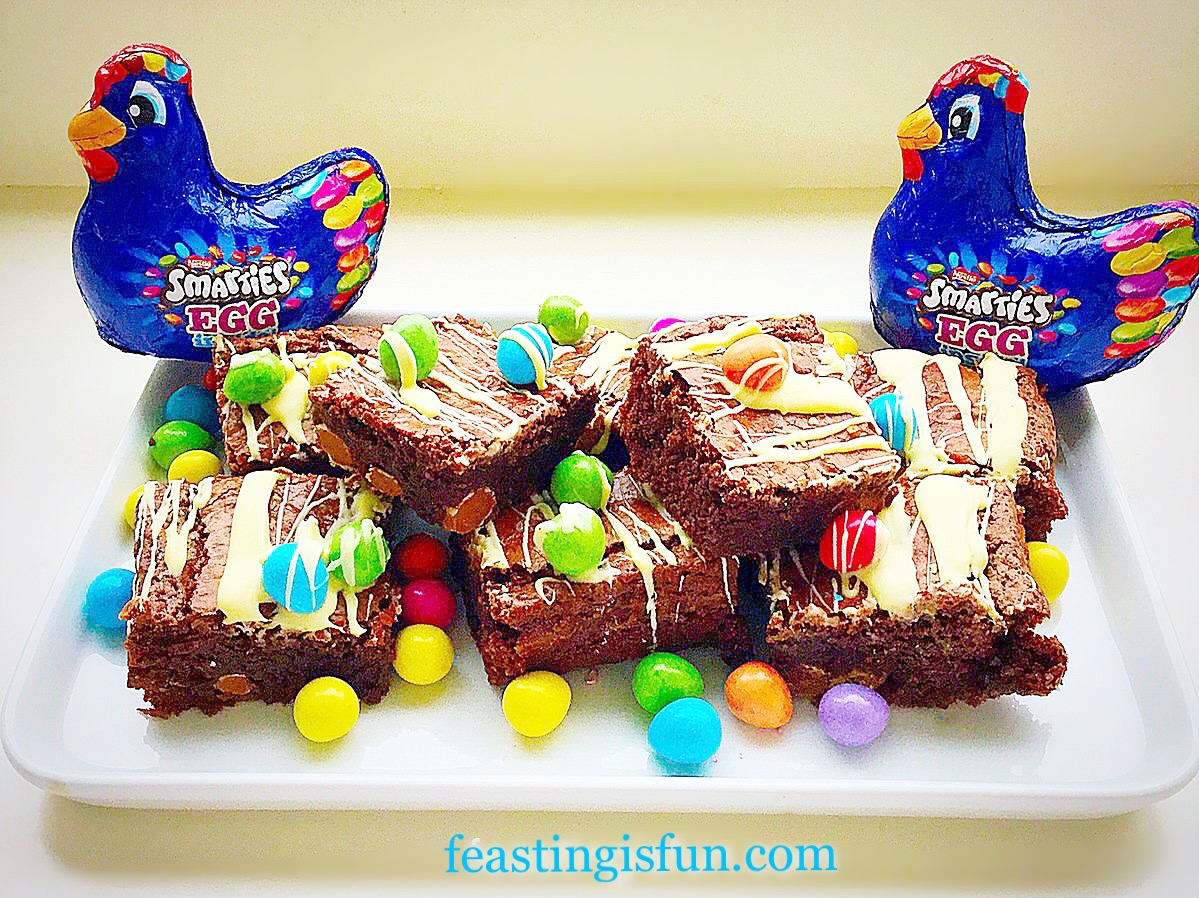
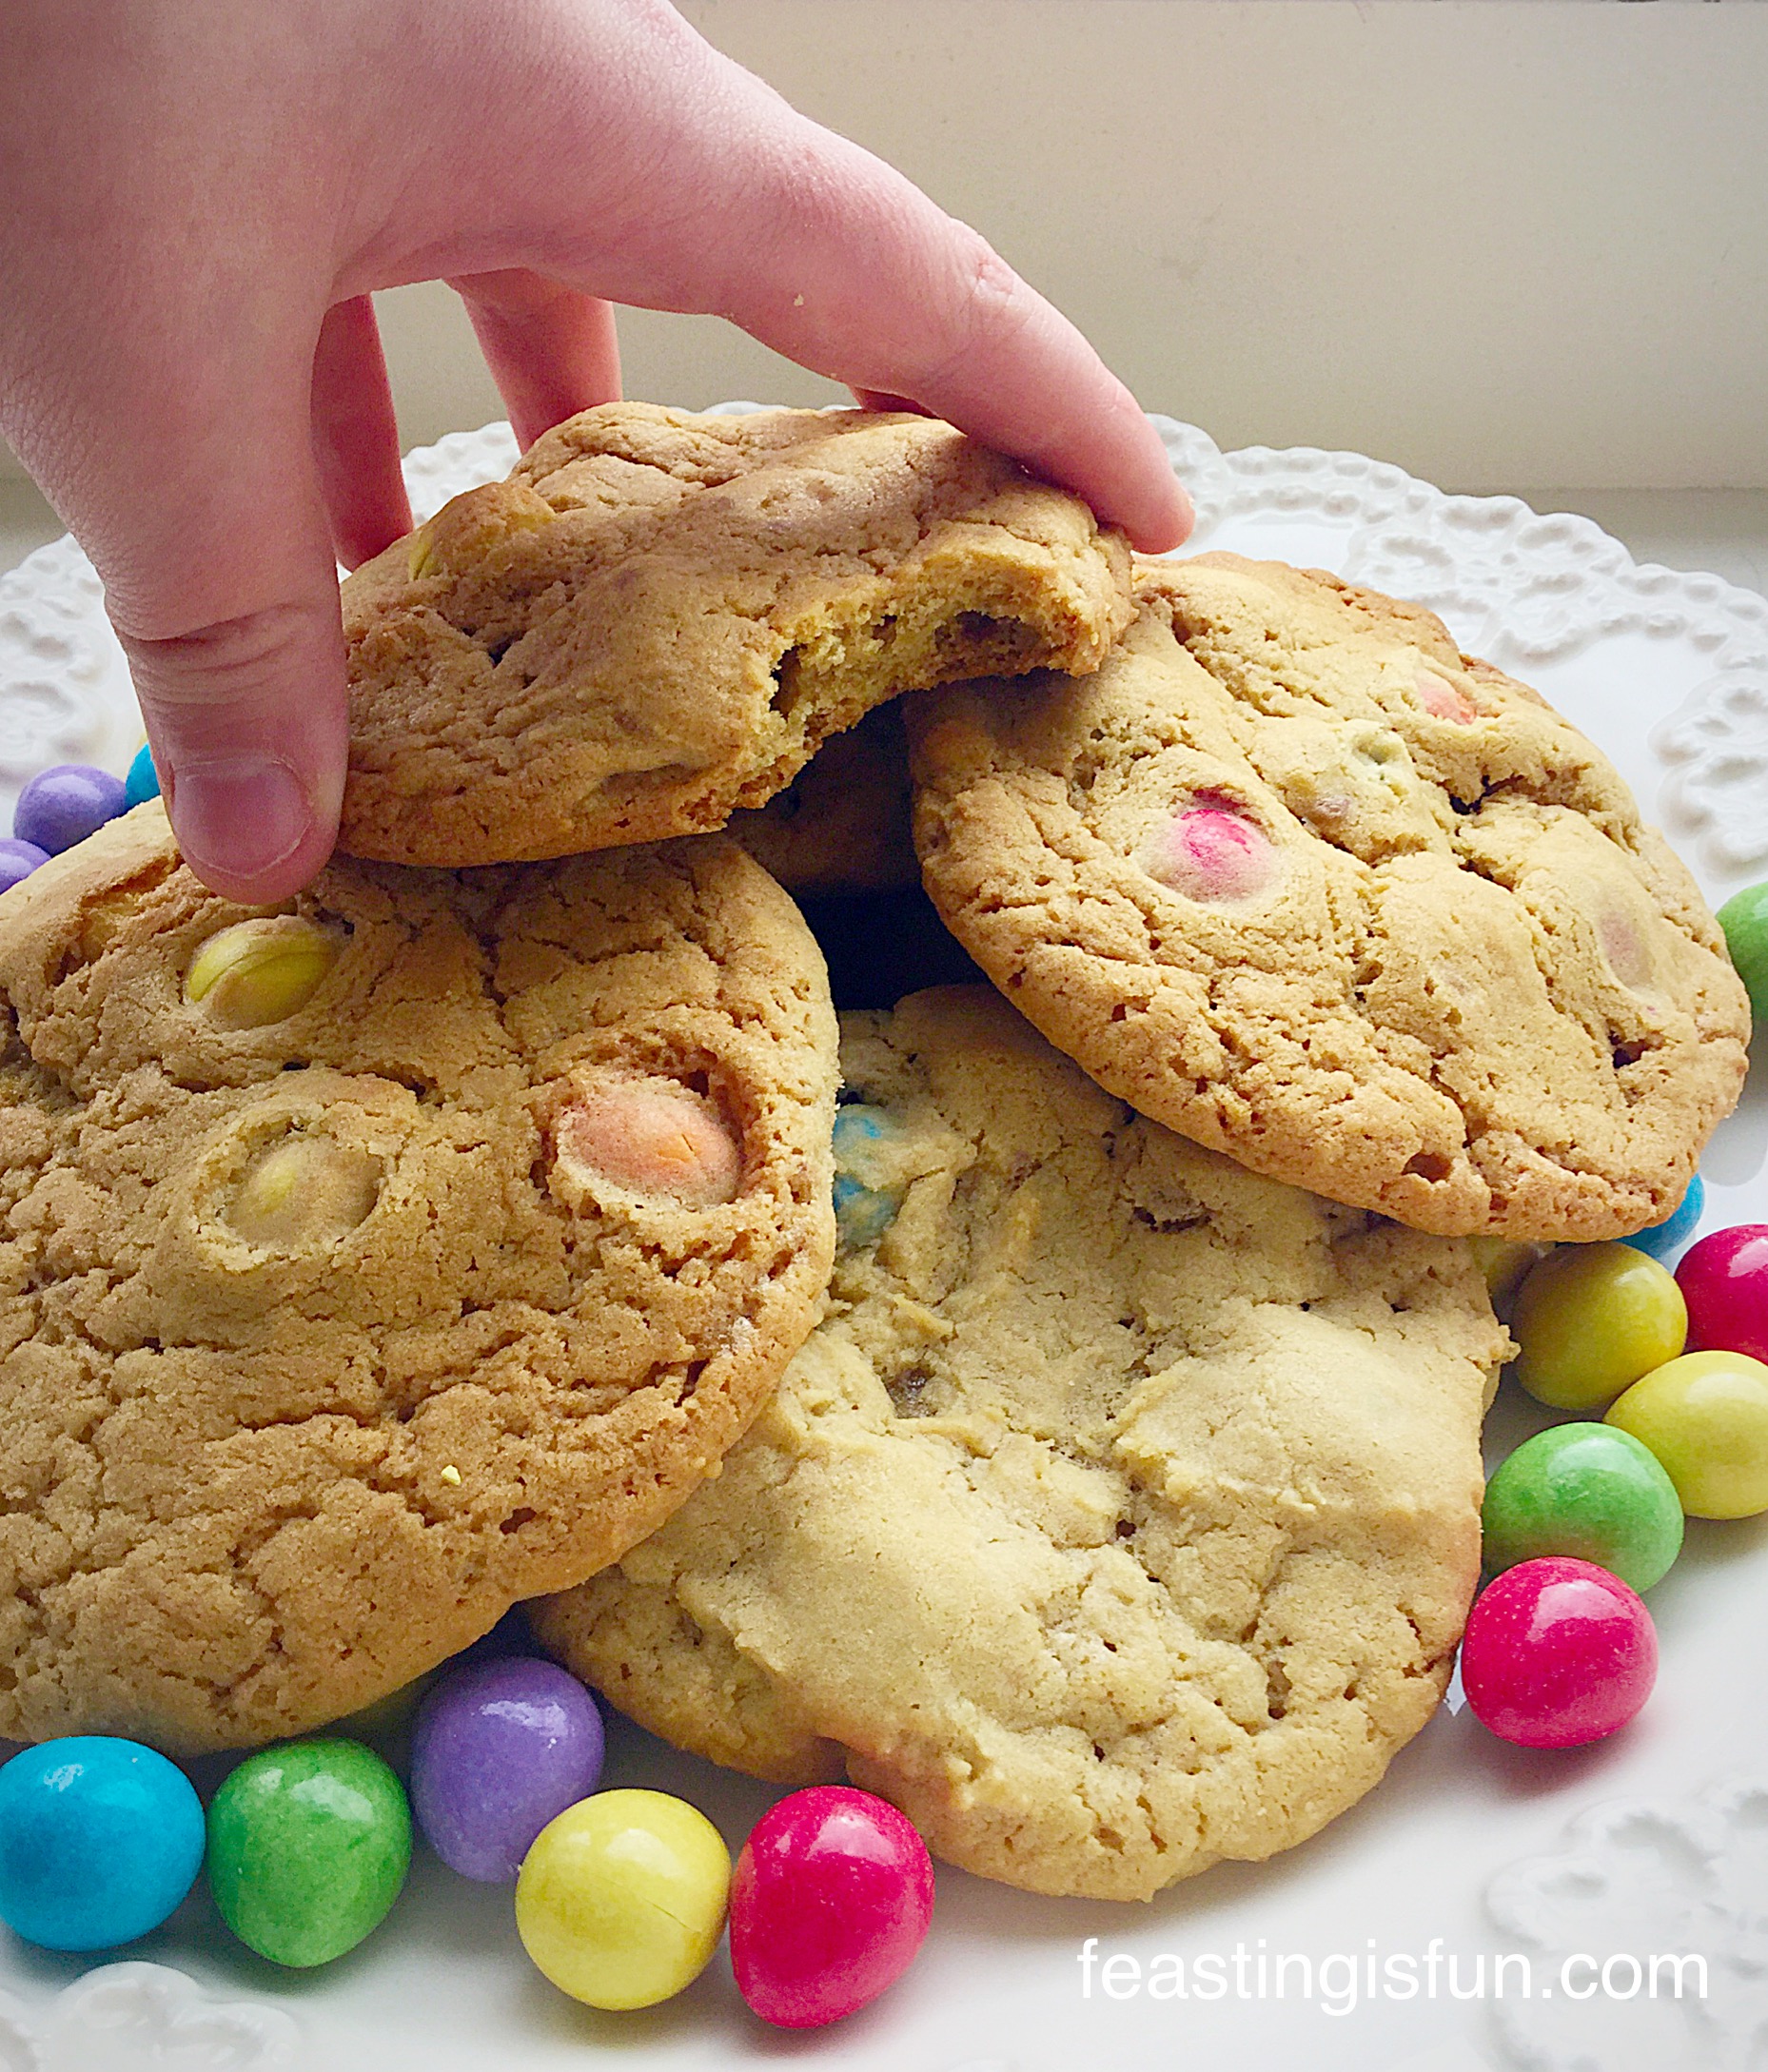
I absolutely love Cadburys mini eggs and may well have polished of a packet or three whilst in hospital last year! They will feature in a recipe I have planned and can be used in this recipe, however the bright colours of the Smarties mini eggs really grabbed my attention. Especially as they keep their shape while baking, yet soften a little. Resulting in a combination that works beautifully in this Easter cookie recipe.

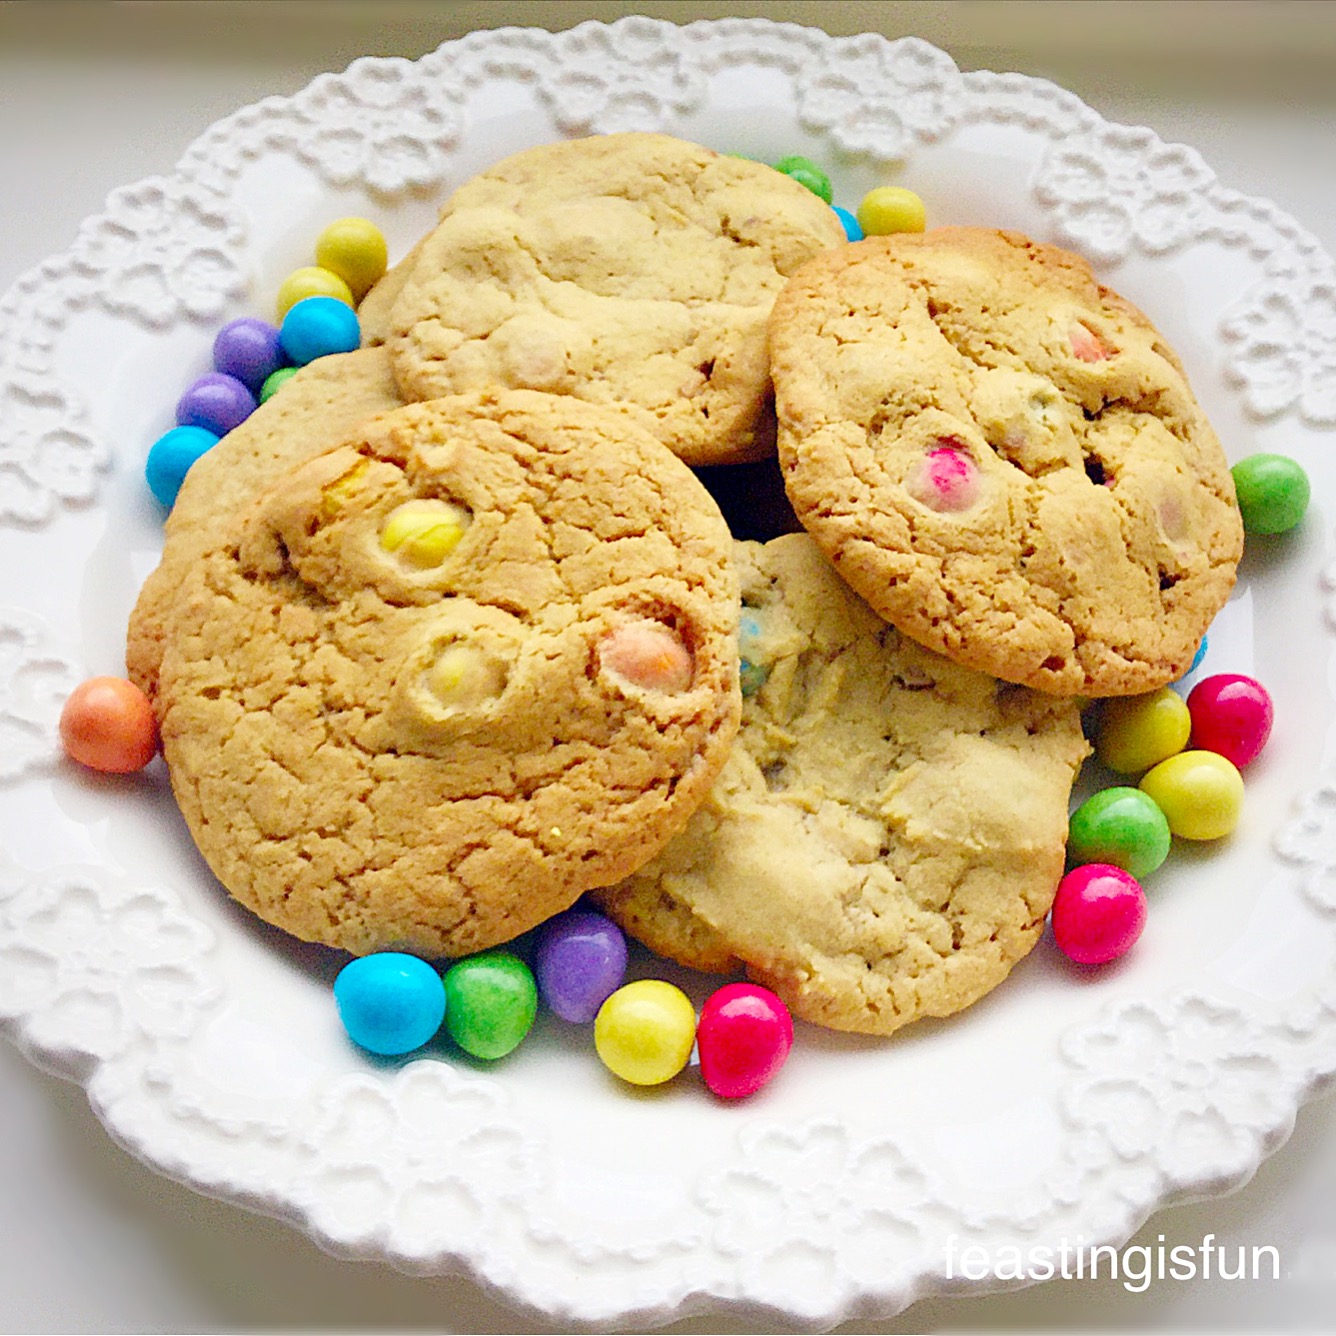
If you are a regular reader of this blog, you will know that I am a self confessed Cookie Monster. While I find no shame in admitting this, you should know this recipe makes 12 Easter Chocolate Monster Mini Egg Cookies. Absolutely perfect for cookie lovers like me!
Mindful of moderation
Due to their size these cookies are most definitely not a one bite and they’re gone. In fact I had one for my lunch today with a hot cup of tea and I have to say, I was one very happy bunny (see the Easter pun there 😉).
Obviously these are intended as a treat and that’s part of the reason I give so much of my baking away. It wouldn’t be very healthy if we ate all of every batch of say Marshmallow Frosted Mango Cupcakes that I bake.
So by sharing the love, I also share the calories, that are balanced out in our home with lots of fruit and vegetables.
Recipe: Makes 12 Easter Chocolate Monster Mini Egg Cookies
225g/8oz Soft Light Brown Sugar
150g/5oz Unsalted Butter- at room temperature
2tsp Vanilla Extract – I use Nielsen-Massey
1 Large Free Range Egg – plus
1 Large Free Range Egg Yolk
275g/10oz Plain White Flour
1/2tsp Bicarbonate of Soda
Pinch of Salt – I use Maldon
2 Packets Smarties Mini Eggs (2x100g) – alternatively Cadbury’s mini eggs also work well in this recipe
Method: Preheat oven to 170C/150C fan, gas mark 3, 325F
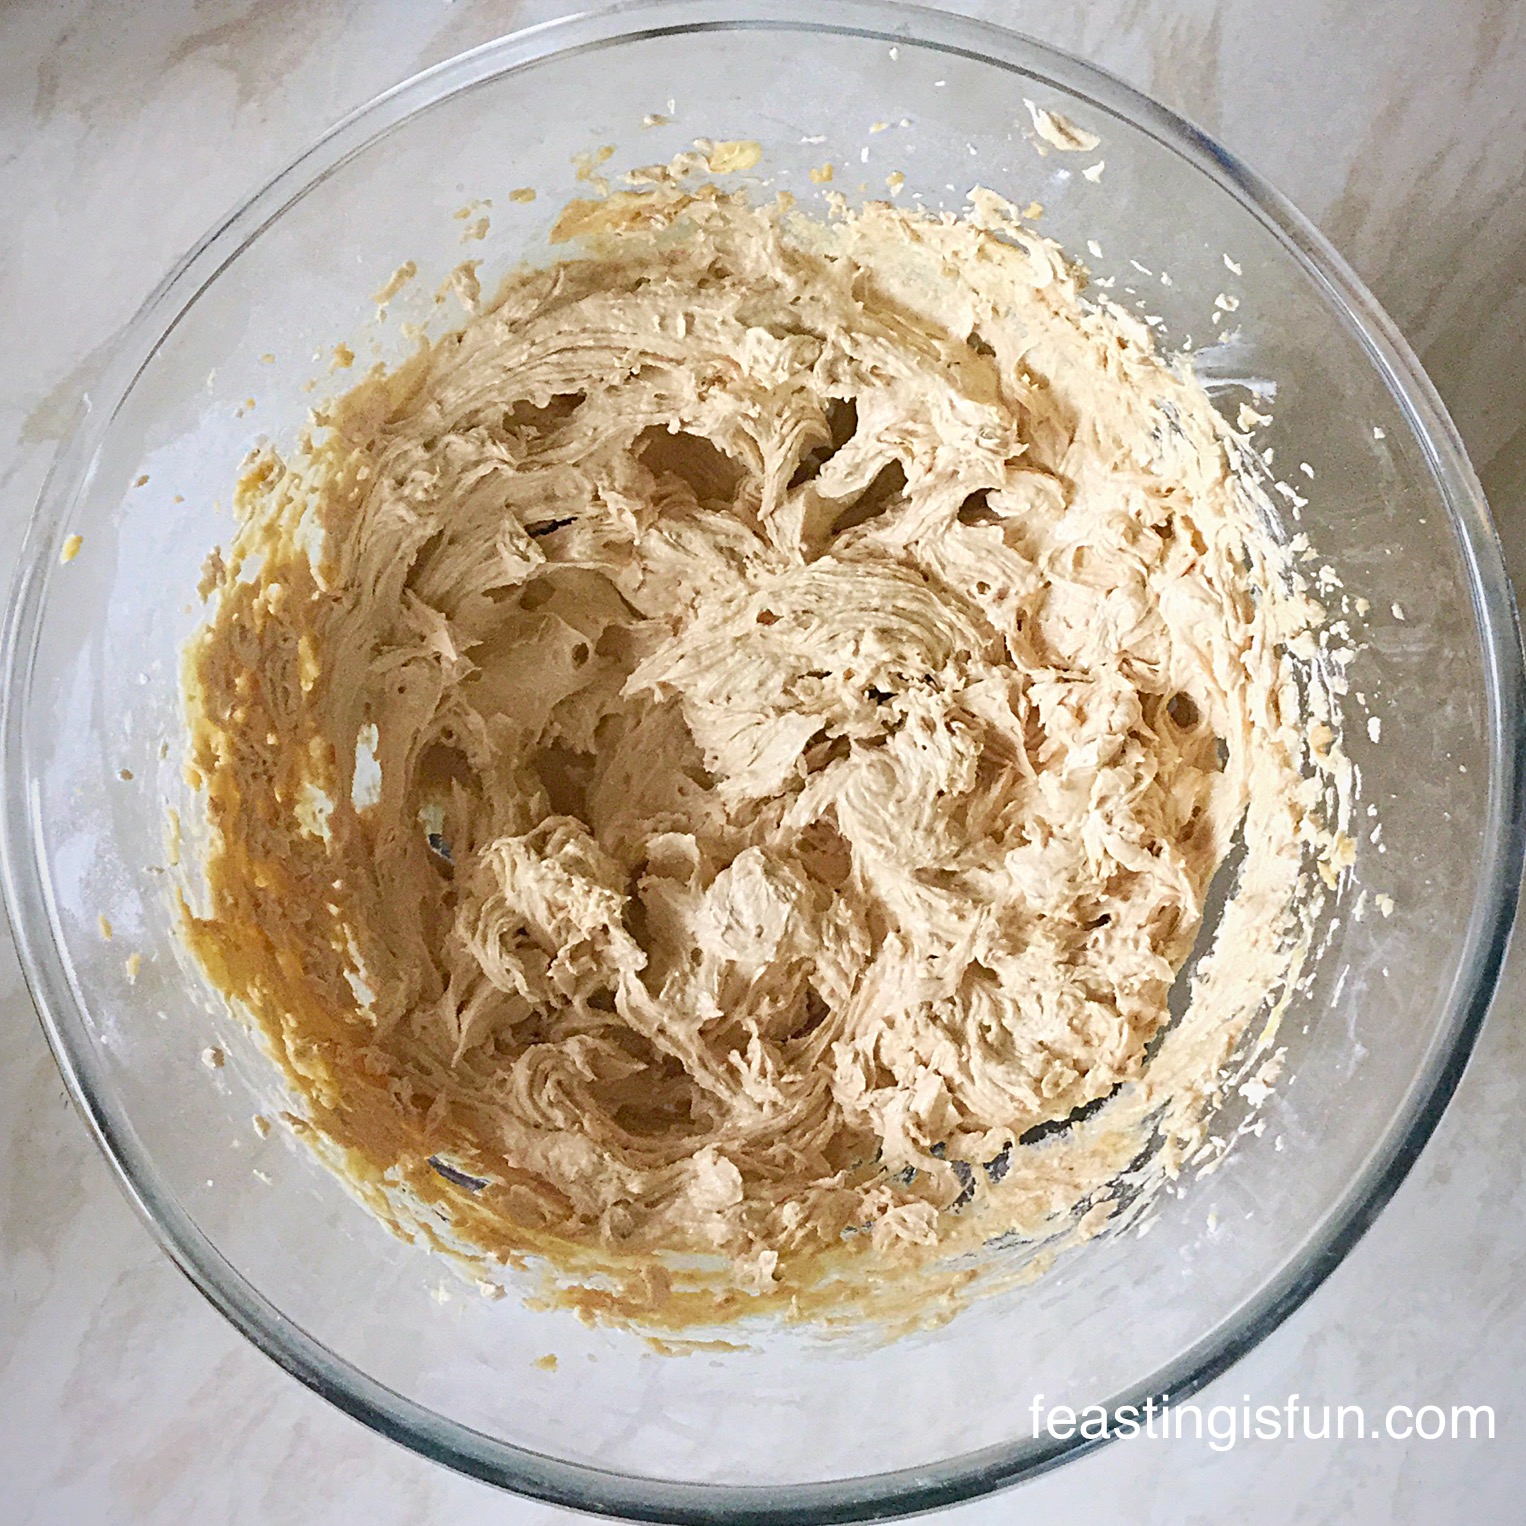
Making the cookie dough
- First of all, place the sugar and butter in a large bowl and whisk/beat for 5 minutes until pale and creamy – whisking for 5 minutes here and then after adding the eggs is very important to the finished texture of the cookie.
- Add the vanilla extract and the eggs and continue whisking/beating for a further 5 minutes.
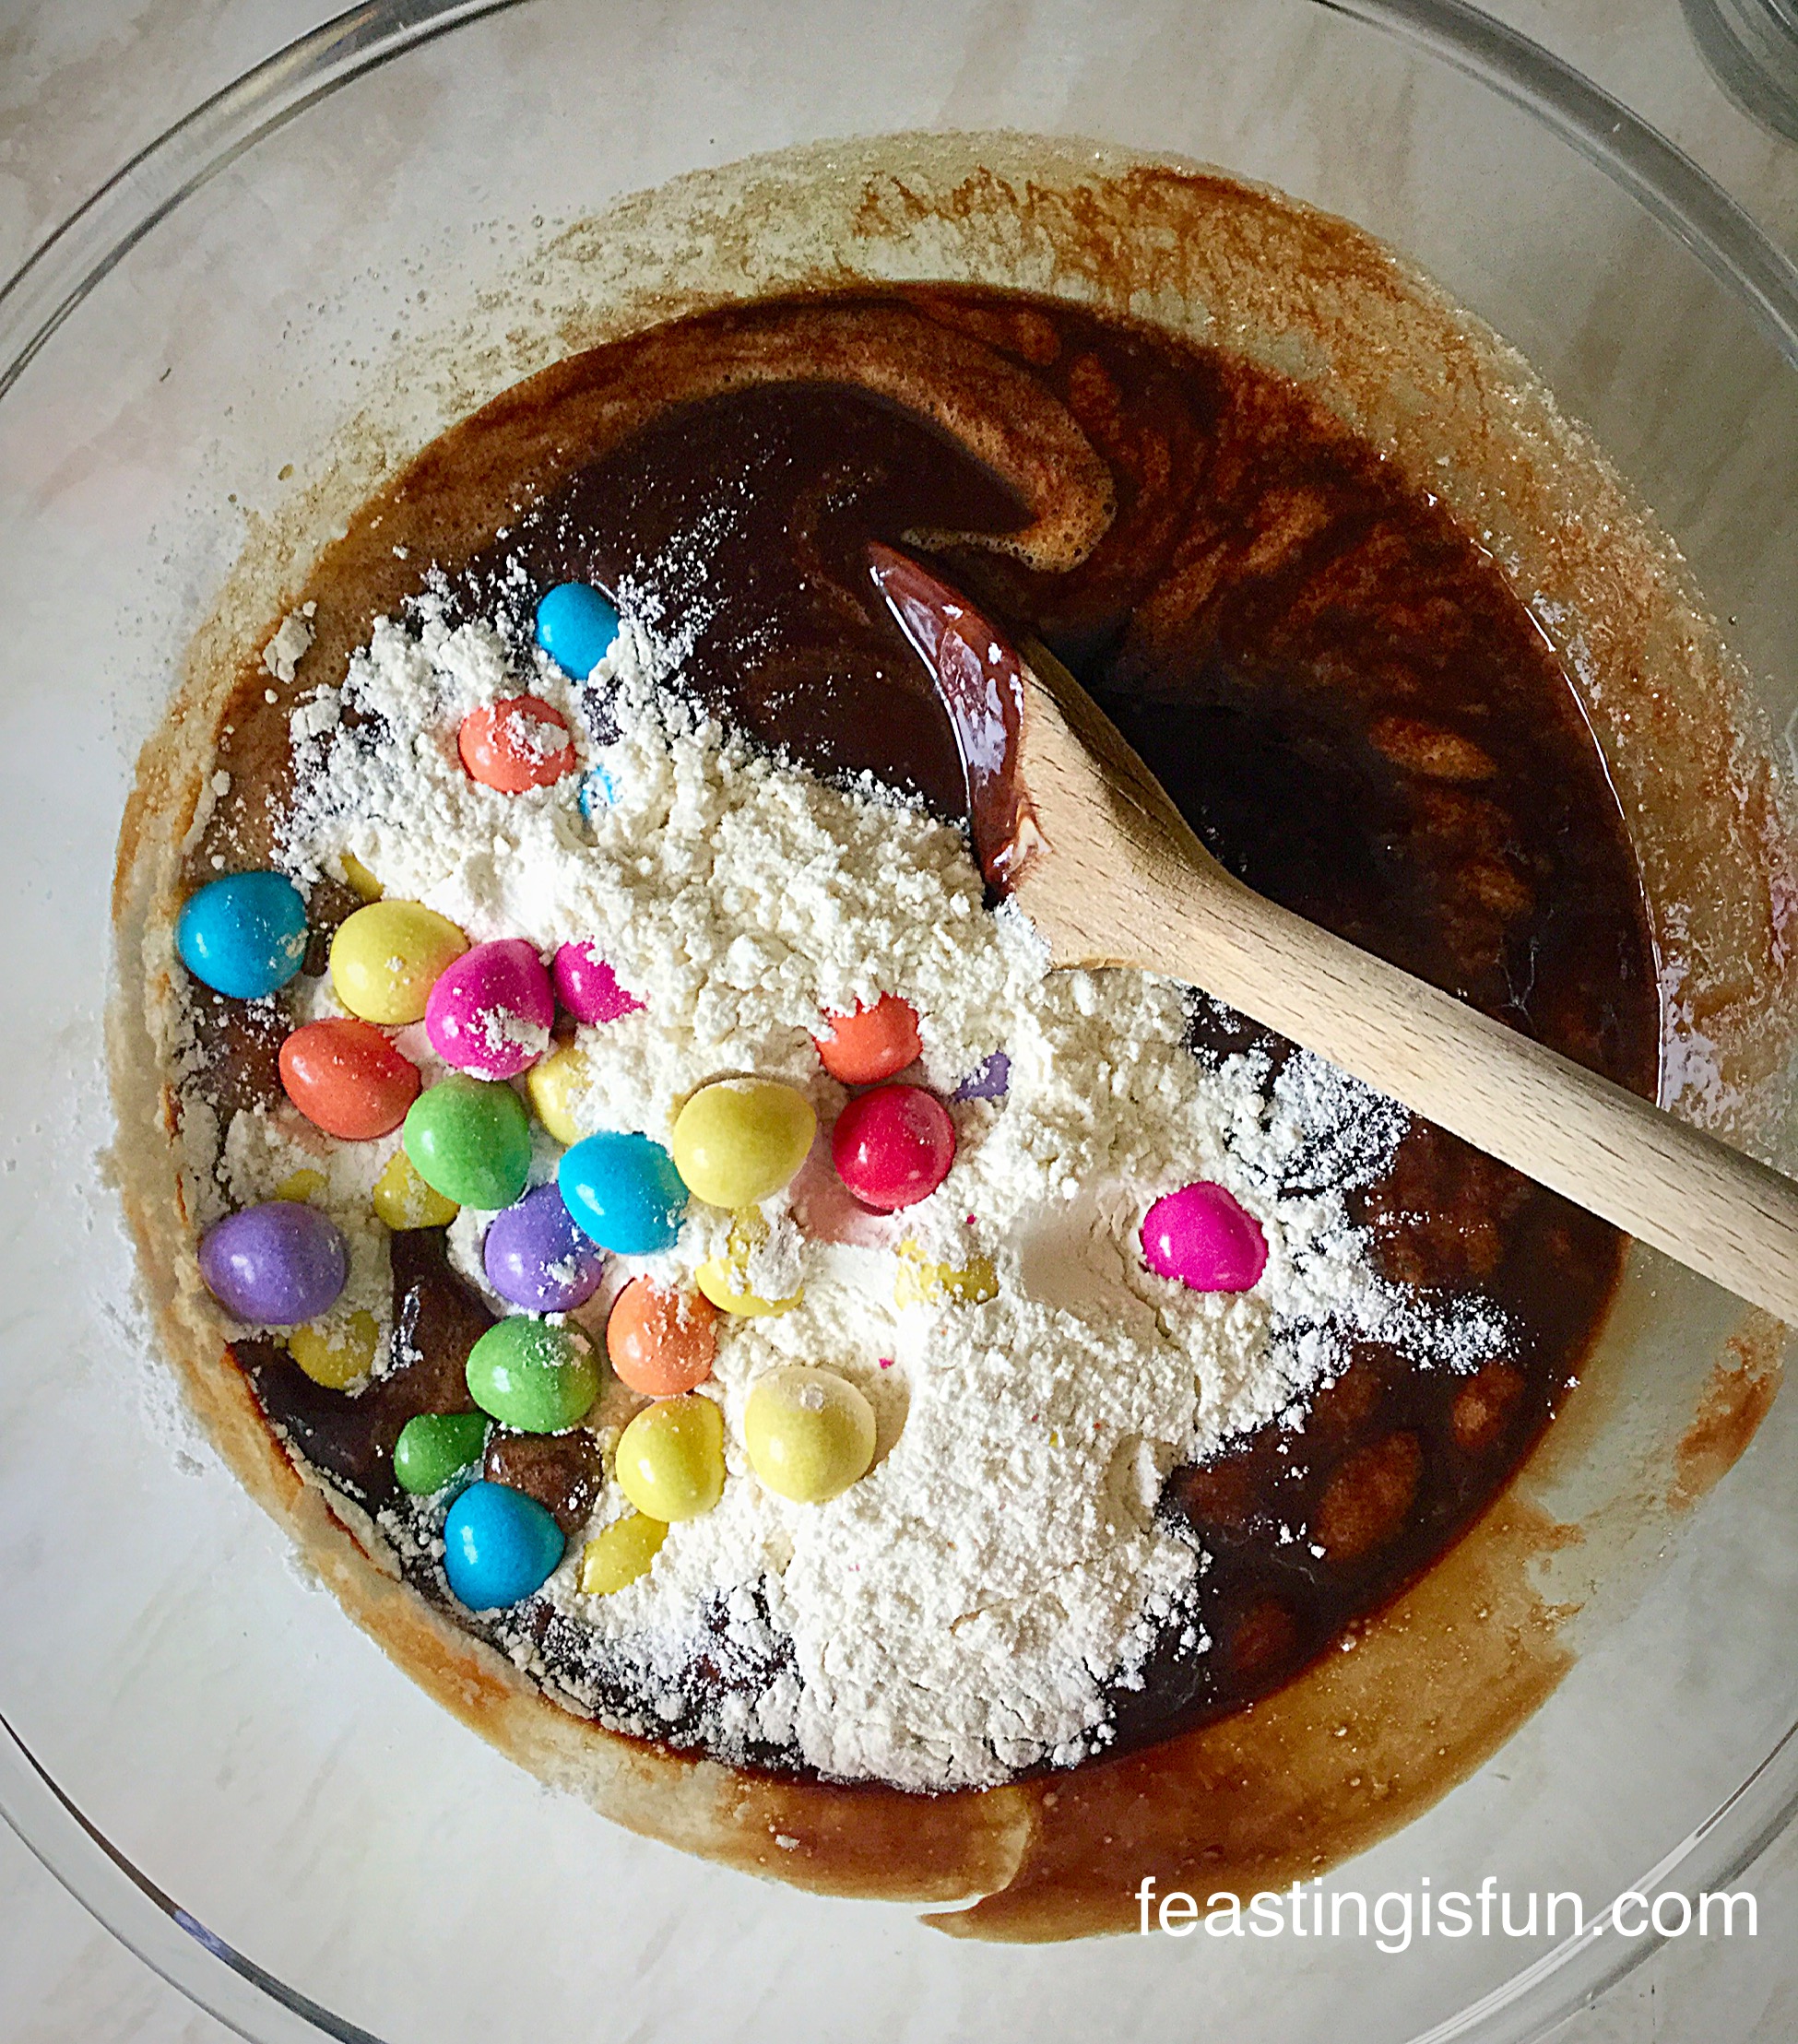
- Sift in the flour, bicarb. and salt.
- Add both packets of Smarties mini eggs
- Fold all the ingredients together until you have uniform cookie dough.
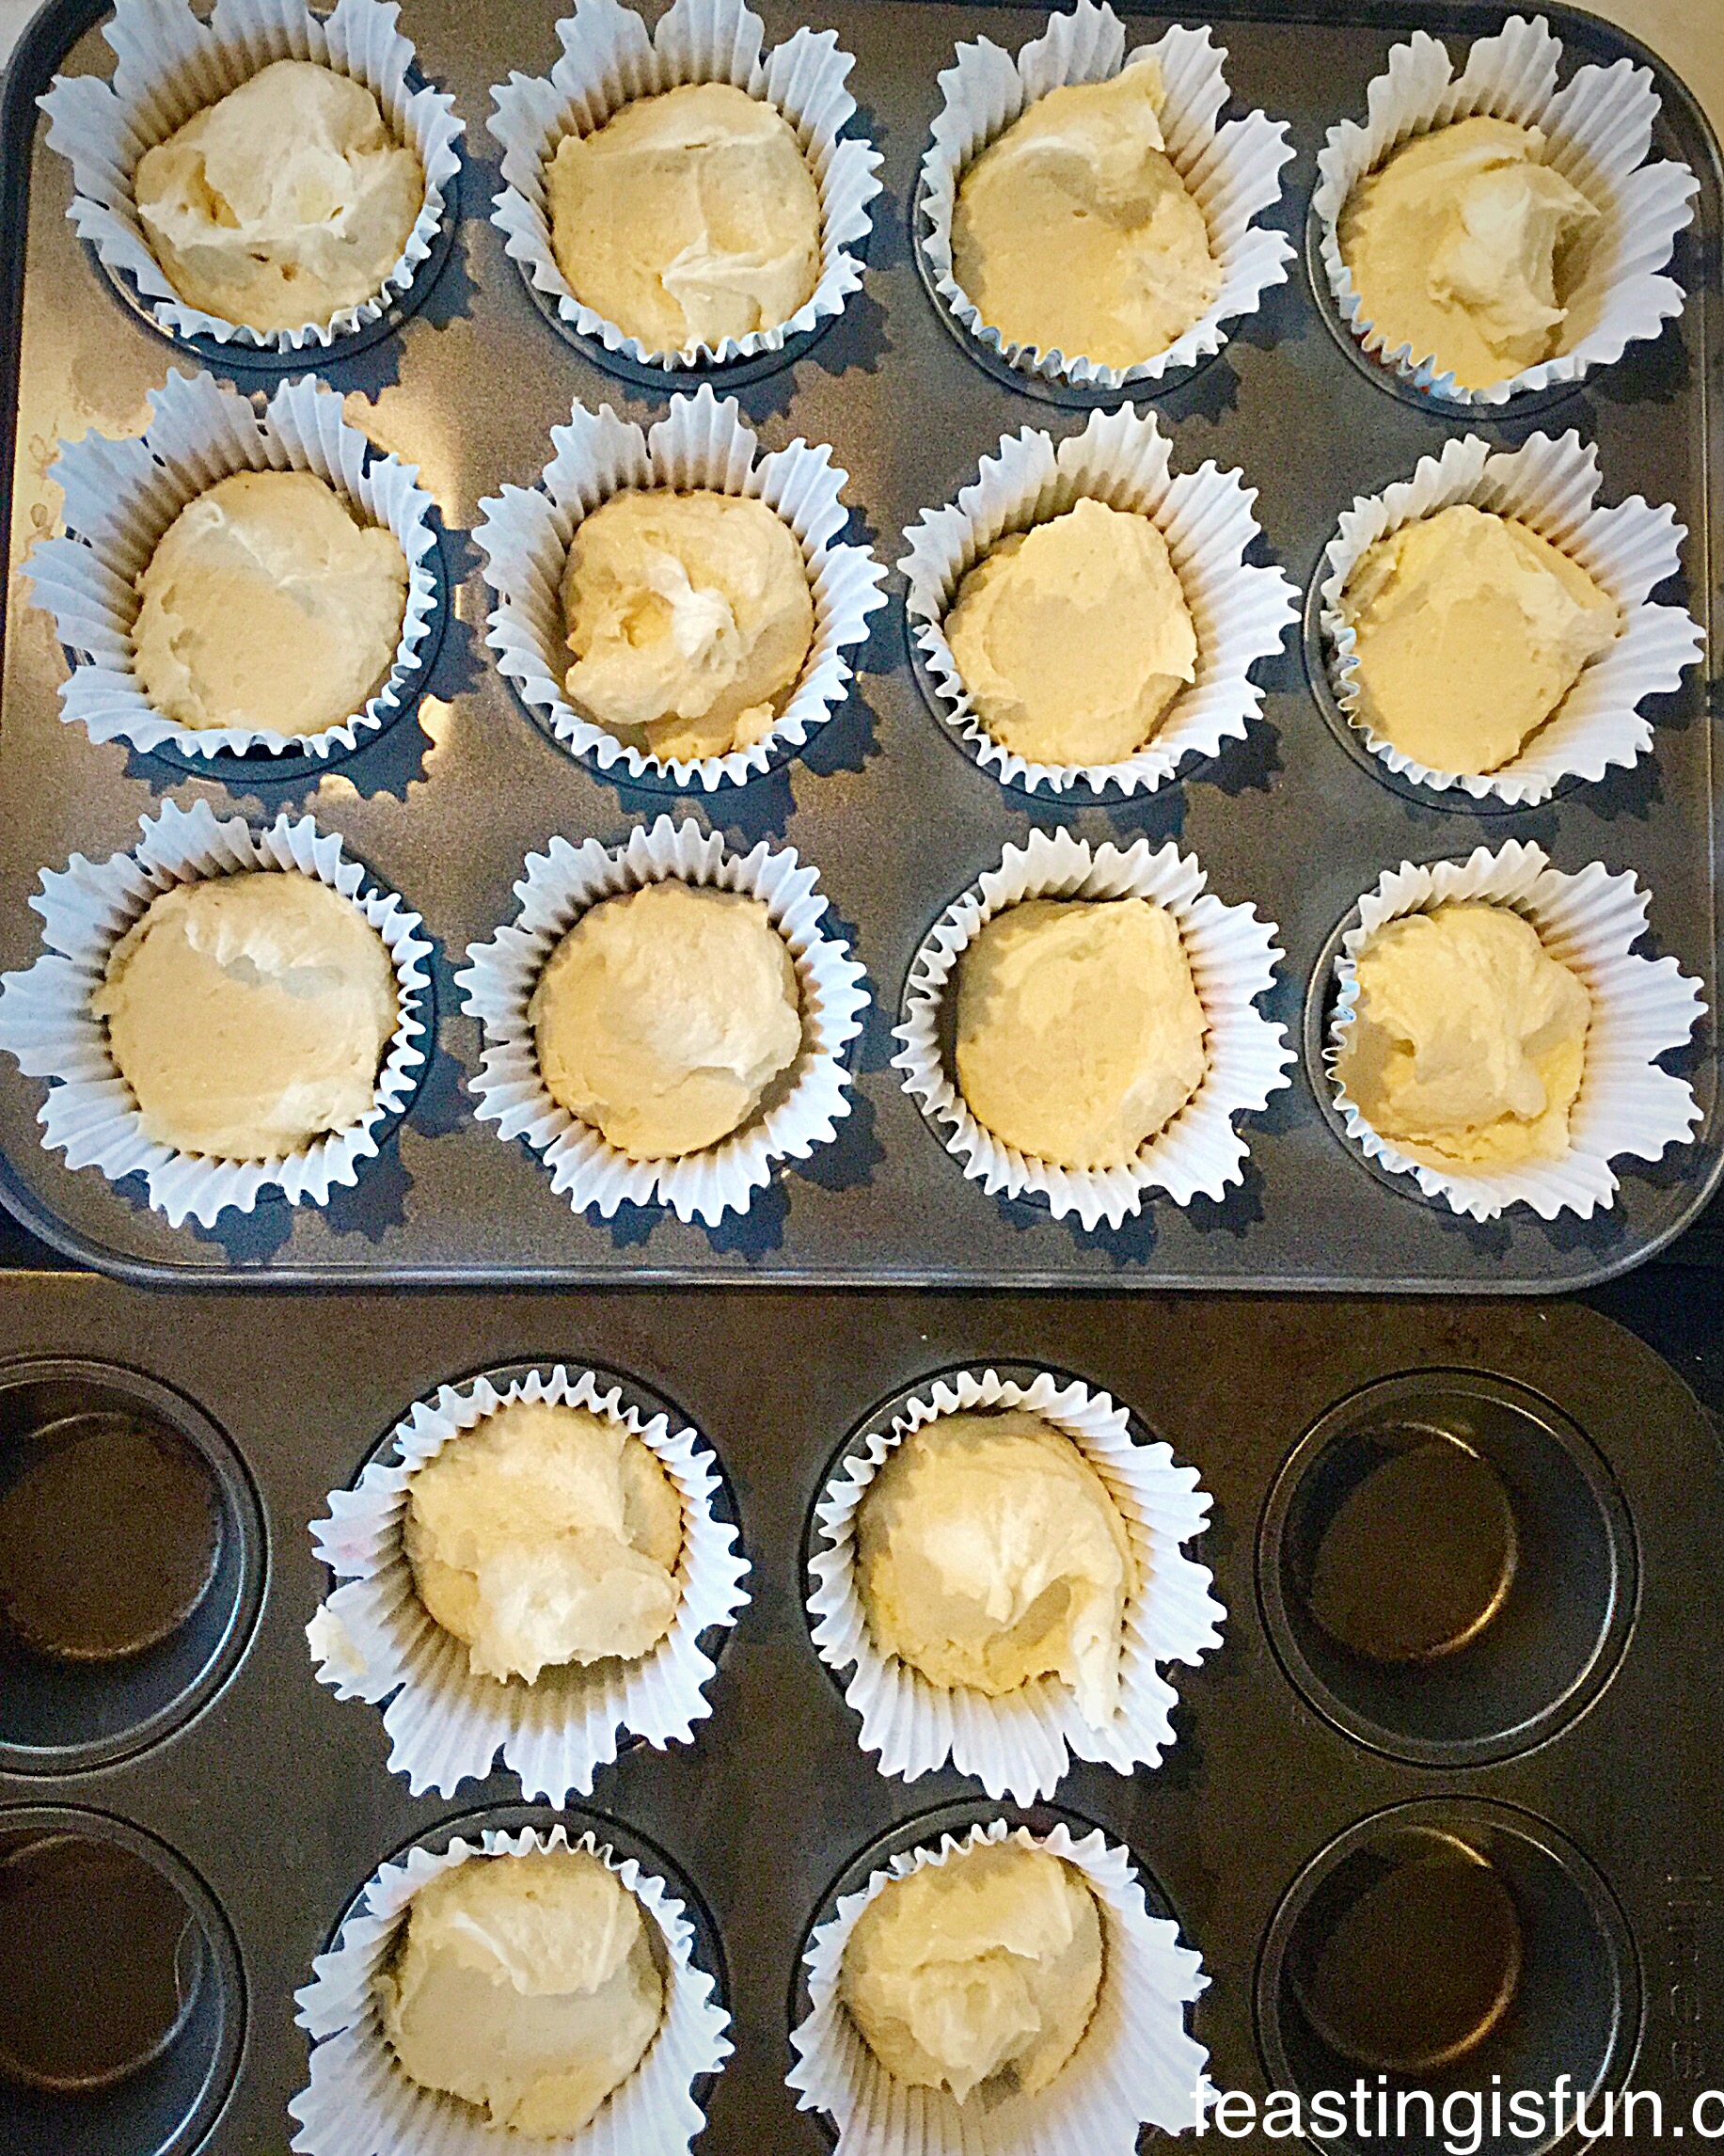
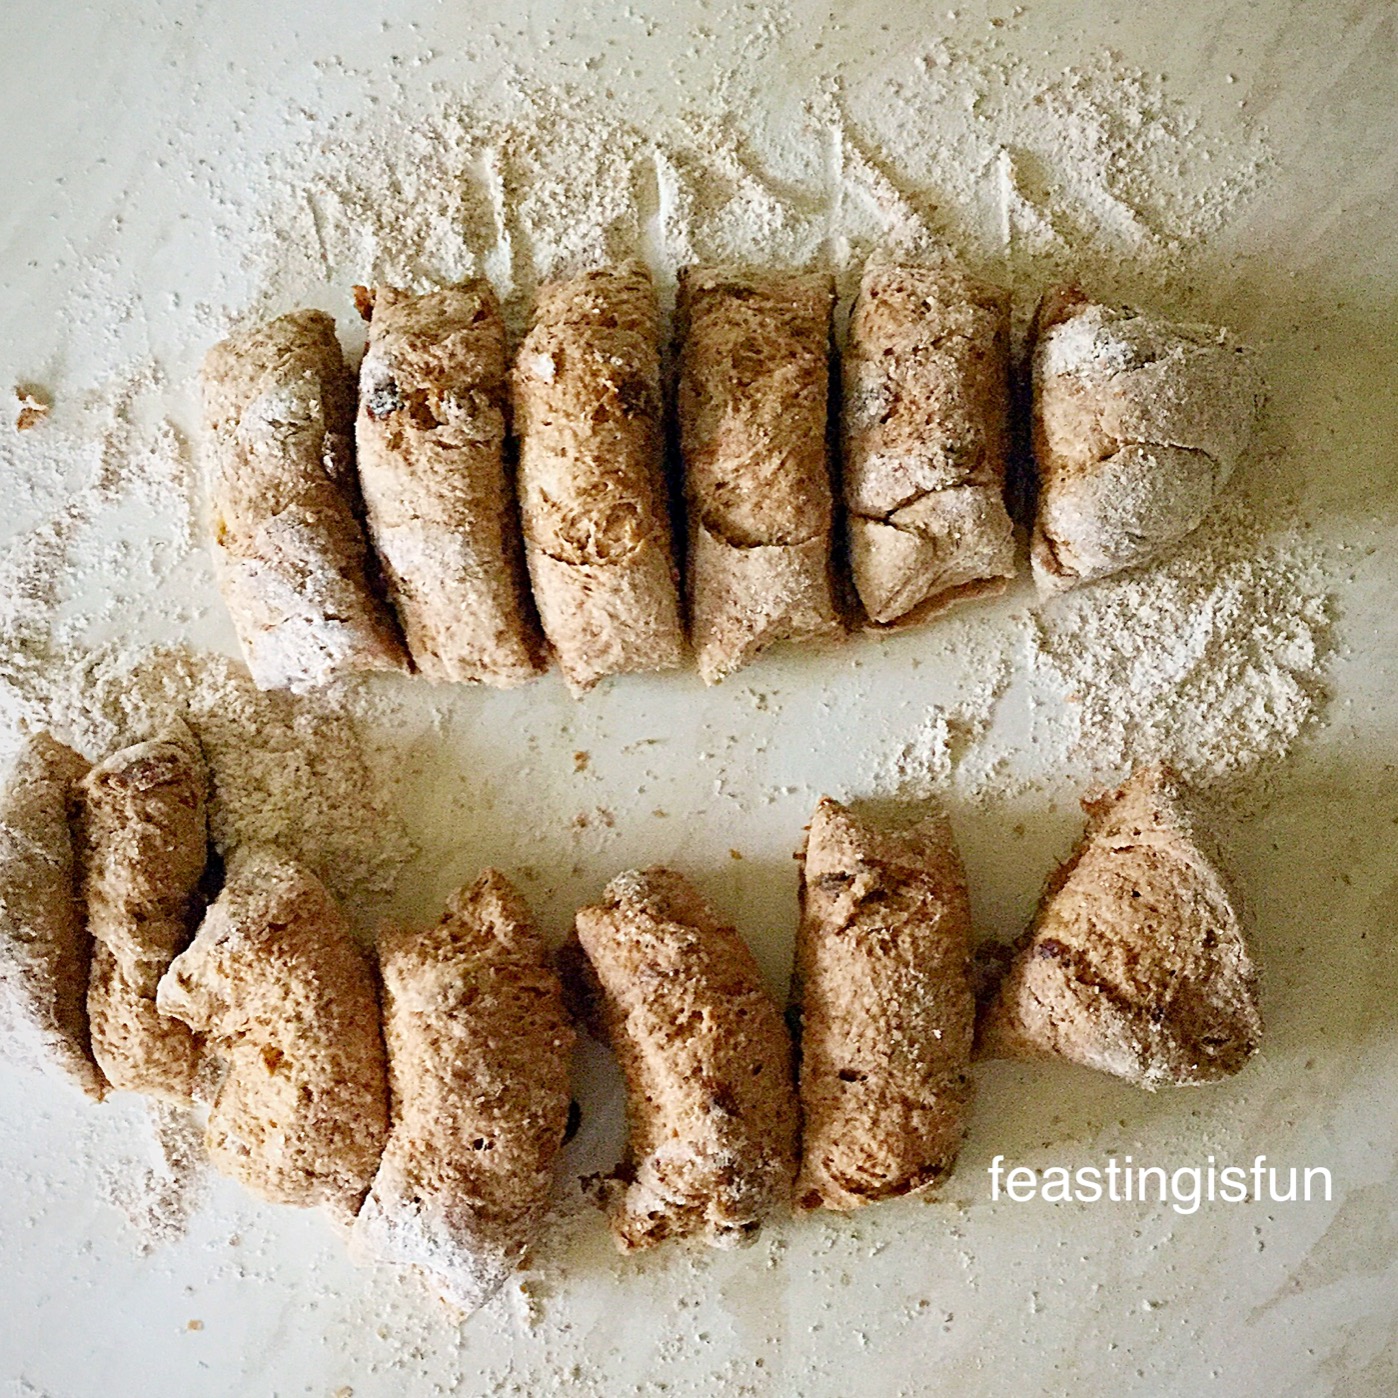
Shaping the cookies
- Using an ice cream scoop, scoop mounds of cookie dough onto baking parchment lined baking trays.
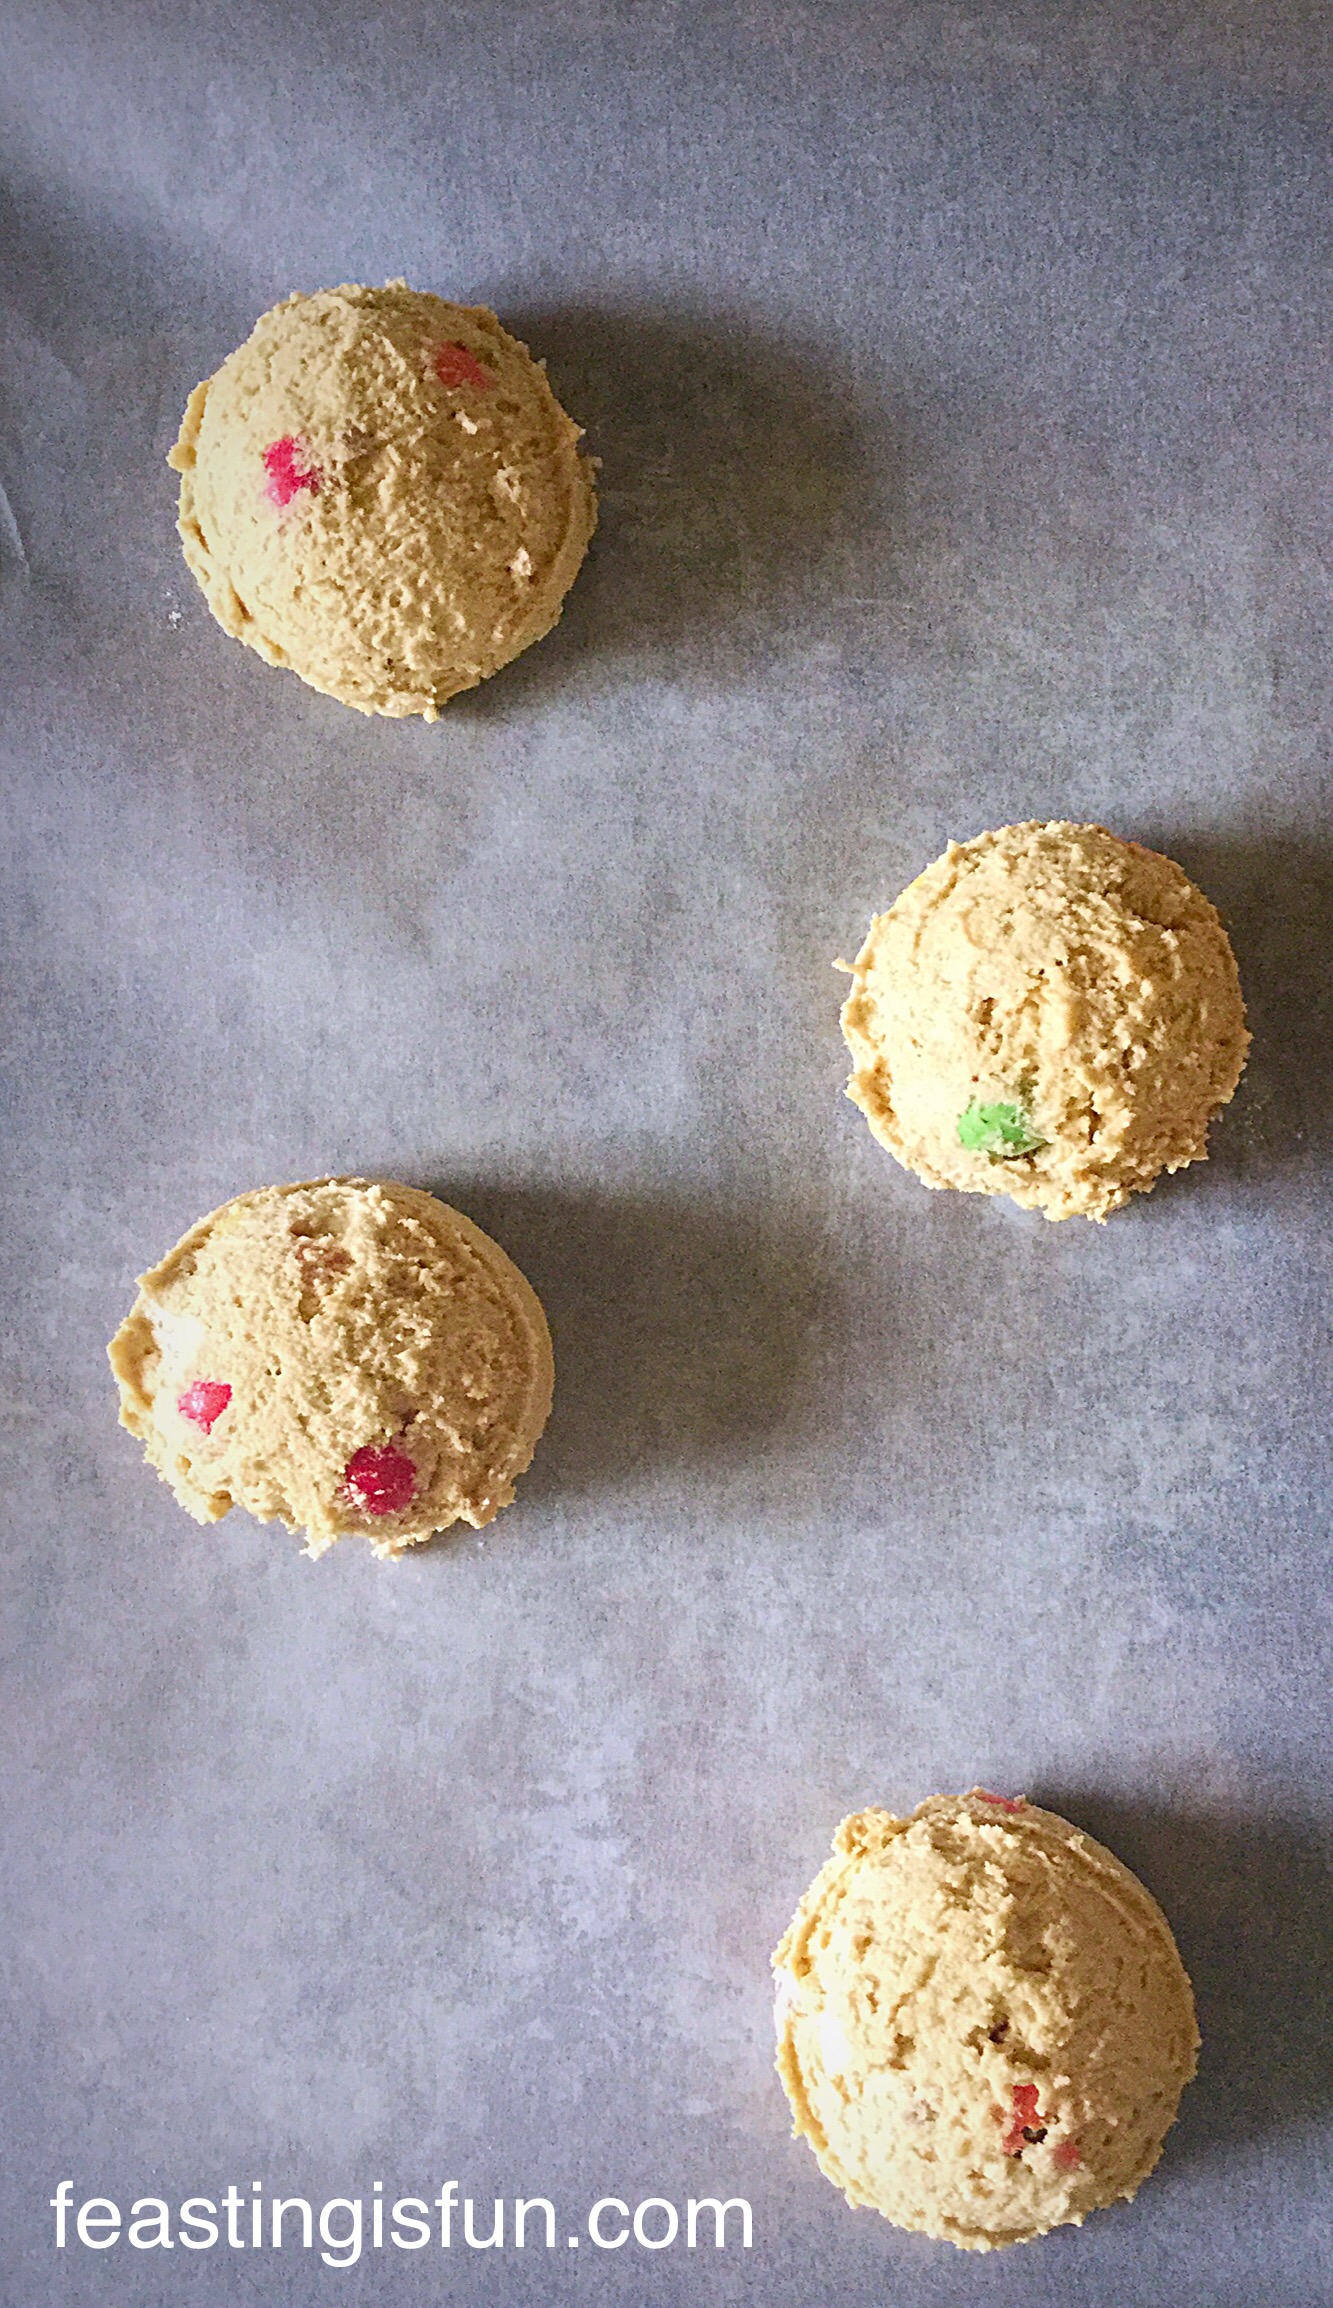
- I place 4 scoops per baking tray as these cookies do spread.
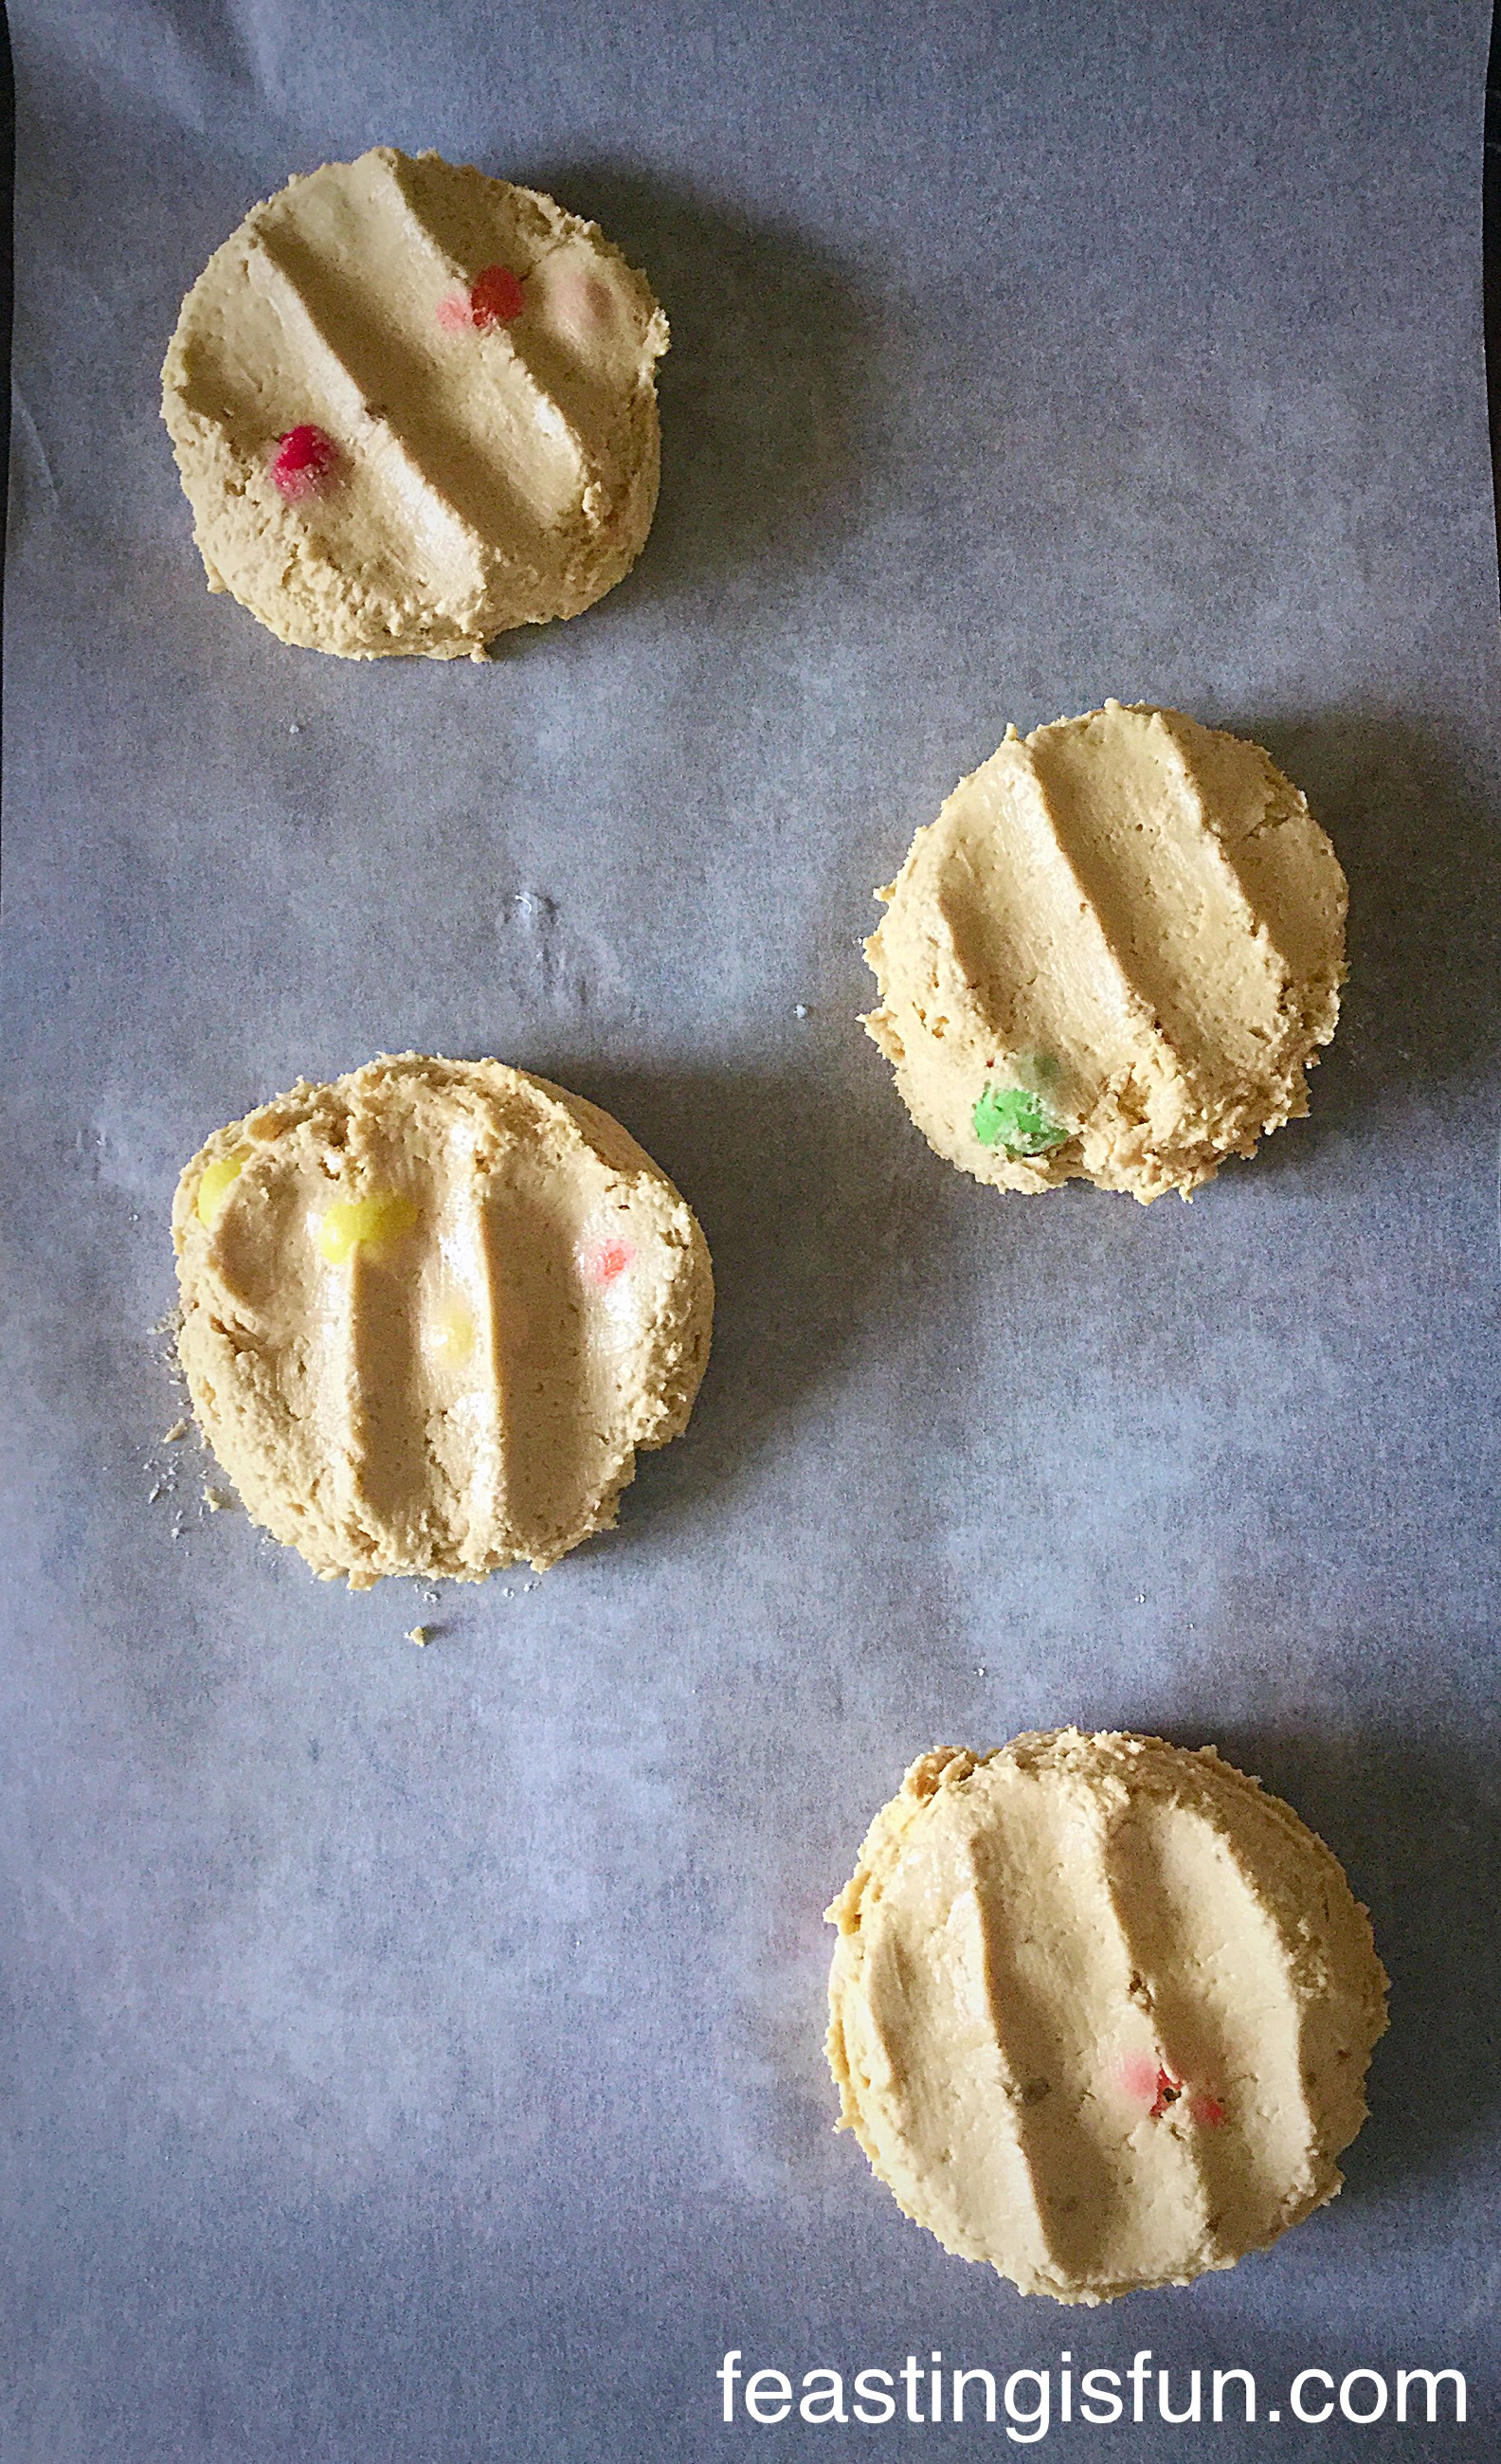
- With clean damp hands, use your fingers to press down and flatten the mounds.
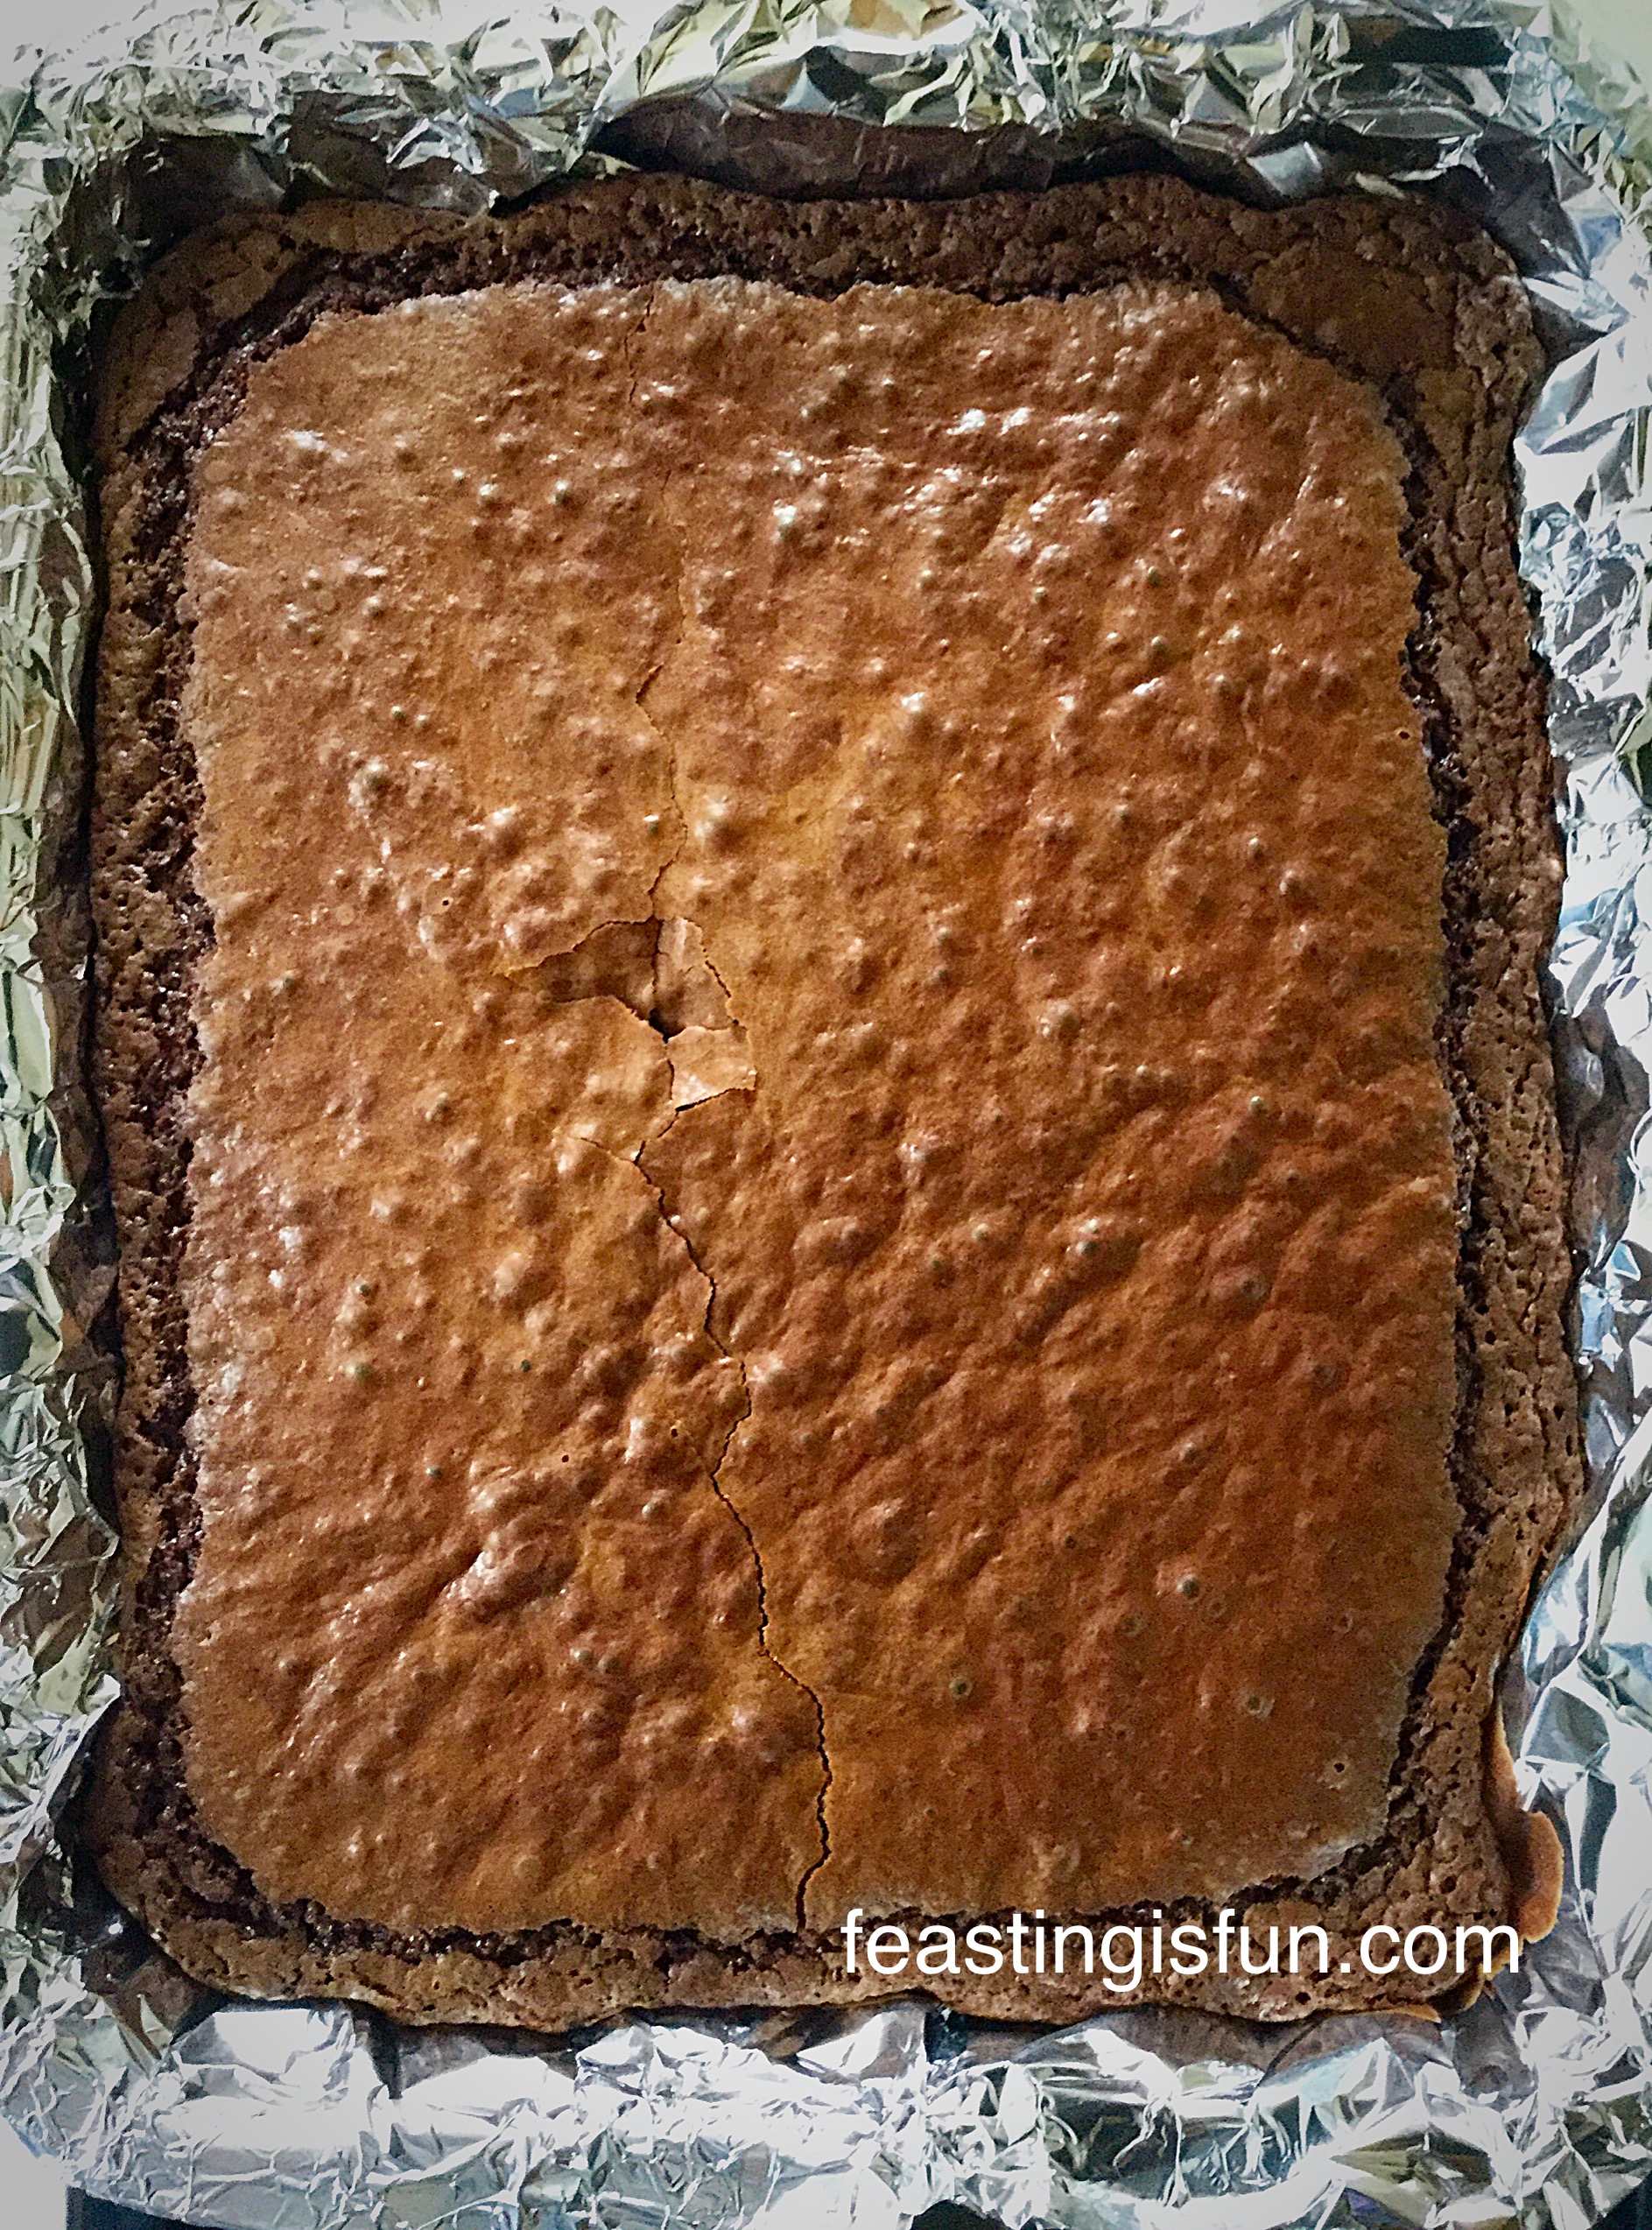
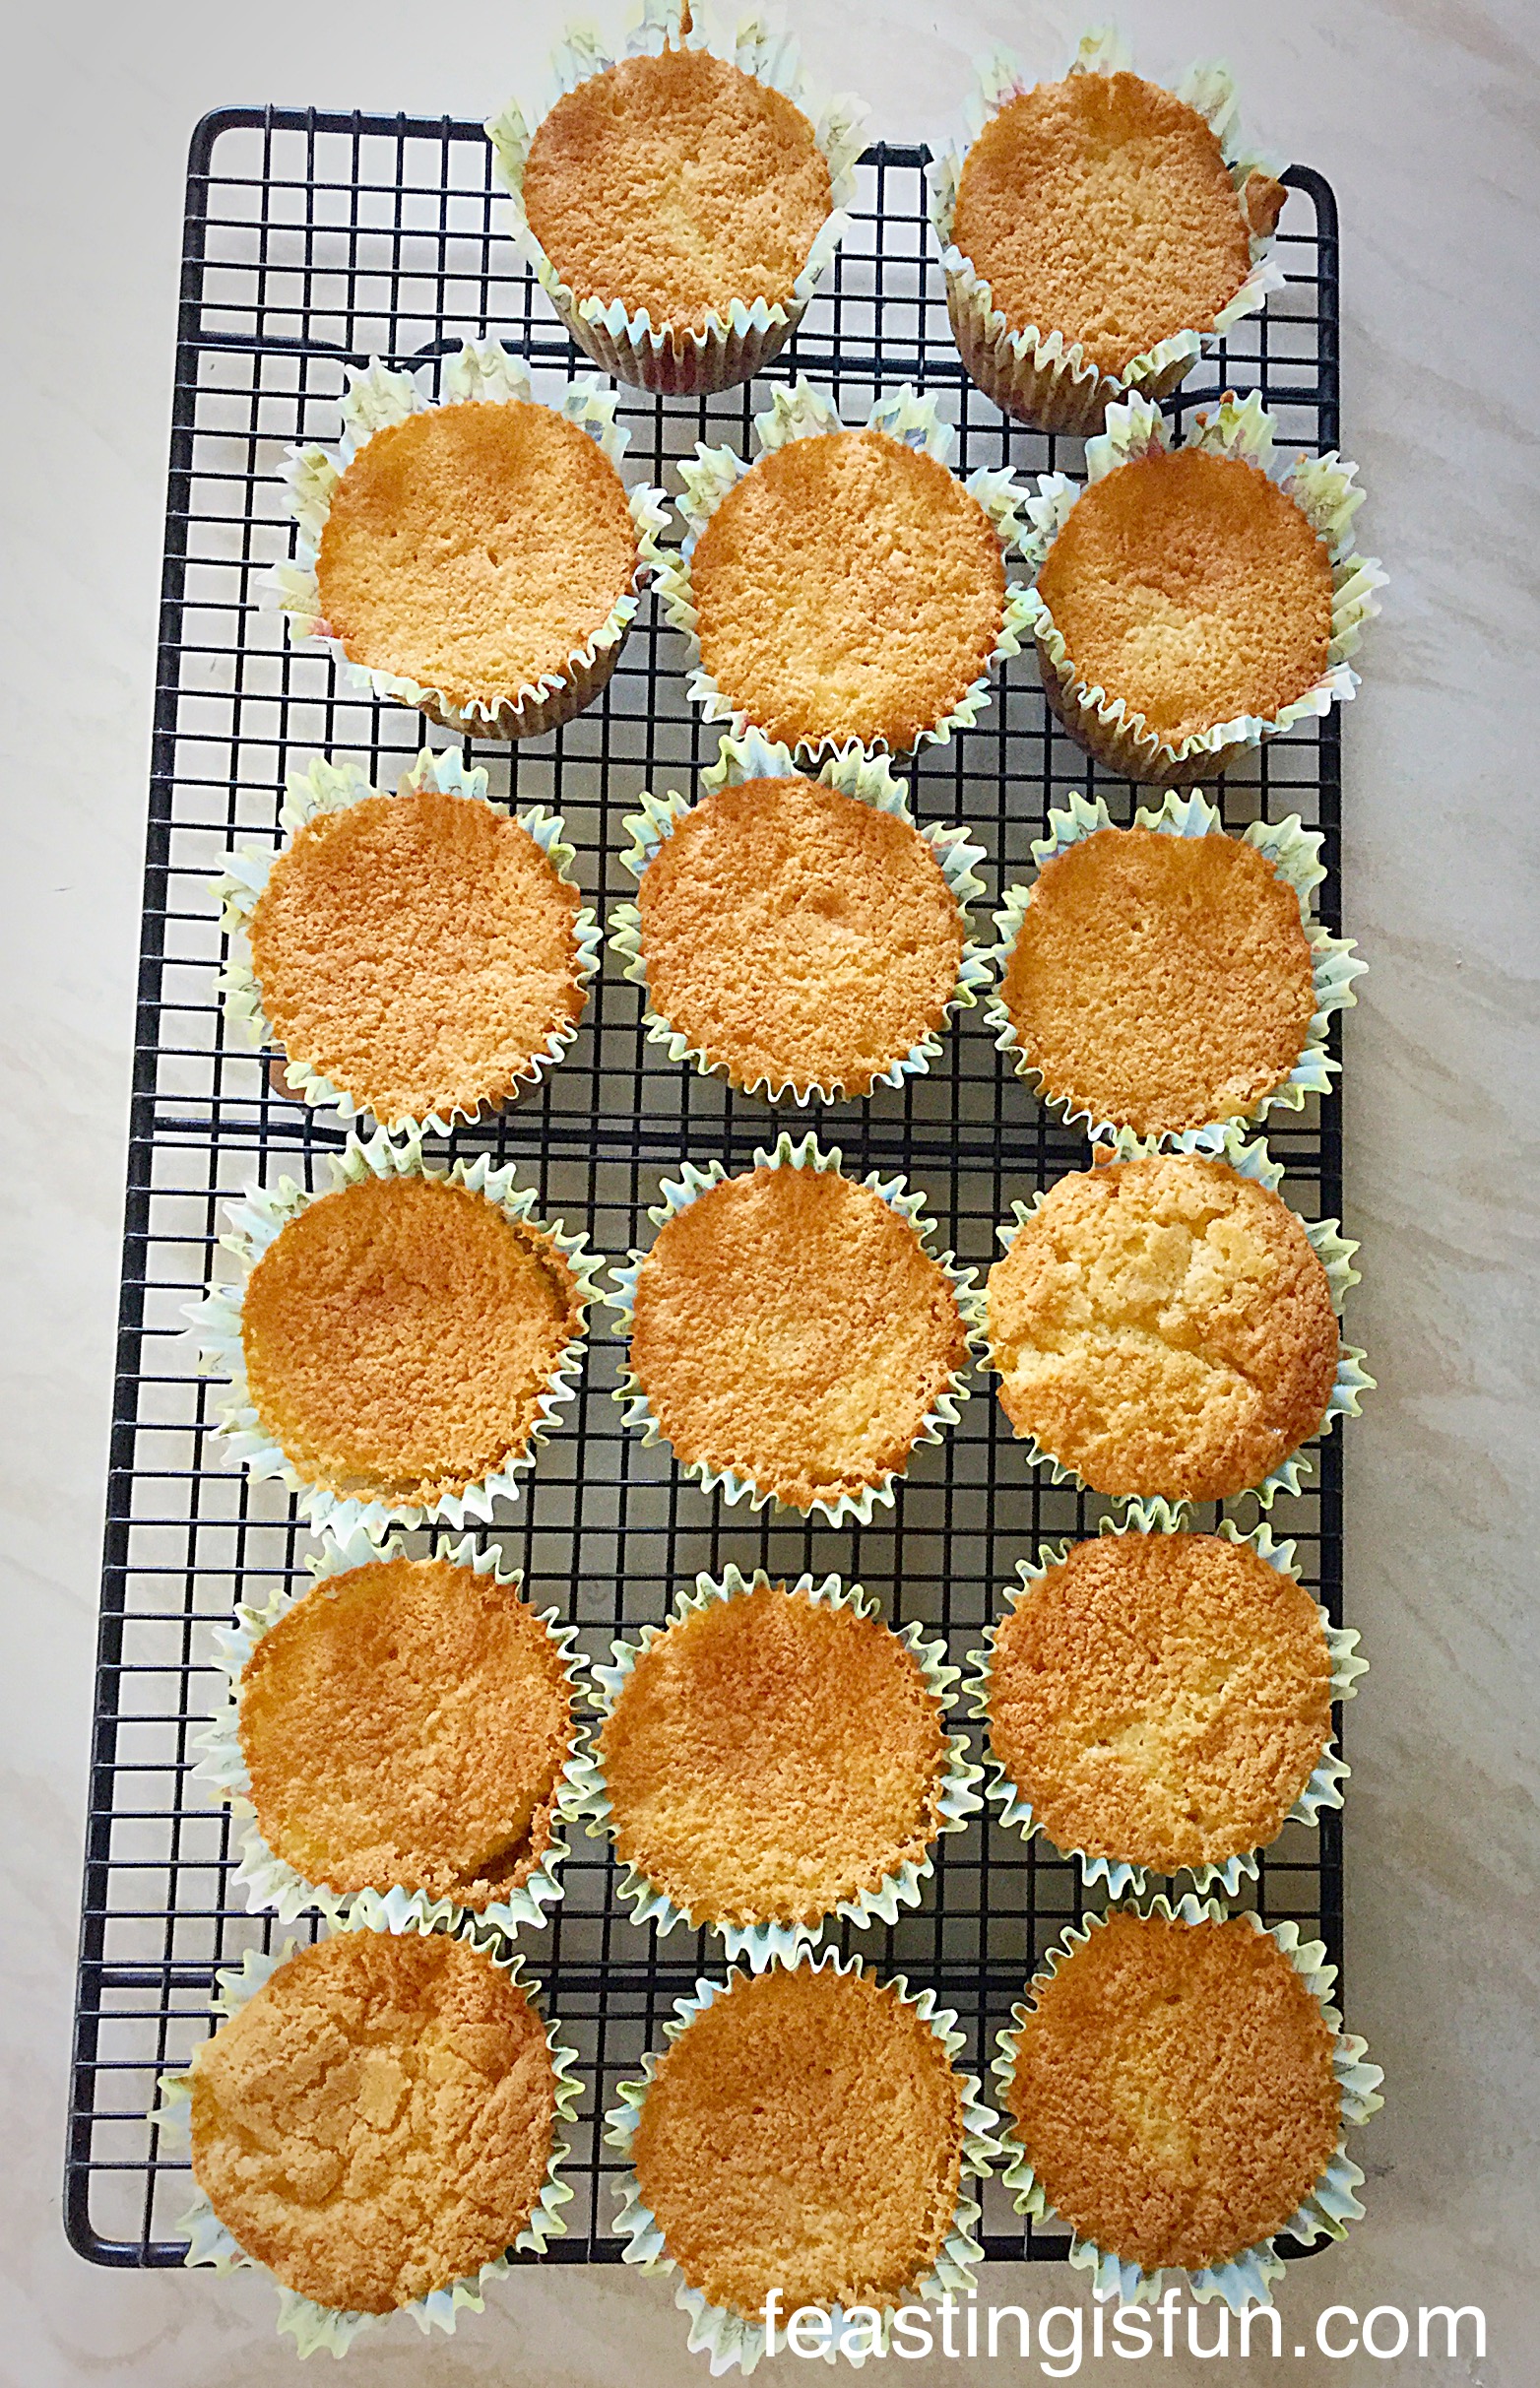
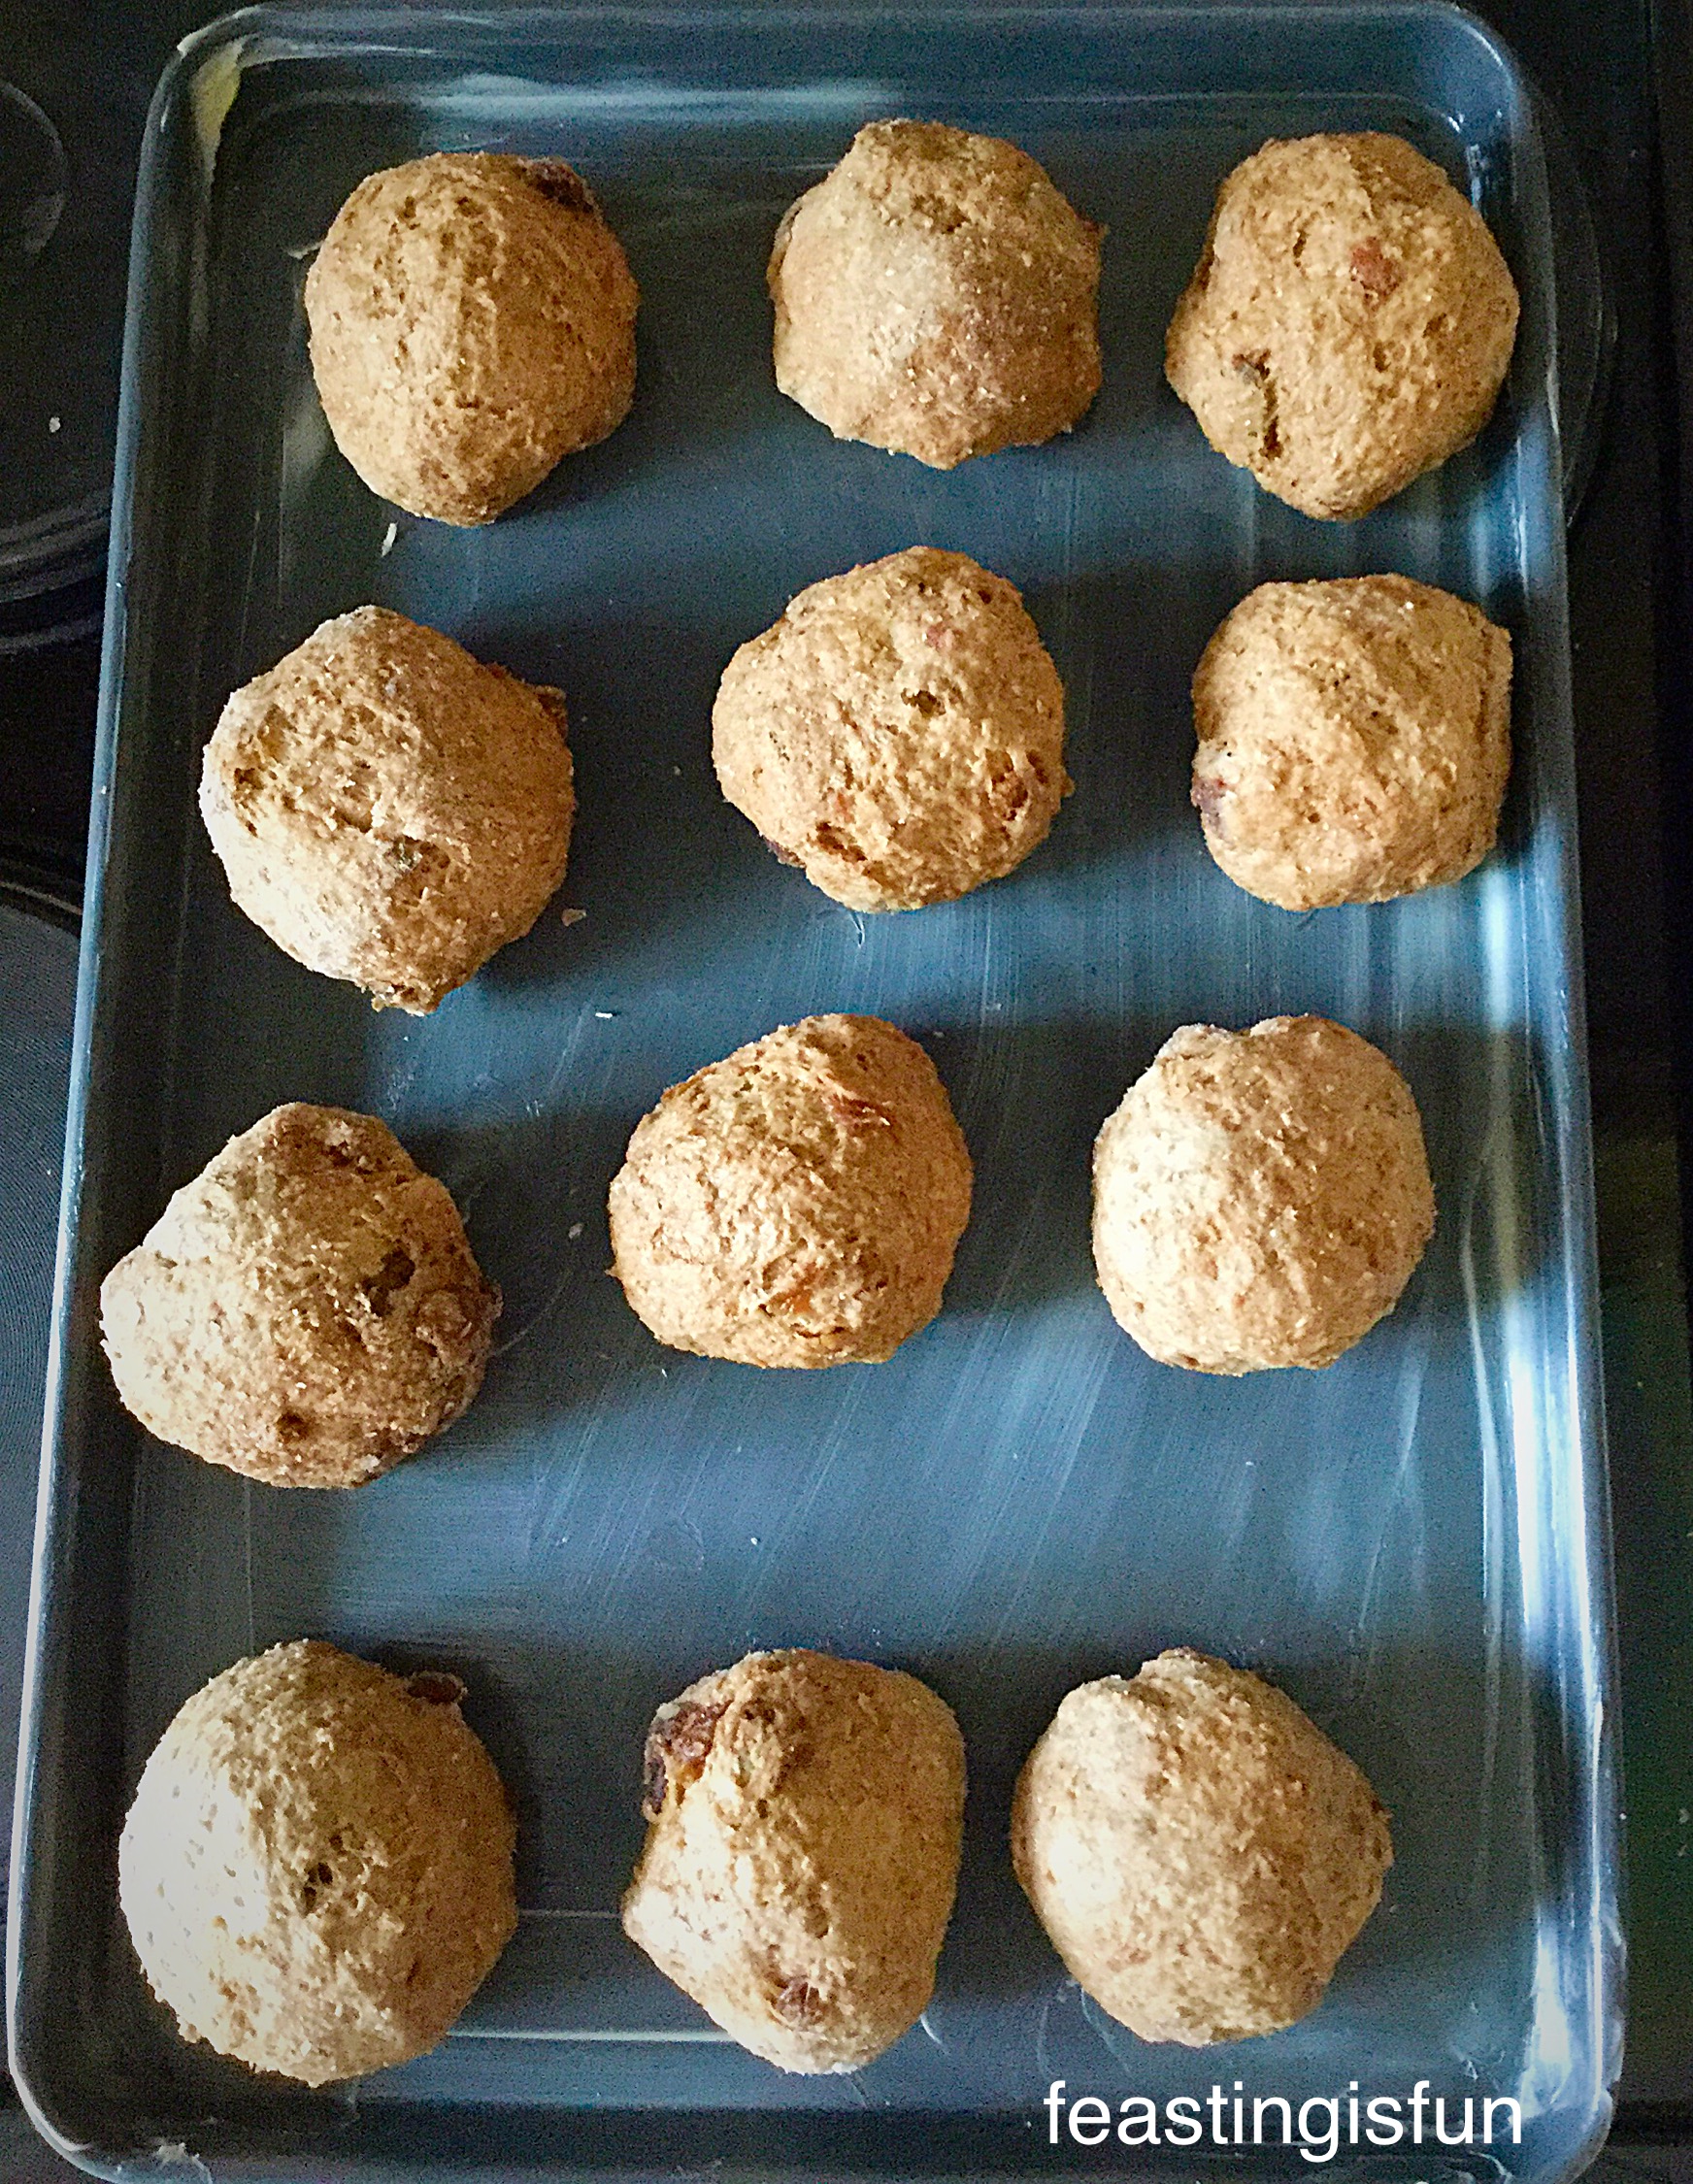
Baking The Easter Chocolate Monster Mini Egg Cookies
- Place the cookies in the preheated oven and bake for exactly 15 minutes.
- Once baked the cookies will be golden but still very soft. Remove from the oven and let the cookies cool completely on the baking tray. The cookies harden on cooling.
- When cold store in an airtight container for up to 5 days. There is no way that they ever last that long in our house!!
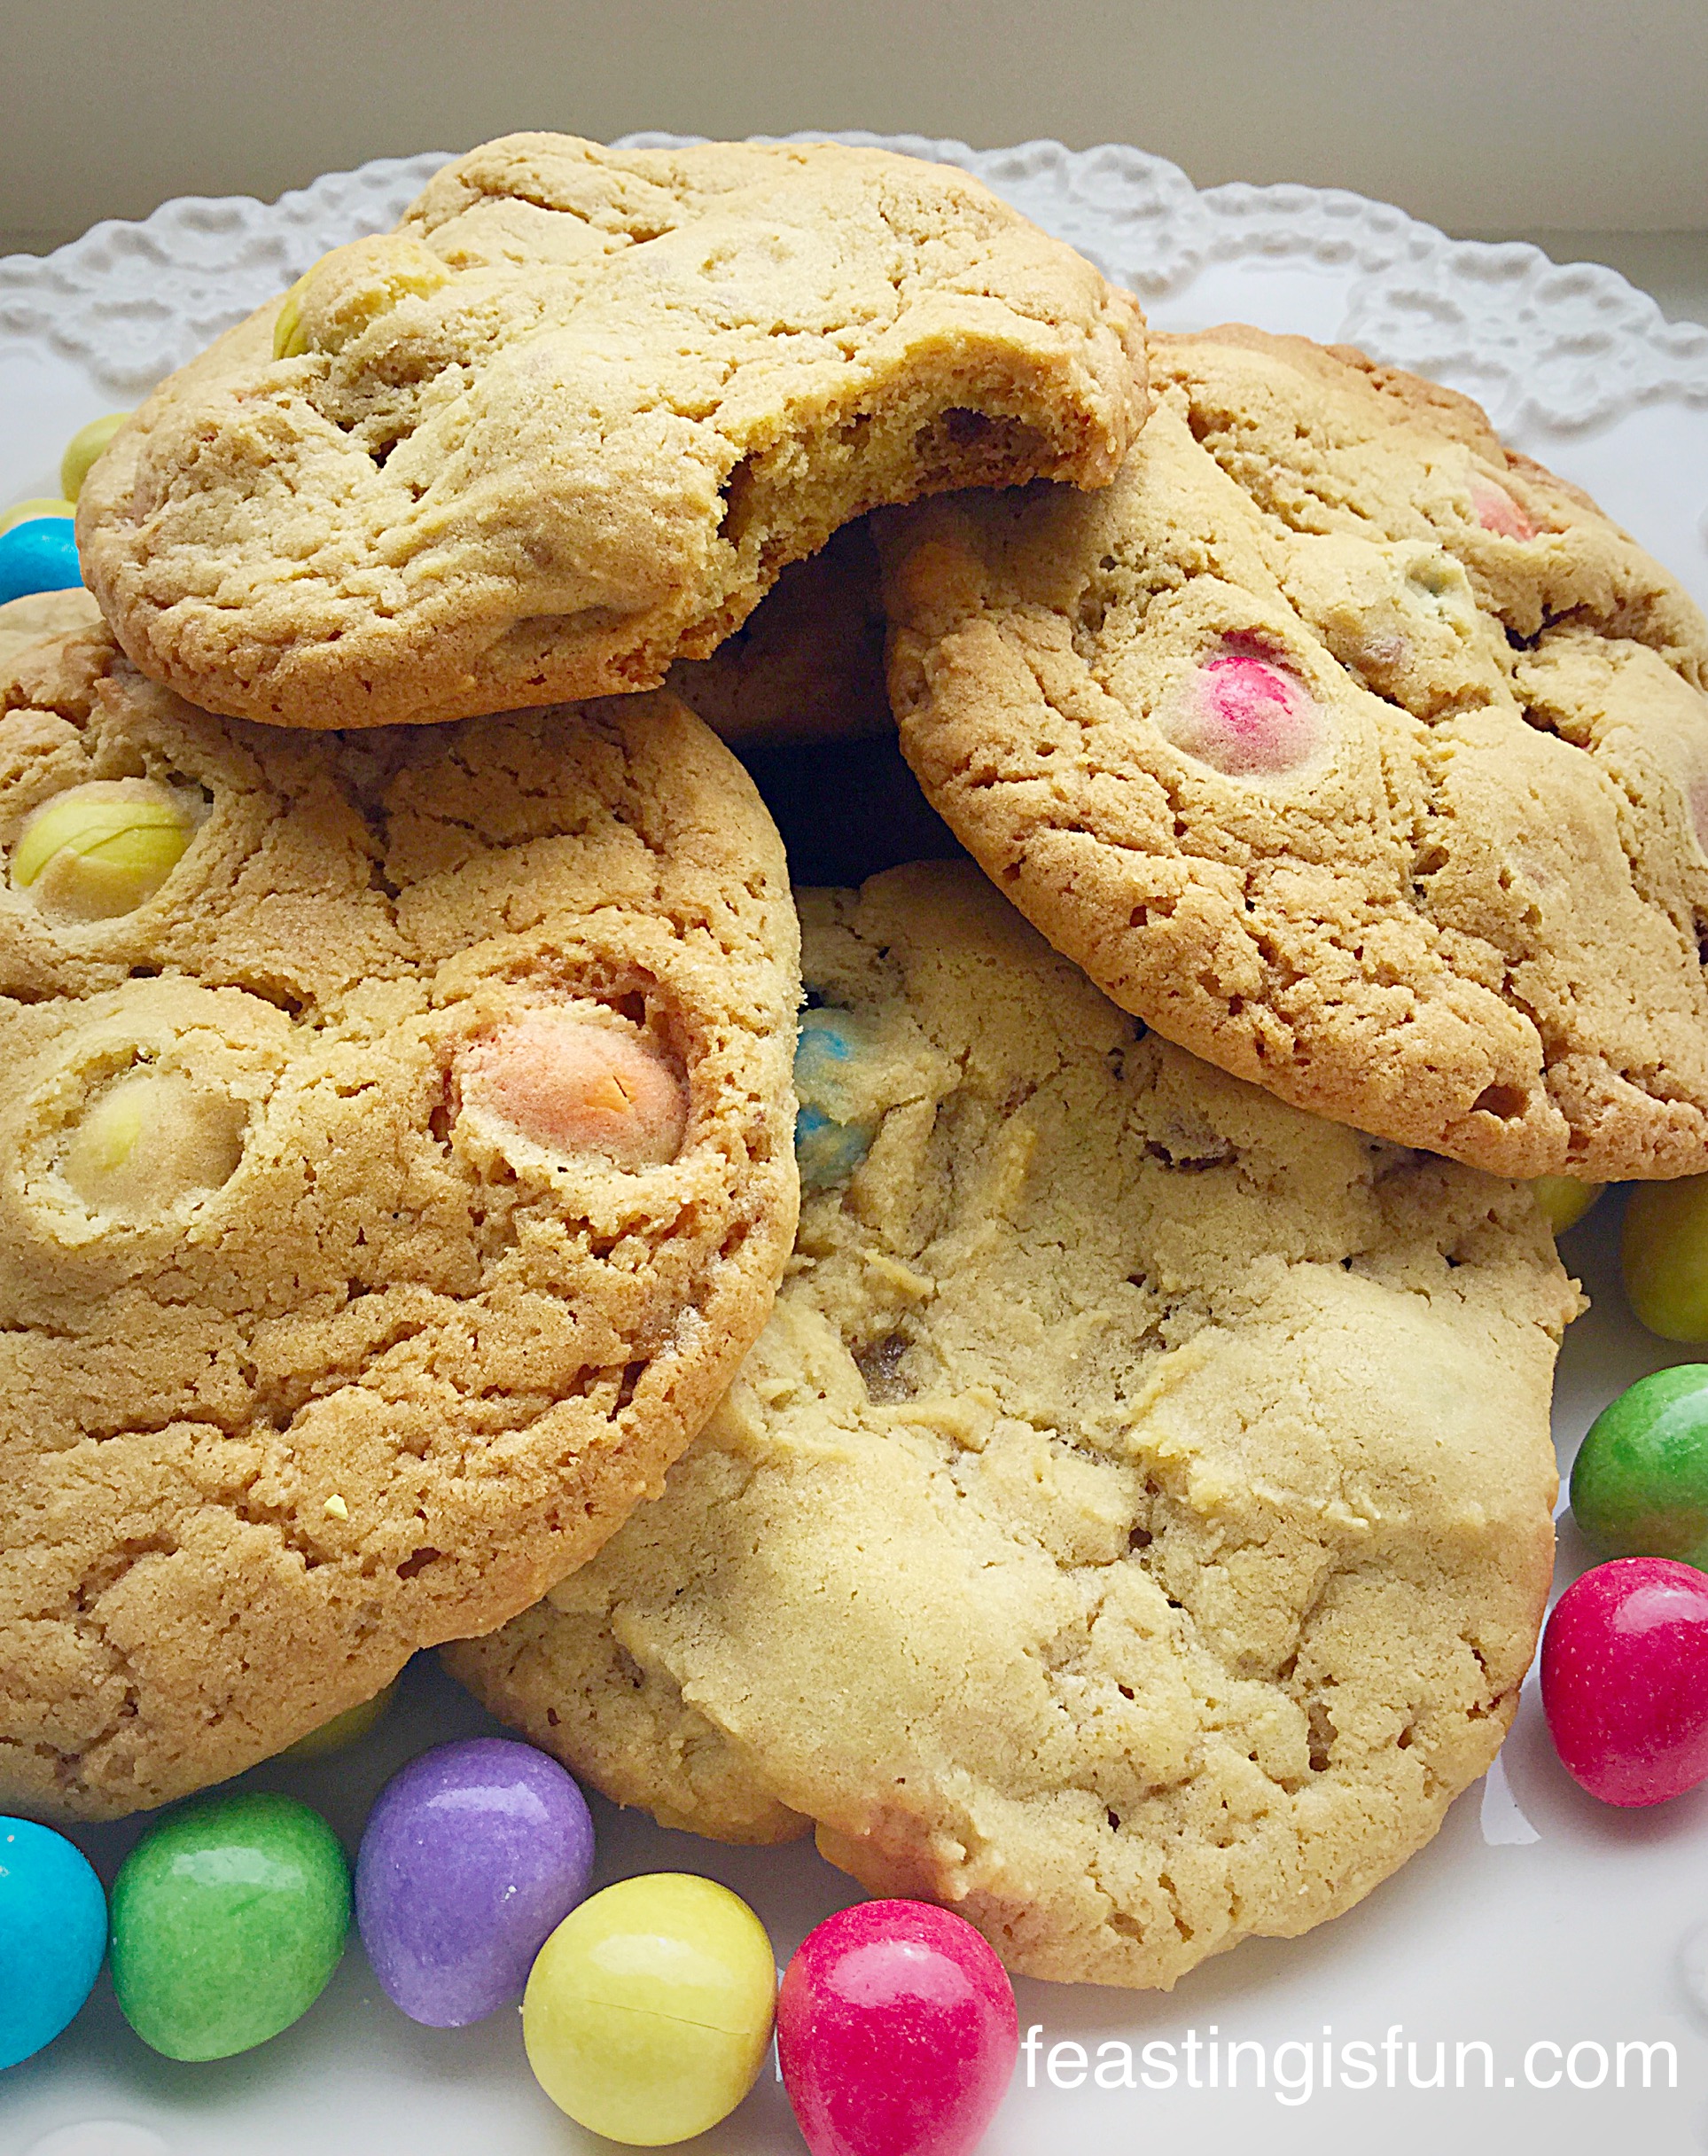
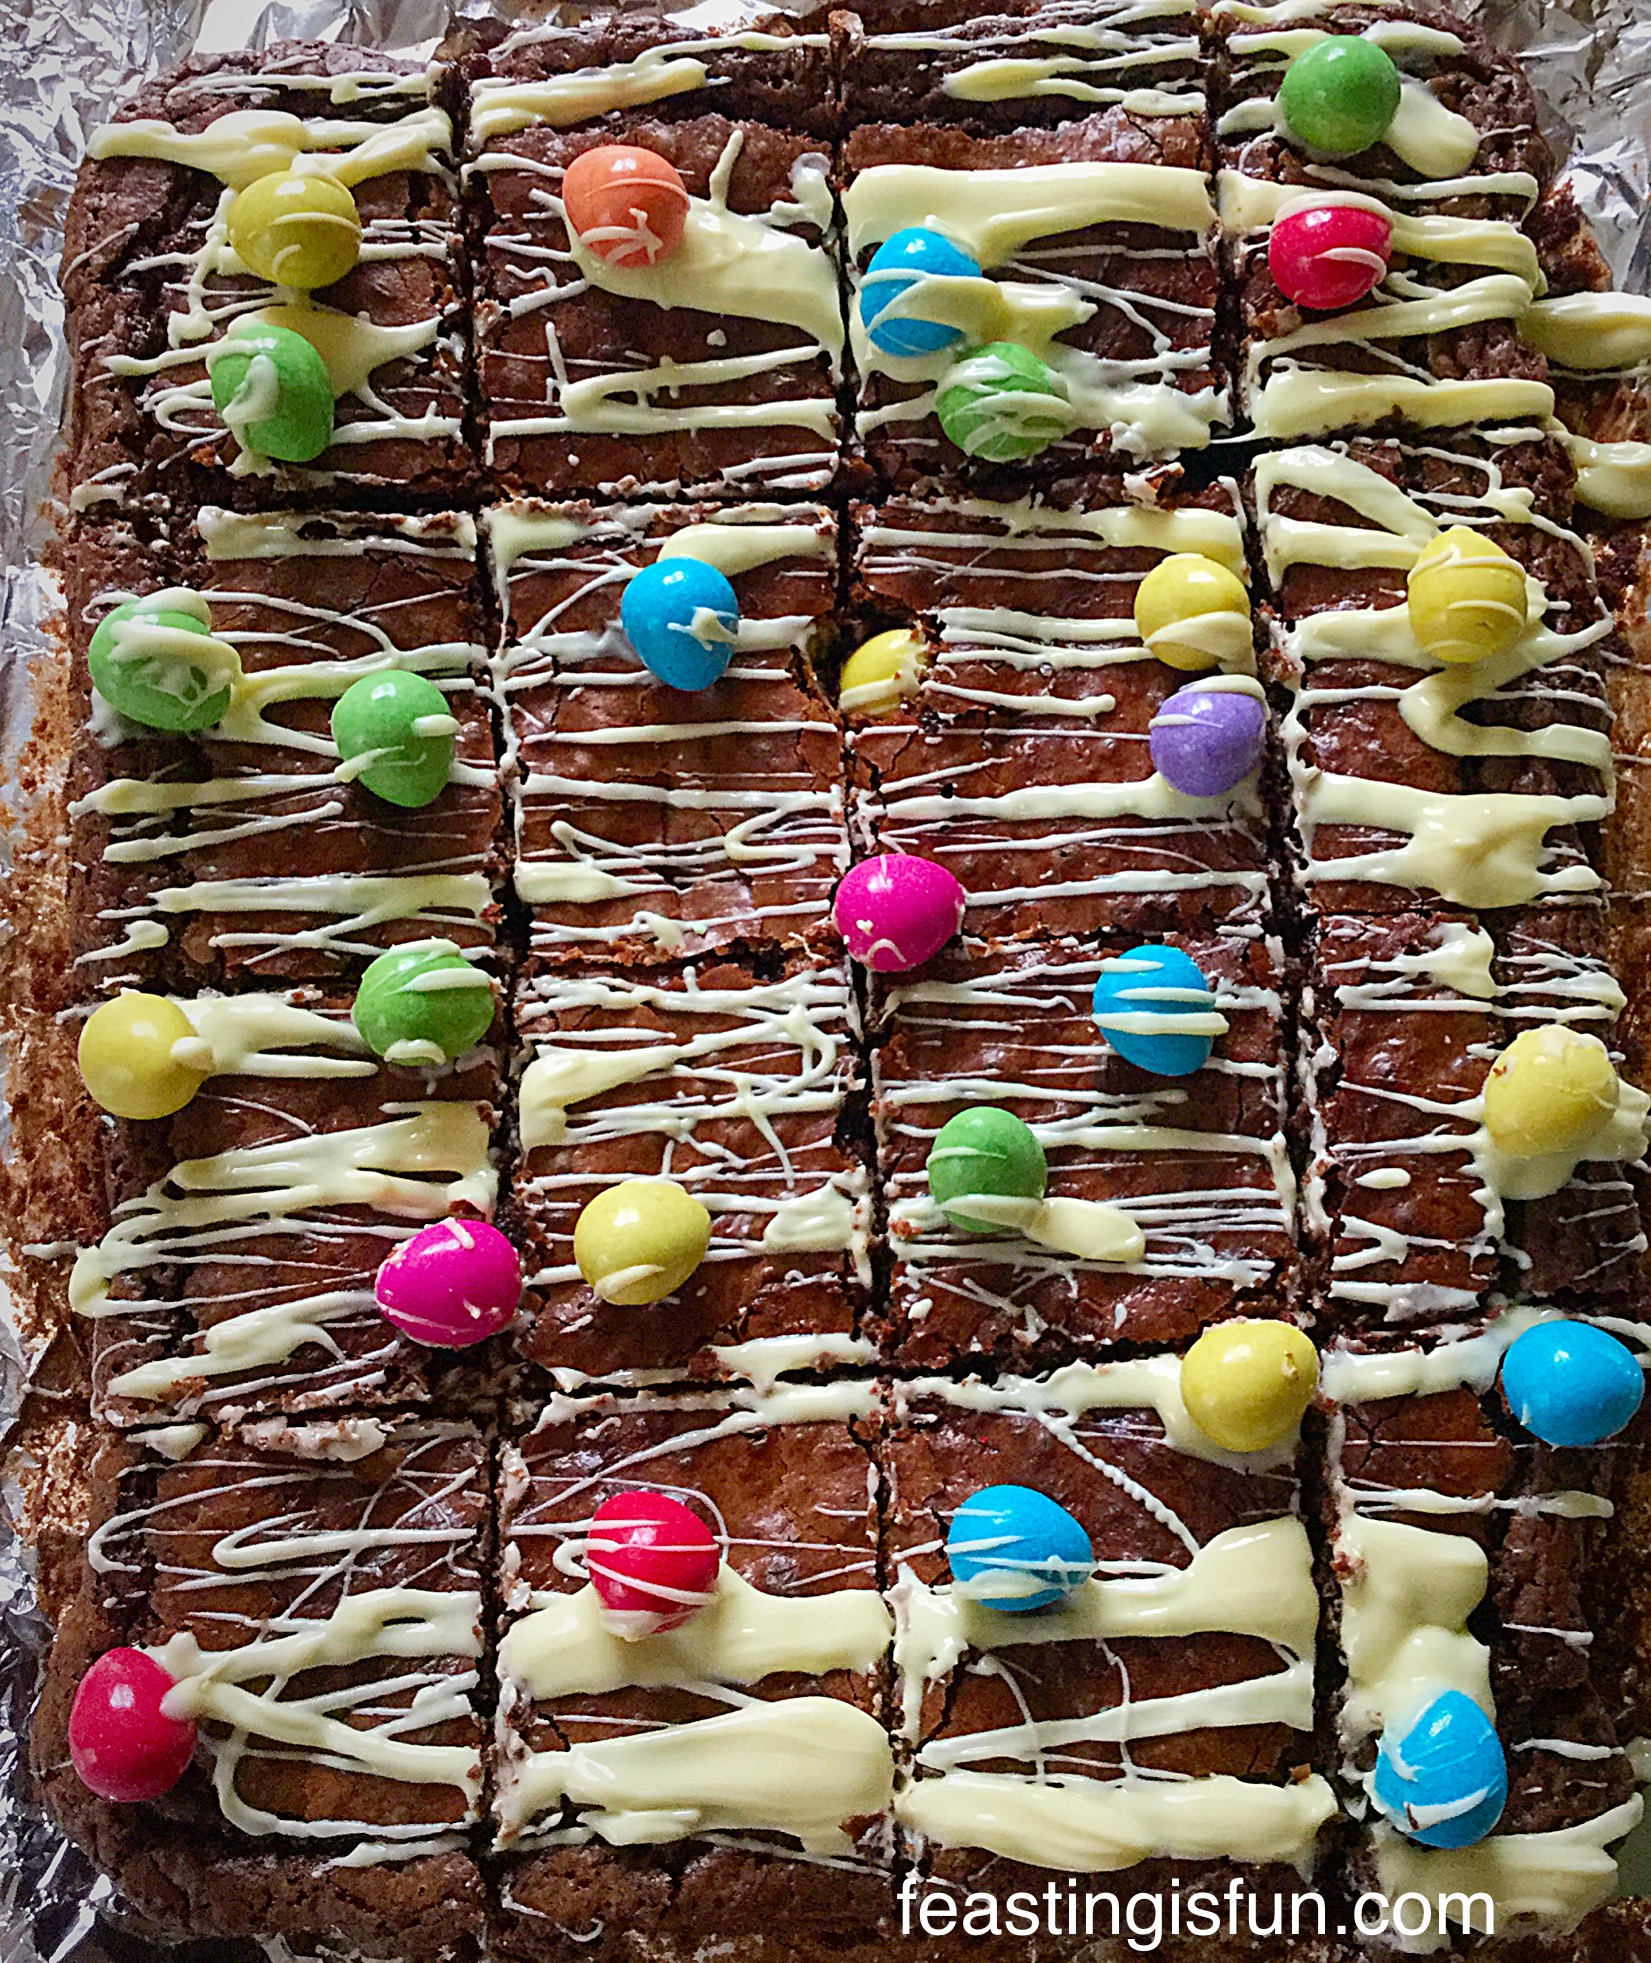
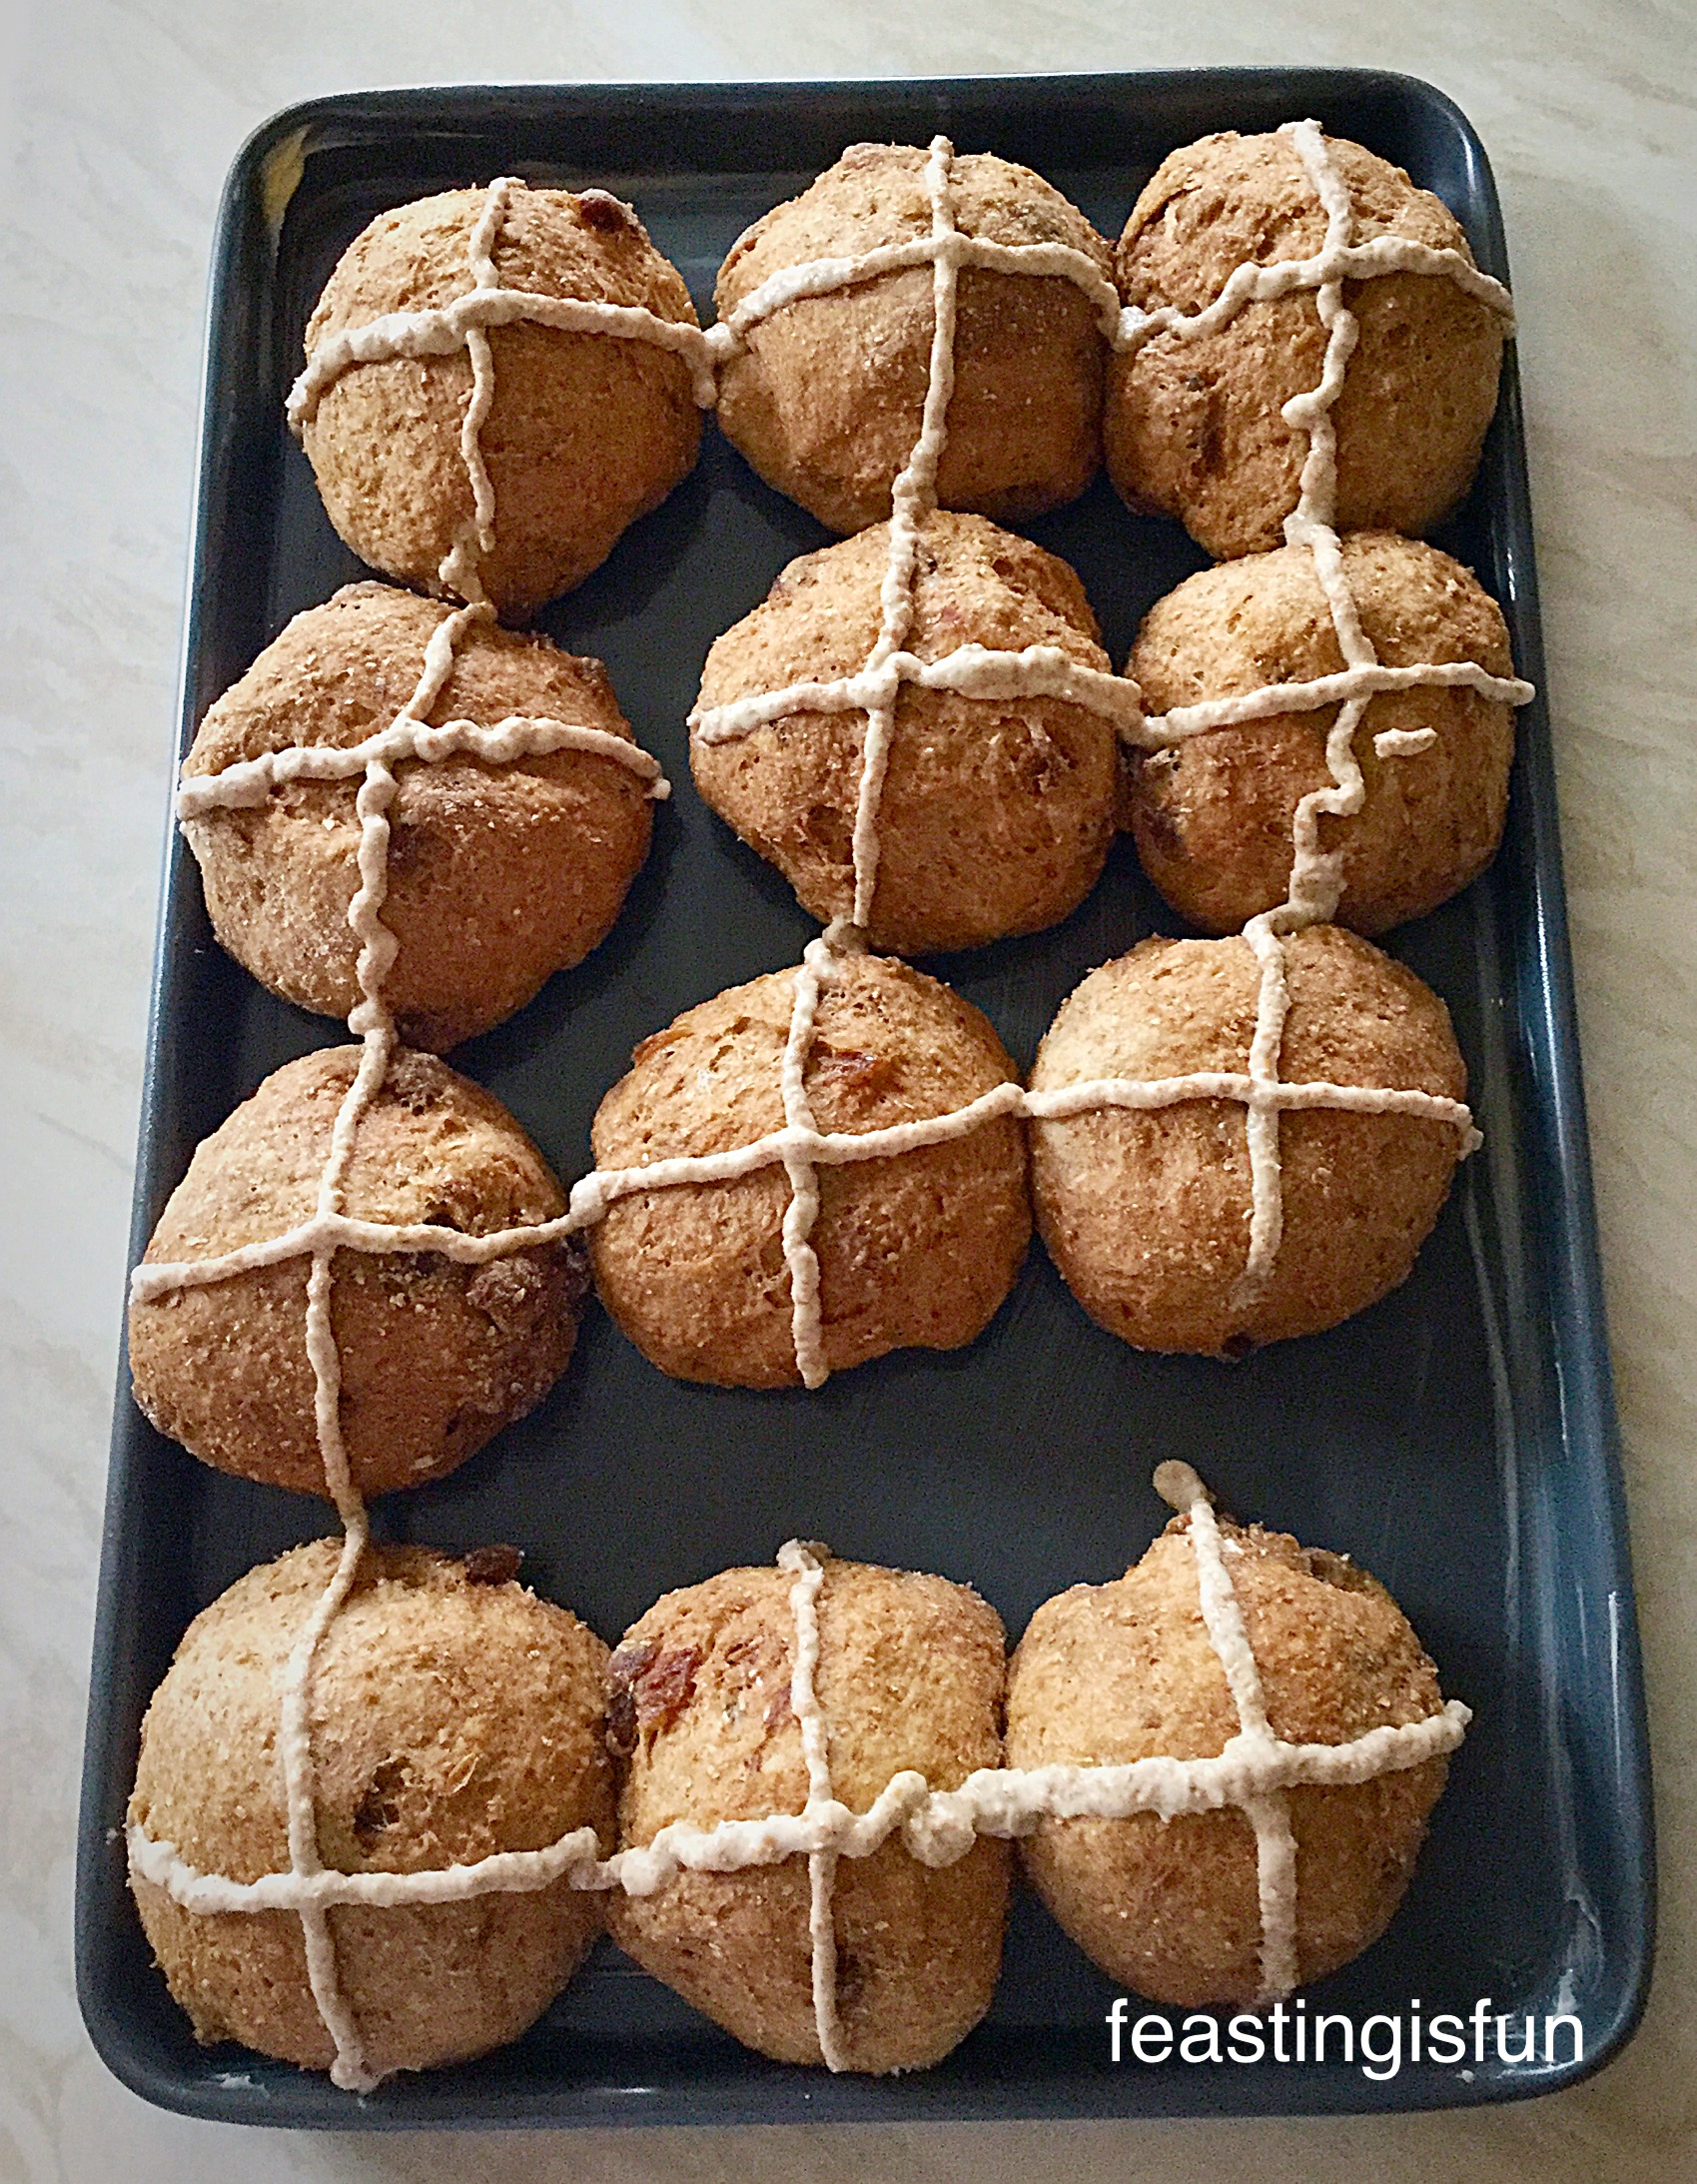
These Easter Chocolate Monster Mini Egg Cookies are utterly irresistible and so satisfying to eat, due to their size.
They are sure to be a hit with whoever you share them with.
If you have enjoyed making these Easter Chocolate Monster Mini Egg Cookies here are some more cookie recipes:
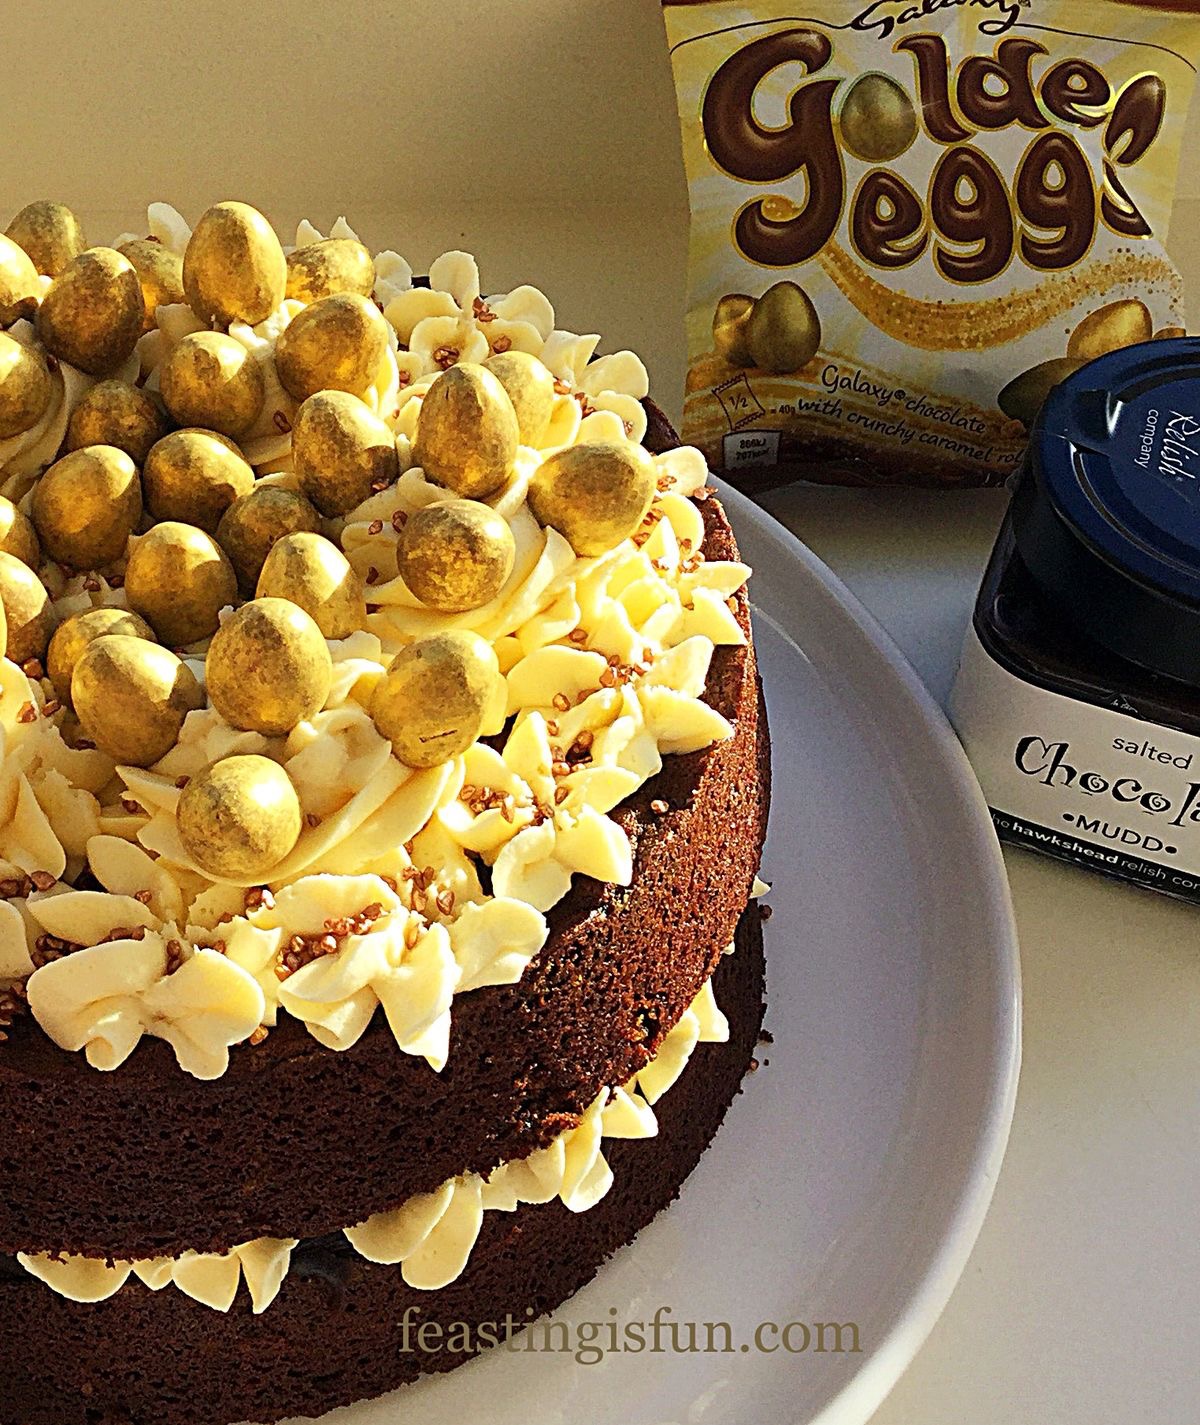
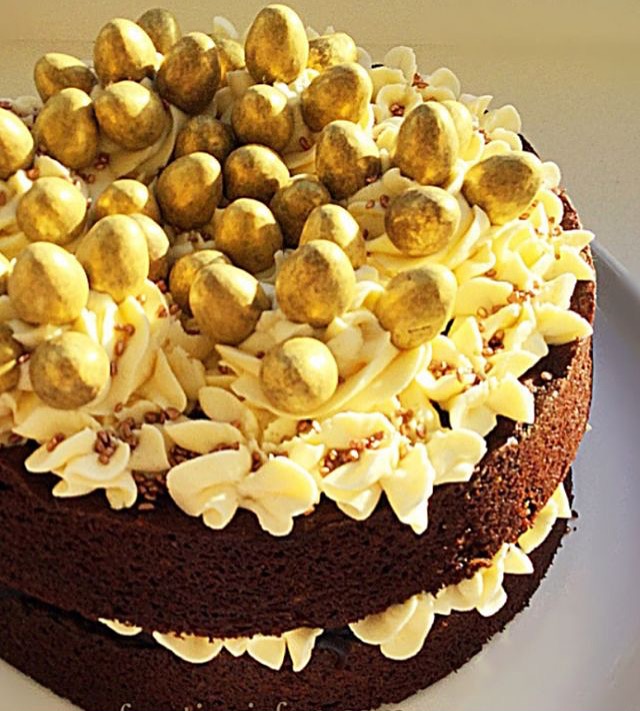
Golden Egg Chocolate Sponge Cake
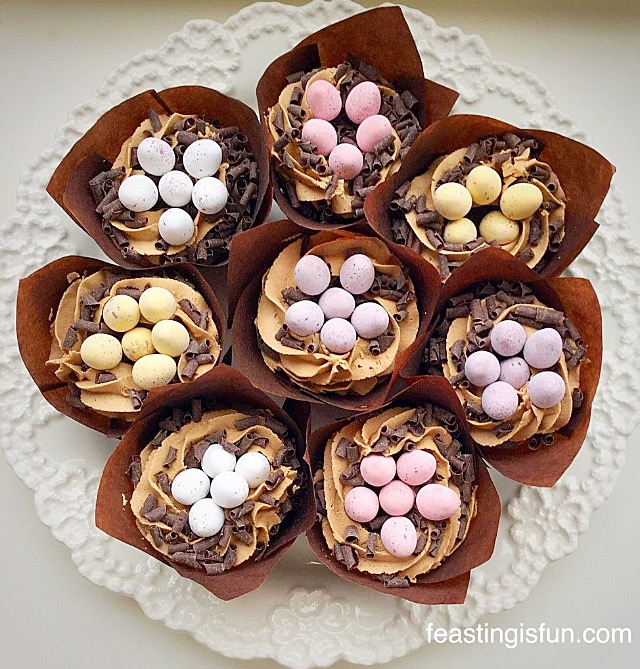
Vanilla Mini Egg Nest Cupcakes
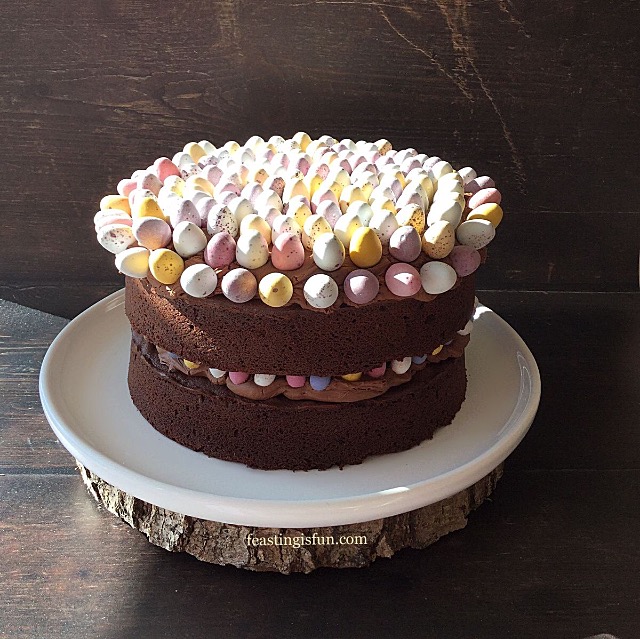
Chocolate Mini Egg Sponge Cake
Also if you make any of these, or my other recipes I’d love to know how you get on. Please leave a comment and/or post a photo on Twitter/Instagram? Because seeing your bakes really makes my day!
So, whatever you are making, baking and creating in your kitchens this Easter, have fun preparing and sharing your feast.
Sammie xx
@sammiefeasting Twitter/Instagram
No part of this post may be reproduced or duplicated without the written permission of the owner. Please see my Disclosure Policy.
Also entered for the month of March Simply Eggcellent over at Belleau Kitchen