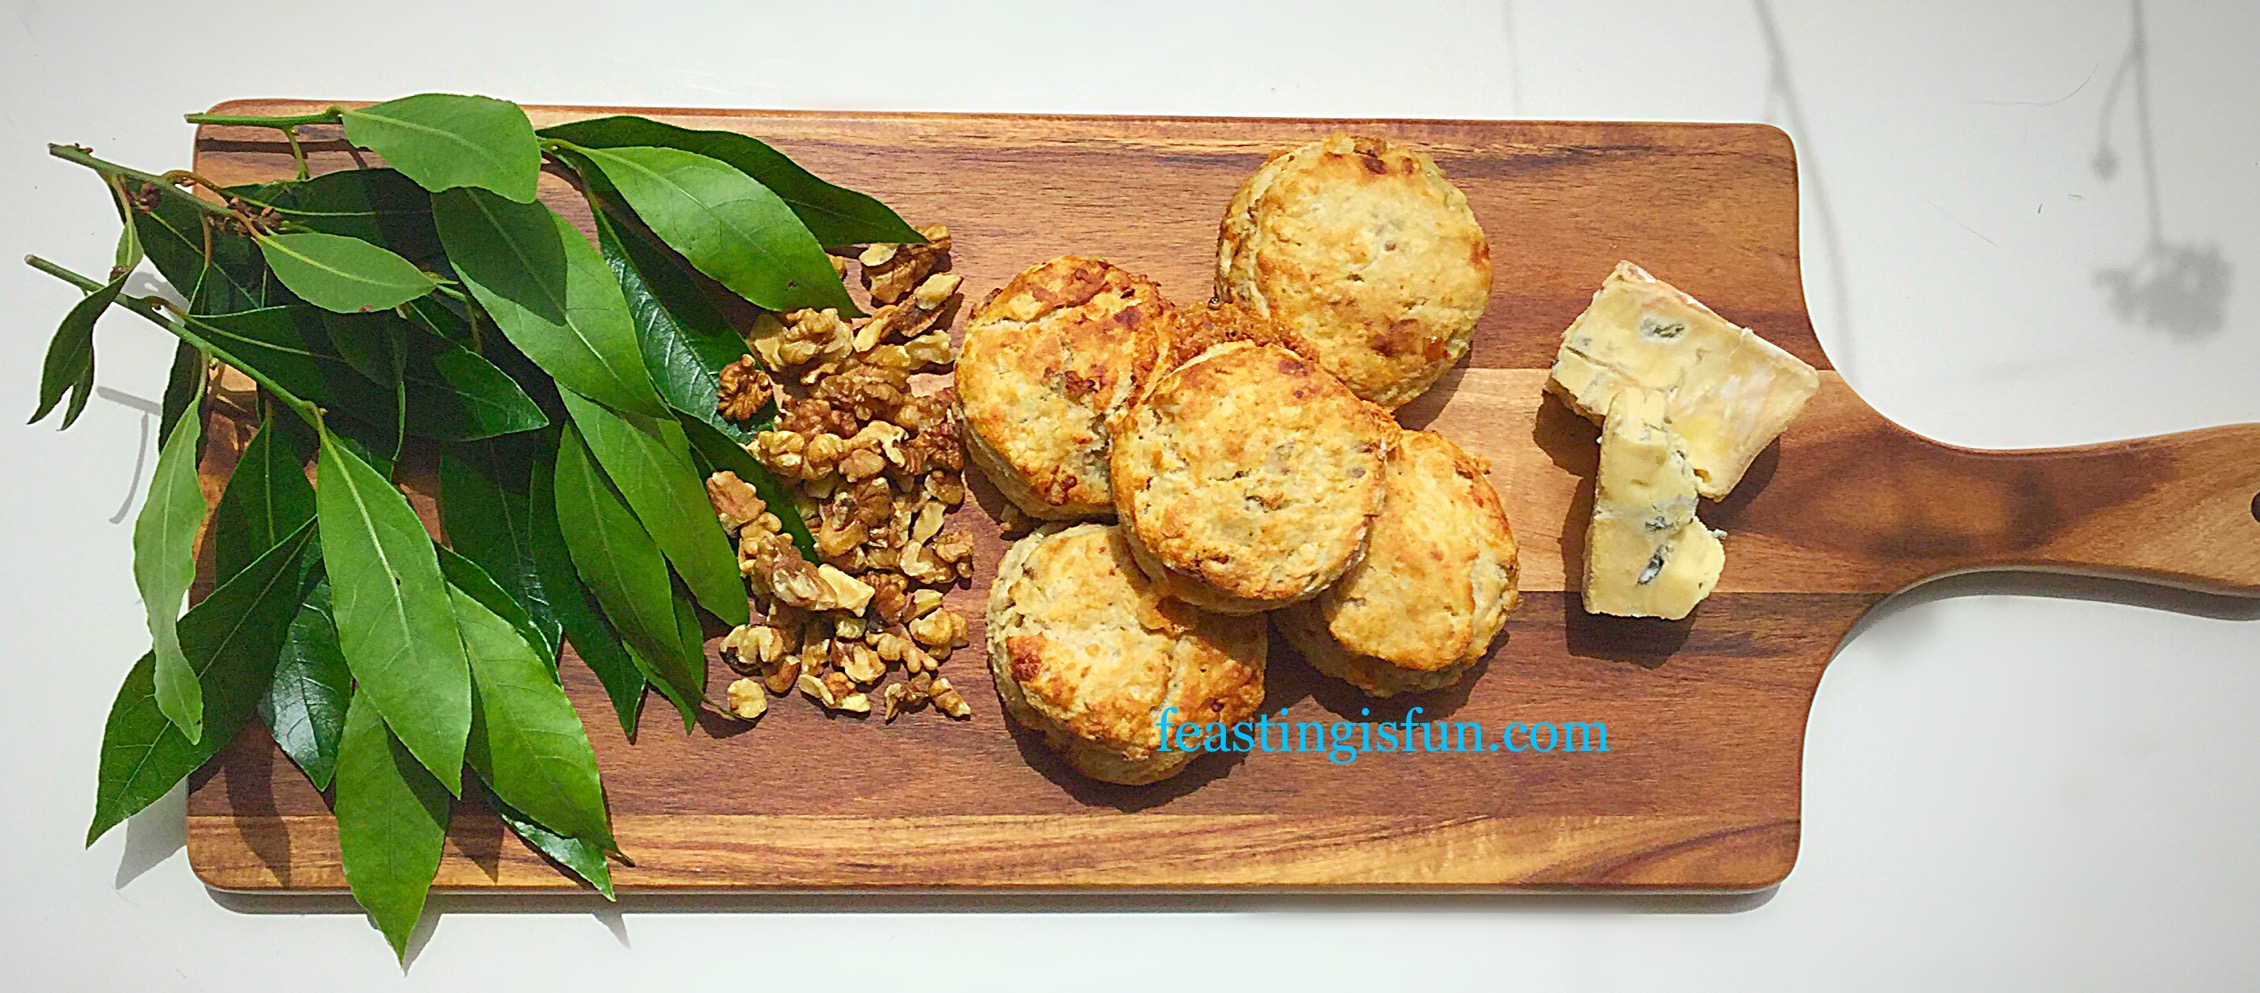
For someone who genuinely did not like scones, I have been baking rather a lot of them recently. And I have concluded that homemade, or well made bakery scones, are a million miles away from the prepackaged, heavy, scones of my past. During my recent scone bake-a-thon I adapted my Super Light Scones recipe to create an all butter version, which makes the most delicious savoury scones. Welcome my Beauvale Cheese Walnut Scones.
These Beauvale Cheese Walnut Scones are incredibly tasty and two out of our three children loved them. Let me add that they would not eat blue cheese on a cracker. A massive win for me as a mum!
Flavour Alchemy
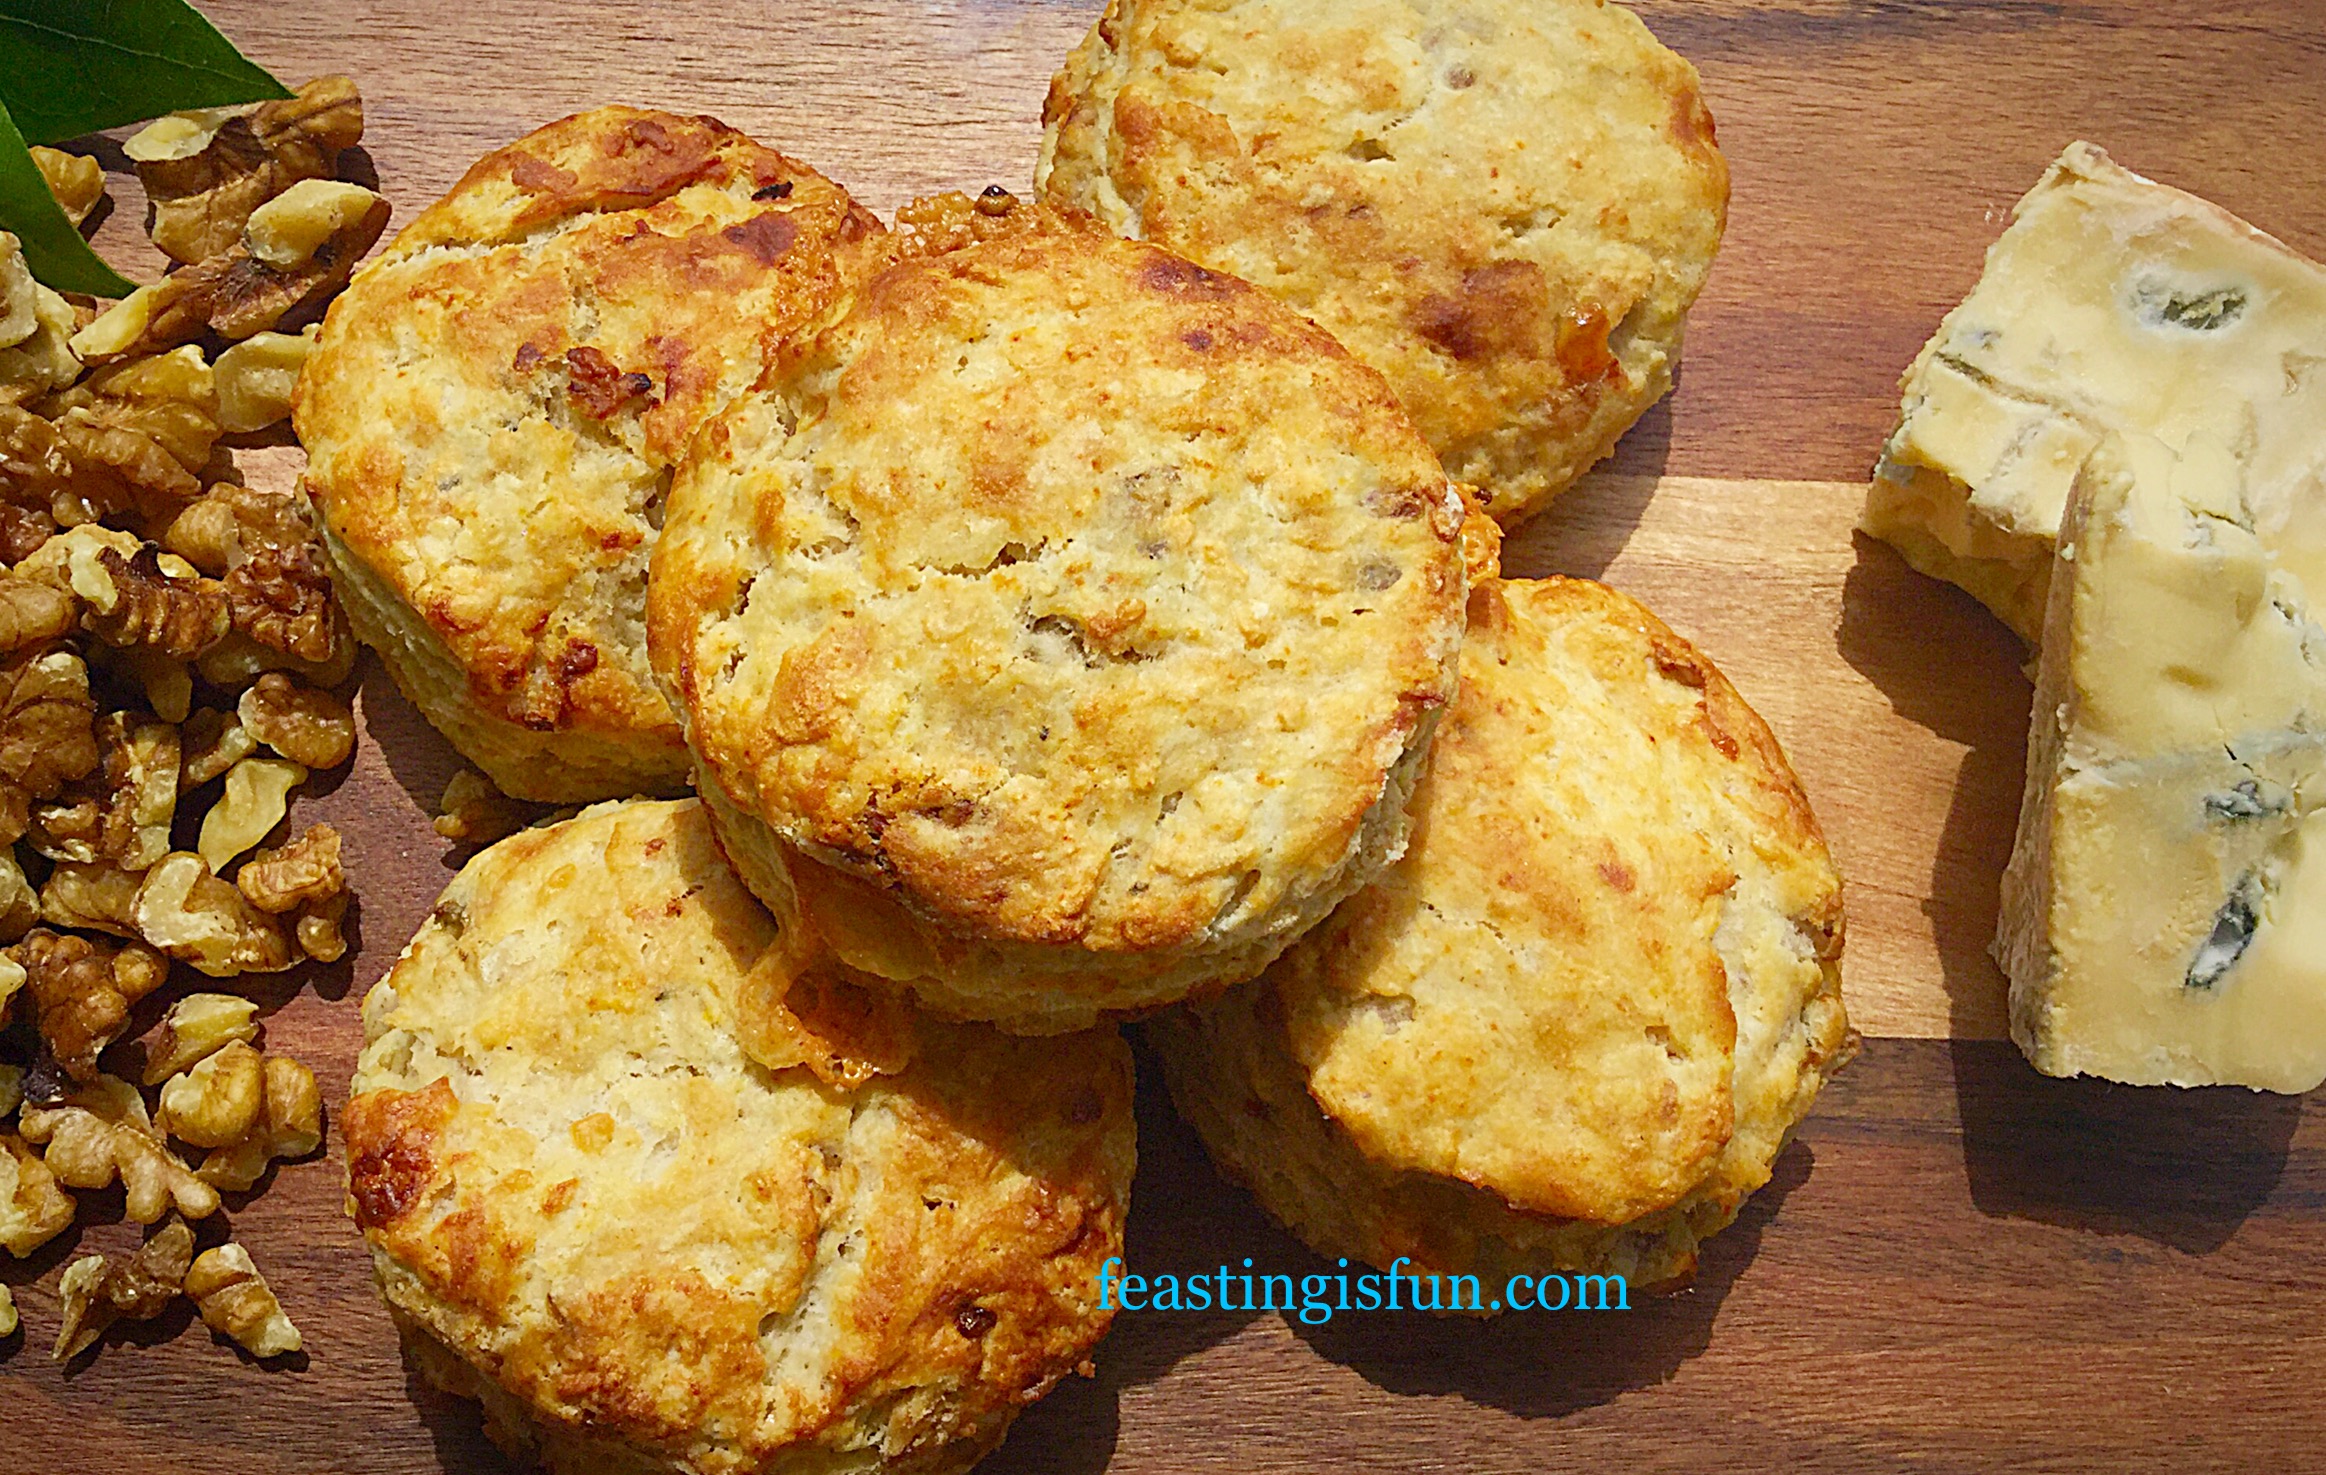
Truly though, their taste is a reflection of just how much delicious flavour is packed into these scones. The salty melted Beauvale Cheese, against an all butter scone, with the crunch of toasted walnuts and balanced with just a hint of honey.
And I bet you didn’t see that last ingredient coming?
Because blue cheese and honey pair beautifully together, I was going to caramelise the toasted walnuts in honey. Finally though, I decided that I wanted the sweet honey to be no more than a kiss on our tastebuds.

Beauvale Cheese is a soft blue cheese, that doesn’t have the intensity of Stilton. Beautiful eaten with bread or crackers and served on a cheese board, this cheese comes alive when baked in the scones. Warm and melted, it has a rounder, salty and buttery flavour that blends nicely with the toasted walnuts and that little hint of honey.
So, I urge you to try these Beauvale Cheese Walnut Scones, they are incredibly simple to make and are perfect for using up leftover cheese.
Recipe: Makes 12-14 Beauvale Cheese Walnut Scones
50g/2oz Walnut Pieces or Halves
450g/1lb Plain White Flour
3tsp Baking Powder
75g/3oz Very Cold Unsalted Butter
125g/4.5oz Beauvale Cheese – mine was from Pong Cheese
250mls/9fl oz Milk – Whole or Semi Skimmed
3tbsp Milk for glazing the tops of the scones
3tsp Runny Honey
1/4tsp Sea Salt – I use Maldon
1/4tsp Freshly Ground Black Pepper
Method: Preheat the oven to 220C/200C fan, gas mark 7
Making The Scone Dough
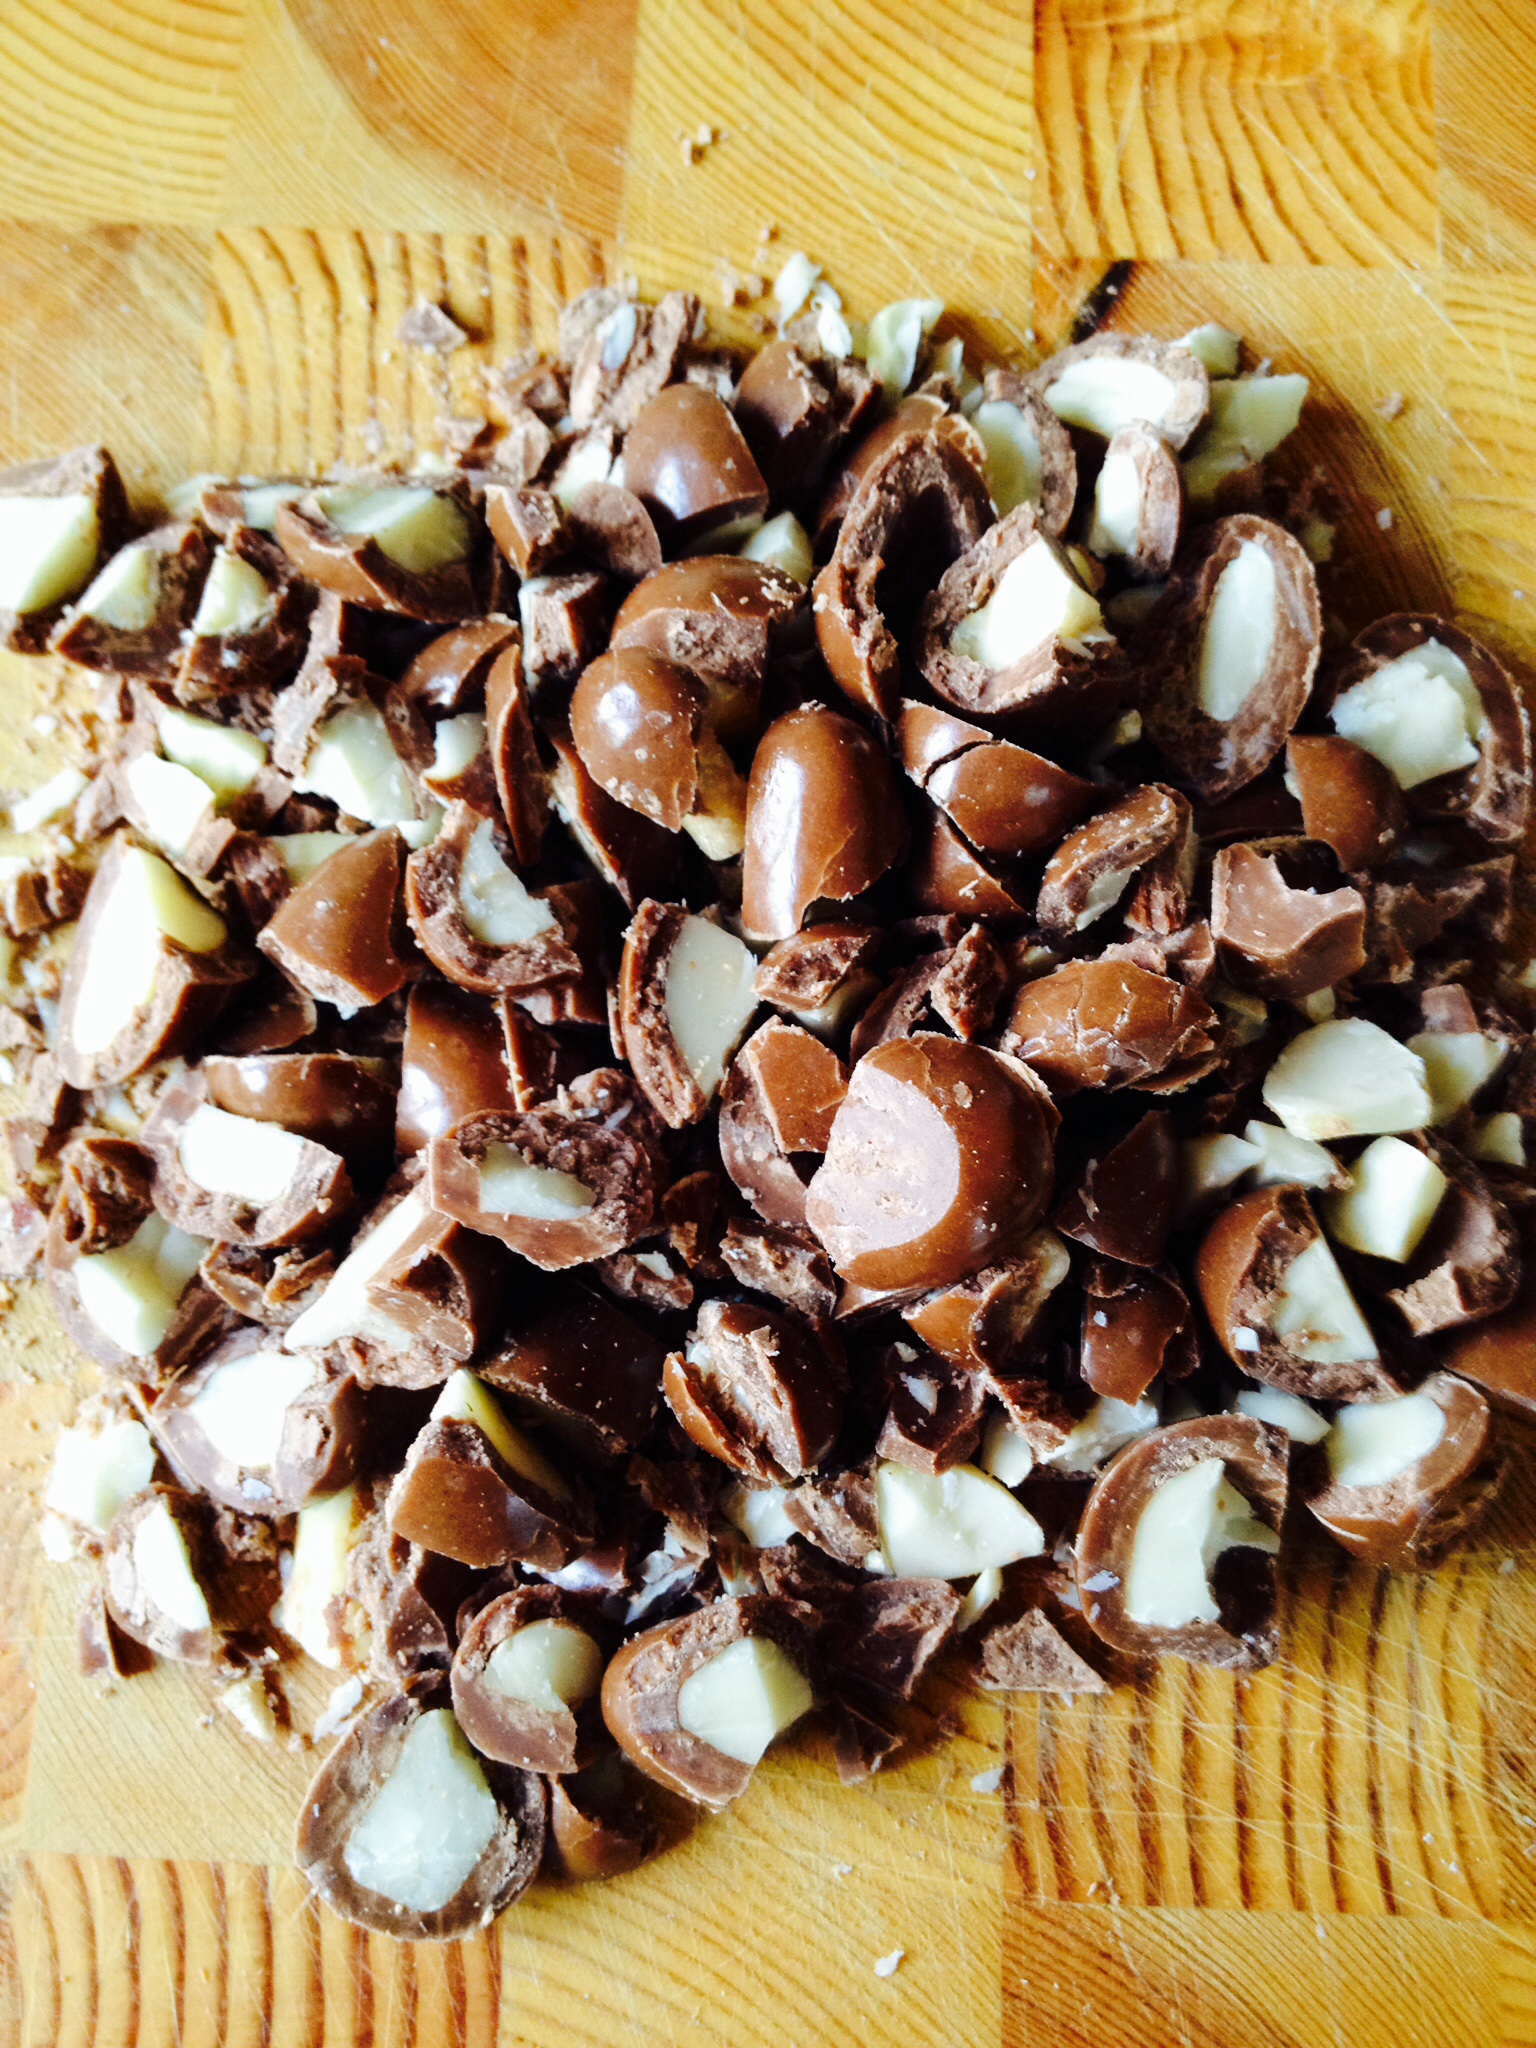
- First of all, in a dry iron skillet or frying pan add the walnut pieces and place over a medium until lightly toasted. You will just be able to start smelling the wonderful walnut oils. Remove from the heat and set to one side to cool.
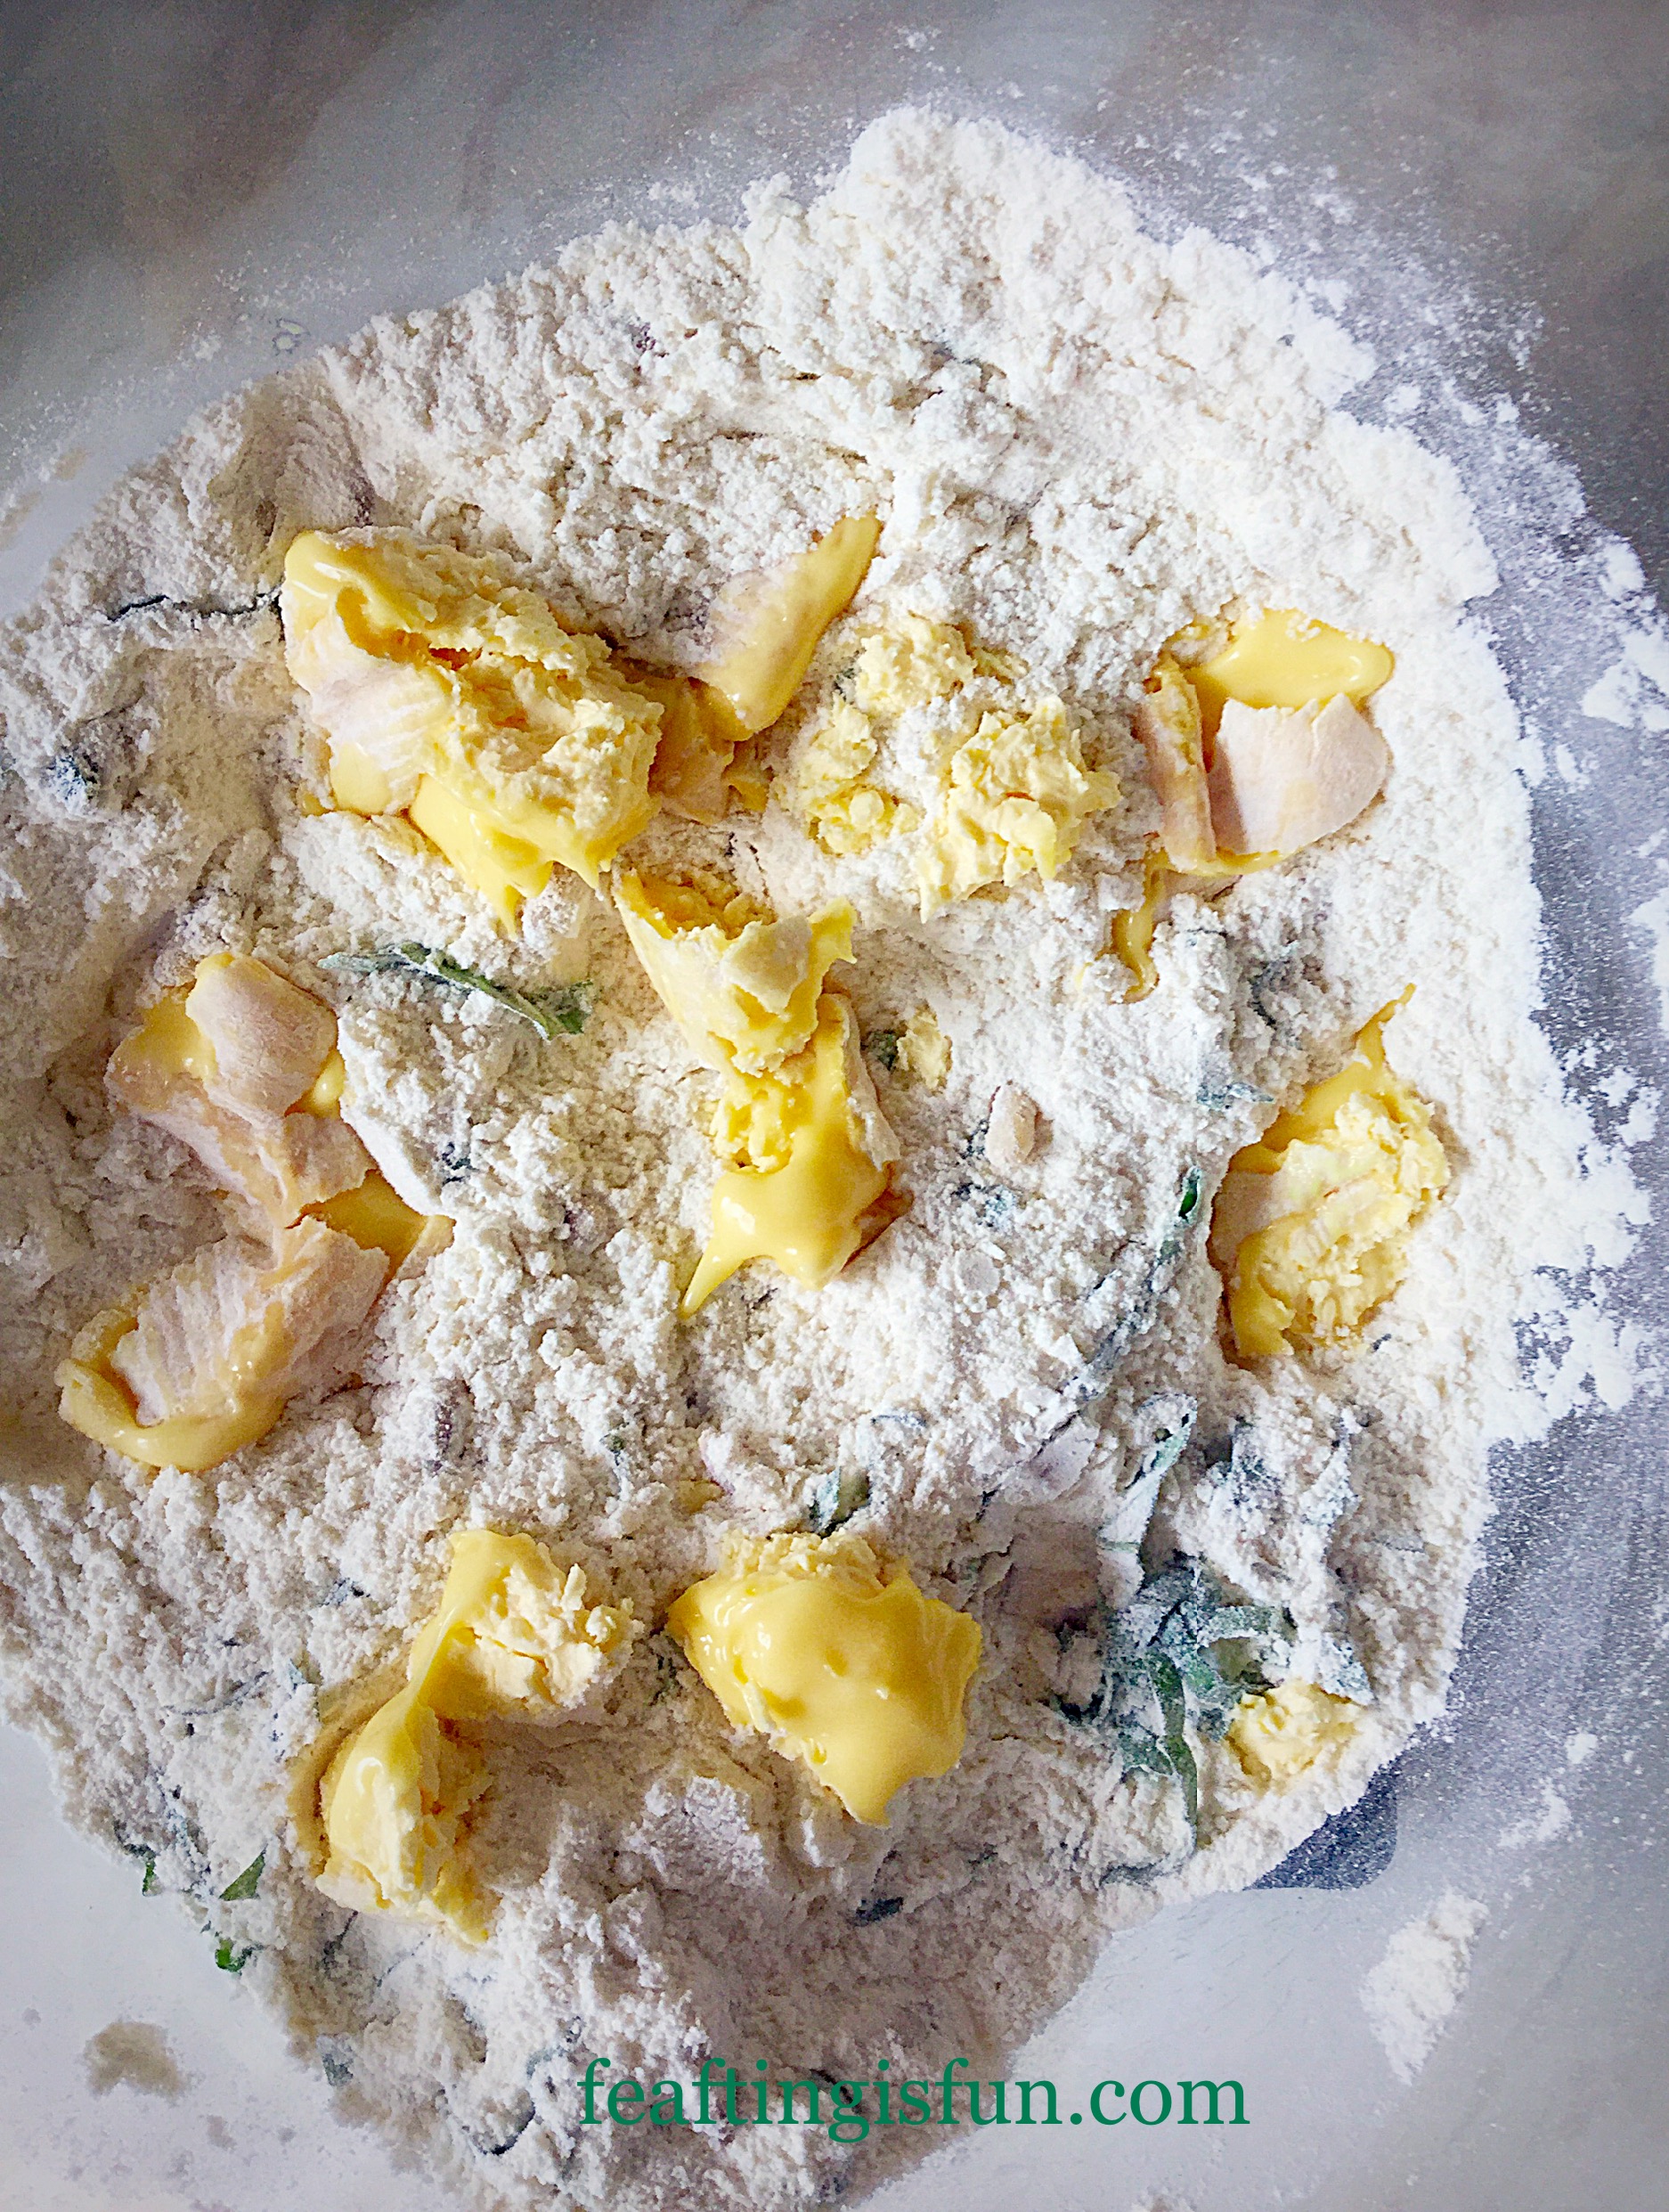
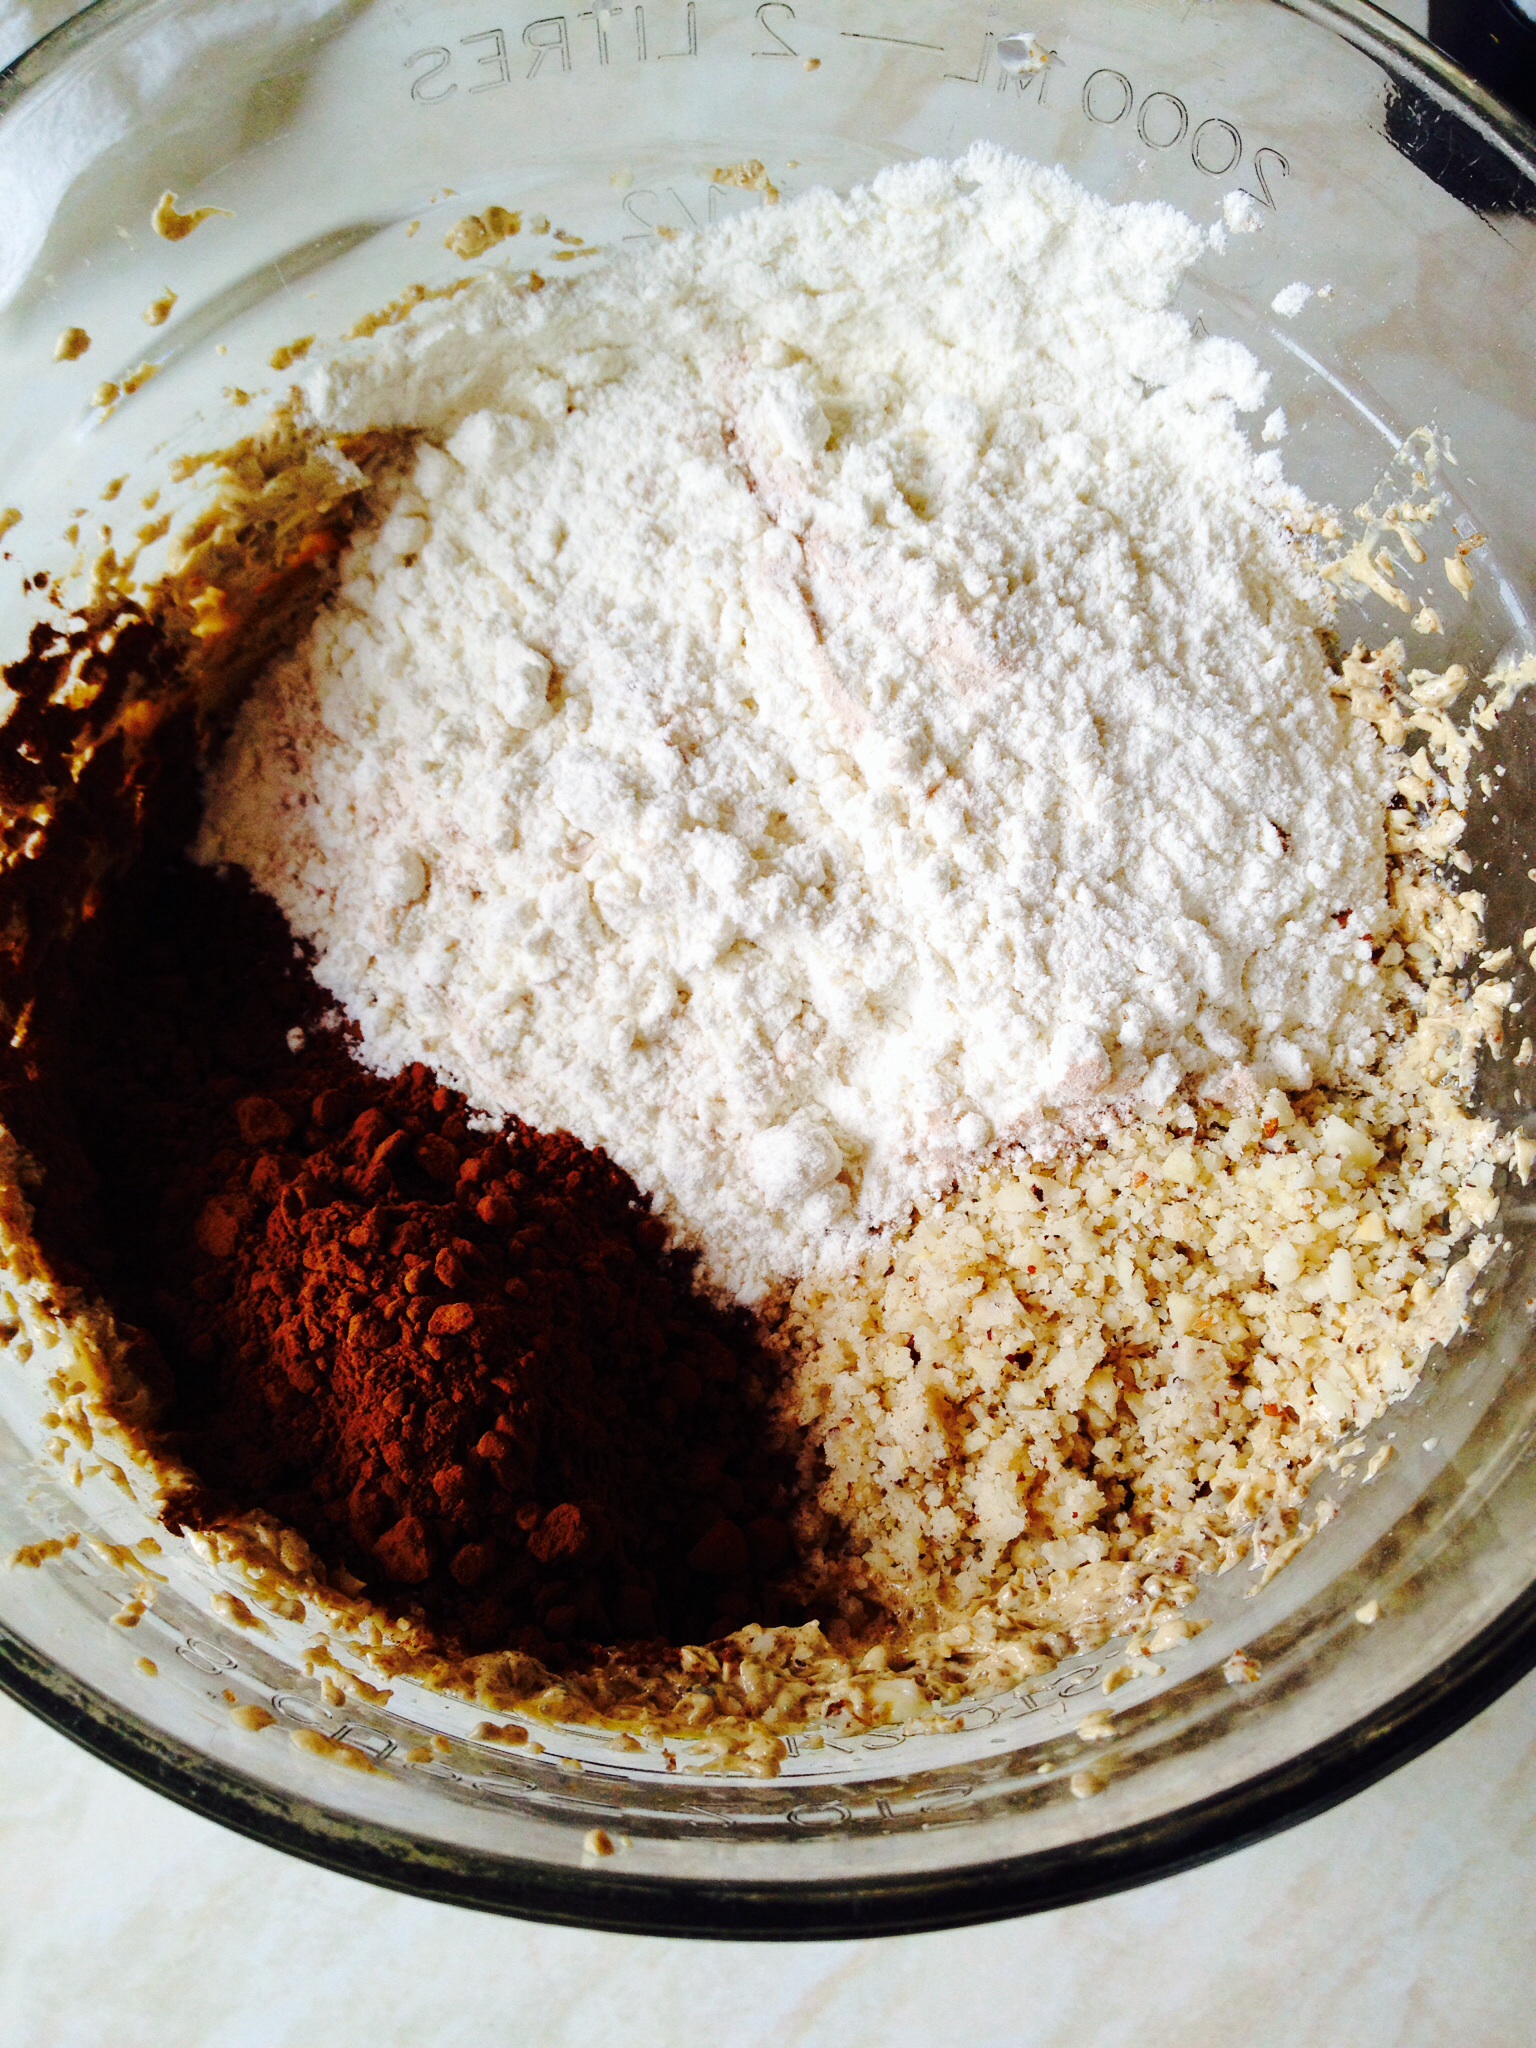
- Into a large bowl sift the flour and baking powder.
- Add the sea salt and pepper.
- Using the large grating side of a box grater, grate the very cold cheese straight onto the flour – I find it easier to have my bowl on digital scales.
- Cover the butter with flour, use a butter knife to separate any clumps, so that the butter is evenly distributed.

- Next break off chunks of the Beauvale Cheese and drop them into the bowl.
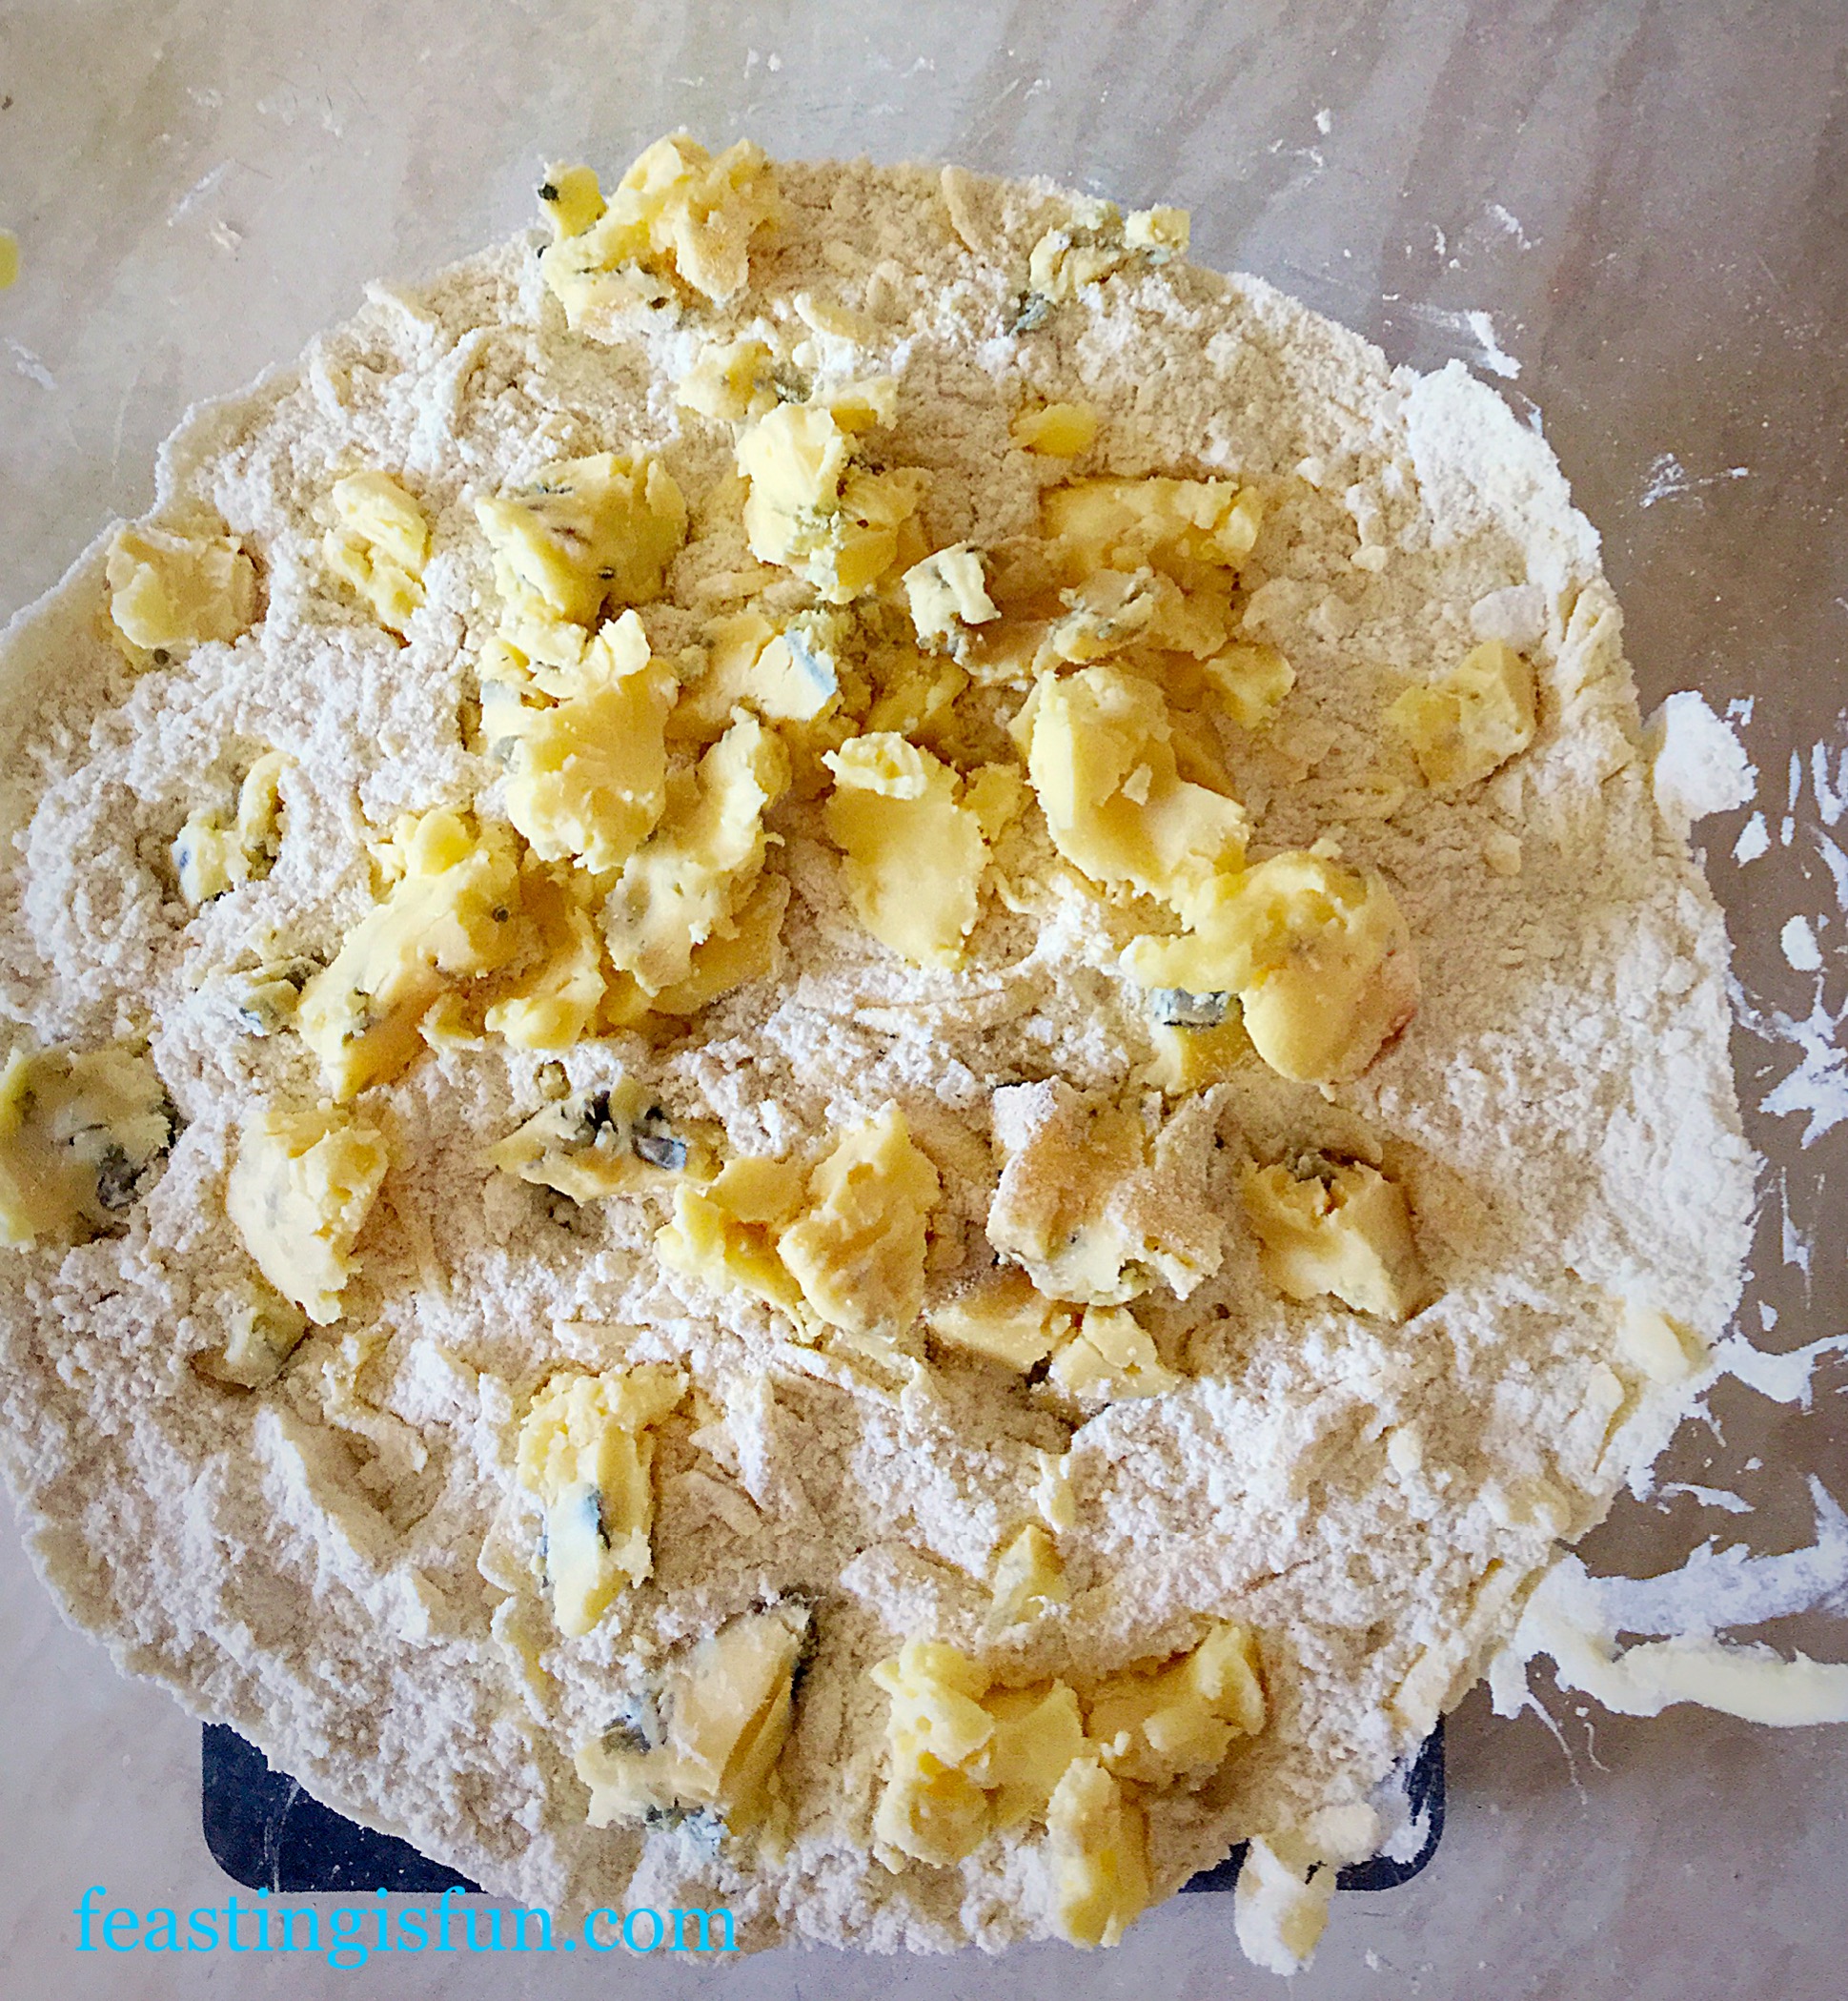
- Using a butter knife flick the flour over the cheese so that it is covered. This will stop it from clumping together.
- Chop the walnuts roughly and add to the bowl. Stir with the butter knife to distribute evenly.
- In a jug add 2 teaspoons of honey to the milk. Whisk briefly to disolve the honey.
- Make a well in the centre of the bowl and pour the milk/honey mixture in.
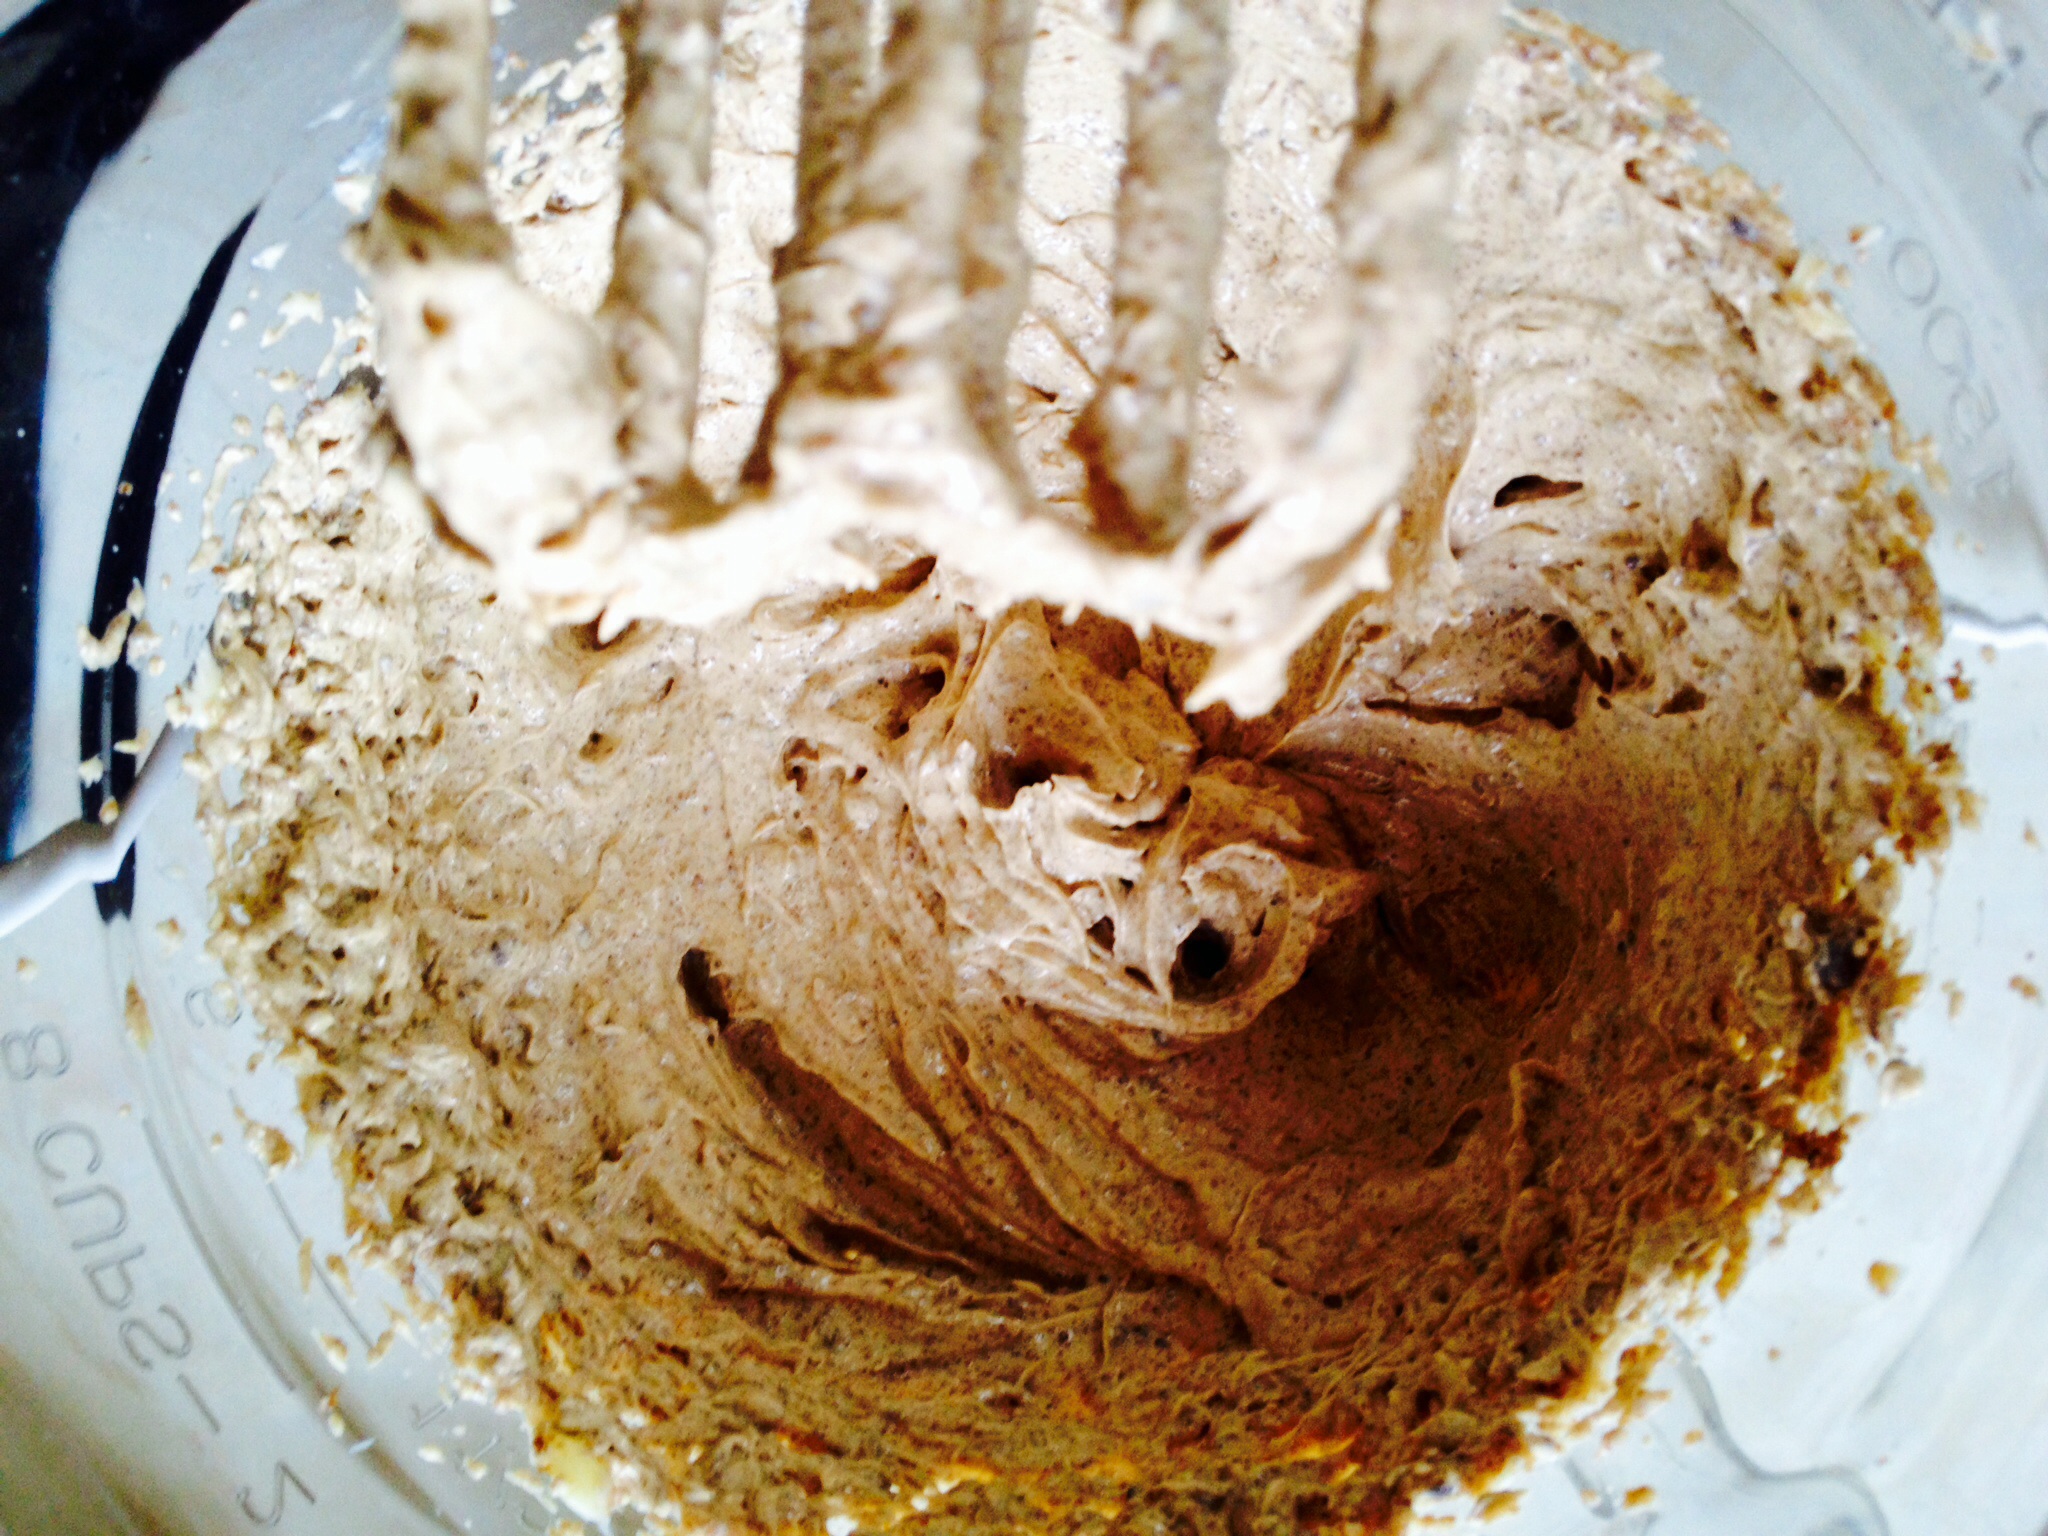
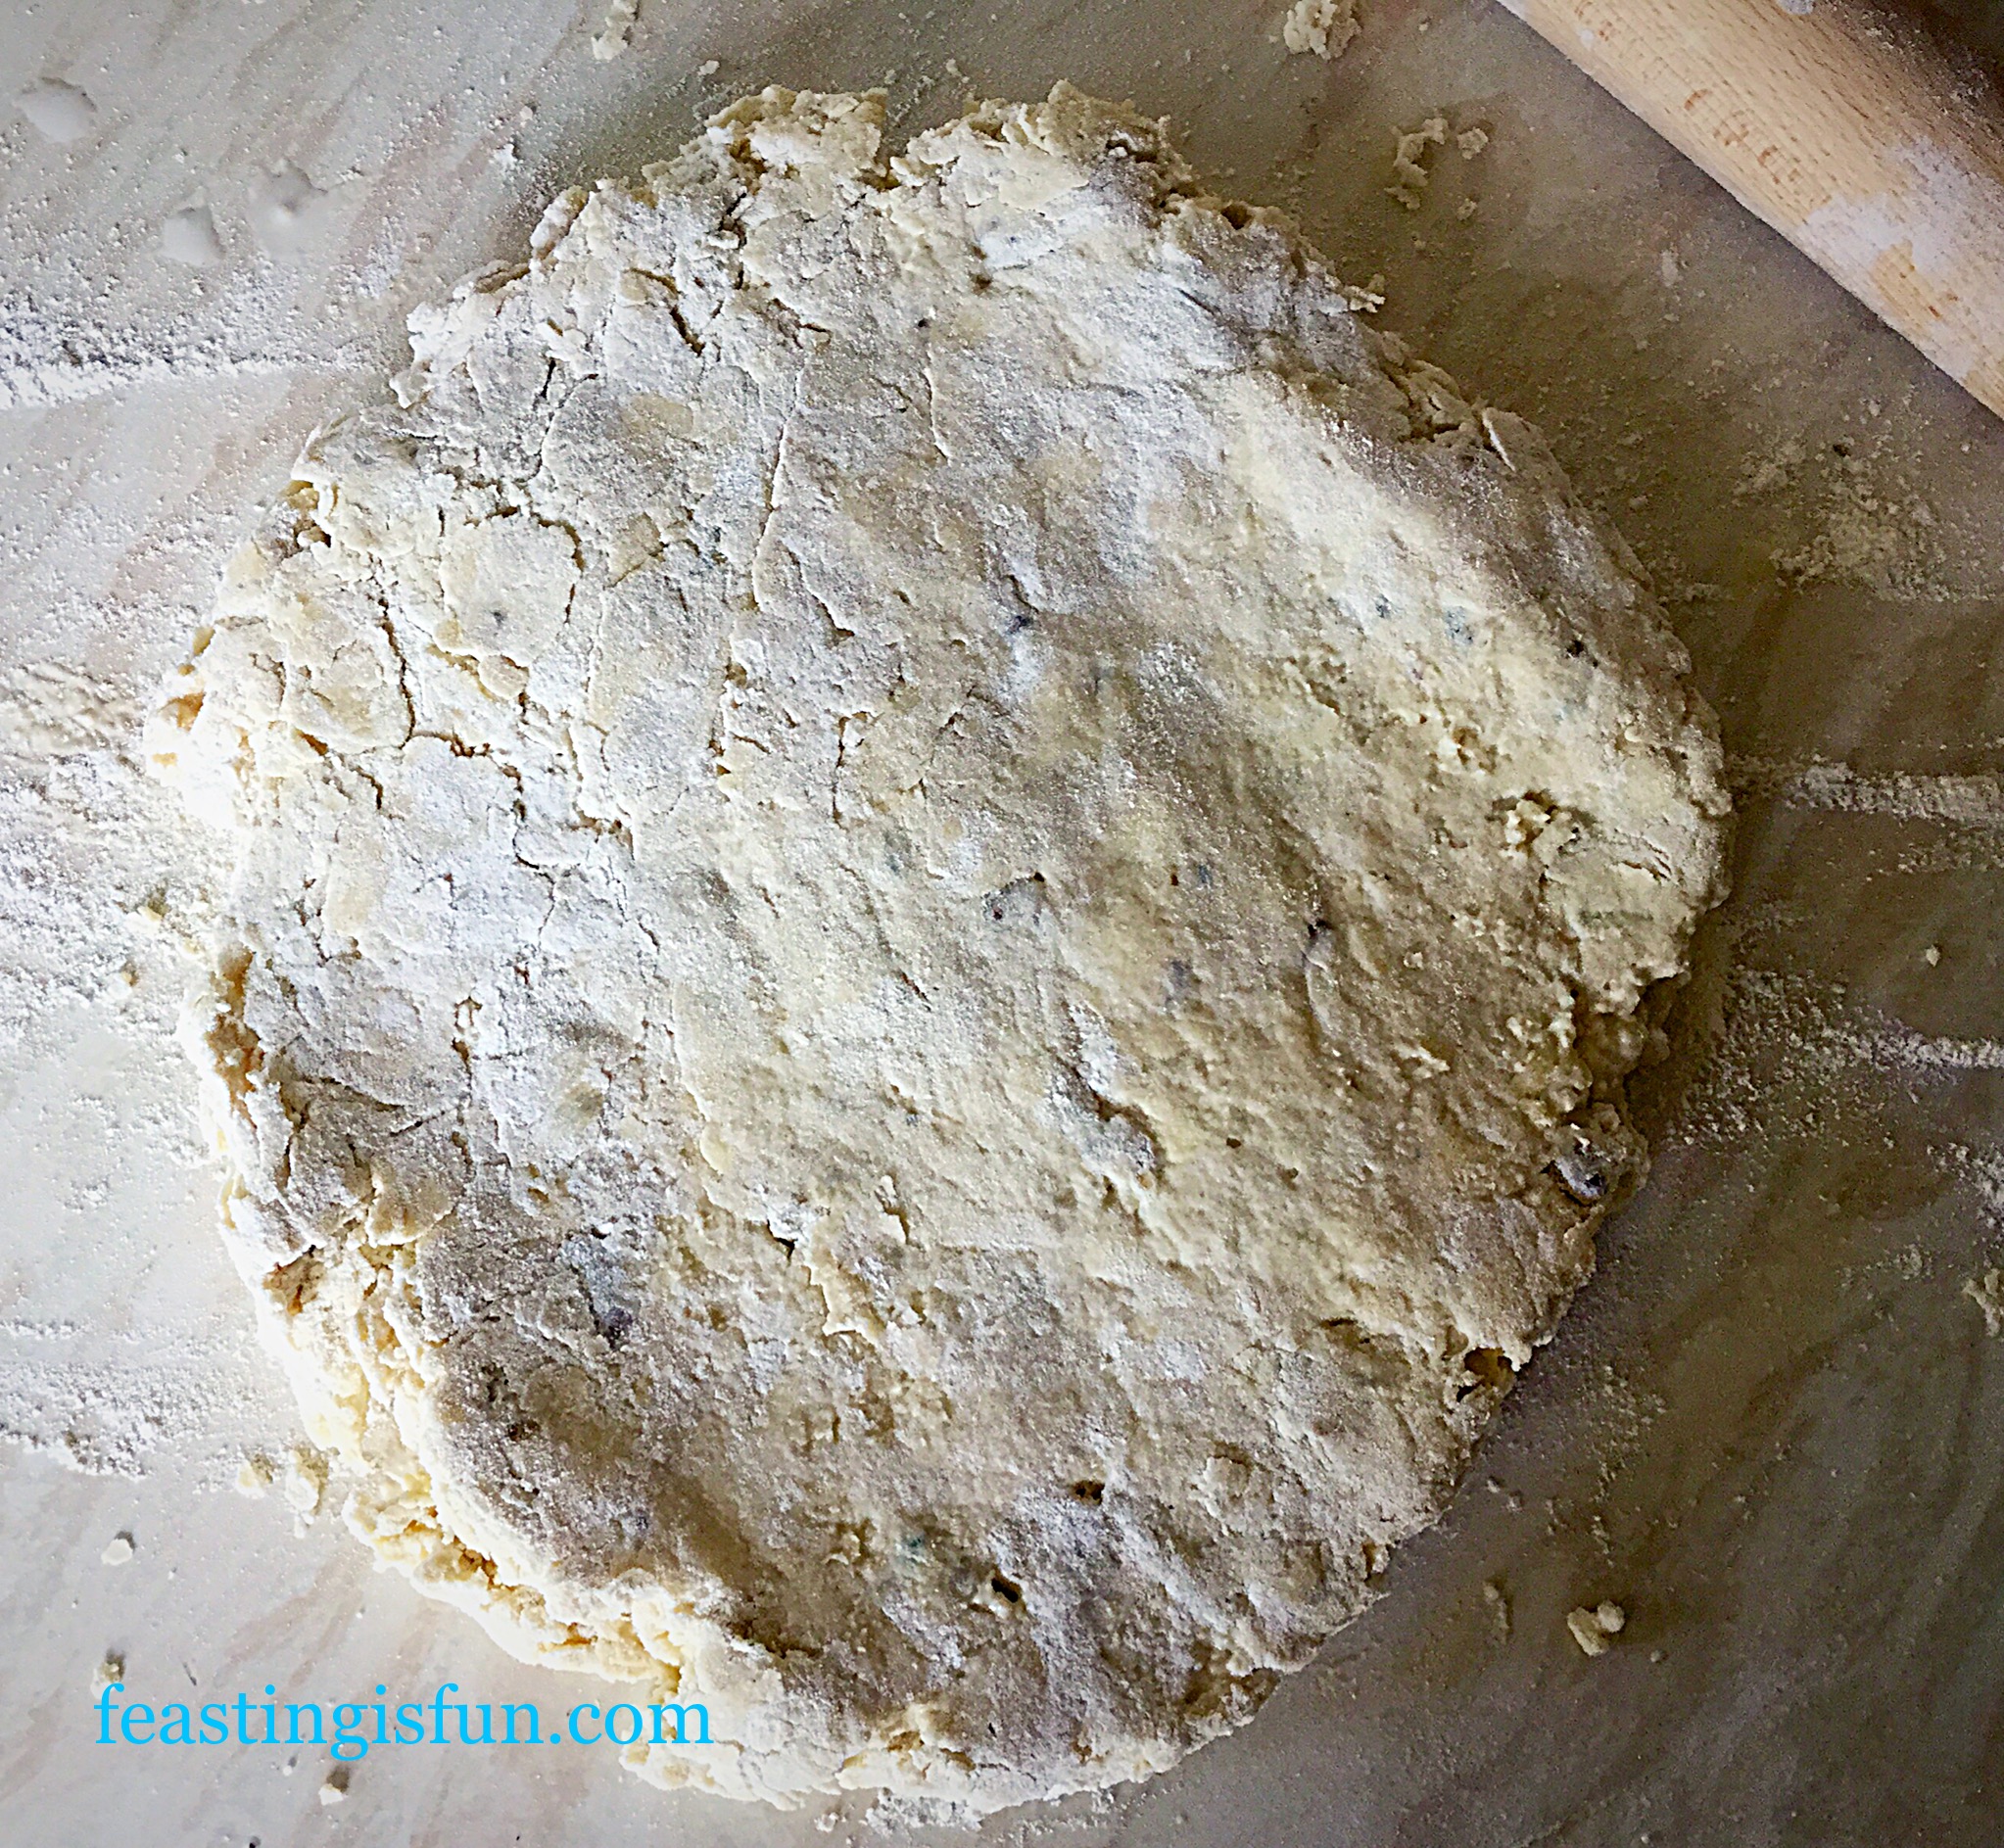
- Use the butter knife to briefly stir the ingredients and then use your hand to bring them together into a rough dough.
- The trick to creating the lightest scones is to handle them as little as possible and only very lightly flour the worktop on which you roll and cut them out.
Shaping The Dough And Portioning The Scones
- On a lightly flour dusted worktop tip out your scone dough and flatten with your hands so that it is 5cm/2″ deep.
- Use a rolling pin to gently roll the dough to 2.5cm/1″ thickness.
- Line a large baking tray with baking parchment or a silicone baking mat.
- Using a 7cm/3″ cutter press straight down and cut out the scones. If you twist the cutter as you cut the scones it can cause uneven rising.
- Add the last teaspoon of honey to the milk, stir and then brush the tops of the scones.

Baking The Cheese And Nut Scones
- Place the scones in the top of the preheated oven and bake for 20-25minutes, until they are risen and golden brown in colour.
- As soon as the scones are baked remove from the oven and place on a cooling rack – be careful as they will be hot!

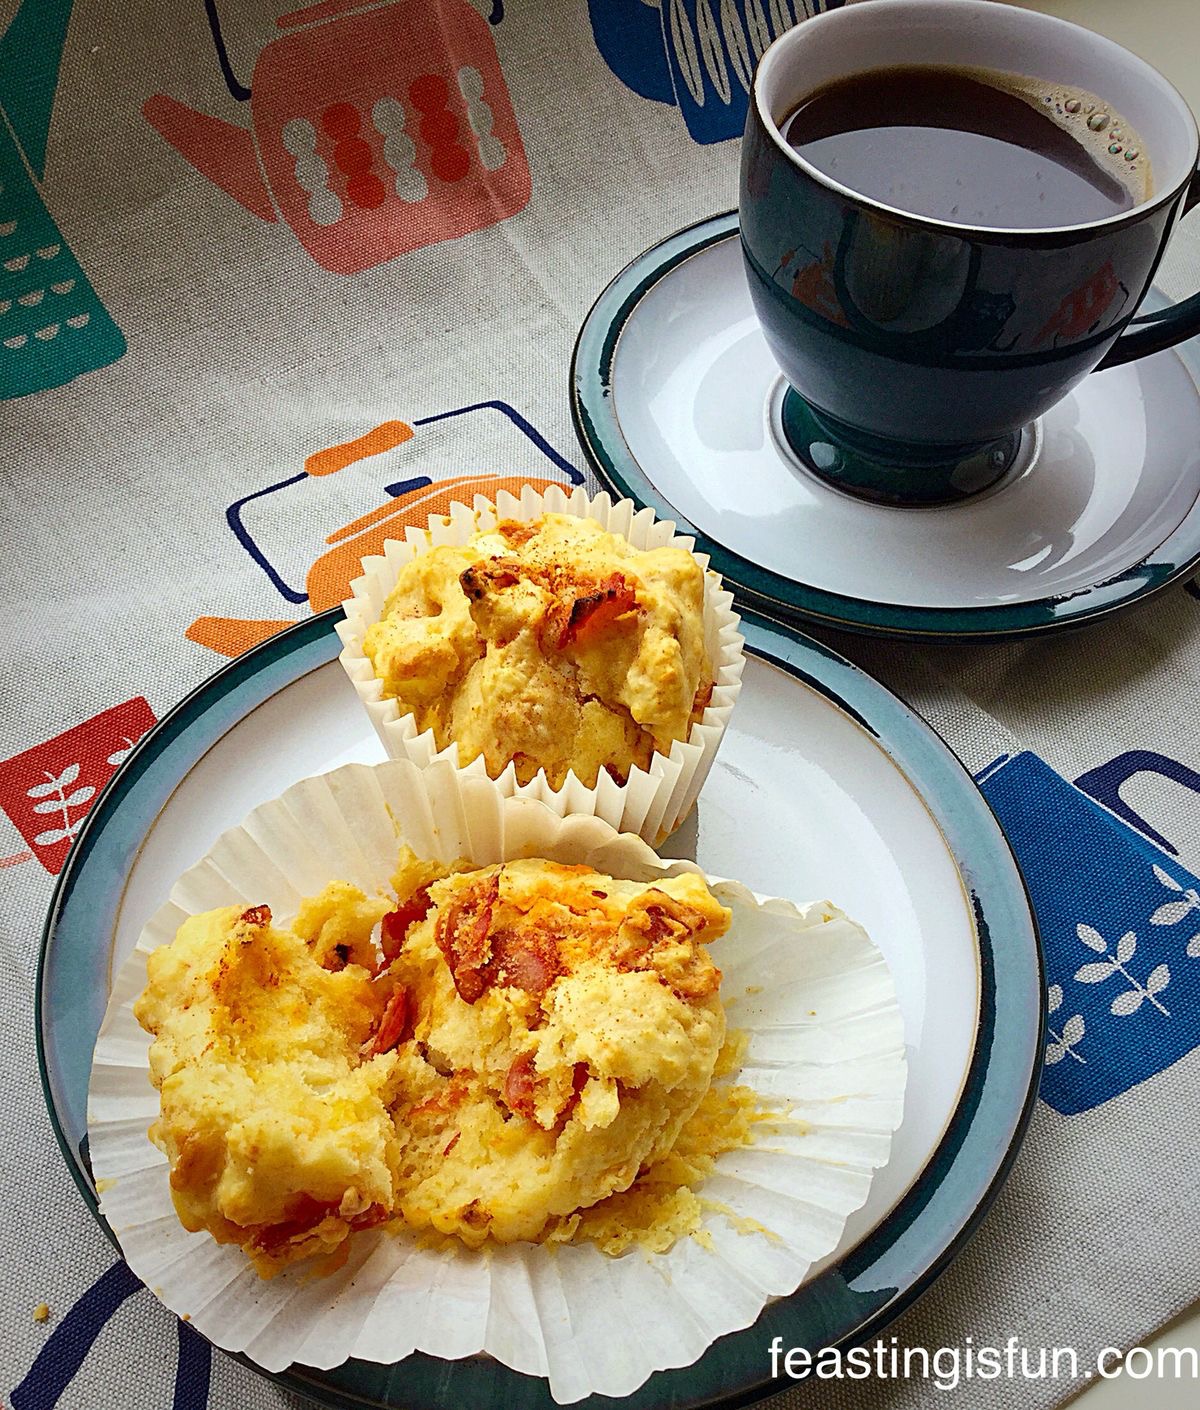
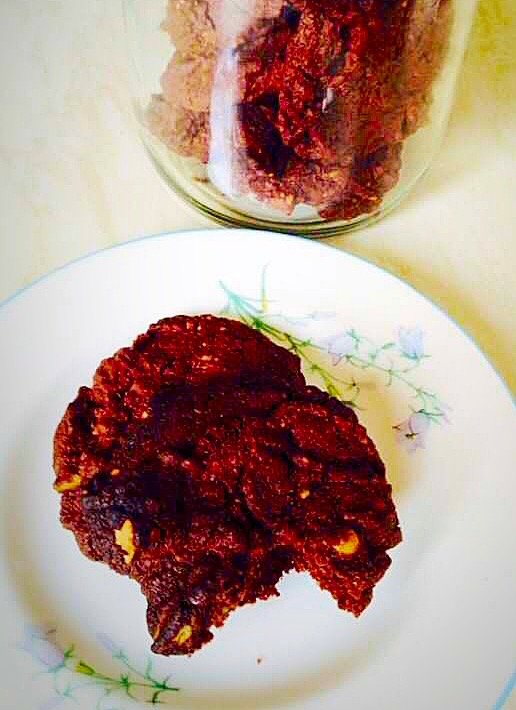
Enjoying These Beauvale Cheese Walnut Scones
These utterly delicious Beauvale Cheese Walnut Scones are perfect served warm, split with butter, a little extra cheese (the contrast between the cold and baked cheese is delicious), or just on their own. Also they taste great cold and so are perfect for packed lunches, picnics and afternoon tea.
Since these scones have higher fat content, they will last 3-4 days in an airtight container. Also, I have successfully frozen similar scones for up to one month. To refresh, defrost and place in a warm oven for 5-10 minutes and they’ll taste as though they’ve been freshly baked.

If you have enjoyed this Beauvale Cheese Walnut Scones recipe here are some others you may also like:

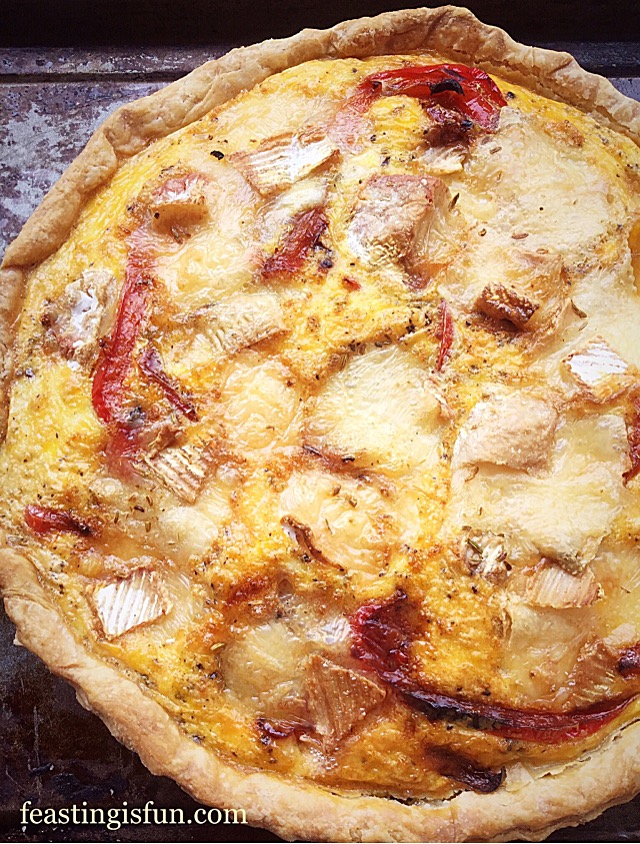
Feta Red Onion Marmalade Quiche

Goddess Cheese Pine Nut Muffins

There are so many wonderful ways of using cheese in cooking and baking. And during the next few months we will discover together, wonderful sauces, dinners, recipes and bakes.
Pong Cheese has a wonderful selection of cheeses on their website. I look forward to widening my cheese palette and creating recipes with all the different cheeses.
I hope that you will join me on this creative journey and together we can have fun discovering new ways to make and bake with cheese in our kitchens? Having fun along the way as we cook up some cracking feasts.
Sammie xx
Pong Cheese provided the cheese for this recipe. All opinions, views, content and photographs are my own. This is not a sponsored post. Please see my Disclosure Policy.
Share