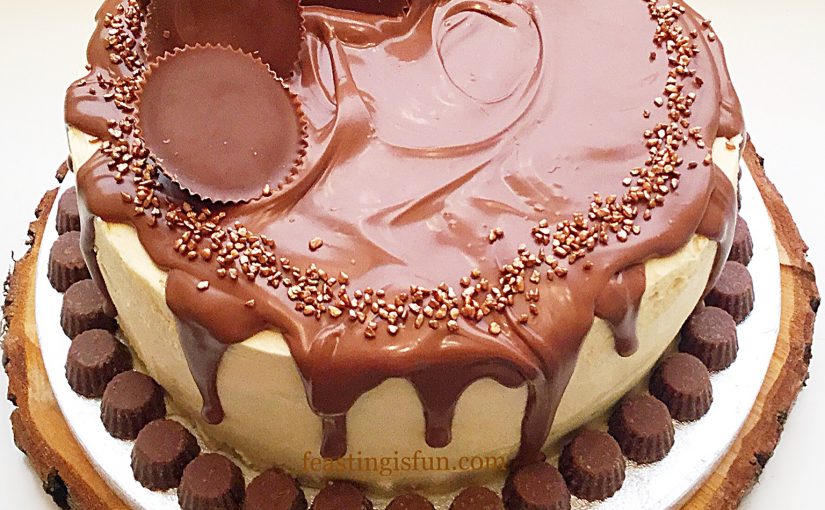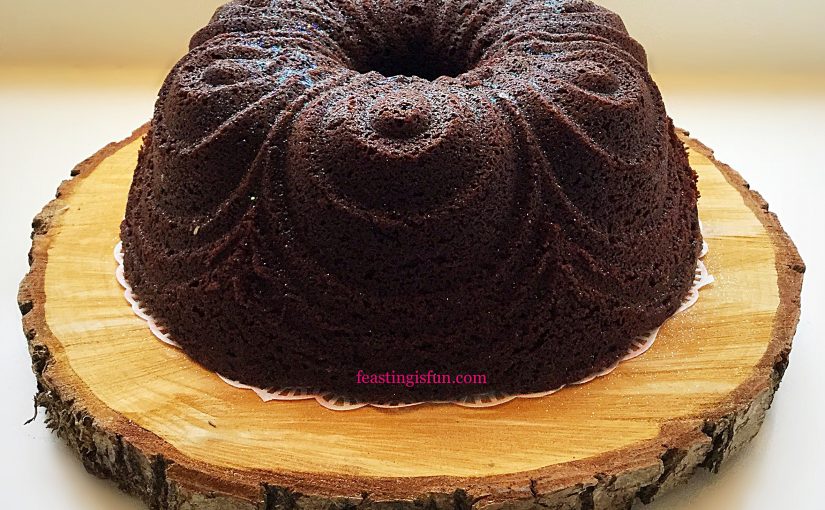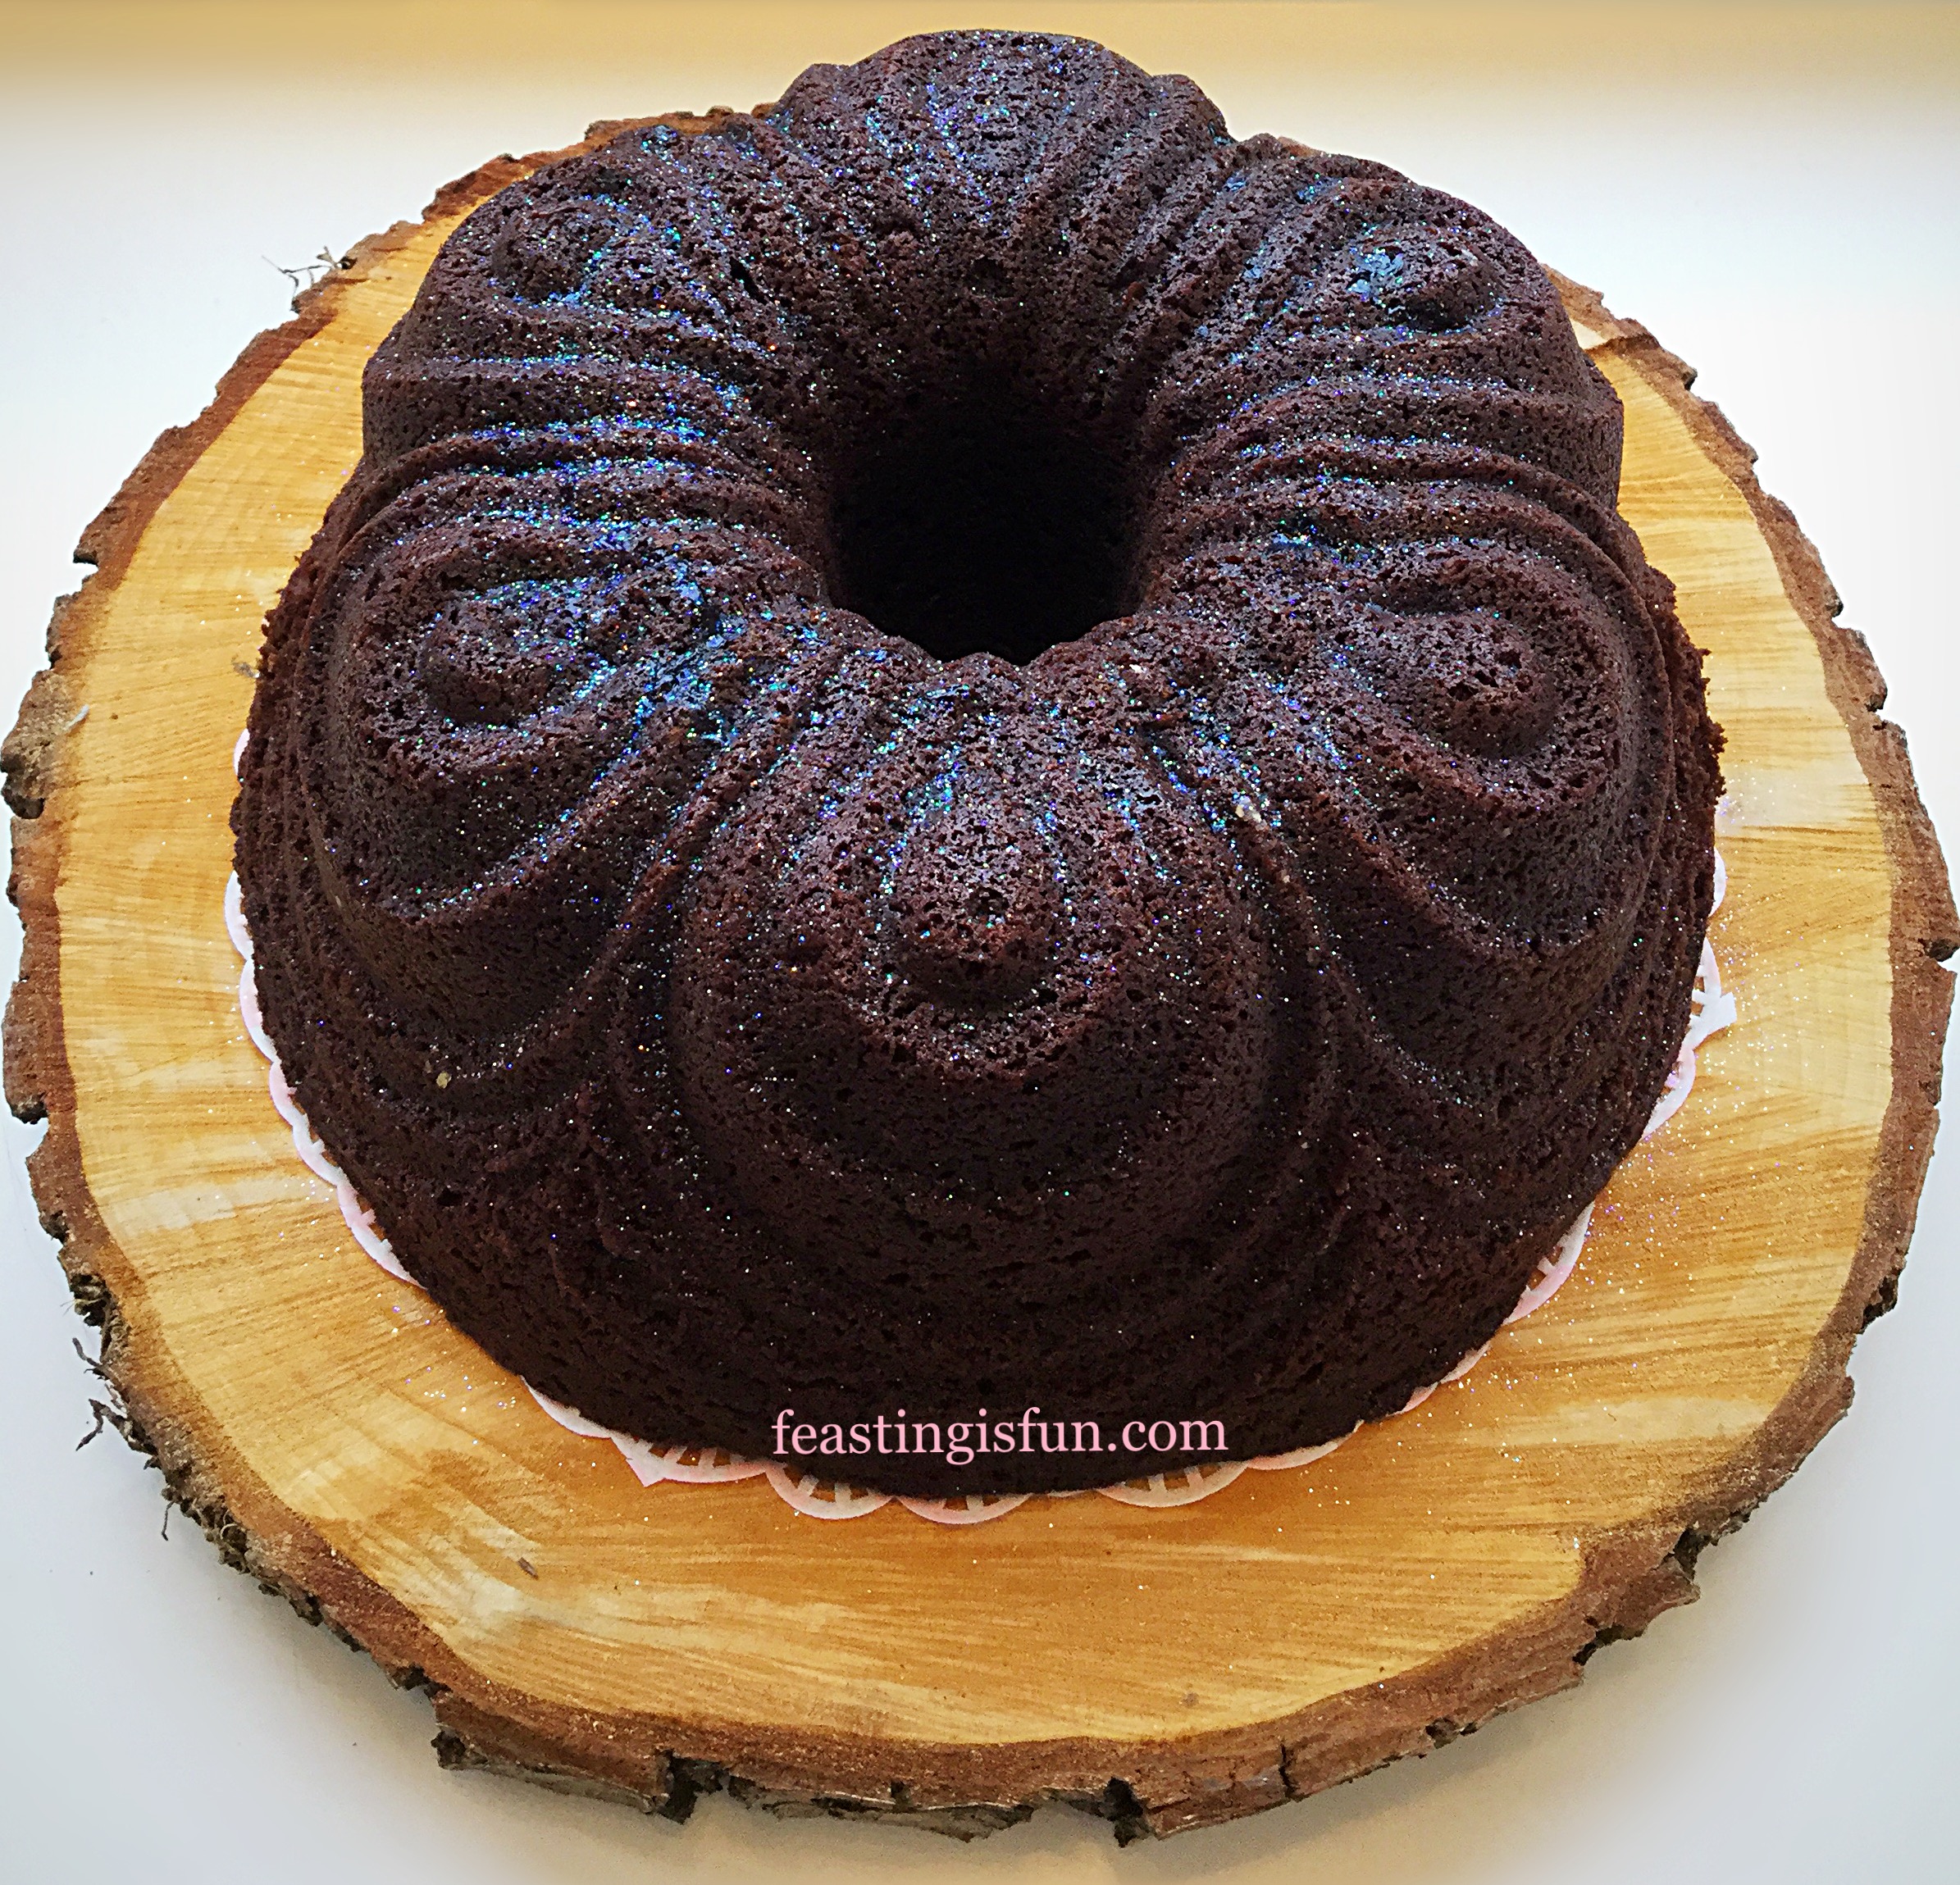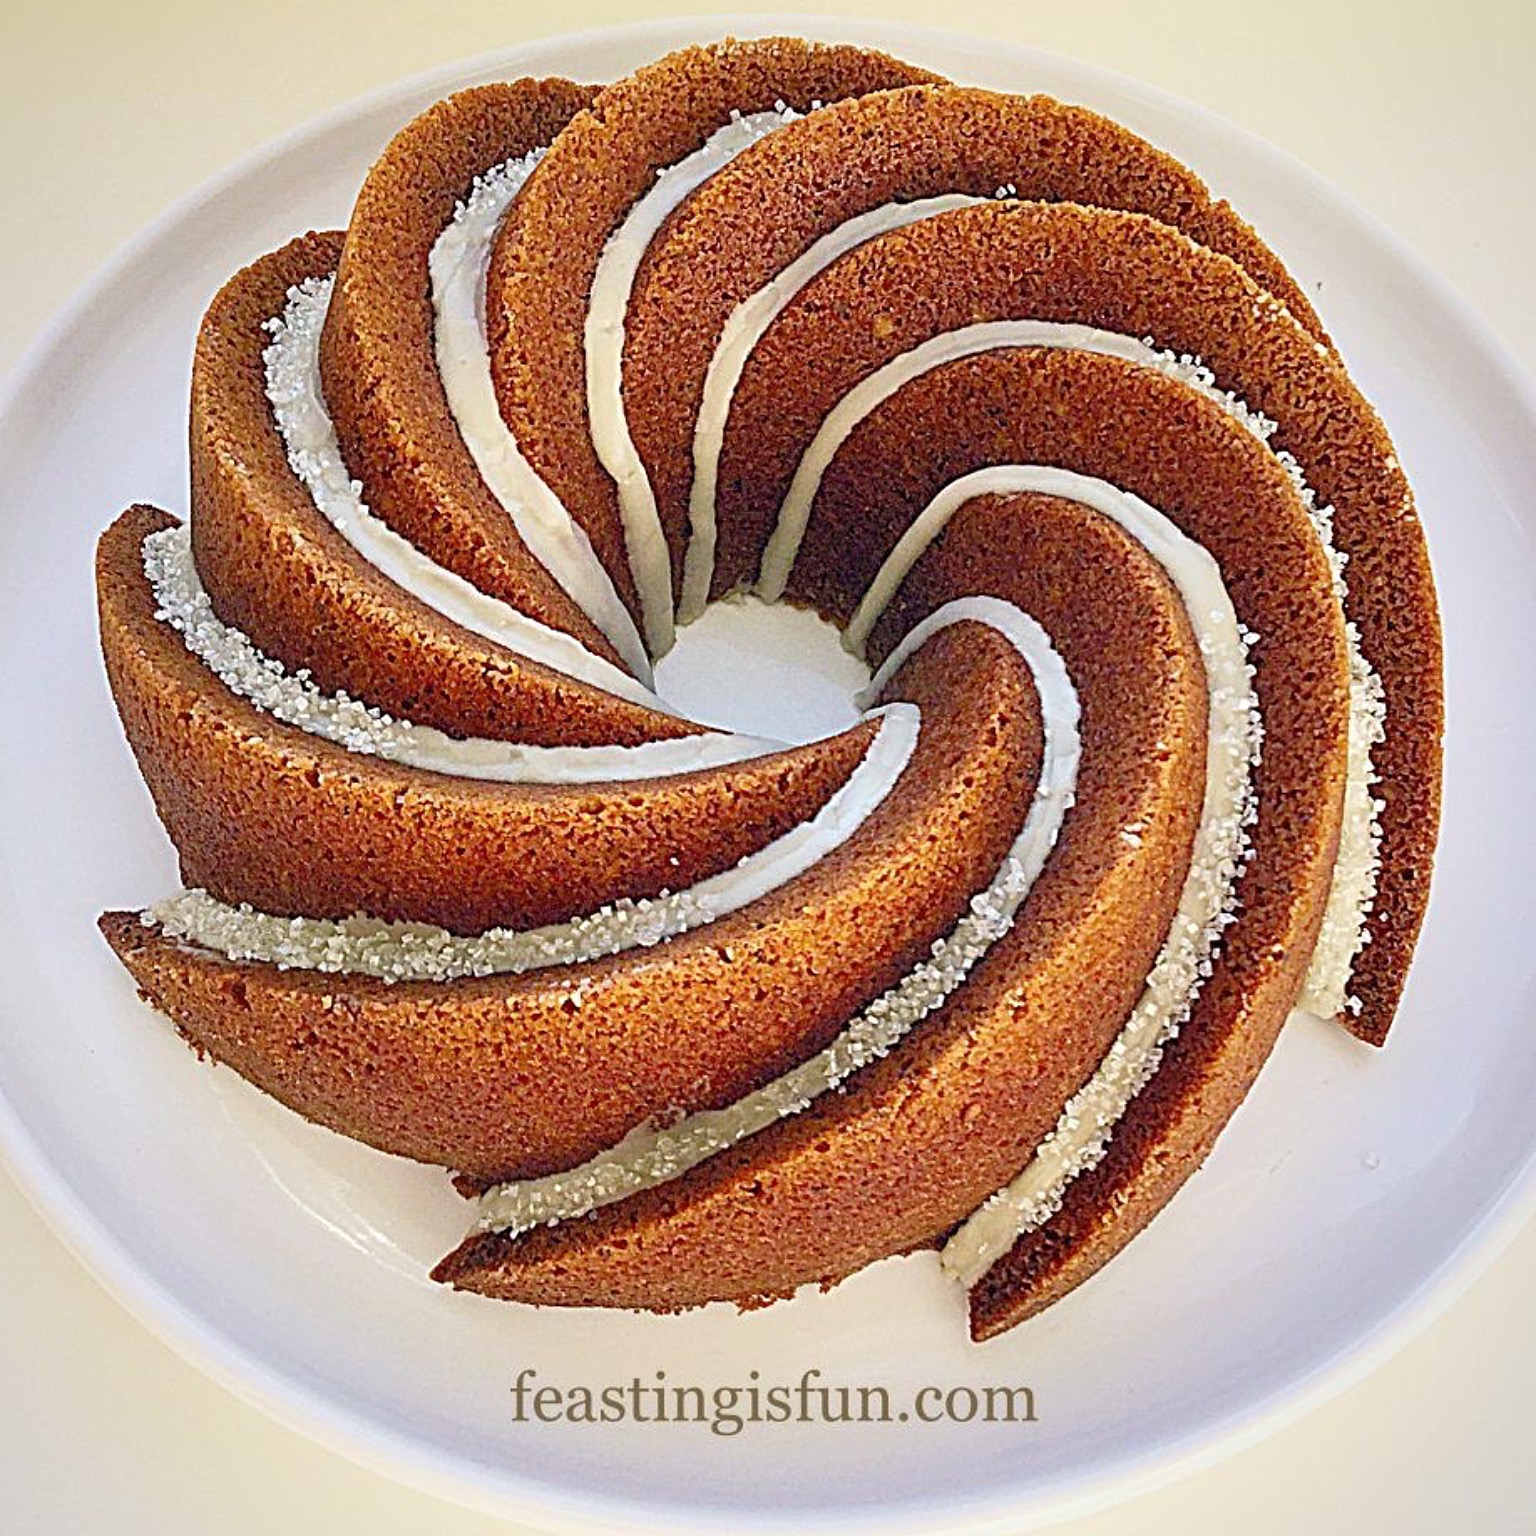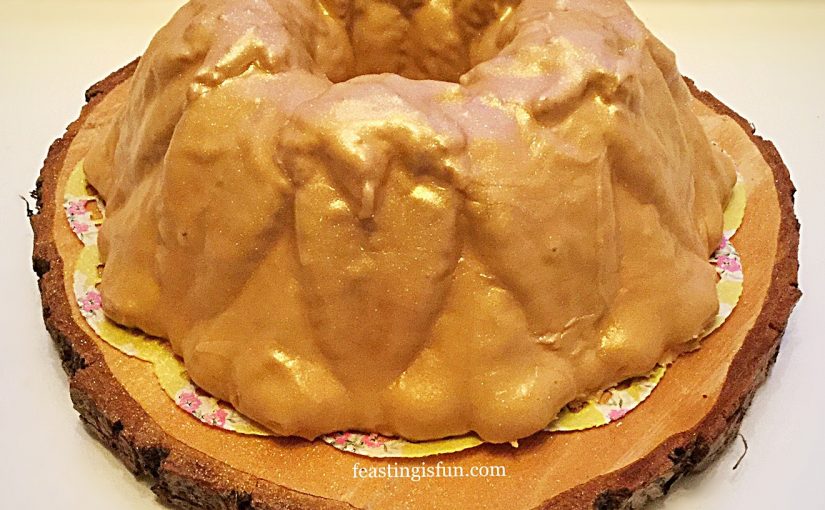
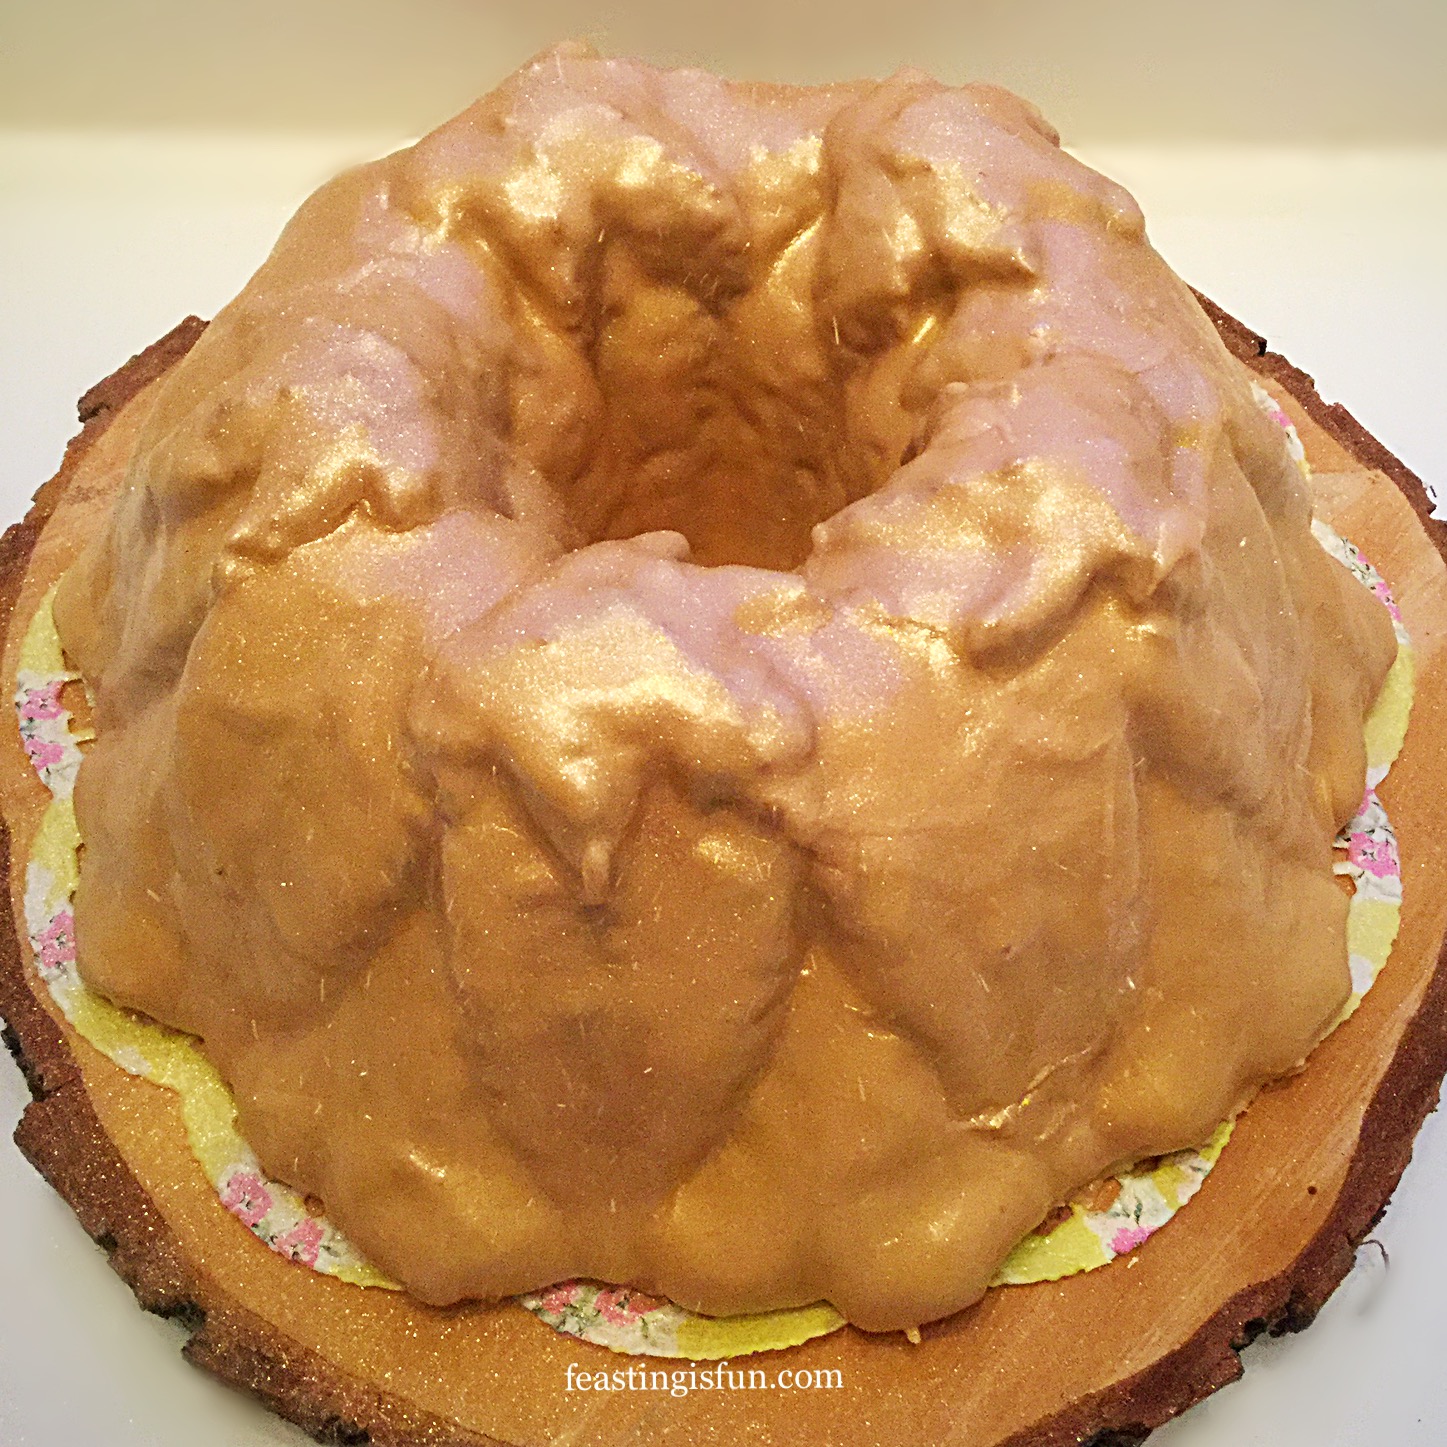
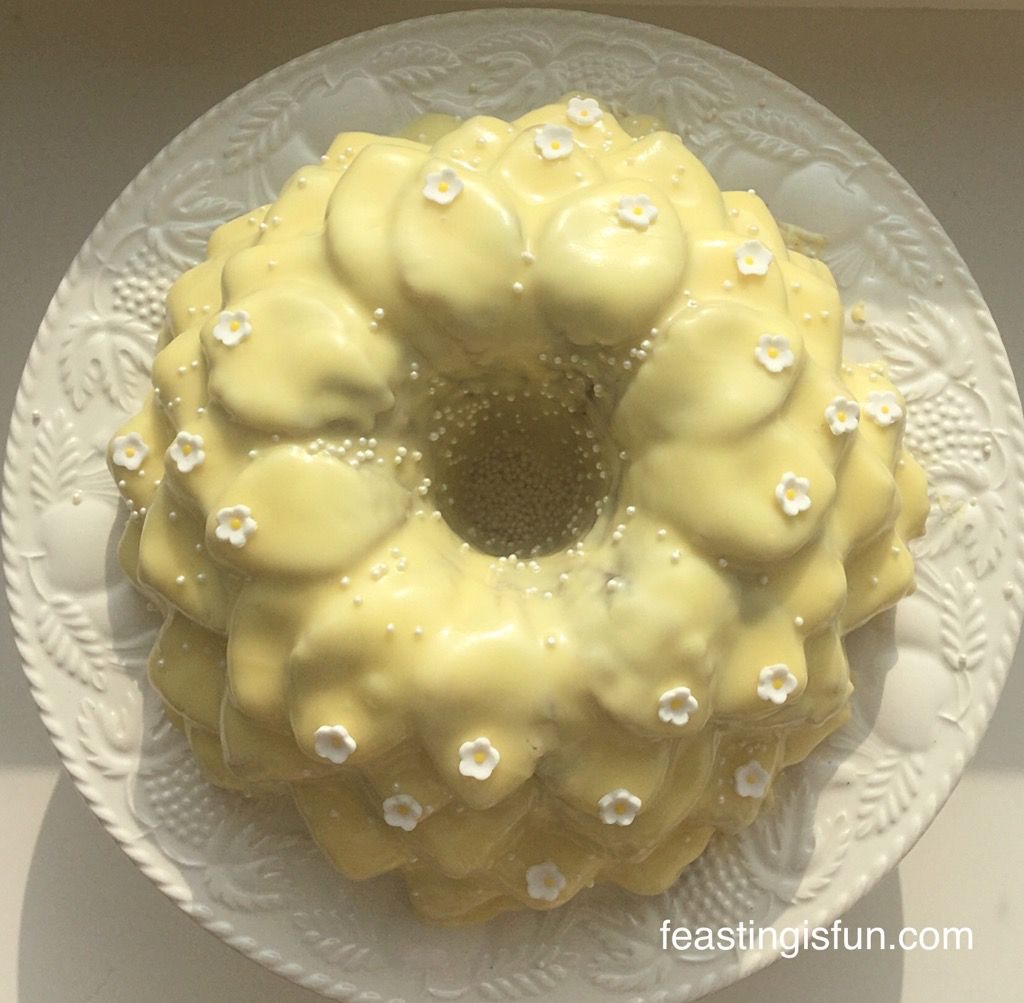
Every year I try to make my Father in law’s birthday cake. Since his favourite cake is Classic Coffee Walnut Cake, creating twists on the original are fun. So, this year I switched things up and made a Coffee Pecan Nut Glazed Bundt Cake. Baked in a beautiful Bundt pan and finished with a latte coloured coffee glaze. I am assured that this cake was a big hit.
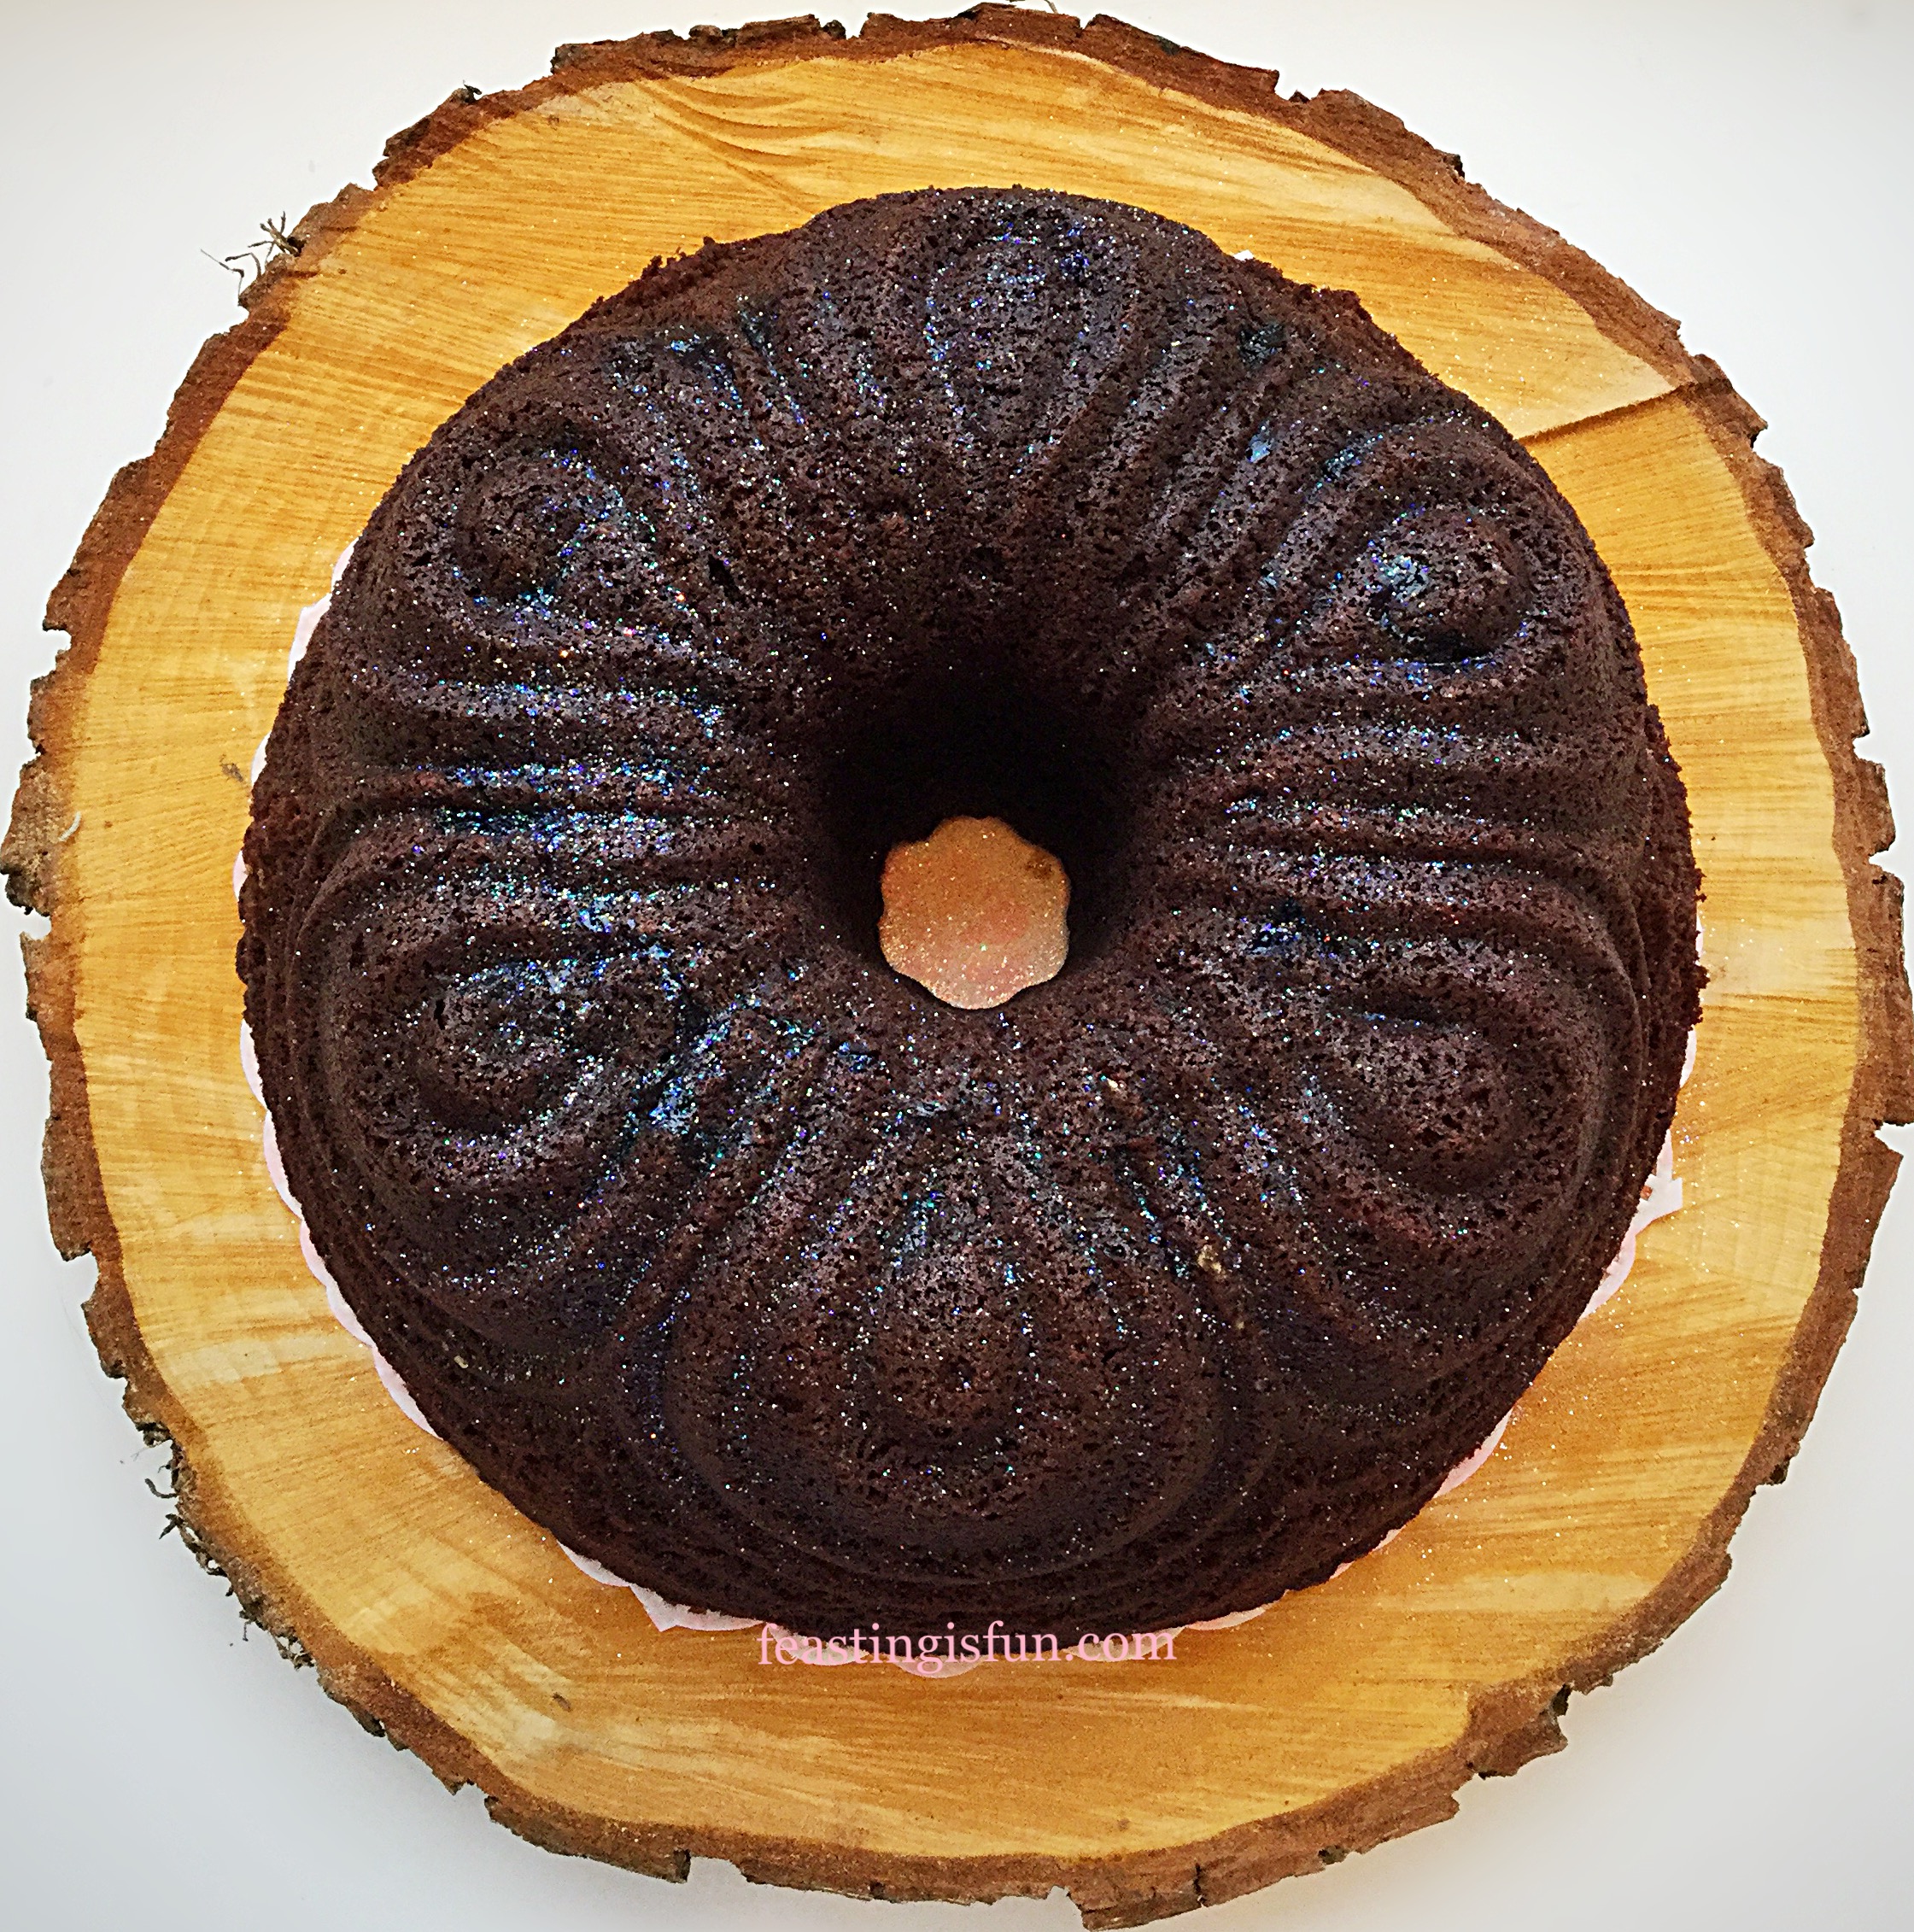
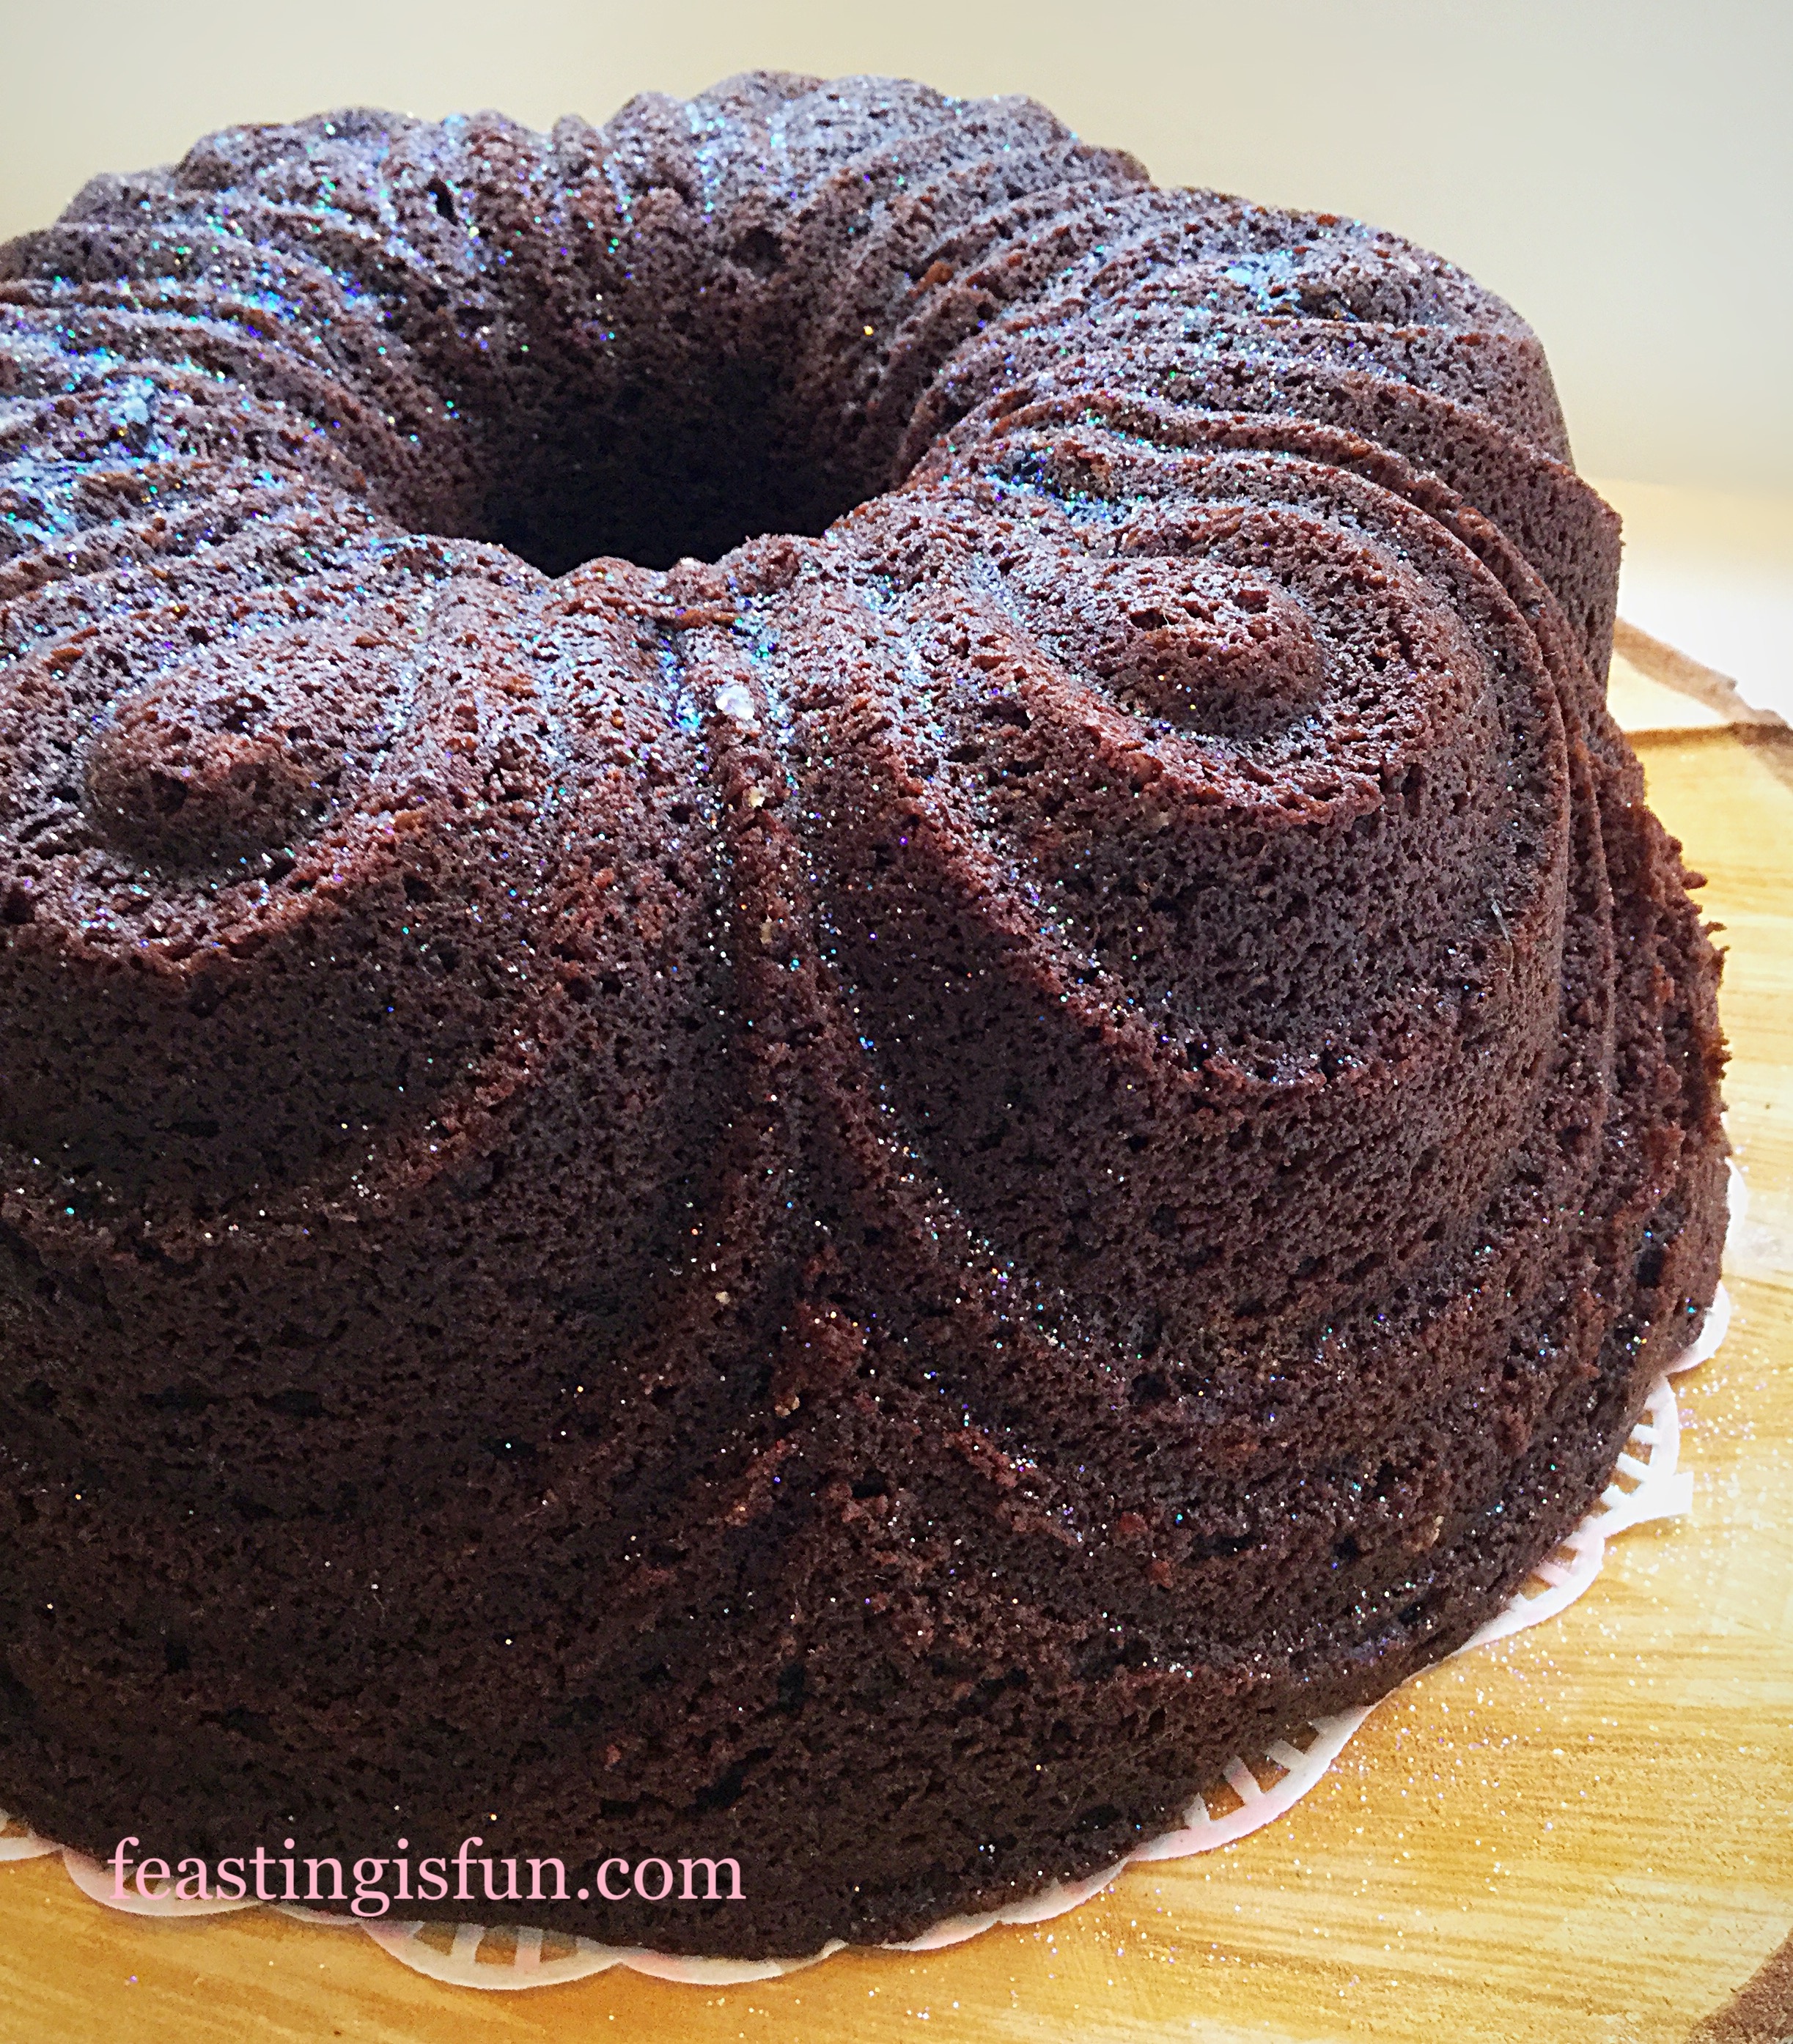
While the nuts may have been switched up, the cake still has to deliver one hundred per cent on flavour. Using espresso powder gives an intense coffee flavour, without being overpowering or bitter. Adding chopped pecans provides crunch against the super moist crumb of the cake. Finally, a simple coffee icing glaze not only picks out the detail of the cake shape, but also provides a first, sweet, coffee bite into the cake.
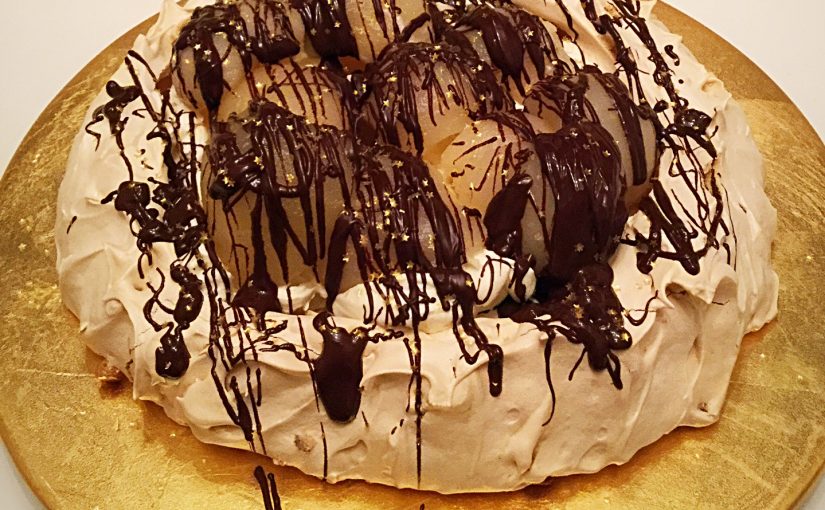
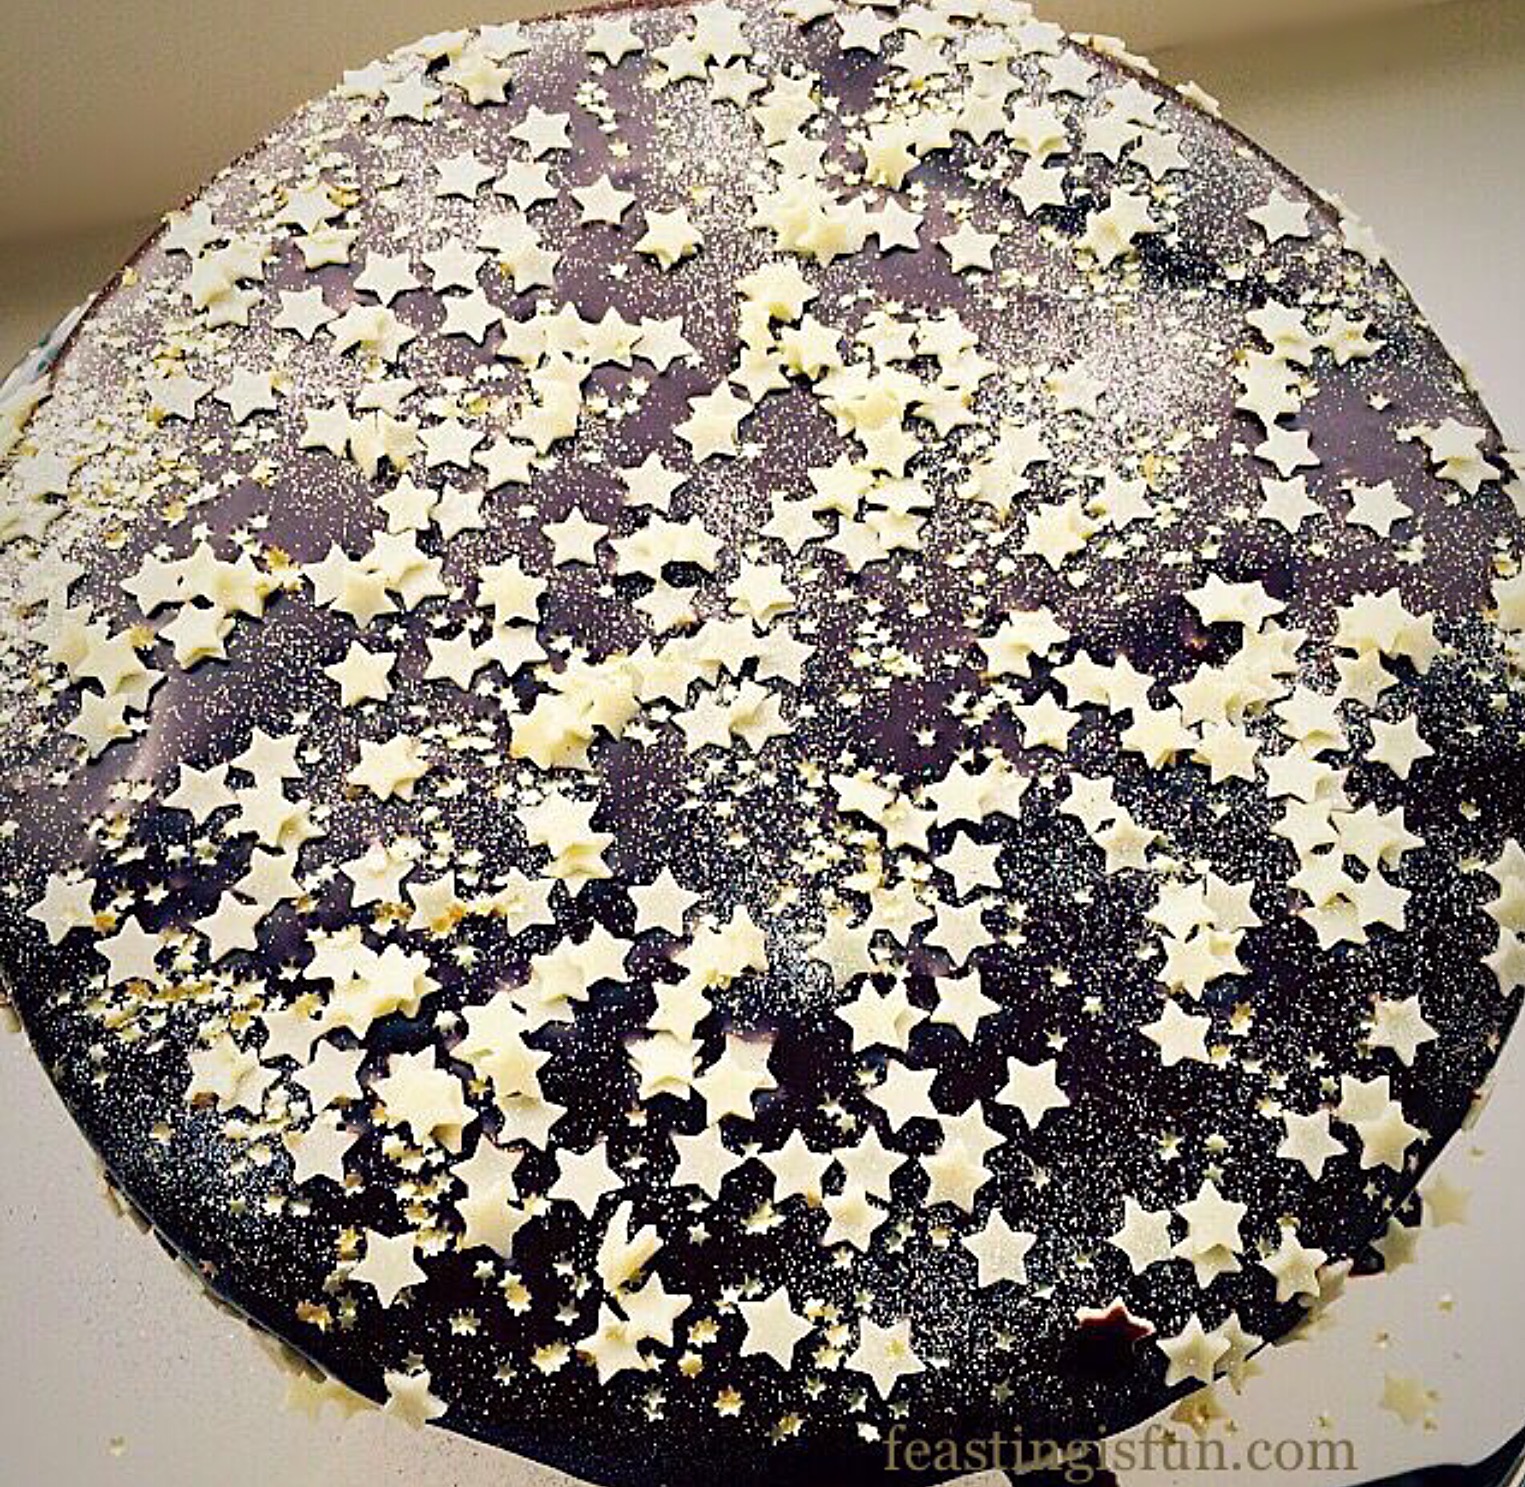
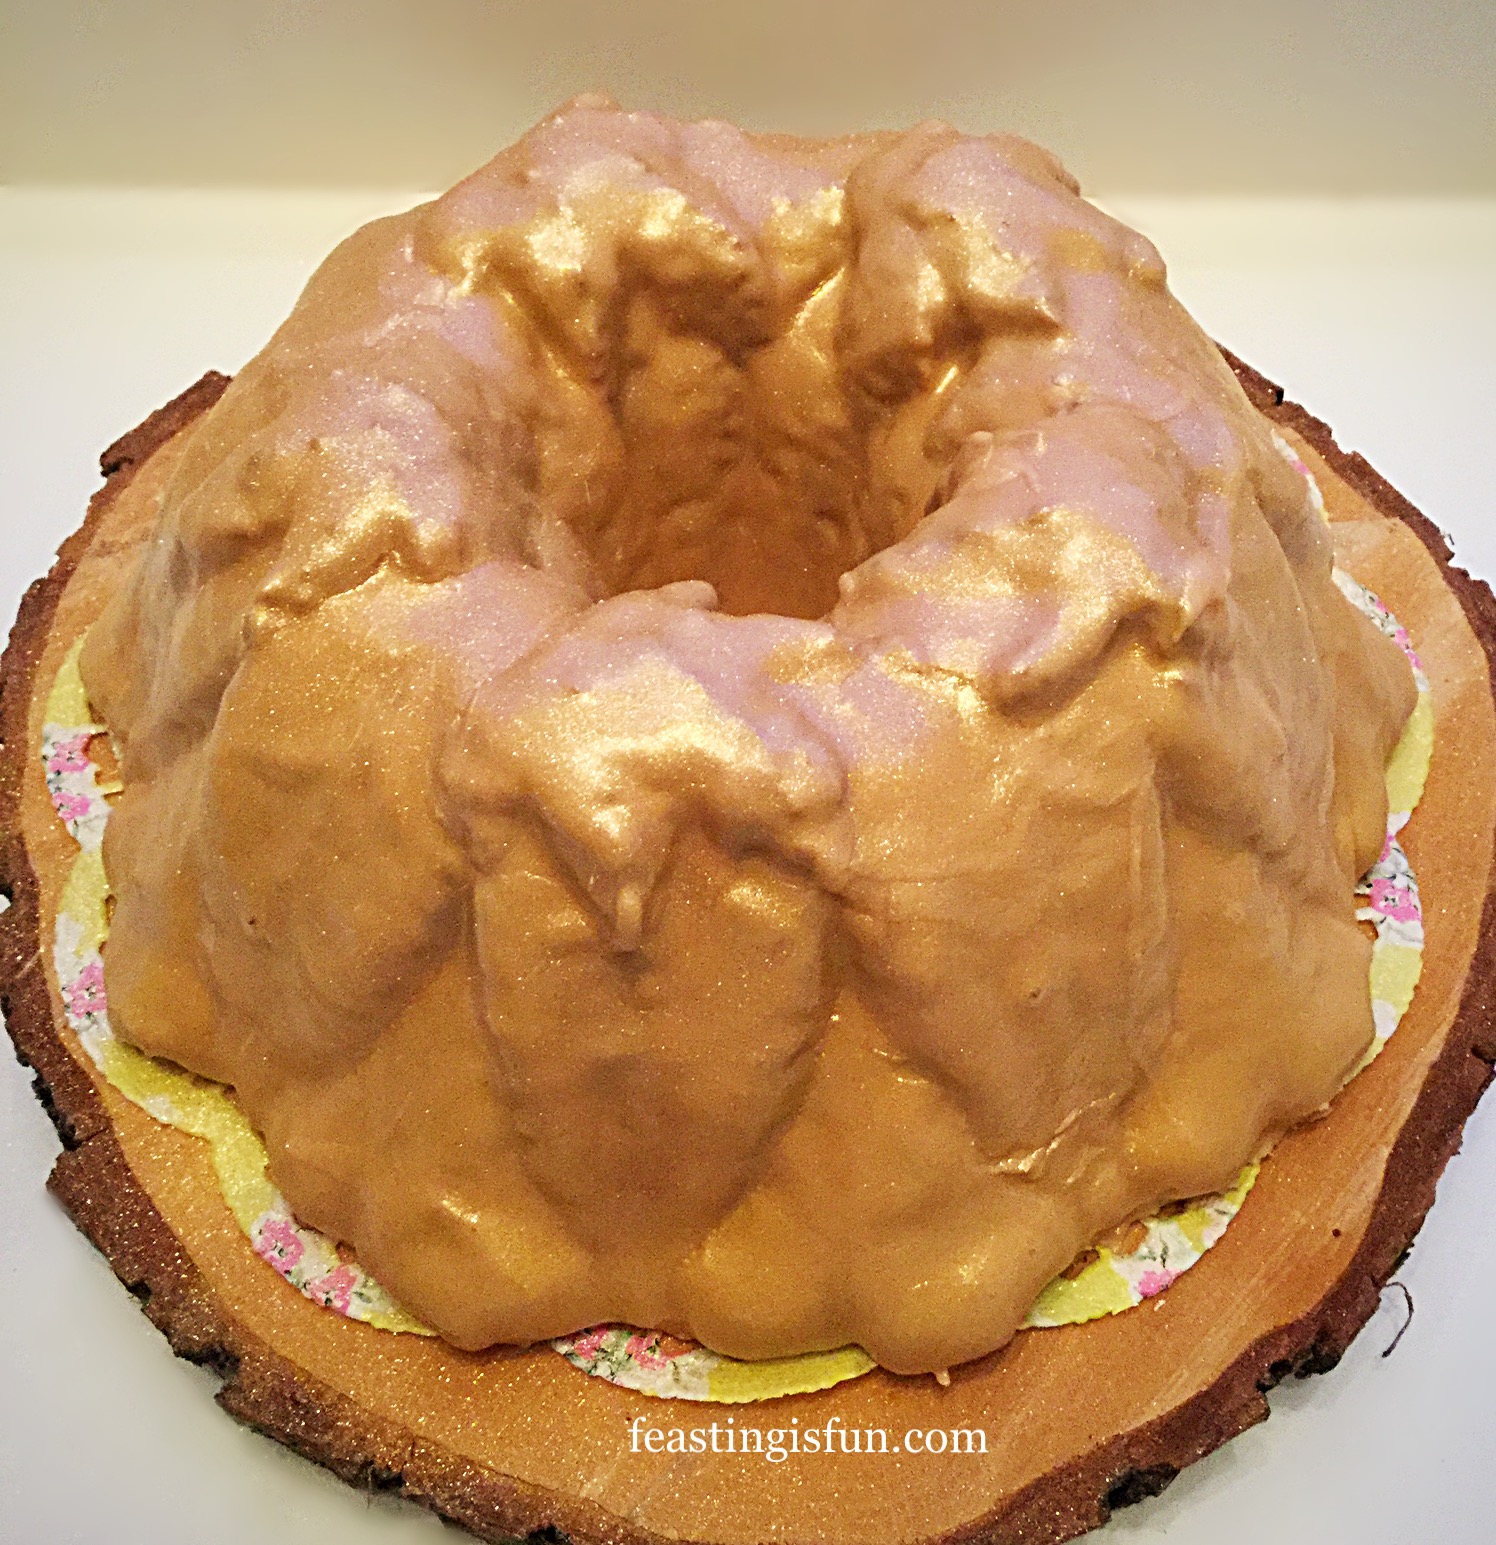
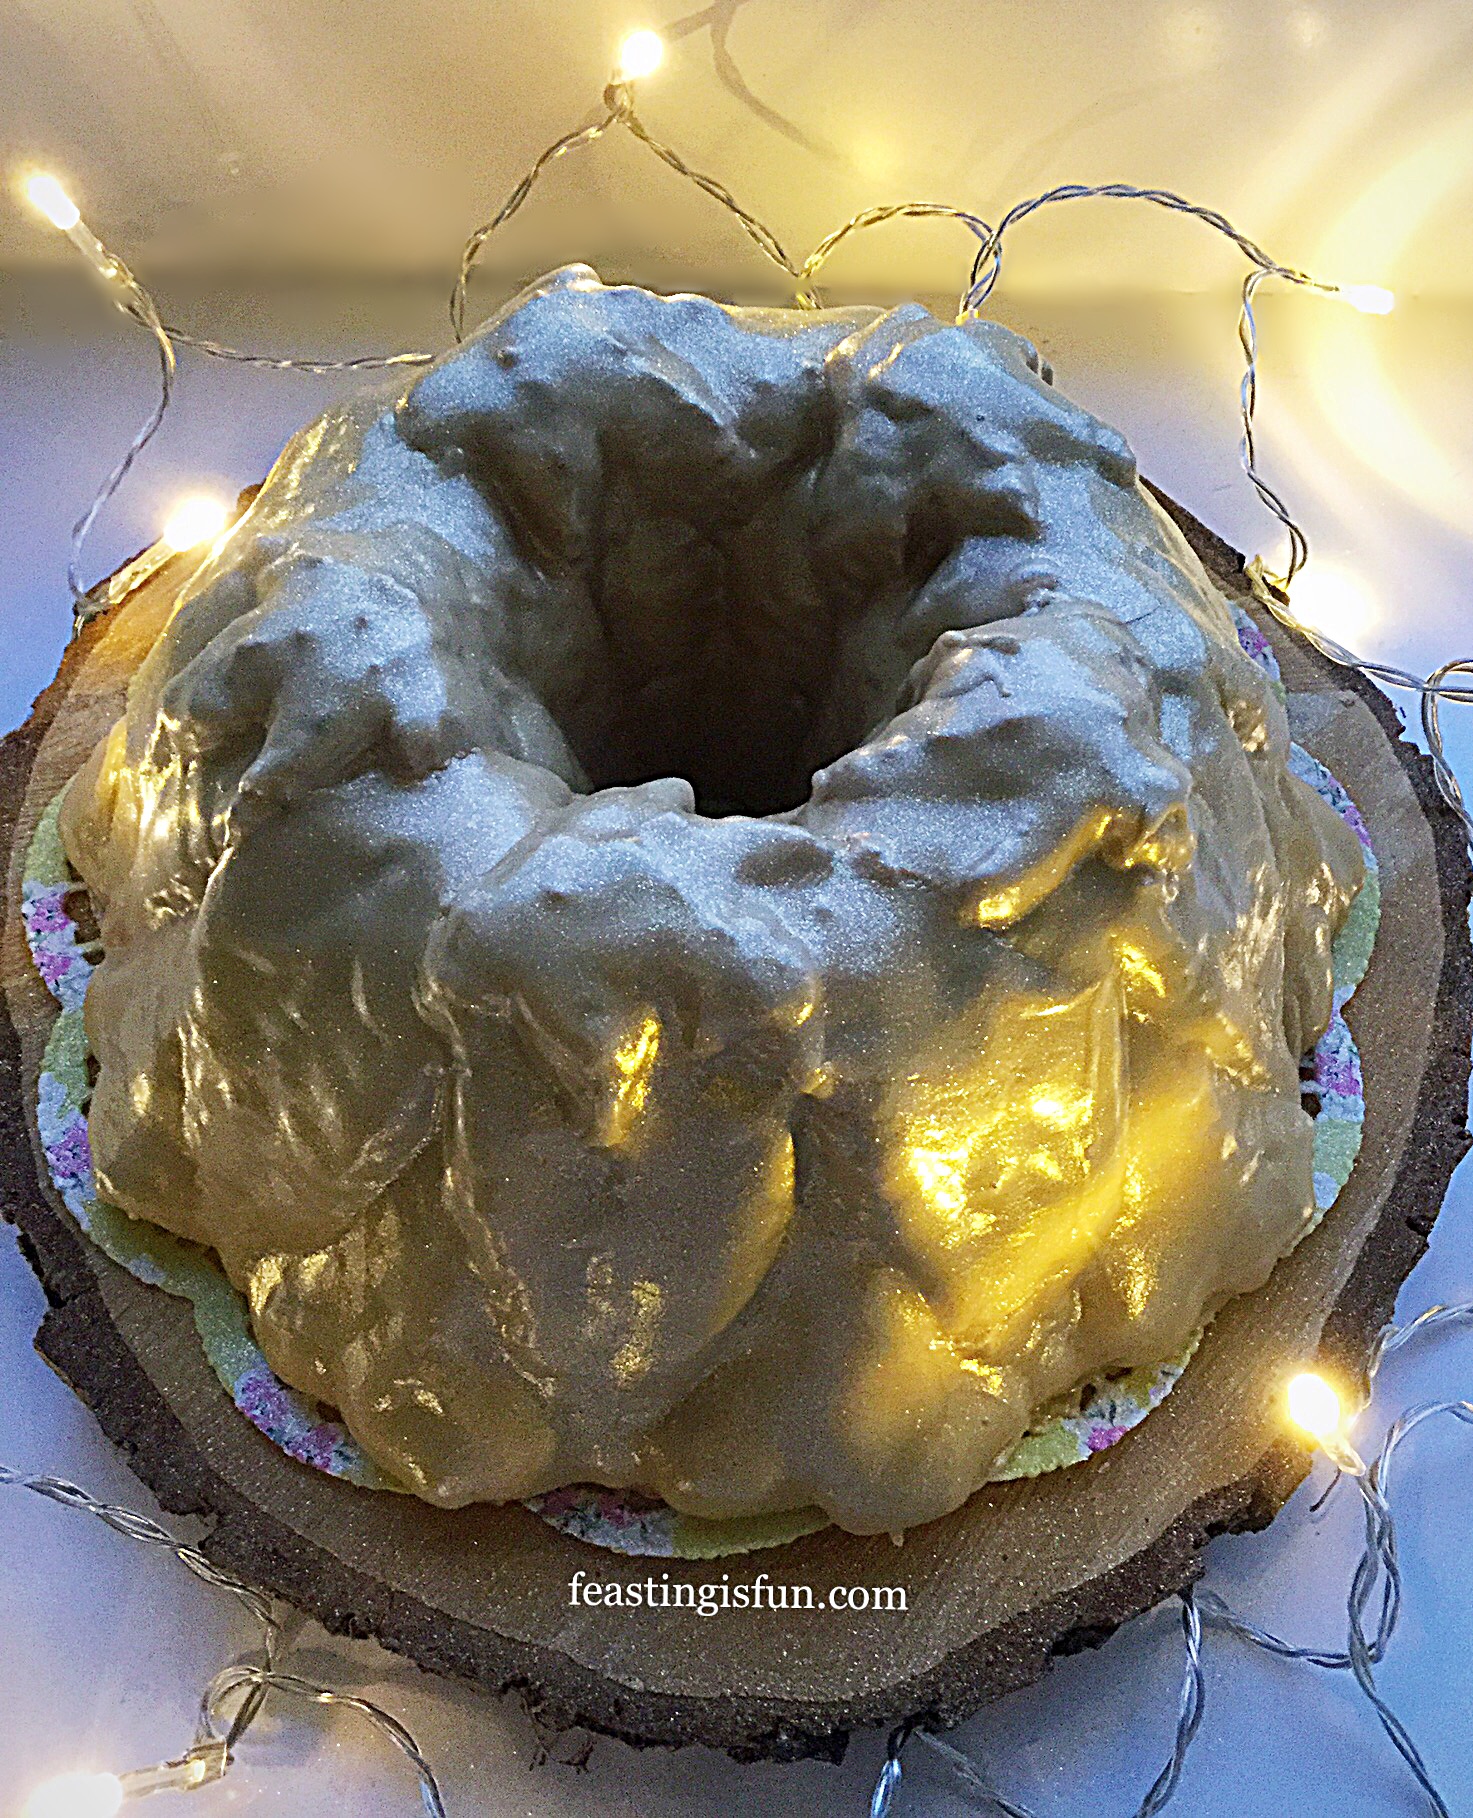
Since a birthday must be celebrated and a celebration demands a cake (or it is just a meeting), baking a beautiful cake is something I take pleasure in. As much as everyone takes pleasure in eating it! Candles, beyond a certain age, most definitely become an option. Yet, a little sparkle adds a special edge. So edible gold glitter, liberally sprayed over provides the ‘wow’ that sets this cake apart from others.
Photos were taken with artificial light, never ideal, show this cake as yellow gold. However, in natural light the glaze is a latte colour with a slight shimmer from the glitter.
Recipe: Coffee Pecan Nut Glazed Bundt Cake serves 8-10
For The Cake:
300g/11oz Unsalted Butter at room temperature
300g/11oz Caster Sugar
2tsp Espresso Coffee Powder dissolved in 1tbsp hot water and allow to cool – alternatively use 4tsp Camp Coffee
1/4tsp Salt I use Maldon
5 Large Free Range Eggs
1tsp Vanilla Extract I use Nielsen-Massey
100g/4oz Natural Full Fat Yoghurt such as Yeo Valley
150g/5oz Chopped Pecan Nuts
275g/10oz Plain White Flour
2.5tsp Baking Powder
For The Glaze:
400g/14oz Icing Sugar
1tsp Espresso Coffee Powder dissolved in 1tbsp hot water or 2tsp Camp Coffee
Optional – Edible Gold Glitter – available from My Cake Decor
Note – this recipe uses a 10 cup Harvest Leaf Bundt Pan from Nordicware. Ensure you use a 10 Cup Bundt. I recommend Wilton cake release spray (also available in a bottle, shake and brush on to the cake tin), to ensure the cake releases from the Bundt Pan.
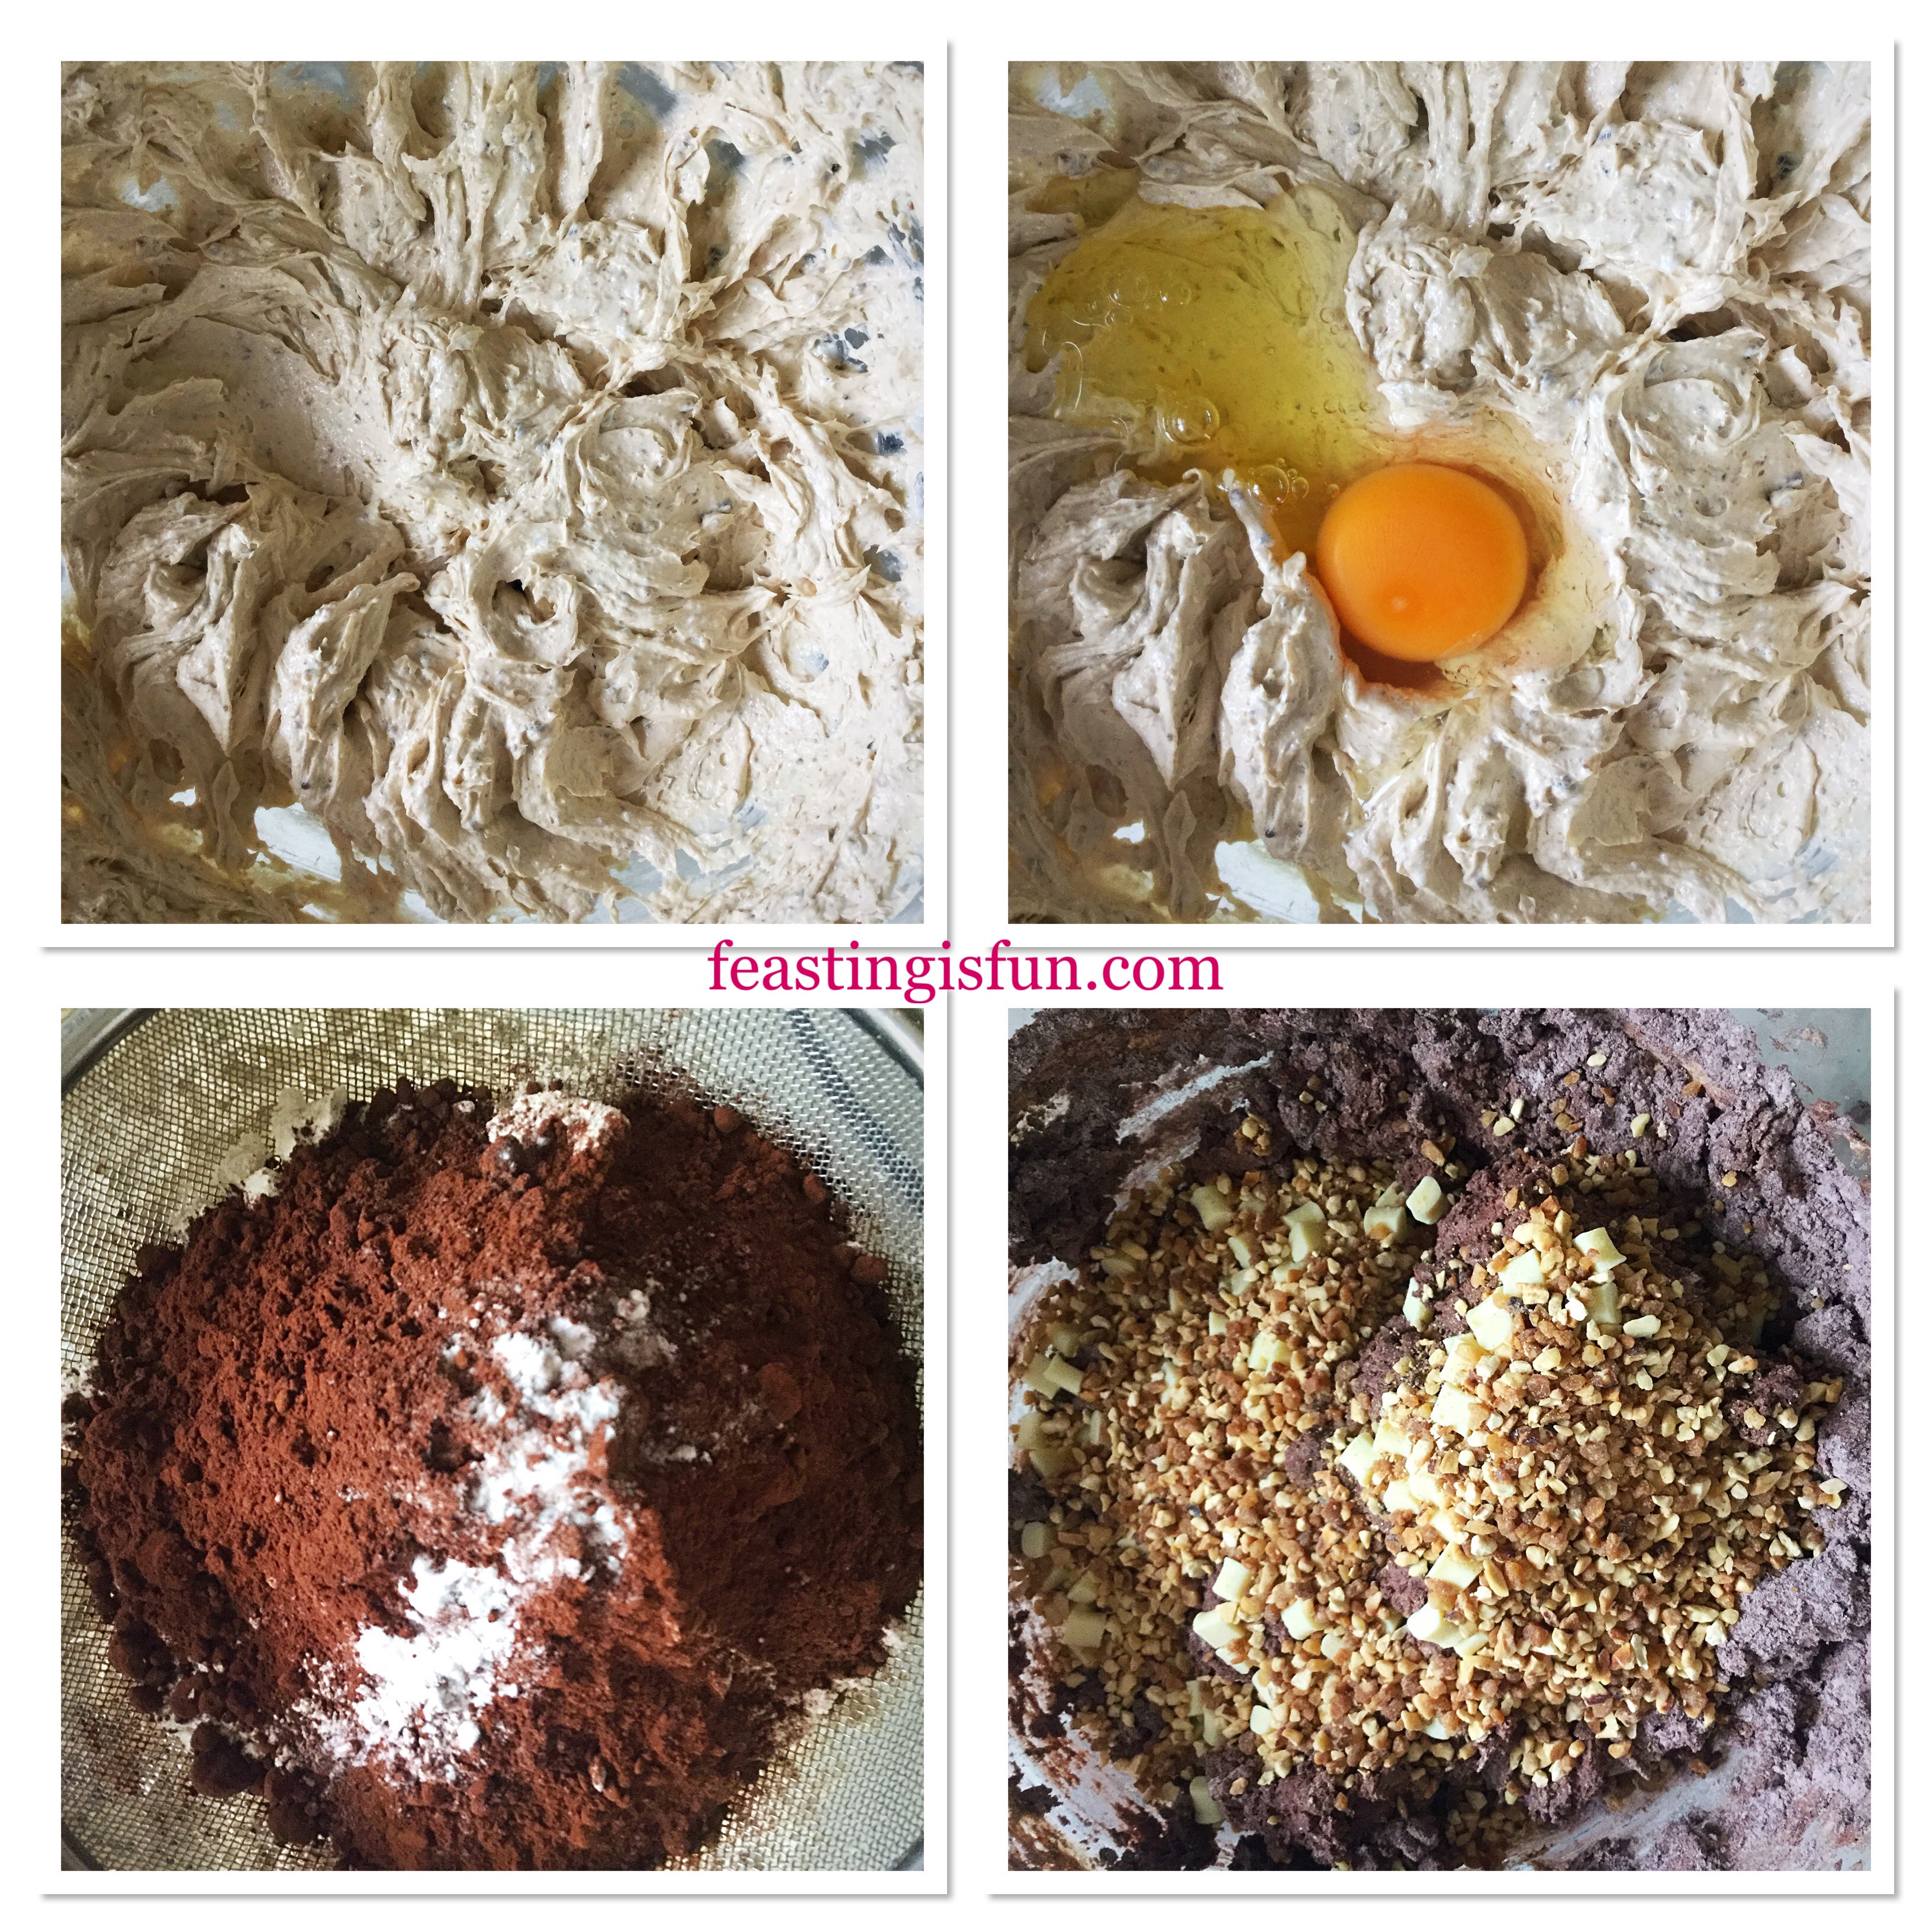
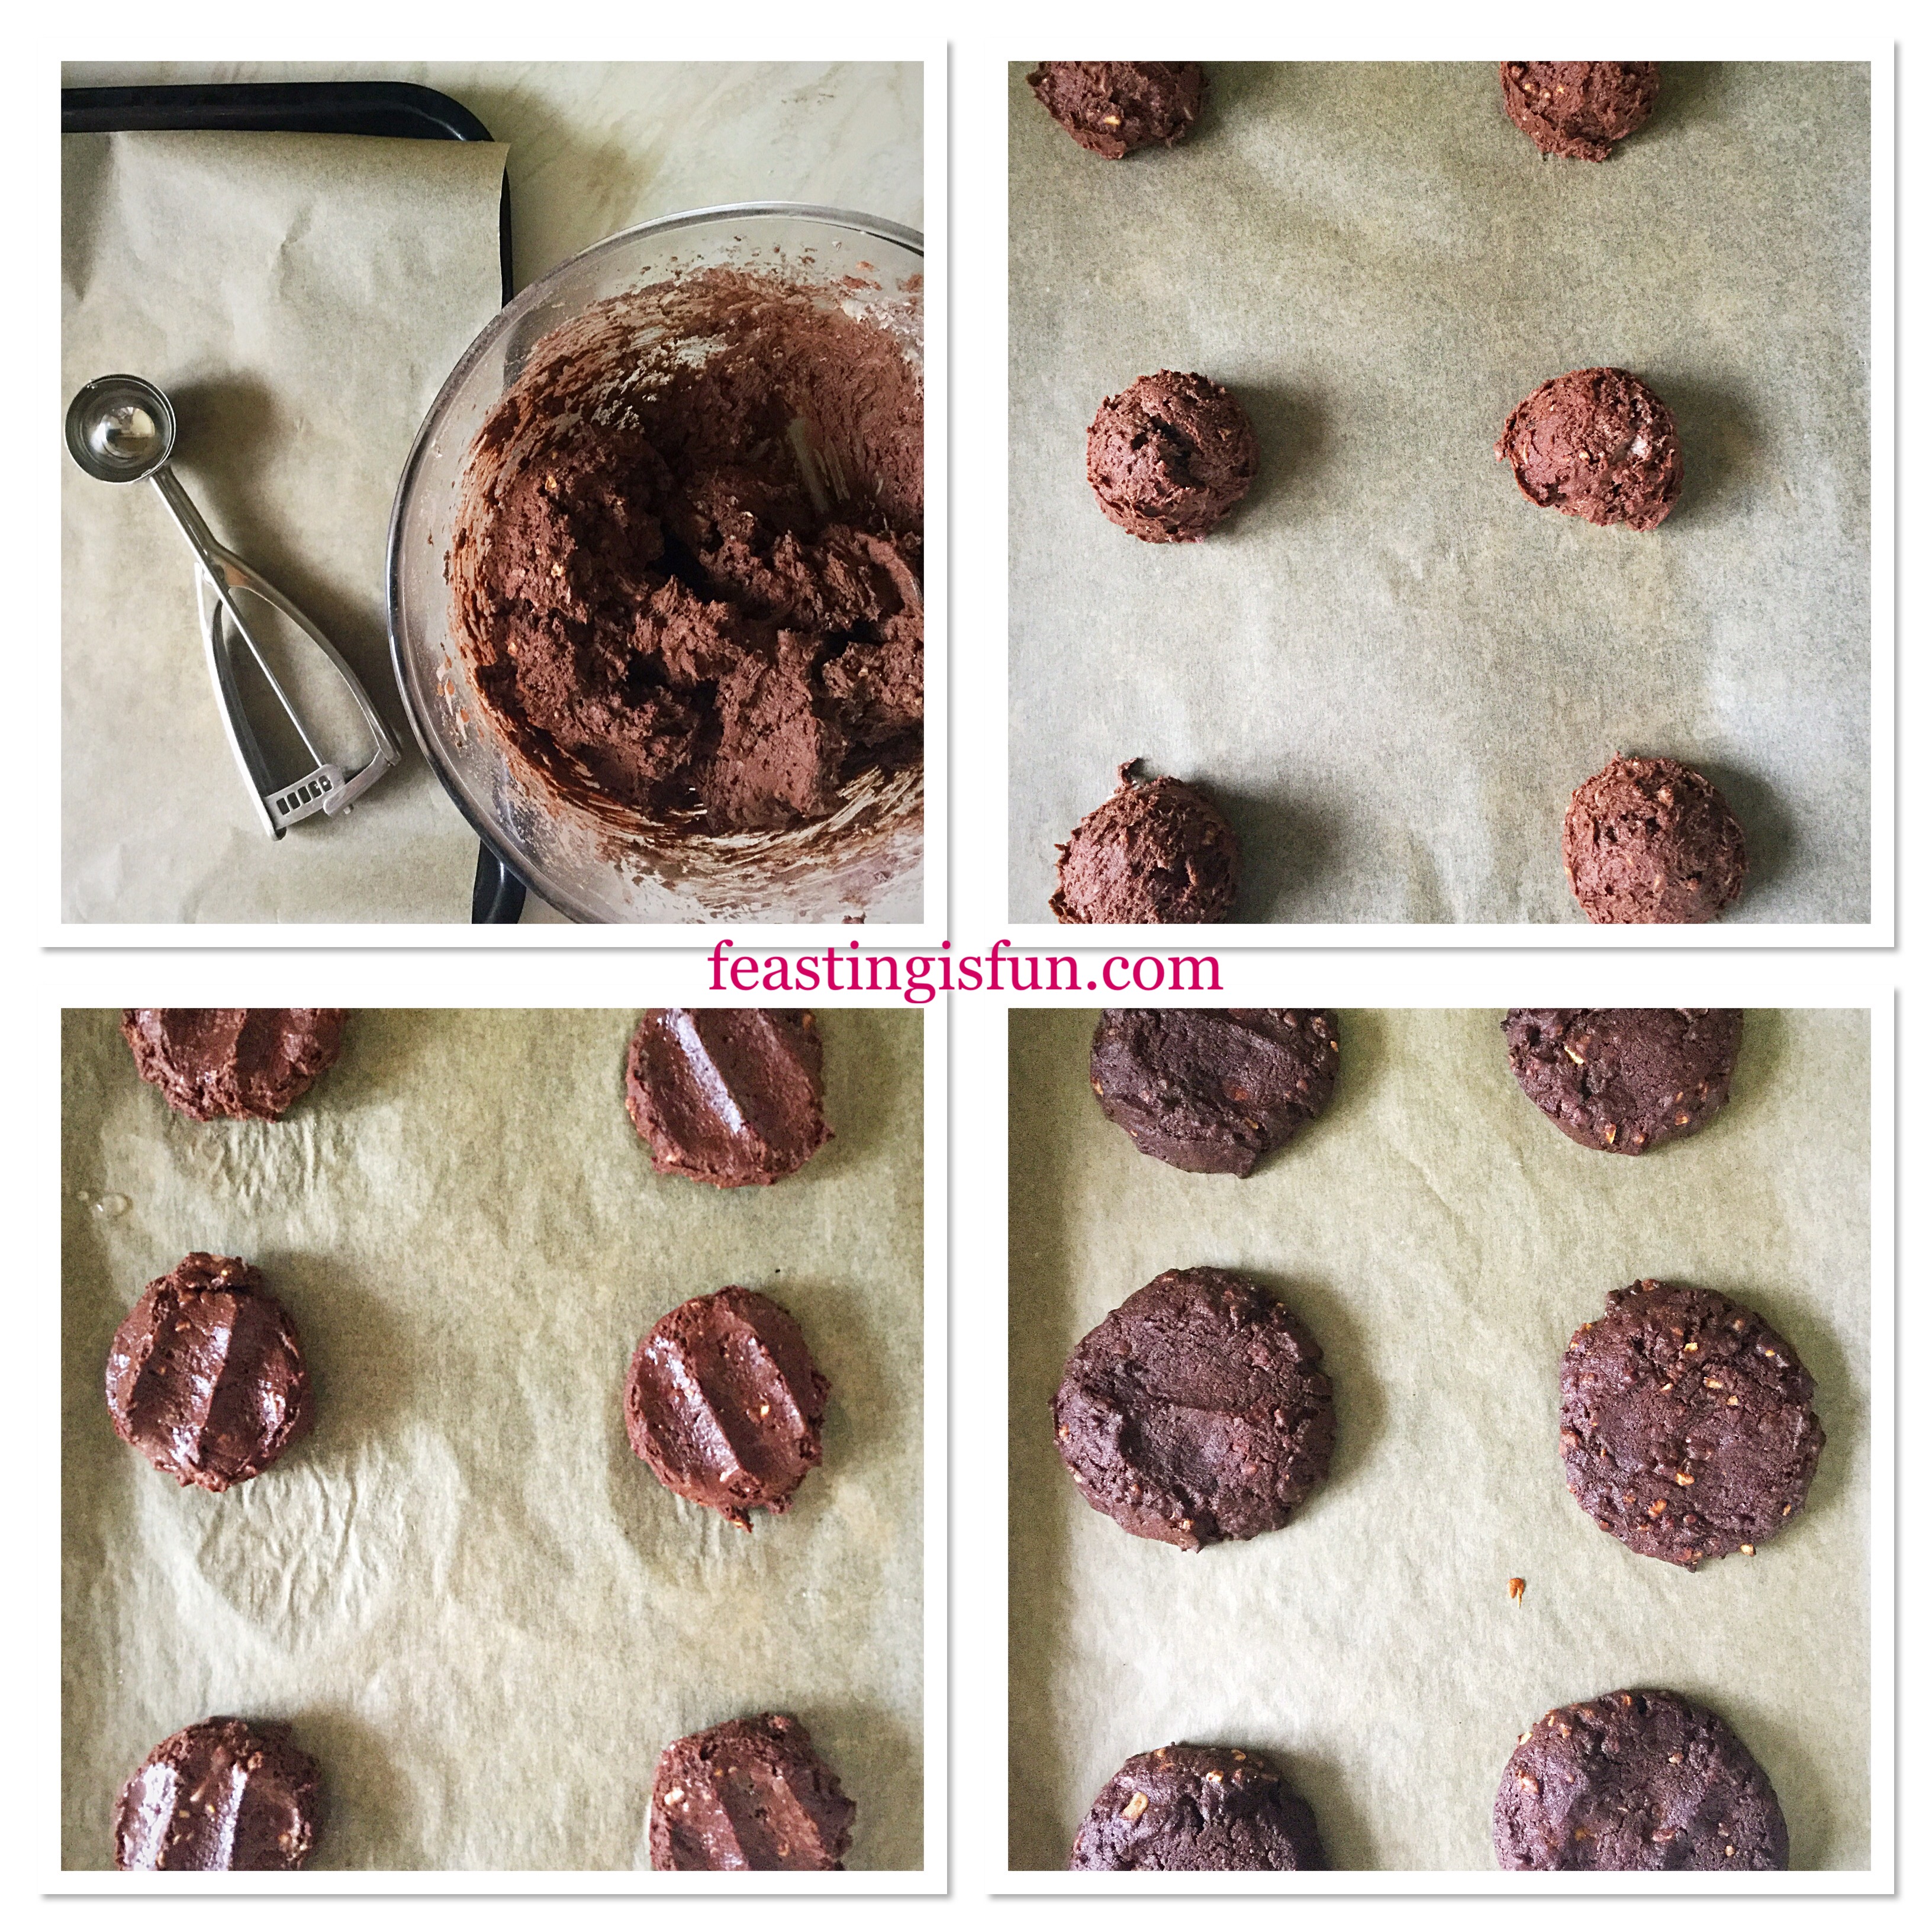
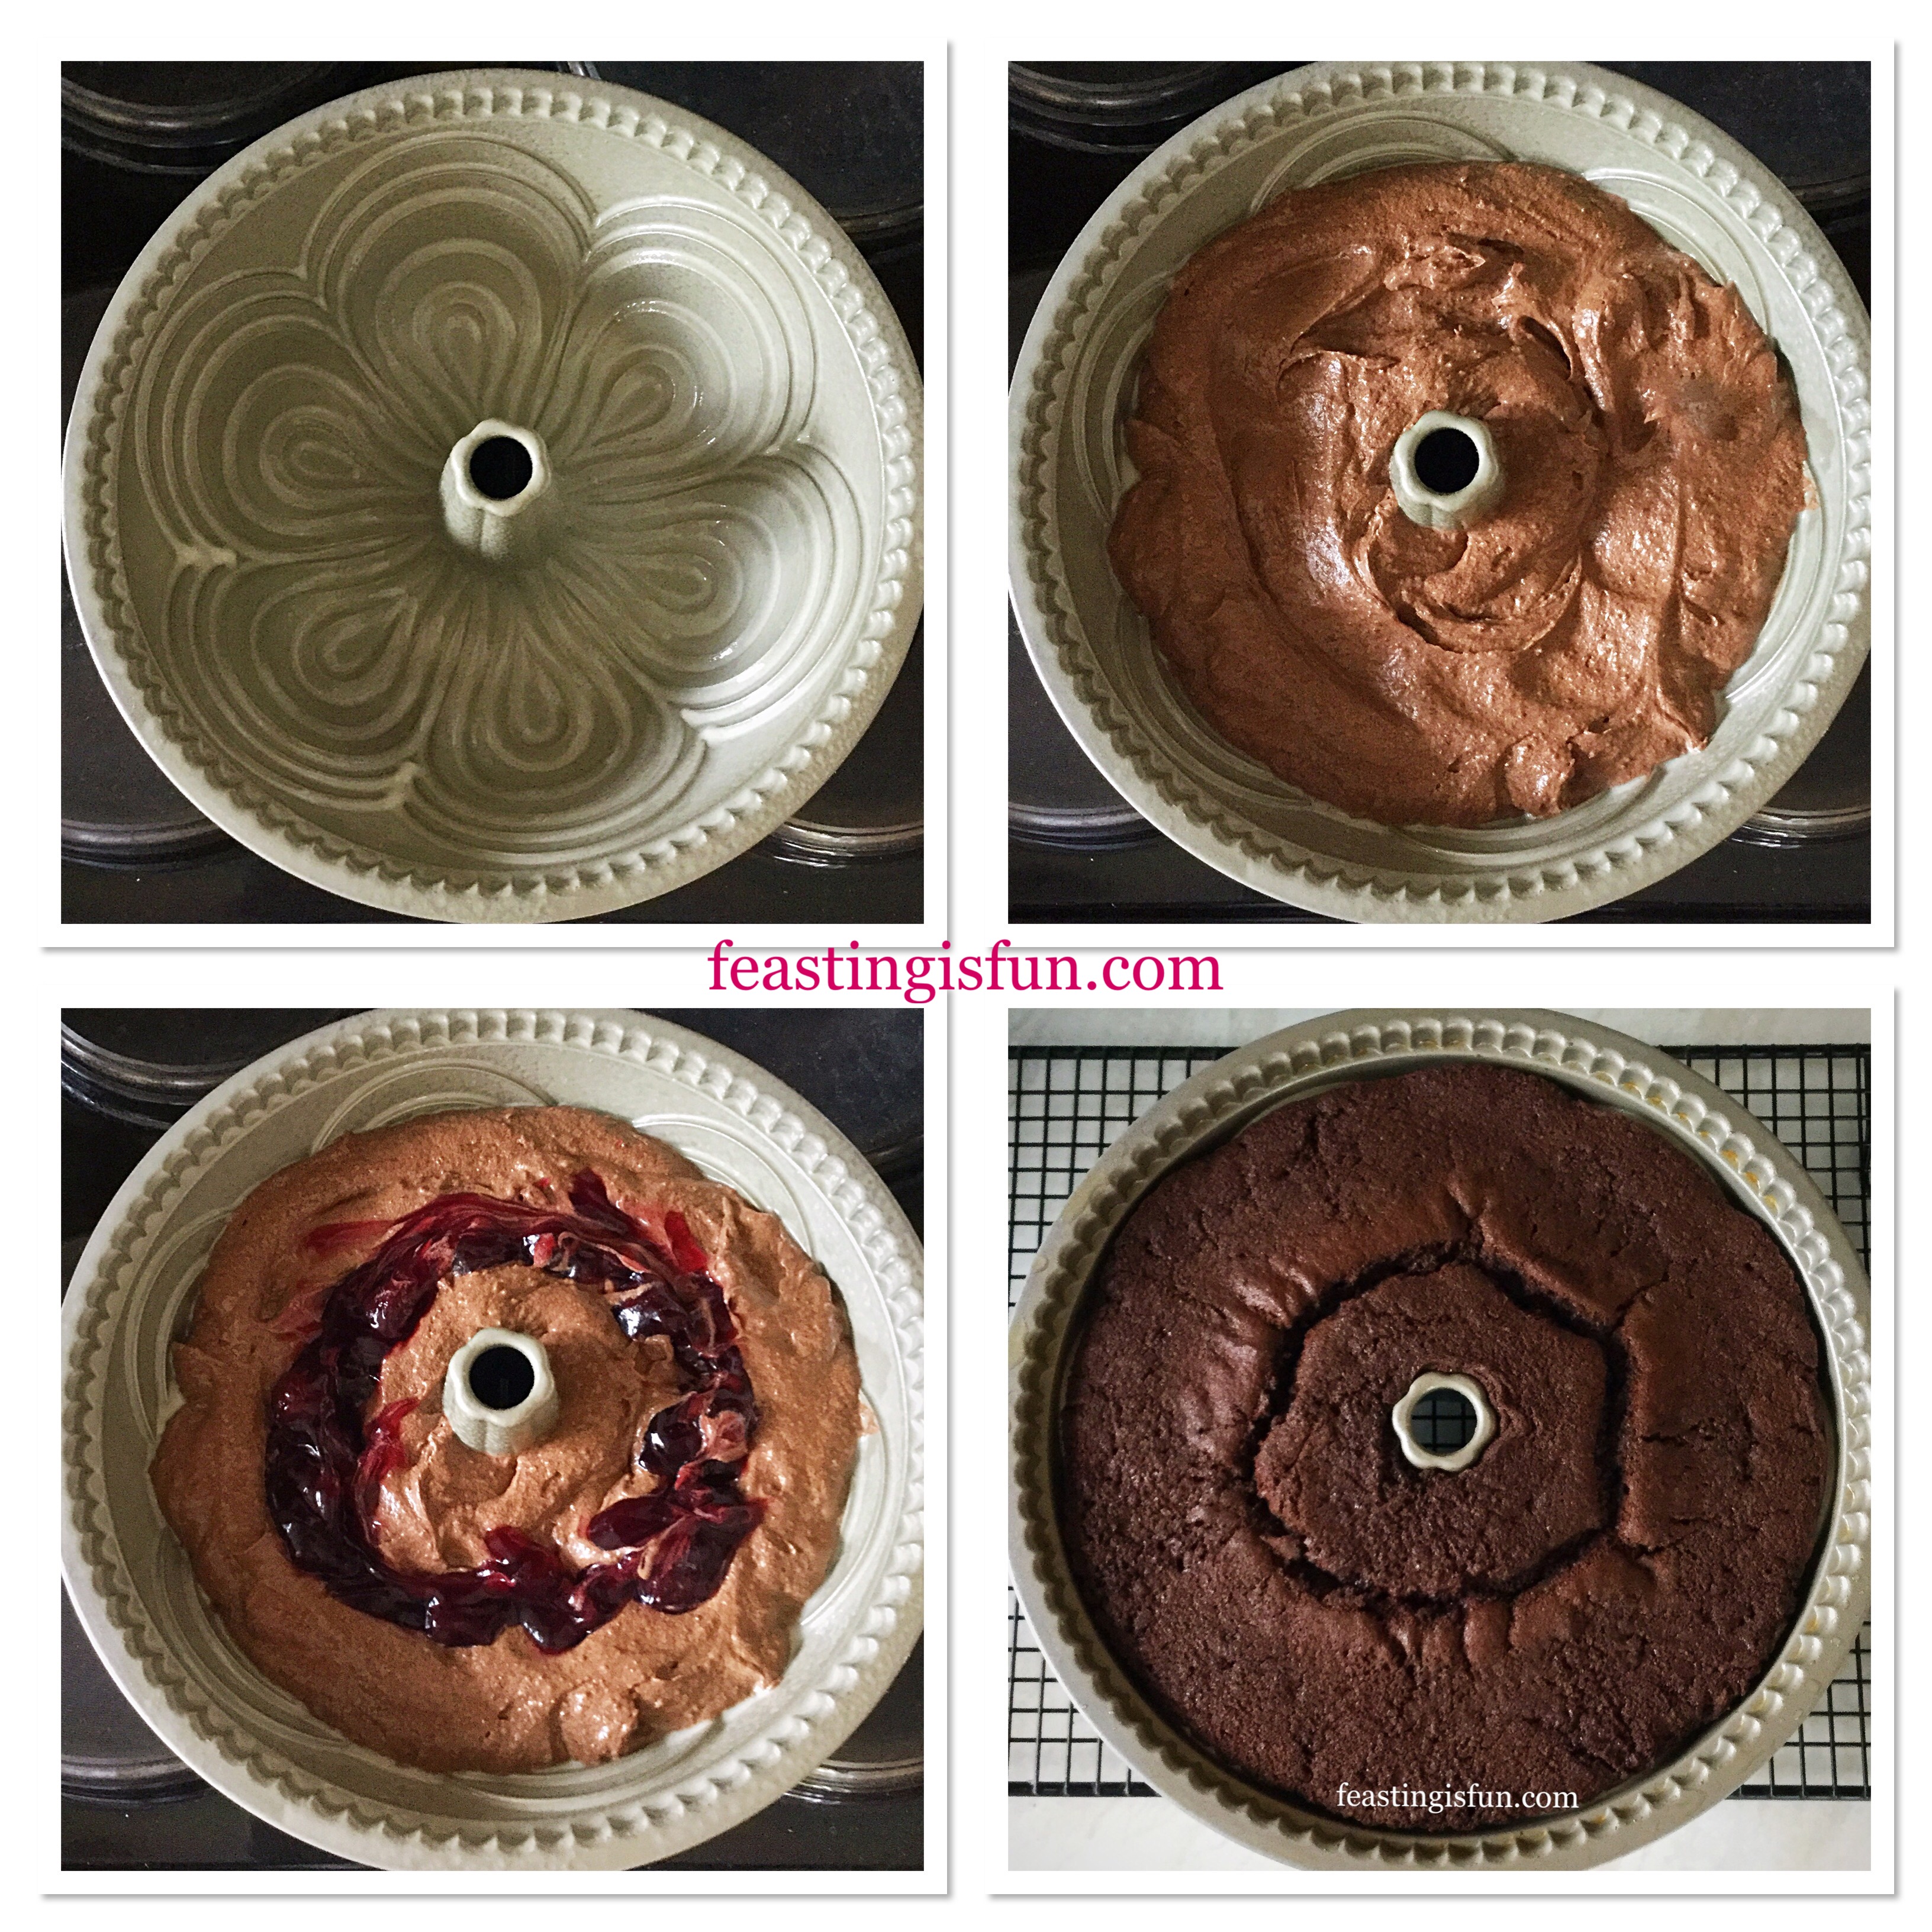
Making The Bundt Cake Batter
Method: Preheat oven to 160C/140C fan, 325F, gas mark 3
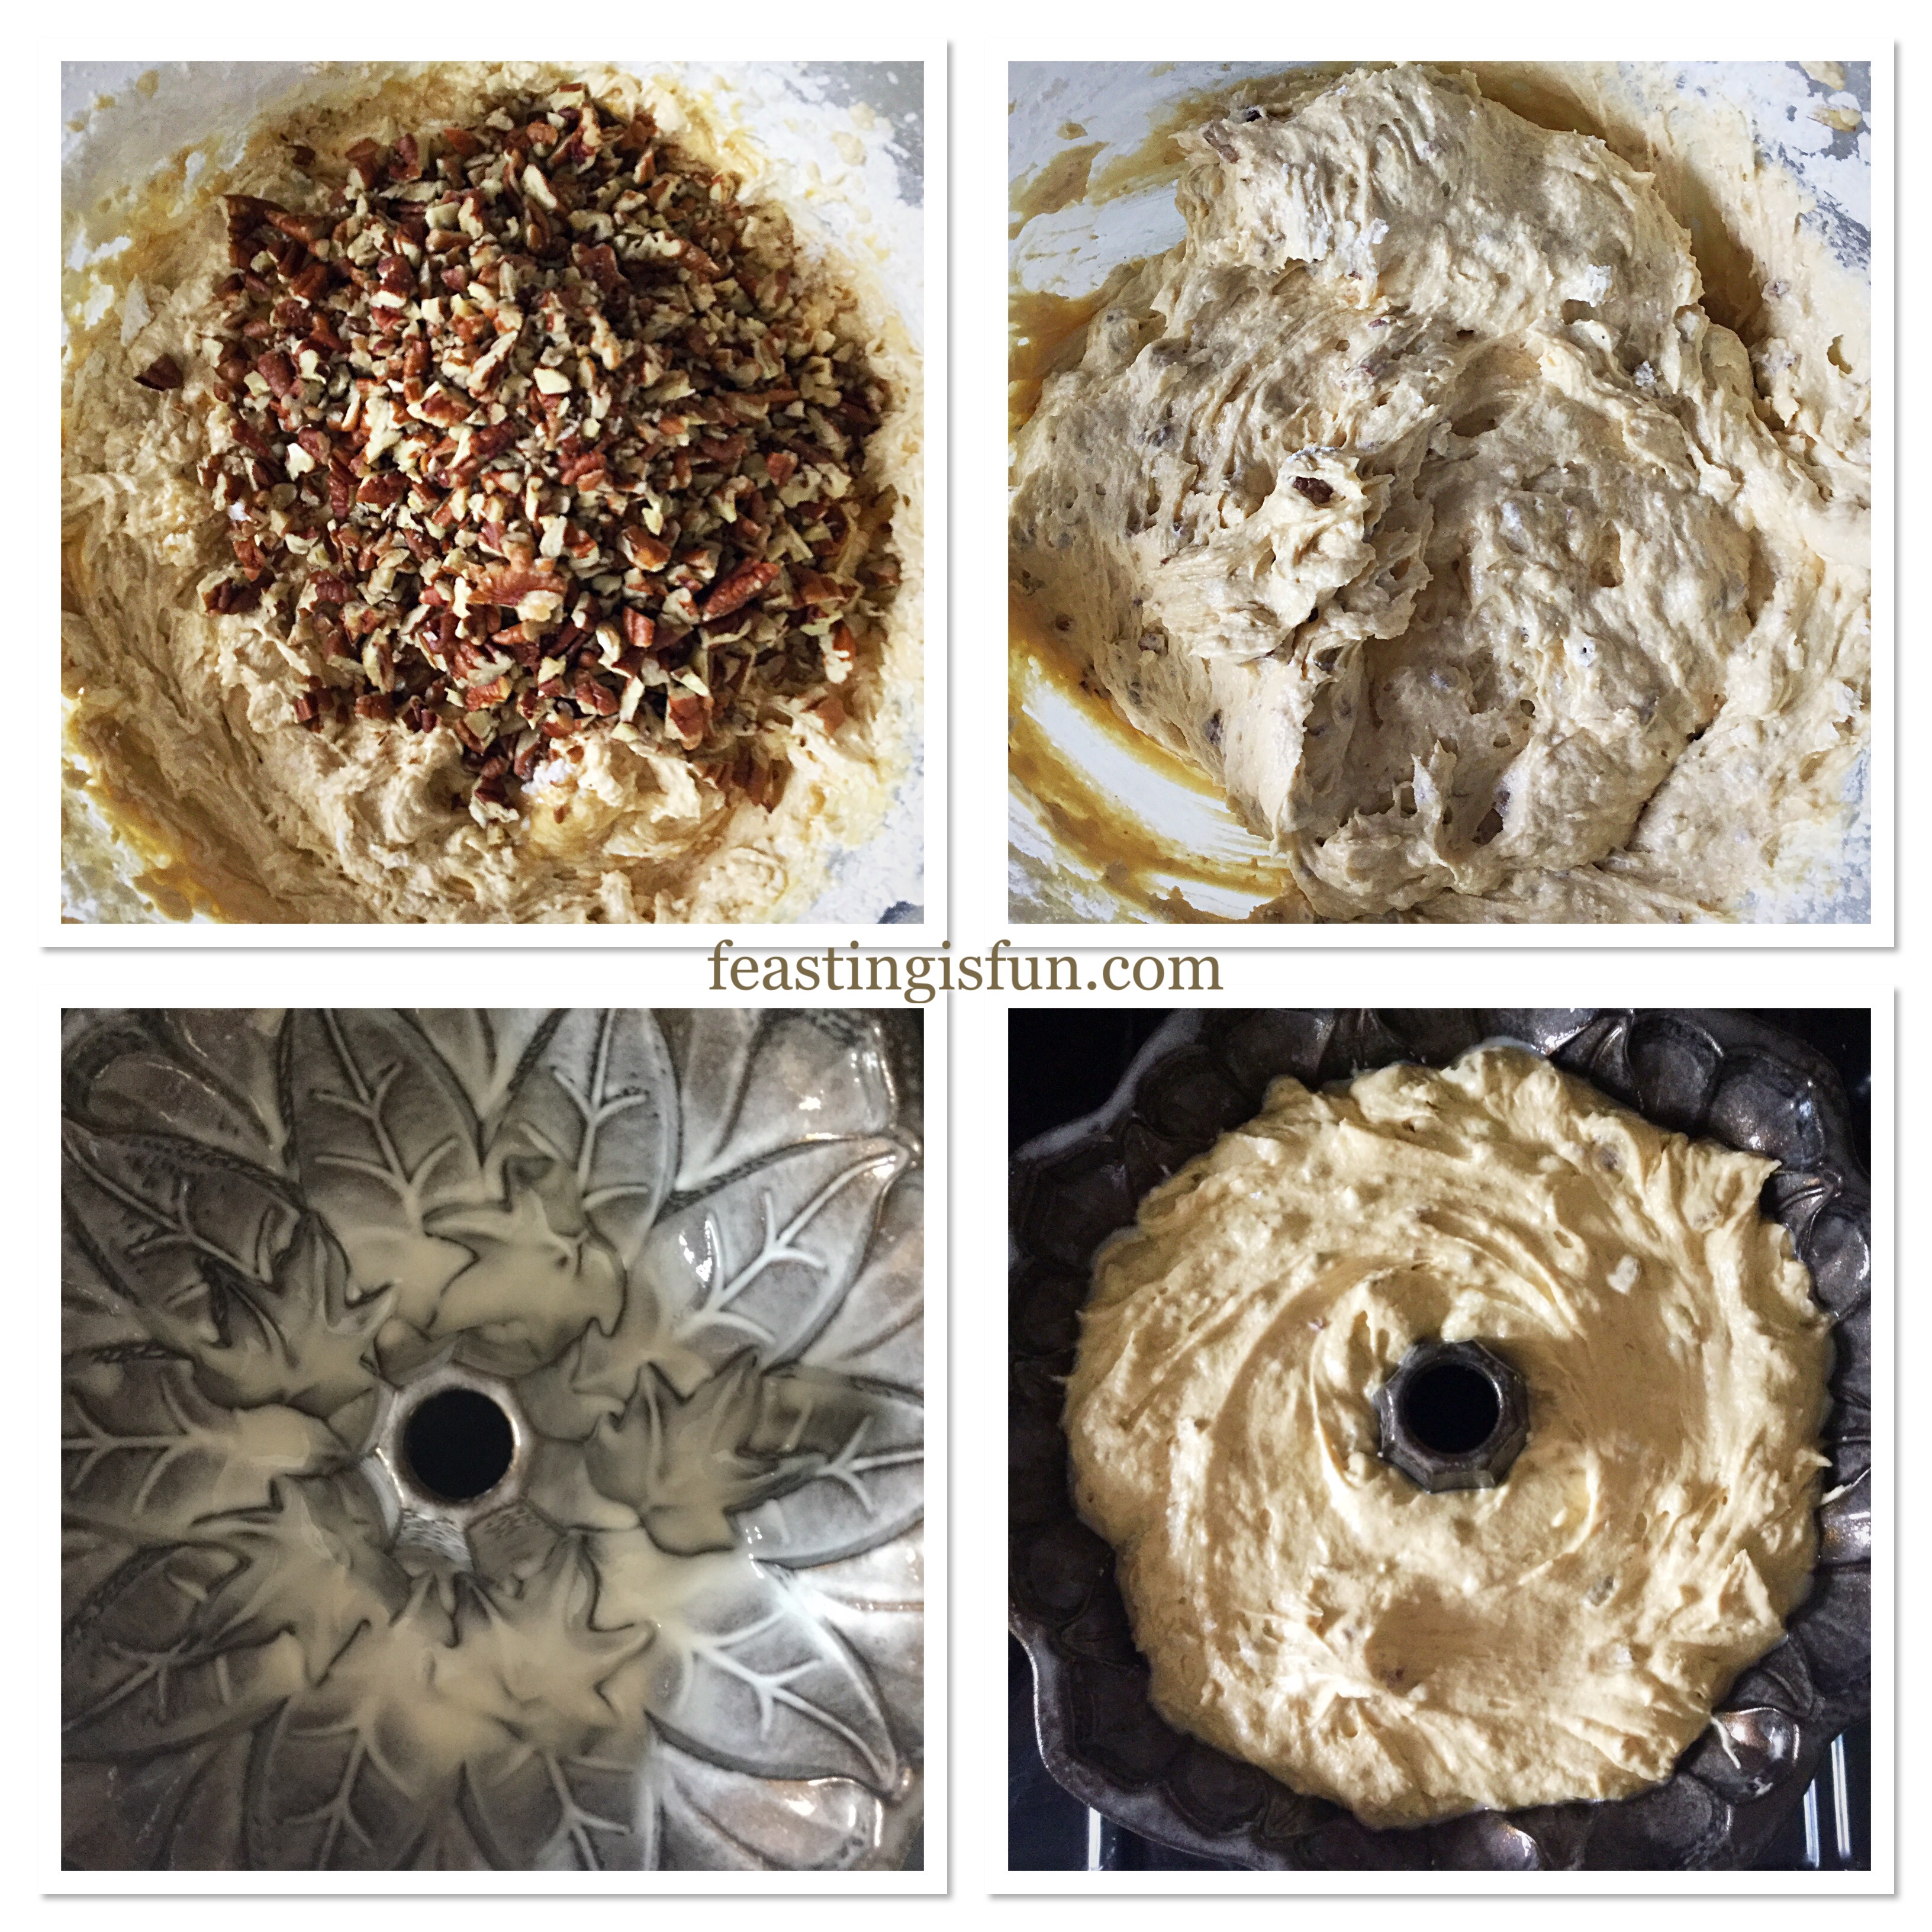
- First of all prepare the Bundt pan. Spray with cake release and use a pastry brush to ensure every part of the Bundt interior is completely coated.
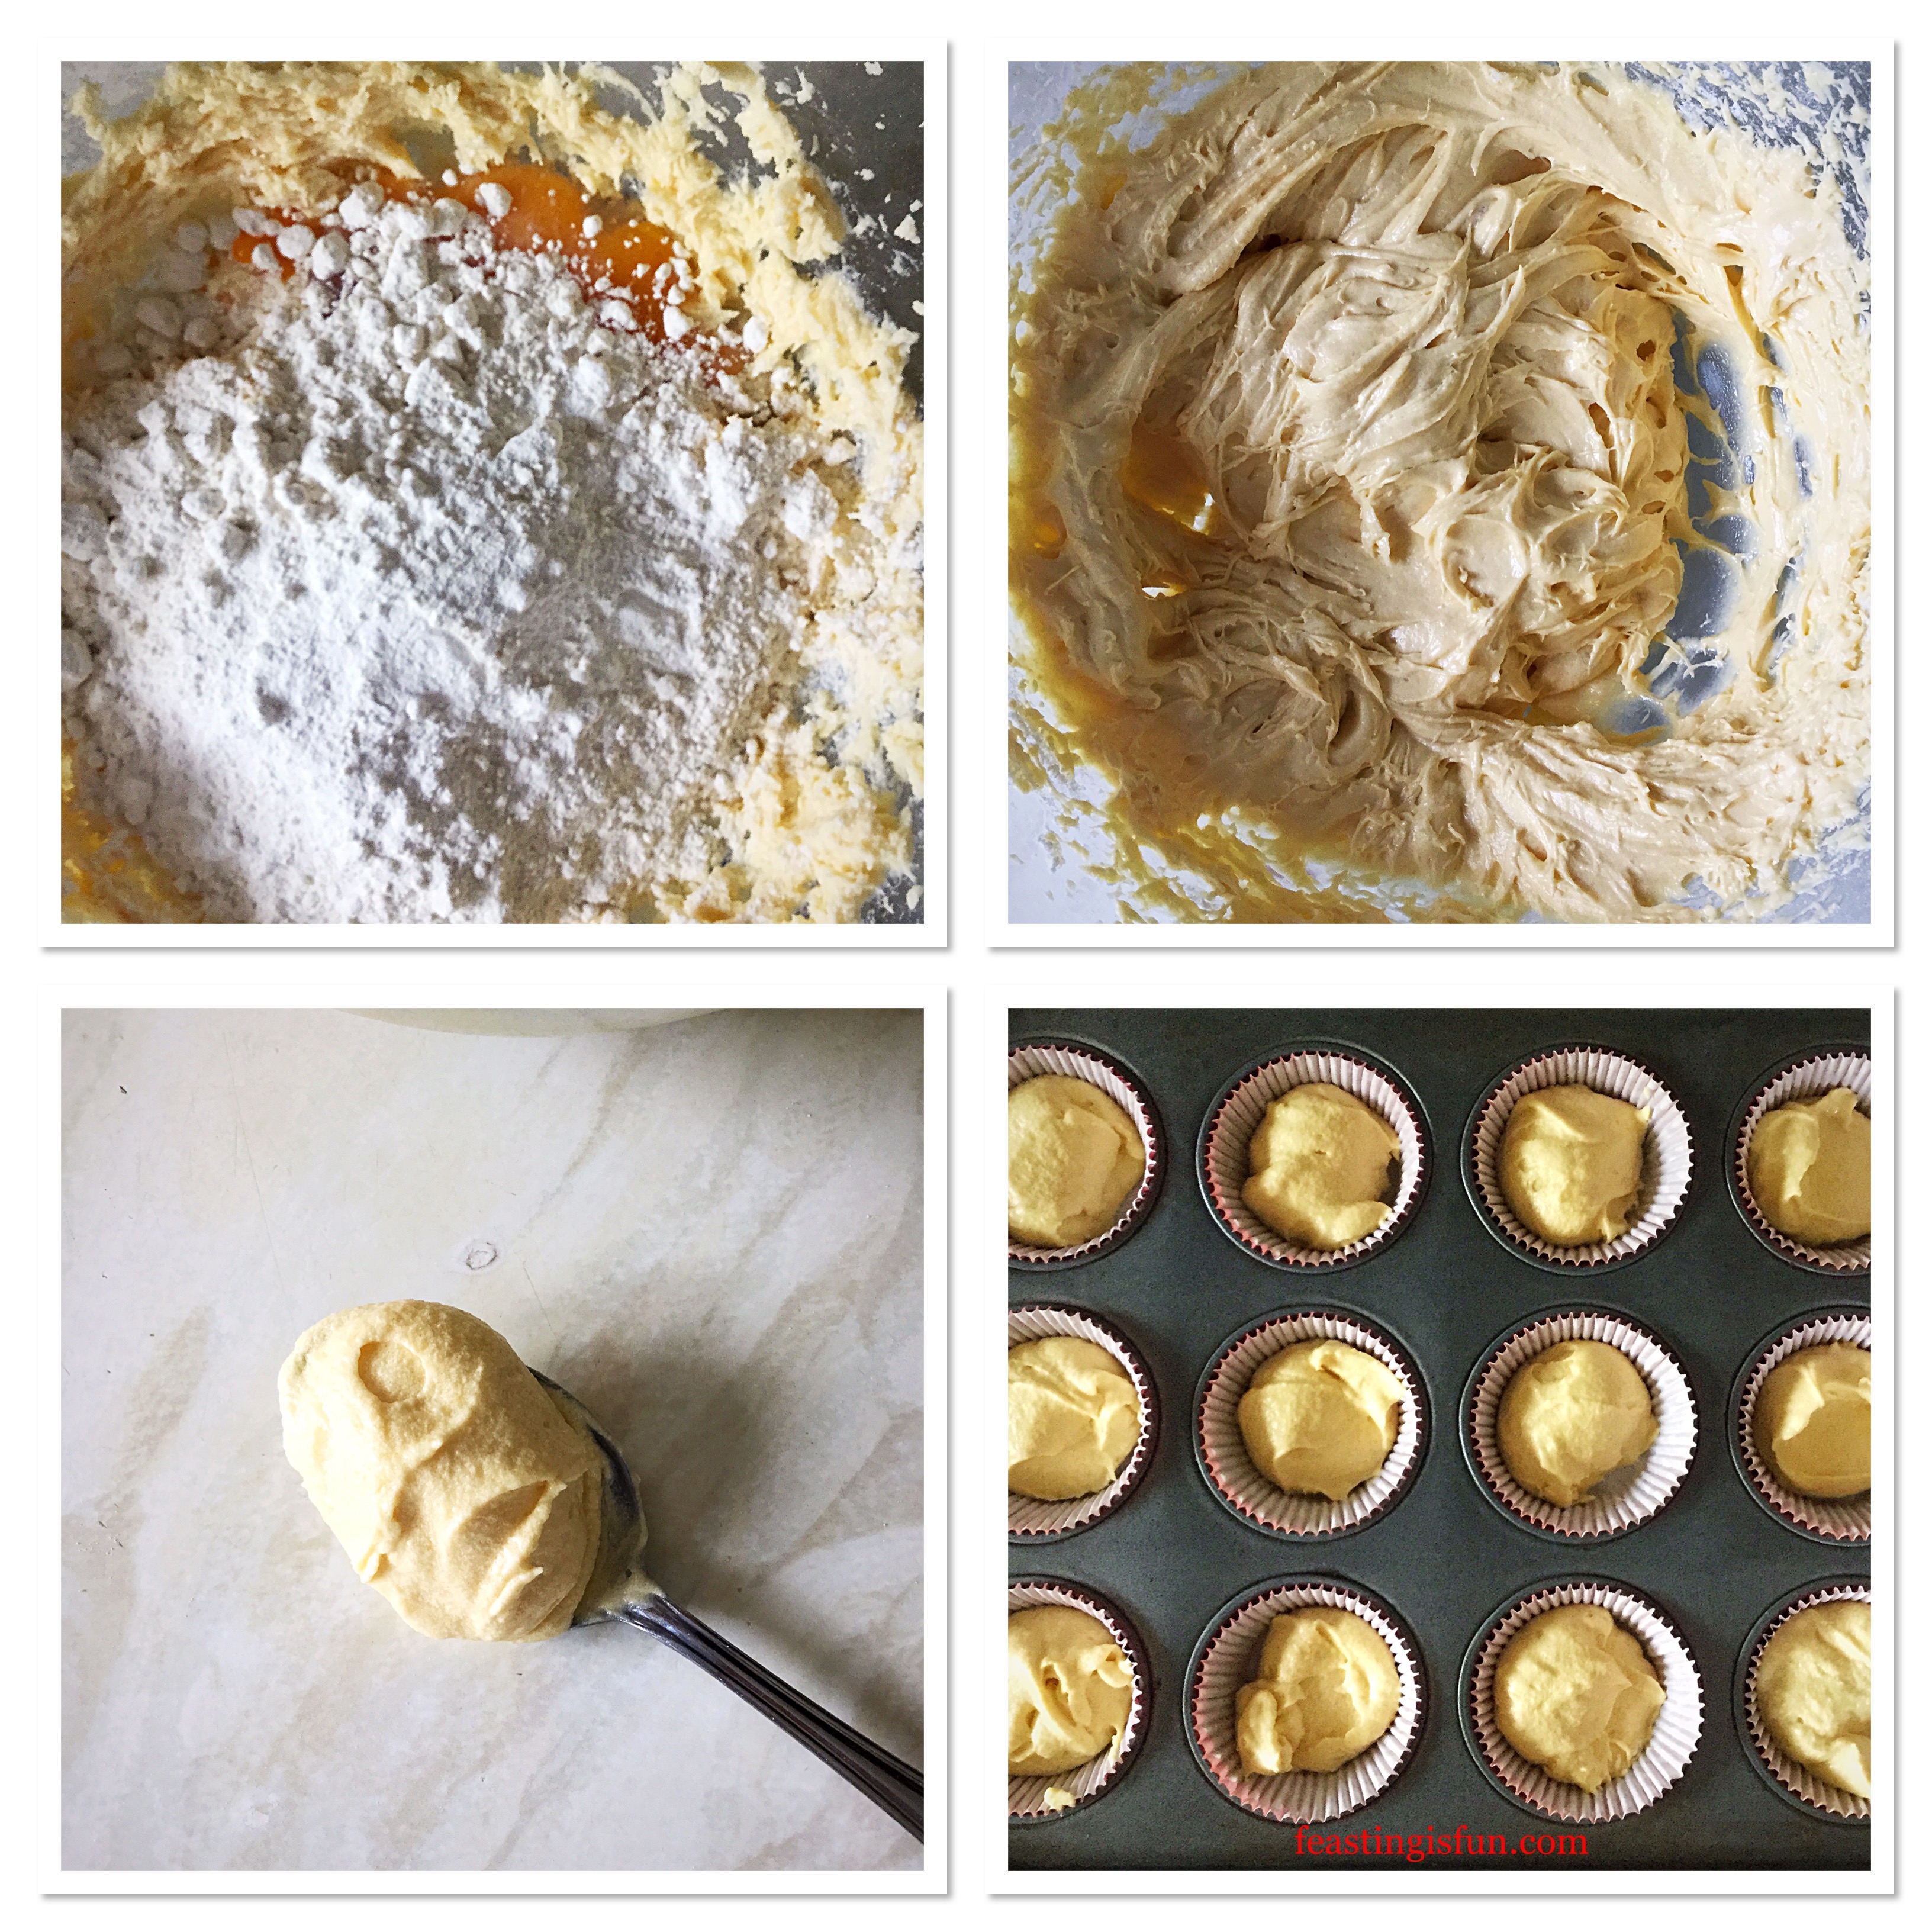
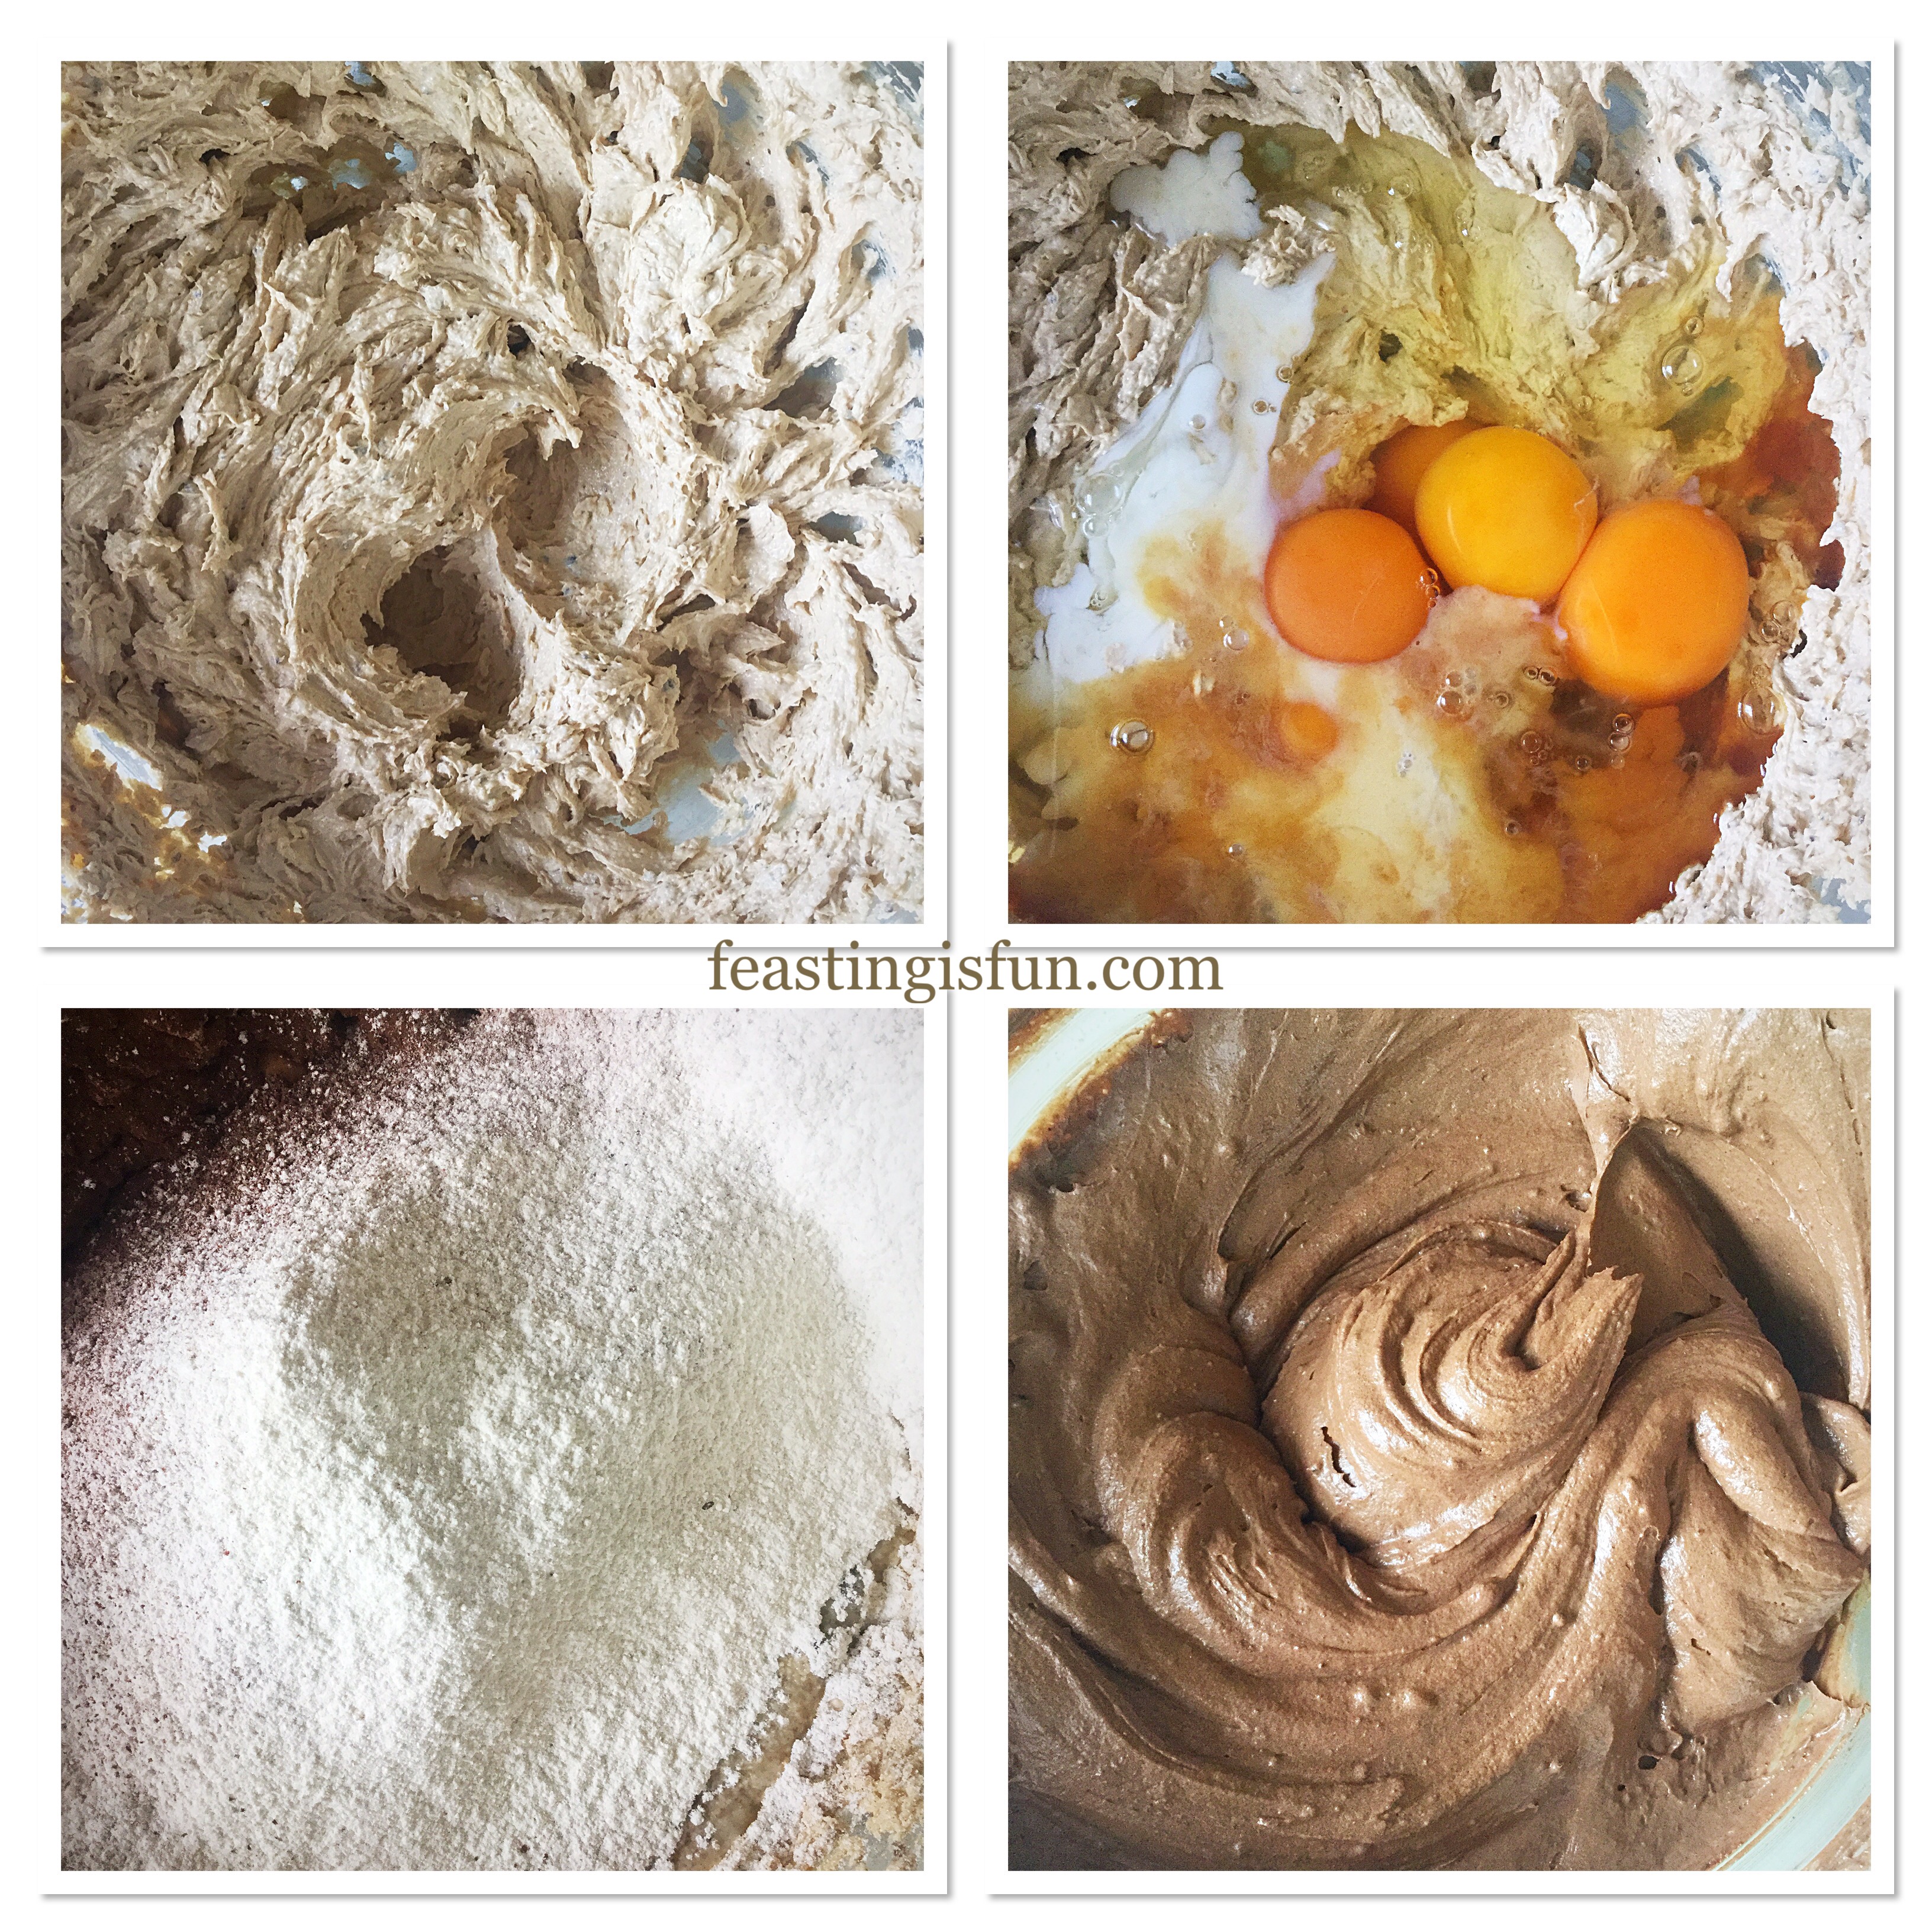
- Next, in a large bowl add the butter, sugar and salt. Whisk together until pale and creamy.
- Now add the eggs, vanilla extract, espresso and yoghurt.
- Sift the flour and baking powder into the bowl. Whisk all ingredients together until just combined.
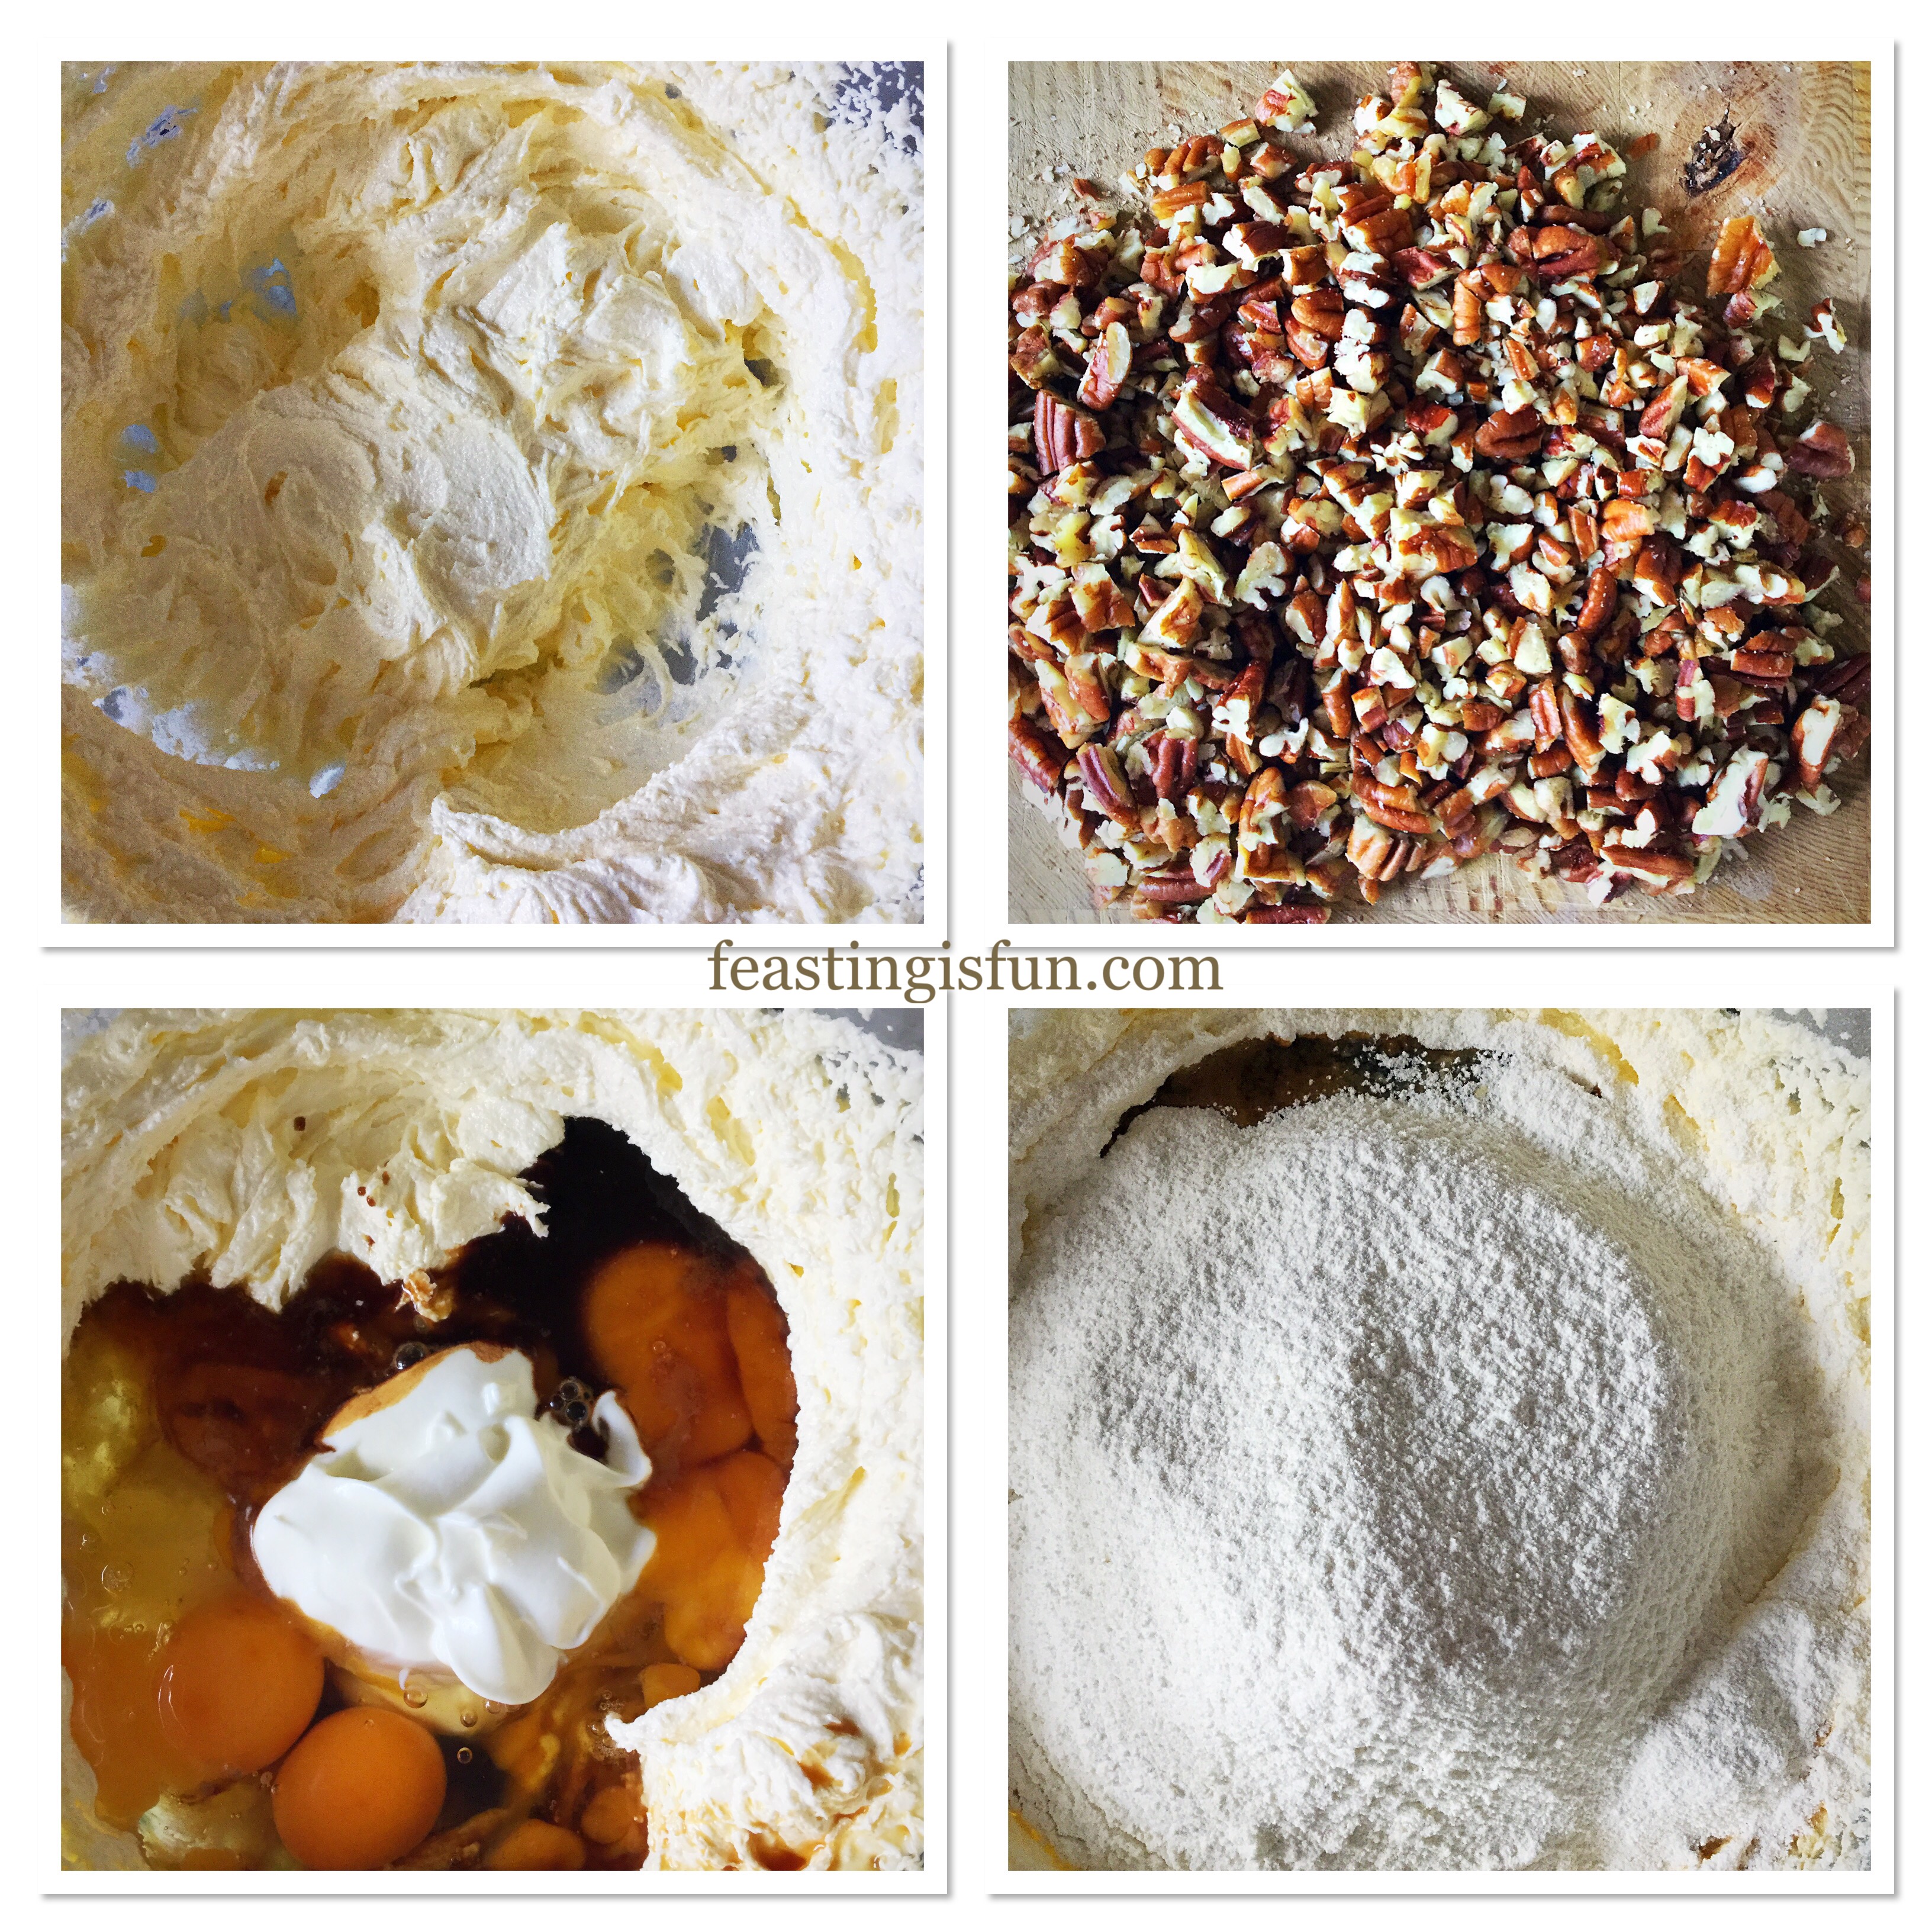
- Finally add the chopped pecans to the cake batter and fold into the mix with a spoon.
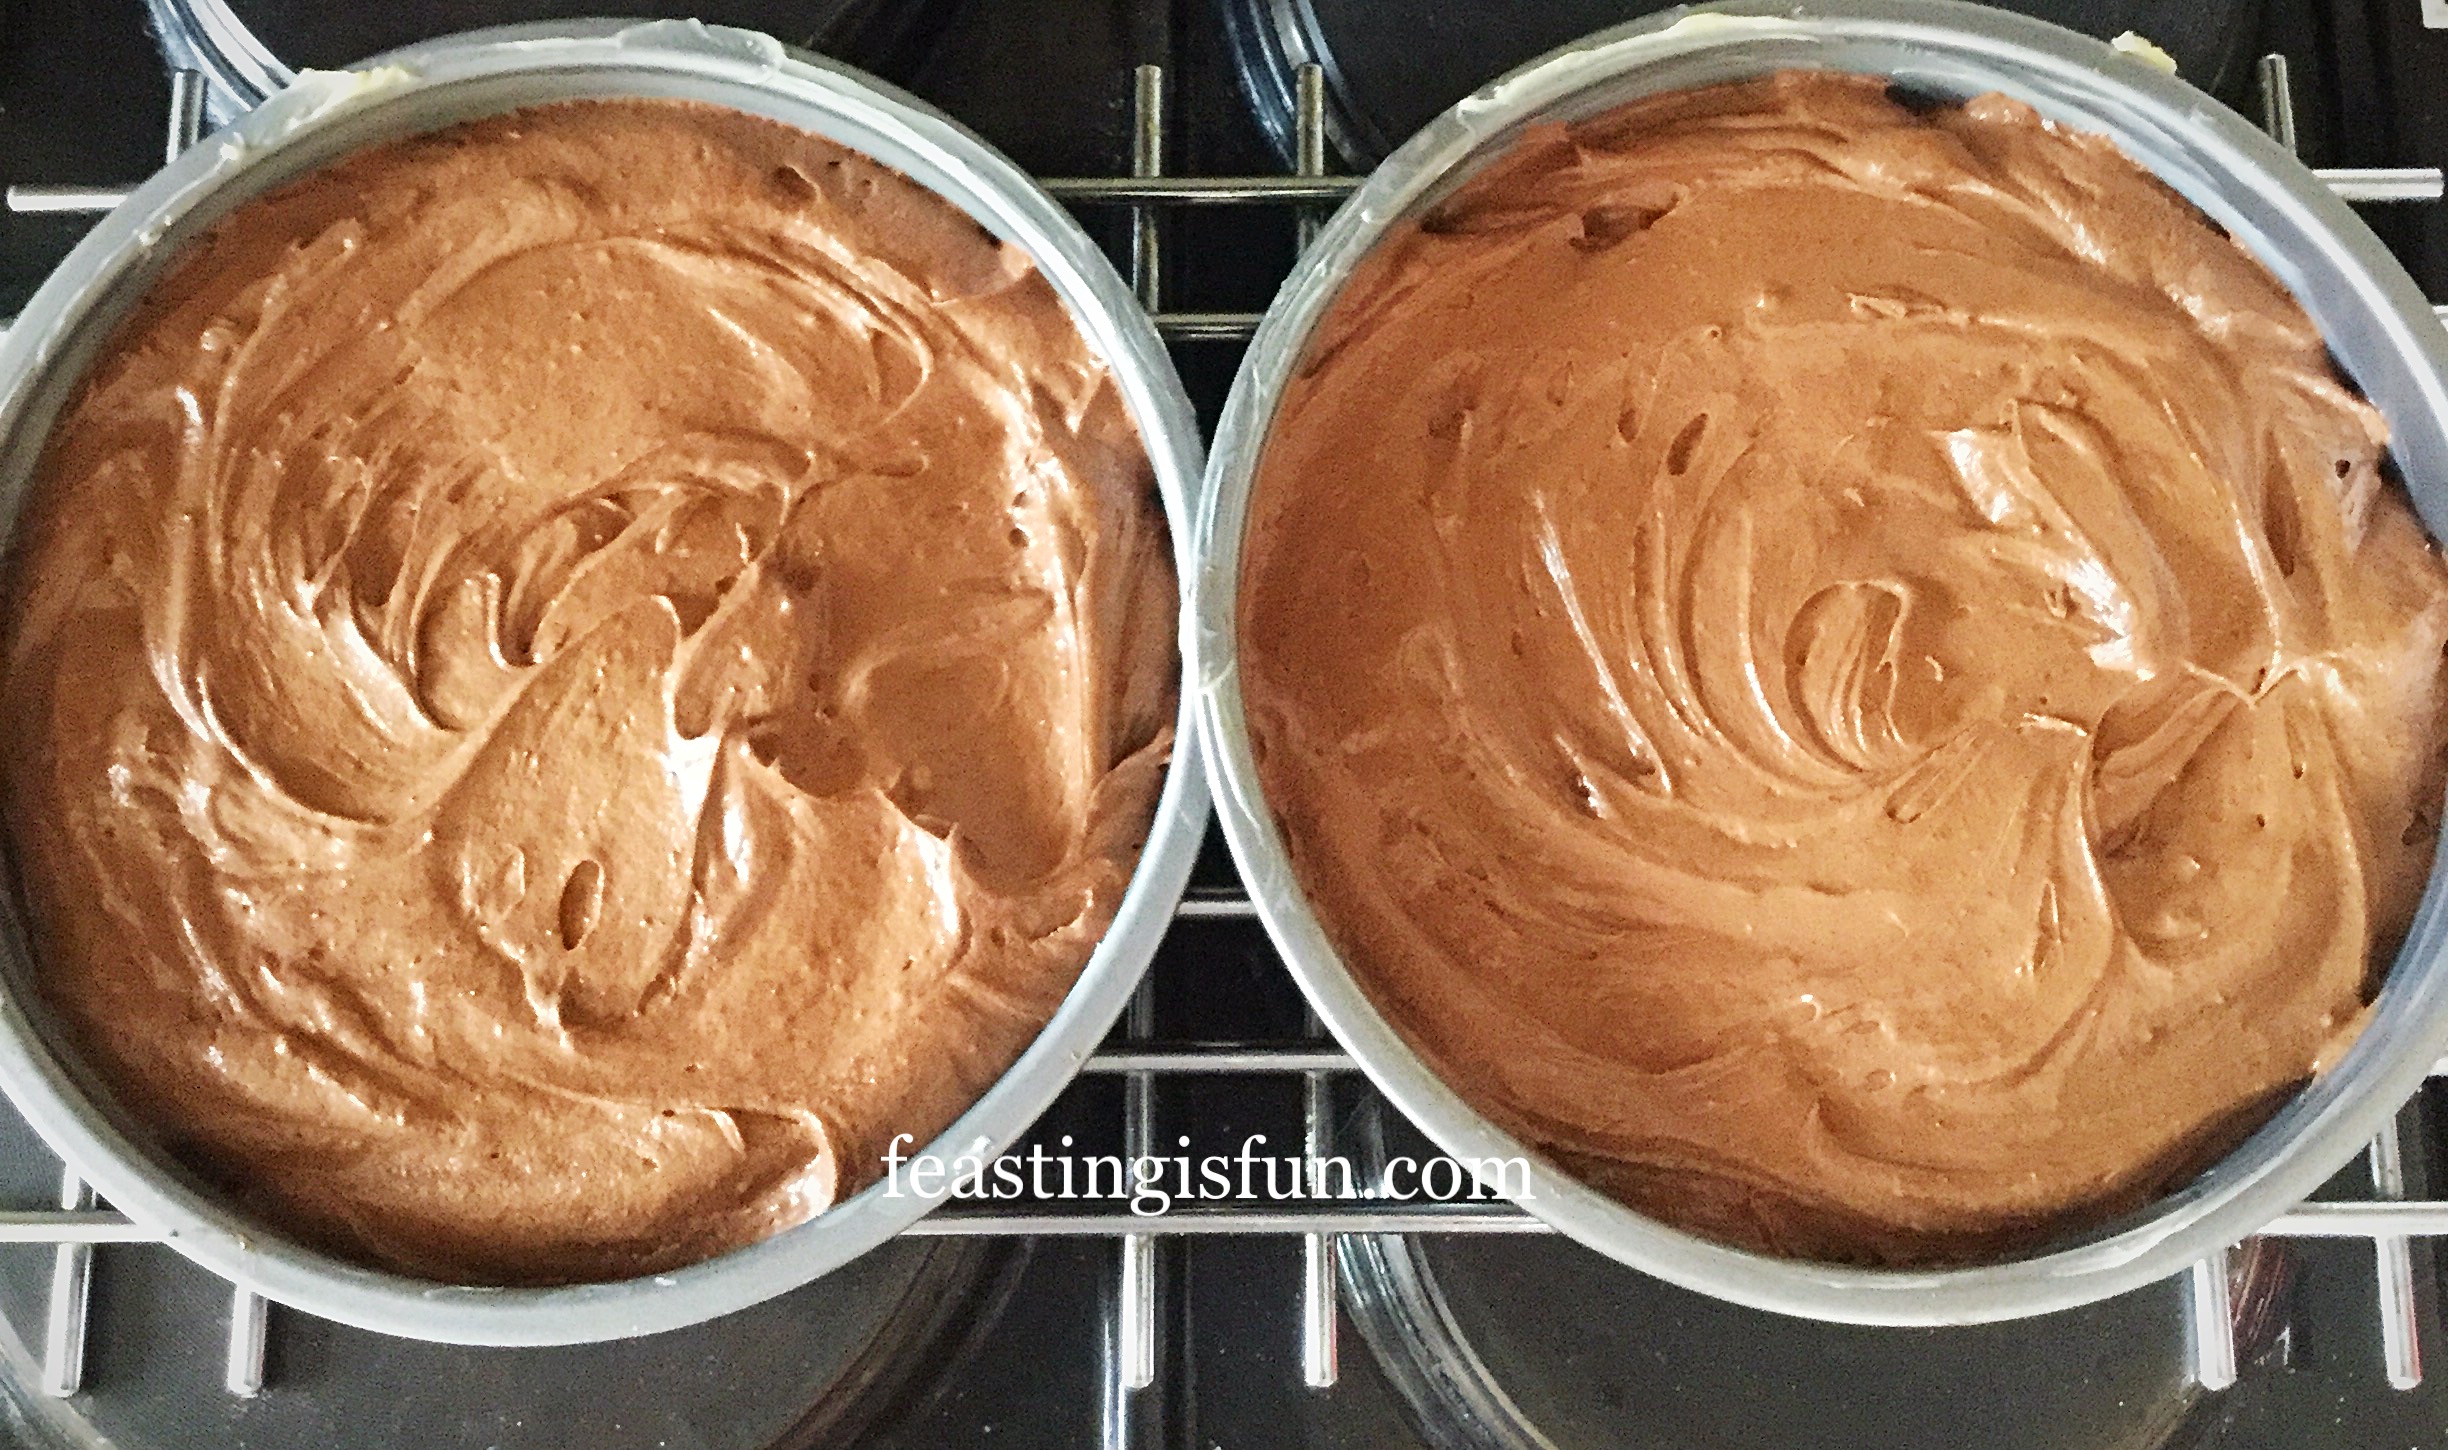
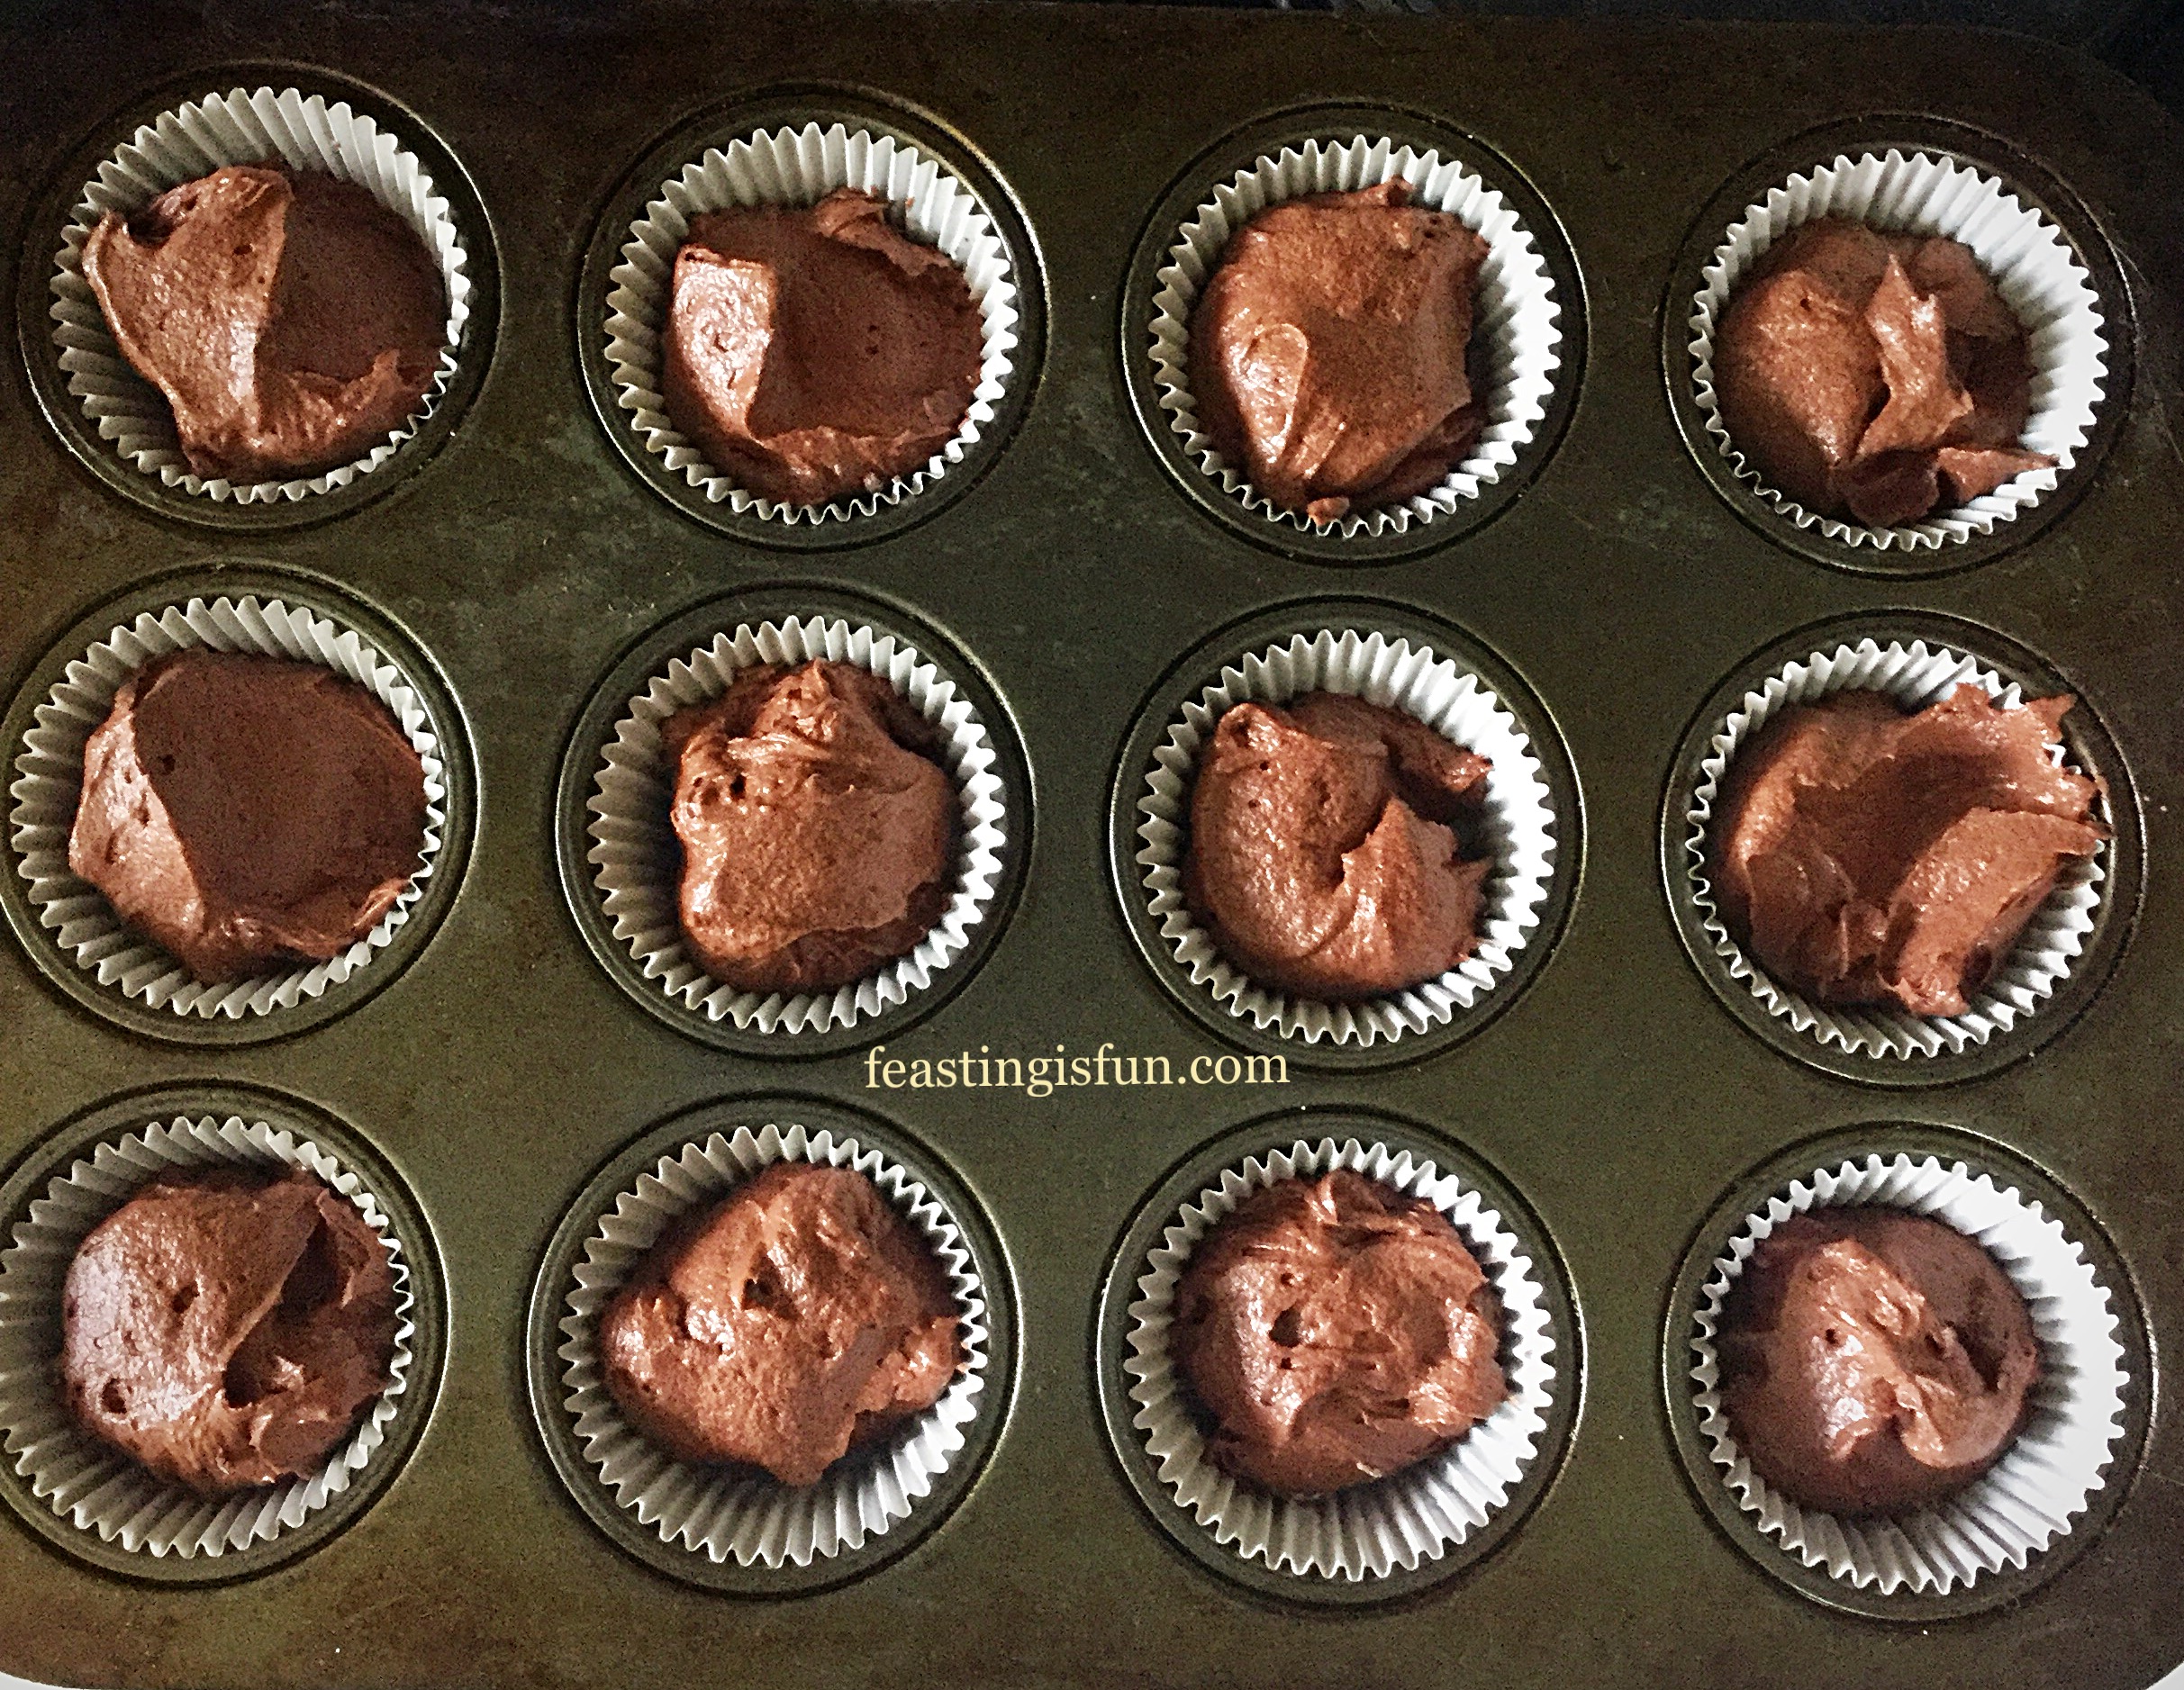
- Now spoon the pecan studded cake batter into the prepared Bundt Pan. Push the mixture down into the pan so the every part of the intricate mould is filled.
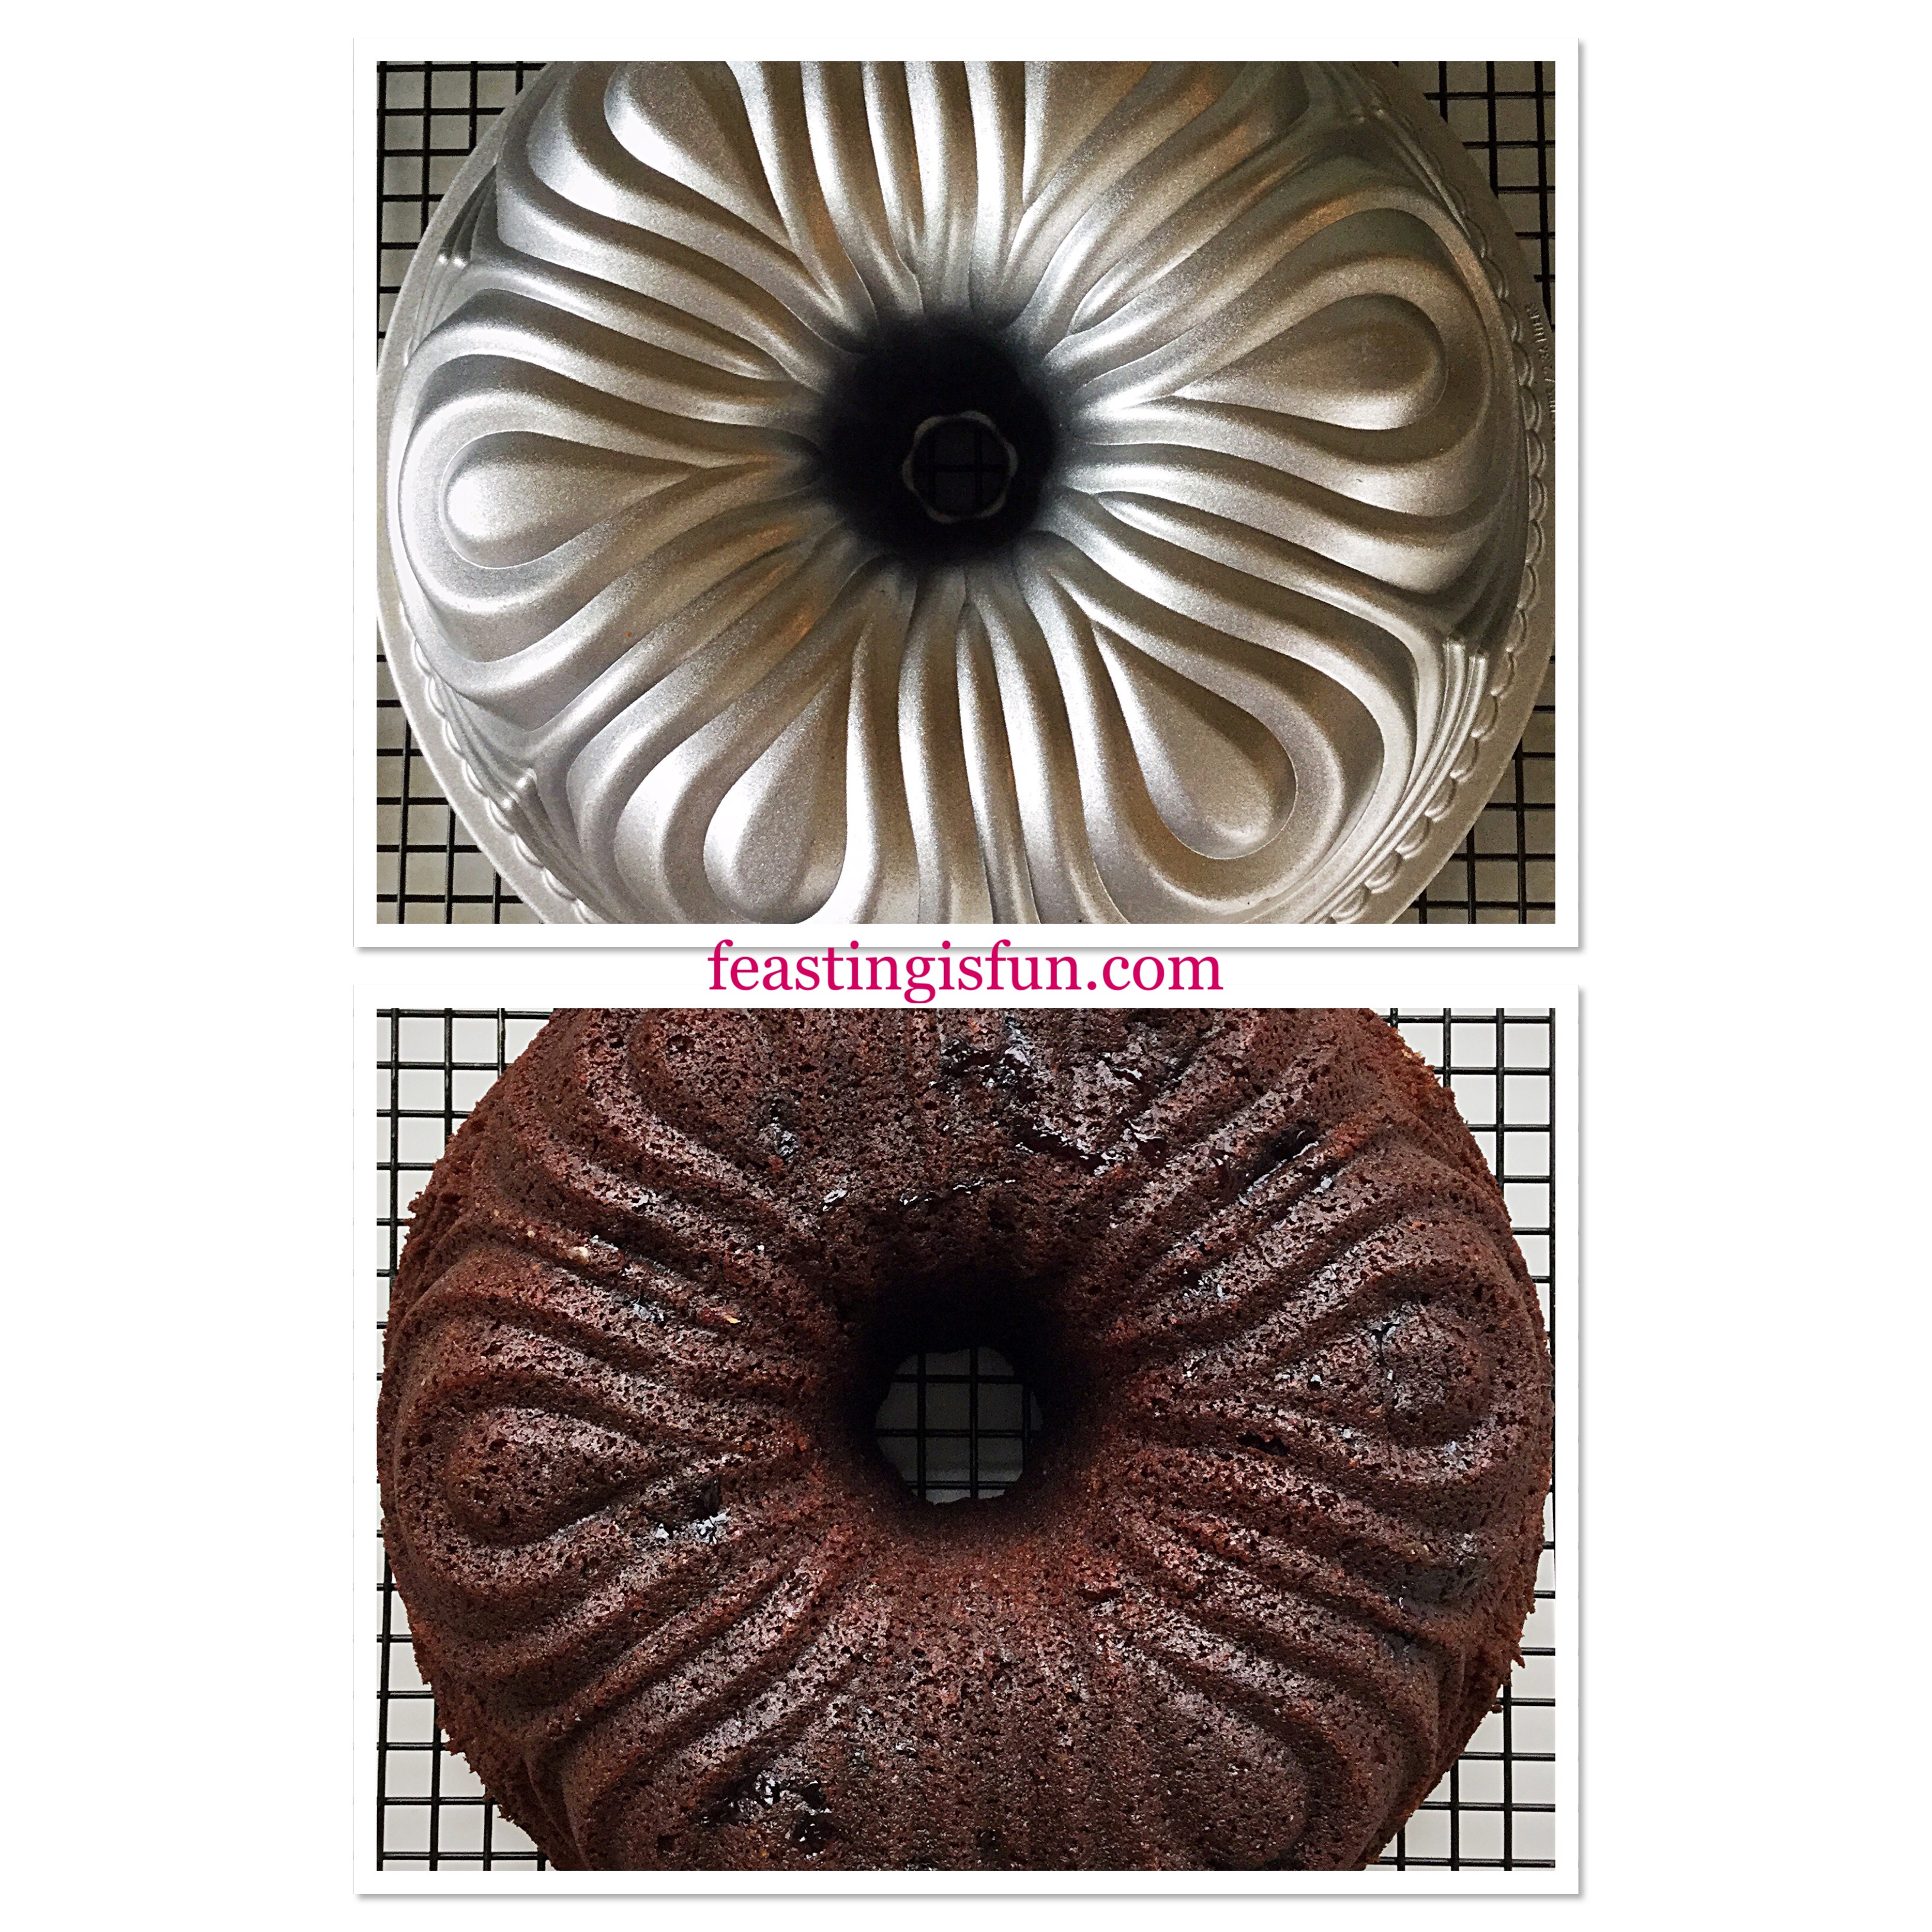
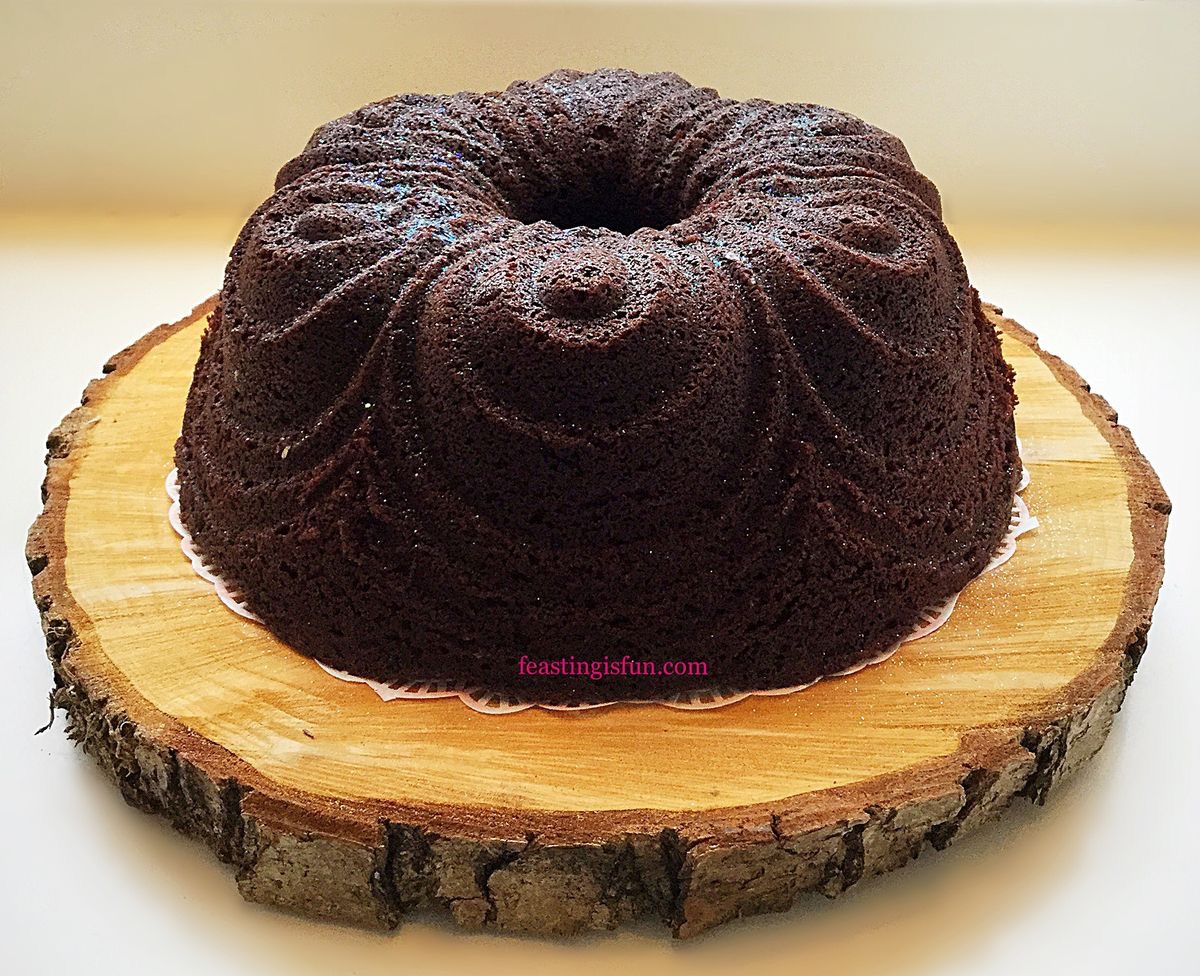
Baking And Turning Out The Bundt Cake
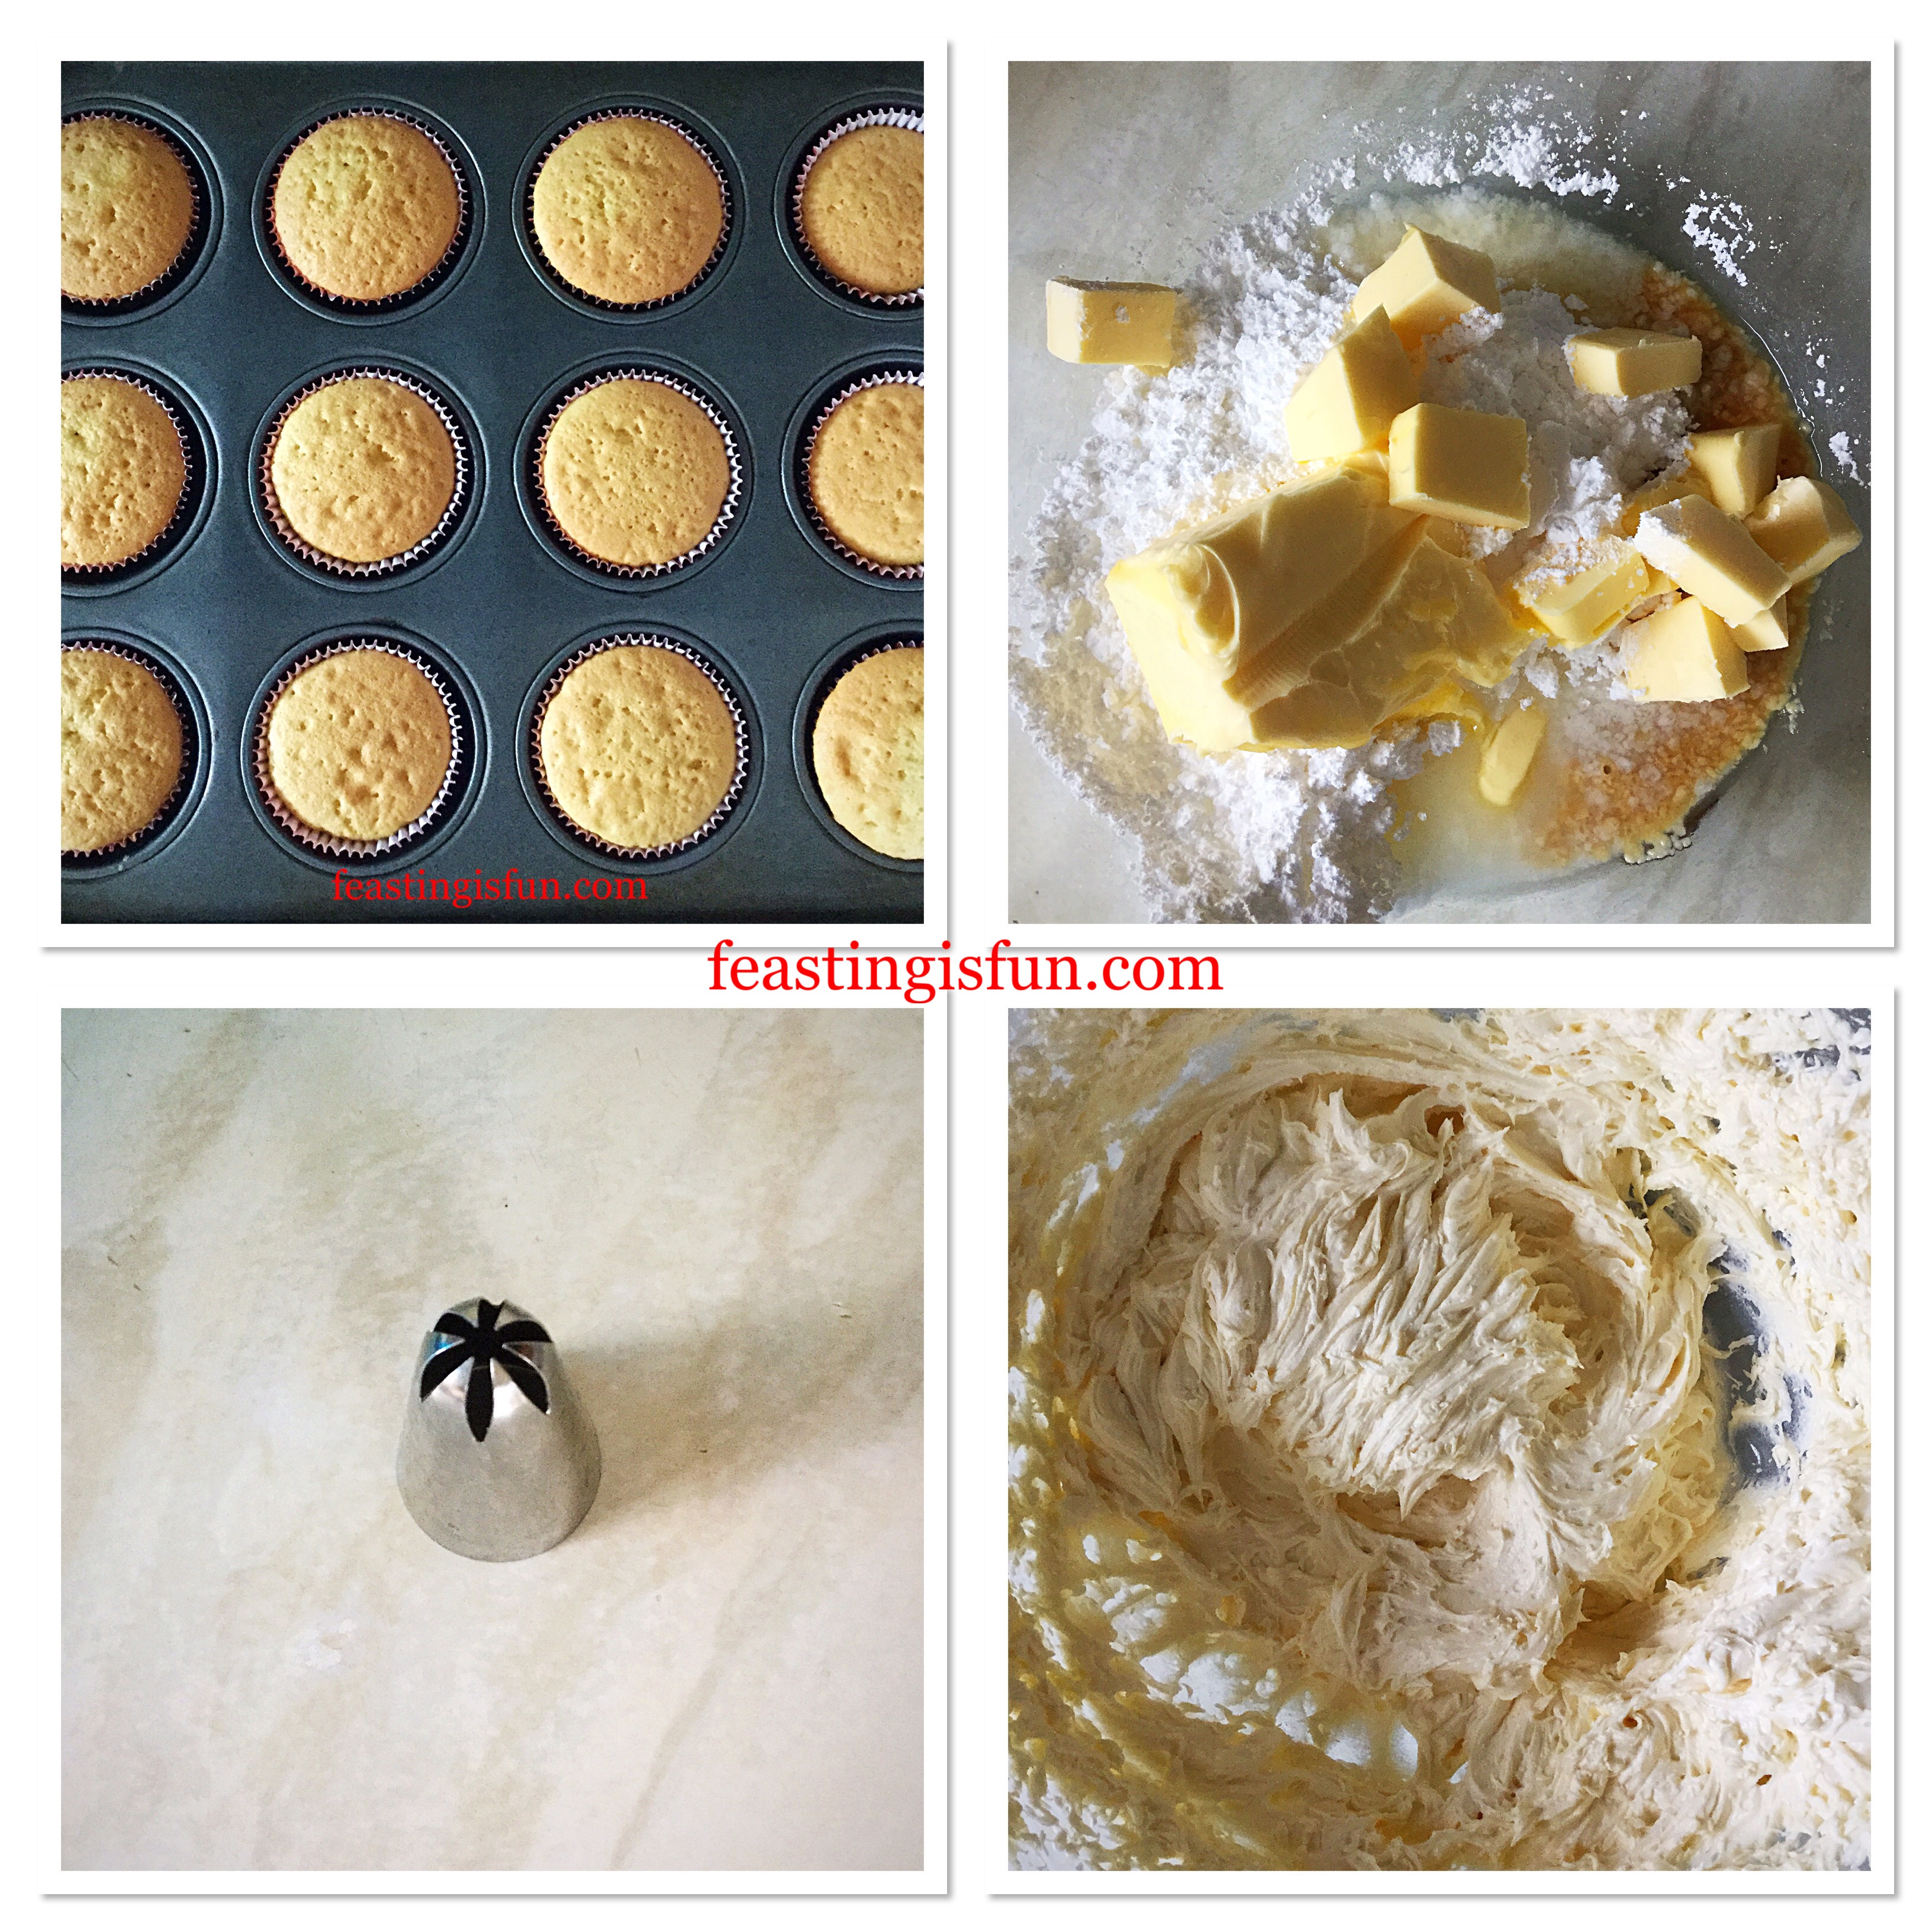
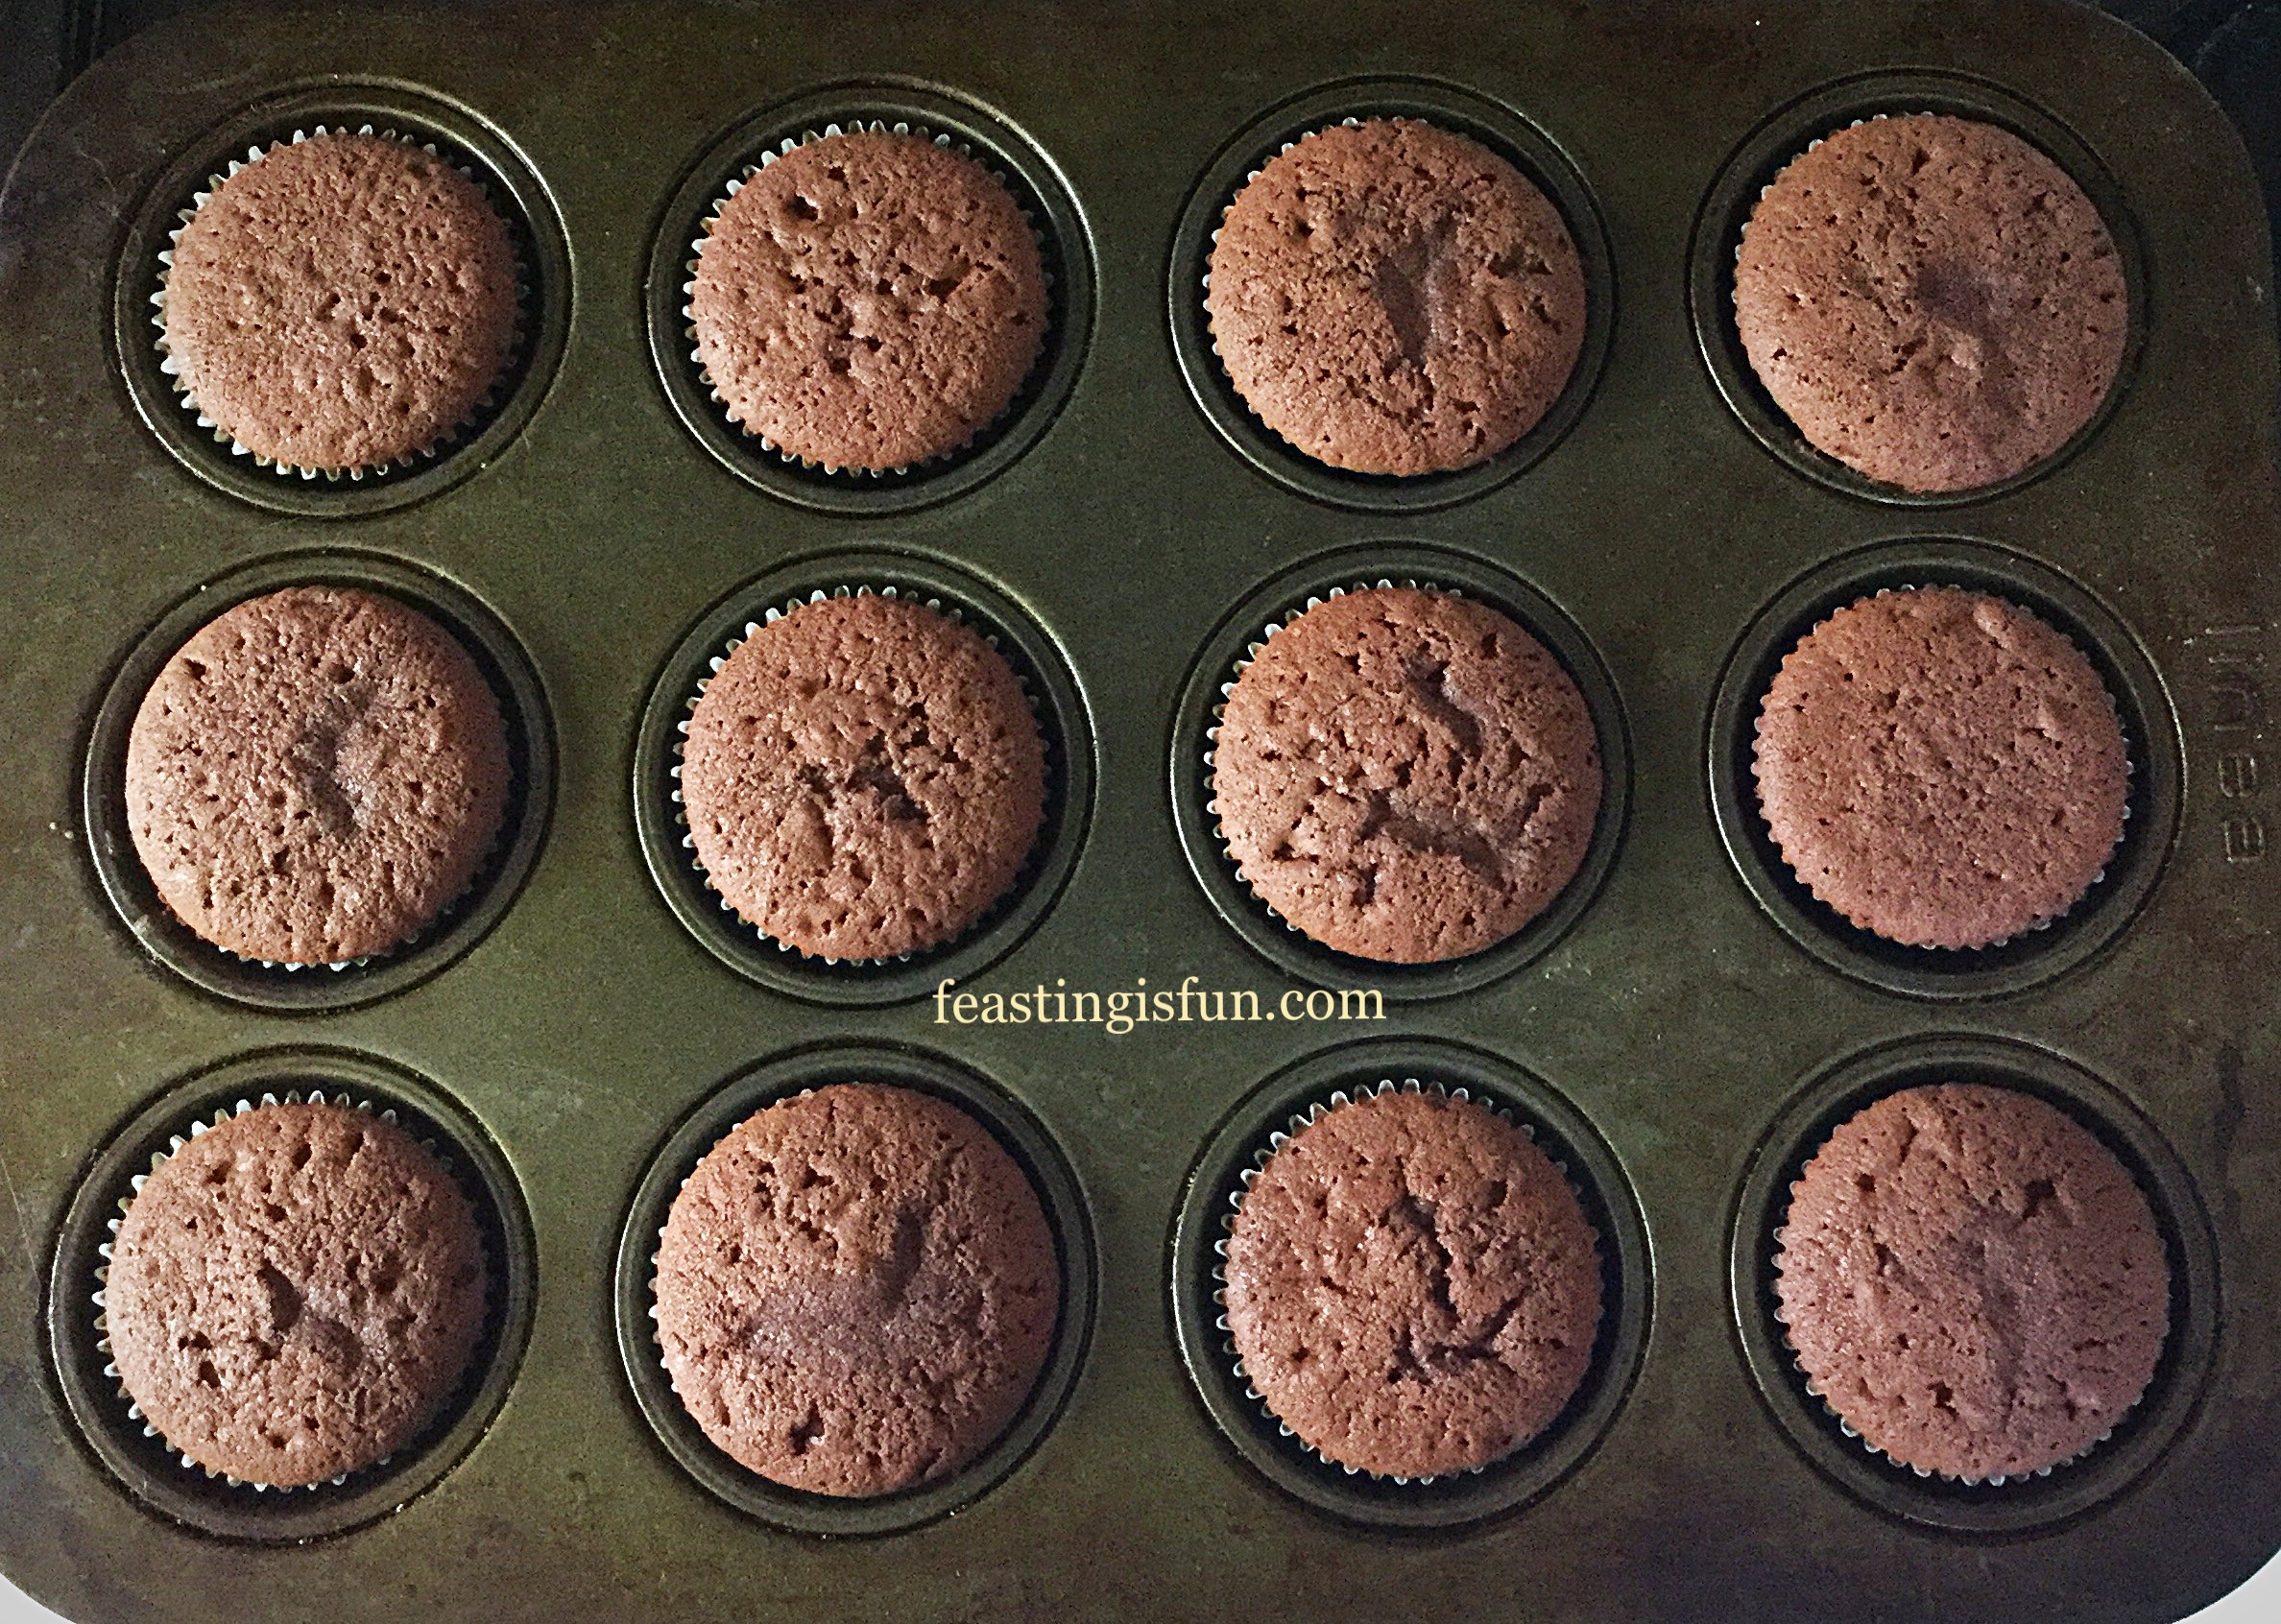
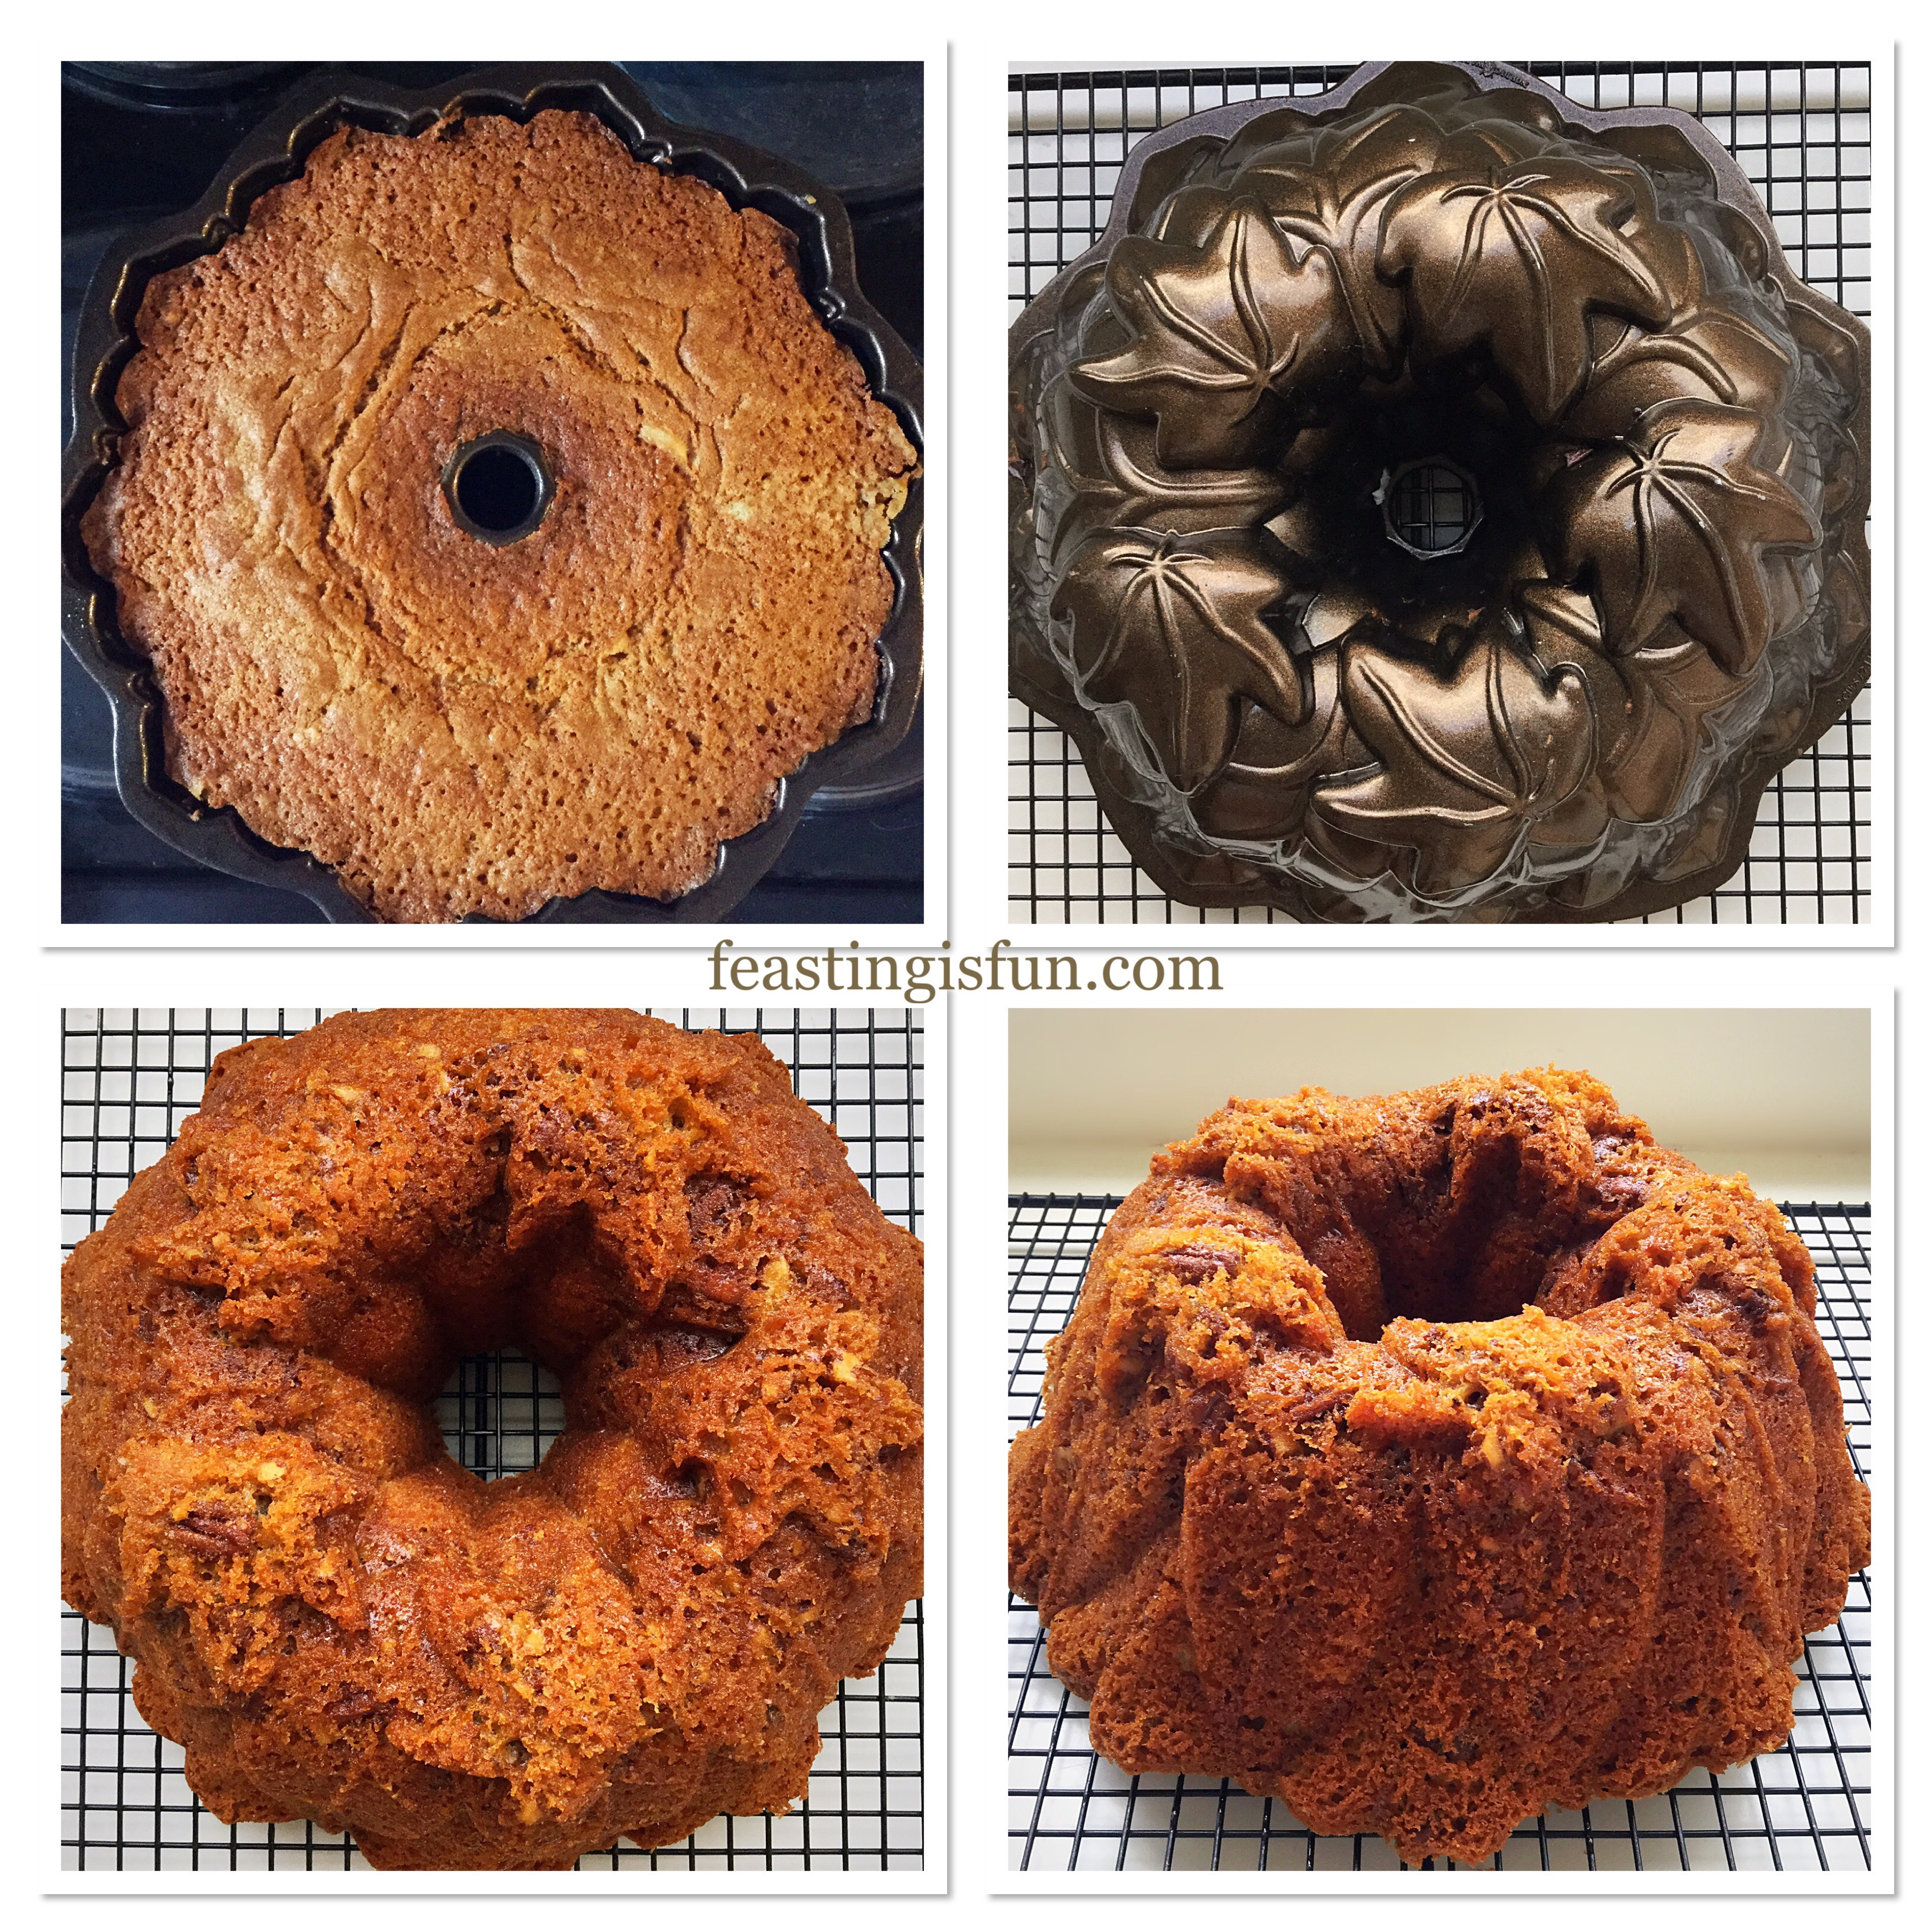
- Place the cake into the centre of a preheated oven and bake for 60 – 70 minutes.
- The cake is baked when it is golden in colour and an inserted skewer comes out clean.
- Once baked remove the cake from the oven and leave to sit for 10 minutes in the pan.
- Then turn the cake out on to a cooling rack and leave to cool completely.
Glazing The Bundt Cake
- As soon as the cake is cooled it is ready to decorate.
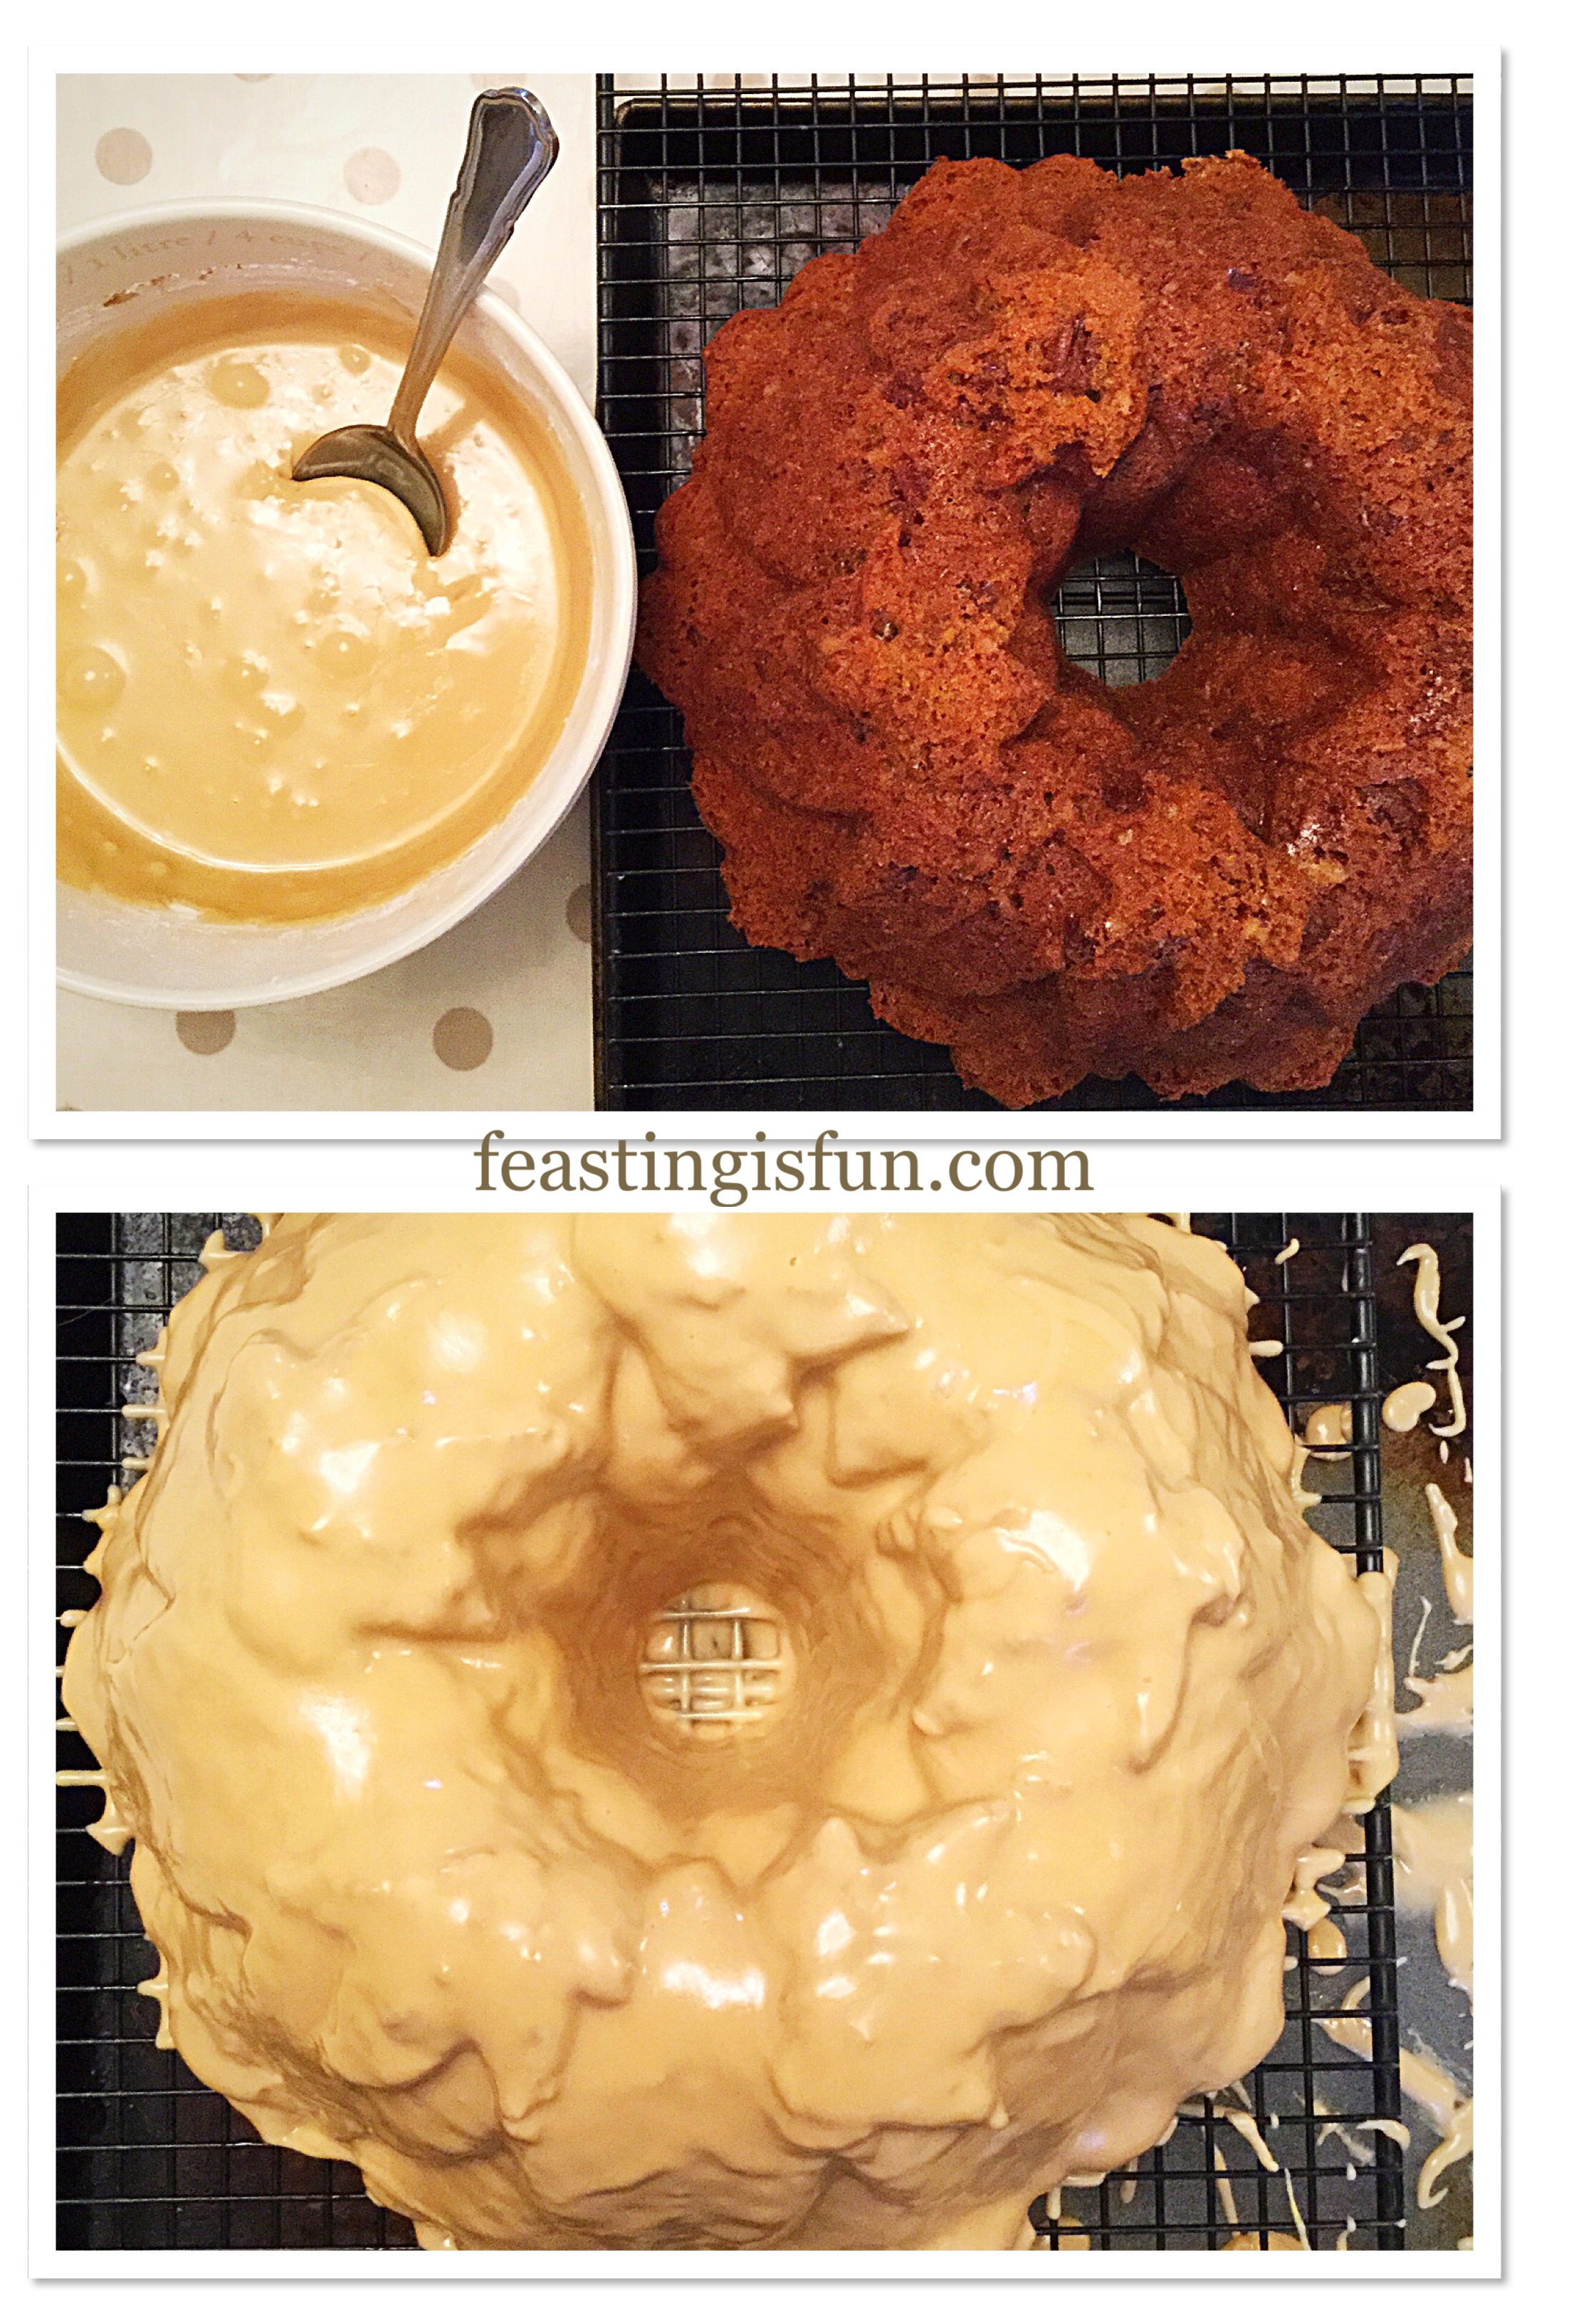
- Sift the icing sugar into a bowl. Add the espresso liquid and enough water to create a thick glaze.
- Place the cake, still on its cooling rack, over a clean baking tray.
- Due to the addition of coffee in this glaze it forms a crinkle skin quickly. Work quickly, without rushing, when glazing the cake.
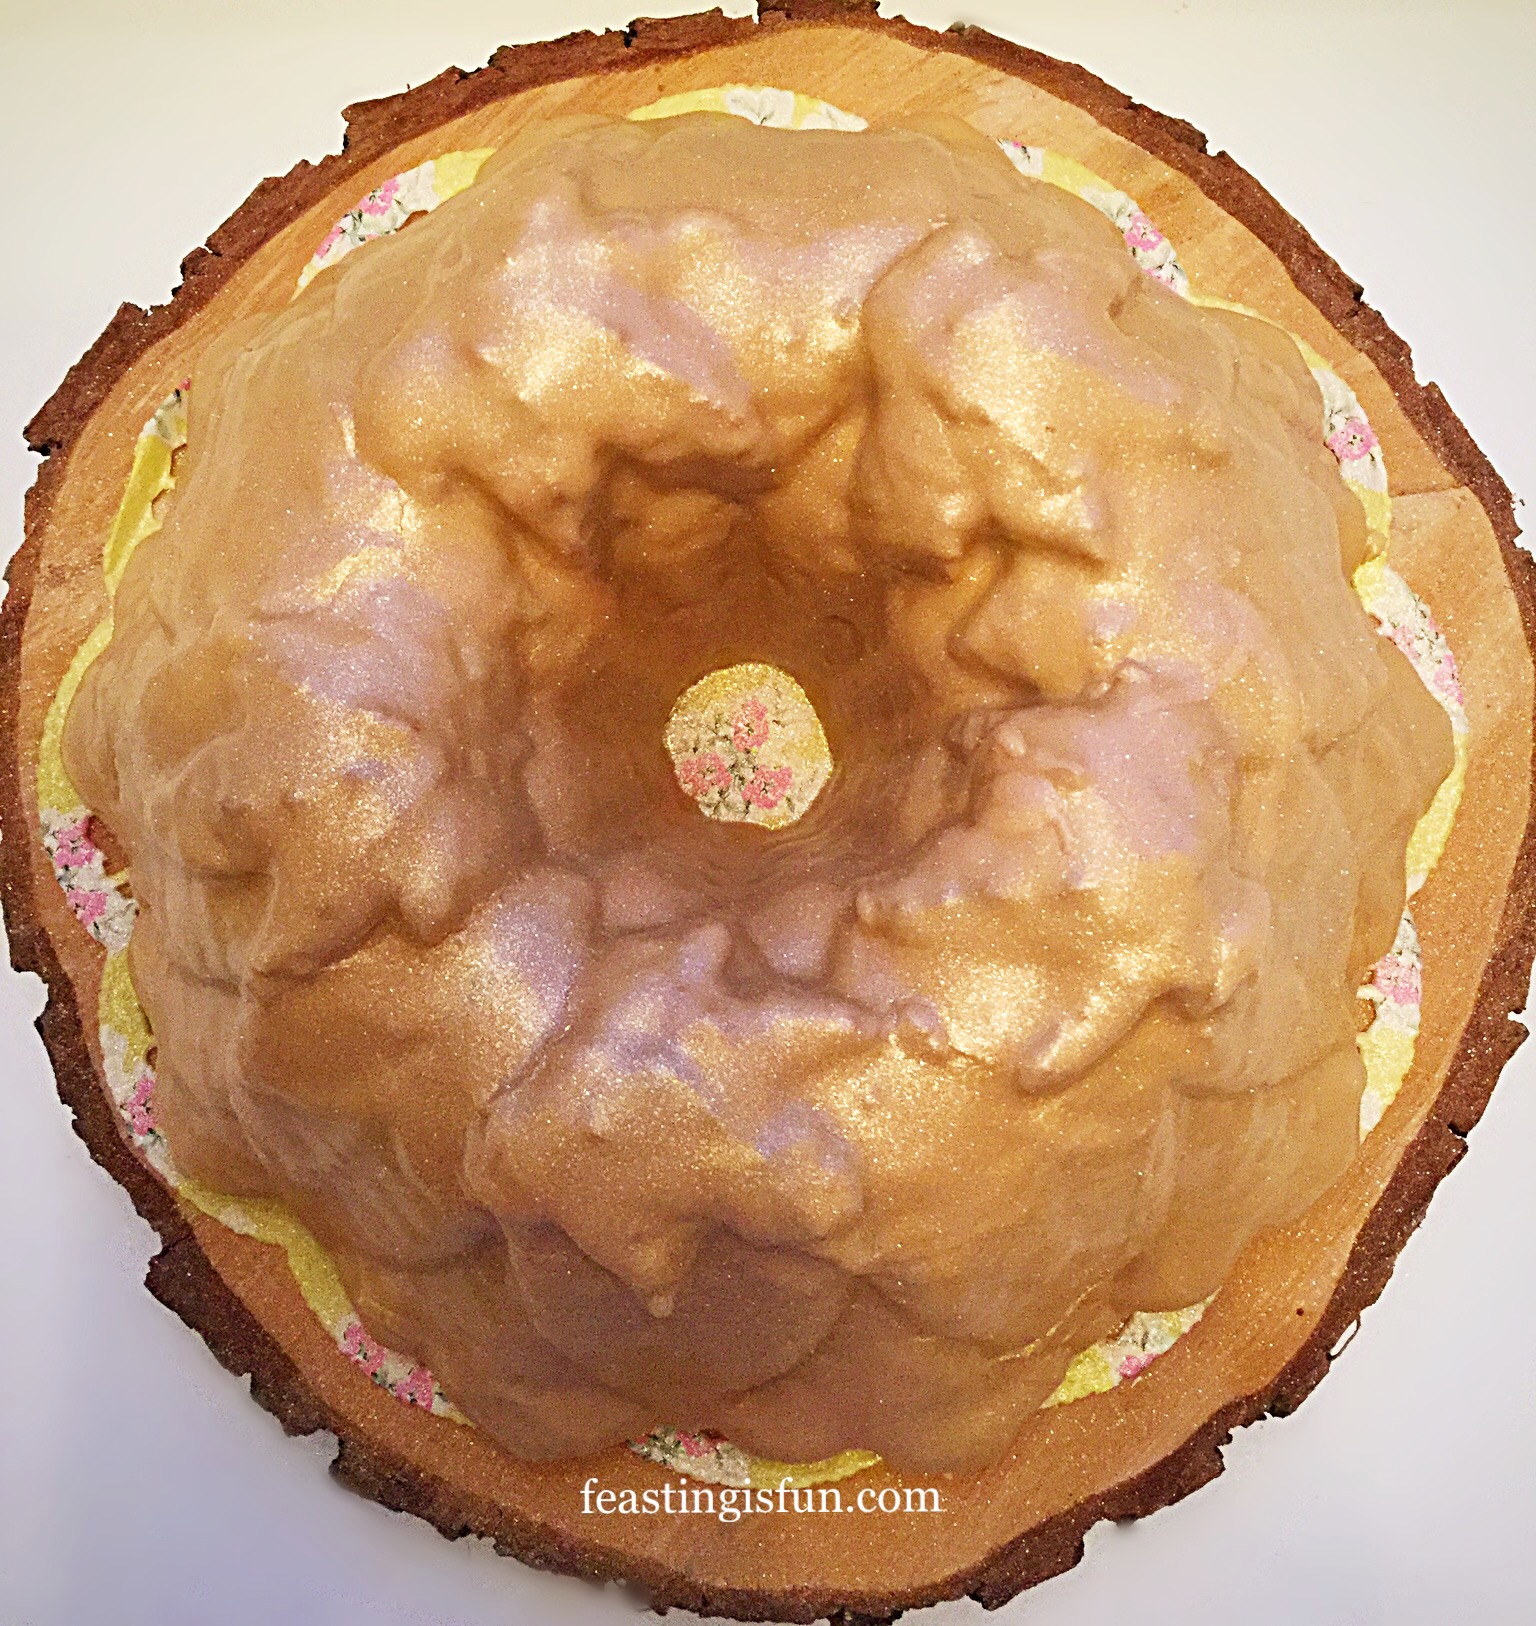
- Starting at the top of the cake spoon over the thick glaze. Continue spooning the glaze around the cake until the entire cake is covered. If necessary spoon glaze that has dropped through to the tray over the cake, covering any holes in the glaze finish.
- As soon as the glaze has stopped dripping and is starting to set transfer the cake to a board or plate.
- Dust the cake with edible gold glitter once the glaze has fully set.
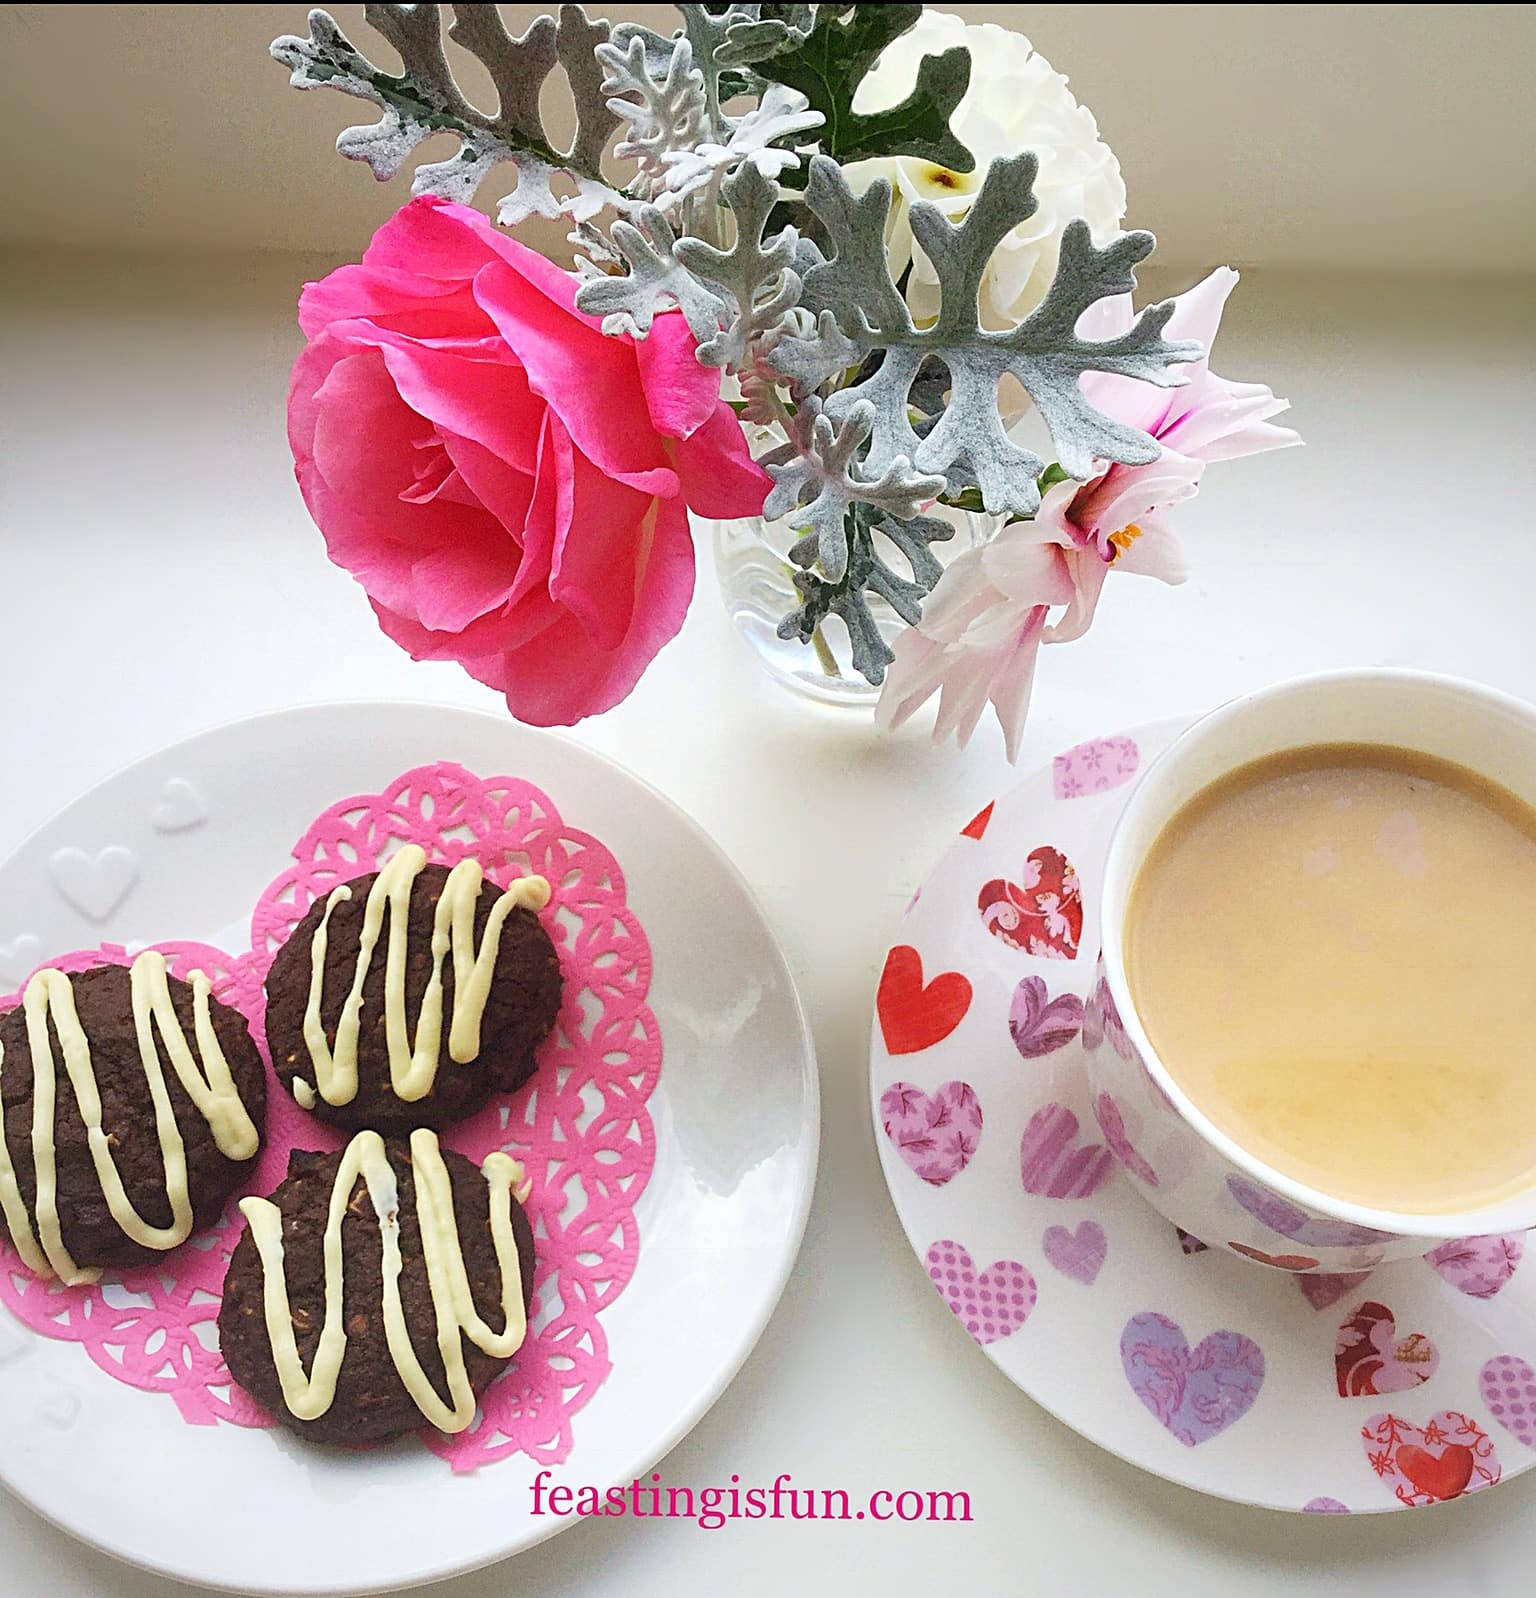
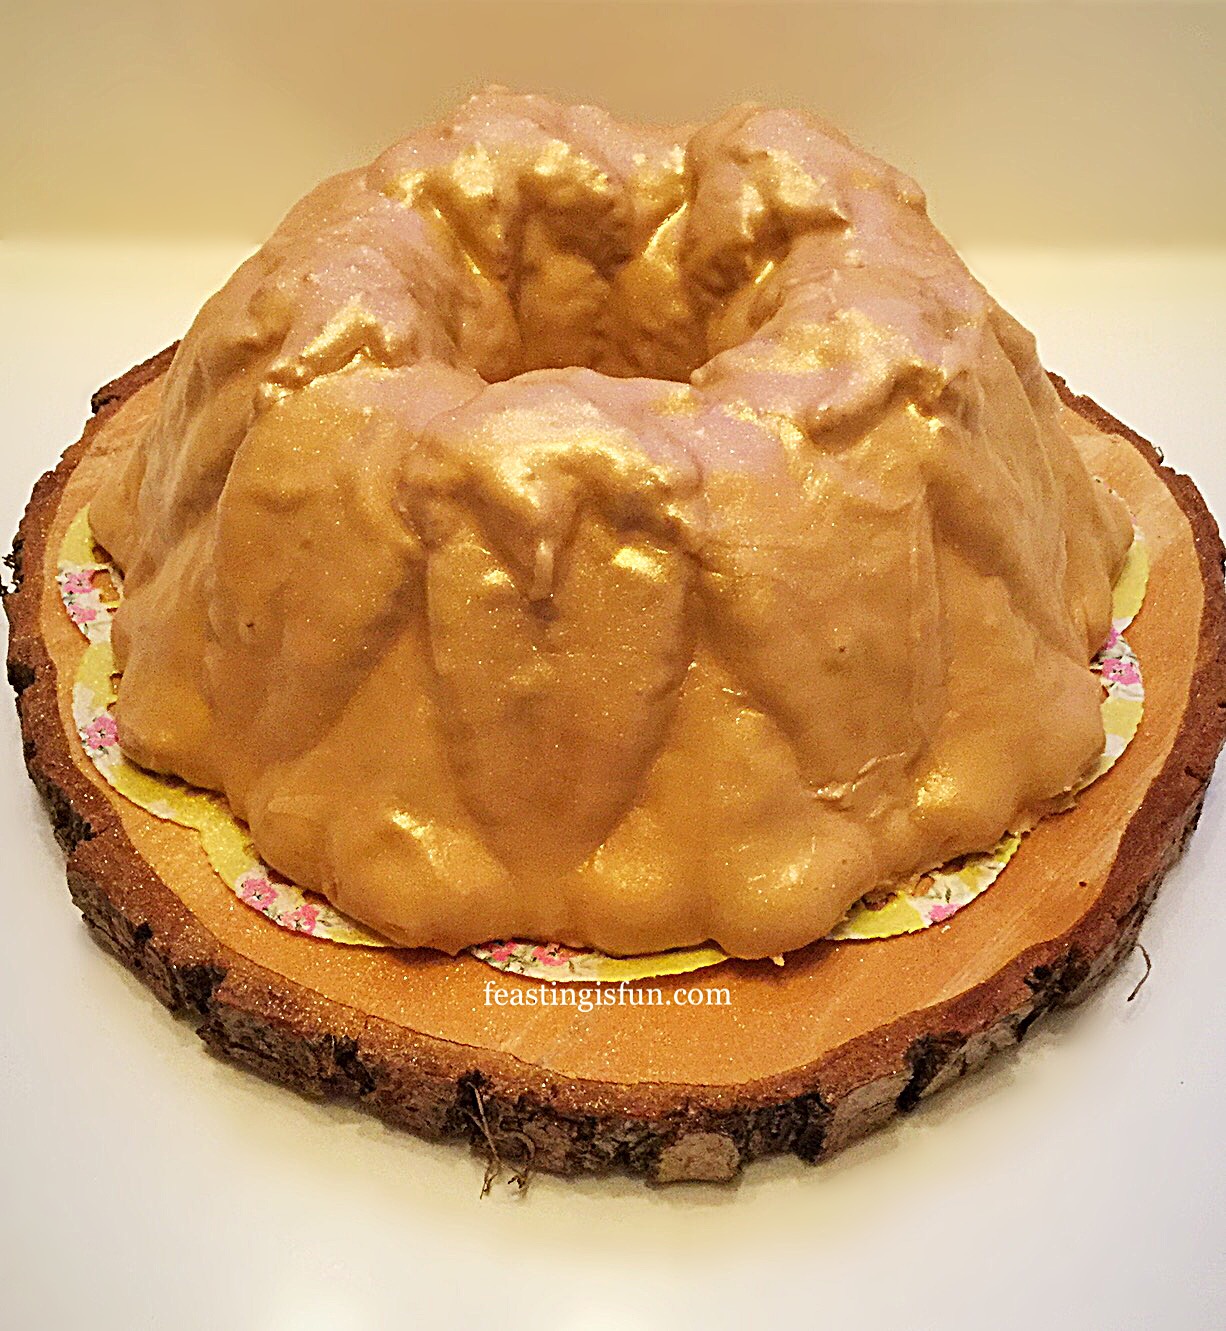
I couldn’t resist a photograph with fairy lights!
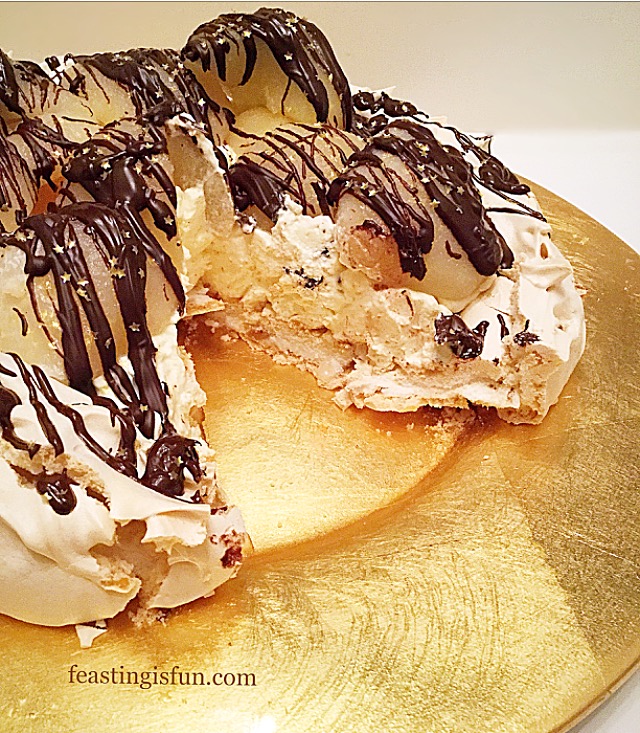
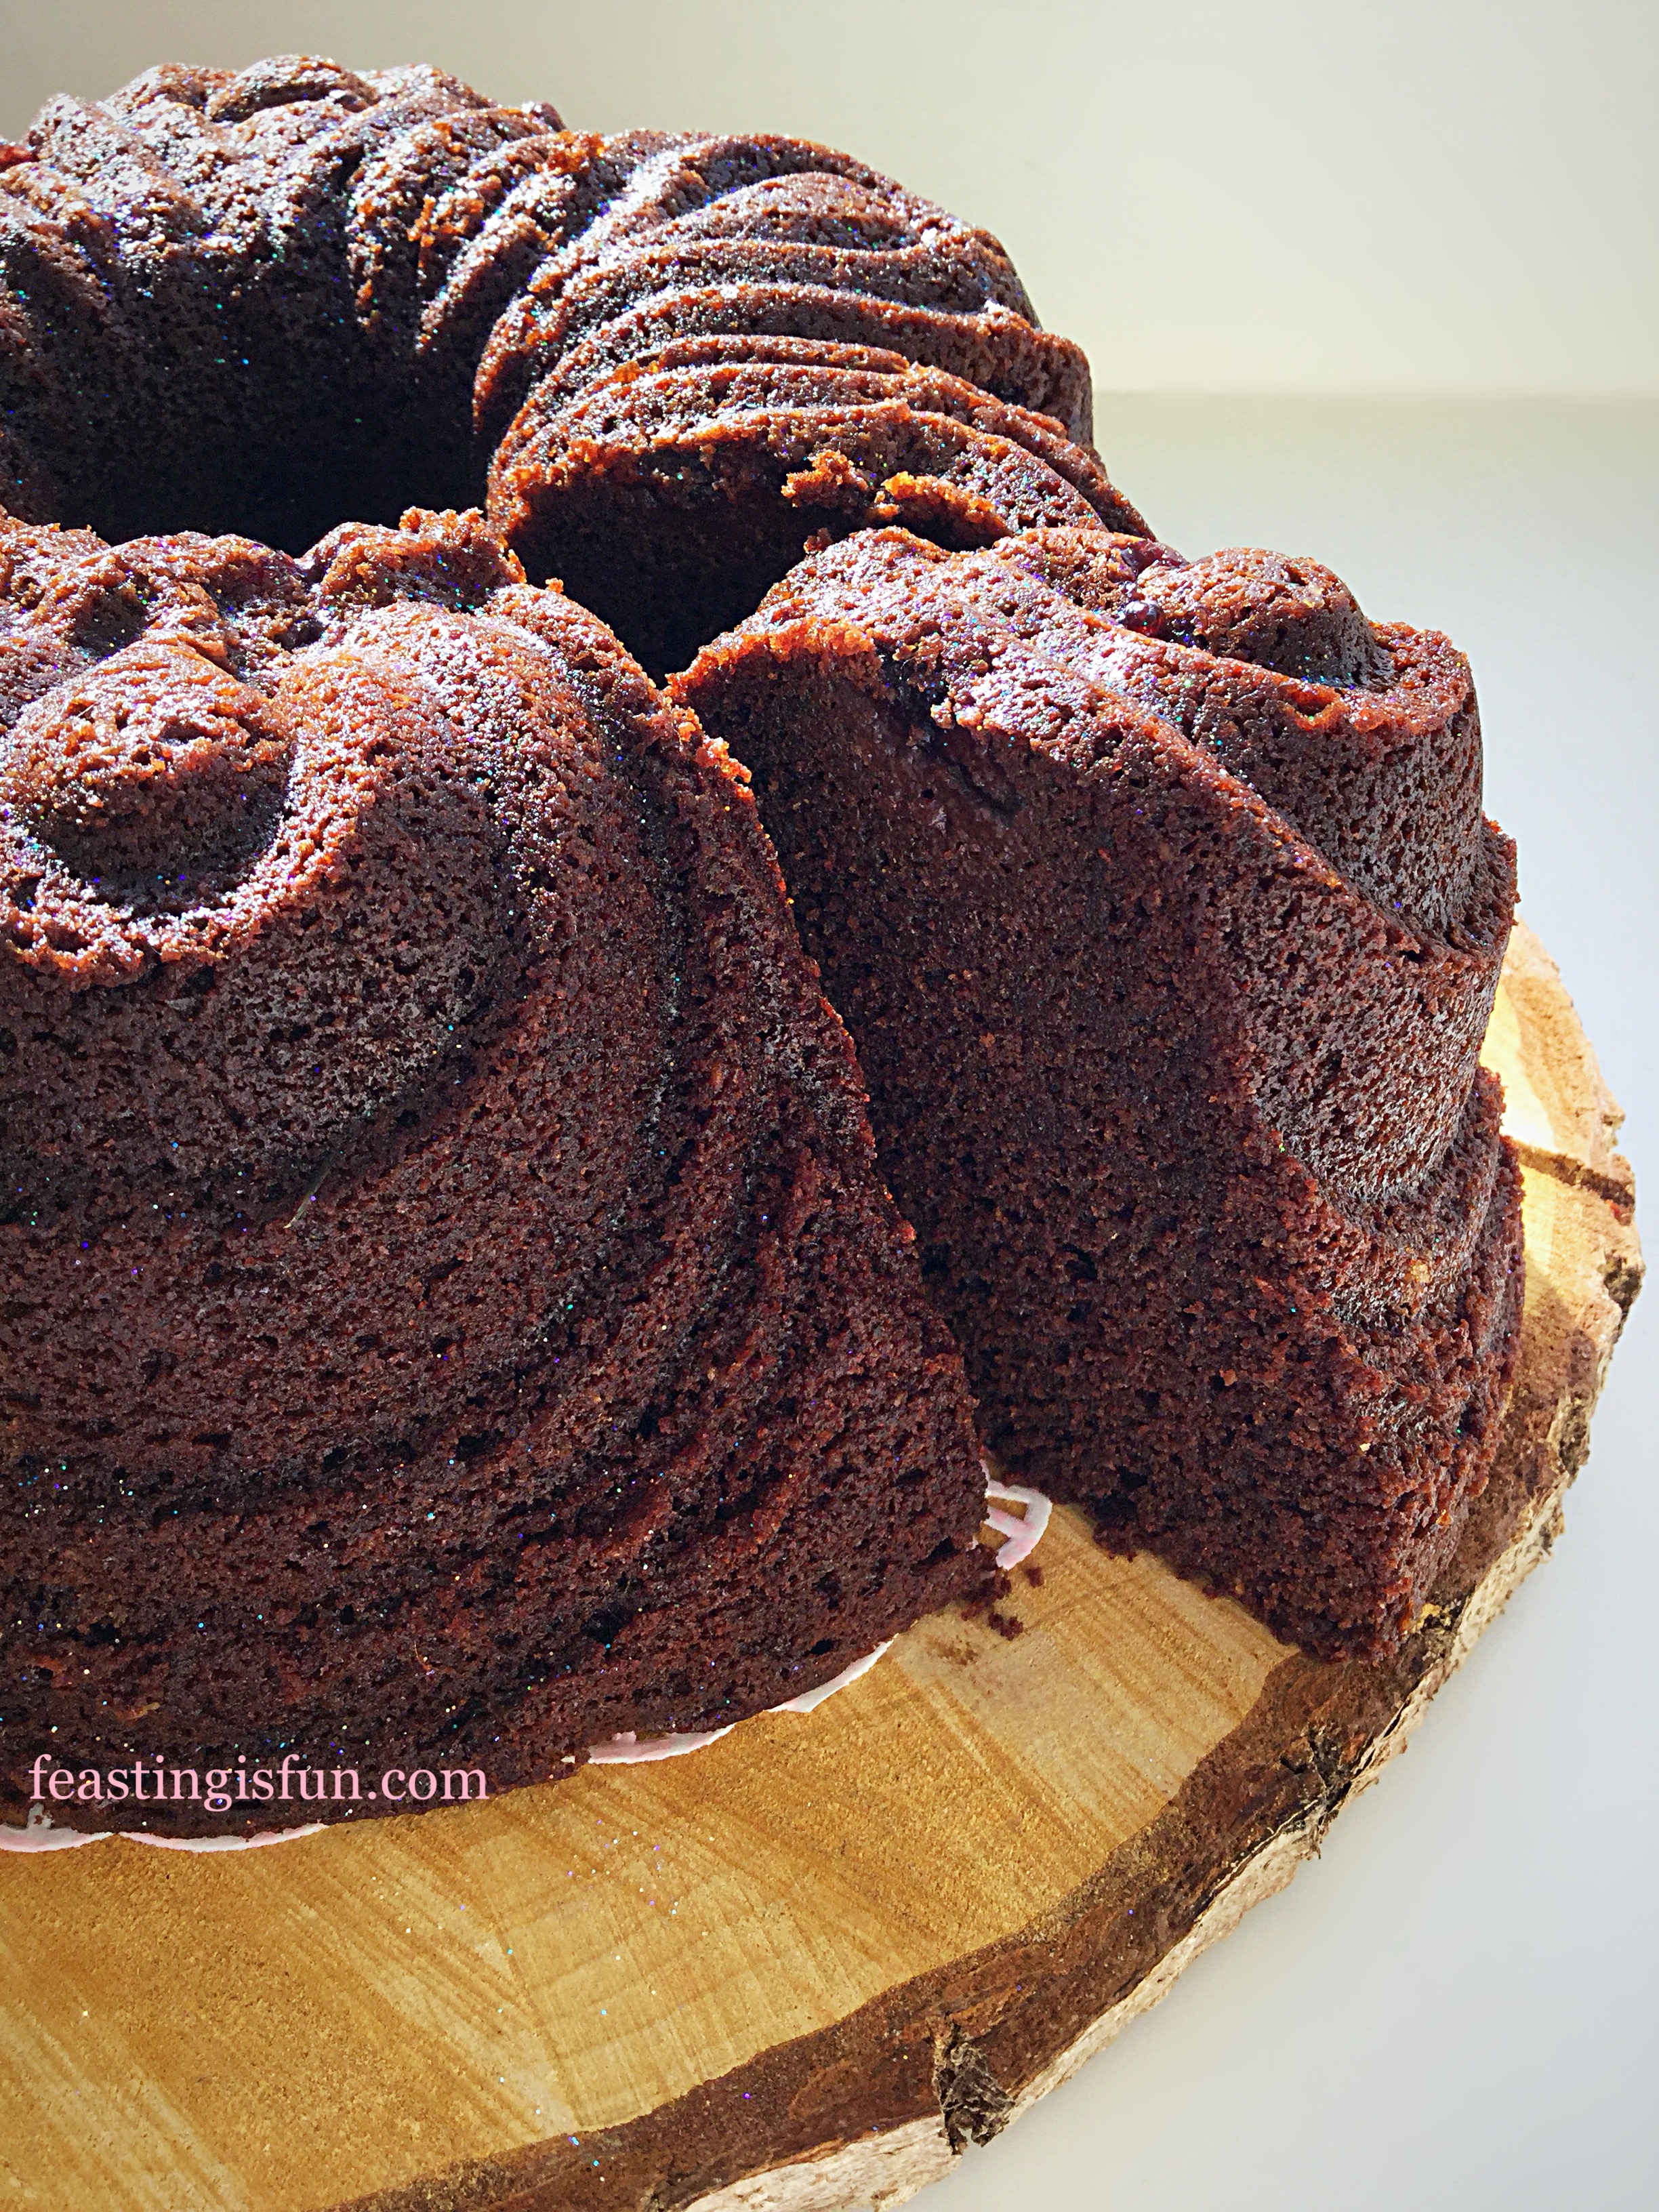
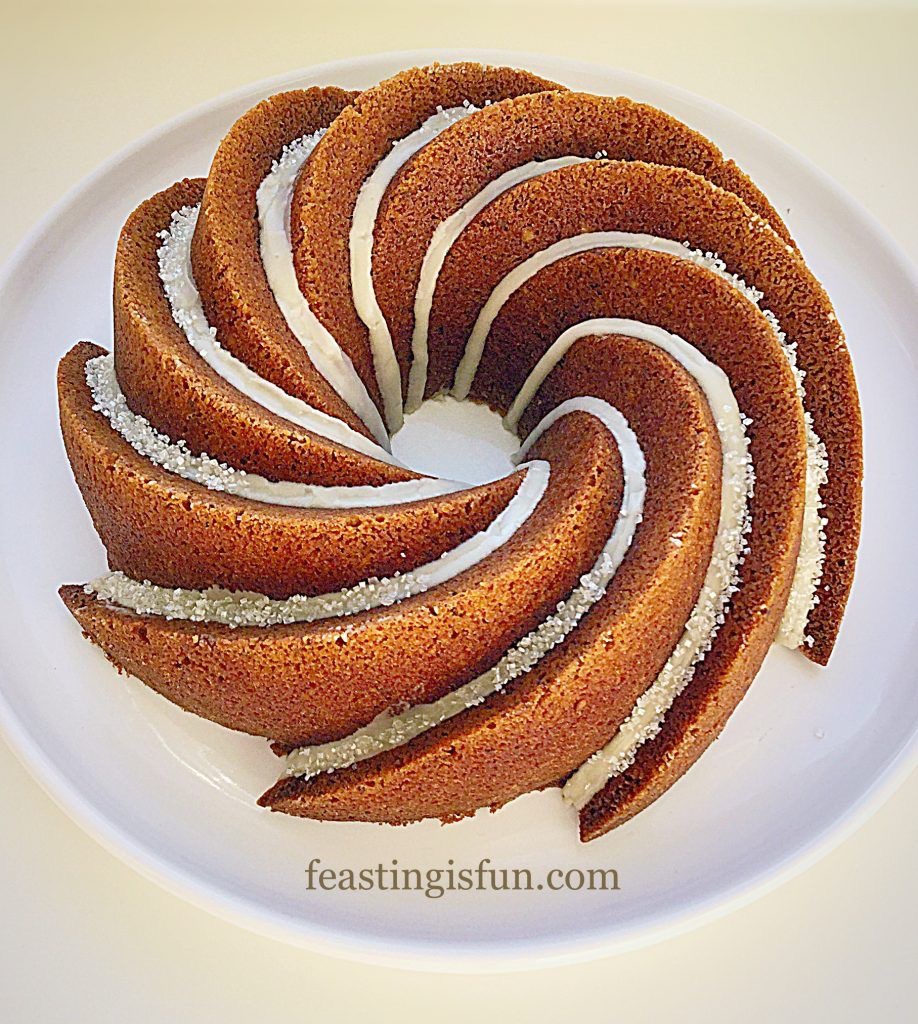
Slice the cake to serve.
Store in an airtight container for up to 5 days. Refrigerate during warmer weather.
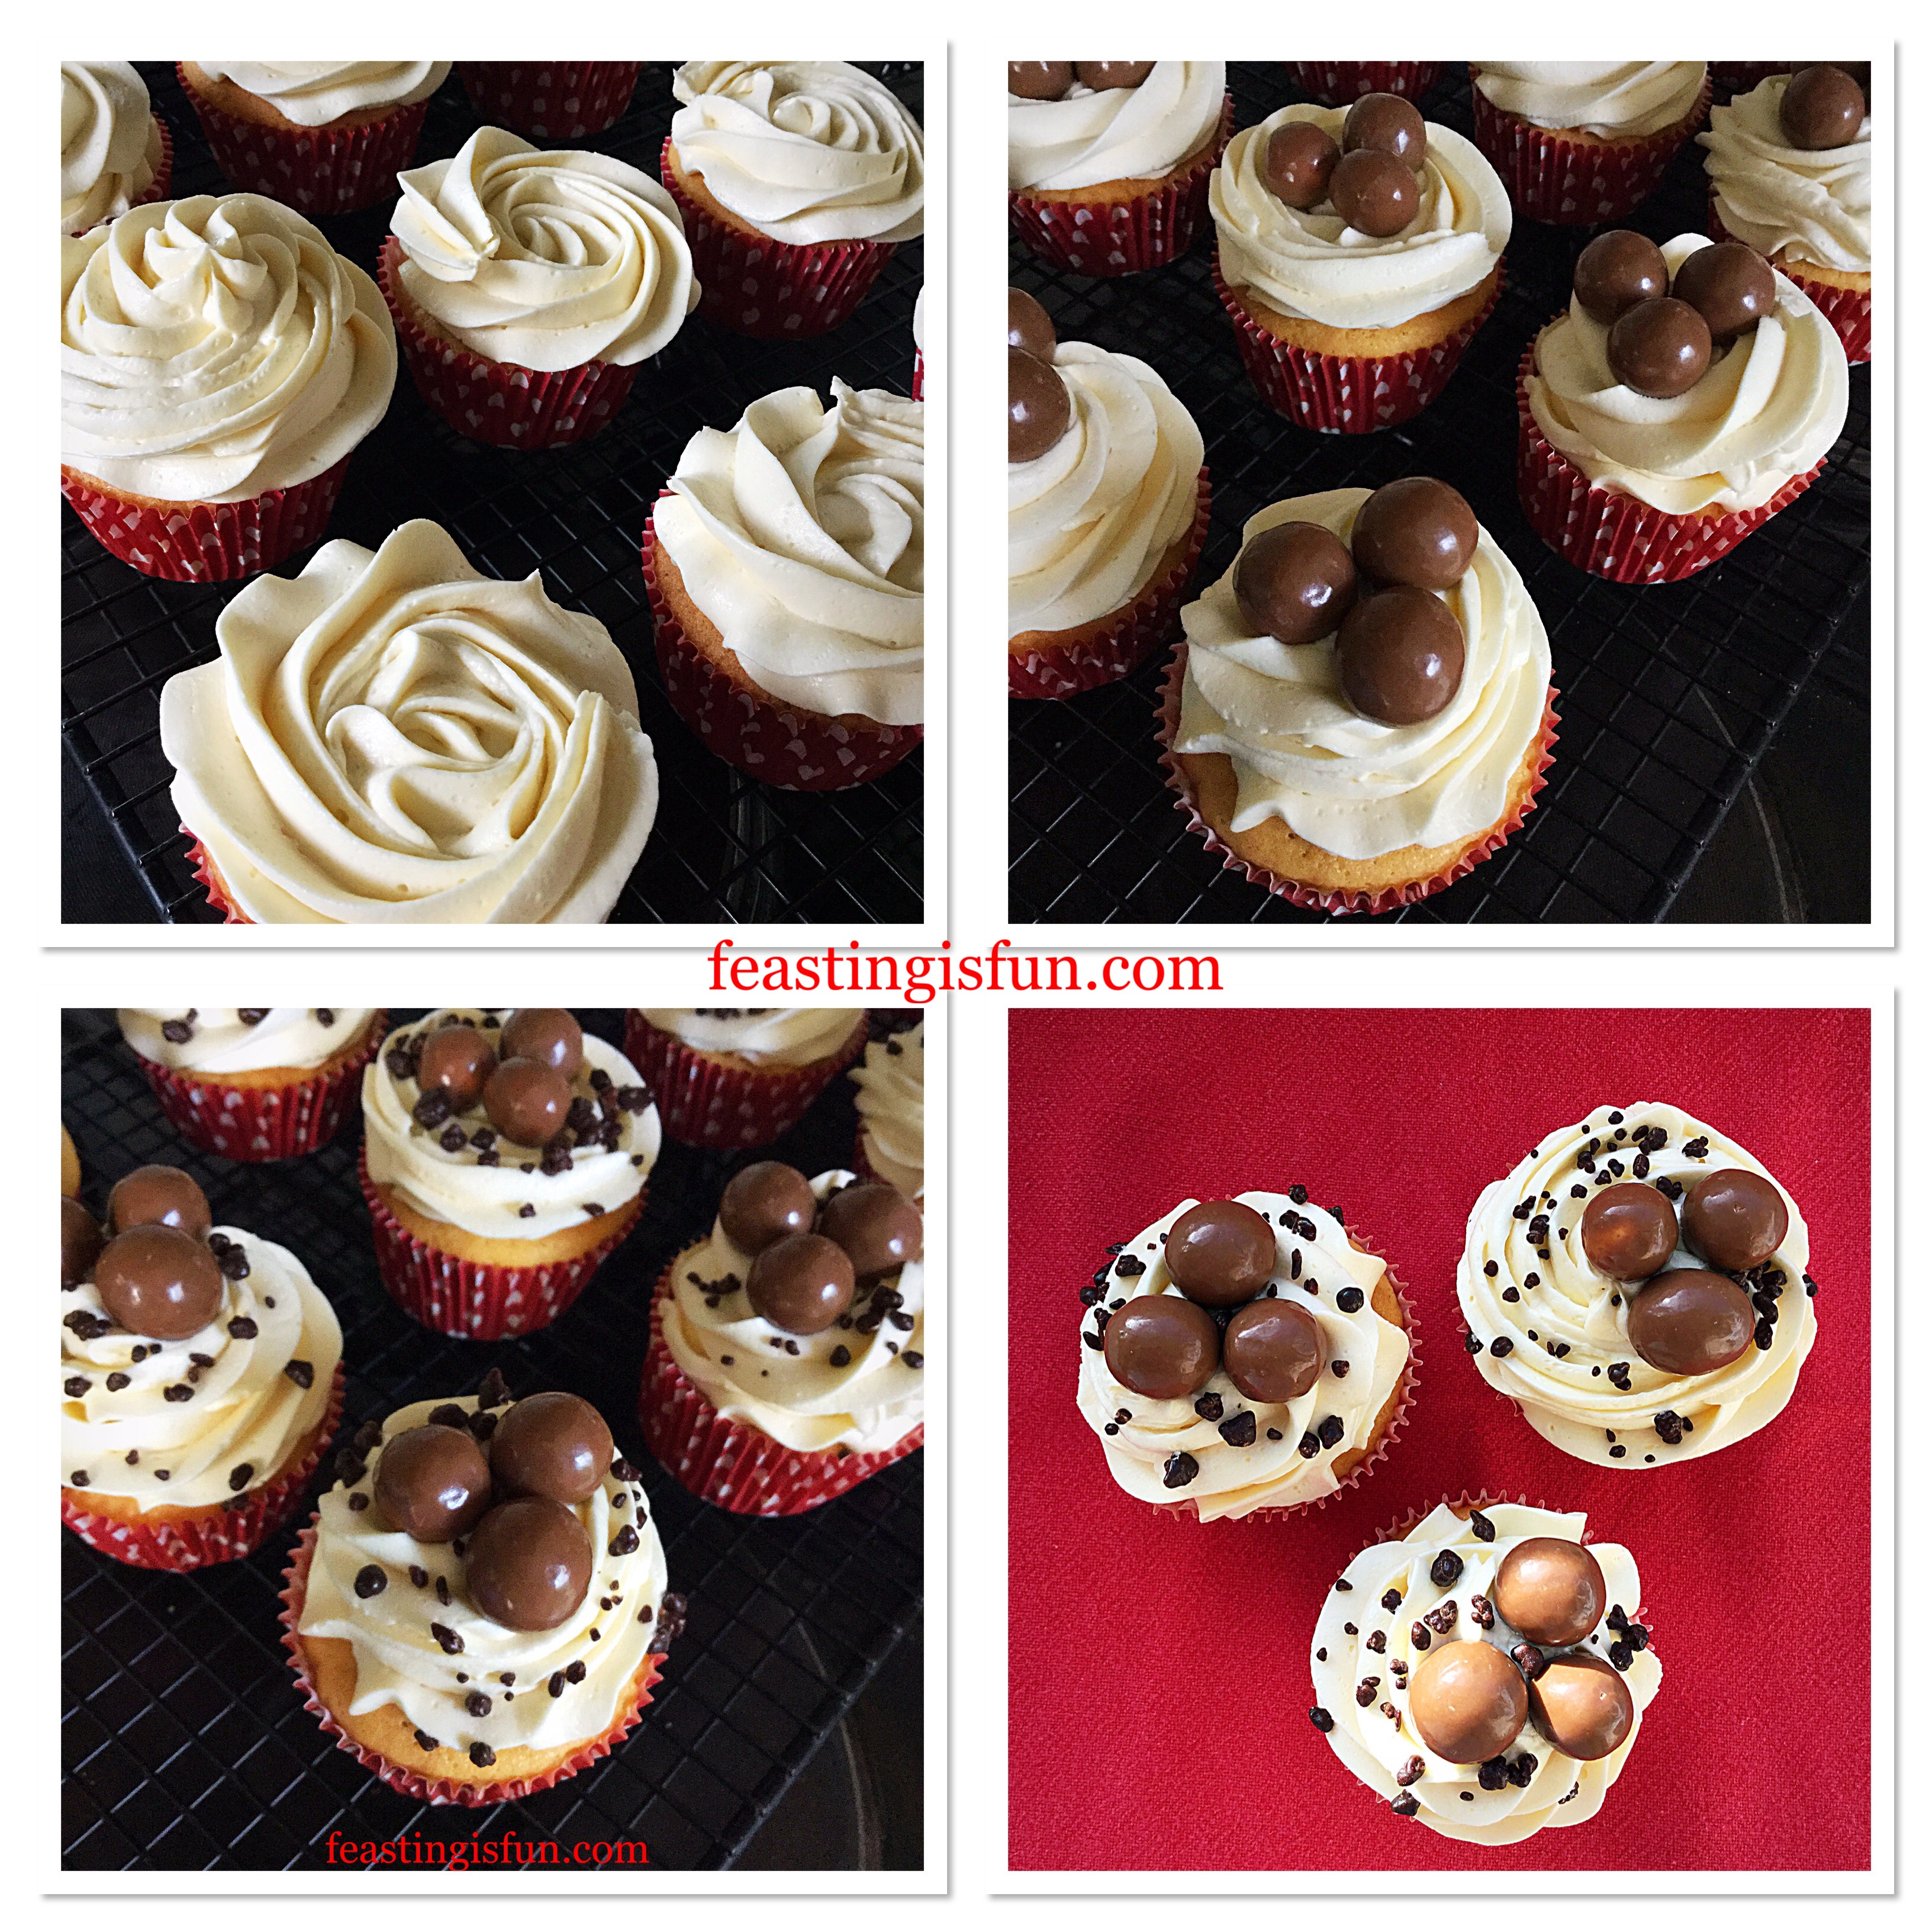
If you have enjoyed this recipe for Coffee Pecan Nut Glazed Bundt Cake you may also like these:
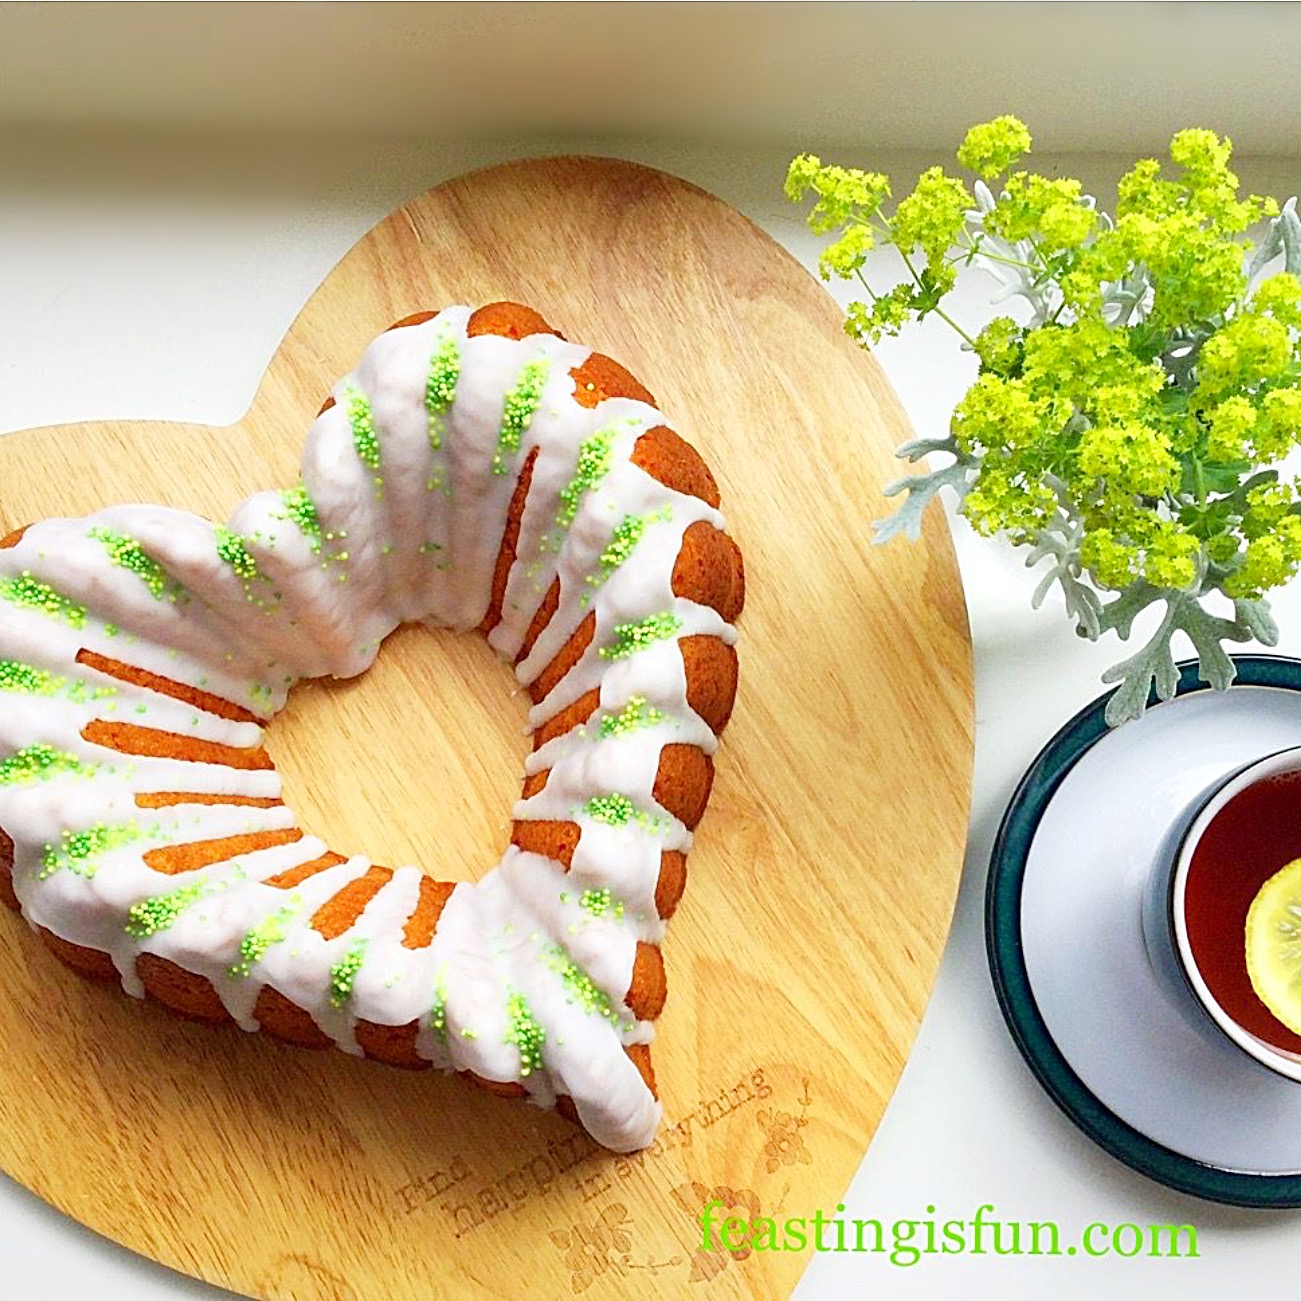
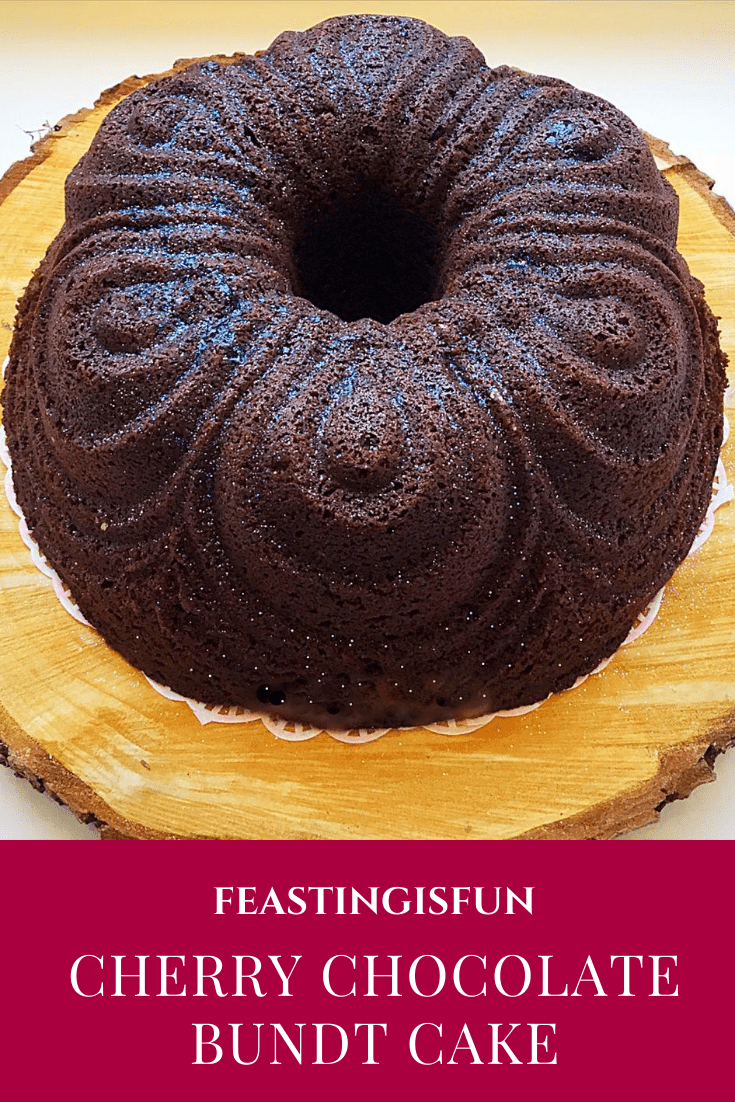
Chocolate Cherry Chiffon Bundt Cake
Maple Syrup Iced Coffee Bundt Cake
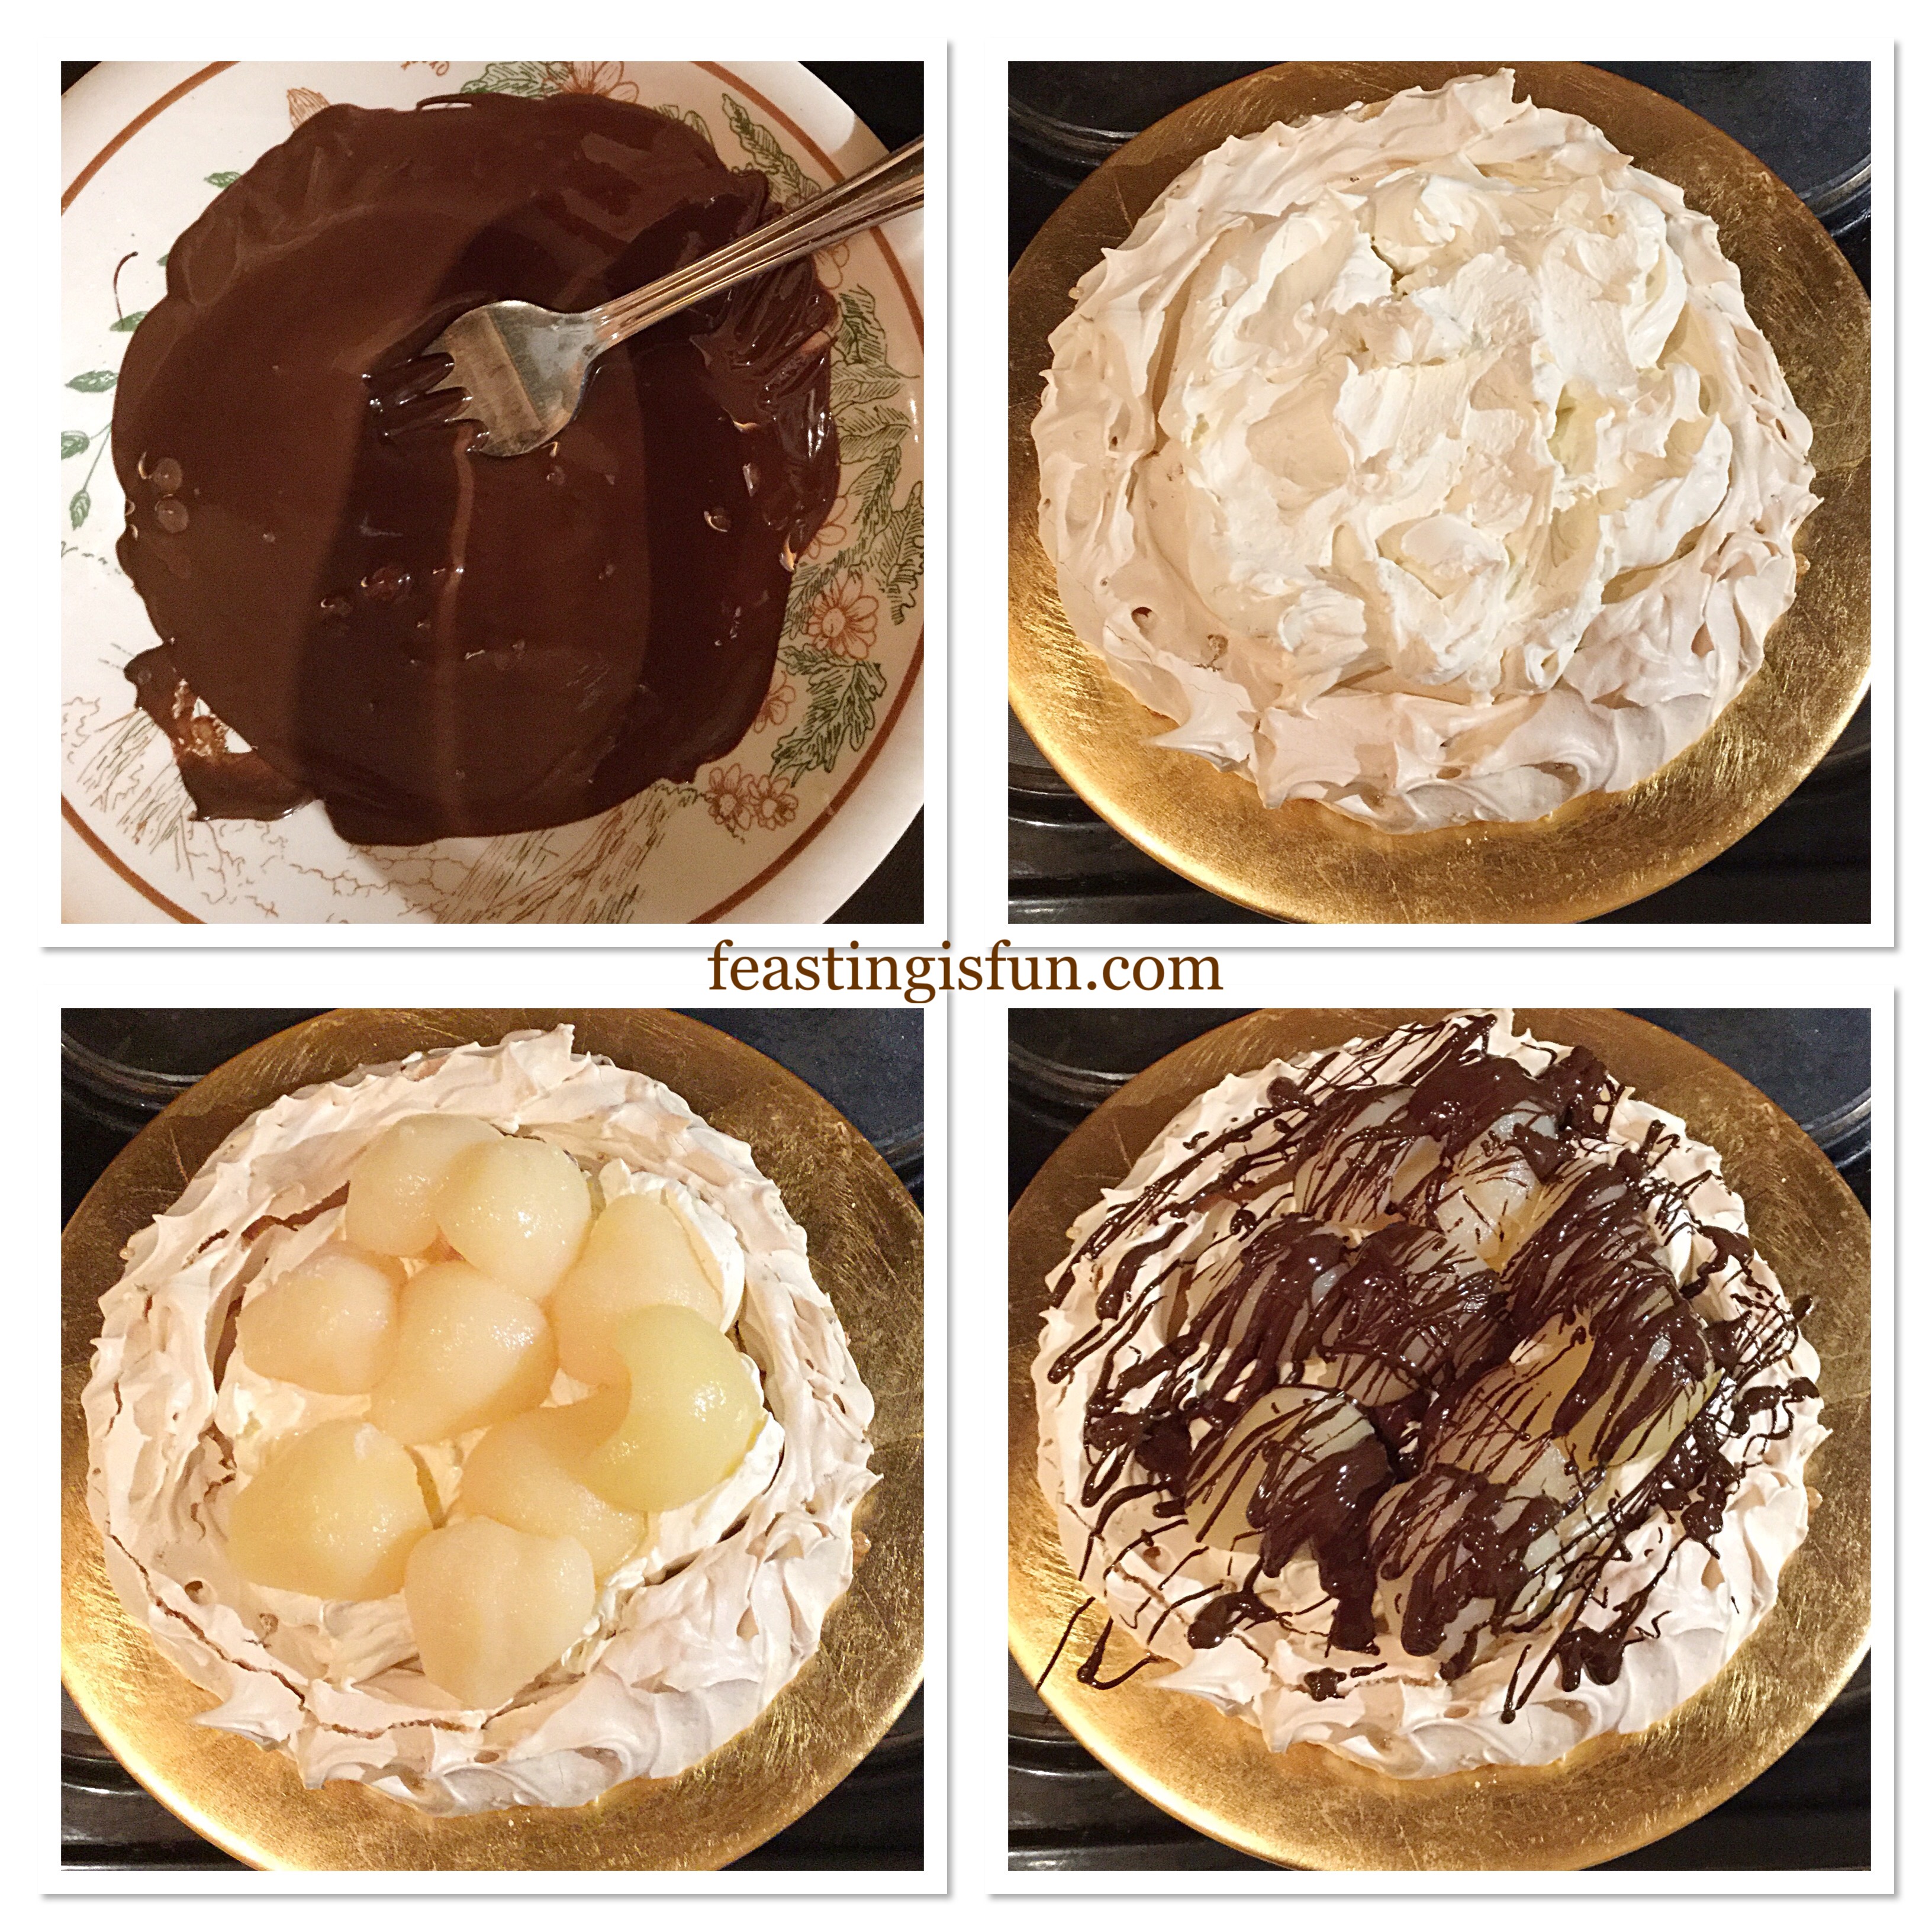
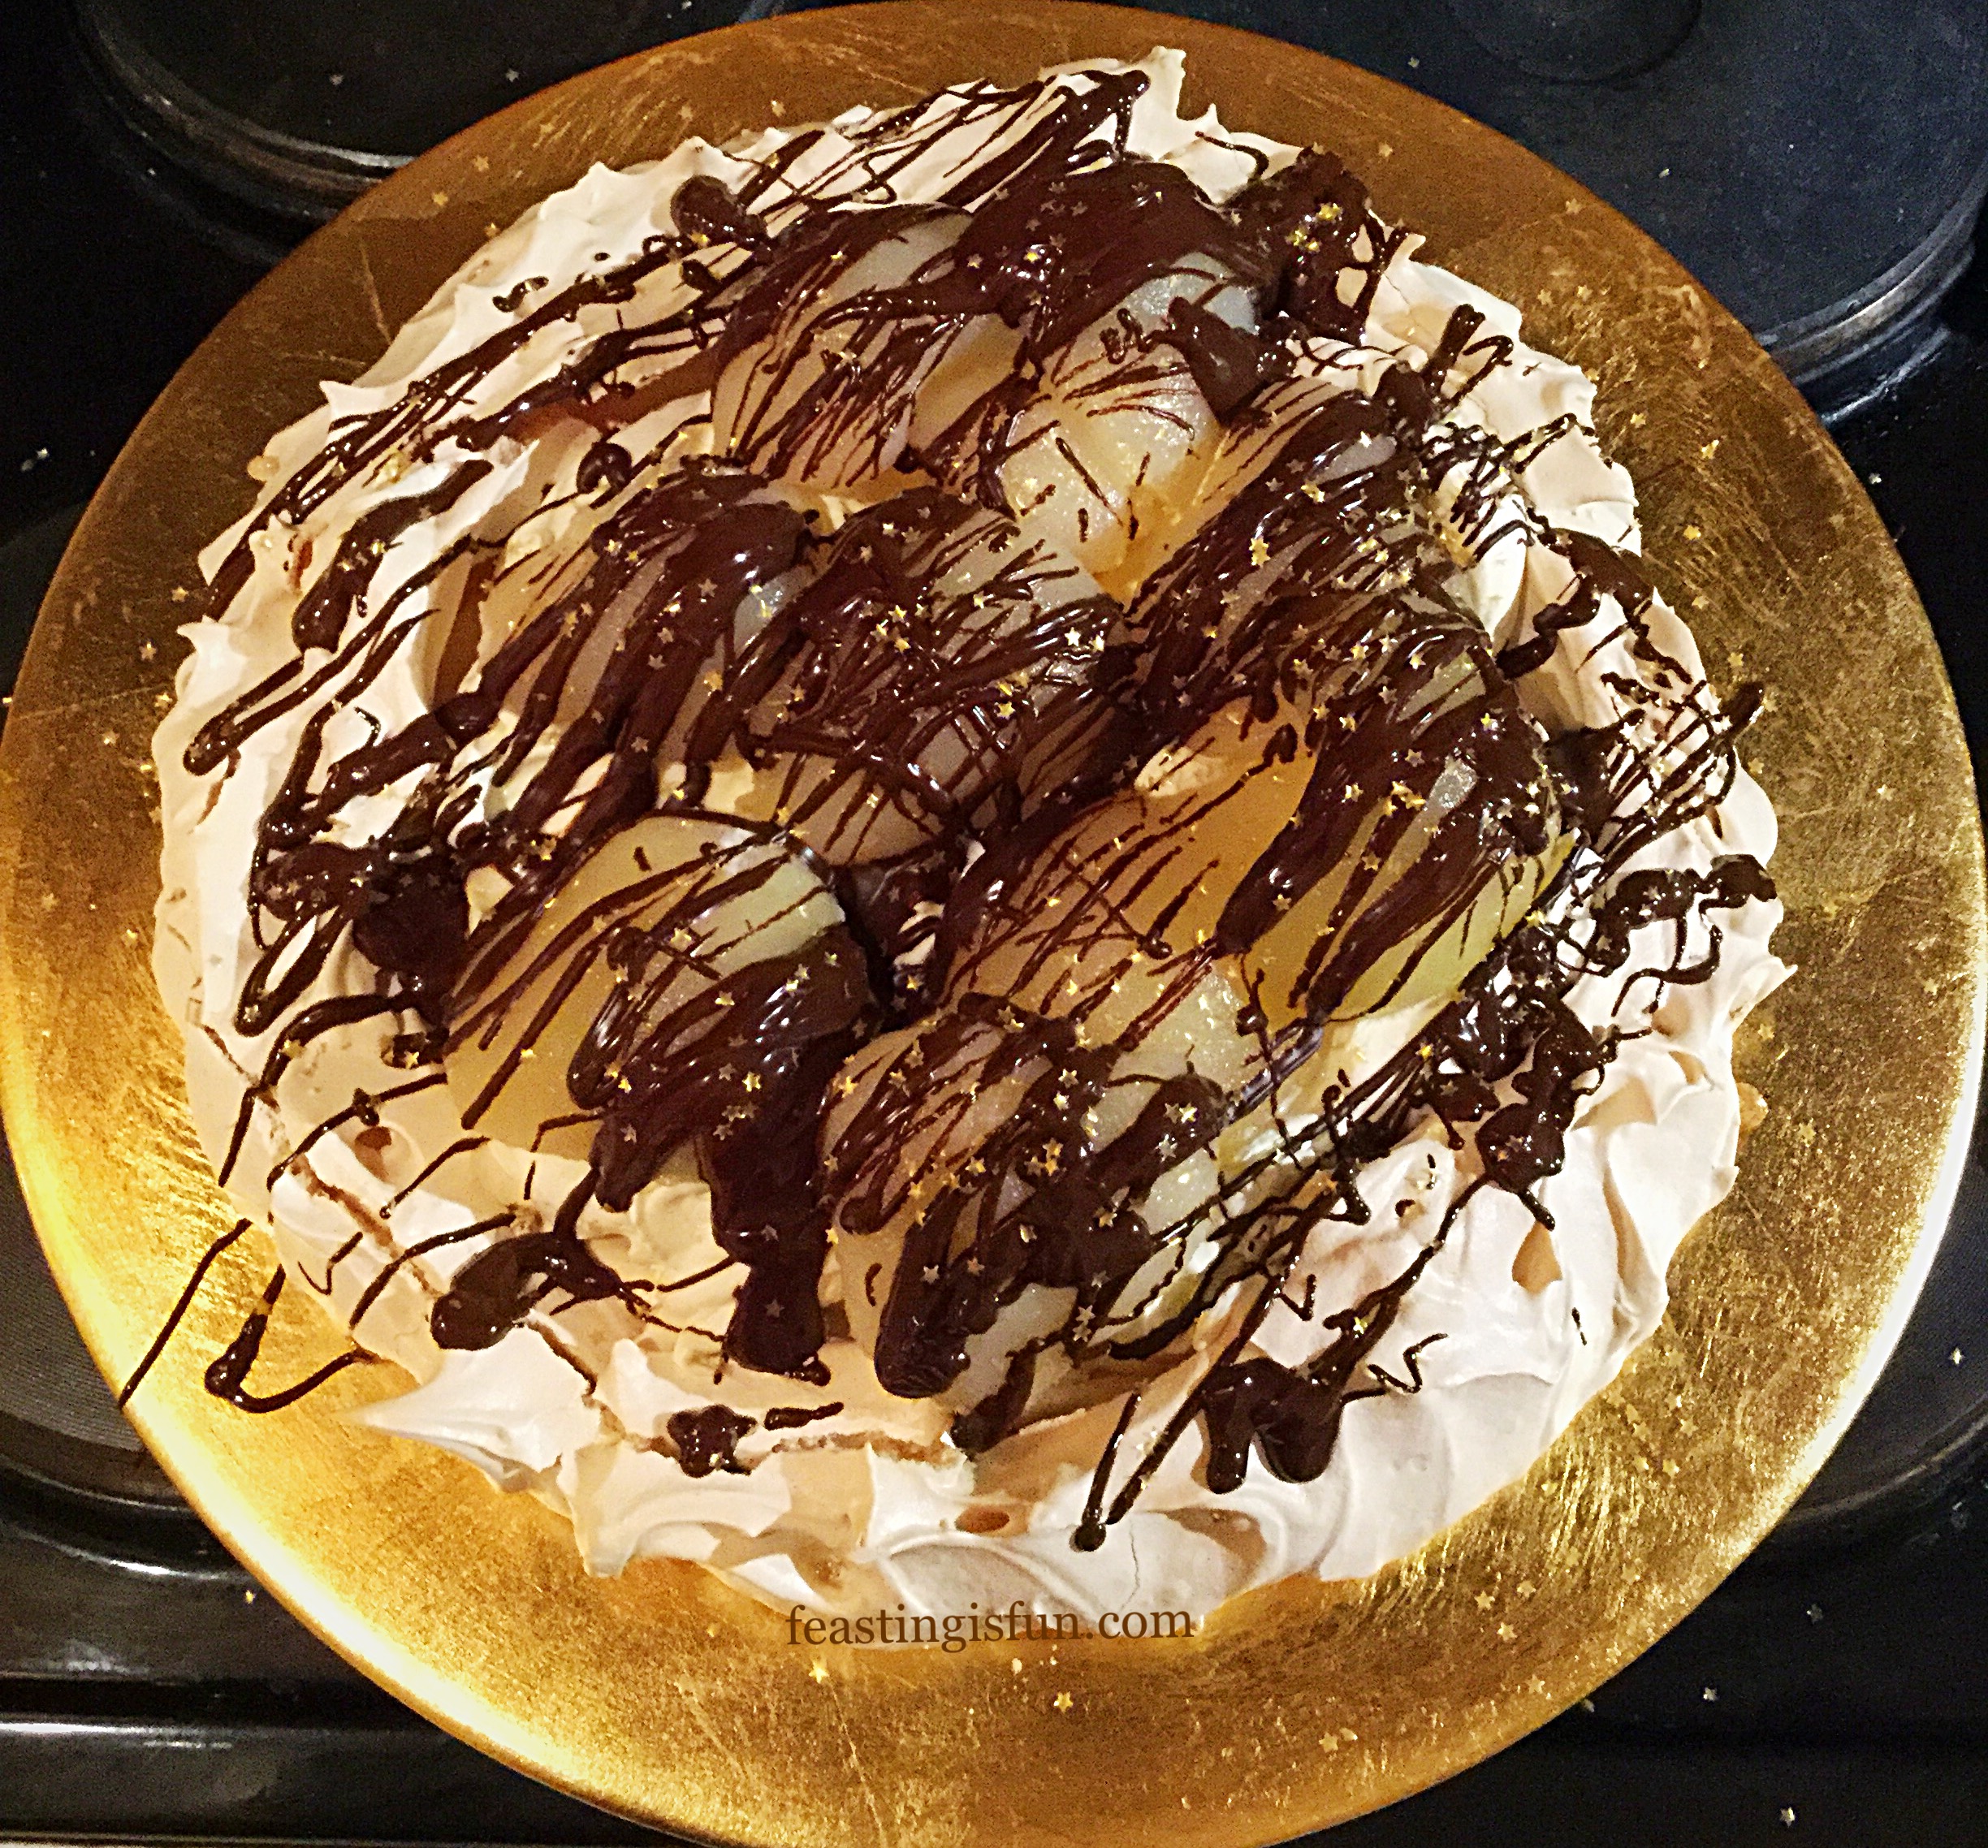
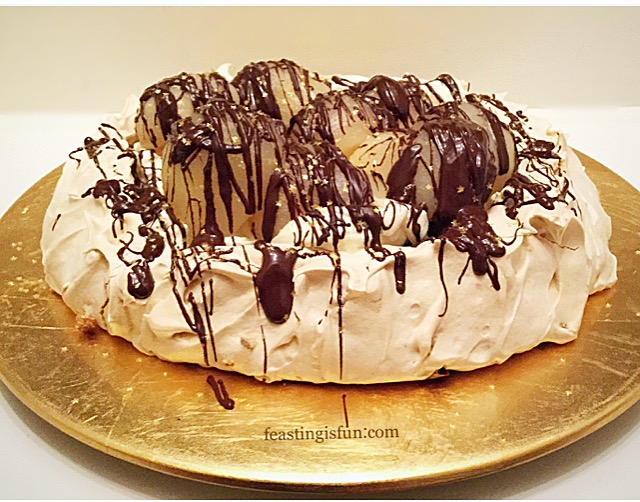
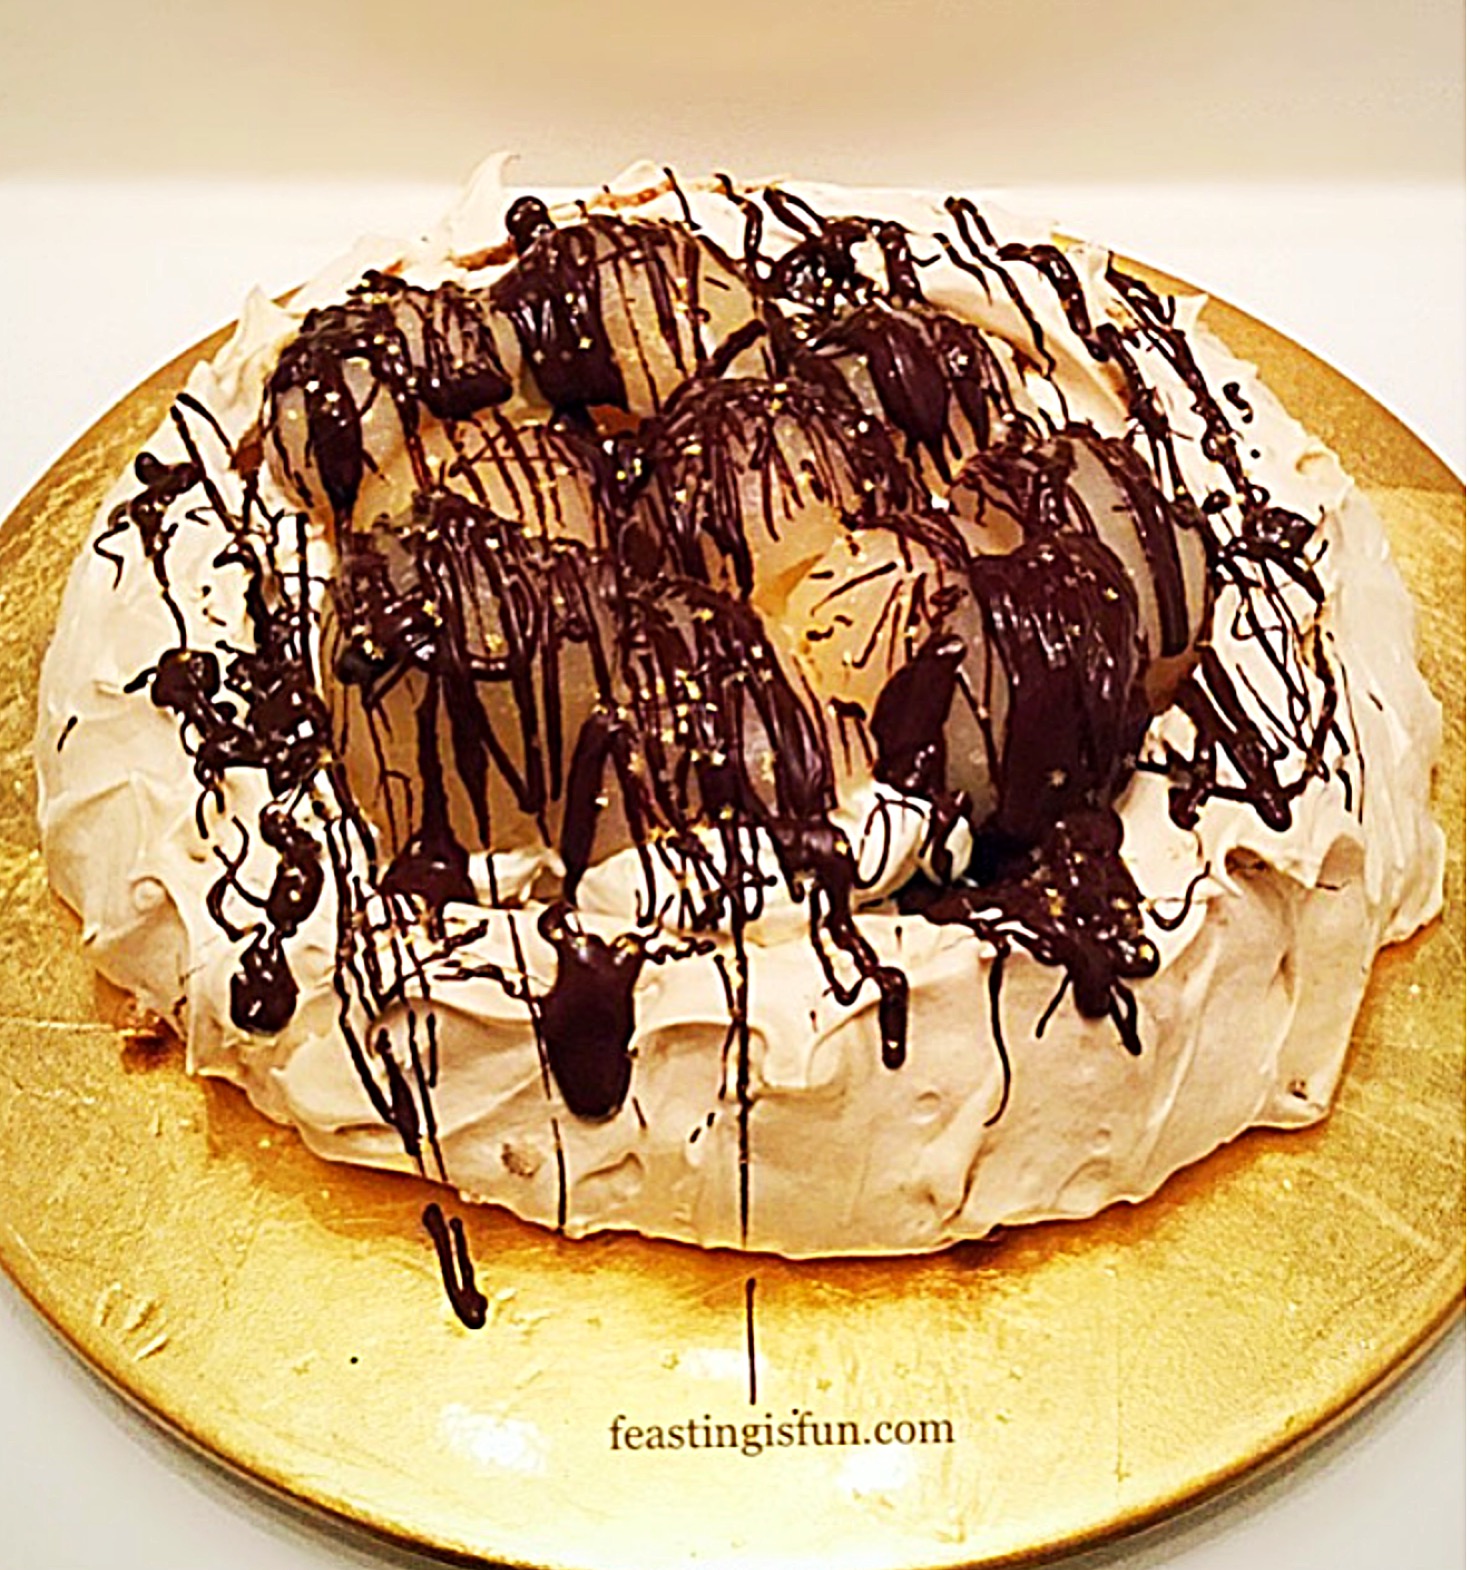
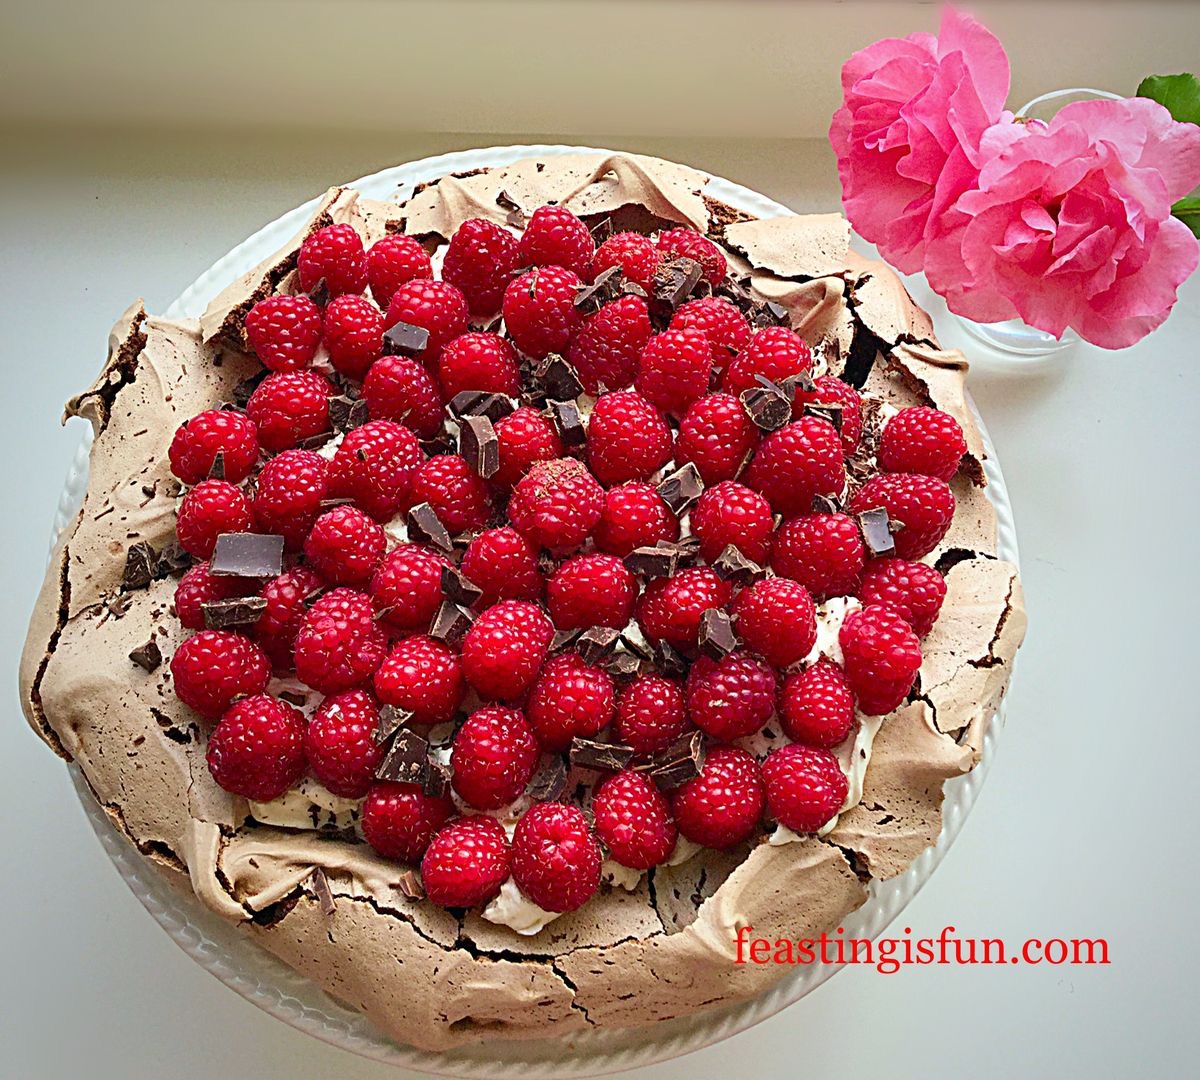
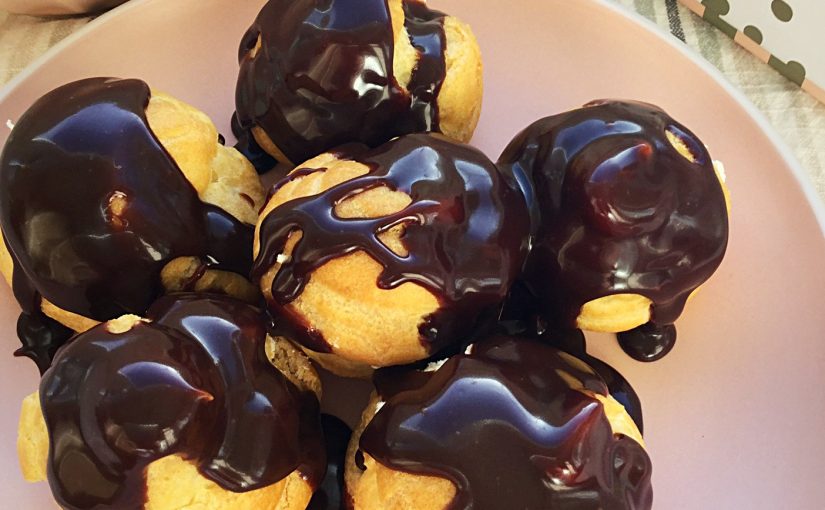
Baking for others is a great way show you care and treat them at the same time. While a birthday without a cake is unthinkable in many homes, other bakes can also be made. Our youngest daughter usually prefers this Raspberry Chocolate Pavlova, for her birthday and our eldest always has two cakes. An ice cream cake and a baked one. Whatever is baked and celebrated with, it contains one thing it’s mass produced copies don’t. Love. The most important ingredient in any bake.
Whatever you are making baking and creating in your kitchens, have fun preparing your feast.
Sammie xx
Please note, no part of this post may be reproduced or duplicated without the written permission of the owner. Please see my Disclosure Policy.