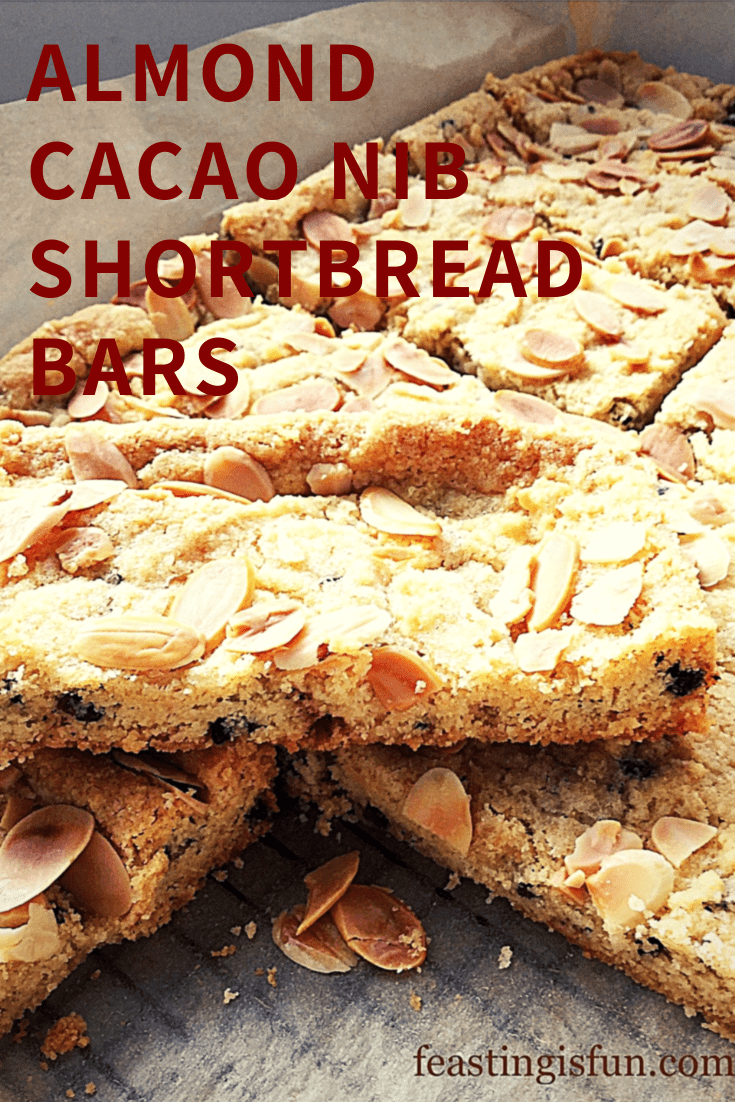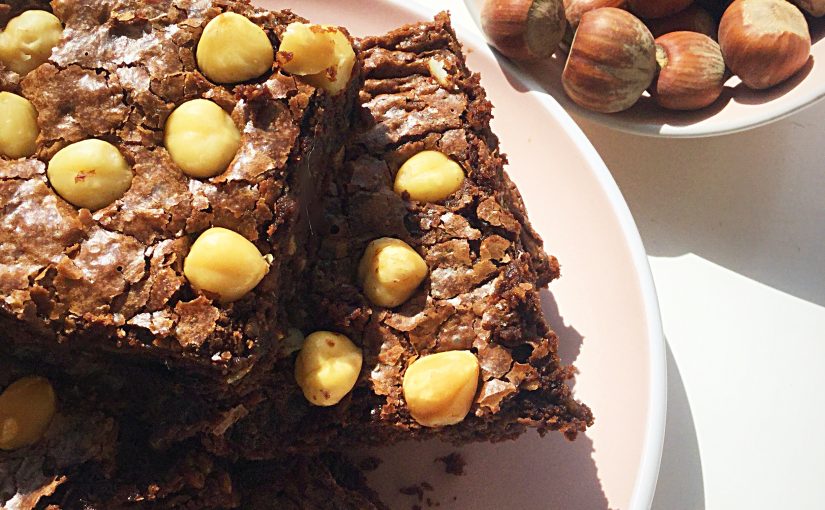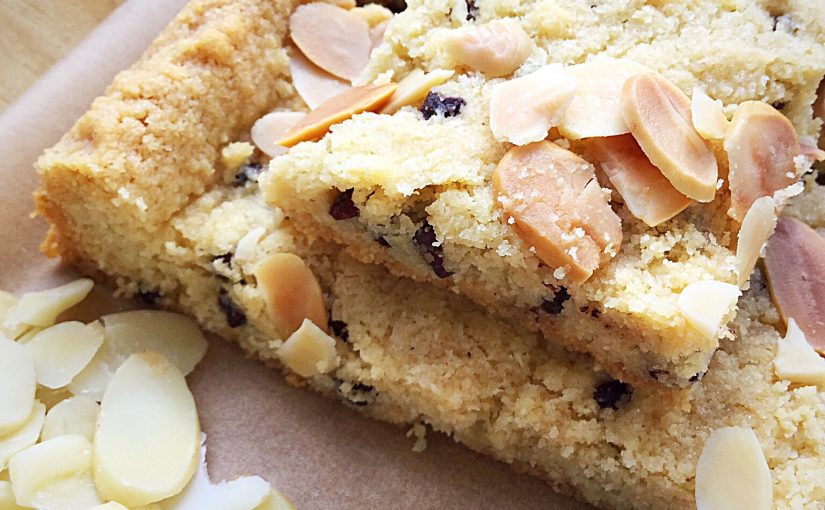
Regular visitors to this blog may know that I am a self confessed Cookie Monster. However, it is not just cookies I enjoy. Rather it is biscuits, cookies and shortbread that all have an equal place in my heart. And these Almond Cacao Nib Shortbread Bars certainly make the grade. Crunchy, flaked almond topped bars, studded with a deep, deep, slightly bitter chocolate flavour from the cacao nibs. Exactly what I need to satisfy a cookie craving.
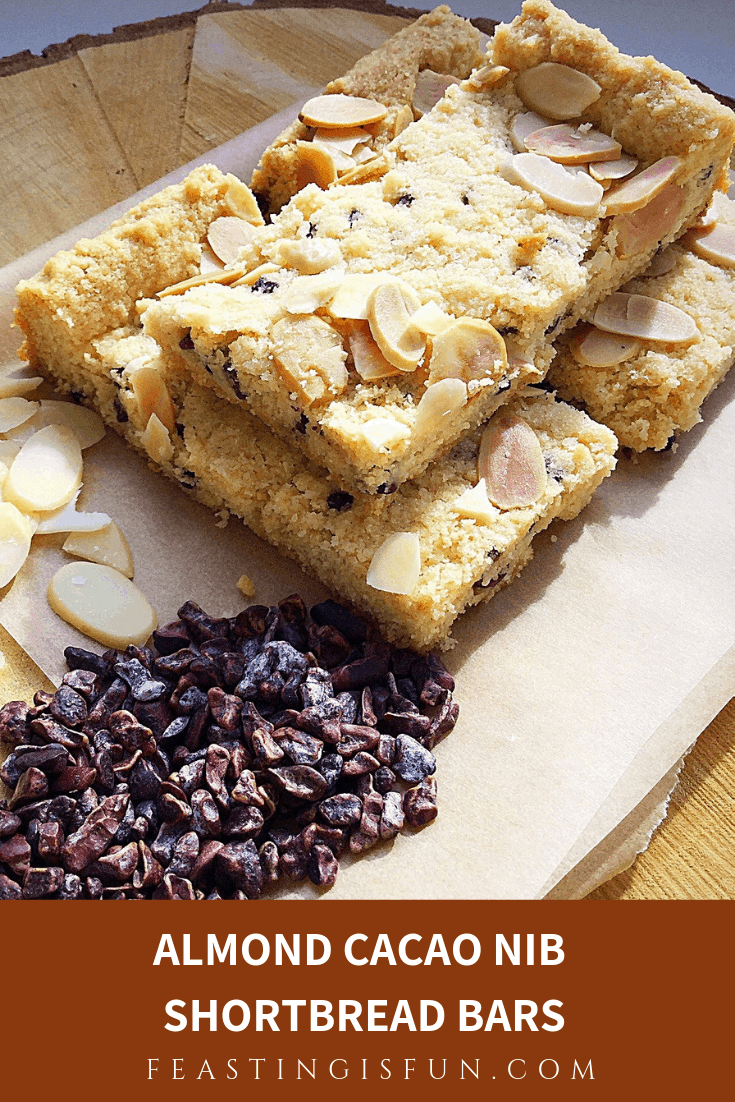
Cacao Nibs And Their Impact On The Shortbread Flavour
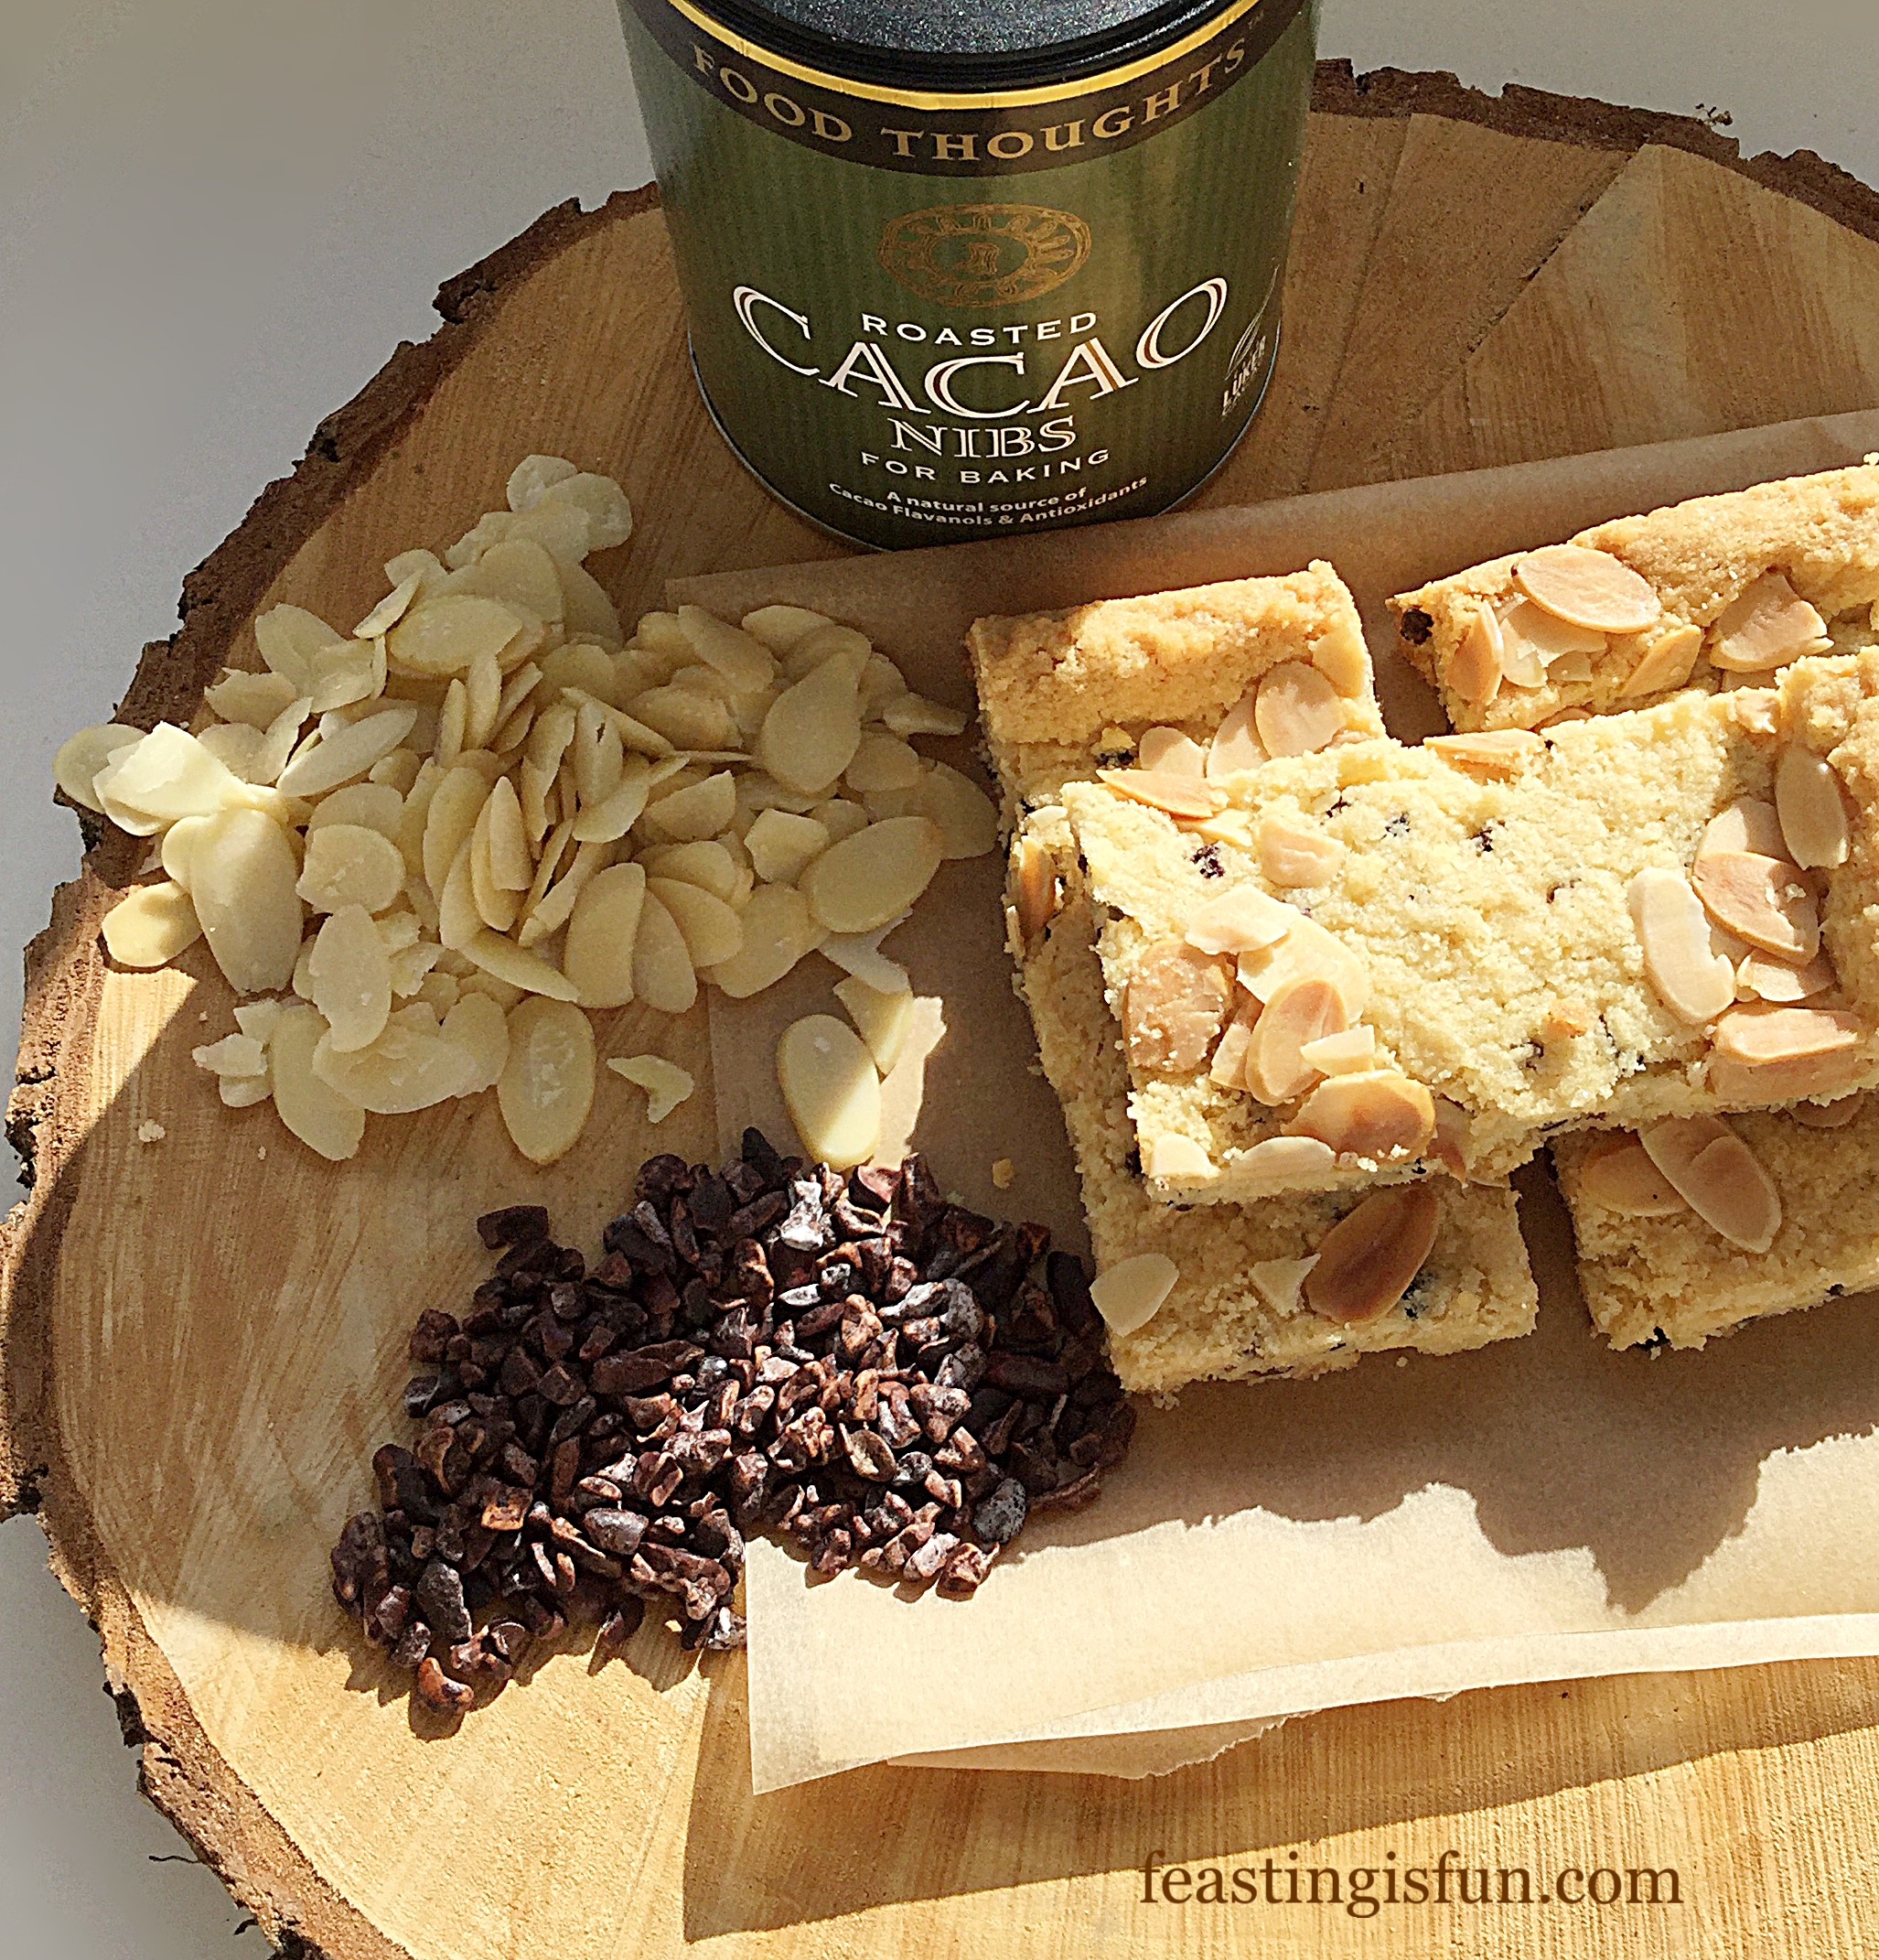
Since receiving a tub of Cacao Nibs from Food Thoughts, I couldn’t wait to see how their flavour would transfer in the shortbread. Each nib is packed with an intense flavour. Similar to very good quality, high cocoa content chocolate. Because cacao nibs are chocolate in its purest form before anything has been added to it. Each nib is the fermented, roasted part of a cocoa bean. Resulting in an intense, pure chocolate flavour.
While I am not a fan of very dark chocolate, these tiny nibs give just the right amount of flavour in this bake. Complimented by the almonds, each nib bursts with intense flavour on the tongue, without being cloying or overwhelming. Resulting in shortbread bars that are incredibly delicious and a satisfying treat.
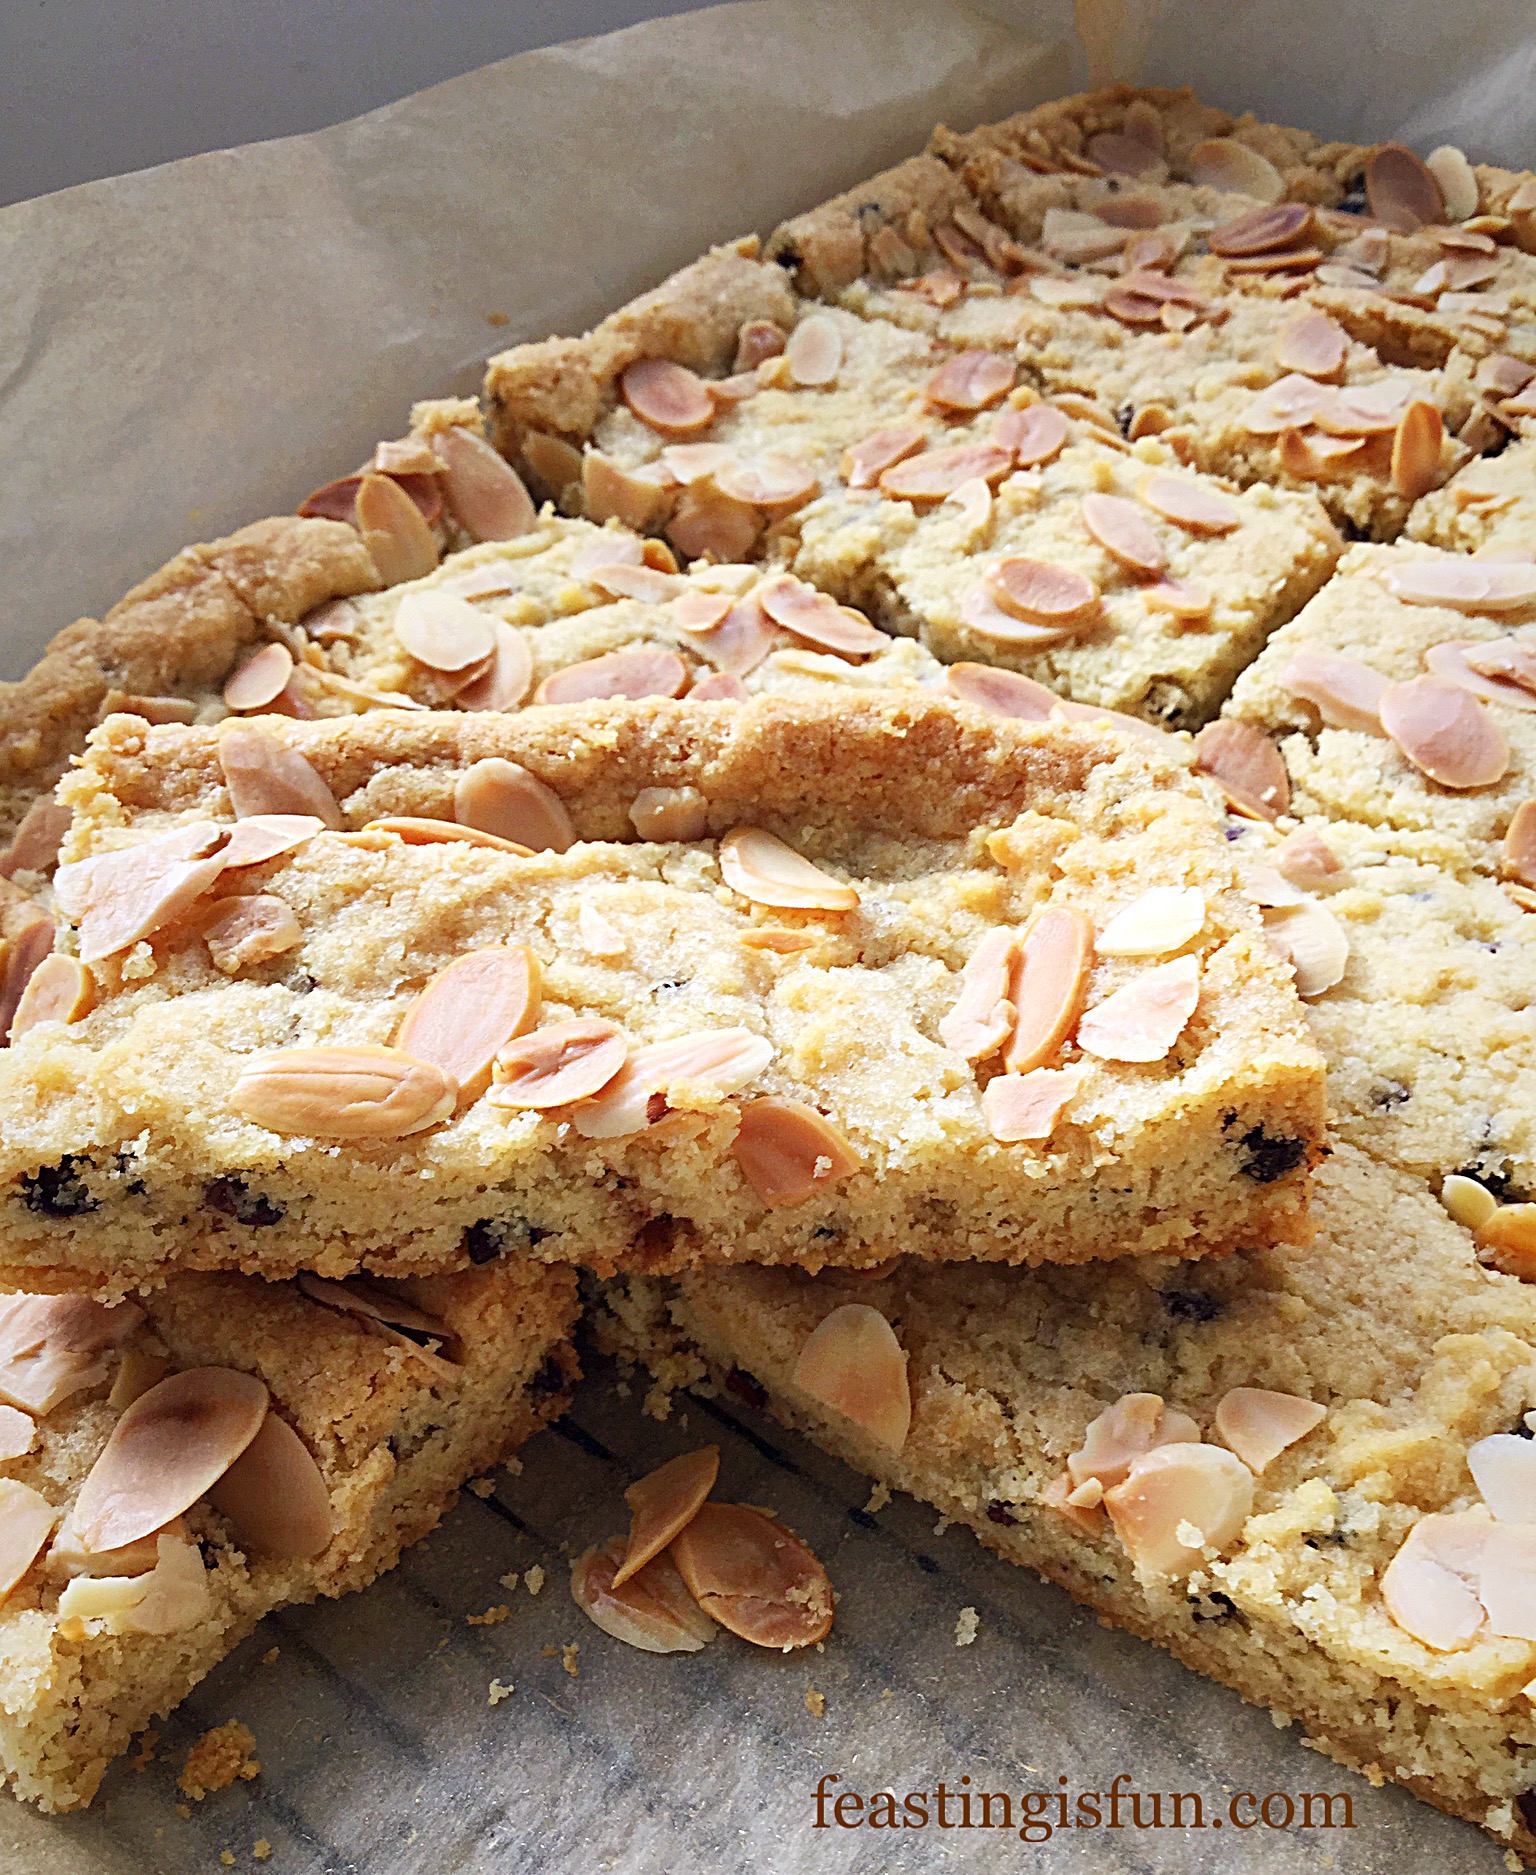
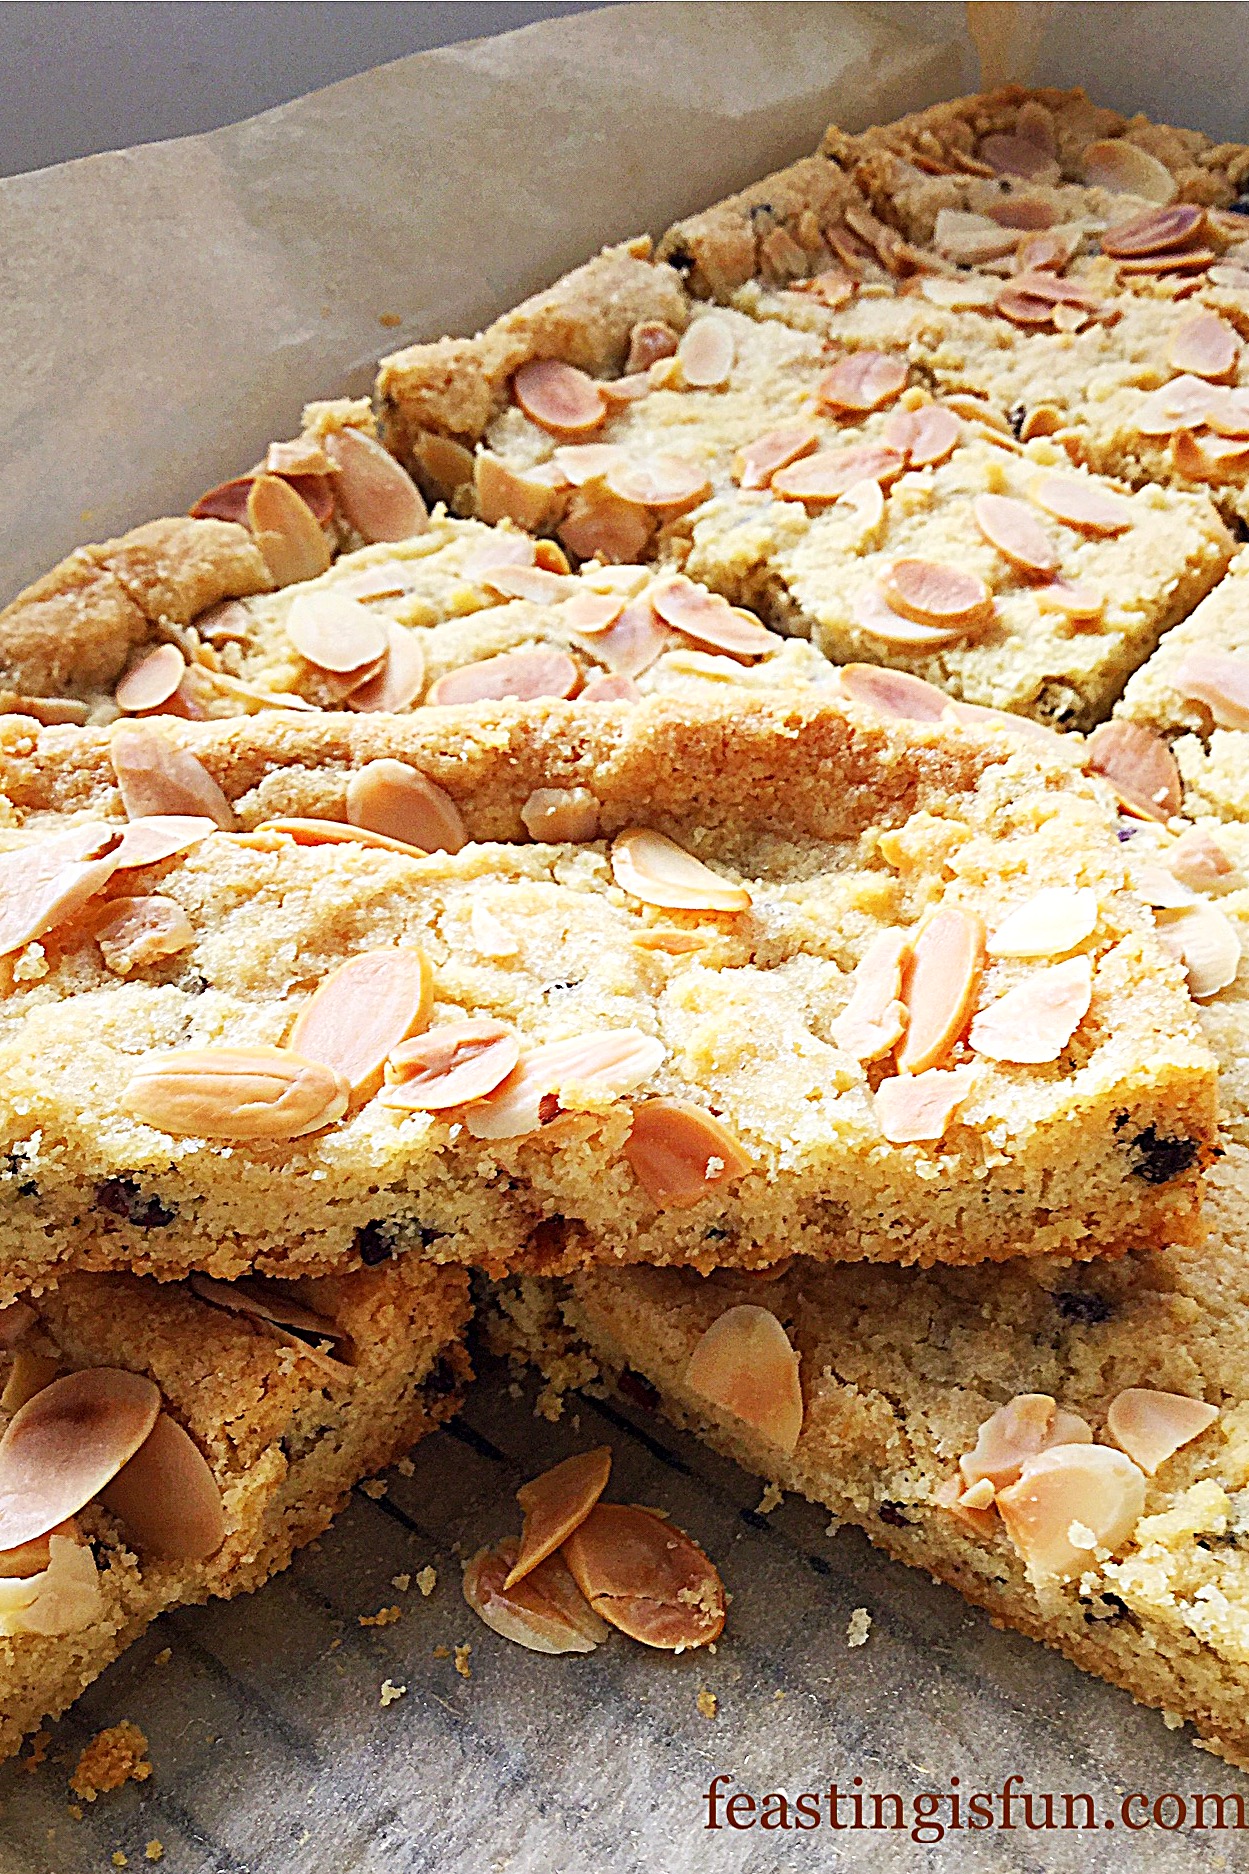
Although I have cut the shortbread bars into a generous size, simply cut smaller squares for smaller potions. While shortbread squares are ideal for serving with afternoon tea, individual bars fit happily into packed lunch boxes. Whichever way you cut and serve this shortbread, be sure to share it. Introducing new flavours into a bake is always an experience to be shared.
Recipe: Almond Cacao Nib Shortbread Bars – makes 12
200g/7oz Unsalted Batter at room temperature
100g/4oz Caster Sugar – plus 1tbs extra for topping
1/4tsp Sea Salt – I use Maldon
1tsp Vanilla Extract – I use Nielsen-Massey
100g/4oz Ground Almonds
50g/2oz Semolina
150g/5oz Plain White Flour
50g/2oz Cacao Nibs – I use Food Thoughts available at Sainsburys, Waitrose and Ocado
25g/1oz Flaked Almonds
Method: Preheat oven to 170C/150C fan, gas mark 3, 325F.
Butter and line a 28 x 20 x 5cm (12″ x 8″ x 2″) Swiss roll tin with baking parchment.
Making The Shortbread Dough
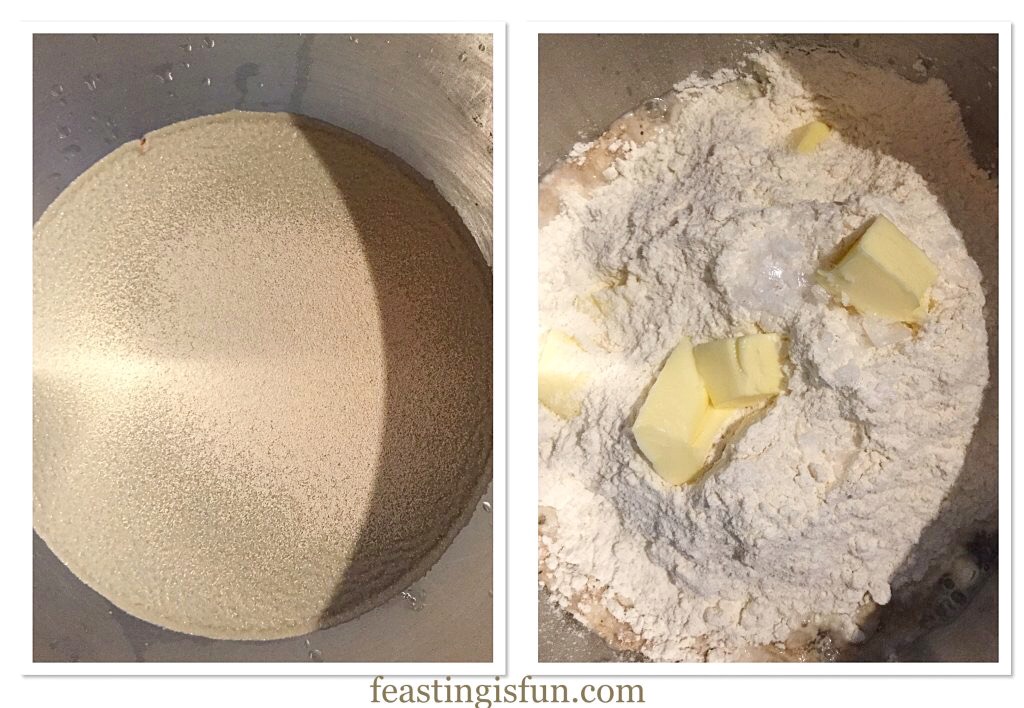
- First of all, into a large bowl add the butter, sugar and salt.
- Whisk together until pale and creamy.
- Add the vanilla extract and whisk to incorporate.
- Sift in the plain flour and then add the ground almonds, semolina and cacao nibs.
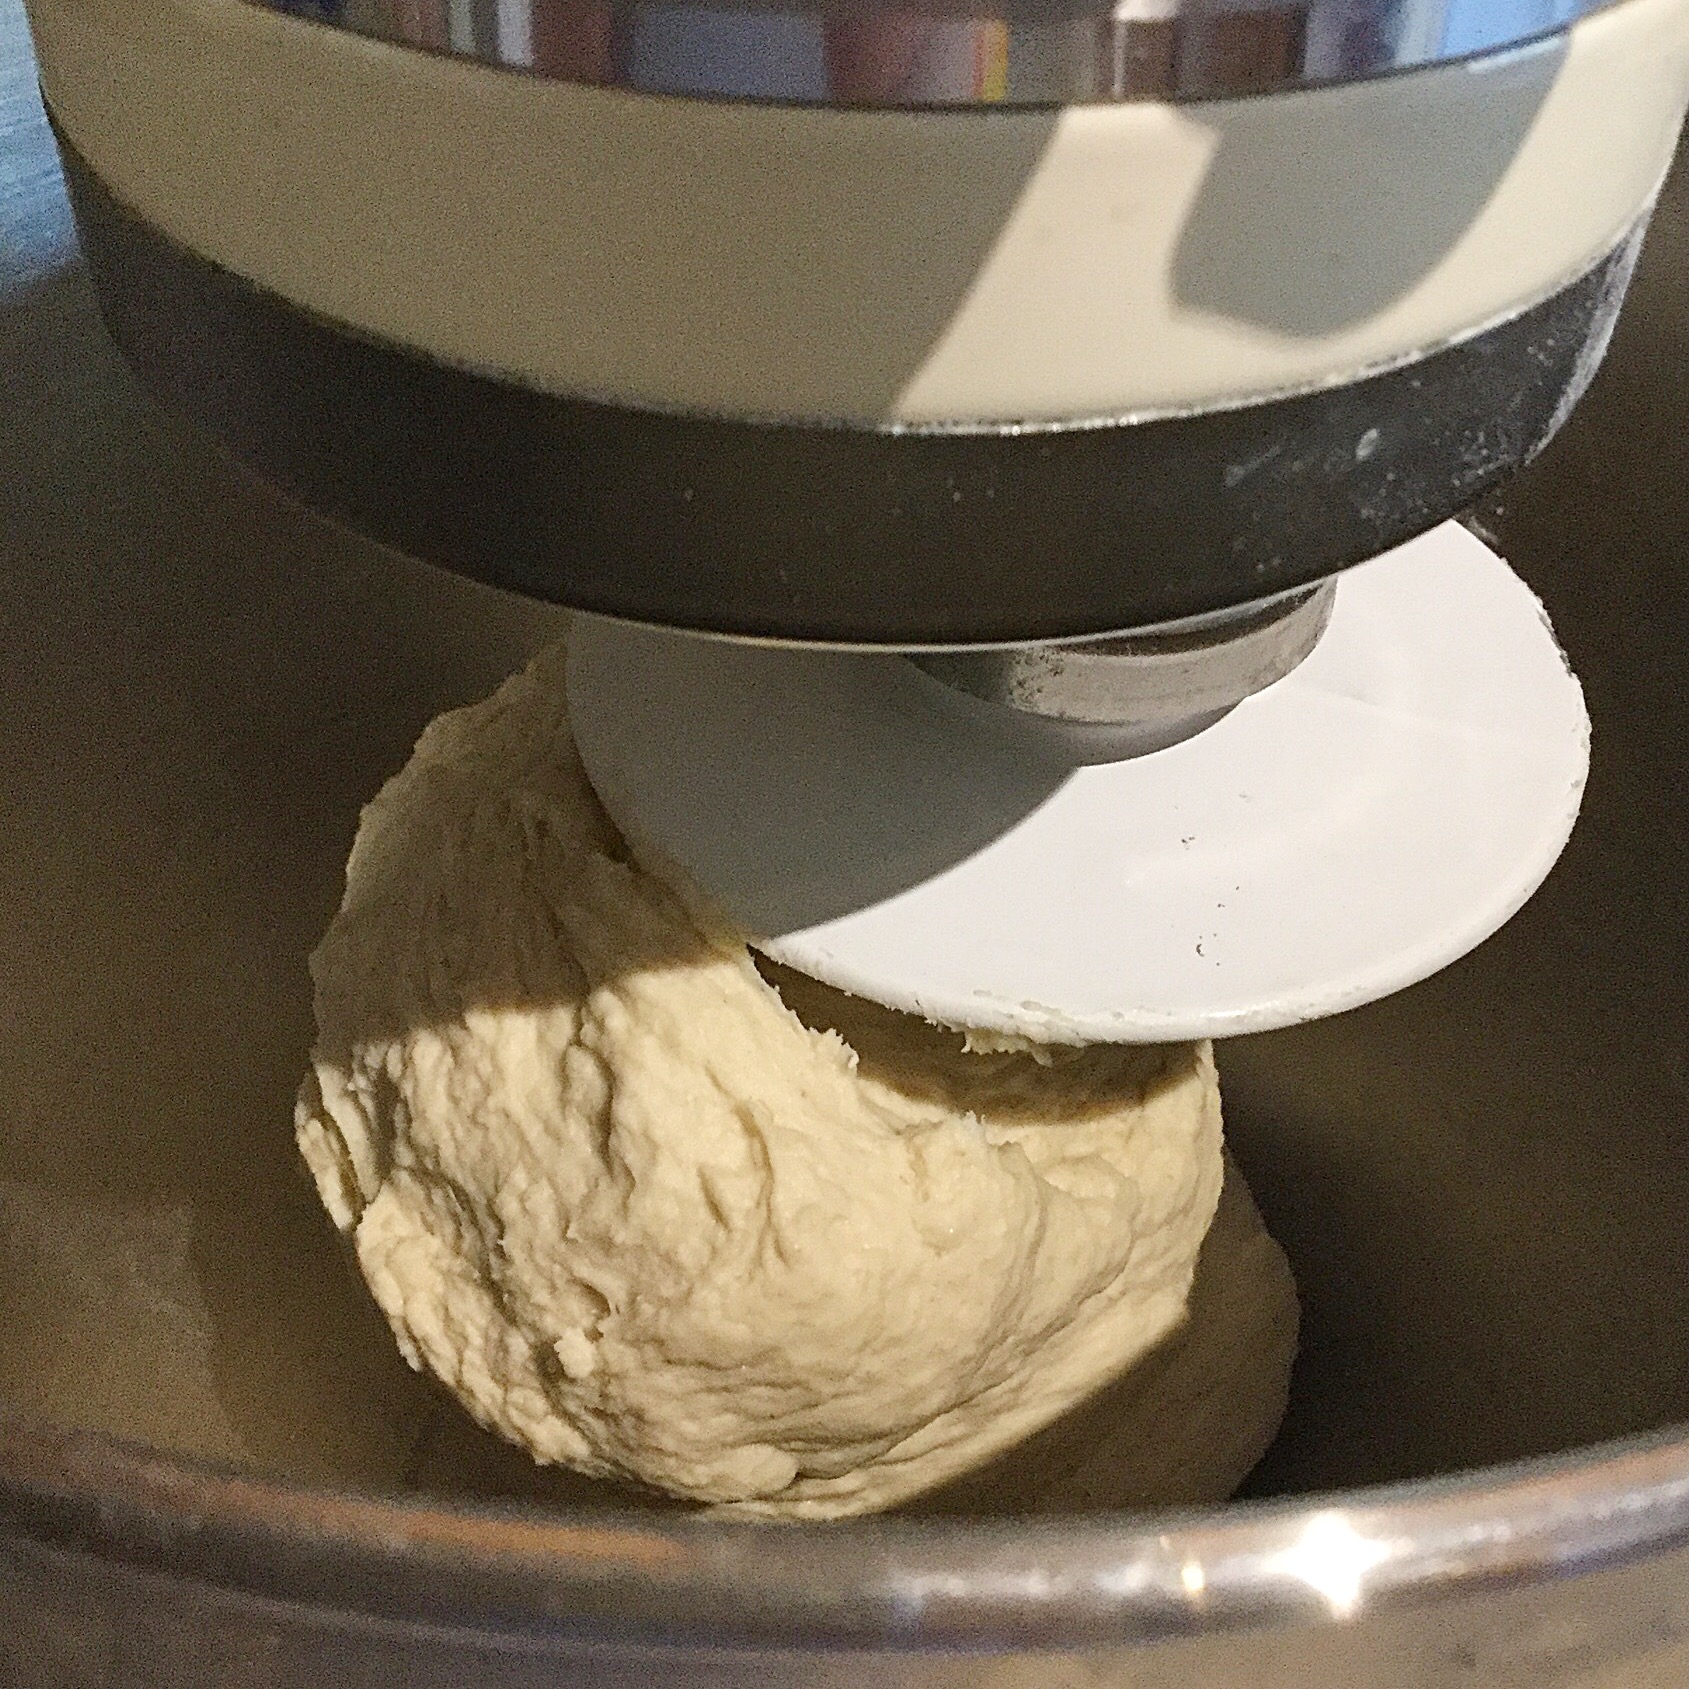
- Mix together until just combined.

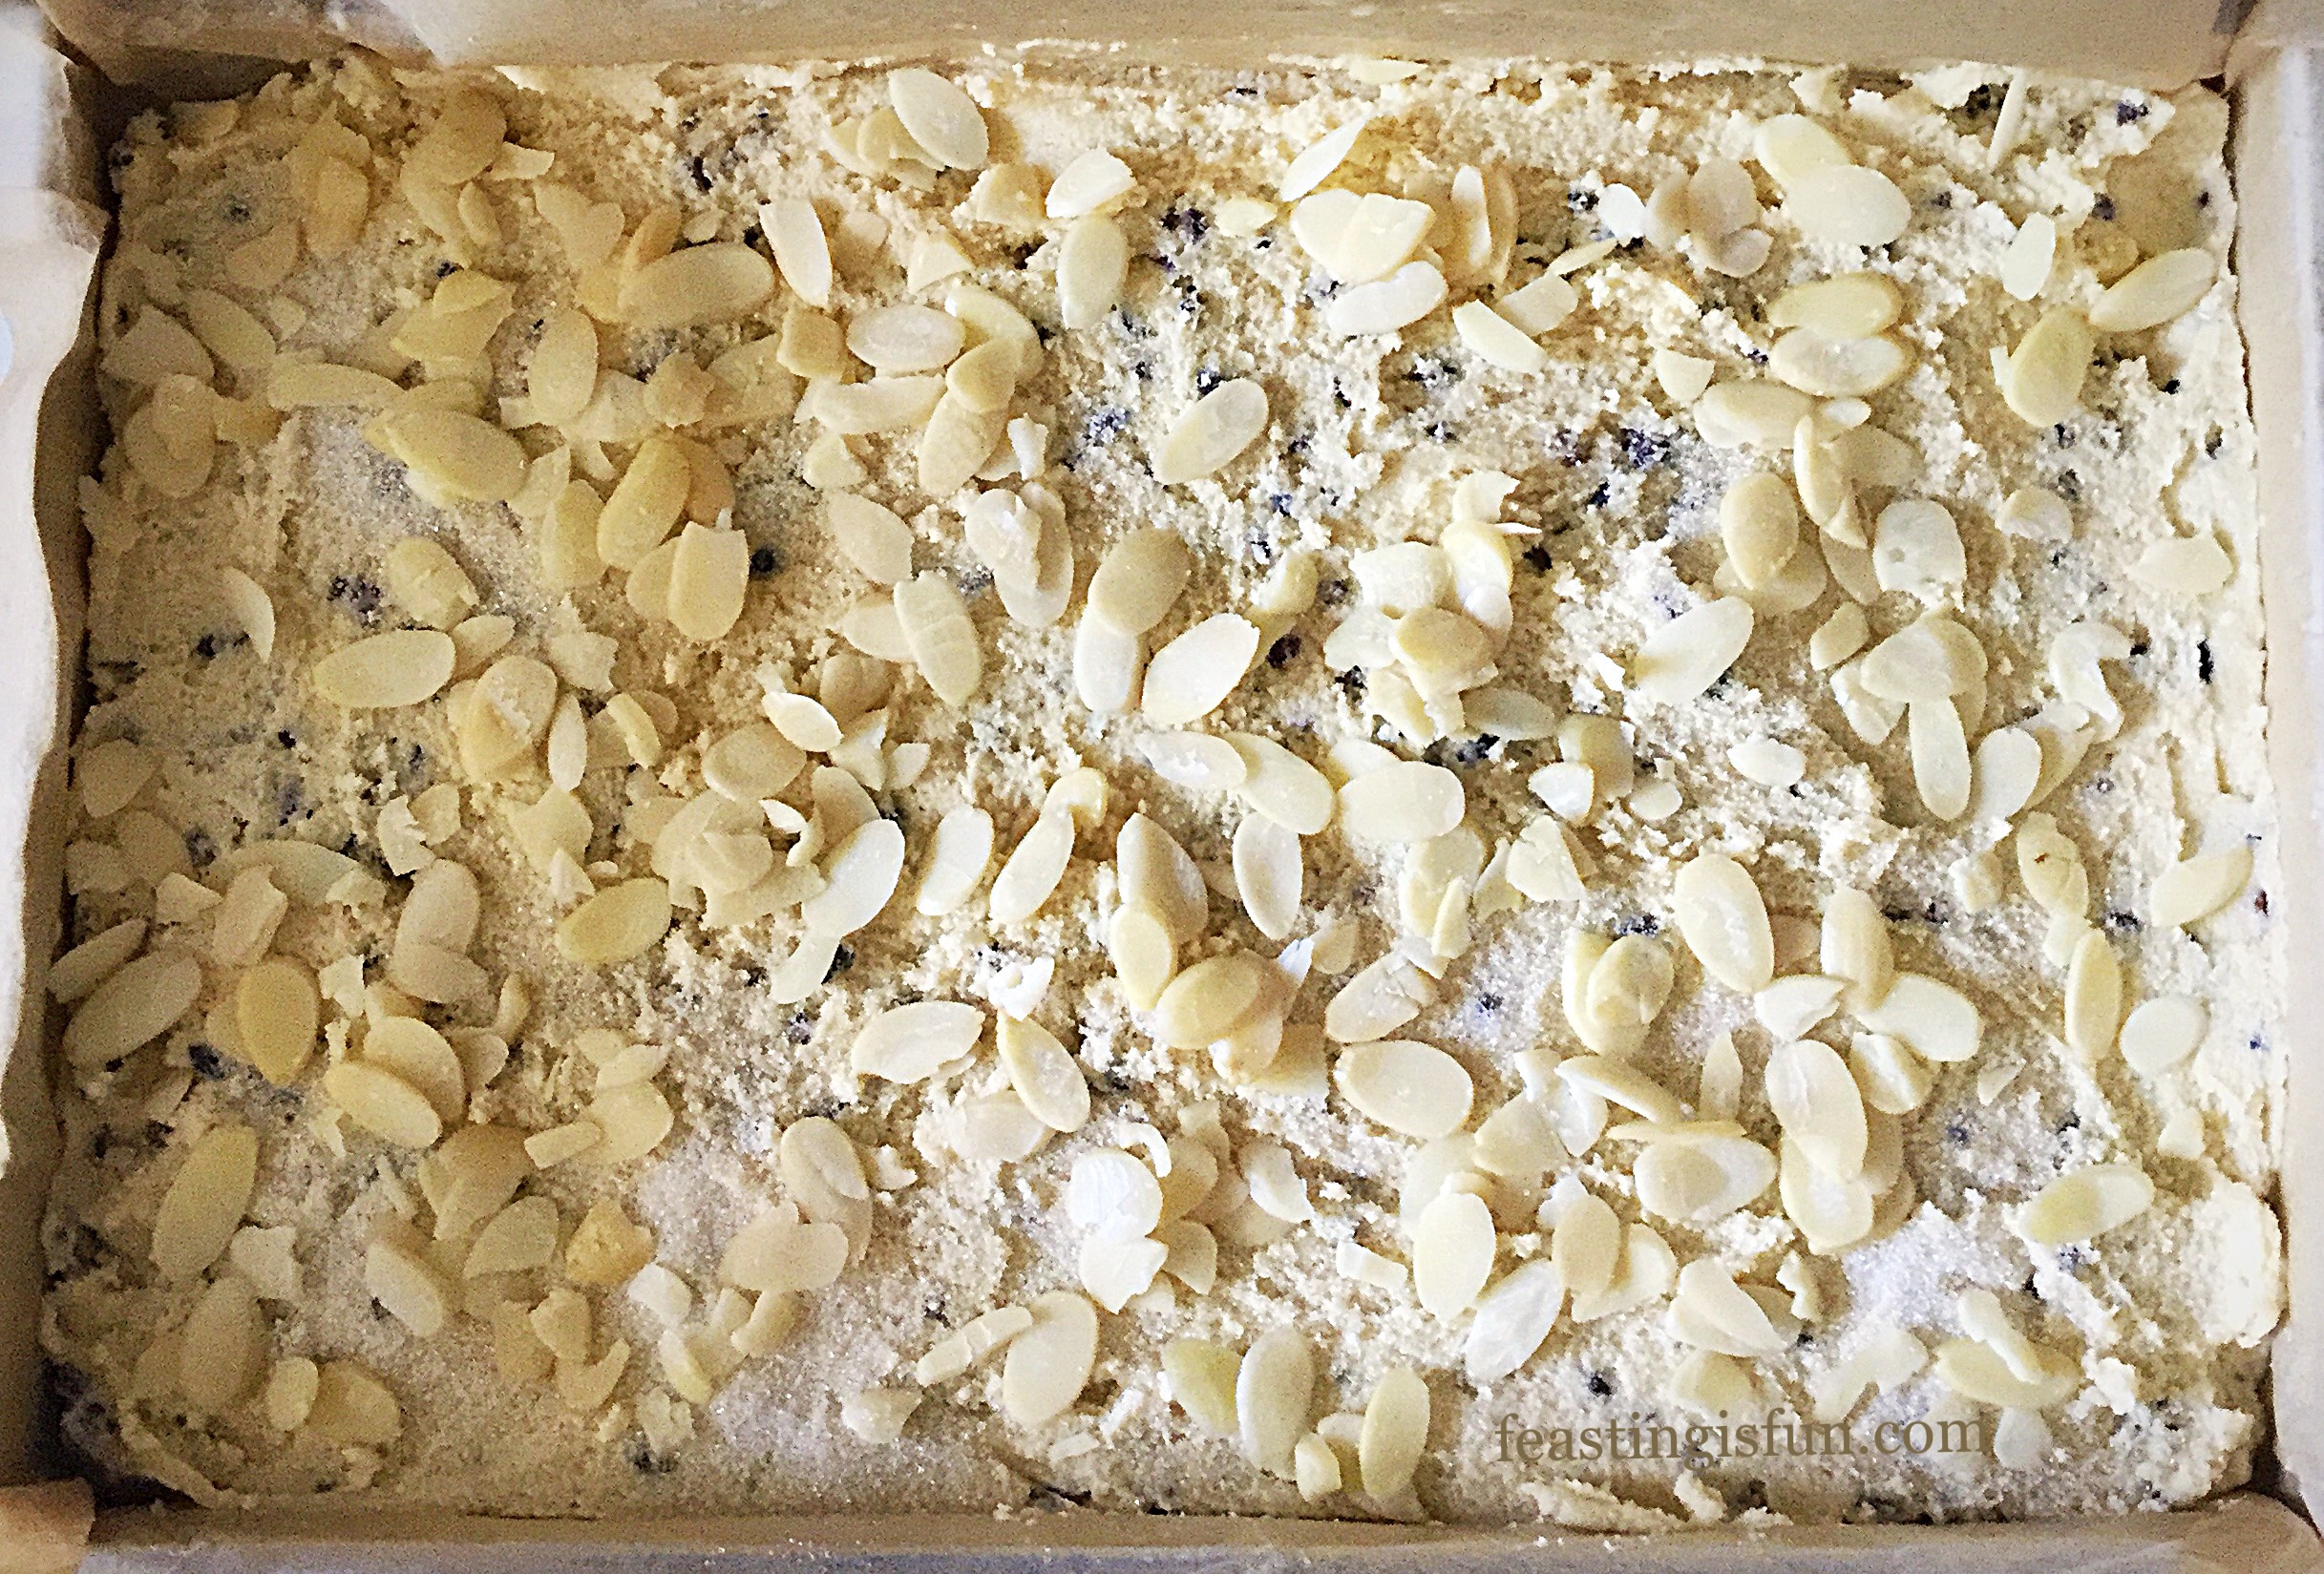
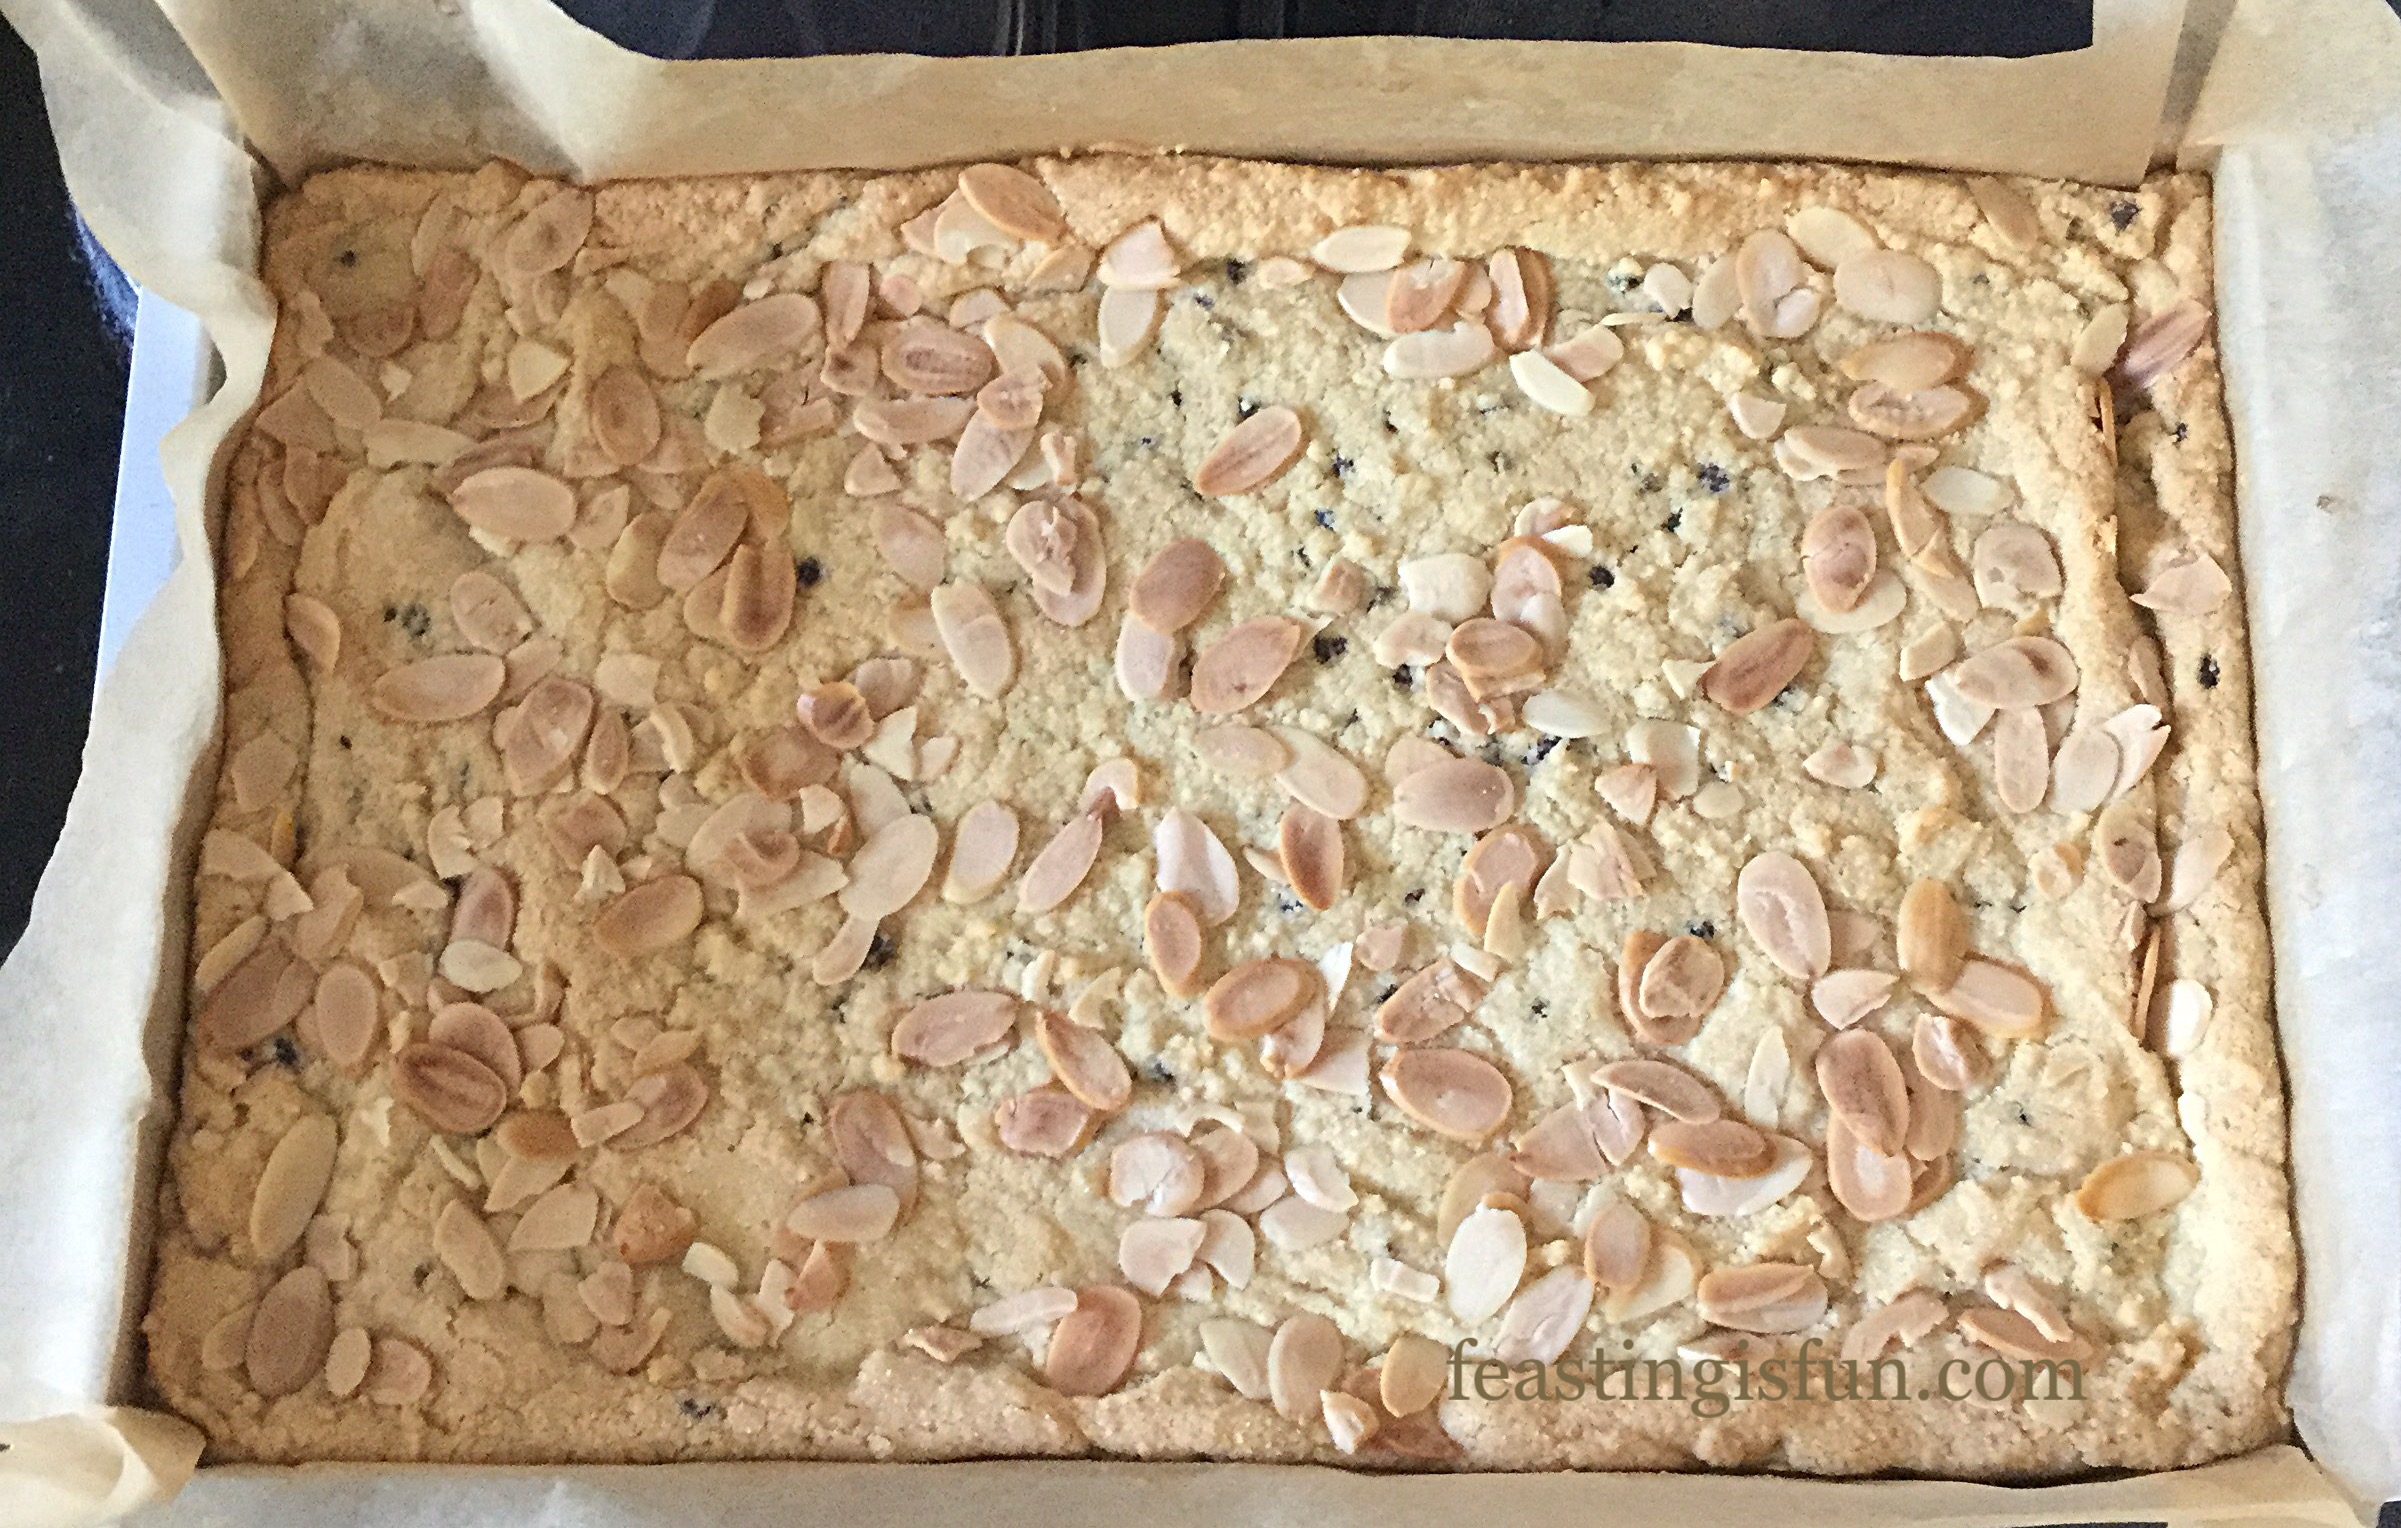
- Spoon the shortbread mixture into a prepared tin. Press out, using the back of a metal spoon, so that the mixture evenly fills the tin.
- Dock the shortbread all over with a fork.
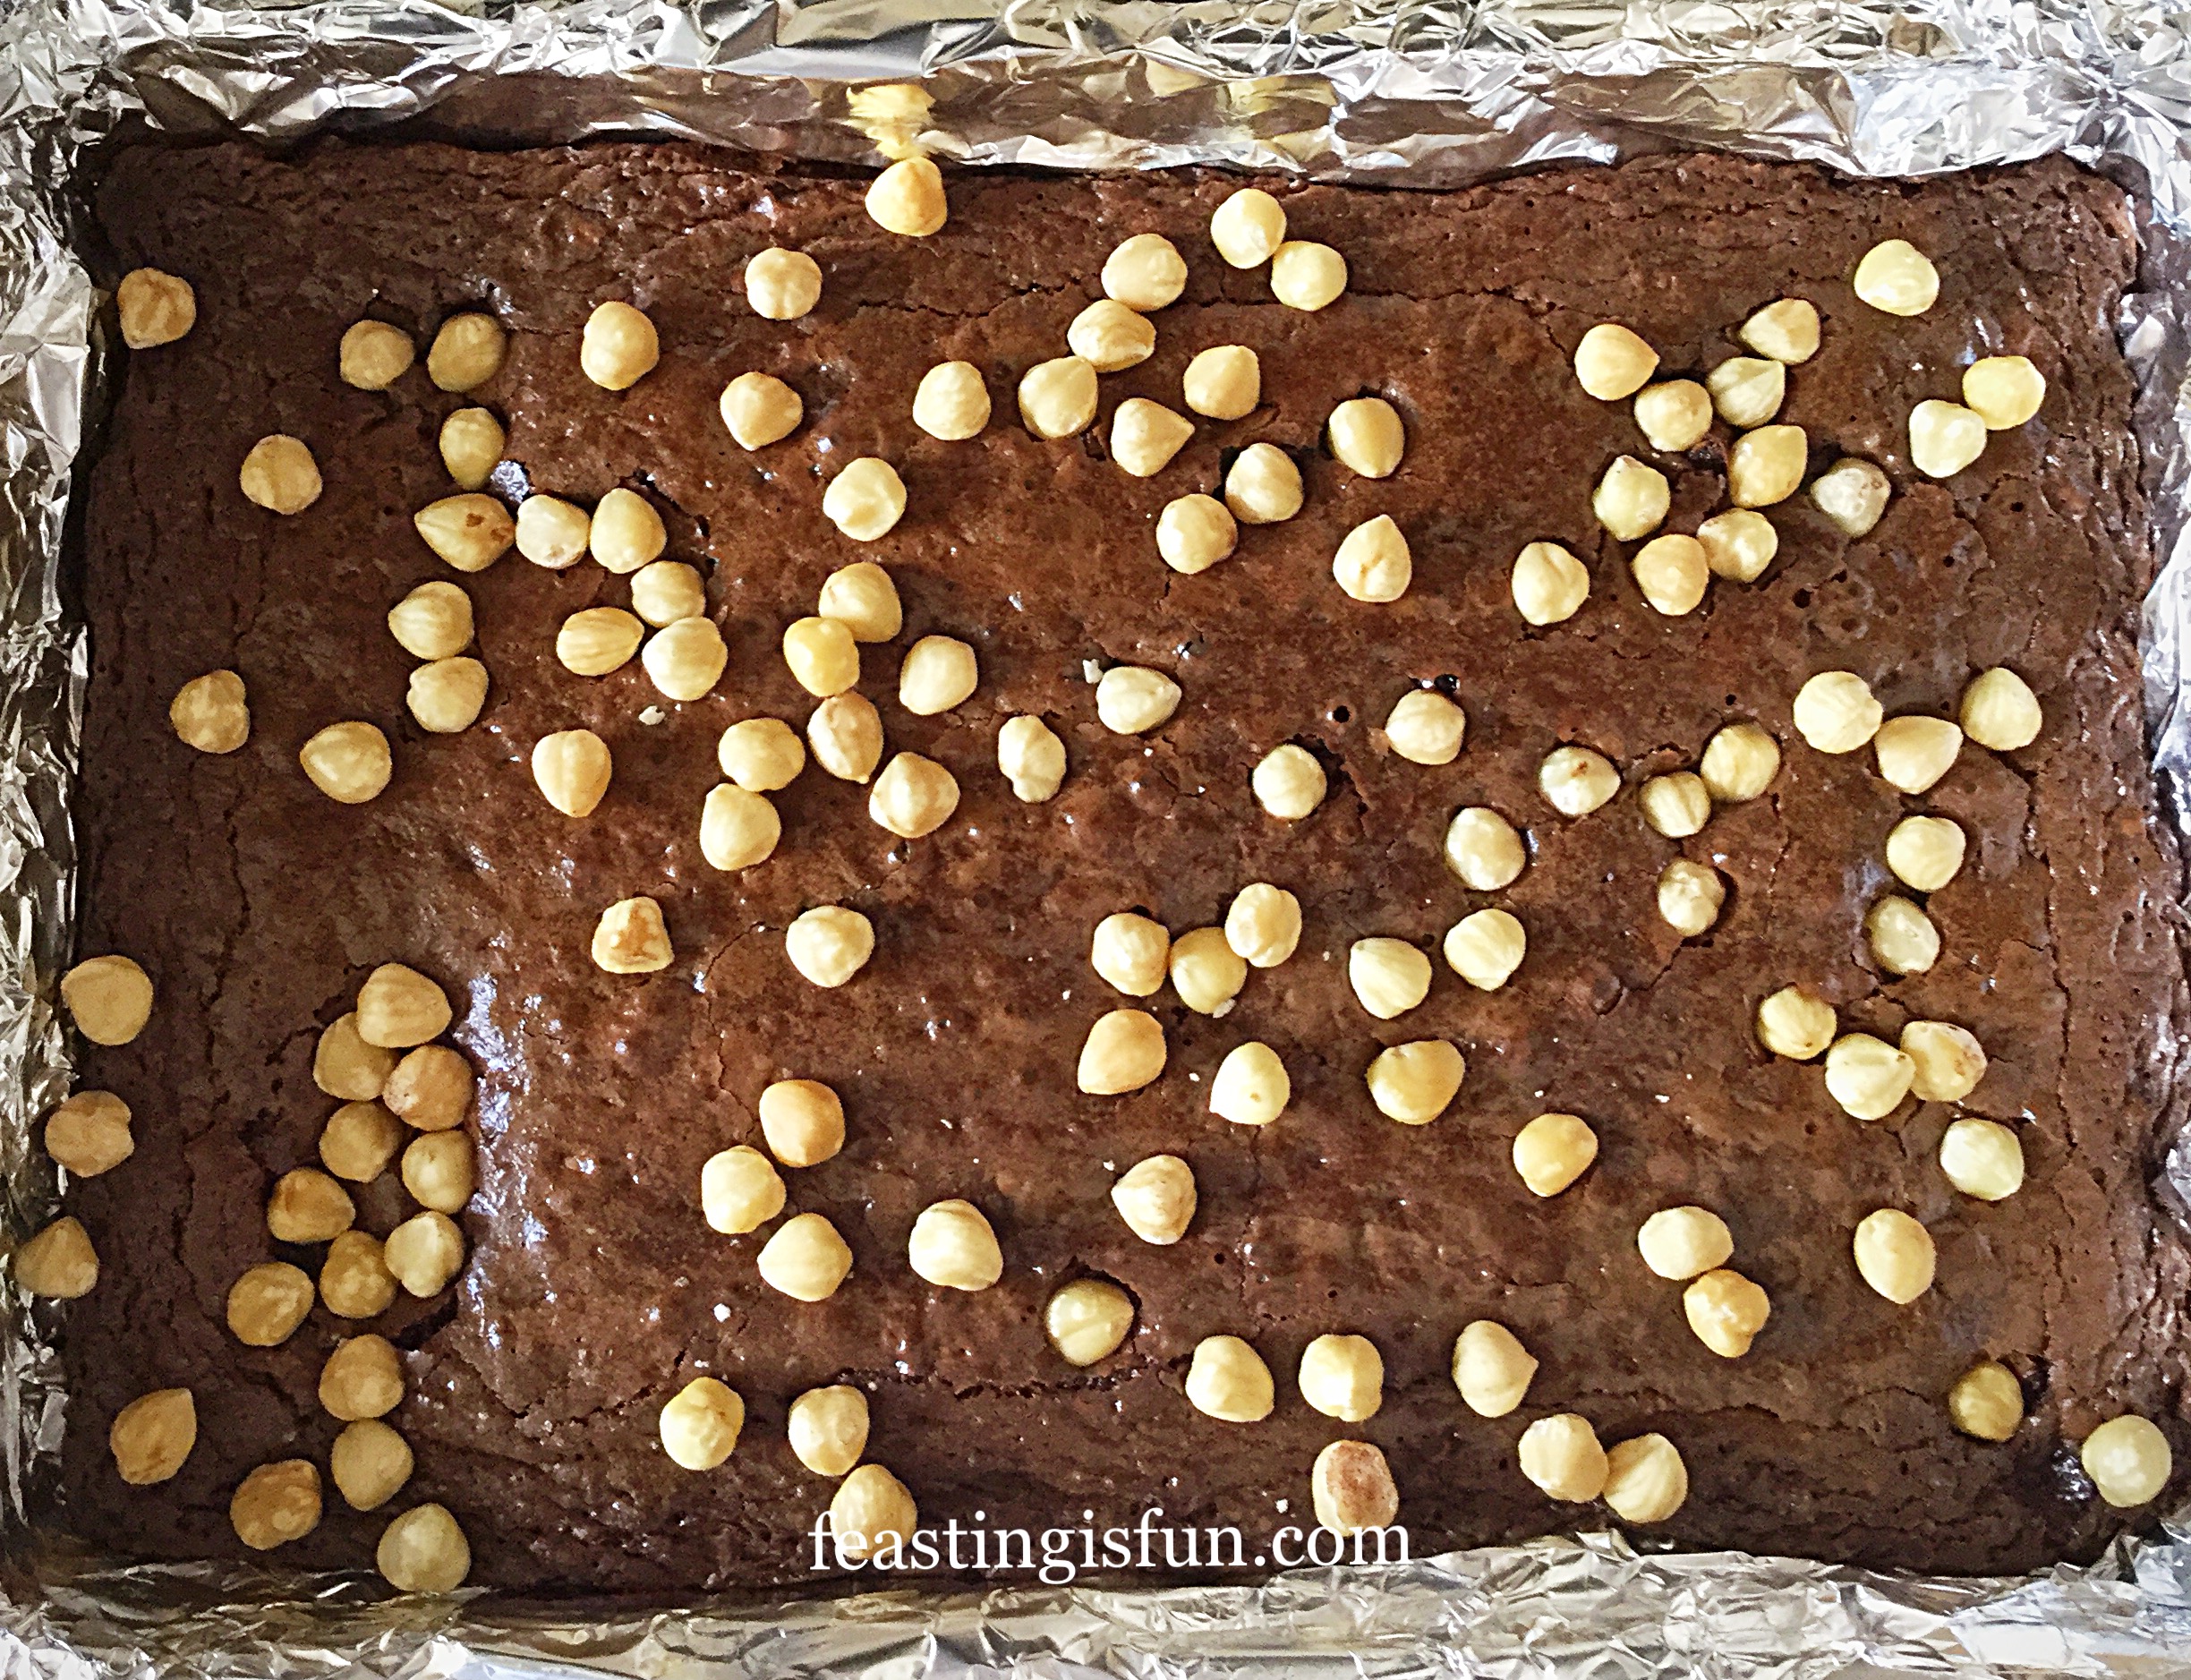
- Sprinkle over the additional tablespoon of sugar and evenly scatter over the flaked almonds.
Baking The Cacao Nib Studded Shortbread
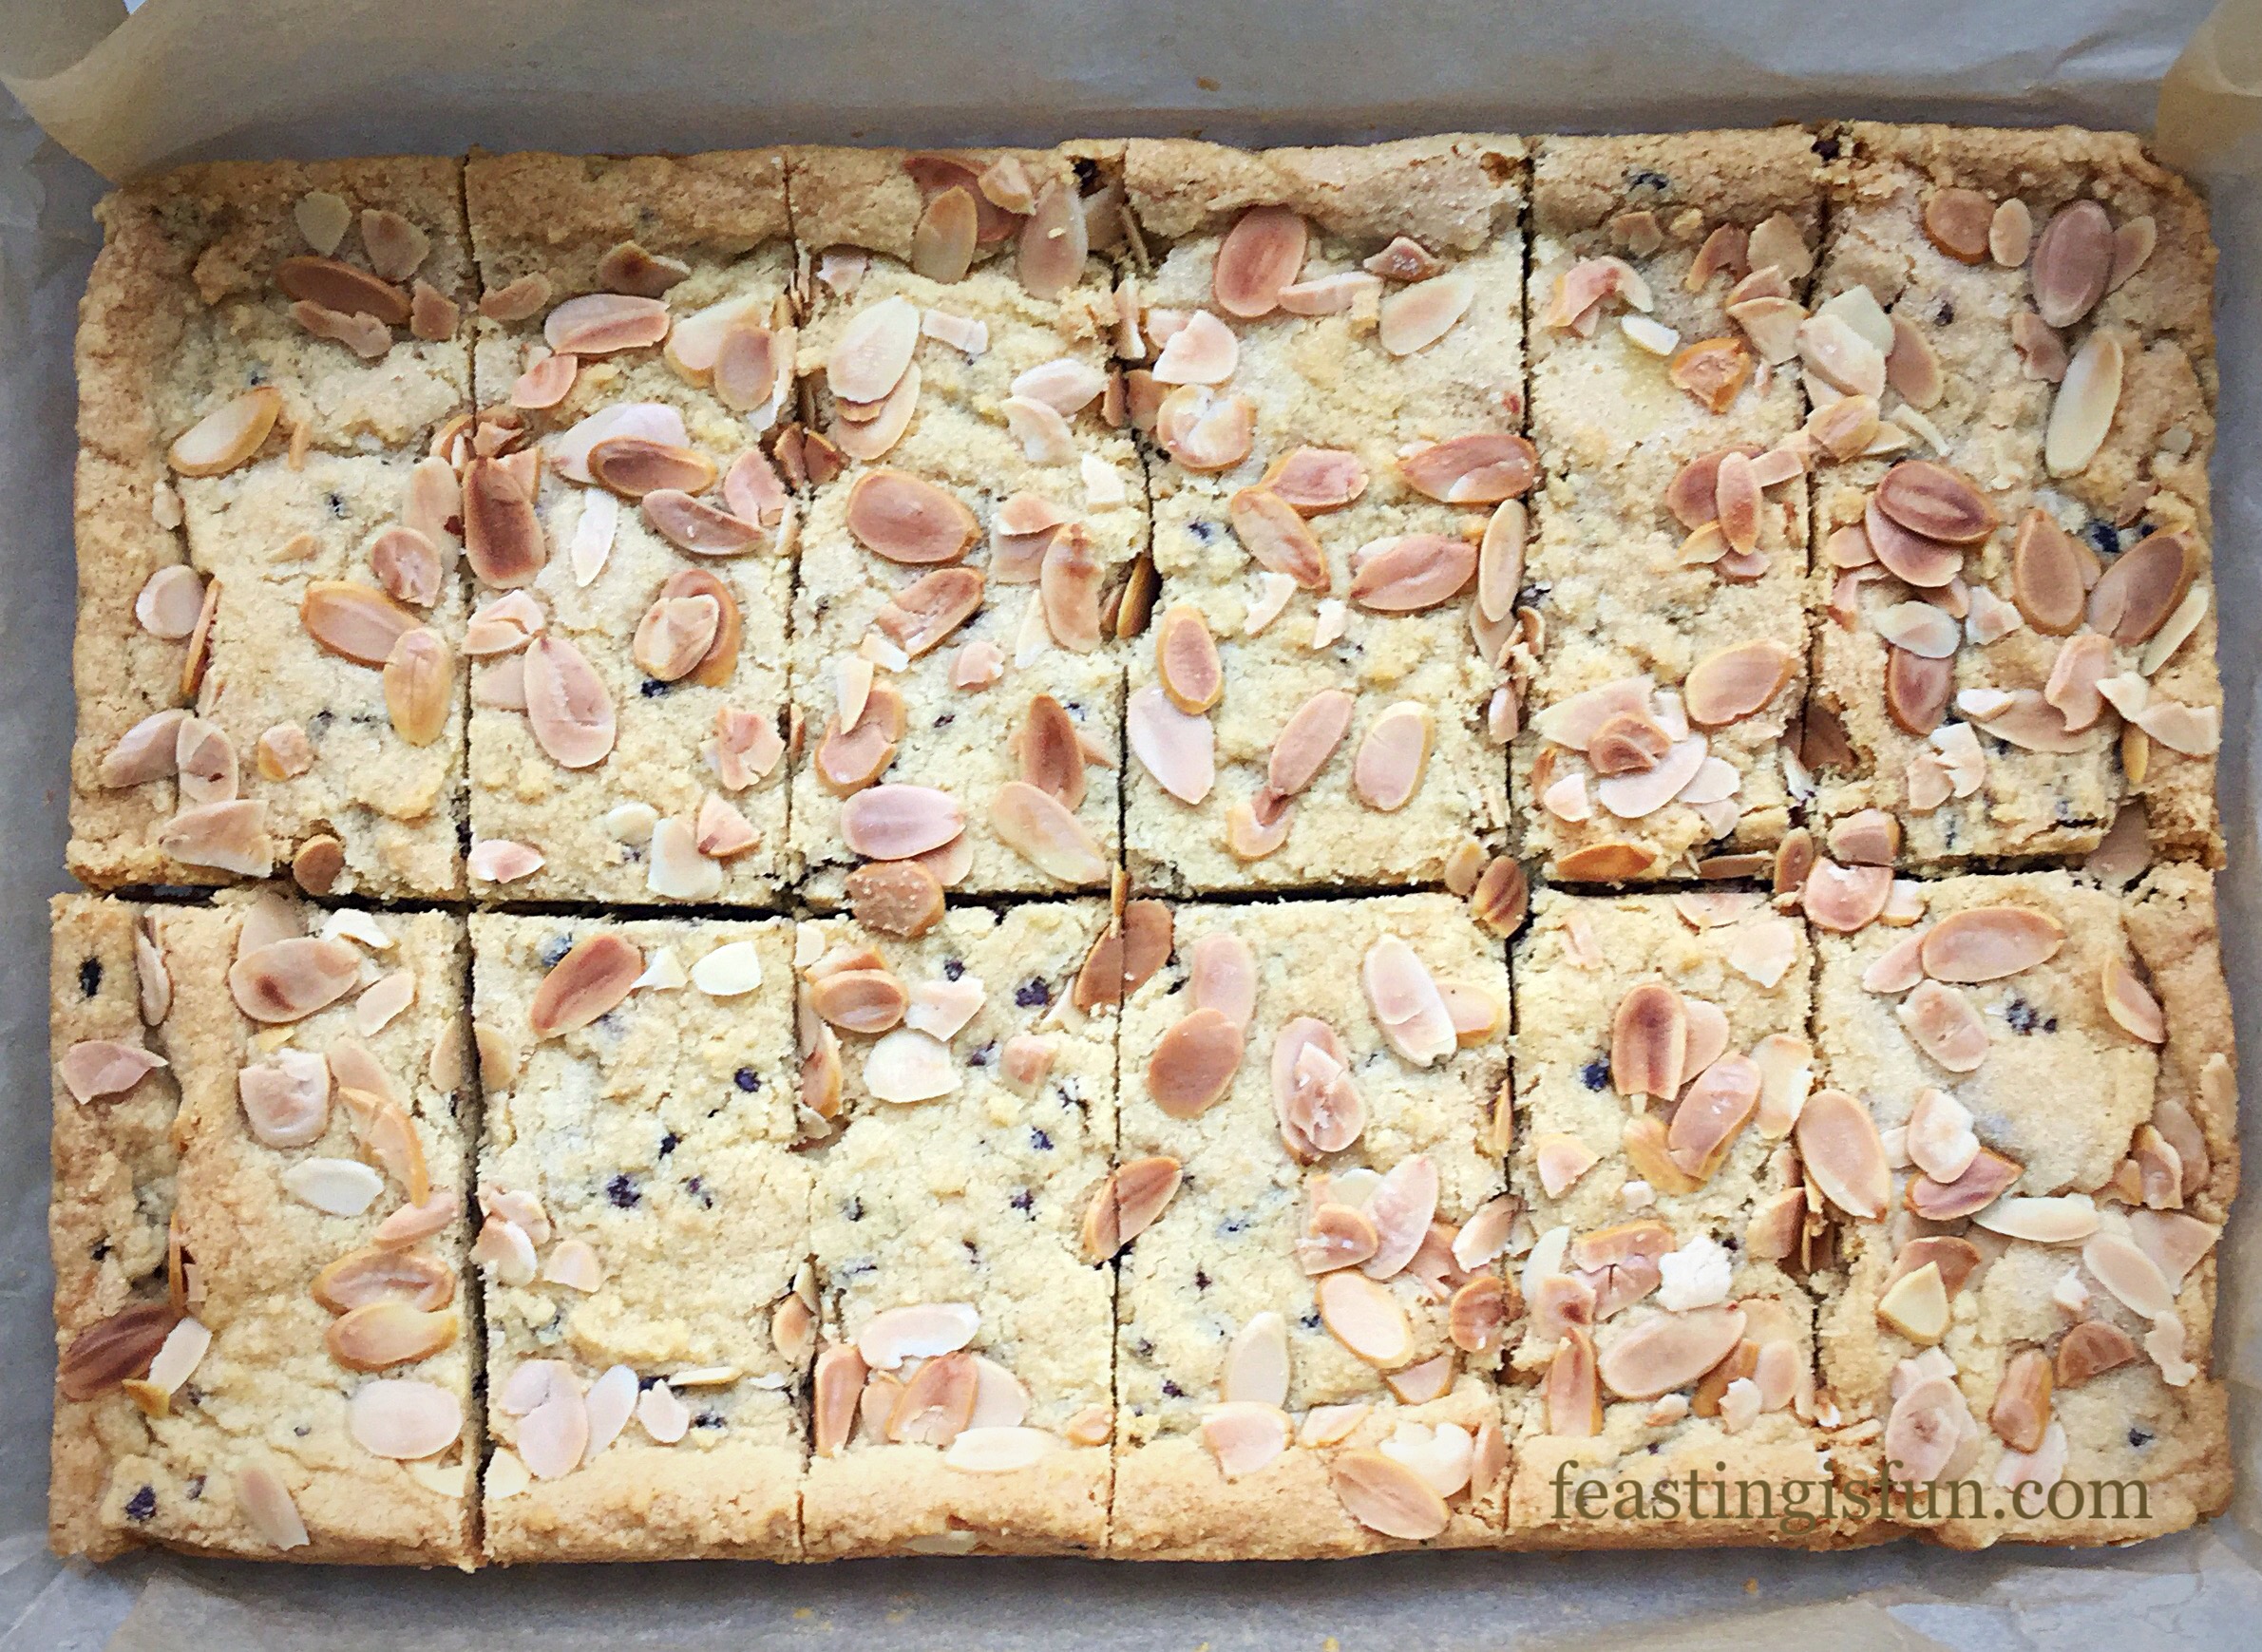
- Place the shortbread into the centre of a preheated oven and bake for 35-45 minutes. If you find that the almonds are browning too quickly during baking, either reduce the heat and bake for a little longer, or cover the top of the shortbread with aluminium foil.
- When golden all over and semi-firm to the touch the shortbread is baked.
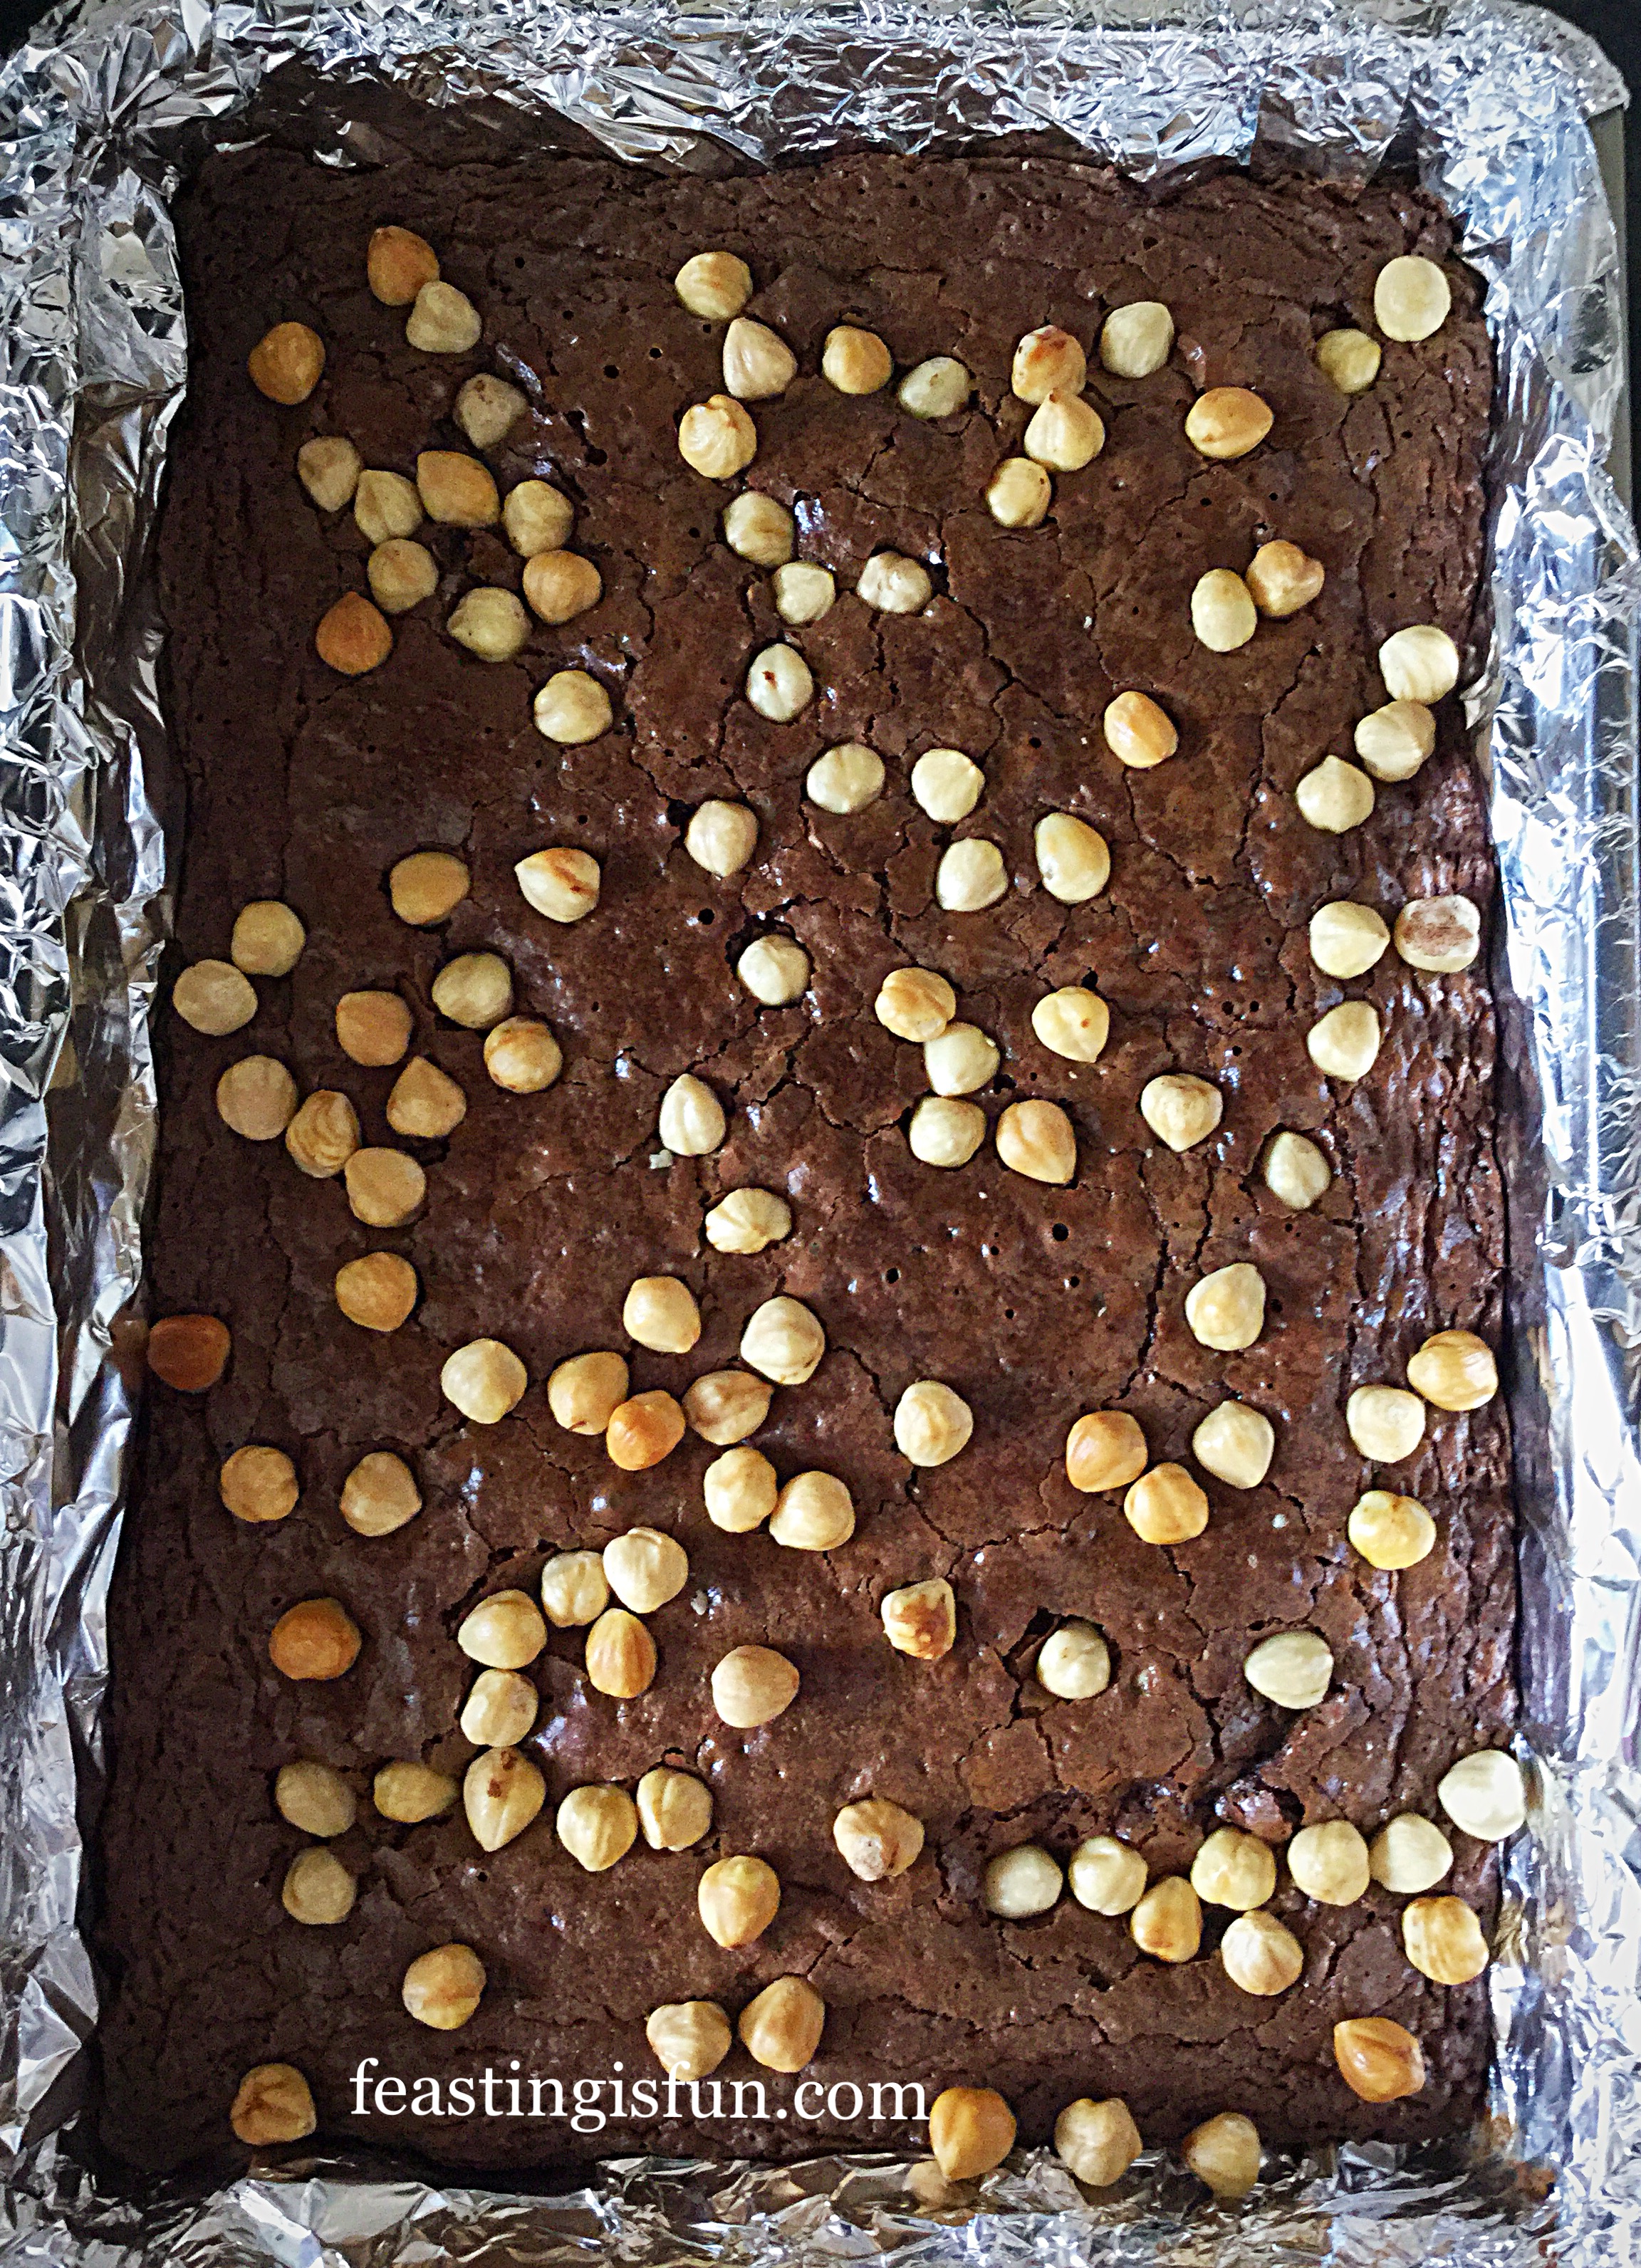
- As soon as the shortbread is baked remove from the oven and allow to cool for 10 minutes in the tin.
- After the cooling period slice the shortbread into 12 bars. Cut across the middle, then down the width, forming 4 squares. Follow by dividing each square into 3. To create 24 squares, simply cut across the middle at 4 even (8cm) spaces.
- Leave the shortbread to fully cool in the tin.
- Once cooled, use a palette knife to help lift out the shortbread. Because the shortbread is already cut it’s more flexible and therefore unlikely to crack when removing from the tin.
Serve with a hot drink. Especially as the go well with tea, coffee and of course hot chocolate.
Store in an airtight container for up to one week. Since these bars improve in flavour after a day, dare I suggest you hide the tin? It’s only for a day 😉.
If you have enjoyed this recipe for Almond Cacao Nib Shortbread Bars you may also like these:
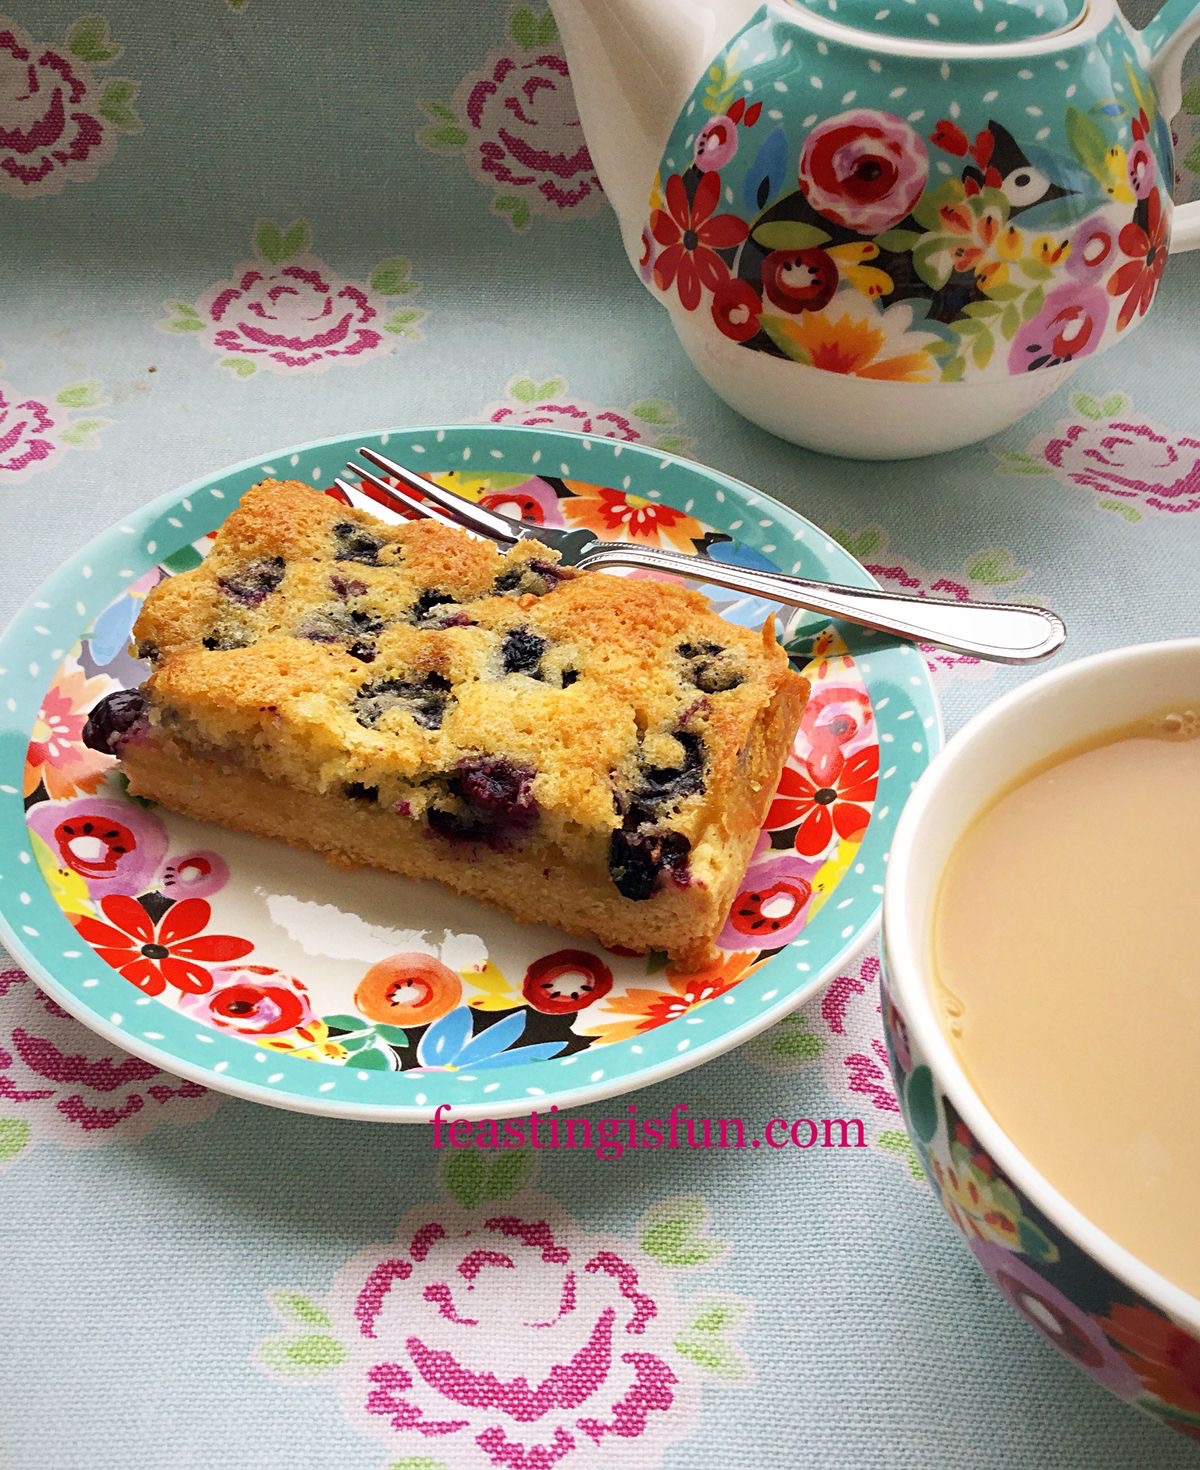
Blueberry Lemon Shortbread Cake Bars
Multi Millionaires Shortbread Squares

While biscuits and shortbreads are readily available in the shops, there are huge advantages to making your own at home. Firstly and most importantly to me, the flavour is far superior to their mass produced equivalents. Also, flavour combinations that aren’t available in the shops, I can easily make at home. Finally, unless you live close to an artisan bakery, where each product is made with love and care, baking at home is a pleasure. Since you know exactly what ingredients have gone into your bake, including the love with which they are made.
So, whatever r you are making, baking and creating in your kitchens, have fun preparing and sharing your feast.
Sammie xx
Food Thoughts sent me the cacao nibs as a gift, to try. All opinions, content and photography are my own. No part of this post may be reproduced or copied without the specific, written permission of the owner. Please see my Disclosure Policy .