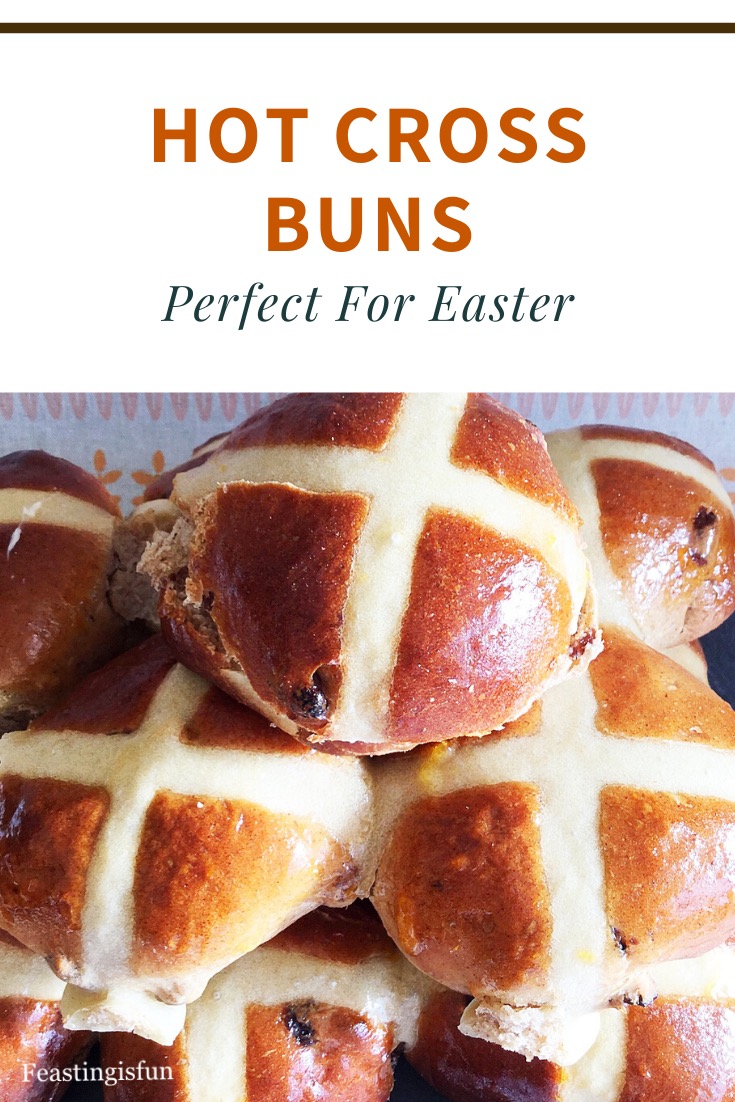
It is that time of year when the spicy scent of Hot Cross Buns hits you as you enter the supermarket. Somehow though, I’m always a bit disappointed with the slightly squished, supermarket Hot Cross Buns. Yes they may be convenient, but, I’m here to persuade you to try the homemade version.

The Benefits Of Making Hot Cross Buns At Home
The beauty of making and baking your own Hot Cross Buns is that you can add exactly what you like to them. Oh and leave out all the additives that you don’t need.
Our eldest daughter and myself are both allergic to orange, in any form. It brings on really nasty migraines (see here if you’d like to know more). So although orange is a traditional addition to these buns, by making them at home I can leave it out.

Not Just For Easter?
Speaking of our daughter, for one entire year, when she was a toddler, a Hot Cross Bun would be what she ate for breakfast. In fact she suffered very badly with tonsillitis and had to undergo a tonsillectomy when she was two and a half. We already had another little ‘un and I’d just found out I was pregnant with our son. Times were busy!
Anyway, her operation was during her Hot Cross Bun phase. So I buttered one, wrapped it up and took it to the hospital. I honestly didn’t think she would eat anything after undergoing her procedure, but sure enough, chicken nuggets and chips for tea. Then, the very next morning she devoured her Hot Cross Bun!
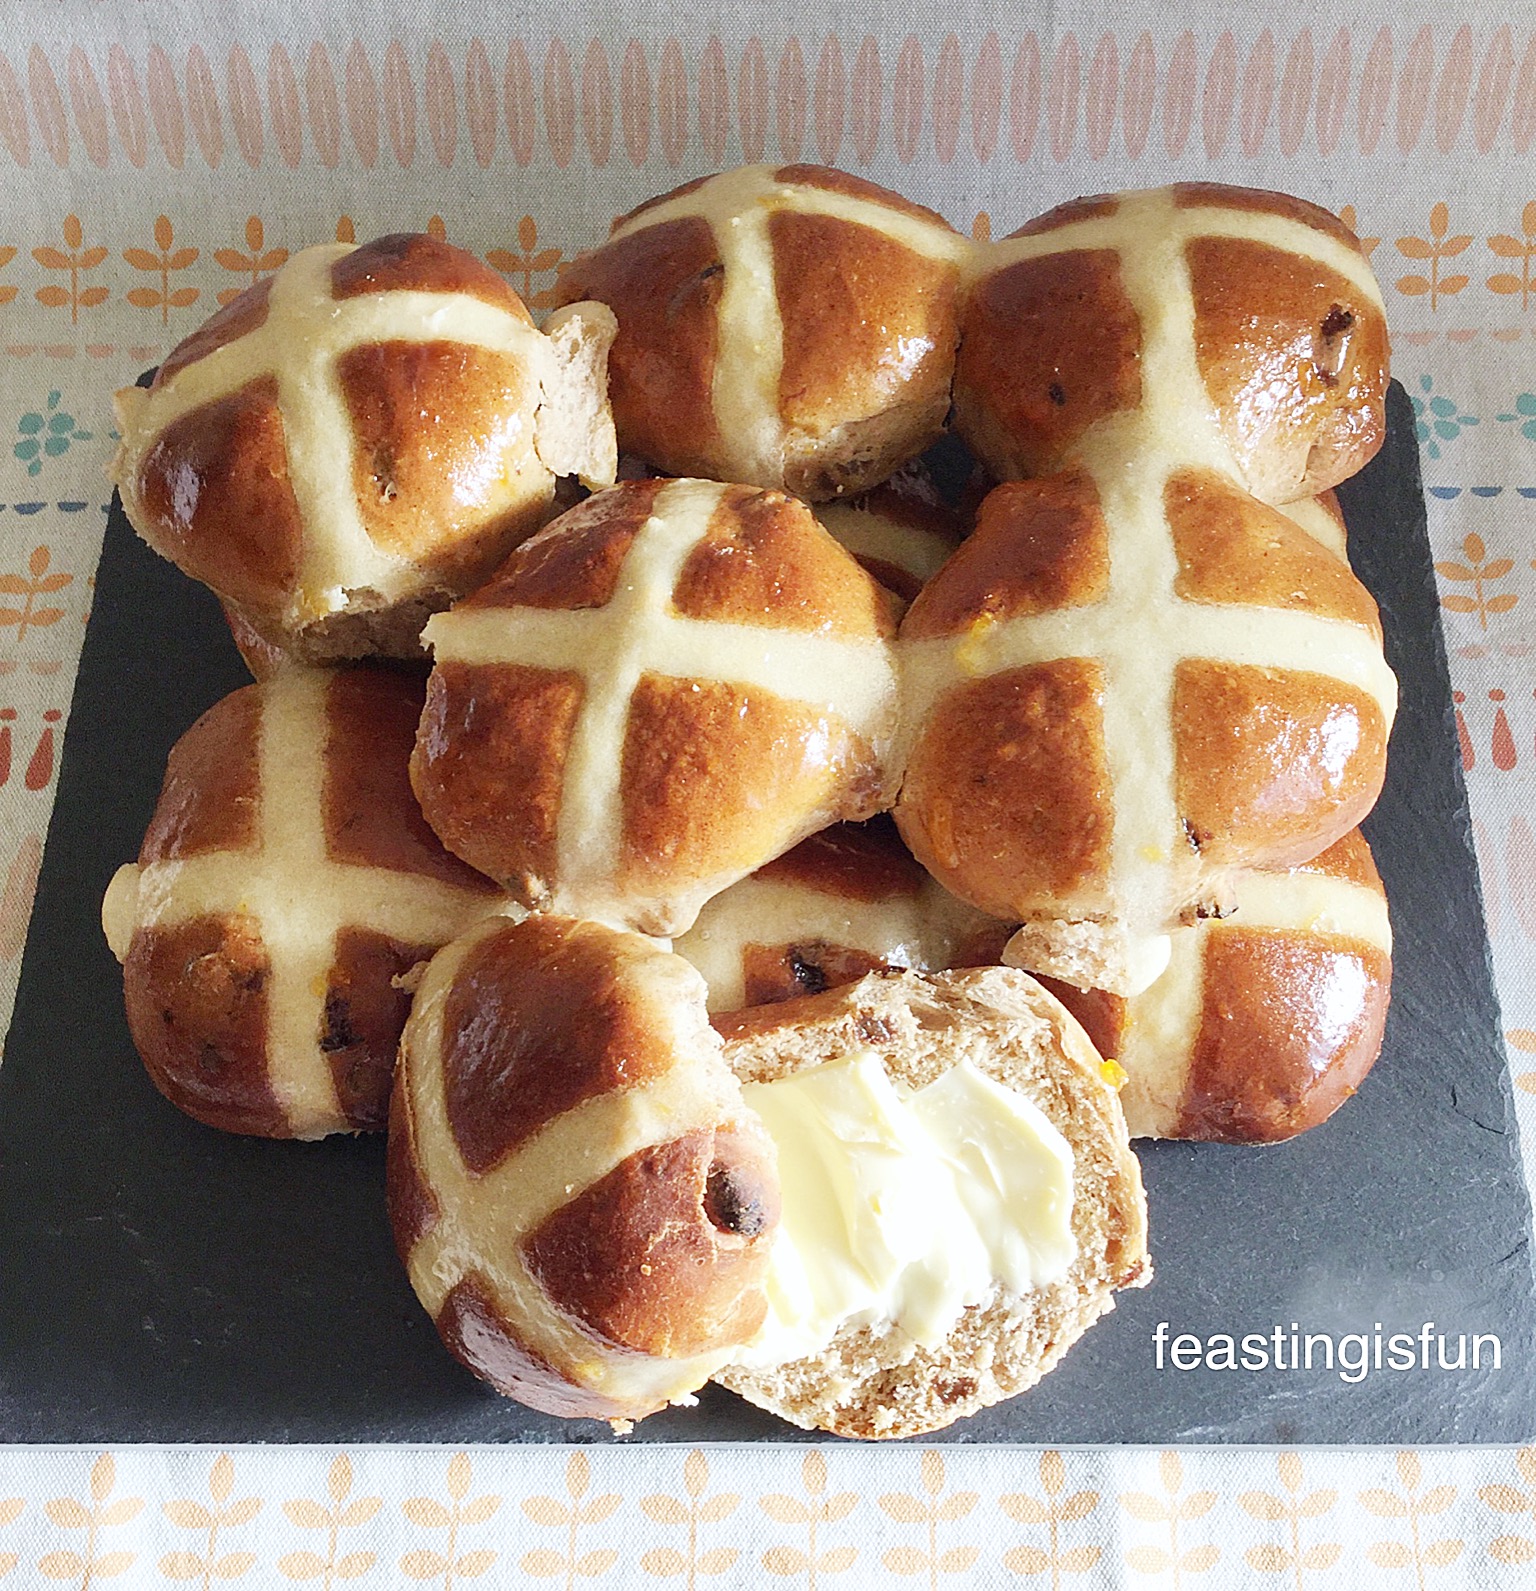
She is 16 now and has just shared a bun with me. It got 10 out of 10 which, from a life-long lover of Hot Cross Buns, was all I needed to hear.
Sharing This Recipe
I really do enjoy making food that my family and friends love. It was one of the reasons that I started feastingisfun, so I could share my own recipes with others.
Now I never actually believed anyone, other than family, would read this blog. But it seems you do and you enjoy it. Not only that but it has helped people, in a number of ways. Last Sunday I know of two people who specifically made recipes from this blog – and they turned out well. That puts a huge smile on my face.
Also others have been able to connect with me, as I understand, due to my own health issues (see Living With Seizures) and have found comfort in knowing they are not alone.
Sharing recipes, fun, love, encouragement and always a hug when ever needed.
The inspiration for this Hot Cross Bun recipe comes from both my daughter and the great baker Mr Paul Hollywood. I did actually start by looking at his recipe. However, me being me, I wanted to add some bits, change others, adapt the recipe for a bread maker/stand mixer. So in fact the recipe and method are mine, but thank you Paul for getting me off the starting blocks.
Recipe: Makes 12 Hot Cross Buns
500g/1lb 2oz Strong White Bread Flour
140ml/scant 5fl oz Whole Milk – slightly warmed (body temp)
120ml/4.5fl oz Water – slightly warmed (body temp)
2 Large Eggs – I use free range
1tbsp Honey
10g/1.5 Sachet Fast Acting Dried Yeast – I use allinson dried fast action yeast in the green tin or sachets
10g/ approx 1tsp Salt – I use Maldon
50g/2oz Unsalted Butter at room temperature
3tsp Cinnamon
150g/5oz Sultanas or Raisins
For the crosses:
50g/2oz Plain flour
50ml/2fl oz Water
Apricot jam or honey to glaze approx 2tbsp
Method: This method is for use with a bread maker or stand mixer, if you wish to make by hand, I suggest you look to the original recipe in Paul Hollywood’s book ‘How to Bake’ ISBN 9781 4088 19494.
Making The Spiced Fruit Dough
The ‘bowl’ refers to the bowl of a stand mixer or the mixing compartment of a bread maker.
- Add both the milk and water to the bowl.
- Next add both eggs, the honey and yeast.
- Swish about with clean fingers to mix.
- Now add the flour on top of the liquid mixture.
- Place the salt and butter on top of the flour.
For a bread maker, set the cycle to dough and press start. When prompted by the machine, or 5 minutes before mixing stops, add the cinnamon and Sultanas. Allow the bread maker to complete the dough cycle.
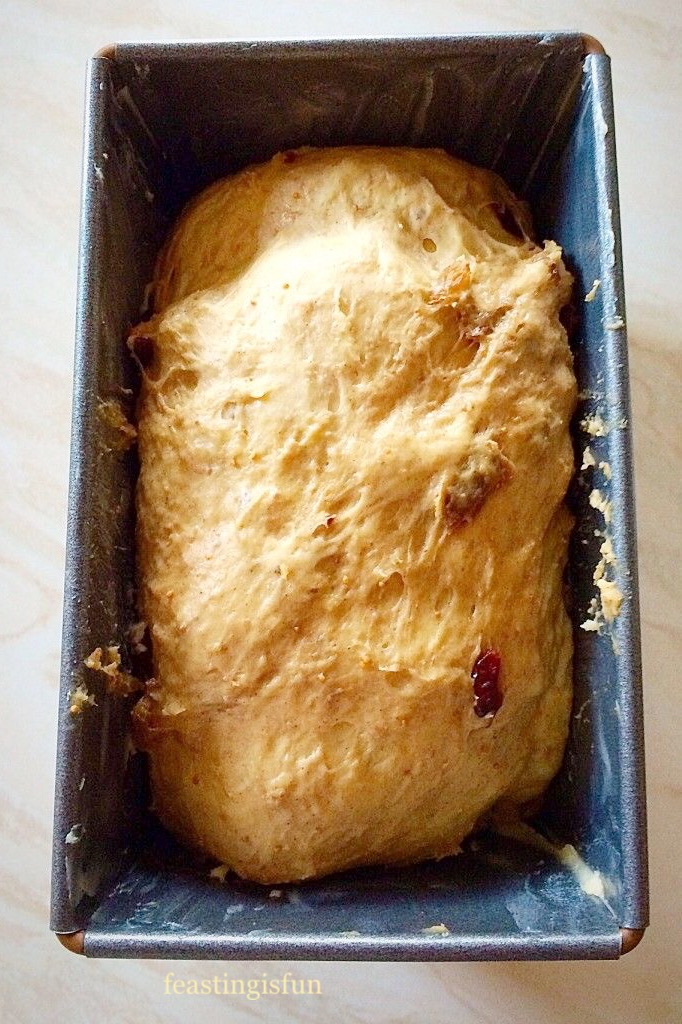
When the bread maker has completed the dough cycle, ensure the dough has doubled in size, if not wait until it has. Then re start the dough cycle for 2 minutes, this will ‘knock back’ the dough for you.
For a stand mixer attach the dough hook. Start mixing on a low speed. Once the contents of the bowl resemble dough continue to mix on medium/slow speed for 5 minutes. Stop the mixer. Scrape all the dough, from the hook, into the bowl. Add the cinnamon and Sultanas. Lower the dough hook and mix on medium speed for a further 5 minutes.
After the 5 minutes mixing is complete, stop the mixer. Scrape all the dough back into the bowl, it will be very sticky – don’t worry. Cover with a damp cloth and leave in a draught free place until doubled in size – 1 – 1 1/2 hours.
Once the stand mixer dough has doubled in size, lower the dough hook and mix on medium speed for 2 minutes, this will ‘knock back’ the dough for you.
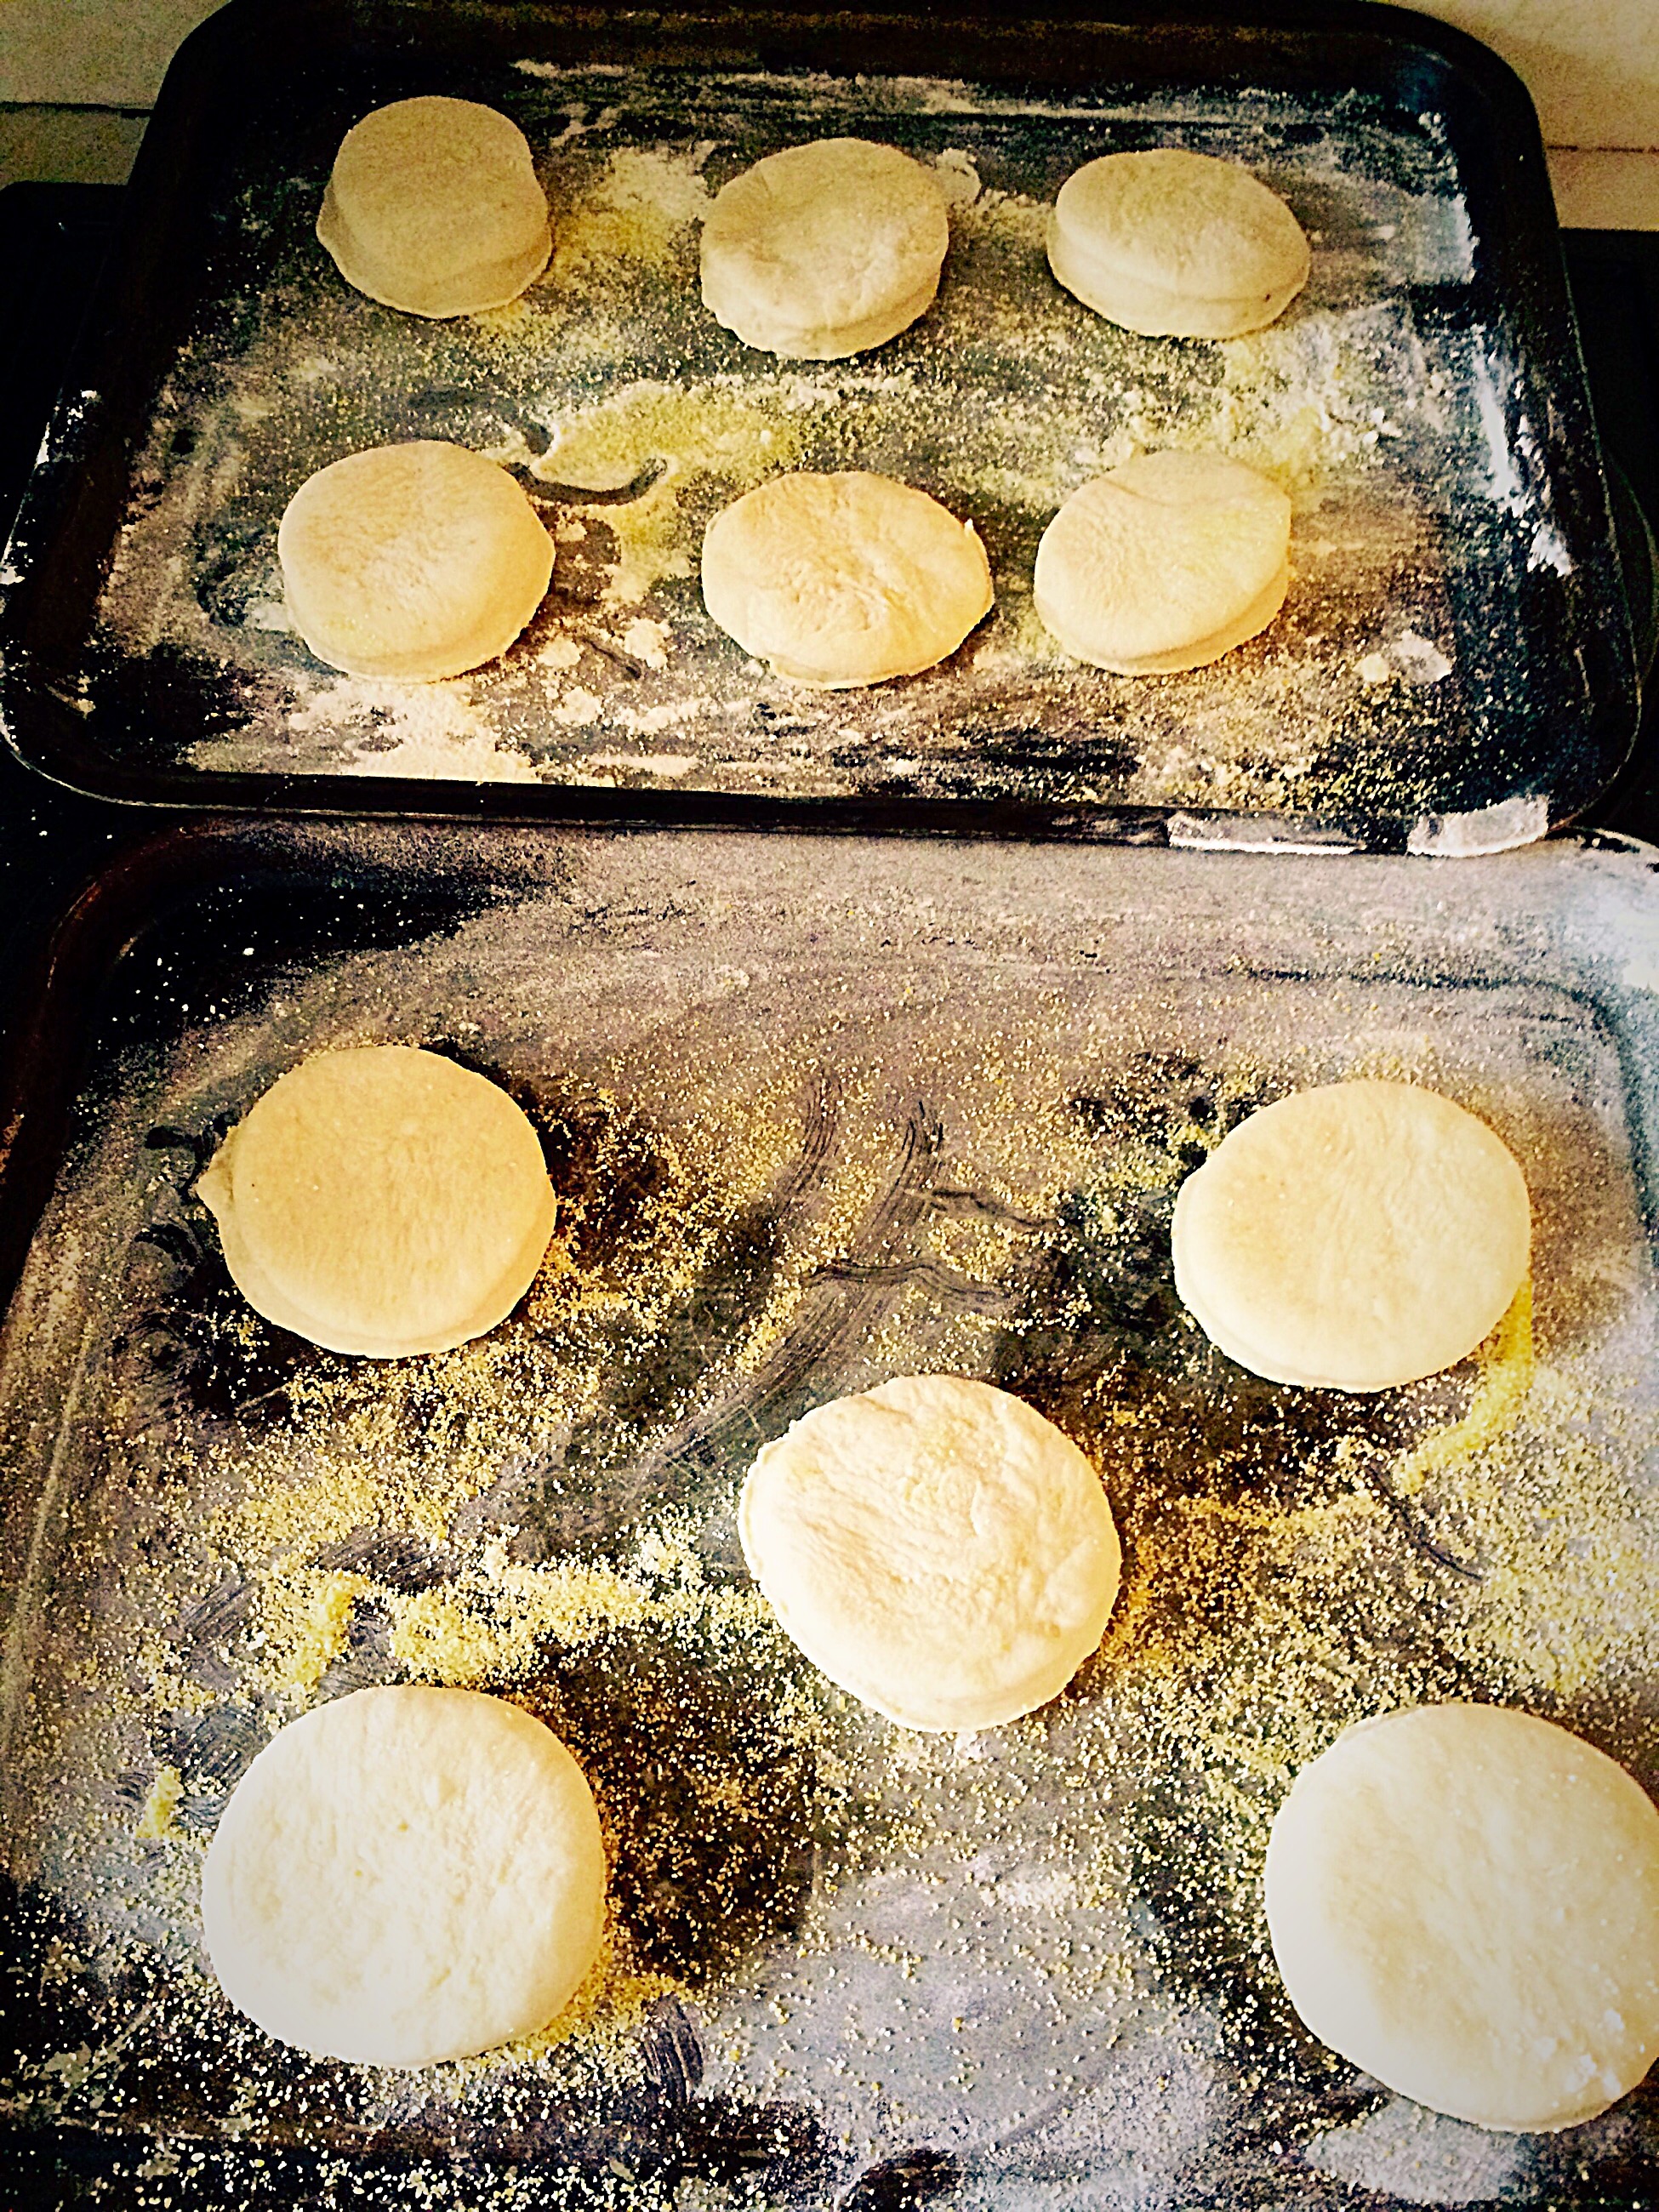
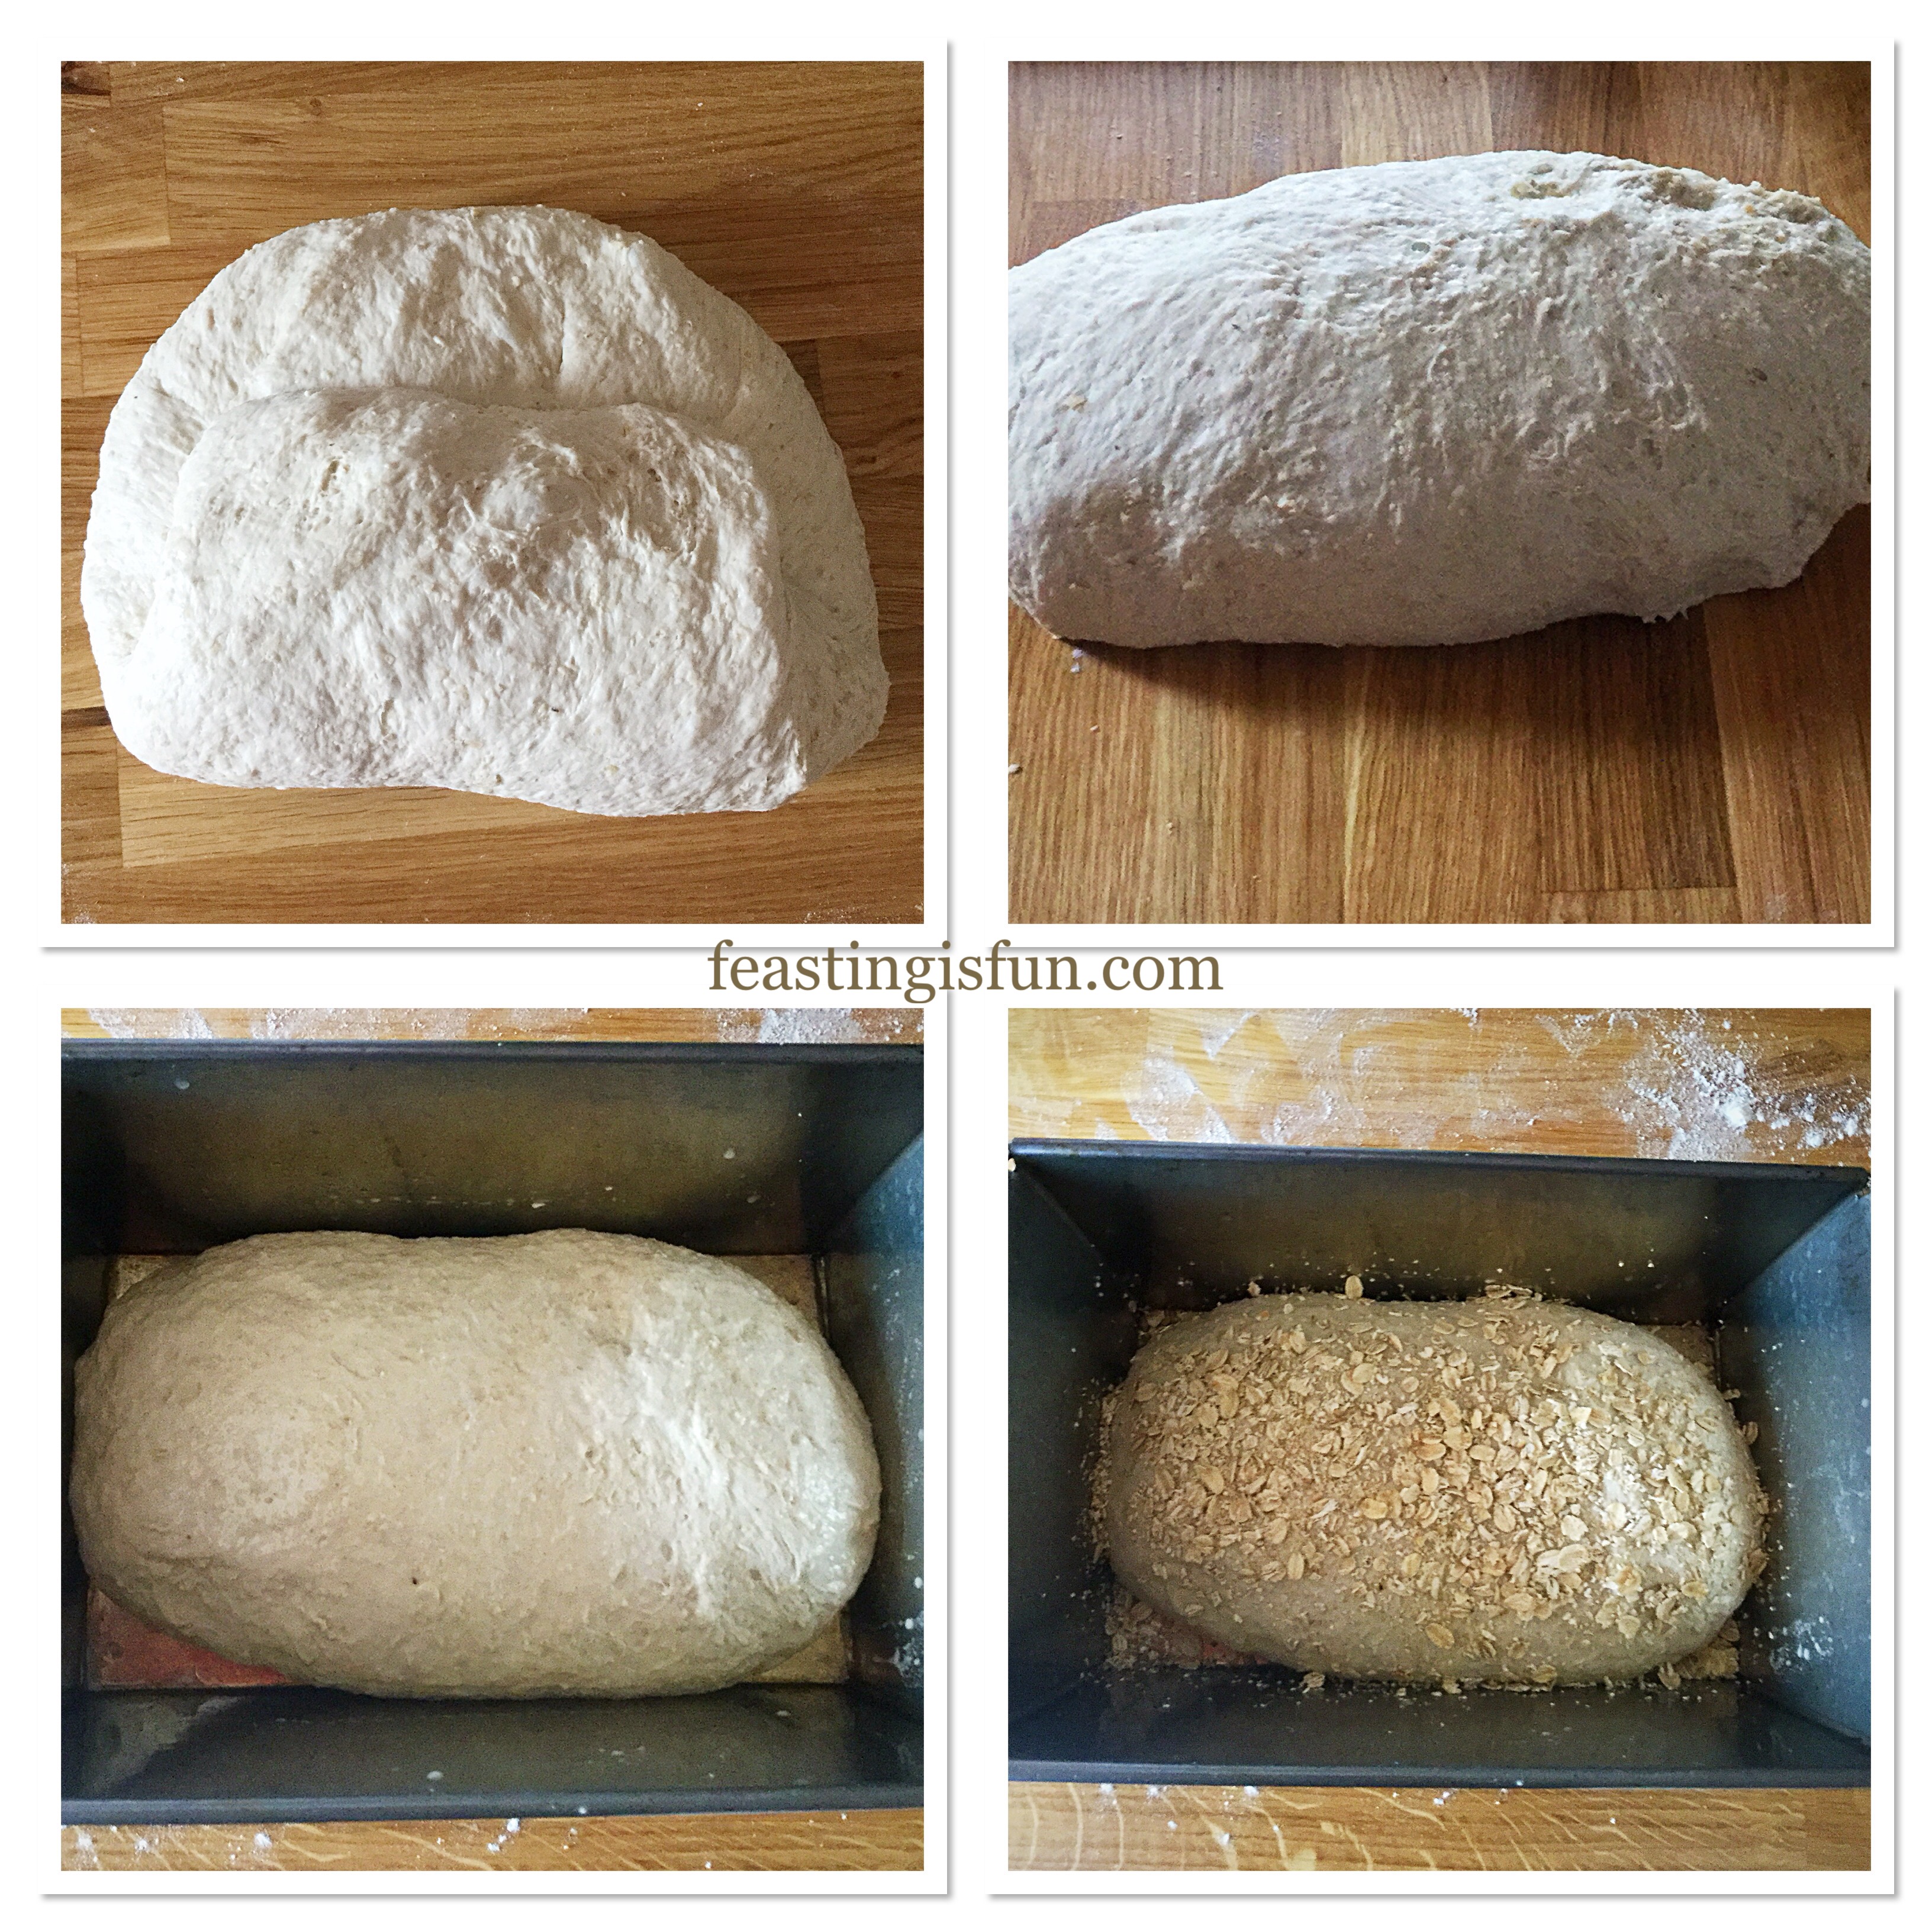
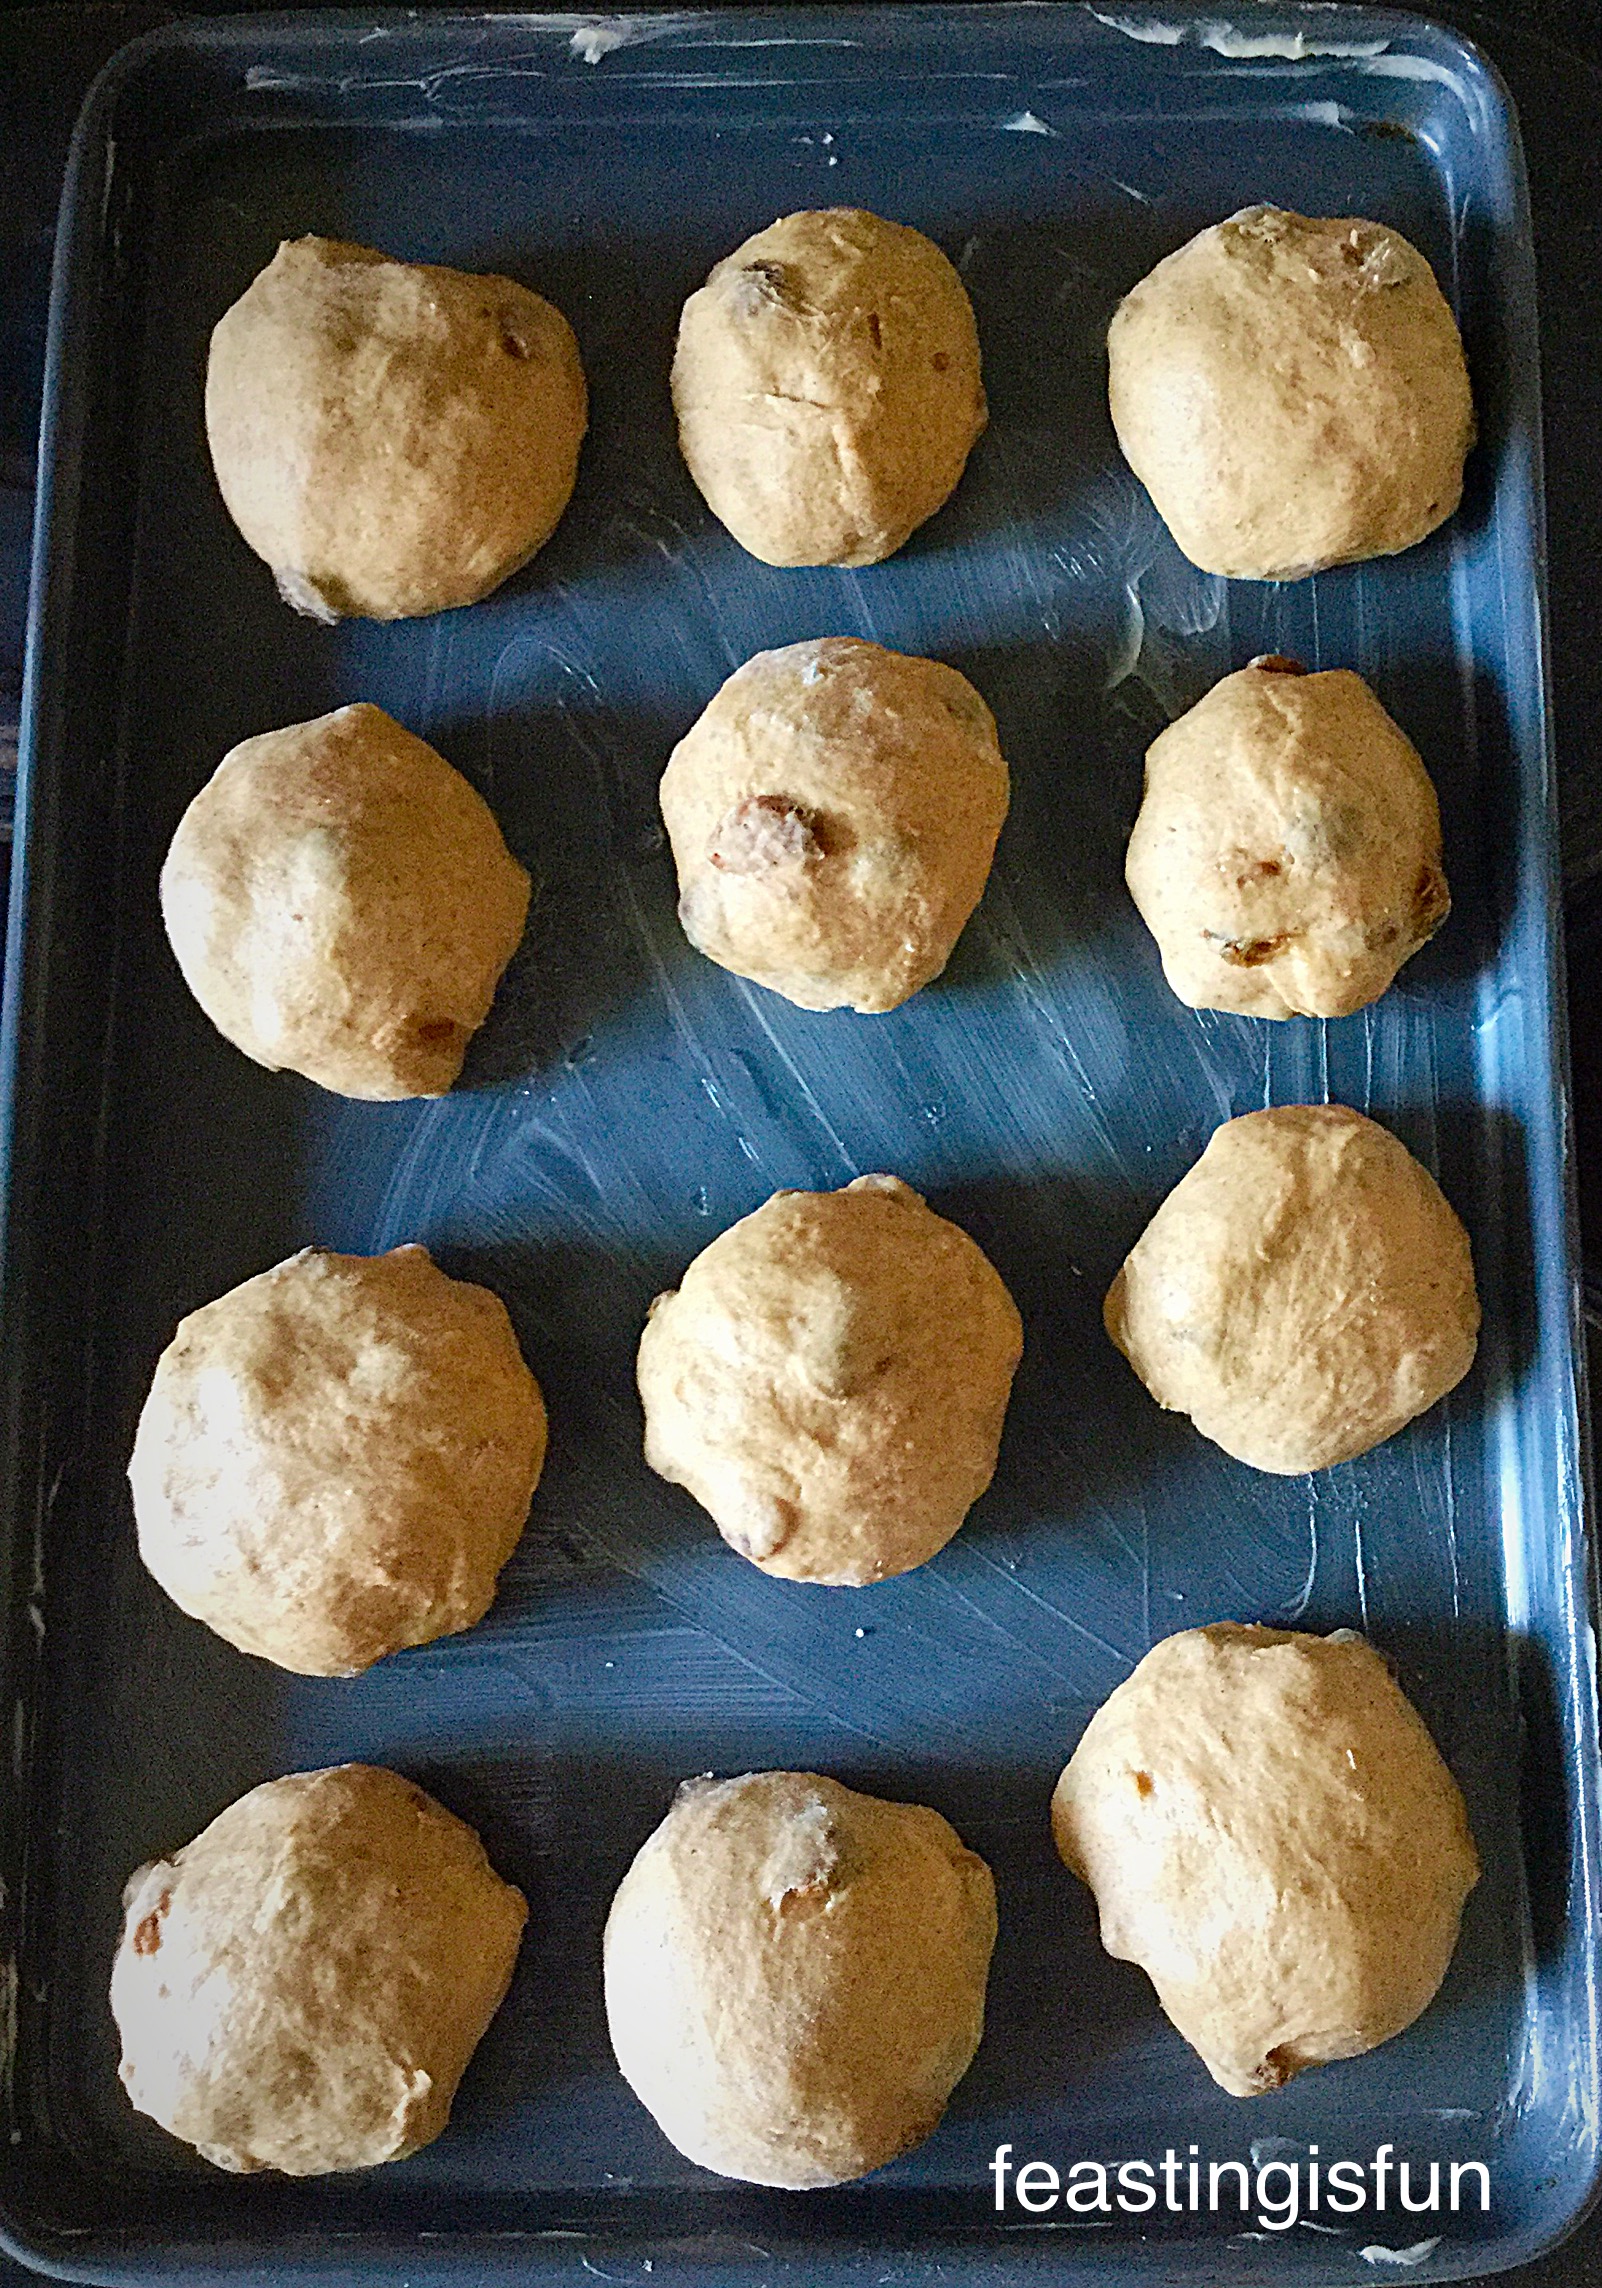
Shaping the Buns
Grease a large baking tray with butter.
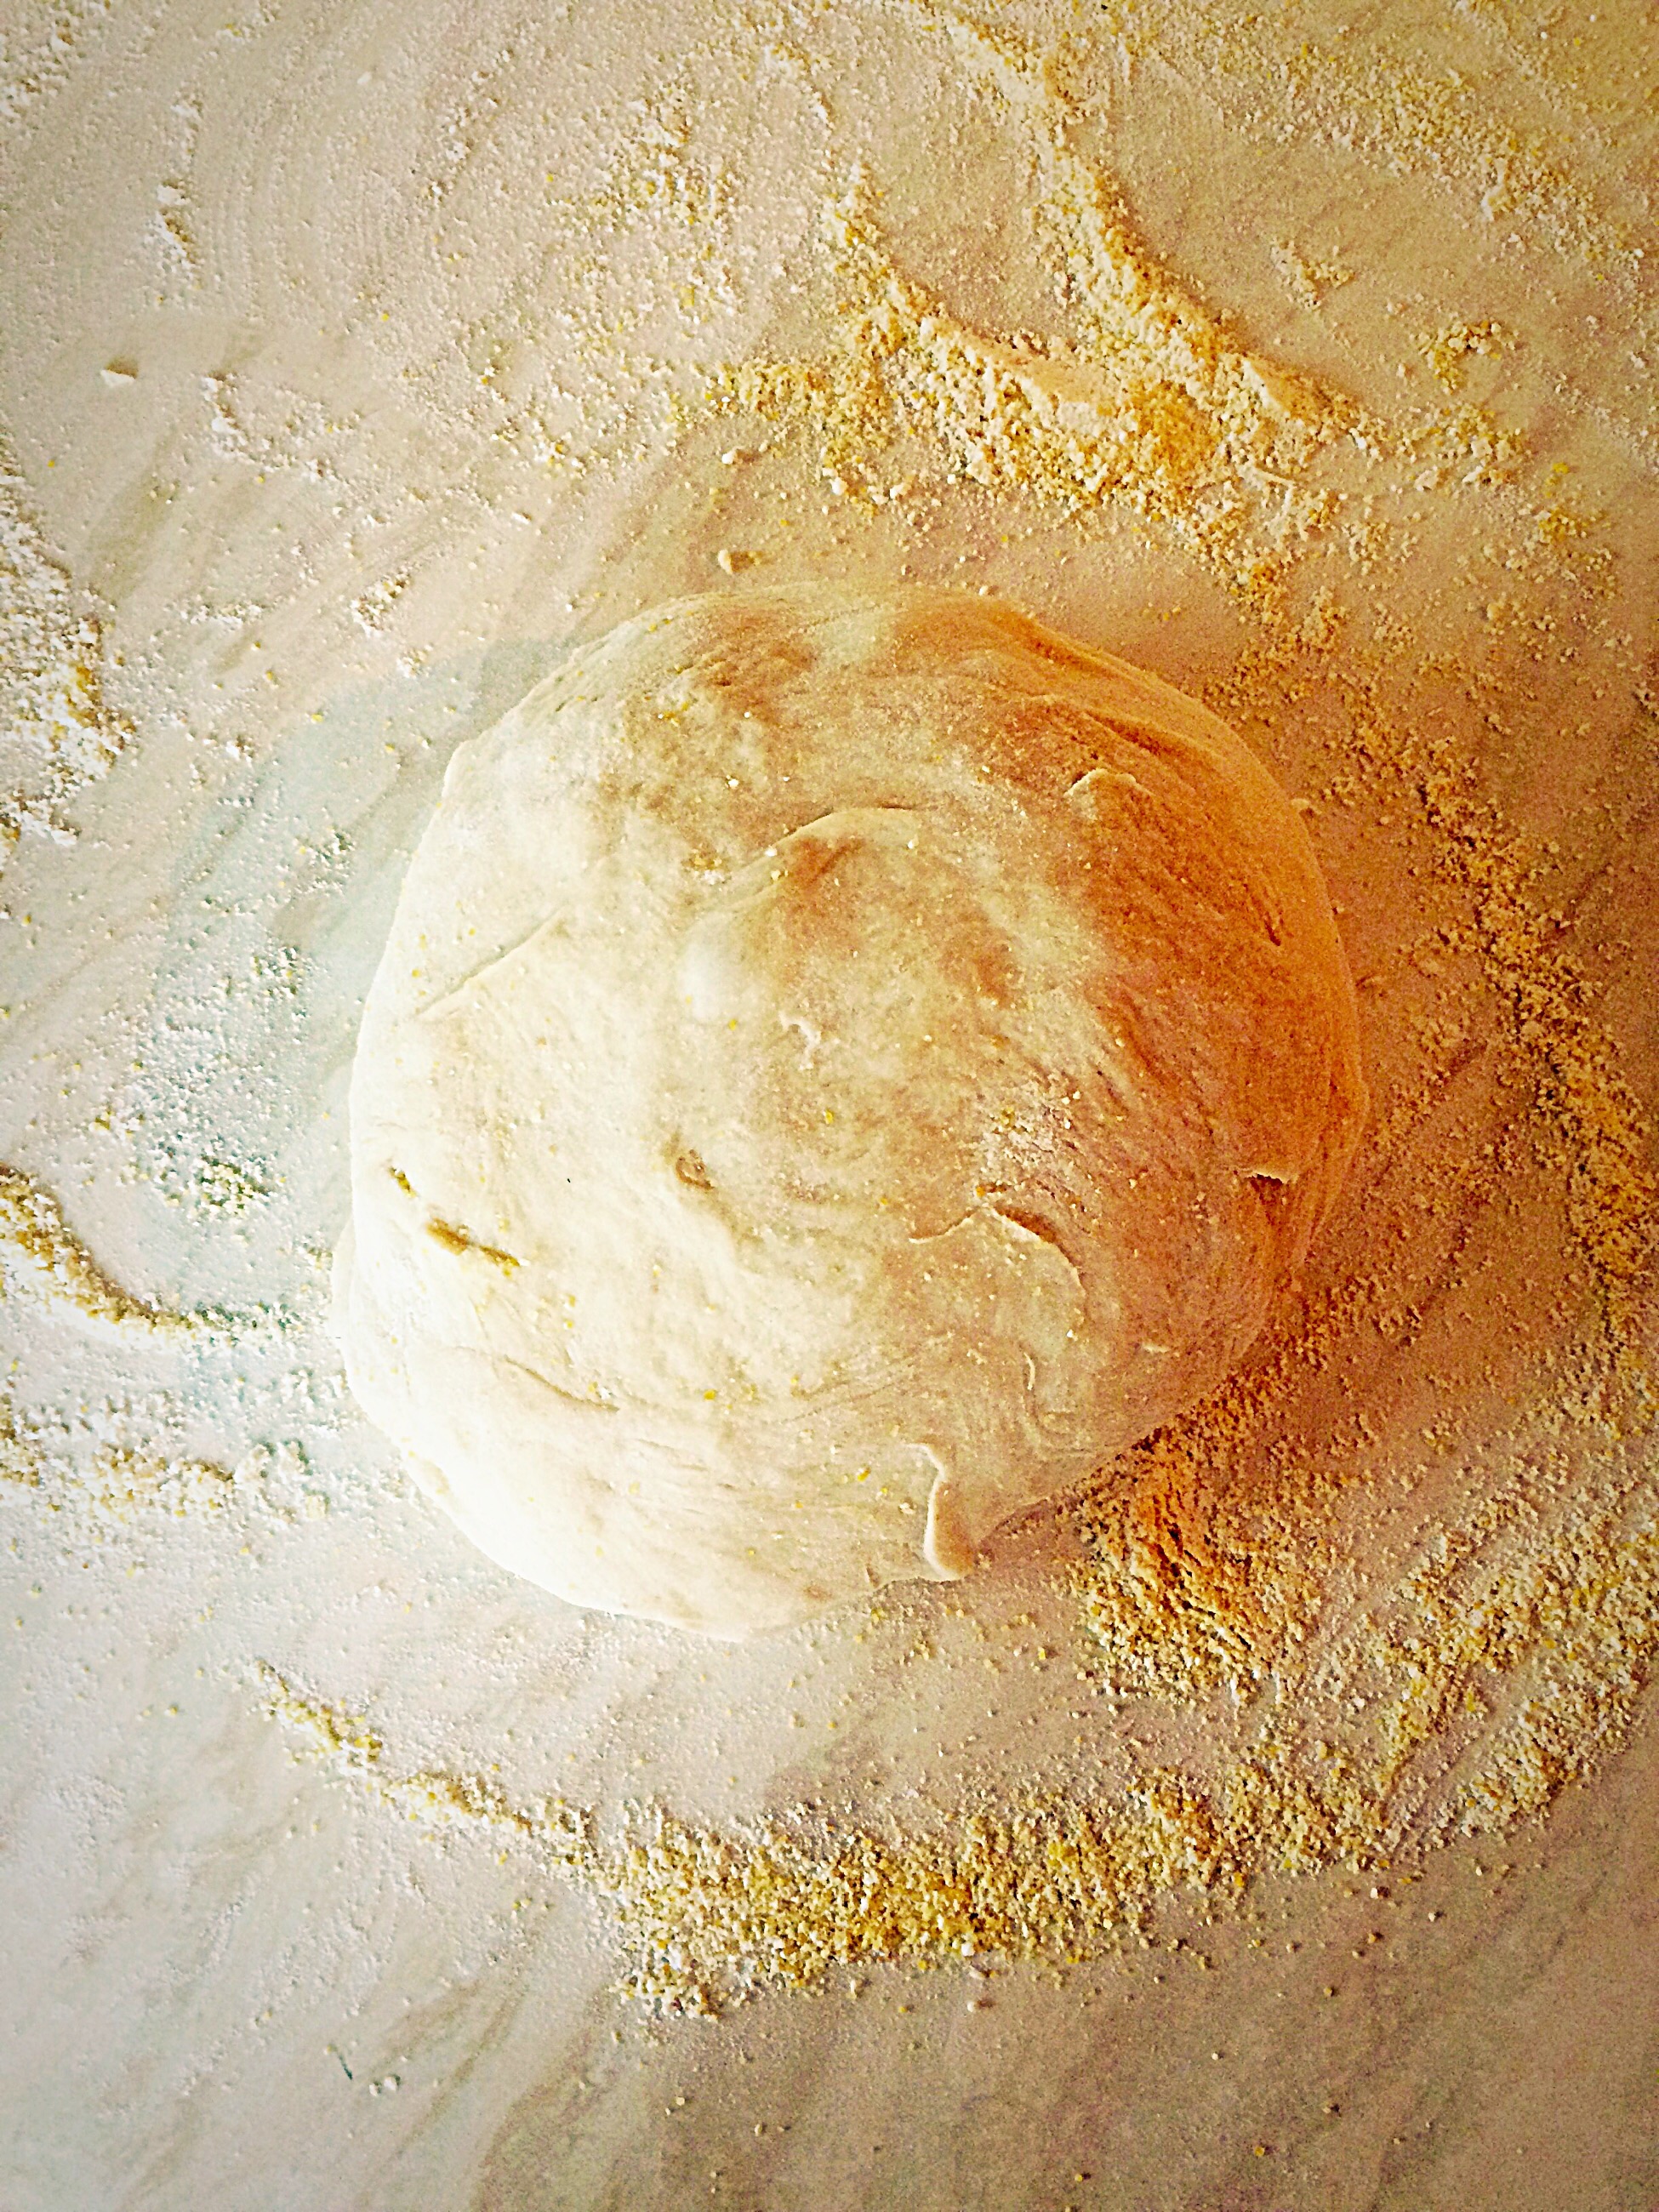
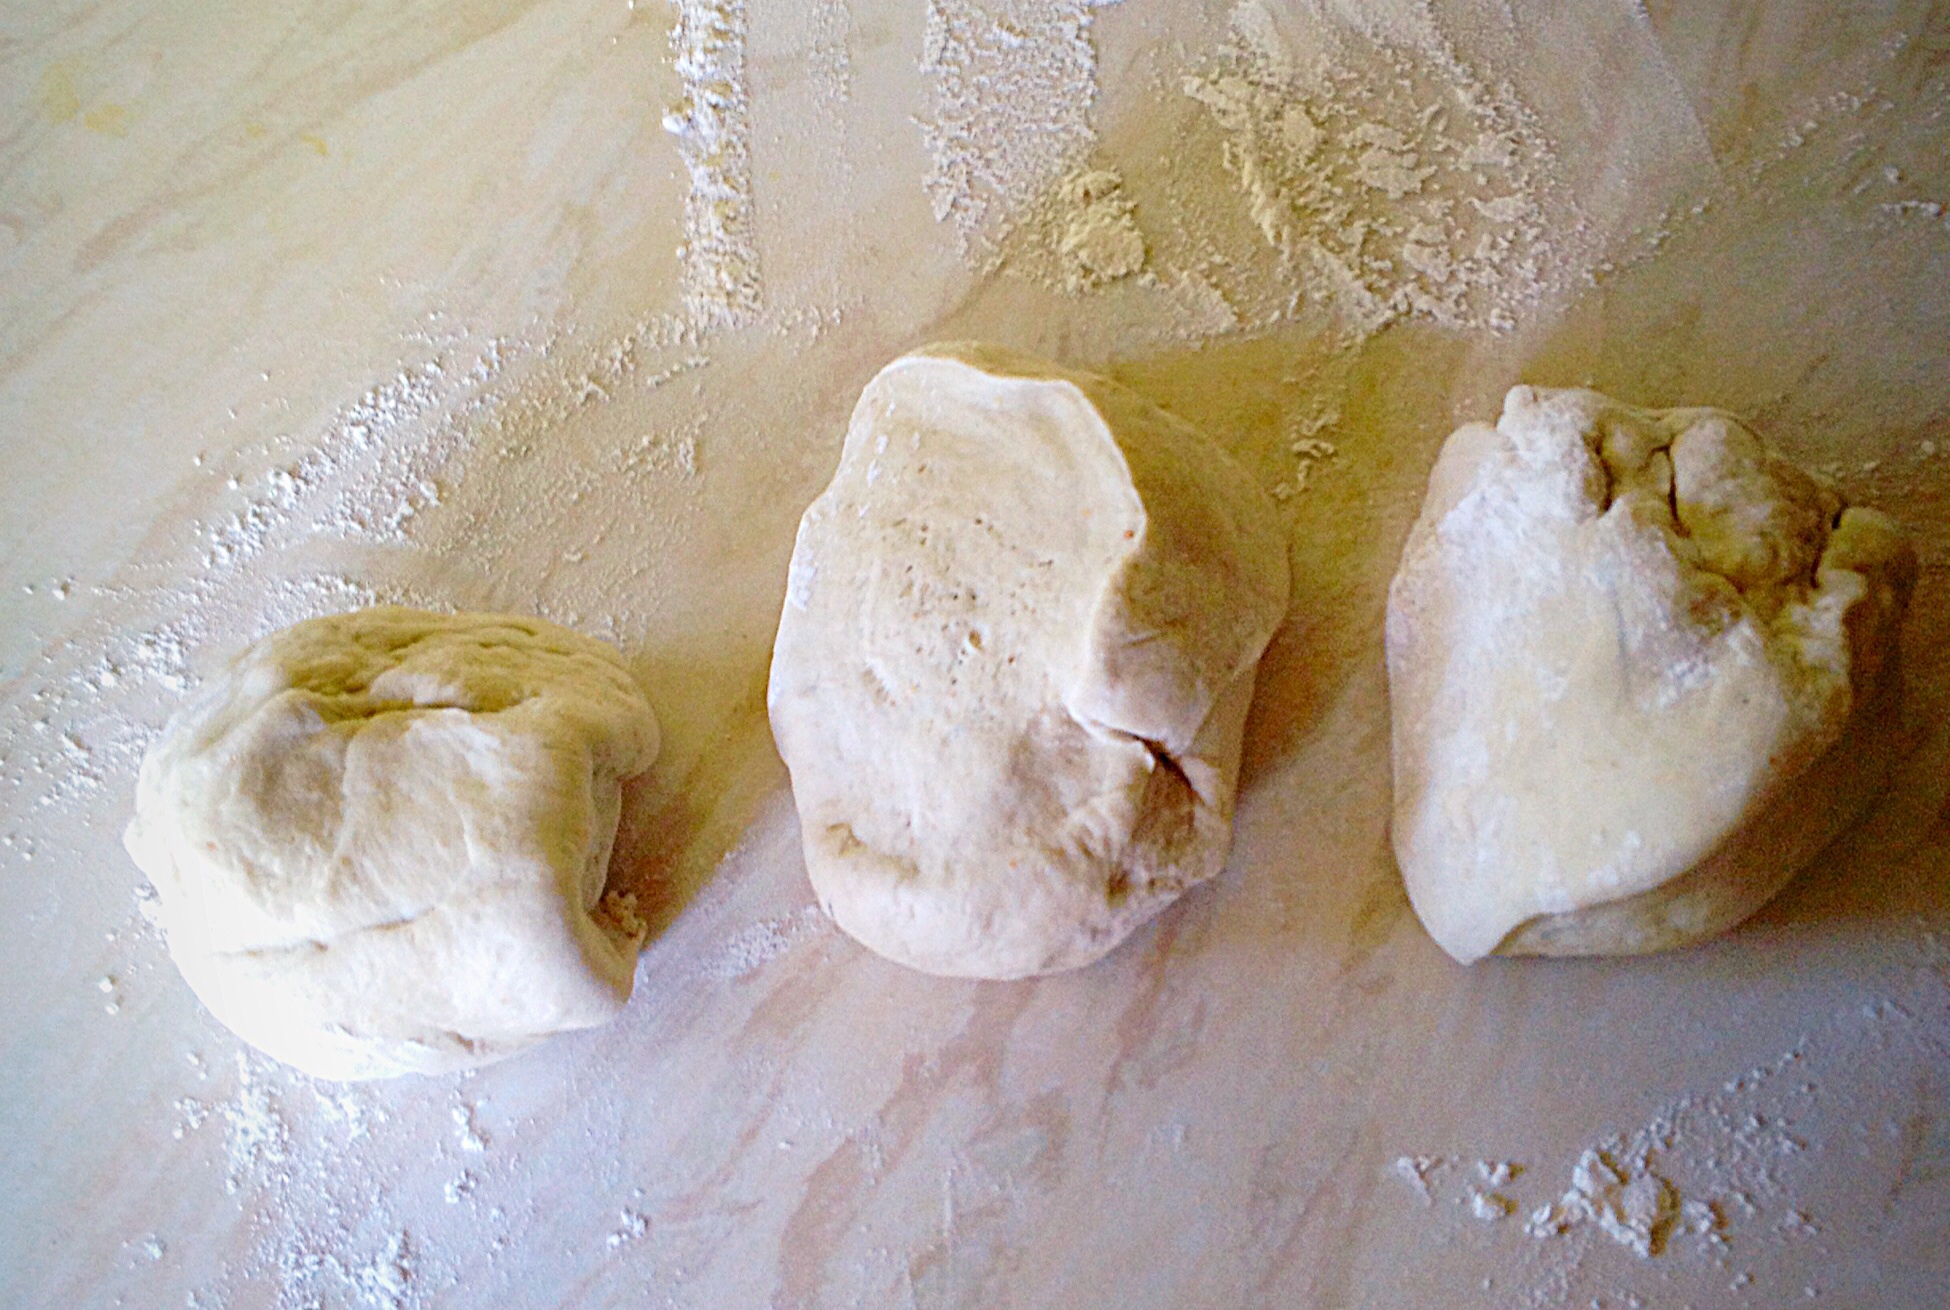
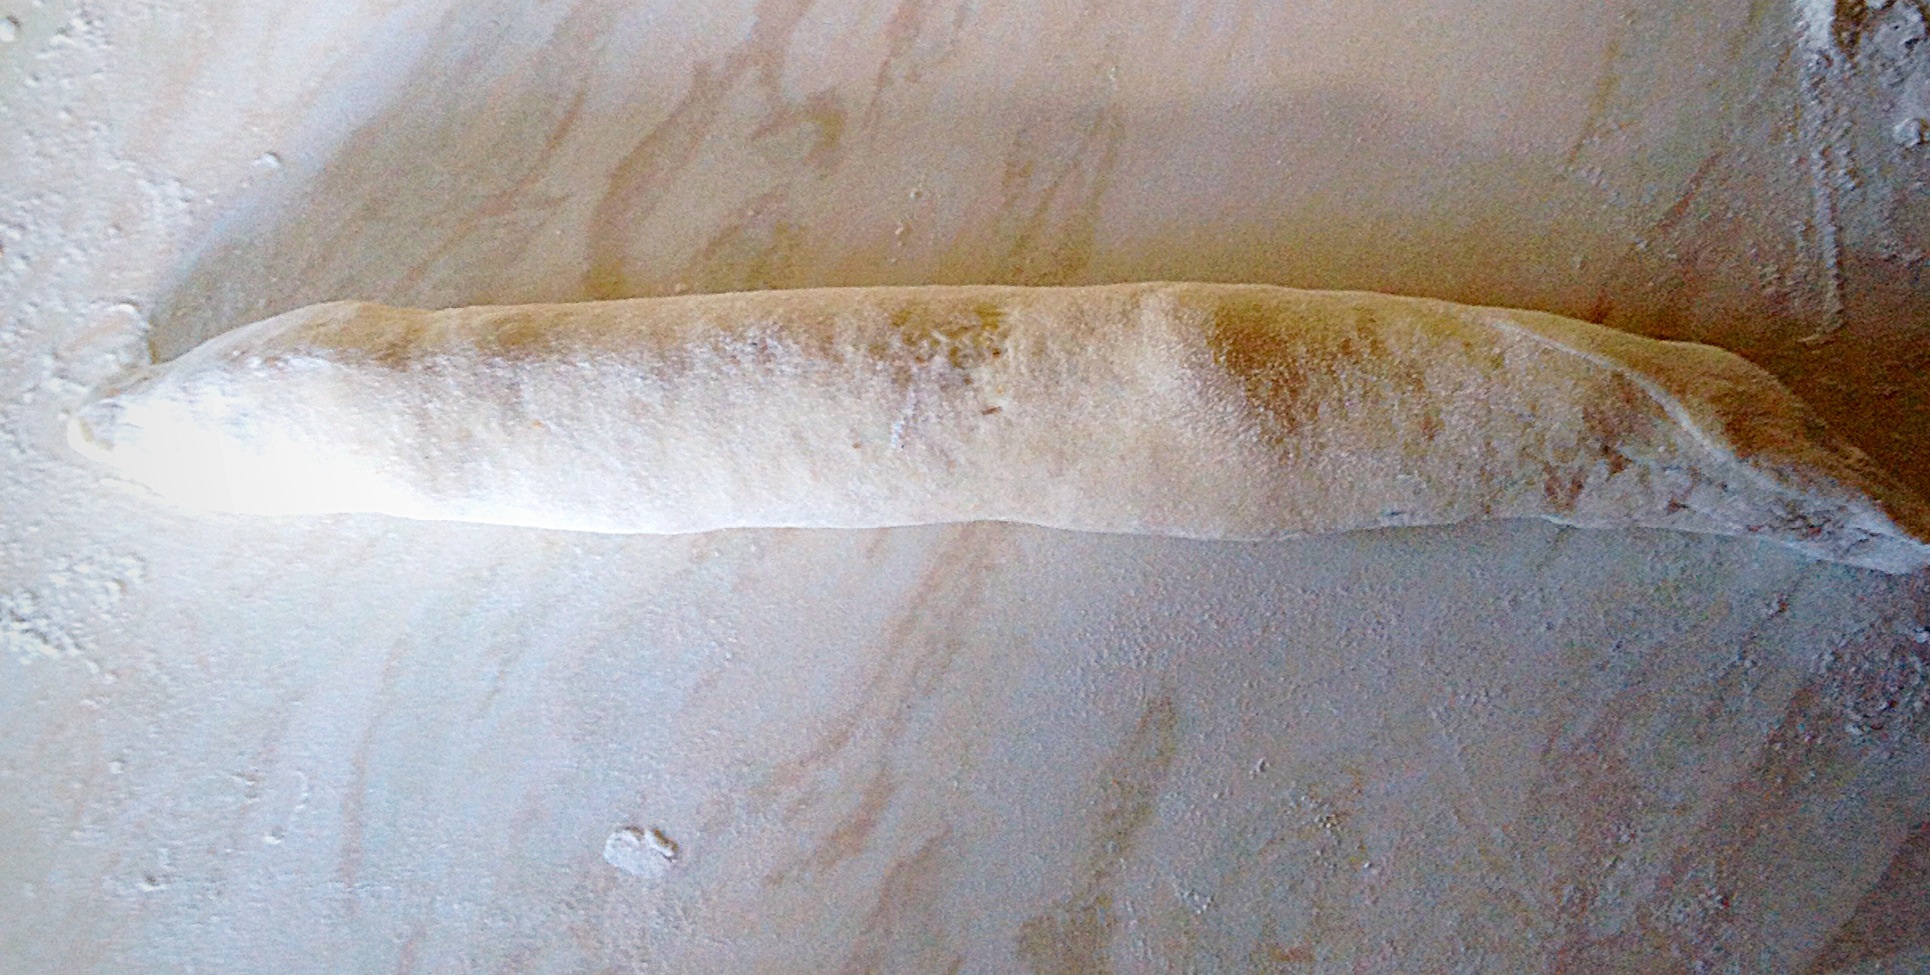
- Tip the dough out onto a lightly floured surface.

- Roll each half into an even log shape.
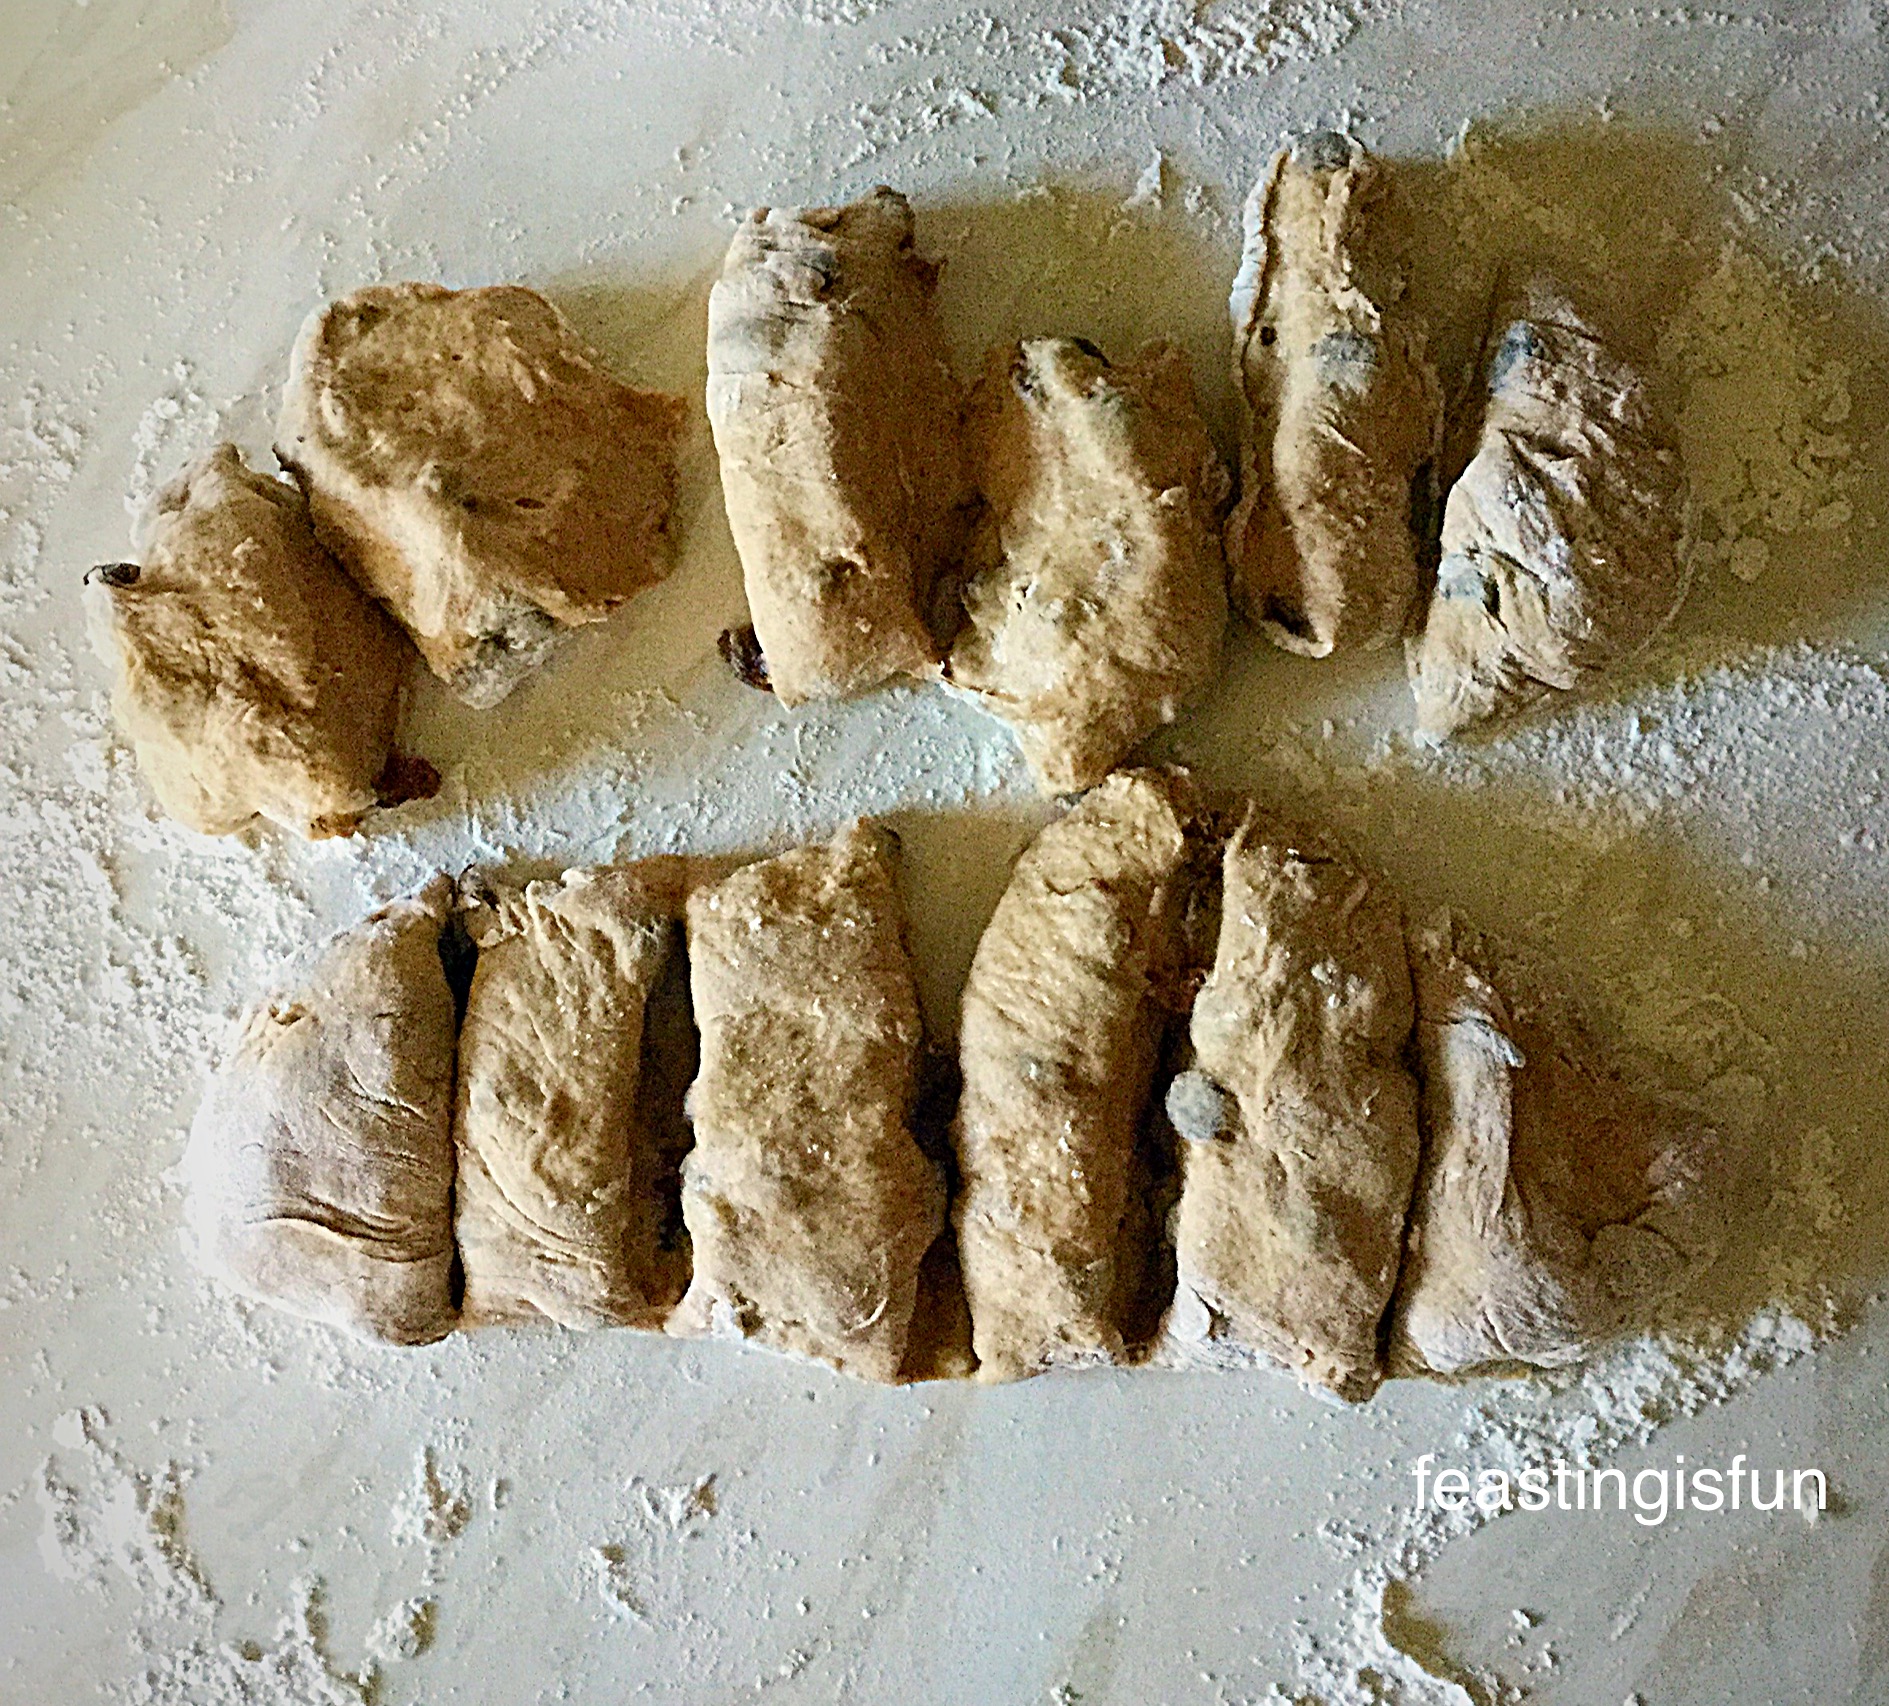
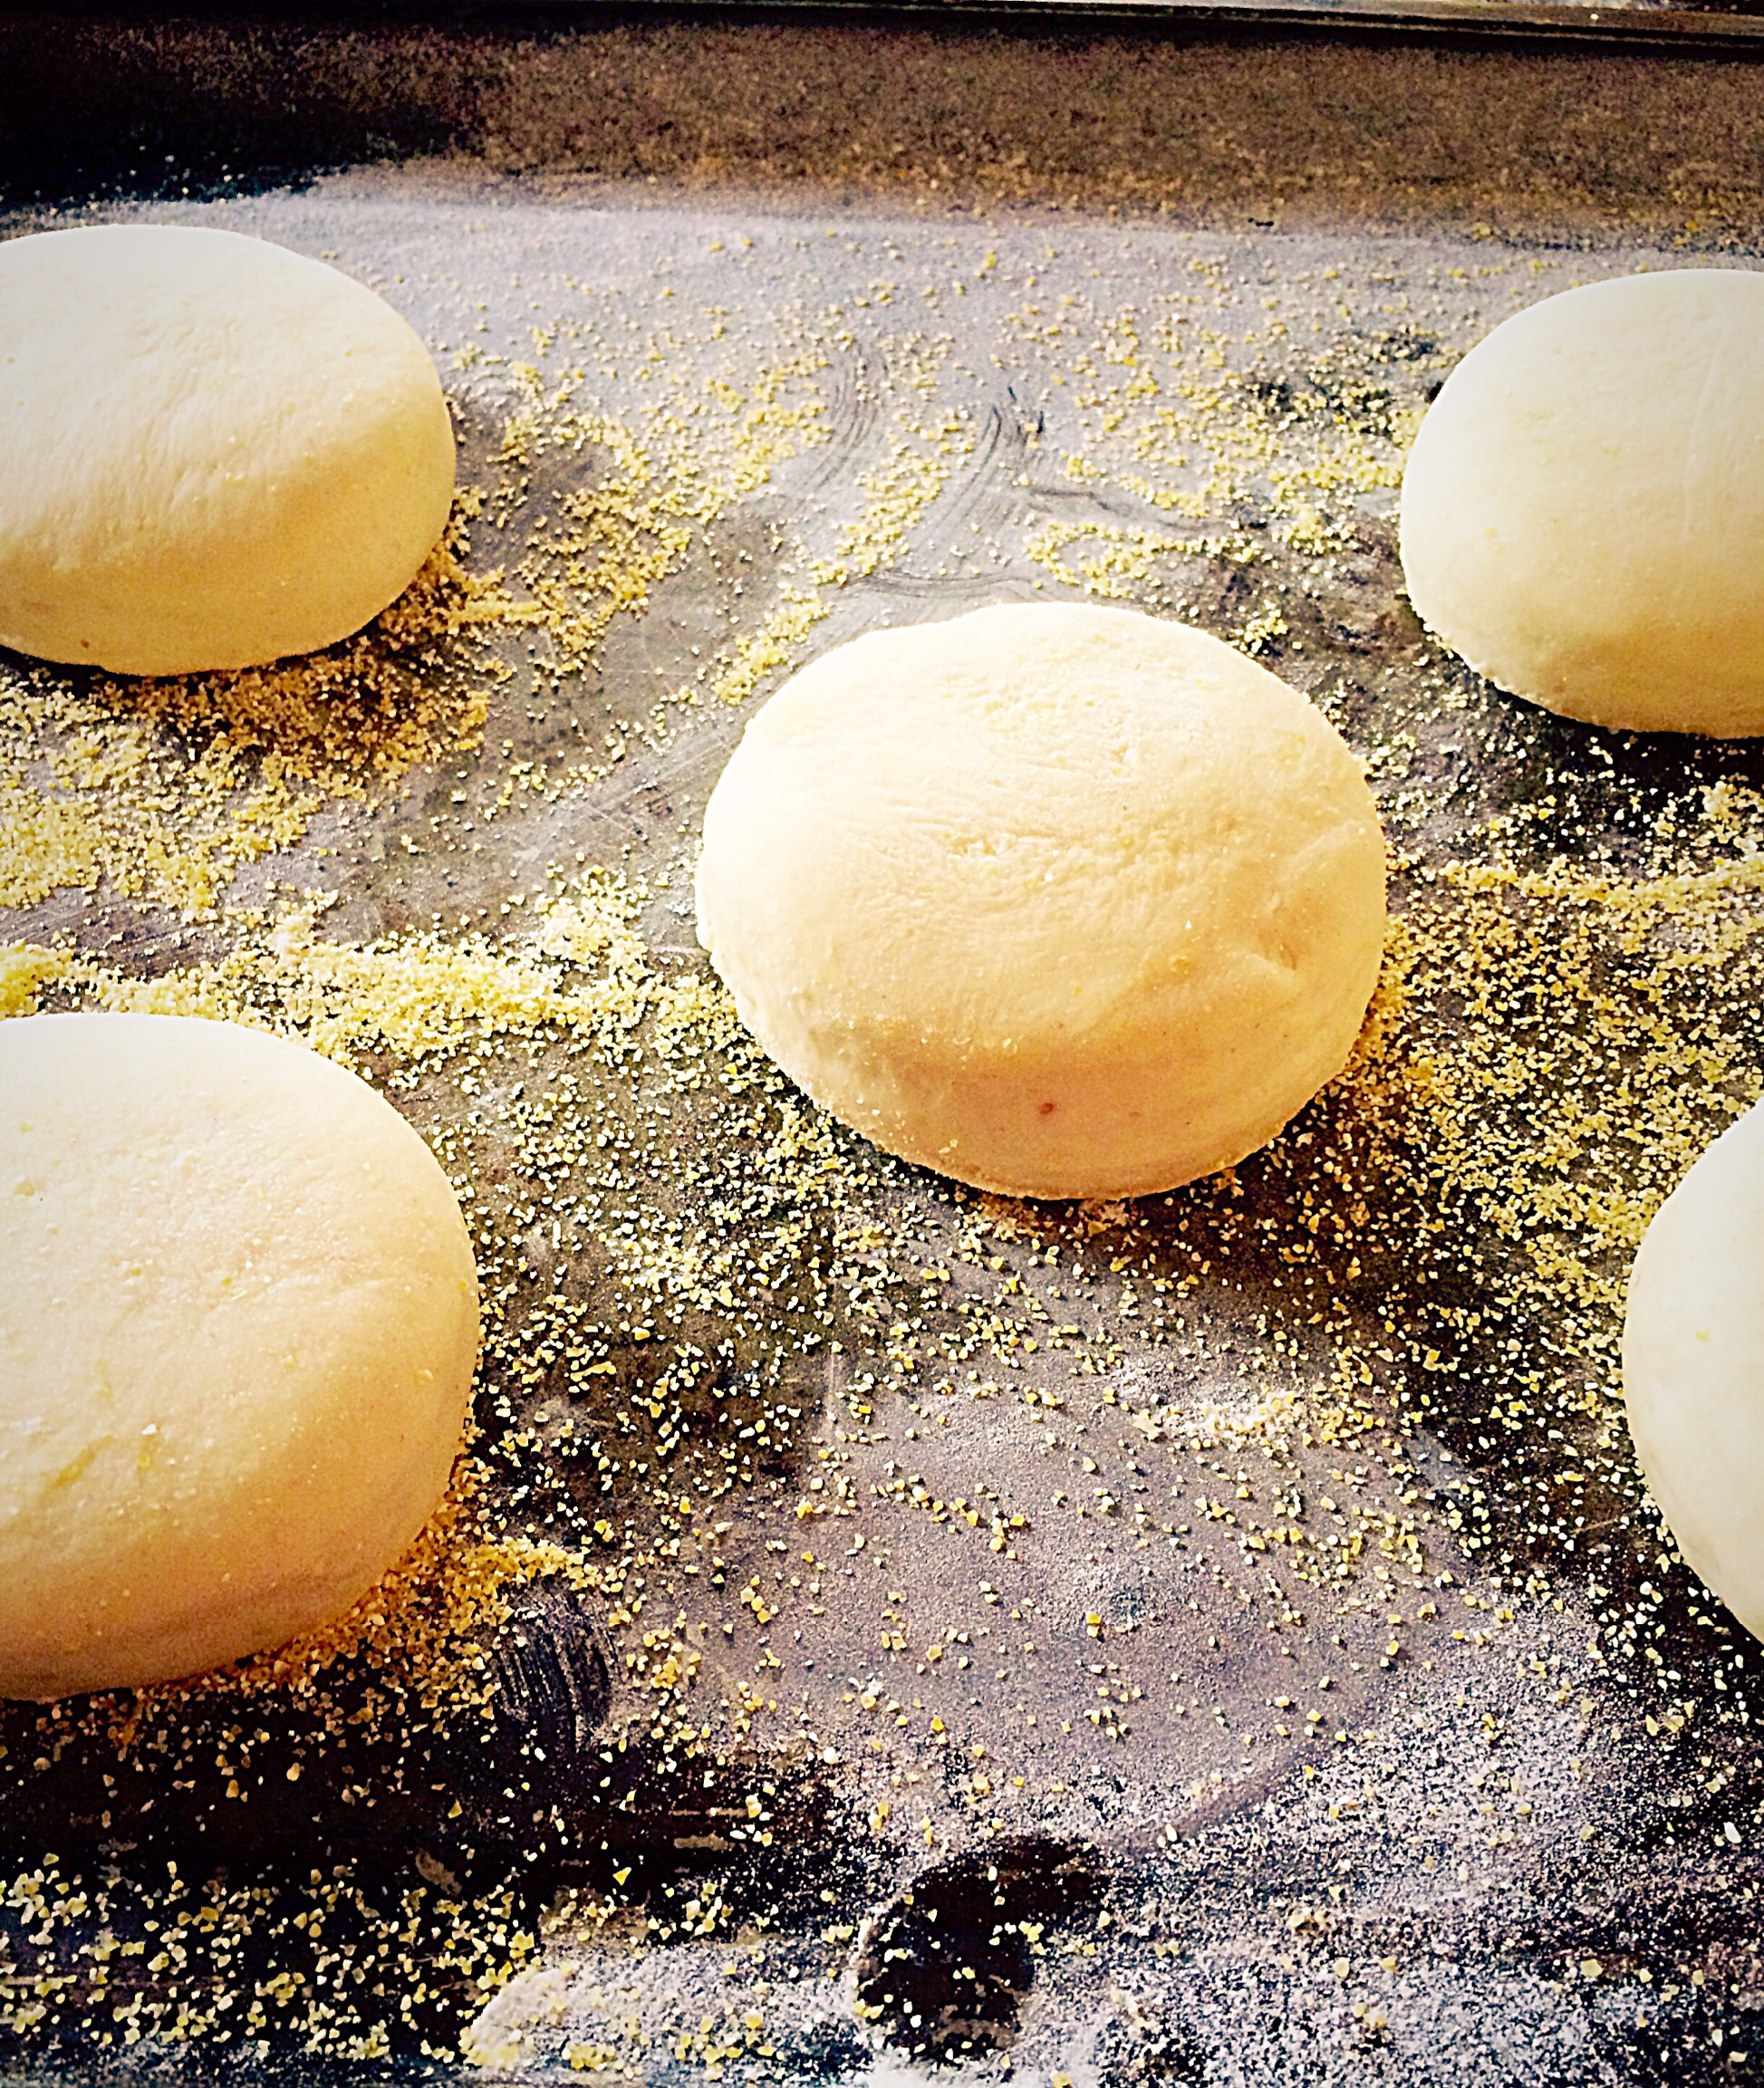
- Using your hands form each portion into a ball with the seam underneath.
- Place the dough balls onto the greased baking tray, evenly spaced apart.
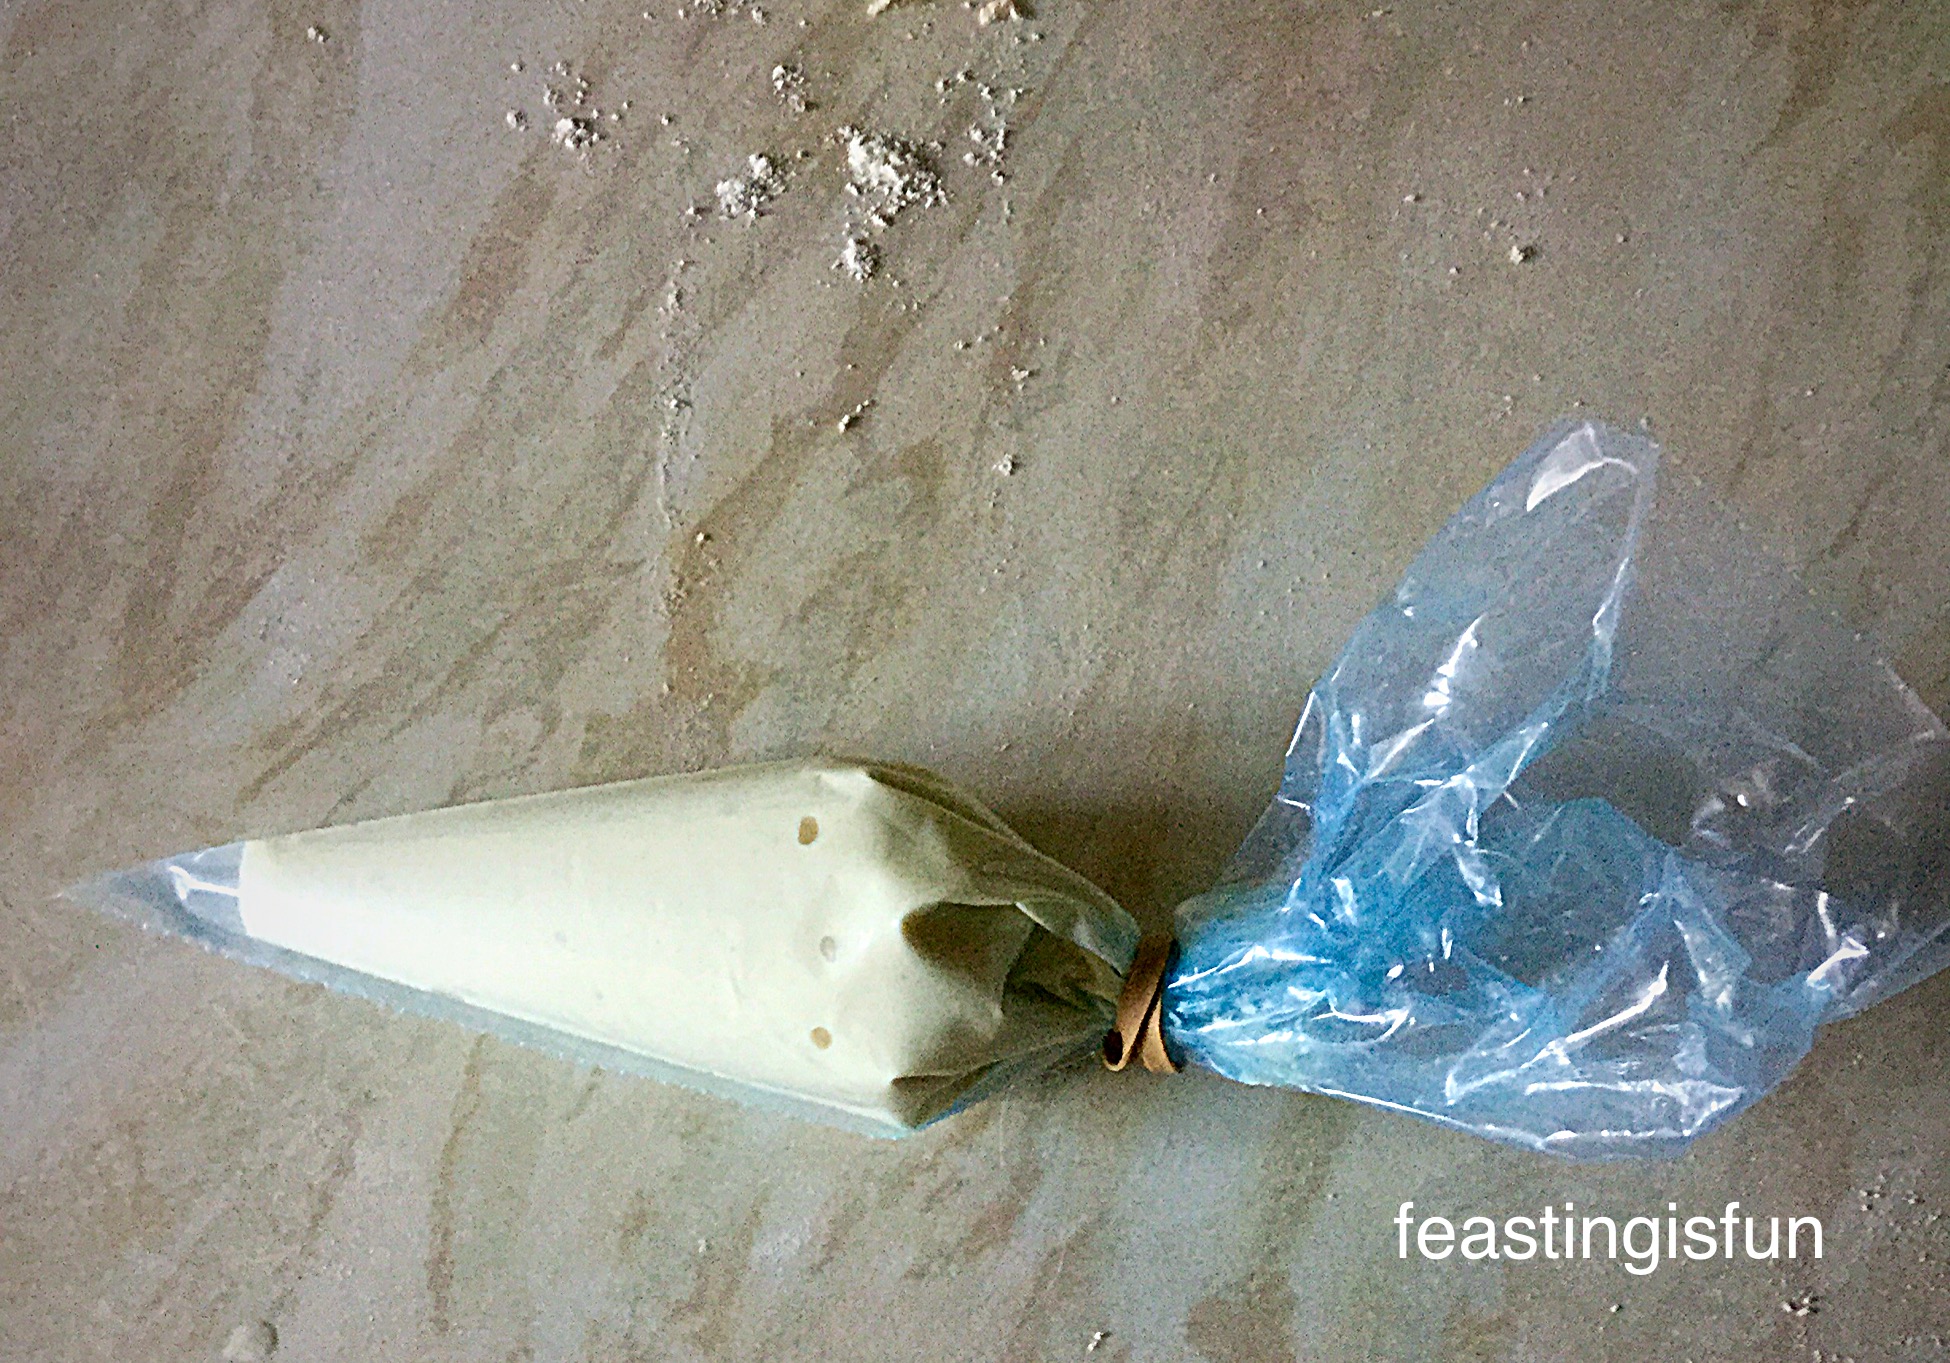
- While the buns are proving, mix 50g of white flour with 50ml of water.
- Spoon into a small piping bag, or a small plastic sandwich bag.
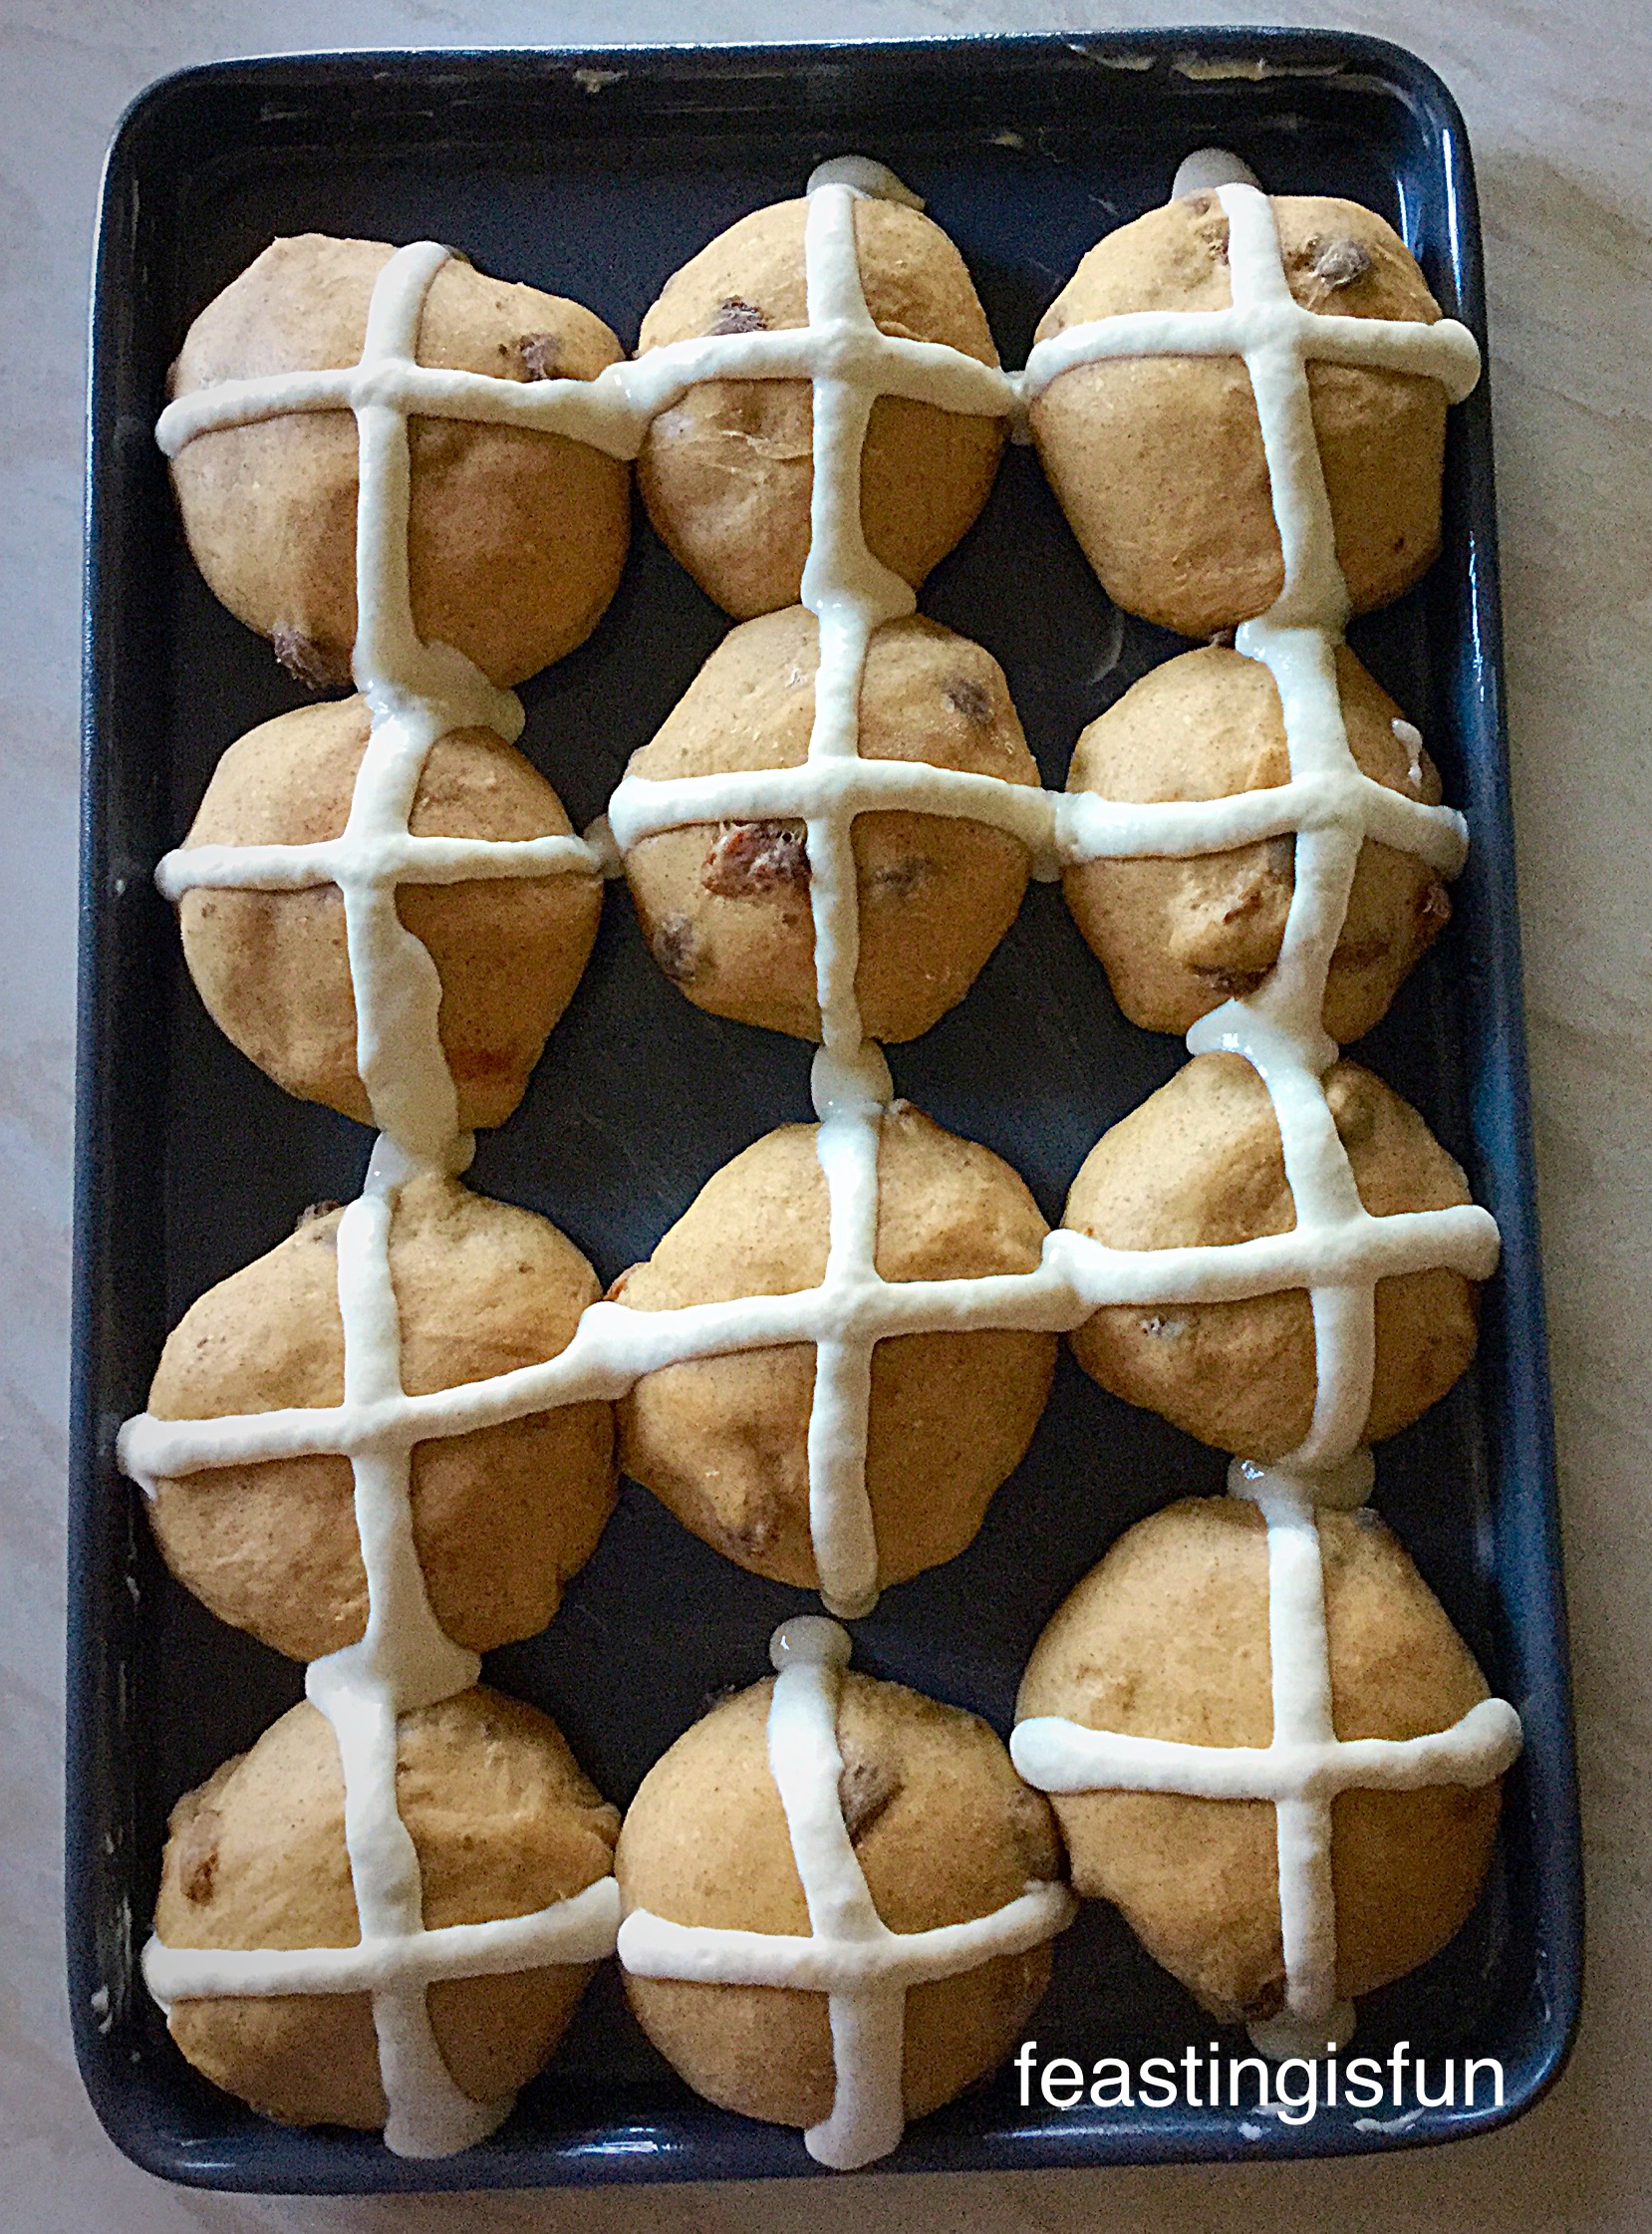
- 10 minutes before the Hot Cross Buns are ready to bake, preheat the oven to 220C/200C fan, gas mark 7, 425F.
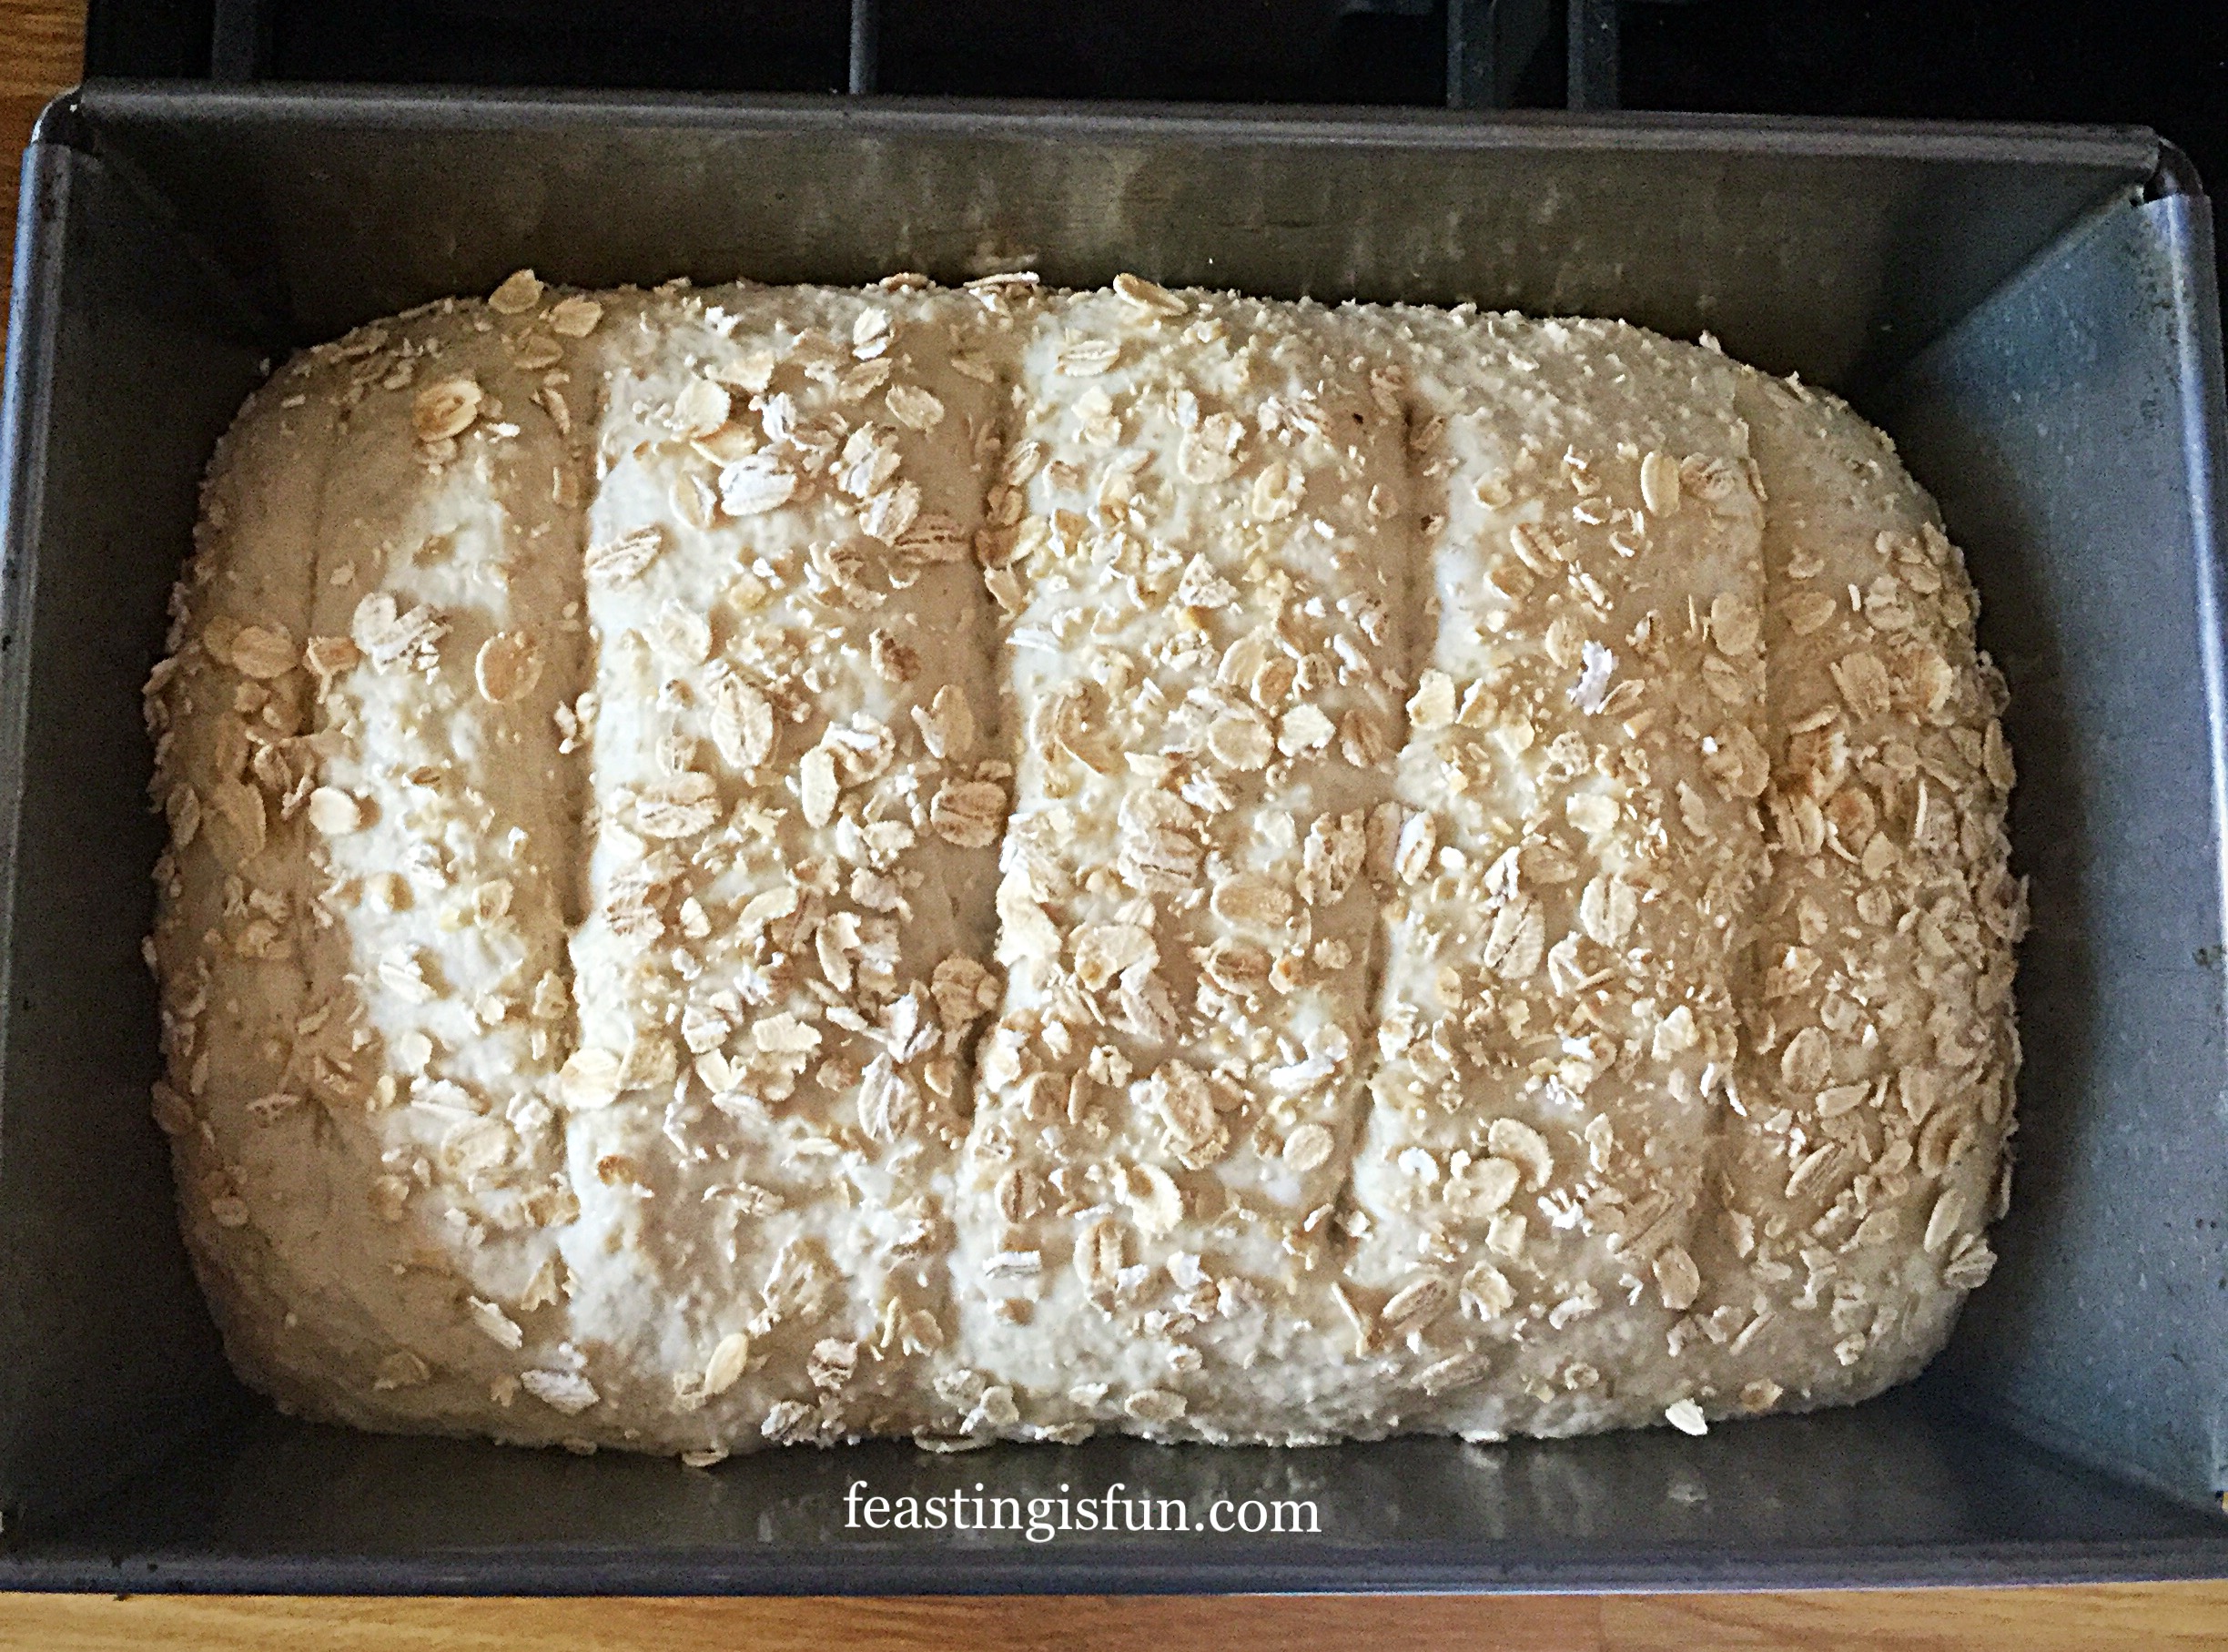
- As soon as the buns have doubled in sized snip the end of the piping bag and pipe crosses on them.
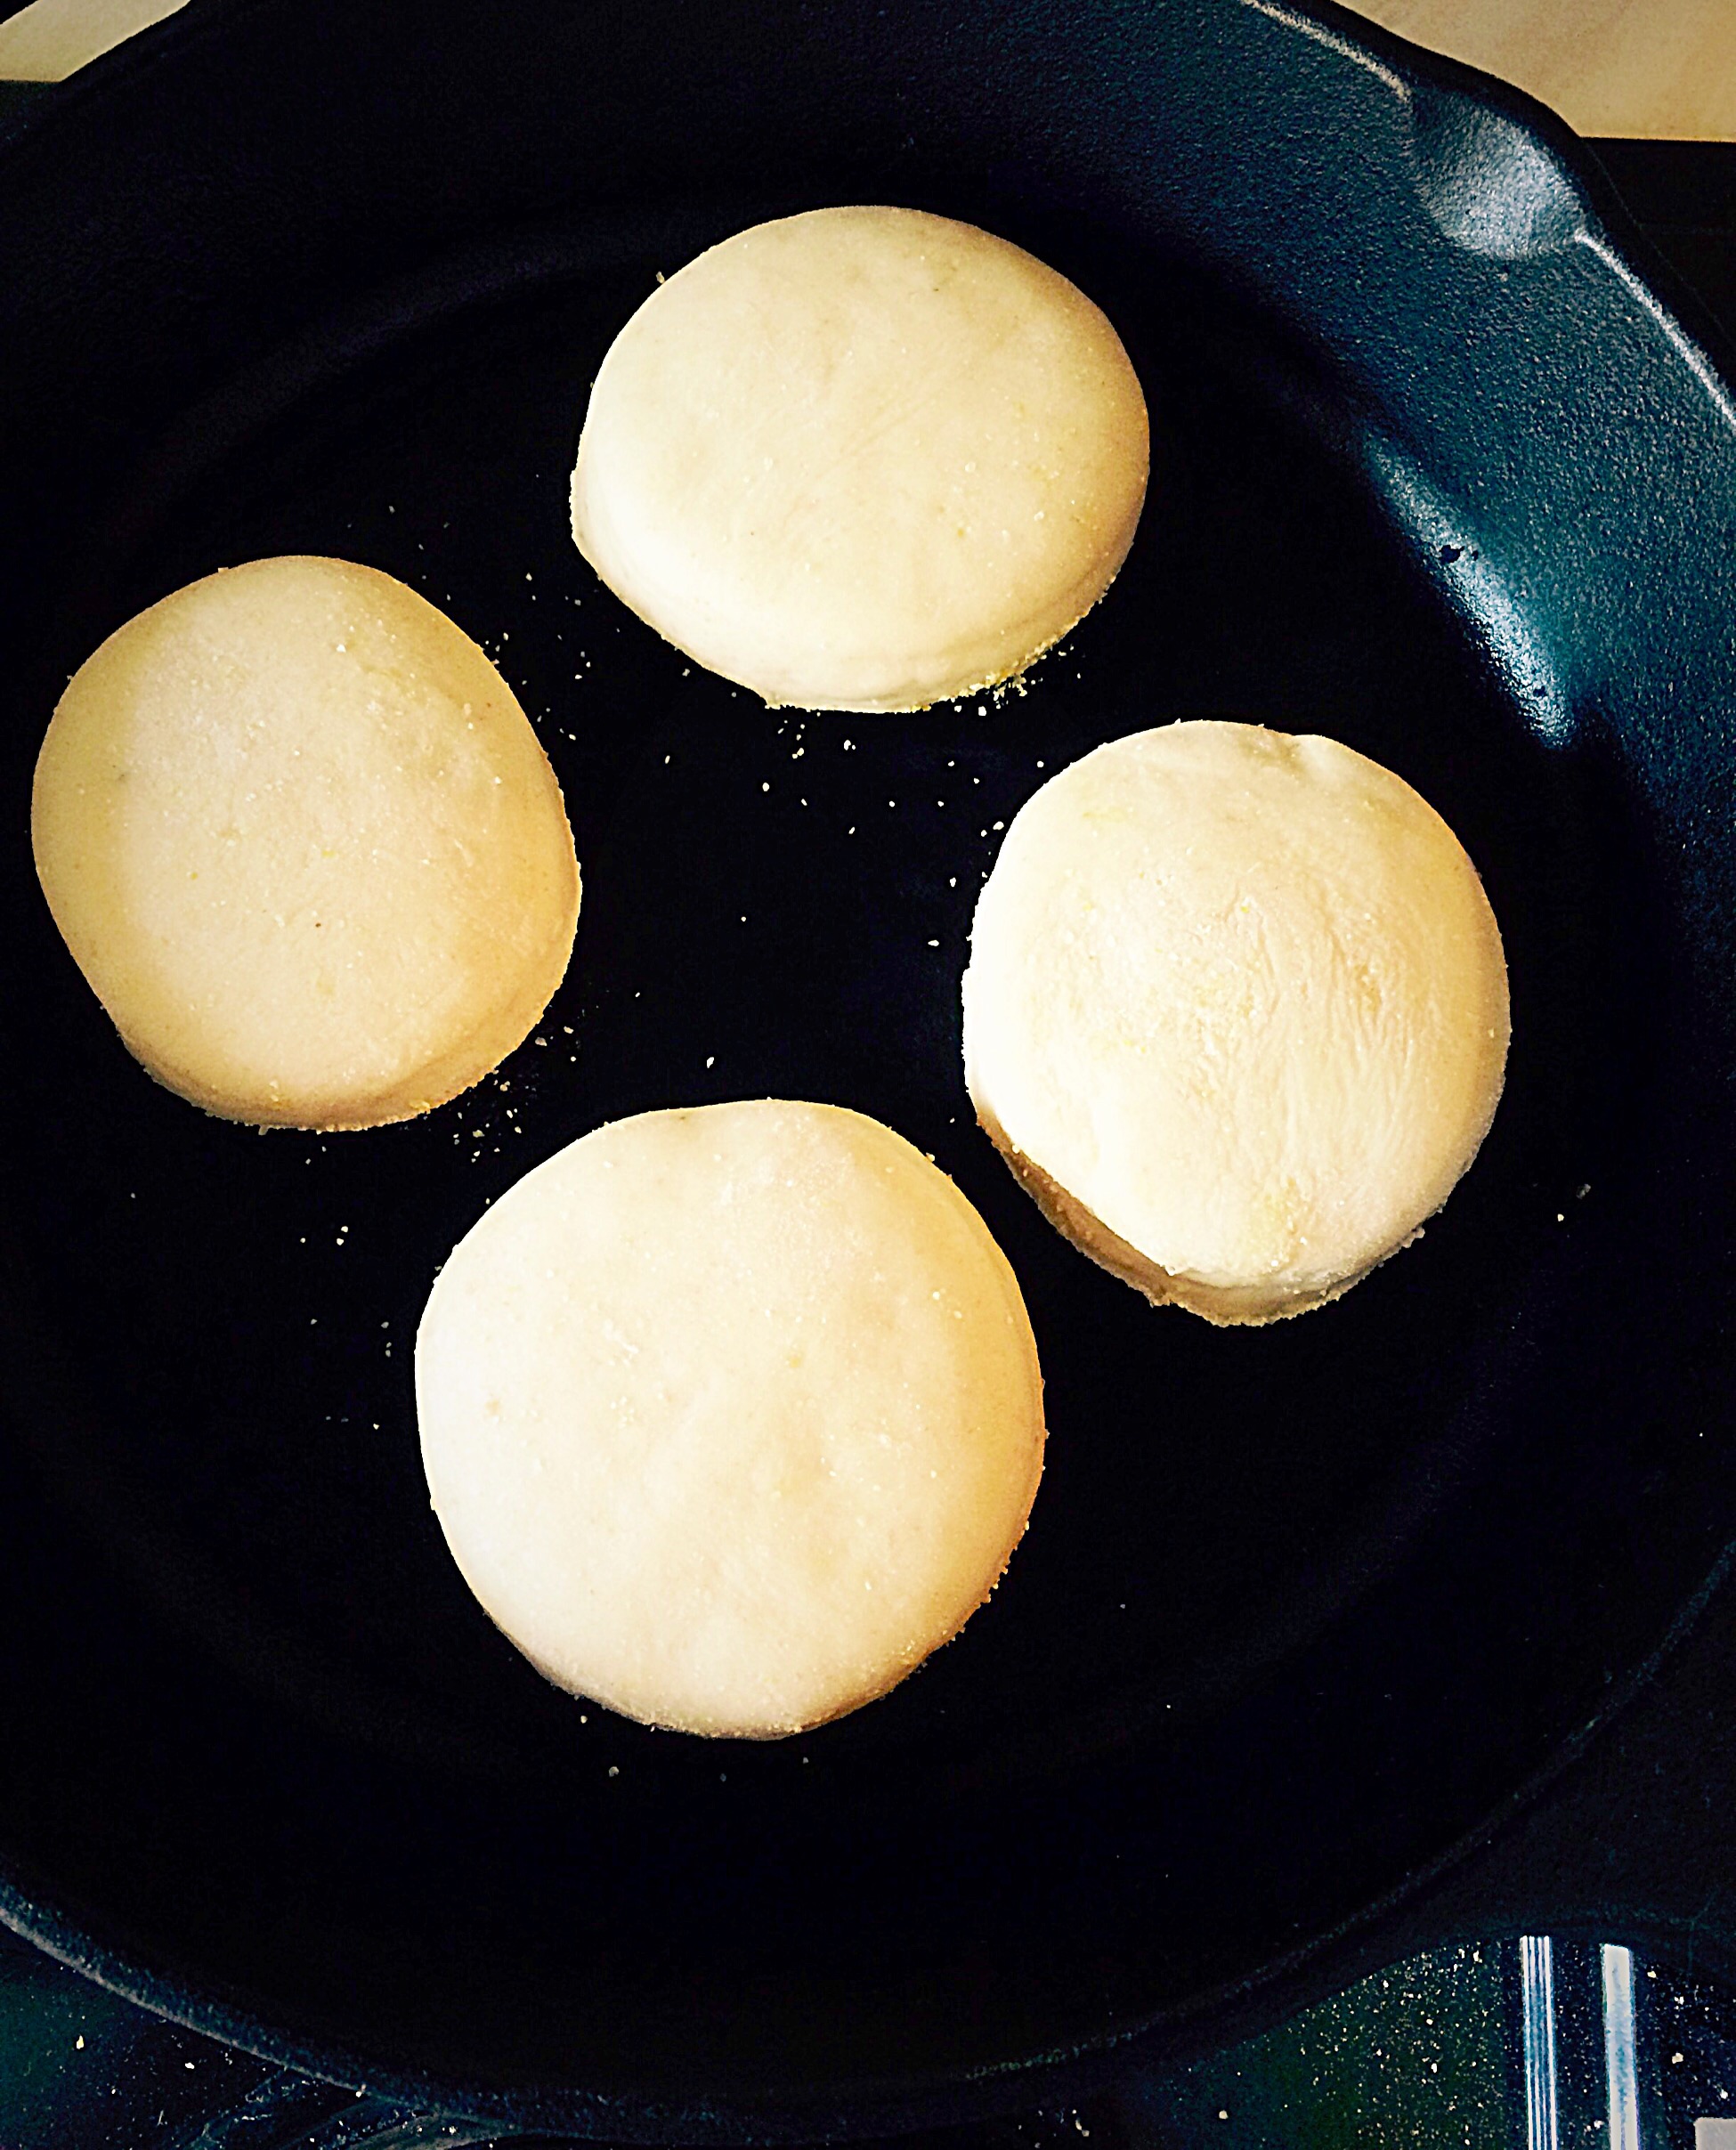
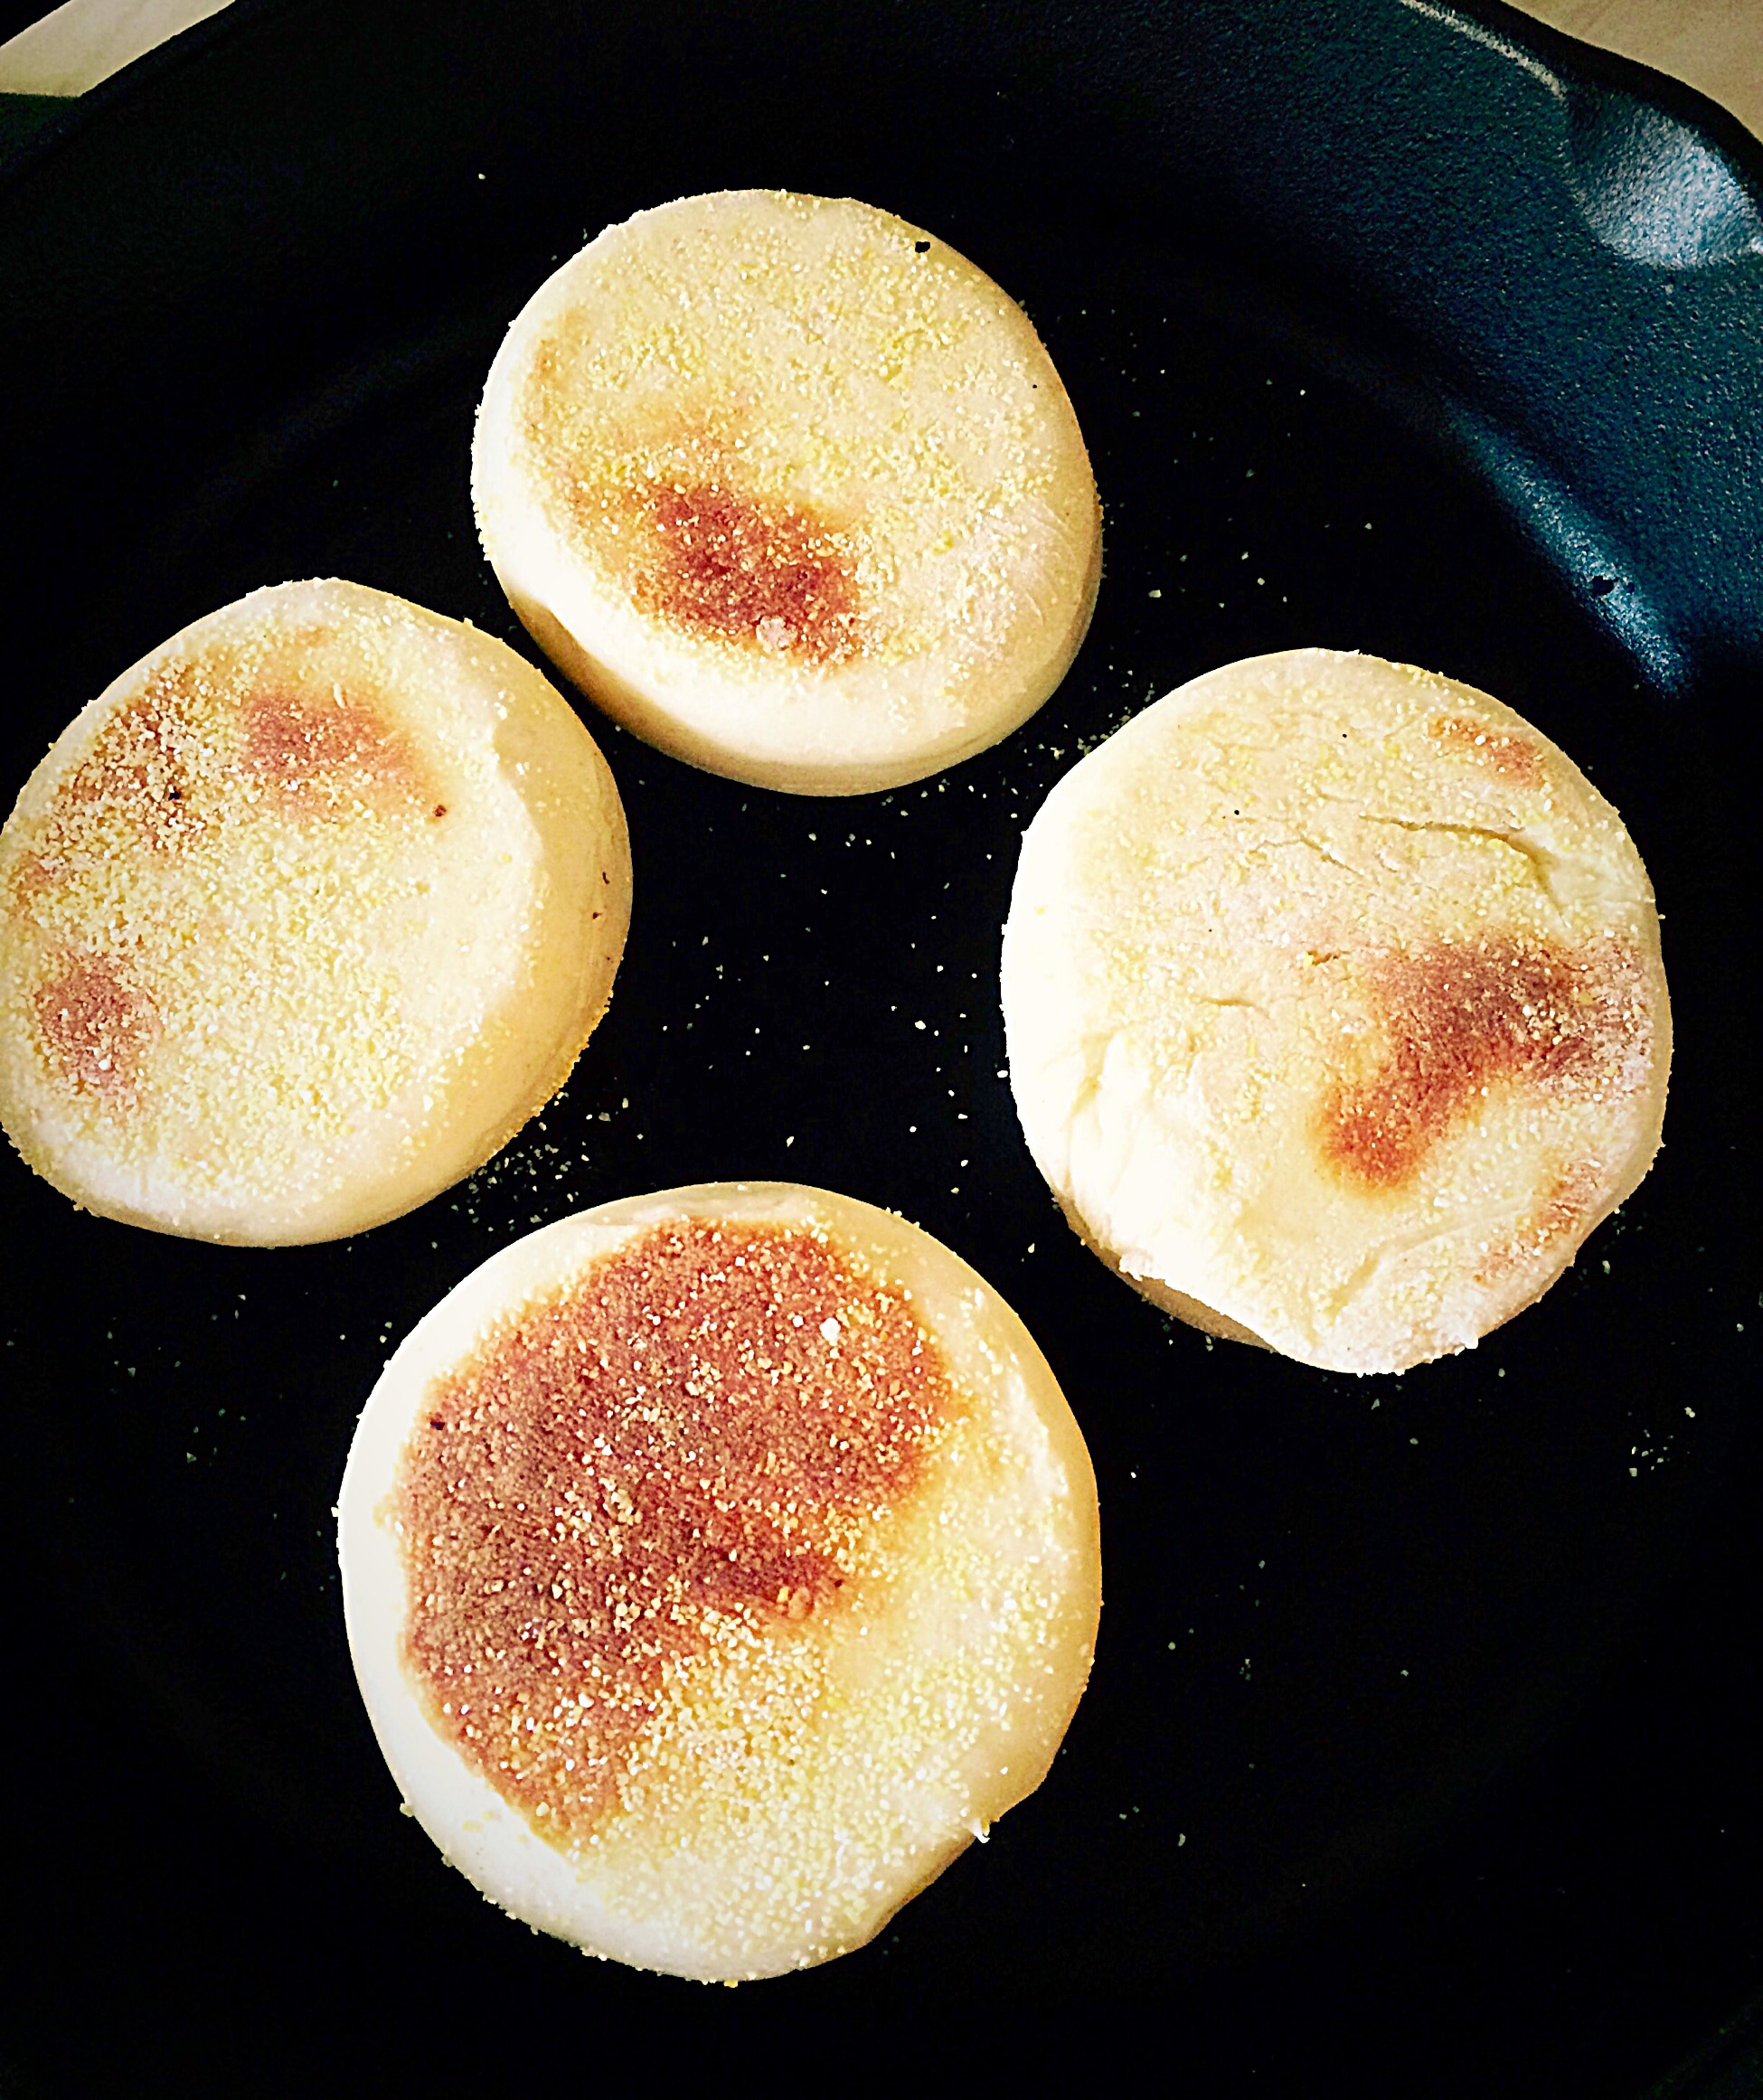
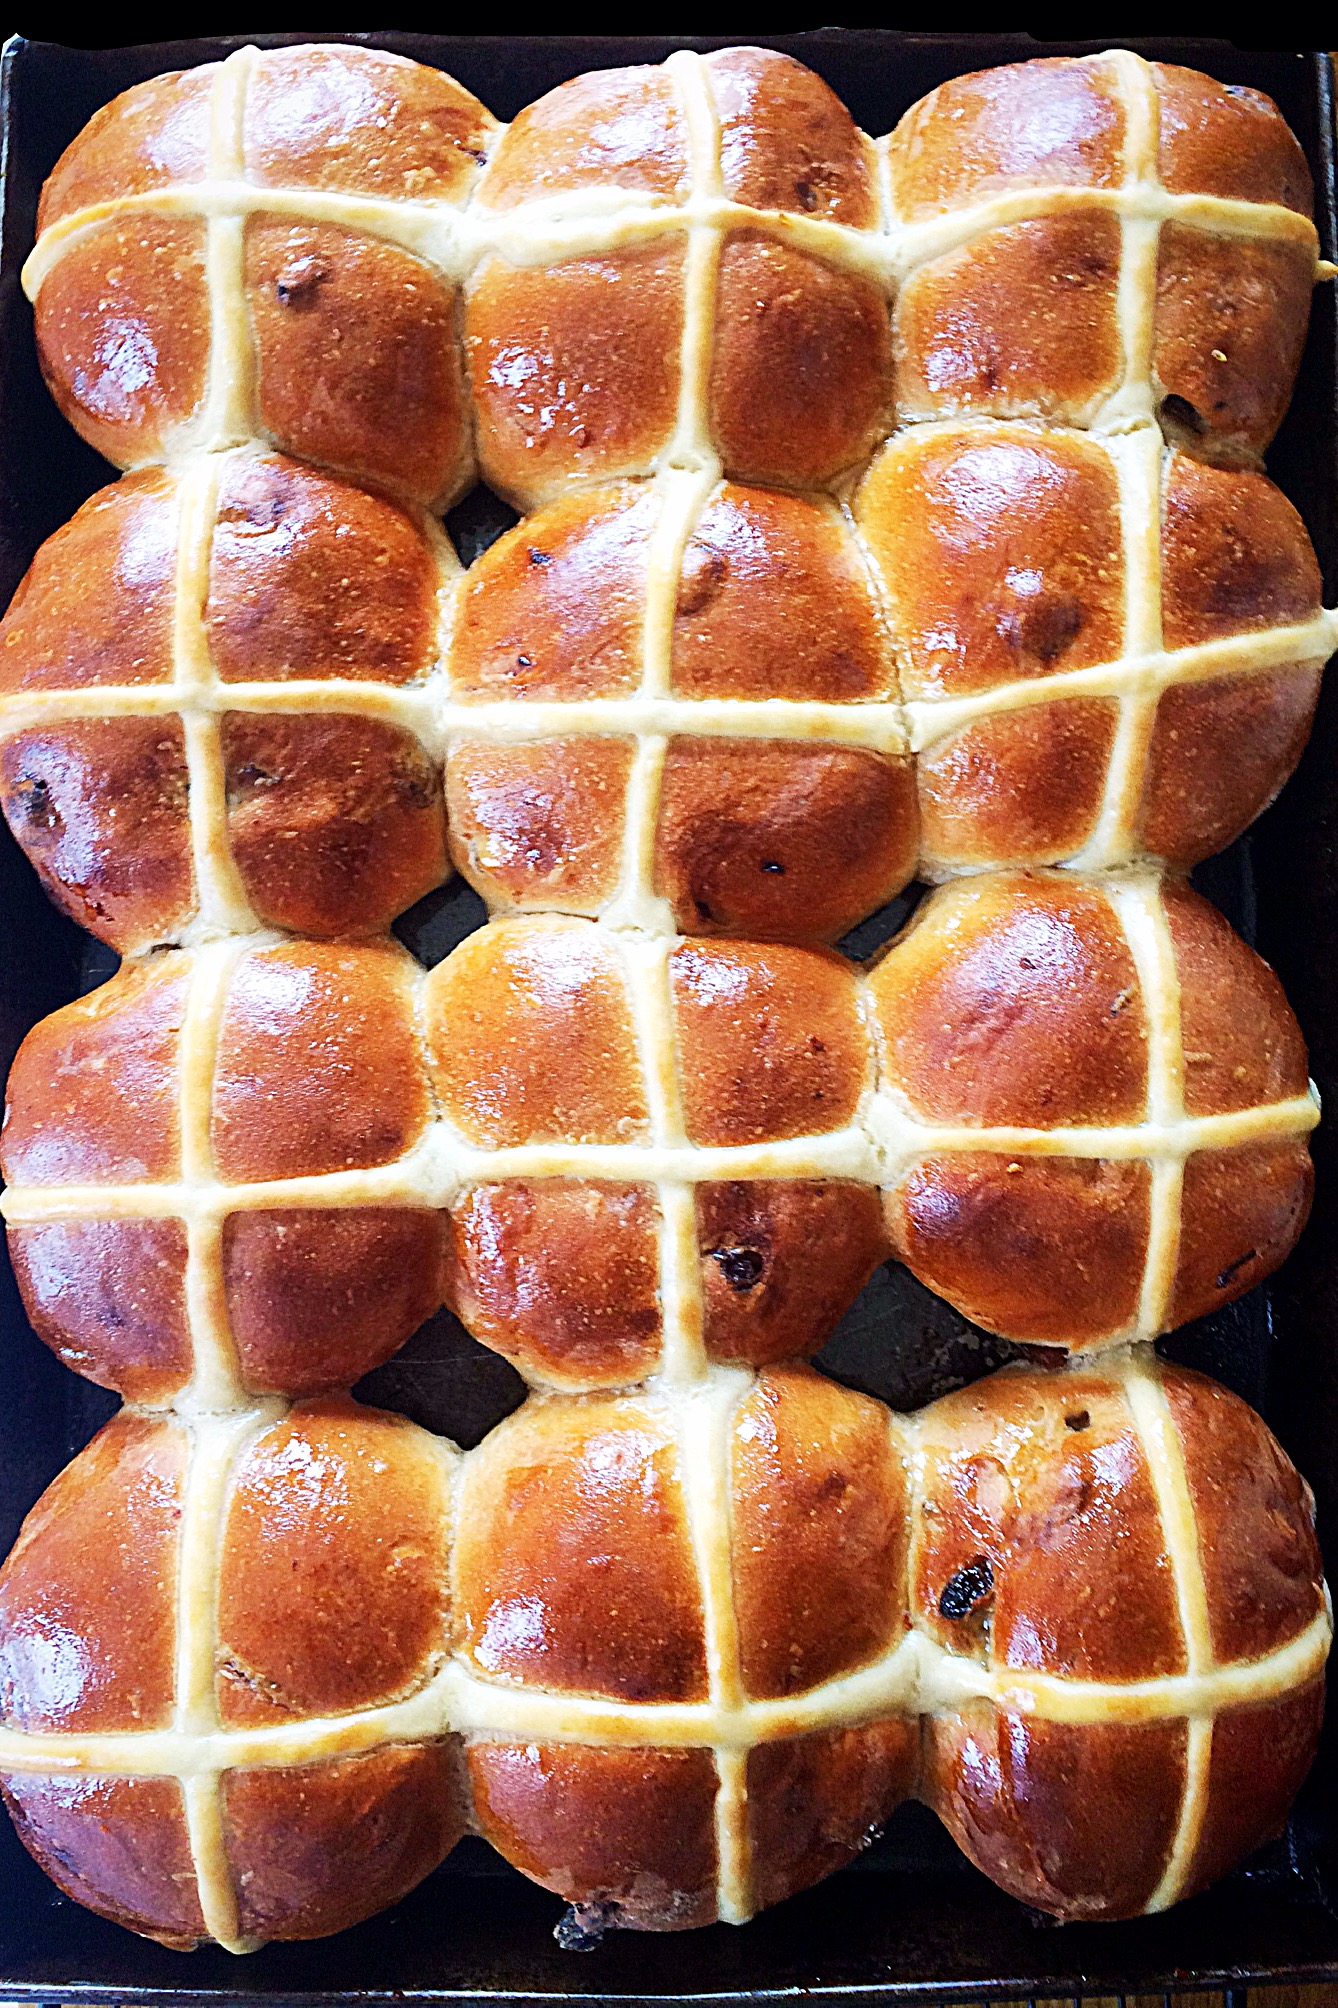
Baking The Hot Cross Buns
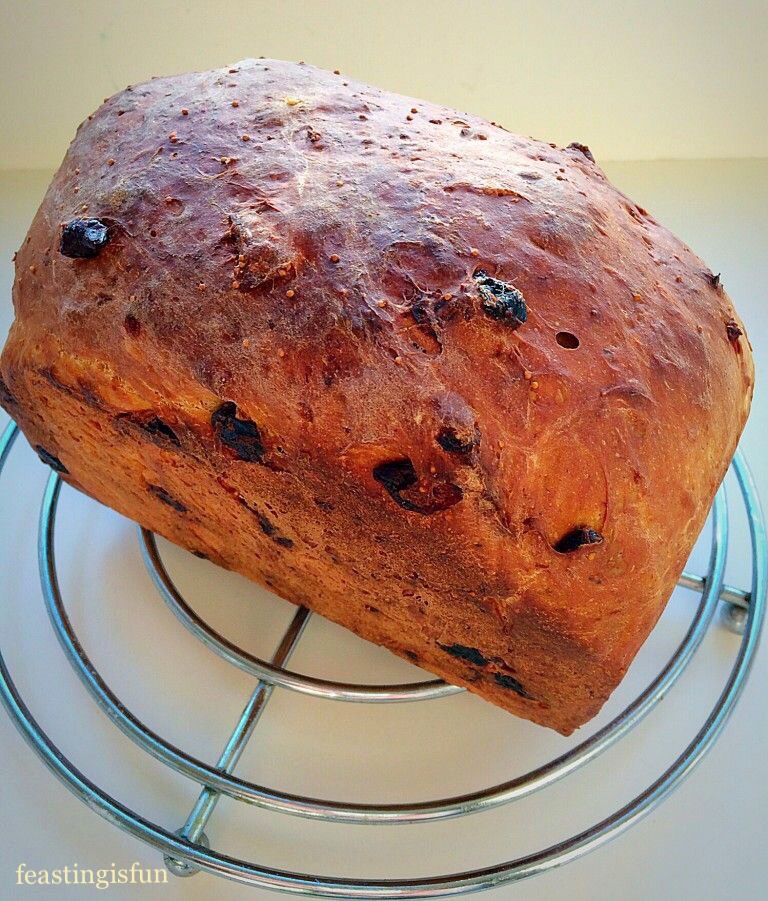
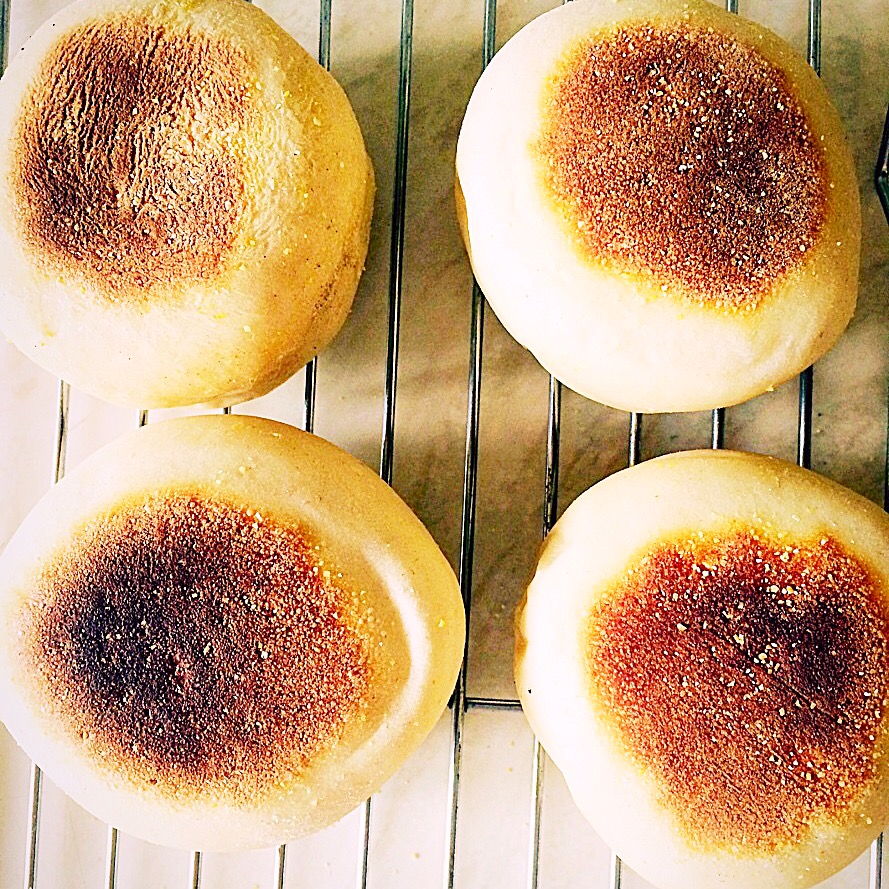
- Place the buns in the oven and bake for approximately 20 minutes. They are baked when they are golden brown and sound hollow when rapped on the bottom with your knuckle.
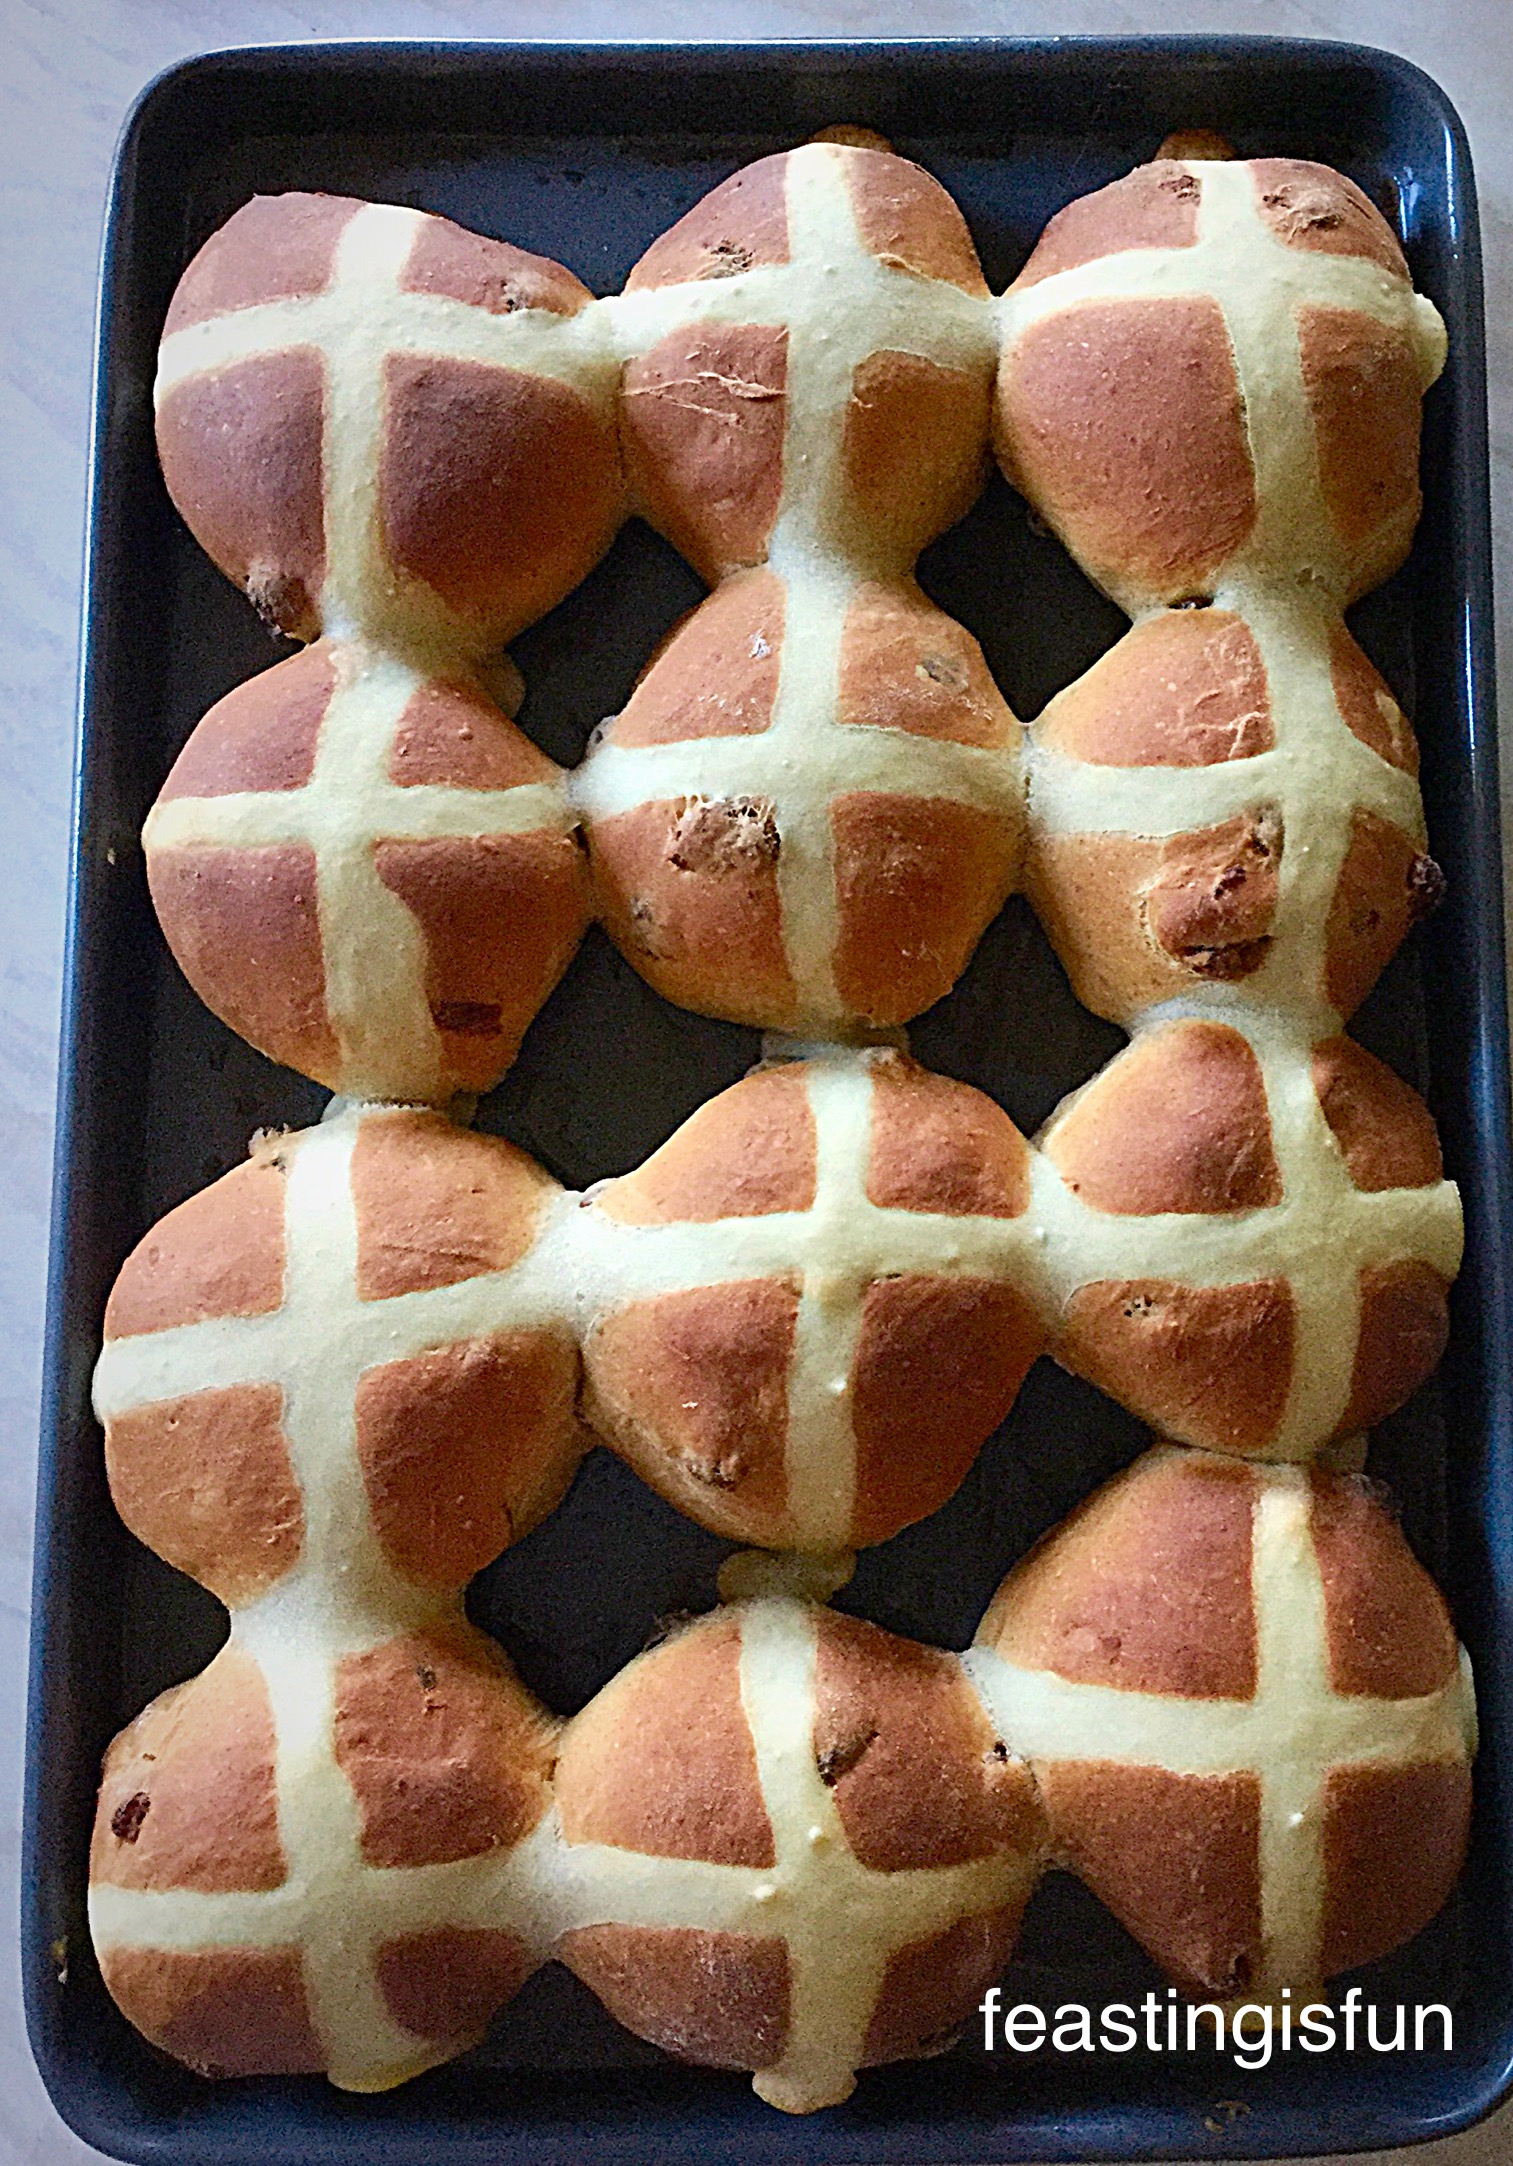
- Immediately transfer the Hot Cross Buns onto a cooling rack.
- Heat the 2 tablespoon of apricot jam, in a microwave proof bowl, on medium stating, in the microwave for 30 seconds.
- Brush the hot jam over the buns whilst they are still warm.
- Leave to cool completely.

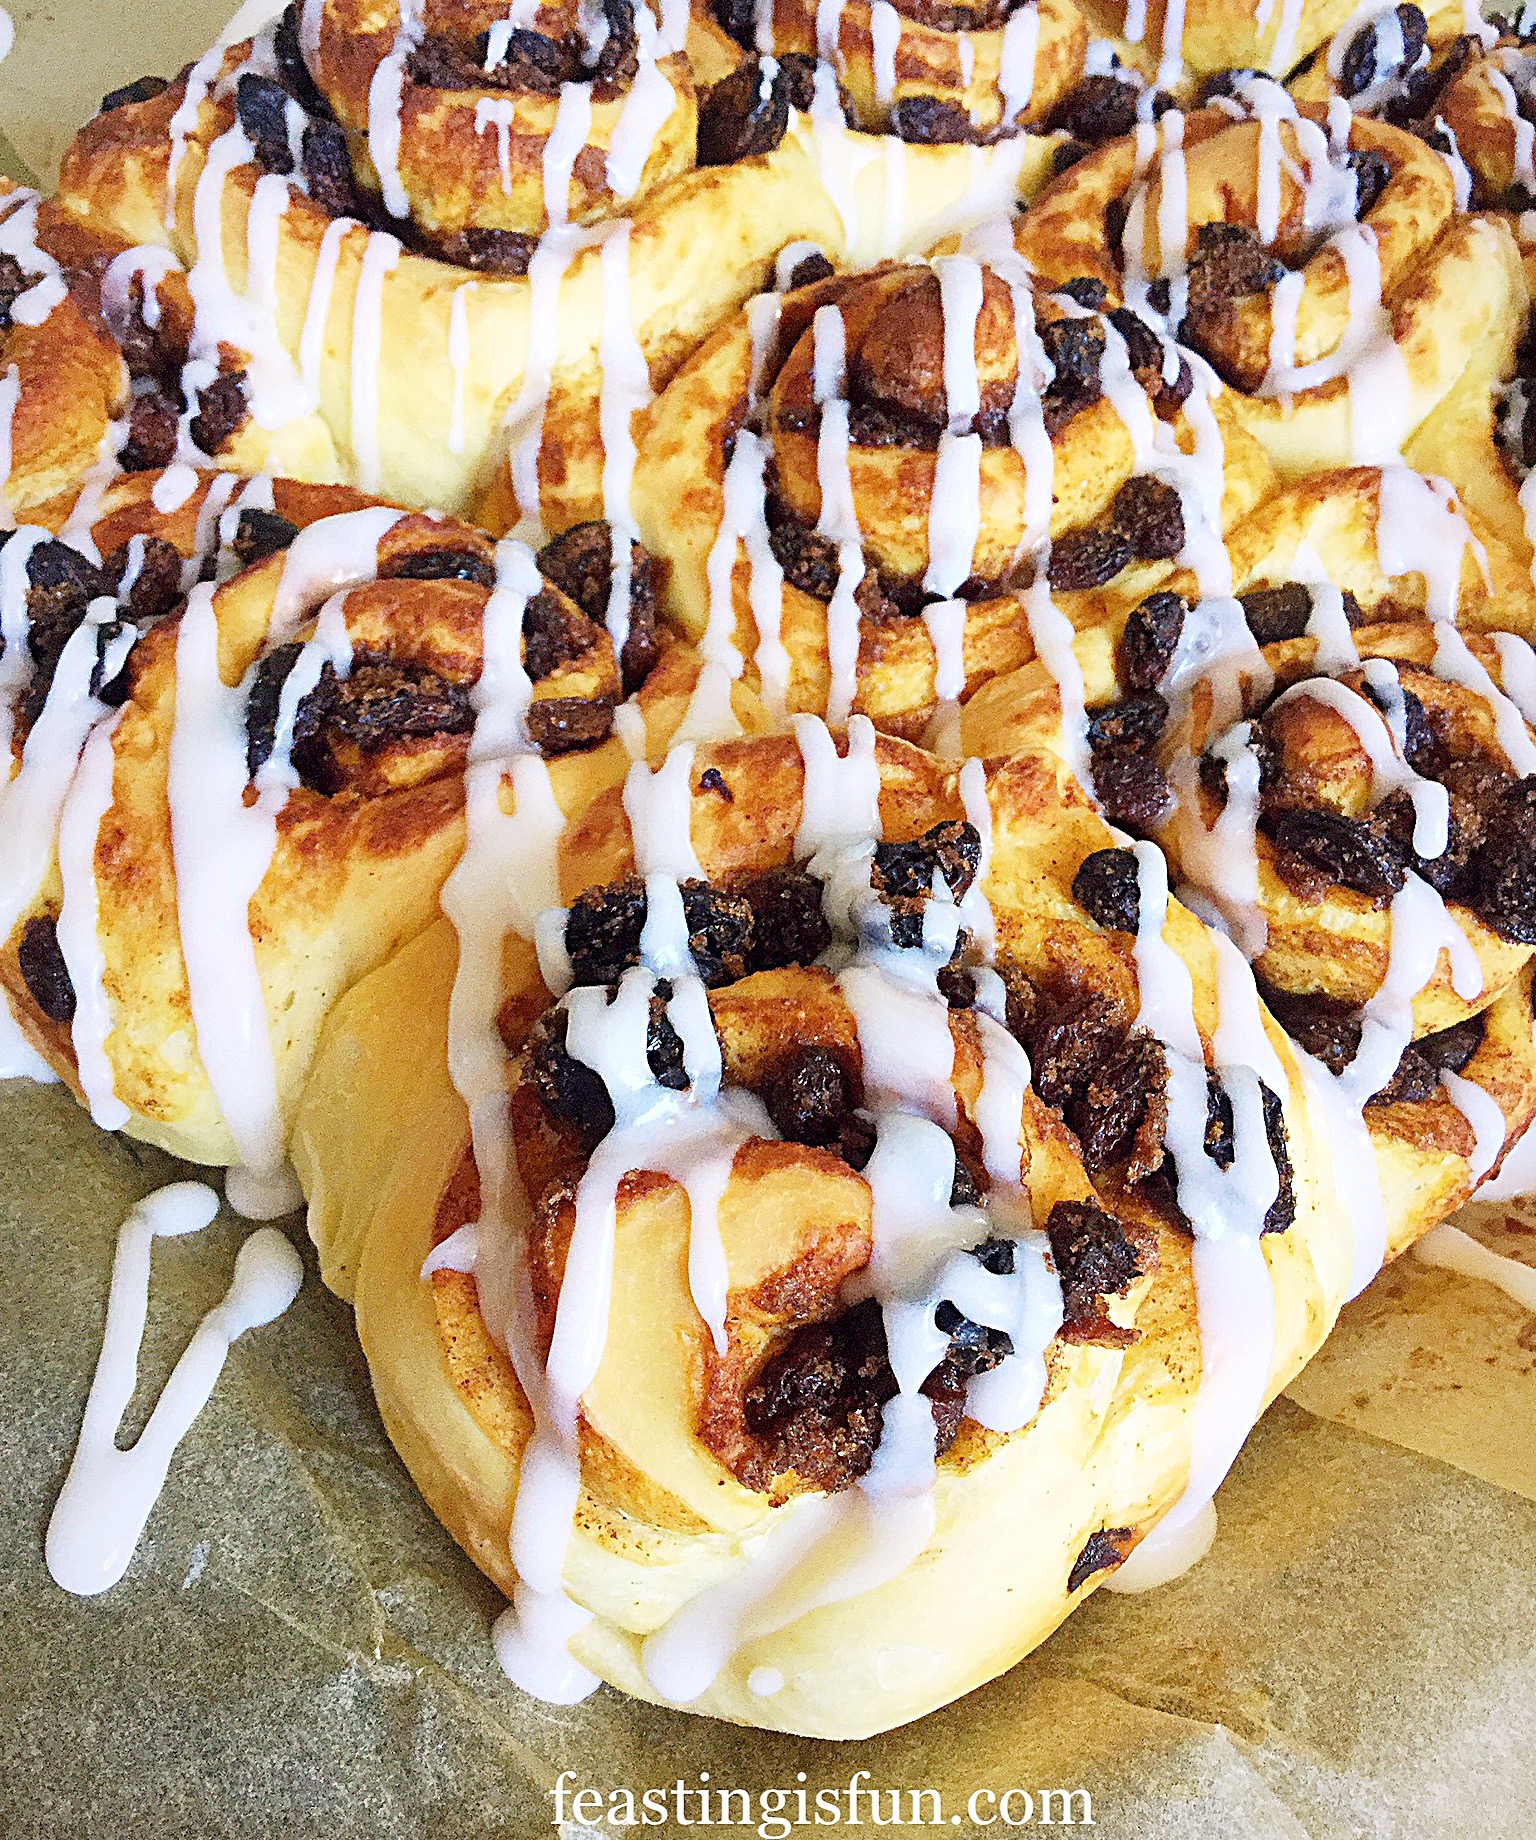
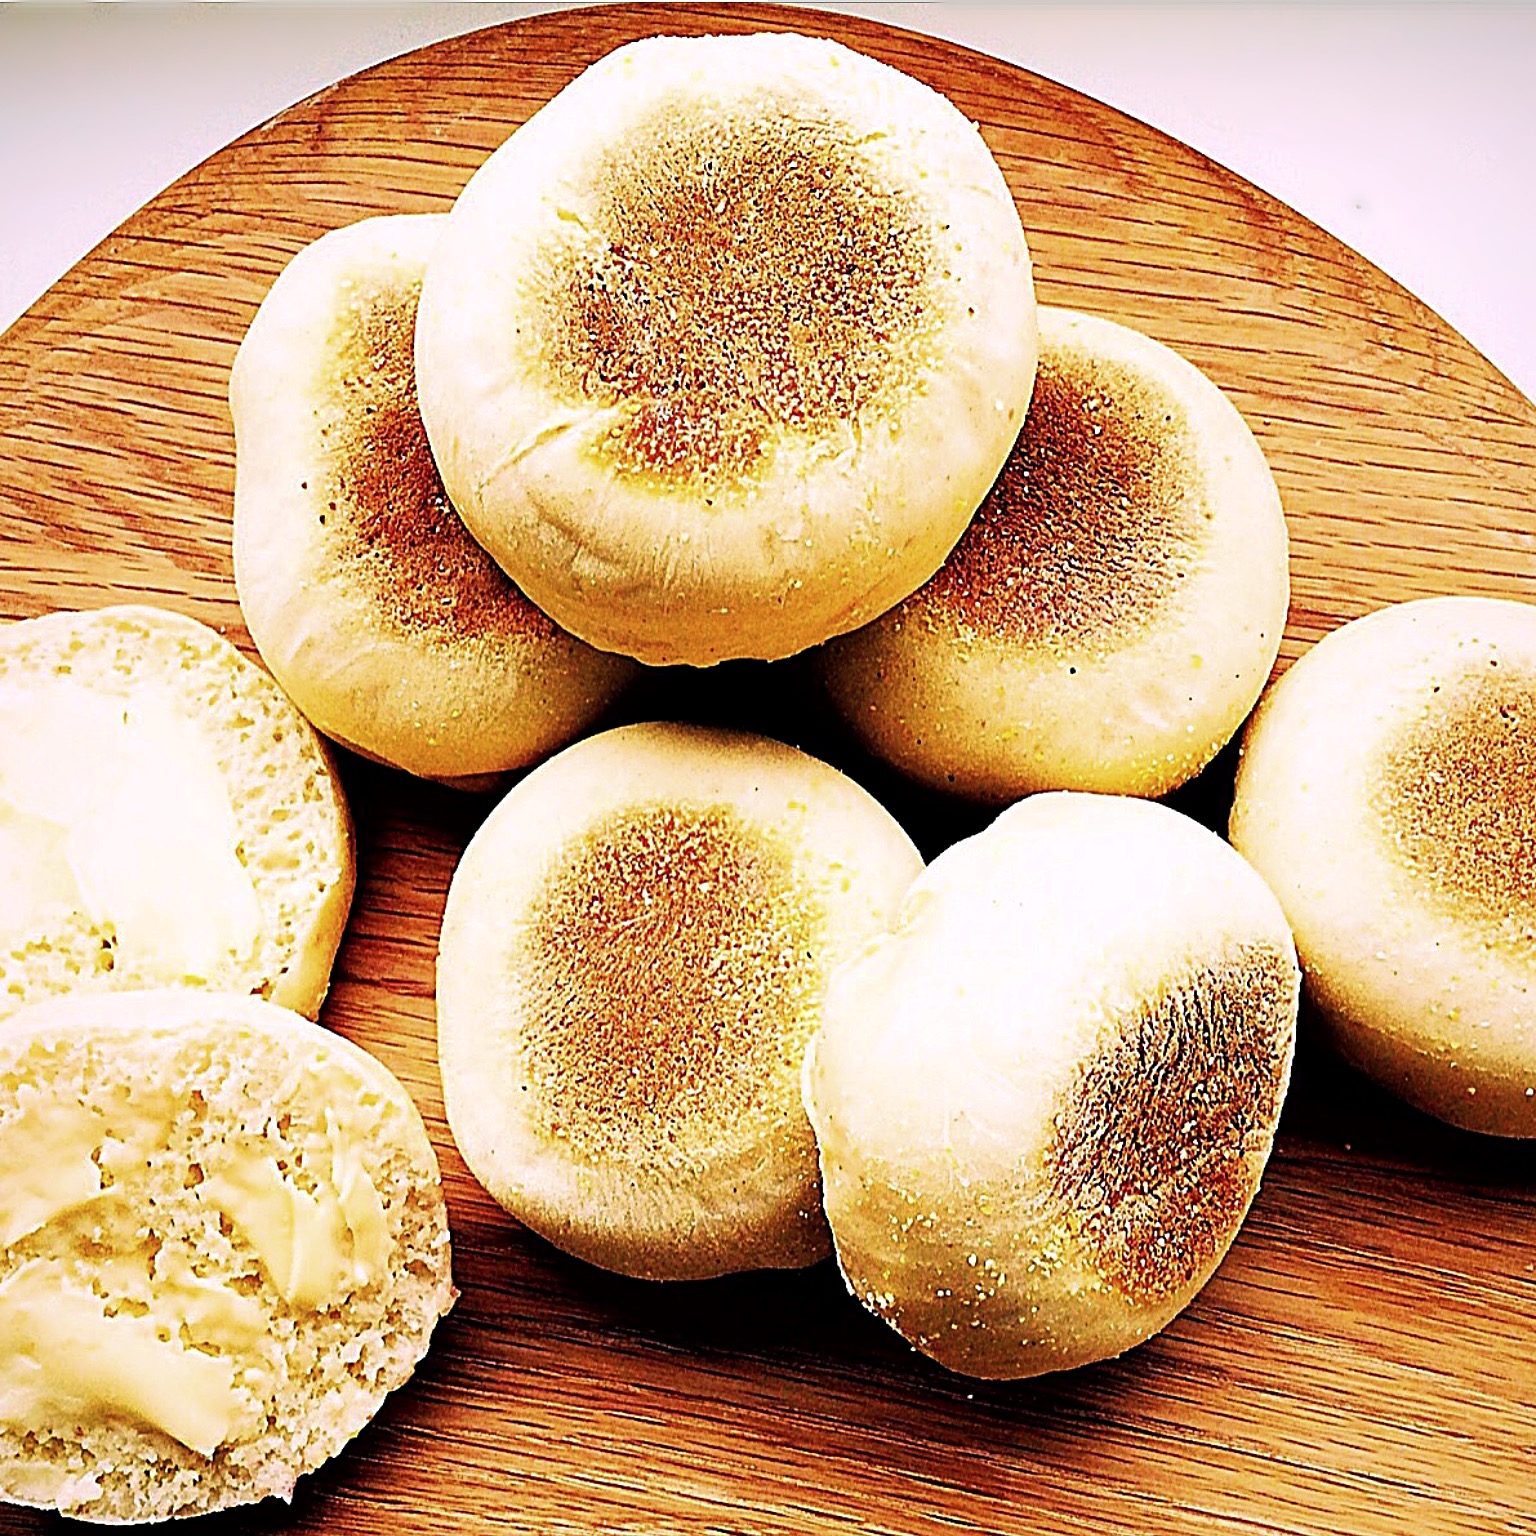
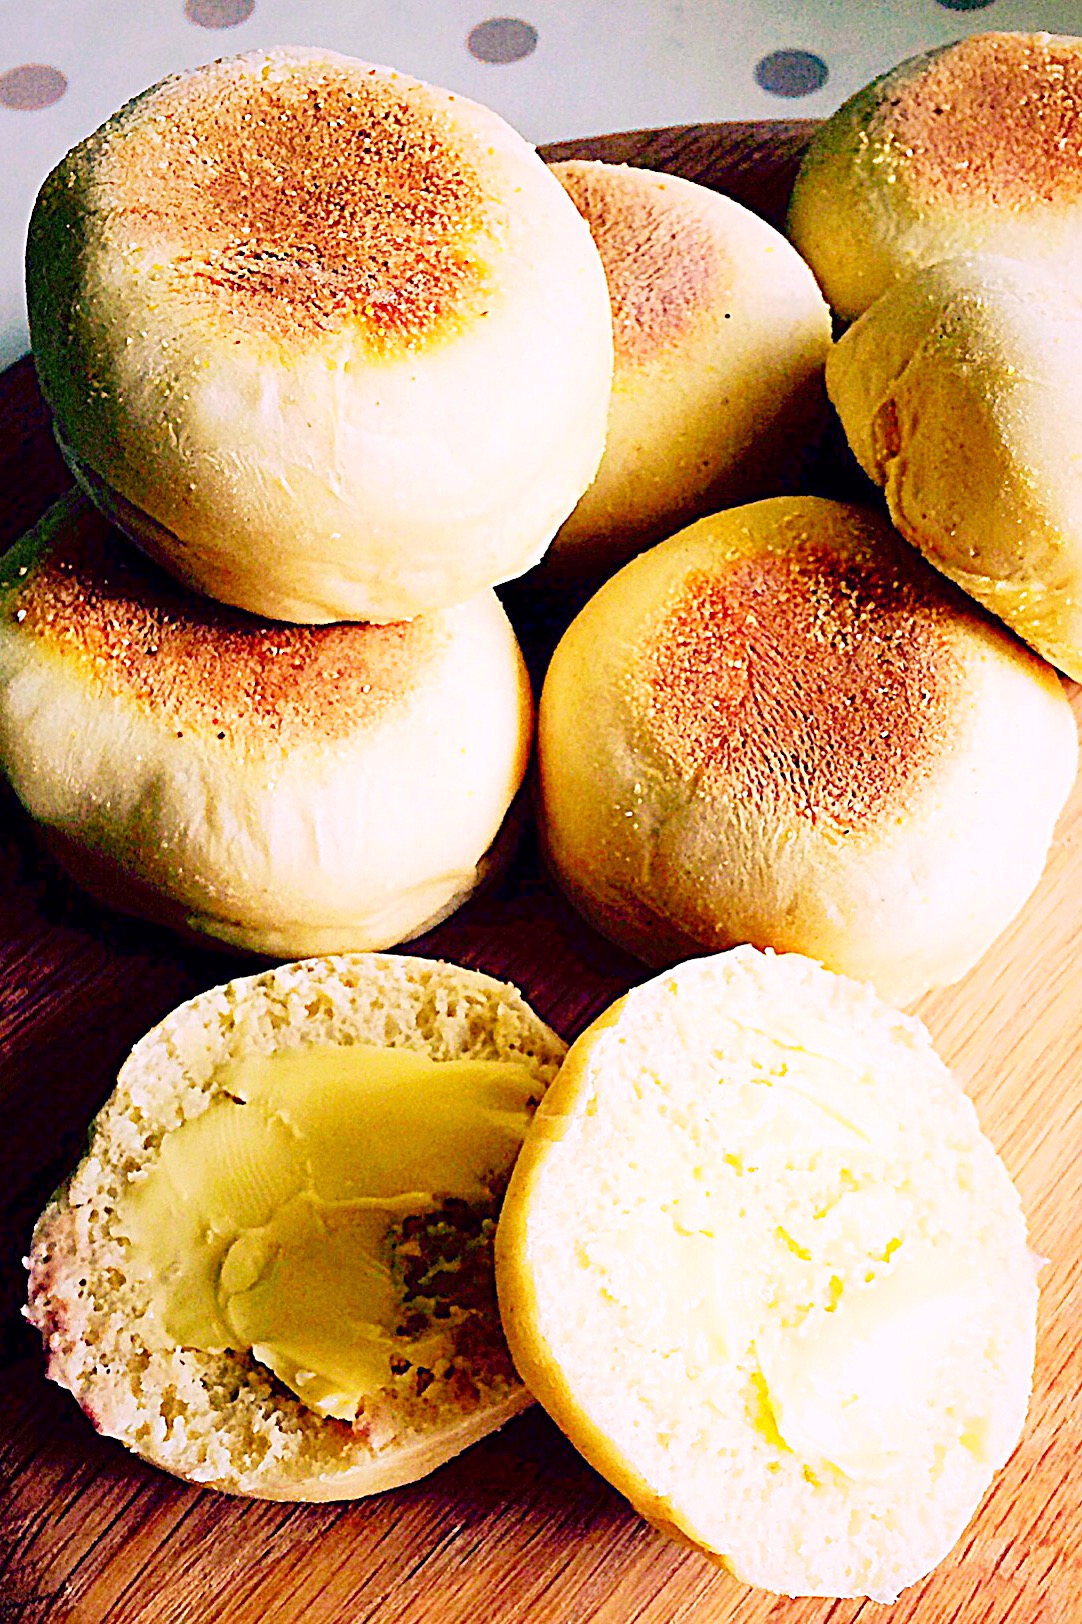
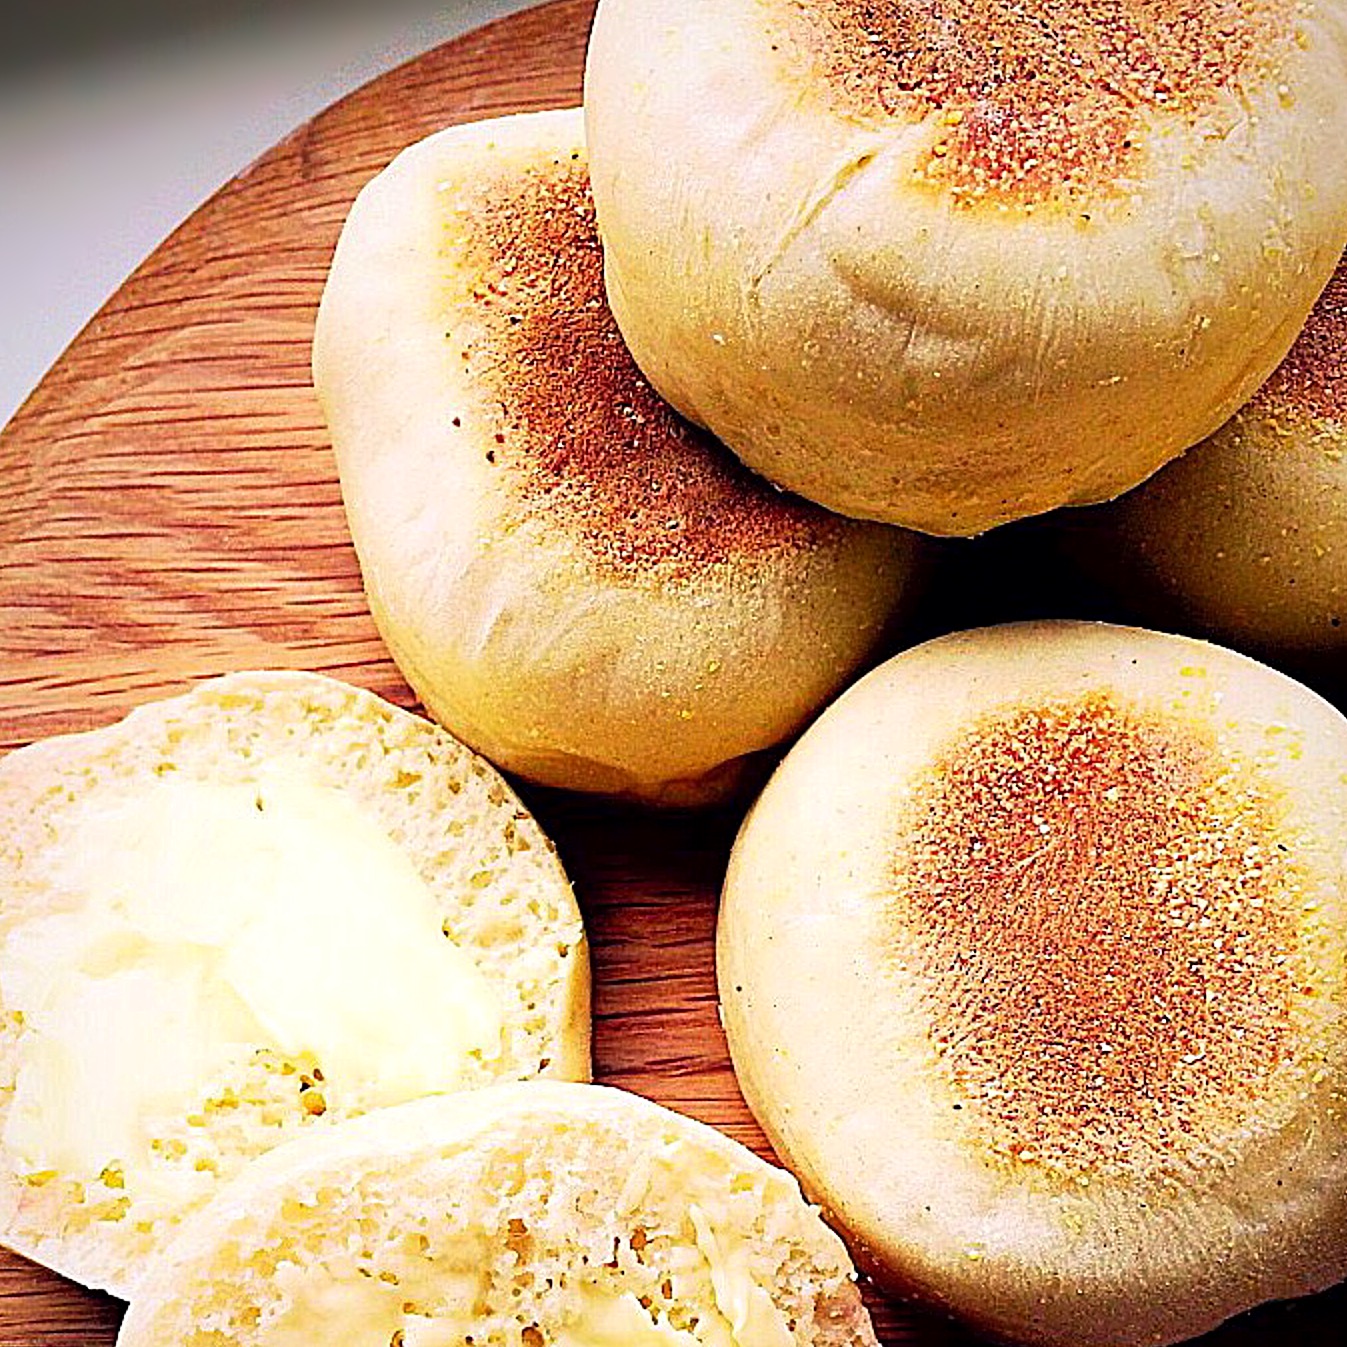
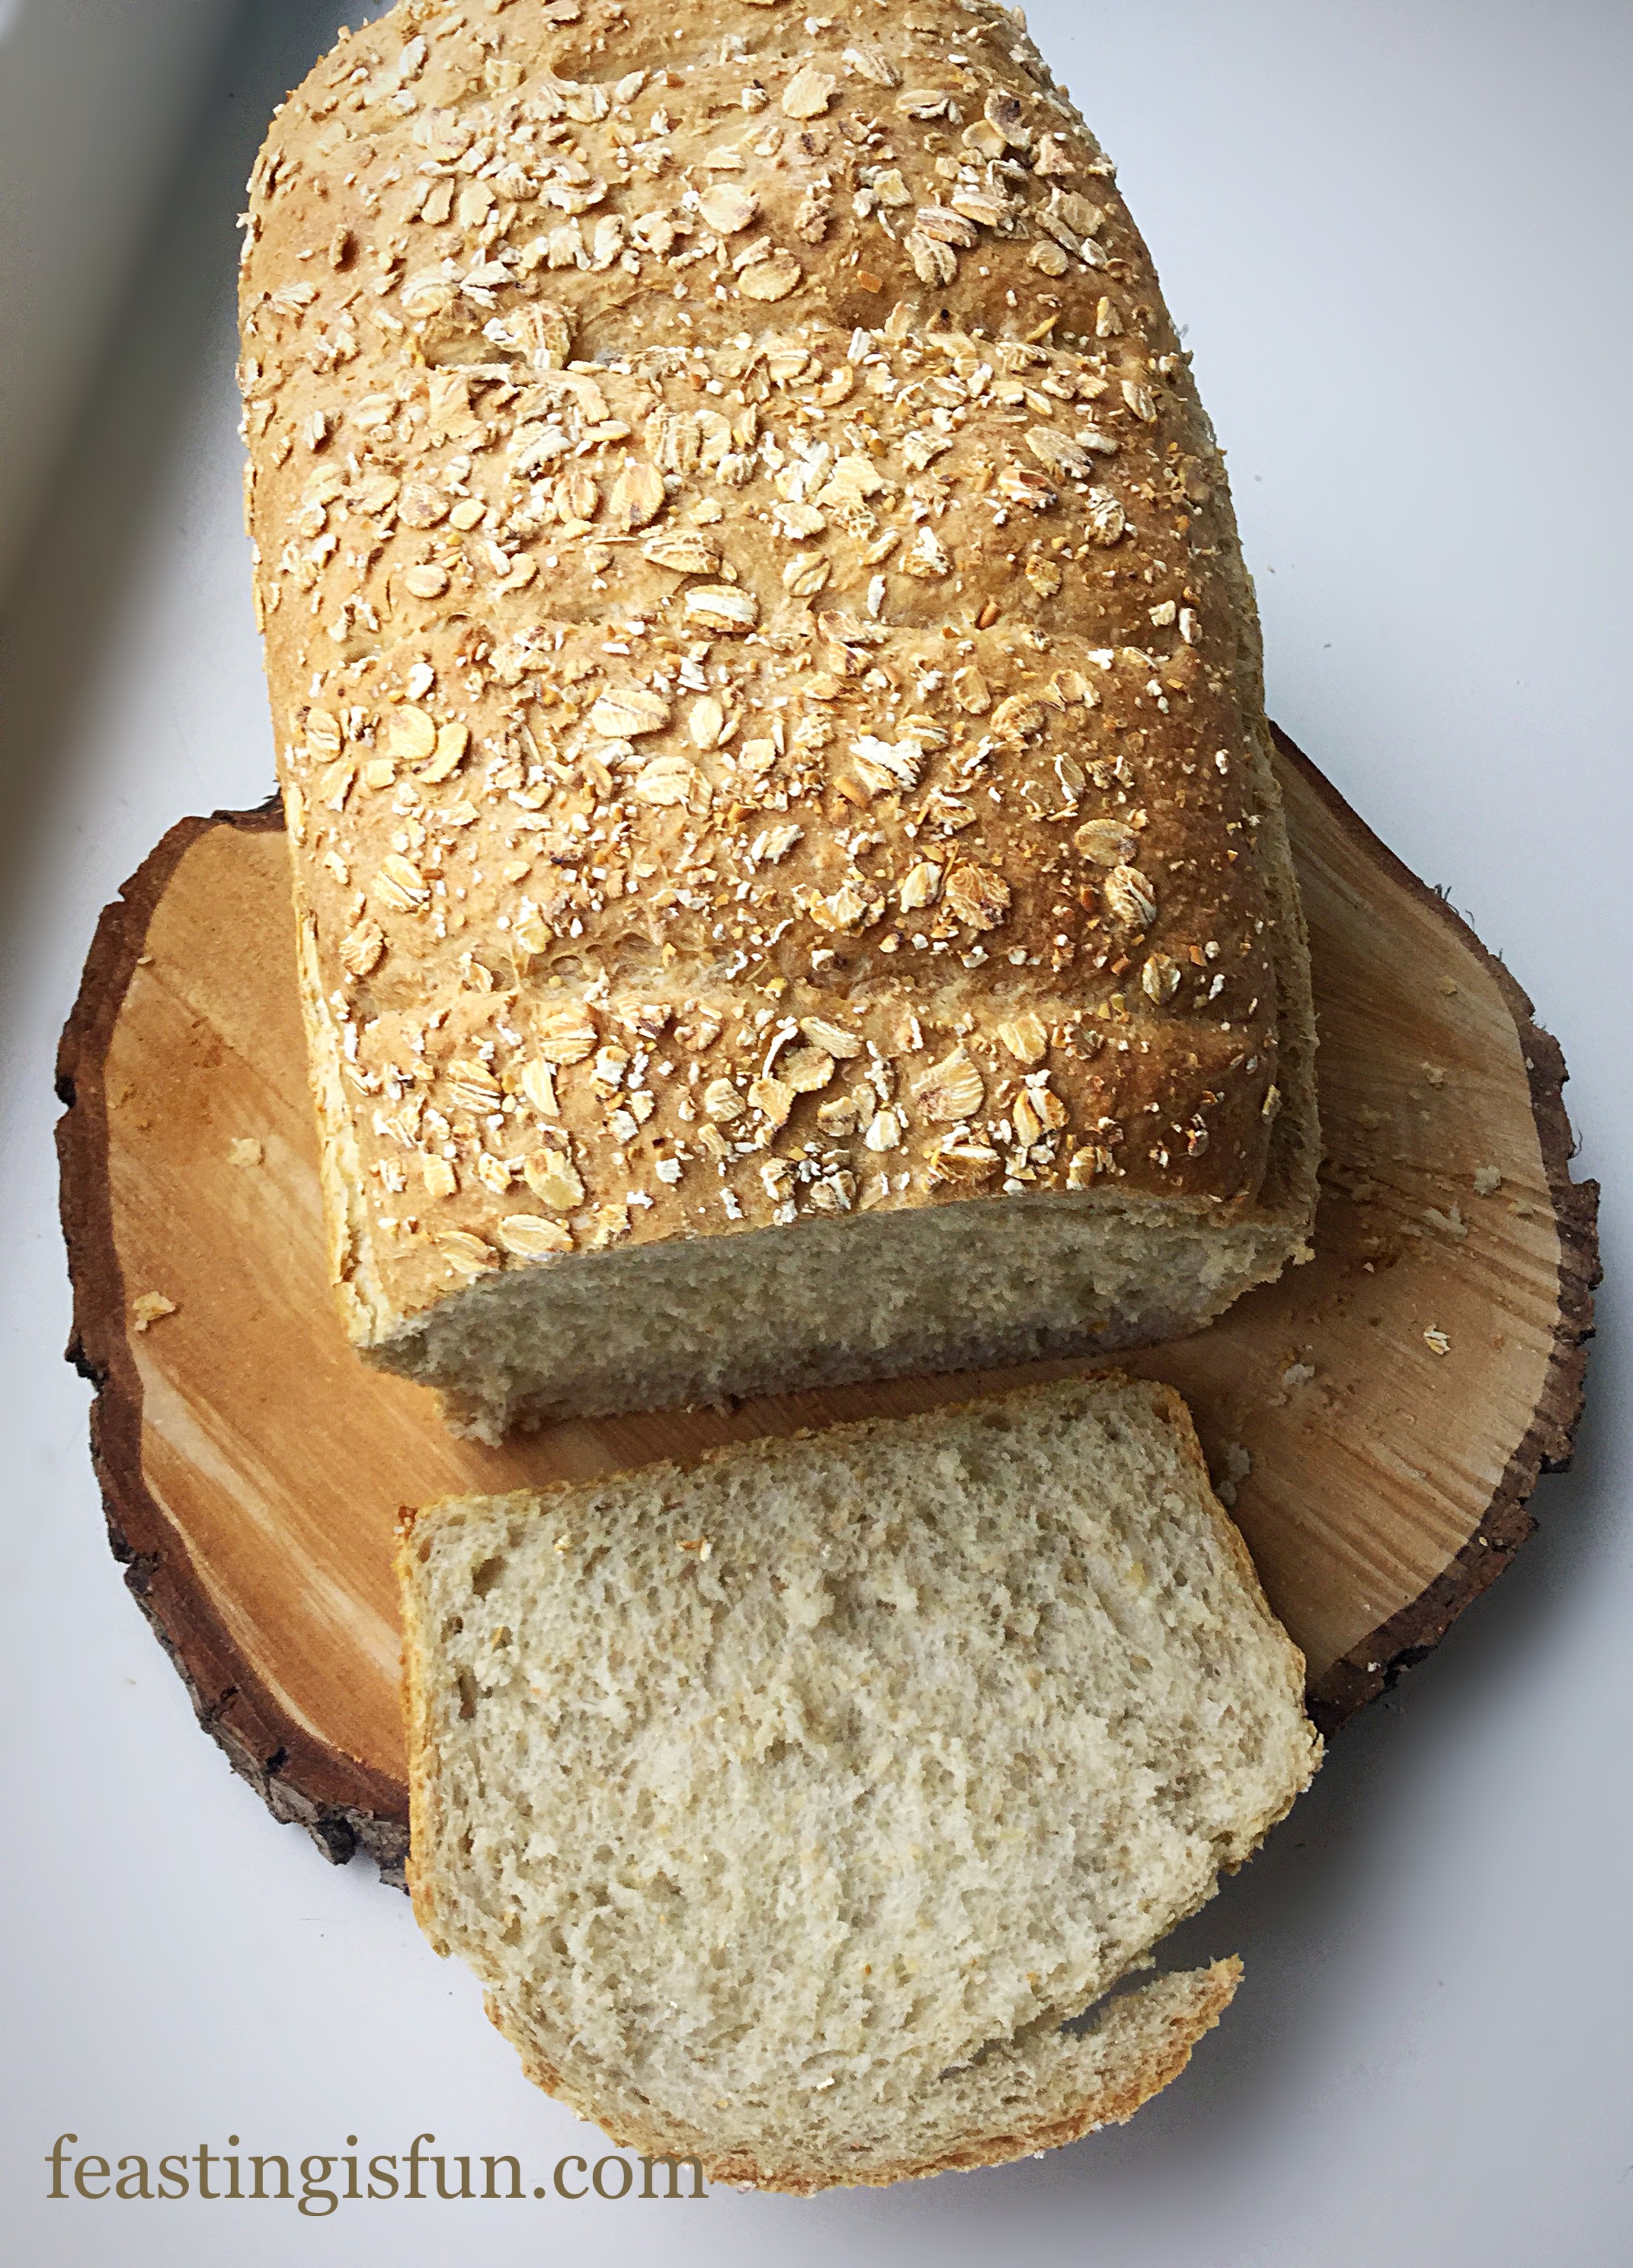
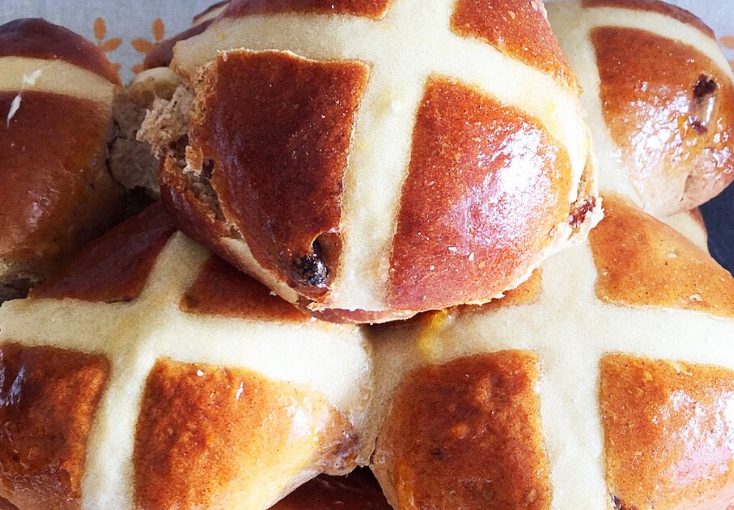
These are absolutely THE best Hot Cross Buns I have ever tasted, let alone smelt whilst they were cooking.
Although there are a few steps, most of the hard work is done for you by kitchen machinery. I for one, would not be able to bake the quantity of bread and other items, if it weren’t for a little help in the kitchen.
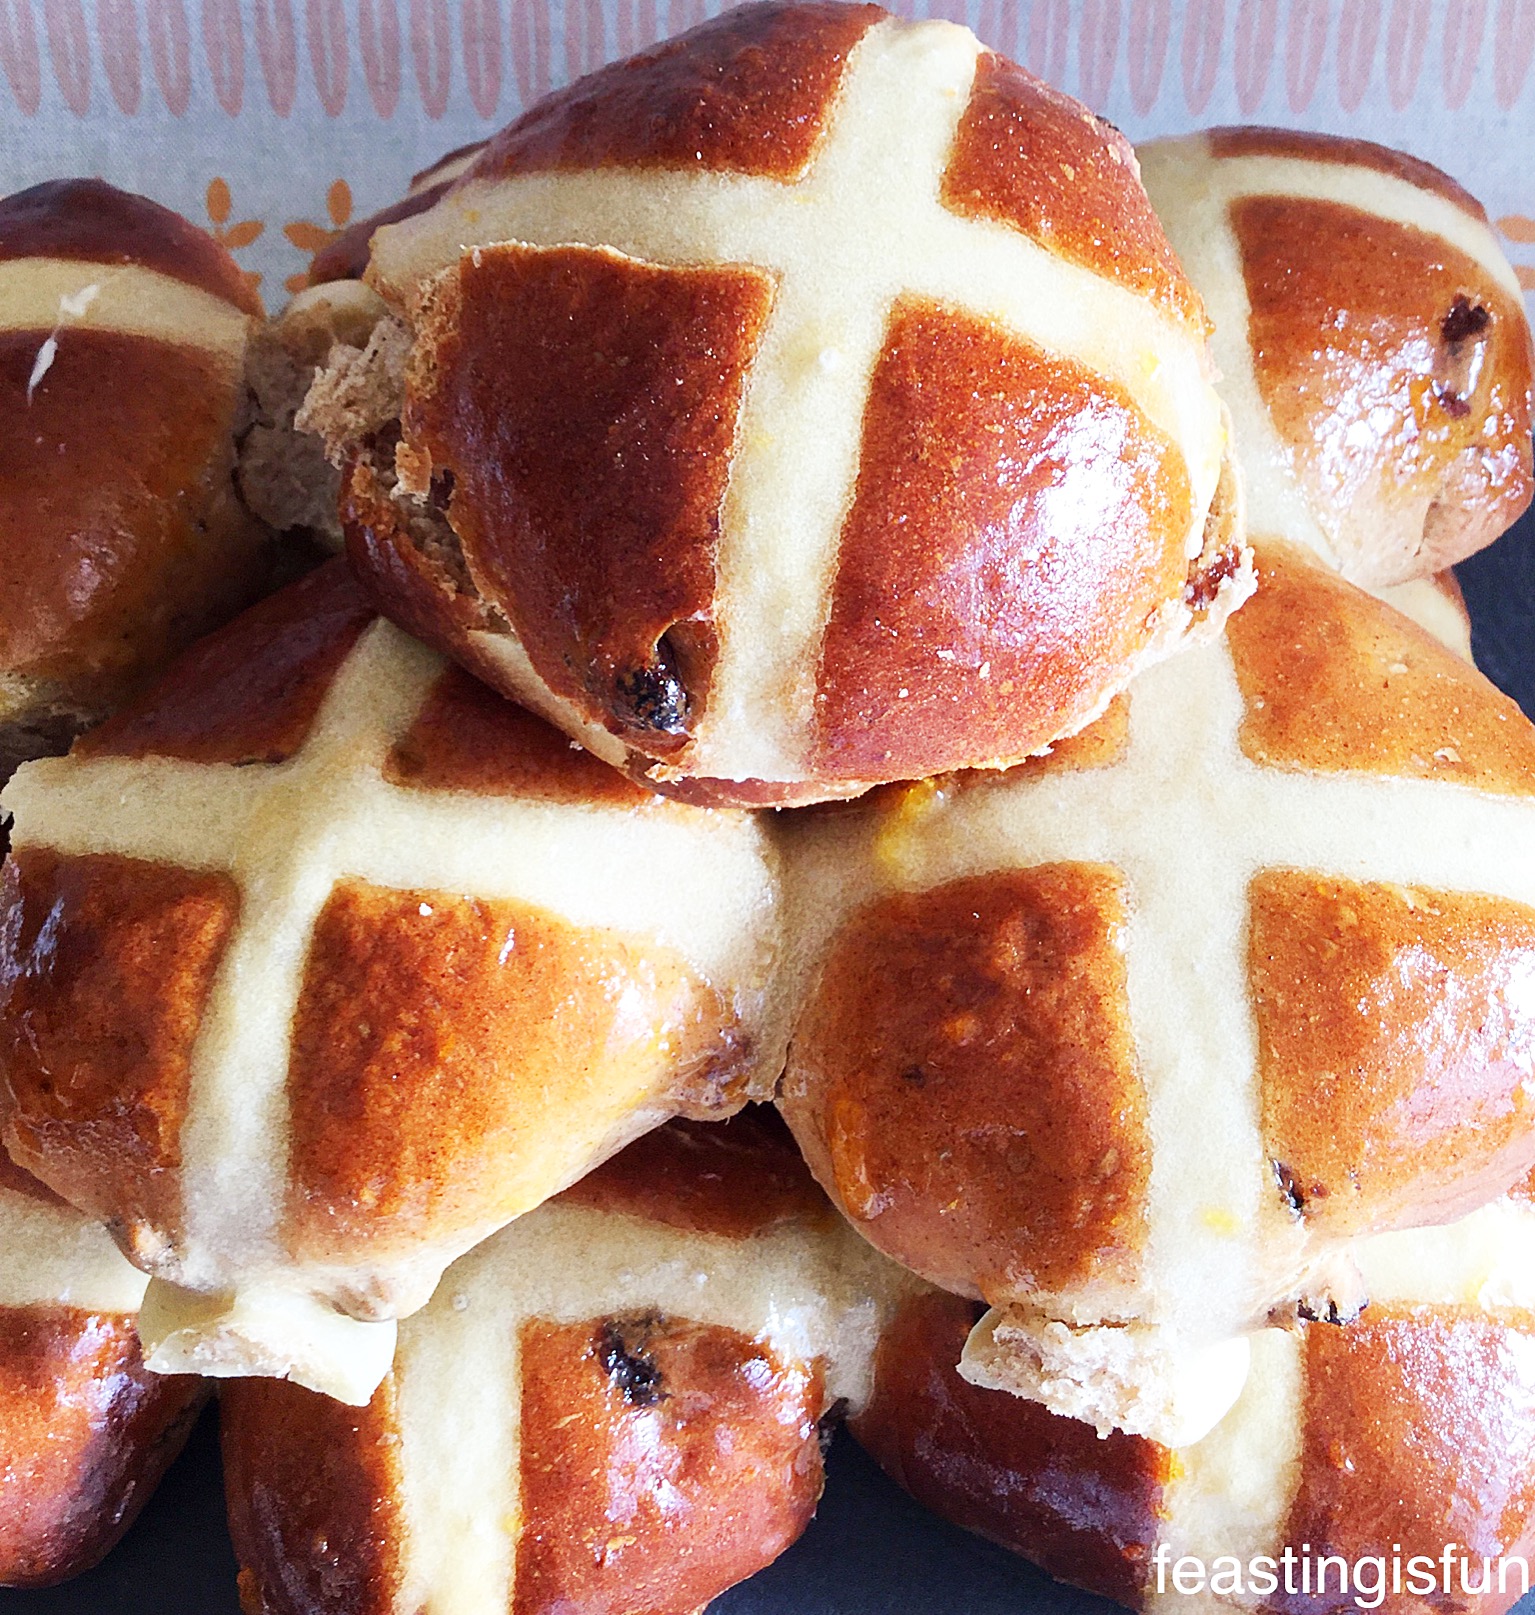
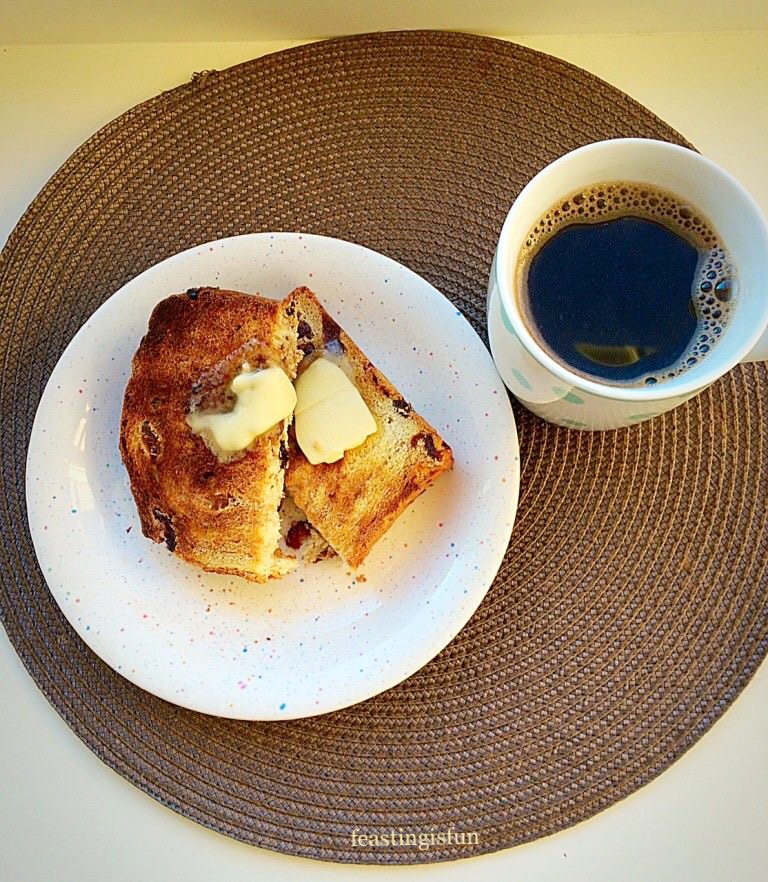
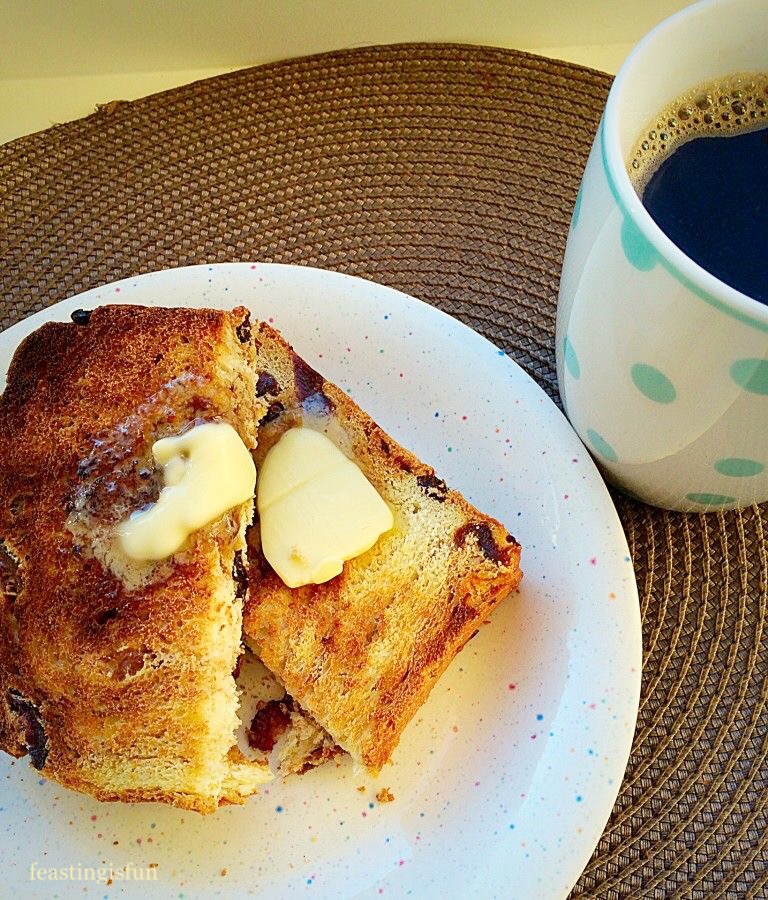
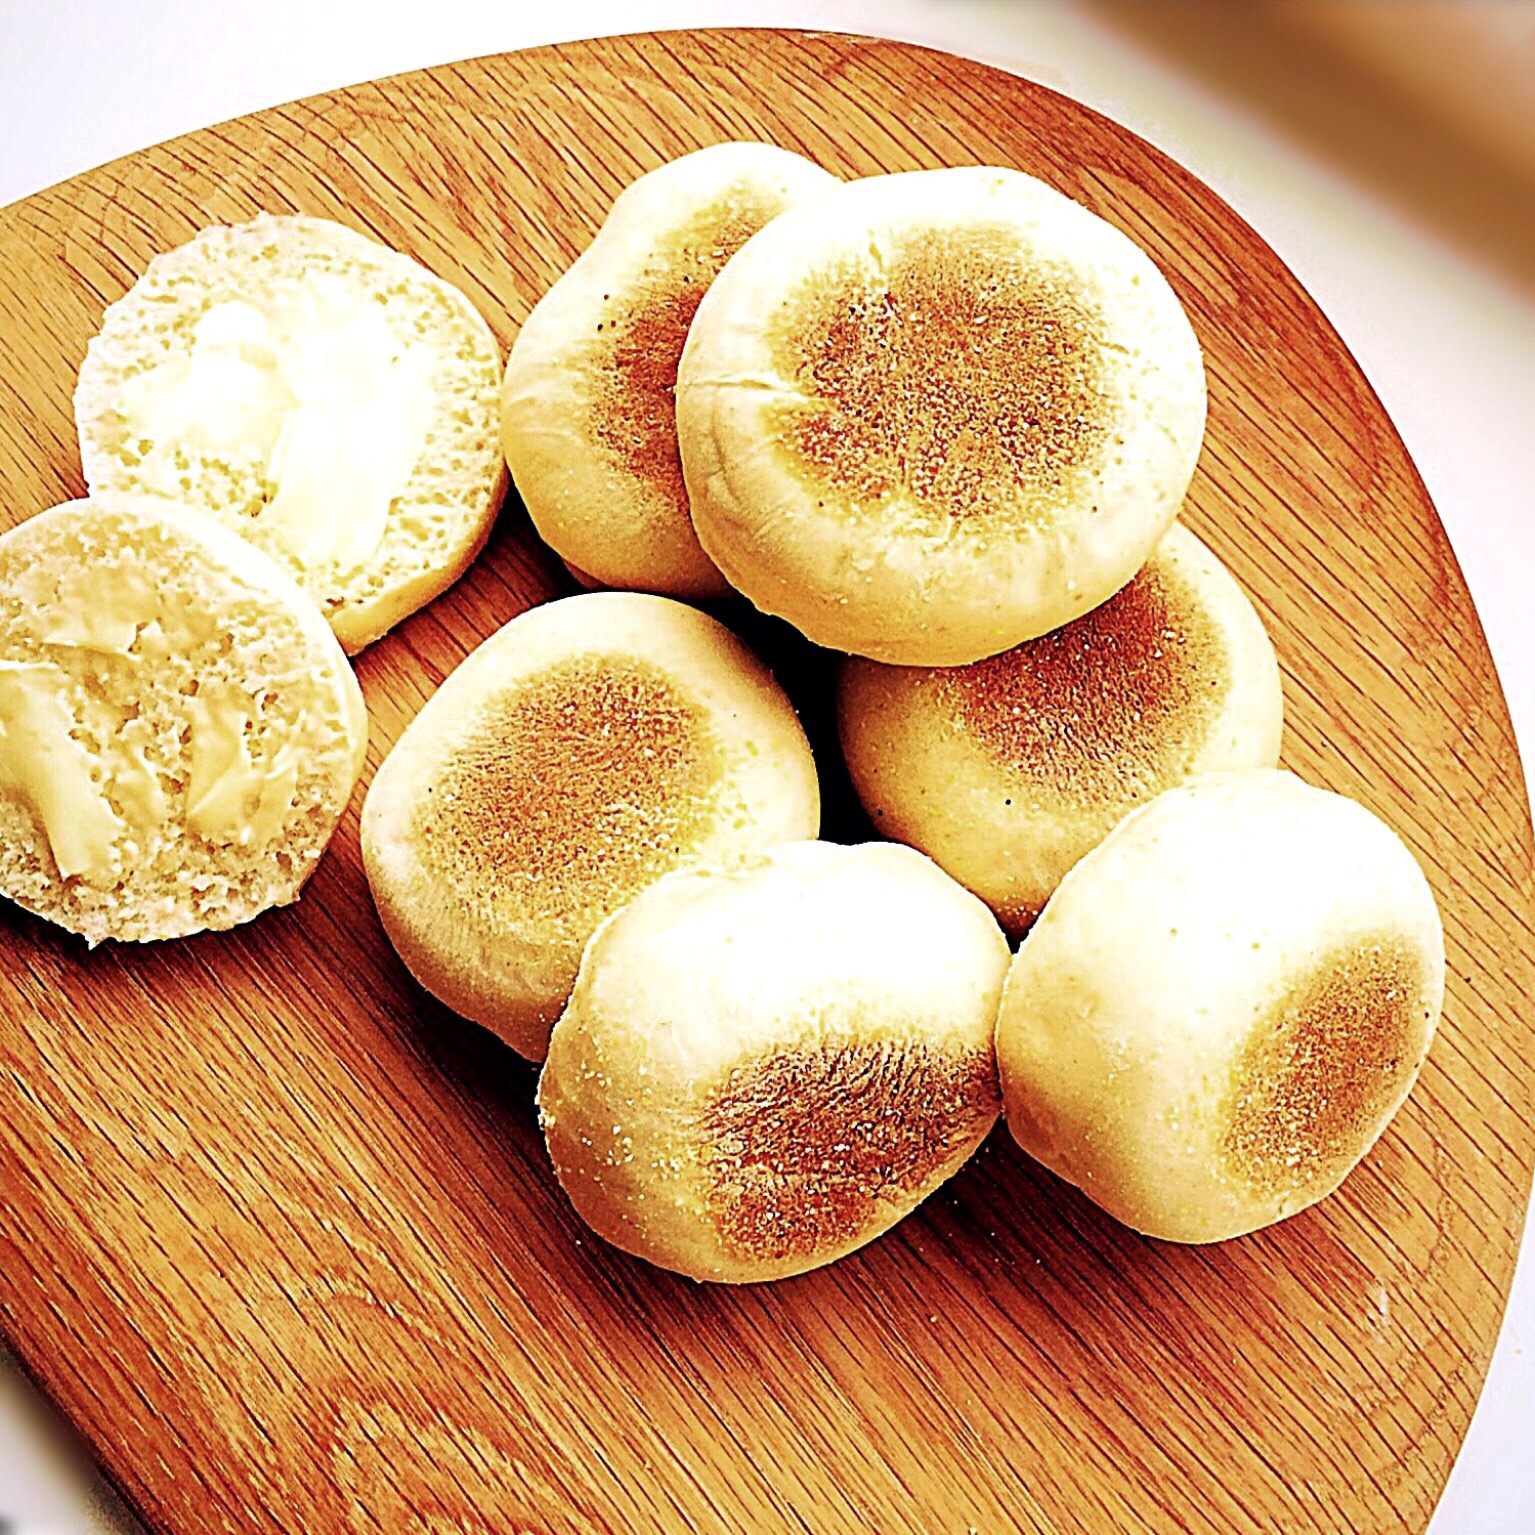
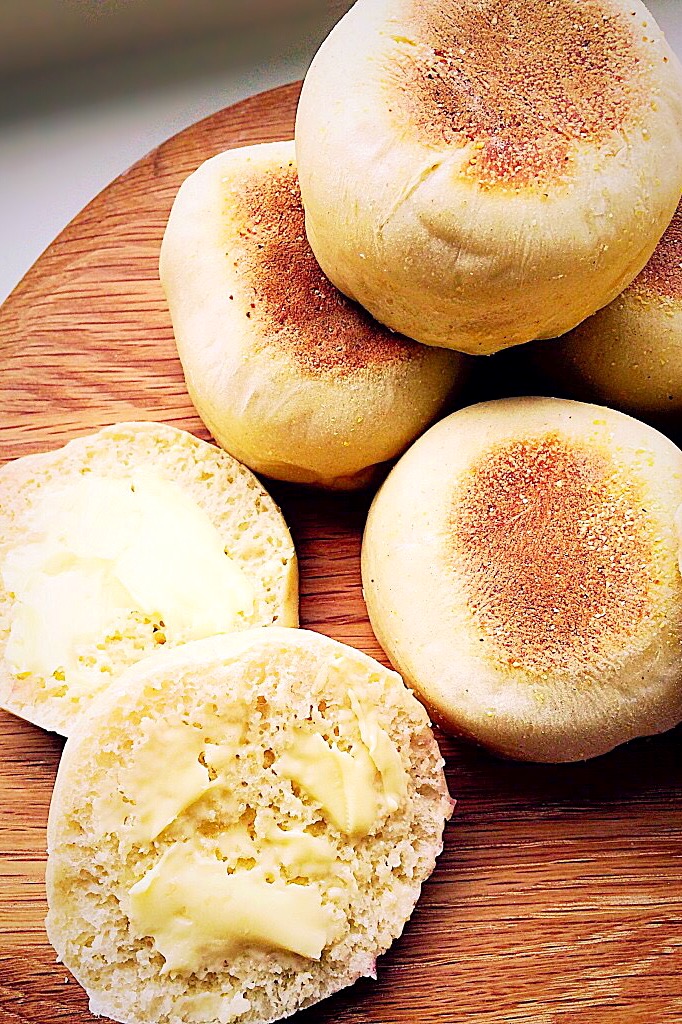
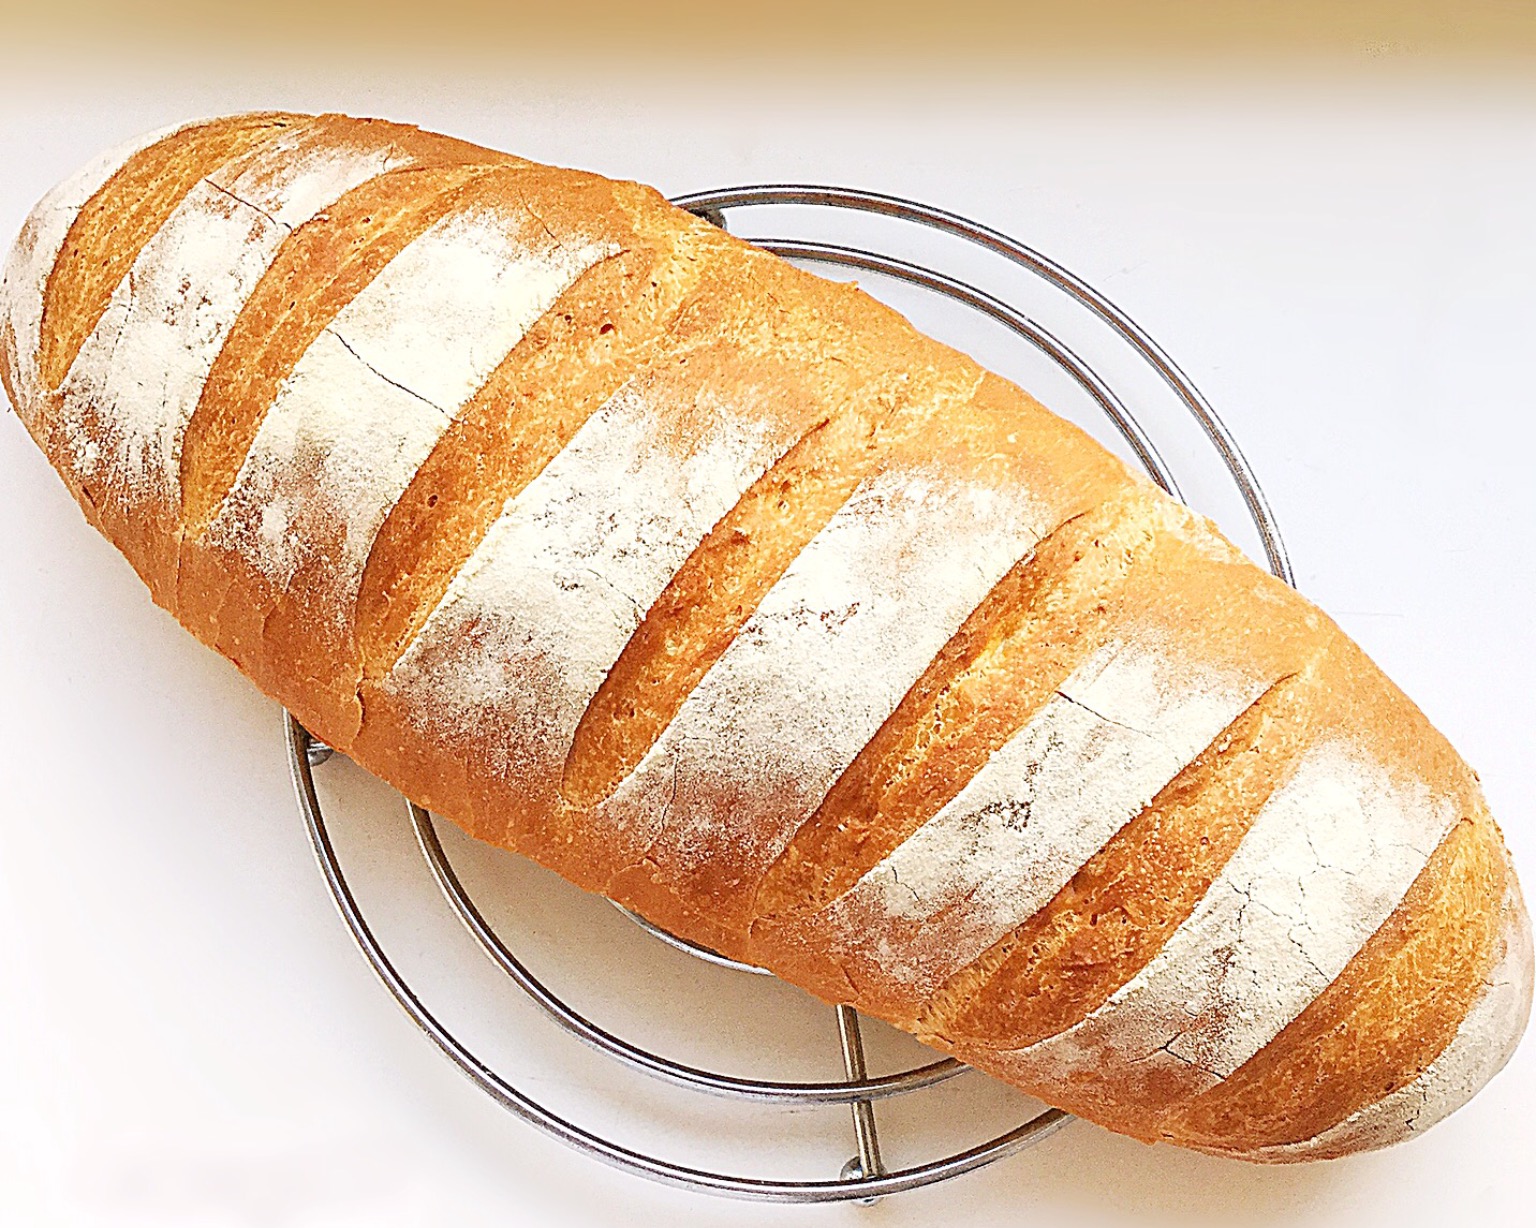
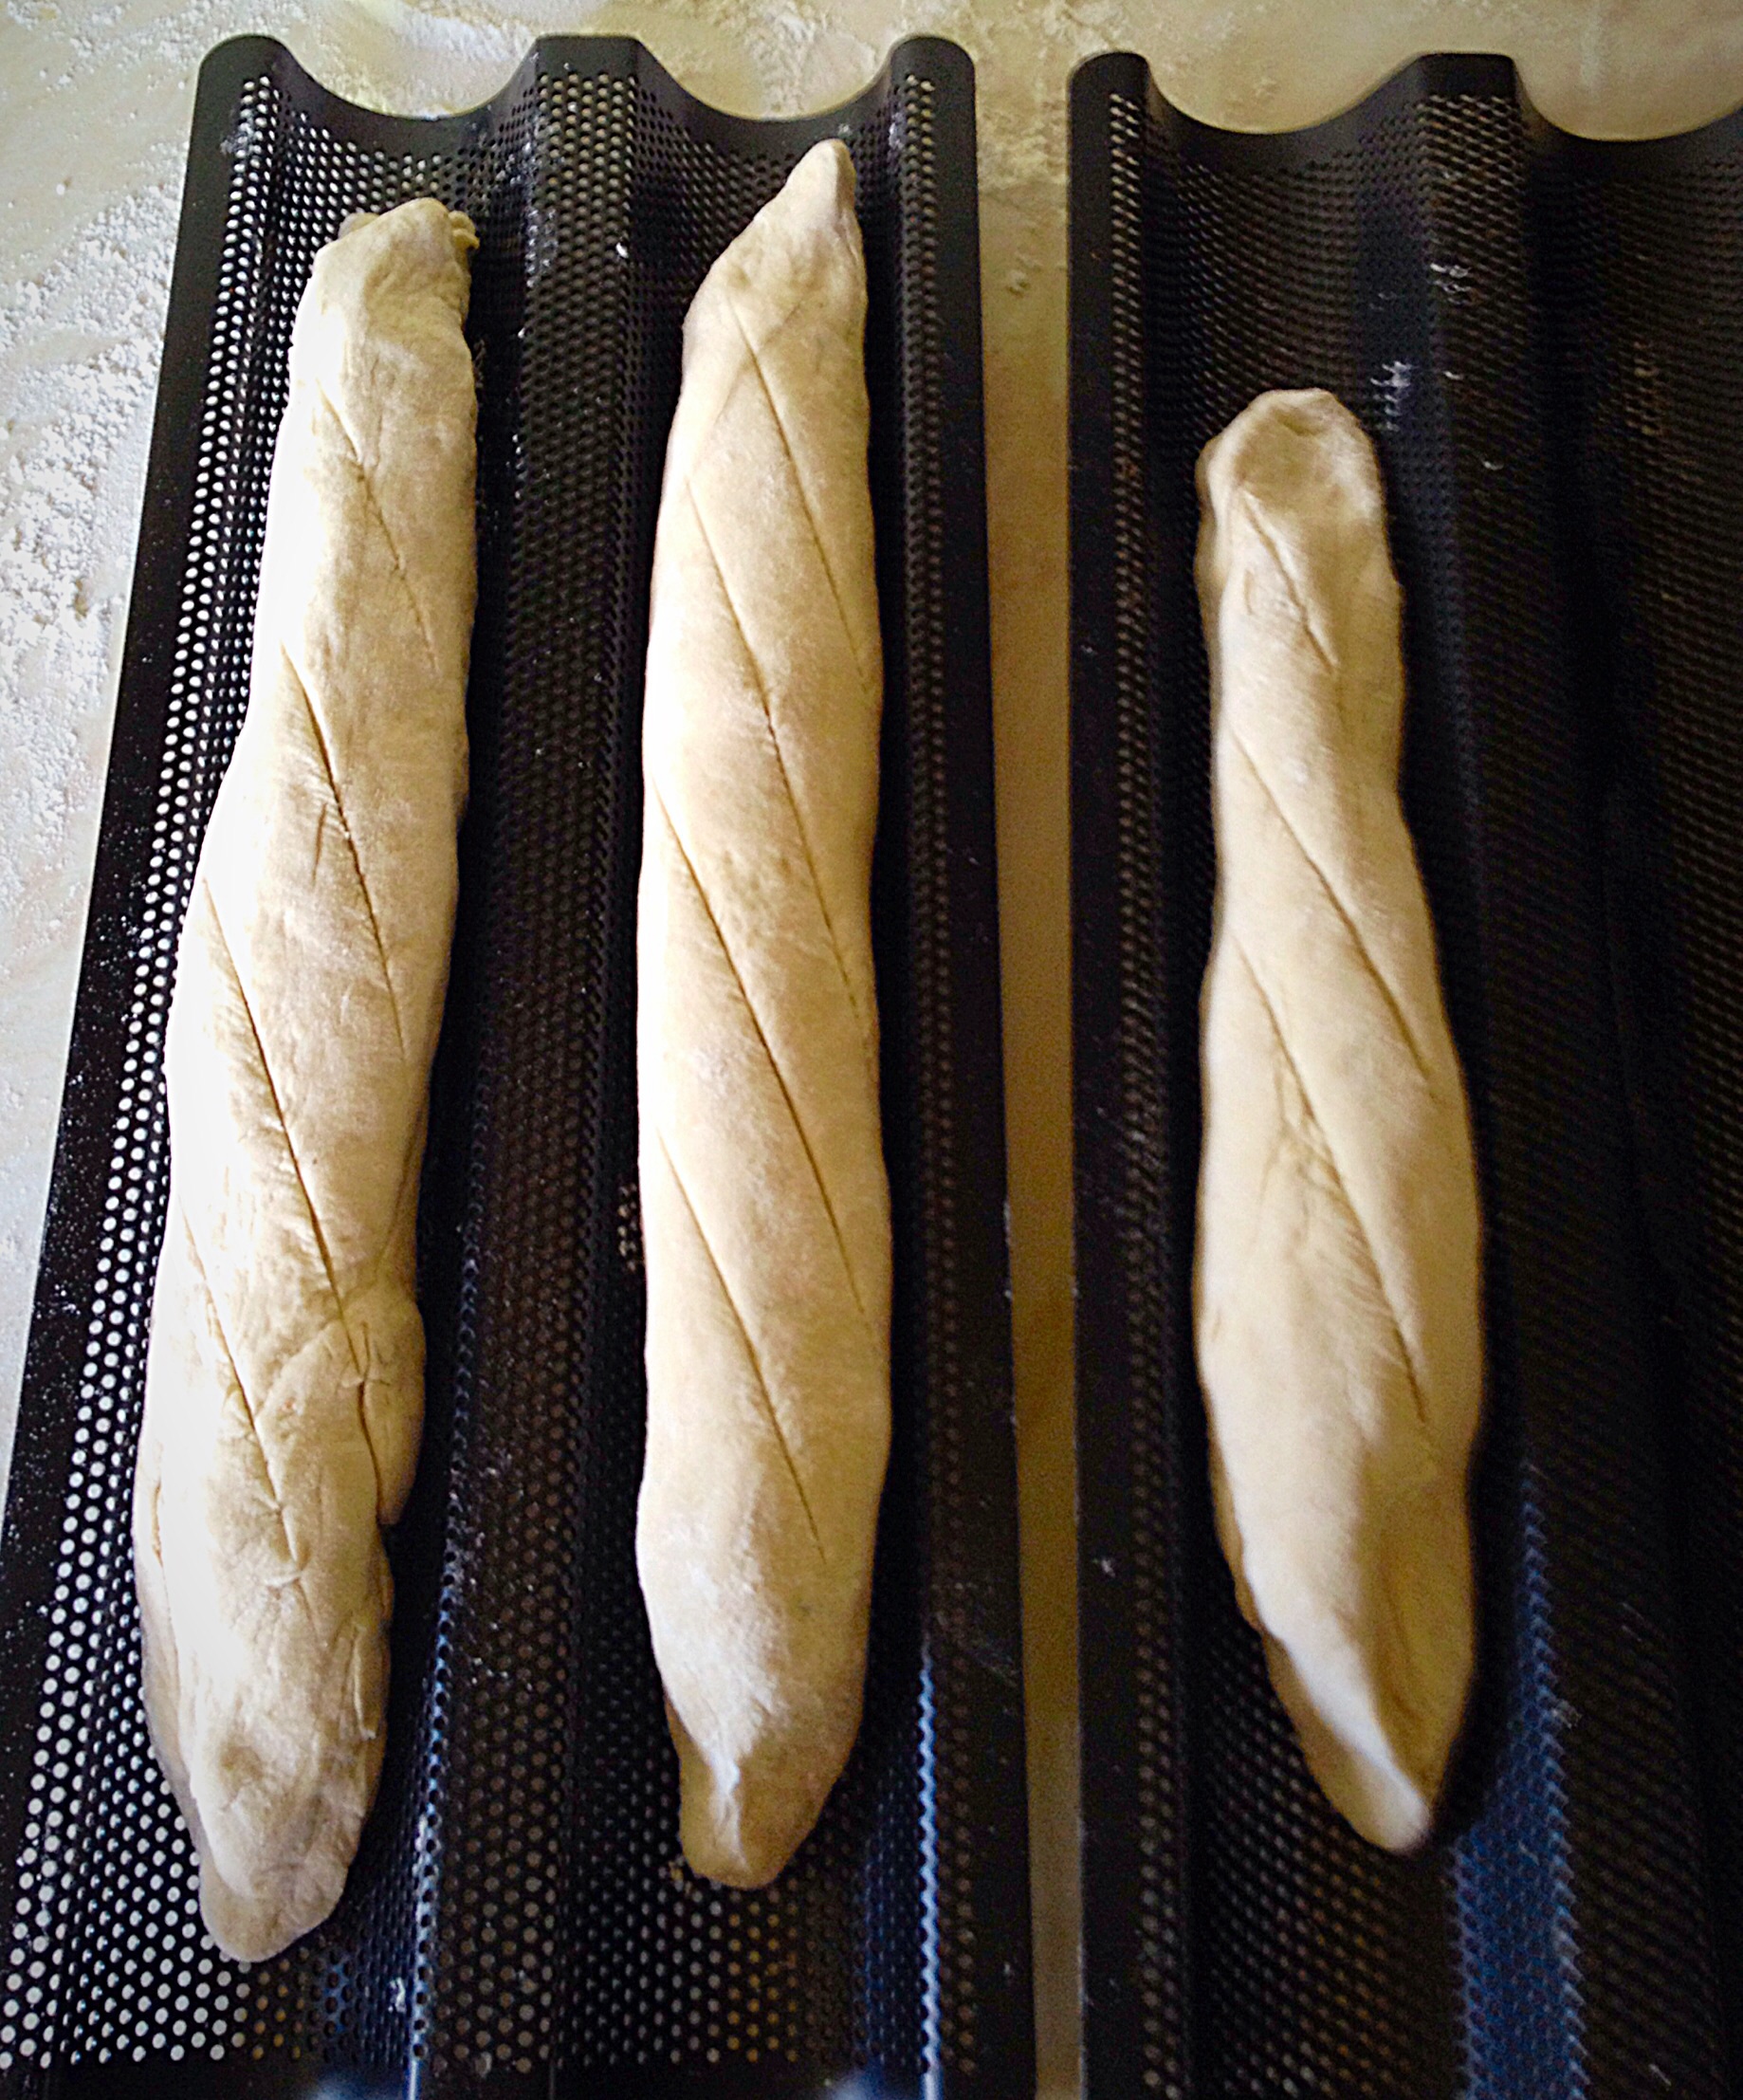
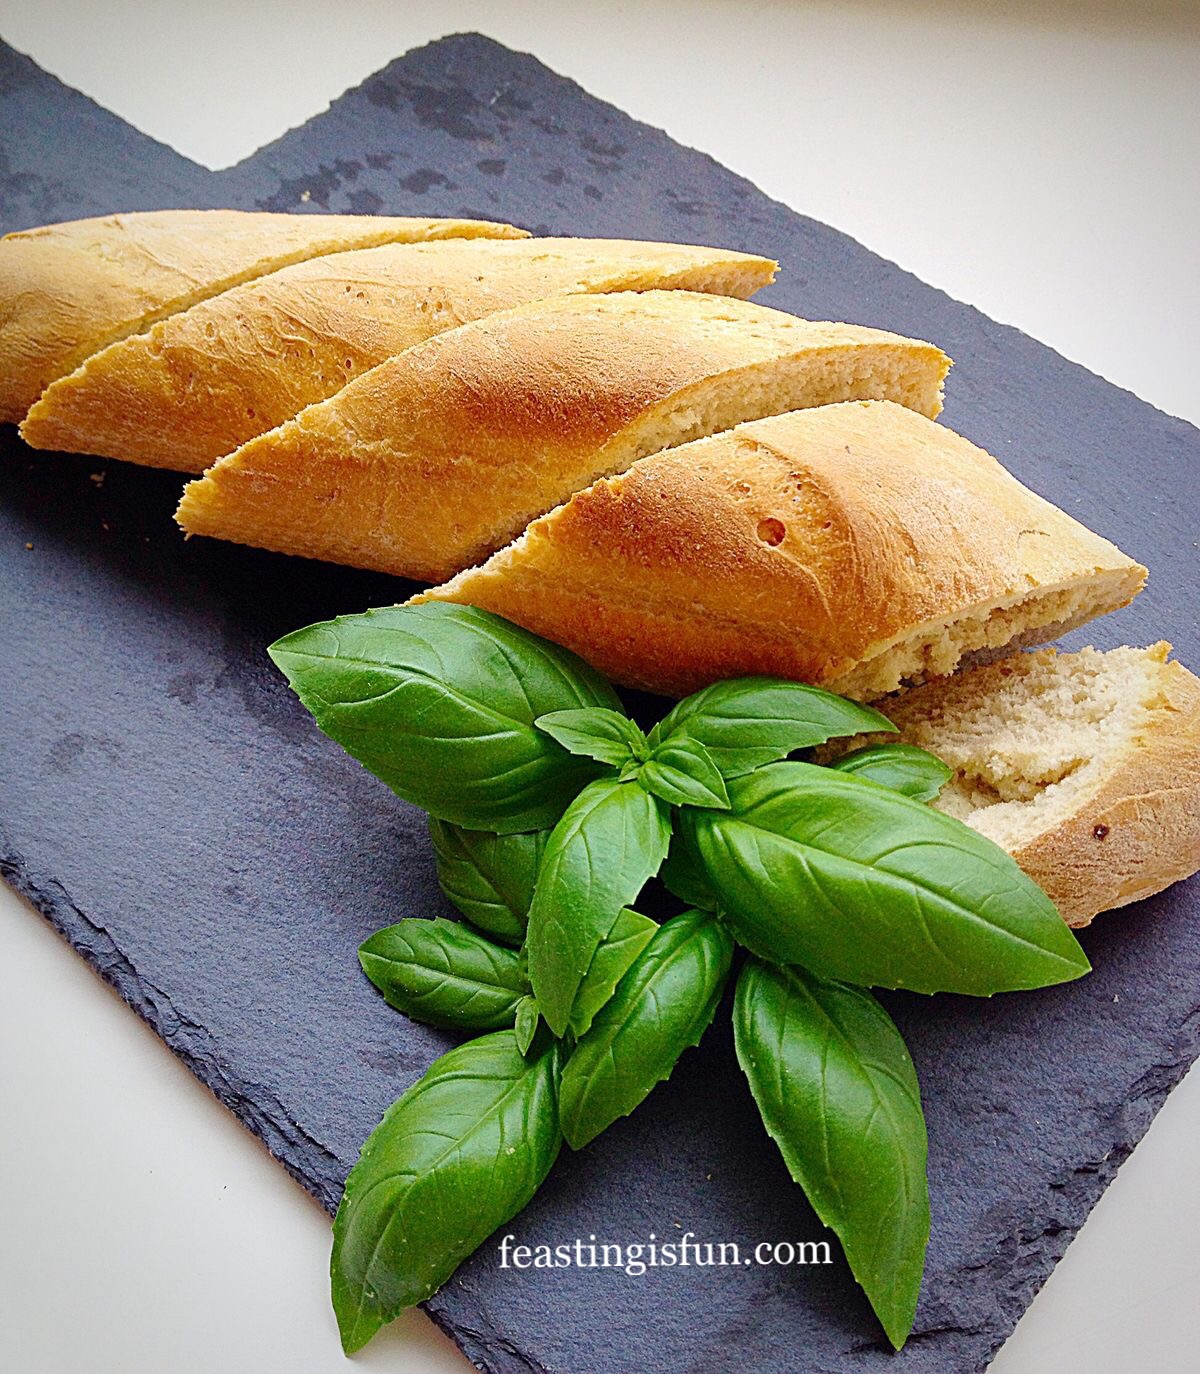
We ate one of these Hot Cross Buns split and buttered, not even toasted and they tasted AH-MAZE-ZING. Please try, just this once, to make your own Hot Cross Buns.I am available via the comments section of this site or alternatively over on Twitter @sammiefeasting. It is true, I have been known, whilst on holiday in Devon, with a really dodgy signal, to give advice to someone baking these Crusty Baguettes so please don’t worry, ask.
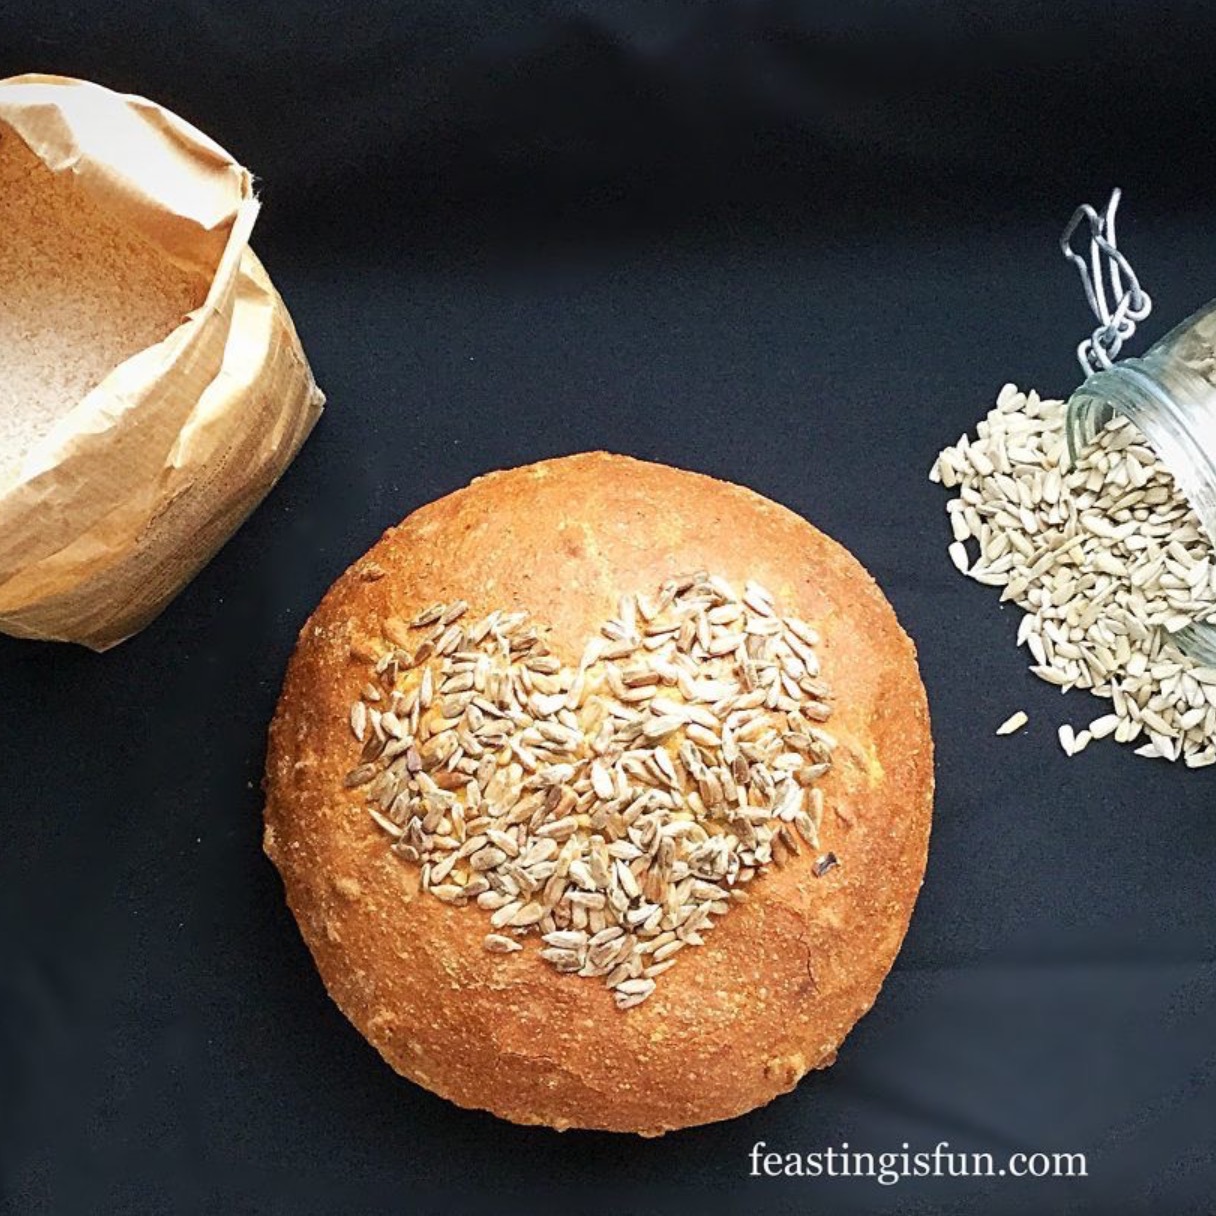
Who will you share your homemade Hot Cross Buns with
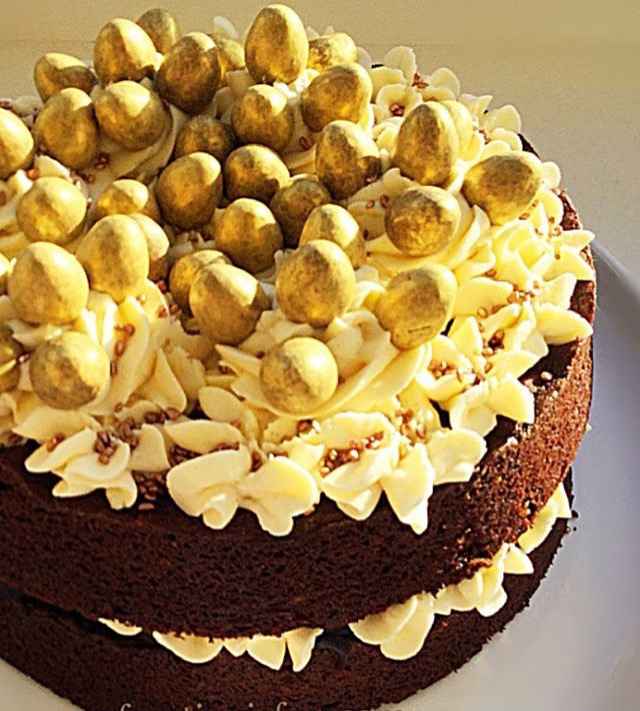
If you have enjoyed this recipe you may also like these:
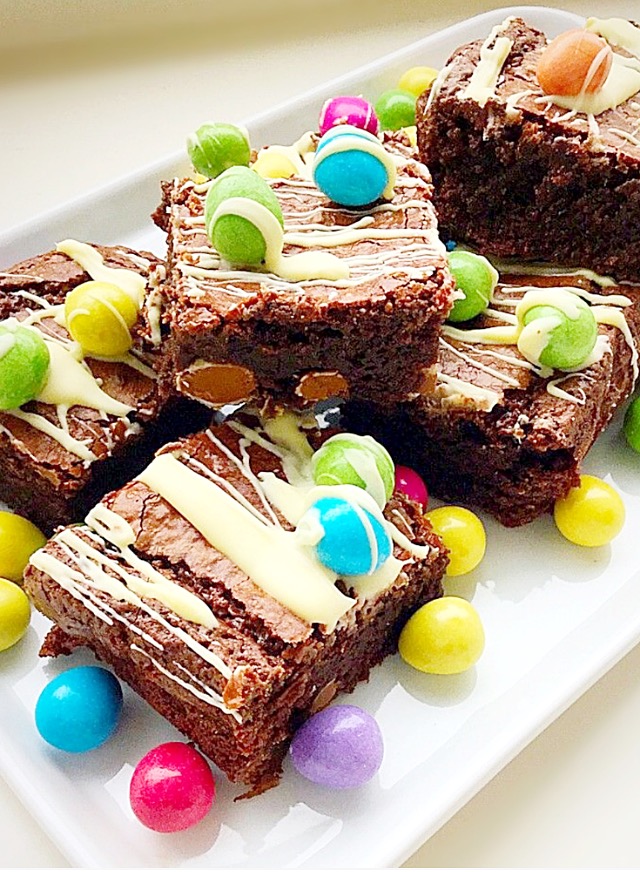
Golden Egg Chocolate Sponge Cake
Cherry Bakewell Hot Cross Buns

Sammie xx