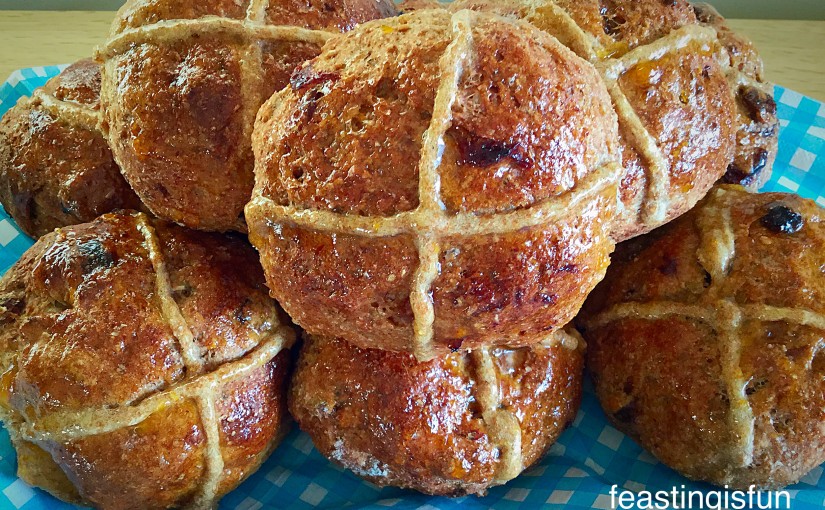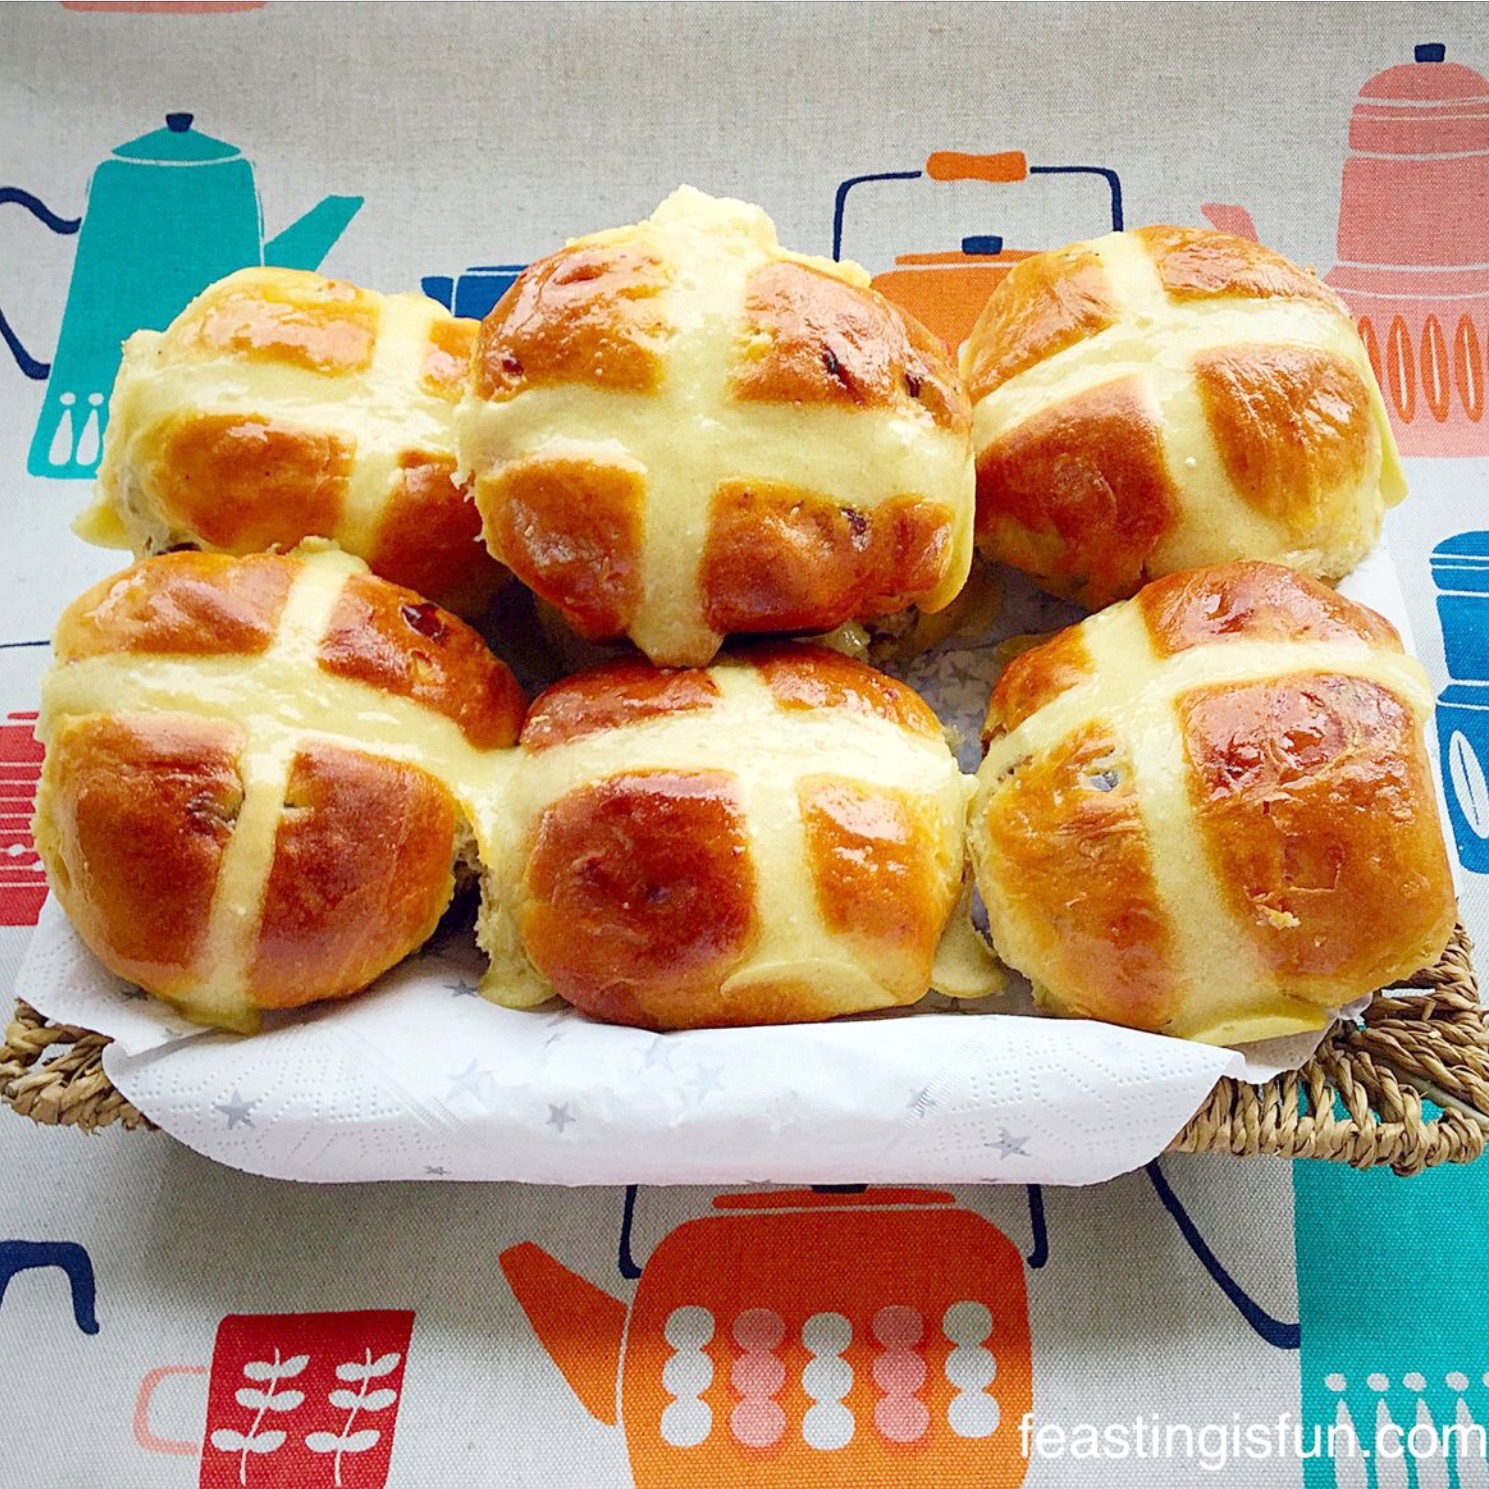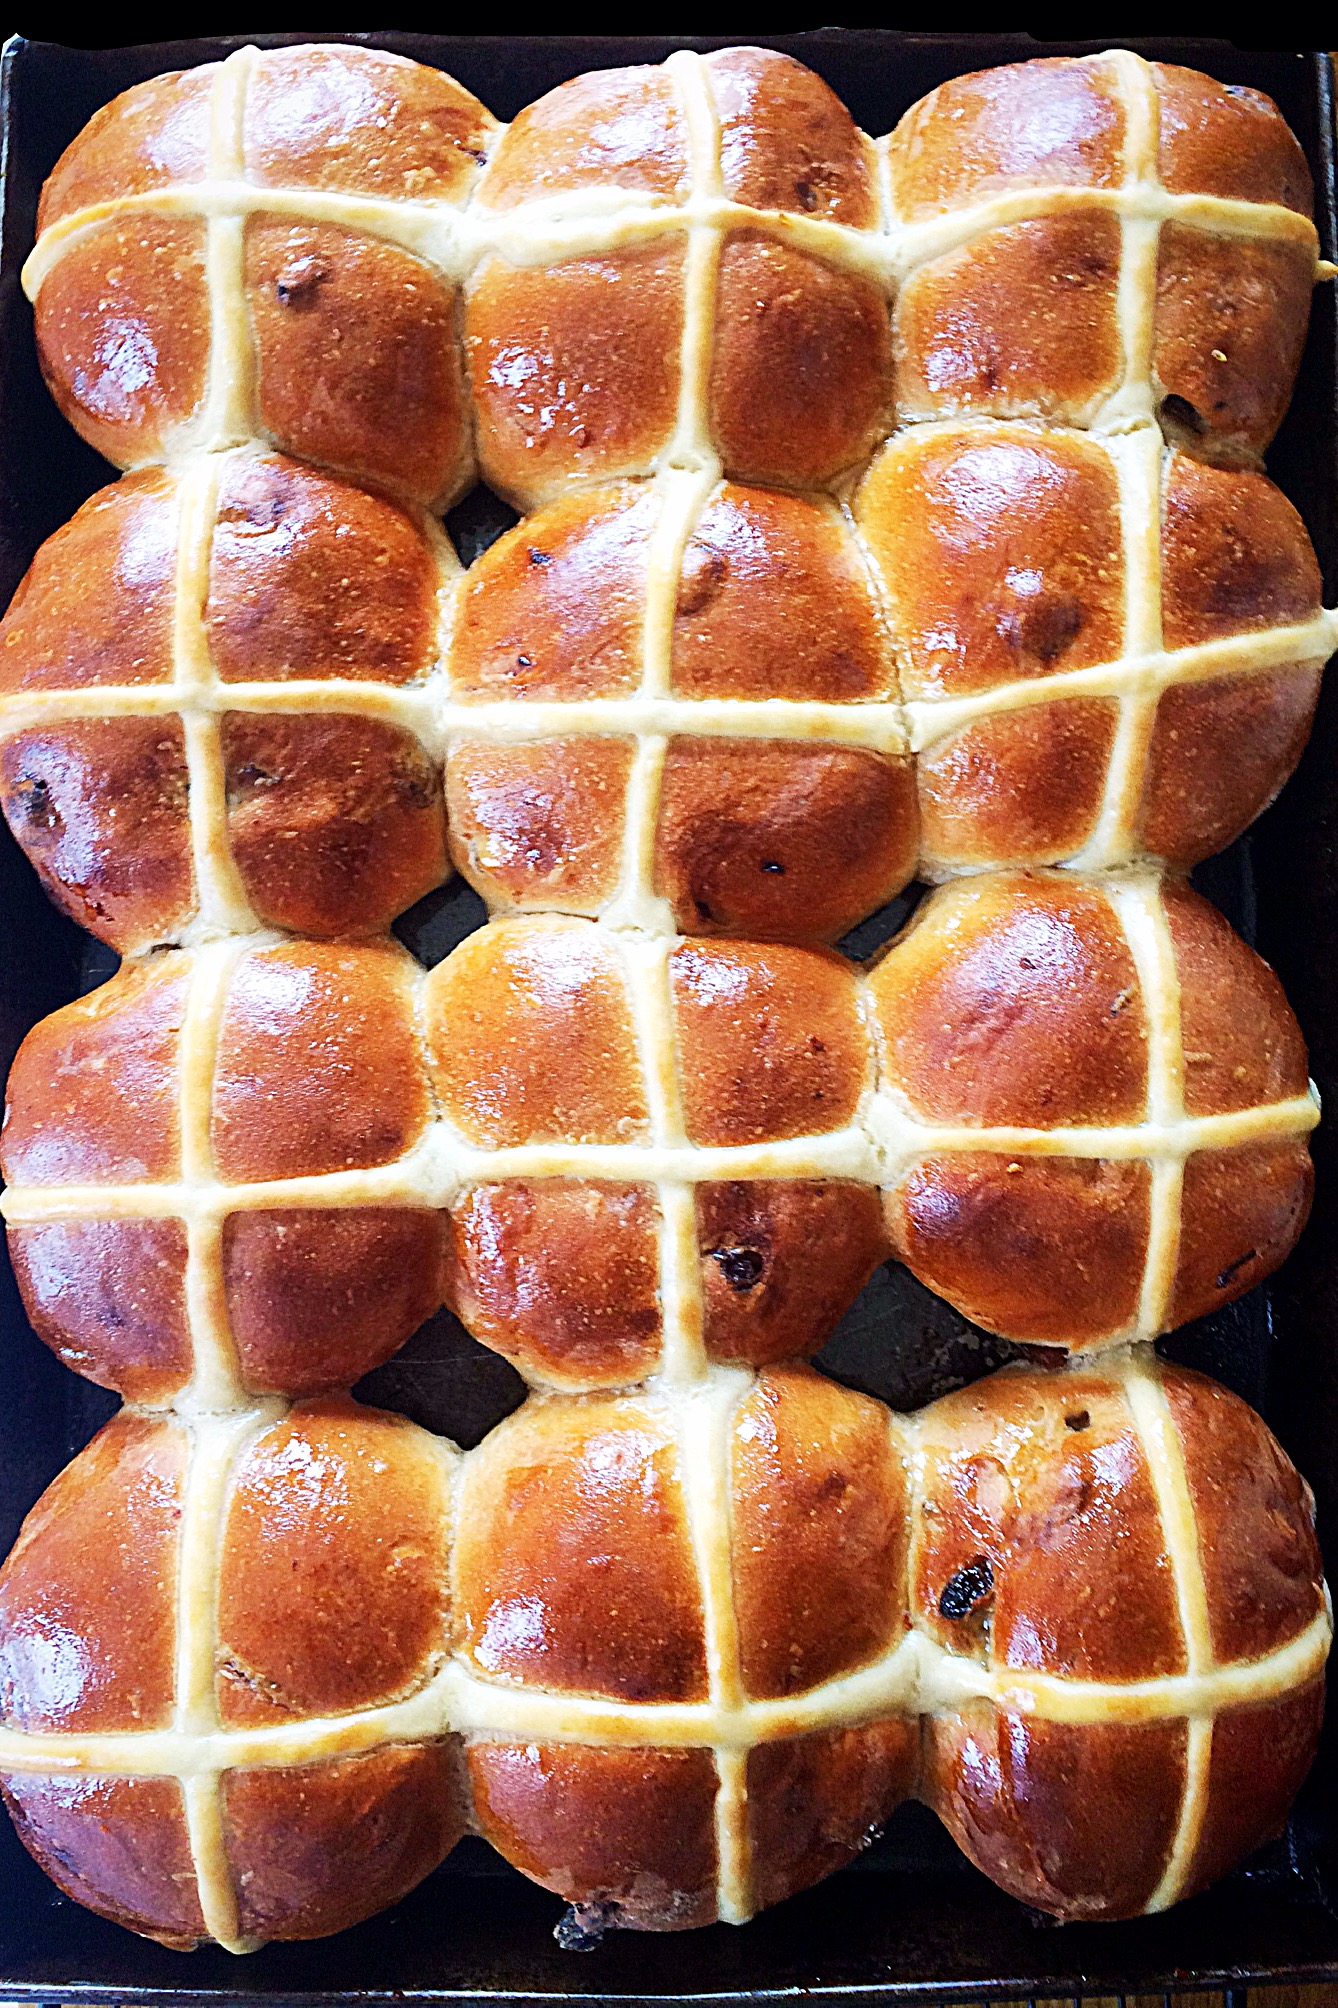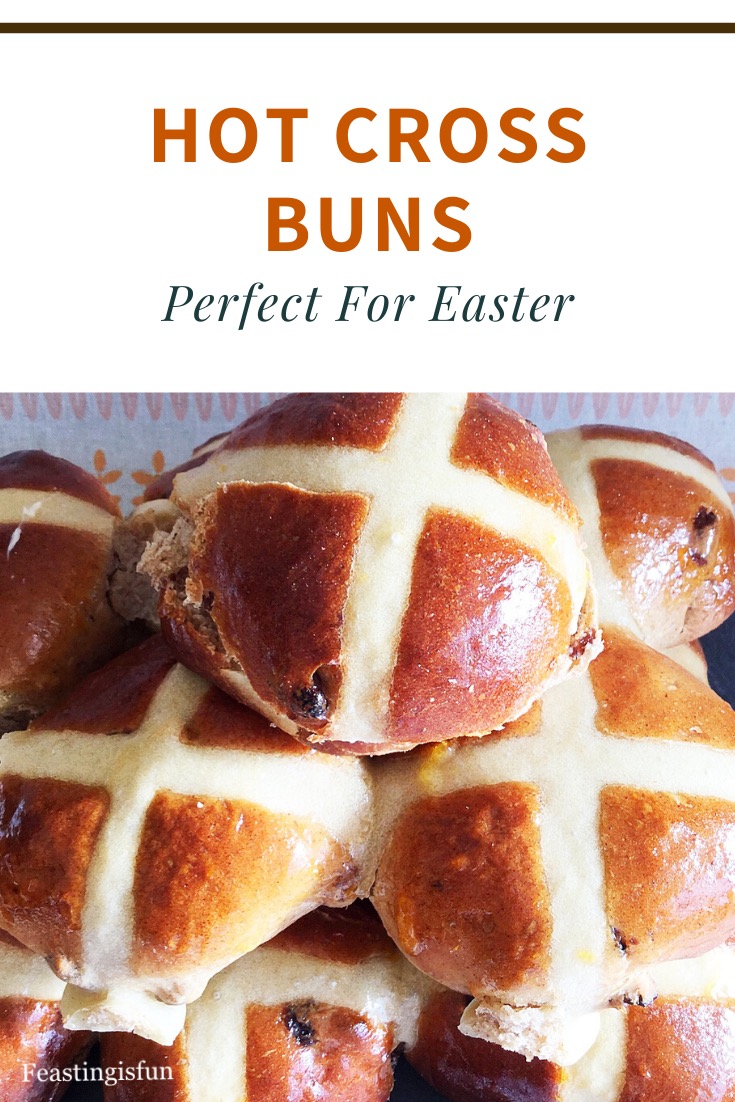
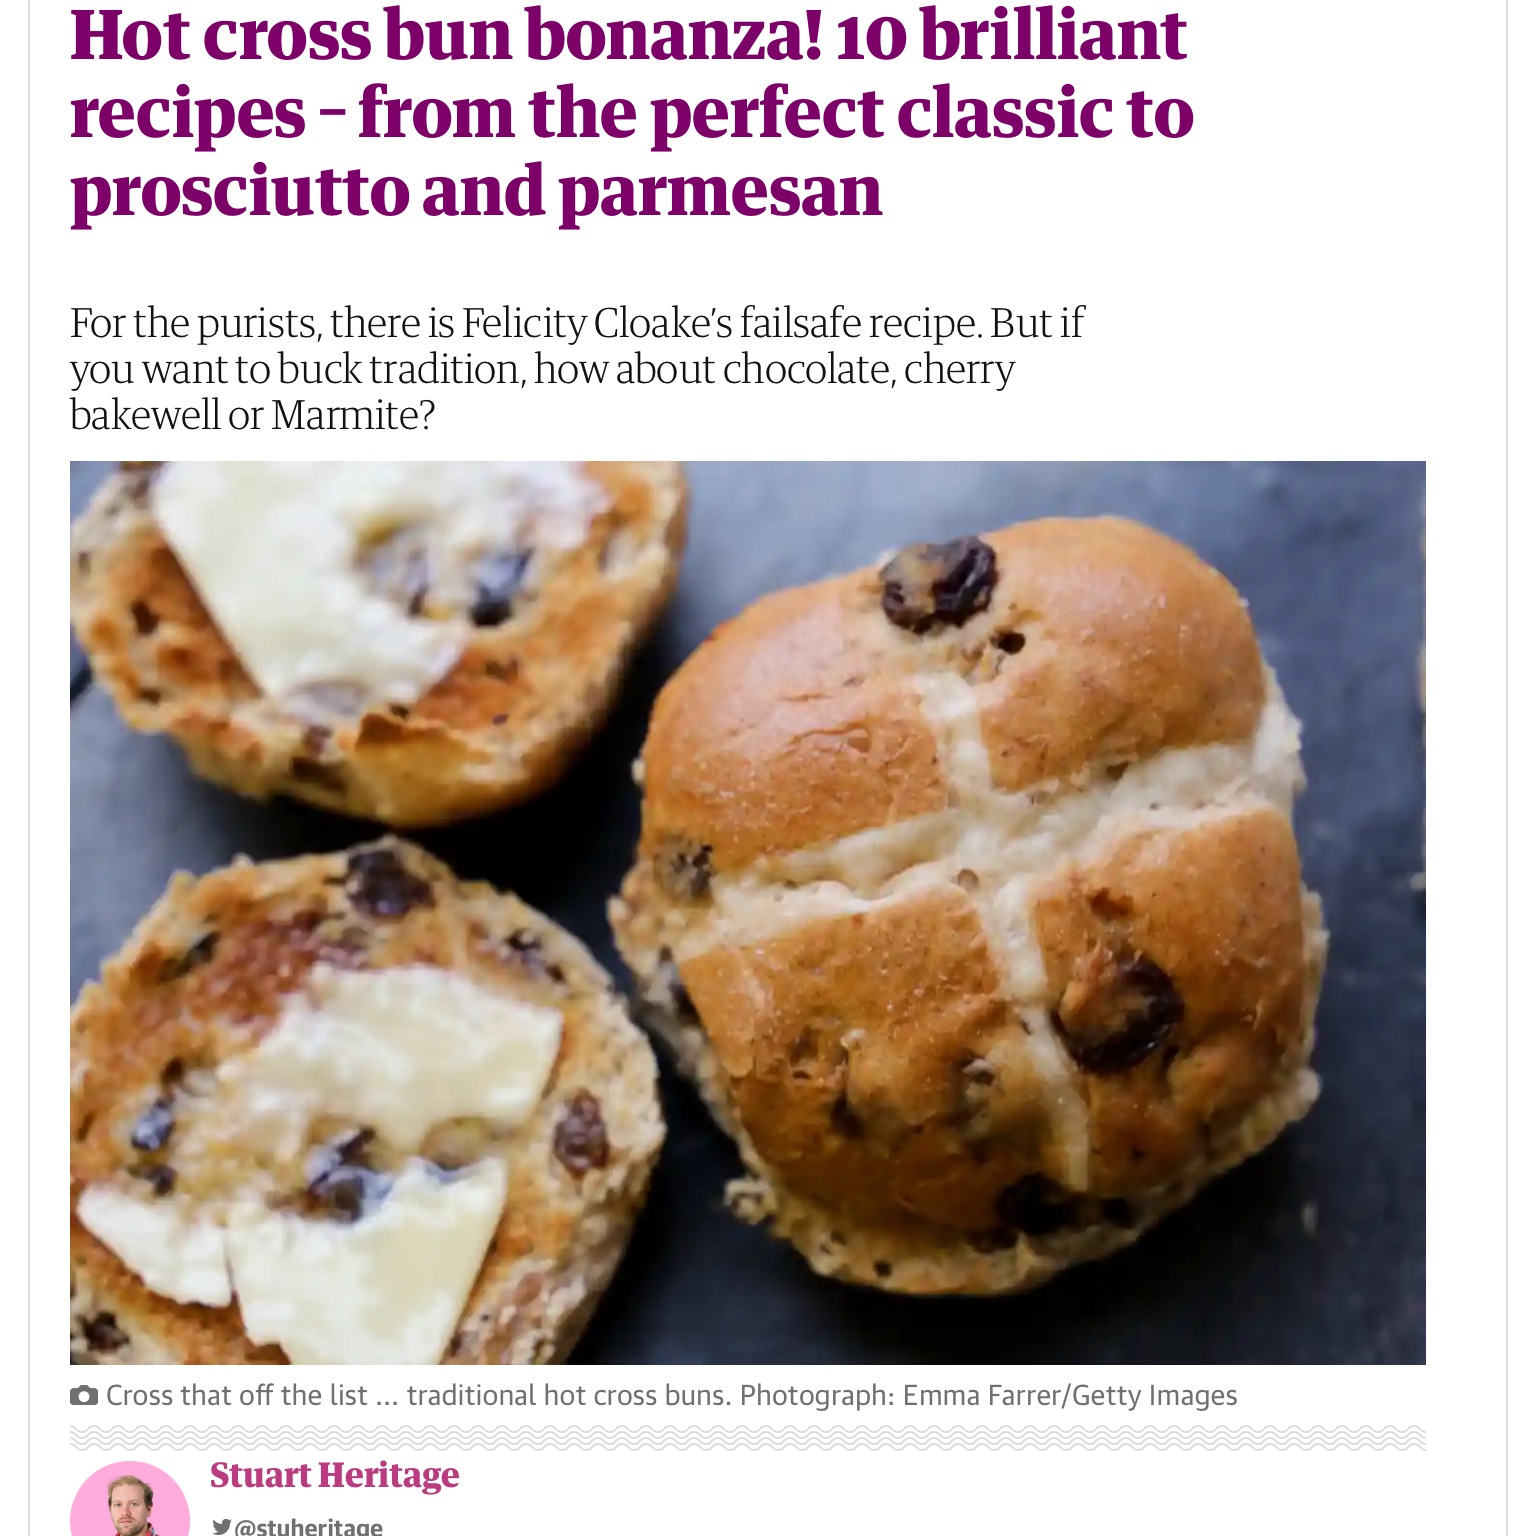
Easter is nearly here and with it the traditional Hot Cross Buns, which I absolutely love. However, after seeing Waitrose selling a variety of different flavours, I decided to take on the Cherry Bakewell Hot Cross Buns. Also, I’m very excited to say that this recipe is featured in The Guardian! See the end of this post for details.

I wanted to use the basic egg and milk enriched dough from my traditional Hot Cross Buns and experiment will cherries and almond flavouring.
As much as I absolutely love all things almond, especially flaked almonds, I decided to keep them out of these Cherry Bakewell Hot Cross Buns. I wasn’t sure how they would interact with the dough and I still wanted the buns to have a soft, pillowy, interior.

Playing Around With Flavours
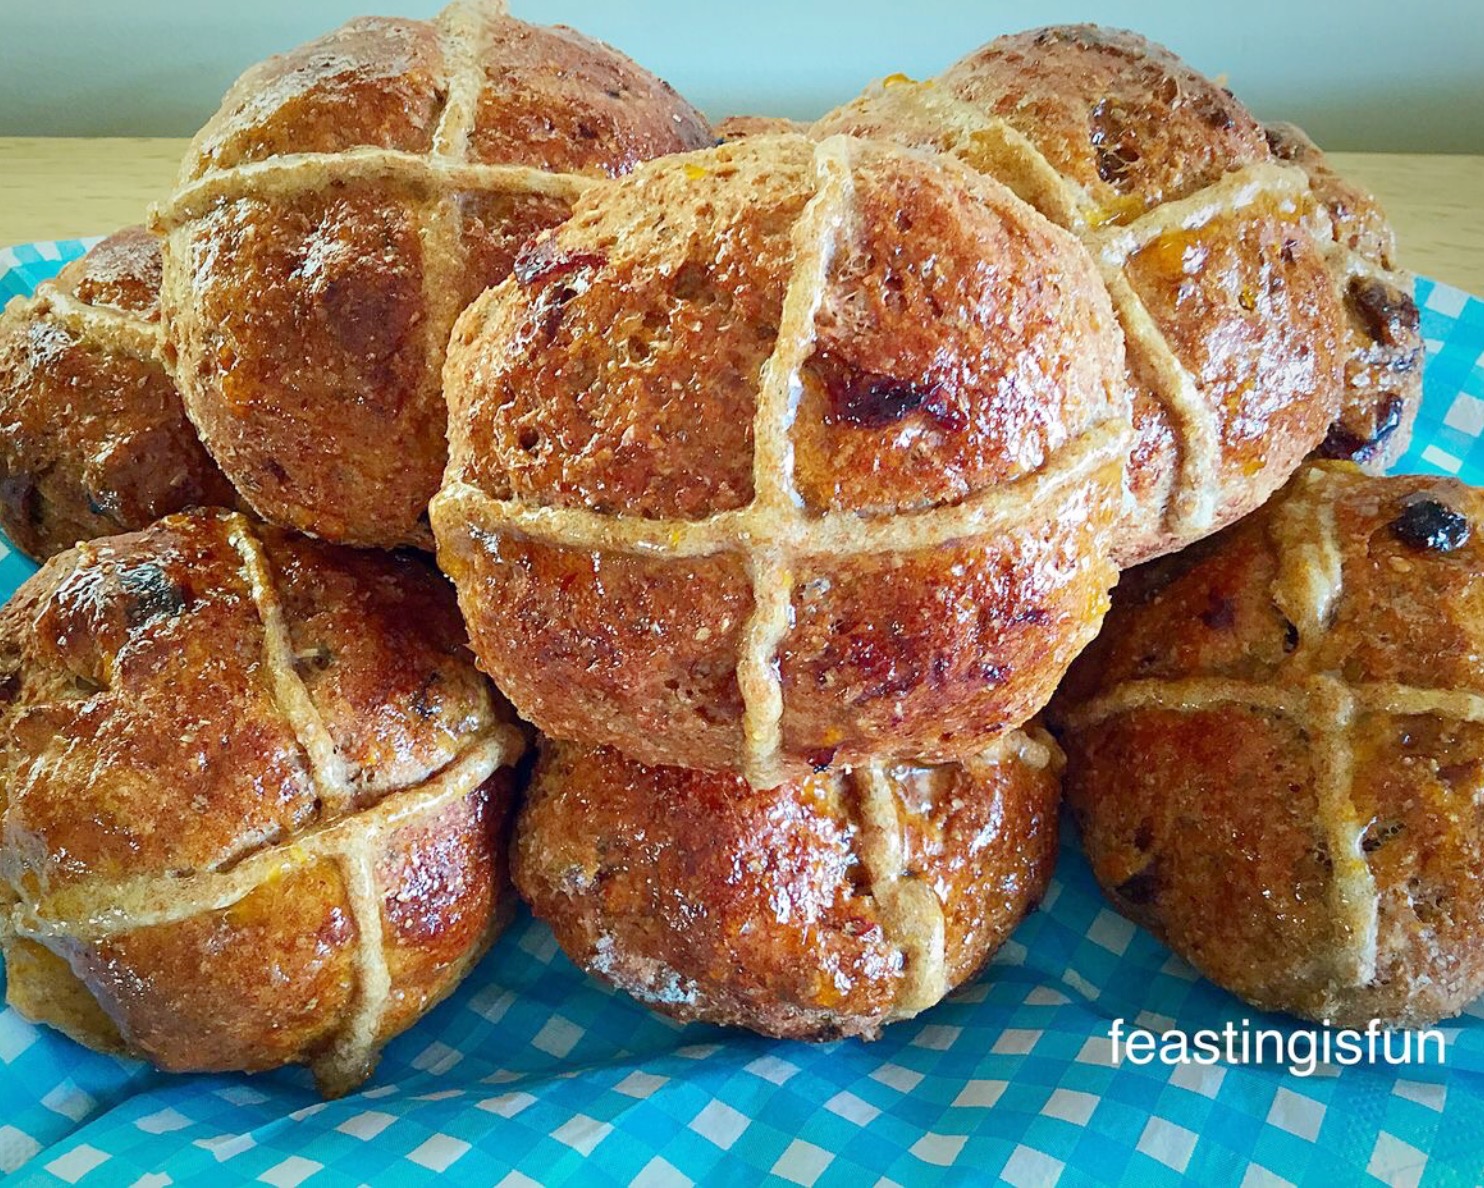
Leaving out the almonds was a great decision. These Cherry Bakewell Hot Cross Buns are so light and very more-ish. Crunch would not have been a good thing!
Instead I used Sugar and Crumbs cherry bakewell icing sugar. Substituting it both for the honey in the dough mix and using it to glaze the buns, instead of apricot jam. This with the addition of some almond extract, gave the buns just the right hint of almond. The flavour is subtle and works so well with the fluffy, light bun.
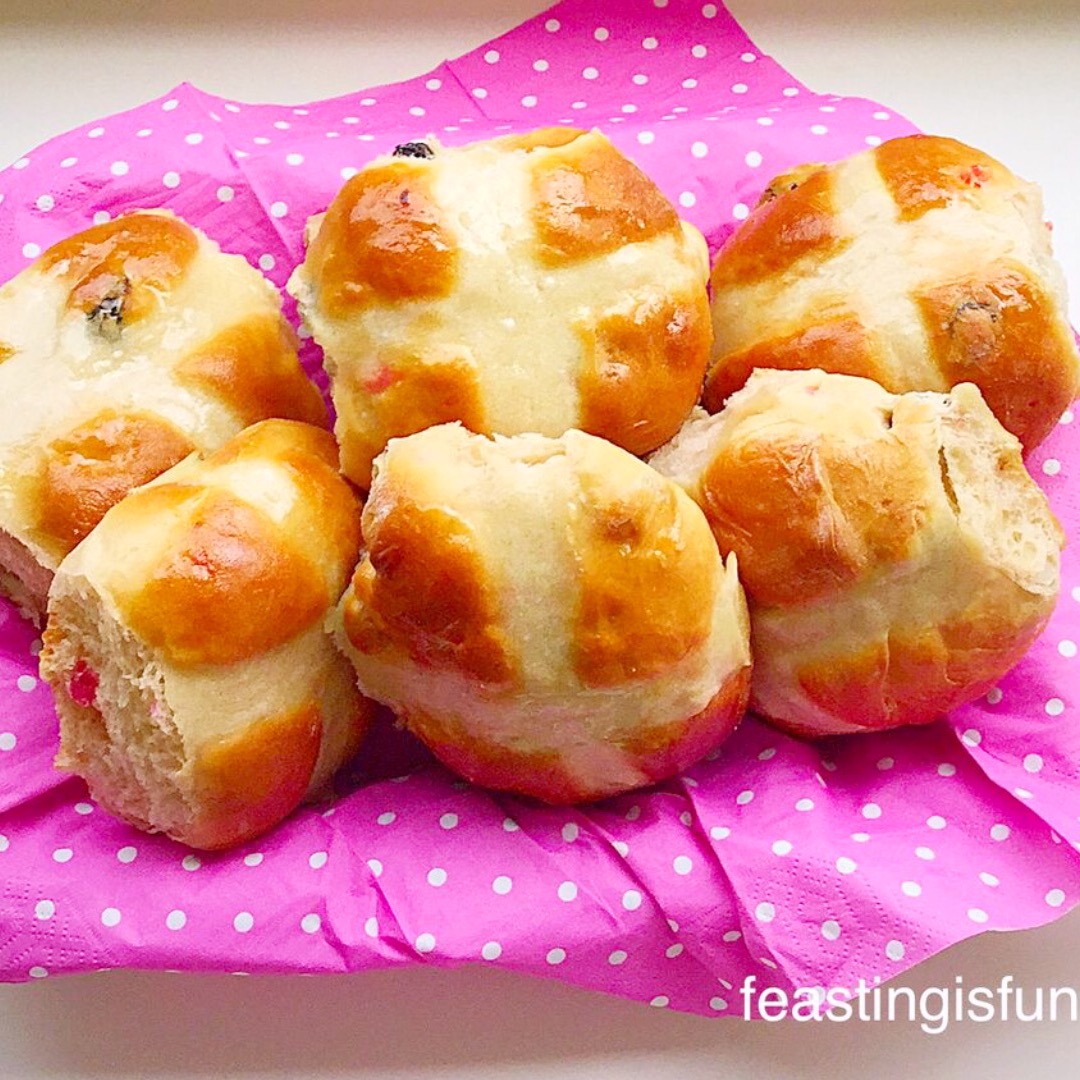
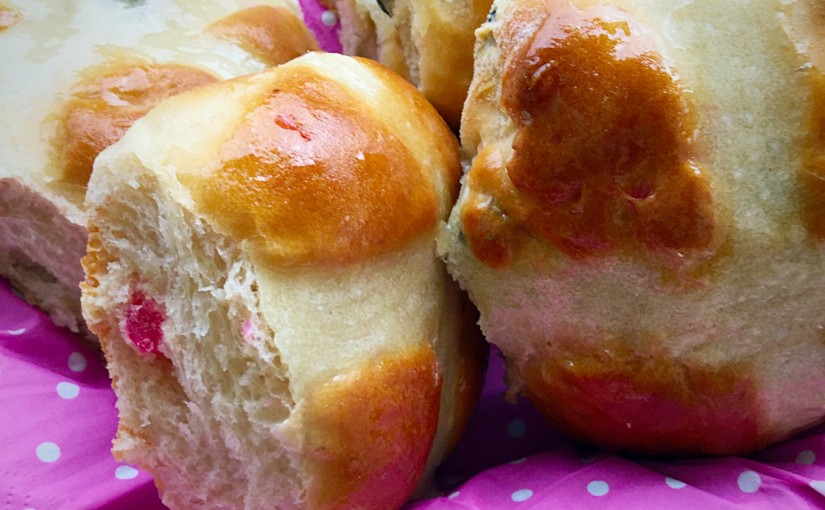
Now for the cherries. I used both glacé and dried cherries. They both add their own flavour and pretty colour to these Cherry Bakewell Hot Cross Buns. The dried cherries also give a lovely chewiness, similar to that of raisins. While the glacé cherries add bursts of sweetness, similar to that of mixed peel (of which I am most definitely not a fan!).
Hot Cross Buns – Not Just For Easter
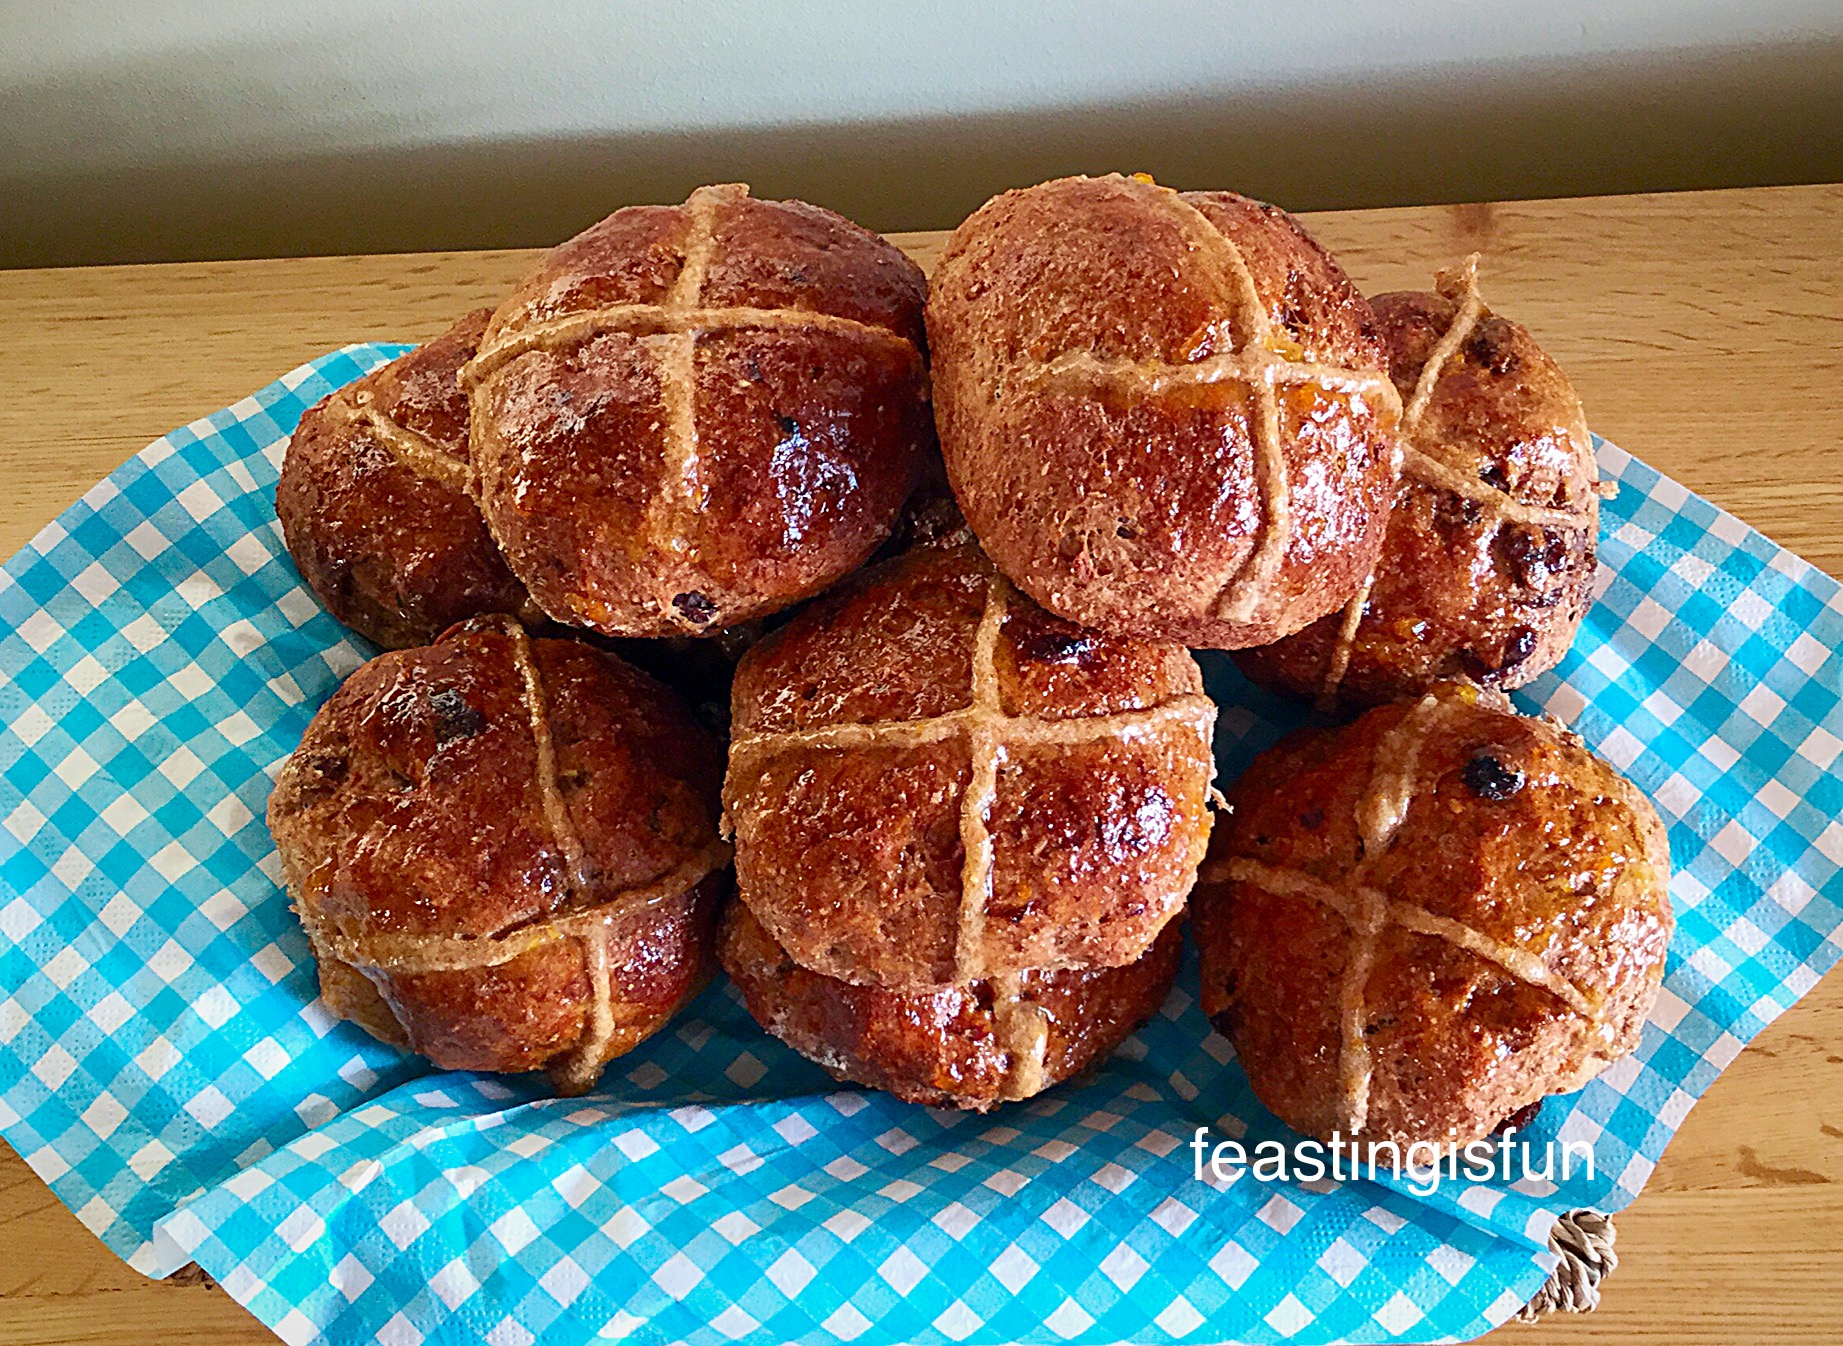
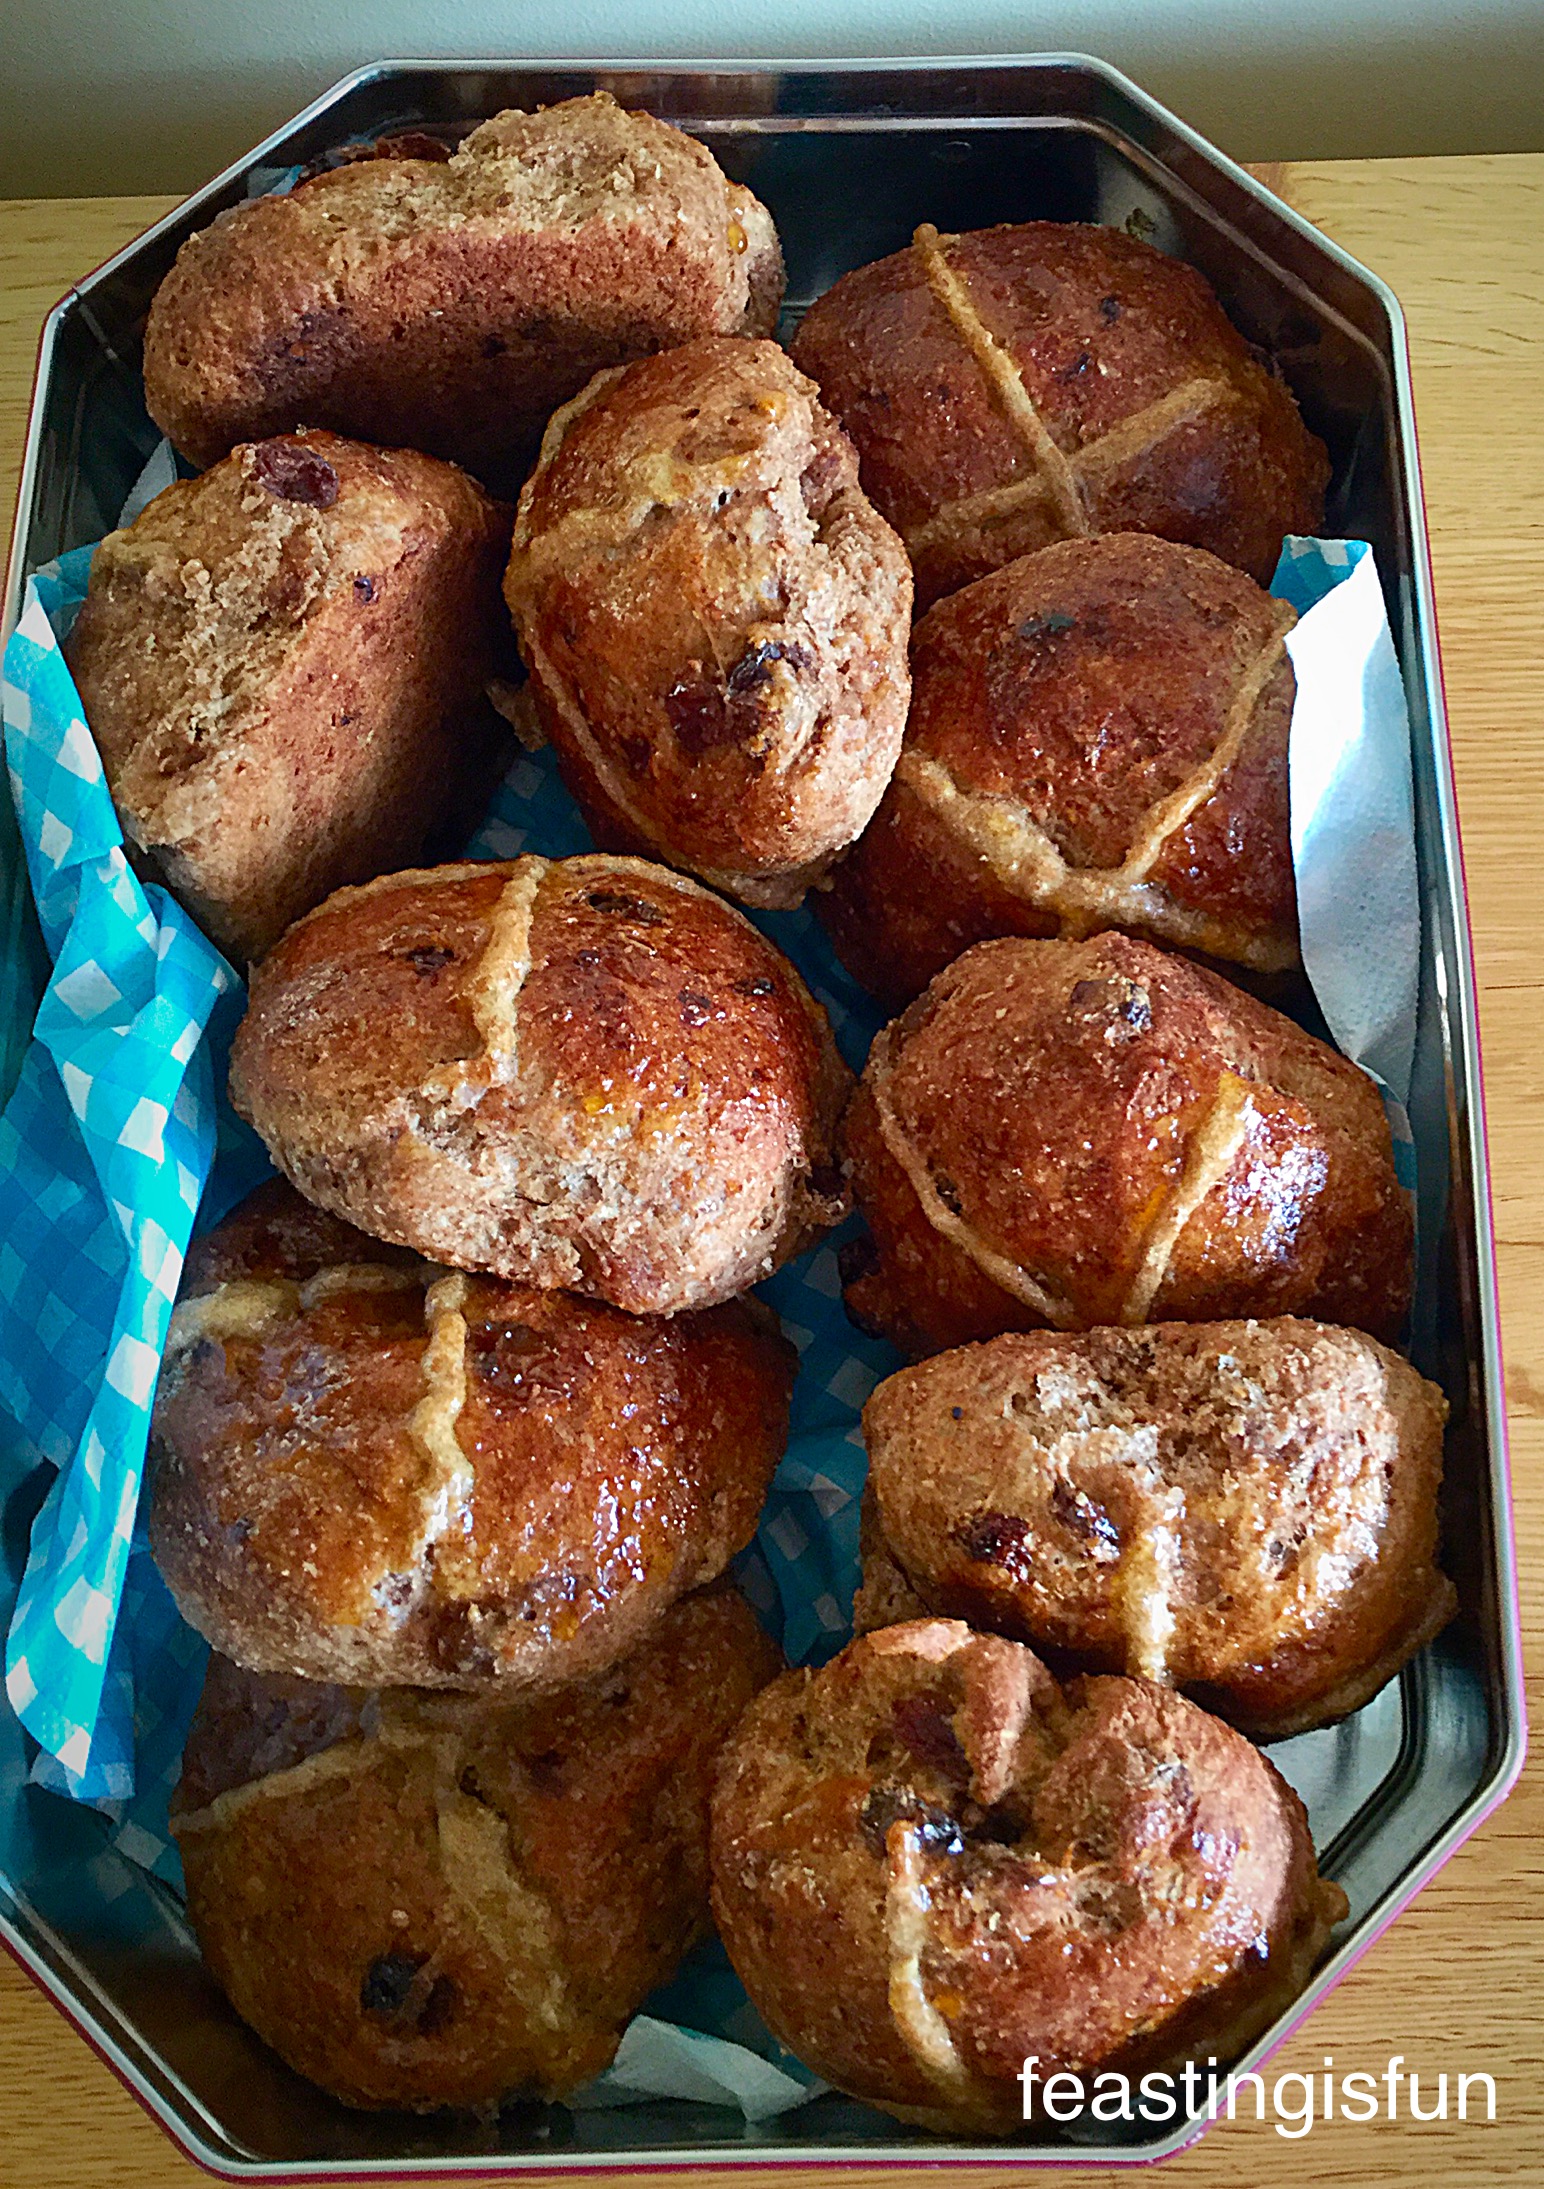
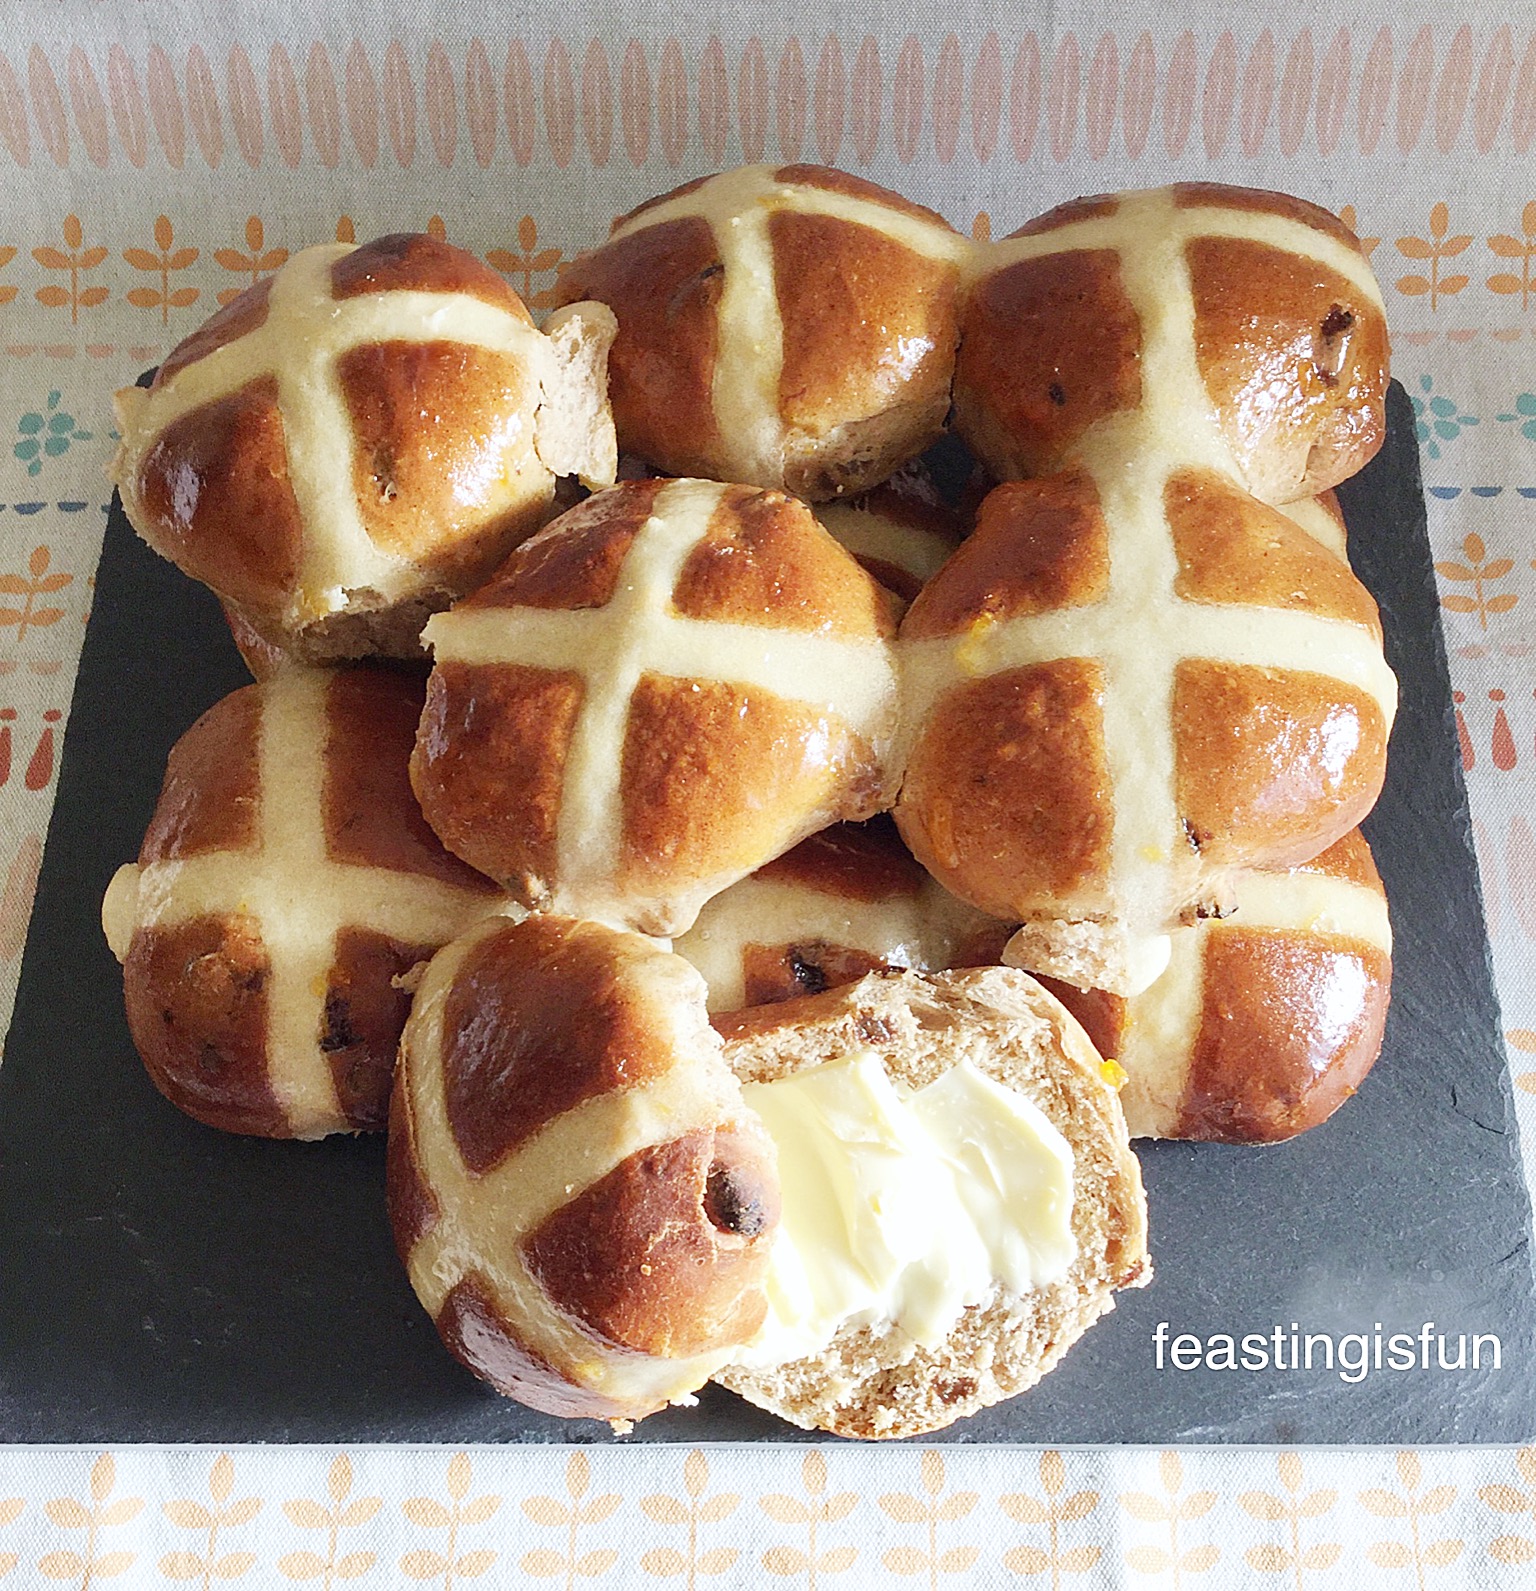
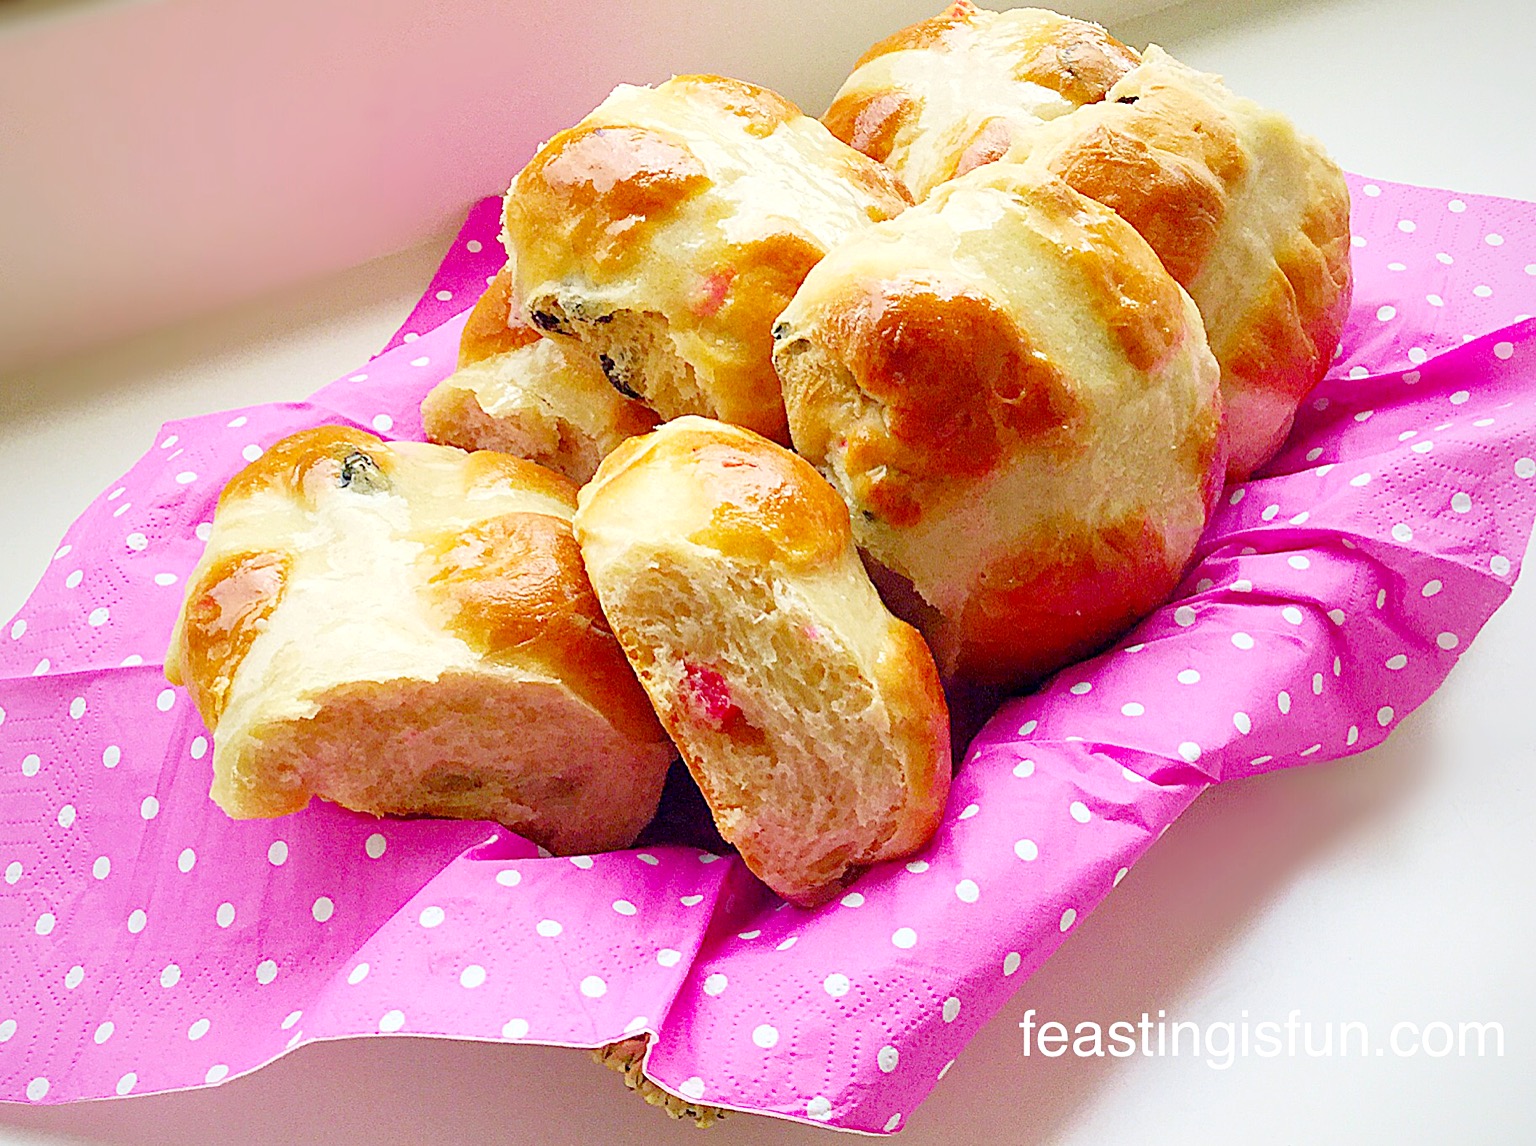
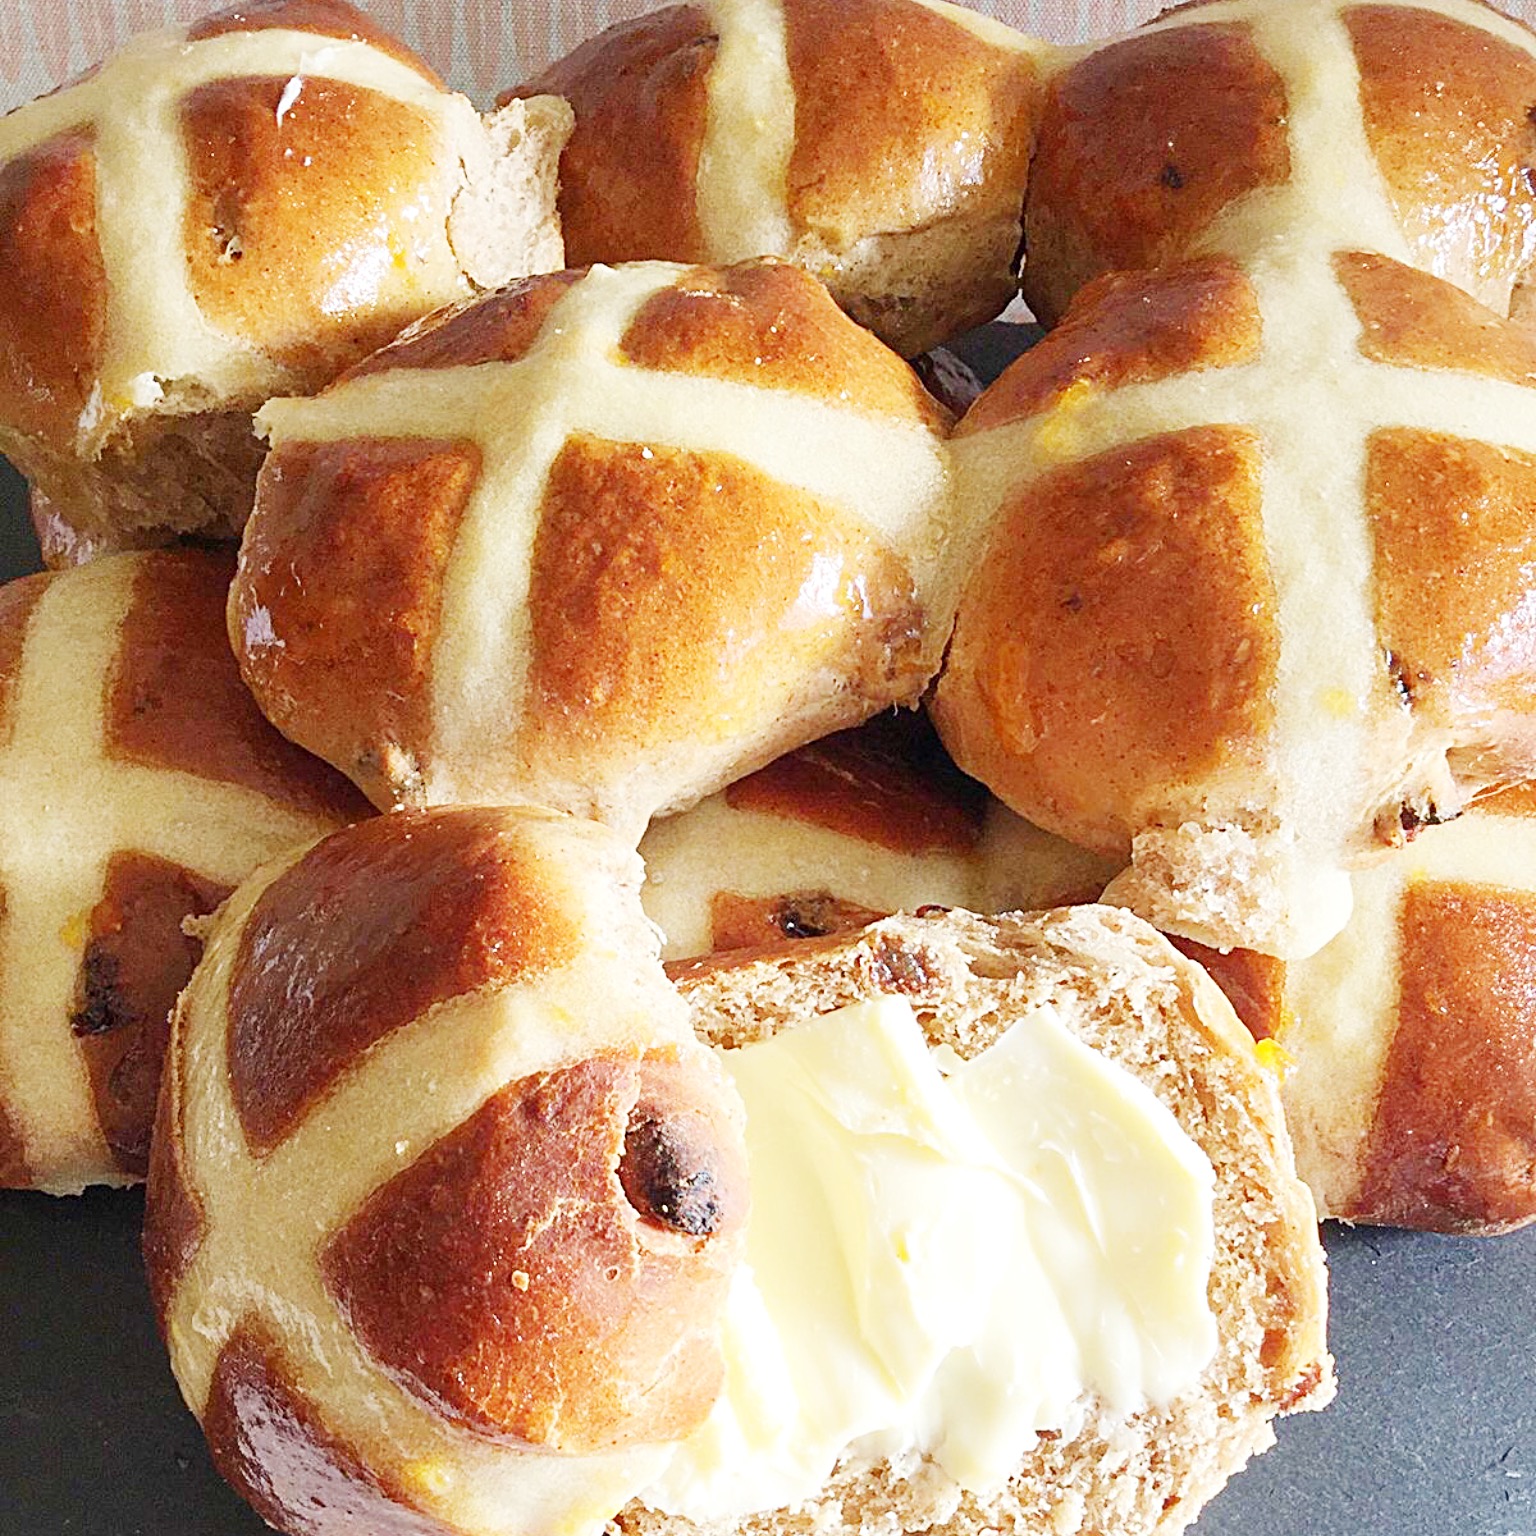
Over all these Cherry Bakewell Hot Cross Buns have been a huge hit in our home. So much so, that I can see myself making them all year round, although I’ll probably leave off the cross!
They are an utterly delicious bun, not dissimilar in taste to old fashioned, bakery, iced buns. Perfect toasted with butter, or eaten, as I did, just like an iced bun, with a lovely cup of tea.
Some Tips On How To Bake The Lightest Buns
If you haven’t made bread dough before, or used yeast in baking, please don’t be daunted by the prospect. Ensure the yeast you use is fresh. Yep, even fast action dried yeast, which is what we use in this recipe, loses its potency. So if you have yeast that’s been sitting in the cupboard for more than 6 months I really would recommend buying new.
I bake regularly enough to get through a tin of fast action dried yeast, every 2-3 weeks. It’s a regular on my grocery order. Don’t worry if all you can by is sachets, that’s fine as we weigh the yeast for this recipe.
Likewise with flour, you need good strong, white, bread flour. I buy mine from Shipton Mill via Amazon UK. It works out a lot cheaper than buying the best organic supermarket brand. That said, I’ve already mentioned that I bake a lot, so buy a good quality, organic if you can afford it, brand from the supermarket. All flour has a use by date, check yours.
The reason I have emphasised using fresh ingredients is, whilst this recipe is relatively easy, it can be heartbreaking to make a yeasted bun, only to find it doesn’t rise. So if you check everything before you start, you are much more likely to have a deliciously, positive outcome. Which is what we all want. Right?
Recipe: Makes 12 Cherry Bakewell Hot Cross Buns
For the buns
500g/1lb 2oz Strong White Bread Flour
140ml/ Scant 5fl oz Whole Milk – warmed slightly to body temperature
120ml/4.5fl oz Water – warmed slightly to body temperature
2 Large Free Range Eggs
1tbsp Cherry Bakewell Icing Sugar – or plain icing sugar
10g/1.5 Sachets Fast Acting Dried Yeast
10g Salt – I use Maldon
50g/2oz Unsalted Butter – softened to room temperature
100g/4oz Dried Cherries
75g/3oz Glacé Cherries – chopped into quarters
1tsp Almond Extract
For the crosses
50g/2oz Strong White Bread Flour
1/2tsp Almond Extract
50ml/2fl oz Water
For the glaze
50g/2oz Cherry Bakewell Icing Sugar – or substitute plain icing sugar plus 1/4tsp almond extract.
Hot water approx 50mls/2fl oz
Method: This method is for use with a bread maker or stand mixer, if you wish to make by hand, I suggest you look to the original, traditional hot cross bun recipe in Paul Hollywood’s book ‘How to Bake’ ISBN 9781 4088 19494.
Making And Proving The Enriched Dough
The ‘bowl’ refers to the bowl of a stand mixer or the mixing compartment of a bread maker.
- Add both the milk and water to the bowl.
- Next add both eggs, the icing sugar and yeast.
- Swish about with clean fingers to mix.
- Now add the flour on top of the liquid mixture.
- Place the salt and butter on top of the flour.
For a bread maker, set the cycle to dough and press start. When prompted by the machine, or 5 minutes before mixing stops, add the dried cherries, glacé cherries and almond extract. Allow the bread maker to complete the dough cycle.
When the bread maker has completed the dough cycle, ensure the dough has doubled in size, if not wait until it has. Then re start the dough cycle for 2 minutes, this will ‘knock back’ the dough for you.
For a stand mixer attach the dough hook. Start mixing on a low speed. Once the contents of the bowl resemble dough continue to mix on medium/slow speed for 5 minutes. Stop the mixer. Scrape all the dough, from the hook, into the bowl. Add the dried cherries, glacé cherries and almond extract. Lower the dough hook and mix on medium speed for a further 5 minutes.
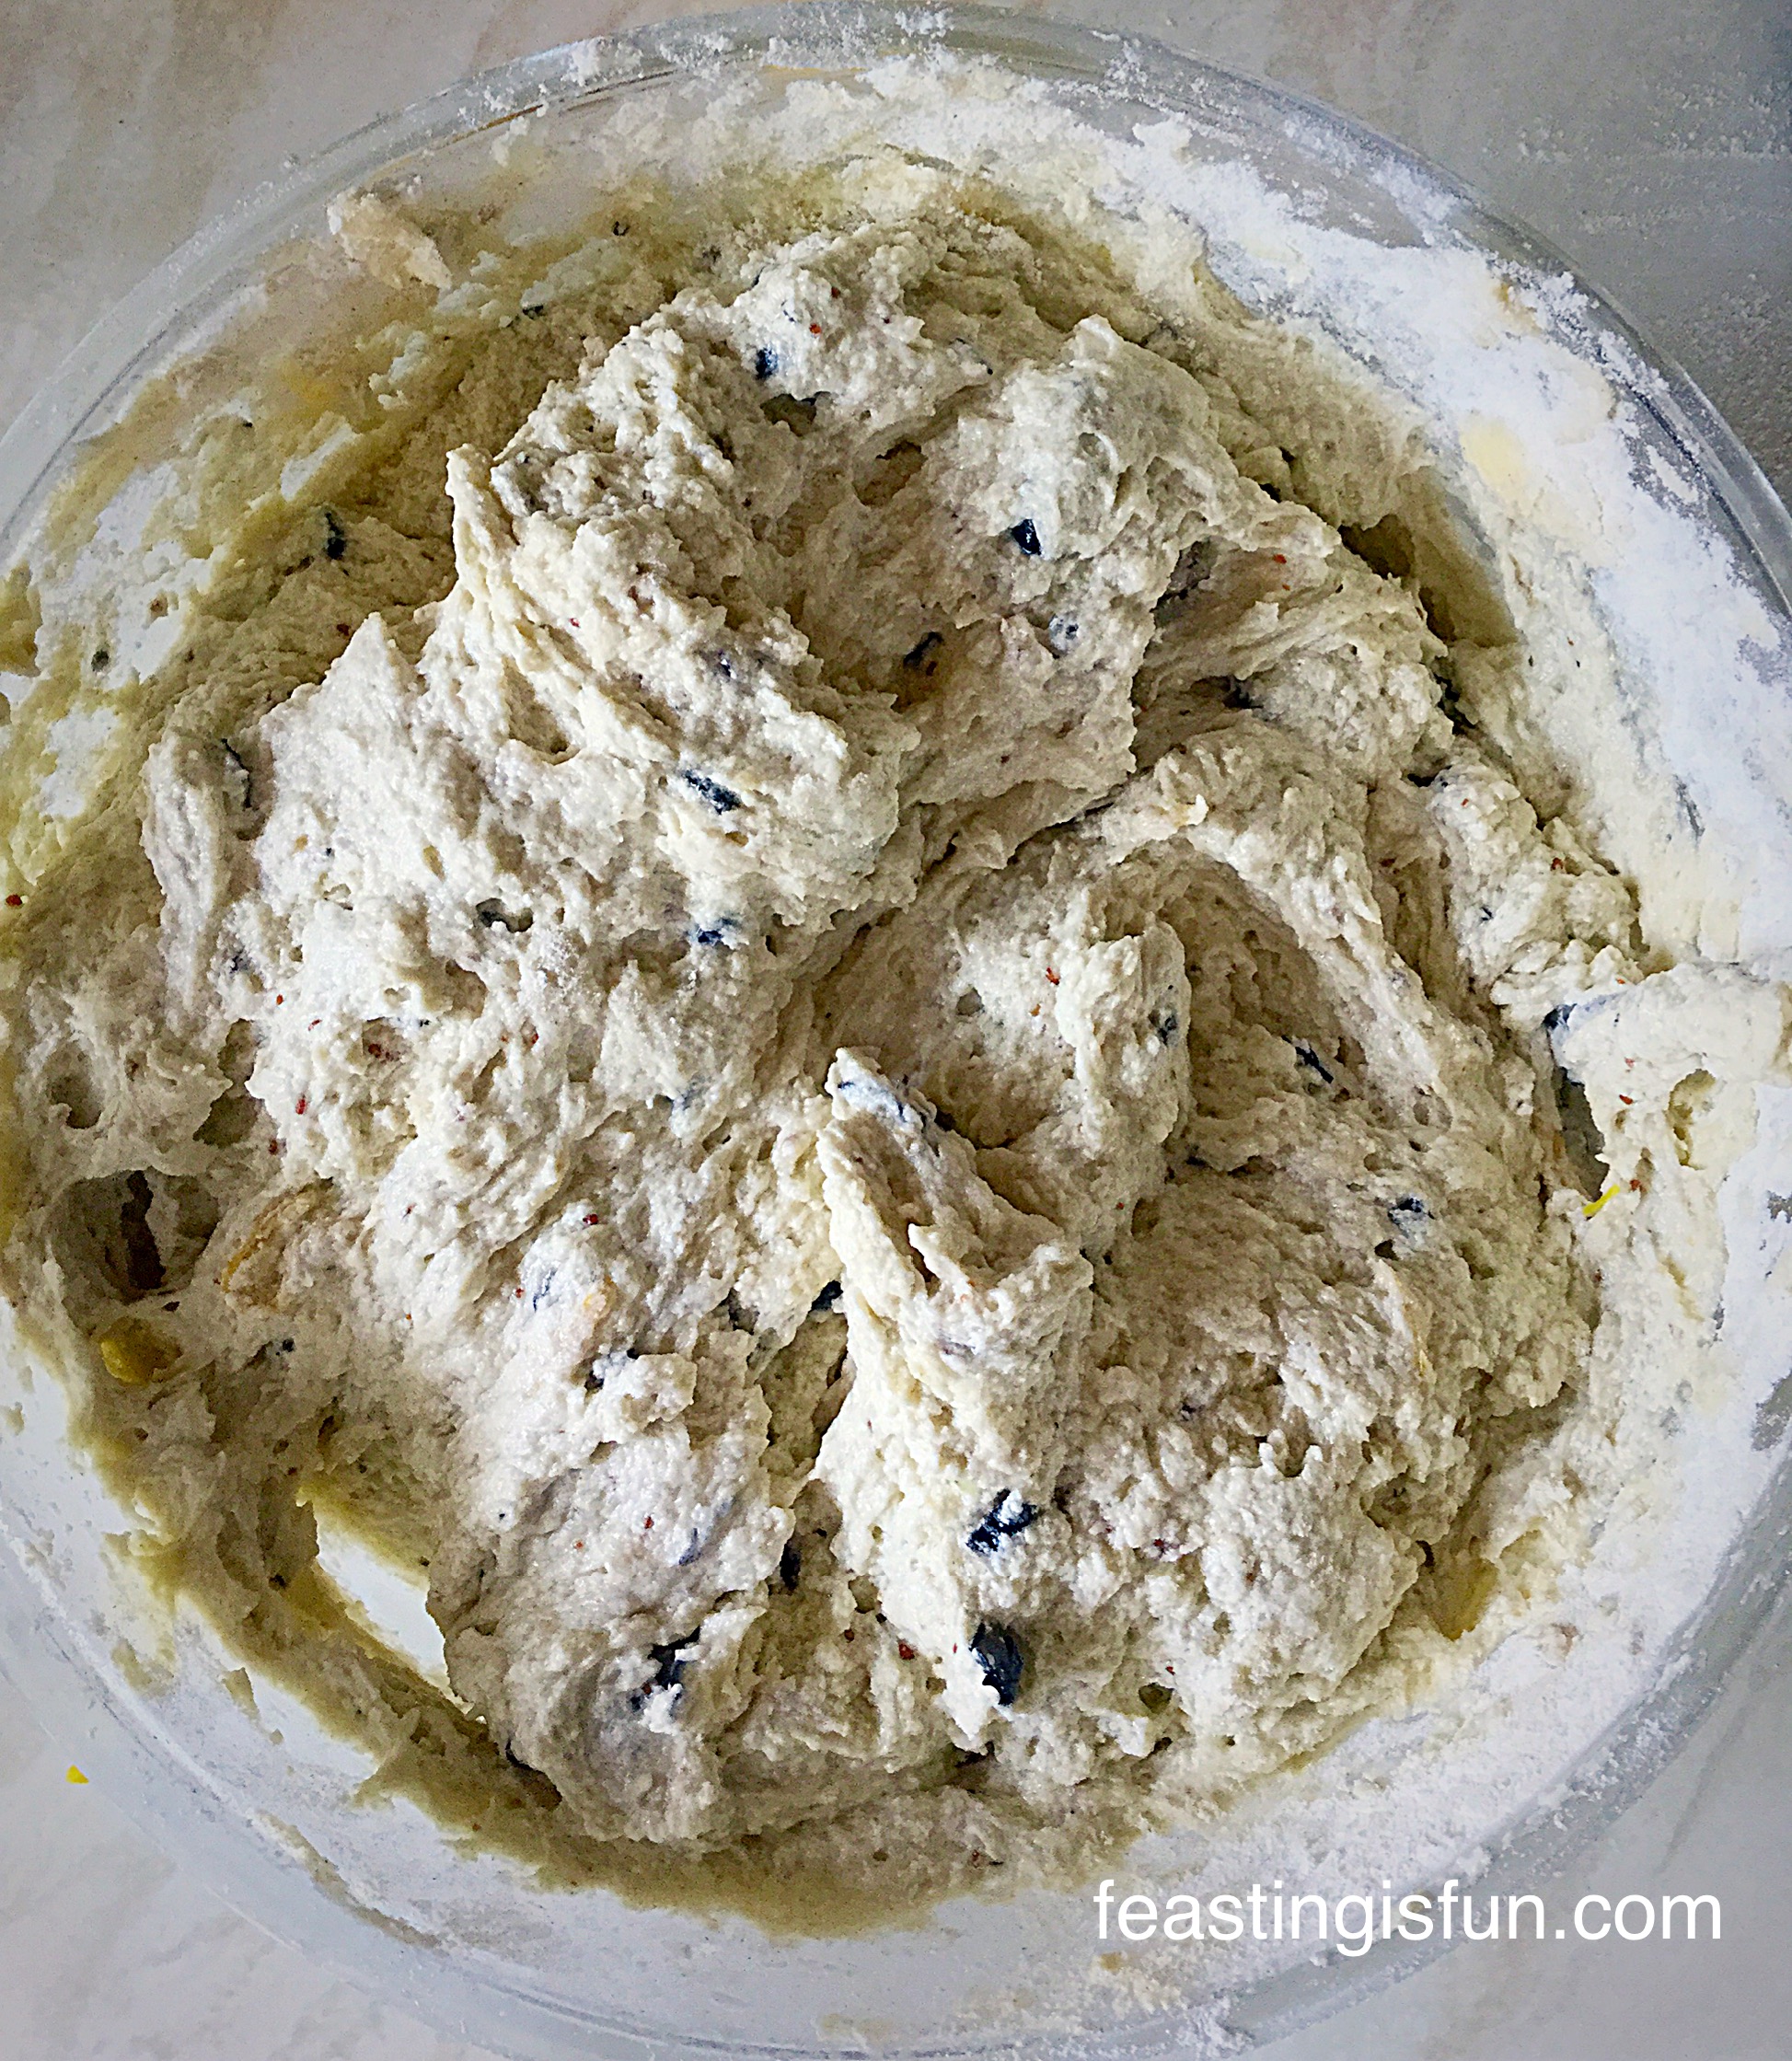
After the 5 minutes mixing is complete, stop the mixer. Scrape all the dough back into the bowl, it will be very sticky – don’t worry. Cover with a damp cloth and leave in a draught free place until doubled in size – 1 – 1 1/2 hours.
Once the stand mixer dough has doubled in size, lower the dough hook and mix on medium speed for 2 minutes, this will ‘knock back’ the dough for you.
Shaping the Cherry Bakewell Hot Cross Buns
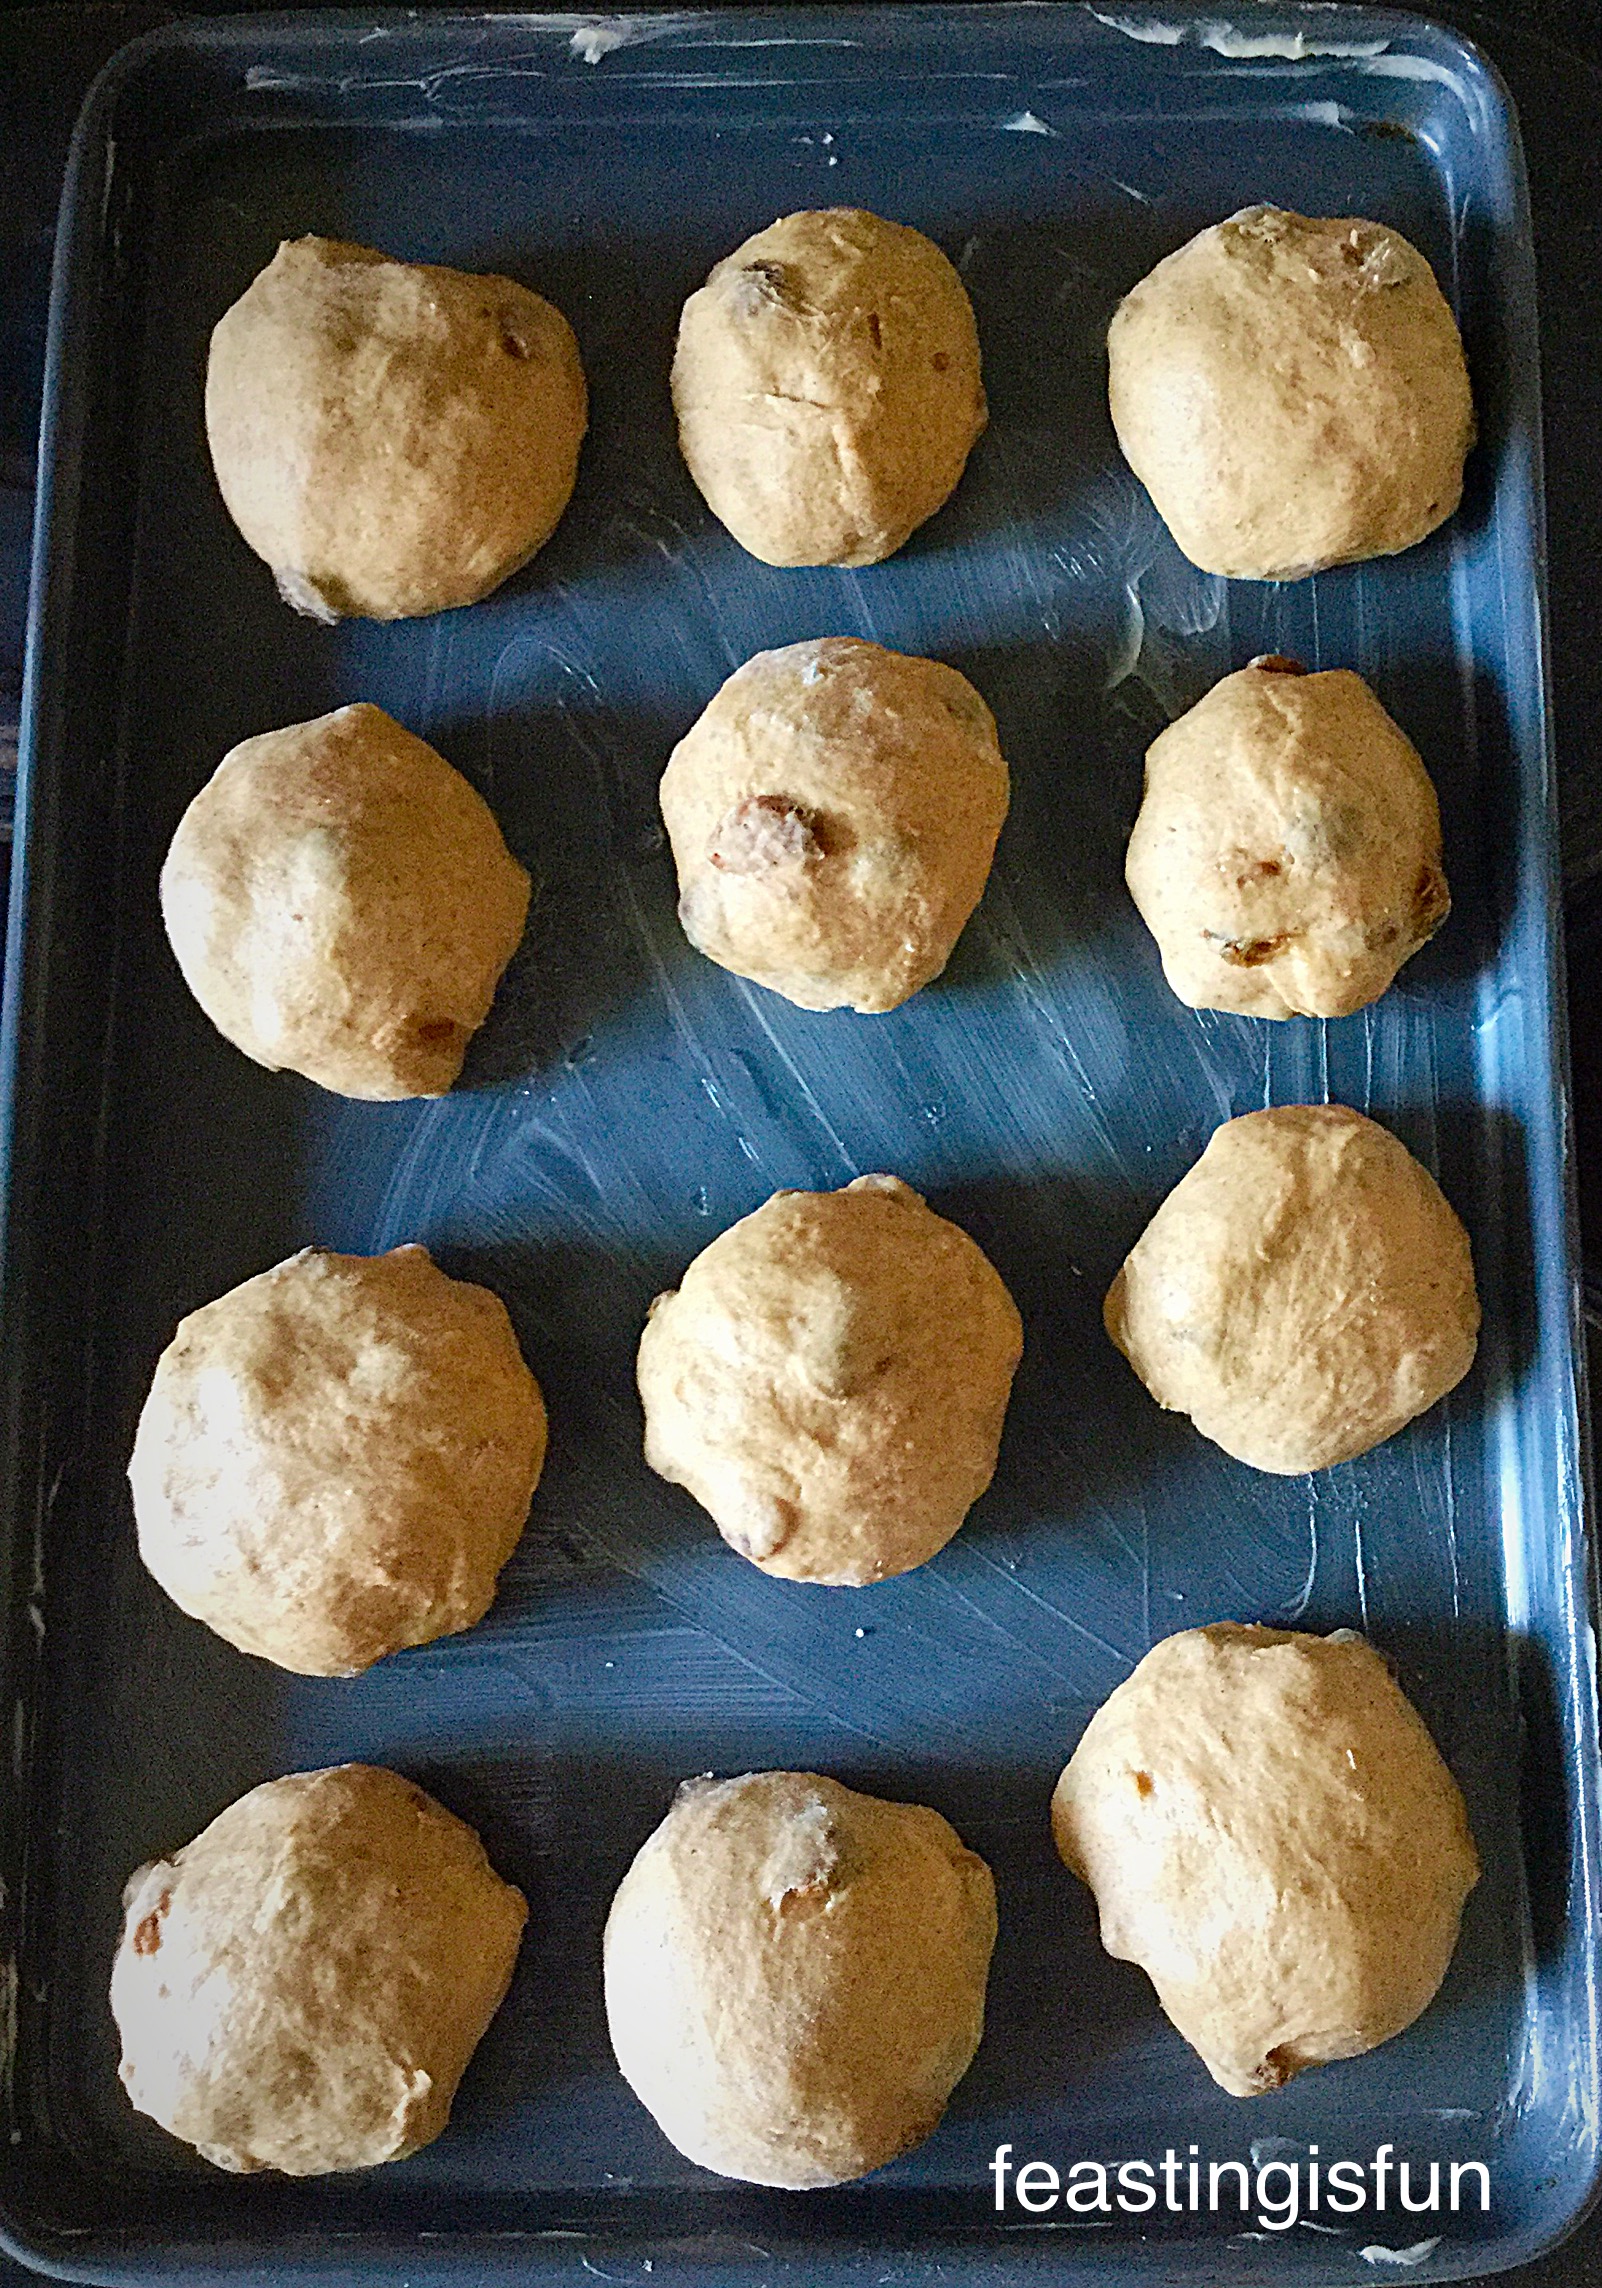
Grease a large baking tray with butter – see Hot Cross Buns for full step-by-step pictures.
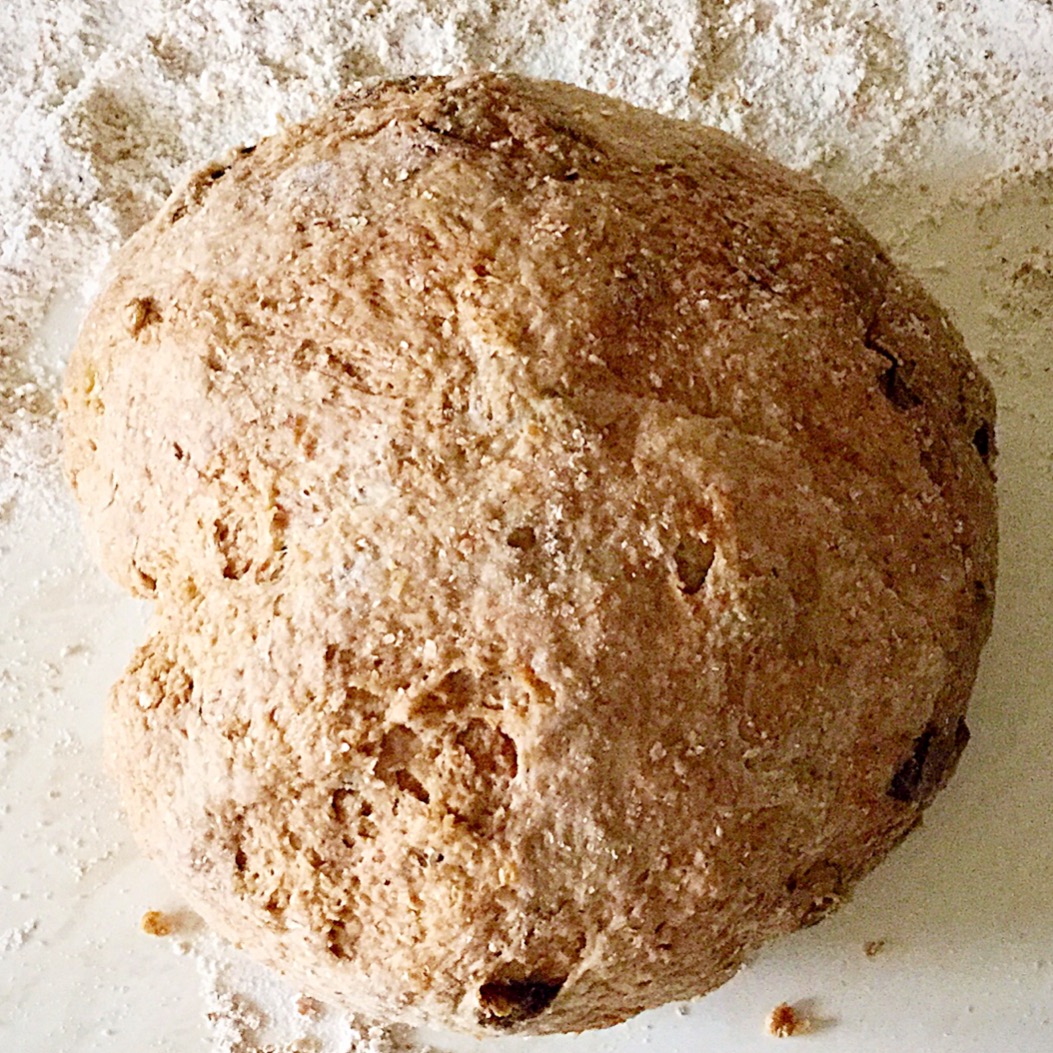
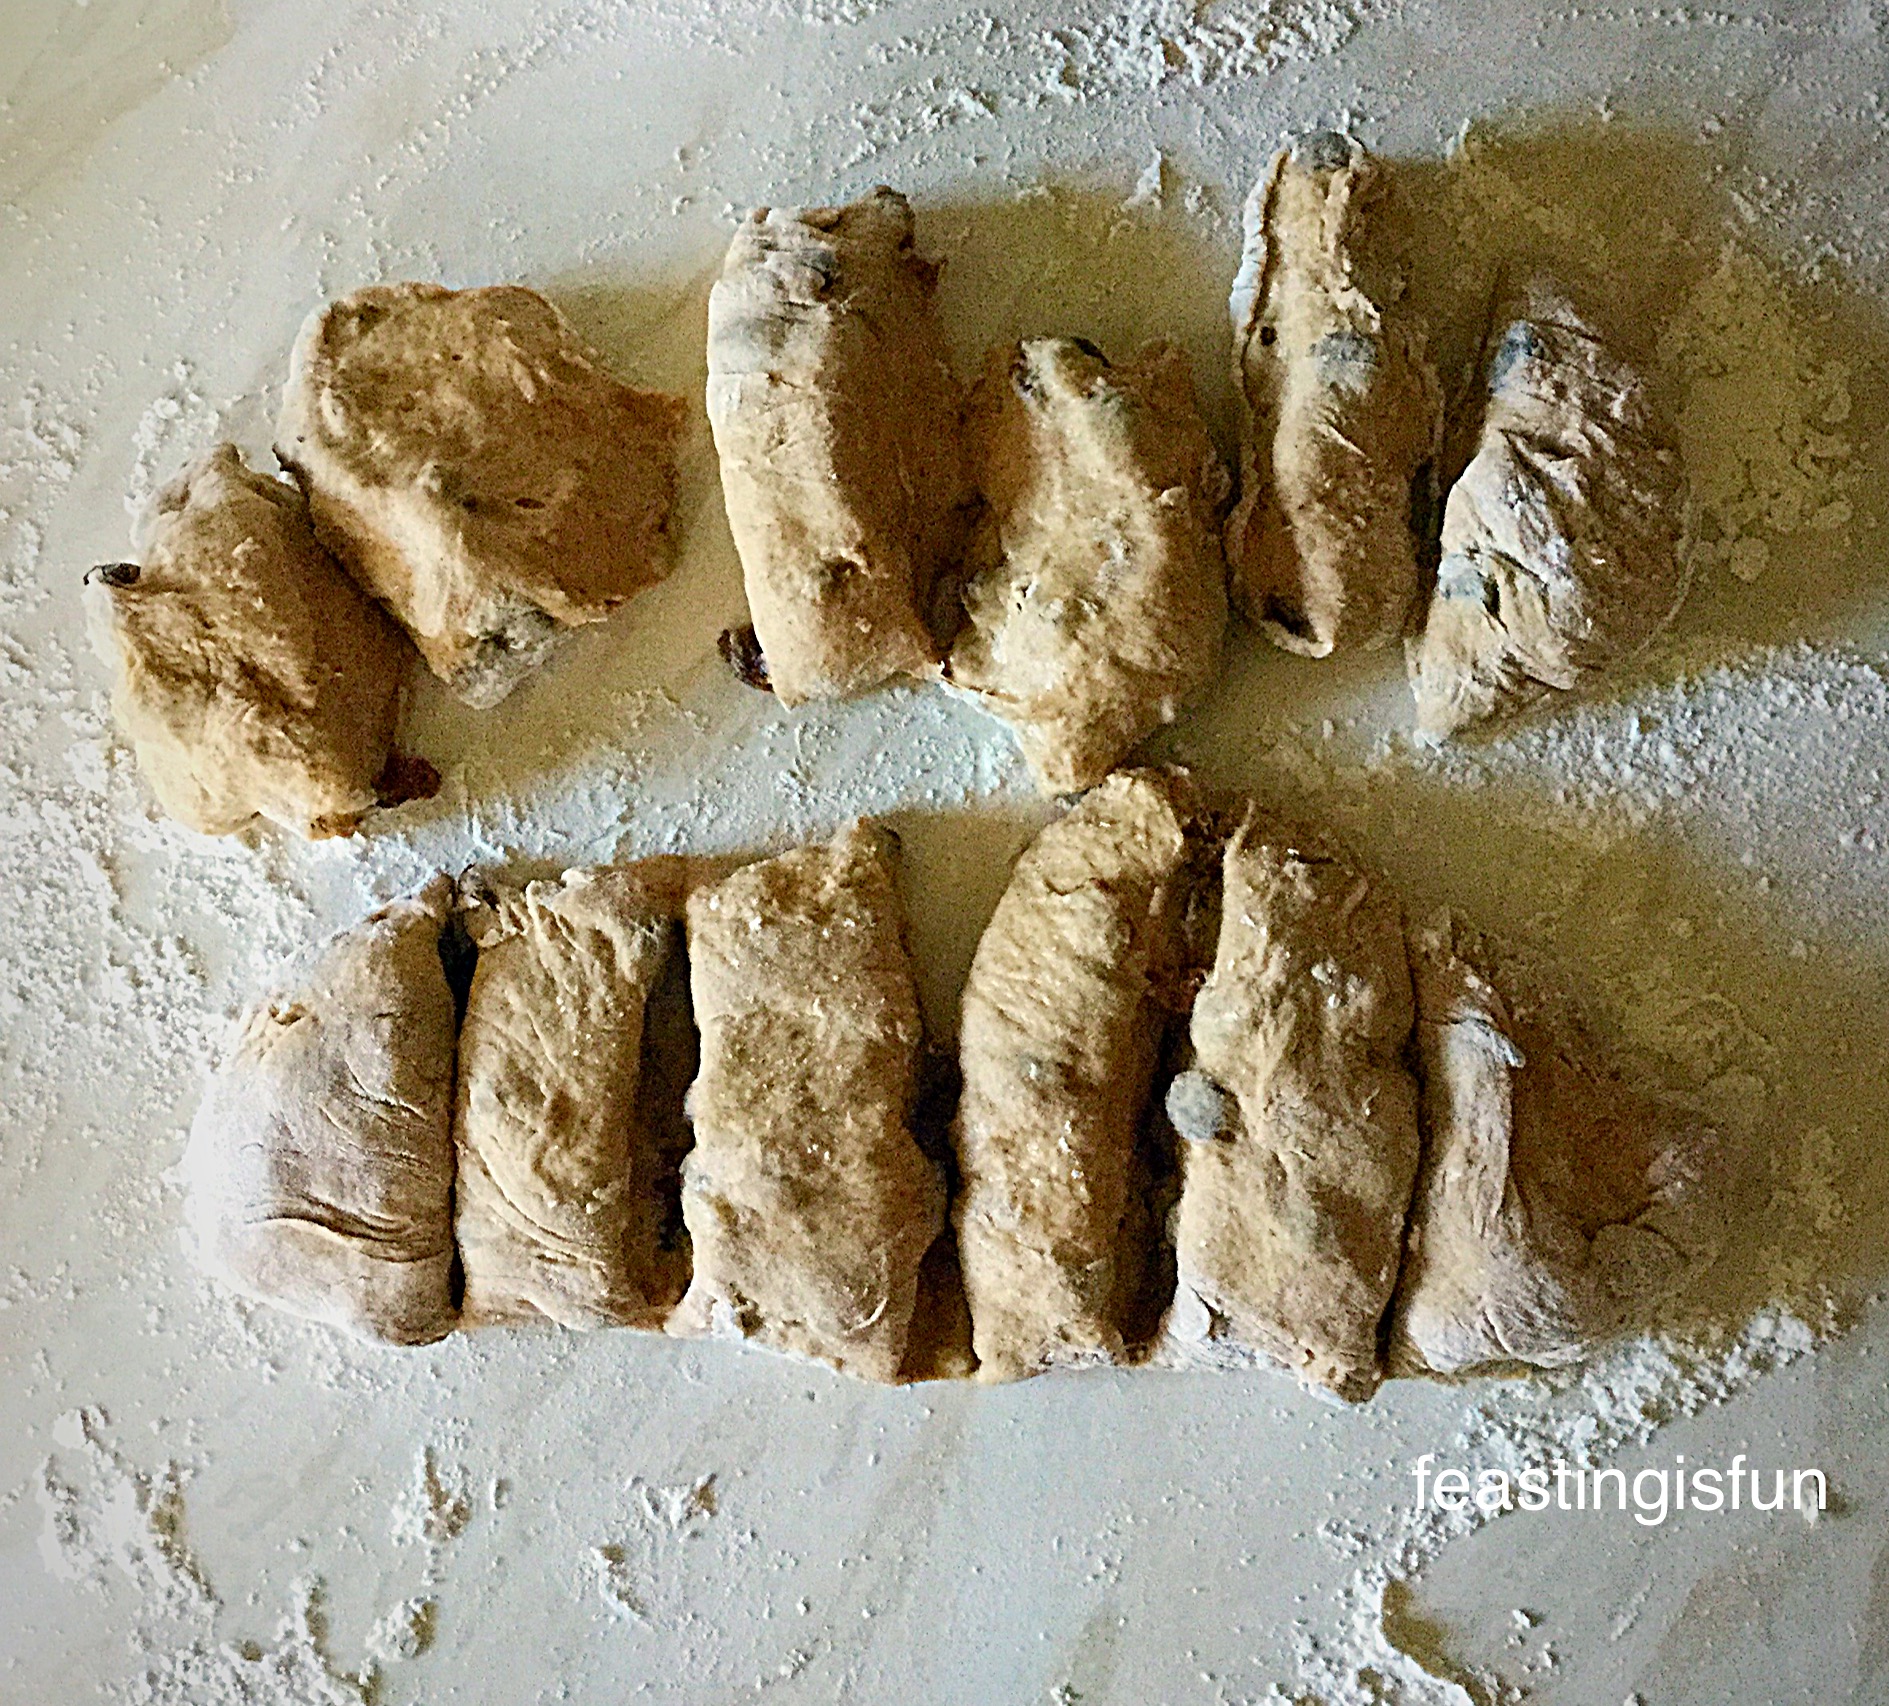
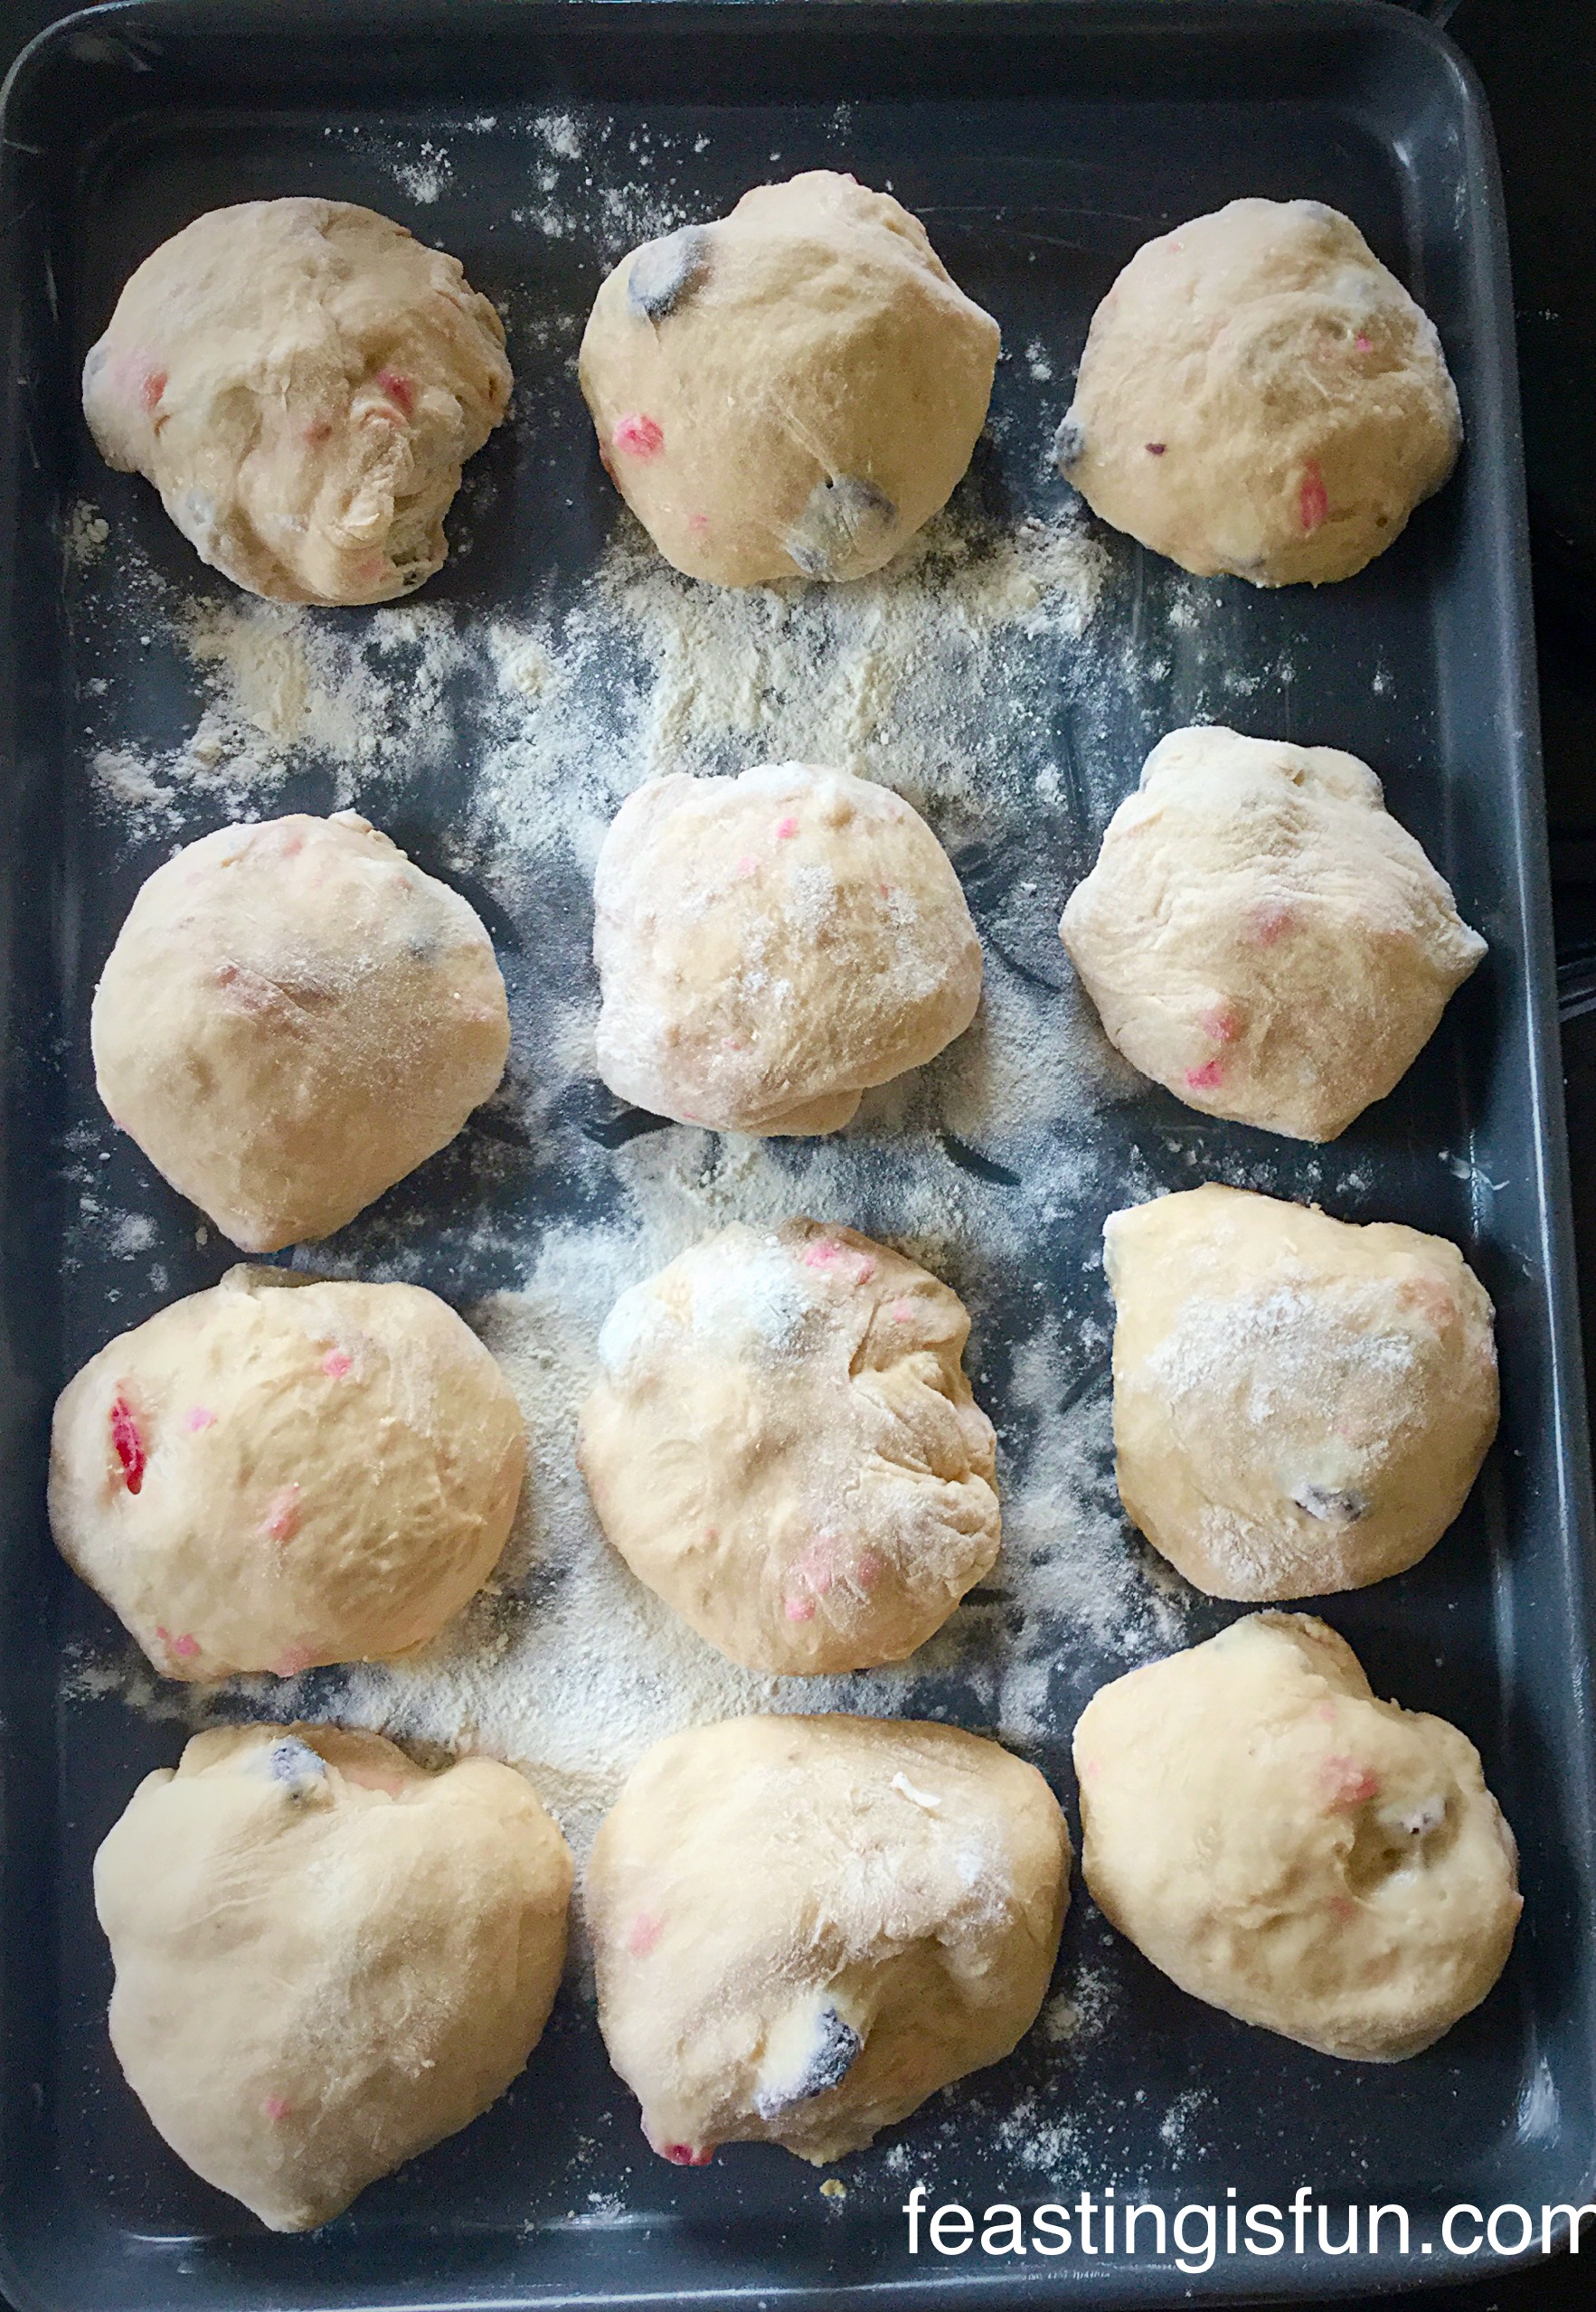
- Tip the dough out onto a lightly floured surface.
- It will be quite sticky, so ensure you have floured your hands well.
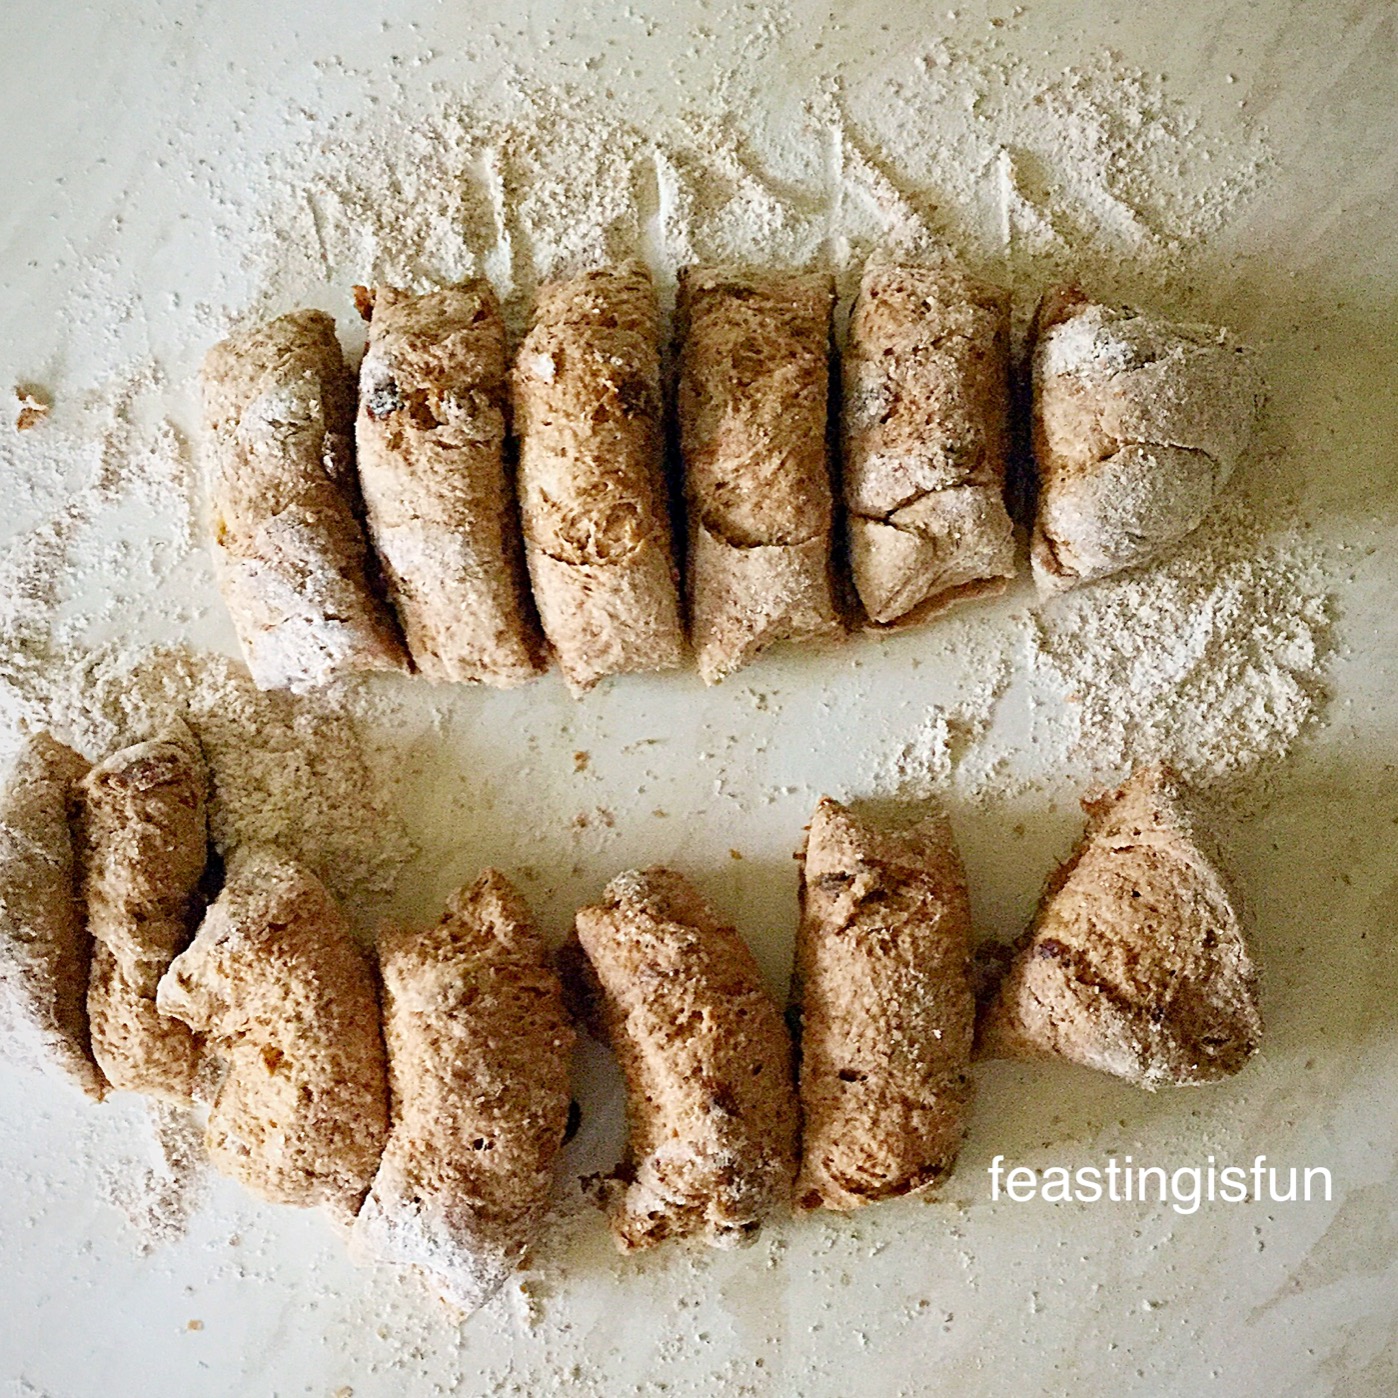
- Cut the dough in half and then cut each half into 6 even pieces.
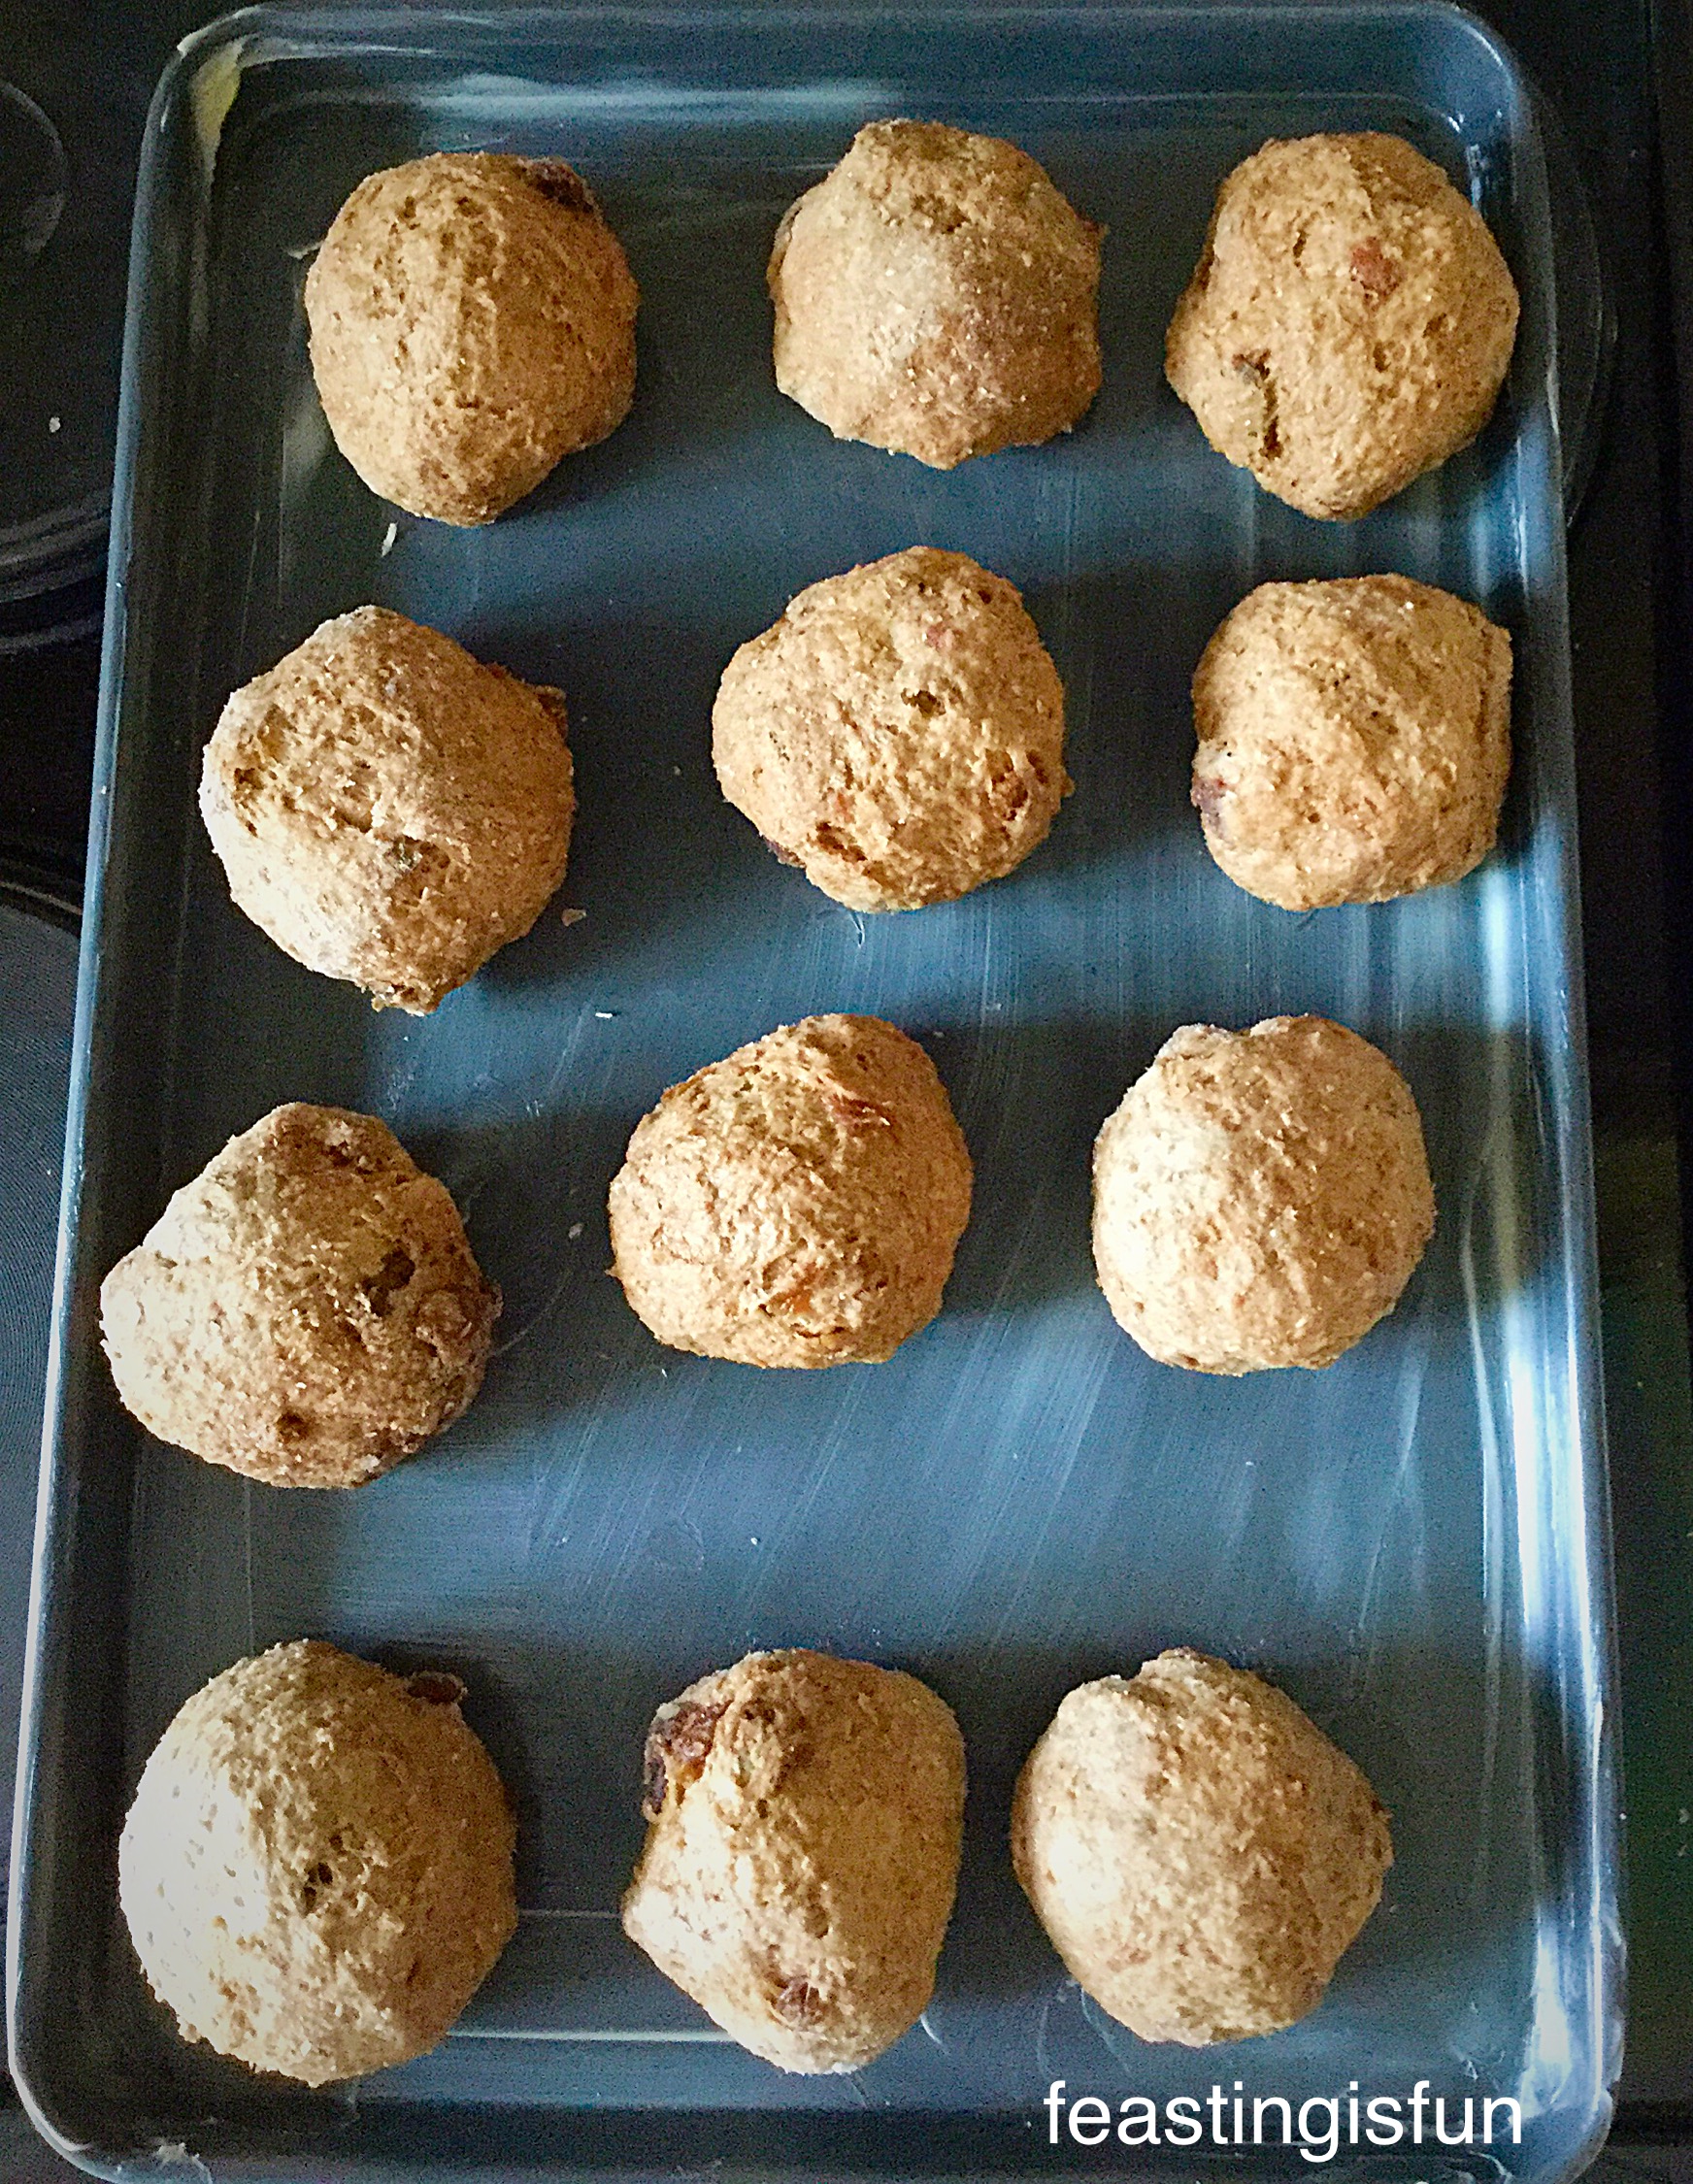
- Shape each piece into a ball and place on the baking tray – the dough was very sticky so some of my balls weren’t perfect!
Proving The Buns For The Second Time
- Cover the buns with a clean tea towel and place in a warm, draught free place.
- Leave until doubled in size.
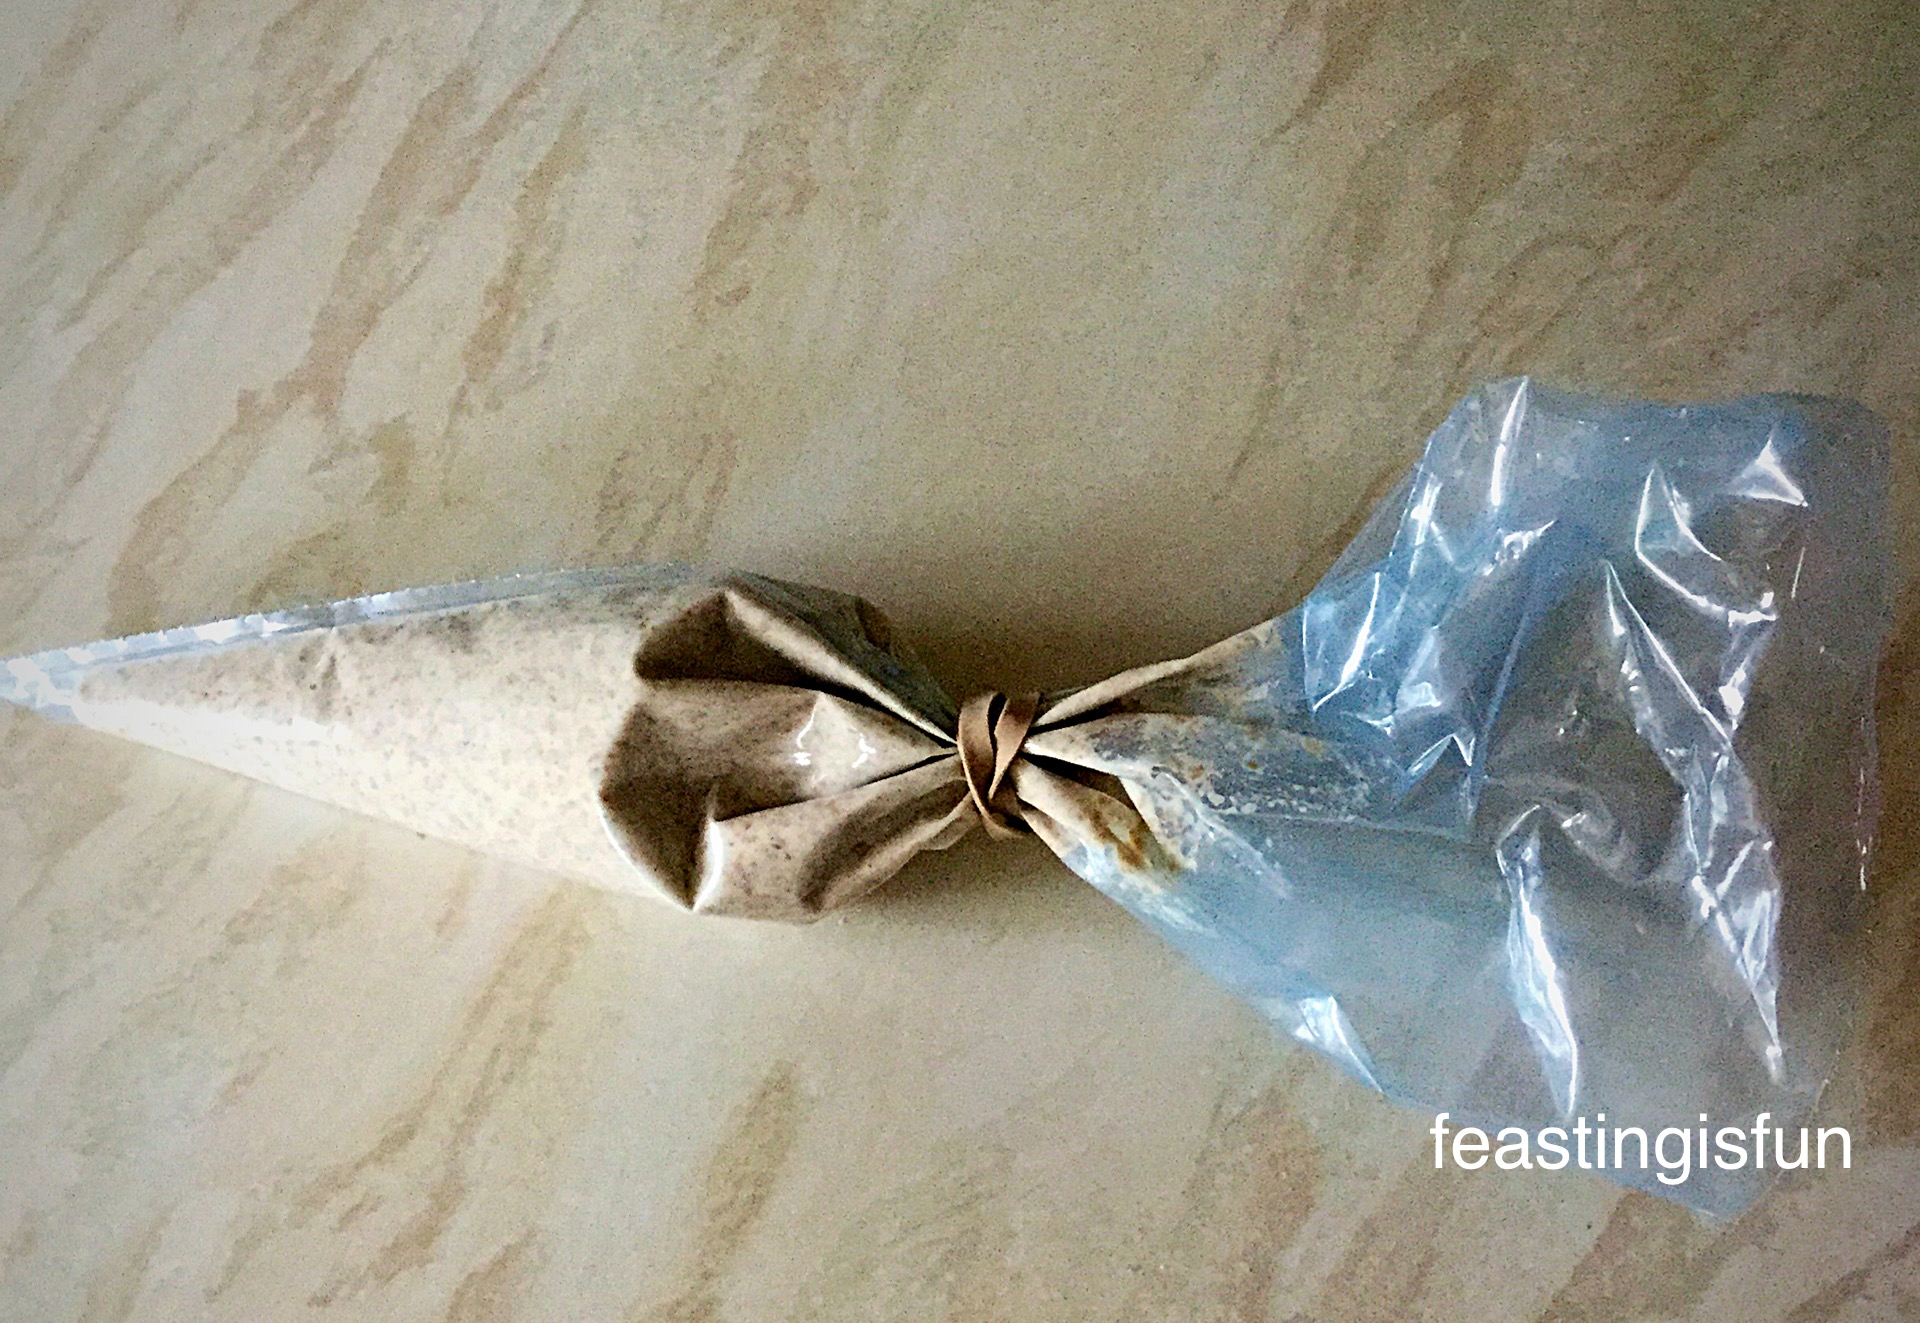
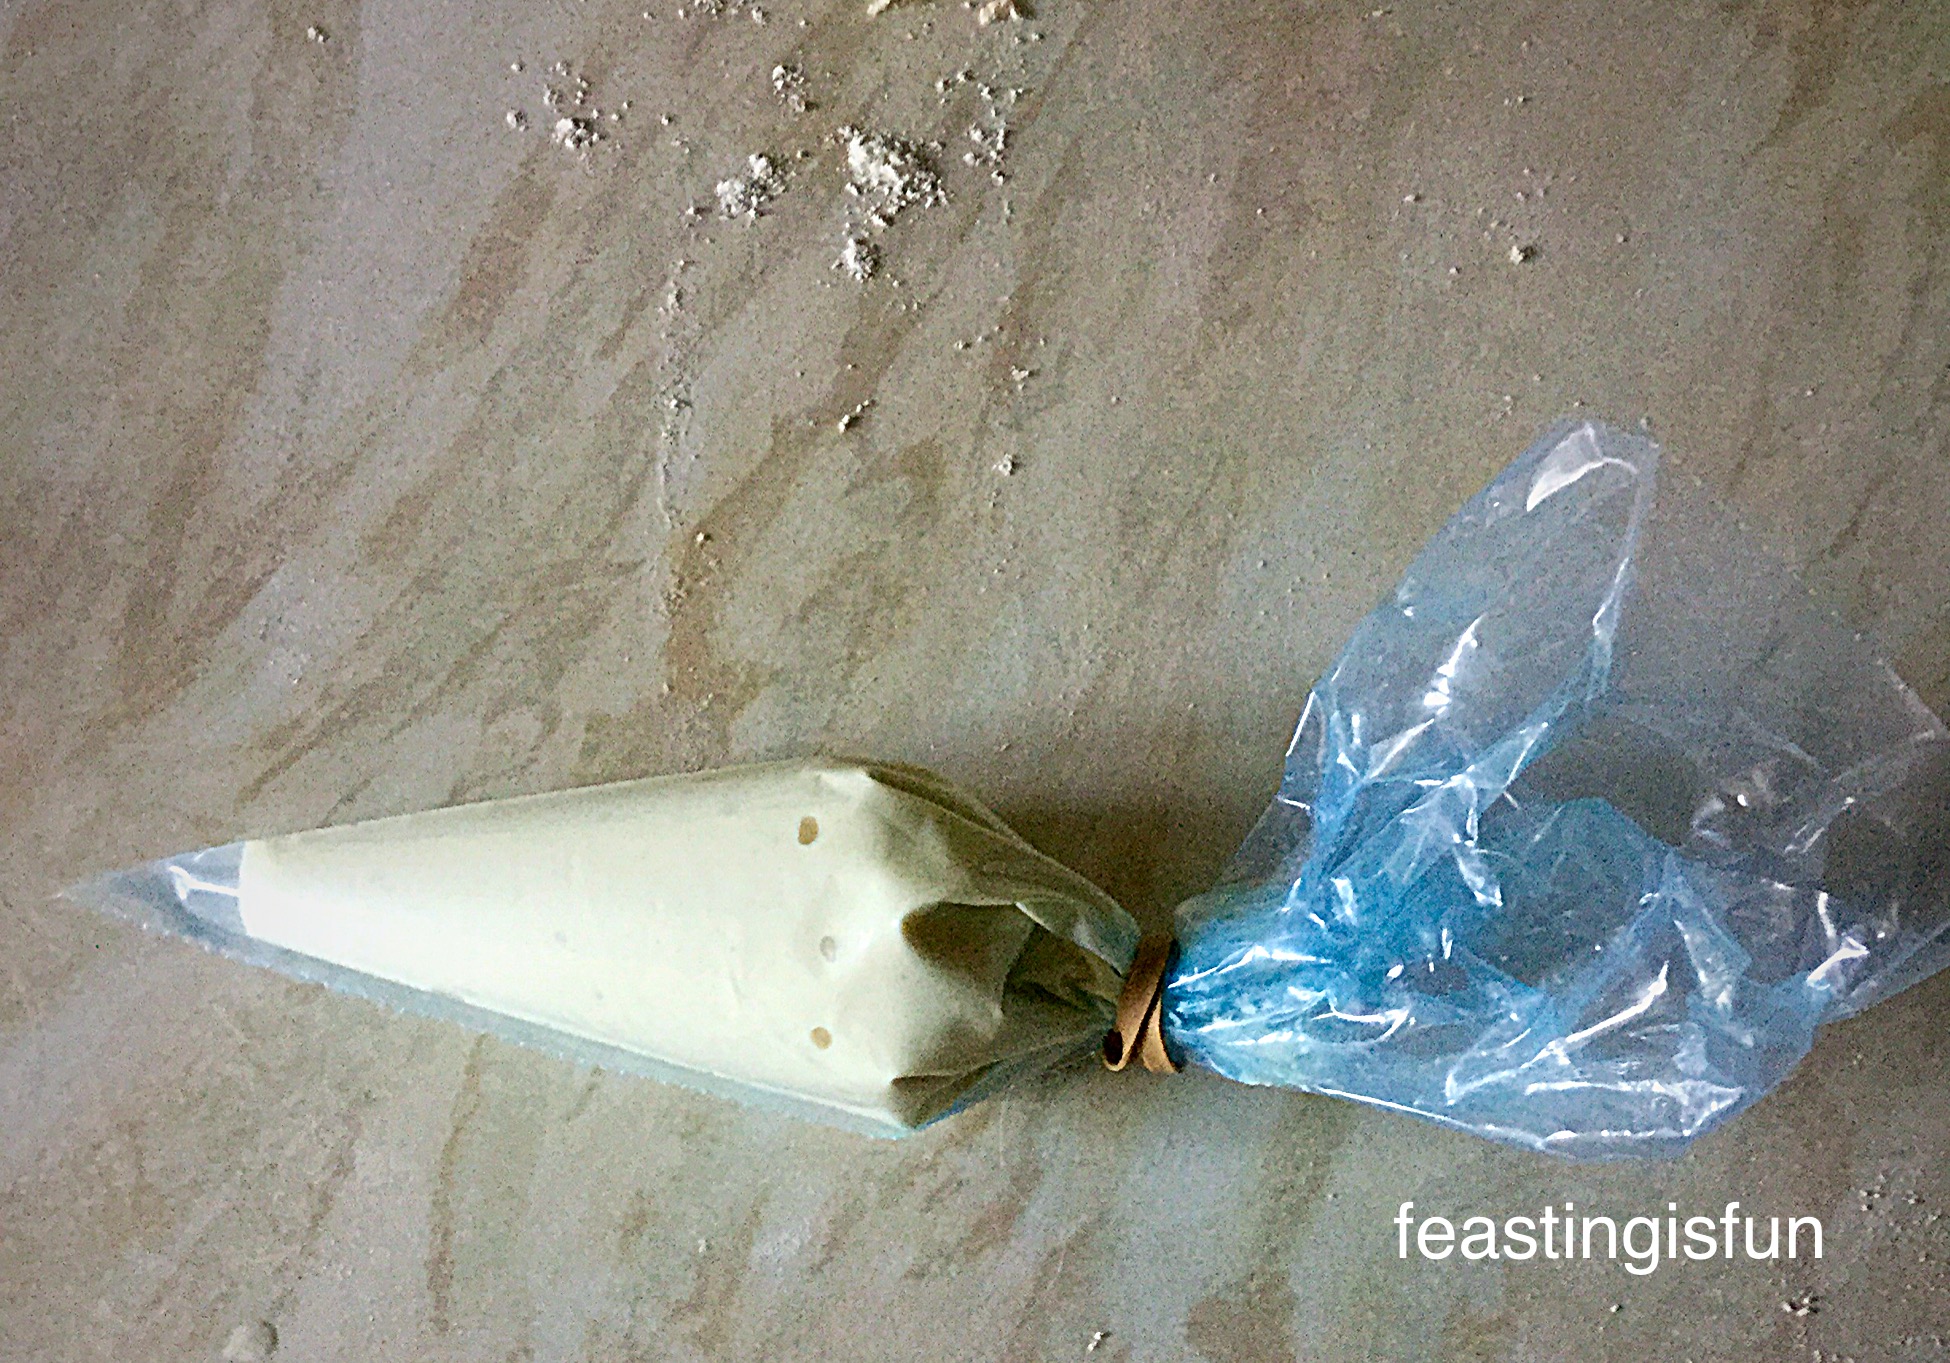
- While the buns are proving, make the flour paste for the crosses.
- Add the water and almond extract to the flour and mix until you have a smooth paste. Place in a small, disposable piping bag and secure the top with an elastic band.

- 10 minutes before the buns are ready for the oven, preheat it to 220C/200C fan, gas mark 7, 425F.
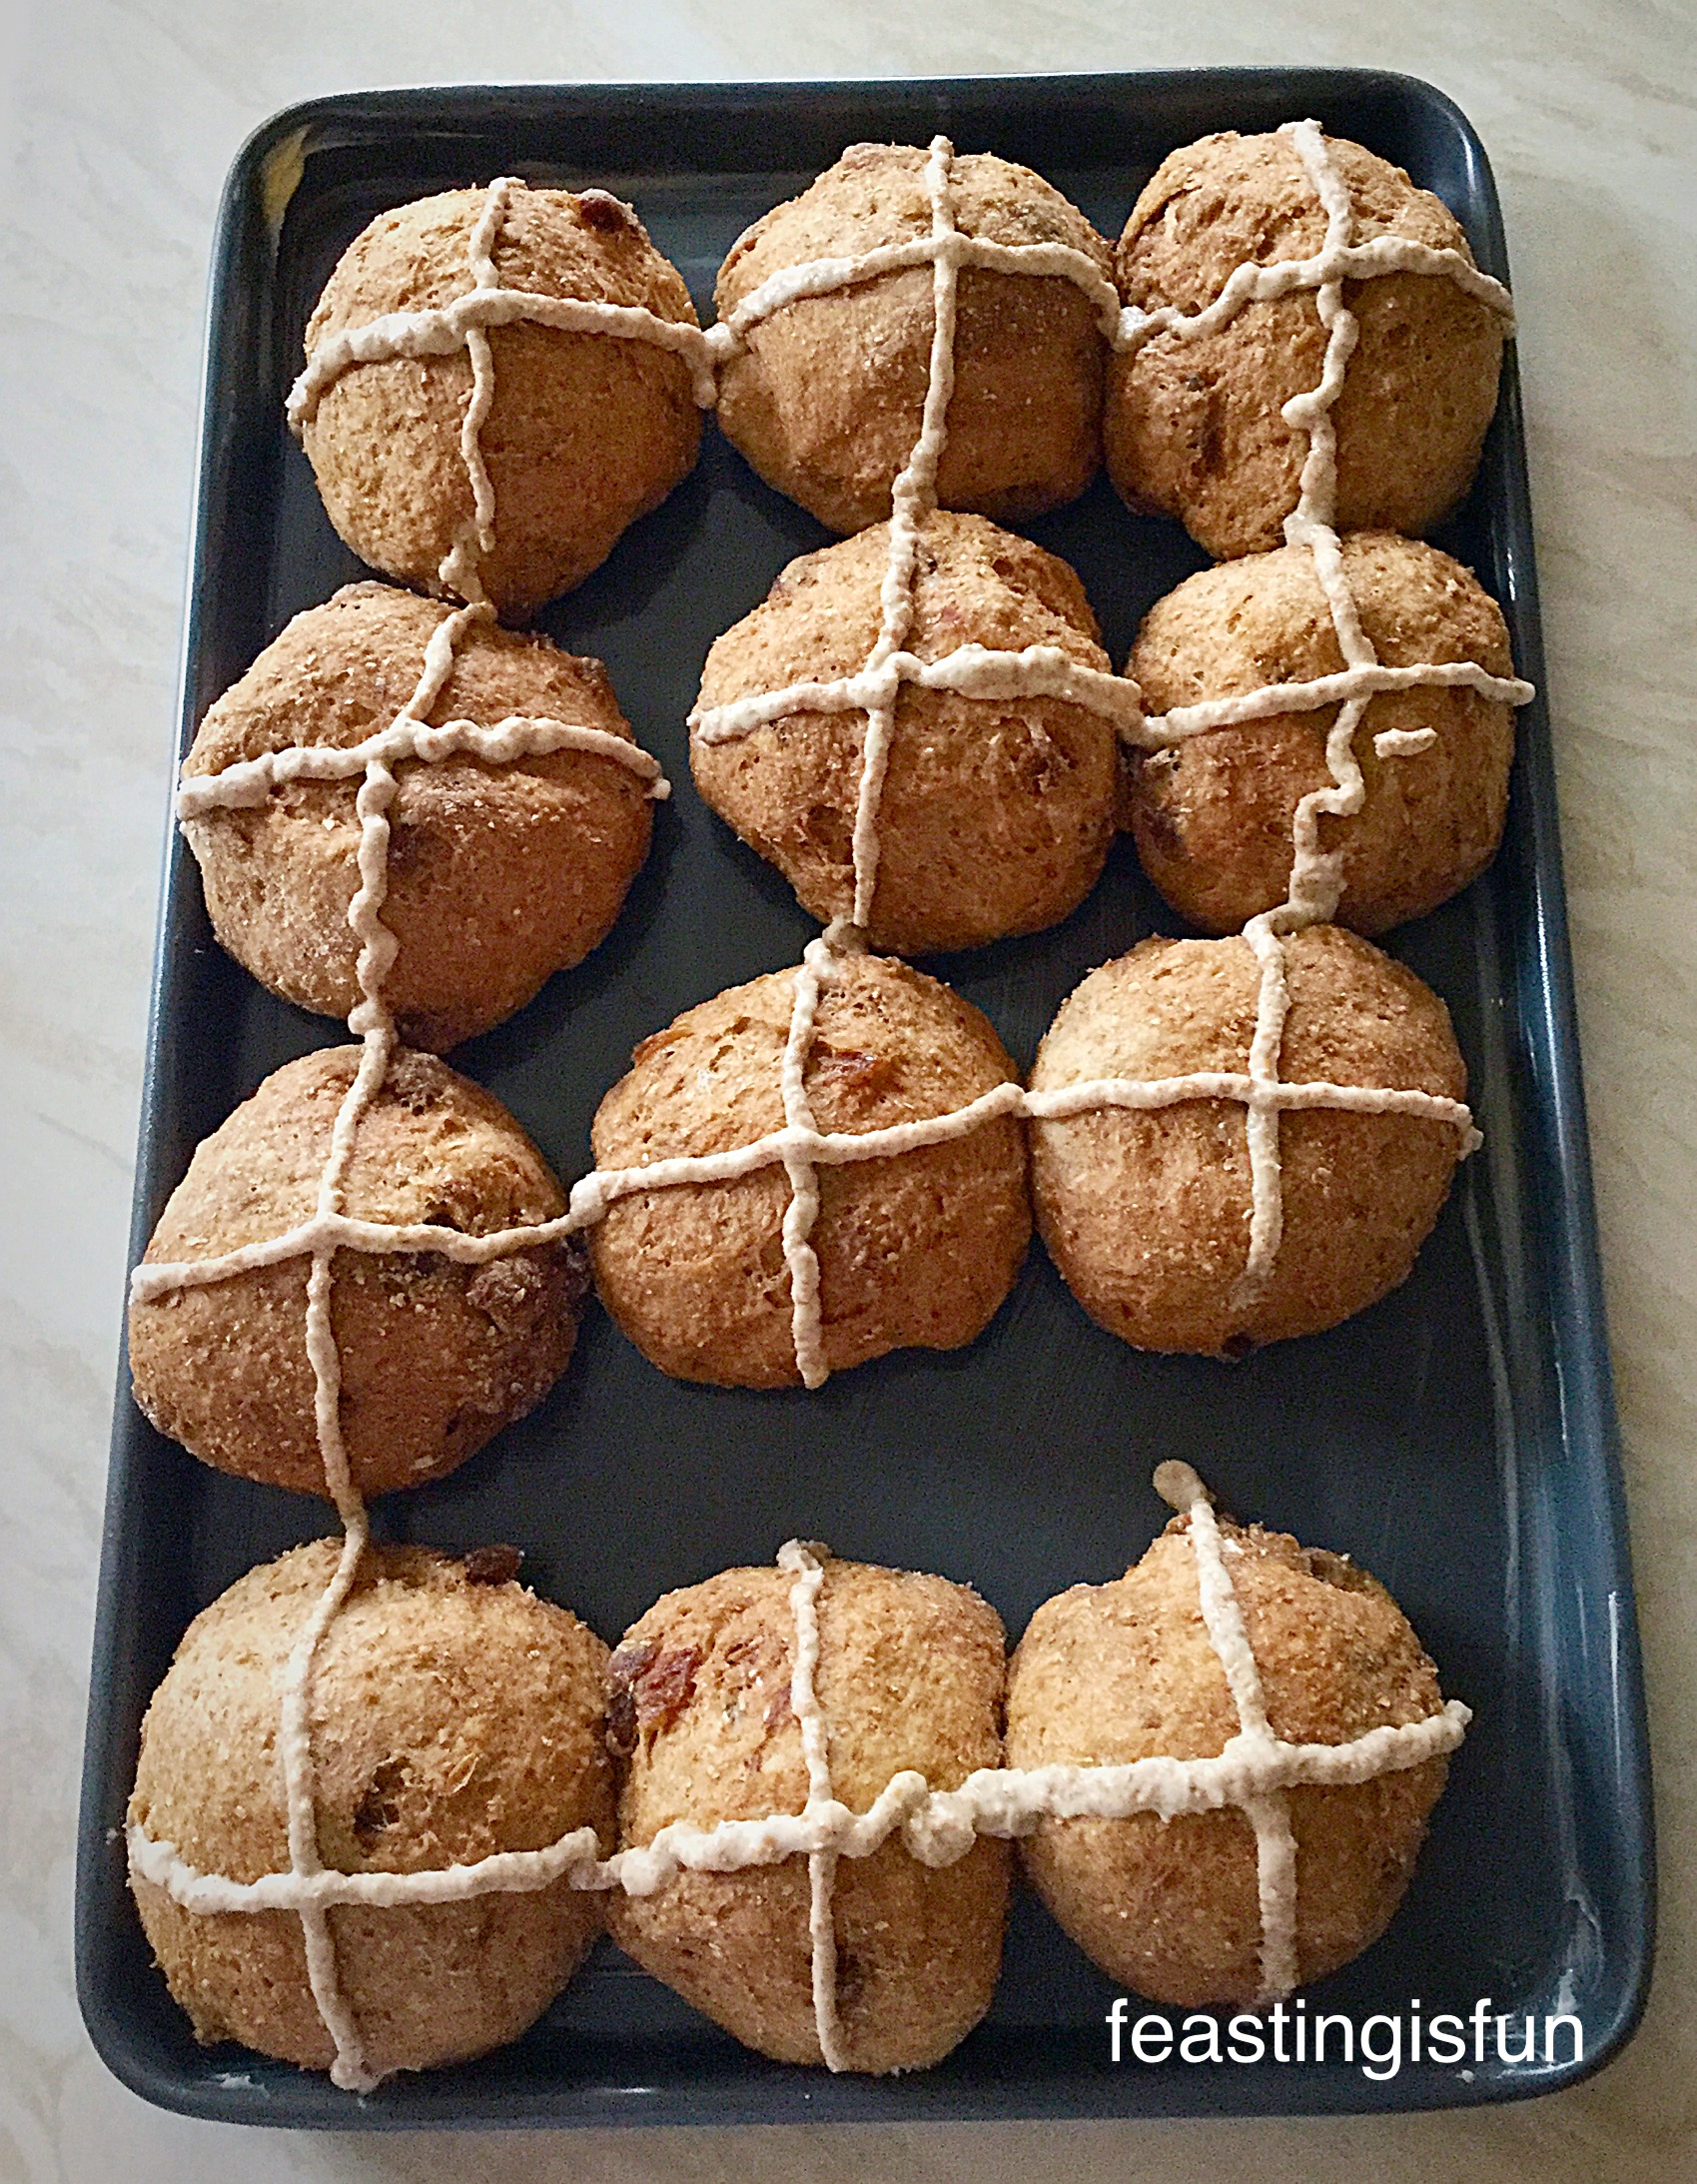
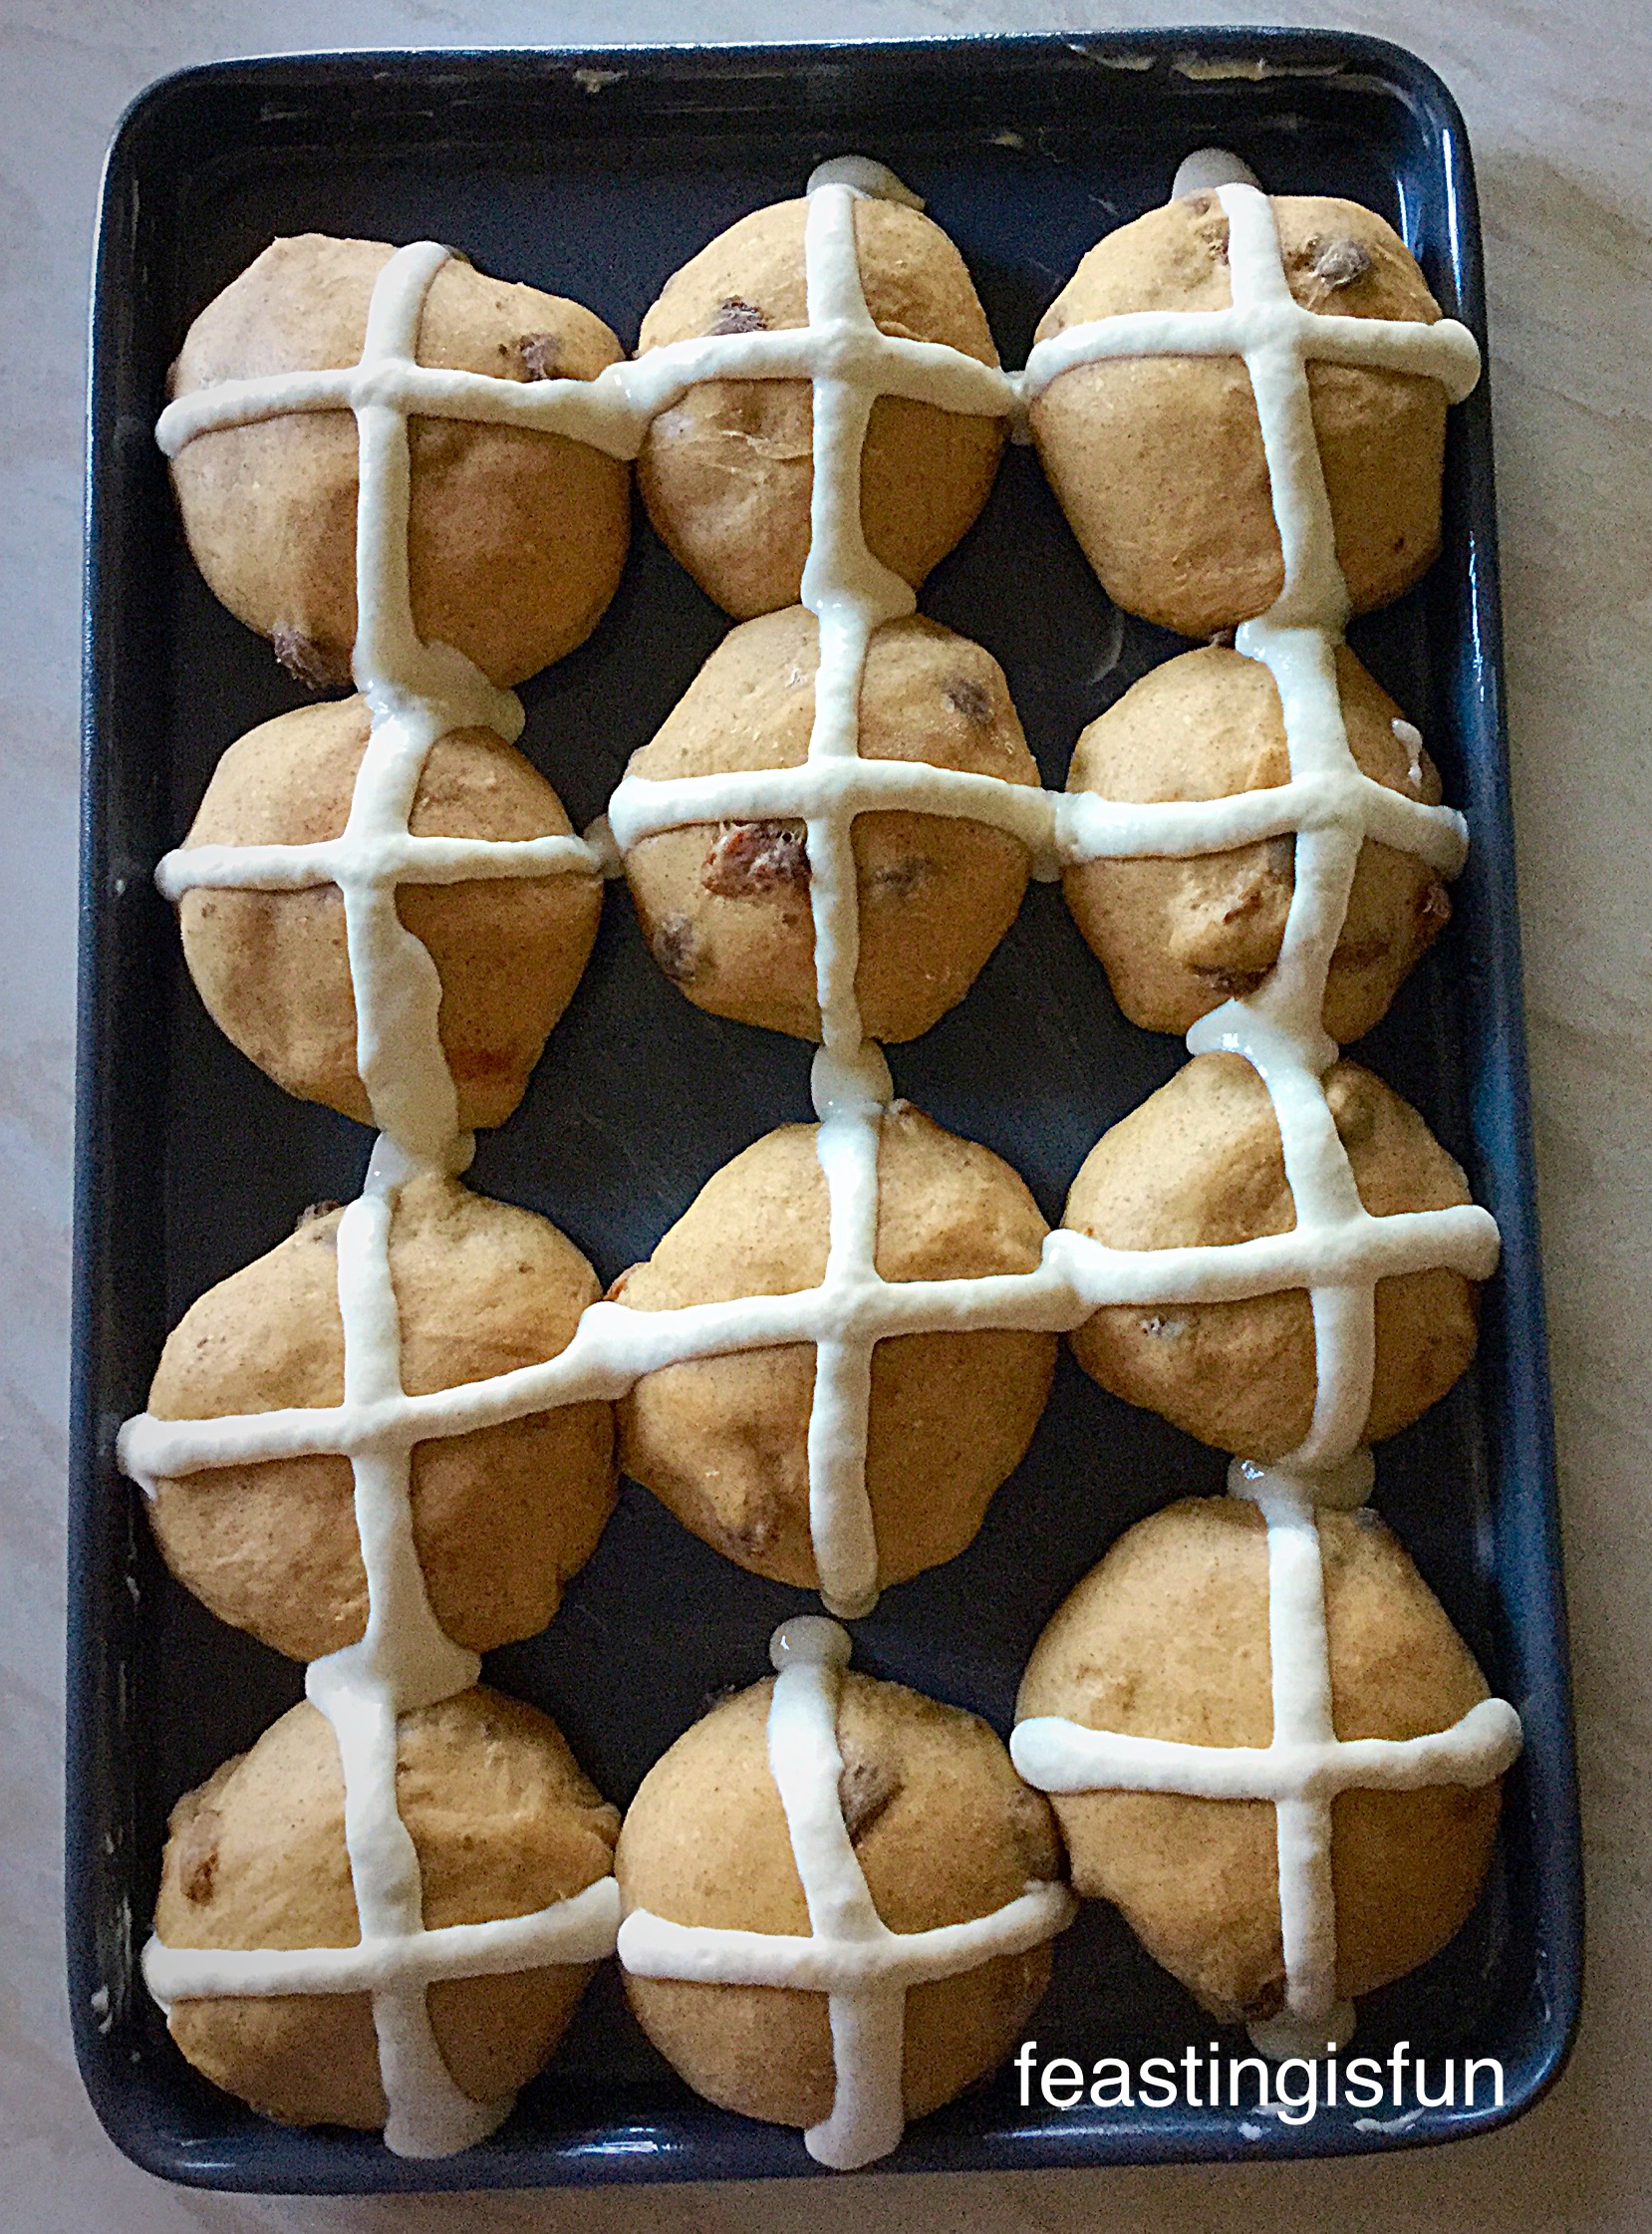
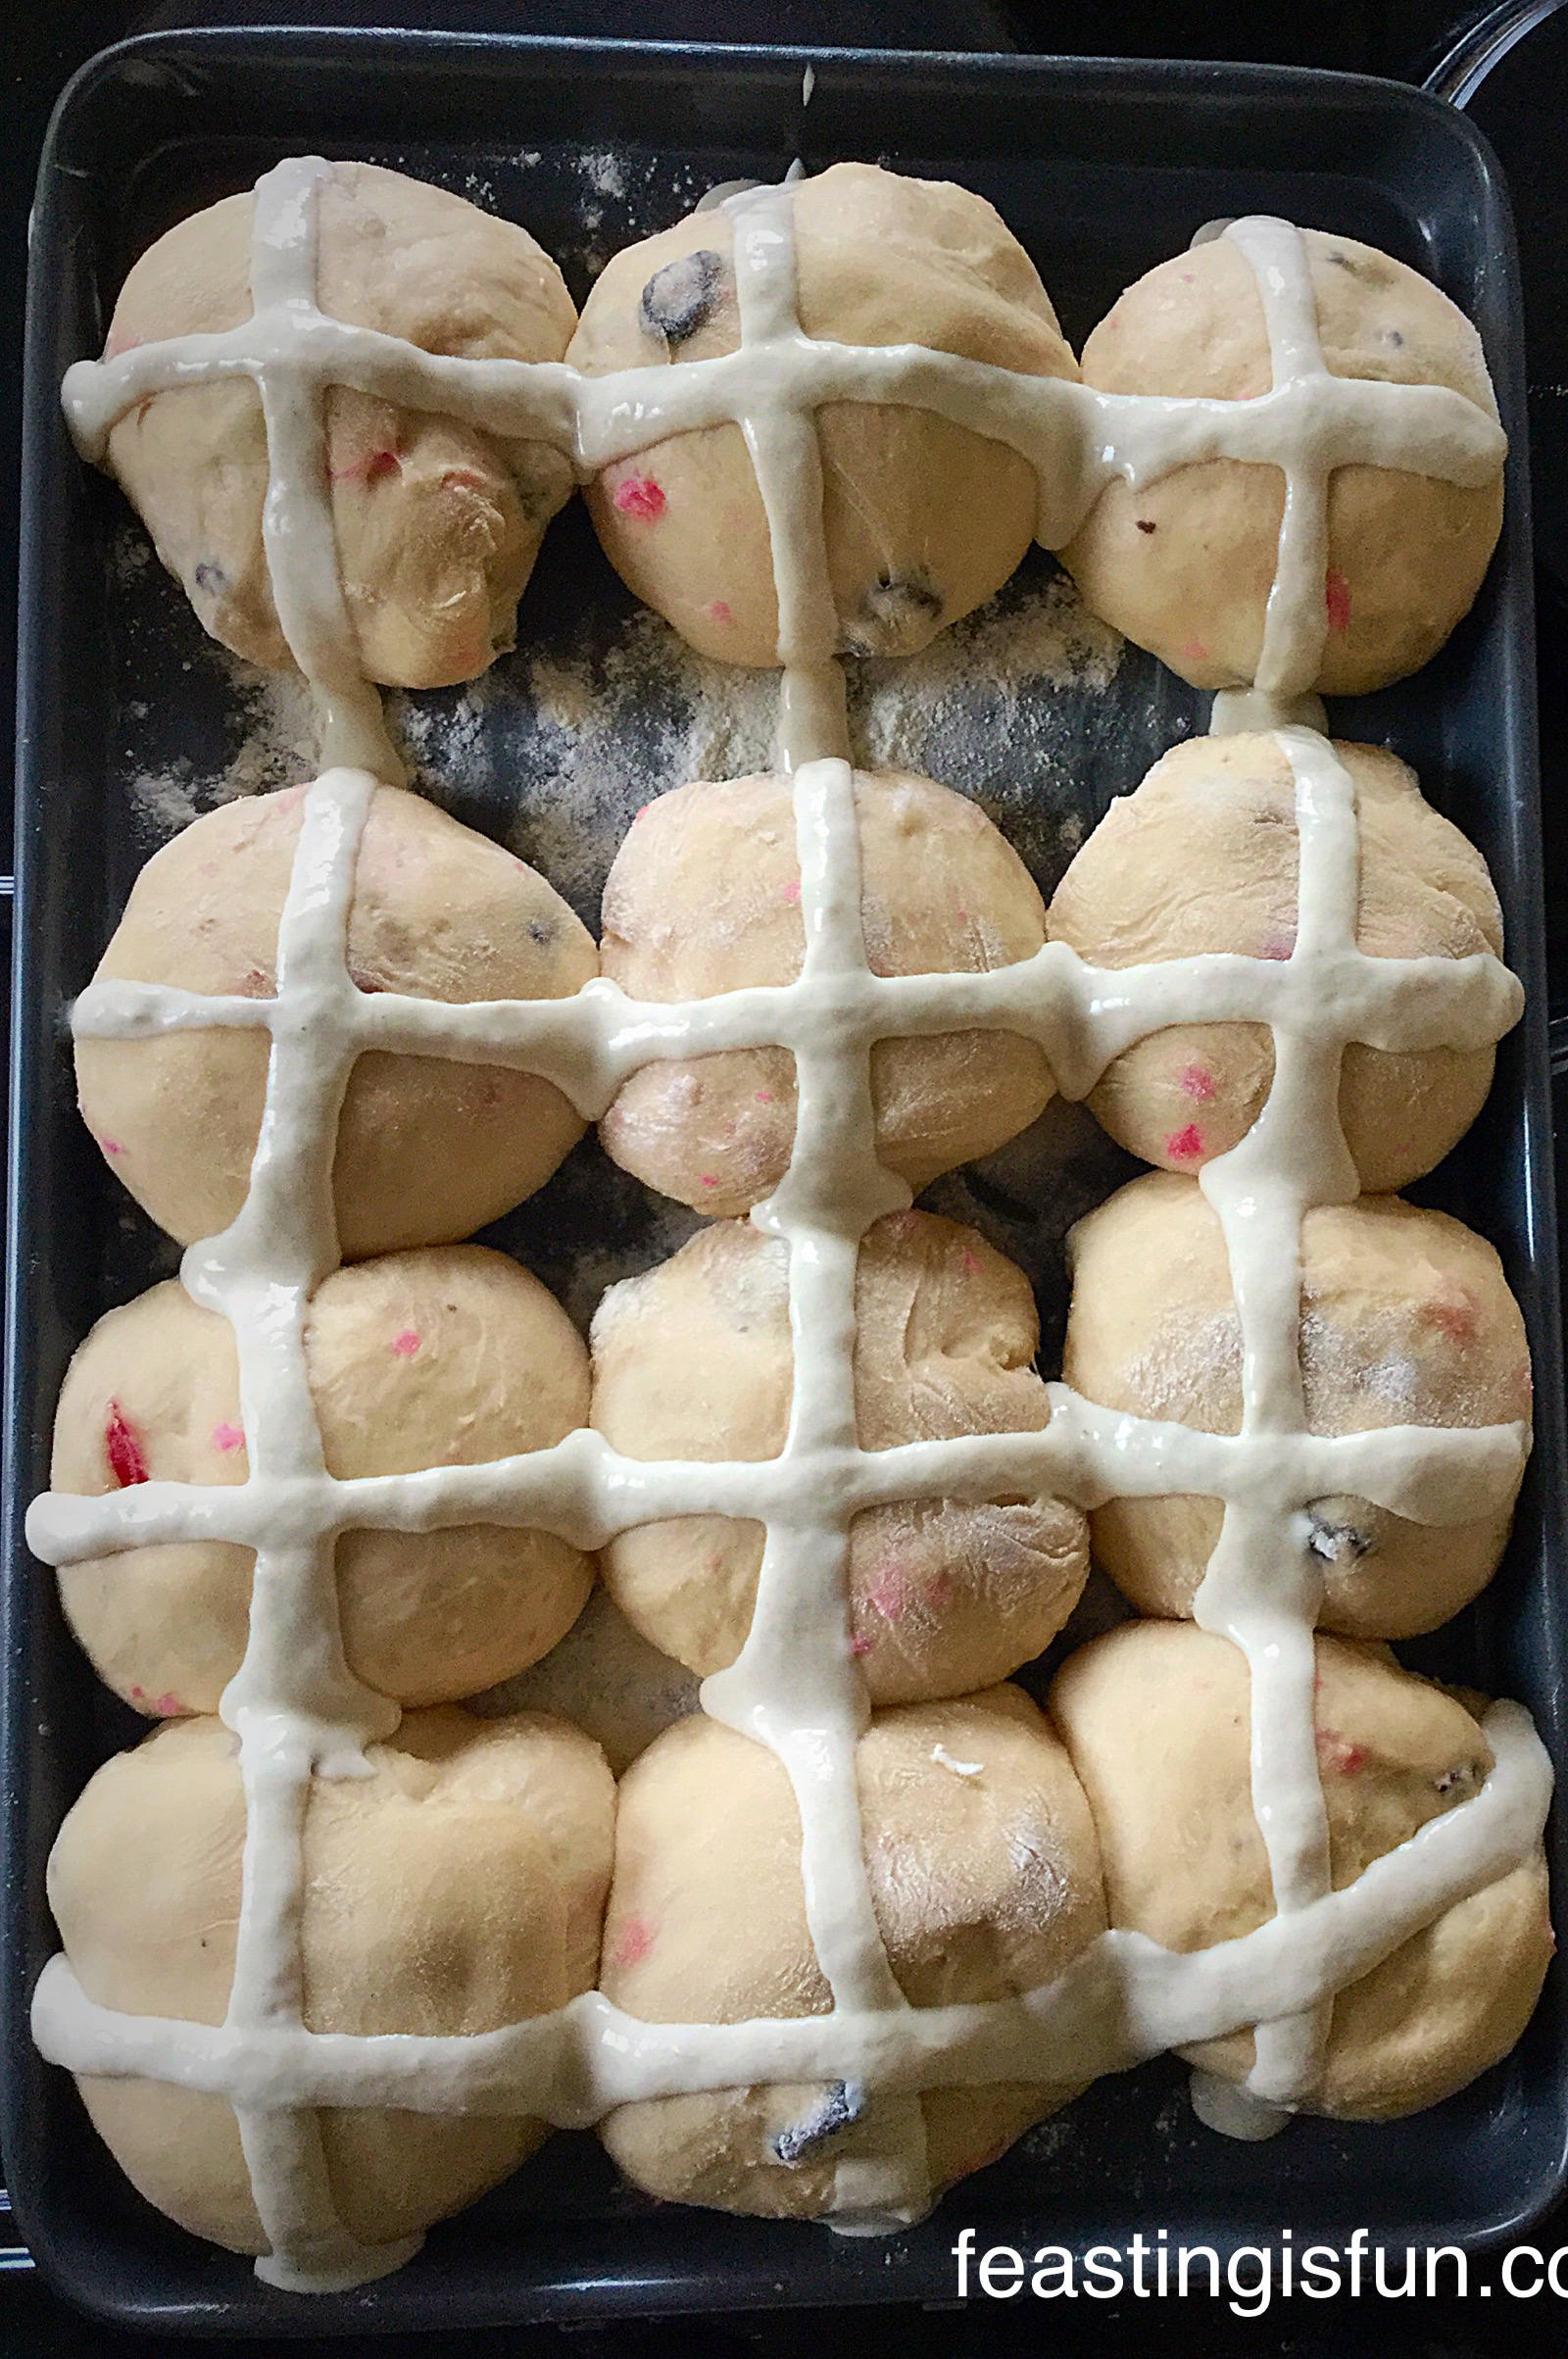
Piping Crosses Onto The Buns
- Snip the end off of the piping bag, so there is a small hole.
- Pipe down each line of buns and then again across each line of buns.
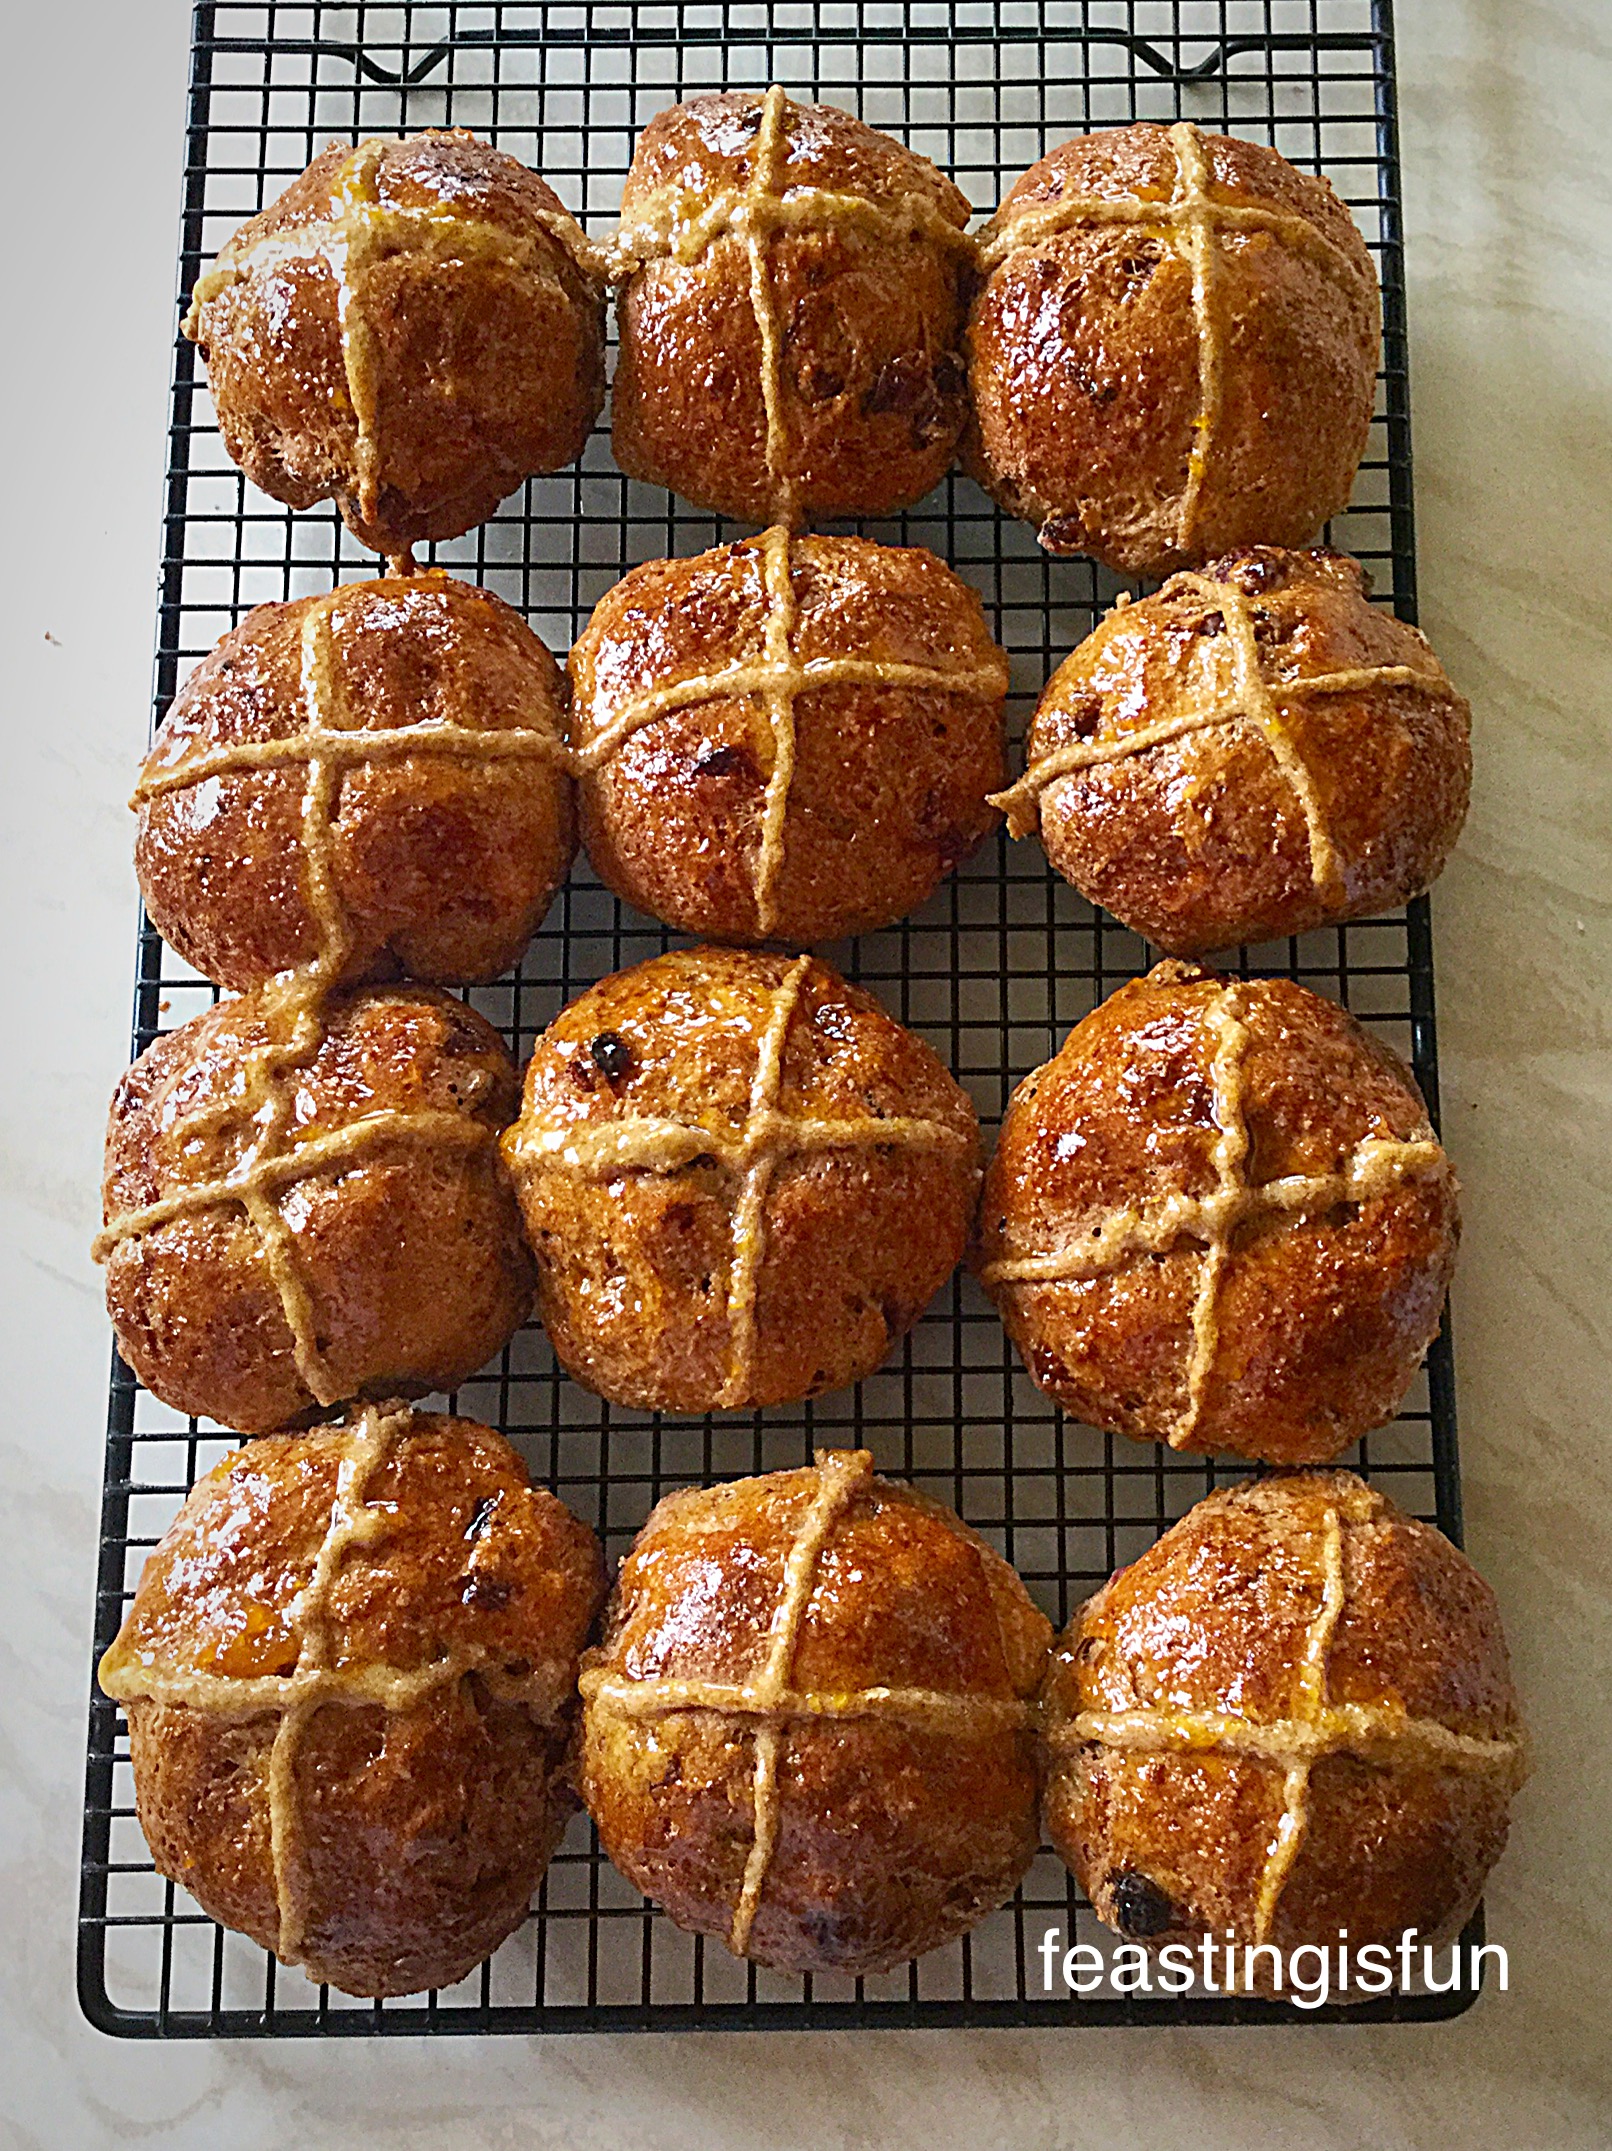
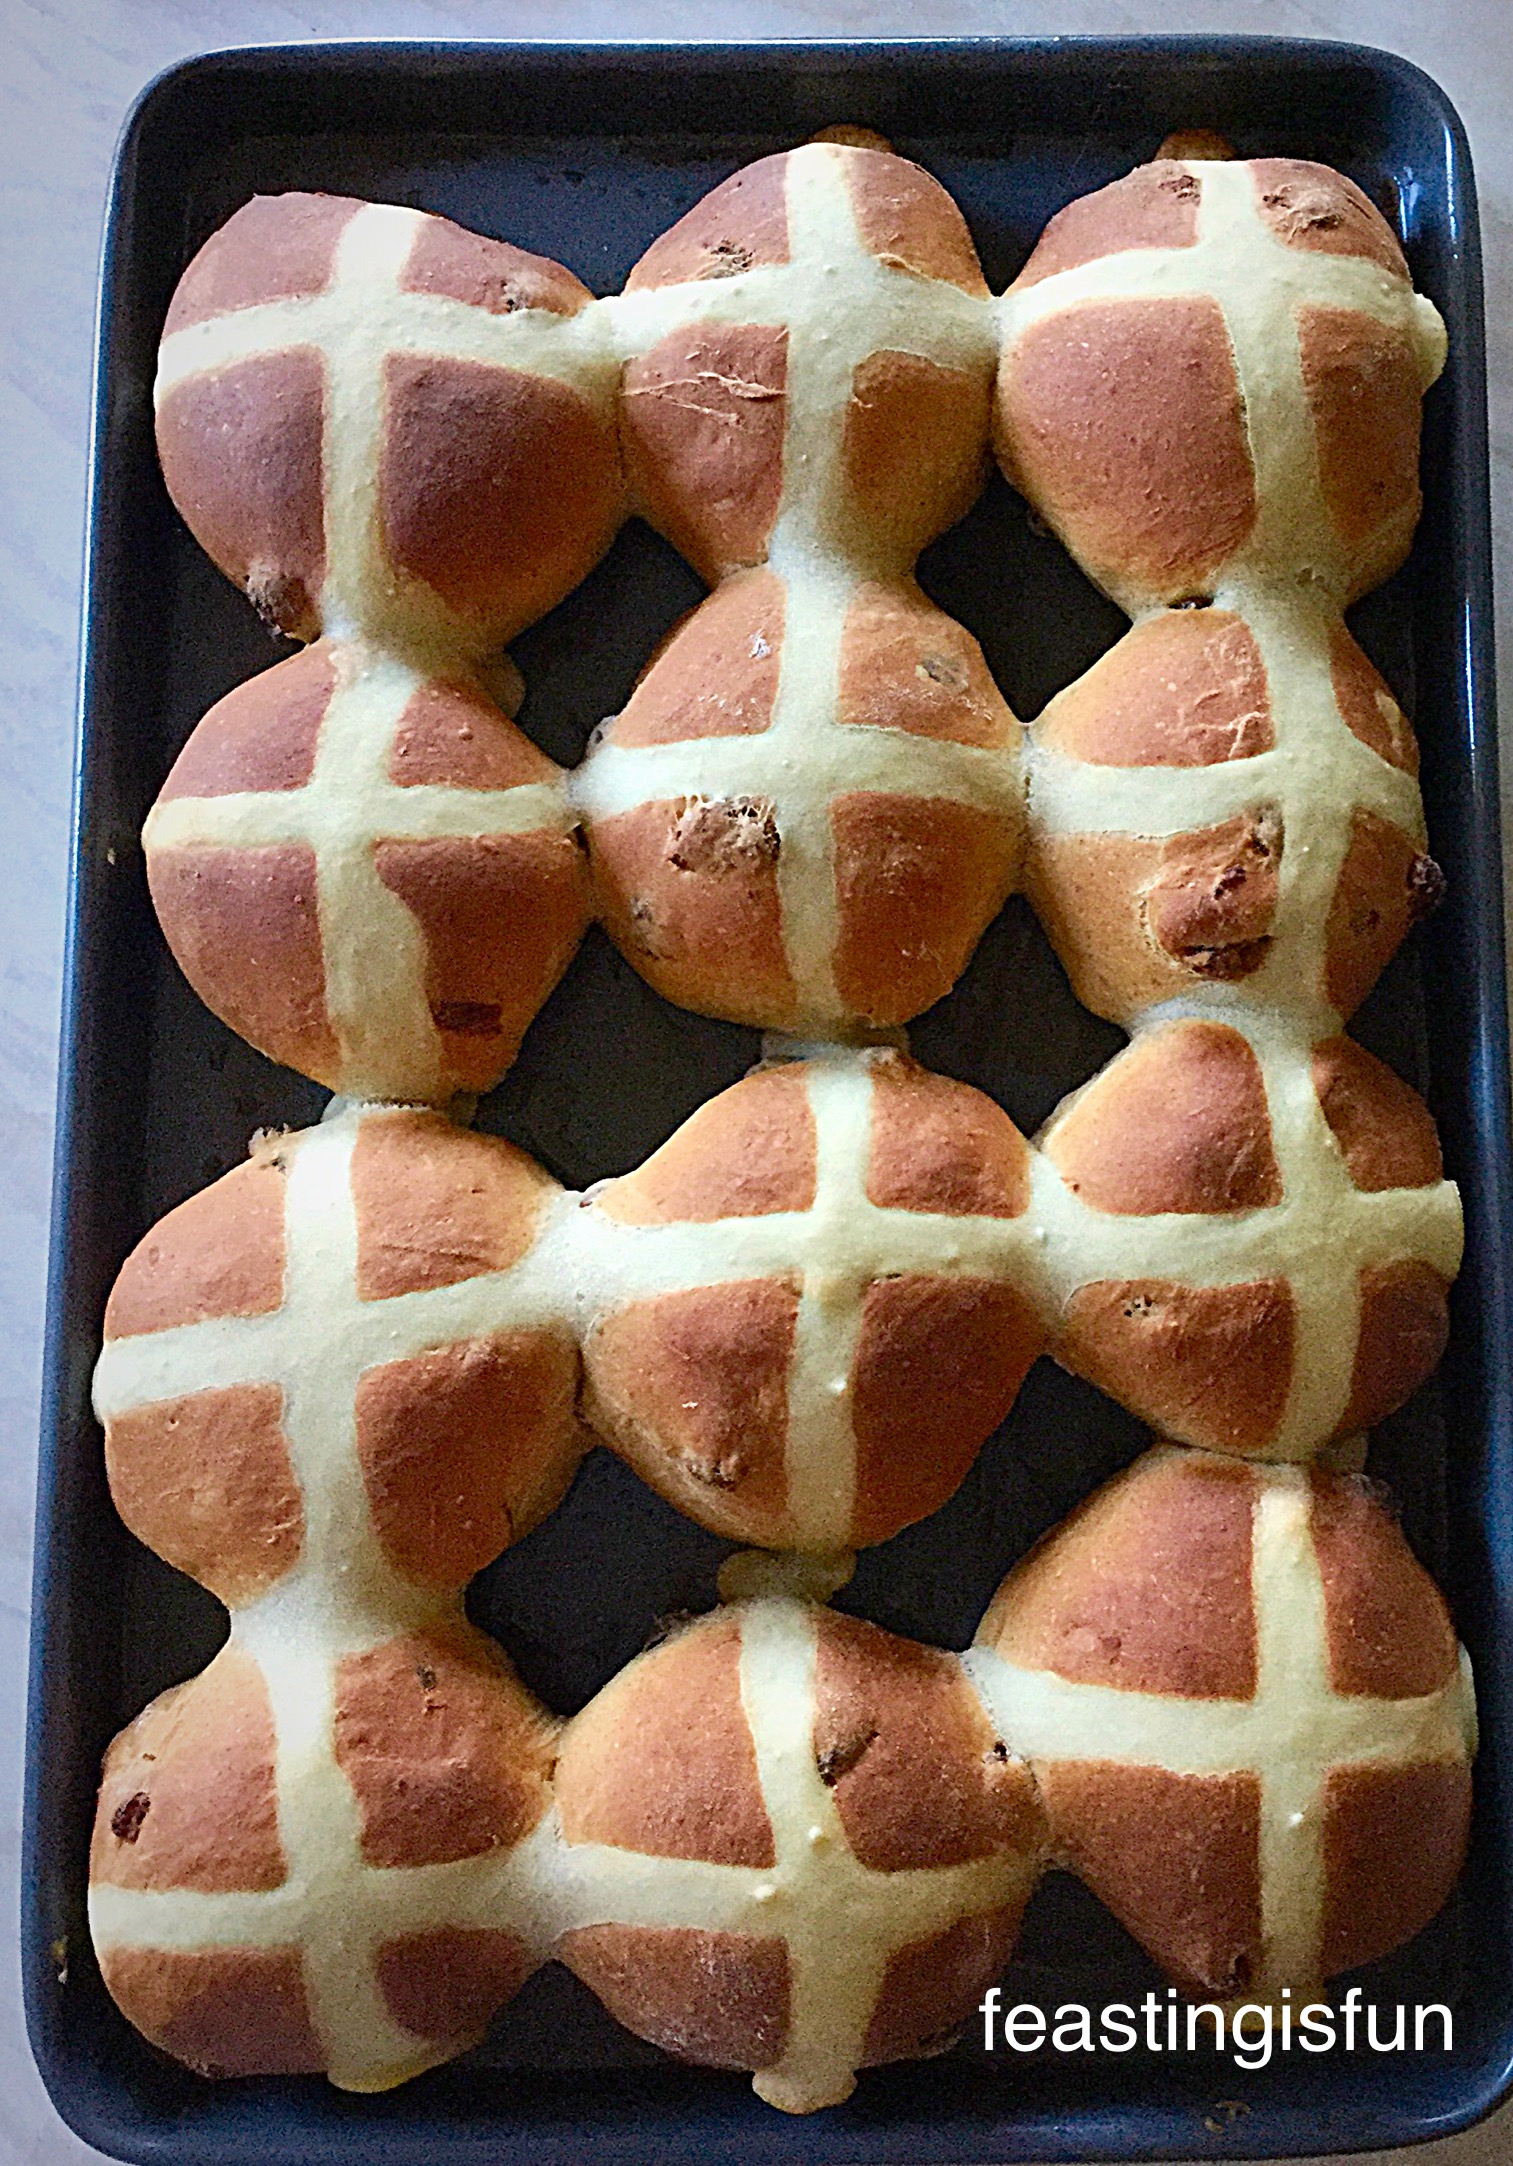
Baking And Glazing The Cherry Bakewell Hot Cross Buns
- Place the buns into the middle of the oven and bake for 20 minutes. They are baked when they are golden brown and sound hollow when rapped on the bottom with your knuckle.
- Remove the Cherry Bakewell Hot Cross Buns from the oven.
- Take the buns off of the baking tray and place onto a cooling rack.
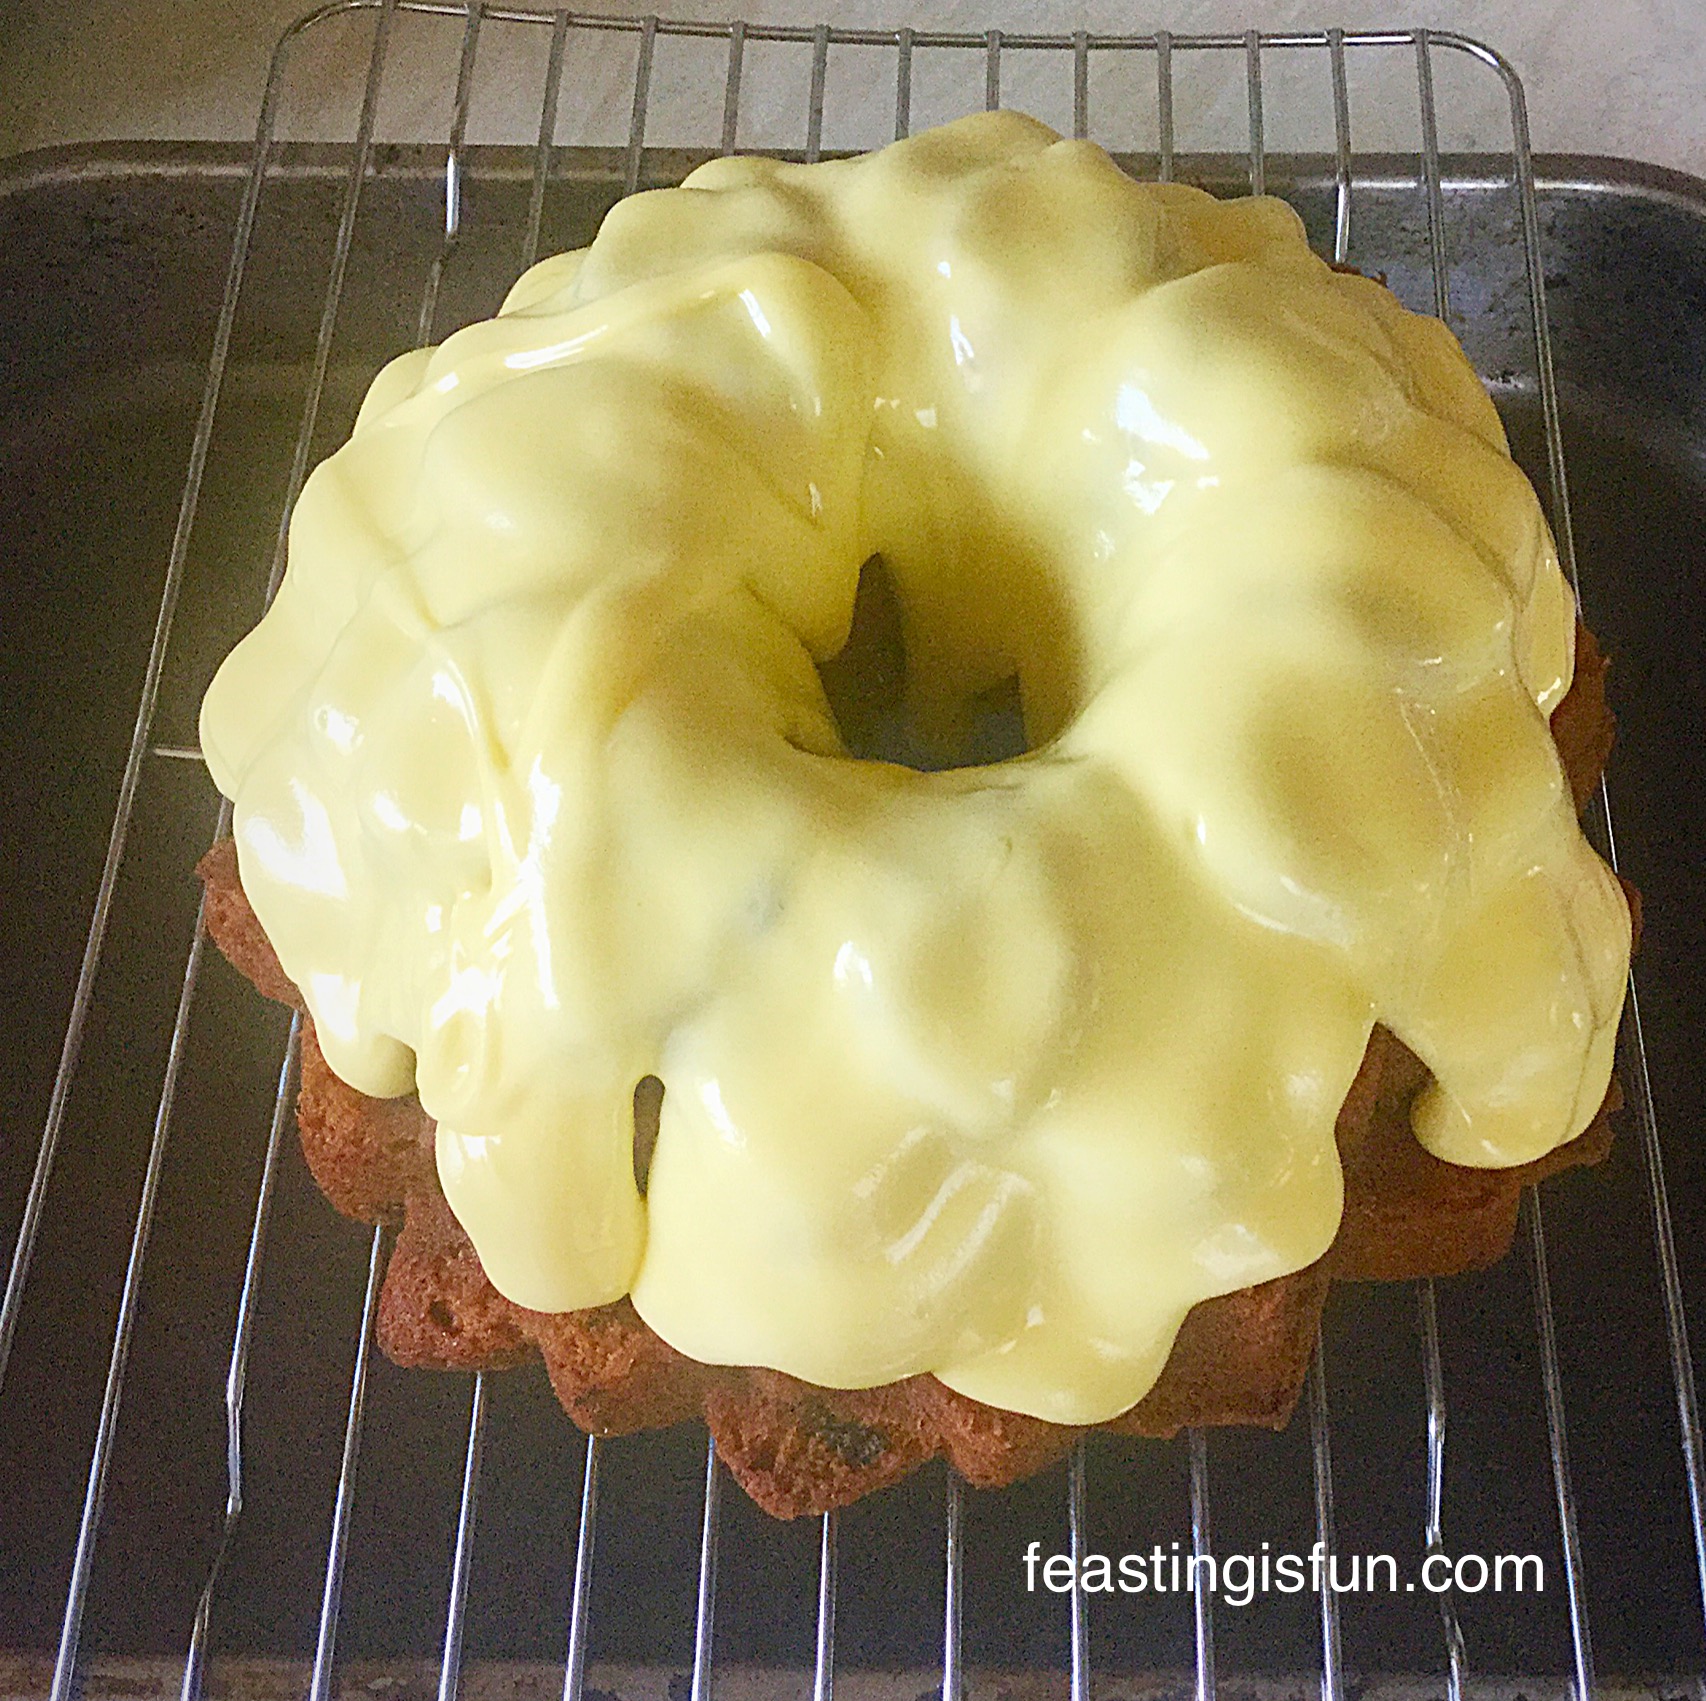
- Make the glaze by adding the very hot water to sifted icing sugar and stirring until completely dissolved.
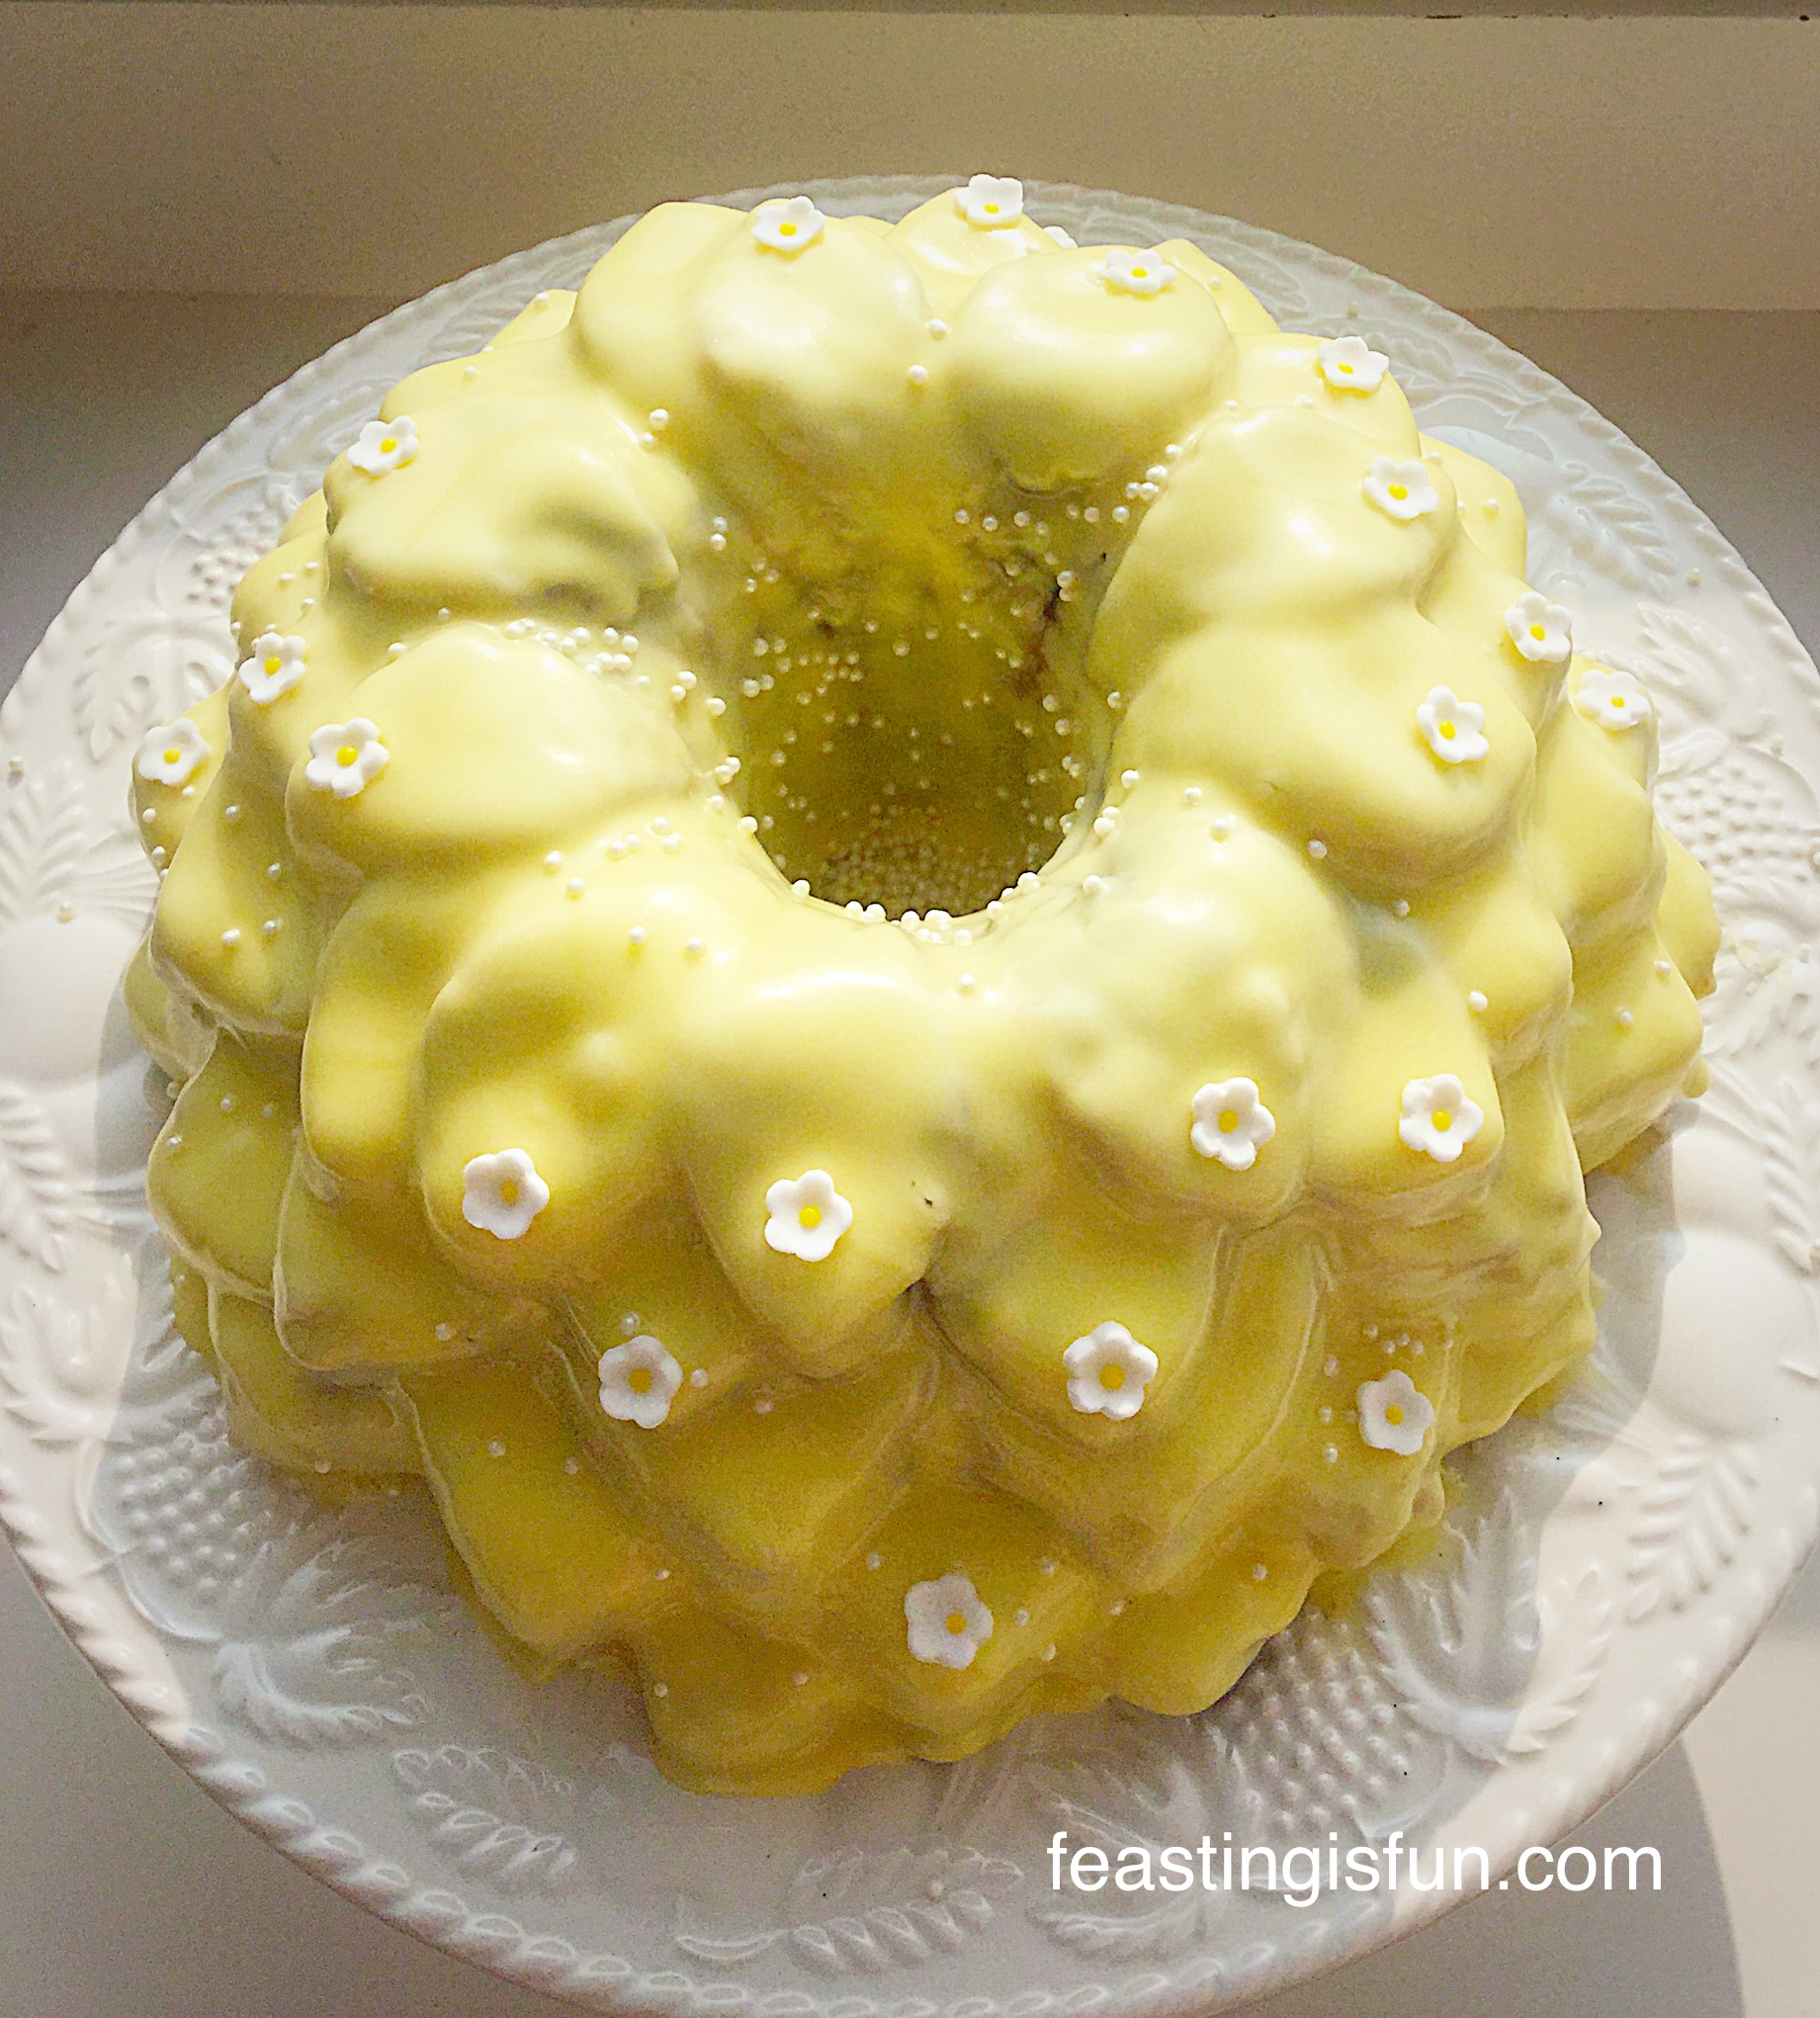
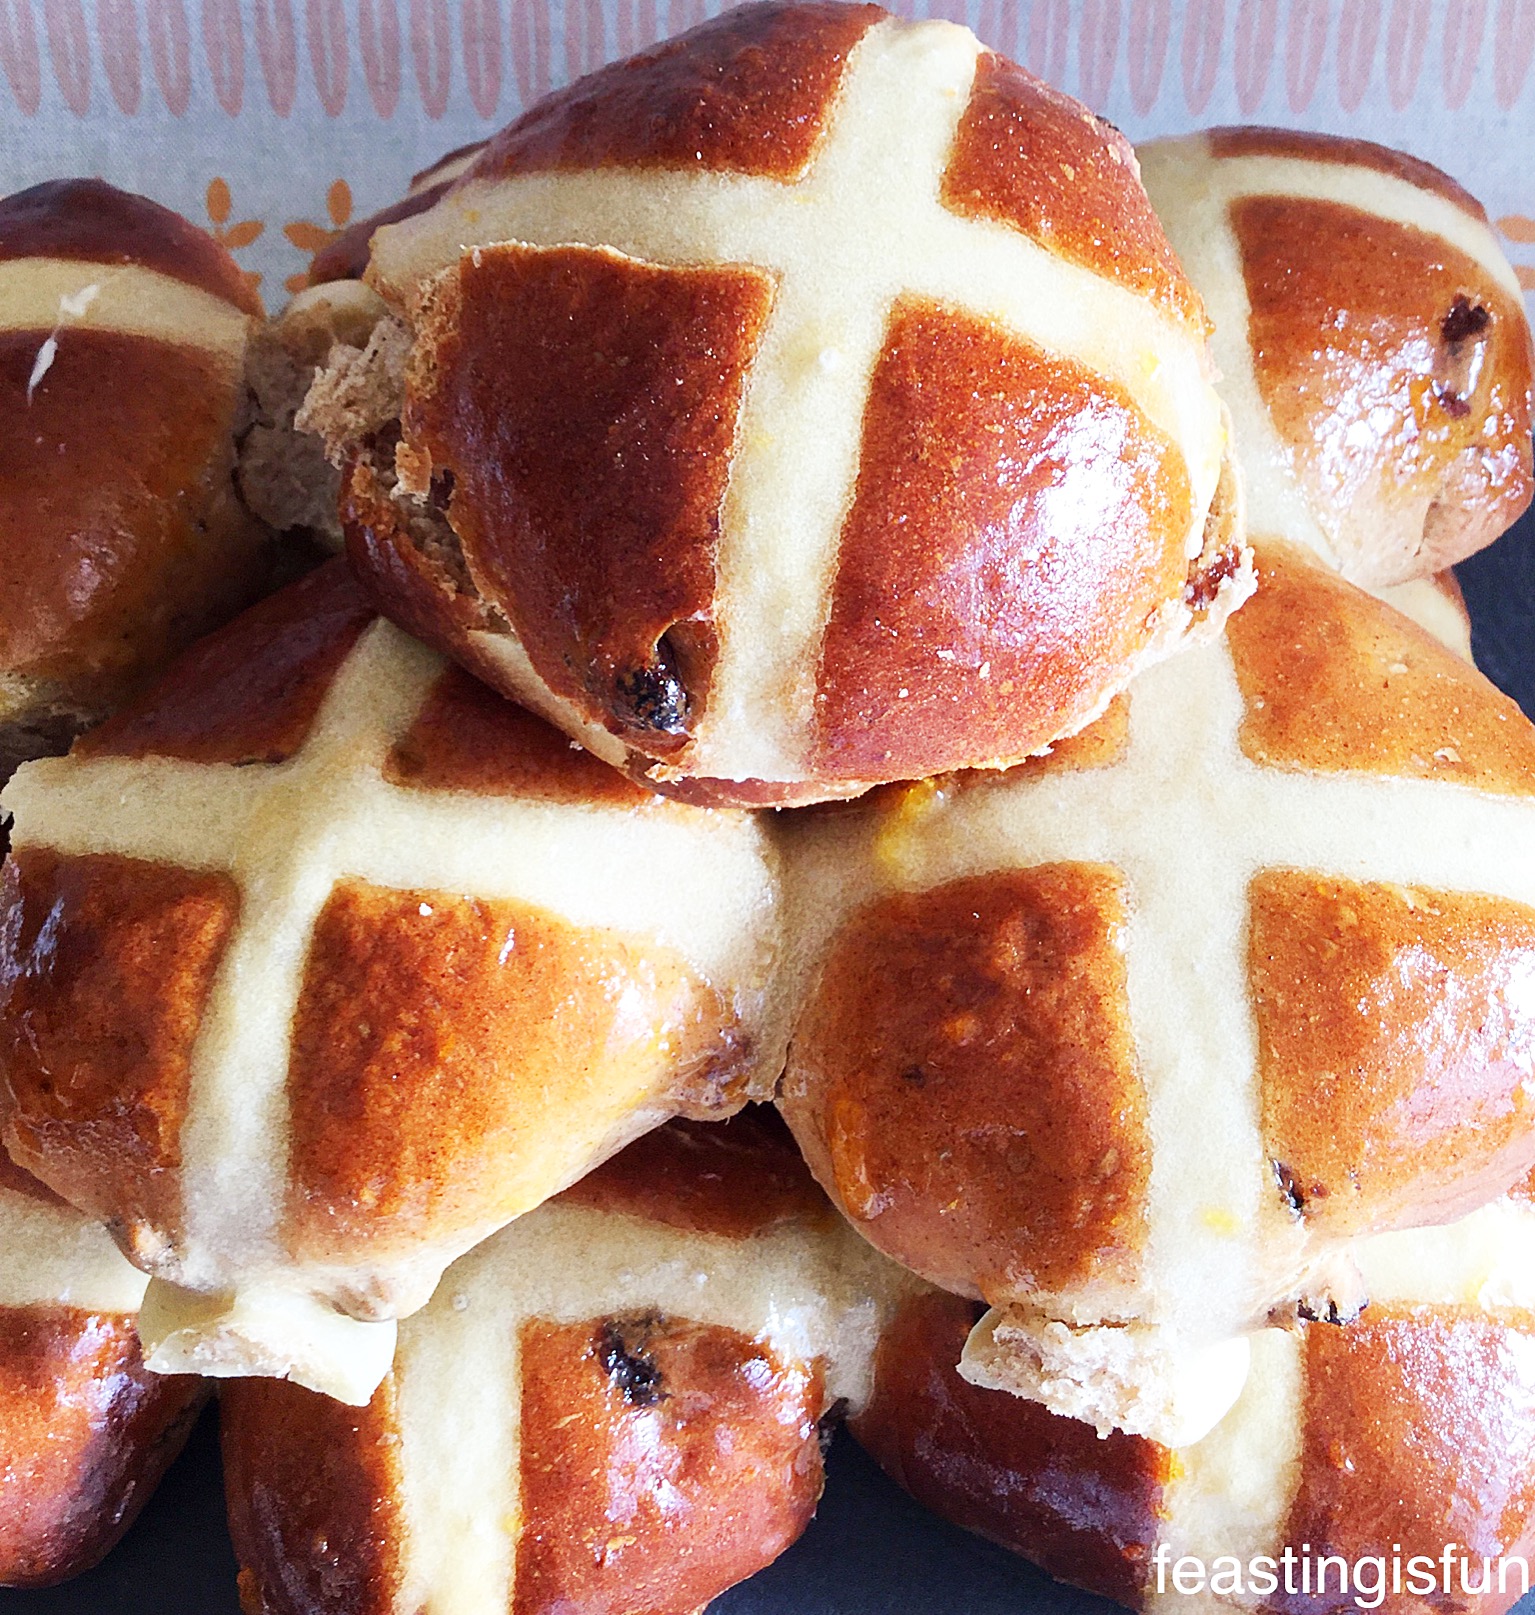
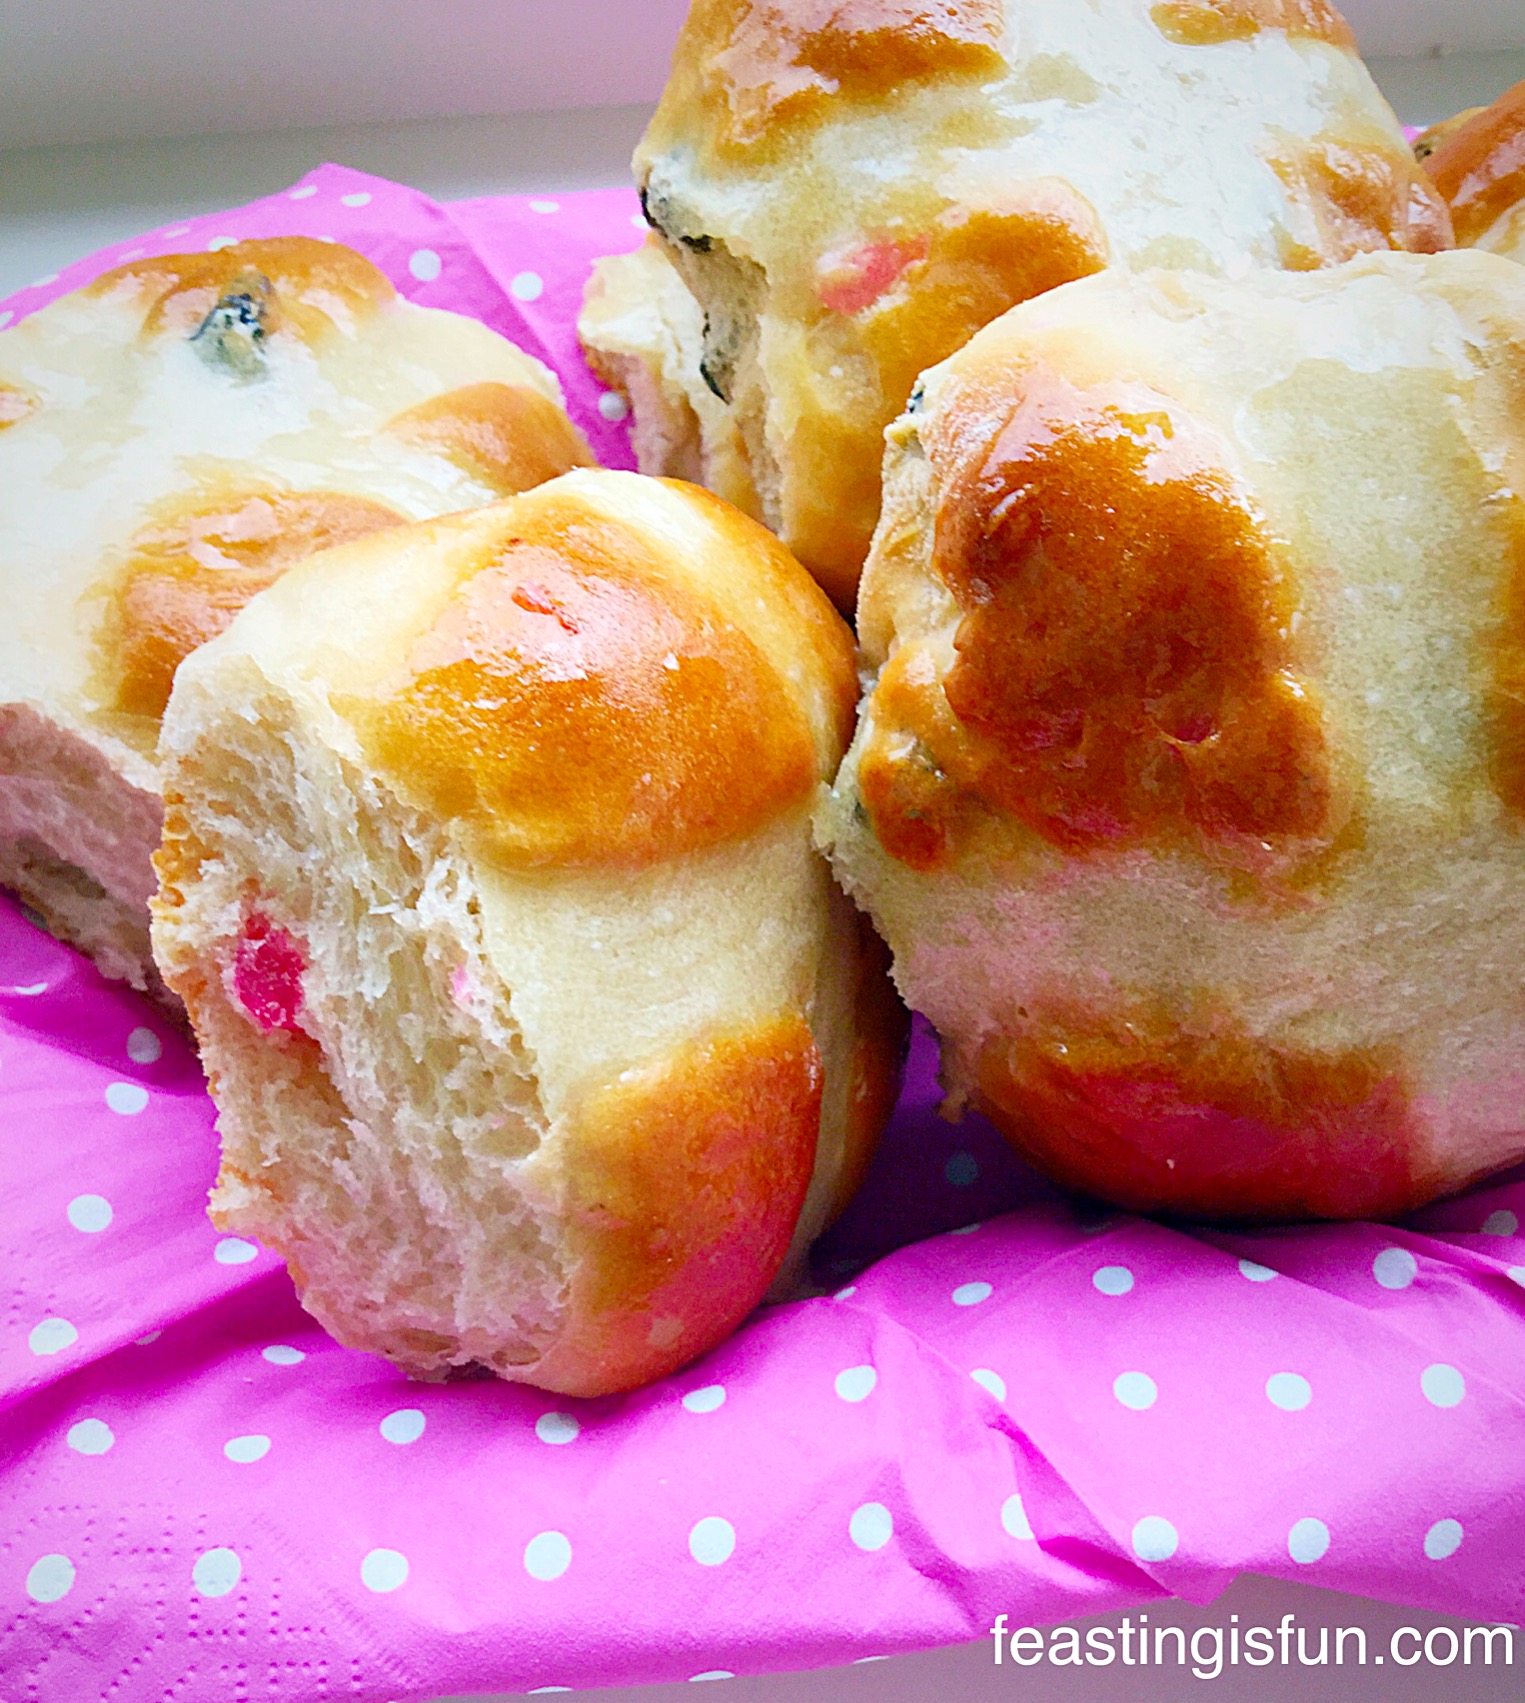
- Brush the glaze over the buns whilst they are still hot.
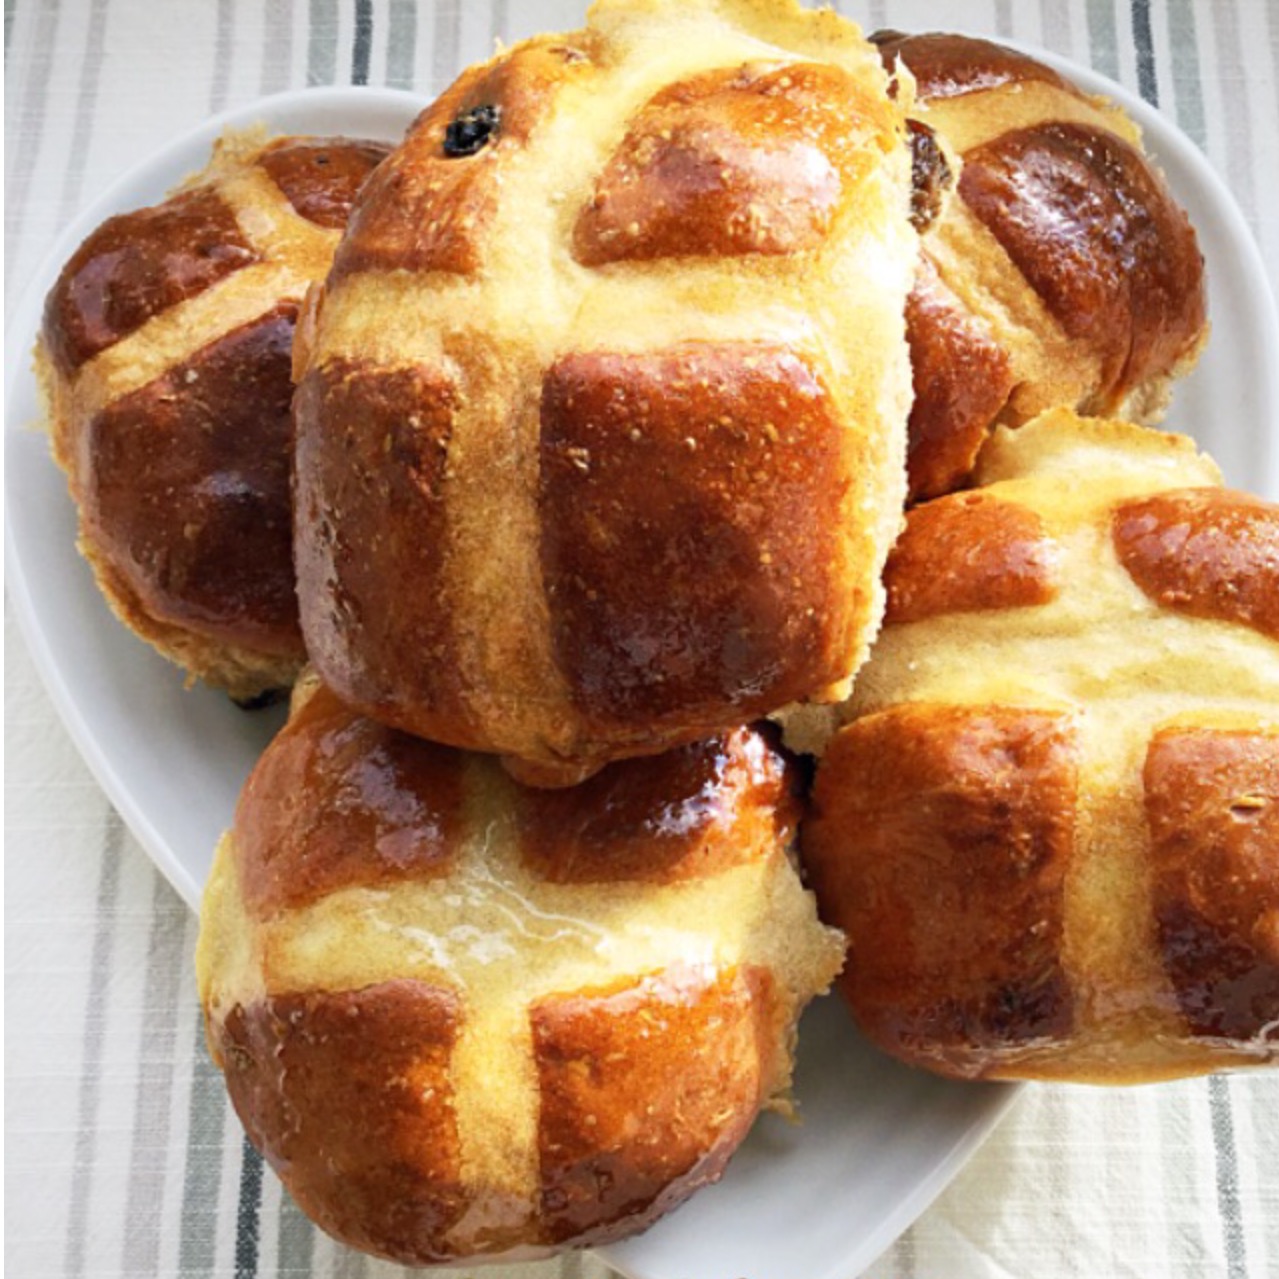
- Leave to cool until at least warm, before diving in and taking your first bite!

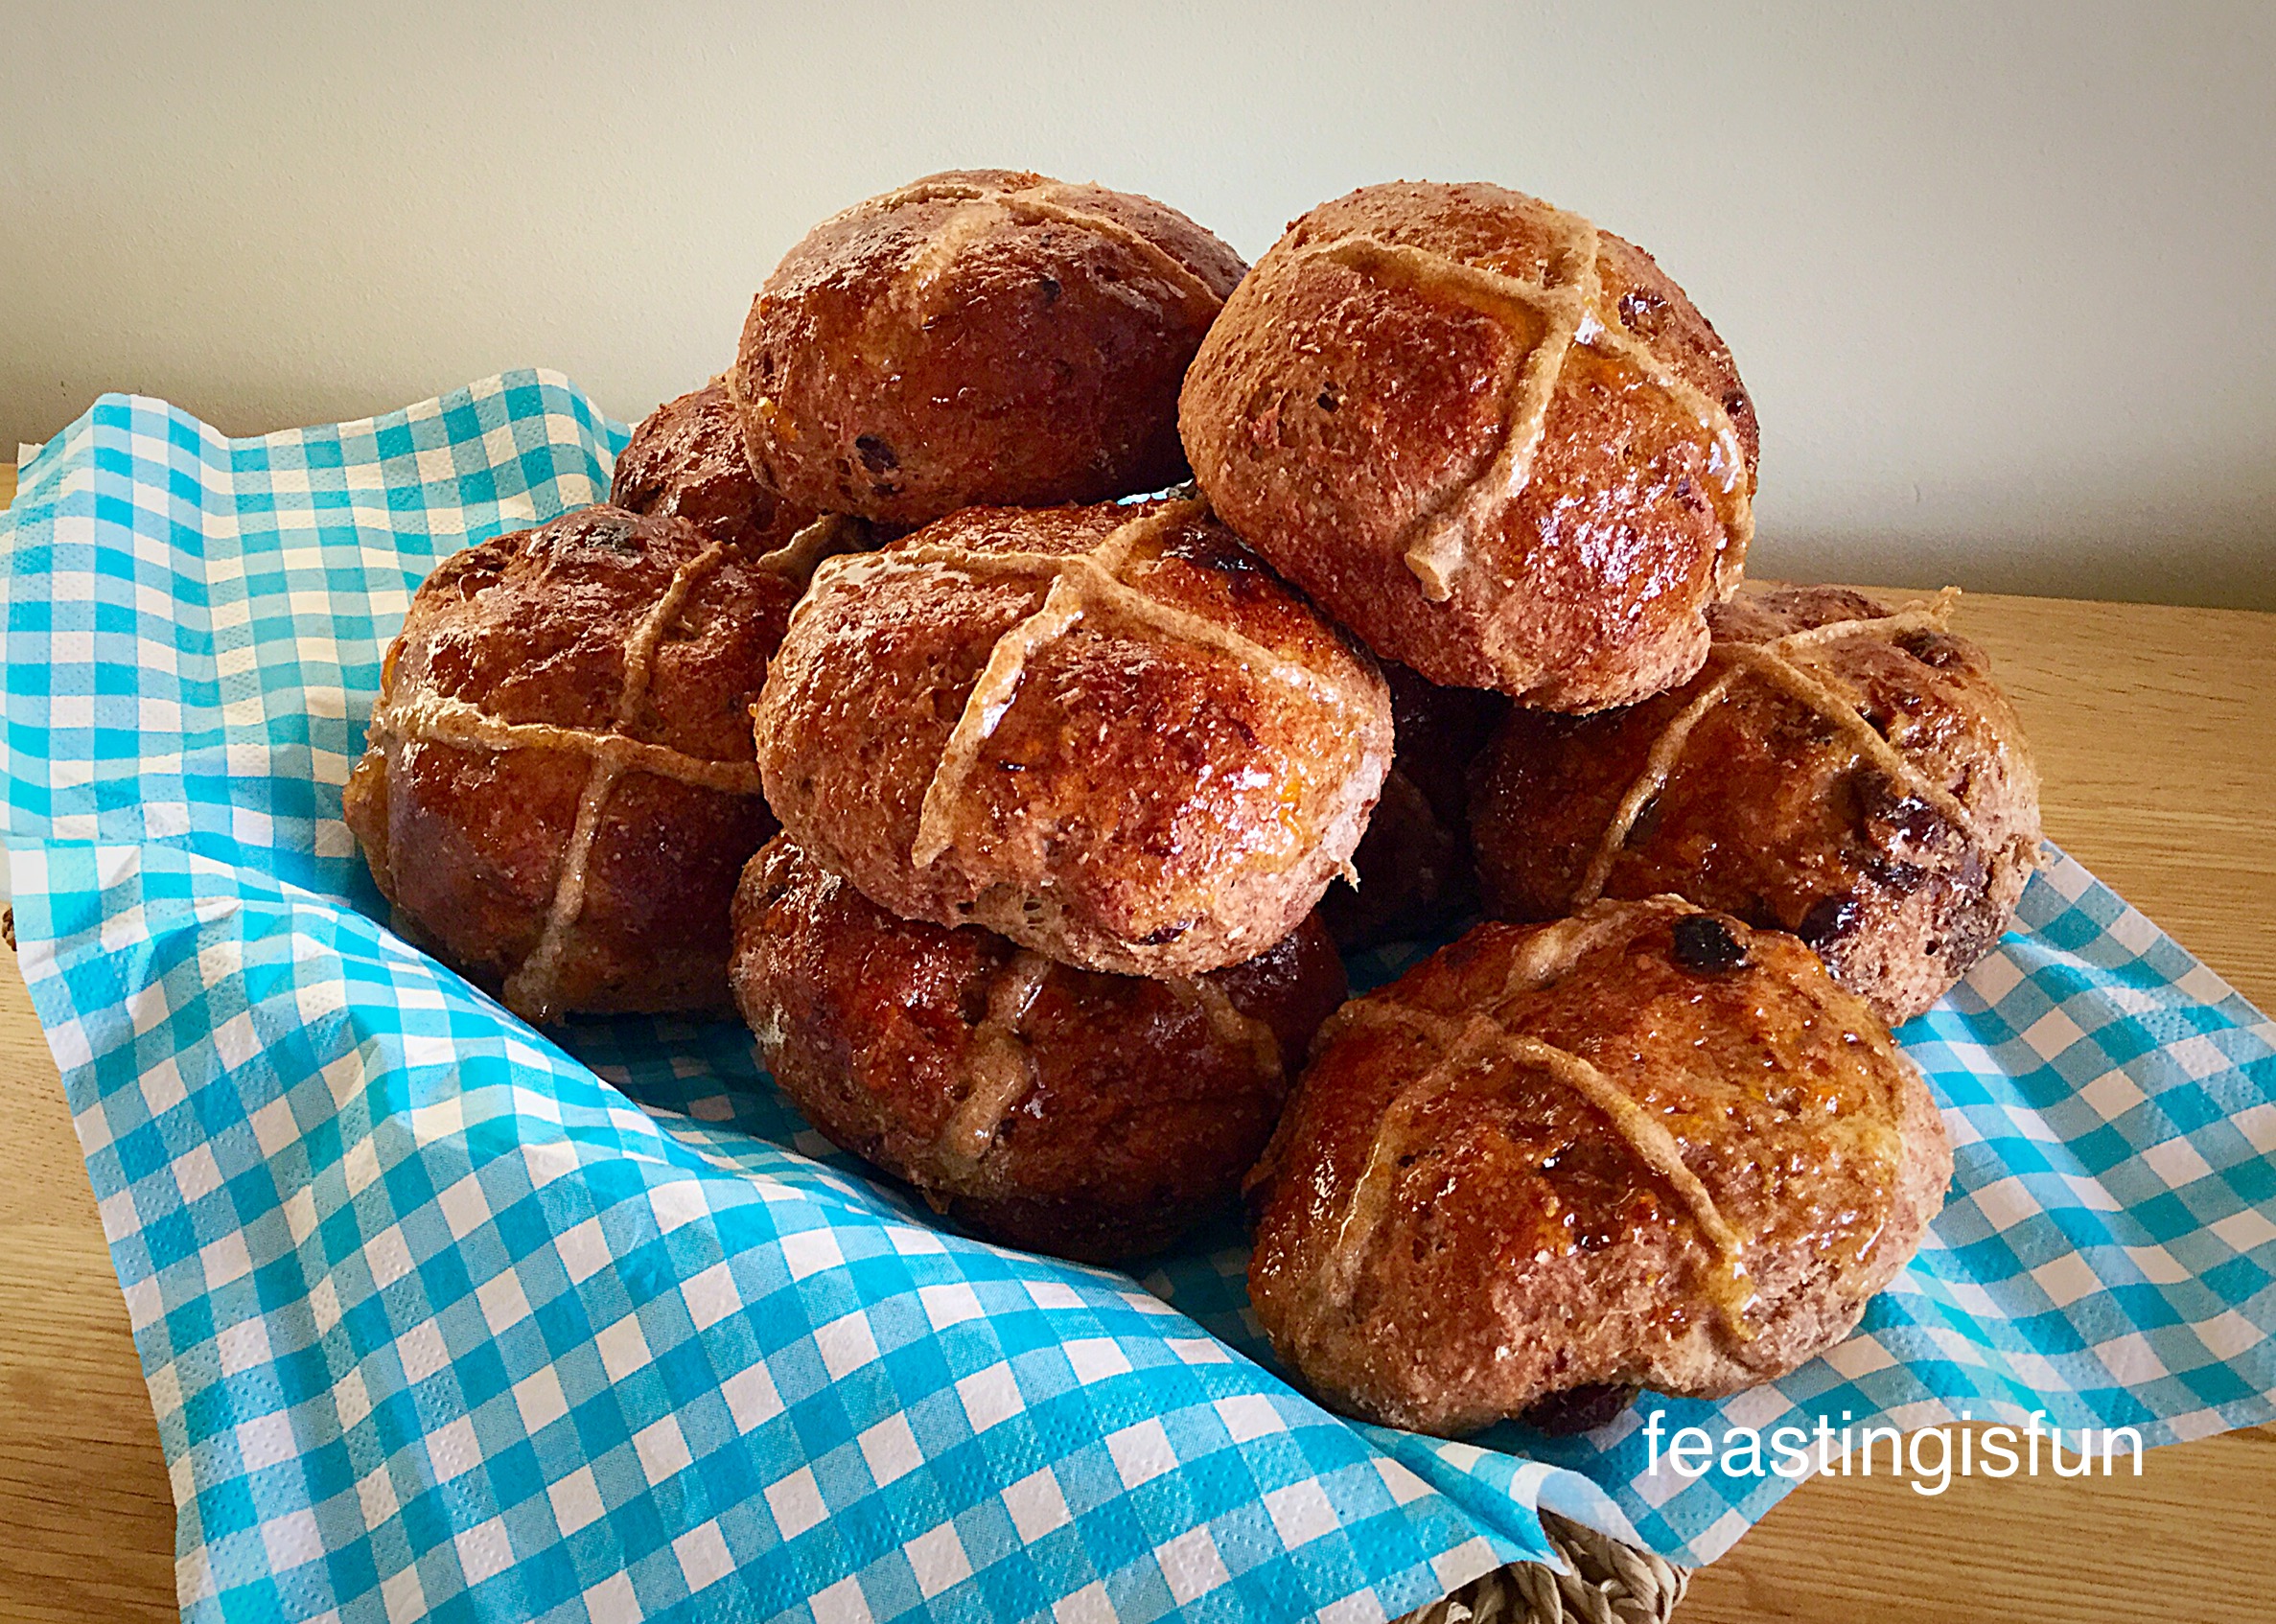
These Cherry Bakewell Hot Cross Buns may not have the traditional taste of the usual buns, but they are a complete and utterly delightful alternative!
For those people who are averse to raisins, sultanas or cinnamon, here is a bun they can thoroughly enjoy in the run up to Easter. In fact all year round.
Have you ever tried making hot cross buns?
Do you like the idea of the Cherry Bakewell Hot Cross Buns as an alternative?
I hope you have fun whatever you bake this Easter and also take a moment to consider what Easter really means, see Important Stuff.
If you have enjoyed these Cherry Bakewell Hot Cross Buns here are some more traditional recipes for you.

Whatever you make or bake over this Easter period, please pop a photo onto Twitter/Instagram? I love seeing your pictures and reading your comments.
Wishing you all a happy, safe Easter.
Sammie x
I’m thrilled to have my Cherry Bakewell Hot Cross Buns featured in The Guardian. To view the article by Stuart Heritage click on the link below.
This recipe has been submitted to Baking Queen 74 for March’s Perfecting Patisserie.

No part of this post may be reproduced or duplicated without the written permission of the owner. Please seek my Disclosure Policy.