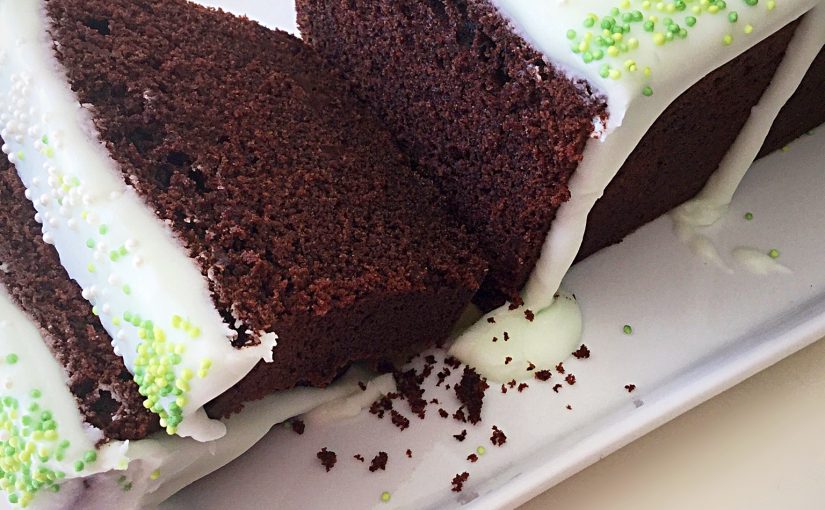
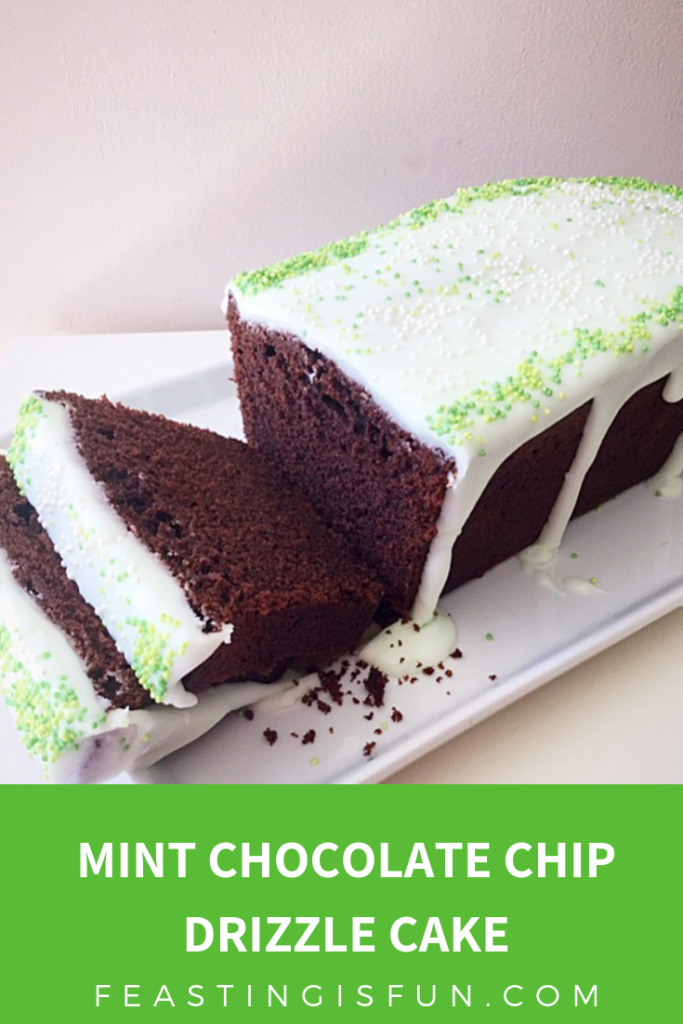
Wow this Summer has been hot so far. So when I was asked to bake a cake I wanted to create something that was not only delicious, but also refreshing. My Mint Chocolate Chip Drizzle Cake ticks both of the boxes. A rich chocolate cake that is full of mint chocolate chips finished with a peppermint drizzle icing. This cake was a big hit with all who tried it!
Mint Chocolate – which side are you on?
While I love the combination of mint and chocolate together, it appears that opinion is split. While there are those who wholeheartedly agree with me, there are also a group of people who really dislike the flavour combination. Since I love sharing and assume that you do too, check that those you will be sharing with enjoy fresh mint flavour with chocolate. Unless of course you want the whole cake to yourself?
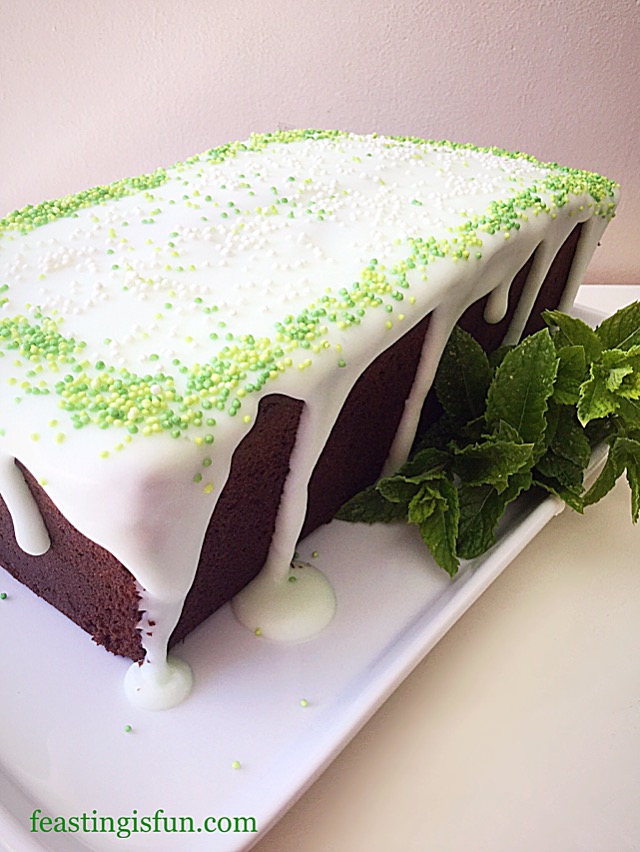
I adore the way that mint is such a refreshing flavour. In this cake it really lifts the deep chocolate flavour of the sponge, with nuggets of mint chocolate bursting in your mouth with every bite. Also, the peppermint hit in the icing merges with the cake to create a party in your mouth. I love the flavours in this cake, especially during the heat of the summer. Because of the mint, I can literally bake my cake AND eat it!
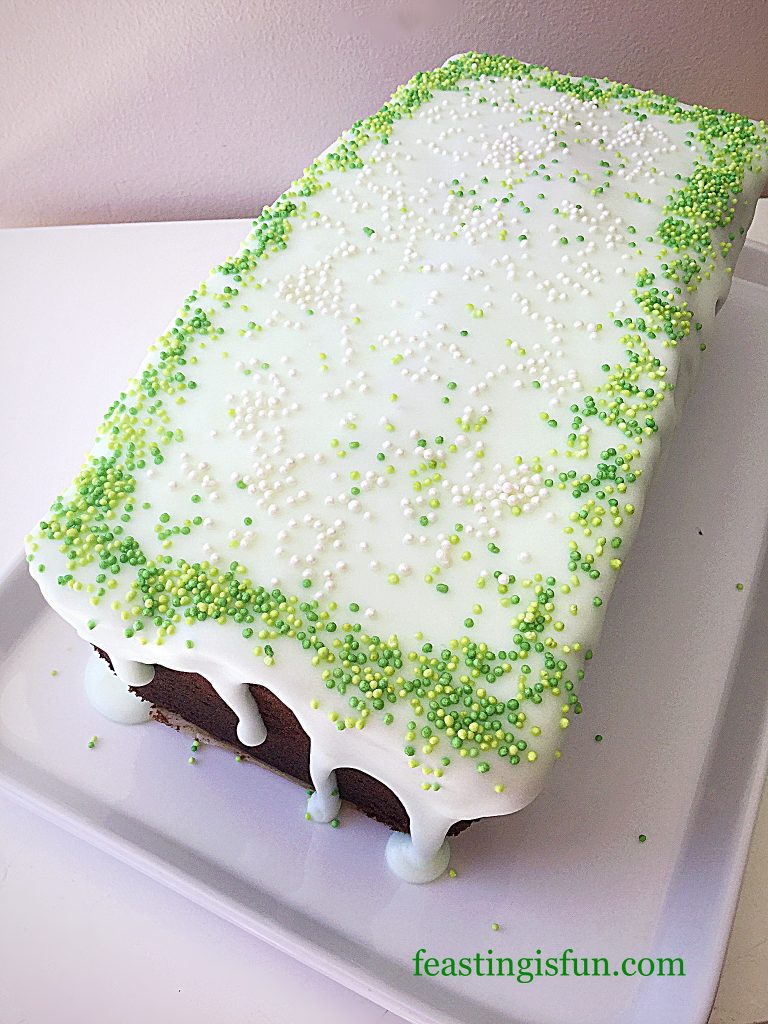
While I have baked this cake in a loaf tin, I’m sure it would also look great baked in a square or round tin. For me the straightforward slicing of a loaf cake makes it easy to pack, ready sliced for picnics. Alternatively, it also is great for packed lunches.
Recipe: Mint Chocolate Chip Drizzle Cake serves 8-10
For the cake:
225g/8oz Unsalted Butter at room temperature
225g/8oz Caster Sugar
1/4tsp Salt – I use Maldon
5 Large Free Range Eggs
1tsp Vanilla Extract
75g/3oz cocoa
100g/4oz Dark Mint Chocolate – cut into small chunks
175g/6oz Plain White Flour
3tsp Baking Powder
For the icing:
175g/6oz Icing Sugar
3 drops Peppermint Extract – I use Nielsen-Massey
Optional – Green Food Colouring – I use Wilton Food Colouring Gel
Green and White small sugar balls
Method: Preheat oven to 180C/160C fan for 1 hour, 350F, gas mark 4
To bake this cake you will need a 25cm x 11.5cm x 7.5cm (10” x 4.5” x 3”) 2lb loaf tin. Grease thoroughly with butter and line the base of the tin with baking parchment.
Making and baking the cake
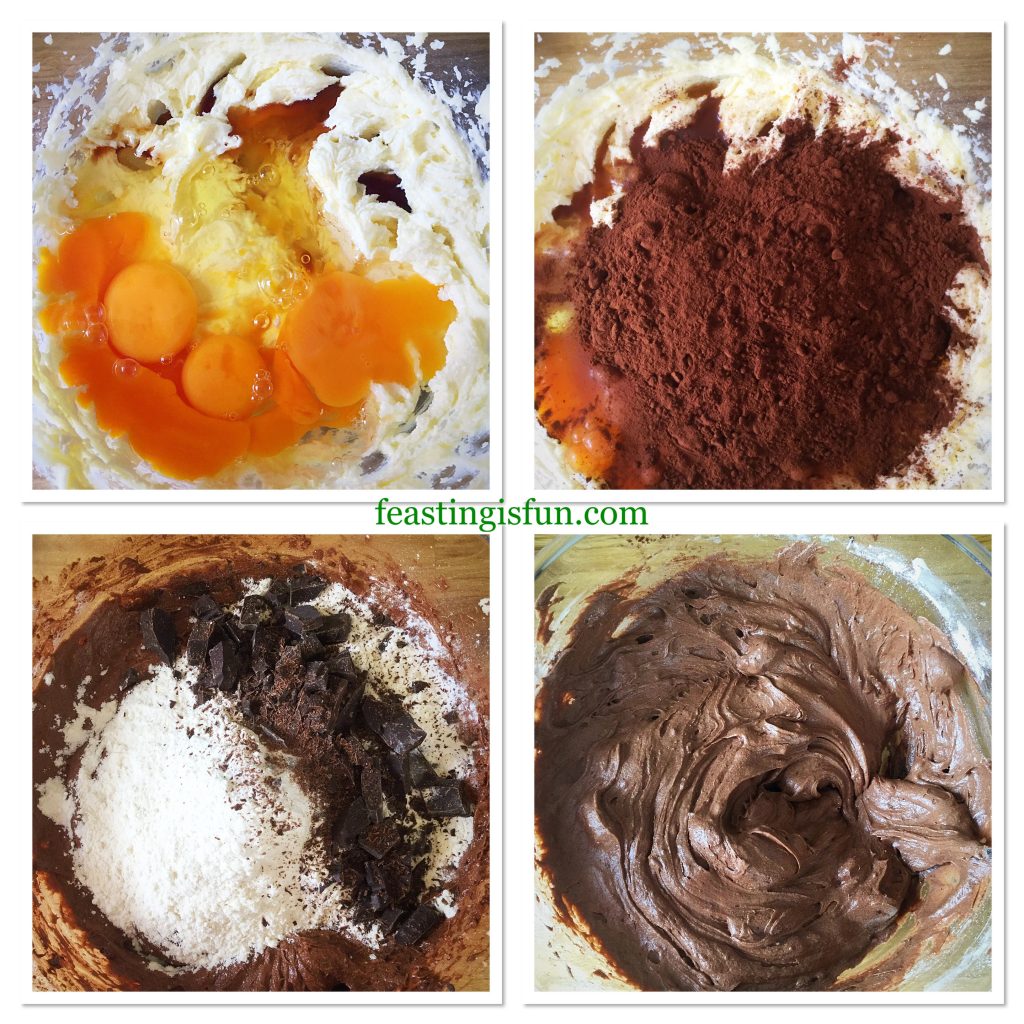
- First of all into a large bowl add the butter, sugar and salt. Whisk until pale and creamy and thoroughly combined.
- Add the eggs, vanilla extract and cocoa powder. Whisk again until the mixture is fully combined with no lumps.
- Sift the flour and baking powder into the bowl and add the chopped mint chocolate.
- Finally, using a spoon mix all of the ingredients together until they are just combined. Take care not to overmix the cake batter as this can result in a heavy cake once baked.
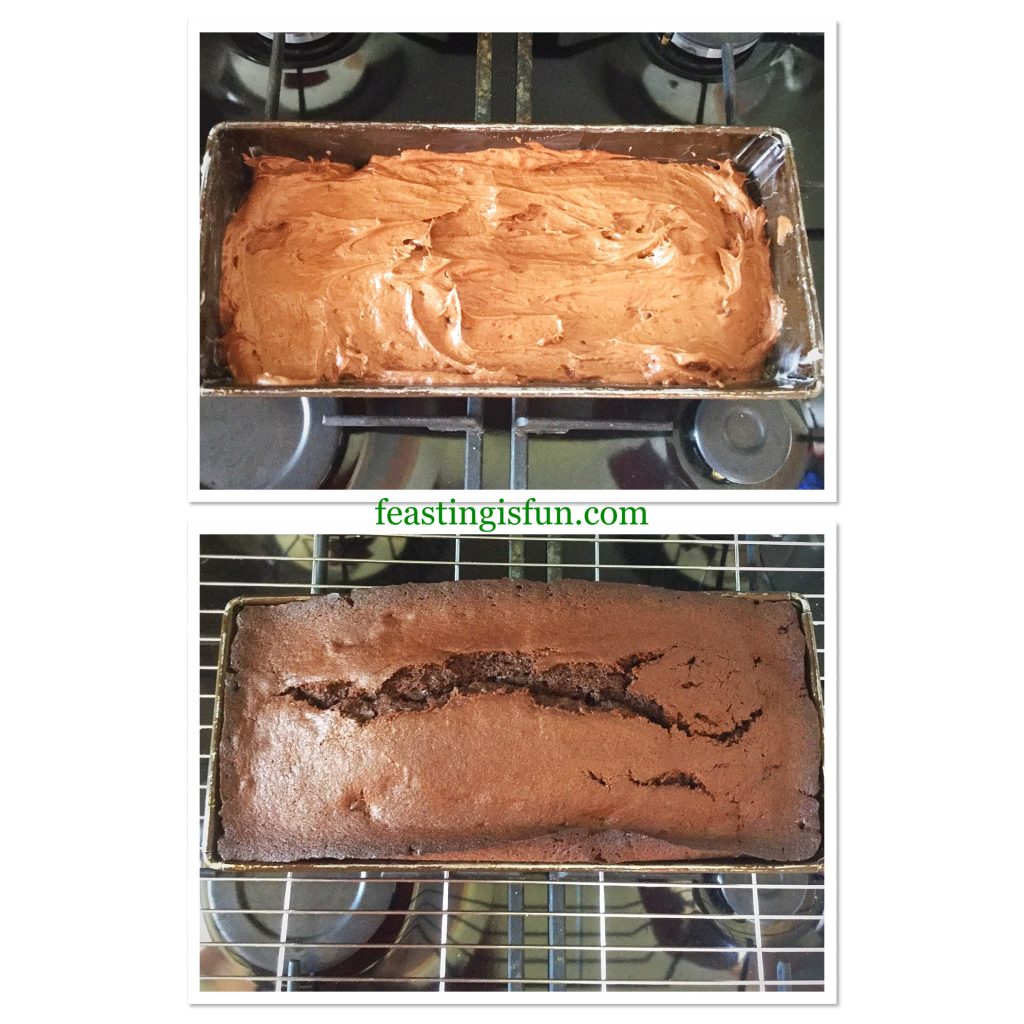
- Spoon the cake batter into a prepared tin and smooth the surface.
- Place the cake tin into the centre of the oven and bake for approximately 1 hour. Baking times may vary due to oven differences or using a different size tin.
- The cake is baked when an inserted skewer comes out clean.
- As soon as the cake is baked remove from the oven and leave the cake to fully cool in the tin.
- When the cake is cooled carefully run a palette knife between the cake and the tin.
- Turn the cake out of it’s tin and remove the baking parchment.
- Place the cake on to a cake or board ready to be iced.
Making the icing and decorating the cake
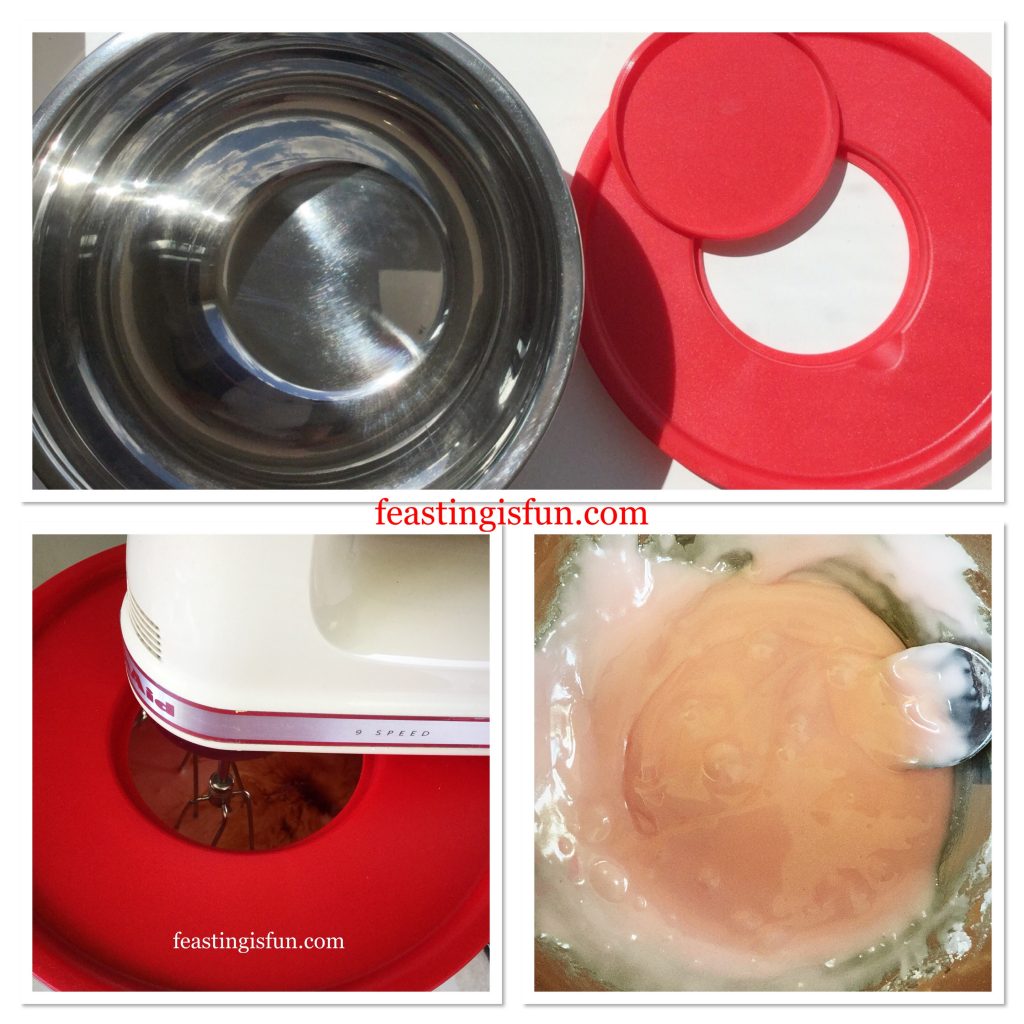
- First of all add the icing sugar to a bowl. Gently stir with a balloon whisk to remove any lumps. I find this method much easier than sifting the sugar. Especially as sifting results in icing sugar going everywhere!
- Add the peppermint extract and enough water to for a thick, but still slowly dripping paste.
- Dip the tip of a cocktail stick into the food colouring gel and then swirl the stick through your icing. I opted for a very subtle mintgreen colour. Stir the icing so that the colour is even throughout.
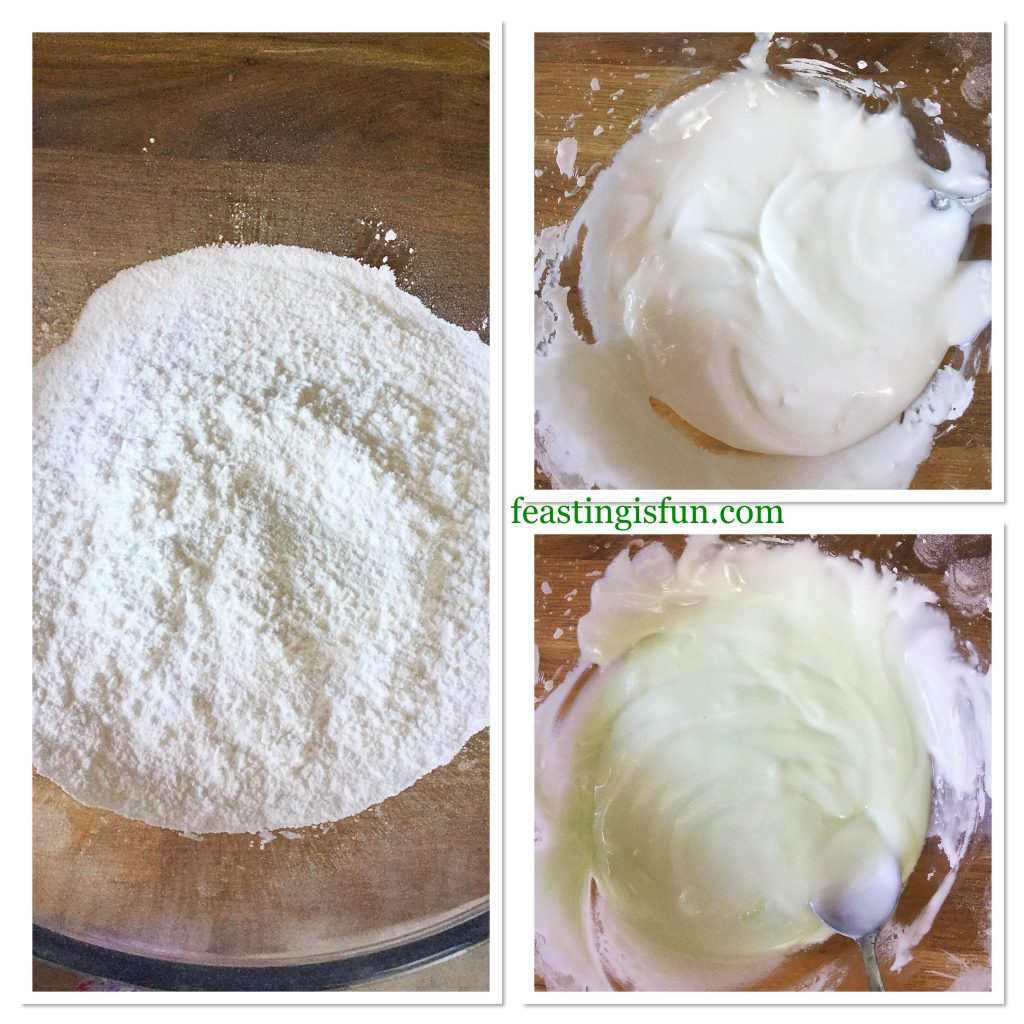
- Spoon the icing over the cake so that the top is completely covered. Use the spoon to encourage the icing to drip around the sides.
- Finally, sprinkle the coloured sugar balls around the outside edge of the icing before it sets. And then sprinkle the white balls inside the border.
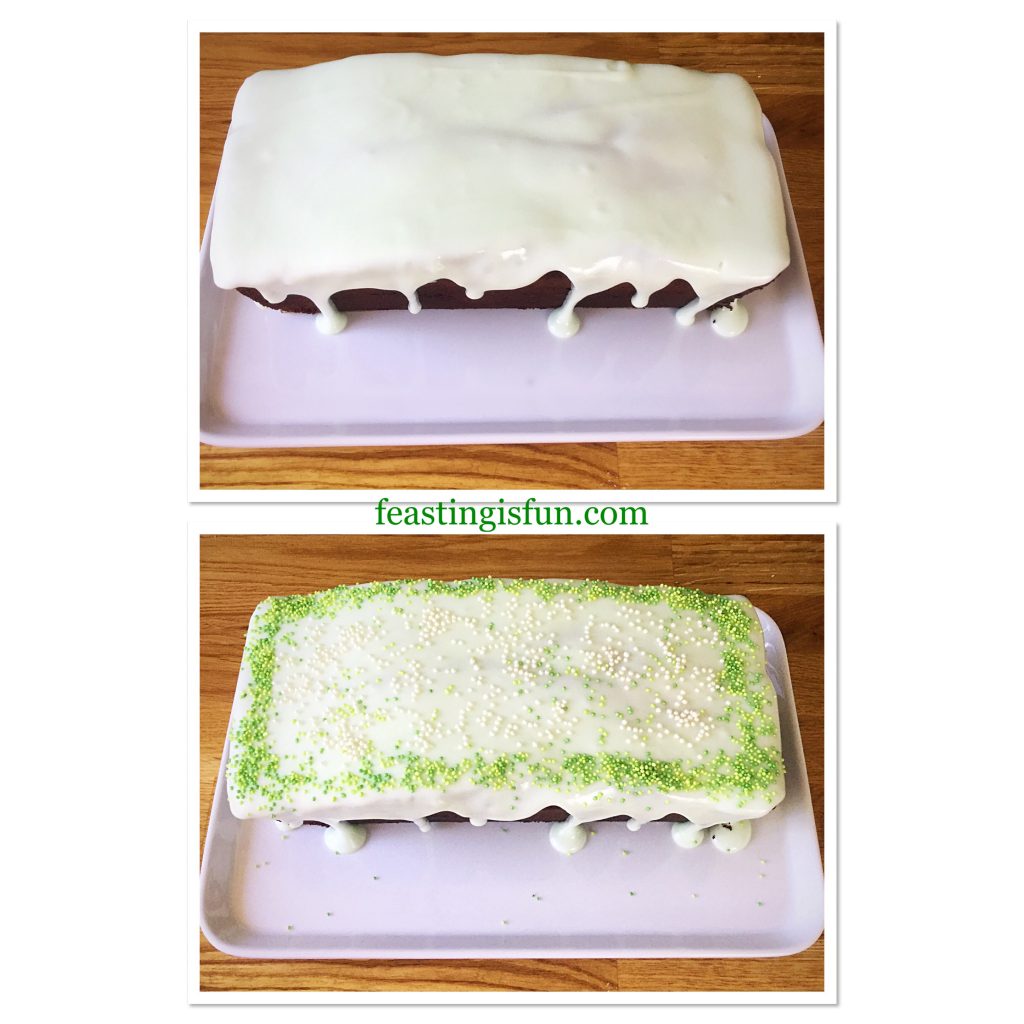
Allow the icing to set before slicing the cake for serving.
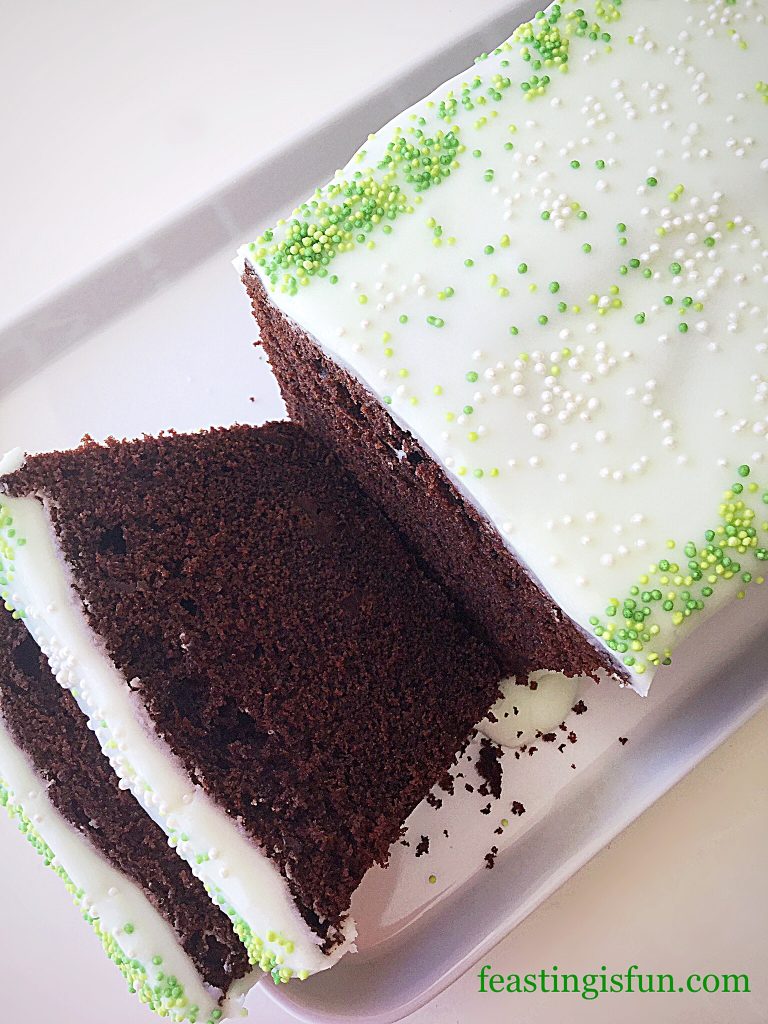
Slice and serve with a smile.
Store any leftover cake in an airtight container or wrapped in cling film. Also during warmer weather I keep the cake refrigerated. Eat within 5 days of making.
If you have enjoyed this recipe for Mint Chocolate Chip Drizzle Cake you may also like these:
While I don’t eat cake everyday, I enjoy making them. Although my preference leans towards more savoury flavours, many of my family and especially my husband do have a sweet tooth. Sharing my bakes is important to me and loaf cakes travel well. Also, they are easy to portion, either as a whole slice or cut in half so that younger ones can have a finger of cake. Most importantly the cakes I bake are always made with love and the minimum of artificial ingredients.
Whatever you are making, baking and creating in your kitchens have fun preparing and sharing your feast.
Sammie xx
No part of this post may be reproduced or duplicated without the written permission of the owner. Please see my Disclosure Policy.
