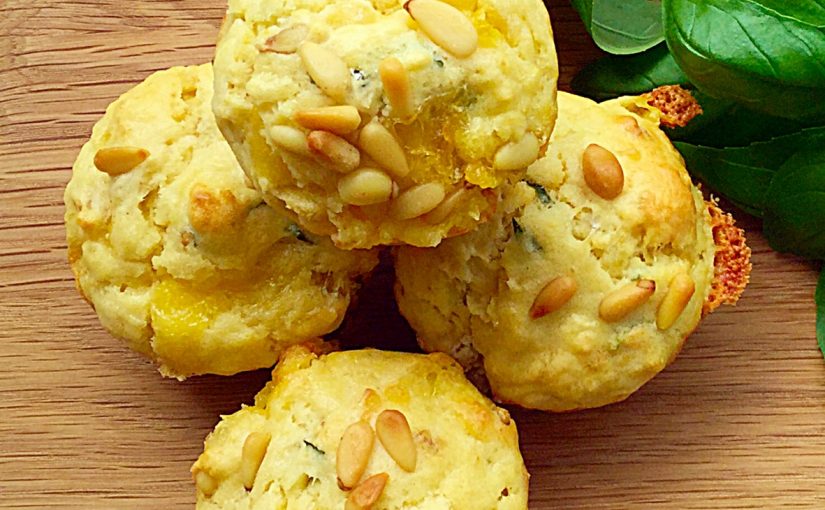
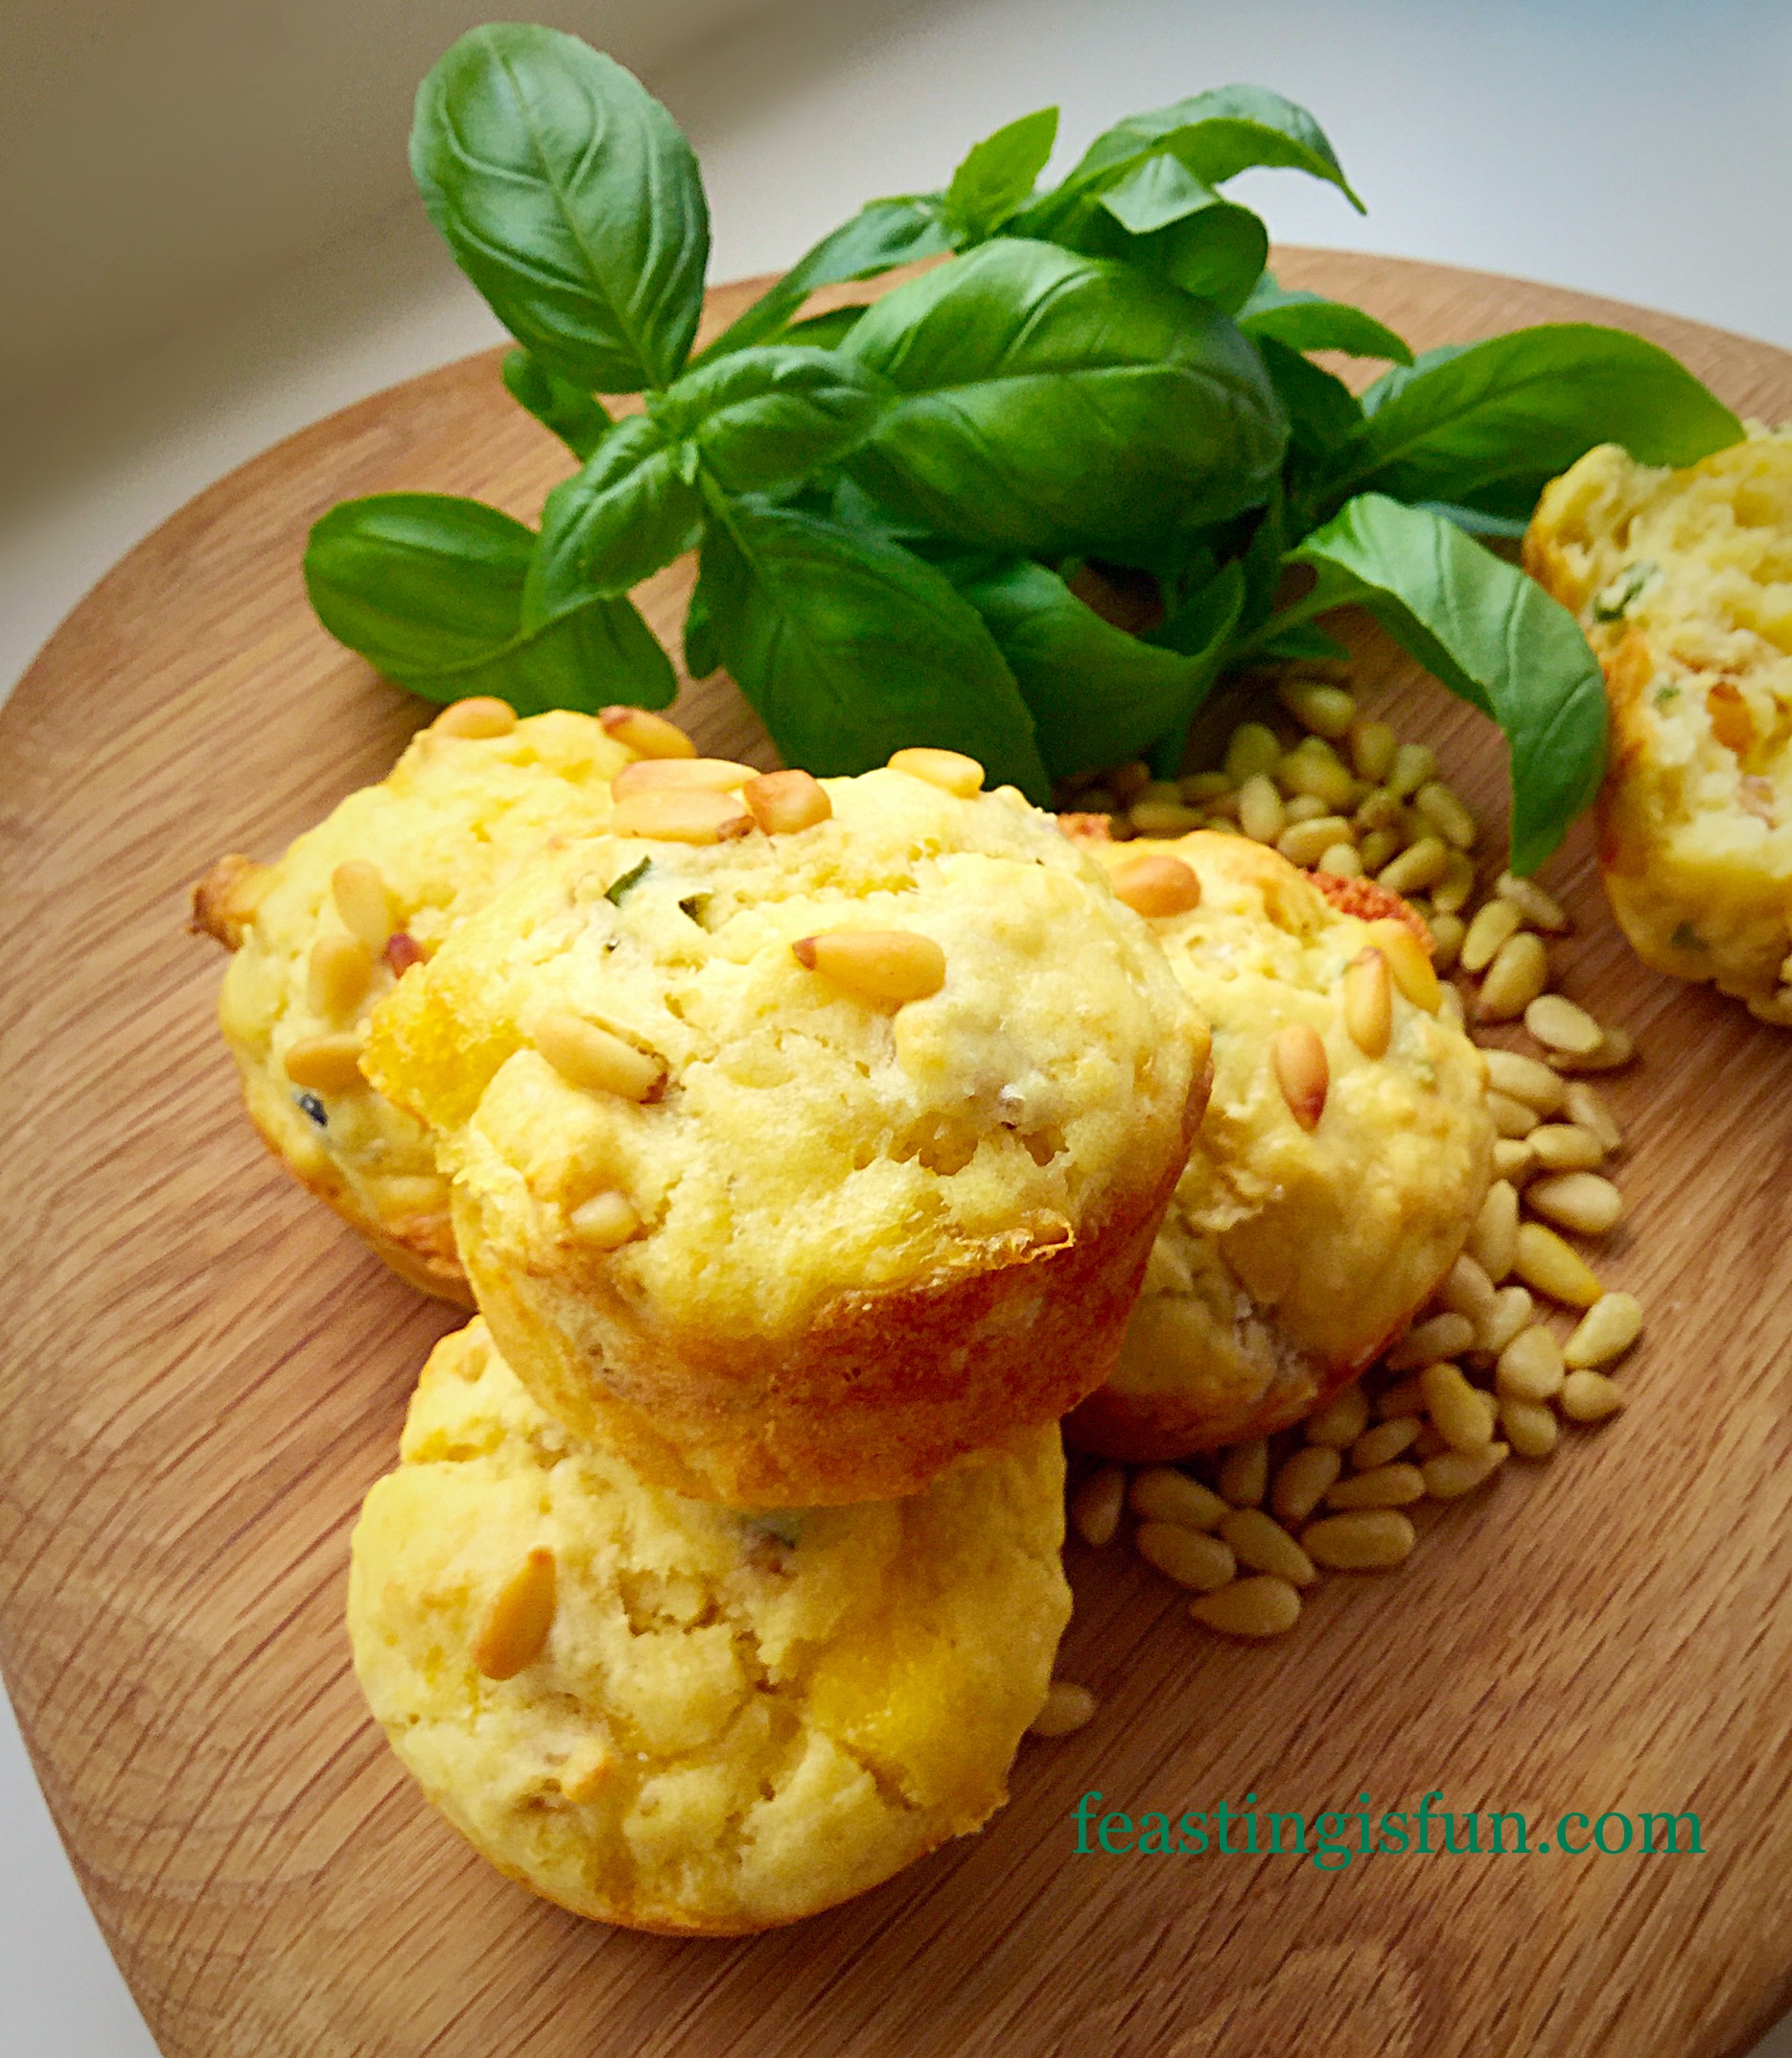
Goddess Cheese Pine Nut Muffins vibrant strips of aromatic basil run through these delicious buttery cheese, pine nut studded muffins.
Also these delightful muffins are so easy to make, quick to bake and perfect for breakfast, packed lunches, picnics……
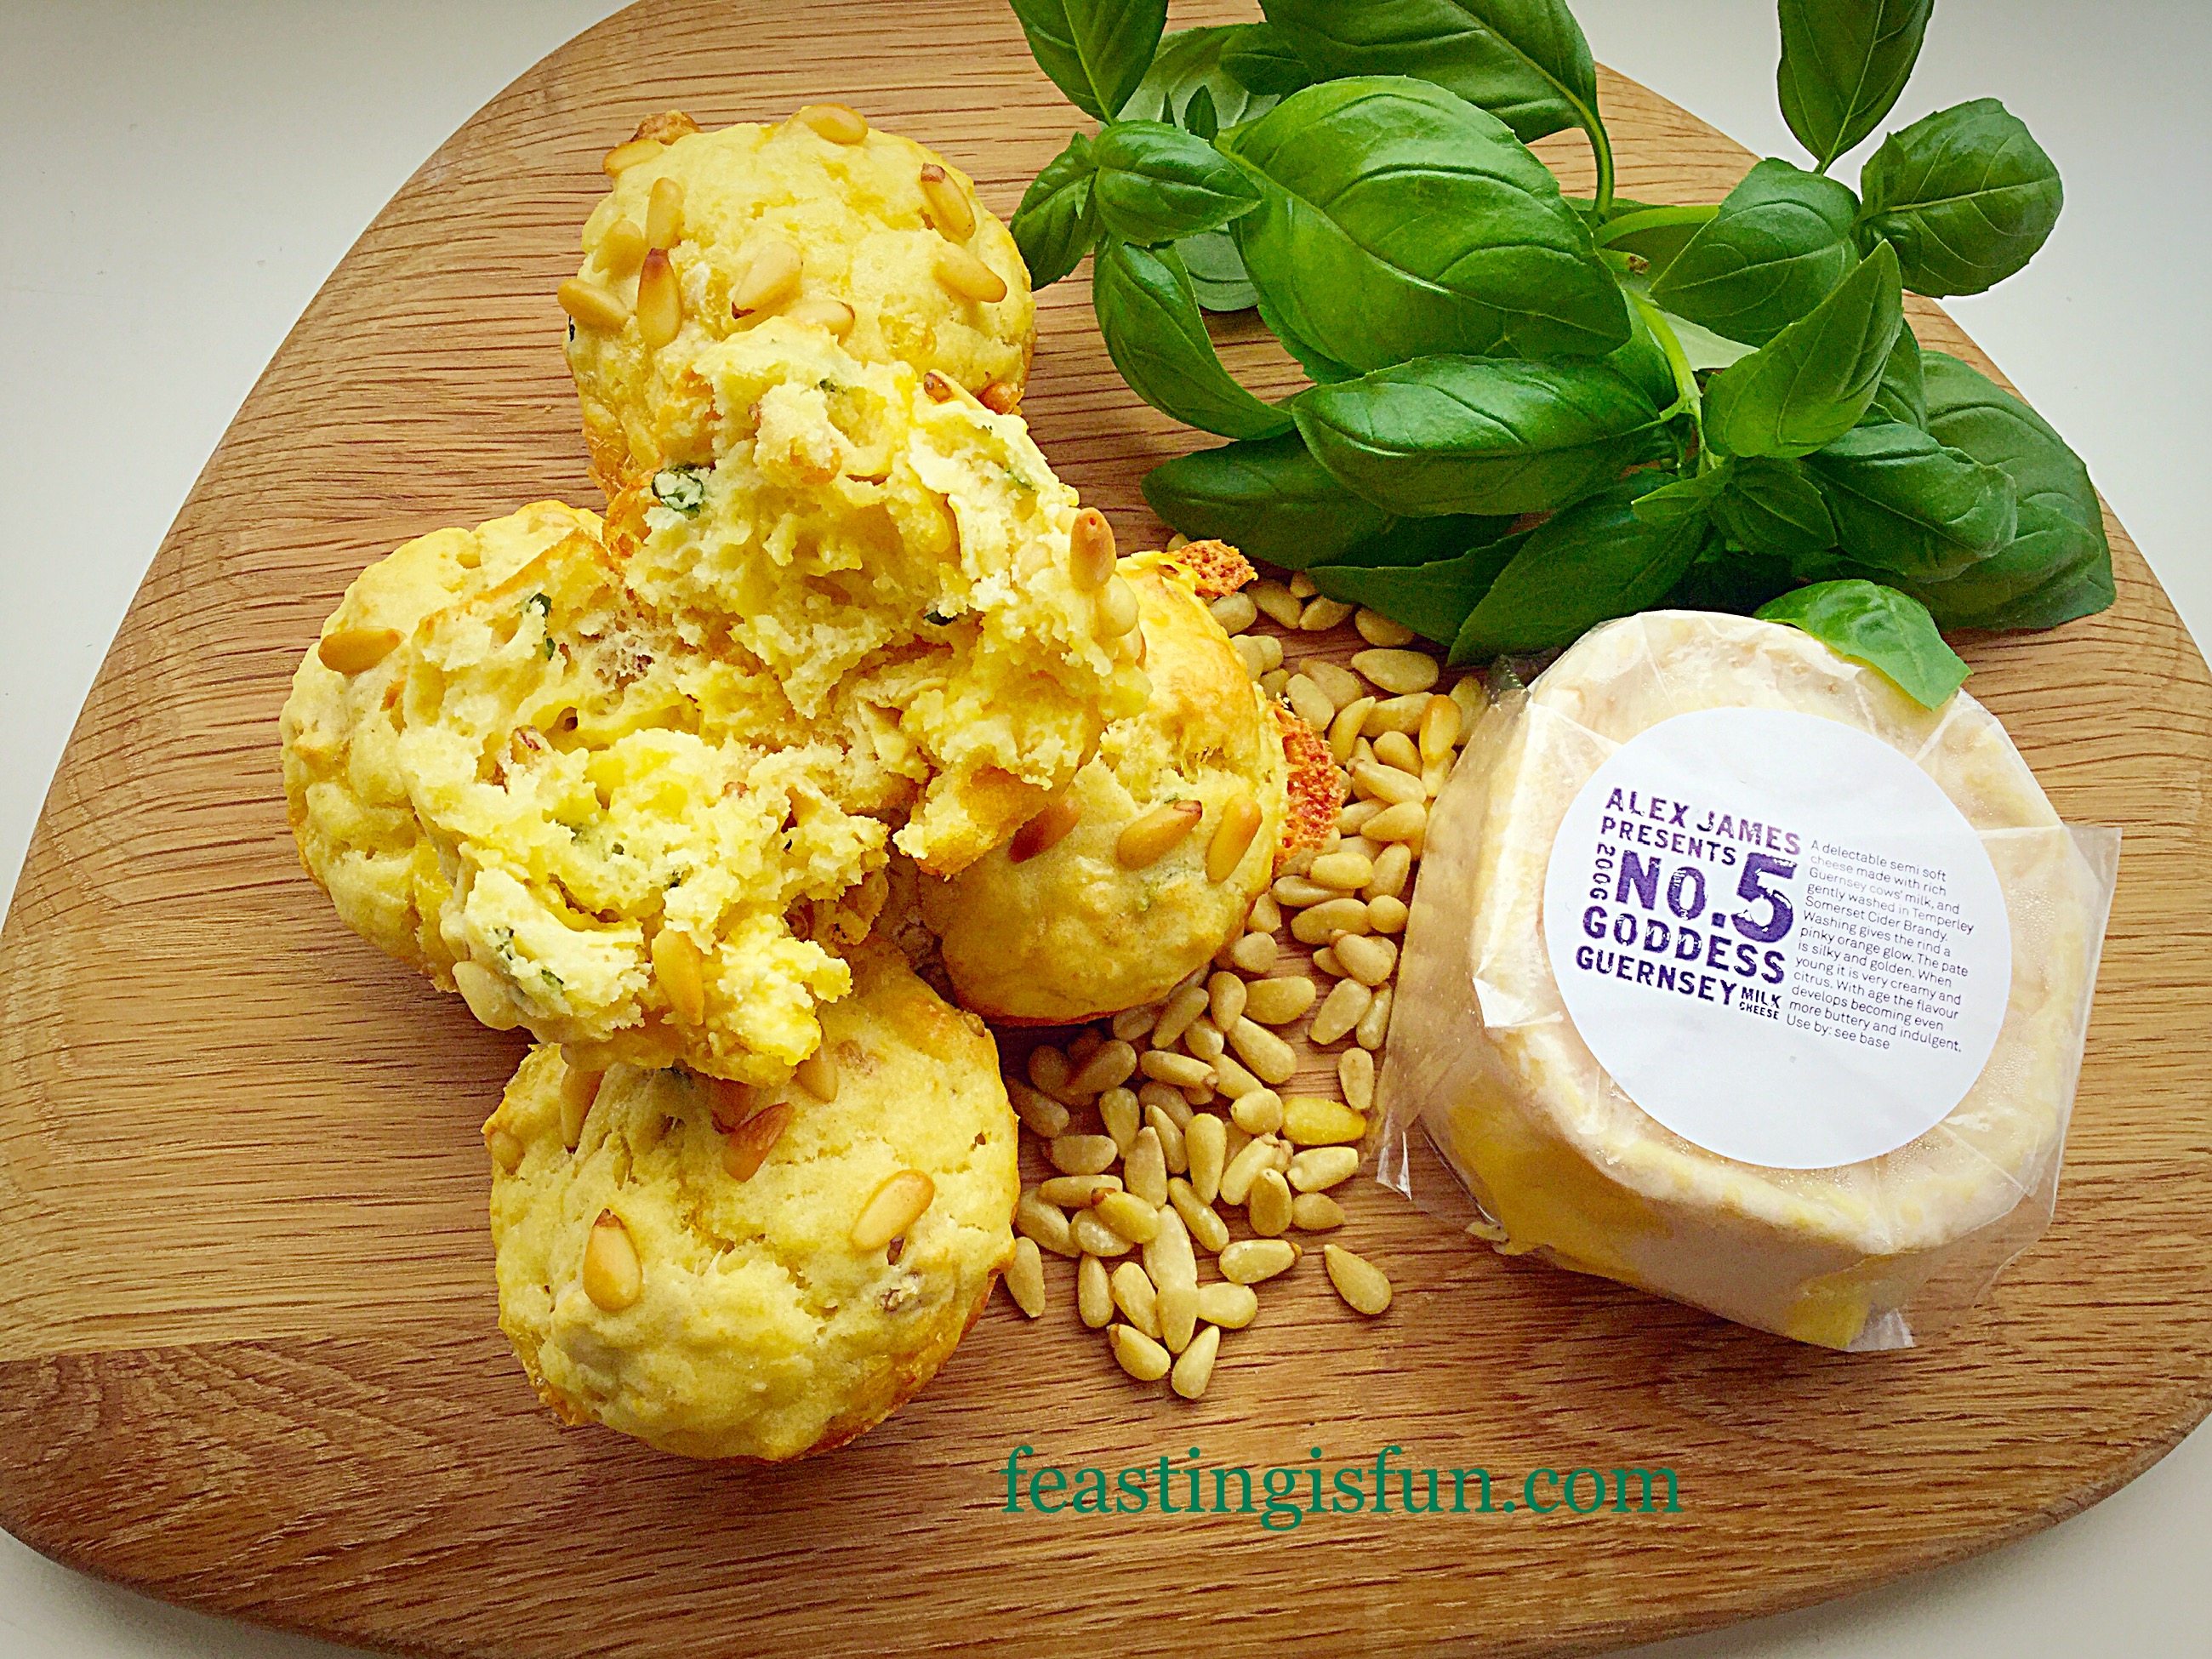
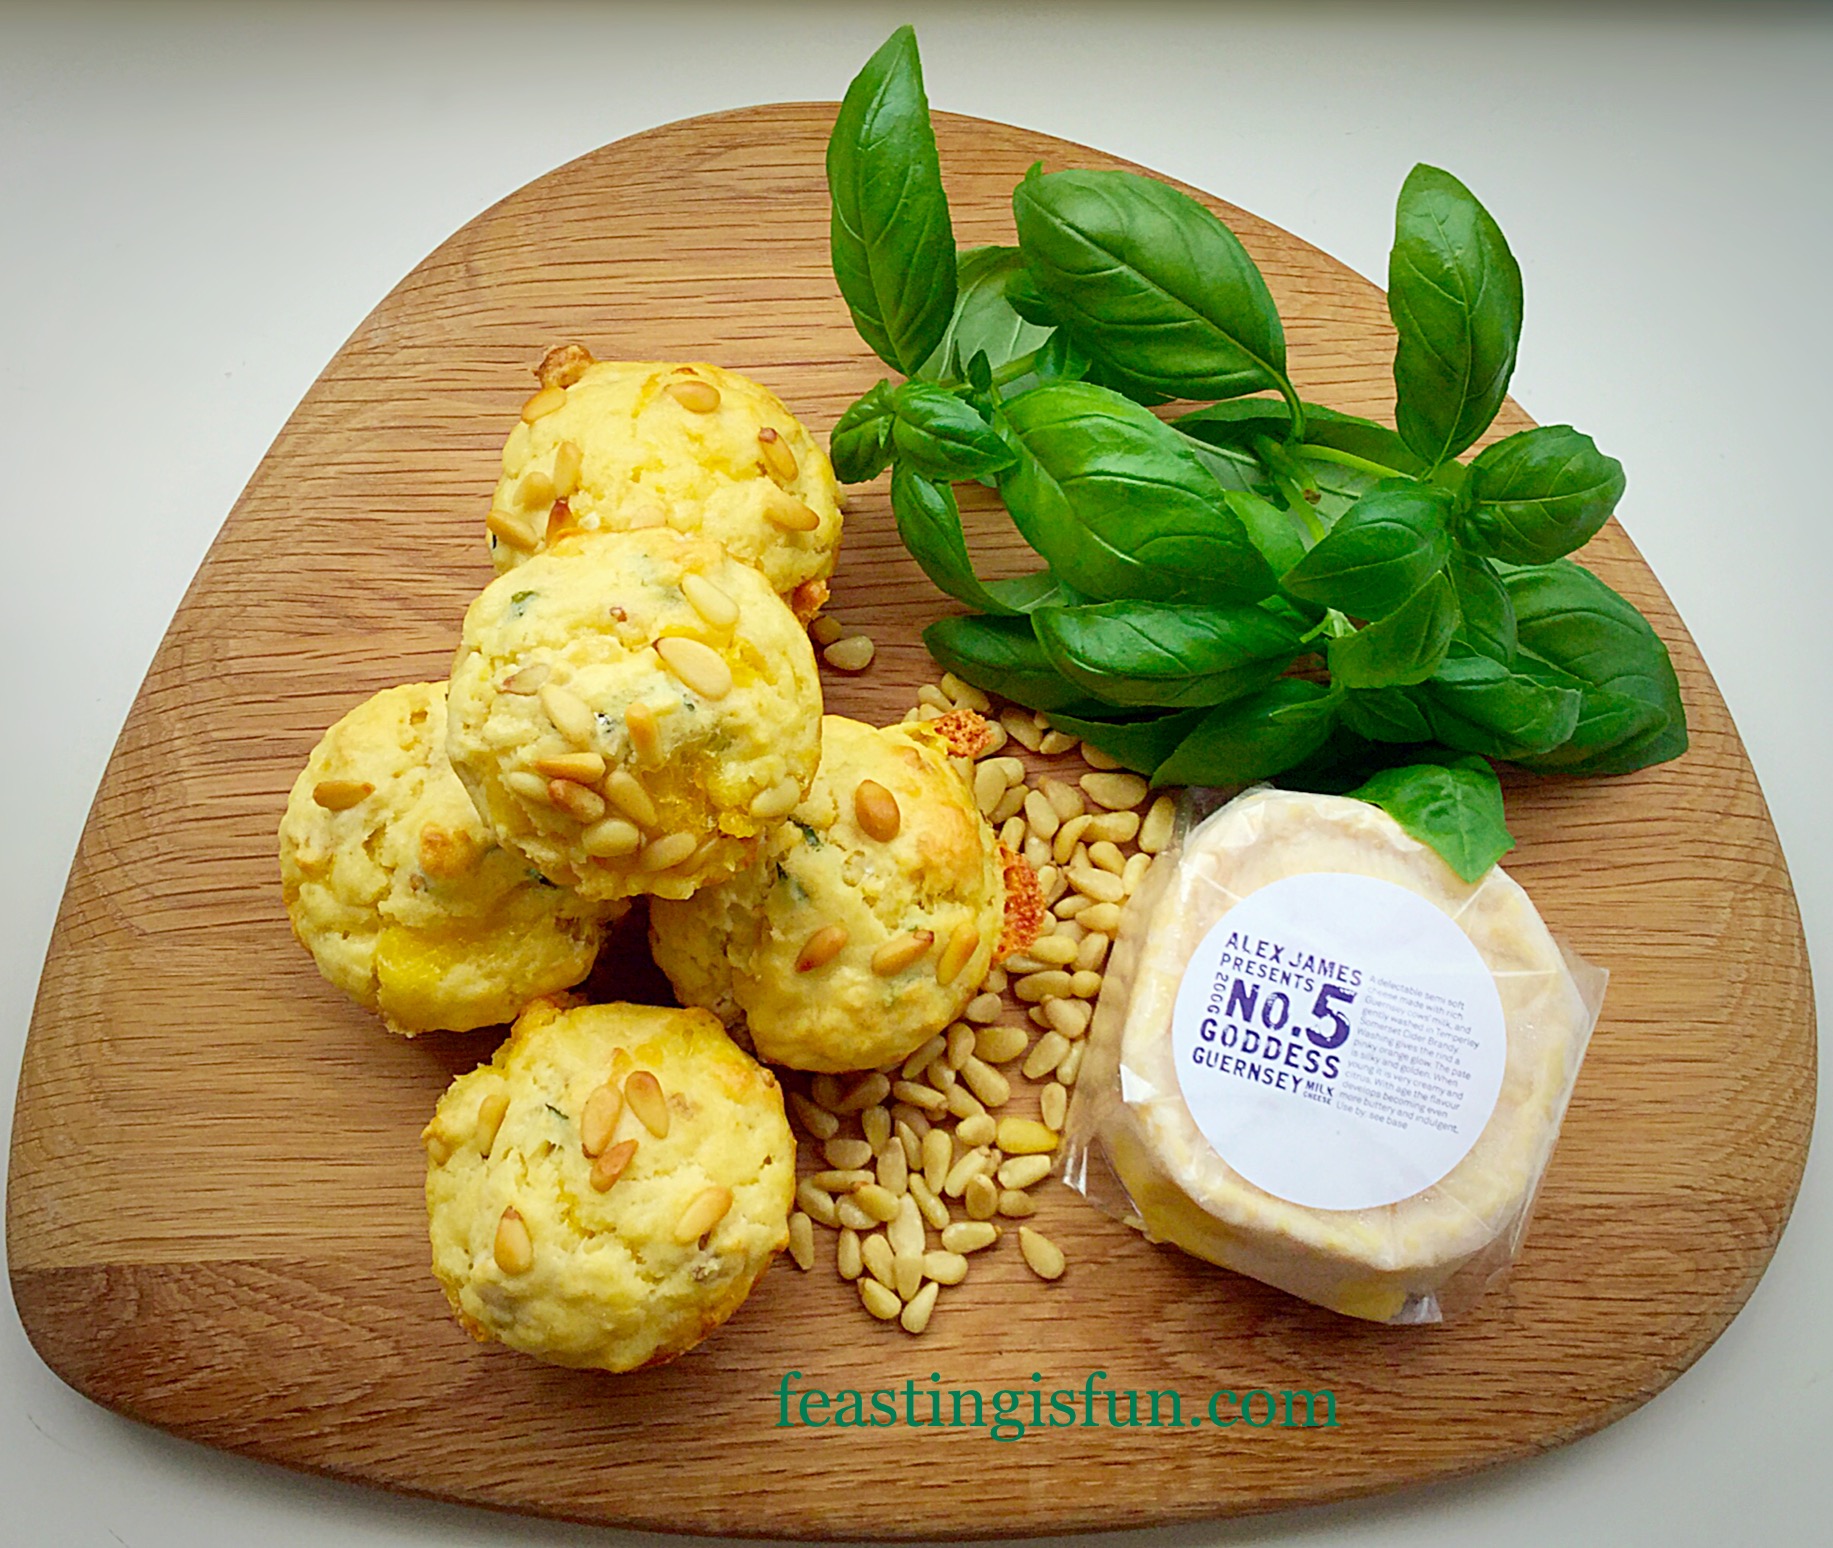
Whenever we have friends and family round, I always provide a cheese board. Since I have more of a savoury palette, I generally choose cheese and crackers over dessert on most occasions. While I adore all cheeses, this Goddess Cheese, sent to me to try by Pong Cheese is beautifully buttery and creamy.
A cider washed edible rind conceals the most gorgeous, gooey, buttery cheese, perfect for spreading on crackers, with a glass of something chilled to go alongside. The initial buttery flavour is layered with a nutty taste that is perfectly paired with the pine nuts in these Goddess Cheese Pine Nut Muffins.
Whilst spreading this cheese on crackers is a perfectly acceptable way to indulge your senses, my creative side knew that it would taste so good baked in a muffin. After a party or family gathering I am quite often left with cheese and other delectables. I avoid waste as much as I can, so incorporating this beautiful cheese into a bake gives it a second life in these delicious muffins.
Goddess Cheese Pine Nut Muffins are incredibly easy to whip up and bake. In fact these took less than 30 minutes from start to eating!
Oh boy, these muffins are fabulous warm out of the oven.
Recipe: Makes 12 Goddess Cheese Pine Nut Muffins
50g/2oz Pine Nuts
300g/11oz Plain White Flour (self raising can be substituted – leave out the baking powder)
2tsp Baking Powder
2 Whole Free Range Eggs
200ml Semi-Skimmed or Whole Milk
4tbsp Vegetable/Sunflower Oil
Goddess Cheese 150g/5oz – mine was from Pong Cheese
6 basil leaves
1/4tsp Sea Salt – I use Maldon
1/4tsp Freshly Ground Black Pepper
Method: Preheat the oven to 200C/180C fan, gas mark 6
- First of all place the pine nuts into a dry skillet or frying pan and toast over a medium heat until golden. Remove from the pan and place on to a plate to cool. Reseve some pine nuts for topping the muffins.
- Sift the flour and baking powder into a large bowl.
- Pile the basil leaves on top of each other and cut into fine strips.
- Add the cooled pine nuts, basil, and seasonings to the bowl.
- Stir with a fork to incorporate.
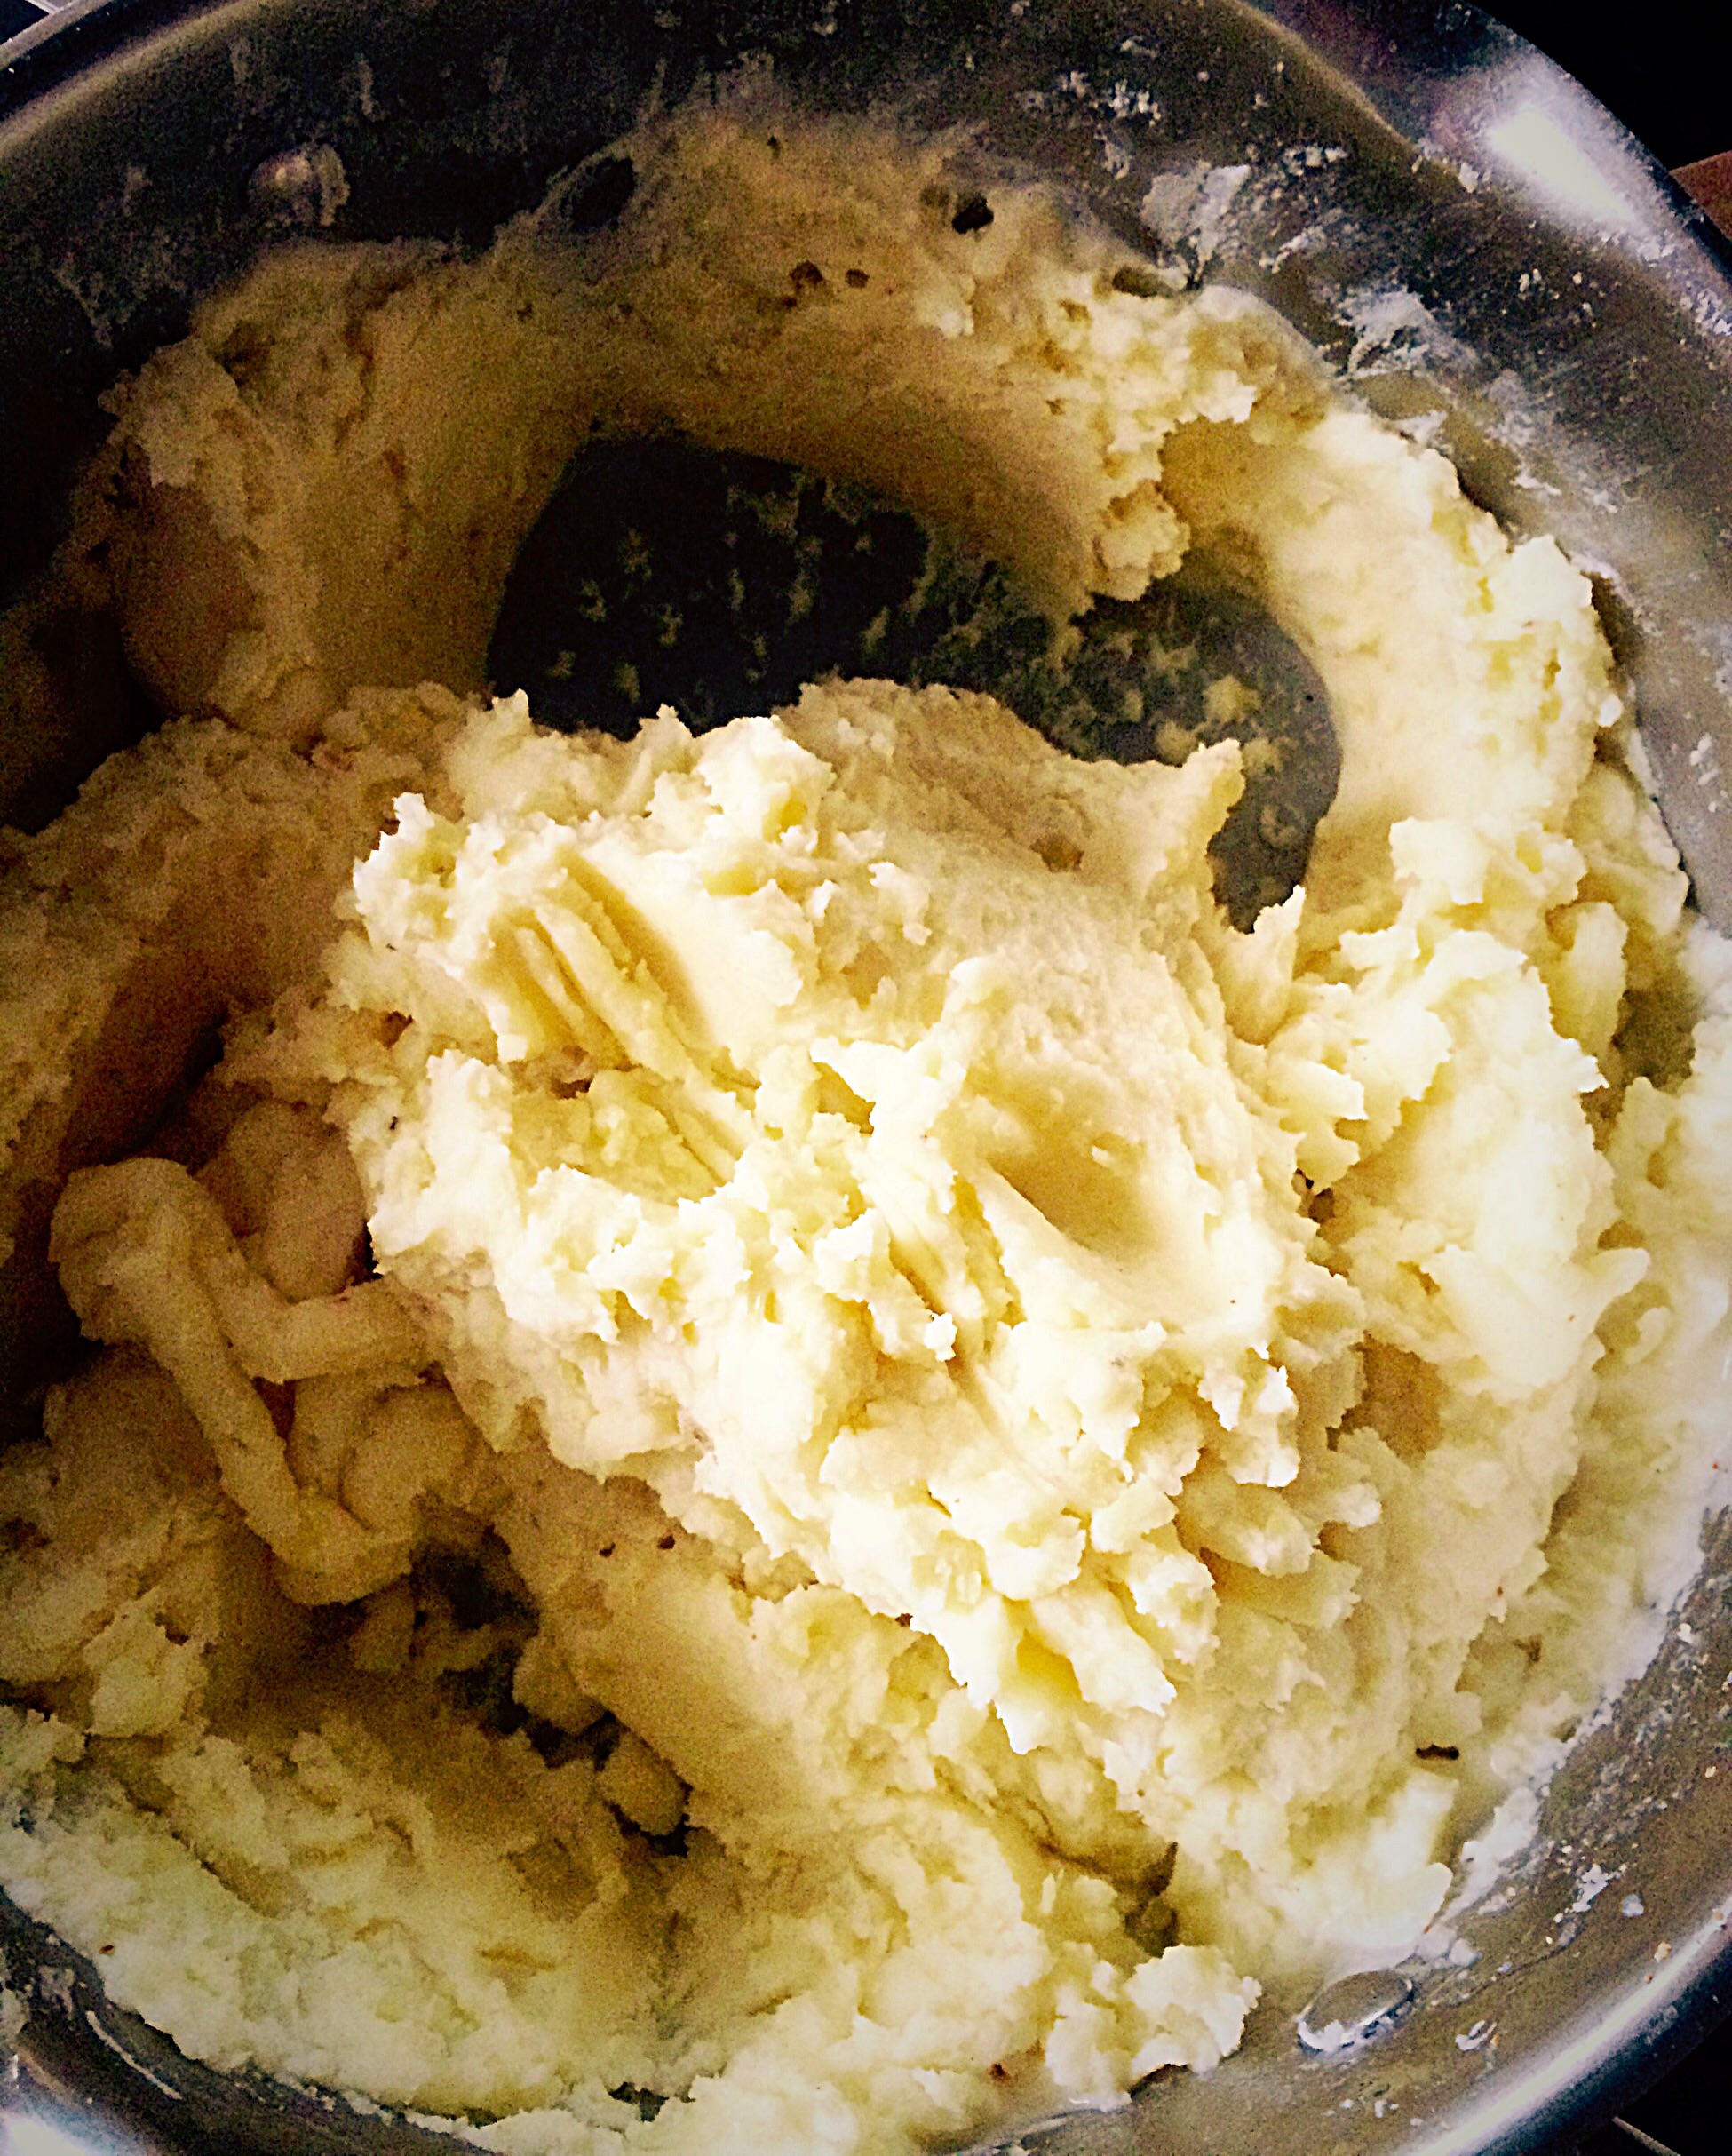
- Break the Goddess Cheese into lumps and add half to the flour mixture – I found it easier to have the bowl on the scales.
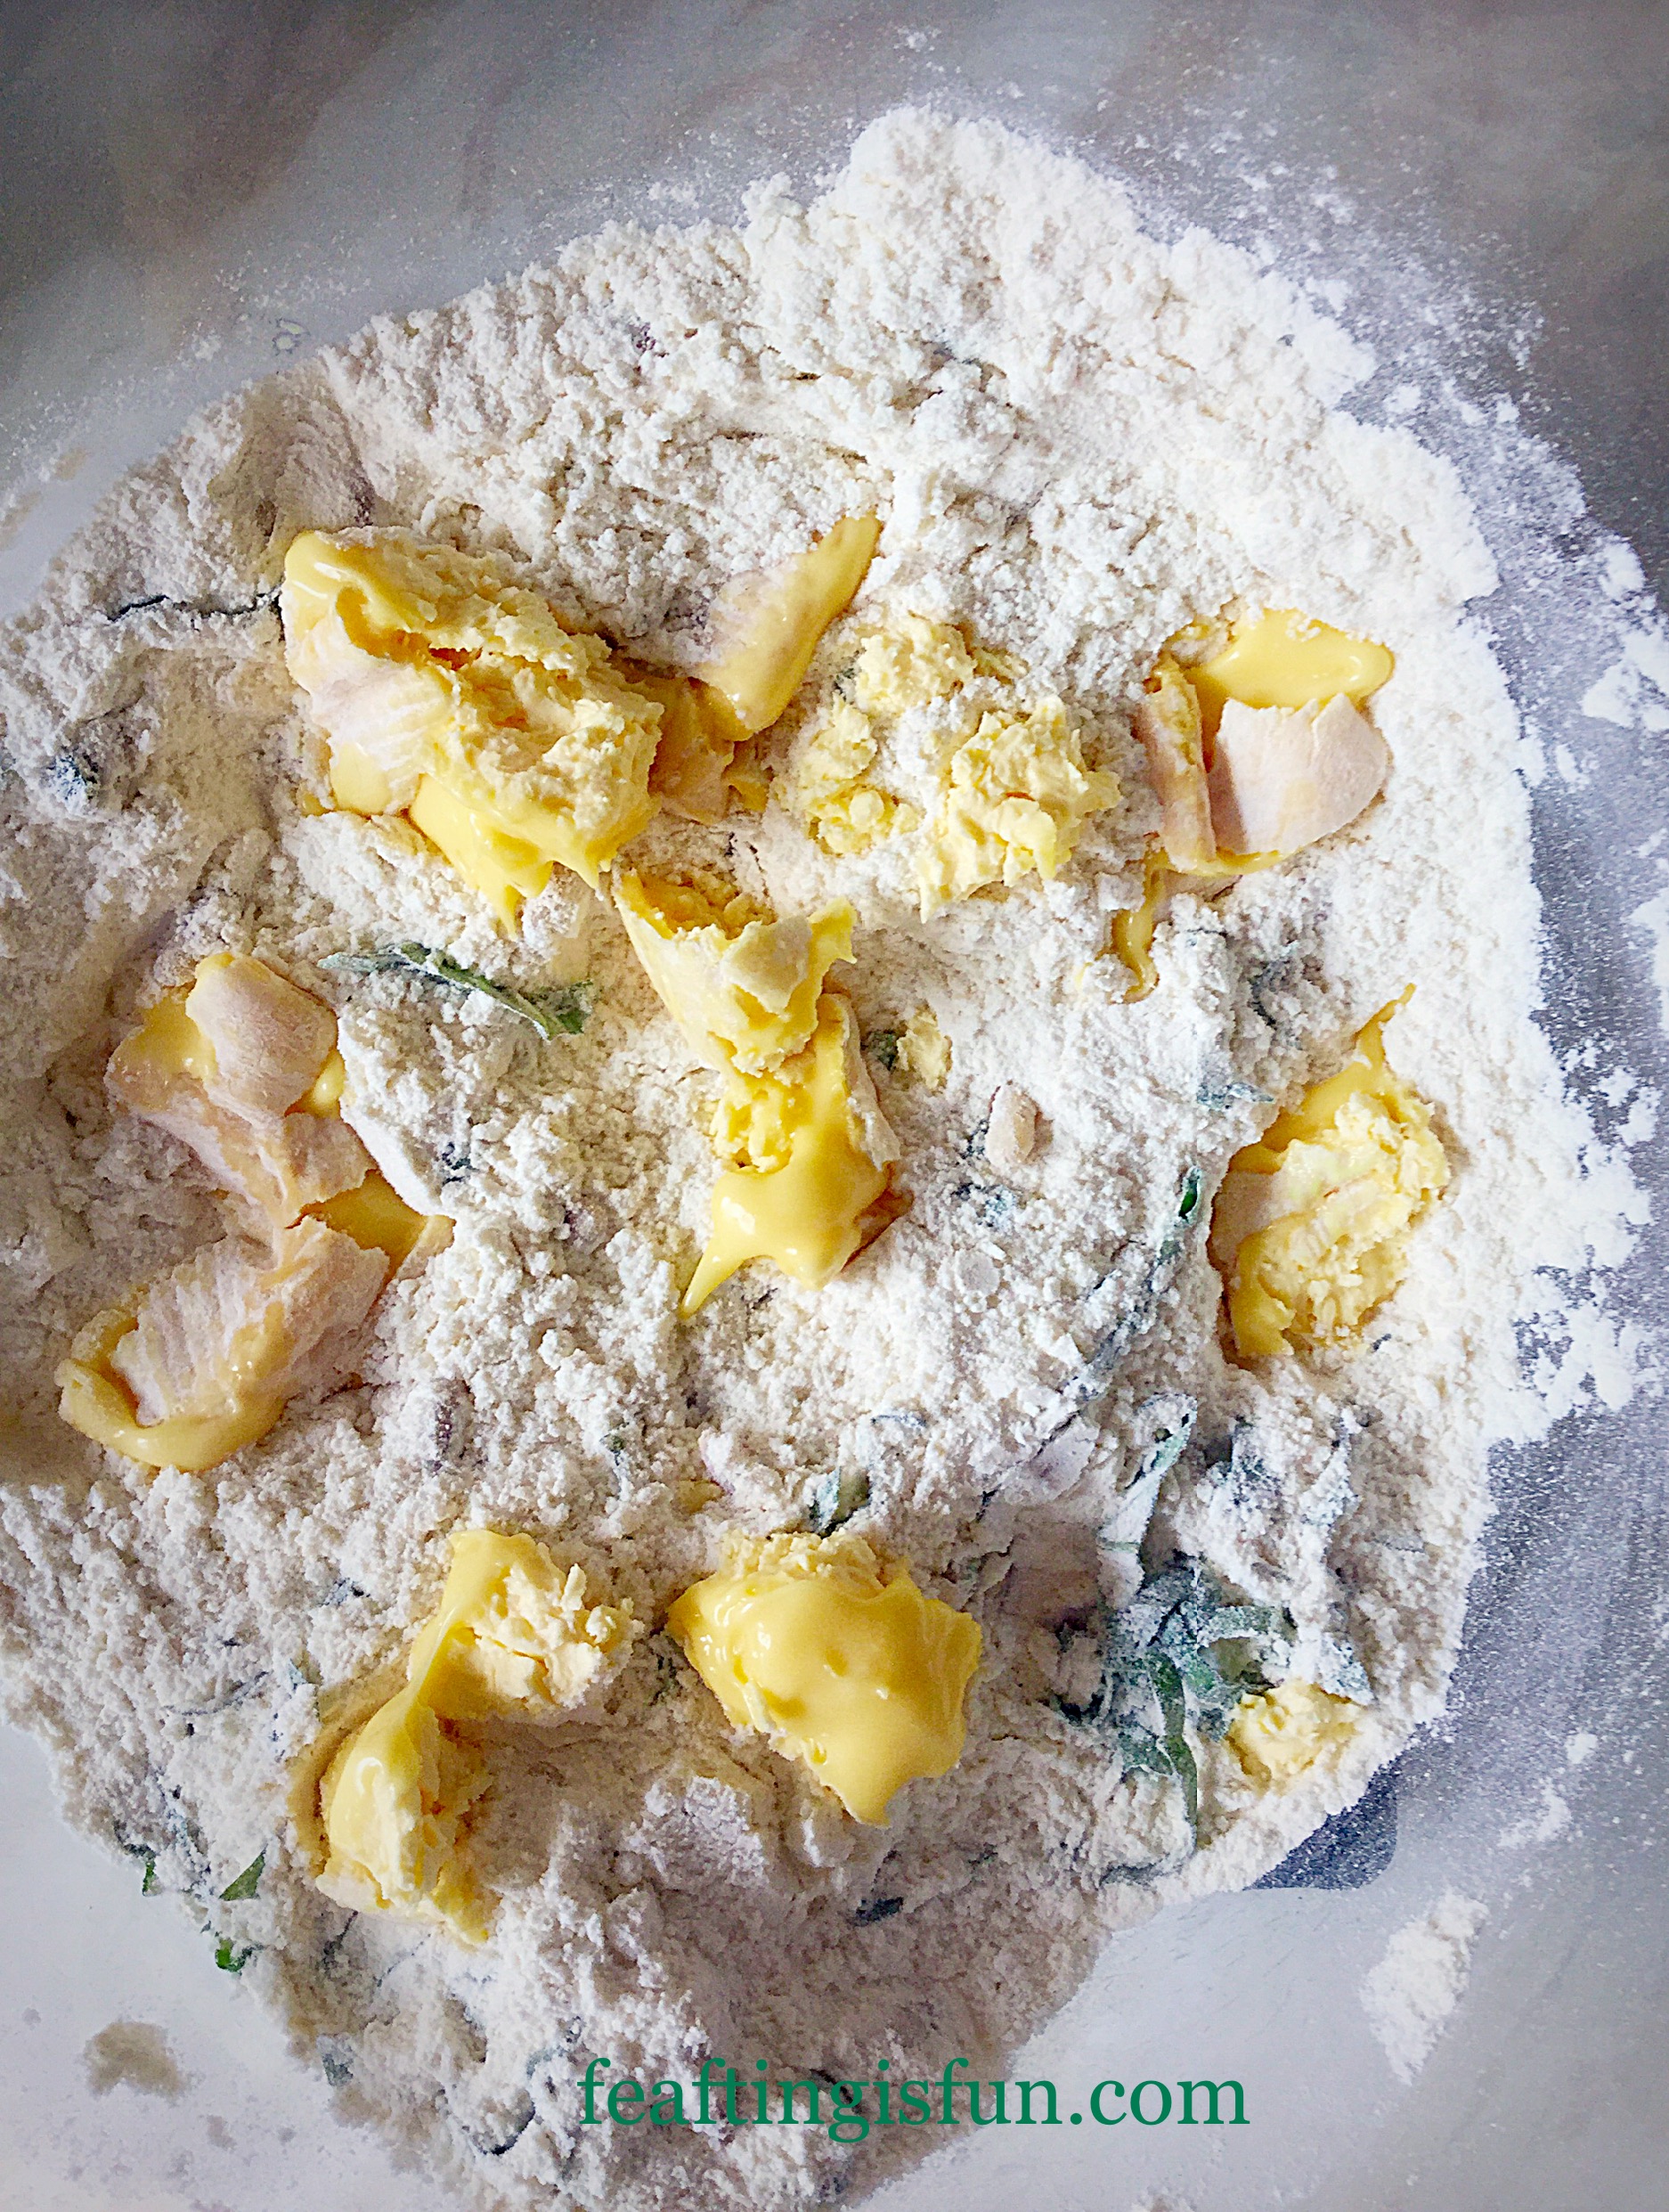
- Cover the cheese in the bowl with the flour mixture. This will stop it clumping together.
- Add the other half of the cheese, again pinching off gooey lumps and dropping them into the bowl. Cover in the flour mixture as before – dry mixture.
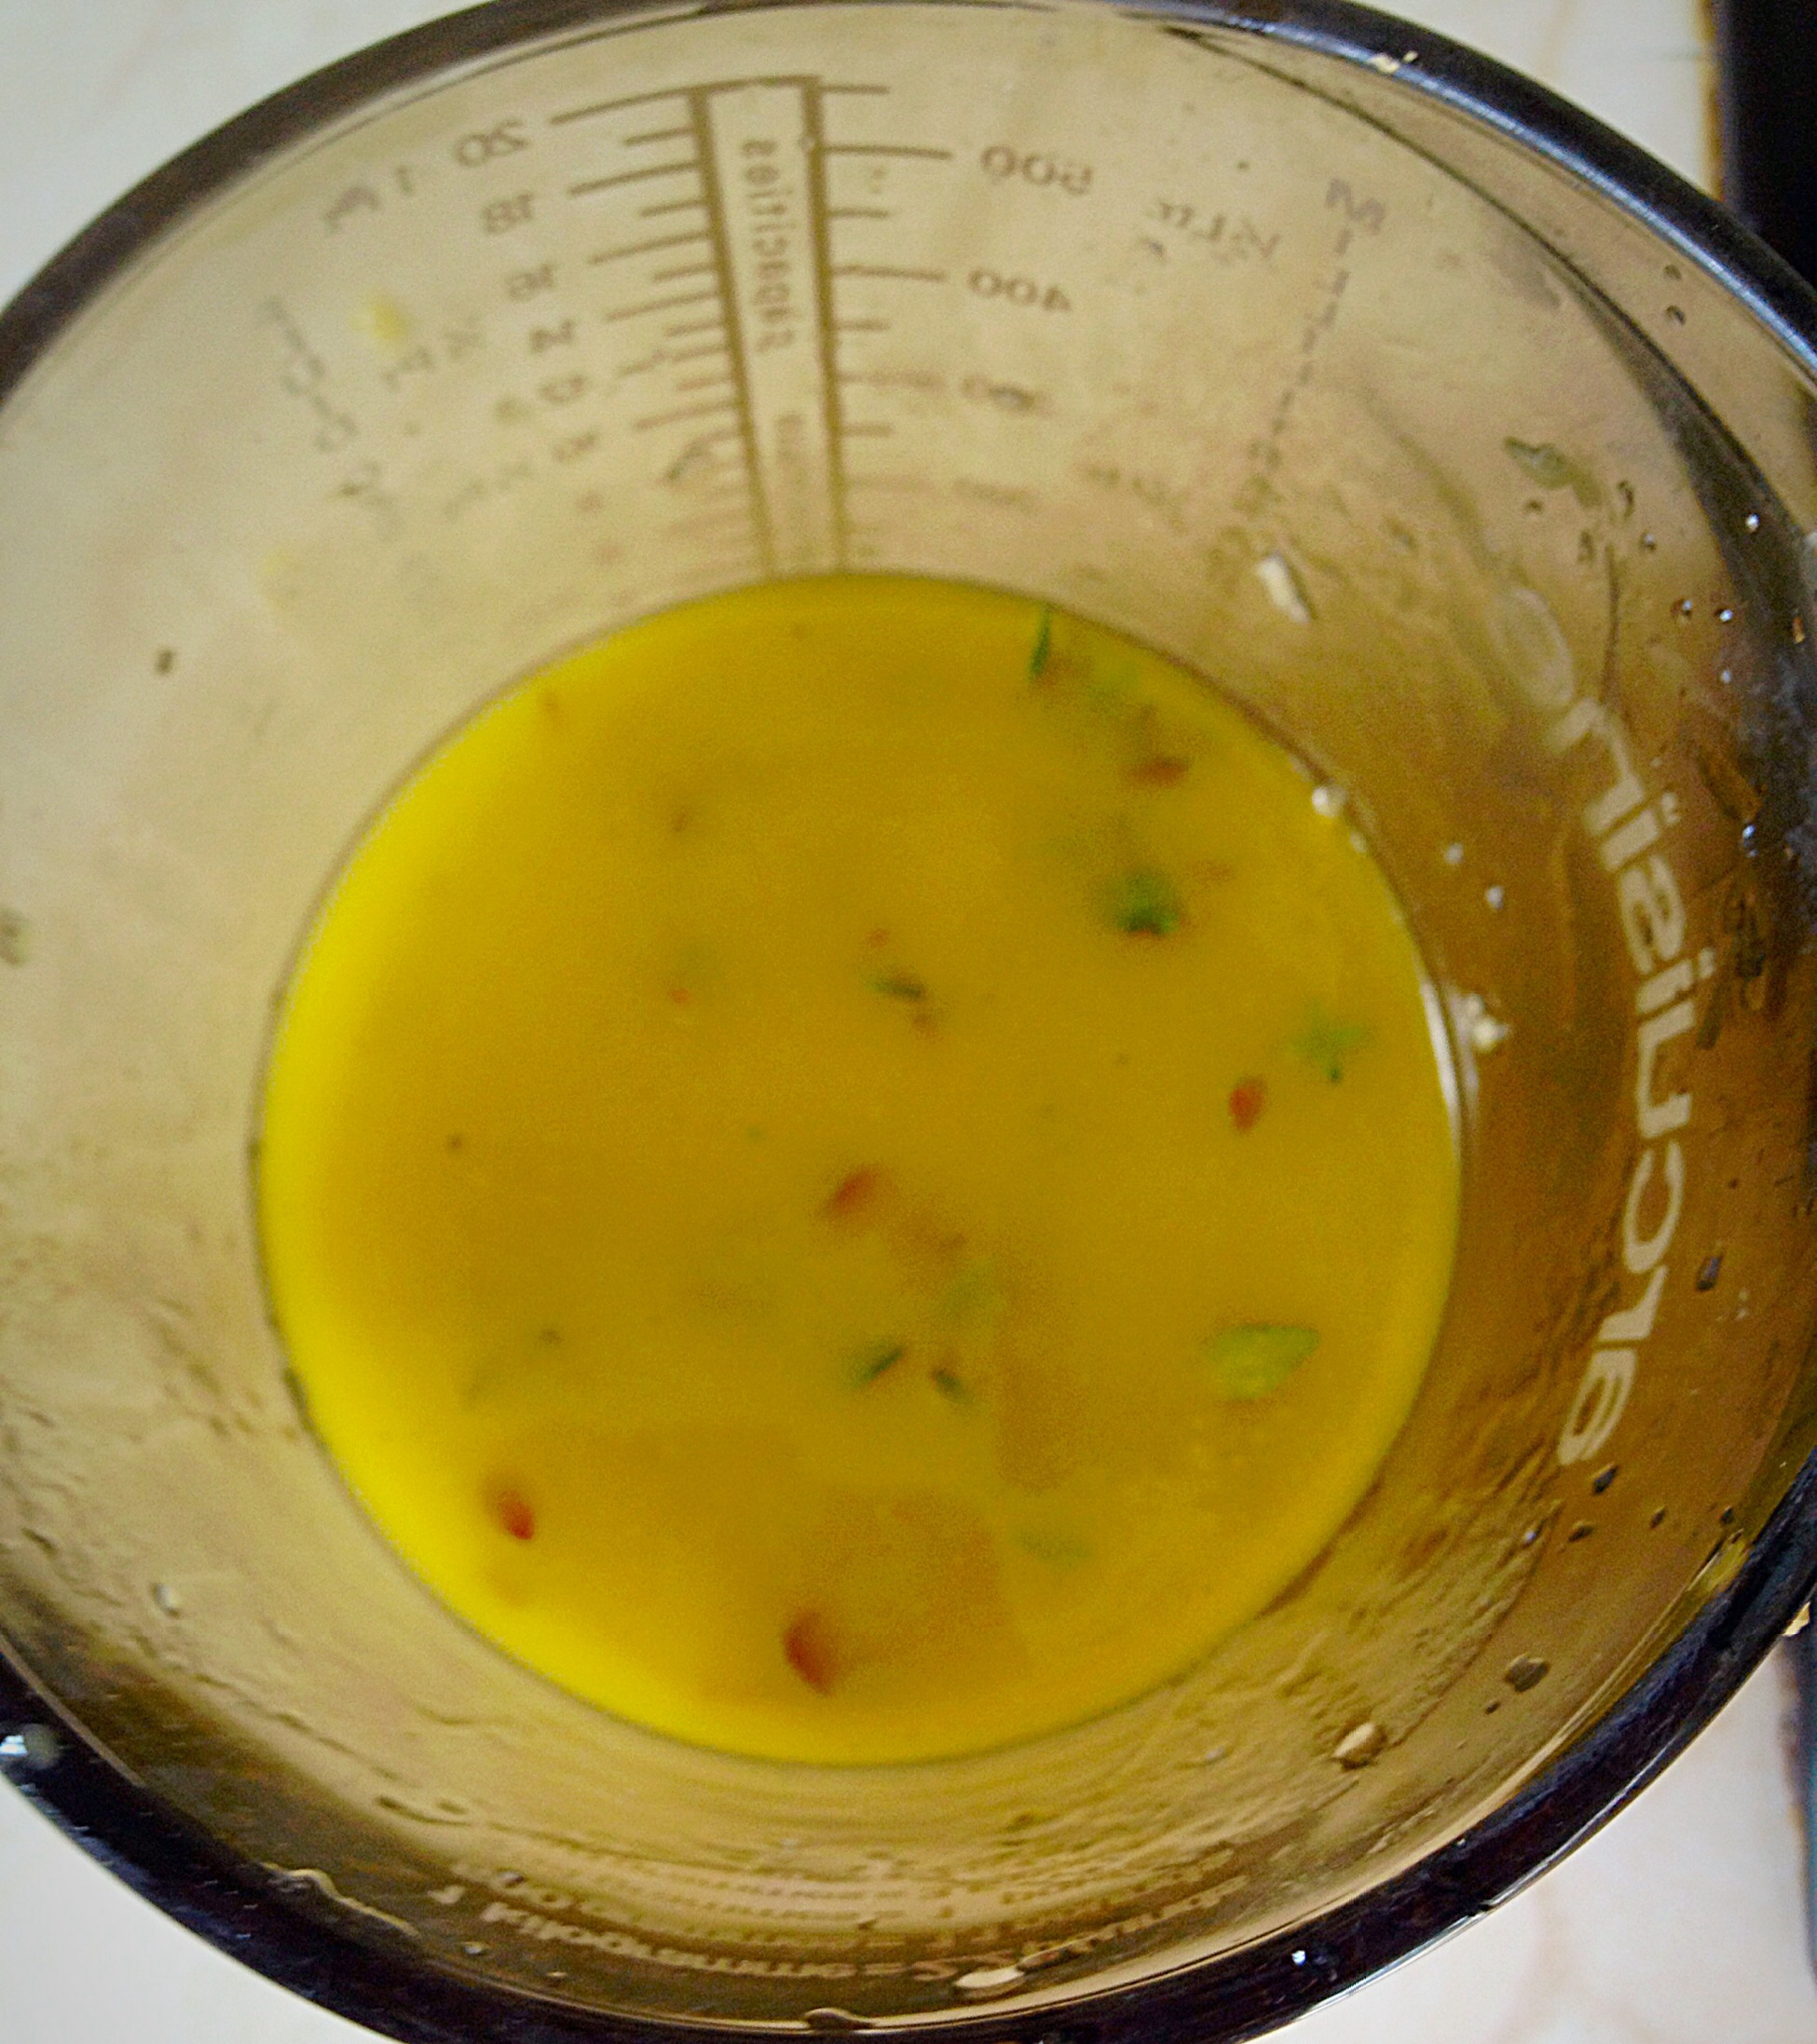
- Into a jug add the milk, oil and eggs. Lightly mix with a fork – wet mixture.
- Make a well in the centre of the dry mixture and pour in the wet mixture.
- Stir with a fork approximately 10-12 times until the ingredients are just mixed.
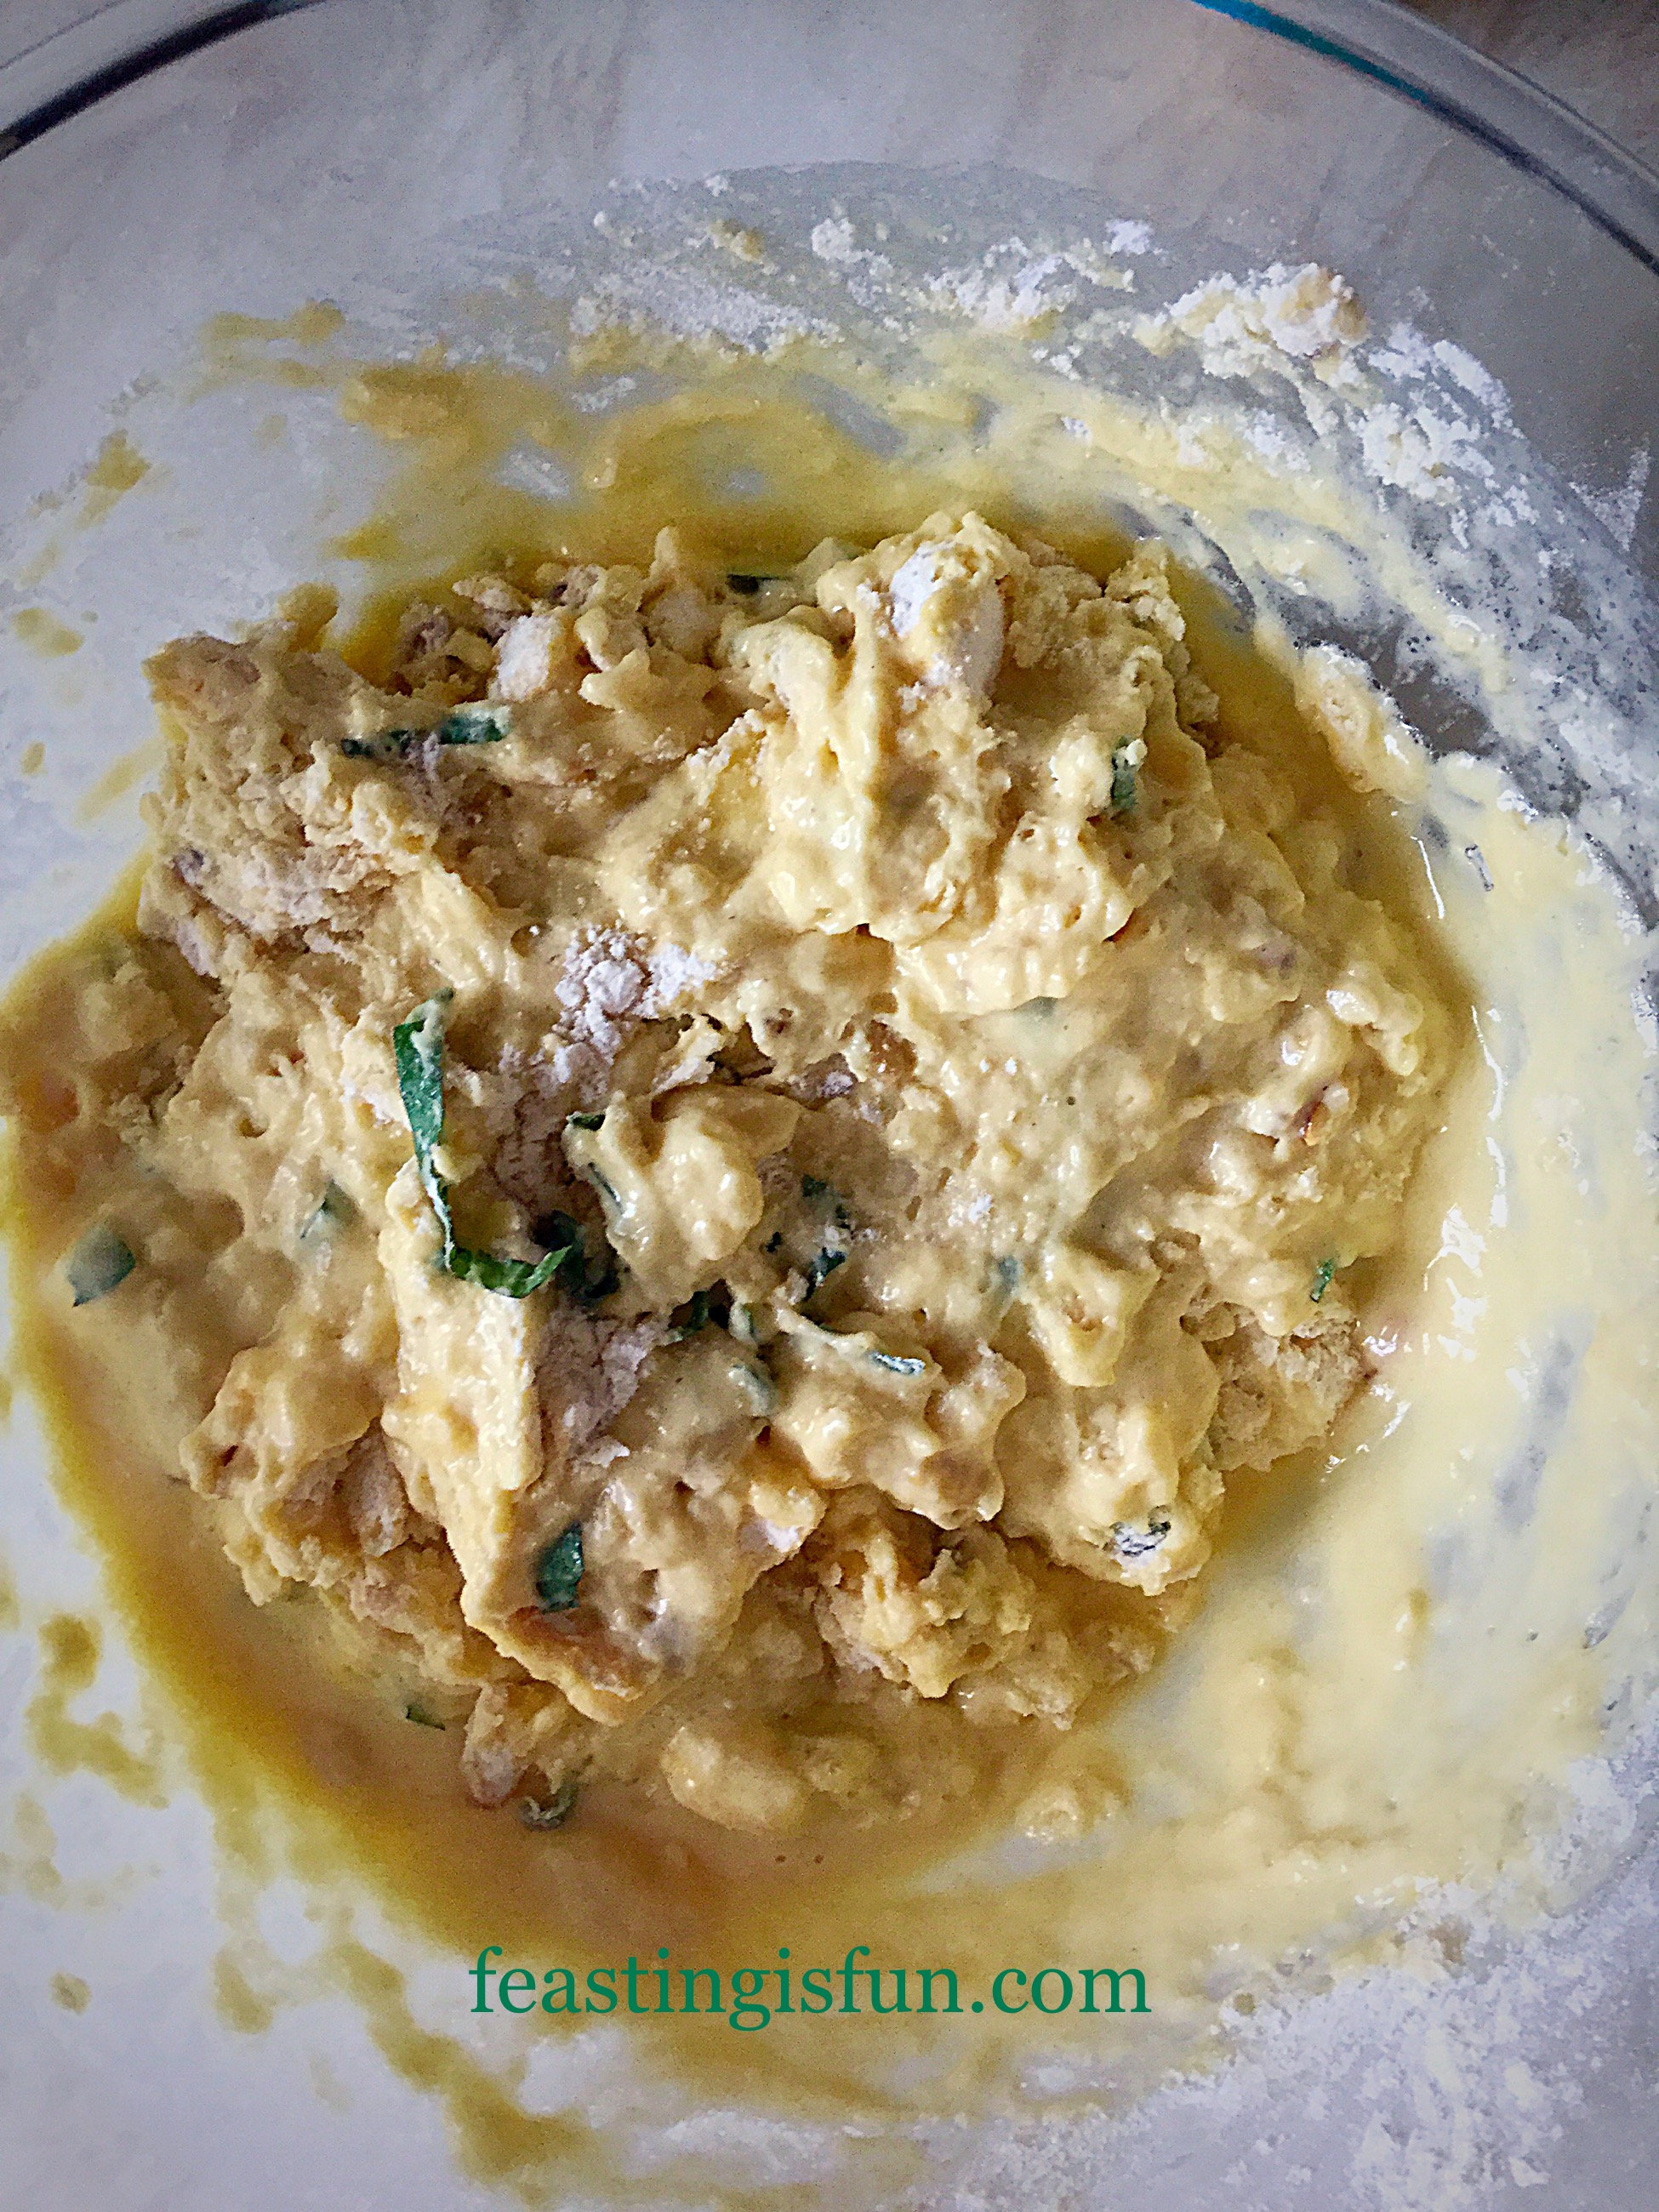
- Note: Over mixed muffins will be tough!
- Place muffin liners in a muffin tin – I didn’t but would advise you to as it does make the muffins easier to remove.
- Divide the muffin mix between the 12 cases.
- Top with the reserved pine nuts – if you have forgotten to reserve any don’t worry they will still look and taste delicious.

- Place the tin in the top of the oven and bake for approximately 15 minutes.
- The muffins are cooked when they are just firm to touch and golden brown.
- As soon as the muffins are baked remove from the oven.
-
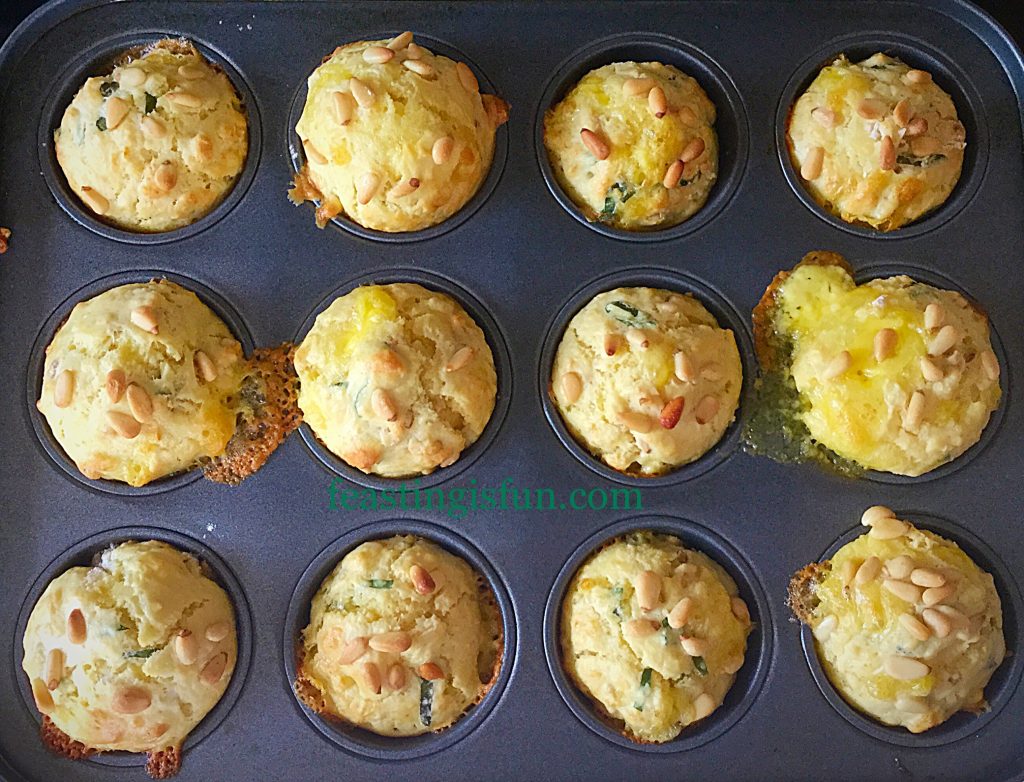
- Beautifully golden Goddess Cheese Pine Nut Muffins.
Transfer the Goddess Cheese Pine Nut Muffins to a cooling rack until warm and then devour!
Enjoy these muffins at their absolute best, warm straight from the oven. While the cheese is still slightly melted and the flavours of the toasted pine nuts and basil come through.


Having had to split a muffin for the photographs, I also really enjoyed them cold. All the buttery, nutty cheese, pine nut and basil flavours are still present which I am really pleased with. This makes the Goddess Cheese Pine Nut Muffins perfect as portable food.
I will definitely be making more of these for picnics, packed lunches and just for eating warm from the oven!
Muffins are always best on the day made, however, stored in an airtight container they are good for 3 days, or frozen for up to a month. To refresh just pop in a moderate oven for 10 minutes and they’ll taste like they’ve just been baked.
If you have enjoyed this recipe for Goddess Cheese Pine Nut Muffins you may also like these:

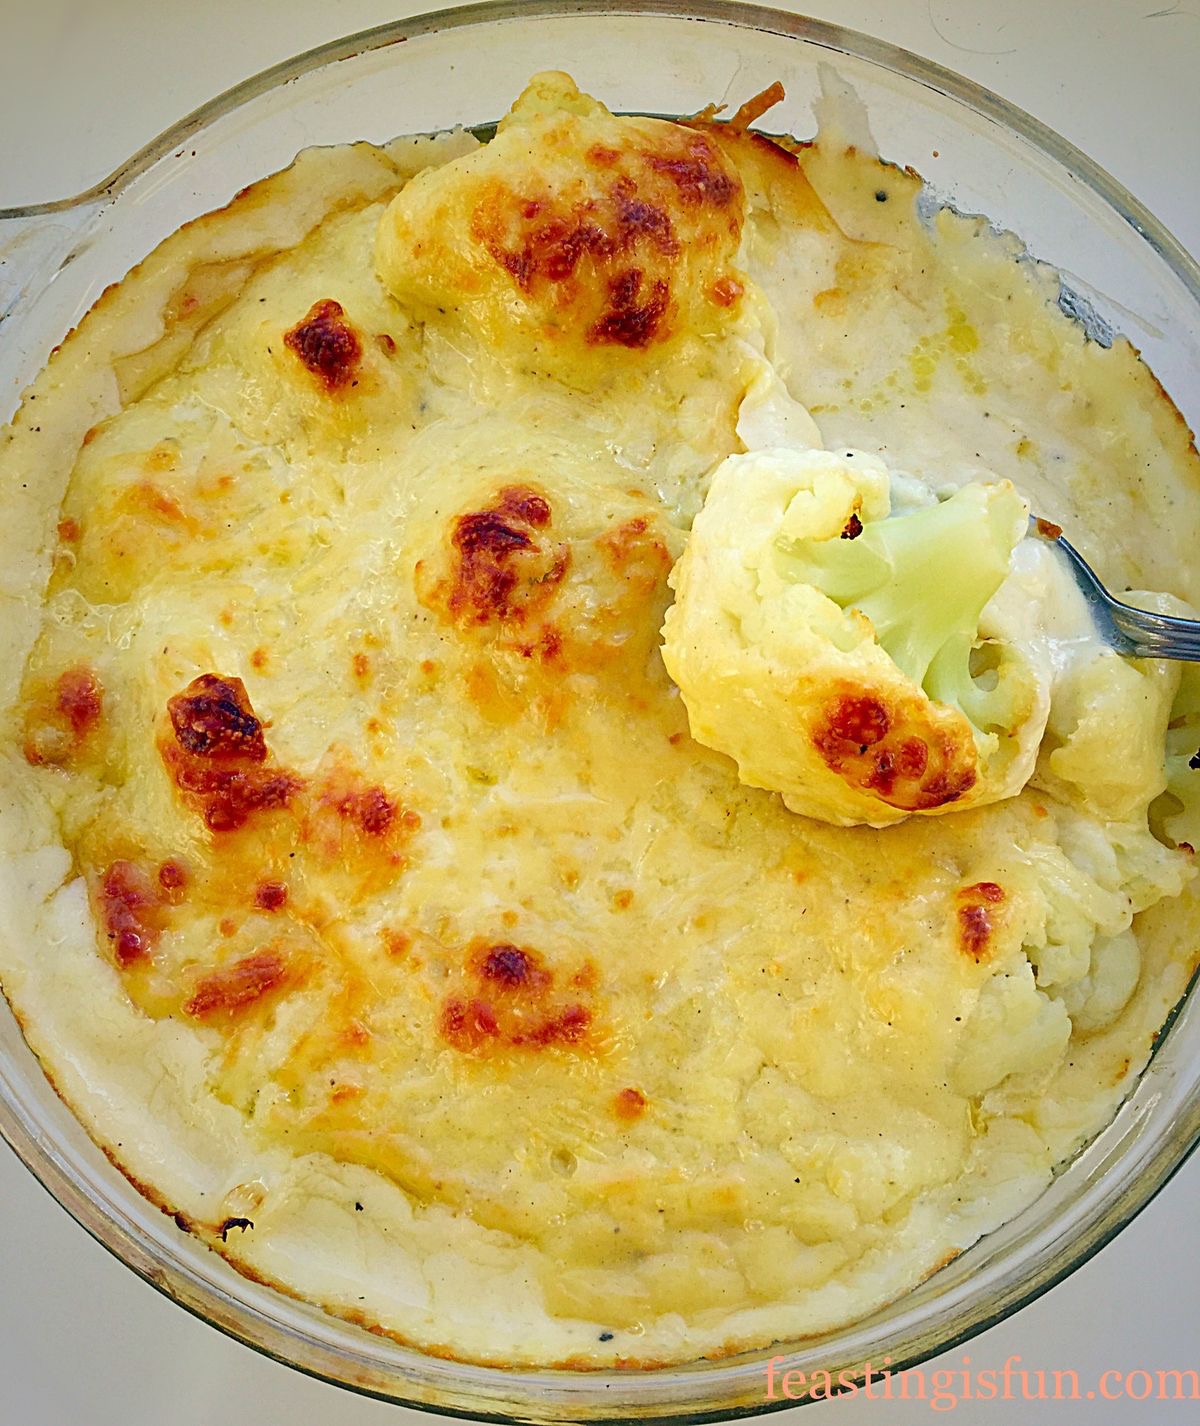
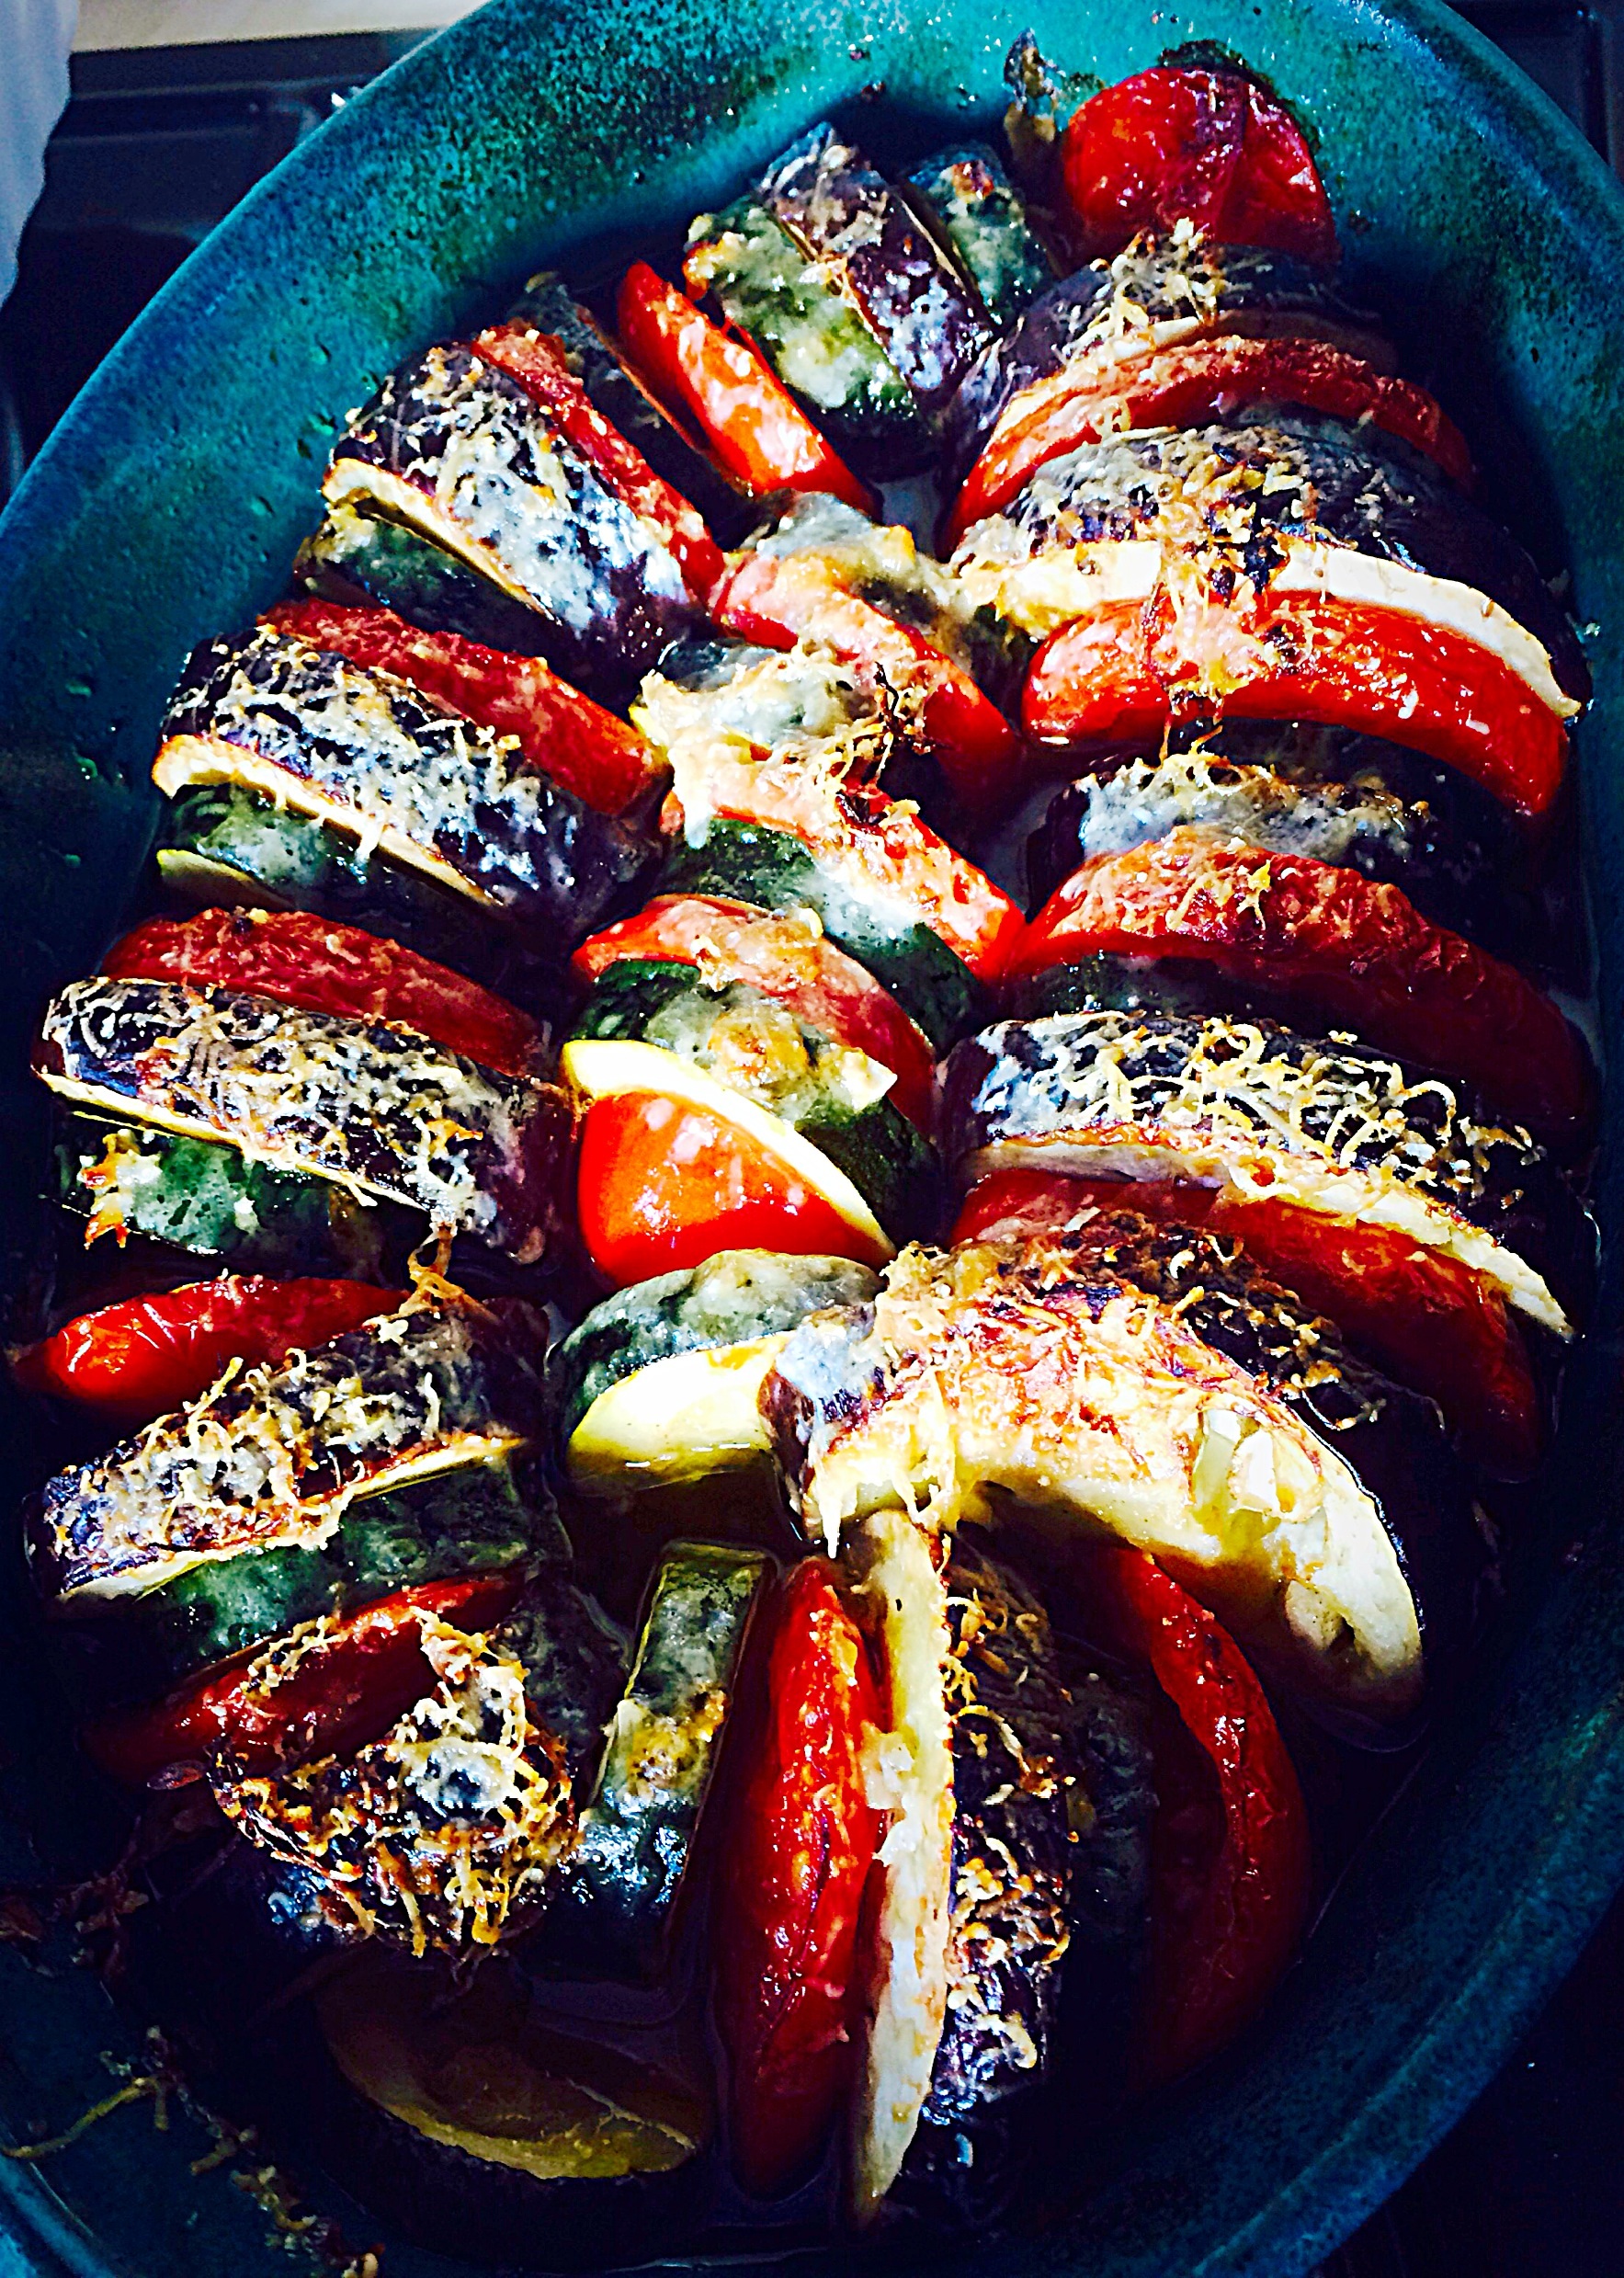
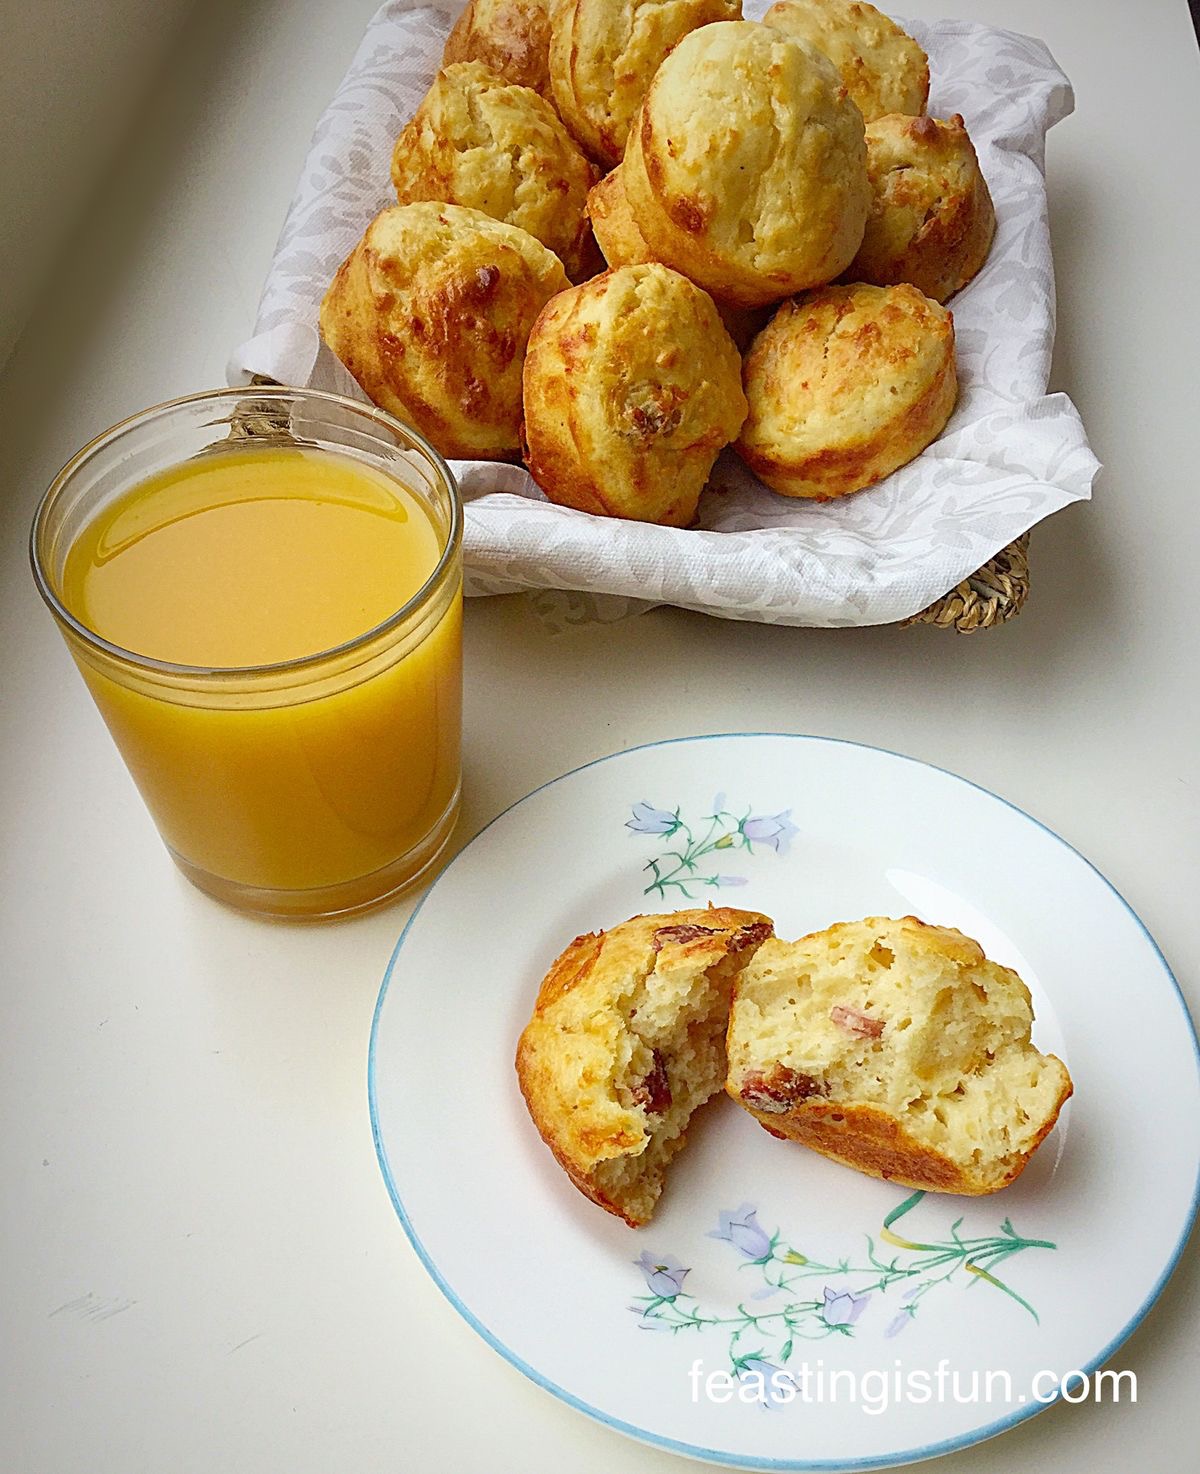
Cheese Bacon Breakfast Muffins
No longer do you need to look at an oozing, gooey leftover Goddess Cheese and wonder what to do with it. Instead you can make Goddess Cheese Pine Nut Muffins and as they don’t use a whole packet of cheese, leave you enough for your cheese and crackers.
This recipe started in my mind with the intent of using up leftover cheese. Oh no! These are so good I would happily buy the cheese to make them.
Whatever you are making and baking in your kitchens, have fun and enjoy sharing the feast you are preparing.
Sammie xx
Pong Cheese provided me with the cheese to make this recipe. All content, views, opinions, recipes and photographs are my own. Please see my Disclosure Policy.