Chocolate Dipped Viennese Fingers

Share
Facebooktwitterpinterestlinkedintumblr

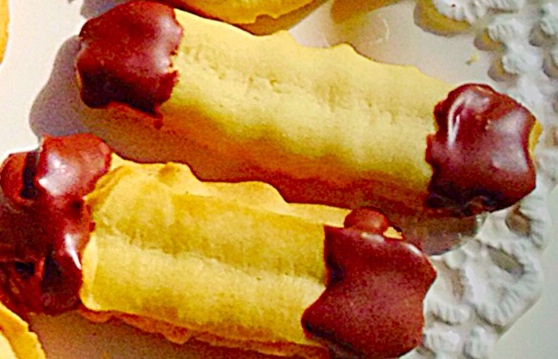
Hello there lovely people, regular readers will know just how fond I am of Cookies! So it should come as no surprise that I also love biscuits and all variations in between. Actually what is the difference between Cookies and Biscuits? Anyway I digress, these Chocolate Dipped Viennese Fingers definitely fit in the biscuit category (whatever that is).

Chocolate Dipped Viennese Fingers


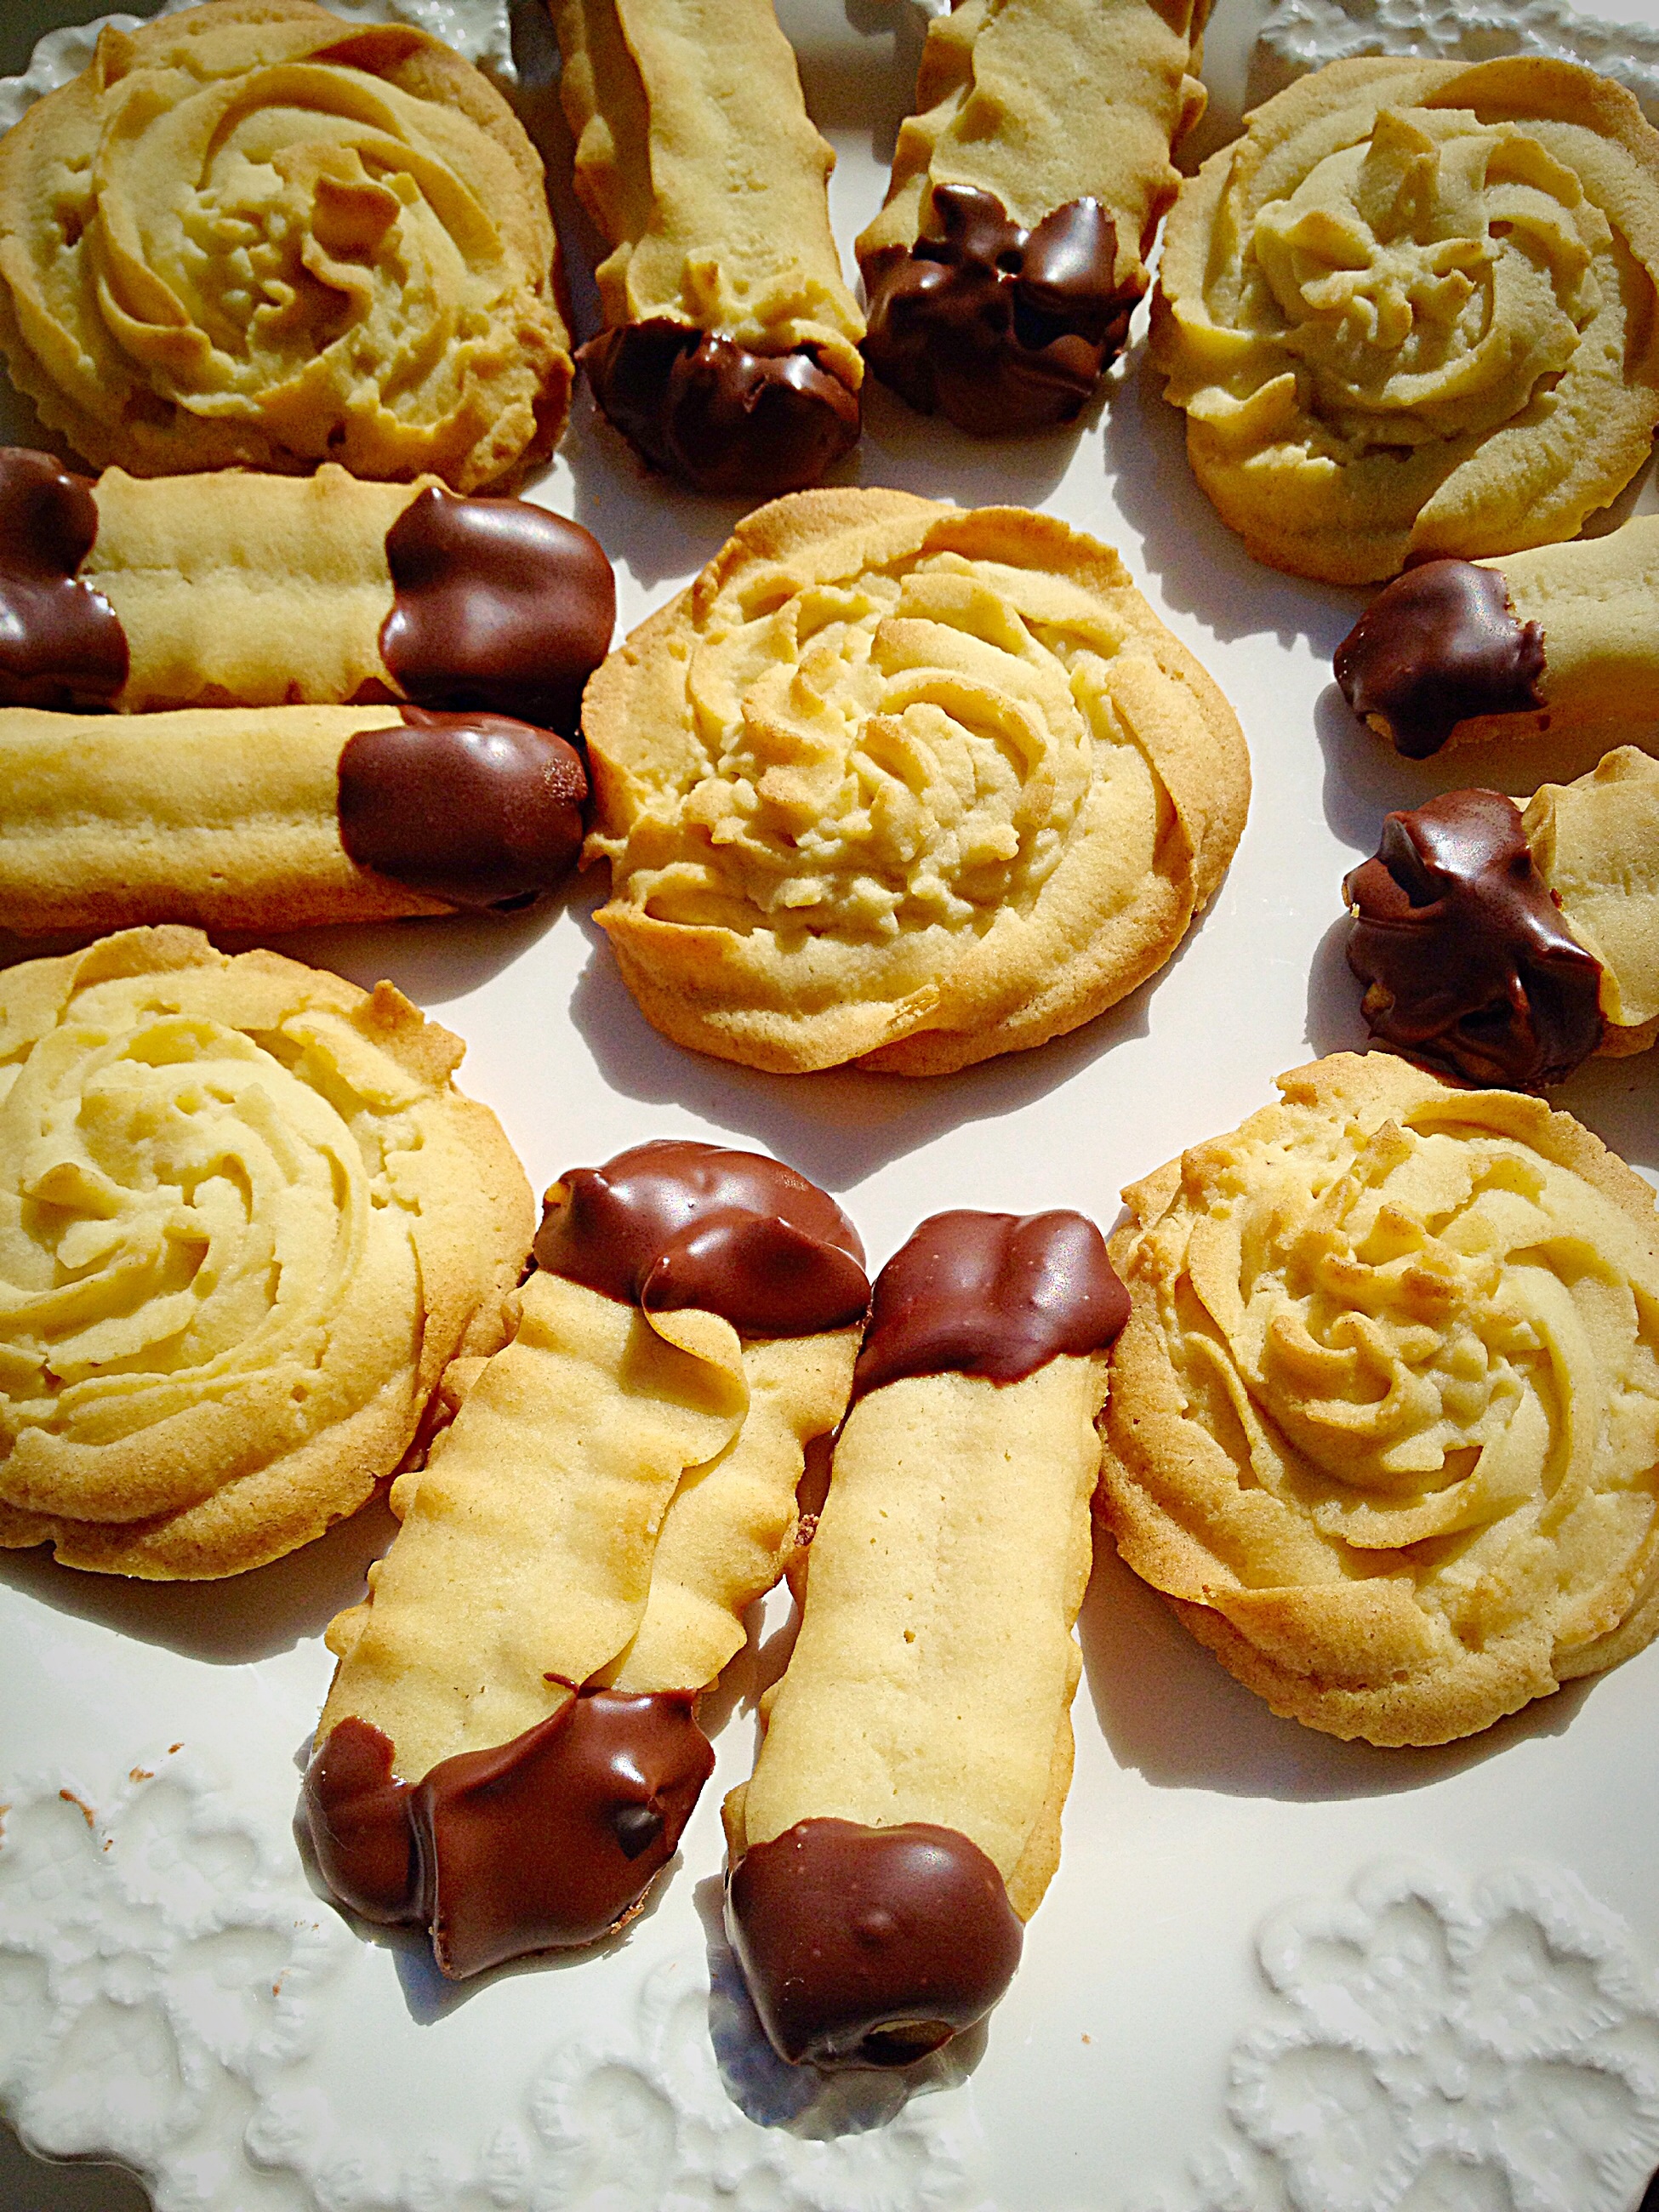
The Chocolate Dipped Viennese Fingers have a light, buttery crumb, which is complemented by the high quality chocolate dipped ends. So, definitely not a biscuit that I would dunk!

Chocolate Dipped Viennese Fingers accompanied by Viennese Whirls!
Chocolate Dipped Viennese Fingers accompanied by Viennese Swirls!

Mixing It Up!

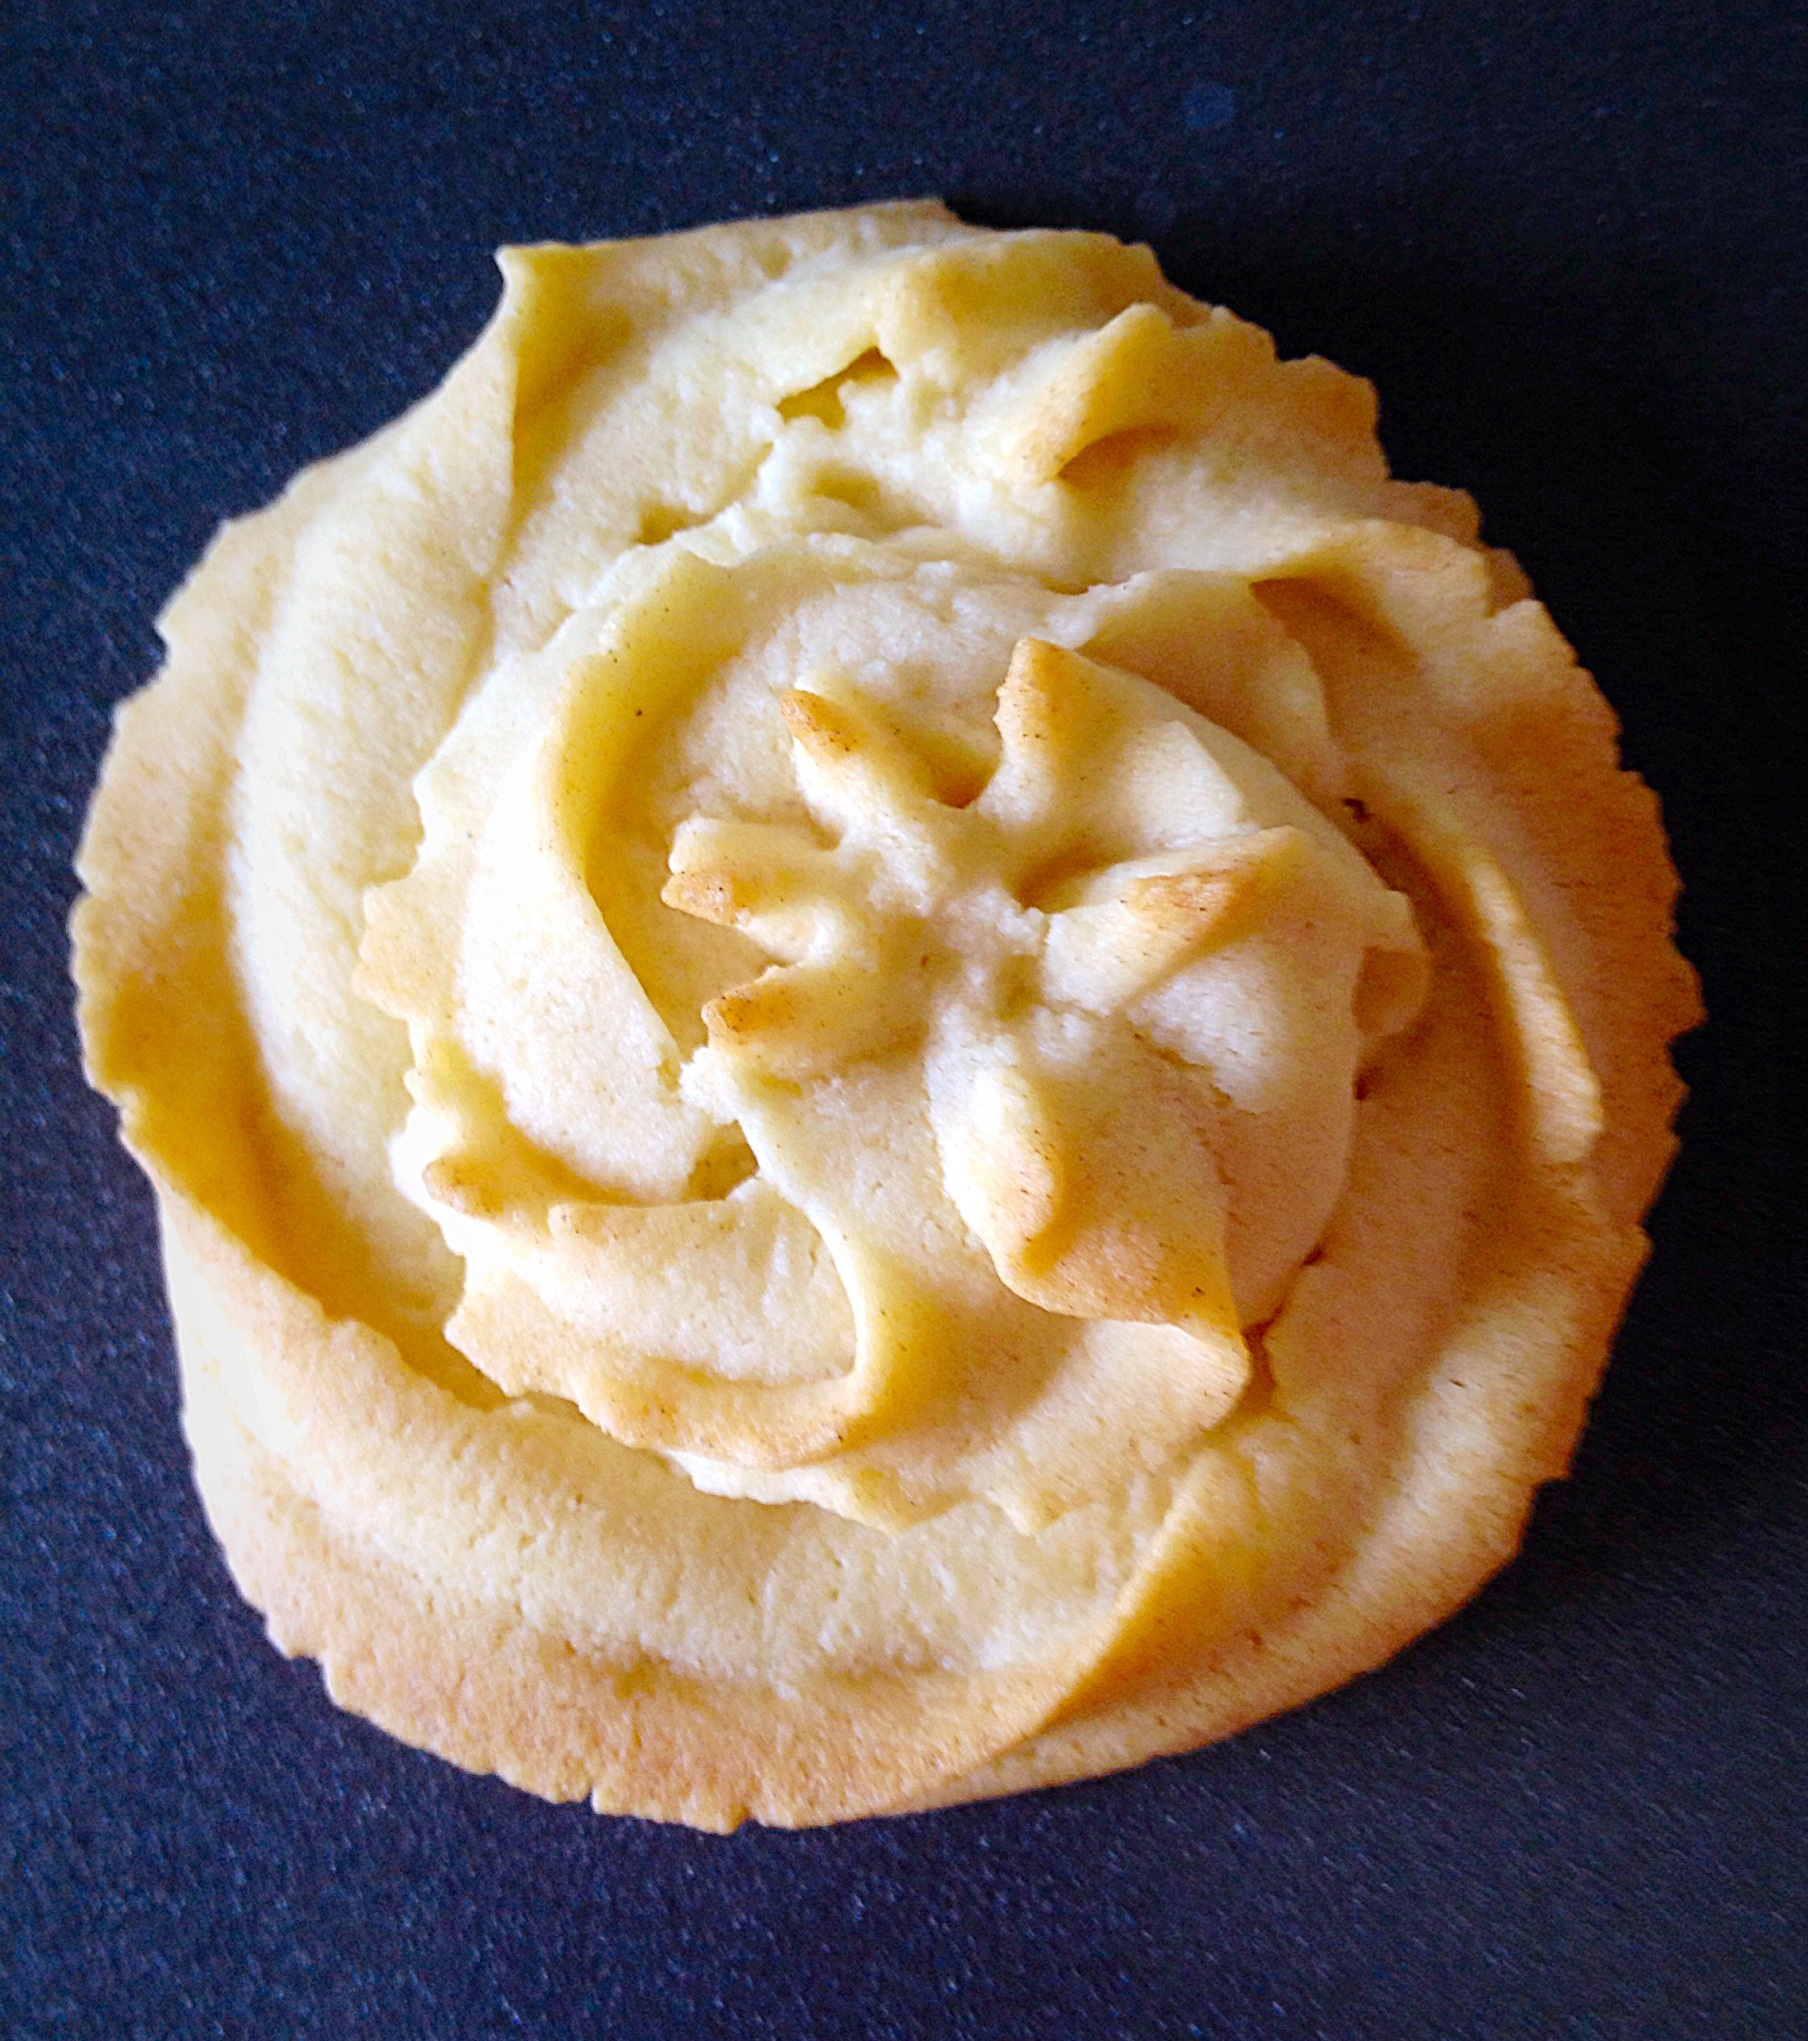
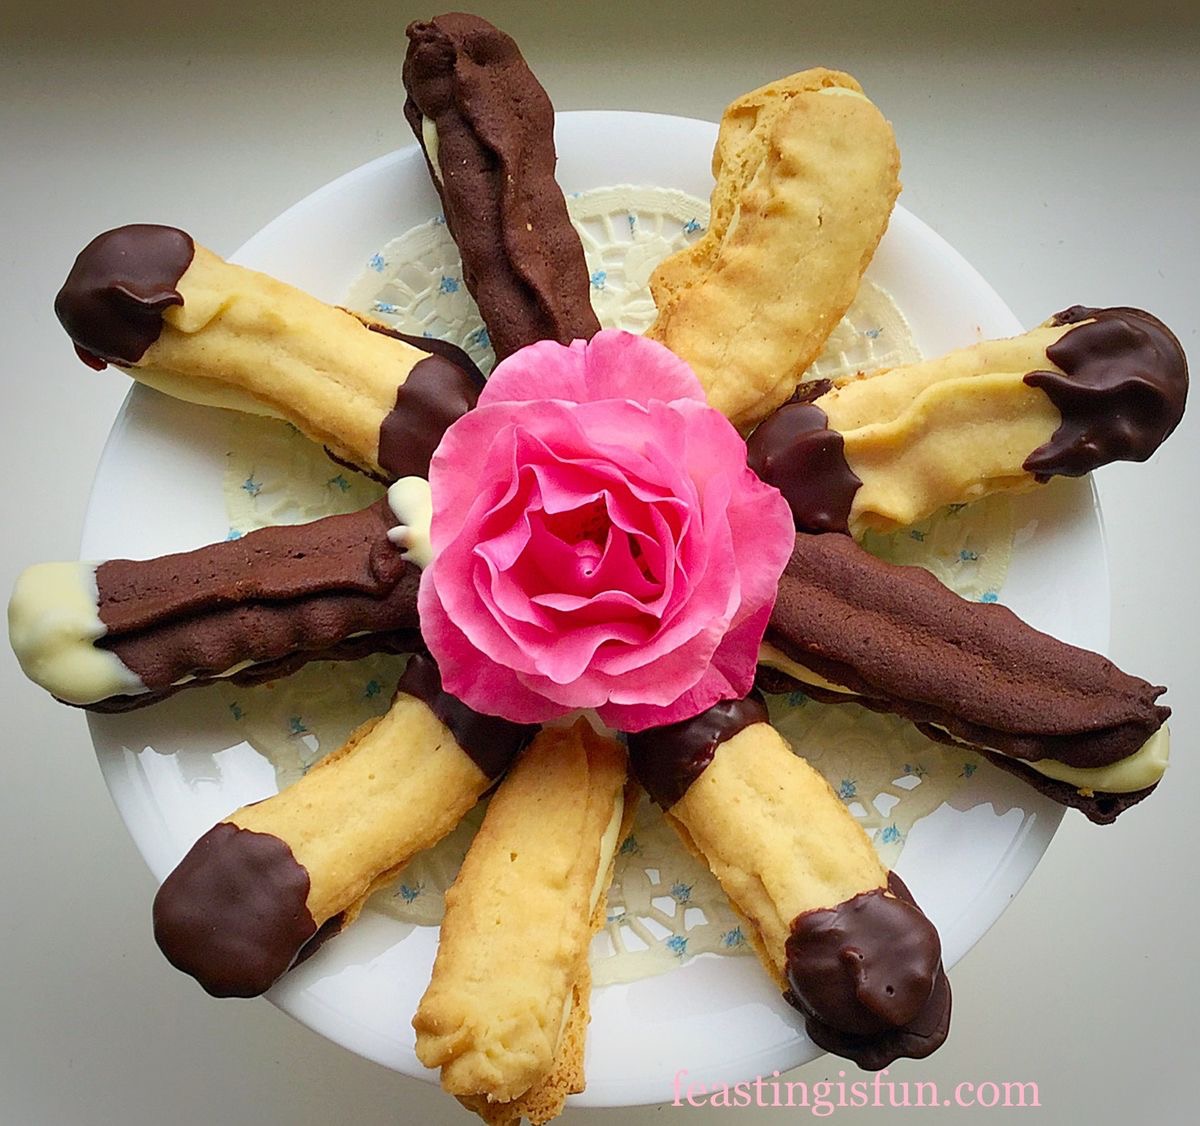
I also made some Viennese Swirls, which had their bases dipped in chocolate. Oh my, the biscuity, chocolatey, deliciousness in the shape of a swirl. Both Viennese fingers and swirls look so pretty. I imagine them adorning high tea cake stands, alongside scones and little triangle sandwiches with their crusts cut off! Oh hang on, is that the Ritz on the phone putting in an order? As if!!!!!

Cup of tea anyone? Chocolate Dipped Viennese Fingers and Swirls.


These fingers and swirls are piped, using the largest star tip you can get your hands on! Because they literally take moments to cook and cool, then you can get a-dunking in the gorgeous melted chocolate. And if you have children in the house, you will instantly have them in the kitchen the minute you start dunking! I guarantee it!!!

In fact I made 6 swirls and 19 (so annoying that it wasn’t 20!) fingers yesterday and they’ve all gone. Next time I’ll make a double batch – or hide them!!! That kinda goes against the sharing theme of this blog – oops!  Looks like a double batch then.

Chocolate Dipped Viennese Fingers and Swirls - that's a lot of biscuits munched!
Chocolate Dipped Viennese Fingers and Swirls – that’s a lot of biscuits munched!


Anyway, let me show you how I made these –

Recipe : Chocolate Dipped Viennese Fingers – Makes Approx 30

200g/7oz Unsalted Butter – very soft

50g/2oz Icing Sugar

15g/ 1/2oz Corn Flour (also known as corn starch)

1tsp Vanilla Extract – I use Nielsen-Massey

1/8tsp Salt – I use Maldon

100g/4oz Self-raising White Flour

100g/4oz Plain White Flour

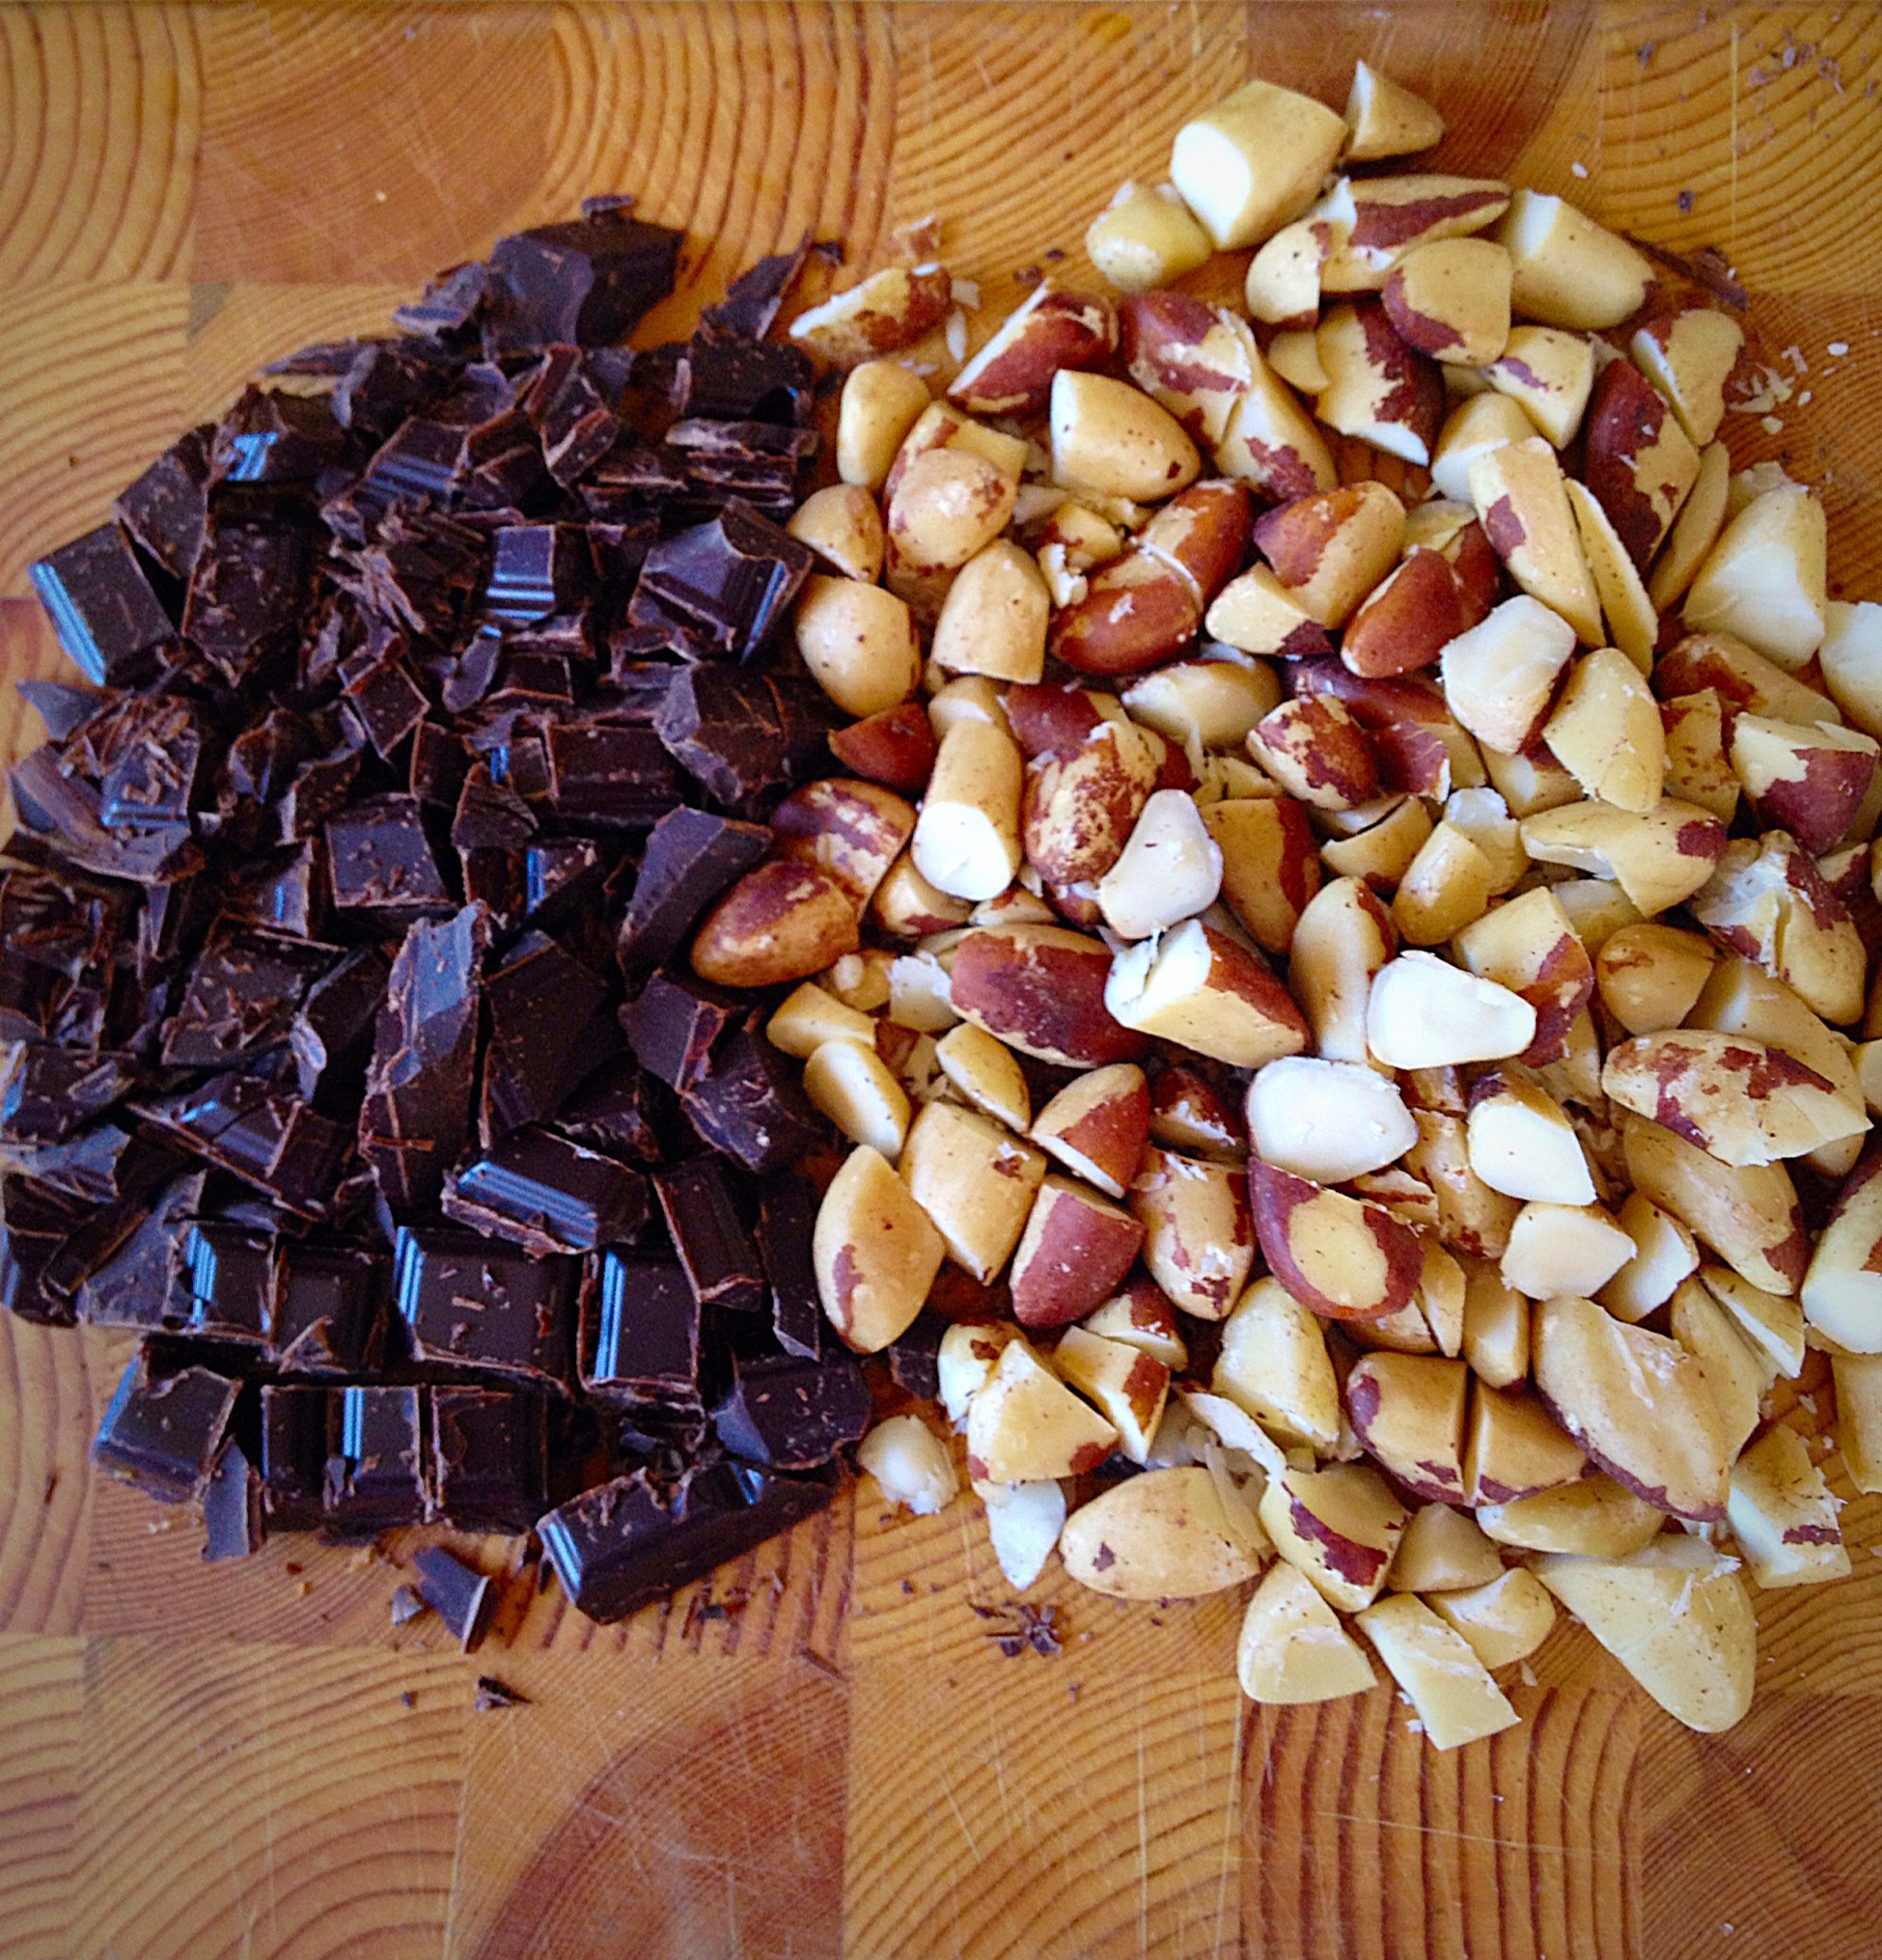
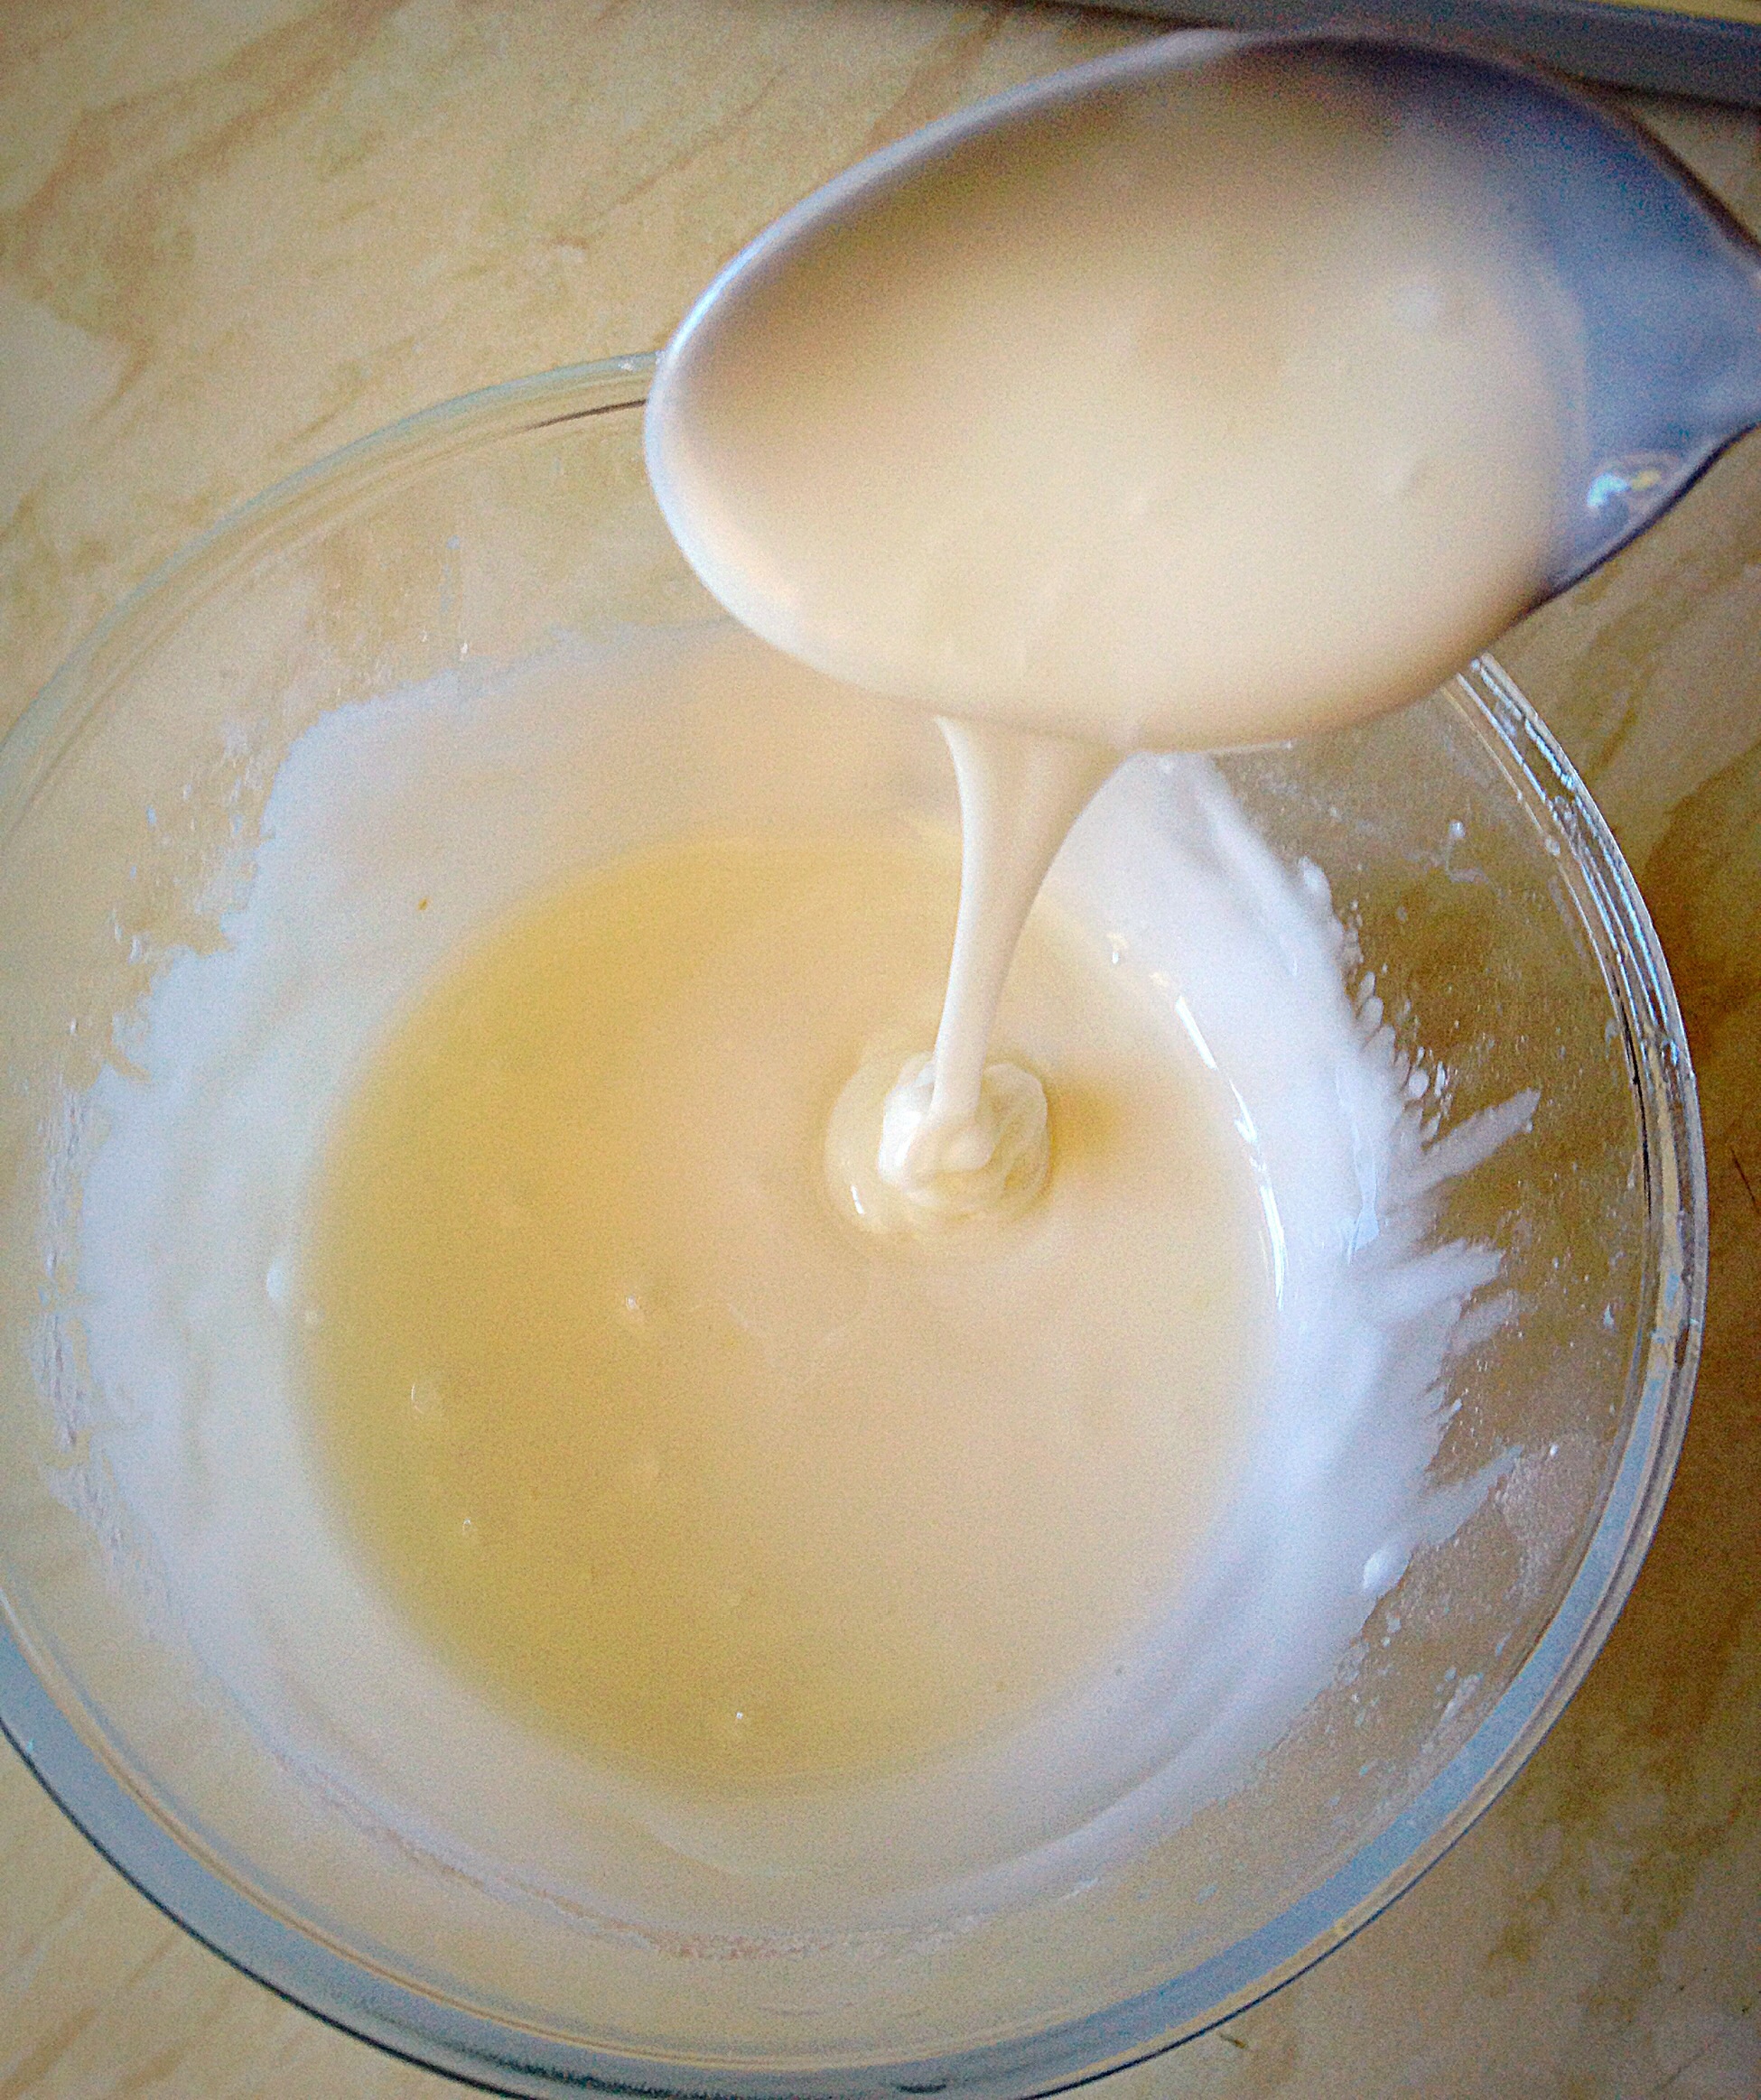
150g Milk Chocolate – I used Green and Black’s as it has 37% Cocoa, most chocolate bars have 20%-25%

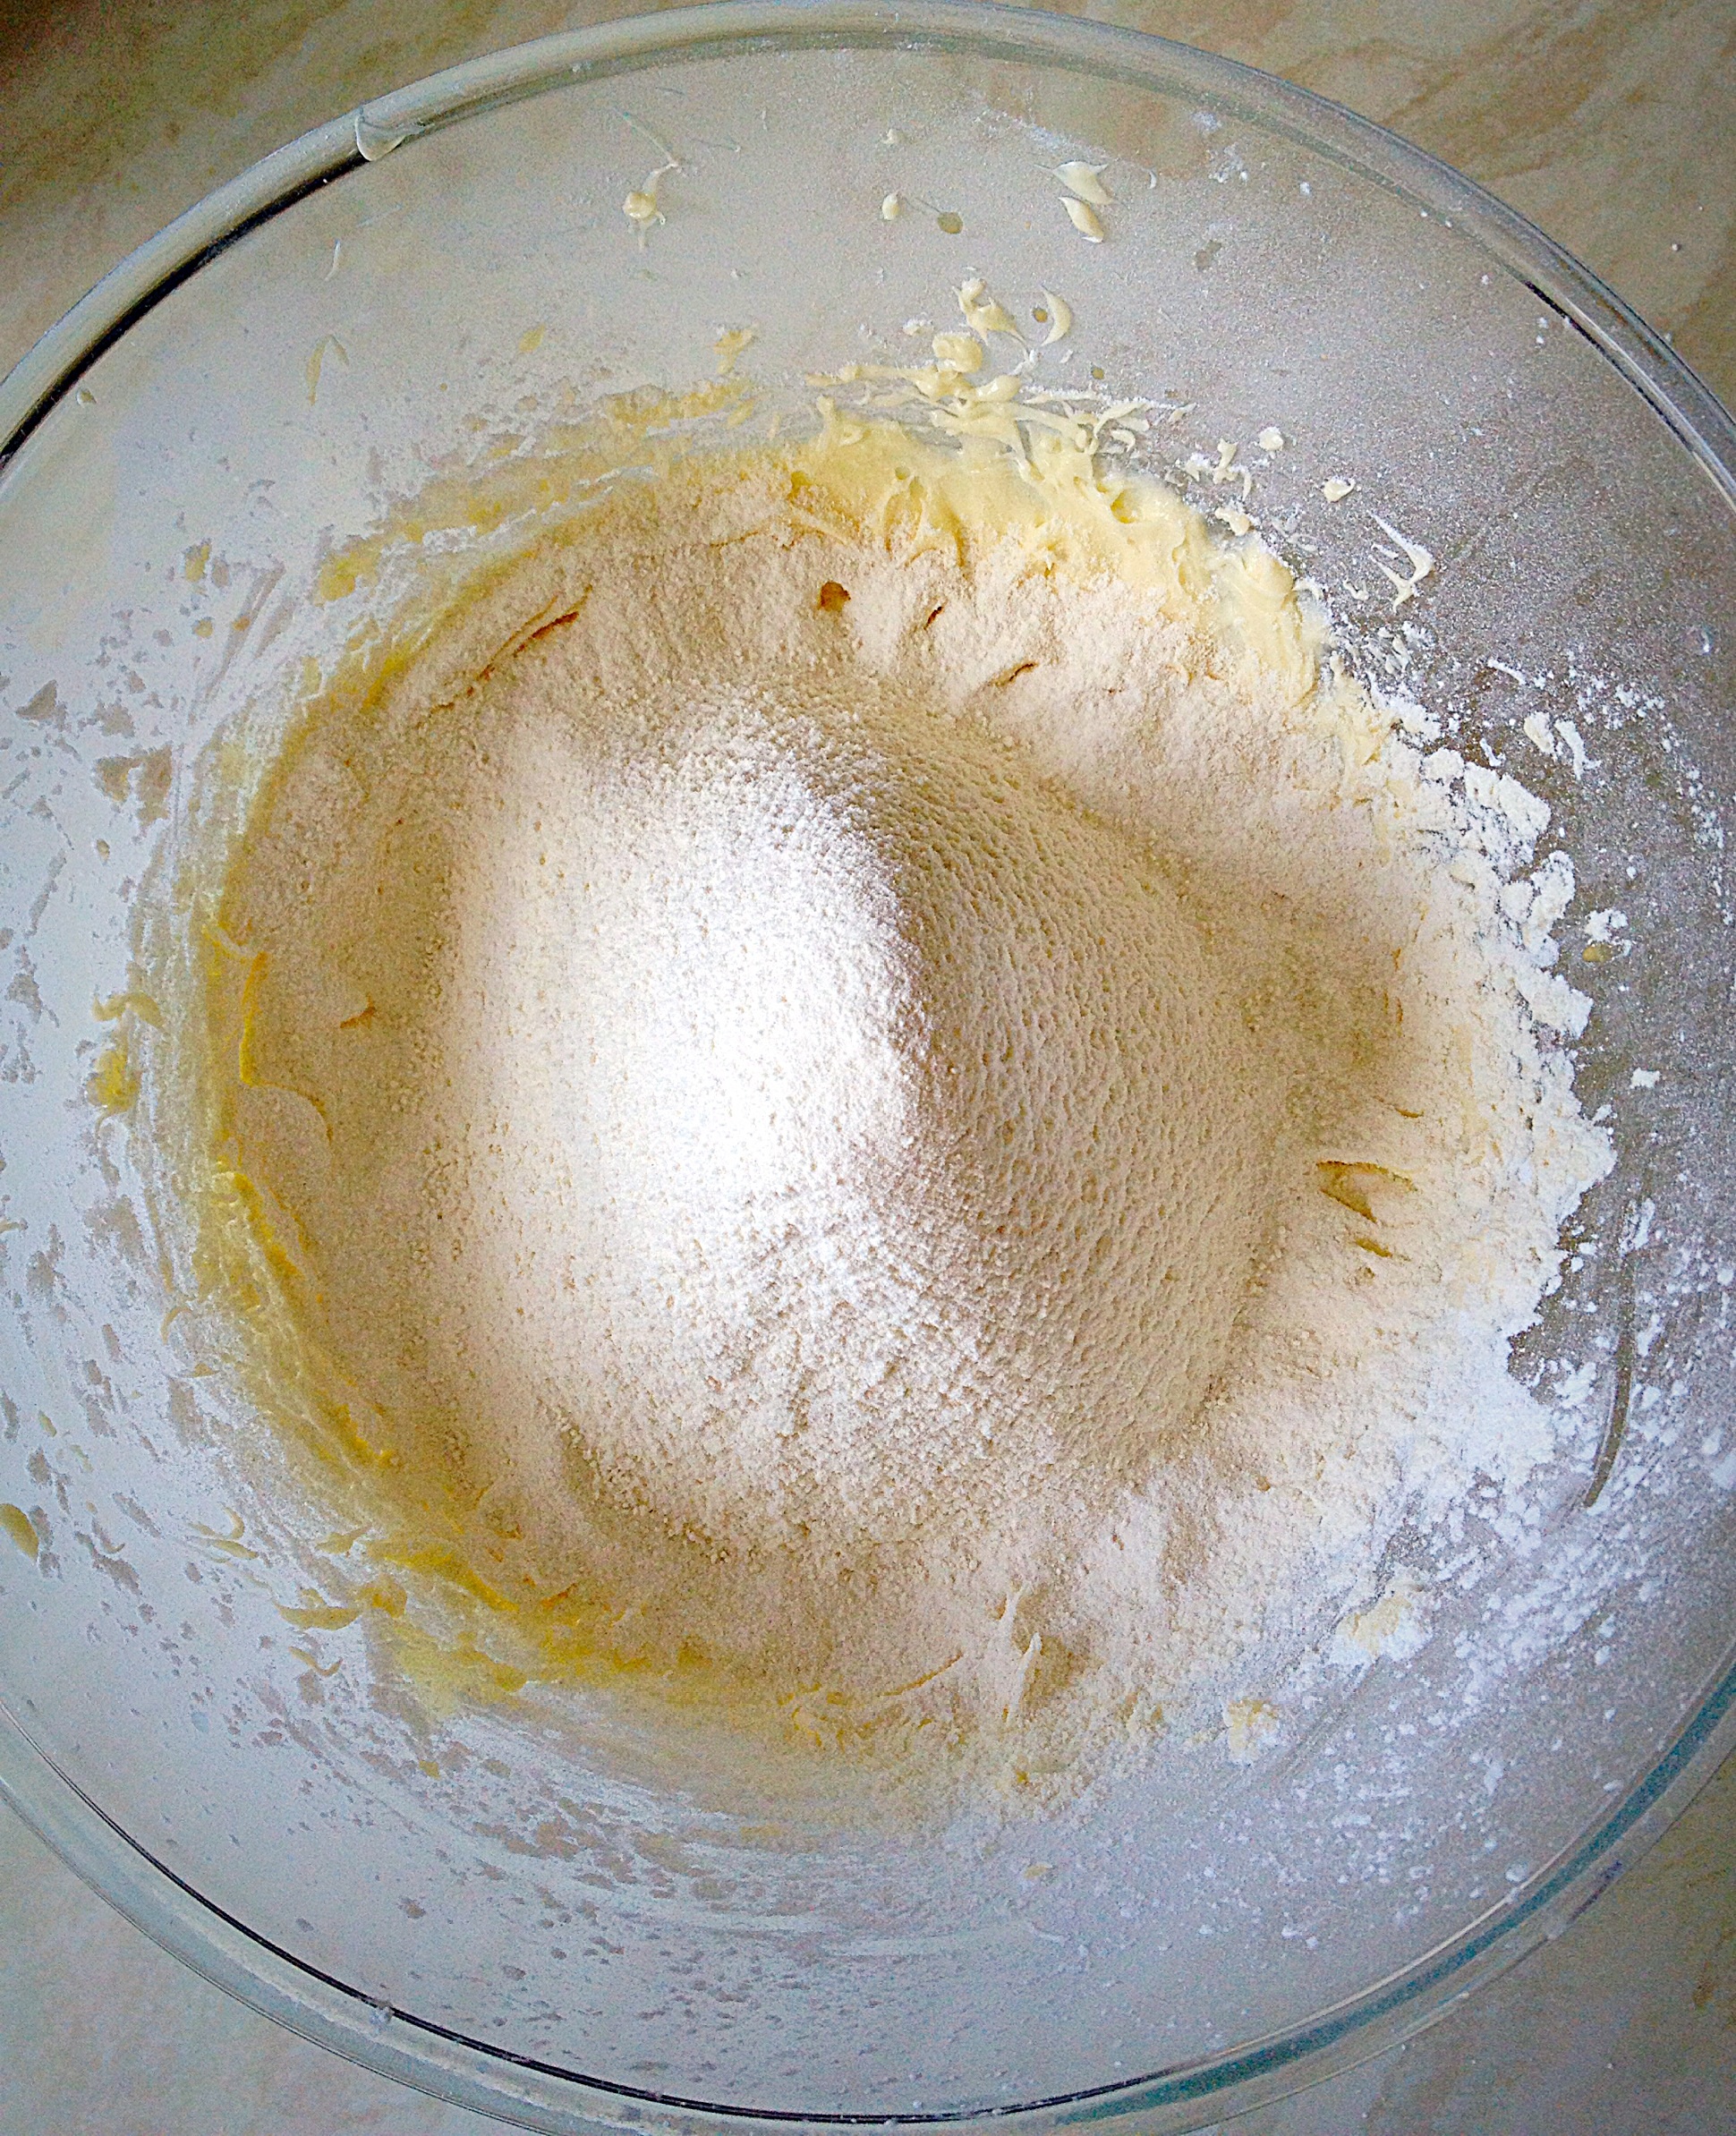
Making The Biscuit Dough

First of all, you will need a piping bag fitted with a large open star tip (Wilton 1M).

Preheat oven to 180C/160c fan, 350F, gas mark 4

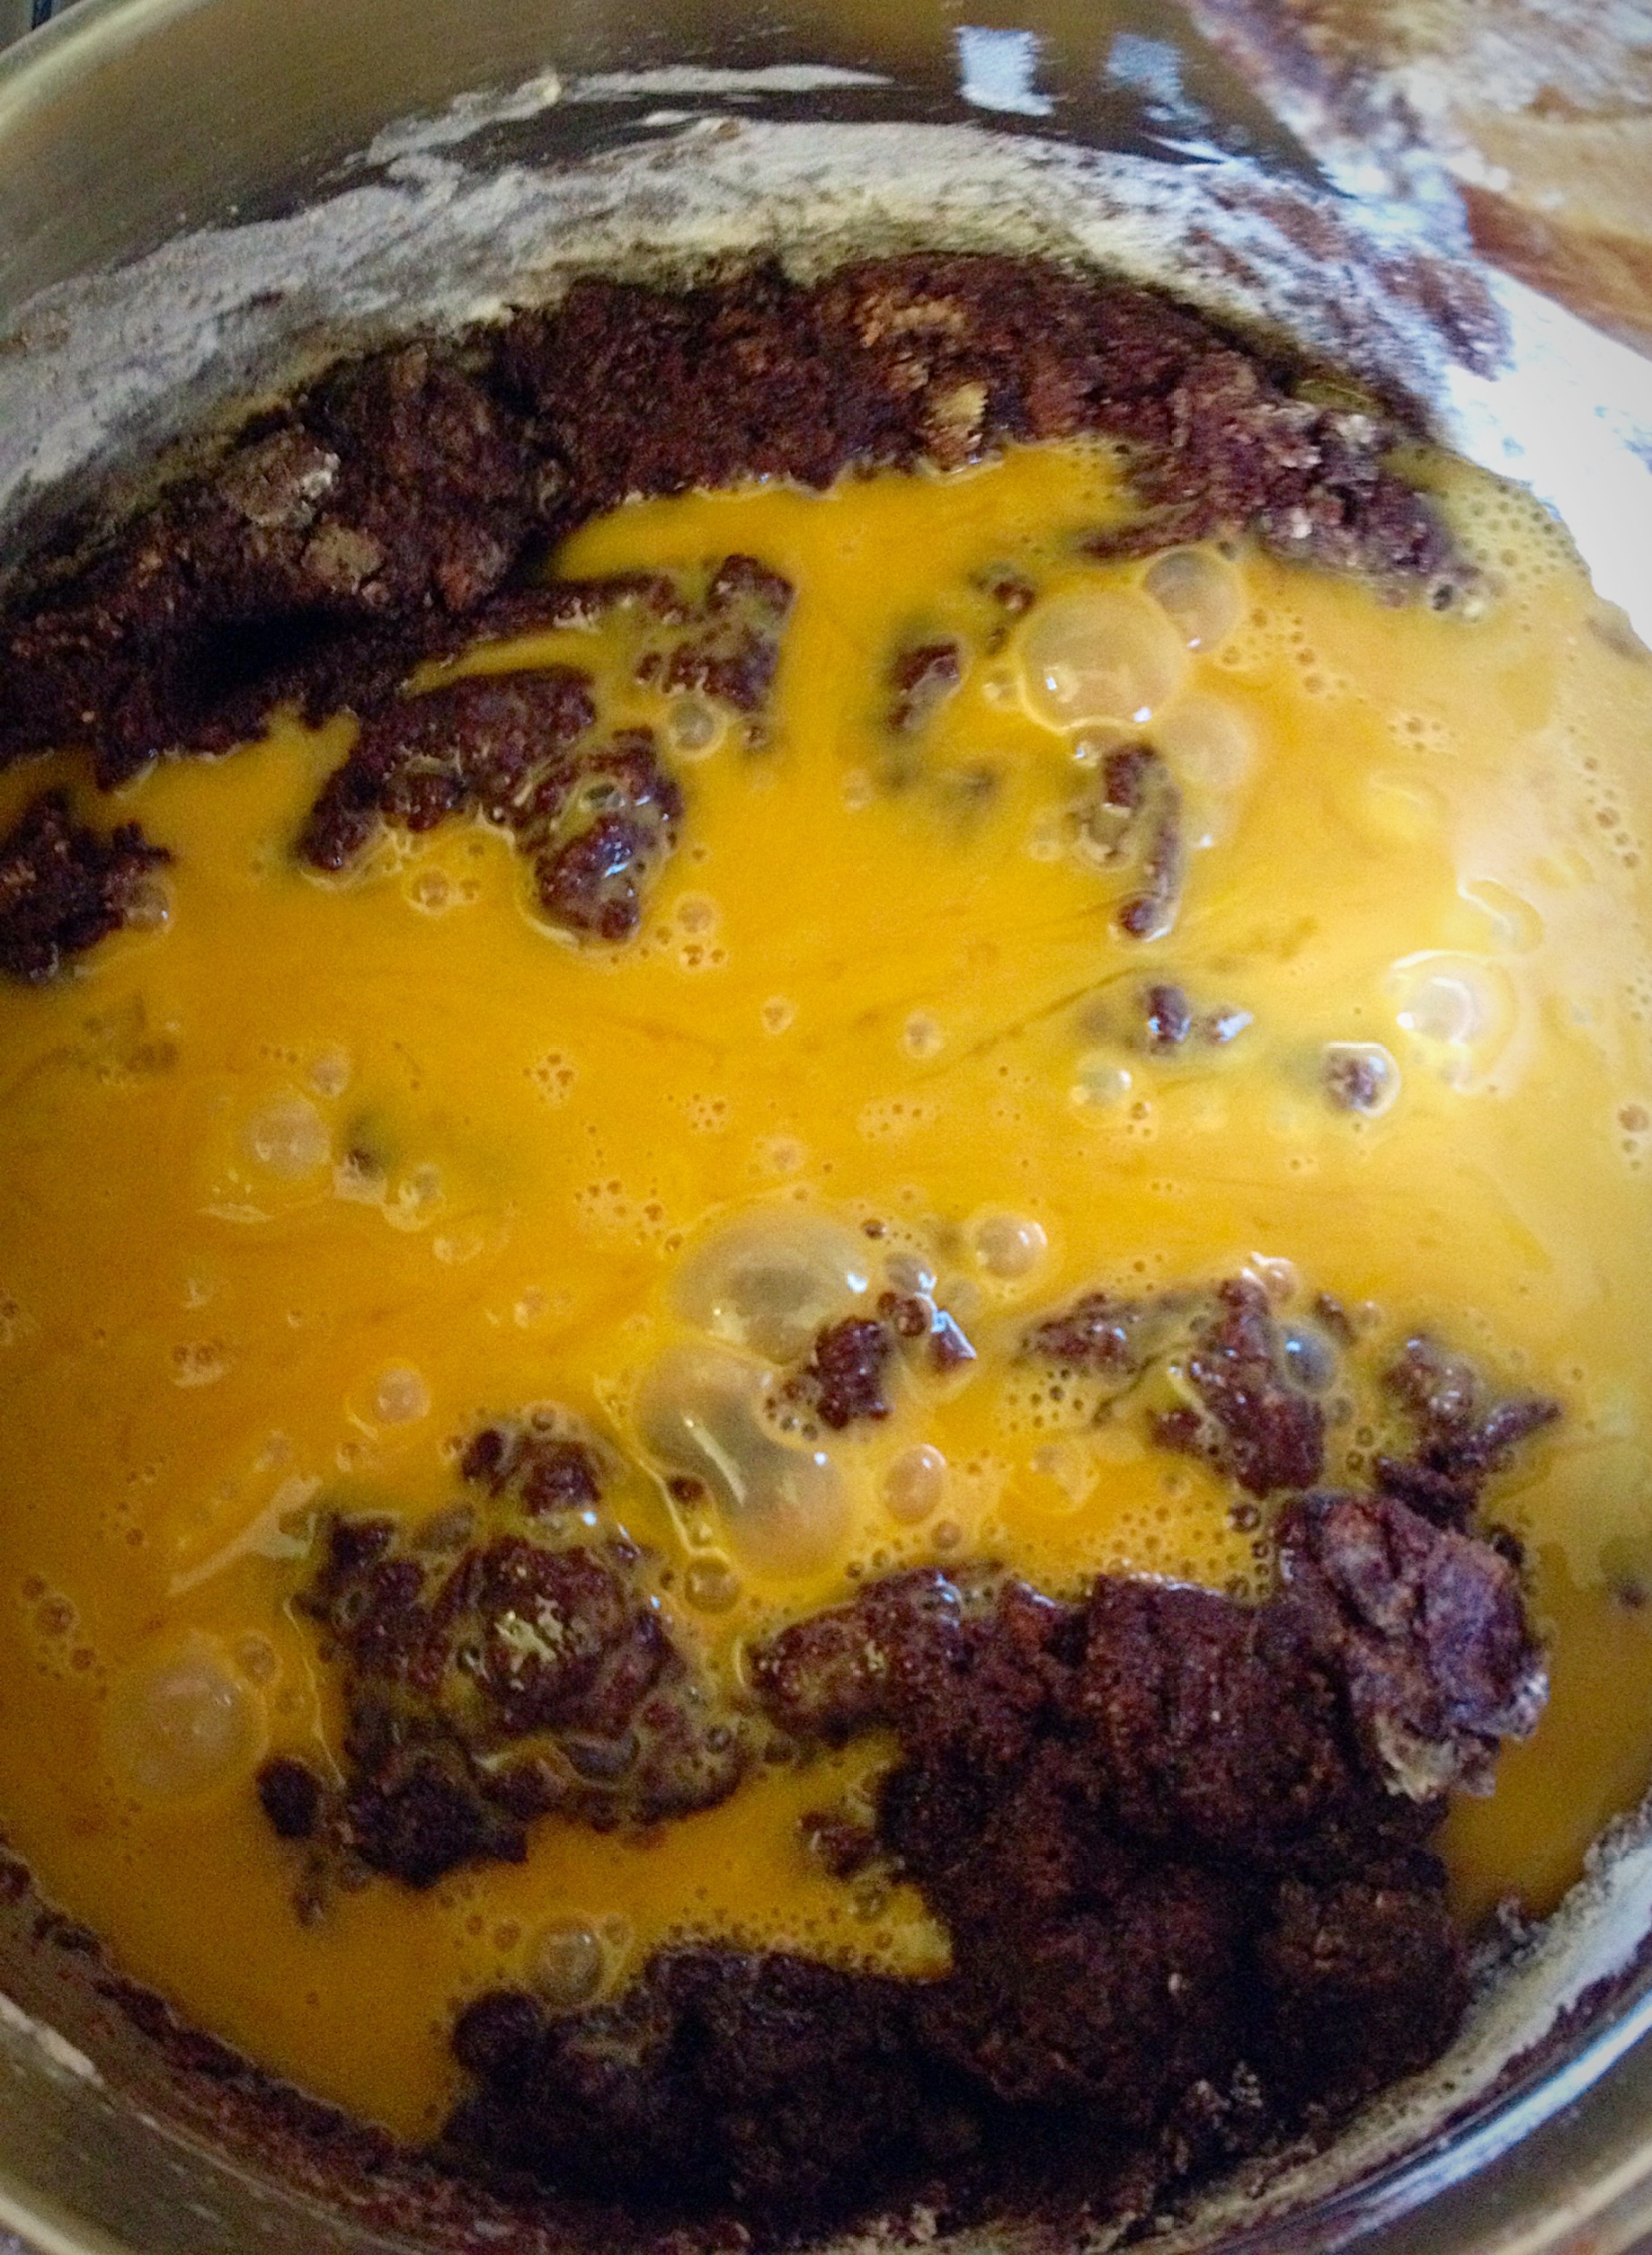
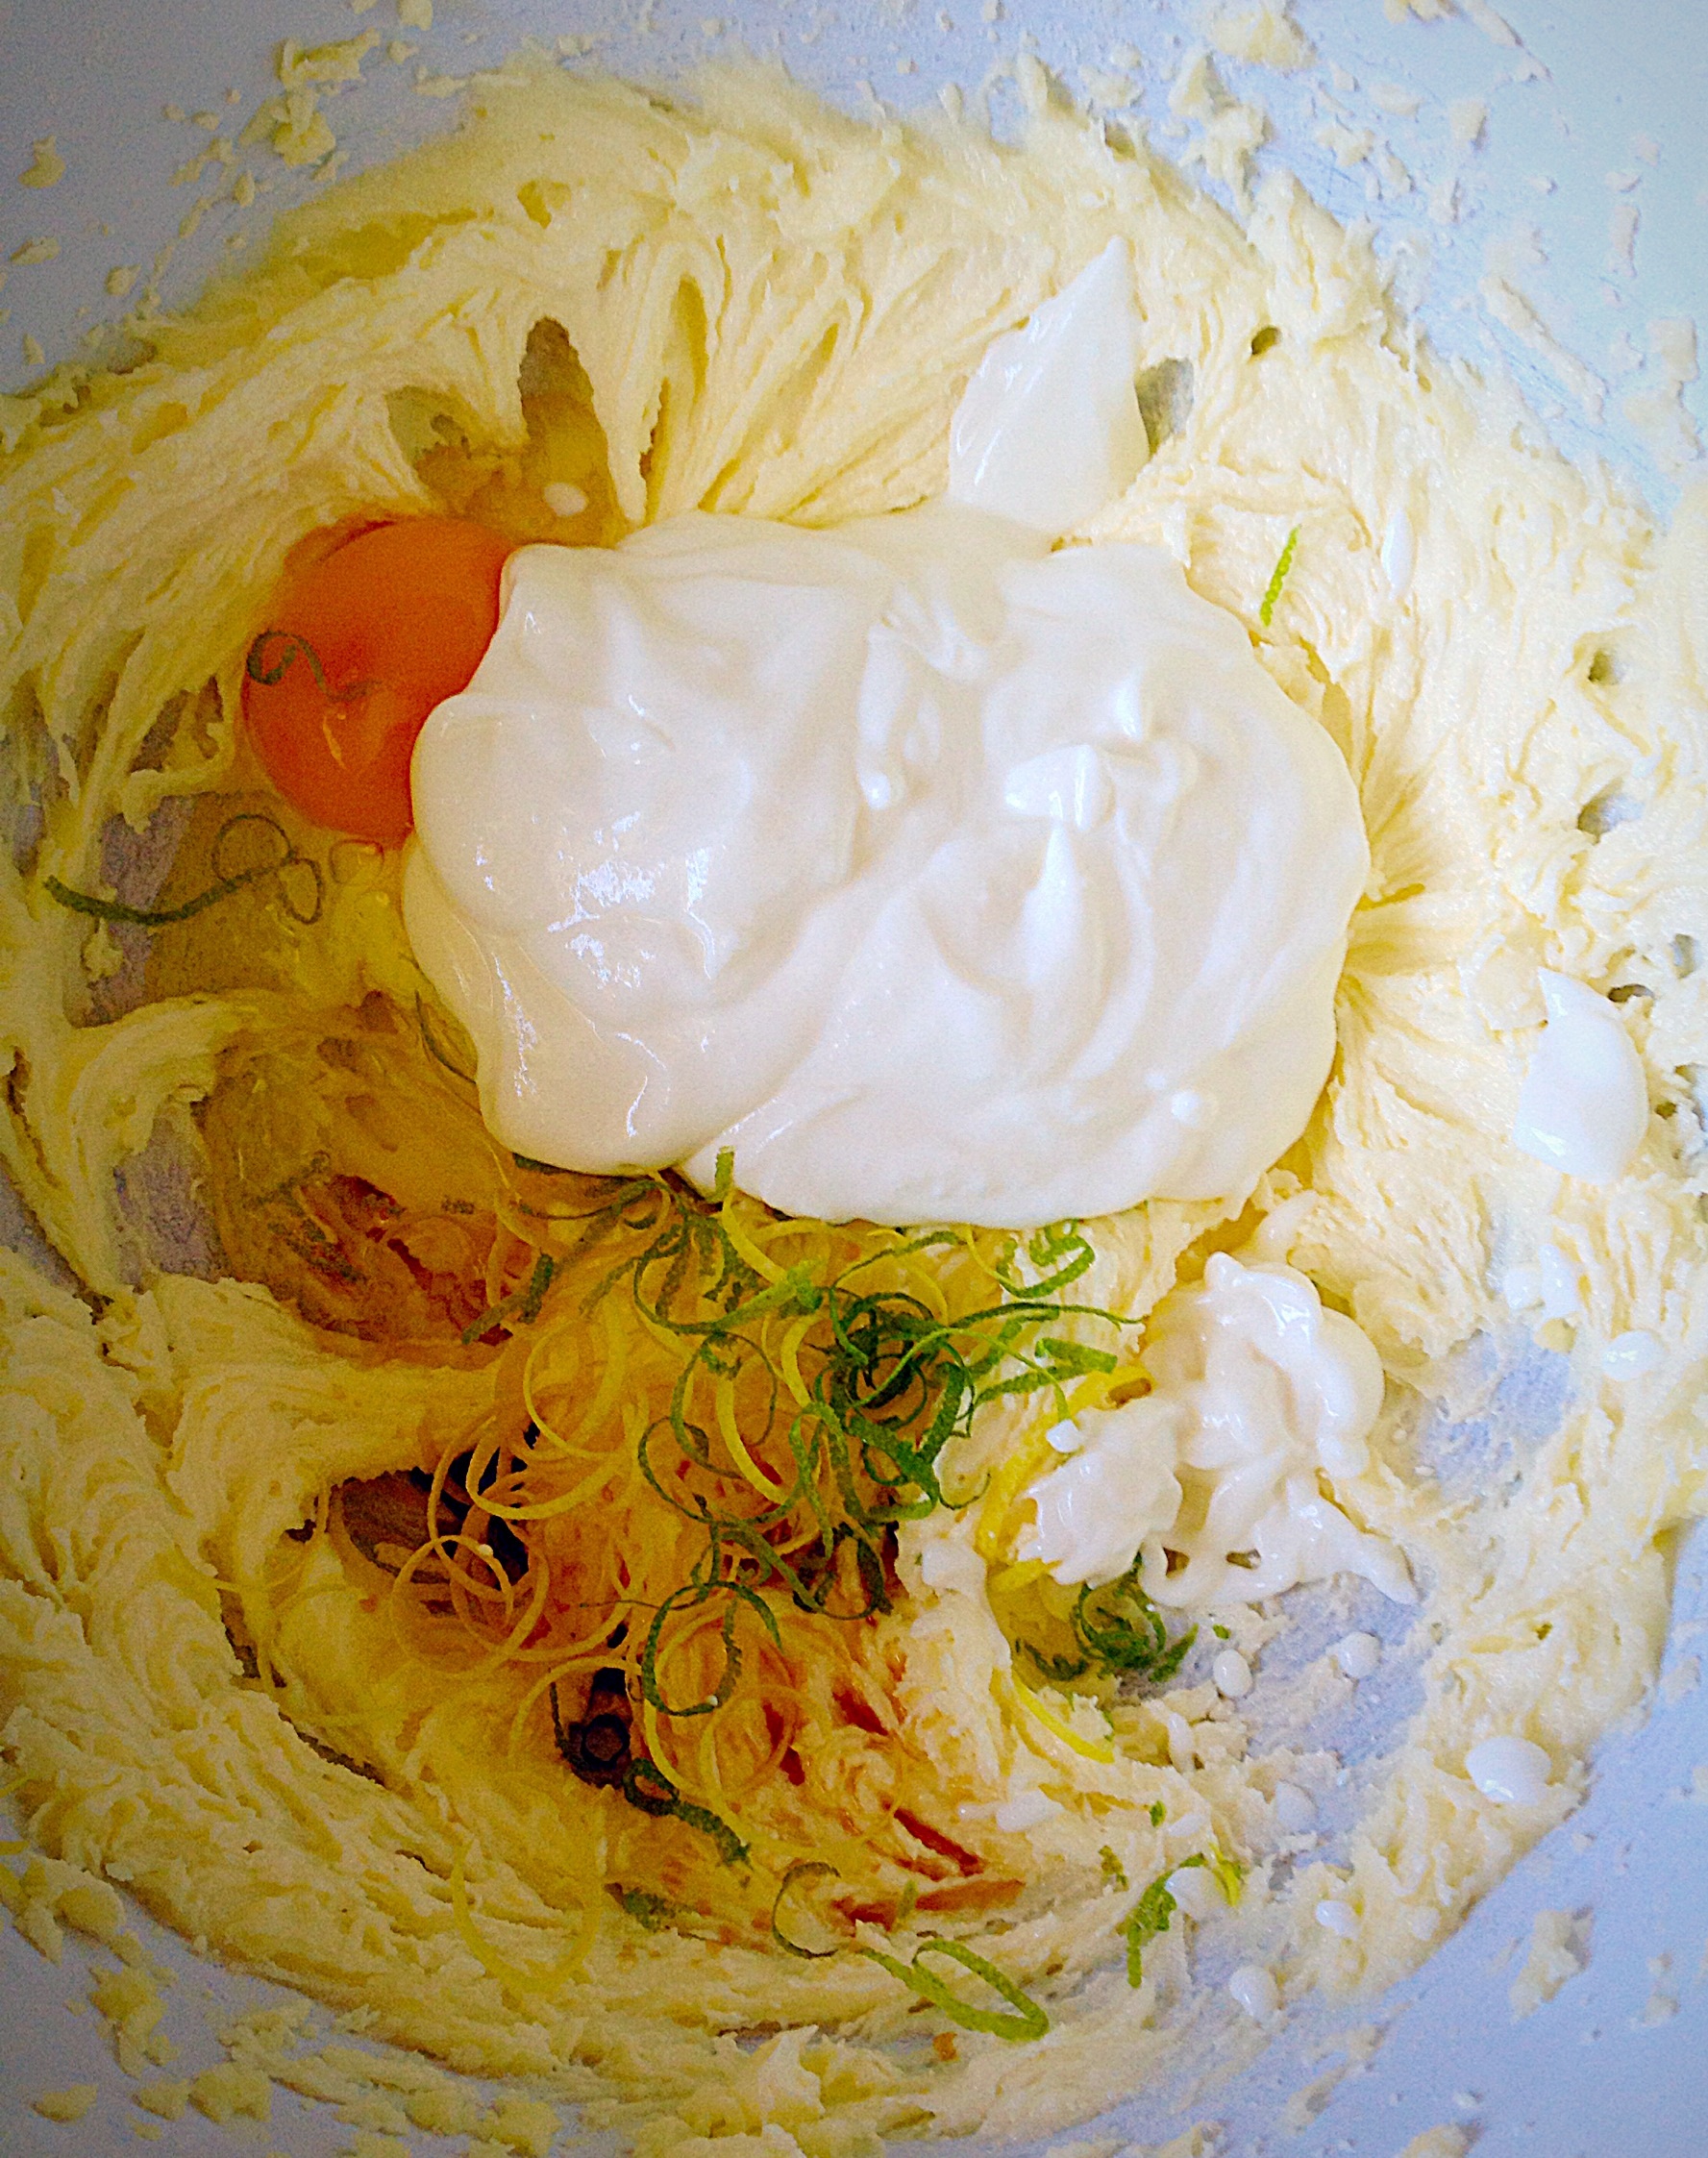
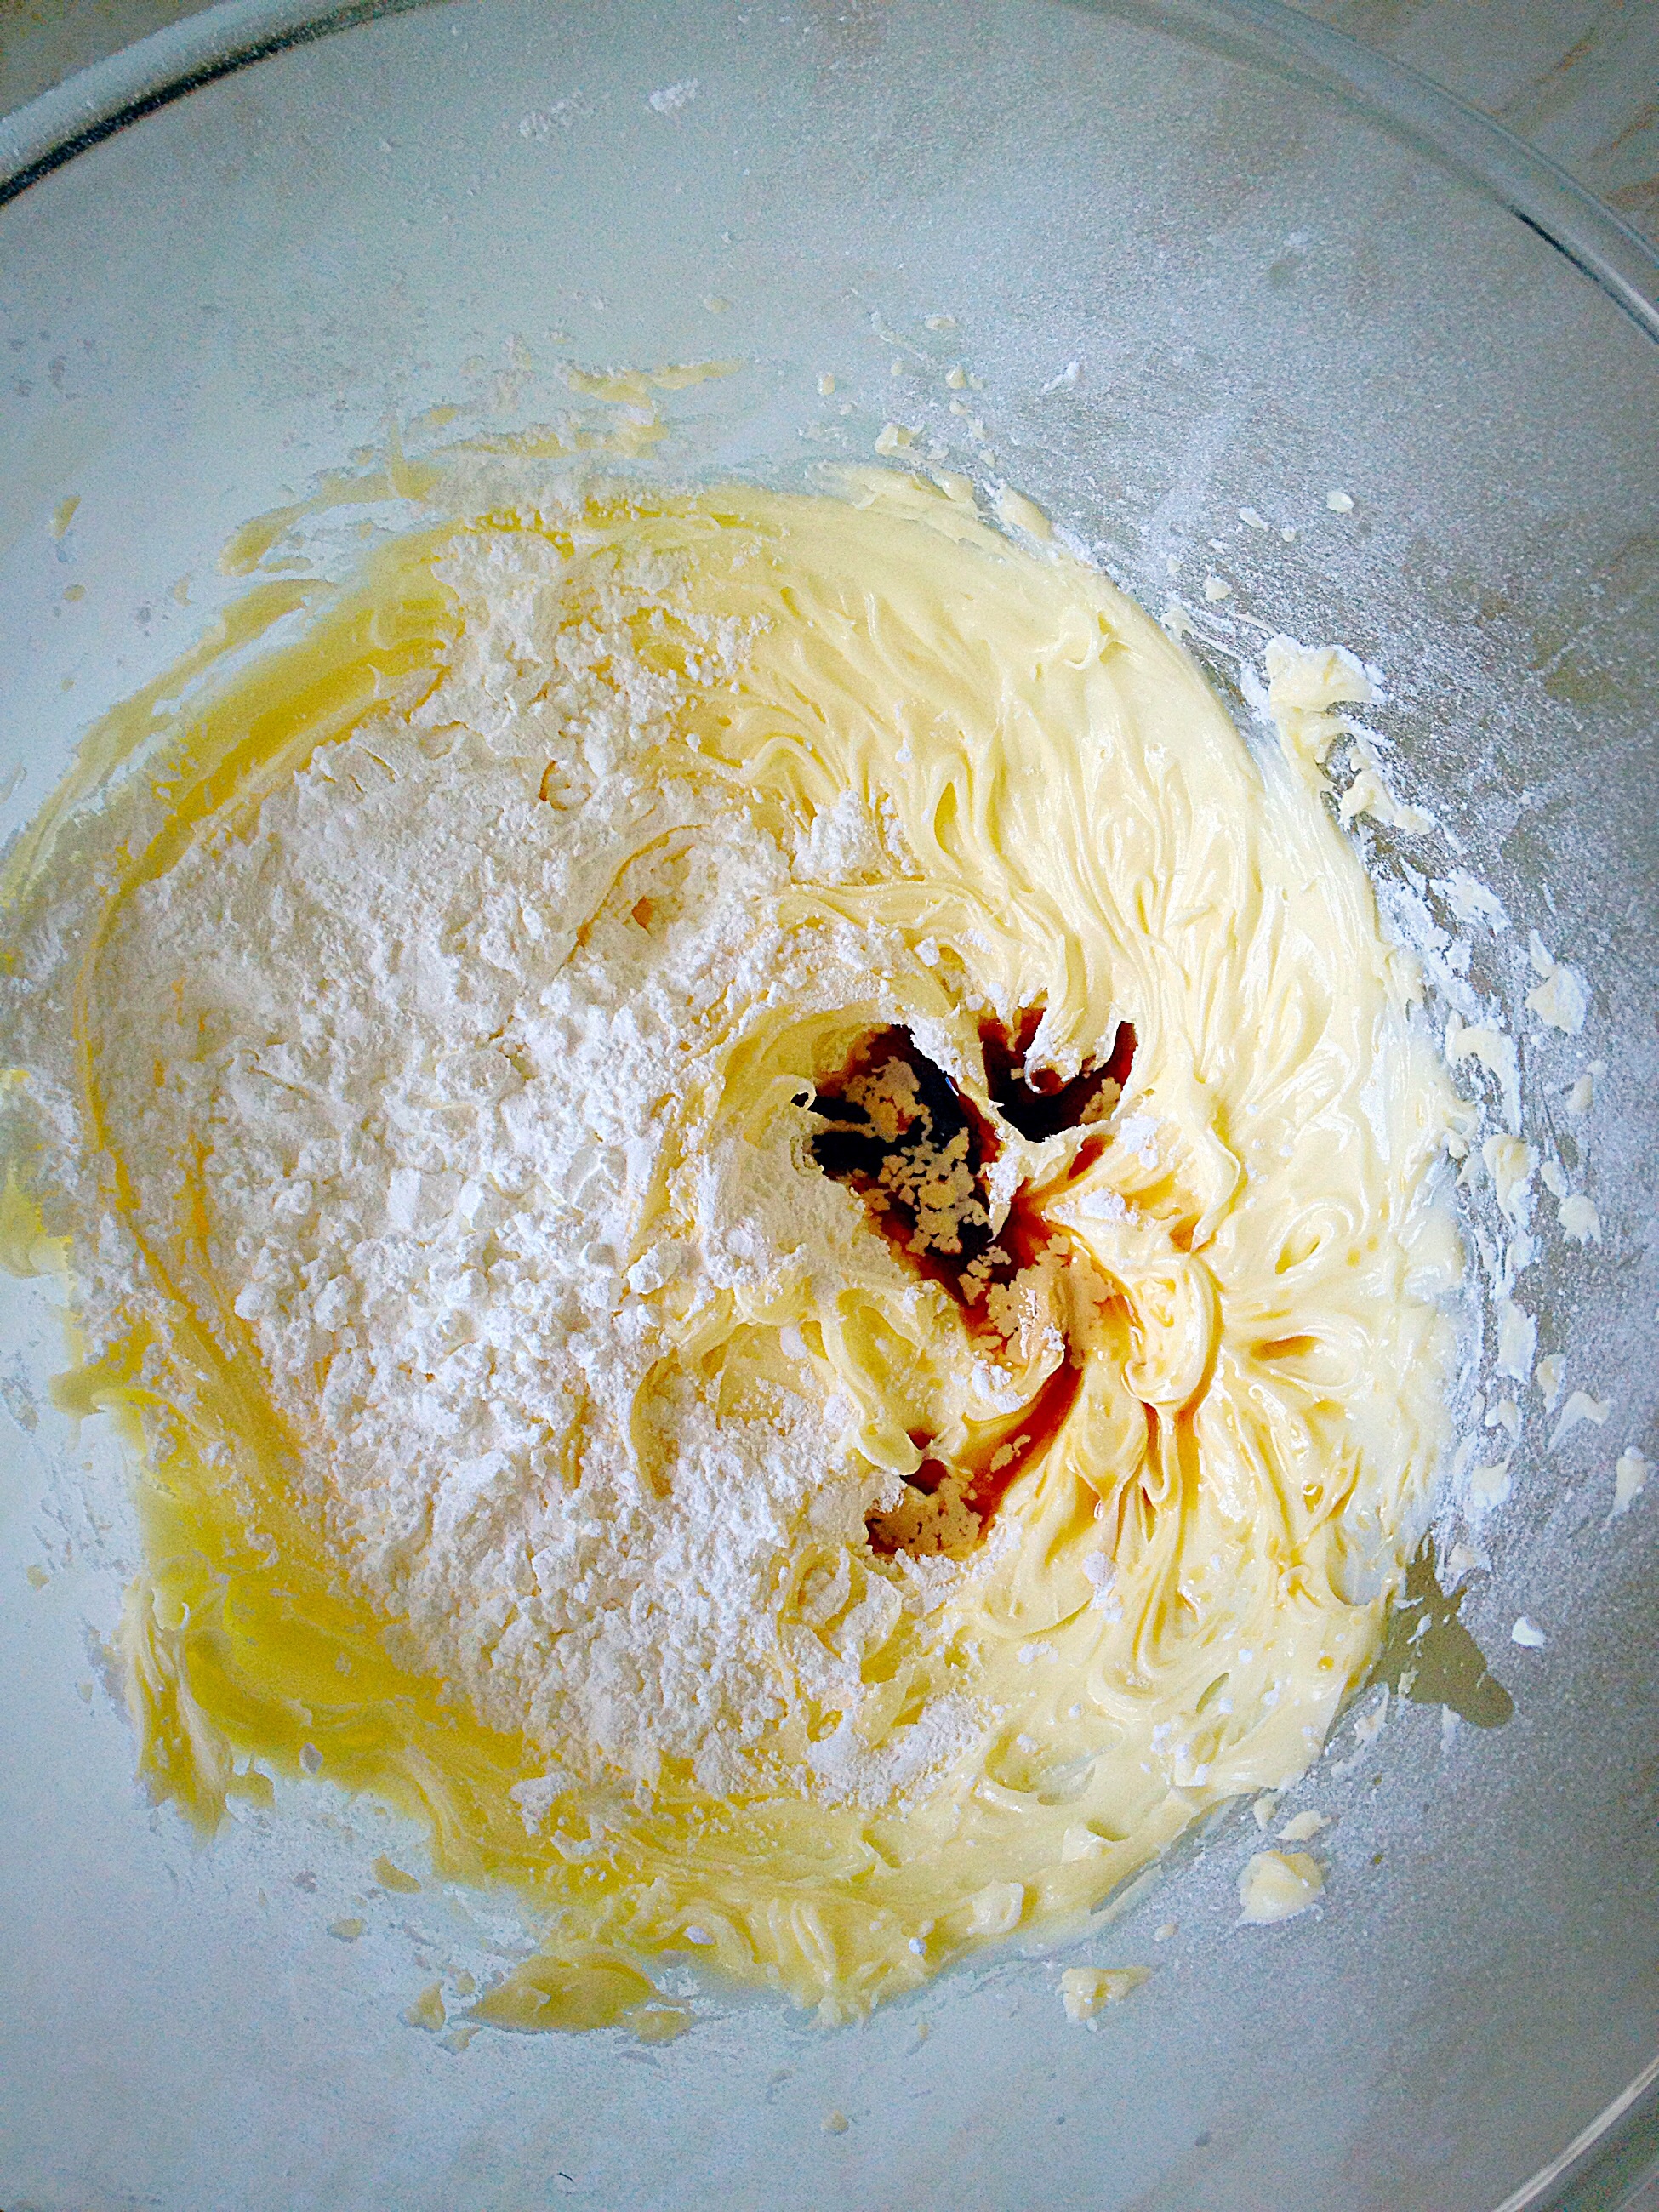
Whisk together the very soft butter, icing sugar and salt until light and fluffy.

Note – as the finished mixture is piped, having very soft butter will make the piping easier.

Add the vanilla extract and corn flour and whisk into the butter/sugar mixture.
Sift both flours into the bowl.
Mix all the ingredients until they just come together.

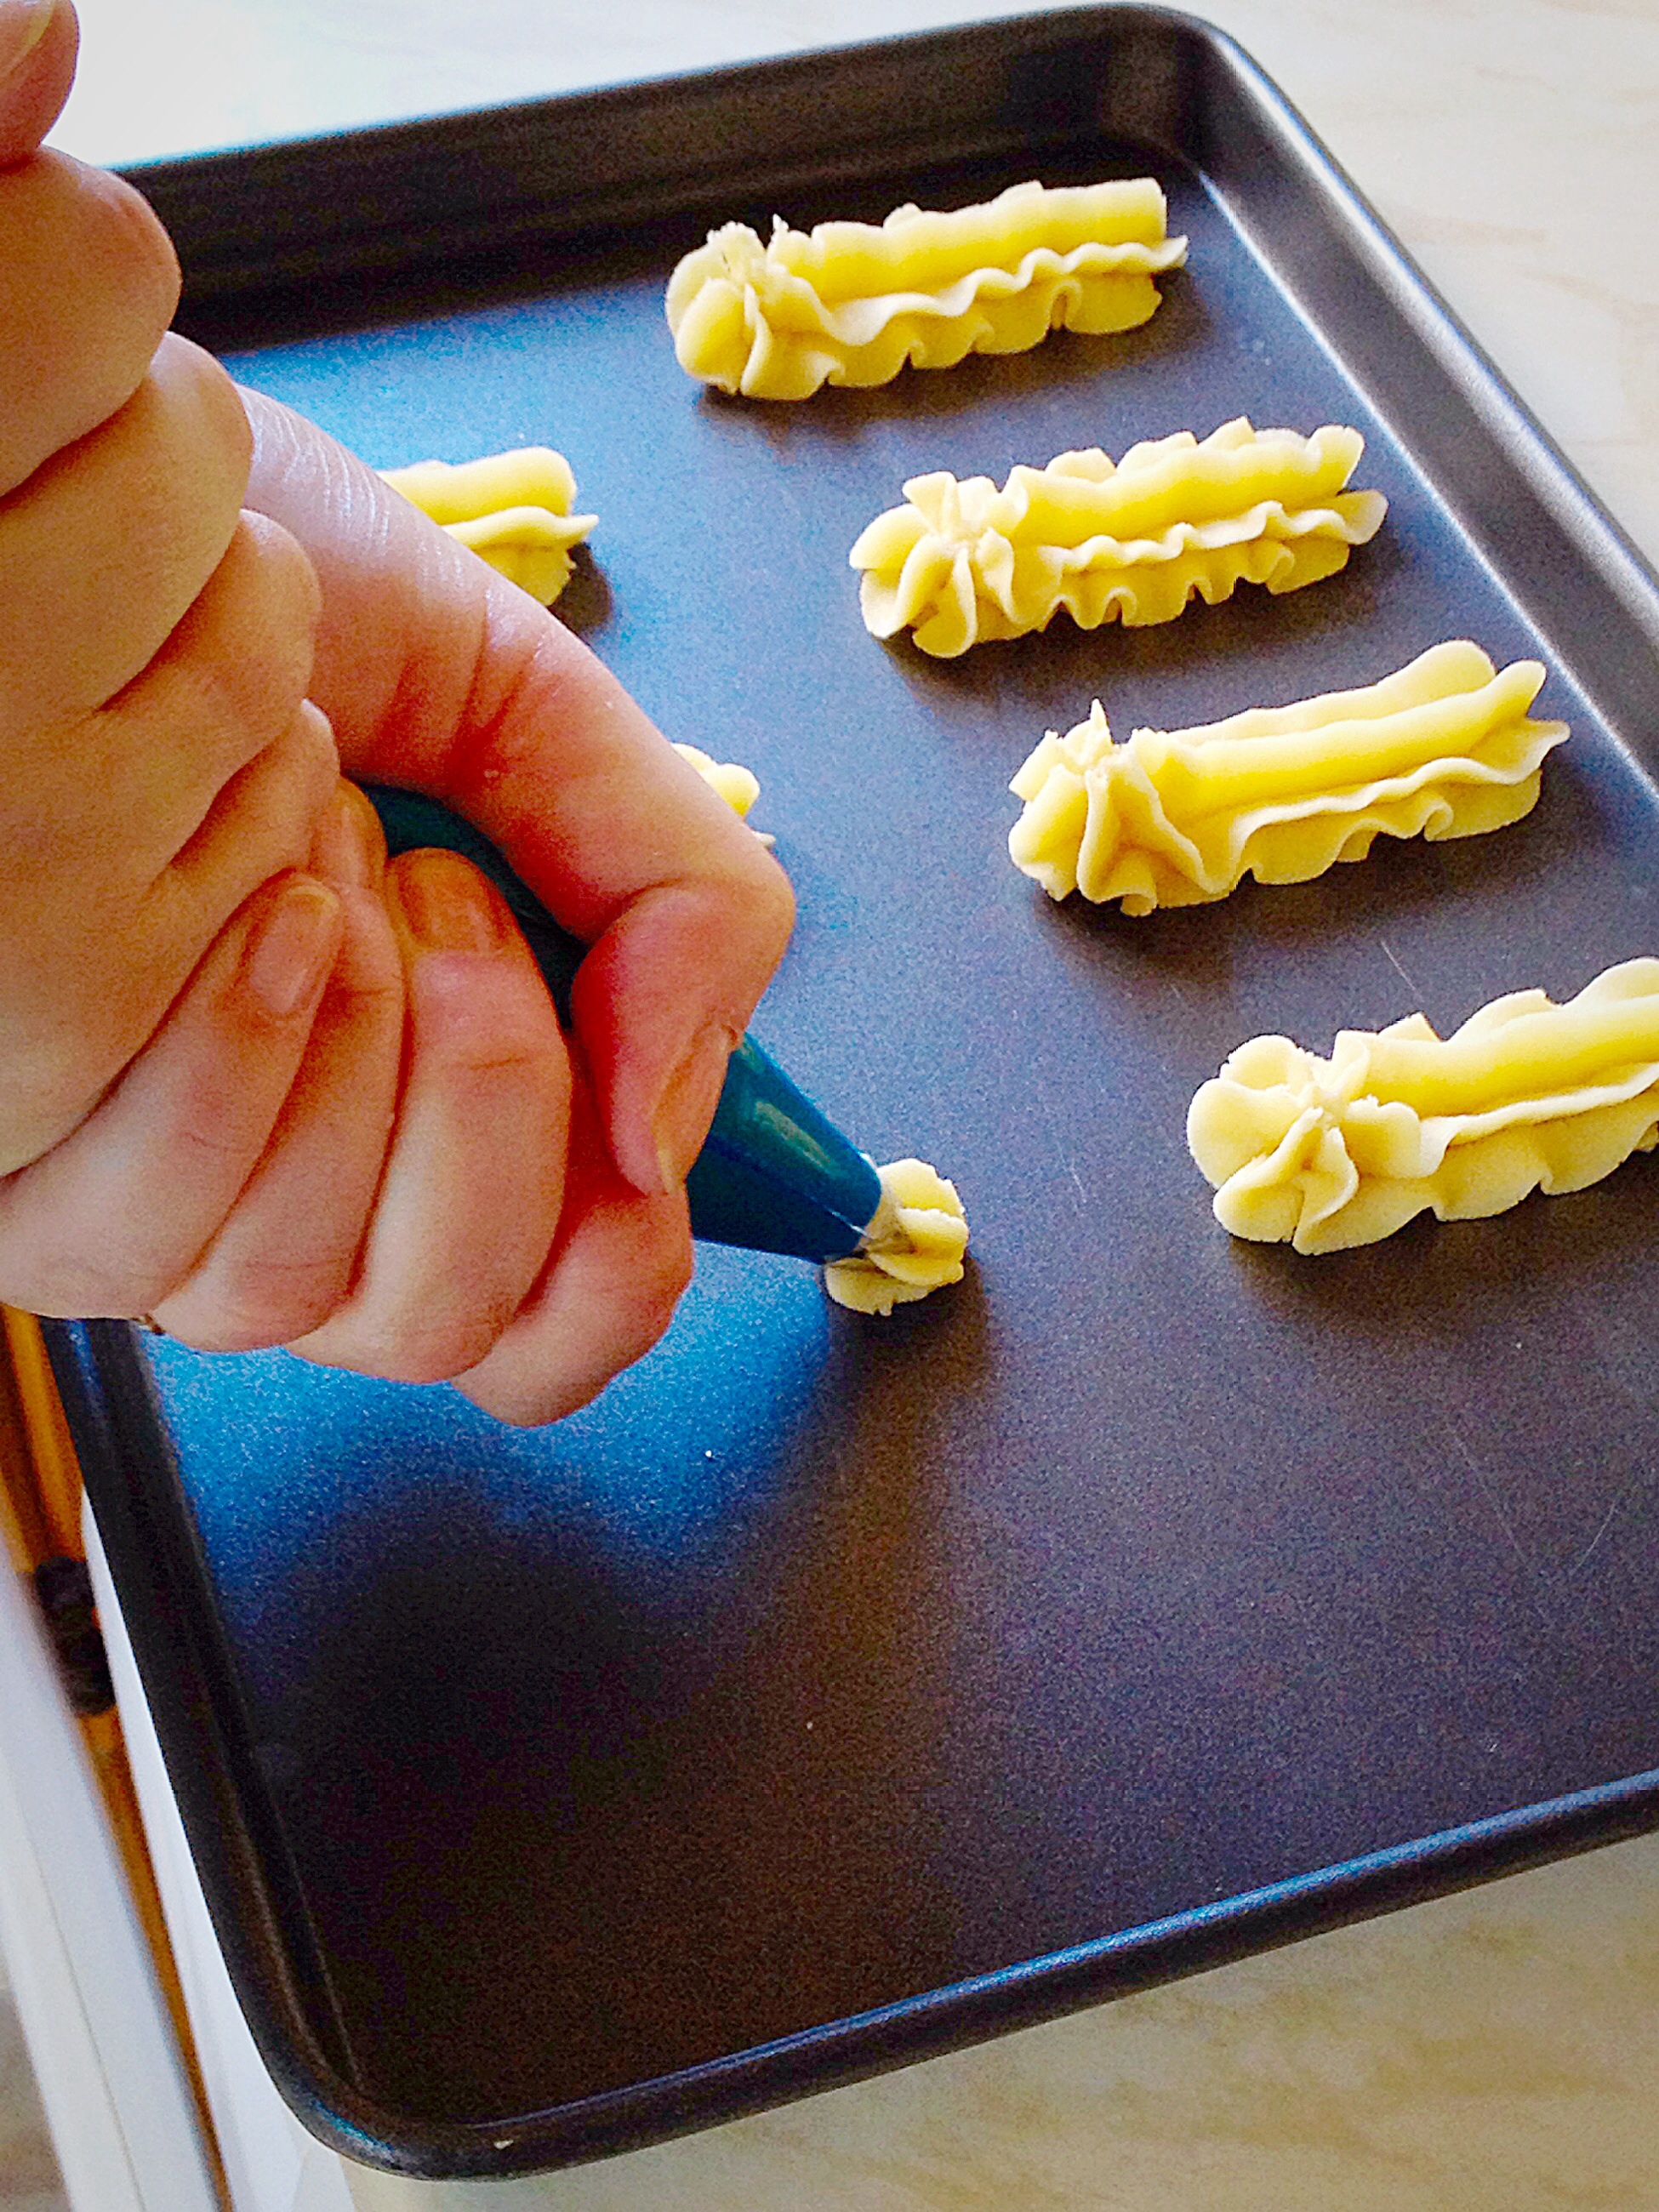
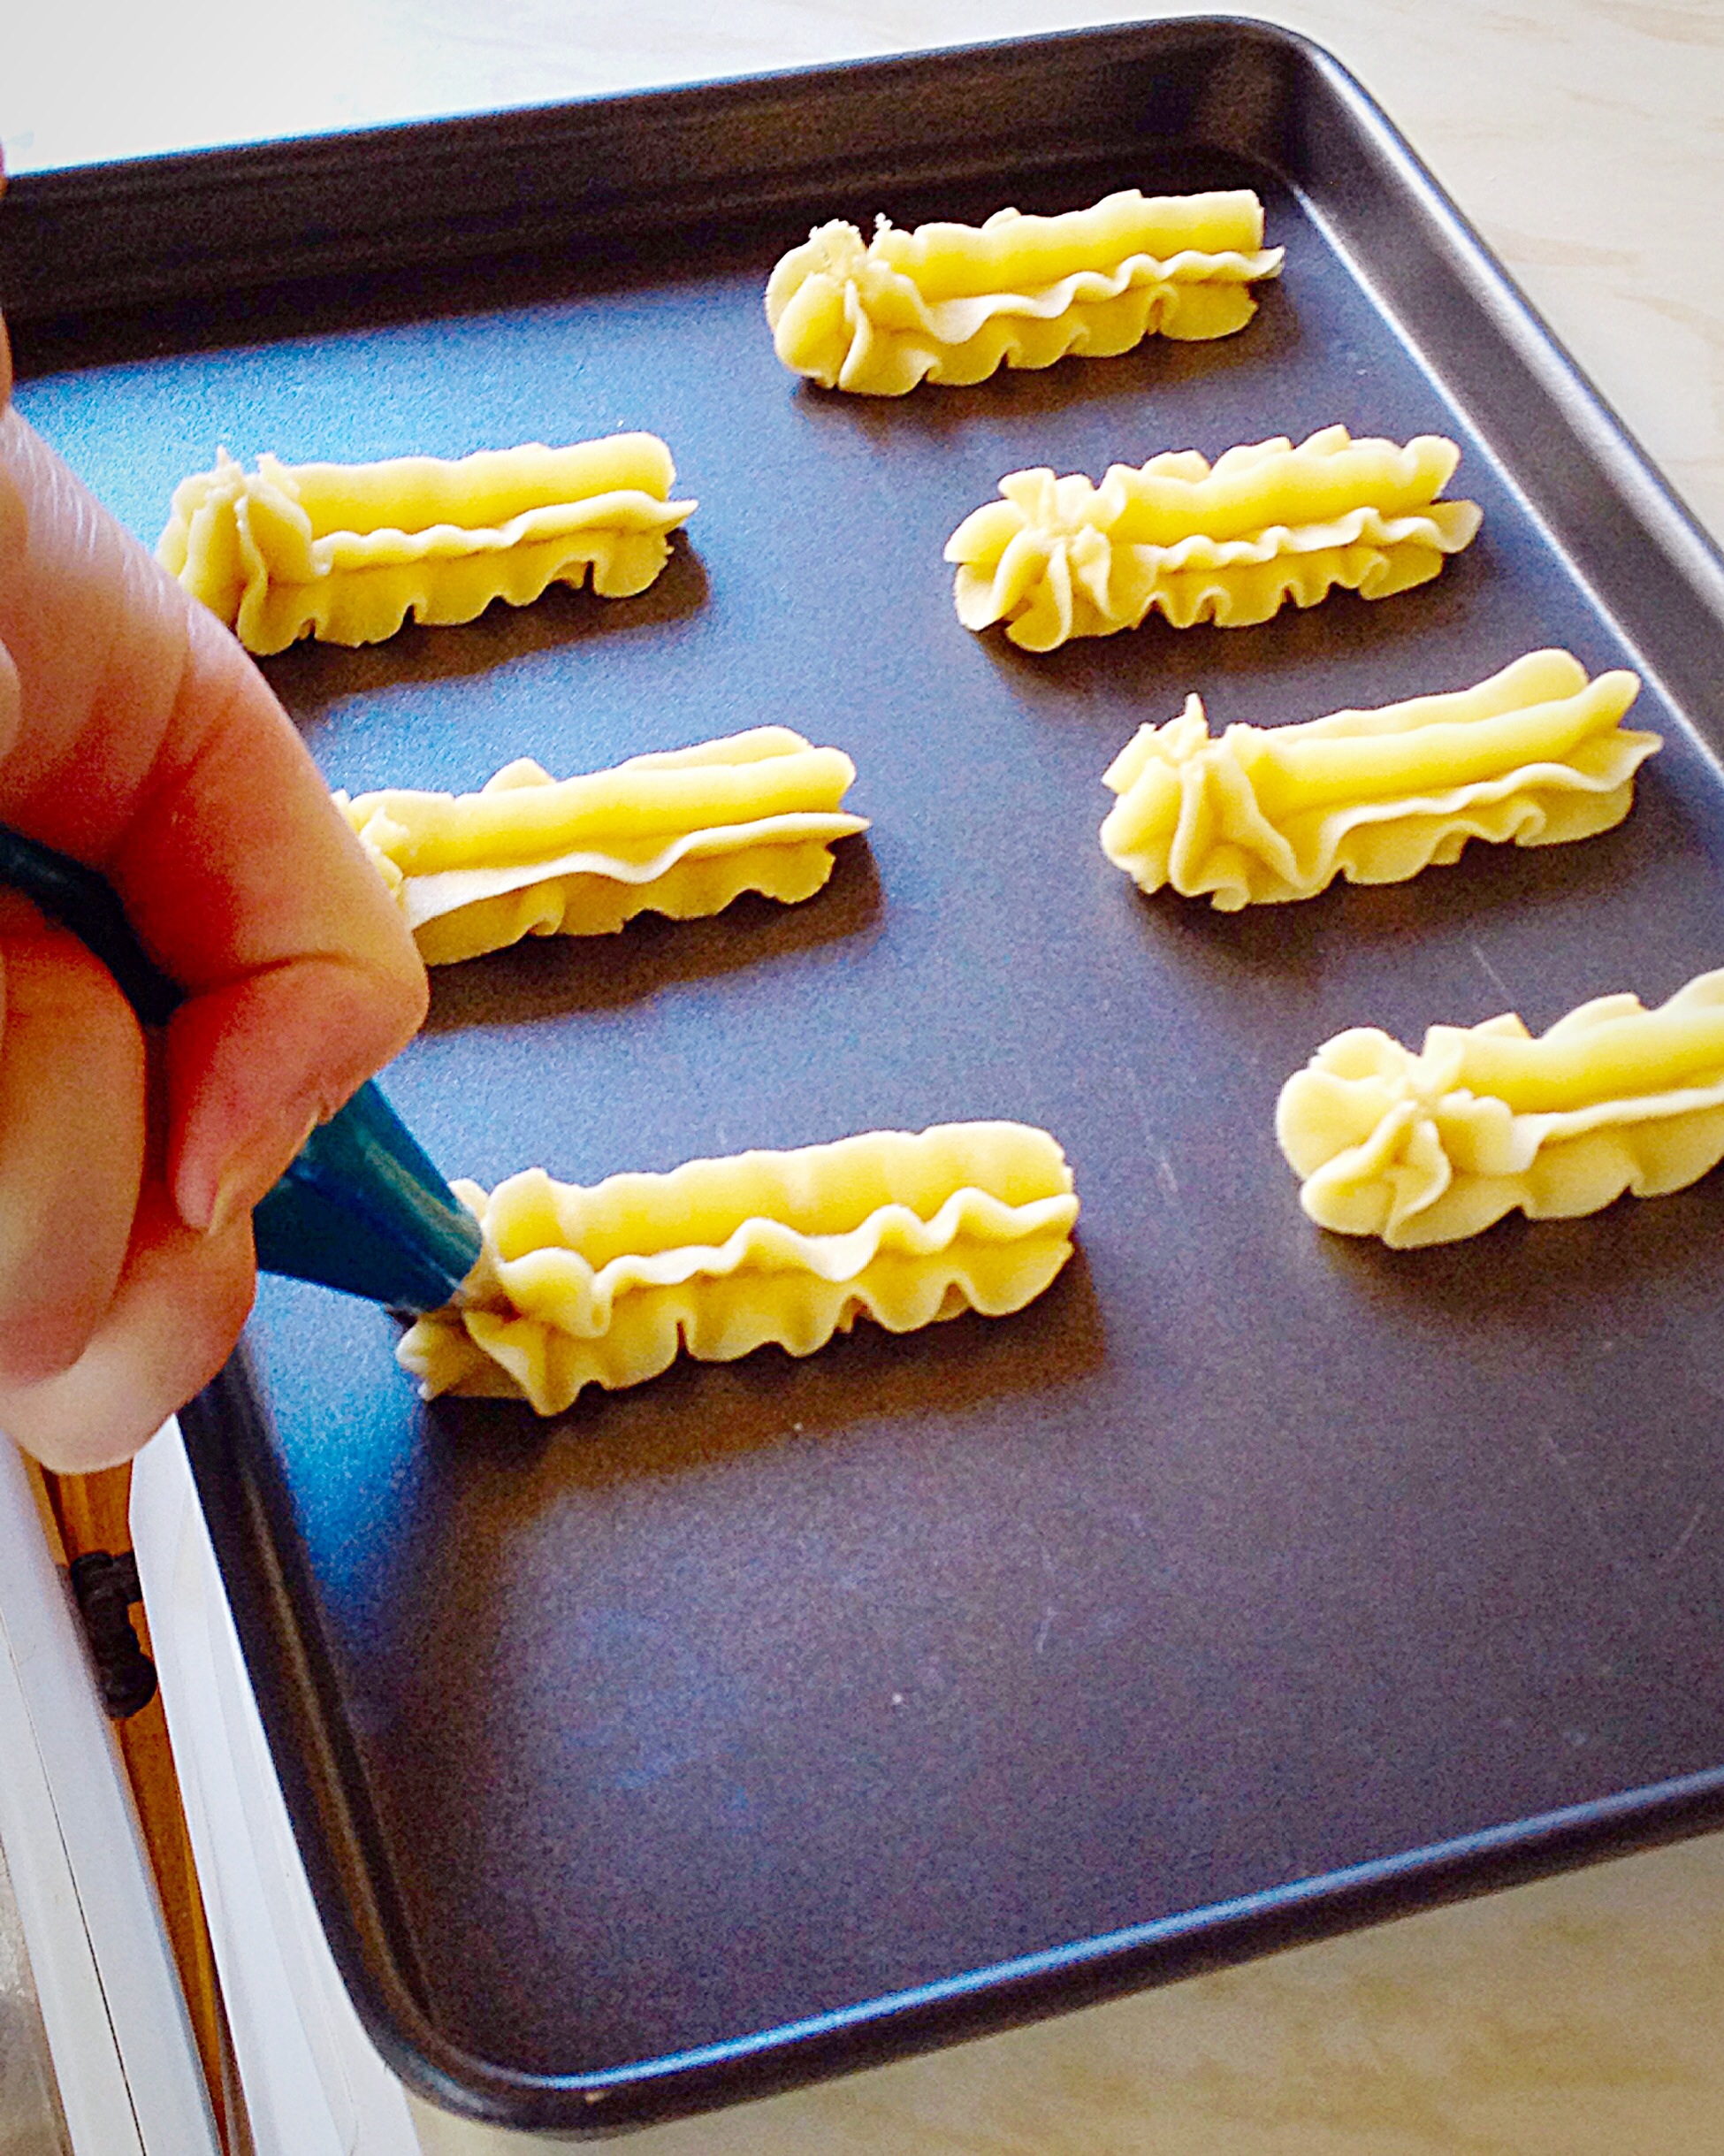
Piping The Viennese Fingers

Scoop the mixture into a piping bag fitted with a large star tip - I've used a disposable piping bag.
Scoop the mixture into a piping bag fitted with a large star tip – I’ve used a disposable piping bag.

Ensure your piping bag is fitted with a large star tip, Wilton #1M is ideal.

Either use parchment paper lined baking sheets or non stick – I used a combination of both.

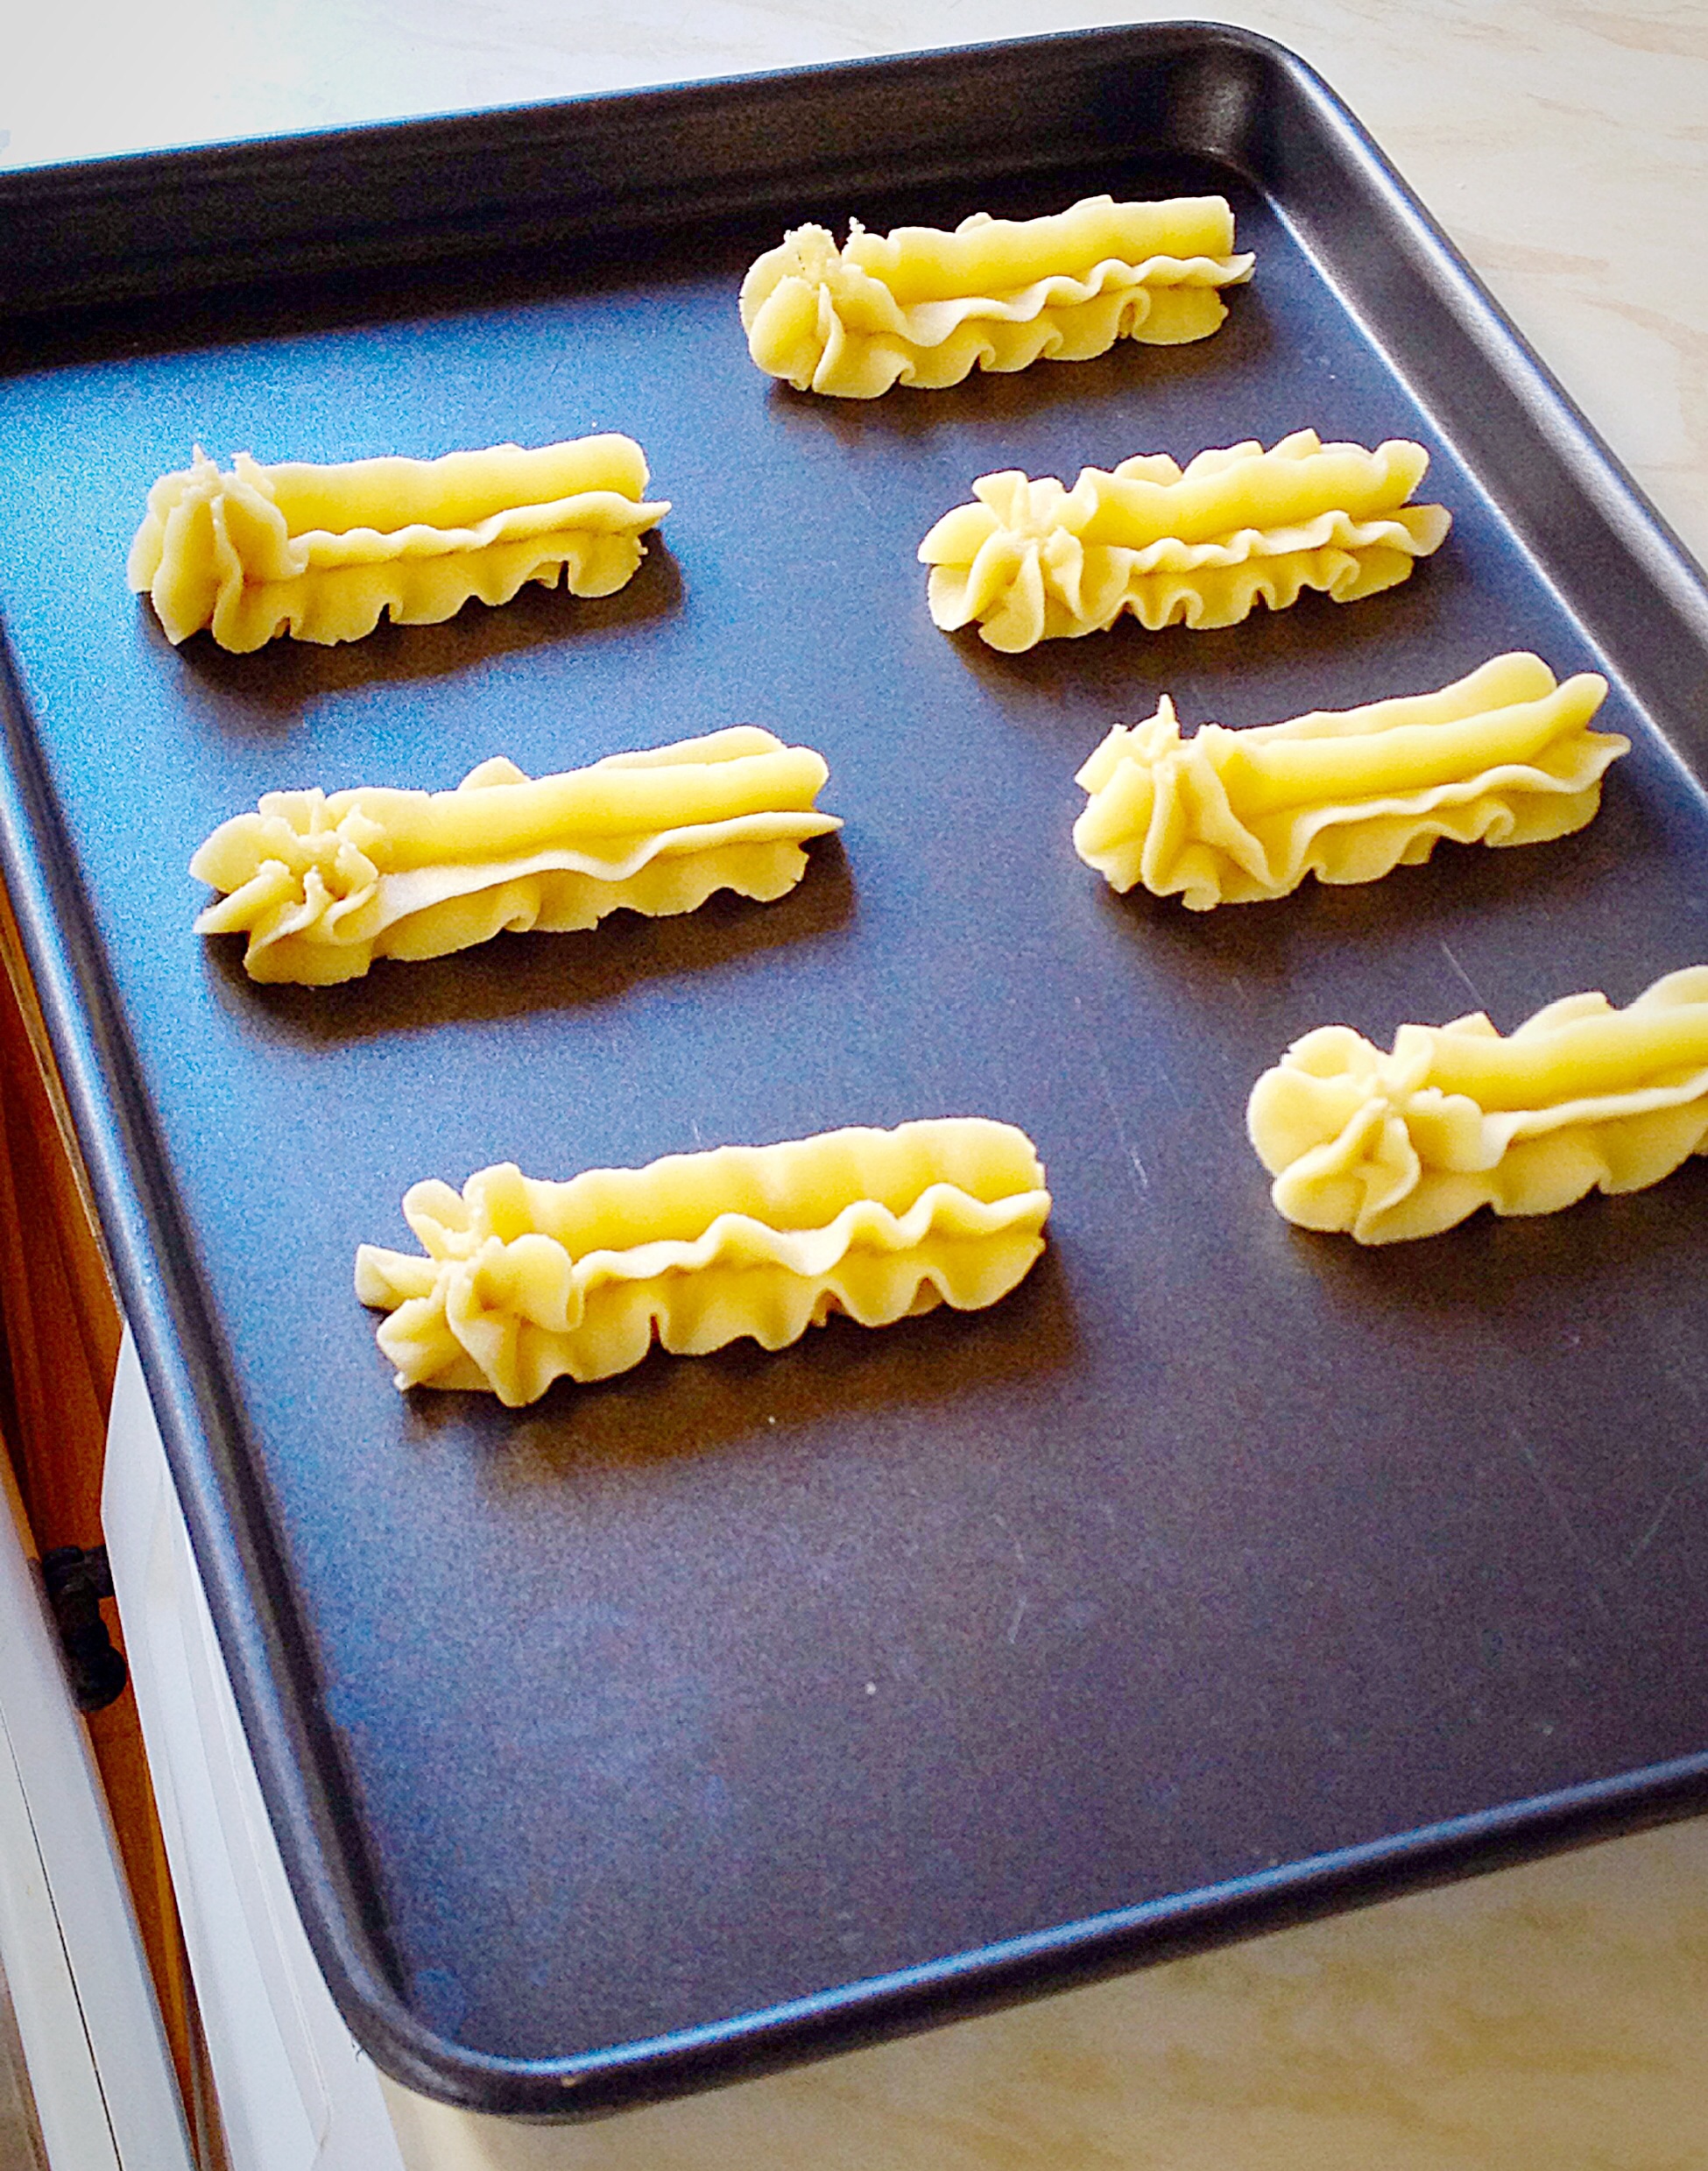
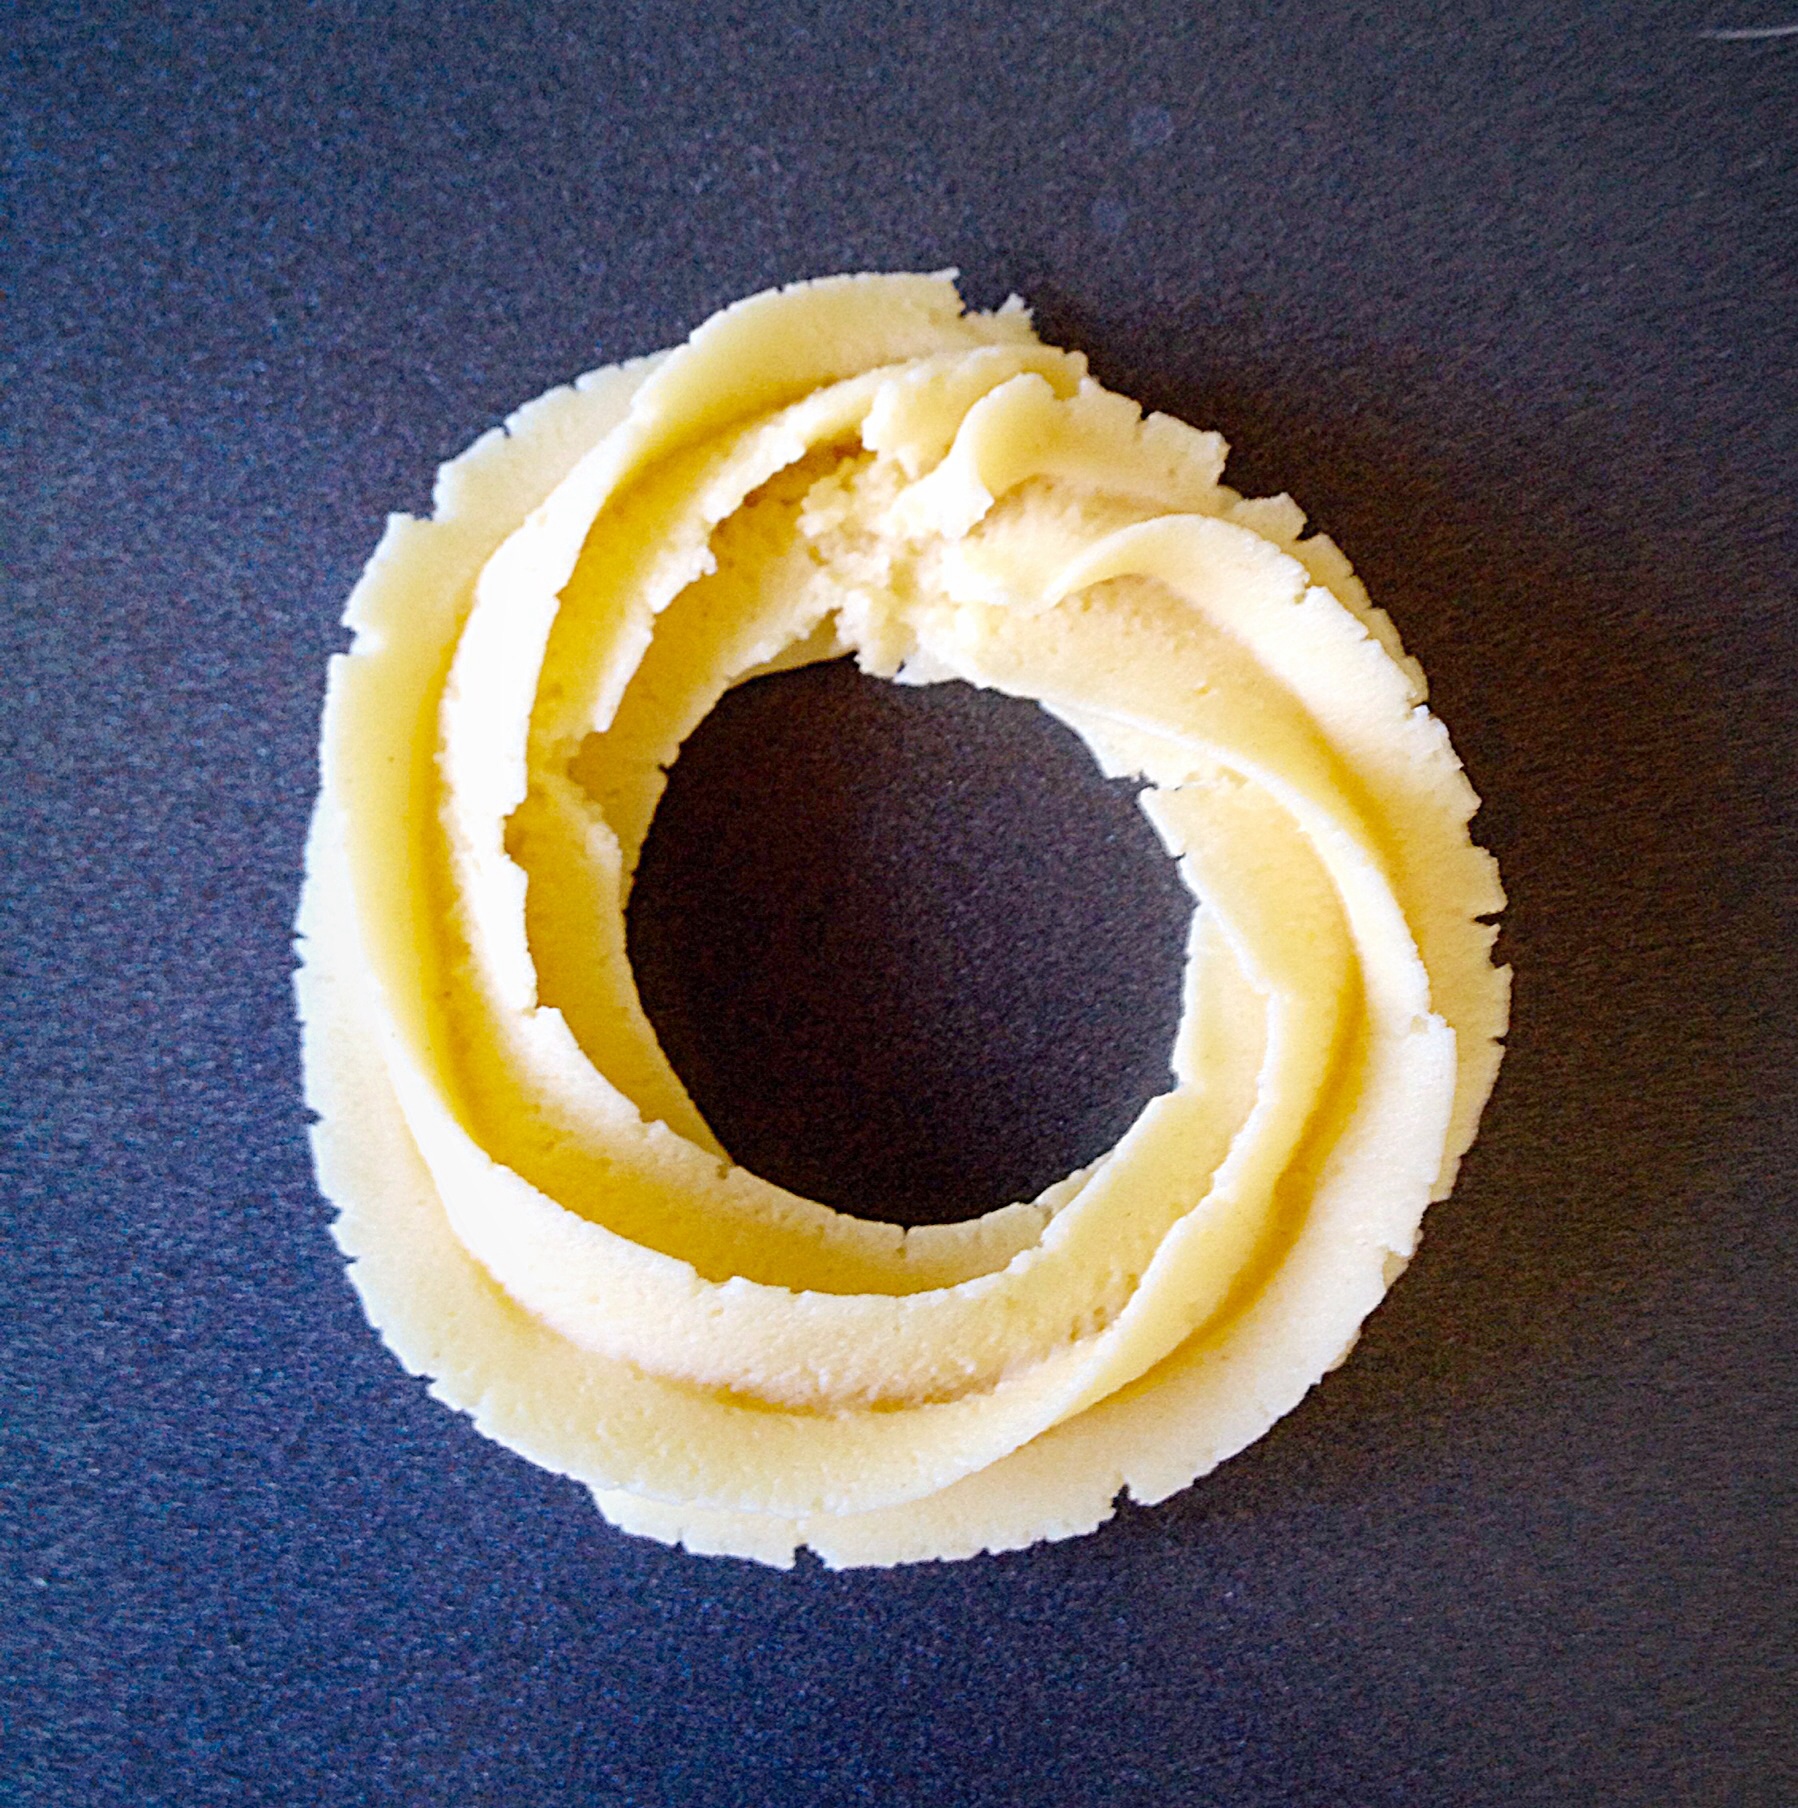
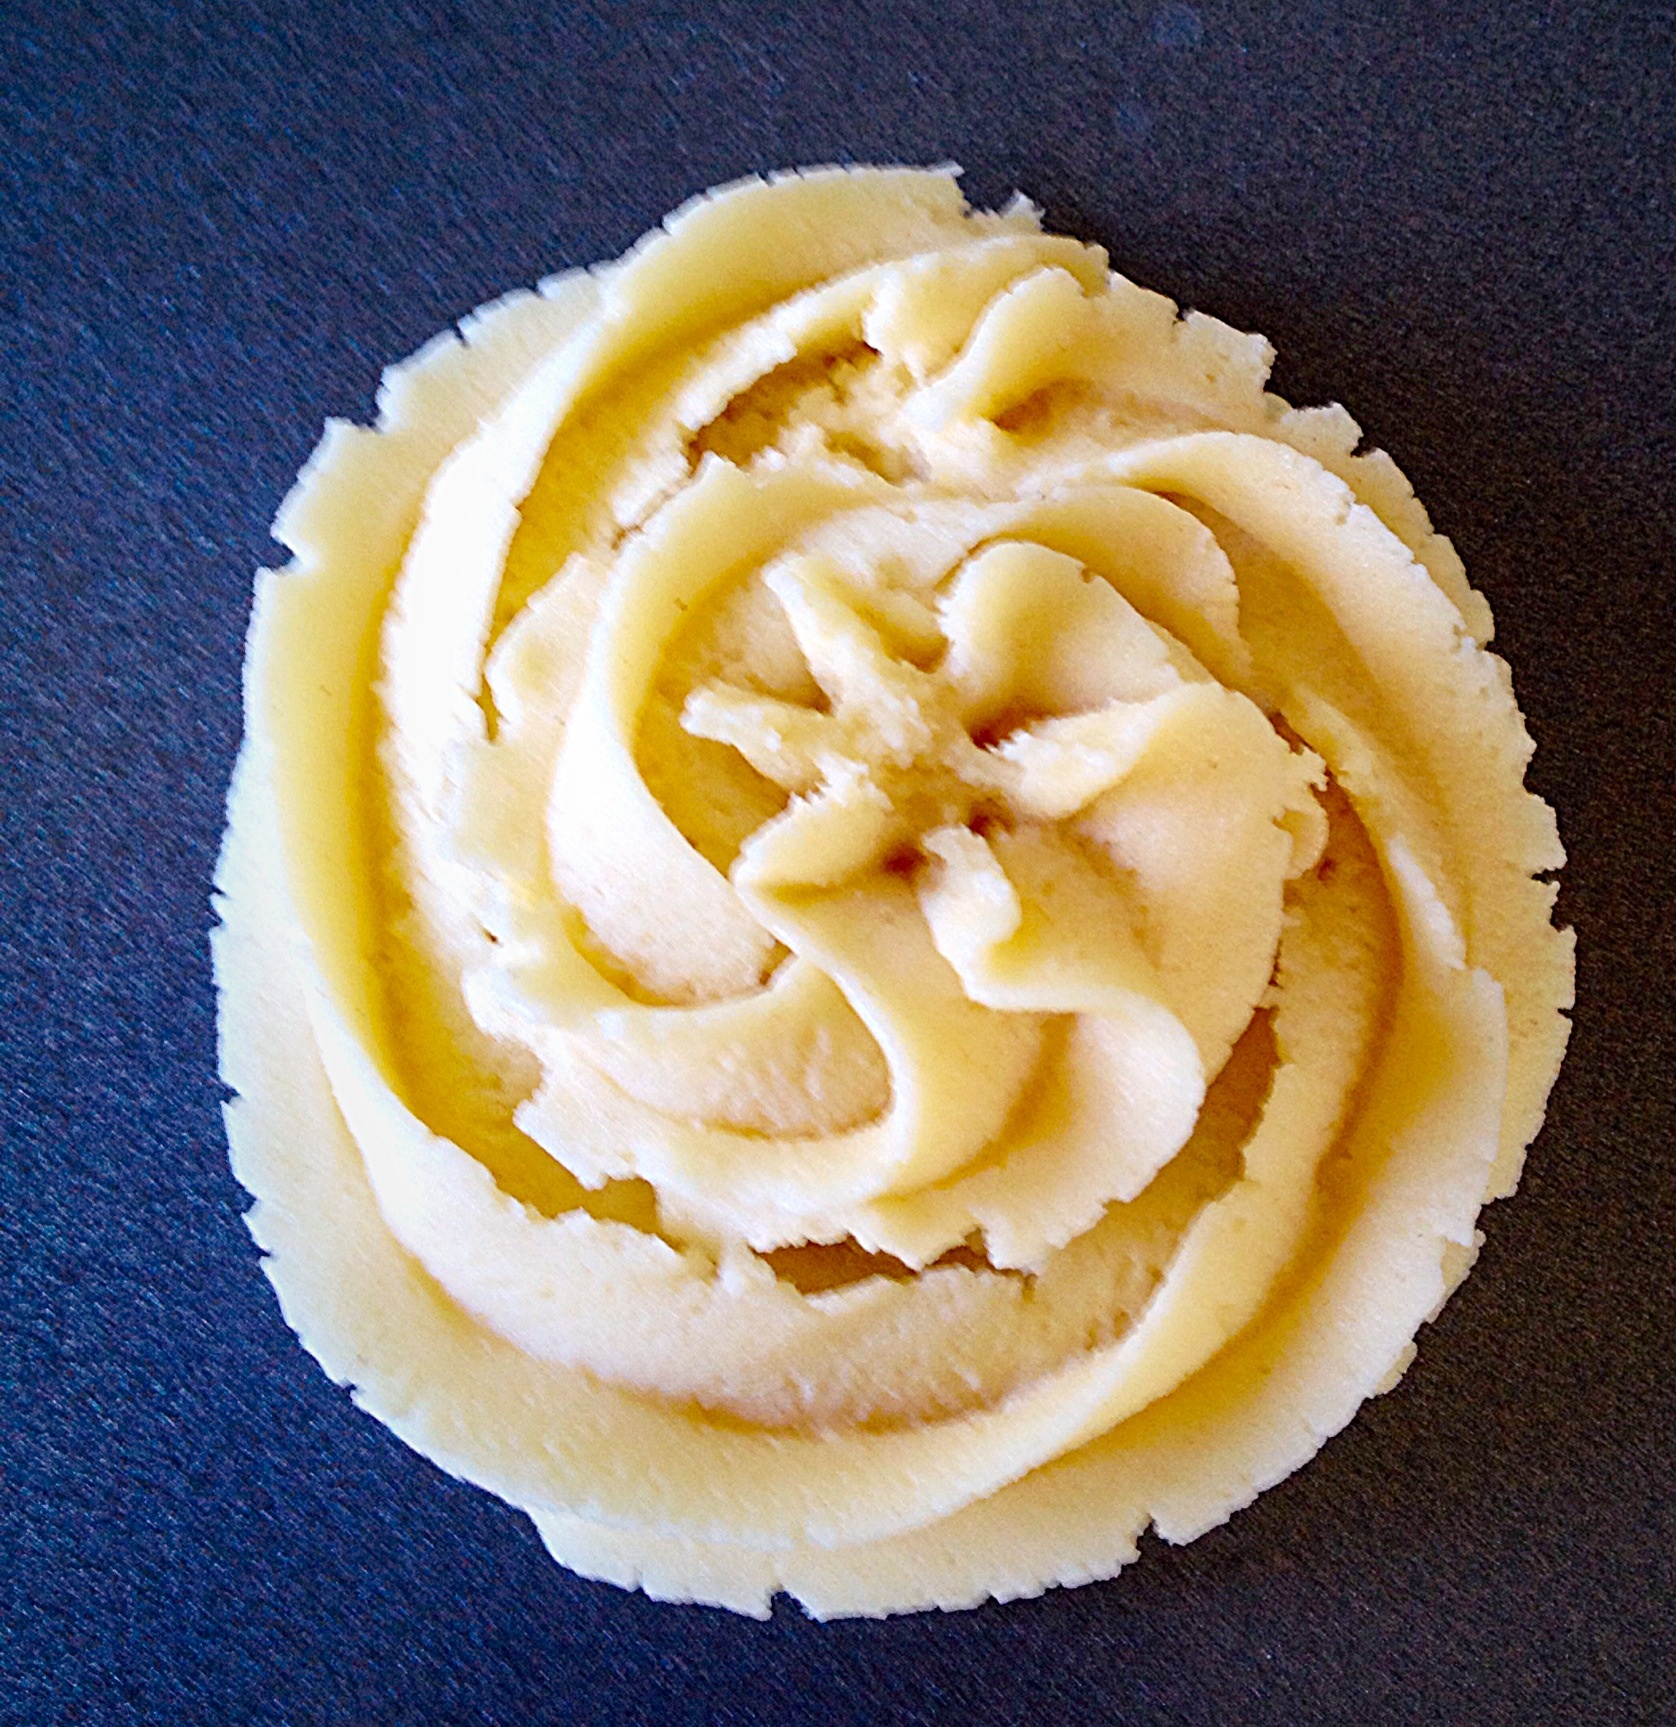
Here’s how to pipe the Viennese Fingers in pictures –

The mixture is quite stiff! Use one hand to guide the tip and the other to apply pressure to the bag. Squeeze....
The mixture is quite stiff! Use one hand to guide the tip and the other to apply pressure to the bag. Squeeze….
Keeping the pressure on the bag, pipe slowly, in a straight line.......
Keeping the pressure on the bag, pipe slowly, in a straight line…….
Continue piping until the finger is 10cm/4" long. Release the pressure on the bag and pull the tip away.
Continue piping until the finger is 10cm/4″ long. Release the pressure on the bag and pull the tip away.
Soo pretty! Keep a piped finger's width between each one as they spread a little whilst baking.
Soo pretty! Keep a piped finger’s width between each one as they spread a little whilst baking.

And, if you fancy making the Viennese swirls, here is how you do it!

Pipe a swirl, approx 5cm/2" across.
Pipe a swirl, approx 5cm/2″ across.
Pipe inside the swirl in a circular motion, until the circle is filled in. Bring the piping tip to the centre and release the pressure.

Baking The Viennese Fingers

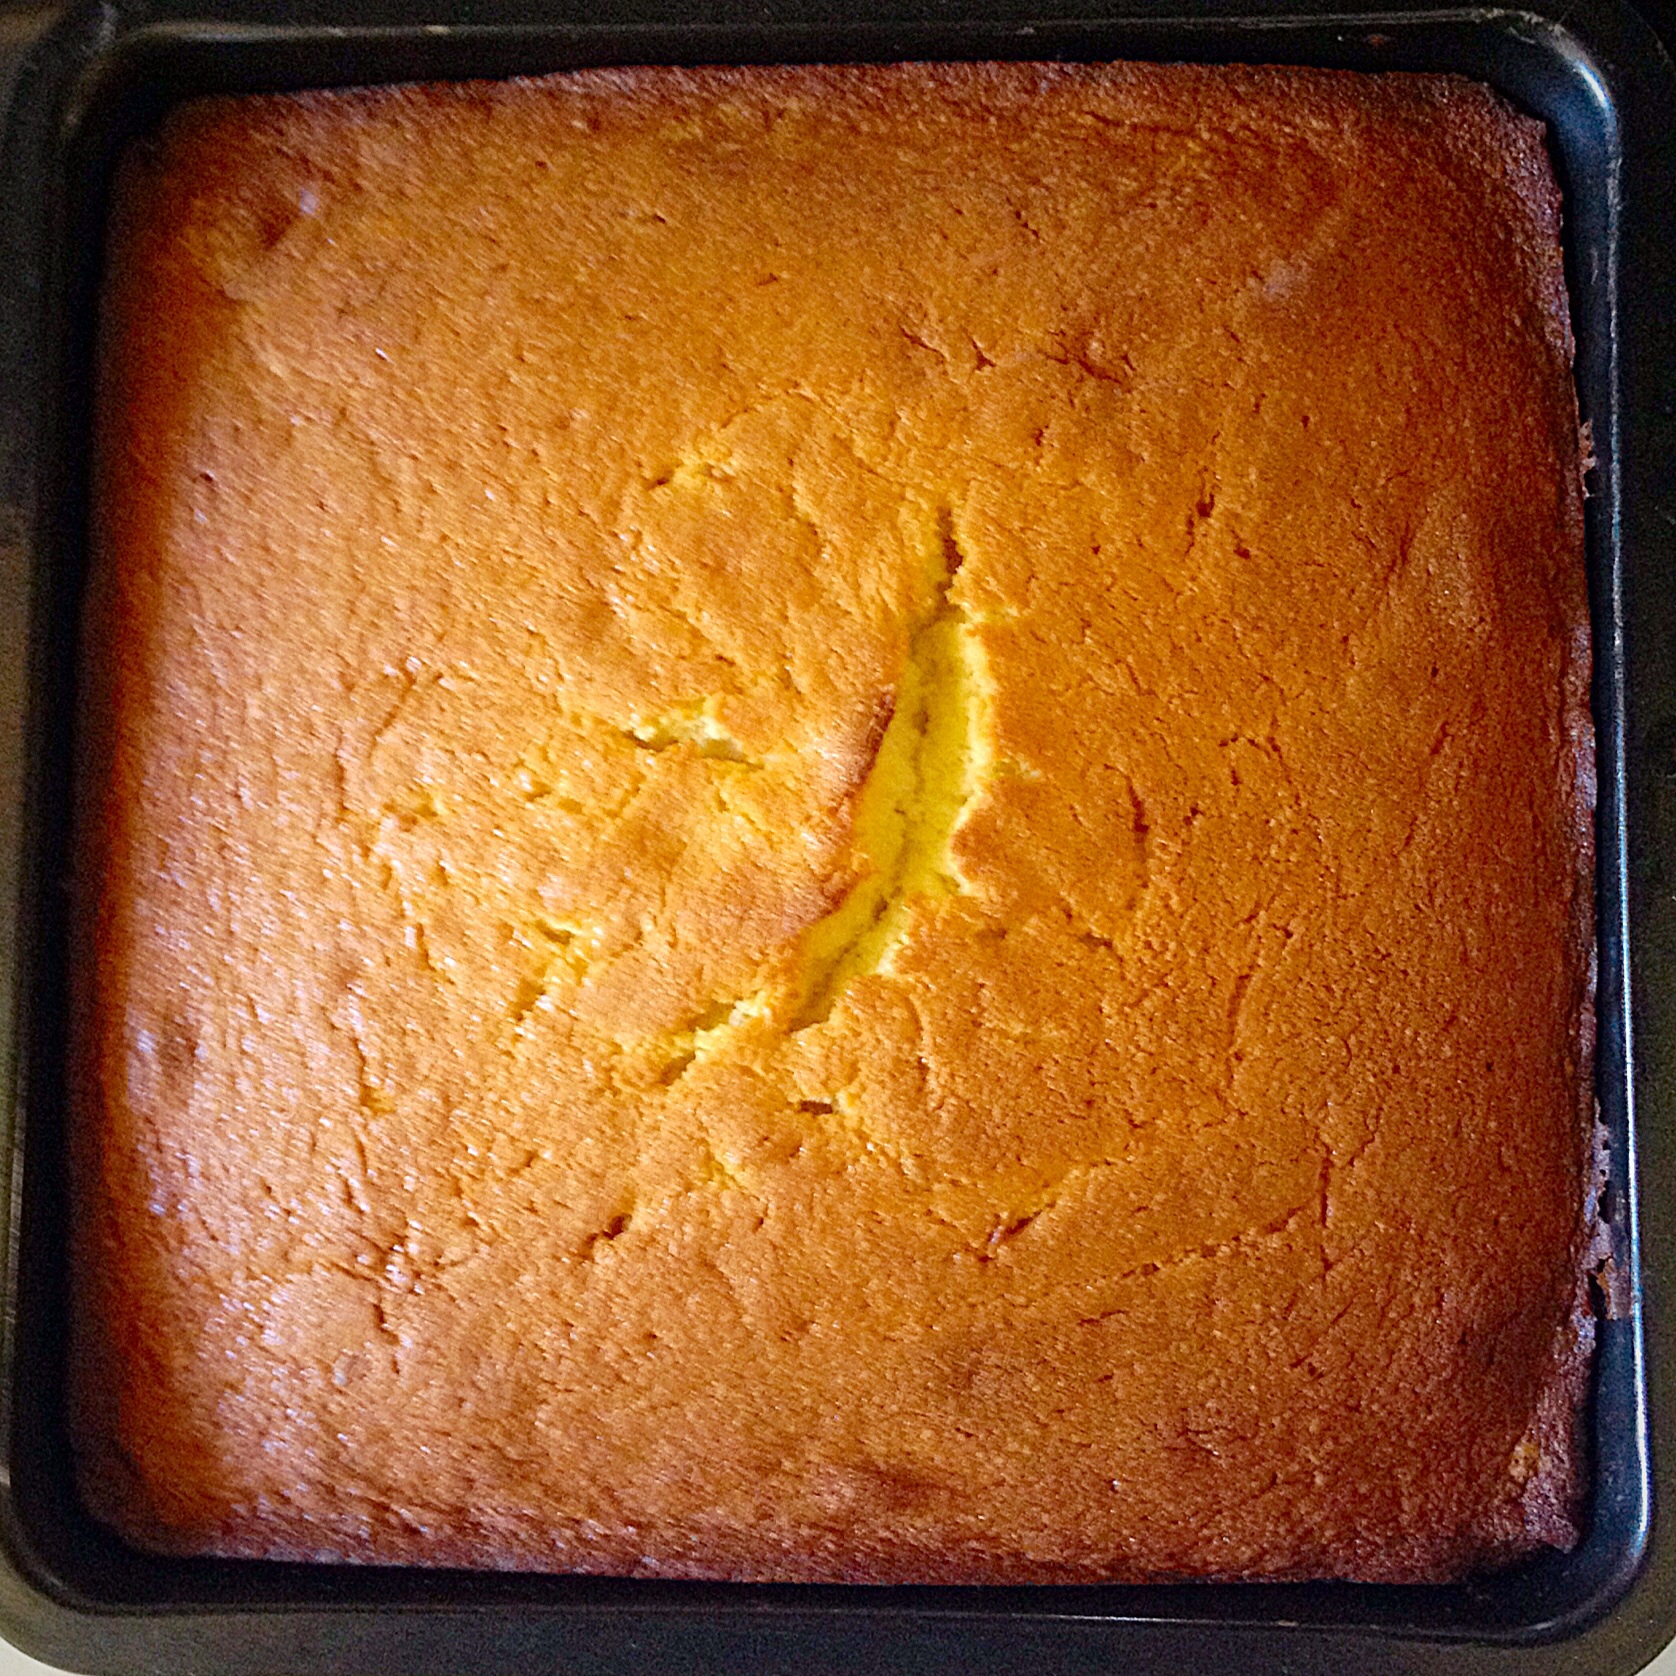
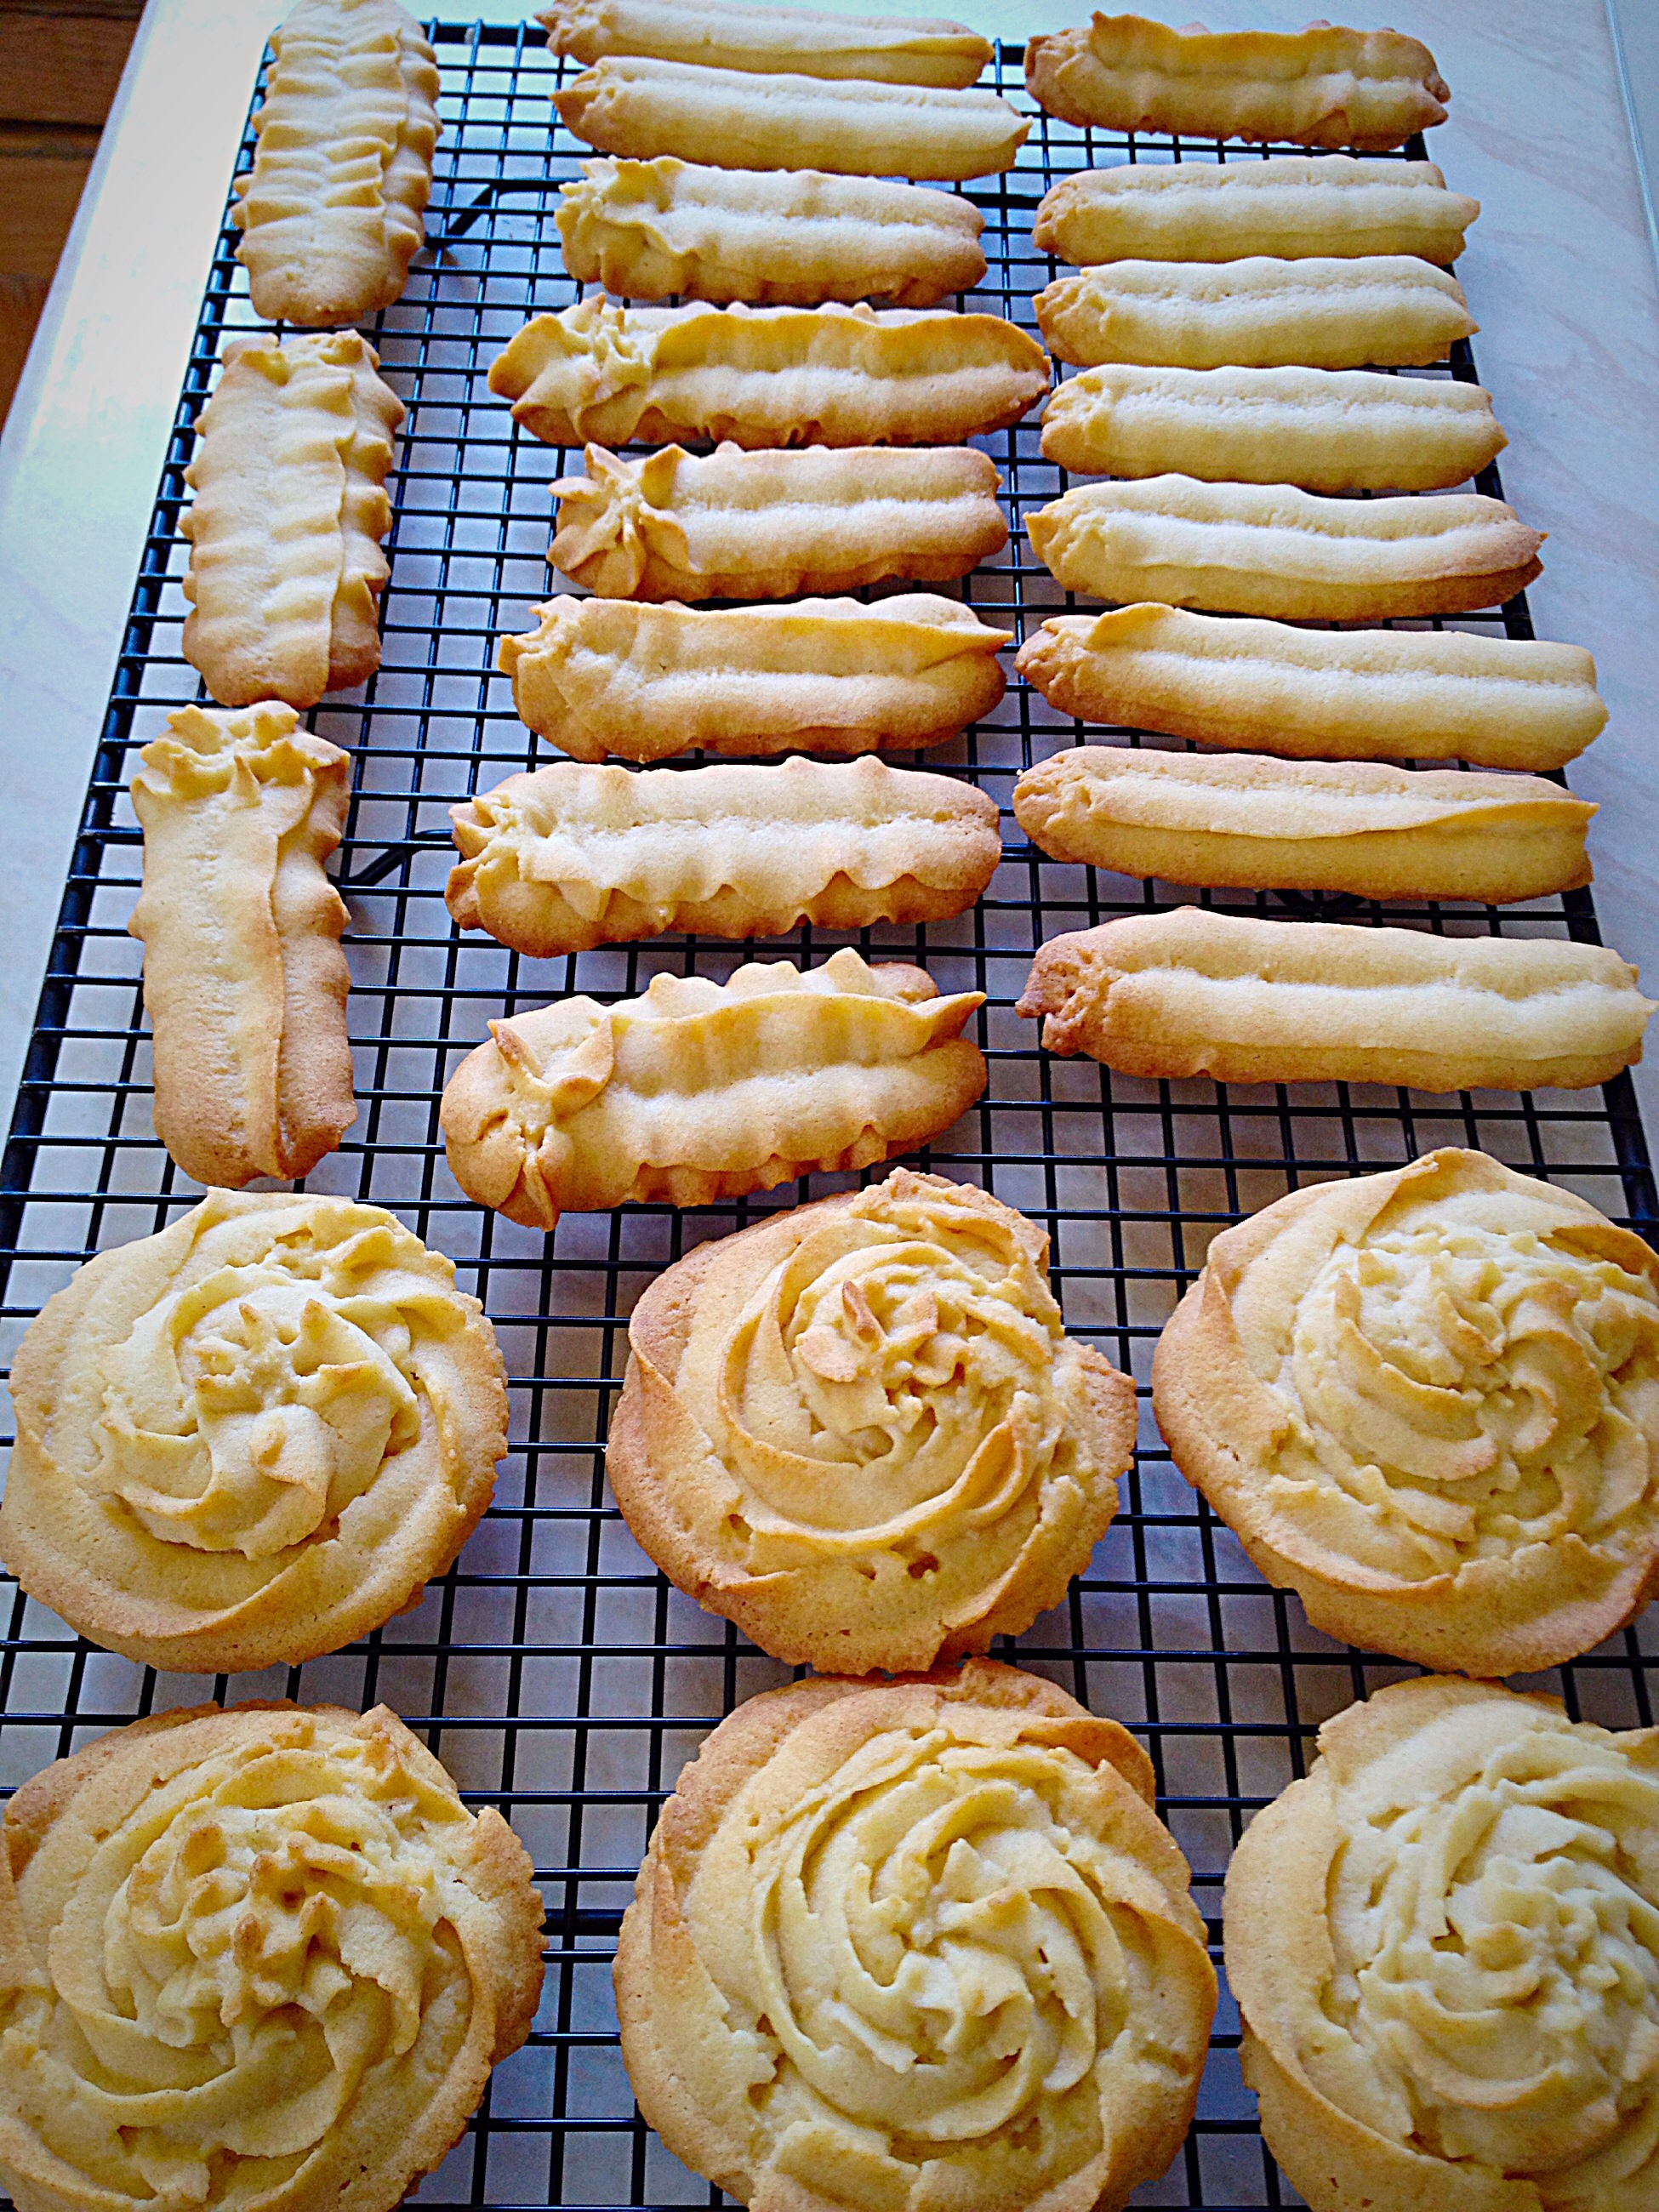
Place the swirls and fingers in the oven. Bake the fingers for 10 minutes and the swirls for 10-12 minutes. They are cooked when they have turned a light, golden colour.

Beautifully golden, cooked Viennese Fingers.
A gorgeous, golden, Viennese Swirl.


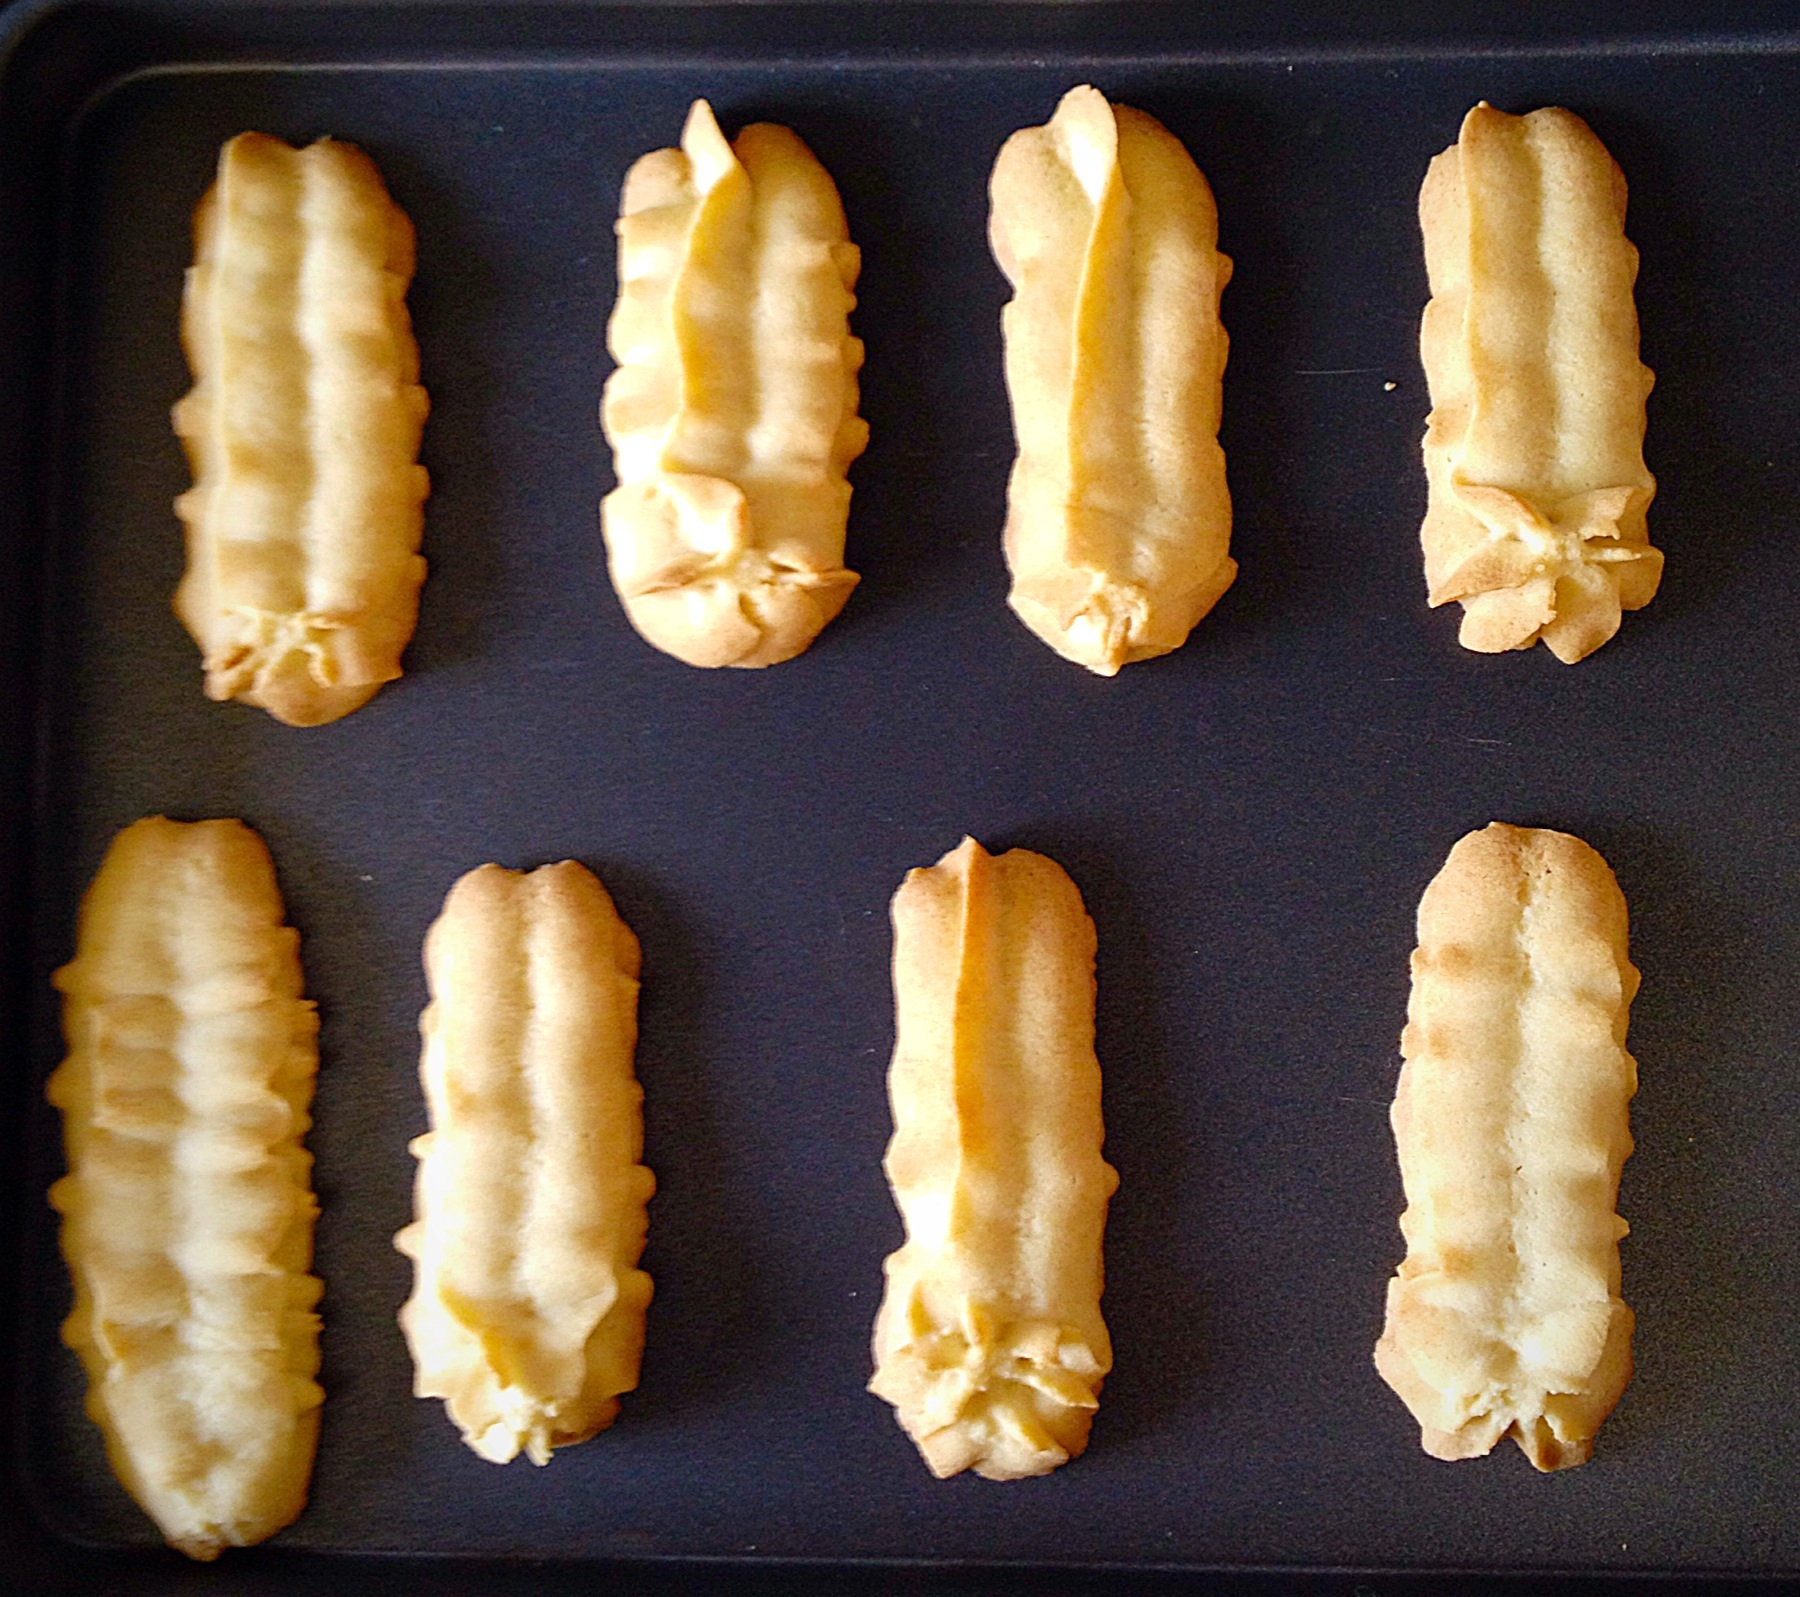
As soon as the biscuits are baked remove from the oven. Leave to cool on the baking sheets for a couple of minutes and then, using a palette knife, move the fingers and swirls to a cooling rack.

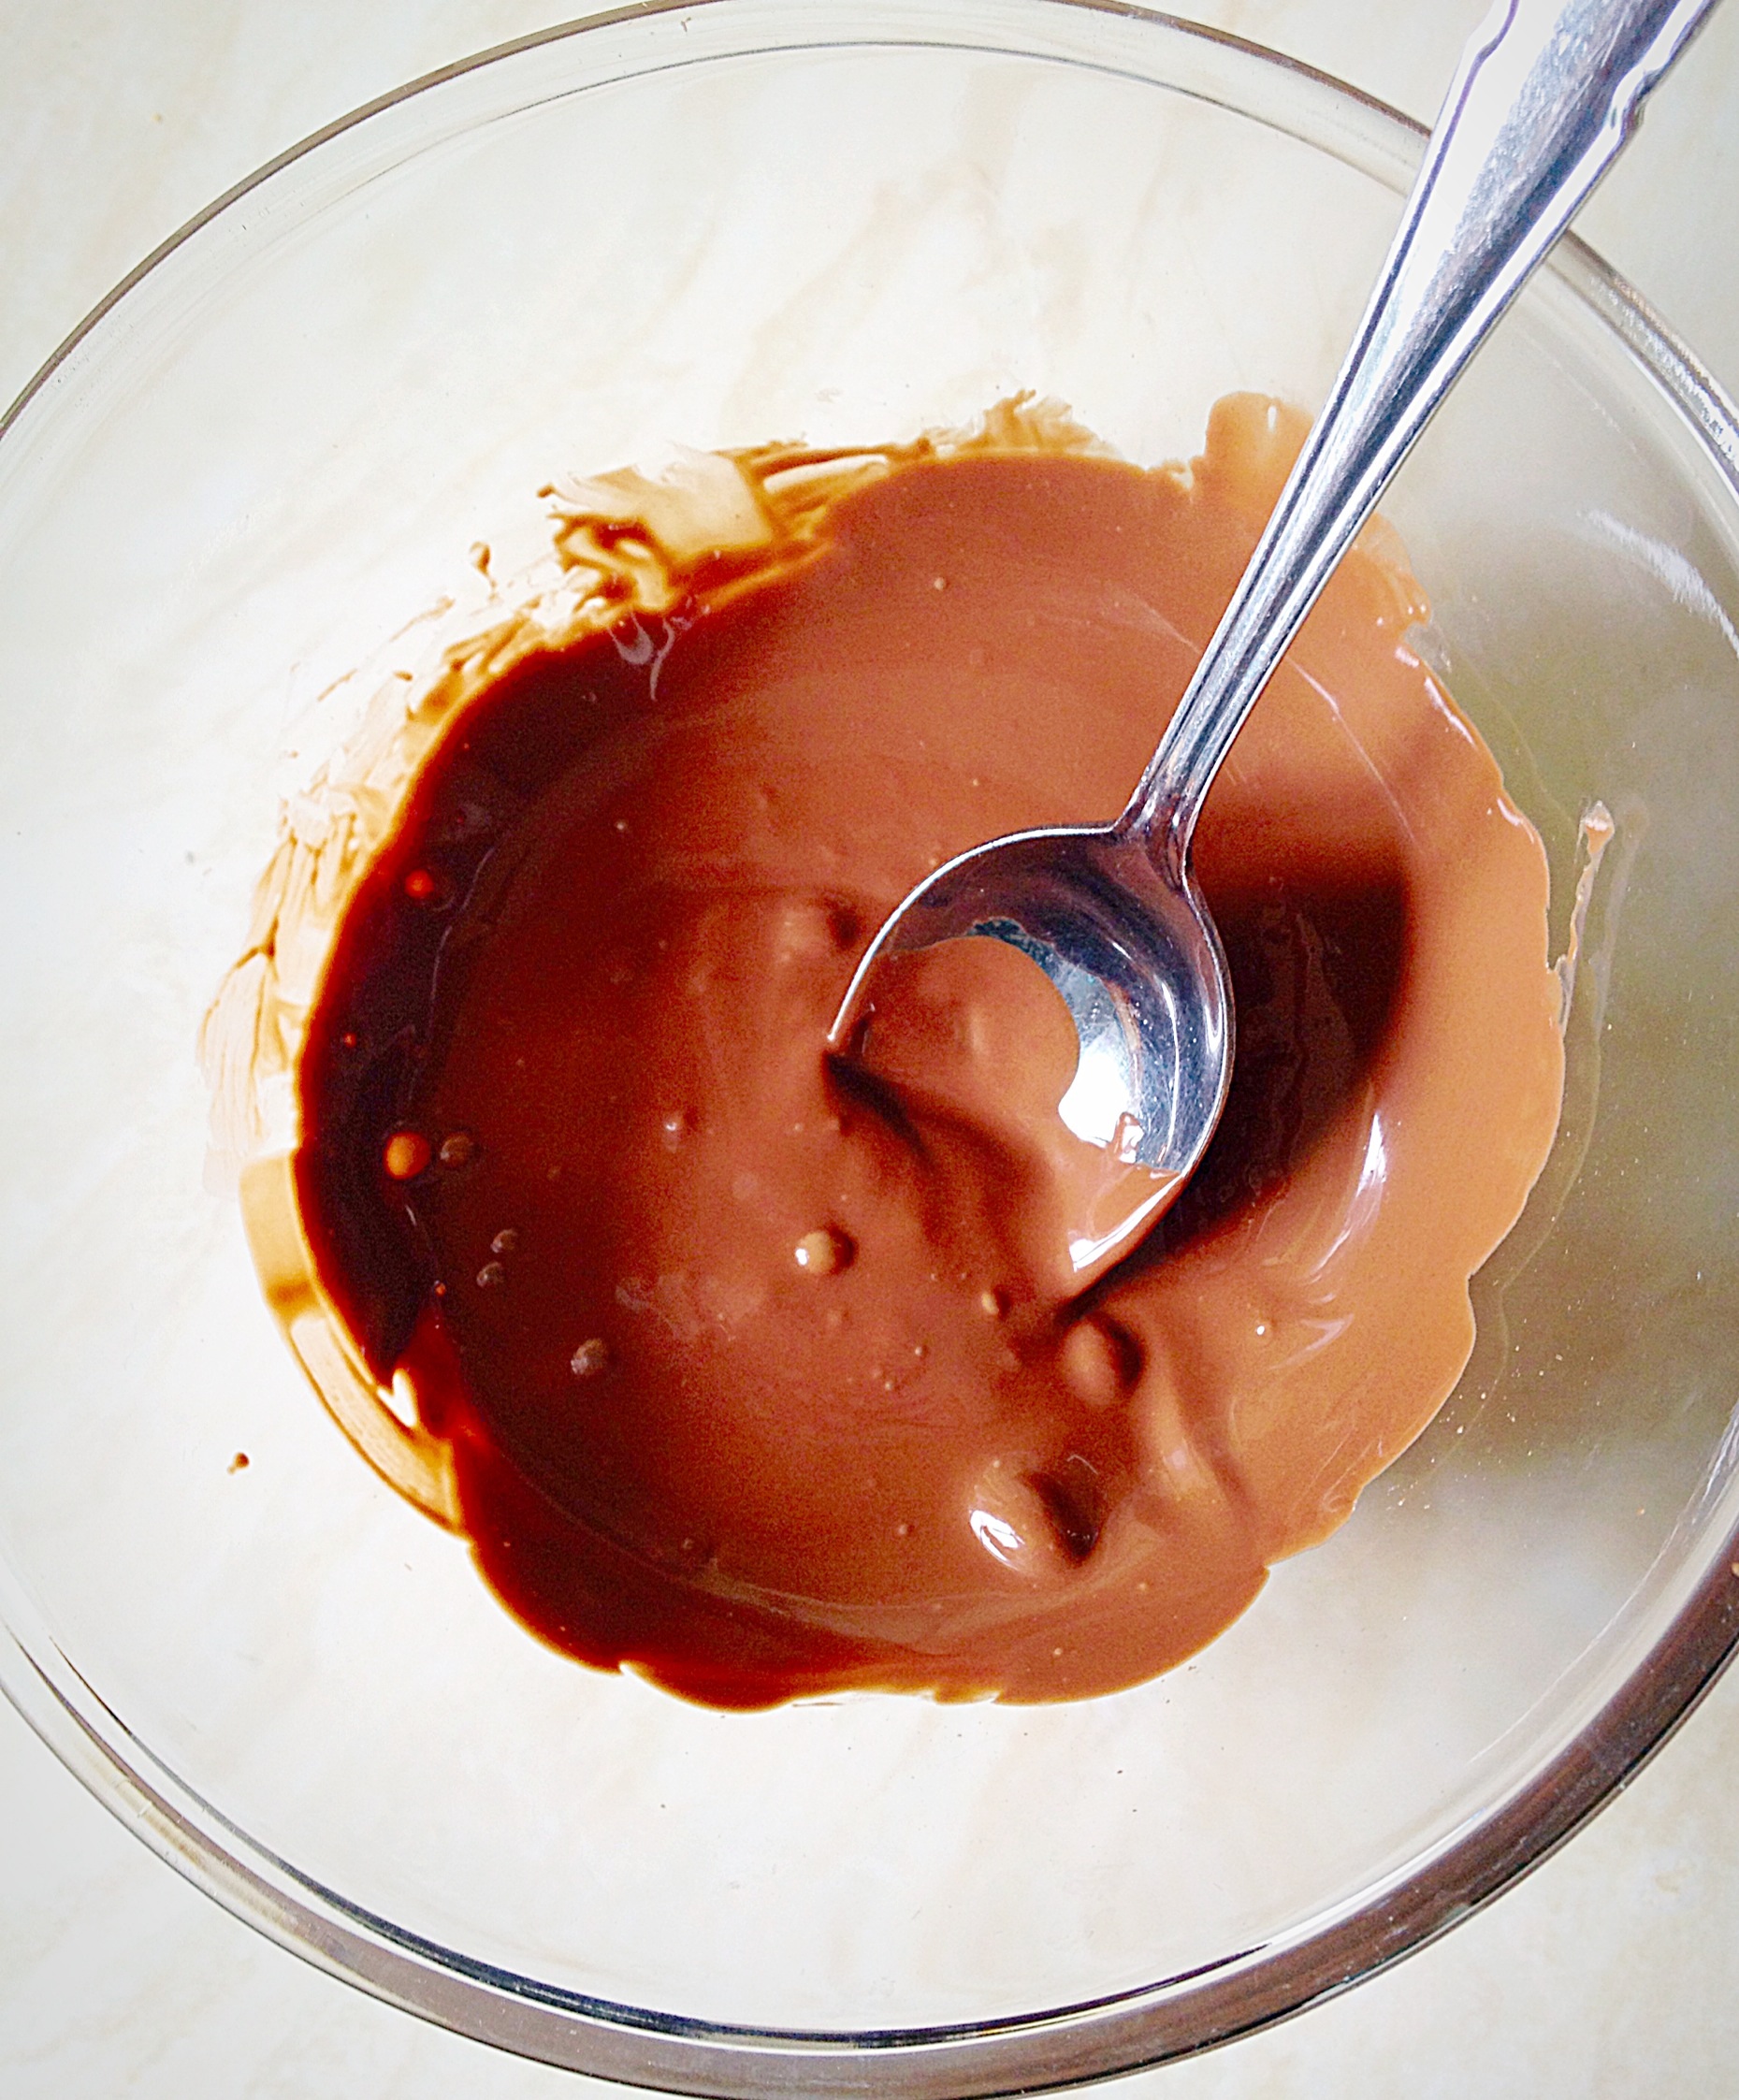
Dipping The Viennese Fingers In Chocolate

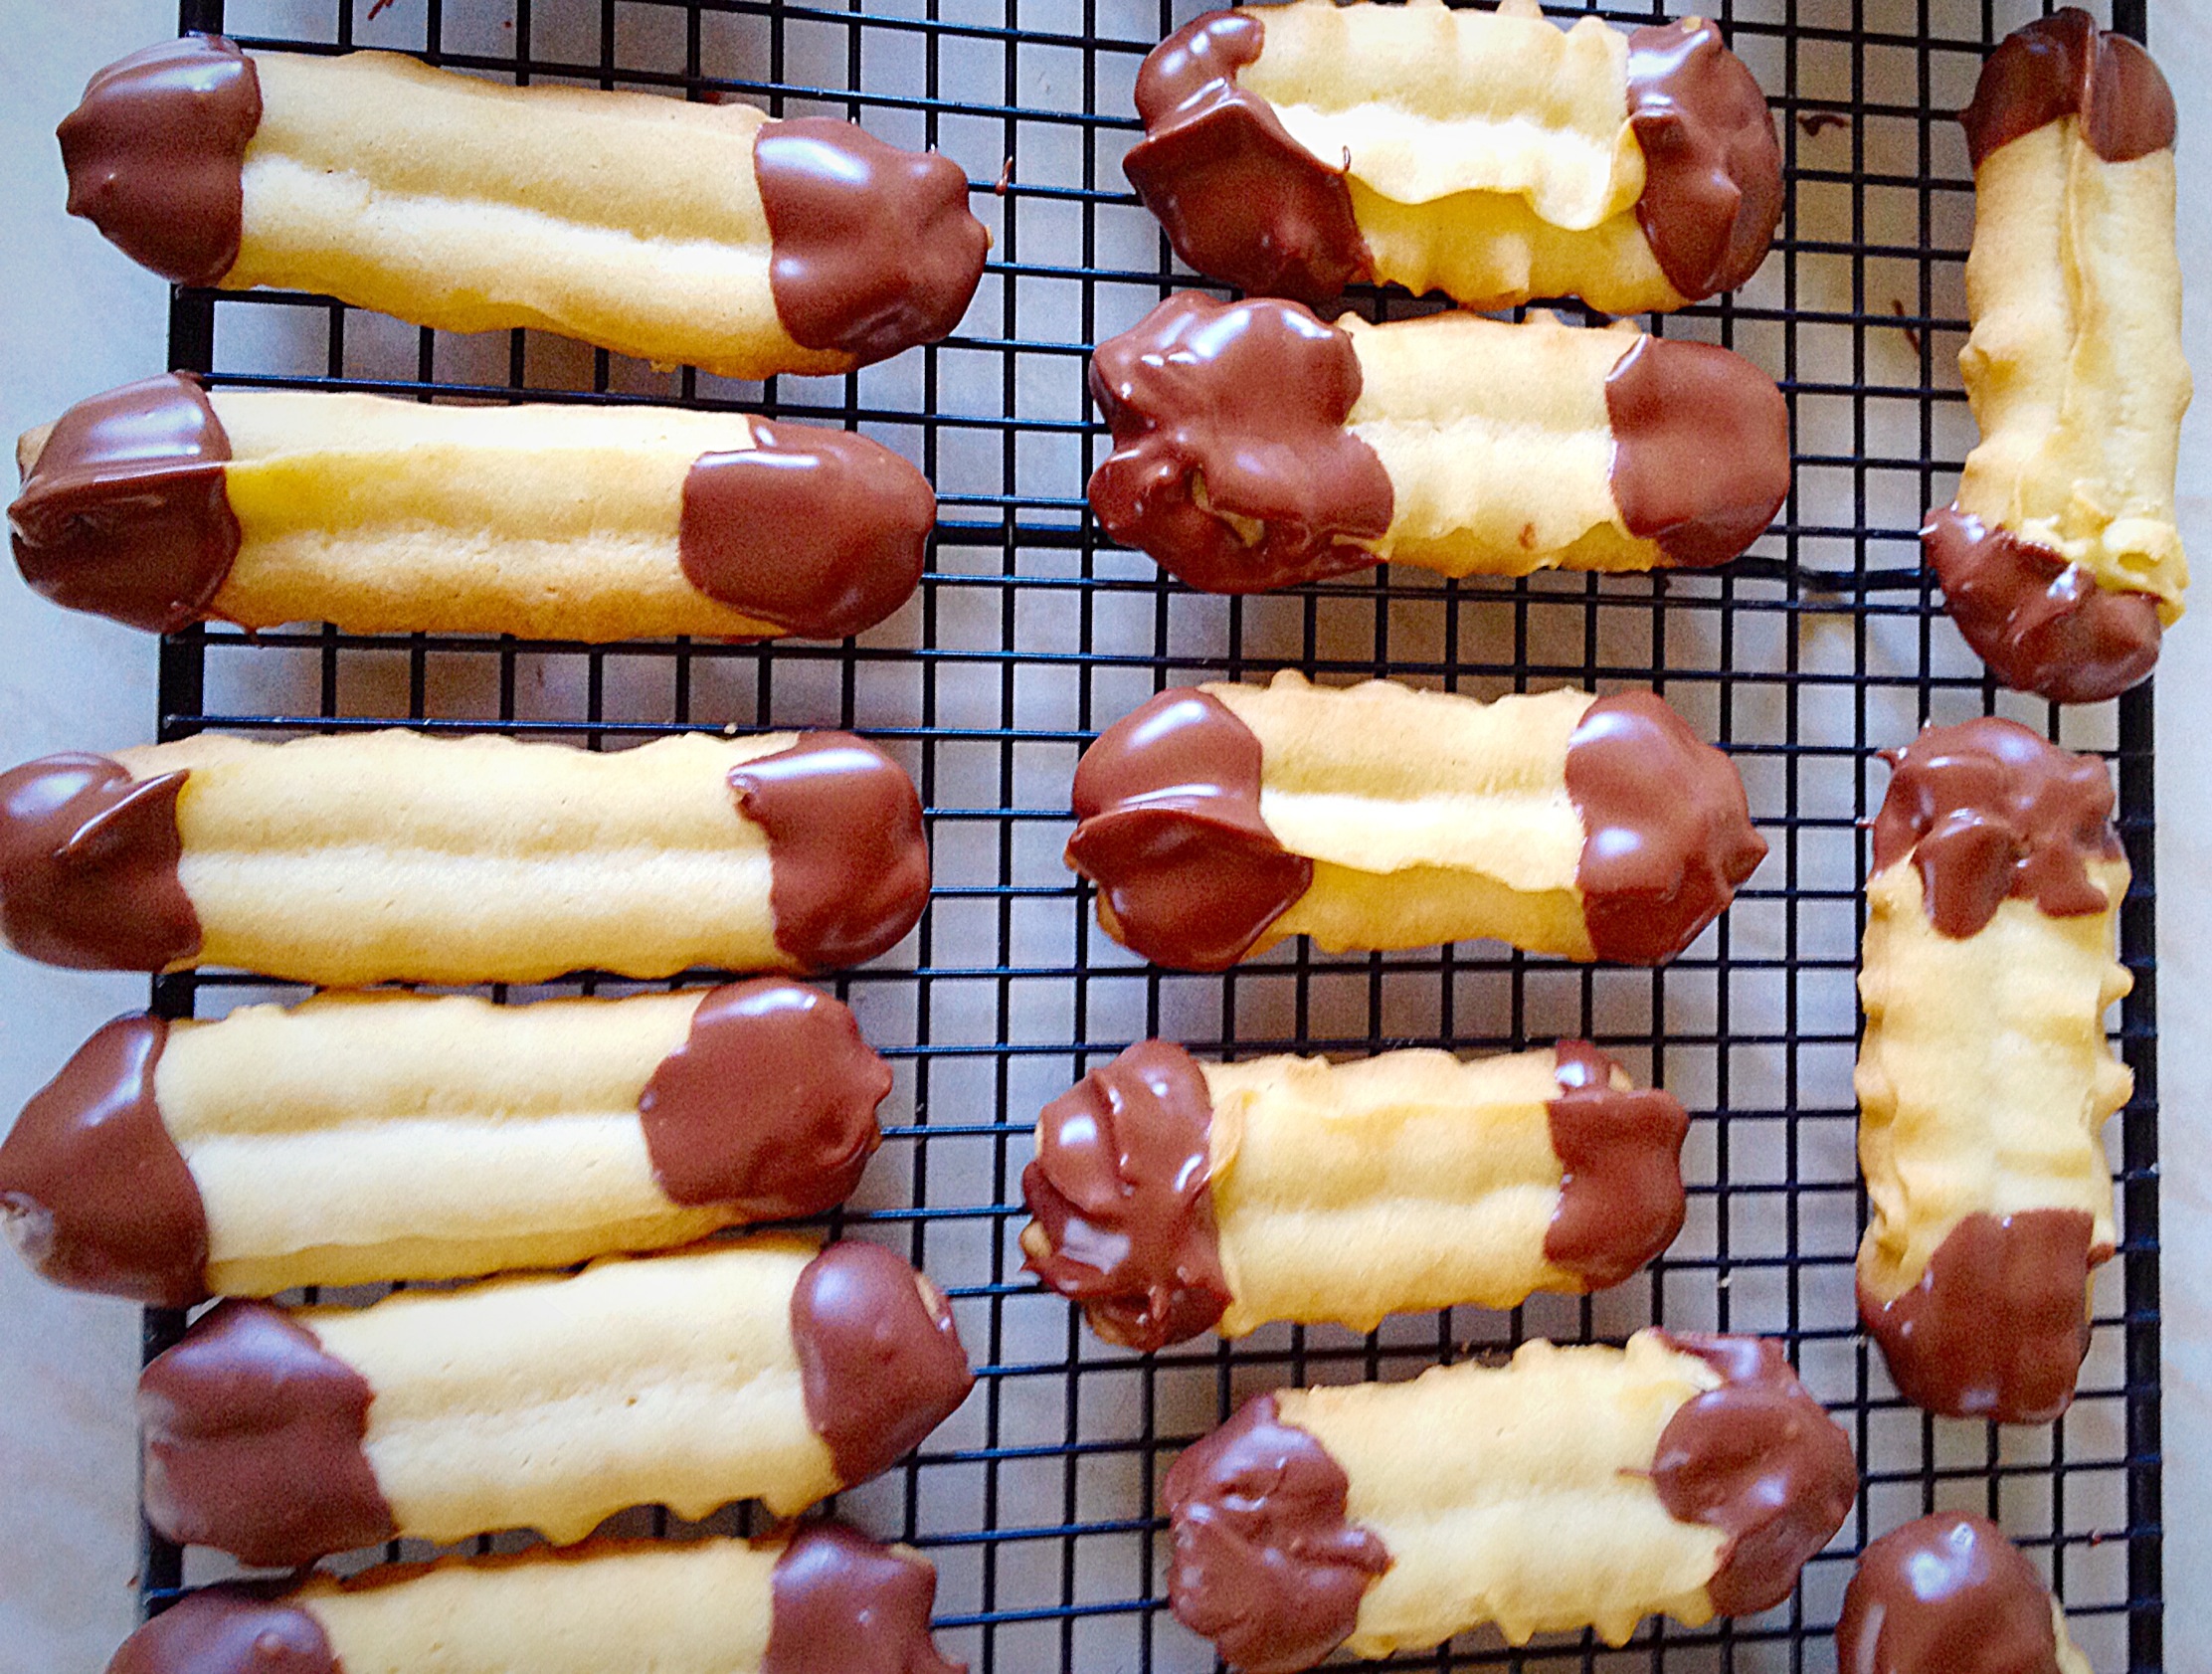
Once cooled the fingers are ready for dunking in chocolate.

Chop the chocolate and place in a heat proof bowl.
Melt the chocolate either over a double boiler, or if you're confident in the microwave - I nuked my chocolate and it was fine.
Melt the chocolate either over a double boiler, or if you’re confident in the microwave – I nuked my chocolate and it was fine.
Dip one end of the Viennese finger in the chocolate.
Holding the biscuit in the middle dip the other end in the chocolate.


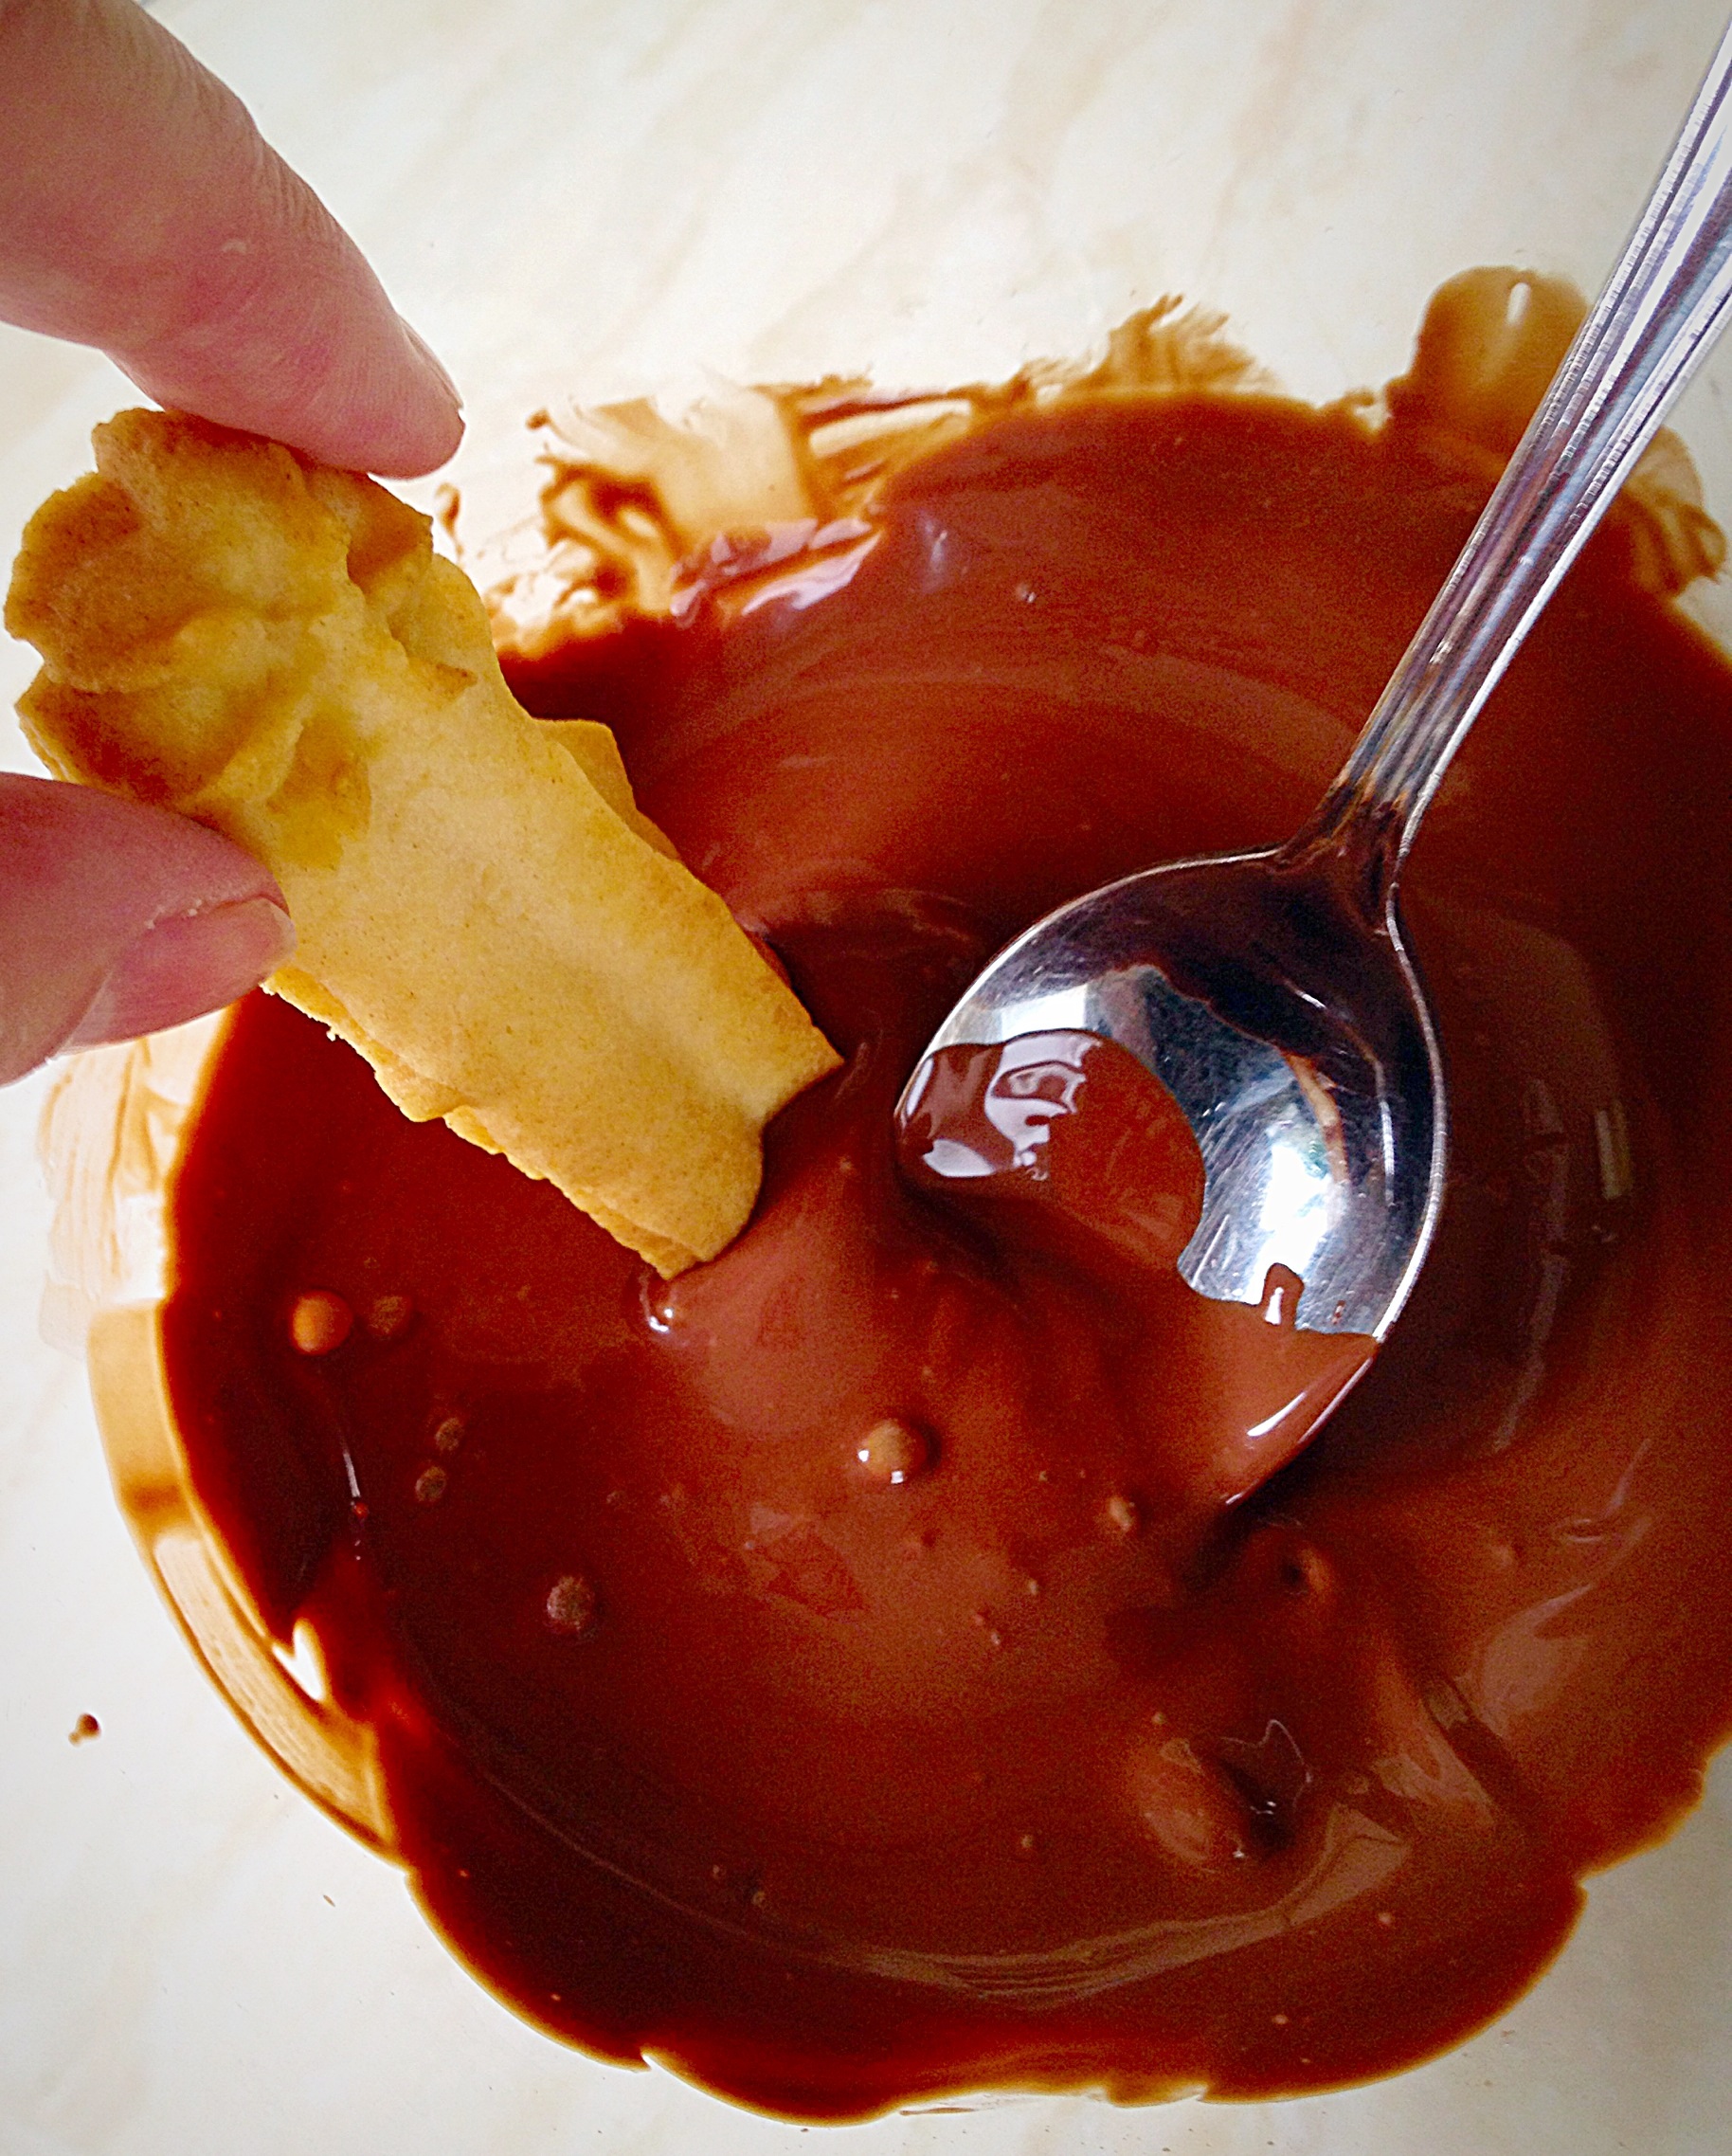
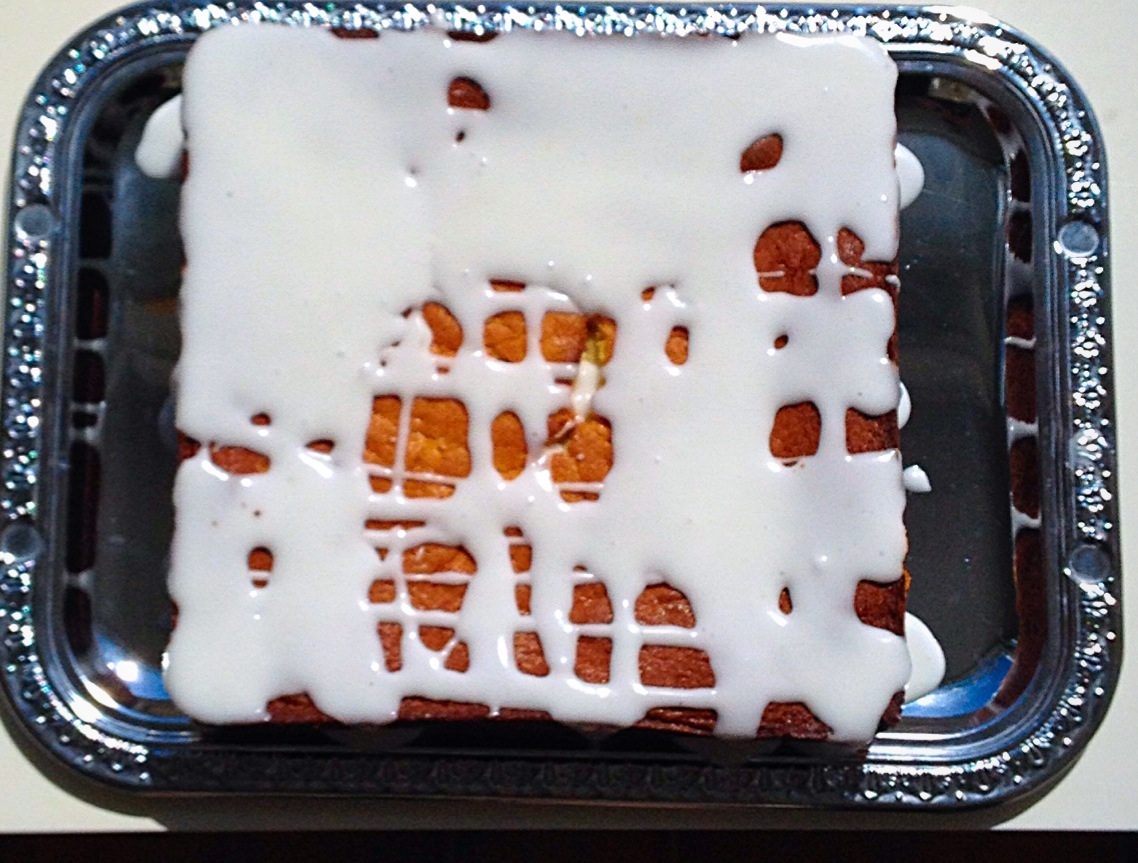
Place the Chocolate Dipped Viennese Fingers onto a baking sheet lined with parchment paper – DO NOT place back on the cooling rack as I did. I’ll show you why later!

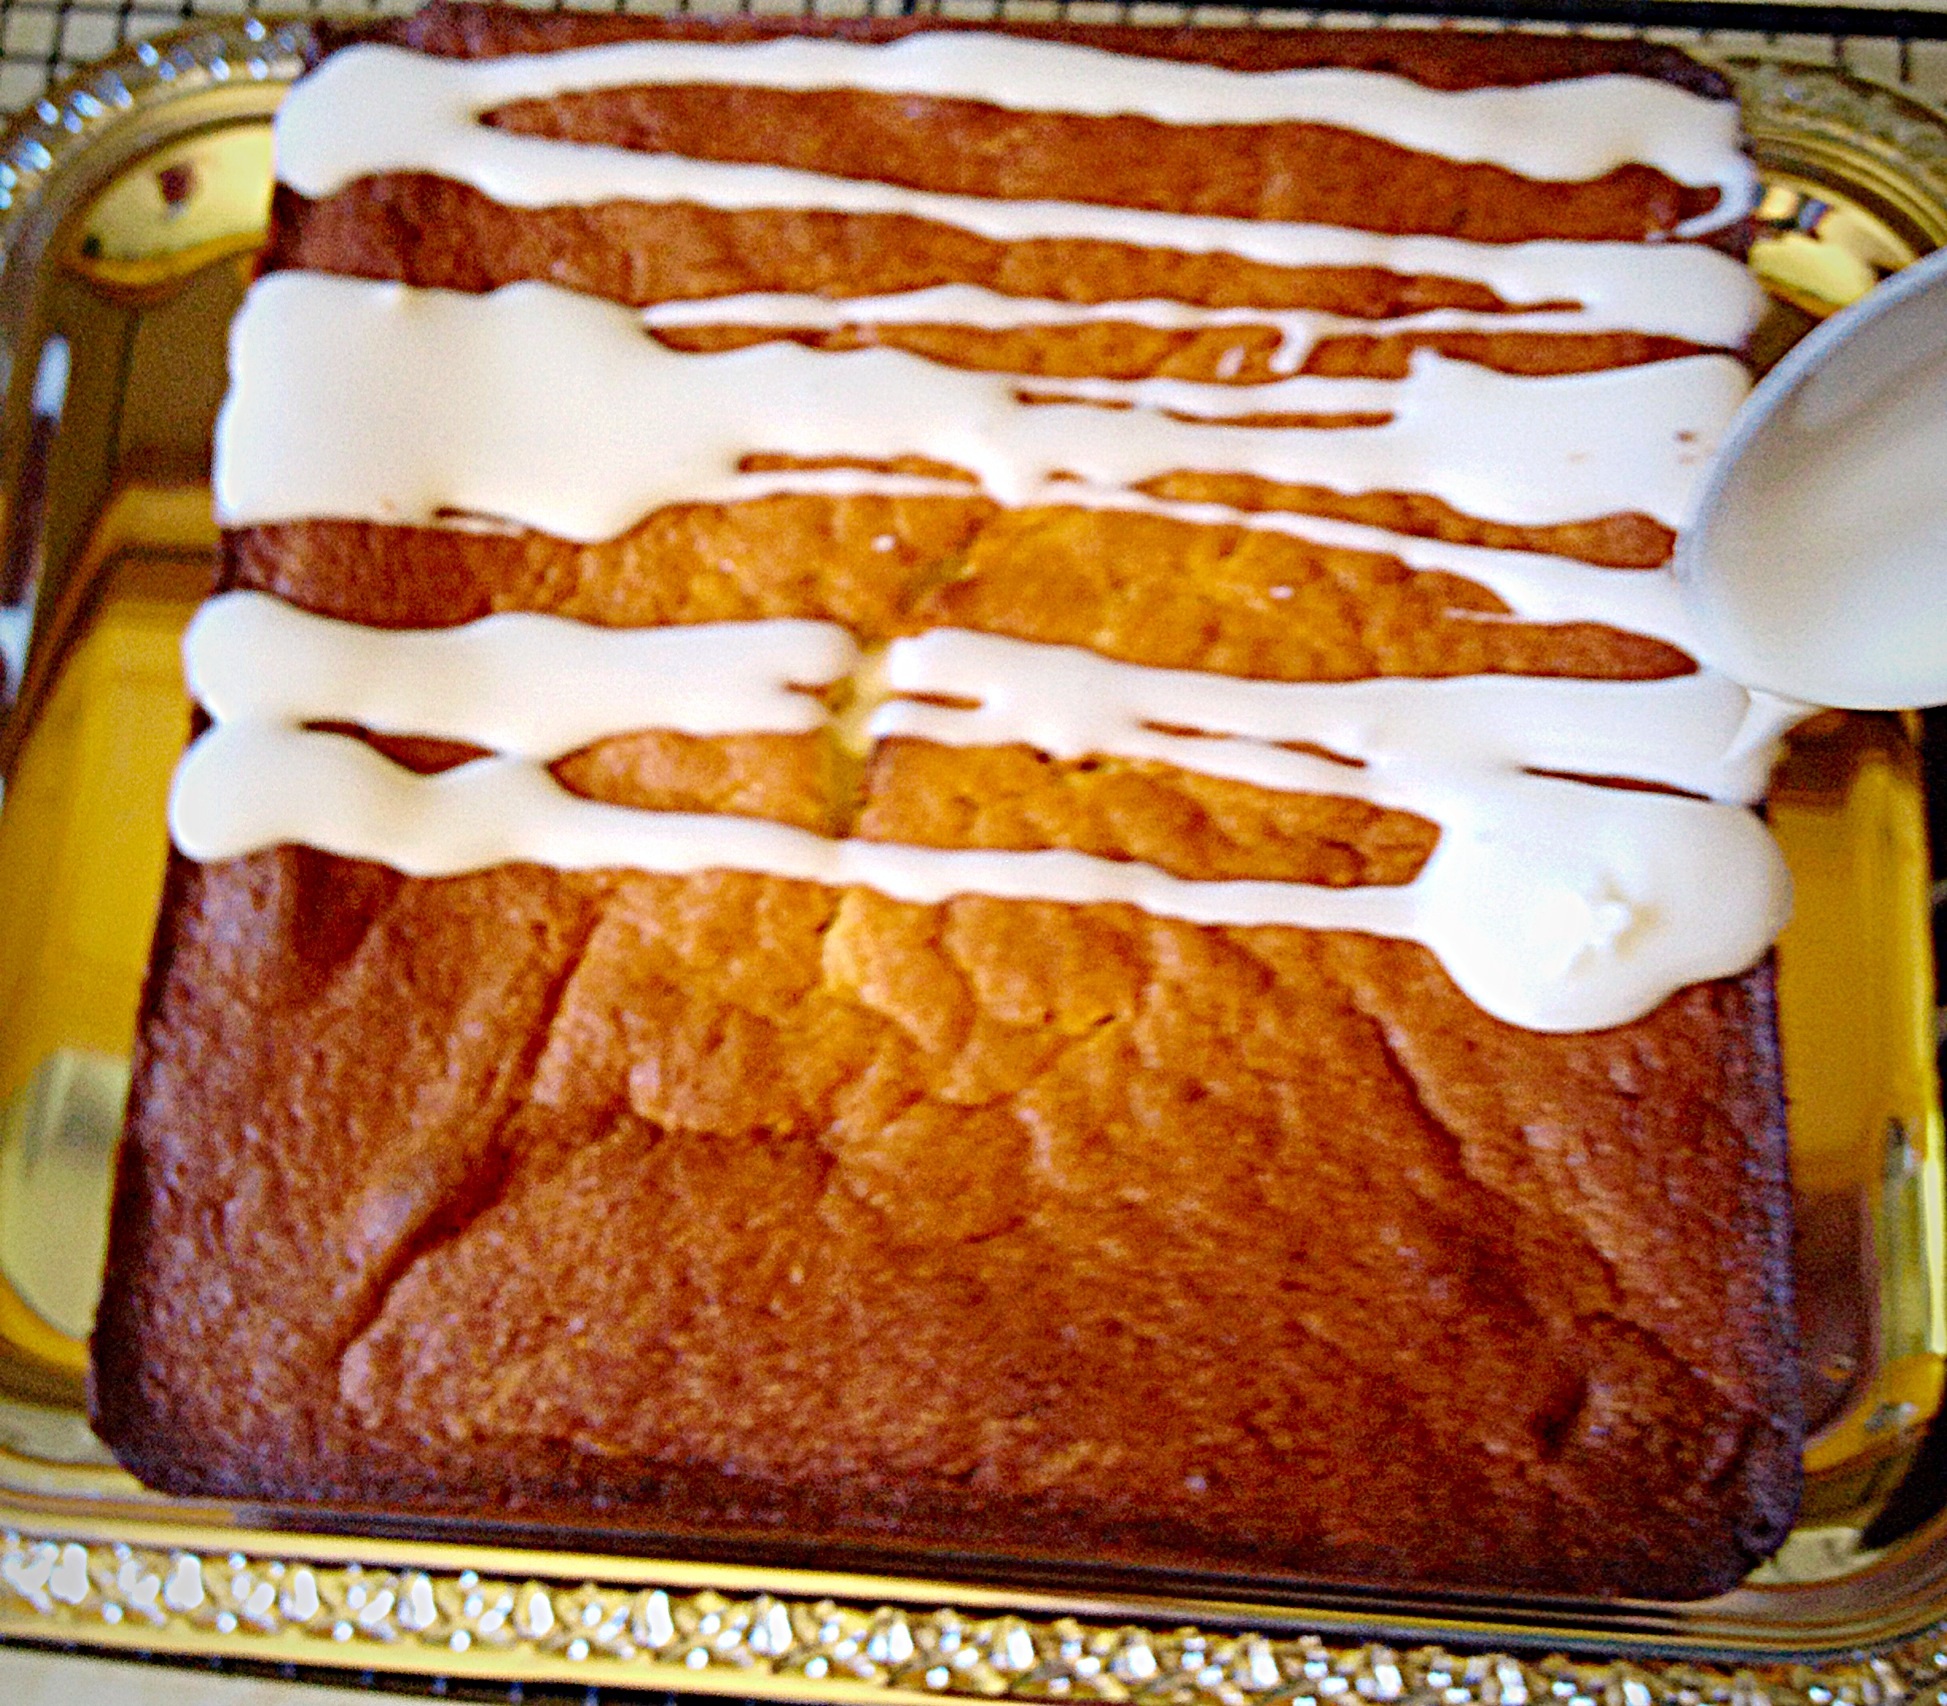
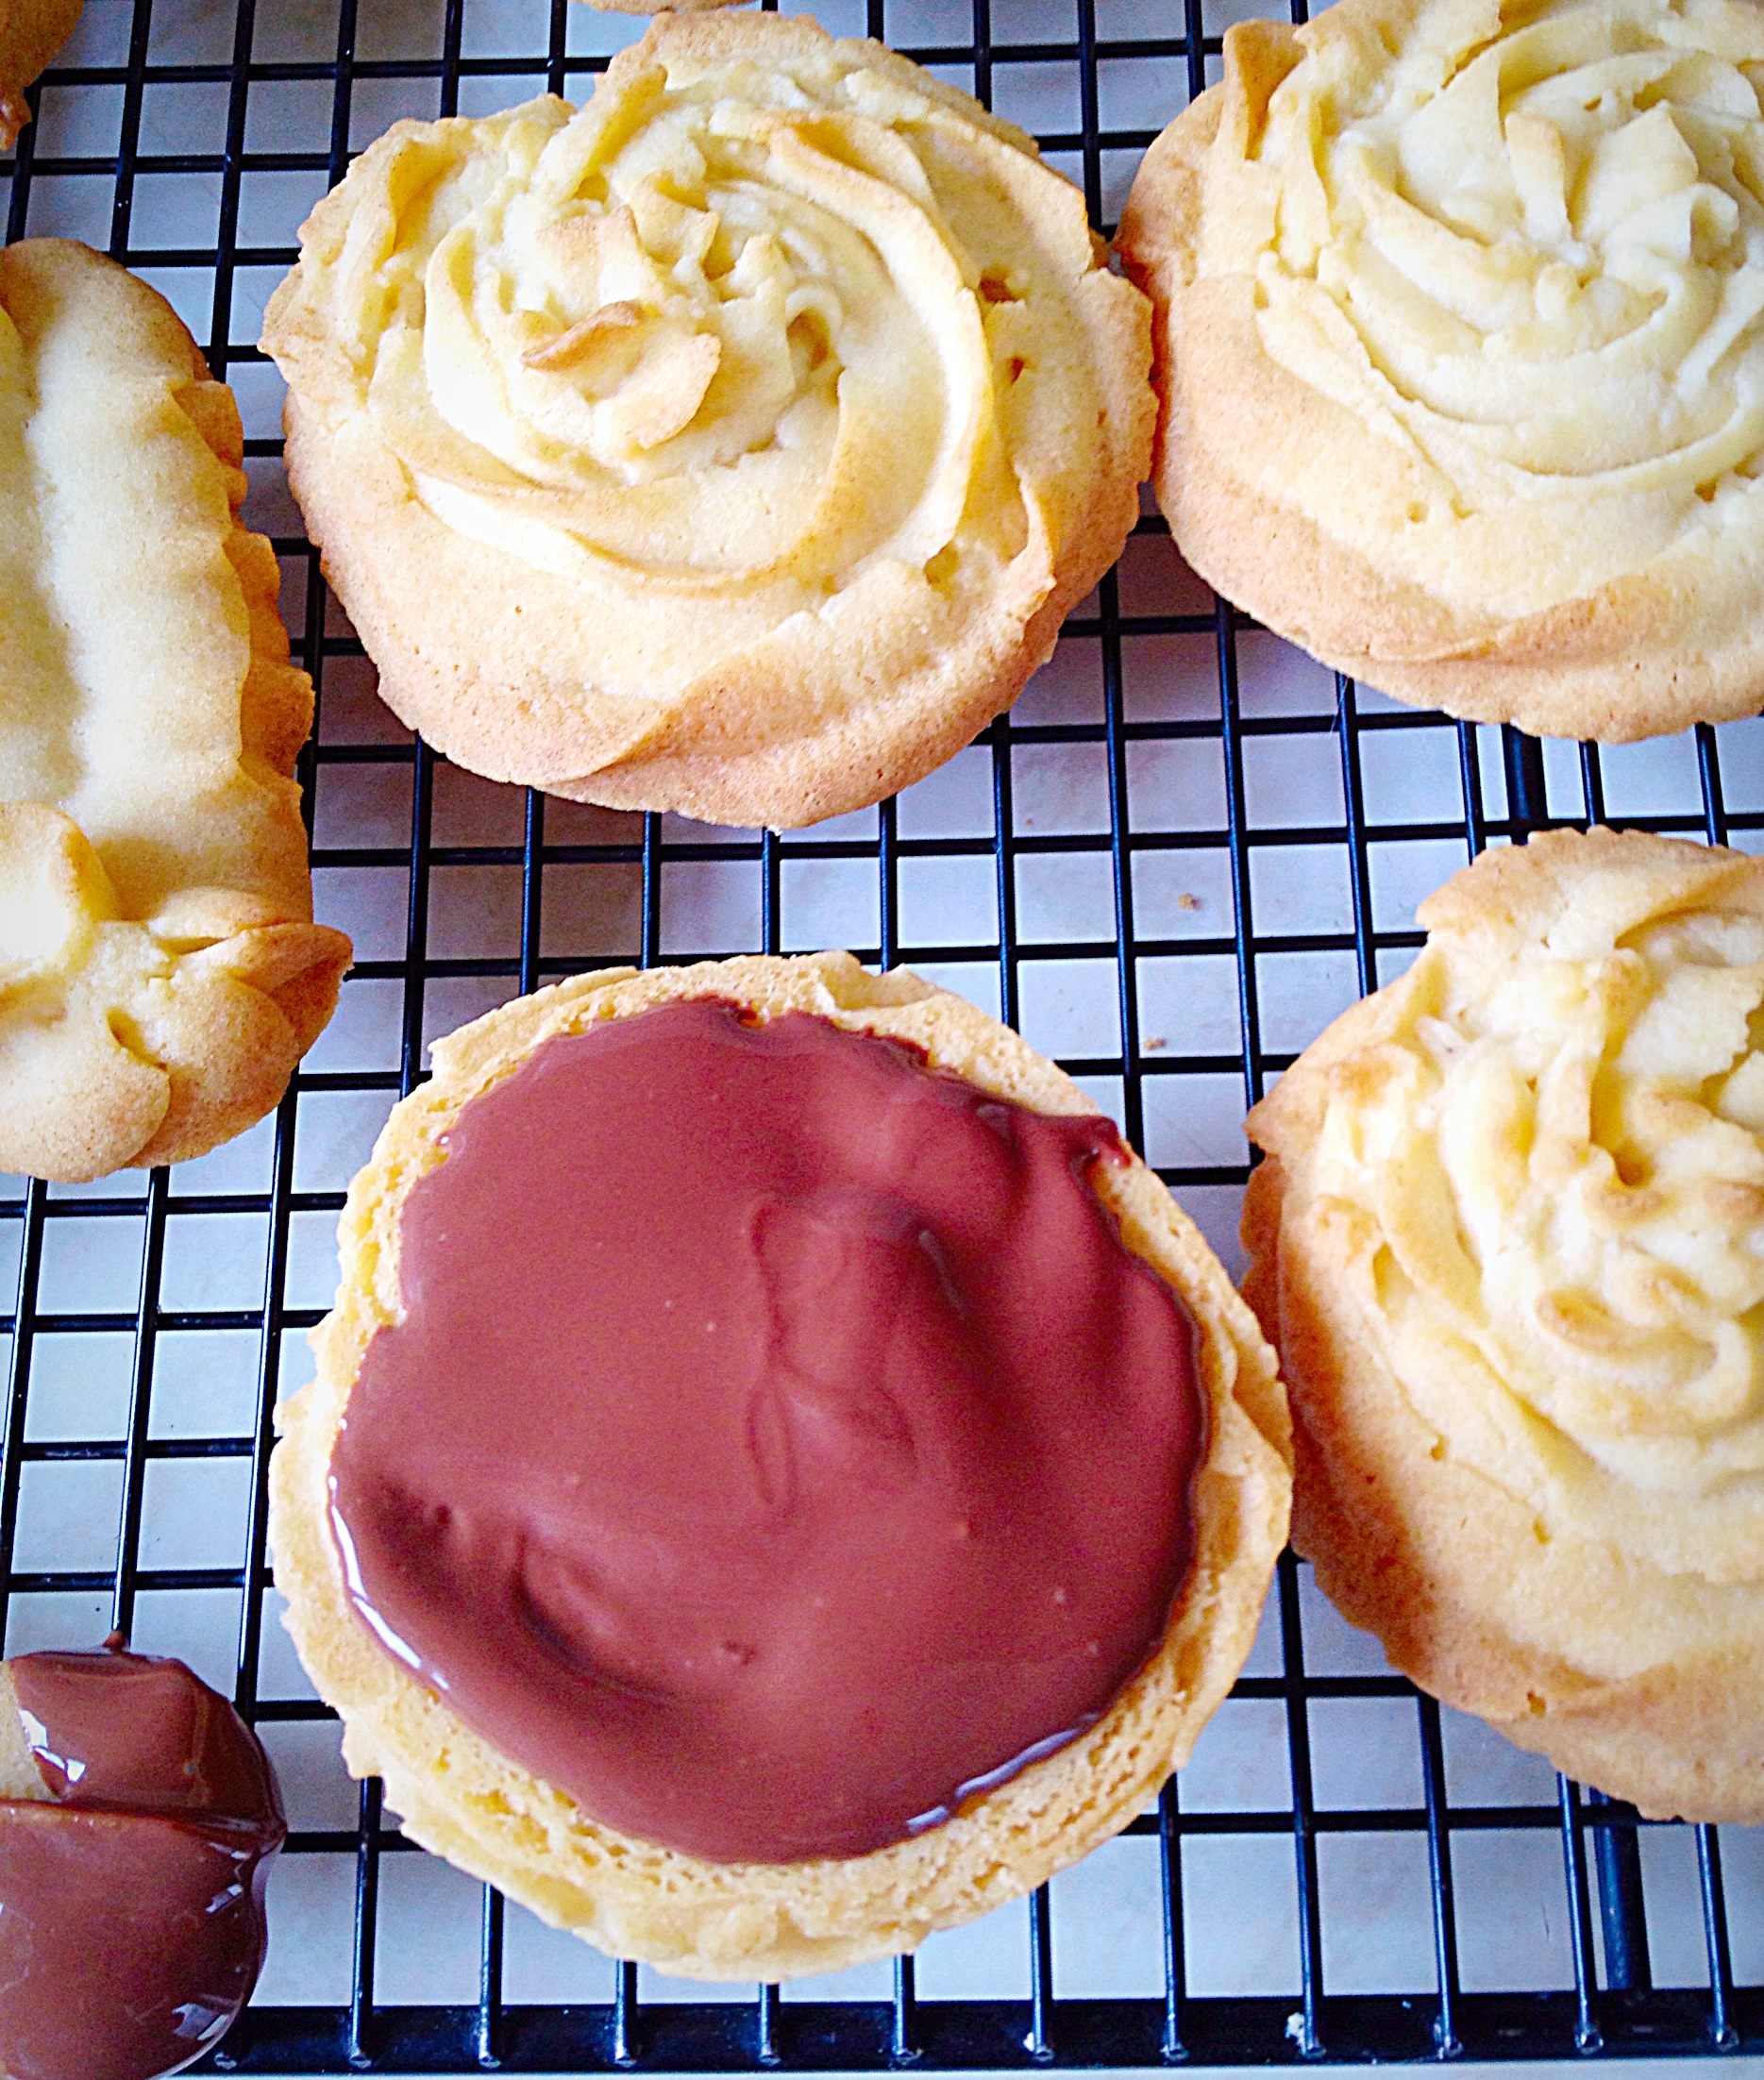
And for the swirls, I used a spoon to cover the base of the swirl with melted chocolate and then left them to cool, upside down, on the cooling rack.

The swirls are fine to cool, upside down, on the rack.


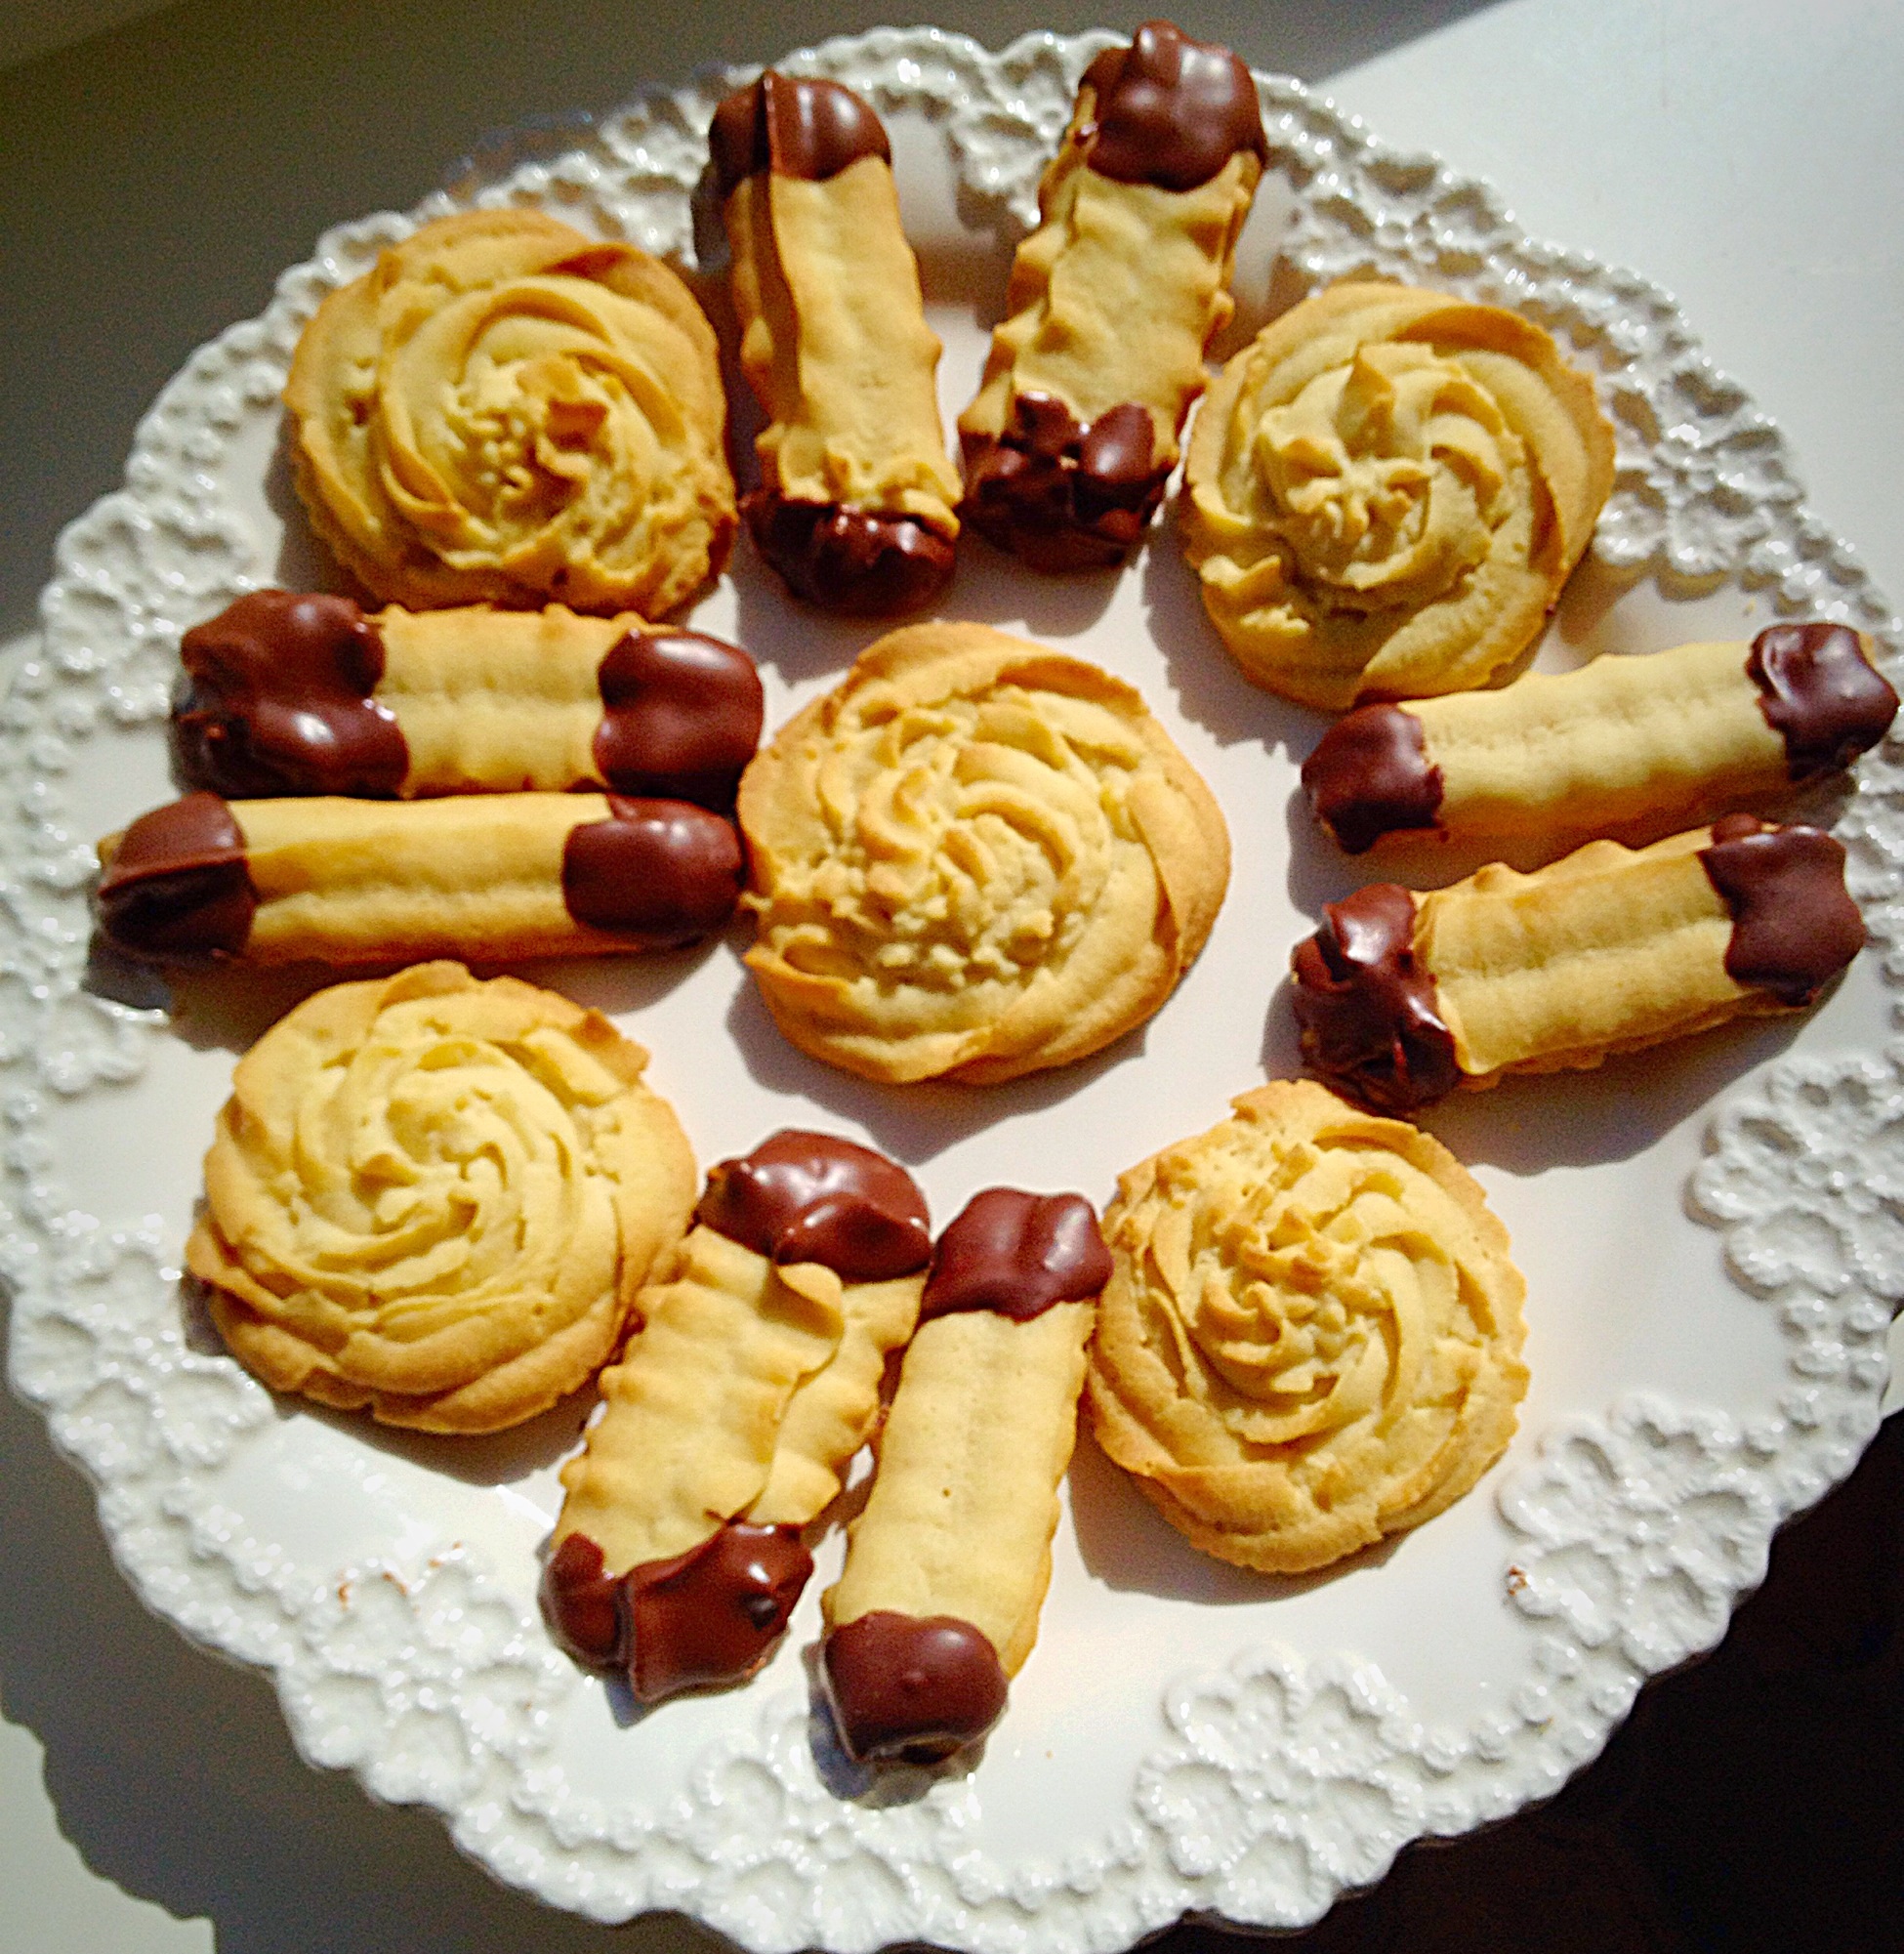
You now can present your Chocolate Dipped Viennese Fingers and Swirls!

Ah soo pretty - Chocolate Dipped Viennese Fingers and Swirls.
Ah soo pretty – Chocolate Dipped Viennese Fingers and Swirls.


I promised to show you what happened when I cooled the Chocolate Dipped Viennese Fingers on the cooling rack…..

Some of the biscuits stuck and broke when I tried to get them off!!!


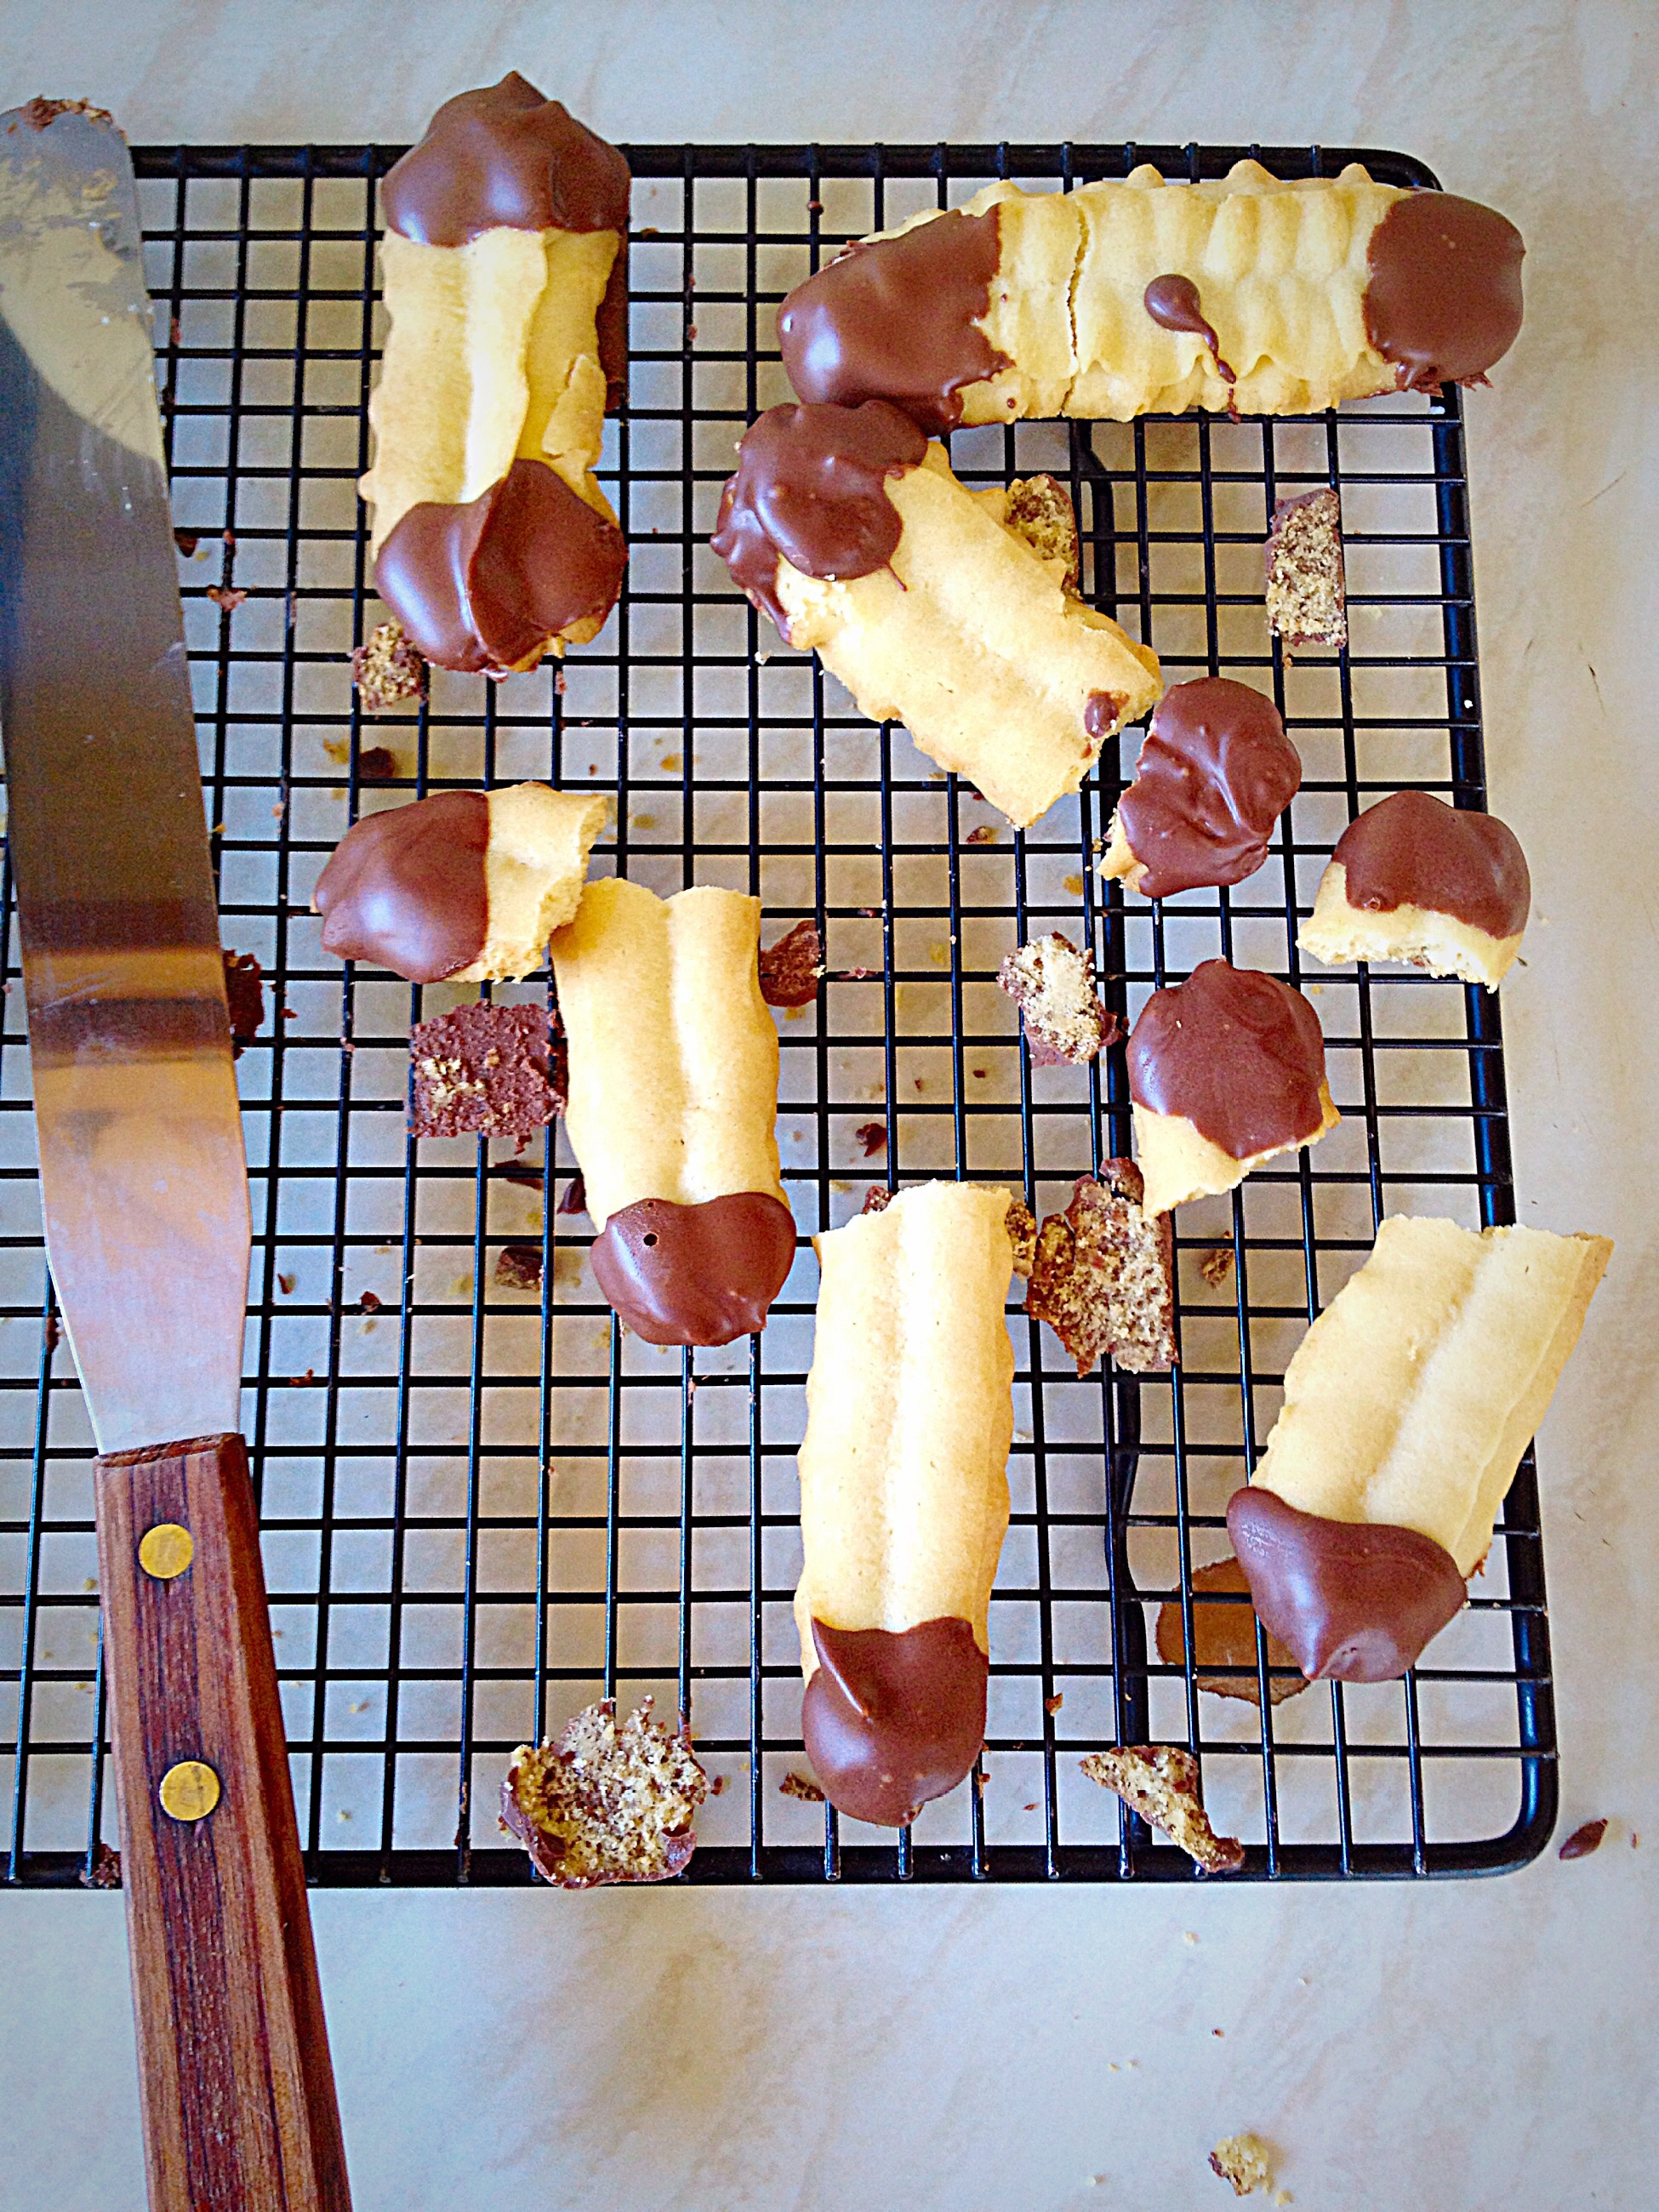
Totally my fault and very embarrassing as my previous post stated the importance of reading through a recipe before you start. Guess what, if I’d read the recipe I’d have known to cool the chocolate dipped fingers on parchment paper. My bad!

If you have enjoyed this recipe for Chocolate Dipped Viennese Fingers you may also like these:

Bakewell Shortbread Bars 

FF Chocolate Dipped Viennese Fingers
Bakewell Shortbread Bars

Multi Millionaires Shortbread Squares 

FF Chocolate Dipped Viennese Fingers
Multi Millionaires Shortbread Squares

Chocolate Vanilla Viennese Finger Biscuits 

FF Chocolate Dipped Viennese Fingers
Chocolate Vanilla Viennese Finger Biscuits

We had fun eating all of the broken biscuits. Since life isn’t always perfect, I try to make the most of everything. Having a laugh at mishaps, eating the spoils, it all makes memories.

Have you had an memorable baking mishaps??

Sammie x

Share
Facebooktwitterpinterestlinkedintumblr

10 Steps That Will Improve Your Baking

Share
Facebooktwitterpinterestlinkedintumblr

Hello lovely bakers, today I have 10 Steps That Will Improve Your Baking. I have had MANY baking failures over the years but experience, Food Network obsession and reading the intro’s to cook books has taught me how to avoid most disasters – in the kitchen!!!!

So here we go –

1 – Read the recipe through before starting. This may sound obvious, but, I have on more than one occasion, started a recipe, only to find, mid way through that I’m out of something! Nipping across the road to my neighbour asking to borrow wax discs, halfway through making Tomato Chutney springs to mind!!! Not baking, but the same principle applies!!

2 – Ensure you have all the ingredients and equipment before you start. Again seems obvious but, like with the wax discs, I’ve also borrowed garlic, different neighbour – we’re very friendly round here – when I was making bolognaise sauce and realised I was out of it, again halfway through cooking!!

Making sure you have all the ingredients you need, before you start!!

3 – When baking ensure ALL ingredients are at room temperature (unless specified by the recipe – which you will have read through fully!!). This small step will make a HUGE difference to the end result ; cakes will be lighter, the texture of cookies will be vastly improved. A good tip if you know you are going to be baking the next day is to remove eggs, butter, cream cheese etc from the fridge the night before.

4 – Measure/weigh your ingredients precisely. When cooking you can add bits here and there as you cook, tasting as you go along. In baking measurements are vital to success. You can’t taste your cake as it’s cooking, so you only know at the end, when the cake has cooked if it’s good.

Accurate scales and measuring cups are important.

5 – Make sure you use the right size cake/loaf tin for the recipe. If the tin is too small the end result will be a muffin topped cake/loaf. Muffin tops are only good for muffins!!!

There are a vast array of different tins in different sizes - make sure you use the correct one stated in the recipe!
There are a vast array of different tins in different sizes – make sure you use the correct one stated in the recipe!

I will tell you a story – one Mother’s Day I had asked that any presents, from our children, be handmade. Imagine the scene, banished from the kitchen for 2 hours, I finally came downstairs to find ALL my baking supplies depleted. “Your self raising flour doesn’t work!” said hubby (who was helping the children to bake me a Victoria Sponge Cake). “I had to go to the shops and buy some more, but that’s not working either!!”.

The house smelled of freshly baked cake. I didn’t understand. “You mean the flour I used to make cupcakes for the school bake sale, two days ago?”, I asked perplexed. Then I looked at the cakes. All four 1/2 inch deep layers of them. They had risen, were beautifully baked, just, well, rather flat!!

“Which cake tins did you use?” I asked. “These,” said a flour covered child, holding up my 9 inch springform cake tins, 2 of them!!! There wasn’t anything wrong with the flour or recipe, they’d just used the wrong sized pan!! (6 inch sandwich tins – as stated in the recipe, would’ve been better!).

So, realign the cake was actually edible, all three children proceeded to demolish one layer, spread with Nutella! Then they made me the most gorgeous cake I have ever tasted. A three layered Victoria Sponge. Delicious.

So the cake was mostly rescued and very much cherished. The moral being – use the size pan/tin stated in the recipe!!

6 – Follow the recipe. I know this sounds obvious, but, certainly the first time you bake from a new recipe, follow each step exactly as it says. You will minimise anything going wrong by adding, mixing etc EXACTLY as the recipe says.

7 – Check your oven temperature and adjust if using a fan/convection oven. Firstly it’s a good idea to buy an oven thermometer (I don’t have one, it’s on my to-get list!). This will give you an accurate reading of the oven temp. You’d be surprised how much ovens vary in their accuracy. Remember to adjust the cooking temp according to your oven’s instructions, if using a fan/convection oven, your total cooking time will generally be shorter too.

Oven thermometers are inexpensive and give you an accurate temperature reading.

8 – Do not open the oven door when baking cakes or breads. Most ovens have glass doors and lights, which helps when keeping an eye on your baking. I realise that most ovens have different hot spots. So I allow two thirds of the cooking time to pass and then I can open the door and turn the cake/loaf, so that it bakes evenly. Each time the oven door is opened the oven loses heat, so your bake may take longer.

9 – Once baked cool your baked items as recommended in the recipe. This is really important. Leave a loaf to cool in it’s tin and it will have a soggy bottom! Try to move cookies onto a cooling rack before they’ve hardened and you’ll have a crumbly mess! You get the picture.

10 – Allow your cake/cupcakes/cookies to cool completely before icing/decorating. You’ve spent time, energy and money creating your fabulous bake, the last thing you want is icing sliding off, or melting because it’s too hot! Wait for your bake to completely cool and then you can frost/decorate to your hearts content!

Cooling cakes, waiting to be transformed....
Cooling cakes, waiting to be transformed….

I hope this has been useful and made you smile. Remember sometimes things don’t always turn out as you want, even when you’ve followed the recipe completely. If you remember the 10 Steps That Will Improve Your Baking then hopefully baking disasters will be rare.

Do you have any tips to add to mine?

I’d love to read any funny baking mishaps that you’ve had?

Sammie x

Photos – Amazon and Pintrest

Share
Facebooktwitterpinterestlinkedintumblr

Chicken Pasta Pesto Salad.

Share
Facebooktwitterpinterestlinkedintumblr

Hi, I was thinking the other day, where would we be, in our busy lives, without Pasta? Since there are so many dishes you can make using Pasta. And so today I have this Chicken Pasta Pesto Salad to share with you.

Chicken Pasta Pesto Salad - delicious, nutritious and so easy to make!
Chicken Pasta Pesto Salad – delicious, nutritious and so easy to make!


This dish takes no more than 30 minutes to make from start to finish! It’s packed full of lean chicken and crammed with crunchy veggies. Also, if you left the chicken out you could easily make this as a vegetarian dish.

Chicken Pasta Pesto Salad - crammed full of crunchy veg!
Chicken Pasta Pesto Salad – crammed full of crunchy veg!


Everything about this dish makes it perfect for a quick, easy, mid-week meal, or you can make it ahead, keep it in an airtight container, in the fridge for up to three days. Also it has to be one of the easiest meals ever, prepare in advance when you have a bit of time, or cook from scratch and have it on the table in 30 minutes!

Chicken Pasta Pesto Salad - perfect for mid-week mealtimes!
Chicken Pasta Pesto Salad – perfect for mid-week mealtimes!


Recipe : Chicken Pasta Pesto Salad serves 4-6 adults

500g/1lb Packet Dried Pasta – I used fusilli

500g/1lb Boneless, skinless Chicken Breasts

1  Jar ready made Pesto Sauce – I use 190g jar Classic Pesto from Filippo Berio 

150g/5oz Sugar Snap Peas

1 Small Red Onion

1 Yellow Bell Pepper

225g/8oz Cherry Tomatoes

2 tbsp Extra Virgin Olive Oil

Salt and Pepper to taste.

Optional – Fresh Basil Leaves

Method : Making the Chicken Pasta Pesto Salad

First of all, fill a large pan with water and bring to the boil. Add 1 tablespoon of sea salt, the pasta and cook according to package instructions.

In a separate pan place the chicken breasts – if very large cut in half first. Add cold water to just cover the chicken. Bring to a gentle simmer and poach for 15-20 minutes until cooked through. I take the largest piece out, cut through the thickest part with a knife and if the chicken is white – not pink, I know it is cooked.

As soon as the pasta is cooked, drain and tip into a large bowl.

Immediately drizzle over the Olive oil and toss the pasta so that it doesn't clump together.
Immediately drizzle over the Olive oil and toss the pasta so that it doesn’t clump together.
Add the jar of pesto sauce and mix thoroughly, ensuring all the warm pasta is coated.


Remove the poached chicken breasts, once cooked and place on a plate to cool slightly.

Into a pan of boiling water add the sugar snap peas and cook for 2 minutes. Drain and rinse under a cold tap to halt the cooking process.

Chop the cherry tomatoes in half, dice the red onion and yellow pepper.

Add all the veggies to the pasta.


When the chicken is cool enough to handle chop into bite sized pieces.

Add the chicken and then mix well. You now have .......
Add the chicken and then mix well. You now have …….
Chicken Pasta Pesto Salad - delicious, nutritious and so easy to make!
Chicken Pasta Pesto Salad – easy and delicious!

Finally, scatter over fresh Basil leaves and then serve warm as is, or refrigerate for a delicious cool Summer salad on a hot day!

Place any leftovers in an airtight container, refrigerate and eat within 3 days.

Since this salad is very versatile, you can add whatever veggies you have on hand. While I like to use the best seasonal produce available, omit the chicken for a great vegetarian meal.

If you have enjoyed this recipe for Chicken Pasta Pesto Salad you may also like these:

Roasted Summer Vegetable Orzo Salad 

FF Chicken Pasta Pesto Salad
Roasted Summer Vegetable Orzo Salad

Creamy Tomato Spinach Chicken Pasta 

FF Chicken Pasta Pesto Salad
Creamy Tomato Spinach Chicken Pasta

Lemon Garlic Vegetable Orzo 

FF Chicken Pasta Pesto Salad
Lemon Garlic Vegetable Orzo

I love the versatility of pasta and how it can be used is so many quick and easy dishes. Especially as a busy mum, having meals that can be prepared in advance is a huge bonus. While the weather continues to be extremely hot, here in the South East of England, making dinner first thing in the morning and stashing it away in the fridge seems to take the pressure off when it comes to mealtimes.

Finally, whatever you are making, baking and creating in your kitchens, have fun preparing and sharing your feast.

Sammie x

No part of this post may be reproduced or duplicated without the written permission of the owner. Please see my Disclosure Policy.


Share
Facebooktwitterpinterestlinkedintumblr

The Pain Pay Off

Share
Facebooktwitterpinterestlinkedintumblr

Hello, lovely people, thank you for stopping by to read my blog. I have a question for all of you who suffer with chronic pain, migraines, fibromyalgia, seizures etc. Do you experience The Pain Pay Off? What I mean by this is, whilst most of you will be in pain pretty much all of the time, if you’re feeling a bit better and you attempt to do something, do you know there will be consequences later??

FF The Pain Pay Off
The Pain Pay Off – will what I do today impact on me tomorrow?


You see that’s pretty much my life. I am in pain constantly and sometimes there is nothing more that I can do other than curl up, in bed, in a darkened room, waiting for the acute pain to settle into something more manageable. When that’s not the case I try to pace myself through the day, carrying out small tasks with rests in between bouts of activity.


The problem is there is no way of knowing if there while be a price to pay later – The Pain Pay Off. No matter how hard I try to pace myself and ‘not overdo things’ sometimes my body says “enough” and just starts to shut down. This can be in the form of a migraine, back spasm, pain or more recently a seizure. It is sooo frustrating!!! I have a million and one things I’d love to do in my head and in reality I’m fortunate if I get the ‘and one’ thing done.

The Pain Pay Off - medication and bed rest!
The Pain Pay Off – medication and bed rest!

The Pain Pay Off can also be really random. What I can do on one day doesn’t mean I can do the same thing on any other day and ‘get away with it’. This makes planning virtually impossible.

FF Woman in the dark in pain.
The Pain Pay Off – some days are about getting through each hour at a time.

So how do I deal with it? To be honest sometimes I don’t deal with it very well. I cry and feel like life is very unfair and get cross at my body for letting me down. Come on, I used to be able to run 10 miles – where did that girl go??

FF Woman behind rainy window
The Pain Pay Off – running may be over but determination remains.

Othertimes I just have to accept that this has become the new ‘normal’ for me. Focus on all the positives in my life; my hubby, our 3 gorgeous children, my amazing family and friends. And then there’s God. It’s not always easy holding onto your Faith when you’re hurting. But I know He understands. He loves and accepts me just as I am – that really helps.

Practically, unless I have a migraine, I use distraction techniques; playing Solitaire on my phone, watching a film, reading through my Bloglovin’ feed. It can be hard to concentrate though if the pain is bad.

As for the seizures, well they kinda mess everything up. My body acts on it’s own, it jerks and contorts and I just have to try and concentrate on my breathing, until the seizure has passed. I know I will hurt afterwards. The Pain Pay Off is still there, it’s just a result of my body jarring itself, rather than because I’ve chosen to do something. That’s so not fair, but it is real and it is my life at the moment.

Do you have to deal with pain?

Is there a Pain Pay Off that you know to expect should you chose to undertake an activity?

How do you deal with The Pain Pay Off?

Sammie x

Share
Facebooktwitterpinterestlinkedintumblr

Nuts About Brownies!

Share
Facebooktwitterpinterestlinkedintumblr

Hello, have I baked up something delicious for you? If you love Chocolate and Brazil Nuts then you will be Nuts About Brownies!

Brazil Nut studded, fudgey Chocolate - you will love Nuts About Brownies!
Brazil Nut studded, fudgey Chocolate – you will love Nuts About Brownies!


This Brownie recipe is so easy as it’s all made in one saucepan. Come on we so love a recipe that doesn’t involve a mountain of washing up? Not only that, you line your baking dish/tin with foil – so even that stays clean! Anything to make life easier is very welcome around here!

Go big or stay small, each bite is chocca full of nuts!


Nigella is the inspiration behind this recipe. I’ve tinkered with it a little bit and I’d like to think she would approve. I’ve used Brazil nuts in these Nuts About Brownies, but Walnuts and Pecans work very well too. Whatever nuts I add, these Brownies disappear very quickly in our house!!!

I'm Nuts About Brownies - are you?
I’m Nuts About Brownies – are you?


Recipe : Makes 9 – 15 Brownies

150g/5oz Unsalted Butter

300g/10oz Dark Brown Muscavado Sugar

75g/2.5oz Cocoa Powder

150g/5oz Plain White Flour

1tsp Sodium Bicarbonate

1/4tsp Salt

4 Large Eggs – pref free range

2tsp Vanilla Extract

150g/5oz Brazil Nuts

150g/Dark Chocolate (70%)

Method :

Preheat oven to 175C/160C fan.

Line a 30cm x 20cm (12″ x 8″) baking tin with aluminium foil. Ensure the dish is at least 5cm (2″) deep.

Place the butter and sugar into a large, heavy bottomed pan...
Place the butter and sugar into a large, heavy bottomed pan…

Melt the butter and sugar gently over a low heat.

Add the cocoa to the melted butter/sugar, off the heat.
Stir in the cocoa until thoroughly combined.
Now add the flour, bicarb. and salt.
Mix thoroughly - the mixture will be quite dry and claggy at this point - don't worry!!
Mix thoroughly – the mixture will be quite dry and claggy at this point – don’t worry!!

Crack the eggs into a jug. Add the vanilla extract and mix – don’t whisk as you don’t want to incorporate air.

Add the egg/vanilla mixture to the cooled contents of the pan.
Mix thoroughly, until you have a smooth, silky, brownie batter.
Pour the brownie mixture into the foil lined tin.
Chop the nuts and chocolate into large chunks.
Sprinkle the chopped nuts and chocolate evenly over the top of the brownie batter.


Now the next step is important but might sound a bit odd – rap the baking tin hard against the worktop 3-4 times. This brings any bubbles to the surface, we want our brownies to be dense and fudgey, not light and airy like cake! Rapping the tin also settles the chocolate chunks and nuts into the batter.

Place the brownies in the oven and bake for 20 minutes. The brownies are cooked when the top is set, but there should still be a little bit of wobble in the middle. Remove from the oven and allow to cool in the pan for 30 minutes.

Your Nuts About Brownies are nearly ready to eat!! Remember it's always better to slightly undercook them, that ensures fudgey, gooey, yumminess!!
Your Nuts About Brownies are nearly ready to eat!! Remember it’s always better to slightly undercook them, that ensures fudgey, gooey, yumminess!!


Remove the brownies from the tin by simply lifting out the foil. Place on a cooling rack, pulling the foil away from the sides of the cooked brownie. Congratulate yourself on one less item to wash up!!!!!

Once cooled cut into squares. 9 big ones or 15 smaller ones. Pour yourself a large glass of milk and get ready to taste Nuts About Brownies!

These brownies are so simple to make and bake. 30 minutes from start to taking them out of the oven – perfect for when you have a chocolate brownie craving! Or is it just me that gets those???

Brownies are perfect for sharing.

Would you share your brownie?

What foods are off limits when it comes to sharing?

Sammie x


Share
Facebooktwitterpinterestlinkedintumblr

Zesty Lemon Lime Cake

Share
Facebooktwitterpinterestlinkedintumblr

Hello there, I have the perfect cake to celebrate the sunshine, Zesty Lemon Lime Cake. Perfect for picnics, packed lunches or pausing for a cuppa in the garden!

Zesty Lemon Lime Cake - perfect with lemon tea!
Zesty Lemon Lime Cake – perfect with lemon tea!


The combination of lime with lemon results in a deliciously moist, tangy cake. Using the zest of the fruits gives a delightful depth of flavour to this delicious cake.

Zesty Lemon Lime Cake - sunshine in cake form!
Zesty Lemon Lime Cake – sunshine in cake form!


A gorgeous glaze made with both fresh lemon and lime juice is the perfect topping. Not too sweet, with a lovely zing!

I probably should have opted for an all over glaze instead of criss-cross!!


I love cake, especially in the summer. There’s nothing quite like opening up a tin at a picnic, with friends and family, to find a pre-cut, delicious, home made cake to tuck into. That’s when tray bakes or square cakes really come into their own – perfectly portable pudding!!

Recipe :

225g/8oz Caster Sugar

225g/8oz Unsalted Butter – room temp

1/4tsp Salt

1 x Lime

1 x Lemon

1tsp Vanilla extract

4 Large Eggs – pref. free range

150ml/5fl oz Sour Cream

225g/8oz Self Raising White Flour

225g/8oz Icing Sugar

Method : Preheat Oven to 175C/160C fan

In a large bowl whisk together the butter, sugar and salt until light and fluffy.

Add the vanilla extract, eggs, sour cream and zest of the lemon and lime and mix thoroughly – if the mixture starts to curdle add a couple of tablespoons of the flour.

You can finely grate the zest or use a zester to get long strips of zest as I have done.

Next add the flour and mix until just combined. Stir through the juice of half the lime.

Pour the mixture into a greased and line (I only line the bottom of the tin) 21cm x 21cm (8″ x 8″) square cake tin.


Smooth over the cake top for an even finish.


Place in the oven and bake for 45-50 mins until the cake spring back when lightly pressed – or a cocktail stick comes out cleanly, when inserted into the centre of the cake.

Cooling in it's tin for 10 minutes - Zesty Lemon Lime Cake
Cooling in it’s tin for 10 minutes – Zesty Lemon Lime Cake


Once cooked remove the cake from the oven. Leave to cool for 10 minutes in the tin, then turn out onto a cooling rack.

Tip – once the cake is turned out onto the cooling rack I remove the parchment paper and the use a second rack placed over the bottom of the cake and flip it. Now my cake is the right way up!! Very handy when you want the top of the cake to be on show.

Once the cake is cooled, transfer to a serving plate, as the icing drips down the sides of the cake.

To make the icing, add the juice of half a lime and enough lemon juice to the icing sugar, in a bowl, mixing until you reach a nice smooth consistency.

Lemon lime flavoured icing, perfect for drizzling over your cake.
Drizzle the icing over the cake, encouraging some icing to drip over the sides!
I may have slightly overdone the drizzling???!!!

Allow the icing to set and then cut into squares – I made 12, but if you want larger pieces that’s fine

This Zesty Lemon Lime Cake has a lovely soft crumb texture and delicious citrus flavour. Perfect with a cup of lemon tea!

Do you have a favourite drink/cake flavour combination?

Enjoy feasting on this cake!

Sammie x


Share
Facebooktwitterpinterestlinkedintumblr

Perfect Panini Pizza

Share
Facebooktwitterpinterestlinkedintumblr

Hi, I’ve just made the easiest, tastiest, lunch ever: Perfect Panini Pizza. It’s so simple, yet so delicious.

Perfect Panini Pizza


Our daughter is at home, working hard on study leave. It’s exam time people! That means lots of study and lots of brain fuel – FOOD!! So in an effort to make lunchtime fun I decided to turn 2 panini rolls (ciabatta rolls would work fine too) into something other than a sandwich! Not that sandwiches aren’t good, but I wanted to change things up a bit and treat Star to a fabulous lunch. Perfect Panini Pizza totally hit the mark!

Perfect Panini Pizza - fuel for studying!
Perfect Panini Pizza – fuel for studying!


I’ve made pizza using baguette before, but I’ve always found it really, really hard to stop the curved edges of the baguette from toppling the whole pizza over, dumping the topping as it rolls. Now I’ve found a solution – Ciabatta bread. It’s flat!! I know right!! Takes me a while to catch on sometimes (always!!!!). But I got there in the end and ooh what a delicious result.

Perfect Panini Pizza - totally scrummy!
Perfect Panini Pizza – totally scrummy!


The best thing about this recipe is that you can top your pizza with whatever you have in the fridge. I’ve used Salami, but ham, peppers, olives, sweetcorn, really the list is endless. If you try this please let me know what toppings you try?

Recipe :

1 Panini roll/1/2 ciabatta loaf per person

Olive Oil

Tomato Salsa – or tomato pasta sauce (in a jar!)

Mozzerella Cheese – or any other good melting cheese

Salami – or any topping of your choice!

Method : Preheat oven to 200C/185C fan

I specifically haven’t given quantities for the ingredients above as it really depends on how many pizzas you are making and how hungry the people you are making them for are!!

Here is how I made our Perfect Panini Pizzas :

Take two panini rolls....
Take two panini rolls….
Slice in half, place on a baking sheet and lightly drizzle with Olive oil.
Spoon over some bought tomato salsa/pasta sauce, so it just covers the bread. Don't overdo it or your pizza will be soggy.
Spoon over some bought tomato salsa/pasta sauce, so it just covers the bread. Don’t overdo it or your pizza will be soggy.
Lay slices of mozzarella over the top......
Lay slices of mozzarella over the top……
Then top with slices of salami.


Bake in the oven for 20 mins until the base and edges are all crispy and the cheese is gooey and melting over the sides!

Remove the pizzas from the oven and get ready for the best lunch ever!!!!


Star and I thoroughly enjoyed our Perfect Panini Pizzas and had fun deciding what other toppings we’d like to try.  The perfect break from studying. Rested and refuelled.

I’m sending lots of love to all students and school children ( it’s SATS week ) who are studying and taking exams at the moment.

What is your favourite refuel food?

Sammie x

Share
Facebooktwitterpinterestlinkedintumblr

Baked Garlic Herb Potato Wedges

Share
Facebooktwitterpinterestlinkedintumblr

Hello there people! The sun is shining and that makes me smile. It’s amazing how a little sunshine can improve our mood, as can the right food! Ooh that rhymed!! I have another fabulously easy side dish recipe for you today Baked Garlic Herb Potato Wedges.

Yummy Baked Garlic Herb Potato Wedges
Yummy Baked Garlic Herb Potato Wedges.


Perfect on their own or as a side dish these Baked Garlic Herb Potato Wedges are a tasty alternative to oven chips. They are quick to prepare, need no attention whilst they bake in the oven and have a finger licking garlicky flavour.

Also, why is it food tastes better when eaten with our hands???

Sorry I’ll get back to the point – which is – these baked beauties go with just about anything: Roast Chicken, Fish, Quiche, Steak, Sausages…. The list is endless. Try them and let me know what you had them with?

Delicious just on their own, or dunked in a dip of your choice!


Recipe : Baked Garlic Herb Potato Wedges Serves 4-6 as a side.

1.5kg/3lb Baking Potatoes – scrubbed and dried

2-3 tbsp Olive Oil or Rapeseed Oil – I use Kentish Oils

4 Garlic Bulbs – crushed/finely minced

1 tbsp Fresh Thyme

Salt and Pepper to taste

Method :

Preheat oven to 200C/185C fan.

Cut each baking potato in half lengthways. Cut each half into wedges, approx 1/2 inch wide – try to keep all the potato wedges a similar size, this will ensure even cooking. Place all the potato wedges onto a large baking sheet/roasting pan.

Drizzle over the Olive Oil.
I bought this pot of fresh Thyme from the supermarket and keep it on the kitchen window!
Sprinkle over the Thyme and minced Garlic and then mix thoroughly so that each wedge is coated in oil, garlic and thyme.


Ensure the wedges are spread out evenly and then place in the oven.

Bake for 40 – 50 minutes until golden and cooked through (I usually test larger wedges with a knife).

Note : I give the tin a good shake halfway through cooking, to ensure they don’t stick. Also, if they do start to stick, use a fish slice to separate them and flip them over.

Hot Baked Garlic Herb Potato Wedges - straight from the oven.
Hot Baked Garlic Herb Potato Wedges – straight from the oven.


Serve immediately with a sprinkle of crunchy sea salt and freshly ground black pepper.

Baked Garlic Herb Potato Wedges - delish!
Baked Garlic Herb Potato Wedges – delish!


Also I make these using fresh, minced Rosemary in place of the Thyme.  I honestly couldn’t pick a favourite – both versions are equally delicious!

I hope you enjoy trying and feasting on this dish.

Sammie x


Share
Facebooktwitterpinterestlinkedintumblr

Strawberries And Cream Cake

Share
Facebooktwitterpinterestlinkedintumblr

Hi, thank you for stopping by to look at this scrumptious Strawberries And Cream Cake! I hope the sight of it puts a smile on your face. Strawberries in Spring remind me of the promise of sunshine, picnics in the park and days at the beach. Ultimately I think that strawberries are a celebration of warm, sun drenched days, to be shared with friends and family.

FF Strawberries And Cream Cake

Because this cake is so easy to make and looks so beautiful, it easily turns any occasion into a Feast! Since I found strawberries on special offer I baked this cake. Because, they were so sumptuous they deserved celebrating!

FF Strawberries And Cream Cake
Strawberries And Cream Cake

Sometimes during Summer when it is hot, too hot for cake (yes there is such a thing in my world), we eat strawberries as they are, warm from the sun, or refreshingly churned into the most delicious ice cream, see my Strawberry Ripple Ice Cream. While cooler days allow for the indulgence of cake, with vanilla whipped cream and ruby red strawberries.

Recipe : Strawberries And Cream Cake serves 8

For the cake:

225g/8oz Caster Sugar

225g/8oz Unsalted Butter – room temperature (plus a little extra for greasing the tins)

4 Large Free Range Eggs

1/4tsp Salt – I use Maldon 

225g/8oz Self Raising White Flour – alternatively use the same quantity of Plain White Flour plus 2tsp baking powder

1tsp Vanilla Extract – I use Nielsen-Massey

For the filling:

450g/1lb Strawberries – hulled and sliced, save 1 pretty strawberry for the top

400ml/3/4 pint Double Cream

1 tsp Vanilla Bean Paste – alternatively use vanilla extract

1 tbsp Sugar – optional

Method : Preheat the oven to 180C/160C fan, 350F, gas mark 4

While using the ‘All in one’ technique for this cake, which usually involves placing all of the ingredients into a bowl and whisking, I have added an extra step.

Making and baking the sponge cakes

  • First of all grease 2 x 7in (17.5cm) sandwich tins and line the base of each with baking parchment.
  • Next add the butter, sugar and salt into a large mixing bowl. Whisk the ingredients together until pale and creamy.
  • Add the vanilla extract and eggs; Note – I always crack eggs into a separate bowl first, any shell is easily removed and one bad egg cannot spoil the cake batter. Also sift the self raising flour (or plain flour and baking powder) into the same bowl.
  • Whisk all of the ingredients together until just combined and smooth. Take care not to overmix the cake batter, as this can result in a heavy sponge.
The All-In-One-Method is a whizz
The All-In-One-Method is a whizz.


  • Divide the mixture evenly between the 2 prepared sandwich tins. Smooth the top of the cake batter using the back of a spoon.
Place the tins into the oven and bake for 20-25 minutes.
Ready for the oven
  • Place the tins into the centre and lower parts of the oven and bake for 20-25 minutes.
  • The sponges are baked when they are golden and spring back when lightly pressed in the centre. Also an inserted skewer will come out clean.
  • As soon as the cakes are baked remove from oven and allow to cool for 10 minutes in their tins.
  • Turn the cakes out on to a cooling rack and leave to cool completely before filling and decorating. Carefully remove the baking parchment.
Cooling cakes, waiting to be transformed....
Cooling cakes, waiting to be transformed….

Filling and decorating the cake

  • As soon as the cakes have cooled they can be filled and decorated.
  • In a large bowl whisk together the cream, sugar and vanilla bean paste until the cream holds it’s shape. Also, take care not to overmix as this can cause the cream to split, creating butter!
Spread half of the cream onto the bottom cake layer, flat side up.
Bottom half of the cake
  • Place one cake sponge on to a plate or board, flat side up.
  • Spoon half of the whipped cream on to the cake and spread so that it almost comes to the edge.
  • Add a layer of sliced strawberries on to the cream.
Arrange the sliced strawberries over the cream.
Strawberries and cream
  • Now place the other cake on top, flat side facing down.
  • Cover the top with the rest of the cream and decorate with sliced strawberries, placing a whole strawberry in the middle.
FF Strawberries And Cream Cake
Strawberries And Cream Cake

Place the finished cake into the fridge for 1 hour, as this allows the cream to firm up and makes slicing easier.

I serve this cake sliced and placed on my best china, with a cup of tea served in a cup and saucer. You may slice and serve this cake however you wish.

Both cake sponges can be made a day ahead, cool and store in an airtight container, using baking parchment to separate them. Yet the cake is best assembled on the day of eating.

As with all cream cakes they are at their best on the day they are made. Wrap any leftover cake in cling film, alternatively place in an airtight container and store in the fridge. Eat within 2 days of assembling.

If you have enjoyed this recipe for Strawberries And Cream Cake you may also like these:

Summer Mixed Berry Sponge Cake 

FF Strawberries And Cream Cake
Summer Mixed Berry Sponge Cake

Strawberry Topped Chocolate Heart Pavlova 

FF Strawberries And Cream Cake
Strawberry Topped Chocolate Heart Pavlova

Double Strawberry Almond Muffins 

FF Strawberries And Cream Cake
Double Strawberry Almond Muffins


While I love baking, sharing my finished bakes gives me the most pleasure. Since, I delight in seeing the anticipation and a happy face as someone enjoys something I’ve made. Finally, remember, before slicing into this cake I urge you to take a photo! Because, when you look at this cake in the deepest, darkest, depths of an icy winter, it will remind you that sunny days are ahead. Hope is powerful, even when it is in the form of cake!

So, whatever you are making, baking and creating in your kitchens, have fun preparing and sharing your feast.

Sammie x

No part of this post may be reproduced or duplicated without the written permission of the owner. Please see my Disclosure Policy.

Share
Facebooktwitterpinterestlinkedintumblr

Sausage Plait With A Twist

Share
Facebooktwitterpinterestlinkedintumblr

So today I have another super easy, recipe for you, my Sausage Plait With A Twist. What’s the twist? Sun-dried tomatoes and fresh thyme that lift the flavours of this savoury pastry to the next level.

Pinterest sized image of sliced sausage plait with descriptive graphics.


The addition of sundried tomatoes and thyme to pork sausage meat gives this sausage plait a deep savoury flavour. Ideal for a mid week meal, perfect for a buffet and portable for picnics!!

Lattice puff pastry topped savoury sausage meat pastry.
Sausage Plait With A Twist

I have used a special roller to create the lattice pattern on the top of the Sausage Plait. I bought it 20+ years ago. I’ve just had a quick peek on Amazon and they sell them for about £5. Which is probably about what I paid all those years ago!

Pastry Lattice Cutter


So, if you bake a lot of pies and tarts then I would say this is a good buy. Likewise, the diamond effect on the pastry below was achieved by lightly scoring the uncooked pastry, on a slant, one way and then the other. When baked it produced a pretty, diamond effect pattern and I didn’t need a Lattice Roller. And this technique also works for any Sausage Plait.

Diamond effect puff pastry sausage plait.
Diamond effect on the puff pastry is very effective.


So, whichever method you use, your Sausage Plait With A Twist is sure to go down well with everyone who tries it. Served hot or cold, it is completely delicious. Why not bake my  Tomato Thyme Garlic Focaccia Bread? It is the perfect, picnic accompaniment. As is my Tangy Lemon Potato Salad. While these Blueberry Lemon Shortbread Cake Bars are a delicious sweet treat that won’t attract every bug in a 10 mile radius.

Recipe: Sausage Plait With A Twist serves 6

500g/1lb Block Puff Pastry – defrosted if frozen – I use  Just Rol not the all butter version.

500g/1lb Pork Sausage meat – use the best quality sausage meat

15 Sundried Tomatoes (drained if in oil)

1 tbsp Fresh Thyme Leaves – simply strip from the stems, or chop if very new green growth

1/2 tsp Black Pepper – freshly ground

1 Egg – for egg wash

Method : Preheat the oven to 190C/170C fan, gas mark 5, 375F

Making The Filling

  • First of all, chop the sun-dried tomatoes roughly, so there are no big pieces.
  • Place the chopped tomatoes into a bowl and add the thyme, sausage meat and black pepper.
  • Using your hand, squish (technical term) all the ingredients together until well combined.


Dark red pieces of sundried tomato and flecks of green thyme are spread throughout the sausagemeat.
Dark red pieces of sundried tomato and flecks of green thyme are spread throughout the sausage meat.

Assembling And Baking The Sausage Plait

  • On a floured worktop roll out the puff pastry so that it measures 30cm x 35cm (10″x12″). Trim to neaten the edges.
  • Now place the pastry onto a piece of parchment paper that is the same size as your baking sheet. Since this will make transferring the sausage plait MUCH easier. MUCH! I speak from experience!!
  • Place the sausage meat mixture evenly down one side of the pastry, leaving a 1 inch (2.5cm) border.
Pat the sausage mixture so that it is spread evenly. Then get ready to roll.....
Pat the sausage mixture so that it is spread evenly. Then get ready to roll…..
Place the Lattice Roller just inside the bottom edge of the pastry and roll to the top!
Brush the beaten egg around the border of the sausage mixture.
Fold the lattice cut side over the sausage meat, so the edges meet.
I have crimped the pastry edges by twisting them together, then brushed egg wash over the top of the Sausage Plait.

Finally you can see how much easier it is to assemble the sausage plait on the baking parchment.

  • Place the sausage plait into the centre of a preheated oven and bake for 40 – 50 minutes, until golden brown.
  • The sausage plait is baked when golden in colour and any juices run clear.
  • As soon as it is baked remove from the oven and leave to cool on the baking tray.
Sausage Plait With A Twist

Such an easy dish to make, yet super impressive to look at and eat! It can be served hot or cold and is ideal for picnics and buffets as well as dinner time.

Cool completely and refrigerate for up to 3 days.

If you have enjoyed this recipe for Sausage Plait With A Twist you may also like these:

Spicy Sausage Rolls

Spicy sausage rolls freshly baked and cooling on a rack.
Spicy Sausage Rolls

Smoked Bacon Asparagus Quiche 

Baked quiche on a baking tray.
Smoked Bacon Asparagus Quiche

Red Onion Sausage Plait 

Sausage plait on a baking tray with fresh tomatoes and a jar of red onion marmalade from Hawkshead Relish.
Red Onion Sausage Plait

I really enjoy creating recipes for my family and for you to try on this blog. Especially recipes that are diverse. While this sausage plait is tasty served with salad and new potatoes for dinner, it also is great to slice and pack up for a picnic too. Because, in my opinion, diversity in recipes allows me to have more options for both mealtimes and buffets, when entertaining a crowd of people. Most importantly it’s easy. And we all love an easy recipe, right?

Whatever you are making, baking and creating in your kitchens, have fun preparing and sharing your feast.

Sammie x

No part of this post may be reproduced or duplicated without the written permission of the owner. Please see my Disclosure Policy.

Share
Facebooktwitterpinterestlinkedintumblr