Blackberry Nectarine Tart

Share
Facebooktwitterpinterestlinkedintumblr

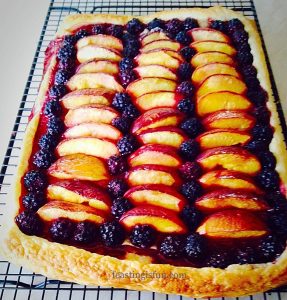
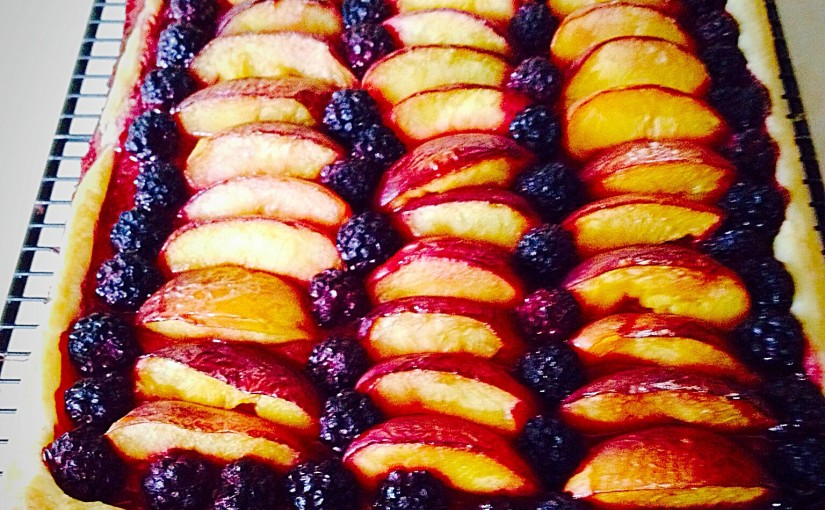
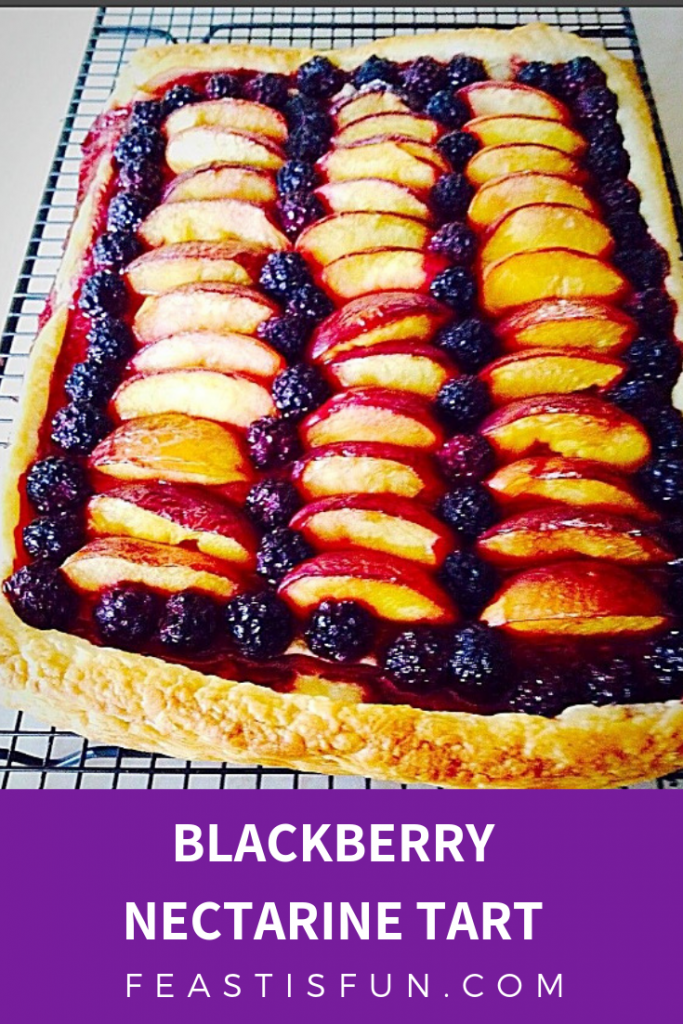
Hi, I’m celebrating. Because today is the first day I’ve woken up without a migraine for too long. So when I get a fairly good day I smile and give thanks, harder to do on the other days, more like clinging on by my fingertips. AND I made the easiest tart ever! This Blackberry Nectarine Tart is made with shop bought, all butter, puff pastry, a tub of blackberries (mine were frozen) and a punnet of nectarines. Alternatively you could easily use peaches.

Blackberry Nectarine Tart


So if you imagine roasting vegetables intensifies their flavour, then think what 30 minutes in a hot oven does to the fruit in this tart. Even with the addition of a sprinkle of vanilla sugar the intense fruit flavours in this Blackberry Nectarine Tart are a delight on the taste buds. While this is not a sweet tart. For me it’s a perfect balance of fruity flavour and flaky, buttery pastry.
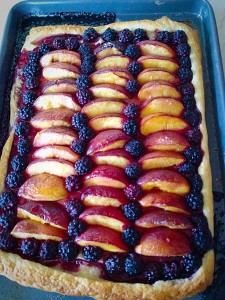
Blackberry Nectarine Tart - beautiful and delicious.
Blackberry Nectarine Tart

Create An Easy Dessert Using Store Cupboard Staples

I really can’t emphasise how easy this tart is to make. Since the pastry and blackberries were in the freezer, the nectarines, ridiculously cheap and in season, ripening at an increasingly rapid pace, needed using. Also, given how well this tart turned out I would happily make this during the colder months using, shock, horror, tinned peaches! Yup I would, with custard poured over. I am shameless!!!
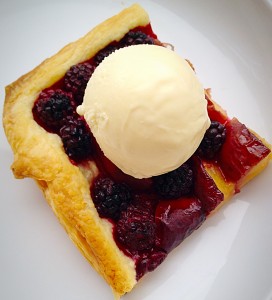
Blackberry Nectarine Tart - a perfect summer dessert, even in the winter.
Blackberry Nectarine Tart – a perfect summer dessert, even in the winter.


I hope I’ve convinced you to give this tart a try? Because as they say “The proof of the pudding, is in the eating!”

Recipe : Blackberry Nectarine Tart Serves 6

375g/13oz All Butter Puff Pastry – defrosted, if frozen, I use JusRol. Alternatively use vegetable fat puff pastry for a vegan dessert.

300g/11oz Blackberries – if frozen don’t defrost – I buy frozen punnets from Waitrose

7-8 Nectarines – peaches are a good substitute

1tbsp Vanilla Sugar

Method : Preheat oven to 220C/200C fan, 425F, gas mark 7

Grease or line with parchment paper a baking tray with shallow sides, the fruit give off juices when baked, 26cm x 39cm (10.5″ x 15.5″).

Assembling The Puff Pastry Tart

First of all, on a clean, dry, lightly floured surface, roll out the pastry so that it will just fit in the baking tray – I haven’t given dimensions, as if your baking tray size differs from mine a few centimetres either way, it won’t matter.
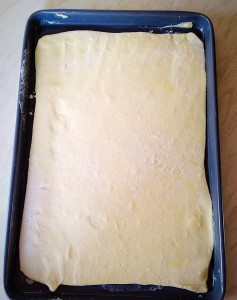
Using your rolling pin transfer the pastry to the baking tray.


I lightly scored the pastry approx. 1cm in from the edge with a sharp knife. This will ensure that a nice, even, crust, borders the tart.

Next slice each nectarine into 6 equal(ish) portions. If they are still firm this should be fairly easy. Because mine were very ripe so I cut out the slices, against the stone, while holding the nectarine, over a bowl to catch the juices.
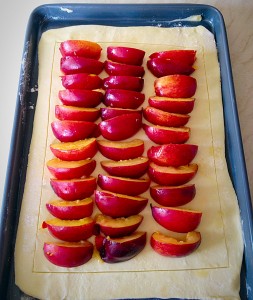
Blackberry Nectarine Tart - arrange the nectarine slices in rows.
Blackberry Nectarine Tart – arrange the nectarine slices in rows.
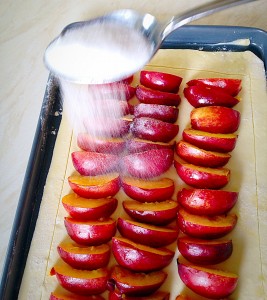
Blackberry Nectarine Tart - sprinkle over 1 tablespoon of vanilla sugar.
Blackberry Nectarine Tart – sprinkle over 1 tablespoon of vanilla sugar.


Either buy Vanilla Sugar, or alternatively you can make your own.
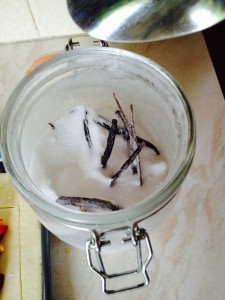
Vanilla Sugar - I have a Kilner jar filled with caster sugar and a few vanilla pods. Leave for one month and the vanilla will have infused the sugar with it's delicious flavour and scent.
Vanilla Sugar – I have a Kilner jar filled with caster sugar and a few vanilla pods. Leave for one month and the vanilla will have infused the sugar with it’s delicious flavour and scent.


Tip : A light (little goes a long way) sprinkling of Vanilla Sugar over homemade popcorn is delish!!

Next arrange the blackberries on the tart, however you choose. I chose to go with the lines of the tart.
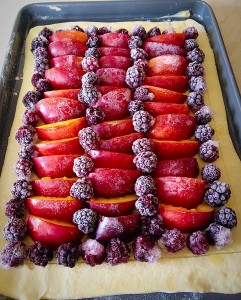
Blackberry Nectarine Tart - using frozen blackberries I think helped them retain their shape during baking.
Blackberry Nectarine Tart – using frozen blackberries I think helped them retain their shape during baking.

Baking The Fruit Tart

Place the tart in the oven and bake for 30 – 35 minutes. While some juice from the fruit leaks, I found, once the 30 minutes baking time was up, it had concentrated and did not make that part of the tart soggy.

The tart is cooked when the outside crust is golden brown and the base, when gently lifted, is golden brown too.

As soon as the tart is baked remove from the oven.
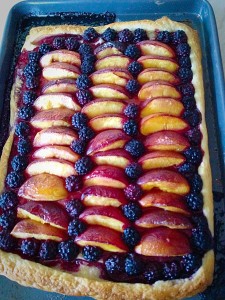
Blackberry Nectarine Tart - once baked remove from the oven.
Blackberry Nectarine Tart – once baked remove from the oven.


Transfer the Blackberry Nectarine Tart on to a cooling rack. This keeps the tart bottom and crust nice and flaky.
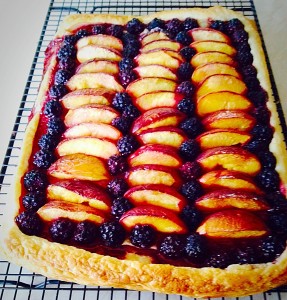
Blackberry Nectarine Tart - if you like a bit more sweetness a dusting of icing sugar would be perfect.
Blackberry Nectarine Tart – if you like a bit more sweetness a dusting of icing sugar would be perfect.


Serve warm or cold. This tart was perfectly complimented by a scoop a good, vanilla ice cream.
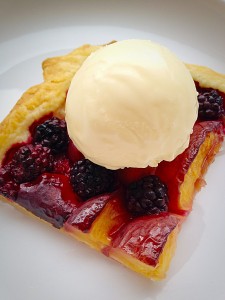
Blackberry Nectarine Tart - utter deliciousness.
Blackberry Nectarine Tart – utter deliciousness.

If you have enjoyed this recipe for Blackberry Nectarine Tart you may also like these:
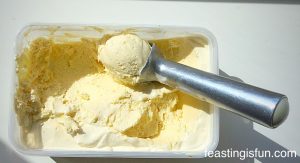
Very Vanilla Ice Cream

FF Blackberry Nectarine Tart
Very Vanilla Ice Cream

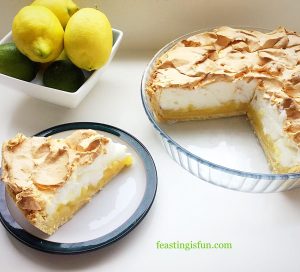
Lemon Lime Meringue Pie 

FF Blackberry Nectarine Tart
Lemon Lime Meringue Pie

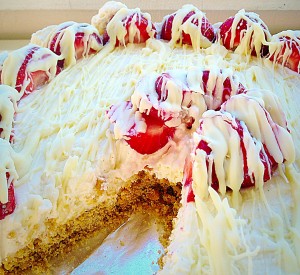
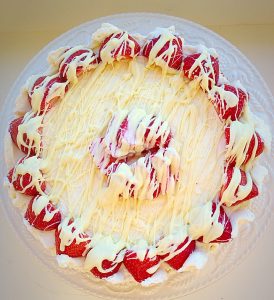
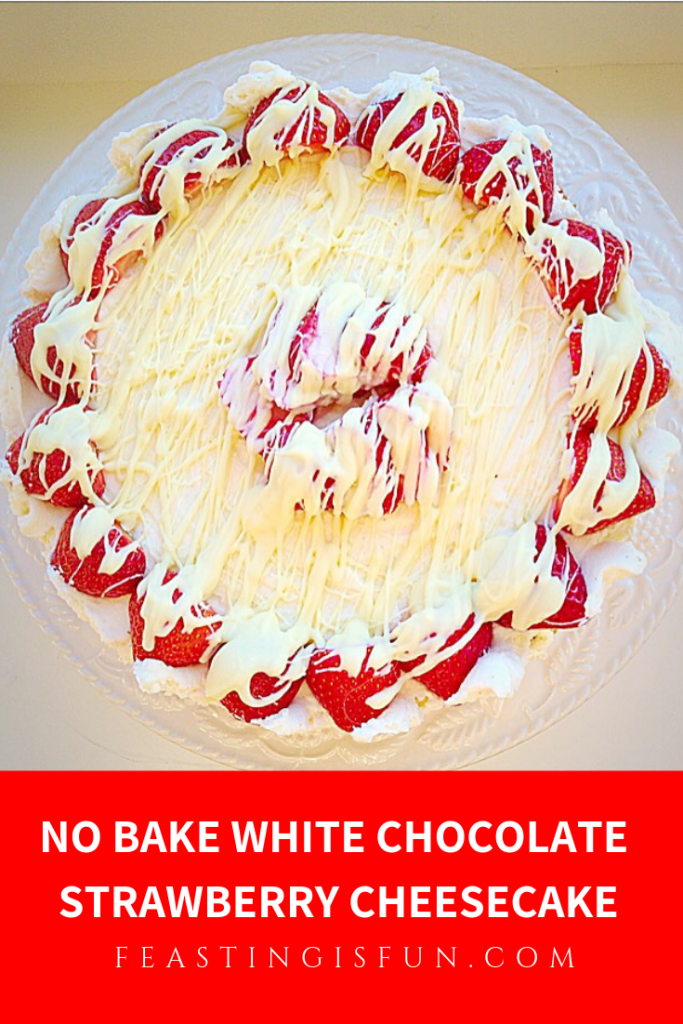
No Bake White Chocolate Strawberry Cheesecake 
FF Blackberry Nectarine Tart
No Bake White Chocolate Strawberry Cheesecake

If you keep pastry and fruit in the freezer regularly, I’d say this is the perfect, pull together, easy dessert.  Especially perfect for eating while snuggling on the sofa watching a film, or entertaining last minute, or even planned dinner guests!!

Because I used nectarines their tender skin doesn’t need to be removed.

What go-to freezer staples do you keep on hand. As well as ice cream!

So whatever you are making, baking and creating in your kitchens, have fun preparing and sharing your feast.

Sammie xx

No part of this post may be reproduced or duplicated without the written permission of the owner. Please see my Disclosure Policy.

Share
Facebooktwitterpinterestlinkedintumblr

White Chocolate Strawberry Cheesecake

Share
Facebooktwitterpinterestlinkedintumblr

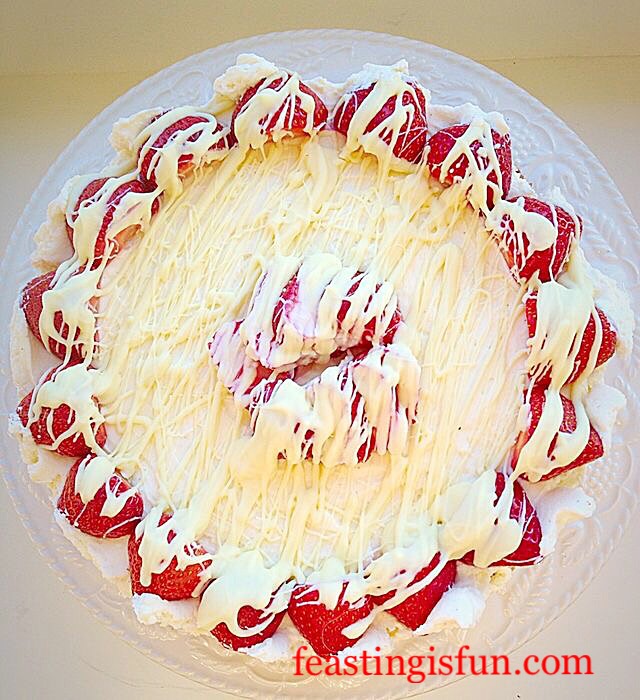
So Wimbledon starts today here in the UK and that can only mean one, two, oh well maybe a few things. First of all it means Strawberries, beautiful, British, luscious, red, ripe berries. While strawberries are available year round in the supermarkets, eating local, seasonal berries cannot be beaten. And to celebrate these gorgeous fruits I have created this White Chocolate Strawberry Cheesecake.

FF No Bake White Chocolate Strawberry Cheesecake

Which brings me onto my second point; many afternoons will be spent over the next fortnight watching copious amounts of tennis. I kid you not. Because Wimbledon is a national pastime. Will Murray make it through to the final? Will the Williams sisters reign supreme? Second to our preoccupation with the weather (which is actually my third point!), Wimbledon lovingly becomes THE subject of conversation. And taking precedence over my third point. Will the weather hold? Will the roof be closed. So much speculation, umming and aahing takes place during Wimbledon AND it’s FUN!!

Smiling at British eccentricities

I love the way we British, while watching a well known player blast their way through three sets against a relative unknown ALWAYS pull for the underdog. It’s one of the Great British traits I really admire. Yet for two weeks computers, iPhones, TV’s are all tuned to the BBC, for a glimpse of the All England Tennis Club’s freshly prepared, lawn courts, get thoroughly annihilated by some of the worlds top athletes.

FF No Bake Cheesecake
No Bake White Chocolate Strawberry Cheesecake

And Wimbledon is one of the highlights of my year. Can you tell? Since I  had the opportunity to go, back in the day when John McEnroe reigned supreme, I’ve been sold on it ever since. In fact, should you get the opportunity to visit SW19 it’s a wonderful, Wimbledon, experience!

White Chocolate Strawberry Cheesecake - the perfect dessert for Summer.
White Chocolate Strawberry Cheesecake – the perfect dessert for Summer.

Recipe : White Chocolate Strawberry Cheesecake Serves 8-10

275g/10oz Digestive Biscuits – or Graham Crackers

125g/5oz Unsalted Butter

750g/Approx 1.5lb Mascarpone Cheese

2tbsp Icing Sugar

1tsp Vanilla Bean Paste – or 2tsp Vanilla Extract – I use Nielsen-Massey 

50ml/Splash of Whole Milk

200g/7oz Good Quality White Chocolate

250g/9oz Fresh Ripe Strawberries

Method : White Chocolate Strawberry Cheesecake

You will need a 25cm/10″ Springform Cake Tin for this recipe.

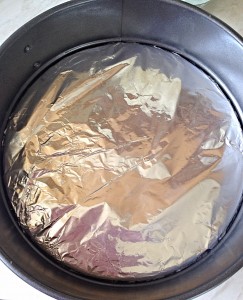
Since it can be quite difficult to remove the cheesecake from the base of the pan, I cover the base with aluminium foil and click into place.

Covering the base of the pan with foil protects it from knife marks!
Cover the base of the pan with foil to protect it from knife marks

Making the cheesecake base:

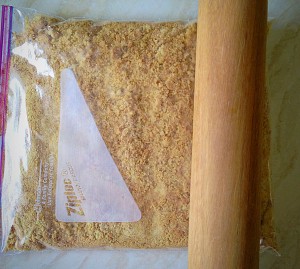
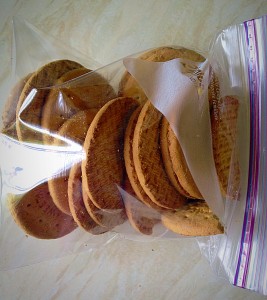
  • First of all, place the biscuits into a thick, sealed freezer bag and bash with a rolling pin, until they are broken and look like sand.

Place the digestive biscuits into a sealed freezer bag.

  • Bash the biscuits with a rolling pin until they are completely broken up and resemble sand.

Bash the biscuits with a rolling pin, until they are broken up and resemble dry sand.

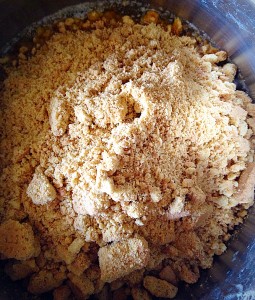
  • Put the butter into a small saucepan and melt over a low heat. As soon as it is melted turn off the heat. Tip in the biscuit crumbs and mix thoroughly. The mixture should resemble damp sand.
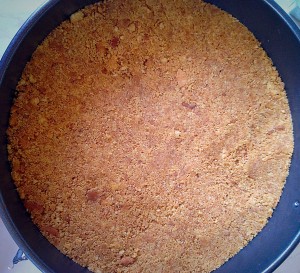
  • Press the biscuit base into the tin using the back of a spoon to create a compact, even layer.
  • Refrigerate for an hour.
Tip the damp sand mixture into the springform pan.
Press the mixture down evenly with the back of a spoon. Refrigerate for an hour to set.
Press the mixture down evenly with the back of a spoon. And refrigerate for an hour to set.

Making the cheesecake filling:

  • Next for the cheesecake filling – melt 75g/3oz white chocolate in the microwave, remove before completely melted and stir. The residual heat will ensure all the chocolate melts. So be careful, white chocolate is the easiest chocolate to overheat.
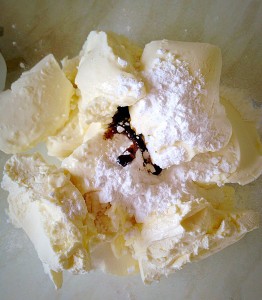
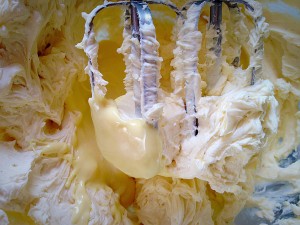
  • Into a large bowl add the mascarpone cheese, icing sugar, vanilla bean paste and a splash – 1tbsp of milk. Whisk until the mixture is smooth.

Into a large bowl add the Mascarpone, icing sugar, vanilla bean paste and a splash of milk. Whisk to thoroughly incorporate all the ingredients.

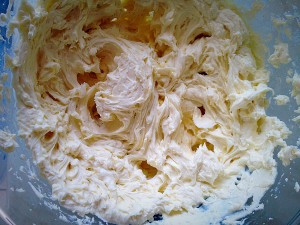
  • Pour the cooled, melted white chocolate into the mascarpone mix and whisk until silky smooth.

Pour in the cooled, melted white chocolate. Whisk until the cheesecake mixture is silkily combined.

Resist the urge to sit in the kitchen floor and eat the contents of this bowl with a spatula!!

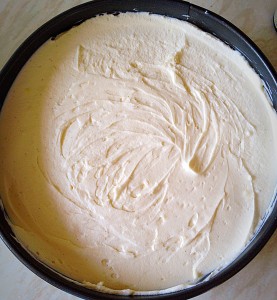
  • Spoon the cheesecake mixture on top of the biscuit base and smooth the top.

Add the cheesecake mixture to the top of the biscuit crust and smooth.

  • Pop the cheesecake in the fridge while you sit on the kitchen floor and lick the bowl and spatula clean. Mmmm not too shabby!

Decorating the cheesecake:

  • Melt the rest of the white chocolate, as before and set aside to cool a little.
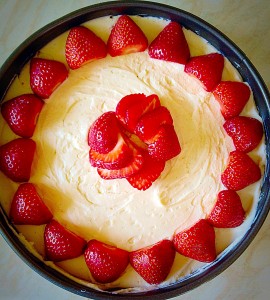
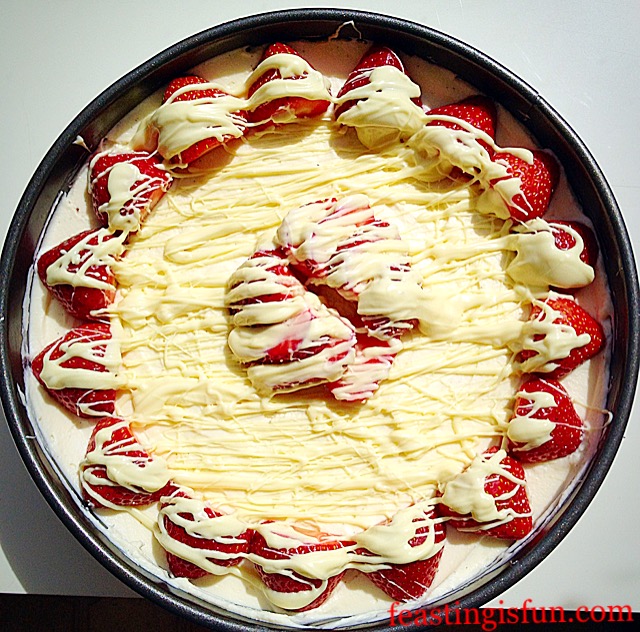
  • Also pick two strawberries for the centre of the cheesecake. Hull and halve the rest of the strawberries.
Arrange your strawberries in a pretty pattern, or just tumble them on top - it's your cheesecake!!
Arrange your strawberries in a pretty pattern, or just tumble them on top – it’s your cheesecake!!
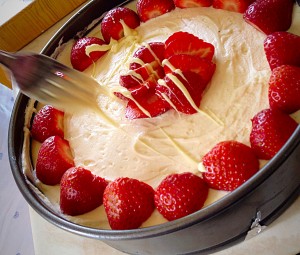
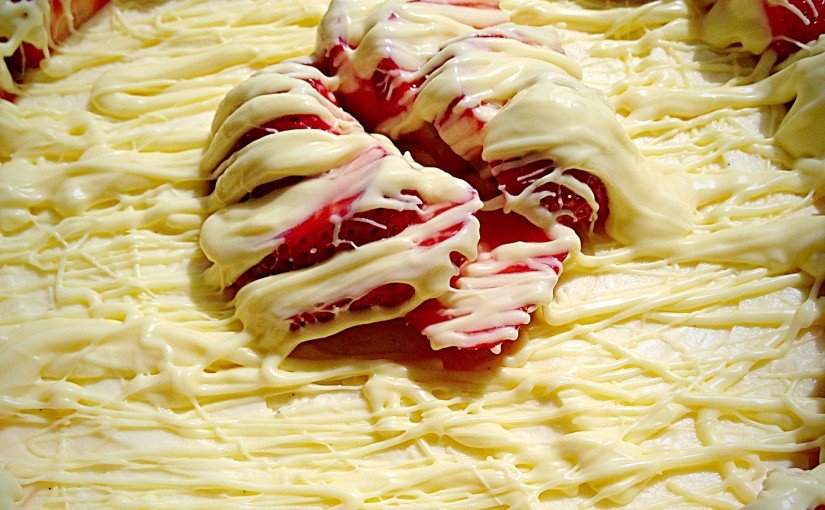
Using a fork drizzle the melted white chocolate from side to side.
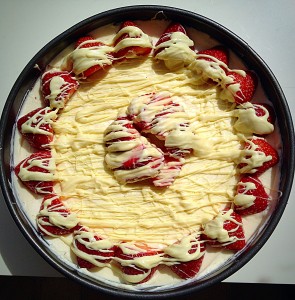
Continue drizzling until your White Chocolate Strawberry Cheesecake is complete.
  • Finally place the cheesecake in the fridge for at least 4 hours to set (overnight would be better – but who are we kidding?).
  • Run a palette knife around the edge of the cheesecake and release from the tin.
  • Finally place the cheesecake onto a plate or cake stand.
FF White Chocolate Strawberry Cheesecake
No Bake White Chocolate Strawberry Cheesecake
Crunch base with a soft, light, vanilla topping.

Slice the cheesecake using a sharp knife. And serve on dessert plates with an accompanying fork.

Cover with cling film and keep refrigerated. Eat within 3 days.

If you have enjoyed this recipe for White Chocolate Strawberry Cheesecake then you may also like these:

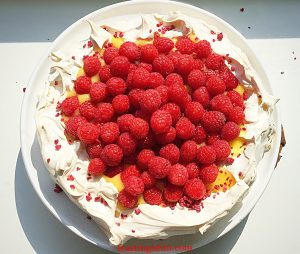
Raspberry Topped Lemon Curd Pavlova

FF White Chocolate Strawberry Cheesecake
Raspberry Topped Lemon Curd Pavlova

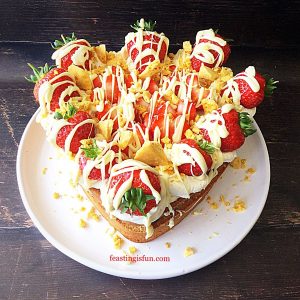
White Chocolate Drizzle Strawberry Cream Cake 

FF White Chocolate Strawberry Cheesecake
White Chocolate Drizzle Strawberry Cream Cake

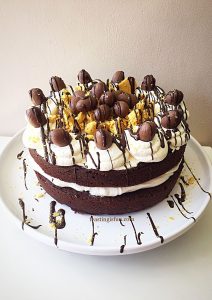
Chocolate Honeycomb Sponge Cake 

FF White Chocolate Strawberry Cheesecake
Chocolate Honeycomb Sponge Cake

While Wimbledon certainly is a highlight of my year, gathering with family to watch the final together is the biggest thrill. Because sharing time together is what matters most. Also, making memories and creating experiences that our children will tell their children about, is absolutely the heart of who I am as a parent. And I firmly believe that all food tastes better when shared. So getting together with friends and family turns simple food into a feast!

So whatever you are making, baking and creating in your kitchens, have fun preparing and sharing your feast.

Sammie xx

No part of this post may be reproduced or duplicated without the written permission of the owner. Please see my Disclosure Policy.

Share
Facebooktwitterpinterestlinkedintumblr

Strawberries And Cream Cake

Share
Facebooktwitterpinterestlinkedintumblr

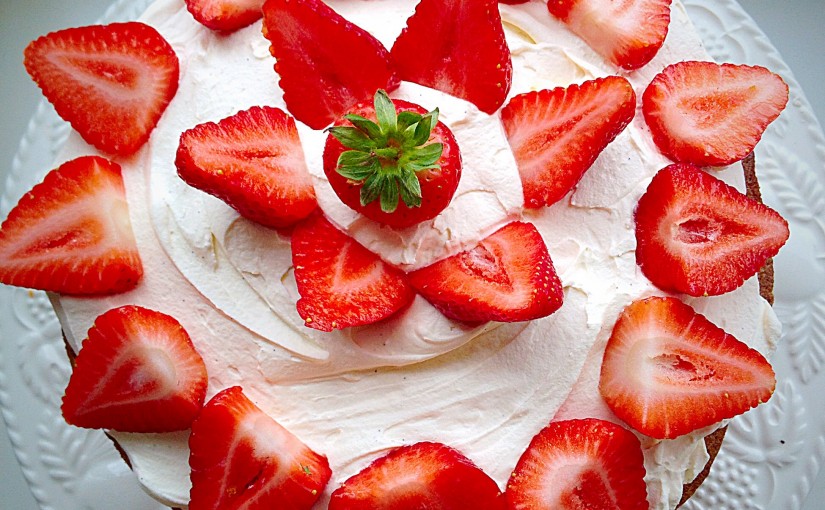
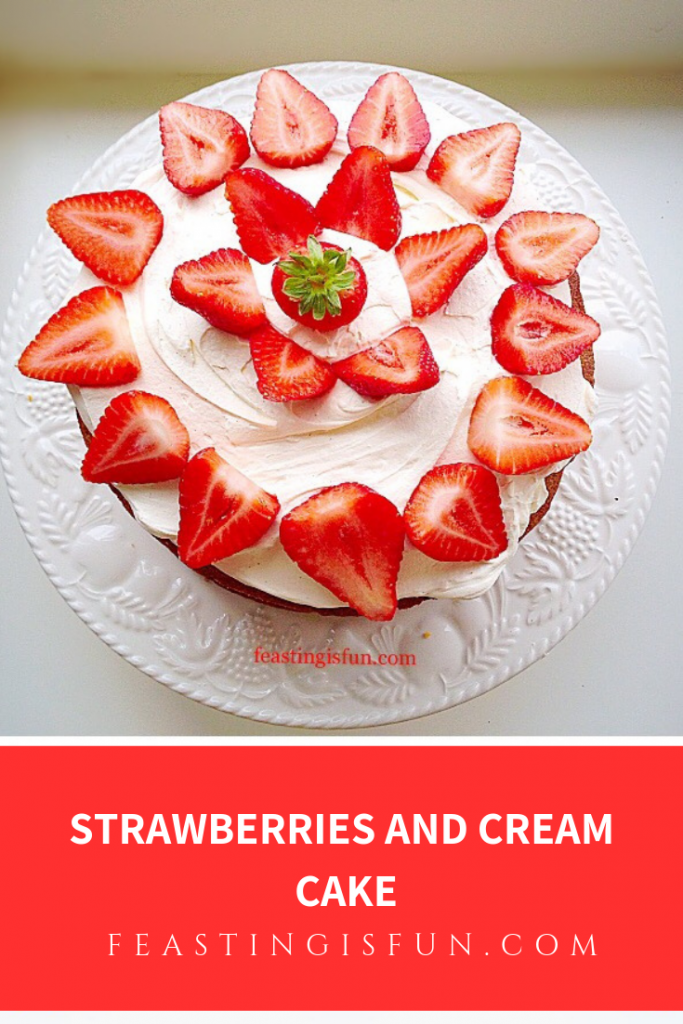
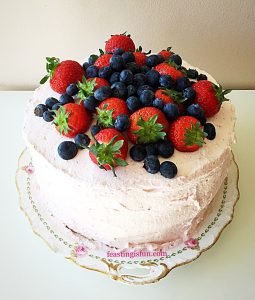
Hi, thank you for stopping by to look at this scrumptious Strawberries And Cream Cake! I hope the sight of it puts a smile on your face. Strawberries in Spring remind me of the promise of sunshine, picnics in the park and days at the beach. Ultimately I think that strawberries are a celebration of warm, sun drenched days, to be shared with friends and family.

FF Strawberries And Cream Cake

Because this cake is so easy to make and looks so beautiful, it easily turns any occasion into a Feast! Since I found strawberries on special offer I baked this cake. Because, they were so sumptuous they deserved celebrating!

FF Strawberries And Cream Cake
Strawberries And Cream Cake

Sometimes during Summer when it is hot, too hot for cake (yes there is such a thing in my world), we eat strawberries as they are, warm from the sun, or refreshingly churned into the most delicious ice cream, see my Strawberry Ripple Ice Cream. While cooler days allow for the indulgence of cake, with vanilla whipped cream and ruby red strawberries.

Recipe : Strawberries And Cream Cake serves 8

For the cake:

225g/8oz Caster Sugar

225g/8oz Unsalted Butter – room temperature (plus a little extra for greasing the tins)

4 Large Free Range Eggs

1/4tsp Salt – I use Maldon 

225g/8oz Self Raising White Flour – alternatively use the same quantity of Plain White Flour plus 2tsp baking powder

1tsp Vanilla Extract – I use Nielsen-Massey

For the filling:

450g/1lb Strawberries – hulled and sliced, save 1 pretty strawberry for the top

400ml/3/4 pint Double Cream

1 tsp Vanilla Bean Paste – alternatively use vanilla extract

1 tbsp Sugar – optional

Method : Preheat the oven to 180C/160C fan, 350F, gas mark 4

While using the ‘All in one’ technique for this cake, which usually involves placing all of the ingredients into a bowl and whisking, I have added an extra step.

Making and baking the sponge cakes

  • First of all grease 2 x 7in (17.5cm) sandwich tins and line the base of each with baking parchment.
  • Next add the butter, sugar and salt into a large mixing bowl. Whisk the ingredients together until pale and creamy.
  • Add the vanilla extract and eggs; Note – I always crack eggs into a separate bowl first, any shell is easily removed and one bad egg cannot spoil the cake batter. Also sift the self raising flour (or plain flour and baking powder) into the same bowl.
  • Whisk all of the ingredients together until just combined and smooth. Take care not to overmix the cake batter, as this can result in a heavy sponge.
The All-In-One-Method is a whizz
The All-In-One-Method is a whizz.


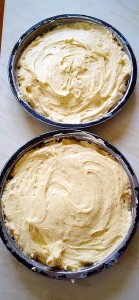
  • Divide the mixture evenly between the 2 prepared sandwich tins. Smooth the top of the cake batter using the back of a spoon.
Place the tins into the oven and bake for 20-25 minutes.
Ready for the oven
  • Place the tins into the centre and lower parts of the oven and bake for 20-25 minutes.
  • The sponges are baked when they are golden and spring back when lightly pressed in the centre. Also an inserted skewer will come out clean.
  • As soon as the cakes are baked remove from oven and allow to cool for 10 minutes in their tins.
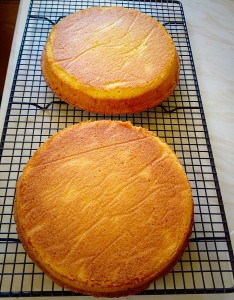
  • Turn the cakes out on to a cooling rack and leave to cool completely before filling and decorating. Carefully remove the baking parchment.
Cooling cakes, waiting to be transformed....
Cooling cakes, waiting to be transformed….

Filling and decorating the cake

  • As soon as the cakes have cooled they can be filled and decorated.
  • In a large bowl whisk together the cream, sugar and vanilla bean paste until the cream holds it’s shape. Also, take care not to overmix as this can cause the cream to split, creating butter!
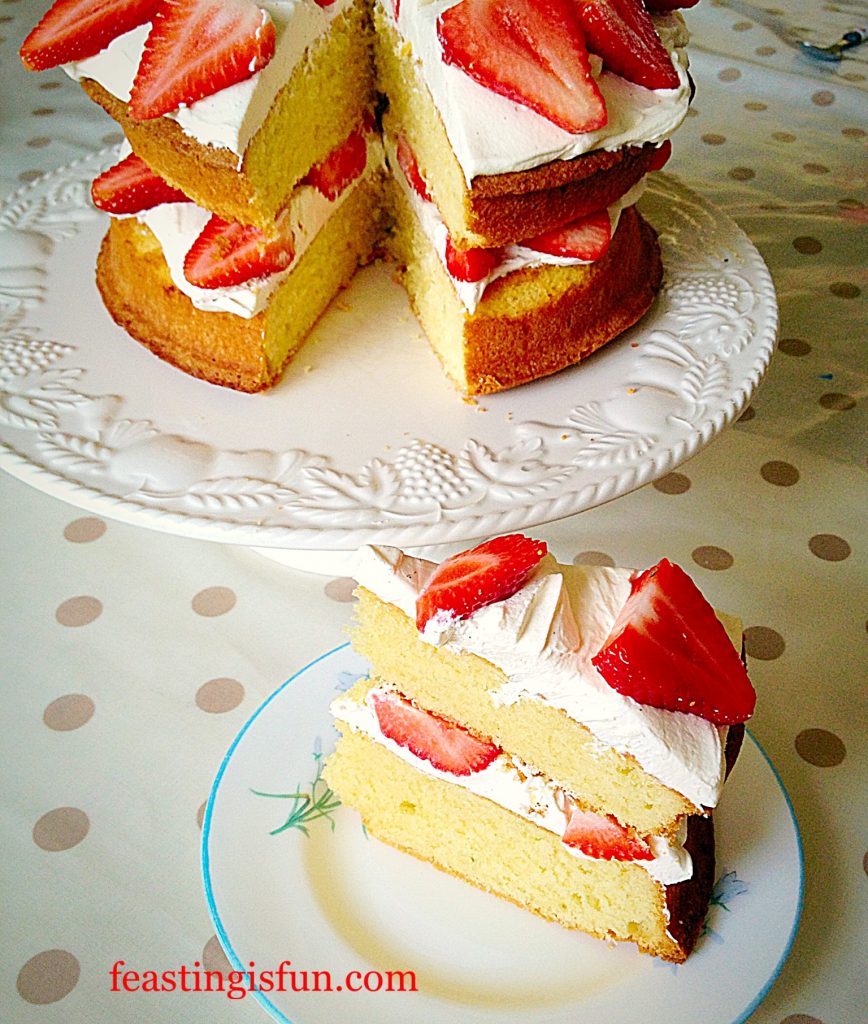
Spread half of the cream onto the bottom cake layer, flat side up.
Bottom half of the cake
  • Place one cake sponge on to a plate or board, flat side up.
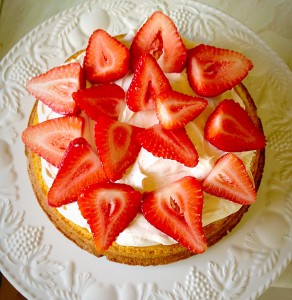
  • Spoon half of the whipped cream on to the cake and spread so that it almost comes to the edge.
  • Add a layer of sliced strawberries on to the cream.
Arrange the sliced strawberries over the cream.
Strawberries and cream
  • Now place the other cake on top, flat side facing down.
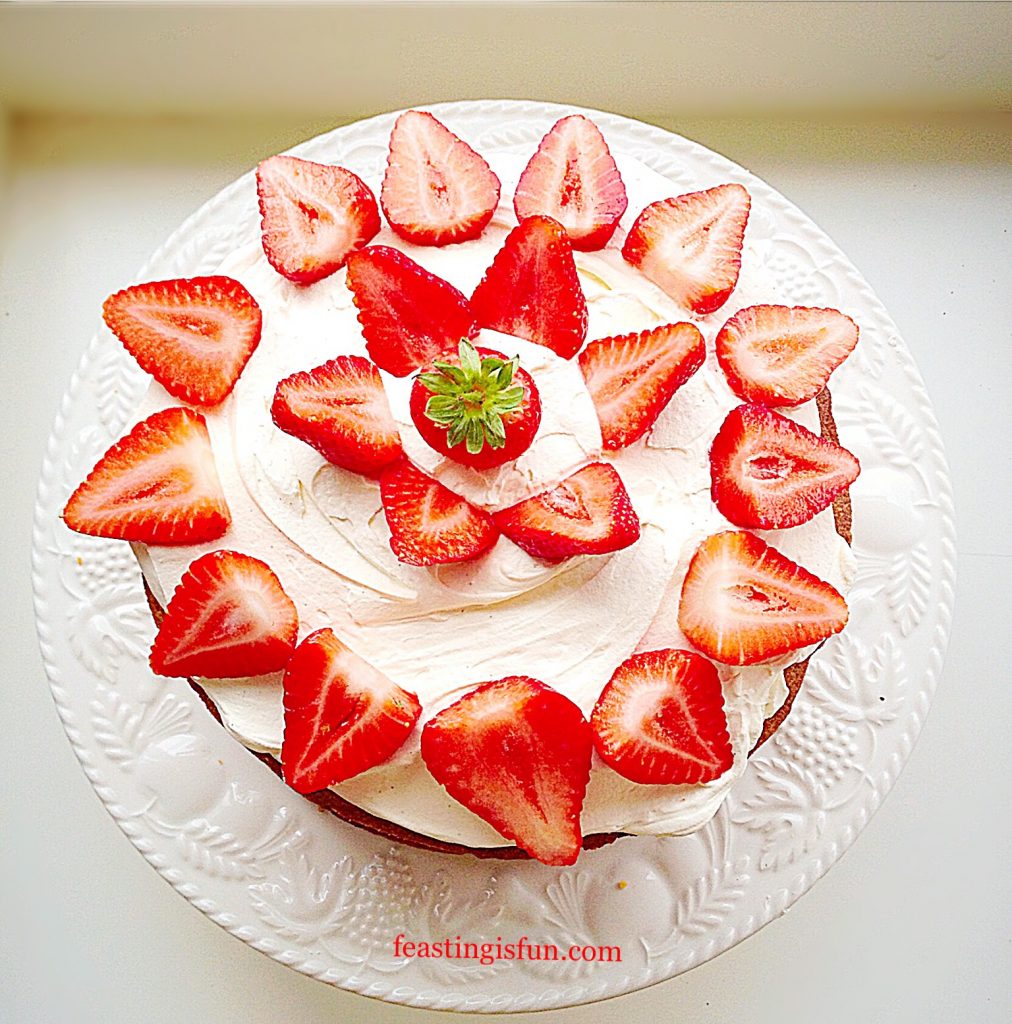
  • Cover the top with the rest of the cream and decorate with sliced strawberries, placing a whole strawberry in the middle.
FF Strawberries And Cream Cake
Strawberries And Cream Cake

Place the finished cake into the fridge for 1 hour, as this allows the cream to firm up and makes slicing easier.

I serve this cake sliced and placed on my best china, with a cup of tea served in a cup and saucer. You may slice and serve this cake however you wish.

Both cake sponges can be made a day ahead, cool and store in an airtight container, using baking parchment to separate them. Yet the cake is best assembled on the day of eating.

As with all cream cakes they are at their best on the day they are made. Wrap any leftover cake in cling film, alternatively place in an airtight container and store in the fridge. Eat within 2 days of assembling.

If you have enjoyed this recipe for Strawberries And Cream Cake you may also like these:

Summer Mixed Berry Sponge Cake 

FF Strawberries And Cream Cake
Summer Mixed Berry Sponge Cake

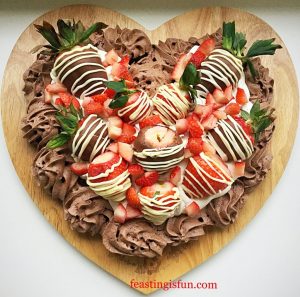
Strawberry Topped Chocolate Heart Pavlova 

FF Strawberries And Cream Cake
Strawberry Topped Chocolate Heart Pavlova

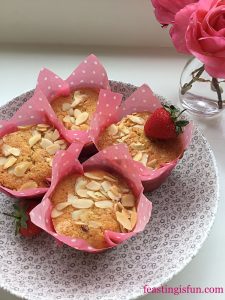
Double Strawberry Almond Muffins 

FF Strawberries And Cream Cake
Double Strawberry Almond Muffins


While I love baking, sharing my finished bakes gives me the most pleasure. Since, I delight in seeing the anticipation and a happy face as someone enjoys something I’ve made. Finally, remember, before slicing into this cake I urge you to take a photo! Because, when you look at this cake in the deepest, darkest, depths of an icy winter, it will remind you that sunny days are ahead. Hope is powerful, even when it is in the form of cake!

So, whatever you are making, baking and creating in your kitchens, have fun preparing and sharing your feast.

Sammie x

No part of this post may be reproduced or duplicated without the written permission of the owner. Please see my Disclosure Policy.

Share
Facebooktwitterpinterestlinkedintumblr

Nutella Hazelnut Covered Chocolate Marble Cake

Share
Facebooktwitterpinterestlinkedintumblr

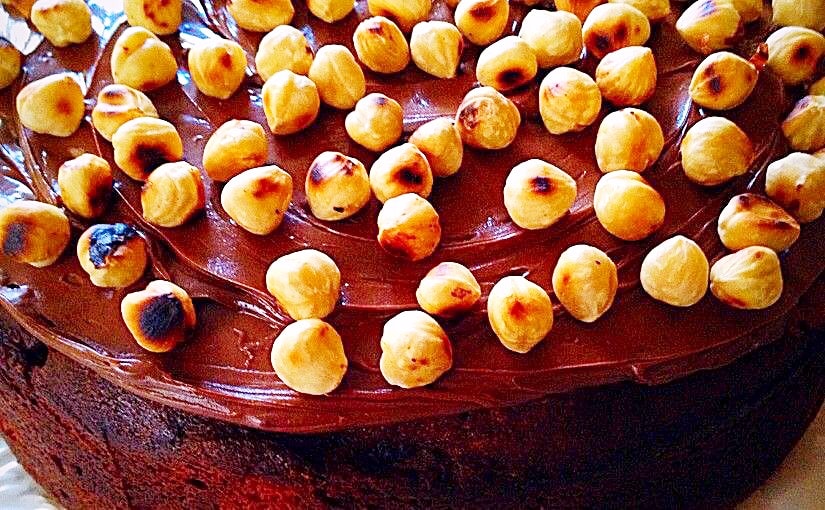
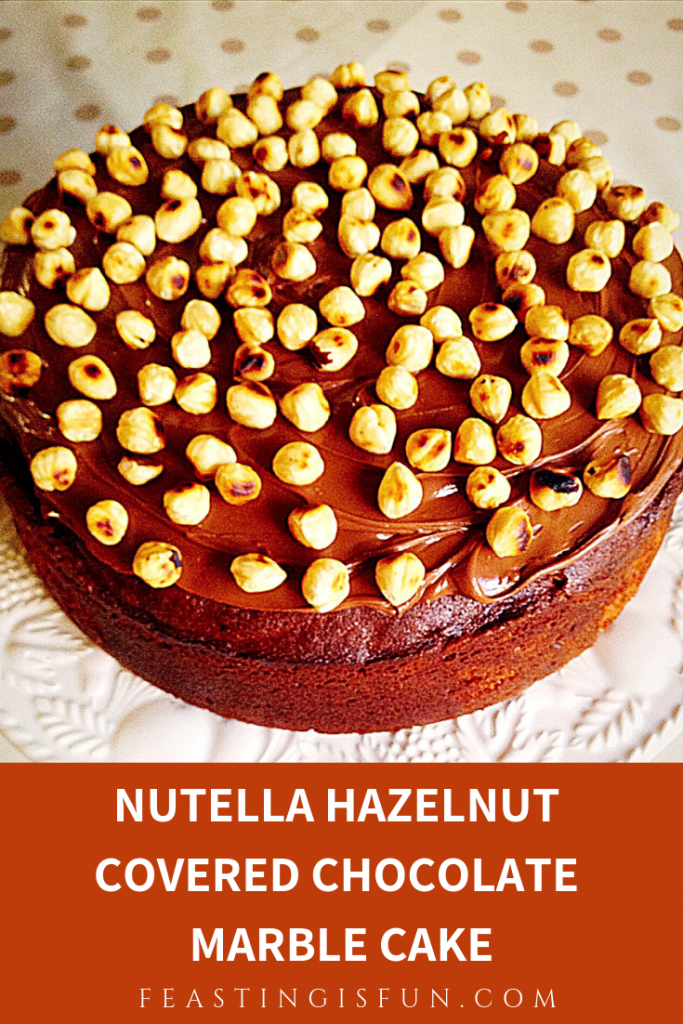
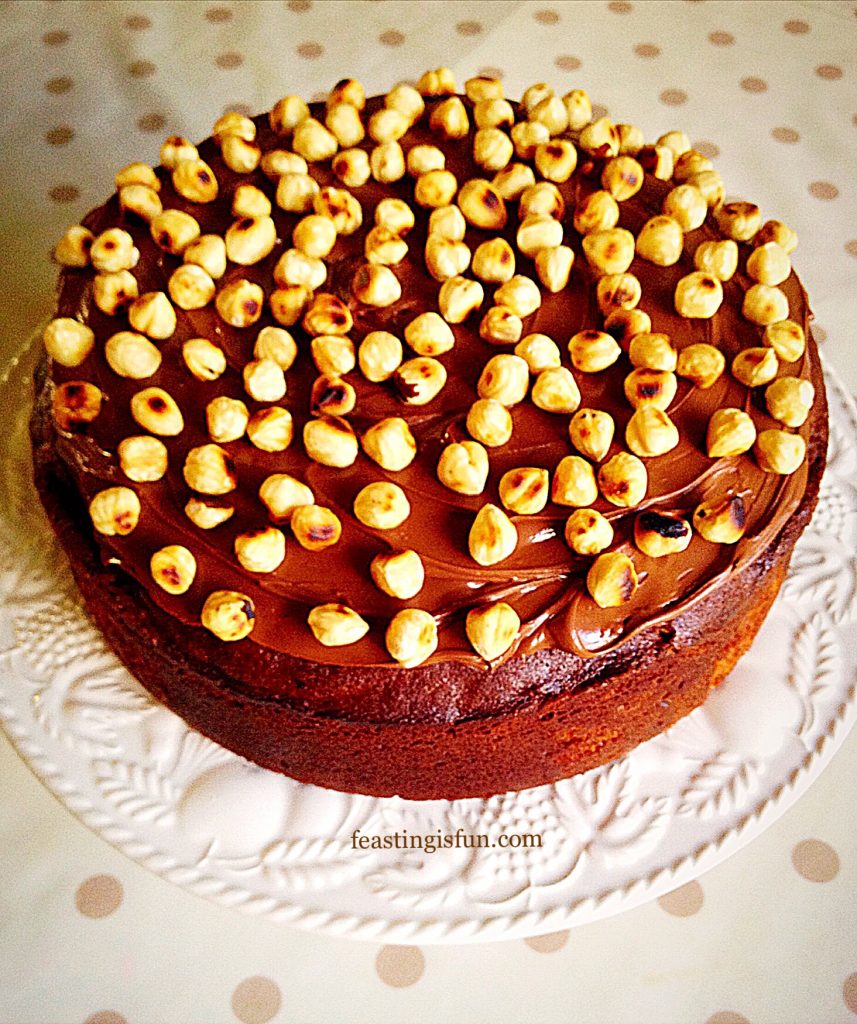
Hi there, I hope there is something in your day today that makes you smile.  I’m definitely smiling because I’ve made this luscious, moist Nutella Hazelnut Covered Chocolate Marble Cake. Chocolate and vanilla sponge swirled together, baked and then topped with a generous slather of Nutella and whole, toasted hazelnuts.

Yep I’m back to baking, after being out of action for a few weeks with horrid Migraines, see here. Frustrating, painful and boring, however today I did it.  I finally got to remake the cake that I teased you about  and as Nutella has been on special offer, I won’t get blasted by the children, for depleting their Nutella supply.

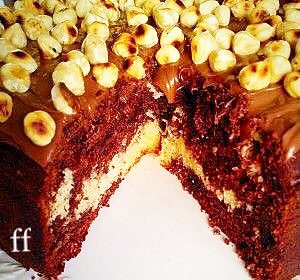
Cut cake showing the marbling effect.
See the marbling effect inside the cake.

I should mention, given the number of times I’ve mentioned Nutella, that this is not a paid promotion.  It’s just Nutella is such an easy frosting for a cake and this particular combo is especially yummy.

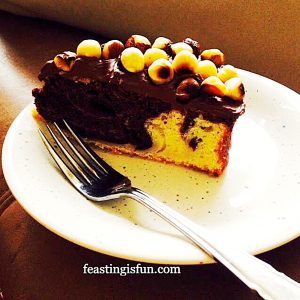
A slice of Nutella Hazelnut Covered Chocolate Marble Cake

Because, being completely honest, I’ll admit to eating a slice of this cake for lunch, three days in a row. It really is that tempting.

Recipe :  Nutella Hazelnut Covered Chocolate Marble Cake serves 8-10

12oz/350g  White Caster Sugar

12oz/350g  Unsalted Butter – room temperature

1/4tsp Sea Salt – I use Maldon

2tsp  Vanilla Extract I use Nielsen-Massey

6  Large Eggs – pref free range

240mls/8fl oz  Buttermilk

12oz/350g  White Self Raising Flour

3oz/75g  Cocoa Powder – I use Callebaut

5-6  Heaped Tablespoons of Nutella

4oz/100g  Blanched Hazelnuts

Method: Preheat the oven to 170C/150C fan, gas mark 2, 300F

Making The Chocolate And Vanilla Cake Batter

  • First of all grease thoroughly with butter a 9 inch/22.5cm springform cake pan and line the base with baking parchment.
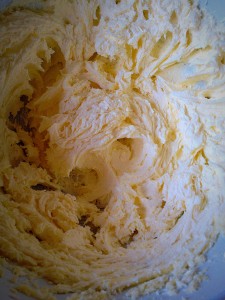
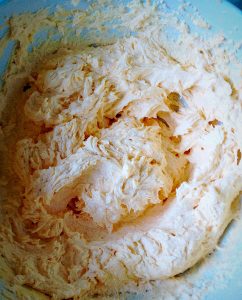
  • Add the butter, sugar and salt to a large bowl and cream together using an electric whisk (or stand mixer with paddle attachment). This actually takes a good 5 mins to get a really pale, light and fluffy mixture (so unless you want a thorough workout I don’t suggest you do this by hand!).
Pale and fluffy!!
Pale and fluffy!!
  • Next add the vanilla extract, and 1 egg. Whisk until combined.  While continuing to whisk gradually add the rest of the eggs, slowly, one at a time, until they have all been added.  If it looks like your mixture is going to curdle add one tablespoon of Self Raising Flour and the mixture will come back together.
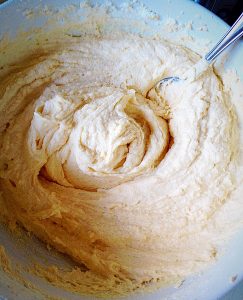
Making the vanilla cake batter.

All eggs added and no curdling – I added a tablespoon of flour, just in case!

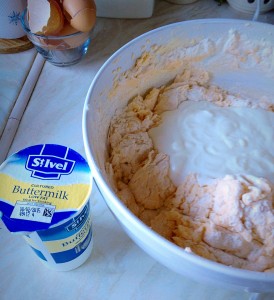
  • Add the remaining  flour and partly fold in. Now add the buttermilk (it’s worth giving the container a good shake, as the buttermilk can settle).  Complete the mixing, by folding in the part blended flour mixture and the buttercream.  Watch in amazement as the batter takes on a mousse like consistency.
This St Ivel buttermilk is the only one I could find!
Buttermilk added to the cake batter.

If my batter looks a bit pinky/orange, it’s  because the eggs that I used had very orange yolks.

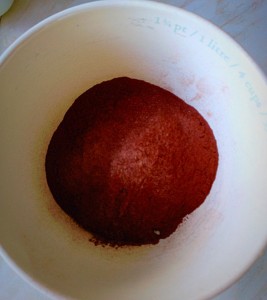
  • In a separate bowl (I suggest that you use a larger one than I did) add the cocoa powder.
  • Place half of your vanilla cake batter on top of the cocoa and whisk until blended. I did try mixing by hand, but it was hopeless as the bowl was too small!
Cocoa.
Cocoa.
Place half the batter mixture on top.
And whisk!!!
And whisk!!!

Creating The Marble Effect Of The Cake

  • Spoon in large dollops of the chocolate cake batter.
  • Follow with vanilla cake batter dropped in between the chocolate.
  • Now add chocolate batter on top of the vanilla.
  • Likewise repeat with vanilla and then chocolate batter until it is all in the cake tin.
First I dolloped chocolate cake batter.
Then I added vanilla..,
Finishing with the rest of the chocolate.
  • Using a butter knife swirl the two batters together.  What you’re aiming for is a rippled effect. Since there is no precision to this method, swirl a few times, but not so many that the result is both cake batters completely mixed together.
Swirling finished, now level off the cake top.

Baking The Chocolate Marble Cake

  • Place the cake in the centre of a preheated oven and bake for an hour.  The cake is cooked when it is firm to touch and does not wobble underneath the set top. Also an inserted skewer will come out clean.
  • As soon as the cake is cooked remove from the oven.
  • Place the cooked cake, still in it’s tin onto a baking rack and leave to cool, for 15 minutes.
  • After 15 minuntes  unclip the springform tin and remove the tin, leaving the cake on the tin base to cool.
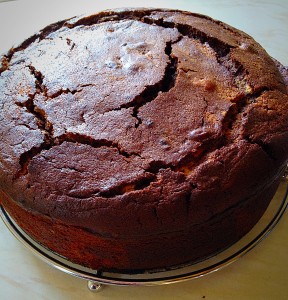
Don't worry if there are a few cracks on the top. These will close as the cake cools.
Don’t worry if there are a few cracks on the top. These will close as the cake cools.

Decorating The Cake With Toasted Hazelnuts And Nutella

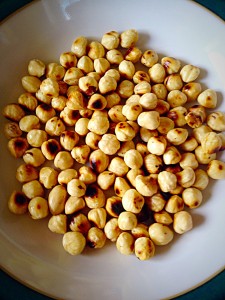
  • While the cake is cooling, lightly toast the hazelnuts.
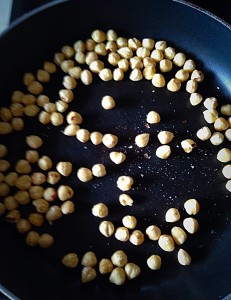
  • Place the hazelnuts into a dry frying pan and toast over a high heat for approximately 5 minutes.  Toasting the hazelnuts brings out the wonderful oils and flavour. As soon as the hazelnuts are toasted remove from the pan and place in a bowl to cool.
Toast the hazelnuts in a dry pan over a high heat.
Once toasted the hazelnuts turn a gorgeous golden colour.

As I mentioned, any cracks in the top of the cake will close on cooling, but don’t worry, the top is going to be covered in Nutella.

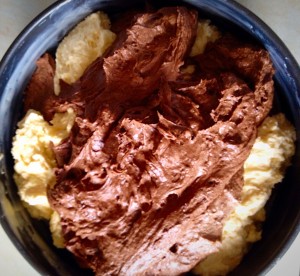
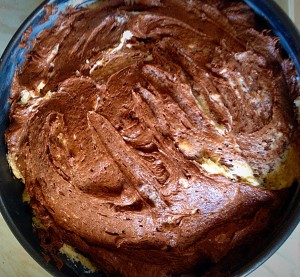
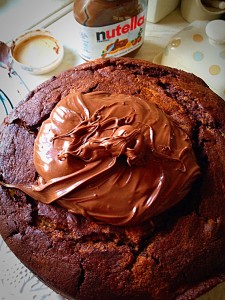
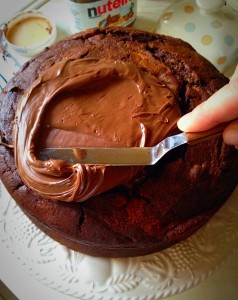
Place the cake on a cake stand/board or plate.  Place 5-6 tablespoons of Nutella on to the top of the cake.  Spread the Nutella over the top of the cake right up to the edge. An off set spatula is ideal for spreading.

Sorry, you do have to spread the Nutella as it doesn't set.
Sorry, you do have to spread the Nutella as it doesn’t set.
Nutella is so easy to spread!
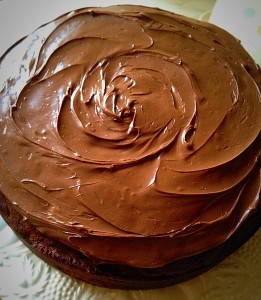
Oooh scrummy, this Nutella covered cake looks ready to eat - but we can add a final touch!
Oooh scrummy, this Nutella covered cake looks ready to eat – but we can add a final touch!

Time to get creative with the toasted hazelnuts. You can place them randomly or in a pattern on top of the Nutella.  Once finished you finally have a Nutella Hazelnut Covered Chocolate Marble Cake.

Nutella Hazelnut Covered Chocolate Marble Cake

So scrumptious looking and the perfect cake for sharing.  Also the Nutella doesn’t set so invite a friend/neighbour round, or the whole family and pop the kettle on. This cake is ready for slicing, so enjoy.

Store in an airtight container and eat within 5 days.

If you have enjoyed this recipe for Nutella Hazelnut Covered Chocolate Marble Cake you may also like these:

Vanilla Sponge Cake

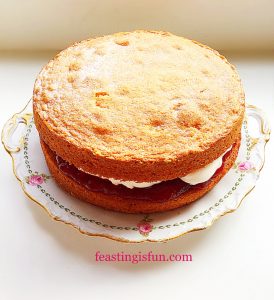
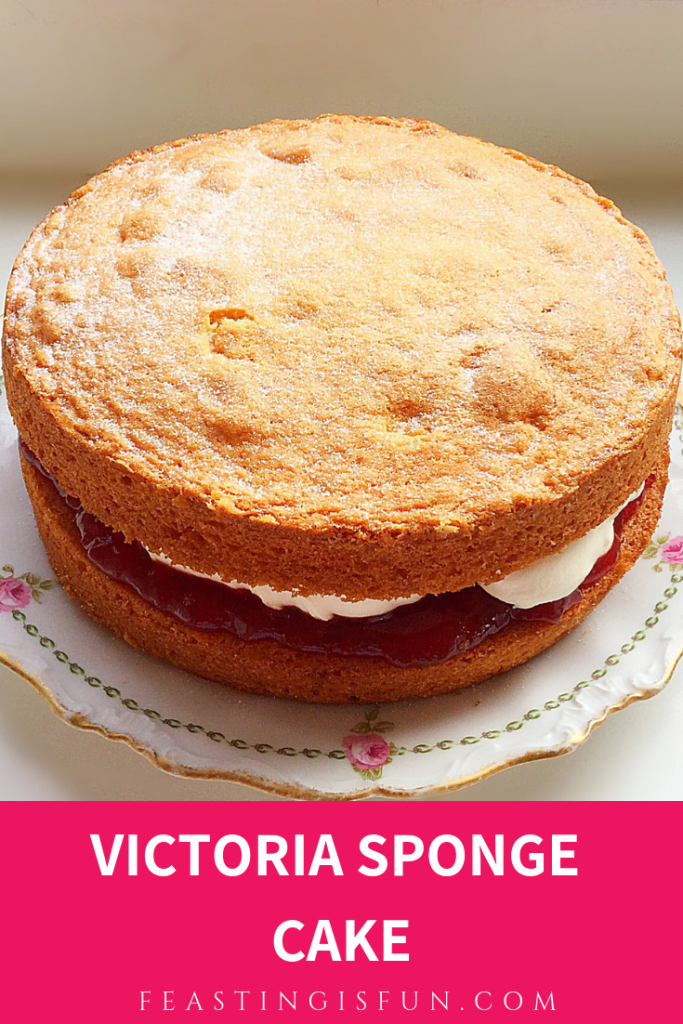
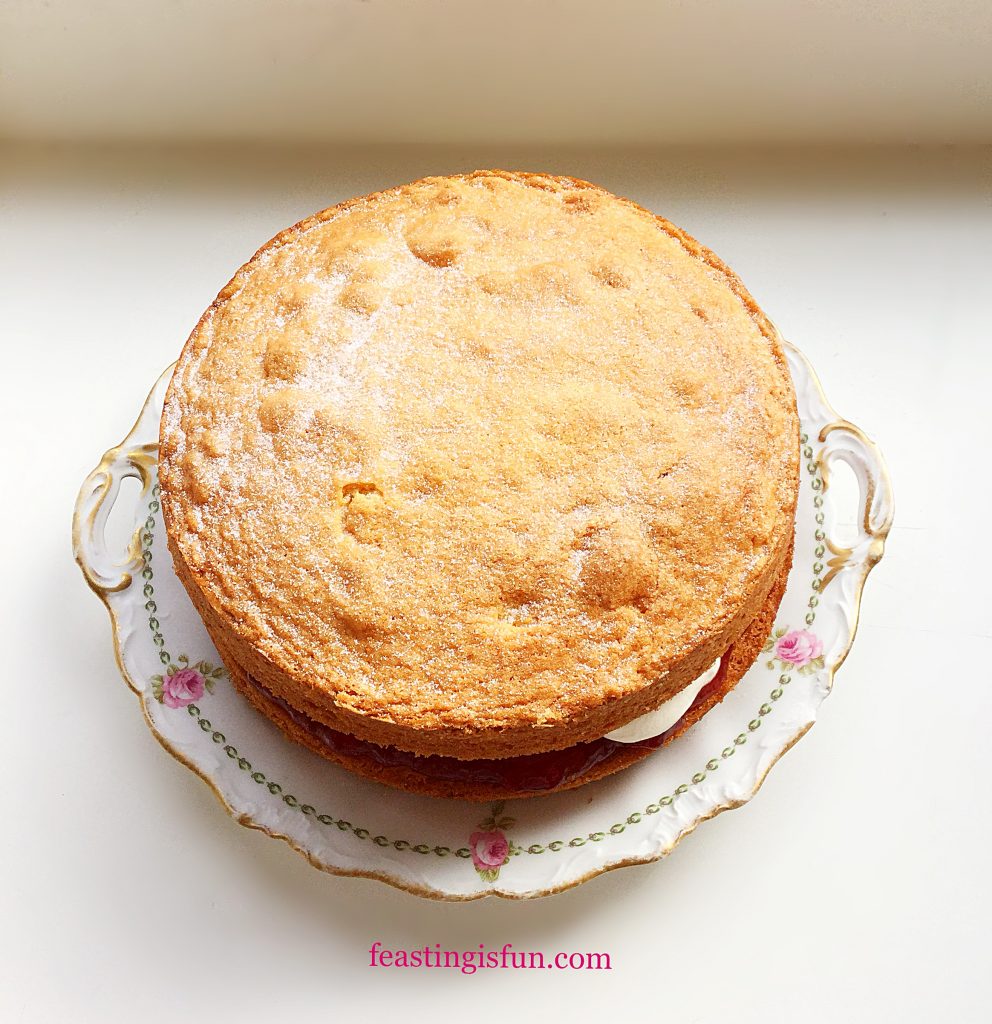
Uncut Victoria Sponge Cake on a pretty cake plate decorated with delicate pink roses.
Victoria Sponge Cake

Malted Marbled Chocolate Cake

FF Nutella Hazelnut Covered Chocolate Marble Cake
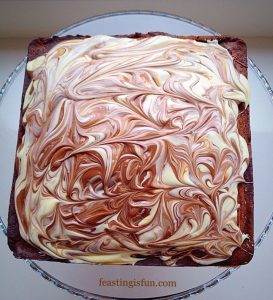
Malted Marbled Chocolate Cake

Maltesers Popping Candy Cupcakes

FF Nutella Hazelnut Covered Chocolate Marble Cake
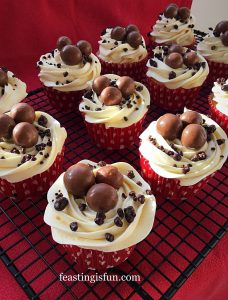
Maltesers Popping Candy Cupcakes

While it is nice to bake a cake, just to have in the cupboard. So that family members can cut a slice and enjoy with a cup of tea, there are other reasons to bake. For example, to give as a gift to a new family, or take round to welcome new neighbours. If you think bout it there are plenty of reasons to bake and share cake. Since an unexpected gift has a double feel good factor. Not only do the recipients receive a delicious gift, they also know that they’ve been thought about. What other reason do we need that that?

So, whatever you are making, baking and creating in your kitchens, have fun preparing your feast.

Sammie xx

No part of this post may be reproduced or duplicated without the written permission of the owner. Please see my Disclosure Policy.


Share
Facebooktwitterpinterestlinkedintumblr

Victoria Sponge Cake

Share
Facebooktwitterpinterestlinkedintumblr

Victoria Sponge Cake, light, buttery, golden sponges sandwiched together with homemade raspberry jam. A simple recipe that yields a completely knockout cake both in flavour and looks. And as you master this recipe, you will forever be asked to “bring THAT cake” when gathering with friends and family. Because, put simply, this is a cake for feasting.

Jam and cream filled sponge cake on a pretty plate decorated with little roses.

Since a Victoria Sponge Cake is two identical sponge cakes put together with a slather of jam (and whipped cream if desired) in the middle, it is a great starting point for any baking journey. Because there are no complicated decorating techniques, or steps in the method, the finished cake is all about two things. First of all taste; good quality ingredients are key, butter should not be substituted with margarine. Also, texture; a light sponge is a direct result of not over mixing the cake batter.

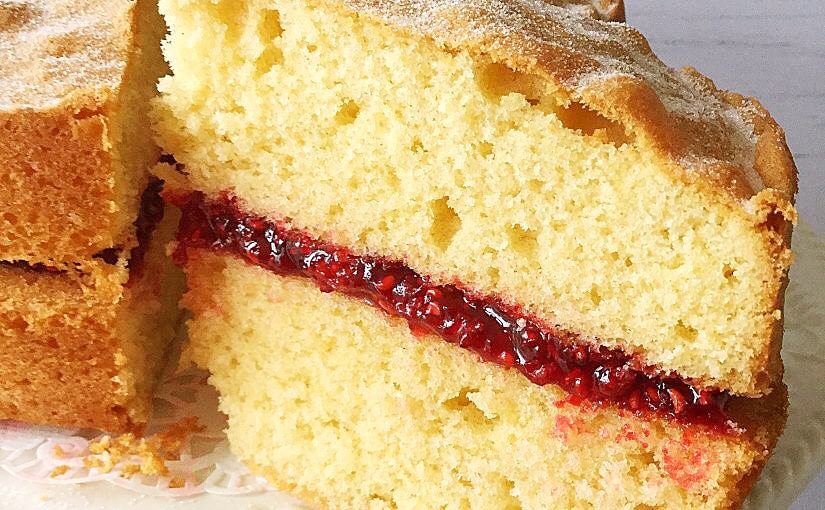
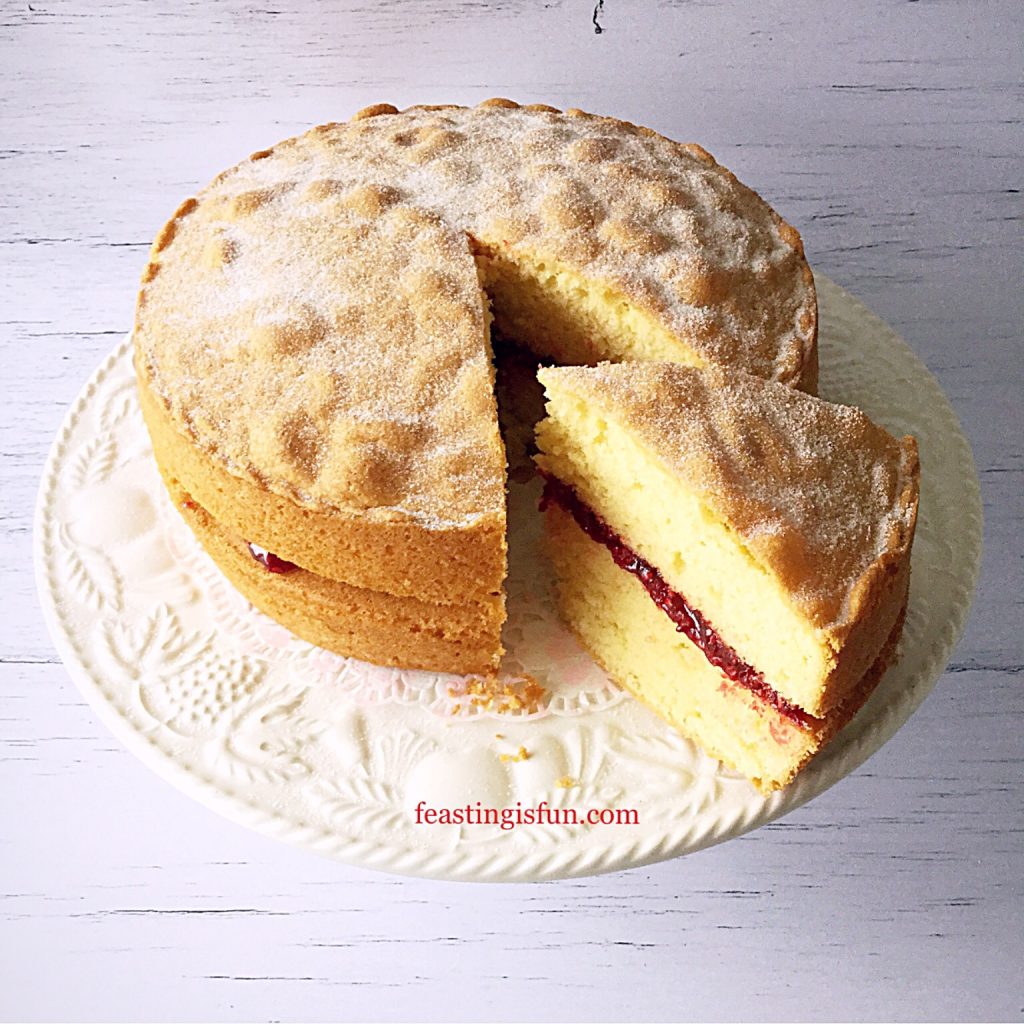
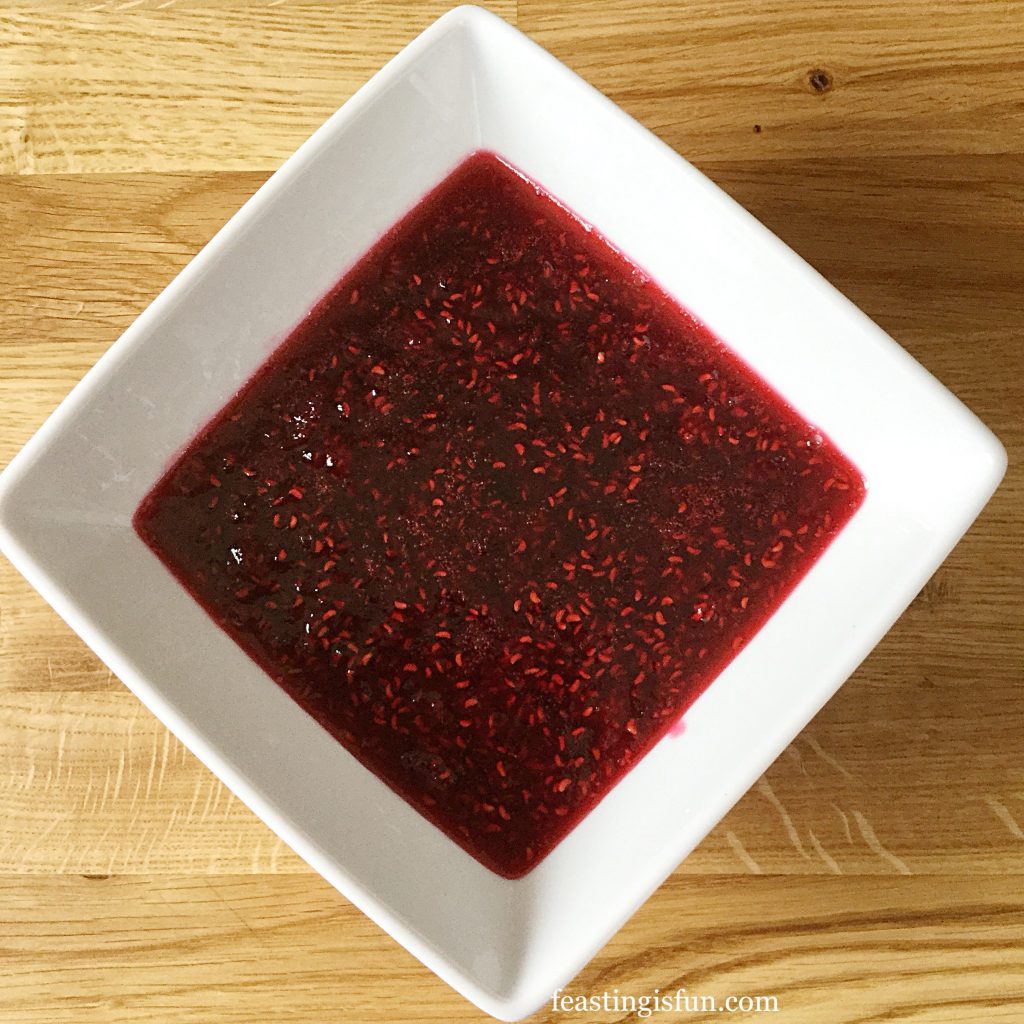
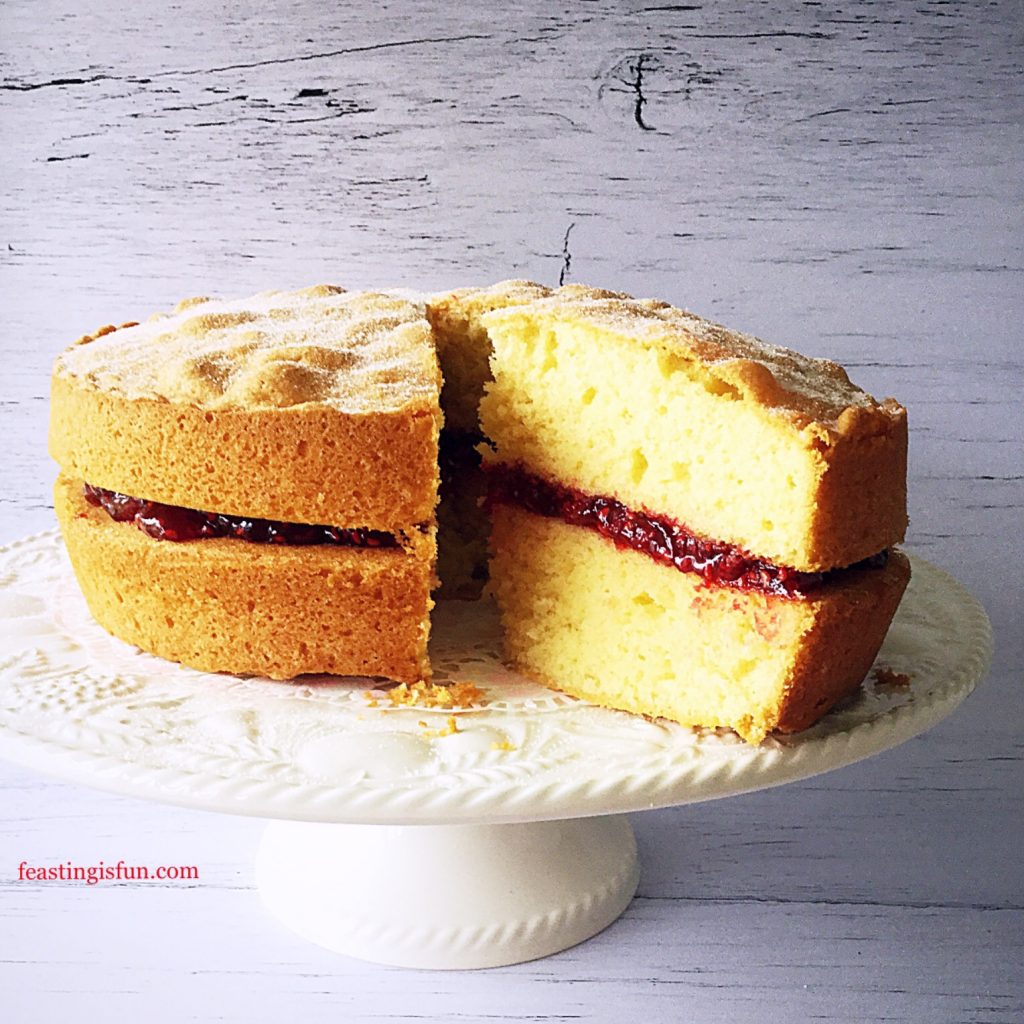
Sliced cake showing the freshly made jam between the golden sponges.
Victoria Sponge Cake

Raspberry jam lends a sweet, slightly tart, intense fruit flavour against the buttery, vanilla sponge. While a good quality bought jam is fine to use, making fresh jam adds an additional edge. Since it requires very little time to make I really urge you to try it. Finally, with a light touch and using great quality ingredients the finished result is the Queen of all cakes. I say Queen as this cake is named after Queen Victoria herself.

Victoria Sponge Cake

Recipe: Victoria Sponge Cake serves 8-10

2 x 20cm (8in)  greased loose bottom cake tins, the base of each lined with baking parchment.

225g/8oz Caster Sugar plus 1/2 tsp for dusting the finished cake

225g/8oz Unsalted Butter – room temp

1/4 tsp Sea Salt – I use Maldon

4 Large Free Range Eggs  – room temp

225g/8oz Self Raising White Flour or equivalent weight Plain White Flour plus 1.5 tsp baking powder

2 tsp  Vanilla Extract I use – Nielsen-Massey

Fresh Raspberry Jam use 5 tablespoons of good quality jam if not making from scratch

Juice of 1 Lemon approximately 30mls

225g/8oz Fresh or Frozen Raspberries  – I used frozen from  Waitrose

225g/8oz Sugar

Optional – 300ml Whipped Cream (double or heavy cream)

Method: Preheat the oven to 180C/160C fan oven, gas mark 4, 350F.

Making the cake sponges

  • First of all thoroughly grease with butter, both cake tins and line the base with baking parchment.
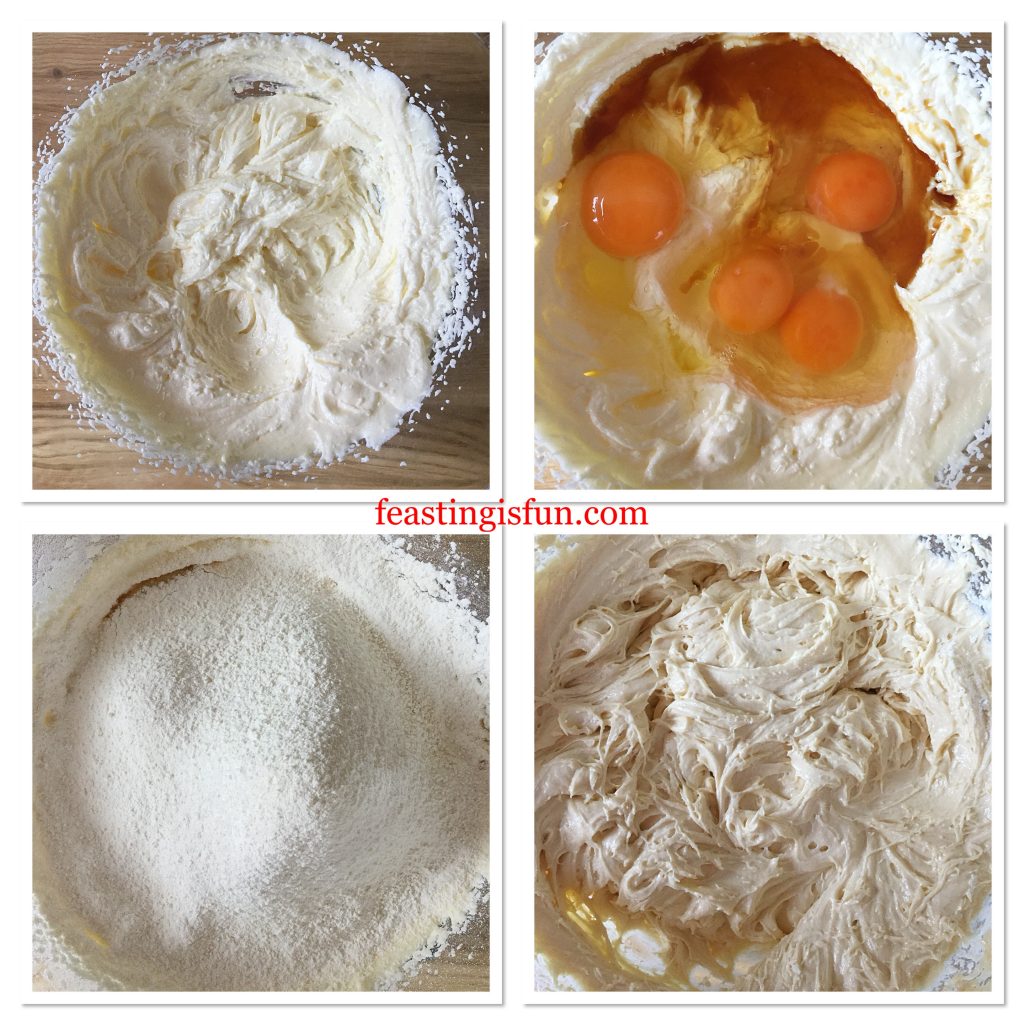
  • Place the sugar, butter and salt into a large bowl. Whisk the ingredients together until pale and fluffy – if using a stand mixer use the paddle attachment.
  • Rub a little of the mixture between your fore finger and thumb.  If no grittiness is felt the sugar is well mixed into the butter.
  • Next add the eggs and vanilla extract. Add 1 tablespoon of the flour and whisk together for 30 seconds to combine.
  • Sift the flour (and baking powder if required) into the bowl.
  • Whisk the ingredients together until just combined. Over whisking, or beating will develop the flour’s gluten, resulting in a tough, baked cake.
FF Victoria Sponge Cake
Making the cake batter.
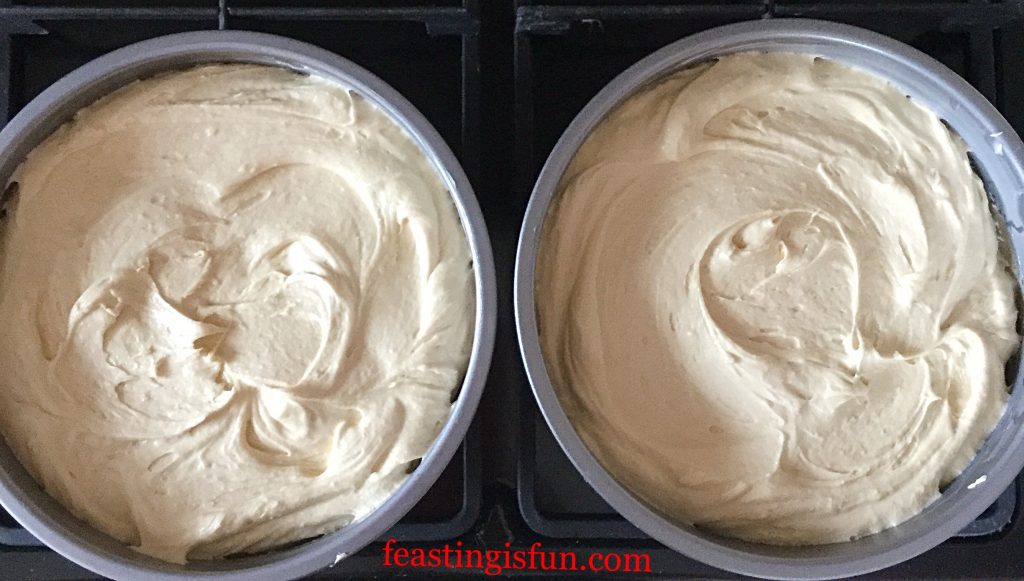
  • Spoon the cake batter into the prepared tins, dividing evenly between the two. If wanted weigh equal quantities of cake batter into the tins.
  • Smooth the top of the batter with a spoon.
FF Victoria Sponge Cake
Prepared cake batter in the tins, ready to be baked.
  • Place the tins into the centre of the oven (centre and lower shelf if they cannot fit on one shelf).
  • Bake for 35-45 minutes until golden in colour. The cakes are baked when the top springs back when lightly pressed.
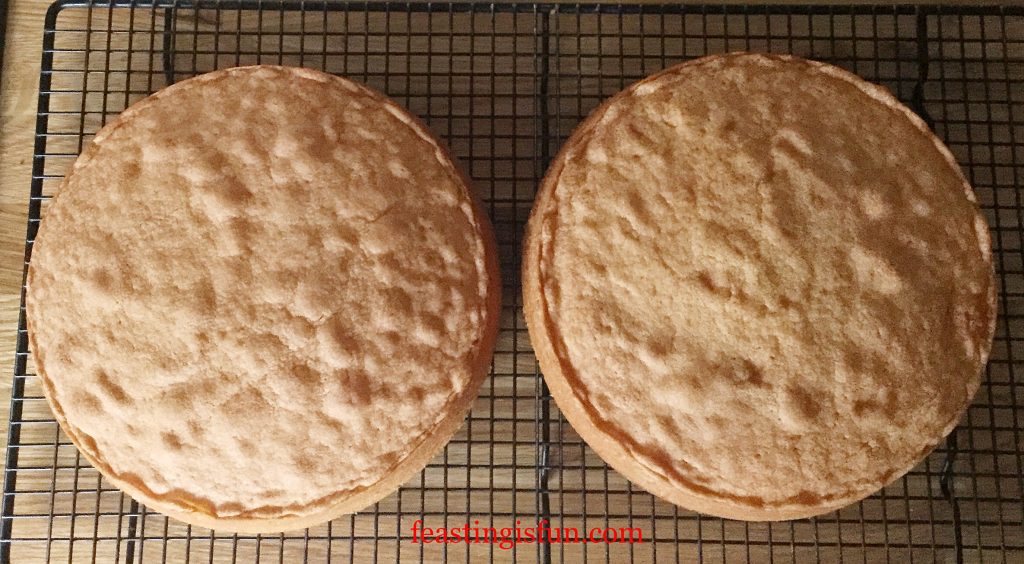
  • As soon as the cakes are baked remove from the oven and place the tins on a cooling rack.
  • Allow each cake to cool in the tin for 15 minutesbefore turning out, top of the cake uppermost and placing directly on to a cooling rack.
FF Victoria Sponge Cake
Golden sponges cooling.

Making the fresh raspberry jam

While the cakes are cooking make the raspberry jam:

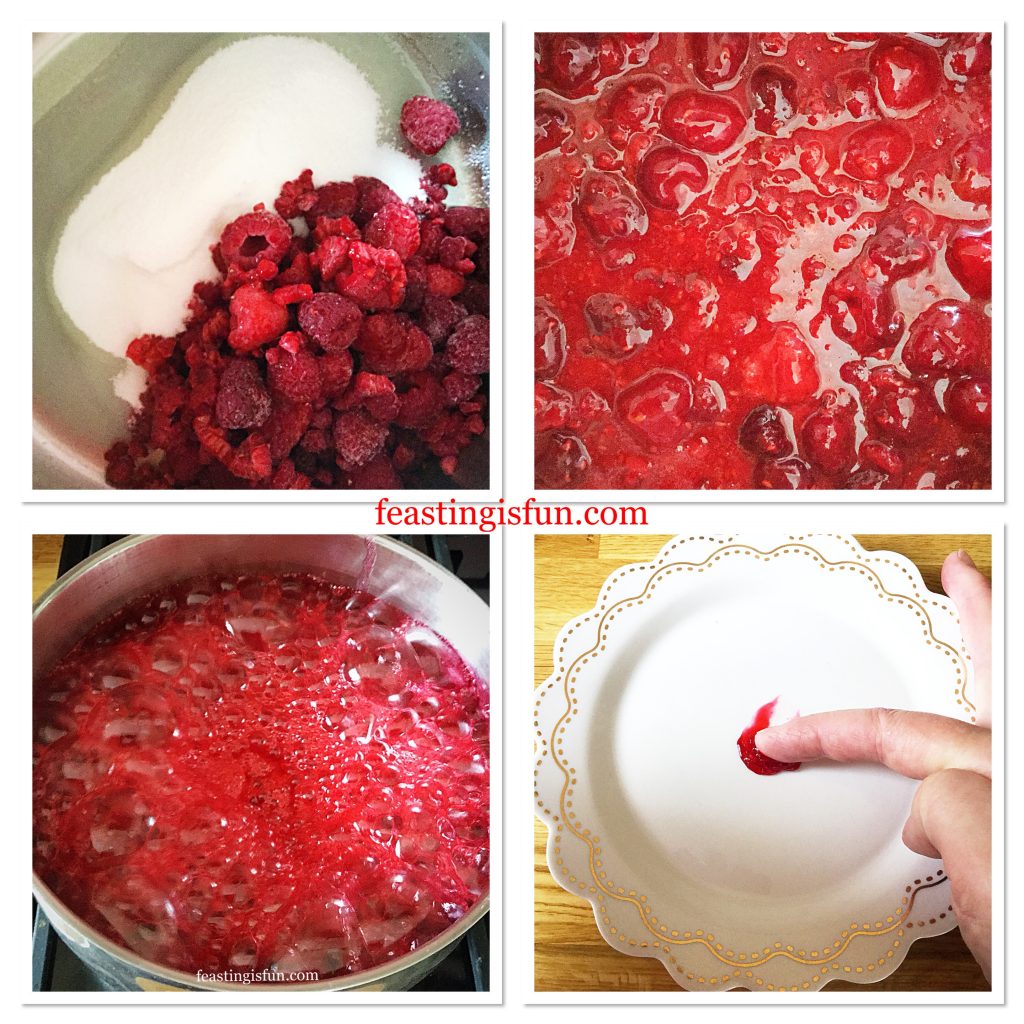
  • Into a large, heavy bottomed saucepan add the lemon juice, raspberries and sugar.
  • Also place 2 small plates or saucers into the fridge to chill.
  • Stir the ingredients together with a wooden spoon and bring up to a simmer on a low heat.
  • As soon as the sugar is dissolved increase the heat to bring the jam up to a rolling boil – bubbling vigorously but not over the sides of the pan.
  • Stir to ensure the jam does not stick. Take care as the jam will be very HOT.
  • After 5 minutes at a rolling boil spoon a few drops of hot jam on to one of the chilled plates. Allow to cool for a minute. Using your finger, push one side of the jam, if it wrinkles up the jam is ready; it has reached setting point. Should the jam not wrinkle continue cooking for a further 2 minutes and test again.
FF Victoria Sponge Cake
Freshly made Raspberry Jam for the Victoria Sponge Cake.
  • As soon as the jam has reached setting point remove the pan from the heat.
  • Pour the very hot jam into a heatproof bowl and set aside to cool.
FF Victoria Sponge Cake
Freshly made raspberry jam.

Assembling the cake

  • To assemble the Victoria Sponge Cake ensure both sponges and the raspberry jam are cold.
  • Carefully peel the baking parchment away from both sponges.
  • Place a sponge, flat side up on to a plate or board.
  • Spoon all of the jam on to the flat sponge and spread almost to the edge. Also, add a layer of whipped cream if desired.
  • Place the second sponge, flat side down, on top of the jam covered bottom sponge.
  • Finish with a light dusting of caster sugar on the top of the cake.
Victoria Sponge Cake filled with freshly made raspberry jam.

Serve this cake sliced with a good quality, fresh made cup of tea. Alternatively a glass of champagne for a special occasion compliments both the event and cake.

Store in an airtight container and eat within 5 days. Always refrigerate the cake when adding cream and also during warm weather.

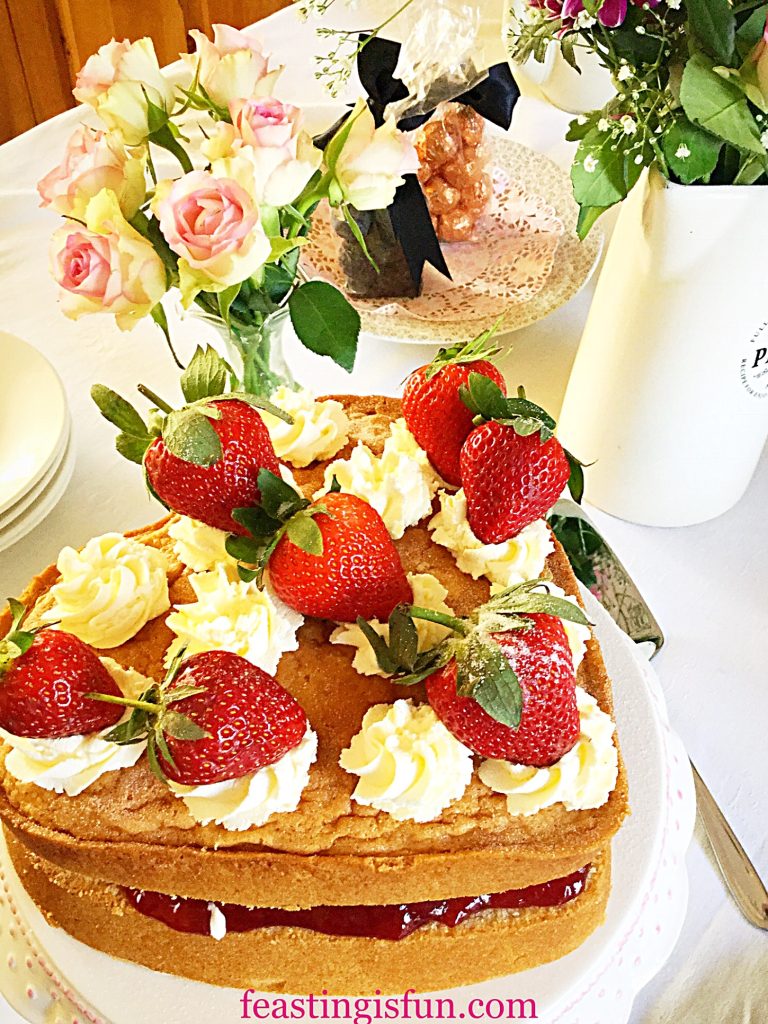
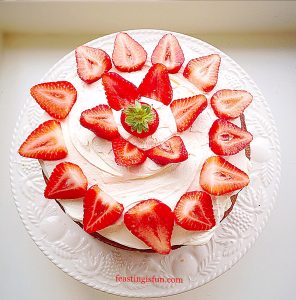
Alternatively, for a heart shaped cake, bake all of the cake batter in a greased and lined, heart shape tin. As soon as the cake is cool cut the cake in half across its width. Fill with whipped cream and strawberry jam. Finally pipe cream onto the top of the cake and decorate with strawberries.

Strawberry and cream decorated heart cake.
Heart Shaped Victoria Sponge Cake

If you have enjoyed this recipe for Victoria Sponge Cake with fresh raspberry jam filling you may also like these:

Raspberry and Cream Giant Doughnut

Raspberry And Cream Baked Giant Doughnut with pink drizzle icing a small white sugar ball decorations.
Raspberry And Cream Giant Doughnut

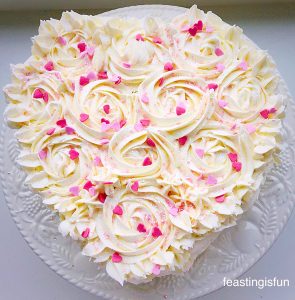
Strawberry Sweetheart Cake

Heart shaped cake covered in piped buttercream roses and decorated with mini edible pink hearts.
Strawberry Sweetheart Cake

Strawberries And Cream Cake

Strawberries And Cream Cake,
Strawberries And Cream Cake

While this cake may be easy to make, learning to master a simple recipe and make it well is the foundation to becoming a great cook and baker. Since cake decorating and presentation are of no importance if the product being served and shared does not taste appealing. And flavour always comes first in any feast. Never more so than when the feast is marking a special occasion. Because, friends and family bring out the flavour even further, as my long held belief shows that food shared always tastes better.

So, whatever you are making, baking and creating in your kitchens, have fun preparing and sharing your feast.

Sammie xx

No part of this post may be reproduced or duplicated without the written permission of the owner. Please see my Disclosure Policy.

Share
Facebooktwitterpinterestlinkedintumblr

Blueberry And Lemon Muffins

Share
Facebooktwitterpinterestlinkedintumblr

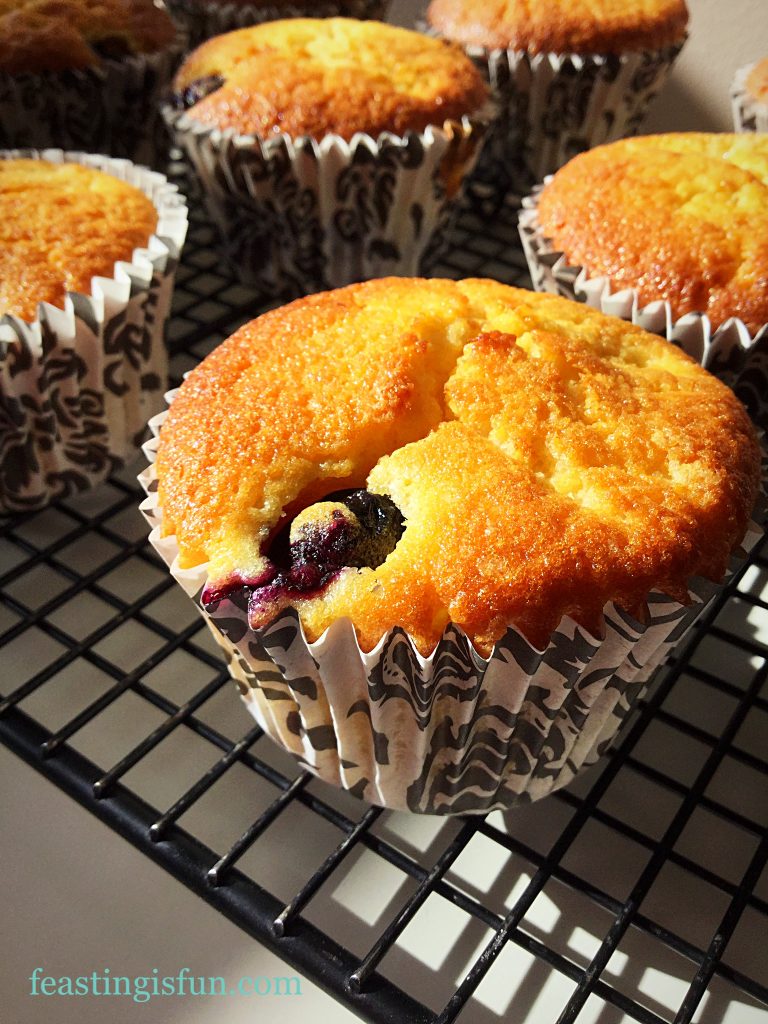
Welcome to Feasting is Fun and these fruity Blueberry And Lemon Muffins. Made using a whole lemon, zest and juice and packed full of blueberries. Ideal for packed lunches, picnics or afternoon tea. Most importantly these muffins are perfect eaten any time of the day. Although, as always, they taste better when shared.

FF Blueberry And Lemon Muffins
Blueberry And Lemon Muffins

Since I’ve been thinking about the names that different foods are given, for example, Buffalo wings, the name totally confuses me. Because Buffalos don’t have wings, well not the ones I’ve ever seen on television or in books. Now wait for it, this is going to come as a massive surprise,  they are in fact Chicken Wings. Also, as far as I’m aware, Moussaka doesn’t have Moose in it or Mousse! Bell peppers don’t go ding a ling a ding, when shaken. Likewise, I’m pretty sure Horseradish doesn’t have horse in it. Such is the English language, if you think of any more please post them in the comments box?

FF Blueberry And Lemon Muffins
Blueberry And Lemon Muffins

Well I can guarantee that these Blueberry And Lemon Muffins definitely have both Lemon and Blueberries in them. Now although I call these muffins, they aren’t proper muffins in the strictest sense,  but they’re not cupcakes either. So I settled on muffins, you know that whole thing with the English Language?  It doesn’t really matter, all you need to know is that they are good.

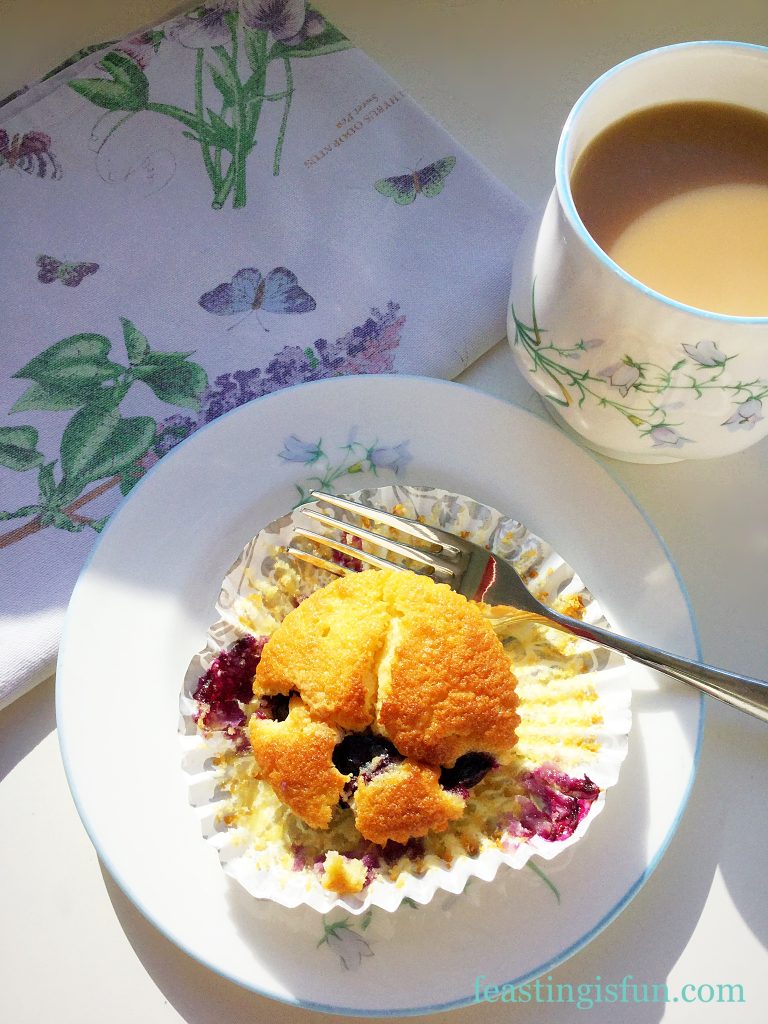
So good in fact that place two Blueberry Lemon Muffins in a bowl, whilst still warm and slather with custard, or cream, or both. Then dig in!

Recipe : Blueberry And Lemon Muffins makes 12

175g/6oz Unsalted Butter – room temperature

175g/6oz Caster Sugar

1/4 tsp Sea Salt – I use Maldon

3 Large Free Range Eggs

1 tsp Vanilla Extract – I use Nielsen-Massey

100g/4oz Buttermilk

175g/6oz Fresh Blueberries rinsed and dried

1 Unwaxed Lemon zest and juice – zest first and then squeeze out the juice

175g/6oz Plain White Flour

1 tsp Baking Powder

Method : Preheat the oven to 190C/170C fan, 375F, gas mark 5

Making The Muffin Batter

  • First of all place 12 large muffin cases into a deep muffin tin.
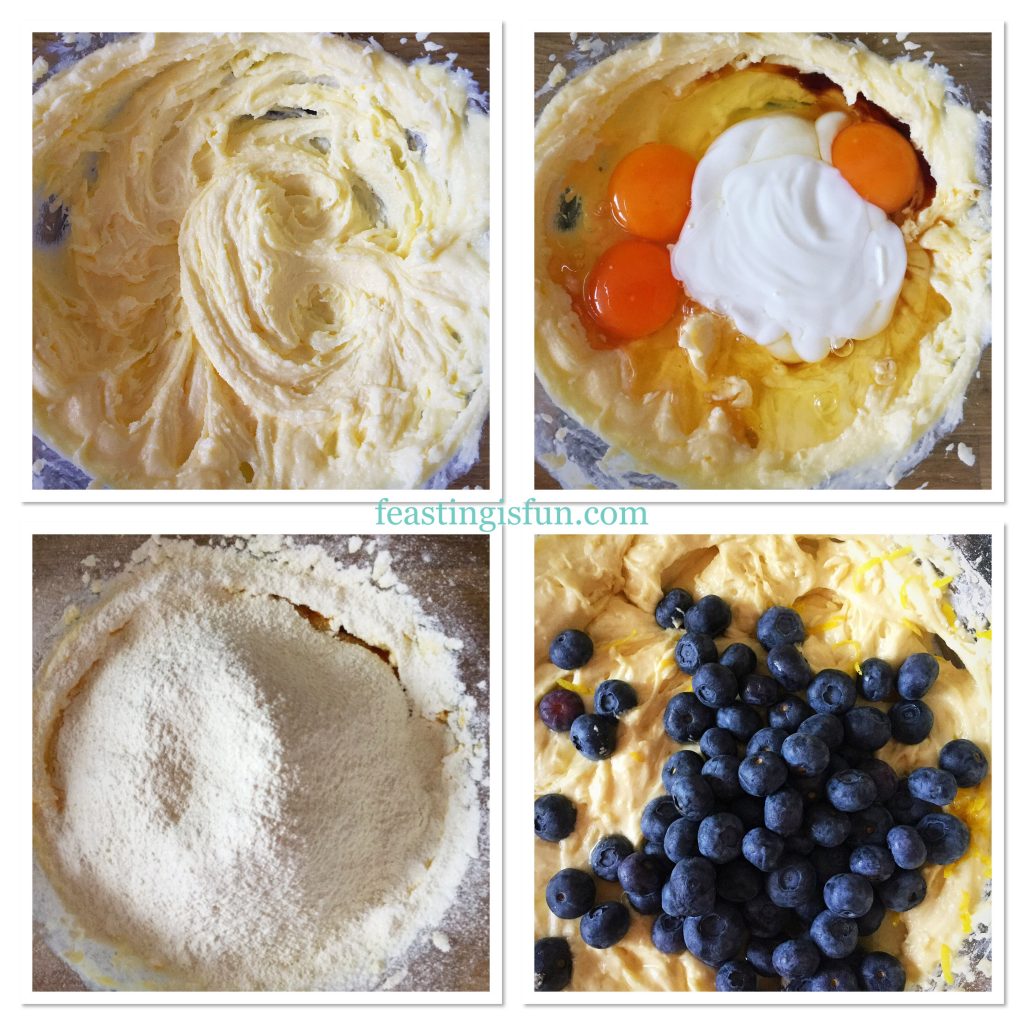
  • Place the sugar, salt and butter into a large bowl and whisk together until pale and creamy.
  • Add the eggs, vanilla extract, buttermilk and juice of one lemon.
  • Sift the flour and baking powder into the same bowl.
  • Whisk together until just combined. Over mixing will cause the muffins to be tough.
  • Keep back 12 blueberries for topping the muffins.
  • Add the lemon zest and remaining blueberries to the batter and fold in gently using a large metal spoon.
FF Blueberry And Lemon Muffins
Making the Blueberry And Lemon Muffin batter.
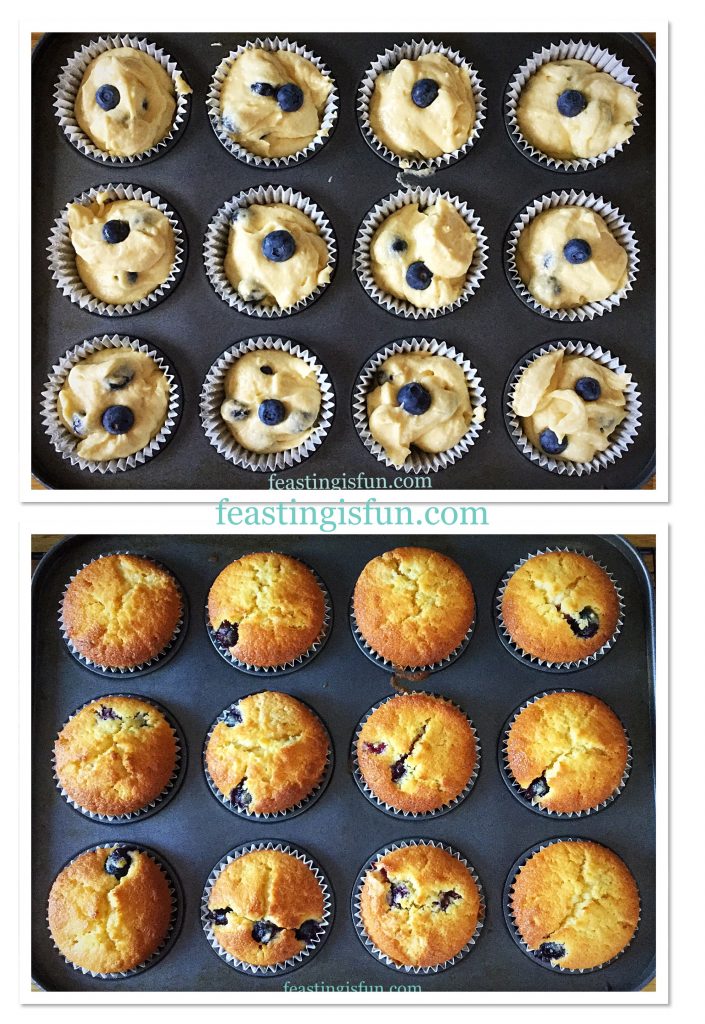
  • Spoon the batter into the muffin cases, dividing equally.
  • Top each muffin with a fresh blueberry.

Baking The Muffins

  • Place the muffin tin into the oven centre and bake for 20-30 minutes.
  • The muffins are baked when golden and spring back from a light touch. An inserted skewer will come out clean of batter, with some blueberry juices attached.
FF Blueberry And Lemon Muffins
Filling the muffin cases and baking them.
  • As soon as the muffins are baked remove from the oven and leave to cool in the tin for 10 minutes.
  • Remove from the tin and place on to a cooling rack.
  • Leave to cool completely, or until just warm.
Blueberry And Lemon Muffins

Now arrange nicely and take a photo. Email this photo to five friends, put the kettle on and see who arrives!

Blueberry And Lemon Muffins

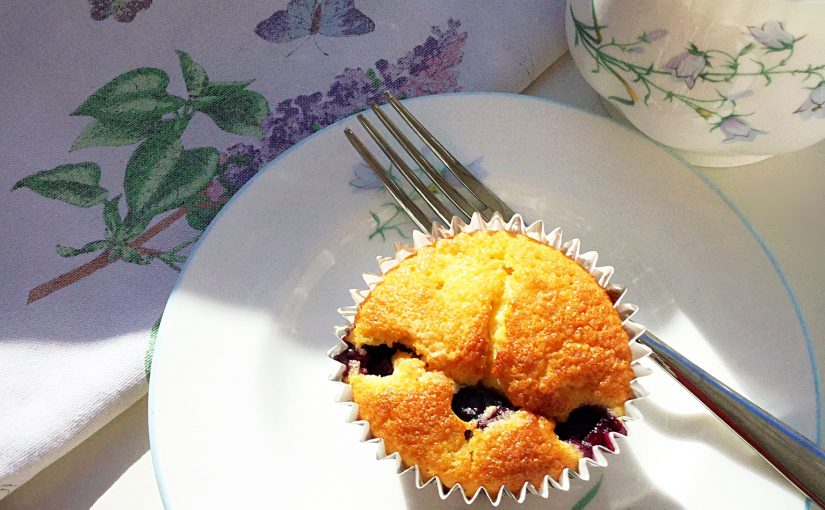
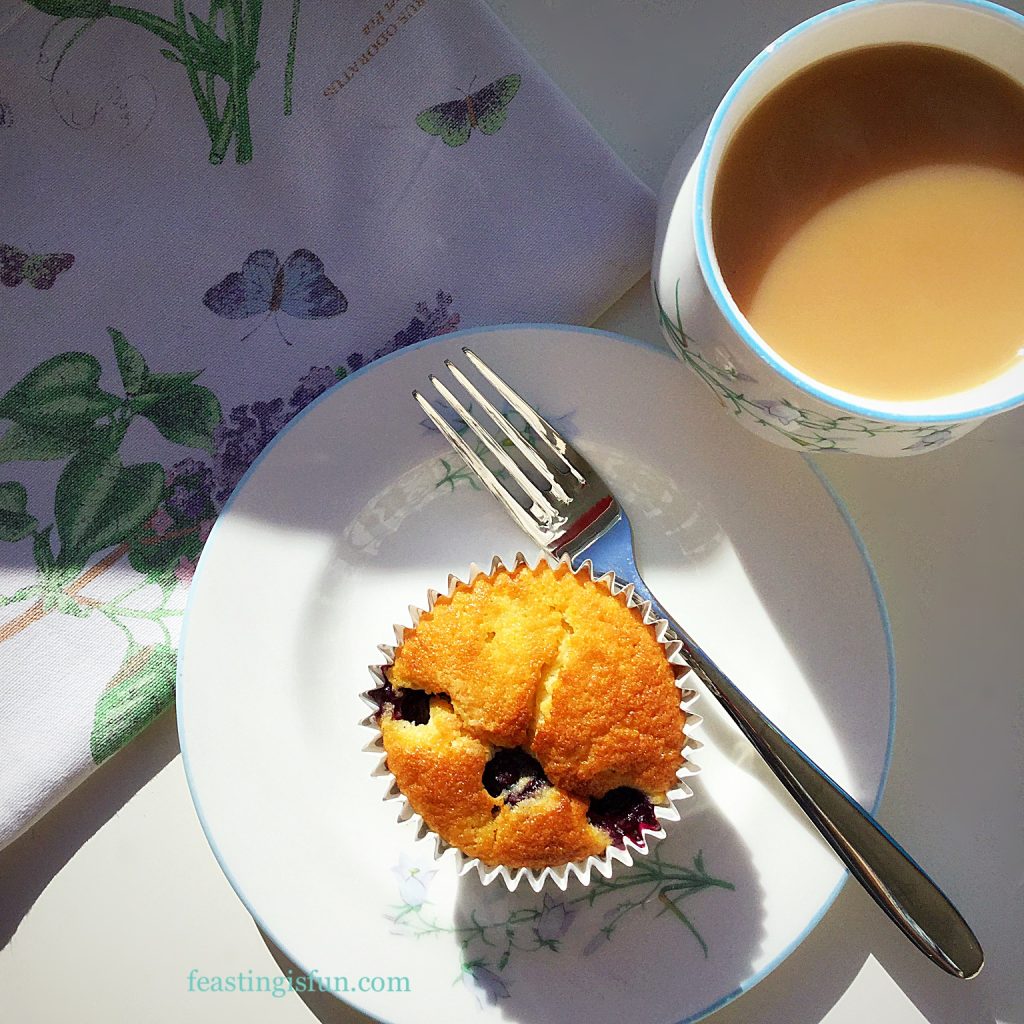
These muffins are at their best, just warm. Since each blueberry, when cooked forms it’s own little pod of jam throughout the muffin. Seriously yummy and very hard to stop at one, two, three….. Remember they’re for sharing.

Enjoy. While reminding yourself that blueberries are a ‘super food’  and there’s a whole lemon in the recipe, happily kid yourself that the feast before you is good for you. Since it is packed with Vitamin C.

Store cold muffins in an airtight container and eat within three days.

If you have enjoyed this recipe for Blueberry And Lemon Muffins then you may also like these:

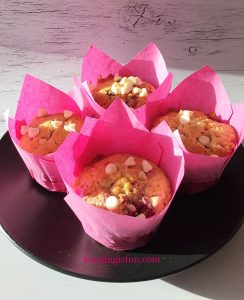
Raspberry White Chocolate Chip Muffins

FF Blueberry And Lemon Muffins
Raspberry White Chocolate Chip Muffins

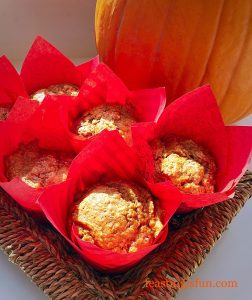
Spiced Pumpkin Walnut Muffins

FF Blueberry And Lemon Muffins
Spiced Pumpkin Walnut Muffins

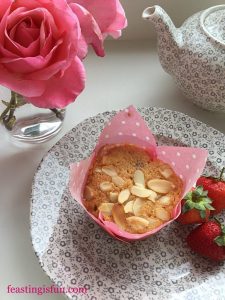
Double Strawberry Almond Muffins

FF Blueberry And Lemon Muffins
Double Strawberry Almond Muffins


A fantastic recipe to make with children who will wolf them down as quick as they are cool enough to eat. With big jammy, smiling faces and wide eyes begging you to make another batch for them to share at school. Go on – it’s fun!

Whatever you are making, baking and creating in your kitchens, have fun preparing and sharing your feast.

Sammie xx

No part of this post may be reproduced or duplicated without the written permission of the owner. Please see my Disclosure Policy.

Share
Facebooktwitterpinterestlinkedintumblr

Amazing Apple Pie

Share
Facebooktwitterpinterestlinkedintumblr

Today it is Sunday, traditionally the day of rest. Since not everyone gets to stay at home, I have a treat for you. Either to make for your family and loved ones when then come in from work, any day of the week, or just because it is so delicious. A dessert that will make you want to go for a brisk walk afterwards, or snuggle up on the sofa and have a nap. Here is my Amazing Apple Pie.

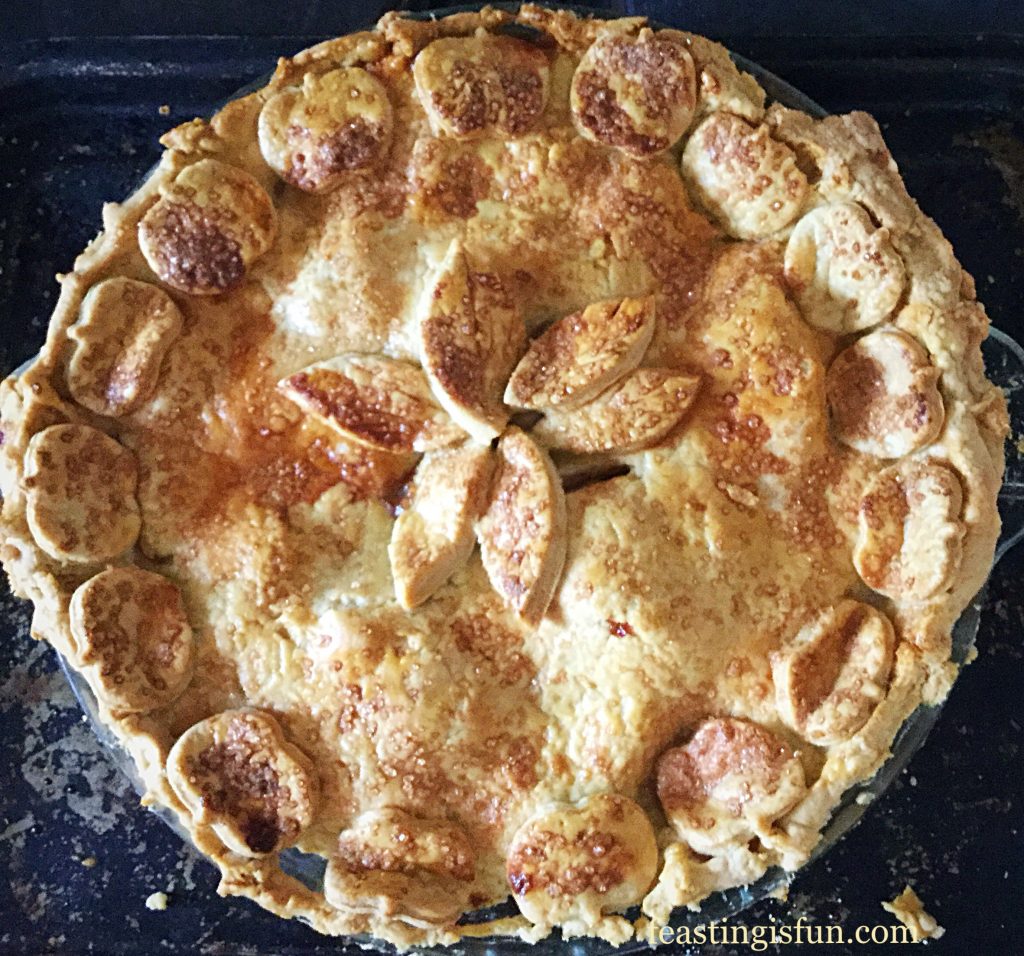
FF Amazing Apple Pie
Amazing Apple Pie

A Time To Rest

Rest and relaxation is so important. More so nowadays in our 24/7 world. While life, with work/children/DIY/etc. can sometimes feel as though we are chasing our tails. It is important to take time to stop and rest. Turn off our electrical devices, mentally switch off from all the tasks still to be ‘done’ and simply be. Whether that be playing a board game, reading a book or going for a walk. Rest is good for our mind, body and soul.

I will let you into a secret, once you’ve finished your list of things that MUST be done, guess what? More ‘jobs’ will miraculously appear! So if we take a few hours, or even a whole day to chill out, rest, or spend time doing something, that in itself is relaxing, we will feel soo much better. And be ready to face the world and all the demands that are placed on us.

We were created to work and be fruitful (no pun intended on the Amazing Apple Pie) but also to rest.

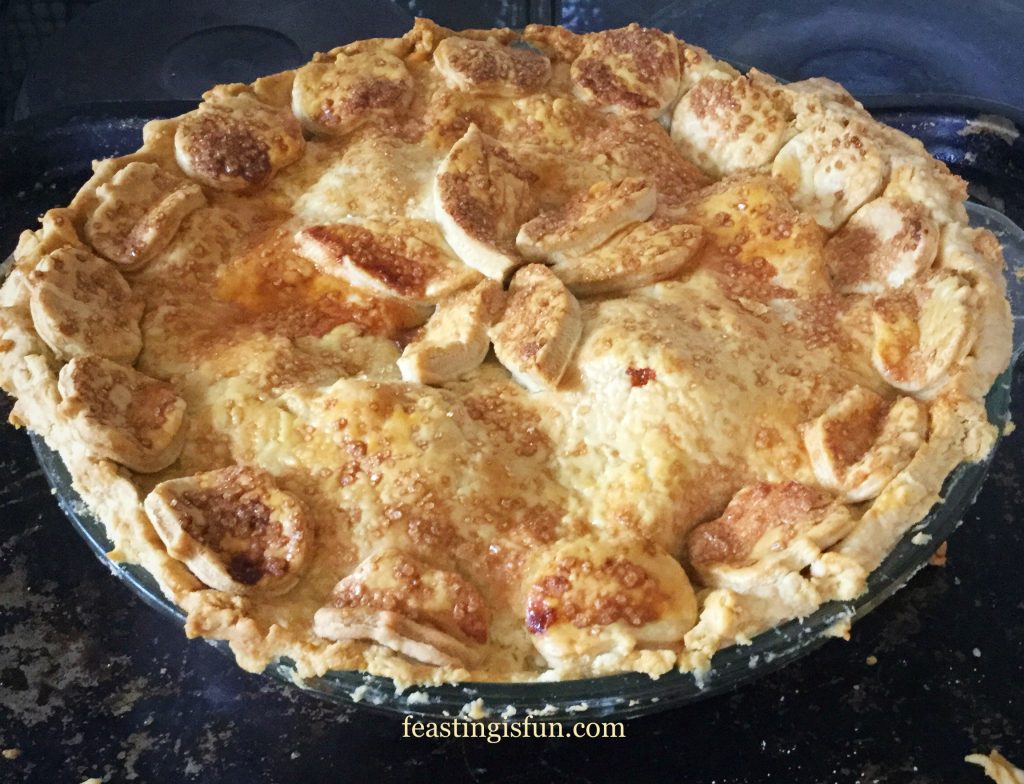
FF Amazing Apple Pie
Amazing Apple Pie

Not Forgetting The Workers

Obviously I’m aware many, many people cannot rest on a Sunday. Our Doctors and Nurses, who do such a fantastic job of treating and looking after sick people, don’t just down tools and stop because it’s Sunday. There are millions of people who, without their commitment to providing our security, ensuring our power supplies continue, indeed run our government and many, many more dedicated professions who work around the clock. Far too many to mention here – who ensure the smooth running & care of the population of our Great United Kingdom. To them I give my heartfelt thanks. Just think, Vicars don’t get Sunday off.

Baking And Gardening – My Ways To Relax

Rest doesn’t have to mean just plopping down in front of the telly, although if that’s how you chill out, go for it! Personally I love gardening, gentle gardening, pottering. Planting a few bulbs, deadheading, a little light pruning, nothing that causes me to beak out in a sweat and lands me on the sofa for 3 days, simply because I’ve overdone it. That is not rest, I’ve learned the hard way!

Baking is right up there with gardening as a form of relaxation for me. Gentle pastry making, not frenetic mid-week meal cooking, followed by mums taxi running one child to piano, my lil man to scouts, not to mention the impossible task of getting a filthy rugby kit washed, dried, ironed and ready by the next day. I don’t even own a tumble drier!

FF Amazing Apple Pie
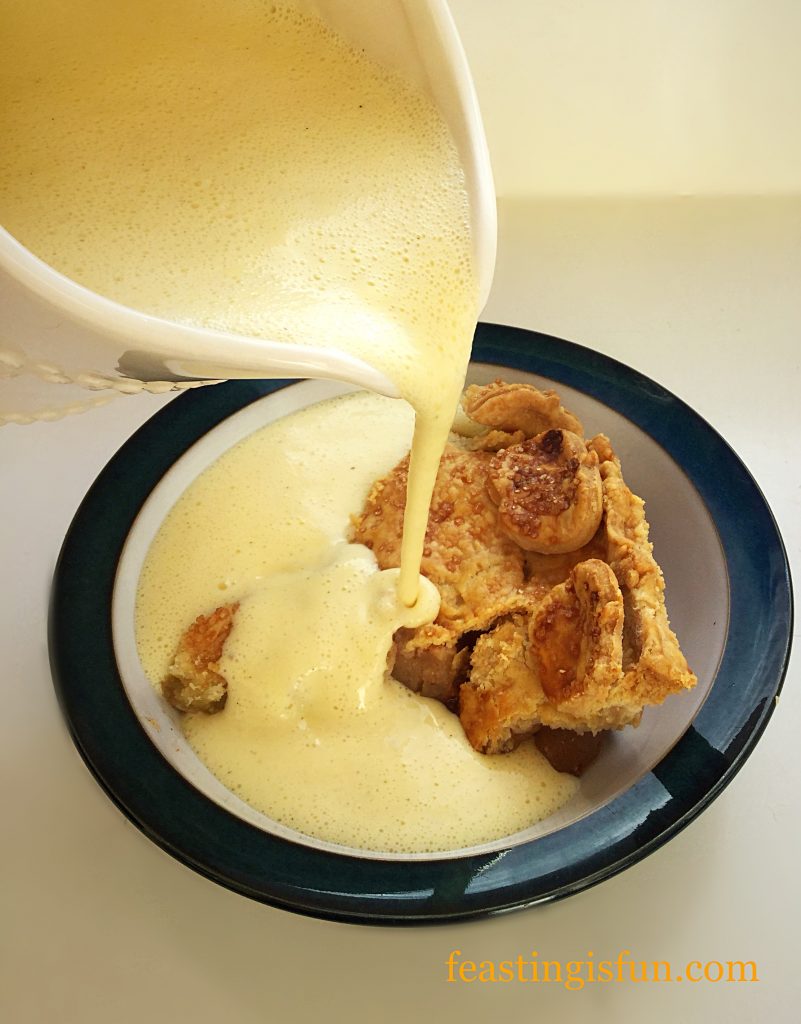
Amazing Apple Pie served with Luxury Homemade Vanilla Bean Custard.

So to my recipe for scrumptious Amazing Apple Pie: am I stressed Noooo. I find the whole process relaxing – if you find that strange – that’s ok. You do what you must to relax, I bake or garden!

You will need a 9-10″ glass pie dish ( the glass really does make a difference – the bottom of the pie doesn’t go soggy – don’t know why – but glass seems to conduct the heat better, resulting in a pie that is baked evenly on the bottom as well as the top! Anyhow it works!!!

Recipe: Amazing Apple Pie serves 6

For the pastry:

350g/12 oz Plain White Flour

1/4 tsp Sea Salt – I use Maldon

75g/3oz Unsalted Butter – cold & cubed

75g/3oz Vegetable Shortening – cold & cubed (or broken into similar sized chunks as the butter) I use Trex

1 Free Range Egg, whisked with 1 tbs of water – for egg wash

1tbsp Demerera Sugar – I use Billingtons

For the filling:

600g/1lb 4oz weight of peeled Apples – Tart varieties (such as Granny Smiths, or cooking apples such as Bramleys) are best, but windfalls of any variety can be used

2 tbs Corn flour also called corn starch

1 Large Lemon – juiced

2 tbs Vanilla sugar or caster sugar & 1 tsp vanilla extract

2 tsp Cinnamon

1/2 tsp Nutmeg

Method: Preheat oven to 200C/180C fan, 400F, gas mark 6

Making The Pastry

Place all the ingredients into a bowl (of stand mixer if using, with paddle attachment), using a pastry cutter, or your fingers, quickly rub/cut/blend the fat into the flour until the mixture resembles lumpy breadcrumbs – pea sized pieces of fat should still be visible.

Add enough cold water – 1 tbs at a time until the pastry JUST comes together, stirring with a butter or palette knife. Just as the mixture starts to clump go in with your hands and gently and quickly bring the clumps together into a ball.

Place the pastry onto some cling film, pat out to form a disc & then cut the disc in half, reshape each half back into a disc. Wrap each half in cling and place in the fridge for at least 30 mins to allow the pastry to relax.

NOTE : Whilst the pastry is resting you can prepare the filling – see below.

As soon as the pastry has rested remove it from the fridge and place 1 disc on a clean floured surface. With a lightly floured rolling pin start rolling, using even outward motion and turning the disc, adding small amounts of flour so that the pastry doesn’t stick.

When the circle looks wide enough to fill the pie dish, will a small amount of over lap, place the pastry into the UNGREASED pie dish, so that the excess pastry drapes slightly over the edges of the pie dish.

Please don’t worry,  if you have followed the recipe and are using a glass pie dish IT DOES NOT need greasing. There is enough fat in the pastry for it not to stick. If you have used a different type of pie dish I would play it safe and butter it first.

Preparing The Apple Pie Filling

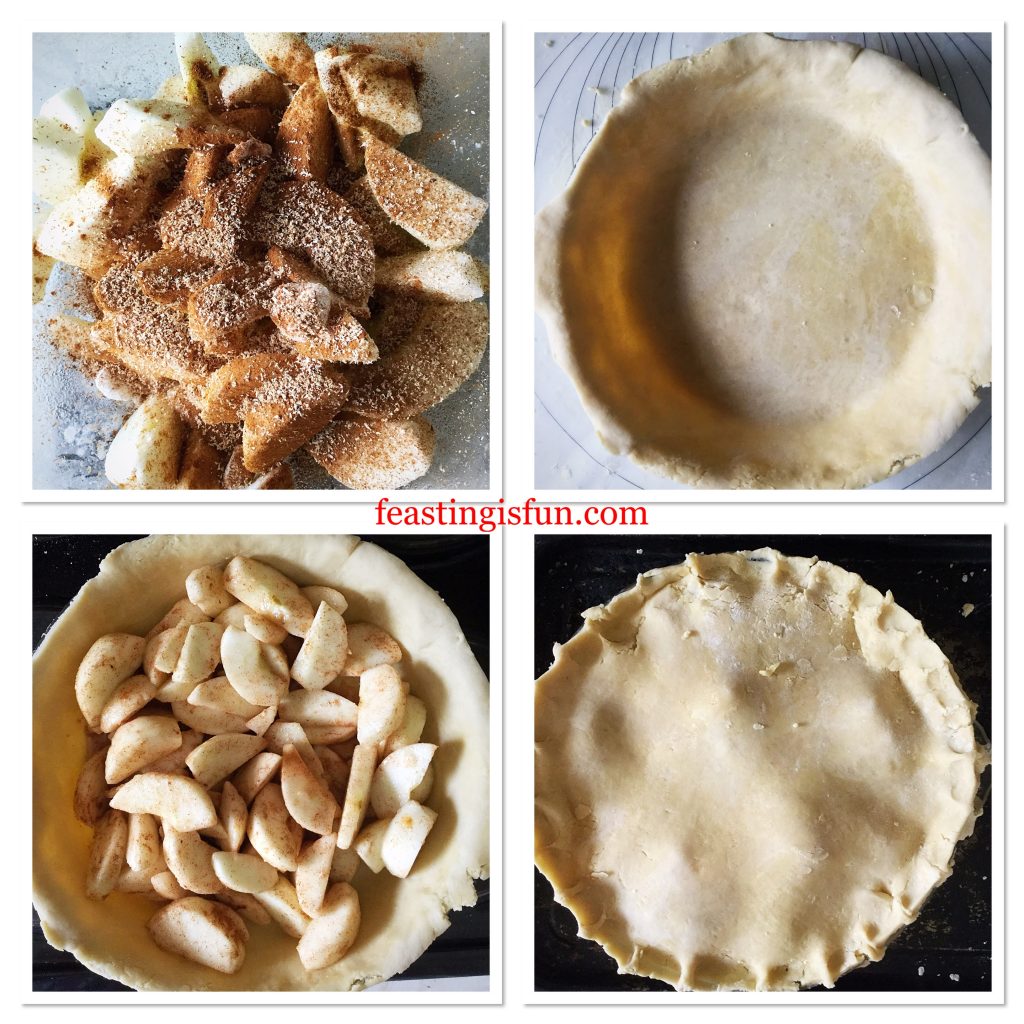
Peel, core and quarter the apples. Slice the quarters into 3.

Place the prepared apples into a bowl and pour over the lemon juice, cornflour, sugar and spices. Using clean hands toss the apples so that each piece is covered in the lemony, gooey mixture.

Place the apple mixture onto the pastry base.

Using a pastry brush lightly brush the outside edge of the pastry with egg wash.

Remove the 2nd pastry disc and roll out as before, ensuring when placed on top, the circle of pastry slightly overlaps the top of the pie.

Using a sharp knife carefully trim the excess pastry. Either use a fork or your forefinger and thumb and press the lid of the pastry to seal it around the rim to the bottom layer.

FF Amazing Apple Pie
Creating an Amazing Apple Pie

Make a few snips in the top of the pastry, to allow any steam to escape.

Creating A Decorative Pie Lid

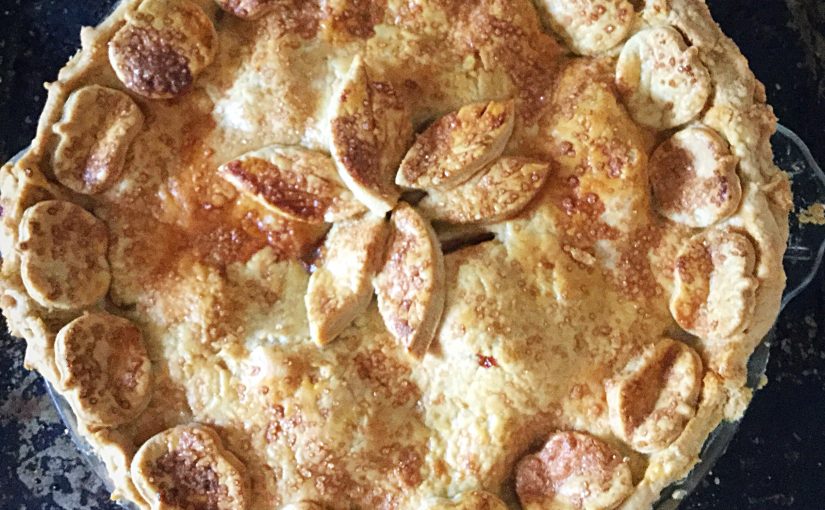
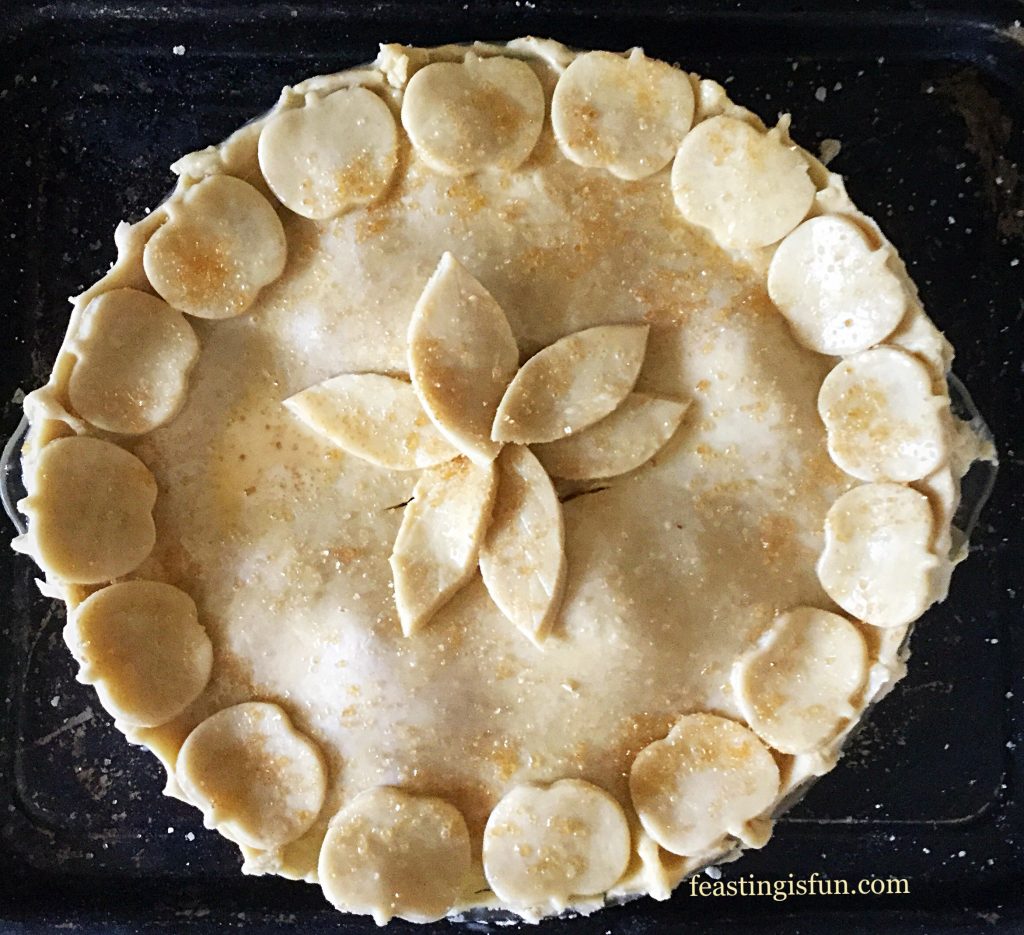
If you want to be creative, make leaves, berries, whatever you want to decorate the top of the pie, making sure you don’t cover the slits in the pastry up. I just happen to have a mini apple shaped cutter that I couldn’t resist using on this pie.

FF Amazing Apple Pie
Decorated with Pastry apples and leaves, this Amazing Apple Pie is ready for the oven.

Baking The Amazing Apple Pie

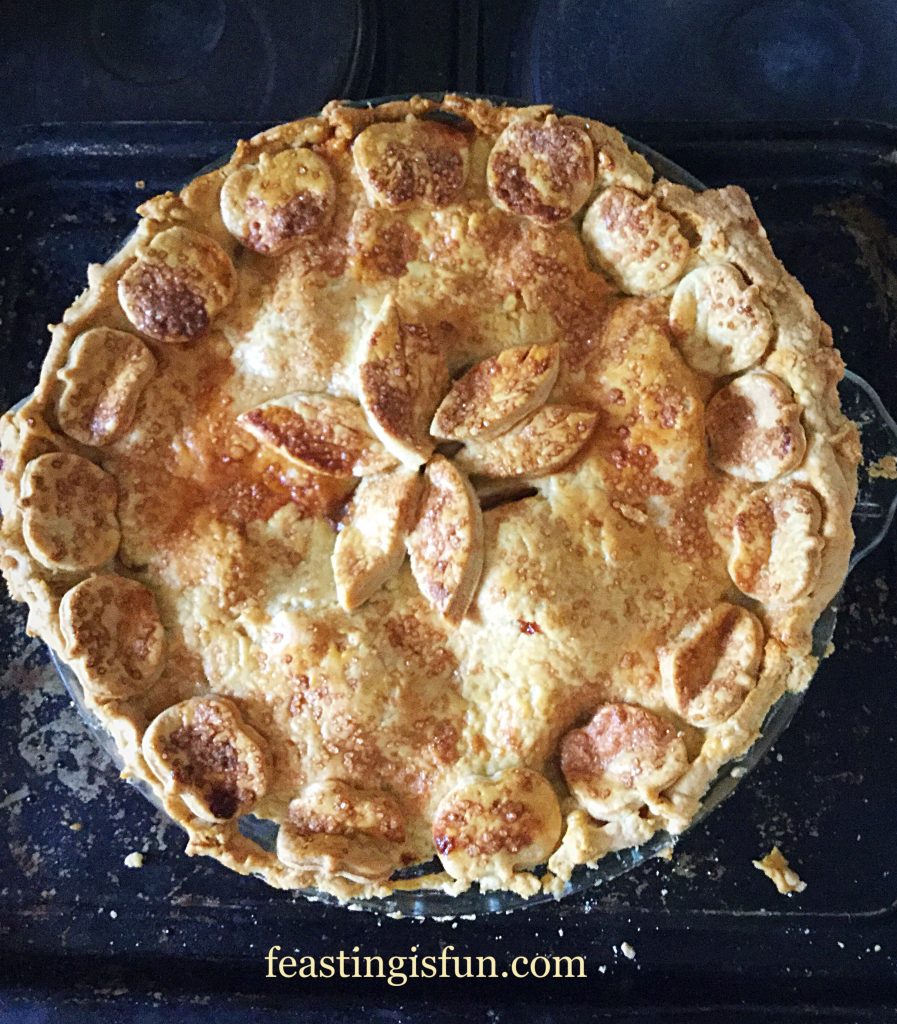
Brush the top of the Amazing Apple Pie with egg wash and then sprinkle the Demerera Sugar over the top of the pie. This adds an extra crunch and very mild toffee flavour. Put the pie dish onto a baking sheet and place in a preheated oven. Bake for 50-60 minutes. The pie is cooked when it is a gorgeous golden colour, on top and underneath.

Remove from the oven and let the pie rest for 15 minutes, this will make it easier to slice.


FF Amazing Apple Pie
Amazing Apple Pie 

Serve this Amazing Apple Pie with Luxury Homemade Vanilla Bean Custard, cream, vanilla ice cream (or all of them!) and a big smile. Wait and in that moment of the first mouthful being eaten, you will become the most popular, loved person in the room.

If you have enjoyed this recipe for Amazing Apple Pie you may also like these:

Autumn Apple Almond Cake

Autumn almond apple cake a gluten free bake using fresh free apples from the garden.
Autumn Apple Almond Cake – gluten free.

Iced Bakewell Tart

FF Amazing Apple Pie
Iced Bakewell Tart option for un iced version too.

Blackberry Nectarine Tart

FF Amazing Apple Pie
Blackberry Nectarine Tart

This pie cries out to be shared with family, friends and loved ones alike. Also why not pop across the road to the gentleman who recently lost his wife and share a slice of pie with him?

Sometimes, when we are stumped by what to say, our actions can convey more than words ever could.

Until next time, challenge yourself to share with someone who is outside of your comfort zone. You may just make somebody else smile?

Sammie xx

No part of this post may be reproduced or duplicated without the written permission of the owner. Please see my Disclosure Policy.

Share
Facebooktwitterpinterestlinkedintumblr