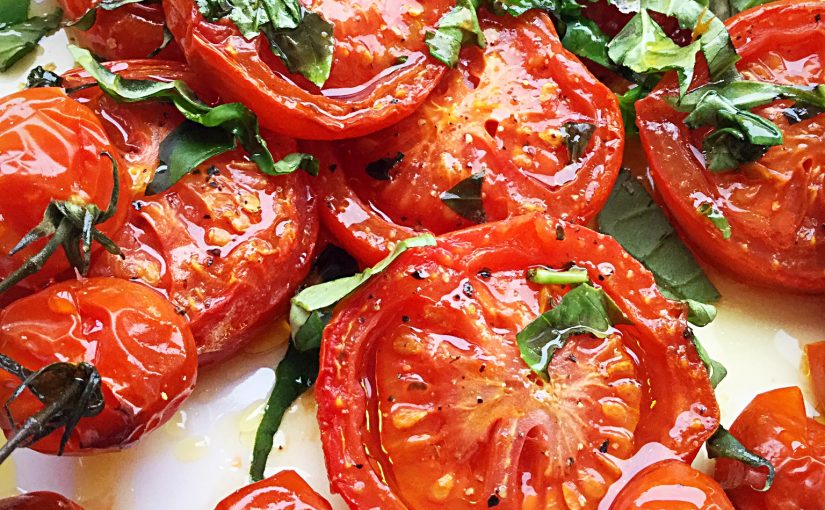
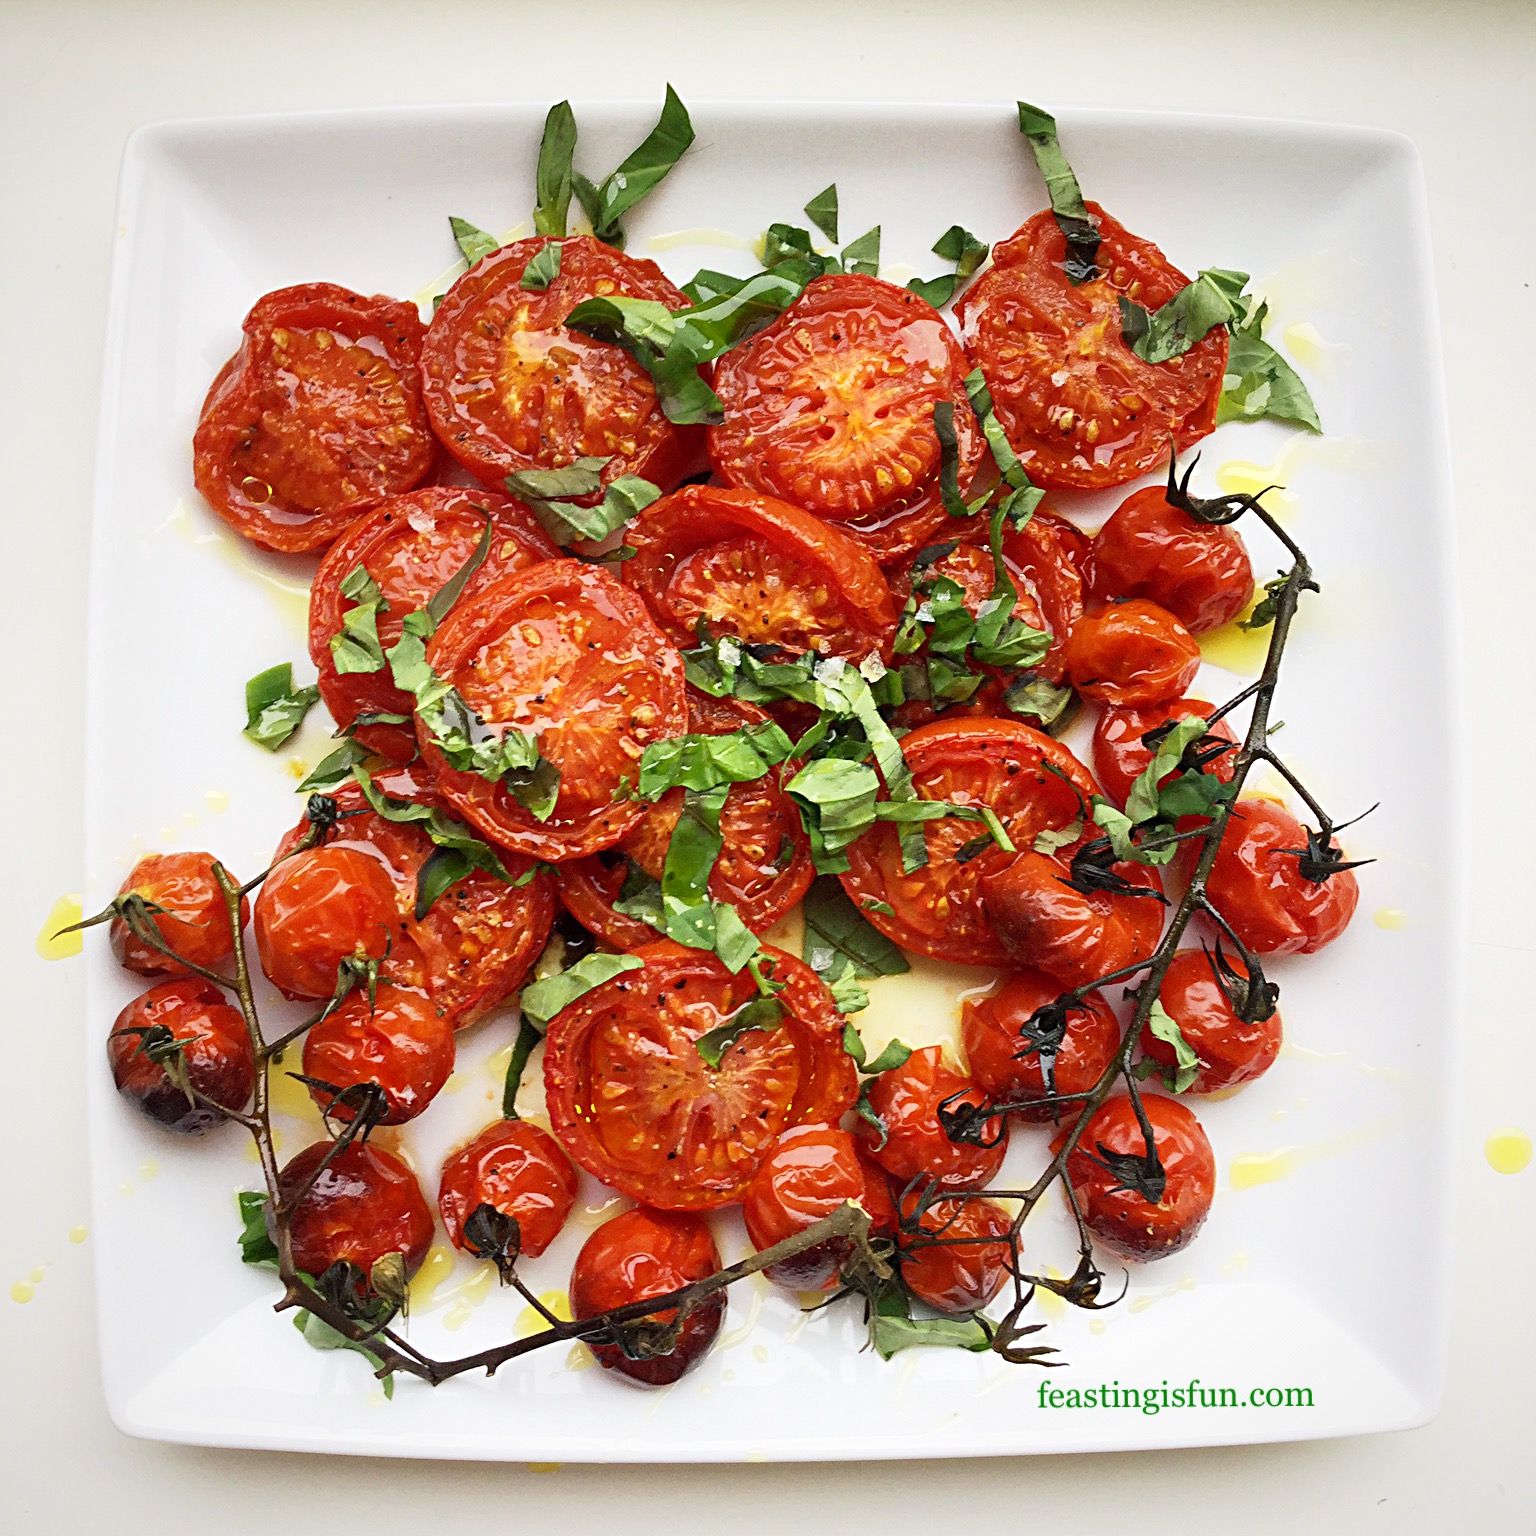
I love tomatoes. Big beefsteak tomatoes, tiny cherry tomatoes and regular slicing tomatoes, I absolutely could not be without them in my kitchen. As well as popping sweet, vine ripened cherry tomatoes in my mouth while pottering around my kitchen, tomatoes are one of the most versatile ingredients. Here, in these Fresh Basil Topped Slow Roasted Tomatoes their flavour is intensified by roasting slowly and enhanced with the addition of basil. Simple yet mouth wateringly good!
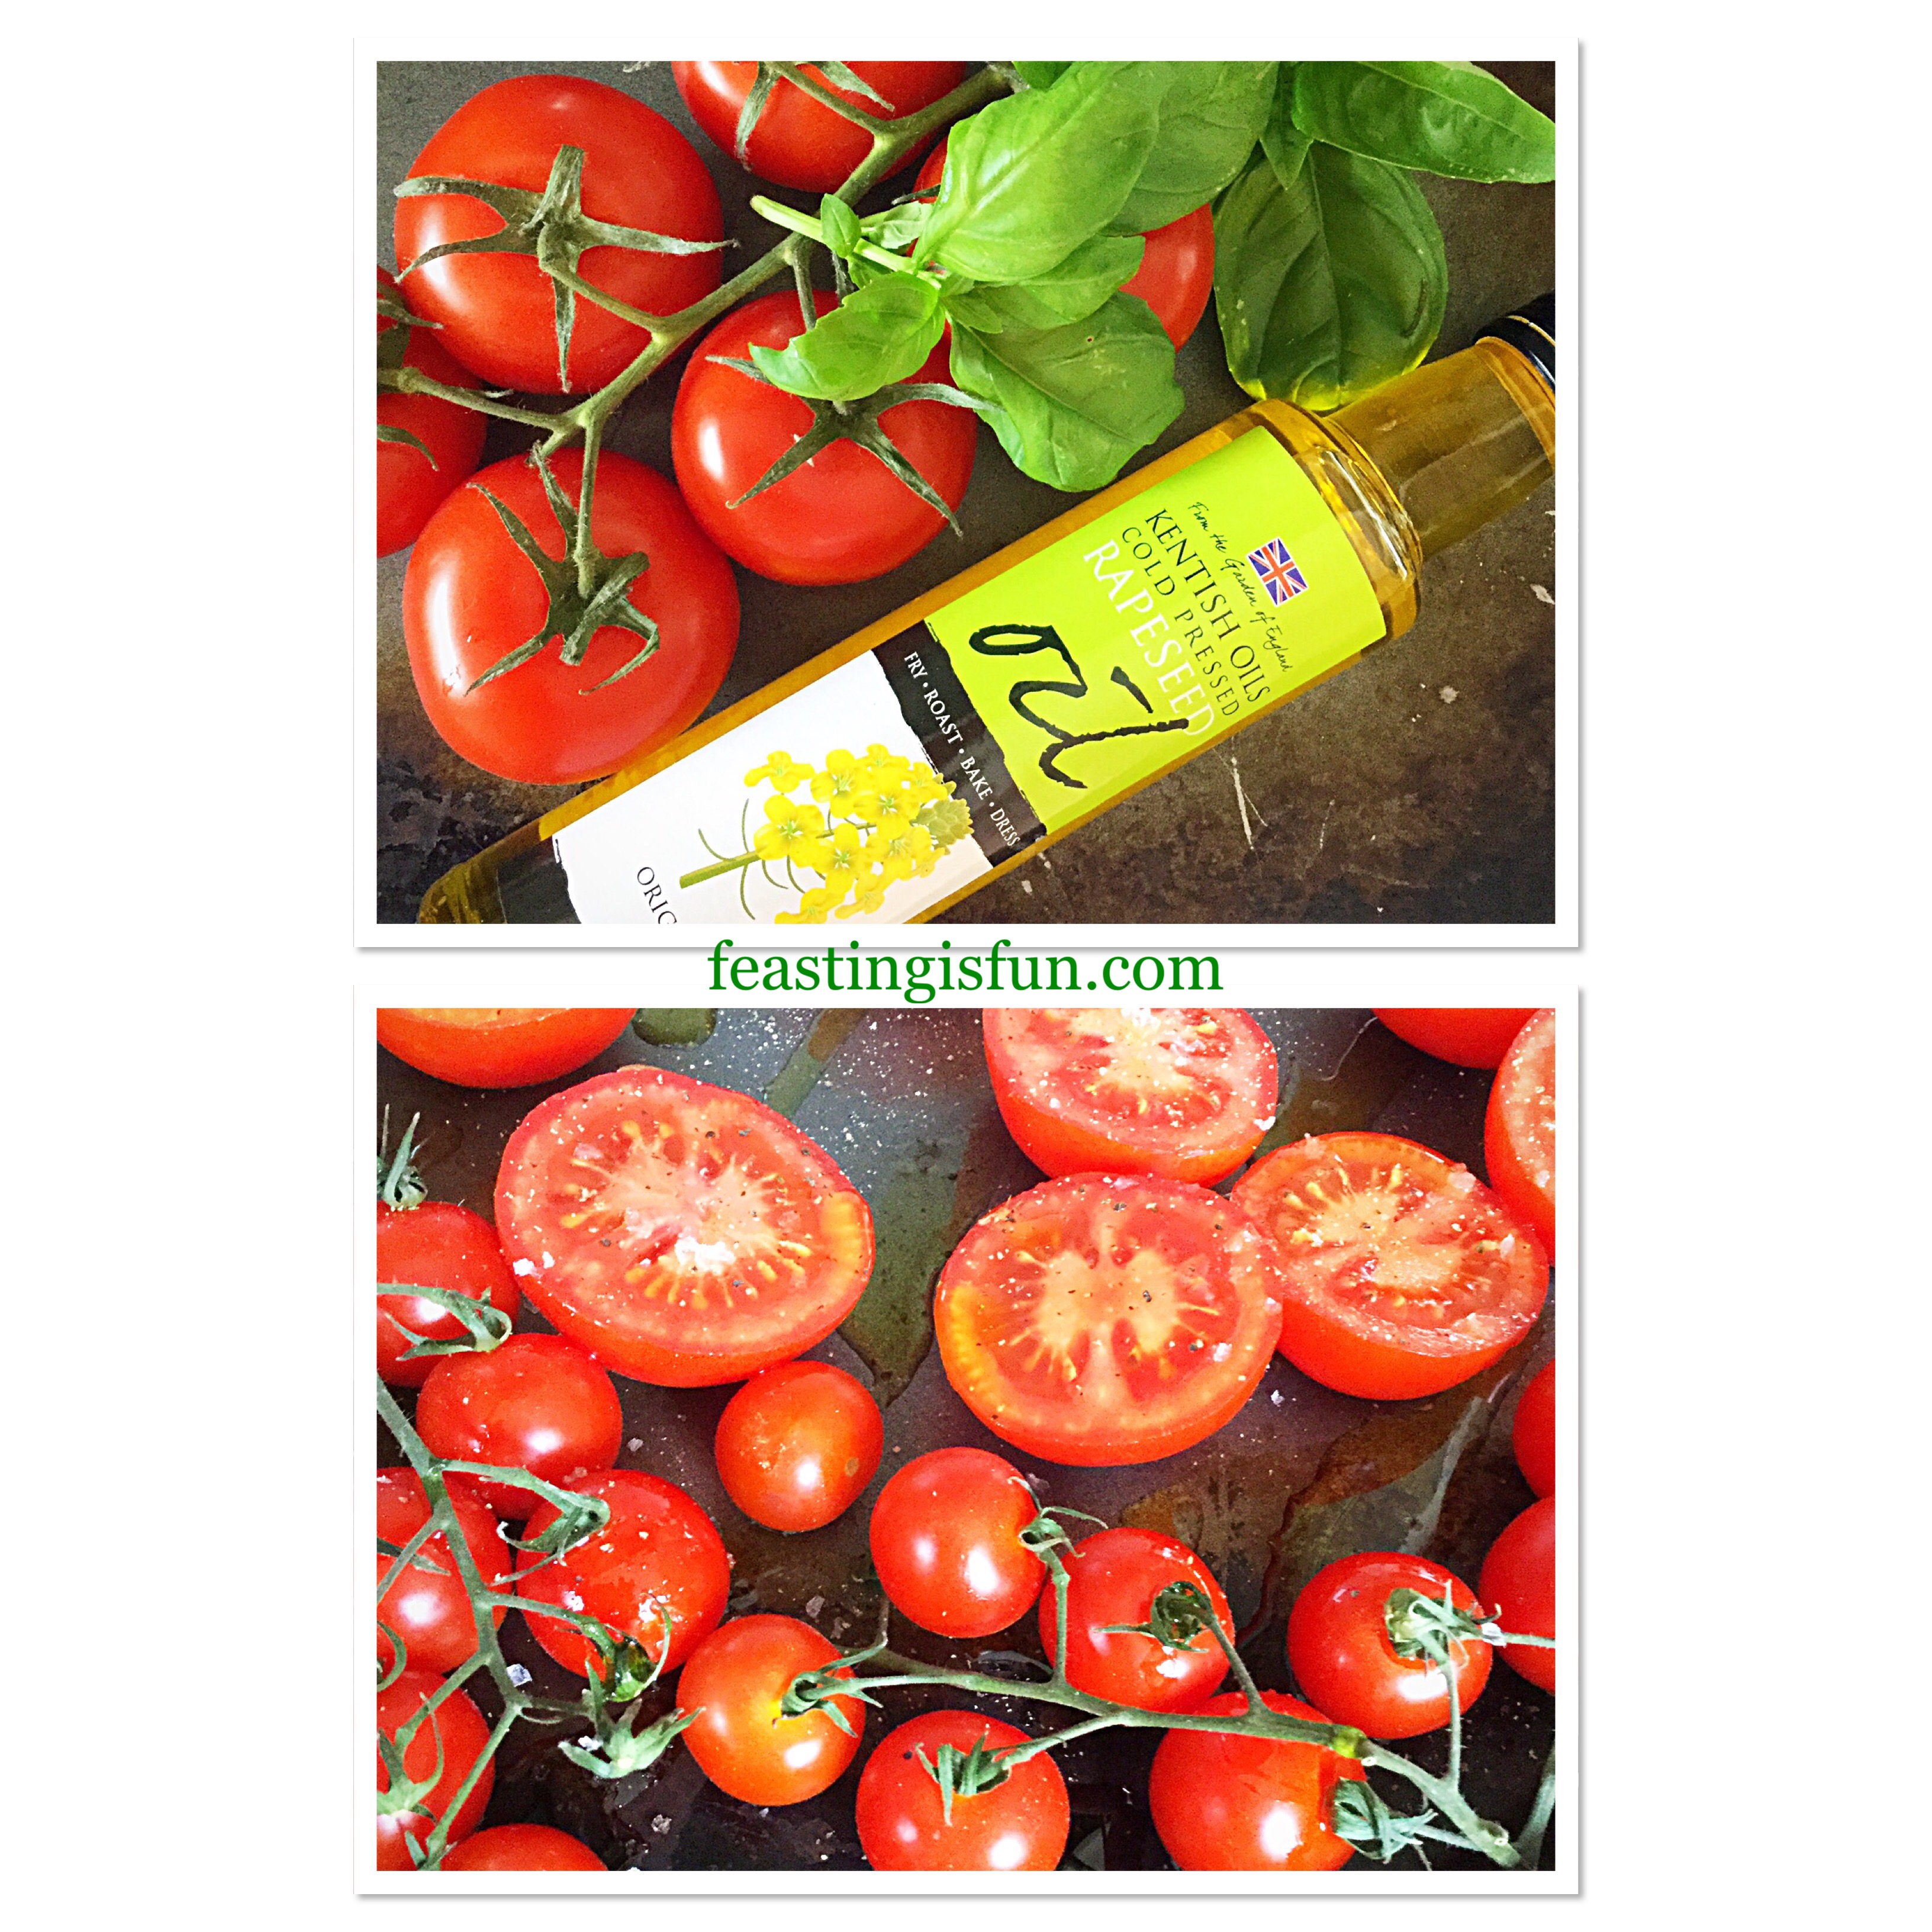
Beautiful British Tomatoes
Since British tomatoes are just coming into season, I want to use them as much as possible in my recipes. While I have successfully grown tomatoes of our own, blight has been a problem over the last few years, so I have stopped. Instead relying on our local farm shop and Waitrose, who stock British tomatoes for a good part of the year. Also I should add a quick thank you to all of the farmers who grow tomatoes and mange to extend the season using poly tunnels.
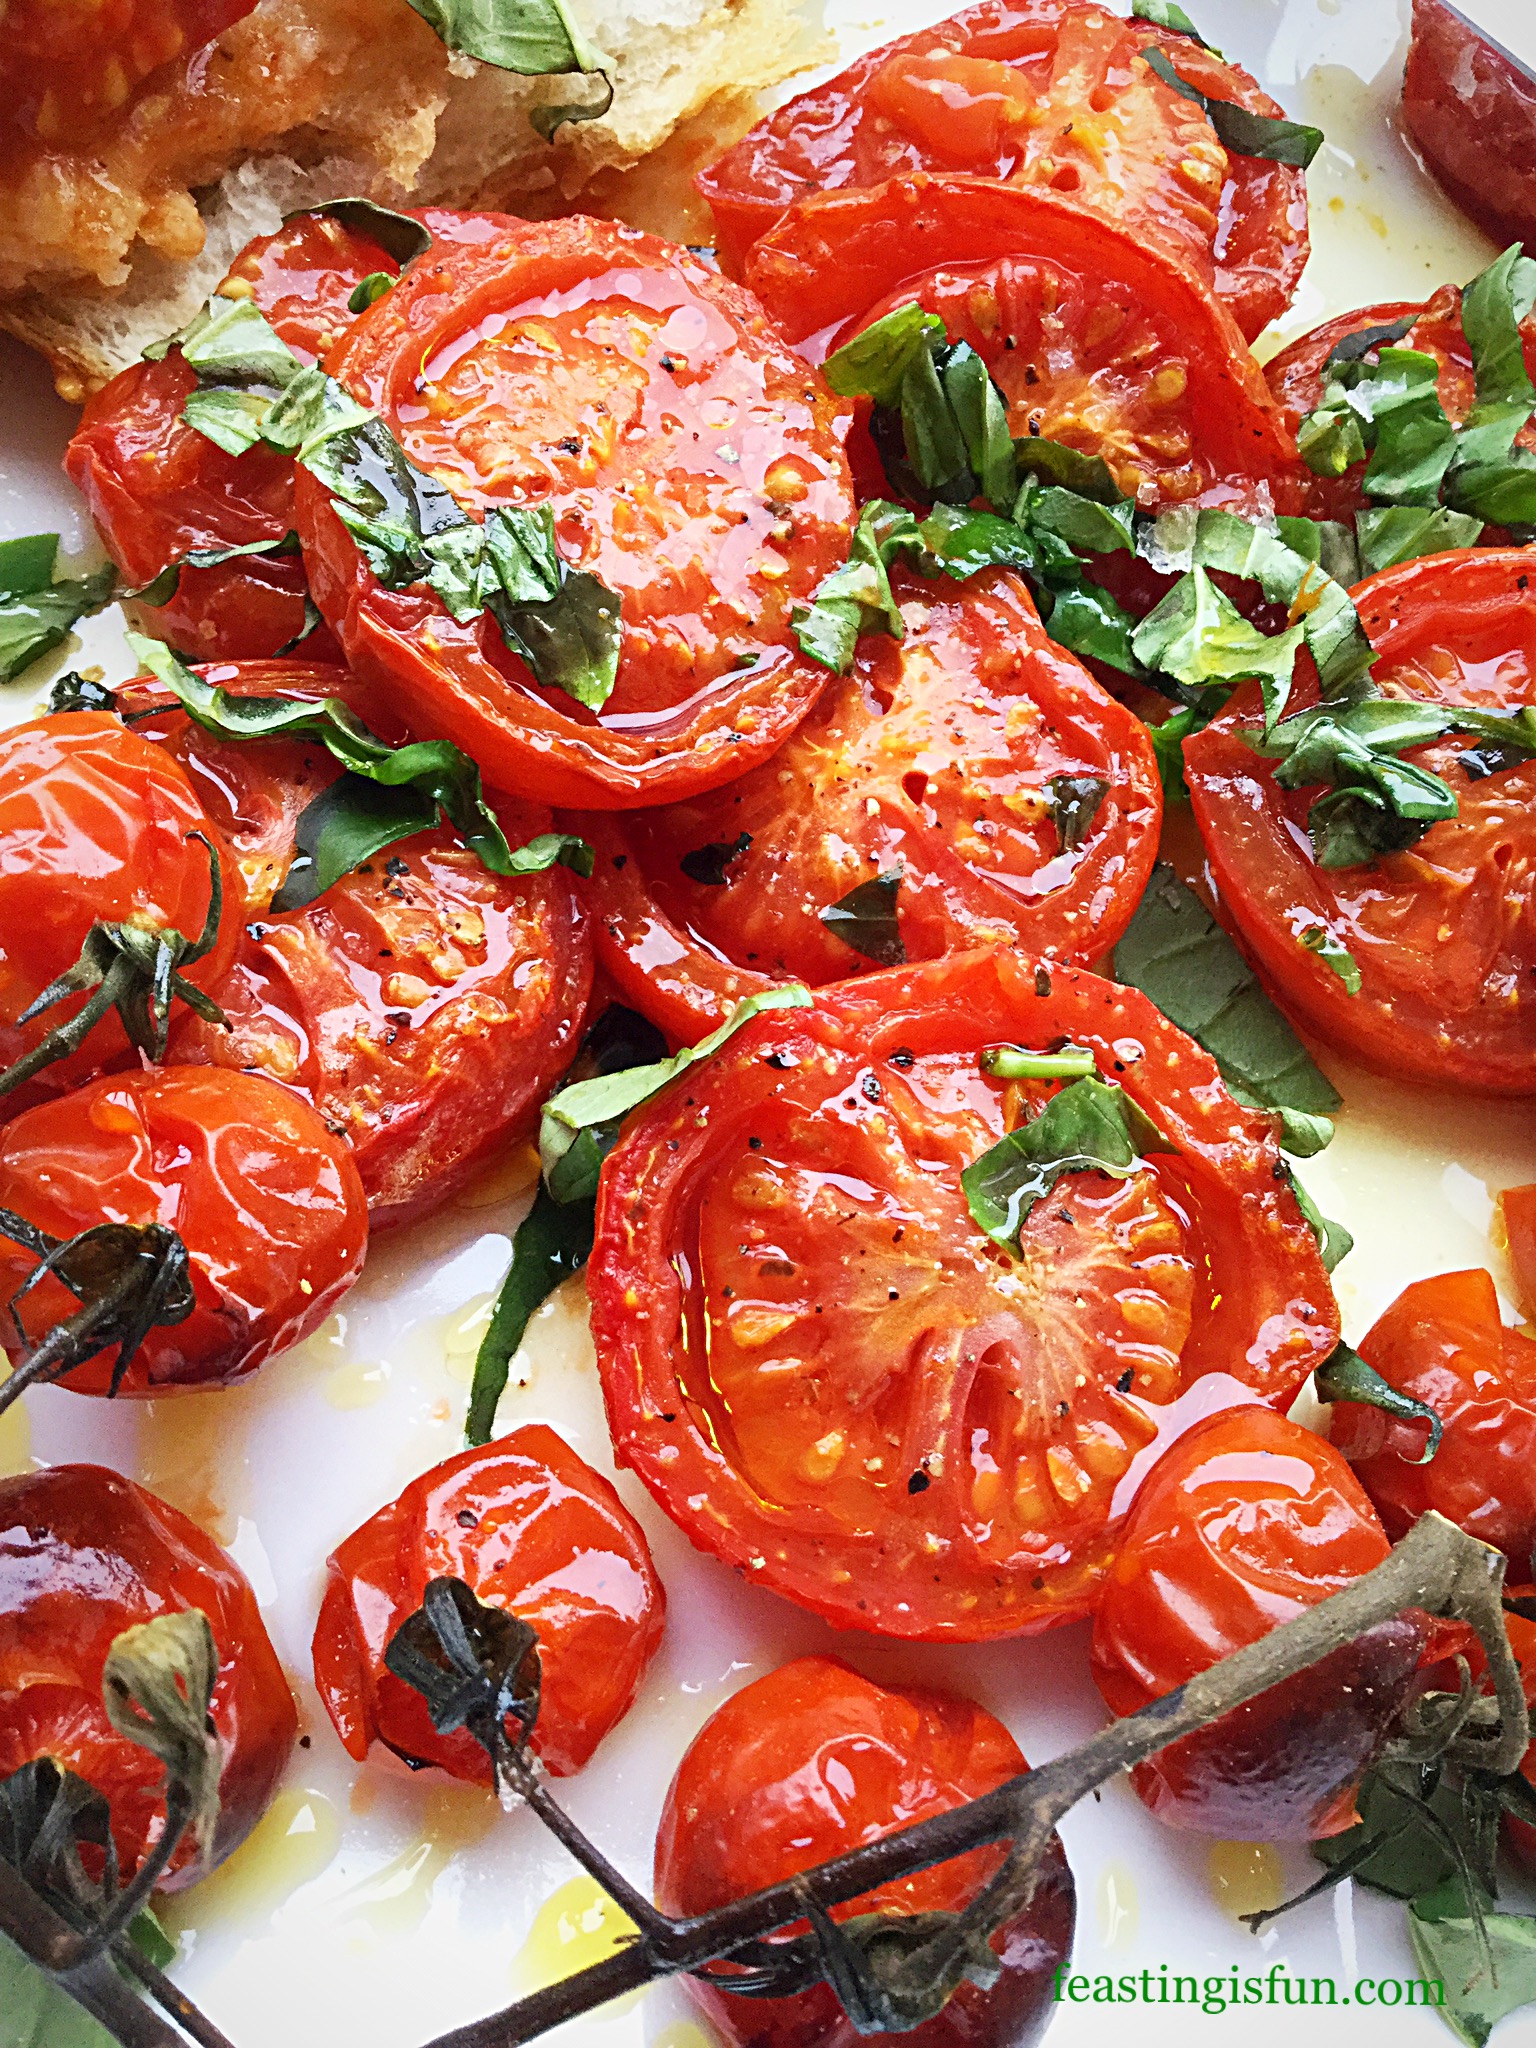
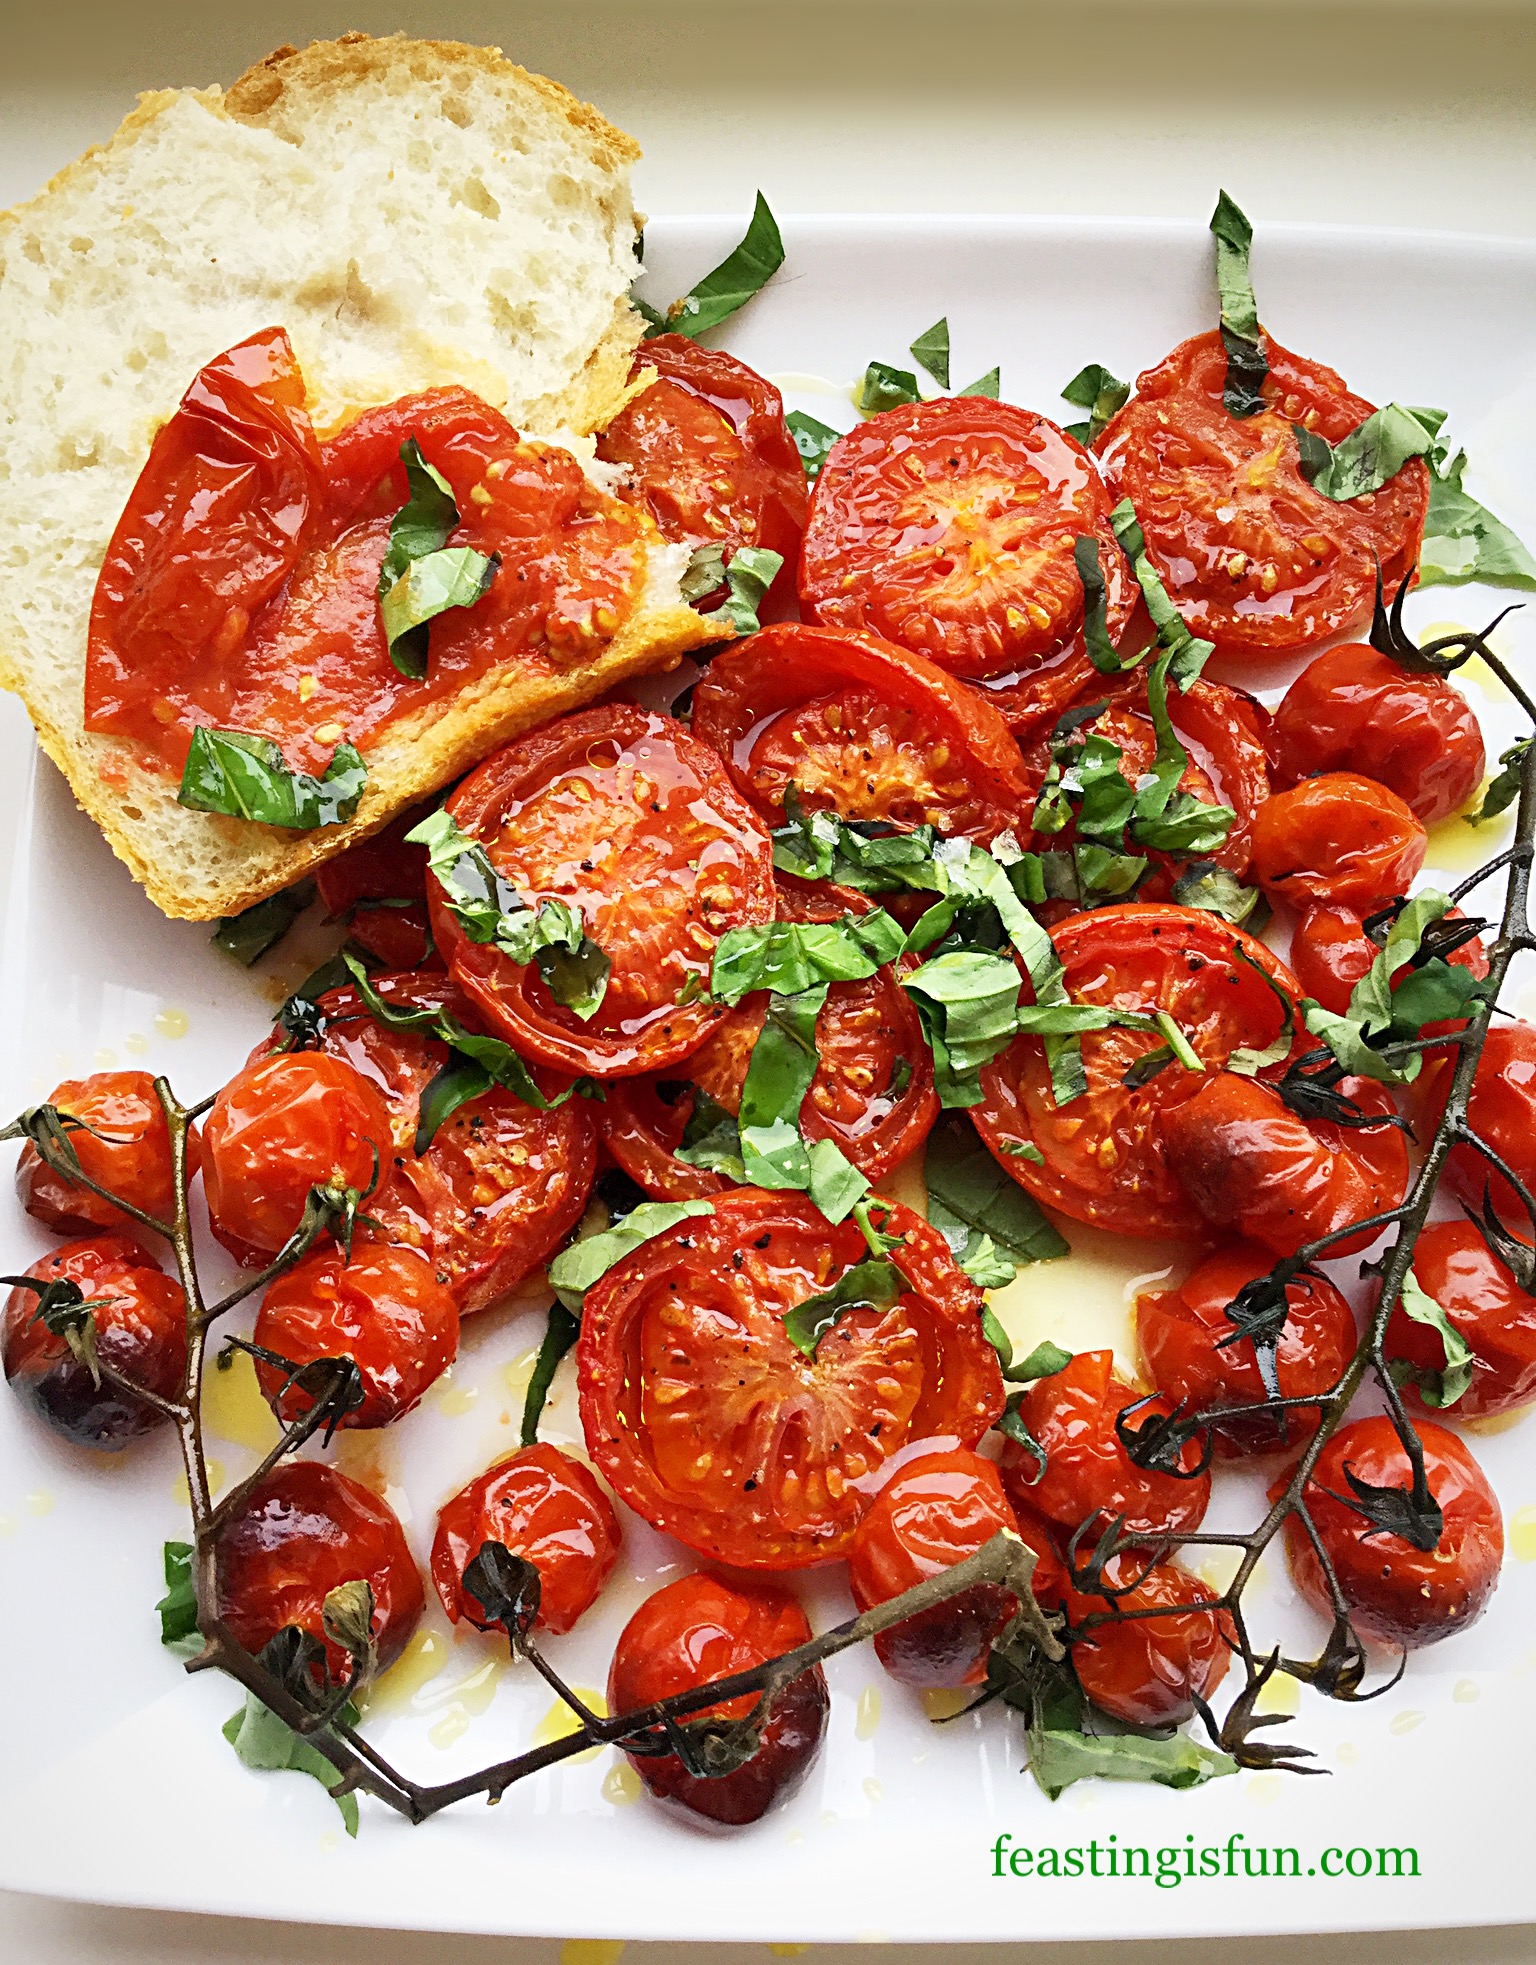
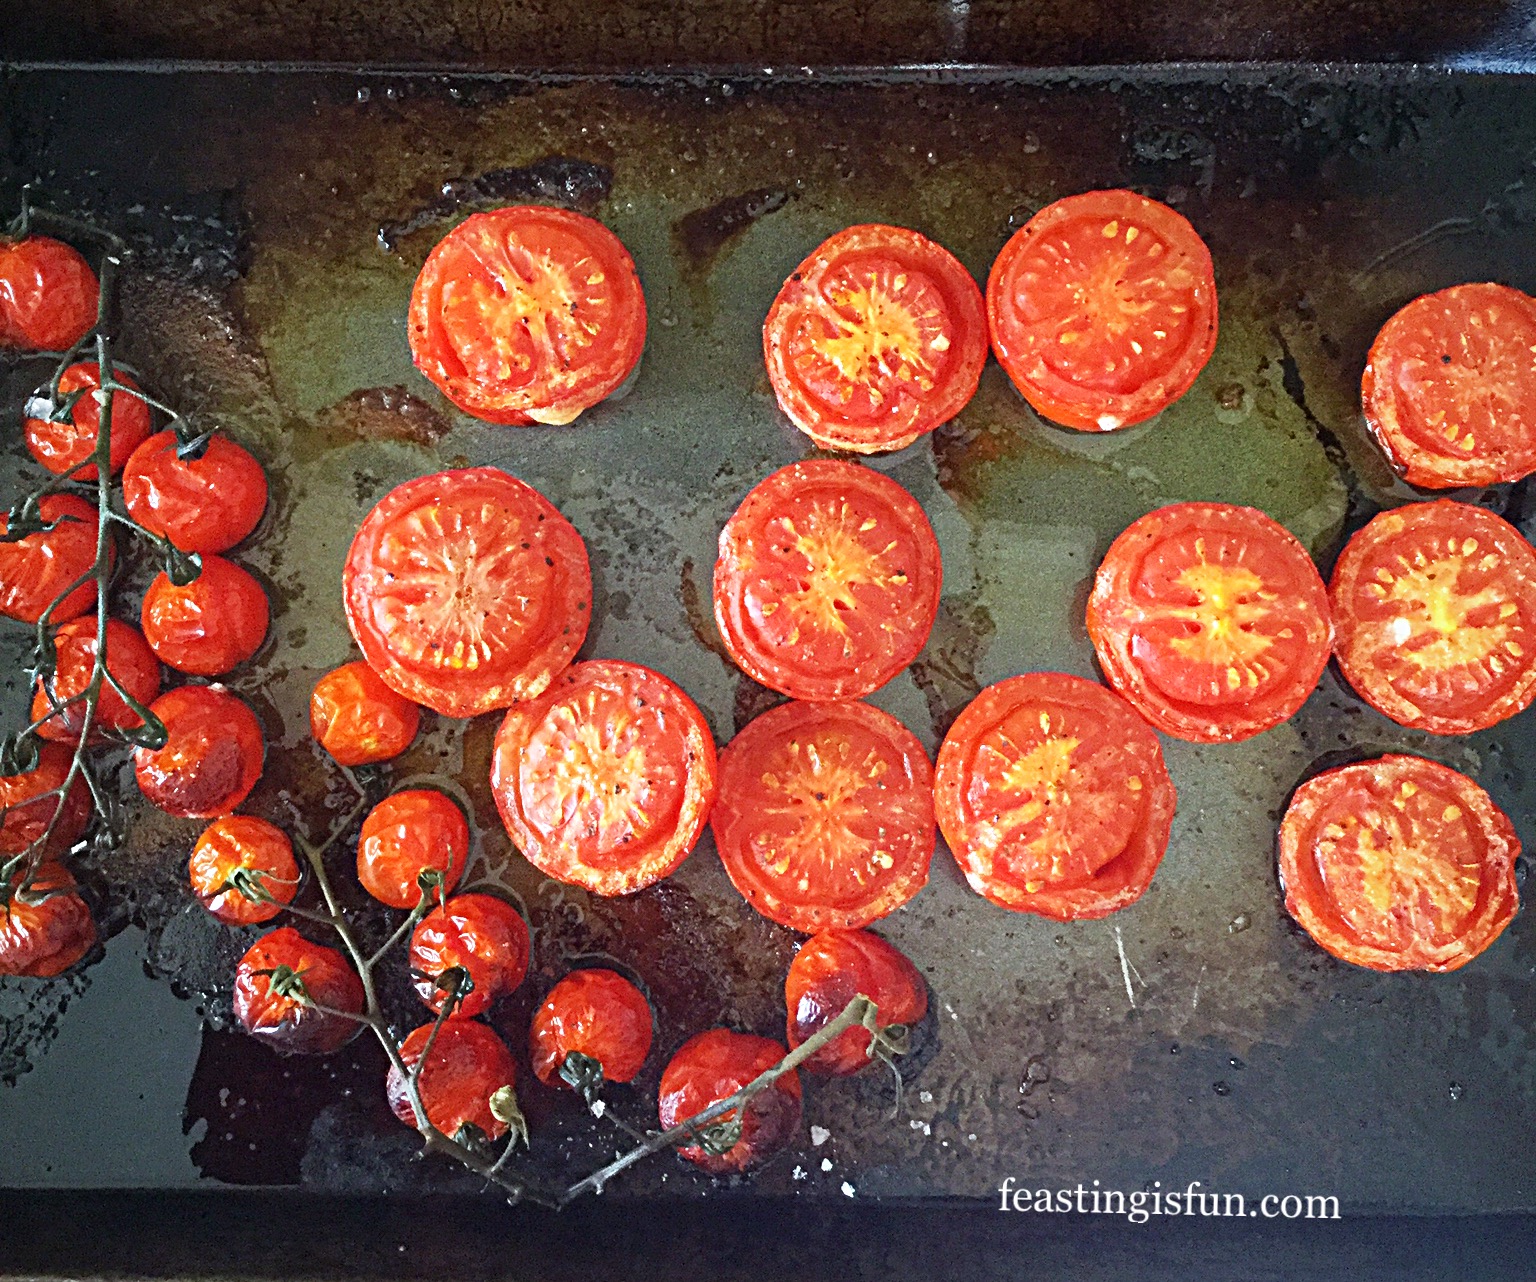
While tomatoes roast in the oven their flavour intensifies. As the heat starts to dehydrate them, so the flavours become less diluted. Given nothing more than a sprinkle of salt and pepper and a drizzle of oil, the resulting flavour is both sweet and savoury. As well as being a fantastic side dish to fish and chicken, I also enjoy spreading warm tomatoes on to fresh bread and eating just as it is.
Using Local Products And Produce
One thing I should mention is that I have used cold pressed Rapeseed oil. Made locally by Kentish Oils, it is golden yellow in colour and has a soft, slightly nutty flavour. It really compliments the tomato and basil flavours, rather than competing with them. Perfect for roasting and dressing the tomatoes.
Recipe: Fresh Basil Topped Slow Roasted Tomatoes
Amounts given per 450g/1lb Fresh Tomatoes
1 tbsp Cold Pressed Rapeseed/Canola Oil plus extra for drizzling after roasting – I use Kentish Oils
1/2tsp Sea Salt Flakes – I use Maldon
1/4tsp Freshly Ground Black Pepper
Small Handful Fresh Basil Leaves – approximately 10 leaves
Prepping And Roasting Tomatoes
Preheat oven to 180C/160C fan, 350F, gas mark 4
You will need a large baking tray for this recipe.
- First of all wash and dry the tomatoes.
- Cut large tomatoes in half and leaver smaller ones on the vine.
- Place the tomatoes on to a baking tray and drizzle over the oil.
- Sprinkle over with sea salt and freshly ground black pepper.
- Place in the centre of the oven and roast for 45 minutes.
- As soon as the tomatoes are cooked remove from the oven.
- Using a fish slice or slotted spoon carefully transfer the roasted tomatoes to a serving plate.
- Roughly chop the basil leaves and scatter over the tomatoes.
- Finally drizzle a little oil over the tomatoes and leave until warm, not hot, before serving.
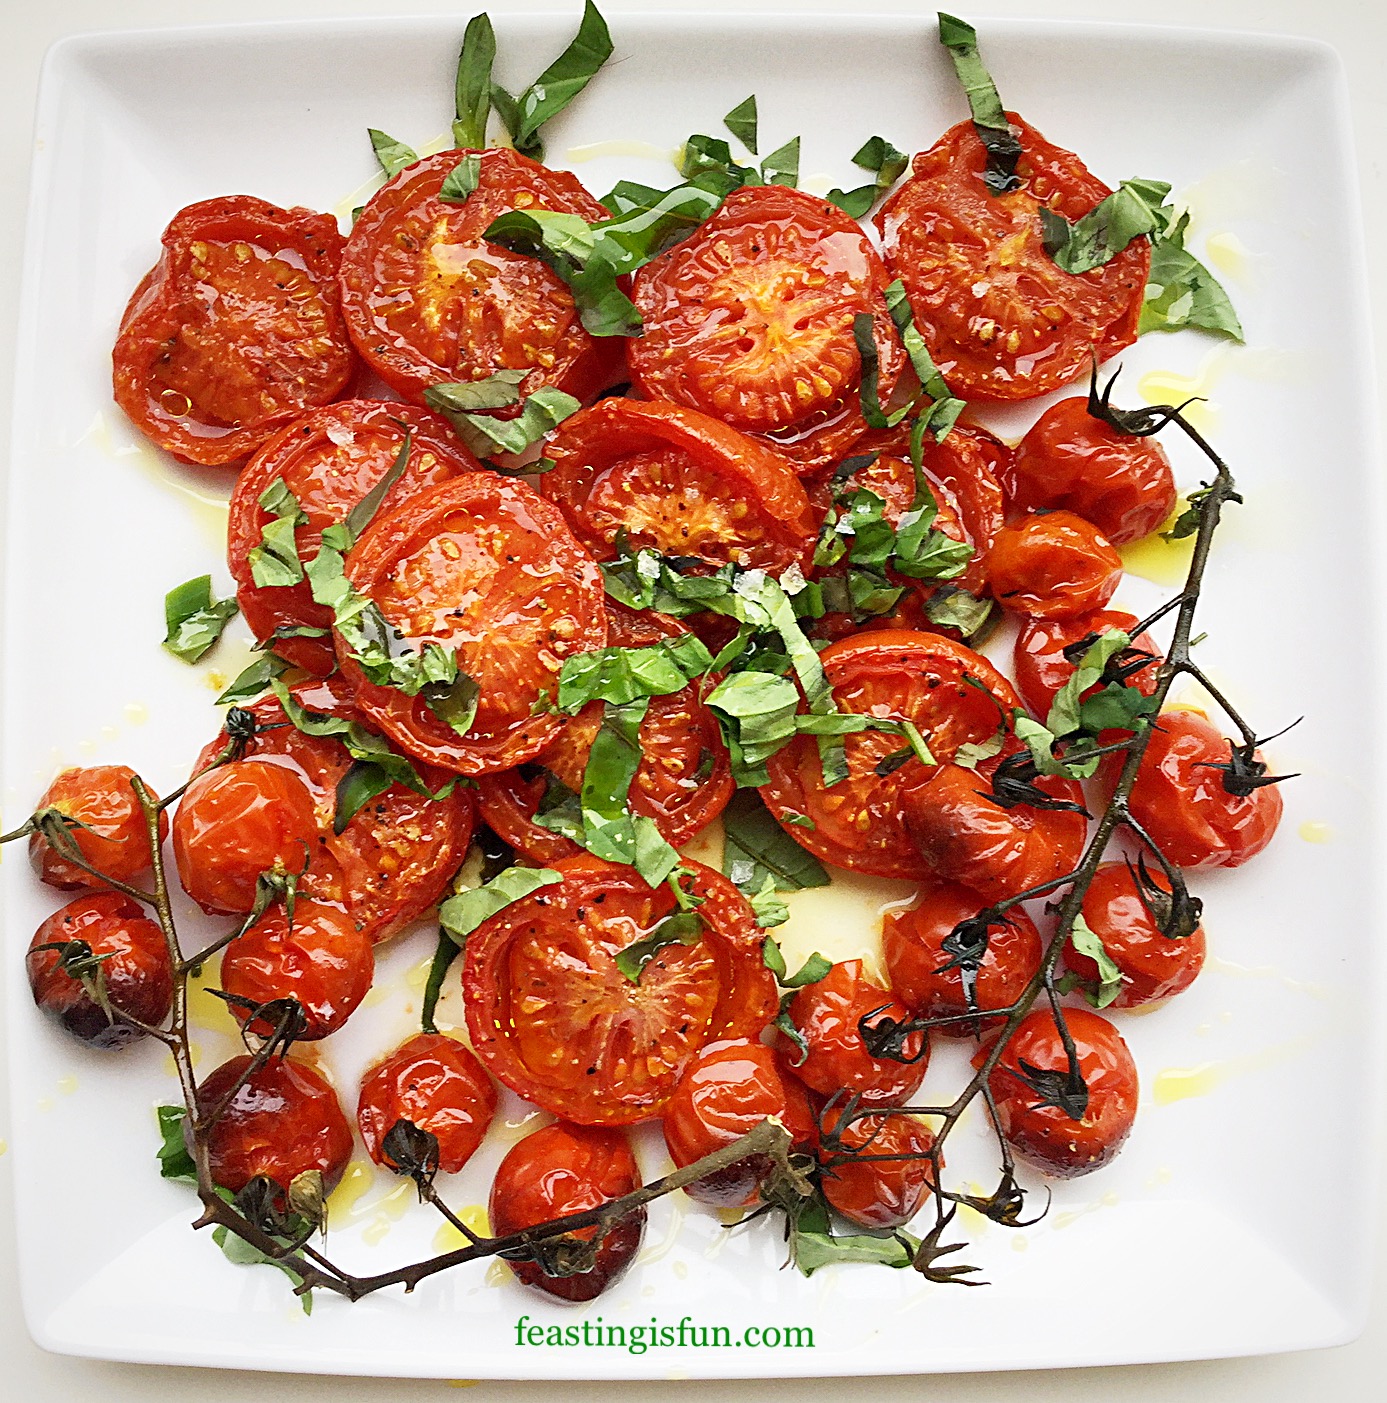
Because hot tomatoes will burn your mouth, it is best to leave these to cool until just warm before eating. Doing so ensures that you get the maximum flavour that these beauties have to offer. Also these tomatoes taste delicious when cold.
Any leftover tomatoes can be kept in an airtight container and refrigerated for up to 2 days.
If you have enjoyed this recipe for Fresh Basil Topped Slow Roasted Tomatoes you may also like these:
Tomato Thyme Garlic Focaccia Bread

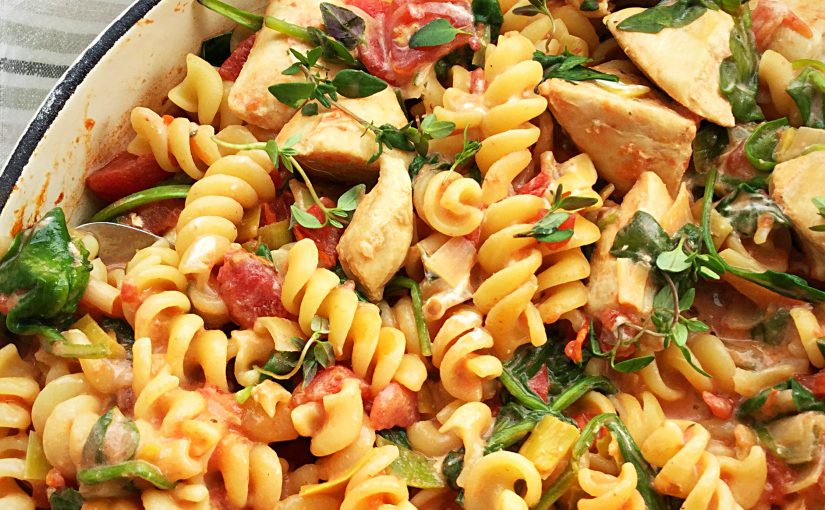
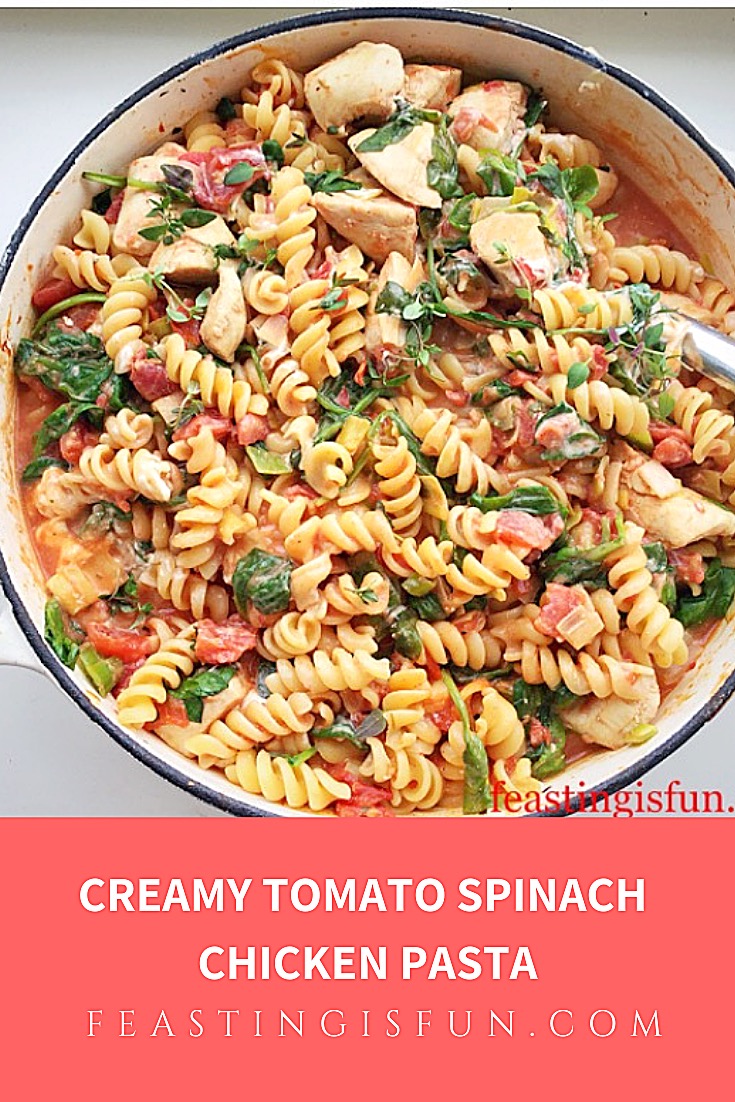
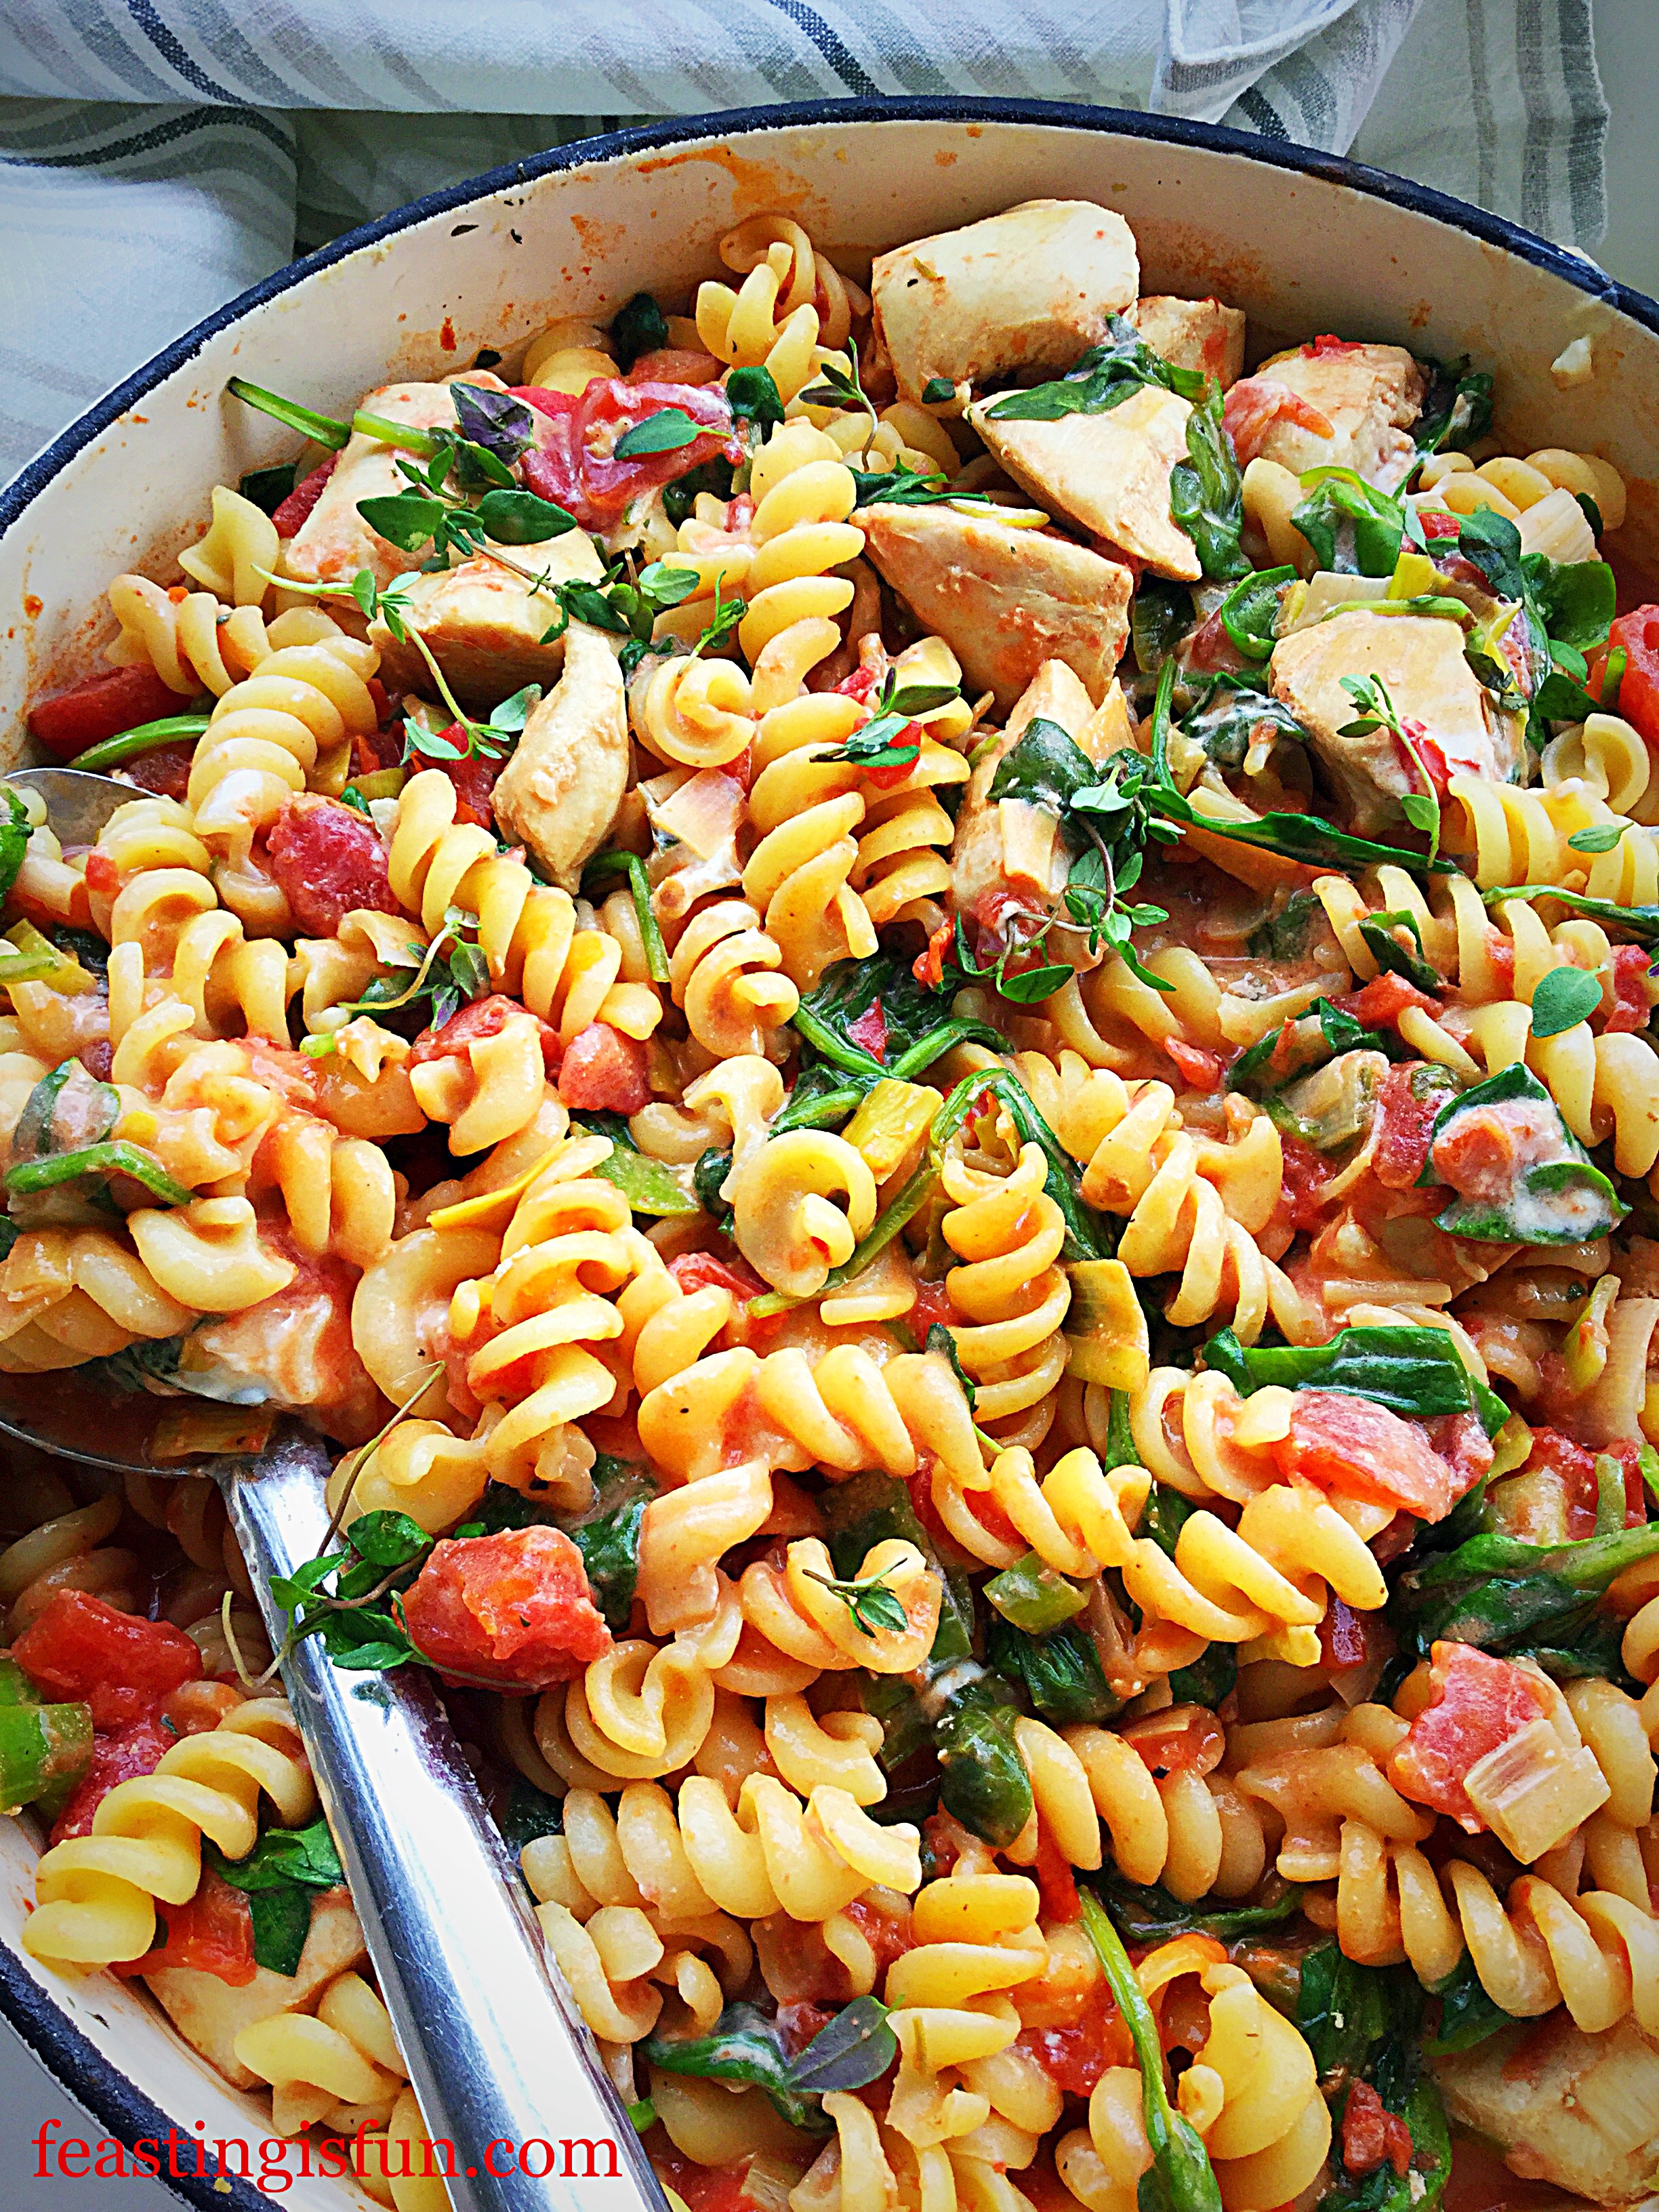
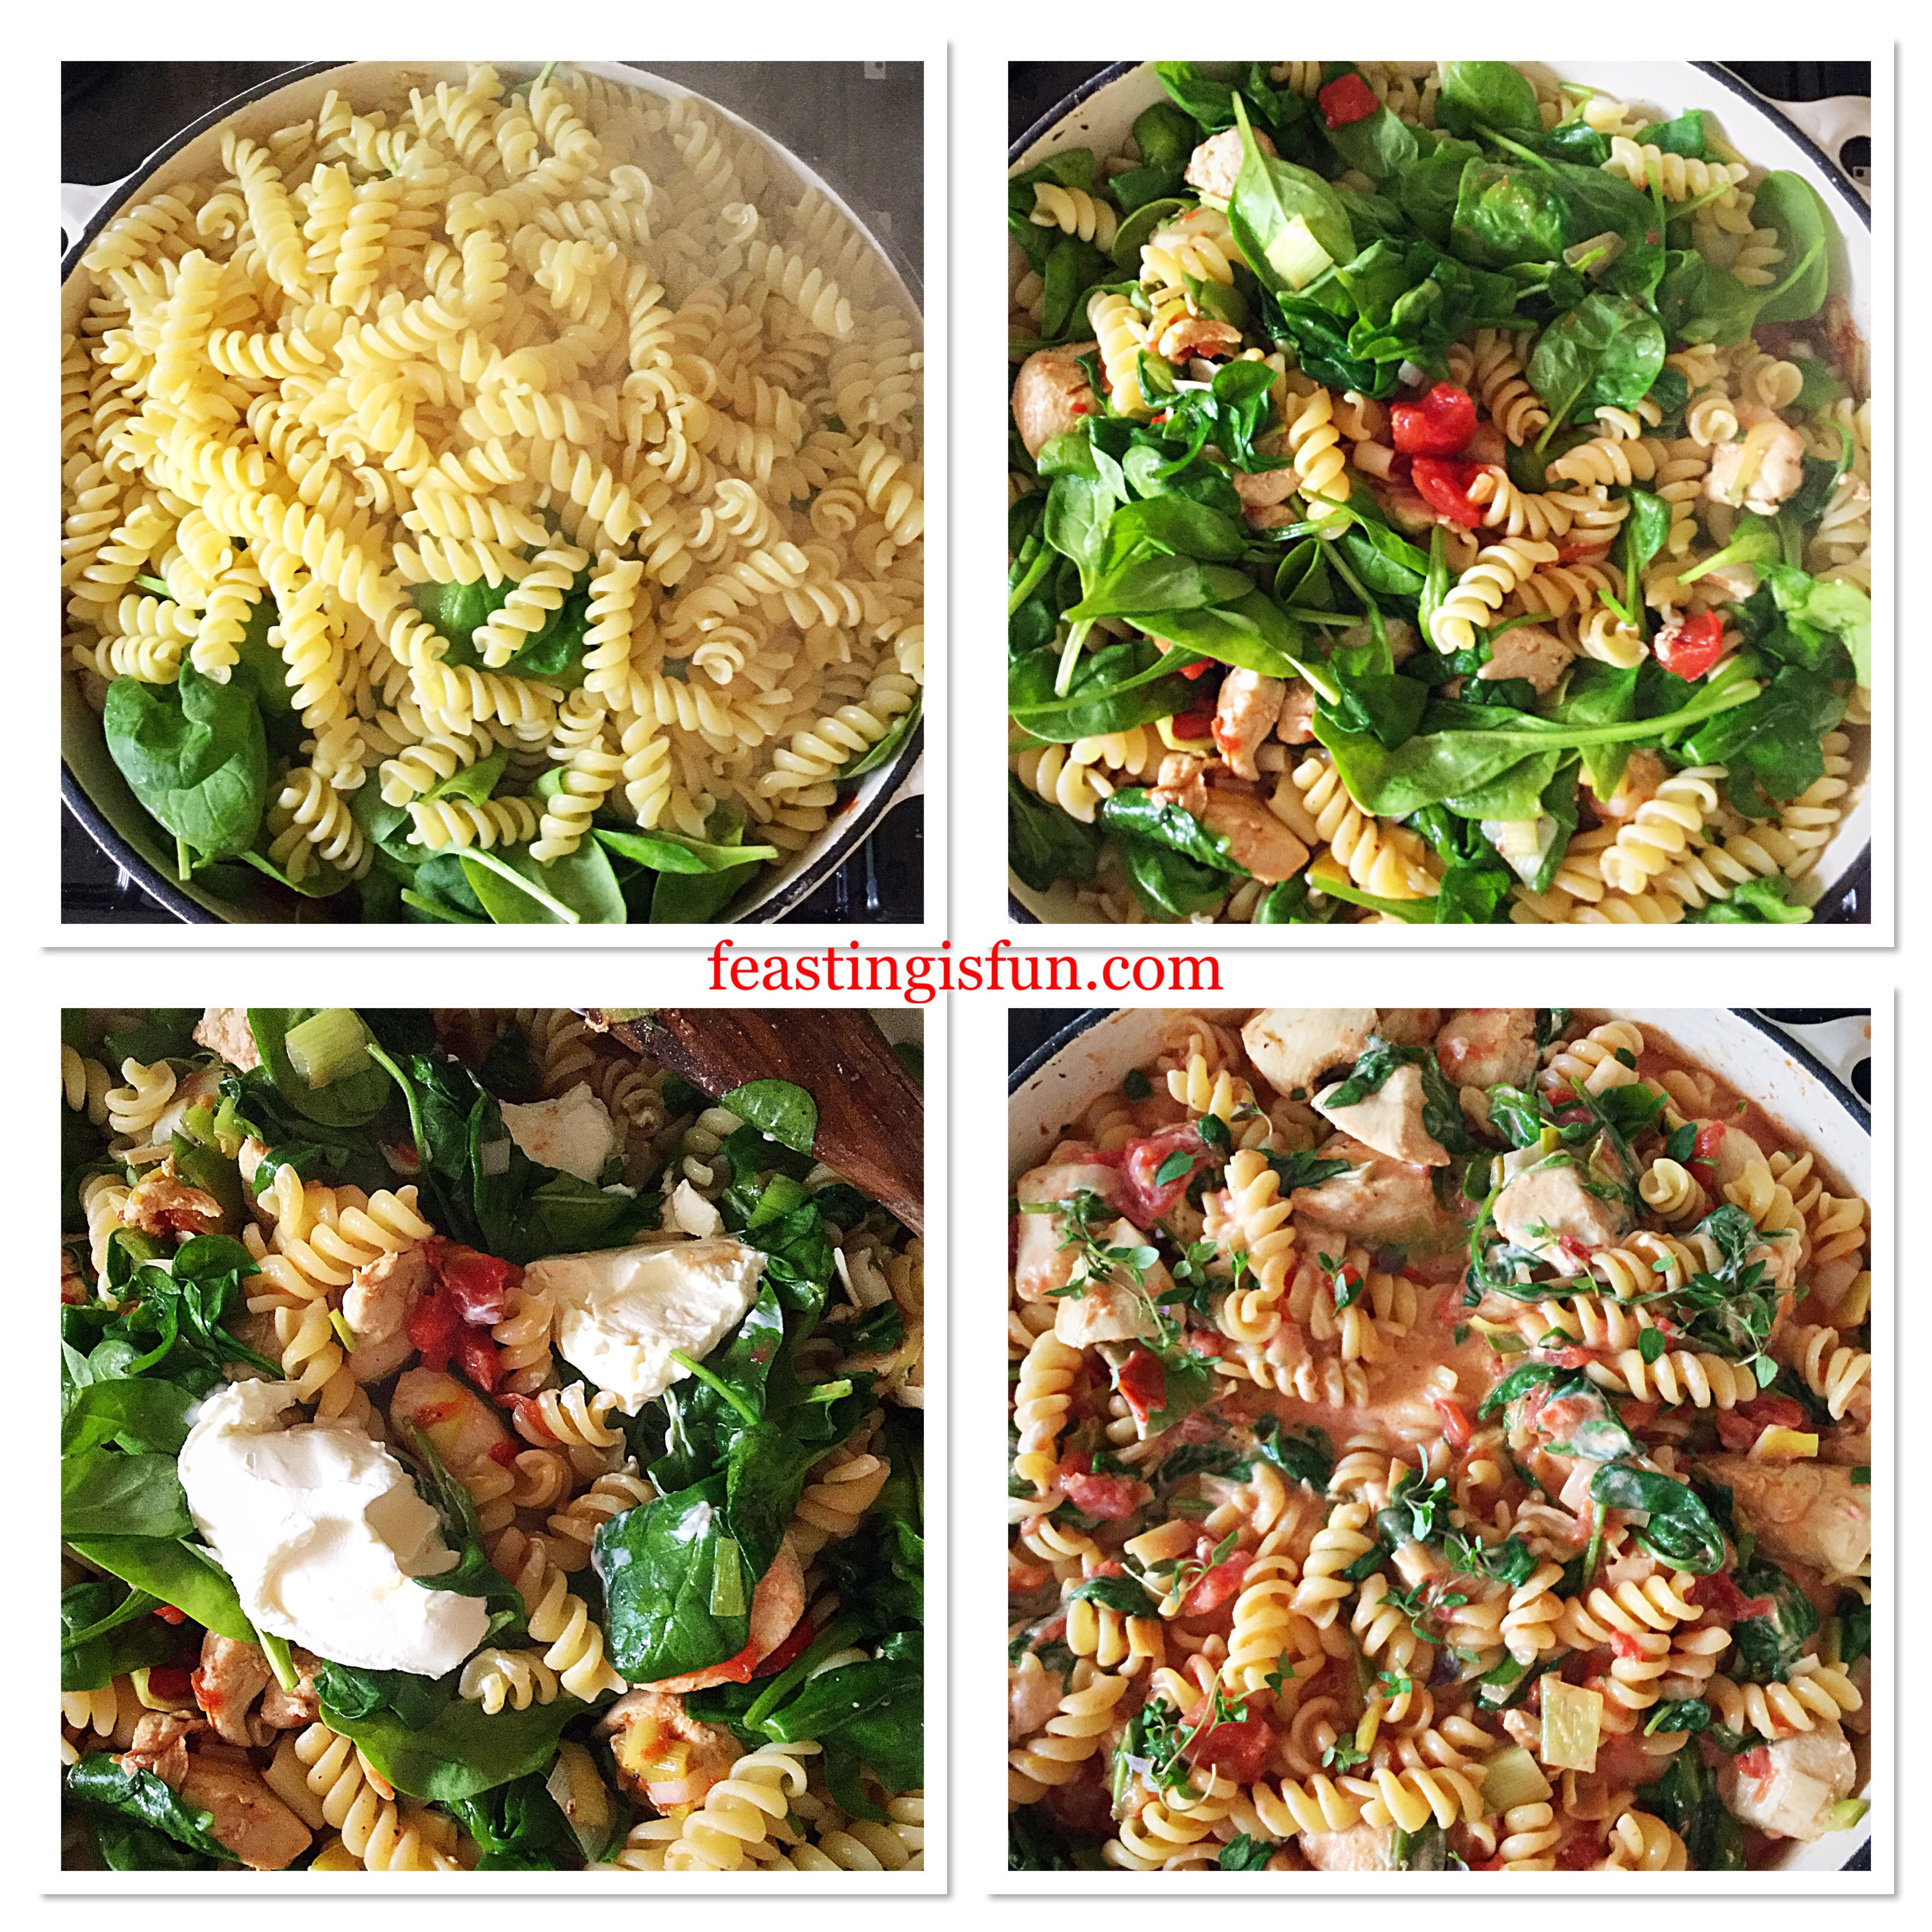
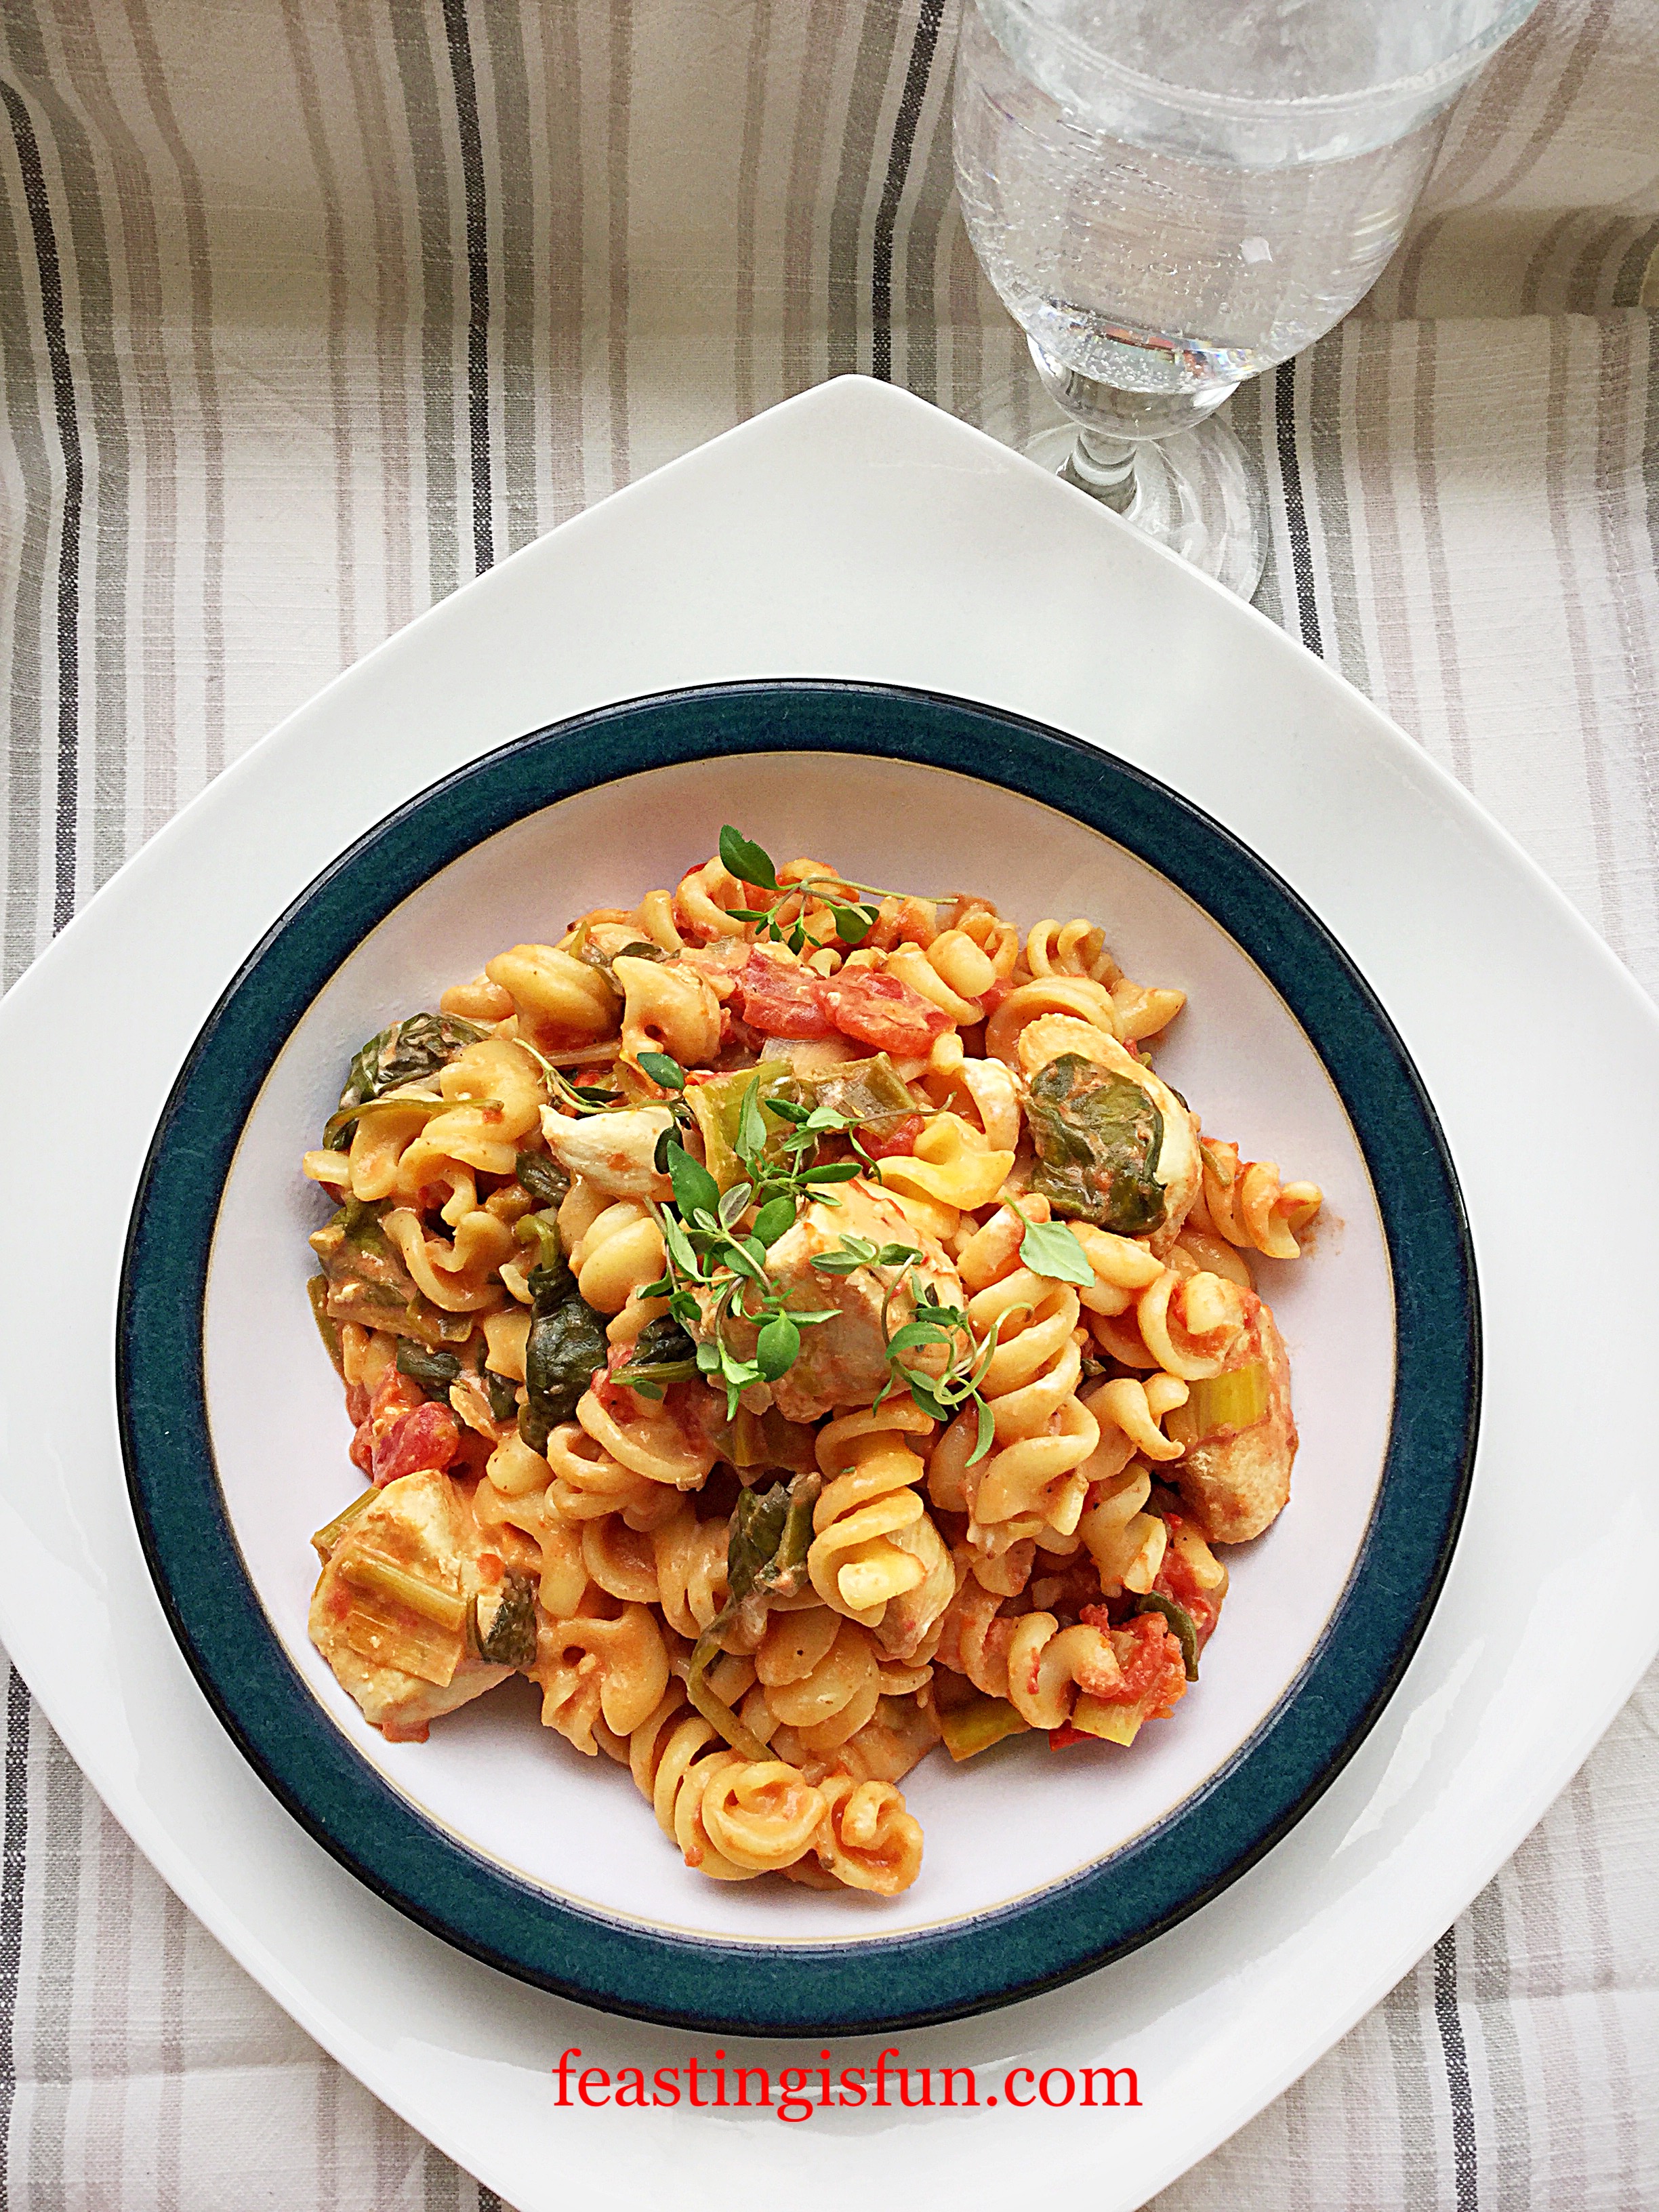
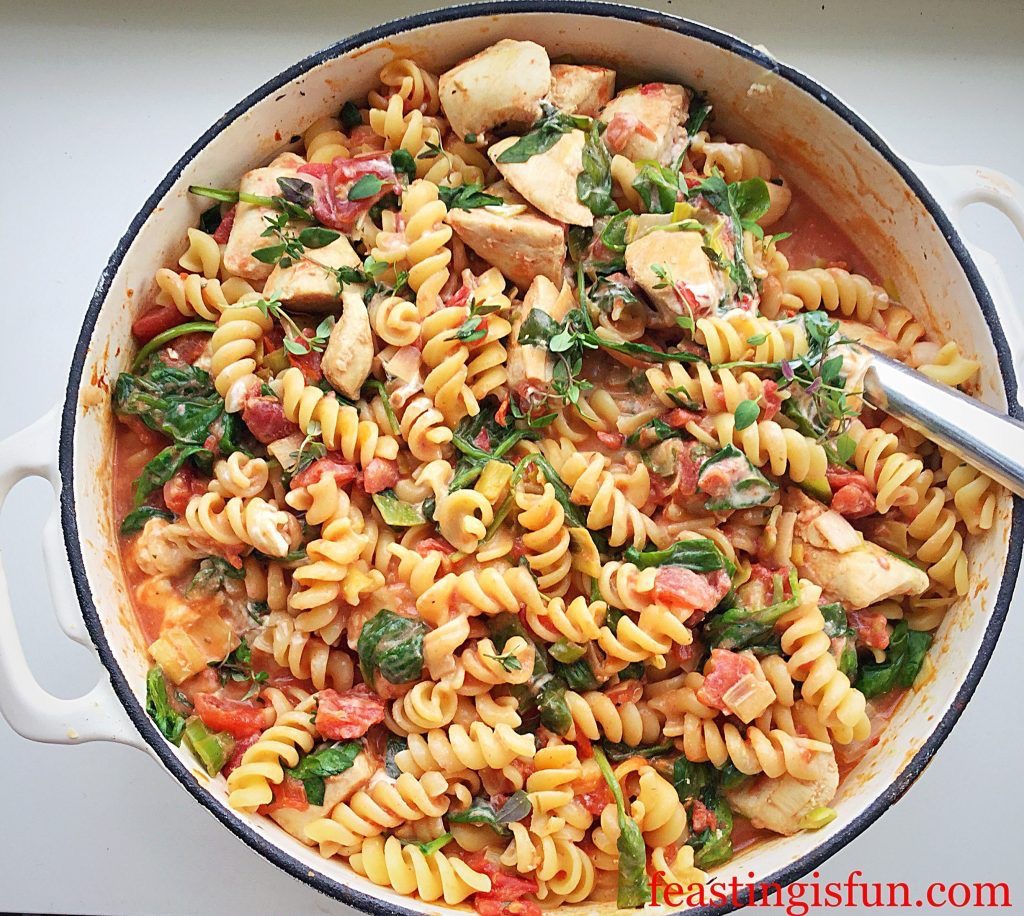
Creamy Tomato Spinach Chicken Pasta
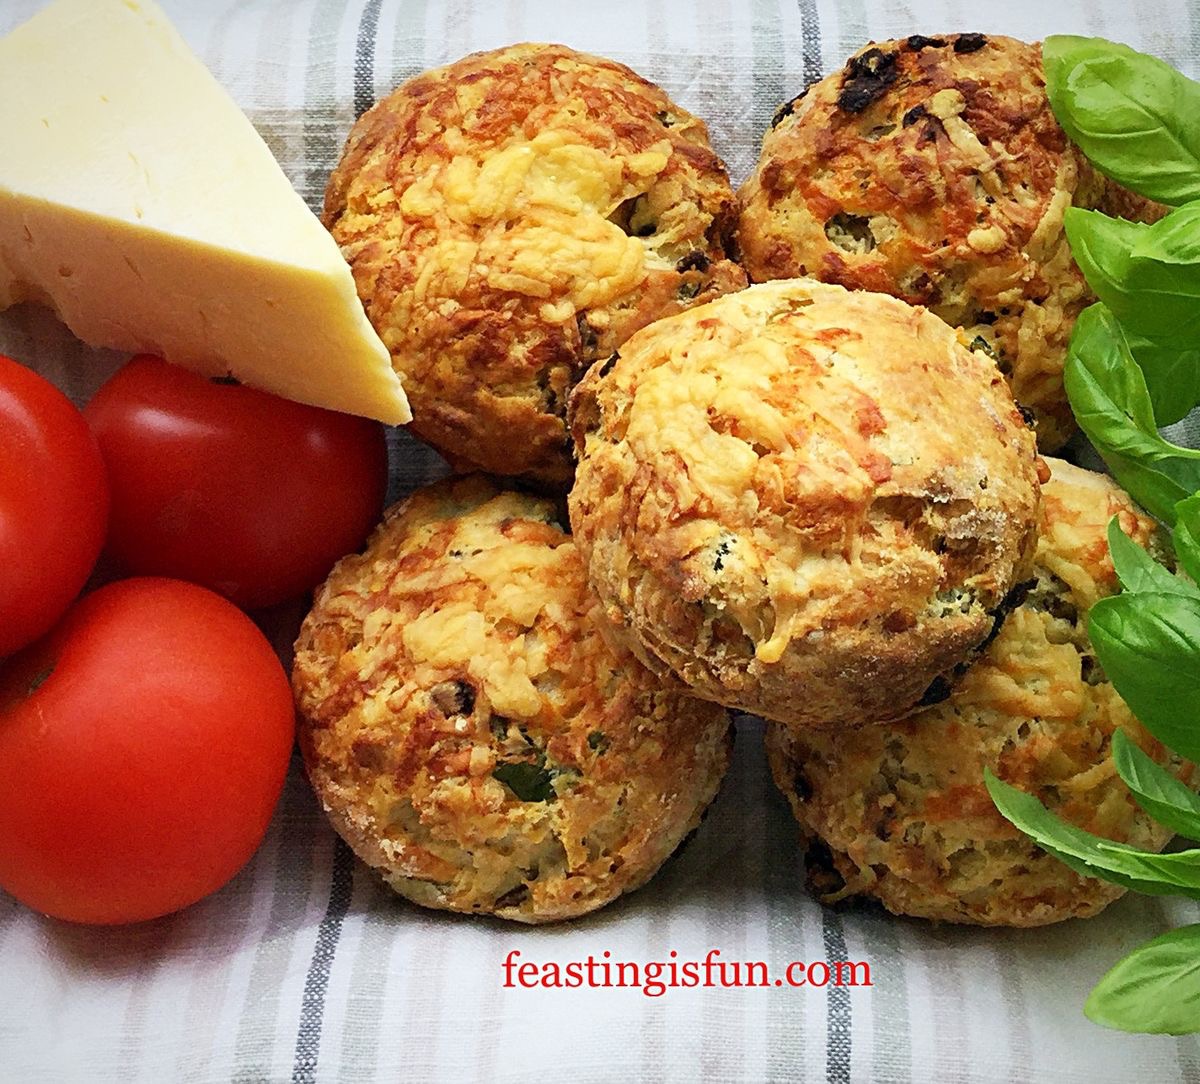
Cheddar Sun Dried Tomato Scones
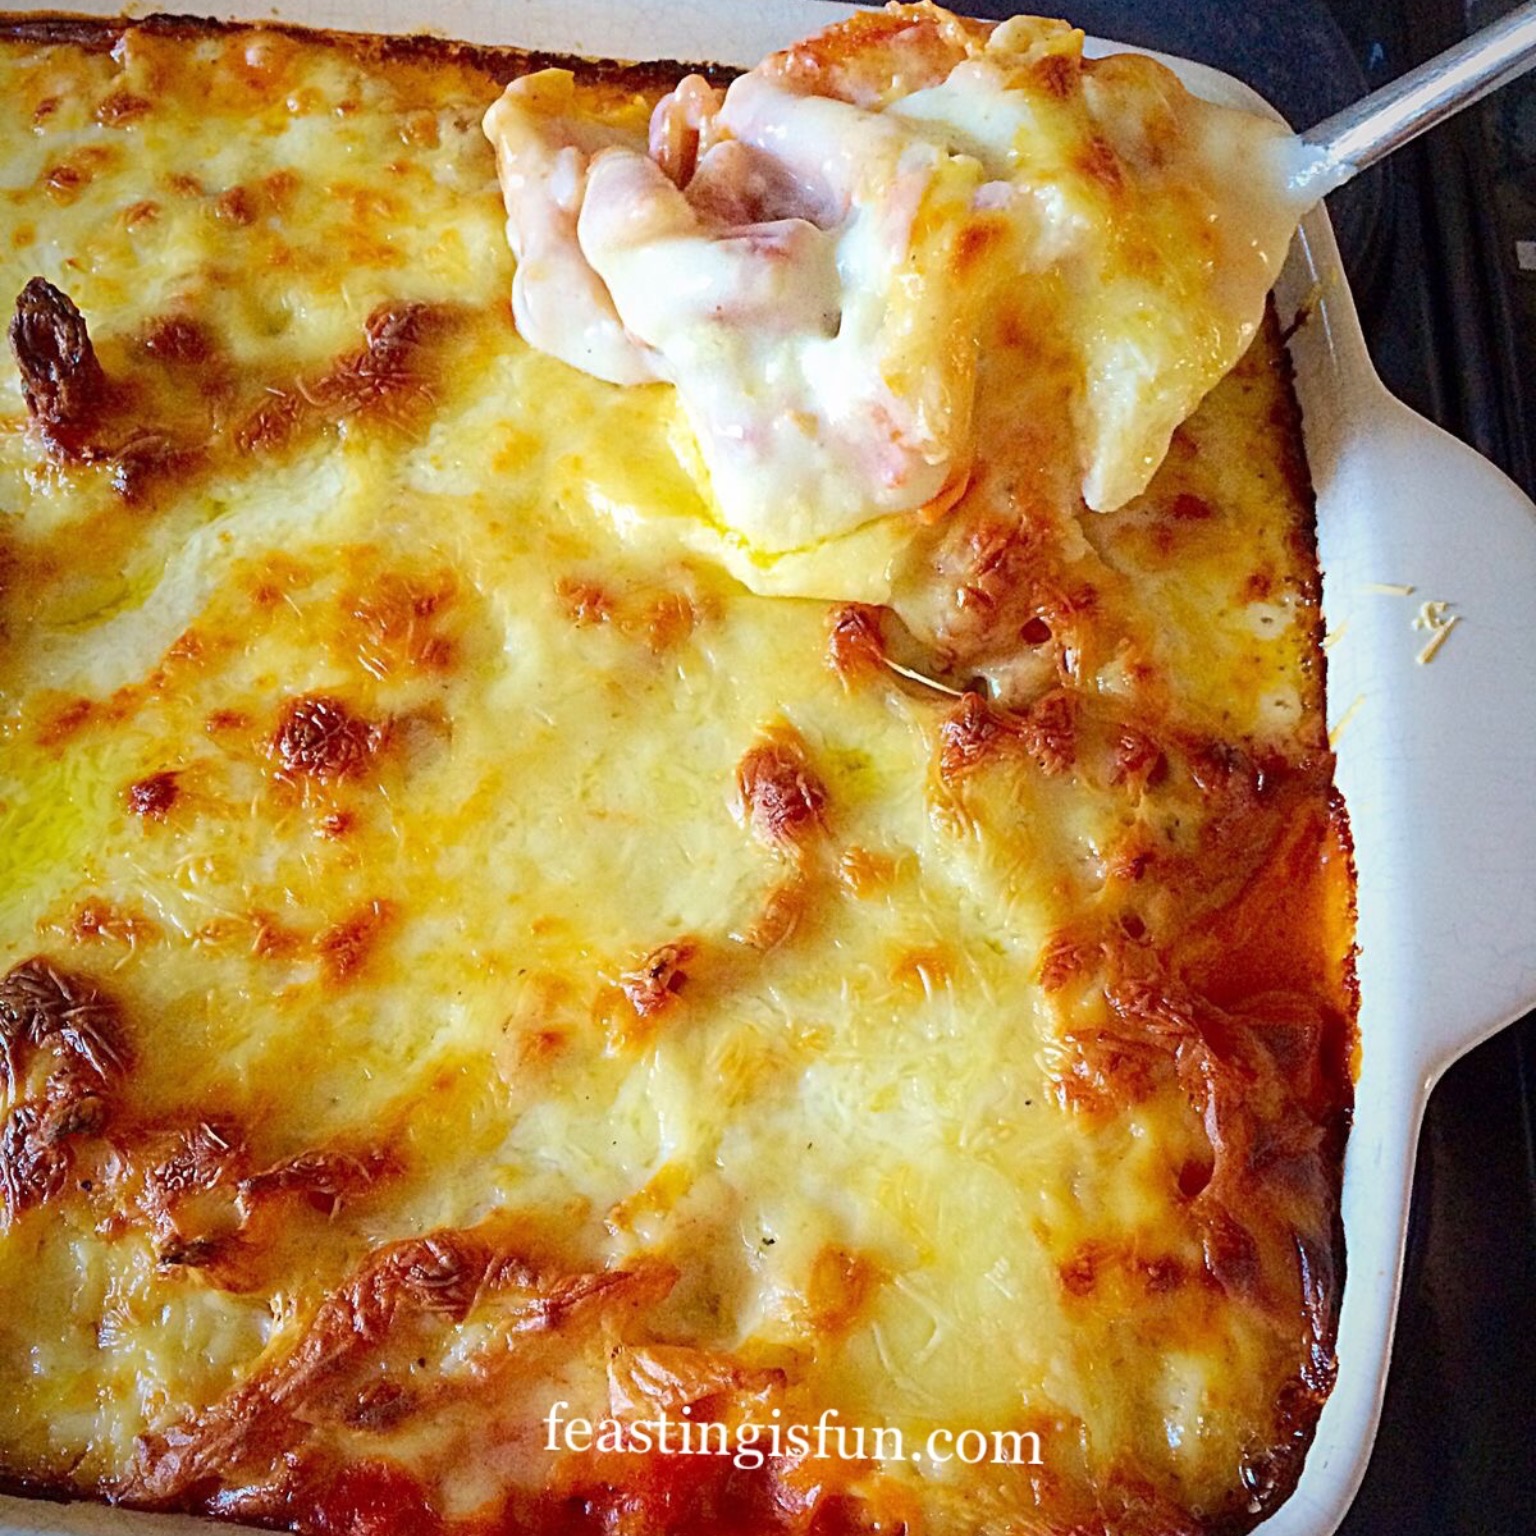
While I happily use tinned tomatoes in my pasta dishes, such as this Cheesy Vegetable Pasta Bake, I plan to actively create more recipes with fresh tomatoes this Summer. Since we tend to eat lighter meals during the warmer months I am looking forward to the challenge. Especially as I am aware that this blog most definitely needs more savoury recipes!
So, whateverr you are making, baking and creating in your kitchens, have fun preparing and sharing your feast.
Sammie xx
Kentish Oils sent me a small bottle of cold pressed Rapeseed oil to try. All opinions and content are my own, for which I have not received any payment.
No part of this post may be reproduced or duplicated without the written permission of the owner. Please see my Disclosure Policy.
Share