Baileys Coffee And Walnut Cake

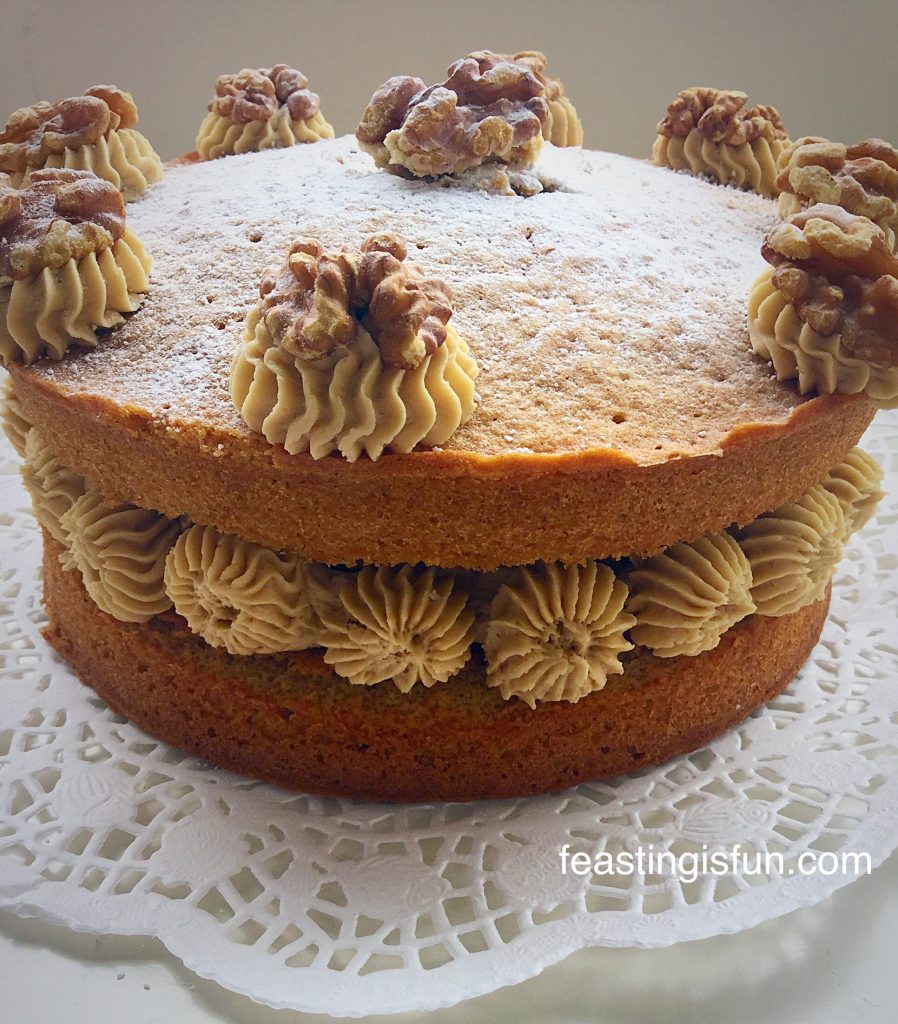
Baileys Coffee And Walnut Cake is the ultimate combination of flavours and textures combined in an exquisite and easy to make sponge cake. There is nothing low key about this cake, except how easy it is to make. Bailey’s Irish Cream is in both the sponge and mascarpone frosting and it is delicious. So delicious in fact, this is the cake you need to make if you, or someone you love are true coffee lovers.

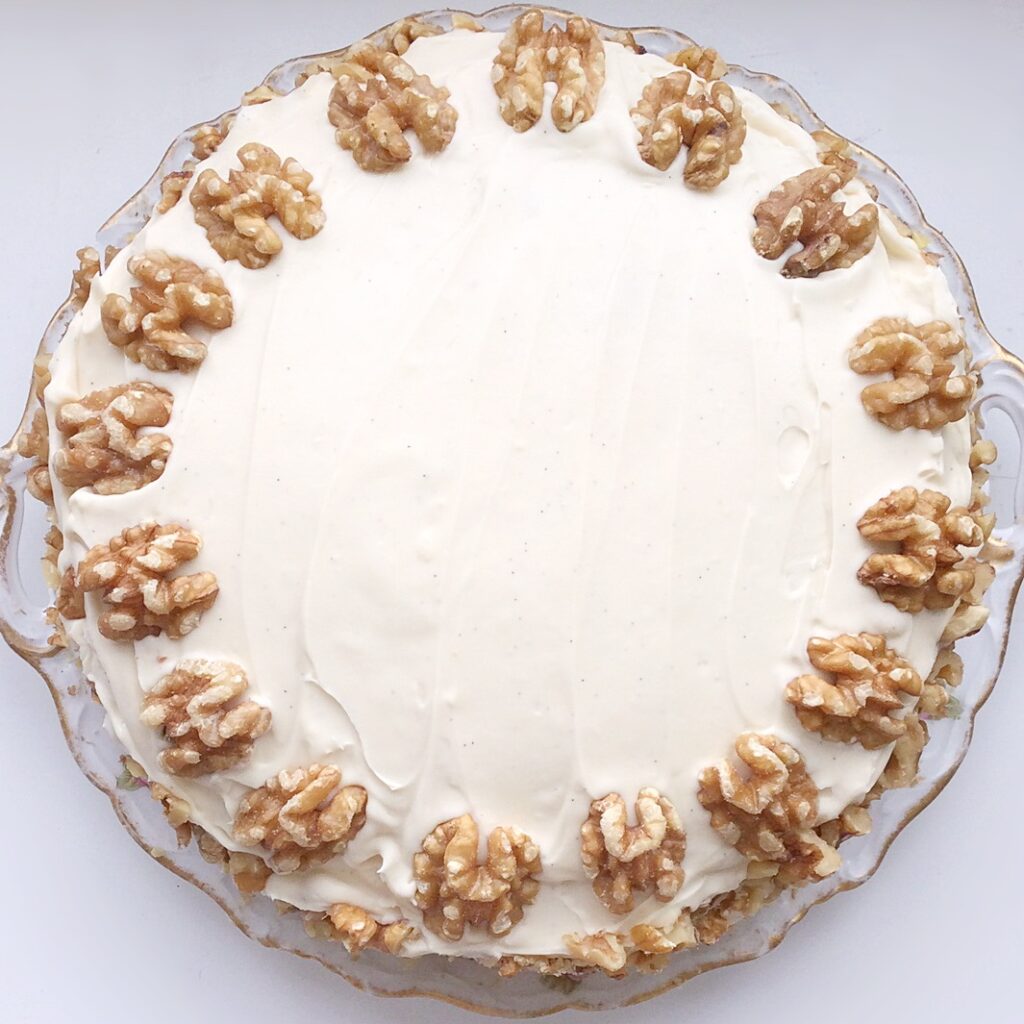
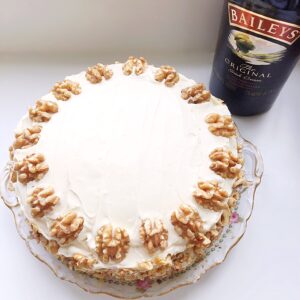
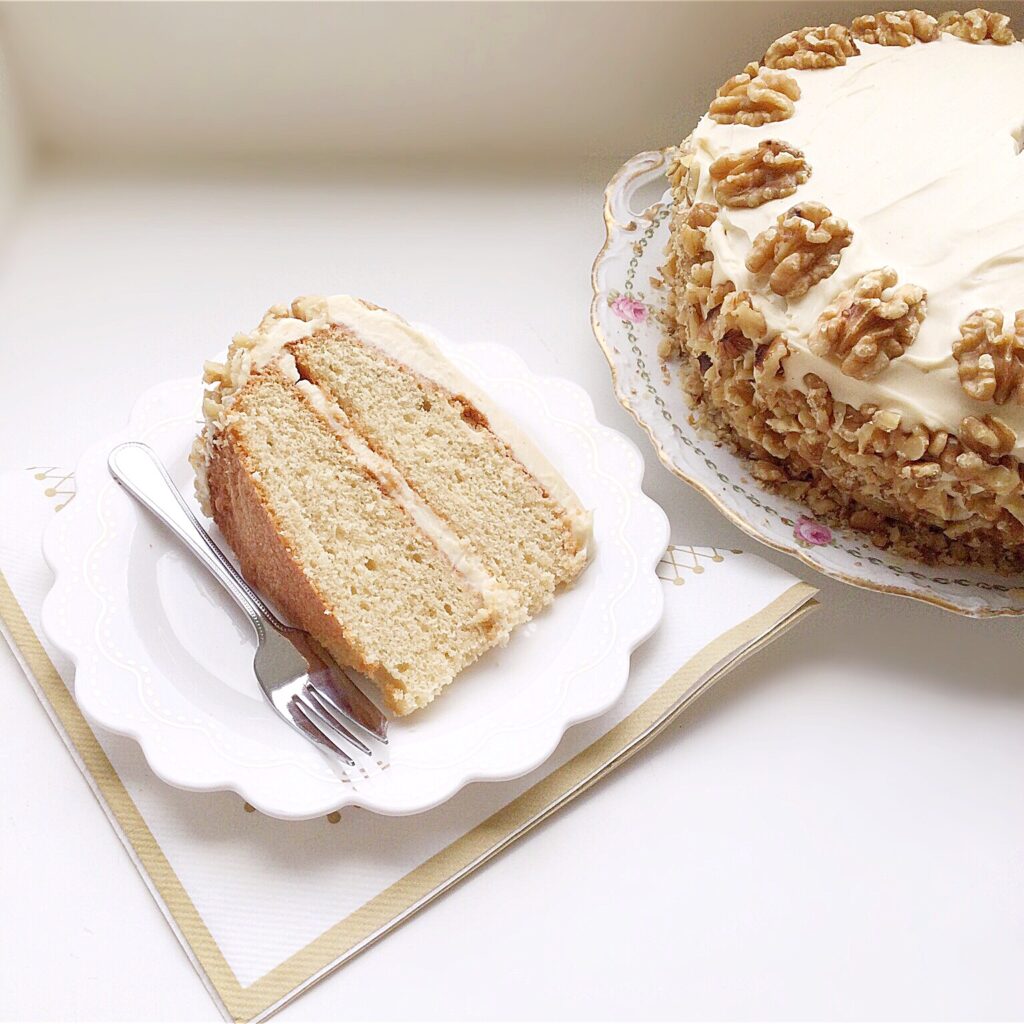
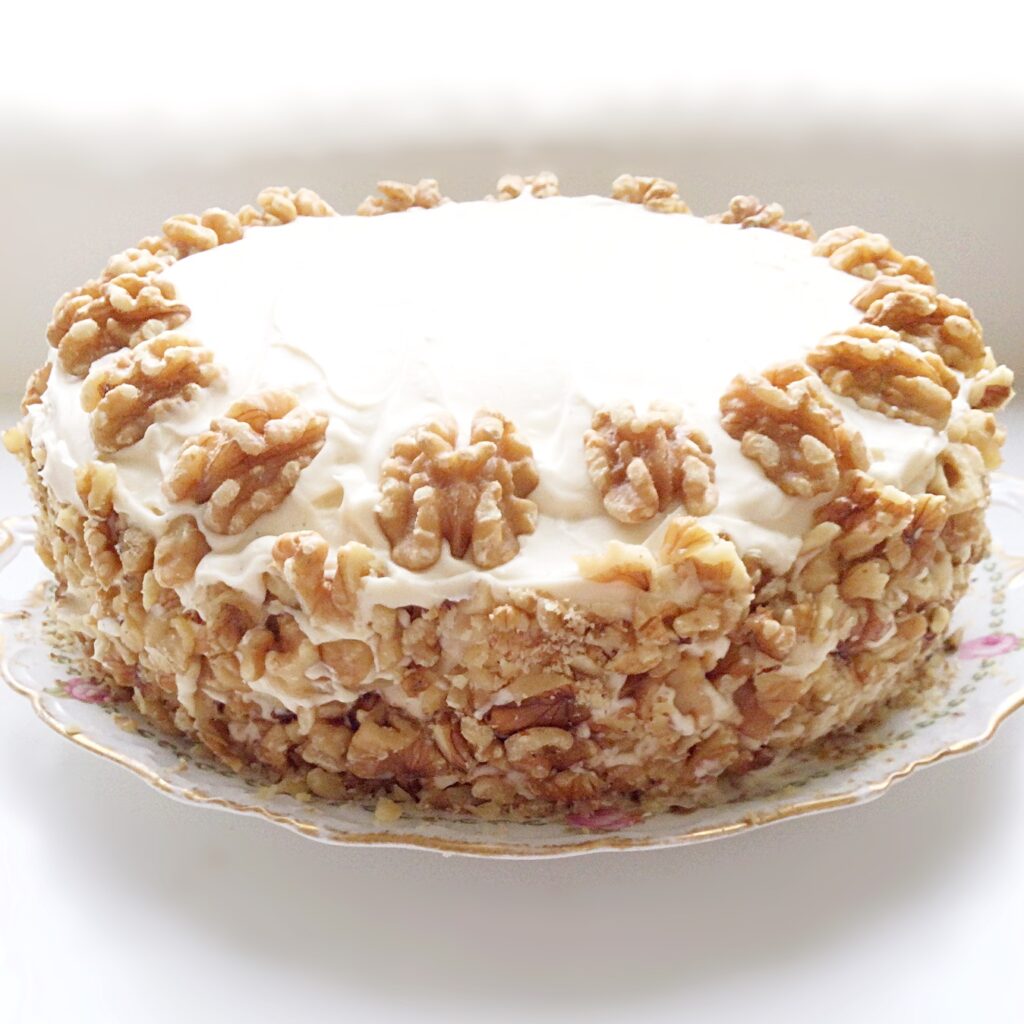
Baileys coffee cake covered in mascarpone frosting and decorated with walnuts.

For the past few years I have baked a  Coffee and Walnut Cake for my Father in law’s birthday. Since that is his favourite cake. While I have created some cakes such as Coffee Pecan Glazed Bundt Cake and Maple Syrup Iced Coffee Bundt Cake, a traditional Coffee and Walnut Cake has always been his favourite.

Sadly, this year my wonderful and much loved Father in law passed away. So, in remembrance of him, on what would have been his birthday, I wanted to bake one more cake that I hope he would have enjoyed. This delicious Baileys Coffee And Walnut Cake.

A Twist On A Classic Coffee Cake

Rather than baking my classic coffee and walnut cake, I decided to switch things up. I enjoy the challenge of creating new recipes and as we love Baileys Irish Cream Liqueur as a family, using it in a coffee cake recipe ticked all the right boxes! And my intuition proved right. Since the unmistakable flavour of Baileys comes through in both the sponge and frosting of this cake.

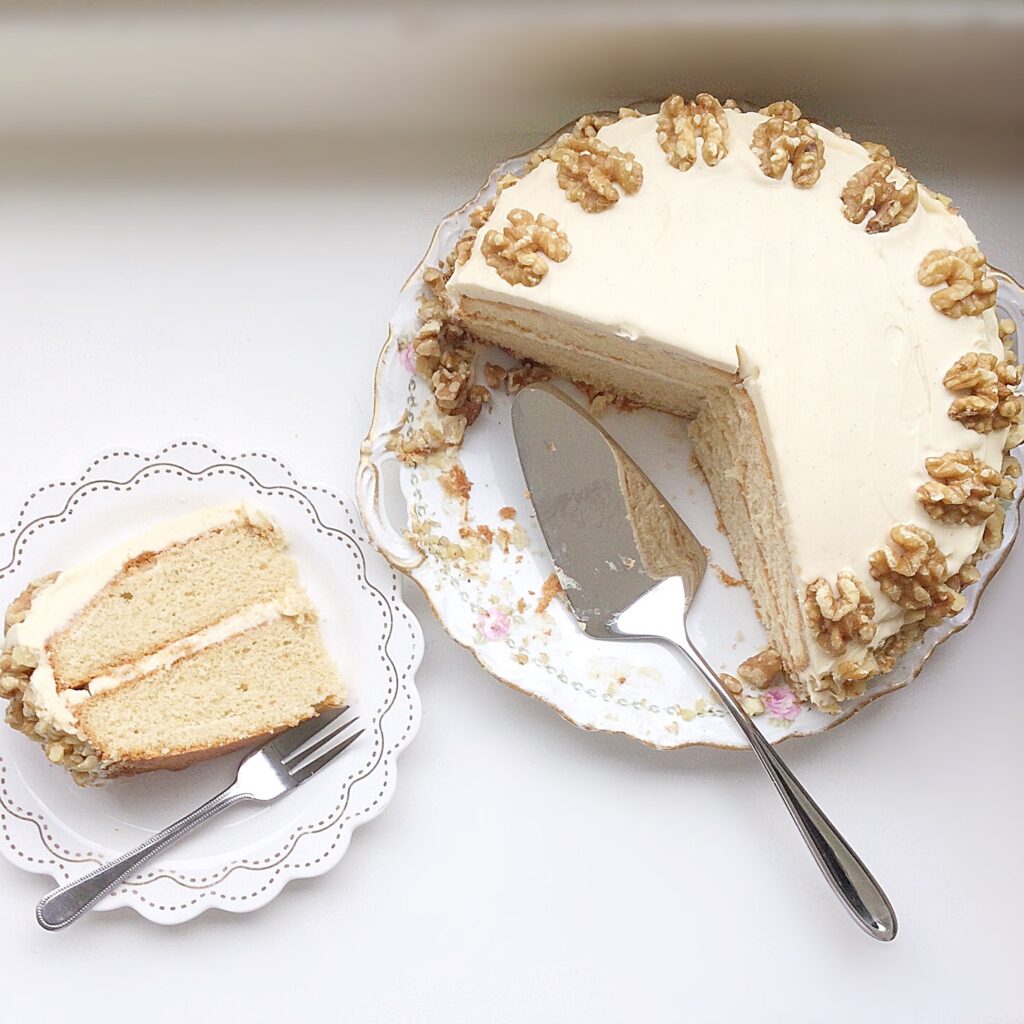
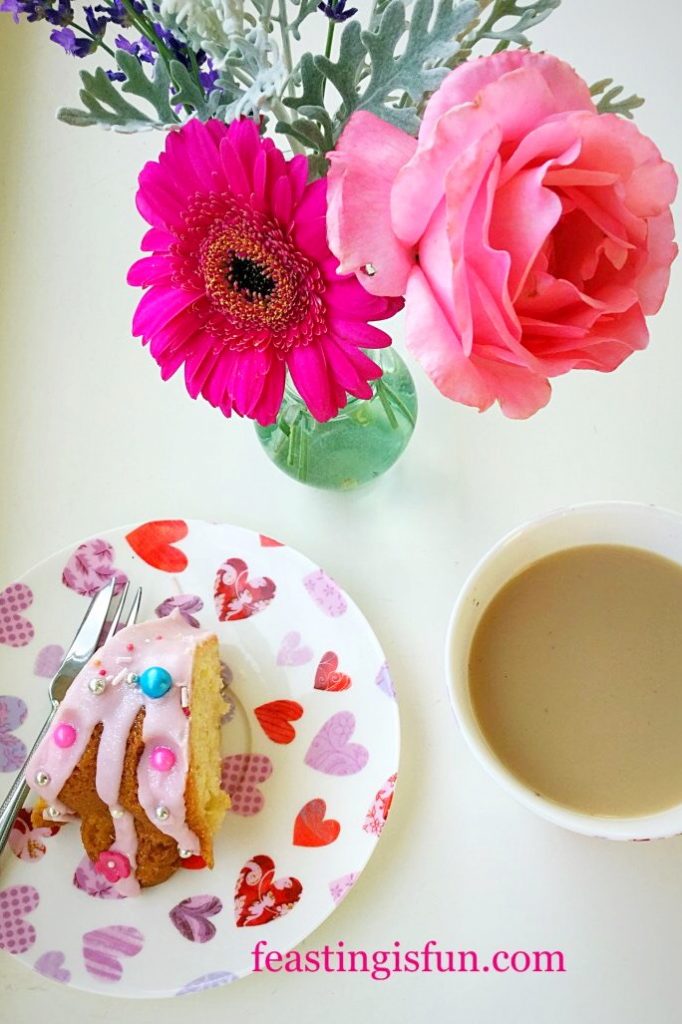
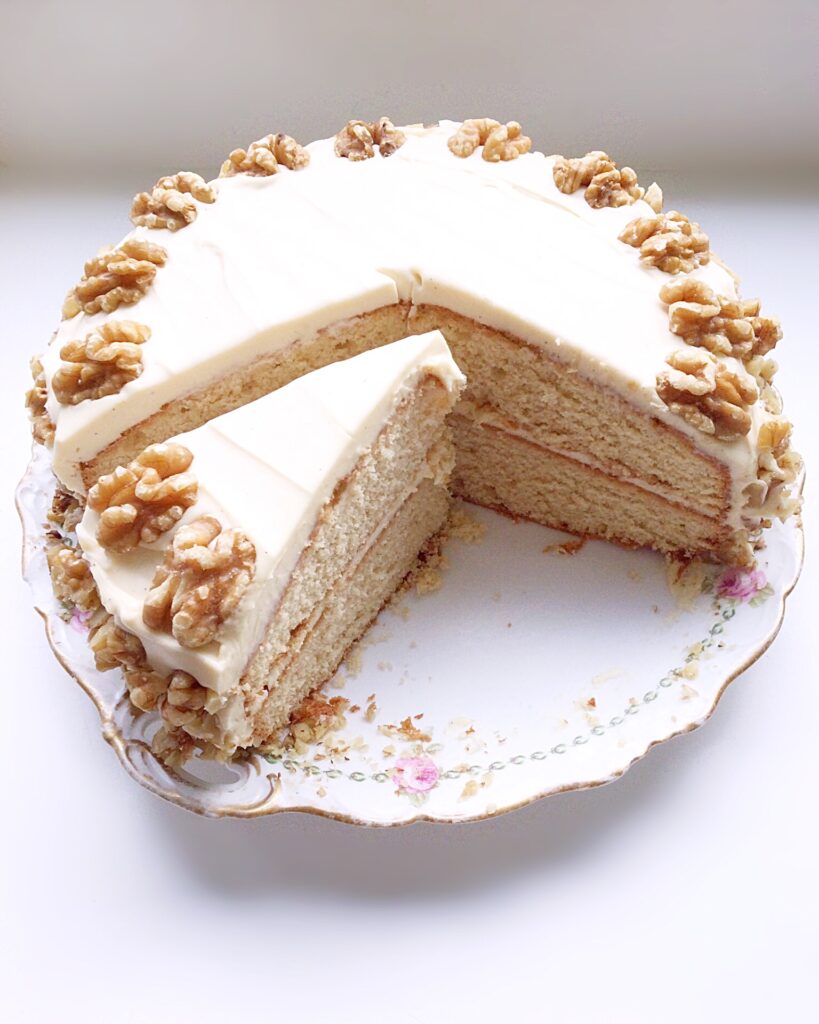
A slice of Baileys coffee cake on a pretty plate.

A deliciously flavoured coffee and Baileys light sponge cake, covered in whipped, Baileys mascarpone frosting and decorated with walnuts. While this cake is beautiful it is also easy to make. Especially as I have included step by step photos for every stage of the recipe. So, let’s get baking!

Recipe: Baileys Coffee And Walnut Cake – serves 8-10 (generously!)

For The Cake:

2 x 20cm (8inch) sandwich cake tins

225g/8oz Unsalted Butter – at room temperature

1/4tsp Salt – I use Maldon 

225g/8oz Caster Sugar

4 Large Free Range Eggs

75ml/5tbsp Bailey’s Irish Cream Liqueur

1/2tsp Instant Coffee – dissolved in 2tsp hot water

225g/8oz Plain Flour

1.5tsp Baking Powder

For The Frosting And Decoration:

500g/1lb 2oz Mascarpone Cheese

50g/2oz Icing Sugar

1tsp Vanilla Bean Paste – alternatively use vanilla extract

60ml/4tbsp Bailey’s Irish Cream Liqueur

16 Walnut Halves

150g/5oz Chopped Walnuts

To Make The Baileys Coffee Cake Sponges:

Preheat the oven to 180C/160C fan, 350F, gas mark 4
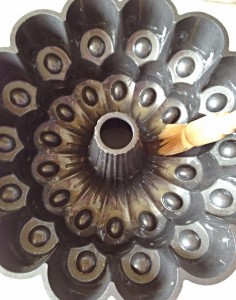
  • First of all grease both cake tins and line the base with baking parchment.
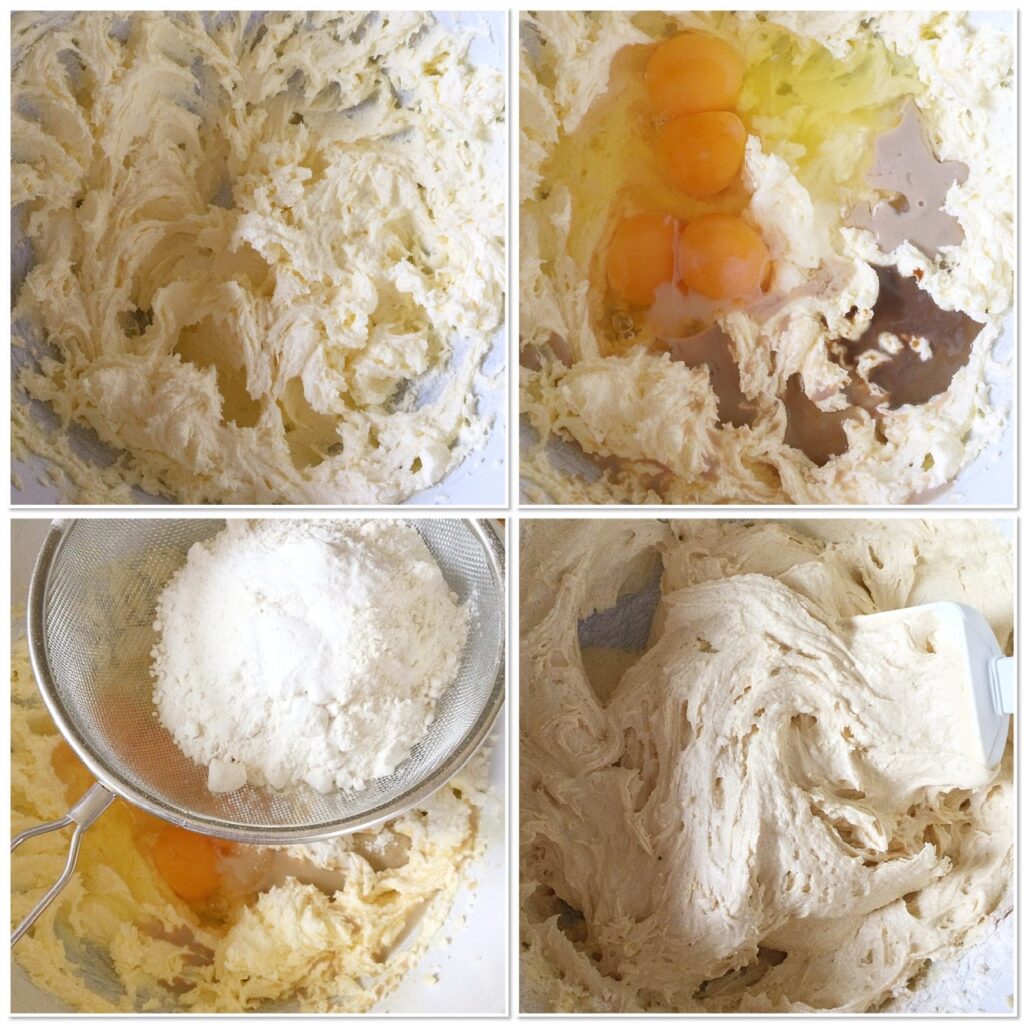
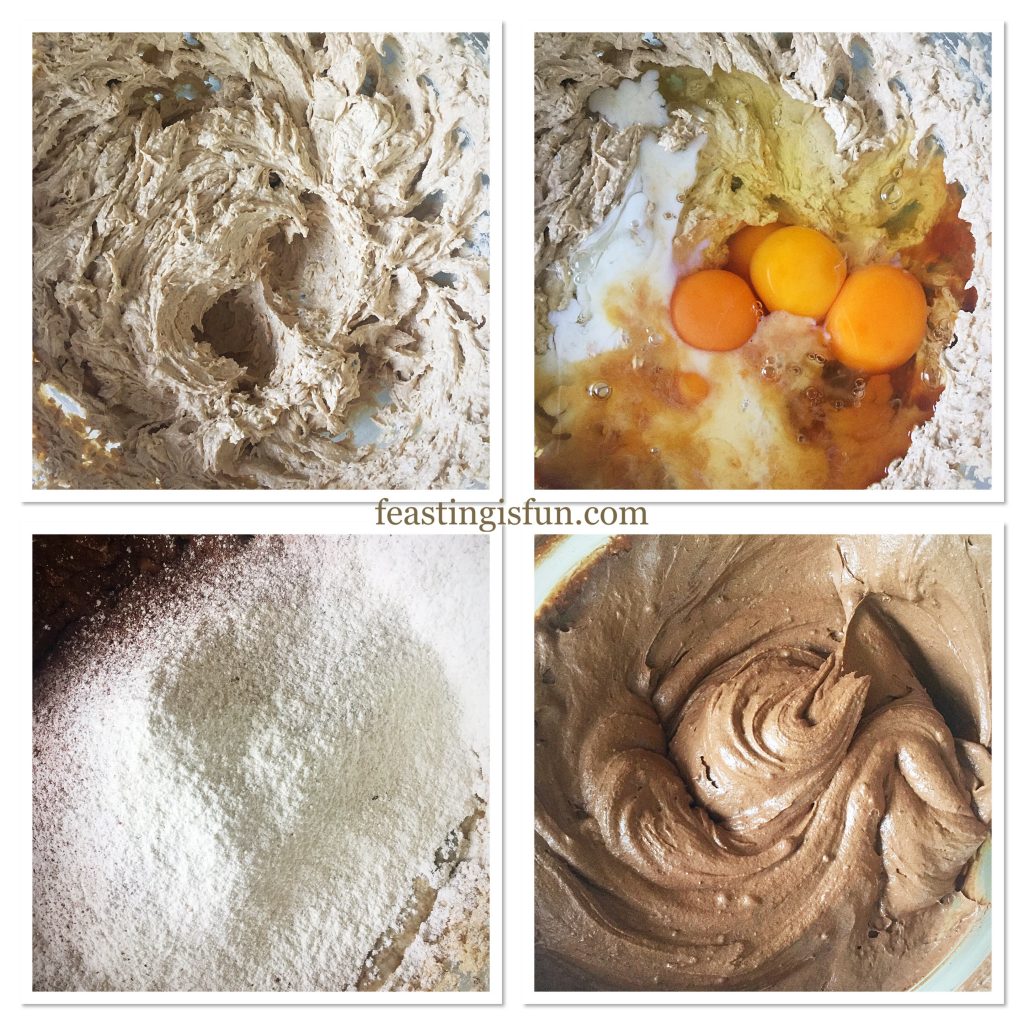
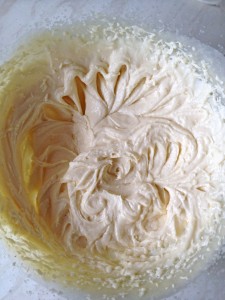
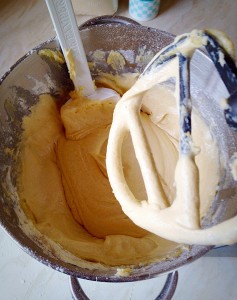
  • Add the butter, sugar and salt to a large bowl. Whisk together until light and creamy.
  • Next, add the eggs, coffee and Bailey’s to the bowl.
  • Sift the flour and baking powder into the bowl.
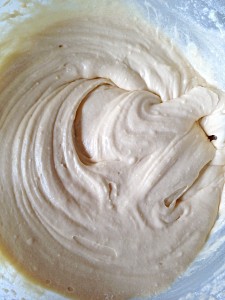
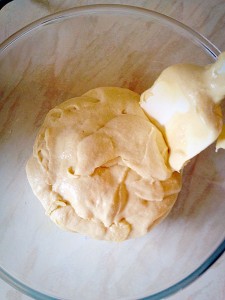
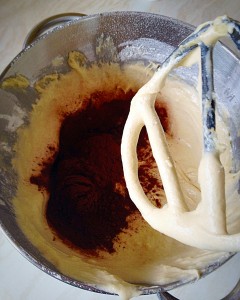
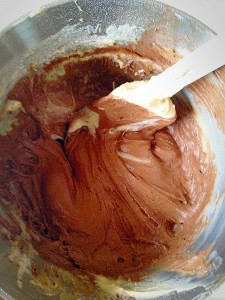
  • Slowly whisk all of the ingredients together until the batter mix is smooth. Take care not to over mix as this can cause the cake to become dense and heavy.

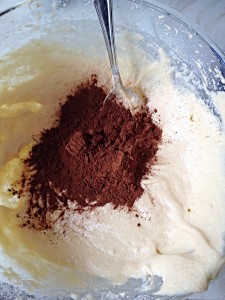
The stages of mixing up a cake batter.

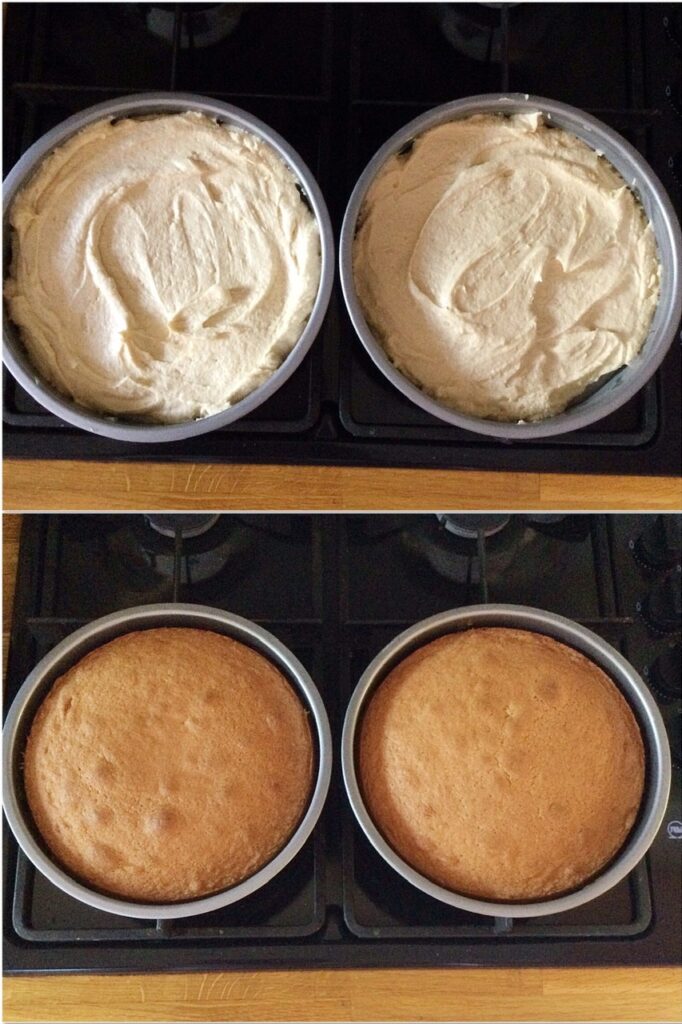
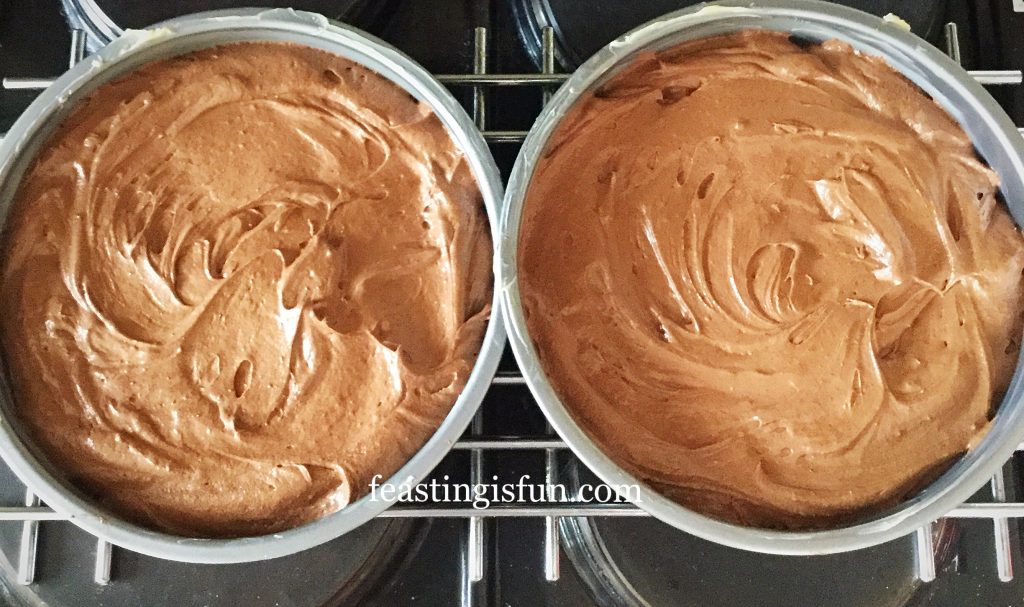
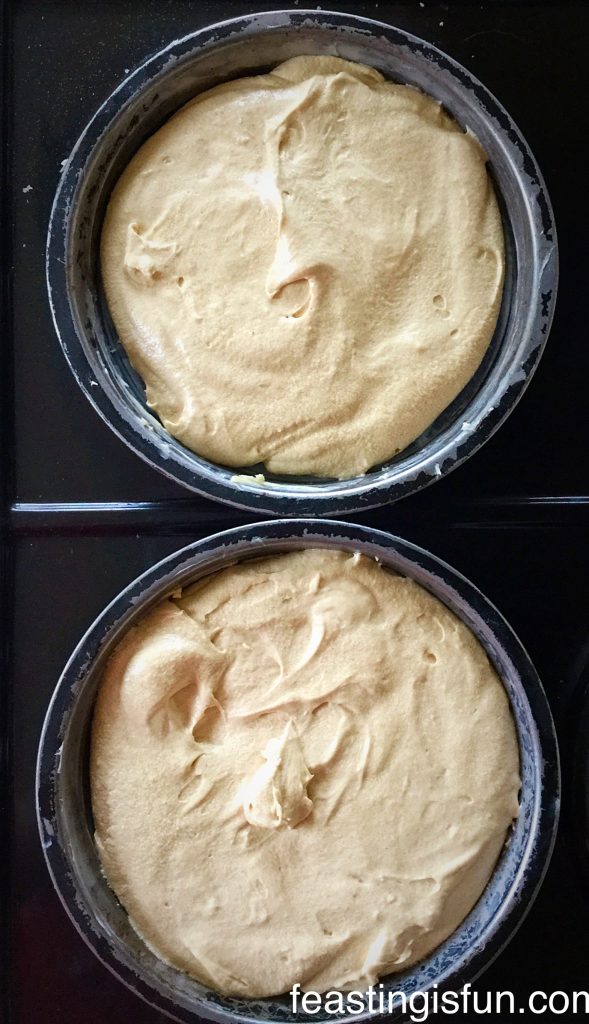
  • Spoon the cake batter into the prepared tins, dividing evenly between the two.
  • Smooth the surface of the cake batter using the back of a spoon.
  • Place the tins in the centre of a preheated oven.
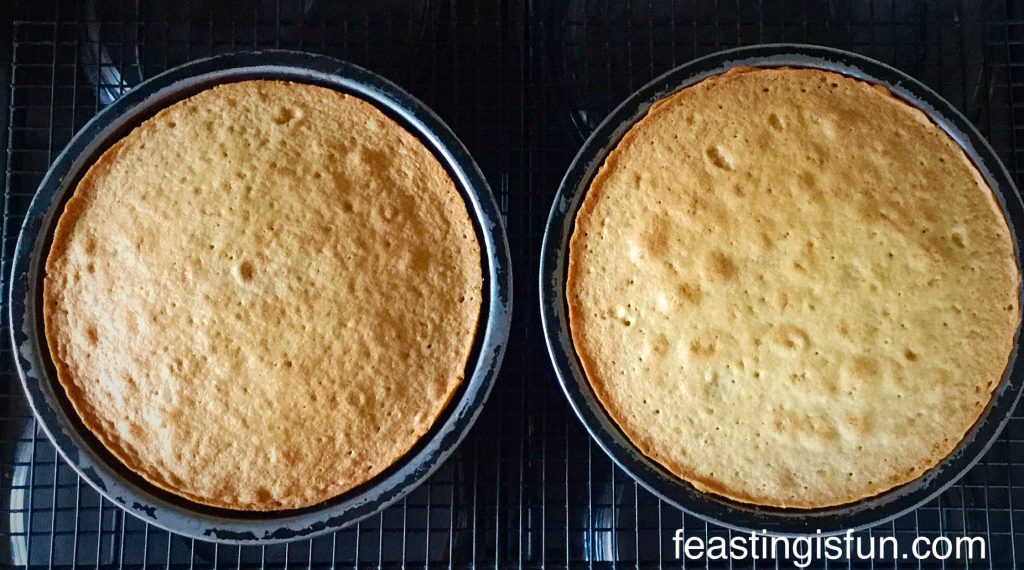
  • Leave to bake for 35-40 minutes, the cakes are baked when they are golden and when lightly pressed in the centre spring back.
  • As soon as the cakes are baked remove from the oven.
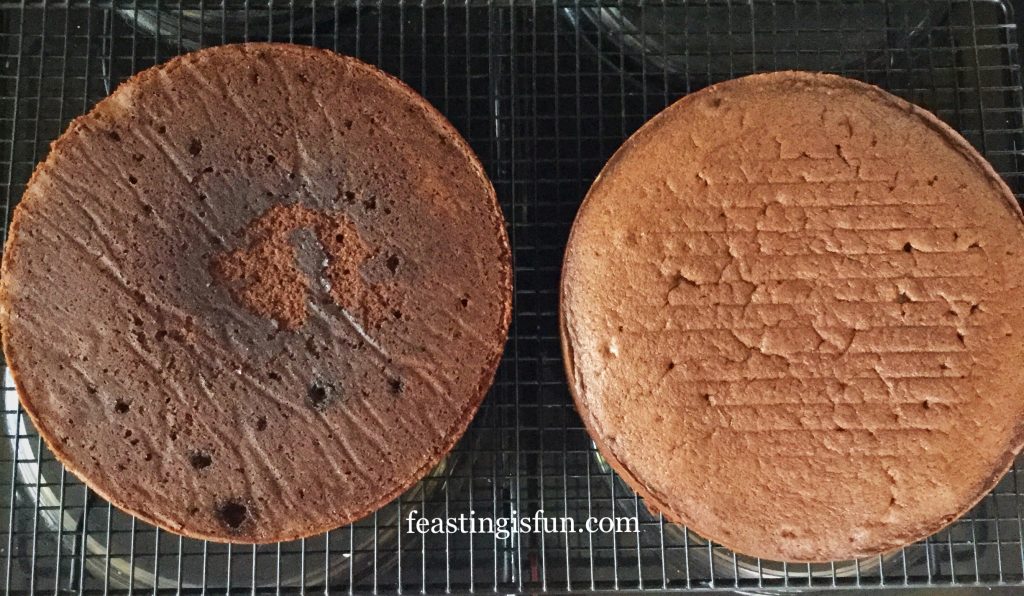
  • Allow the cakes to cool for 10 minutes before turning them out and placing on a cooling rack.

Before and after baking a coffee sponge.

Making The Baileys Mascarpone Frosting:

  • Into a large bowl add the mascarpone cheese, sifted icing sugar, vanilla paste and Bailey’s.
  • Whisk together until the mixture is smooth and free from lumps.

Frosting The Cake:

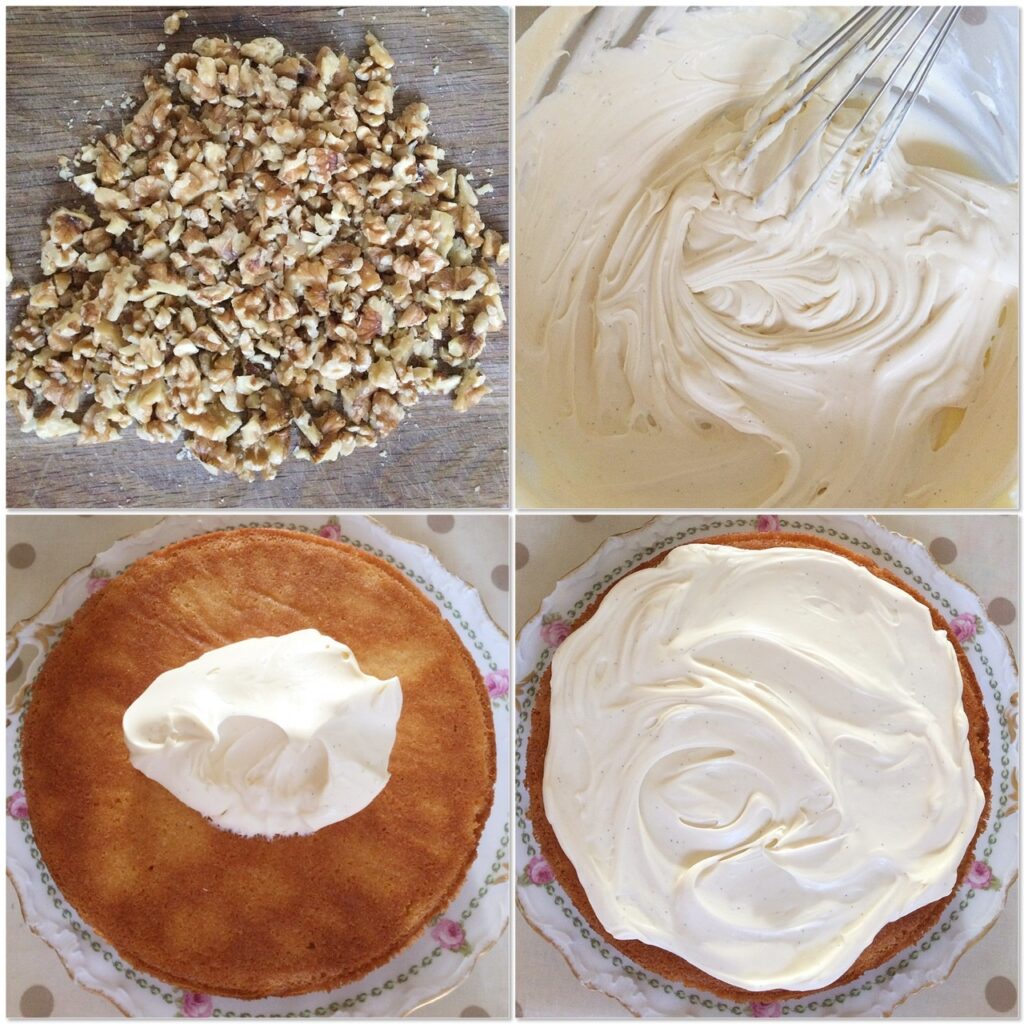
  • Place the base sponge flat side up onto a plate or cake board.
  • Spoon some of the mascarpone frosting onto the cake. Don’t overdo it, you can always add more!
  • Use a pallet knife to smooth the frosting evenly over the sponge, taking it almost to the edge. Otherwise, too much frosting will ooze out when the top sponge is added.

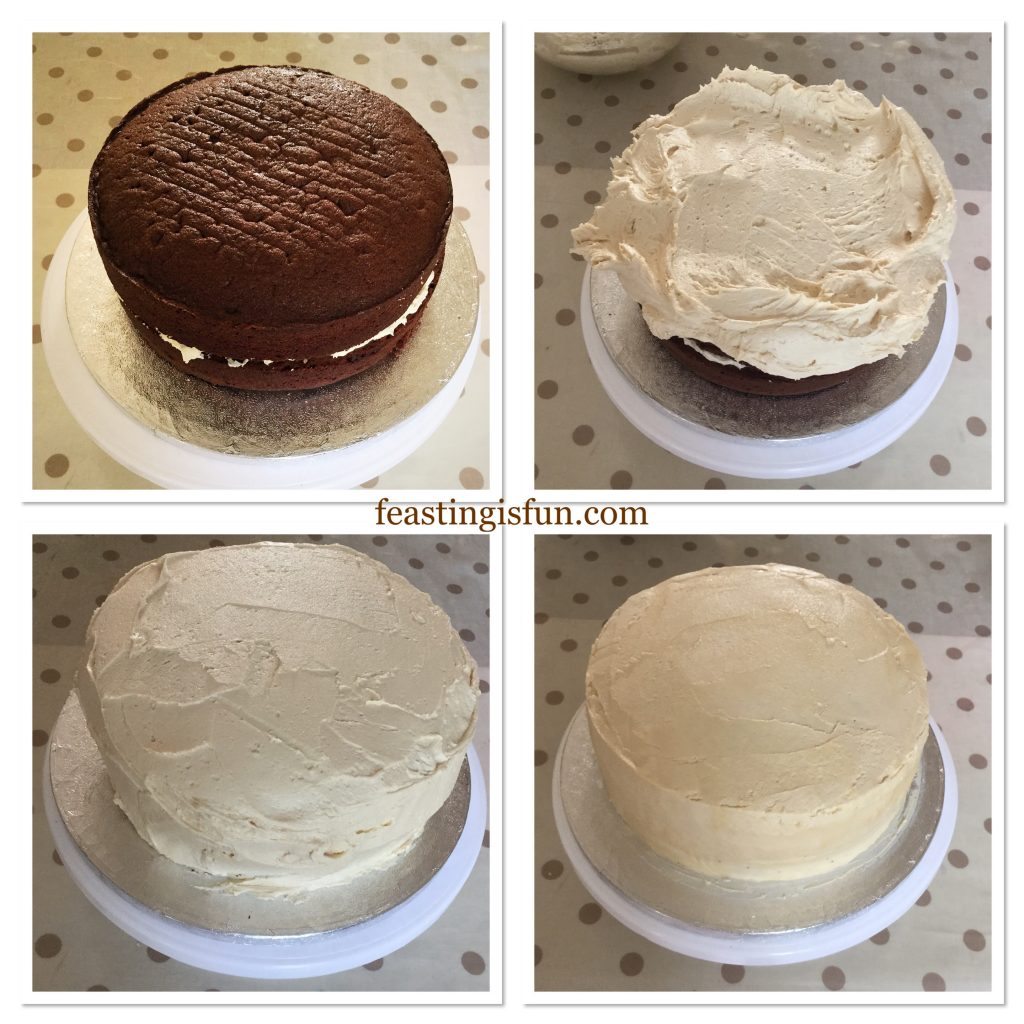
Showing how to fill and cover a cake in mascarpone frosting.

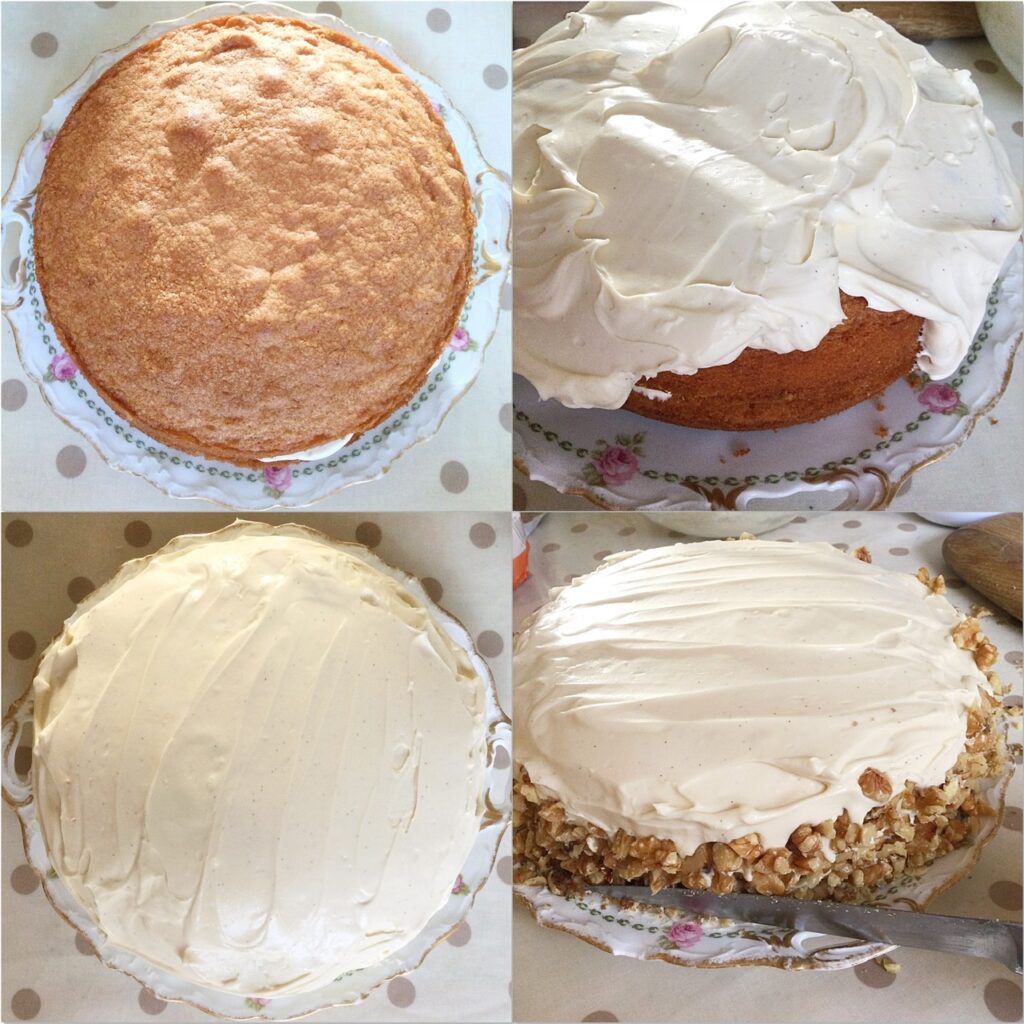
  • Place the top sponge, flat side down, evenly on to the base.
  • Spoon a generous amount of mascarpone frosting on to the top of the cake.
  • Use a pallet knife to roughly cover the cake top with frosting while also pushing the frosting over the side of the cake. See the images below for guidance.
  • Work around the cake gently easing the frosting to cover the side of the cake.
  • Once the side of the cake is roughly covered scrape the pallet knife on the top of the frosting bowl and wipe clean. I use a clean tea towel.
  • Smooth the top of the cake so that it’s smooth and even.
  • Clean the pallet knife as before and place it flat, against the side of the cake.
  • Rotate the cake plate, keeping the knife in place, so the frosting forms an even layer that completely covers the side of the cake.
  • Repeat the last step (as many times as needed), adding frosting where needed, until the side of the cake is evenly covered all the way round.

Creating a smooth finish ready to decorate with walnuts.

Decorating The Cake With Walnuts:

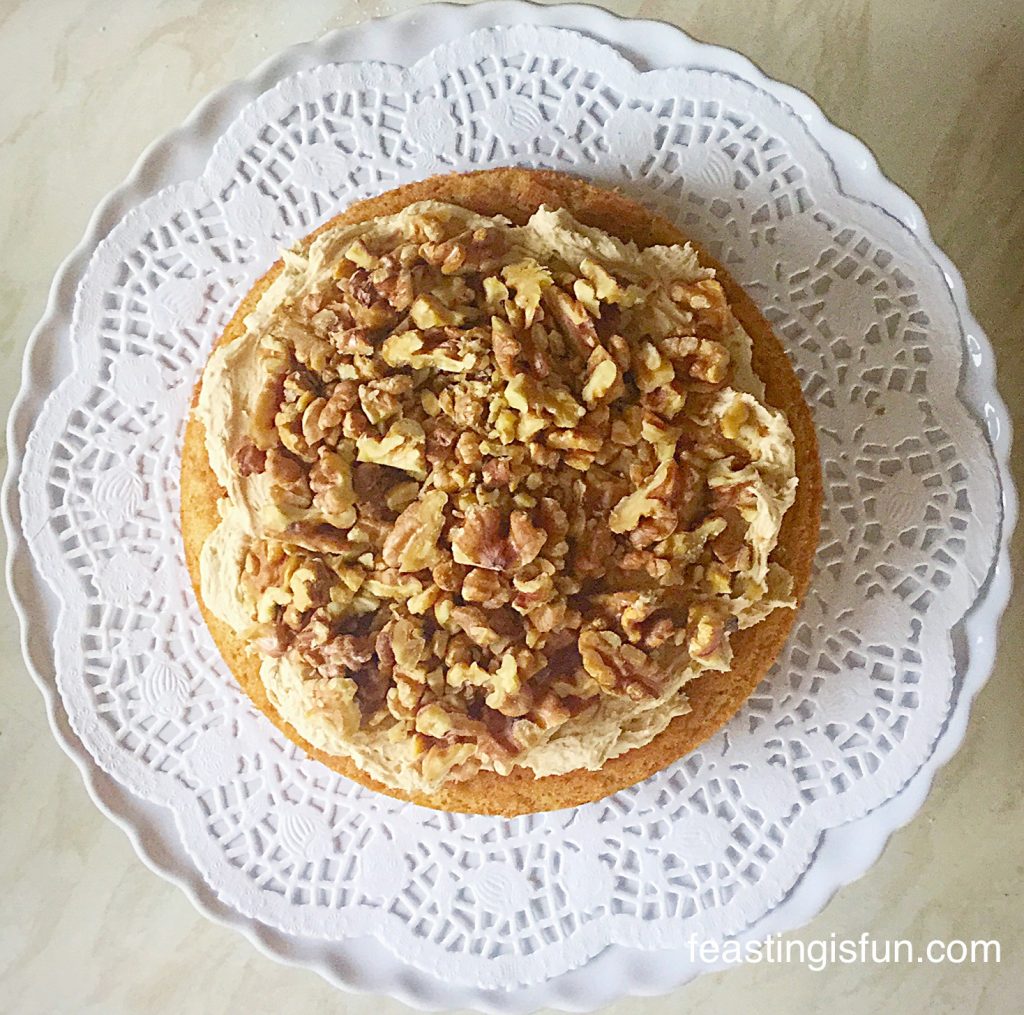
  • First of all place the weighed walnuts, (setting the 16 walnut halves to one side) on to a board a chop roughly so that they are about the same size. See the picture below for guidance. Set to one side.
  • Take a small handful of chopped walnuts and press them to the side of the cake. Don’t worry about nuts that fall on to the plate or small gaps, since we will use them in a bit.
  • Continue placing nuts on to the side of the cake until it is covered.
  • Place a large sharp knife under the fallen nuts. Turn the knife vertically to press the nuts into the frosting. See the image above.
  • Continue this last step, working around the cake until all of the nuts are pressed on to the cake.
  • Finally, if there are any chopped nuts left use them to plug any large gaps.
  • Place the 16 walnut halves evenly on the cake top.
  • Refrigerate the cake for at least one hour before serving. As this allows the frosting to set.

The finished baileys coffee and walnut cake.

Is this a cake or gateaux? One thing’s for sure, it is utterly delicious.

Reading back through recipe posts on this blog is almost like reading a diary. Whether I mention family events, special occasions, or the weather, it always brings back memories. And because I am quite a sentimental person, each recipe is special to me. Likewise when someone makes a recipe of mine it always brings me joy. So thank you to everyone who reads, cooks and bakes using this blog.

Whatever you are making, baking and creating in your kitchens, have fun preparing your feast.

Sammie x

No part of this post may be reproduced or duplicated without the written permission of the owner. Please see my Disclosure Policy.
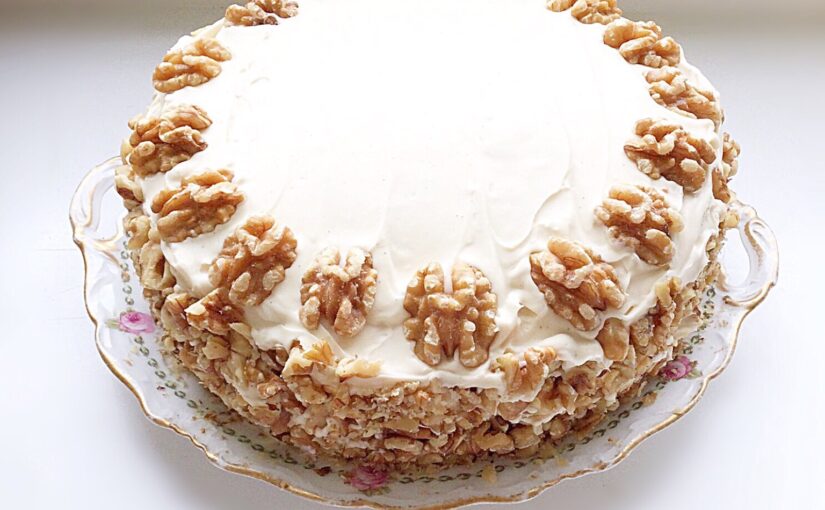
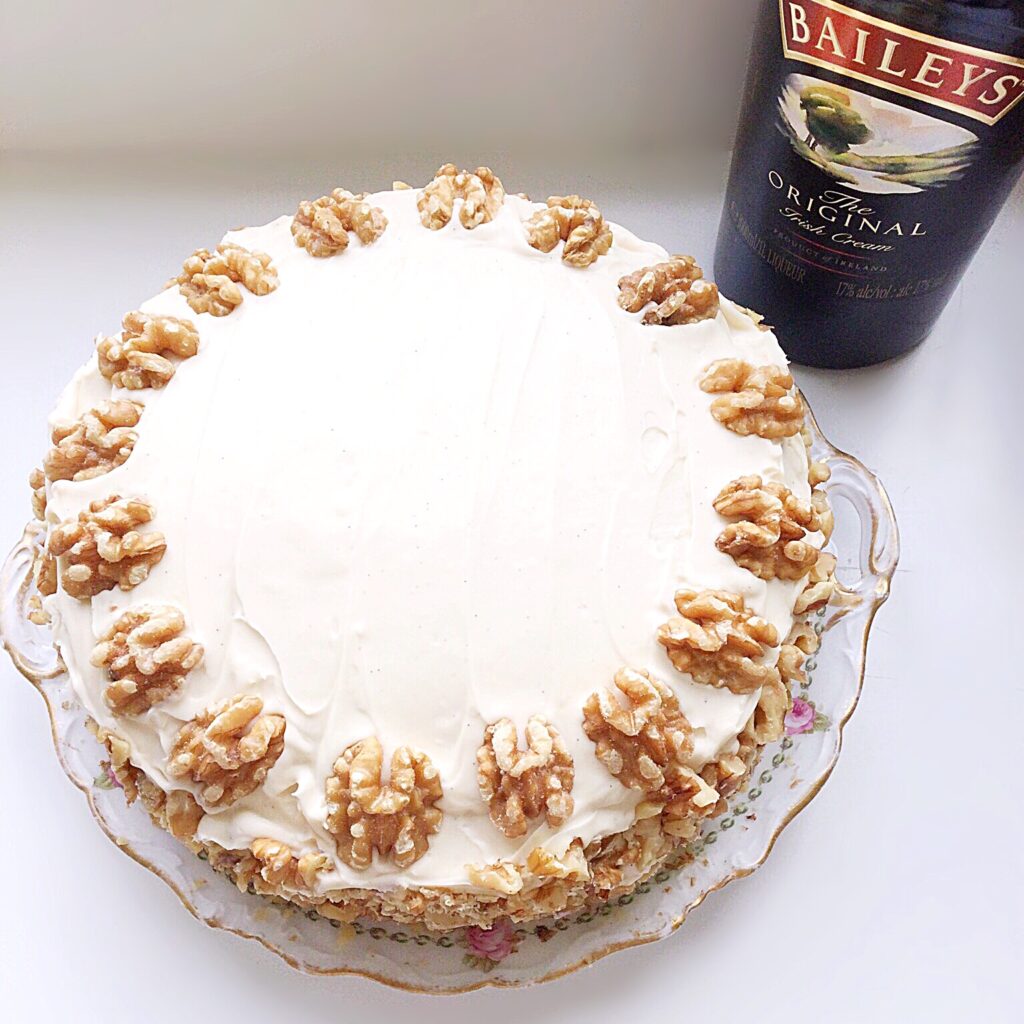


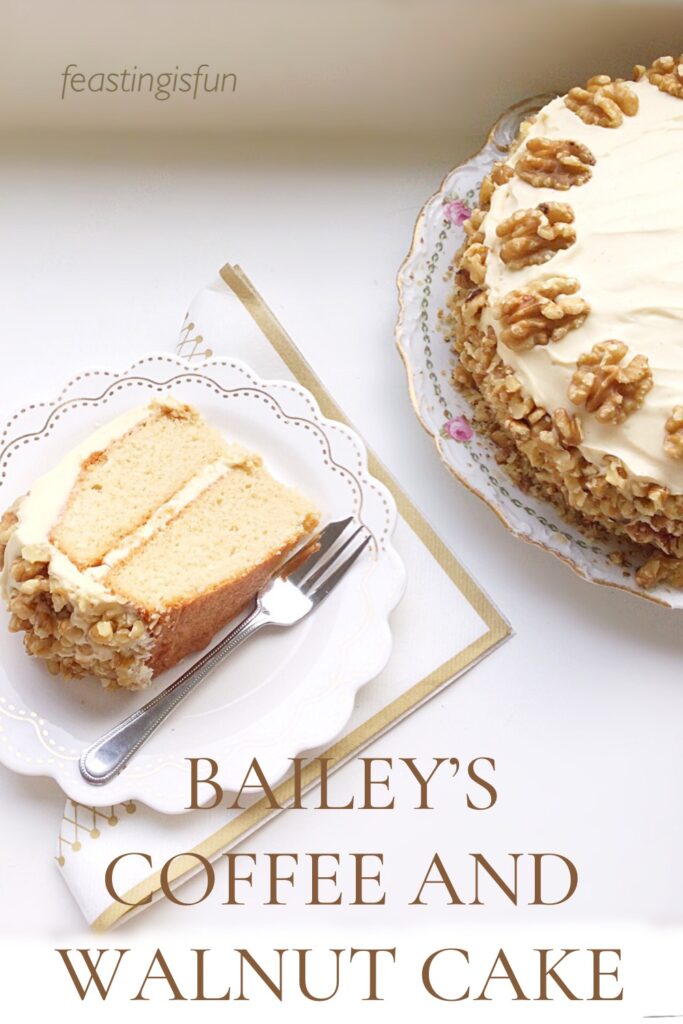
Image for Pinterest with descriptive graphics.


Chocolate Marble Celebration Cake

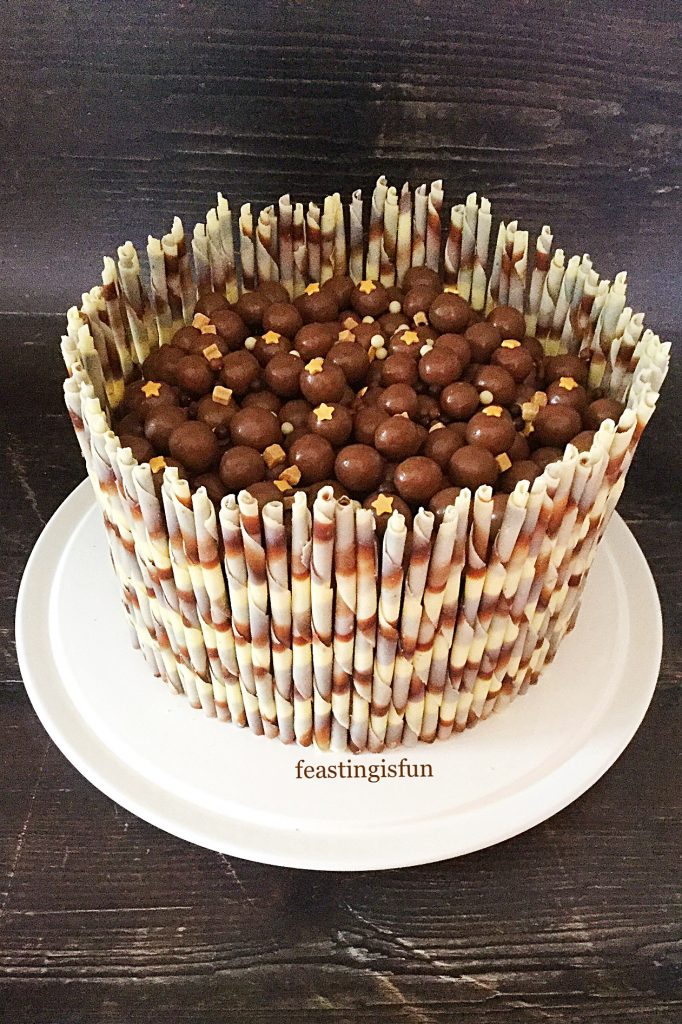
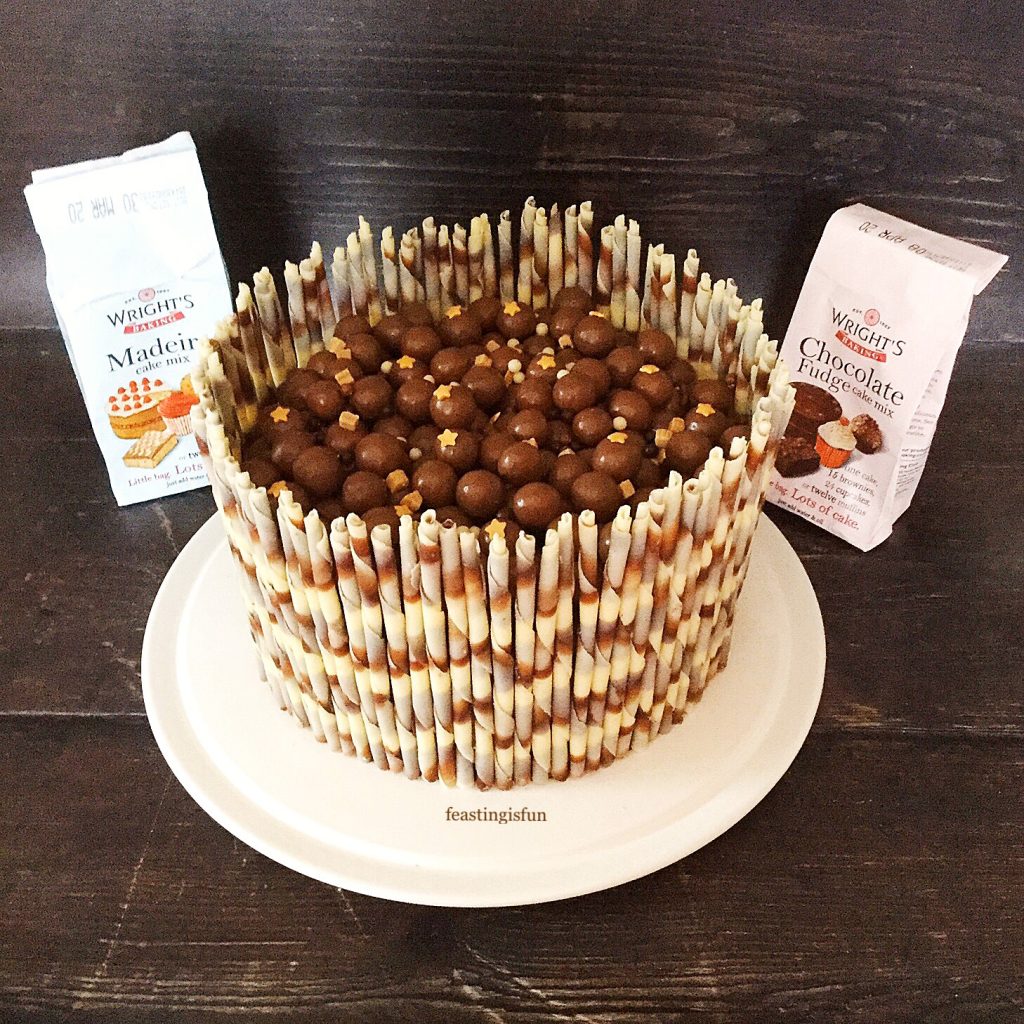
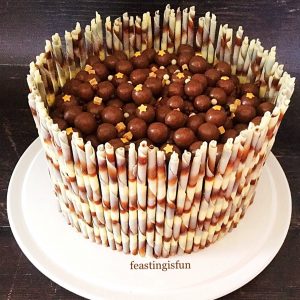
Today I have a confession to make. Although our daughter’s birthday was way back in the Summer, I made her cake last week! Truthfully, I have made and baked her cake twice before (this year), however, I wasn’t able to frost or finish the cake due to health complications. Finally, with a little help from Wright’s Baking, I made and decorated this delicious Chocolate Marble Celebration Cake for her to enjoy and share with our family. See recipe for alternative to using cake mixes.

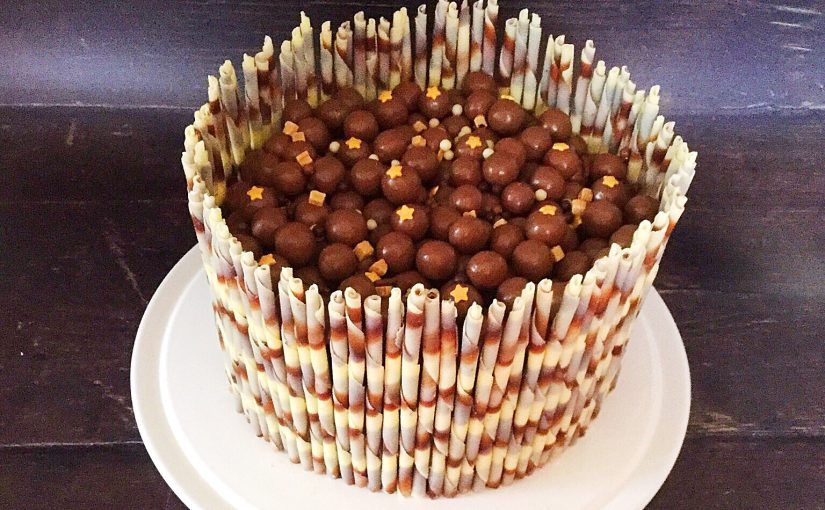
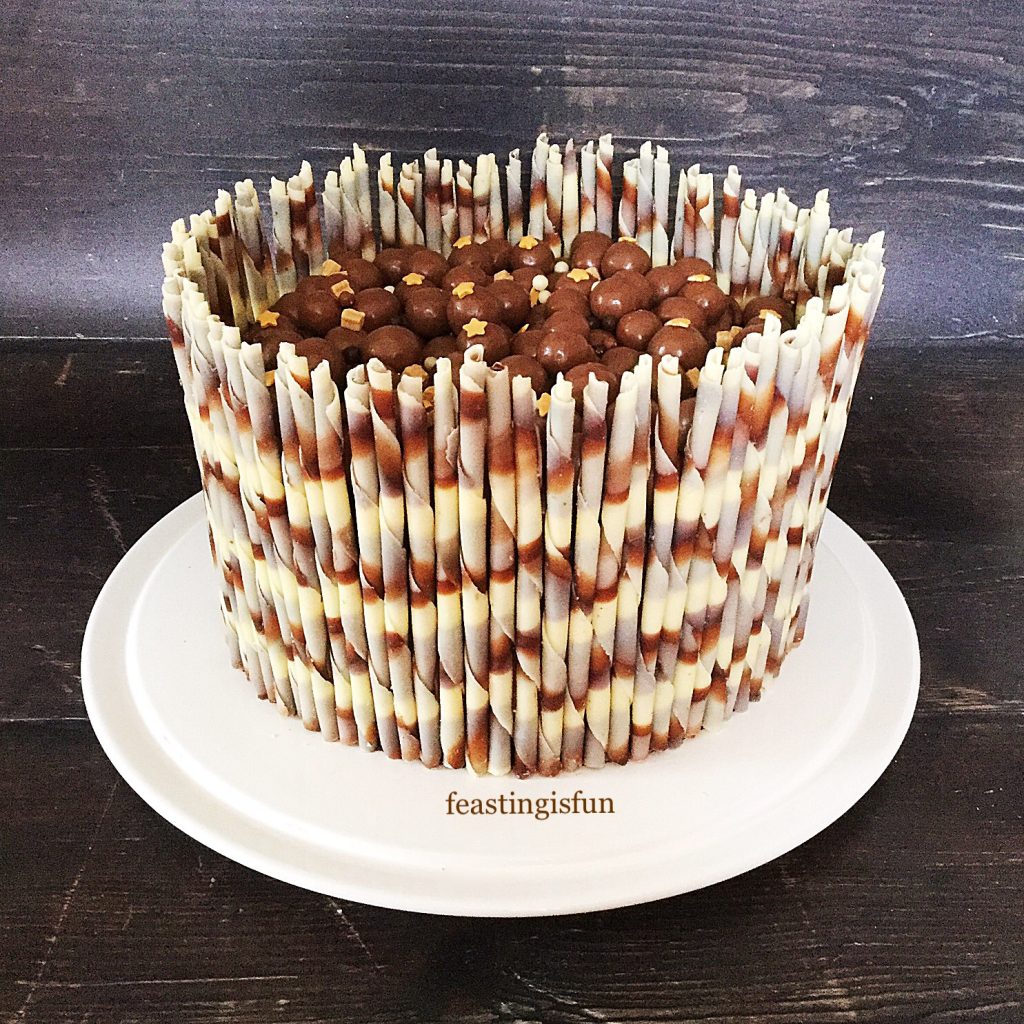
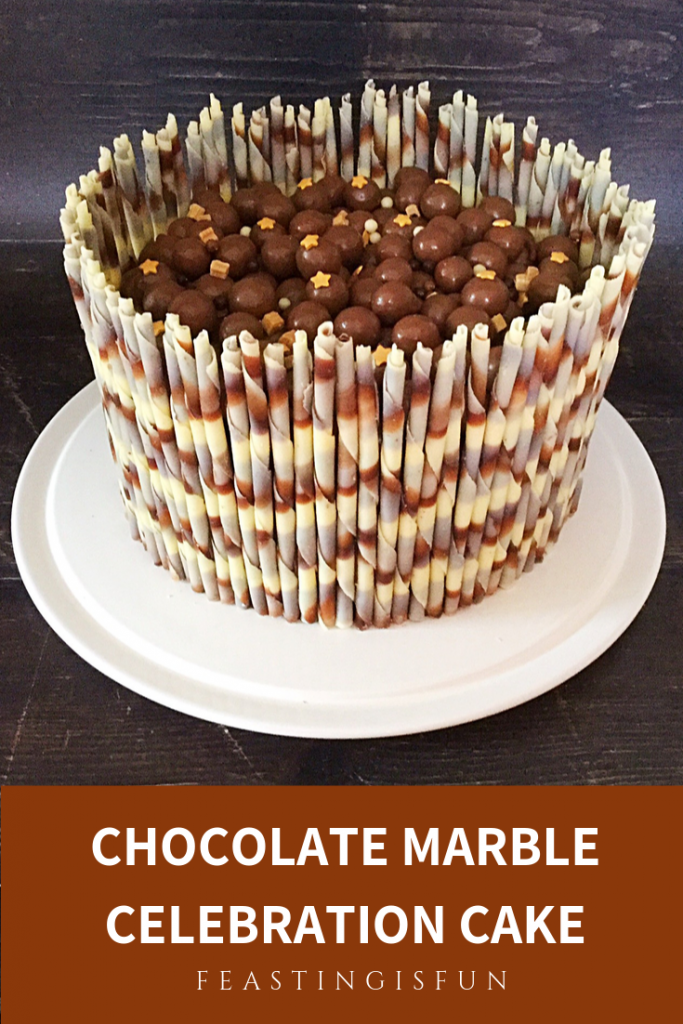
Baked swirled sponge covered in ganache and surround with edible pencils.
Chocolate Marble Celebration Cake

Every year, since her birthday is in the Summer, I usually make two cakes for our daughter’s birthday celebrations. First of all an ice cream cake, which is incredibly easy to make no matter where we are. So, when we spent her 16th birthday down on the farm with our beloved Devon family, I planned ahead and took a cake tin with me! Serving the ice cream cake in the evening, after a feast of a barbecue that afternoon, proved the perfect dessert to top off our birthday celebrations. And sharing it with friends and family who had travelled down to celebrate with us made the special day even more memorable.

Chocolate Marble Celebration Cake

Maltesers Topped Chocolate Marble Cake – A Birthday Cake Tradition

As well as the frozen birthday cake I always bake a chocolate marble cake such as this Marbled Chocolate Bundt Cake to celebrate our daughter’s birthday. Since it is her favourite cake and she always shares it with her friends and family. So, every year I try to come up with a new design or decoration. Having made a Raspberry Lemon Celebration Layer Cake I wanted to try a similar design using marbled chocolate pencils instead. Also, she loves Maltesers, so I wanted to incorporate them in the design.

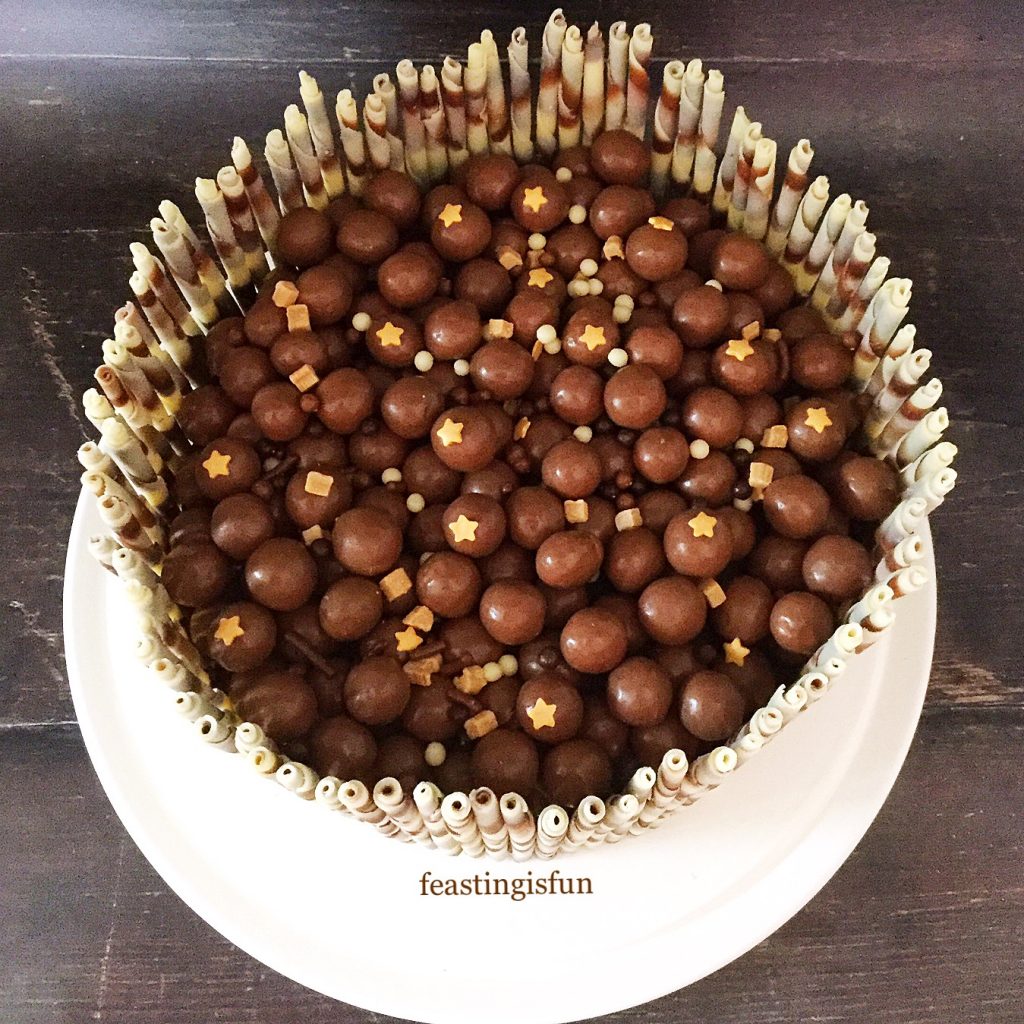
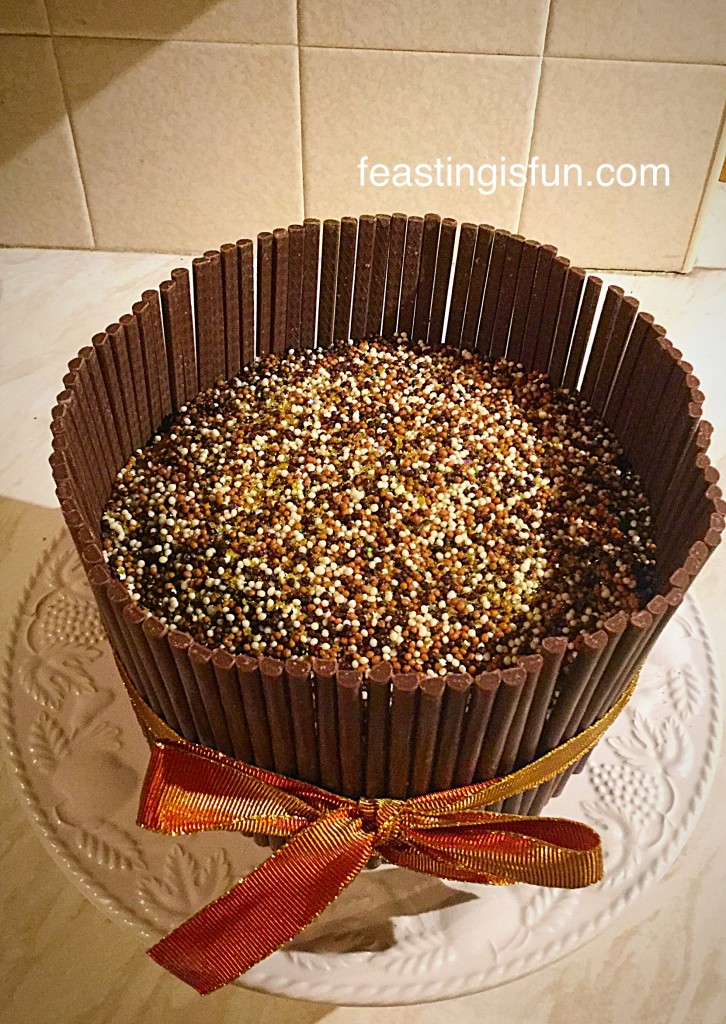
Overhead photo of a special party bake, showing Maltesers mixed with star sprinkles.
Chocolate Marble Celebration Cake

My first two attempts at baking this cake from scratch were perfect, however, due to health limitations I never managed to make or ice the cake in time. And so that’s where the lovely Deb from Wright’s Baking really helped me out. Using both their Chocolate Fudge and Madeira Cake mixes to make the marble cake took way less time and energy than baking from scratch. Resulting in me having enough energy to make the chocolate fudge icing and decorate the cake on the following days.

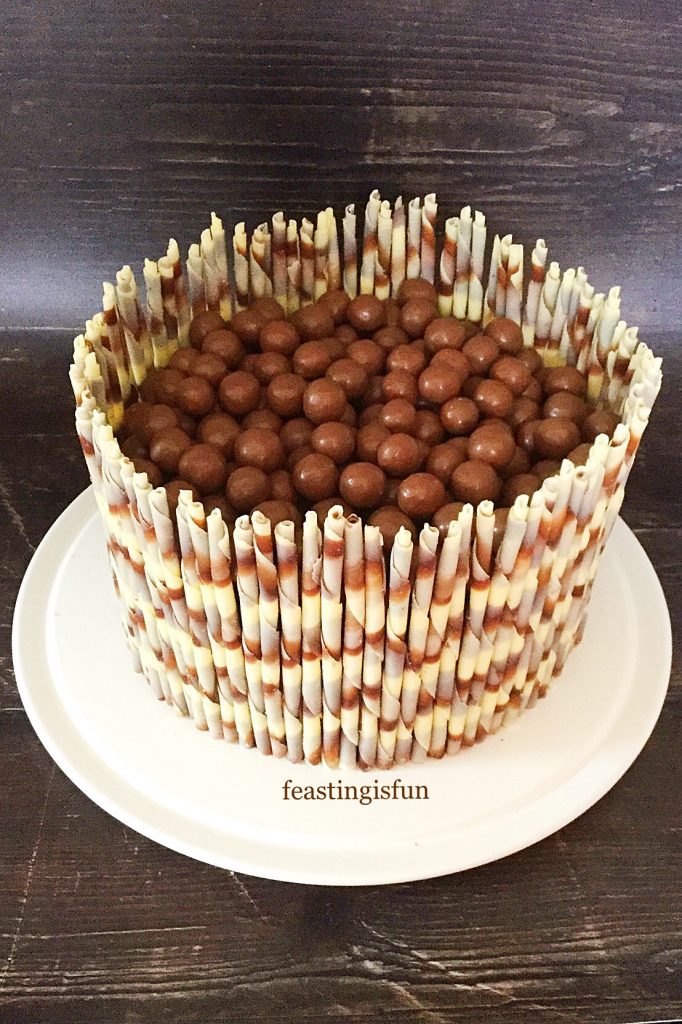
Celebratory bake topped with Maltesers.
Chocolate Marble Celebration Cake using only Maltesers on top.

Our daughter thoroughly enjoyed her birthday cake, so a huge thank you to Wright’s Baking. Their cake mixes are available in most supermarkets and via their online shop.

Recipe: Chocolate Marble Celebration Cake serves 10-12

For the cakes: If you are unable to get hold of the cake mixes use this recipe Malted Marbled Chocolate Cake leaving out the powdered malted milk drink.

1 x Wright’s Baking Chocolate Fudge Cake Mix

1 x Wright’s Baking Madeira Cake Mix

2 x 200ml Tap Water

2 x 60ml Vegetable Oil (or melted butter for an extra luxurious bake!)

For the frosting: please note all quantities given can be rounded up or down to the next whole unit without it affecting the finished result.

250ml/8.4fl oz Double Cream (heavy cream)

250g/8.8oz Dark Chocolate (minimum 70% cocoa)

3 x Tubes Rolos (150.6g/5.3oz)

1tsp Vanilla Extract – I use Nielsen-Massey

Pinch of Salt (1/4tsp)

For the decorations:

1 x Box Marbled Black and White Chocolate Pencils – available from Amazon 

or Chocolate Trading Company Note – you will have some chocolate pencils leftover.

Large Box of Maltesers 310g/11oz or equivalent weight in bags.

Optional – Star sprinkles and balls

Preheat the oven to 160C/140C fan, gas 3, 325F

Making The Cake Batter And Creating The Marble Swirl Effect

Note: When cutting out the baking parchment to line the cake tin base with double up and cut an extra circle. So it can be used during baking if the cake top browns too quickly.

  • First of all grease a 20cm/8in round tin with a depth of 10cm/4in. Line the base with baking parchment.
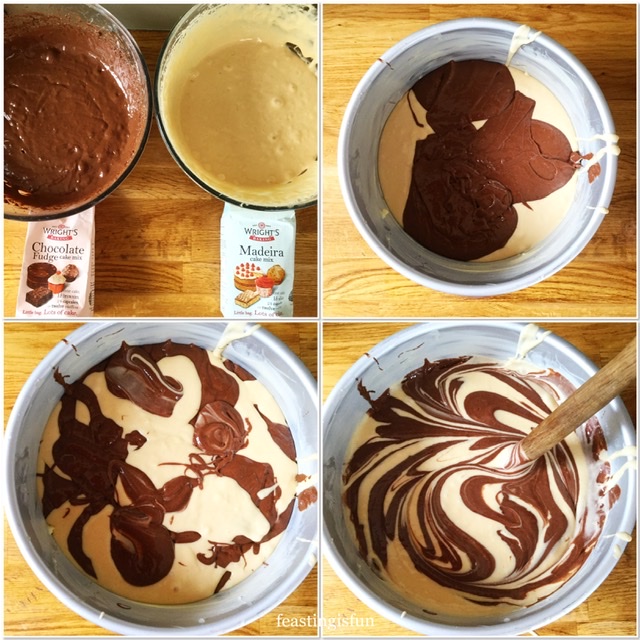
  • Make each cake mix up separately according to the packet instructions.
  • Use a large spoon to add 3 separate spoonfuls of chocolate fudge batter into the base of the cake tin.
  • Follow by adding 3 spoonfuls of madeira batter in between the chocolate.
  • Continue in this manner layering each spoonful of cake batter on top of the other flavour until all of the batter from both mixes is used.
  • Place the handle end of a big wooden spoon into the batter and swirl so that both batters become intermingled without being fully mixed into each other.

Making the batter and creating the swirl.

Baking, Cooling And Shaping The Marble Cake

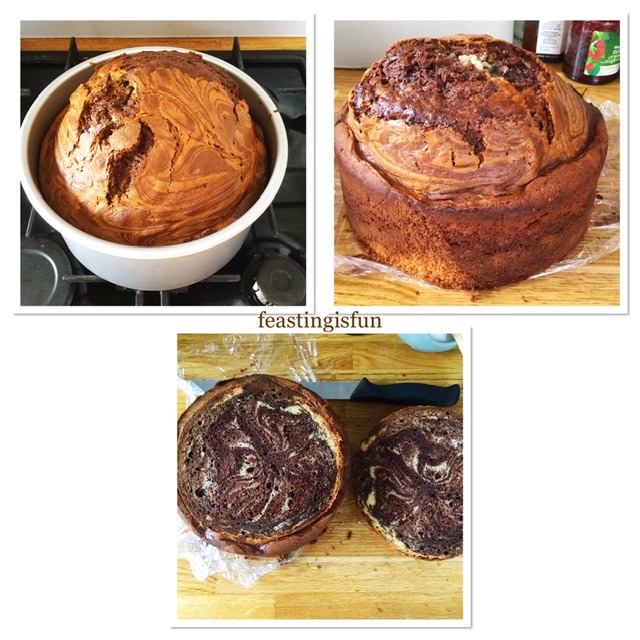
  • Place the cake tin into a preheated oven, on a shelf slightly below the middle.
  • While baking, if the cake top is browning too quickly place the spare circle of baking parchment on top. I also had to crunch up 3 balls of foil to keep the parchment in place as the oven fan kept blowing it around!
  • Bake the cake for 1 1/2 – 2 hours until an inserted skewer comes out clean. The wide variation of baking times is due to different ovens altering the speed at which a cake cooks. For example, if you know that your oven runs hot then consider lowering the baking temperature and baking for a slightly longer time.
  • As soon as the cake is baked remove it from the oven and leave to cool completely in the tin.
  • Once the cake is cooled run a palette knife inside the rim of the cake tin and then turn the cake out.
  • Using a serrated knife cut carefully across the cake to level the top. Our daughter had some of the spare cake in a bowl with hot custard! Alternatively it can be used to make cake balls or as the sponge in a chocolate trifle!

Preparing the baked sponge for decorating.

Making The Very Best Chocolate Fudge Ganache Using Rolos

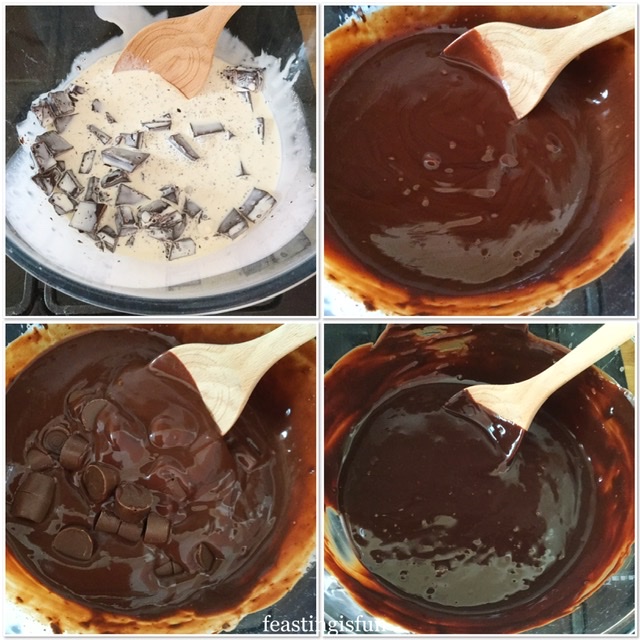
  • Place a heatproof bowl over a saucepan with an inch of simmering water in. Ensure that the base of the bowl DOES NOT touch the water.
  • Pour the cream into the bowl and add the chopped up, dark chocolate. Add the salt and vanilla extract.
  • Stir the cream, chocolate and other ingredients together until the chocolate is fully melted and glossy in appearance.
  • Add the Rolos to the chocolate ganache and continue to stir until they have completely melted and the mixture is glossy with no lumps.
  • Carefully remove the hot bowl from the saucepan and leave to one side to completely cool. I placed my bowl on a window ledge to speed up the cooling process.
  • Note – while warm the chocolate ganache can be poured. It makes a delicious topping for ice cream and also Profiteroles.
Showing each step to making the chocolate fudge ganache that will be used to cover the cake.
Creating the chocolate fudge ganache.

Covering The Cake With Chocolate Fudge Ganache

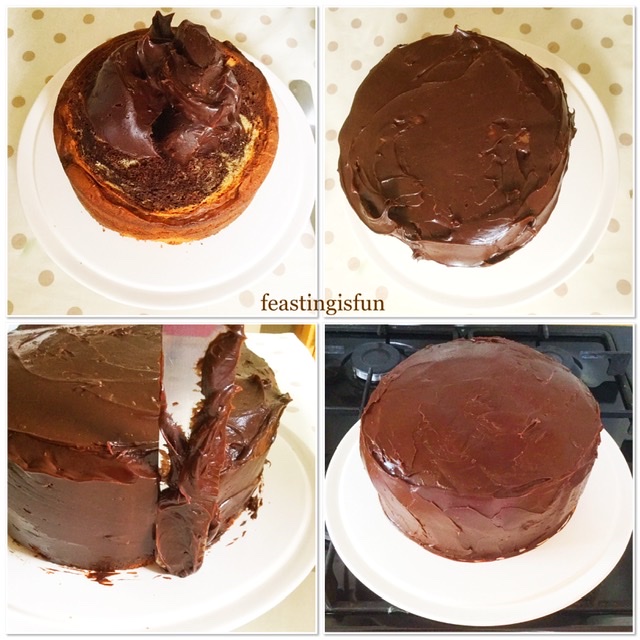
  • Place your cake on a flat plate or board that it is to be served from. And then place that onto either a spinning cake decorator, or, as I did, onto un upturned round tart tin. The plate easily moved round on top and allowed for easy decorating.
  • Spoon two thirds of the thick, cooled, chocolate fudge ganache on to the top of the cake.
  • Use a palette knife to spread the ganache over the top of the cake and then down the sides. Add more ganache as needed to ensure the entire cake has a good, thick, even covering of ganache on both the top and sides. Remember, the finish should be neat but by no means perfect as the cake will be entirely covered with decorations.

Covering the sponge bake In ganache.

Adding The Marbled Chocolate Pencils To The Birthday Cake And Finishing The Decoration

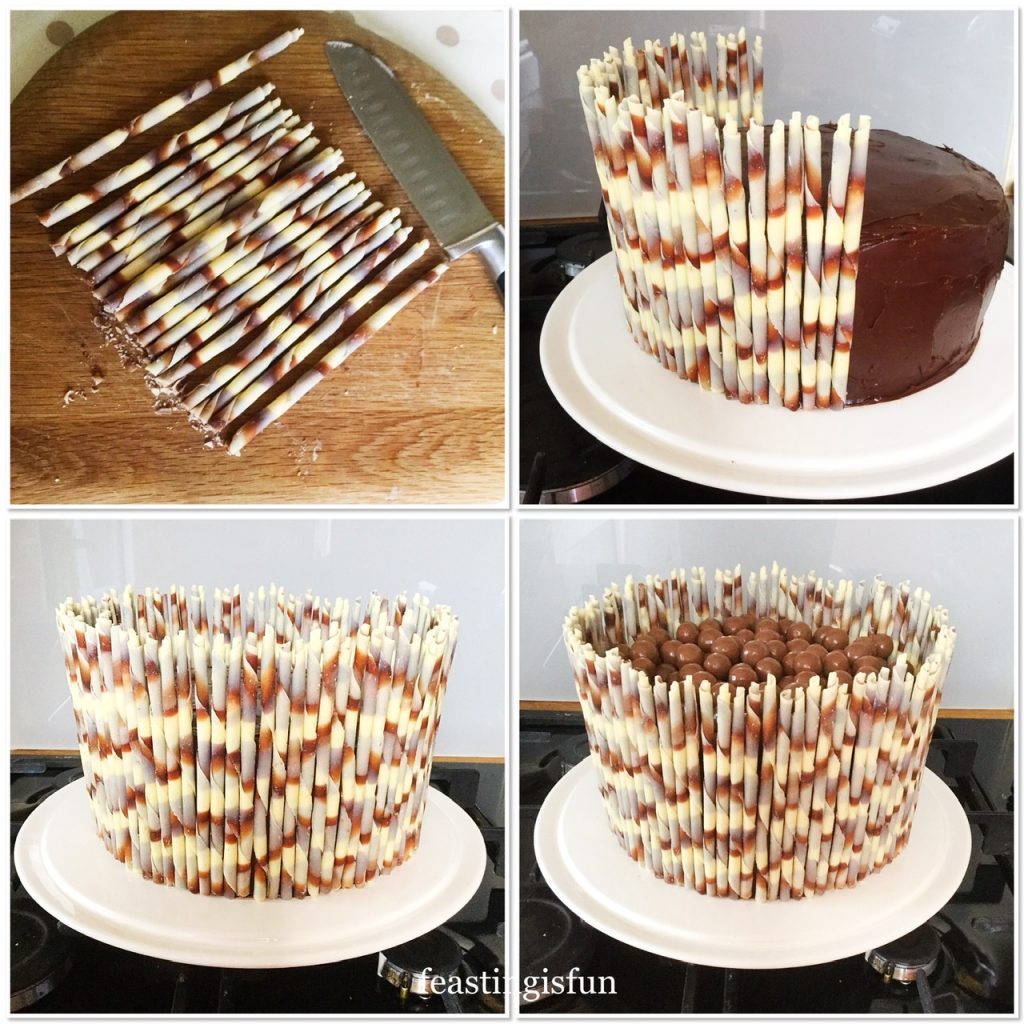
  • First of all take one pencil and measure it against the side of the cake. With a sharp knife mark the height at which the pencil will be trimmed. Cut the excess from the pencil at the base and double check against the cake to ensure you are happy with the height. Keep hold of this pencil as it is the master to which all the other pencils will be measured against.
  • Now cut 20 pencils to the correct length at the base. Place the “waste” pencil cuttings into a bag, they can be used a cupcake decorations.
  • Take one pencil and place it vertically against the side of the cake, press the pencil into the ganache so that it is secure.
  • Continue to add more pencils next to the previous one, always checking that the pencil is straight and parallel to the previous pencil.
  • As soon as the cake is completely surrounded view from above to ensure the pencils for a uniform circle around the cake.
  • Next add the Maltesers carefully to the top of the cake.

Showing how to add the Callebaut flutes to the side of the ganache covered sponge and then adding Maltesers to the top.

  • If using, now add any extra sprinkles to the top of the cake. The white crisp pearls and caramel stars used in this cake tied in with the marble colour theme and immediately added a fun, celebration element to the cake.
Chocolate marble celebration cake topped with Maltesers and surrounded by Callebaut chocolate marble pencils
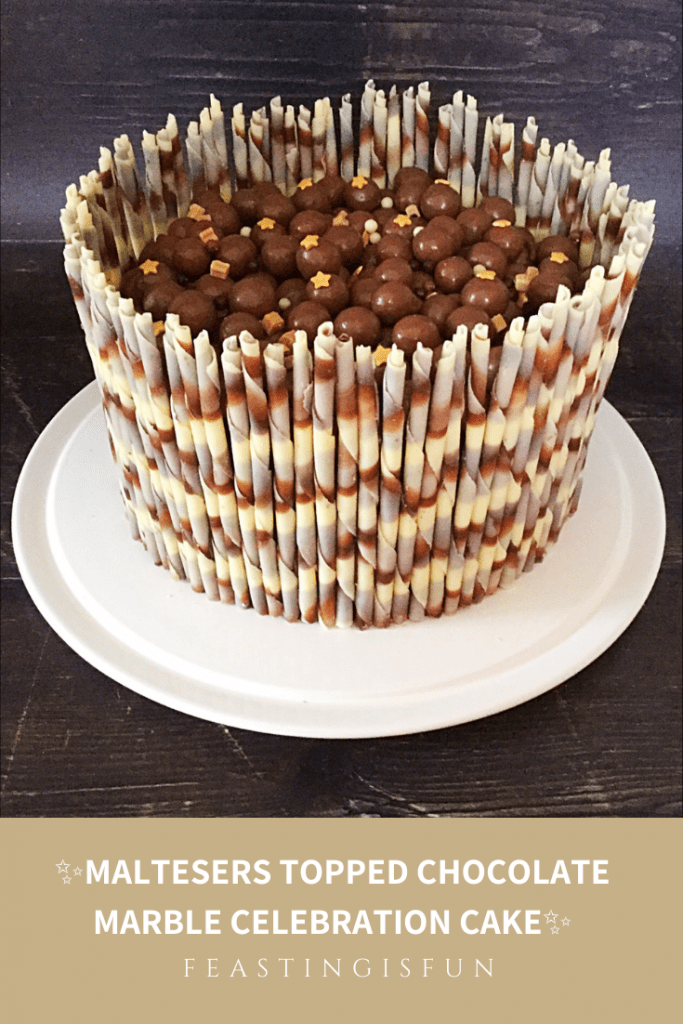
Chocolate Marble Celebration Cake topped with Maltesers and fun sprinkles.

Chill the cake for a couple of hours, or overnight to allow the frosting to set. Cut between the pencils to serve. Keep any leftover cake either in an airtight container, or wrapped in cling film and refrigerated.

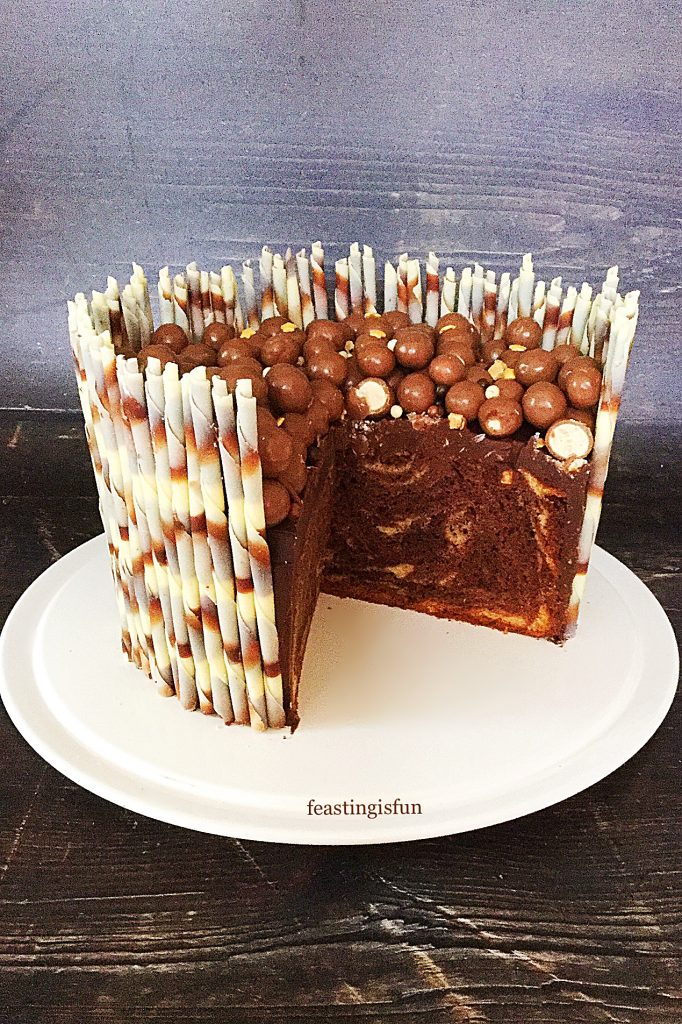
Chocolate marble celebration cake cut so the inner swirl is visible.
Chocolate Marble Celebration Cake

If you have enjoyed this recipe for Chocolate Marble Celebration Cake you may also like these:

Fluted Chocolate Lemon Marble Cake

Fluted Chocolate Lemon Marble Cake

Raspberry Vanilla Naked Celebration Cake

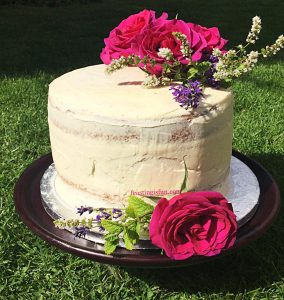
Raspberry Vanilla Celebration Cake semi covered in vanilla buttercream and decorated with fresh roses.
Raspberry Vanilla Naked Celebration Cake

Maltesers Malted Chocolate Loaf Cake

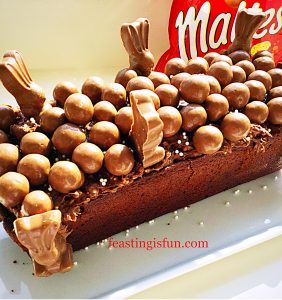
Maltesers malted chocolate loaf cake.
Maltesers Malted Chocolate Loaf Cake

Most importantly, seeing the smile on our daughter’s face made the effort to make this cake worth it! Since I am not and never really intend to be a professional cake decorator, I have learned some easy techniques that give a cake real WOW factor. And I am so thrilled that I get to pass these easy decorating ideas on to you my readers. While I know the chocolate pencils used on this cake aren’t cheap, compared to the cost of buying a handmade cake they are worth every penny!

So, whatever you are making, baking and creating in your kitchens, have fun preparing and sharing your feast.

No part of this post may be reproduced or duplicated without the written permission of the owner. Please my Disclosure Policy.


Celebratory bake sized for Pinterest with descriptive graphics.

Chocolate birthday cake topped with Maltesers and surrounded with marbled chocolate pencils.

Chocolate Peanut Butter Drip Cake

The past fortnight has been a busy one here at home. Hospital appointments for me, rugby matches for our son and both of our girls working hard on their studies. Life has been hectic. Yet, during this time, we have also celebrated two special birthdays in our family. Amidst the coming and going, we made time for what is important. Spending time together. Celebrating birthdays and enjoying the company and love that we have for each other. Laughing, catching up, chatting, more laughter and sharing this delicious Chocolate Peanut Butter Drip Cake.

FF Chocolate Peanut Butter Drip Cake

Family First Support And Sharing

For me, nothing is more important than spending time with those that I love. Whether family, friends or both. Yet due to the continued frequency of seizures see here, these occasions have been few and far between over the last two years. While I was able to attend the wedding of my amazing nephew and my new niece, there have been very many missed opportunities, simply due to my health. Finally, this trend seems to be on the turn and change is afoot!

FF Chocolate Peanut Butter Drip Cake
Chocolate Peanut Butter Drip Cake

Since our son and my sister celebrate their birthday on the same day, it has become a tradition for them to see each other on their special day. While last year this event was cancelled, we more than made up for it this year! We gathered and celebrated this very special day together. Presents were unwrapped, cards opened, cuddles given. Most importantly we were a family celebrating together. Is there anything that is better?

Peanut Butter And Chocolate

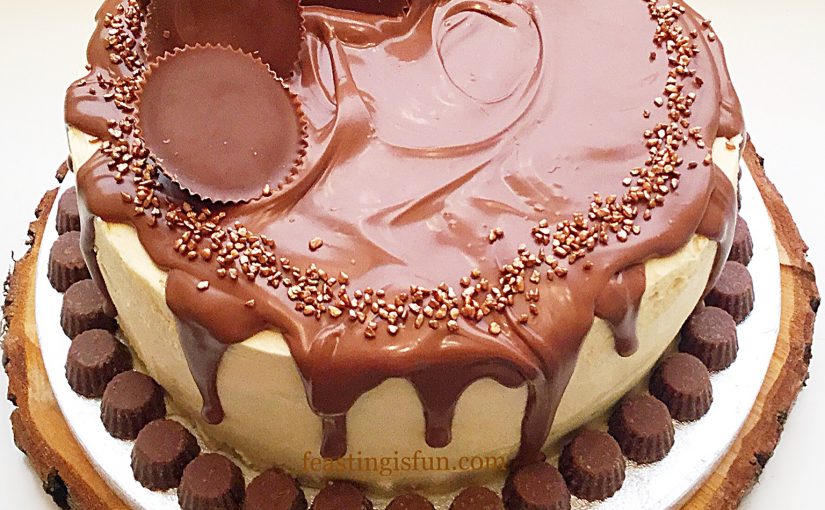
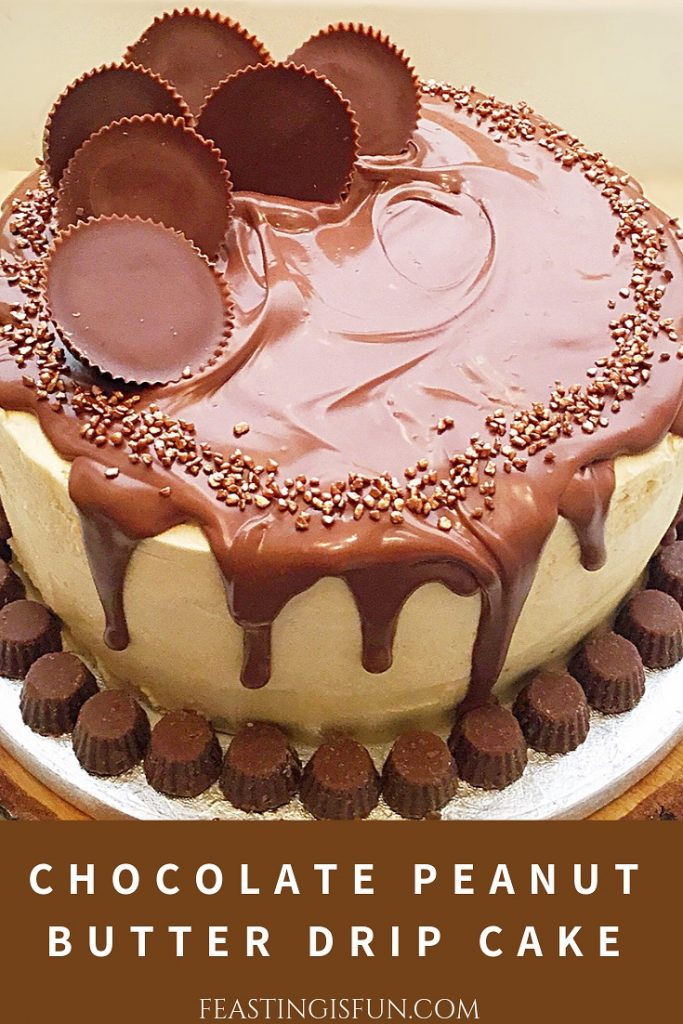
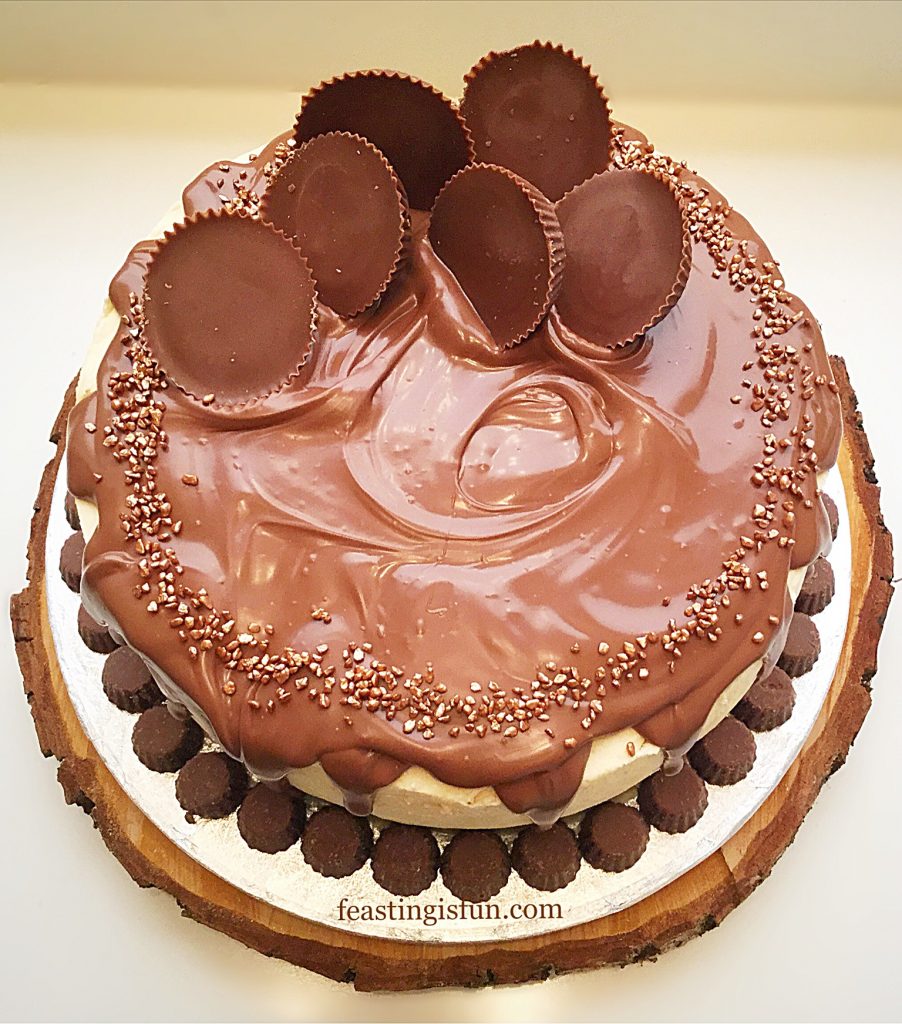
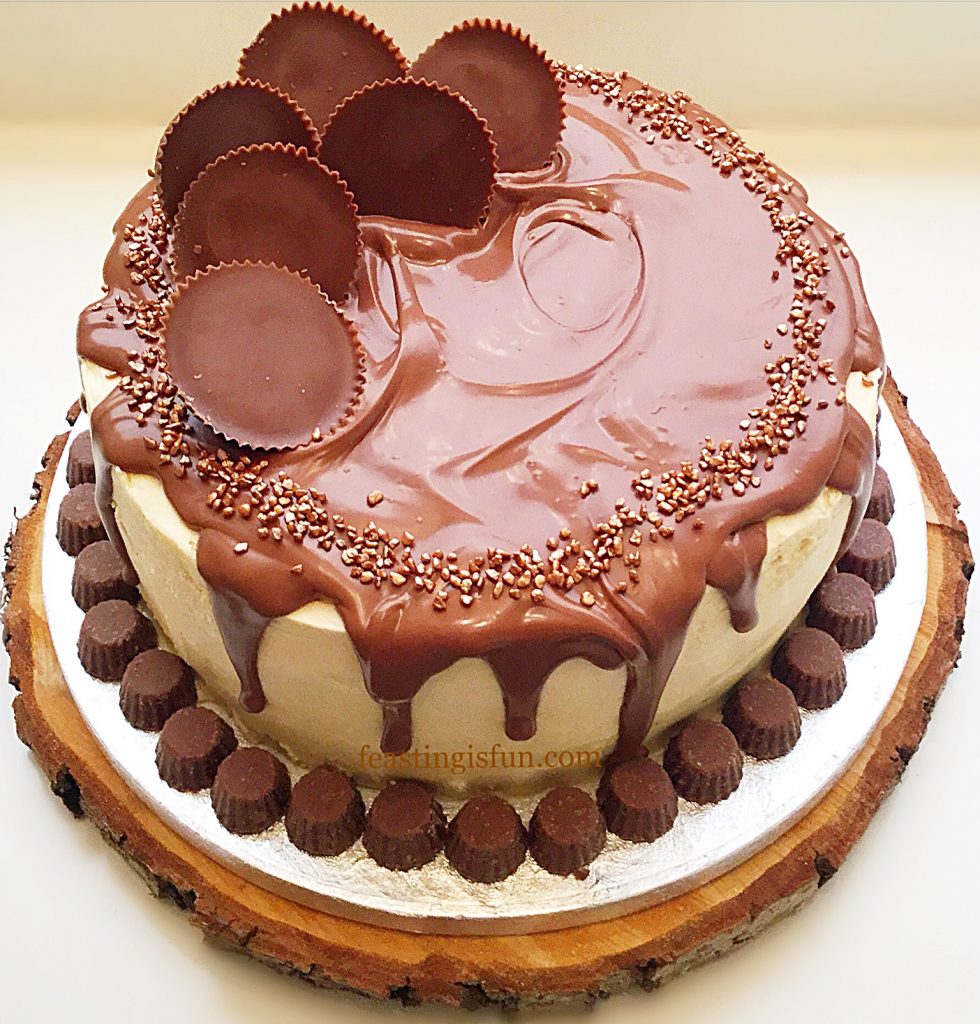
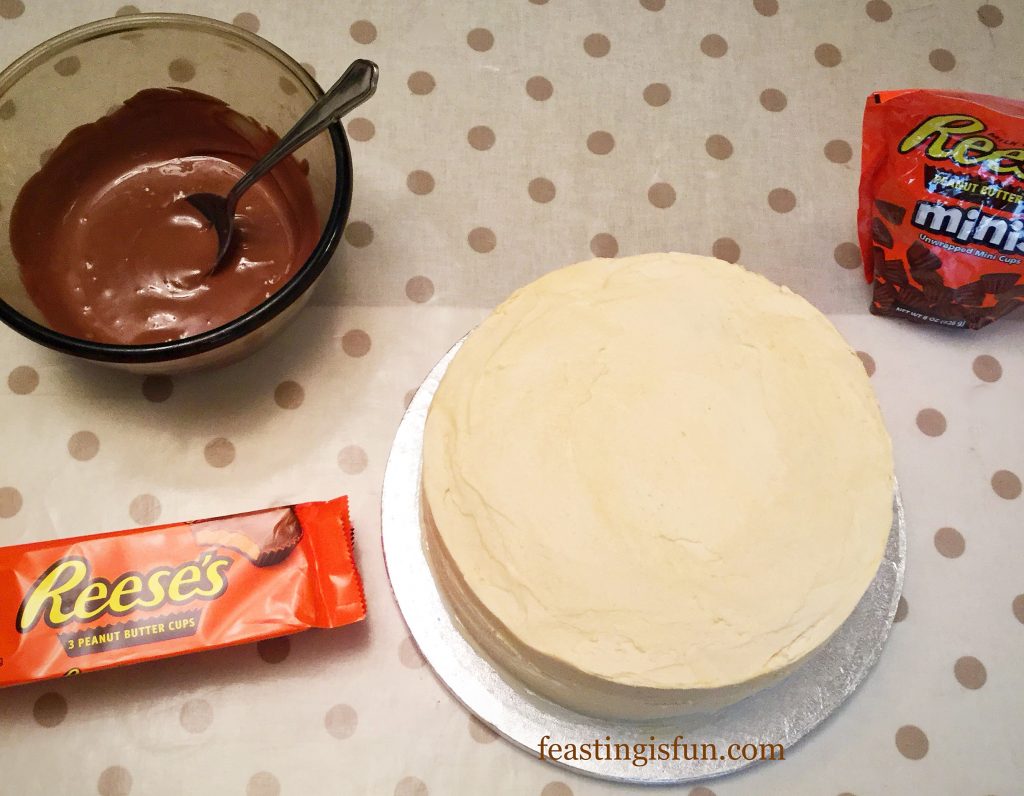
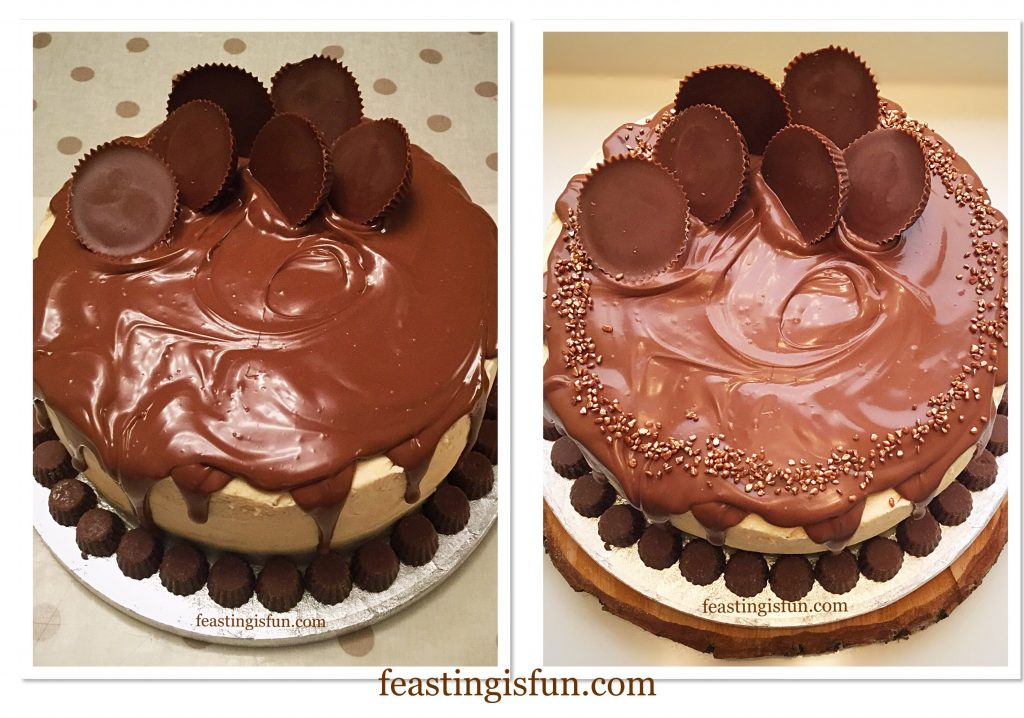
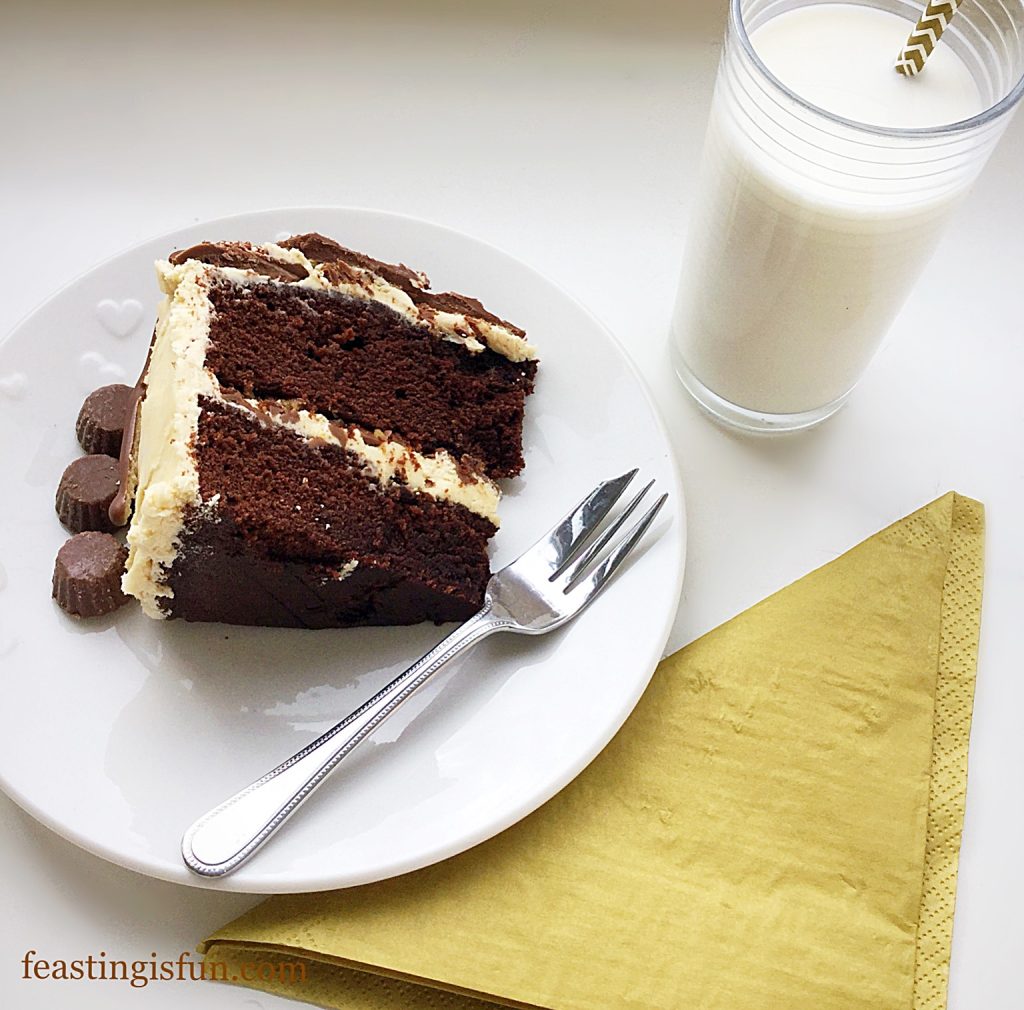
Because I  made our, not so little boy, a fruit cake for his birthday over the past couple of years, change was definitely needed! Since I know how much he loves Reeces Peanut Butter Cups I suggested a chocolate and peanut butter cake. Resulting in a huge smile and a big yes from the birthday boy. So I made light chocolate and peanut butter sponges, sandwiched together with peanut butter icing, along with hidden, chopped peanut butter cups in the centre. Frosted all over with the same icing and decorated with a milk chocolate drip and more peanut butter cups. Finally, a sprinkle of bronze crunch added elegance to the finished cake.

FF Chocolate Peanut Butter Drip Cake
Chocolate Peanut Butter Drip Cake

Above all I had made the cake of our son’s dreams. Utterly thrilled with both the look and taste of his birthday cake, oohs and aahs escaped from everyone’s lips. While delivering completely on taste, as it did looks, this cake proved to be a huge hit. Most importantly from the birthday boy himself. Resulting in a day full of happy shared memories.

FF Chocolate Peanut Butter Drip Cake
Chocolate Peanut Butter Drip Cake

Recipe: Chocolate Peanut Butter Drip Cake serves 10-12

For the cake:

275g/10oz Unsalted Butter at room temperature

275g/10oz Light Brown Sugar

50g/2oz Peanut Butter smooth – I use Reeces available from Amazon

1/4 tsp Sea Salt – I use Maldon

2 tsp Vanilla Extract – I use Nielsen-Massey

5 Large Free Range Eggs

75ml/5tbsp Whole Milk

200g/7oz Plain Flour

2 tsp Baking Powder

75g/3oz Cocoa – I use Callebaut

Frosting and Decoration:

250g/9oz Unsalted Butter softened to room temperature

75g/3oz Peanut Butter smooth

1/4 tsp Sea Salt

500g/1lb 2oz White Icing Sugar

2 tbsp Very Hot Water

1 tsp Vanilla Extract

20 Mini Reeces Peanut Butter Cups plus additional to place around the base of the cake

6 Regular Reeces Peanut Butter Cups

200g/7oz Good Quality Milk Chocolate

Bronze Crunch Sprinkles available from Waitrose

Method: Preheat oven to 160C/140C fan, 325F, gas mark 3

Making And Baking The Sponge Cakes

First of all, you will need 2 x 20cm/8″ sandwich tins that are 5cm/2″ deep. Grease thoroughly with butter and line the base with baking parchment.

  • Into a large bowl add the butter, peanut butter,  sugar and salt. Whisk until pale and creamy, this will take around 5 minutes. Creaming the butter and sugar together properly helps create a light sponge.
  • Next add all 5 eggs, the milk and vanilla extract. Whisk briefly to break up the eggs.
  • Now sift in the dry ingredients, flour, cocoa powder and baking powder.
  • Finally, whisk or beat all of the ingredients together until they become a smooth batter. Over whisking will create a tough cake sponge.
FF Chocolate Peanut Butter Drip Cake
Making the Chocolate Peanut Butter cake batter.
  • Divide the cake mixture evenly between the two prepared tins.
FF Chocolate Peanut Butter Drip Cake
Chocolate peanut butter cakes ready for the oven.
  • Place the cake tins evenly spaced apart, into the oven and bake for 30-40 minutes.
  • The cakes are baked when they spring back from a light touch. as soon as they are baked remove from the oven.
  • Allow the cakes to cool for 15 minutes in the tin before turning out on to a cooling rack.
FF Chocolate Peanut Butter Drip Cake
Cooling cakes.

How To Frost The Cake

  • First of all, chop 20 mini peanut butter cups into small pieces. See the photograph below as a guide. Set to one side.
  • Into a large bowl add the butter, peanut butter, salt, vanilla extract and icing sugar. Next pour the very hot water down the inside of the bowl.
  • Starting on a slow speed whisk the ingredients together, increasing in speed as they become combined. Continue whisking until the buttercream is light and creamy in consistency, with no visible lumps.
  • Check the cake is completely cooled before frosting.
  • Place one cake sponge, flat side up, on to a cake board or plate. Spoon 3 heaped dessert spoons of frosting on to the sponge and spread evenly across the sponge with a palette knife.
  • Next, sprinkle over the choped peanut butter cups so they create an even layer across the frosted sponge.
FF Chocolate Peanut Butter Drip Cake
Making the buttercream and filling the centre of the cake.
  • If you have a turning, cake decorating stand place the cake on it. Alternatively place the cake board on to a cake stand. The cake can then be rotated on the board, making the frosting process easier.
  • Place the other cake sponge, flat side down, on top of the bottom sponge.
  • Scoop three quarters of the remaining frosting on to the top of the cake.
  • Using a palette knife spread the frosting across the top of the cake and over the sides. Add the remaining frosting as needed.
  • Rotate the cake, spreading the frosting, until an even finish is achieved.
  • Fill a jug with very hot water. Place a clean palette knife into the water, for a couple of seconds, remove and wipe away the water. Smooth the frosting using the hot pallet knife. Repeat this process until you have a smooth and even finish to the cake.
  • Refridgerate the cake for at least one hour. The cake may be left in the fridge overnight at this stage.
FF Chocolate Peanut Butter Drip Cake
Covering and smoothing the outside of the cake.

Creating The Chocolate Drip Effect

  • While the cake is finishing chilling, prepare the chocolate.
  • Break up, or chop the chocolate and place into a heatproof, microwaveable bowl.
  • Heat in the microwave, on medim power, for 30 second bursts. Stirring after each heating burst.
  • As soon as the chocolate starts to melt remove the bowl and continue to stir until completely melted.
FF Chocolate Peanut Butter Drip Cake
Frosted, chilled cake ready to be decorated.
  • Remove the chilled cake from the fridge and make sure that you have everything needed to hand.
  • Spoon the melted chocolate on to the middle of the top of the cake, gradually working towards the outside edge.
  • As the chocolate reaches the edge add more to encourage it to drip down the side.
  • Continue all the way around the cake until you have the desired ‘drip’ effect.
  • Place the larger peanut butter cups in a pattern and set into the still molten chocolate.
  • Follow by placing mini peanut butter cups aroung the base of the cake.
  • Finish with bronze sprinkles around the outside edge of the cake.
  • Leave the cake to set. This can be achieved more quickly by chilling in the fridge.
FF Chocolate Peanut Butter Drip Cake
Sprinkles added to finish the Chocolate Peanut Butter Drip Cake.

To serve, remove the cake from the fridge. Place a sharp knife into a jug of very hot water for a couple of seconds. Wipe the knife dry and then easily slice through the set chocolate and cake.

FF Chocolate Peanut Butter Drip Cake
Chocolate Peanut Butter Drip Cake

Store the cake in an airtight container for up to 5 days. Keep refridgerated during warmer weather.

If you have enjoyed this recipe for Chocolate Peanut Butter Drip Cake you may also like these:

Raspberry Vanilla Naked Celebration Cake

FF Chocolate Peanut Butter Drip Cake
Vanilla Naked Celebration Cake

Strawberry Chocolate Vanilla Drip Cake

FF Chocolate Peanut Butter Drip Cake
Strawberry Chocolate Vanilla Drip Cake

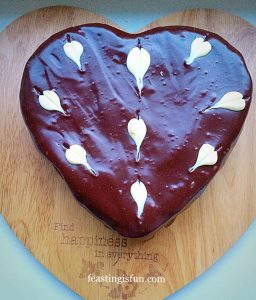
Chocolate Heart Cake

FF Chocolate Peanut Butter Drip Cake
Chocolate Heart Cake

Homemade cakes are so much better and far more delicious than their mass produced counterparts. Since each cake made at home is individual in both style and flavour. Knowing that someone has taken the time to create and bake a cake makes me personally feel very special and loved. That is exactly the same feeling I hope to invoke when baking for others. Seeing a big smile is my motivation and reward.

What motivates you to bake?

Whatever you are making, baking and creating in your kitchens, have fun preparing your feast.

Sammie xx

No part of this post may be copied or replicated without written permission from the owner. Please see my Disclosure Policy.


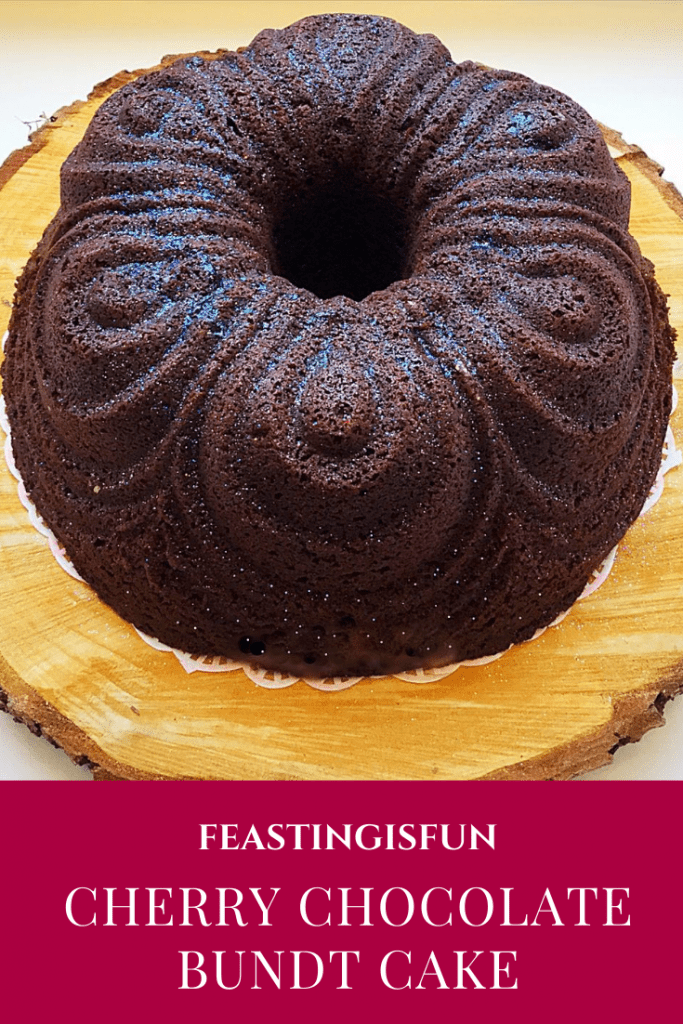
Chocolate Cherry Chiffon Bundt Cake

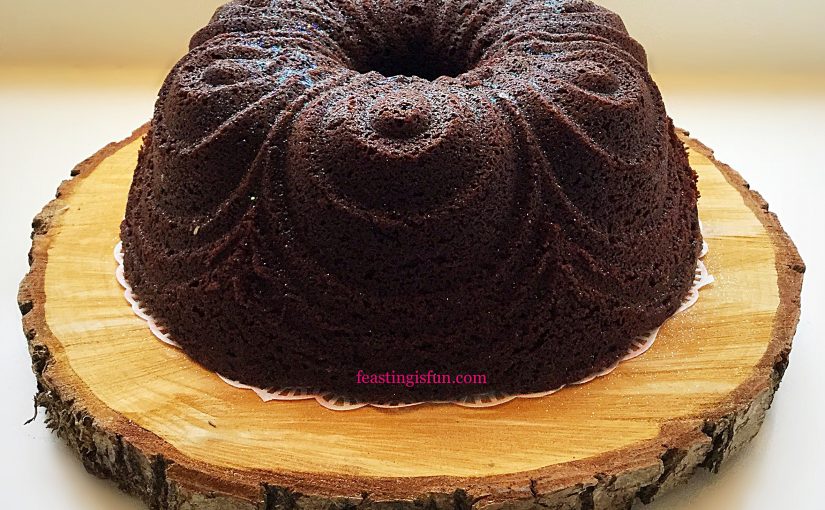
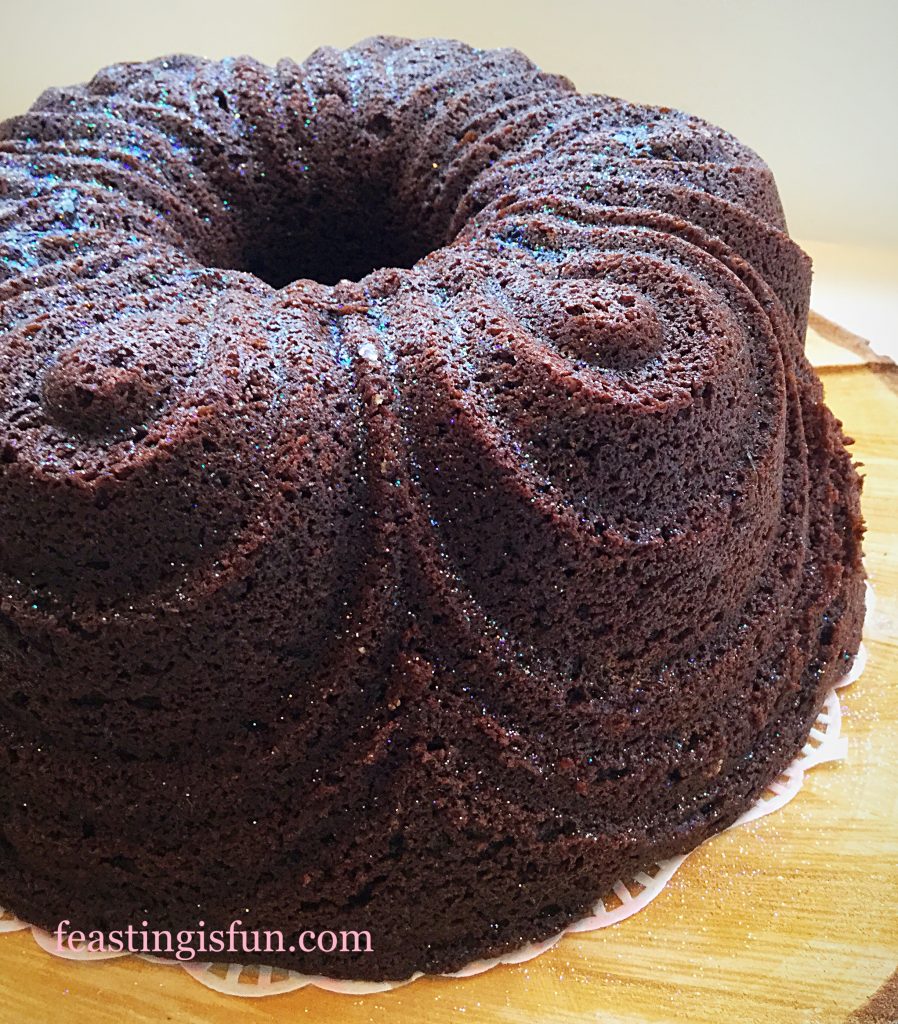
So, it’s another week and there’s another theme. Since #ChocolateWeek is now upon us, chocolate inspired bakes are bringing out the best cocoa creations from Twitter’s imaginative baking community. And, inspired by the theme, I created this beautiful Chocolate Cherry Chiffon Bundt Cake. Since it is always chocolate week here at home, this chocolate cherry cake fits the bill perfectly.

FF Chocolate Cherry Chiffon Bundt Cake
Chocolate Cherry Chiffon Bundt Cake

First of all, I absolutely adore Bundt pans. Since their beautiful designs and intricate moulding create the most exceptional looking cakes. While my cake decorating abilities are improving, due to regular practice, using a Bundt pan really does take away the need to decorate. Needing only a simple sprinkle of edible glitter to finish this cake. Alternatively, a light dusting of icing sugar (confectioners sugar) would also work well.

FF Chocolate Cherry Chiffon Bundt Cake
Chocolate Cherry Chiffon Bundt Cake


Chocolate And Cherry – A Flavour Match Made In Food Heaven

Cherry and chocolate are a delicious and classic flavour combination, which also happens to be a favourite of mine. And, using chocolate cherry naturally flavoured cocoa powder gives this cake it’s base flavour. Alternatively, a dash of kirsch (cherry liqueur) would also work well, when using plain cocoa powder. Finally, the addition of cherries and ground almonds creates a moist cake with surprise, hidden cherries inside. During baking the cherries drop to the bottom of the cake, which becomes the top of the cake after turning it out of it’s tin. Resulting in a jammy like topping inside the cake.

FF Chocolate Cherry Chiffon Bundt Cake
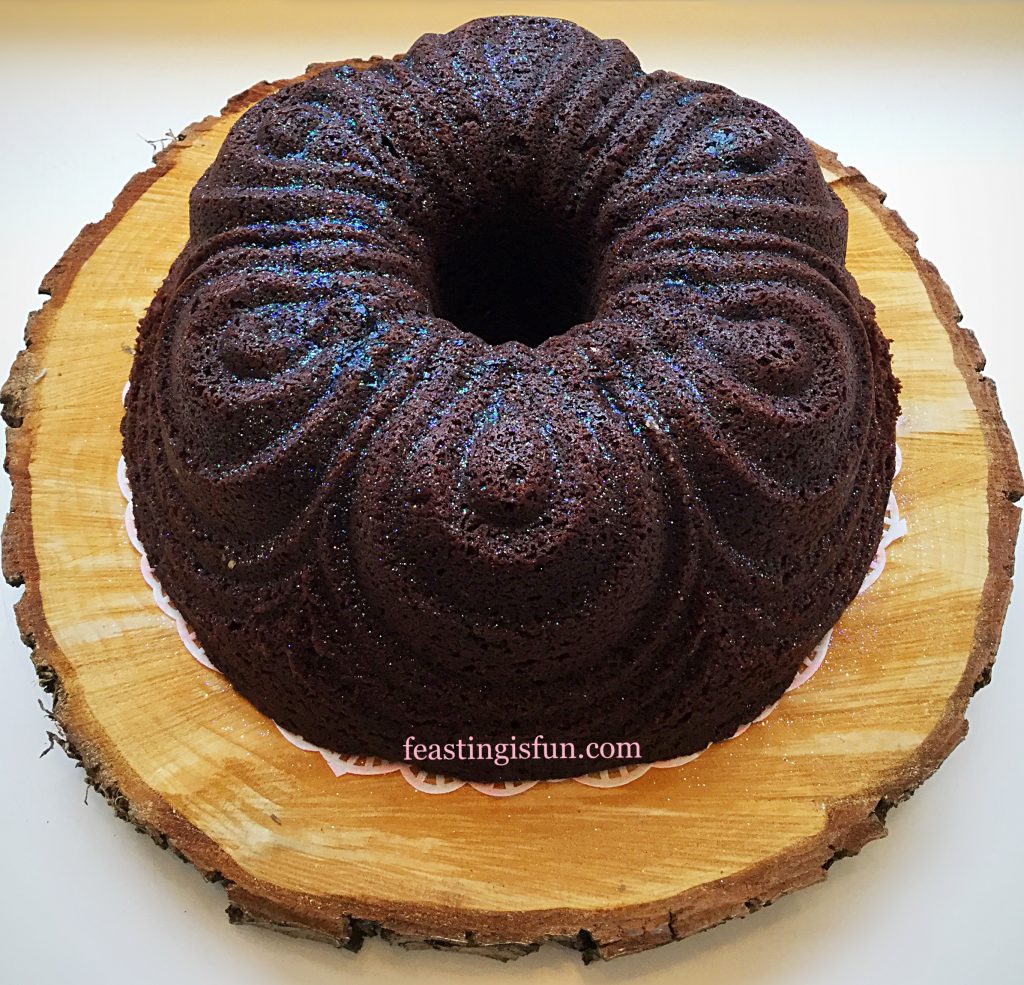
Chocolate Cherry Chiffon Bundt Cake up close.

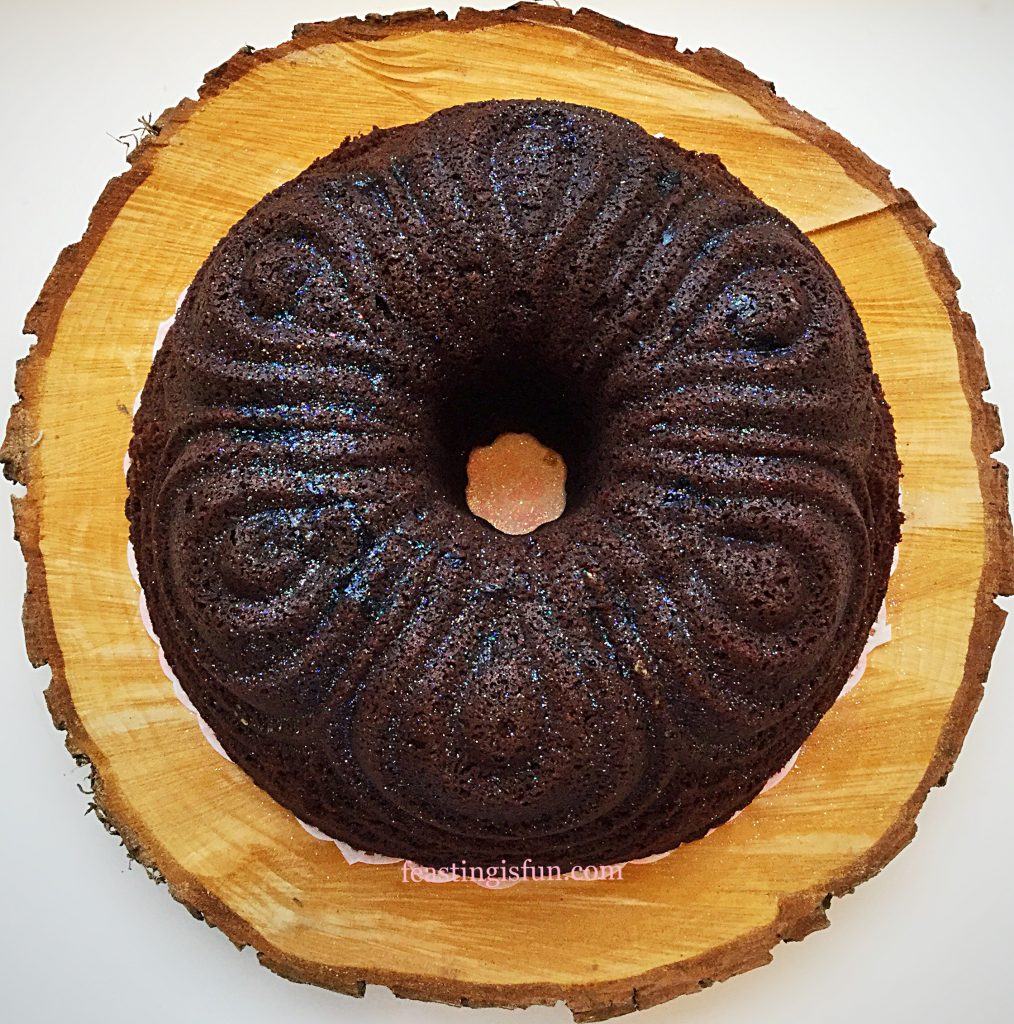
The looping, scalloped design of the Chiffon Bundt Pan is very elegant. While flickers of light from the edible glitter, sparkle and accentuate the design. Aside from covering in a very thin glaze, as done here, this cake really is best left as is. Indeed, left un-iced, dare I say this would be utterly delicious eaten with hot custard.

Recipe: Chocolate Cherry Chiffon Bundt Cake serves 10-12

275g/10oz Unsalted Butter at room temperature

275g/10oz Light Soft Brown Sugar

1/4 tsp Sea Salt – I use Maldon

2 tsp Vanilla Extract – I use Nielsen-Massey

1/2 tsp Almond Extract

5 Large Free Range Eggs

4 tbsp/60ml Whole Milk

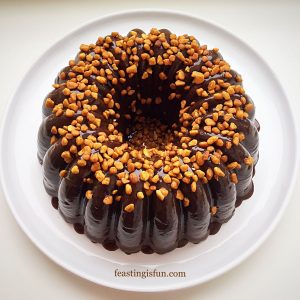
100g/4oz Ground Almonds

75g/3oz Chocolate Cherry Cocoa Powder* – available from Sugar and Crumbs

*If you are unable to obtain chocolate cherry flavour cocoa powder, use plain cocoa and add either cherry flavouring or 3-4 tablespoons of kirsch (cherry liqueur).

125g/4.5oz Plain White Flour

2 tsp Baking Powder

Half a 400g/14oz (200g/7oz) Tin of Cherries or Cherry Pie Filling. Alternatively, use the equivalent weight of fresh, de-stoned cherries.

1/4 tsp Edible Glitter to decorate, alternatively use 1-2 teaspoon of icing sugar (confectioners sugar) to dust the finished cake.

Method: Preheat oven to 160C/140C fan, gas mark 3, 325F.

Tips on using Bundt pans:

This recipe uses a 10 cup Bundt Pan. I have used the Chiffon Bundt Pan available from Nordicware.

Most importantly, to ensure a successful release of the cake from the pan, cake release is highly recommended. Either available as a spray, or a liquid that is brushed on with a soft pastry brush. I recommend and always use Wilton
cake release.

Making And Baking The Bundt Cake

  • First of all add butter, sugar and salt to a large bowl. Whisk until the sugar is fully beaten into the butter.
  • Next add both vanilla and almond extracts. Also add 5 eggs and milk.
  • Now add ground almonds, cocoa powder, flour and baking powder.
  • Whisk everything together until fully combined. Take care not to over whisk as the resulting cake will be tough.
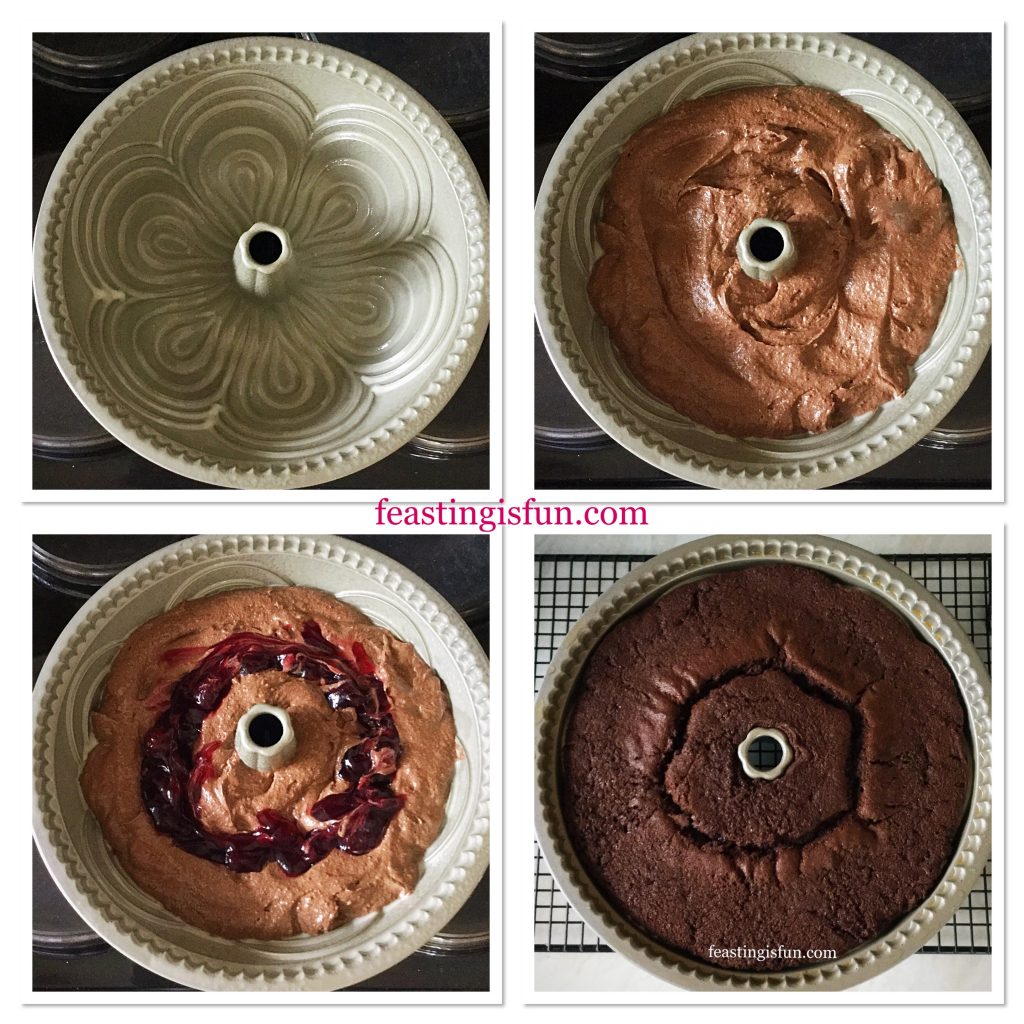
  • Prepare the Bundt pan, spraying, or brushing liberally with cake release.
  • Spoon the prepared cake batter into the pan, pushing the mixture into the base to avoid air pockets.
  • Finally, spoon half of tin of cherries on to the top of the cake batter, making sure that none of the liquid touches the side of the Bundt pan.
  • Place the Bundt pan into the lower middle part of a preheated oven and bake for 1 hour 20-30 minutes. Low, slow baking results in an evenly baked cake.
  • The cake is baked when it feels firm to touch, is coming away from the sides of the tin and an inserted skewer comes outs clean.
  • As soon as the cake is baked remove from the oven and place on a cooling rack.
FF Chocolate Cherry Chiffon Bundt Cake
Making and baking the Chocolate Cherry Chiffon Bundt Cake.
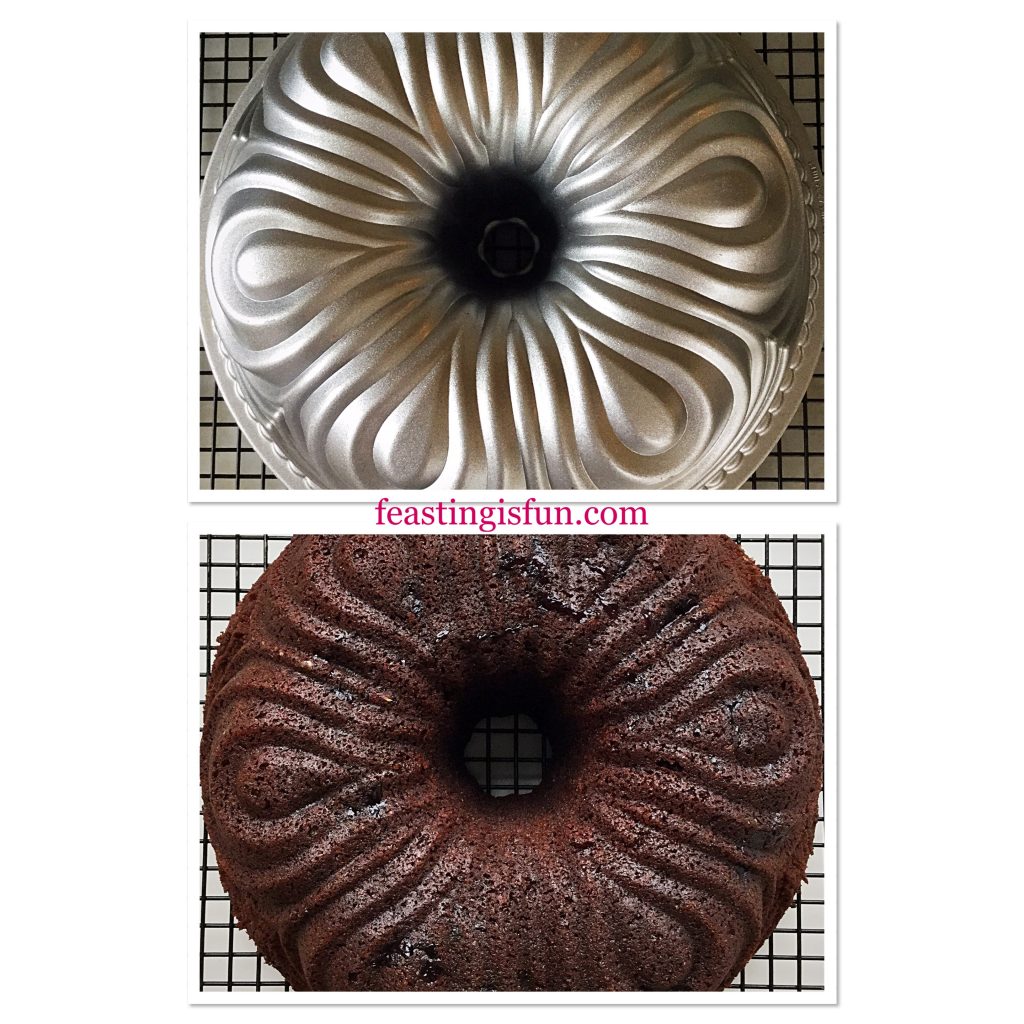
  • Allow the cake to cool for 10 minutes, then turn out on to a cooling rack.
FF Chocolate Cherry Chiffon Bundt Cake
Turning out the baked Chocolate Cherry Chiffon Bundt Cake.
  • Leave the cake to cool completely.
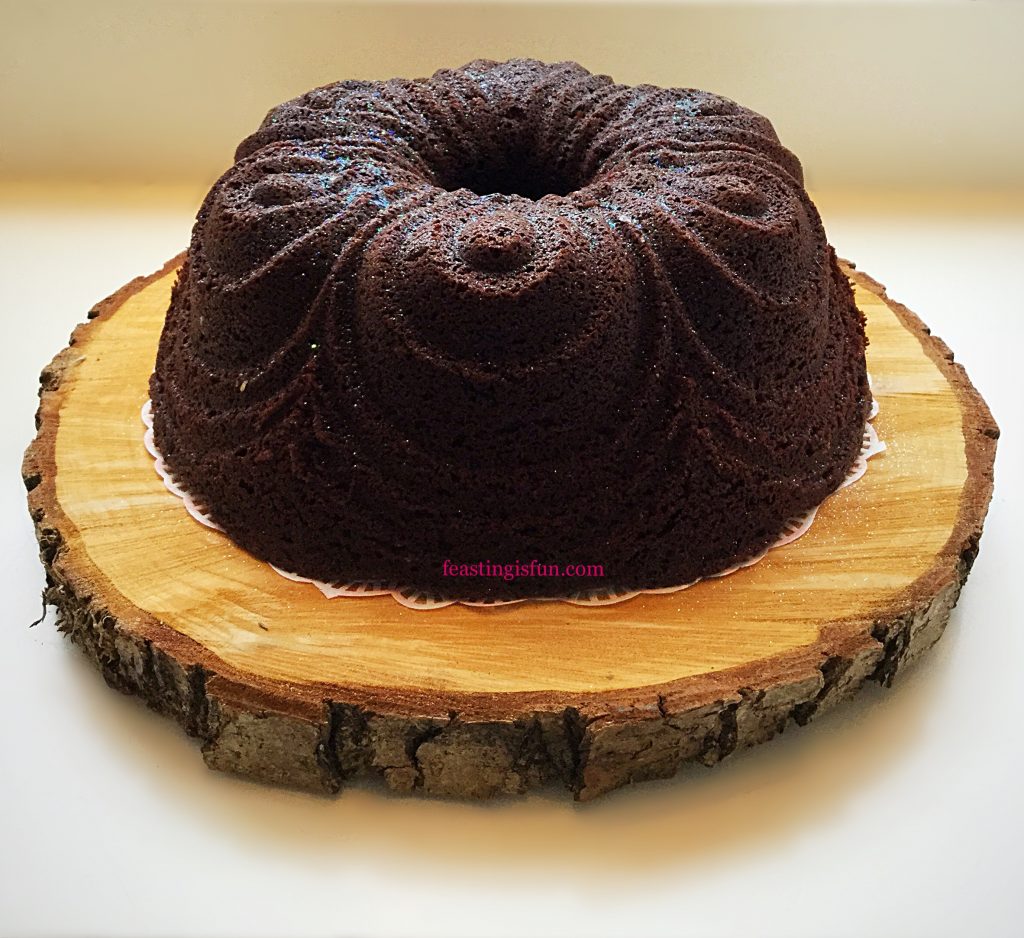
  • Finally, when cooled, place the cake on to a board or stand. Using a teaspoon, carefully sprinkle with glitter from a height.
FF Chocolate Cherry Chiffon Bundt Cake
Chocolate Cherry Chiffon Bundt Cake ready to serve.

The Finished Cake

Since this cake is so elegant, it could be used for any celebration, such as Christmas. Alternatively, if someone you know has a birthday, this cake would be a delicious surprise. And the addition of candles would simply make the cake sparkle more.

FF Chocolate Cherry Chiffon Bundt Cake
Chocolate Cherry Chiffon Bundt Cake.

Finally, to serve, slice and place on a pretty plate with a cake fork.

Store in an airtight container and eat within 5 days. Also, during warmer weather keep the cake refrigerated.

If you have enjoyed this recipe for Chocolate Cherry Chiffon Bundt Cake you may also like these:

Lemon Blueberry Bundt Cake

Lemon blueberry Bundt cake covered in a lemon glaze and decorated with small, white sugar flowers.
Lemon Blueberry Bundt Cake

Maple Syrup Iced Coffee Bundt Cake

Maple syrup iced coffee Bundt cake
Maple Syrup Iced Coffee Bundt Cake

Lemon Lime Gin Heart Bundt Cake

Lemon Lime Gin Heart Bundt Cake

Bundt pans are available in a wide variety of different shapes and designs. And, each pan creates a beautifully shaped cake without any extra effort required from the baker. While also allowing for creativity when decorating. Either with a simple dusting of icing sugar or glitter, or more precise icing, accentuating the features of each Bundt cake. Resulting in an exceptional, celebration worthy, unique cake every time.

So, whatever er you are making, baking and creating in your kitchens, enjoy preparing and sharing your feast.

Sammie xx

No part of this post may be reproduced or duplicated without the written consent on the owner. Please see my Disclosure Policy.

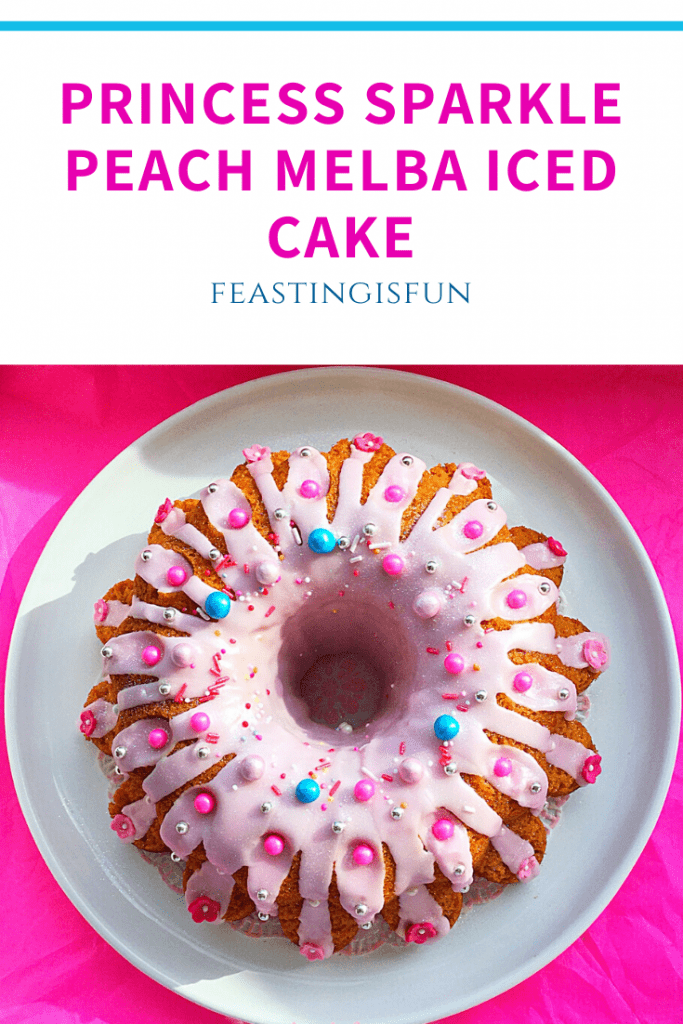
Princess Sparkle Peach Melba Iced Cake

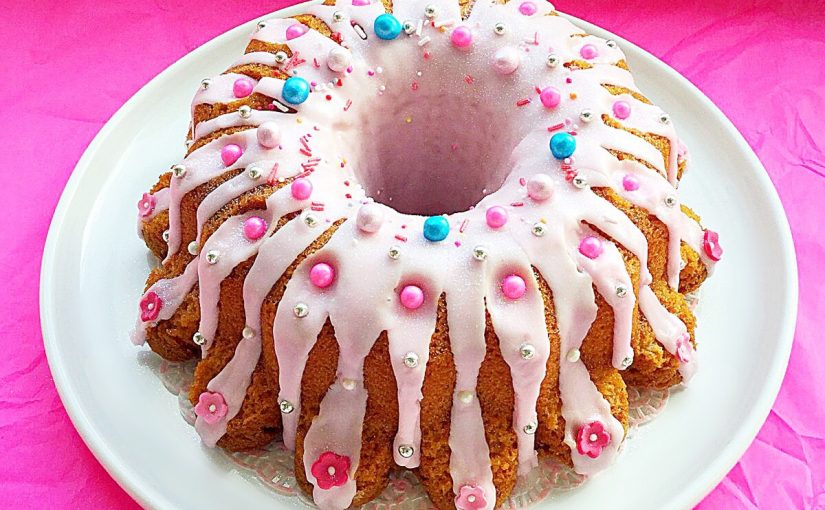
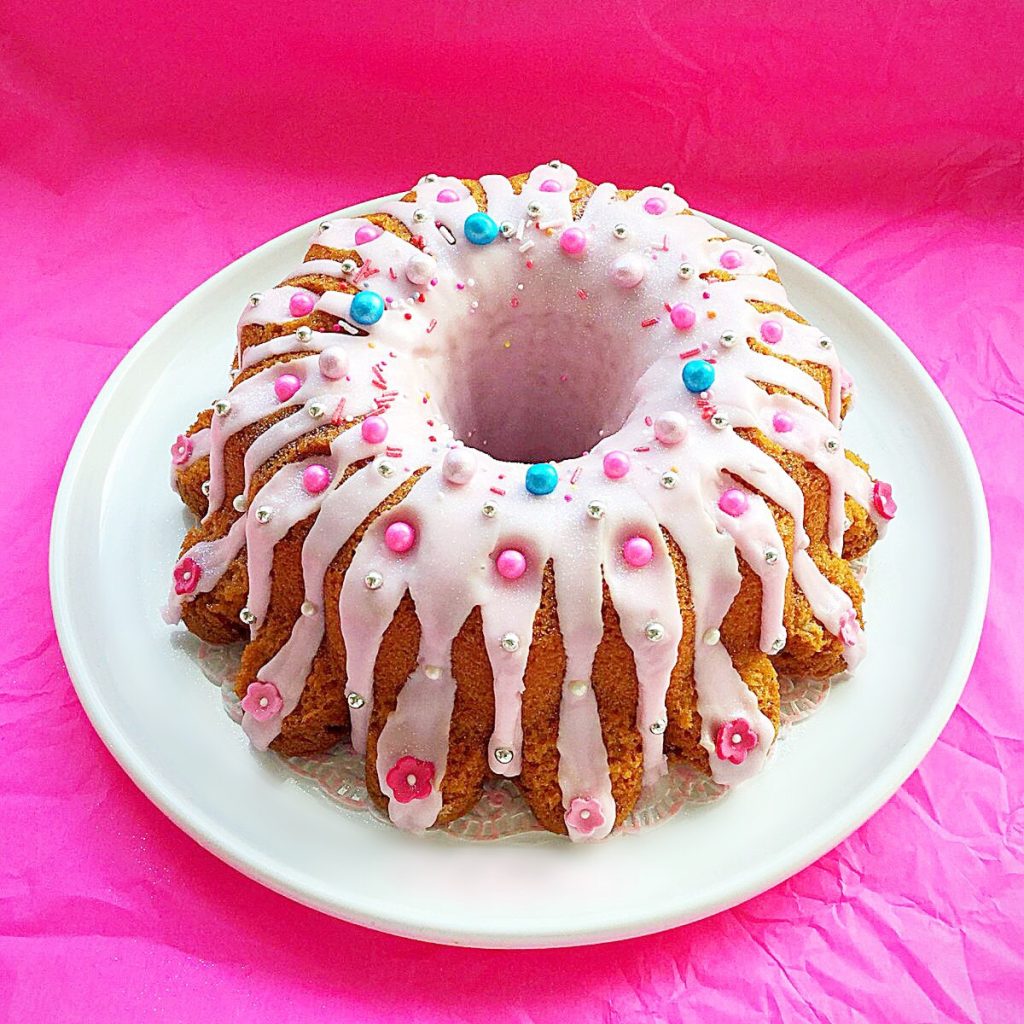
Today we celebrate National Pink Day.  It can seem as though there is a national day for just about anything. Whoever thinks these things up? Yet, as our girls have grown, passing through the ‘pink’ stage, I have grown to love the colour pink. Rather than the sickly pink birthday cakes of their toddler years this Princess Sparkle Peach Melba Iced Cake provides an elegant update. Tastefully decorated and delicious to eat.

While raspberry subtly flavours the cake itself, peach bellini icing creates the overall peach melba flavour. And, having a light,  fruity flavour, this cake really suits warm summer celebrations. Yet, you get to decide. If a fruity, glittering cake is needed, this cake fits the bill perfectly. A splash of colour and a sprinkle of sparkle may be what is needed at anytime of the year!

Princess Sparkle Peach Melba Iced Cake

Since this cake is both pretty and tasty it deserves to be shared. Fun and perfectly pretty, anyone who loves the colour pink will be thrilled with this cake. Also, this is the perfect cake for those who prefer fruity flavours, rather than chocolate ones. Or, for those of us who enjoy both, the combination of raspberry and peach is a refreshing change.

Perfect party cake.

Recipe: Princess Sparkle Peach Melba Iced Cake serves 10-12

250g/9oz Unsalted Butter

250g/9oz Caster Sugar

1/4tsp Salt – I use Maldon

1tsp Vanilla Extract – I use Nielsen-Massey

5 Large Free Range Eggs

2.5ml/ approx 1/2tsp or 50 drops of Natural Raspberry Flavour – I use Foodie Flavours natural flavouring drops

275g/10oz Plain White Flour

2tsp Baking Powder

400g Peach Bellini Flavoured icing sugar from Sugar and Crumbs

Food Colouring Gel – I used Wilton pink.

Assorted different sprinkles and dragee balls.

Preheat oven to 160C/140C fan, gas mark 3, 325F.

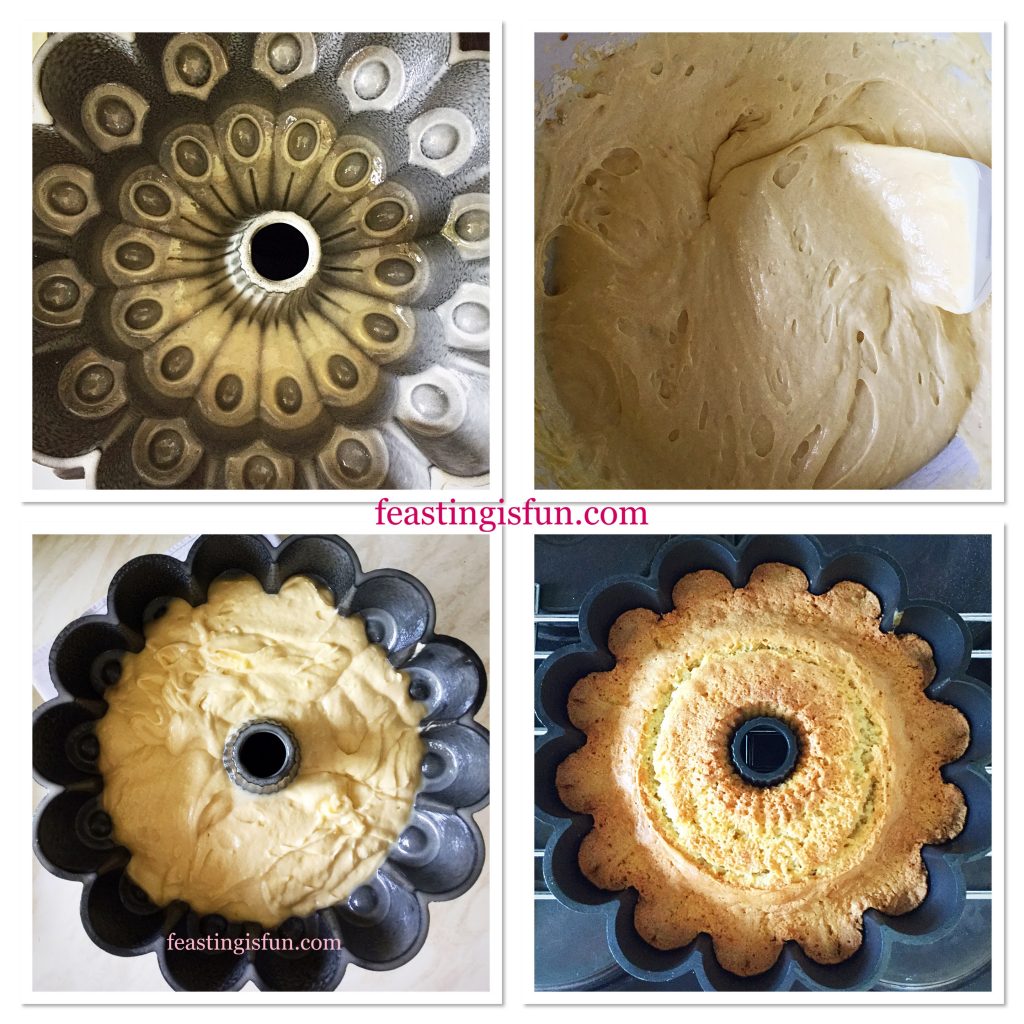
Note: This cake is baked in a 10 cup ring mould cake tin. If using a Bundt pan, a 10 cup size will also be needed.

Prepare the tin by spraying cake release spray thoroughly to the inside of the tin, using a pastry brush to ensure the cake release fully covers the inside of the tin. I recommend Wilton.

Making And Baking The Moulded Cake

  • Place the softened butter, salt and sugar into a large bowl. Whisk until pale, creamy and no grittiness can be detected, by rubbing a little of the mixture between your forefinger and thumb.
  • Next add the vanilla, raspberry flavour and all five eggs.
  • Finally sieve the flour and baking powder into the bowl.
  • Whisk slowly, until all of the ingredients have come together to form a cake batter.
  • Stir the cake batter with a spatula to fully combine.
  • Spoon the cake batter into the prepared tin. Ensure the top of the cake is level.
  • Place the cake tin into the centre of a preheated oven and bake for 55-65 minutes.
  • The cake is baked when it is a golden colour, starts to shrink away from the sides and an inserted skewer comes out clean.

FF Princess Sparkle Peach Melba Iced Cake

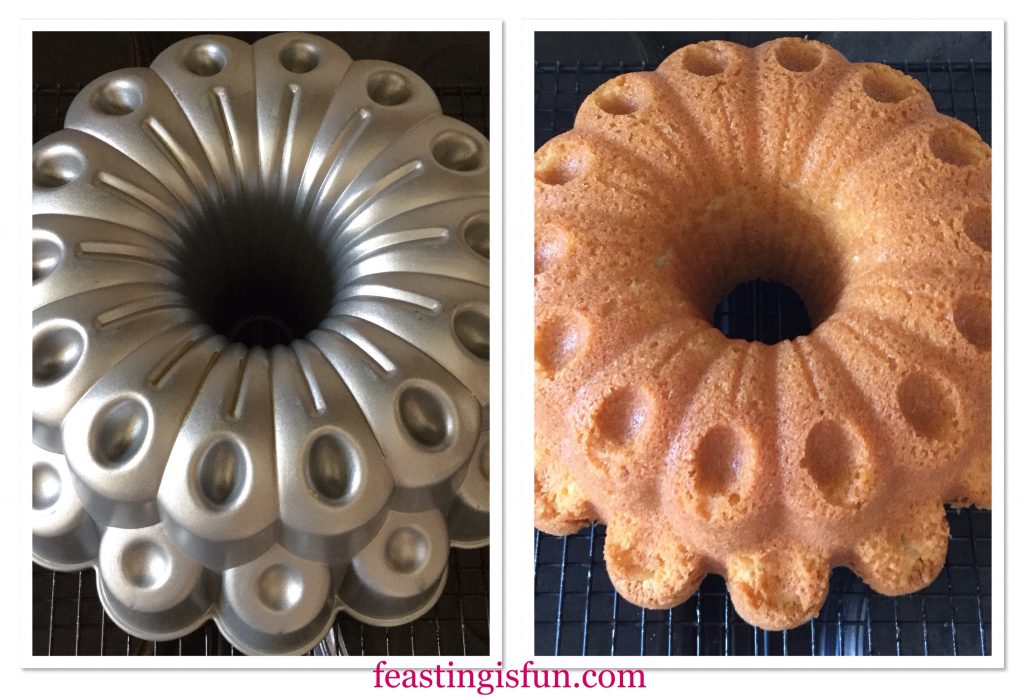
  • As soon as the cake is baked remove from the oven and leave to cool for ten minutes in the tin before turning it out.
FF Princess Sparkle Peach Melba Iced Cake
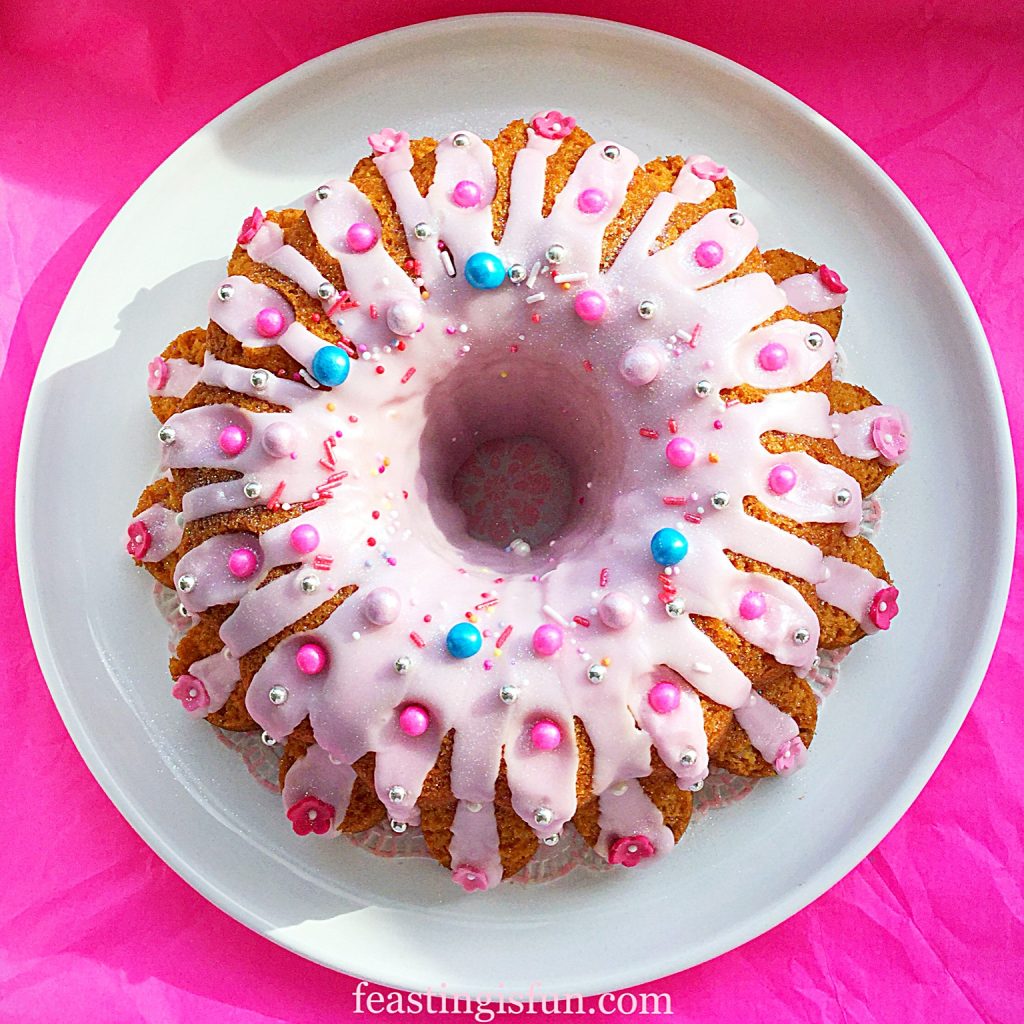
The detail of a ring mould or Bundt pan instantly gives this cake the wow factor.
  • Allow the turned out cake to fully cool before decorating.

Decorating The Princess Sparkle Cake

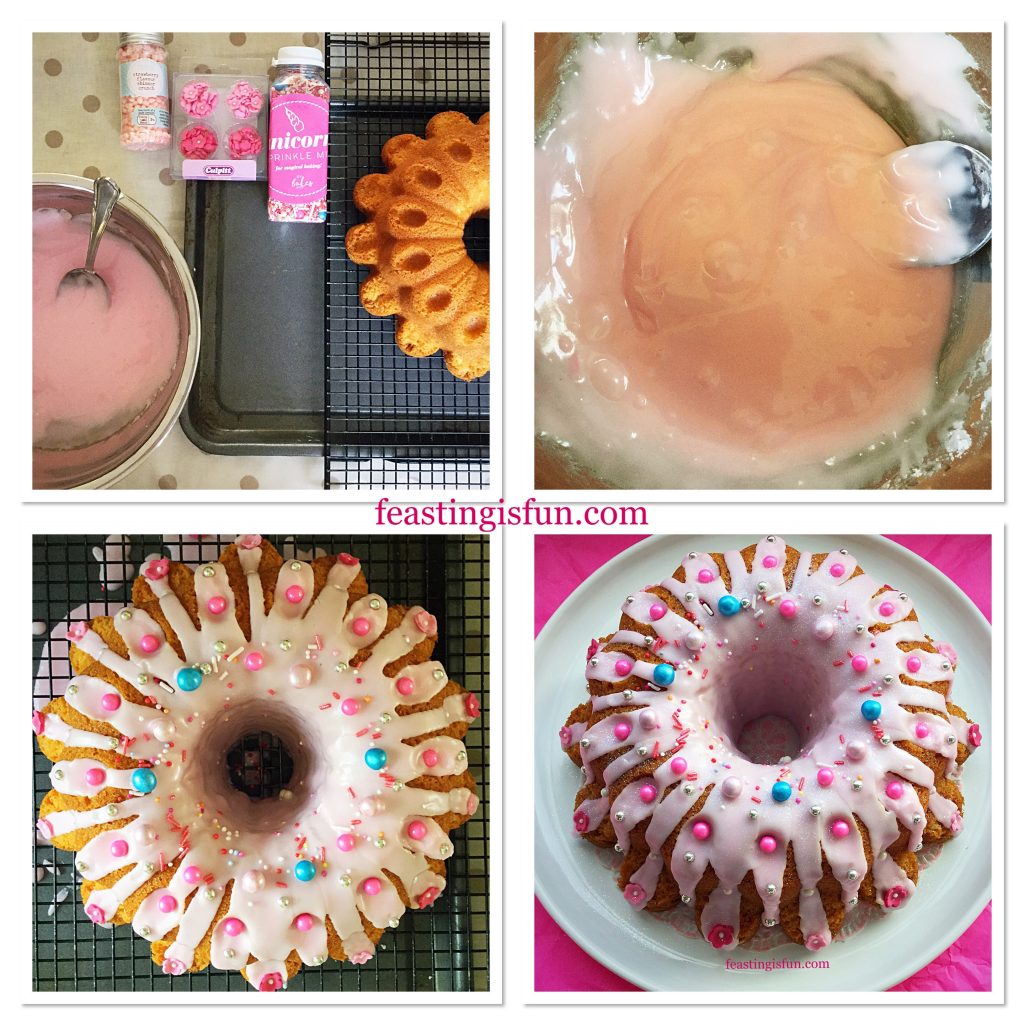
  • While the cake cools, assemble everything needed to decorate the cake.
  • Likewise the icing can be made.
  • Sieve the flavoured icing sugar into a bowl.
  • Add a few drops of water to the bowl and then, using a cocktail stick add a little of the coloured gel.
  • Stir, adding drops of water to reach the desired thick, yet just dripping, consistency.
  • Add extra colour now if required.
  • Mix thoroughly to ensure even colouring.
  • As soon as the cake is cooled place the cooling rack across a clean, large, baking tray.
  • Starting at the top of the cake, use a spoon to drizzle the icing.
  • Work with the shape of the cake. Using the icing is to enhance, and emphasise. Also it aids the addition of sprinkles.
  • As soon as the icing is finished decorate with sprinkles. Press the larger balls and flowers into the icing as it sets.
  • Finally, place the fully decorated cake on to a plate, board or cake stand and leave to fully set.
FF Princess Sparkle Peach Melba Iced Cake
Bringing the Princess Sparkle Peach Melba Iced Cake to life.

Take a moment to look at your outstanding creation. Made by you. However the cake that you’ve designed turns out, it will be unique. Because, no other cake can impart the love and flair given while making this.

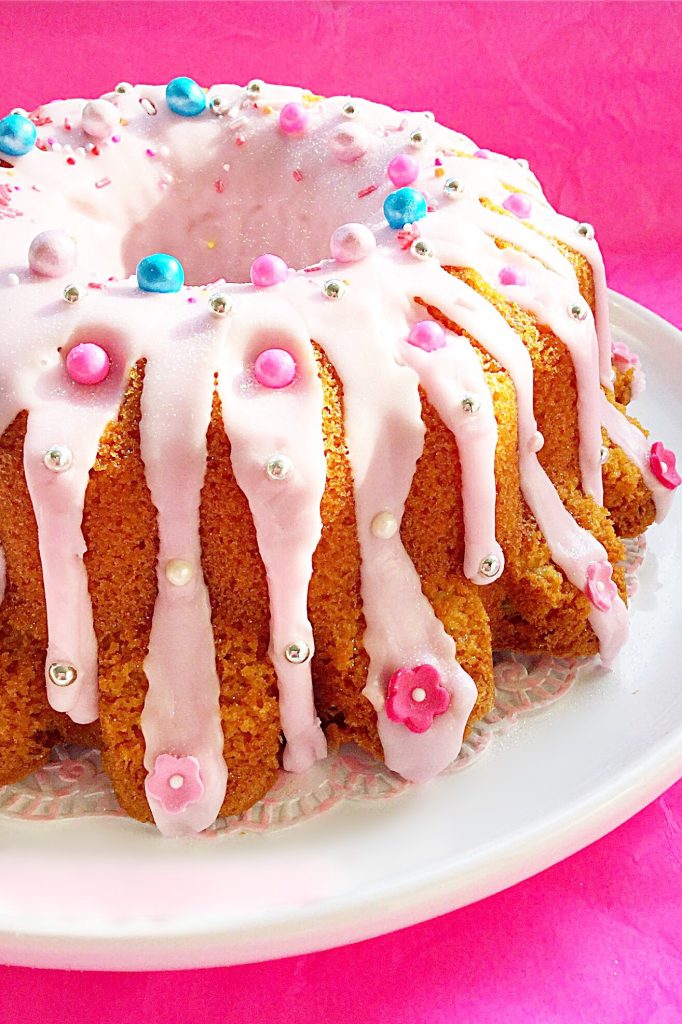
Princess Sparkle Peach Melba Iced Cake

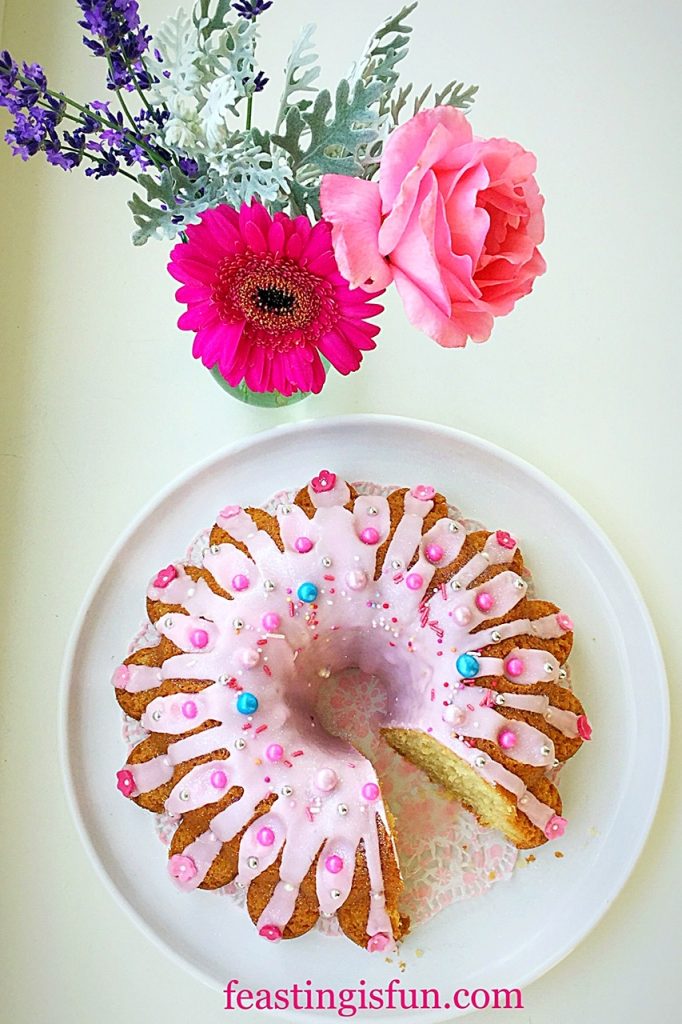
Serve this cake as party centre piece, for your princess or at a beautiful afternoon tea.

If you have enjoyed this recipe for Princess Sparkle Peach Melba Iced Cake you may also like these:

Strawberry Chocolate Vanilla Drip Cake

Strawberry Chocolate Vanilla Drip Cake

Lemon Lime Gin Heart Bundt Cake

Lemon Lime Gin Heart Bundt Cake

Chocolate Heart Topped Rose Bundt Cake

Chocolate Heart Topped Rose Bundt Cake

Finally, I highly recommend investing in a ring cake tin or a Bundt pan. Since they create a unique, baked cake canvas on which to decorate. While there are many ways to decorate a cake, the shape of moulded tins and Bundts create an instant beautiful shape. Most importantly, if you are not a confident cake decorator, they are a wise investment.

So, whatever you are making, baking and creating in your kitchen, have fun preparing and sharing your feast.

Sammie xx

No part of this post may be reproduced or duplicated without the written permission of the owner. Please see my Disclosure Policy.
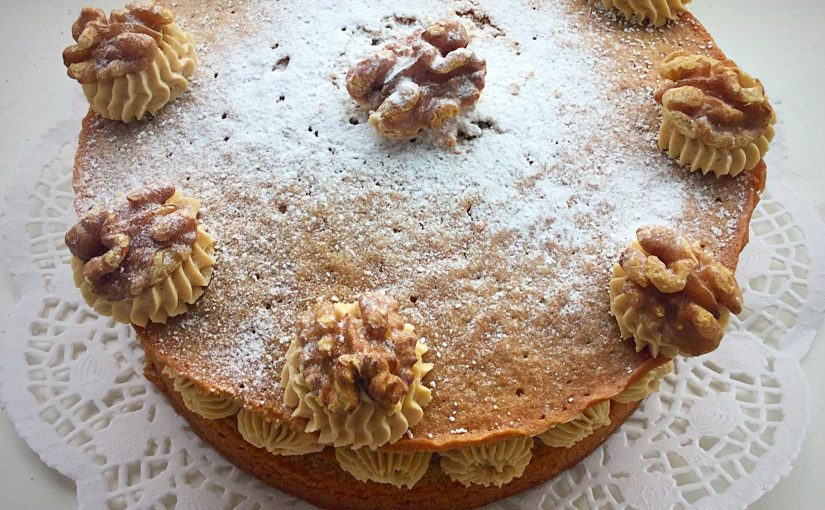
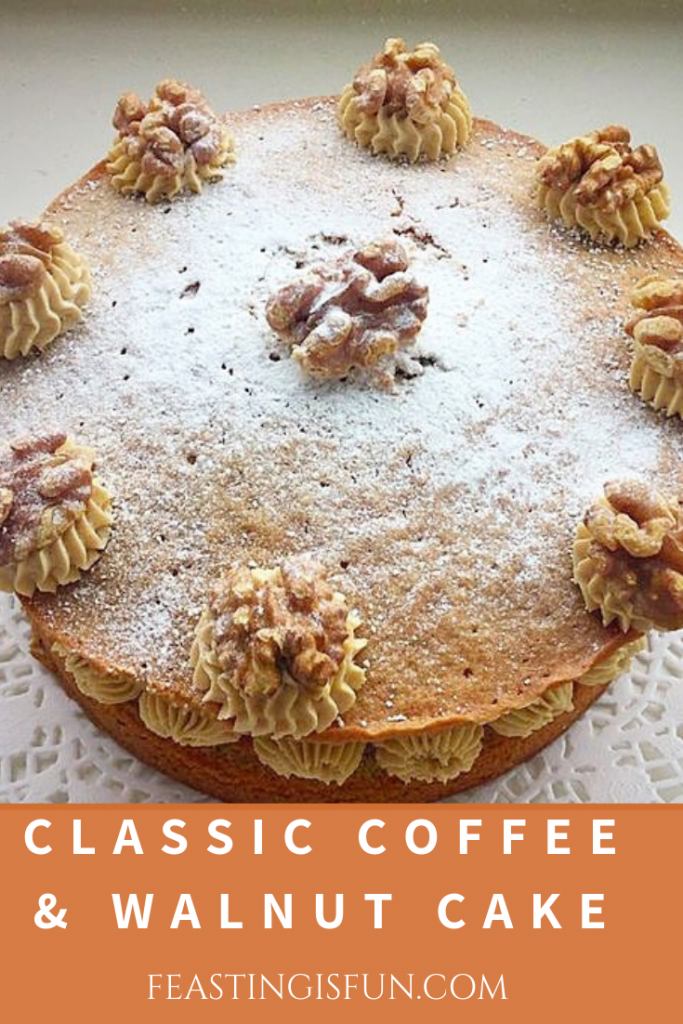
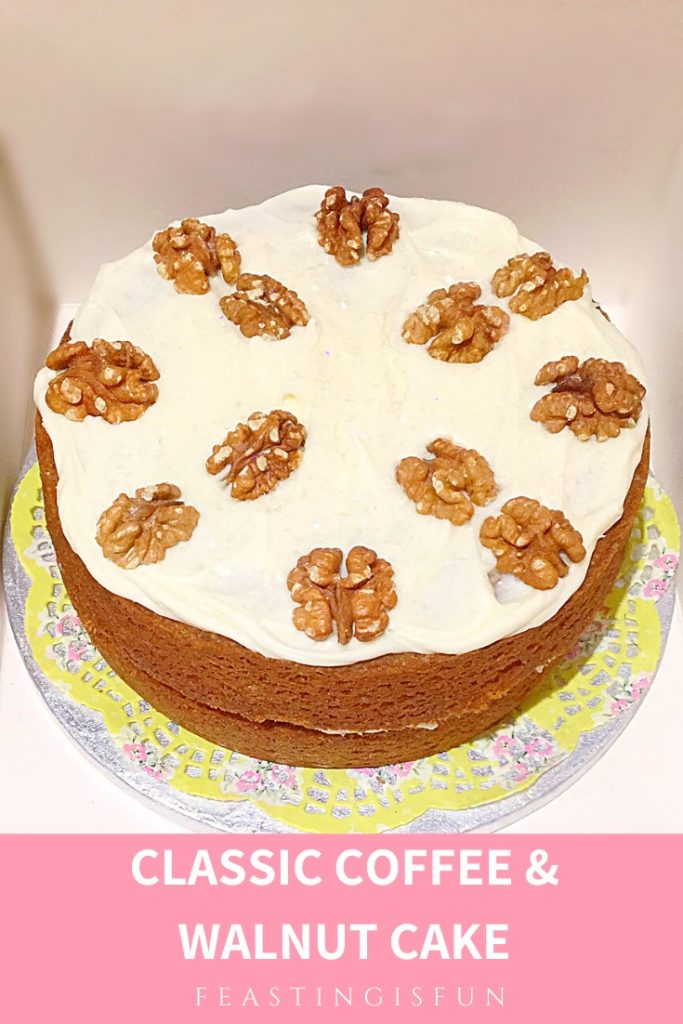
Classic Coffee Walnut Cake

There are many classic flavour combinations; strawberries and cream, rhubarb and custard, apple and cinnamon. And they don’t need tinkering with because they work so well together. Rather like this delicious Classic Coffee And Walnut Cake.

FF Classic Coffee Walnut Cake

However, recently a few people have asked if I have a Classic Coffee Walnut Cake recipe and while it’s a cake that I’ve baked many times over the years, I realised it wasn’t on here. So, in a attempt to rectify that and make my Father in law’s favourite cake, here it is.

FF Classic Coffee Walnut Cake
Classic Coffee Walnut Cake a real treat.

Baking Cakes To Share

While I tried to make this cake relatively small as it will be shared between two people, in reality I failed! Although this cake was baked in my small 7 inch sandwich tins, I have packed so many walnuts into the centre, this Classic Coffee Walnut Cake will easily feed 8 people!

Alternatively, if you would prefer a slightly smaller cake (don’t laught at me) I suggest cutting down on the walnuts, not the cake!

FF Classic Coffee Walnut Cake
Classic Coffee Walnut Cake a delicious thank you gift.

Baking; A Form Of Therapy

Hubby is, as I write this, undergoing a hospital procedure and as a way of distracting myself and thanking my wonderful in laws for taking him, I made this cake. Also I’m trying to distract myself by writing this post. Although, I’ll have to see how much editing is needed at the end to know how well I managed.

As I mentioned I have made lots of coffee and walnut cakes over the years and I do usually add chopped walnuts to the cake batter. Yet, in this instance, especially as the cake sponges are quite small, I decided to pack chopped walnuts into the centre of the sandwich cake. Because this cake was made to be given away, now I’ve made it I really fancy a slice! Expect another coffee cake recipe on here soon.

FF Classic Coffee Walnut Cake
Classic Coffee Walnut Cake plenty of delicious, toasted, chopped walnuts fill the centre of this cake.

The Beauty Of Buttercream Icing

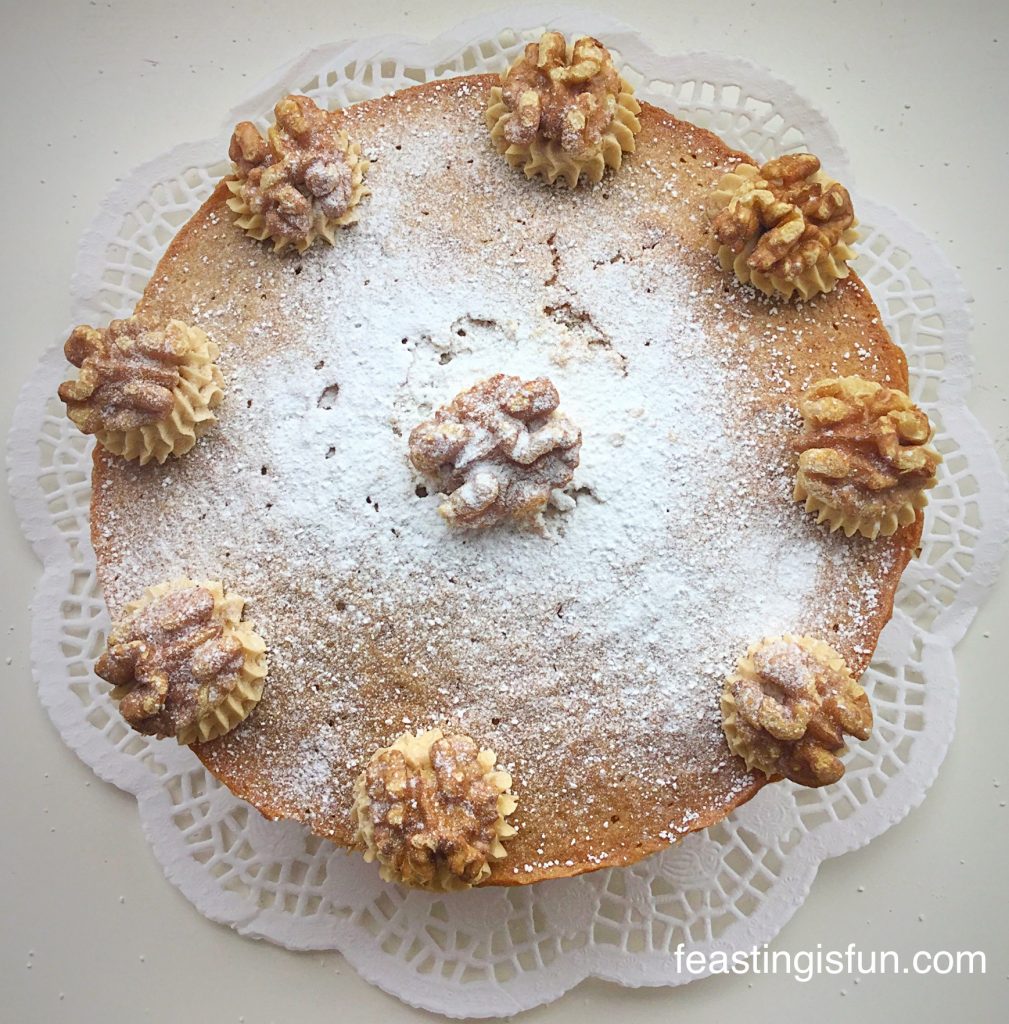
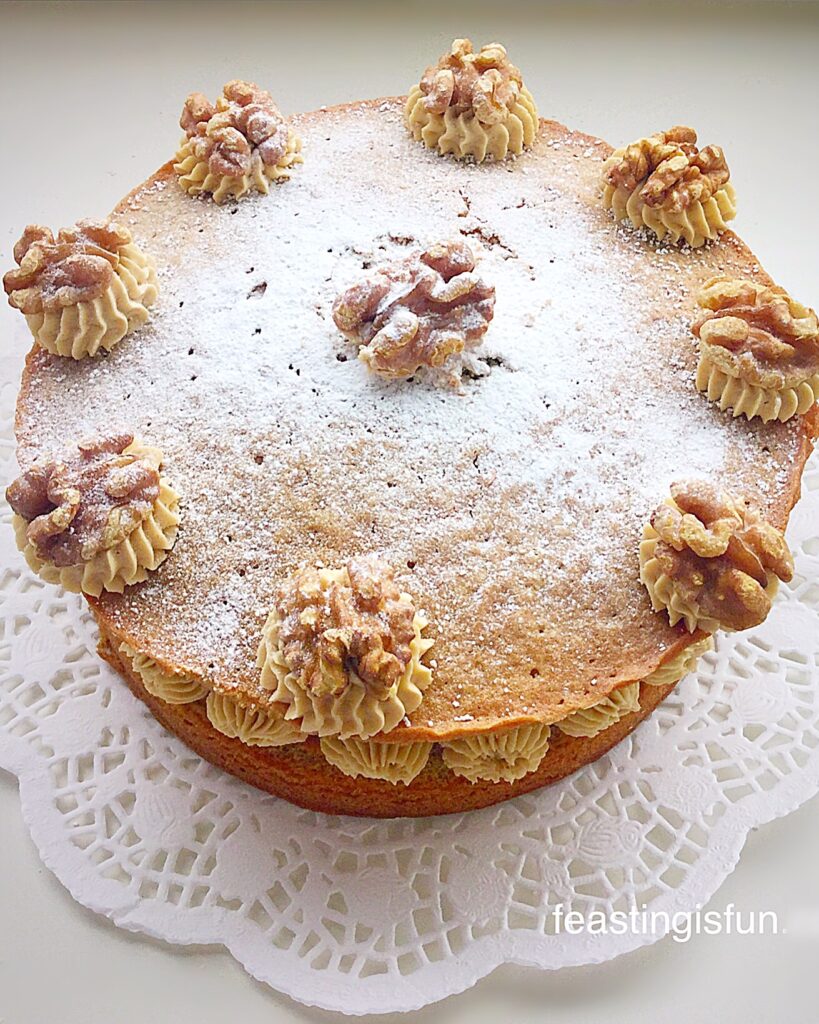
Also, I made a mistake whilst decorating this cake. After piping the 8 swirls around the edge, I piped a monstrously hideous circle in the centre. While I photographed the cake I became more and more disheartened by this huge swirl of buttercream spoiling the look of the cake. Fortunately, this is where buttercream is a dream to work with, using a small palette knife it lifted right off the cake. And I then dusted the cake with icing sugar and replaced a single walnut half, with a dob of buttercream in the centre.

Sometimes less is more (never with glitter) and that was definitely the case with this Classic Coffee Walnut Cake.

I have shown you a photograph of the centre of the cake as this could easily be the top. However, if you aren’t confident piping buttercream just use half in the middle and spread half on top of the cake. There are plenty of walnuts in the recipe, enough for you to chop and cover both the middle and top layers and your cake will still look delicious and inviting.

Recipe: Makes one Classic Coffee Walnut Cake – serves 8

For the cake sponges:

150g/5oz Unsalted Butter

150g/5oz Caster Sugar

3 Large Free Range Eggs

2tsp Instant Coffee dissolved in 2tbsp/30ml boiling water

1tsp Vanilla Extract I use NIELSEN-MASSEY

1/4tsp Salt – I use Maldon

150g/5oz Plain Flour – self raising can be substituted DO NOT add extra baking powder

1tsp Baking Powder

For the buttercream:

2tsp Instant Coffee liquid – leftover from sponge recipe (or 1tsp vanilla extract)

150g/5oz Unsalted Butter

300g/11oz Icing Sugar Sifted plus 2 teaspoonful for dusting the cake

125g/4.5oz Walnut Halves

Method: preheat oven to 160C/140C fan, gas mark 3, 325F

Making And Baking The Coffee Cake Sponges

  • First of all butter 2 x 7″ (17cm) sandwich tins and line with baking parchment.
  • Place the instant coffee into a cup and add 30ml of boiling water. Stir to dissolve and set to one side to cool.
  • In a large bowl add the butter and sugar. Whisk/beat until pale and creamy.
  • Next add the 3 eggs, vanilla extract and 3 teaspoons of the cooled liquid coffee. Whisk/beat for 2 minutes until combined.
  • Sift the flour, baking powder and salt into the bowl.
  • Fold the dry ingredients into the wet until just incorporated. This will ensure a very light sponge.
  • Divide the batter equally between the 2 prepared cake tins. Use may use digital scales to ensure your quantities are even, or just eyeball it as I did.
FF Classic Coffee Walnut Cake
Two coffee cakes ready for the oven.
  • Bake the cakes in the centre of the oven for 25-30 minutes.
  • The sponges are baked when they are golden brown and spring back from a light touch.
  • As soon as the cakes are baked remove from the oven, place the tins on a cooling rack and leave to cool in the tins for 10 minutes.
FF Classic Coffee Walnut Cake
Beautiful cooked coffee cakes.
  • When they are cool enough to handle turn the cakes out of their tins, ensuring one sponge is the right way up, for the top of the cake.
  • Allow the turned our sponges to cool completely before assembling the cake.
  • Place the walnut halves on to a baking tray and place in the hot oven for 5 minutes to toast. Remove and leave to cool on the baking tray.

Making The Icing And Decorating The Coffee And Walnut Cake

  • Place the butter, sifted icing sugar and 3 teaspoons of liquid coffee into a large bowl.
  • Whisk until pale and creamy. Taste the buttercream, add more coffee if desired.
  • When cooled place the bottom half of your cake, flat side up, onto a cake stand or board.
  • Using a palette knife spread half of the buttercream over the sponge, not quite reaching the edges.
  • Set aside 10 nice walnut halves to decorate the top of the cake ( it’s always good to have one spare).
  • Roughly chop the remaining walnuts and place on top of the buttercream.
  • Place the top half of you cake, rounded side up, on top of the bottom half.
  • Fit an icing bag with a French star tip (or whatever tip you prefer).
  • Fill the icing bag with the remaining buttercream.
  • Pipe 8 small swirls equally around the top edge of the cake. Pipe the same small swirl in the centre.
  • Top the buttercream swirls with walnut halves.
  • Pipe little swirls around the middle of the cake, where it is sandwiched together for a pretty finish.
  • Dust with a little icing sugar.

Classic Coffee Walnut Cake such a beautifully delicious, easy cake to make and the perfect gift for any coffee cake lover.

Store the cake in an airtight container, in the fridge during hot weather. Eat within four days.

Thank you

I love my husbands parents very much. Hubby and I will be celebrating our 20th wedding anniversary this year. My relationship with my in – laws has not always been smooth or plain sailing. We have been through a lot together and I honestly love and respect them as if they were my own parents.

Thank you Ma and Pa, we couldn’t have gotten through the last 20 years and especially the last year without you x.

I really enjoy baking for other people. It’s such a fantastic feeling when you see the look of surprise and joy on their face when I give them a cake, or whatever goody I have baked. Finally, hubby should be home soon and I have managed to keep myself distracted whilst he has been gone.

Do you enjoy baking for others?

If you’ve enjoyed this Classic Coffee Walnut Cake then you may also want to take a peek at these recipes:

Raspberry Almond Cream Cake

FF Raspberry Almond Cream Cake
Raspberry Almond Cream 

Baileys Coffee And Walnut Cake

Bailey’s Coffee And Walnut Cake
Baileys Coffee And Walnut Cake

Strawberry Sweetheart Cake 

MT Strawberry Sweetheart Cake
Strawberry Sweetheart Cake

I’d love to see photos of any bakes that you have made as gifts. Please pop a pic on Twitter or Instagram and tag me in. Likewise, do you have a story linked to a special bake? Also tell me about it in the comments section, I love reading all of your comments.

So, whatever you are making, baking and creating in your kitchens, have fun preparing and sharing your feast.

Sammie xx

No part of this post may be reproduced or duplicated without the written permission of the owner. Please see my Disclosure Policy.
 

The cake below features vanilla icing and a sprinkle of edible holographic glitter. Substitute the coffee in the buttercream icing recipe for one teaspoon of vanilla extract. While the addition of sparkles is your choice!


Vanilla buttercream iced coffee and walnut cake finished with edible holographic glitter.

Chocolate Amaretto Cake

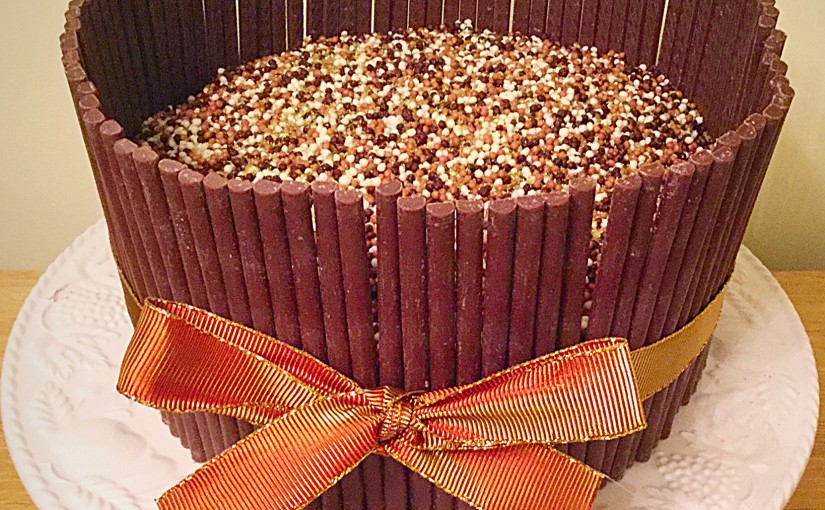
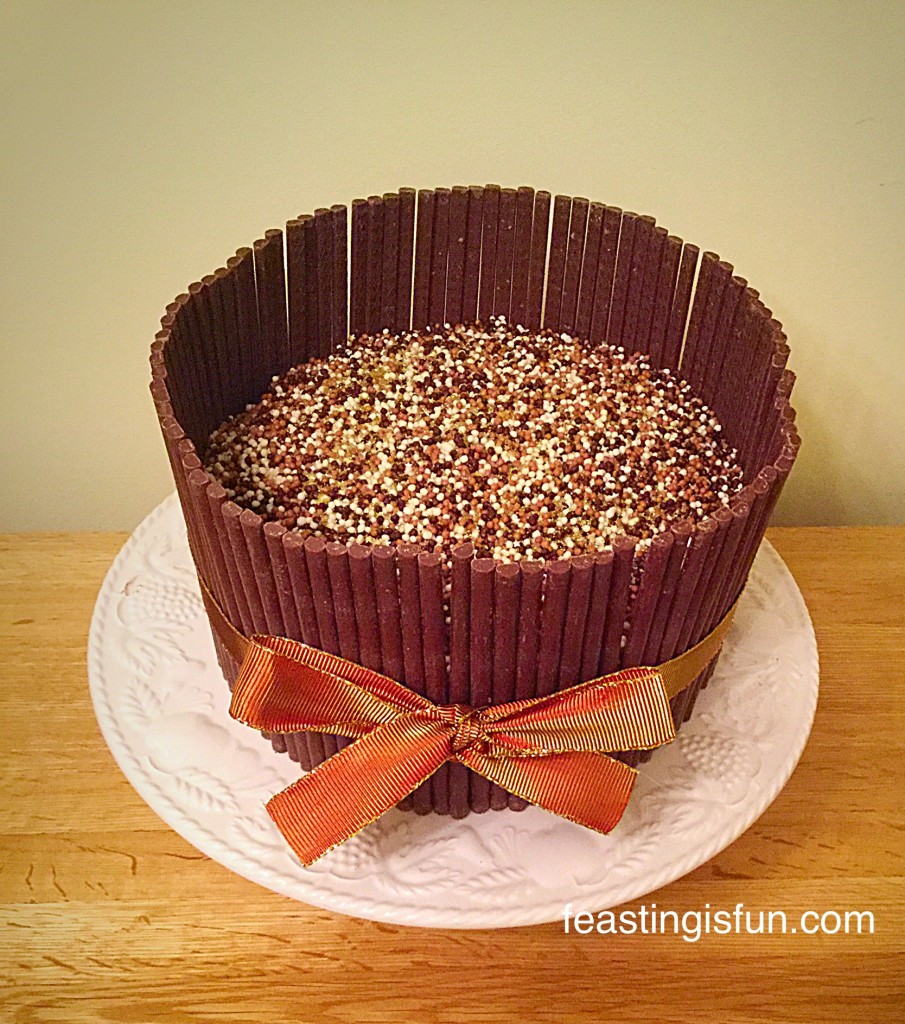
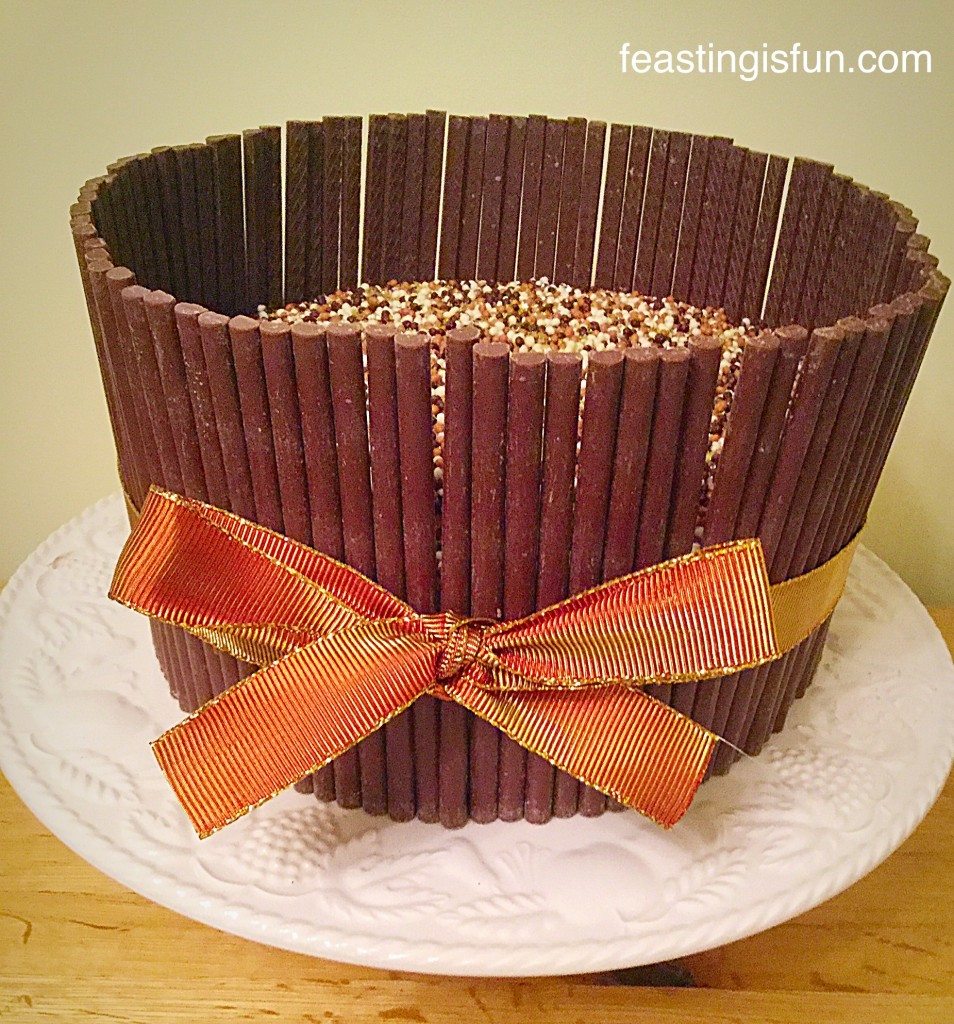
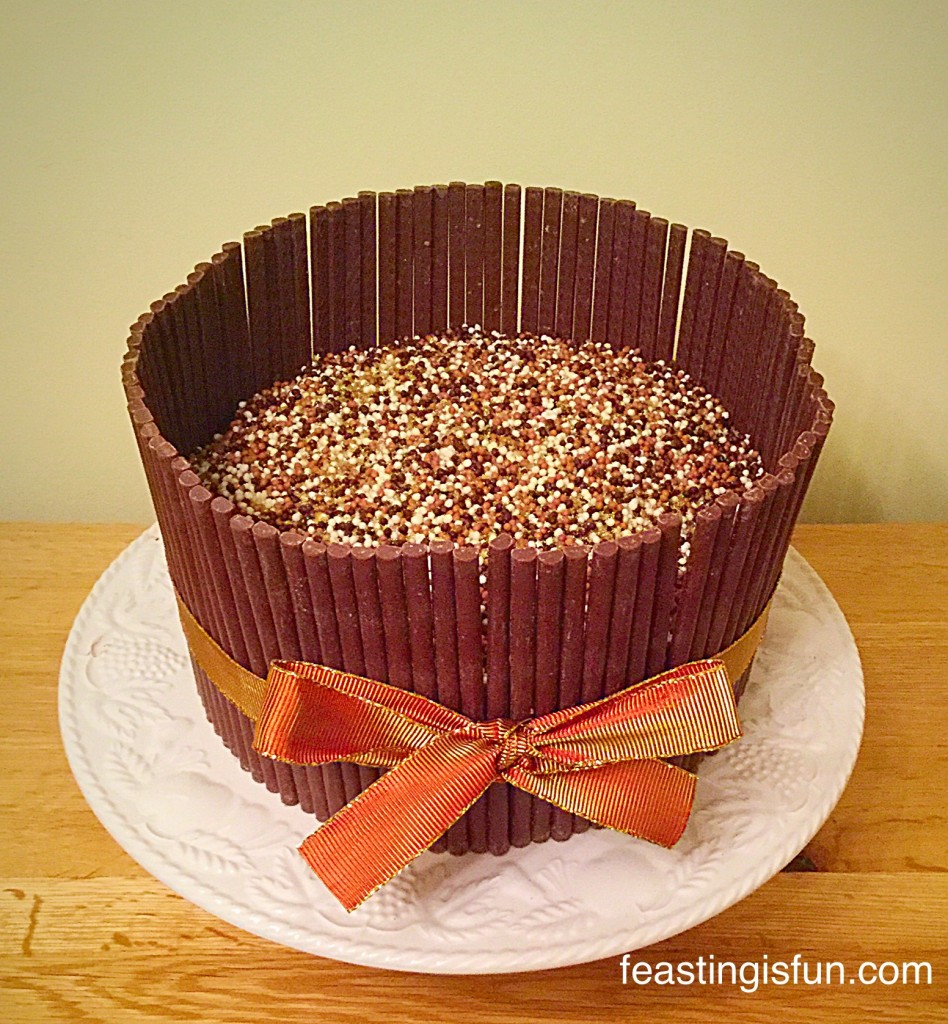
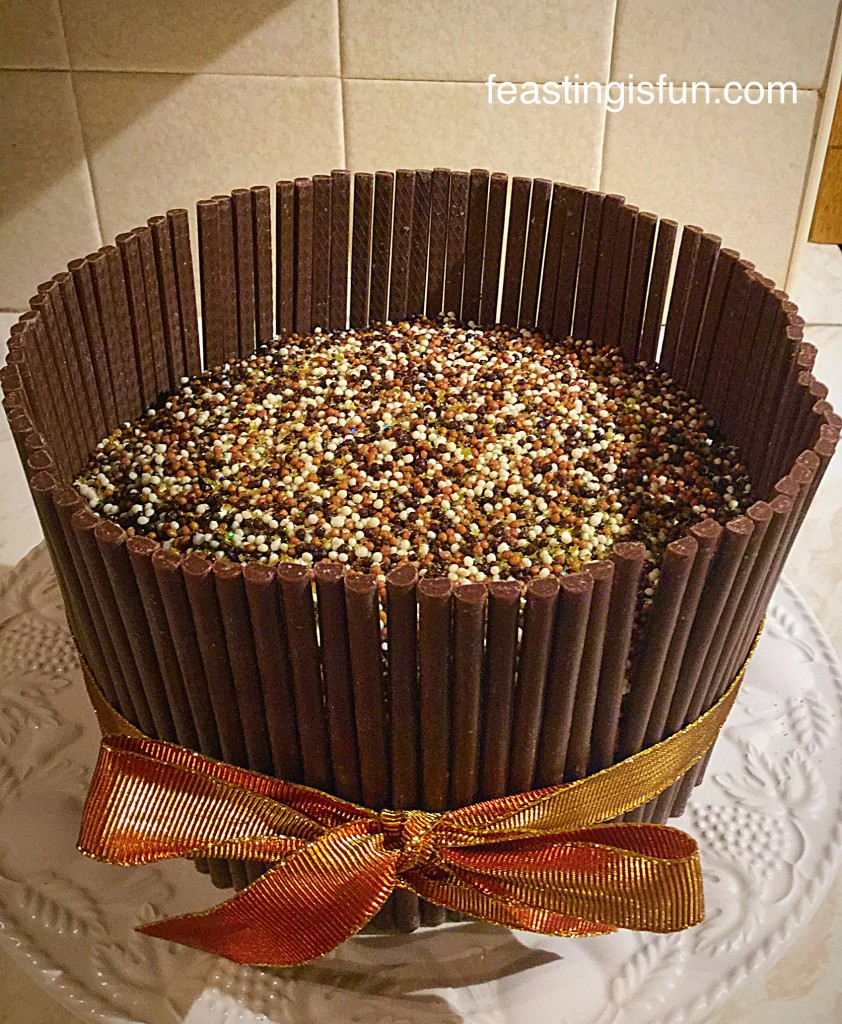
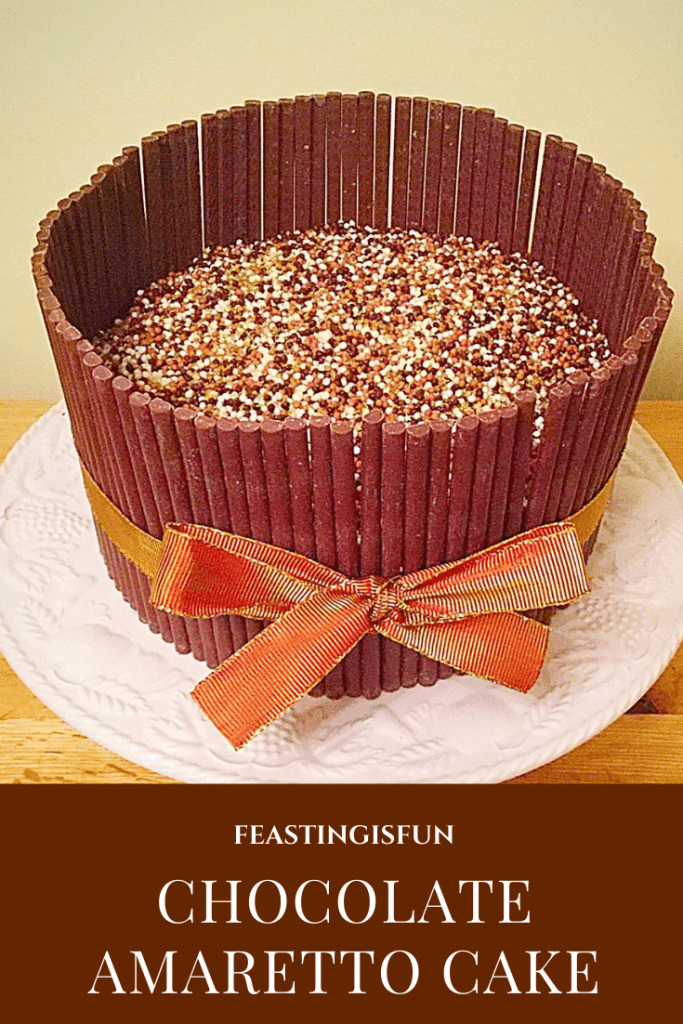
Chocolate Amaretto Cake is the easiest, wow factor cake, you ever need to make. Delicious, moist, almond and chocolate sponge, covered in chocolate, Amaretto whipped cream and surrounded by Elizabeth Shaw amaretto flavoured chocolate flutes. Finally, tied together with a pretty ribbon!

Elizabeth Shaw Chocolate Amaretto Cake
Chocolate Amaretto Cake the perfect ‘wow factor’ cake for any celebration.

This delicious cake is subtly flavoured with Amaretto liquer. While the delicious Elizabeth Shaw amaretto flutes surround the whipped, chocolate cream, covered chocolate cake.

Following on from the beautifully piped Strawberry Sweetheart Cake I wanted to create a cake that anybody could make, regardless of their cake decorating ability. And with Mother’s Day being celebrated in only one weeks time, this is the perfect cake to make for your mum, as a surprise, a thank you for everything she has done for you.

Most importantly, I cannot think of a better gift for any mum to receive that is better than a homemade cake and this Chocolate Amaretto Cake is sure to wow any mum, or dad!

Elizabeth Shaw Chocolate Amaretto Cake
Chocolate Amaretto Cake where almonds and chocolate blend together in perfect harmony.

A Cake That Can Be Made By Anyone – no matter their skill level!

Look even though I am going to give you the recipe for this cake, I want you to absolutely KNOW, that you can create this knockout cake, without any culinary skills what-so-ever. So, just this once, if you feel more confident using a cake mix from a box, I’ll turn a blind eye.

Yes I did really give you permission to cheat. Because, everyone has to start somewhere and I’d rather you used a packet mix and gave this cake a go, than be too overwhelmed by the whole ‘baking’ process to even try.

Most importantly, make sure you bake the cake, whatever recipe/packet mix you use, in a deep 8 inch round cake tin and regardless of how much cake mixture you have, only fill the tin two thirds full. And use any spare cake batter up, by baking a few cupcakes, once the main cake is baked.

Elizabeth Shaw Chocolare Amaretto Cake.
Chocolate Amaretto Cake as delicious as it is beautiful.


Home Baked With Lots Of Love

As a mum myself, receiving home made gifts is always very special. I was given a three layered Victoria Sponge Cake a couple of years ago. So, following orders to keep out of my beloved kitchen, I returned home to a wonderful smelling house, but a very frazzled husband.

After baking two sponge layers with the children, followed by shopping for more self raising flour that ‘worked’, another two layers were baking beautifully in the oven. And then crisis point hit, when the children removed these from the oven and declared them a disaster.

Finally, I was allowed back into the kitchen to try and help. The sponges were perfect and had risen beautifully. The problem was simply that instead of using my 6 inch sponge tins, they had used my 9 inch spring form pans! So of course the cake batter spread further, but was still perfectly usable.

Since I’d declared the cakes edible our children immediately spread Nutella on one sponge and devoured it, purely for research purposes. I was then presented with a three layer sponge cake that I have to say, not only tasted fantastic, but meant more to me than anything they could have bought.

Elizabeth Shaw Chocolate Amaretto Cake
Look how this Chocolate Amaretto Cake Sparkles under the spotlights.

Any mum would be thrilled to be given this Chocolate Amaretto Cake for Mother’s Day, birthday, or just because I love you mum day!

Recipe: Makes one Chocolate Amaretto Cake serves 12

For the cake:

225g/8oz Soft Light a Brown Sugar

225g/8oz Unsalted Butter – at room temperature, plus a little extra for greasing the cake tin.

1tsp Vanilla Bean Paste – I use Nielsen-Massey 

1/2tsp Almond Extract

6 Large Free Range Eggs

200g7oz Plain White Flour – plus 1tbsp extra for dusting the cake tin

75g/3oz Cocoa Powder

1/4tsp Salt – I use Maldon Sea Salt

2.5tsp Baking Powder

50ml/2fl oz Whole Milk

For the frosting:

350ml/12 fl oz Double Cream

100g/4oz Dark Chocolate – I used Elizabeth Shaw Dark Chocolate Crunch Bar

1tbsp Amaretto Liquer – or 1tsp Almond Extract

For the chocolate edging and topping:

4 Packets of Elizabeth Shaw Amaretto Flutes

200g/7oz Chocolate Crispearls or one box of Elizabeth Shaw Sharing Crisp Assortment

Optional – Edible glitter – I used gold holographic as it toned with my colour theme.

Suitable length of ribbon to tie around your cake

Making The Cake

Preheat the oven to 170C/150C fan, gas mark 3, 325F.

  • Grease an 8 inch round cake tin with butter. Line the base with baking parchment cut to size. Add 1tbsp of flour to the cake tin and turning the tin on it’s side, over the sink, rotate the tin, tapping as you do, so that the flour coats the sides of the tin. Tip any excess flour out into the sink.
  • Place the sugar and butter into a large bowl.
  • Whisk for 5 minutes until creamy and smooth.
  • Add the vanilla bean paste/extract and almond extract.
  • Sift the flour, cocoa powder, baking powder and salt into a separate bowl – dry ingredients.
  • Add 1/3 of your dry ingredients and 3 eggs to the creamed butter/sugar mixture.
  • Mix slowly until the ingredients are combined.
  • Repeat the last 2 steps.
  • Add the milk and the last 1/3 of the dry ingredients to the bowl.
  • Mix slowly until nearly combined.
  • Switch to a metal spoon or a spatula and mix the cake batter by hand until thoroughly combined.
Elizabeth Shaw Chocolate Amaretto Cake
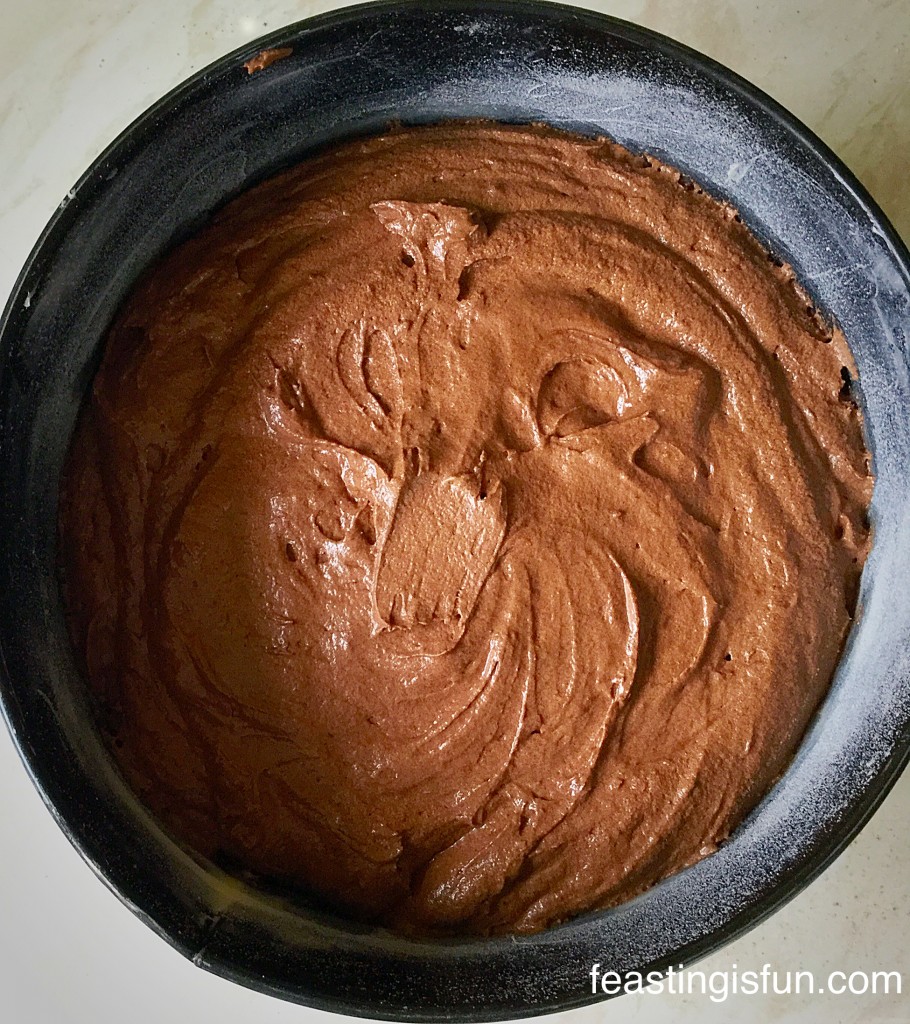
Chocolate Amaretto Cake batter in the tin ready for the oven.

Baking The Cake

  • Place the cake tin into the centre of the oven.
  • Bake for 50 minutes – 1 hour.
  • The cake is baked when an inserted skewer comes out clean.
  • As soon as the cake is baked remove from the oven.
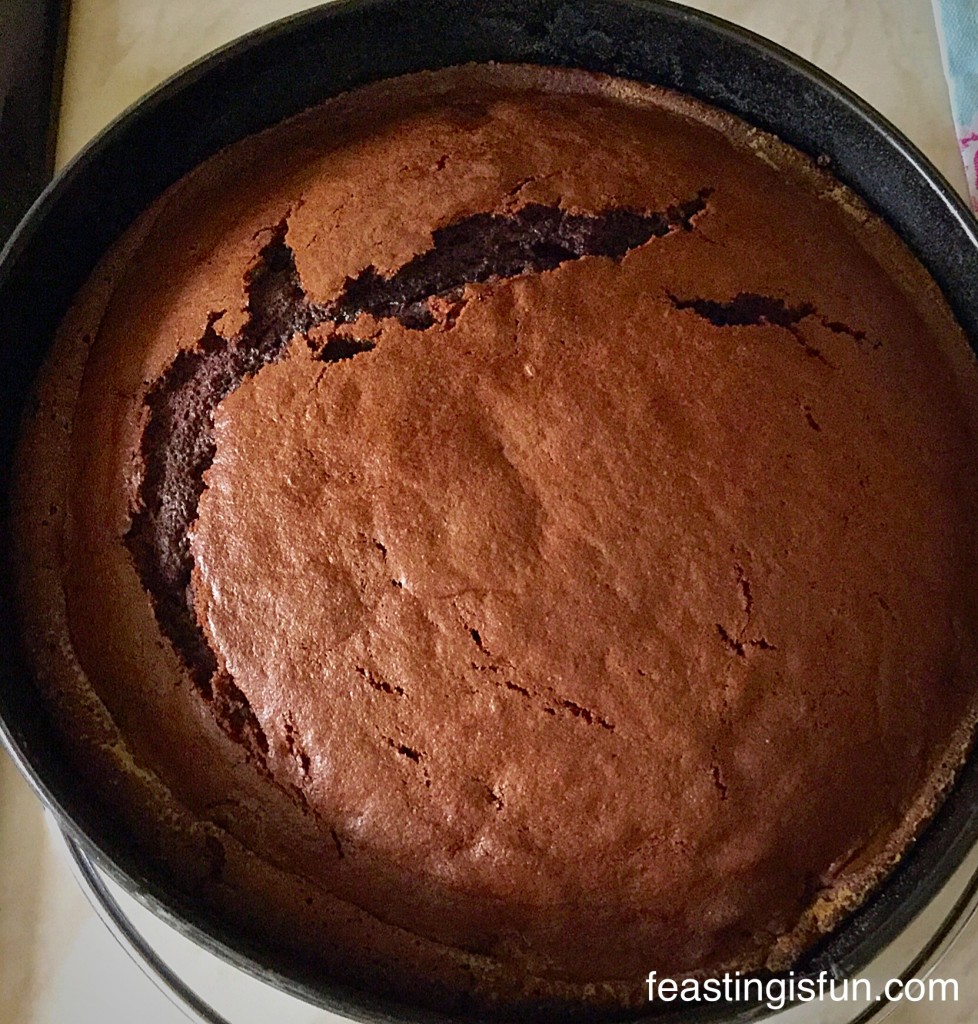
Elizabeth Shaw Chocolate Amaretto Cake
Place the cake tin with the Chocolate Amaretto Cake onto a trivet or cooling rack.
  • Allow the cake to cool completely in the tin.
  • Don’t worry if the top has a small crack.
  • Once cooled turn the cake out onto a cake board or stand, so that the bottom of the cake is now the top.
  • Peel away the baking parchment carefully.

Making The Chocolate Amaretto Ganache

  • Break up the chocolate bar and place in a heatproof, microwaveable bowl.
  • Zap for 20 second bursts, in the microwave, stirring in between each zap, until the chocolate has melted. Set to one side to cool a little.
  • Pour the double cream into a large bowl and whisk until the cream just starts to thicken and hold it’s shape.
Elizabeth Shaw Chocolate Amaretto Cake
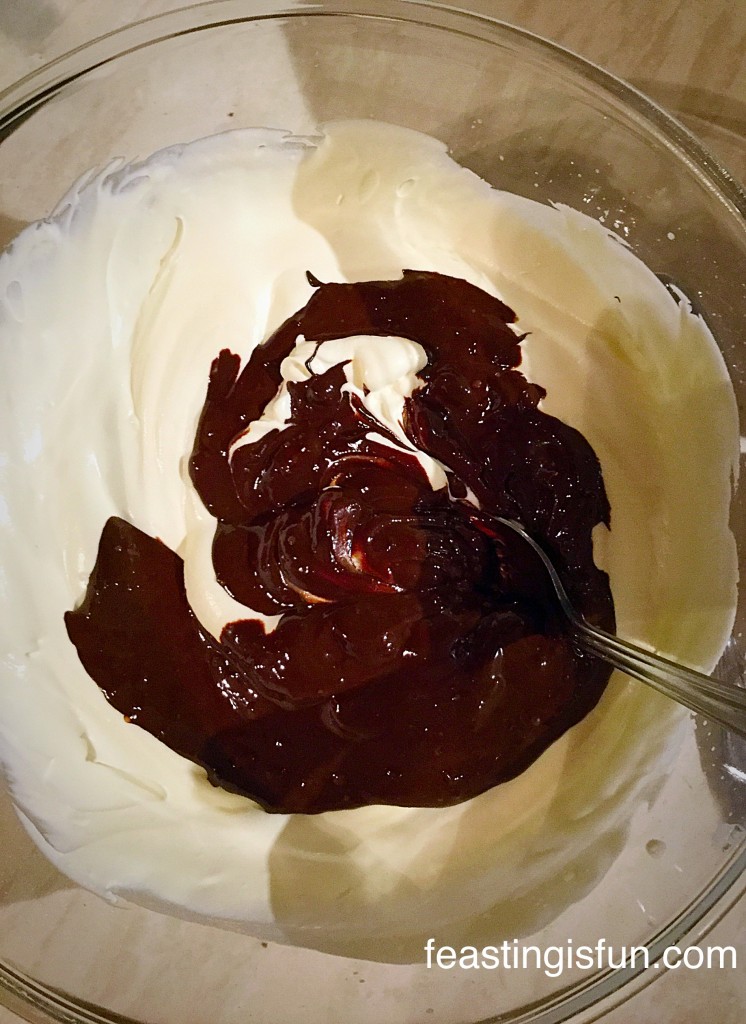
Pour the cooled melted chocolate onto the whipped cream.
  • Add the Amaretto liquer, or almond extract and mix until you have chocolate cream.

Covering The Cake With Whipped Ganache

Elizabeth Shaw Chocolate Amaretto Cake
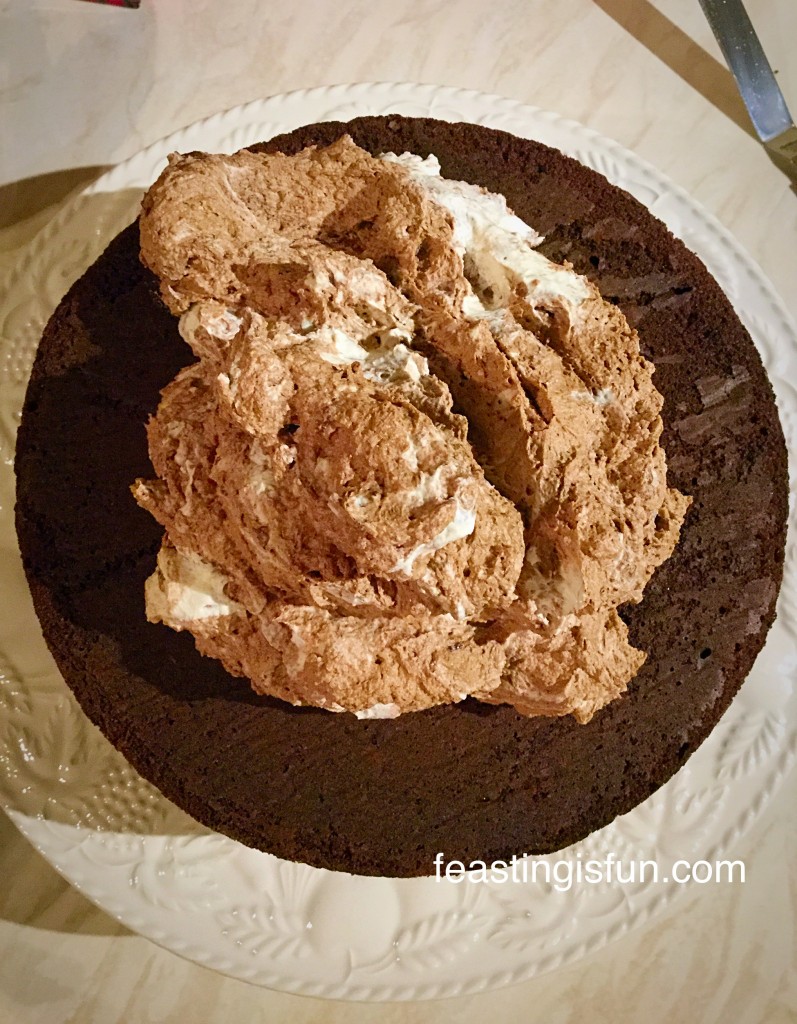
Place 2/3 of the chocolate cream onto the top of the cake.
Elizabeth Shaw Chocolate Amaretto Cake
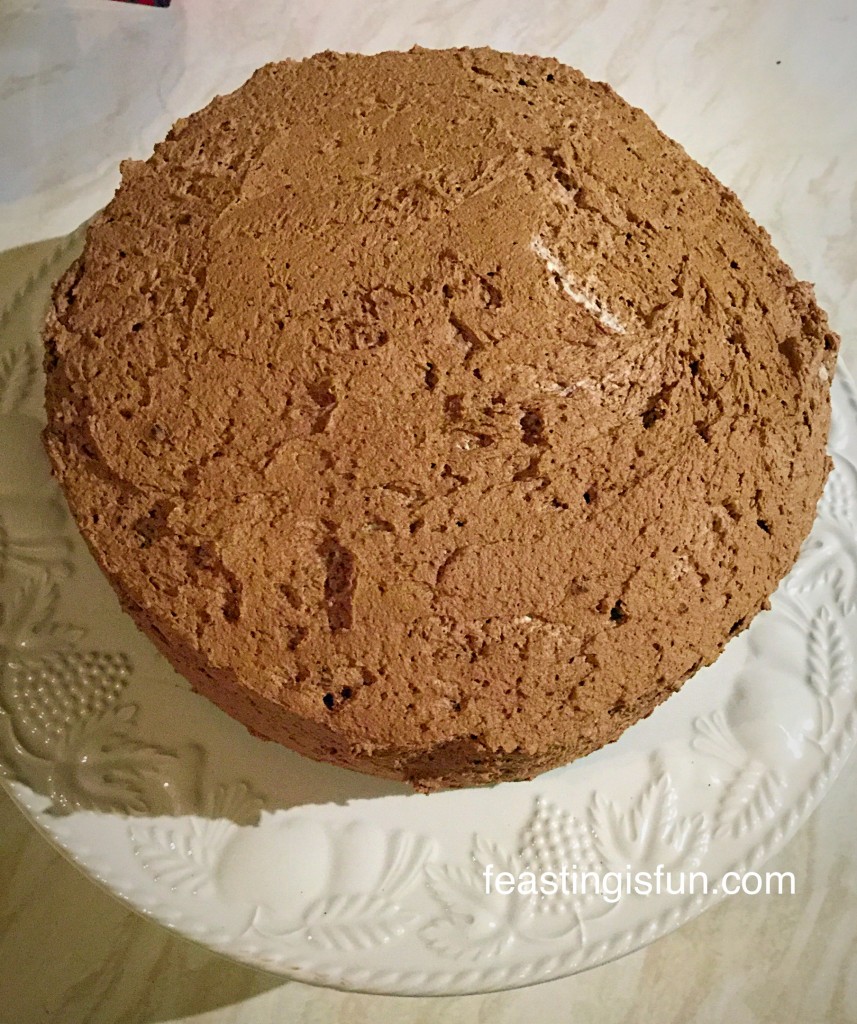
Using an offset palette knife spread the cream over the sides of the cake.
  • Add more of the chocolate cream, smooth using the offset palette knife, until you have an even cover of cream over the cake.
  • Hold the clean palette knife flat against the side of the cake and rotate the stand/cake board.
  • This last step ensures the covered sides of the cake are flat and even, ready for sticking the flutes to!
  • Gently wipe around the base of the cake with kitchen roll to remove any chocolate cream that may have fallen from the cake during the last step.

Decorating The Cake With Chocolate Flutes

  • Open the packages of flutes and tip the flutes out onto a plate.
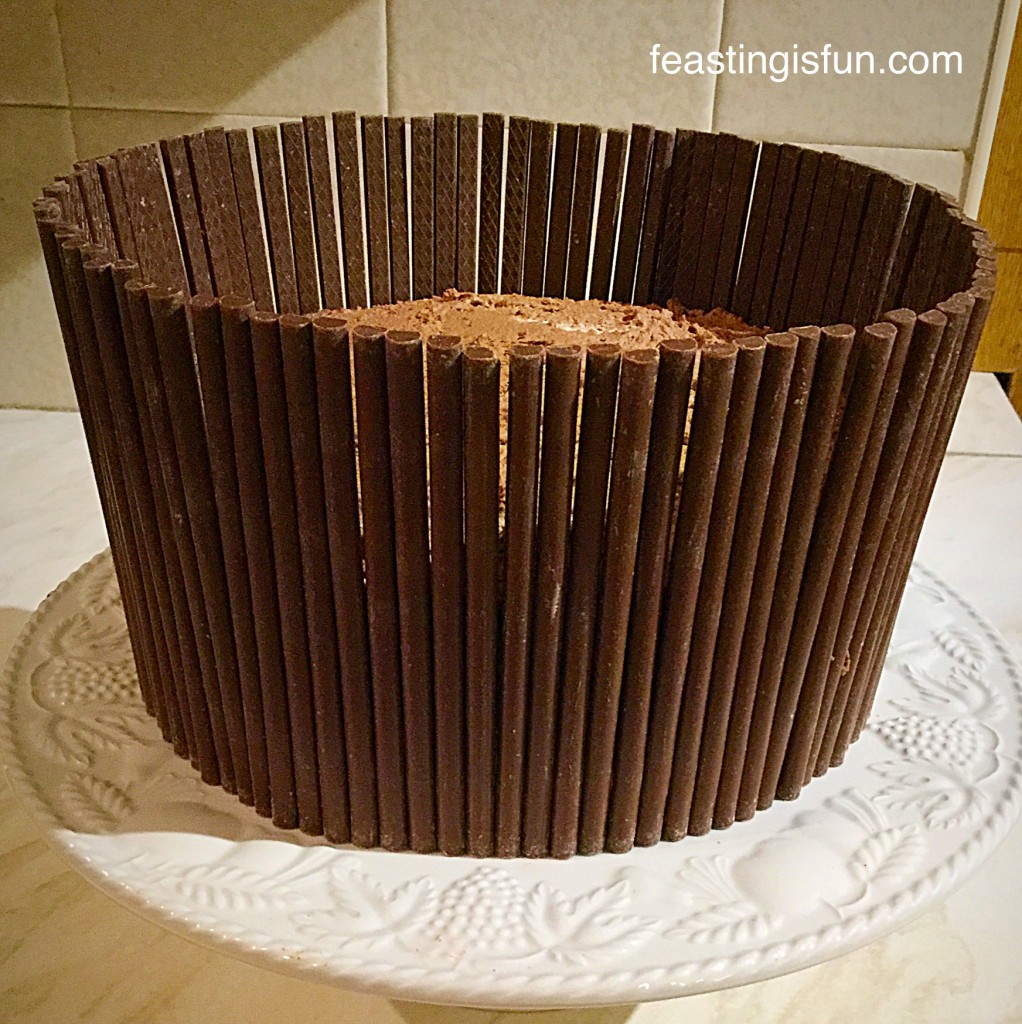
  • You will notice that one side of the flute is flat. Press this flat side against the side of the cake, so that it is straight.
  • Repeat the last step, placing each flute as close as possible to the next, until the cake is completely surrounded with chocolate flutes.
  • Trust me you will have enough flutes – I had 4 left over!
  • Using both hands gently press around the sides of the cake to ensure each flute is evenly adhered, by the cream, to the Chocolate Amaretto Cake.
Elizabeth Shaw Chocolate Amaretto Cake
The chocolate flutes give this Chocolate Amaretto Cake a professional looking finish.
  • Tie the ribbon, midway up the cake (not the flutes) – I found I needed help from someone, putting their finger on the knot as I tied the bow.

Adding The Cake Topping Decoration

  • Next add your topping. I used Chocolate Crispearls with added holographic, gold, edible glitter! However the Elizabeth Shaw sharing crisp assortment would have looked beautiful, especially left unwrapped, as the colours would have worked beautifully with the ribbon I used.
  • Once you have filled the top of your cake, place in the fridge to firm up for at least an hour.
Elizabeth Shaw Chocolate Amaretto Cake
Chocolate Amaretto Cake a professional finish that anyone can achieve, using Elizabeth Shaw Chocolate Flutes.

I was absolutely thrilled with how well this Chocolate Amaretto Cake turned out.

Creating A Beautiful Cake With Minimal Skill

The only real skill needed to create a cake that looks this stunning is patience. I really believe anyone can make this cake. Yes young children may need some supervision and if they are going to be eating the cake I would definitely recommend using almond extract in the whipped cream, not alcohol!

Is there someone you know, who has a special occasion coming up and would be blown away if given a cake like this?

Elizabeth Shaw Chocolate Amaretto Cake
Chocolate Amaretto Cake the perfect ‘wow factor’ cake for any celebration.

If you do make this cake please send me a picture via Twitter/Instagram?

I hope, given the step by step instructions (and cheat if needed!) that you try making this cake. Elegant and professional are two words I use for this cake. You too can create a cake that is both elegant and professional looking.

If you have enjoyed making this Chocolate Amaretto Cake and want to make more, here are some recipes to try:

Chocolate Sparkle Cake

Chocolate Sparkle Cake

Raspberry Lemon Celebration Layer Cake 

Raspberry lemon celebration layer cake
Raspberry Lemon Celebration Layer Cake

Chocolate Heart Cake

Chocolate Heart Cake

So, whatever you are making, baking and creating in your kitchens, have fun preparing and sharing your feast.

Sammie xx

@sammiefeasting Twitter/Instagram/Pinterest

Elizabeth Shaw provided me with the Chocolate Flutes and Dark Chocolate Crunch Bar used in this post. All opinions, content and recipes are my own. Please see my Disclosure Policy.

Marbled Chocolate Bundt Cake

Hello, I’m back after a couple of weeks away with our family, during which we celebrated our eldest daughter’s 16th birthday. Wow, where did those years go! Anyway, I digress. Because it really was a wonderful holiday, especially as we were joined by family for a few days over the birthday celebrations. So, I took my spring form cake tin with me – doesn’t everyone? Star had a maltesers ice cream cake on her birthday, which was knockout! However, now we are home and there are even more family and friends to celebrate Star’s birthday. Since I know her favourite cake is Chocolate Marble and she’s not a big fan of icing, I decided to make her a Marbled Chocolate Bundt Cake. And you are going to be so pleased I came up with this cake – just look!

Marbled Chocolate Bundt Cake


And I knew you’d be pleased. Because, this is the second recipe I have made where I use plain flour and add the baking powder separately, it gives more control over the rise of the sponge. Also, I guessed all the quantities for the size of cake (I mean, I did have a rough idea!!). Resulting in this Marbled Chocolate Bundt Cake, a complete success, both visually and in the taste department.

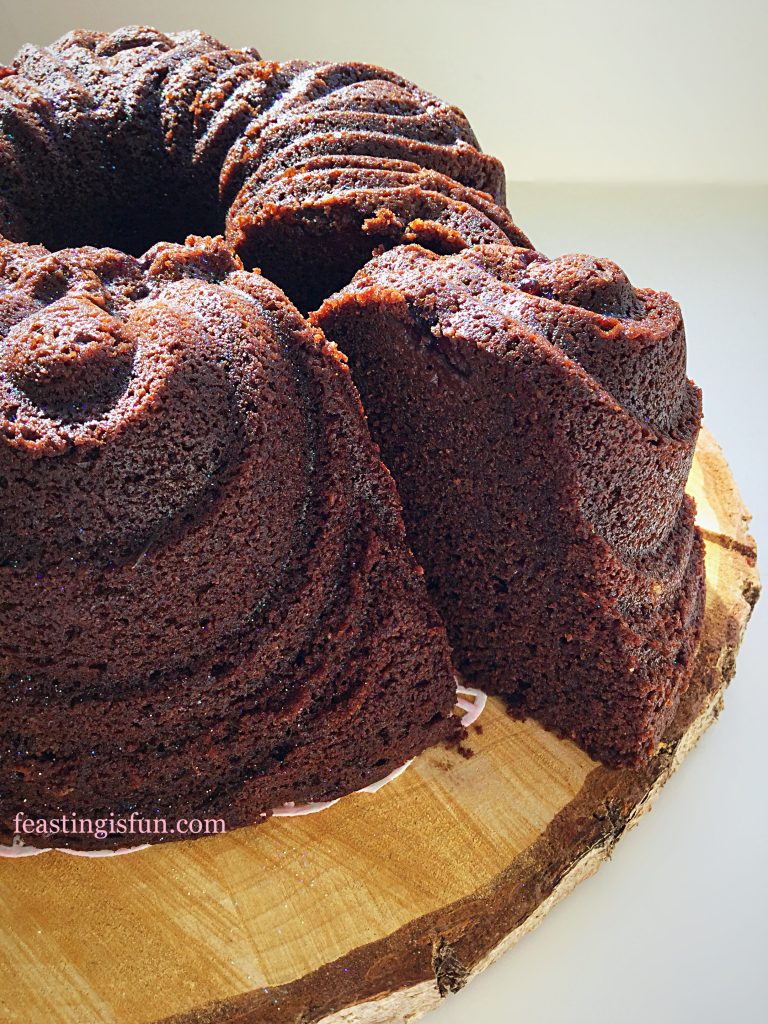
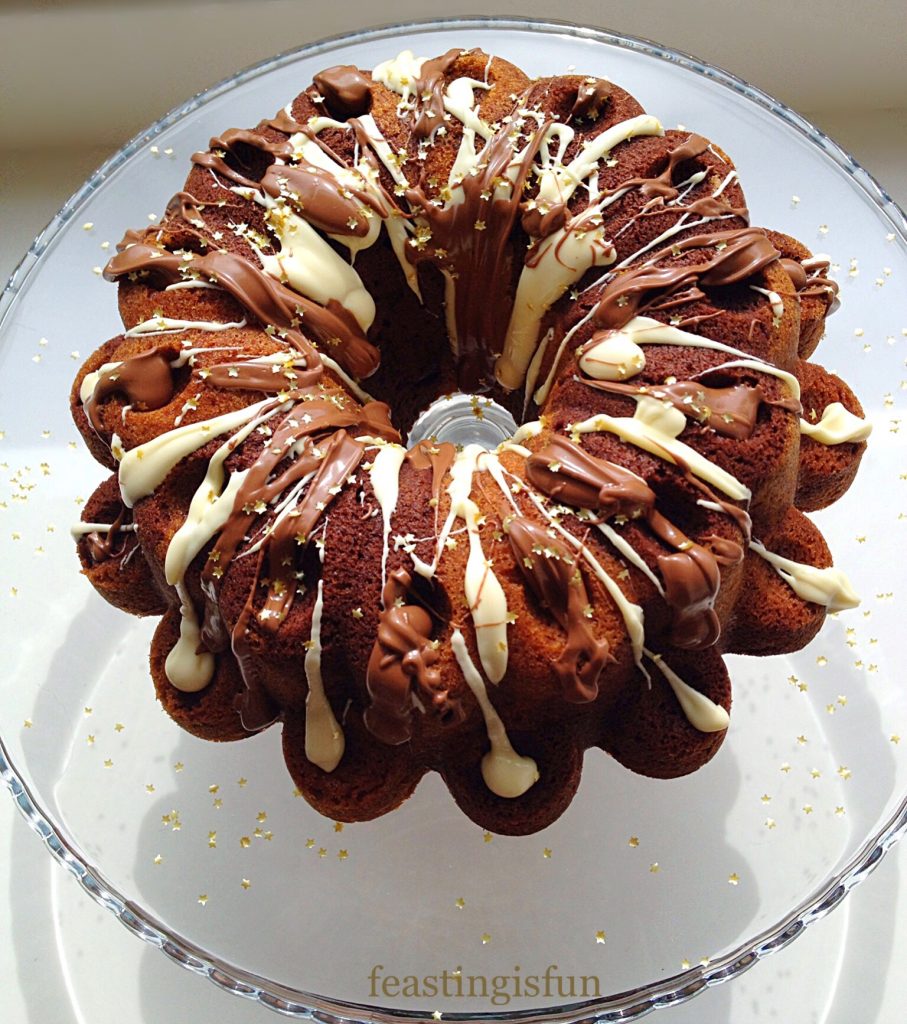
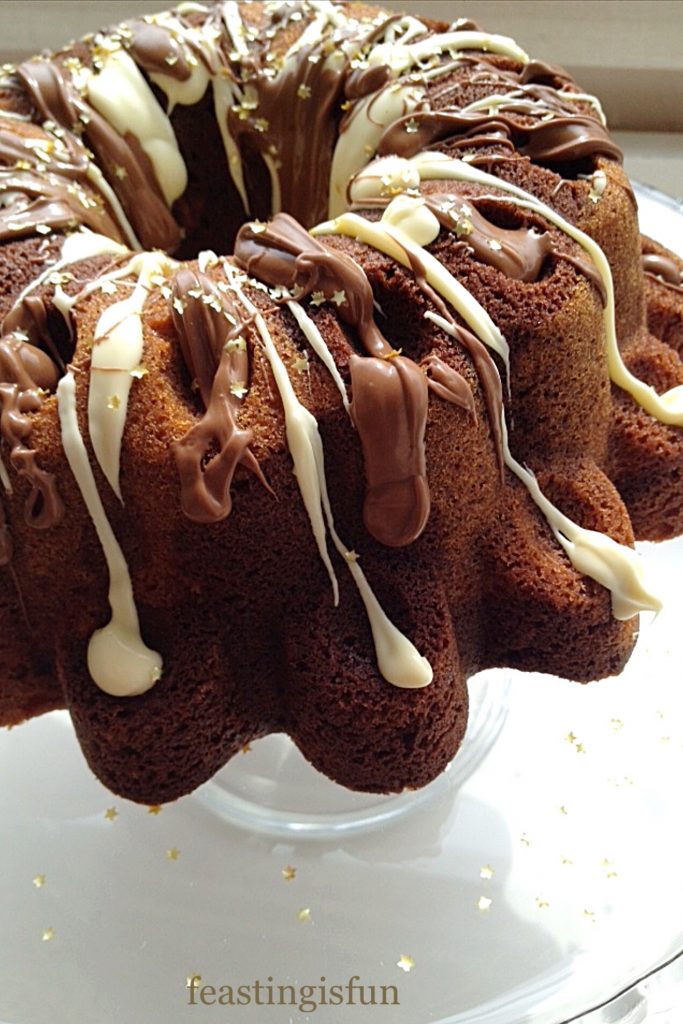
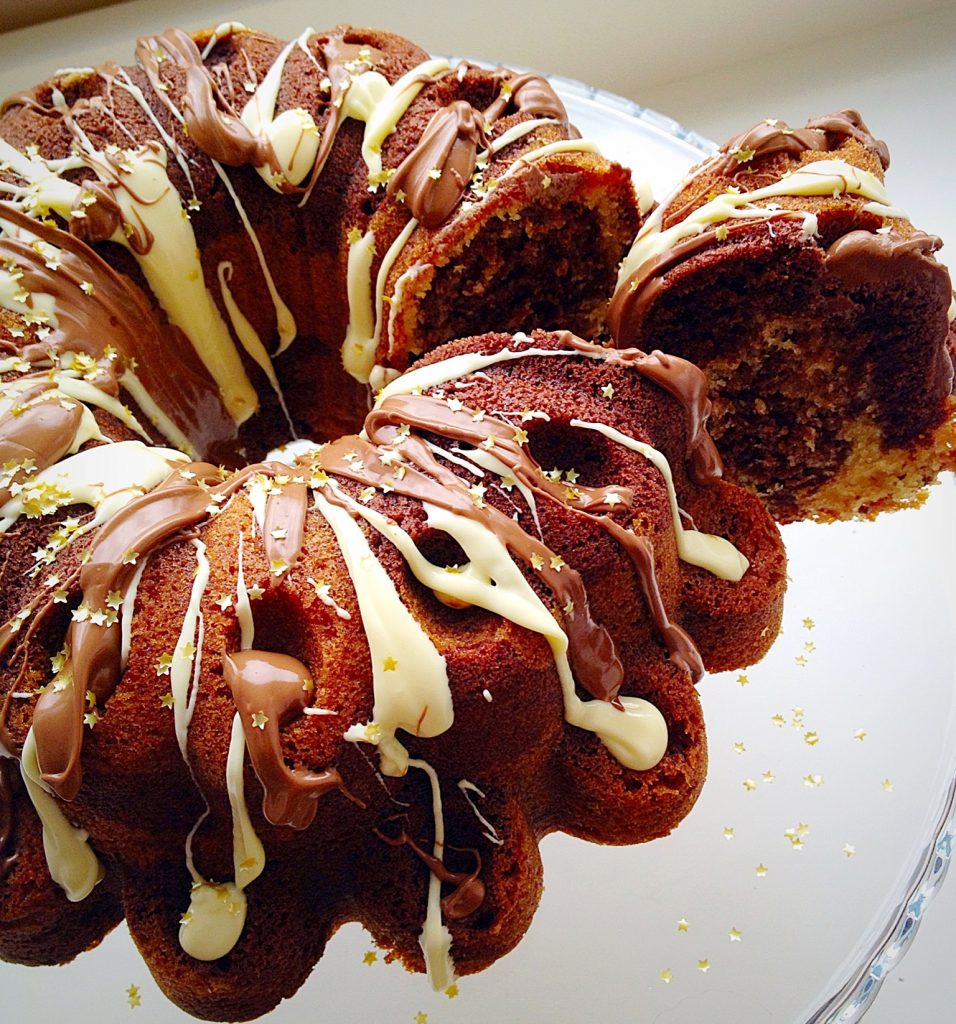
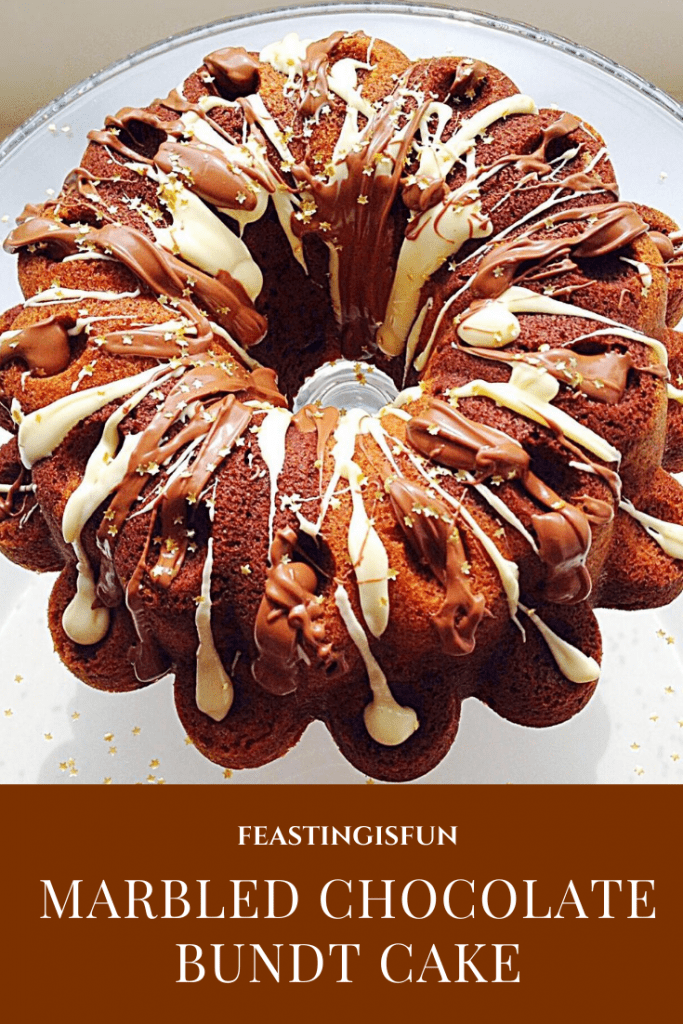
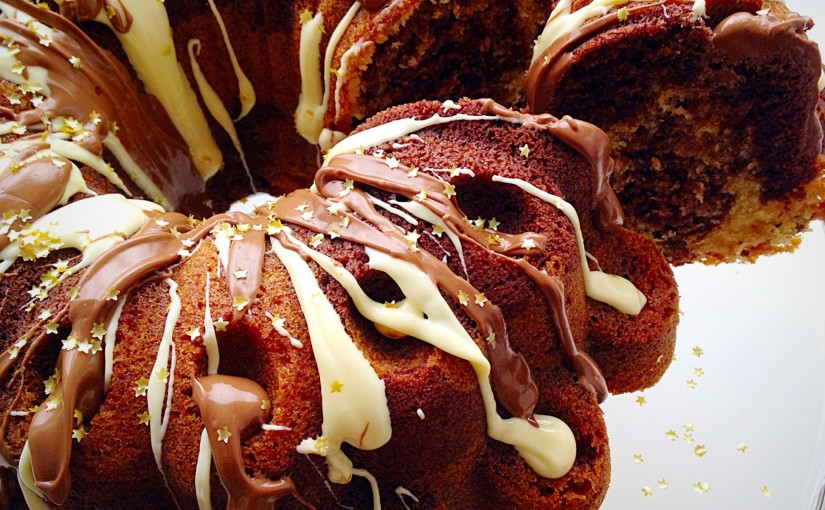
White and milk chocolate drizzled marble cake
Marbled Chocolate Bundt Cake

Birthday Bundt Baking

Most importantly, is the birthday girl herself liking it. Tick box – result! This cake has a wonderfully moist texture, resulting in most of it being consumed on the day of baking. While the drizzled chocolate adds different flavours and texture, sprinkled with edible stars, this cake is a stunner. So, perfect as a Celebration cake.

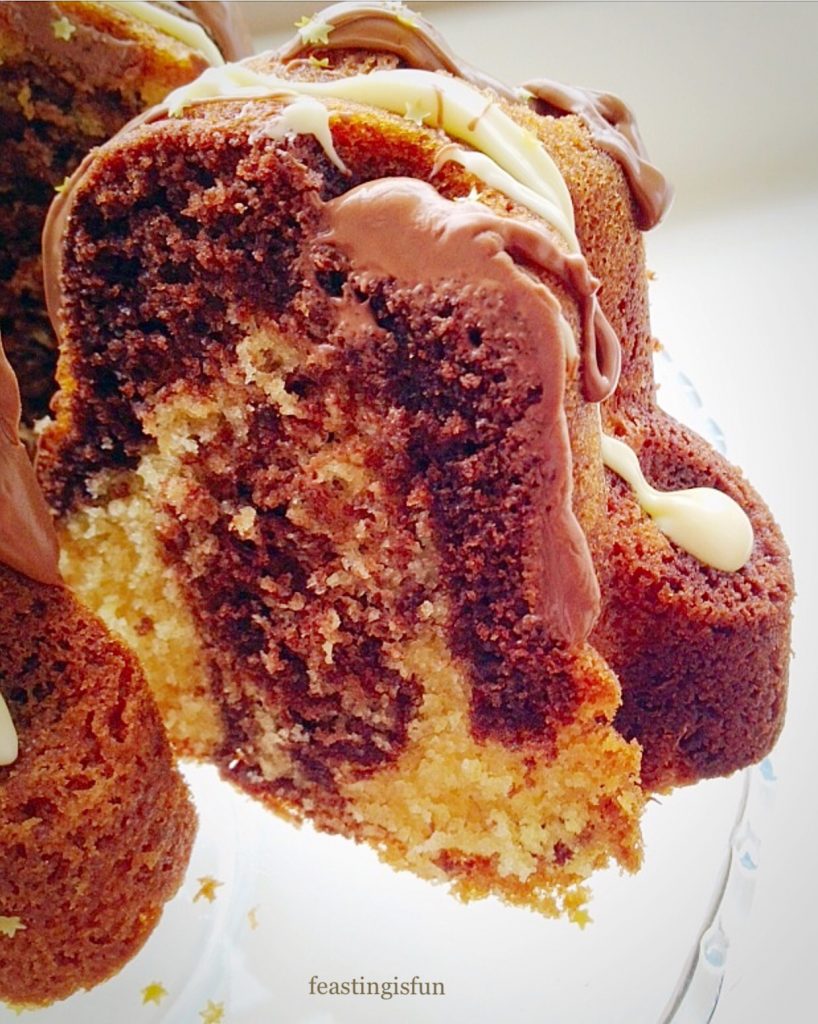
A slice of swirled chocolate and vanilla sponge.
Marbled Chocolate Bundt Cake slice.


I absolutely am falling in love with Bundt cake pans. And who wouldn’t? Since they give such beautiful detail to the baked cake. Although I was very tempted to put Maltesers into the little dimples on the cake, it looked better with just the drizzled chocolate. Yet, if I was baking my Malted Marbled Chocolate Cake I absolutely would sprinkle a few crushed Maltesers over the top as well. While the possibilities of how to decorate a Bundt cake are endless, with the cake shape lends itself to all sorts of ideas, including leaving the cake plain.

This is the Bundt tin I used.


And this pan is so gorgeous. I’m even toying with the idea of making a jelly in it, can you imagine?? Have you ever tried making a jelly in a Bundt tin? I’m guessing you’d have to lightly oil the inside of the pan with a flavourless oil, I think it could totally work. I’ll keep you posted!

Anyway enough about glorious Bundt pans and onto how to make this cake!!

Most importantly, the Bundt pan dimensions are 23.5cm (9″) wide x 11cm (4.5″) deep. The pan holds 3 litres (5.3 UK pints).

Recipe : Marbled Chocolate Bundt Cake serves 8-10

For the cake:

25g/1 oz Butter – melted

275g/10 oz Unsalted Butter at room temp

275g/10 oz Caster Sugar

1/4 tsp Salt – I use Maldon

2 tsp Vanilla Extract – I use Nielsen-Massey 

5 Large Eggs – free range

275g/10 oz Plain White Flour

2.5 tsp Baking Powder

80mls/3fl oz Milk – Whole or Semi Skimmed

3 tbsp Cocoa Powder

For the decoration:

75g/3oz White Chocolate

75g/3oz Milk Chocolate

Edible gold stars – alternatively use your own choice of decoration.

Preparing the Bundt pan


Using a pastry brush, ensure the inside of the Bundt tin is covered in melted butter.
Use a pastry brush, ensure the inside of the Bundt tin is covered in melted butter.

Making the cake batters

Preheat oven to 180C/160C fan oven, gas mark 4, 350F.

Whisk the sugar, butter, salt and vanilla extract until light and creamy.


Crack all the eggs into a jug. Sift the flour and baking powder together in a separate bowl. Start with the dry ingredients add a third to the butter mixture, followed by half of the eggs, beating gently to incorporate the ingredients. Repeat this step. Finally, finish by adding the final third of the dry ingredients and beating to mix. Add the milk and mix to incorporate.

Give the ingredients a good mix with a spatula to ensure everything is well incorporated.
Give the ingredients a good mix with a spatula to ensure everything is incorporated.


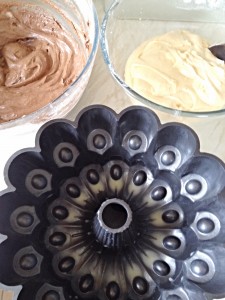
Remove half of the cake batter to a separate bowl. This will be the vanilla part of the cake.

Add the cocoa to half of the cake batter. Mix well to incorporate.
Add the cocoa to the remaining half of the cake batter. Mix well to incorporate.
You are now ready to start building your Marbled Chocolate Bundt Cake.
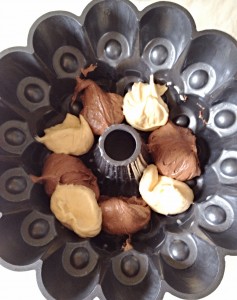
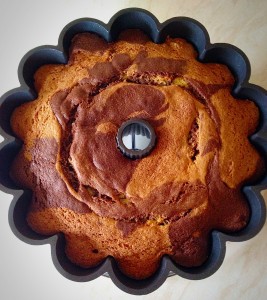
Place scoops (I used a dessert spoon) of alternating vanilla/chocolate batter in the Bundt tin.
Place scoops (I used a dessert spoon) of alternating vanilla/chocolate batter into the Bundt tin.
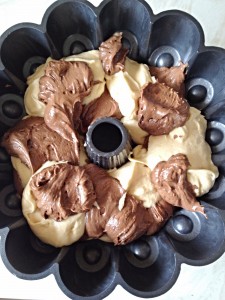
Now place a scoop of chocolate batter on top of the vanilla, repeating with both batters so they alternate throughout the cake.
Next, place a scoop of chocolate batter on top of the vanilla, repeating with both batters so they alternate throughout the cake.
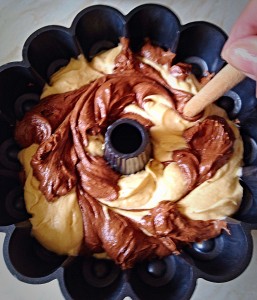
Using a wooed spoon handle, gently swirl it through the batter. This will give the marbled effect once baked.
Using a wooden spoon handle, gently swirl it through the batter. This will give the marbled effect once baked.

Baking The Marbled Chocolate Bundt Cake

Please don’t worry if you think there is not enough batter for the pan (I worried), this cake rises beautifully.

Place the cake pan in the middle of the oven and bake for 50-55 minutes.

The cake is baked when it is risen and pulling away from the sides of the pan.

Test with a skewer (I used a bamboo one) by inserting it through the deepest part of the cake. The cake is baked when a skewer comes out clean.

As soon as the cake is baked remove from the oven. Leave to cool for 15 minutes.

Marbled Chocolate Bundt Cake - allow to cool in the tin for 15 mins.
Marbled Chocolate Bundt Cake – allow to cool in the tin for 15 mins.


After cooling for 15 minutes turn your cake out onto a cooling rack. Stand back and admire your beautiful piece of art, I mean cake! Allow to fully cool.

Decorating the cake

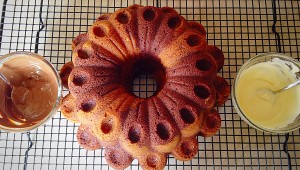
Melt the white and milk chocolate in separate bowls. I use the microwave, use whichever method you feel most comfortable with.

NOTE : White chocolate is easy to over heat. So go easy and stir between each heating session!

Marbled Chocolate Bundt Cake - once cooled melt the chocolate ready to decorate your cake!
Marbled Chocolate Bundt Cake – once cooled melt the chocolate ready to decorate your cake!
Marbled Chocolate Bundt Cake - drizzle over the melted chocolate.
Marbled Chocolate Bundt Cake – drizzle over the melted chocolate.


Use a teaspoon to gently drizzle, first the white and then the milk chocolate over the cake. Finally add a sprinkle of gold stars, or decorations of your choice.

Marbled Chocolate Bundt Cake

Allow the chocolate to set before serving.

This Marbled Chocolate Bundt Cake is a real show stopper. I had to stop myself from adding gold candles, although that would totally work.

If you have enjoyed this recipe for Marbled Chocolate Bundt Cake you may also like these:

Maple Syrup Iced Coffee Bundt Cake 

FF Marbled Chocolate Bundt Cake
Maple Syrup Iced Coffee Bundt Cake

Caramel Crunch Topped Chocolate Bundt Cake

FF Marbled Chocolate Bundt Cake
Caramel Crunch Topped Chocolate Bundt Cake

Chocolate Hazelnut Baked Giant Doughnut 

FF Marbled Chocolate Bundt Cake
Chocolate Hazelnut Baked Giant Doughnut

Finally this beautiful Bundt cake is perfect for any celebration, including birthdays and anniversaries. Since this cake has the WOW factor and is best when shared amongst friends, family, neighbours, or work colleagues. Because anyone would have their day brightened with the gift of this cake.

So, whatever you are making, baking and creating in your kitchens today, have fun preparing and sharing your feast.

Sammie x

No part of this post may be reproduced or duplicated without the written permission of the owner. Please see my Disclosure Policy.


Malted Marbled Chocolate Cake

Hi, thank you for stopping by. While I assume that you like cake, because you’re here on this page, do you also like Maltesers? Delicious chocolate covered balls of malted loveliness that are almost impossible to stop munching on, once the packet/box is opened. So, I’ve come up with a cake  that incorporates all of those lovely flavours. Introducing my Malted Marbled Chocolate Cake.
A cake that tastes of Maltesers

While I started from scratch with this cake recipe I am thrilled with how well the cake has turned out. Aside from adjusting the cooking temperature and time I am pleased to say it was a success!

Since Wilko gave me some products to review (post coming soon) I decided to make this Malted Marbled Chcolate Cake in the square cake tin I had been sent. And, as I already have a  Maltesers Popping Candy Cupcakes  on my site, I knew that switching up the recipe and including the yummy malt flavour would create a winning flavour.

In addition, topping the cake with swirls of milk and white chocolate would not only taste great, but also reflect the marbling pattern within the cake. Also, don’t expect this cake to last very long, if my experience is repeated. Because this large cake only lasted two days, although it was also  shared with Grandparents and friends. Because cake is meant for sharing, don’t you think?

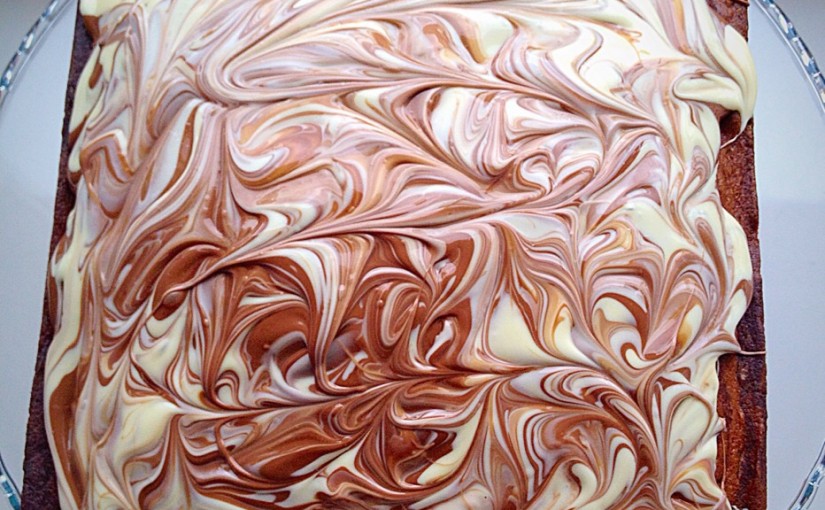
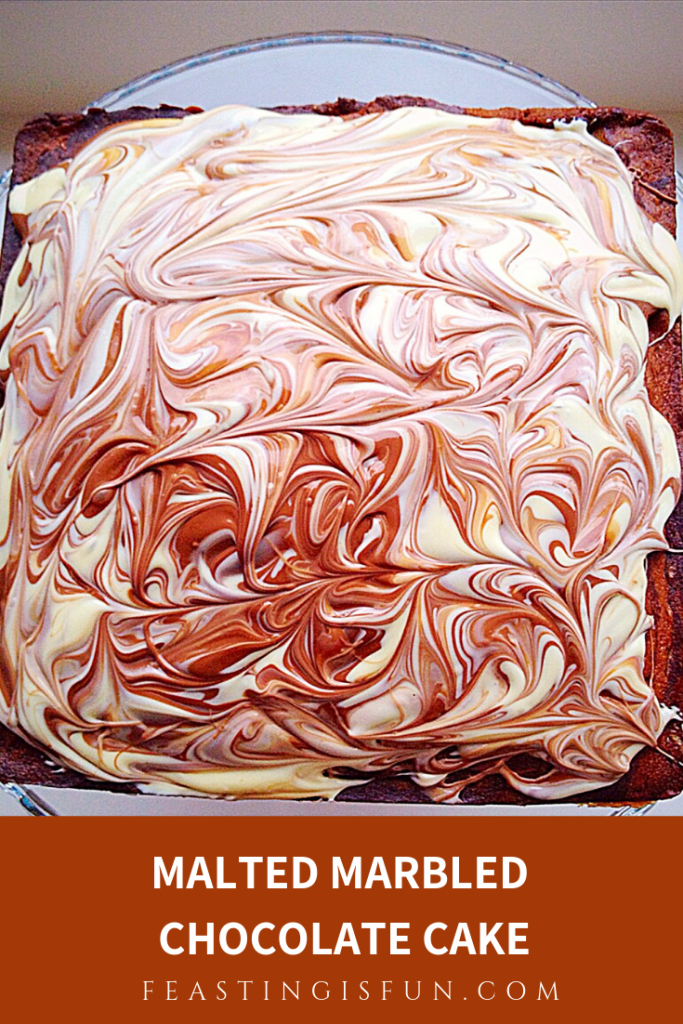
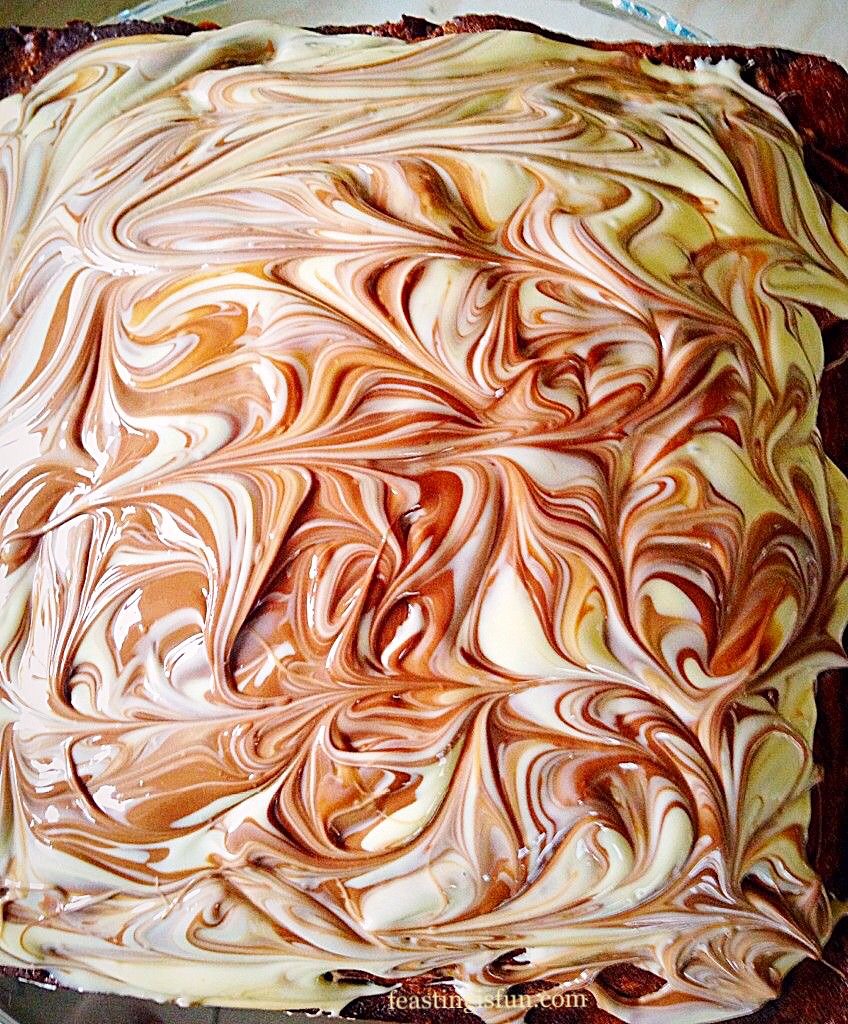
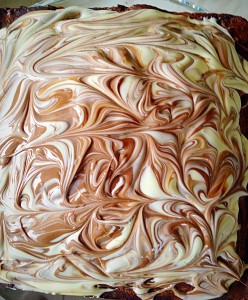
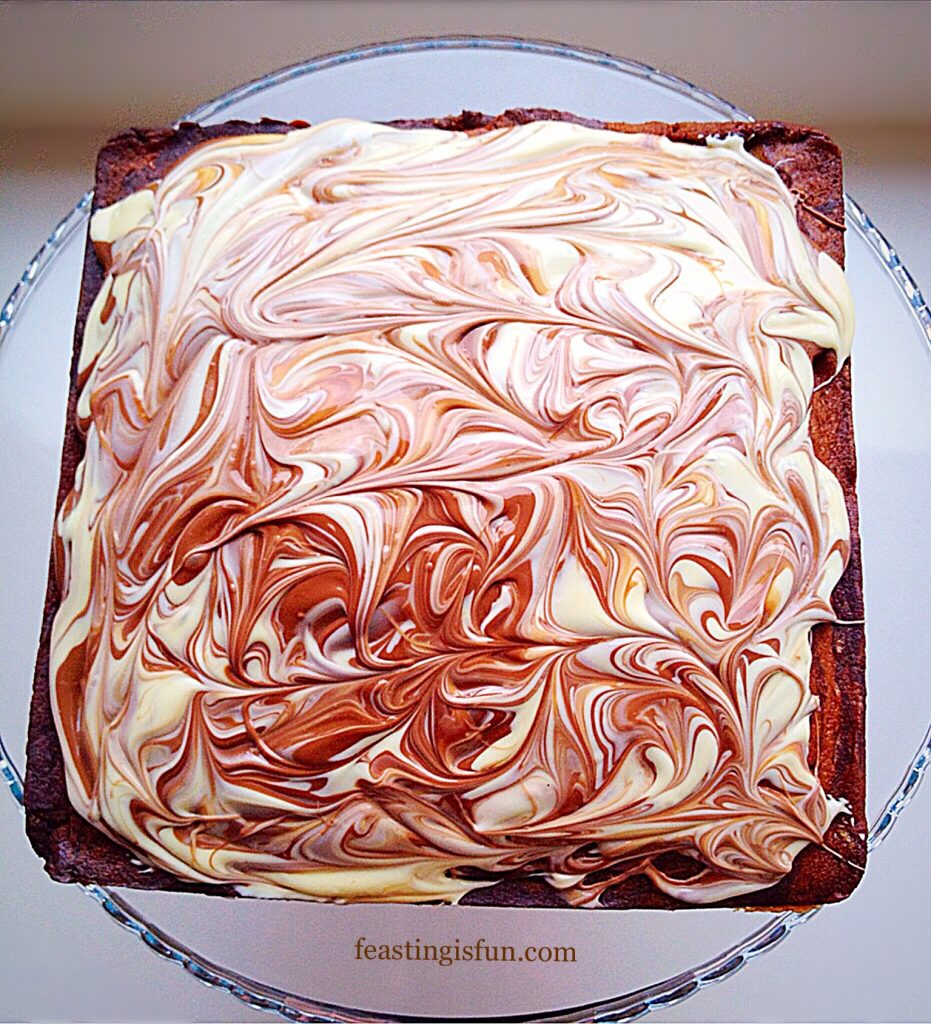
Close up of melted white and milk chocolate cake topping swirled together.
How good does this swirled chocolate topping look?

Recipe :  Malted Marbled Chocolate Cake yields at least 18 slices

For the cake:

350g/12oz Unsalted Butter – plus extra for greasing your cake tin

300g/11oz Caster Sugar

1/4 tsp Salt

2tsp Vanilla Extract – I use Nielsen-Massey

6 Large Eggs – Free Range

350g/12oz Plain White Flour

3tsp Baking Powder

100mls/4floz Whole Milk

5tbsp Powdered Malted Milk Drink – Horlicks/Ovaltine

6tbsp Cocoa Powder – I use Callebaut

For the topping:

200g/7oz Milk Chocolate

100g/4oz White Chocolate

Method : Preheat oven to 180C/160C fan, 350F, gas mark 4

I use a 24cm x 24cm square cake tin (approx 9″ tin).

If using a round cake tin you will need an 20cm/8in with a depth of 10cm/4in. Grease the cake tin (I use butter) and line the base with parchment paper.

Use either a stand mixer – with the beater attachment or alternatively a bowl with a hand held electric whisk.

Making The Two Batters For This Cake

Place the butter and sugar in the bowl.

  • First of all, place the butter, sugar and salt into a bowl.

Whip until light and fluffy.
  • Beat until pale and creamy.
  • Next sieve the flour and baking powder into a separate bowl – dry mix.
  • Crack the eggs into a jug – I actually crack them individually into a small bowl, then transfer them to a jug. Then add the vanilla extract to the eggs. Beat lightly with a fork – wet mix.
  • Add one third of the dry mixture to the bowl, mix in lightly.
  • Now add half of the wet mix and continue mixing until just incorporated.
  • Repeat again, finishing with the final third of dry mixture. Mix until just combined.
  • Add the malted milk powder and milk, mix until combined.

Scrape down the sides of the bowl using a rubber spatula.

  • Scrape down the sides of the bowl with a spatula.
  • As soon as the mixture has been scraped down into the bowl give everything a final mix.
  • Spoon half of the cake batter into a separate bowl.

Remove half of the cake batter to a separate bowl.


  • Add cocoa powder to one half of the cake batter.

Add the cocoa to the mixer bowl.

  • Mix in the cocoa powder.
  • Using a spatula scrape the sides of the bowl ensuring the cocoa is fully combined.

Once the cocoa is completely incorporated, scrape down the sides of the bowl and mix.

Creating The Marbling Effect With The Chocolate And Vanilla Cake Batters

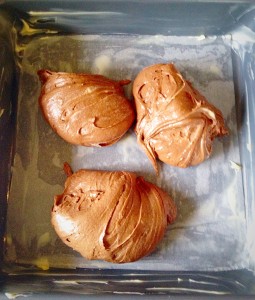
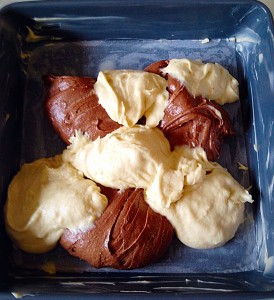
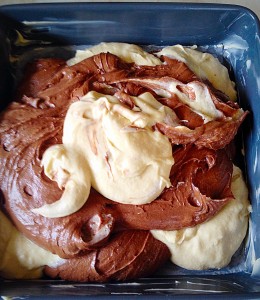
  • To build the Malted Marble Chocolate Cake add the two separate mixes as shown in the photographs below.
  • Add three scoops of chocolate cake batter to the tin.

Add the cocoa batter in three separate dollops to the cake pan.


  • Add the vanilla cake batter on and around the chocolate mix.
Add the vanilla batter on and around the cocoa batter.
  • Finally add the remaining chocolate and vanilla batter in rough layers

Add the rest of the cocoa/vanilla batter in rough layers.


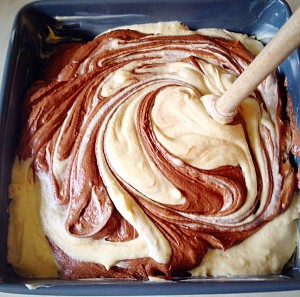
  • Use the handle of a wooden spoon to swirl the two batters together.
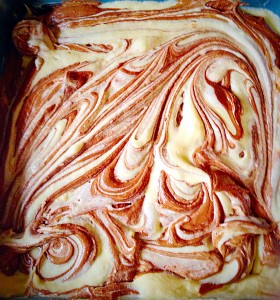
Malted Marbled Chocolate Cake - using the handle of a wooden spoon swirl the two batters together, without mixing them into each other.
Malted Marbled Chocolate Cake
  • Resulting in a swirled, marbled cake effect.
Perfectly swirled - Malted Marbled Chocolate Cake!
Perfectly swirled – Malted Marbled Chocolate Cake!

Baking The Malted Marbled Chocolate Cake

  • Place your cake tin into the centre of a preheated oven.
  • Bake for 1hr – 1hr 15 mins, until an inserted skewer comes out clean. Allow two thirds of the cooking time to elapse before checking your cake.
  • As soon as the cake is baked remove from the oven.
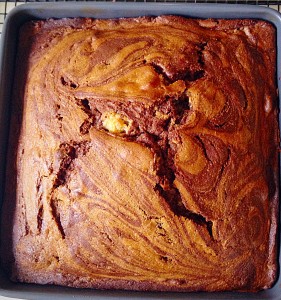
Malted Marbled Chocolate Cake - fresh from the oven.
Malted Marbled Chocolate Cake
  • Allow the cake to cool in its tin for 15 minutes.
  • Then run a palette knife around the outside edge of the cake to loosen it.
  • Turn out the cake and allow to completely cool on a rack.
  • As soon as the cake is cool it is time to create the gorgeous, swirly, chocolate topping.

Adding The Chocolate Swirled Topping

  • Break up or chop each chocolate and place in separate bowls. I melt the chocolate using the microwave on medium setting in 30 second bursts. Remove the bowl from the microwave when there are still a few lumps in the melted chocolate and stir continuously until the chocolate is smooth. Be extra careful with white chocolate – it is very easy to overheat in the microwave.
  • Set the bowls of chocolate aside to cool.
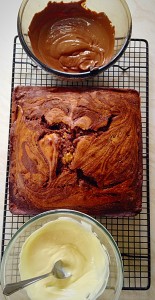
Malted Marbled Chocolate Cake - cooled with cooling, melted chocolate, ready for decorating.
Malted Marbled Chocolate Cake
  • Cool the chocolate until it has thickened but is still pourable.
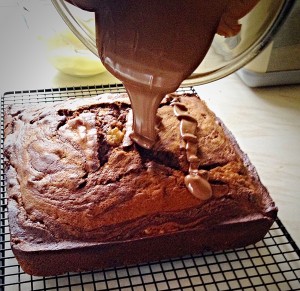
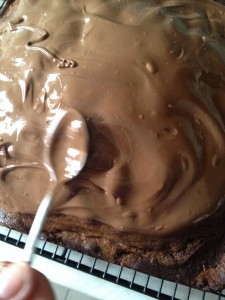
  • First of all pour the melted milk chocolate over the top of the cake.

Malted Marbled Chocolate Cake - pour over the melted milk chocolate.

  • Spread the chocolate so that it covers the top of the cake.

Malted Marbled Chocolate Cake - use a spoon to smooth the melted chocolate over the top of the cake.


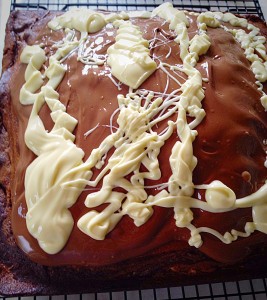
  • Drizzle over the melted white chocolate.
Malted Marbled Chocolate Cake - drizzle the white chocolate on top.
Malted Marbled Chocolate Cake
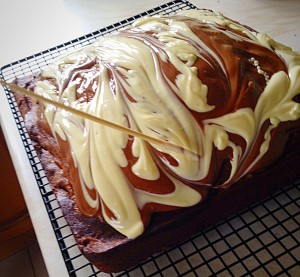
  • Using a skewer or cocktail stick swirl the two chocolates together, creating a marbled effect,

Malted Marbled Chocolate Cake - use a skewer to swirl the two chocolates together.

  • Set the cake to one side, somewhere cool, alternatively refrigerate, to allow the chocolate to set.

The swirled chocolate topping perfects finishes this Malted Marbled Chocolate Cake.


And now you have a delicious Malted Marbled Chocolate Cake to share! Because of its size, this cake is ideal for a celebration, family gathering, a houseful of friends as it feeds a lot of people. Most importantly this bake is perfect for feasting, sharing and having fun.

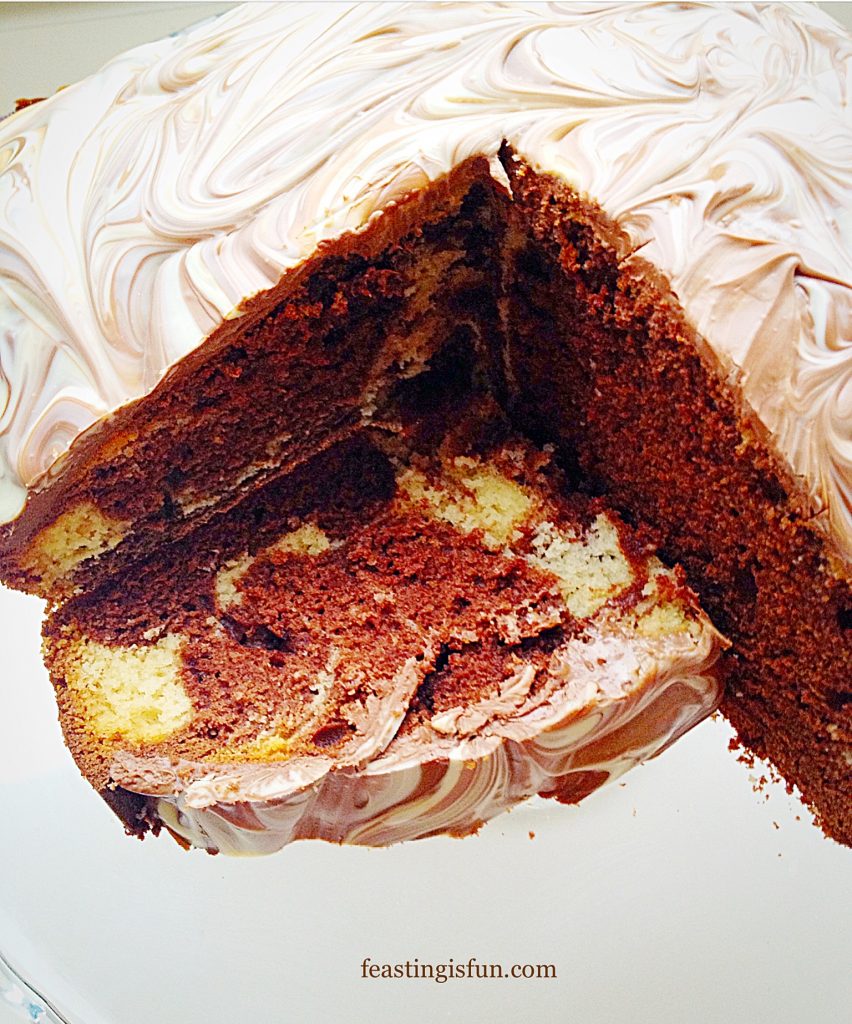
A cut slice of the cake showing off the hidden marbling.

Serve by slicing the cake in half and then cutting as shown in the photo above.

Store any leftover cake in an airtight container. Refrigerate during warmer weather.

Whole square cake on a clear glass cake stand.
Malted Marbled Chocolate Cake

If you have enjoyed this recipe for Malted Marbled Chocolate Cake you may also like these:

Marbled Chocolate Bundt Cake

Marbled Chocolate Bundt Cake

Maltesers Malted Chocolate Loaf Cake

Maltesers Malted Chocolate Loaf Cake
Maltesers Malted Chocolate Loaf Cake.

Chocolate Marble Celebration Cake

Chocolate celebration cake covered with chocolate fudge ganache, topped with Maltesers and surrounded with chocolate marble pencils.
Chocolate Marble Celebration Cake

Since this cake tastes of Maltesers you could add them as a decoration. Either around the base of the cake, keeping some melted milk chocolate back and using as glue, or on top. And this is the advantage of baking a cake at home. Since you decide how it should be decorated. Resulting in a cake that is unique and tastes a million times better than it’s mass produced alternative.

So, whatever you are making, baking and creating in your kitchens, have fun preparing and sharing your feast.

Sammie x

Wilko sent me some items to review. And most importantly all of opinions are my own. I was not paid to write this post. No part of this post may be reproduced or duplicated without the written permission of the owner. Please see my Disclosure Policy.