Chocolate Fudge Bundt Cake

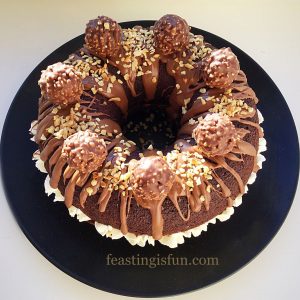
Hi, if you love chocolate, then you’re going to go crazy over this Chocolate Fudge Bundt Cake. With melted chocolate in the fudge cake and melted chocolate drizzled over. Finally, topped off with a generous sprinkle of Callebaut’s Chocolate Crispearls.

Chocolate Fudge Bundt Cake
Chocolate Fudge Bundt Cake drizzled with melted chocolate and topped with mini chocolate crispearls.

Bundt Pans Bake Beautiful Cakes

I love Bundt tins. I really do. Because they take a great cake batter and without any help from the baker, turn it into a beautiful cake. So that has to be a very good thing, right?

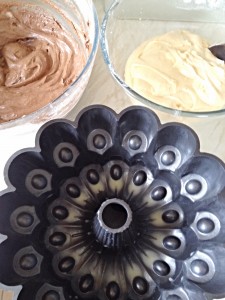
The tin I used for this Chocolate Fudge Bundt Cake is called the Jubilee Bundt made by Nordic Ware. 

So, I like to buy my Bundt tins in the sale, or where I see them on special offer. Since they can be a bit pricey, yet investing in one tin, like this Jubilee, will give you a lifetime of intricately patterned cakes.

Chocolate Fudge Bundt Cake
The Jubille Bundt Tin from Nordic Ware.

Can you imagine rocking up to a party with this gorgeous cake?

Yep, huge brownie points and that’s before anyone has tasted the cake!

Although I will warn you – Bundt tins are addictive. A year ago I had one, now I have ten!

Chocolate Fudge Bundt Cake
Put the kettle on and enjoy every single bite of this Chocolate Fudge Bundt Cake.

If you, or someone you know loves chocolate cake, then this is the cake to bake.

And because I appreciate not everyone owns this gorgeous tin, this Chocolate Fudge Bundt Cake can be baked in a 10″ springform pan!

Although technically it would no longer be a Bundt cake??

So you get to think a whole new name up for it too!

Confused?? Yep me too.

Chocolate Fudge Bundt Cake
The Crispearls give this moist Chocolate Fudge Bundt Cake a crunchy topping.

Just look at this beauty – definitely made for sharing.

Chocolate Crispearls

Now I love a sprinkle or two million.

And I was thrilled to be sent these Callebaut Chocolate Crispearls as a gift. Since they are part of Callebeaut’s hot chocolate decoration range, which also includes, dark chocolate blossoms and dark chocolate granite. Delicious, different types of chocolate to top steaming mugs of hot chocolate with.

Chocolate  Crispearls are exactly as their name suggests, chocolatey, crispy and three different flavours. White, milk and dark chocolate. Perfect for adorning a melted chocolate drizzled, fudgey, chocolate cake.

Finally, all I can say is, this cake was so good, half had been eaten before dinner.

Thats like breaking all the rules (kidding) in our house. Because life is too short to not have dessert before dinner on occasion! And yes, we like to push the boundaries in our house 😉.

Recipe: Makes 1 Chocolate Fudge Bundt Cake

Cake release spray – I use Wilton (available from Amazon, Lakeland, Hobbycraft)

350g/12oz Unsalted Butter – at room temperature

350g/12oz Dark Brown Muscavado Sugar

1tsp Vanilla Extract I use Nielsen-Massey

275g/10oz Plain White Flour

3tsp Baking Powder

1/4tsp Salt

5 Large Eggs – I always use free range

100ml/4fl oz Sour Cream – left out of the fridge for an hour

175g/6oz Plain Chocolate – approx 70% Cocoa – I use Callebaut

175g Milk Chocolate – I used a good quality 49% Cocoa chocolate, ordinary milk chocolate is fine

Sprinkles to top the cake with

Method: Preheat the oven to 180C/160C fan oven, gas mark 4, 350F.

Making The Chocolate Fudge Cake Batter

  • Break or chop the plain chocolate and place into a heatproof, microwaveable bowl. Heat for 30 seconds at a time, stirring the chocolate well. When the chocolate is almost melted, remove the bowl and keep stirring until you have smooth, molten chocolate. Set aside.
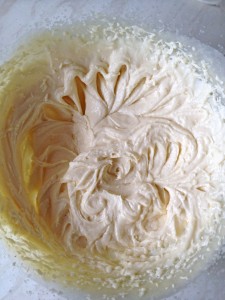
  • Into a large bowl add the butter and sugar. Whisk until fully combined, this will take a good 5 minutes.
  • Crack the eggs into a jug. Add the sour cream and vanilla extract and mix.
  • Sift in one third of the flour, baking powder and salt. Whisk or beat slowly.
  • While continuing to whisk, add half of the liquid contents from the jug.
  • Repeat the last two steps again.
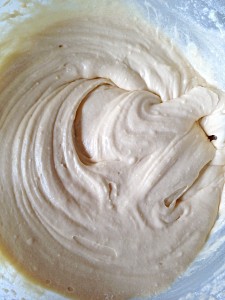
  • Add the last of the sifted ingredients and gently mix until just combined.
  • Remove the beater or whisk.
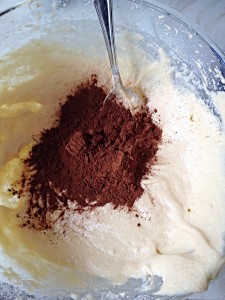
  • Pour in the cooled, melted chocolate and immediately stir into the cake batter with a metal spoon. Continue until the batter is a uniform colour.
  • Spray the Bundt tin thoroughly with cake release.
  • Fill the Bundt tin 3/4 full with cake batter. Use a metal spoon to gently press the cake batter into the tin. DO NOT bang the Bundt tin on the work surface, as this could damage the tin.
  • NOTE: There may be a small amount of cake batter left – this can be used for a few cupcakes or bundtlettes.
Chocolate Fudge Bundt Cake
If the tin is filled more than 3/4 full the baked cake may not release and/or the look of the final cake may be spoiled.

Baking The Bundt Cake

  • Place the tin into the centre of the preheated oven. Bake for 50-55minutes.
  • The cake is baked when it springs back from a light tough and an inserted skewer (I use wooden ones) comes out clean.
  • As soon as the cake is baked remove it from the oven.
  • Leave the cake to cool in its tin for 10 minutes.
Chocolate Fudge Bundt Cake
Remove from the oven and allow to cool in the tin for 15 minutes.
  • Invert the Bundt tin onto a cooling rack. The cake should turn out immediately. If not leave to cool and the cake will release from the tin.
Chocolate Fudge Bundt Cake
One beautiful Chocolate Fudge Bundt Cake.

Decorating The Cake

  • Melt the milk chocolate as before (for the plain chocolate). Drizzle over the top of the cake using a spoon.
Chocolate Fudge Bundt Cake
I choose to completely cover the top of the cake with melted chocolate and have a small amount dripping down.
  • Take whatever sprinkles you are using and sprinkle away. I kept the Chocolate  Crispearls on the top of the cake.
Chocolate Fudge Bundt Cake
Chocolate Fudge Bundt Cake with Callebaut Chocolate Crispearls.

A stunningly beautiful cake, that also happens to deliver superbly on taste.

Who will you make this Chocolate Fudge Bundt Cake For?

Chocolate Fudge Bundt Cake
Cut a delicious slice of this Chocolate Fudge Bundt Cake and get ready to share.

Such a beautiful cake, it almost seems a shame to cut into it – almost!!!

If you have enjoyed this Chocolate Fudge Bundt Cake recipe here are some others you may also like:

Glazed Lemon Bundt Cake

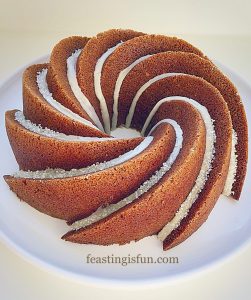
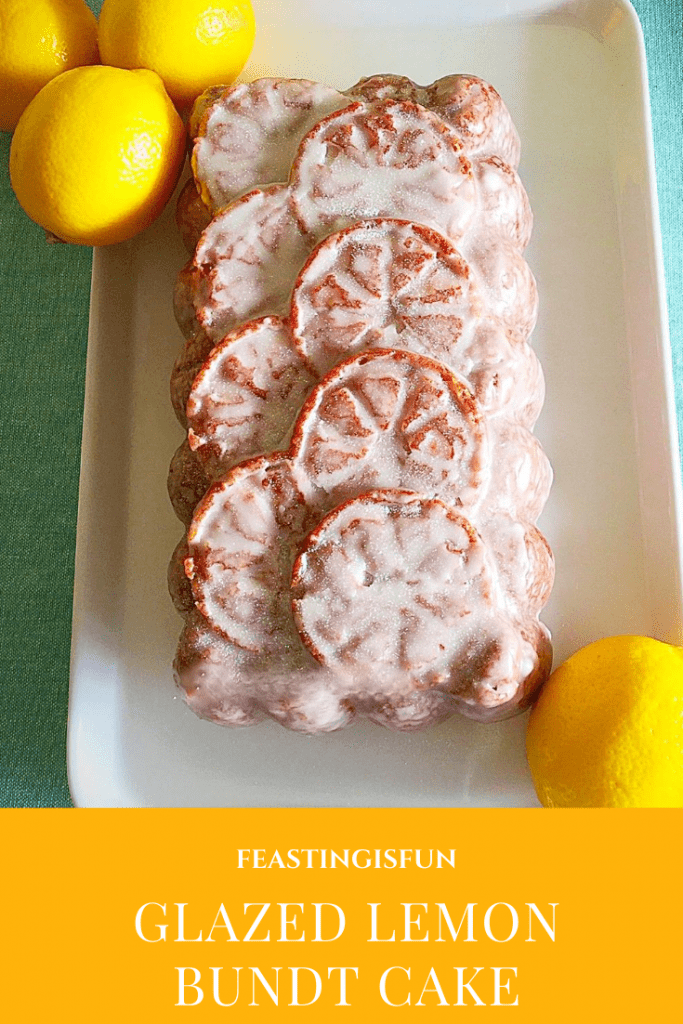
Lemon loaf cake baked with intricate citrus slices on the top, with a lemon glaze and a sprinkle of glitter.
Glazed Lemon Bundt Cake

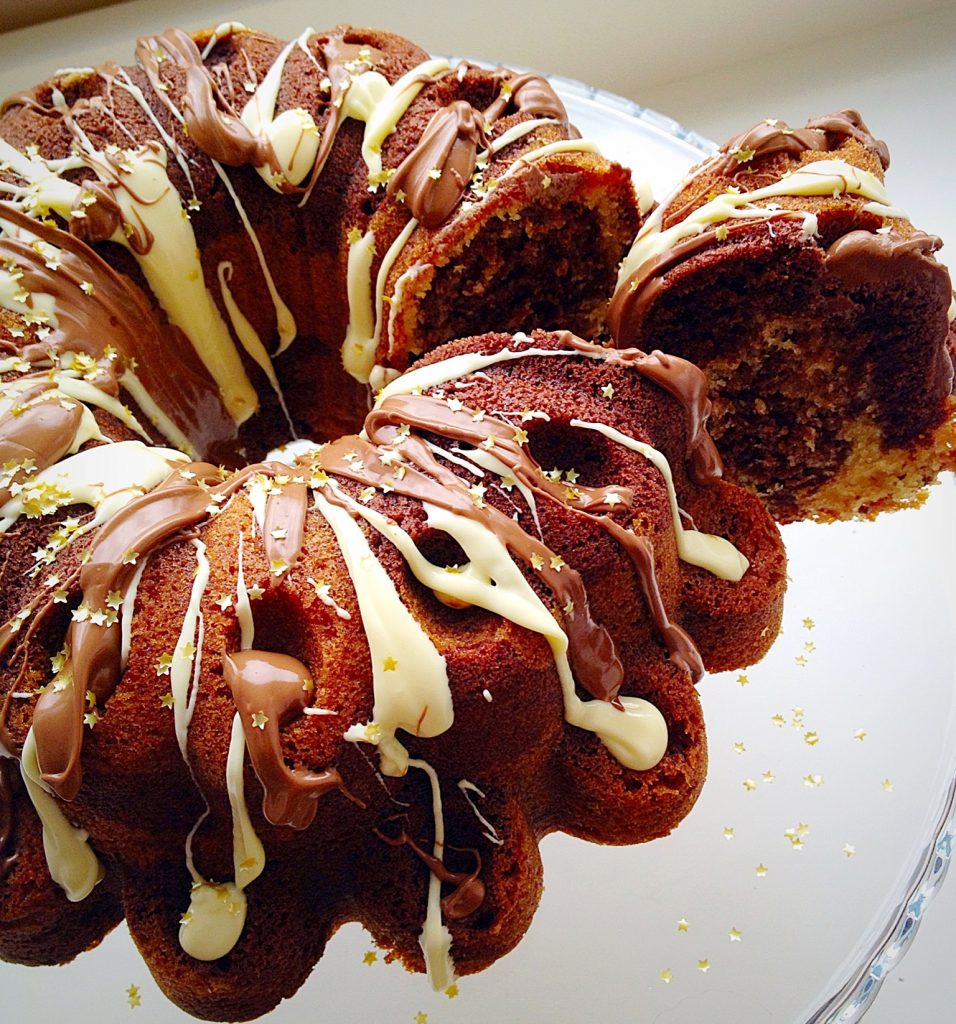
Marbled Chocolate Bundt Cake

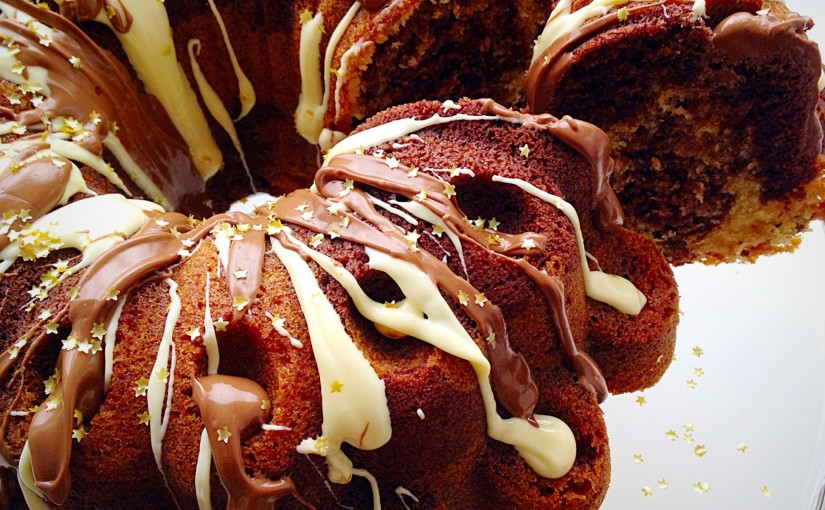
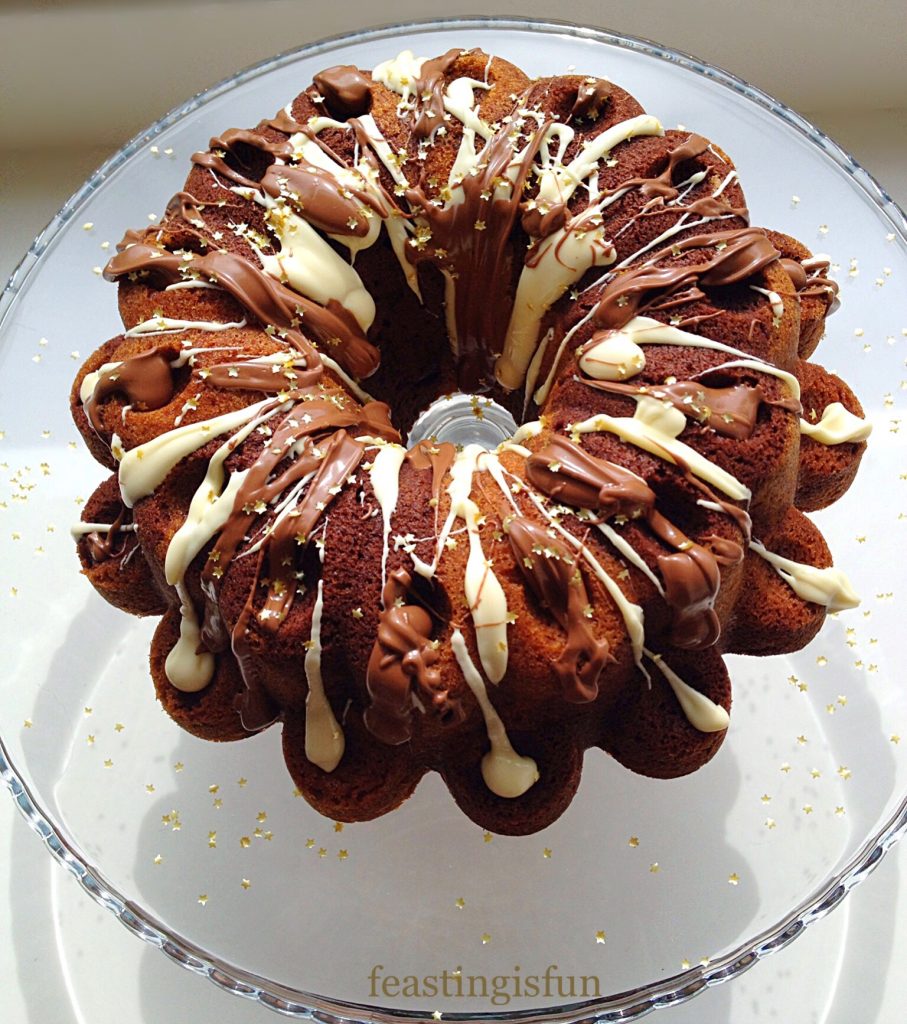
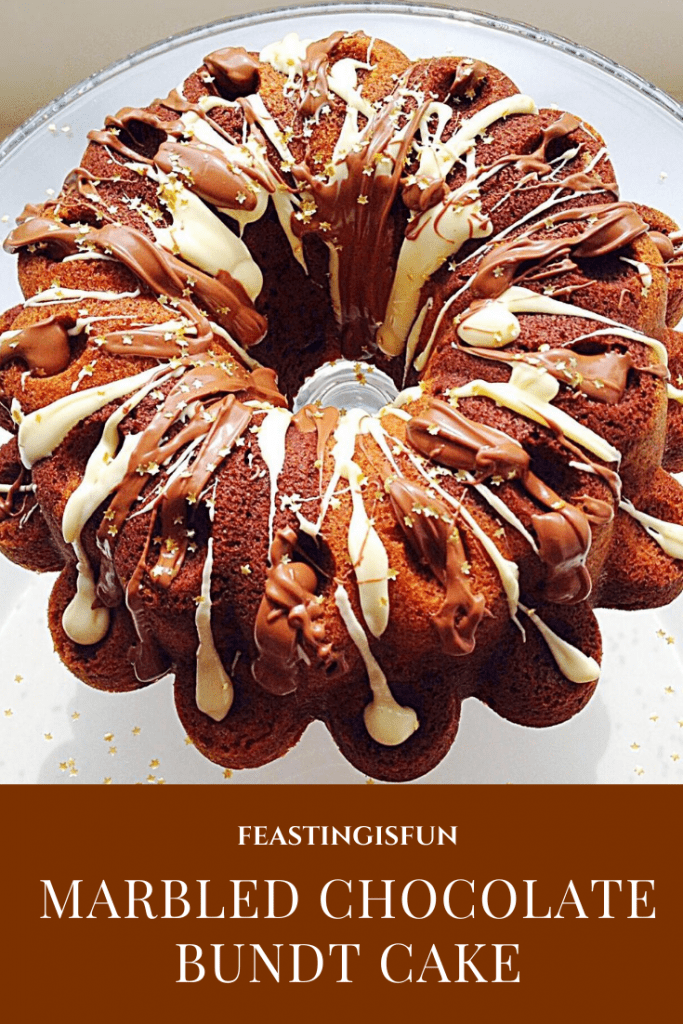
Marbled chocolate bundt cake topped with both white and milk chocolate and mini gold stars.
Marbled Chocolate Bundt Cake

Sparkling Snowflake Cake

Vanilla cake in the shape of a snowflake.
Sparkling Snowflake Cake

Finally, if you have any questions about ‘baking with Bundts’ please either leave a comment, or Tweet me @sammiefeasting. Although I am by no means an expert, I will always do my best to answer your questions.

So, whatever you are making, baking and creating in your kitchens, have fun preparing and sharing your feast.

Sammie xx

No part of this post may be reproduced or duplicated without the written permission of the owner. Please see my Disclosure Policy.

Glazed Lemon Bundt Cake

I adore lemons. Their fragrance, flavour and vibrant, sunny colour. So, I have put them to delicious use and made this Glazed Lemon Bundt Cake for you.
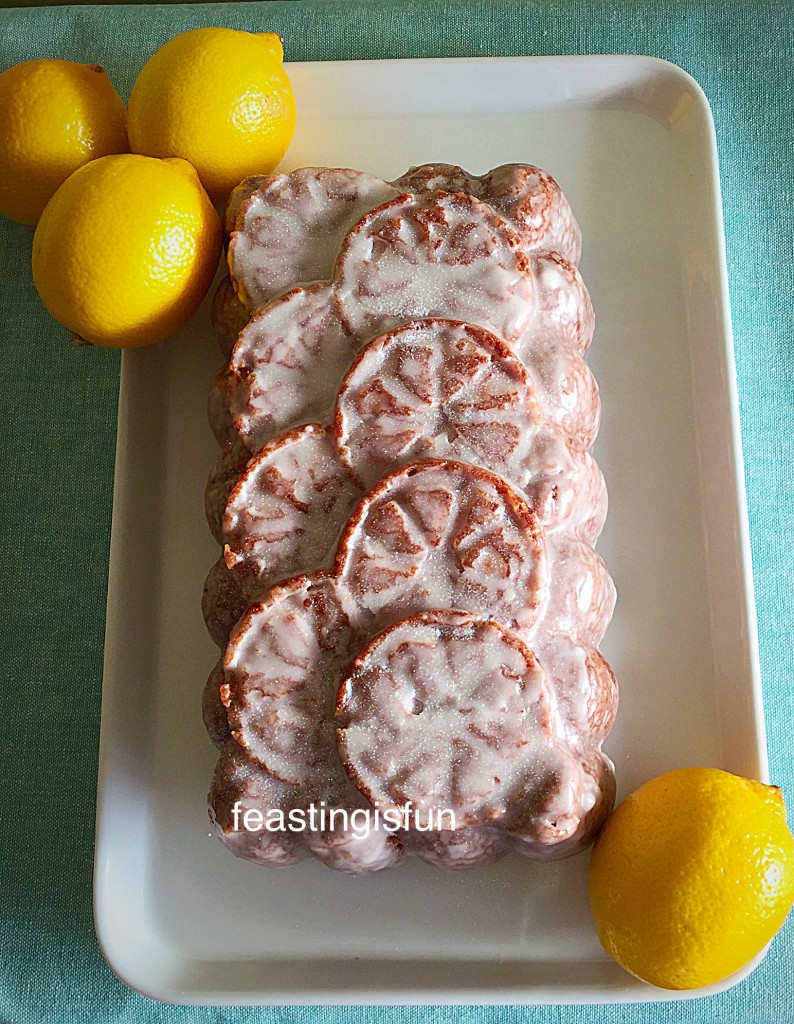
Glazed Lemon Bundt Cake

Yet Glazed Lemon Bundt Cake is an entirely different recipe to my Lemon Drizzle Cake.

Yes it still has strips of lemon zest and juice in the batter, making sure you keep topped up on your Vitamin C. In contrast, this cake is more akin to a Madeira Cake, being slightly denser than a sponge. And this is most definitely a good thing.

Also, buttermilk is added in this recipe and it ensures a moist crumb, bursting with lemon flavour.
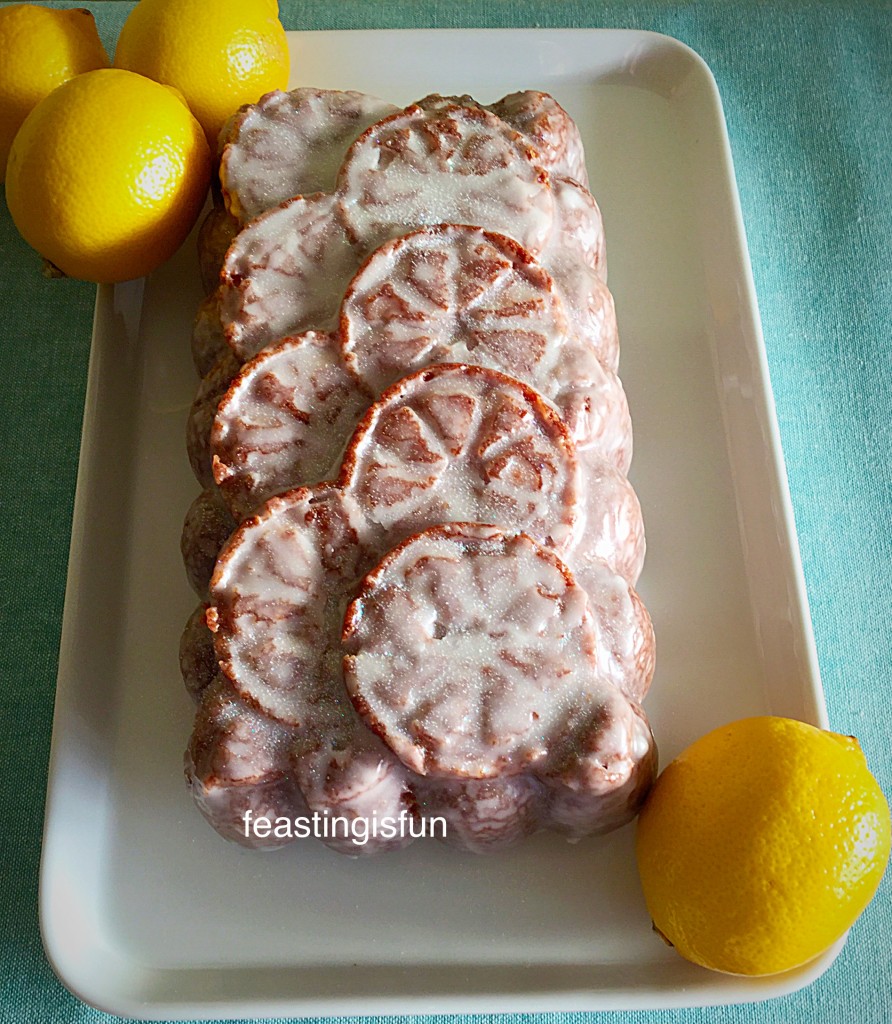
Glazed Lemon Bundt Cake
The definition from the Bundt pan is stunning on this Glazed Lemon Bundt Cake

In Love With Lemons

So, please can we talk about the glaze for a minute?

Since it is literally TO-DIE-FOR, which I realise is slightly over dramatic, just wait till you taste it!

Because lemon juice when mixed with icing sugar becomes the most wonderful glaze. And that glaze is what we use to cover this cake.

Intensely lemony, not lip puckering though as it is forms the thinnest crust.

The lemon glaze is what first hits your tongue, waking your tastebuds up and alerting them to the buttery, lemon cake that follows. Finally, this cake is lemon through and through.
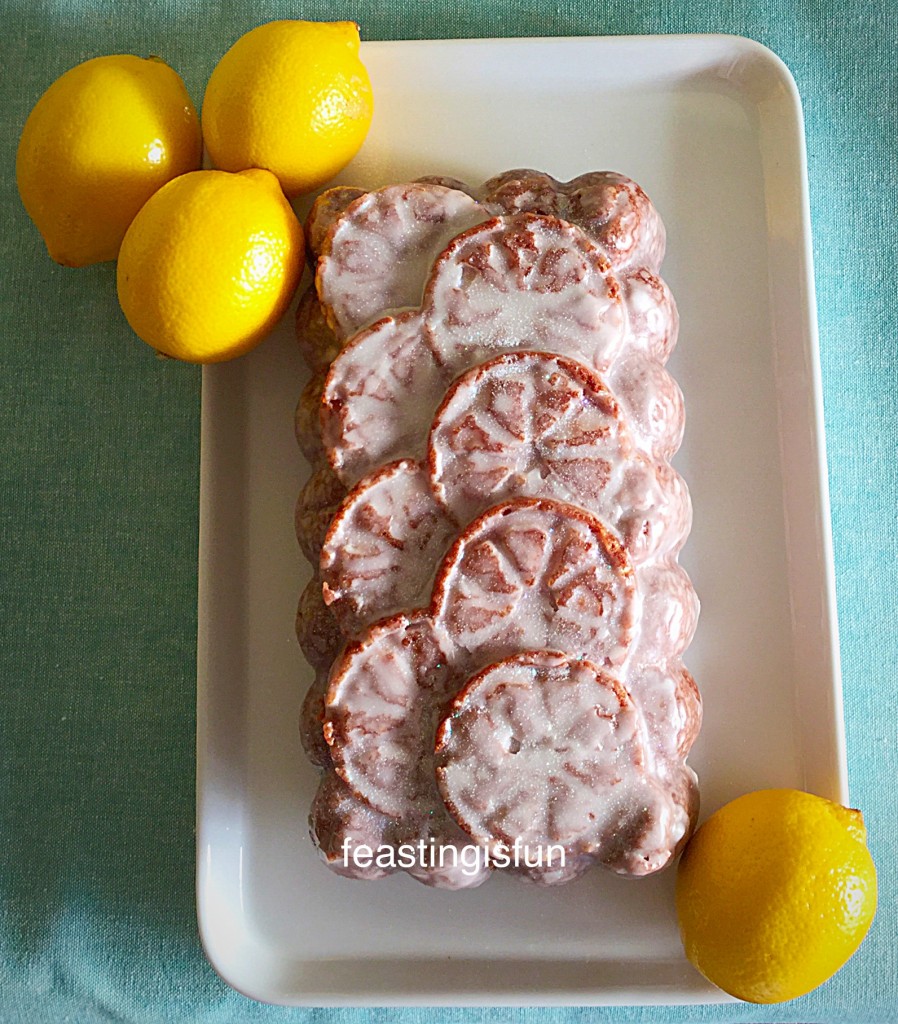
Glazed Lemon Bundt Cake
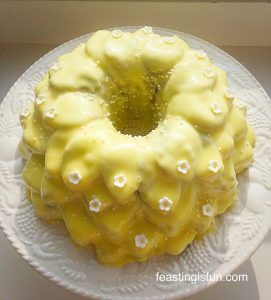
Glazed Lemon Bundt Cake look how it sparkles!

So, for all you lemon lovers out there, this is the cake you have been waiting for.

Please don’t worry if you don’t own a Bundt tin, this cake can be baked in an 8″ round tin, or a 2lb loaf tin.
Glazed Lemon Bundt Cake
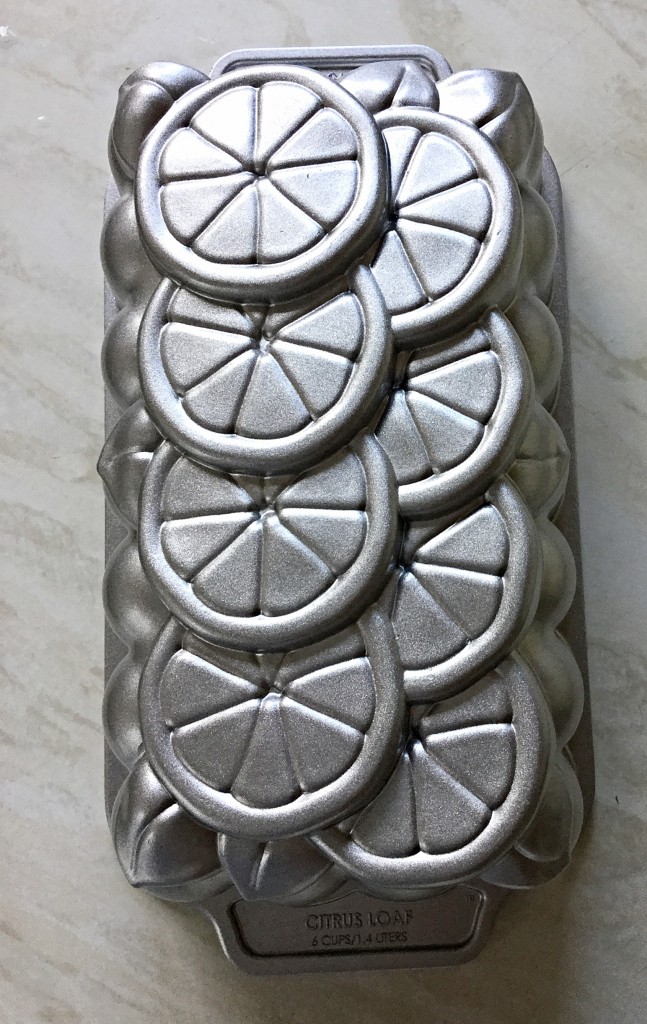
Look at the fantastic detail on this Citrus Loaf Tin.

The Beauty Of Bundt Tins

I would urge you to invest in a Bundt tin. Since they take any cake batter and turn it into the most beautiful baked cake without you having to do anything. That’s got to be a good thing, right?

All my Bundt tins are by Nordic WareThere are various stockists in the UK so it’s worth shopping around, for both variety and price.

The Citrus Loaf Bundt Tin I used for this cake was bought in the sales from Lakeland for half the retail price. I know they have sold out online now, but it’s worth checking your local branch.

Also Amazon, eBay, TK Max and other retailers,  frequently have Bundt tins at lower prices.

Have I convinced you?

Recipe: Makes 1 Glazed Lemon Bundt Cake – serves 8-10

Cake Release Spray – I use Wilton’s (or melted butter for greasing the tin)

175g/6oz Unsalted Butter –  at room temperature

175g/6oz Caster Suger

200g/7oz Self Raising White Flour (if using Plain flour use 2tsp baking powder not 1/2tsp as stated below)

1/2tsp Baking Powder

1/4tsp Sea Salt – I use Maldon

3 Large Eggs – I use free range

1tsp Vanilla Extract

100ml/4fl oz Buttermilk – left out of the fridge for 1 hour prior to use

2 Lemons – washed

200g Icing Sugar – sift

Optional – white edible glitter

Making The Lemon Cake

Preheat the oven to 180C/160C fan oven, gas mark 4, 350F.

Note: If using melted butter to grease your tin, do so now, ensuring every part of the tin is covered in butter by using a pastry brush. Alternatively Spray your Bundt tin thoroughly with cake release (I do this over the sink).

  • First of all, into a large bowl whisk the butter and sugar together until pale and fluffy.
  • Into a jug add the 3 eggs, buttermilk and vanilla extract. Mix to combine.
  • Zest one of the lemons using a grater or lemon zester.
  • Cut the lemon in half.
  • Add 2tbsp of flour to the bowl, then add the egg/buttermilk mixture from the jug.
  • Whisk until thoroughly combined.

Note: The 2tbsp of flour should stop the mixture from curdling. If it does curdle please don’t worry, it will come back together in the next step.

  • Add the rest of the flour, salt, lemon zest and juice from half a lemon to the bowl.
  • Using a metal spoon gently mix all the ingredients together, until you have a smooth cake batter.
  • Spoon the cake batter into the Bundt tin, lightly pressing to ensure the batter is in every part of the tin.
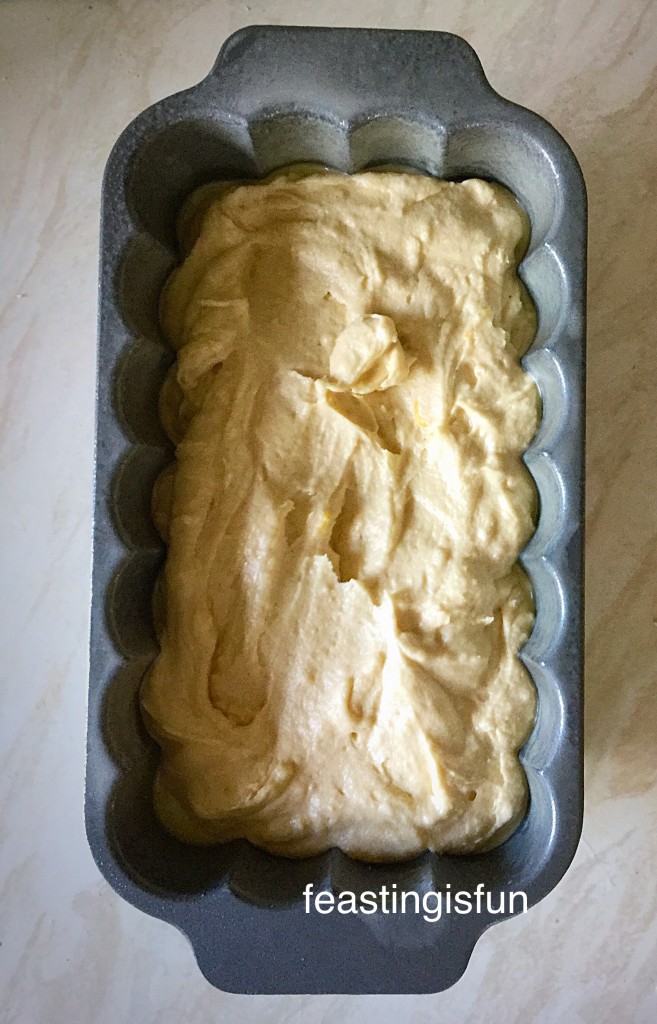
Glazed Lemon Bundt Cake
Always ensure the Bundt tin is never more than 3/4 full with cake batter.

Baking The Cake

  • Place the tin into the preheated oven and bake for 50-60 minutes.
  • The cake is baked when golden, slightly shrinking away from the sides and an inserted wooden skewer comes out clean.
  • As soon as the cake is baked remove from the oven.
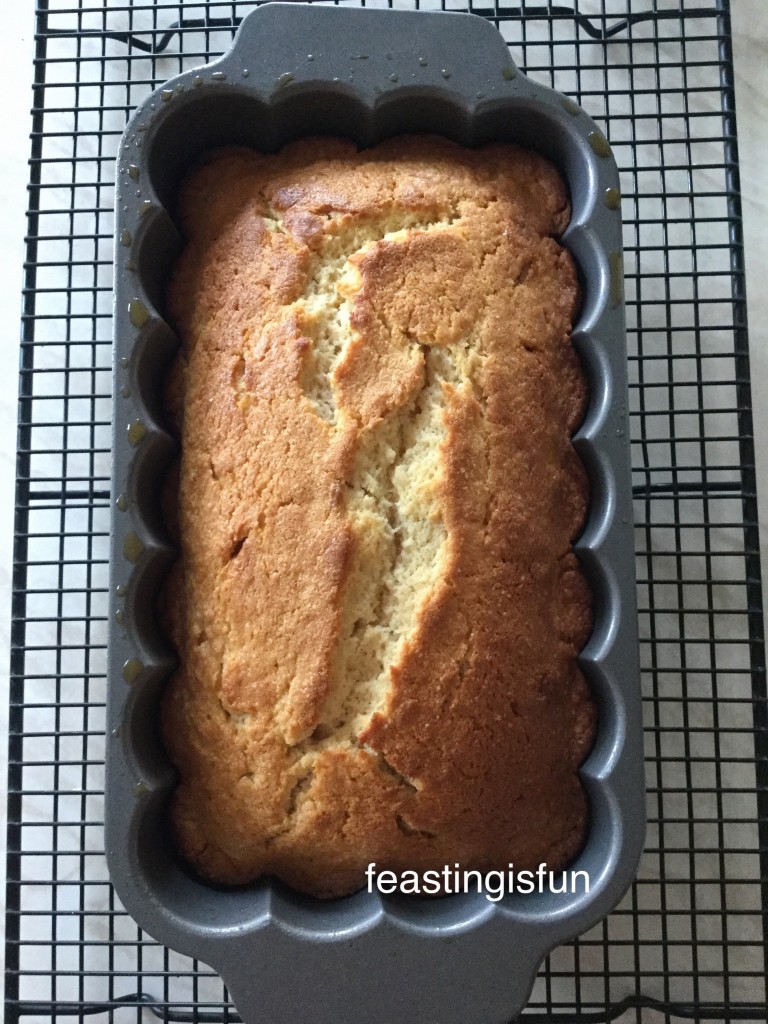
Glazed Lemon Bundt Cake
Place the Bundt tin onto a cooling rack and allow to cool for 10 minutes.
  • After 10 minutes cooling invert the tin onto the cooling rack and leave for 5-10 minutes.
  • Gently lift the tin away from the cake.
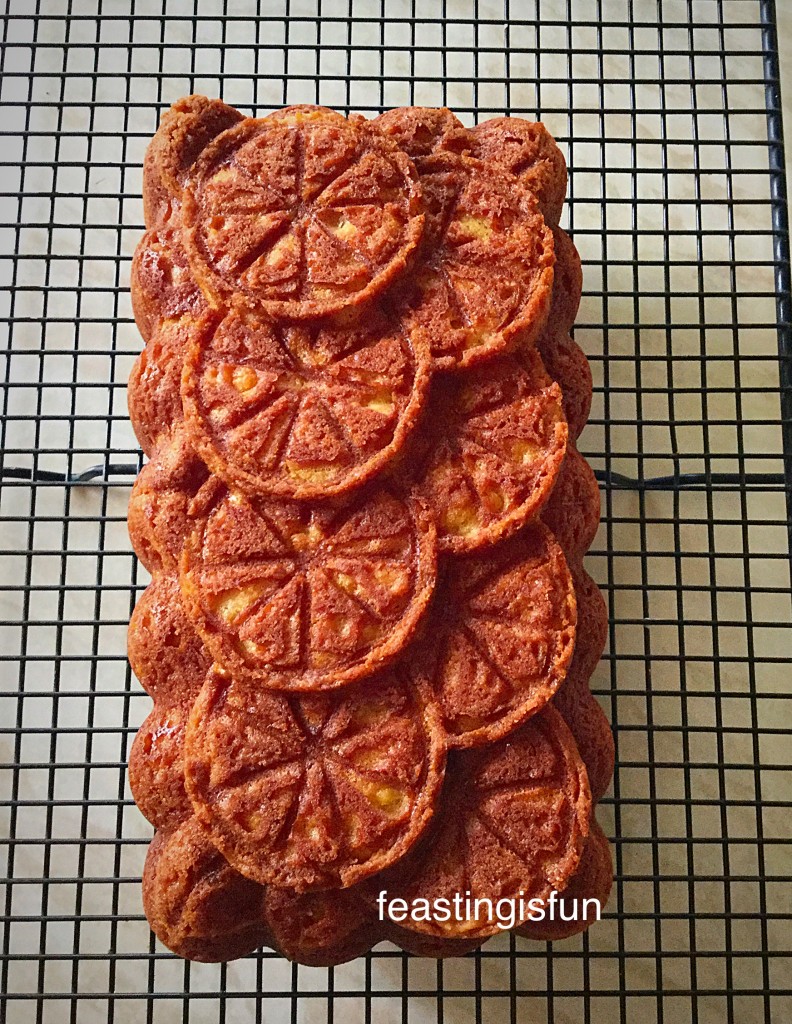
Glazed Lemon Bundt Cake
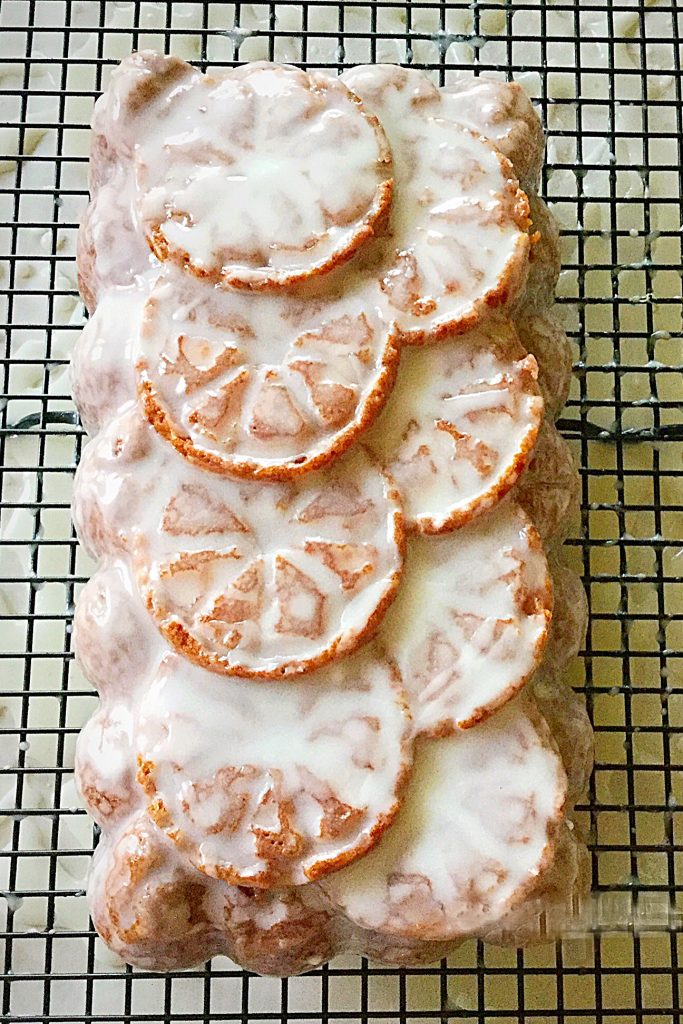
Ta-dah one not yet Glazed Lemon Bundt Cake.
  • Allow the cake to cool completely before glazing.

Making The Glaze And Decorating The Cake

  • Place a tray or a large piece of baking parchment under the cooling rack.
  • Sift the icing sugar into a bowl.
    Juice the remaining lemon half and the other lemon. You need 60mls exactly of lemon juice. If you do not have quite enough top up with tap water.
  • Add the lemon juice to the icing sugar and mix thoroughly until you have a very smooth consistency.
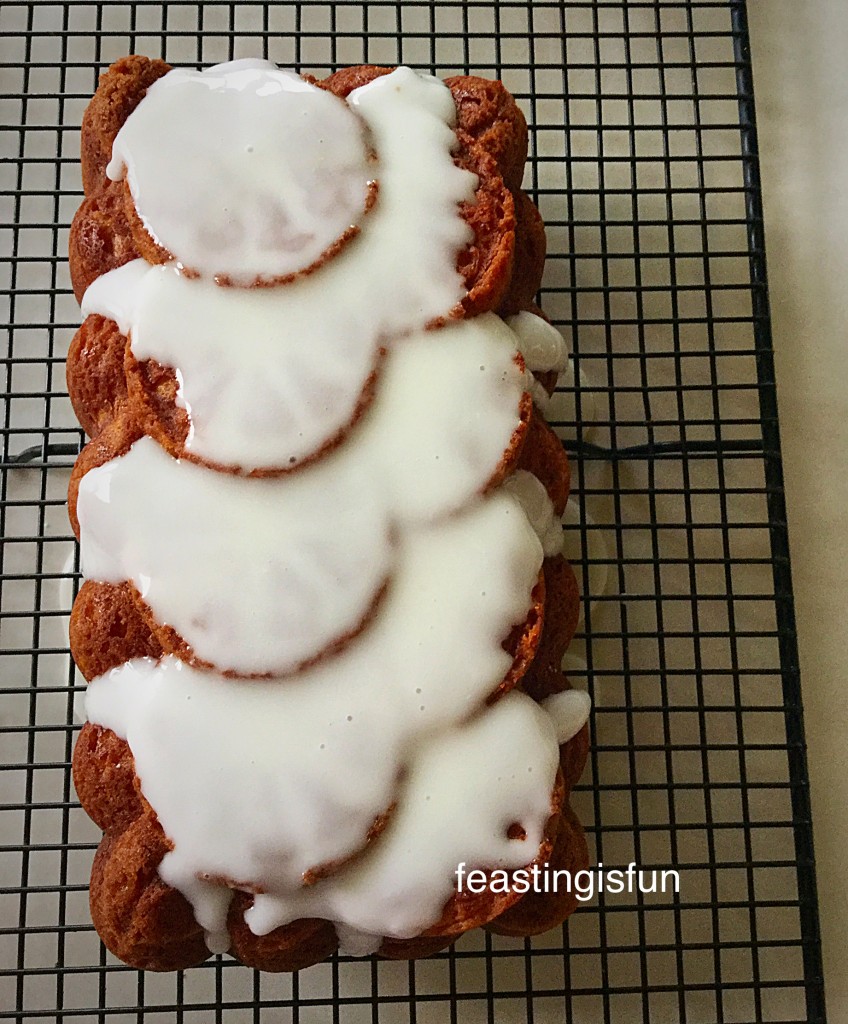
Glazed Lemon Bundt Cake
Slowly spoon the glaze over the top of the cake.
  • Allow the glaze to drip down the sides and then spoon more glaze over uncovered parts of the cake. Taking the excess glaze from the tray underneath and re-spooning it over the cake until it is completely covered.

  • When the glaze has set sprinkle lightly with white edible glitter.

Move the cake onto a serving plate.
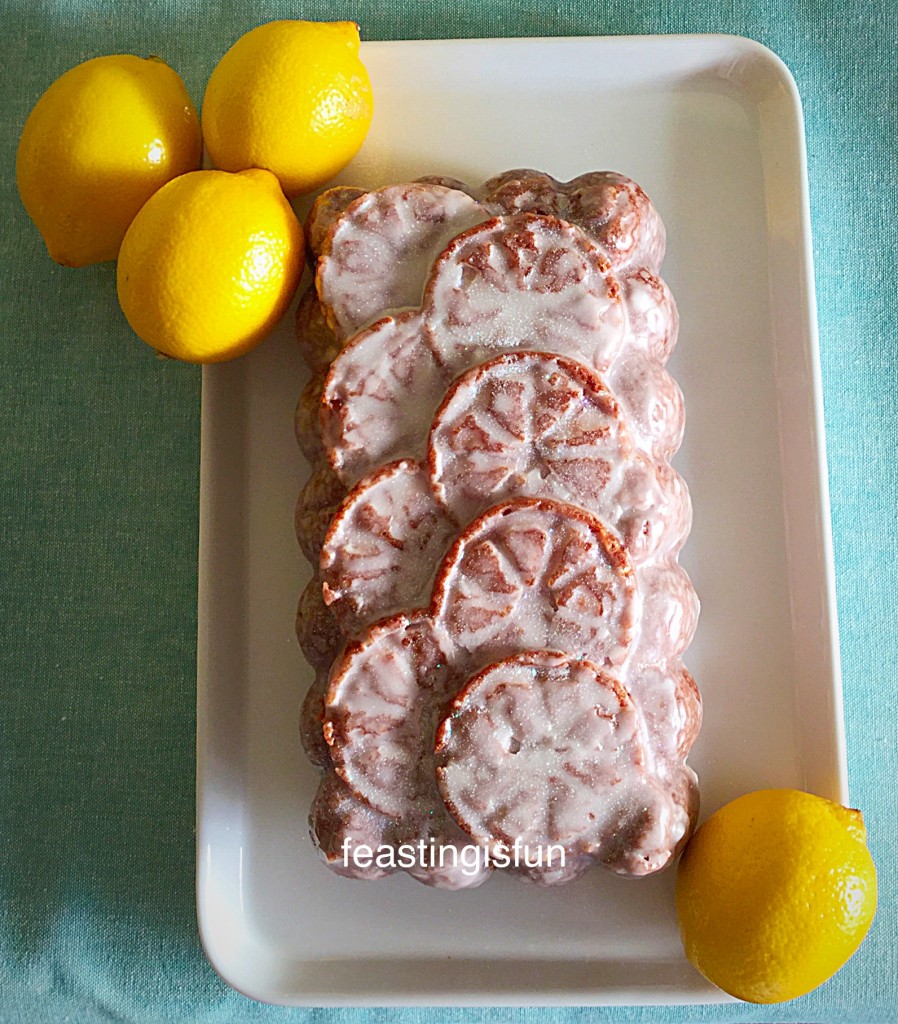
Glazed Lemon Bundt Cake
Delicious Glazed Lemon Bundt Cake.

Give yourself a pat on the back for making such a stunning cake!

Yes, alright I know the Bundt tin did most of the work, so why wouldn’t you want to get one??

Enjoy this cake with friends, family, work colleagues, anyone who loves lemon cake. Food tastes infinitely better when shared.

If you have loved baking this Glazed Lemon Bundt cake, here are a few more you might like to try:
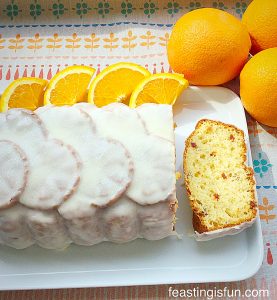
Glazed Orange Bundt Cake

Glazed Orange Bundt Cake

Marbled Chocolate Bundt Cake

Marbled Chocolate Bundt Cake


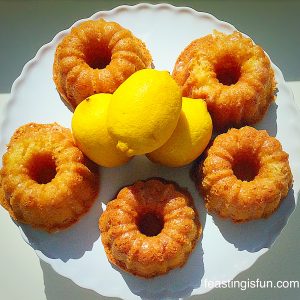
Mini Lemon Drizzle Bundt Cakes

Mini Lemon Drizzle Bundt Cakes

Sammie xx

No part of this post may be reproduced or duplicated without the written permission of the owner. Please see my Disclosure Policy.

 

Almond Blackberry Pear Crumble

Finally, it is the middle of Winter. Time to banish the diet and eat pudding. So, bring on the warm, sweet comfort of fruit with a crunchy, crumble topping. And here we have an exquisite Almond Blackberry Pear Crumble, which is also gluten-free.

Since this crumble hits the spot where only warm, fruity, drizzled with cream or custard, or both – I’m not judging – puddings can really hit.

So, are you with me?

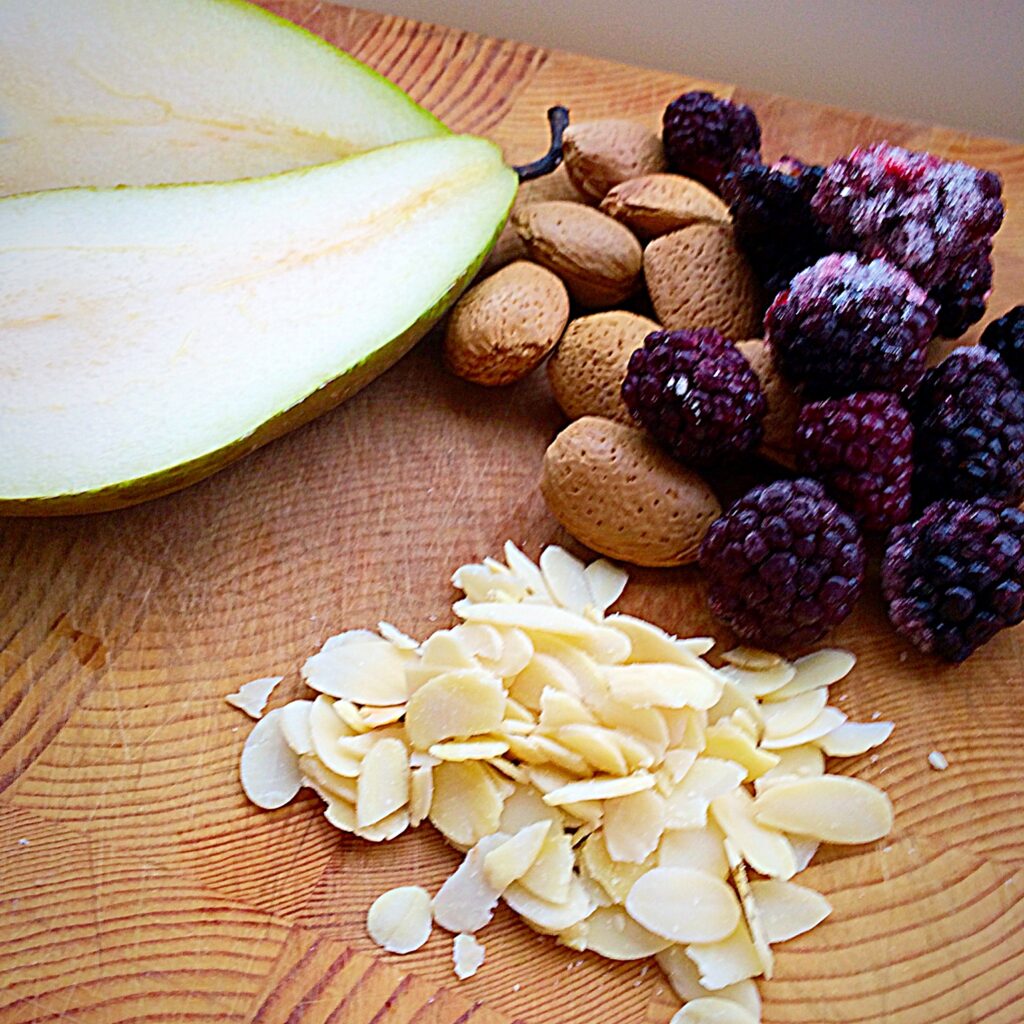
The pears are fresh and juicy, the blackberries are from the freezer, squirrelled away during our abundant, Autumn.

Fruit and nuts on a wooden board.

This crunchy, almond laden crumble comes together in mere moments, all the ingredients working in harmony together. The result, an unctuous, fruity, crunchy, explosion in your mouth. You know, the kind of eating experience, where the inside of your cheeks suddenly suck in and your taste buds are woken up by the flavour party happening on your tongue.

Yep – that good!

And because as many as possible should be able to share in this pudding sensation, I made it Gluten Free. Because, why not??

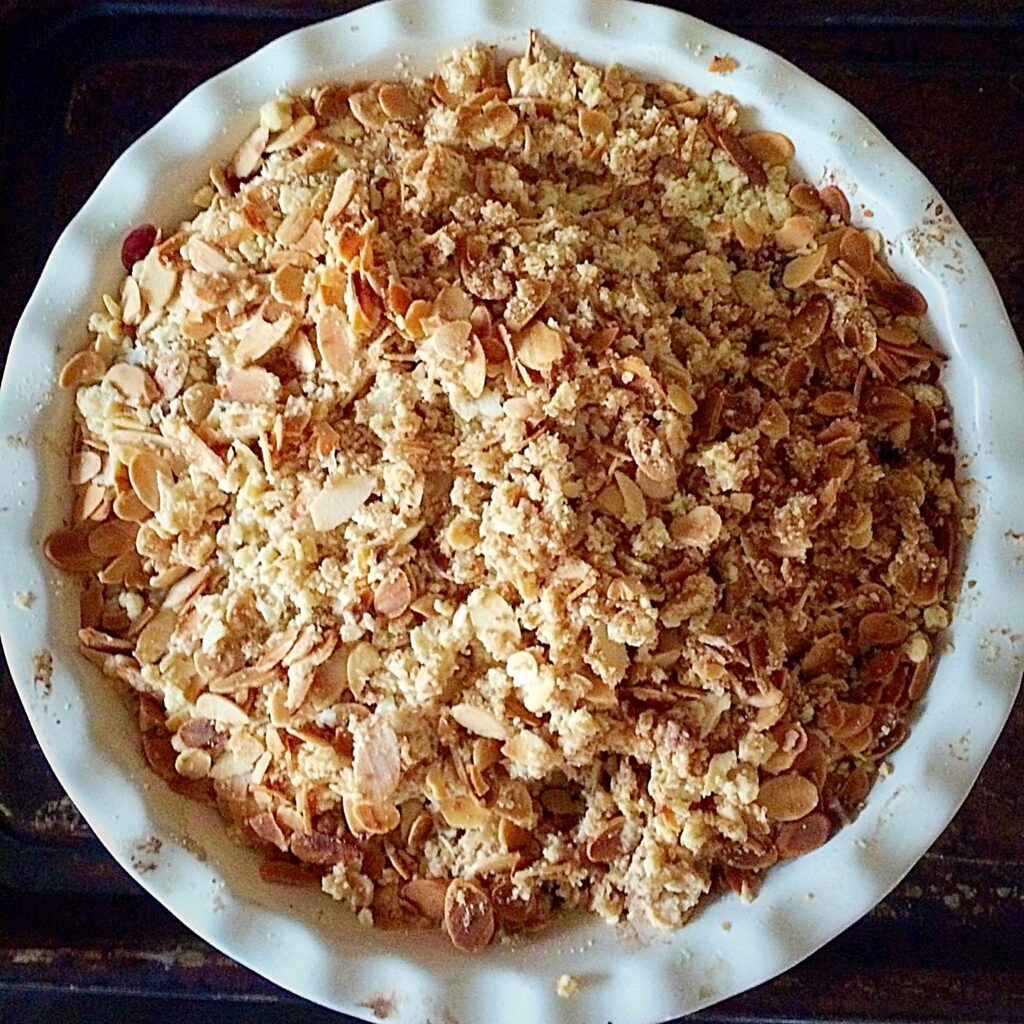
Backed almond blackberry pear crumble.


Balancing Flavours In A Dessert

What sends this Almond Blackberry Pear Crumble over the top, apart from my description, is the buttery, crunchy, flaked almond streusel, piled high, atop the juicy fruit.

And no additional sugar is added to the fruit layer. Because, the pears are sweet enough and I think it is good to have bursts of sharpness, from the plump, purple, blackberries. Also, to provide balance, crunchy, caramel, demerera sugar is mixed in with the crumble topping. Resulting in a pudding that absolutely sings!

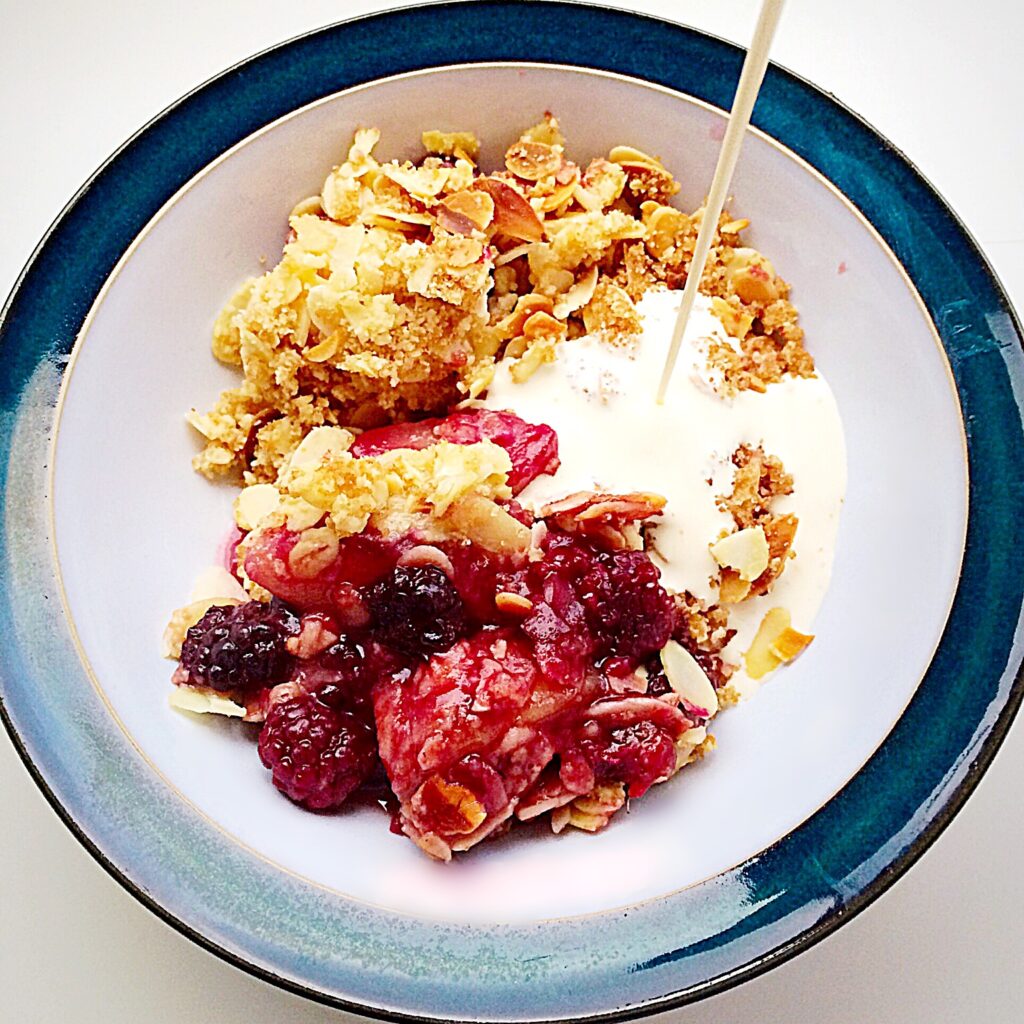
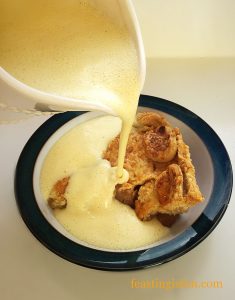
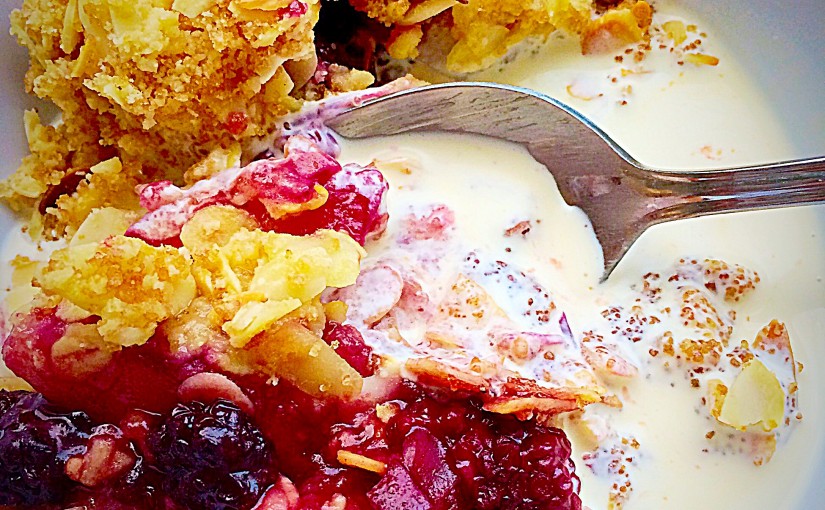
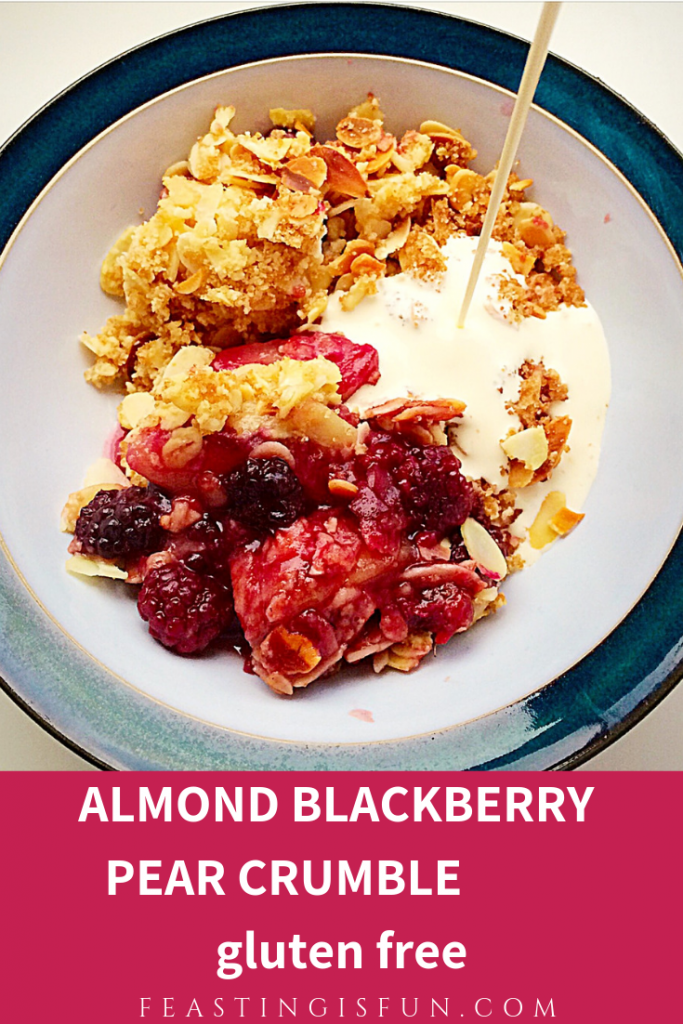
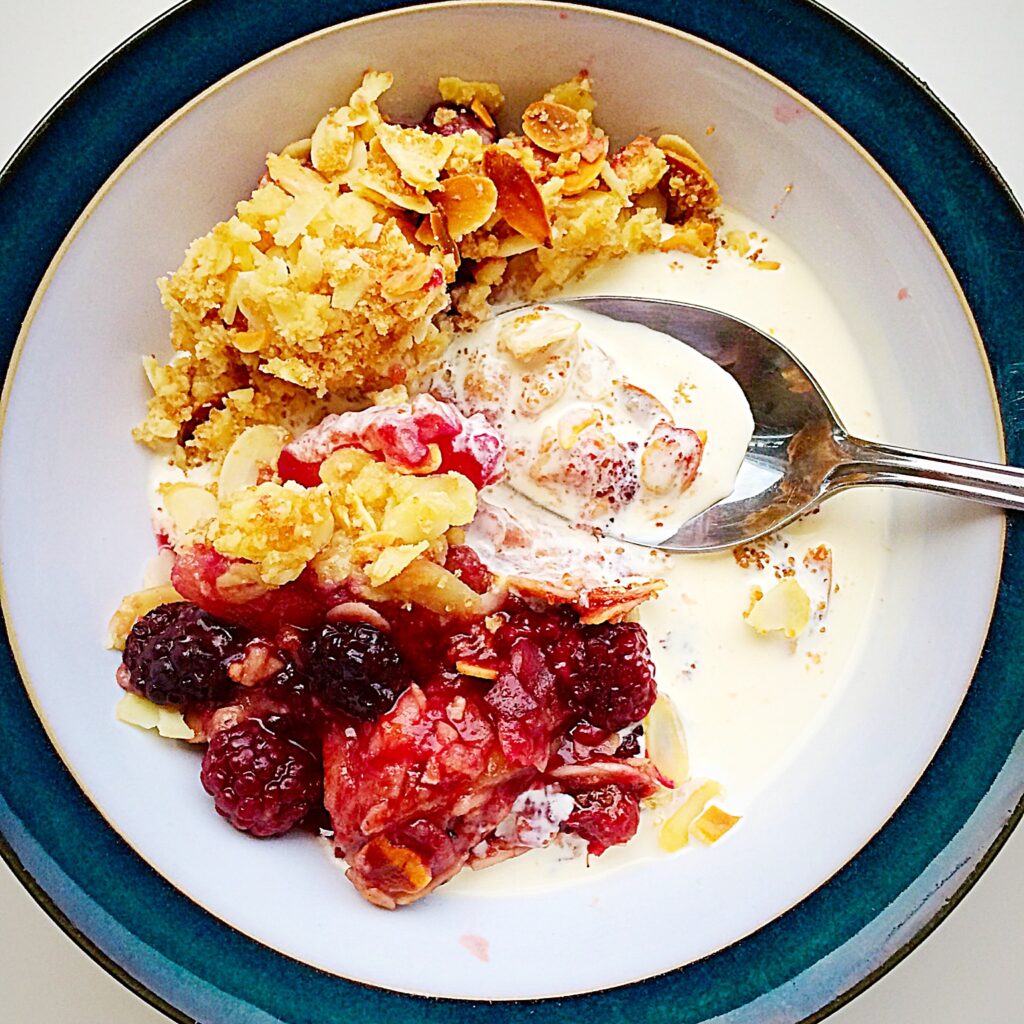
Blackberry and pear almond crumble served in a bowl with cream.

Recipe: Almond Blackberry Pear Crumble serves 6 generous portions.

225g/8oz Gluten Free Flour – I use Dove’s Farm

100g/4oz Unsalted Butter – cold, straight from the fridge

225g/8oz Flaked Almonds

100g/4oz Demerera Sugar

1/4tsp Salt – I use Maldon

3-4 Conference Pears – alternatively use canned, drained pear halves

200g/7oz Fresh or Frozen Blackberries

Optional – Double Cream, Custard, Ice Cream to serve

Making The Topping

Method: Preheat Oven to 190C/170C fan

First of all, cut the cold butter into cubes and place in a large bowl with the flour and salt.

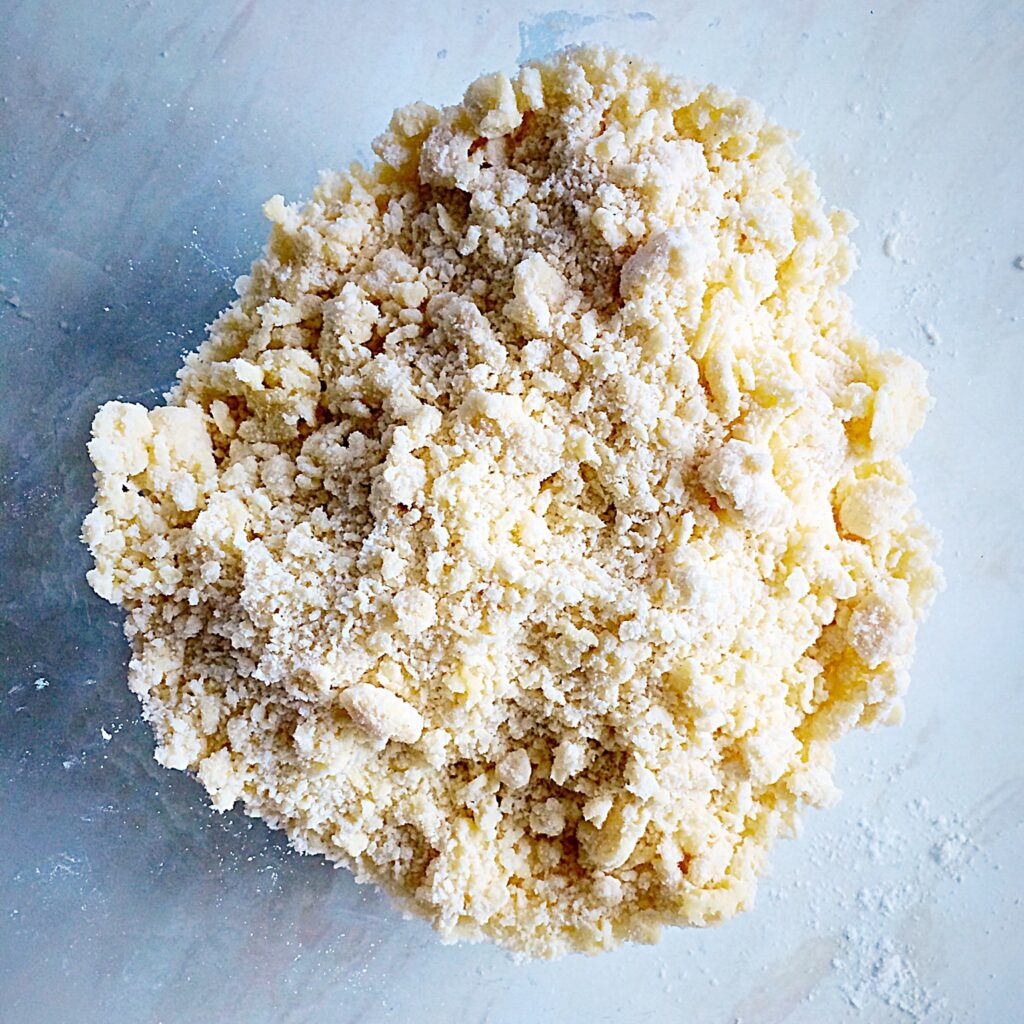
Rub the butter into the flour with your fingers, working quickly and lightly, until the mixture resembles breadcrumbs. Gluten free flour works equally well in this recipe.

Rubbing butter into flour in a bowl.

Alternatively place the cubed butter and flour into a food processor, with the steel blade attached and pulse until the mixture resembles breadcrumbs.

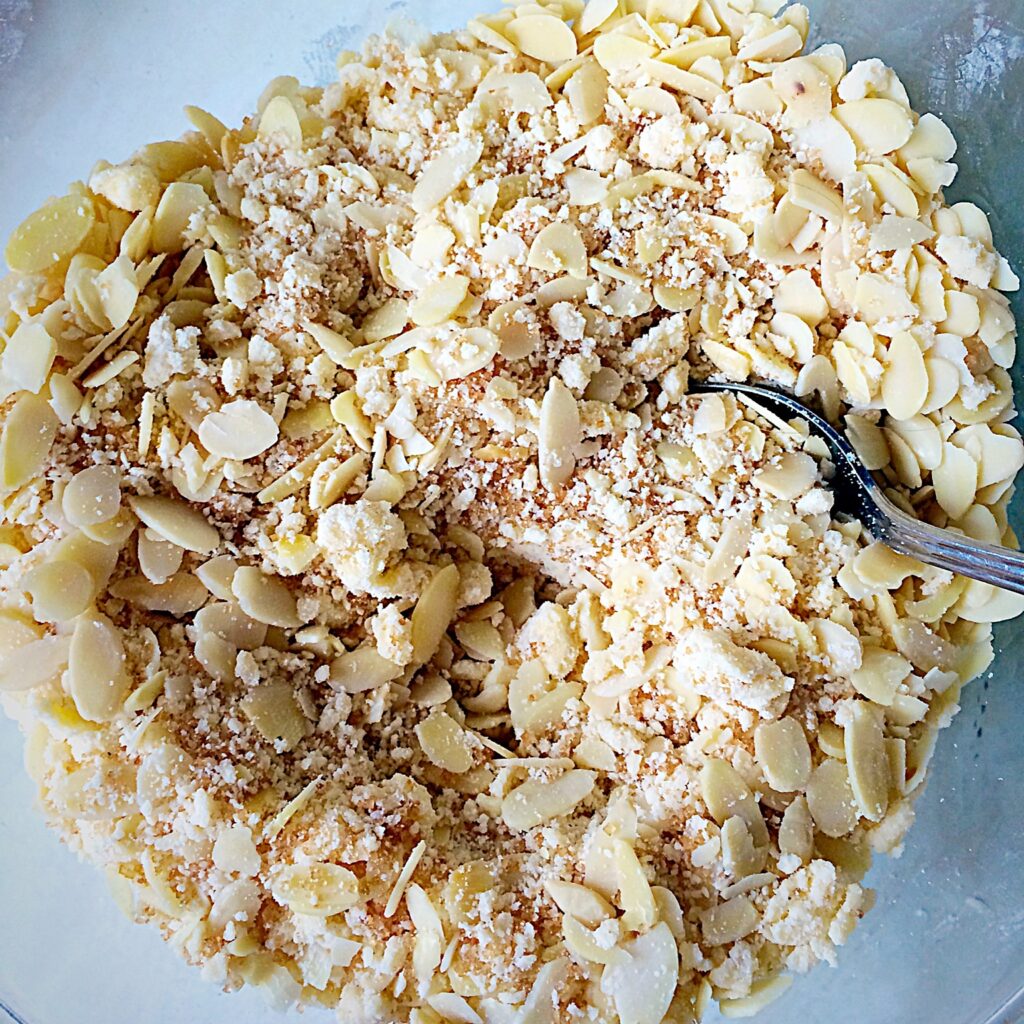
Add the flaked almonds and demerera sugar and stir with a spoon to mix.

Adding almonds to a crumble topping.

Preparing The Fruit

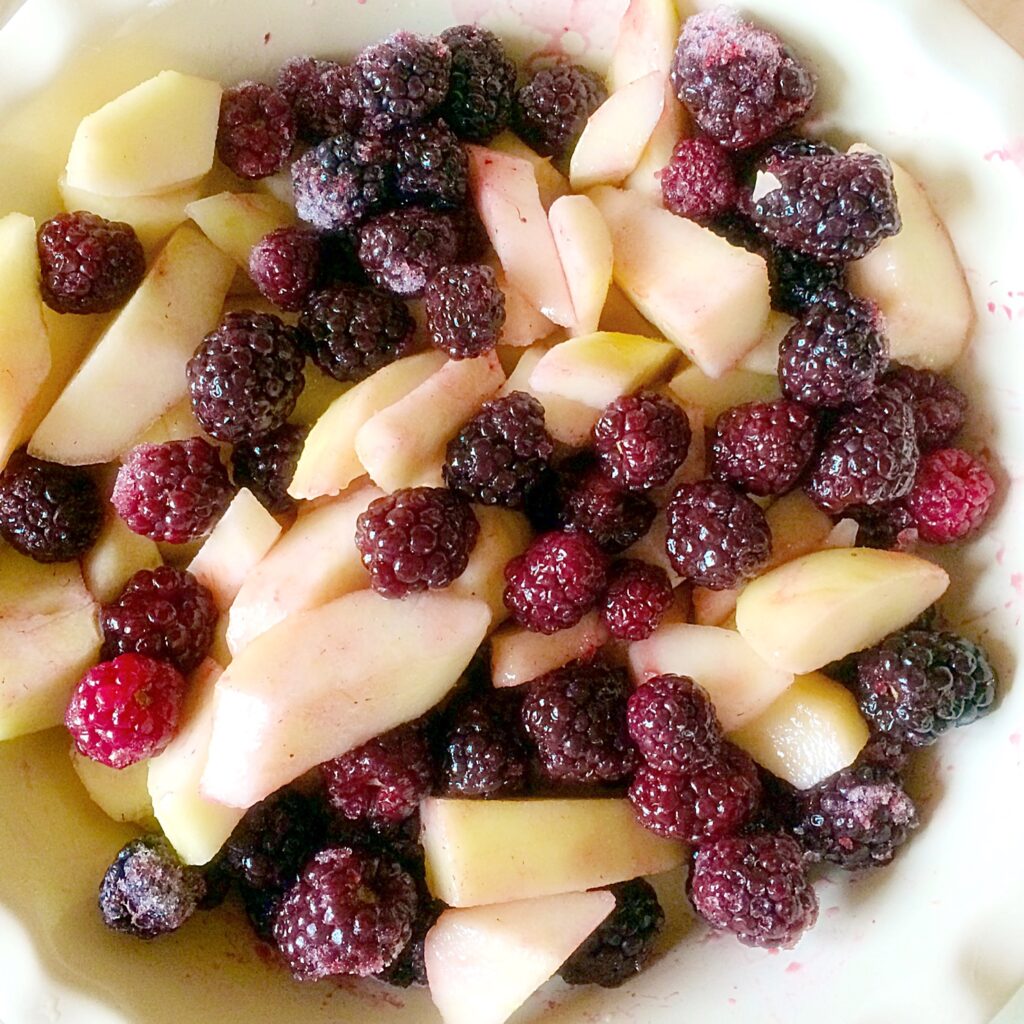
Peel the pears, remove the core and cut into chunks.

Place the pears and blackberries into a 10″/26cm dish.

Sliced pear and frozen blackberries in a serving dish.

Cover the fruit with the crumble mixture.

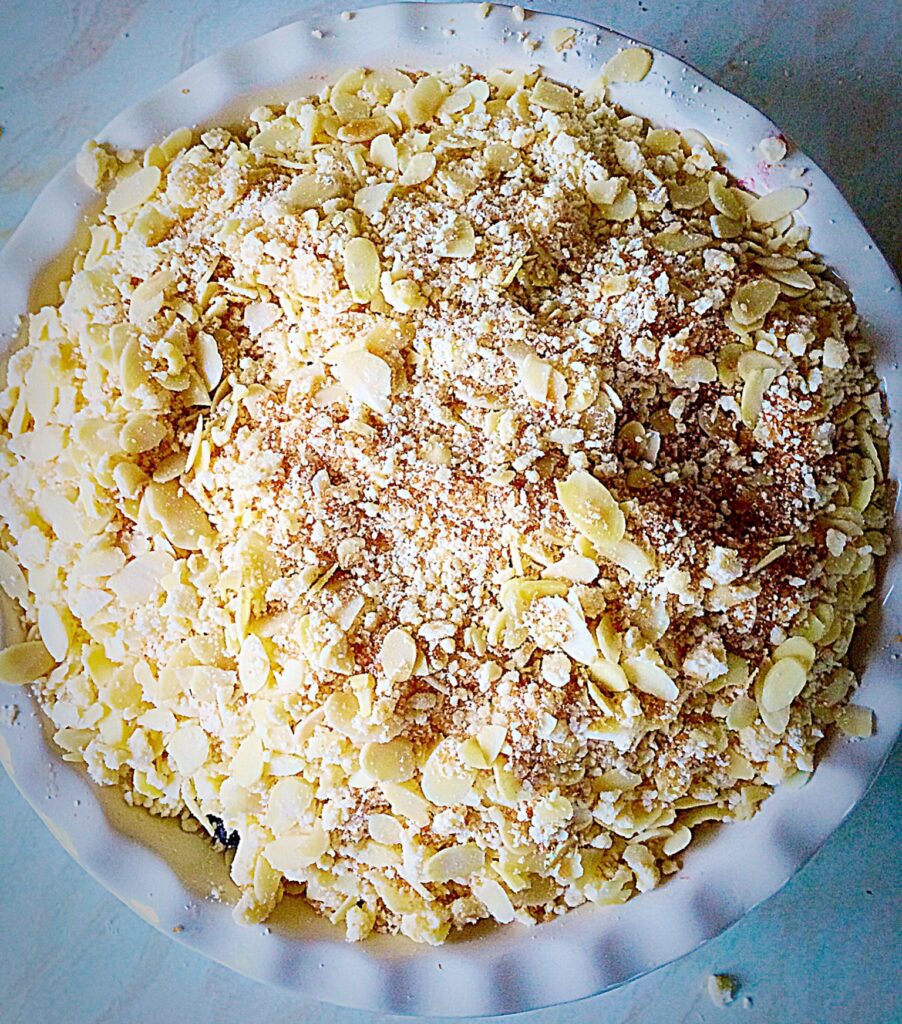
Almond Blackberry Pear Crumble ready to be baked.

Baking The Crumble

Place in the preheated oven for 40-50 minutes until the topping is golden and the fruit juices are bubbling.

As soon as the Crumble is baked remove from the oven.

Backed almond blackberry pear crumble.

Fruity pear and blackberries hidden beneath a crisp and crunchy crumble topping.
Serve immediately with the accompaniment of your choice.

A backed fruit dessert having cream poured over it.


Eat and enjoy!

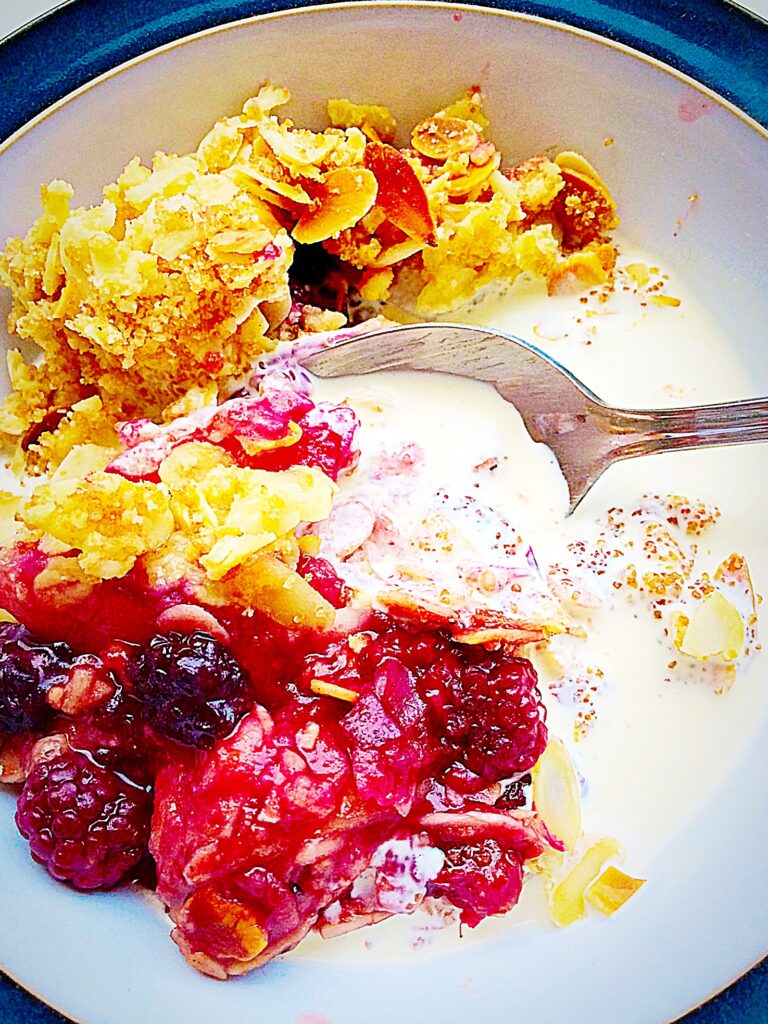
Almond Blackberry Pear Crumble served in a bowl with cream.

Everyone in our house thoroughly enjoyed this warming, winter pudding.

Being Gluten Free makes this Almond Blackberry Pear Crumble accessible to more people. And I must agree, that has got to be a good thing!

Do you desire warm, comforting food when it’s cold? I certainly do.

If you enjoy this Almond Blackberry Pear Crumble, then you will love these recipes:

Apple Almond Cake 

FF Almond Blackberry Pear Crumble
Autumn Almond Apple Cake – gluten free.

Amazing Apple Pie

FF Almond Blackberry Pear Crumble
Amazing Apple Pie with homemade Luxury Vanilla Bean Custard.

I buy Dove’s Gluten Free flour from Waitrose.

While I am not allergic to wheat, or gluten it is important that gluten free recipes are included on Feasting is Fun. Since the heart of my blog is to encourage people to share and eat together, it makes sense to create recipes that more people can enjoy. Because nobody asks to have an allergy. And it’s nice when an “extra” dessert doesn’t have to be bought or made. Finally, I believe the more that people are included, the more comfortable and relaxed they will be.

Sammie xx


Chocolate Sparkle Cake

Ooh hello my lovelies, have I got a treat for you today? Yes of course I have and a dazzling one at that. Welcome to my Chocolate Sparkle Cake!

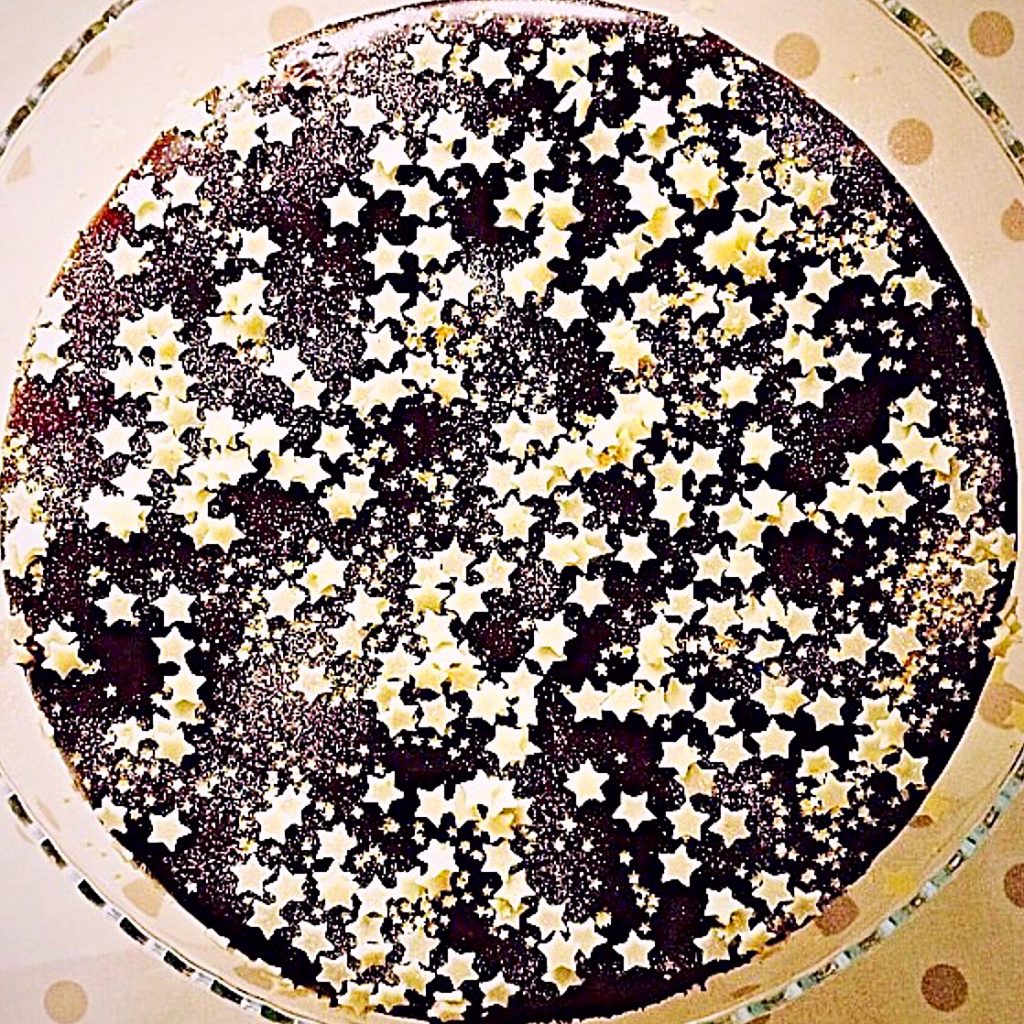
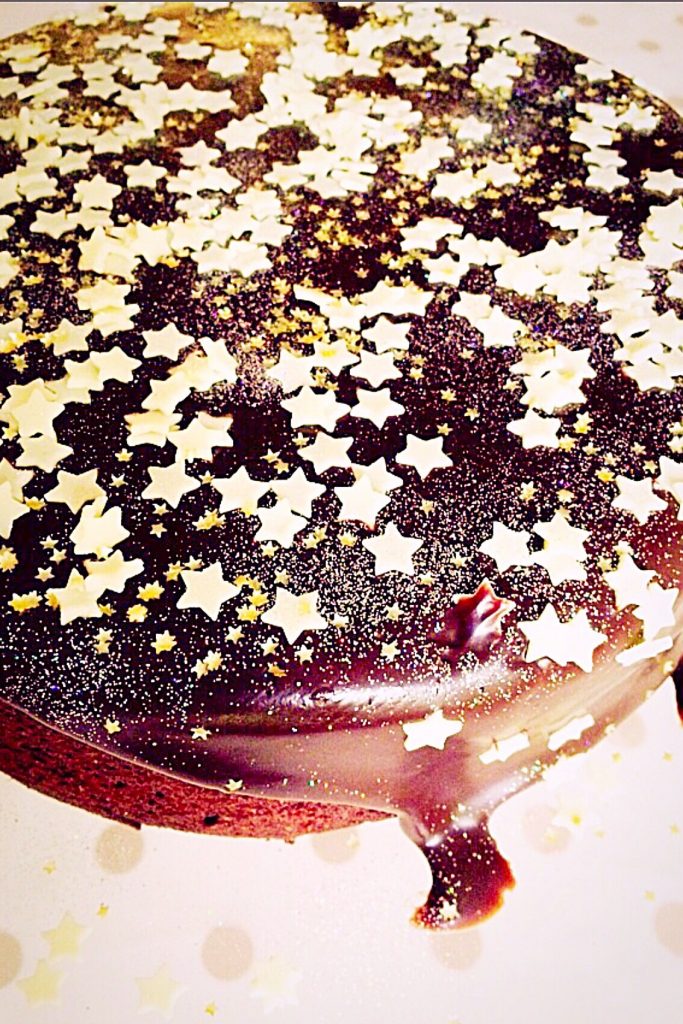
A sparkling star covered celebration bake perfect for bonfire night, New Year’s Eve and Halloween.
Chocolate Sparkle Cake

It’s ok you can read through once you’ve looked at all the photo’s – I would!!!

So, this cake was inspired by Bonfire Night ( November 5th if you’re not from the UK). Our children were being taken to an amazing fireworks party by my wonderful sister and brother-in-law, along with their cousins.

While they were out I wanted to make a cake, that on their return would make them say “Wow” and remind them of the fun they’d had.

Chocolate Sparkle Cake

It has to be chocolate:

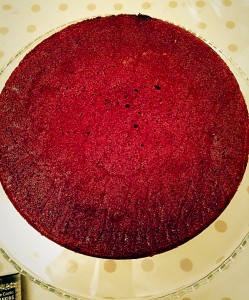
So being our children meant this had to be a Chocolate Cake. I wanted a deep, chocolatey, moist cake, smothered in thick, glossy, chocolate ganache and then topped with as many sprinkles I could get my hands on.

Thus the Chocolate Sparkle Cake idea was formed in my head.

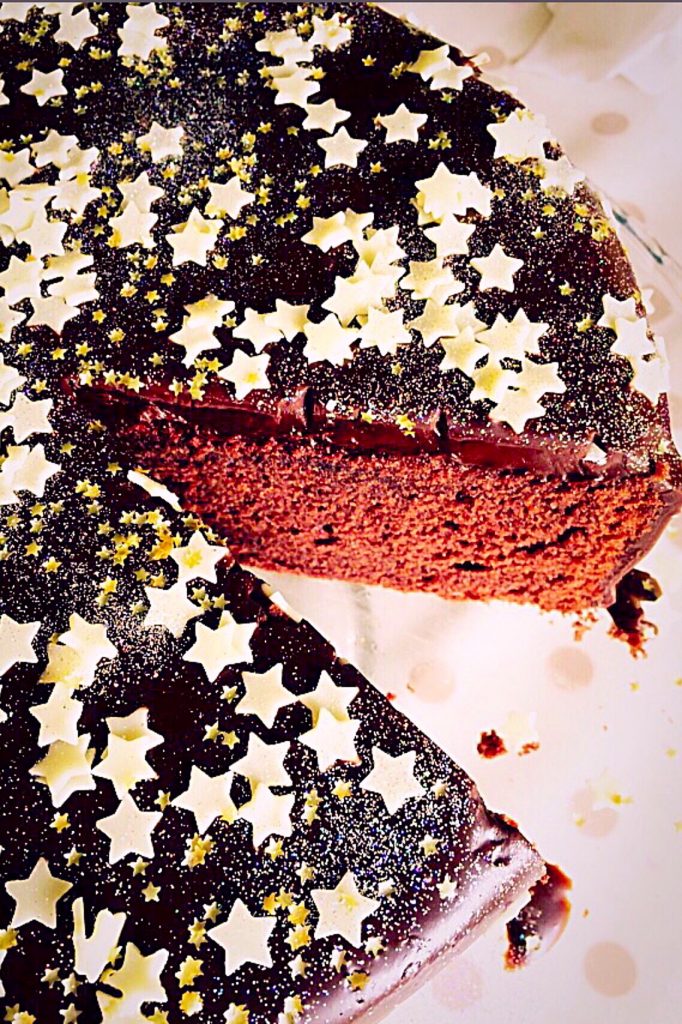
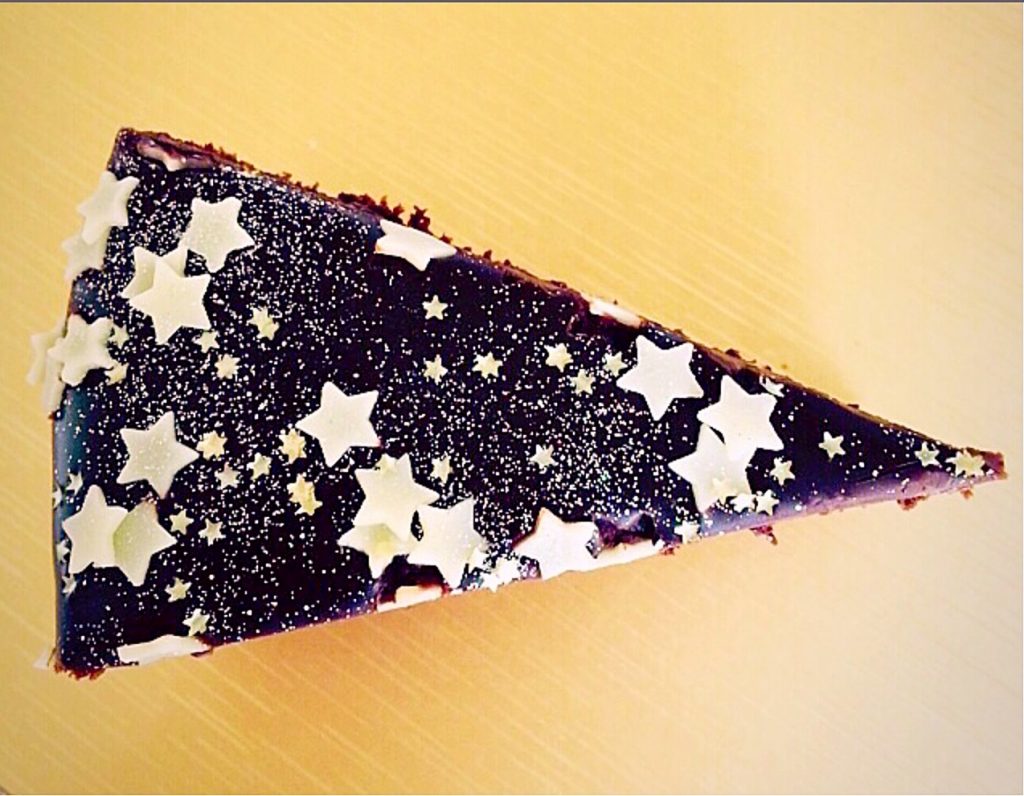
A slice of dreamy Chocolate Sparkle Cake.

And, knowing that I didn’t want a layer cake, it was important to ensure the cake itself was as moist as possible. Since adding cocoa to any batter has a drying effect, so to counter that I added sour cream.

I’d seen Ina Garten add it to many of her bakes and figured it was worth a try. Yep I was winging it yet again!

Oh my. I soo made the right decision. Because you cannot taste the sour cream in the baked cake, however, the baked cake has such a moist, tender crumb. This is one ingredient I will be experimenting with more, that’s for sure.

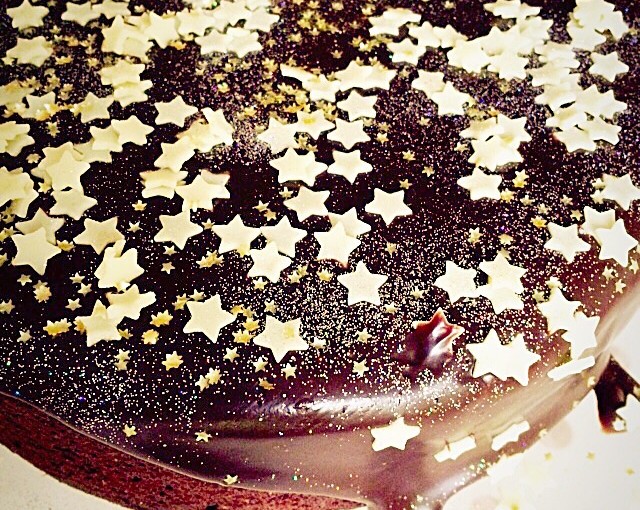
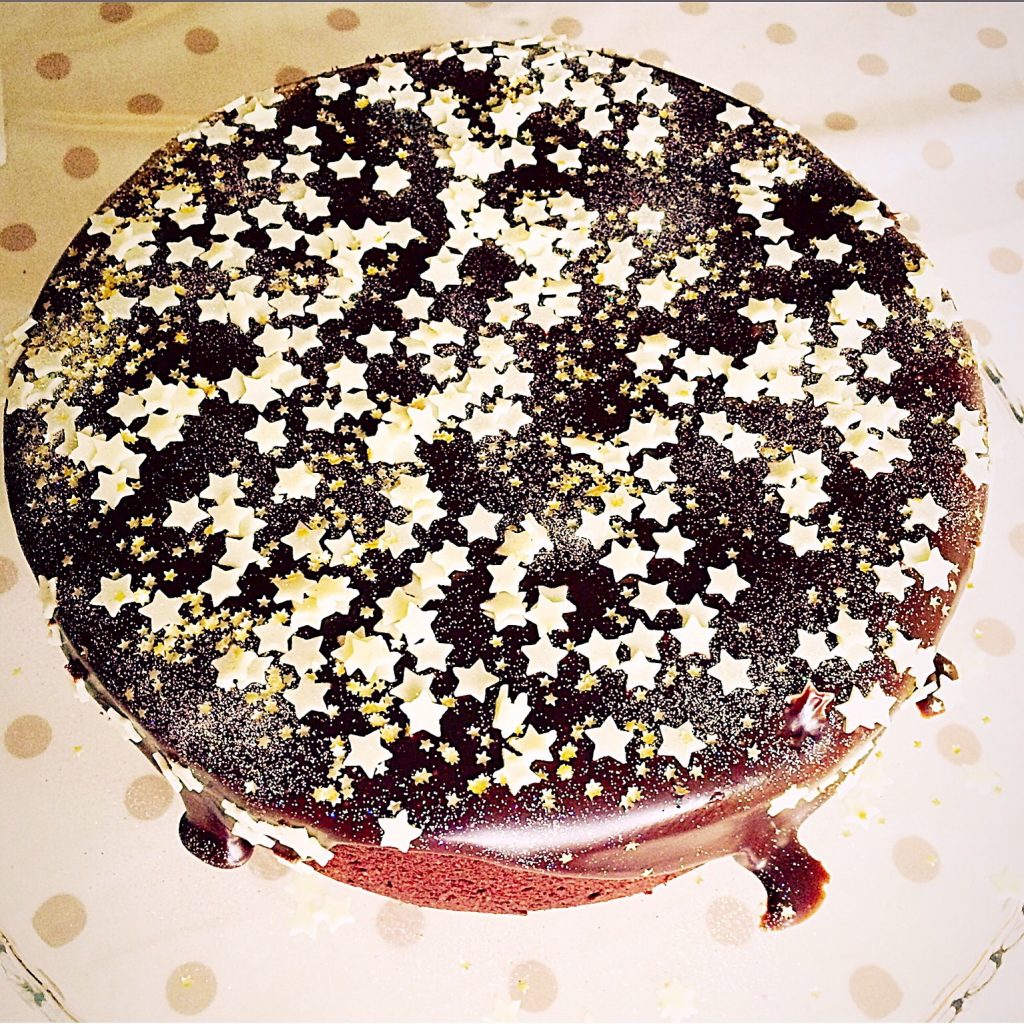
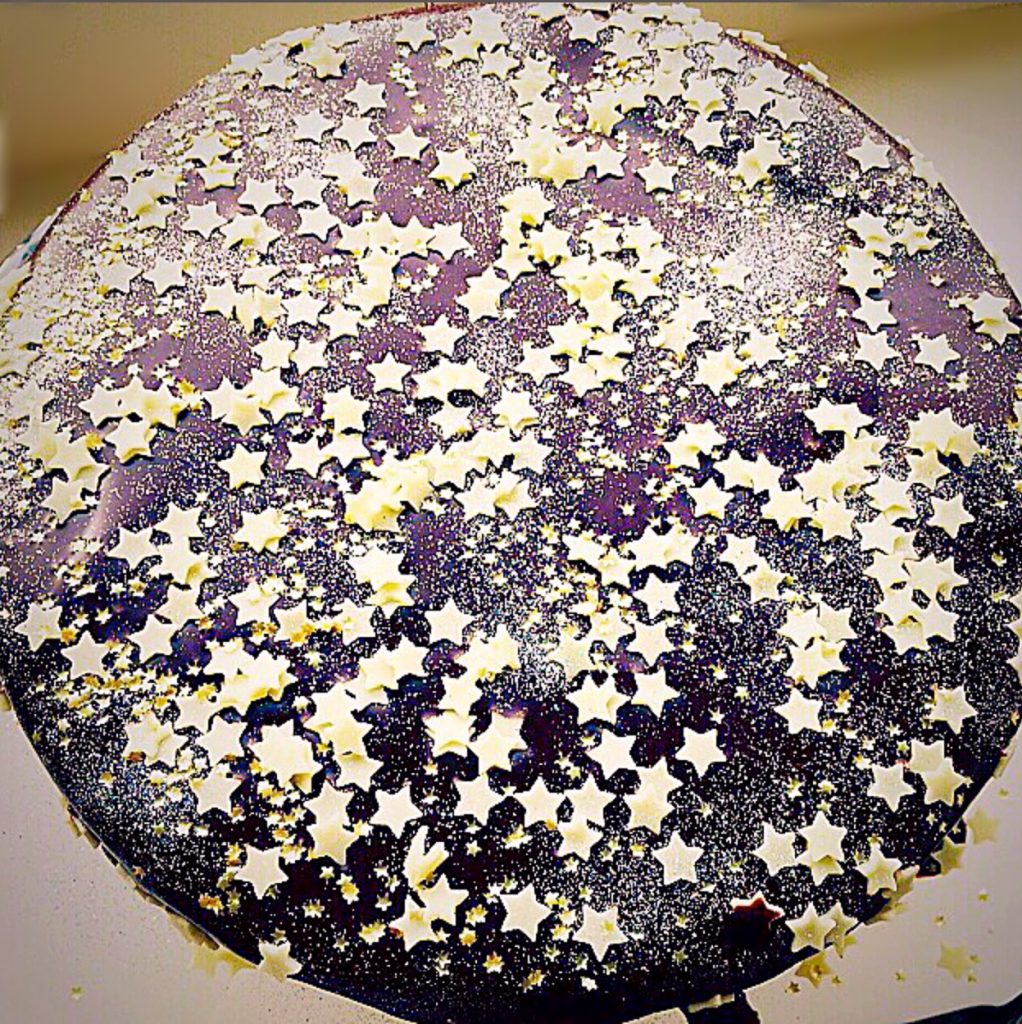
A chocolate cake decorated to look like a galaxy of stars.
Chocolate Sparkle Cake

What really sends this cake over the top flavour-wise is the addition of liqueur to the chocolate ganache. I happened to have an unopened bottle of Chocolate Bailey’s Luxe. So I added some. Mmm another brilliant decision, I was truly on a roll!

I only used a small amount and it is totally fine to leave it out altogether. Our youngest is 13 years old so I was happy for him to have a very small, diluted amount.

I would say that this cake is both decadant and rich. All three of our children and all the adults loved it. I’m not sure if it’s richness would be enjoyed by younger children, even with the absence of liqueur?

Recipe : Makes 1 x 10″ Chocolate Sparkle Cake

For the cake:

275g/10oz Unsalted Butter at room temp.

150g/5oz Soft Light Brown Sugar

150g/5oz Caster Sugar

5 Large Eggs – I always use free range

1tsp Vanilla Extract – I use Nielsen-Massey 

225g/8oz Plain White Flour

100g/4oz Cocoa Powder

2.5tsp Baking Powder

1/4tsp Salt – I use Maldon

200ml/7fl oz Full Fat Sour Cream

Alternatively – Wright’s Baking Chocolate Fudge Cake Mix would also work really well for this cake if you haven’t the time or energy to bake from scratch. Follow the packet instructions for baking and then decorate as given below.

For the topping:

100g/4oz Dark Chocolate minimum 70% Cocoa

200g/7oz Milk Chocolate minimum 35% Cocoa

300ml/ 1/2 pint Double Cream

Optional – 2Tbsp Bailey’s Chocolate or Bailey’s liqueur

Assorted sprinkles, stars and ebible glitter dust

Method : Preheat the oven 170C/150C fan, gas mark 3, 325F

Making the Cake:

First of all, butter the base and sides of a 10″ Springform cake tin. Line the base of the tin with baking parchment paper.

Sift the flour, cocoa, baking powder and salt together. These are your dry ingredients.

Crack all the eggs into a jug, add the vanilla extract and lightly beat with a fork to break up.

In a large bowl cream together the butter and sugars until light and fluffy.

Add one third of your dry ingredients and mix slowly, as they start to incorporate add half of your eggs. Continue mixing until all the ingredients are almost incorporated.

Repeat this step again.

Add the last of the dry ingredients until thoroughly mixed. Be careful not to overmix, as the cake will be heavy.

Fold in the sour cream to the chocolate cake batter.

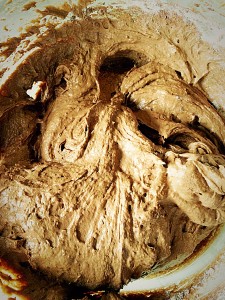
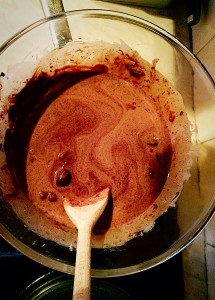
Delicious, moist, chocolate cake batter.
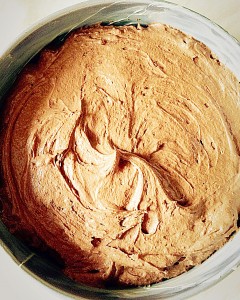
Fill the cake tin with batter and smooth the top.

Place the cake tin in the middle of the oven and bake for 50 minutes.

The cake is baked when an inserted skewer comes out clean. If after 50 minutes the cake is still not fully baked, place back in the oven and re-check at 5 minute intervals.

As soon as the cake is baked remove the oven.

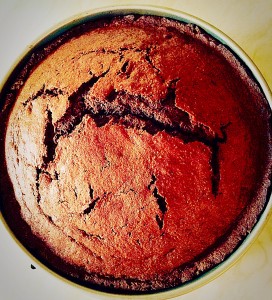
Don't worry about the small crack it will reduce and we are turning the cake over to frost!!
Don’t worry about the small crack it will reduce and we are turning the cake over to frost!!

Allow the cake to cool for 15 minutes before removing from the tin.

To remove, release the springform lever, remove the outer ring of the tin.

Place a cooling rack on top of the cake and invert.

The cake is now bottom side up on the cooling rack. Remove the tin base and gently peel off the baking parchment paper.

Place to one side and allow the cake to cool completely.

Making the topping:

Break or chop the chocolate into small chunks. Place in a heat proof bowl over a saucepan of barely simmering water (double boiler), ensuring the base of the bowl does not touch the water.

Add the cream. And stir. The more you stir the glossier the ganache will be.

Keep stirring the chocolate/cream until the chocolate has completely melted.
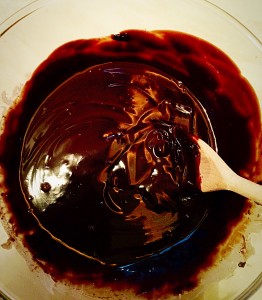
Remove from the double boiler, add the liqueur and stir well. Set aside to cool and thicken.

The ganache is ready to use when it is thickened but still pourable (but not runny).

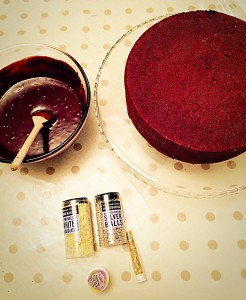
Chocolate Sparkle Cake - have your frosting and decorations ready and to hand before you start icing the cake. www.feastingisfun.com
Chocolate Sparkle Cake – have your frosting and decorations ready and to hand before you start icing the cake. www.feastingisfun.com
Once completely cool place the cake on a stand or board.
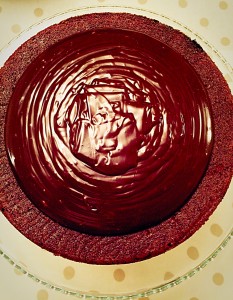
Chocolate Sparkle Cake pour the thickened ganache onto the top of the cake. www.feastingisfun.com
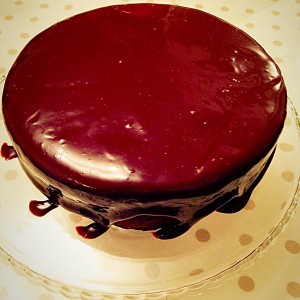
Chocolate Sparkle Cake gently smooth the ganache over the entire top of the cake and push over the sides so it drapes over the edge of the cake. www.feastingisfun.com

I tapped the cake stand a couple of times against the table, to release any air bubbles trapped in the ganache. As a result, the swirled effect at the bottom of the cake was a result of my tapping!

Decorating the Cake:

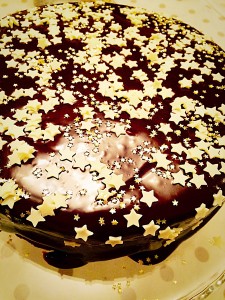
Chocolate Sparkle Cake now get sprinkling! I started with white chocolate stars and the smaller edible gold stars. www.feastingisfun.com
Chocolate Sparkle Cake now get sprinkling! I started with white chocolate stars and the smaller edible gold stars.

Get creative, use whatever decorations you like. Because the chocolate ganache is so gloriously glossy, it provides the perfect canvas.

I finished the cake with a dusting of holographic edible glitter.

Because more is more. Right??

Chocolate Sparkle Cake with a galaxy of edible stars.

I almost called this Chocoale Sparkle Cake ‘Starry, starry night’ (Vincent), after one of my very favourite songs by Don McLean!

Because of the glossy, sparkly nature of this cake, as well as the moist, deep chocolate flavour, with a lingering background hit of Bailey’s, this could easily make a beautiful alternative to traditional Christmas cake.

When I look at this Chocolate Sparkle Cake it just screams ‘Party’! The perfect chocolate, celebration cake.

Chocolate Sparkle Cake

Everyone loved this cake and we also celebrated the safe arrival of a friend’s baby with a slice. Because it is a rich cake, a little goes a long way, meaning there is more to share.

Also, it keeps really well in a cake tin for 5 days. And yes it did last that long!!

If you have enjoyed this recipe for Chocolate Sparkle Cake you may also like these:

Black Forest Cupcakes 

FF Chocolate Sparkle Cake
Black Forest Cupcakes

Caramac Drizzle Rolo Caramel Brownies 

FF Chocolate Sparkle Cake
Caramac Drizzle Rolo Caramel Brownies

Chocolate Honeycomb Sponge Cake

FF Chocolate Sparkle Cake
Chocolate Honeycomb Sponge Cake

I love to celebrate special occasions with a cake. Do you?

So, whatever you are making, baking and creating in your kitchens, have fun preparing and sharing your feast.

Sammie x

No part of this post may be reproduced or duplicated without the written permission of the owner. Please see my Disclosure Policy.
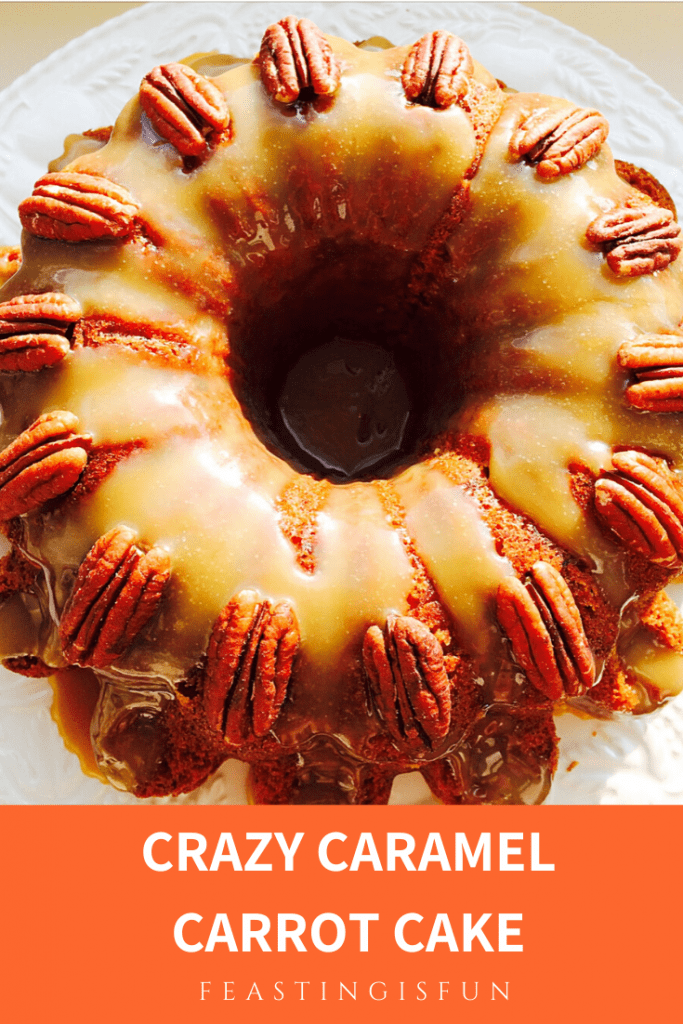
Crazy Caramel Carrot Cake

Hello lovelies, thank you so much for stopping by. And I have a real treat for you today, in the form of my Crazy Caramel Carrot Cake.

FF Crazy Caramel Carrot Cake
Crazy Caramel Carrot Cake incredibly delicious.

So, there is a reason for this particular cake’s title. Because I was absolutely CRAZY for attempting to make this cake last Sunday.

The Sunday Bake Club:

If you follow me on Twitter, you may well have heard of @SBC Takeover. It stands for Sunday Bake Club. Anyway, I was joining in a Tweet chat with them a few weeks ago and they asked me to join. Me?!!!

Each week they have a different theme as to what you should bake. And last Sunday it was vegetables. Yay I thought. Since carrot cake is my favourite cake in the entire universe, easy peasy. You’d think?!!!

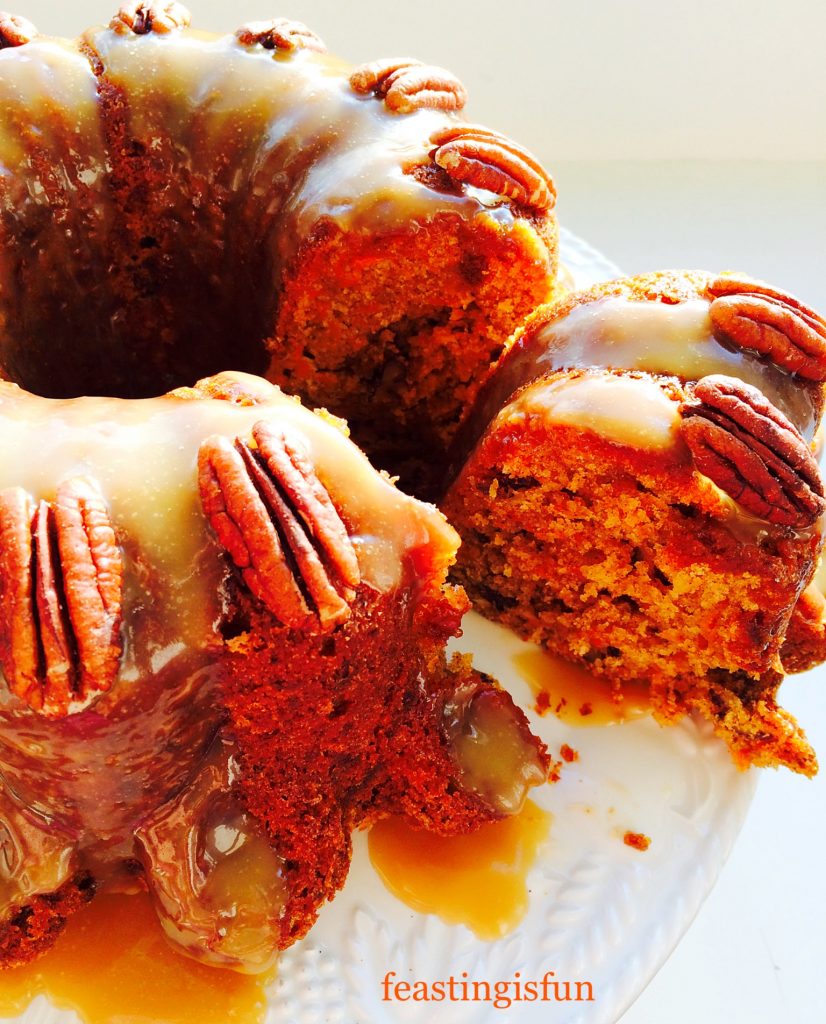
Sliced crazy caramel cake, showing the inside.
Sliced Crazy Caramel Carrot Cake.

Since I figured, if I were going to take part, I was going to push myself. Yeah that always seems like a fun idea when you think about it – then you have to do it!!

I had a recipe-ish in mind for the cake I wanted to bake – but, it needed some adjustment. Also, this time I was going to use a Bundt tin, because, erm, it seemed like a good idea at the time. So I fiddled with the recipe, hoping I’d got the right quantities to bake my Crazy Caramel Carrot Cake in my chosen Bundt tin.

As I was making the cake, carefully photographing each stage, just in case it did work and I could share it with you lovely people, I had a thought. Always, always a dangerous activity for me.

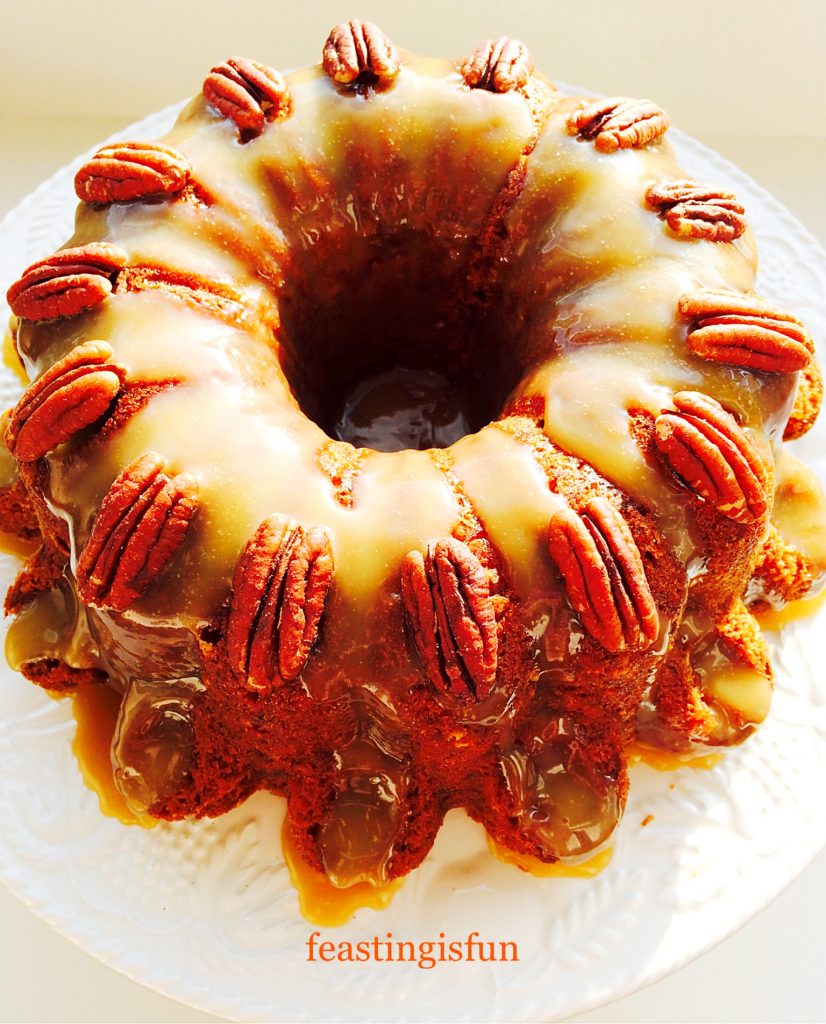
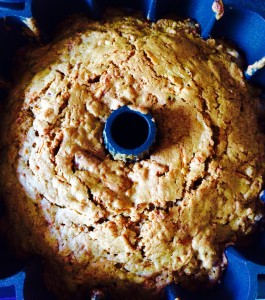
Crazy Caramel Carrot Cake baked in a Bundt style tin.


Since there are Pecan nuts in the cake, it occurred to me that they’d also look nice if I used them to decorate the cake (assuming the cake turned out – literally, from its intricately designed Bundt tin). So all is good, but what was I going to ice/frost the cake with? Because I wasn’t feeling the cream cheese frosting that ALWAYS goes beautifully with carrot cake, I wanted Caramel.

Why Crazy Caramel Carrot Cake?

Confession time. I. Don’t. Like. Caramel.

Really I don’t, so I would be CRAZY to put something I don’t like, on my favourite cake, of all time, ever.

Yet, somehow, deep inside, I knew I could get it to work for me. While I know caramel and salted caramel have been done to death over the last few years, although I’d never jumped on that band wagon. Why would I? Because I don’t like caramel.

Or should I say I didn’t like caramel, until I’d made my own. I instinctively shy away from super sweet food, especially icings and frostings. Whereas, my own, homemade caramel sauce, is a gazillion miles away from the tooth aching, molten sugar of my previous caramel tastings.

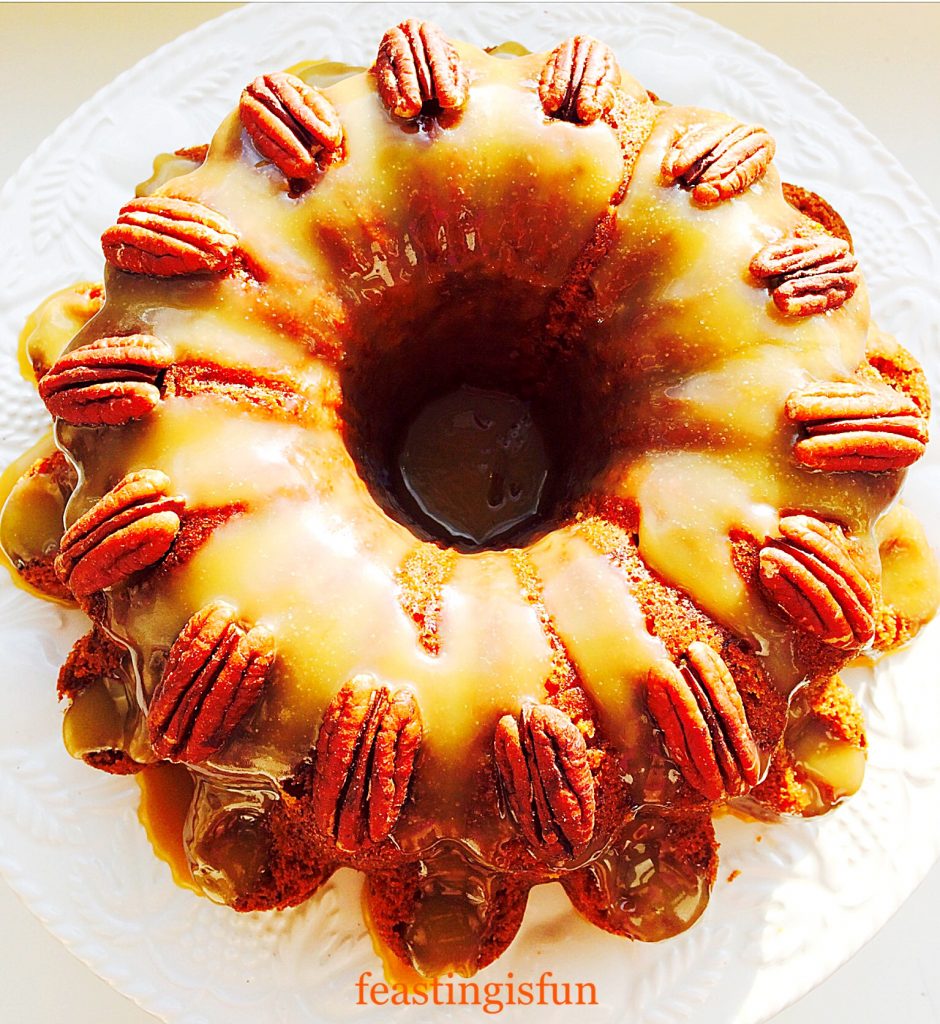
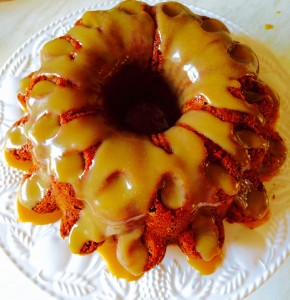
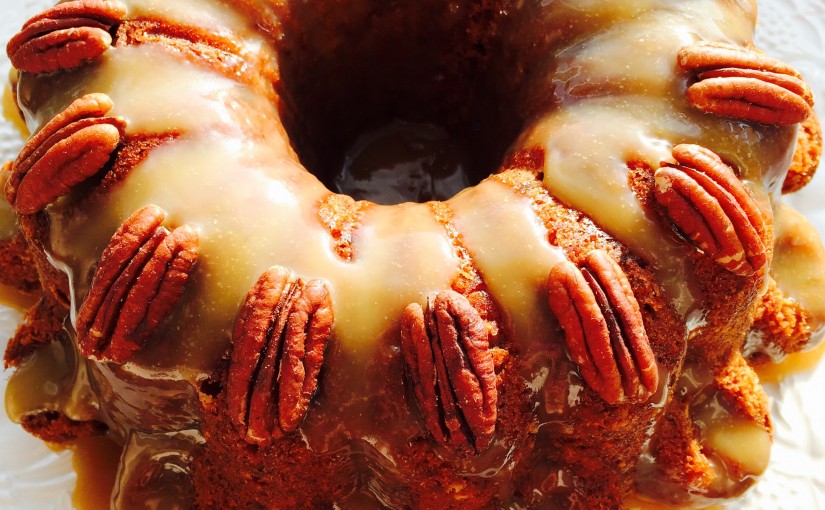
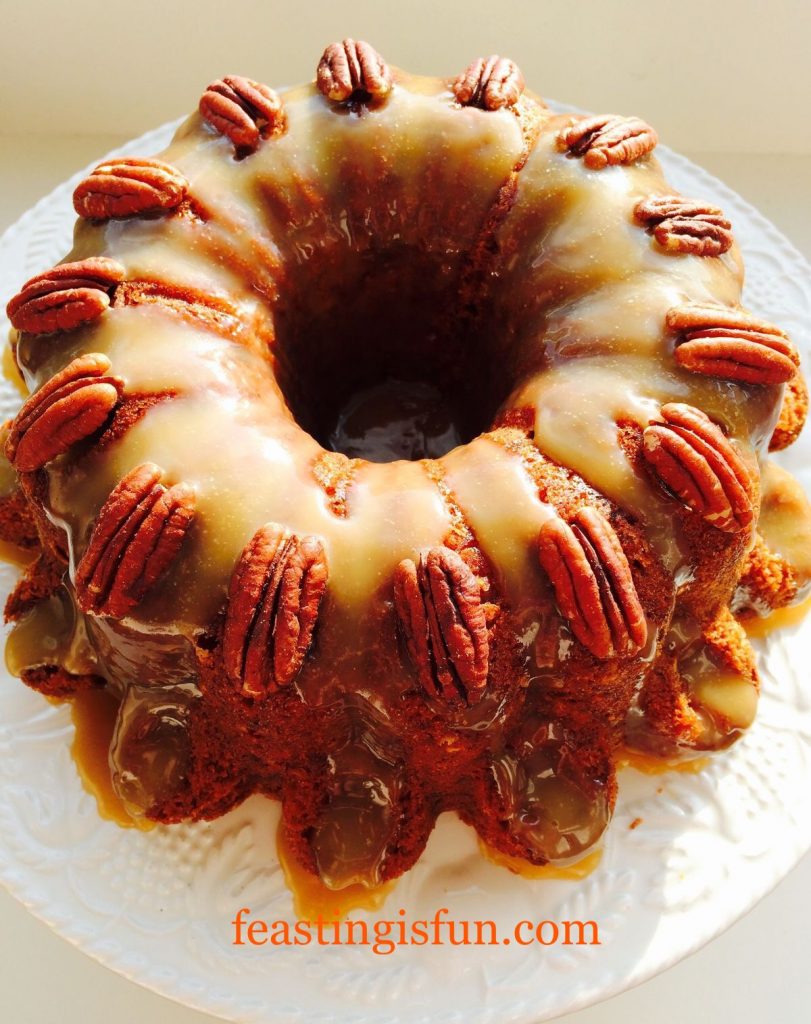
Drizzled over this beautiful Bundt and adorned with toasted Pecan nuts this Crazy Caramel Carrot Cake is the perfect twist on a classic.

A Bundt sweet bake covered in caramel sauce and decorated with pecan nuts.
Crazy Caramel Carrot Cake

Bundt pan dimensions are 23.5cm (9″) wide x 11cm (4.5″) deep. The pan holds 3 litres (5.3 UK pints). Alternatively you could also use a 8in (20cm) greased and lined springform cake pan, although the baking time may need adjusting.

Recipe : Serves 10 Crazy Caramel Carrot Cake

For the Cake :

200g/7oz Unsalted Butter (plus extra for greasing the tin. Alternatively use Wilton cake release and apply as shown for butter.)

260g/10oz Caster Sugar

3 Large Free Range Eggs

1tsp Vanilla Extract – I use Nielsen-Massey 

1/4tsp Salt

260g/10z Plain White Flour

2.5tsp Baking Powder

2.5tsp Cinnamon

300g/11oz Grated Carrot

50g/2oz Pecan Nuts

For the  Caramel Topping :

50g/2oz Butter

175g/6oz Light Brown Sugar

300ml/11fl oz Double Cream

1tsp Vanilla Extract

50g/2oz Pecan Nuts

Method : Preheat the oven to 180C/160C fan, gas mark 4, 350F.

Making And Baking The Carrot Cake:

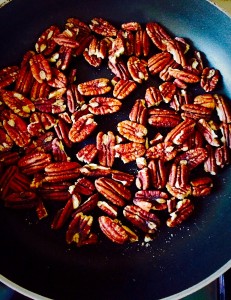
First of all, before starting on the cake batter, you need to toast the pecan nuts. Since this brings out their flavour and keeps them crisp and crunchy within the cake.

In a dry pan, heat the pecan nuts, gently tossing to ensure even toasting, for five minutes. Set aside to cool.


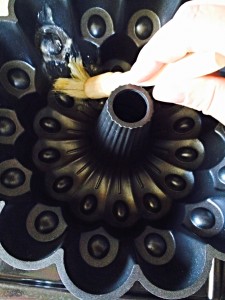
Melt approx 1tbsp of butter and using a pastry brush, ensure the inside of the Bundt tin is completely greased.


To make the cake, firstly cream the butter and sugar together, until pale and fluffy.

Sift in one third of the flour, baking powder, cinnamon, salt, vanilla extract and one egg and mix gently.

Repeat this process twice more, adding the egg before the dry mix at the last stage.

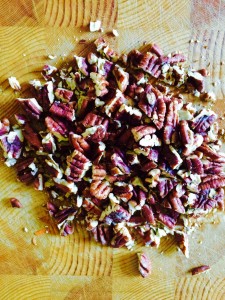
Place 50g of cooled pecan nuts, onto a board and roughly chop.
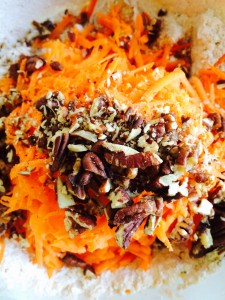
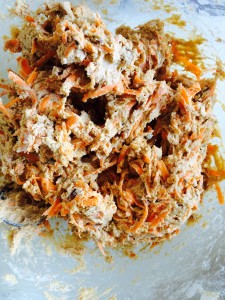
Add the grated carrot and chopped pecans to the cake batter.
Gently fold in the carrot and nuts until fully incorporated within the cake batter.
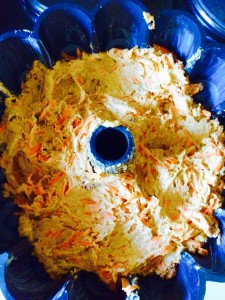
Spoon the cake batter into the tin, gently pressing down to remove any air pockets.


Place the cake in the middle of the oven and bake for 1hour.

Making The Caramel Sauce And Decorating The Cake:

While the cake is baking, make the Caramel Sauce.

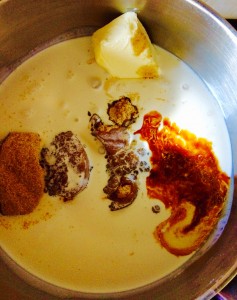
Place the butter, sugar, cream and vanilla extract in a heavy based pan.
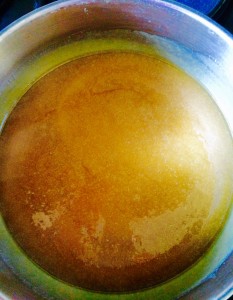
Crazy Caramel Carrot Cake swirl the ingredients over a medium heat. When the sauce is bubbling and golden brown in colour it is done!

Remember the caramel is very hot, so no dipping your finger into the saucepan!!

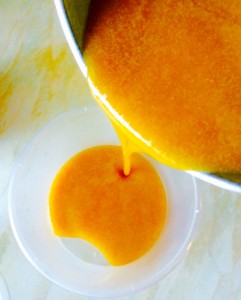
Crazy Caramel Carrot Cake- decant the sauce, equally, into 2 heat proof containers and set aside to cool.


After 1 hour of baking insert a skewer into the deepest part of the cake, if it comes out clean the cake is baked and can be removed from the oven. If not, return the cake to the oven and check at 5 minute intervals.

Leave the cake to cool completely in the tin.
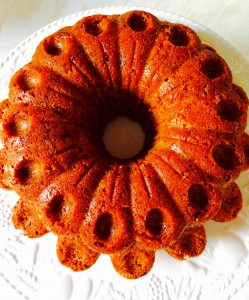
Once cooled turn out your Crazy Caramel Carrot Cake into a cake stand.
Once cooled turn out your Crazy Caramel Carrot Cake onto a cake stand.
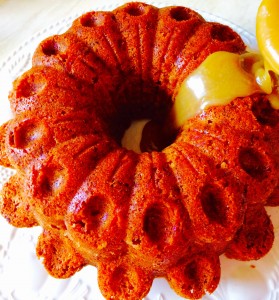
Crazy Caramel Carrot Cake drizzle over the cooled caramel sauce.


You will only need half of the caramel sauce. The other half can be frozen, for up to 3 months, or kept in the fridge for a week.

crazy Caramel Carrot Cake now to decorate with pecan halves.
Crazy Caramel Carrot Cake now to decorate with pecan halves.


A Bundt sweet bake covered in caramel sauce and decorated with pecan nuts.
Crazy Caramel Carrot Cake

Your beautiful Crazy Caramel Carrot Cake is now ready to serve!


Sliced crazy caramel cake, showing the inside.
Sliced Crazy Caramel Carrot Cake.

The Truth Of The Pudding Is In The Tasting:

You will have to trust me (wink), since this cake is not overly sweet. The resulting  cinnamon scented carrot cake, with hidden pecan crunch, is perfectly complimented by the delicious caramel sauce. Don’t believe me??? try this for yourself!!!

I cannot encourage you enough to make this delicious twist on a classic, Crazy Caramel Carrot Cake.

Also this cake is easily baked in an ordinary cake pan. however, if I can encourage you also to obtain a Bundt tin, your baking world will sooo benefit. All that beautiful detail and no extra effort required from the baker. That’s got to be incentive enough.

Have you ever disliked a food or flavour and then been persuaded to change your mind?

If you have enjoyed this recipe for Crazy Caramel Carrot Cake you may also like these:

Malted Marbled Chocolate Cake

FF Crazy Caramel Carrot Cake
Malted Marbled Chocolate Cake.

Lemon Blueberry Bundt Cake

FF Crazy Caramel Carrot Cake
Lemon Blueberry Bundt Cake

Summer Mixed Berry Sponge Cake

FF Crazy Caramel Carrot Cake
Summer Mixed Berry Sponge Cake

Stepping, actually taking a great, big, leap outside of my comfort zone really paid off. Resulting in an incredible flavour combination and beautiful cake that can also be served as a pudding, with custard, or more caramel sauce and vanilla ice cream. And remember, however you serve this cake, it always tastes better when shared!

So, whatever you are making, baking and creating in your kitchens, have fun preparing and sharing your feast.

Sammie x

No part of this post may be reproduced or duplicated without the written permission of the owner. Please see my Disclosure Policy.
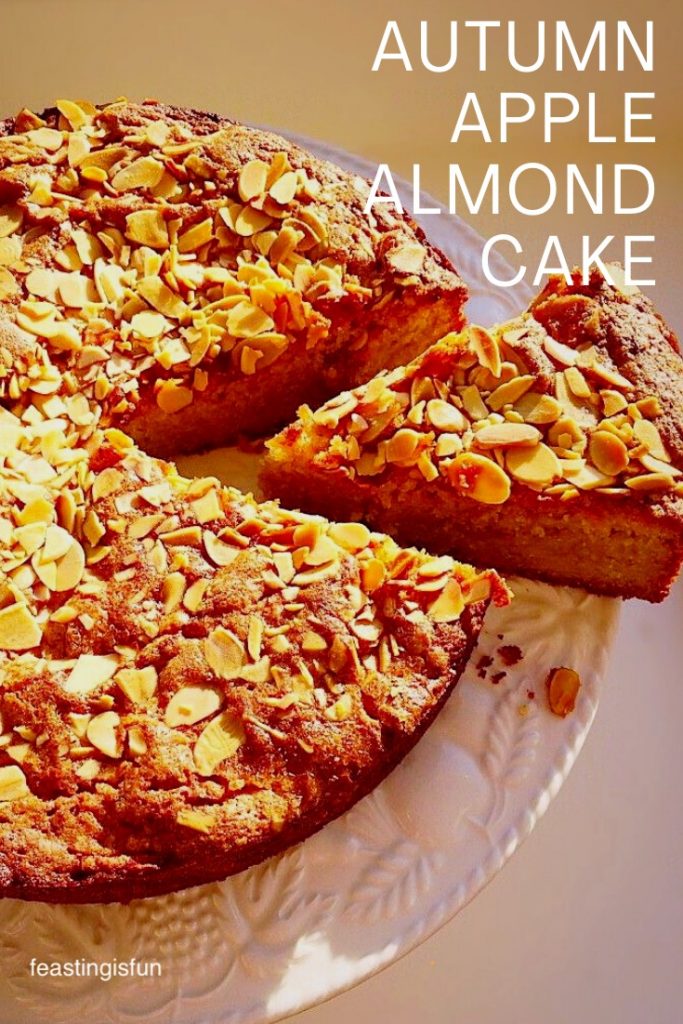
Autumn Apple Almond Cake

Today I am super, super thrilled to share another gluten free recipe with you. My incredibly delicious Autumn Apple Almond Cake. Because if you cannot have gluten in your diet, that shouldn’t mean missing out on treats such as this cake. Can you imagine what Marie Antoinette would have to say about that? Also, this cake can be made using regular, plain white flour. Most importantly it tastes scrumptious either way.

Gluten free sweet fruit and nut bake.
Autumn Apple Almond Cake

Free Organic Fruit

Inspiration for making this cake was as the result of chatting to a friend who is gluten intolerant. Since I always have gluten free flour in the cupboard and plenty of apples, I decided to create this cake. Both apple trees in our garden are currently laden with delicious green and red fruits. While we happily munch our way through them as a family, they are also great to bake with. Especially, bruised and blemished windfall apples, that aren’t suitable for the fruit bowl.

Autumn Apple Almond Cake

The apple trees were already established when we bought our house, along with a plum, pear and cherry tree. I feel very blessed to have a mini orchard at the back of our garden. Both apples trees produce red/green fruits. One of the trees is a Spartan variety, producing smaller and sweeter apples than the other tree. These apples are perfectly sized for little people’s hands. Also they shine when polished with a tea towel, placed in a bowl they create a stunning and free, table centrepiece. In contrast, the other tree’s apples taste very similar Granny Smiths. Larger in size, predominantly red in colour and with a crisp, sharper flavour. Although the variety remains a mystery we enjoy eating the fruit!

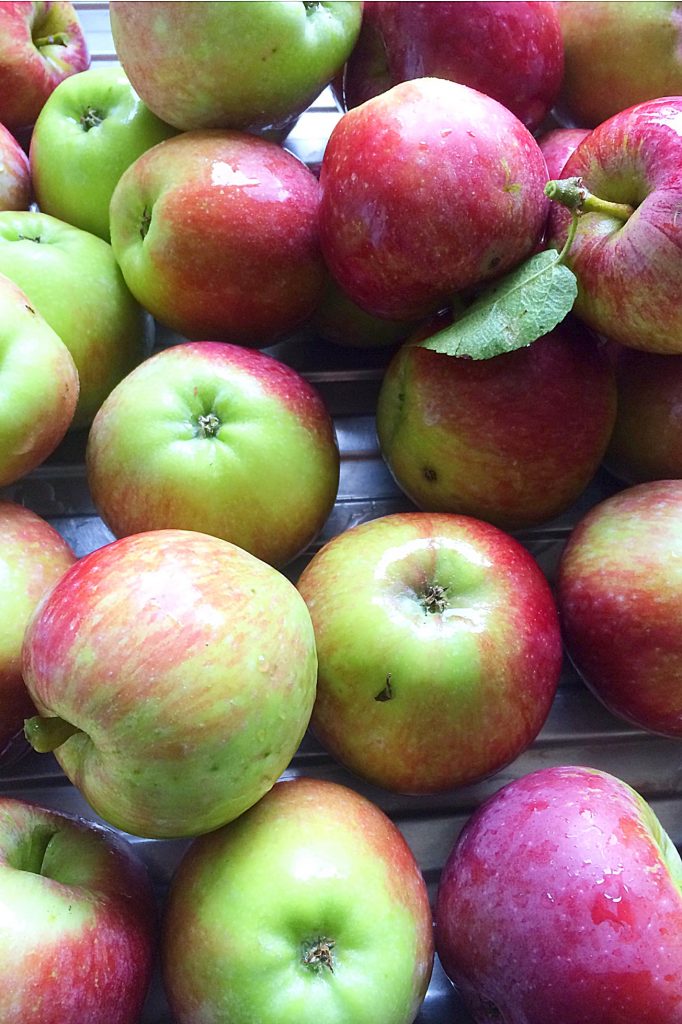
Freshly washed windfall apples from our garden.

As a rule, we eat and give away as many unblemished apples to neighbours and friends as we can, leaving a few on the ground for the blackbirds. Yet, with so many windfall apples this year I decided to start putting them to good use in new recipes.

Getting The Recipe Right

While creating new recipes I have to admit my first try resulted in an EPIC FAIL! Wanting to make a variation of my Sticky Pecan Sultana Buns I adjusted the recipe to incorporate fresh, grated, apple. While delicious, most of the buns stuck and once I’d managed to prise them out of the pan the majority promptly fell apart. So, I definitely won’t be making those again!

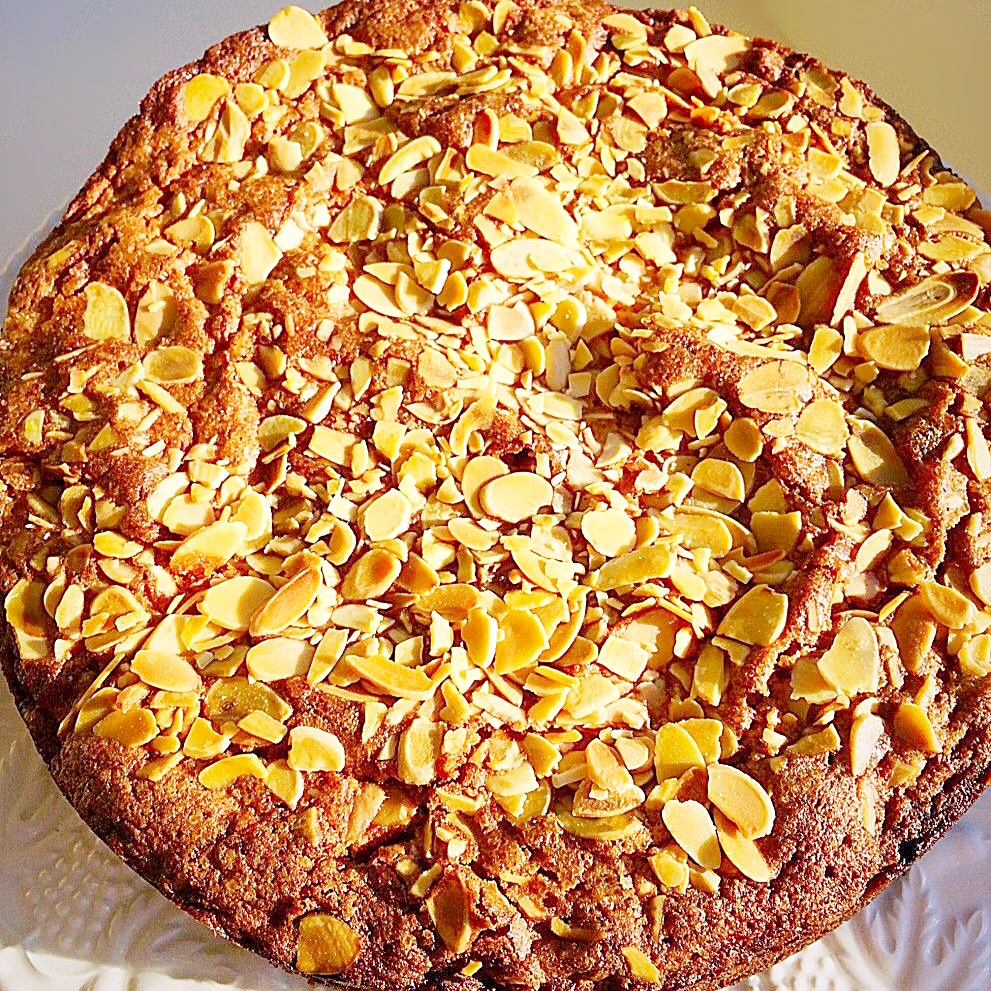
I knew next time I baked with the apples I wanted to grate them. Since grating the peeled fruit ensures that the apples cook into the cake batter. As a result, this Autumn Apple Almond Cake is incredibly moist, primarily due to the grated apple and helped by adding ground almonds into the mix. Adding Demerara sugar and flaked almonds to the top of the cake results in a crunchy, contrasting texture to the cake crumb.

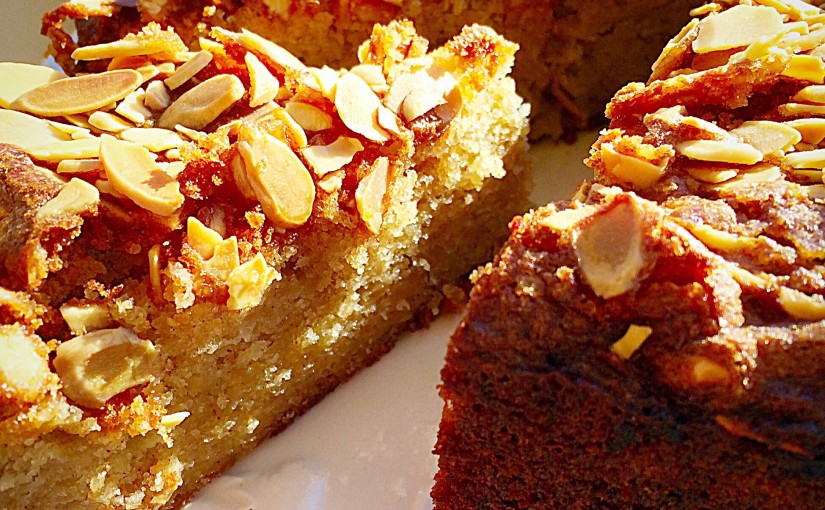
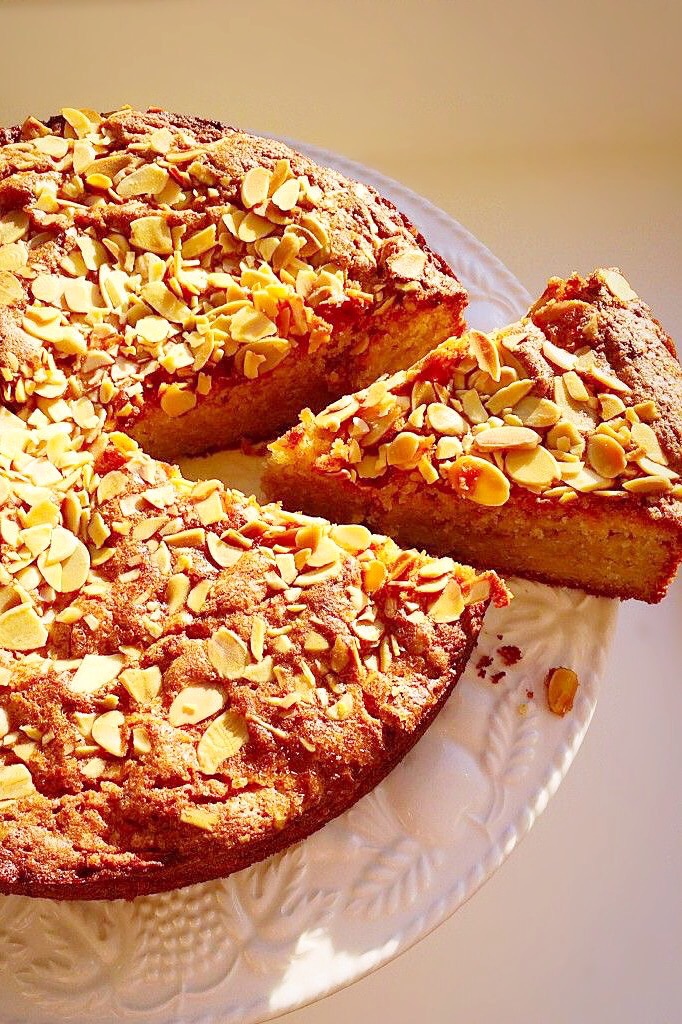
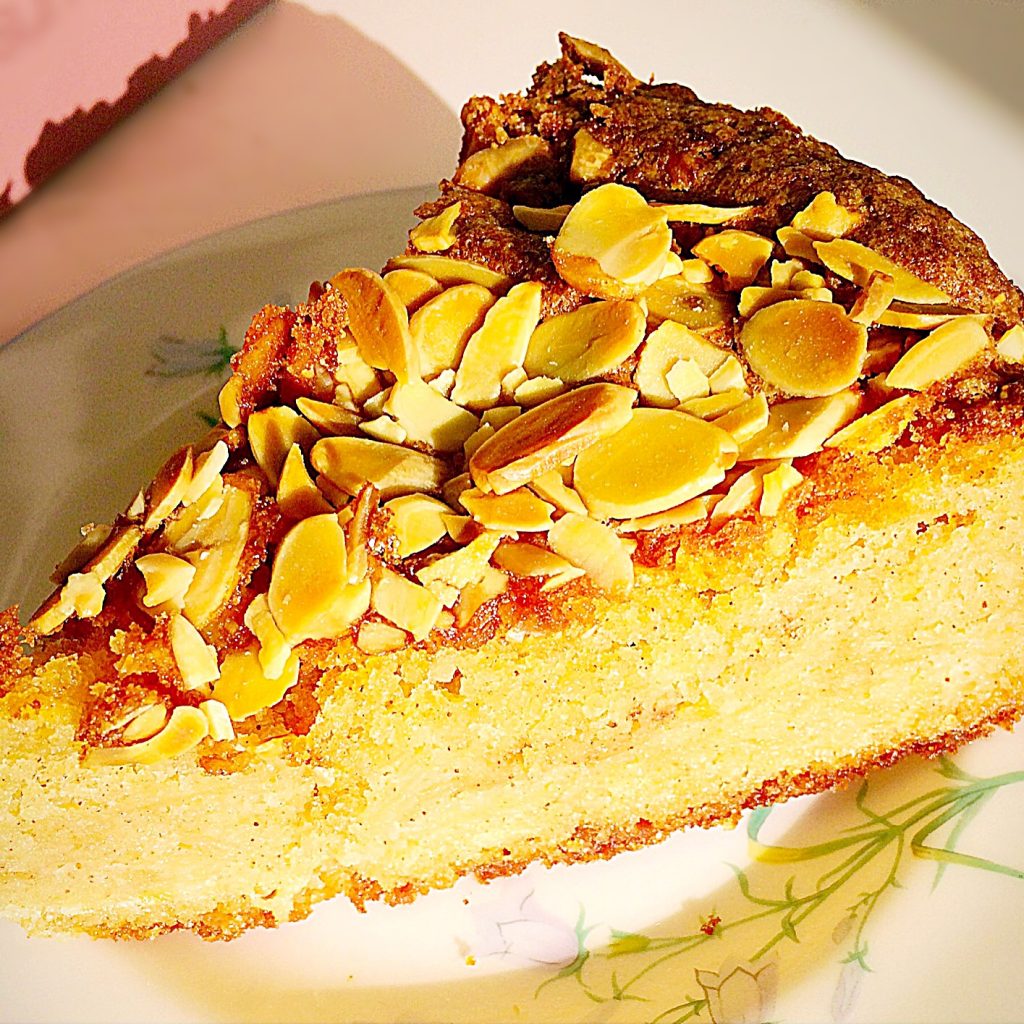
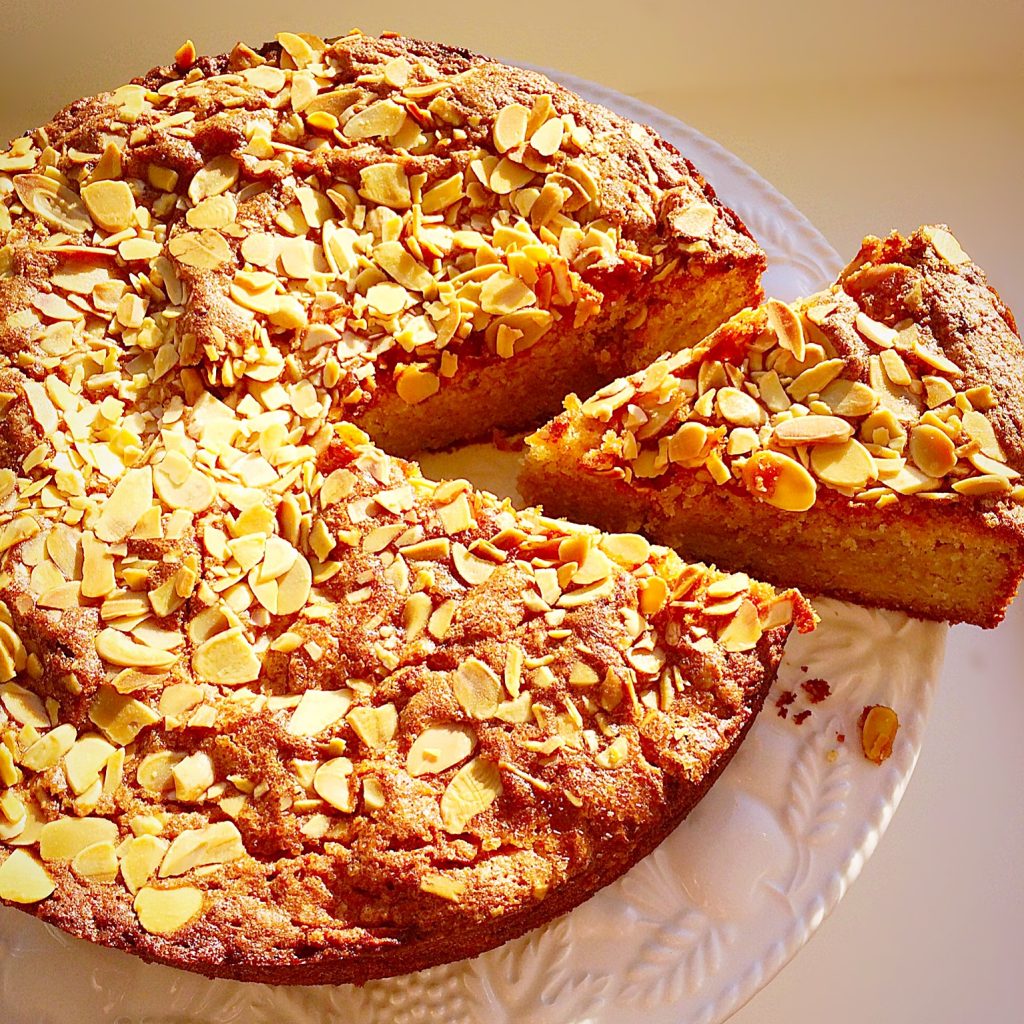
A slice of Autumn Apple Almond Cake

Recipe: Autumn Apple Almond Cake serves 8-10

225g/8oz Caster Sugar

225g/8oz Unsalted Butter

1tsp Vanilla Extract – I use Nielsen-Massey 

1/4tsp Salt – I use Maldon

4 Large Free Range Eggs

2 tsp Ground Cinnamon

2 tsp Baking Powder

150g/5oz Ground Almonds

150g/5oz Gluten Free Flour – I use Dove’s Farm alternatively you can use the same quantity if regular wheat, White Plain Flour

2tbsp Demerara Sugar

50g/2oz Flaked Almonds

350g/12oz Grated Apple – approx 4 large/5-6 medium apples once peeled and cored

Note : Any apple except Bramleys (cooking apples) can be used for this recipe. I used half sweet and half sharp apples.

Making the cake

Preheat oven to 180C/160C fan, 350F, gas mark 4

Grease a 25cm/10″ cake tin and line the base with baking parchment – I used a springform cake tin.

For this cake it is important to read through the recipe before starting.

First of all, place the butter and sugar into a large bowl.

Cream the butter and sugar until pale and fluffy.

Add the salt, vanilla extract and 2 eggs. Whisk until incorporated.

Next add half of the dry ingredients: flour, ground almonds, baking powder and cinnamon. Whisk until just incorporated.

Repeat the last 2 steps.

Your batter is now ready for the grated Apple.
Your batter is now ready for the grated apple.

I made the cake batter before preparing the apples. Since the apples I used turn brown within a few minutes of grating.

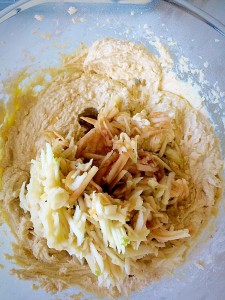
Peel and grate the apples using a box grater. Add the grated apples and any juice to the cake batter.

Add the grated Apple.
Add the grated apple.
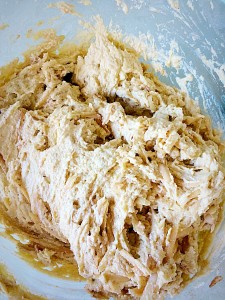
Fold the grated apple into the batter.
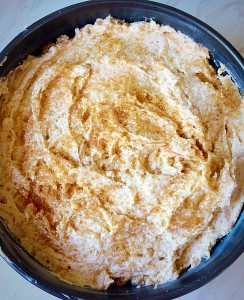
Place the batter into the cake, smooth the surface and sprinkle over the Demerara Sugar.
Place the batter into the cake tin, smooth the surface and sprinkle over the Demerara Sugar.
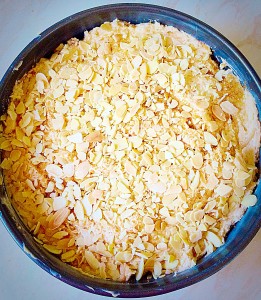
For an extra crunchy topping, cover the cake batter with flaked almonds.

Baking the cake

Place the cake into the middle of a preheated oven and bake for 1 hour 15 minutes, or until an inserted skewer comes out clean.

If, as I found, the cake is browning too quickly, cover the top with foil or baking parchment after 50-60 minutes. Continue baking for a total of 1 hour 15 minutes – 1 hour 30 minutes.

Because if the apple content, inserting a skewer to test if the cake is baked could give a false result.

The cake is baked when it is firm to touch in the centre.

As soon as the cake is baked remove from the oven and leave to cool completely in the tin.


Once the cake is baked, remove from the oven and allow to cool completely in the tin.
.

Once the cake is completely cooled, carefully remove from the tin and serve.

Autumn Apple Almond Cake

This beautiful cake is delicous eaten as is, however, to make a dessert you could easily slice this cake when slightly warm and serve with homemade custard – see my recipe here,  pouring cream, or even a scoop of ice cream!

Should you have any cake left it can be stored in an airtight container for 3 days. Keep refrigerated during warmer weather.

If you have enjoyed this recipe for Autumn Almond Apple Cake you may also like these:

Where the recipes below state that they can be made gluten free, I have successfully substituted Doves Farm gluten free flour instead of wheat flour.

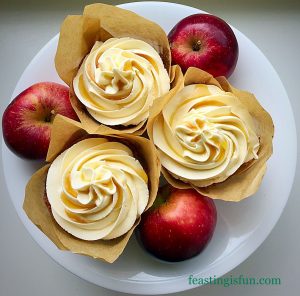
Maple Syrup Frosted Apple Cupcakes 

FF Autumn Almond Apple Cake
Maple Syrup Frosted Apple Cupcakes – can be made gluten free

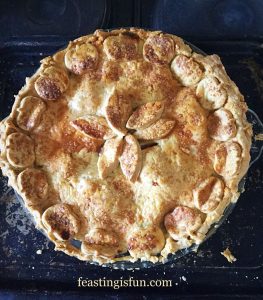
Amazing Apple Pie

FF Autumn Almond Apple Cake
Amazing Apple Pie

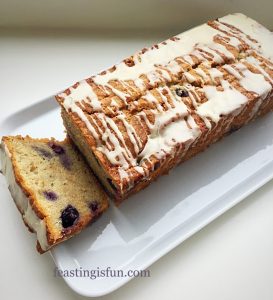
Maple Drizzled Apple Blueberry Loaf Cake

FF Autumn Almond Apple Cake
Maple Drizzled Apple Blueberry Loaf Cake

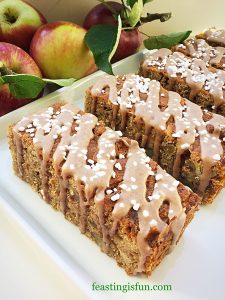
Cinnamon Drizzle Apple Walnut Cake Bars 

FF Autumn Apple Almond Cake
Cinnamon Drizzle Apple Walnut Cake Bars

I love creating recipes that more people can enjoy and it is an important part of why I started this blog. While I also firmly believe that all food tastes better when shared. Therefore, making recipes that can be shared by more people makes sense. As a food allergy sufferer myself, I understand, albeit in a limited way, how food intolerances can affect people. Especially when eating in a group, or at larger social occasions. And since food is essential for our survival and health, creating an environment where everyone can relax while eating is important to me.

So, whatever you are making, baking and creating in your kitchens, have fun preparing and sharing your feast.

Sammie xx

No part of this post may be reproduced or duplicated without the written permission of the owner. Please see my Disclosure Policy.
 

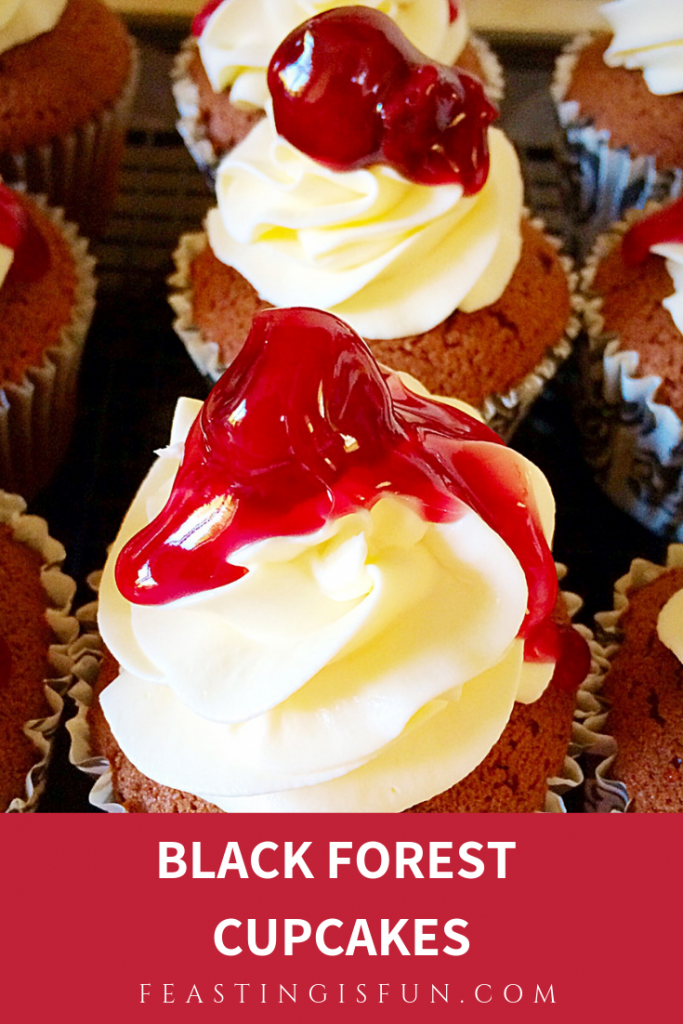
Black Forest Cupcakes

Hello there, today we are talking birthdays. Most importantly, birthdays mean cake, lots of it. Shared amongst family and friends in a celebration of us getting another year older. And yes, I hear you, cakes could also be seen as a comfort food, for those of us notching up the years! When I was younger, every year for my birthday I would ask for a Black Forest Gateaux. Especially as the best part was having a slice for breakfast, the day after my birthday. Ooh it tasted so good and my love for this dessert inspired me to make these Black Forest Cupcakes.

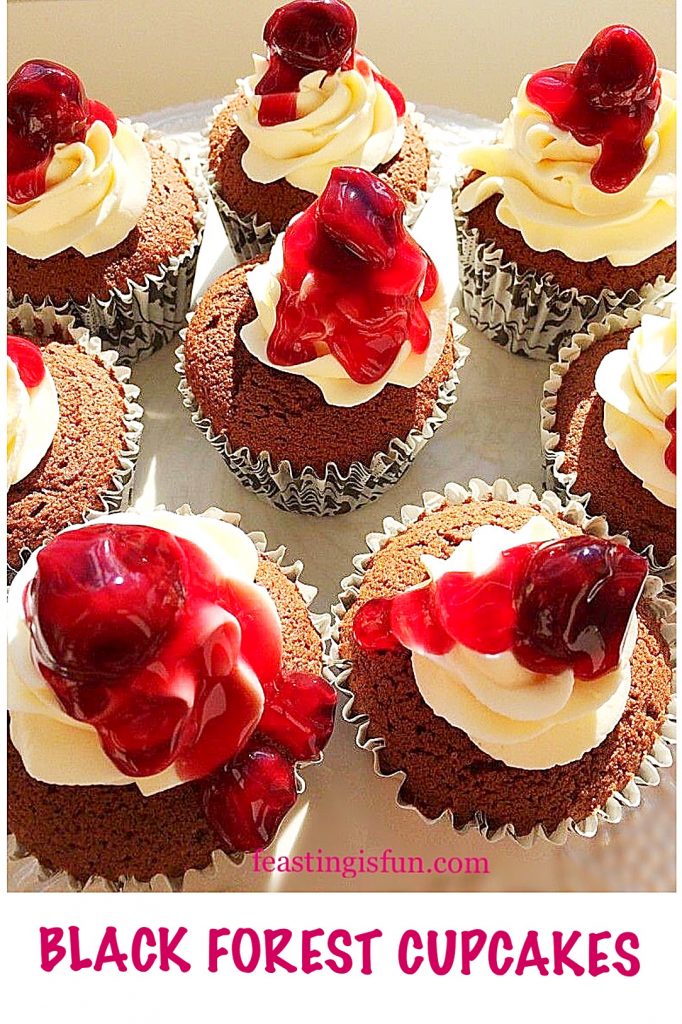
Pinterest sized image of Black Forest Cupcakes with descriptive graphics.


Also I have added my own little twists, but the basic components stay the same; lighter than light chocolate sponge, dark cherries in glorious deep ruby syrup and a mascarpone cream topping. So, have I got your attention now?

Black Forest Cupcakes

Remembered Flavours

Previously as I’ve mentioned before on this blog, I actually don’t bake cupcakes very often. Such was my craving for the taste of Black Forest Gateaux that I finally conceded to make these Black Forest Cupcakes. 

Ina Garten, The Barefoot Contessa herself is famous for saying she likes “Rembered flavours.” Since our tastebuds can transport us to various places and times the instant they are tantalised with a remembered flavour.

And Black Forest Cupcakes so do that to me. Memories of birthdays past flooded my brain as I took the first bite. Delicious doesn’t even begin to describe how good these cupcakes are!

Black Forest Cupcakes


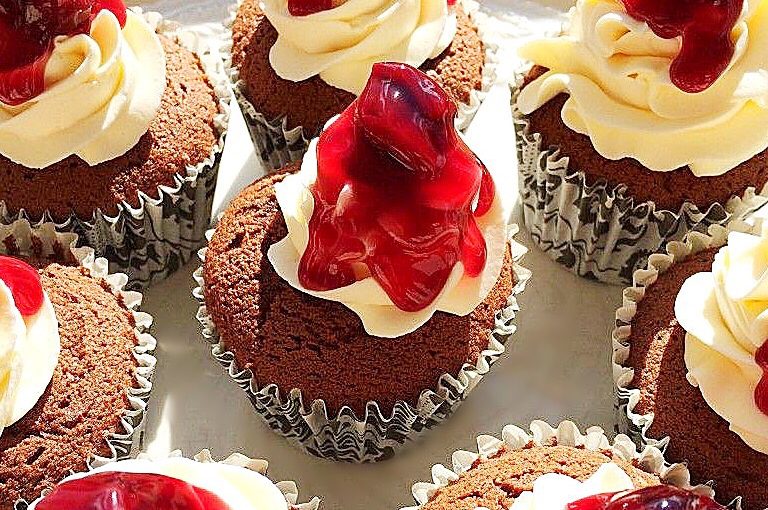
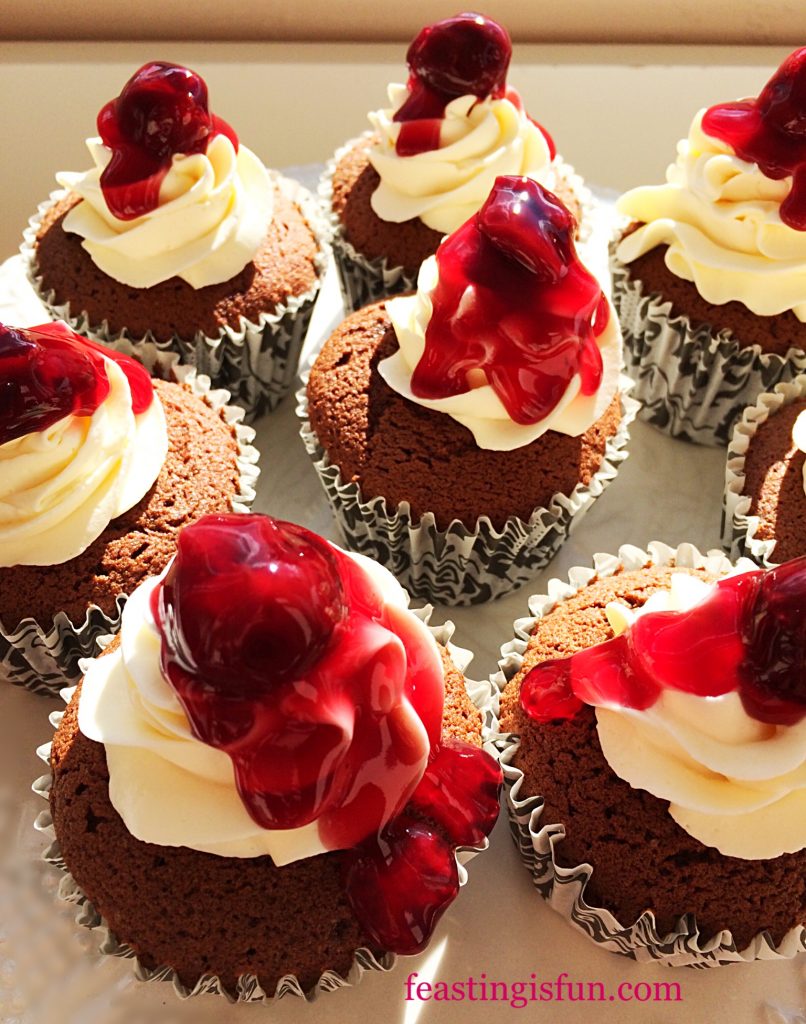
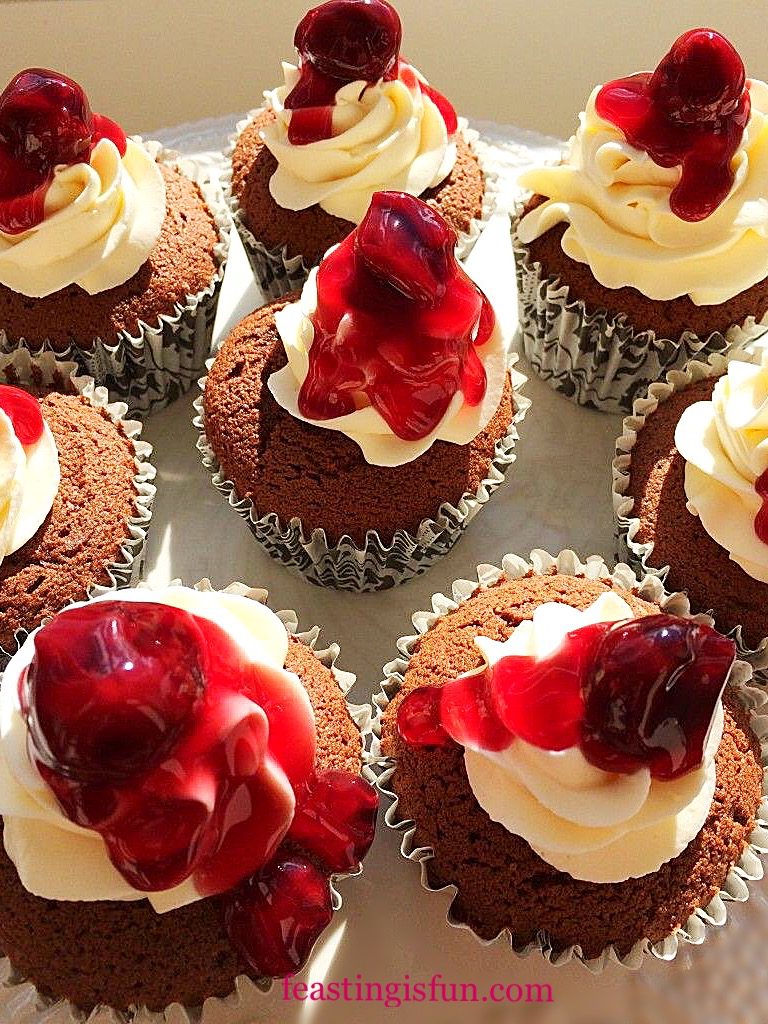
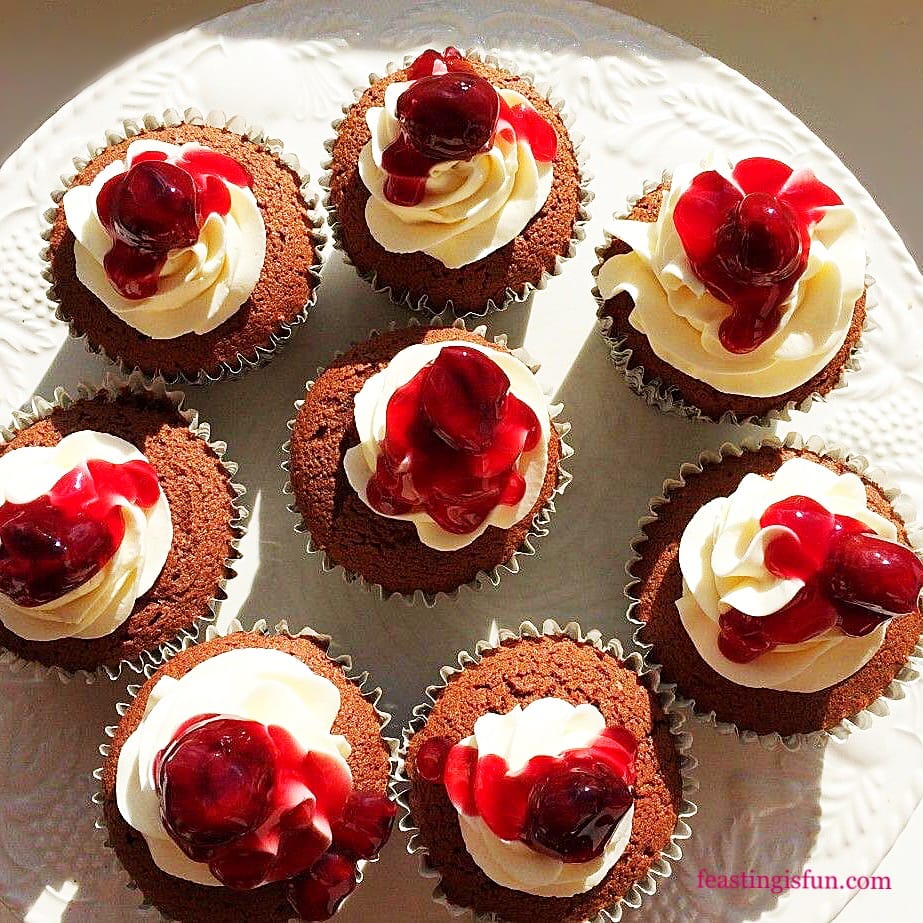
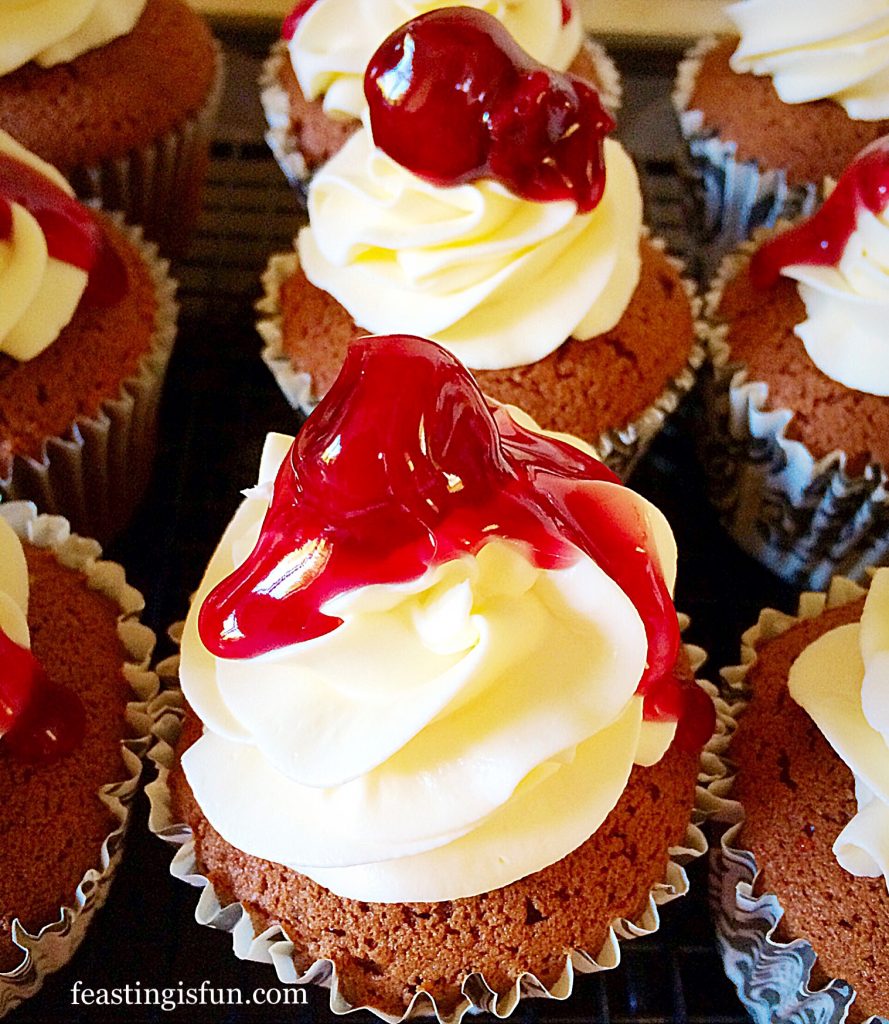
Using mascarpone and cream for the topping gives these cupcakes a rich, creamy flavour. You can see I haven’t overloaded these cupcakes with topping. A small swirl, topped with a syrupy cherry, is the perfect compliment to the moist, light, chocolate, sponge.

Okay confession time! As soon as these Black Forest Cupcakes had been assembled and had their beauty shots taken, I unashamedly face planted, straight into one. And what’s life without a little fun?! So I had to wash my face, hands afterwards, yet it was totally worth it. So, when you make these, I encourage you to do the same. And have some fun!

Black Forest Cupcakes

Recipe : Makes 18 Black Forest Cupcakes

225g/8oz Unsalted Butter – room temperature

225g/8oz Caster Sugar

1/4tsp Salt

1tsp Vanilla Extract – I use Nielsen-Massey 

200g/7oz Plain White Flour

50g/2oz Cocoa – I use Callebaut

2tsp Baking Powder

4 Large Eggs – free range if possible

50ml/2fl oz Milk – whole or semi skimmed

250g/9oz Mascarpone Cheese

150ml/5fl oz Double Cream

1tsp Caster Sugar

375g/10oz Pouch or Tin Good Quality Cherry Pie Filling – alternatively use fresh cherries with the stone removed.

Preheat oven to 180C/160C fan, 350F, gas mark 4.

Making The Chocolate Cupcake Batter

  • First of all, place 18 cupcake cases into deep cupcake or muffin tins.
  • Then place the butter, sugar, vanilla extract and salt in to a large bowl.
Whisked butter sugar salt and vanilla extract form the basis of the cupcakes batter.
Whisked butter, sugar, salt and vanilla extract.


  • Whisk the butter, sugar, vanilla and salt together until pale and creamy.
  • Sift the flour, cocoa and baking powder together into a separate bowl (dry mix).
  • Add one third of the dry mix to the creamed butter mixture, whisk briefly and then add 2 eggs and whisk again.
  • Repeat the last 2 steps again and then finish by adding the milk and the last of the dry mix. Whisk until fully incorporated.
Chocolate cupcake batter that will form the The Base of each Black Forest Cupcake.
Chocolate cupcake batter.


  • Spoon the chocolate batter into each cupcake case. I use a standard ice cream scoop as this ensures each cupcake is the same size.
Using an ice cream scoop to evenly fill each cupcake case.
Filling the cupcake cases.
  • Finally, check that all of the cupcake cases are filled equally.
Cupcake cases filled with chocolate batter ready to be baked and decorated as Black Forest Cupcakes.
Cupcakes ready to be baked.


Baking The Cupcakes

  • Place the tins into the middle and lower part of a preheated oven and bake for 15 – 20 minutes.
  • The cupcakes are cooked when pressed lightly on top, the sponge springs back.
Tins containing freshly baked chocolate cupcakes.
Freshly backed chocolate cupcakes.


  • As soon as the cupcakes are baked remove from the oven.
  • Remove the cupcakes from the pan and leave to cool completely on a cooling rack.
Chocolate cupcakes cooling on a rack prior to being turned into Black Forest Cupcakes.
Freshly baked chocolate cupcakes cooling on a rack.

Making The Whipped Mascarpone Frosting And Decorating The Cupcakes

  • To make the topping, whisk together the mascarpone, cream and caster sugar until stiffened.
  • This process can easily done by hand, it takes very little time. Also beware of over whisking as the mixture will separate.


Black Forest Cupcakes whipped mascarpone topping in a bowl.
Whipped mascarpone cupcake frosting.
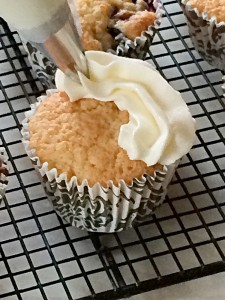
  • Fit a large piping bag with a large star tip, I use Wilton 1M. Fill with the mascarpone mixture and pipe small swirls on top of each cupcake.
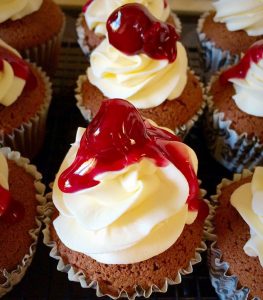
Swirls of piped mascarpone frosting on top of the chocolate sponge reading to be finished with a cherry and some syrup that completes the Black Forest Cupcakes
Whipped mascarpone topped chocolate cupcakes.
  • Tip the cherry pie filling into a bowl.
  • Use a spoon to place a cherry on top of each of the cupcakes.
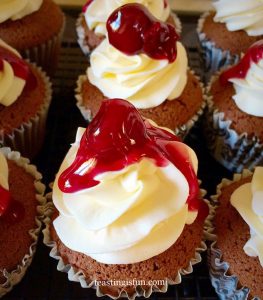
  • Finally, go back and drizzle a little of the syrup over each cupcake.
Black Forest Cupcakes

If not eaten immediately, these Black Forest Cupcakes need to be kept refrigerated in an air tight container, where they will keep for up to 3 days.

If you have enjoyed this recipe for Black Forest Cupcakes you may also like these:

Lemon Blueberry Cupcakes

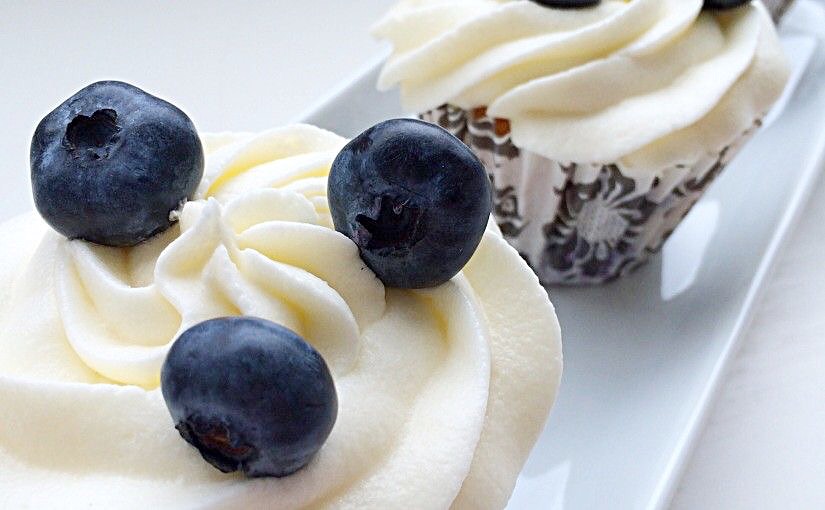
Blueberry topped cupcakes.
Lemon Blueberry Cupcakes

Vanilla Bean Cupcakes

Edible pearl topped frosted cupcakes in wintage style cupcake cases on a doilie topped cake stand.
Vanilla Bean Cupcakes

Pink Heart Topped White Chocolate Cupcakes

Cupcakes in pink cupcake cases topped with piped white frosting and a single pink chocolate speckled heart.
Pink Heart Topped White Chocolate Cupcakes

Since I have revealed my birthday cake of choice from my younger years and also today, I would love to know if you’ve had a favourite flavour. Either birthday cakes or remembered flavours from days gone by? And because I love Black Forest flavours so much I also have a gluten free  Black Forest Roulade which you may want to try!

So, whatever you are making, baking and creating in your kitchens, have fun preparing and sharing your feast.

Sammie x

No part of this post may be reproduced or duplicated without the written permission of the owner. Please see my Disclosure Policy.
Chocolate and cherry cupcakes, with whipped cream topping.

Lemon Blueberry Cupcakes

Hello, I have an incredibly delicious treat for you today, these Lemon Blueberry Cupcakes. I know, I hardly ever post cupcake recipes, except today, I had this big punnet of beautiful, juicy, blueberries sitting in the fridge, waiting to be eaten. And then I noticed the lemons. I love lemon, the flavour, the scent and these lemons are super special – they are called Eureka lemons. What a cool name. So I had a little think to myself (mostly a dangerous pursuit!) and decided it was time to make me some cupcakes.

FF Lemon Blueberry Cupcakes

Actually, when I say me I mean our family. Because all of us enjoy a cupcake and as I don’t make them very often they really are a treat. Although I must confess that two of these cupcakes didn’t make it throught to the frosting stage, because my daughter and I snaffled one each whilst they were still warm. Mmm. Totally worth it. Jammy pods of sweet, warm blueberry in a moist lemon crumb, yep no guilt felt at all. In fact you could make these and skip the frosting stage completely and they’d still be knockout delicious!

Lemon Blueberry Cupcakes

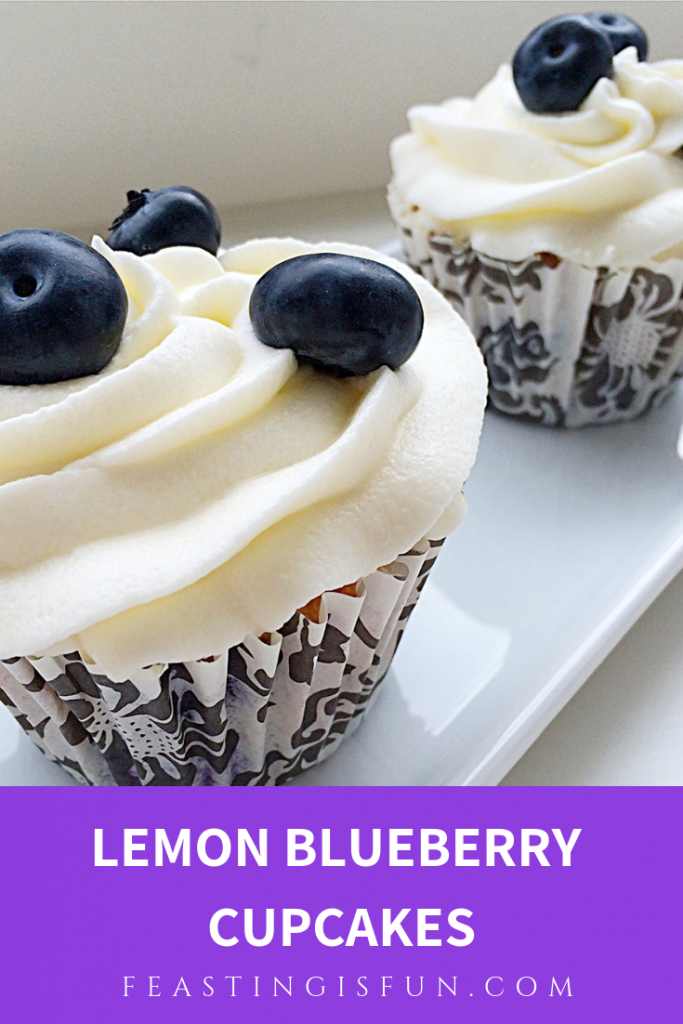
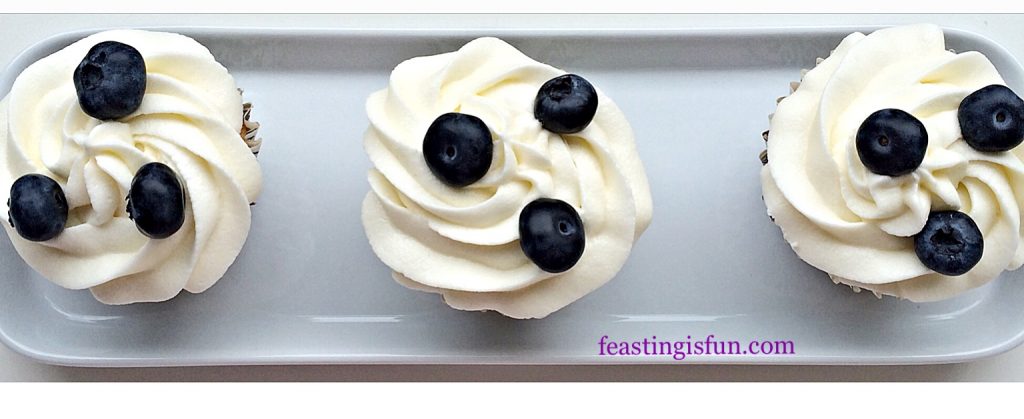
Warning, the frosting on these Lemon Blueberry Cupcakes totally sends them over the top. Since using fresh lemon juice ensures the frosting is the perfect balance to an already wonderful cupcake. And it adds another dimension of sweet/tart creaminess that simply makes these cupcakes awesome.

I actually had to resist adding some sparkles to these cupcakes, because sparkles?? I held back as the blueberry, polka dot studded frosting looked so pure and, well, perfect. However, If you want to add sprinkles or sparkles, just know I’m good with that.

Lemon Blueberry Cupcakes

Recipe : Makes 12 Lemon Blueberry Cupcakes

For The Cupcakes

175g/6oz Unsalted Butter at room temperature

175g/6oz Caster Sugar

1tsp Vanilla Extract – I use Nielsen-Massey 

1/4tsp Salt

3 Large Free Range Eggs

175g/6oz Plain White Flour

1 1/2tsp Baking Powder – I use Waitrose 

300g/11oz Fresh Blueberries

1 Lemon zest

For The Frosting 

400g/14oz Icing Sugar (Confectioners sugar)

150g/5oz Unsalted Butter at room temperature

3-4tbsp Lemon Juice (from the lemon above)

Making the cupcakes

Preheat the oven to 180C/160C fan, 350F, gas mark 4

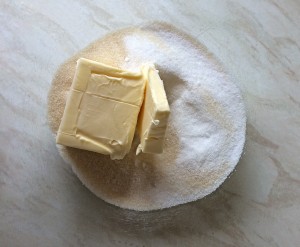
  • First of all add the sugar, salt and butter to a large mixing bowl.
  • Whisk together until pale and creamy.

Add the sugar and butter to a bowl.

Whisk together until light and fluffy.


  • Add the vanilla extract and 2 eggs and whisk thoroughly.
  • Remove 1 tablespoon of flour, for dusting the blueberries later.
  • Sift in half the flour/baking powder and mix until just combined. I usually do this by hand, or use a low setting on a stand mixer.
  • Add the remaining egg. Stir briefly before adding the remaining sifted, dry ingredients. Mix until everything is just incorporated.

This cake batter is ready for its fruit!


  • Keep back enough blueberries to decorate the cupcakes with. Now toss the remaining blueberries in the tablespoon of flour. This will stop them sinking to the bottom of the cupcake whilst baking.
  • Zest the lemon using a grater or, as I have, a lemon zester. Add to the bowl.
  • Stir the batter carefully by hand to avoid breaking up the blueberries.

Add the blueberries and lemon zest.


Stir the batter carefully by hand to avoid bursting the blueberries.


  • Line a muffin/cupcake tin with 12 cupcake cases.
  • Using an ice cream scoop fill the cases evenly with batter.

Lemon Blueberry Cupcakes


  • Place the Lemon Blueberry Cupcakes in the middle of the preheated oven.
  • Bake for 20 – 25 minutes. The cupcakes are baked when they are golden brown and spring back when lightly pressed.
  • I don’t suggest using a toothpick or skewer to check these particular cupcakes, as they are full of jammy blueberries, the skewer is likely to come out unclean.
  • As soon as the cupcakes are baked remove from the oven.

Lemon Blueberry Cupcakes


  • Leave the cupcakes to cool in the tin for 10 minutes.
  • Then place the cupcakes on a cooling rack.

Lemon Blueberry Cupcakes


Making the buttercream and icing the cupcakes

  • Place the icing sugar, soft butter and 3 tablespoons of lemon juice into a bowl.
  • Whisk thoroughly adding more lemon juice if the frosting is too thick.

Whisk the butter, icing sugar and lemon juice together until light and fluffy.

  • The whipped buttercream.
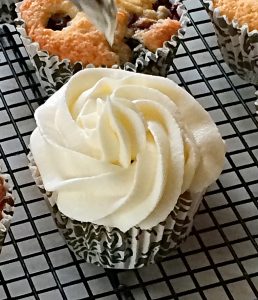
  • Fit a nozzle of your choice (I used a large star tip) to a piping bag. I then turn over the outside edges and use a large glass or jug to put my piping bag in whilst I fill it with the frosting. I created a swirl pattern with my frosting.

Starting at the outside edge, frost the cupcake using a circular motion.

  • Start at the outside edge and keeping an even pressure on the piping bag ice the cupcake in a circular motion.
  • Repeat until all of the cupcakes are frosted.

Lemon Blueberry Cupcakes


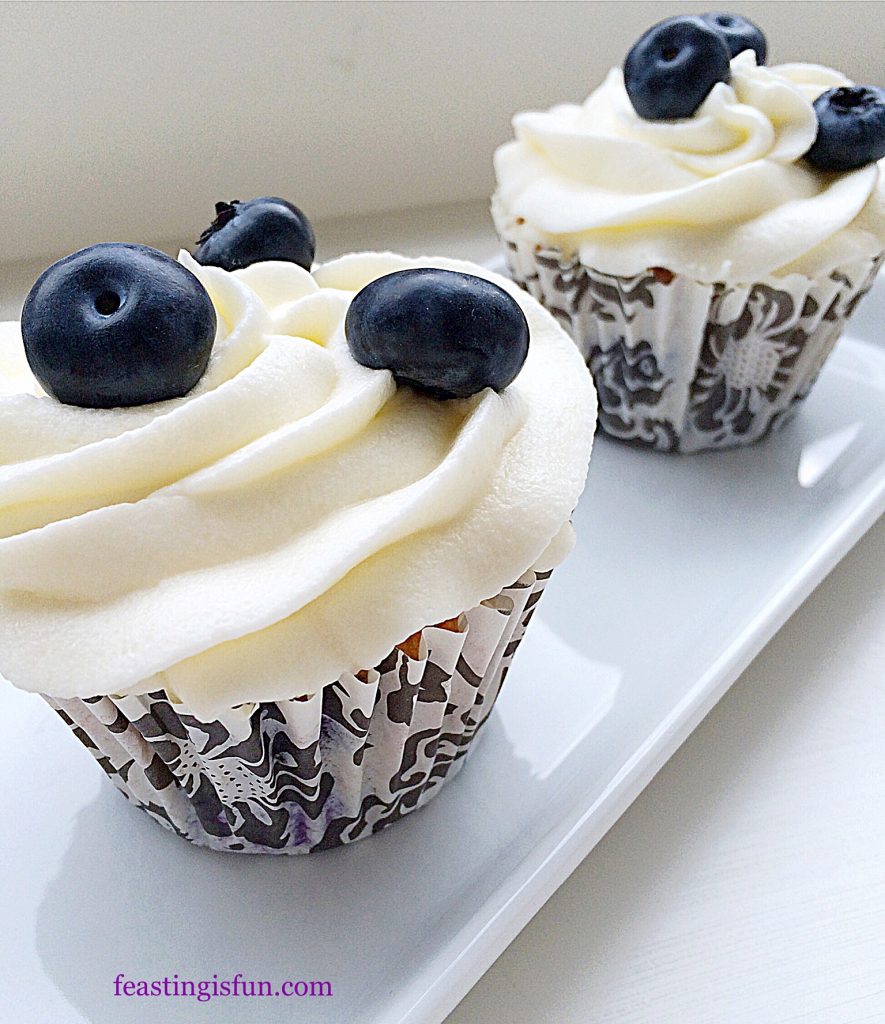
  • Now it’s time to adorn the beautiful, creamy, frosting with the deep, dark, blue, berries that you reserved.
Lemon Blueberry Cupcakes


If not served immediately store in an airtight container. During hot weather refrigerate. Eat within 3 days.

If you have enjoyed this recipe for Lemon Blueberry Cupcakes you may also like these:

Black Forest Cupcakes 

FF Lemon Blueberry Cupcakes
Black Forest Cupcakes

Caramac Frosted Chocolate Cupcakes 

FF Lemon Blueberry Cupcakes
Caramac Frosted Chocolate Cupcakes

Fresh Raspberry Frosted Lemon Cupcakes 

FF Lemon Blueberry Cupcakes
Fresh Raspberry Frosted Lemon Cupcakes

While enjoying these Lemon Blueberry Cupcakes it is important to me to share. Seeing the pleasure on neighbours and friends faces when you pop round with one of these beauties makes me go all warm and fuzzy inside. Most importantly, it isn’t because of my actions, rather the reaction of seeing the recipient grinning. And, I honestly believe that all food tastes better when shared.

So whatever you are making, baking and creating in your kitchen, have fun preparing and sharing your feast.

Sammie x

No part of this post may be reproduced or duplicated without the written permission of the owner. Please see my Disclosure Policy.


Marbled Chocolate Bundt Cake

Hello, I’m back after a couple of weeks away with our family, during which we celebrated our eldest daughter’s 16th birthday. Wow, where did those years go! Anyway, I digress. Because it really was a wonderful holiday, especially as we were joined by family for a few days over the birthday celebrations. So, I took my spring form cake tin with me – doesn’t everyone? Star had a maltesers ice cream cake on her birthday, which was knockout! However, now we are home and there are even more family and friends to celebrate Star’s birthday. Since I know her favourite cake is Chocolate Marble and she’s not a big fan of icing, I decided to make her a Marbled Chocolate Bundt Cake. And you are going to be so pleased I came up with this cake – just look!

Marbled Chocolate Bundt Cake


And I knew you’d be pleased. Because, this is the second recipe I have made where I use plain flour and add the baking powder separately, it gives more control over the rise of the sponge. Also, I guessed all the quantities for the size of cake (I mean, I did have a rough idea!!). Resulting in this Marbled Chocolate Bundt Cake, a complete success, both visually and in the taste department.

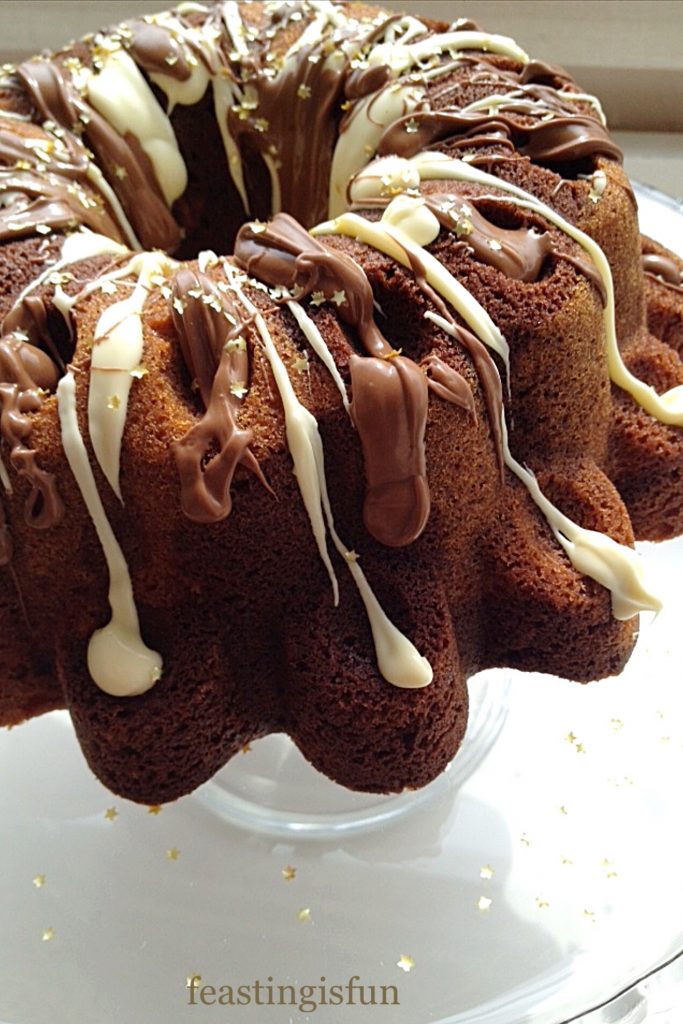
White and milk chocolate drizzled marble cake
Marbled Chocolate Bundt Cake

Birthday Bundt Baking

Most importantly, is the birthday girl herself liking it. Tick box – result! This cake has a wonderfully moist texture, resulting in most of it being consumed on the day of baking. While the drizzled chocolate adds different flavours and texture, sprinkled with edible stars, this cake is a stunner. So, perfect as a Celebration cake.

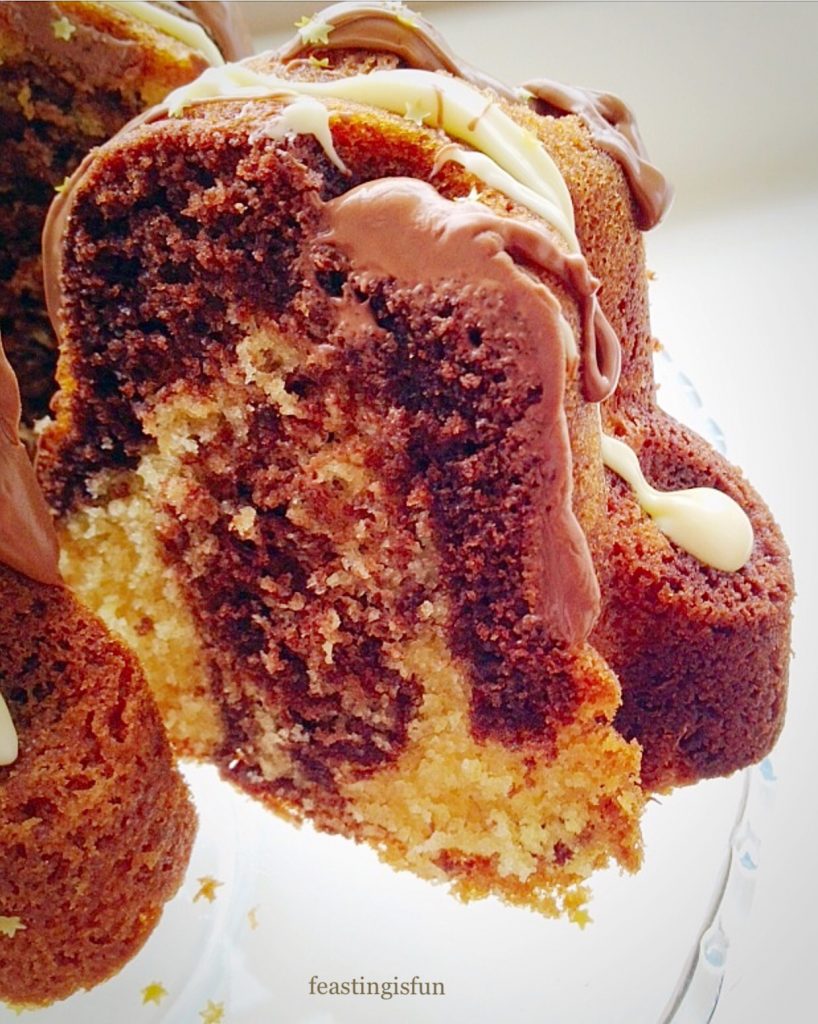
A slice of swirled chocolate and vanilla sponge.
Marbled Chocolate Bundt Cake slice.


I absolutely am falling in love with Bundt cake pans. And who wouldn’t? Since they give such beautiful detail to the baked cake. Although I was very tempted to put Maltesers into the little dimples on the cake, it looked better with just the drizzled chocolate. Yet, if I was baking my Malted Marbled Chocolate Cake I absolutely would sprinkle a few crushed Maltesers over the top as well. While the possibilities of how to decorate a Bundt cake are endless, with the cake shape lends itself to all sorts of ideas, including leaving the cake plain.

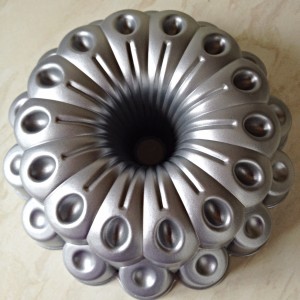
This is the Bundt tin I used.


And this pan is so gorgeous. I’m even toying with the idea of making a jelly in it, can you imagine?? Have you ever tried making a jelly in a Bundt tin? I’m guessing you’d have to lightly oil the inside of the pan with a flavourless oil, I think it could totally work. I’ll keep you posted!

Anyway enough about glorious Bundt pans and onto how to make this cake!!

Most importantly, the Bundt pan dimensions are 23.5cm (9″) wide x 11cm (4.5″) deep. The pan holds 3 litres (5.3 UK pints).

Recipe : Marbled Chocolate Bundt Cake serves 8-10

For the cake:

25g/1 oz Butter – melted

275g/10 oz Unsalted Butter at room temp

275g/10 oz Caster Sugar

1/4 tsp Salt – I use Maldon

2 tsp Vanilla Extract – I use Nielsen-Massey 

5 Large Eggs – free range

275g/10 oz Plain White Flour

2.5 tsp Baking Powder

80mls/3fl oz Milk – Whole or Semi Skimmed

3 tbsp Cocoa Powder

For the decoration:

75g/3oz White Chocolate

75g/3oz Milk Chocolate

Edible gold stars – alternatively use your own choice of decoration.

Preparing the Bundt pan


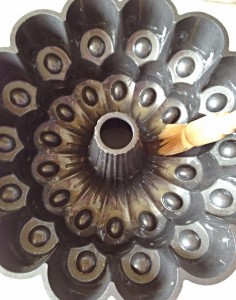
Using a pastry brush, ensure the inside of the Bundt tin is covered in melted butter.
Use a pastry brush, ensure the inside of the Bundt tin is covered in melted butter.

Making the cake batters

Preheat oven to 180C/160C fan oven, gas mark 4, 350F.

Whisk the sugar, butter, salt and vanilla extract until light and creamy.


Crack all the eggs into a jug. Sift the flour and baking powder together in a separate bowl. Start with the dry ingredients add a third to the butter mixture, followed by half of the eggs, beating gently to incorporate the ingredients. Repeat this step. Finally, finish by adding the final third of the dry ingredients and beating to mix. Add the milk and mix to incorporate.

Give the ingredients a good mix with a spatula to ensure everything is well incorporated.
Give the ingredients a good mix with a spatula to ensure everything is incorporated.


Remove half of the cake batter to a separate bowl. This will be the vanilla part of the cake.

Add the cocoa to half of the cake batter. Mix well to incorporate.
Add the cocoa to the remaining half of the cake batter. Mix well to incorporate.
You are now ready to start building your Marbled Chocolate Bundt Cake.
Place scoops (I used a dessert spoon) of alternating vanilla/chocolate batter in the Bundt tin.
Place scoops (I used a dessert spoon) of alternating vanilla/chocolate batter into the Bundt tin.
Now place a scoop of chocolate batter on top of the vanilla, repeating with both batters so they alternate throughout the cake.
Next, place a scoop of chocolate batter on top of the vanilla, repeating with both batters so they alternate throughout the cake.
Using a wooed spoon handle, gently swirl it through the batter. This will give the marbled effect once baked.
Using a wooden spoon handle, gently swirl it through the batter. This will give the marbled effect once baked.

Baking The Marbled Chocolate Bundt Cake

Please don’t worry if you think there is not enough batter for the pan (I worried), this cake rises beautifully.

Place the cake pan in the middle of the oven and bake for 50-55 minutes.

The cake is baked when it is risen and pulling away from the sides of the pan.

Test with a skewer (I used a bamboo one) by inserting it through the deepest part of the cake. The cake is baked when a skewer comes out clean.

As soon as the cake is baked remove from the oven. Leave to cool for 15 minutes.

Marbled Chocolate Bundt Cake - allow to cool in the tin for 15 mins.
Marbled Chocolate Bundt Cake – allow to cool in the tin for 15 mins.


After cooling for 15 minutes turn your cake out onto a cooling rack. Stand back and admire your beautiful piece of art, I mean cake! Allow to fully cool.

Decorating the cake

Melt the white and milk chocolate in separate bowls. I use the microwave, use whichever method you feel most comfortable with.

NOTE : White chocolate is easy to over heat. So go easy and stir between each heating session!

Marbled Chocolate Bundt Cake - once cooled melt the chocolate ready to decorate your cake!
Marbled Chocolate Bundt Cake – once cooled melt the chocolate ready to decorate your cake!
Marbled Chocolate Bundt Cake - drizzle over the melted chocolate.
Marbled Chocolate Bundt Cake – drizzle over the melted chocolate.


Use a teaspoon to gently drizzle, first the white and then the milk chocolate over the cake. Finally add a sprinkle of gold stars, or decorations of your choice.

Marbled Chocolate Bundt Cake

Allow the chocolate to set before serving.

This Marbled Chocolate Bundt Cake is a real show stopper. I had to stop myself from adding gold candles, although that would totally work.

If you have enjoyed this recipe for Marbled Chocolate Bundt Cake you may also like these:

Maple Syrup Iced Coffee Bundt Cake 

FF Marbled Chocolate Bundt Cake
Maple Syrup Iced Coffee Bundt Cake

Caramel Crunch Topped Chocolate Bundt Cake

FF Marbled Chocolate Bundt Cake
Caramel Crunch Topped Chocolate Bundt Cake

Chocolate Hazelnut Baked Giant Doughnut 

FF Marbled Chocolate Bundt Cake
Chocolate Hazelnut Baked Giant Doughnut

Finally this beautiful Bundt cake is perfect for any celebration, including birthdays and anniversaries. Since this cake has the WOW factor and is best when shared amongst friends, family, neighbours, or work colleagues. Because anyone would have their day brightened with the gift of this cake.

So, whatever you are making, baking and creating in your kitchens today, have fun preparing and sharing your feast.

Sammie x

No part of this post may be reproduced or duplicated without the written permission of the owner. Please see my Disclosure Policy.


Malted Marbled Chocolate Cake

Hi, thank you for stopping by. While I assume that you like cake, because you’re here on this page, do you also like Maltesers? Delicious chocolate covered balls of malted loveliness that are almost impossible to stop munching on, once the packet/box is opened. So, I’ve come up with a cake  that incorporates all of those lovely flavours. Introducing my Malted Marbled Chocolate Cake.
A cake that tastes of Maltesers

While I started from scratch with this cake recipe I am thrilled with how well the cake has turned out. Aside from adjusting the cooking temperature and time I am pleased to say it was a success!

Since Wilko gave me some products to review (post coming soon) I decided to make this Malted Marbled Chcolate Cake in the square cake tin I had been sent. And, as I already have a  Maltesers Popping Candy Cupcakes  on my site, I knew that switching up the recipe and including the yummy malt flavour would create a winning flavour.

In addition, topping the cake with swirls of milk and white chocolate would not only taste great, but also reflect the marbling pattern within the cake. Also, don’t expect this cake to last very long, if my experience is repeated. Because this large cake only lasted two days, although it was also  shared with Grandparents and friends. Because cake is meant for sharing, don’t you think?

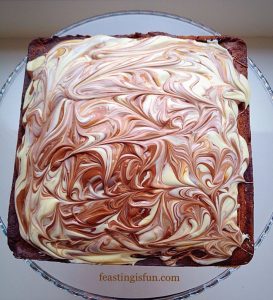
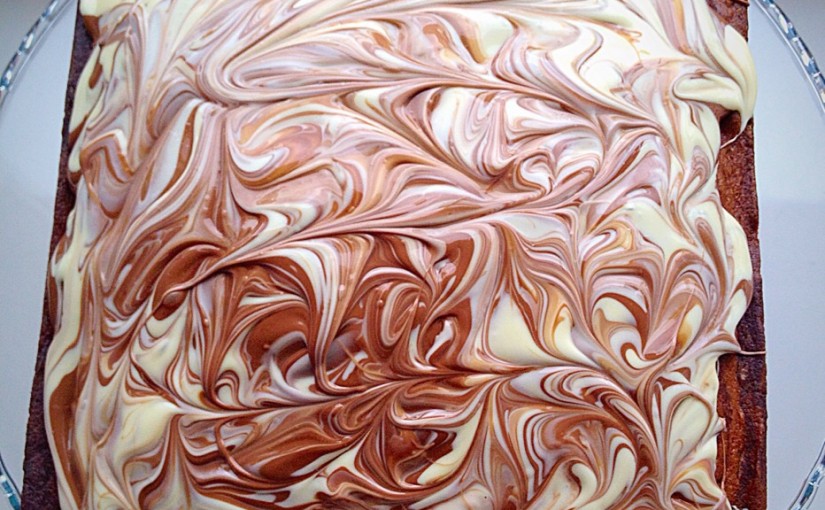
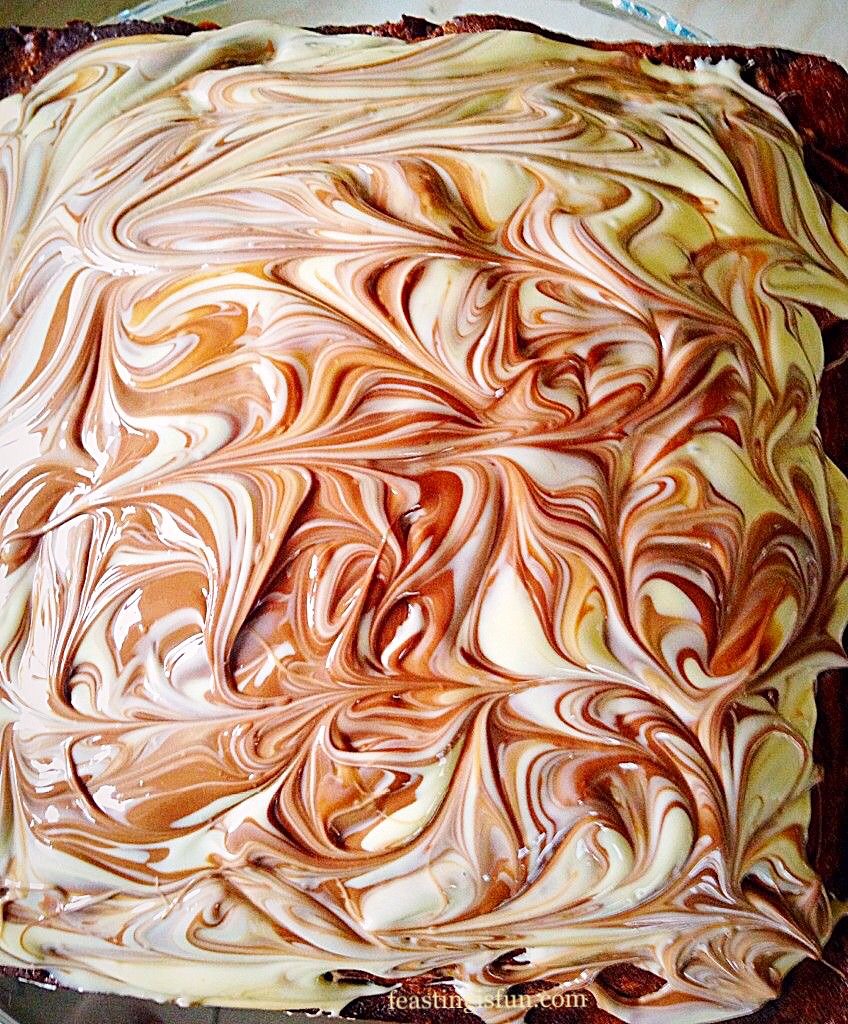
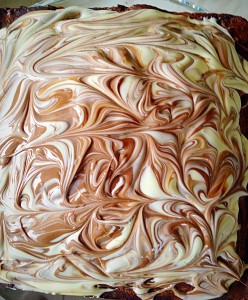
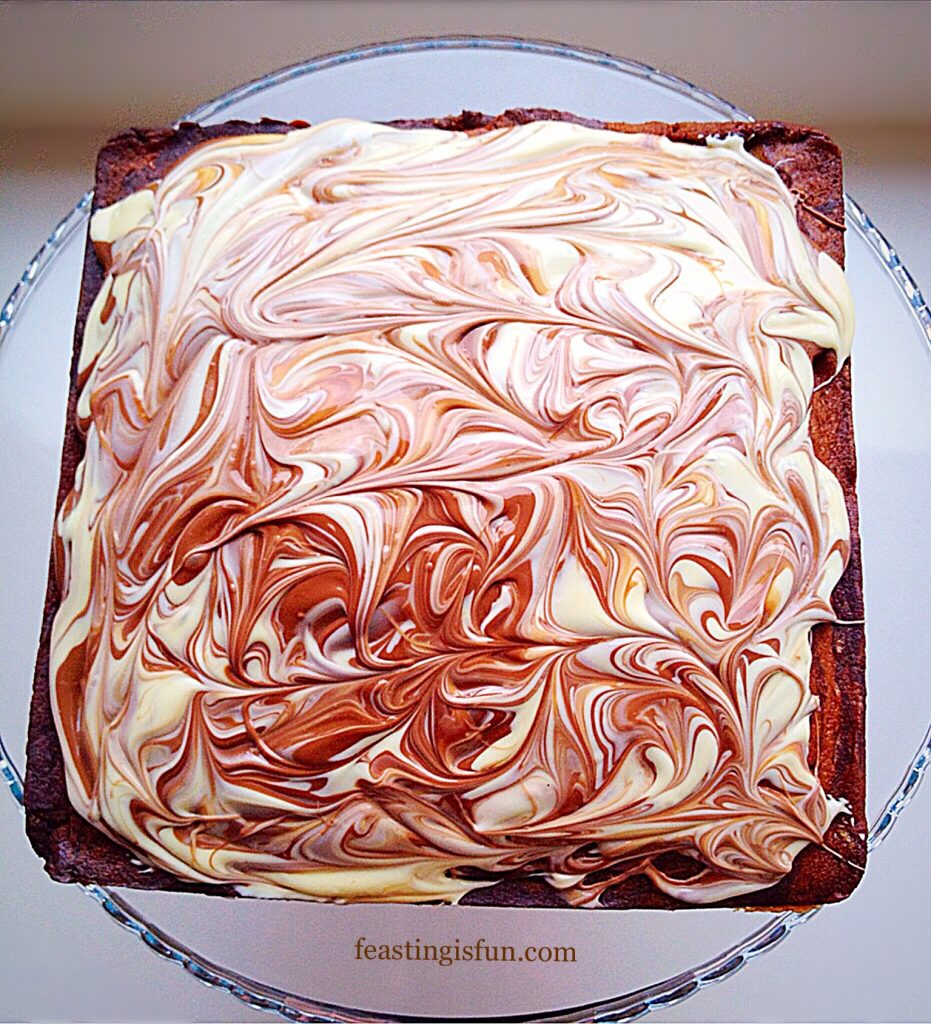
Close up of melted white and milk chocolate cake topping swirled together.
How good does this swirled chocolate topping look?

Recipe :  Malted Marbled Chocolate Cake yields at least 18 slices

For the cake:

350g/12oz Unsalted Butter – plus extra for greasing your cake tin

300g/11oz Caster Sugar

1/4 tsp Salt

2tsp Vanilla Extract – I use Nielsen-Massey

6 Large Eggs – Free Range

350g/12oz Plain White Flour

3tsp Baking Powder

100mls/4floz Whole Milk

5tbsp Powdered Malted Milk Drink – Horlicks/Ovaltine

6tbsp Cocoa Powder – I use Callebaut

For the topping:

200g/7oz Milk Chocolate

100g/4oz White Chocolate

Method : Preheat oven to 180C/160C fan, 350F, gas mark 4

I use a 24cm x 24cm square cake tin (approx 9″ tin).

If using a round cake tin you will need an 20cm/8in with a depth of 10cm/4in. Grease the cake tin (I use butter) and line the base with parchment paper.

Use either a stand mixer – with the beater attachment or alternatively a bowl with a hand held electric whisk.

Making The Two Batters For This Cake

Place the butter and sugar in the bowl.

  • First of all, place the butter, sugar and salt into a bowl.

Whip until light and fluffy.

  • Beat until pale and creamy.
  • Next sieve the flour and baking powder into a separate bowl – dry mix.
  • Crack the eggs into a jug – I actually crack them individually into a small bowl, then transfer them to a jug. Then add the vanilla extract to the eggs. Beat lightly with a fork – wet mix.
  • Add one third of the dry mixture to the bowl, mix in lightly.
  • Now add half of the wet mix and continue mixing until just incorporated.
  • Repeat again, finishing with the final third of dry mixture. Mix until just combined.
  • Add the malted milk powder and milk, mix until combined.

Scrape down the sides of the bowl using a rubber spatula.

  • Scrape down the sides of the bowl with a spatula.
  • As soon as the mixture has been scraped down into the bowl give everything a final mix.
  • Spoon half of the cake batter into a separate bowl.

Remove half of the cake batter to a separate bowl.


  • Add cocoa powder to one half of the cake batter.

Add the cocoa to the mixer bowl.

  • Mix in the cocoa powder.
  • Using a spatula scrape the sides of the bowl ensuring the cocoa is fully combined.

Once the cocoa is completely incorporated, scrape down the sides of the bowl and mix.

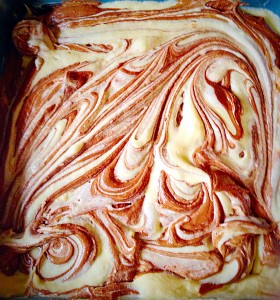
Creating The Marbling Effect With The Chocolate And Vanilla Cake Batters

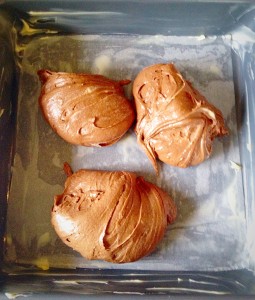
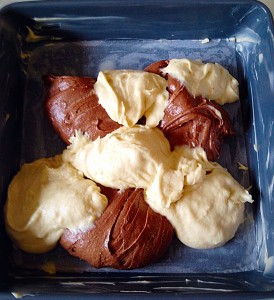
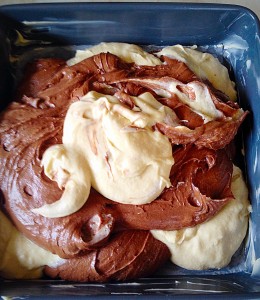
  • To build the Malted Marble Chocolate Cake add the two separate mixes as shown in the photographs below.
  • Add three scoops of chocolate cake batter to the tin.

Add the cocoa batter in three separate dollops to the cake pan.


  • Add the vanilla cake batter on and around the chocolate mix.
Add the vanilla batter on and around the cocoa batter.
  • Finally add the remaining chocolate and vanilla batter in rough layers

Add the rest of the cocoa/vanilla batter in rough layers.


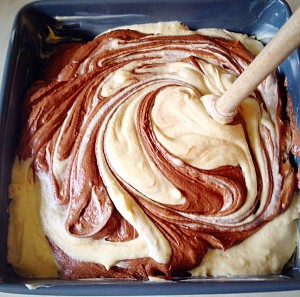
  • Use the handle of a wooden spoon to swirl the two batters together.
Malted Marbled Chocolate Cake - using the handle of a wooden spoon swirl the two batters together, without mixing them into each other.
Malted Marbled Chocolate Cake
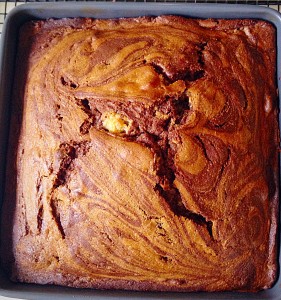
  • Resulting in a swirled, marbled cake effect.
Perfectly swirled - Malted Marbled Chocolate Cake!
Perfectly swirled – Malted Marbled Chocolate Cake!

Baking The Malted Marbled Chocolate Cake

  • Place your cake tin into the centre of a preheated oven.
  • Bake for 1hr – 1hr 15 mins, until an inserted skewer comes out clean. Allow two thirds of the cooking time to elapse before checking your cake.
  • As soon as the cake is baked remove from the oven.
Malted Marbled Chocolate Cake - fresh from the oven.
Malted Marbled Chocolate Cake
  • Allow the cake to cool in its tin for 15 minutes.
  • Then run a palette knife around the outside edge of the cake to loosen it.
  • Turn out the cake and allow to completely cool on a rack.
  • As soon as the cake is cool it is time to create the gorgeous, swirly, chocolate topping.

Adding The Chocolate Swirled Topping

  • Break up or chop each chocolate and place in separate bowls. I melt the chocolate using the microwave on medium setting in 30 second bursts. Remove the bowl from the microwave when there are still a few lumps in the melted chocolate and stir continuously until the chocolate is smooth. Be extra careful with white chocolate – it is very easy to overheat in the microwave.
  • Set the bowls of chocolate aside to cool.
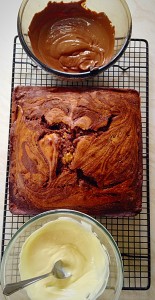
Malted Marbled Chocolate Cake - cooled with cooling, melted chocolate, ready for decorating.
Malted Marbled Chocolate Cake
  • Cool the chocolate until it has thickened but is still pourable.
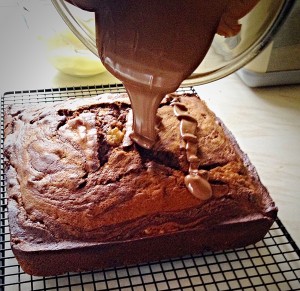
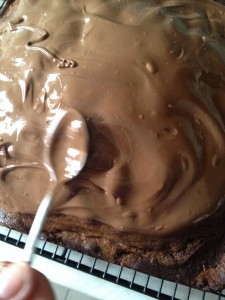
  • First of all pour the melted milk chocolate over the top of the cake.

Malted Marbled Chocolate Cake - pour over the melted milk chocolate.

  • Spread the chocolate so that it covers the top of the cake.

Malted Marbled Chocolate Cake - use a spoon to smooth the melted chocolate over the top of the cake.


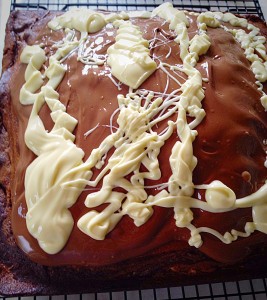
  • Drizzle over the melted white chocolate.
Malted Marbled Chocolate Cake - drizzle the white chocolate on top.
Malted Marbled Chocolate Cake
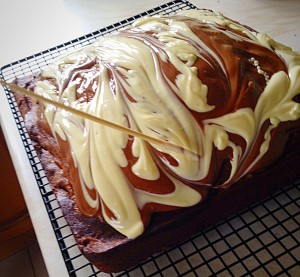
  • Using a skewer or cocktail stick swirl the two chocolates together, creating a marbled effect,

Malted Marbled Chocolate Cake - use a skewer to swirl the two chocolates together.

  • Set the cake to one side, somewhere cool, alternatively refrigerate, to allow the chocolate to set.

The swirled chocolate topping perfects finishes this Malted Marbled Chocolate Cake.


And now you have a delicious Malted Marbled Chocolate Cake to share! Because of its size, this cake is ideal for a celebration, family gathering, a houseful of friends as it feeds a lot of people. Most importantly this bake is perfect for feasting, sharing and having fun.

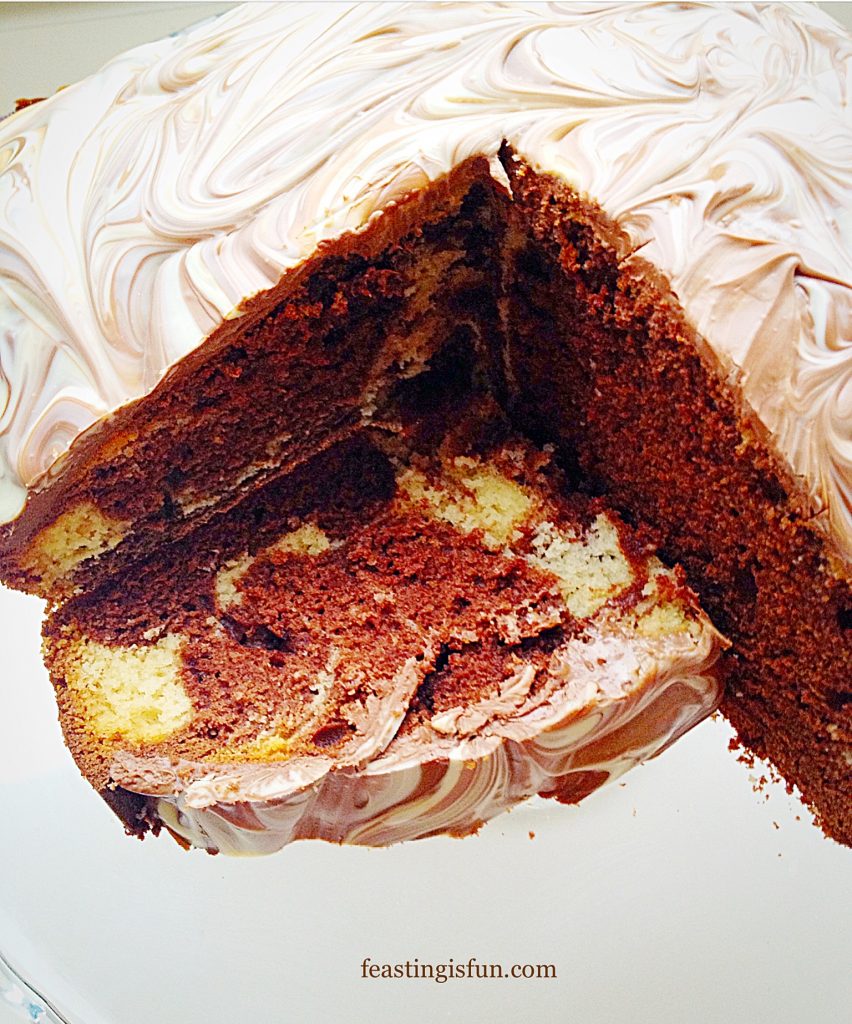
A cut slice of the cake showing off the hidden marbling.

Serve by slicing the cake in half and then cutting as shown in the photo above.

Store any leftover cake in an airtight container. Refrigerate during warmer weather.

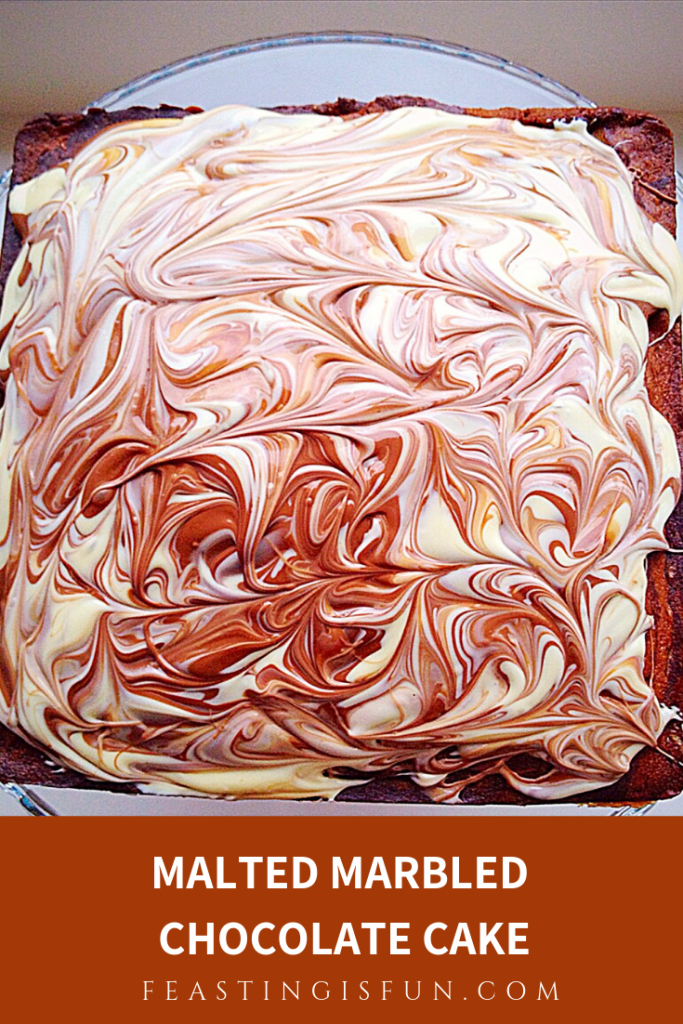
Whole square cake on a clear glass cake stand.
Malted Marbled Chocolate Cake

If you have enjoyed this recipe for Malted Marbled Chocolate Cake you may also like these:

Marbled Chocolate Bundt Cake

Marbled Chocolate Bundt Cake

Maltesers Malted Chocolate Loaf Cake

Maltesers Malted Chocolate Loaf Cake
Maltesers Malted Chocolate Loaf Cake.

Chocolate Marble Celebration Cake

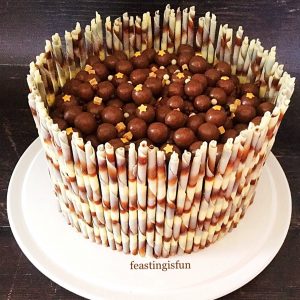
Chocolate celebration cake covered with chocolate fudge ganache, topped with Maltesers and surrounded with chocolate marble pencils.
Chocolate Marble Celebration Cake

Since this cake tastes of Maltesers you could add them as a decoration. Either around the base of the cake, keeping some melted milk chocolate back and using as glue, or on top. And this is the advantage of baking a cake at home. Since you decide how it should be decorated. Resulting in a cake that is unique and tastes a million times better than it’s mass produced alternative.

So, whatever you are making, baking and creating in your kitchens, have fun preparing and sharing your feast.

Sammie x

Wilko sent me some items to review. And most importantly all of opinions are my own. I was not paid to write this post. No part of this post may be reproduced or duplicated without the written permission of the owner. Please see my Disclosure Policy.