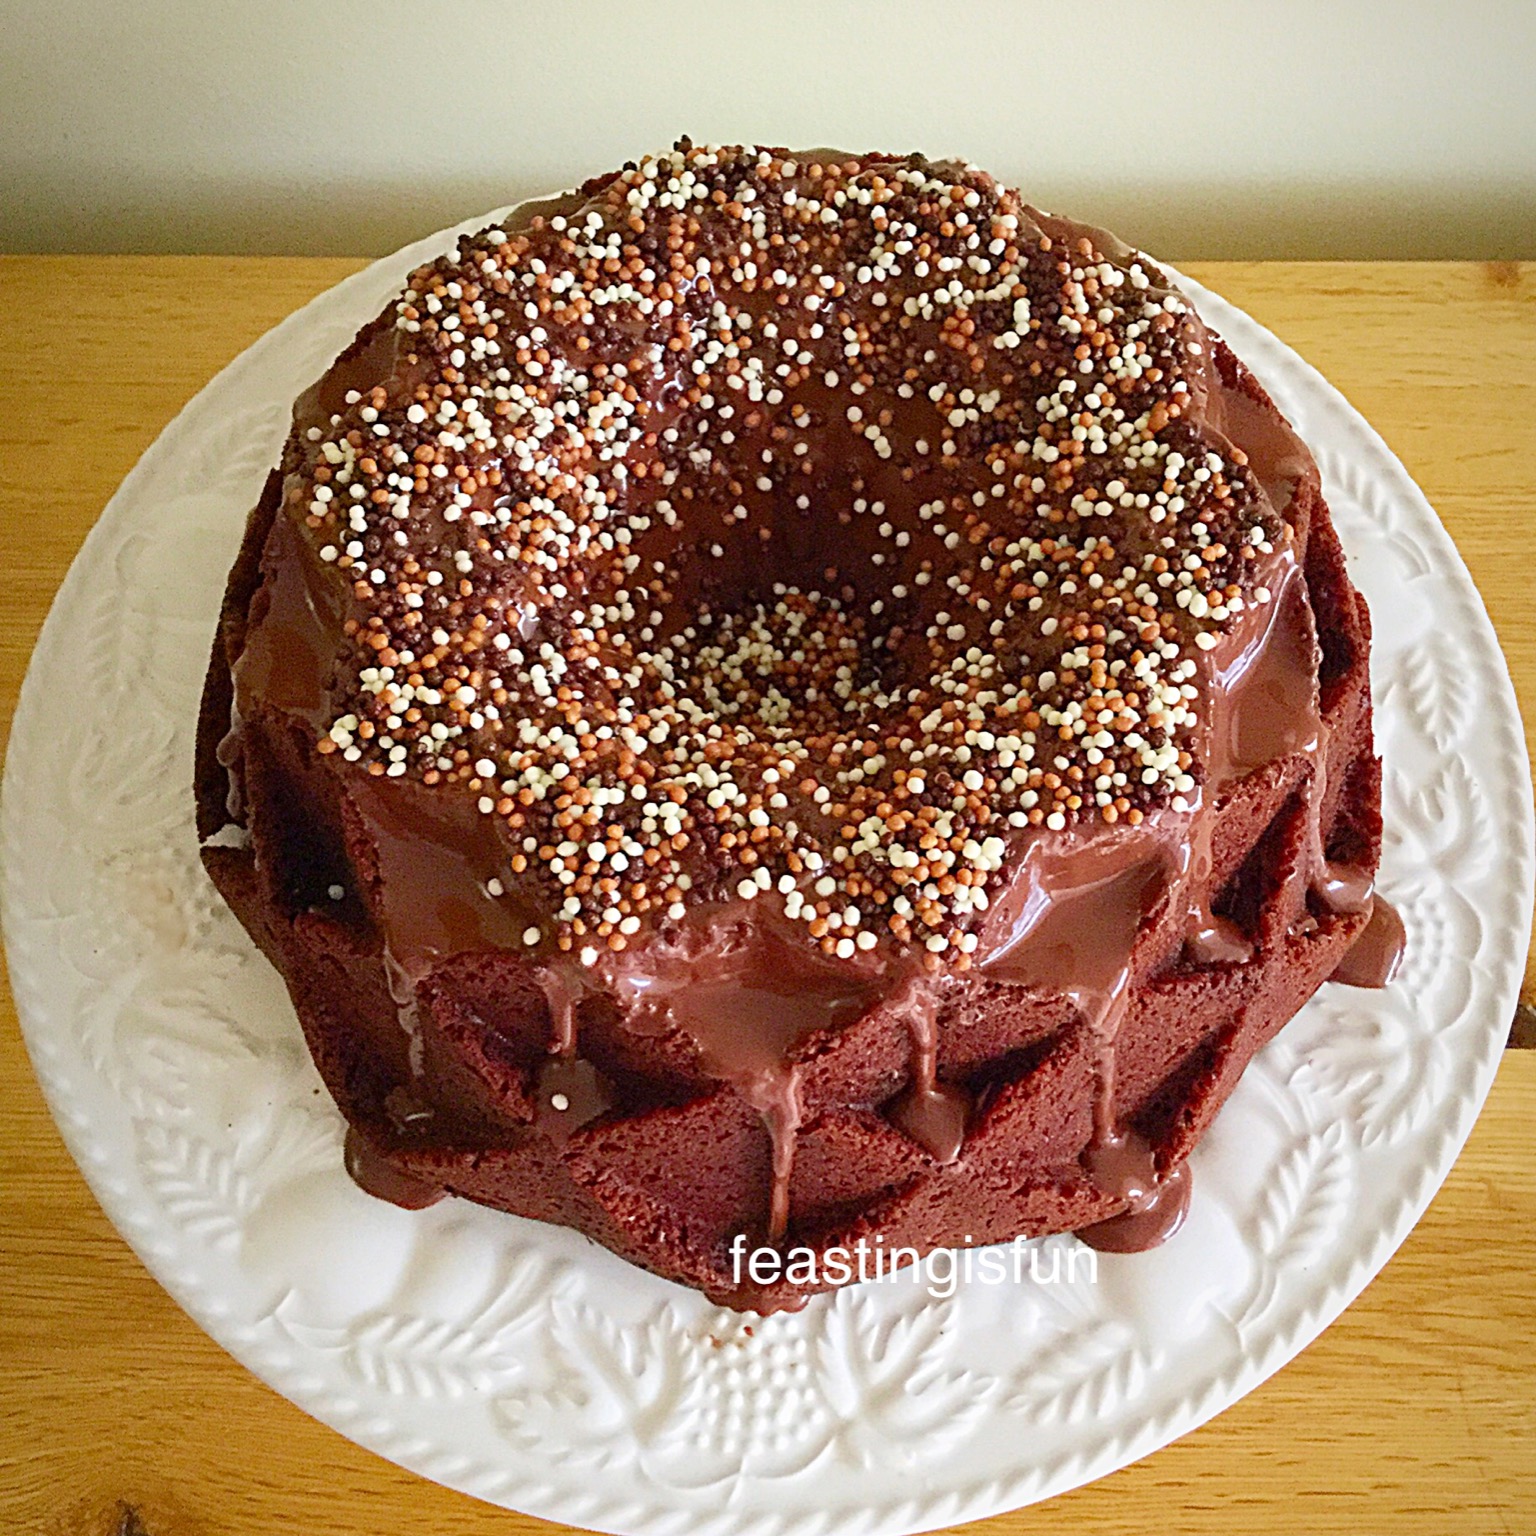
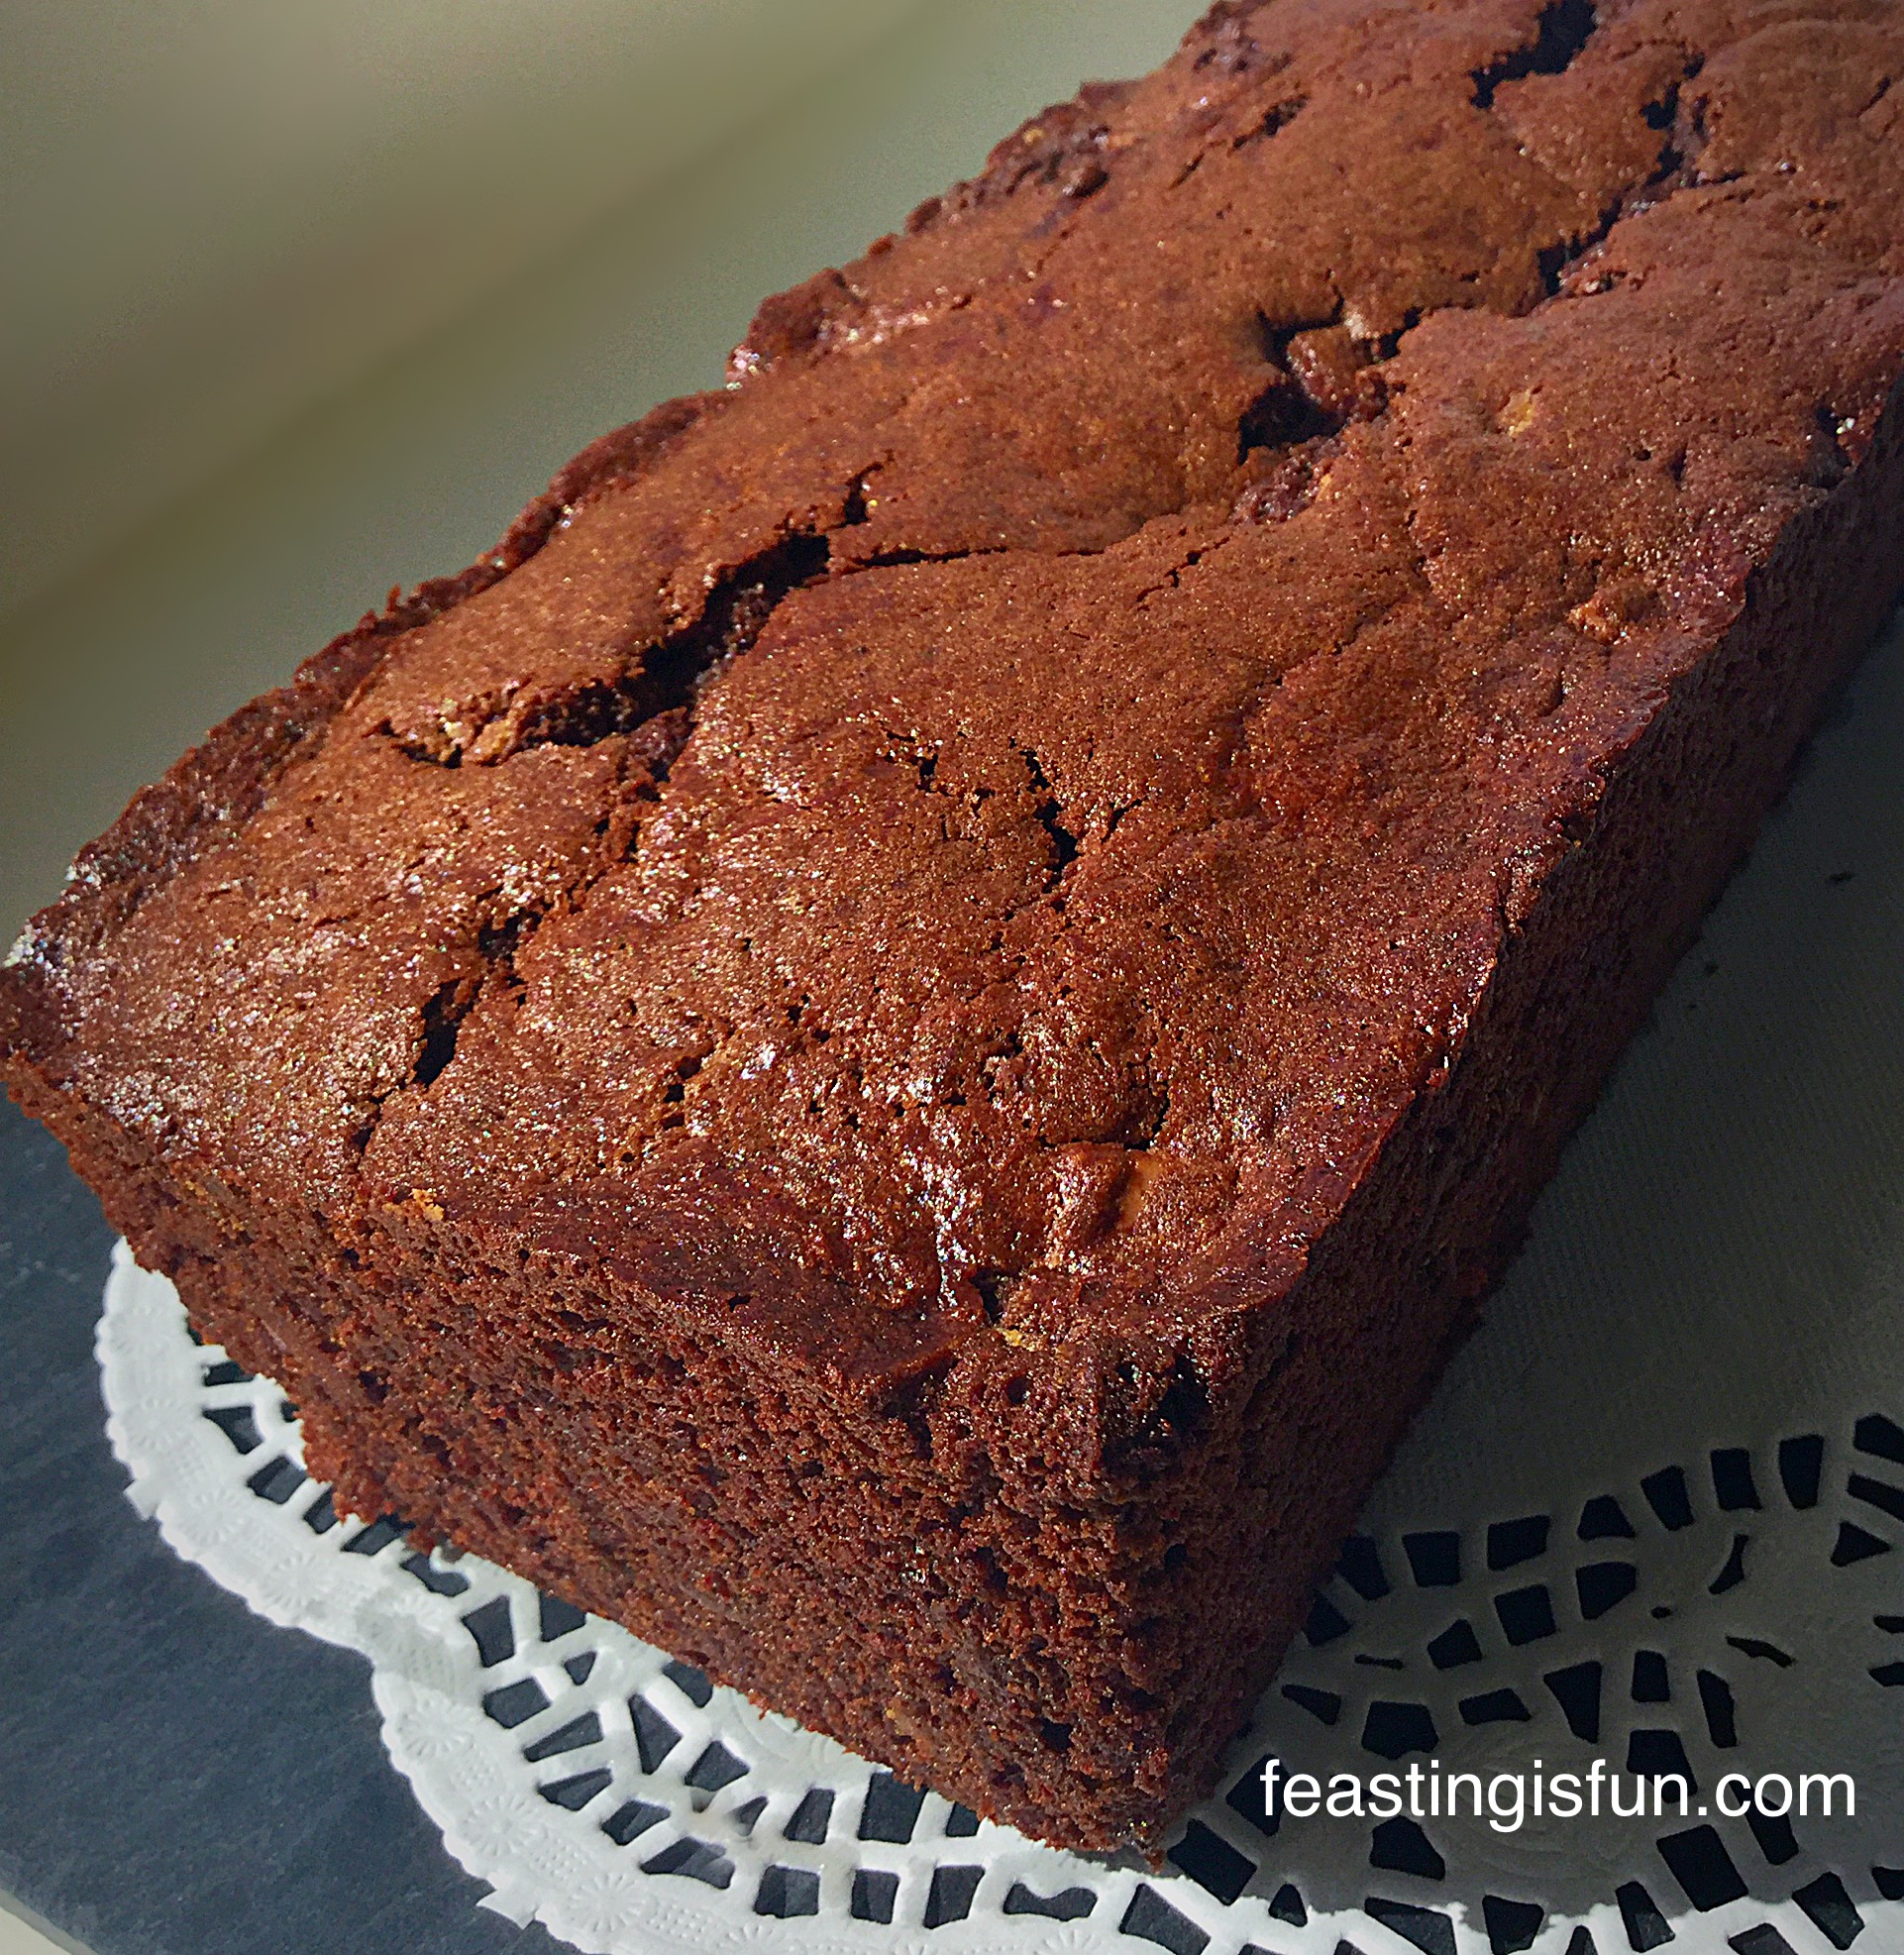
Whilst I love a beautifully decorated cake, sometimes a delicious cut-and-come-again cake is what I crave. This delicious Double Chocolate Chip Loaf Cake certainly delivers on flavour. Packed full of chocolate chips and made with sour cream, it is utterly yummy!
This delicious cake however, was made at the request of our eldest daughter. Chocolate cake with chocolate chips and NO icing. In all fairness she has never been a lover of anything creamy, so I was more than happy to oblige and decided to make a Double Chocolate Chip Loaf Cake.
This cake may have a simple recipe but boy does it win in the flavour votes. It is a really chocolatey, chocolate cake. In fact served warm with custard, ooh and a scoop of Very Vanilla Ice Cream and this would make rather a delicious pudding.
I just love it when a cake can be dual purpose!!
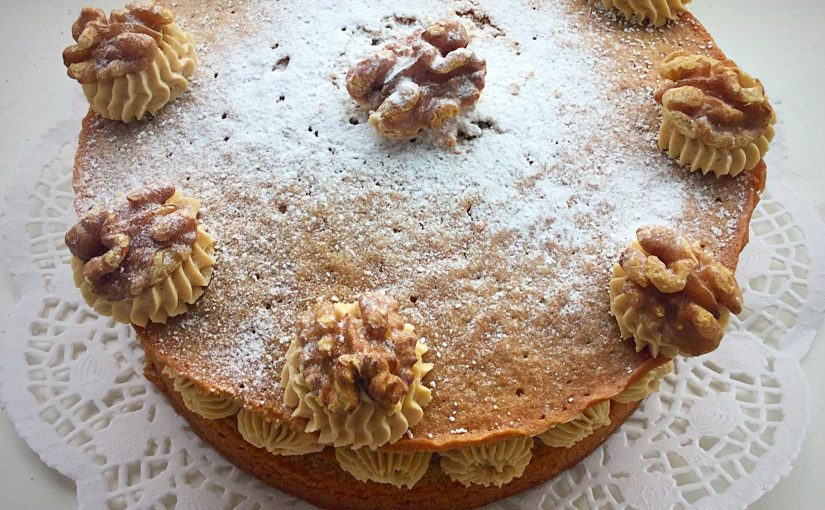
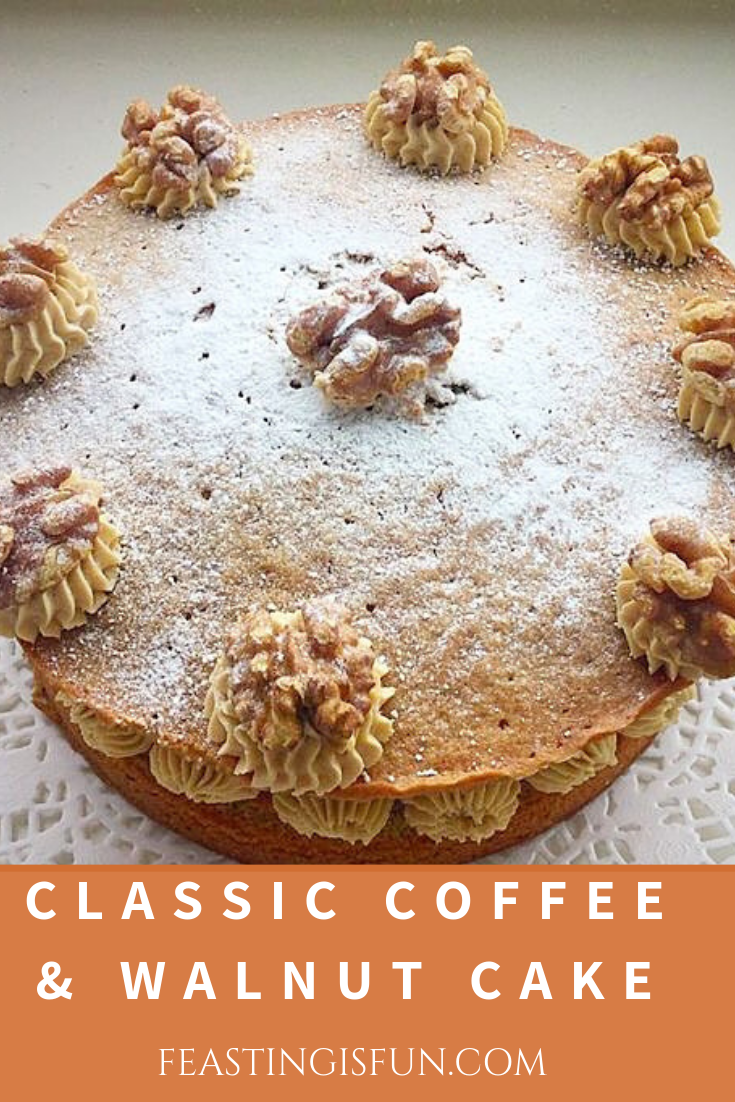
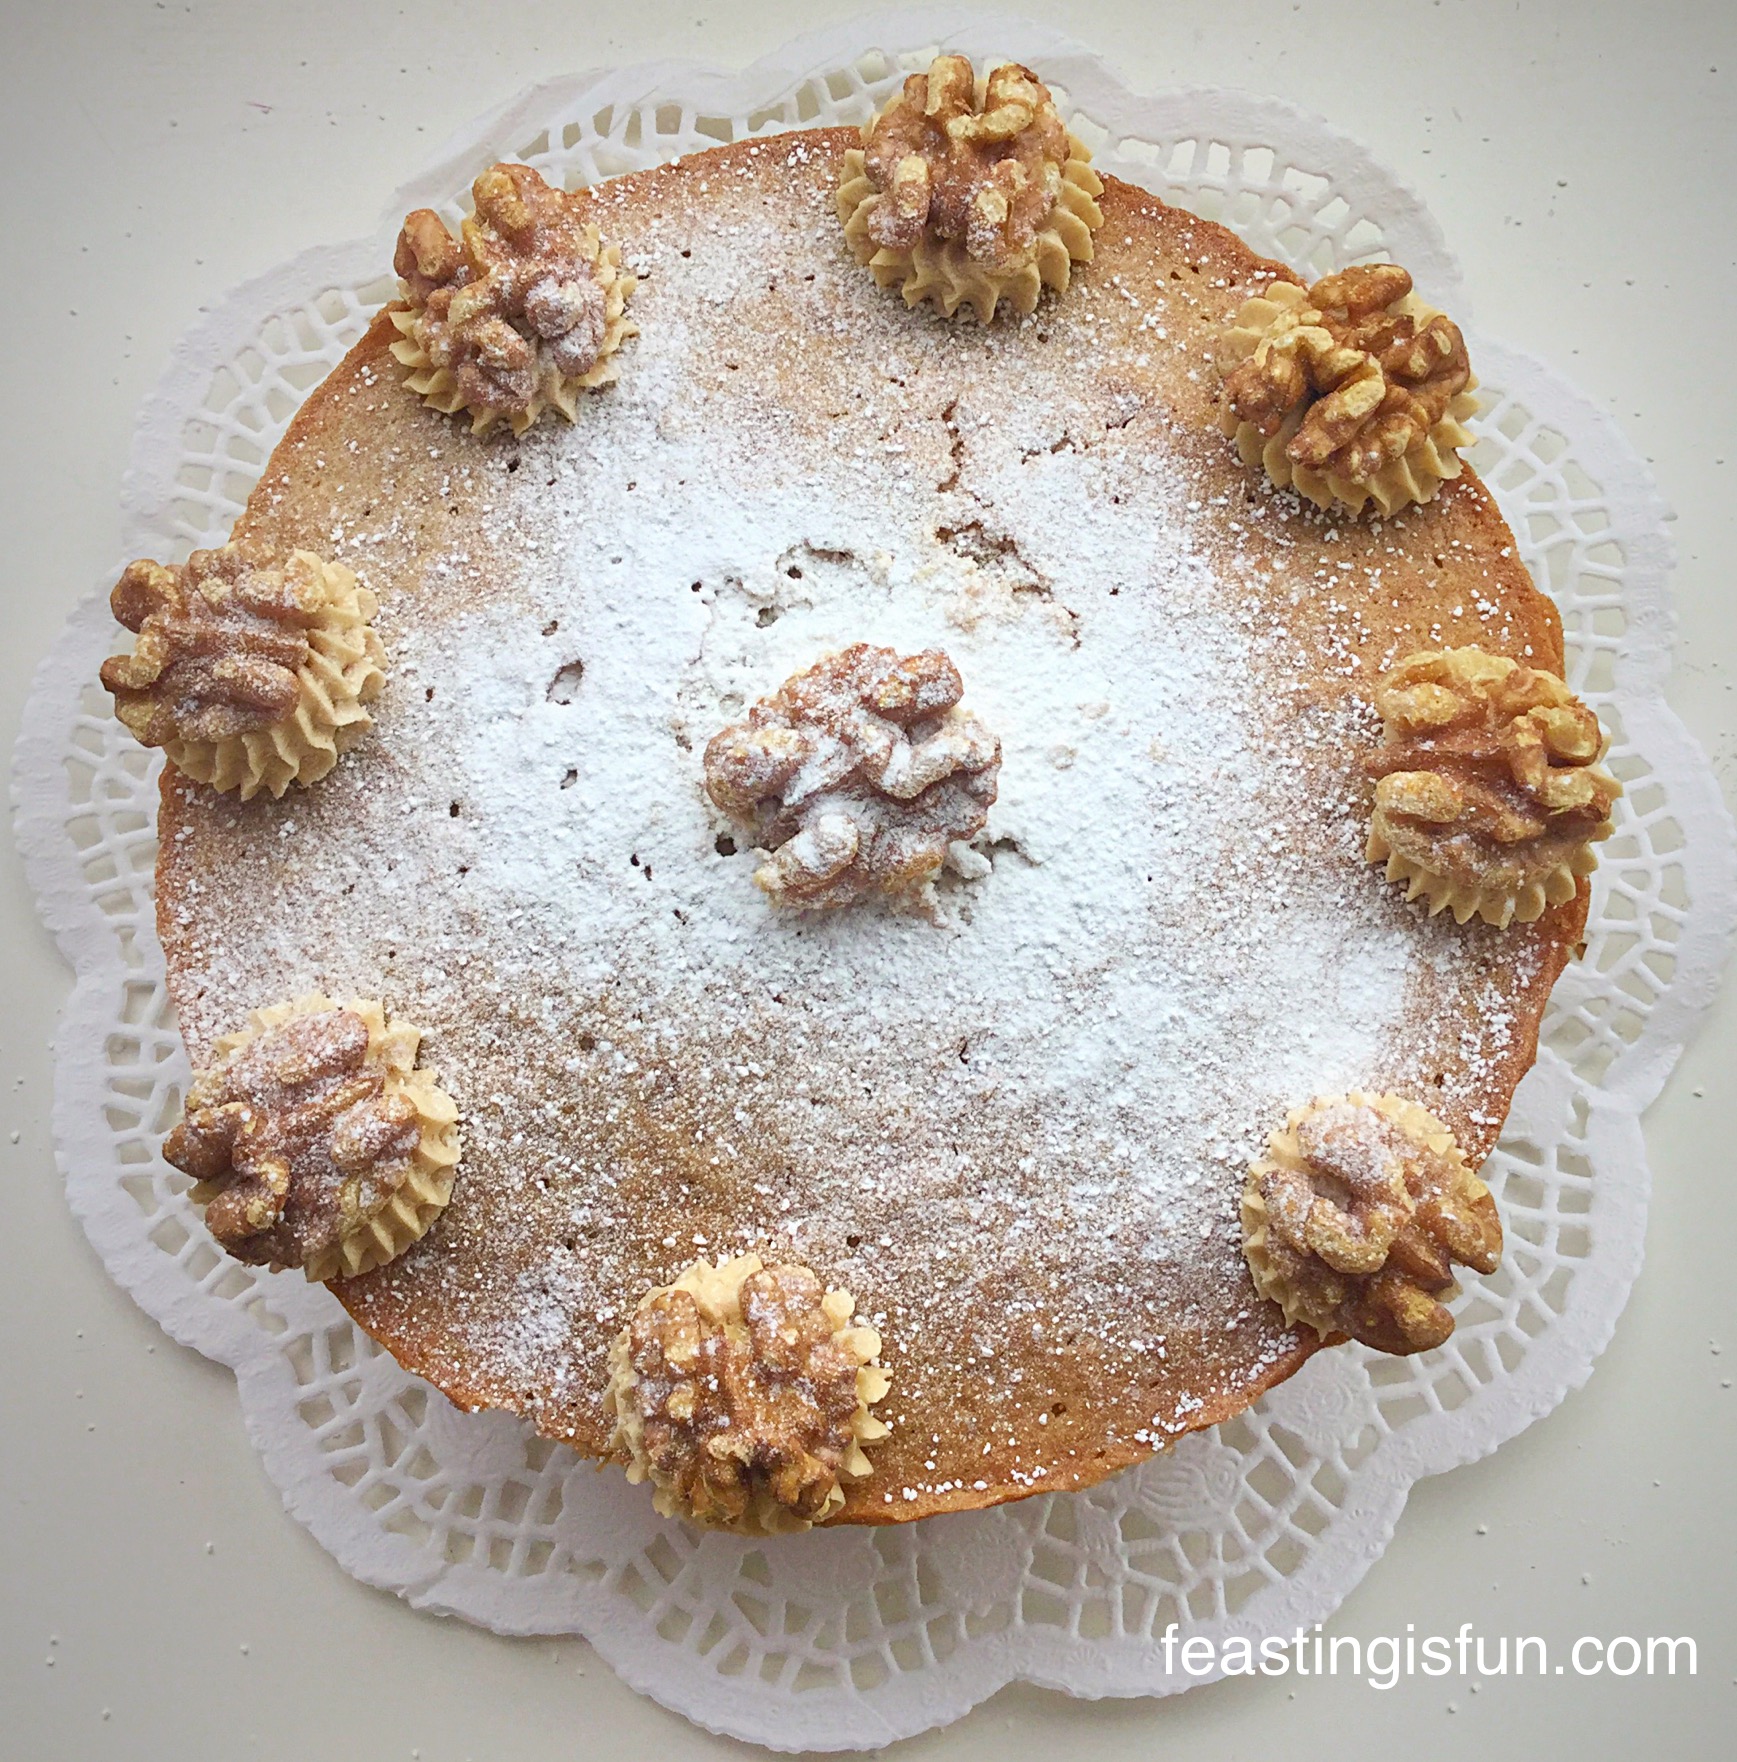
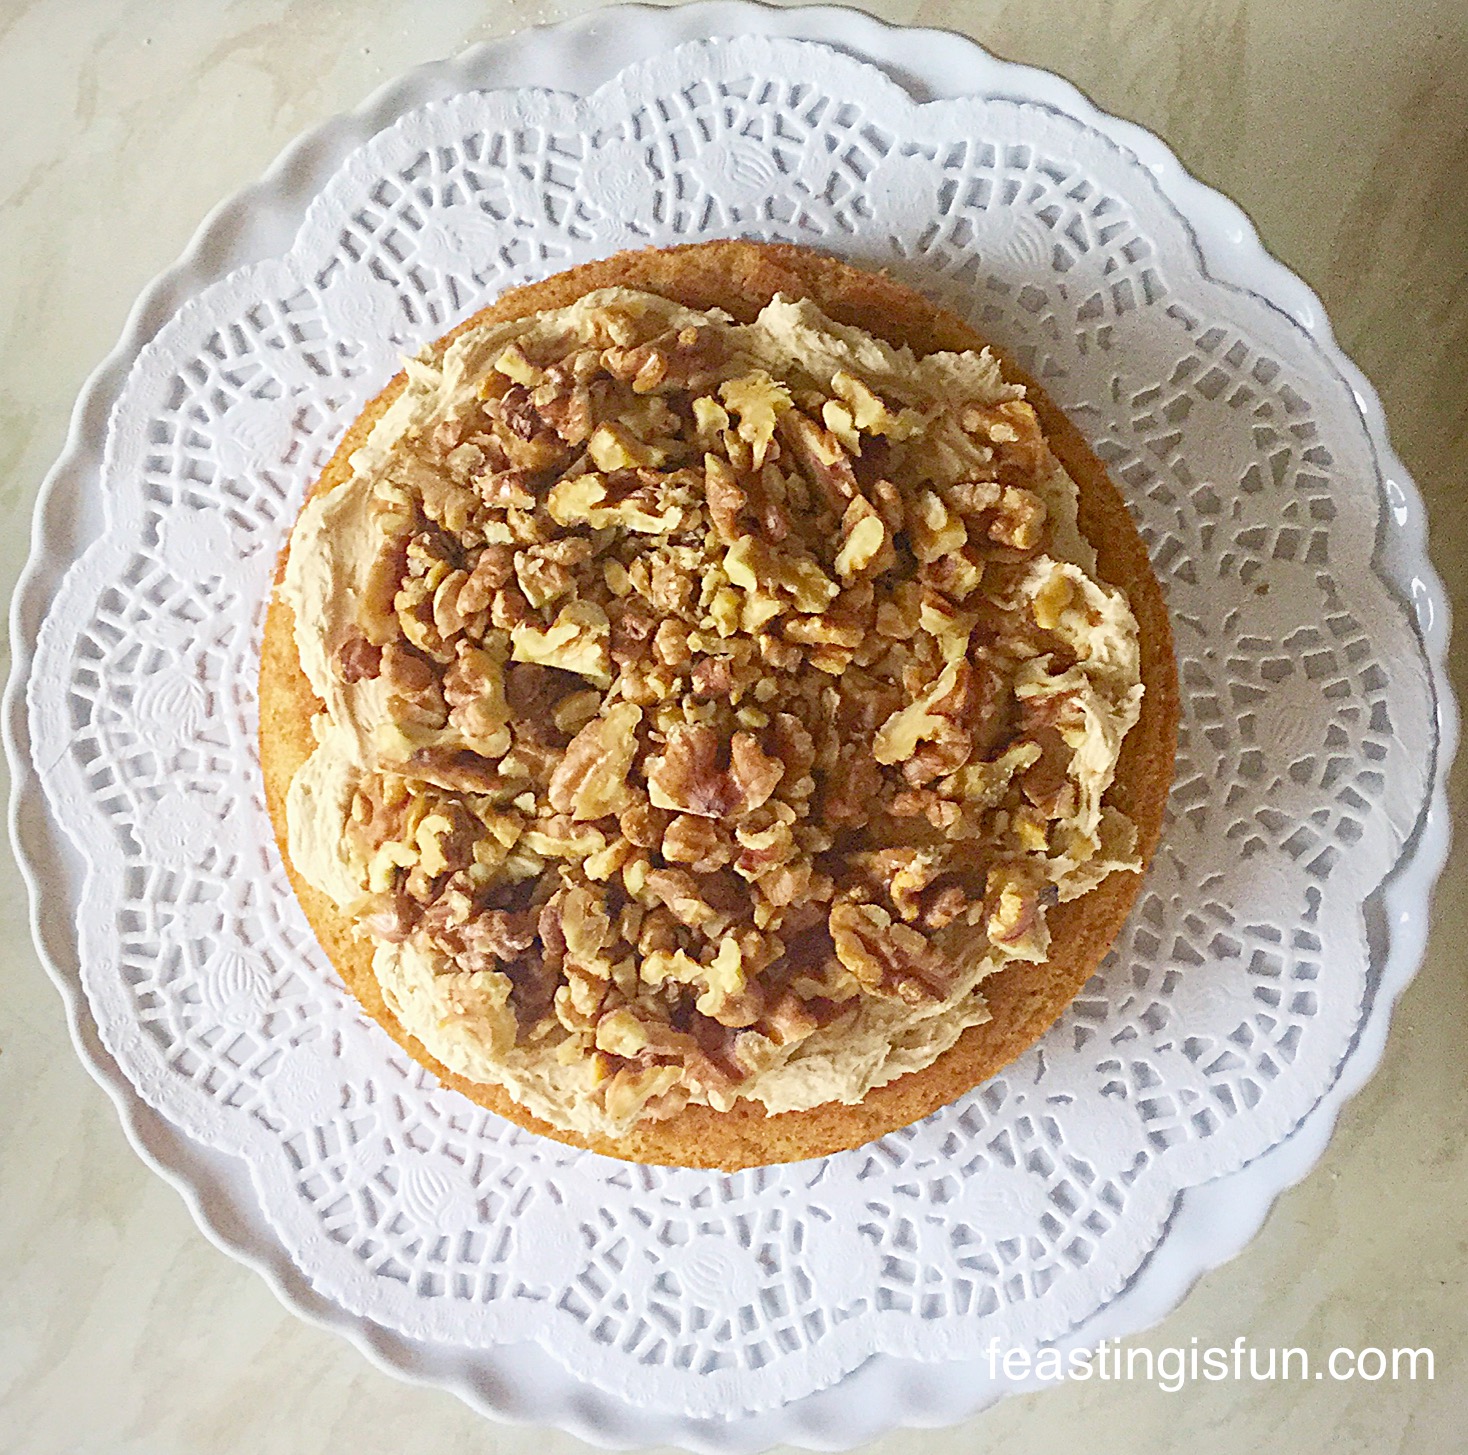
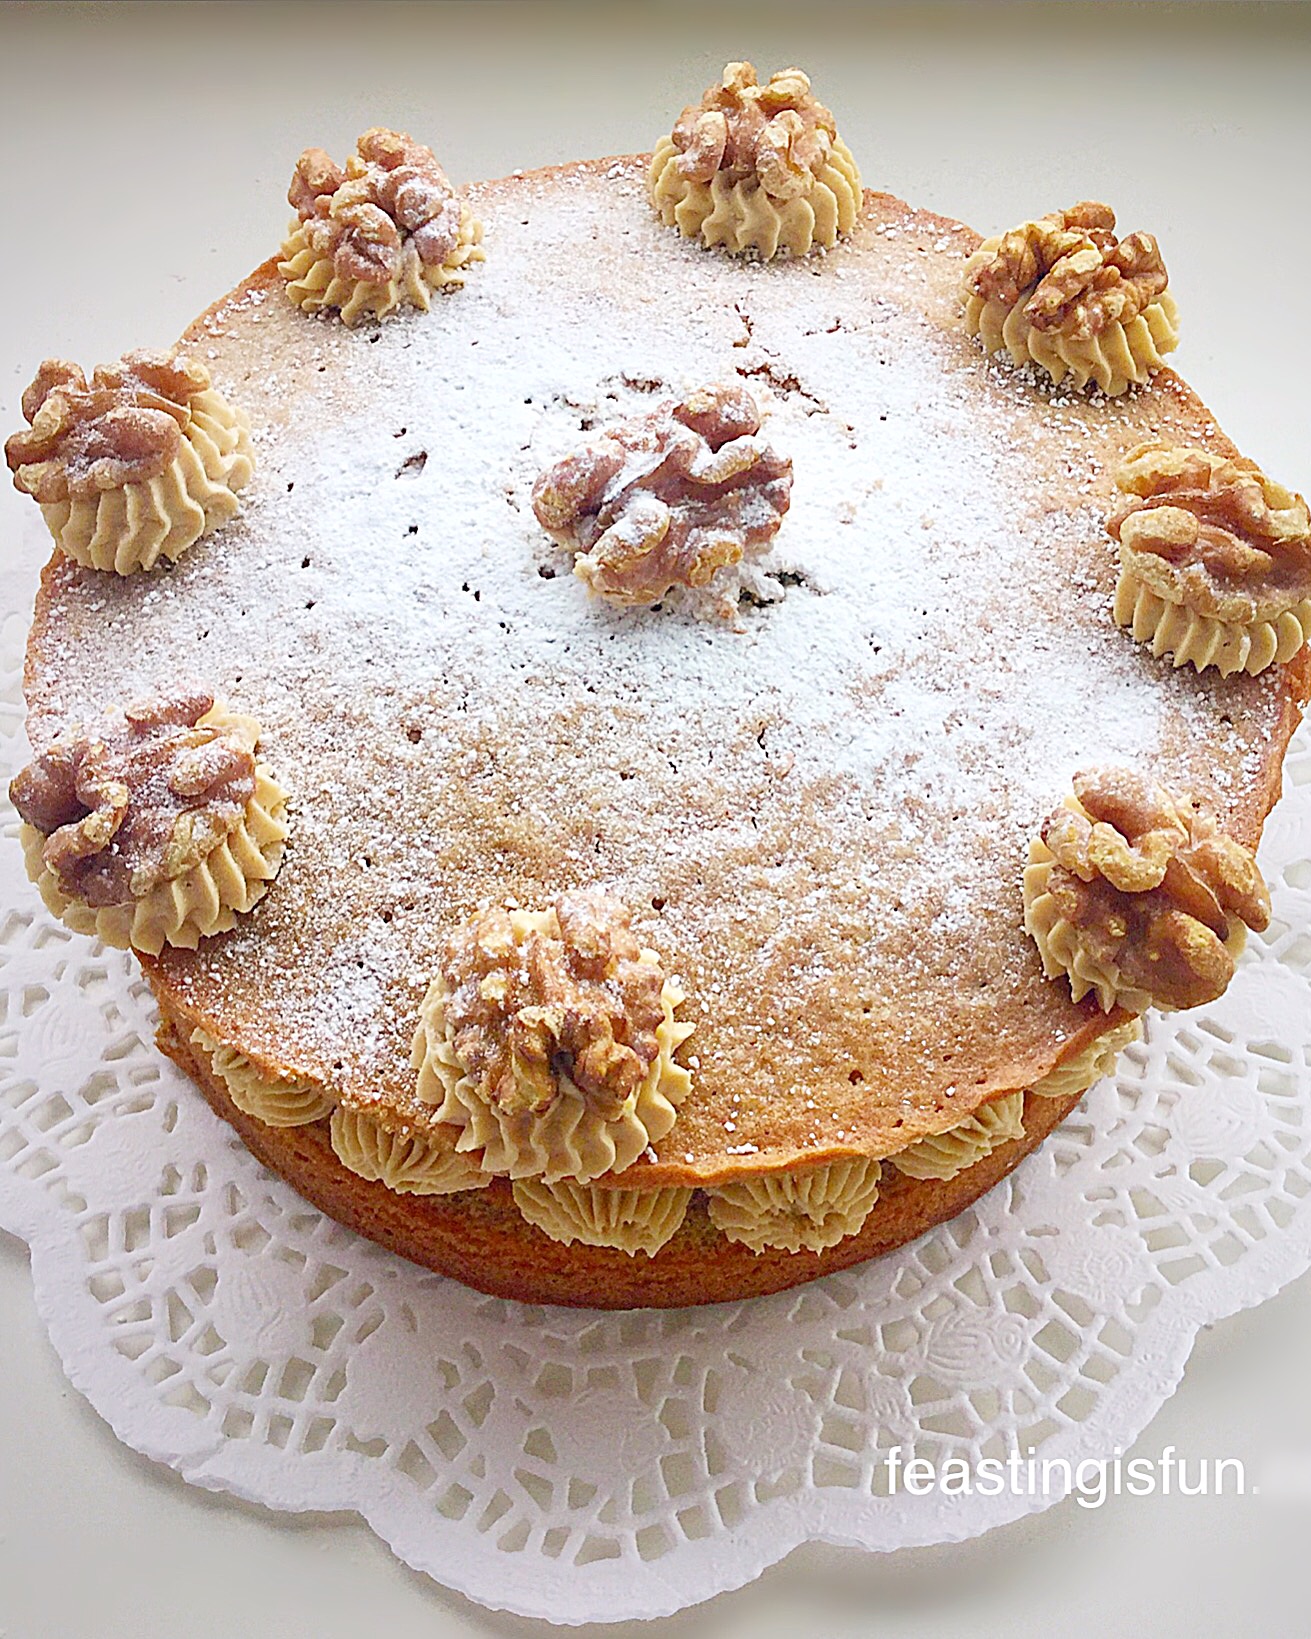
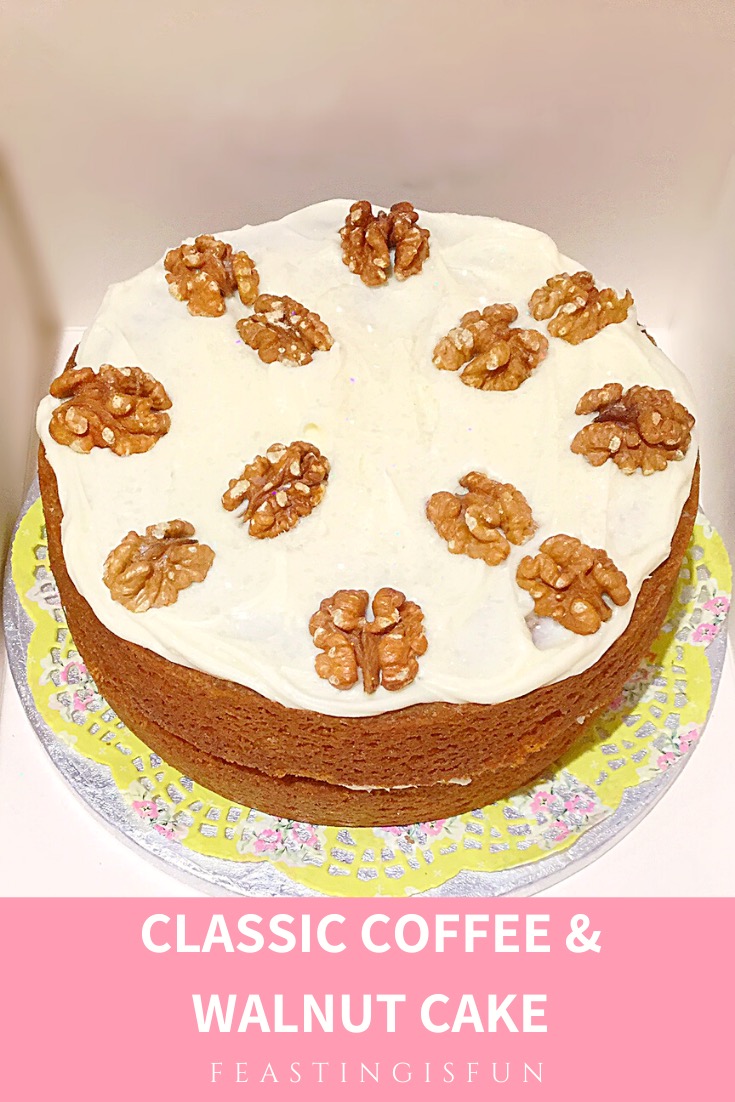
After making yesterday’s Coffee and Walnut Cake I was really regretting not making an extra cake for us! The smell of the coffee cake cooking and the walnuts toasting, had my tummy rumbling. In truth it would only have been Hubby and me that ate it. Coffee cake is not our children’s favourite – although two of them will eat Tirimasu???
Without further ado, let’s get to the recipe so that you too can bake this delicious cake!
Recipe: Makes one Double Chocolate Chip Loaf Cake
175g/6oz Unsalted Butter – at room temperature
175g/6oz Soft Light Brown Sugar
1tsp Vanilla Bean Paster -can be substituted with vanilla extract
3 Large Free Range Eggs
150g/5oz Sour Cream – I find it easier to measure by weight
1/4tsp Salt
125g/4.5oz Plain White Flour
50g/2oz Good Quality Cocoa Powder
2tsp Baking Powder
200g/7oz Milk Chocolate Chips/Chunks – use dark/white if preferred
Method: Preheat the oven to 155C/140C fan, gas mark 2
- Grease and line the base of a 2lb loaf tin with baking parchment.
- Add the butter and sugar to a large bowl.
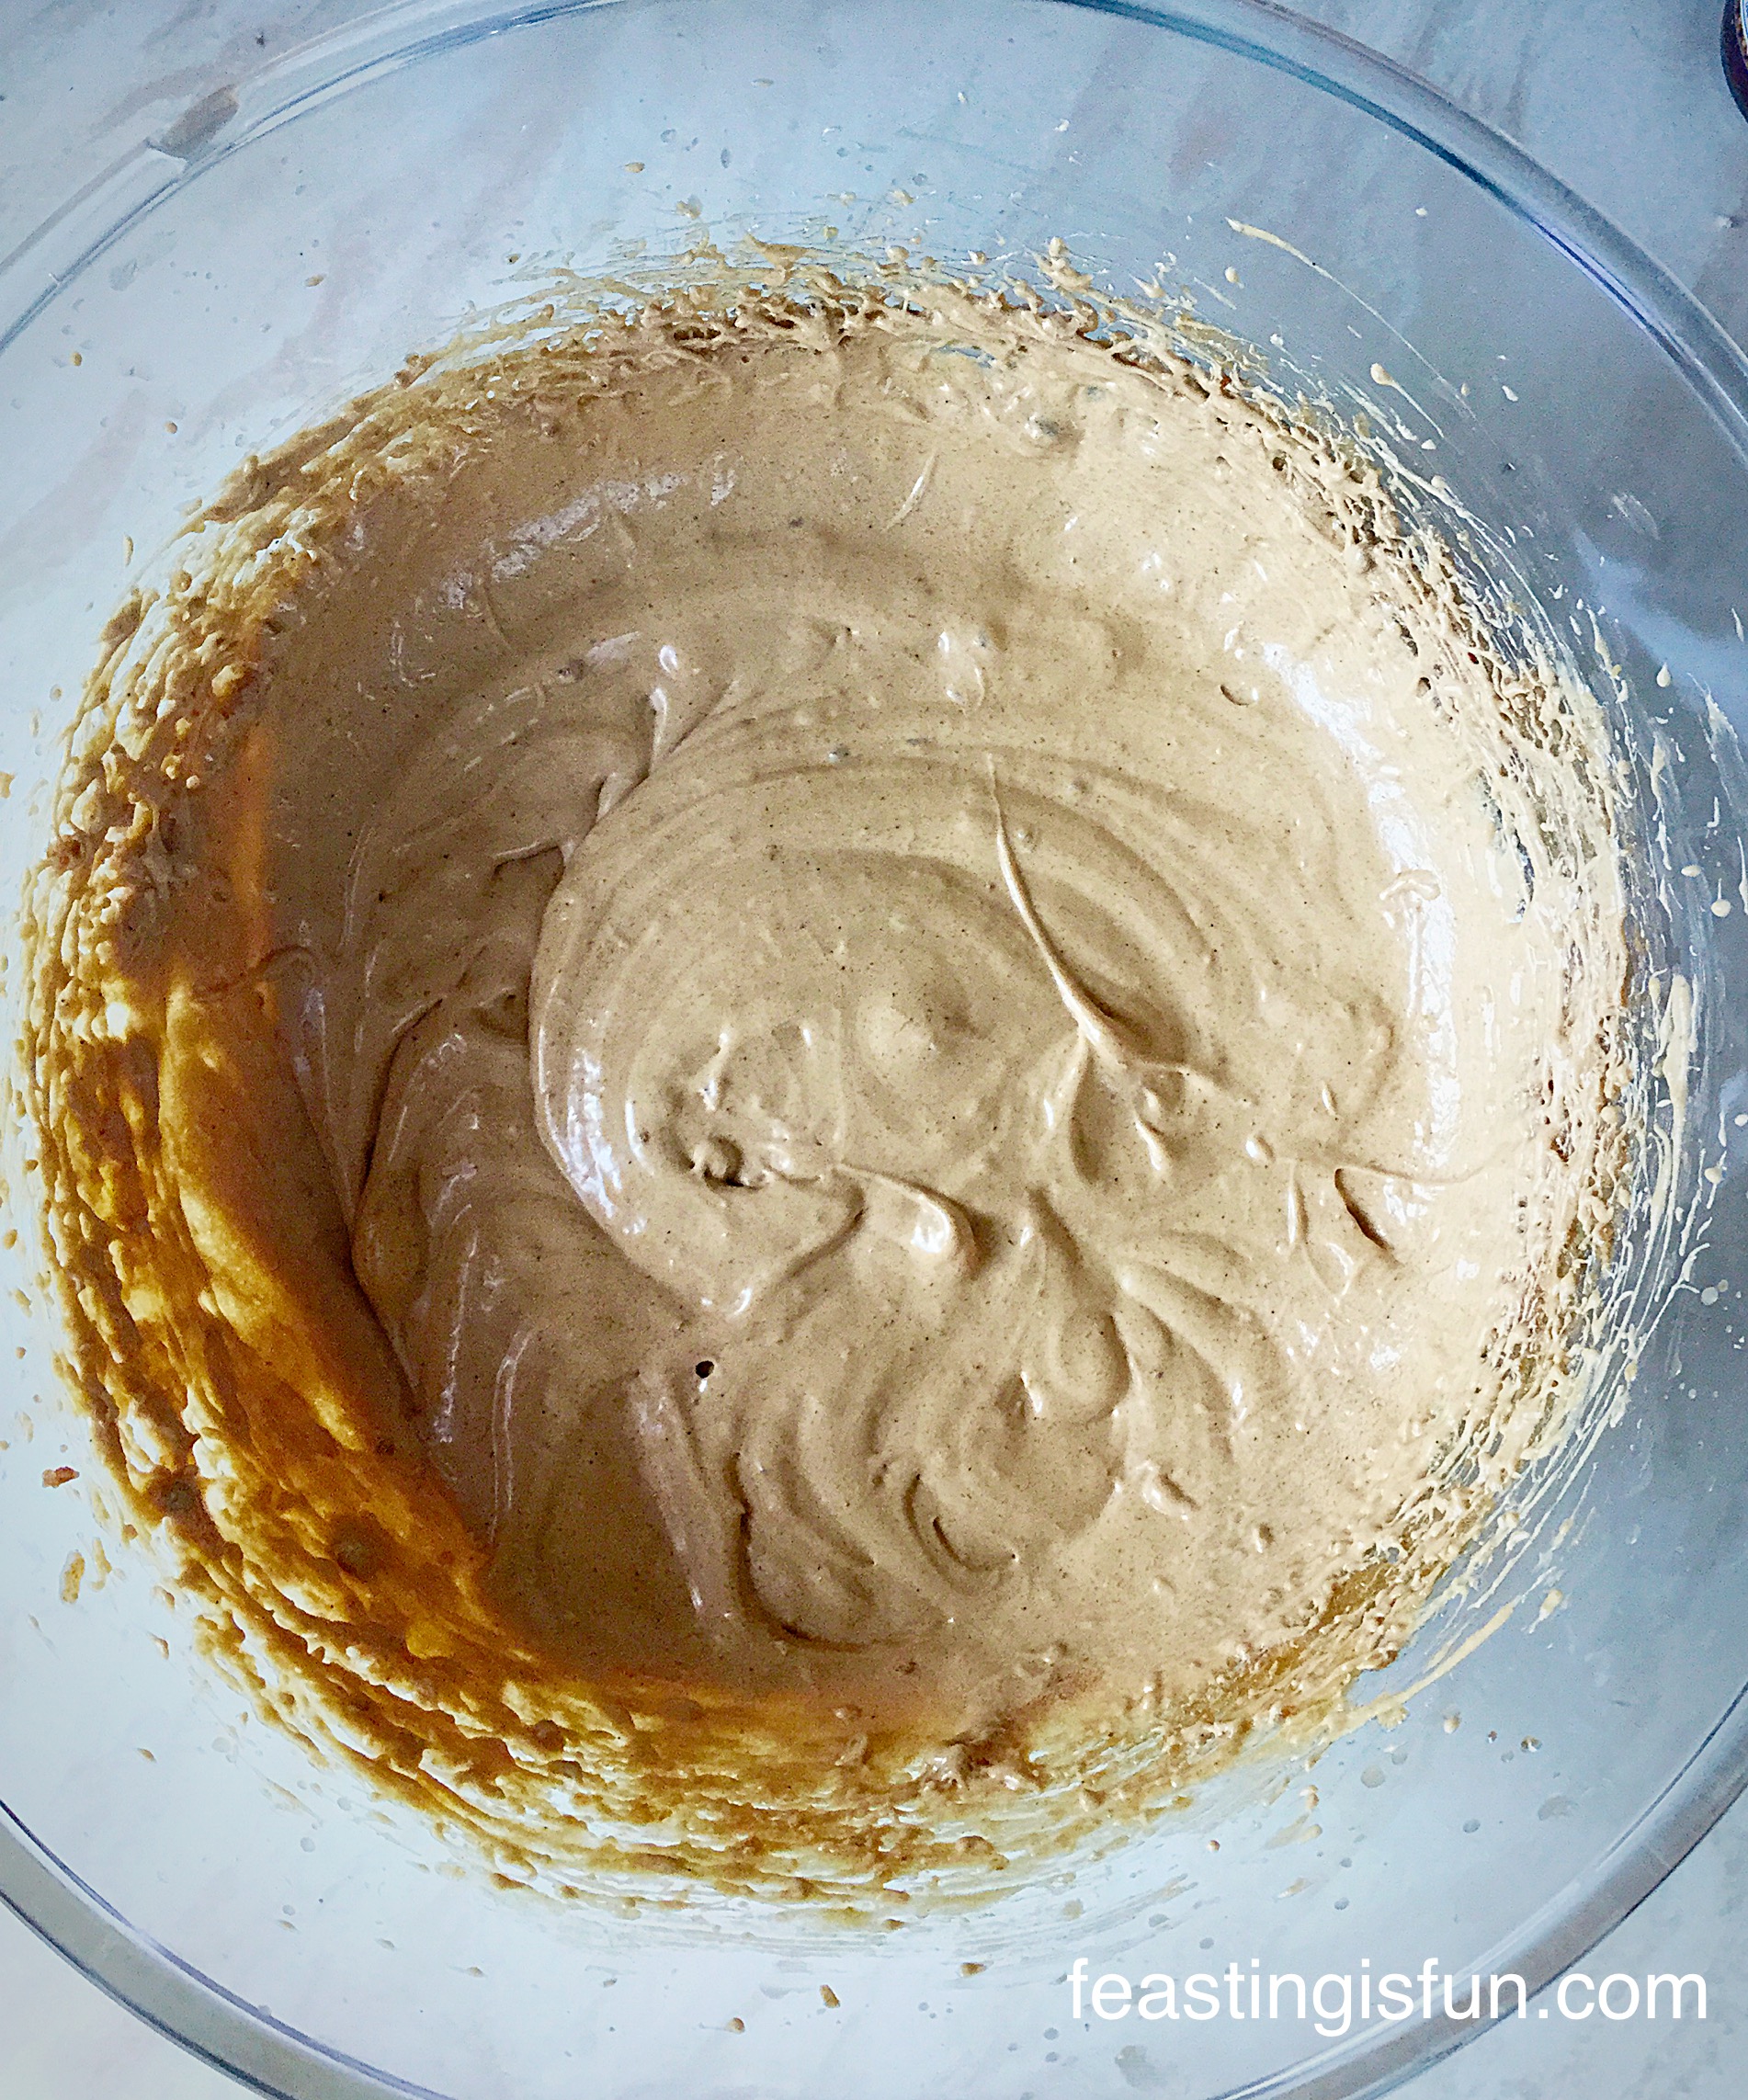
- Whisk/beat until pale and creamy.
- Add the 3 eggs and vanilla bean paste and whisk for a further 5 minutes until all the ingredients are fully combined.
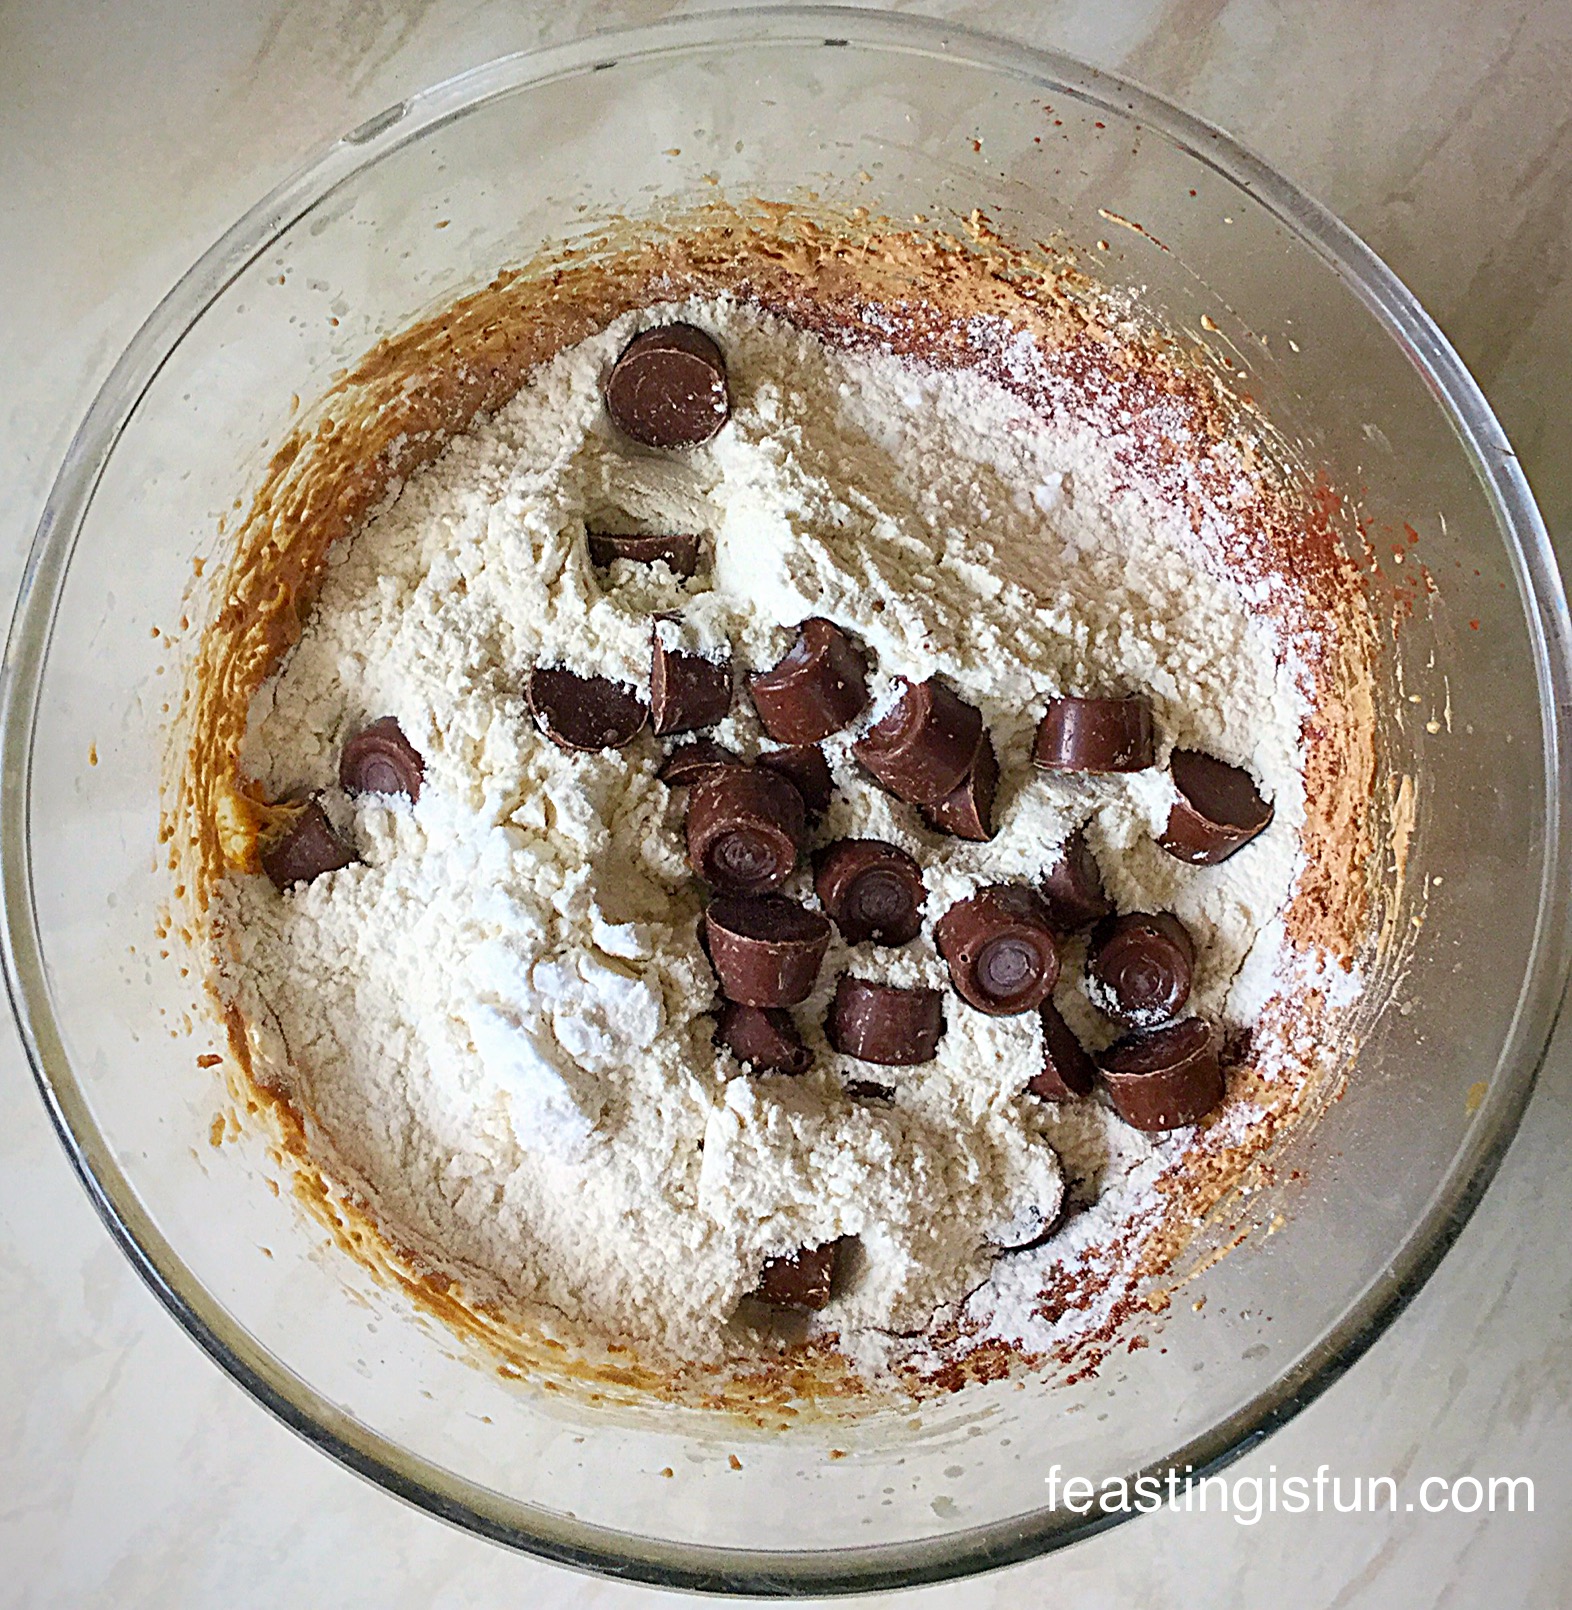
- Add the sour cream and sift in the flour, cocoa powder, baking powder, salt and add the chocolate chips.
- With a spoon fold all the ingredients together until just combined.
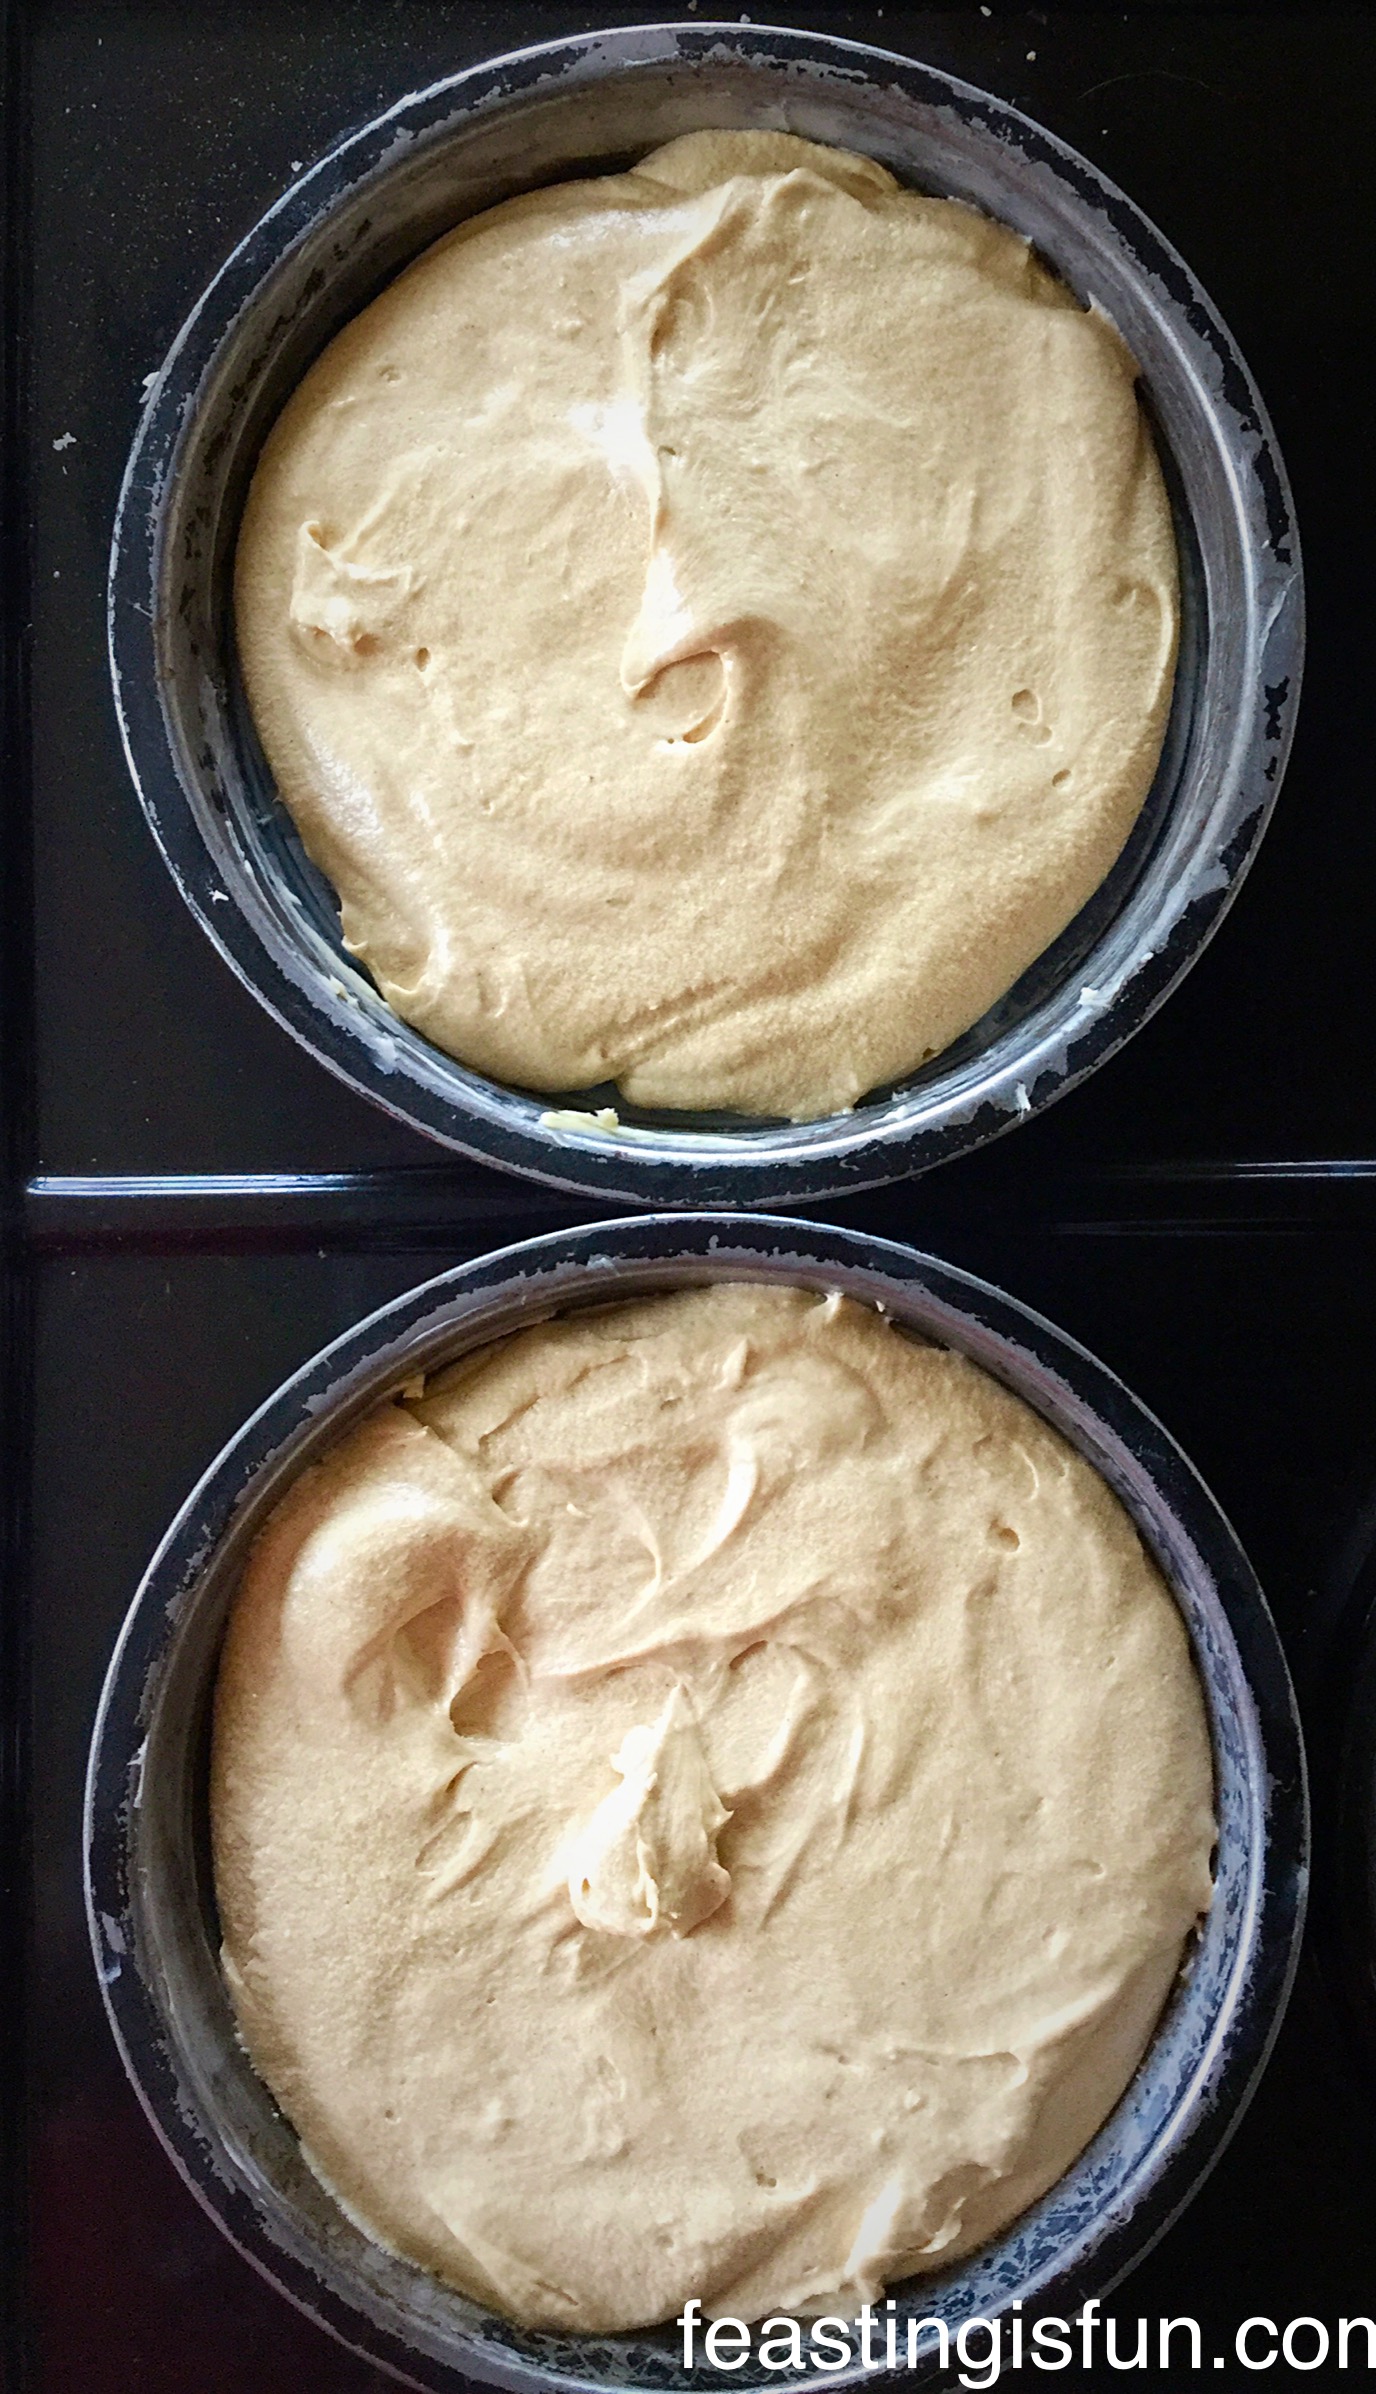
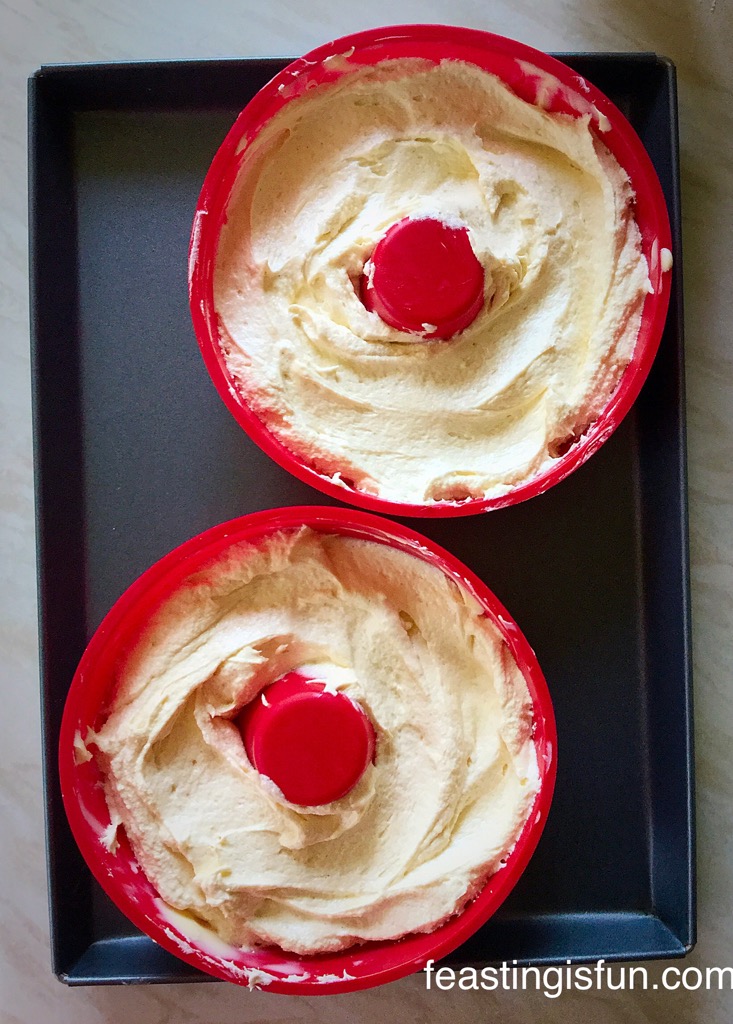
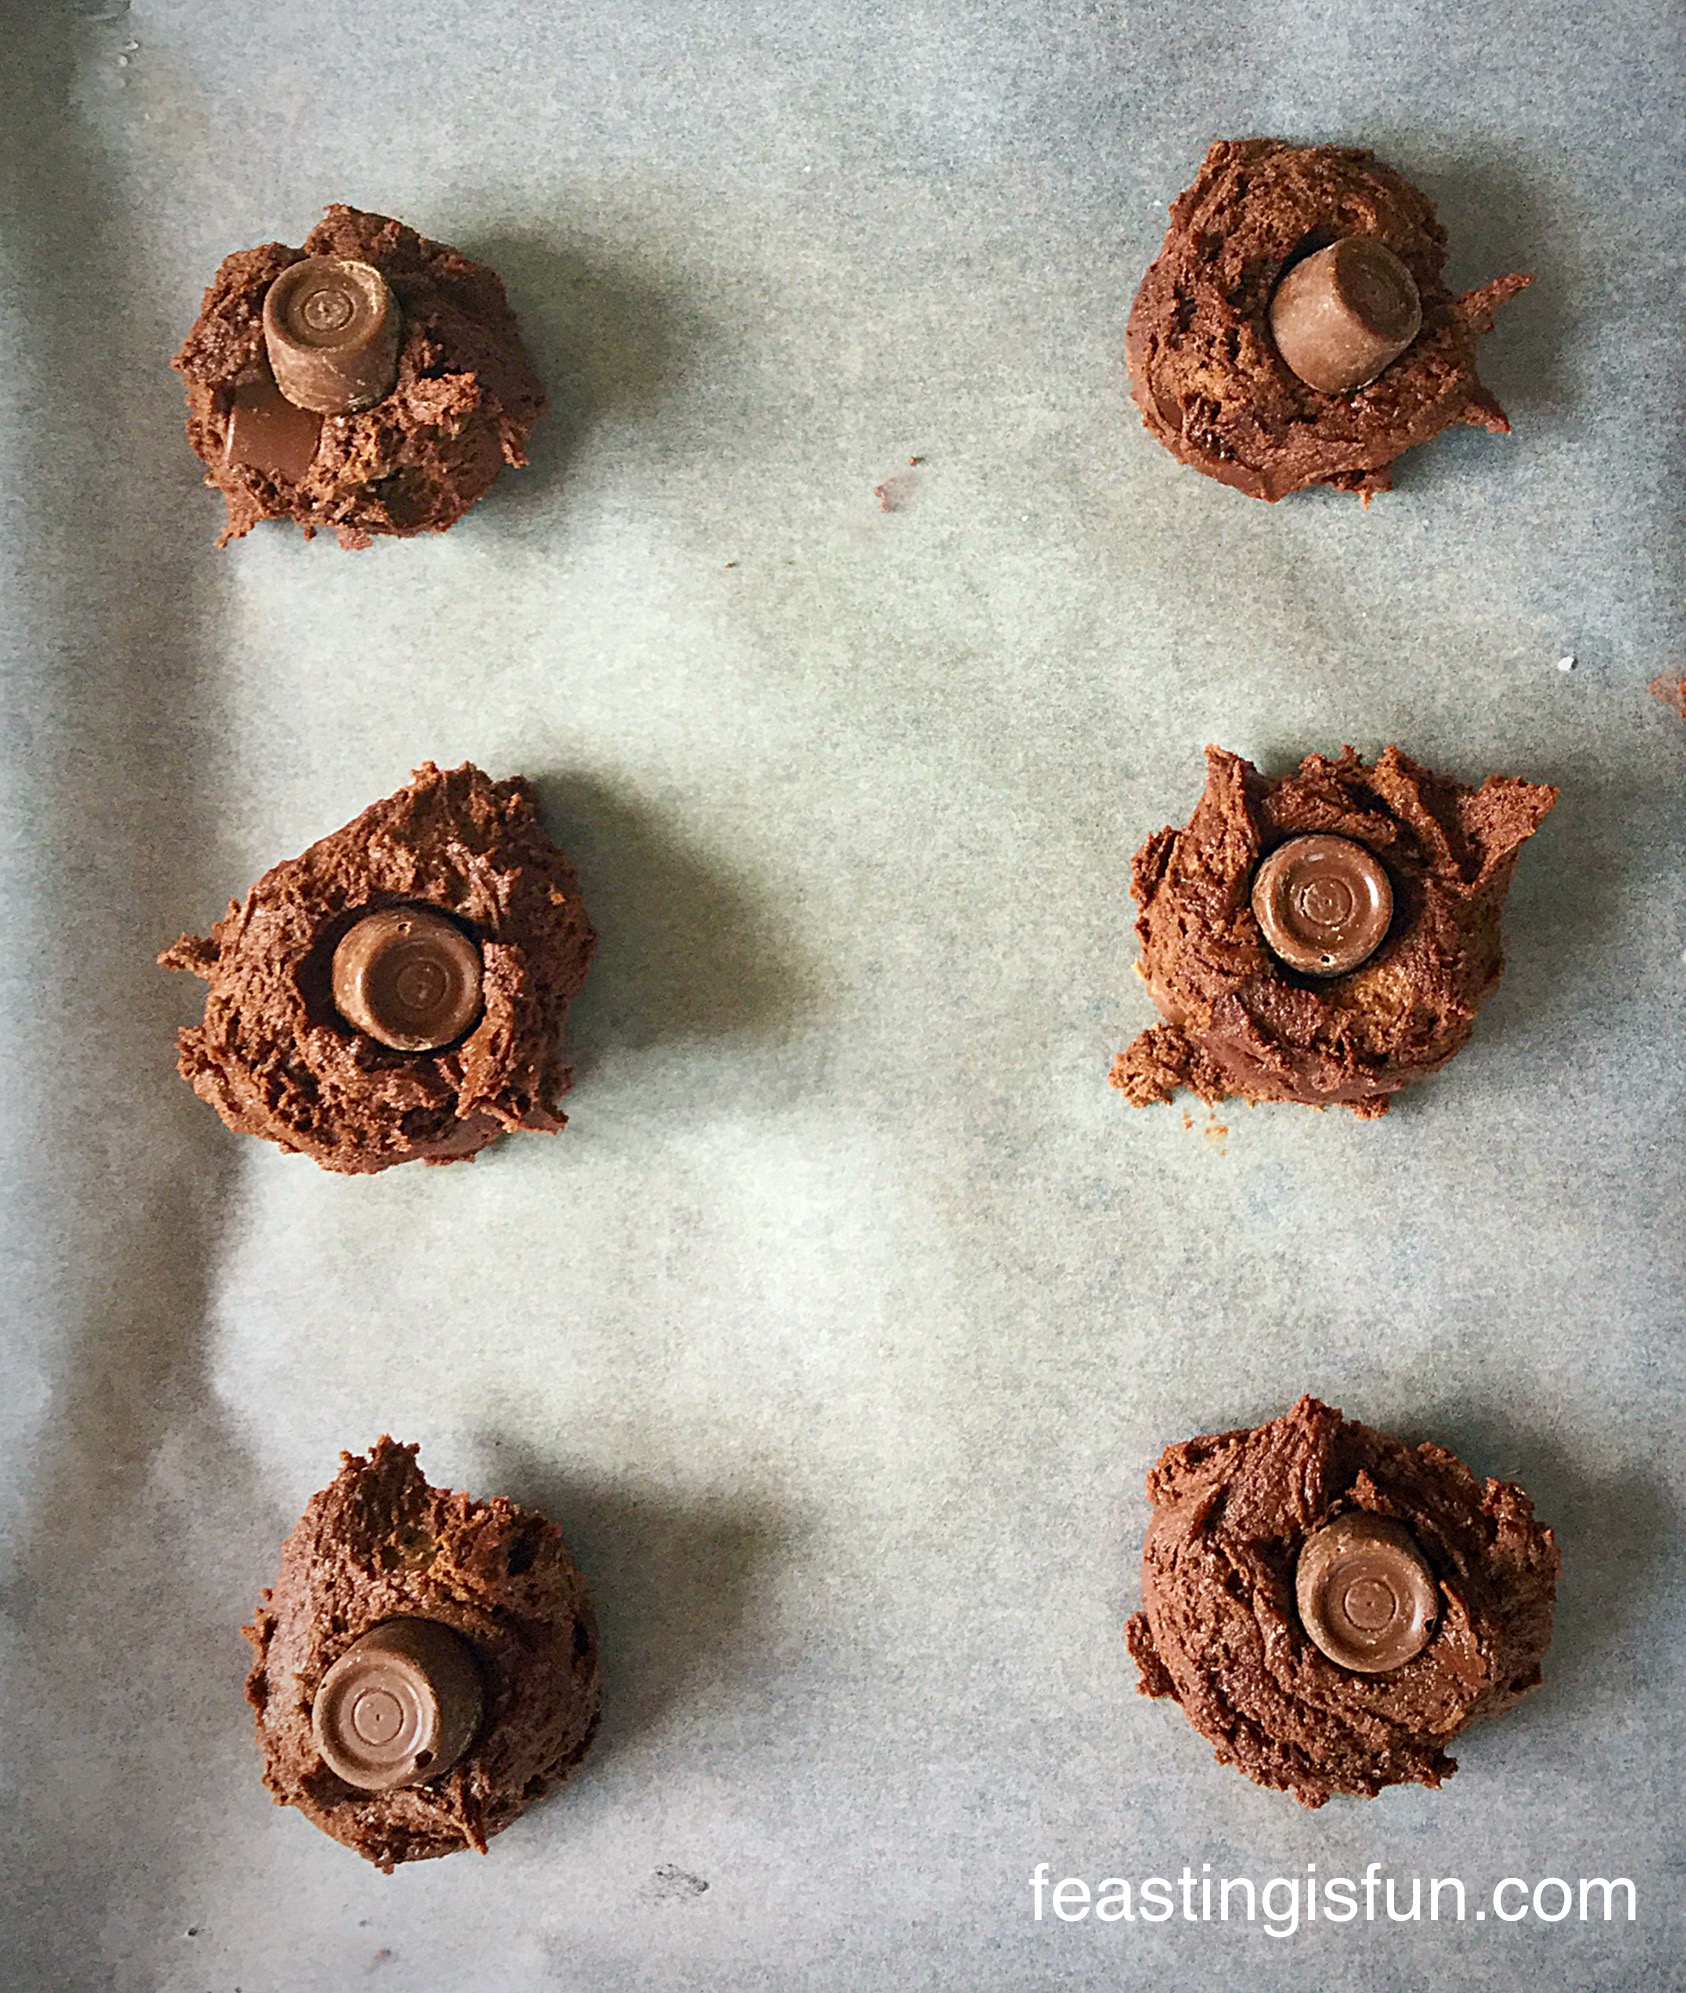
- Spoon the cake batter into the prepared loaf tin.
- Place into the middle of a preheated oven and bake for 45-50minutes.
- The cake is baked when it is firm to touch. I don’t suggest inserting a skewer, as if it goes through a warm chocolate chip you may think that the cake is still uncooked.
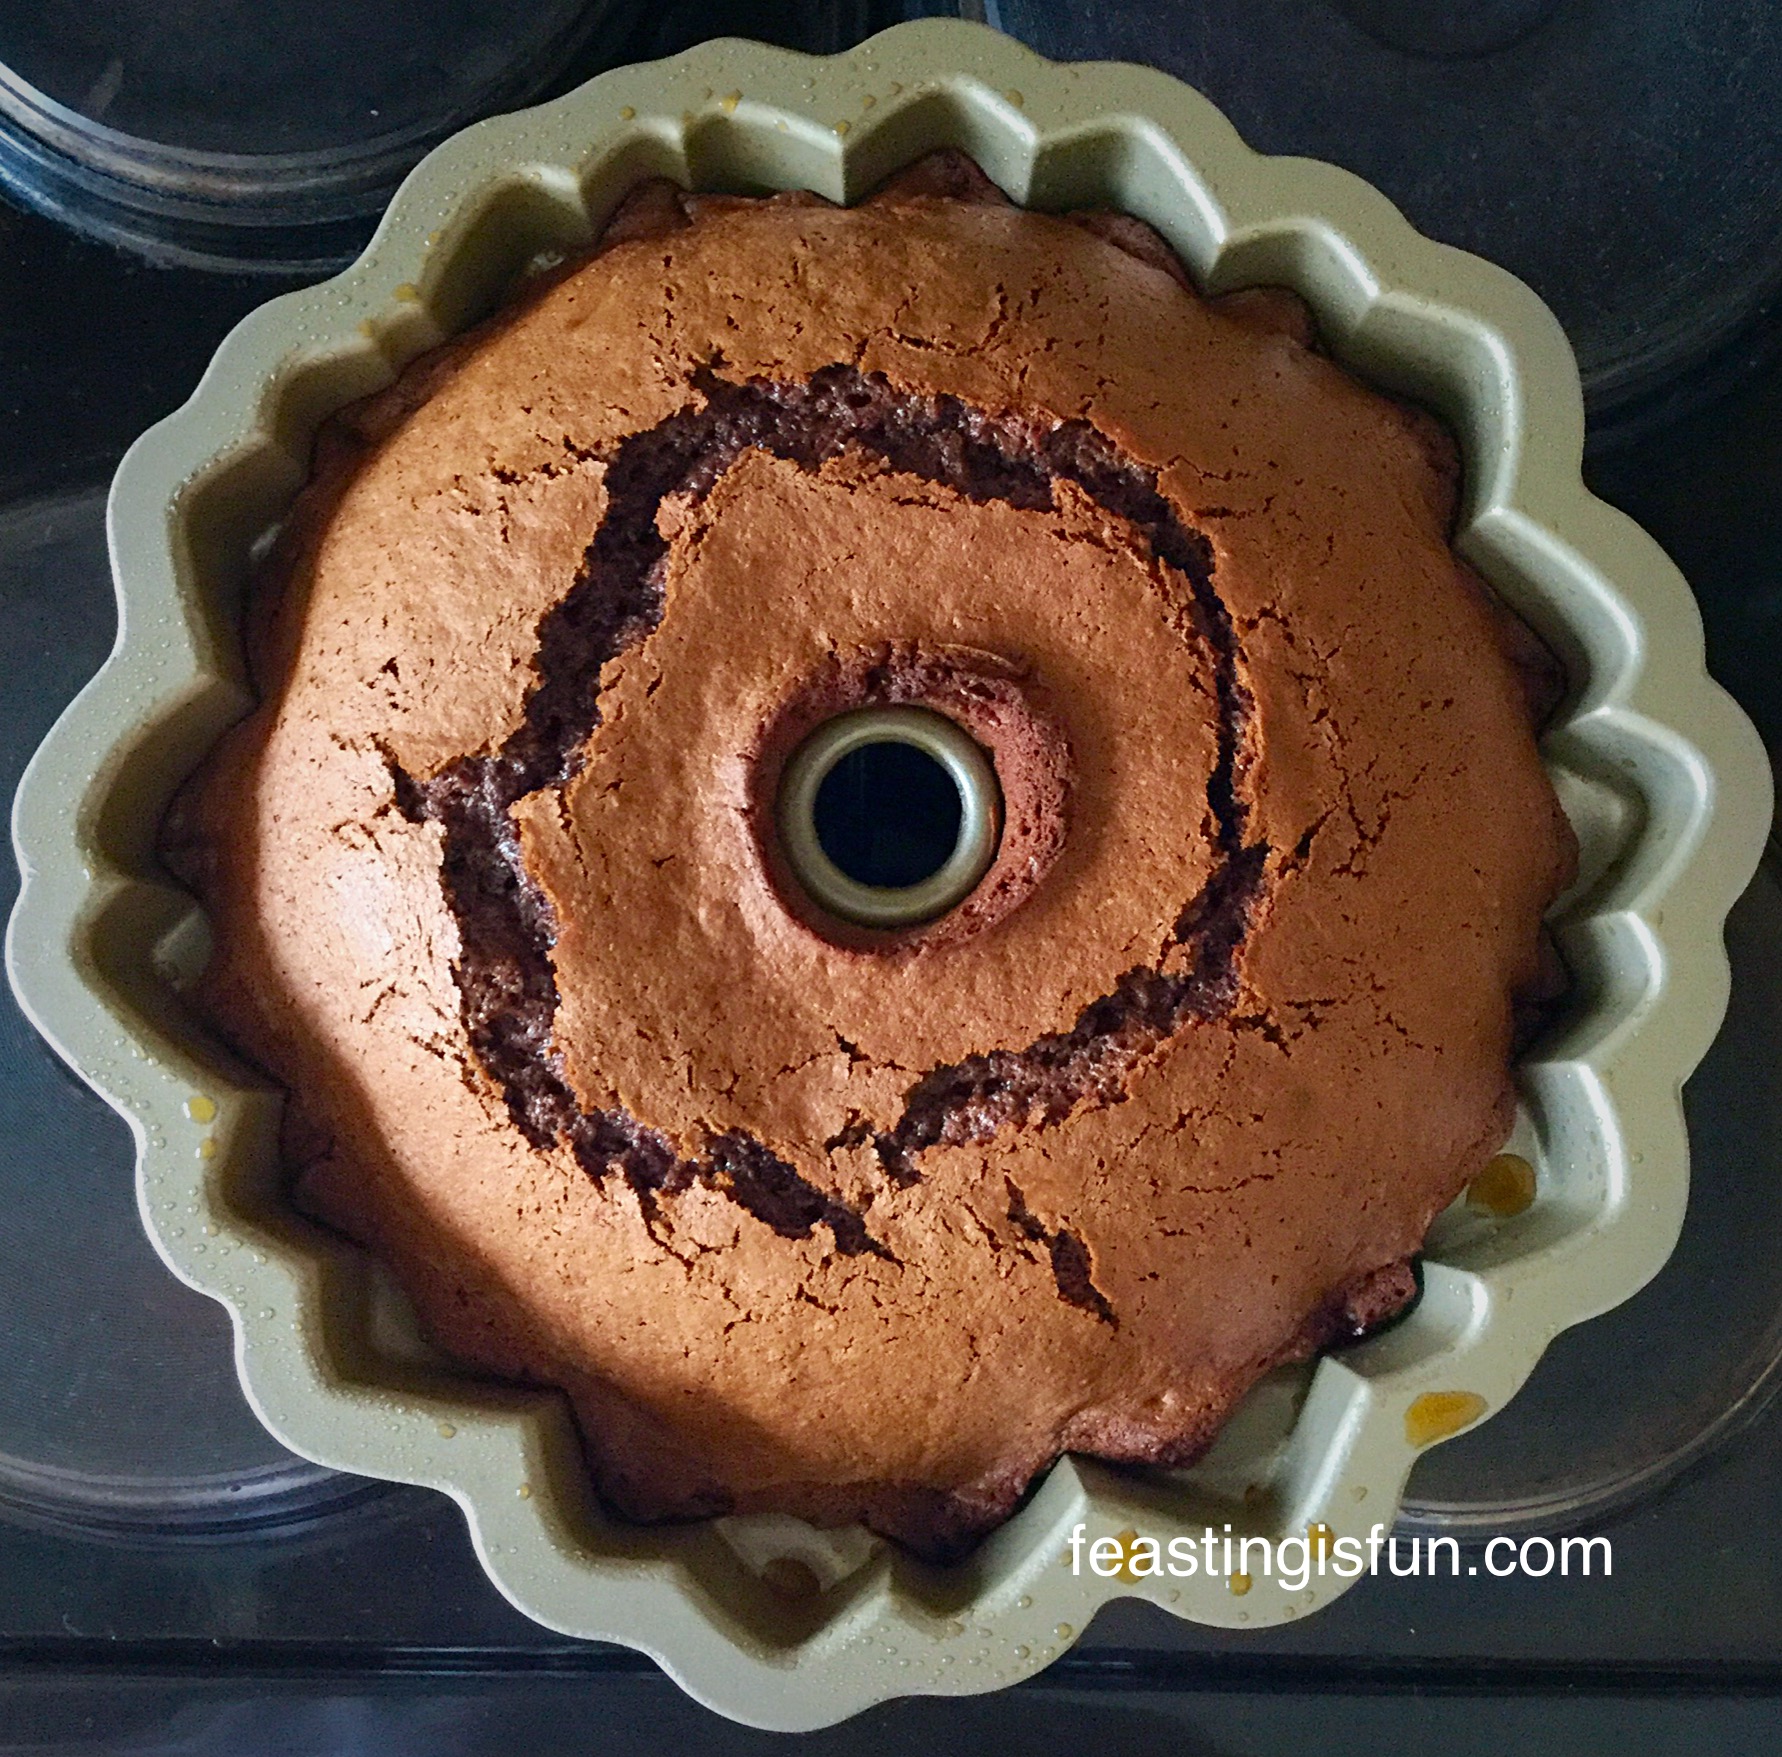
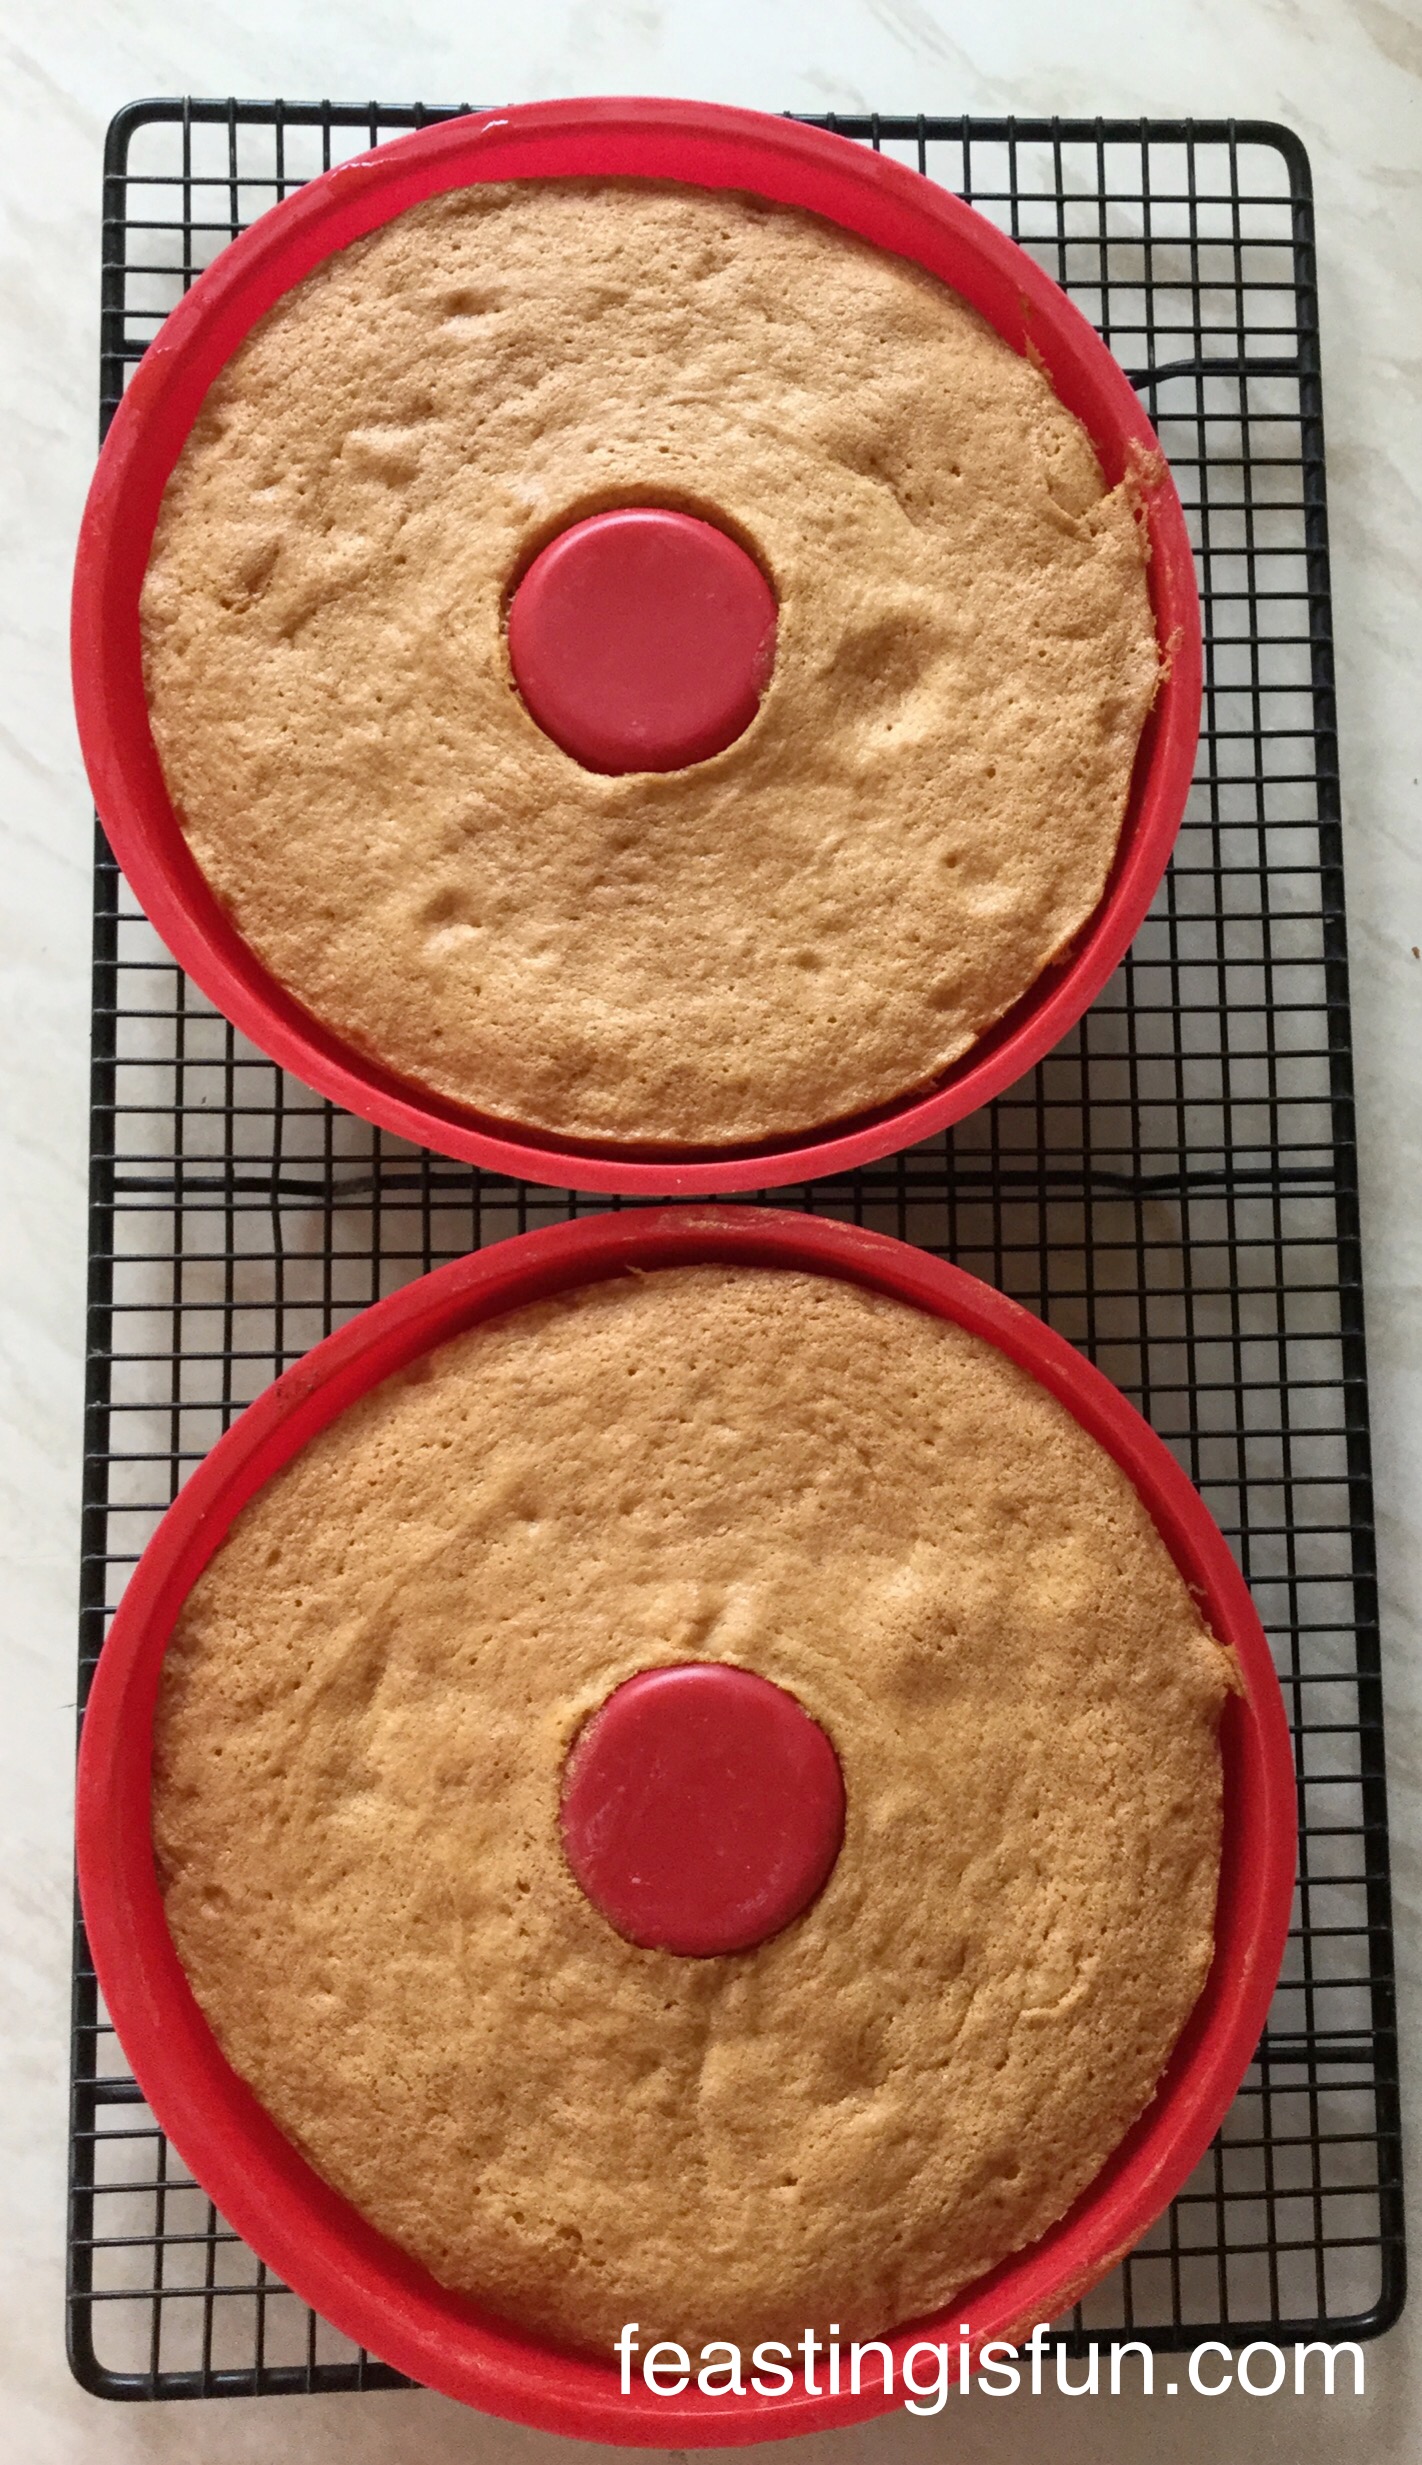
- Once baked remove the Double Chocolate Chip Loaf Cake from the oven.
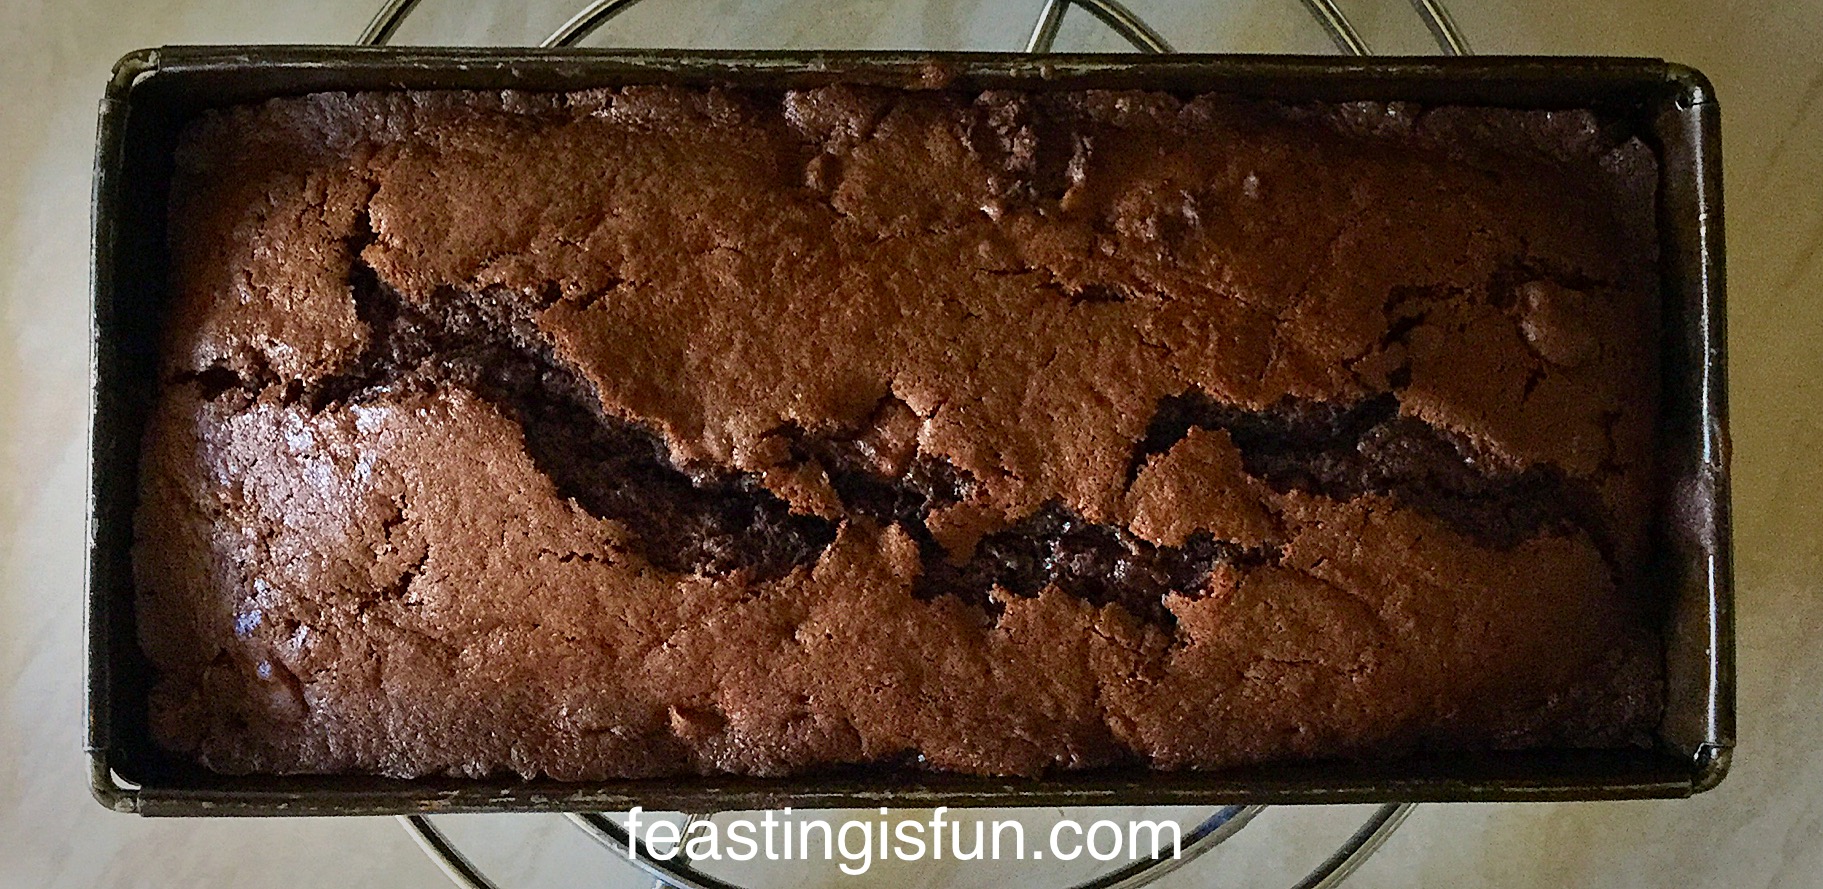
- Allow the cake to cool in the tin until it is warm, or preferably cold.
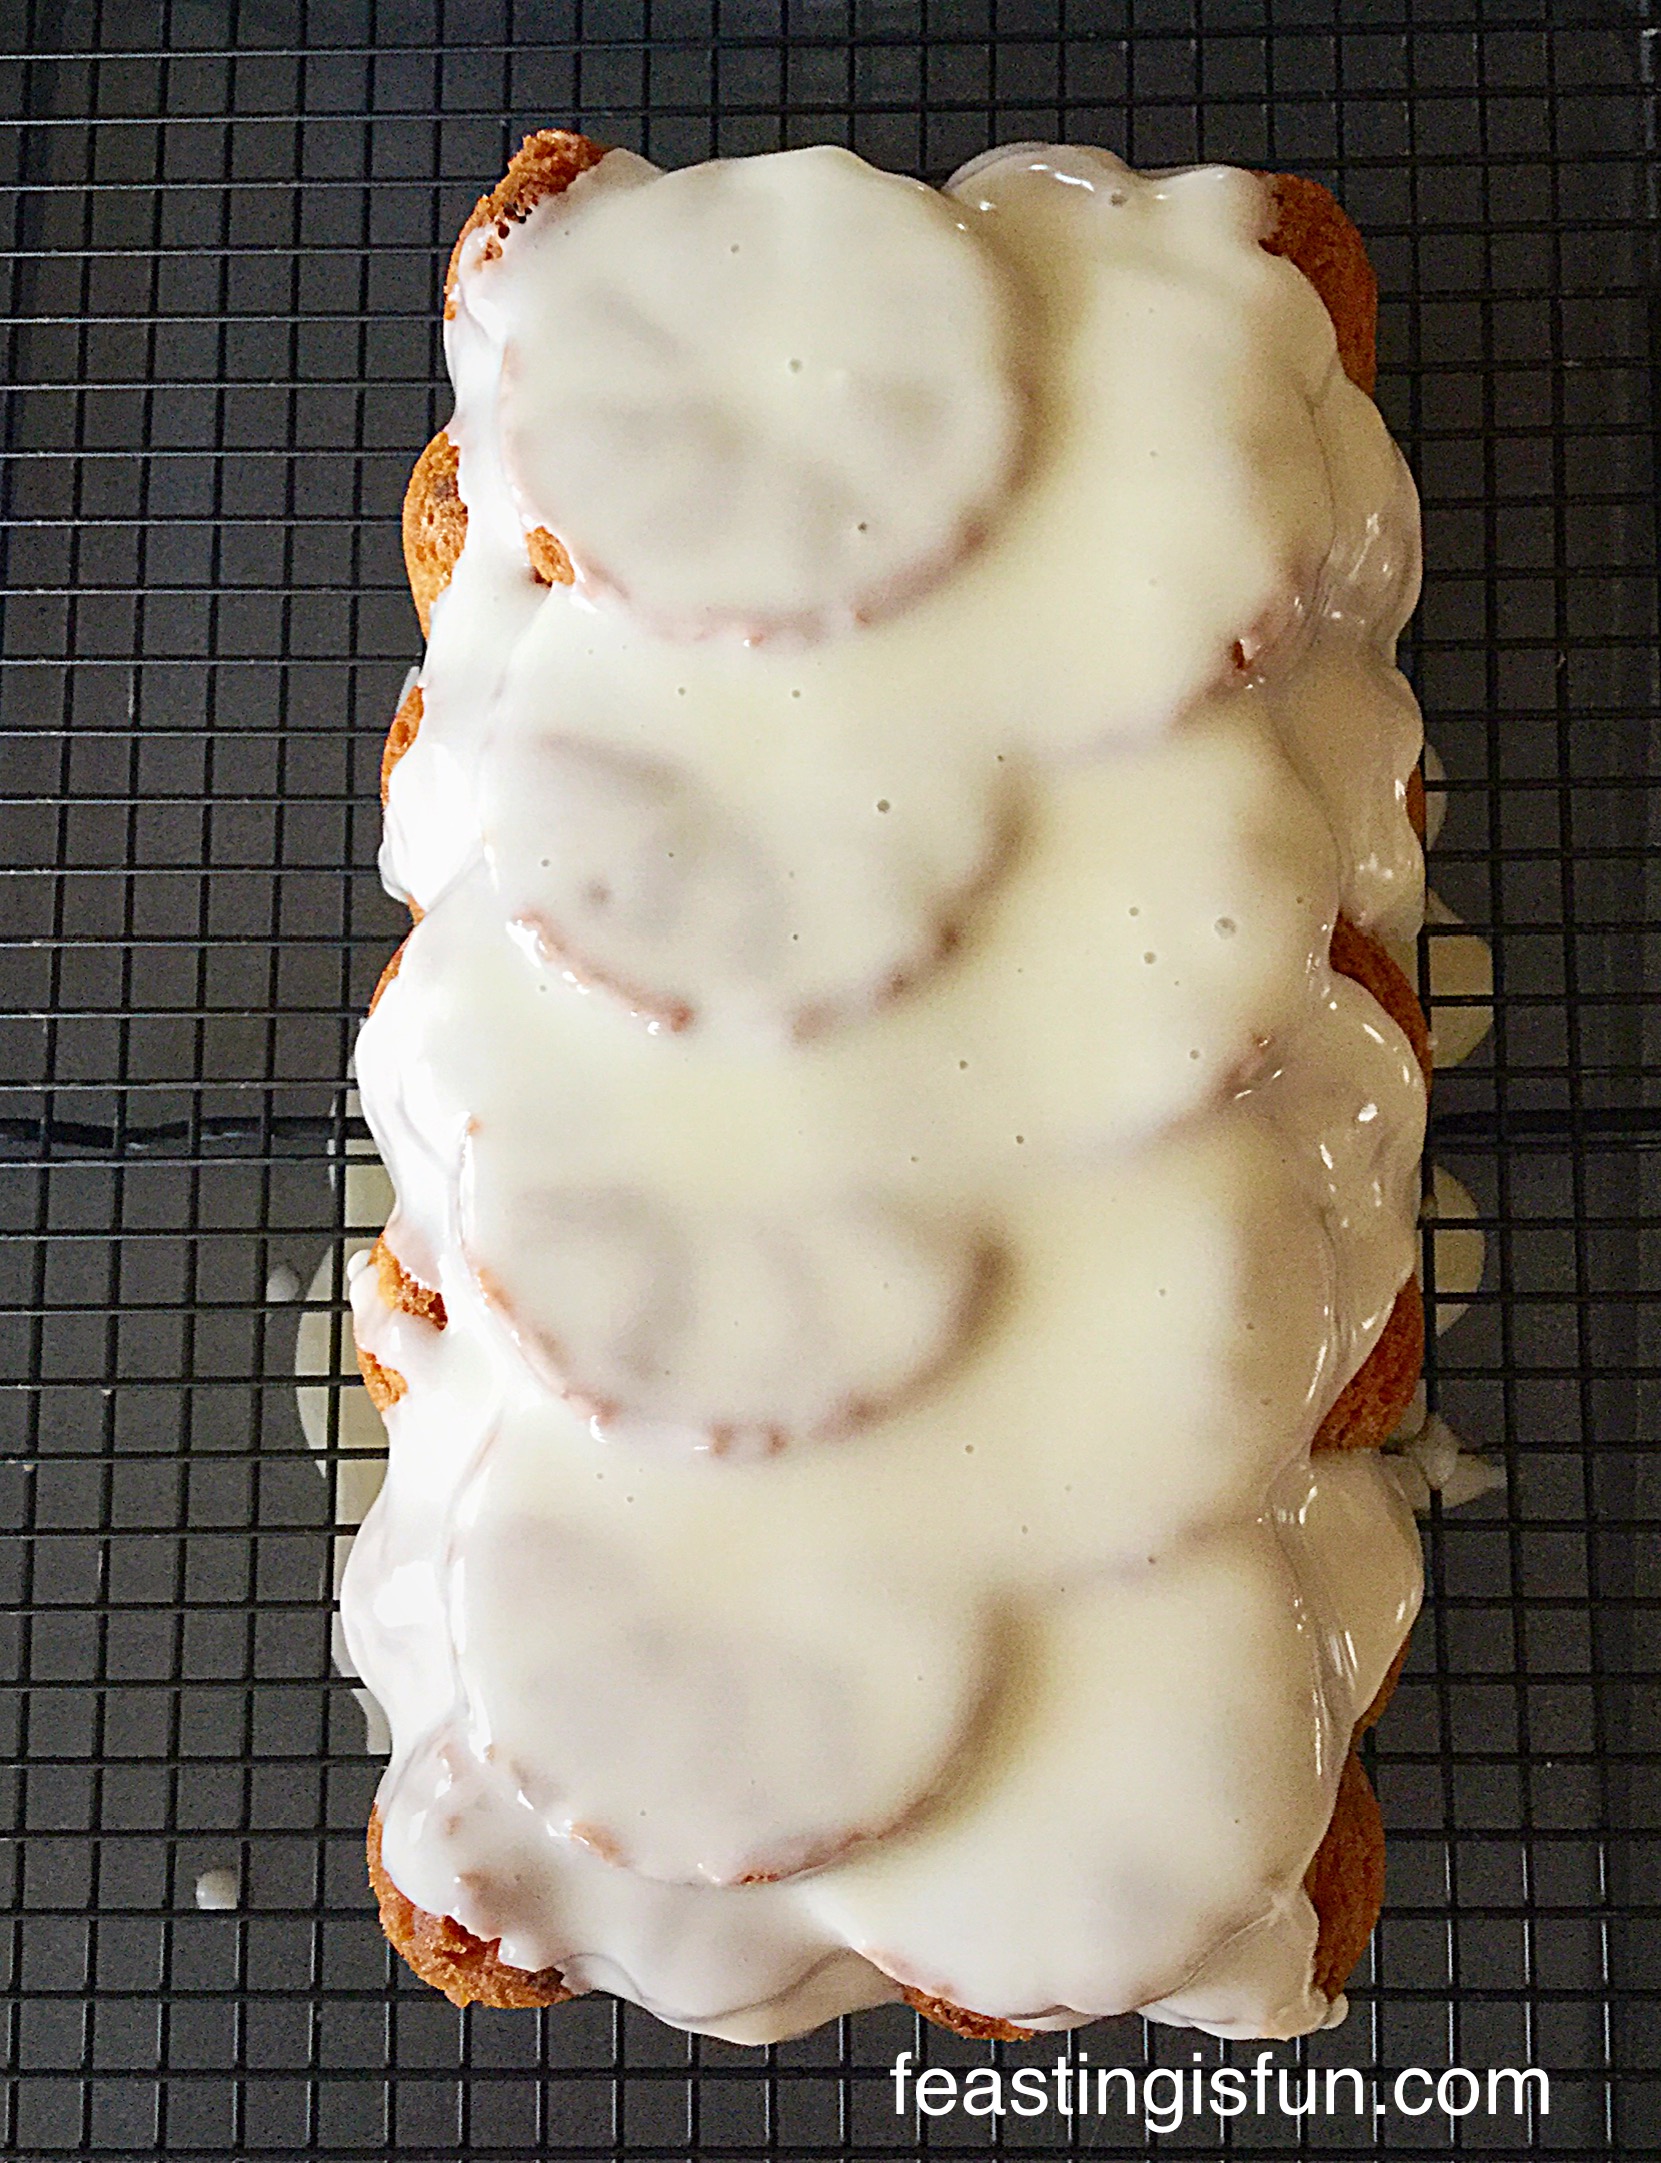
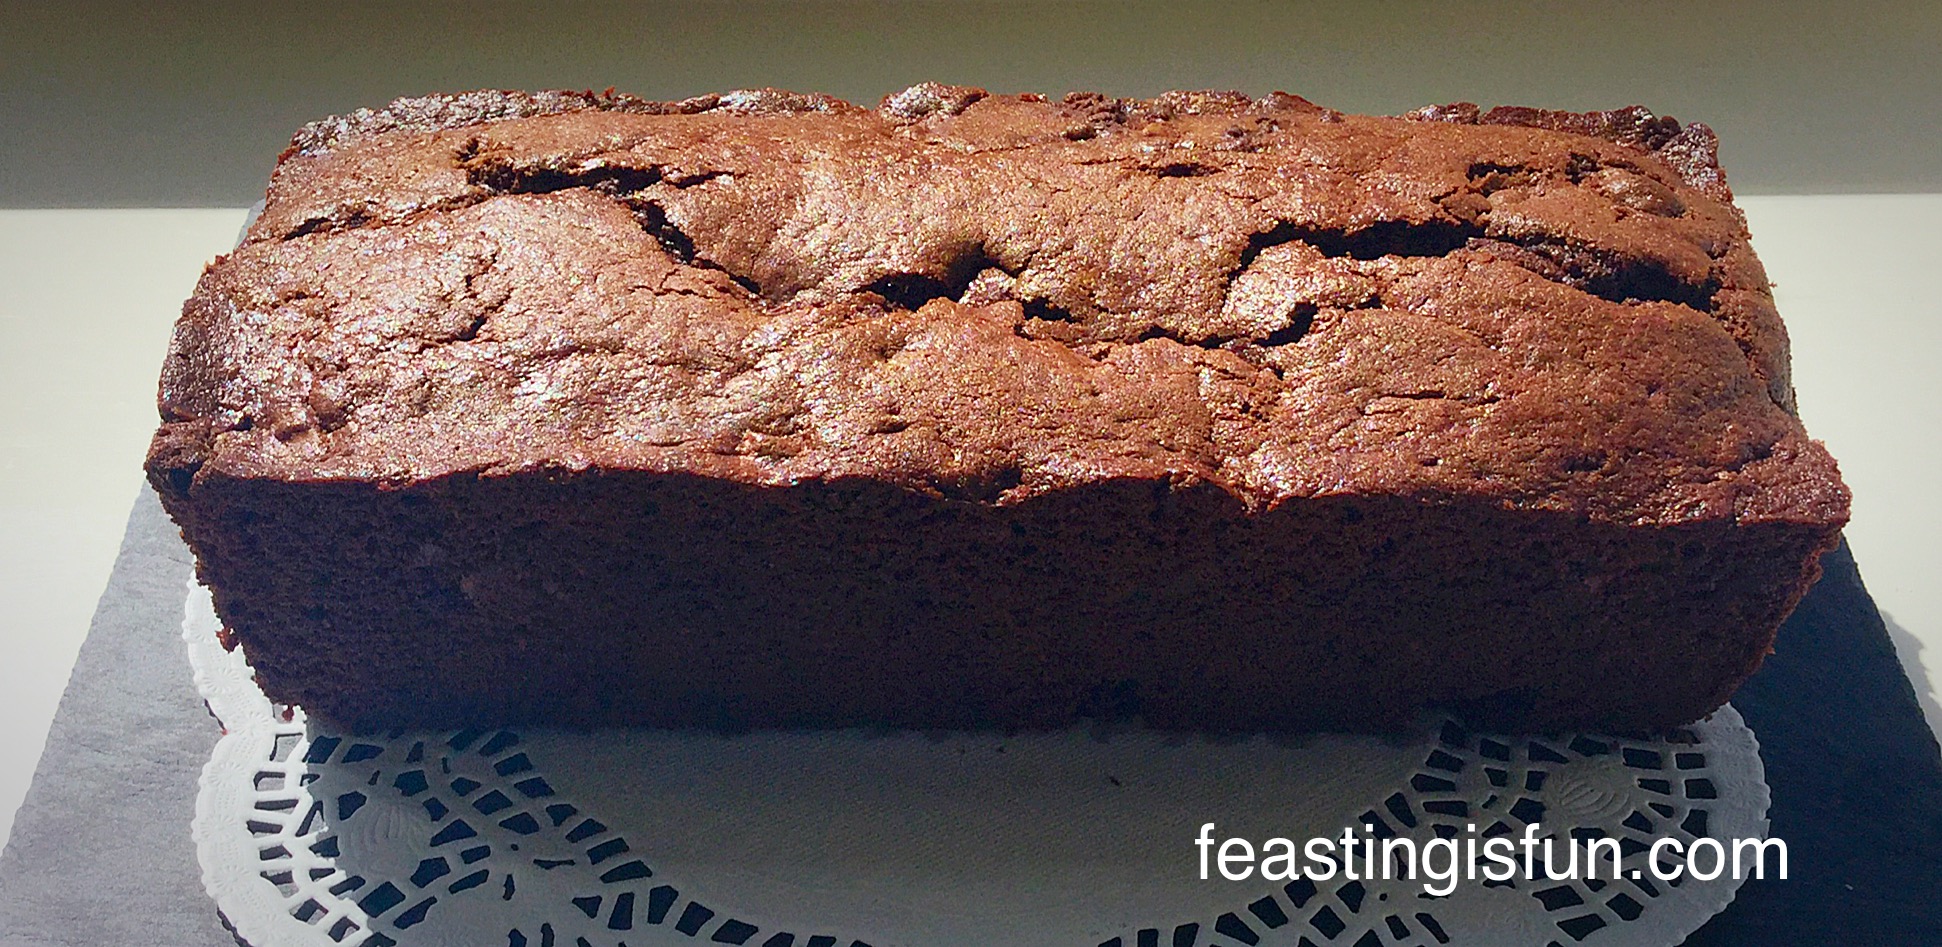
- To remove from the tin, gently go around the outside edge, between the cake and the tin with a palette knife. Place a plate or cooling rack on top of the tin and flip over. The cake should release easily.

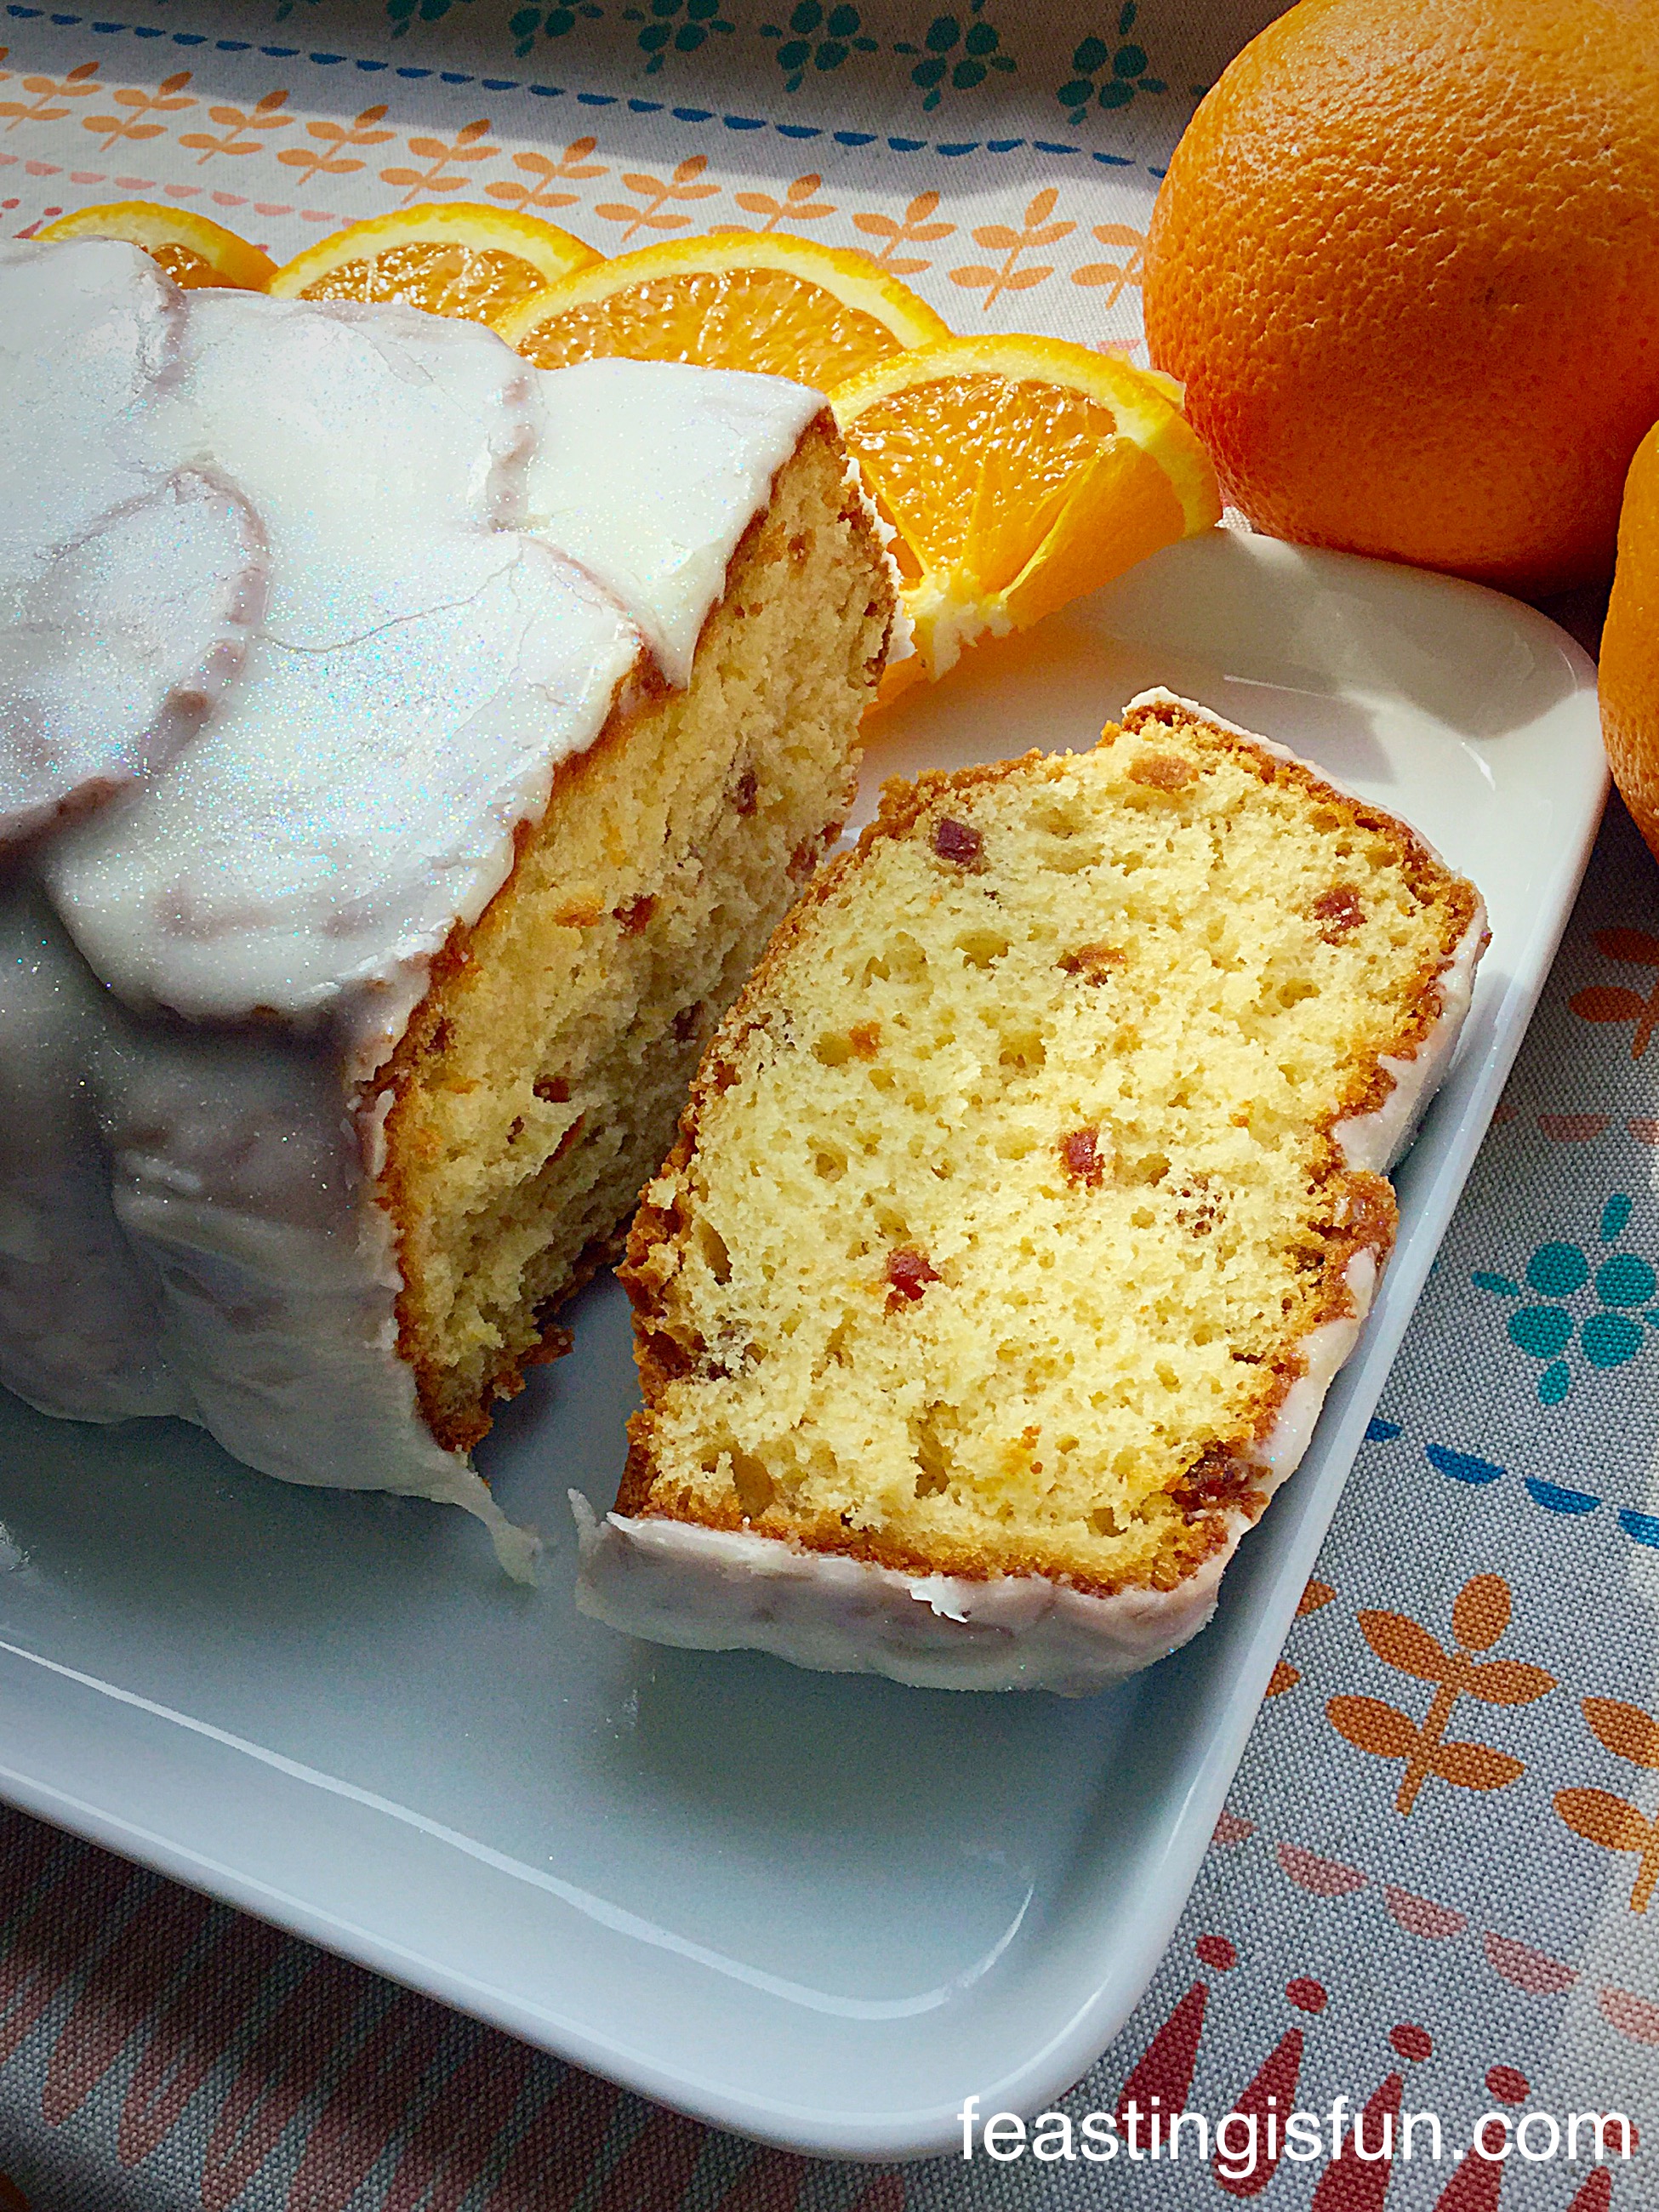
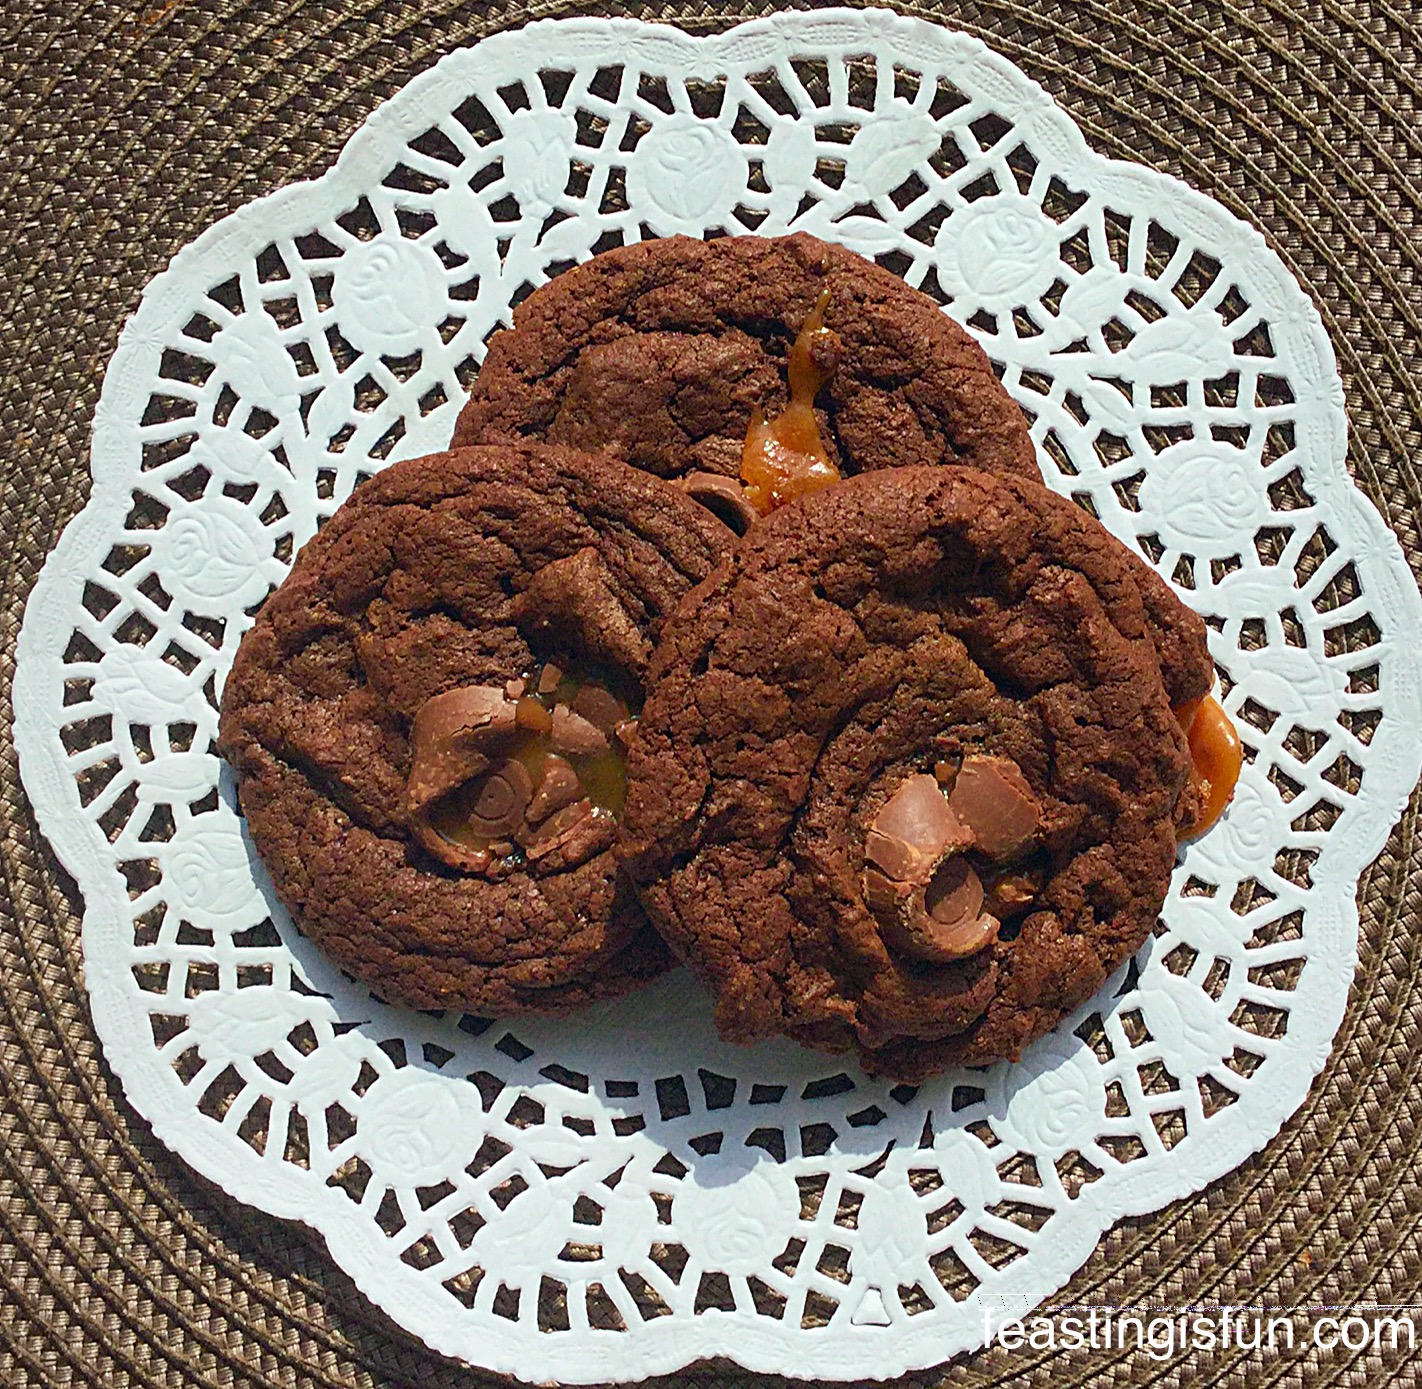
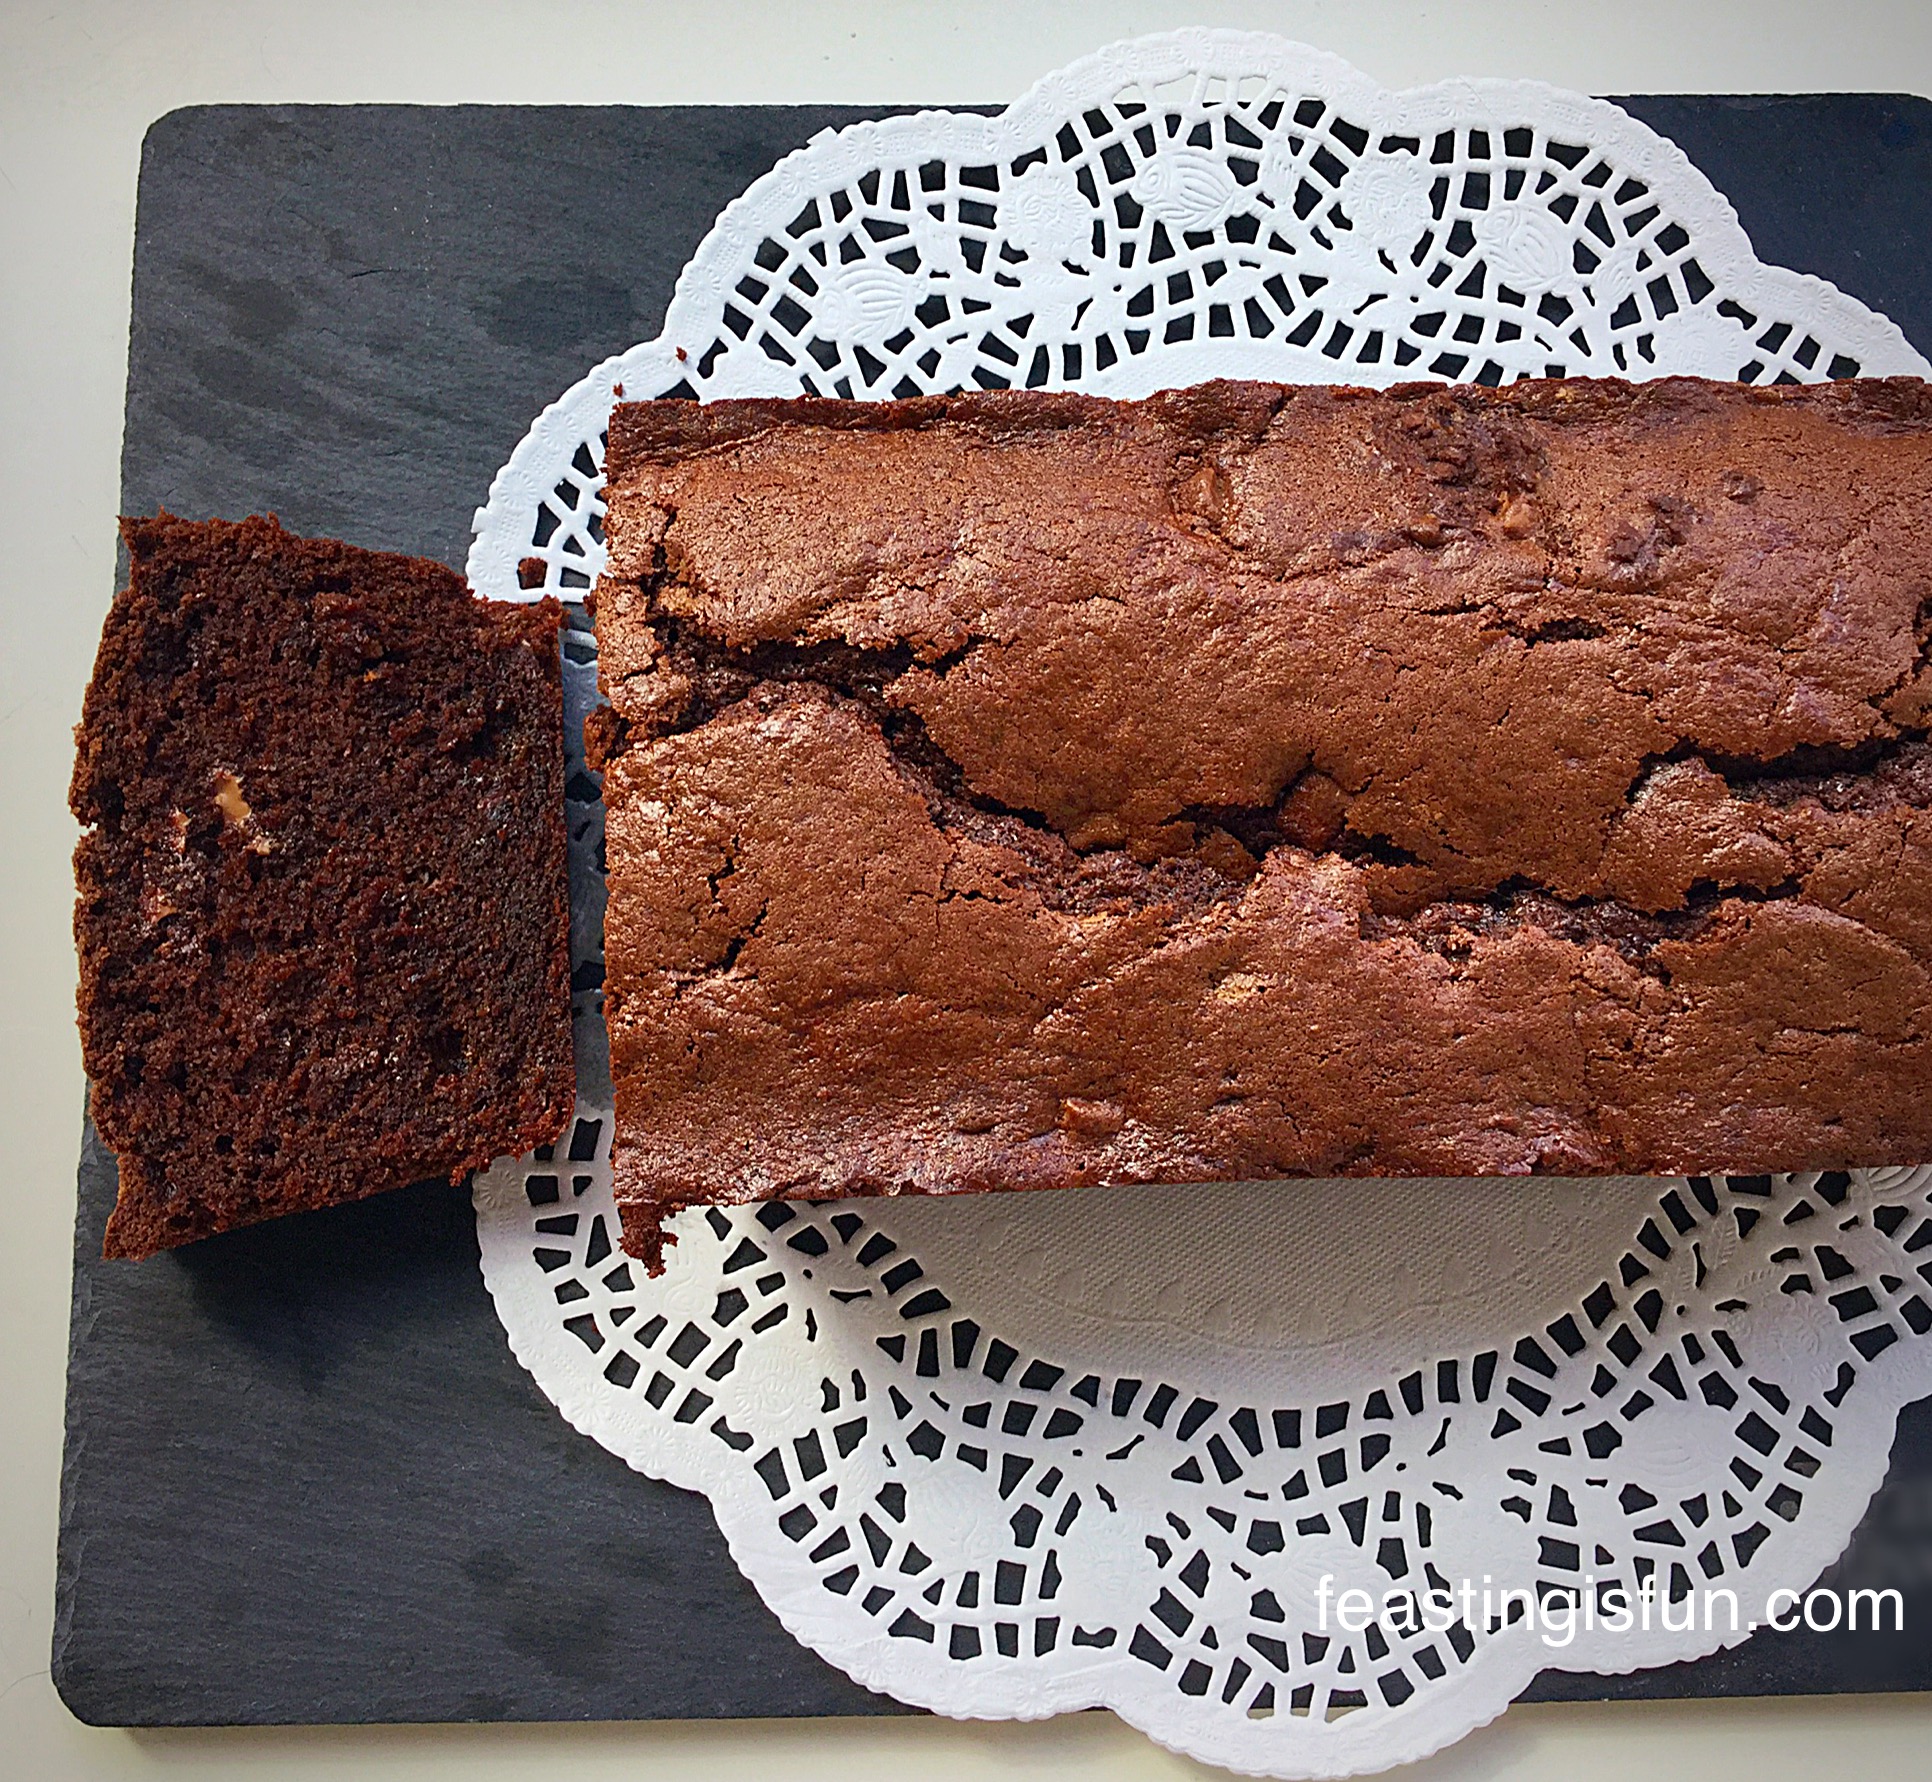
In complete honesty, I must say that the cake was still warm when removed from the tin. Such was our eagerness to taste it!! My family have got used to waiting for the blog photos to be taken. Two minutes after the above photo was taken, the slices of cake you see were plated and dished out with forks.
Still slightly warm, with nuggets of semi melted chocolate chunks throughout, this cake made for very nice elevenses with a cup of tea!
We seem to have got into a habit of having cake or a sweet treat such as my Lemony Strawberry Pavlova on a Sunday, not necessarily a bad thing I think!
This cake, should there be any left, will keep for 4 days in an airtight container. Actually from experience it tightens up a bit on the second day and is not only easier to cut, but also improves in flavour – I’ll leave it up to you to decide whether to wait 😉.
This delightful cake is perfect for picnics, afternoon tea, or elevenses in the garden, when the sun is shining as beautifully as it is today! I’m not a big fan of taking iced cakes on picnics, as the extra sugar seems to be a magnet for bugs!
Do you enjoy eating outside when the weather is nice? Do you have a favourite bake that you always make before a trip to the seaside, or picnic in the park?
Asking these questions reminds me of mug Grandma, who always spent the day before a family outing baking. The only thing I consistently remember her baking was Rock Buns. I’ll have to dig out a recipe – for those of you who aren’t familiar with them, they are fruit filled buns, halfway between a cake and scone. Any tips please let me know in the comments section?
If you have enjoyed this Double Chocolate Chip Loaf Cake here are a few more recipes you may like to try:
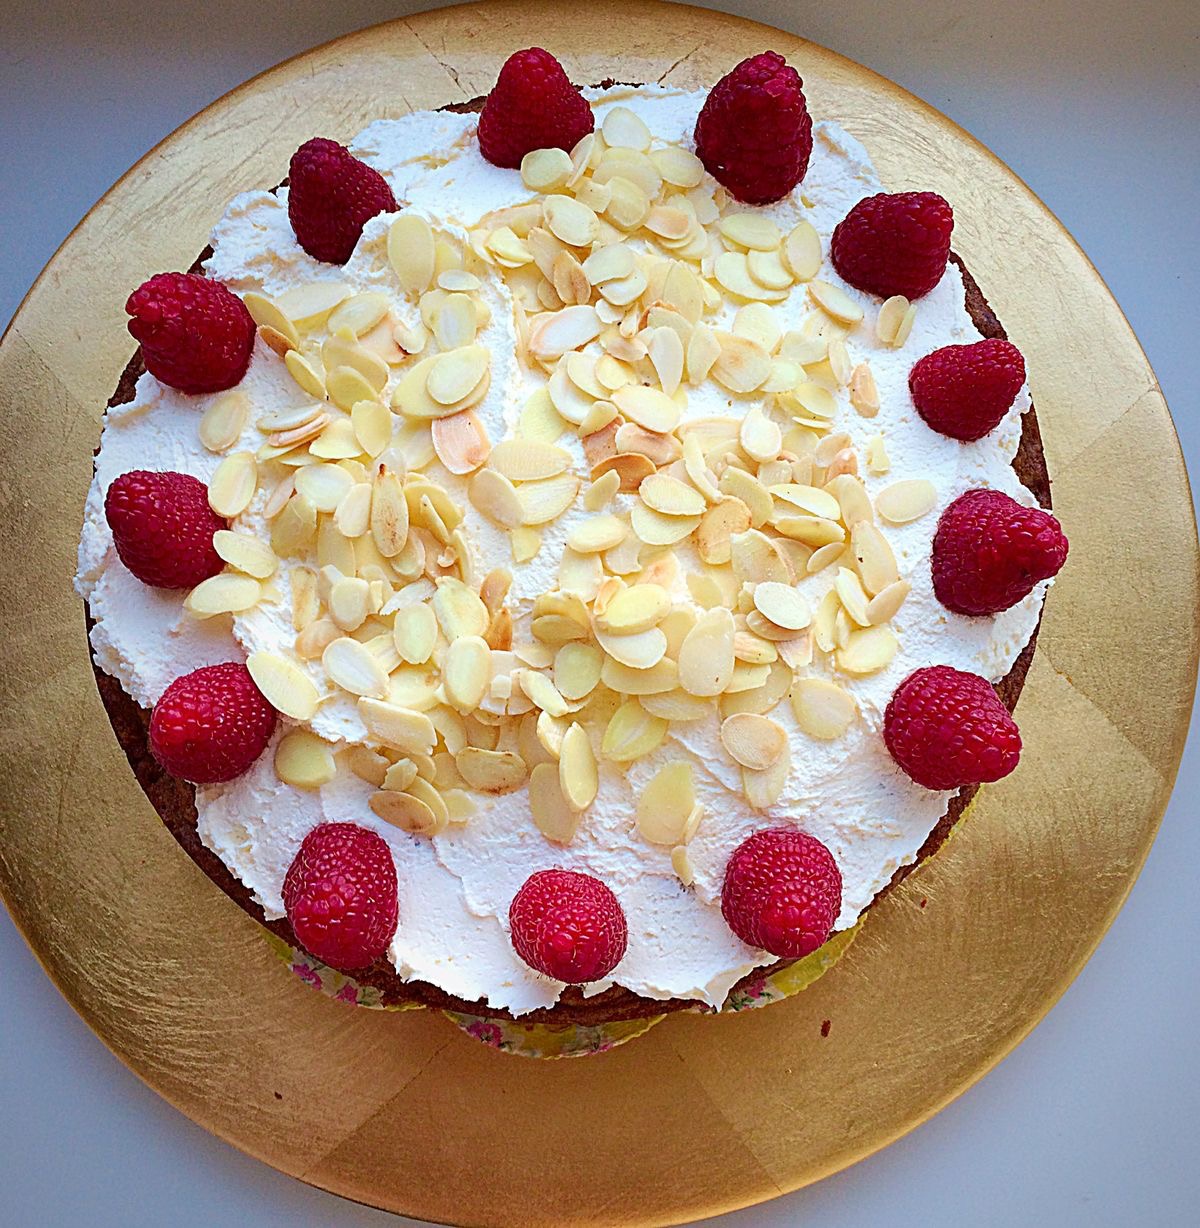
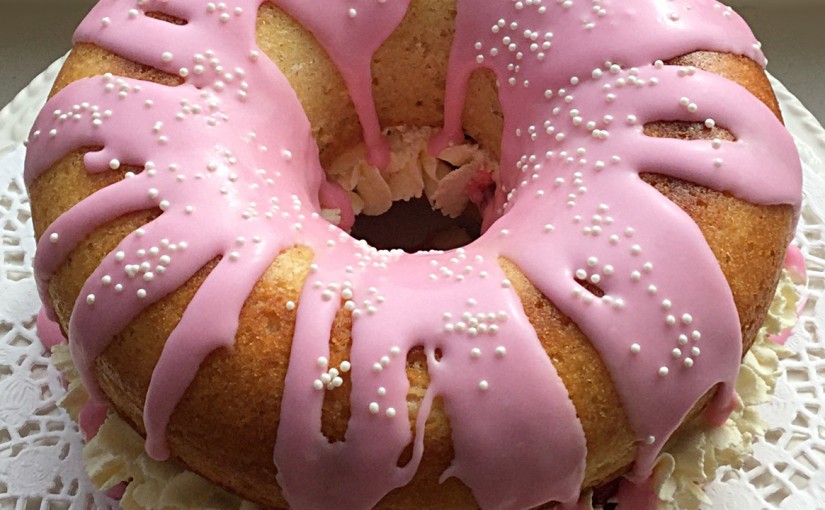
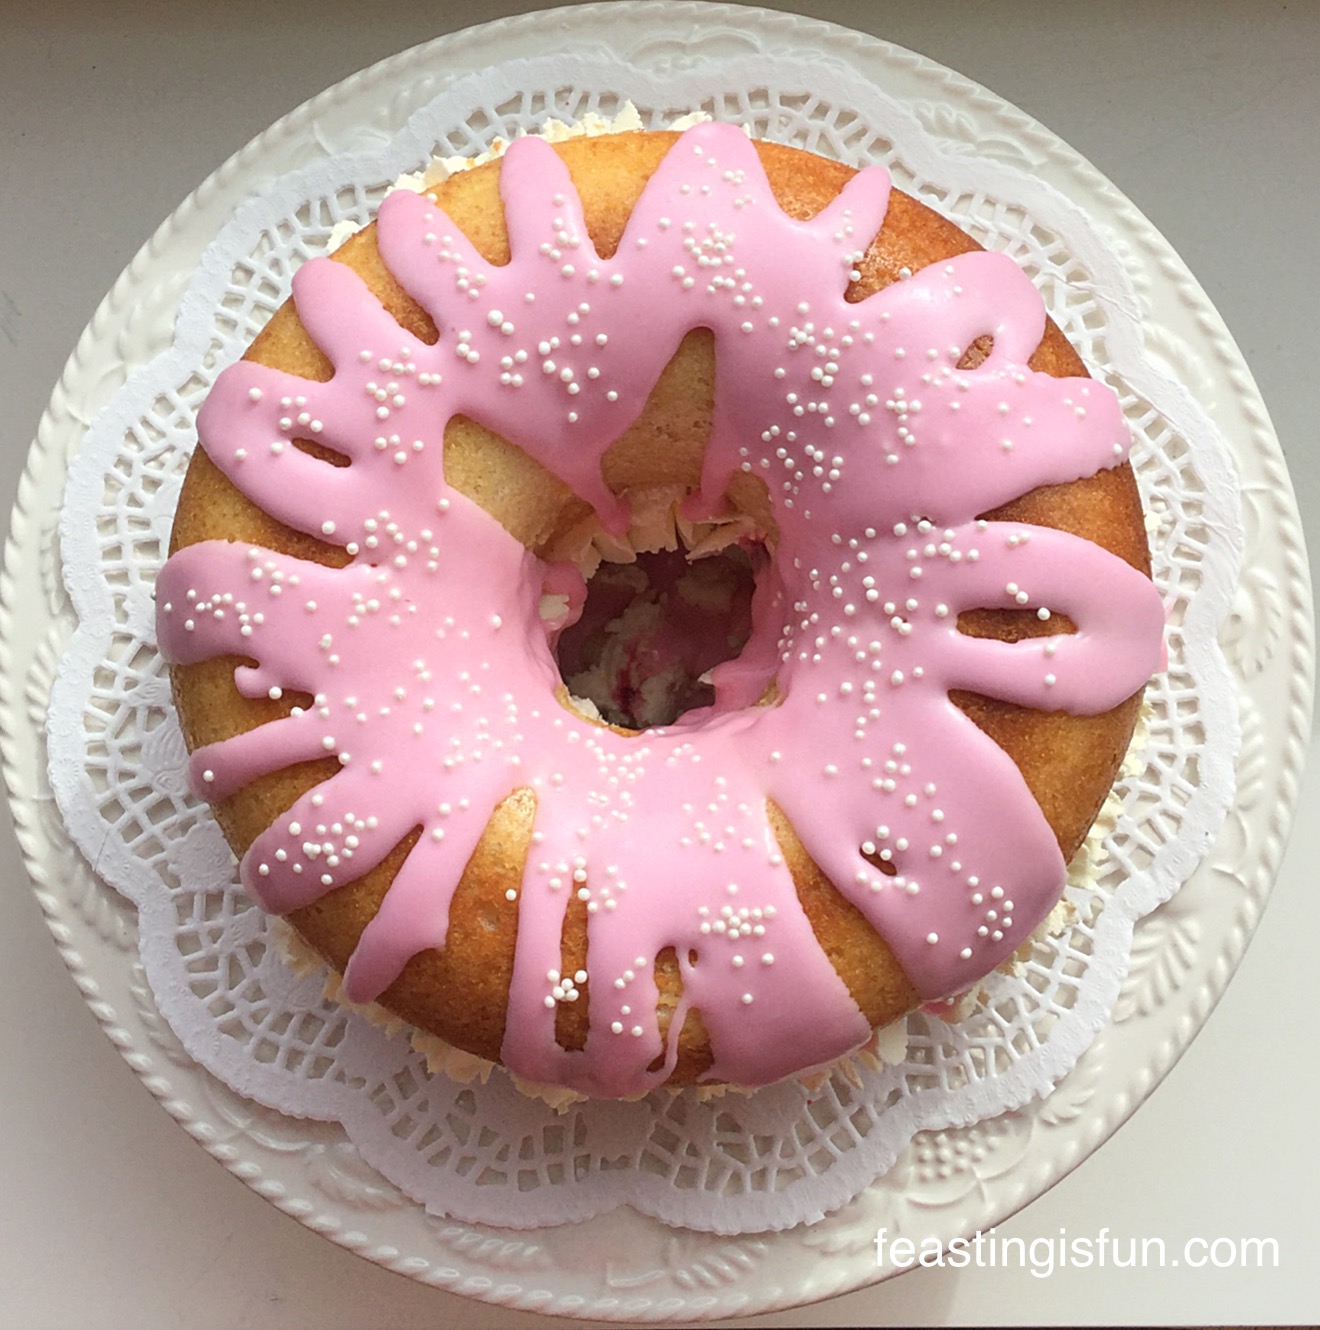
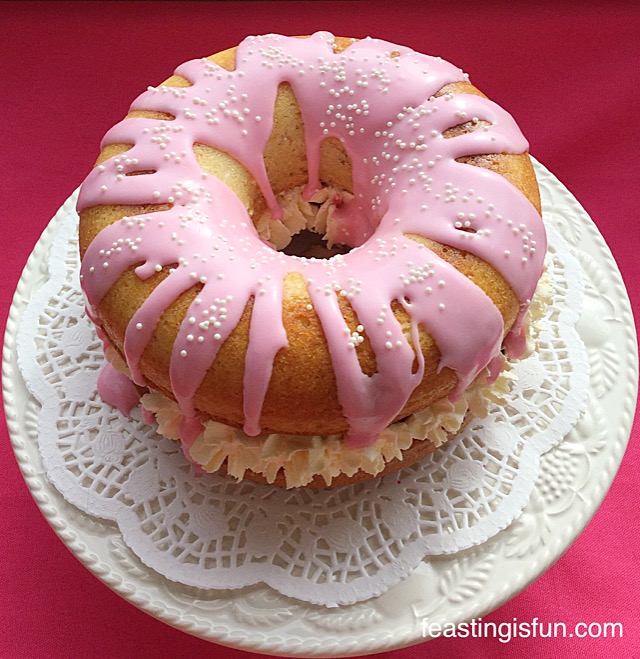
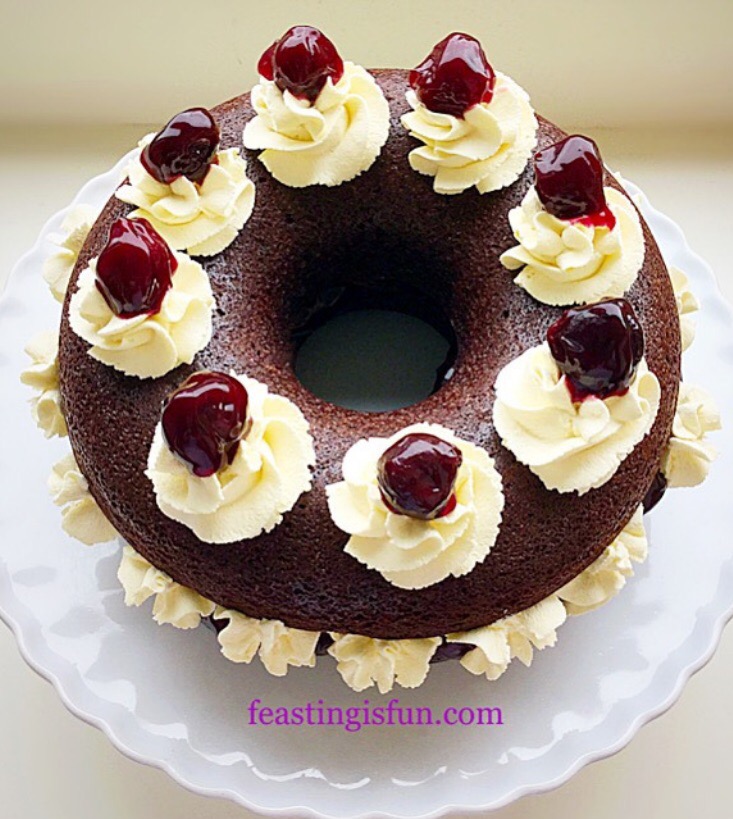
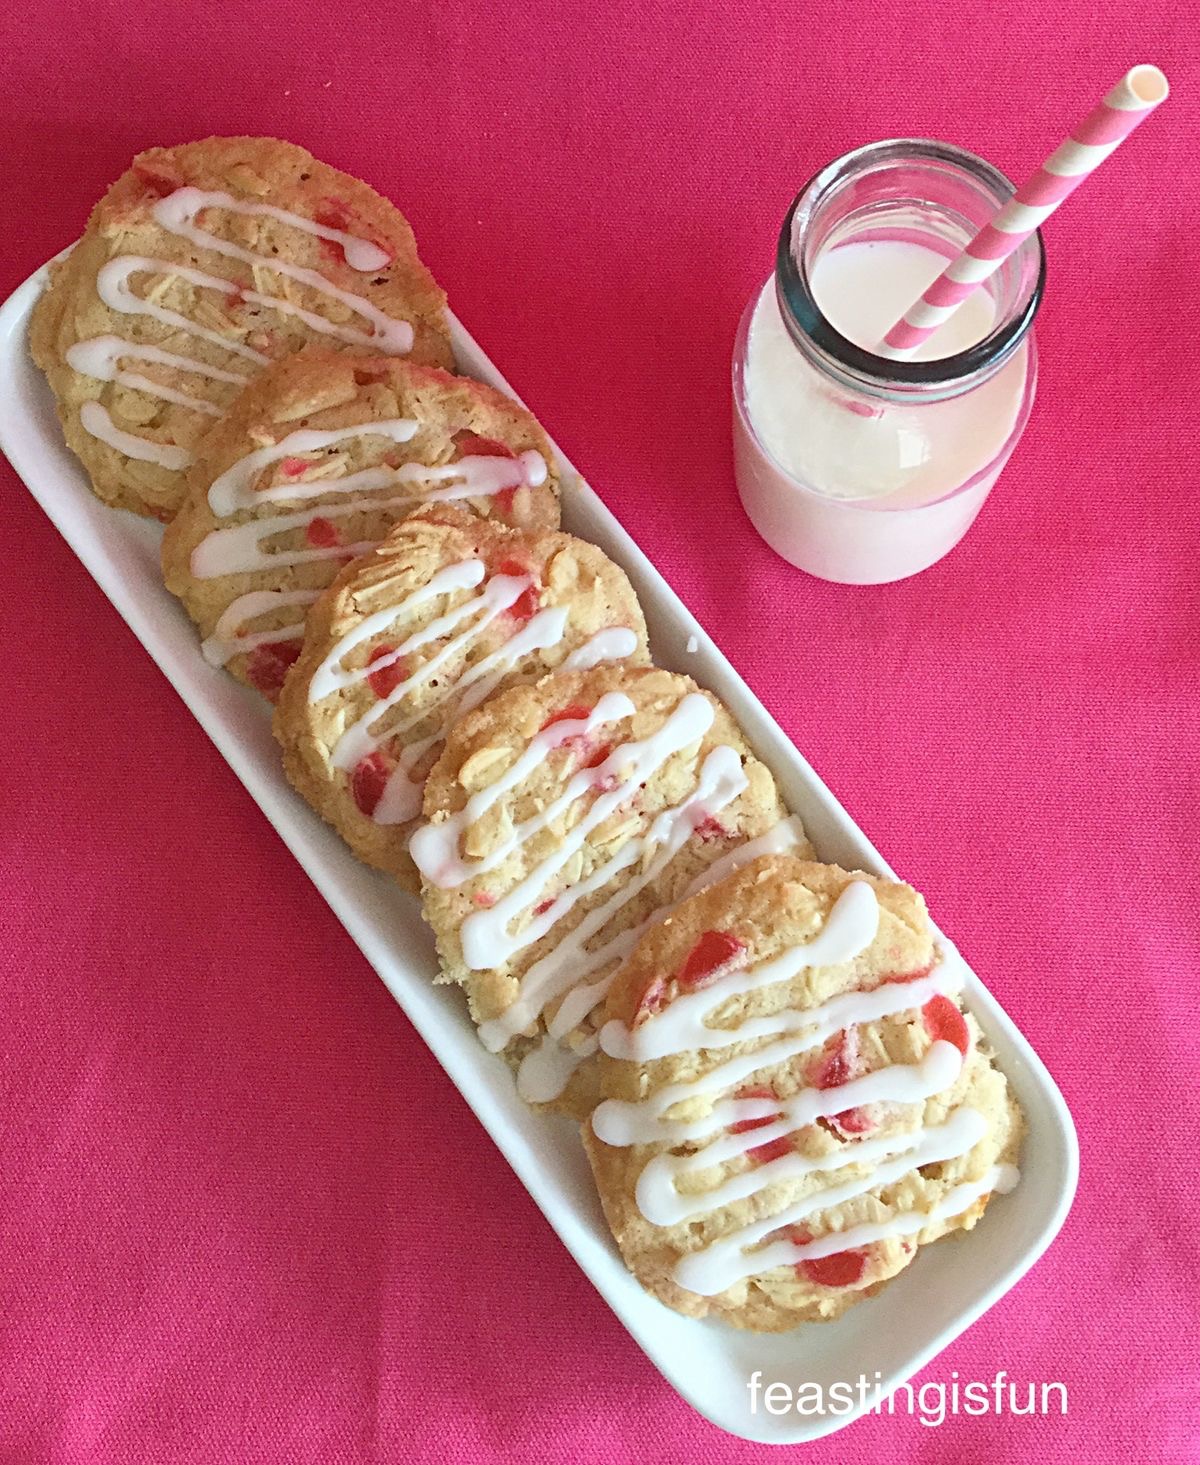
Cherry Almond Sandwich Cake
Whatever you are making and baking in your kitchens today, make each mouthful a feast and have lots of fun.
Sammie xx