Double Chocolate Brazil Nut Cookies

Share
Facebooktwitterpinterestlinkedintumblr
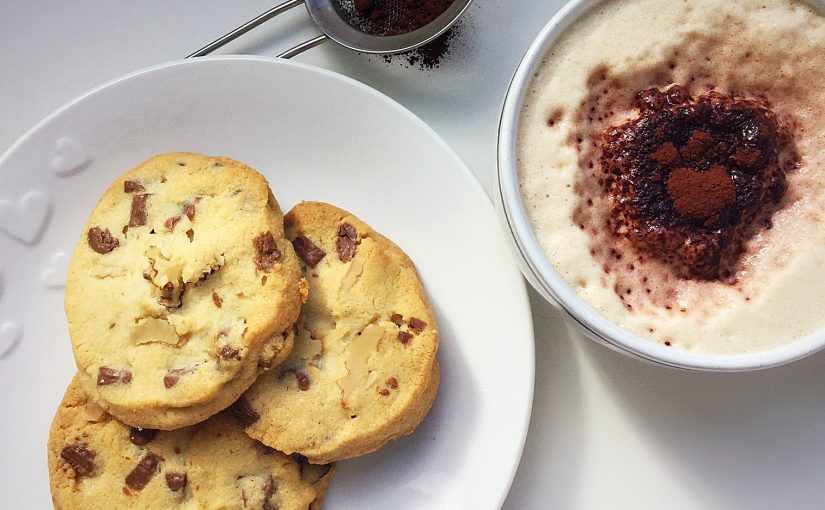
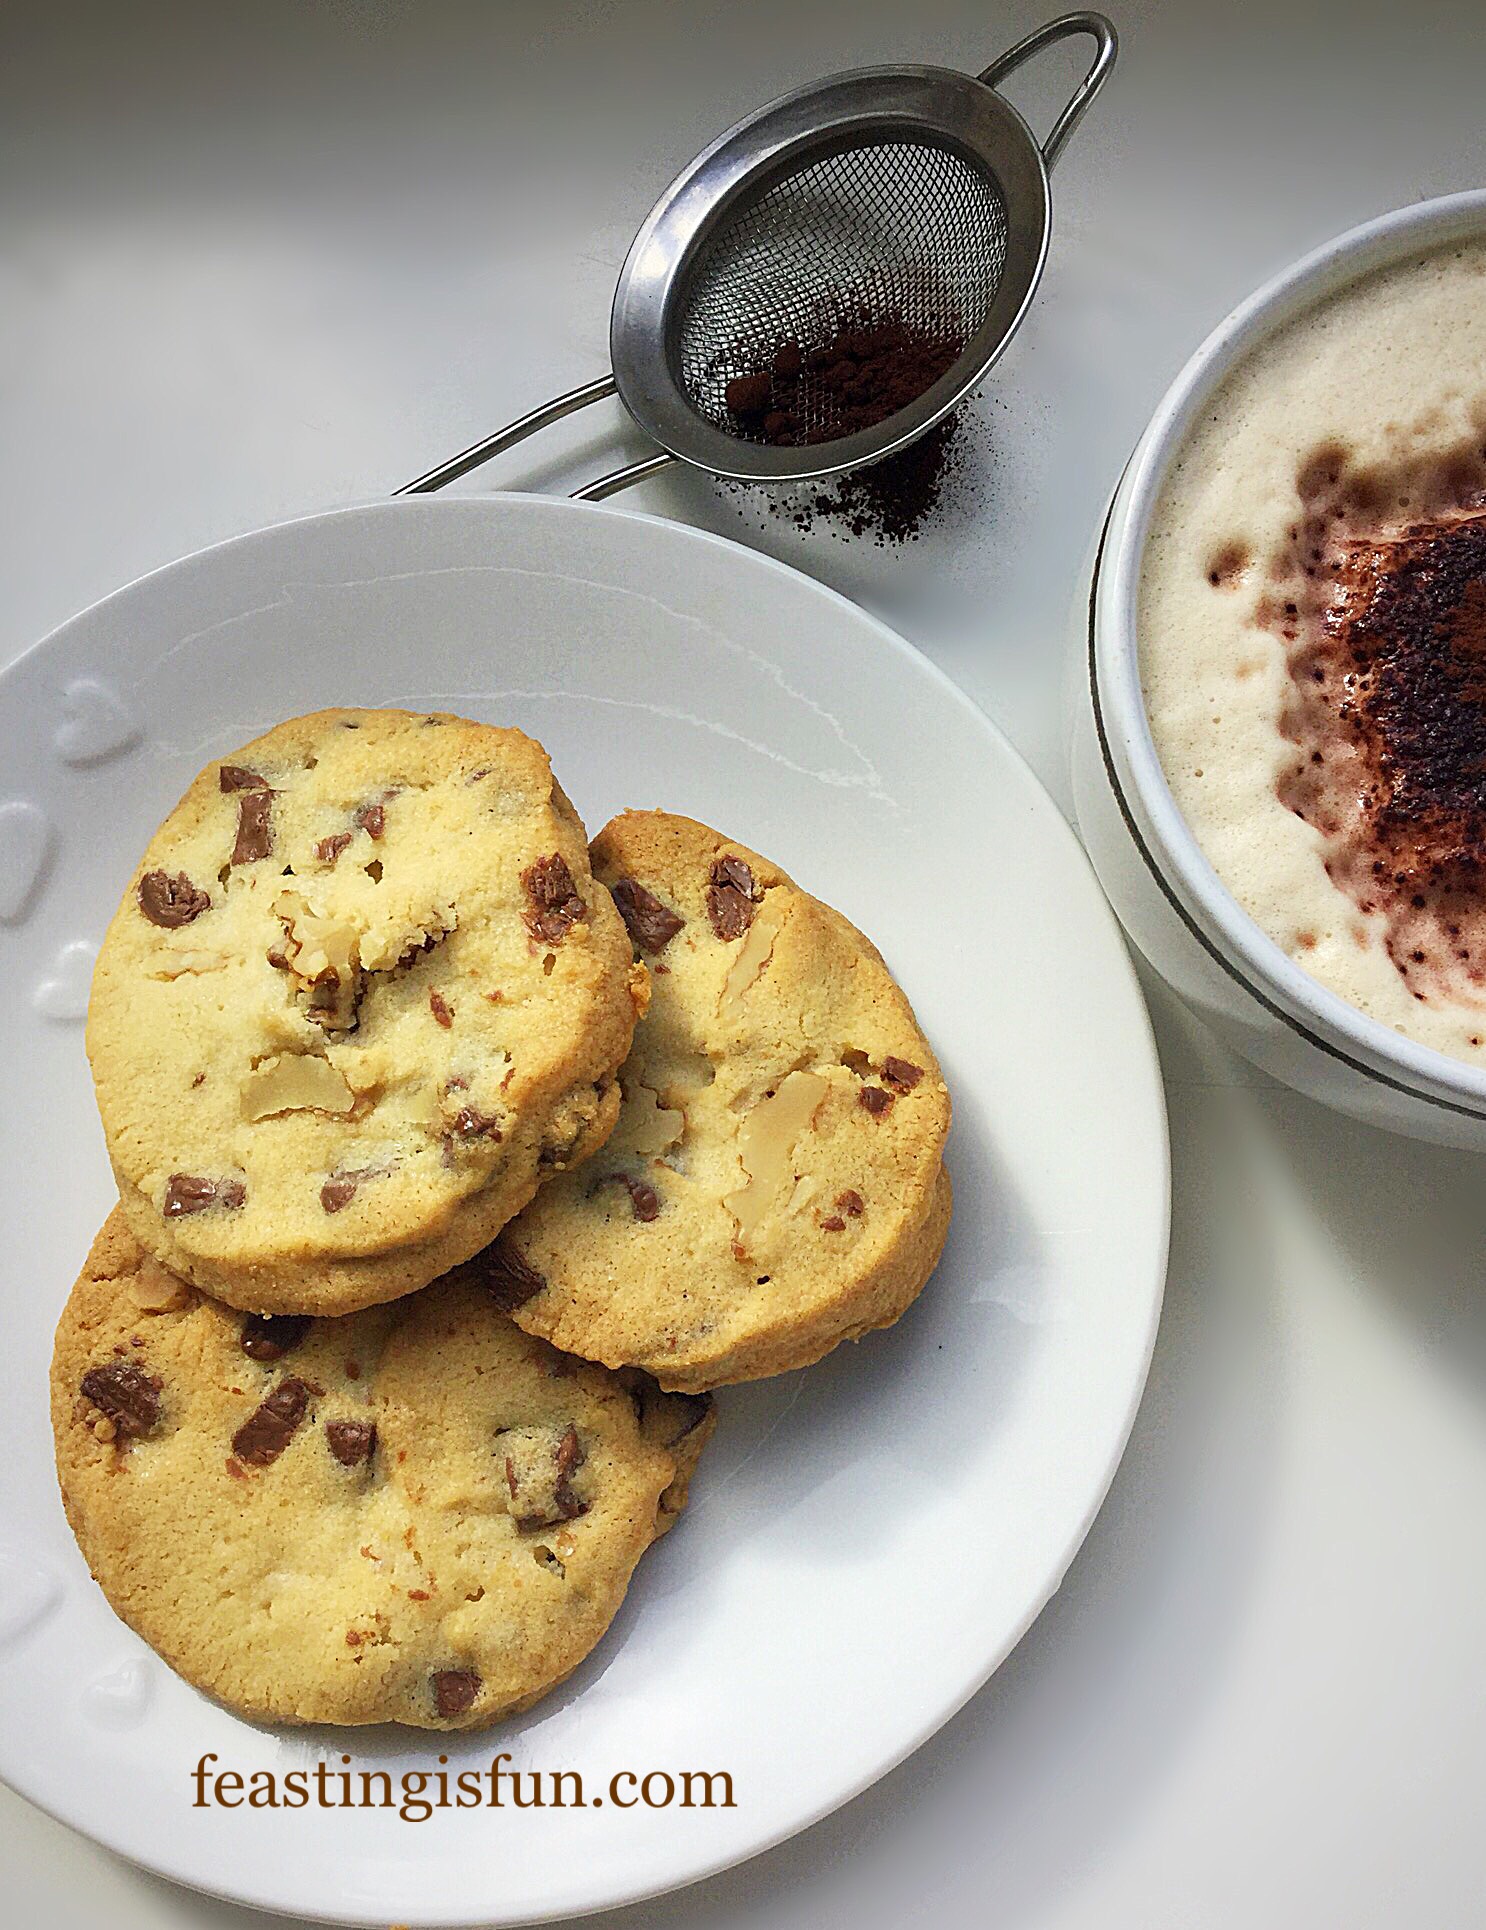
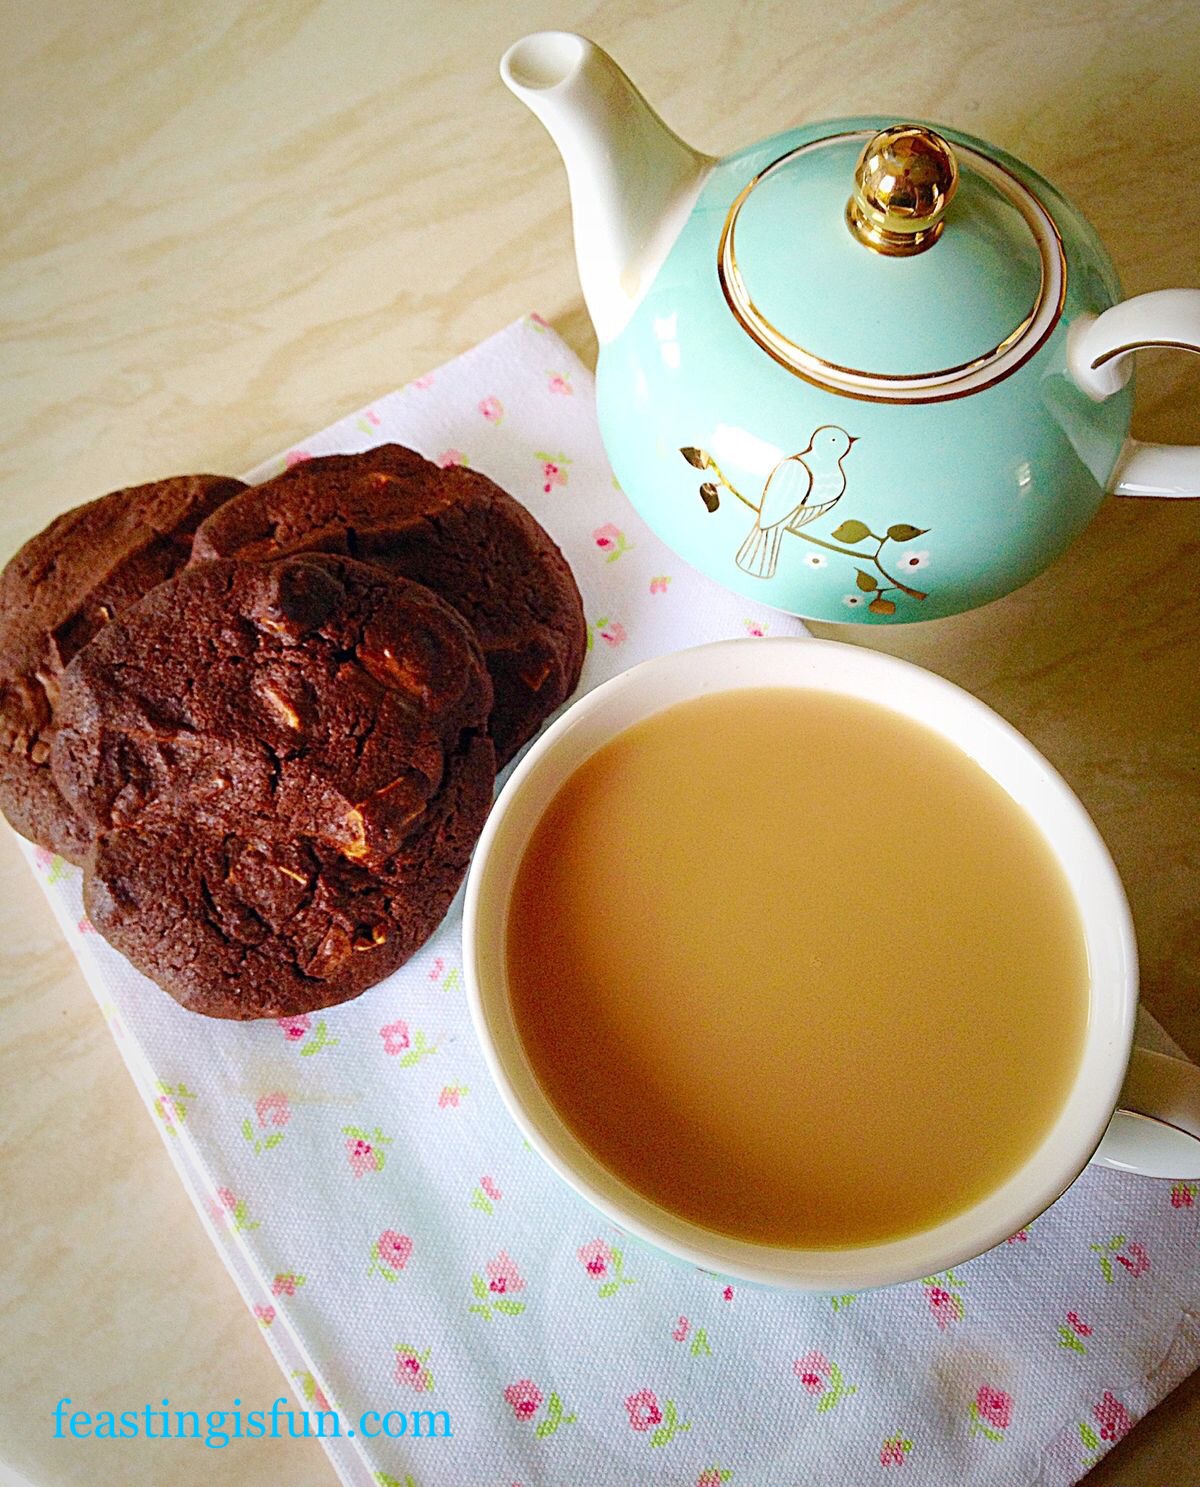
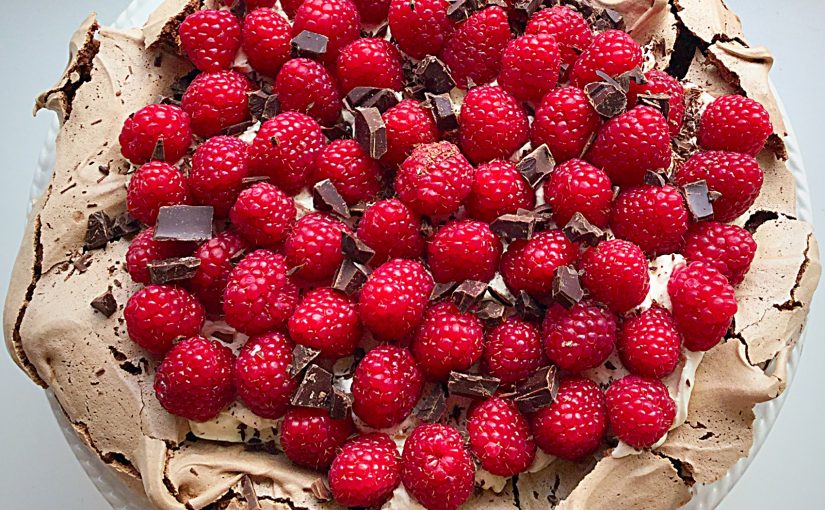
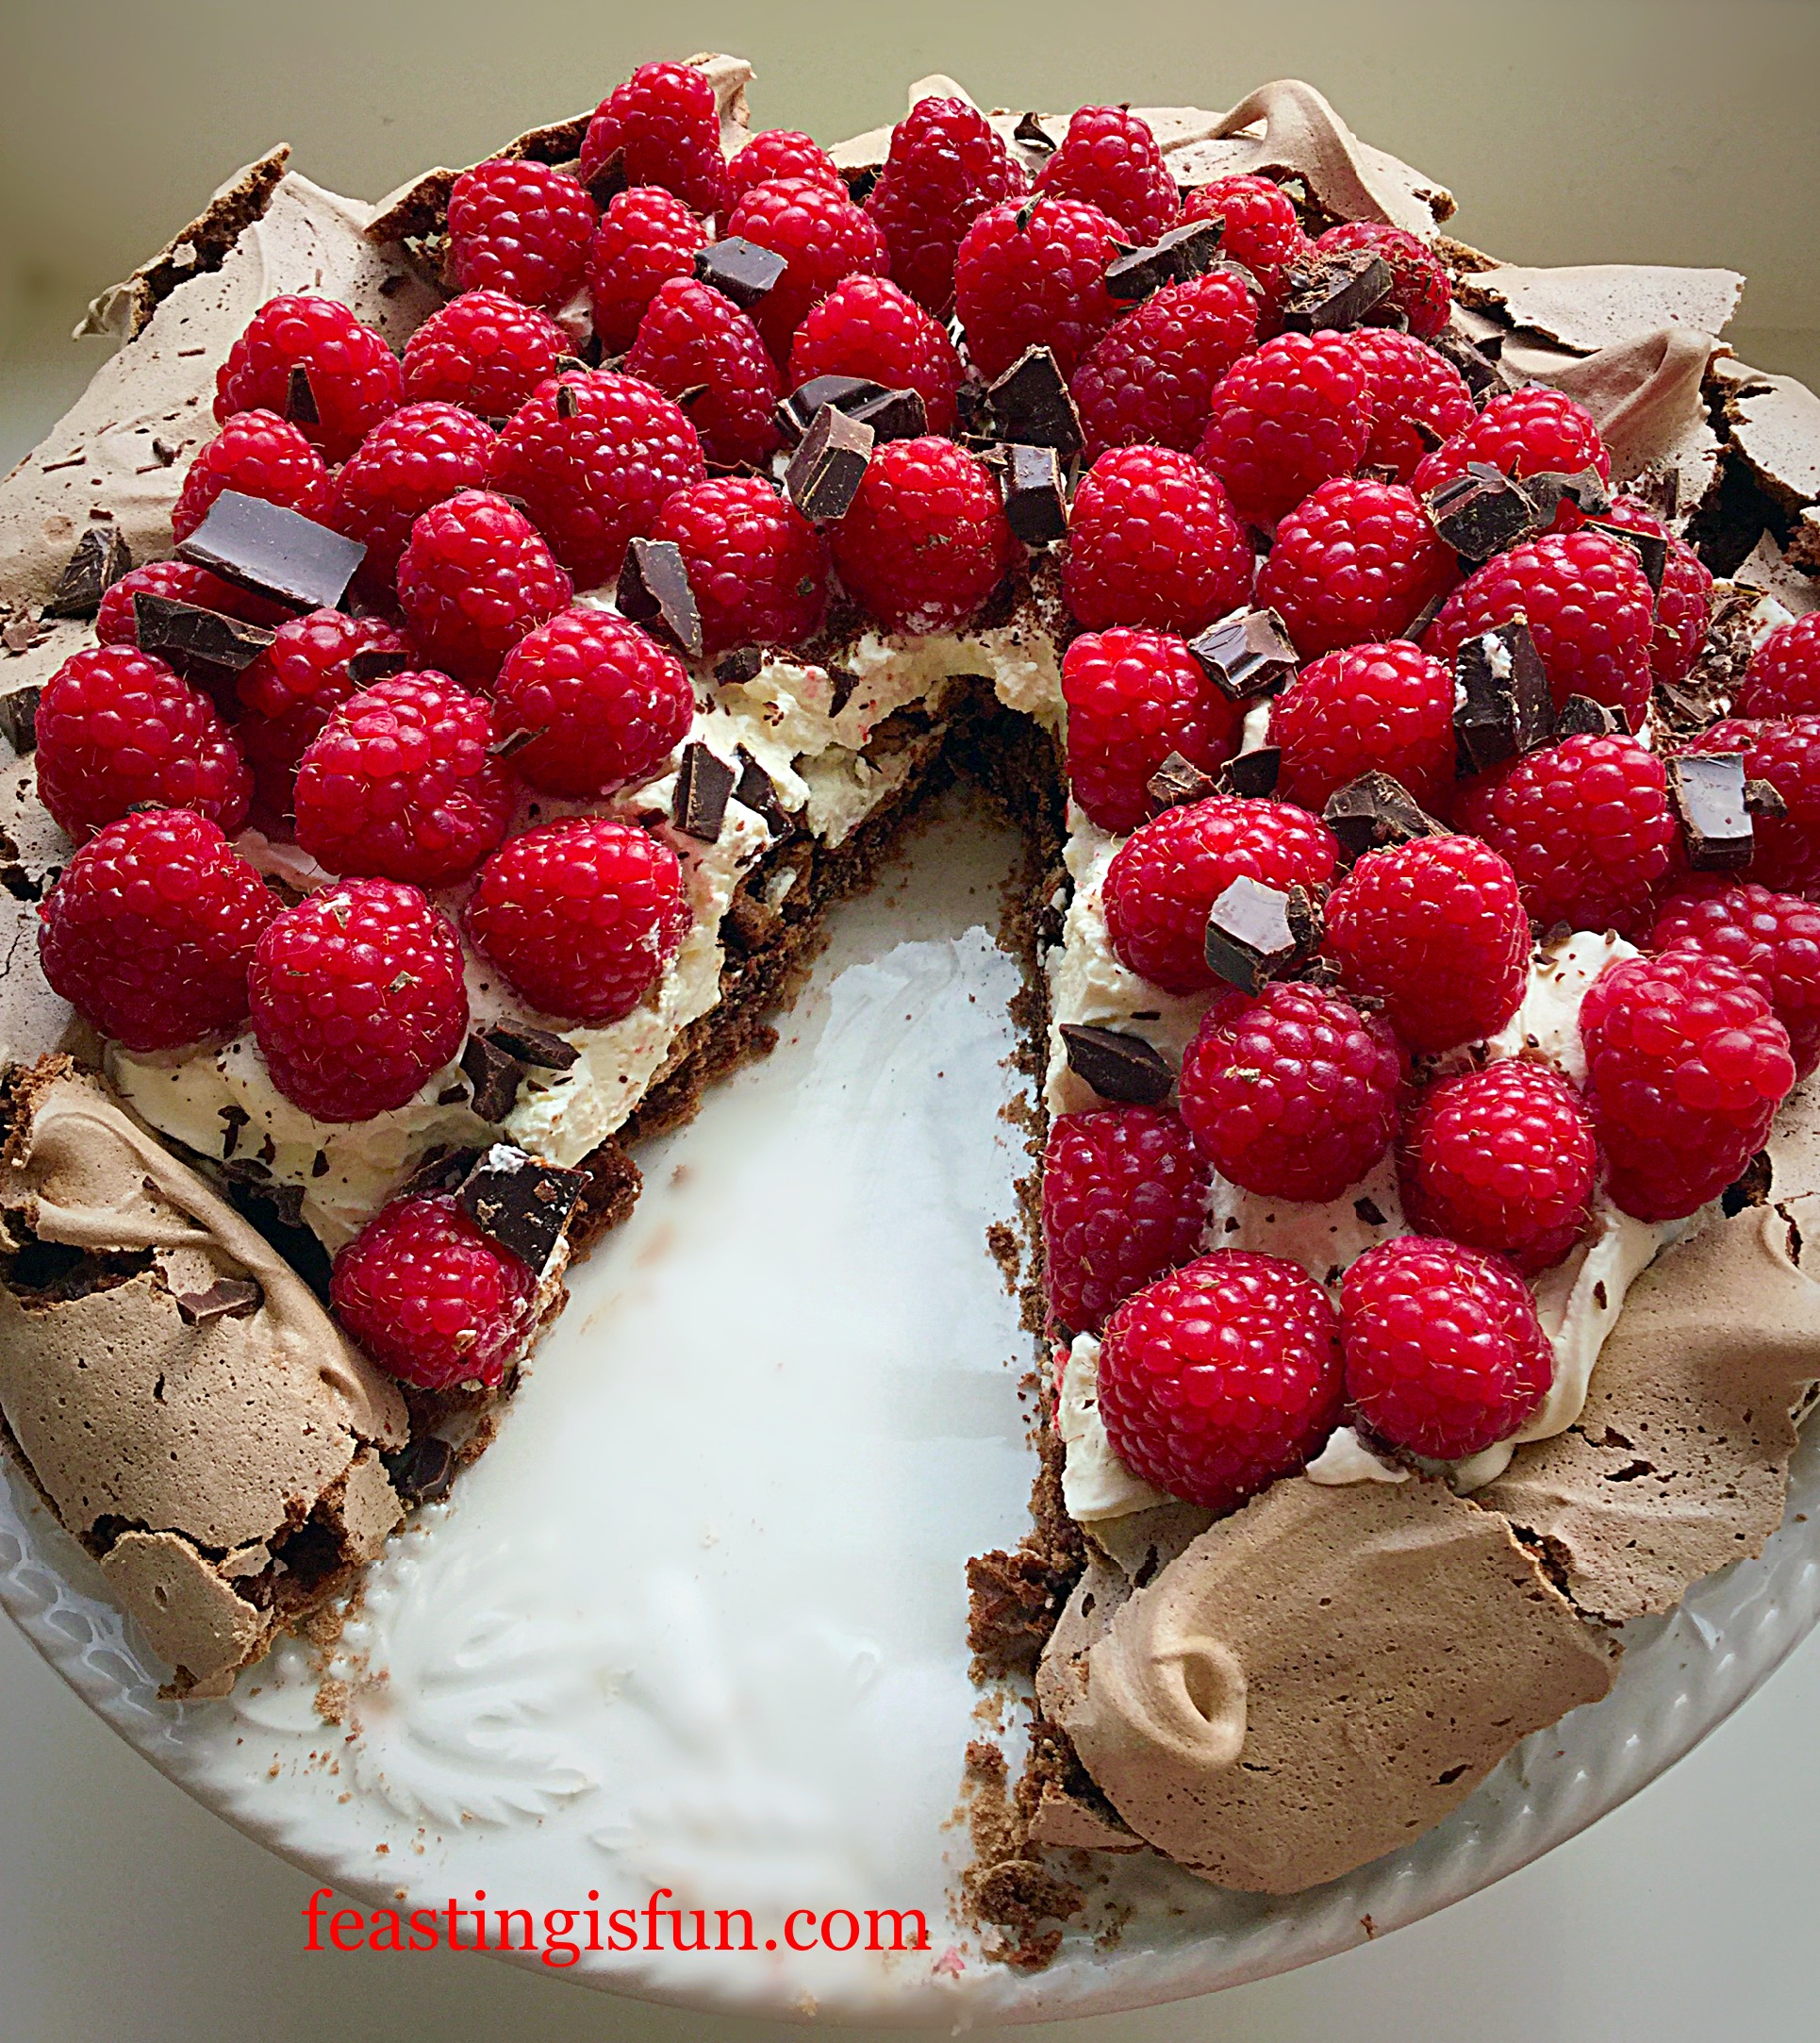
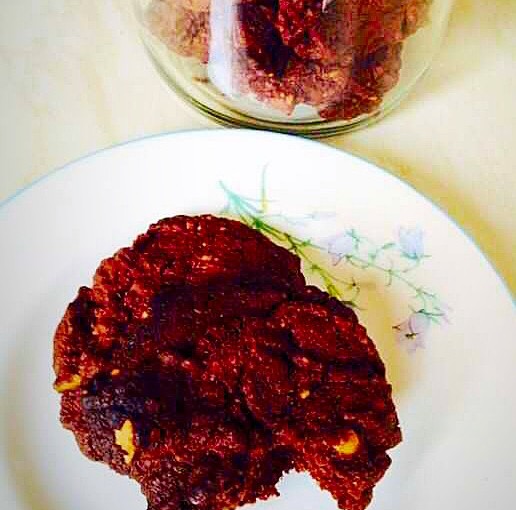
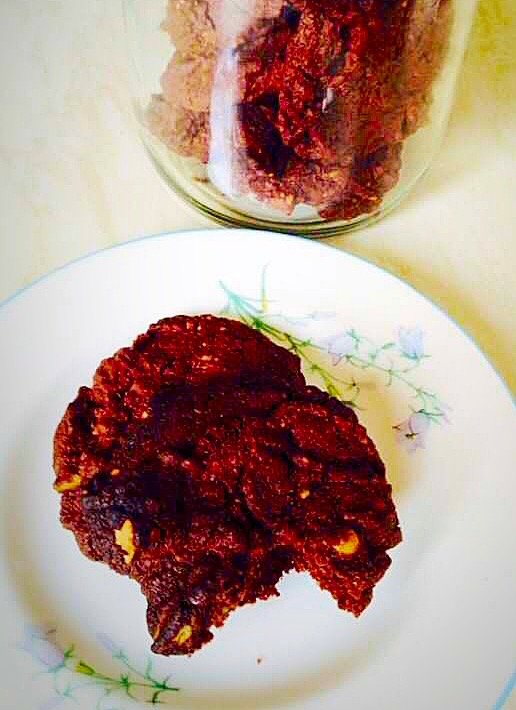
Ooh Delicious Double Chocolate Brazil Nut Cookies, sound scrummy, taste amazing!!
Double Chocolate Brazil Nut Cookies a perfect way to use up nuts after Christmas and totally delicious to boot!! www.feastingisfun.com
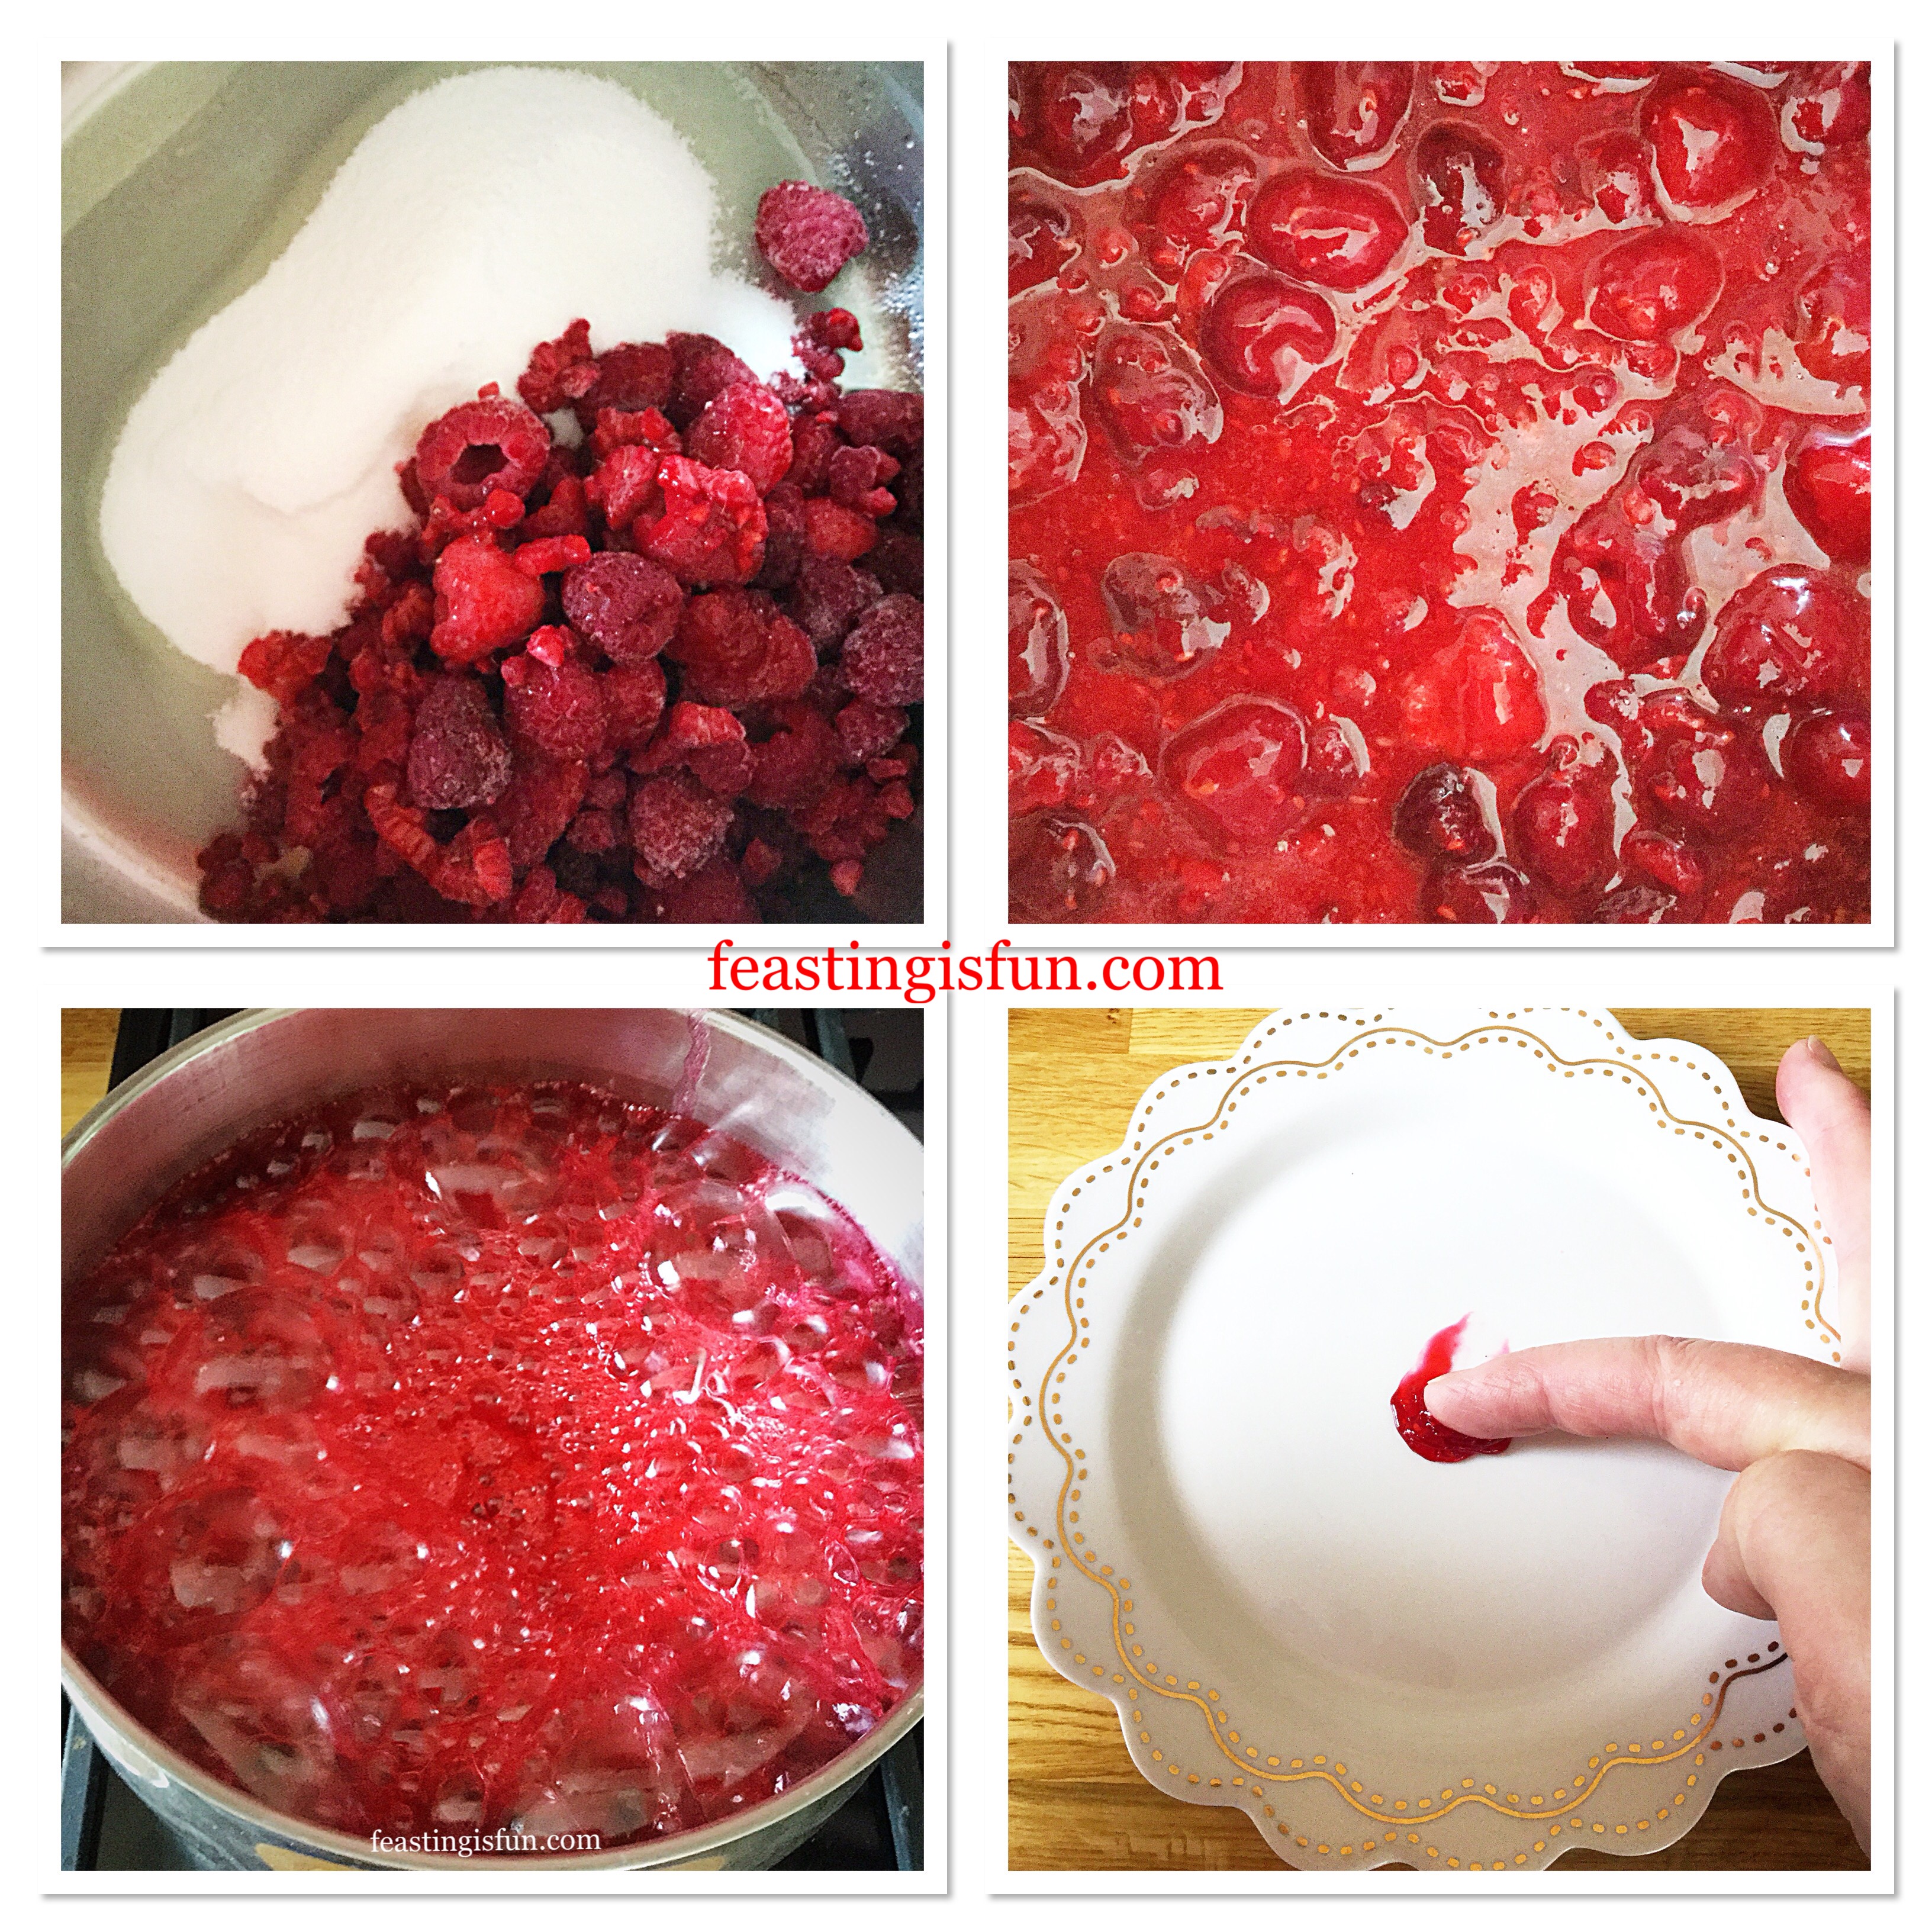
Today’s activities have been dictated by the weather!!!  Actually not such a bad thing.  I decided originally to make jam today, however it’s not raining and will be later on today, tomorrow, the next day, so on and so forth.  Jam is most definitely a wet weather activity at this time of year – especially as I hadn’t yet put my Daffodil bulbs and Viola plants into the front garden flower bed.

I had actually resigned myself (given the very sorry state the Viola plants were in) to not being able to get this last bit of gardening done this year.  My back has been playing up and as long as I’m  up and about my priority for any given day is to try and get dinner sorted – in the morning, if possible, as my pain levels increase during the day.  Also if I can get a wash load on that’s a bonus.

I know it sounds pathetic, but that simply is how it is.  I always try and focus on the positive aspects of the day.  If I started to look too closely as what I’ve not achieved I think that could lead me into a downward spiral – and that’s not the person I chose to be. Don’t get me wrong, there are days (weeks) that are harder than others and it does occasionally get me down, but I’m an optimistic person by nature, so I chose to look at the good things in my life.


I’m loved, more than I could ever imagine by The Most Amazing God, I have a wonderful family who also love and accept me.  Friends that love and accept me despite my inability to be reliable or commit properly to something.  I have a lot to be thankful for.

So today was the day for jam making,  Except the weather’s good and jam  can be made on rainy days!!  I didn’t abort all cooking attempts though and decided to see whether some ‘left over’ chocolate covered Brazil nuts would make nice cookies? Oh yeah they do!!

Double Chocolate Brazil Nut Cookies

Recipe:

5oz  Dark Brown Muscavado Sugar

8oz  Unsalted Butter – room temp

1  Egg yolk – pref free range

1tsp  Vanilla Extract

1/4tsp  Salt

6oz  Plain White Flour

2oz  Cocoa Powder

2oz  Shelled Brazil Nuts – chopped finely, to the same consistency of ground almonds

6oz  Chocolate Covered Brazil Nuts

(or 3oz  Shelled Brazil Nuts and 3oz  Milk Chocolate Chunks)

Method:

Preheat the oven to 175C (160C fan)

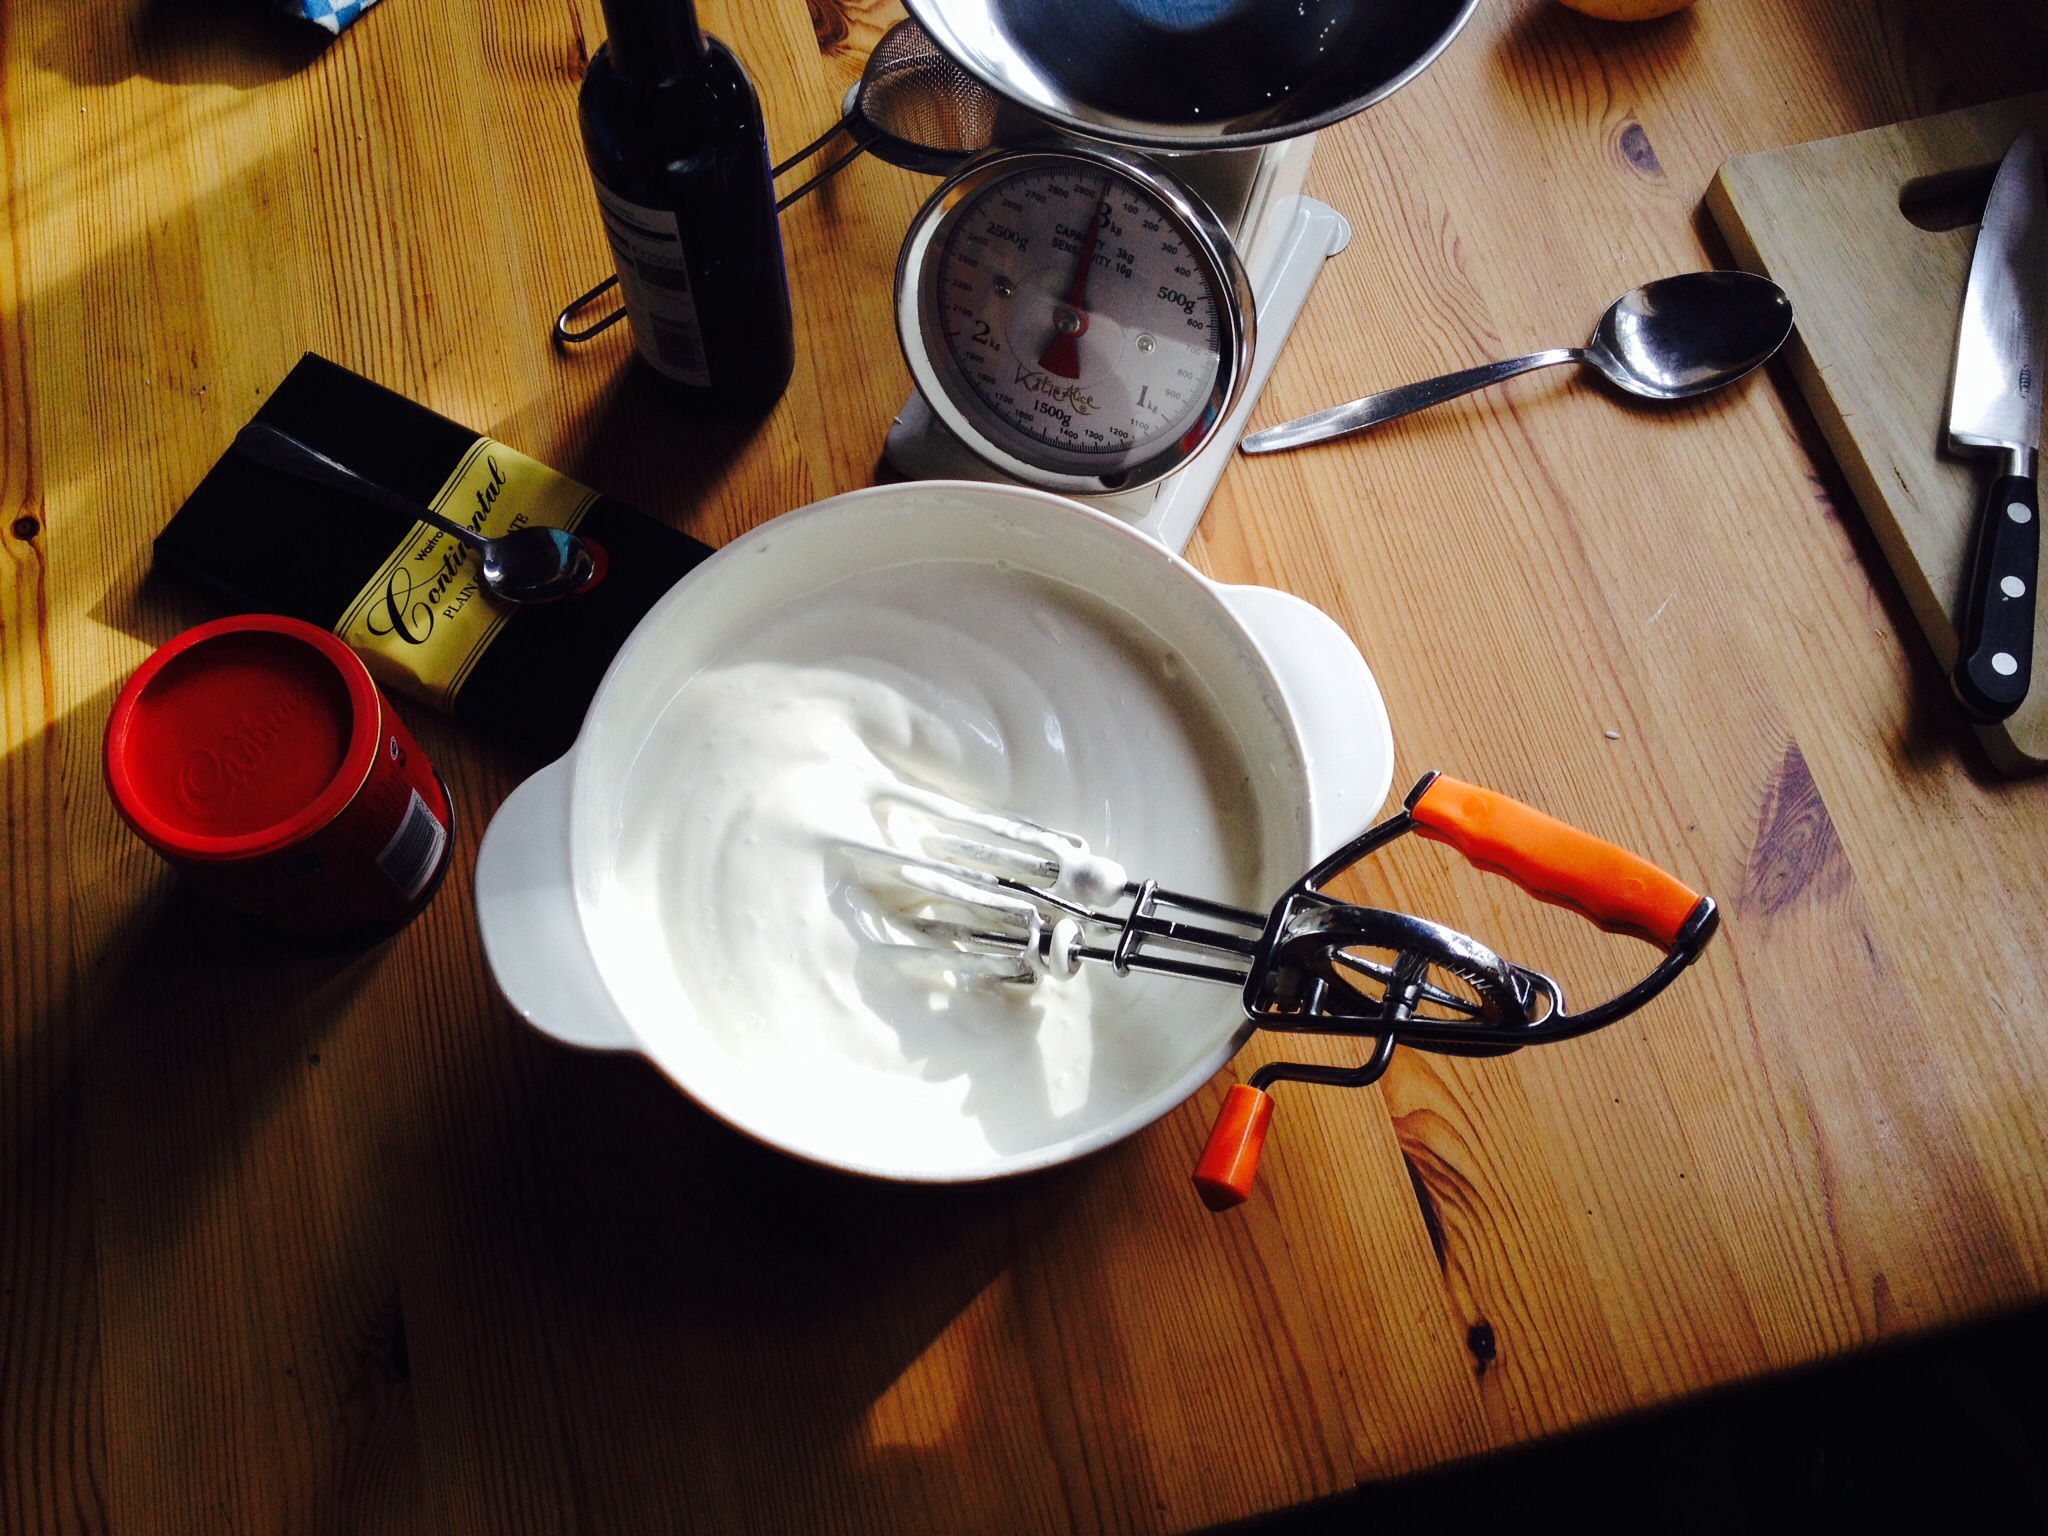
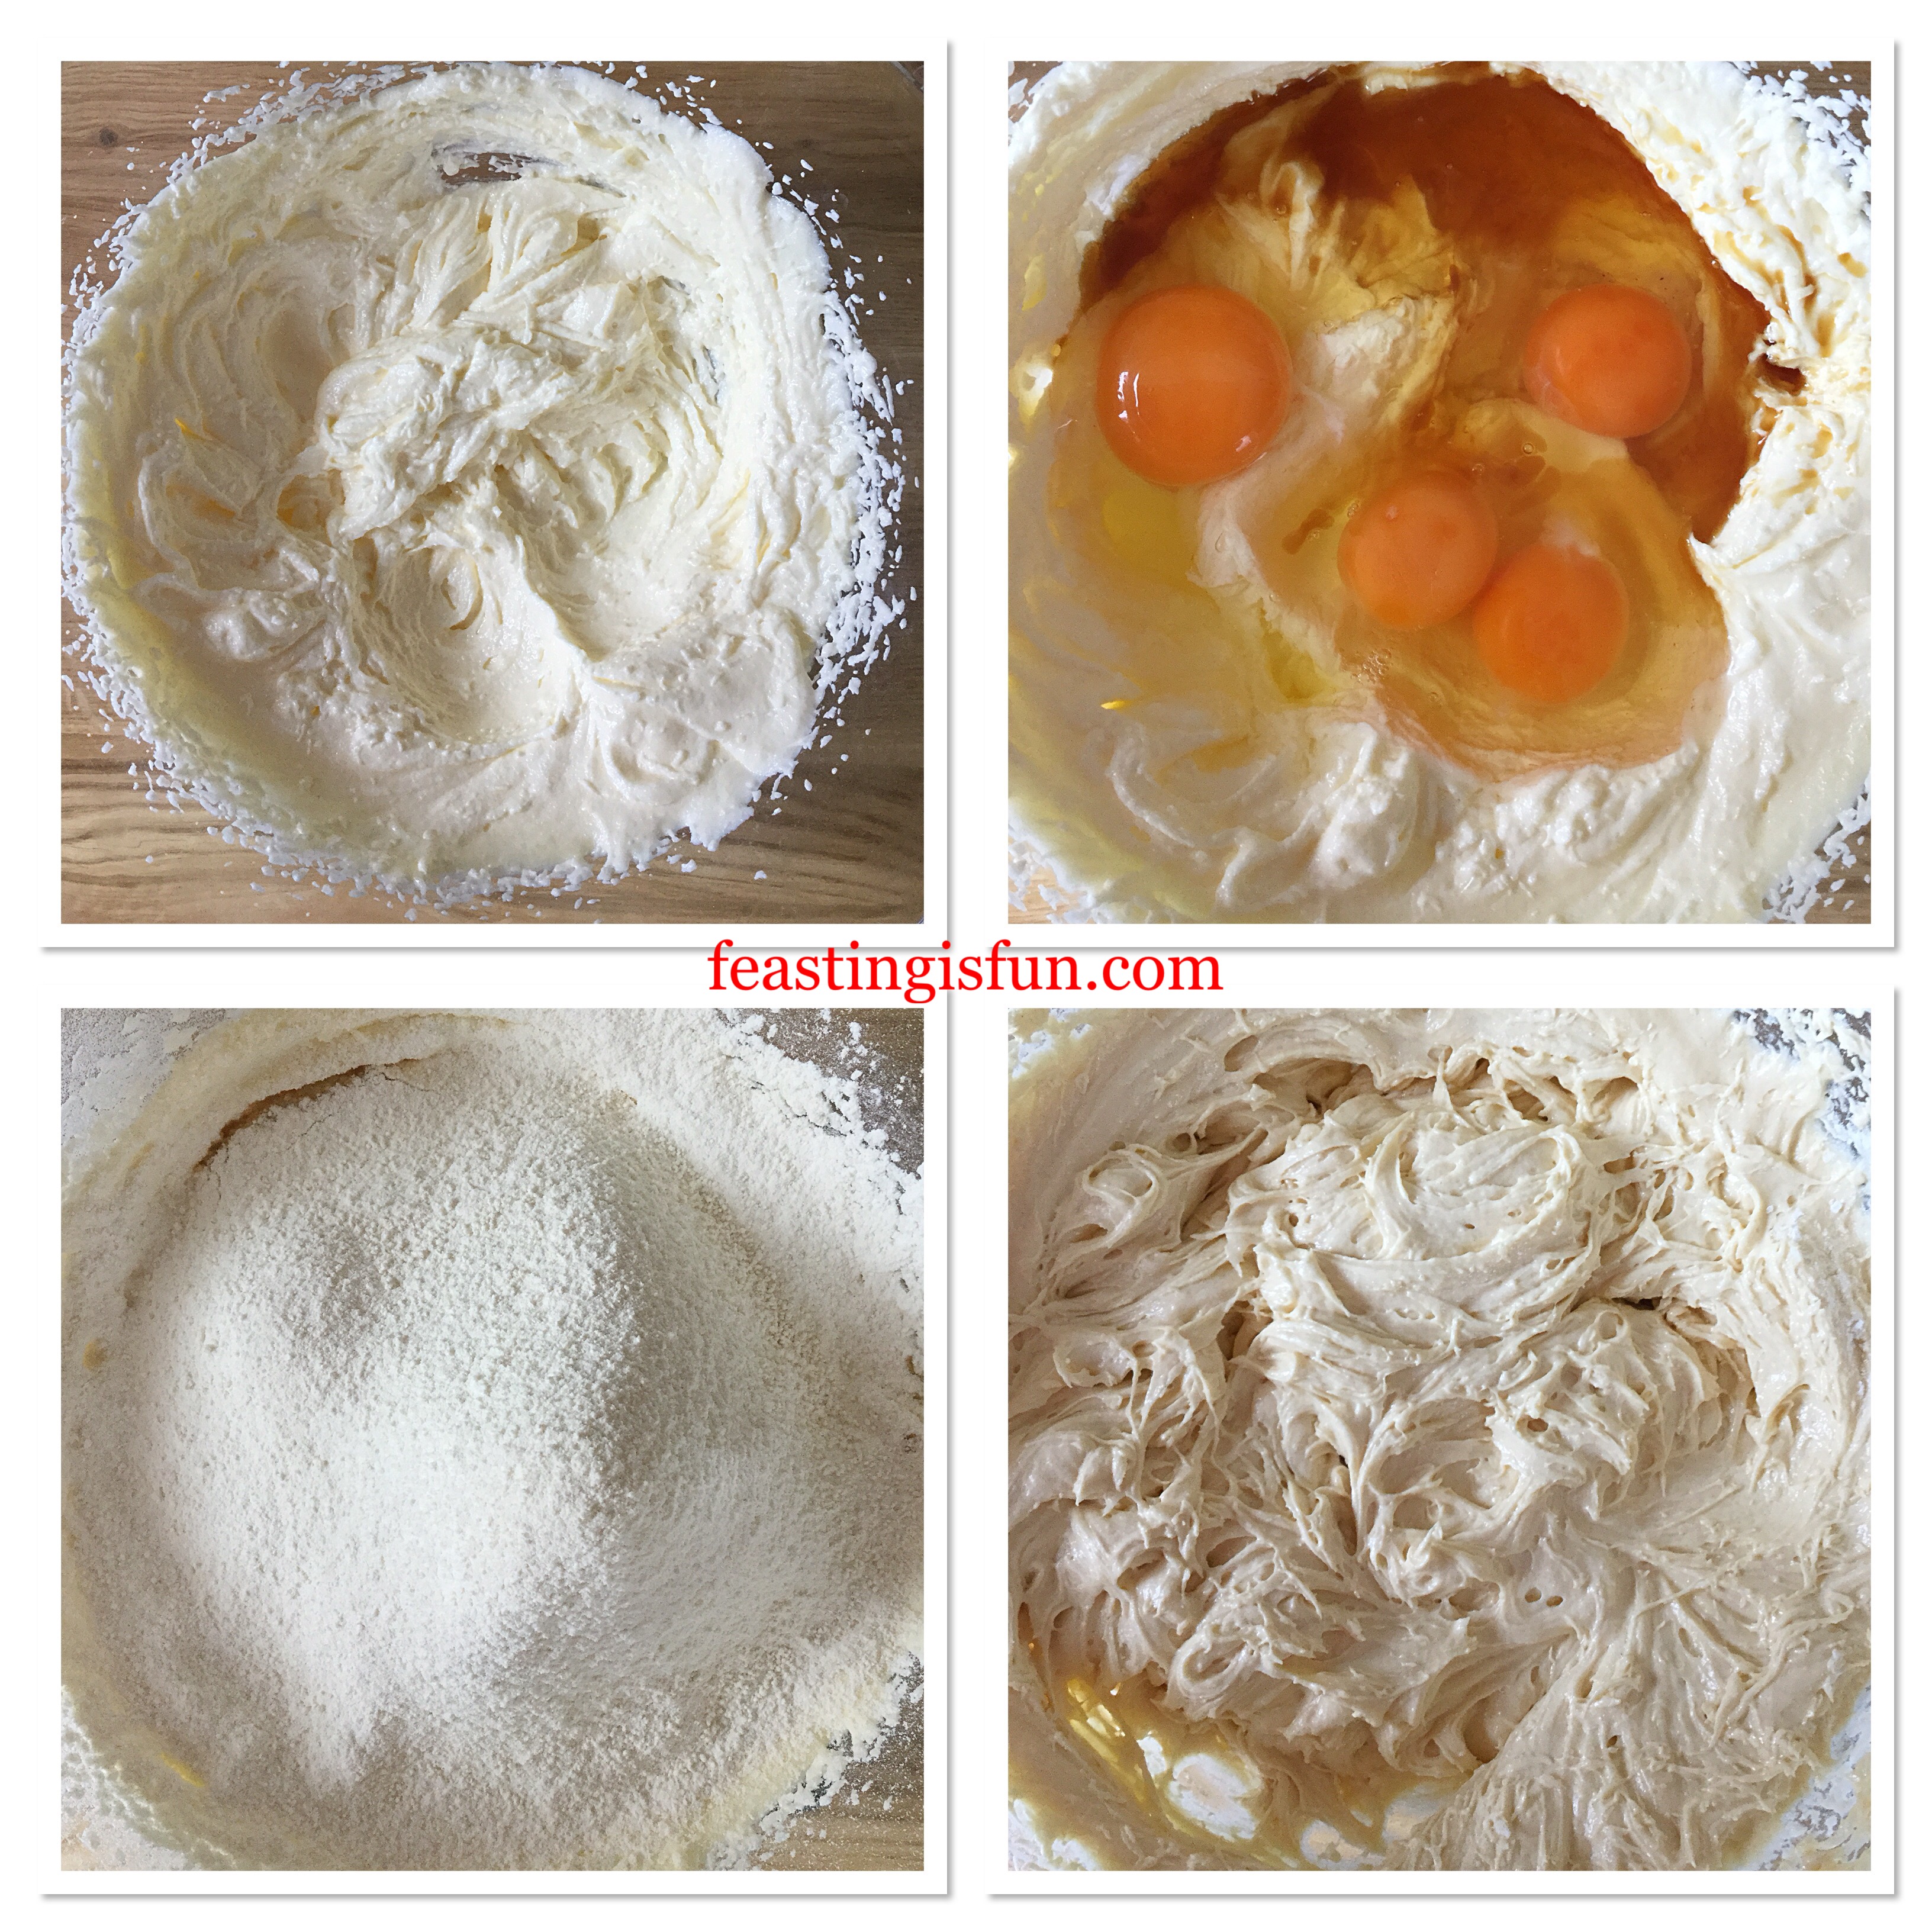
Place the sugar and butter into a large bowl (I’ve used a clear glass jug as it’s easy to check that all the dry ingredient have been mixed in, later on).

The dark muscavado sugar gives the cookies a lovely depth of flavour, without tasting too sweet!

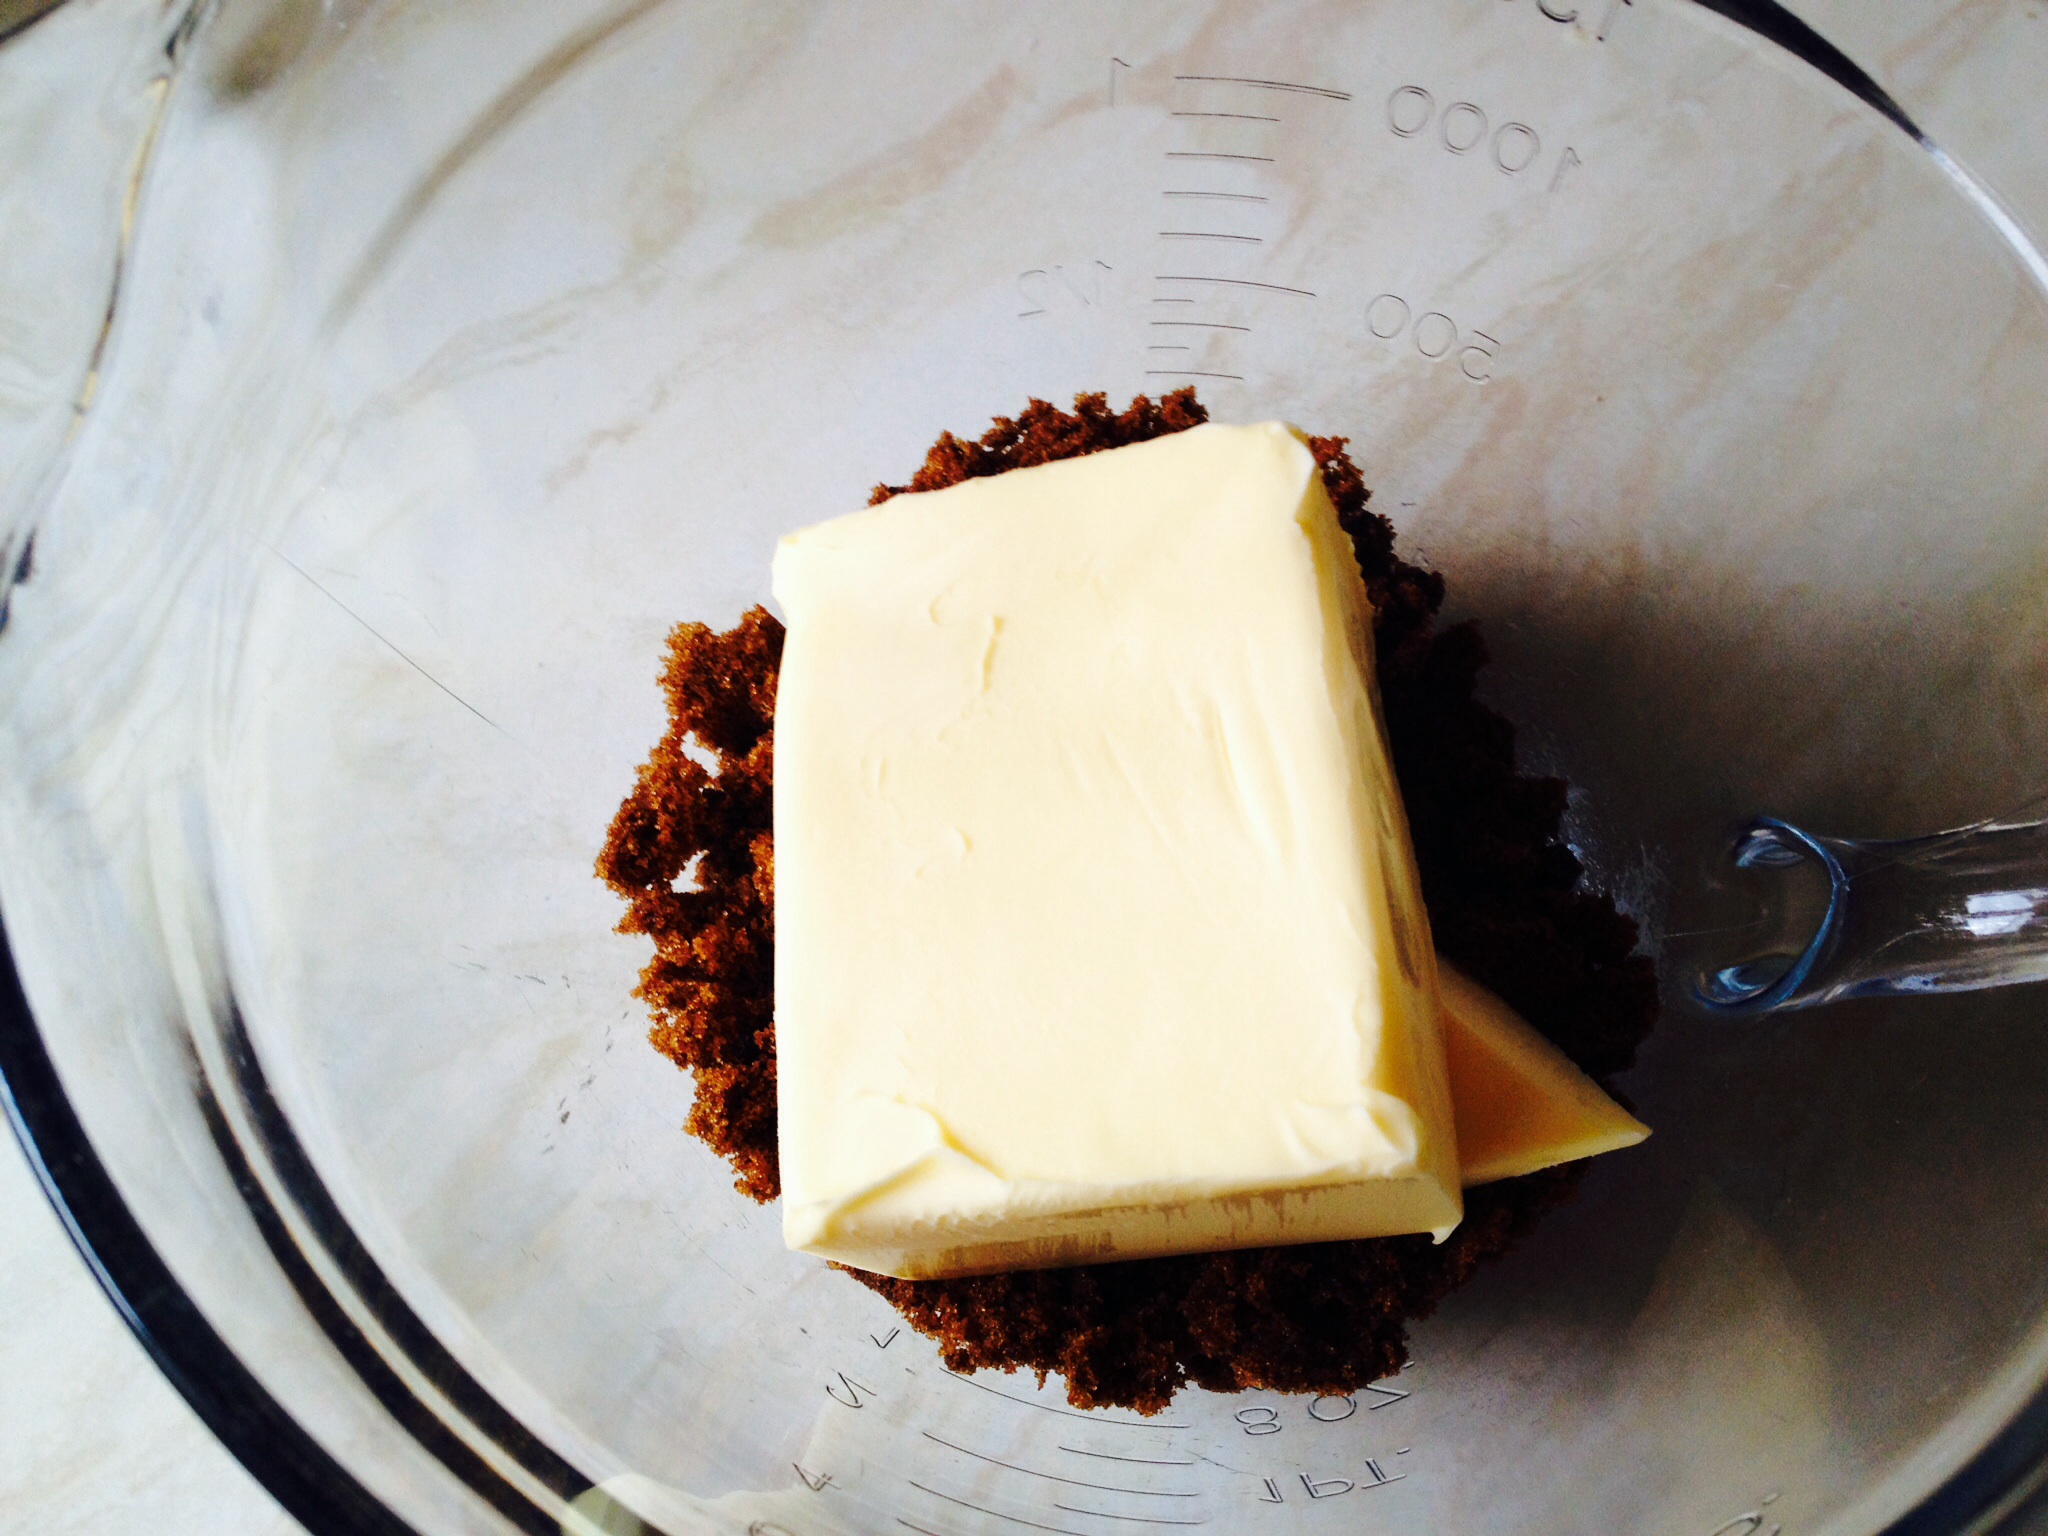
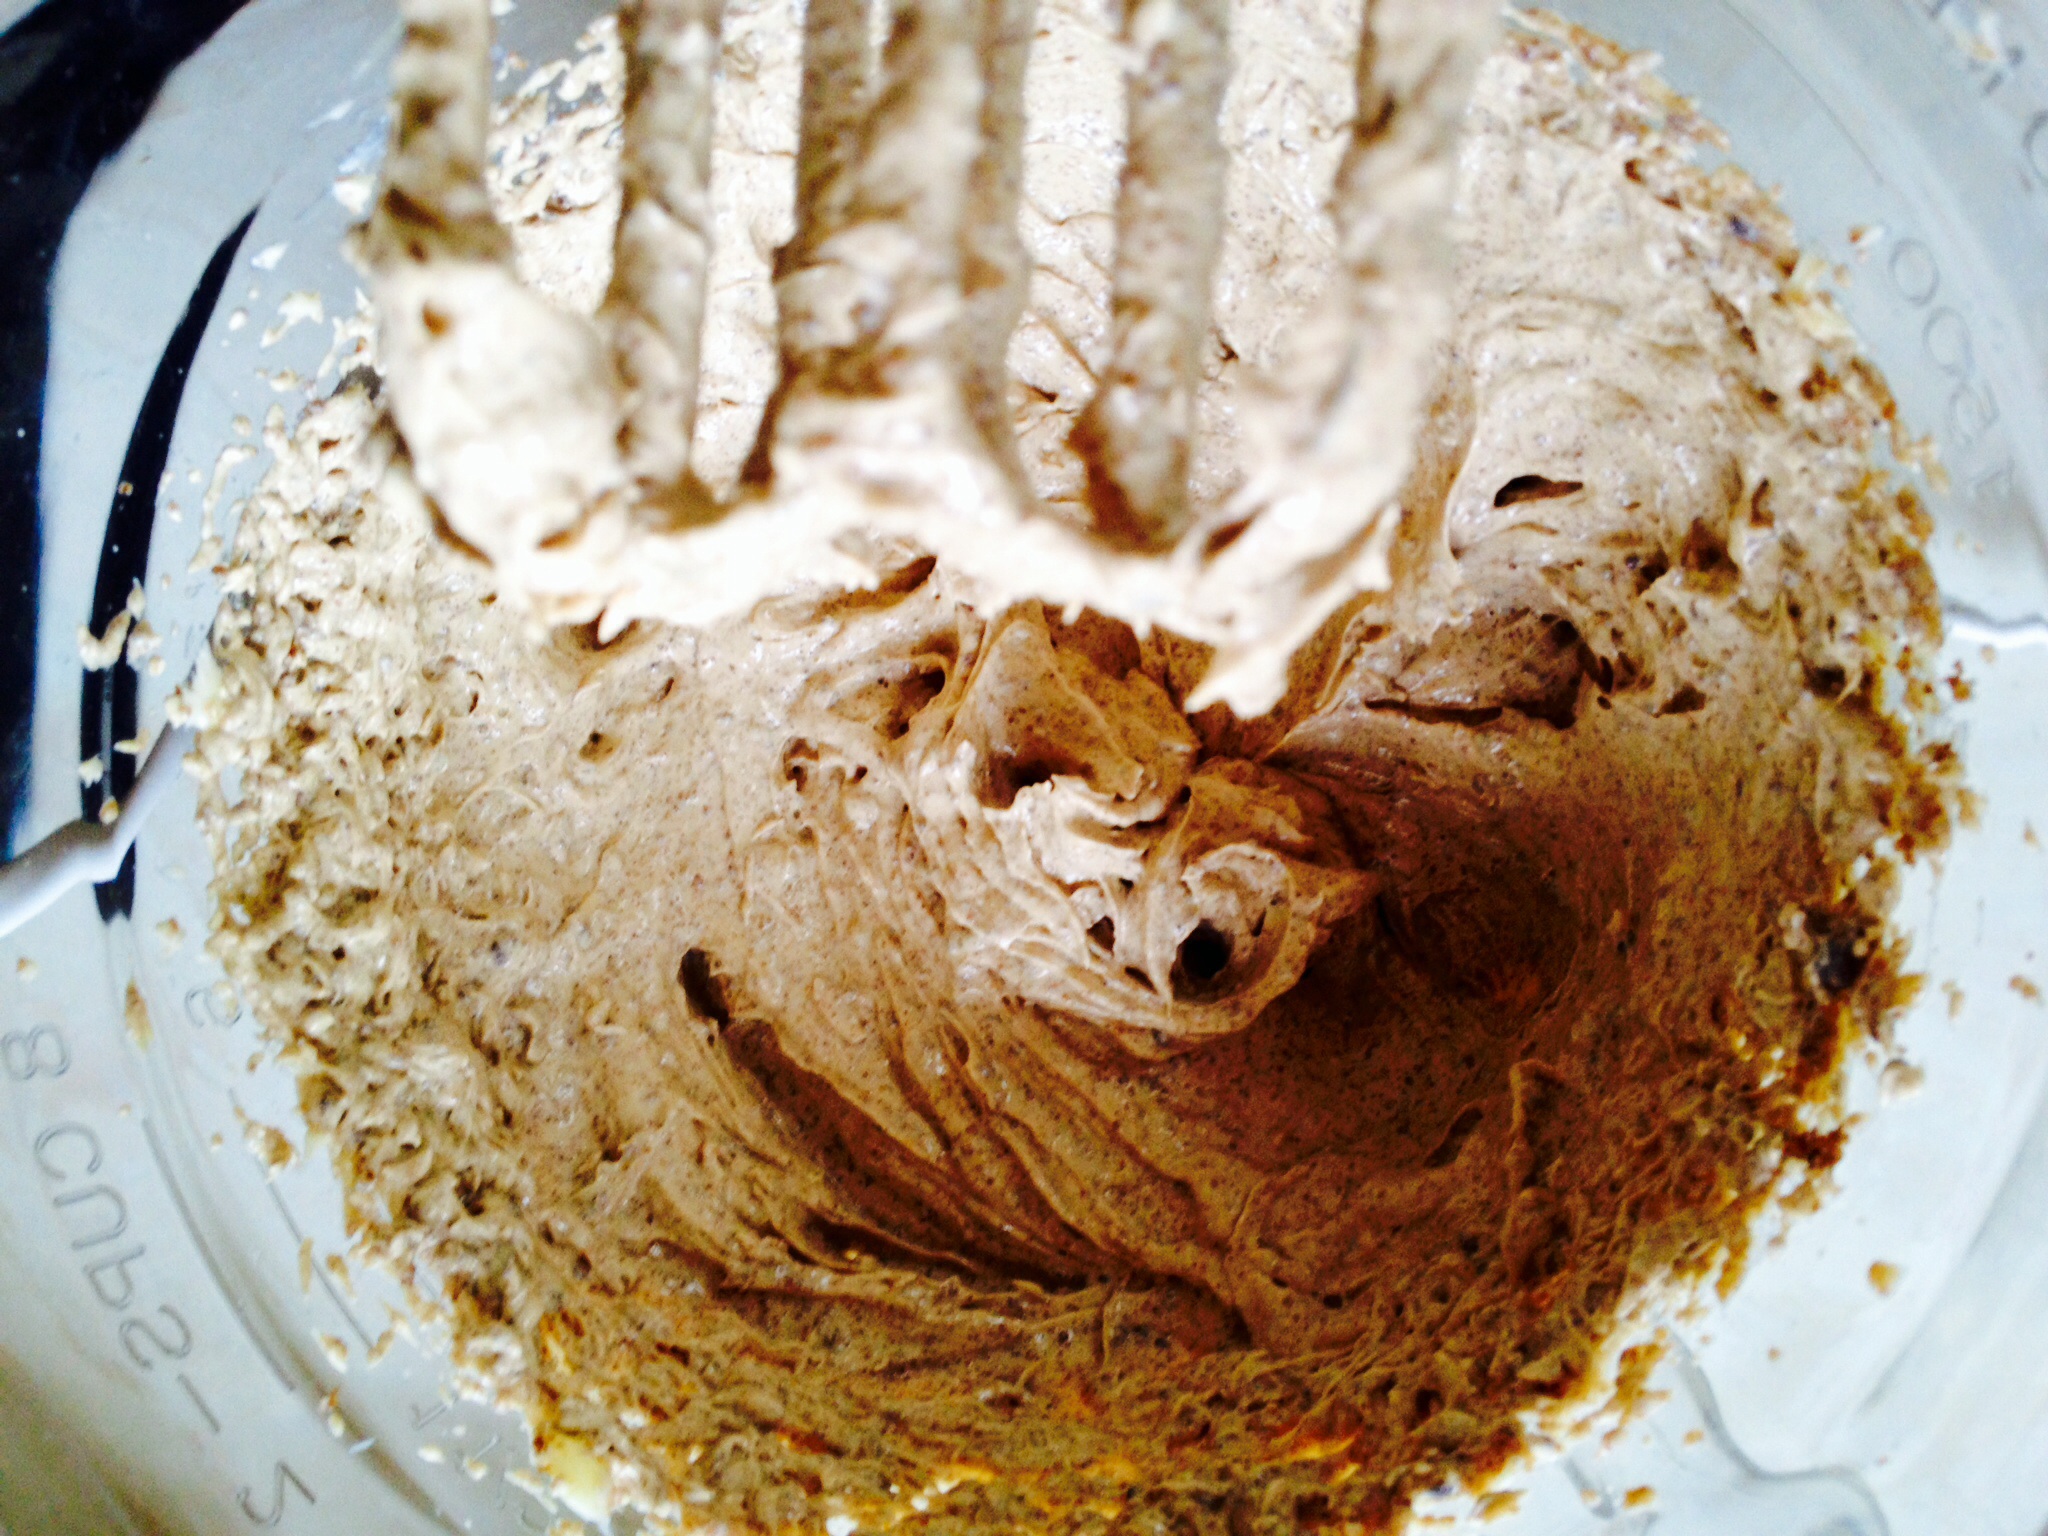
Whisk (or beat vigorously) the butter and sugar together until completely combined and paler in colour.  Whisk in the egg yolk, salt and vanilla extract.

The whisked mixture will be darker than when using white sugar.

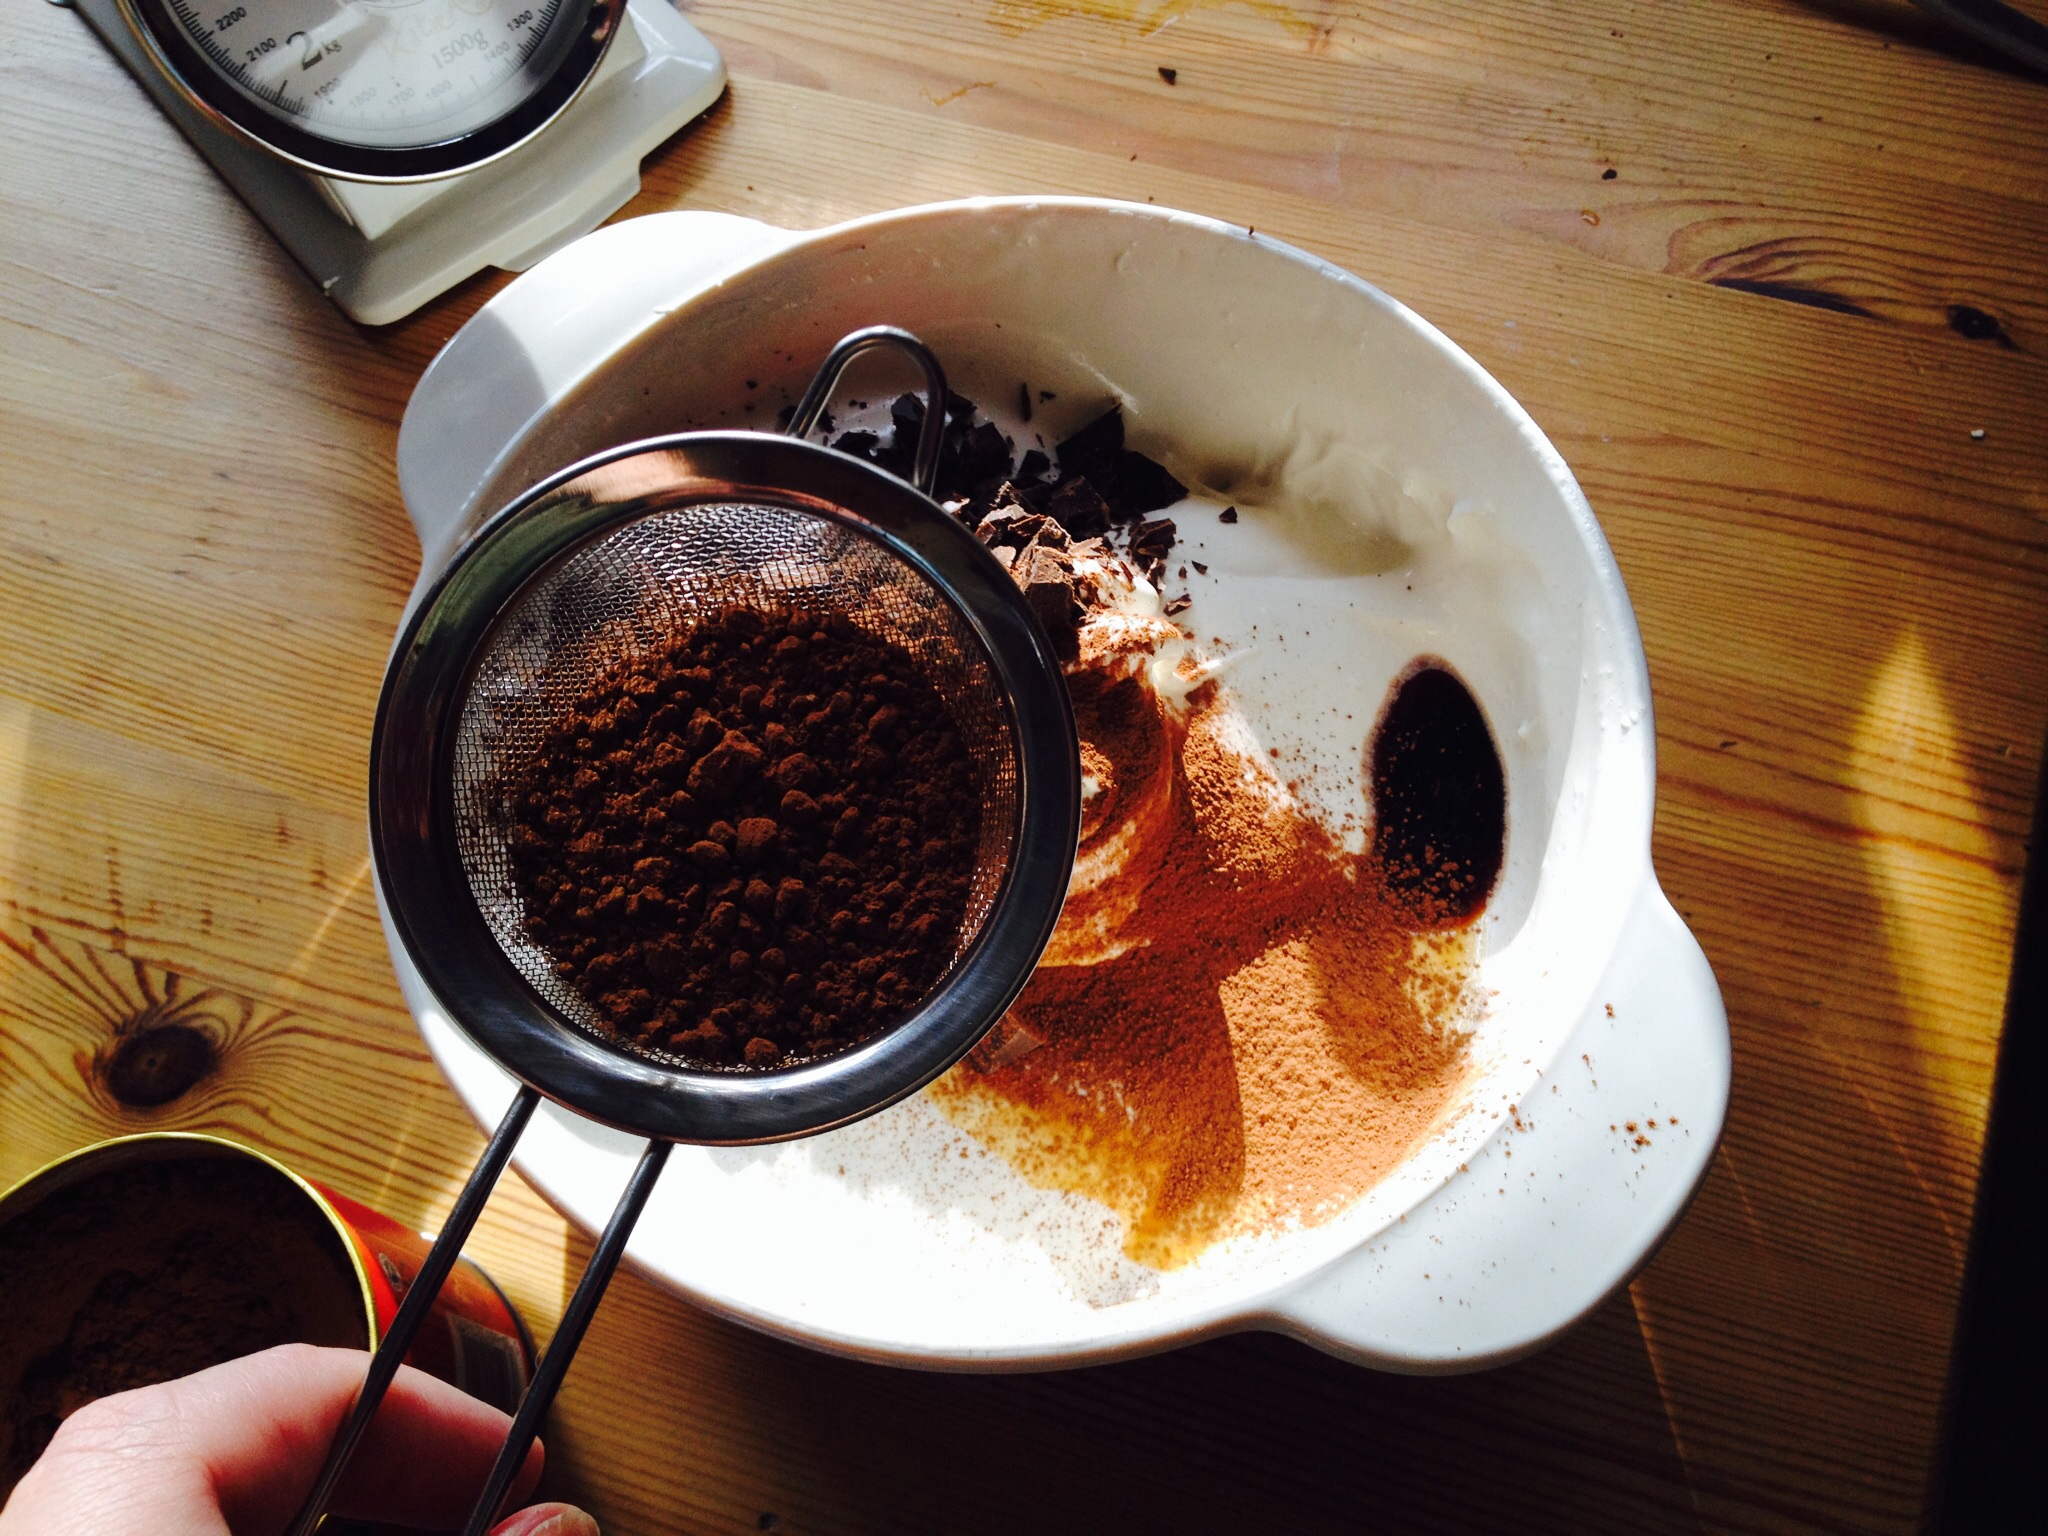
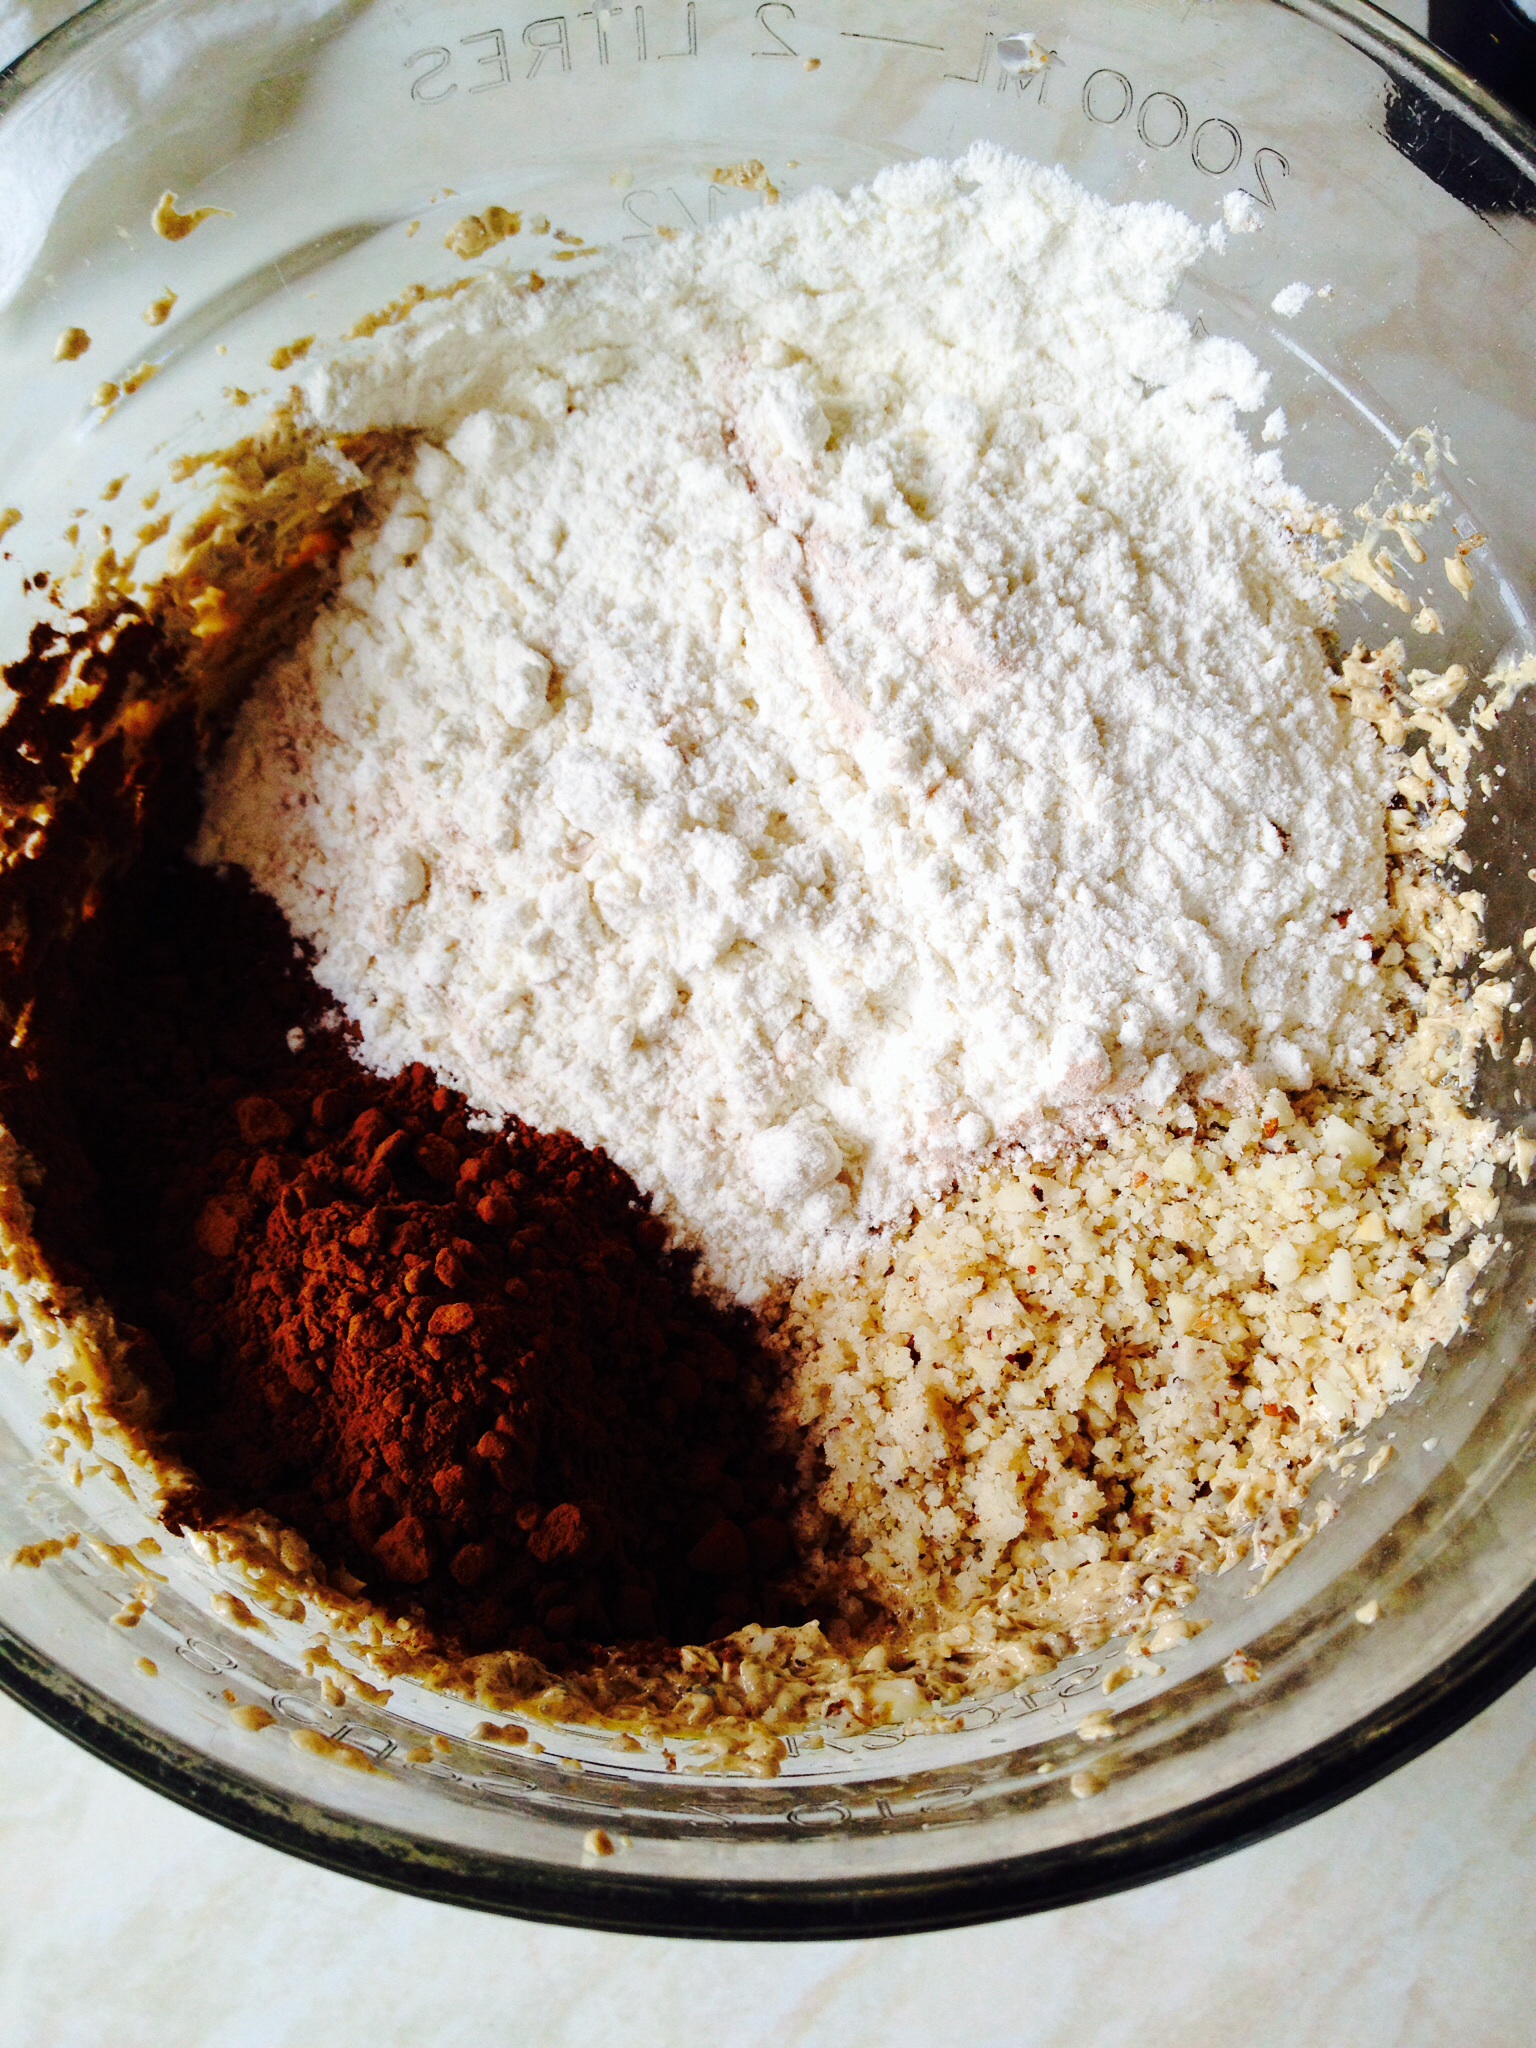
Now take the 2oz of shelled Brazil nuts and  either using a mini-chopper or food processor, chop finely until it has the same texture of ground almonds.  Add these finely chopped nuts, the cocoa and the flour to the bowl.

In this recipe I've substituted 4oz of flour with 2oz of both Cocoa powder and finely chopped Brazil nuts.
In this recipe I’ve substituted 4oz of flour with 2oz of both Cocoa powder and finely chopped Brazil nuts.

Now chop the chocolate covered Brazil nuts roughly (do the same for plain Brazils if using).

Don't chop too finely as you want some nice, nutty crunch to your finished cookie!!
Don’t chop too finely as you want some nice, nutty crunch to your finished cookie!!

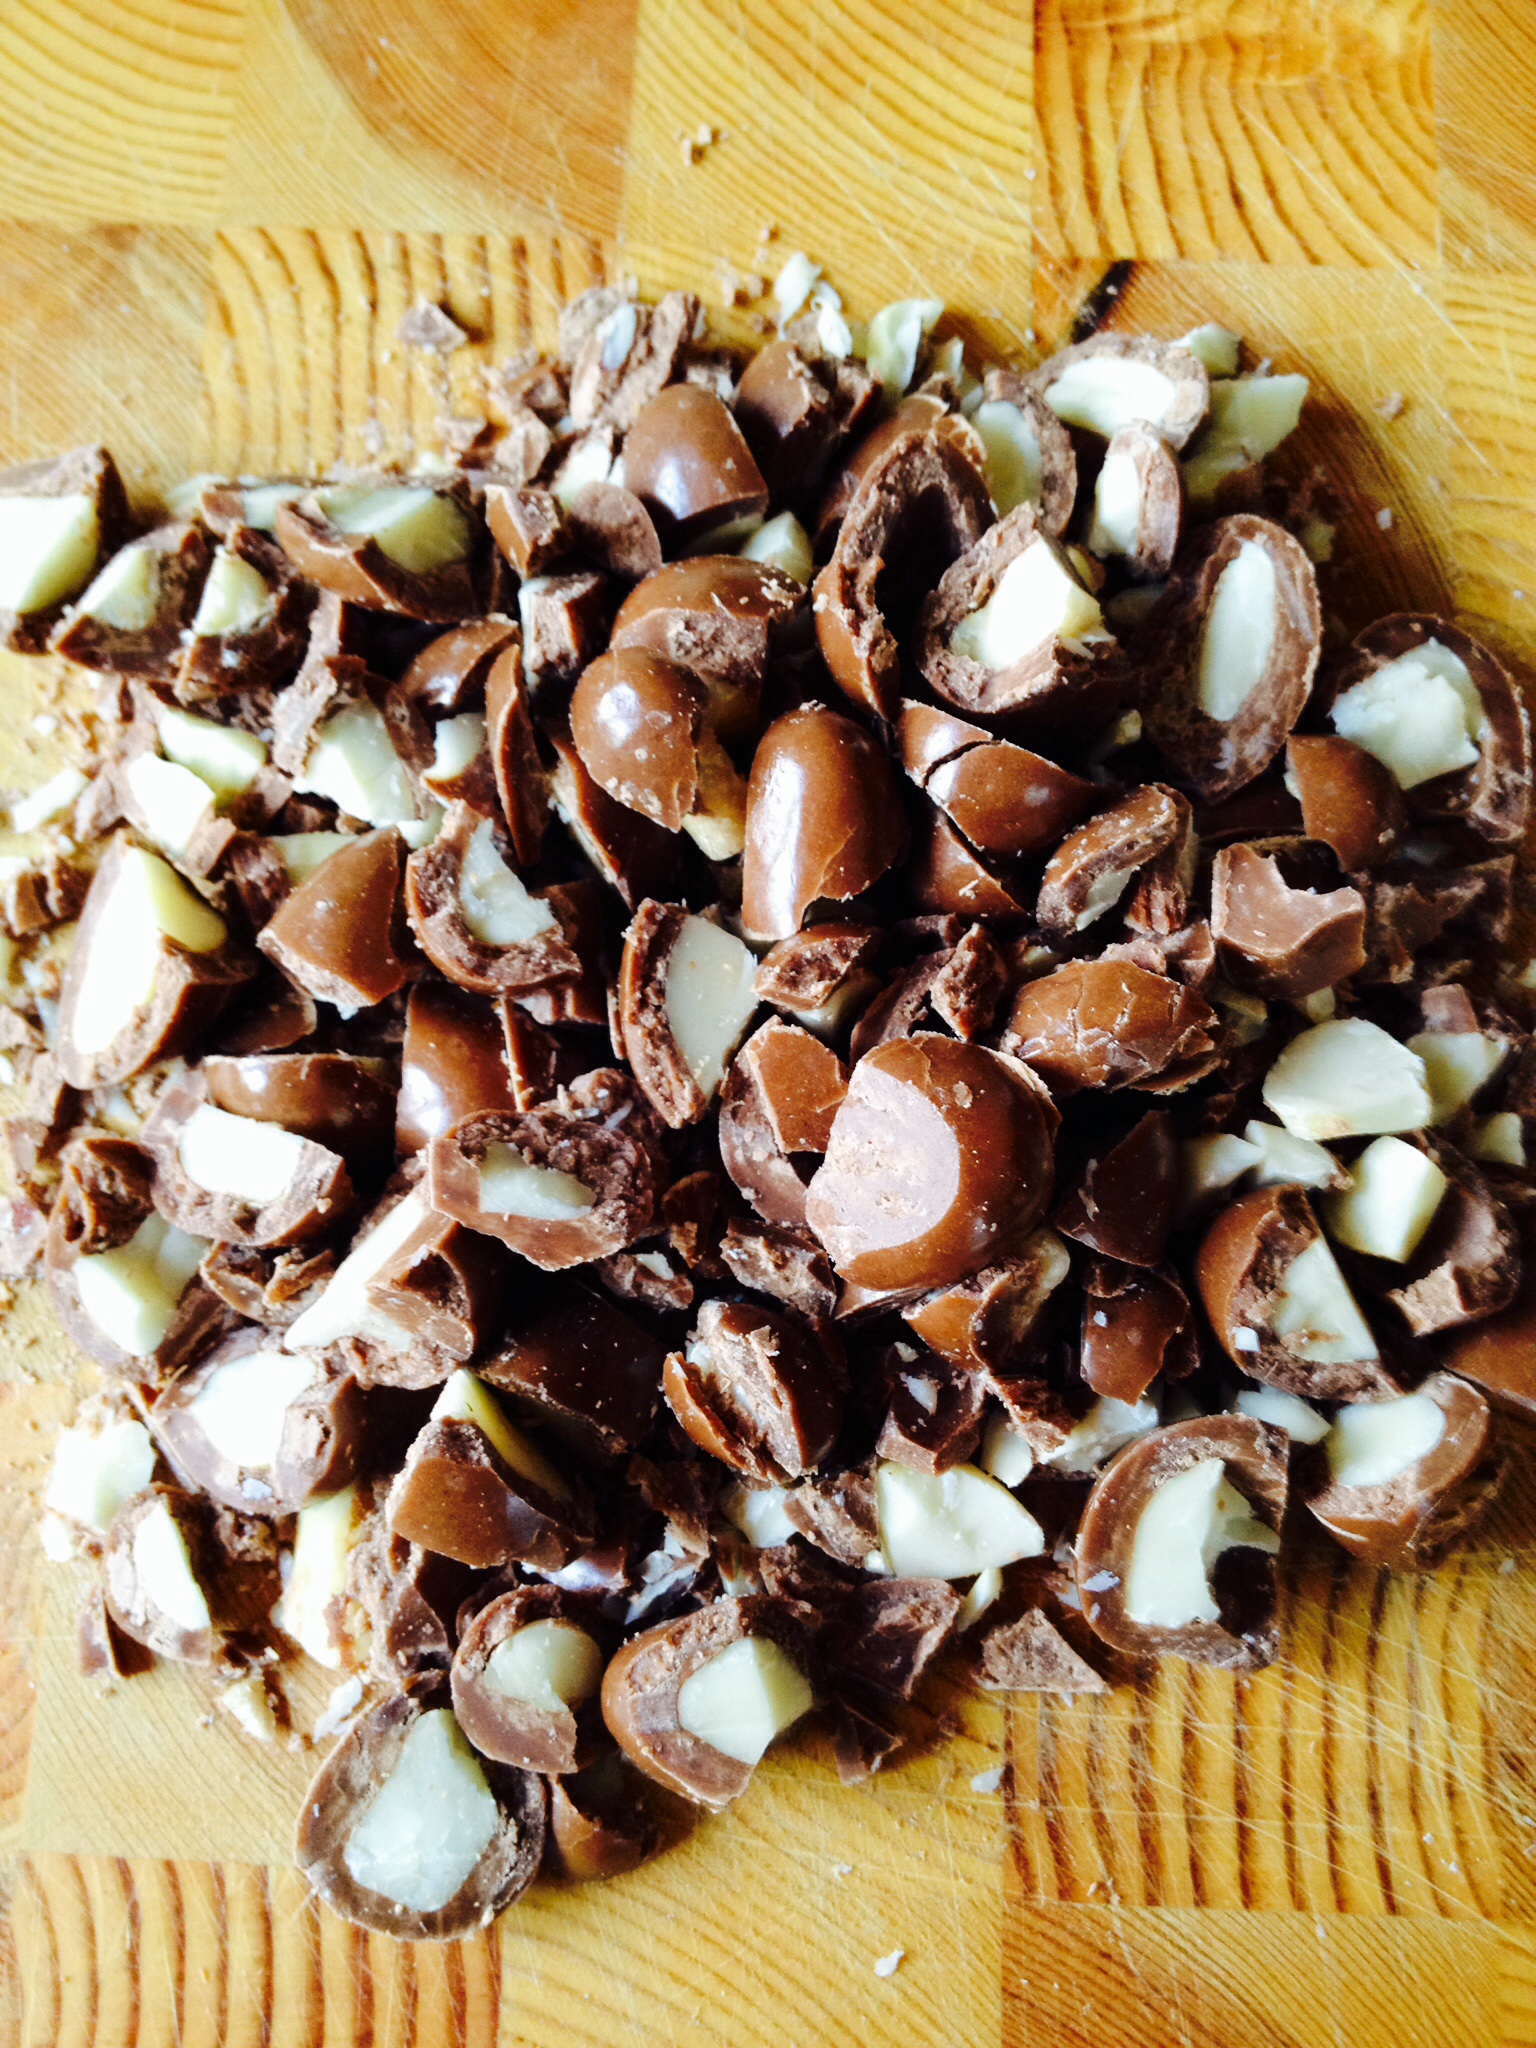
Add the roughly chopped Brazils and gently mix all the dry ingredients into the sugar/butter mix.  Make sure you combine all the dry ingredients that have dropped to the bottom of the bowl.  Once everything is combined STOP!! If you overwork the mixture the dough will become tough and will affect the finished cookie.

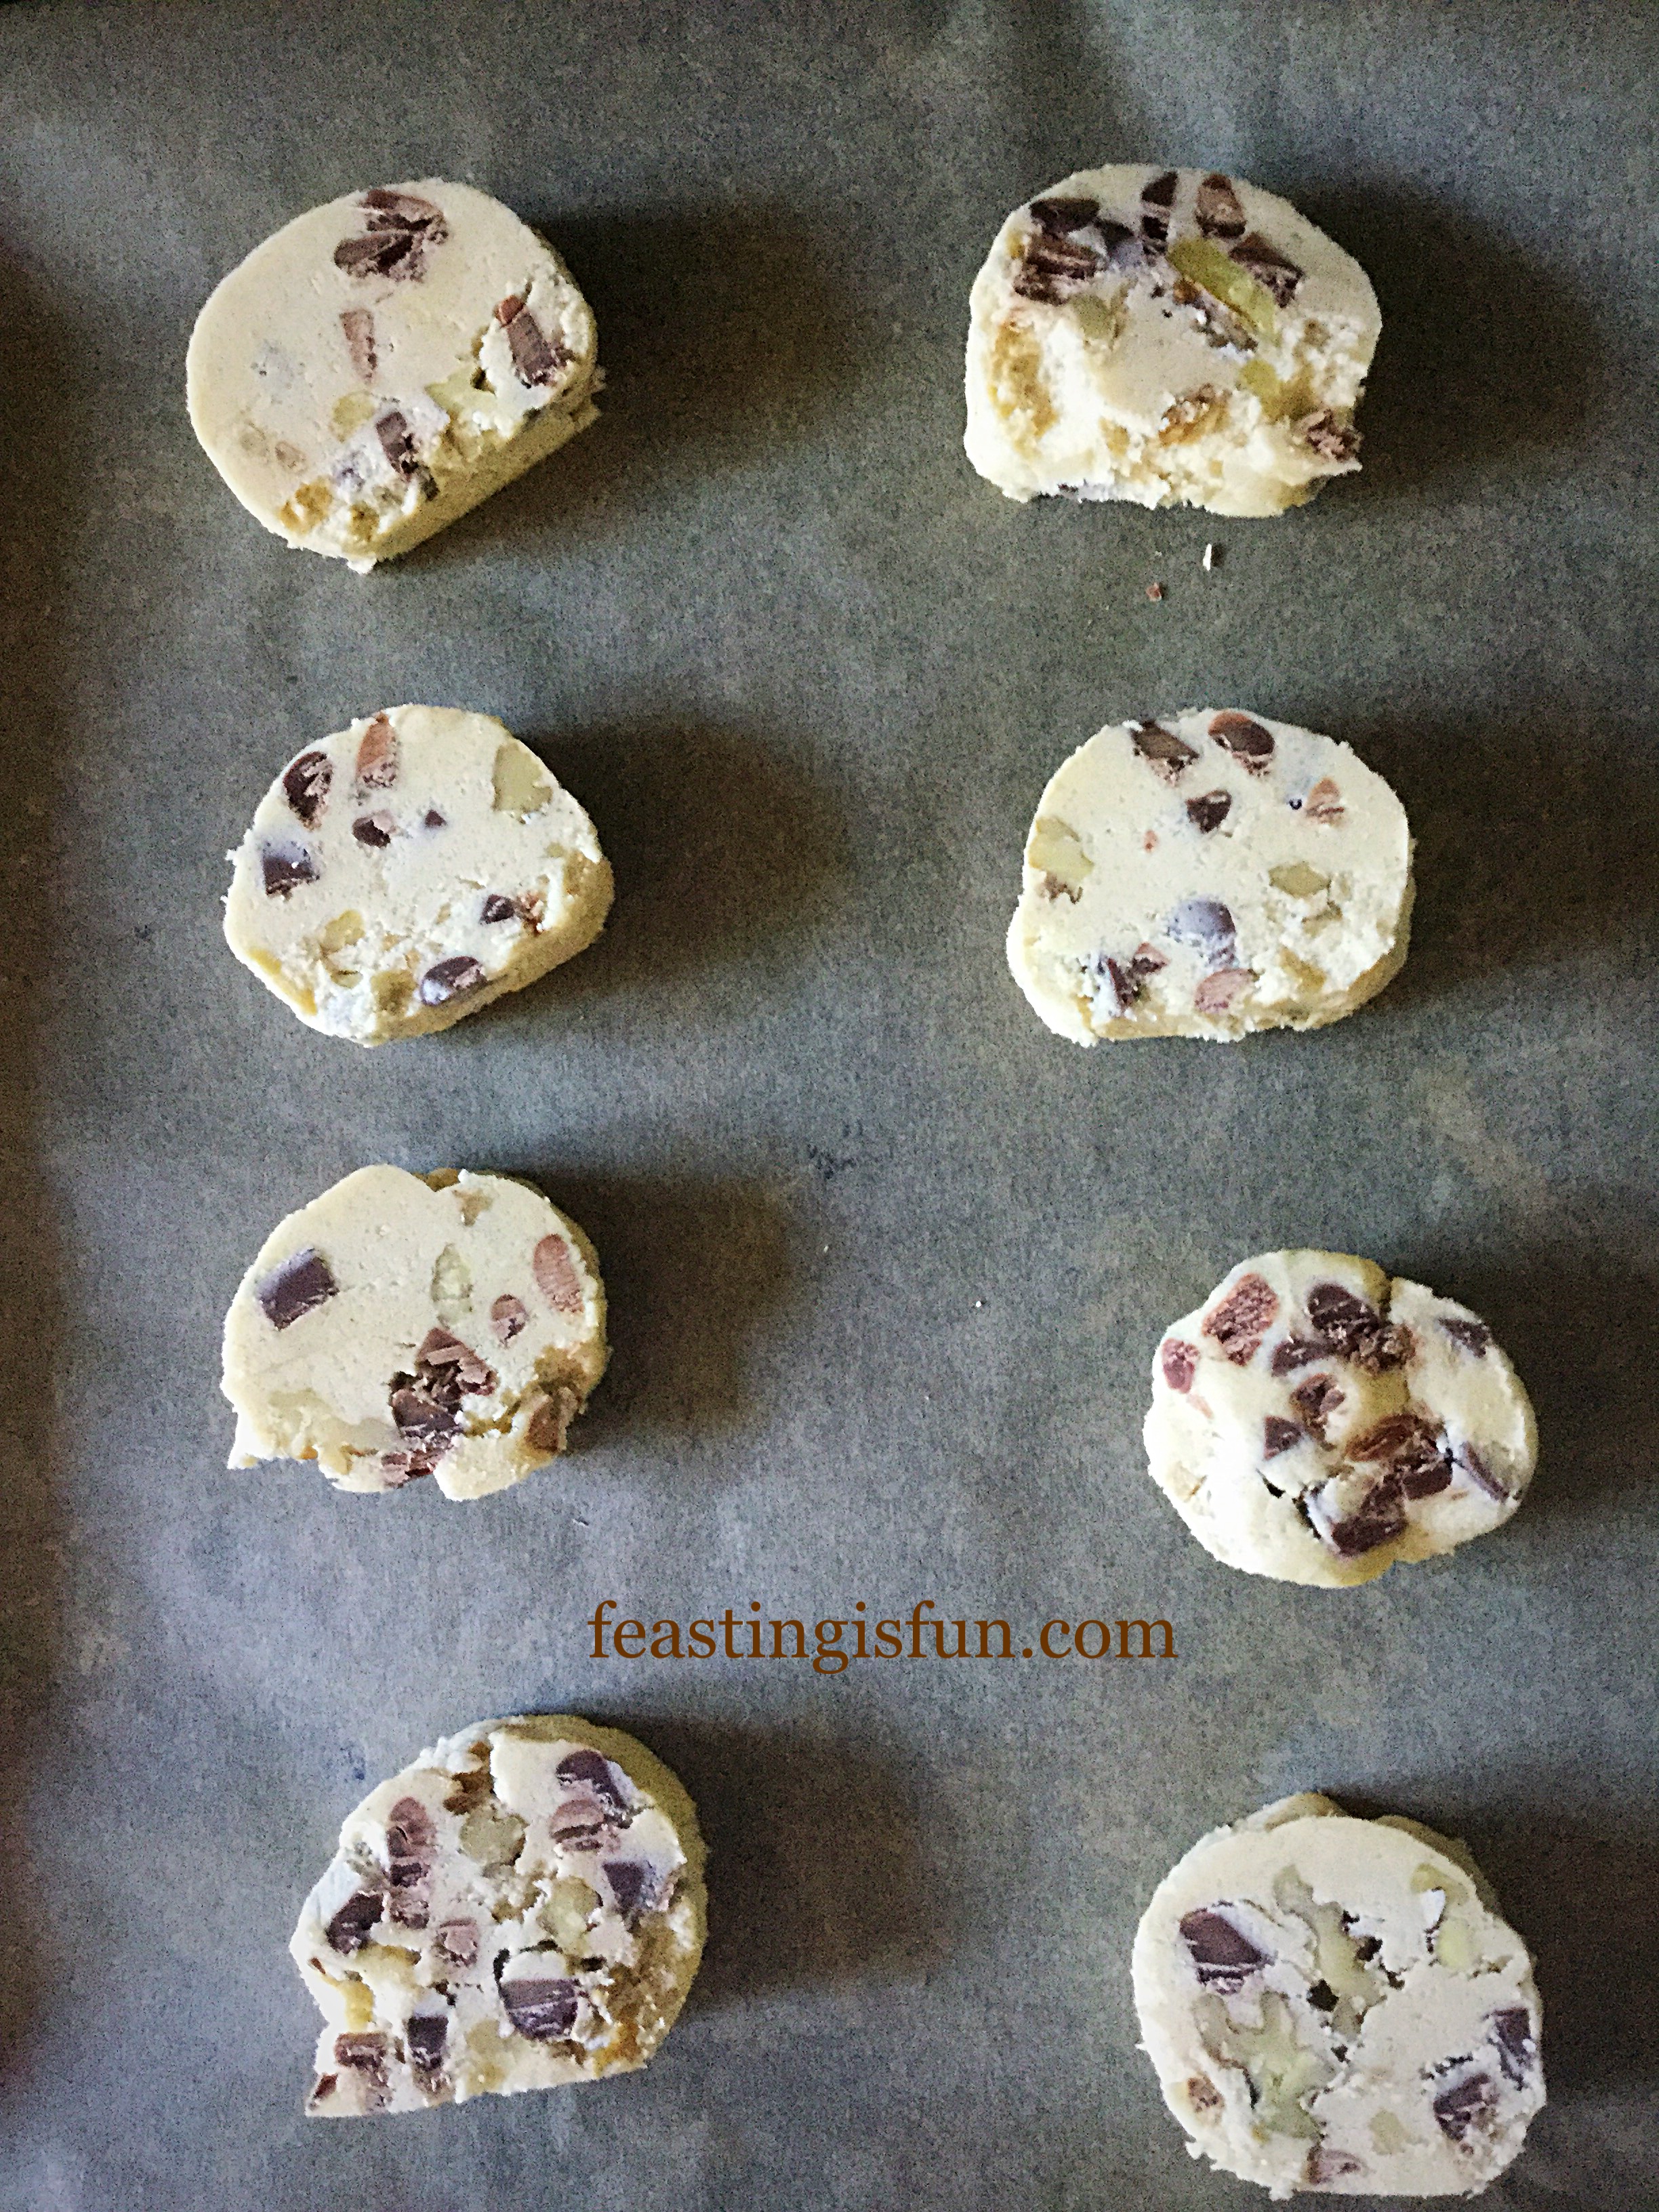
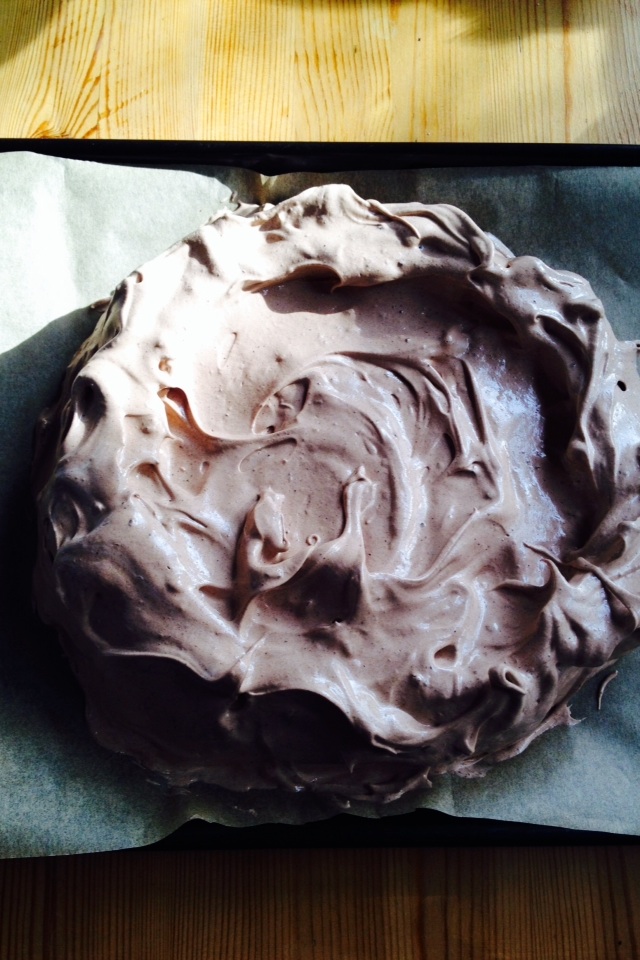
Next, using a desert spoon and eating knife, drop golf ball sized dollops of the cookie dough onto a baking sheet lined with parchment paper.

Aim for a roughly circular dollop of cookie dough!!

Dampen your hand and gently press down on the cookie dough to slightly flatten it.  This mixture is very sticky so you may need to rinse your hands, in cold water, in between squishing the cookie dough.

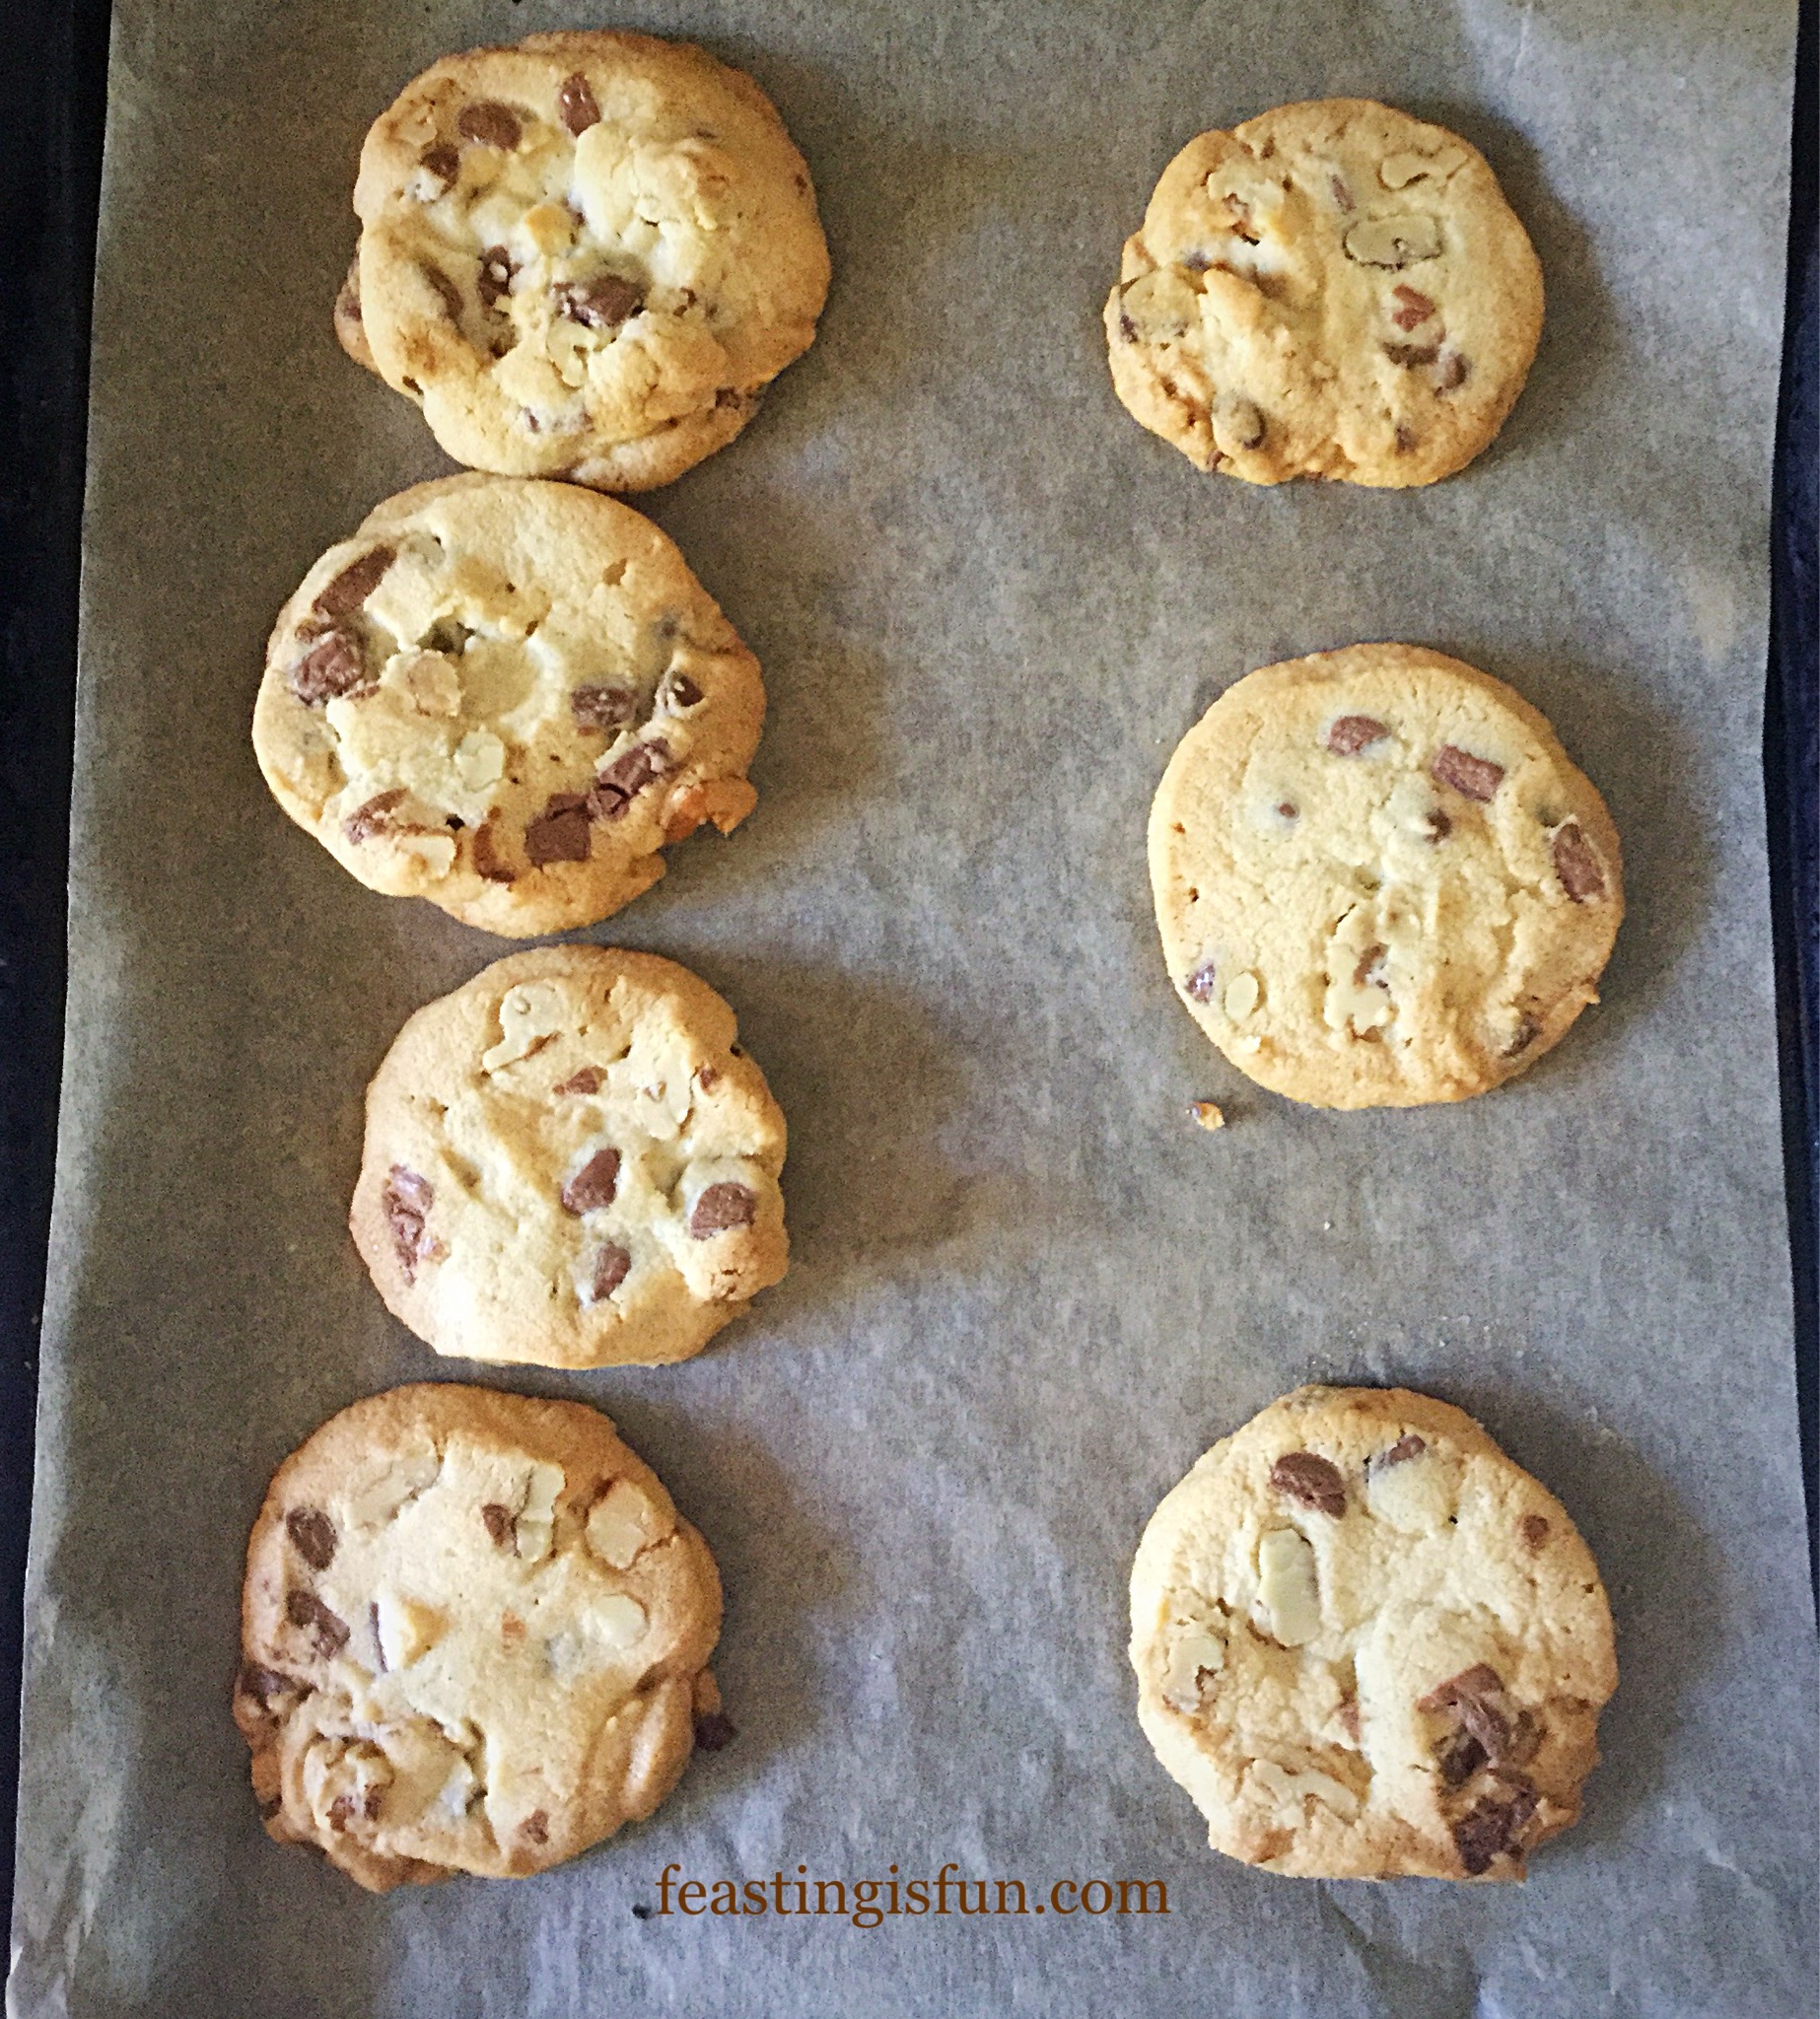
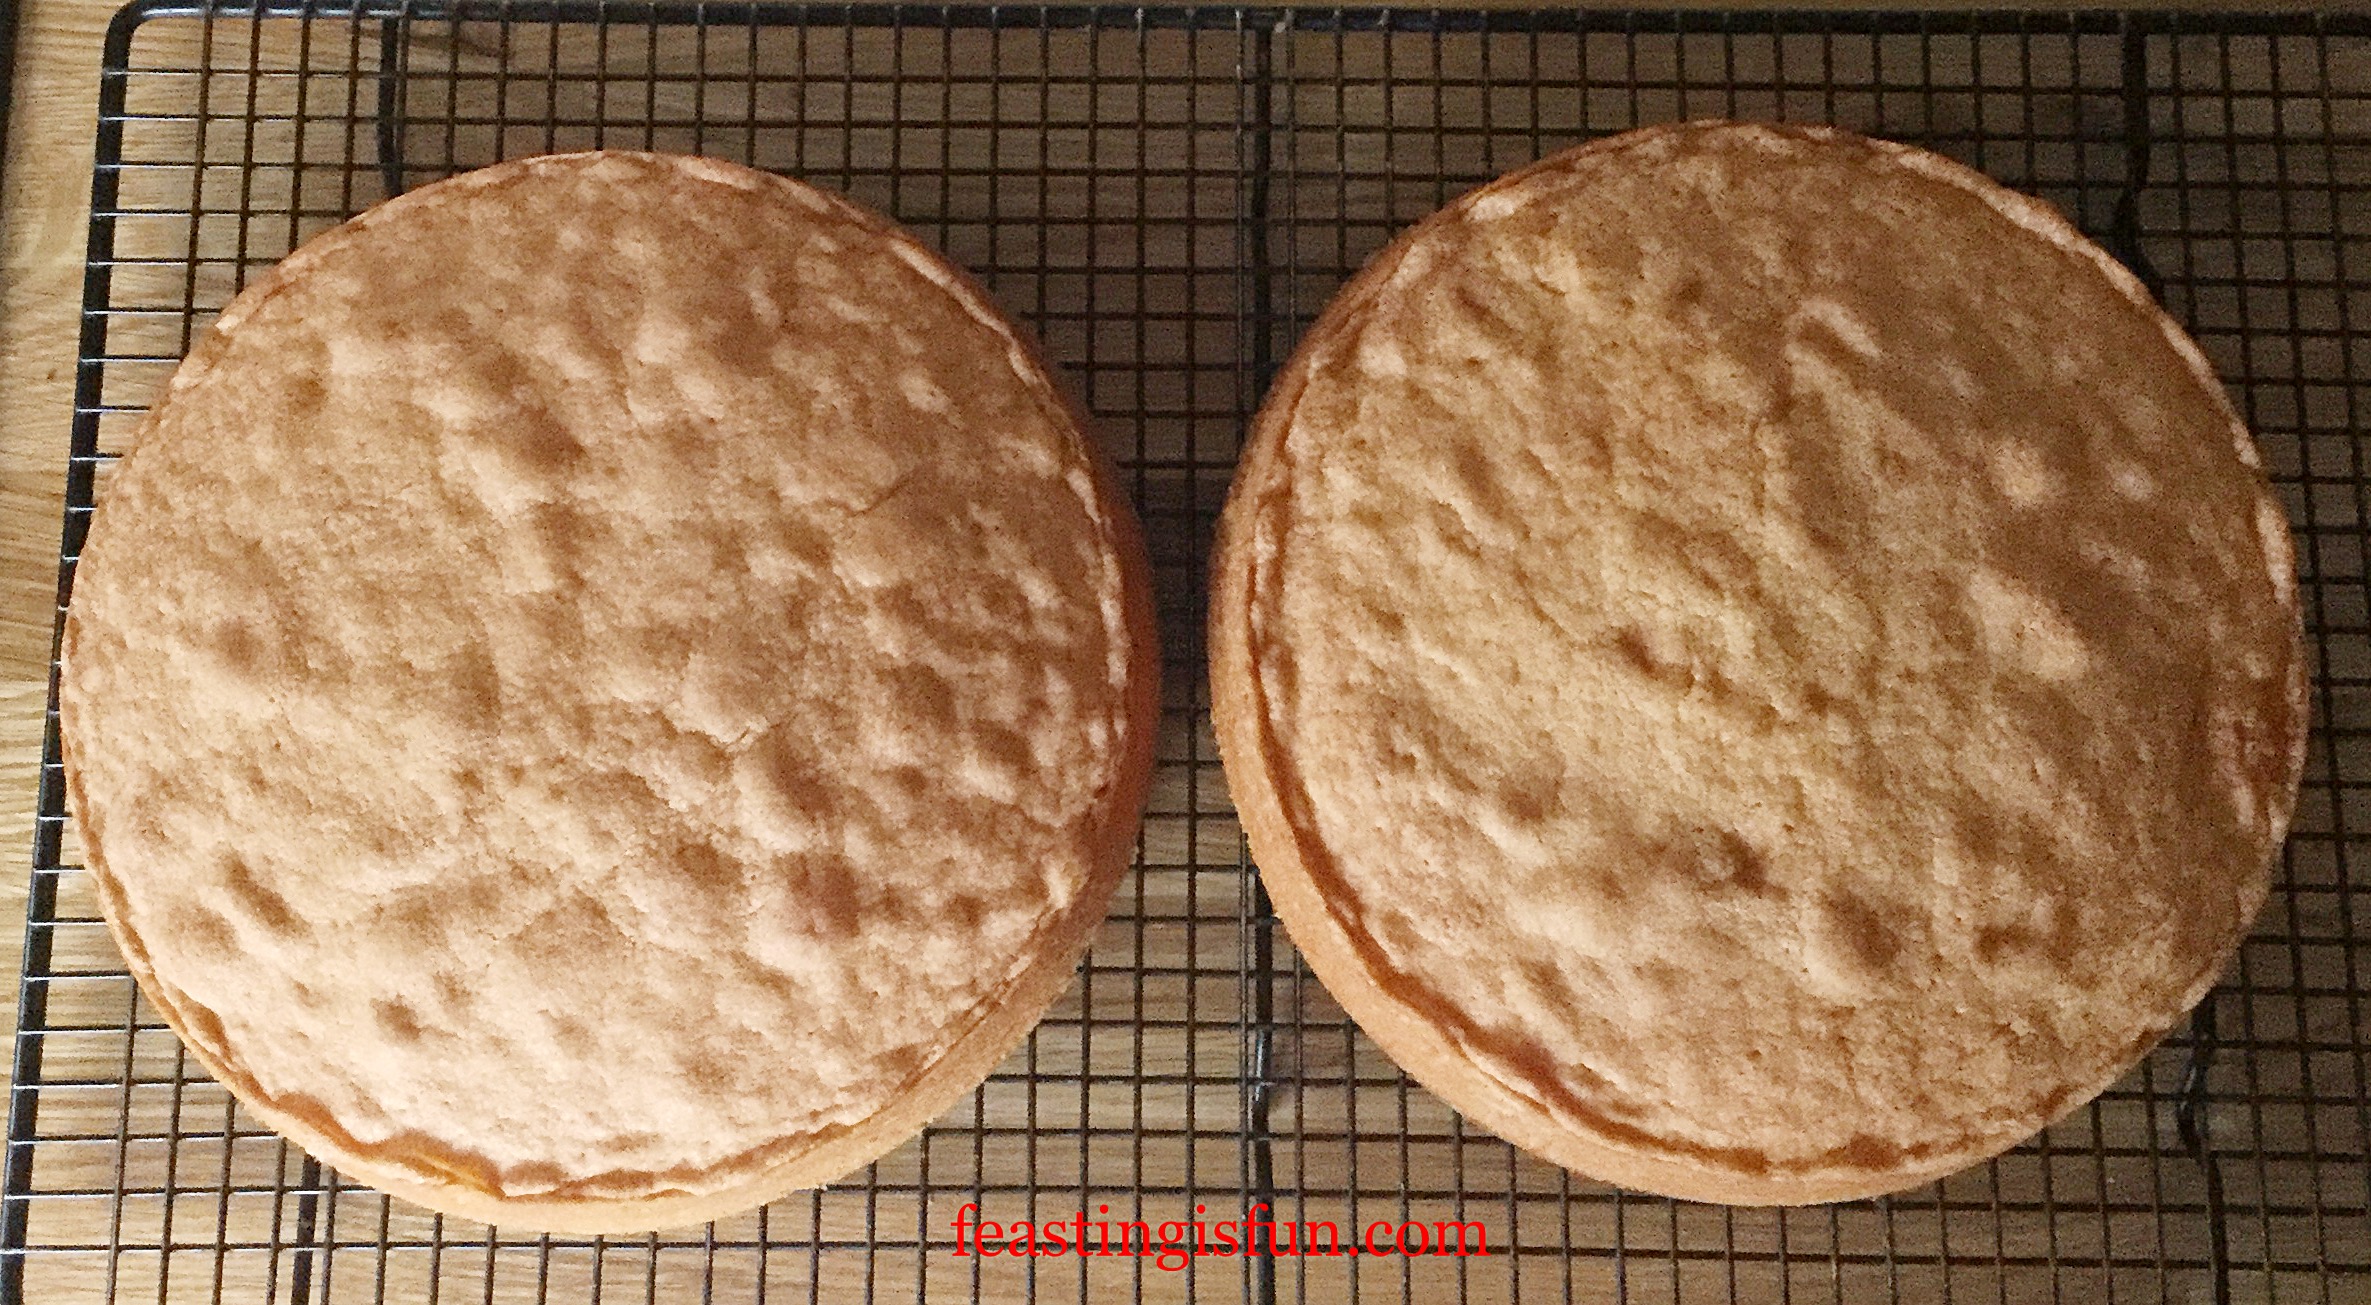
Place in the preheated oven and cook for 20-25 minutes.  Keep a close eye on your cookies whilst cooking, it’s much harder to tell if chocolate cookies are burnt by sight!!  the cookies are ready when the tops have a sugary, slightly shiny surface.  When cooked, remove from the oven and allow to cool completely and firm up on the baking sheet.

Double Chocolate Brazil Nut Cookies- the perfect way to use up leftover Christmas nuts www.feastingisfun.com

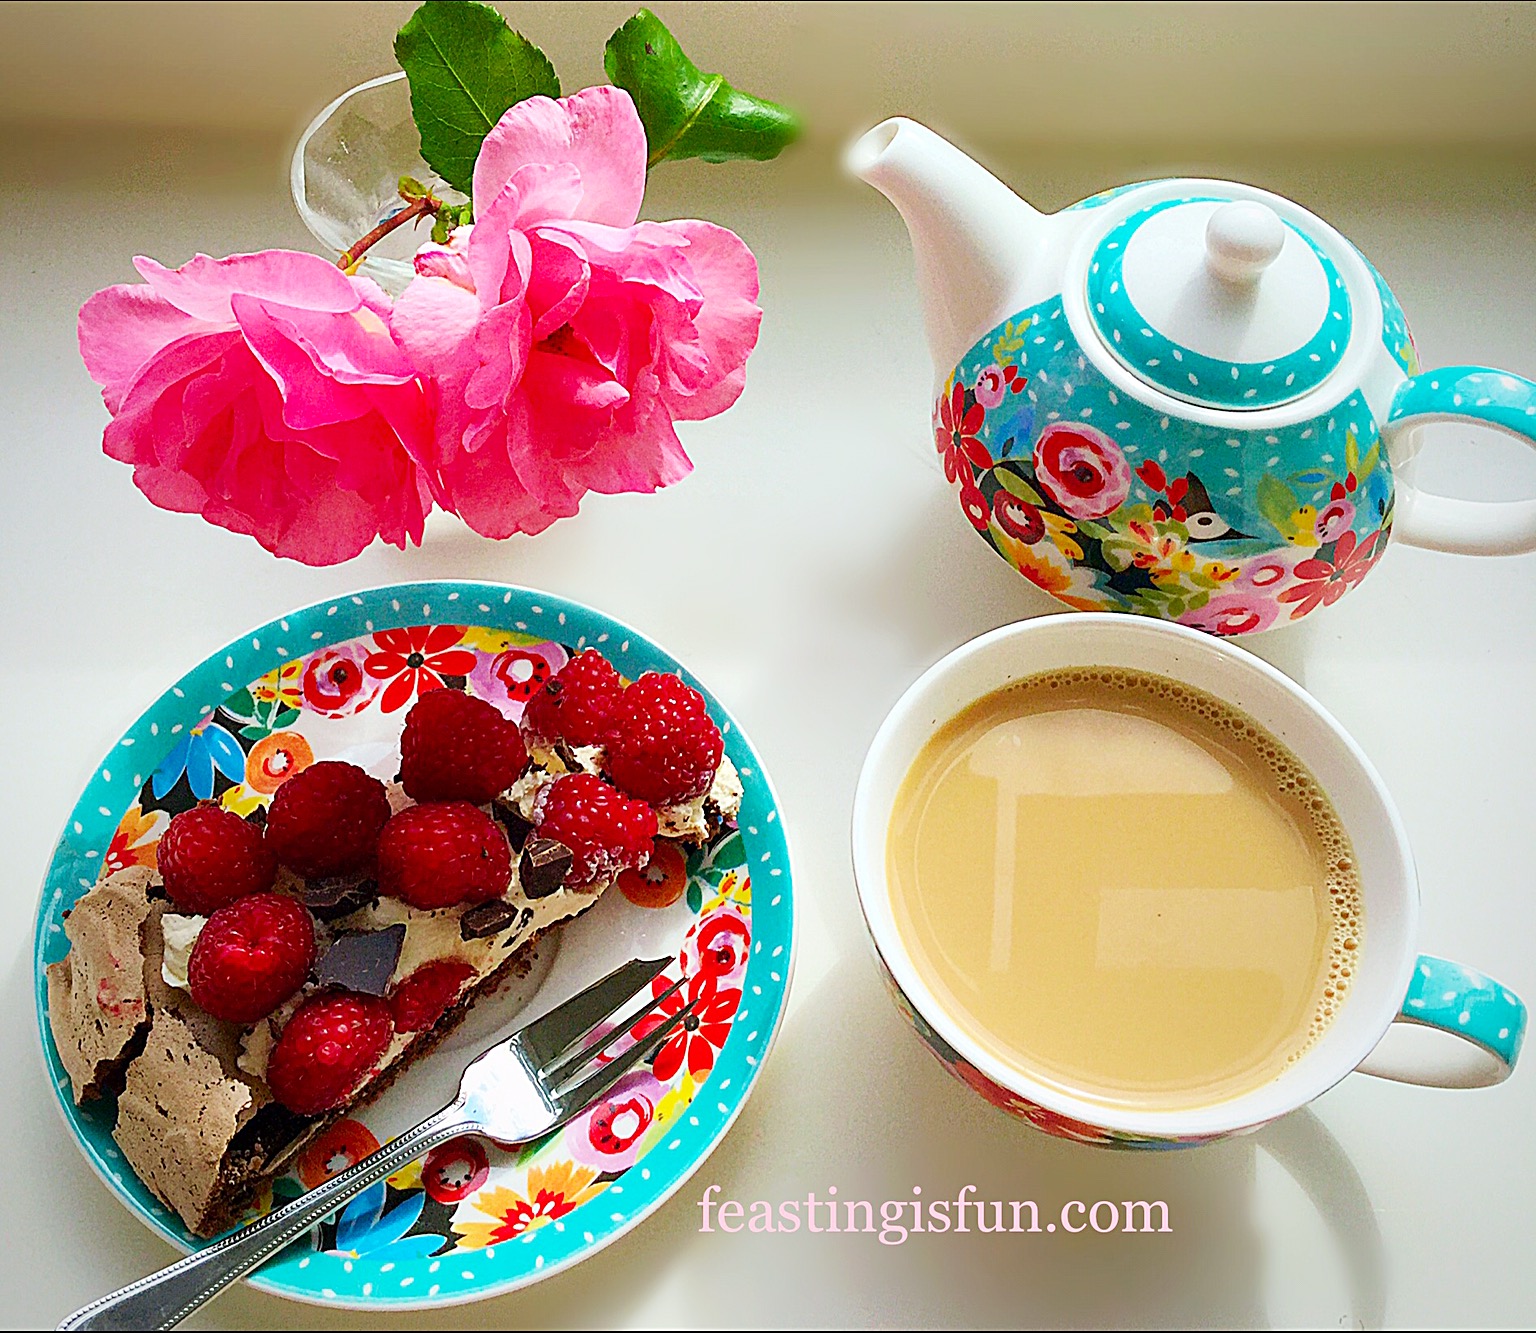
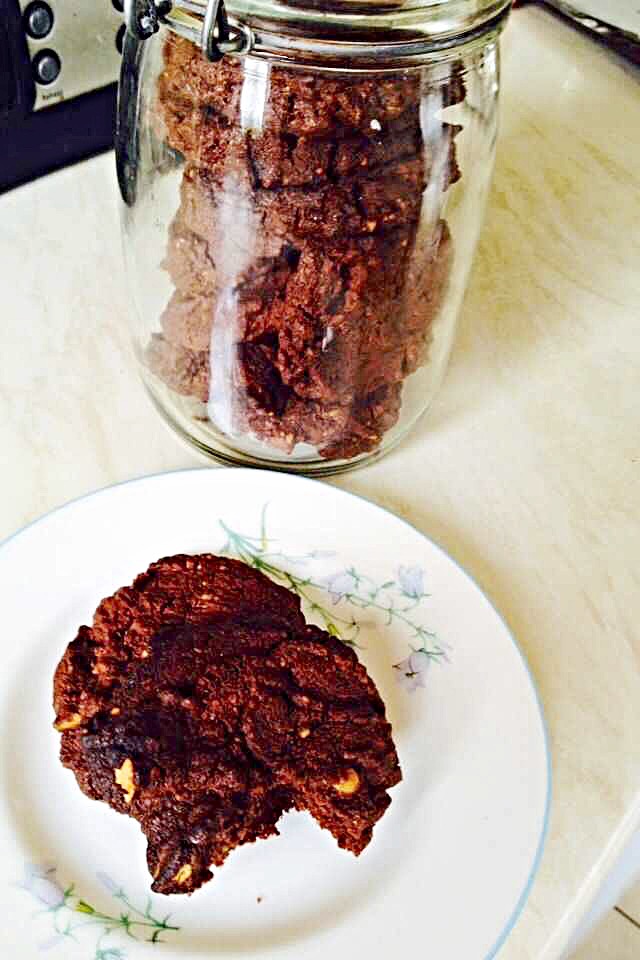
It’s time to pop the kettle on!!!  Place the cold cookies in an airtight container, or pop a few into cellophane bags tied with pretty ribbon and give as gifts

I’m sharing mine with my official ‘Taste Tester’ the Green Goddess, whose honest feedback and encouragement is invaluable.

It really is so much more fun sharing what you’ve baked with others – and they enjoy it too!!

Sammie x

Share
Facebooktwitterpinterestlinkedintumblr

Bacon Cheese Pasta Bake

Share
Facebooktwitterpinterestlinkedintumblr

Hello there, thank you for stopping by to read my blog.  I hope it inspires you to make this delicious, very economical, Bacon Cheese Pasta Bake – covered in a scrummy Cheese Sauce!

FF Bacon Cheese Pasta Bake
Bacon Cheese Pasta Bake

I’m sorry that I haven’t posted anything for a few days, unfortunately my body has been very uncooperative and I’ve been struggling with a lot of pain.  Not looking for sympathy, just explaining.

Anyhow this morning, once I was up and dressed I was determined to make the Christmas cakes ( I know this blog is about the Bacon Cheese Pasta Bake – but I have to tell you the whole story, so bare with please??!!).  One cake for us and a smaller cake for my lovely hubby’s Ma and Pa.  They love Christmas cake like no other people I have ever met and since I love them and making cakes I thought I’d bake them a cake as well!

Once the cakes were happily baking away in the oven I turned my attention to dinner.  I happened to have 8 rashers of streaky bacon in the fridge and thought ‘You know what, I’ll make Bacon Cheese Pasta Bake’.  Not only that, but as I have tended to be a bit lazy with my savoury recipes, I also made a note of exactly what I used and took some photos to show you how to make it yourself!!

Recipe:  Bacon Cheese Pasta Bake serves 6

For the bacon and tomato sauce you will need –

1tbsp  Olive oil

1tbsp  Butter

8 x rashers streaky bacon (smoked or not the choice is yours) – any rind removed

1  Large White Onion

2  Sticks of Celery

1  Green Pepper

6 – 8  Chestnut or Button Mushrooms

3  Bulbs of Garlic

2  Tins Chopped Tomatoes and their juice

1tbsp  Tomato puree

1tsp  Mixed Dry Herbs

1/2tsp  Sea Salt (1/4tsp free flowing salt)

1/4  tsp Nutmeg – freshly grated

1/2tsp  Black Pepper – freshly ground

1/2tsp  Sugar

For the Cheese Sauce :

2tbsp Unsalted Butter

2tbsp Plain White Flour

500ml/1.25 pints Whole Milk

175g/6oz Strong Cheddar

1/4tsp Freshly Grated Nutmeg

Salt and Freshly Ground Black Pepper

Method

In a large saute pan (or shallow casserole dish) melt the Olive oil and Butter together over a medium heat.  Add the finely chopped Onion and Saute until translucent (approx 5-8 mins).  Add in the Bacon – I usually snip this into approx 1/2″ pieces, directly into the pan, however you can chip up the Bacon with a knife and then add it.

Let the bacon sizzle until it had rendered out some of it’s fat, but not so much that it goes crispy.  Add in the Celery and Carrot ( which have both been finely chopped and cook for another 5 mins.

Sautéing the bacon, onions, carrots and celery.

After 5 mins add in the finely chopped Green Pepper and the Mushroom ( I slice the mushrooms fairly thinly, then cut the slices in half – it just looks nice in the dish!).  Add the crushed (or finely chopped) garlic and continue cooking for another 5-10 mins, until all the vegetables are slightly softened.

Green Pepper and Sliced Mushrooms added. How chunky or fine you chop your veg is entirely up to you!!!).
Green Pepper and Sliced Mushrooms added. How chunky or fine you chop your veg is entirely up to you!!


Once the vegetables have started to soften add the tinned, chopped tomatoes.  Rinse each tin out with cold water (fill the tin to just over half with water and swish the tin to dilute any tomato juice left, into the water) and add the tomato purée.  Add the seasonings next: salt, pepper, sugar, nutmeg and mixed herbs.  The sugar balances out the tartness of tinned tomatoes and makes a very real difference to the finished dish.

Allow the bacon, vegetables and tomatoes to bubble away, uncovered, on a low-medium heat for at least an hour.

Cheese Sauce:

Melt 2tbsp butter on a medium heat in a saucepan.  Once melted add 2tbsp of plain white flour and mix thoroughly, lowering the heat very slightly.

Cook the flour and butter together for a couple of minutes to get rid of the 'raw flour' taste.
Cook the flour and butter together for a couple of minutes to get rid of the ‘raw flour’ taste.

This flour/butter mixture is now called a roux.  Now gradually add (50ml at a time at the beginning) whole milk to the flour/butter mixture, stirring constantly.  As the milk warms it will gradually become incorporated into the flour/butter. In the beginning, for the first few milk additions, the mixture will be very thick and stiff to stir.  If you find the milk is not incorporating into the mixture, or it is very lumpy, it’s fine to switch to a whisk, this will ensure a beautiful, lump free, smooth sauce. Add 450-500ml of milk until your sauce has the consistency similar to custard.

Lump free, smooth white sauce!! Easy!!

Add a pinch of salt, a good grinding of black pepper, 1/4 tsp freshly grated nutmeg and mix thoroughly.  Off of the heat add a good 2 handfuls (4-6oz) of grated mature cheddar cheese.  Mix thoroughly until the cheese has melted into the sauce.

The Pasta

I have used penne rigate pasta for this dish.  Basically pasta tubes, cut on a slant with ridges in the outside!  I like penne rigate as it holds firm, the sauce not only goes into the pasta tubes, but also the sauce clings to the outside ridges of the pasta.  I cooked about 3/4 of a 500g packet (350g if my maths is correct??).

I said earlier, this is such an economical dish – 8 bacon rashers, bits of veg you have in the fridge, a couple of handfuls of mature cheddar and not even a whole packet of pasta!!  Not only that but it tastes fab and is easily transportable, so ideal to give individual  portions to friends/family or pop in the freezer!!

Once the pasta is almost cooked (not quite al dente) drain and add to the bacon sauce.

The pasta dumped on top of the bacon sauce.

Mix the sauce and pasta together.  If serving a separate portion to give away, remove a generous portion of the pasta/bacon mix, ensuring you get a good mix of the sauce, bacon, veg and of course pasta.

Not the most elegant container, but foil containers make transporting, or freezing the individual portions sooooo easy!!

Spread the rest of the bacon pasta evenly into an ovenproof container.  Tap the individual portions to settle the pasta and remove any air bubbles.

Cover your pasta dishes with a good dollop of the cheese sauce.  For added prettiness (and because the cheese sauce didn’t reach the edges!!) I sliced ripe, ruby red tomatoes and placed them around the outside edge of the pasta.

Beautifully decorated - and no one knew my secret!!!!
Beautifully decorated Bacon Cheese Pasta Bake
Slightly overstuffed, once the cheese sauce was added, so just wrapped in foil. One individual portion ready to go!!!
So a super tasty, super economical meal to eat and share!

For a bubbly,scrumptious meal, ready for the table:  Cook the large Bacon Cheese Pasta Bake at 180C for an hour until thoroughly heated through, 1/2 hour at the same temp for the individual portion.

An amazingly tasty, versatile dish that’s easy on your wallet and tasty on your tongue.

Have fun, feasting and enjoy sharing your meal!!

Sammie x


Share
Facebooktwitterpinterestlinkedintumblr

Leek and Potato Soup

Share
Facebooktwitterpinterestlinkedintumblr

Hi, thanks for stopping by today.  I hope you are well?  As for me, I have a rotten sore throat (plus the high temperature etc that go with these horrid virus’). I need soup! And not any old soup, Leek and Potato Soup!  I love this soup, it’s the one of the few foods I eat when feeling unwell and haven’t got an appetite.  So, whenever I’m unwell this is what I feast on.

Leek And Potato Soup

So I make a big batch of this soup when I’m well, then I freeze it in single portions.  That way, if I’m not feeling fantastic, like today, all I have to do is grab a portion out of the freezer, reheat and eat!

A splash of cream for added indulgence!

Recipe: Leek and Potato Soup

0.5Kg  Leeks

0.5kg  Potatoes – I’ve used King Edwards, floury potatoes work best in this recipe.

1tsp  Nutmeg – freshly grated

1/2tsp  Sea Salt – I use Maldon

1/2tsp  Black Pepper – freshly ground

1  Vegetable Stock Cube

1  Tbs  Butter – for sautéing leeks (use vegetable oil for vegetarian/vegan version*)

50mls plus a little extra Double Cream (alternatively use full fat Coconut Milk*)

Prepping The Leeks For The Soup

Place a large, heavy based saucepan on the hob, add the butter or oil) and melt on a slow heat.

Trim the top and bottom of the leeks.  Make a slit down the entire length of each leek.  Wash each leek thoroughly under cold water, making sure that any dirt, trapped between the layers, is washed out. (This is best done under a tap of cold running water – or you can chop the leeks, place in a bowl filled with cold water, swish about to dislodge any dirt and drain.)

Chop the leeks into roughly 1/2″ dice.

Add the chopped leeks to the melted butter in the pan.  Then add half of the salt and stir ( the salt will stop the leeks burning).  Sauté the leeks for 5-10 minutes on a medium/low heat until translucent (the dark green parts of the leek won’t change, don’t worry that’s okay).

Sautéing the green and white parts of the leeks together, gives the finished soup a beautiful, finished colour.

Prepping The Potatoes For The Soup

While the leeks are sautéing peel and chop the potatoes (1″ dice for the potatoes).  Place the prepared potatoes into a bowl and cover with cold water.

As soon as the leeks are translucent add the potatoes and the water they have been stored in.  Pour over enough recently boiled water, from a kettle, until the potatoes and leeks are completely covered in liquid.

The potatoes added.
The potatoes added.

Seasoning And Cooking The Soup

Turn the heat up and bring to a boil, and then immediately reduce the heat to a simmer.

Add the stock cube, pepper and freshly grated nutmeg. Hold back on adding the rest of the salt, stock cubes vary in their saltiness.  Better to add a the salt later, than have an over salted ruined soup!

Adding freshly grated nutmeg really enhances the flavour of the soup.

Cook the soup on a gentle simmer for at least an hour.  Because, slow cooking breaks down the tougher fibres found in the dark green tops of the leeks, enhancing not only the colour, but, most importantly the flavour of the soup.  I’ve made this soup before leaving it to simmer happily, on a low heat, all morning.  Not only did it taste delicious, the house had a wonderful, welcoming, warm aroma!

Creating A Velvety Leek And Potato Soup Texture

When the soup is fully cooked it’s time to blend. There are various ways to do this:  A potato masher can be used to simply ‘mash’ the potatoes and leeks into the liquid.  This will not give the smoothness achieved by using a blender, but creates a wonderfully textured soup.


An immersion blender is quick and allows you to control the texture of the soup.

I’ve used an immersion blender for my soup.  As can be seen from the photo, make sure you move your pan away from direct heat whilst blending.  Blend the  soup until it is smooth and velvety in texture.

Other ways of blending including using a liquidiser or food processor.  I personally would not liquidise the soup until it has cooled.  Whatever you decide, ensure you follow the manufacturers instructions for your appliance.  Just looking out for your safety xx.

Serving The Soup At Its Best

When you have your soup at the desired texture, stir in 50mls of double cream.  Doing so makes such a difference.  If you are seriously counting the calories, check the soup for seasoning and eat the soup as is.  Yet, for a creamier soup add either double cream or coconut milk. As soon as the small amount of cream has been added it enriches the soup, rounds out all of the flavours and takes the soup to a whole other velvety taste experience. So it really is worth adding the cream!

It's only 50mls of Double Cream! Go on, you're worth it!!!
It’s only 50mls of Double Cream! Go on, you’re worth it!!!

Next serve yourself up a generous bowlful, add a little swirl of cream, should you desire and enjoy.

Serve with crusty bread.

A warming feast to enjoy in the colder months. Especially good at soothing sore throats.

This soup freezes very well for up to 3 months.  Pour into single serving, freezer proof plastic containers.  Perfect for sharing if one of your friends or family members fall ill.  Once frozen it is very portable, so a bowlful of homemade soup is just a quick drive away!

Leek And Potato Soup

If you have enjoyed this recipe for Leek And Potato Soup you may also like these:

Warming Winter Vegetable Soup 

FF Leek And Potato Soup
Warming Winter Vegetable Soup

Roasted Garlic Butternut Squash Soup 

FF Leek And Potato Soup
Roasted Garlic Butternut Squash Soup

Creamy Low Fat Mushroom Soup 

FF Leek And Potato Soup
Creamy Low Fat Mushroom Soup


See even simple easy soup can be shared.

Sammie x

No part of this post may be reproduced or duplicated without the written permission of the owner. Please see my Disclosure Policy.

Share
Facebooktwitterpinterestlinkedintumblr

Walnut Chocolate Chunk Cookies

Share
Facebooktwitterpinterestlinkedintumblr

Hi there, thank you for stopping by to read my blog.  Cookies are always a welcome treat, whether eaten here at home, or shared amongst fiends. Today, both our Post Lady and shopping delivery man both took parcels of the cookies away with them. I hope it inspires you to try this recipe for Walnut Chocolate Chunk Cookieshave fun and share your feasting with others.

FF Walnut Chocolate Chunk Cookies
Walnut Chocolate Chunk Cookies.

Walnuts are healthy?

So walnuts?  Just done a little bit of research and it seems they are very good for you.  The BBC report I read claimed that, out of the most commonly eaten nuts, Walnuts had twice the number of antioxidants in them compared to the other nuts tested. Well I’m not going to argue with the Beeb. Also, in truth, I don’t really know what antioxidants are, or what they do. Yet it seems they are good to have in your body.

FF Walnut Chocolate Chunk Cookies
Walnut Chocolate Chunk Cookies

Now some, could say these cookies are a ‘health food’ based on this evidence. Although I couldn’t possibly make such a claim! What I do believe and feel quite strongly about is this: As part of a healthy balanced diet, a couple of homemade cookies are better for you than eating lots of processed,especially low fat, low calorie, so called diet food products. Containing a myriad of stabilisers, hidden sugars, mould growth inhibitors etc, all so they can have a longer shelf life in the shops.

Anyway enough of my opinions on food. Because what really counts and makes it worthwhile baking is taste and texture. And yes these cookies hit the spot on both counts! The recipe came about as I had run out of normal plain white flour, so I had to improvise. Fortunately for me it worked, with both variations of the recipe being equally tasty.

Recipe: Walnut Chocolate Chunk Cookies makes 30 approximately

225g/8oz  Unsalted Butter softened to room temperature

150g/5oz  Caster Sugar

1/4tsp  Sea Salt – I use Maldon

1  Large Egg Yolk – room temp and pref free range.

1 tsp Vanilla Extract – I use Nielsen-Massey

175g/6oz  Walnuts

225g/8oz Plain White Flour, or alternatively 175g/6oz 00 White Flour plus 50g/2oz  Corn Flour

6oz  Milk Chocolate Chunks or Chips – I use Callebaut

Method: Prior to baking preheat the oven to 180C/160C fan, gas mark 4, 350F.

Making the cookie dough:

  • First of all add the butter, sugar and salt to a large bowl.
  • Using an electric whisk, or wooden spoon, cream the butter, sugar and salt together until pale and fluffy.  The usual check can be applied, which is to rub a small amount of the creamed mixture between your forefinger and thumb, if no grittiness is felt the sugar is completely combined with the butter.

TIP:  This is an important part of creating a Cookie with fab texture. When I first started baking, I would mix the butter and sugar together until combined.  My cookies were okay. Then one day when following a Nigella recipe, that I’d made before I actually whisked the butter and sugar (as stated in the recipe – sorry Nigella for neglecting that bit before) and not only did the Cookies turn out much better, but the mixture made any extra 4 Cookies!

  • Next whisk/beat in the egg yolk and Vanilla Extract until fully incorporated.
  • Take 50g/2oz of walnuts and process in a food processor (or alternatively a mini chopper) to a similar consistency as ground almonds.
  • Add the processed walnuts and either plain white flour, or  corn flour and 00 white flour to the creamed mixture.
  • Now add the chocolate chunks and the remaining 100g/4oz roughly chopped walnuts.
  • Use a spoon gently mix until all the ingredients are combined.
  • Lay some cling film on top of a damp work top – see Super Easy Shortbread Cookies for detailed photos. Place half the mixture on to it and form a log shape.  Wrap in the cling film and refrigerate.  Repeat with the other half of the dough.
  • Finally, chill in the fridge for at least an hour, however the wrapped dough log can be kept in the fridge for up to 5 days.

Baking the cookies:

  • When ready to bake remove the dough log from the fridge and leave at room temp for 10-15mins to warm up slightly.
  • While the dough is warming preheat the oven
  • Use a sharp knife slice the dough log into 3/4cm discs – each log should yield 10-15 Cookies.
  • Place the cookie discs on to the baking sheet spaced evenly apart.
FF Walnut Chocolate Chunk Cookies
Walnut Chocolate Chunk Cookies ready for the oven.
  • Place the baking trays, spaced evenly apart, into the preheated oven.
  • Bake for 20-25 minutes, rotating and turning the baking trays halfway through baking.
  • When baked the cookies are a golden colour.
  • As soon as the cookies are baked remove from the oven.
FF Walnut Chocolate Chunk Cookies
Perfectly baked Walnut Chocolate Chunk Cookies.
  • Allow to cool on the baking trays until completely cooled.
FF Walnut Chocolate Chunk Cookies
Walnut Chocolate Chunk Cookies great with a cappuccino.

Serve with a smile and you favourite drink.

Keep baked cookies in an airtight container for up to 5 days.

If you have enjoyed this recipe for Walnut Chocolate Chunk Cookies then you may also enjoy these:

Extreme Chocolate Cookies

FF Walnut Chocolate Chunk Cookies
Extreme Chocolate Cookies

Chocolate Christmas Pudding Cookies

FF Walnut Chocolate Chunk Cookies
Chocolate Christmas Pudding Cookies.

Walnut Fig Oat Cookies

FF Walnut Chocolate Chunk Cookies
Walnut Fig Oat Cookies


If you know someone who’s nuts about nuts, especially walnuts, now is the time to share. Stack a few cookies in cellophane bags,  tie with a pretty ribbon or some raffia and give as a gift. Alternatively, pack a tin full of cookies as a gift to family, friends or new neighbours. Whatever you do, sharing these cookies is an absolute must.

Whatever you are making, baking and creating in your kitchens, have fun creating your feast.

Sammie xx

No part of this post may be copied or replicated without the written permission of the owner. Please see my Disclosure Policy.


Share
Facebooktwitterpinterestlinkedintumblr

Almond and Morello Cherry Bundt Cake

Share
Facebooktwitterpinterestlinkedintumblr

Hello there, thank you to everyone who has been reading and leaving comments on my blogs. I’m hoping you love this Almond and MoreIlo Cherry Bundt Cake Recipe?

A moist, cooked cake, with a scrumptious Morello Cherry centre!!!!

I hope, to all those of you who have been leaving helpful comments, especially regarding targeting more people to read my blog, thank you.  However I will only approve and reply to one of each blog.  I get a lot of identical blog comments!

I’m very happy to steadily build my site, confidence and readership numbers. I know SEO (site exposure optimisation!) is important to a lot of people and I respect that.

My website and blog is a creative outlet for me (especially as I am bed-bound for days on end – not asking for sympathy).  I enjoy life and as part of that cooking, baking and most importantly having fun and sharing.  So the very act of
sharing my recipes, ideas, thoughts, beliefs through my website and blog, is, I suppose, practising what I’m preaching (without the preaching, more chatting really!).

Talking of sharing, my lovely mummy recently bought me a small Bundt pan from Aldi.  I hadn’t used it until today and although there were a few things I learnt from my first go, it wasn’t half bad!  The cake turned out (literally) extremely well – was a bit worried bout that bit and it tasted good.  So all in all a success.  Thanks mummy xx.

Just in case you’ve not seen one before, I took a couple of pics to show you what my Bundt tin looks like!

The inside of my Bundt tin!
The outside of the Bundt tin - showing the moulded shape the cake will have once cooked.
The outside of the Bundt tin – showing the moulded shape the cake will have once cooked.

My Bundt tin is quite small, but perfect for the recipe I used.  It’s dimensions are approx  6.5″ wide x 3.5″ deep.  You can buy all different sizes of pan: the common theme is that the pan has a moulded shape, to give a decorative finish to the cake and a central tube, allowing the inside of the cake to be cooked thoroughly (& allowing the finished cake to be filled with cream, fruit, patisserie creme or any number of delicious fillings).

A straight sided, round, flat bottomed tin, is an Angel Cake Tin.  These are for making an entirely different type of cake (Angel cake!), where, when cooling, the tin is inverted (turned upside down) until the cake is completely cool.  Don’t worry it’s on my birthday/Christmas/I must have this else my life will not be incomplete list!!!!!!

So my first attempt making an Almond and Morello Cherry Bundt Cake (as seen in the following photos) went something like this:

Firstly in the excitement – bare with, it’s the lil things in life that I enjoy – of taking all the wrapping/instructions etc off, I didn’t read them, so I could wash my new tin ready for use, I realised  I had no idea if the tin is non-stick!  It looked non-stick (please don’t ask me to describe?).  But I thought I’d play it safe and butter it.  Straightforward yes?  Nope!!

The beautiful shaped cakes mean the Bundt tin has lots of dents, curves, nooks & crannies.  Buttering a loaf tin with 5 straight sides is a breeze, how do I butter this gazillion sided round tin (being round does that mean it can’t have gazillions of sides?  Answers on a postcard……

Aha, a moment of pure inspiration, I’d melt the butter & brush it on with a pastry brush.  Genius!!!!

Me buttering the gazillion sided Bundt tin with melted butter.  Seriously you'd have thought I'd invented the wheel.......
Me buttering the gazillion sided Bundt tin with melted butter. Seriously you’d have thought I’d invented the wheel…….

Feeling very smug and having an excess of melted butter, I also buttered my loaf tin this way today!  Very satisfying to see a smooth(ish) layer of butter cooling in both tins!

Next it was time to decide what cake to bake?  I’ve seen some beautiful chocolate marble cakes made in Bundt tins, on Google images, but to be honest after all the chocolatey cakes made for birthdays recently, I wanted to think outside the box, or Bundt tin in this case!

So I thought I’d ‘try’ an Almond flavoured sponge.  A flavour that goes down well with all the family & crucially my official taste tester ‘the Green goddess’!

Good start but bit boring, so I had a peek in my cupboards & plucked out (the cupboards aren’t chickens in case you wondered!!) Almond flakes & Morello Cherry Jam – super.

Recipe : Almond and Morello Cherry Bundt Cake:

6oz  Unsalted Butter – room temp

6oz  Caster Sugar

Pinch of Salt (I use Kosher- no extra additives,  but  ground sea-salt is fine)

3  Large Eggs – room temp (pref free range)

1/4  teaspoon Almond Extract

1  teaspoon Vanilla Extract

6oz  Self Raising White Flour

2oz  Flaked Almonds (lightly toasted)

4  tablespoons Morello Cherry Jam

Method:

Preheat the oven to 175C (160C fan gas mark 3).

Cream the sugar & butter together using a wooden spoon or electric whisk until pale and creamy.

Add the salt, vanilla & Almond extract.  Mix well.

Crack the eggs into a separate bowl. Add one half  of the flour and 2 eggs, gently mix until almost combined.  Add the remaining egg & flour.  Gently mix until the mixture is completely combined.

Using a desert spoon place spoonfuls of the cake batter into the bottom of the Bundt tin.  Using the spoon spread the mixture so that it covers the bottom of the Bundt tin.  Building the batter up slightly towards the centre and outside edge.  This creates a dip where the filling will go.

Making the dip in the batter should stop the jam from reaching the tin sides, causing the cake to stick.

Sprinkle half the toasted Almond flakes on top of the batter.

I didn't toast my Almonds - but I will next time!
I didn’t toast my Almonds – but I will next time!

Next using a small teaspoon, carefully spoon the jam into the centre dip of the cake batter, taking care not to touch the sides.  Smooth the jam out carefully.

I'm pretty sure if the jam spreads to the edges, no amount if ingeniously buttered tin will stop the cake from sticking!!!!
I’m pretty sure if the jam spreads to the edges, no amount if ingeniously buttered tin will stop the cake from sticking!!!!

Sprinkle the last of the flake almonds over the jam, then dollop the remaining cake batter over the top, ensuring as you smooth it out you don’t press the jam toward the sides of the tin.

The cake batter completely encases the jam.

Place the Bundt tin in the preheated oven for an hour.  The cake will look cooked approximately 15 minutes before it is, however the centre will not be cooked through.  Continue cooking until the cake has cooked for 1hr 5 mins.

Remove the Bundt tin from the oven and place on a cooling rack.  It is important to let the cake cool completely in the tin.

Looks like I guessed the right quantities for this Bundt tin!!

When the cake feels completely cool, including the centre,  turn the cake out onto a pretty plate.

Or baking rack, will explain later!!!!

Now you can pop the kettle on (obviously I don’t mean you wear it just, fill & switch on!!!!!), then slice into this beautiful cake.

The jam is contained within the cake and it looks scrummy!

I popped the slice above round to my Green goddess friend who wasn’t feeling quite the ticket.  It was received with thanks and thoroughly enjoyed.

See, I had fun making this and sharing with a wonderful friend, who sat with a cuppa, feasted and enjoyed (before my children & hubby came home & almost demolished the rest!).

Now what really happened:

The cake  was removed from the oven after 45 mins.  It was left until slightly warm & turned out onto a cooling rack (don’t ask me why? It seemed like a good idea at the time!!!!).

I then took the photo of the turned out cake, thankfully!!  When I looked closely I realise the centre of the cake wasn’t completely cooked – whoops!

I turned the oven back on, tried to place the Bundt cake on a baking sheet, in doing so part of the cake collapsed – about a portion.  So I attempted to squish the cake together, popped back in the oven & cooked for a further 15-20 mins until the centre was just cooked.

I removed the cake from the oven, allowed to cool until barely warm, cut the slightly collapsed portion out (which I feasted on with a cup of tea!). Then I sliced my friends portion and popped it round to her (2 doors down).

So I’ve adjusted adjusted the cooking time to 1hr-1hr10 mins.  If the top of the cake – which will become the bottom when turned out – is browning too quickly just cover with aluminium foil, removing 5 mins before the cake is completely cooked, so that your cake does not have a soggy bottom!

The cake was rescued, tasted yummy and was feasted on & shared with family & friends.

Until next time keep sharing, you will be  surprised how much it makes YOU smile and it’s FUN!

Sammie x

Share
Facebooktwitterpinterestlinkedintumblr

Autumn The Most Beautiful Season

Share
Facebooktwitterpinterestlinkedintumblr

Now there’s a question. Is Autumn The Most Beautiful Season?  The landscape becomes swathed in golds, red, crimson, every shade of yellow under the sun, which back lights the scene with its low, but still bright and warm presence in a pale blue sky.

Unexpected light, filtering through, defining the boughs and branches of trees previously concealed by their heavy adornment of late summer, deep green leaves.  Dappling light where shade had prevailed through the long summer months.

The vibrant green grass contrasts with tired, rusty oak leaves.
The vibrant green grass contrasts with tired, rusty oak leaves. Autumn has arrived.

I truly love Autumn.  The wind, the rain, the unexpected warm sunny day.  No longer Summer, but not the bleak or dark of winter.  The light plays reflective, hypnotic tricks on a pond, where ducks can still splish, splash and swim before Jack Frost freezes their playground and slipping and sliding prevail.

Can you spot the three white ducks?

I love all seasons but Autumn colours draw me to them.  They are the natural palette of my wardrobe and suit my skin tone.  Earthy rusts, just the right side of shocking orange,  khaki greens call out to me from the countryside as well as the clothes rail.

Stunning.
Stunning. Autumn The Most Beautiful Season.

Warm soups, hearty casseroles, proper puddings.  My body naturally craves comforting food as the sun dips in the skies and the night time temperature falls away.  In the same way Summer demands cool, crisp salads, ice creams and long drinks packed with ice.  Autumn asks, gently at first, for an extra layer of clothing – removed during the midday warmth, but much needed come dusk – family feasting around a large table, torn bread, ready for dunking into thick, hearty soup.  Everyone chatting with ruddy cheeks aglow from the warmth of their surroundings.

Yes, I love Autumn.  Slow cooked Pot Roasts, simmering away, filling our home with inviting aromas. Apple and Blackberry Pie with ice cream AND custard! Big Sunday (sometimes Monday & Tuesday!) roasts walked off on a crisp afternoon, followed by a Baileys Coffee, snuggling on the sofa and watching a family film.

The tantalising hint of Christmas near, but far enough away not to worry.  Autumn feels very relaxed.  Even after a hefty storm, where trees are left bare and the landscape changed, overnight, still calm returns.

Jack Frost makes an appearance, but it’s beauty outweighs it’s inconvenience.  Spiders webs outlined in crisp white detail, look like still life.  Crisp, sharp outlines on the tips of leaves, portraying their beauty by the definition given.

Feathery fronds of ice crystals on the top of my car - breath taking.
Feathery fronds of ice crystals on the top of my car – breath taking.

We all seem to live such busy, hectic lives.  A week is now 24/7.  Even our language is shortened to describe the frenetic pace of life.  Autumn is no less busy, the squirrels are busy stashing and hoarding acorns and nuts to see them through the Winter.  Hedgehogs prepare to hibernate.  Some people celebrate the years harvest, giving thanks to God for His provision.

Me?  Well I look at the beauty of the ice crystal formation on my car roof and cannot begin to imagine that it evolved!  I see the beauty in a yellowing sky, heavy Cumulus clouds slowly drifting, dropping  their load as the rain lashes down.  The joy a small child (or even a grown adult) experiences crunching, welly boot clad, through piles of crisp fallen leaves, or splashing in puddles after the rain has subsided.  Watching for rainbows, will there be a pot of gold at the end?  Where is the end??

I give thanks to God the Creator, for the beauty of His Creation. For Autumn The Most Beautiful Season.

Until next time, take time to stop and admire the natural beauty around you.  It will inspire, relax, rejuvenate and calm you if you spare the time to really look.

Life is too beautiful to be lived in a rush.

Sammie x


Share
Facebooktwitterpinterestlinkedintumblr

Raspberry Chocolate Pavlova

Share
Facebooktwitterpinterestlinkedintumblr

Hello, I’m writing this blog with fond memories of our week spent in the heart of Devon during half term. This Raspberry Chocolate Pavlova was made, at the barn, with minimal equipment and only my memory for the recipe! And I’d certainly call that a challenge!!


Fresh fruit dessert embellished with a vase of pink roses to one side.
Raspberry Chocolate Pavlova

Holiday Baking:

Physically it was a bit of a struggle for me, but that was more than compensated by the time we spent as a family. Hanging out together, all 5 of us on a trampoline ( trust me I wasn’t jumping!) that I thought was going to collapse at any second. Taking turns to row around the pond. Discovering semi-wild farm cats and their kittens in the hay barn – sooo cute. And spending time with our Devon families, both in church and on the farm. Yet most of all being together Feasting and Having Fun!!!!!

Fresh fruit topped meringue slice served with a pot of tea and flowers
A slice of Raspberry Chocolate Pavlova.

Firstly I have to give complete credit to Nigella for inspiring this scrumptious Raspberry Chocolate Pavlova.

While staying in our gorgeous Barn in the middle of nowhere Pip had invited us to share a meal with her and her wonderful hubby Sailor Man and their daughter Leggy Lou!

Pip would be cooking Lasagne and I offered to do pudding!!

We’ve been staying on the same farm, in the same barn at least 10 years. I was pretty confident, given the restricted equipment available in the barn, that  I could ‘easily’ whip up a Raspberry Chocolate Pavlova!!

This is one of those puds that not only has the WOW factor visually but tastes even better than it looks. So simple to do then?

FF Raspberry Chocolate Pavlova
Raspberry Chocolate Pavlova a delicious combination of flavours.

While out shopping I remembered ALL the ingredients (I may have made this a few dozen times before!). Although I couldn’t remember the quantities!

Back at the farm, in a rare moment of actually being able to get a signal, I successfully popped onto Nigella’s website  and got the recipe.  Fortunately I had not forgotten anything – boy was I relieved!!

Recipe:  Raspberry Chocolate Pavlova serves 8

You will need a good sized baking sheet that can take a 30cm diameter circle of meringue, lined with parchment paper.

6  Egg whites. (Preferably free range) at room temp

300g  Caster Sugar

Tiny pinch 1/8 tsp Salt – I use Maldon 

3 tbsp Cocoa Powder (not drinking chocolate)

1 tsp Balsamic vinegar (your just gonna have to trust me on this one???!!)

50g  Chopped Dark (70%) Chocolate + an extra 25g Dark (70%) Chocolate chopped very fine, for sprinkling over before serving

450ml Double Cream

300g – 500g Raspberries – Fresh if possible. I have used decent thawed frozen ones in the midst of winter and it worked – Waitrose sell good quality frozen berries

Method:  Preheat the your oven to 200C/180C fan (350F, gas mark 4).

Making The Chocolate Pavlova:

First of all,  if you have any kind of electric whisk PLEASE use it. You can see from the photo below that I did not have one and it was VERY HARD WORK!!!

Oh yes - I whisked 6 egg whites using a rotary whisk!!! Gone are the bingo wings!!!!
Oh yes – I whisked 6 egg whites using a rotary whisk!!! Gone are the bingo wings!!!

Once the egg whites form stiff, satin peaks slowly add the caster sugar and keep whisking. Oh the joy, what was already a hard job became much more difficult as the sugar mixed into the whites. The mixture will become much thicker.

Once all the sugar is fully incorporated whisk until the meringue mixture is glossy, satiny and holds a stiff peak!

Next add the sieved cocoa, chopped chocolate and balsamic vinegar (stay with my guys it’s really worth it in the end!!!)

I'm not a big sifter?(I am a big sister!!!!!), but cocoa really does need a god old sift to remove any lumps!!
I’m not a big sifter?(I am a big sister!!!!!), but cocoa really does need a god old sift to remove any lumps!!

Using a metal spoon gently fold in the chocolate, cocoa and balsamic vinegar until the ingredients are fully combined. This was challenging for me, as you can see from the photos I’d used a straight sided, flat bottomed casserole dish as a mixing bowl!

Still I’m nothing if not adaptable!

Shaping The Pavlova

When at home I draw round a 12″ (30cm) round cake tin, with pencil, on to parchment paper. On holiday I had to ‘guesstimate’!

Flip the paper over, so that the pencil marking is on the underside. At this point, you can attach the parchment to the baking sheet with little dobs of meringue mixture. These act like glue and stop the paper moving around.

Using the drawn circle as a guide, gently pile on the meringue mixture into the centre using a metal spoon. Use a palette knife (or butter knife if on hols!!!) to gently spread the mixture into an even circle shape approx 30cm across.

I’ve found it helps the cooked Pavlova not to crack if you build the sides up slightly so the centre is approx 1-2cm lower than the edge. It doesn’t matter if it does crack as later on you will be smothering it in whipped cream and raspberries! Using your knife smooth out the centre and create swirls around the outside of the Pavlova. Let your creative, fun side run free!! It’s soo much fun and you can swirl to your hearts content!

The lighting was beautiful in the barn and it makes the Pavlova look sooo pretty x

Making The Chocolate Pavlova

Place the beautiful Pavlova on the middle shelf of the preheated oven (180C – 350F or gas mark 4), immediately turn the oven temperature down to 150C (300F gas mark  2) and bake for  1, 1/4 – 1, 1/2 hours.

If you are confident about the eggs you have used, gather the children around the bowl and let them lick the bowl clean. Make sure you have a little taste too. It’s GORGEOUS.  I think it tastes like the lightest chocolate mousse.  You are eating raw egg so please do not taste if you are pregnant, unwell or elderly. Also I wouldn’t let my children taste it when they were very young.  Our youngest is 12 now so he was allowed to try some!

The Pavlova is cooked when the outside looks lovely and crisp and you can see the dark, fudgey inside through the natural small cracks in the surface.

Turn the oven off and leave to cool completely in the oven.

Decorating The Pavlova

As soon as the Pavlova is completely cool remove from the oven and peel off the Parchment paper (I’ve never yet had one stick using Parchment, if you use greaseproof paper I can’t guarantee it will peel off as easily).

Place the Pavlova on a flat cake stand, cake board or metal tray if that’s all you have to hand!

Whip the cream until thickened but still floppy (adding a teaspoon of caster sugar if you prefer to sweeten the cream) and smother the top of the Pavlova with it leaving a cream free edge.

Just waiting to be adorned.

Tumble (or carefully place it’s your choice!) the raspberries over the cream topped Pavlova.

Now finally sprinkle over the remaining 25g (about a tablespoon) of finely chopped dark chocolate.


Soo beautiful, but the proof of the pudding is in the eating!!!
Soo beautiful,Raspberry Chocolate Pavlova. the proof of the pudding is in the eating!!!

Serving Dessert

We shared this with our dinner hosts who were extremely complimentary about the combination of flavours, but mostly the hidden, almost brownie like middle of the Pavlova. The contrast between the crunchy outer layer, the sublime tartness of raspberry enveloped in velvety whipped cream and then the surprise, almost fudgey centre with nubs of chocolate work to create a TASTE SENSATION! Thank you Nigella for inspiring this recipe.

FF Raspberry Chocolate Pavlova
Raspberry Chocolate Pavlova the perfect sweet treat to take to take to someone’s house.

If you have enjoyed this recipe for Raspberry Chocolate Pavlova you may also like these:

Lemon Lime Meringue Pie

FF Raspberry Chocolate Pavlova
Lemon Lime Meringue Pie

Raspberry Topped Lemon Curd Pavlova 

FF Raspberry Chocolate Pavlova
Raspberry Topped Lemon Curd Pavlova

Do certain foods bring back memories of holidays, certain dinner parties or specific dinner guests?

So, whatever you are making, baking and creating in your kitchens, have fun preparing and sharing your feast.

Sammie x

No part of this post may be reproduced or duplicated without the written permission of the owner. Please see my Disclosure Policy. 

Share
Facebooktwitterpinterestlinkedintumblr

Victoria Sponge Cake

Share
Facebooktwitterpinterestlinkedintumblr

Victoria Sponge Cake, light, buttery, golden sponges sandwiched together with homemade raspberry jam. A simple recipe that yields a completely knockout cake both in flavour and looks. And as you master this recipe, you will forever be asked to “bring THAT cake” when gathering with friends and family. Because, put simply, this is a cake for feasting.

Jam and cream filled sponge cake on a pretty plate decorated with little roses.

Since a Victoria Sponge Cake is two identical sponge cakes put together with a slather of jam (and whipped cream if desired) in the middle, it is a great starting point for any baking journey. Because there are no complicated decorating techniques, or steps in the method, the finished cake is all about two things. First of all taste; good quality ingredients are key, butter should not be substituted with margarine. Also, texture; a light sponge is a direct result of not over mixing the cake batter.

Sliced cake showing the freshly made jam between the golden sponges.
Victoria Sponge Cake

Raspberry jam lends a sweet, slightly tart, intense fruit flavour against the buttery, vanilla sponge. While a good quality bought jam is fine to use, making fresh jam adds an additional edge. Since it requires very little time to make I really urge you to try it. Finally, with a light touch and using great quality ingredients the finished result is the Queen of all cakes. I say Queen as this cake is named after Queen Victoria herself.

Victoria Sponge Cake

Recipe: Victoria Sponge Cake serves 8-10

2 x 20cm (8in)  greased loose bottom cake tins, the base of each lined with baking parchment.

225g/8oz Caster Sugar plus 1/2 tsp for dusting the finished cake

225g/8oz Unsalted Butter – room temp

1/4 tsp Sea Salt – I use Maldon

4 Large Free Range Eggs  – room temp

225g/8oz Self Raising White Flour or equivalent weight Plain White Flour plus 1.5 tsp baking powder

2 tsp  Vanilla Extract I use – Nielsen-Massey

Fresh Raspberry Jam use 5 tablespoons of good quality jam if not making from scratch

Juice of 1 Lemon approximately 30mls

225g/8oz Fresh or Frozen Raspberries  – I used frozen from  Waitrose

225g/8oz Sugar

Optional – 300ml Whipped Cream (double or heavy cream)

Method: Preheat the oven to 180C/160C fan oven, gas mark 4, 350F.

Making the cake sponges

  • First of all thoroughly grease with butter, both cake tins and line the base with baking parchment.
  • Place the sugar, butter and salt into a large bowl. Whisk the ingredients together until pale and fluffy – if using a stand mixer use the paddle attachment.
  • Rub a little of the mixture between your fore finger and thumb.  If no grittiness is felt the sugar is well mixed into the butter.
  • Next add the eggs and vanilla extract. Add 1 tablespoon of the flour and whisk together for 30 seconds to combine.
  • Sift the flour (and baking powder if required) into the bowl.
  • Whisk the ingredients together until just combined. Over whisking, or beating will develop the flour’s gluten, resulting in a tough, baked cake.
FF Victoria Sponge Cake
Making the cake batter.
  • Spoon the cake batter into the prepared tins, dividing evenly between the two. If wanted weigh equal quantities of cake batter into the tins.
  • Smooth the top of the batter with a spoon.
FF Victoria Sponge Cake
Prepared cake batter in the tins, ready to be baked.
  • Place the tins into the centre of the oven (centre and lower shelf if they cannot fit on one shelf).
  • Bake for 35-45 minutes until golden in colour. The cakes are baked when the top springs back when lightly pressed.
  • As soon as the cakes are baked remove from the oven and place the tins on a cooling rack.
  • Allow each cake to cool in the tin for 15 minutesbefore turning out, top of the cake uppermost and placing directly on to a cooling rack.
FF Victoria Sponge Cake
Golden sponges cooling.

Making the fresh raspberry jam

While the cakes are cooking make the raspberry jam:

  • Into a large, heavy bottomed saucepan add the lemon juice, raspberries and sugar.
  • Also place 2 small plates or saucers into the fridge to chill.
  • Stir the ingredients together with a wooden spoon and bring up to a simmer on a low heat.
  • As soon as the sugar is dissolved increase the heat to bring the jam up to a rolling boil – bubbling vigorously but not over the sides of the pan.
  • Stir to ensure the jam does not stick. Take care as the jam will be very HOT.
  • After 5 minutes at a rolling boil spoon a few drops of hot jam on to one of the chilled plates. Allow to cool for a minute. Using your finger, push one side of the jam, if it wrinkles up the jam is ready; it has reached setting point. Should the jam not wrinkle continue cooking for a further 2 minutes and test again.
FF Victoria Sponge Cake
Freshly made Raspberry Jam for the Victoria Sponge Cake.
  • As soon as the jam has reached setting point remove the pan from the heat.
  • Pour the very hot jam into a heatproof bowl and set aside to cool.
FF Victoria Sponge Cake
Freshly made raspberry jam.

Assembling the cake

  • To assemble the Victoria Sponge Cake ensure both sponges and the raspberry jam are cold.
  • Carefully peel the baking parchment away from both sponges.
  • Place a sponge, flat side up on to a plate or board.
  • Spoon all of the jam on to the flat sponge and spread almost to the edge. Also, add a layer of whipped cream if desired.
  • Place the second sponge, flat side down, on top of the jam covered bottom sponge.
  • Finish with a light dusting of caster sugar on the top of the cake.
Victoria Sponge Cake filled with freshly made raspberry jam.

Serve this cake sliced with a good quality, fresh made cup of tea. Alternatively a glass of champagne for a special occasion compliments both the event and cake.

Store in an airtight container and eat within 5 days. Always refrigerate the cake when adding cream and also during warm weather.

Alternatively, for a heart shaped cake, bake all of the cake batter in a greased and lined, heart shape tin. As soon as the cake is cool cut the cake in half across its width. Fill with whipped cream and strawberry jam. Finally pipe cream onto the top of the cake and decorate with strawberries.

Strawberry and cream decorated heart cake.
Heart Shaped Victoria Sponge Cake

If you have enjoyed this recipe for Victoria Sponge Cake with fresh raspberry jam filling you may also like these:

Raspberry and Cream Giant Doughnut

Raspberry And Cream Baked Giant Doughnut with pink drizzle icing a small white sugar ball decorations.
Raspberry And Cream Giant Doughnut

Strawberry Sweetheart Cake

Heart shaped cake covered in piped buttercream roses and decorated with mini edible pink hearts.
Strawberry Sweetheart Cake

Strawberries And Cream Cake

Strawberries And Cream Cake,
Strawberries And Cream Cake

While this cake may be easy to make, learning to master a simple recipe and make it well is the foundation to becoming a great cook and baker. Since cake decorating and presentation are of no importance if the product being served and shared does not taste appealing. And flavour always comes first in any feast. Never more so than when the feast is marking a special occasion. Because, friends and family bring out the flavour even further, as my long held belief shows that food shared always tastes better.

So, whatever you are making, baking and creating in your kitchens, have fun preparing and sharing your feast.

Sammie xx

No part of this post may be reproduced or duplicated without the written permission of the owner. Please see my Disclosure Policy.

Share
Facebooktwitterpinterestlinkedintumblr