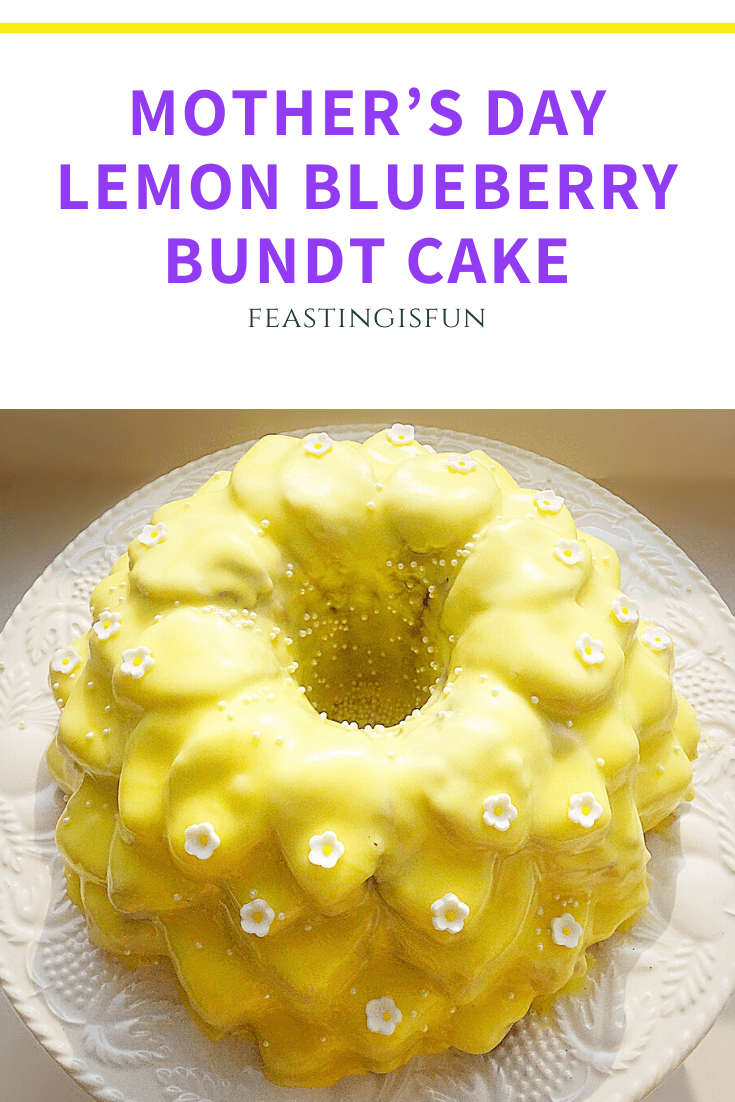
Today is Monday and while the sun is shining, a cold wind is whipping through the air. And it is making me feel very cold! So I am making this Lemon Blueberry Bundt Cake to cheer us all up on chilly days.
I absolutely adore the combination of lemon and blueberries together, in fact my Lemon Blueberry Cupcakes are one of my favourite recipes.
Jam Packed With Fresh Fruit
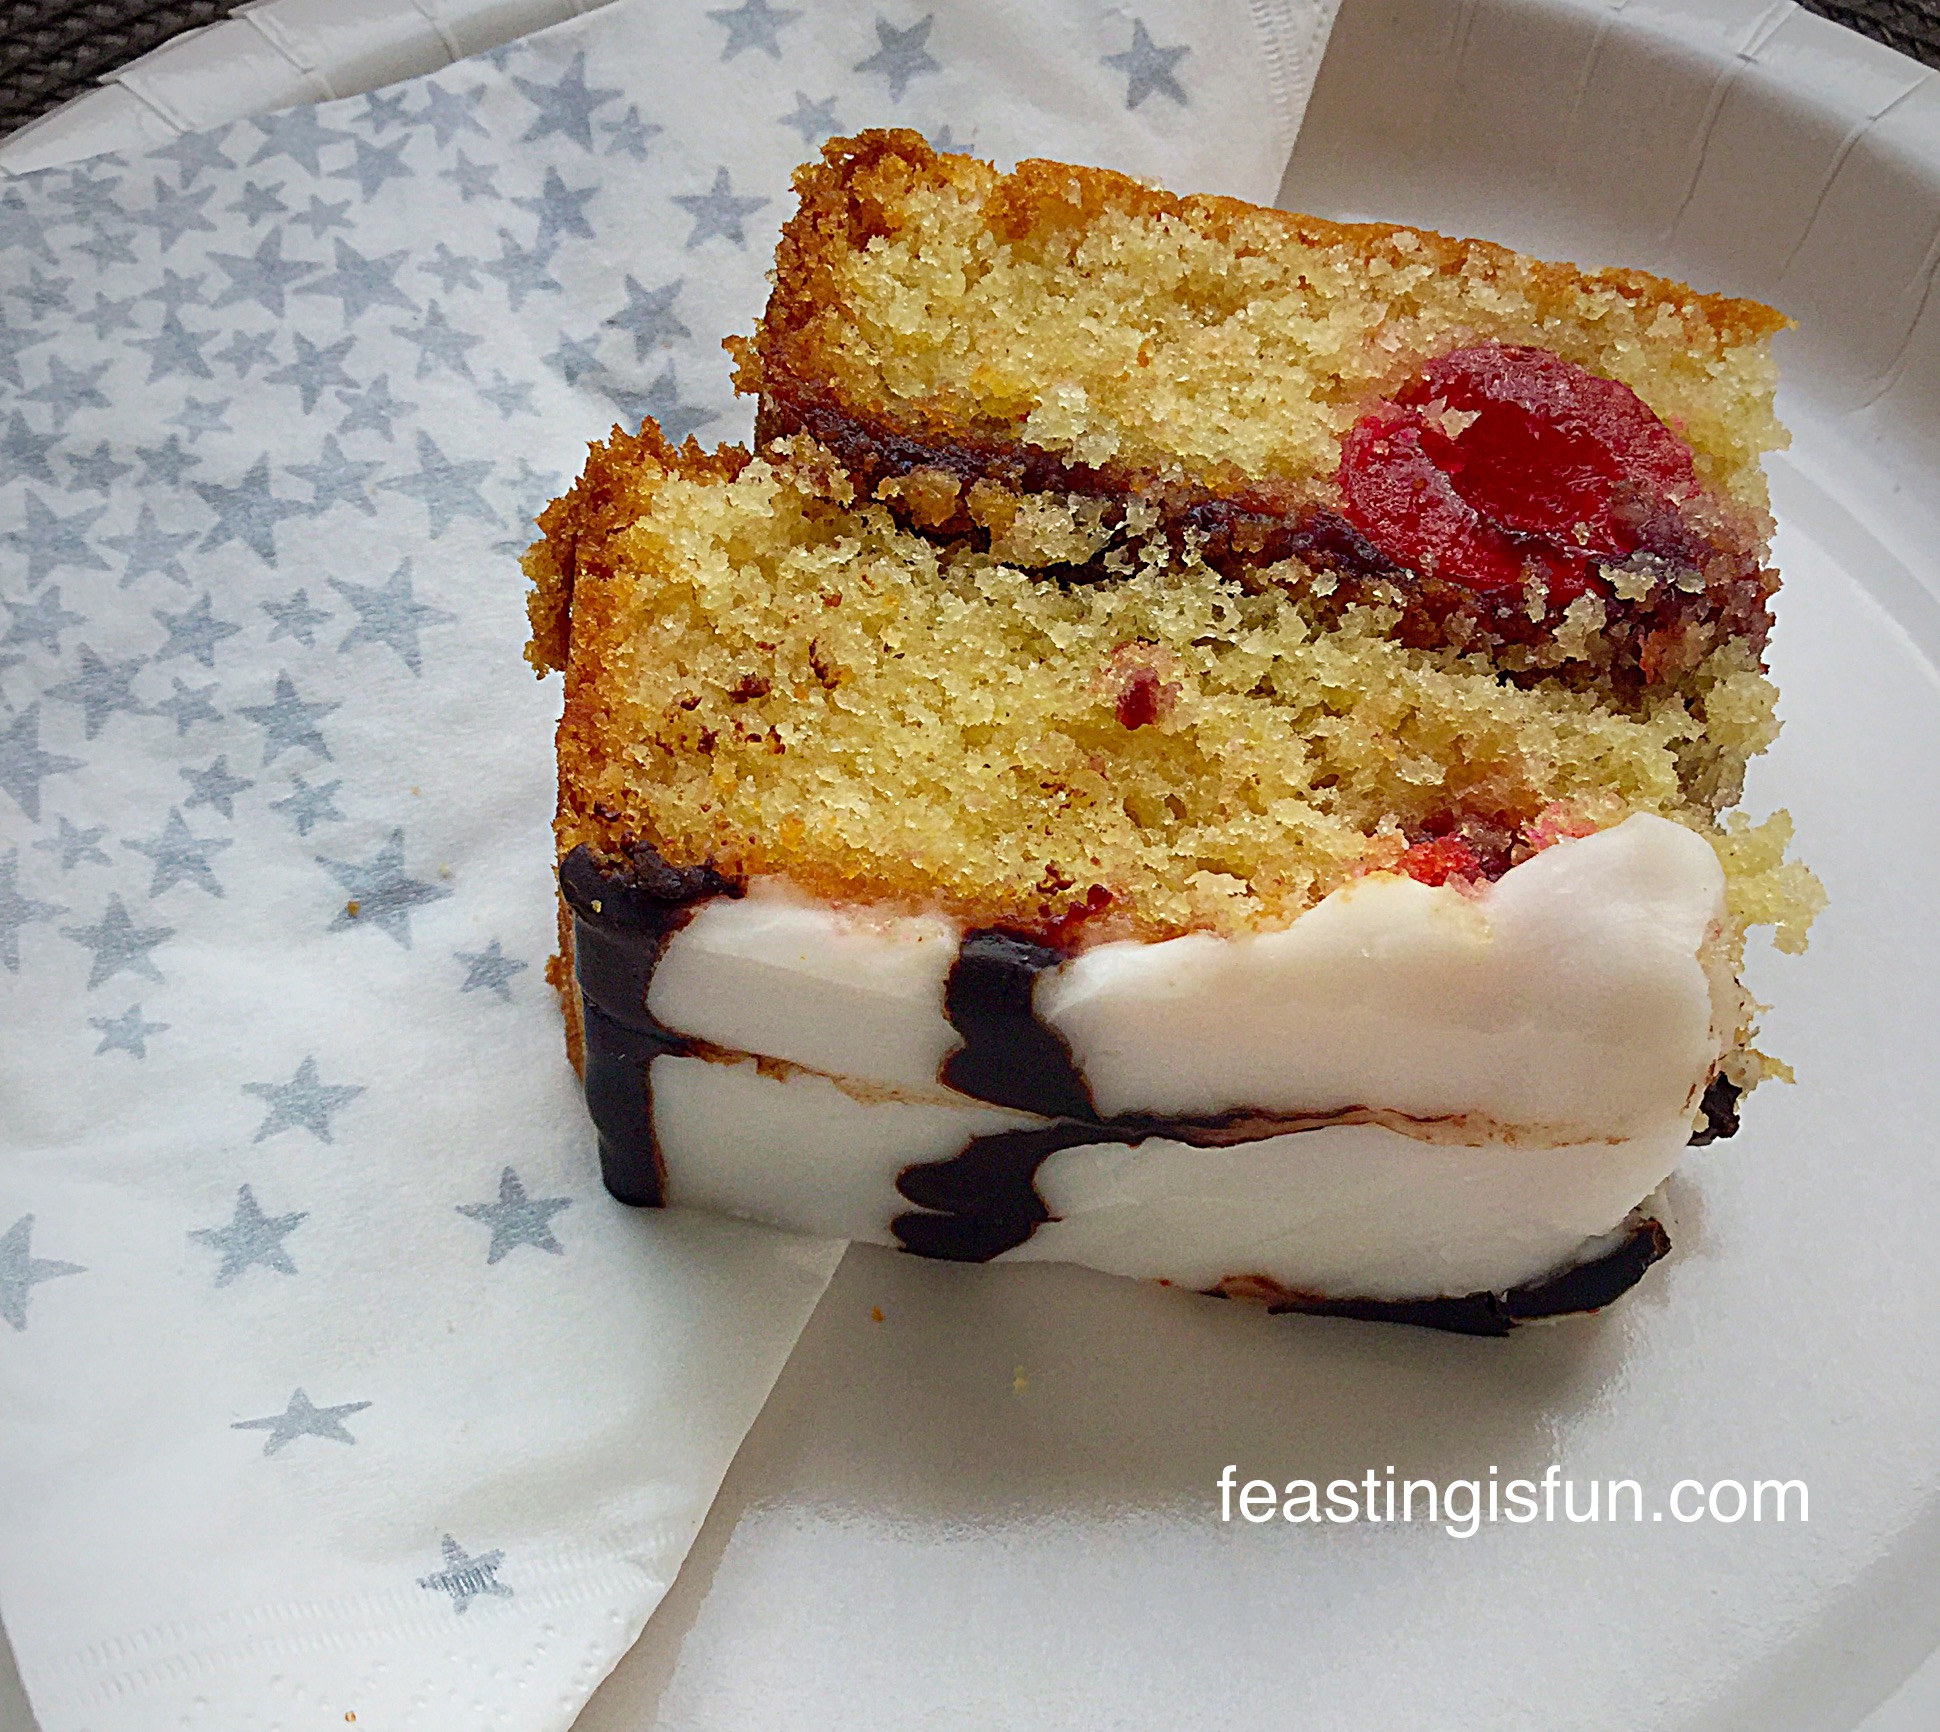
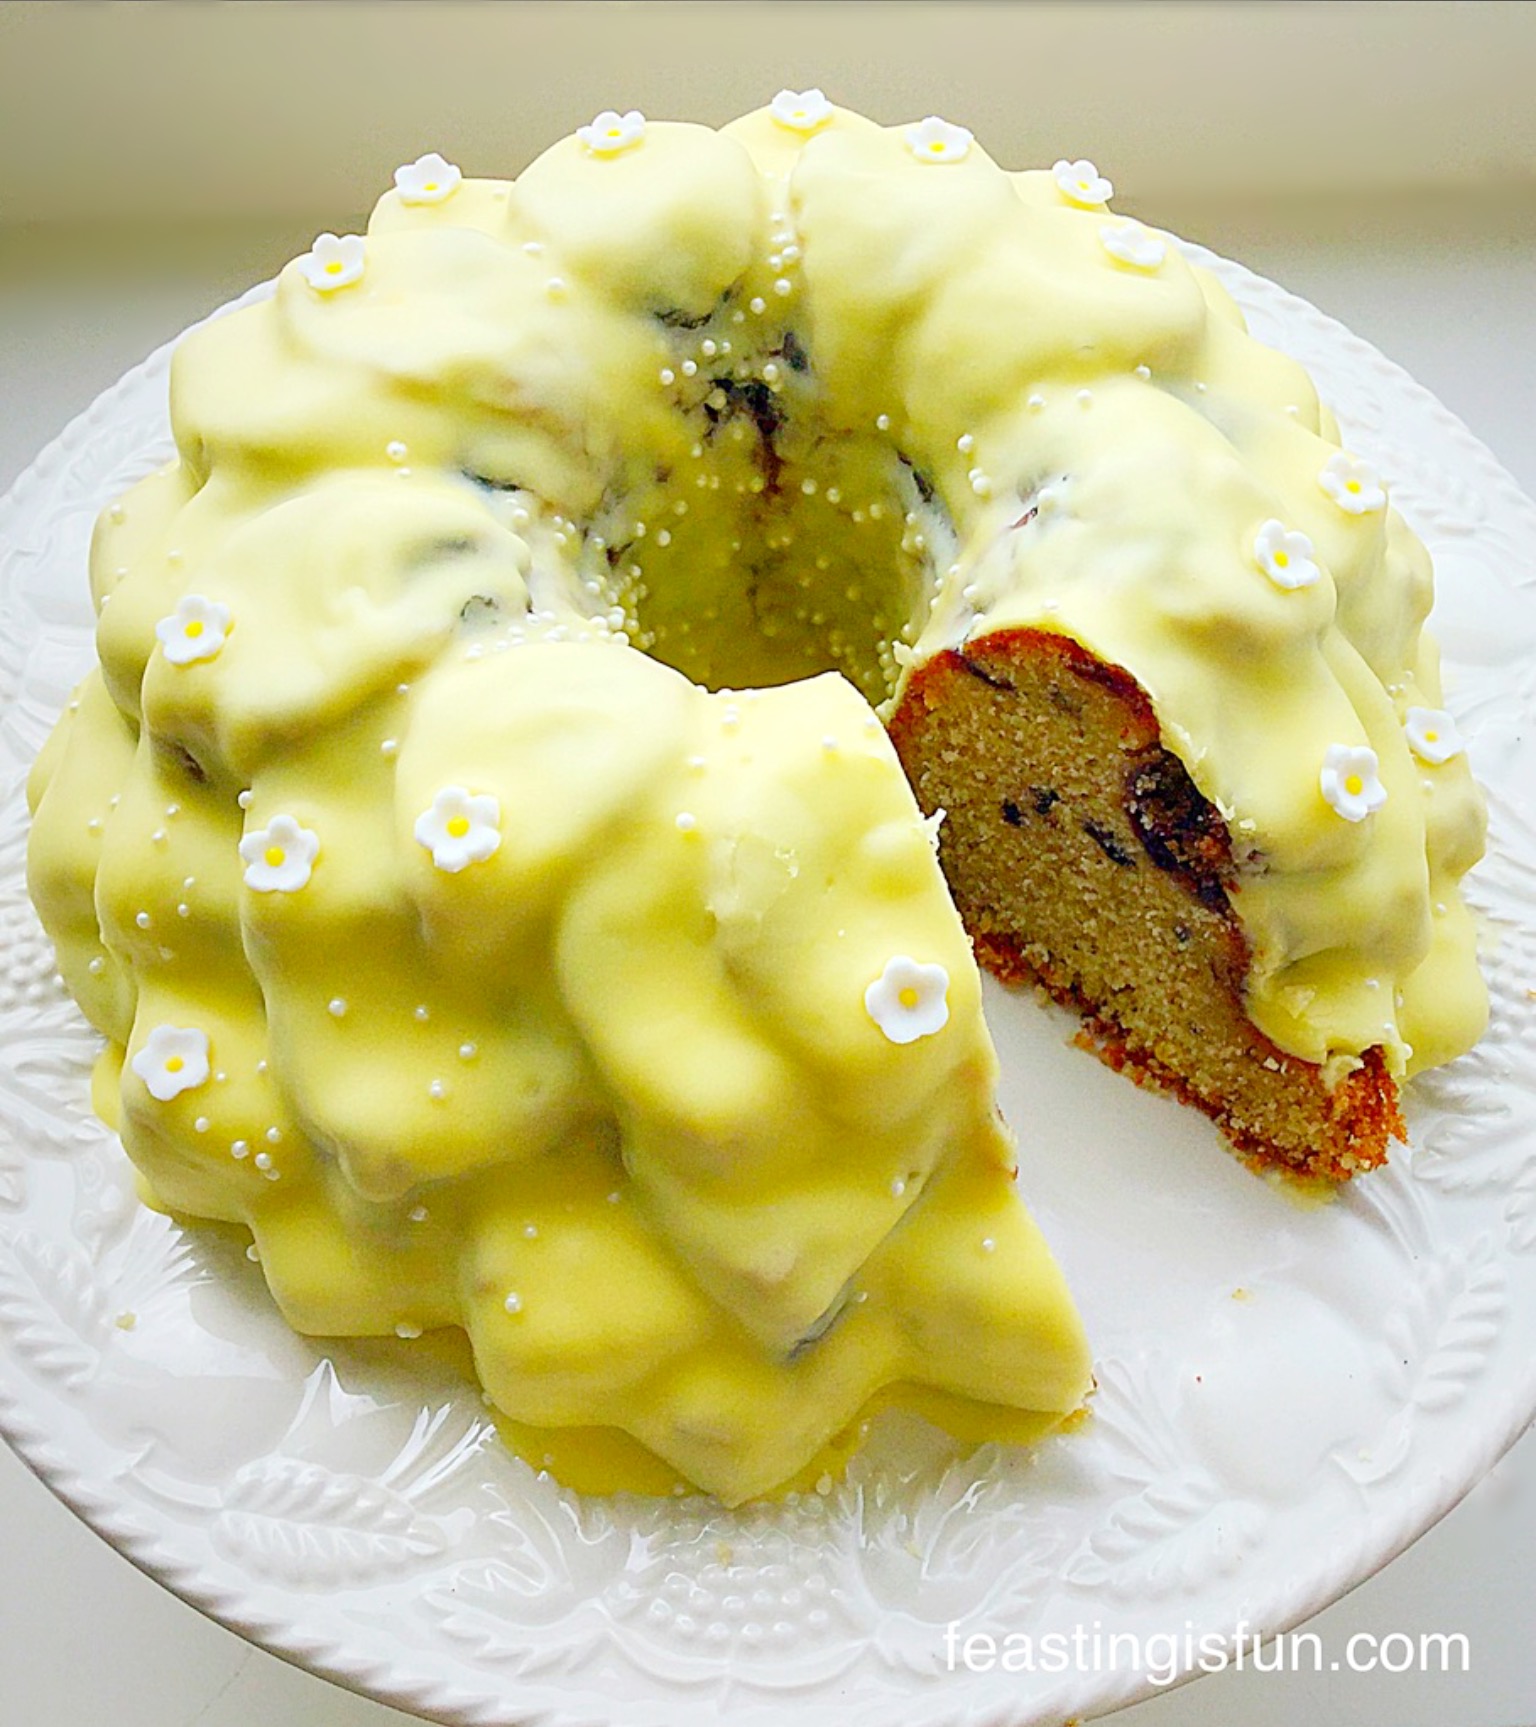
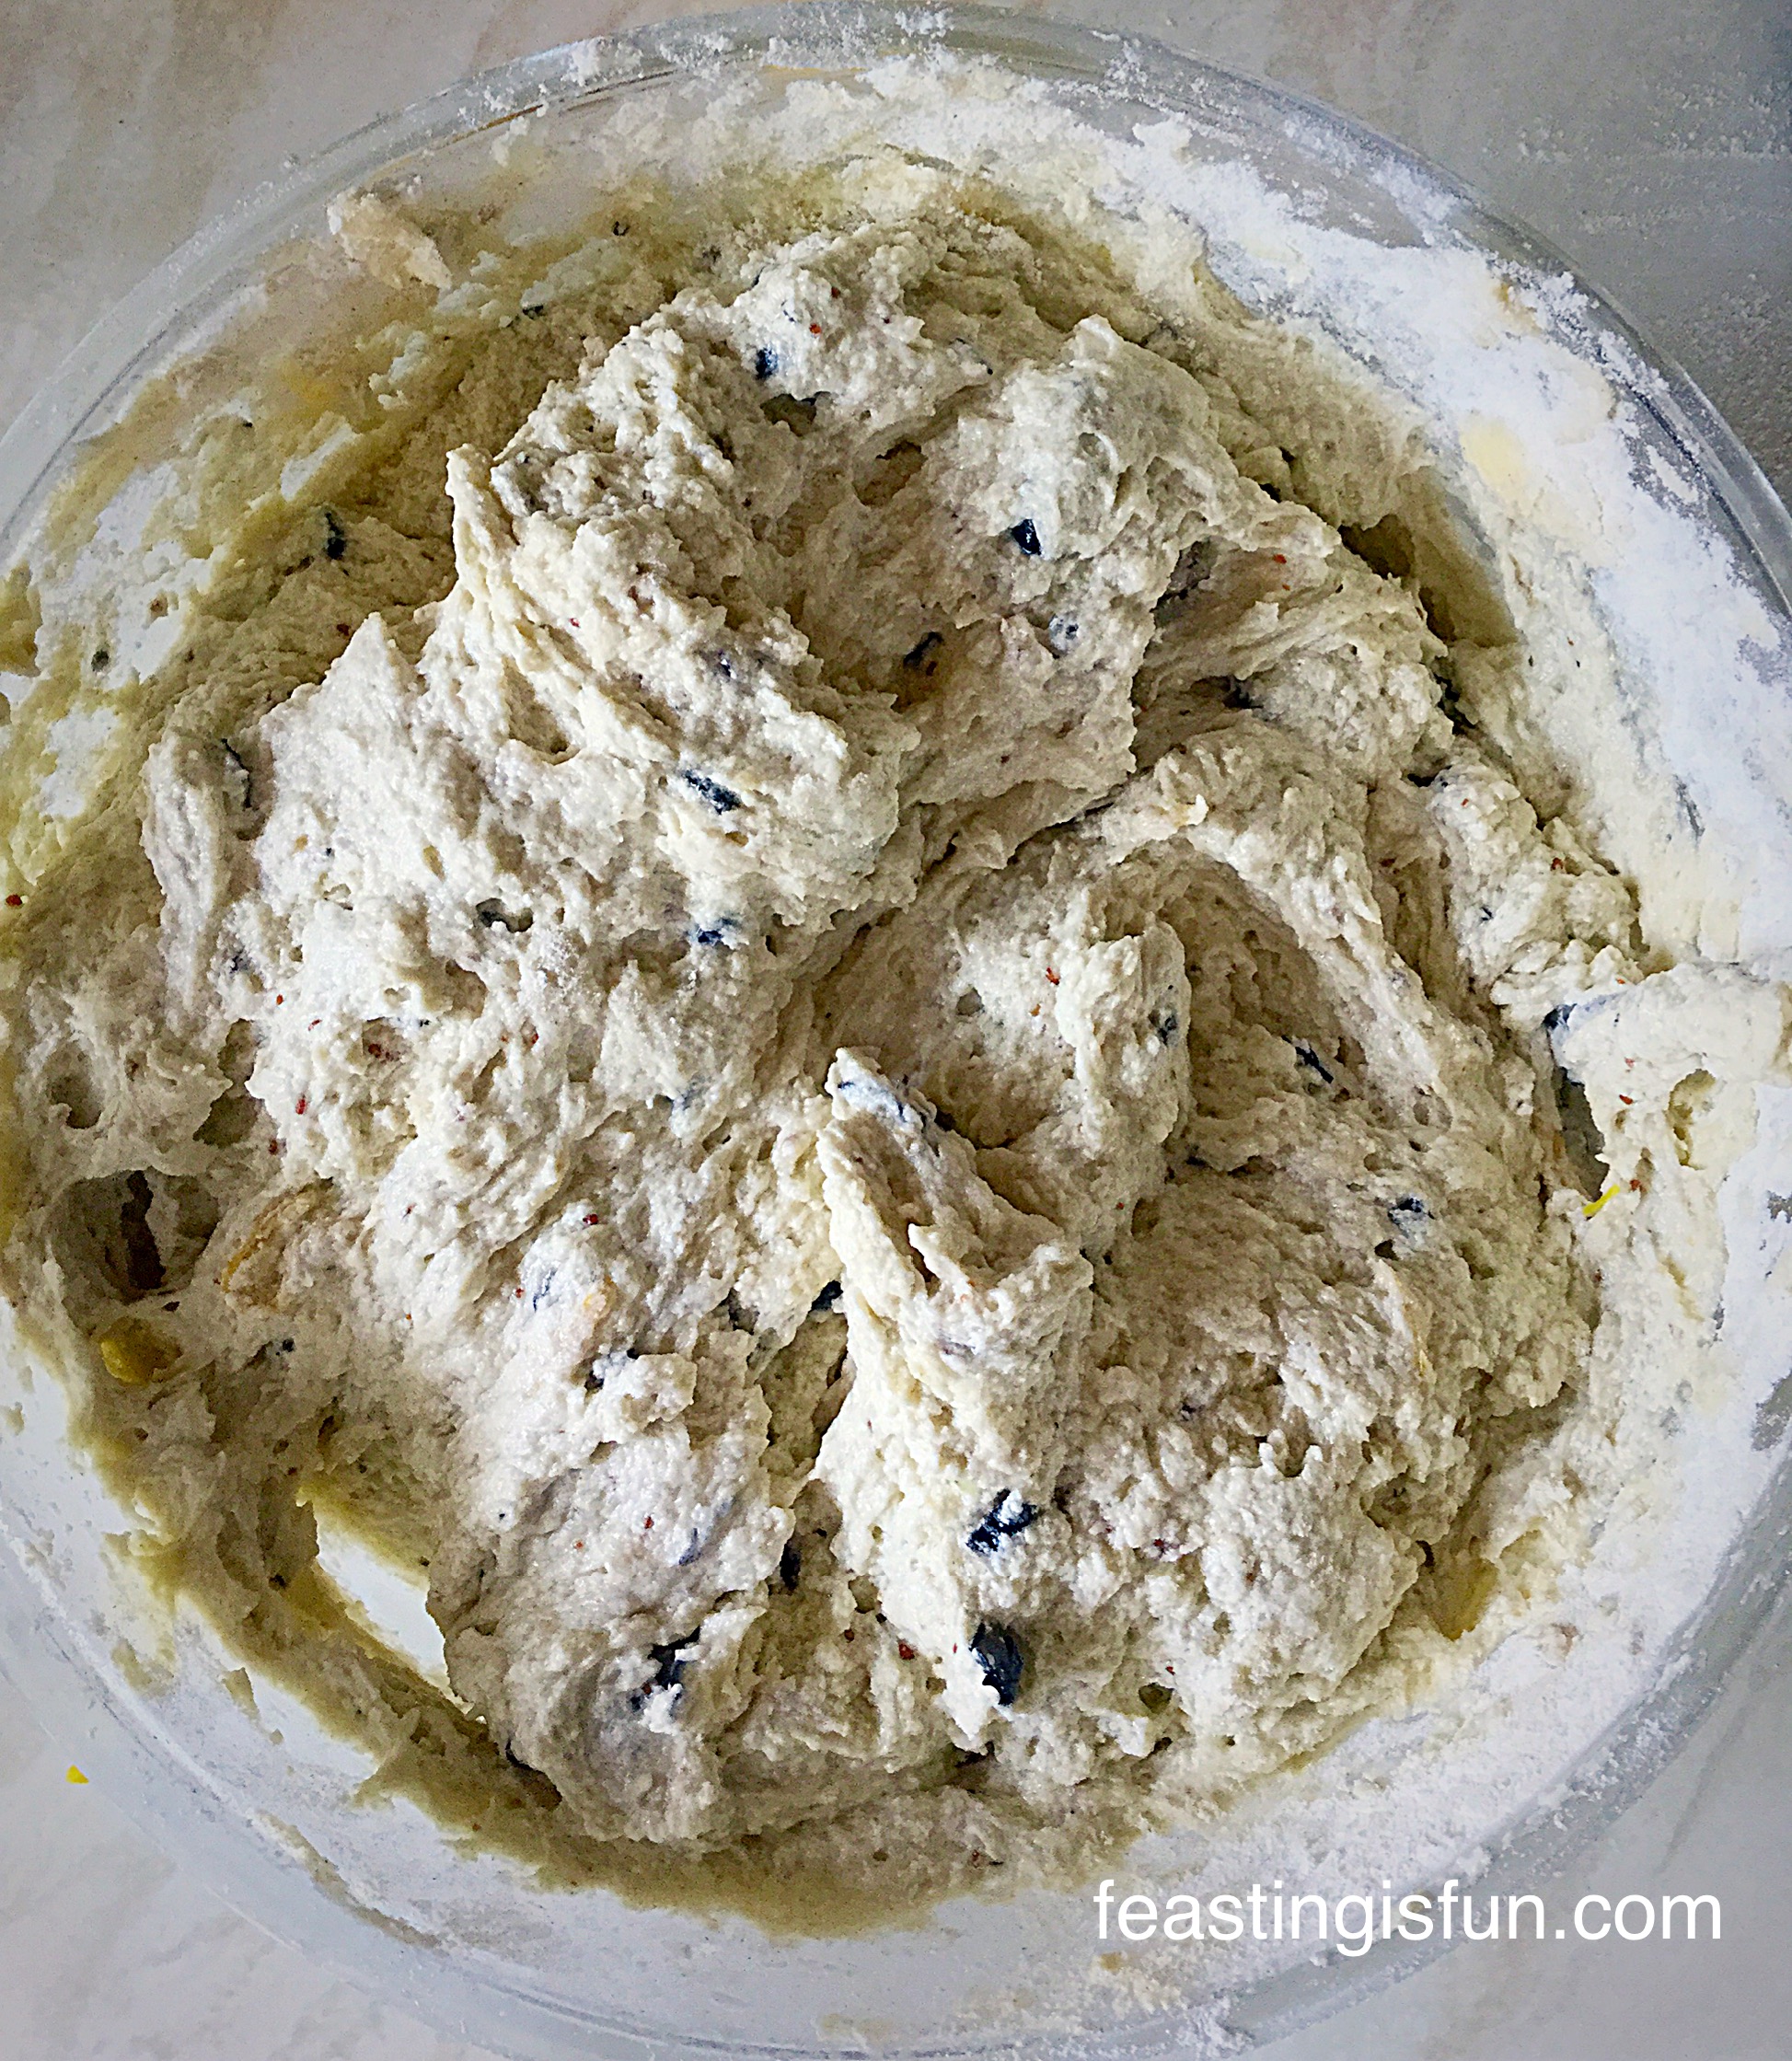
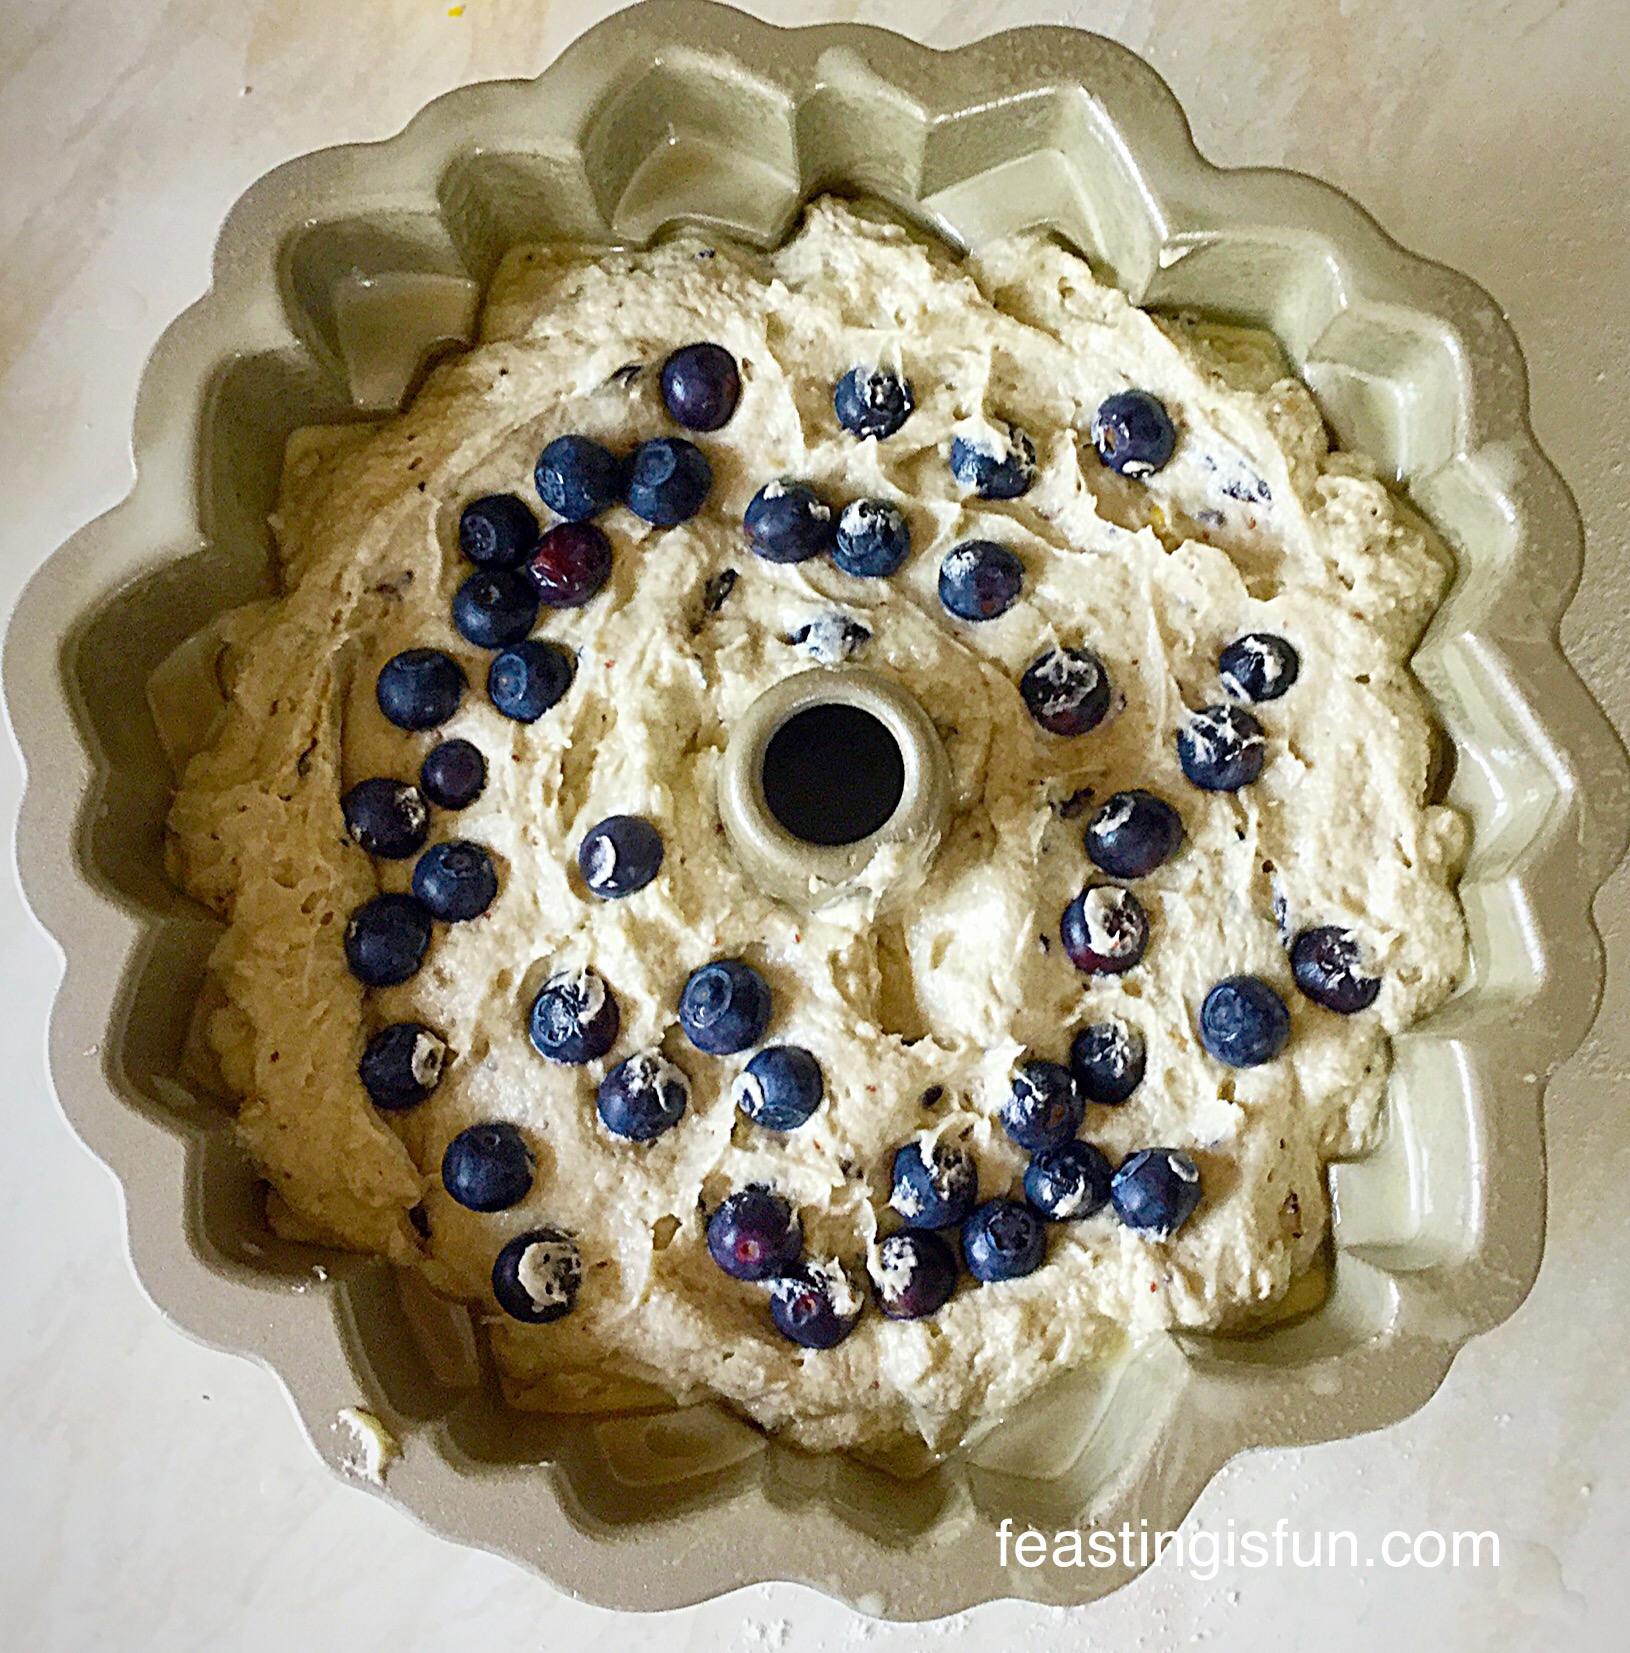
Because this Bundt cake has blueberries whisked into the cake batter, the finished cake is deliciously moist. Also I saved a few whole blueberries and added them to the batter. Resulting in little pods of blueberry jam throughout the baked cake.
What I hadn’t bargained for was, the extra moistness the broken blueberries would add to this cake. And plenty of fresh lemon zest added means this Lemon Blueberry Bundt Cake delivers moist, flavourful, cake perfection, in every bite!

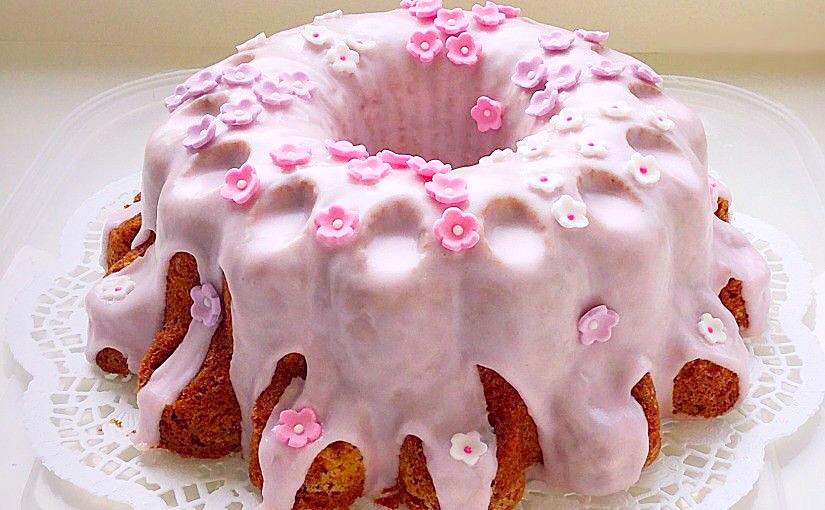
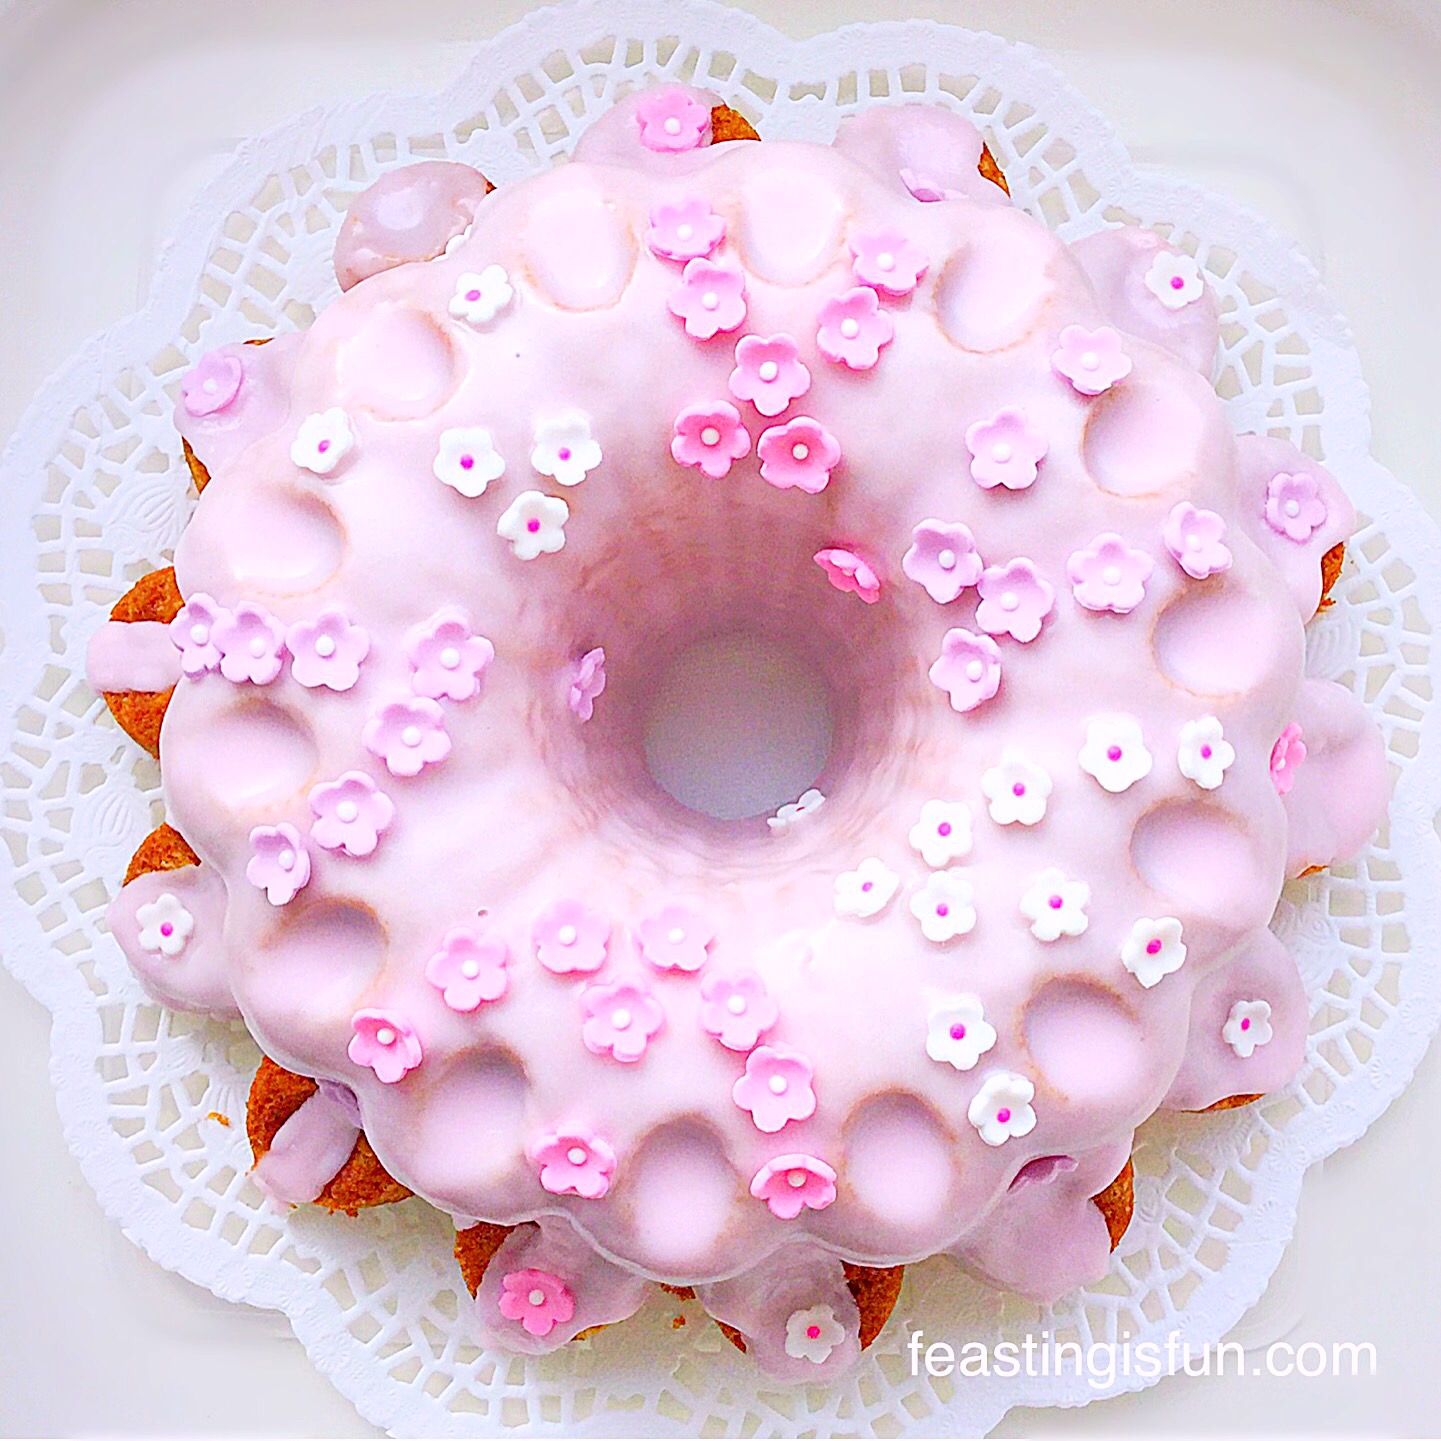
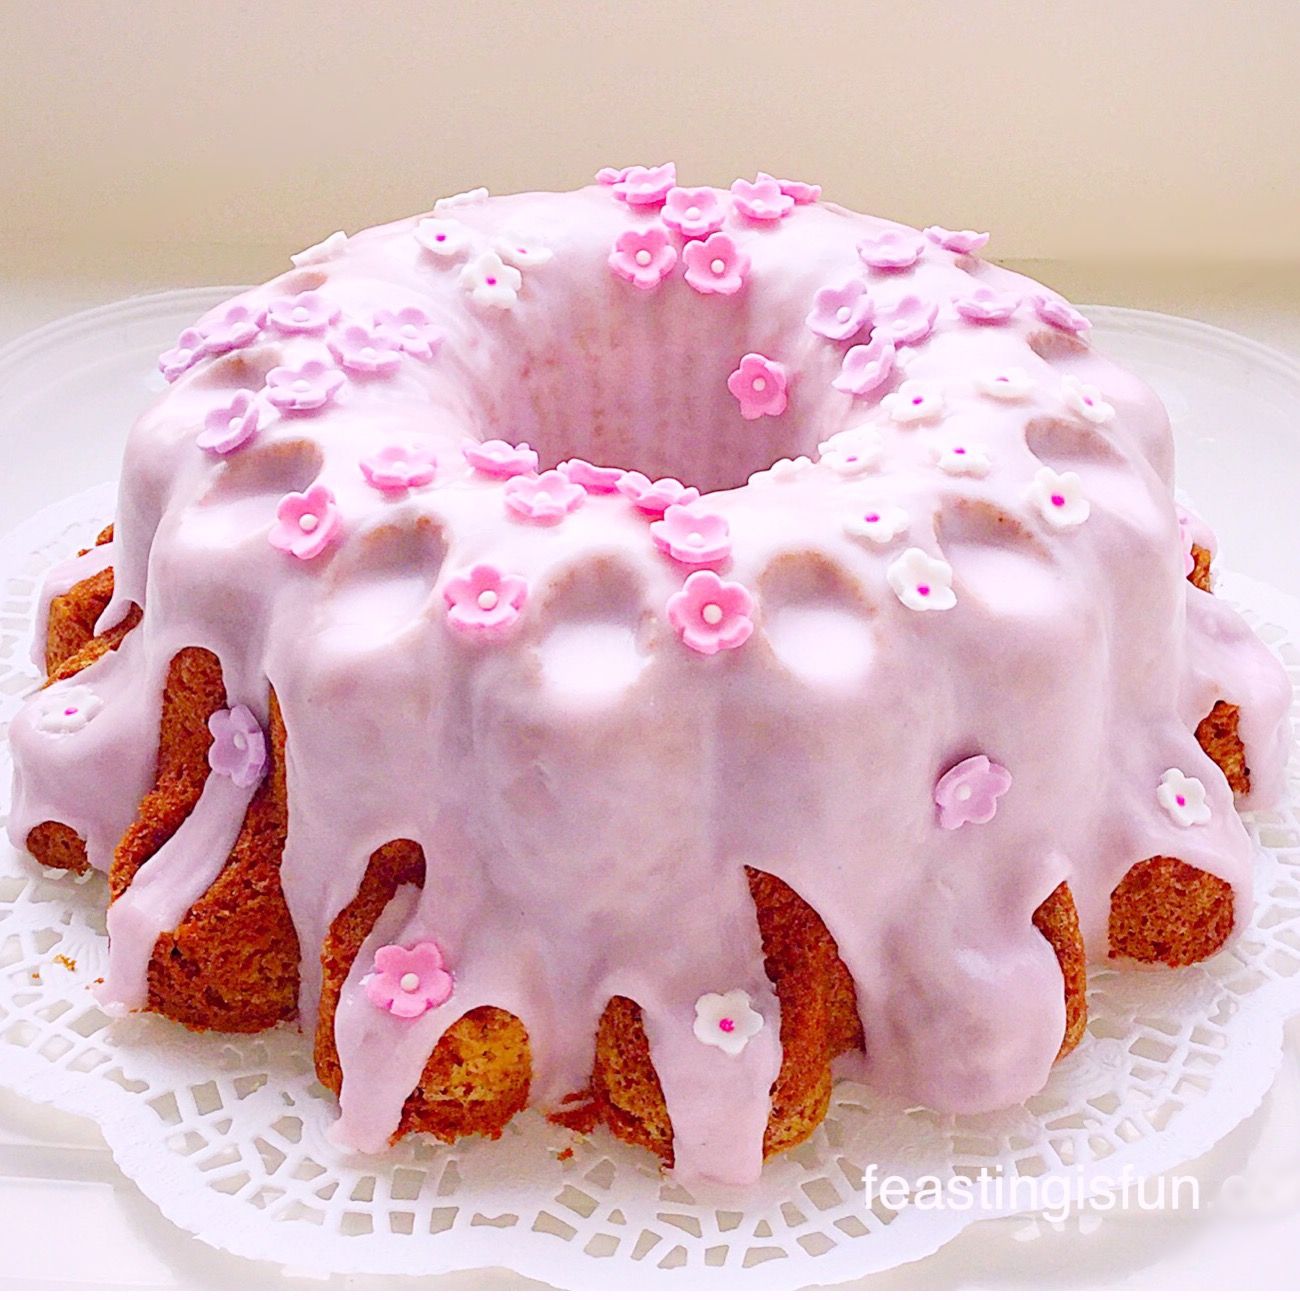
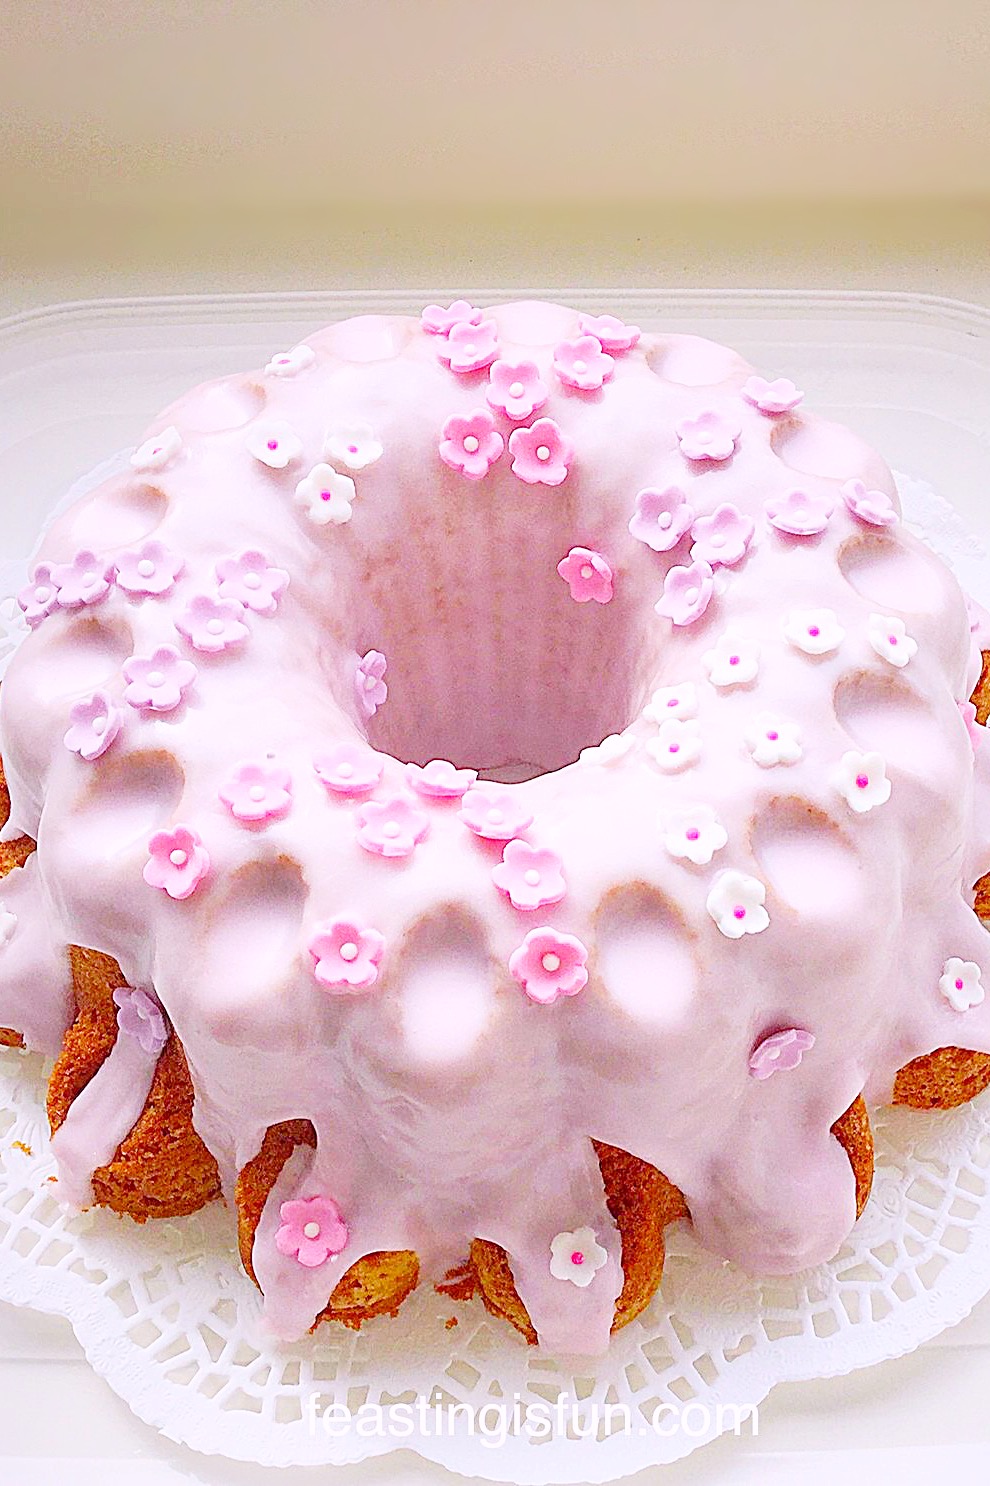
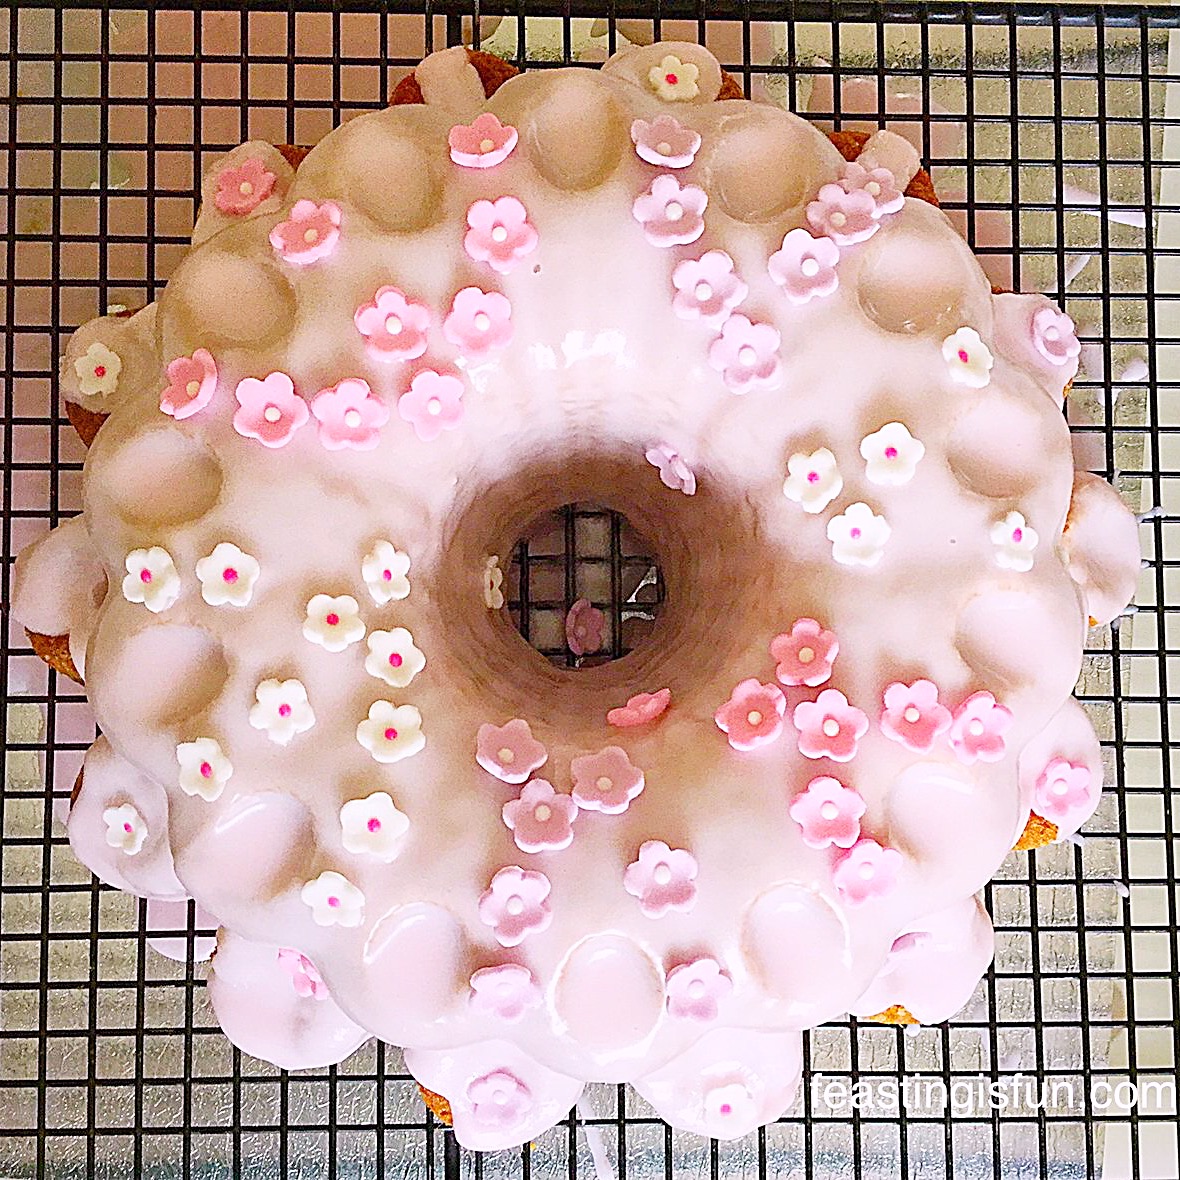
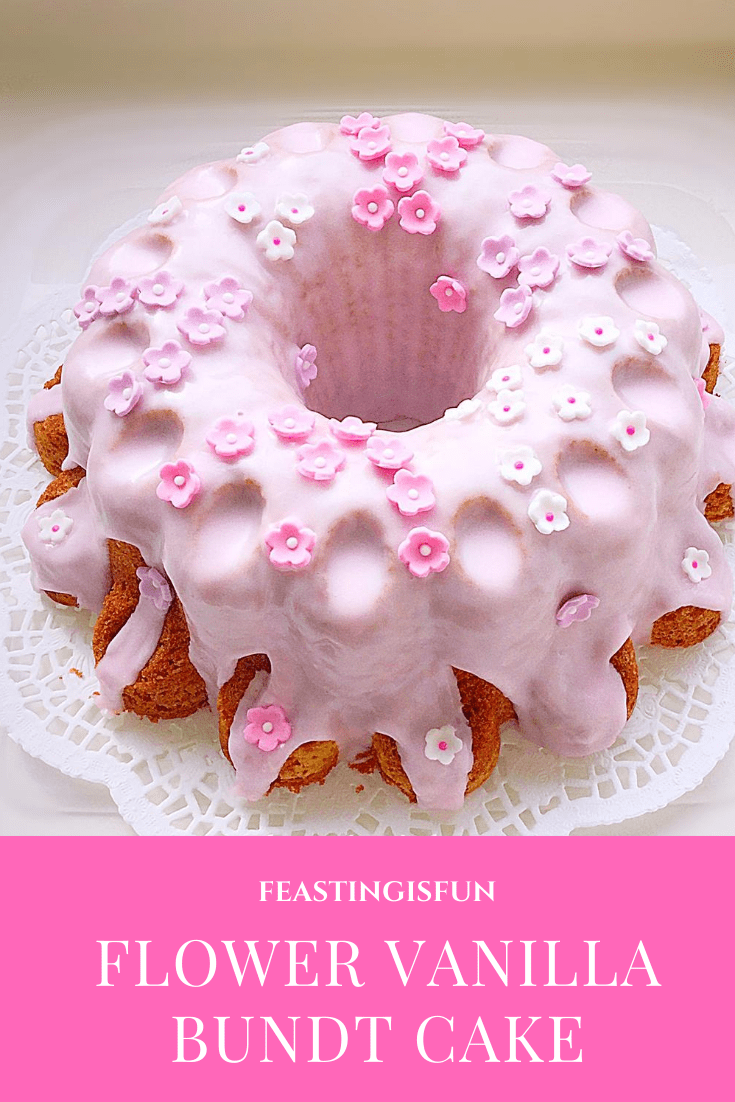
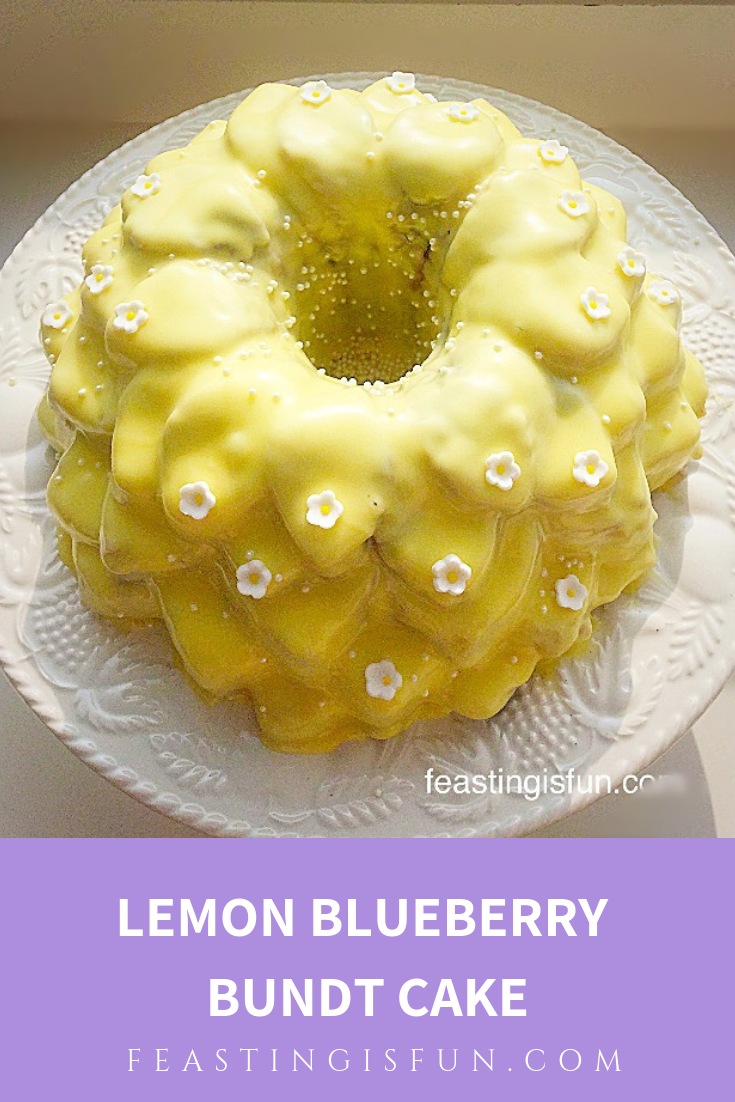
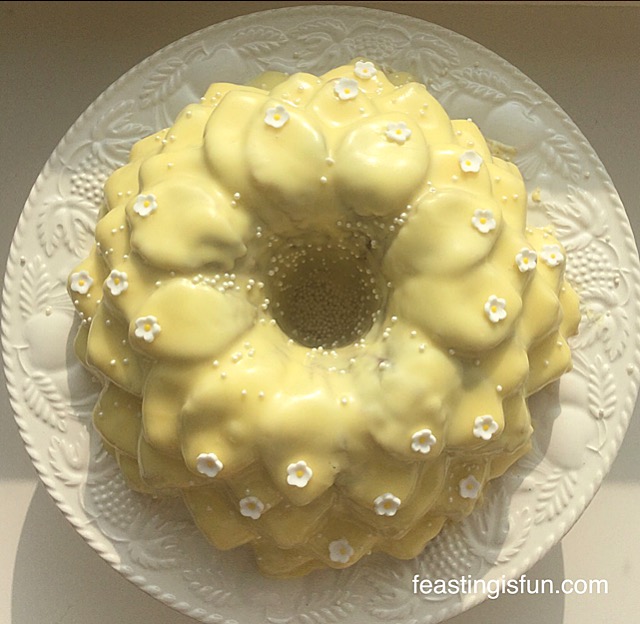
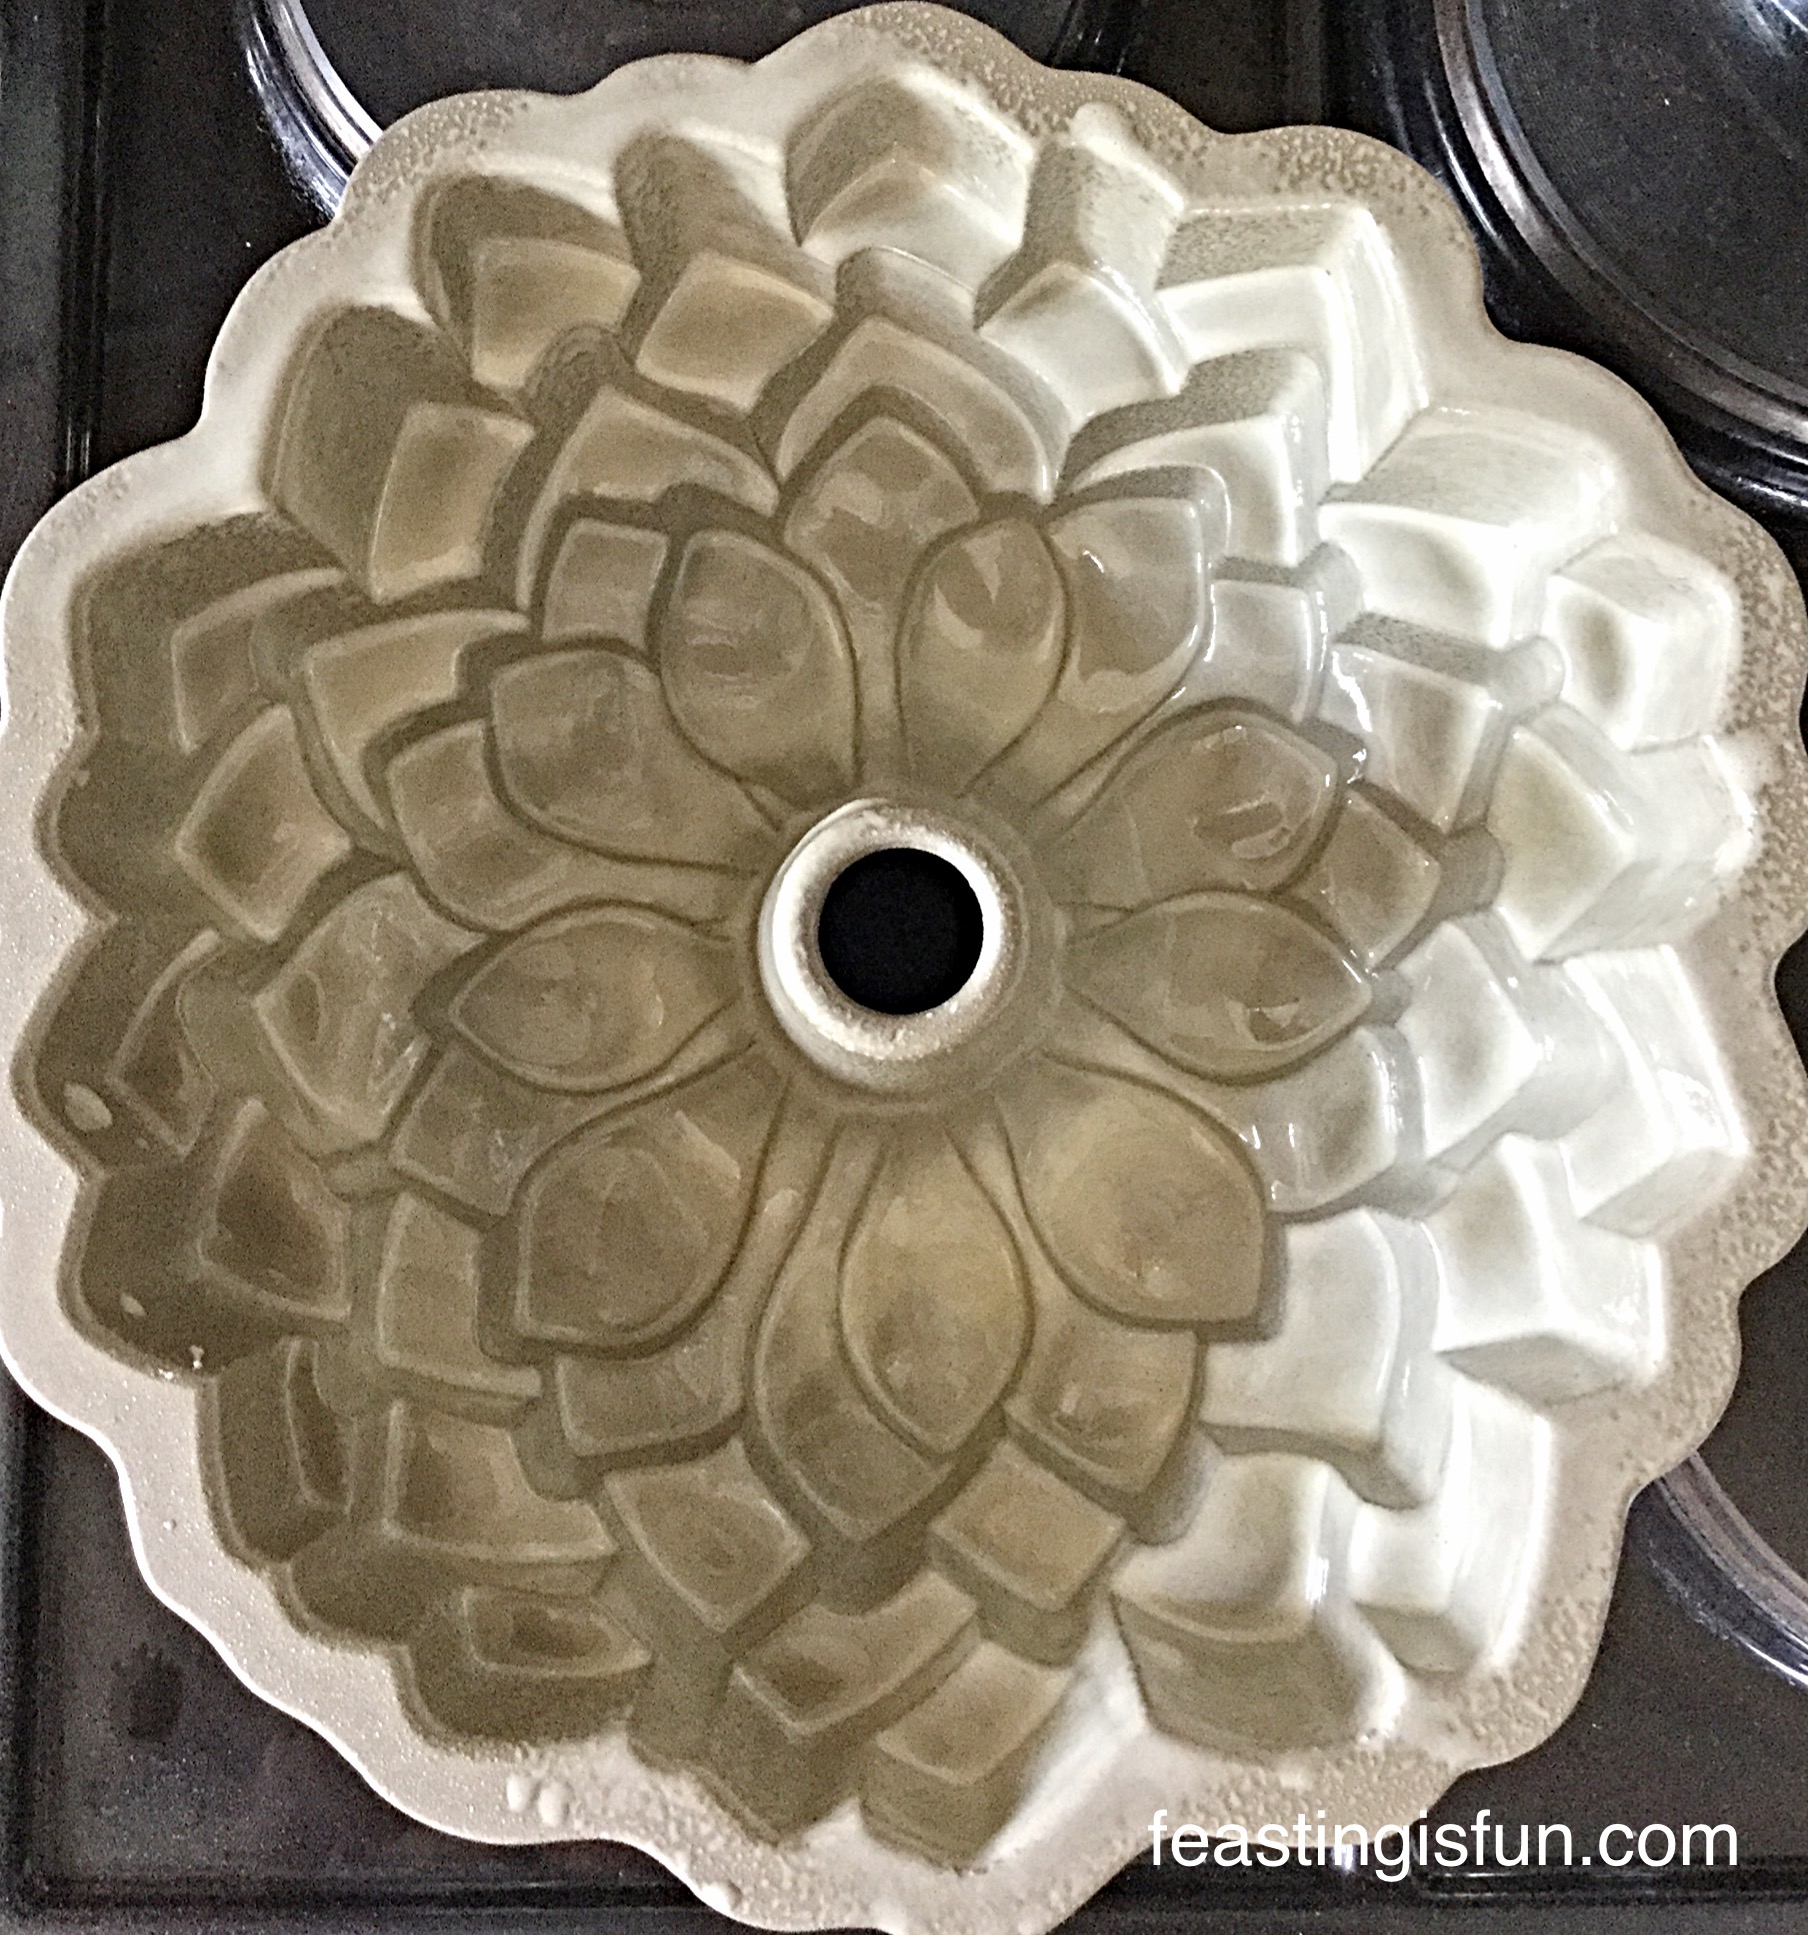
Since baking the beautiful Flower Vanilla Bundt Cake for little baby Florrie and her mum, I wanted to make another cake with a sunny, Spring theme. So I chose my Blossom Bundt by Nordic Ware and set about creating the recipe.
I always prefer to use lemon zest in a cake, as it imparts a wonderful, zingy, lemon flavour. And the lemon juice, from the zested lemons, has its own starring role. Added to icing sugar to form the glaze for this cake, it is the first taste to hit your tongue as you bite into this cake, jolting your tastebuds awake!
The Brilliance Of Bundt Pans
Bundt tins are a great investment, especially if you aren’t very confident with your cake decorating skills. These beautifully shaped tins do all the work for you. This Lemon Blueberry Bundt Cake would still have looked pretty and tasted delicious with a light dusting of icing sugar.
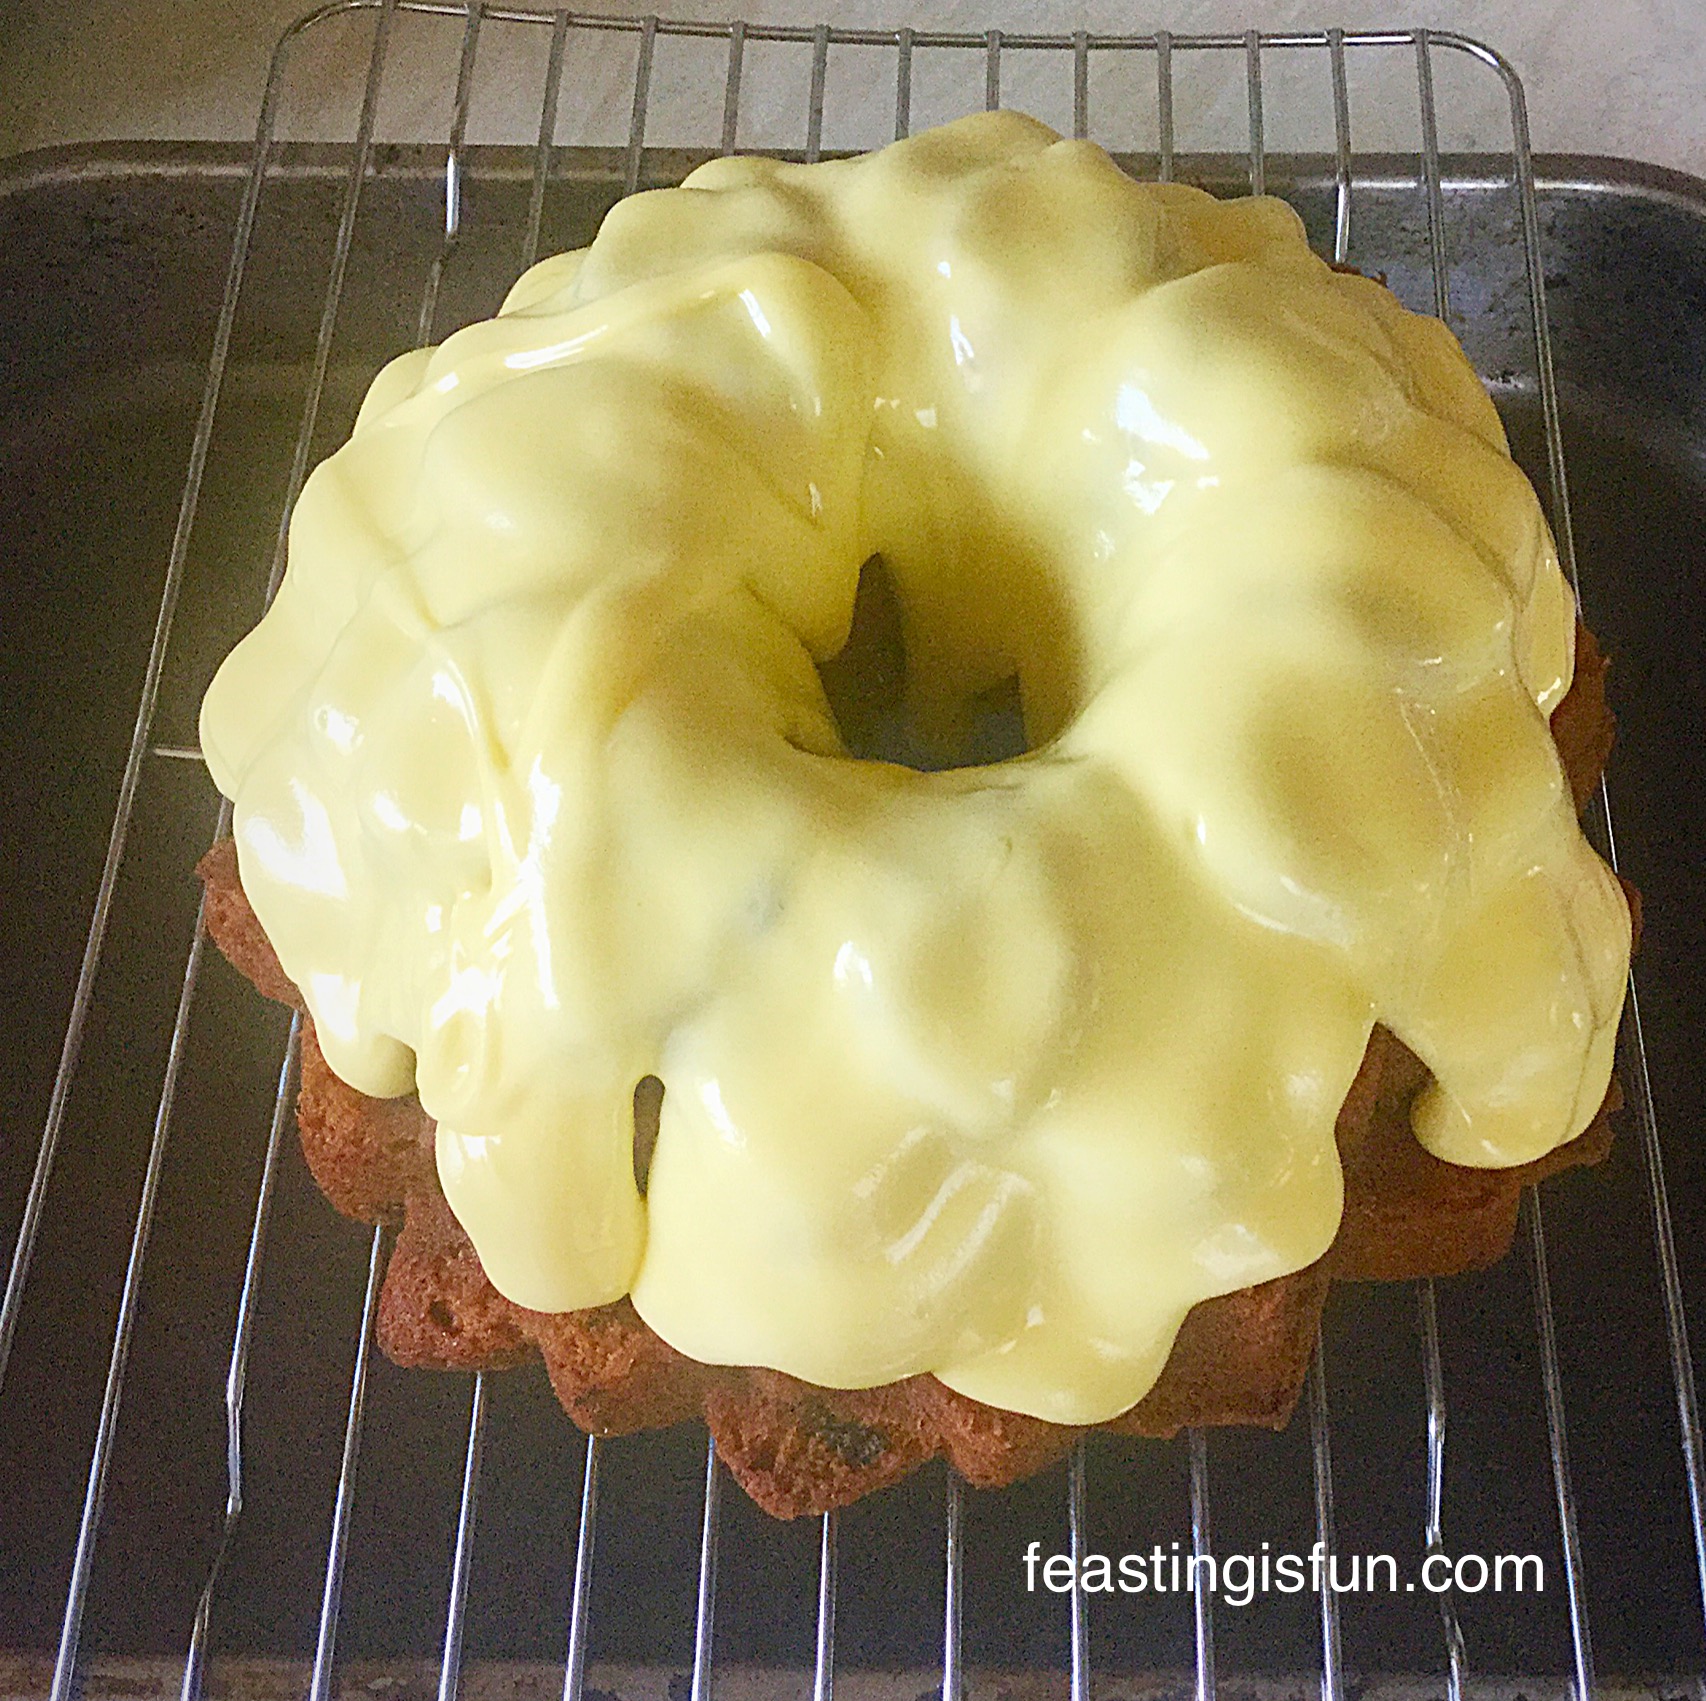
With a little care and proper preparation a Bundt tin will give you years of beautiful cakes, with no extra effort required by the baker. Although that doesn’t mean you can’t choose to decorate them. Since this is the first Bundt cake that I have fully glazed with a thicker icing and little sugar paste flowers. Alternatively my Glazed Lemon Bundt Cake is fully glazed, with a thinner, lighter icing and is also completely delicious.
While I knew I would need a thicker icing to cover the dark blueberries near the surface of the cake. Yet I hadn’t envisaged the thickness of the icing, along with it’s pretty yellow colour, actually looked just like custard as I was spooning it onto the cake!!
We all had a giggle at the similarity – that’s what baking and experimenting with decorating is all about for me. Fun!
Let’s get on with making this cake!
Recipe: Makes one Lemon Blueberry Bundt Cake serves 10-12
250g/9oz Unsalted Butter at room temperature
250g/9oz Caster Sugar
1tsp Vanilla Extract – I use Nielsen-Massey
5 Large Free Range Eggs
2 Lemons – Zested and Juiced
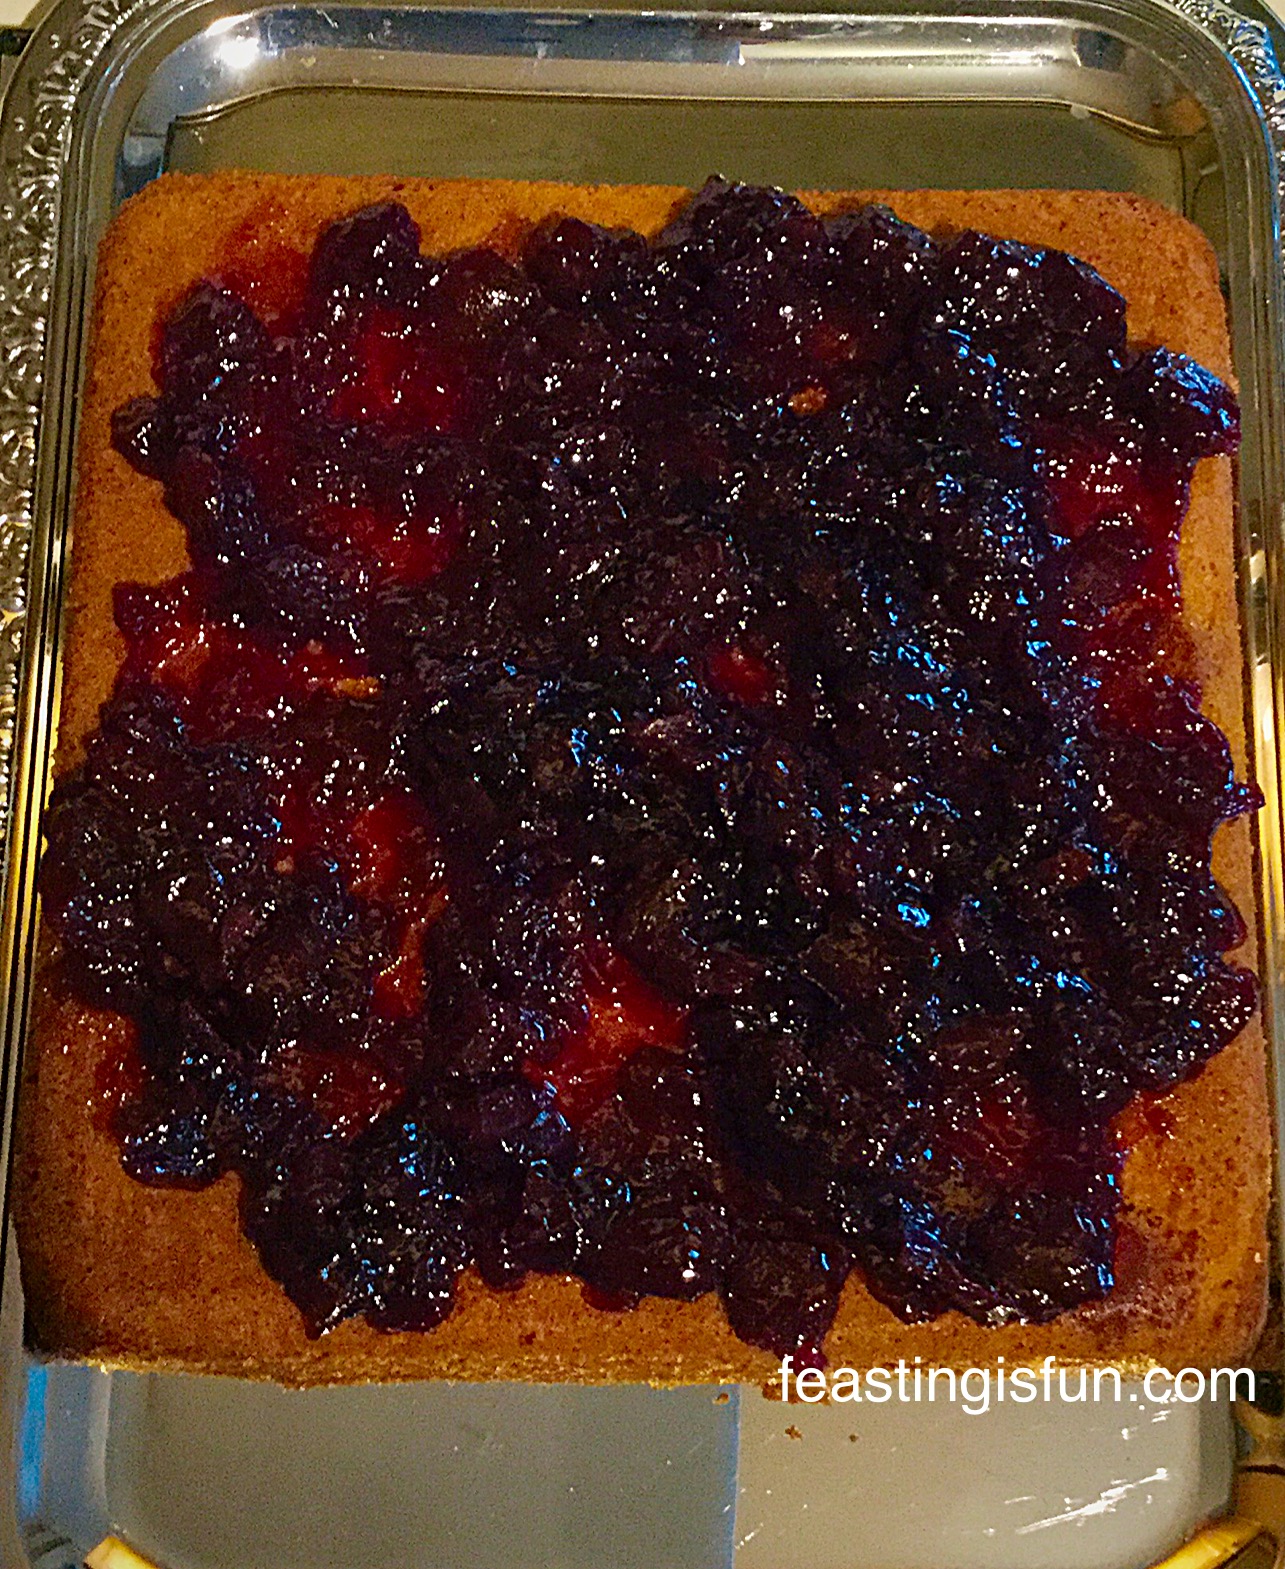
300g/11oz Fresh Blueberries
250g/9oz Plain White Flour
2.5tsp Baking Powder
1/4tsp Sea Salt – I use Maldon
Cake release spray – I use Wilton’s or extra butter & flour for preparing your Bundt tin
450g/1lb Icing sugar
Optional – Yellow Gel Food Colouring I use Wilton food colouring gel
Apperiels, white pre made sugar flowers – these are readily available in supermarkets and online.
Method: Preheat the oven to 170C/150C fan, 325F, gas mark 3
Making The Blueberry Lemon Cake Batter
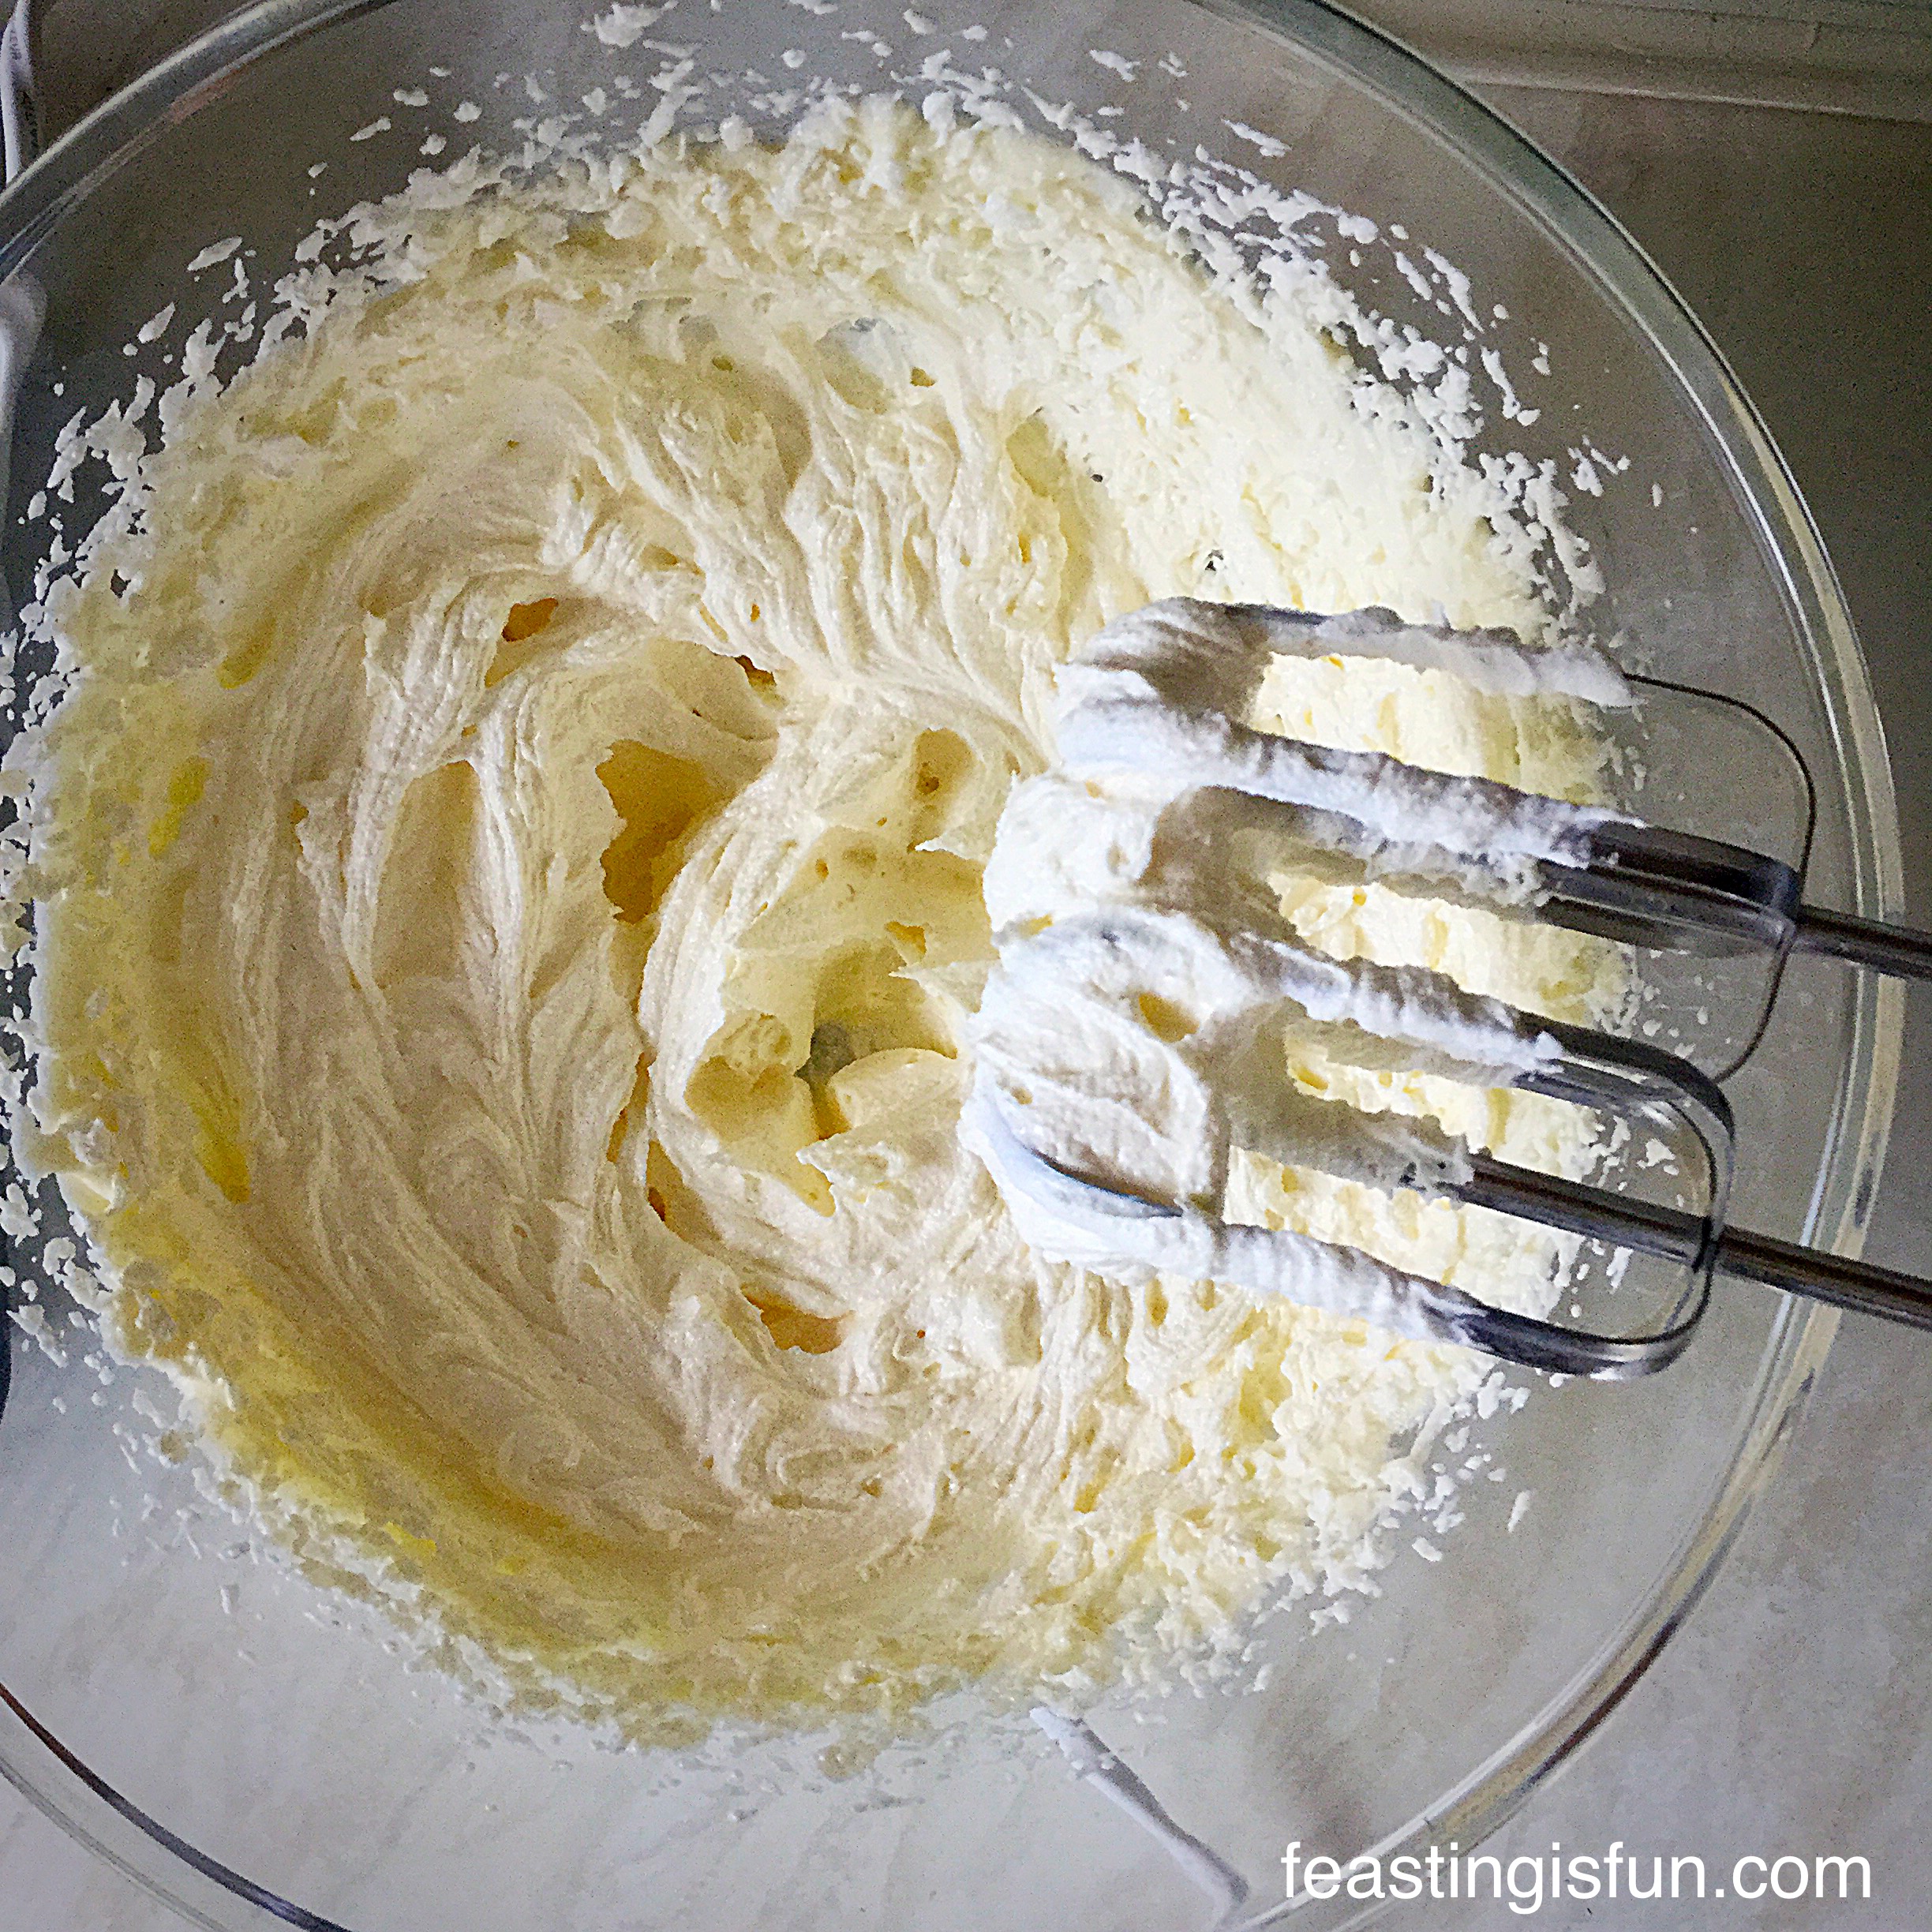
- First of all, into a large bowl add the sugar, butter and vanilla extract.
- Whisk or beat until pale and fluffy – approx 5 minutes
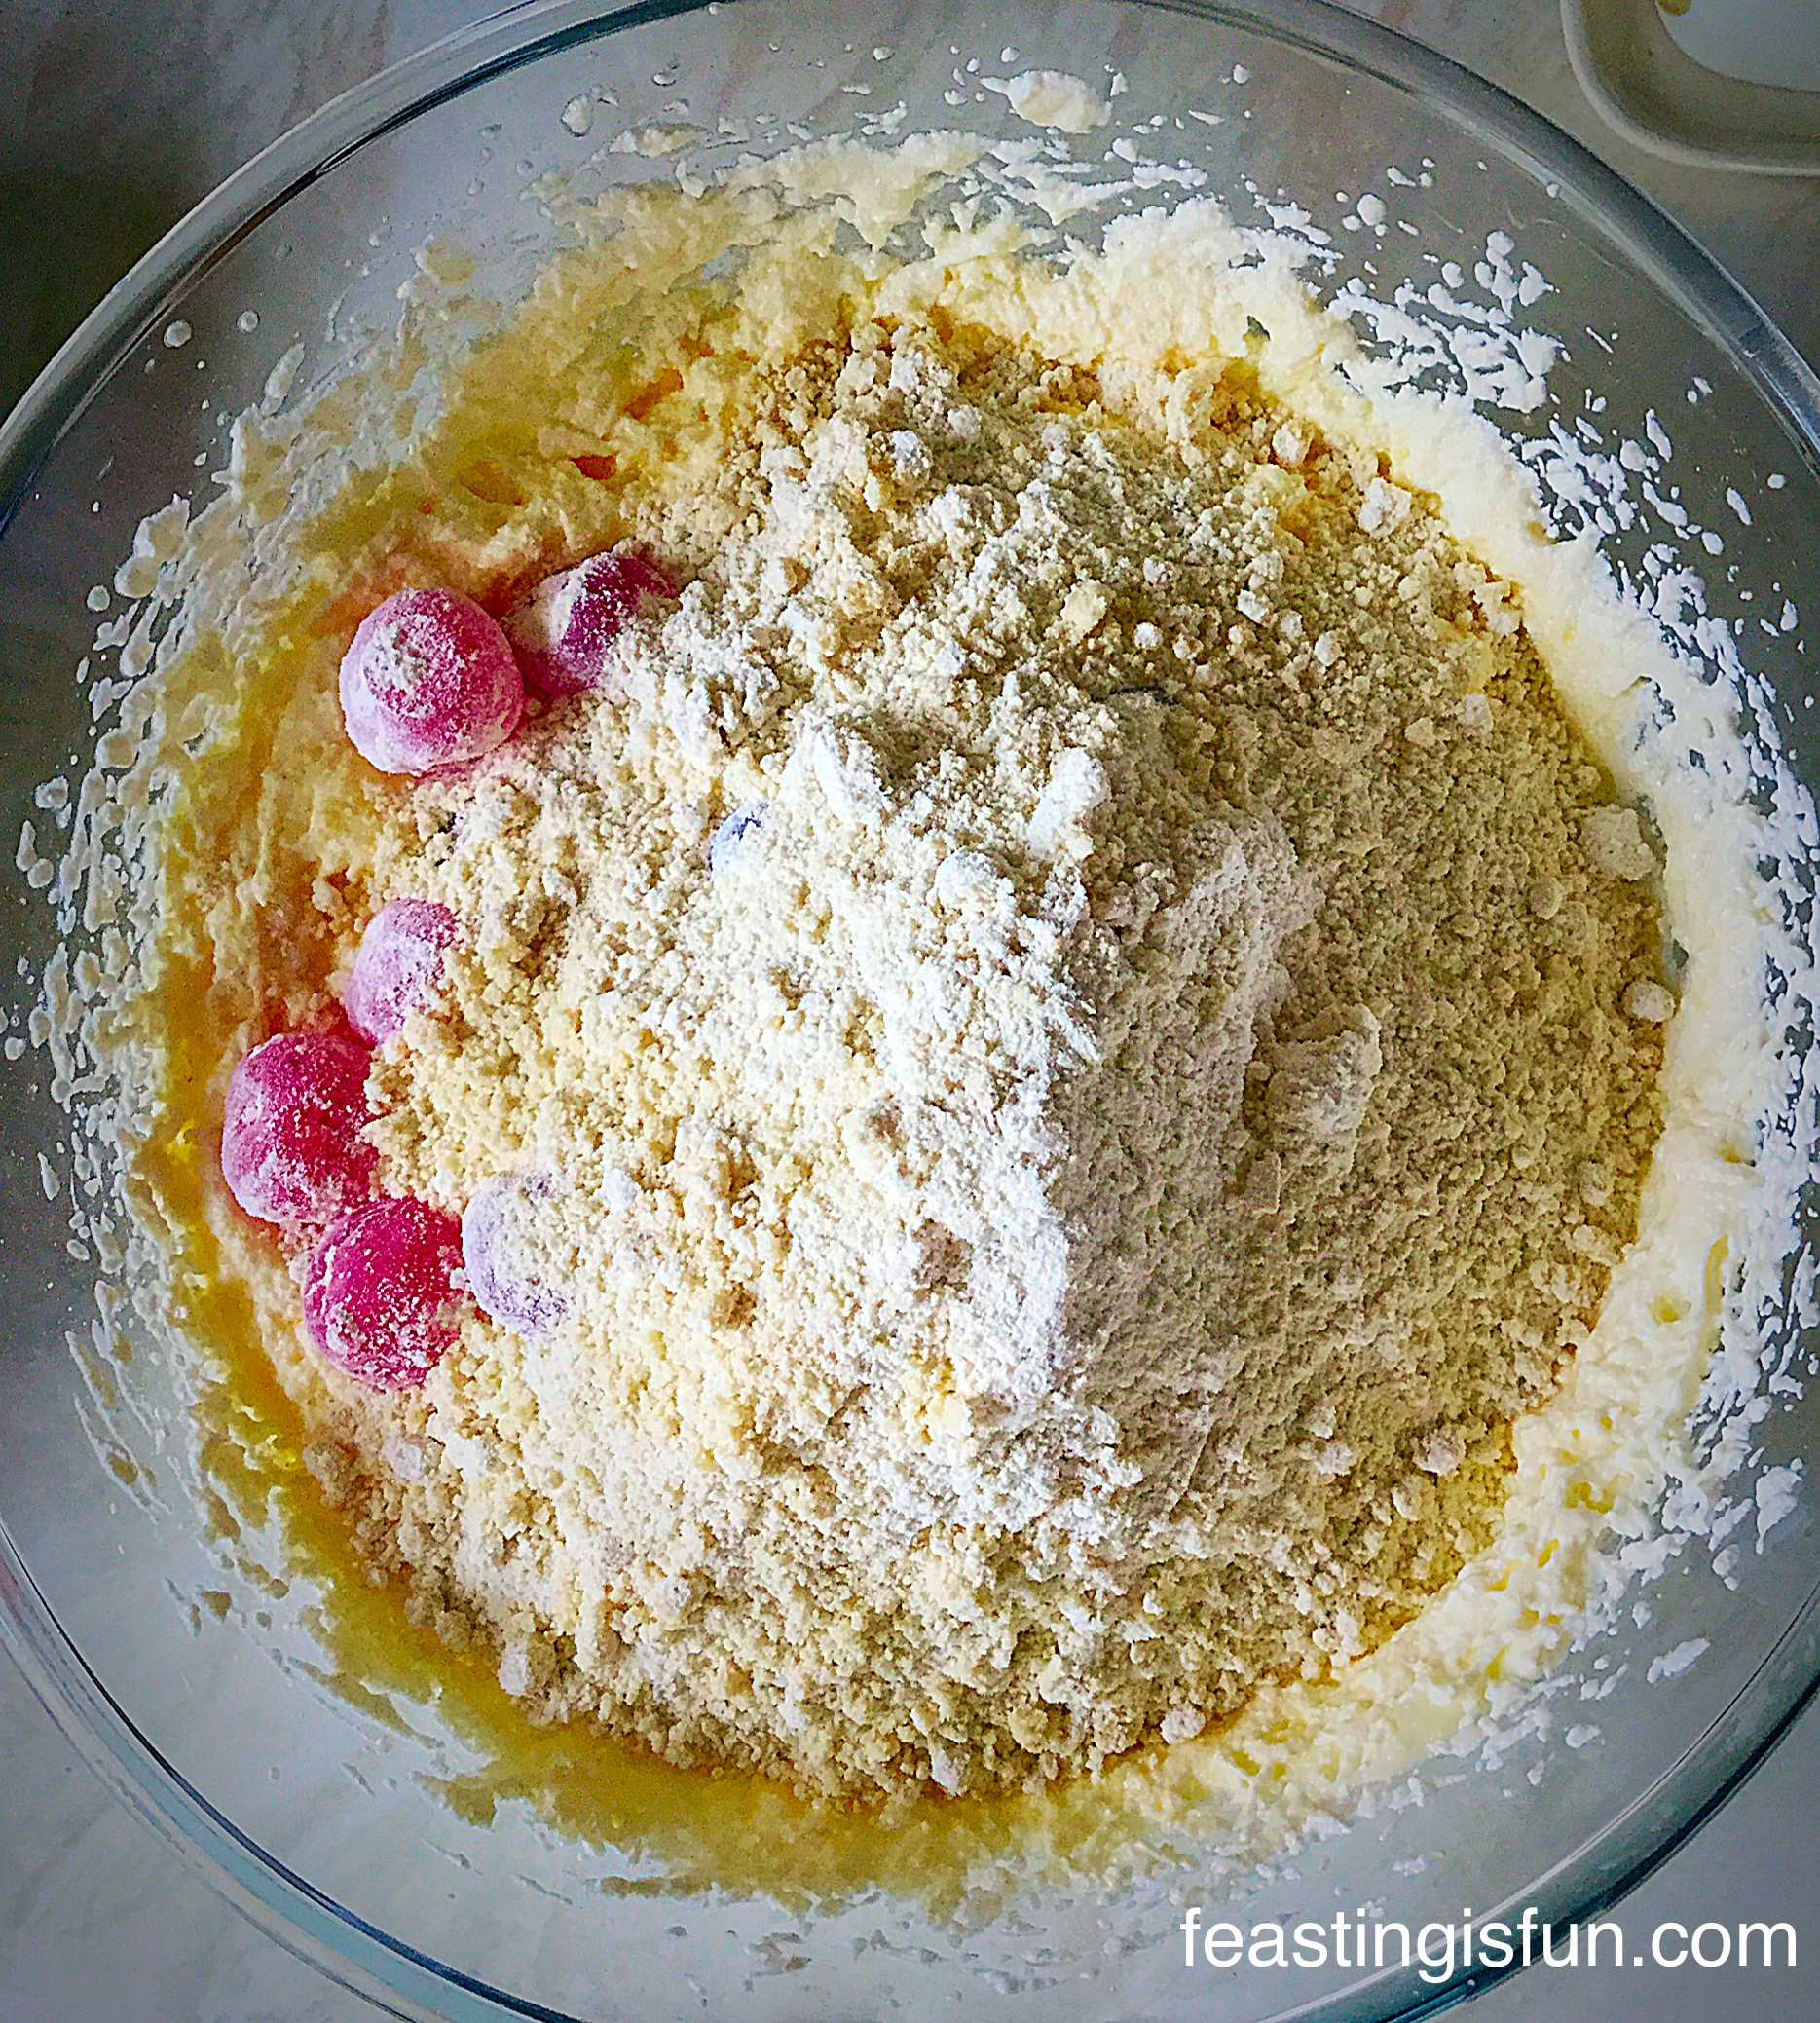
- Into a separate bowl sift the flour, baking powder and salt together (dry ingredients).
- Add one third of the dry ingredients and two eggs to the creamed butter and sugar, whilst whisking/beating on a slow speed.
- Repeat the last step.
- Add two thirds of the blueberries to the batter, the zest of two lemons, one egg and the final third of the dry ingredients. Whisk/beat on a slow speed until just combined.
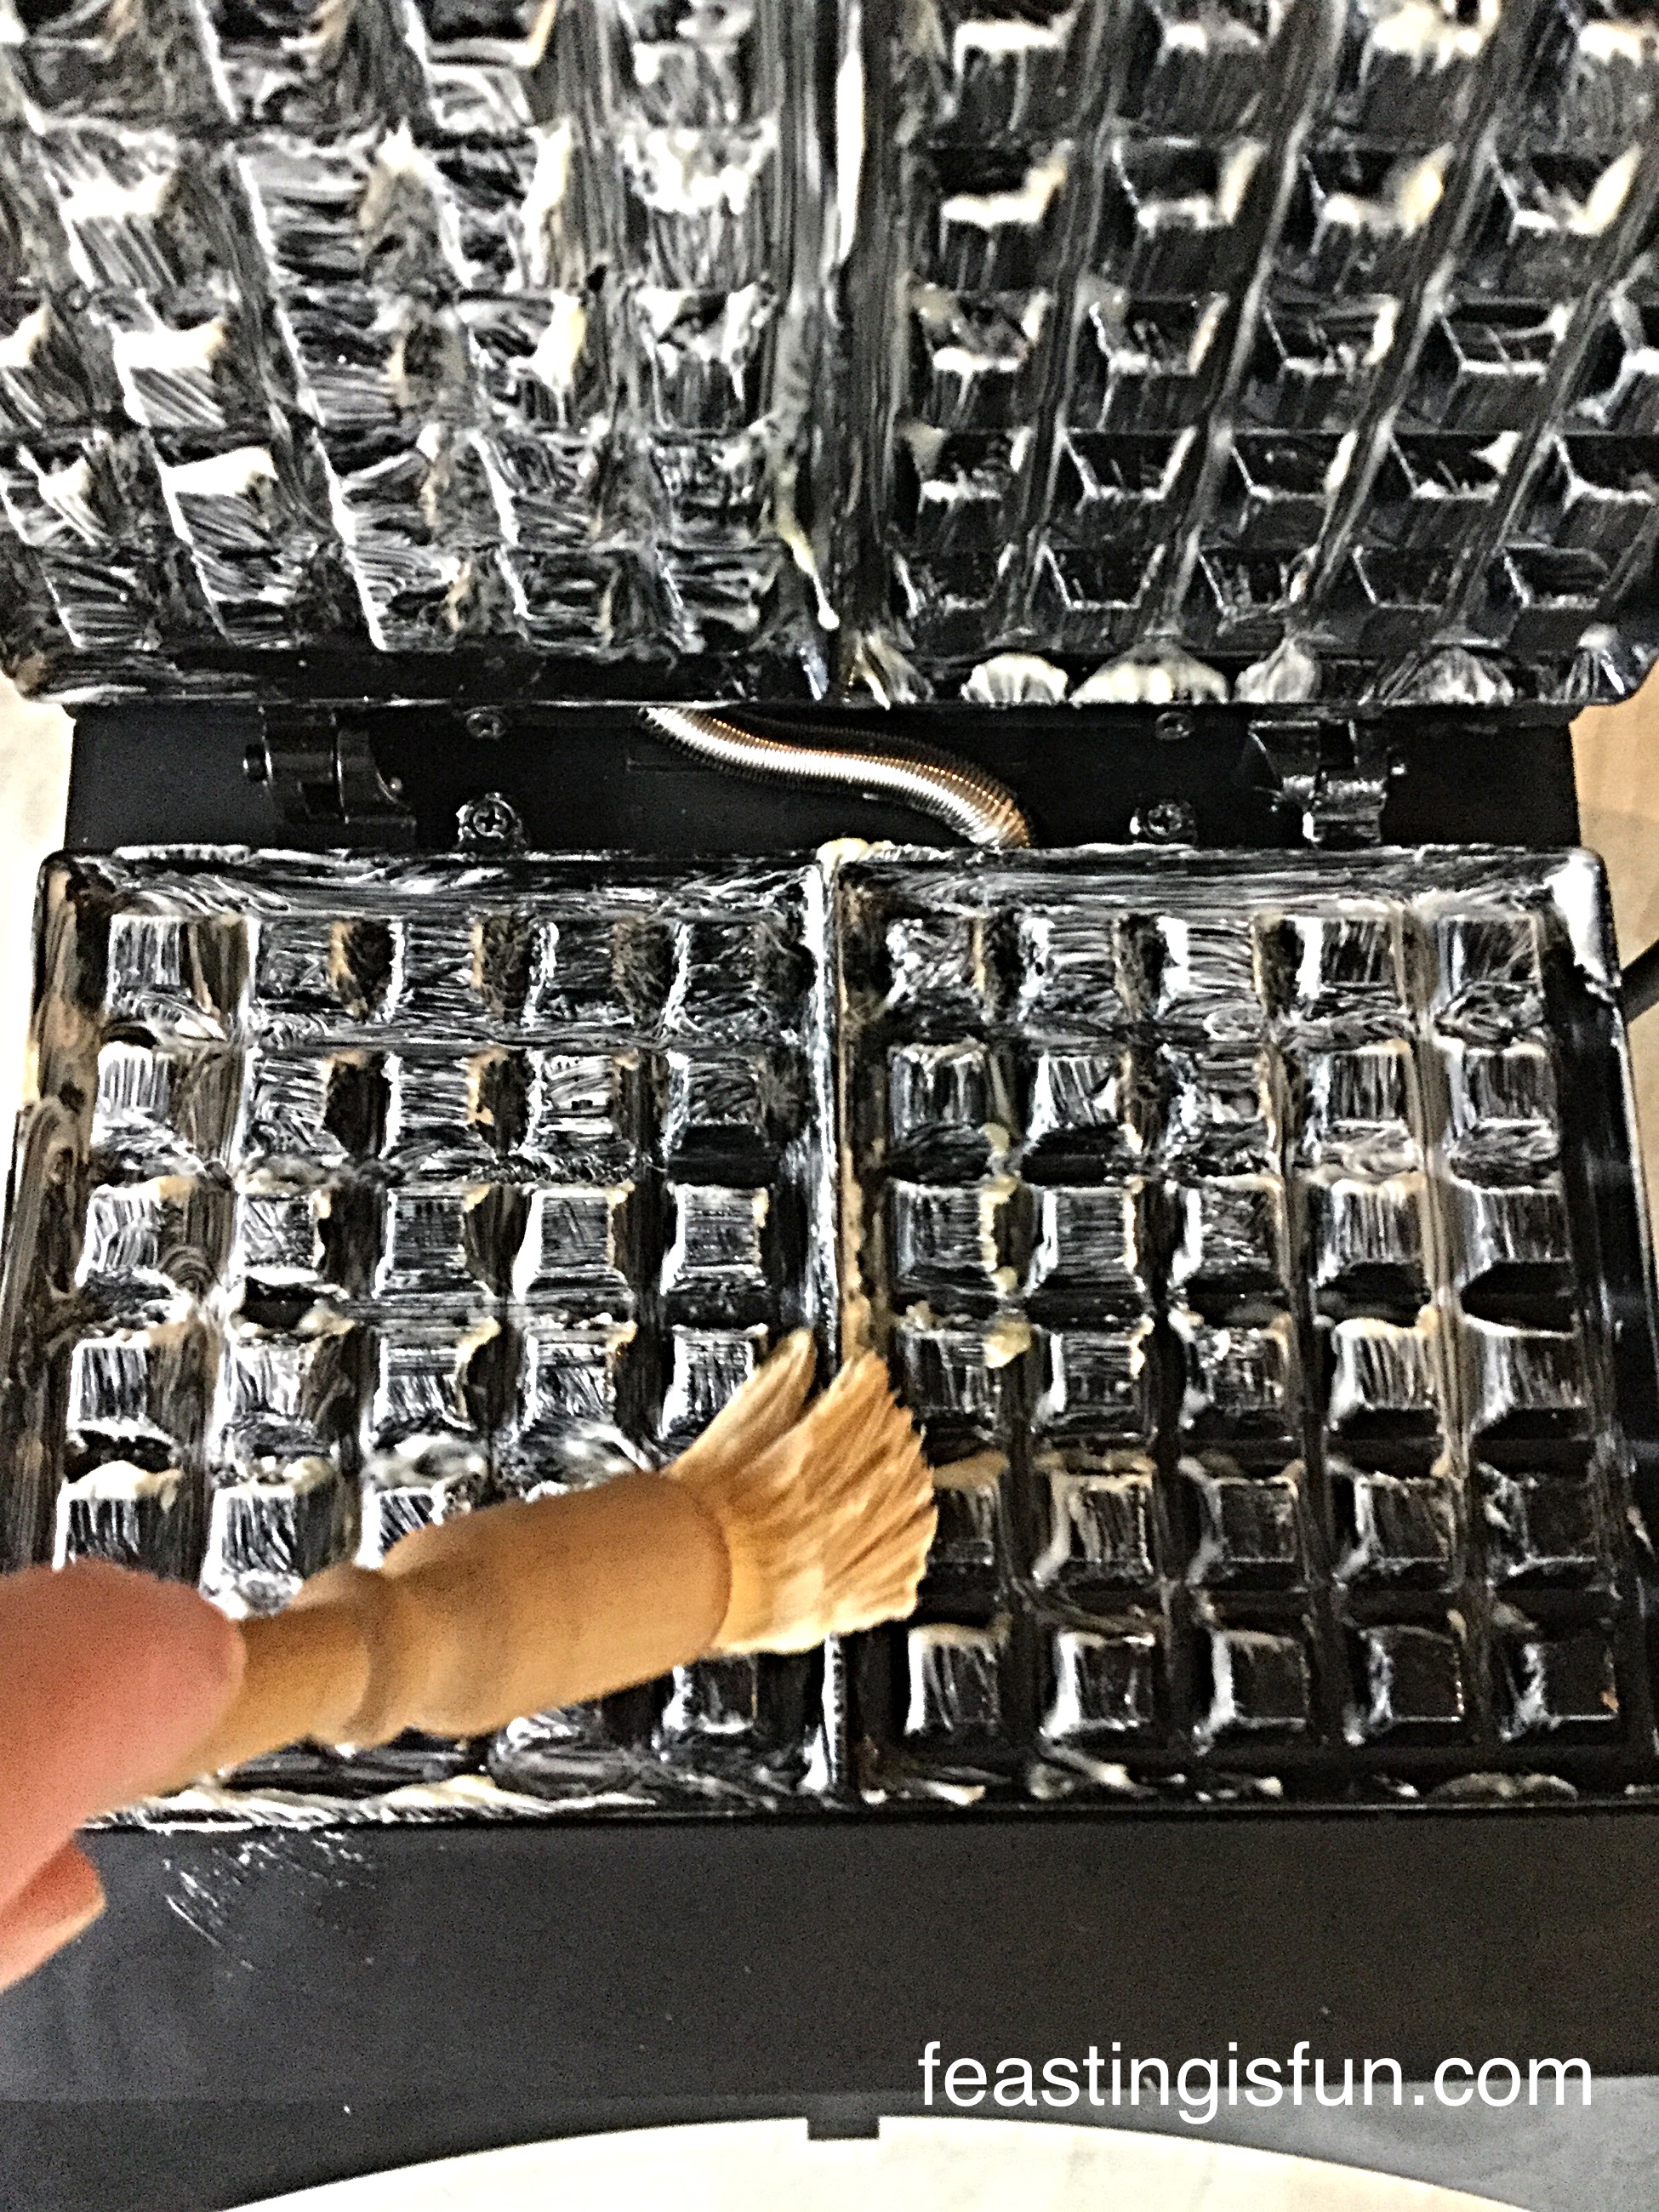
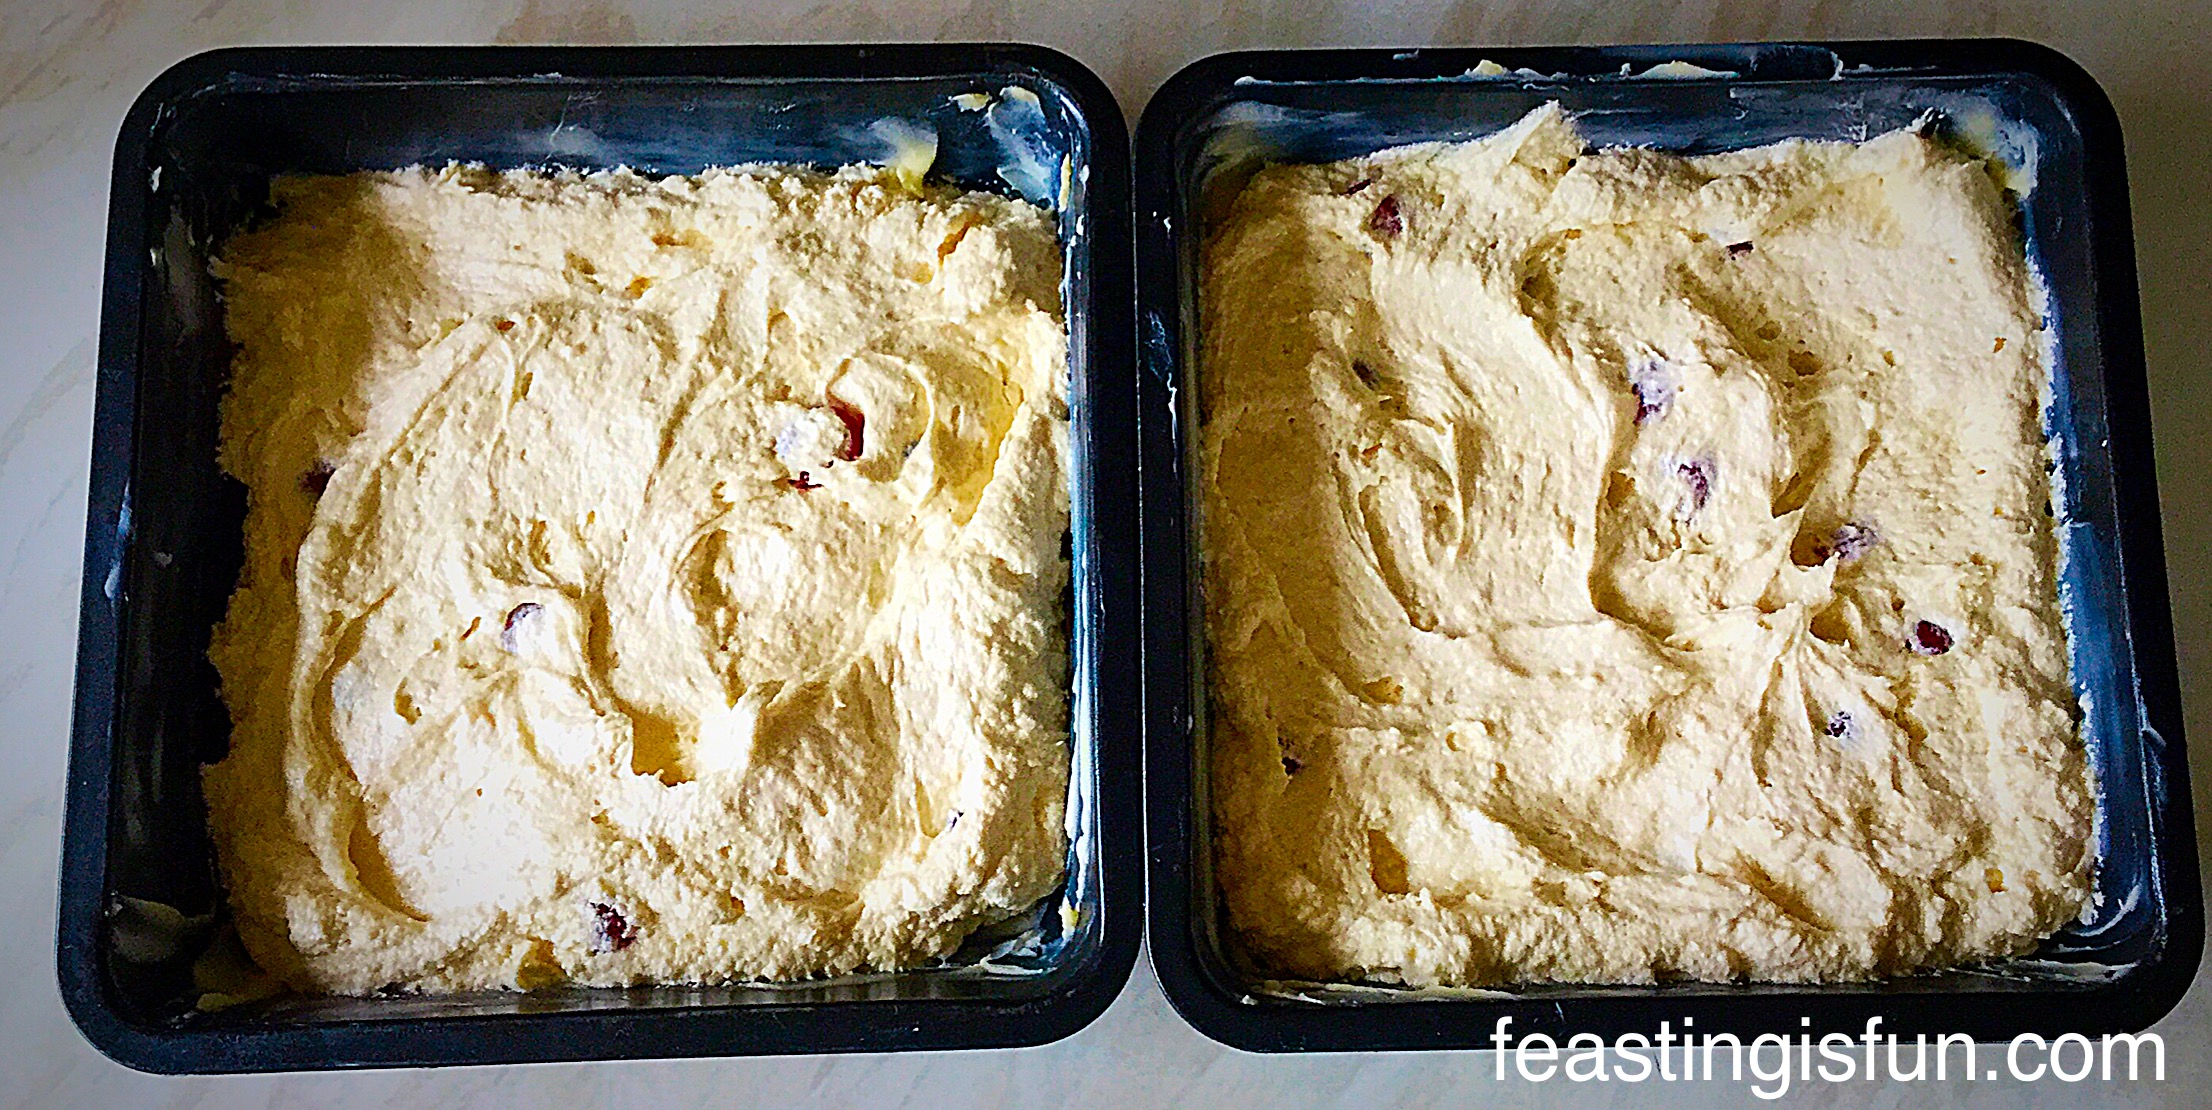
- Prepare the Bundt tin by spraying well with Cake Release, or brush with melted butter, ensuring you completely cover all the groves in the pan – then add 2tbsp of plain white flour and rotate the tin ensuring the entire inside has a flour coating. Tip any excess flour out of the tin and dispose.
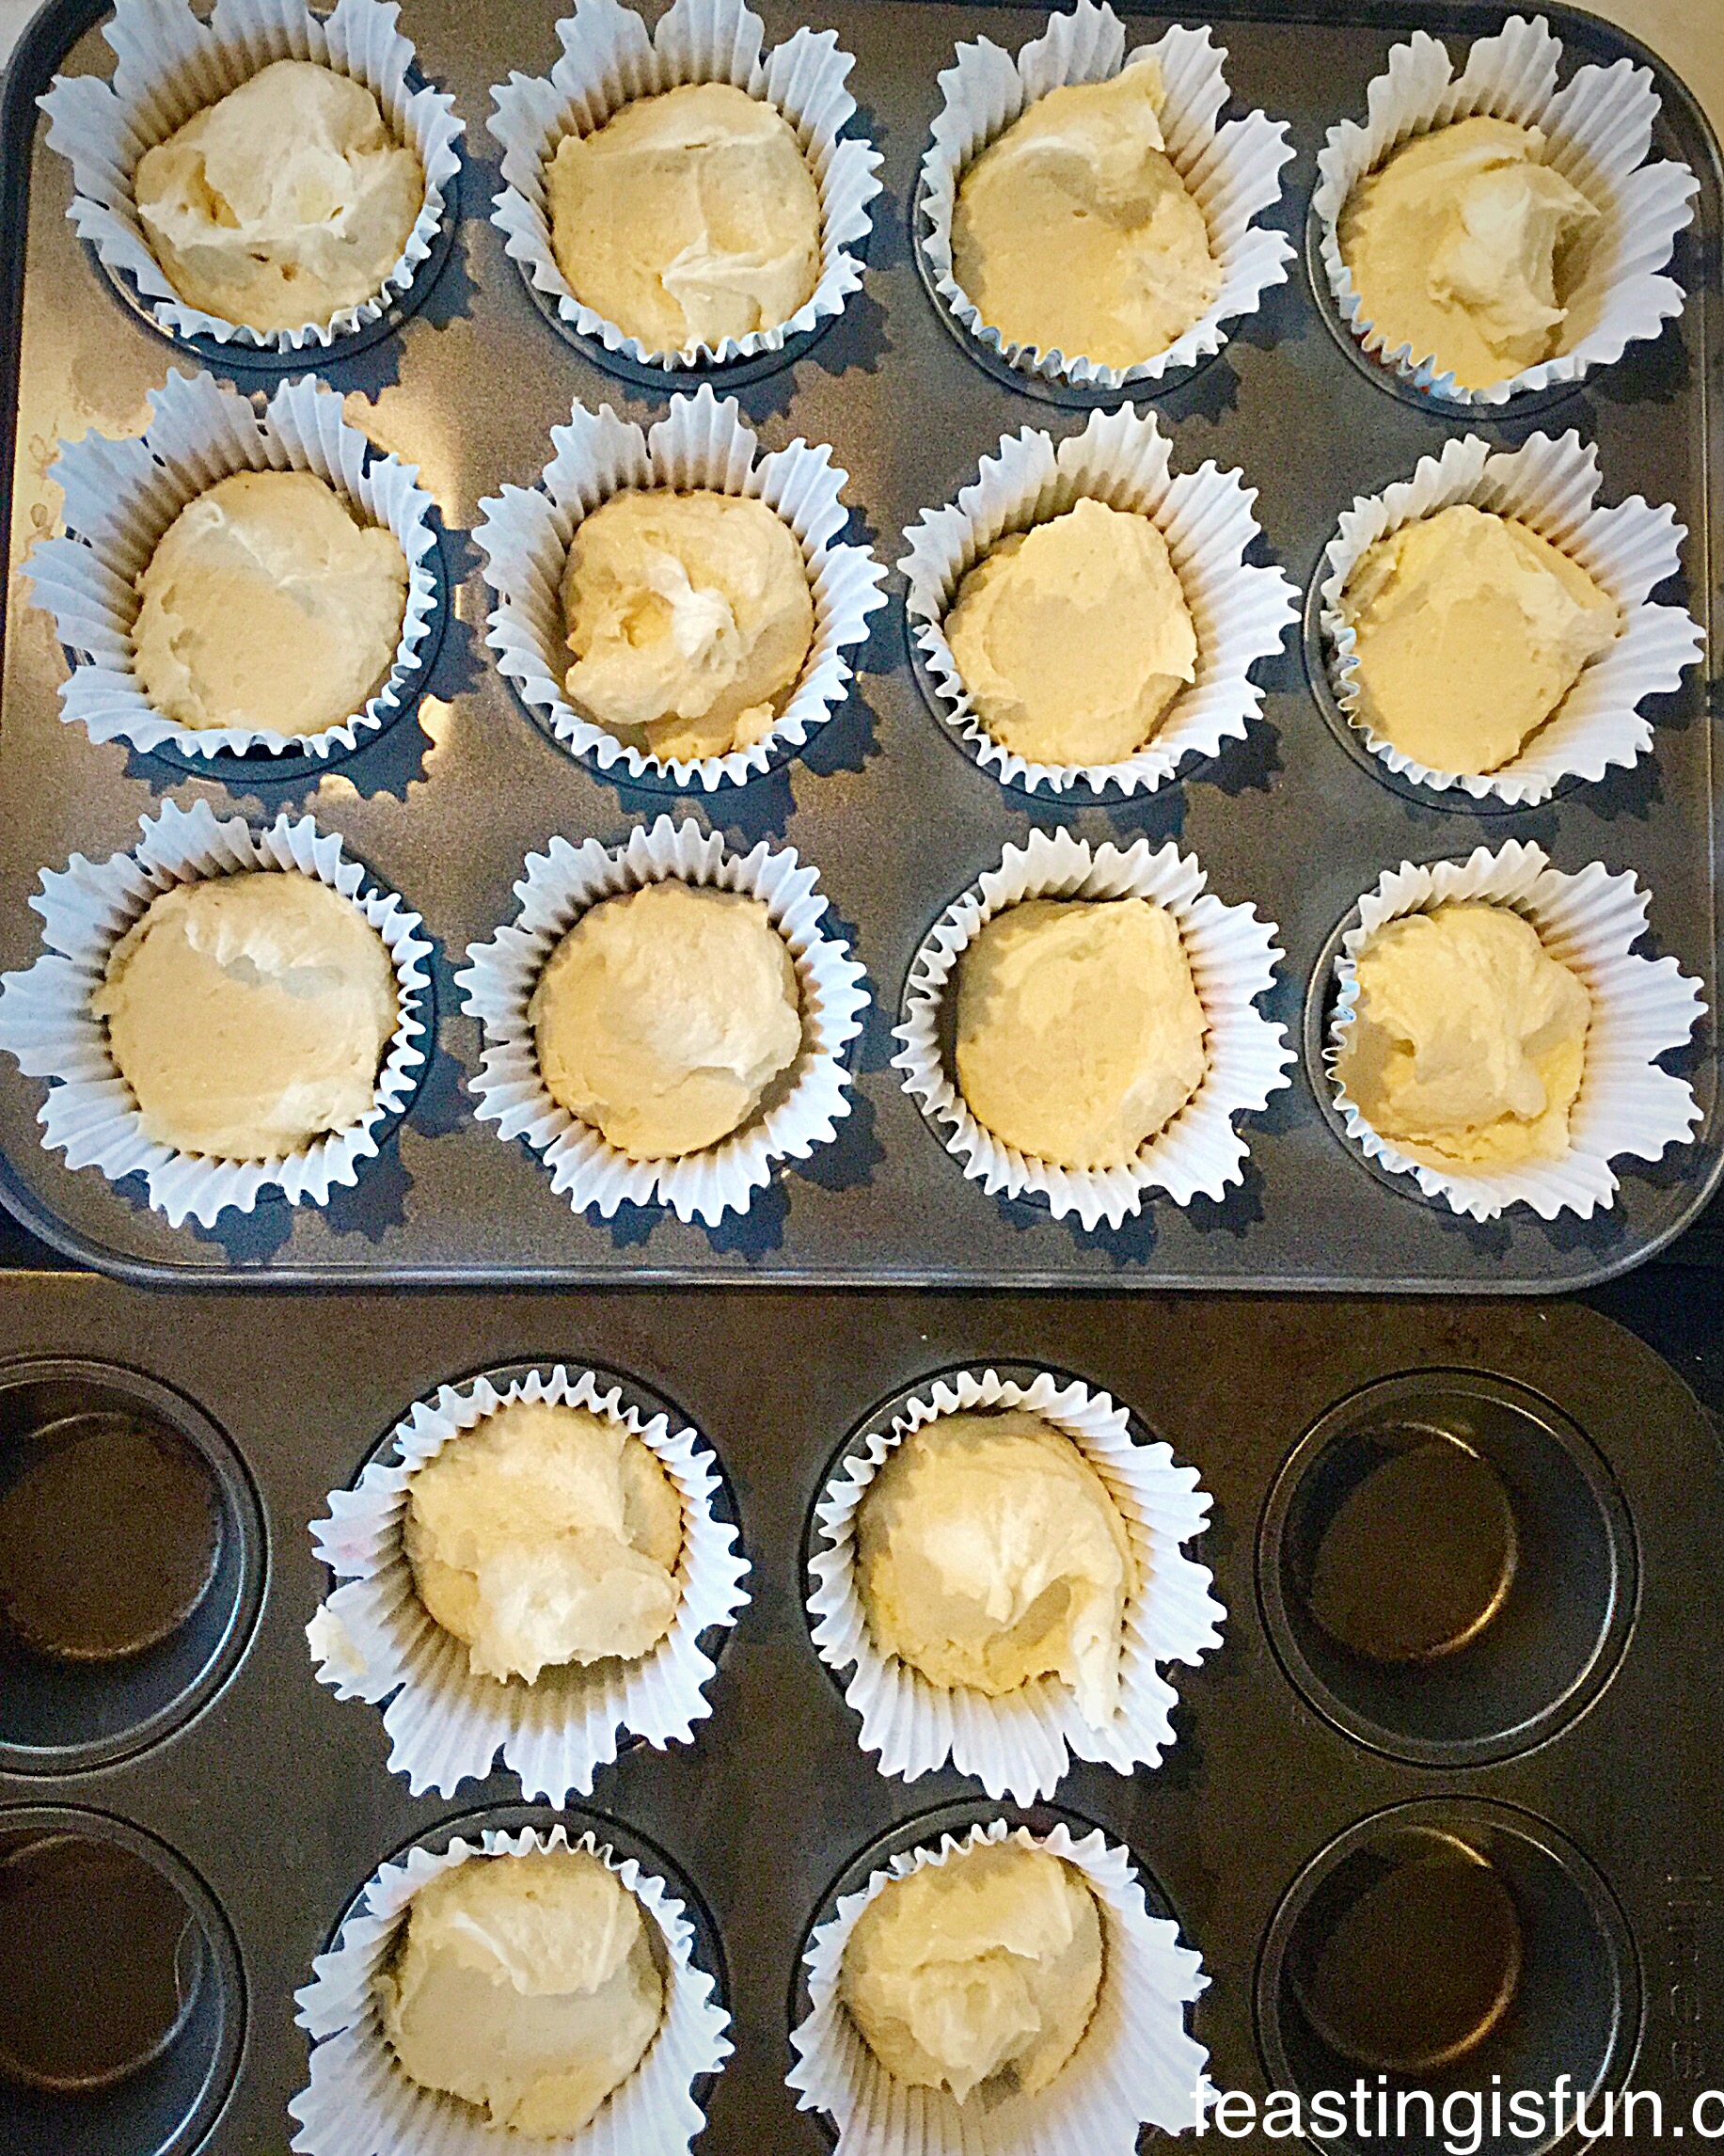
- Spoon the cake batter into the Bundt tin, pressing down as you do so to ensure the batter fills all the little dips and grooves.
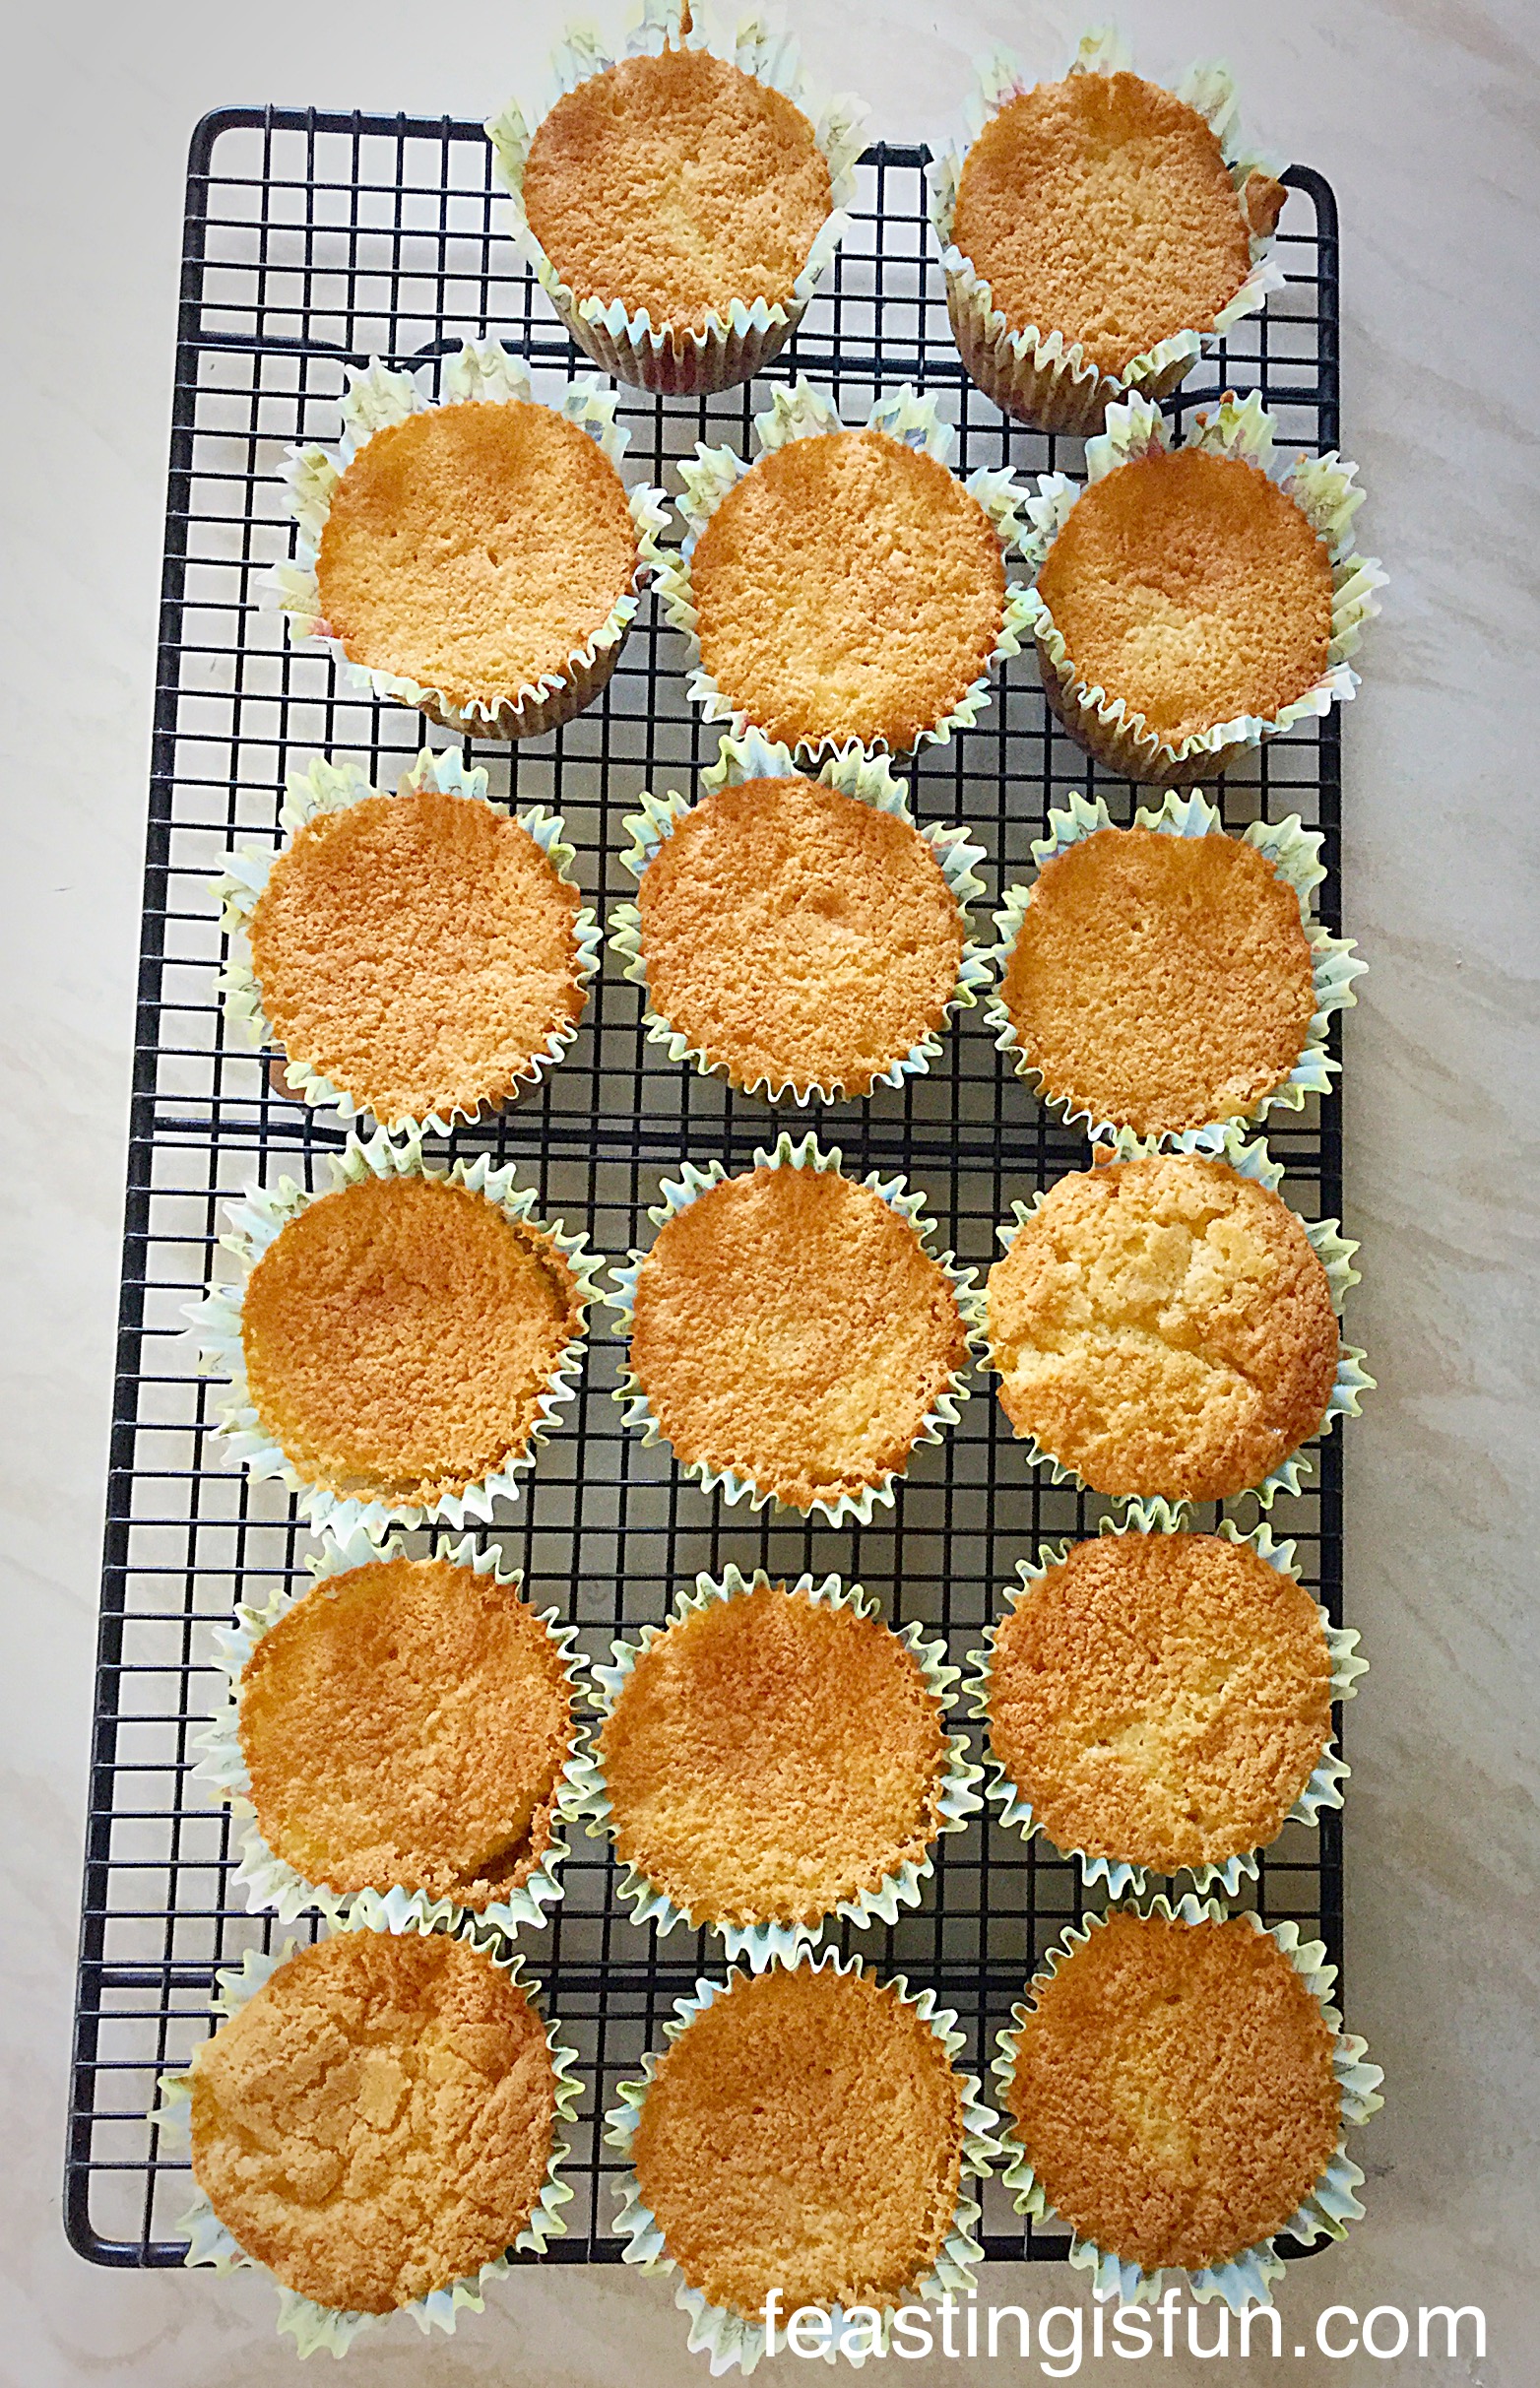
- Only fill the Bundt tin 3/4 full. Any excess batter can be baked as cupcakes once the main cake is cooked.
Baking The Bundt Cake
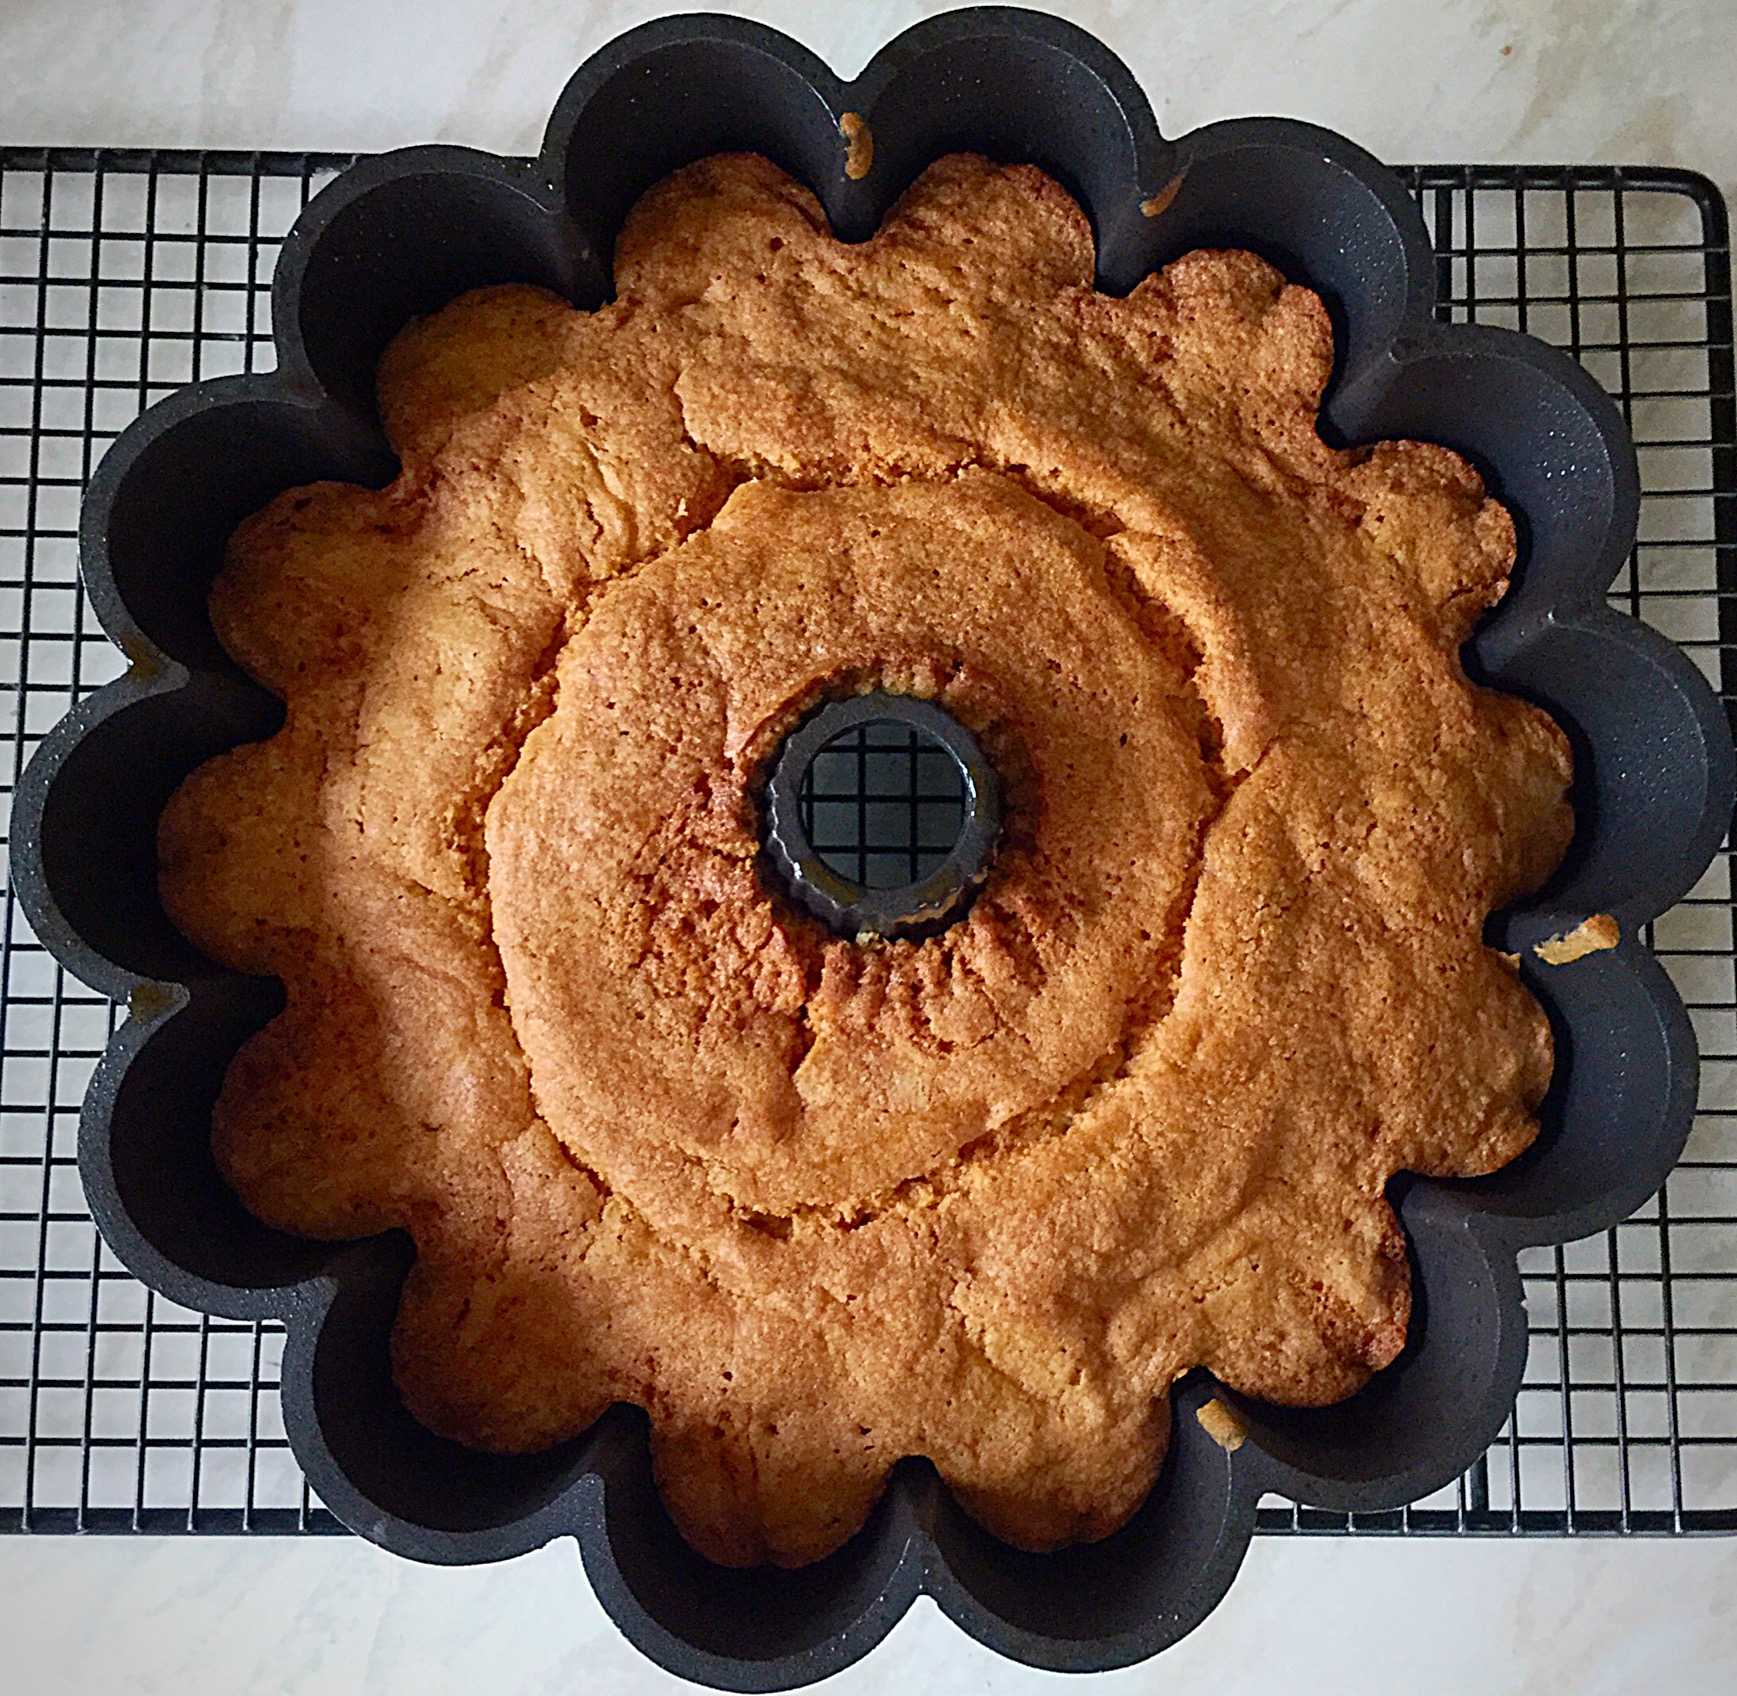
- Place the Bundt tin into the middle of the preheated oven.
- Bake for 1 hour, or until an inserted wooden skewer comes out clean.
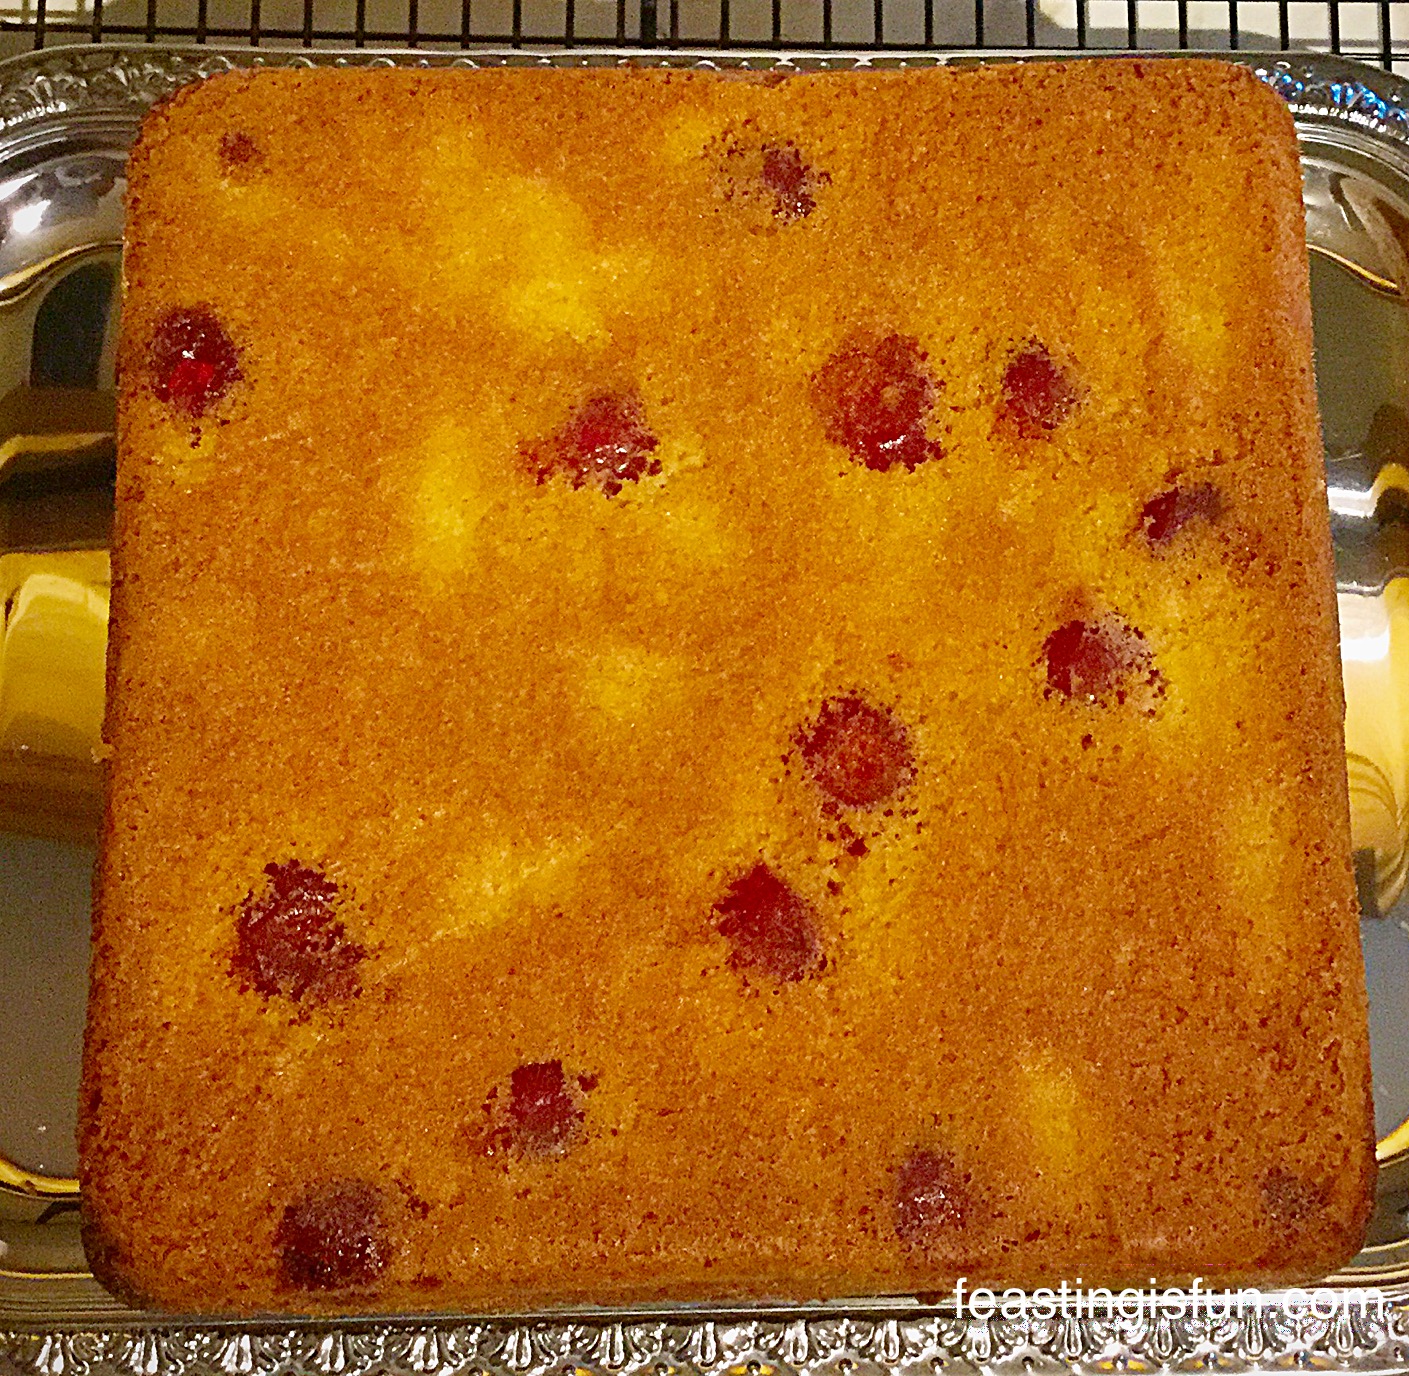
- As soon as the cake is baked remove from the oven.
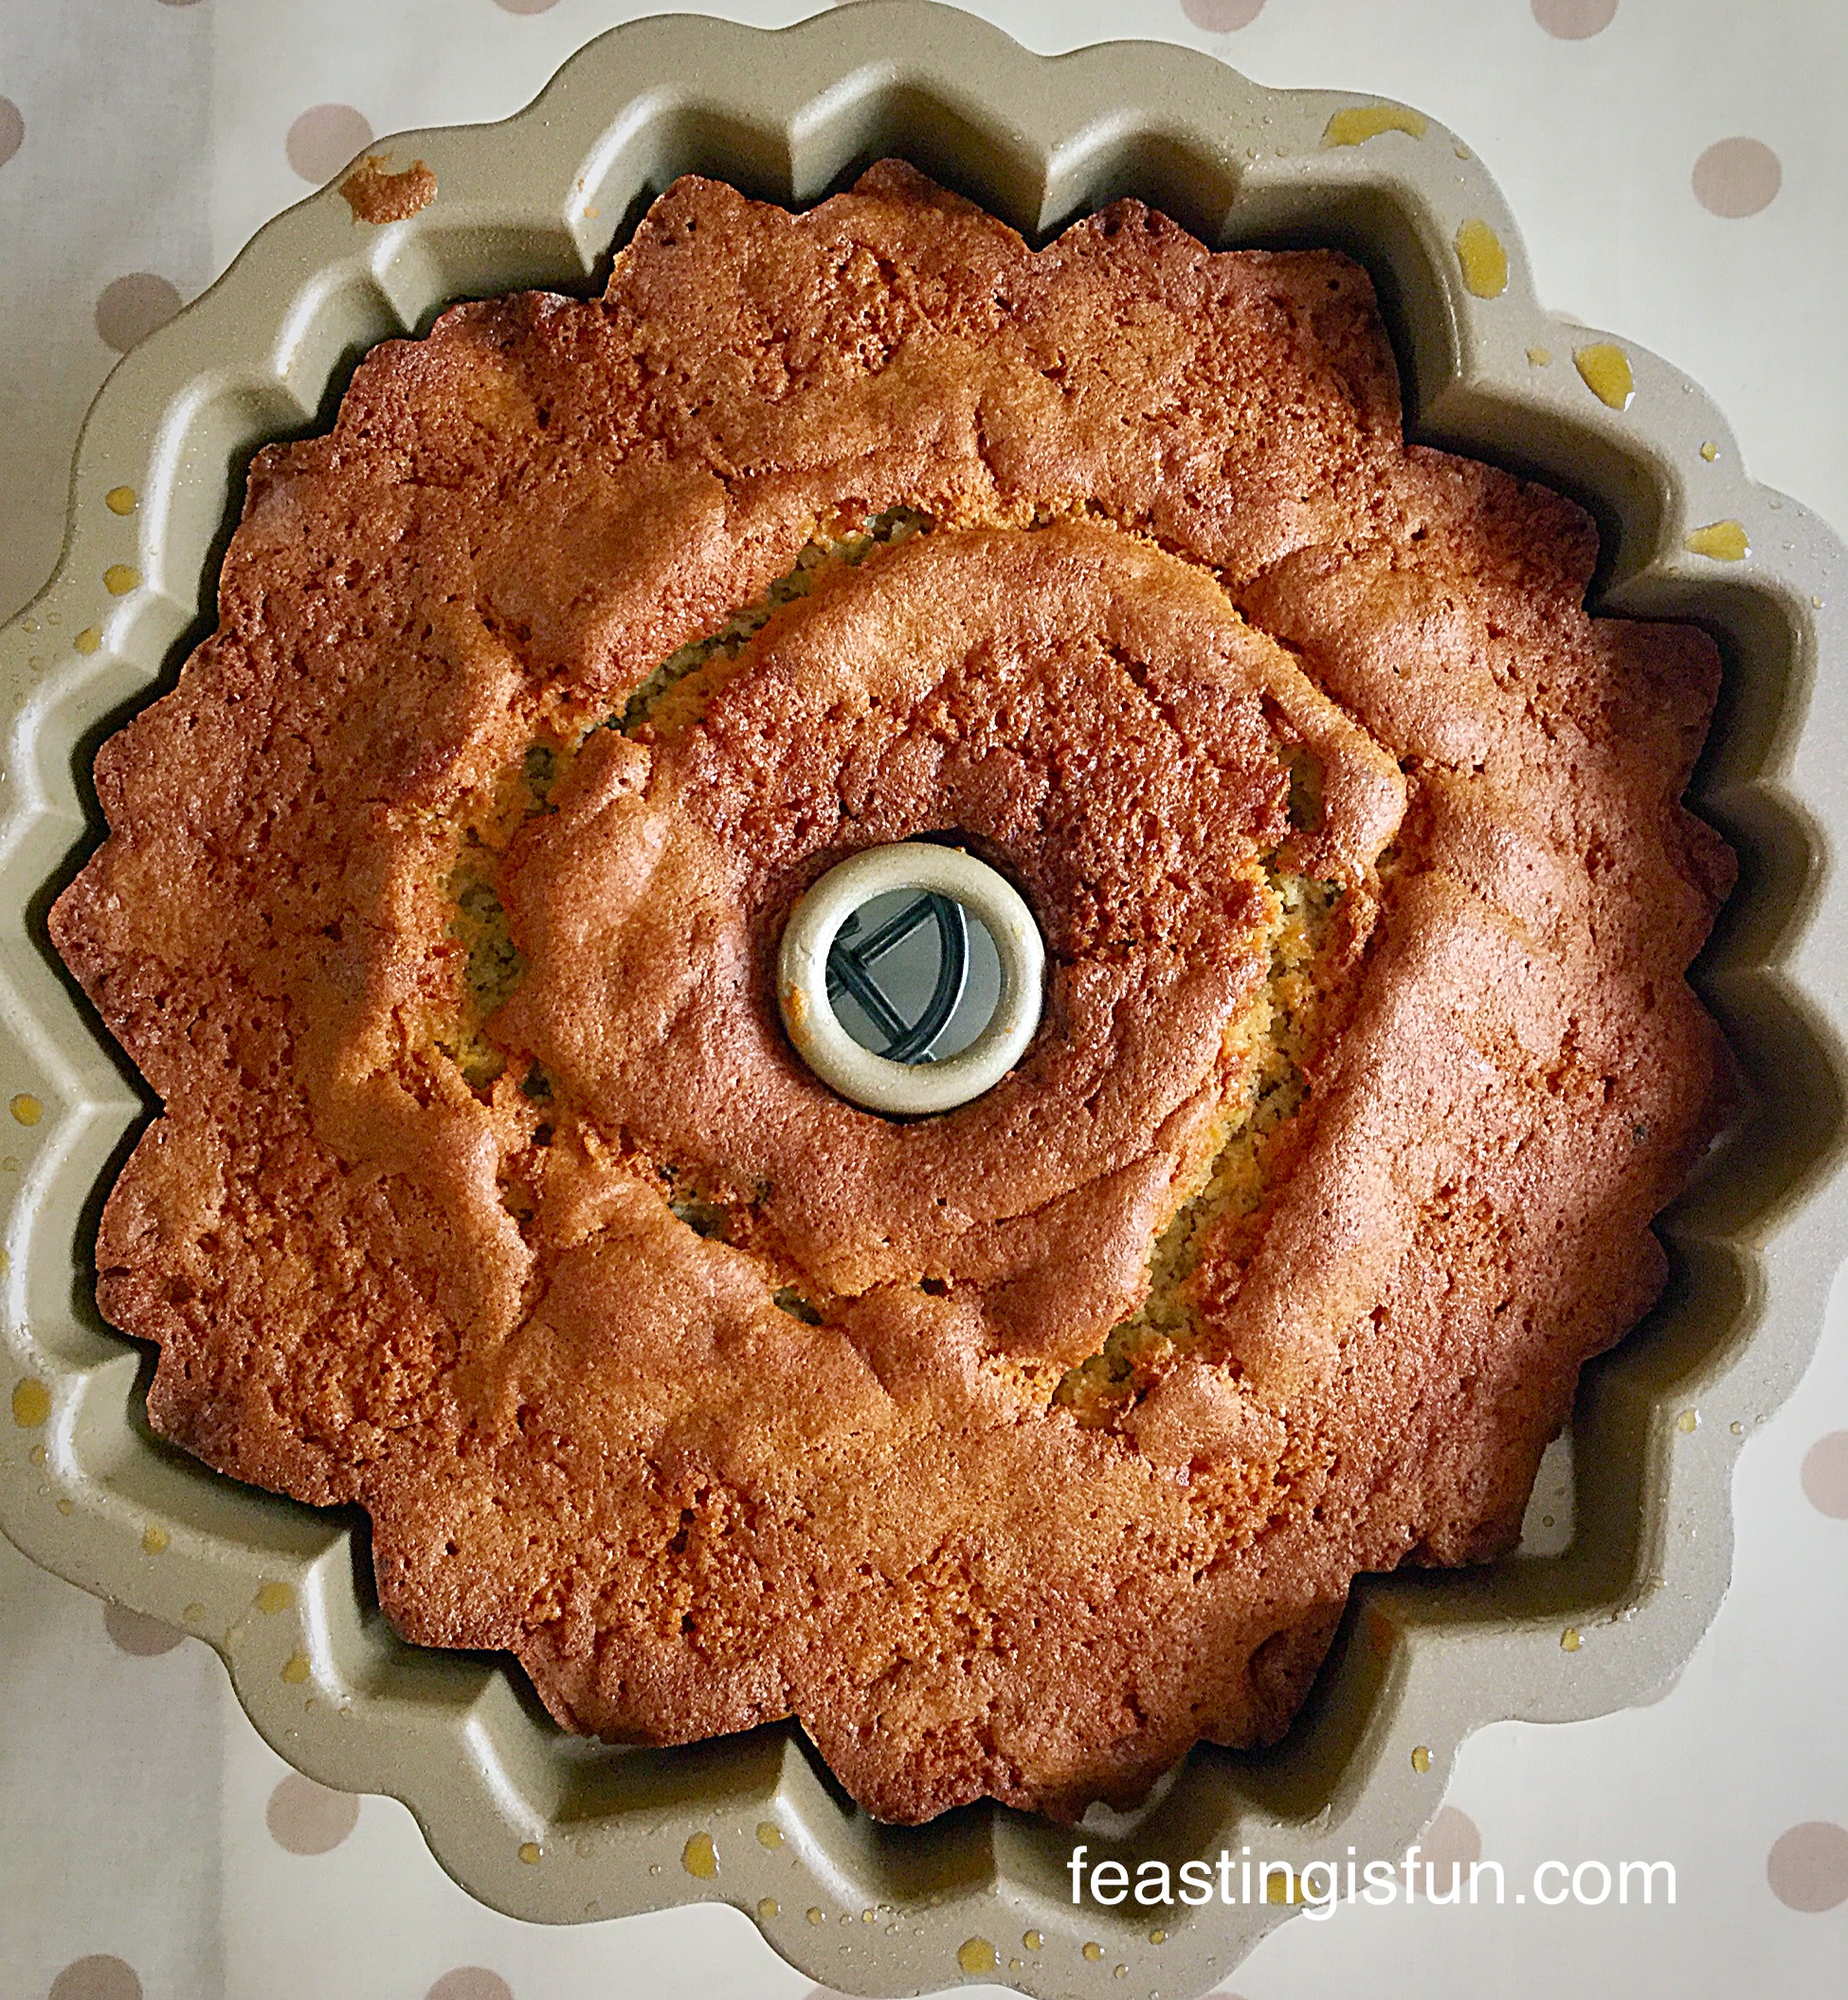
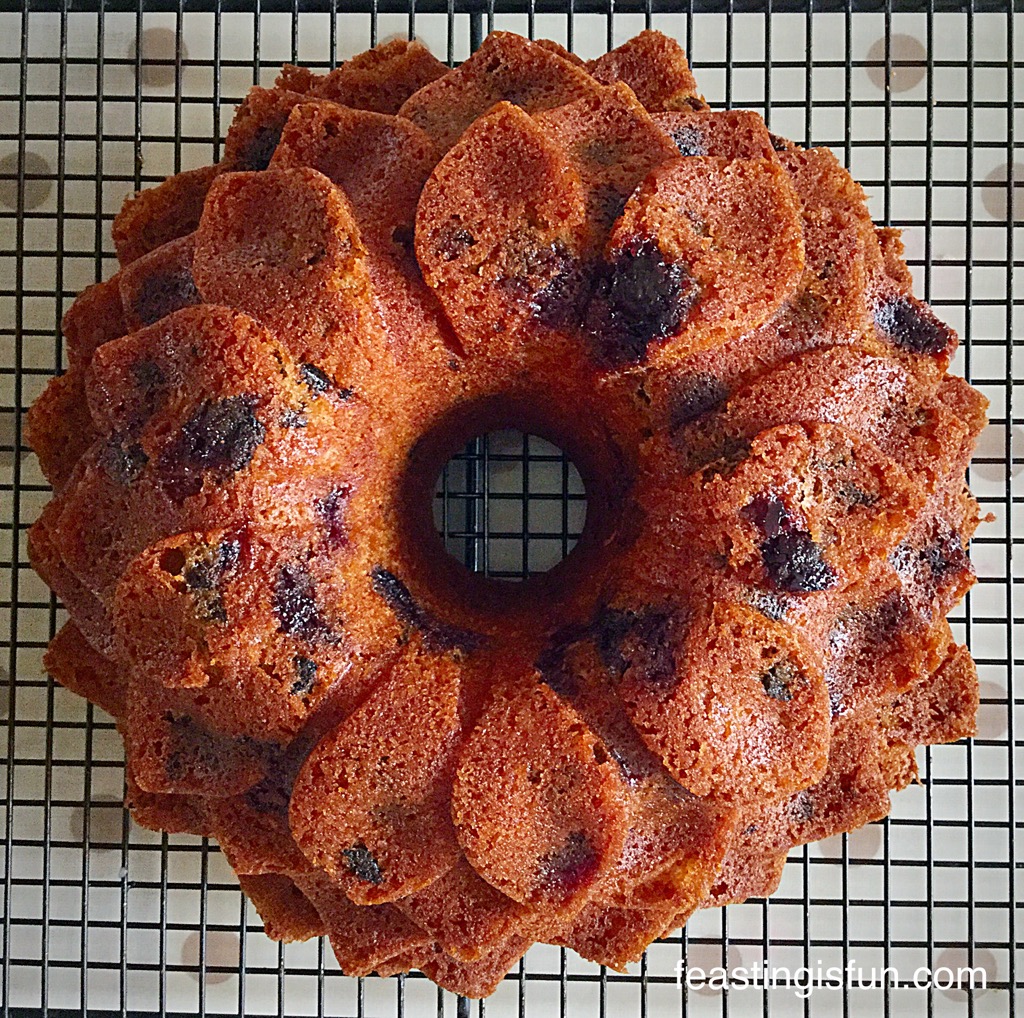
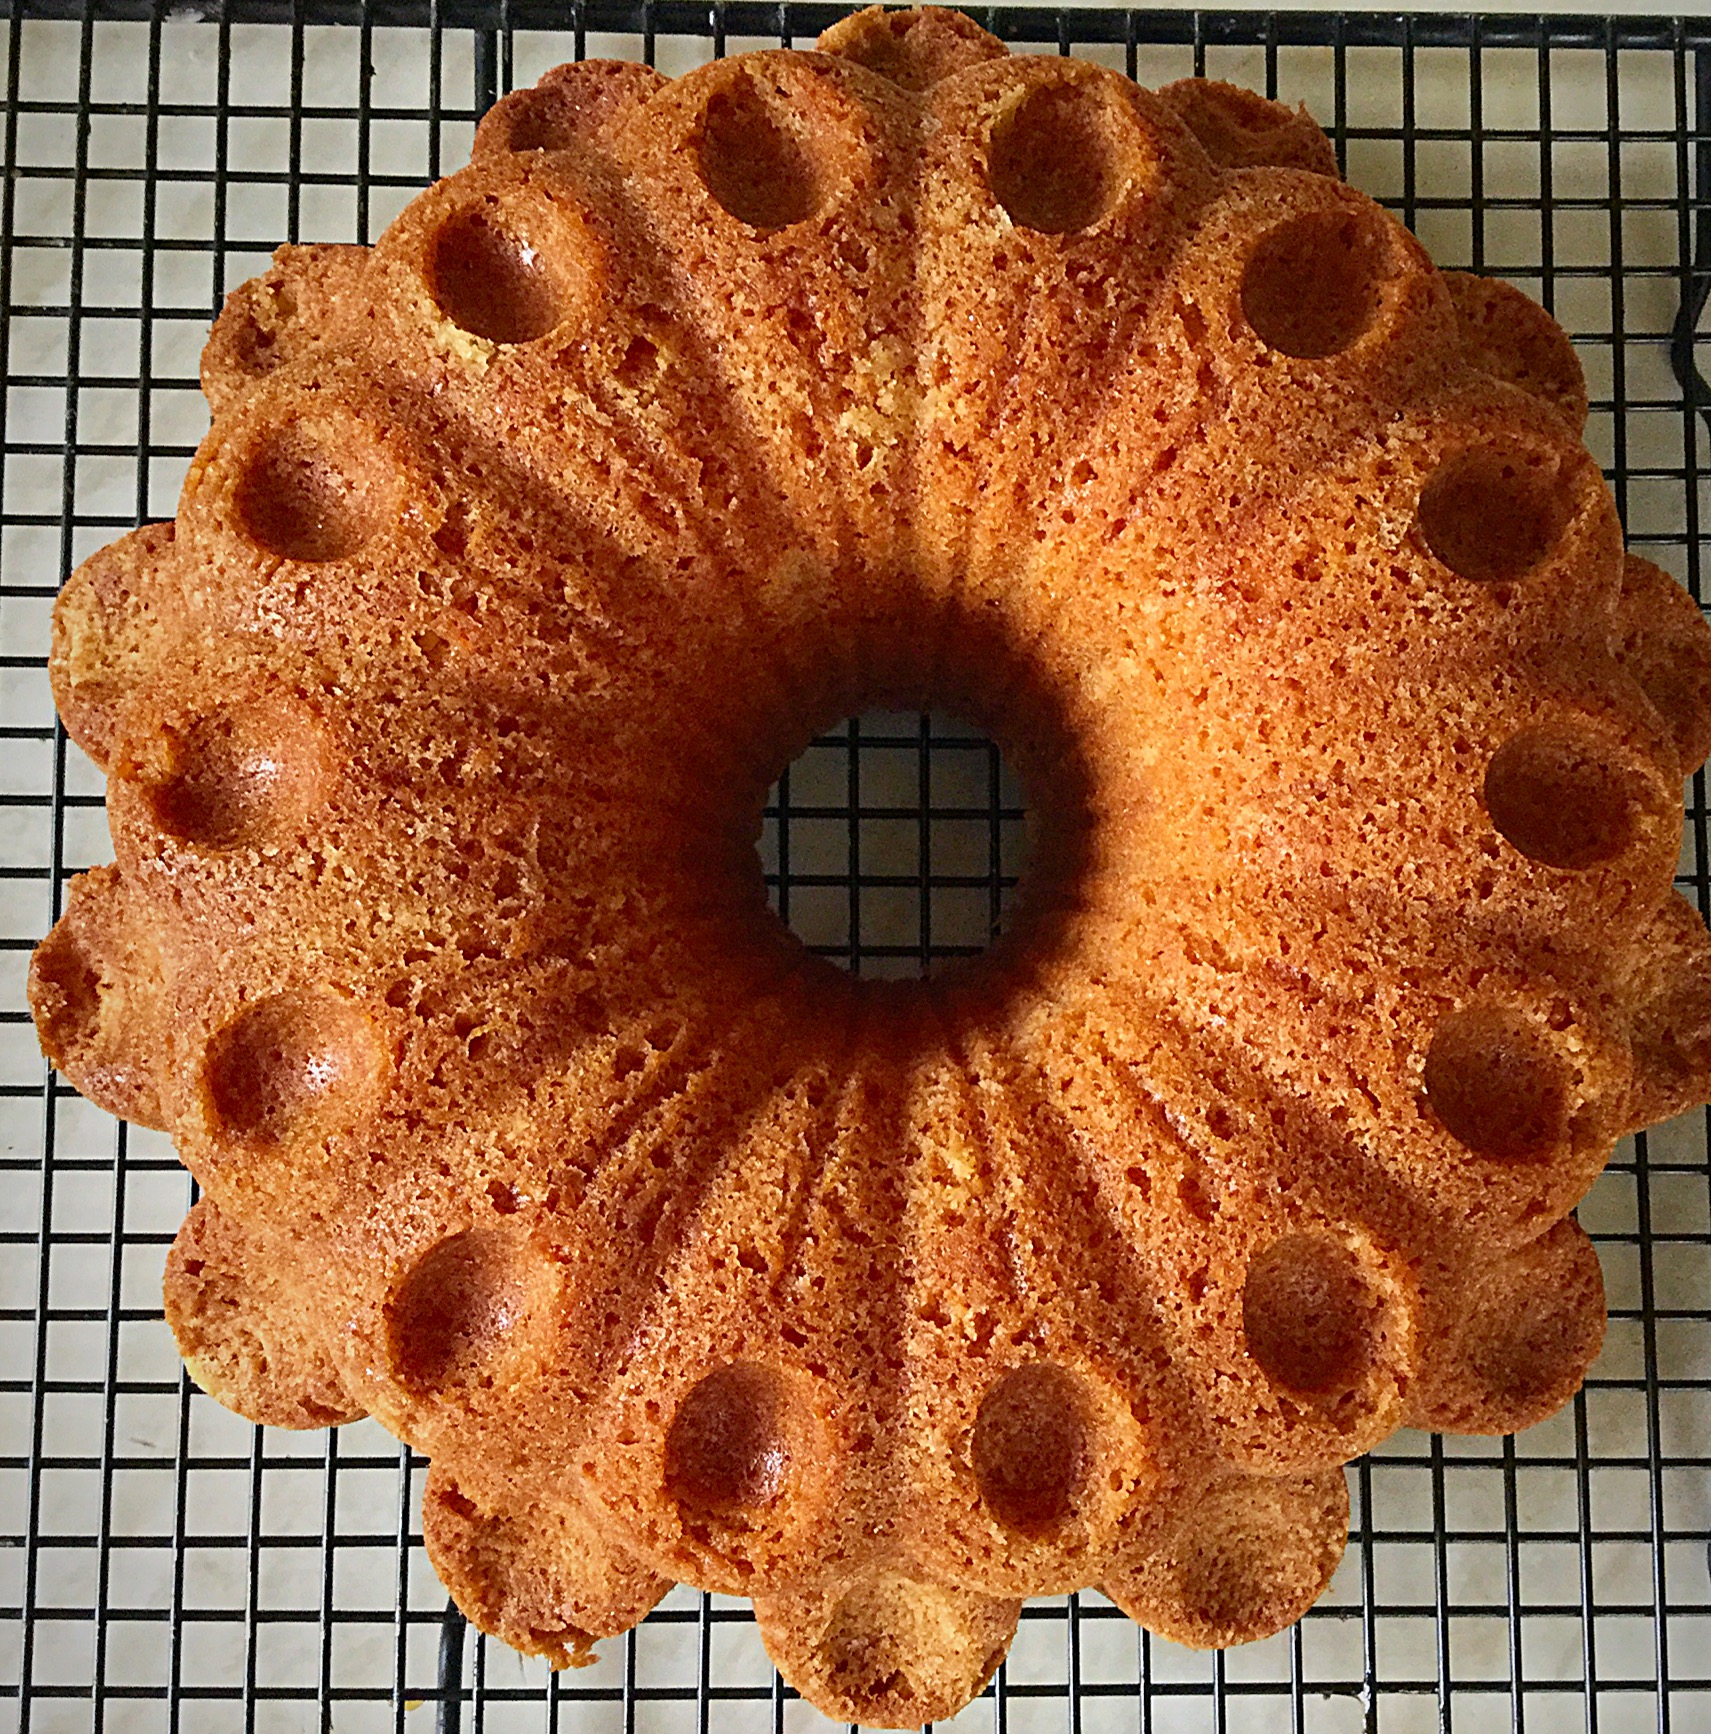
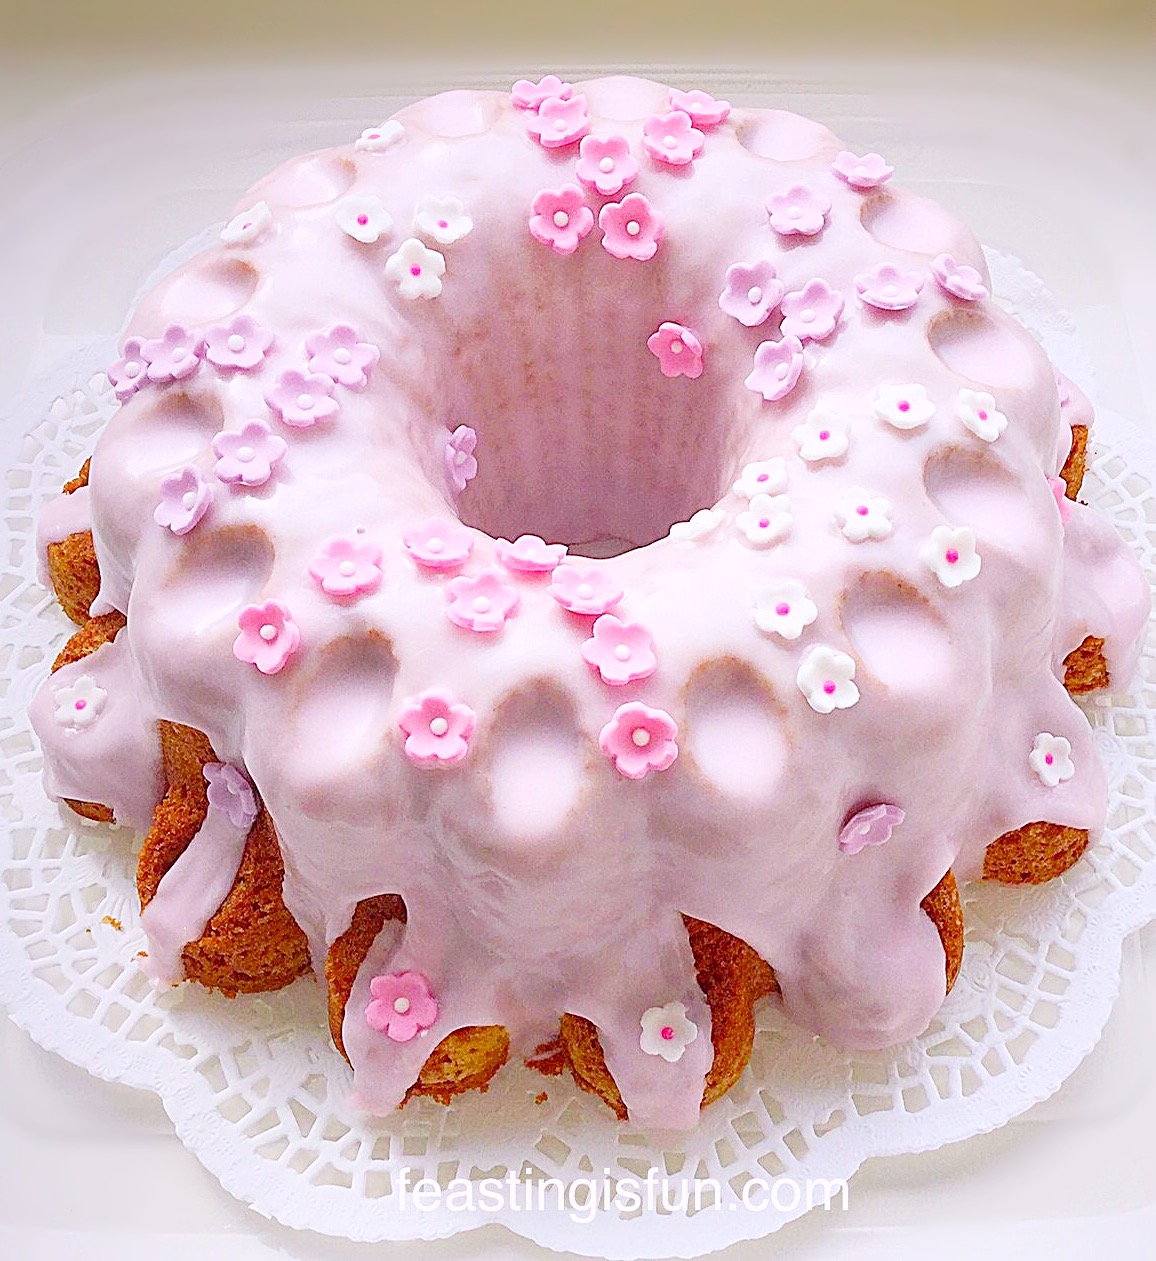
See how beautiful this cake is?
A light dusting of icing sugar and this Lemon Blueberry Bundt Cake would be perfect to serve alongside a nice, hot cup of tea or coffee.
Decorating The Bundt Cake
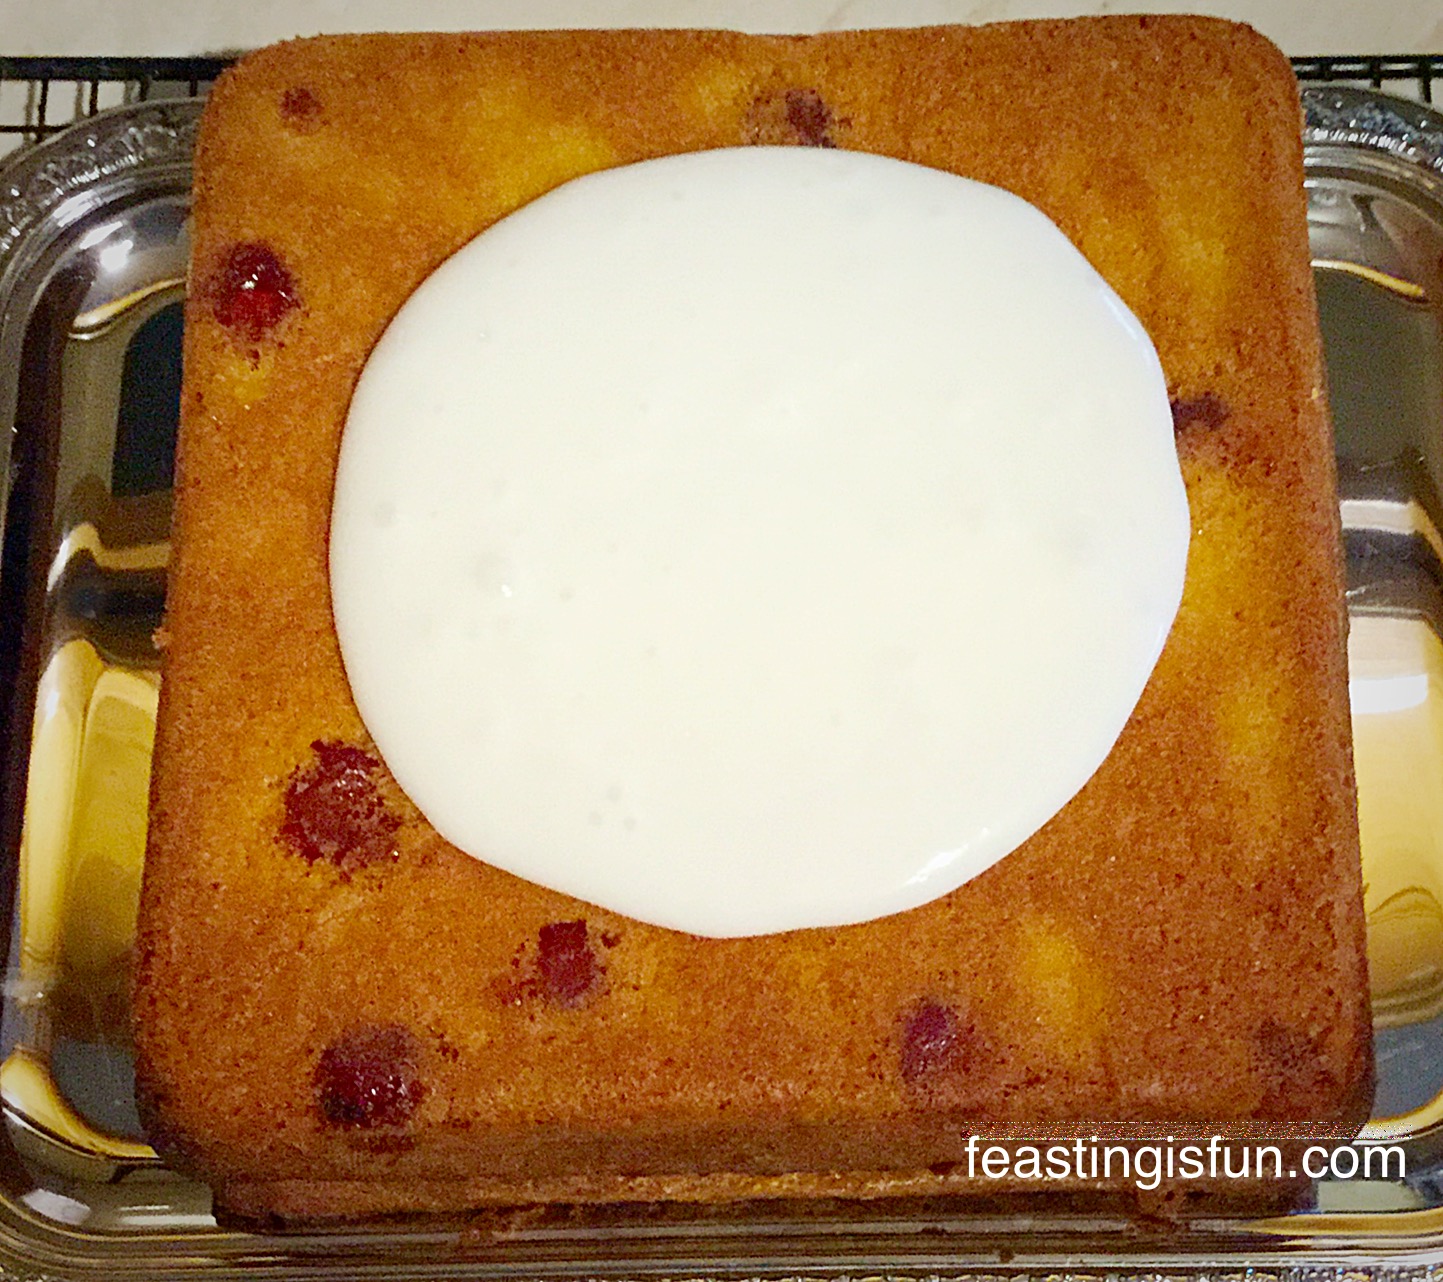
- Ensure the cake is completely cold before icing.
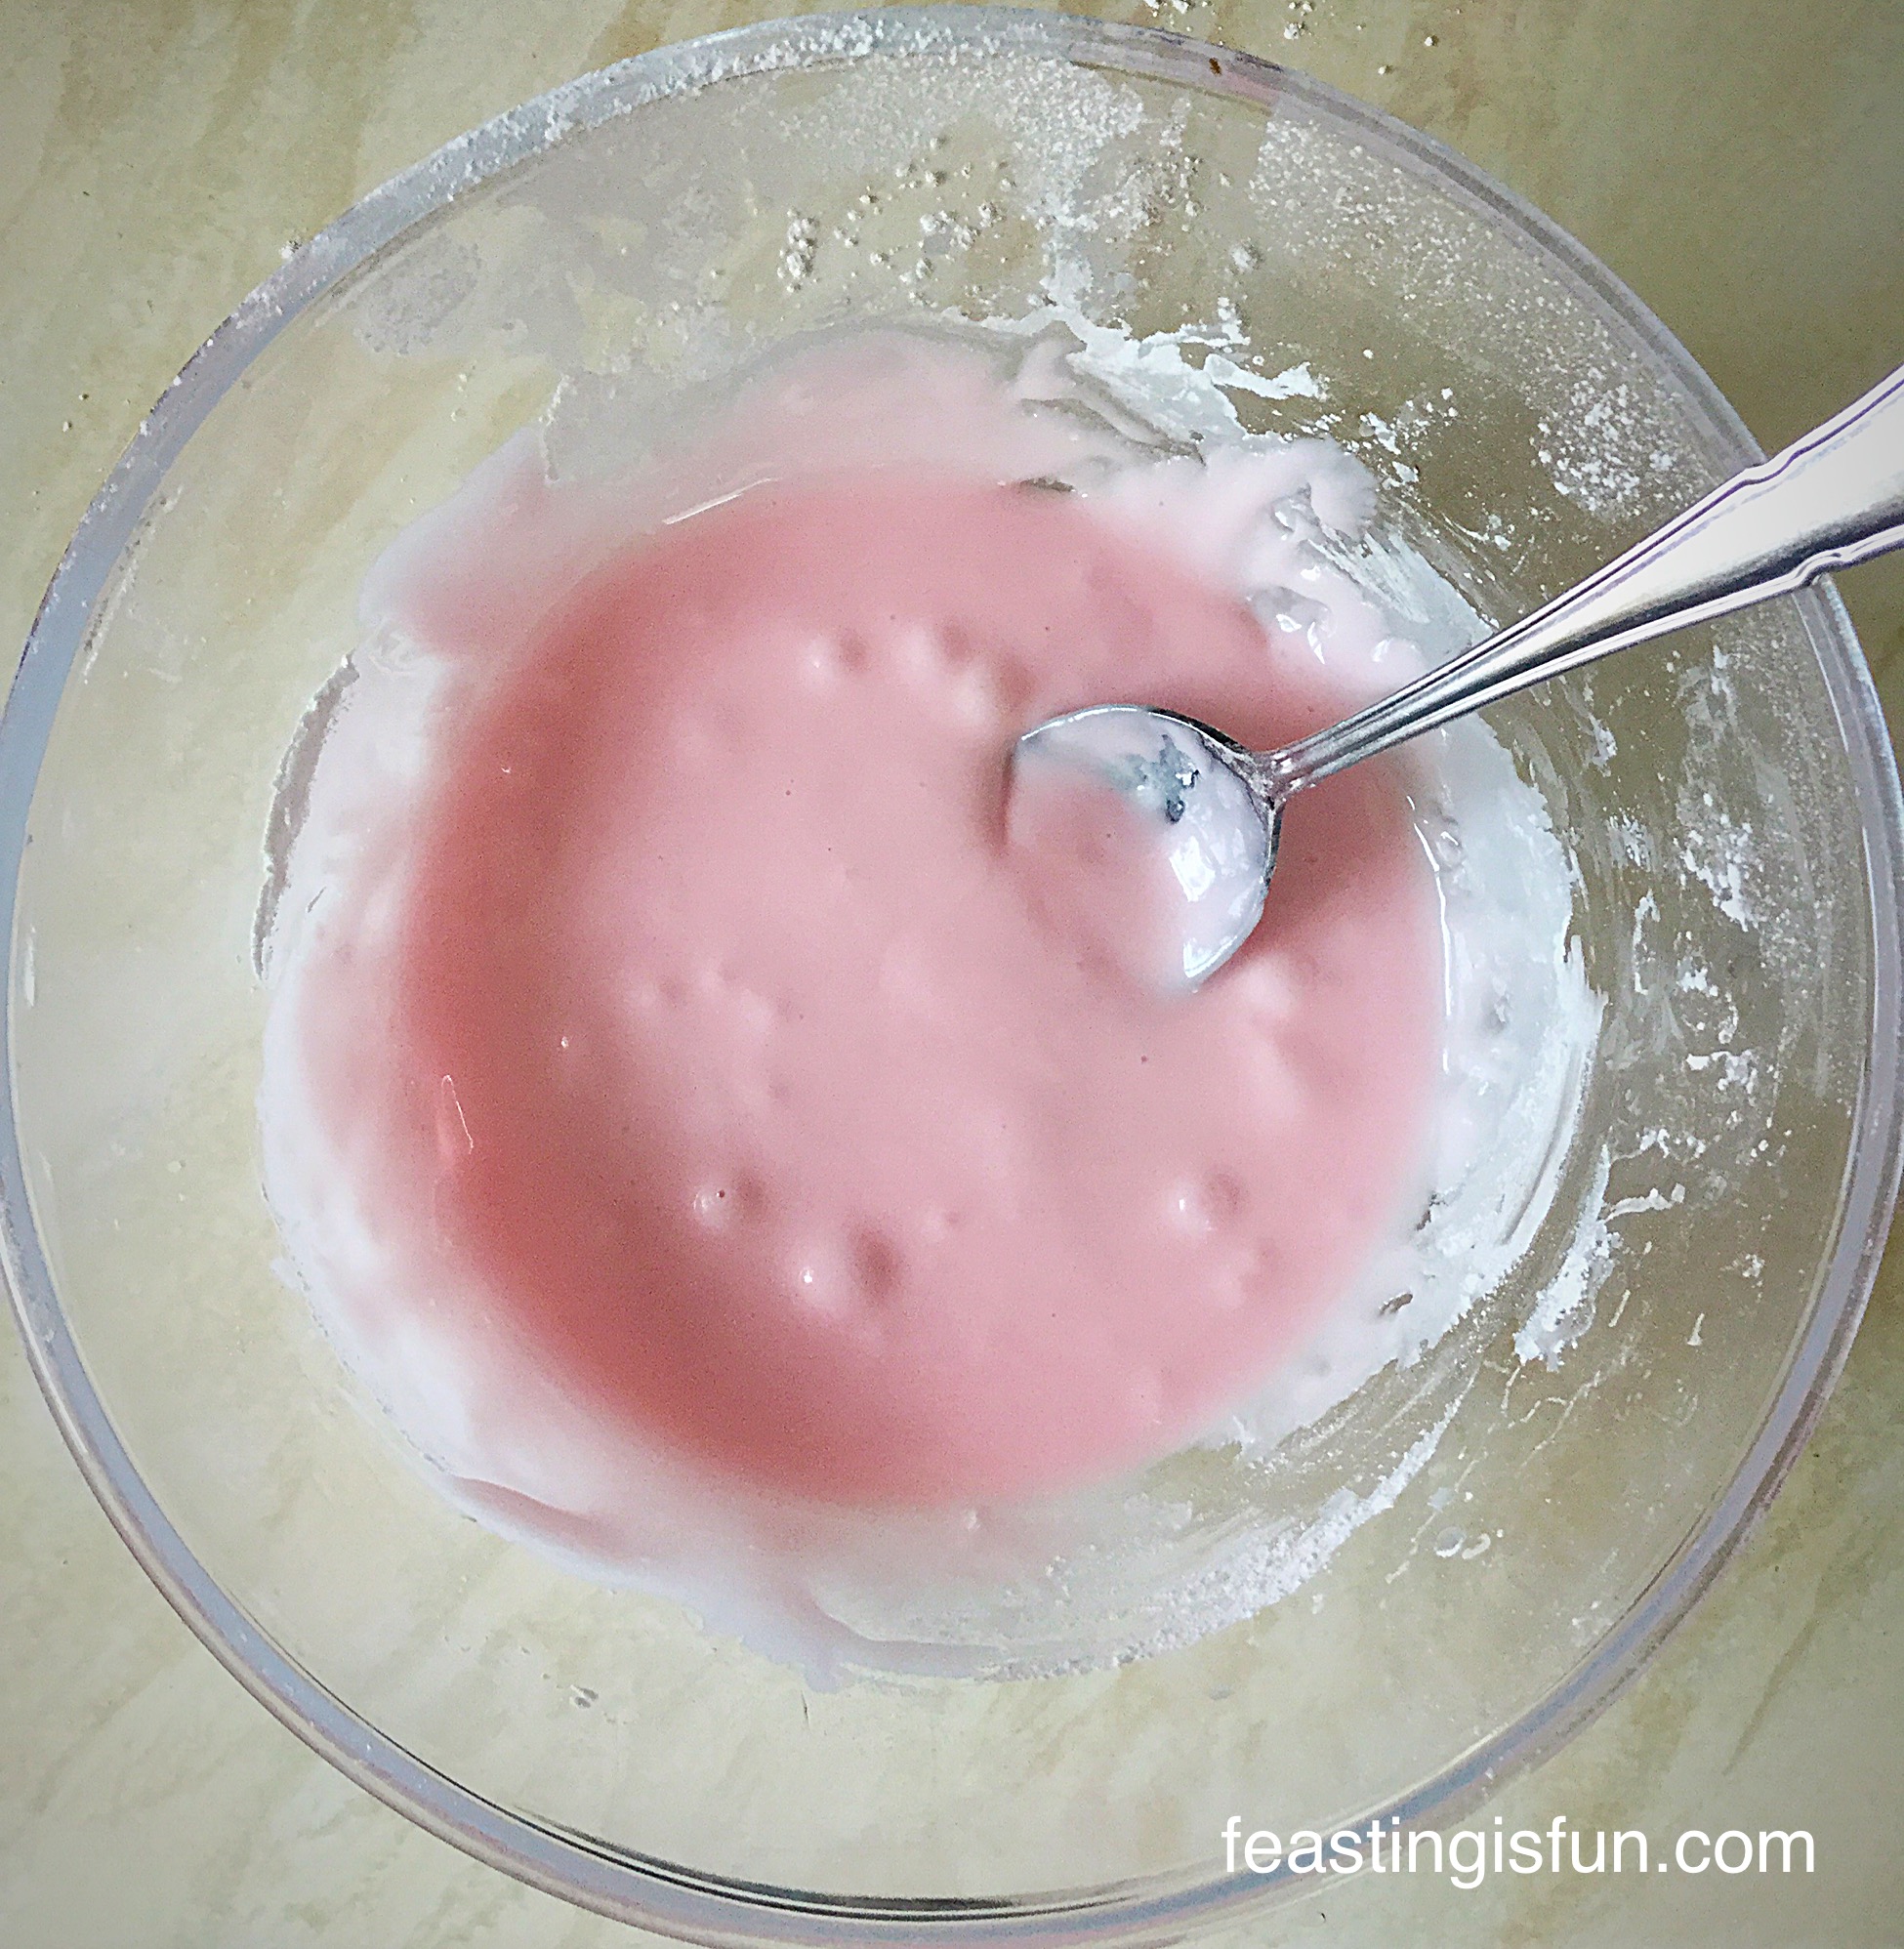
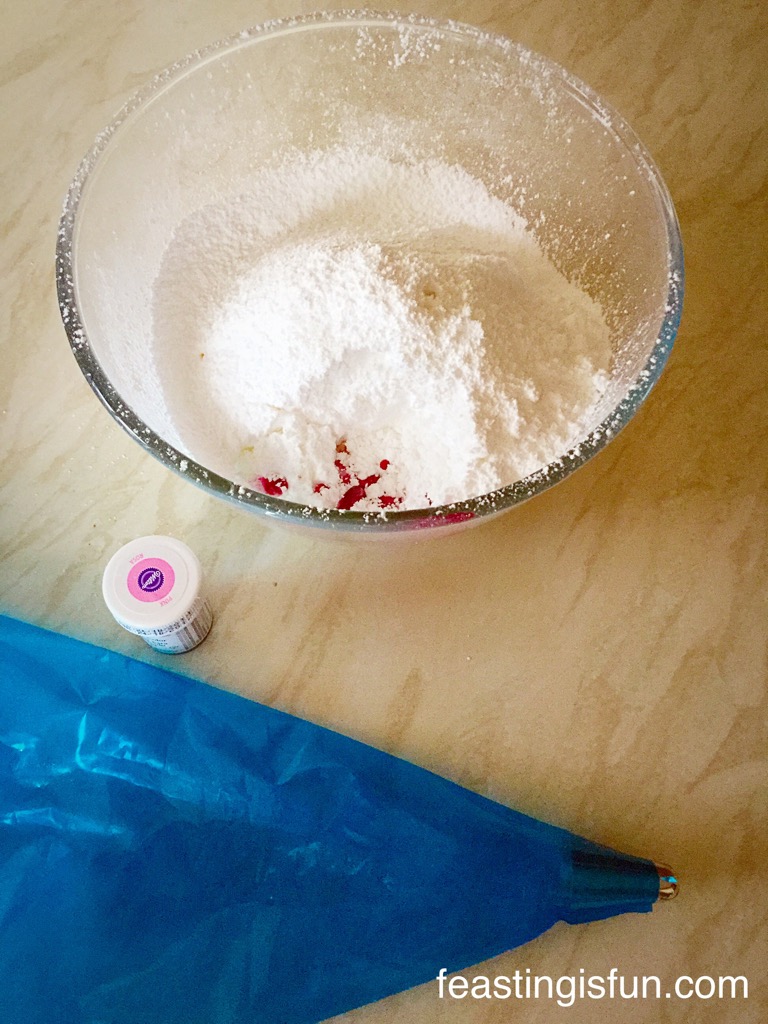
- Sift the icing sugar into a large bowl.
- Add the lemon juice and stir thoroughly to form a very thick paste – additional water can be added. The icing should hold a figure 8 for a few seconds.
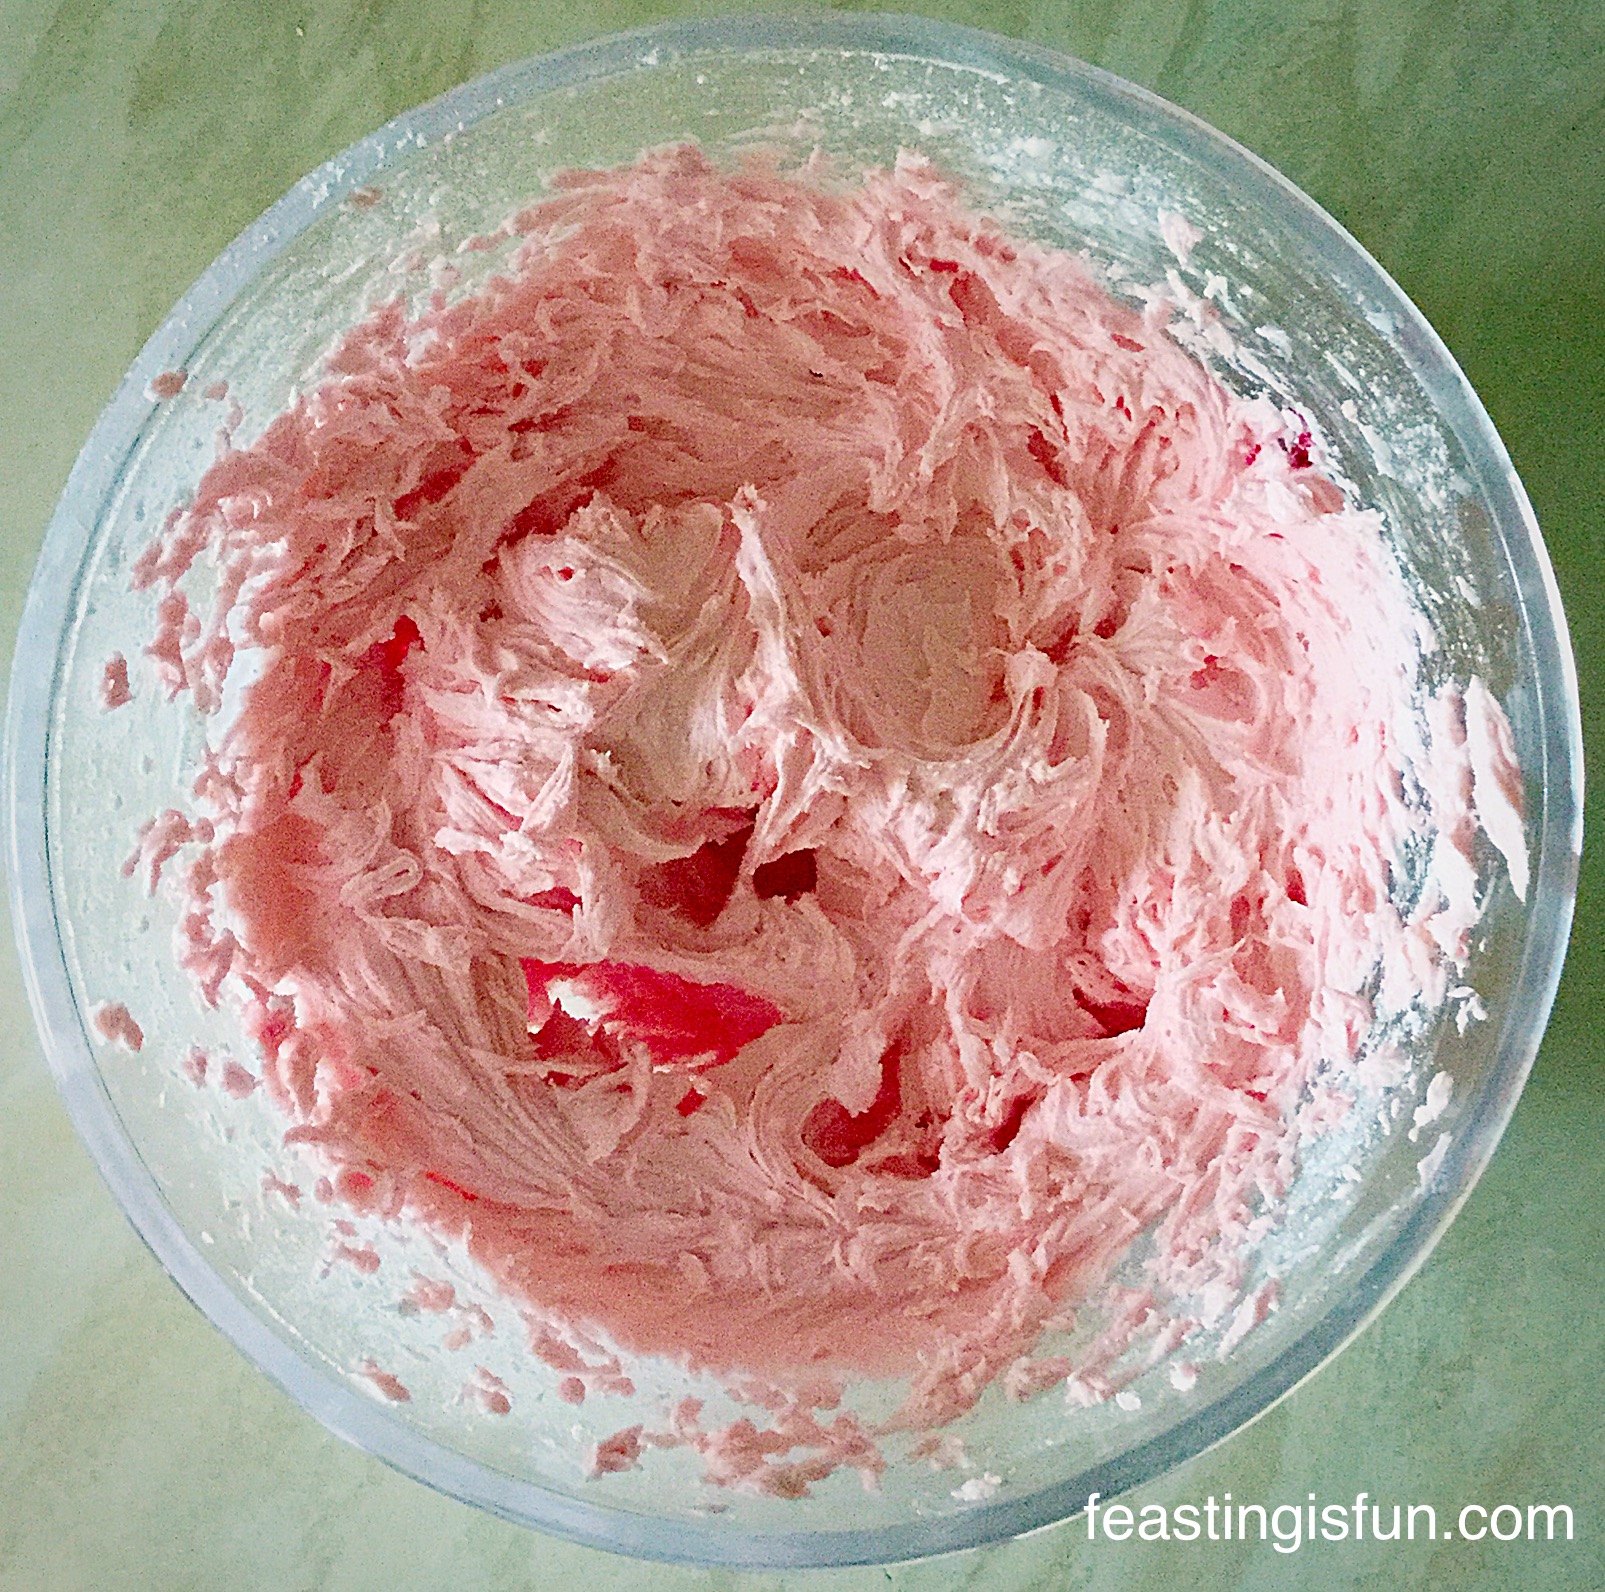
- Using a cocktail stick add a tiny amount of yellow gel icing, mix thoroughly, add more colouring until the desired colour is achieved. Mine really was the consistency and thickness of really good custard.
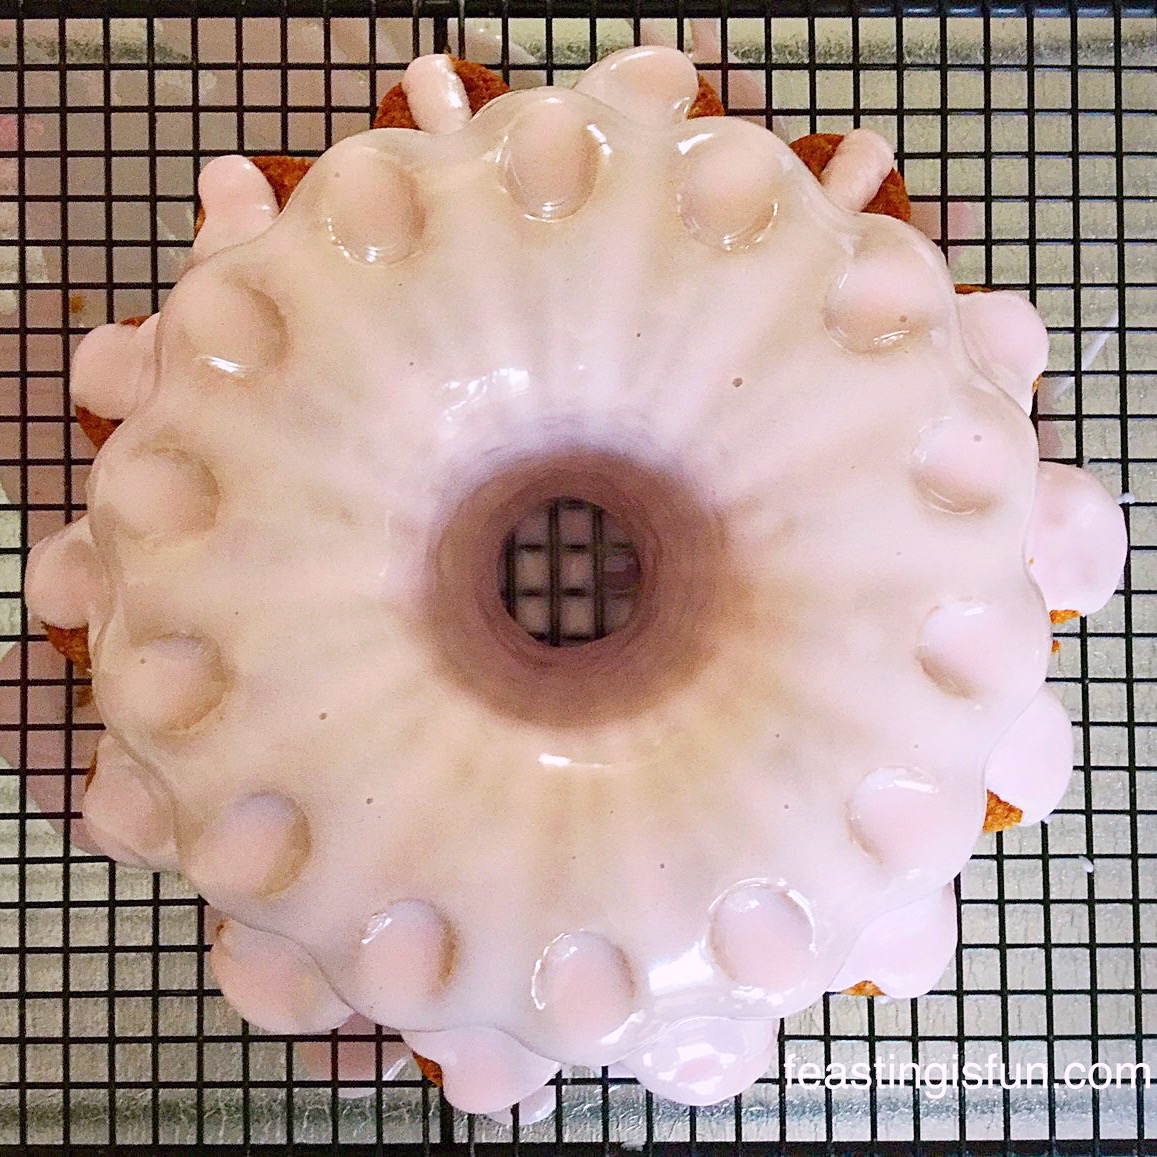
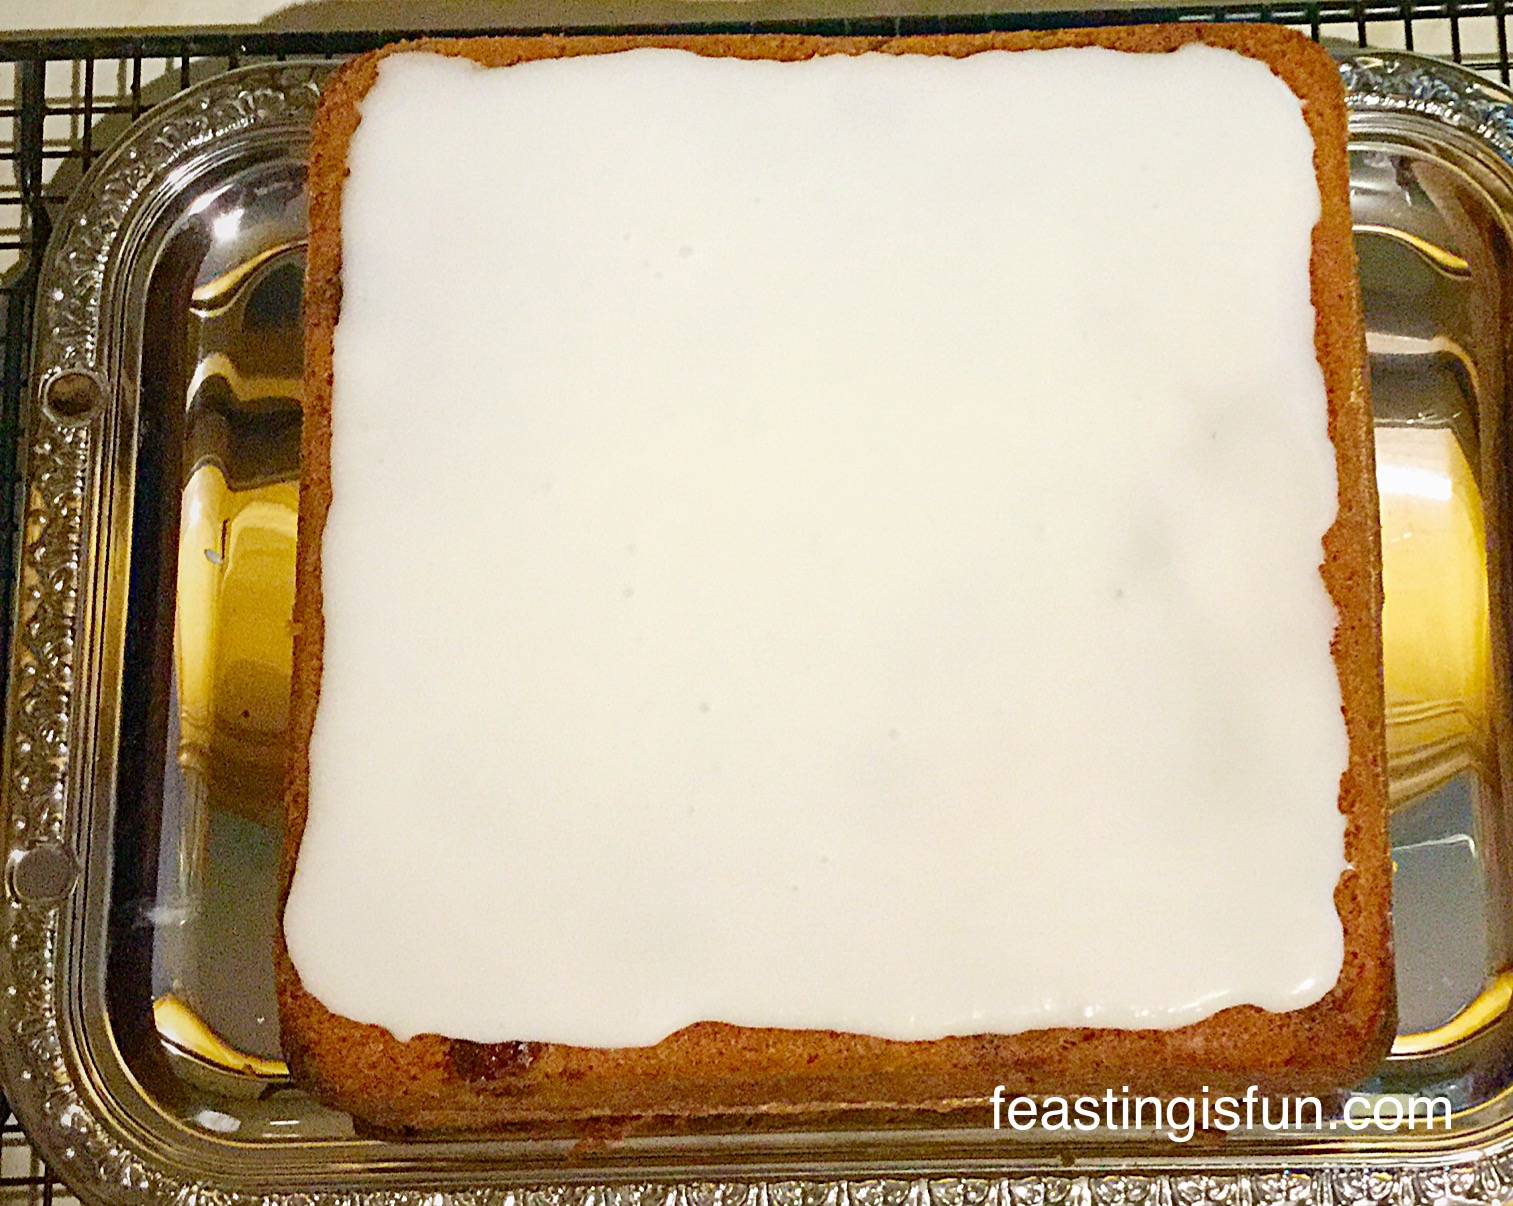
- Place the Bundt cake on a rack over a tray – I used a roasting tin, as you will see.

- Starting at the top of the cake, spoon over the thick icing evenly.
- Allow gravity to work and let the icing slowly drip down the cake.
- Fill in gaps with more icing until the whole cake is completely covered.
- I did spoon some of the icing, from the tray underneath, back over the cake to fill in gaps – just beware of cake crumbs!
- As soon as the cake is completely covered and has settled – the icing is no longer moving – carefully place the cake onto a board/cake stand.
- Add any further decorations whilst the icing is still slightly wet.
- Set the cake aside to dry.
- Take lots of photographs and give yourself a big pat on the back for creating such a beautiful Lemon Blueberry Bundt Cake.
The Finshed Cake
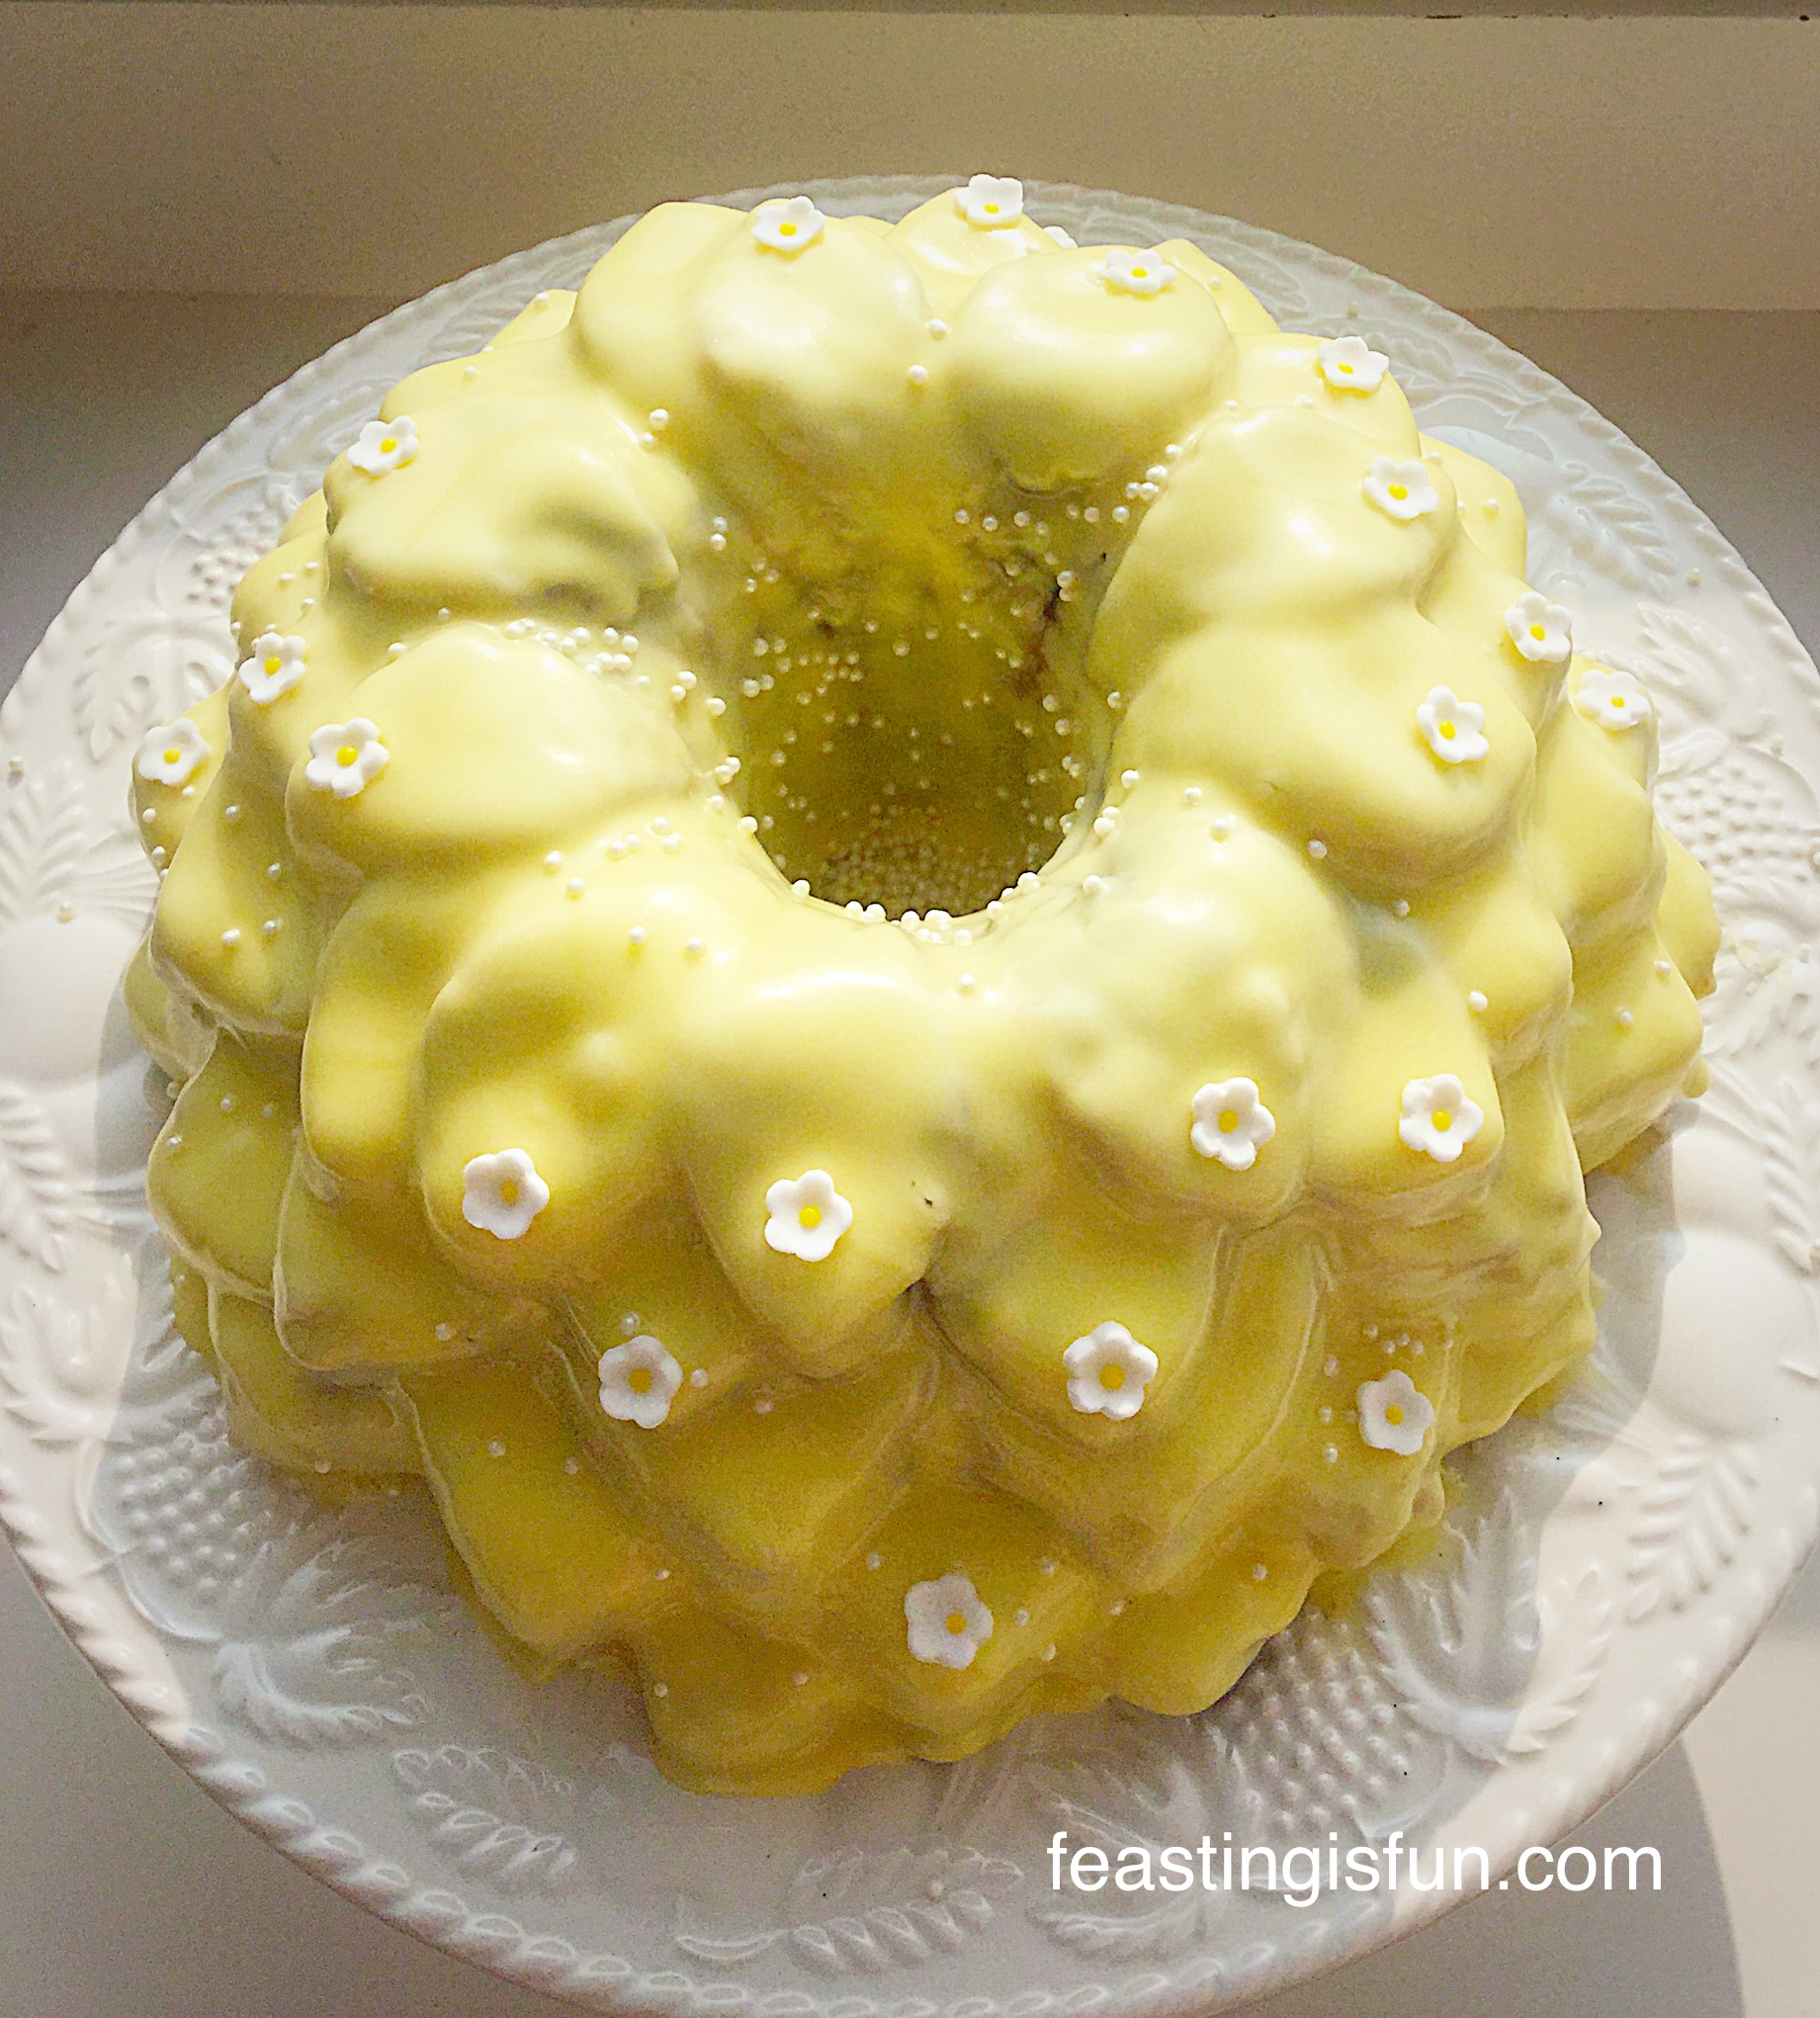
This Lemon Blueberry Bundt Cake is certain to cheer up anybody’s day and they get a vitamin C boost as well!
While it may sound silly, looking at this cake really makes me smile. Also, in some ways it is a reflection of my personality, sunny whatever the weather.
If you like this Lemon Blueberry Bundt Cake you may also enjoy these:

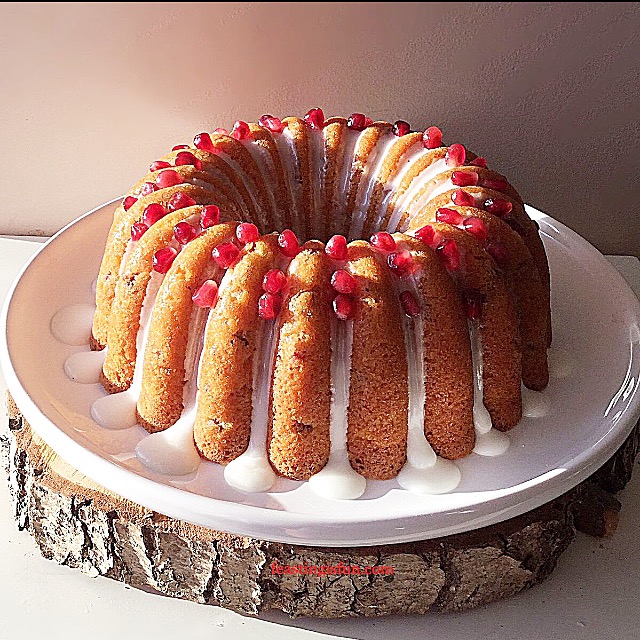
Pomegranate Lemon Drizzle Bundt Cake
Maple Syrup Iced Coffee Bundt Cake
Since I have discovered Bundt pans I have added more and more to my collection. When I bake with them I know that the cake will turn out beautiful. And if I’m not able to decorate the cake I am assured that it will look finished. As a result I am a firm Nordicware Bundt Pan fan!
So whatever you are making, baking and creating, have fun preparing and sharing your feast.
Sammie xx
No part of this post may be reproduced or duplicated without the written permission of the owner. Please see my Disclosure Policy