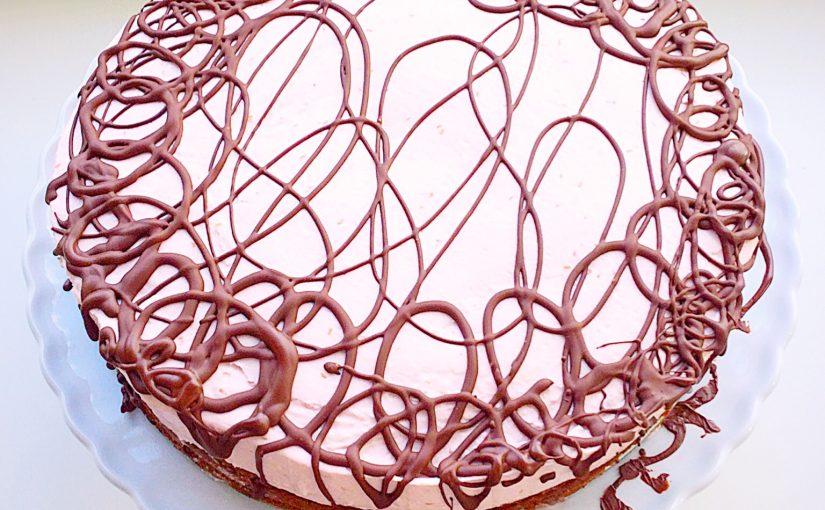
Chocolate Brownie Raspberry Cheesecake. Whipped mascarpone cheese with fresh raspberries over a deep, chocolate ganache topped brownie base.
If I had known you were coming I would have made this elegant Chocolate Brownie Raspberry Cheesecake.

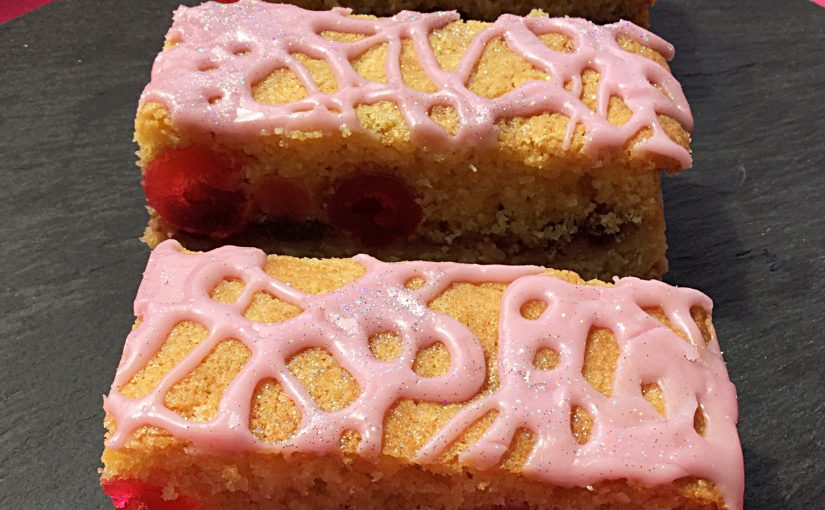
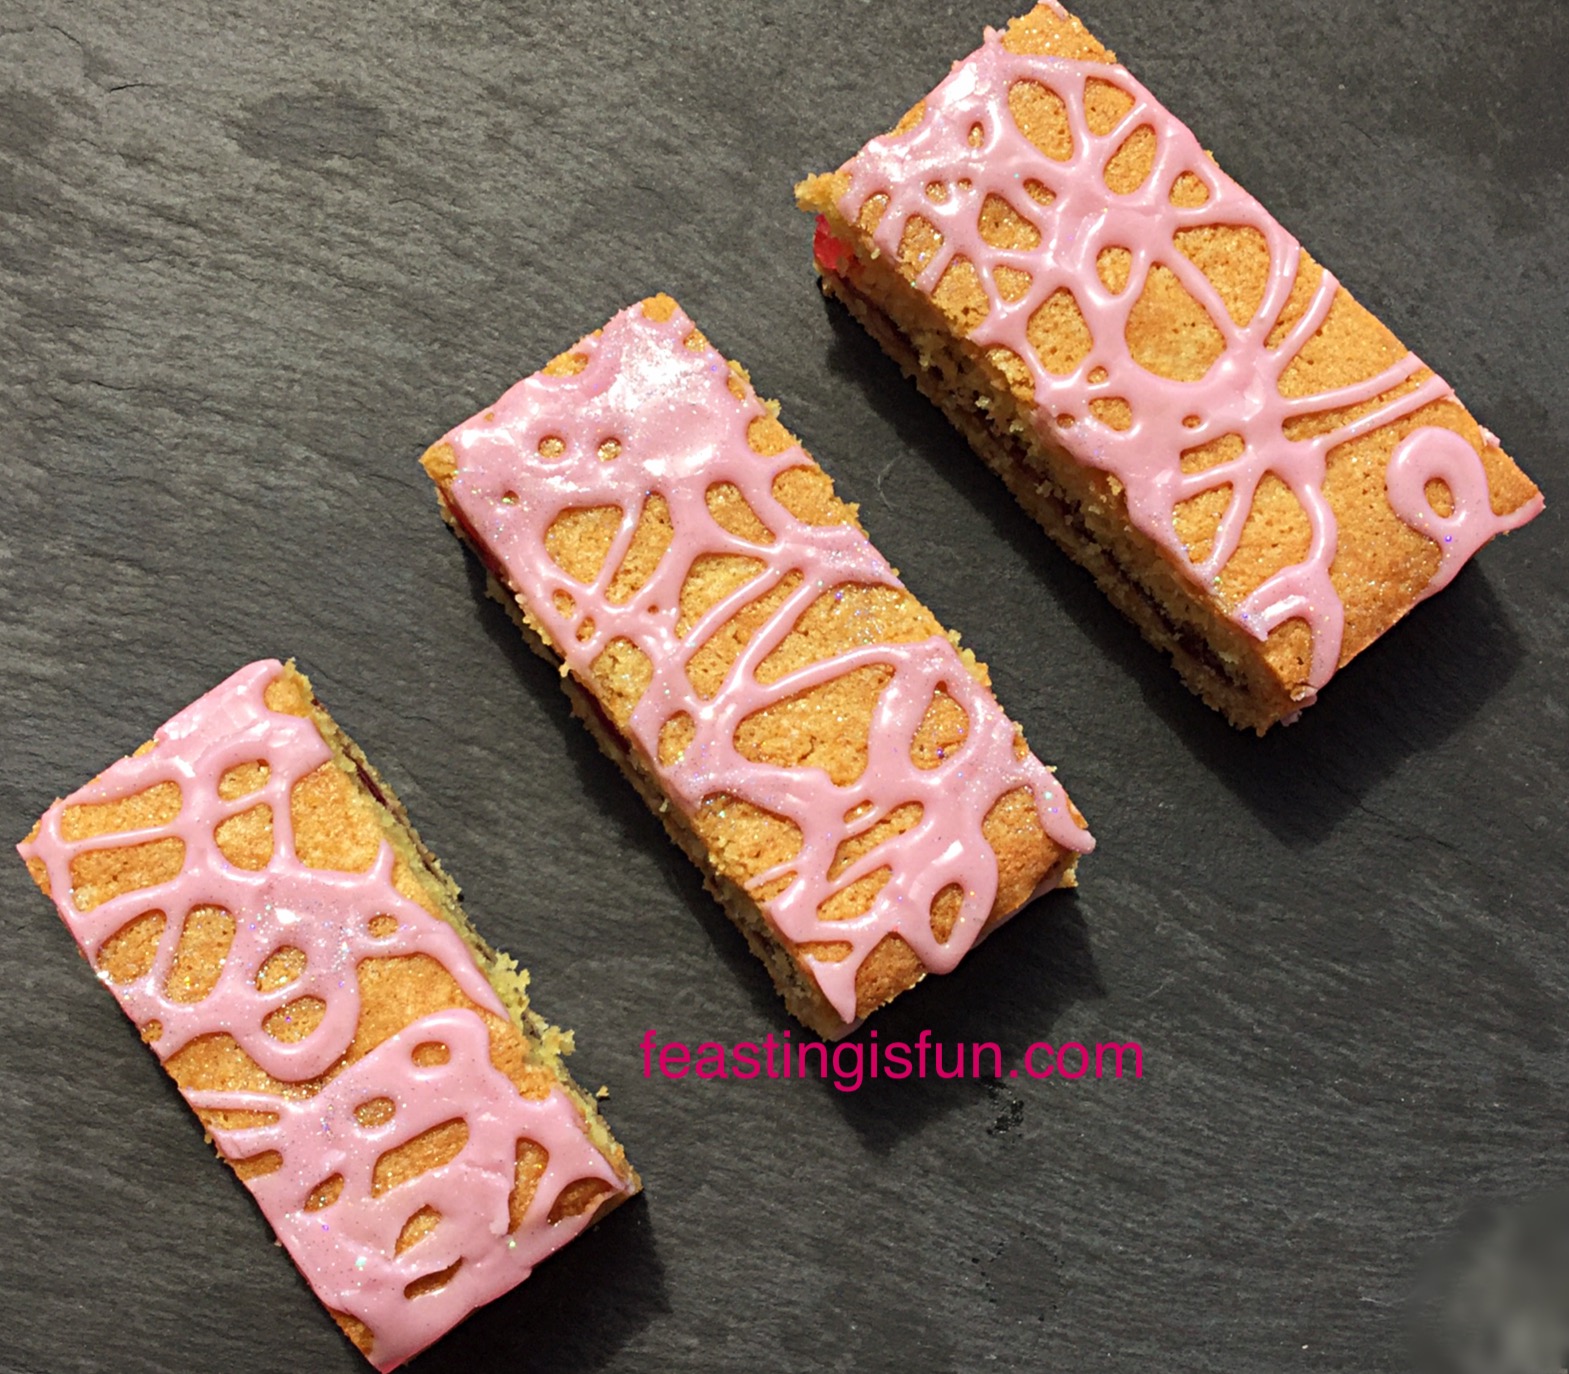
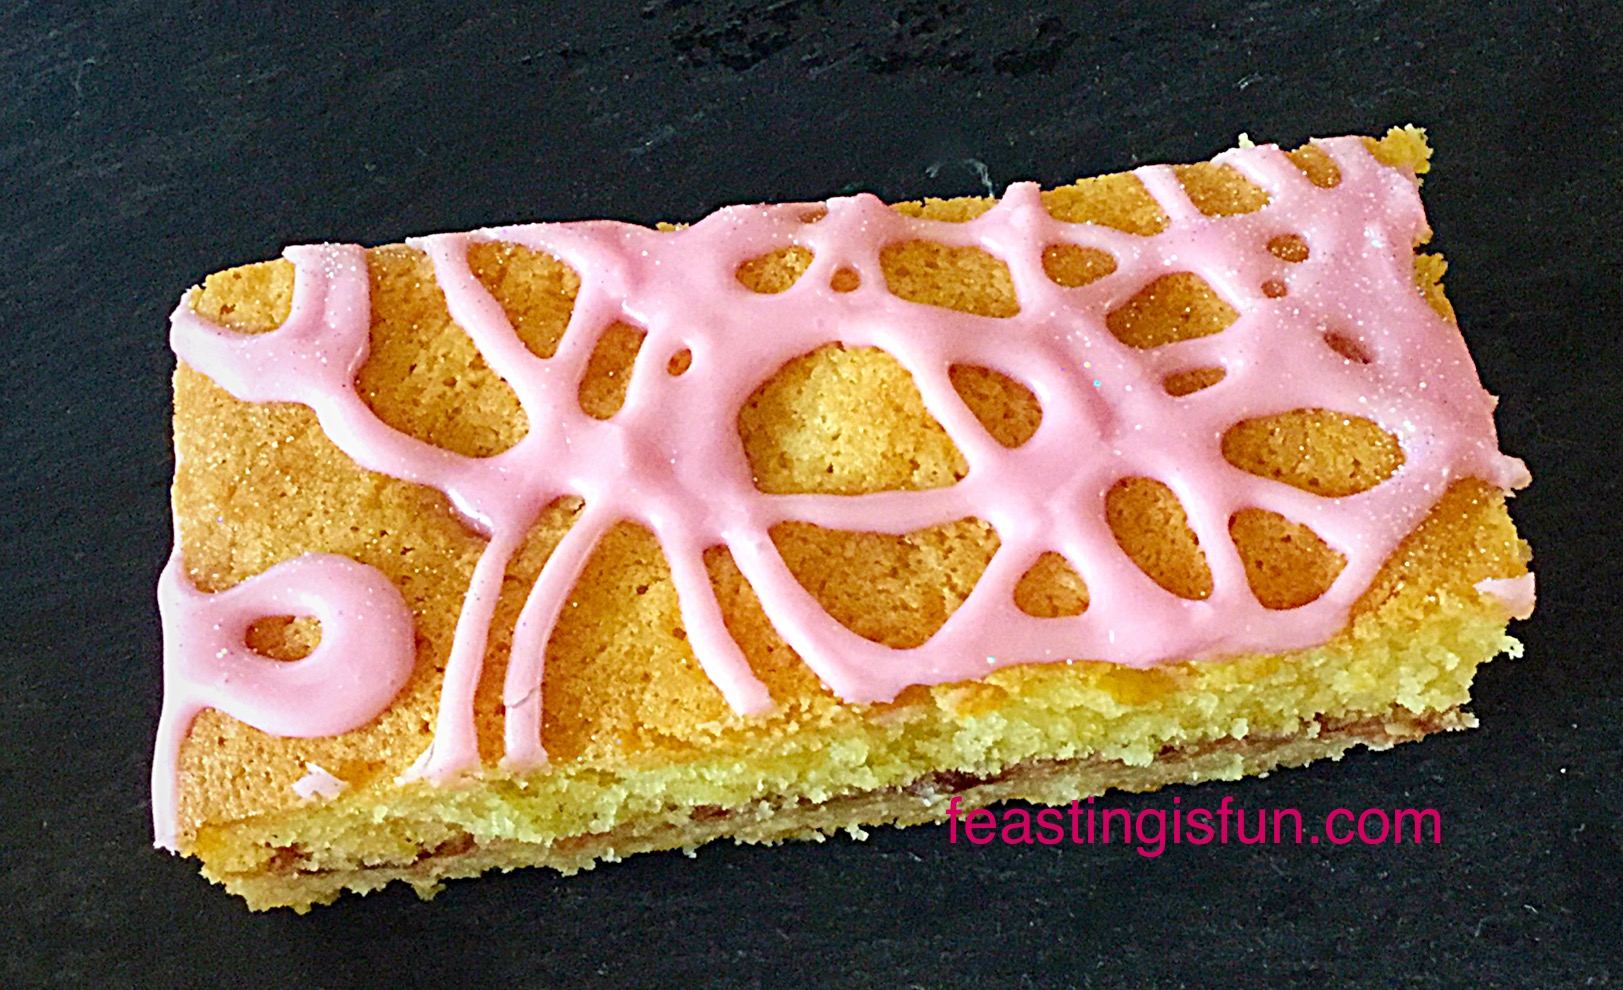
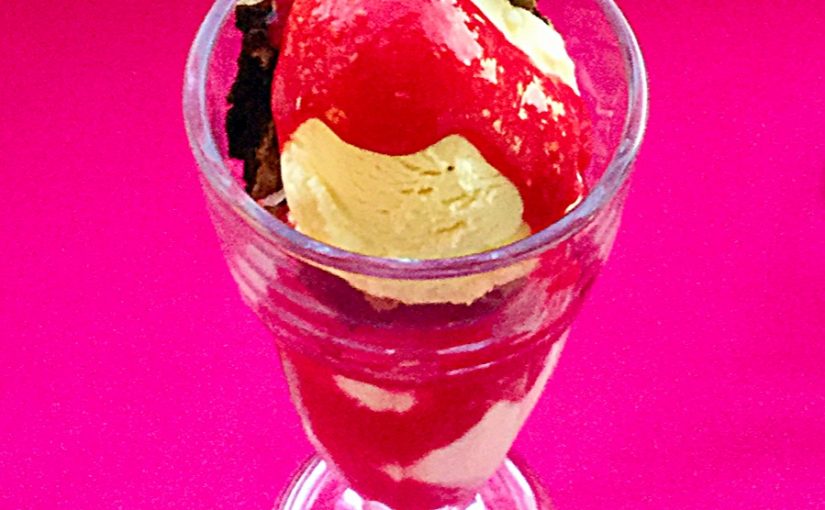
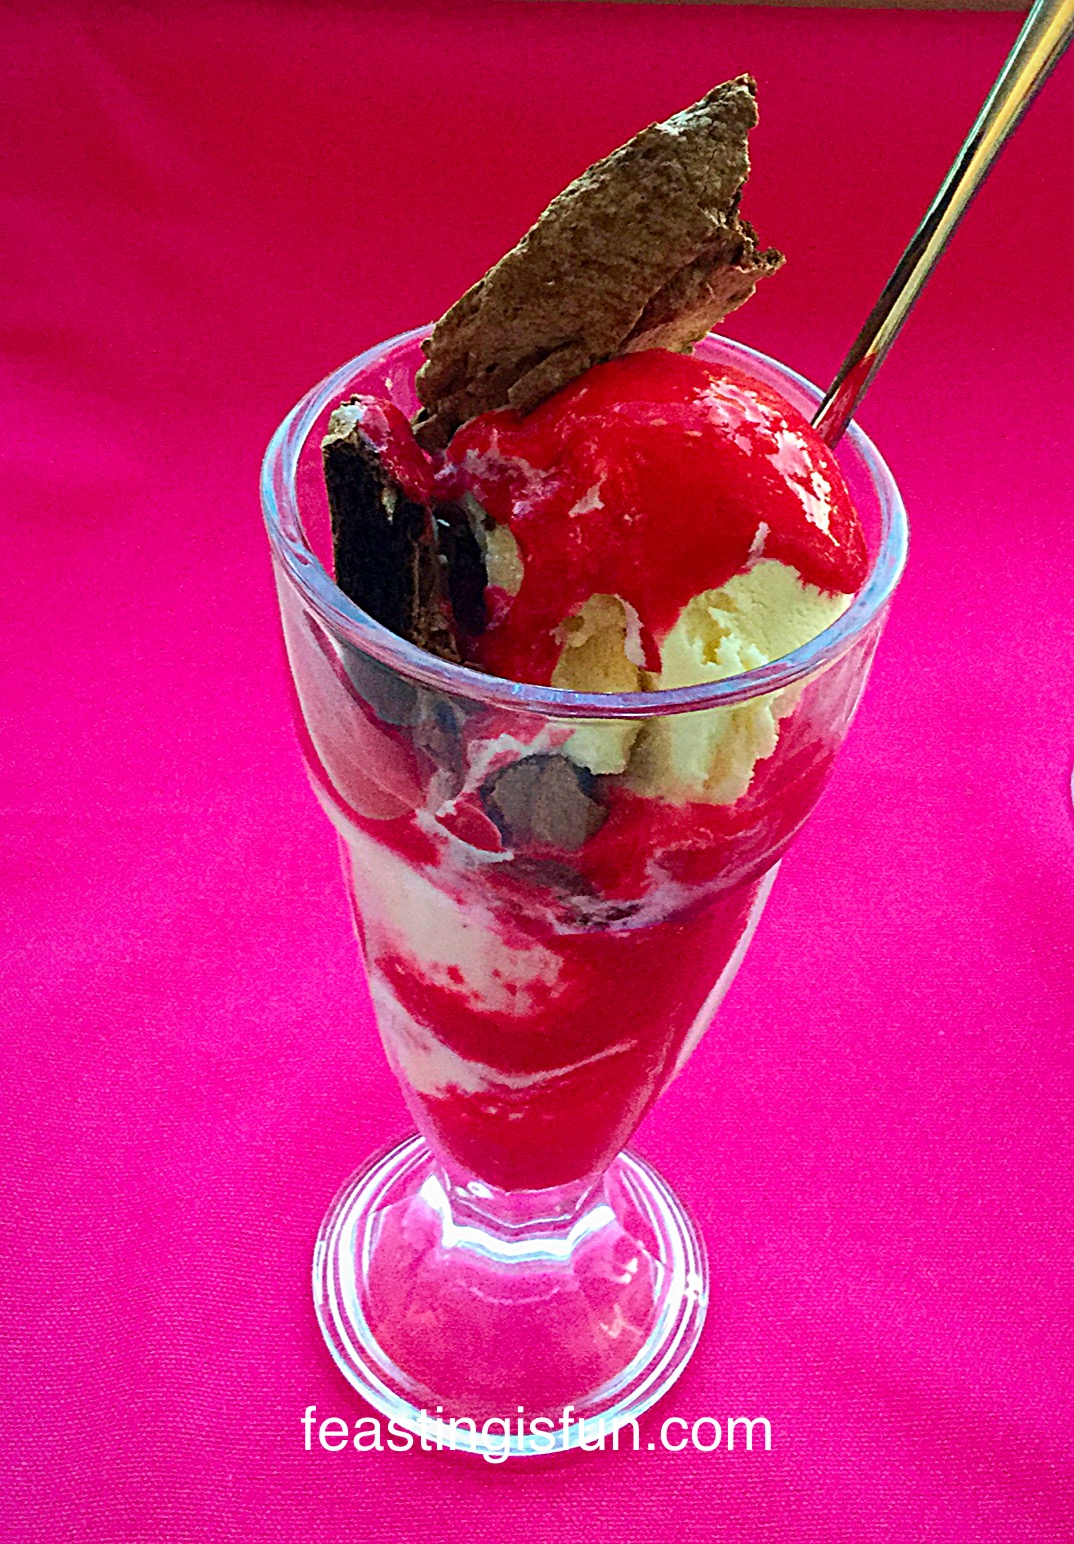
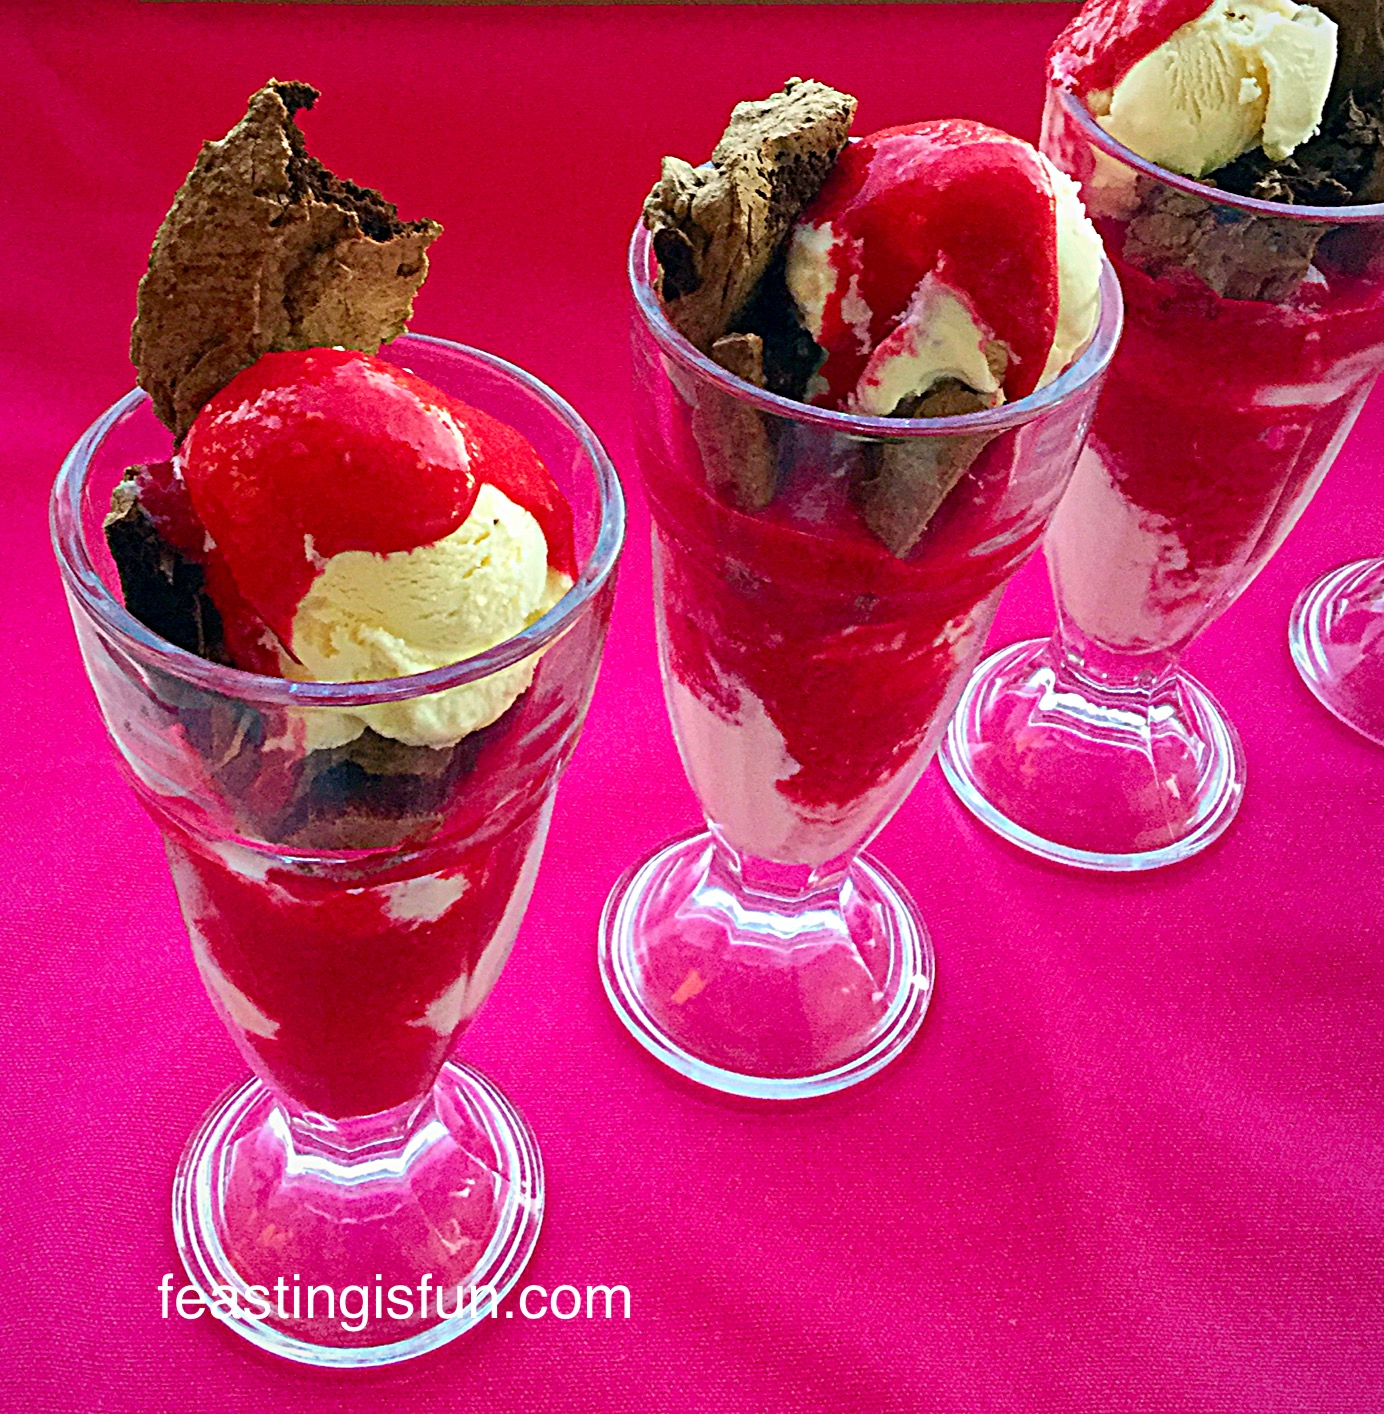
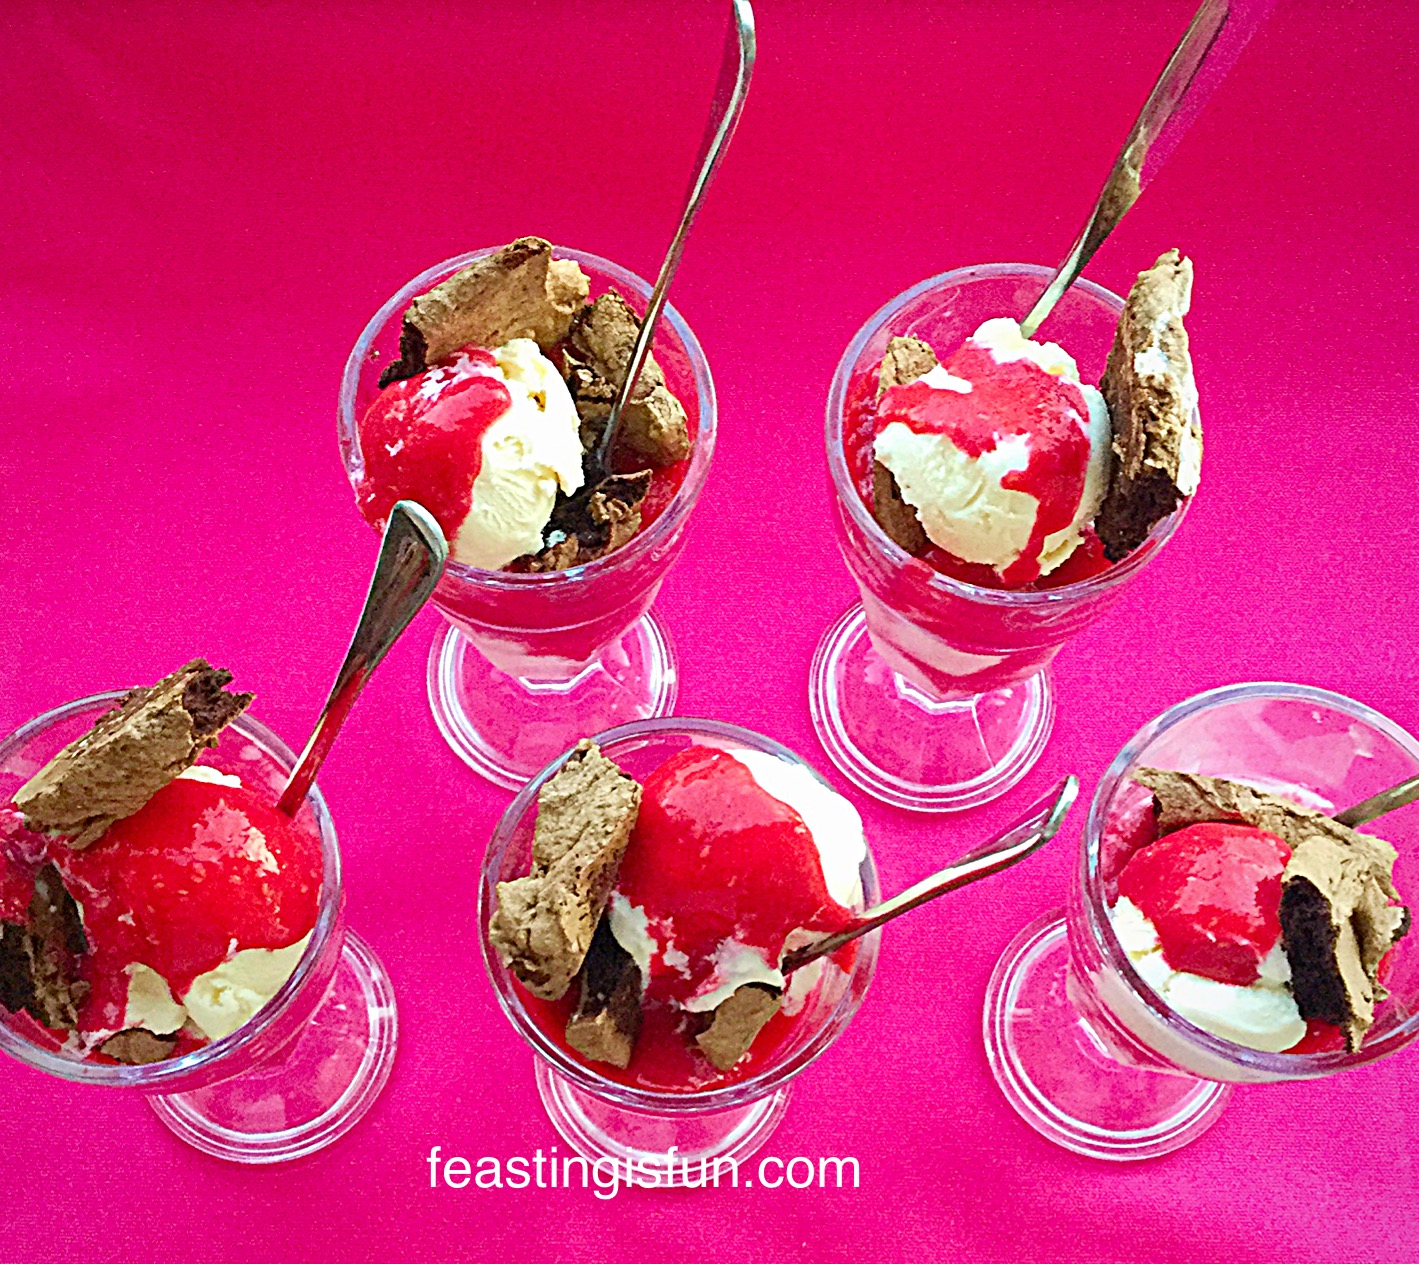
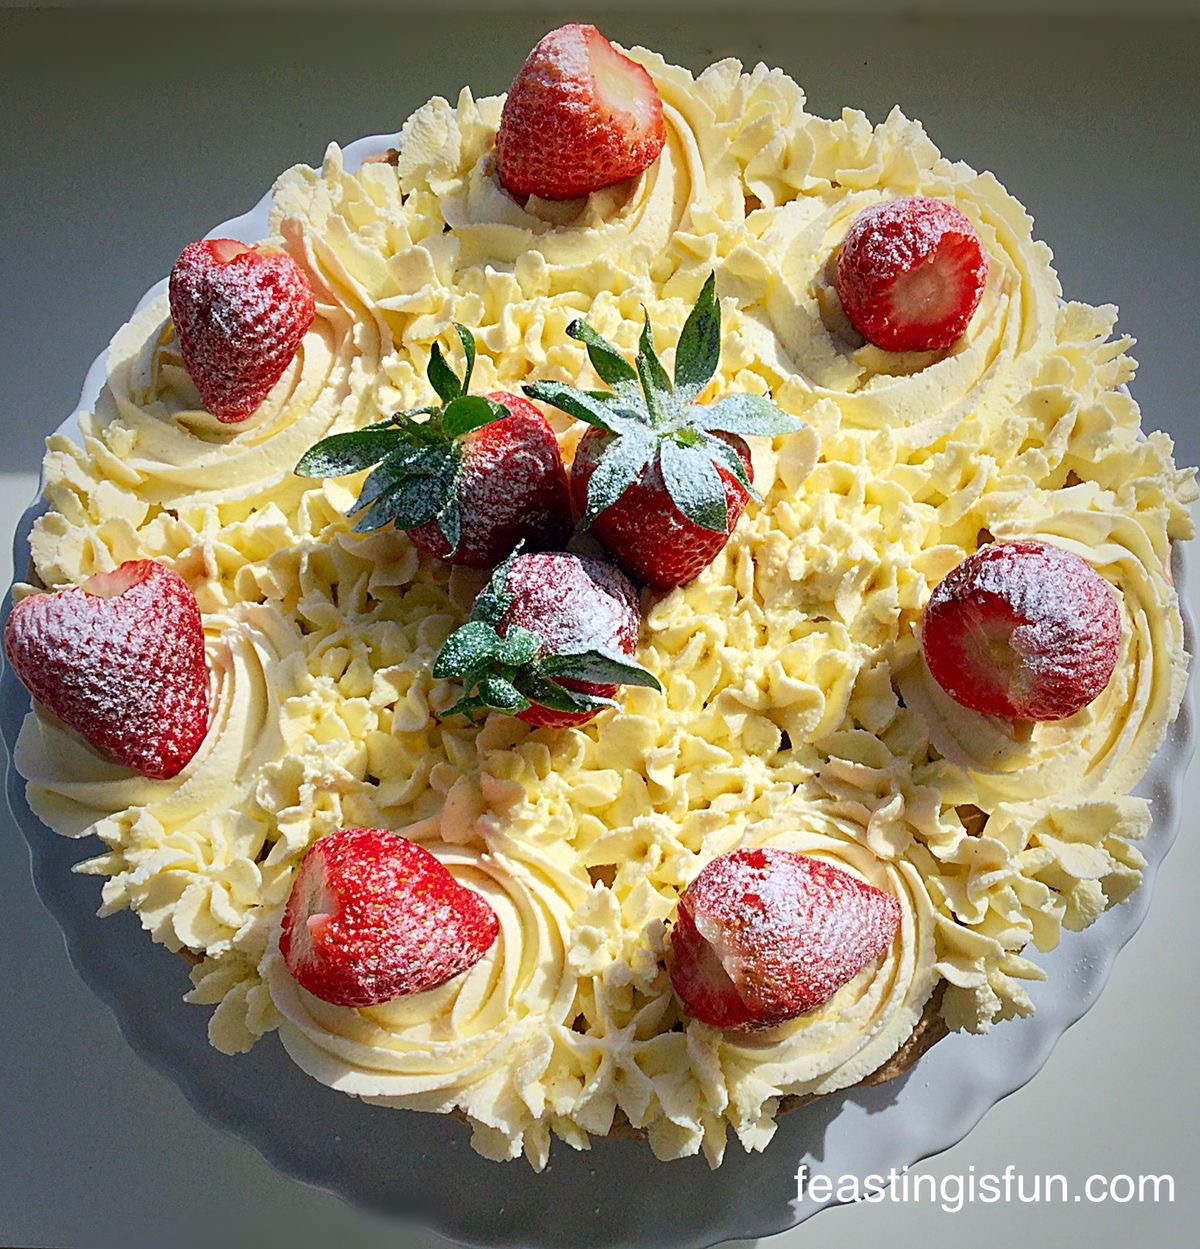
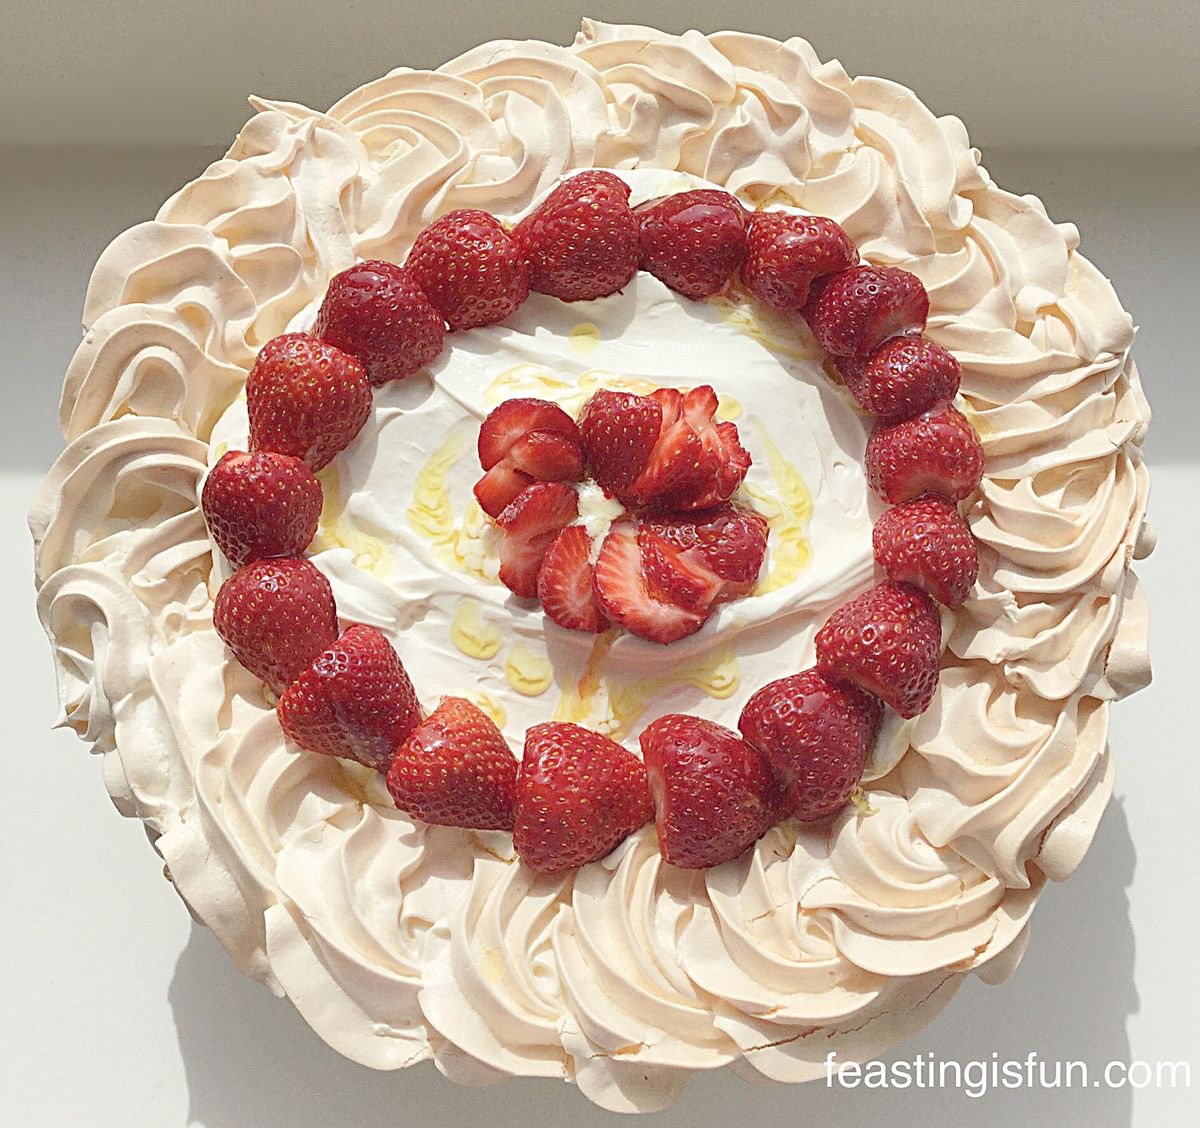
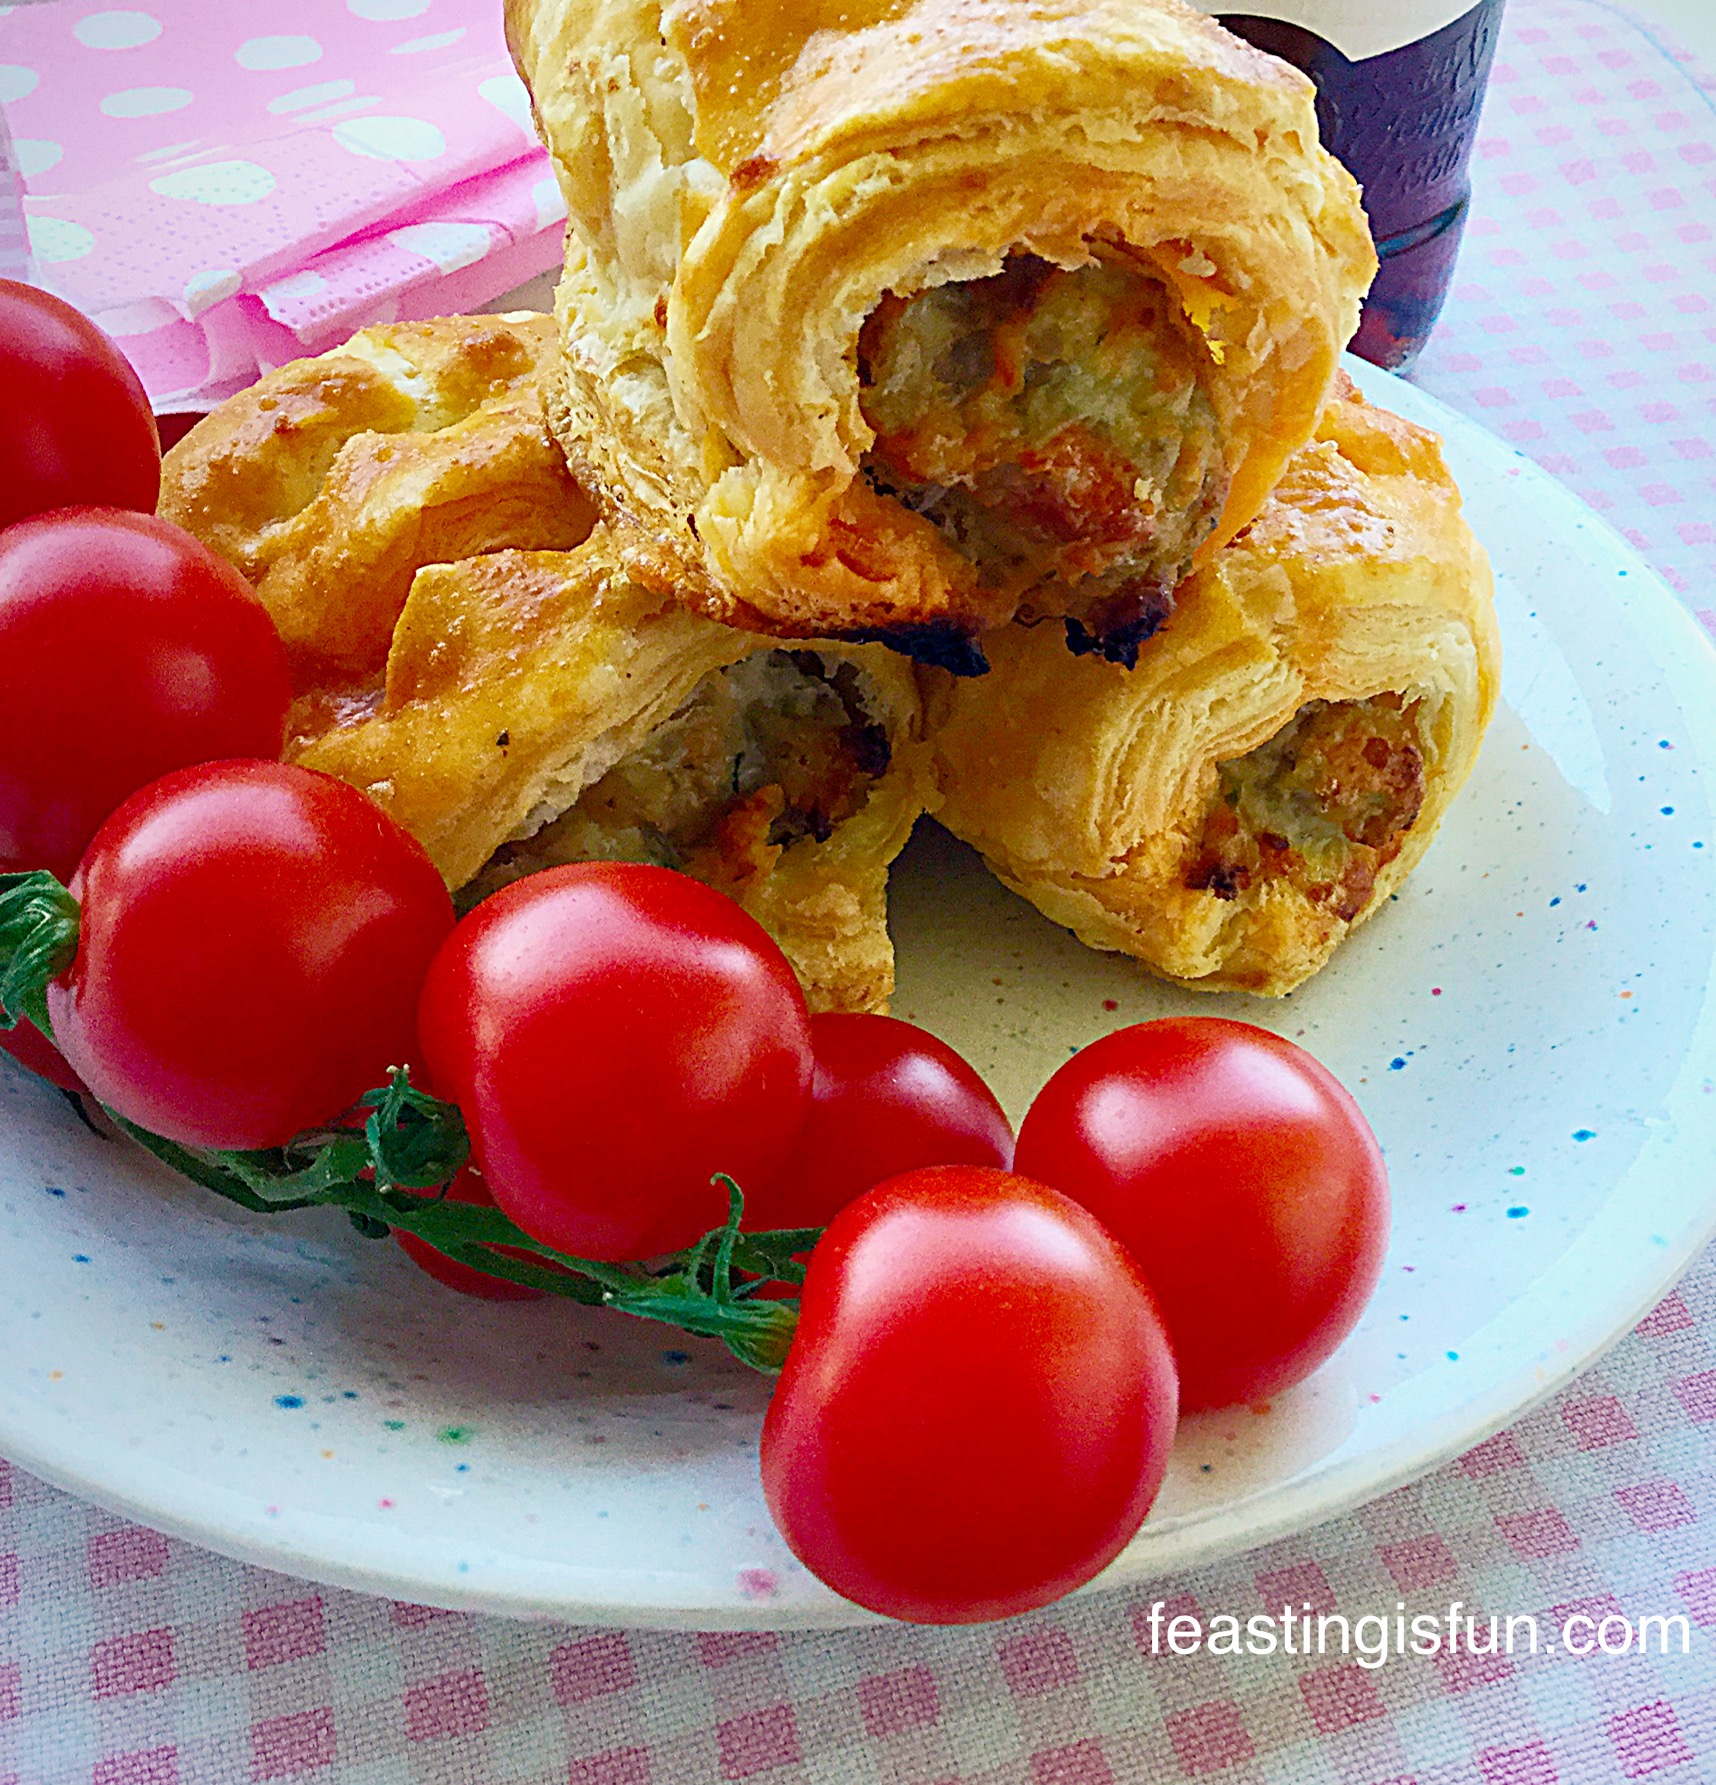
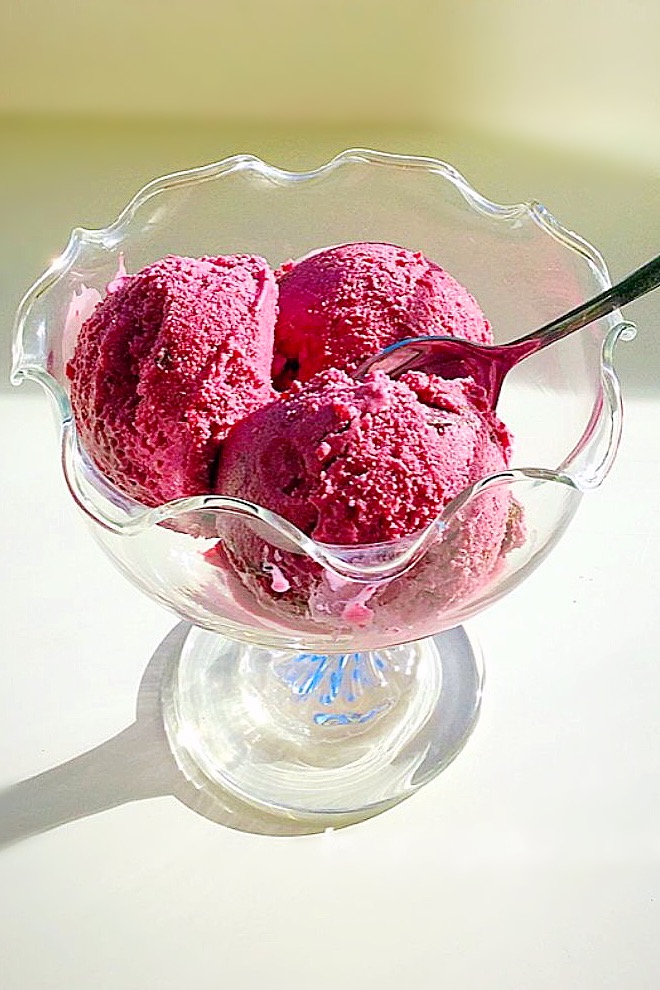
How pretty does this cheesecake look?
And you can make it too, with the additional help of an IfIKnewYouWereComing Artisan Chocolate Brownie Baking Box! Alternatively, you can follow my recipe below for an easy brownie base.
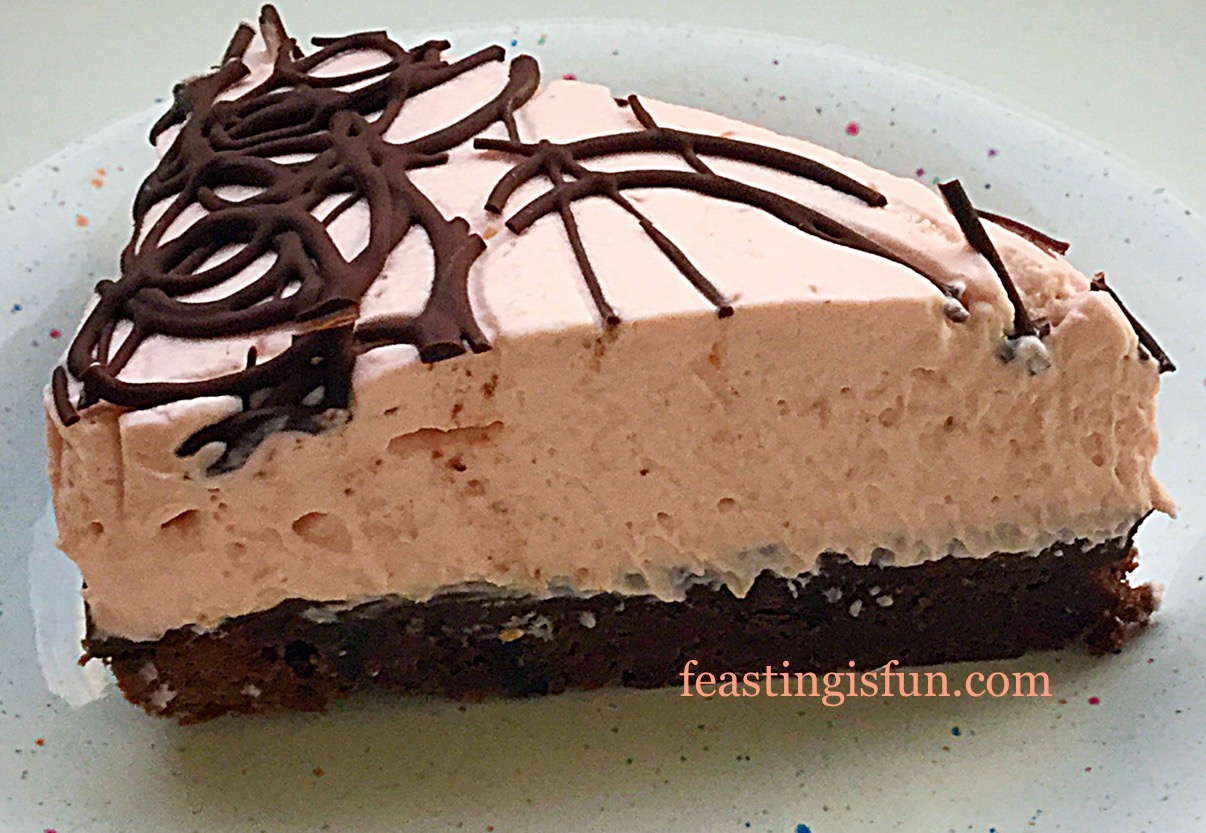
I love the gorgeously dense and fudgey brownie base to this cheesecake. Because chocolate and raspberry flavours work so well together this Chocolate Brownie Raspberry Cheesecake really is a dream dessert.
Why a brownie base?
Recently our youngest daughter revealed that she really didn’t like the traditional biscuit that usually is on the base of a cheesecake. YET she does love the creamy, top part. Therefore this cheesecake was made with her in mind.
Since she absolutely loves brownies I decided to make a cheesecake with a brownie base. Also adding a layer of deep, dark chocolate ganache to the top of the brownie base to stop the base from becoming soggy. While this too adds another chocolate layer!

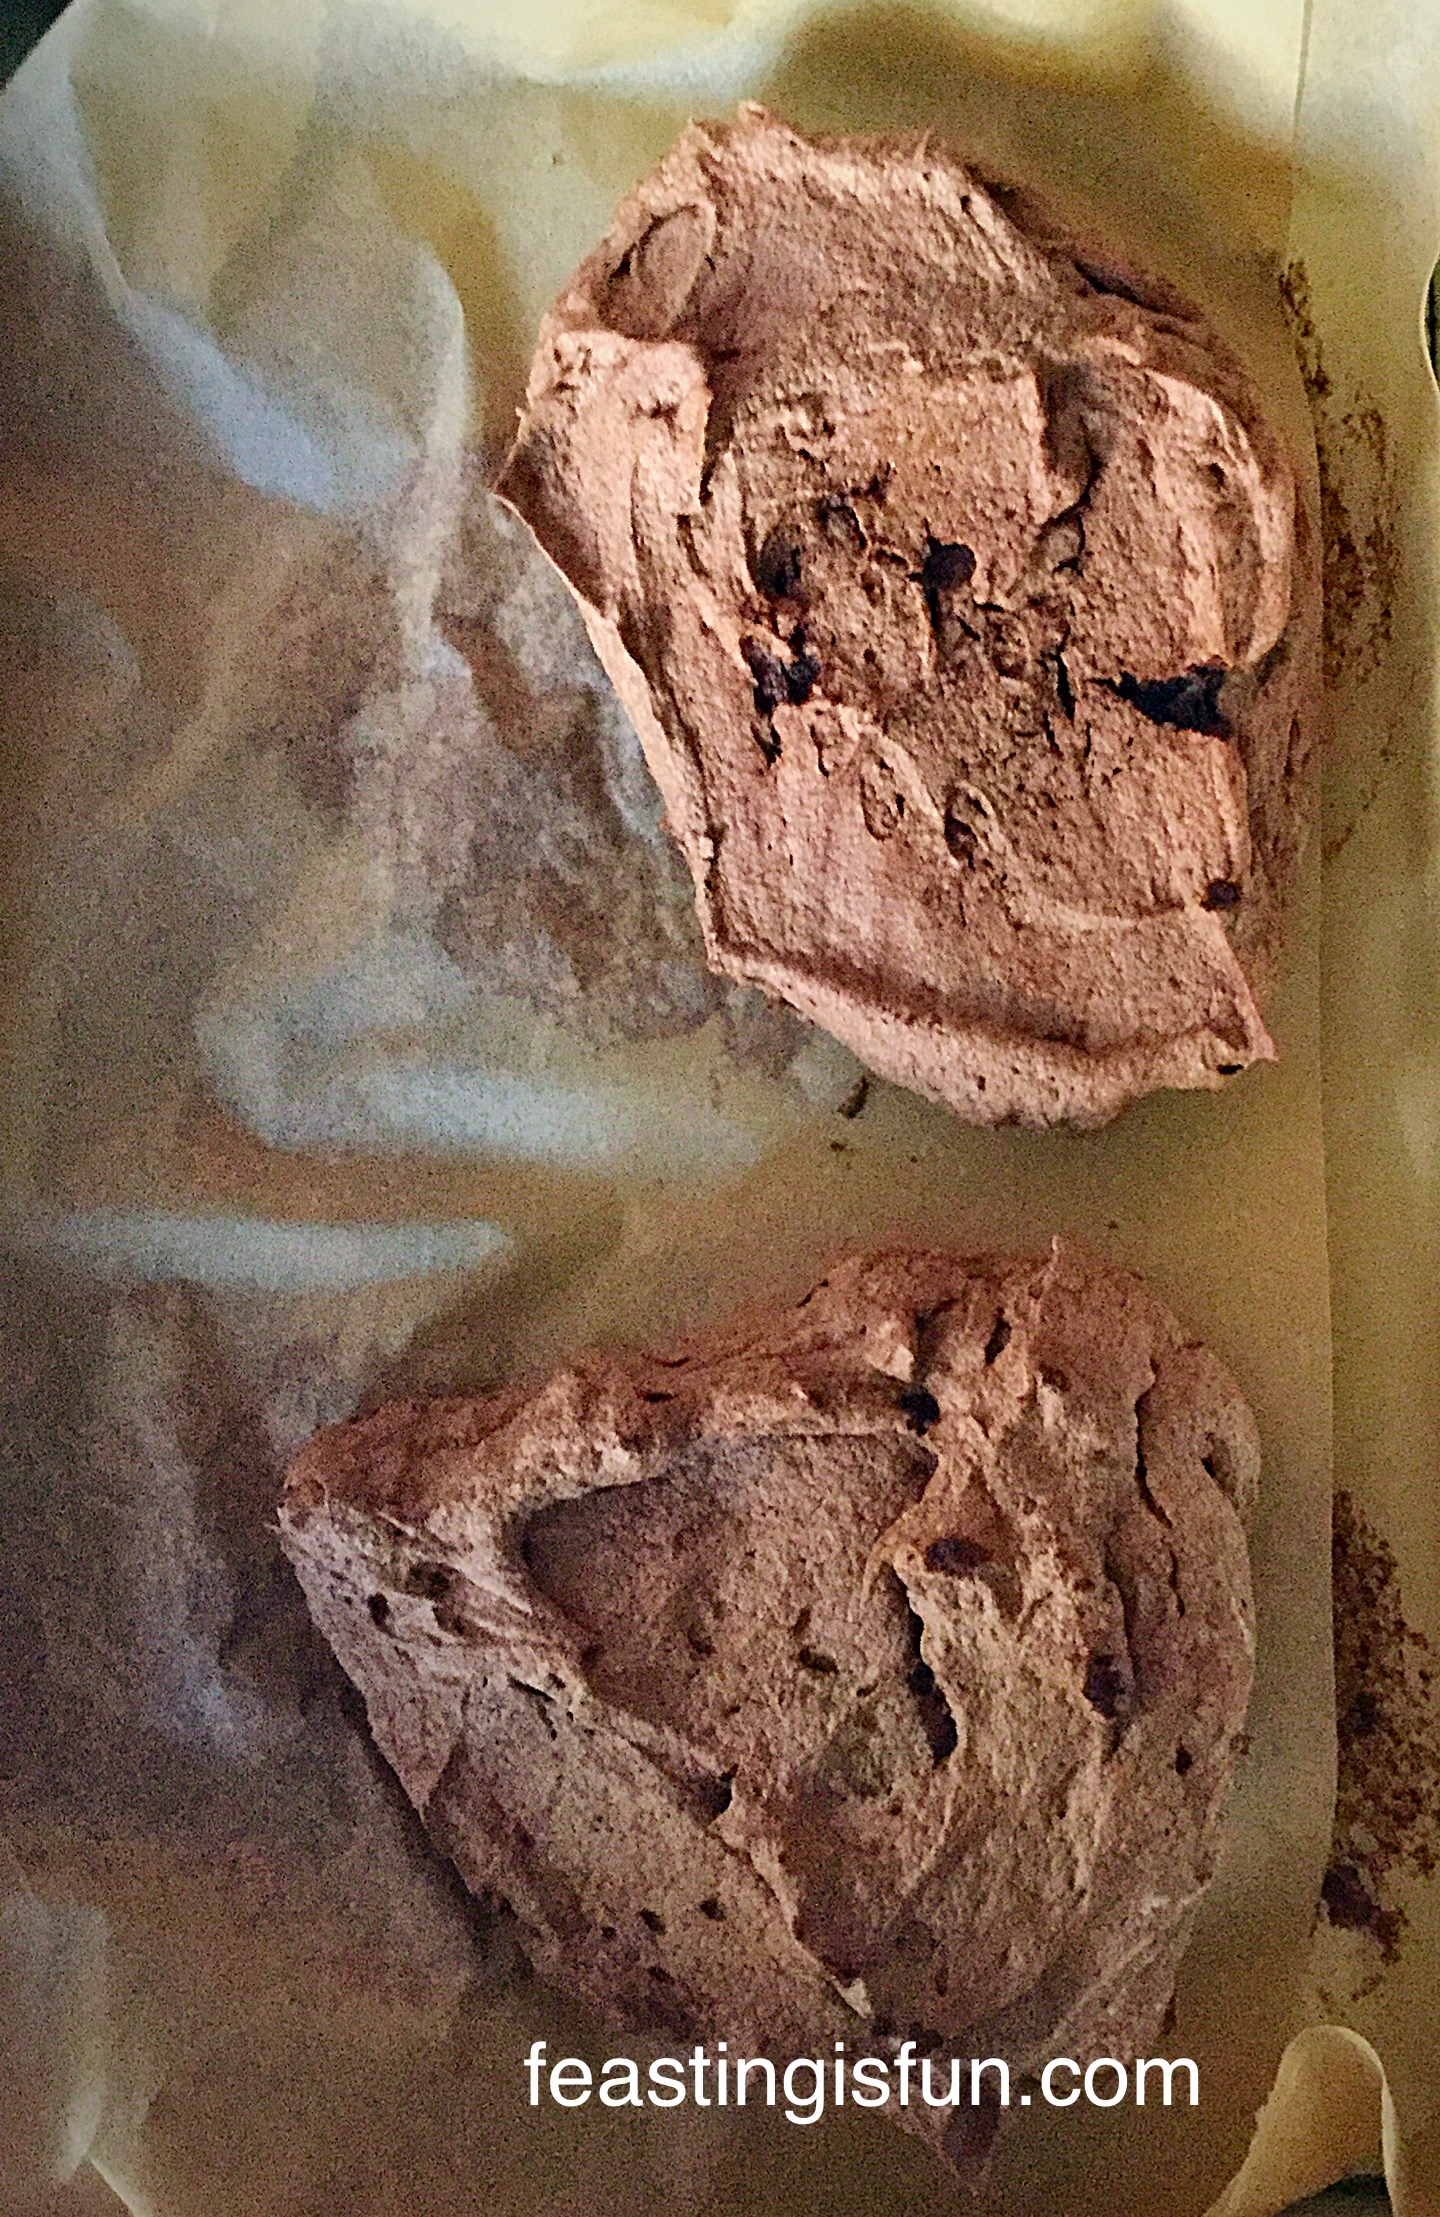
Brownies this kit form
I was impressed with the ingredient packaging and the instructions provided with the Artisan Chocolate Brownie Bake Box. While baking these brownies was very similar to making my own homemade brownies, except someone had already weighed the ingredients out for me! So all I needed to do was add butter and eggs.
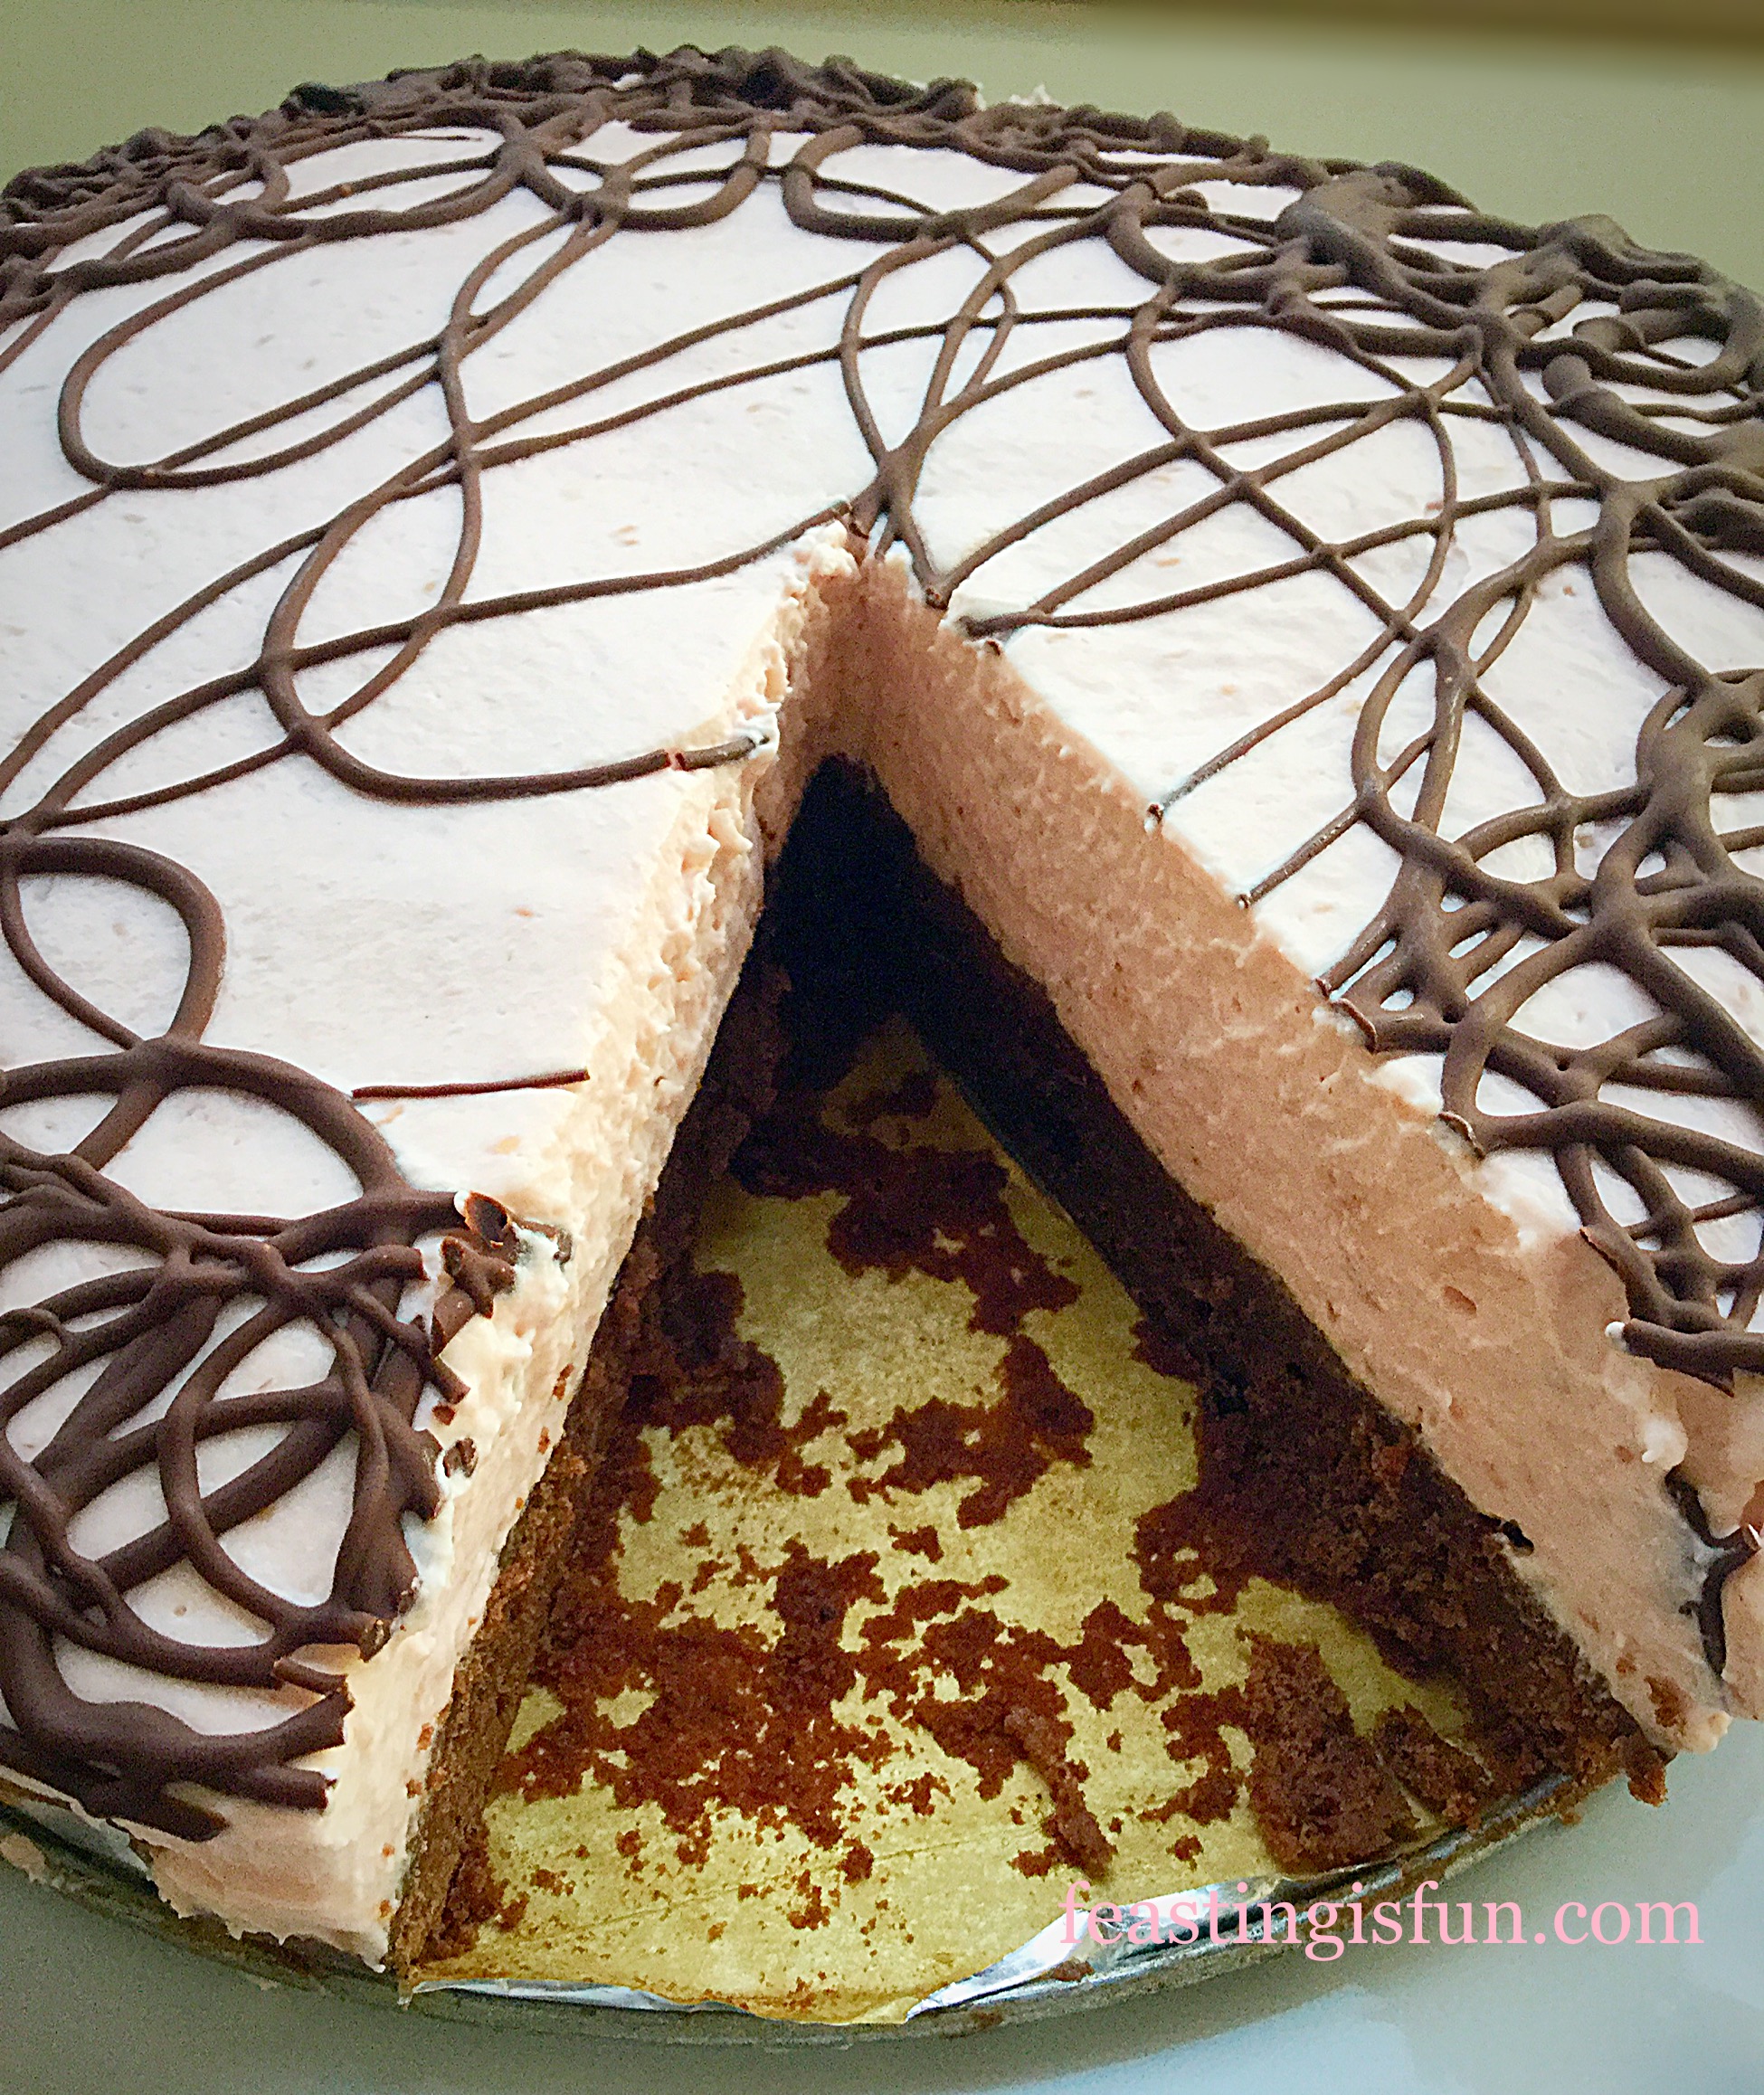
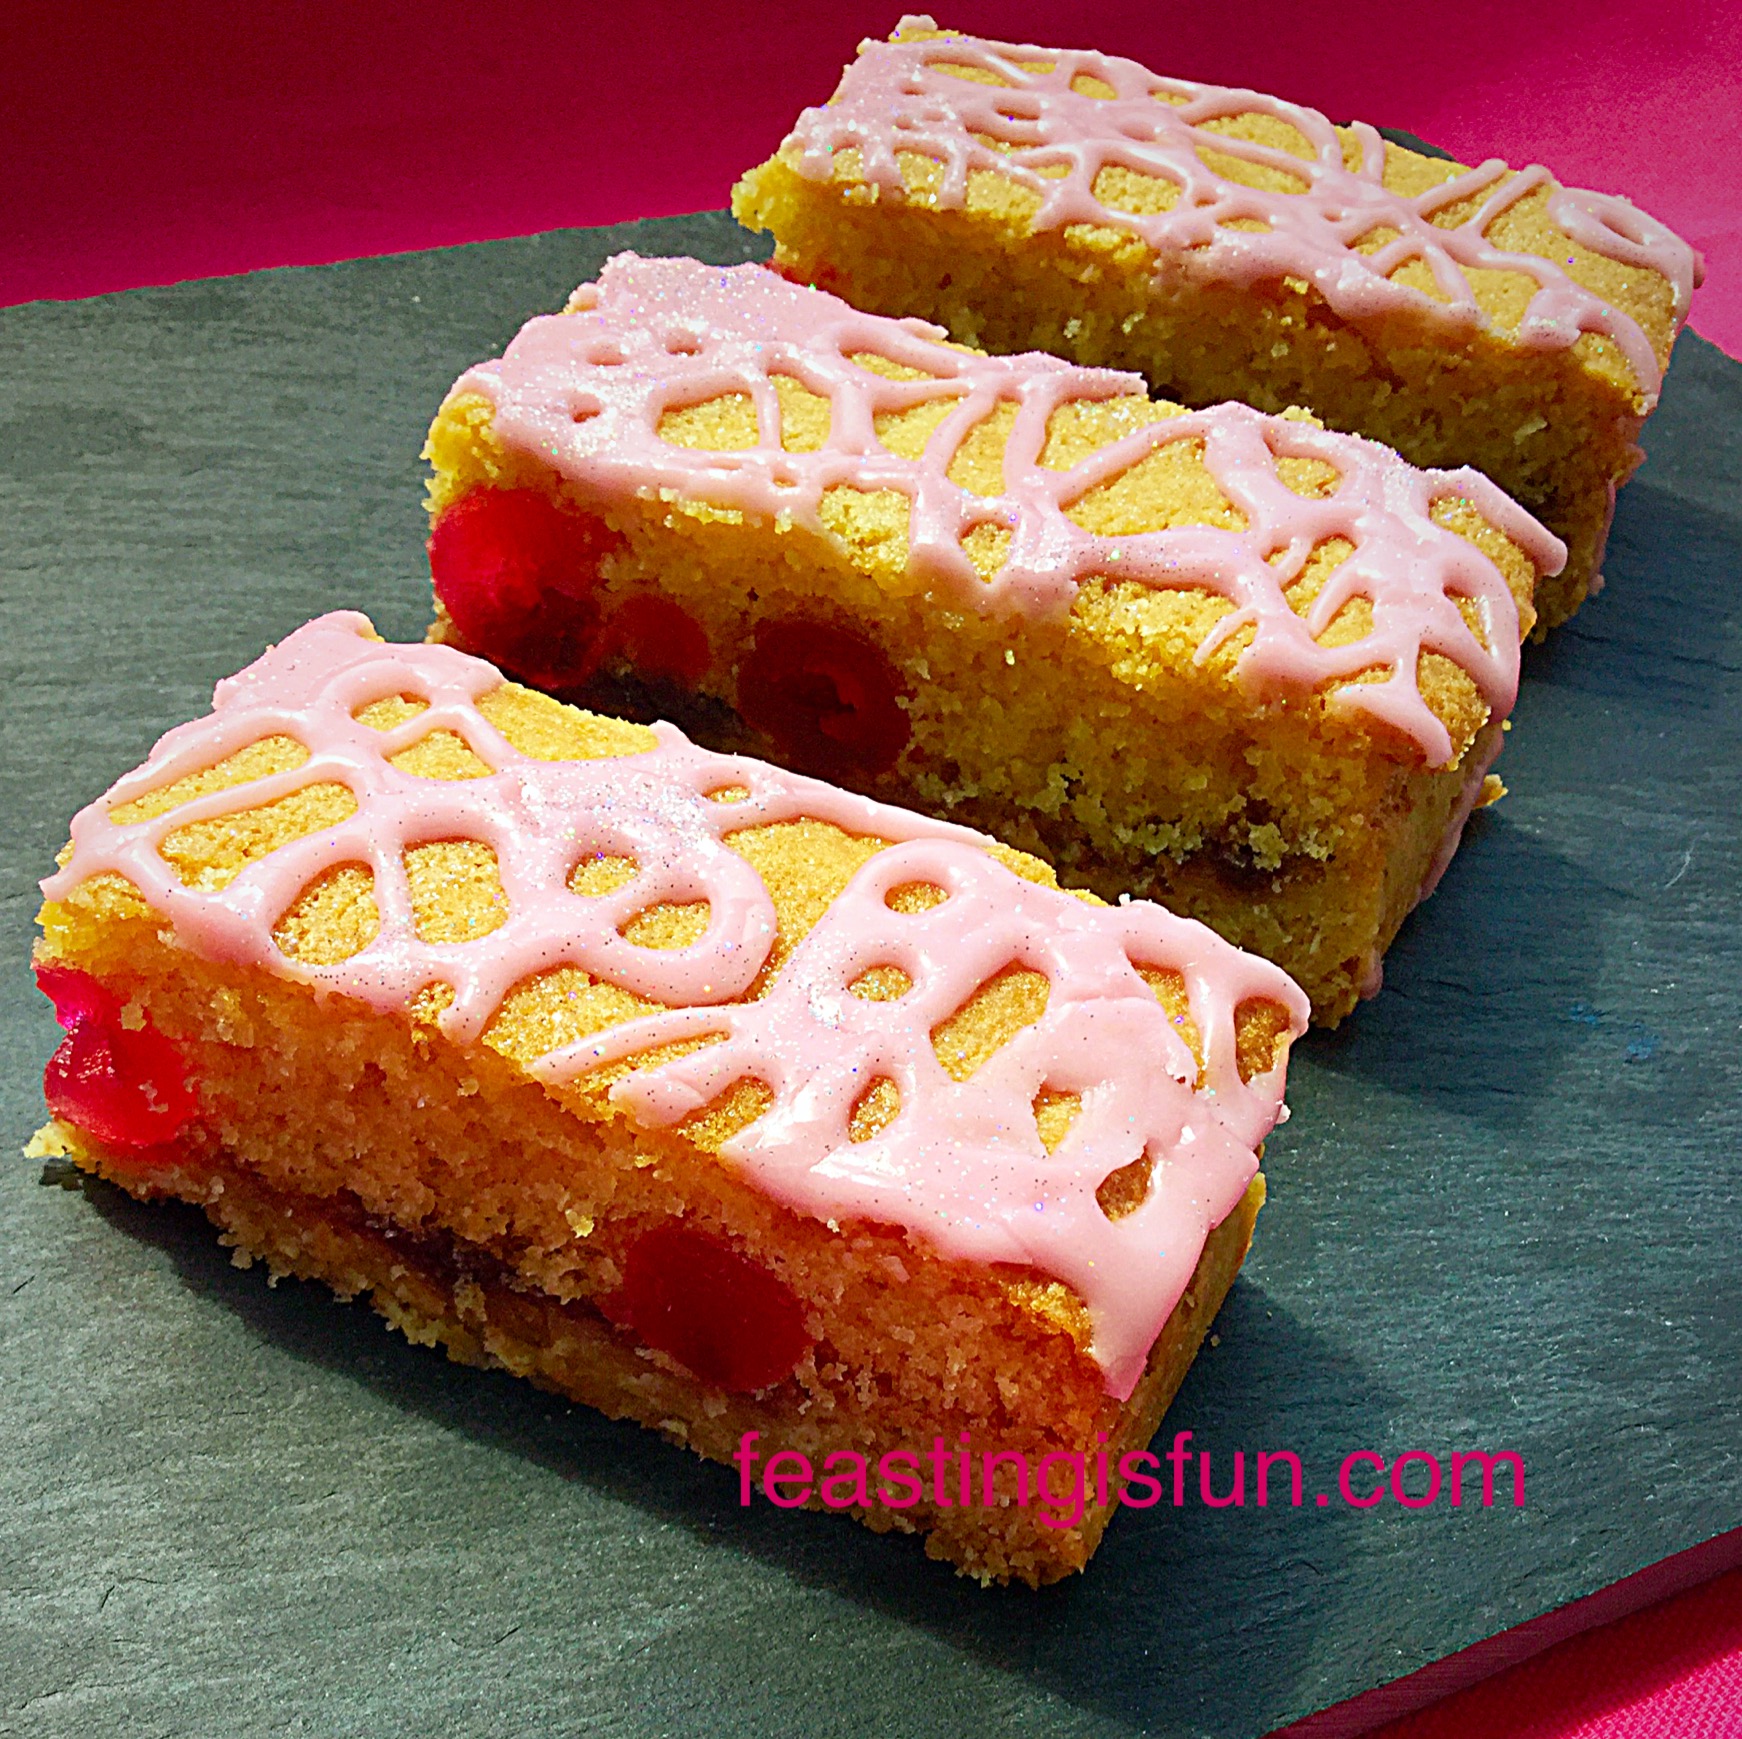
This Chocolate Brownie Raspberry Cheesecake is utterly stunning to look at and even more delicious to eat.
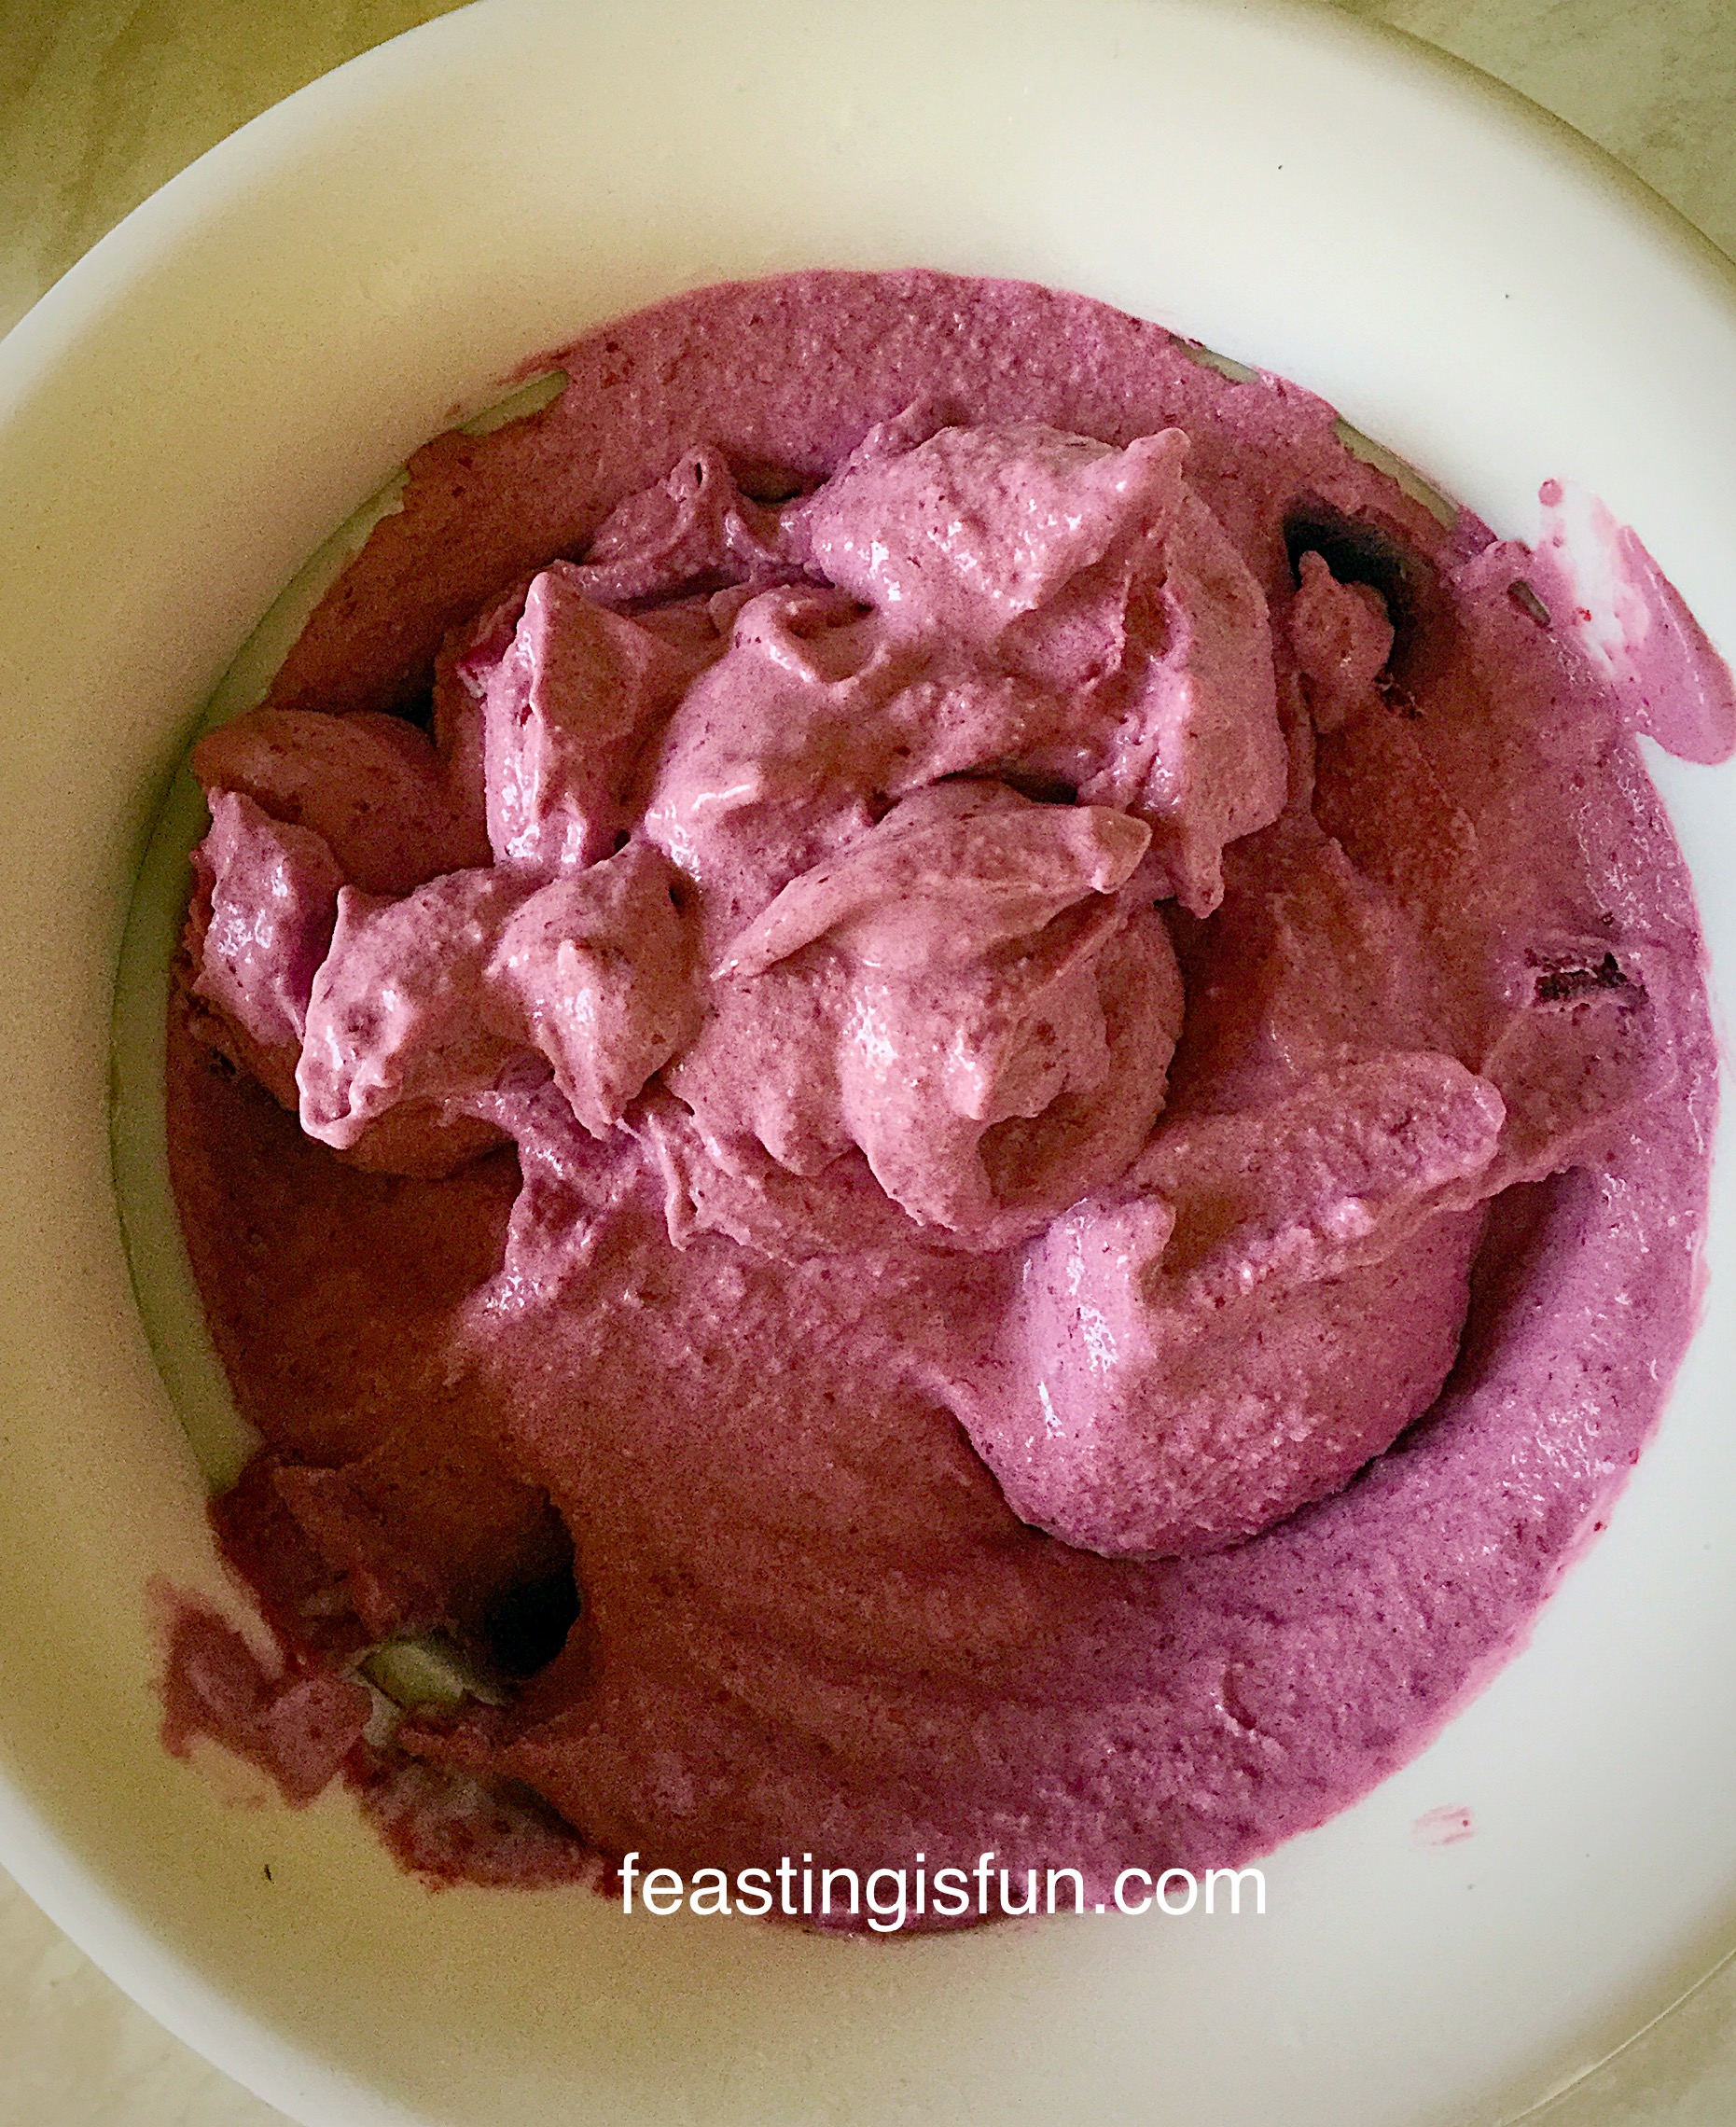
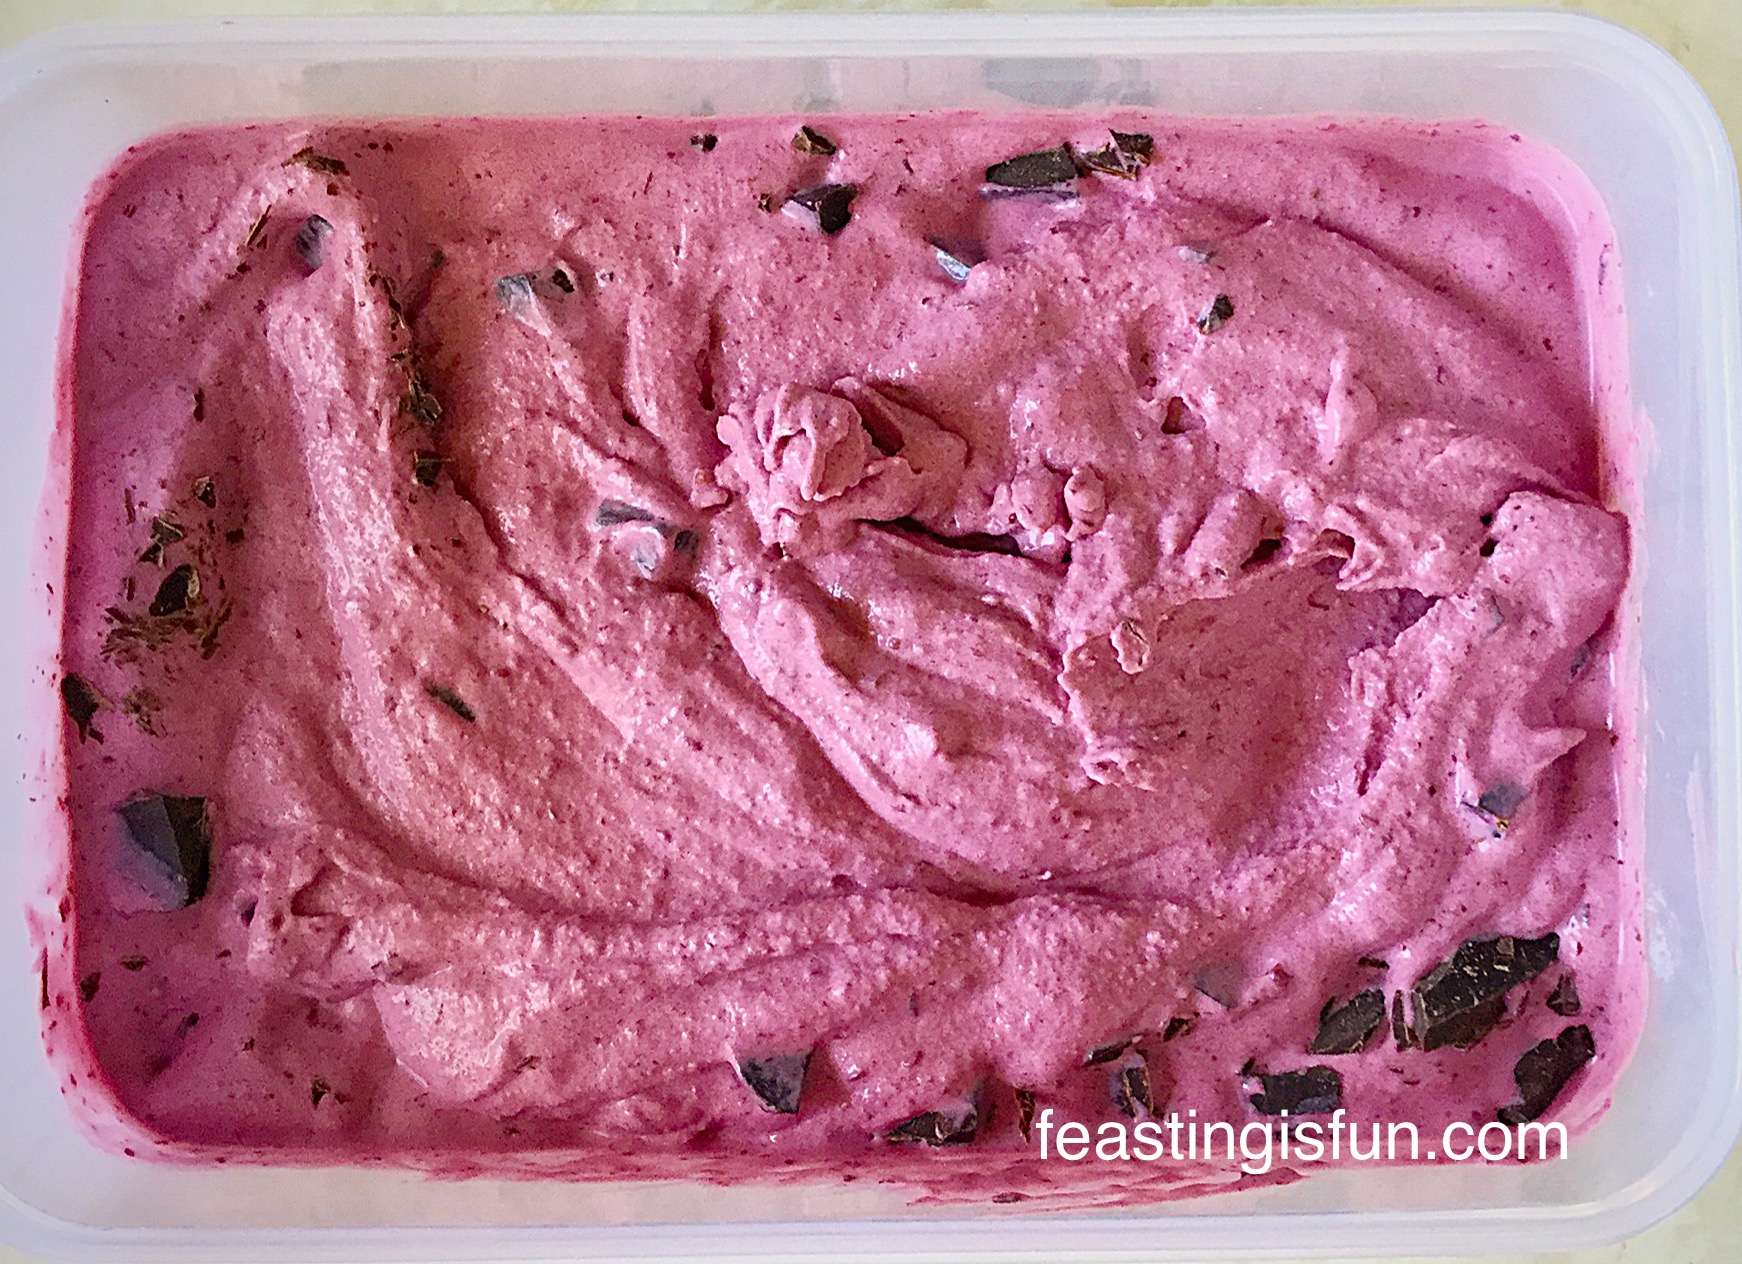
The whipped, mousse like, raspberry cheesecake layer, isn’t overly sweet. Also, with an added splash of raspberry liquer and vanilla notes from the white chocolate, this dessert is an awesome combination of flavours.
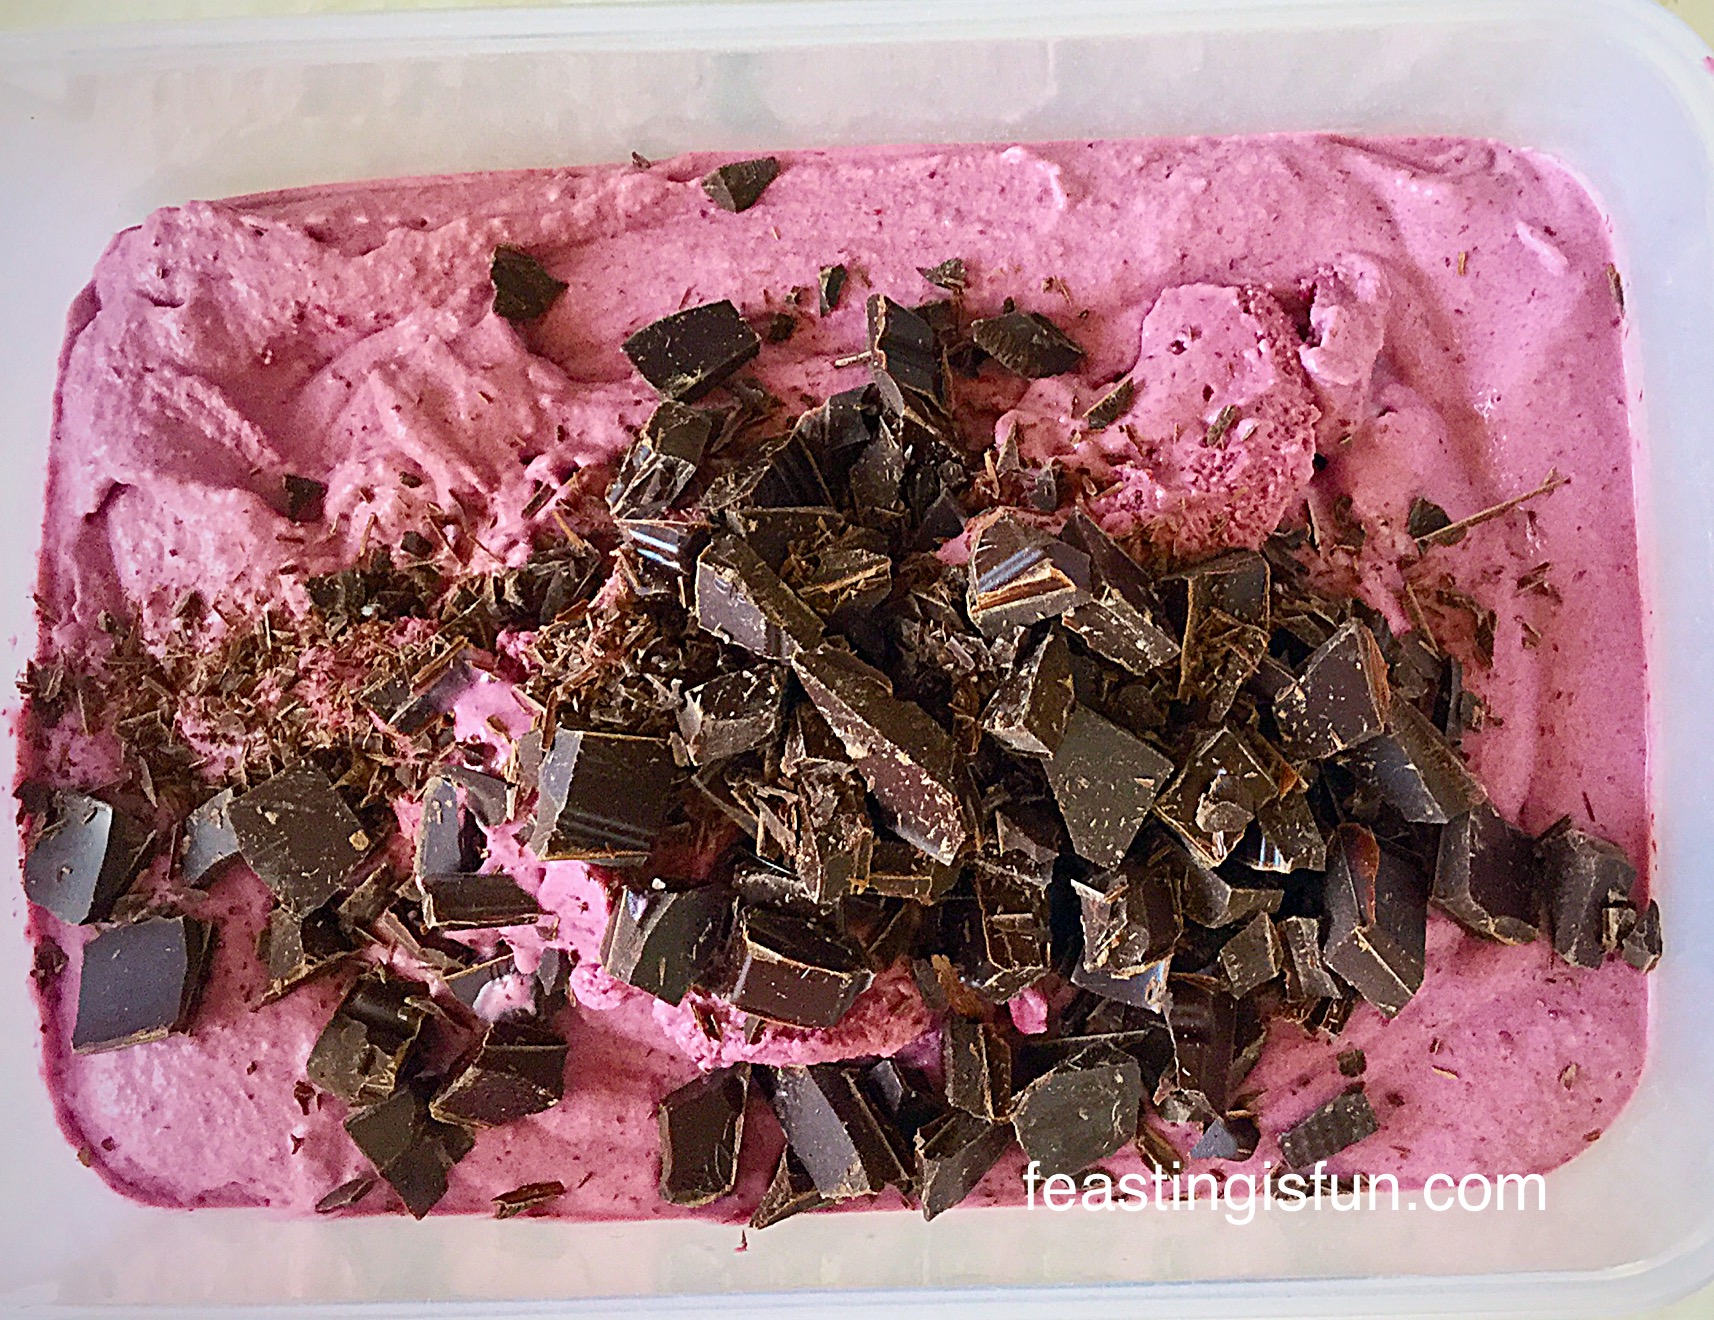
Layered together, with a final swirl of the best quality dark chocolate, this cheesecake may be my favourite dessert yet?!!
Recipe: Chocolate Brownie Raspberry Cheesecake serves 10-12
1 Brownie Bake Box from IfIKnewYouWereComing
(alternatively use half of my Chocolate Fudge Brownie Bites) recipe
115g Unsalted Butter
2 Large Free Range Eggs
300g/Raspberries I use frozen Raspberries from Waitrose when they are out of season
4tbsp Caster Sugar
2tbsp Framboise – raspberry liquer – can be substituted for cassis or fresh apple juice
150g Dark Chocolate
300ml Double Cream
500g Tub Mascapone Cheese
100g White Chocolate
Method: Preheat the oven to 200C/180C fan, gas mark 6, 400F.
Making the Brownie Base:
- First of all, line the base of a 10″ (25cm) Springform cake tin with the parchment backed, tin foil provided.
- Follow the recipe card provided to make the brownies.
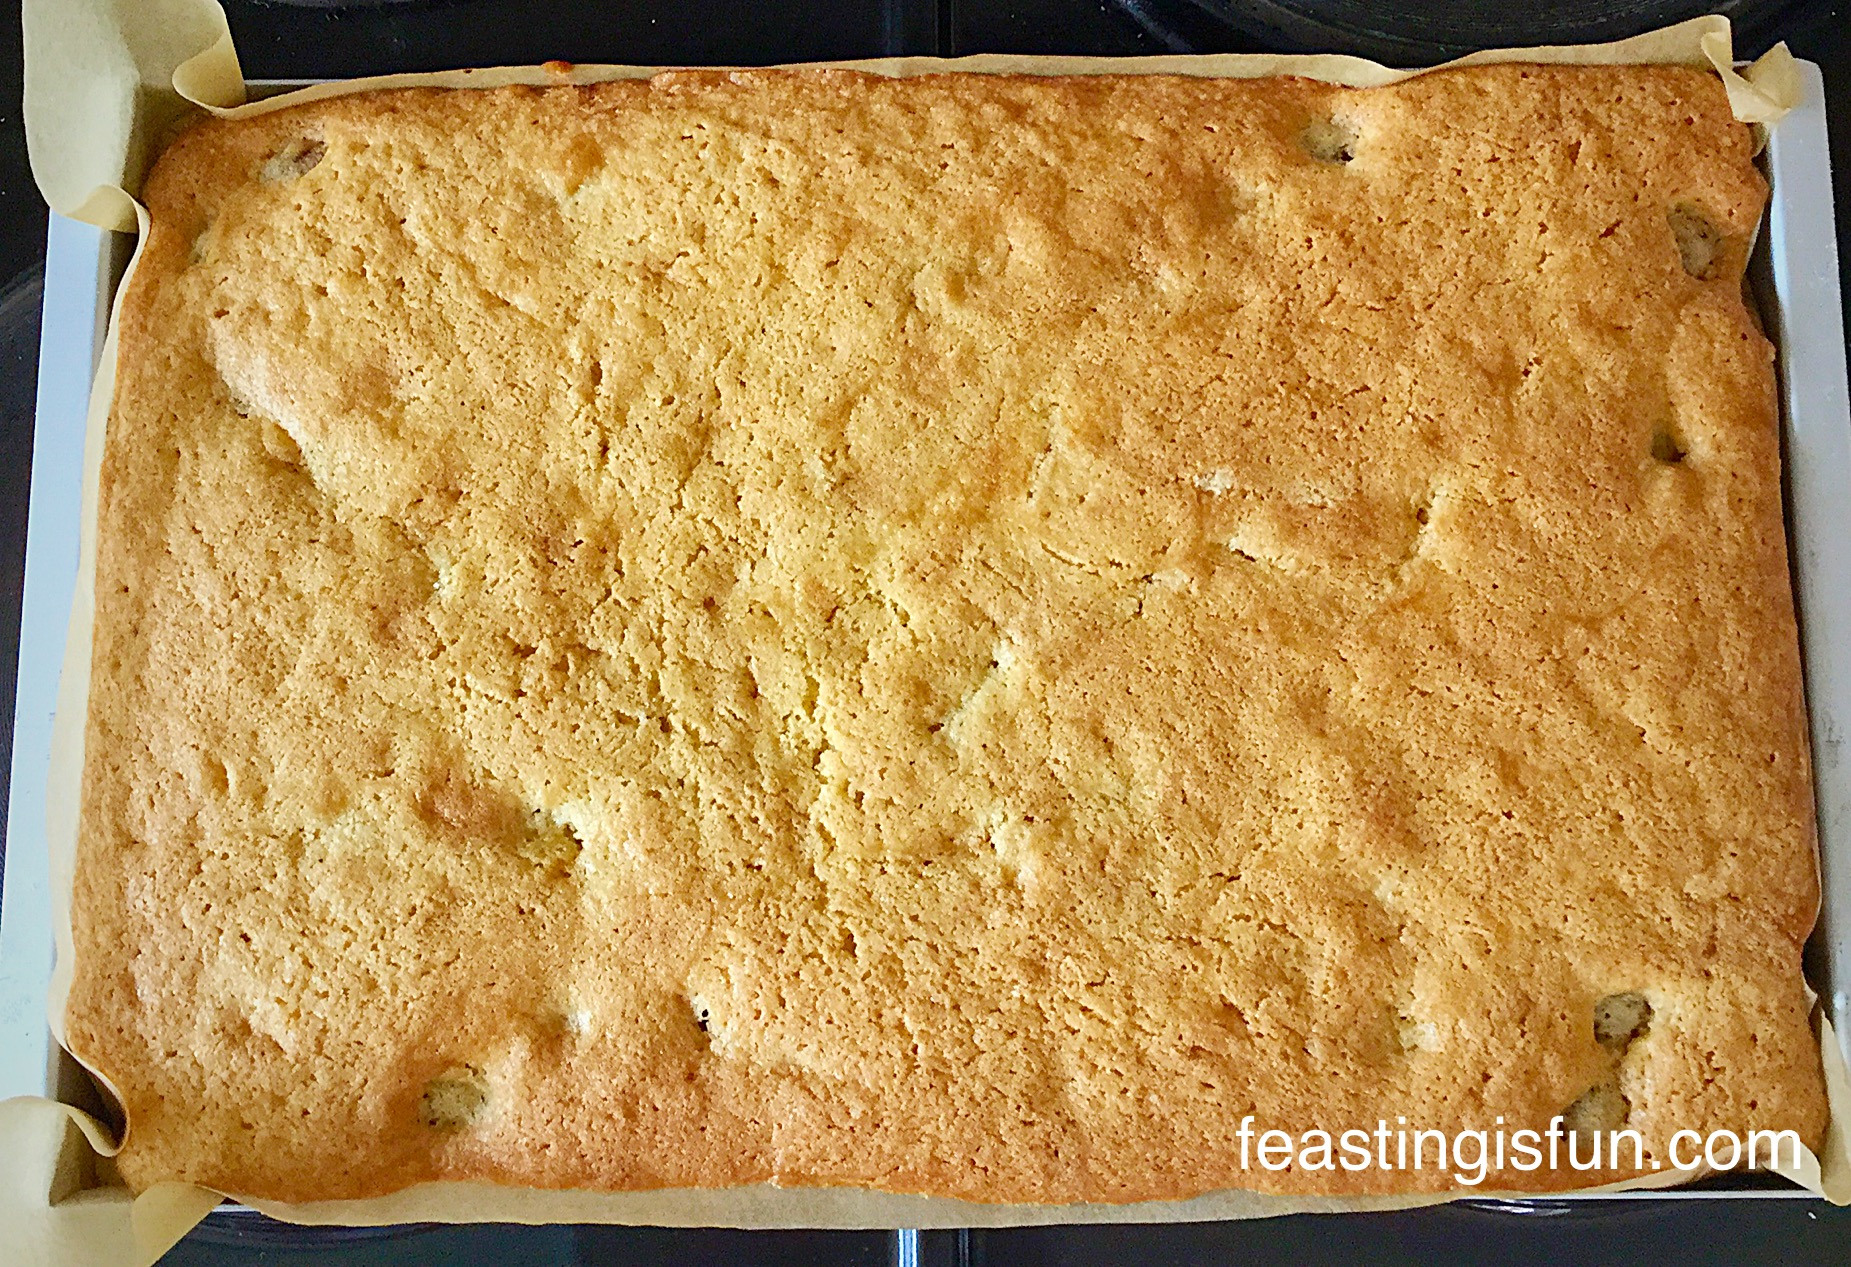
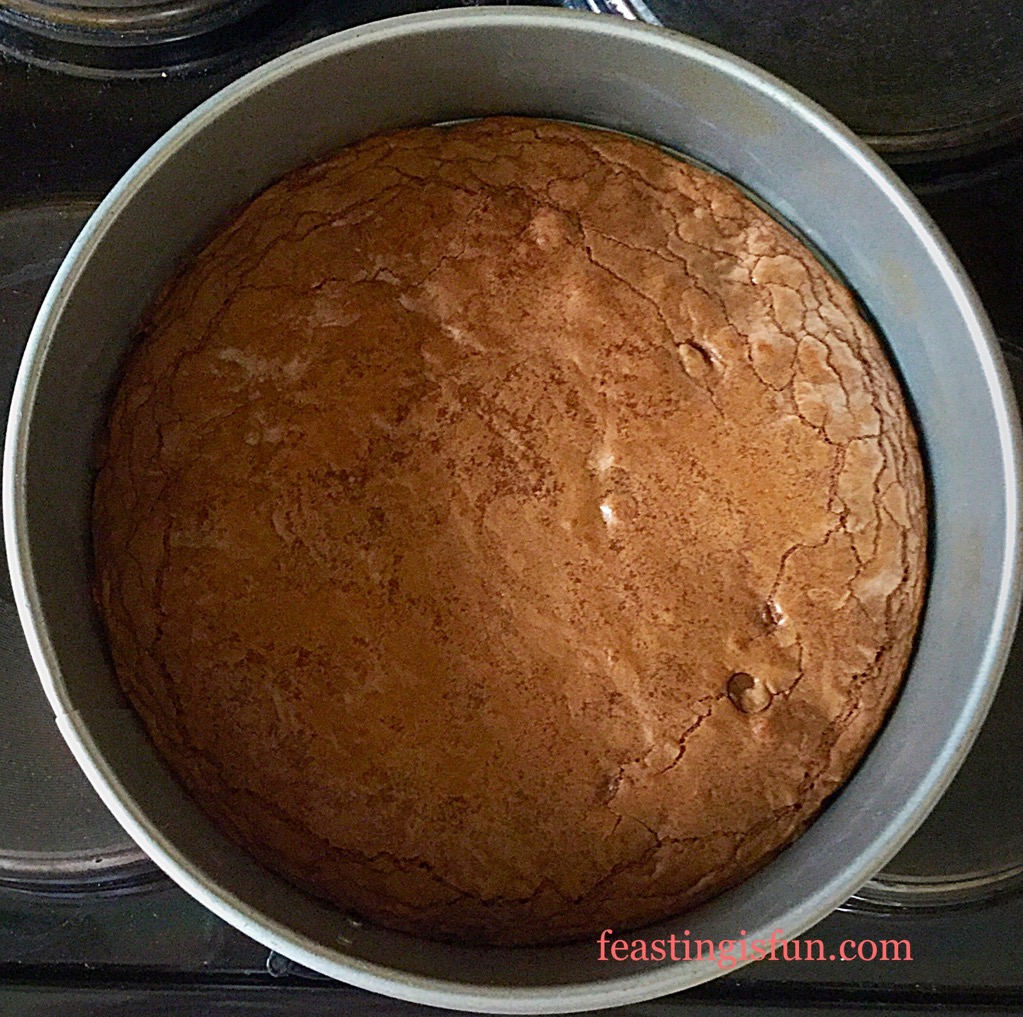
- Pour the brownie mixture into the springform tin and tap against the work top twice to release any trapped air bubbles.
- Place the tin in the oven and bake according to the instructions – my brownie base took 15 minutes to bake.
- As soon as the base is baked remove the tin from the oven and place on a cooling rack. Allow to cool completely.
Making the Chocolate Ganache:
- In a heatproof bowl add 100g dark chocolate and 100ml of double cream.
- Place the bowl on top of a small saucepan that contains approximately an inch of barely simmering water – this is called a double boiler.
- Stir the chocolate and cream together until the chocolate has completely melted and the mixture is thick and glossy.
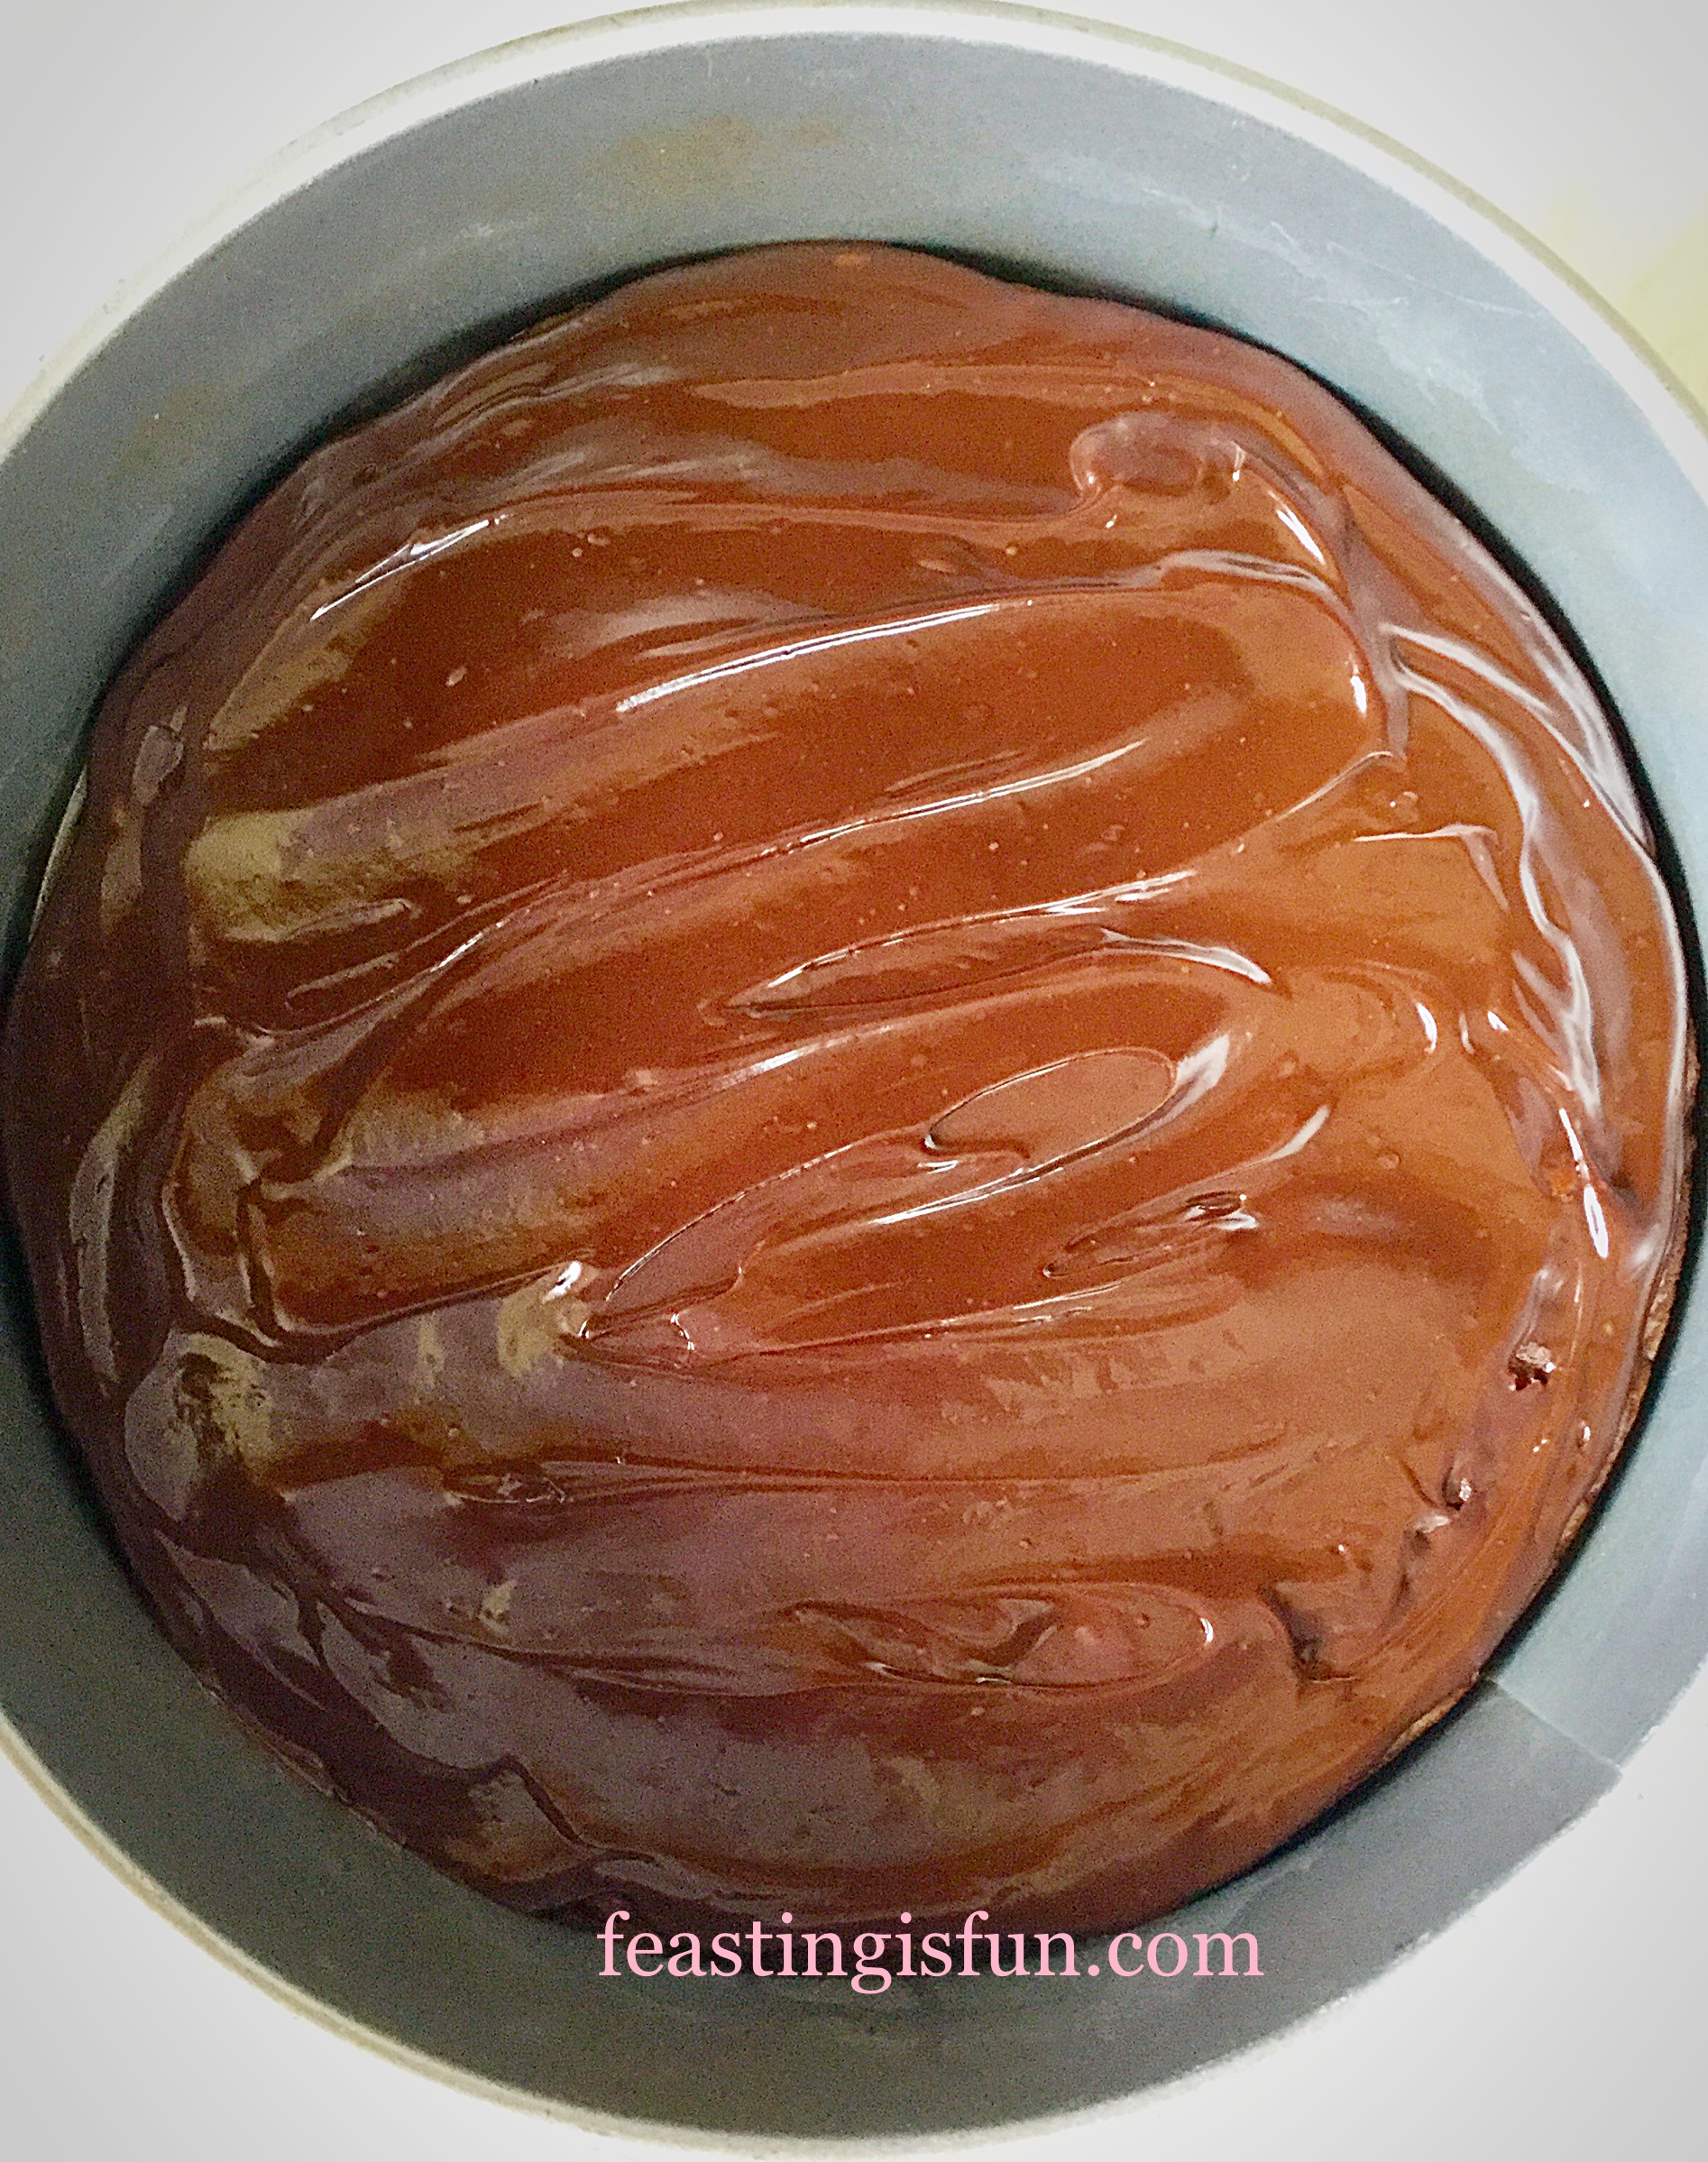
- Pour the chocolate ganache over the cooled brownie base.
- Smooth to an even layer using the back of a metal dessert spoon.
- Place in the fridge until the ganache has set.
Making the raspberry cheesecake filling
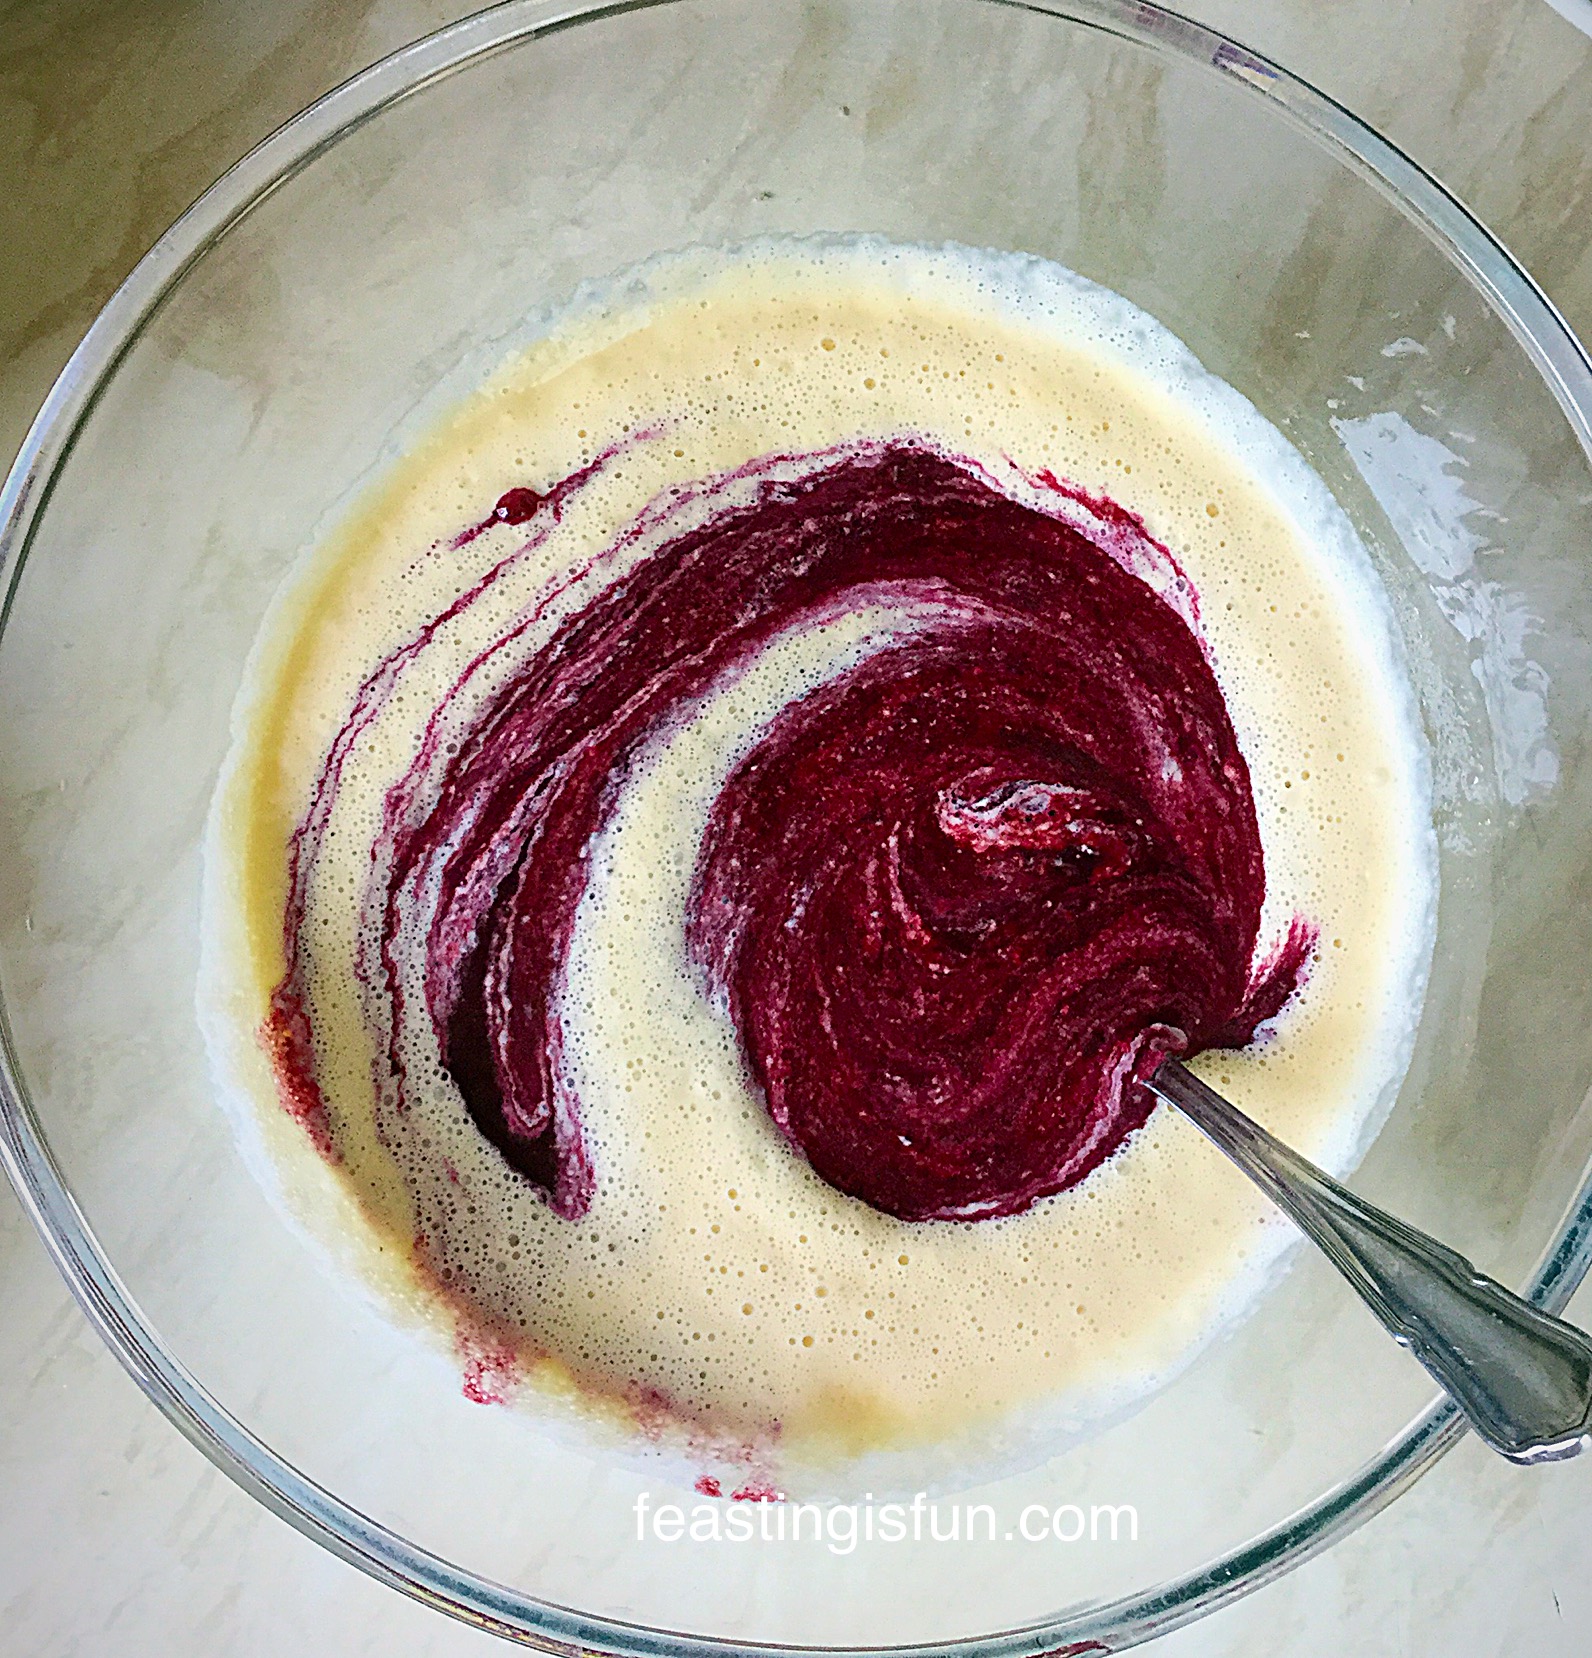
- Place the raspberries, caster sugar and framboise (or apple juice) into a blender.
- Pulse until you have a smooth, deep cerise, thick raspberry coulis. Set to one side.
- Break up the white chocolate and place into a heatproof microwaveable bowl.
- Zap for 20 seconds at a time, stirring in between, until the chocolate has almost melted.
- Remove from the microwave and continue stirring until completely melted. Set to one side.
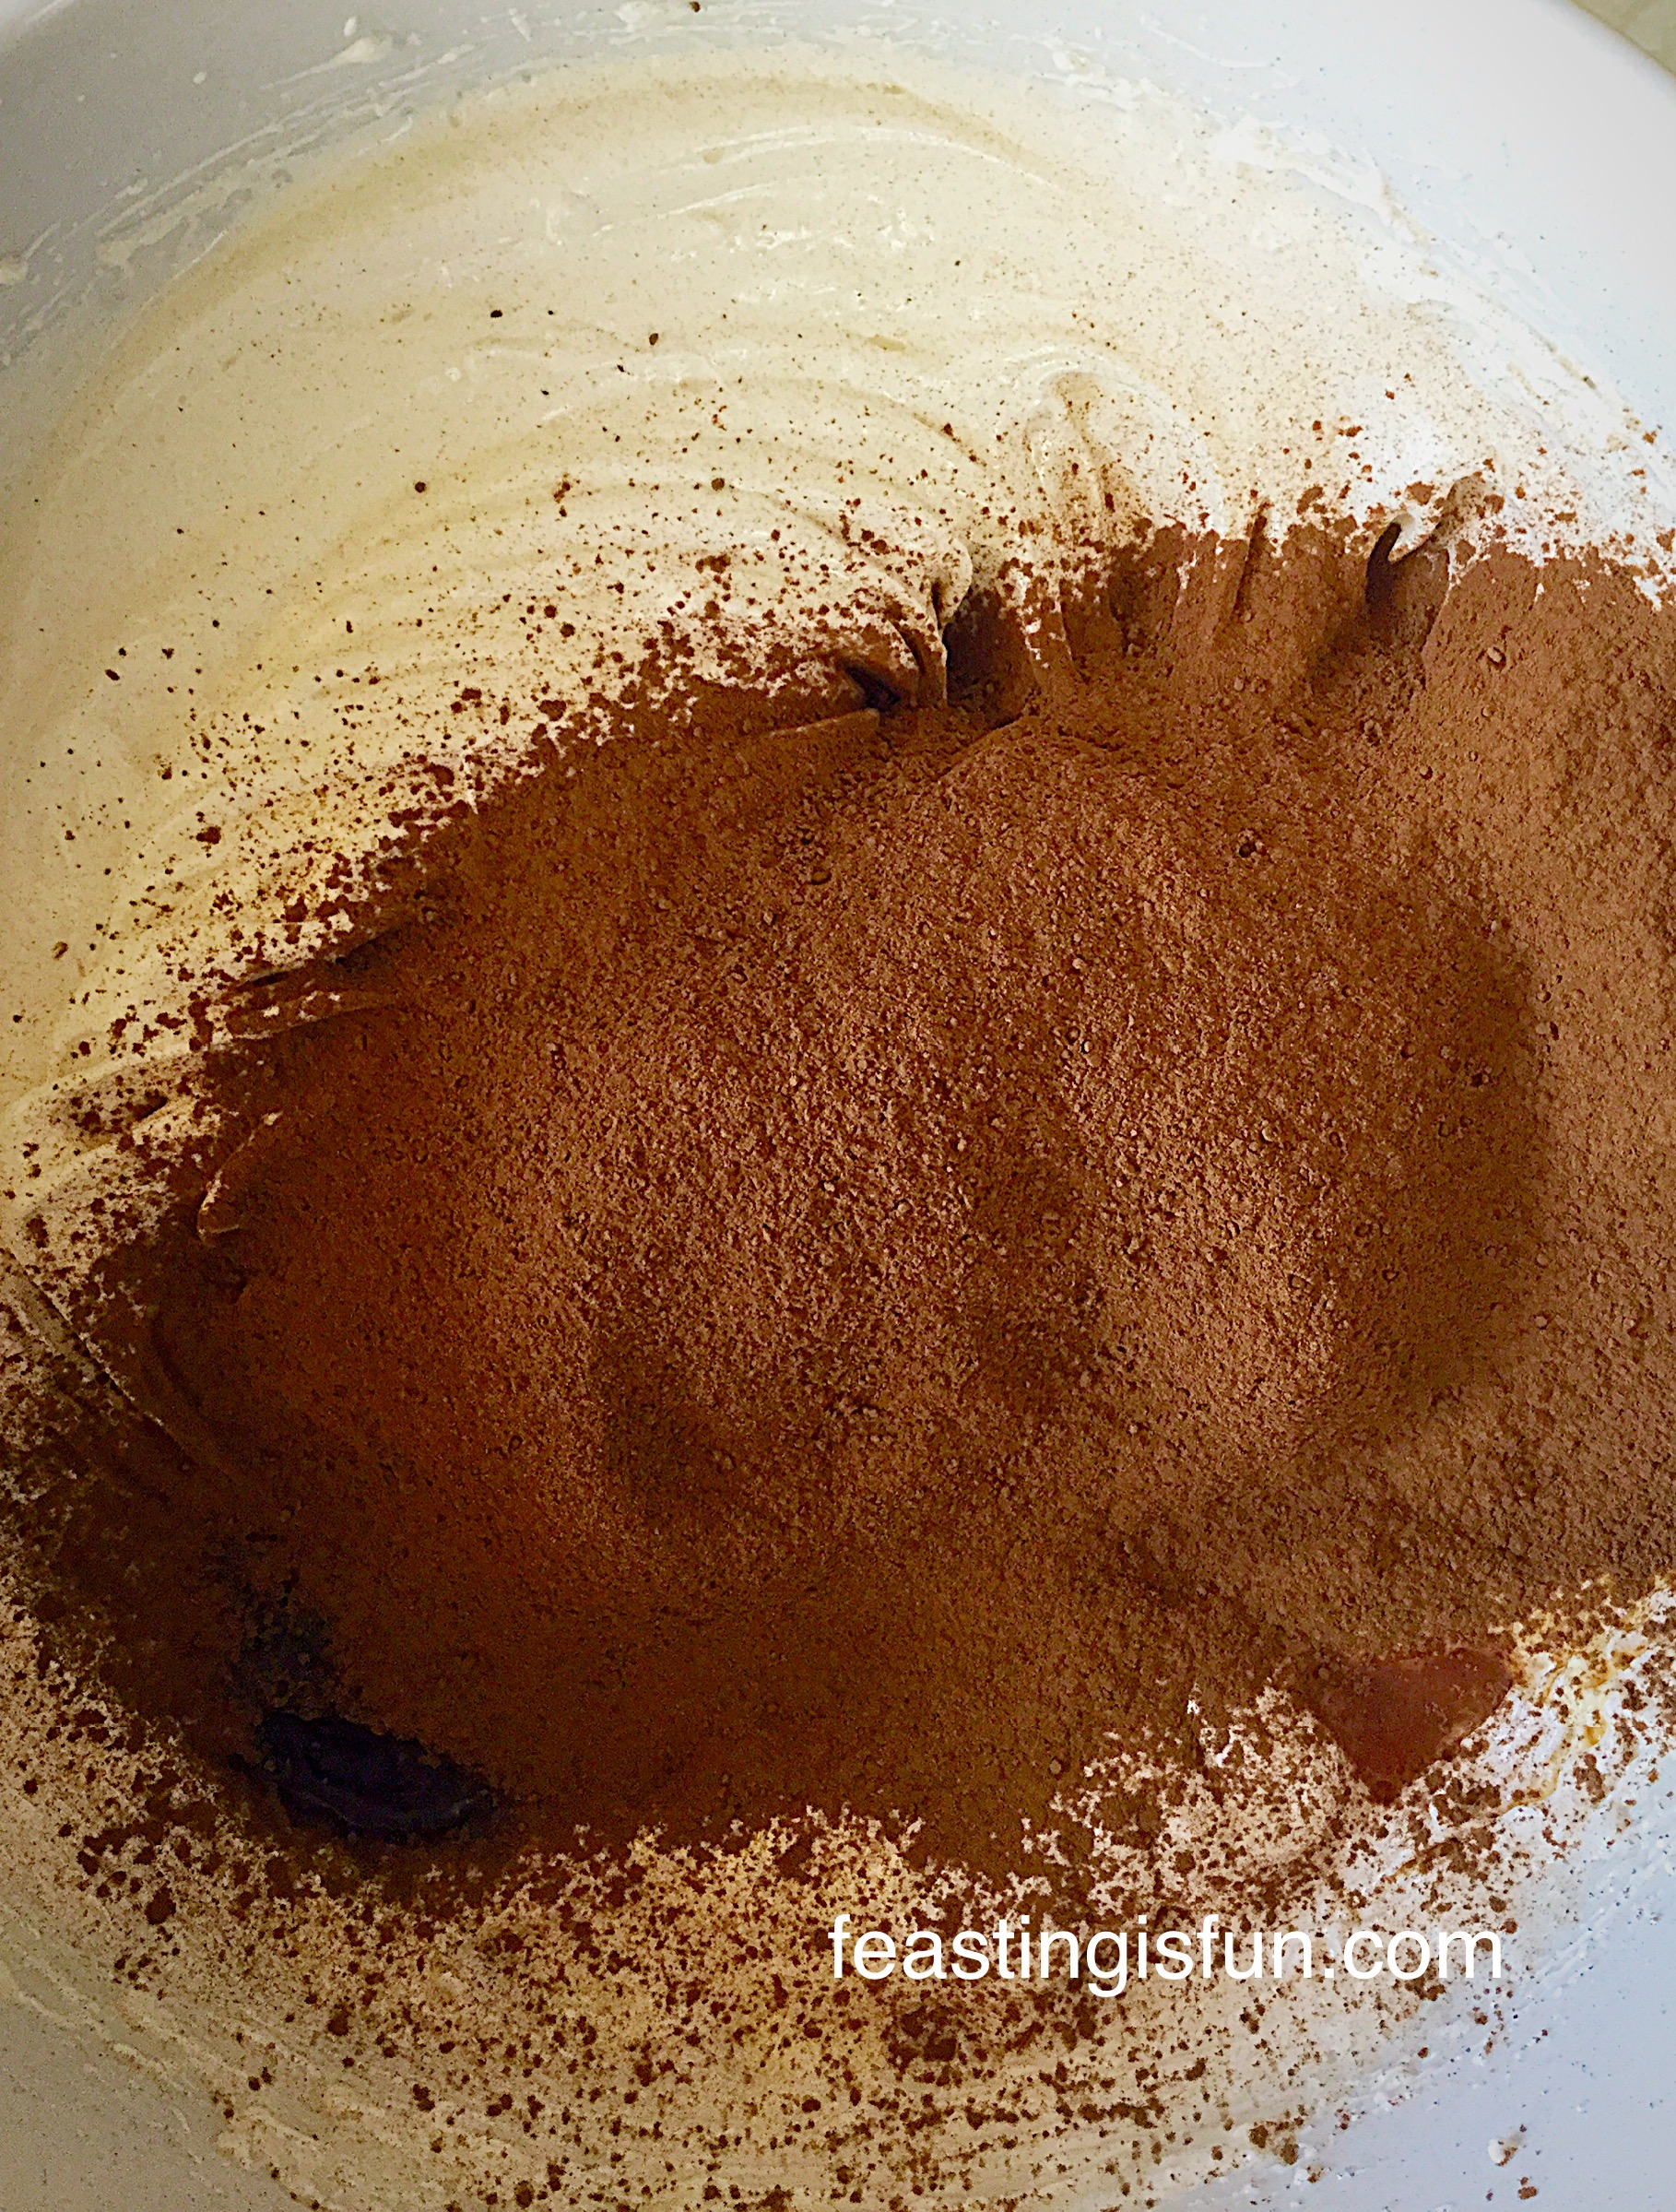
- In a large bowl add the tub of mascarpone cheese and 200mls of double cream.
- Using a hand mixer, whisk until fully combined.
- Pour the raspberry coulis into the cheesecake mix and whisk until fully incorporated.
- Next pour in the melted white chocolate.
- Whisk all of the cheesecake ingredients together until light and creamy.
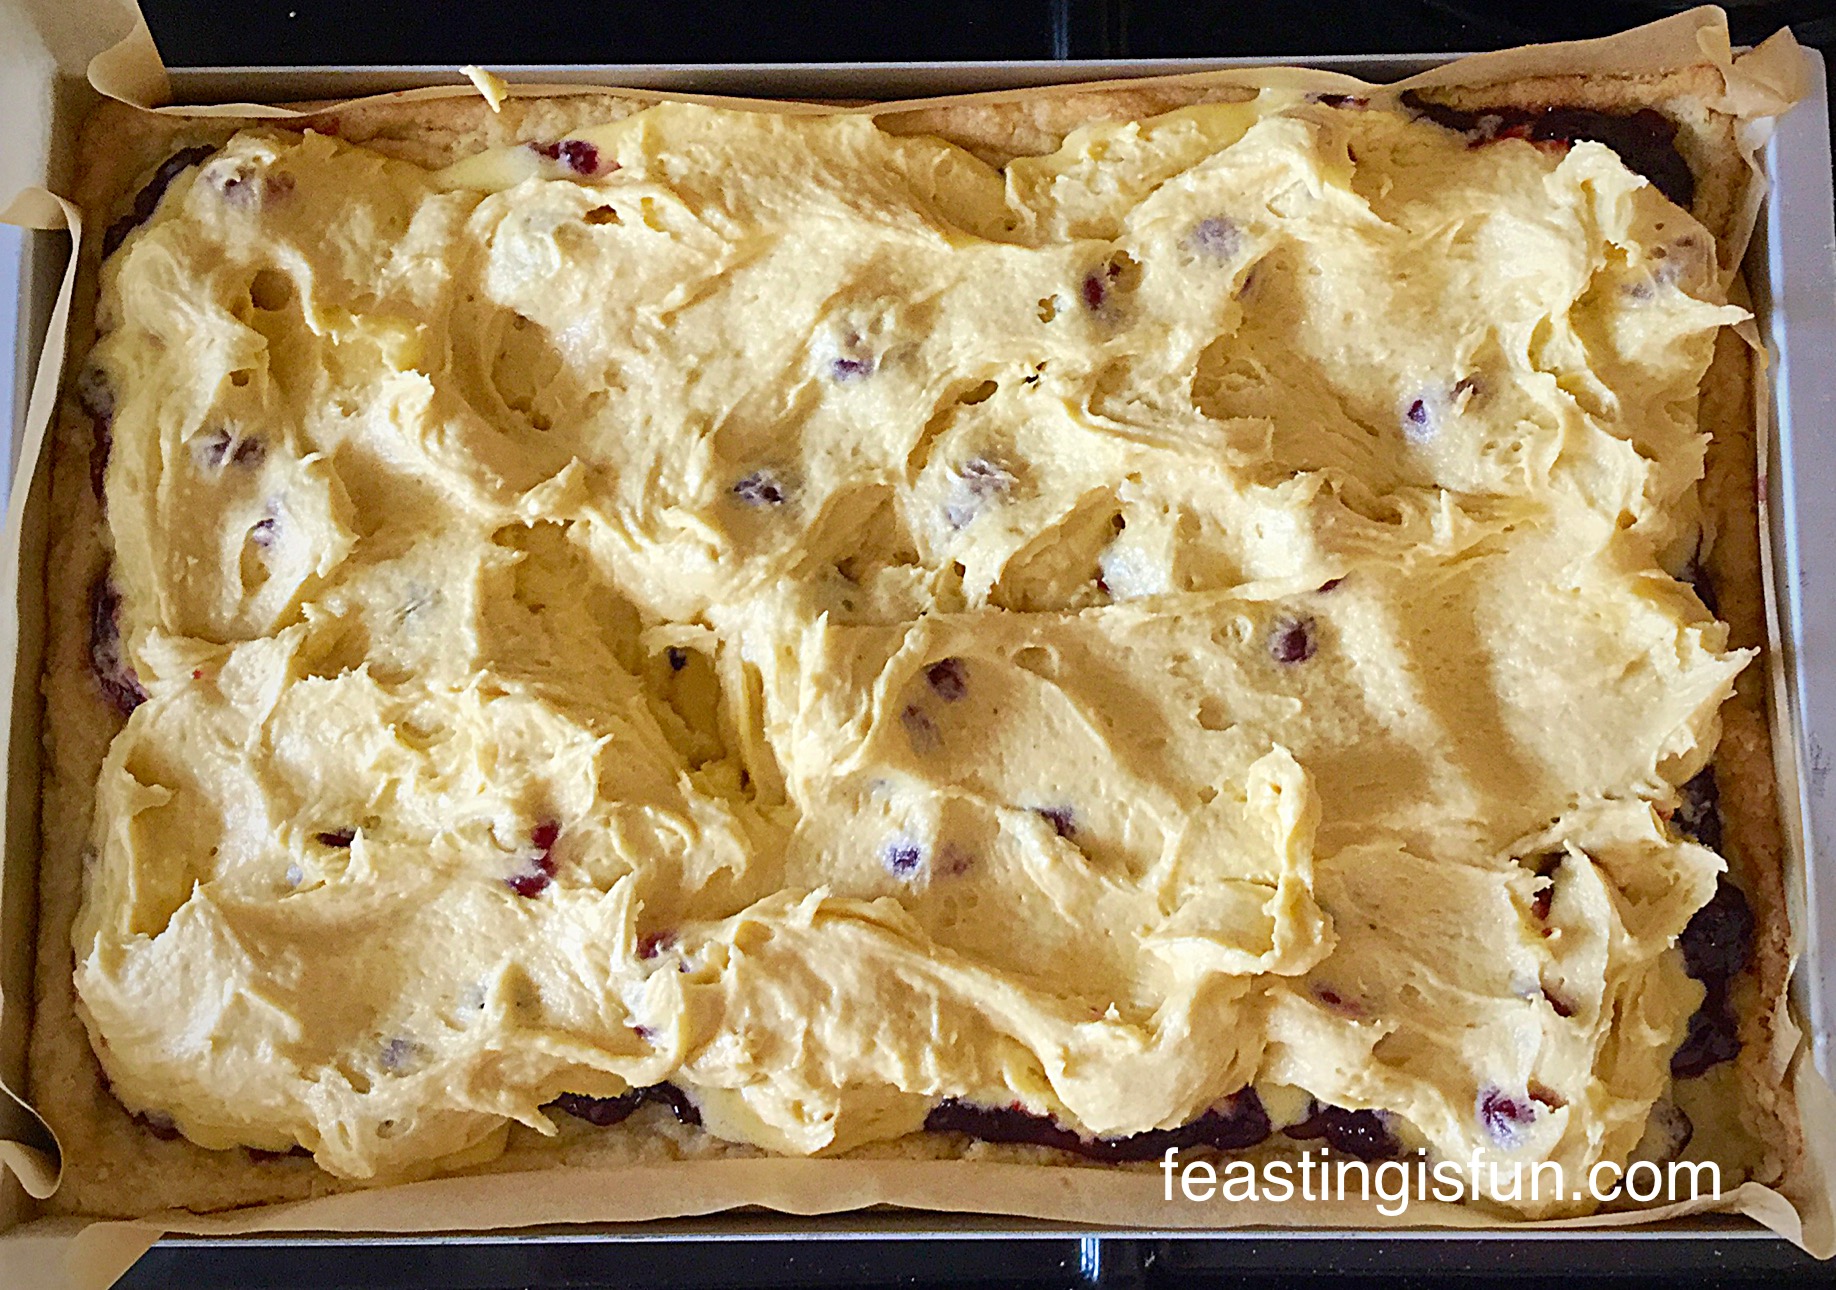
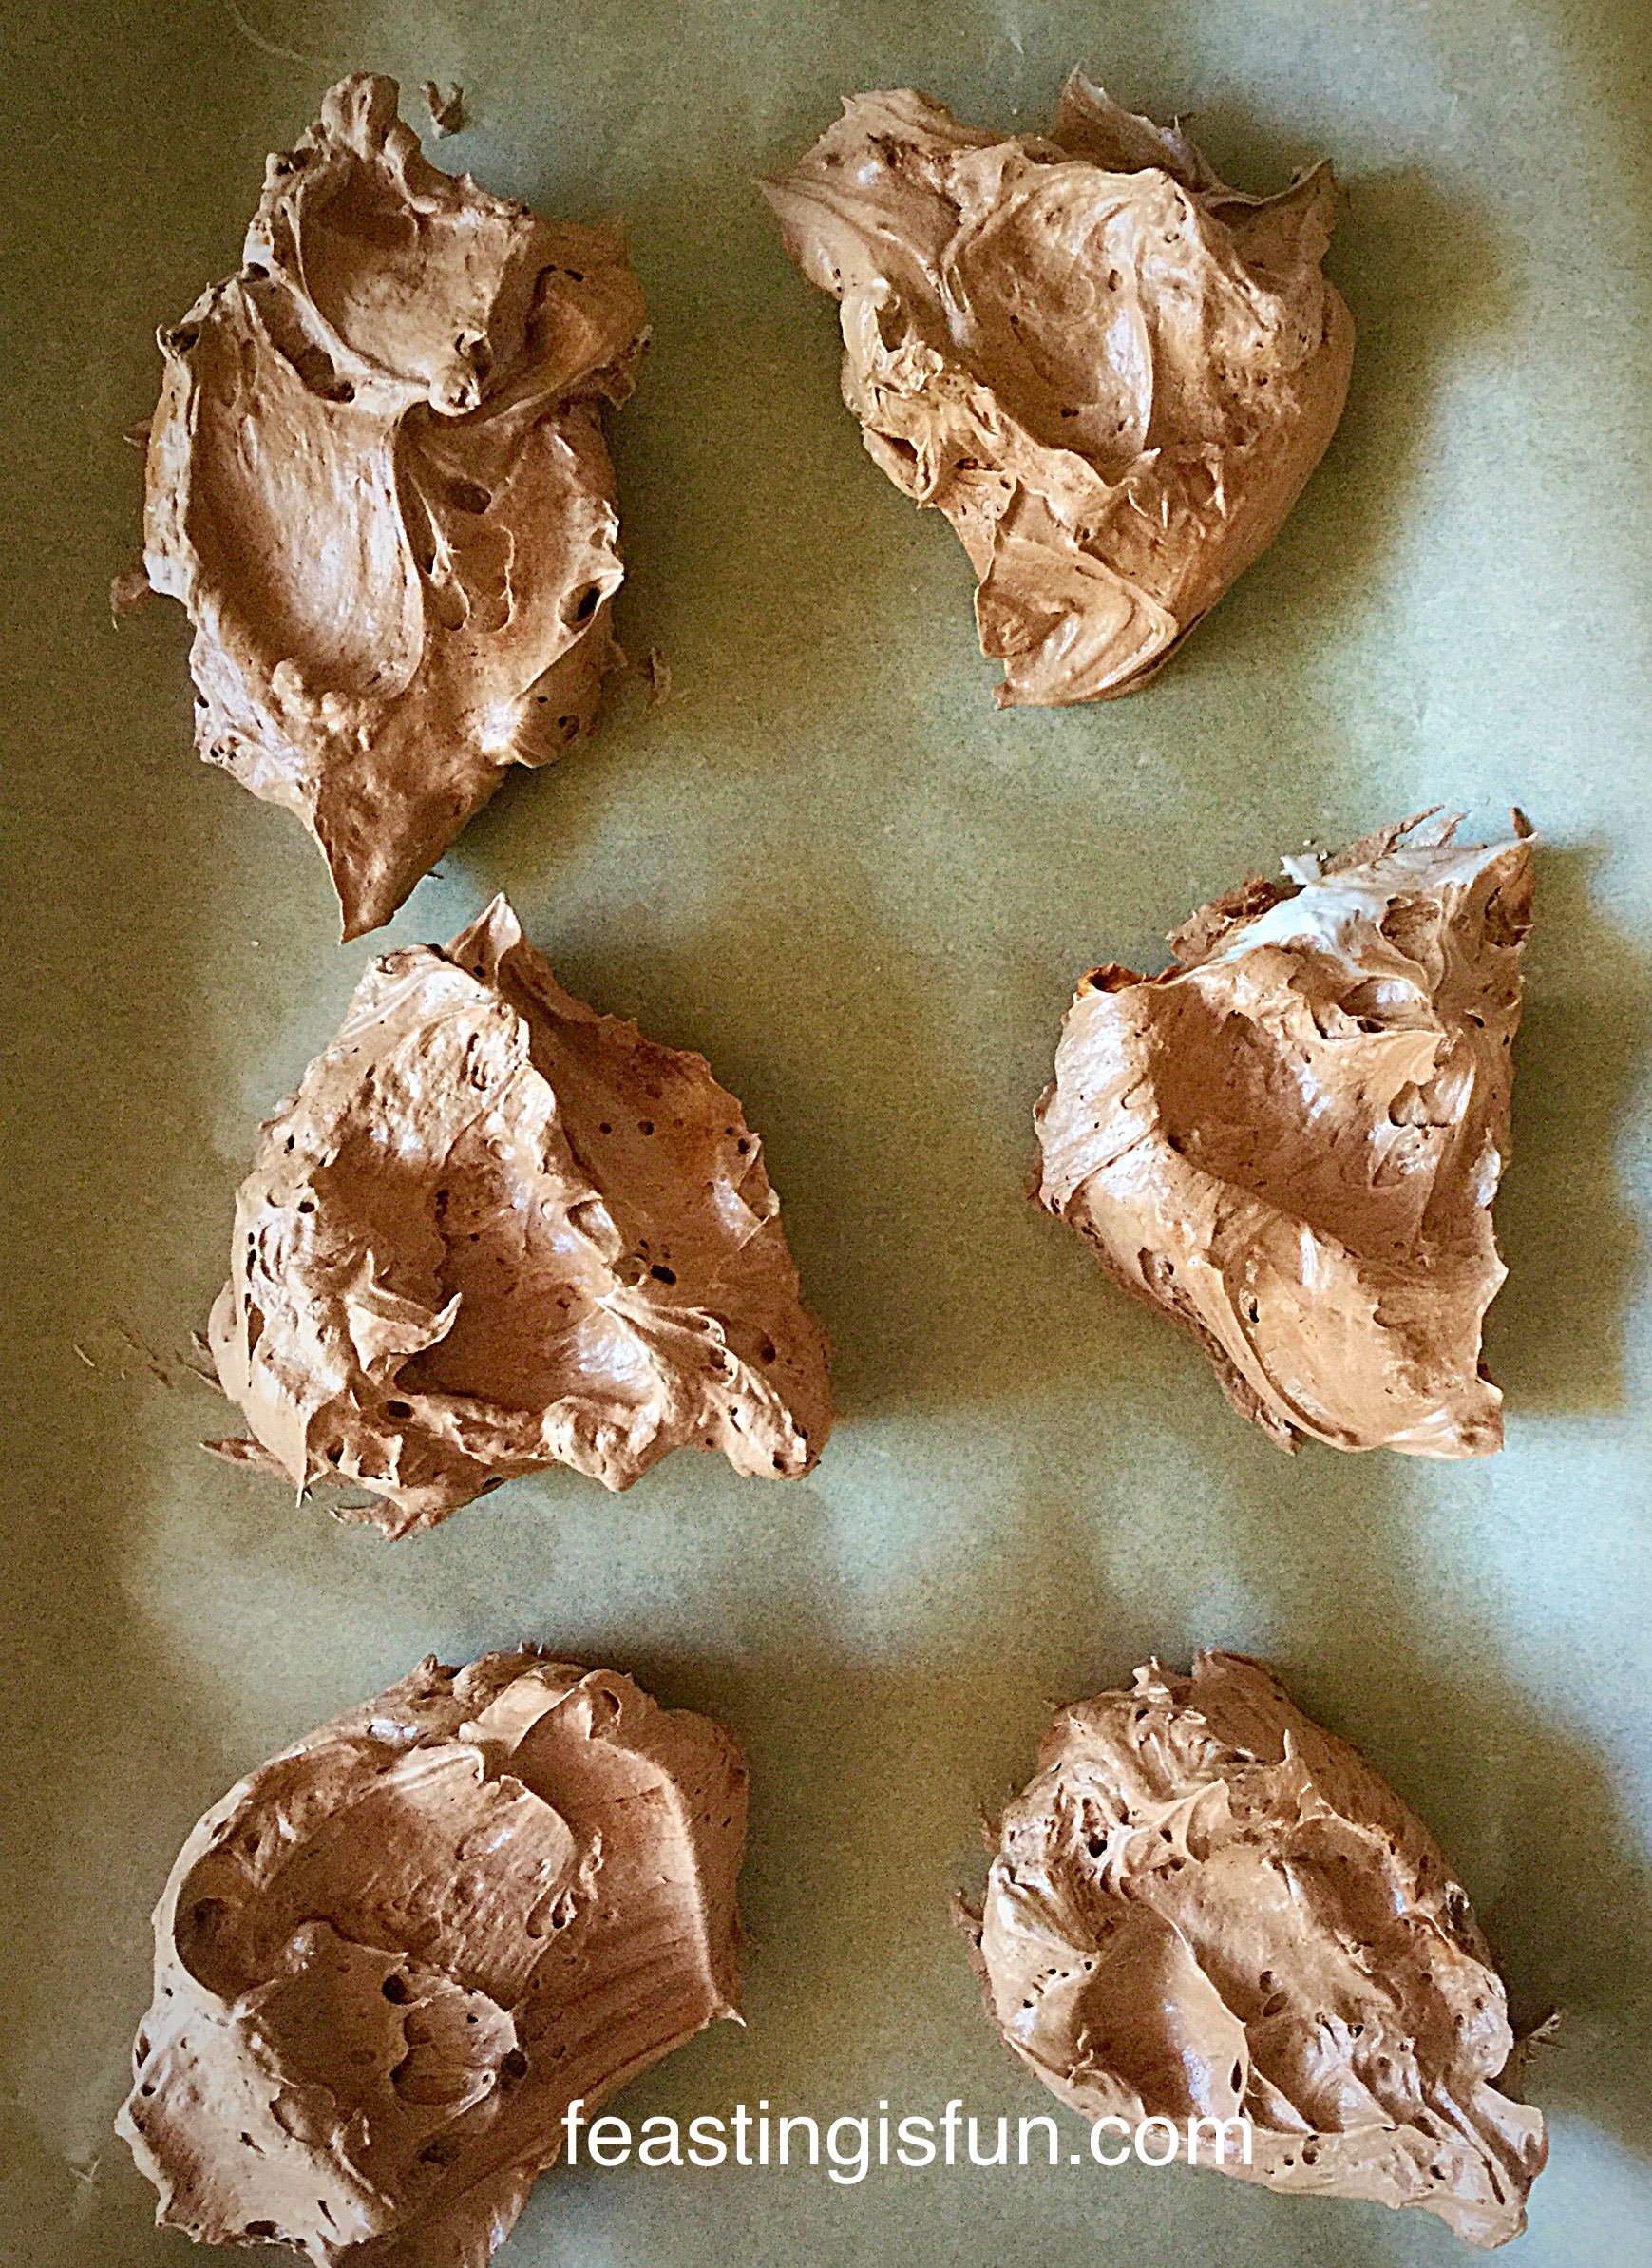
- Spoon the raspberry cheesecake on to the cold, set, chocolate ganache covered brownie base in the springform tin.
- Smooth the top of the raspberry cheesecake to ensure a flat, even finish.
- Cover the cheesecake with cling film and place in the fridge for at least 2 hours to allow to set.

- Remove the cheesecake from the fridge.
- Run a palette knife between the outside edge of the cheesecake and the iside of the springform tin.
- Place the springform tin centrally on a large tin of beans (or something equally as sturdy).
- Release the springform catch and gently encourage the sides of the tin to fall away from the base.
- Place the Chocolate Brownie Raspberry Cheesecake on to a serving plate or cake stand – the base will still be attached, don’t worry that’s fine.
- Use a palette knife, that has been kept in a jug of boiling water, to smooth the top and sides of the cheesecake.
Decorating the cheesecake
- Melt 50g of dark chocolate in a microwaveable, heat proof bowl, as before.
- Pour the melted chocolate into a small, disposable piping bag.
- Snip off the very end of the piping bag to create a small hole.
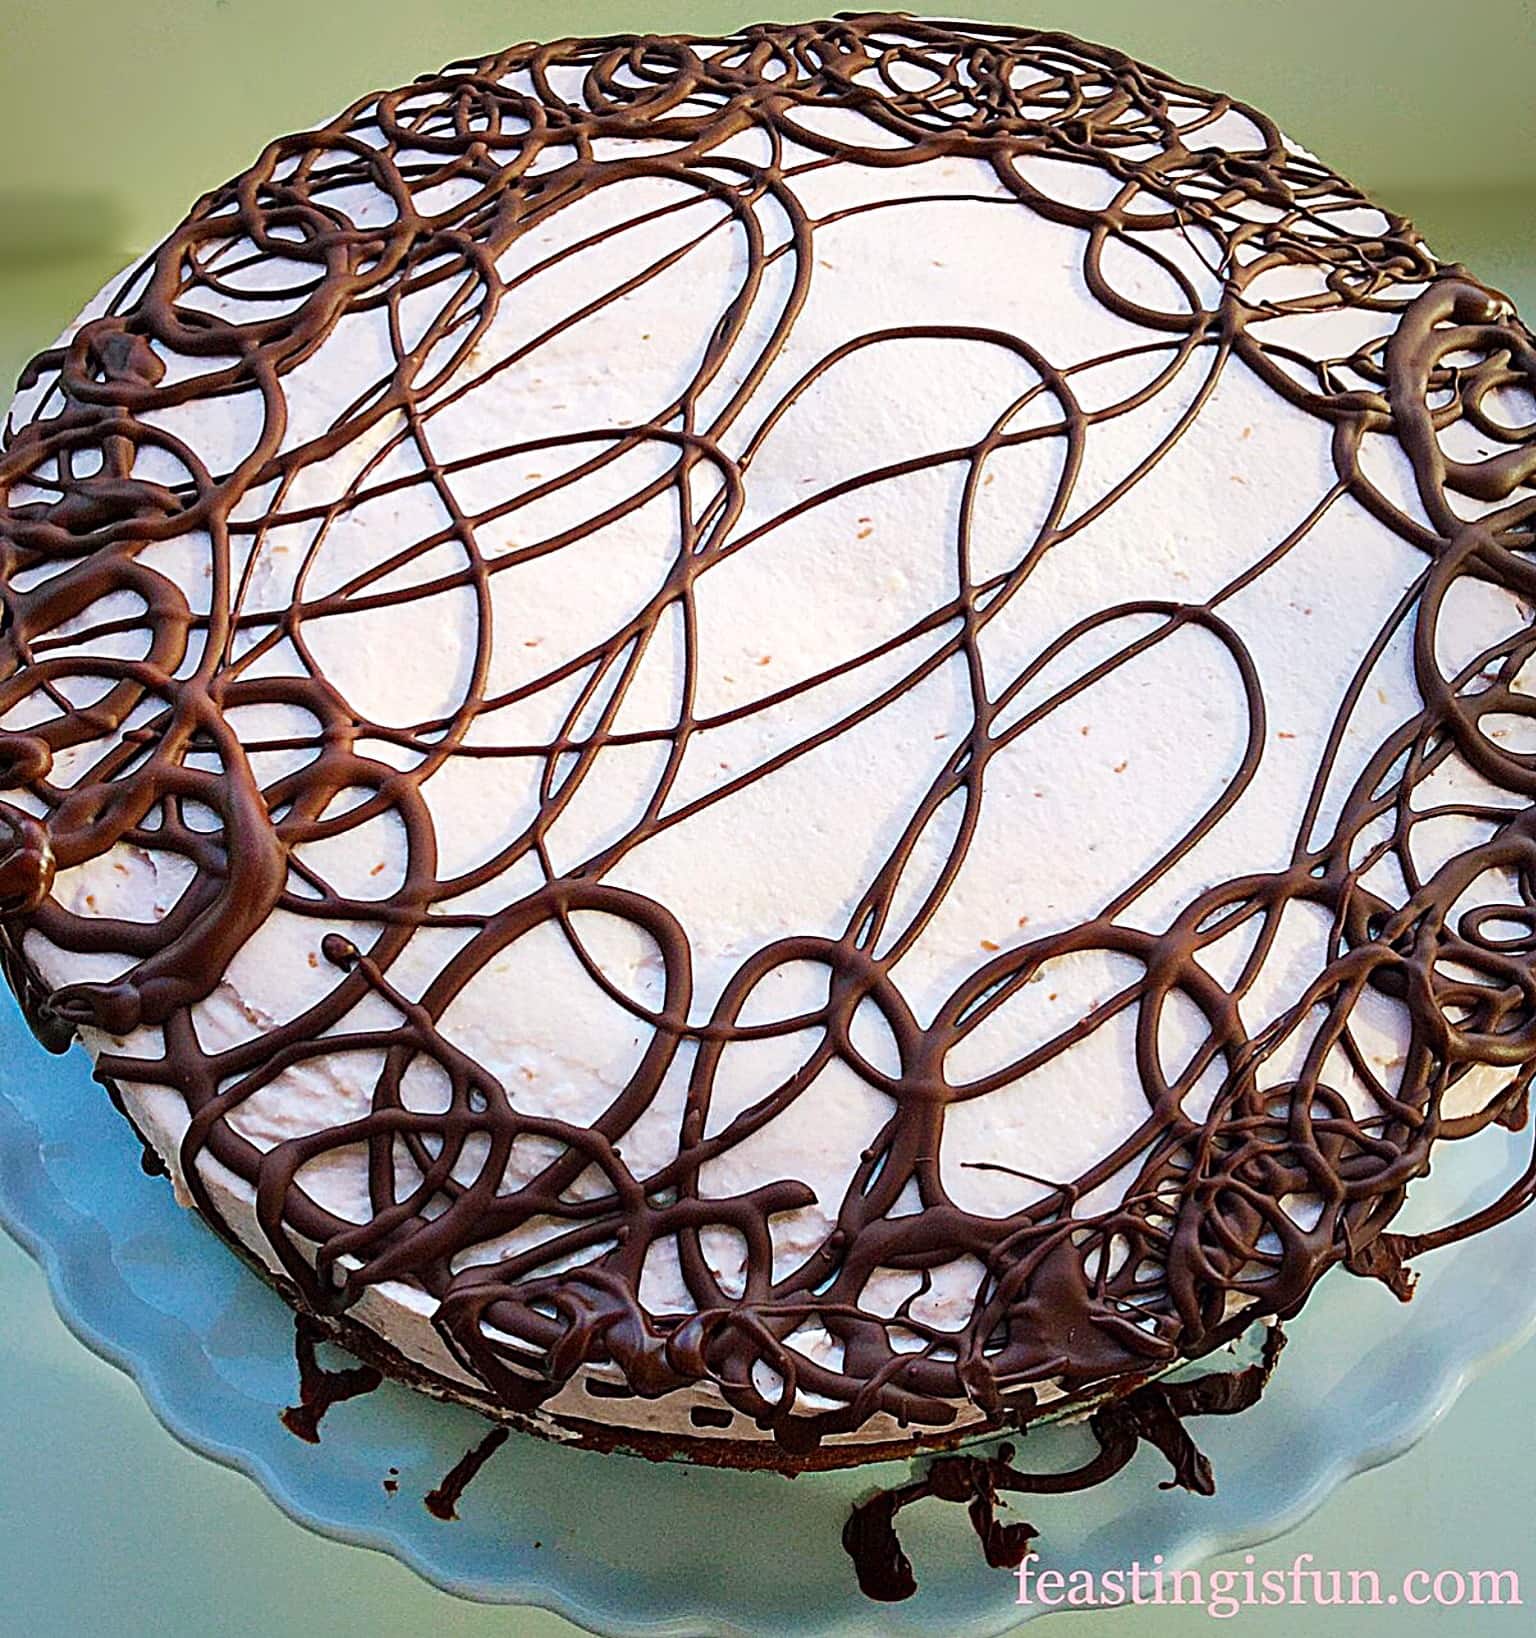
- Pipe swirls of chocolate all around the edge of the cheesecake and larger loops in the centre. Continue piping over the swirls around the edge until the chocolate is all used.
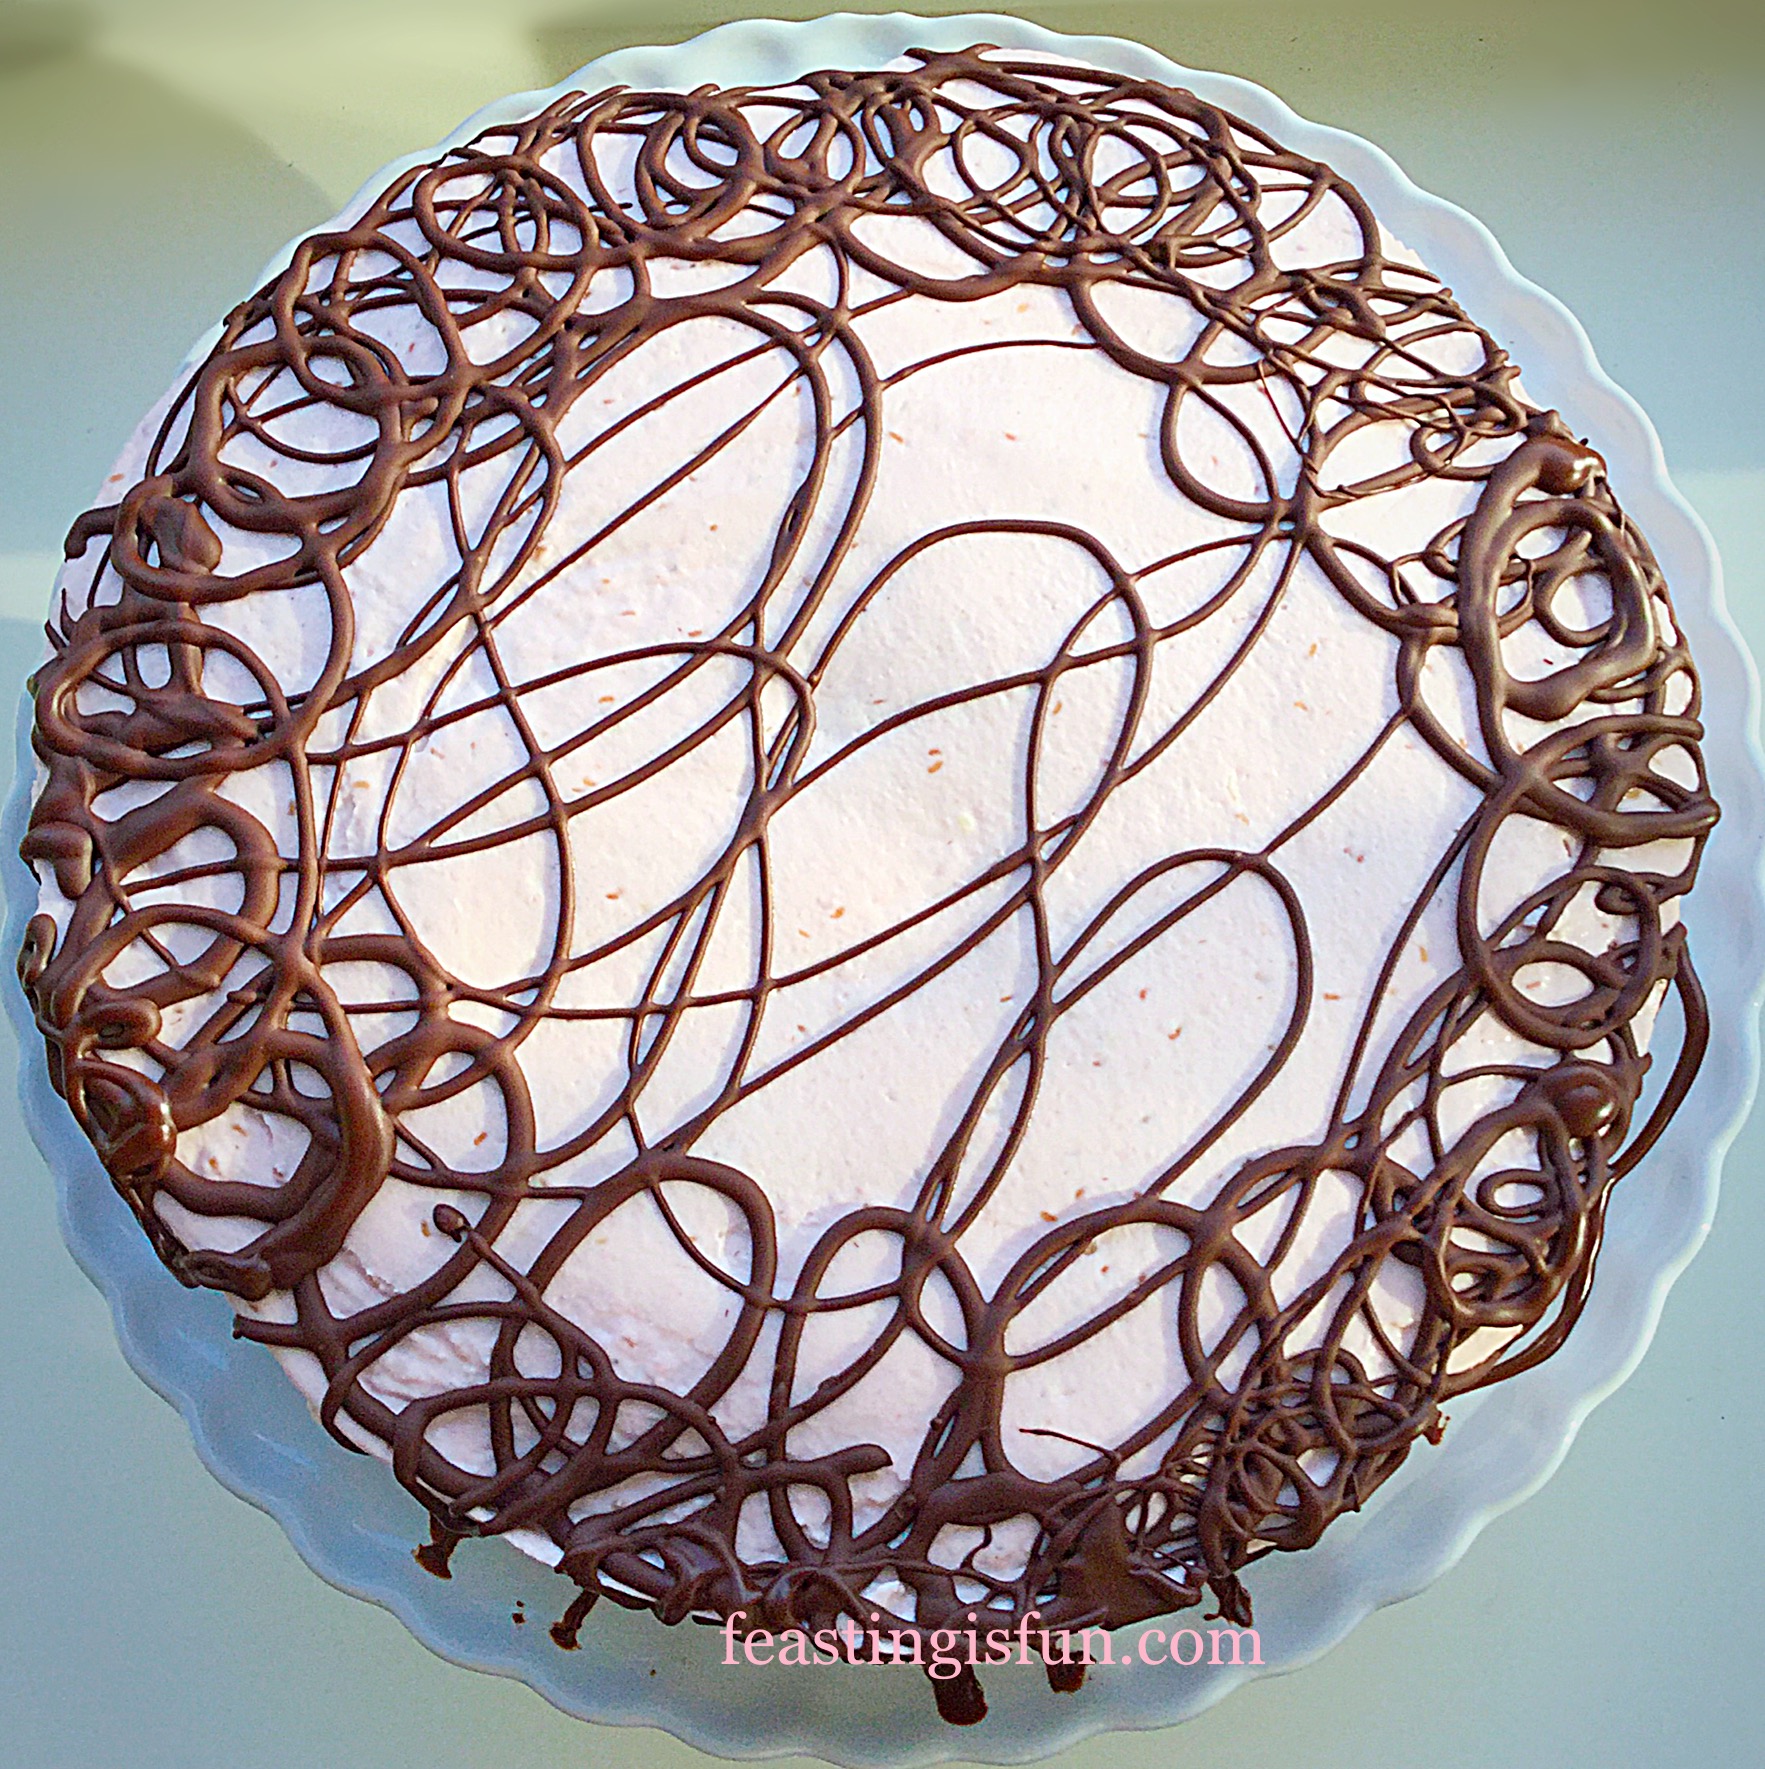
Now stand back and look at the beautiful Chocolate Brownie Raspberry Cheesecake that you have made and decorated.
Such a simple piping technique and yet incredibly elegant. Resulting in a cheesecake that is perfect for adding the wow factor to any dinner party or celebration. Pale pink and chocolate brown are a classic colour combination, ensuring this dessert looks elegantly appetising.
While the taste and texture of the brownie base was perfect, exactly like homemade. So I would definitely recommend it, especially if you bake only at weekends or for special occasions. Also, all the ingredients come pre-weighed, so you can easily make and bake brownies in under 30 minutes!

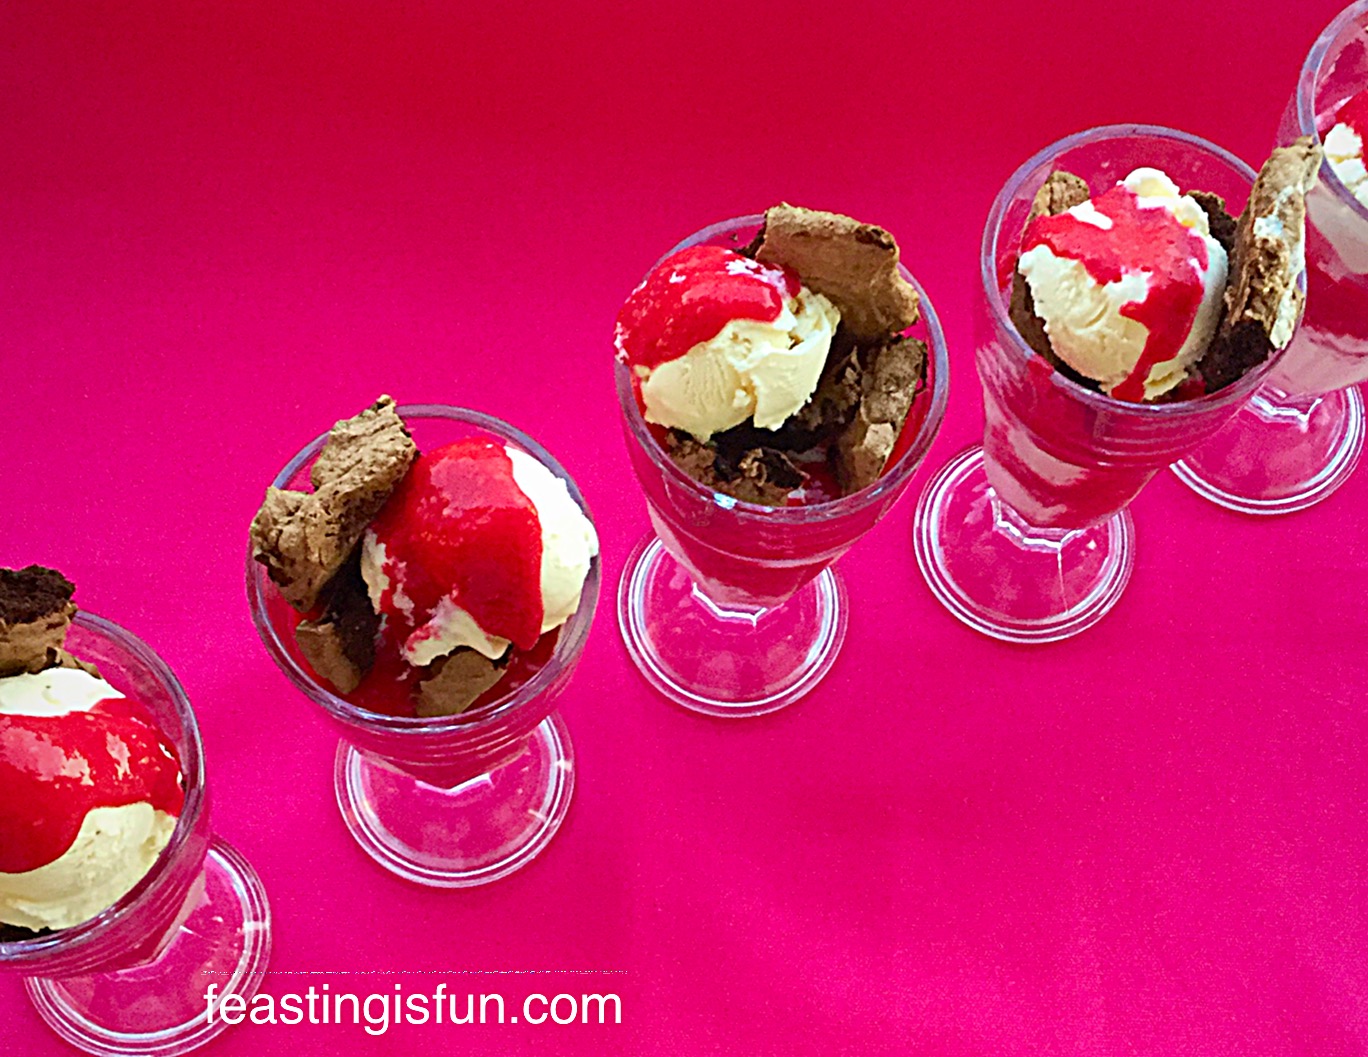
If you have enjoyed this Chocolate Brownie Raspberry Cheesecake then you may also like these recipes:
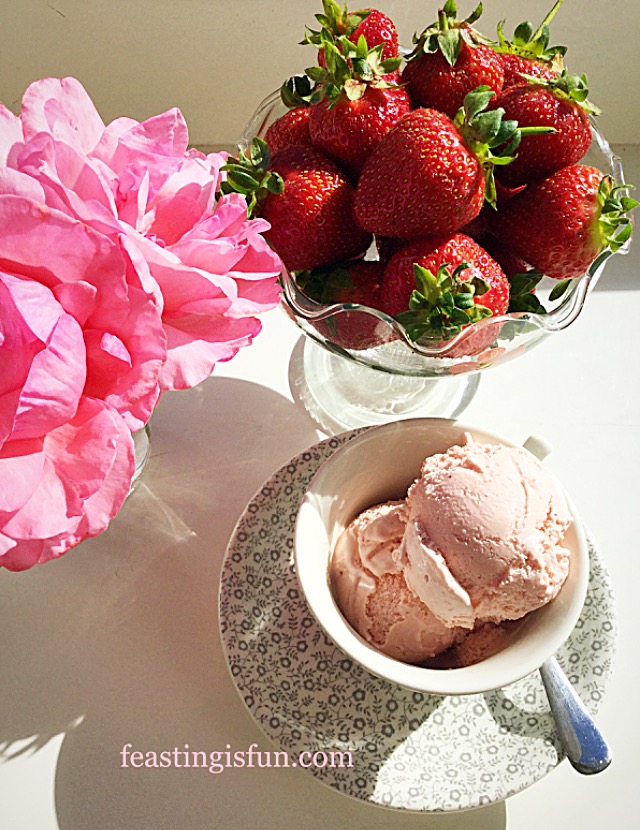
White Chocolate Strawberry Cheesecake
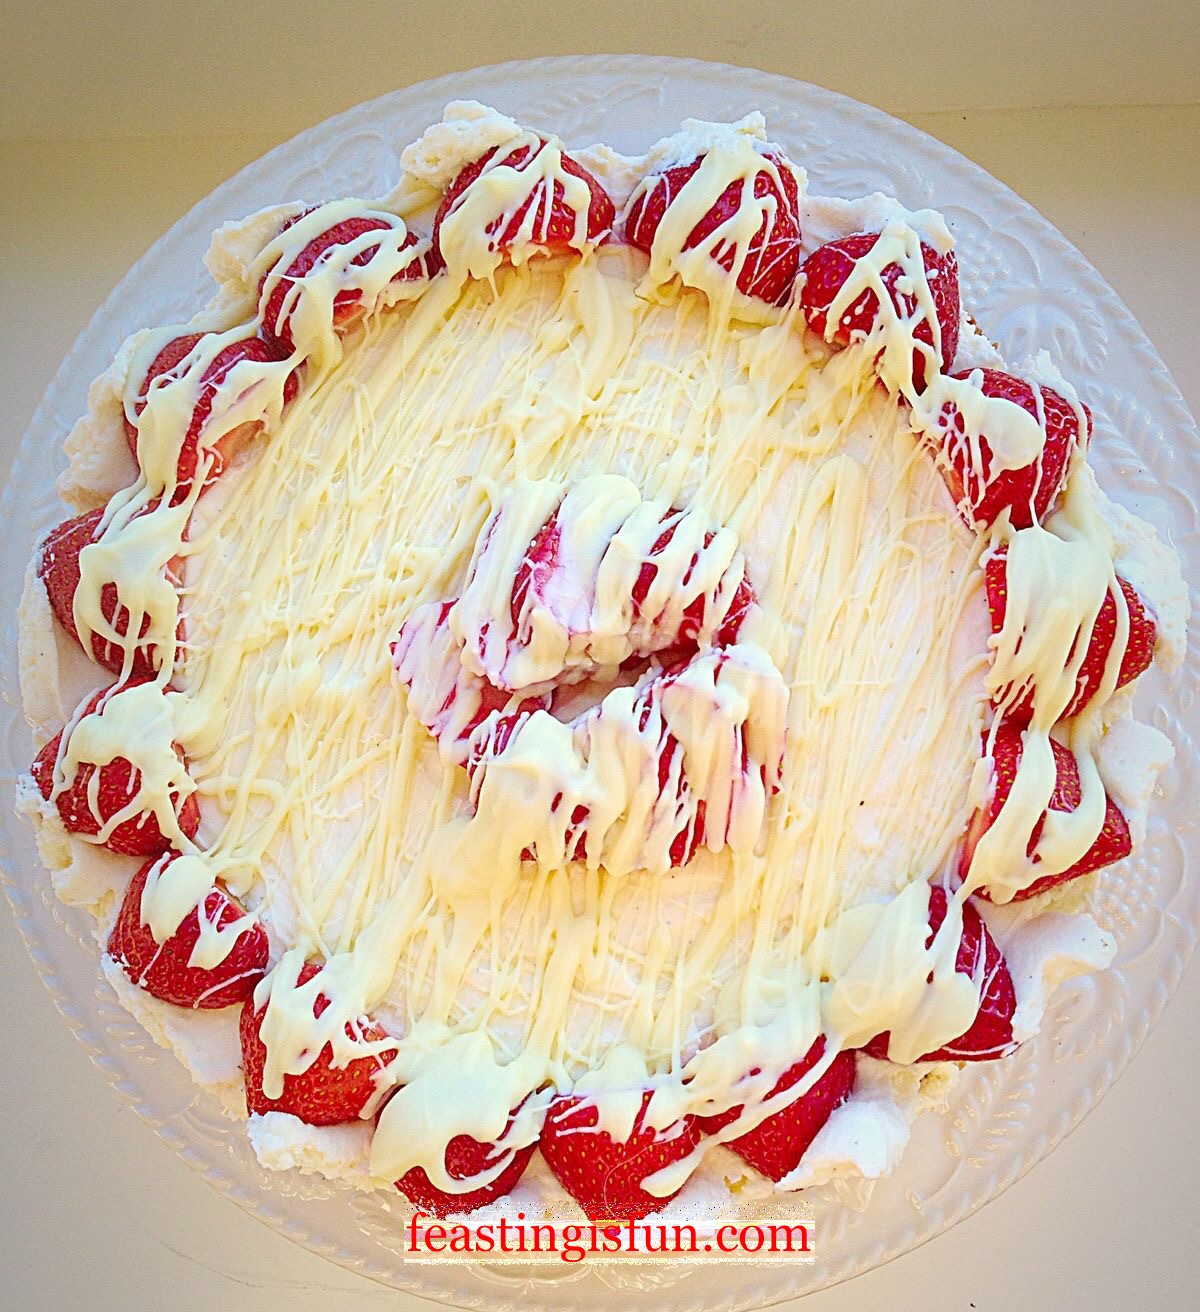
Strawberry Chocolate Cheesecake

I like to make cheesecakes all year round. Especially as frozen raspberries ensure that a glimpse of Summer can be seen and enjoyed, in the midst of the colder months. Likewise, fruit tarts can also be easily made using frozen and store cupboard ingredients. Ensuring dessert is only a short bake away!
So, whatever you are making and baking in your kitchens, have fun feasting on all your creations.
Sammie xx
IfIKnewYouWereComing supplied me with the Artisan Chocolate Brownie Bake Box for this recipe. All opinions and views are my own. Please see my Disclosure Policy.
Share