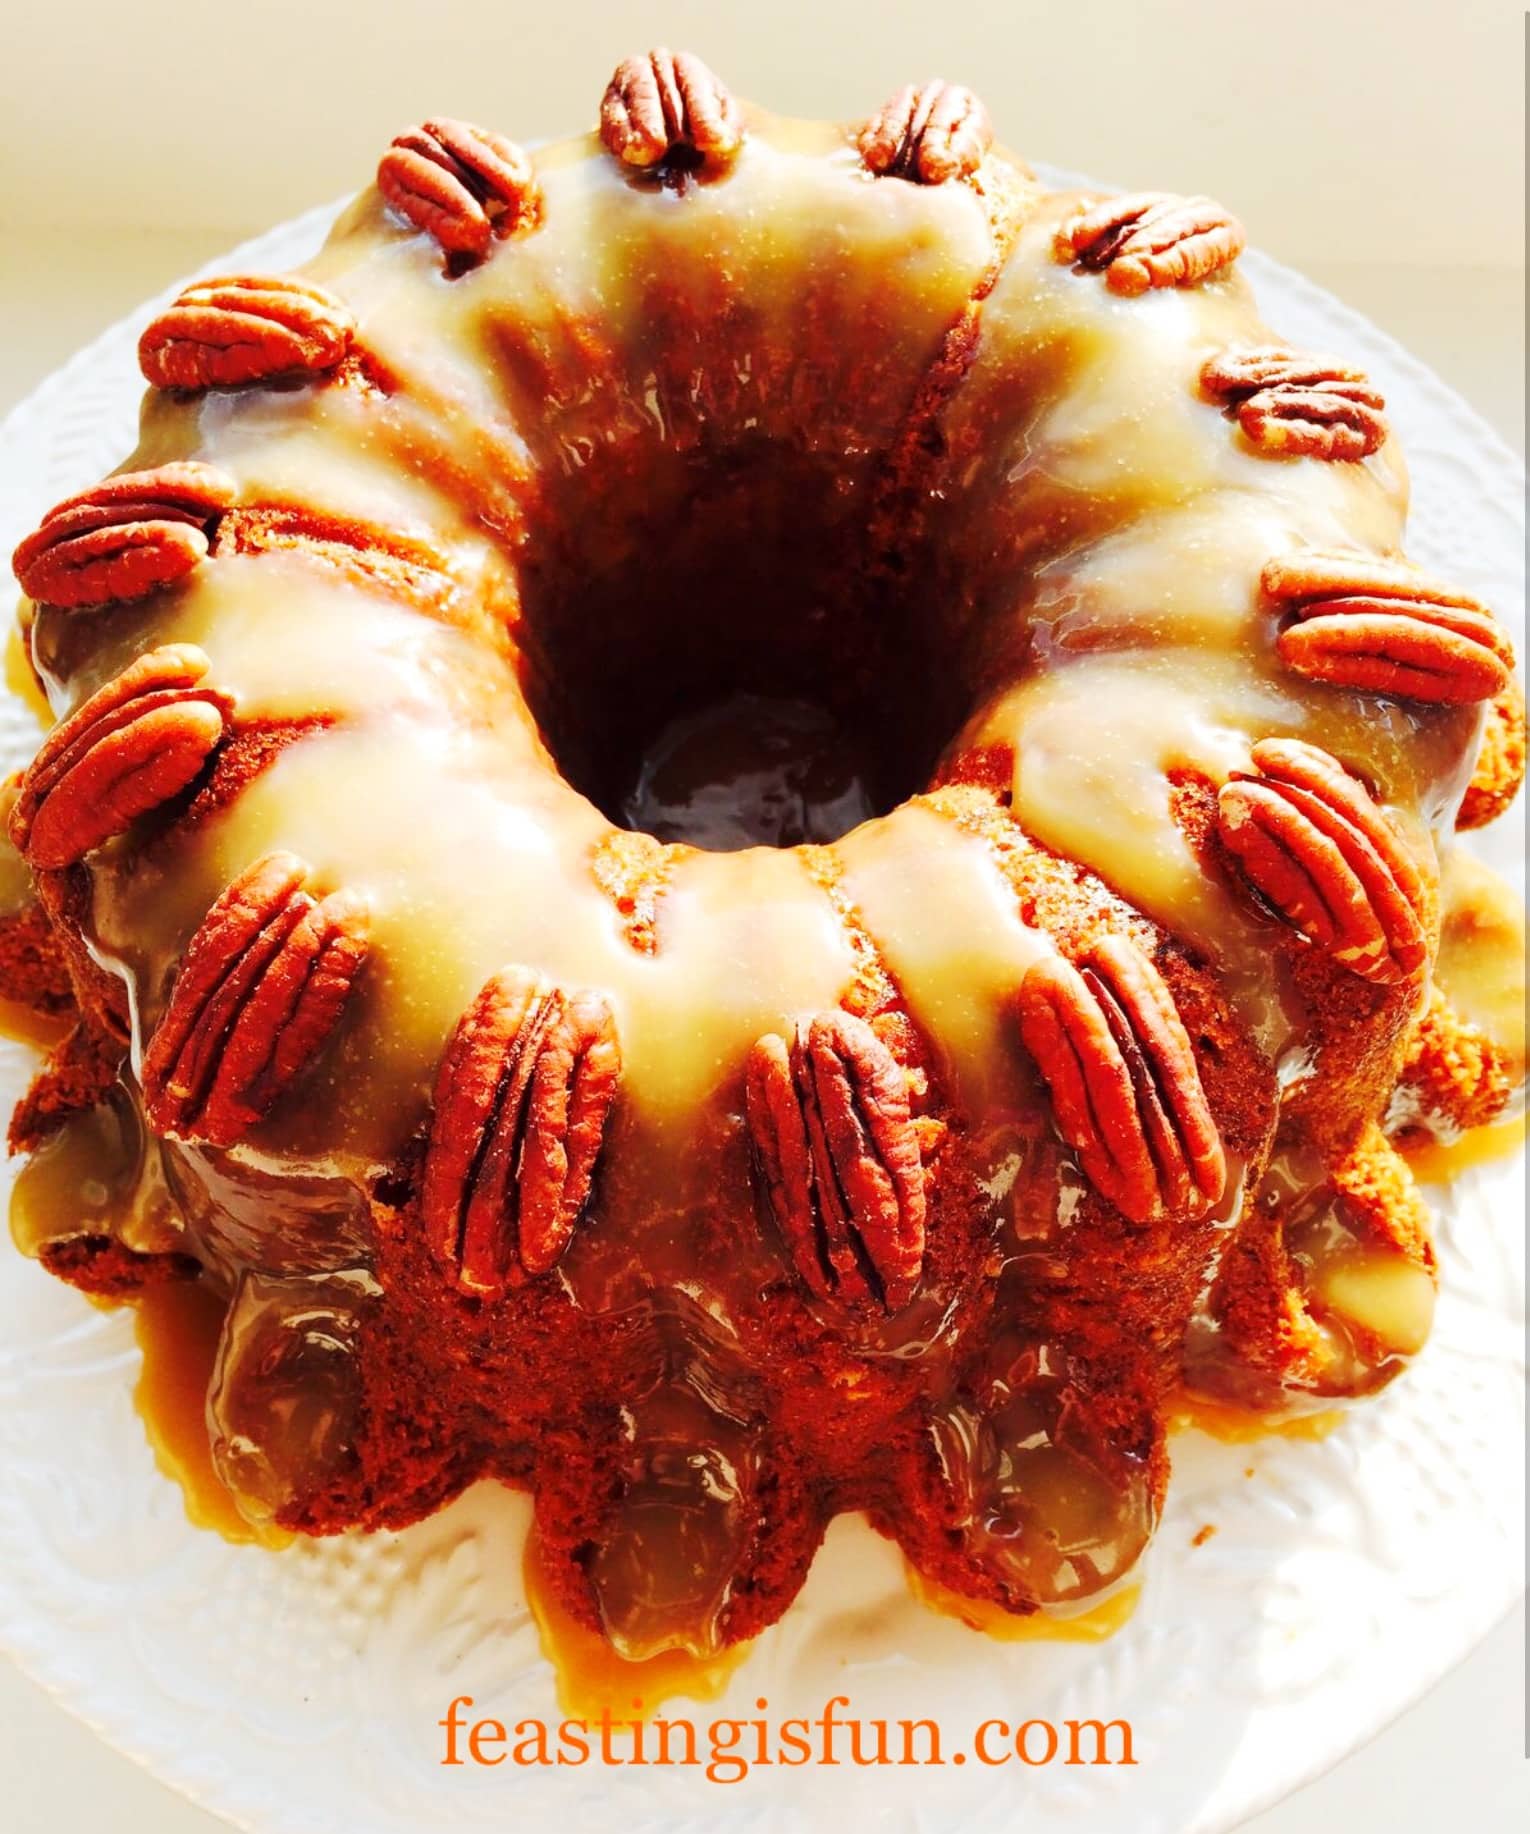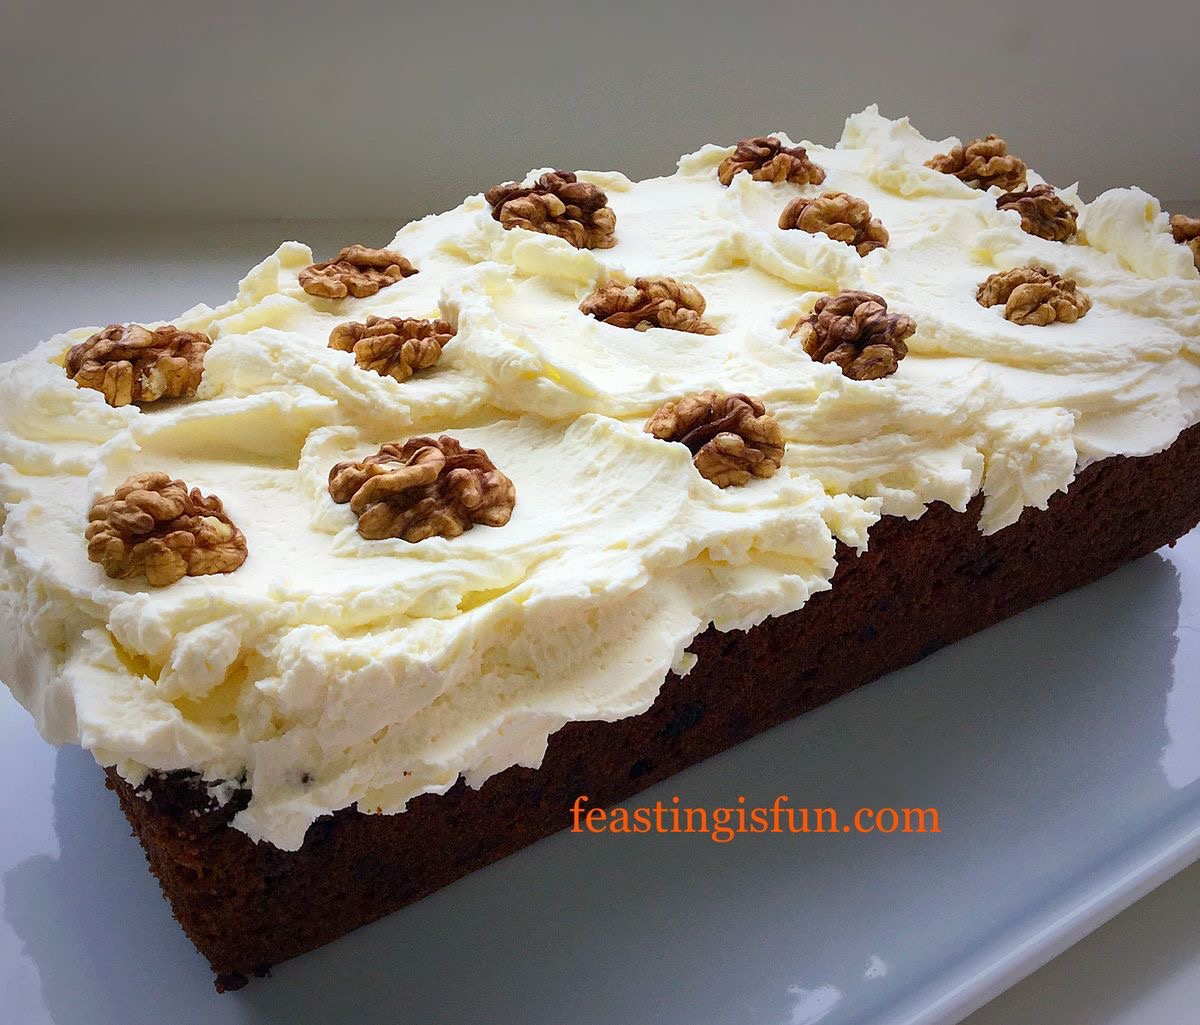
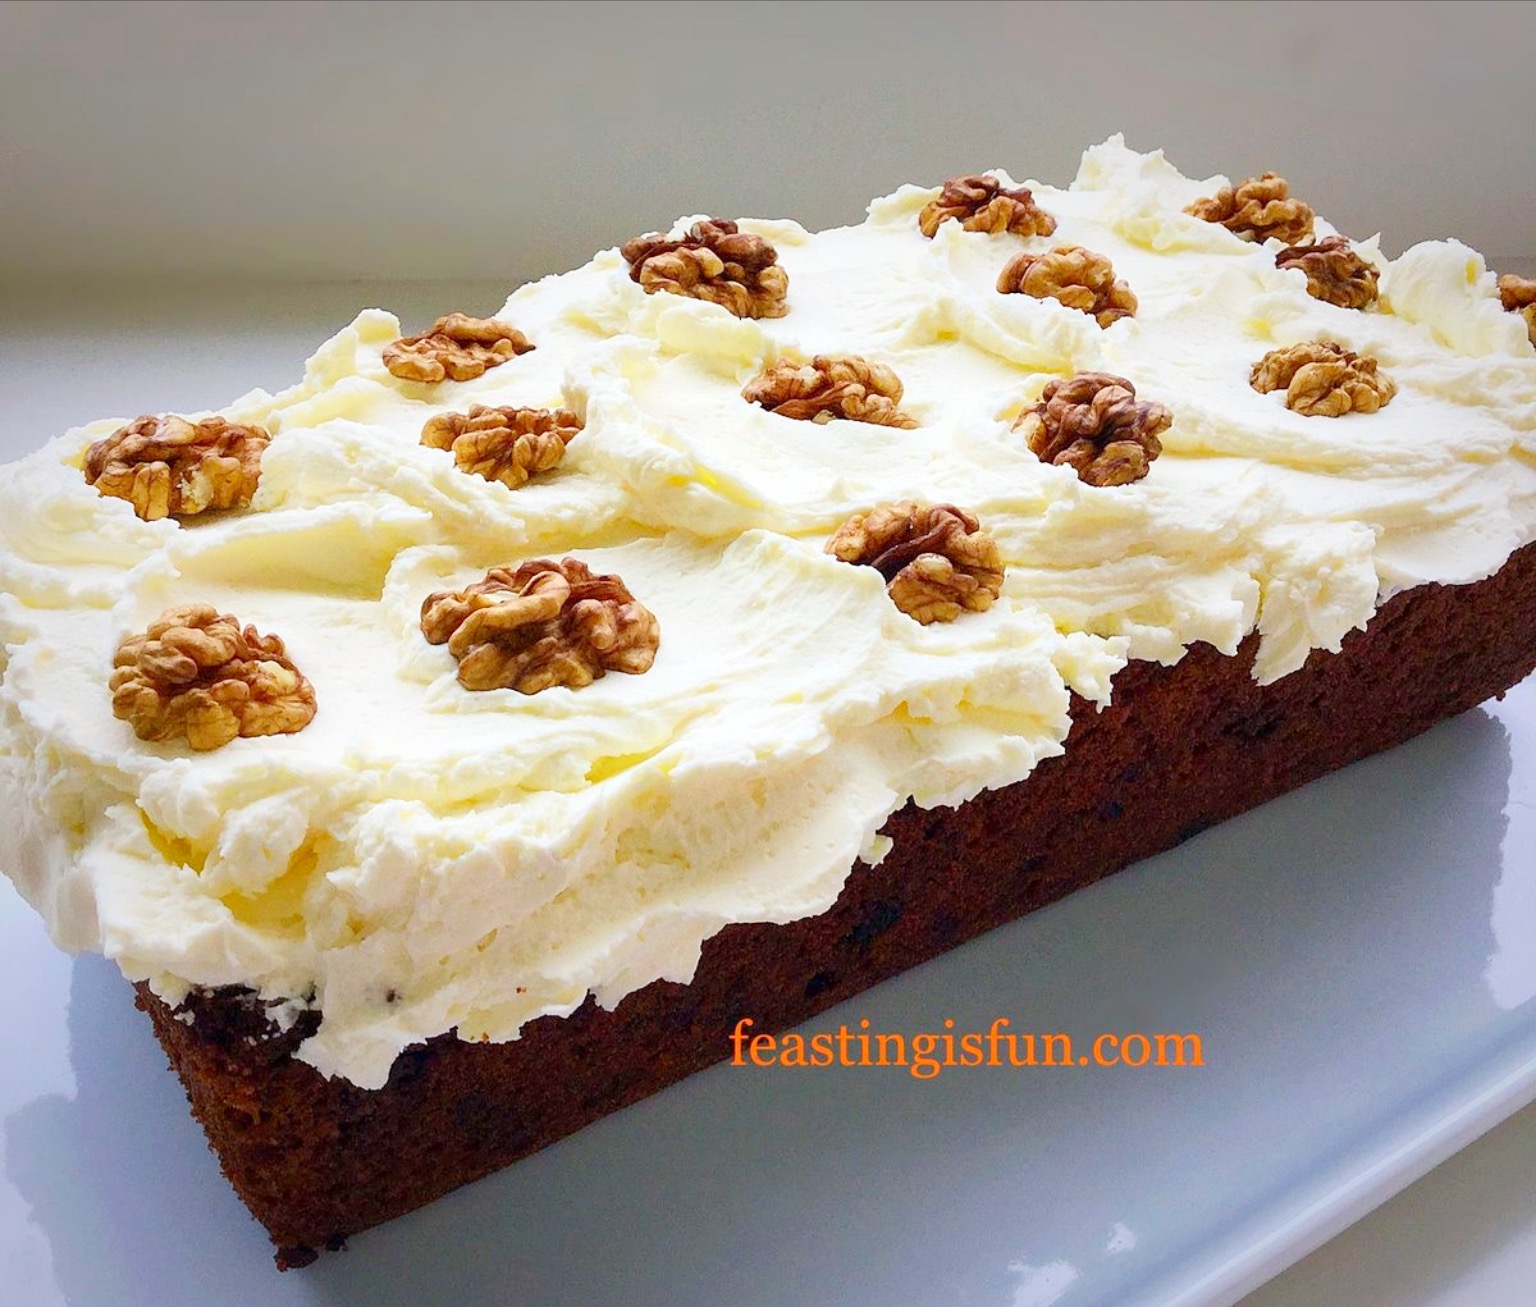
Baking for someone I love has to be one of my favourite things to do. Especially when the recipient is my wonderful Father-in-law. Even more so when it is to celebrate his birthday. While I usually make him a Coffee and Walnut Cake, however, this year I’ve kept all of his favourite flavours and baked them into this beautiful Maple Syrup Iced Coffee Bundt Cake.
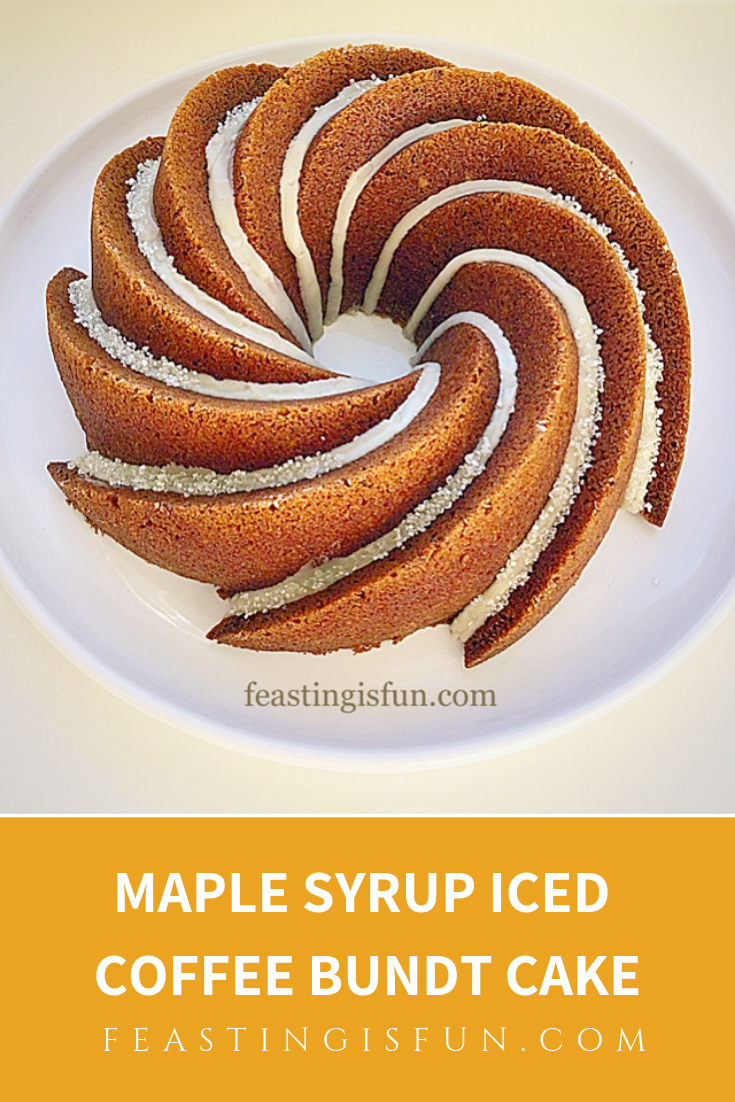
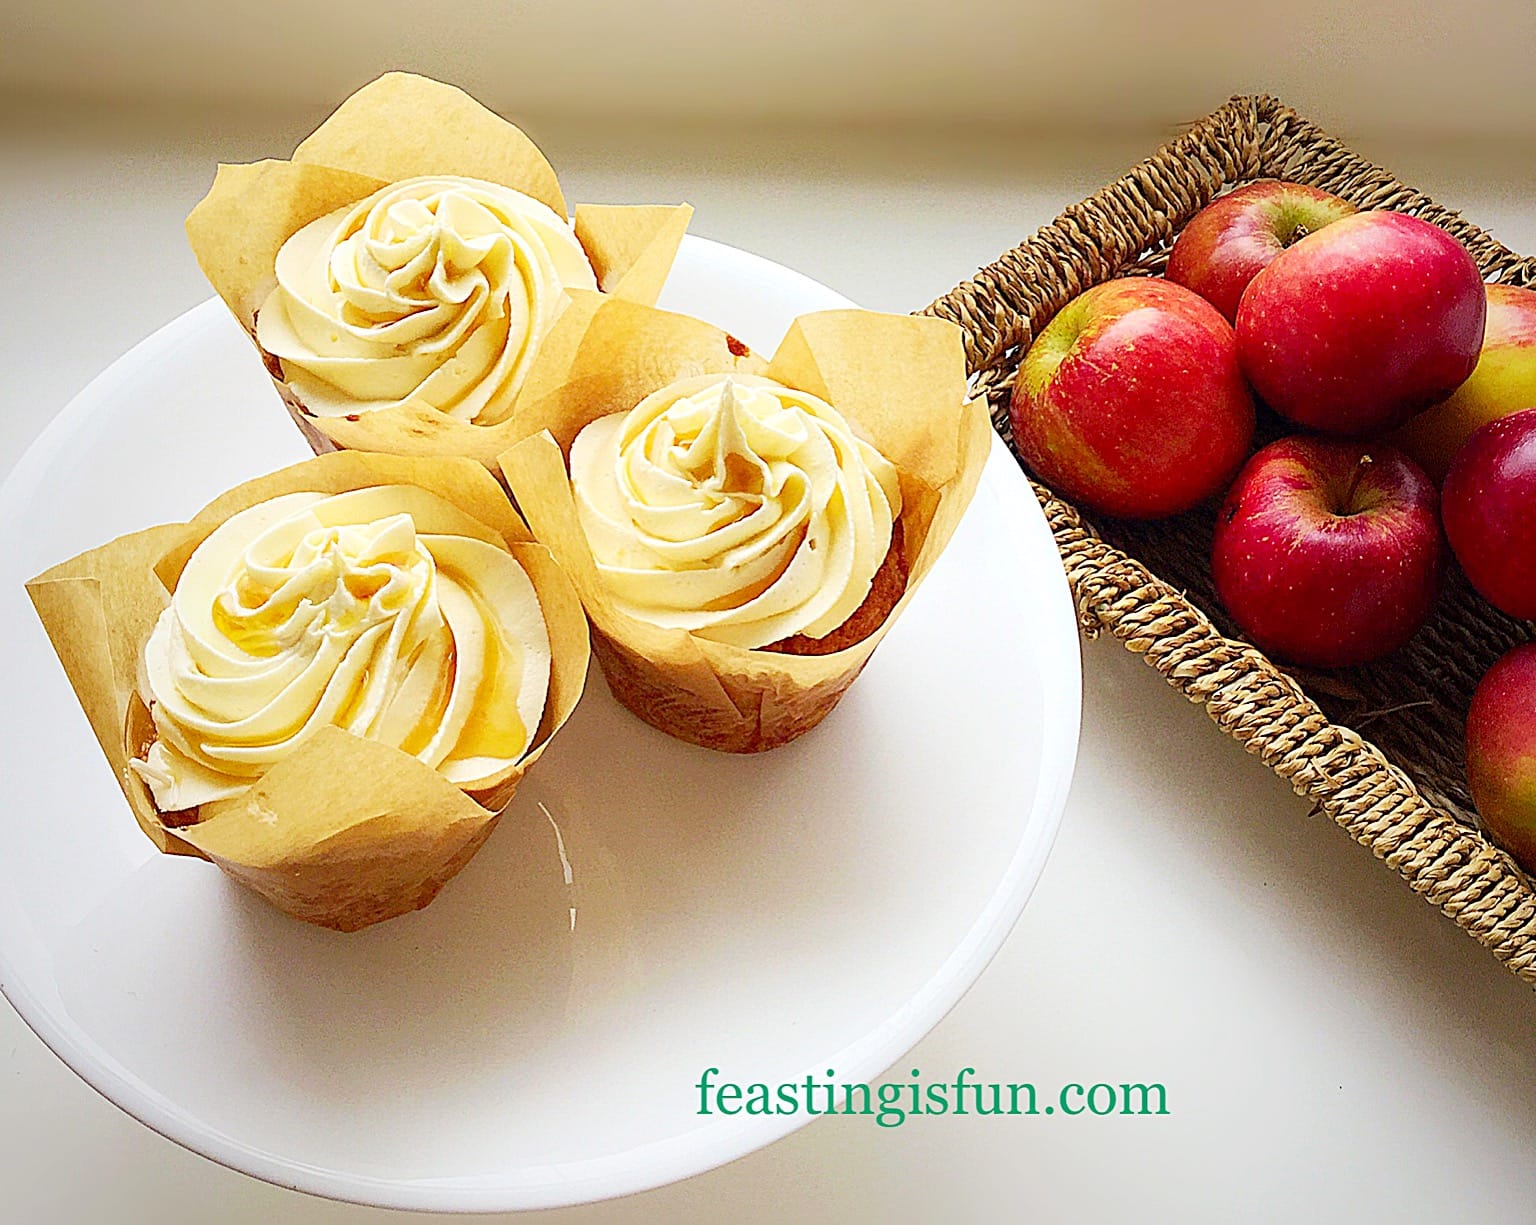
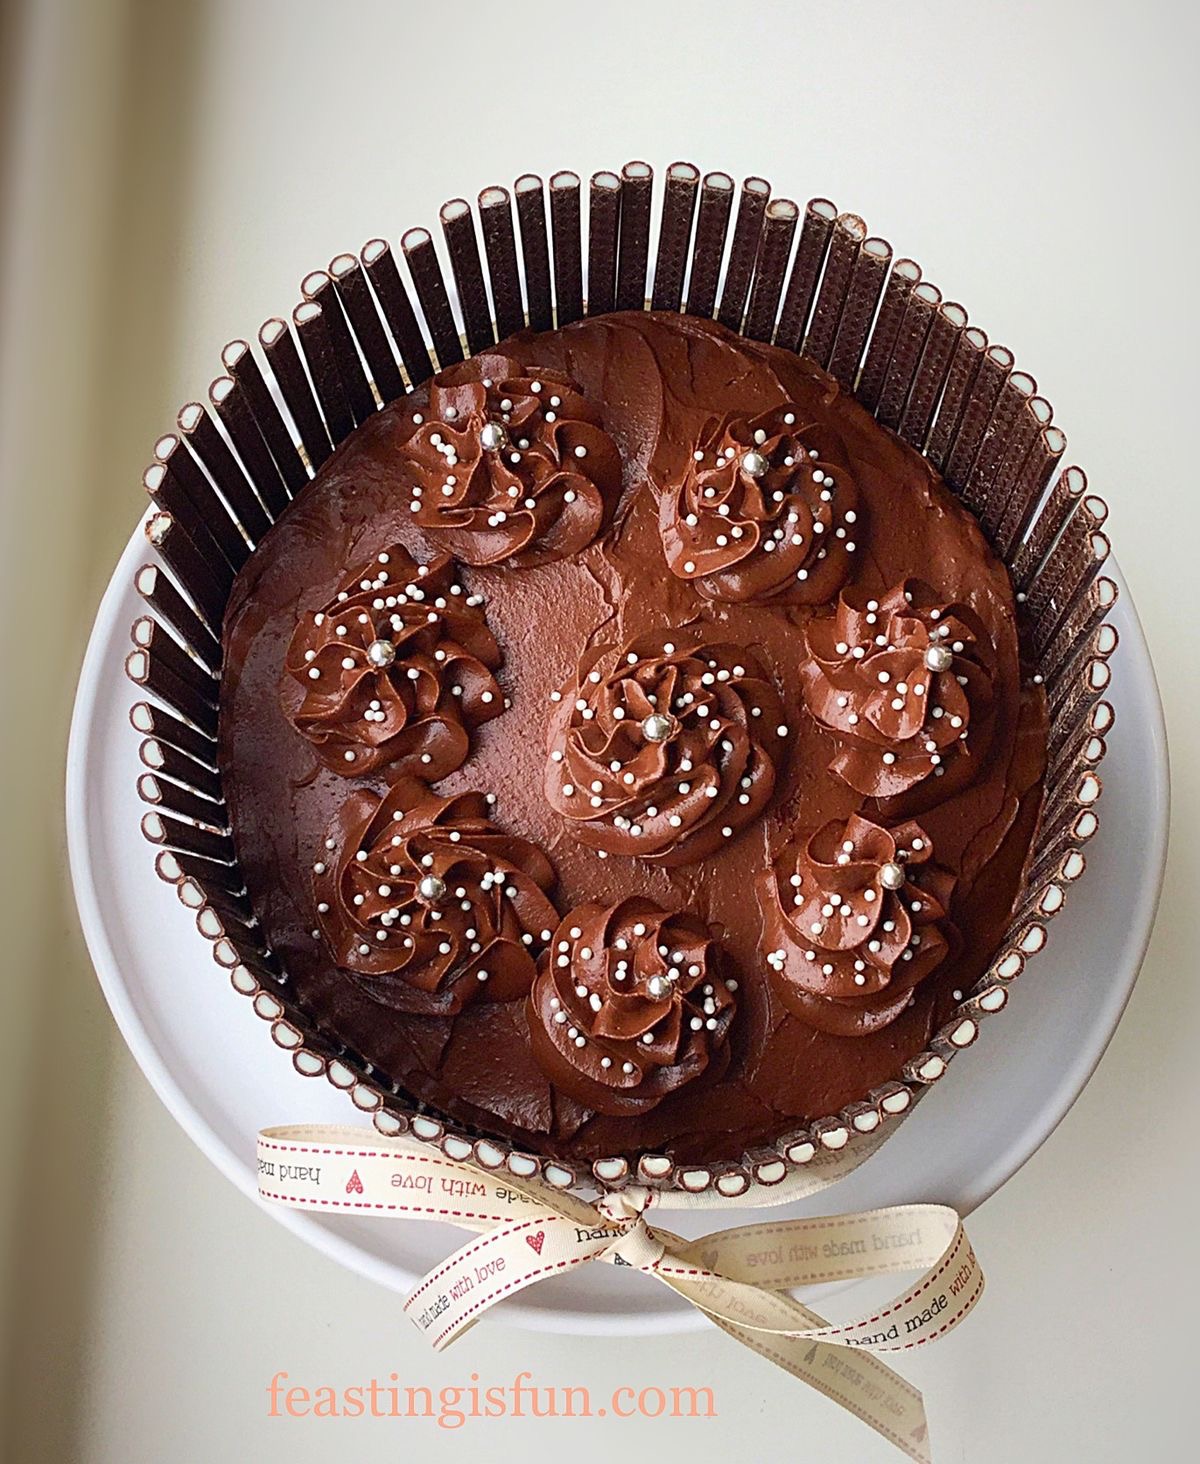
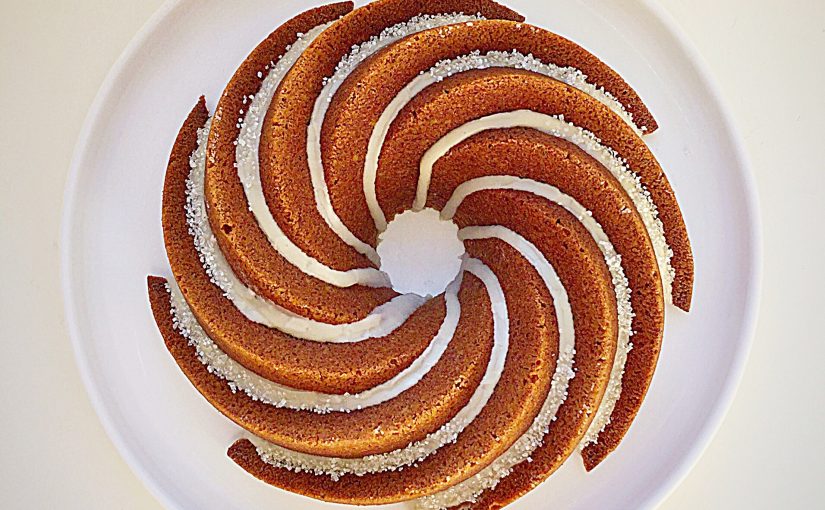
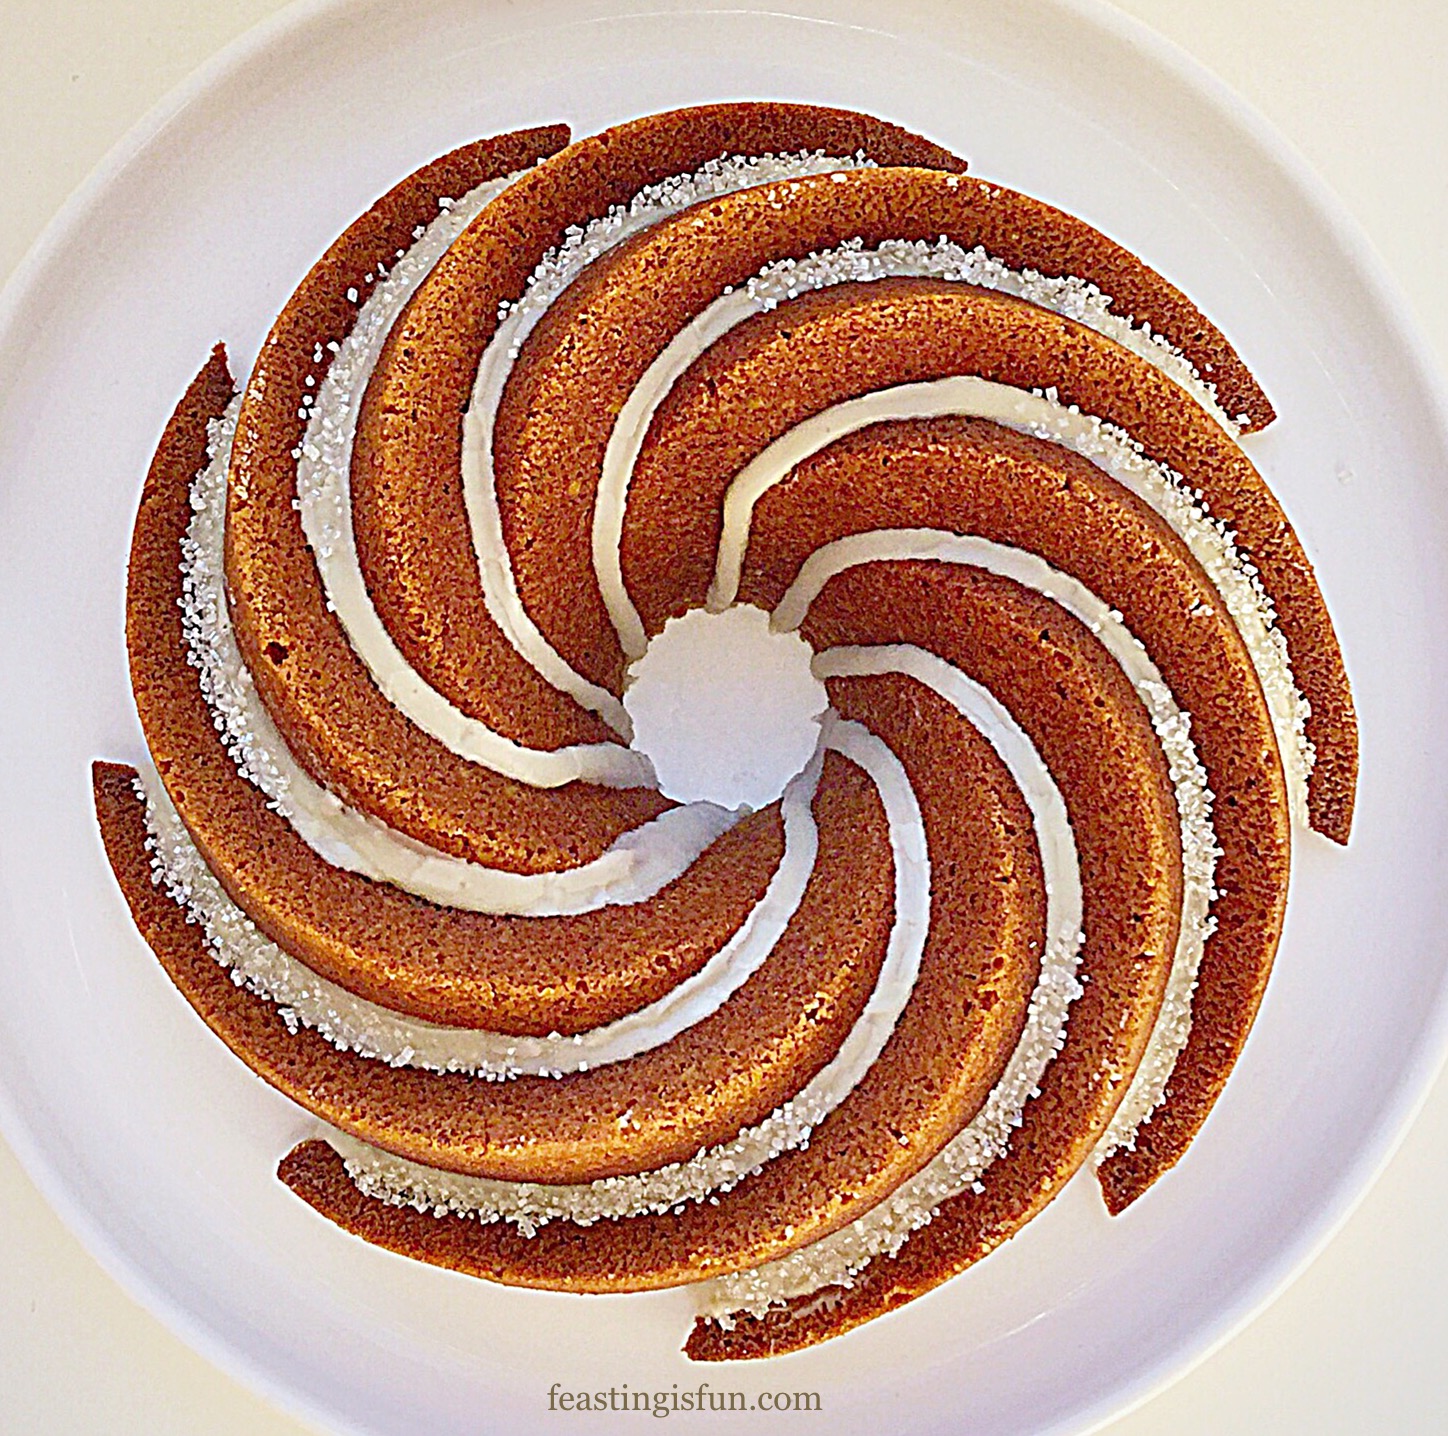
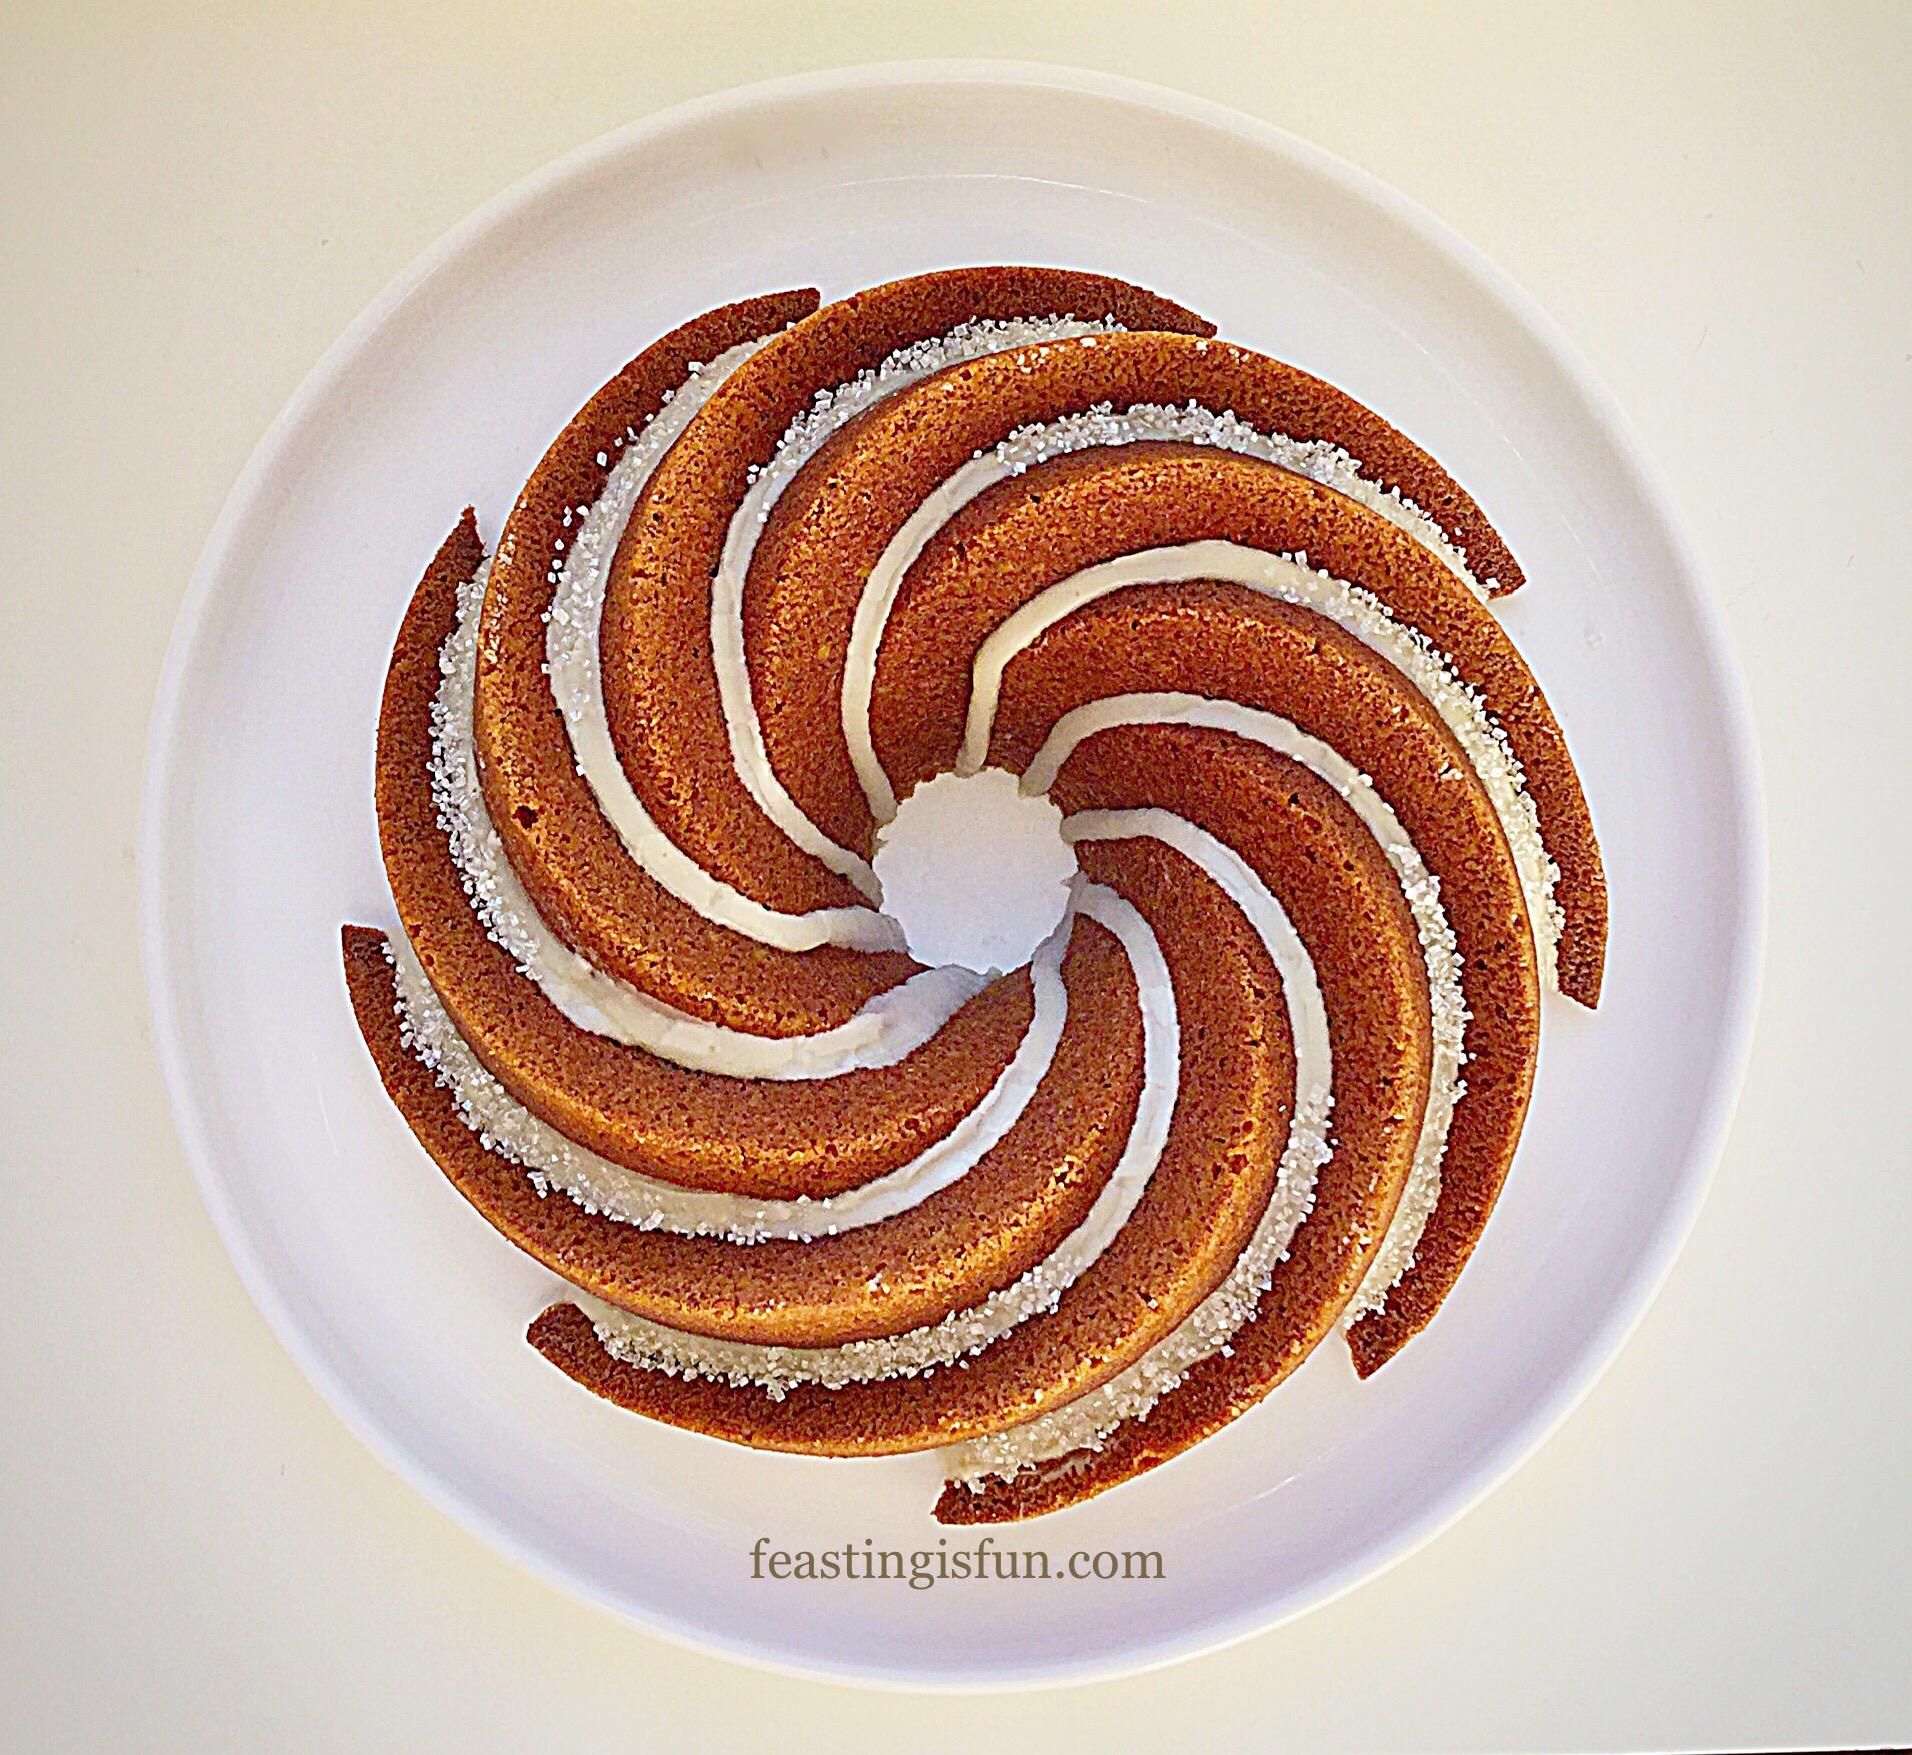
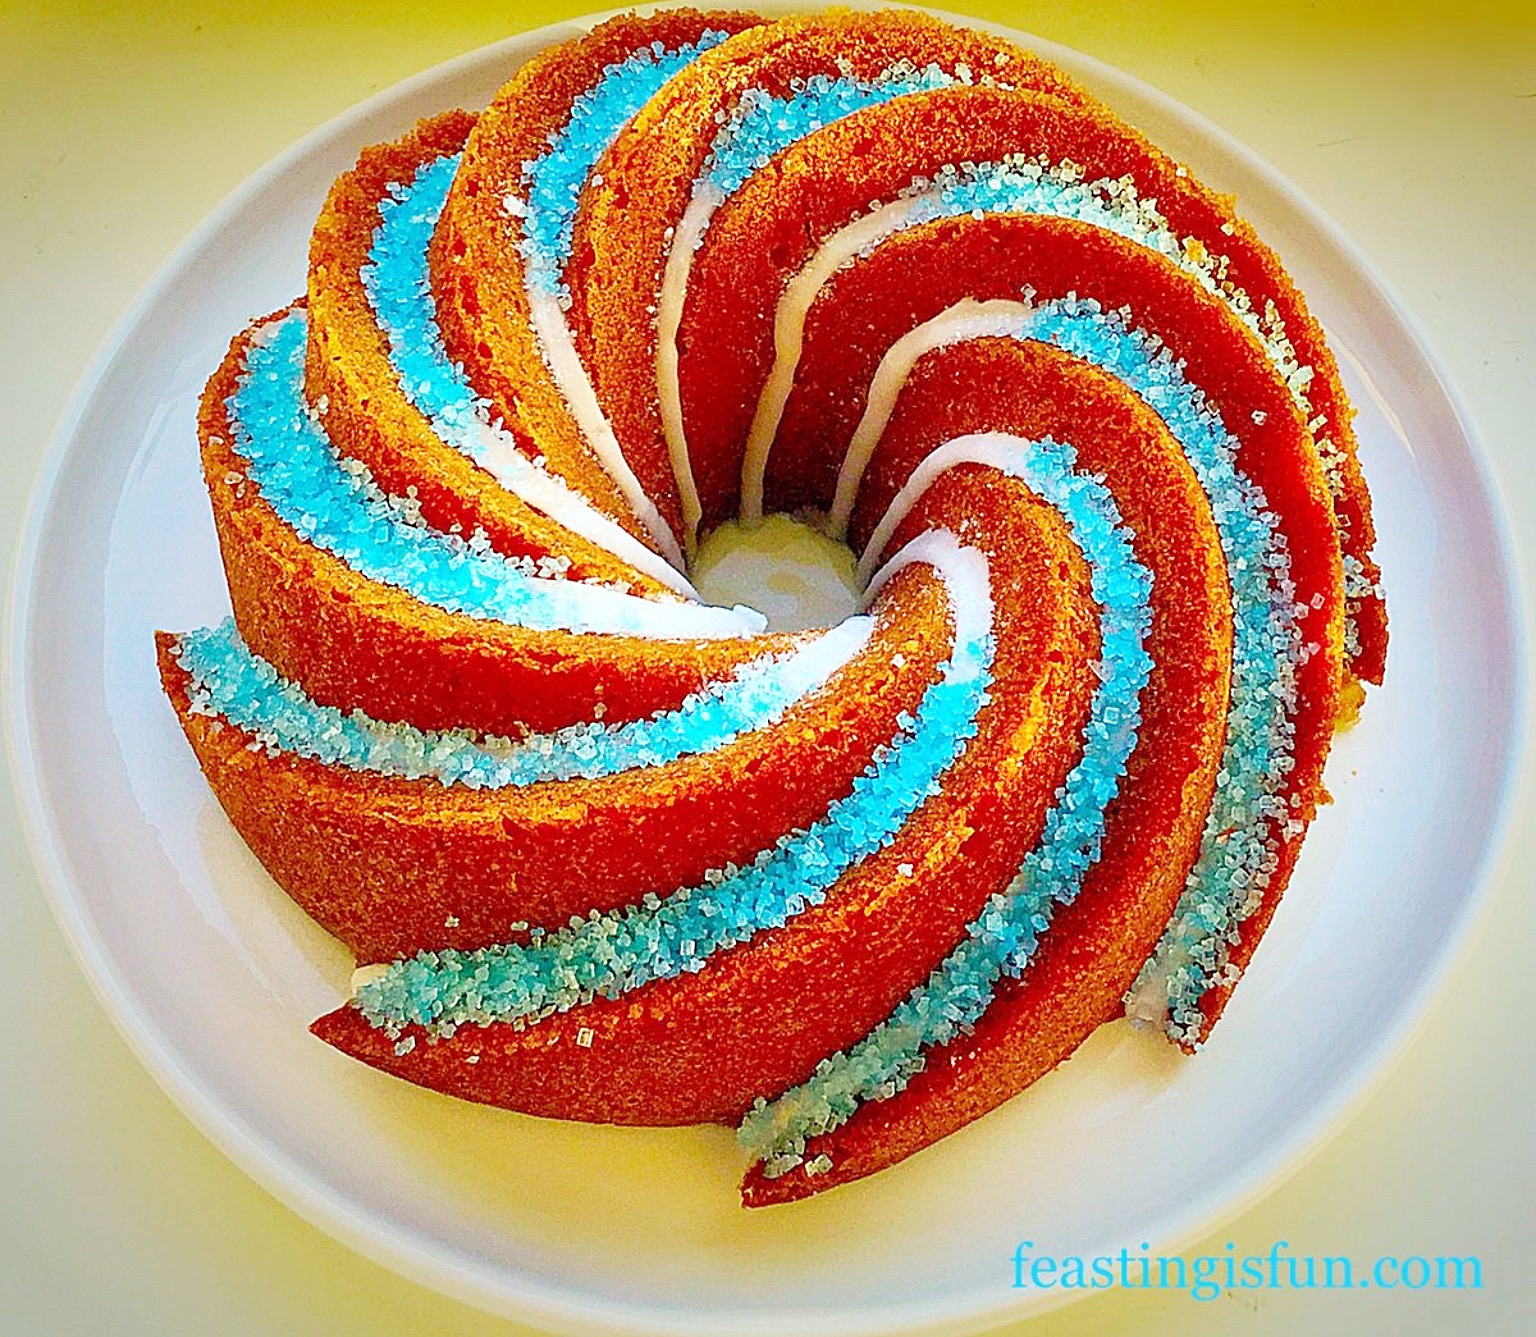
Using the Heritage Bundt tin from Nordic Ware, this cake is literally a twist on a classic, popular cake. While the distinct mould of the tin creates an incredible, swirl shaped coffee cake, which is defined with the maple syrup icing. Resulting in a stunningly outstanding cake.
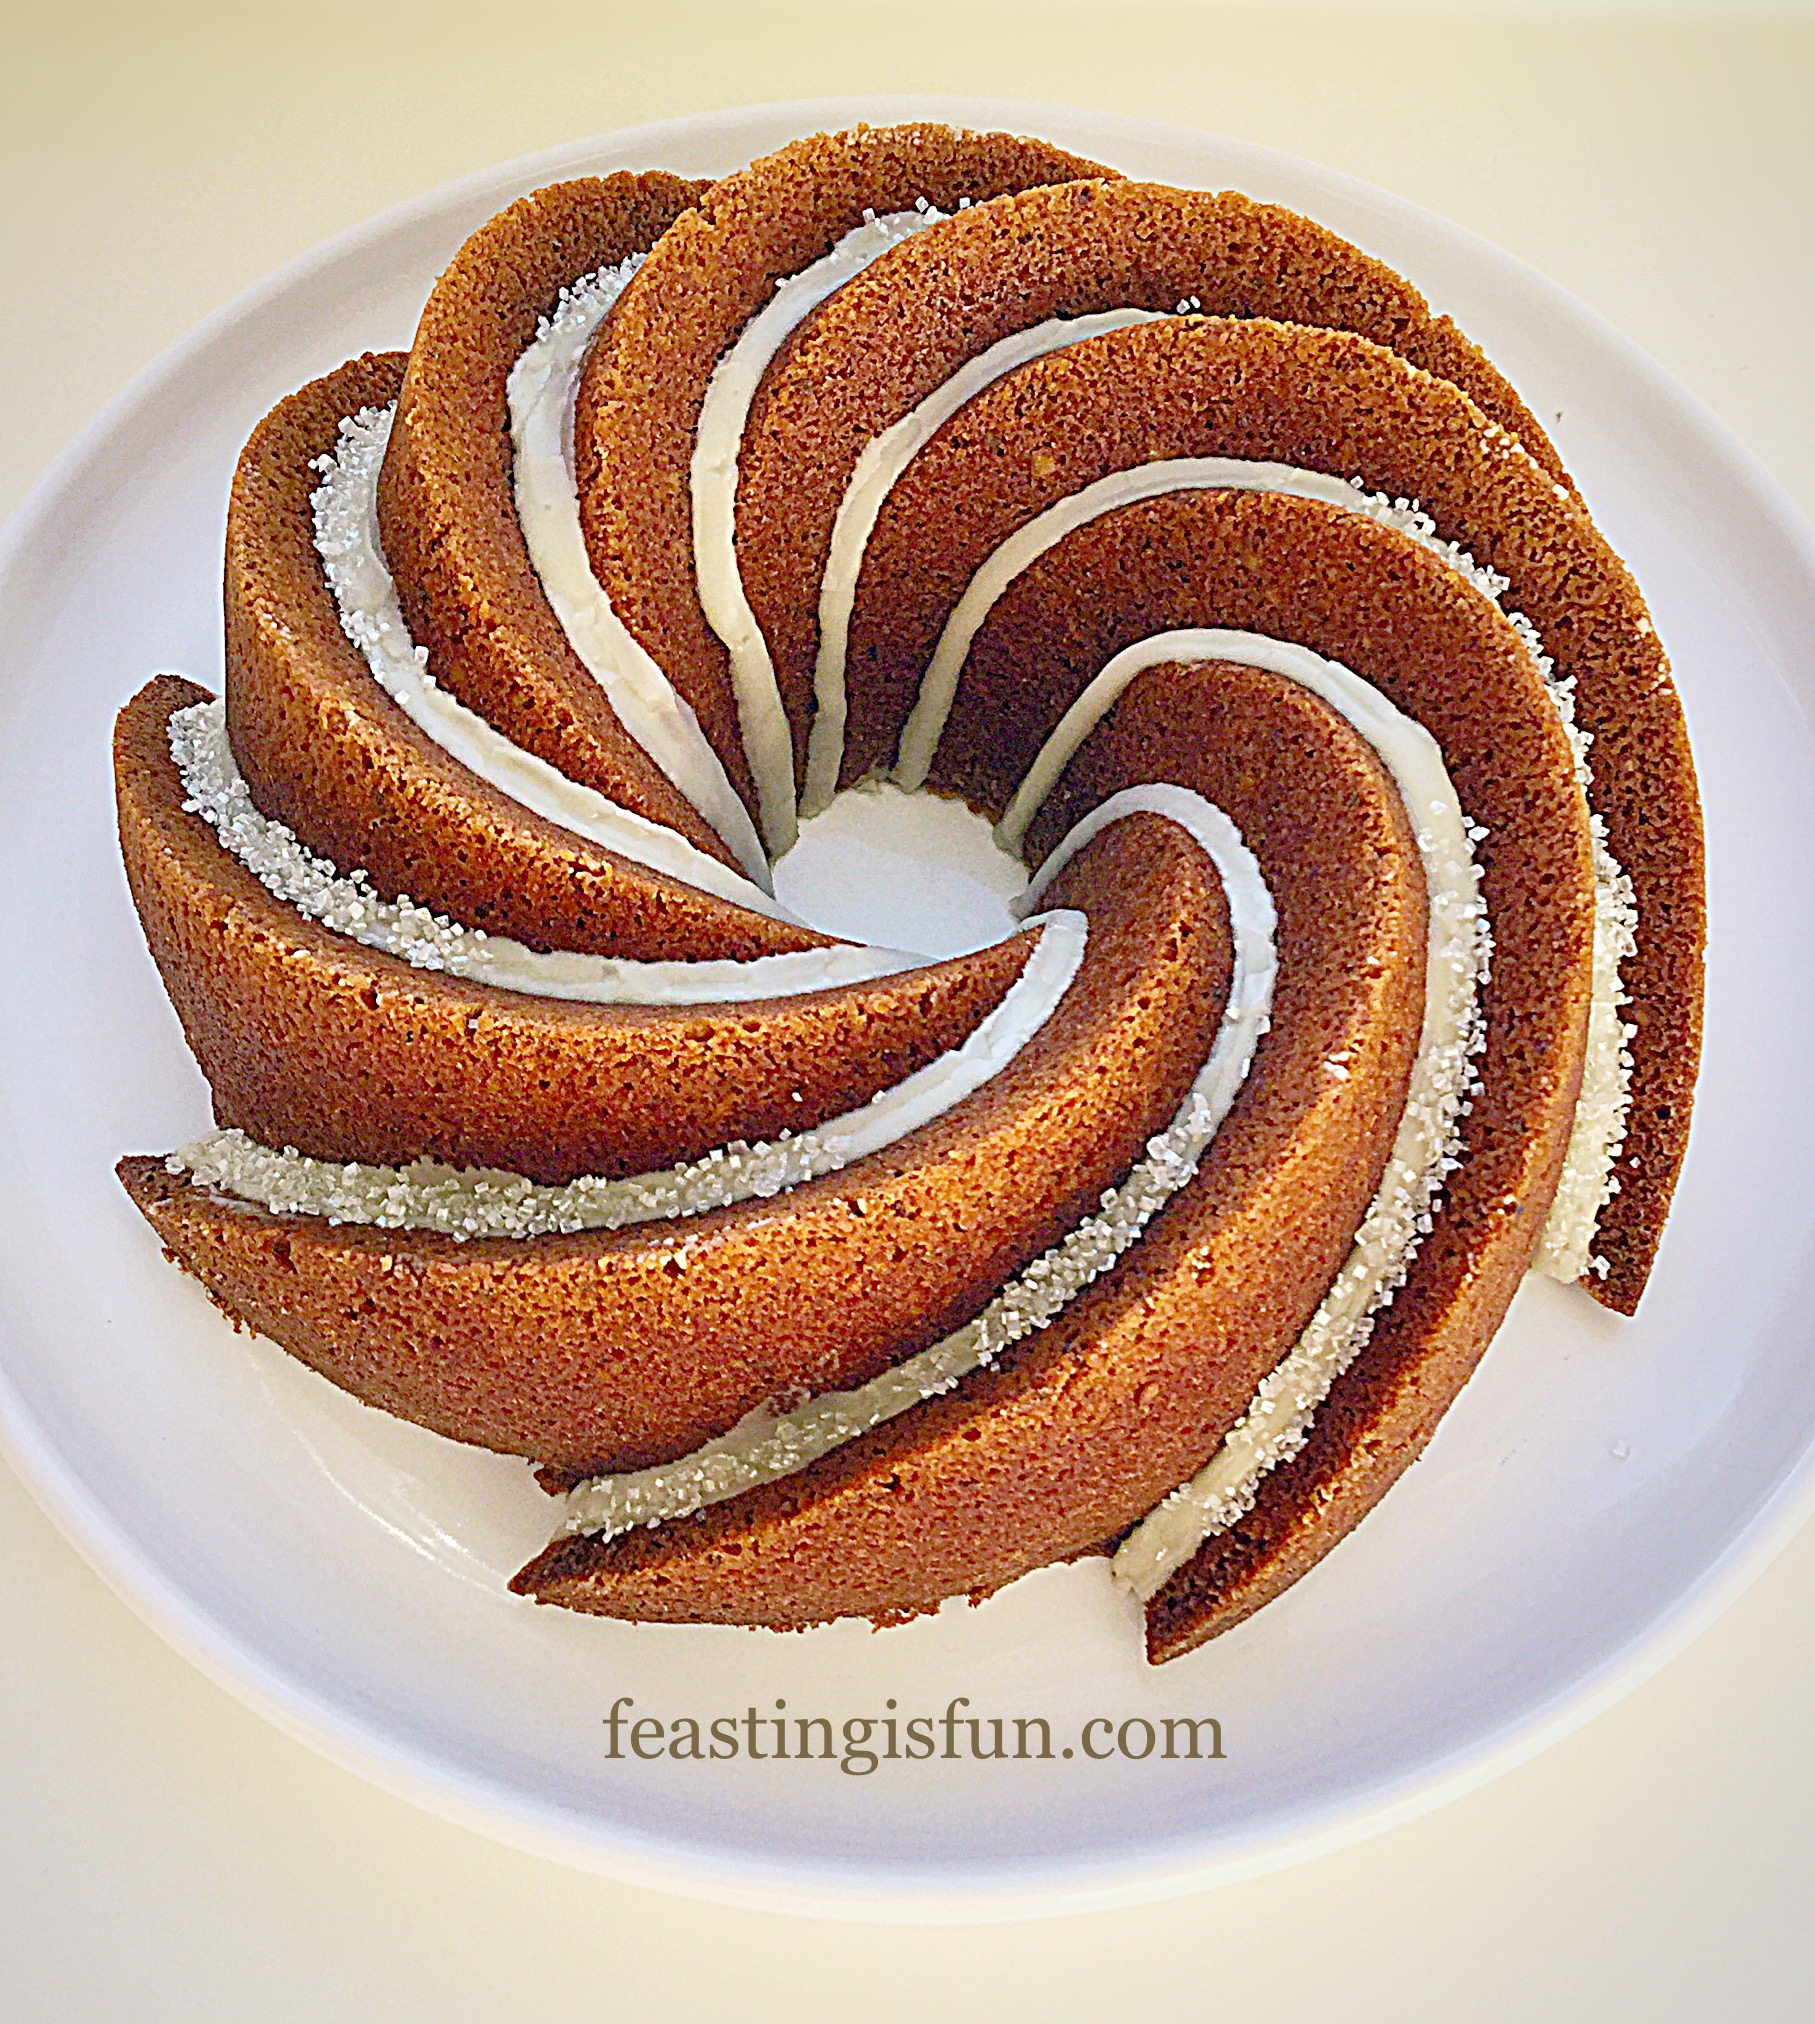
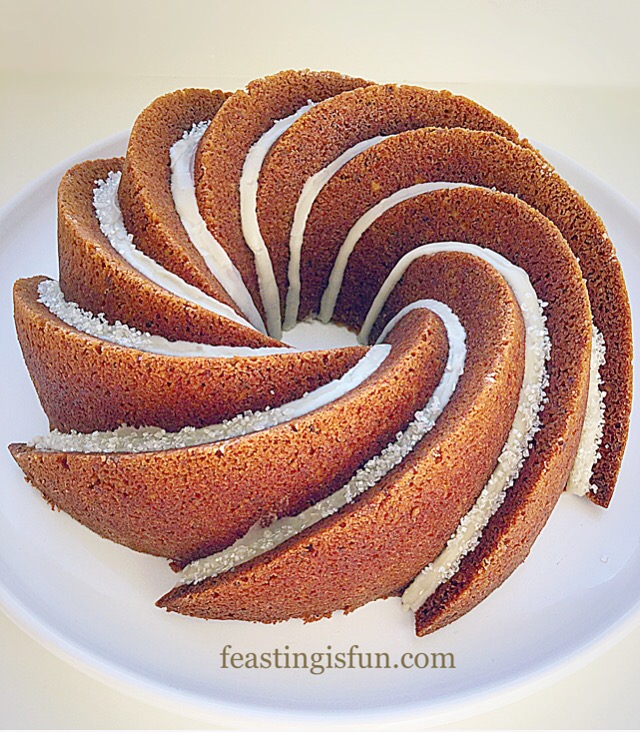
An incredibly moist and delicious cake, that includes walnuts, it is also lump free. Chopping the walnuts very finely ensures their nutty flavour mixes well with the coffee and spices. While the maple syrup icing adds another layer of flavour. Resulting in a light, not heavy sponge, that tastes fantastic.
My Father-in-law is a very special and incredibly talented man. Much loved and respected, I consider myself to be very blessed to be part of his family. He is a wonderful Dad and Grandad, with a gentle sense of humour. And our children love to hear stories of his past adventures which span many centuries. Especially those of his time as a Pirate!!

No candles are needed to light up this dazzlingly, delicious cake.
Recipe: Maple Syrup Iced Coffee Bundt Cake serves 10-12
250g/9oz Unsalted Butter – softened to room temperature
250g/9oz Soft Light Brown Sugar
1/4tsp Sea Salt – I use Maldon
1tsp Vanilla Extract – I use Nielsen-Massey
2tsp Camp Coffee or 1.5tsp Instant Coffee – dissolved in 1tsp water
5 Large Free Range Eggs
100g/4oz Plain Natural Yoghurt
75g/3oz Walnut Halves or pieces – chopped or processed until they are very fine. Similar in texture to ground almonds
1/4tsp Freshly Grated Nutmeg
1/4tsp Cinnamon
200g/7oz Plain White Flour
3tsp Baking Powder
150g/5oz Icing Sugar
3tbsp Maple Syrup – I like Pure Maple
White, silver or golden sprinkles
Making And Baking The Bundt Cake
Preheat the oven to 160C/140C fan, gas mark 3, 310F.
Note: I always use Wilton cake release to guarantee a clean, sharp edged finish. Apply using a soft pastry brush, taking care to ensure every part of the Bundt tin is evenly covered. Alternately brush on melted butter in the same manner, followed by a light coating of flour.
- First of all, prepare the Bundt tin as per the instructions above.
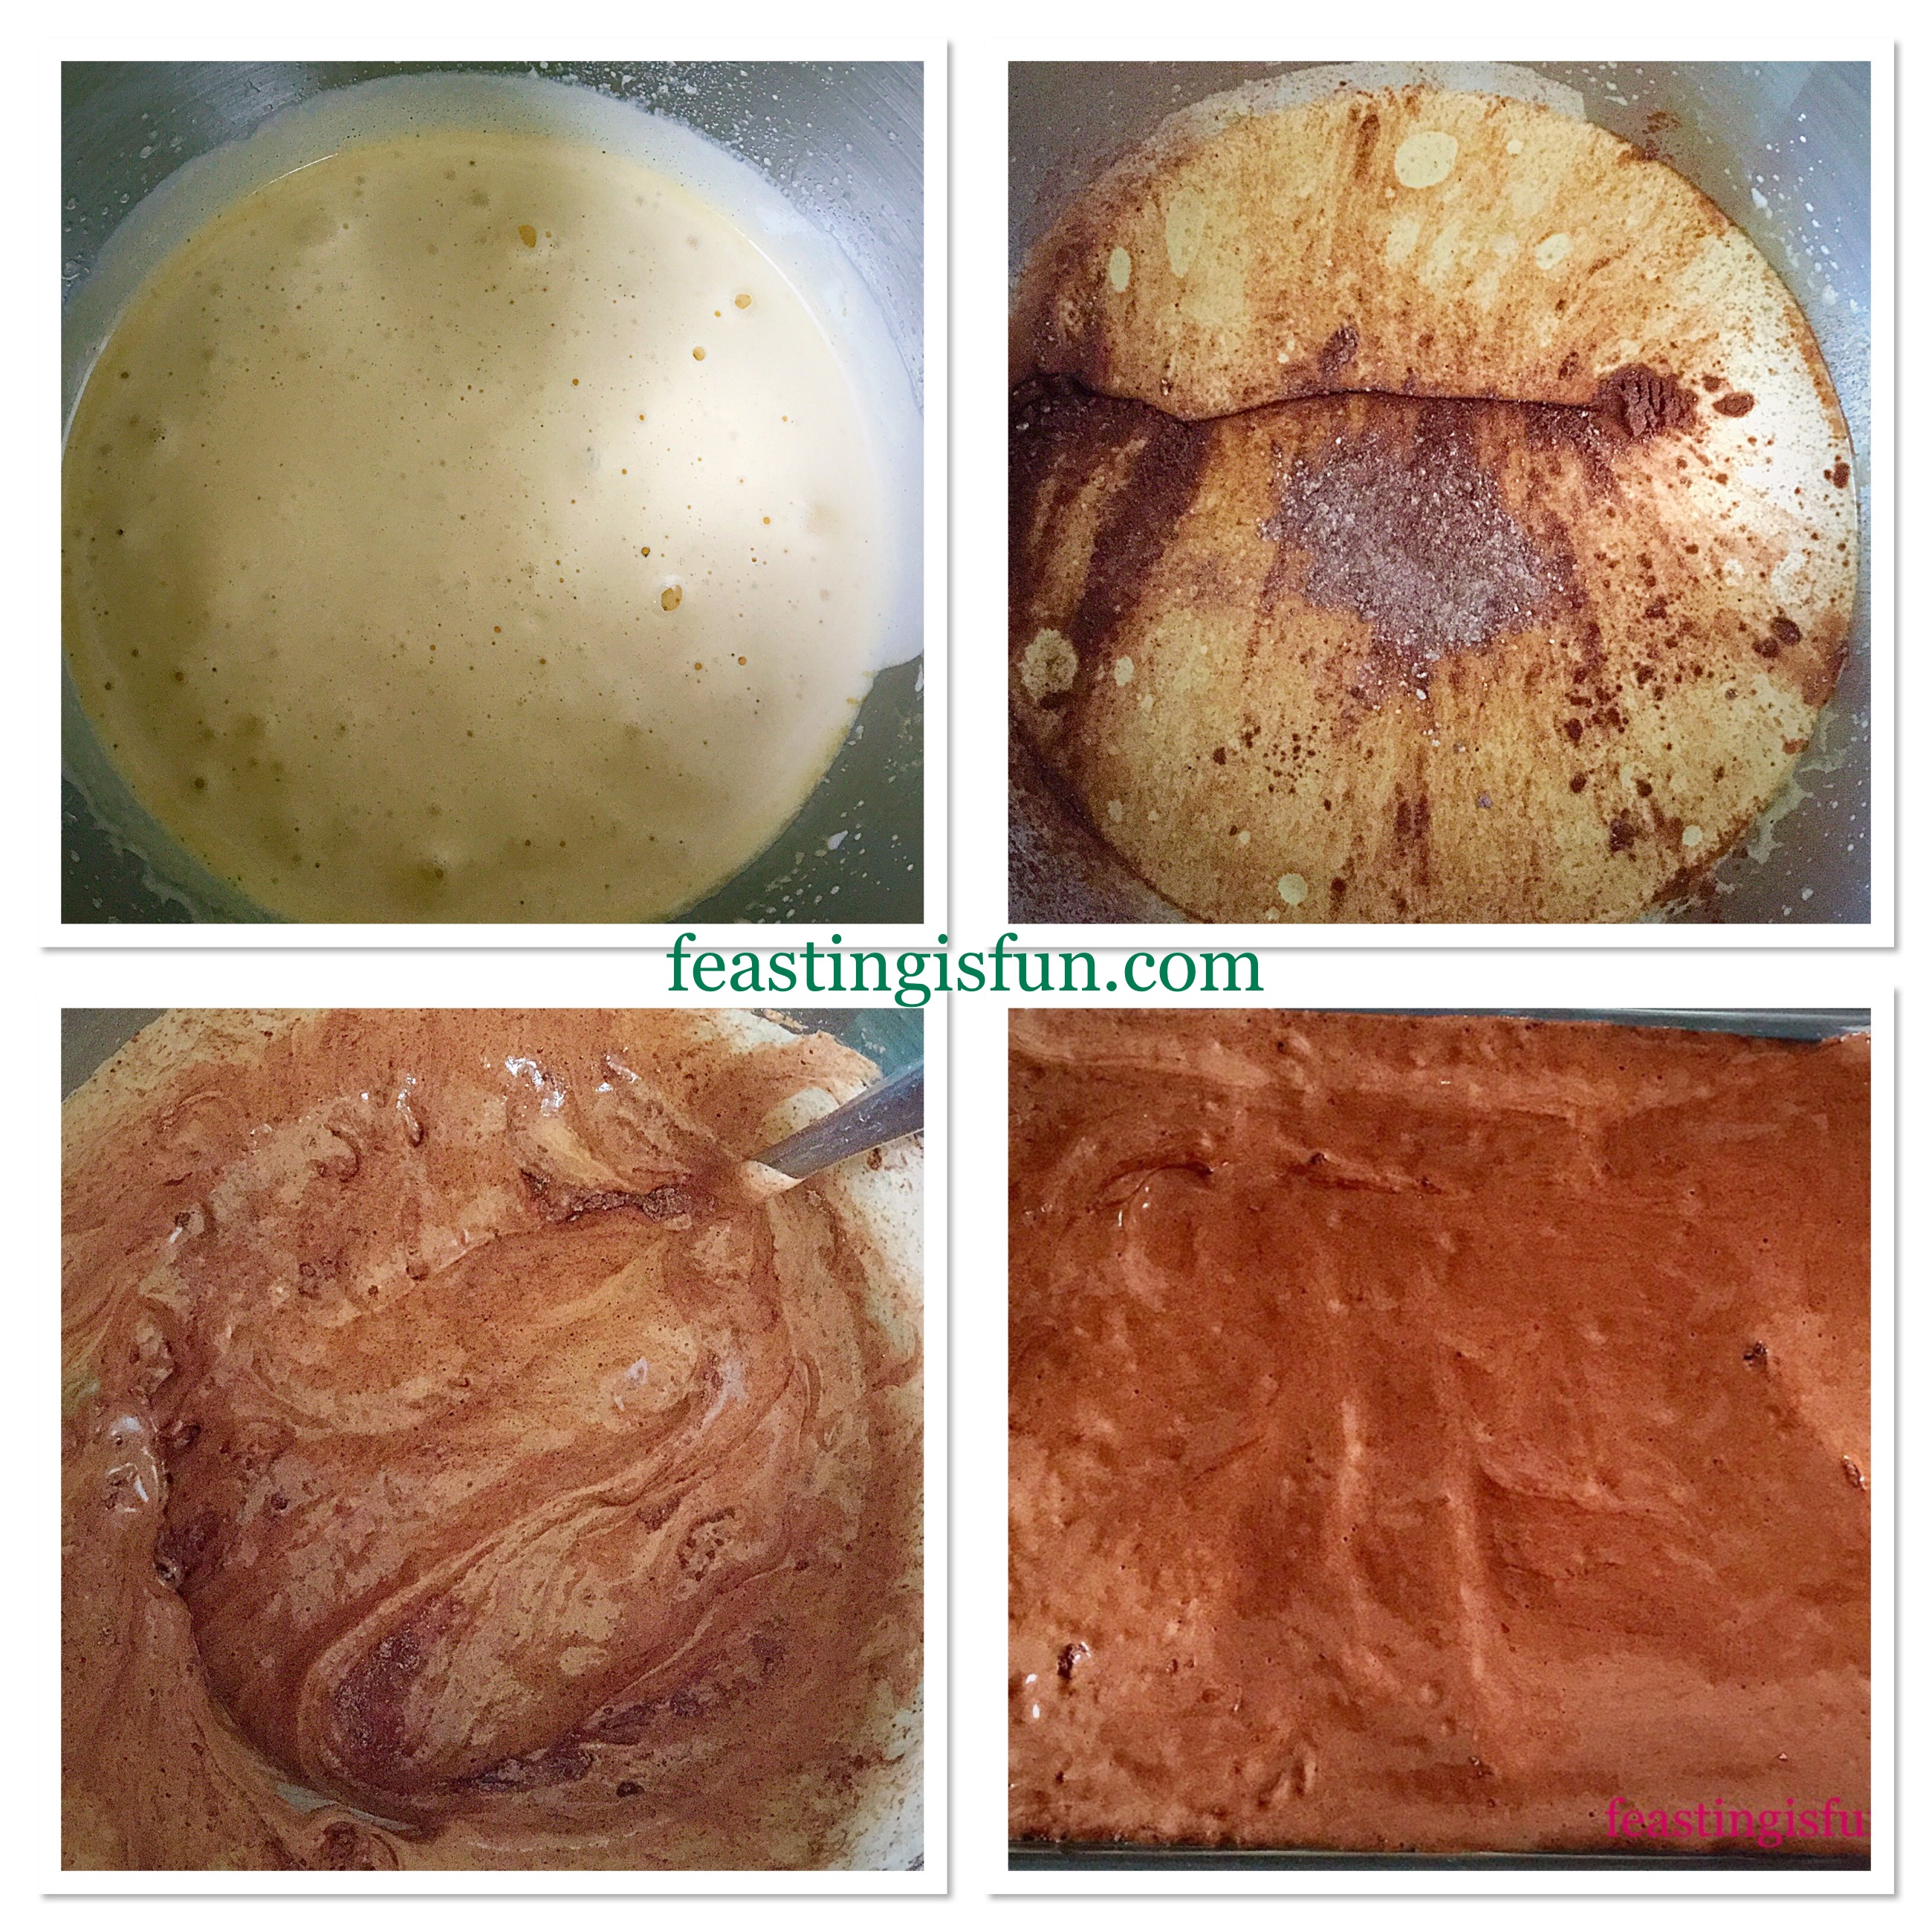
- Whisk the softened butter, sugar and salt together in a large bowl for at least 5 minutes. The mixture should be light and creamy.
- Add the vanilla extract and the eggs to the bowl. Continue whisking until all of the ingredients are well mixed.
- Now add the yoghurt, but do not stir.
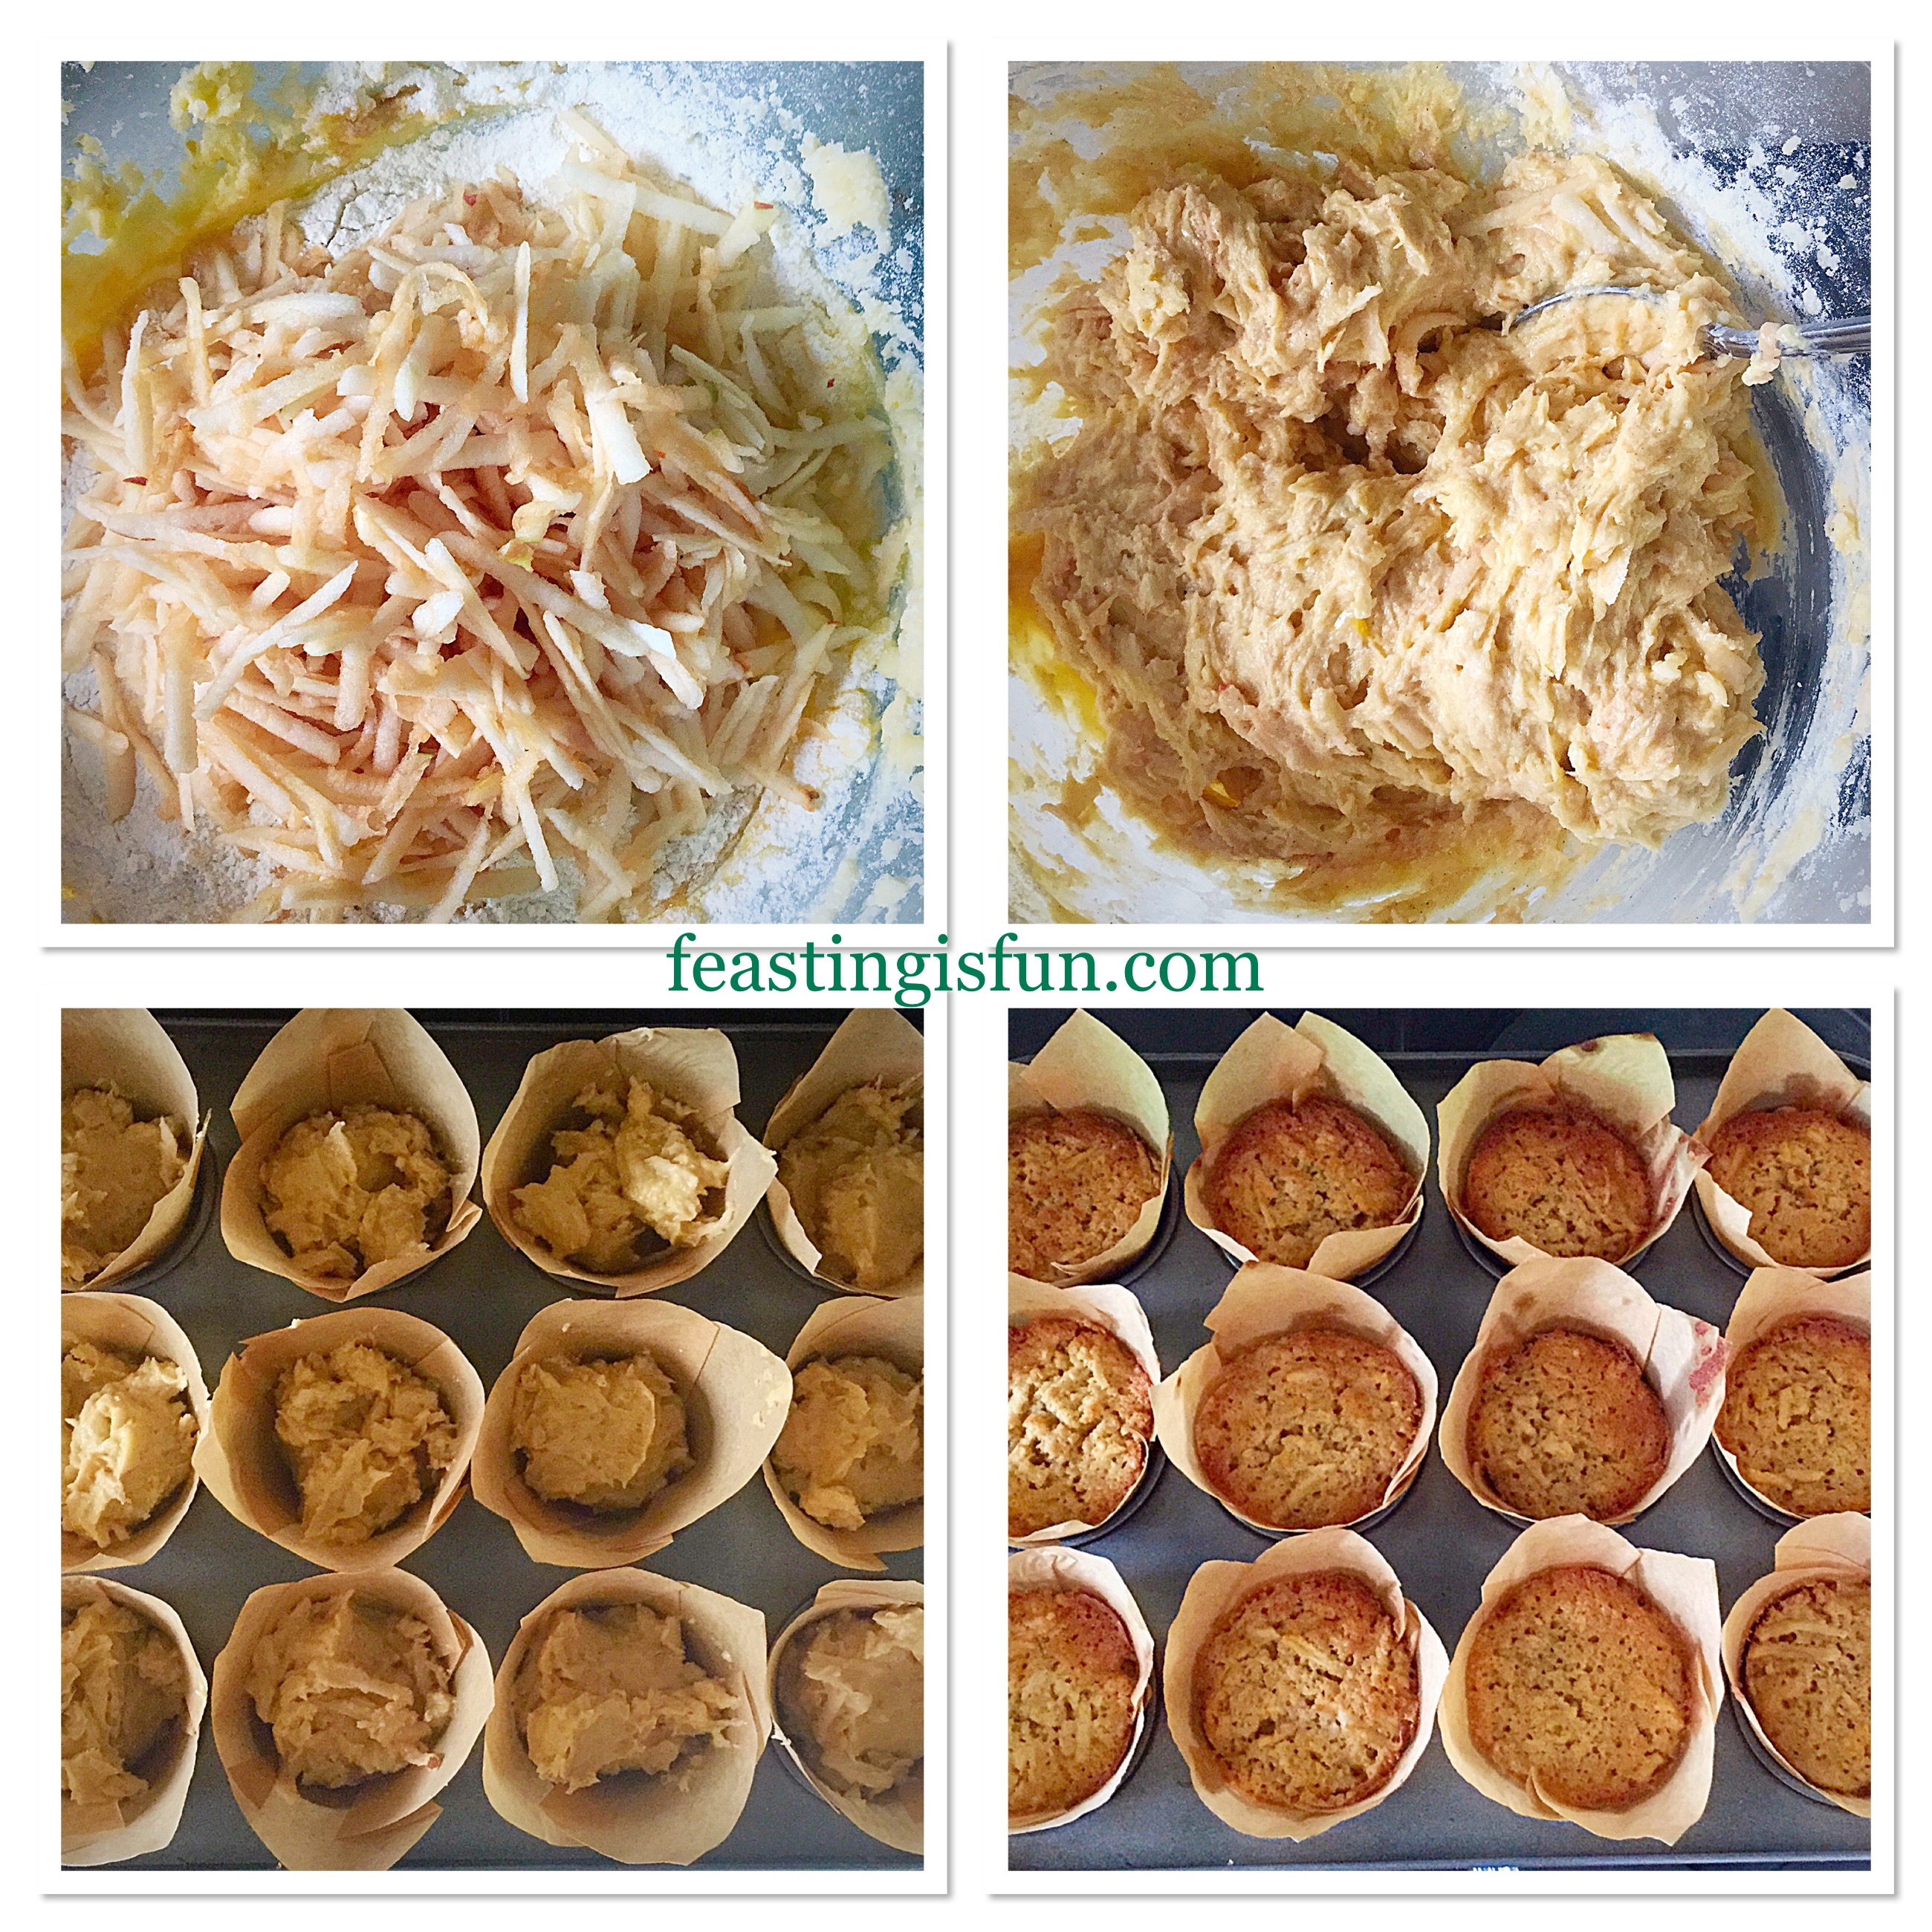
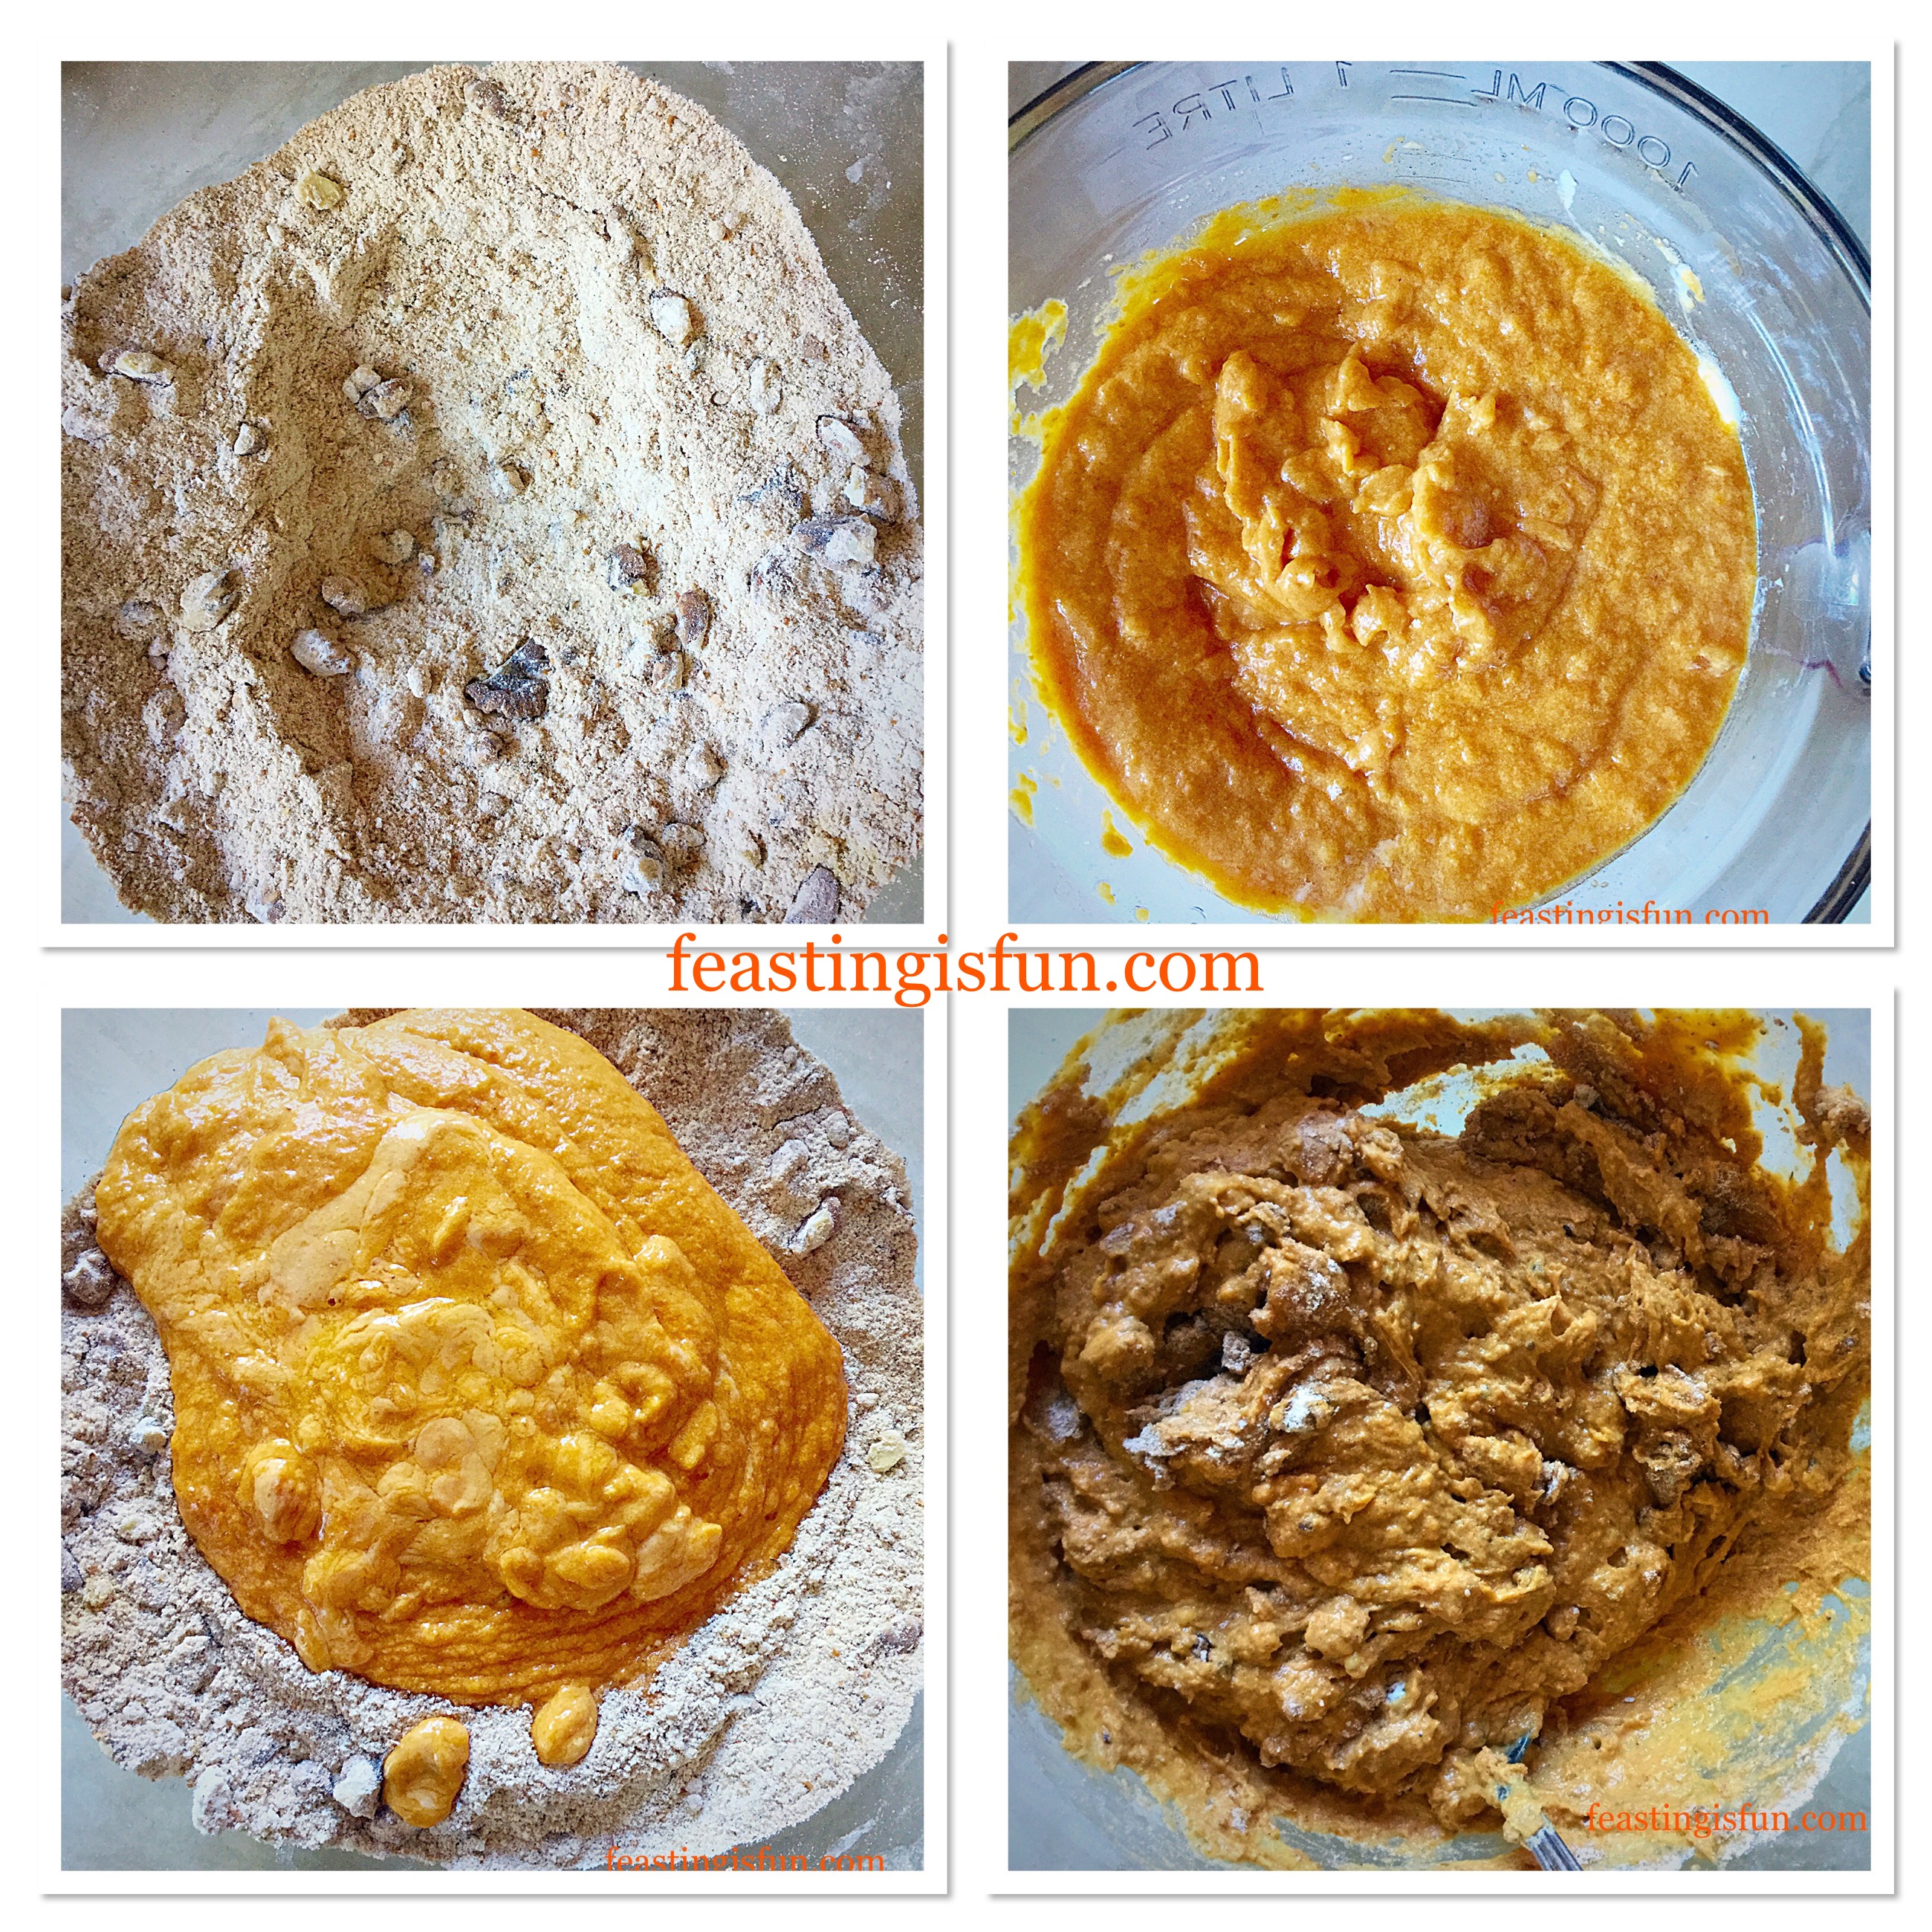
- Next add the finely chopped walnuts, then sift in the flour, baking powder and spices.
- Use a metal spoon to fold all of the ingredients together until they are fully combined.
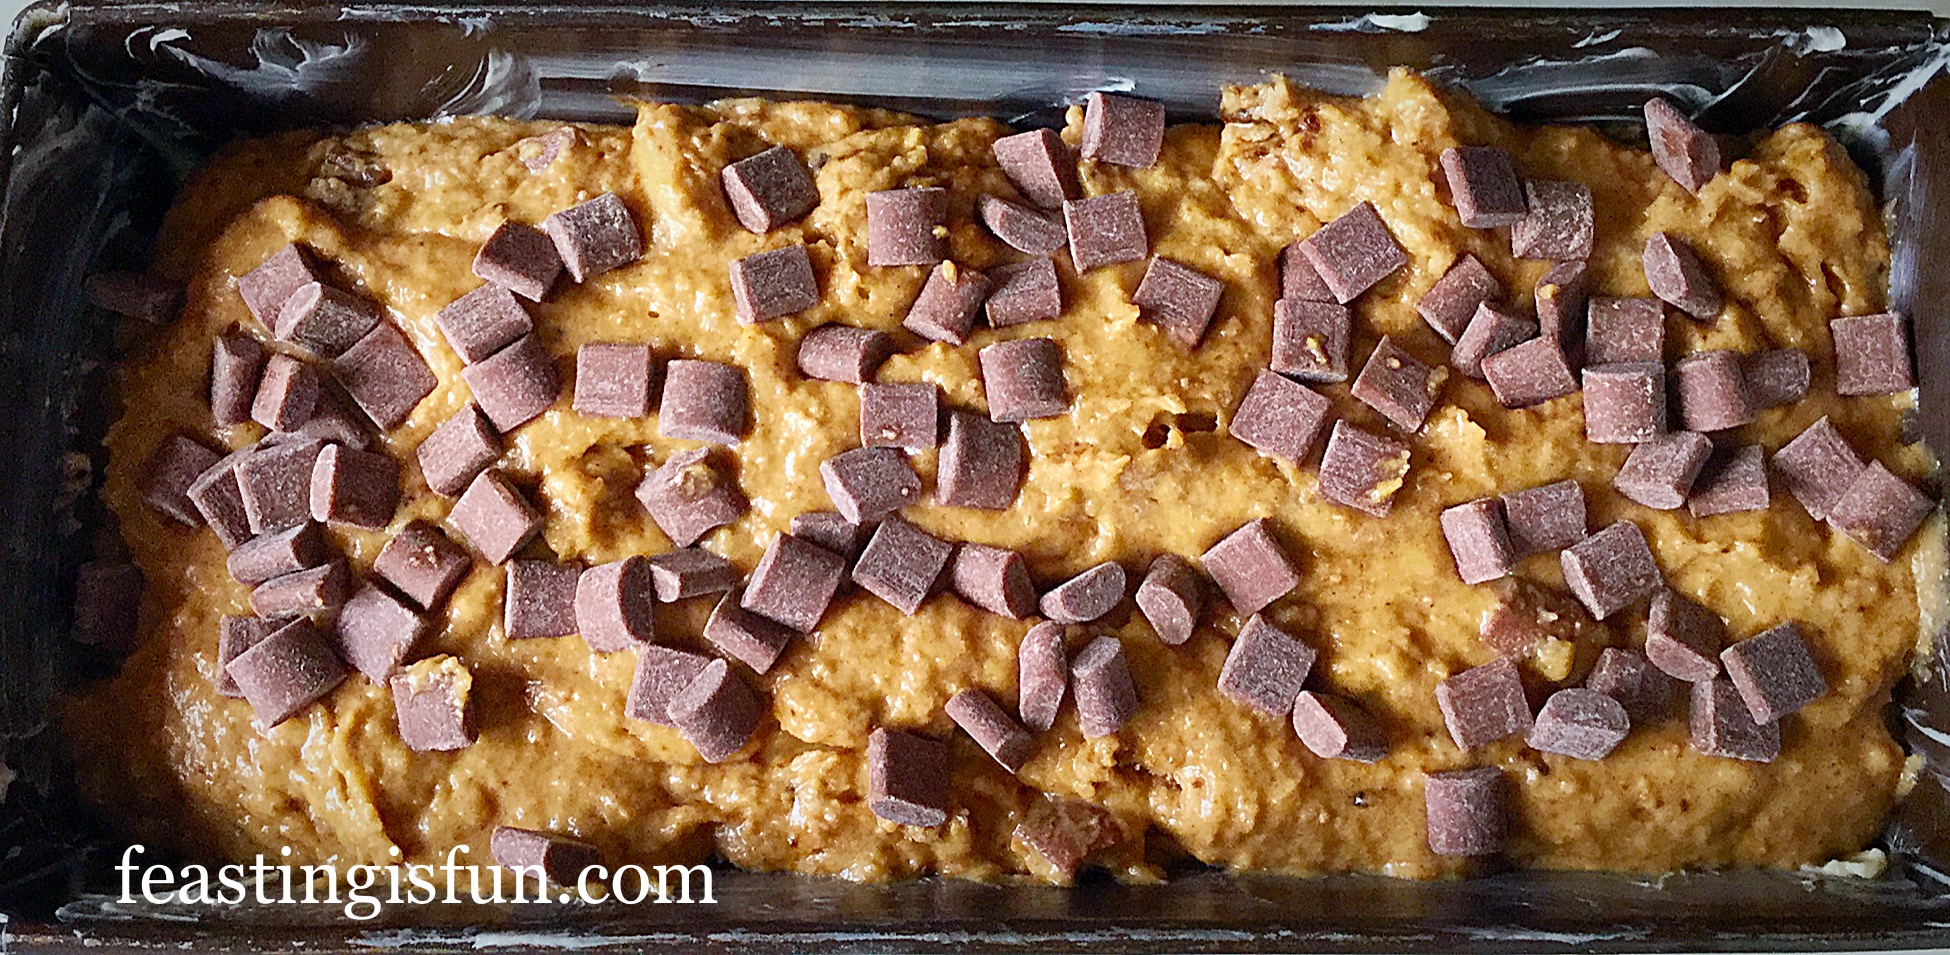
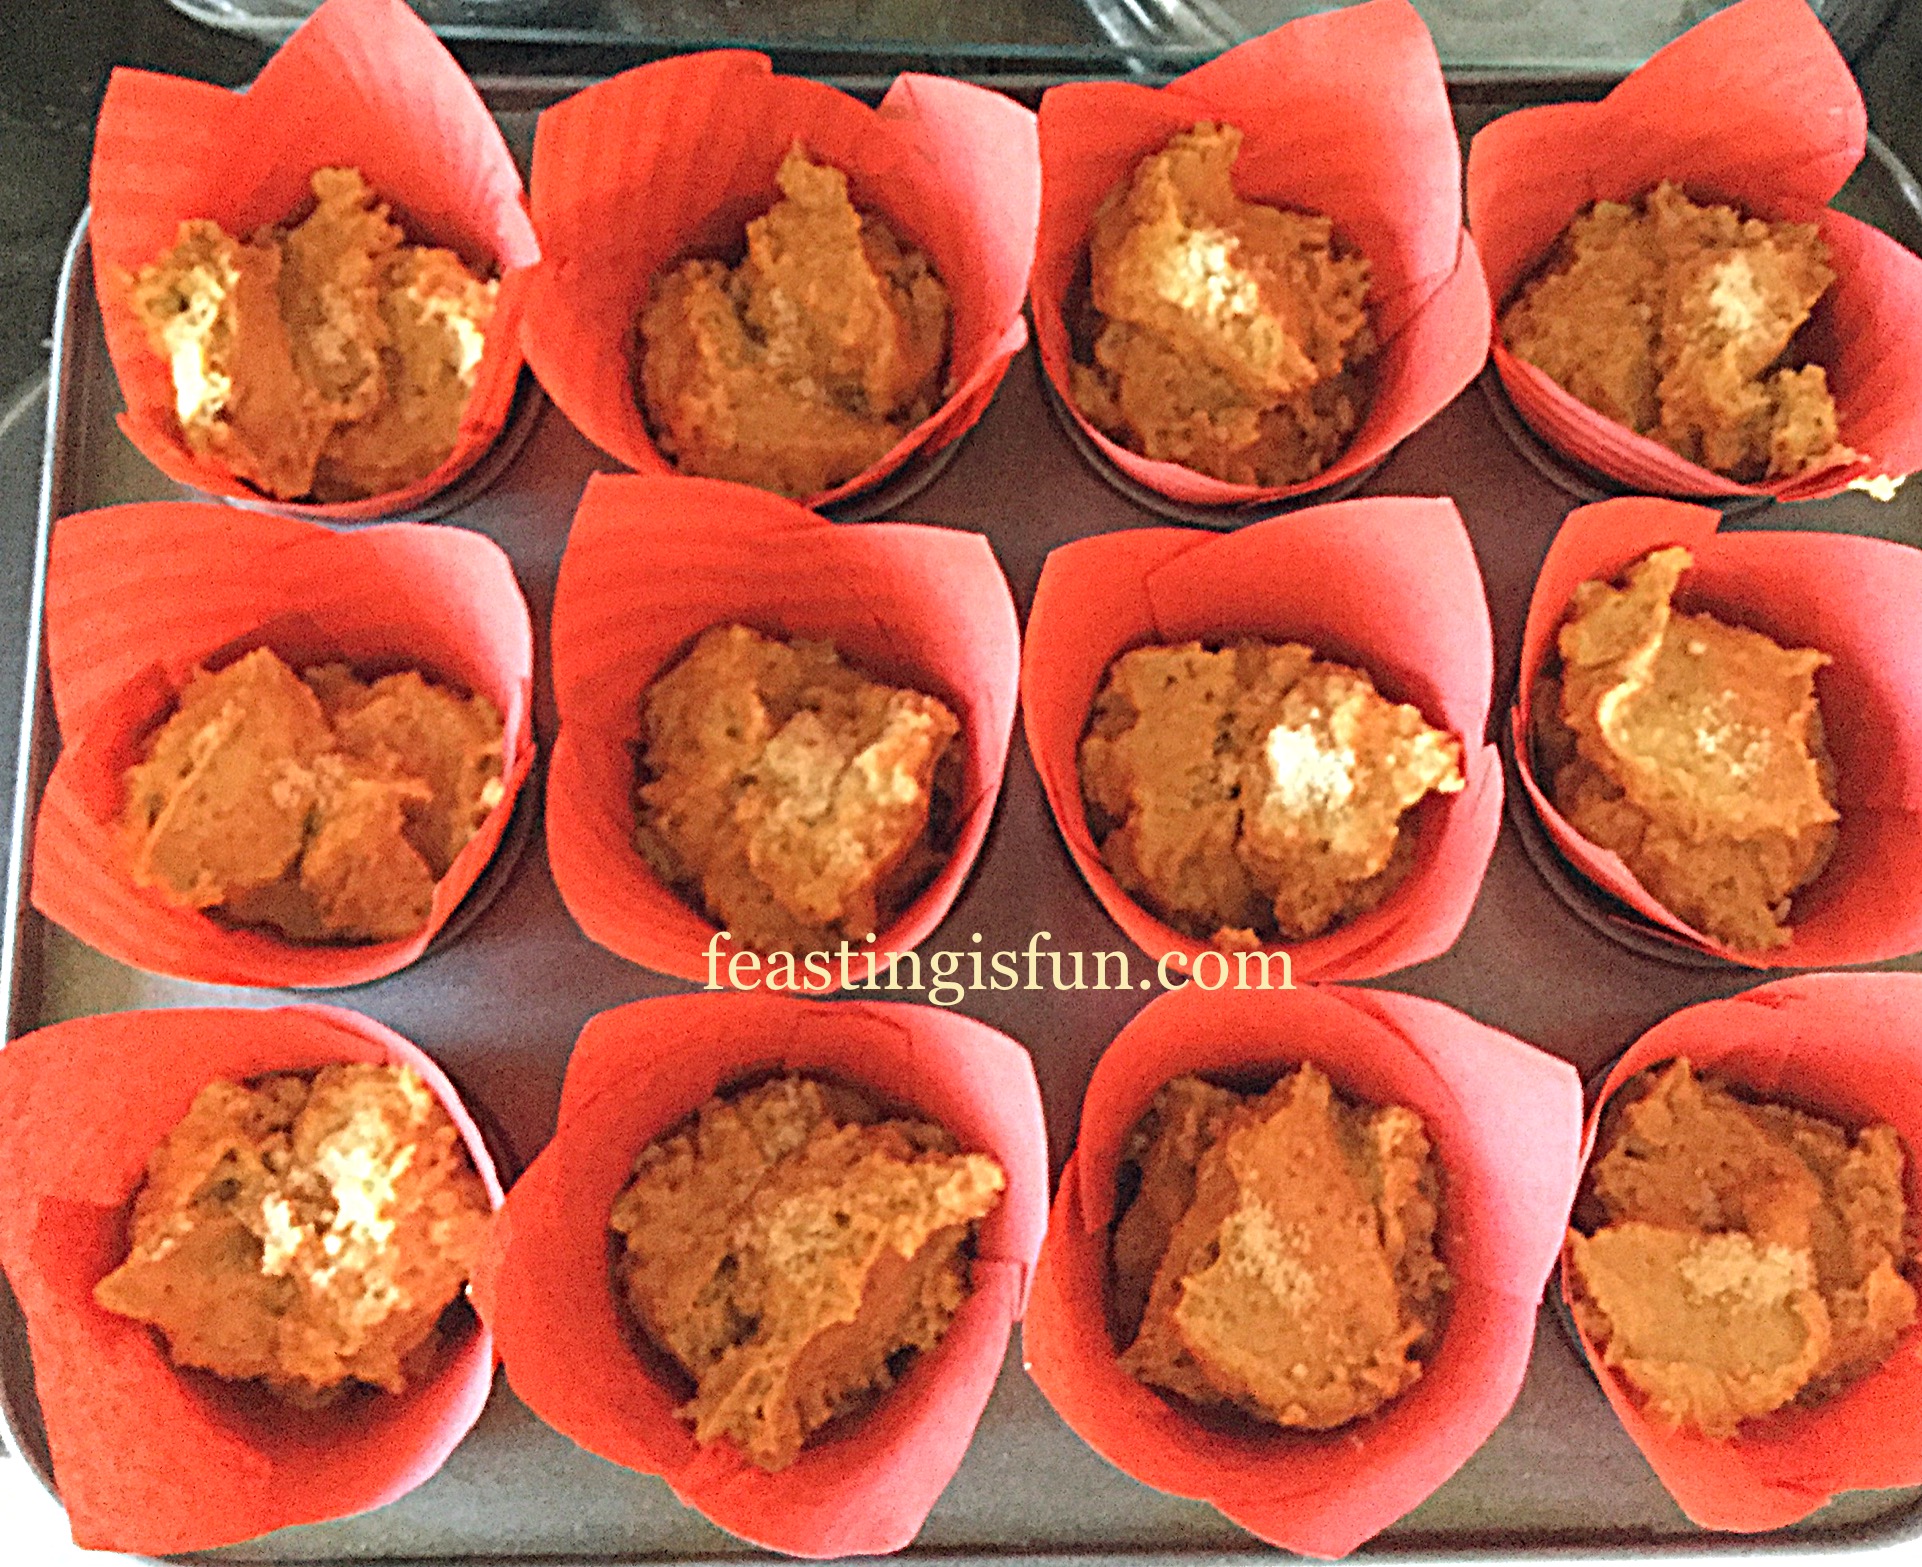
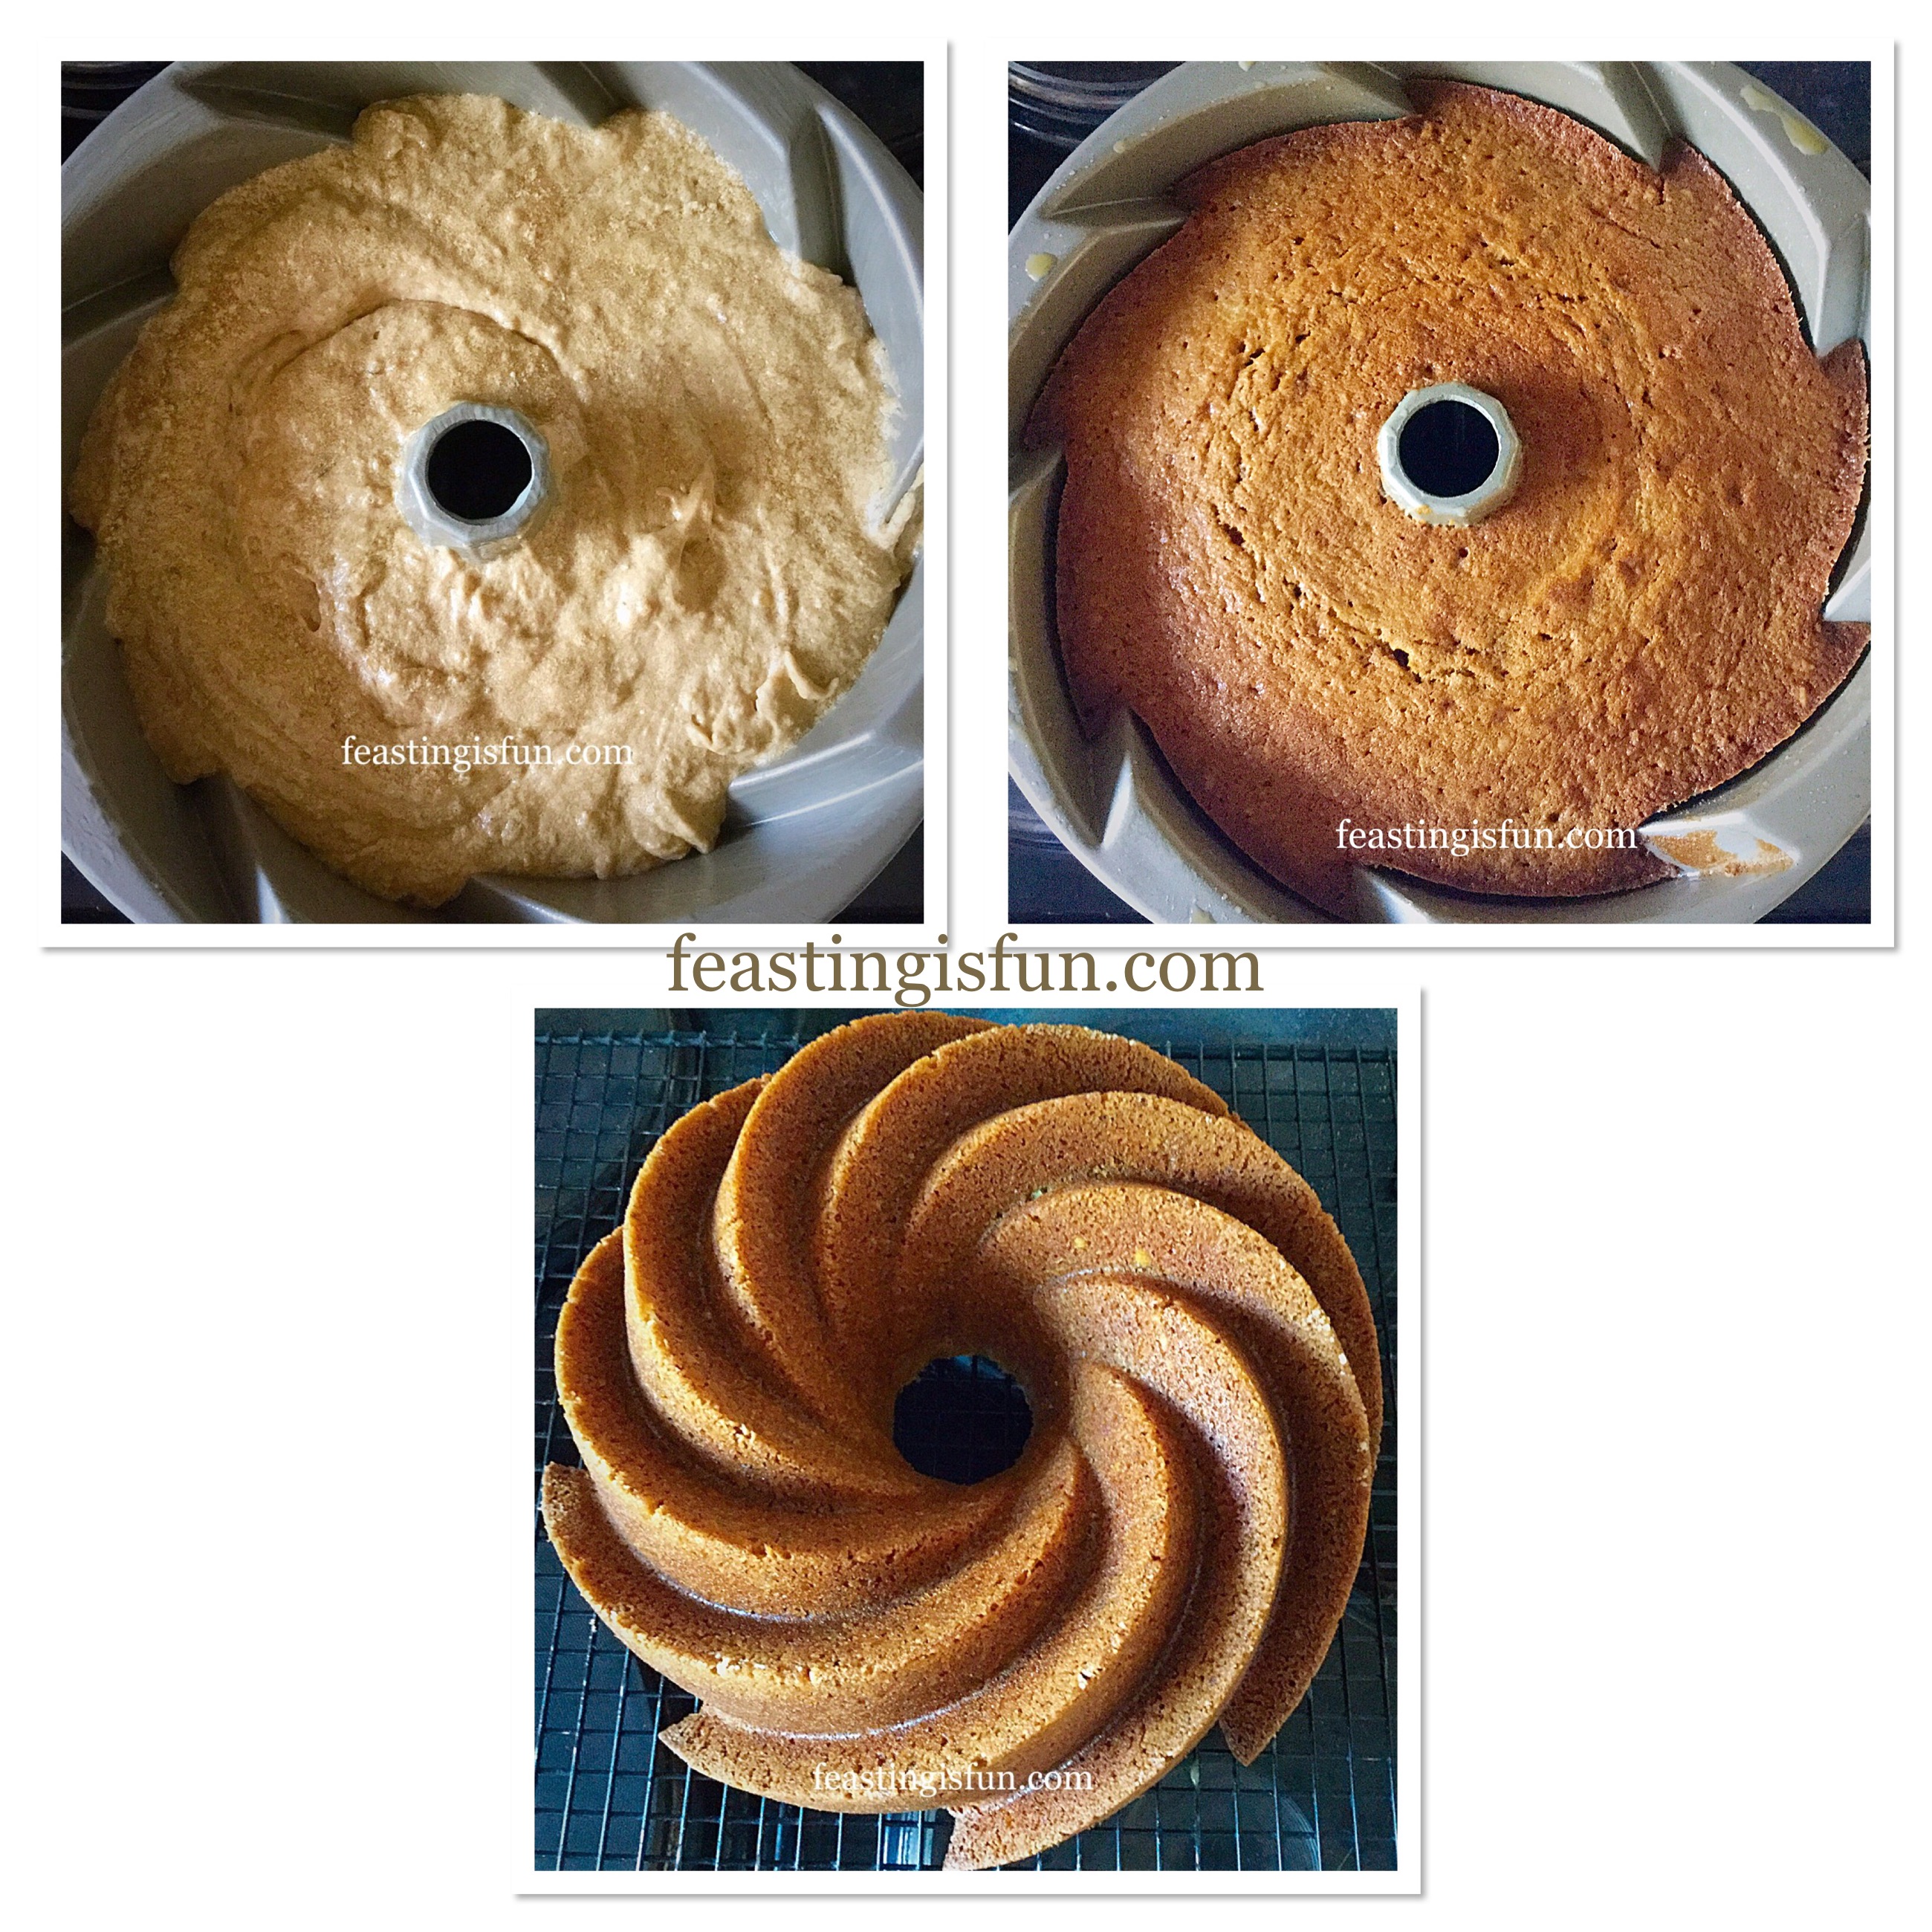
- Spoon the cake batter into the prepared Bundt tin, pressing down to ensure the tin does not have any air gaps. Smooth the top of the batter.
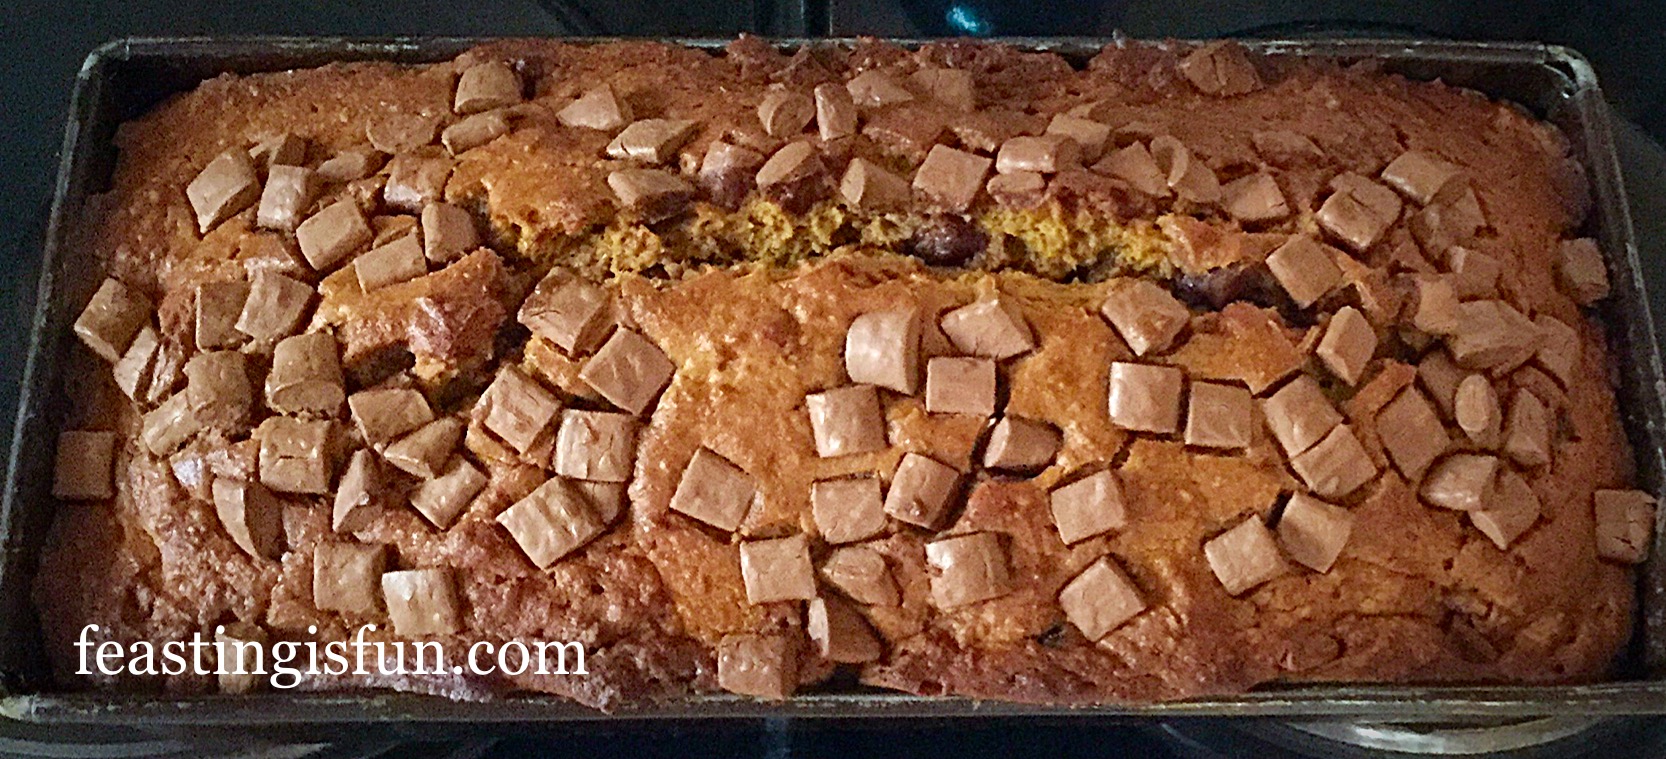
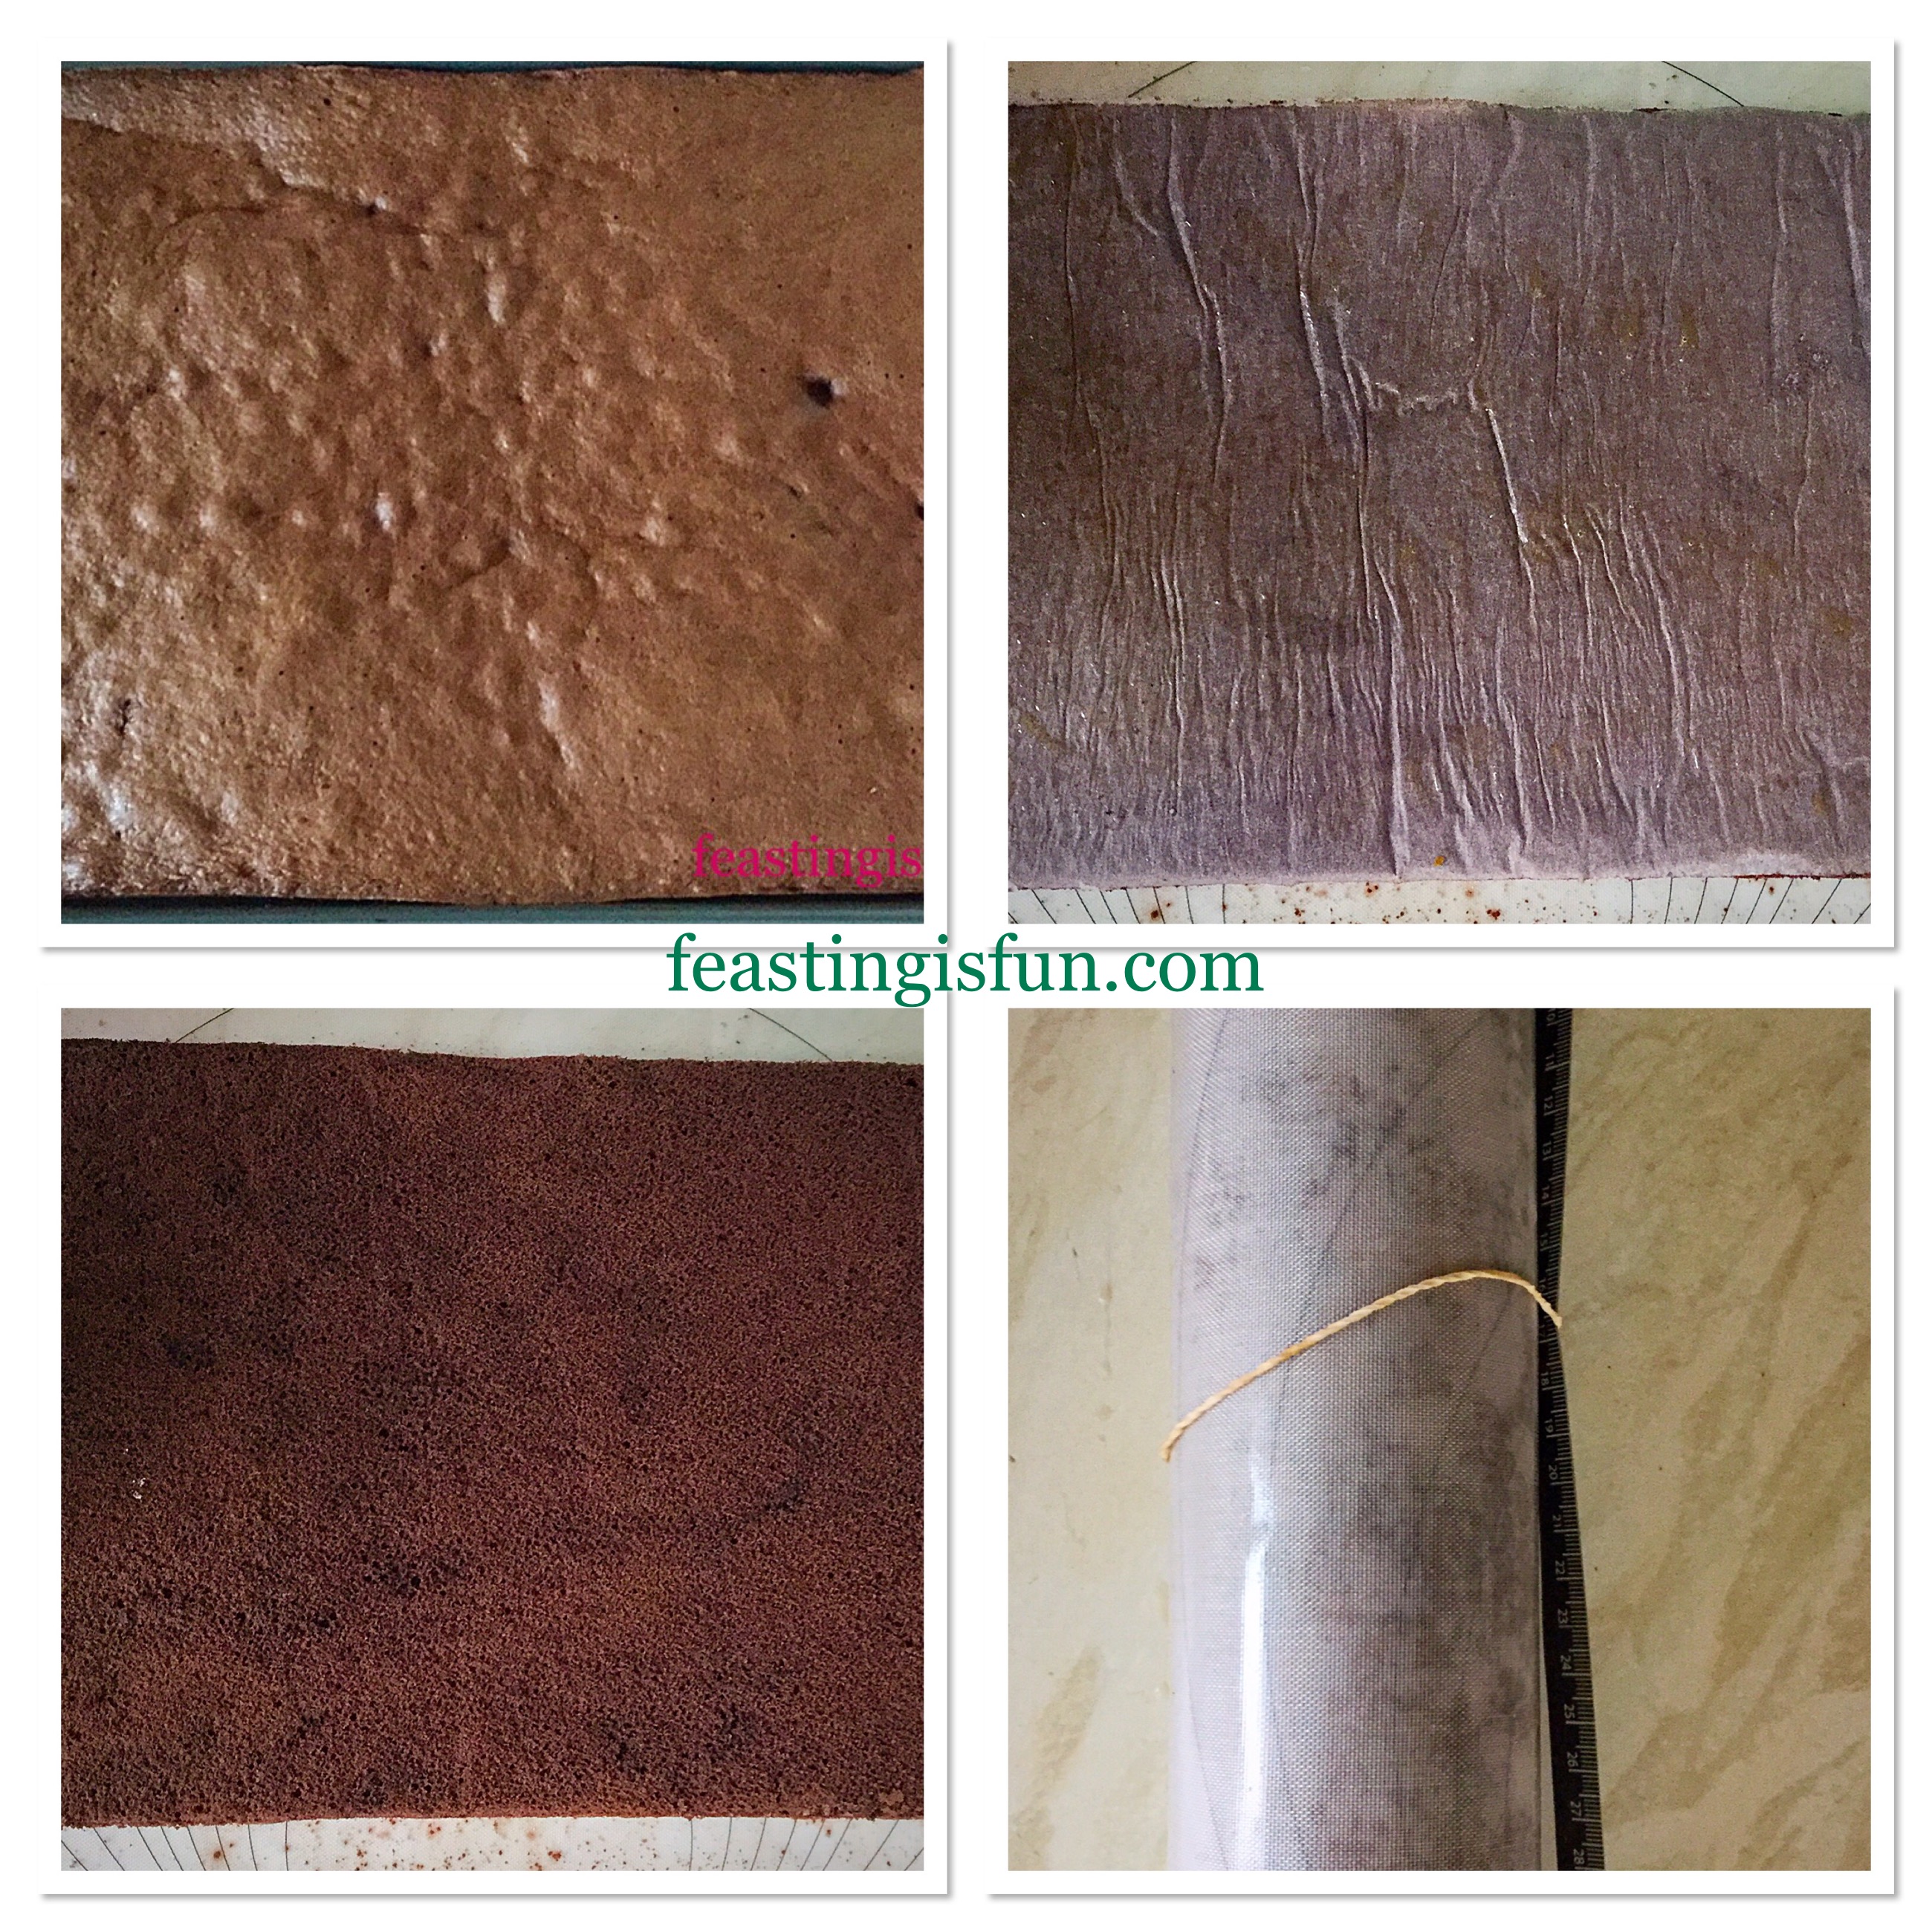
- Place the Bundt tin into the centre of the preheated oven and bake for 50-60 minutes.
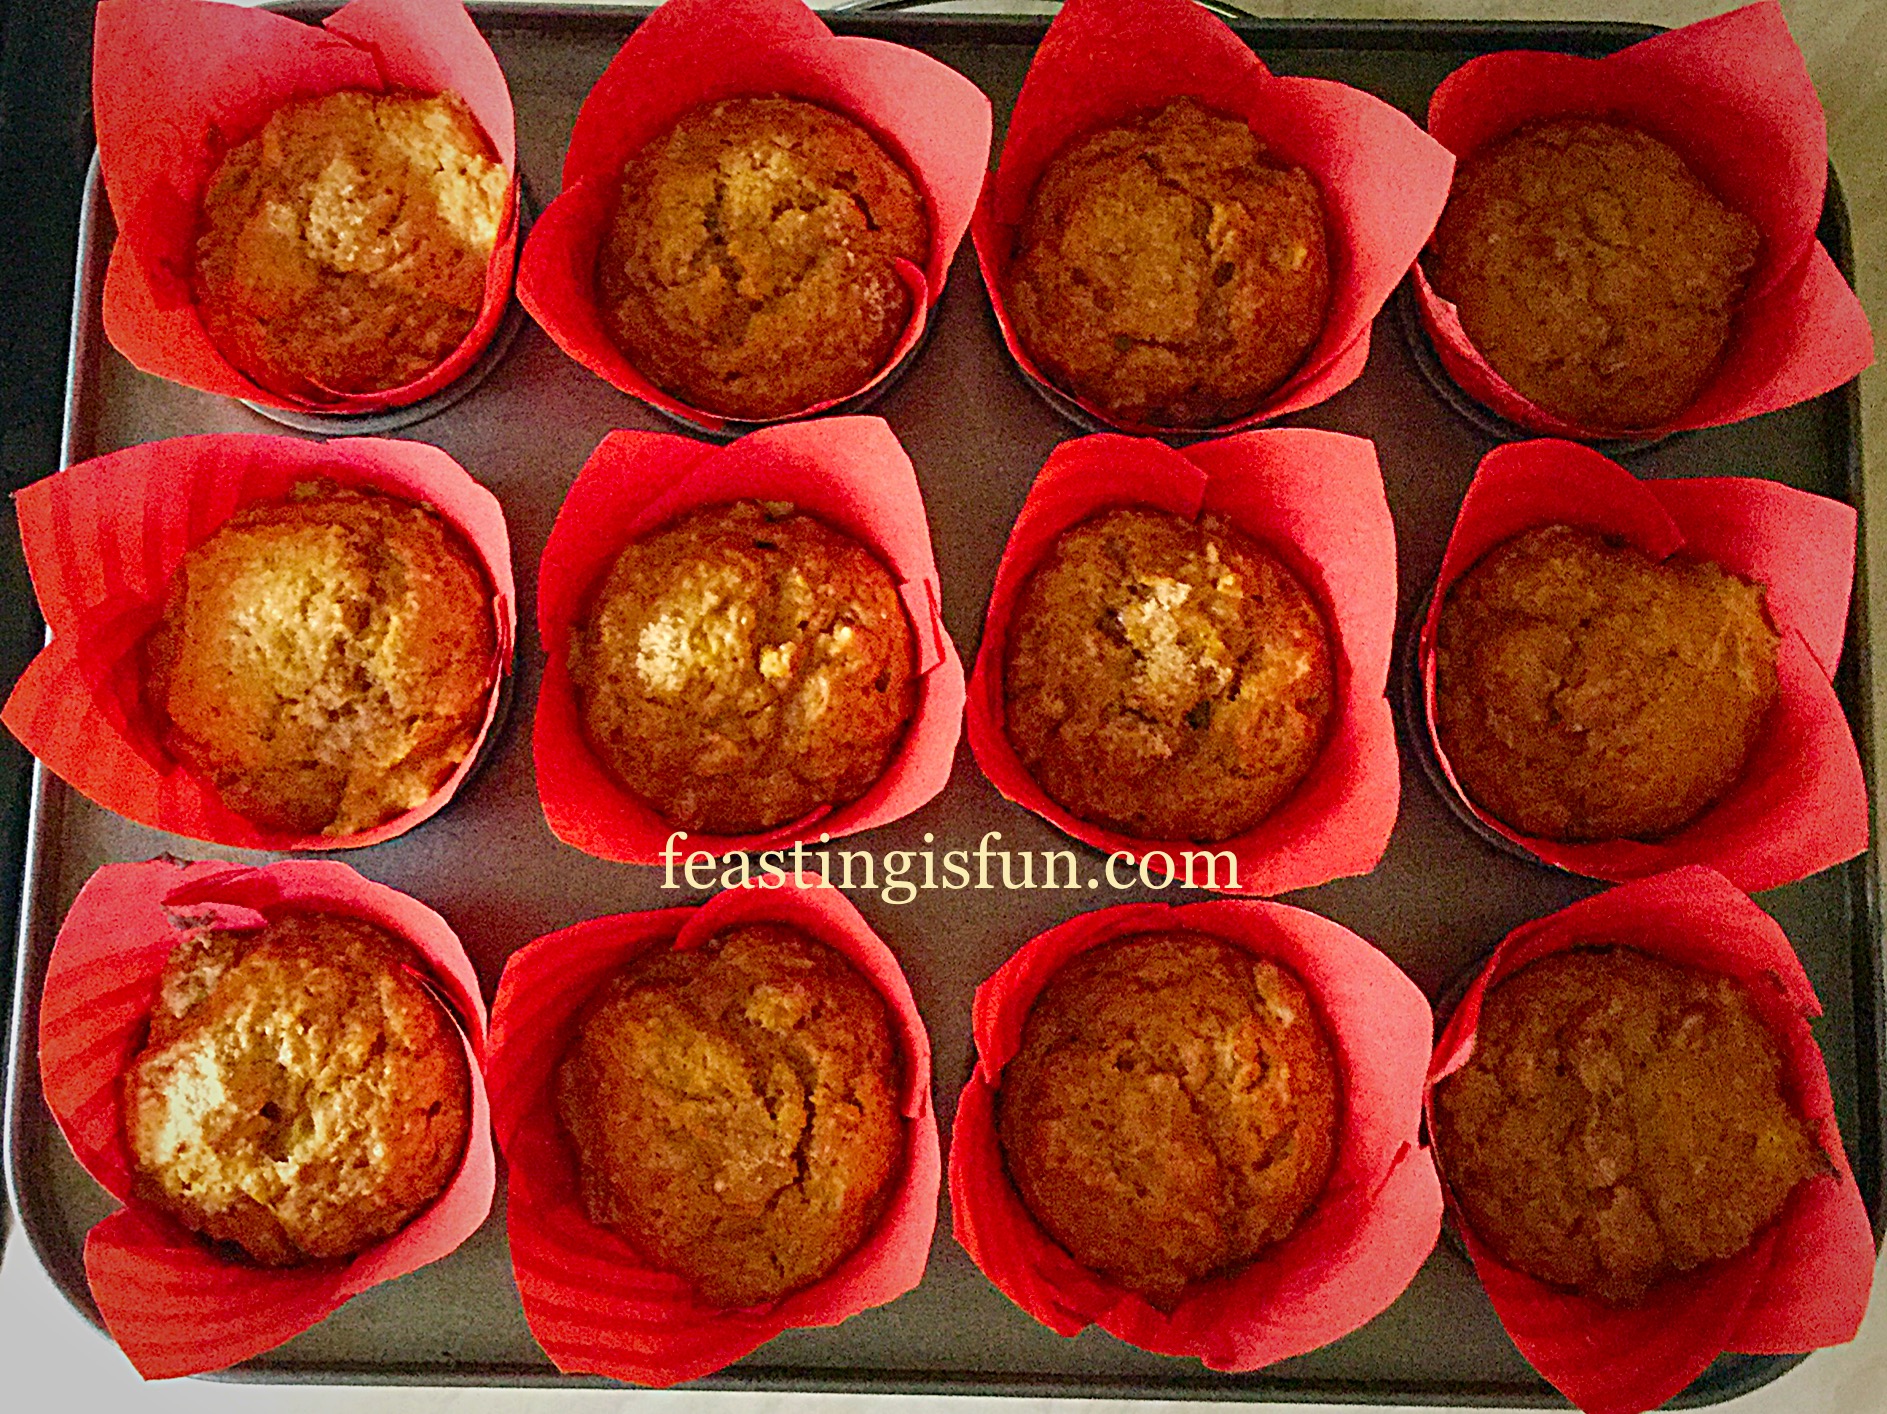
- To test if the cake is fully baked, insert a wooden skewer. The cake is baked when the skewer comes out clean. Also the cake should spring back from a light touch and have shrunk away from the sides of the Bundt tin.
- As soon as the cake is baked remove the from the oven. Leave the cake to cool in the tin for 5-10 minutes.
- Finally, turn the Bundt cake out on to a cooling rack and allow to cool completely before icing.
Adding The Decoration
- First, sift the icing sugar into a bowl.
- Add the maple syrup and stir well. And then add up to one tablespoon of cold, tap water. Stir well so that the icing is a smooth, fairly thick consistency.
- Fill a small, disposable piping bag with the maple syrup icing.
- To ice the cake, first place the cooling rack over a large baking tray. This will allow any excess icing to drip through.
- Snip the very end of the piping bag off, leaving a 3-4mm hole.
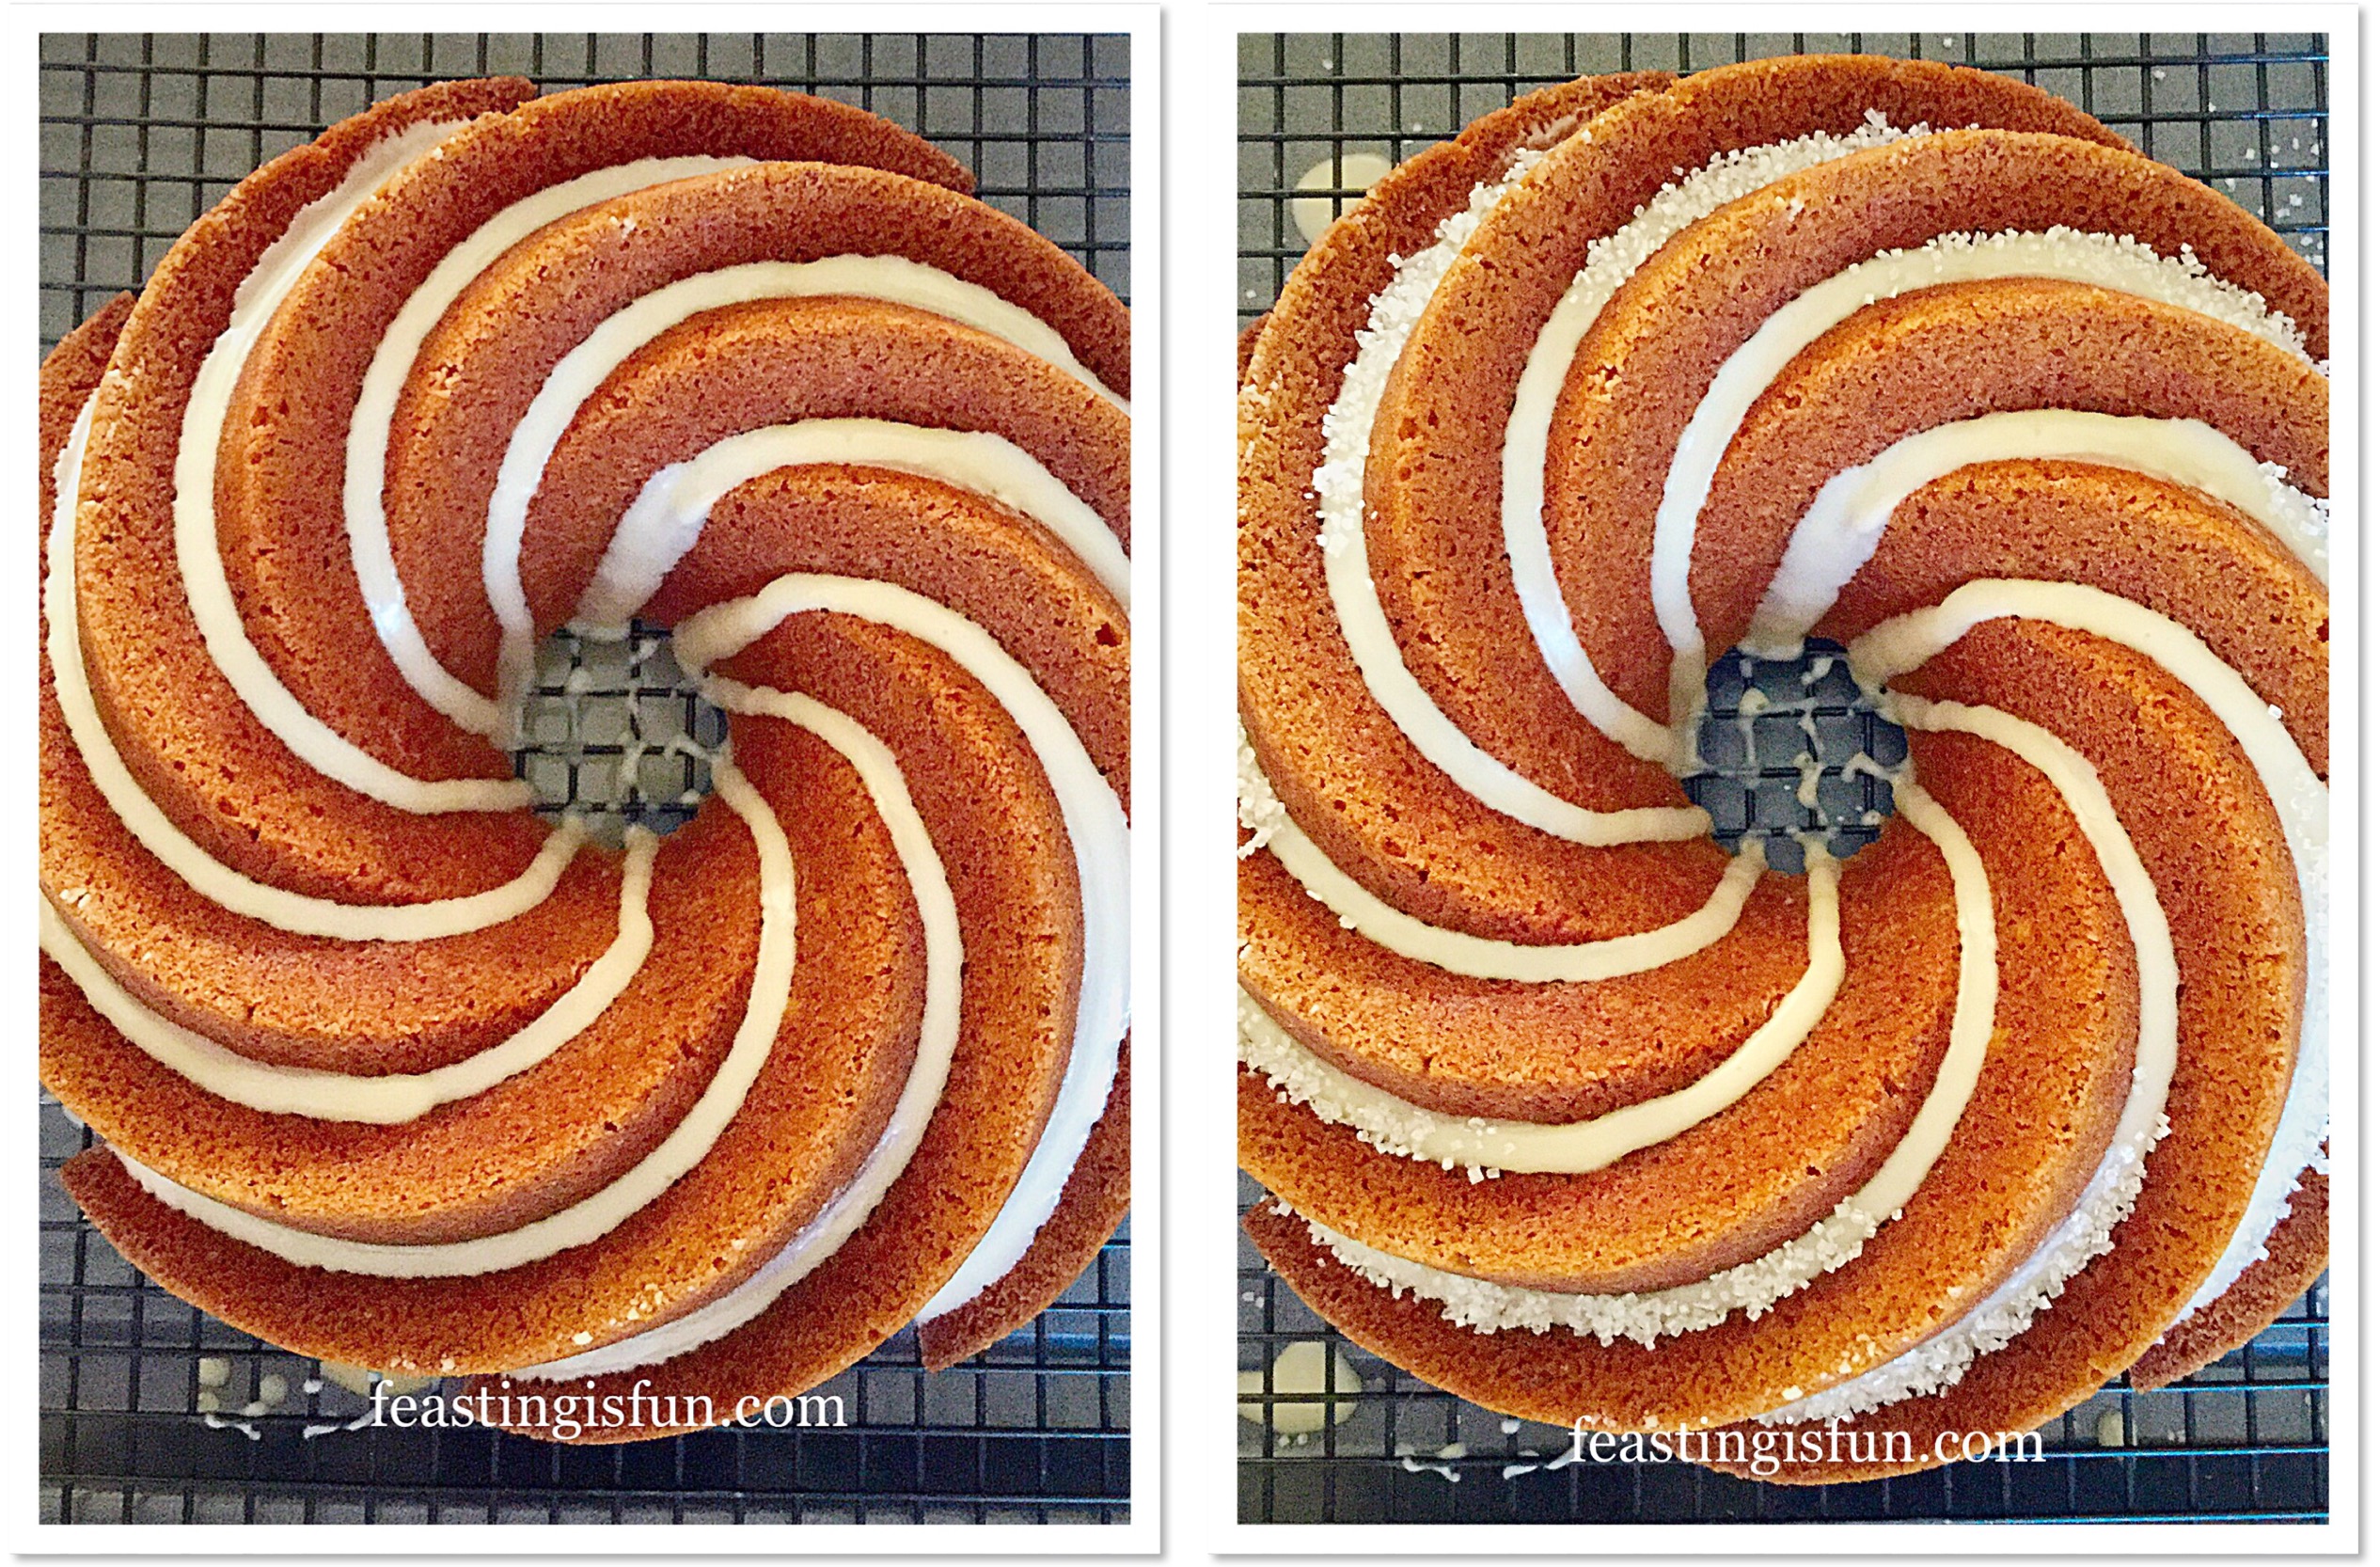
- With the cake in front of you, follow the line of one swirl and pipe the icing along it. Double back on yourself, piping over the original line to ensure an even finish.
- Continue in the same manner until all of the swirls have been iced.
- Finish the decoration by adding sprinkles on top of the icing. Start at the bottom and finish approximately two thirds of the way up the cake. Most importantly, make sure the sprinkles all finish at the same point.
To serve, place the cake on to a plate or cake stand. Since I do not have a cake lifter, two palette knives, positioned either side of the cake, make easy work of moving the cake.
No waiting needed! Since the icing sets pretty quickly, simply slice and serve, with a smile. Especially if baking for a celebration. It has been said, a celebration without a cake is simply a meeting.
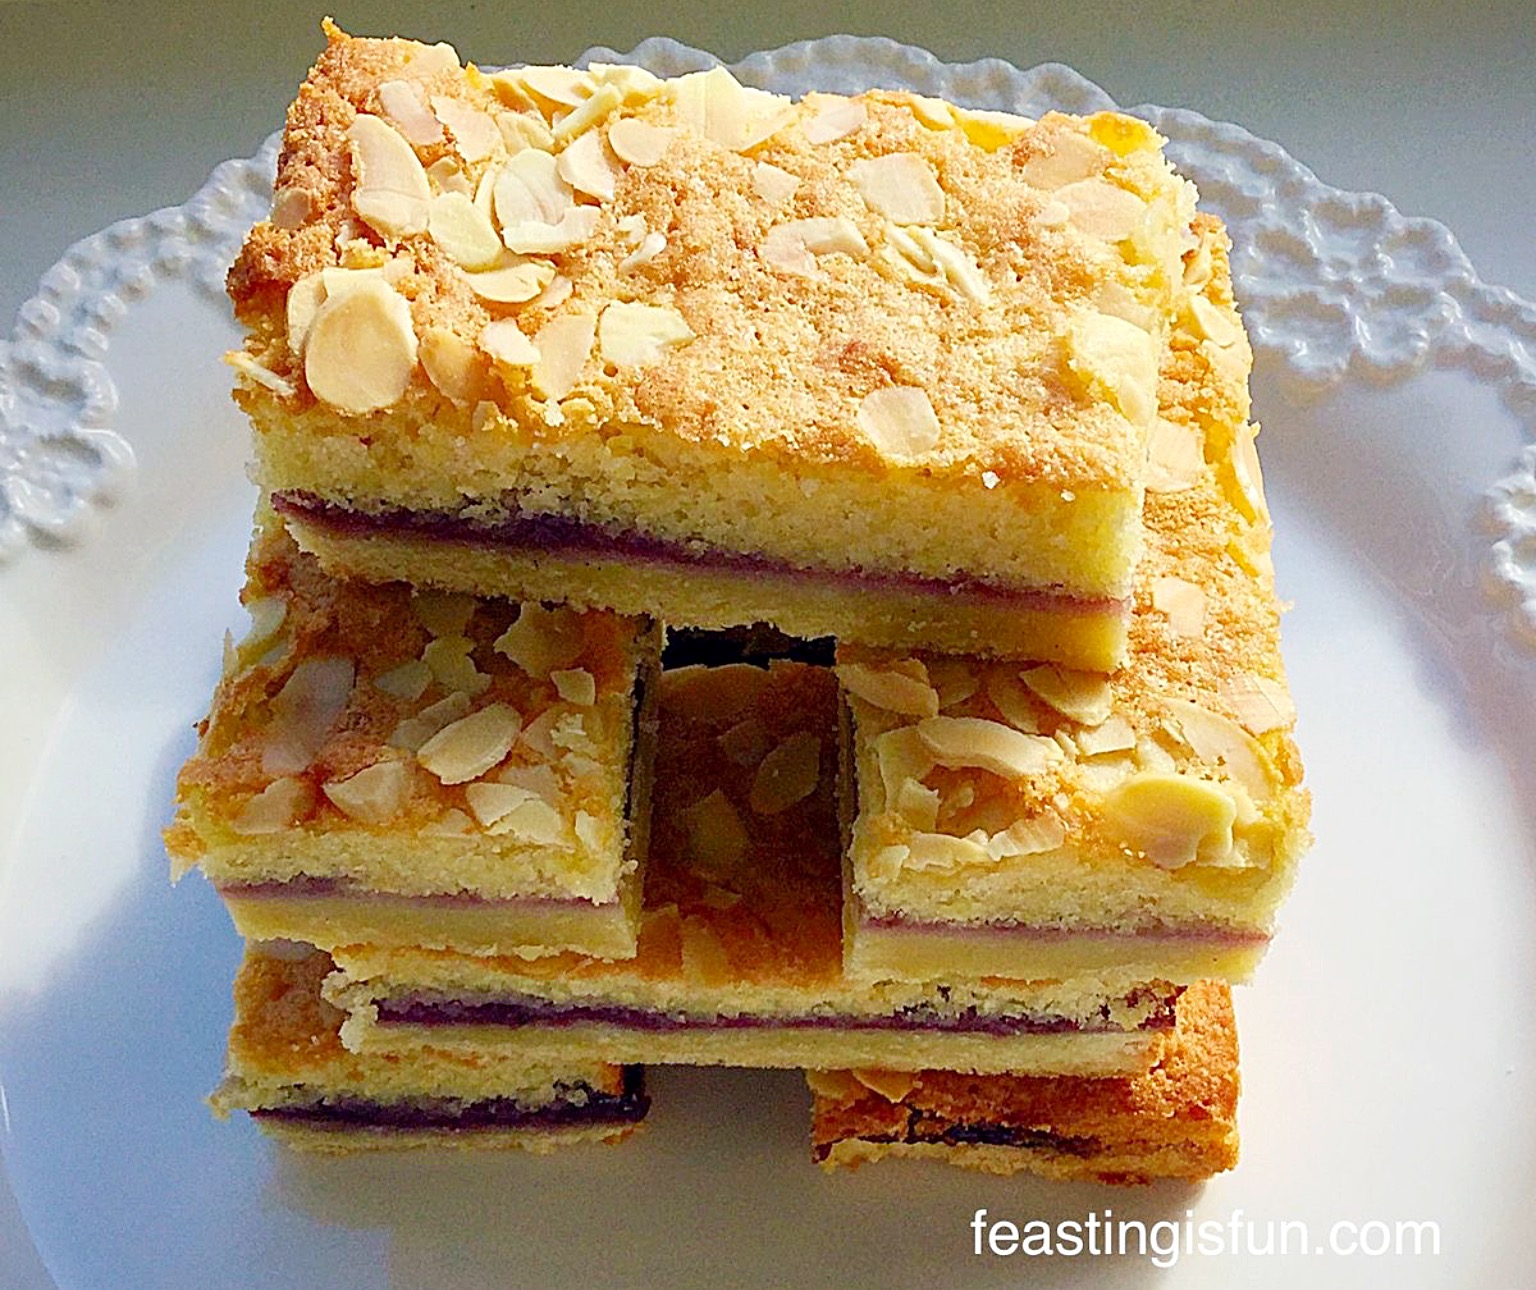
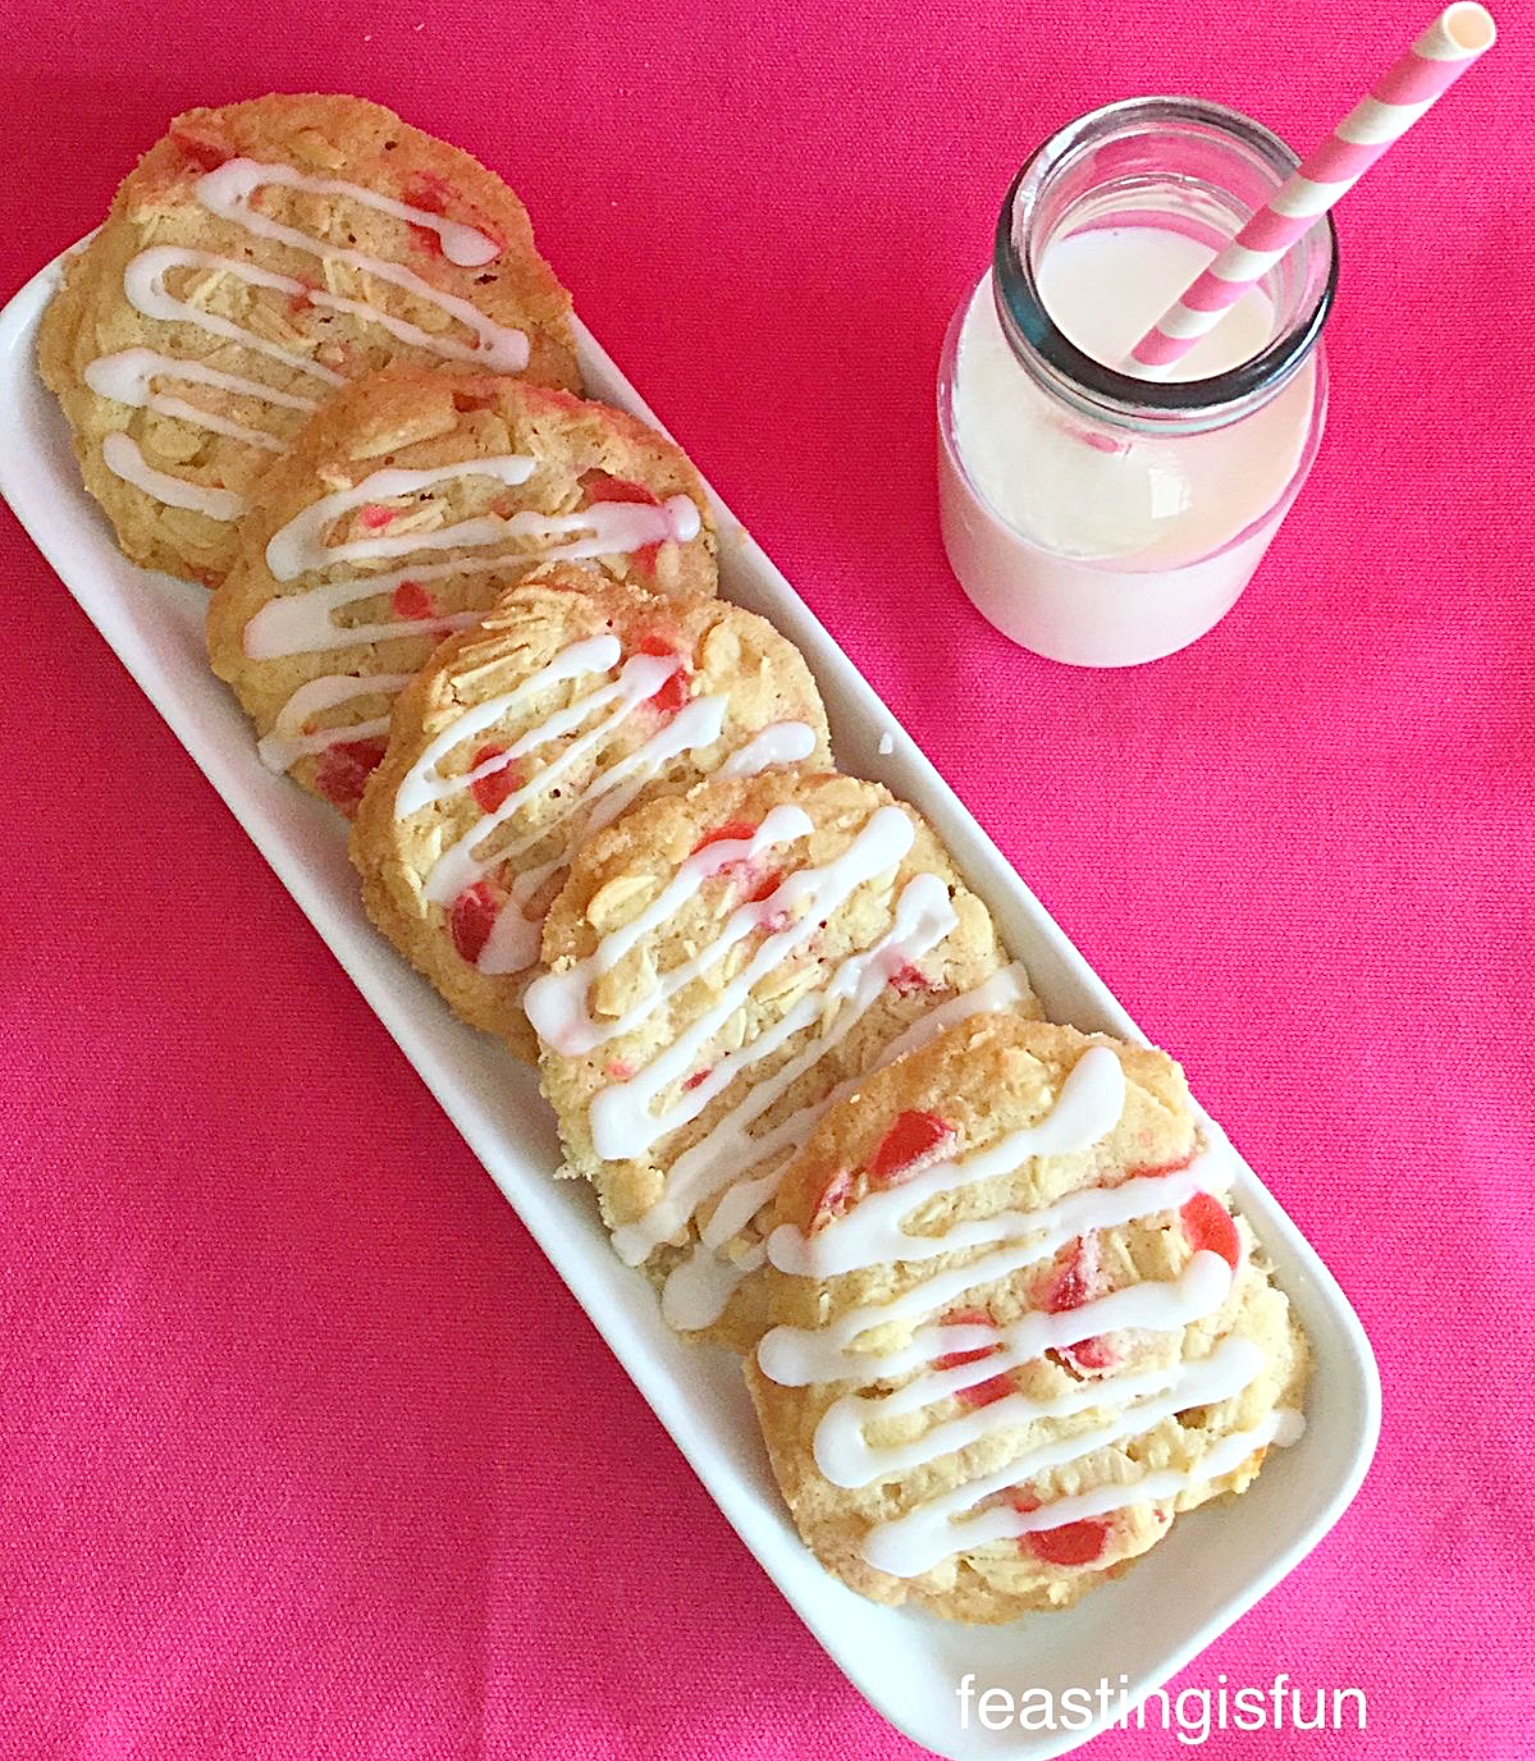
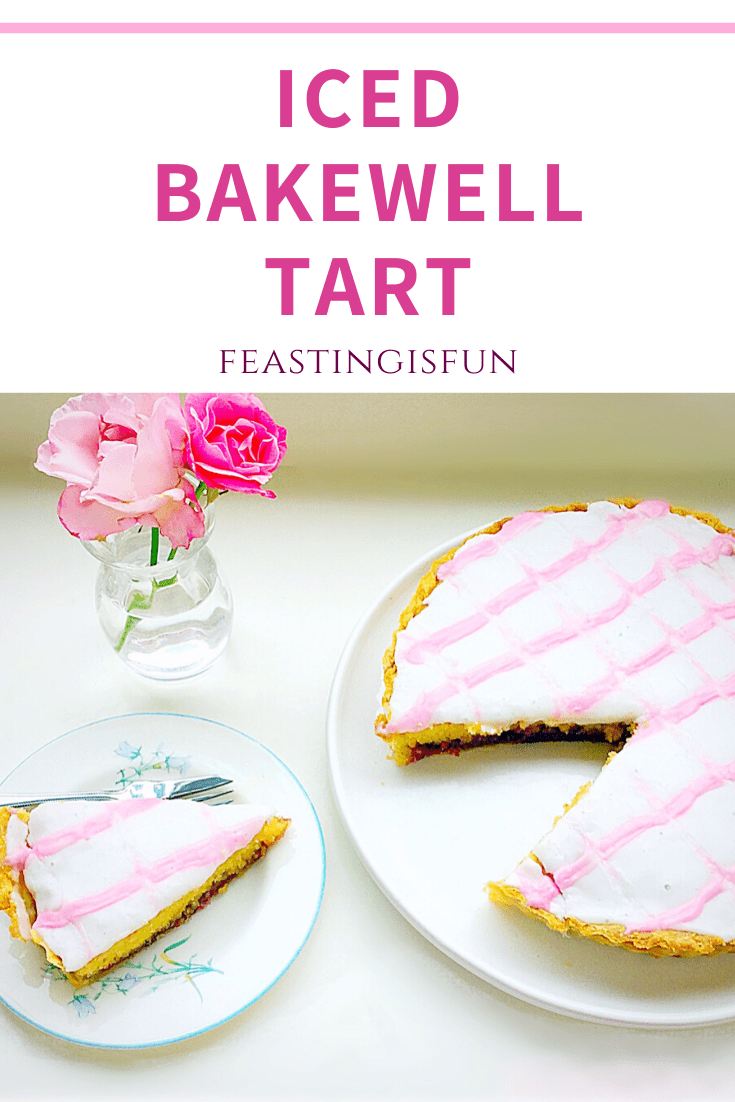
If you have enjoyed the recipe for this Maple Syrup Iced Coffee Bundt Cake then you may also like these:
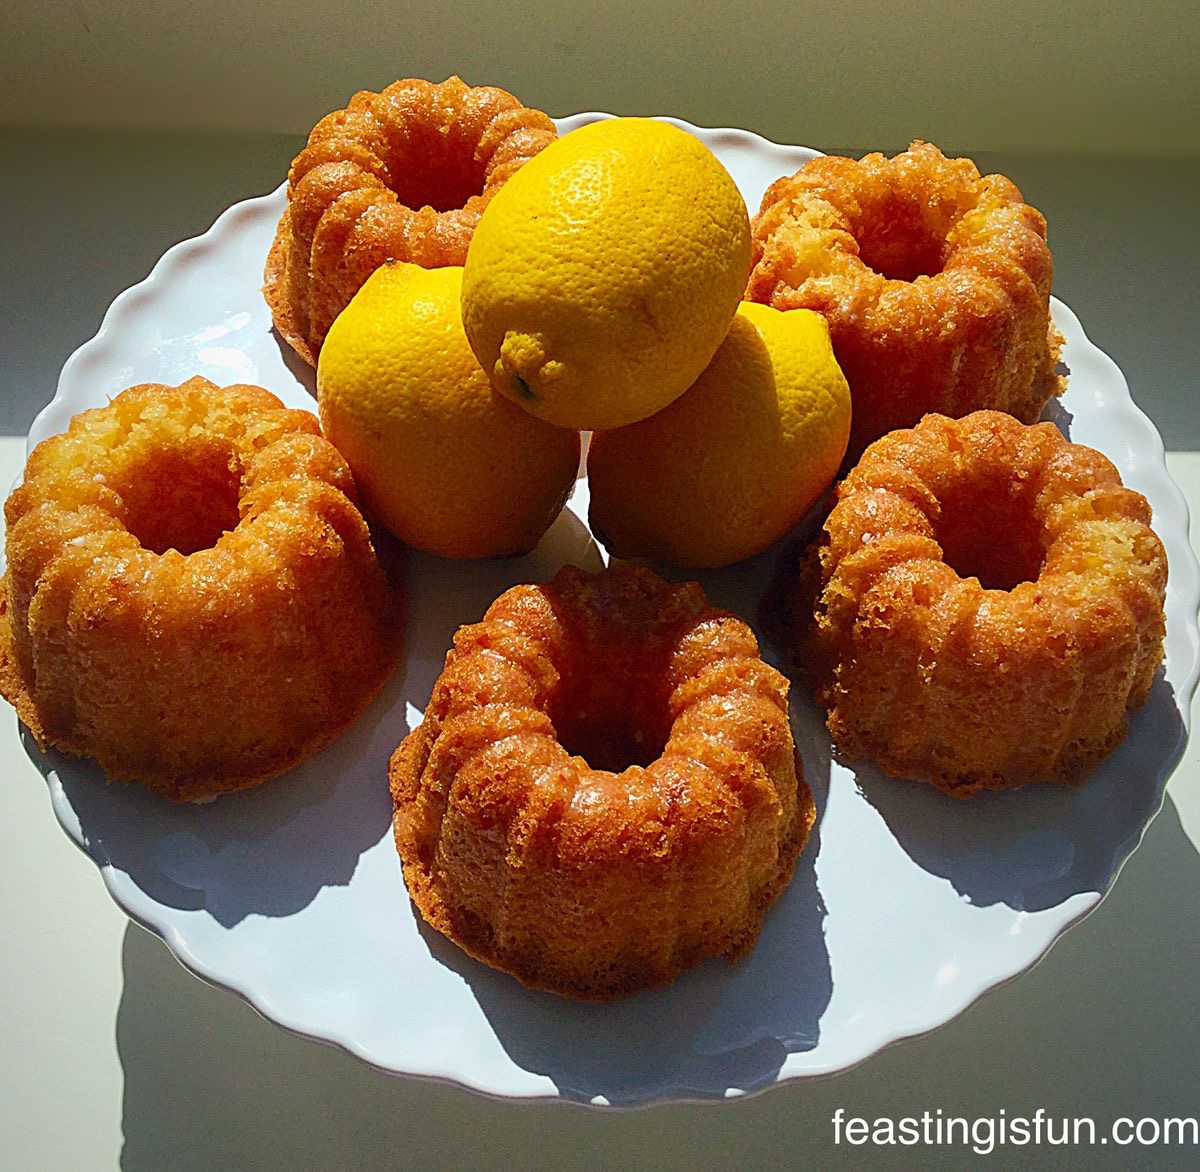
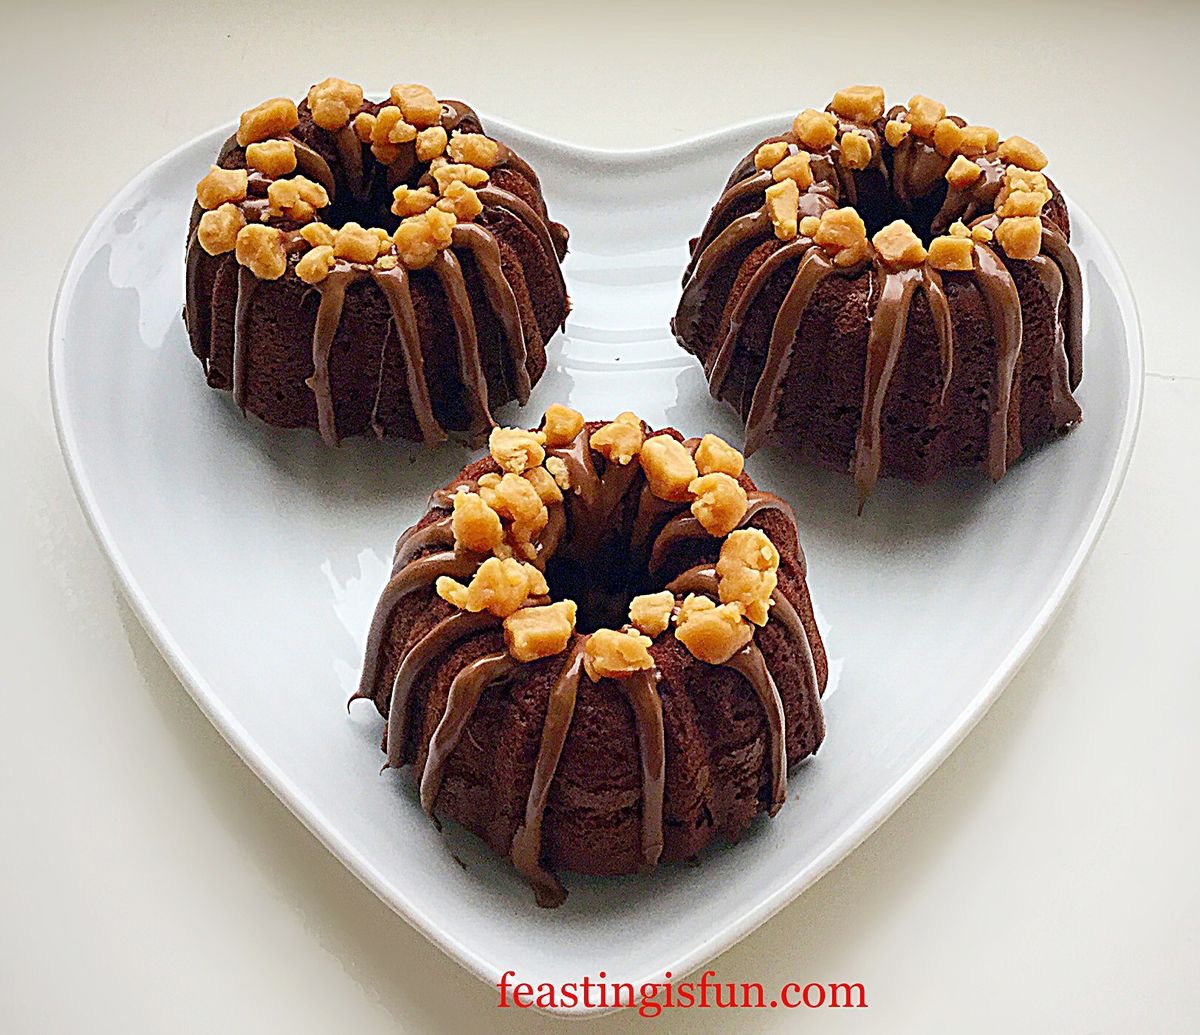
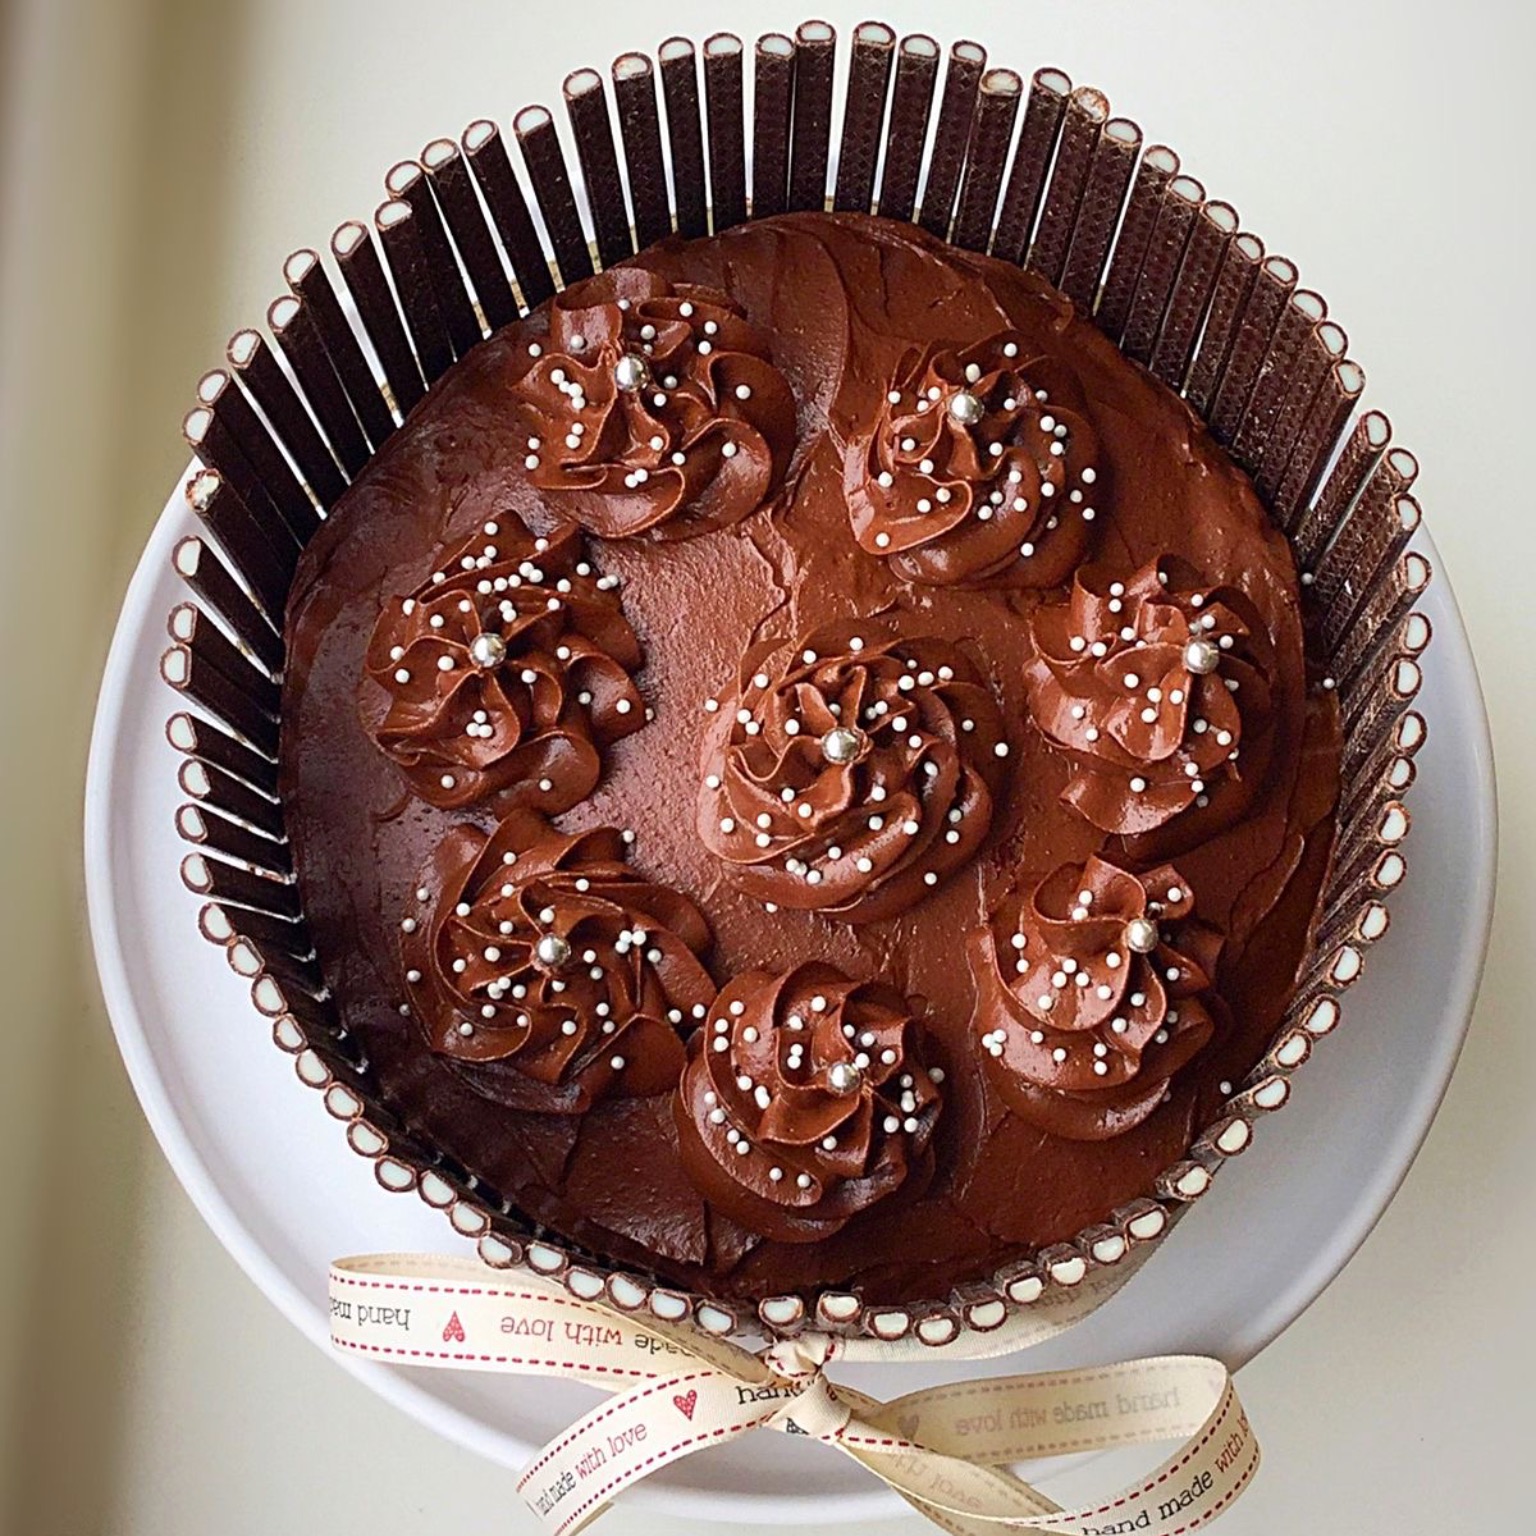
Fluted Chocolate Lemon Marble Cake
Boozy Lemon Drizzle Bundt Cake
Although shop bought cakes may be convenient, nothing compares to the taste of a home baked one. And supermarkets definitely do not bake love into a cake unlike cakes baked at home. Most importantly, when made with love and given with a smile, homemade cakes are unique gift.
So, whatever you are making, baking and creating in your kitchens, have fun preparing a feast. Finally, remember that food tastes better when it is shared.
Sammie xx
No part of this post may be reproduced or duplicated without the written permission of the owner. Please see my Disclosure Policy.
Share